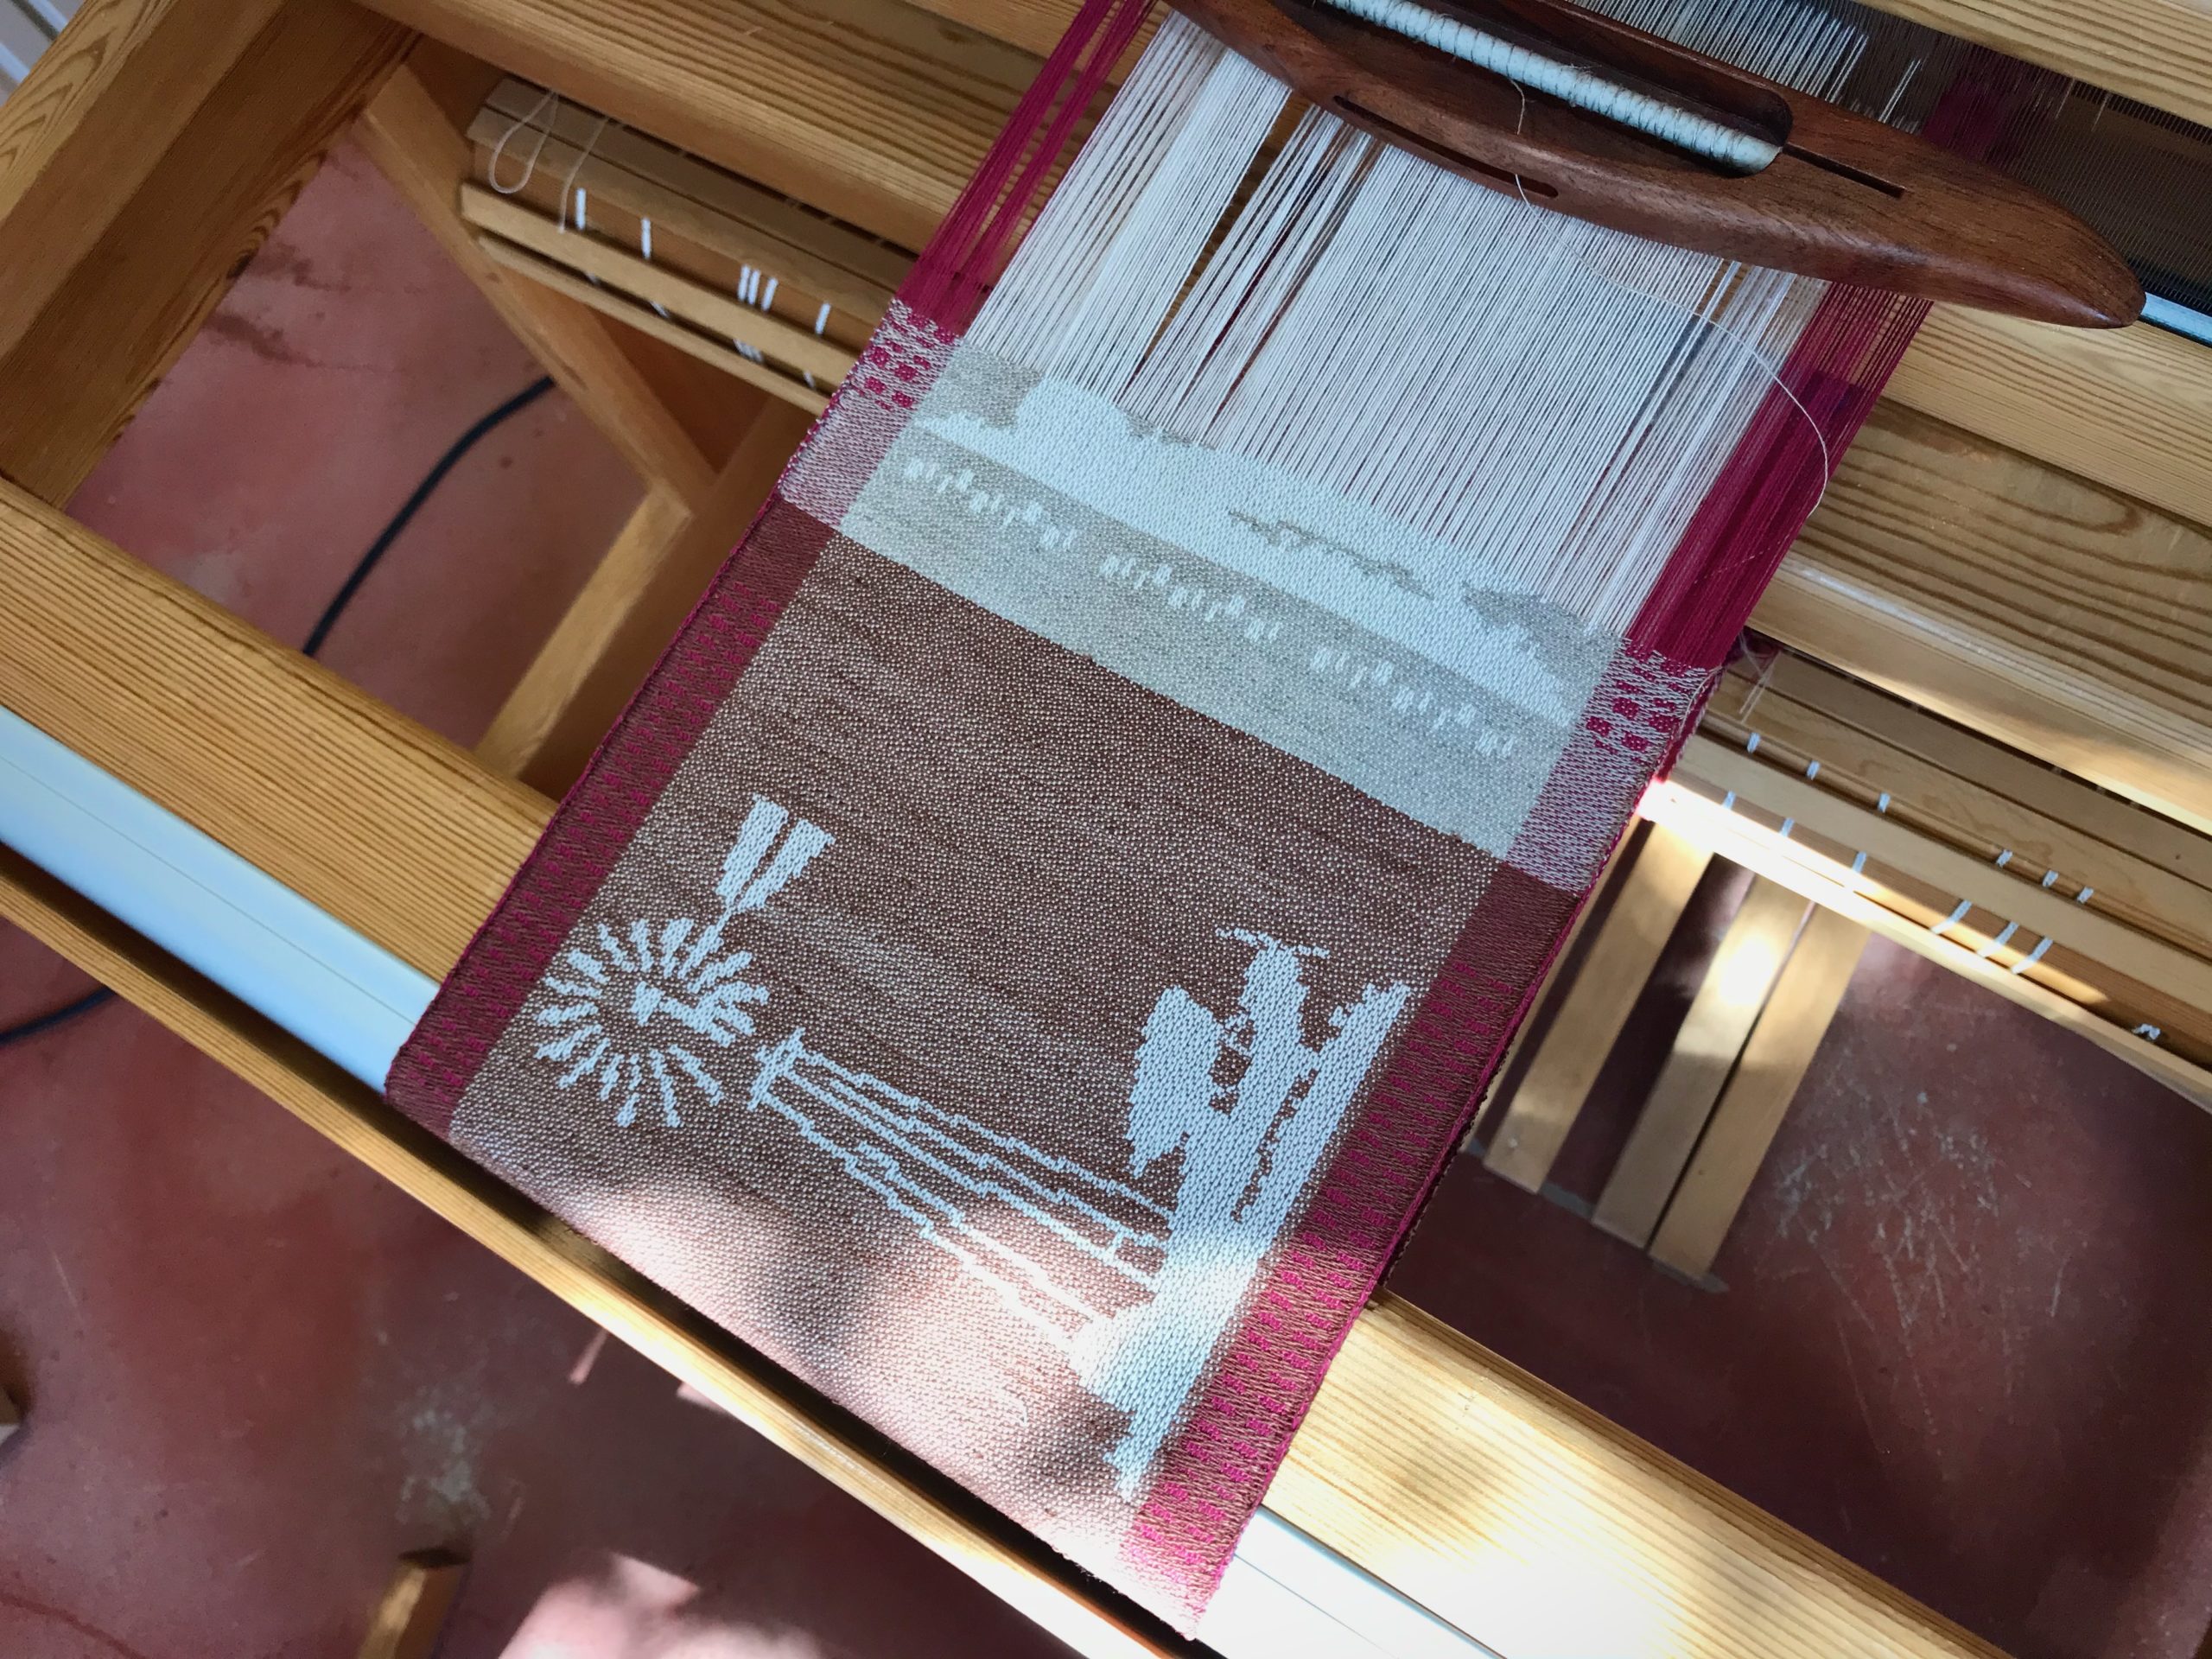
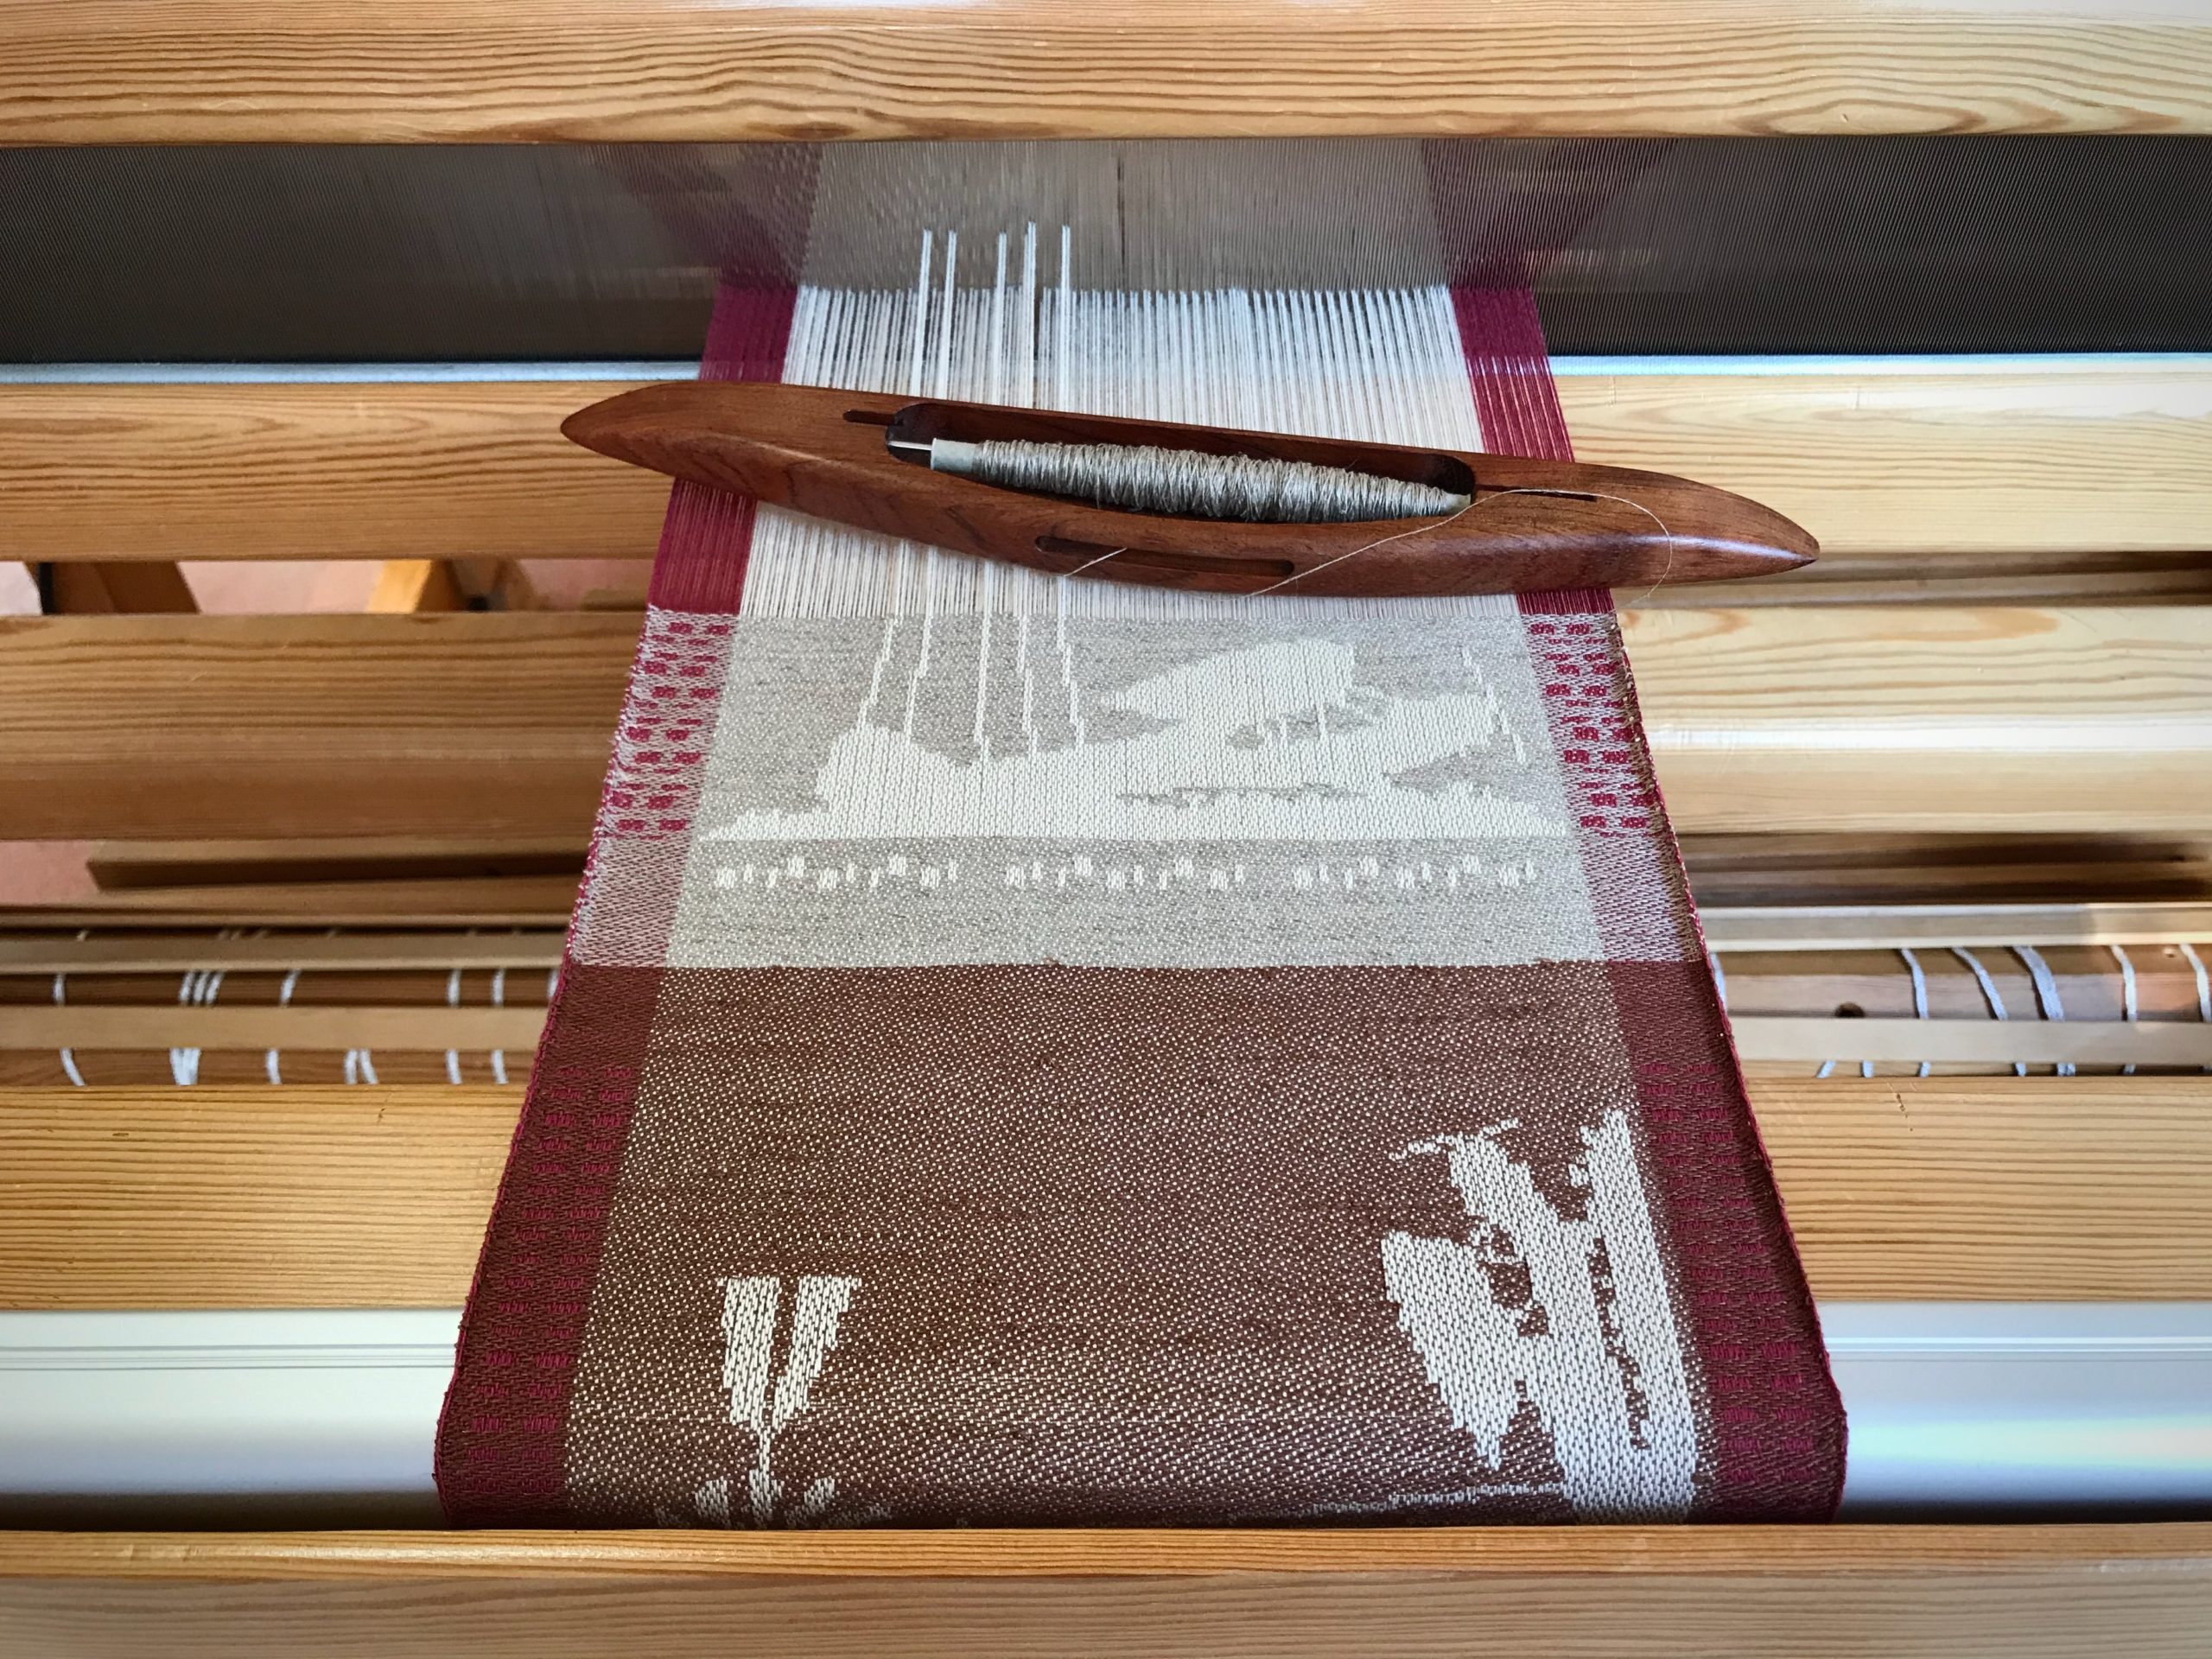
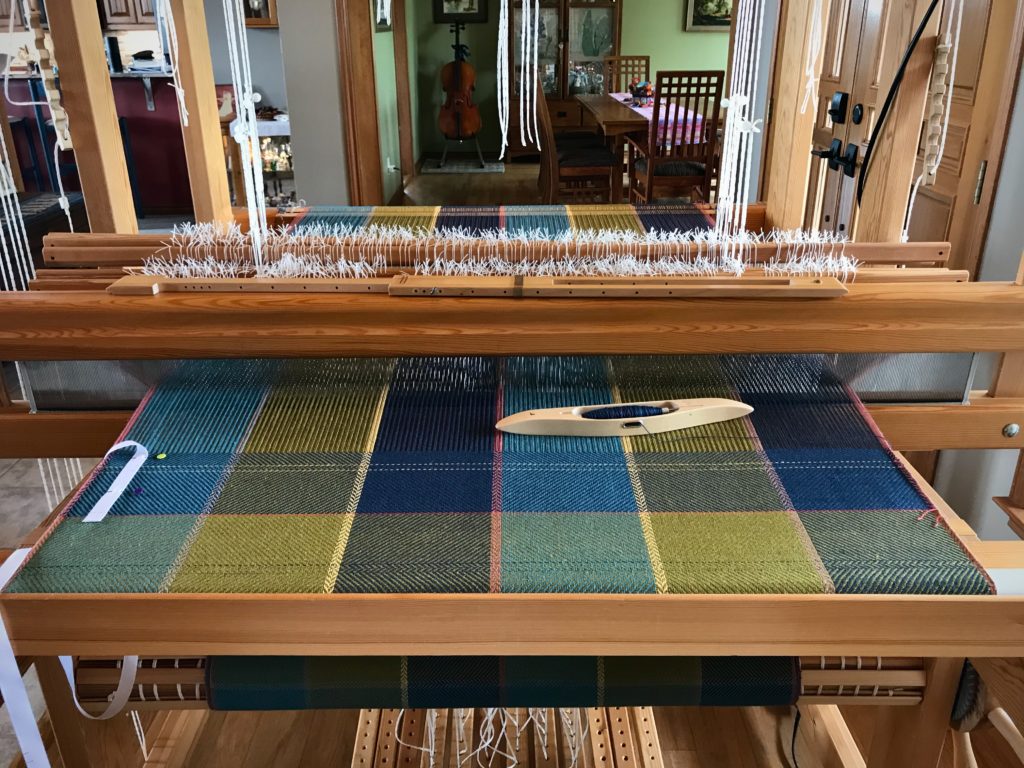
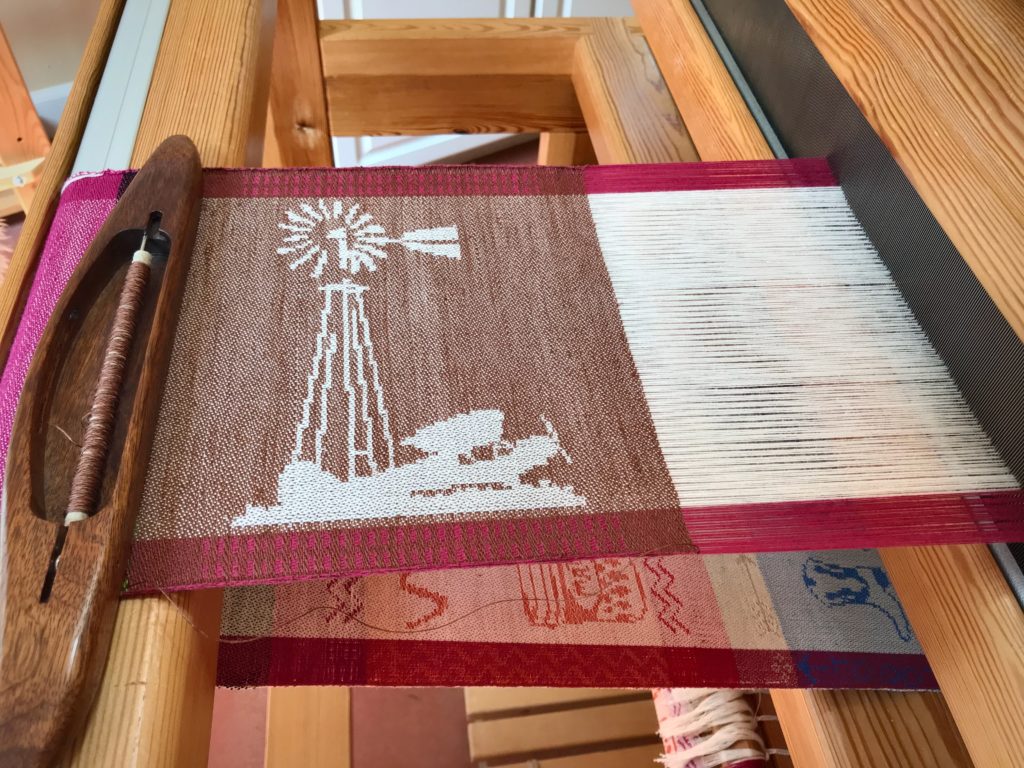
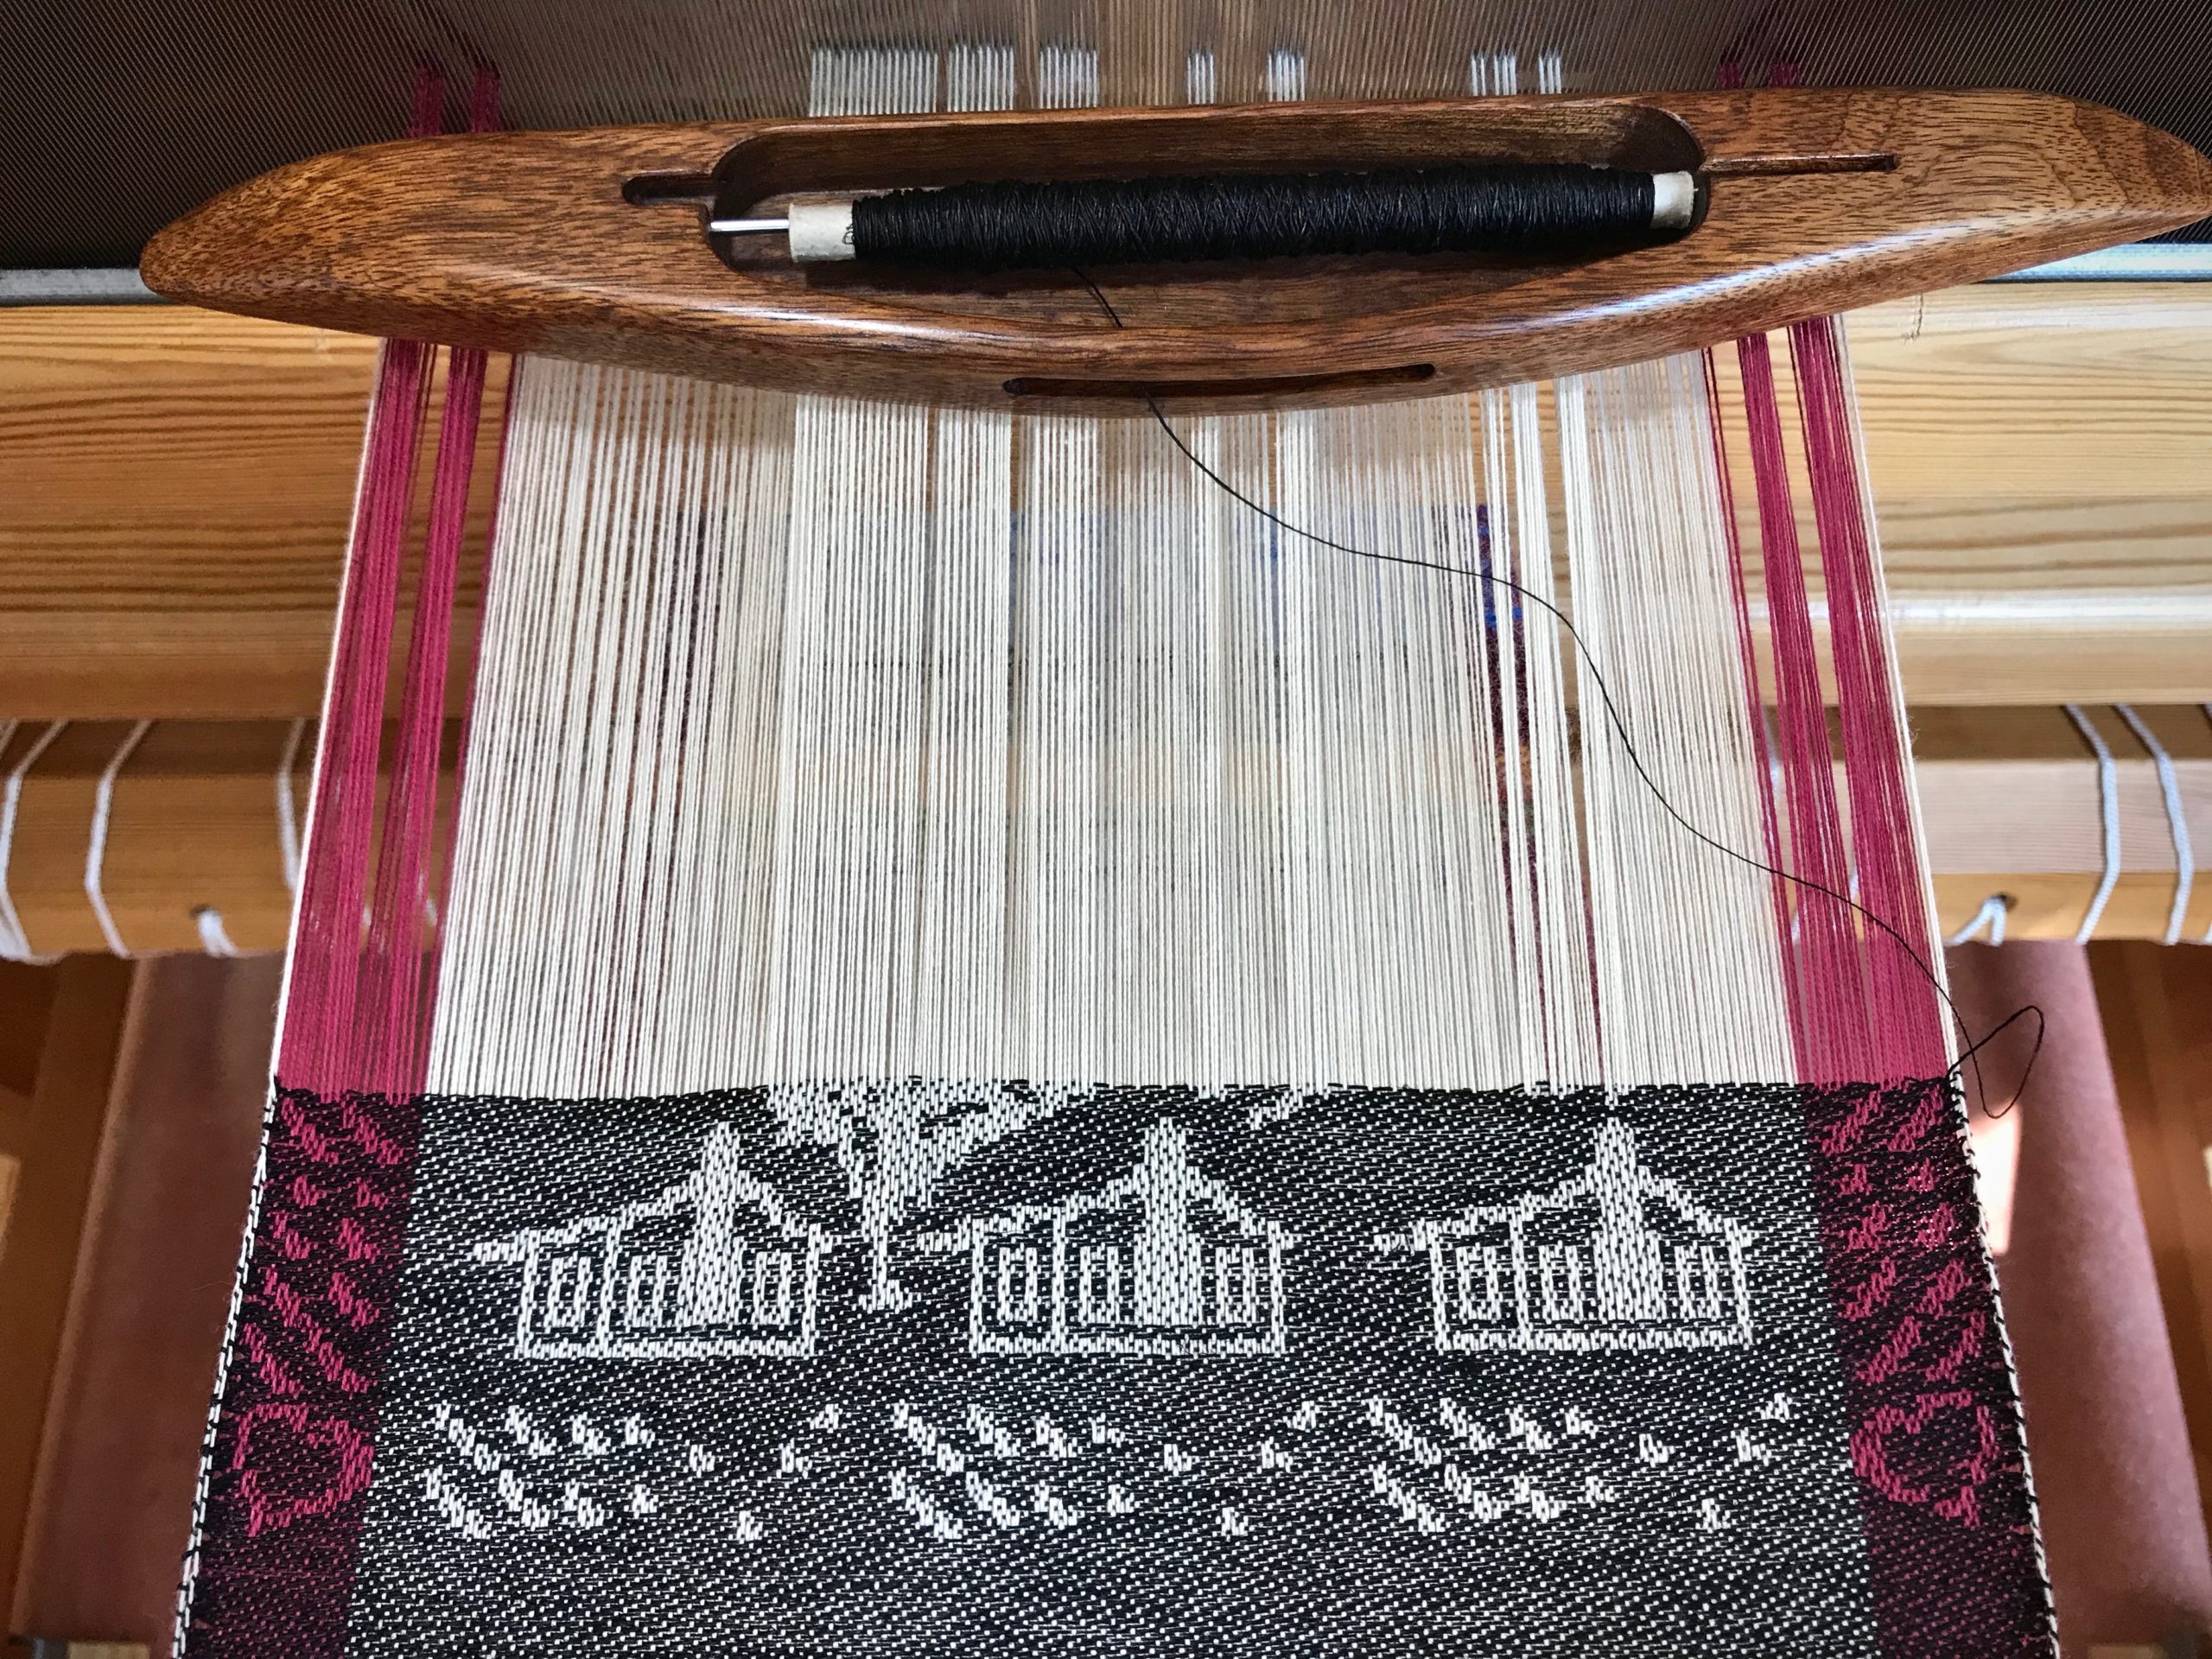
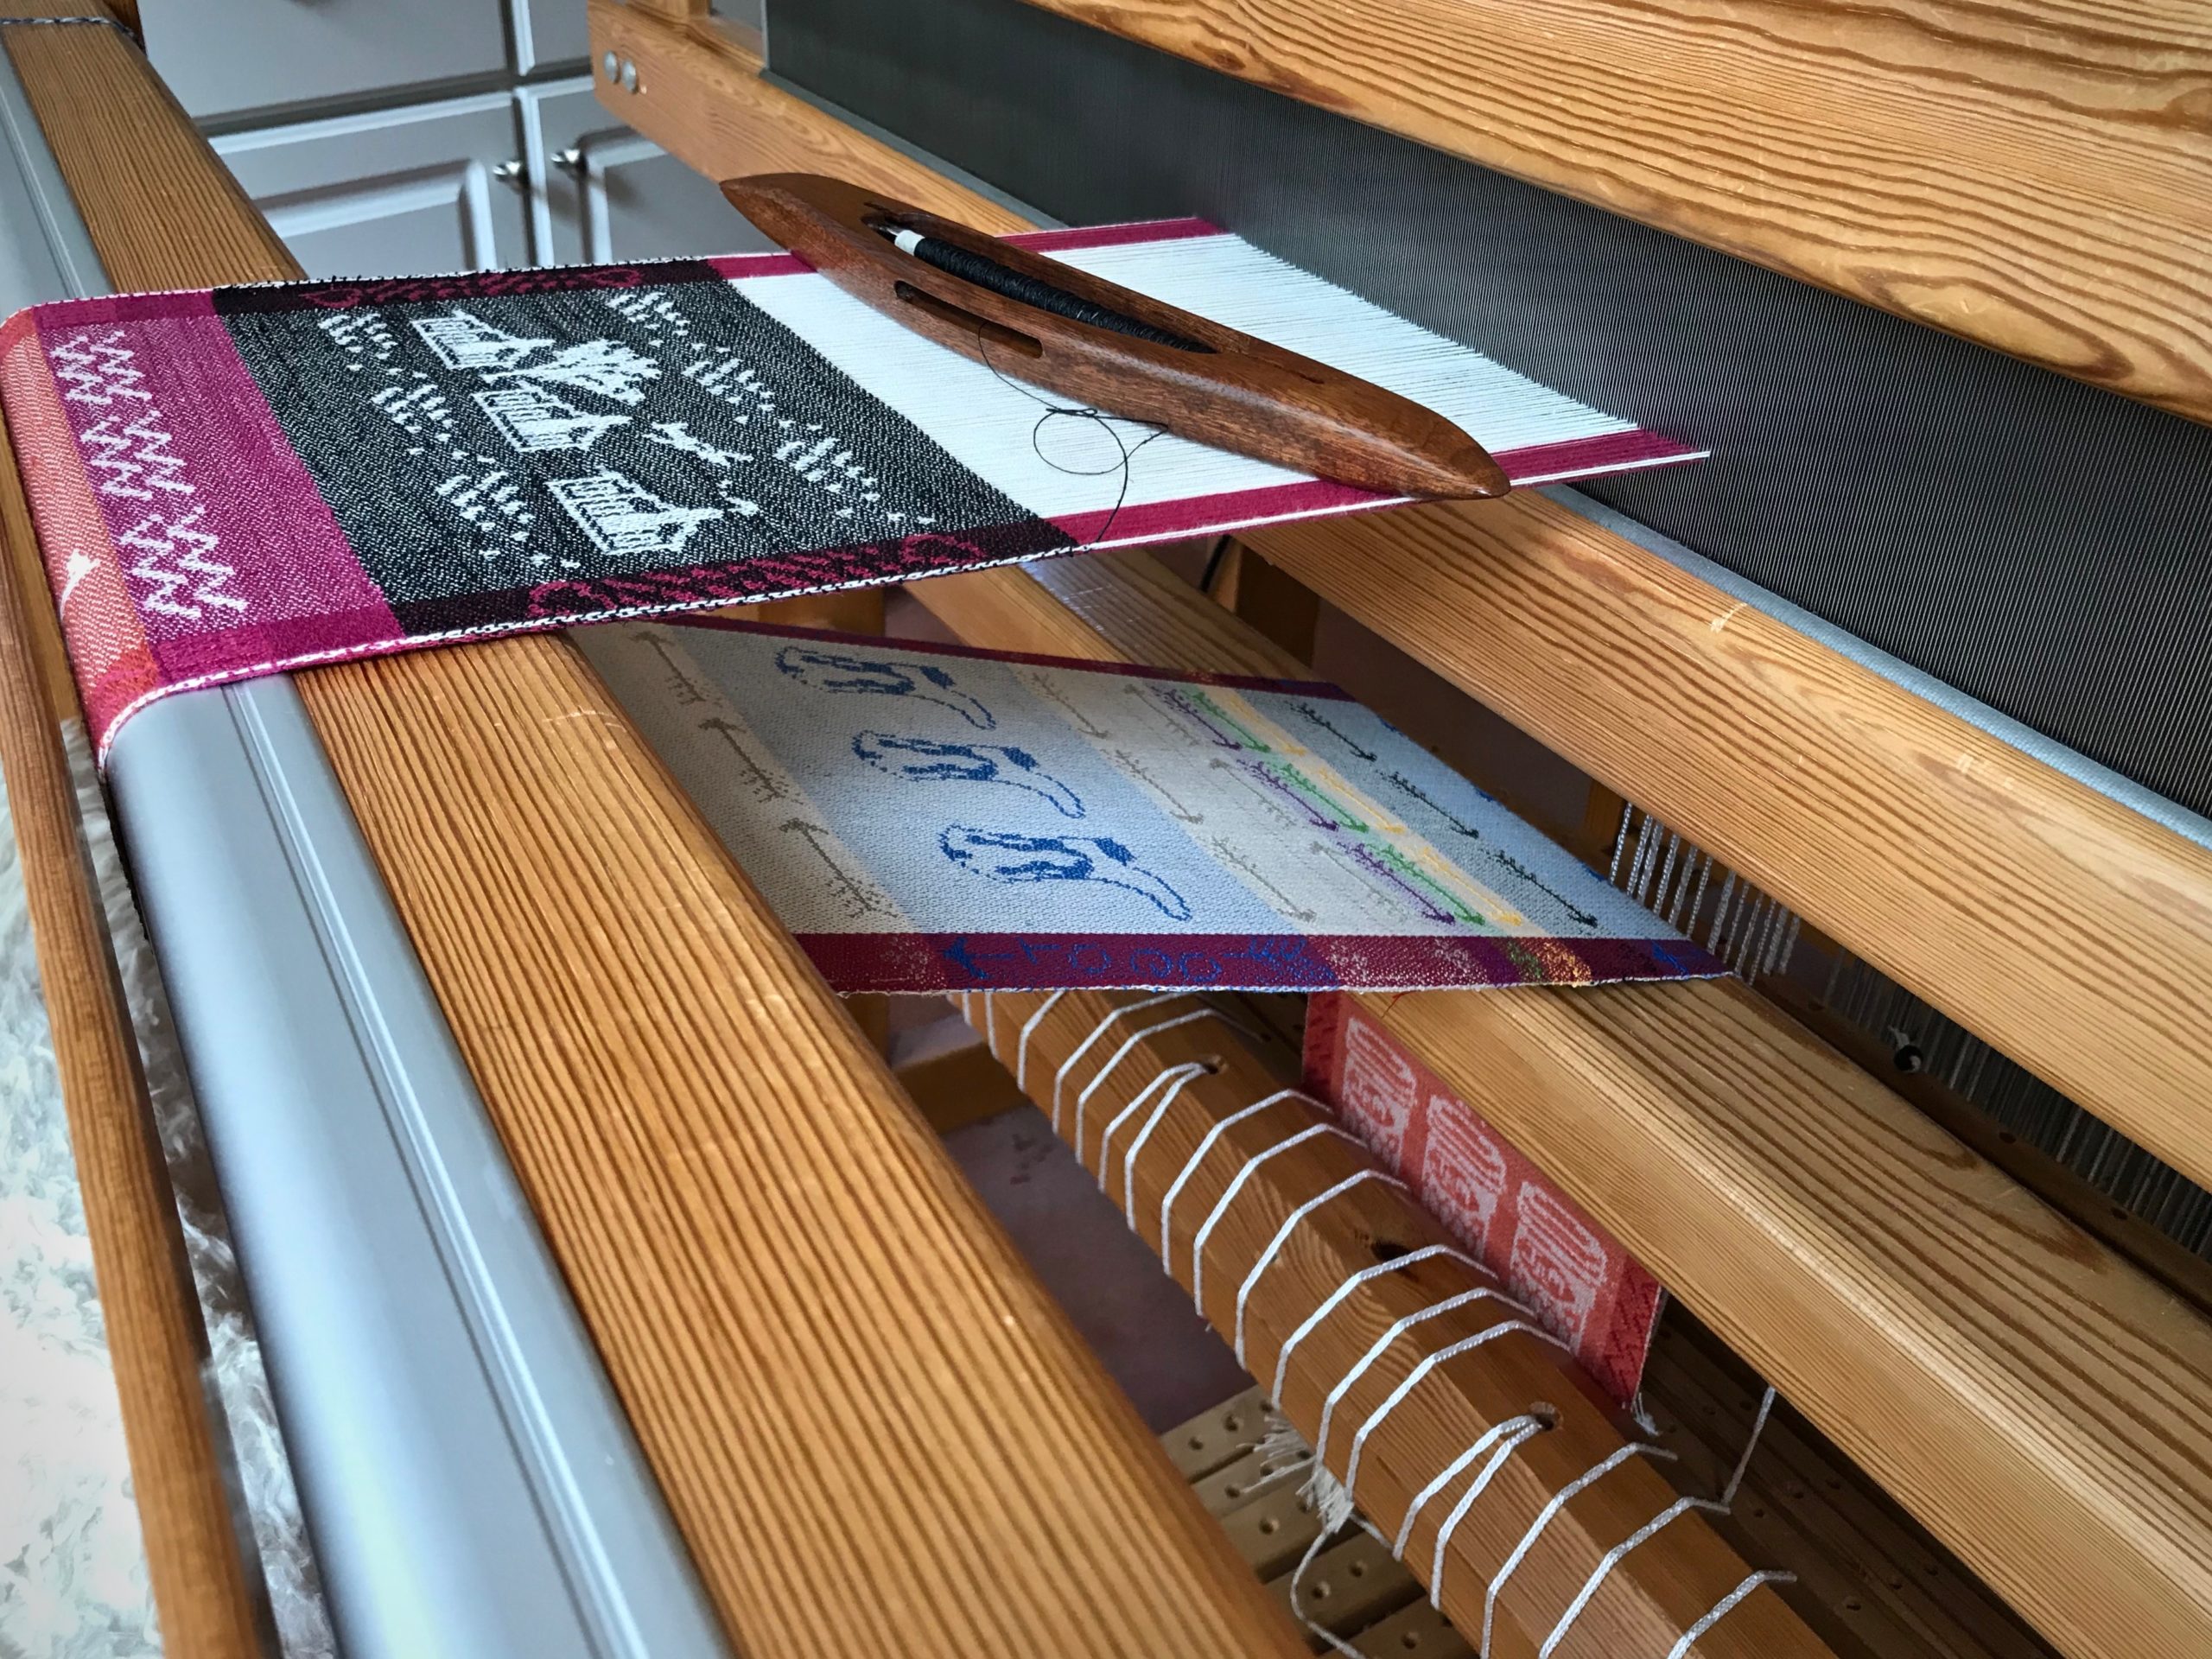
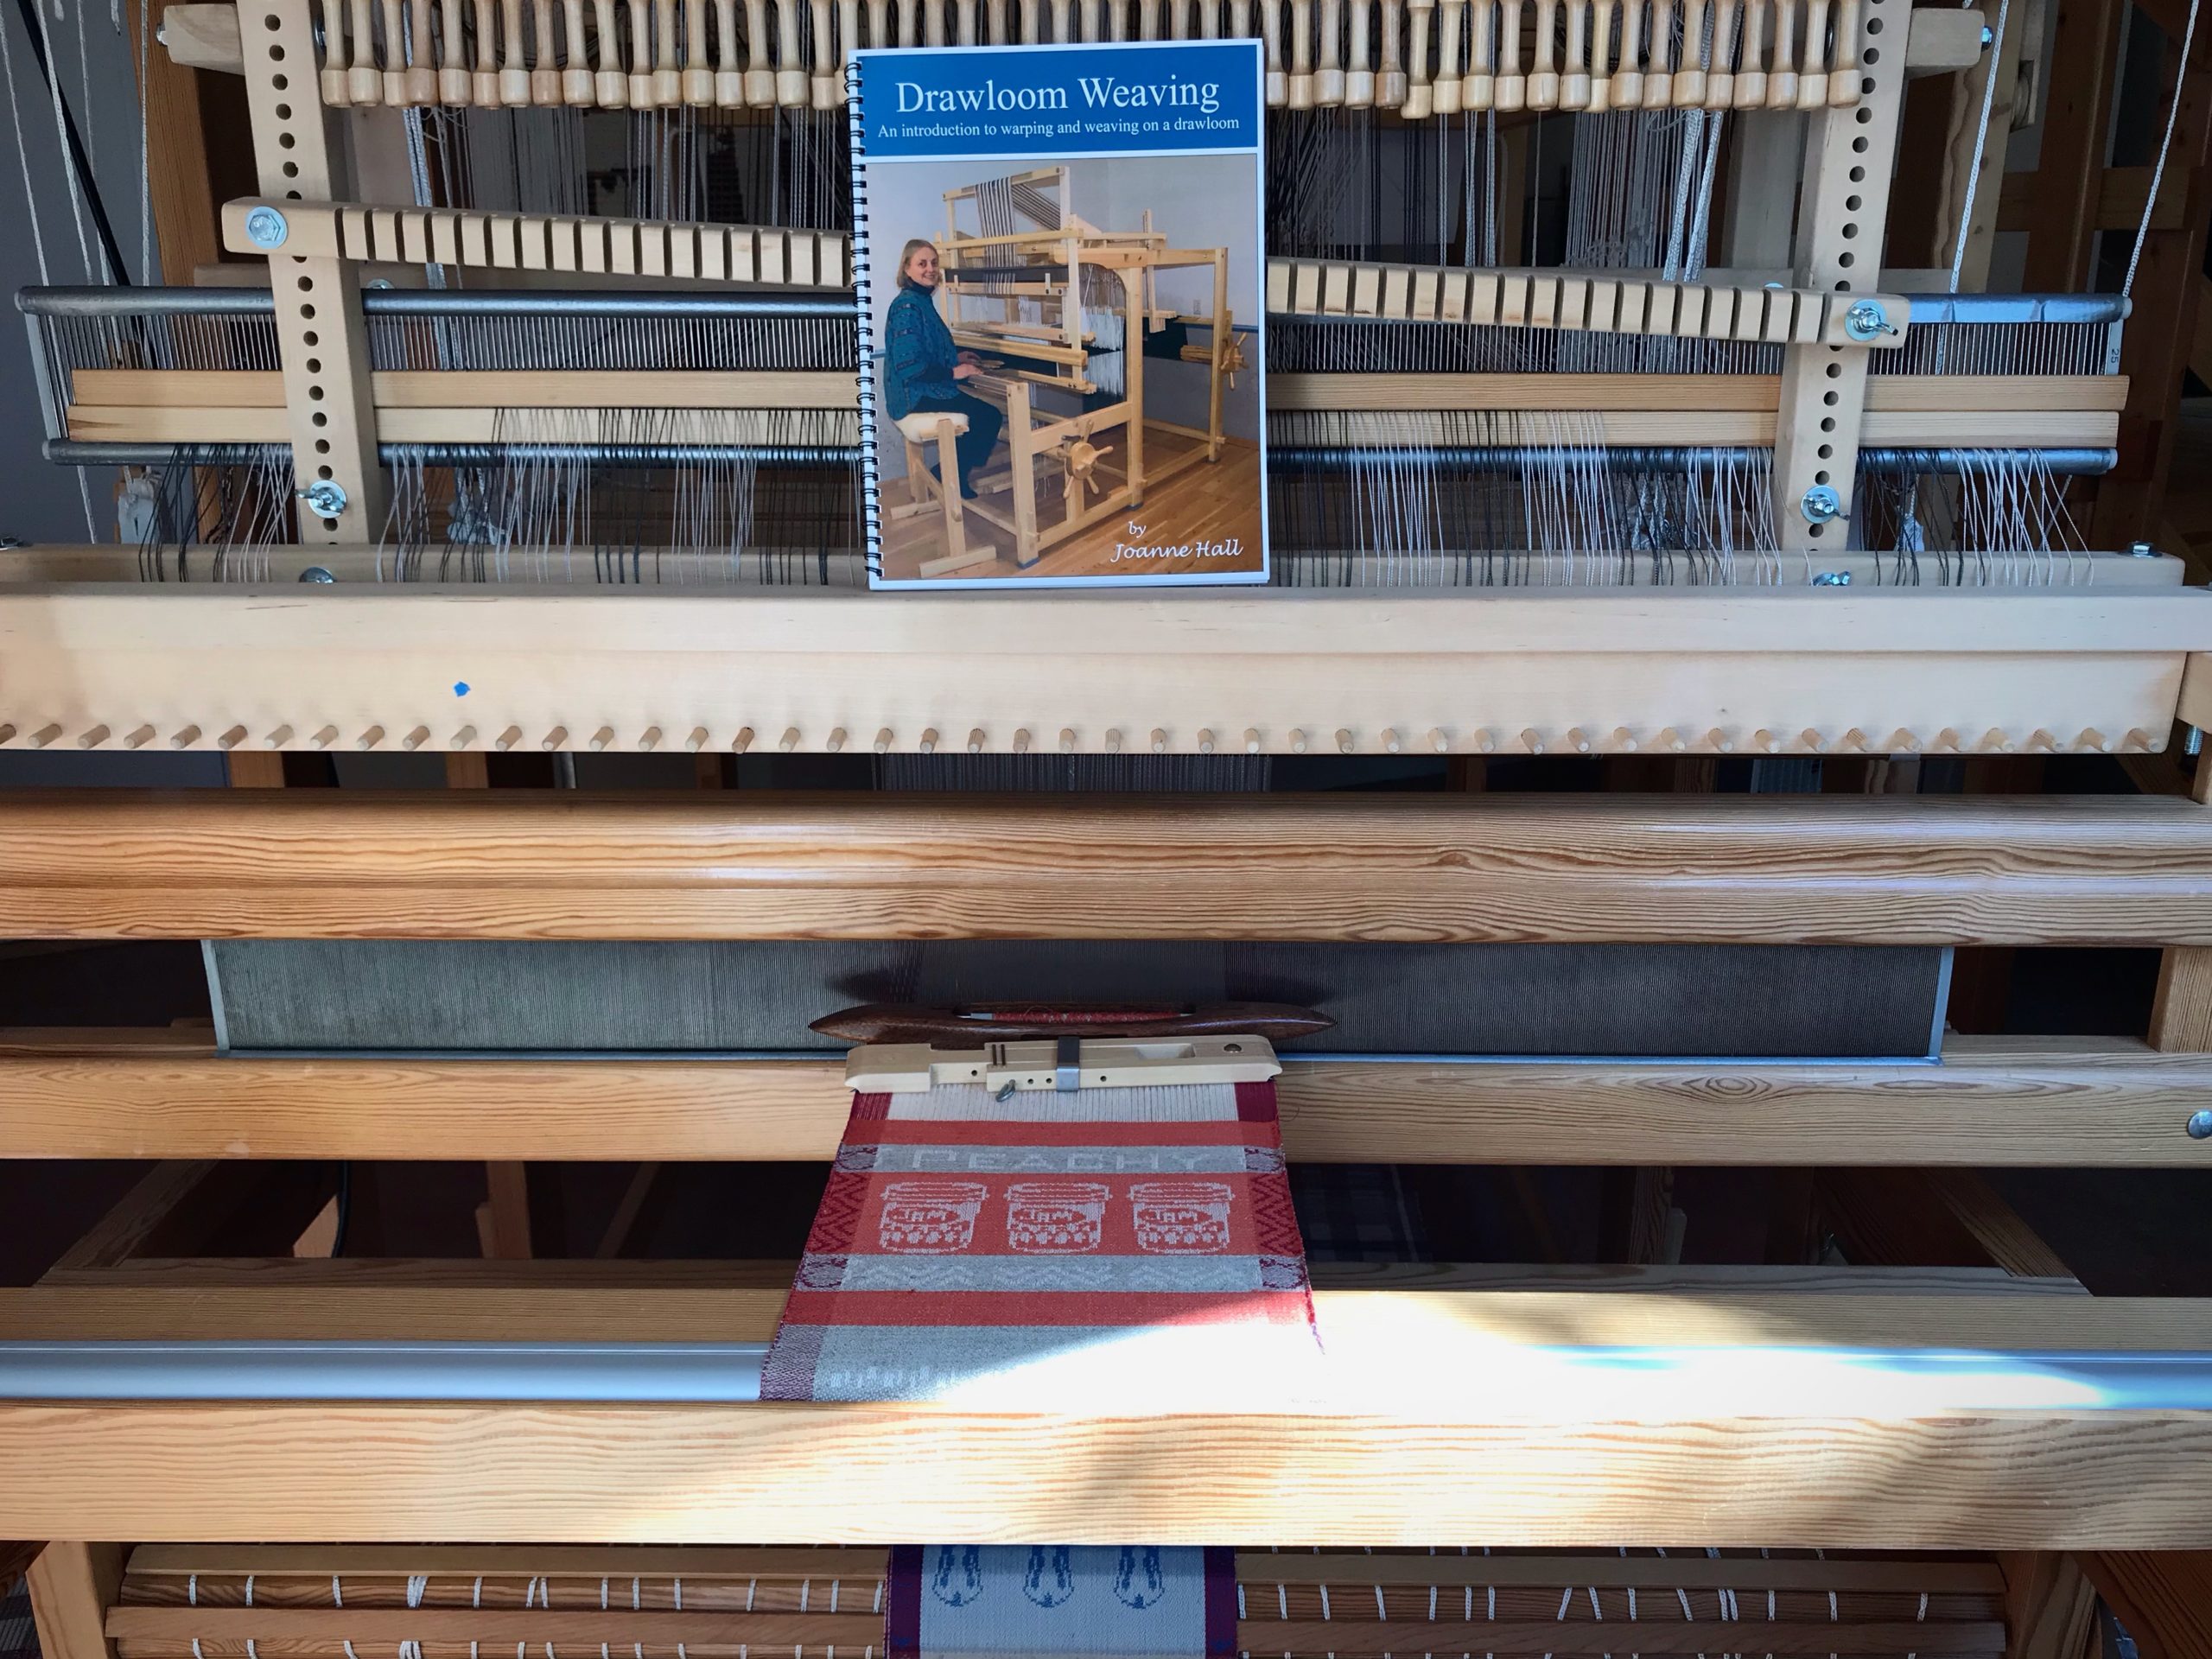
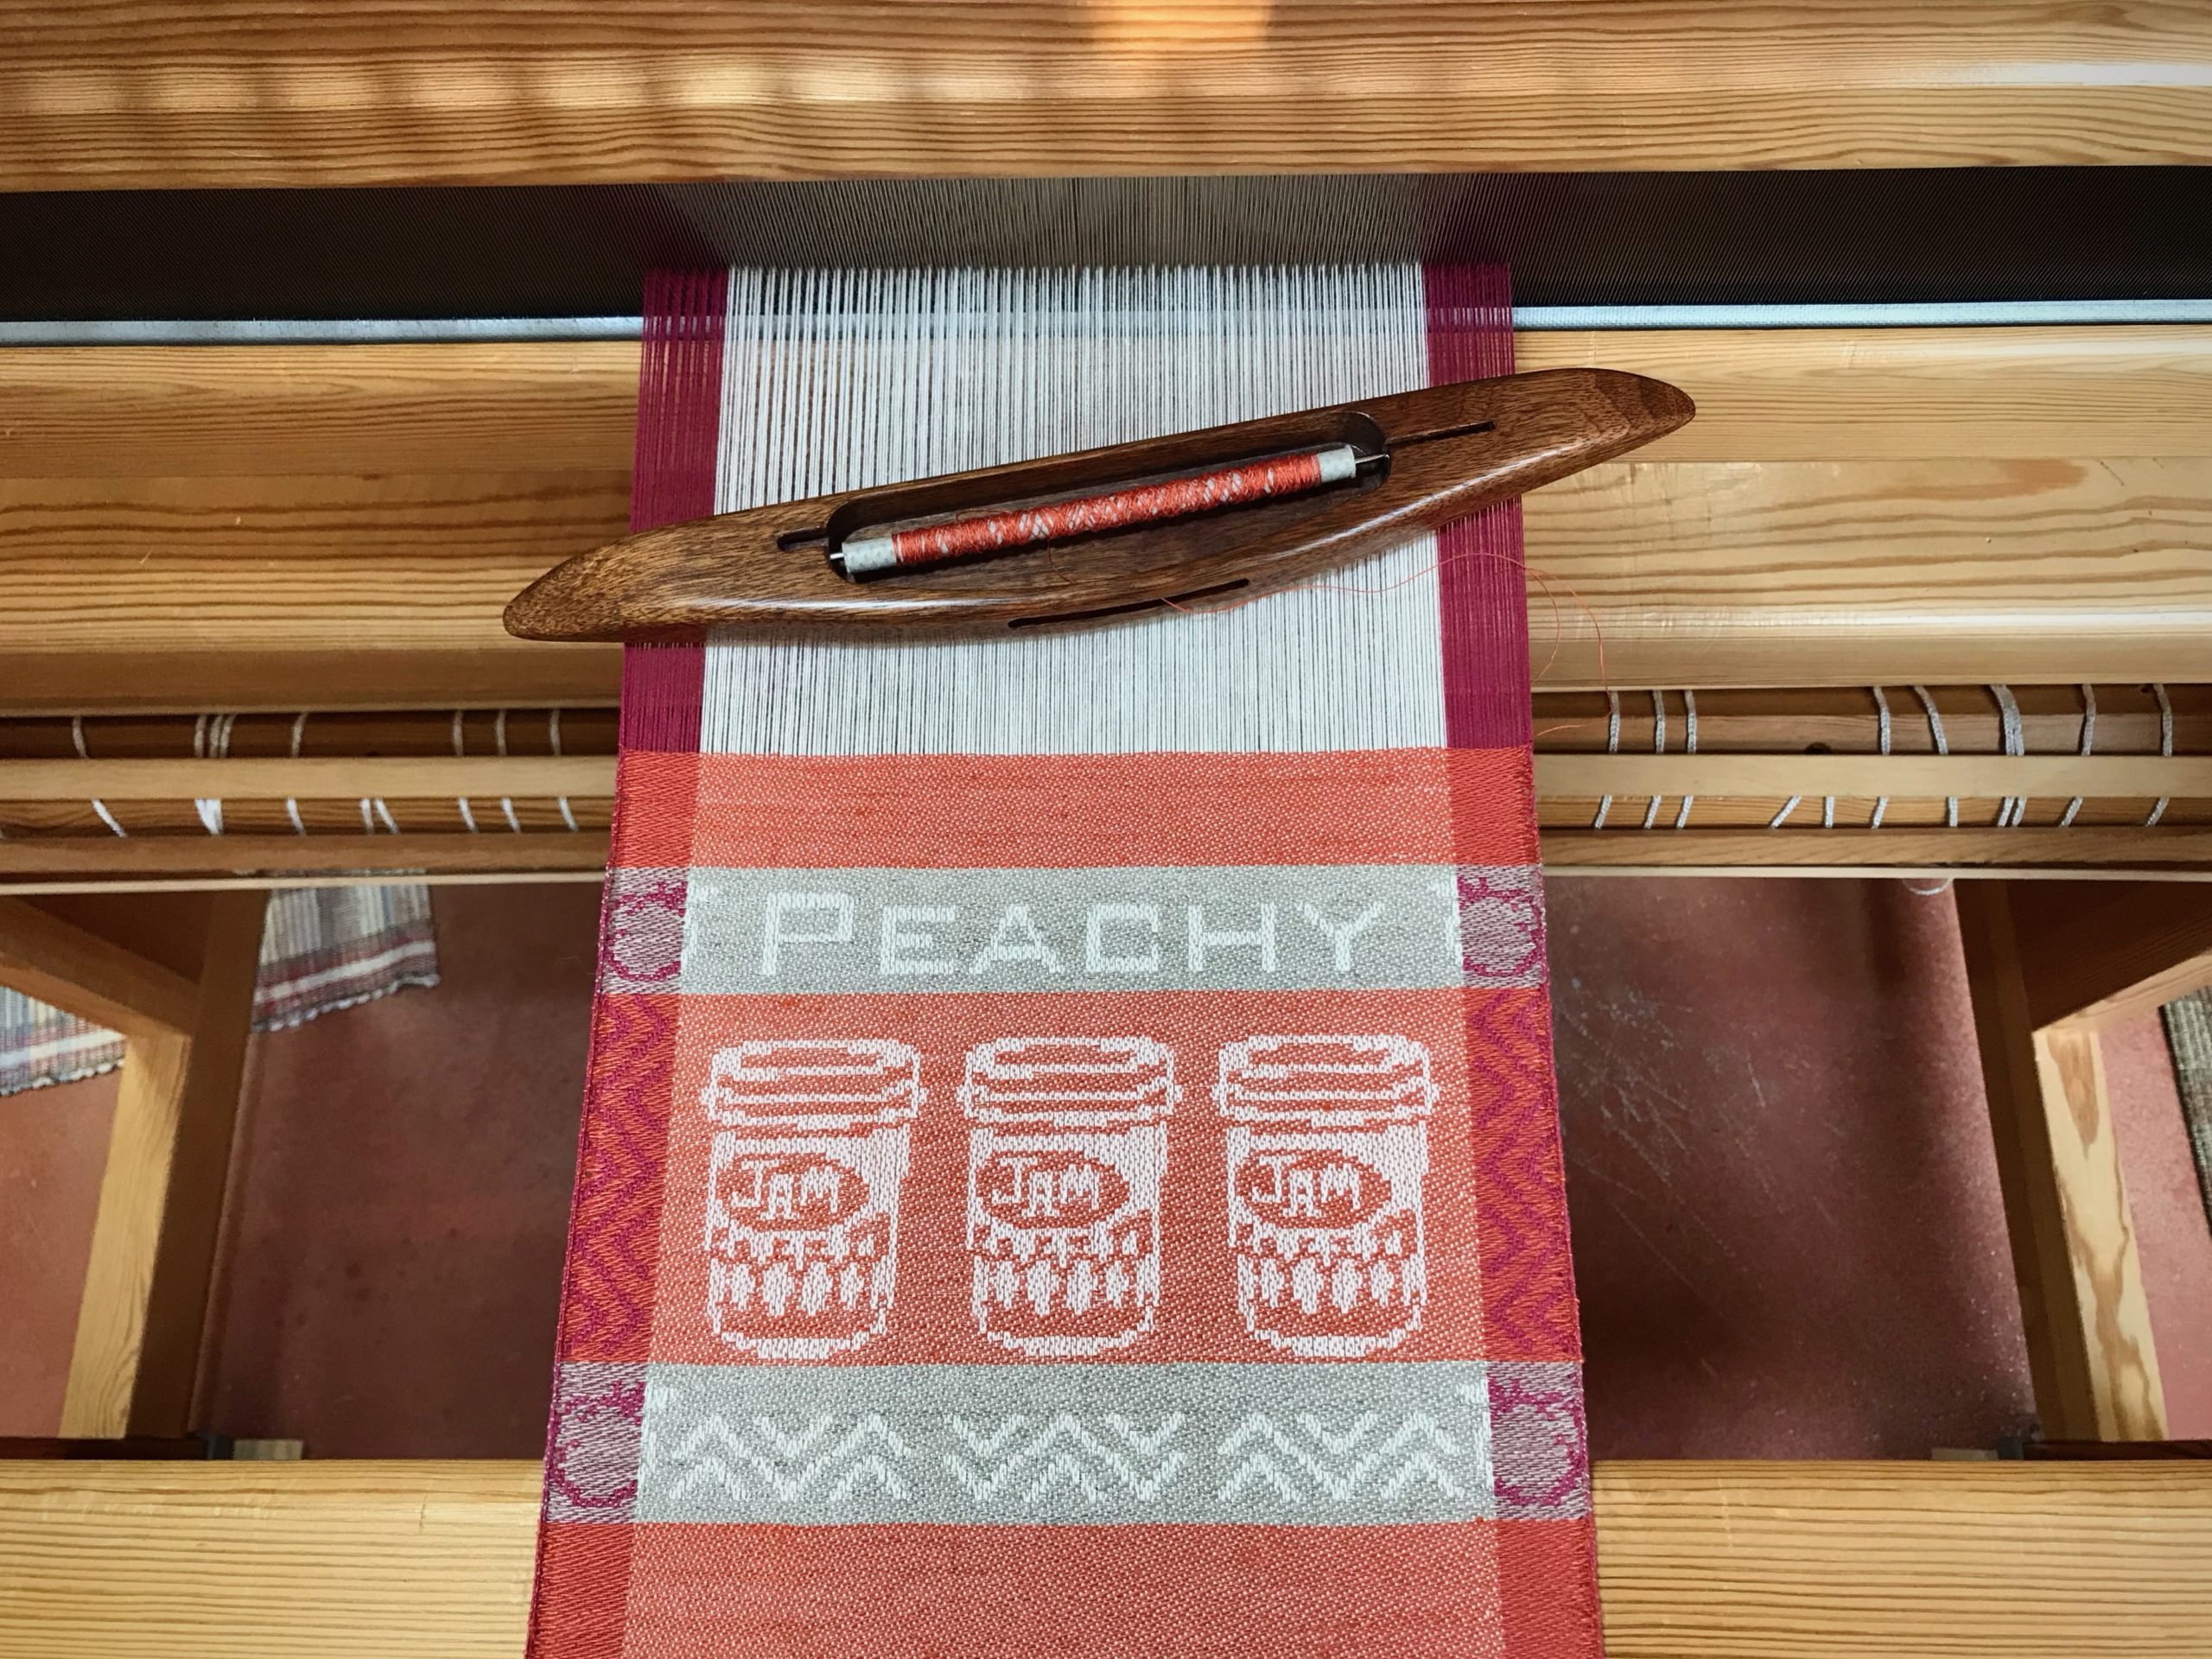
I canned my first-ever batch of jam last summer. Jars of yummy peach jam were on my mind when I started planning designs for this sample warp on the combination drawloom. Much to my delight, Joanne Hall has included my Jam Jars design in her updated edition of Drawloom Weaving, recently released.
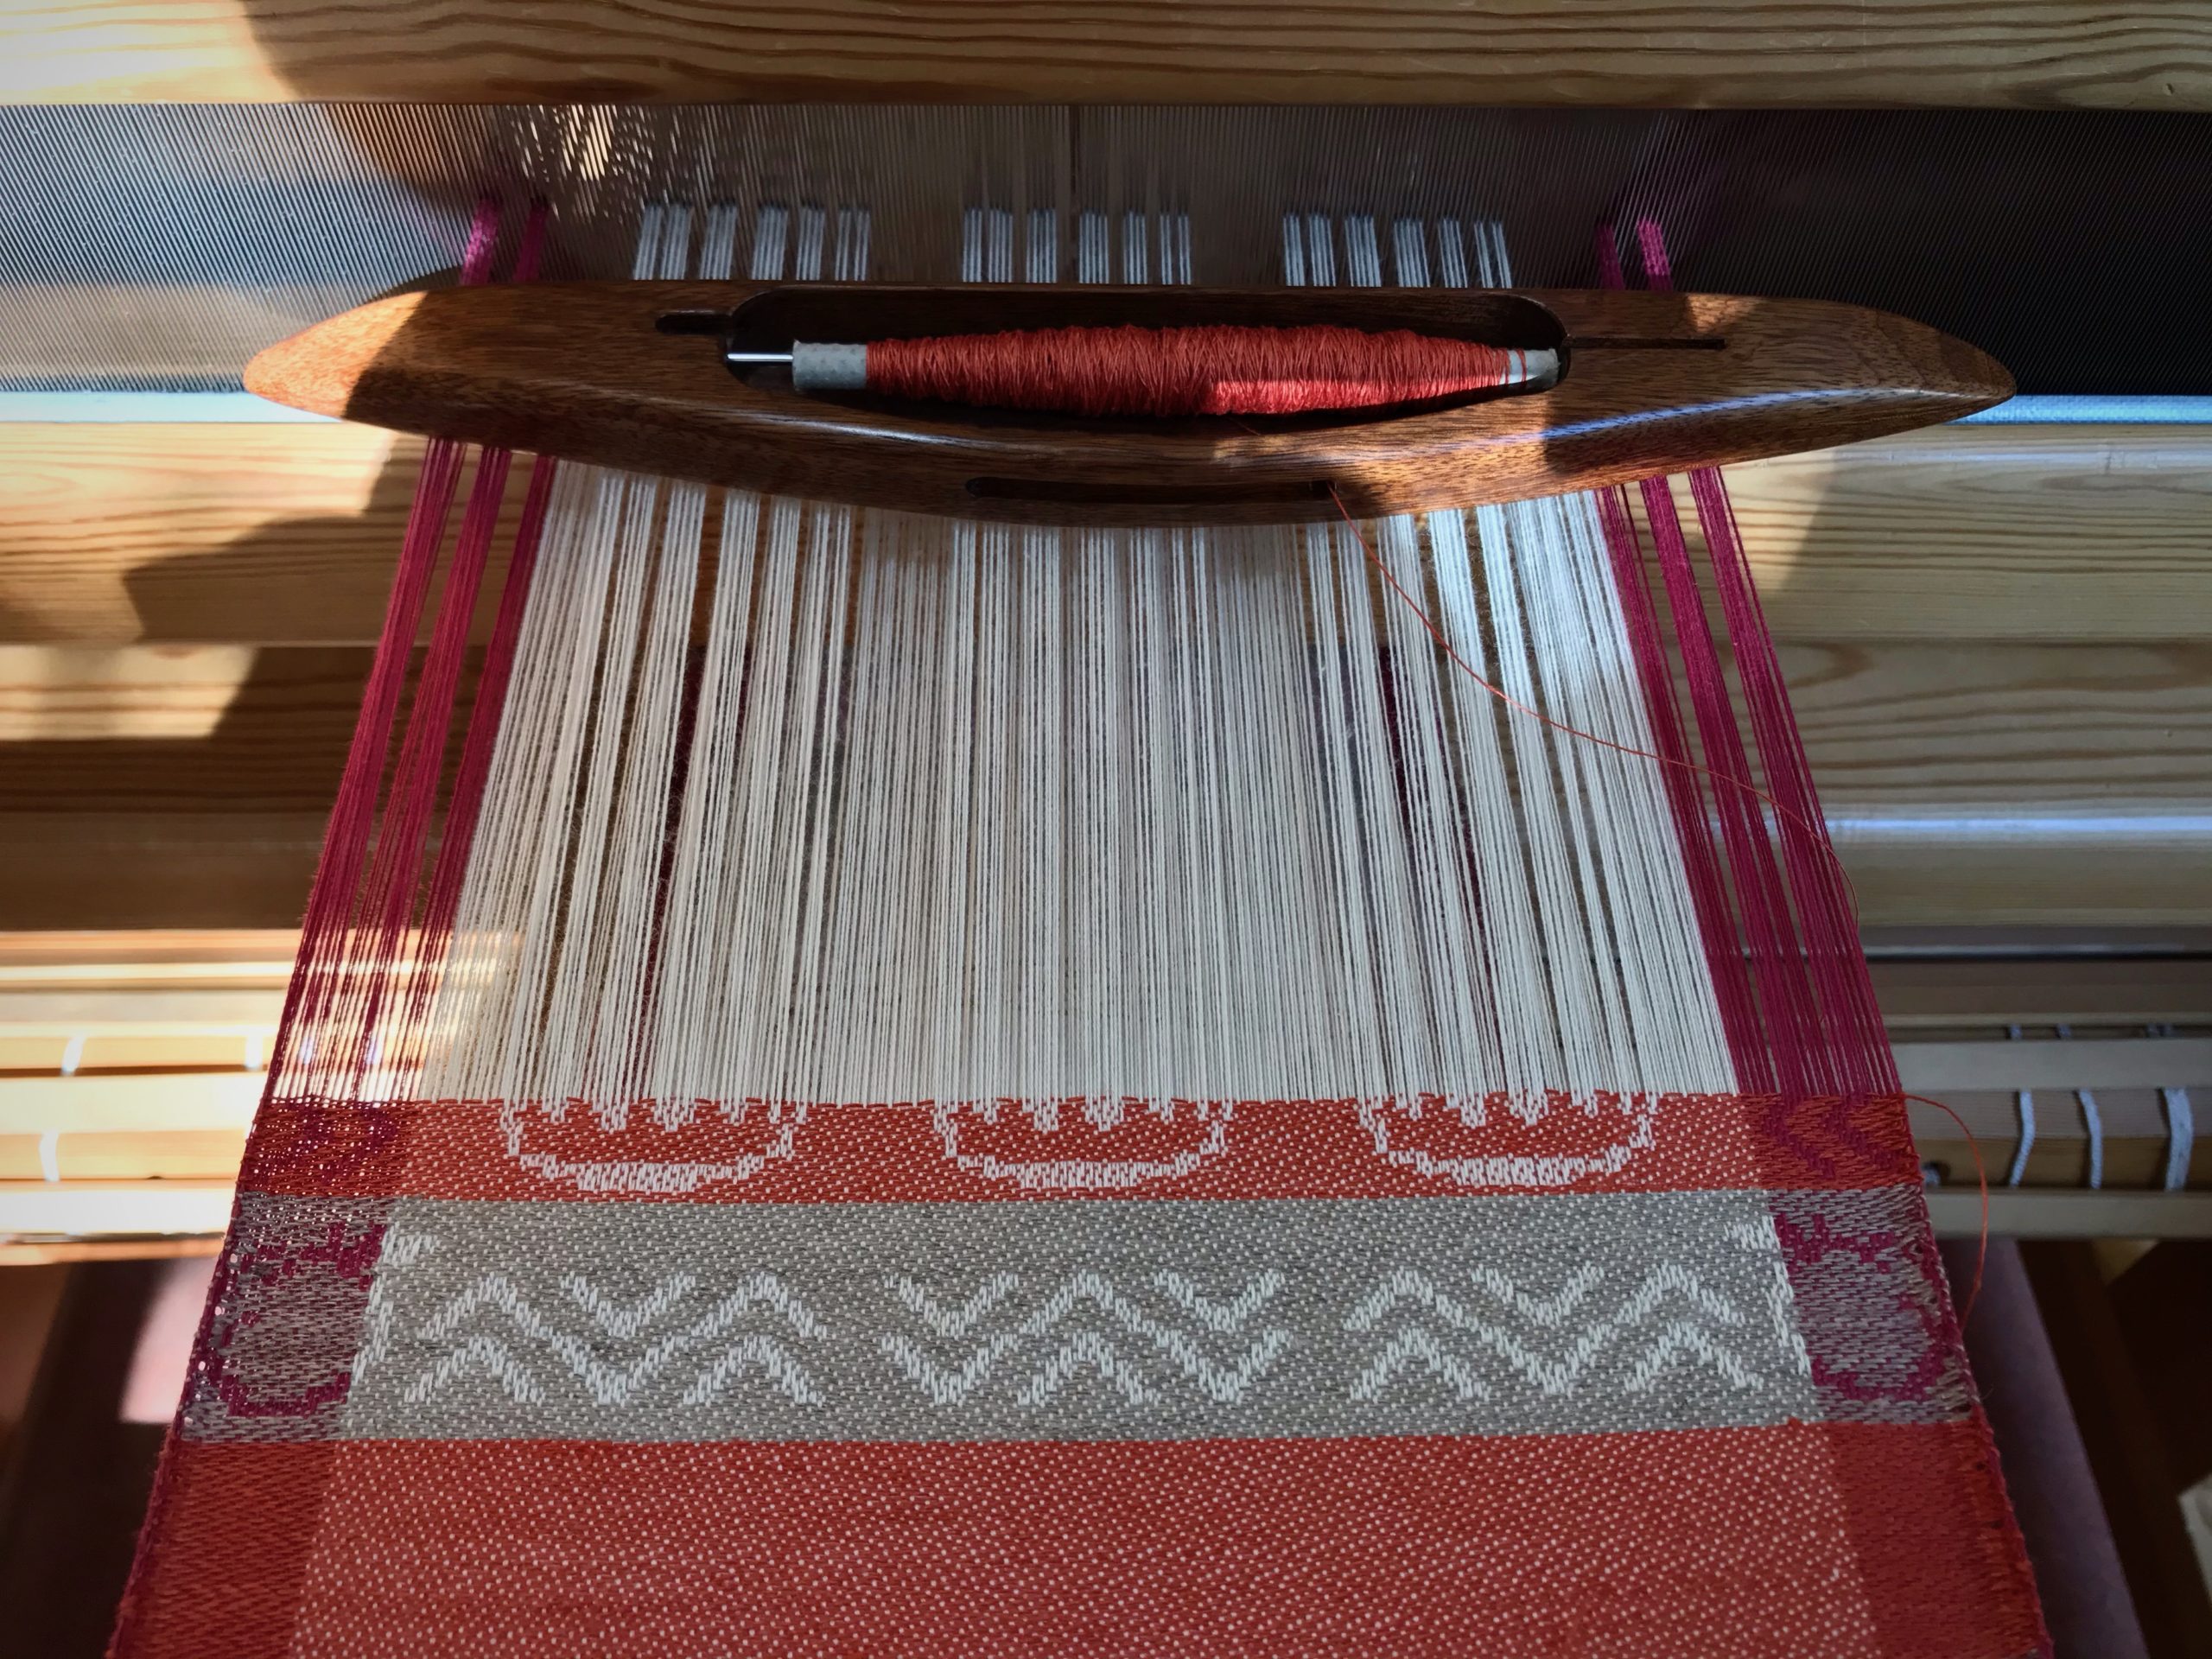
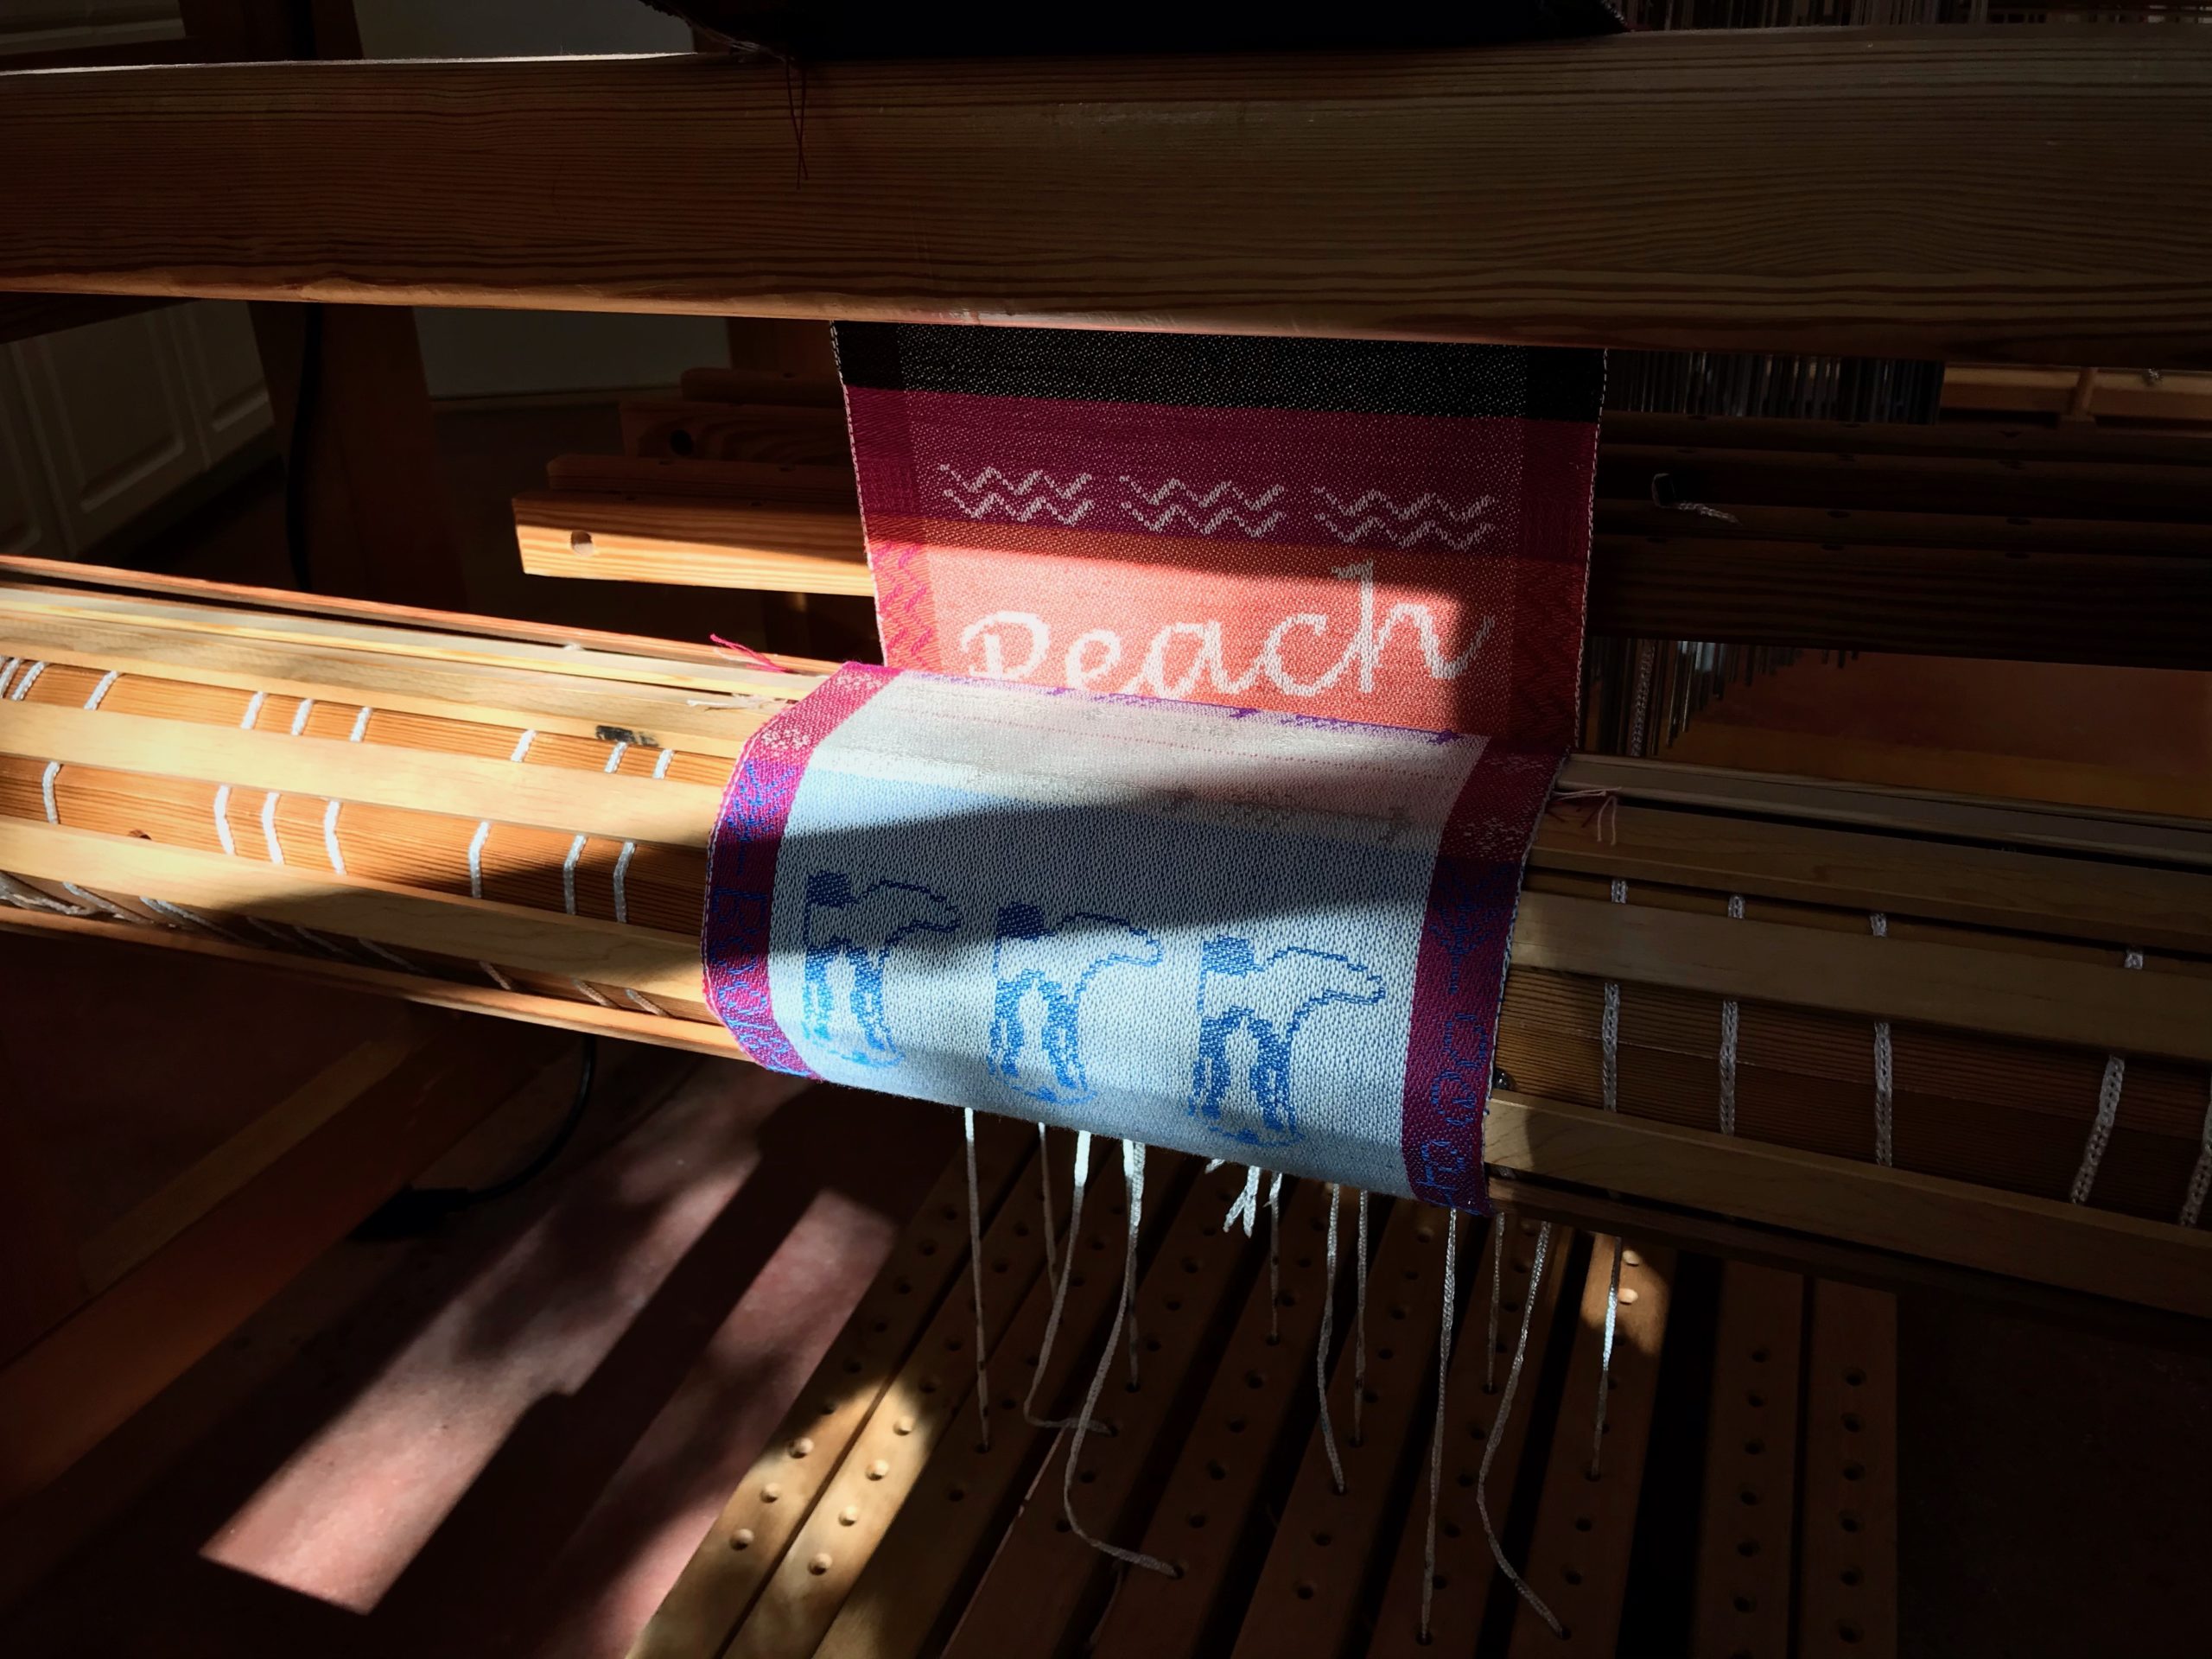
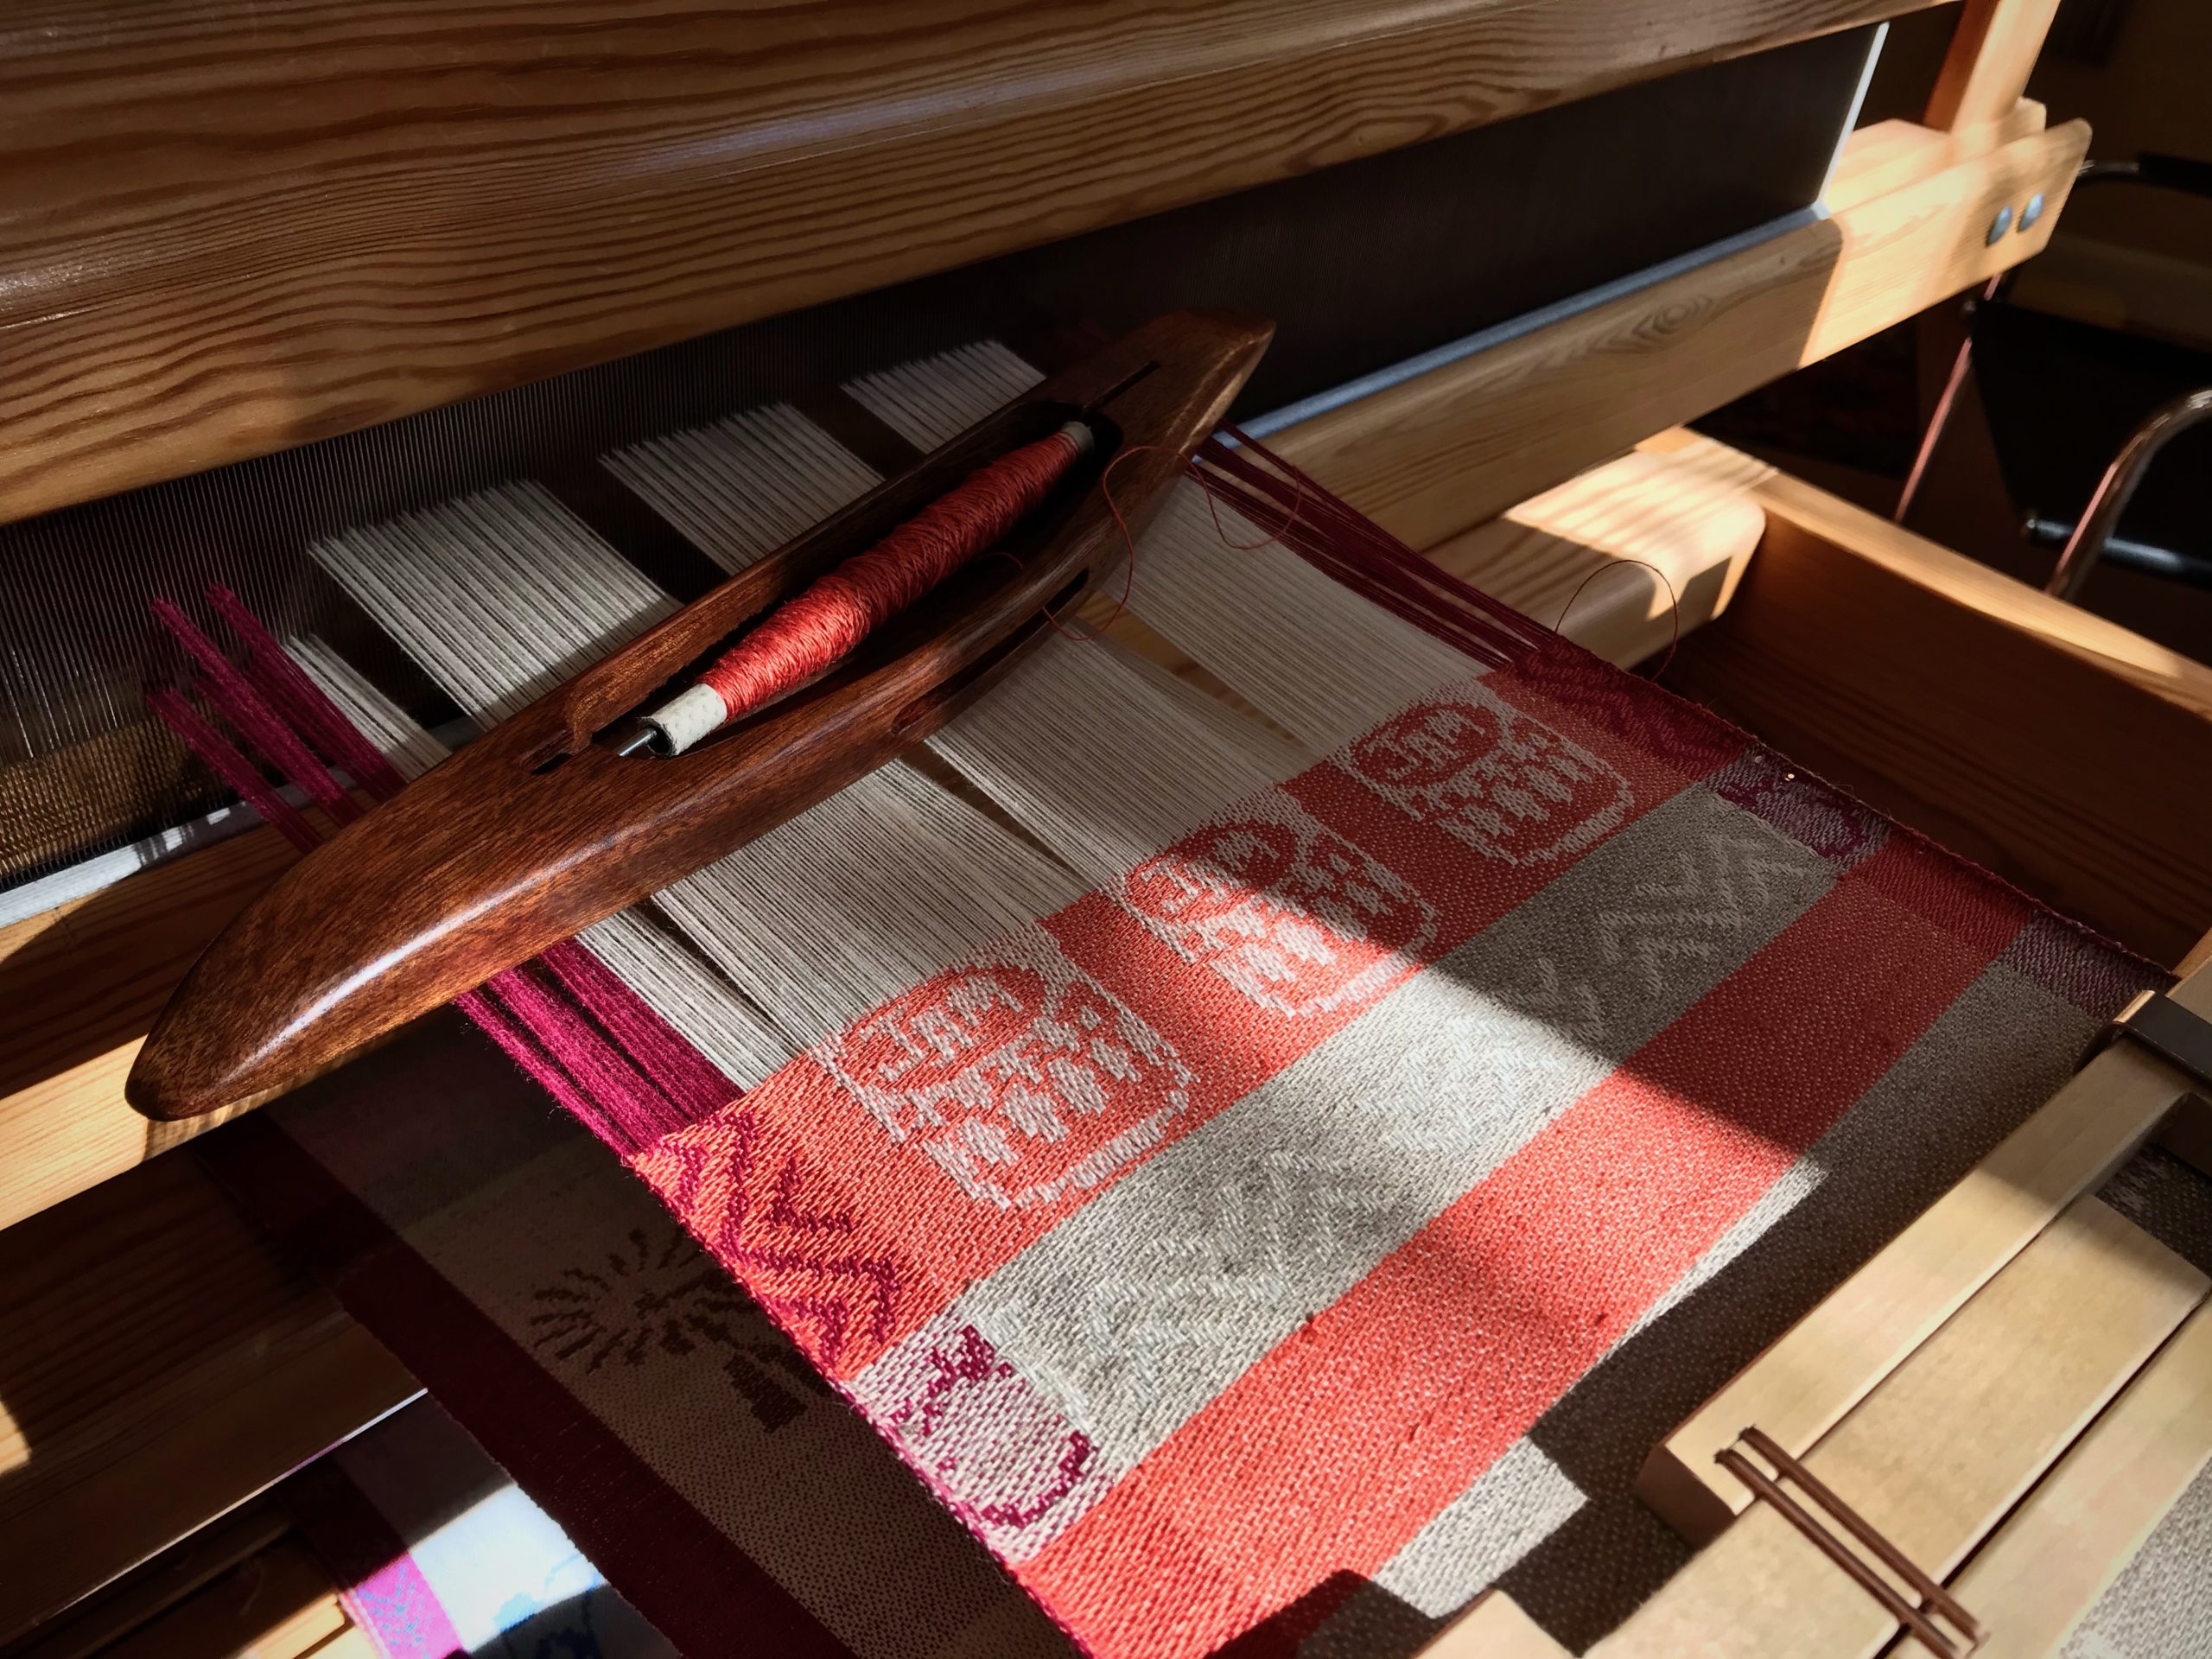
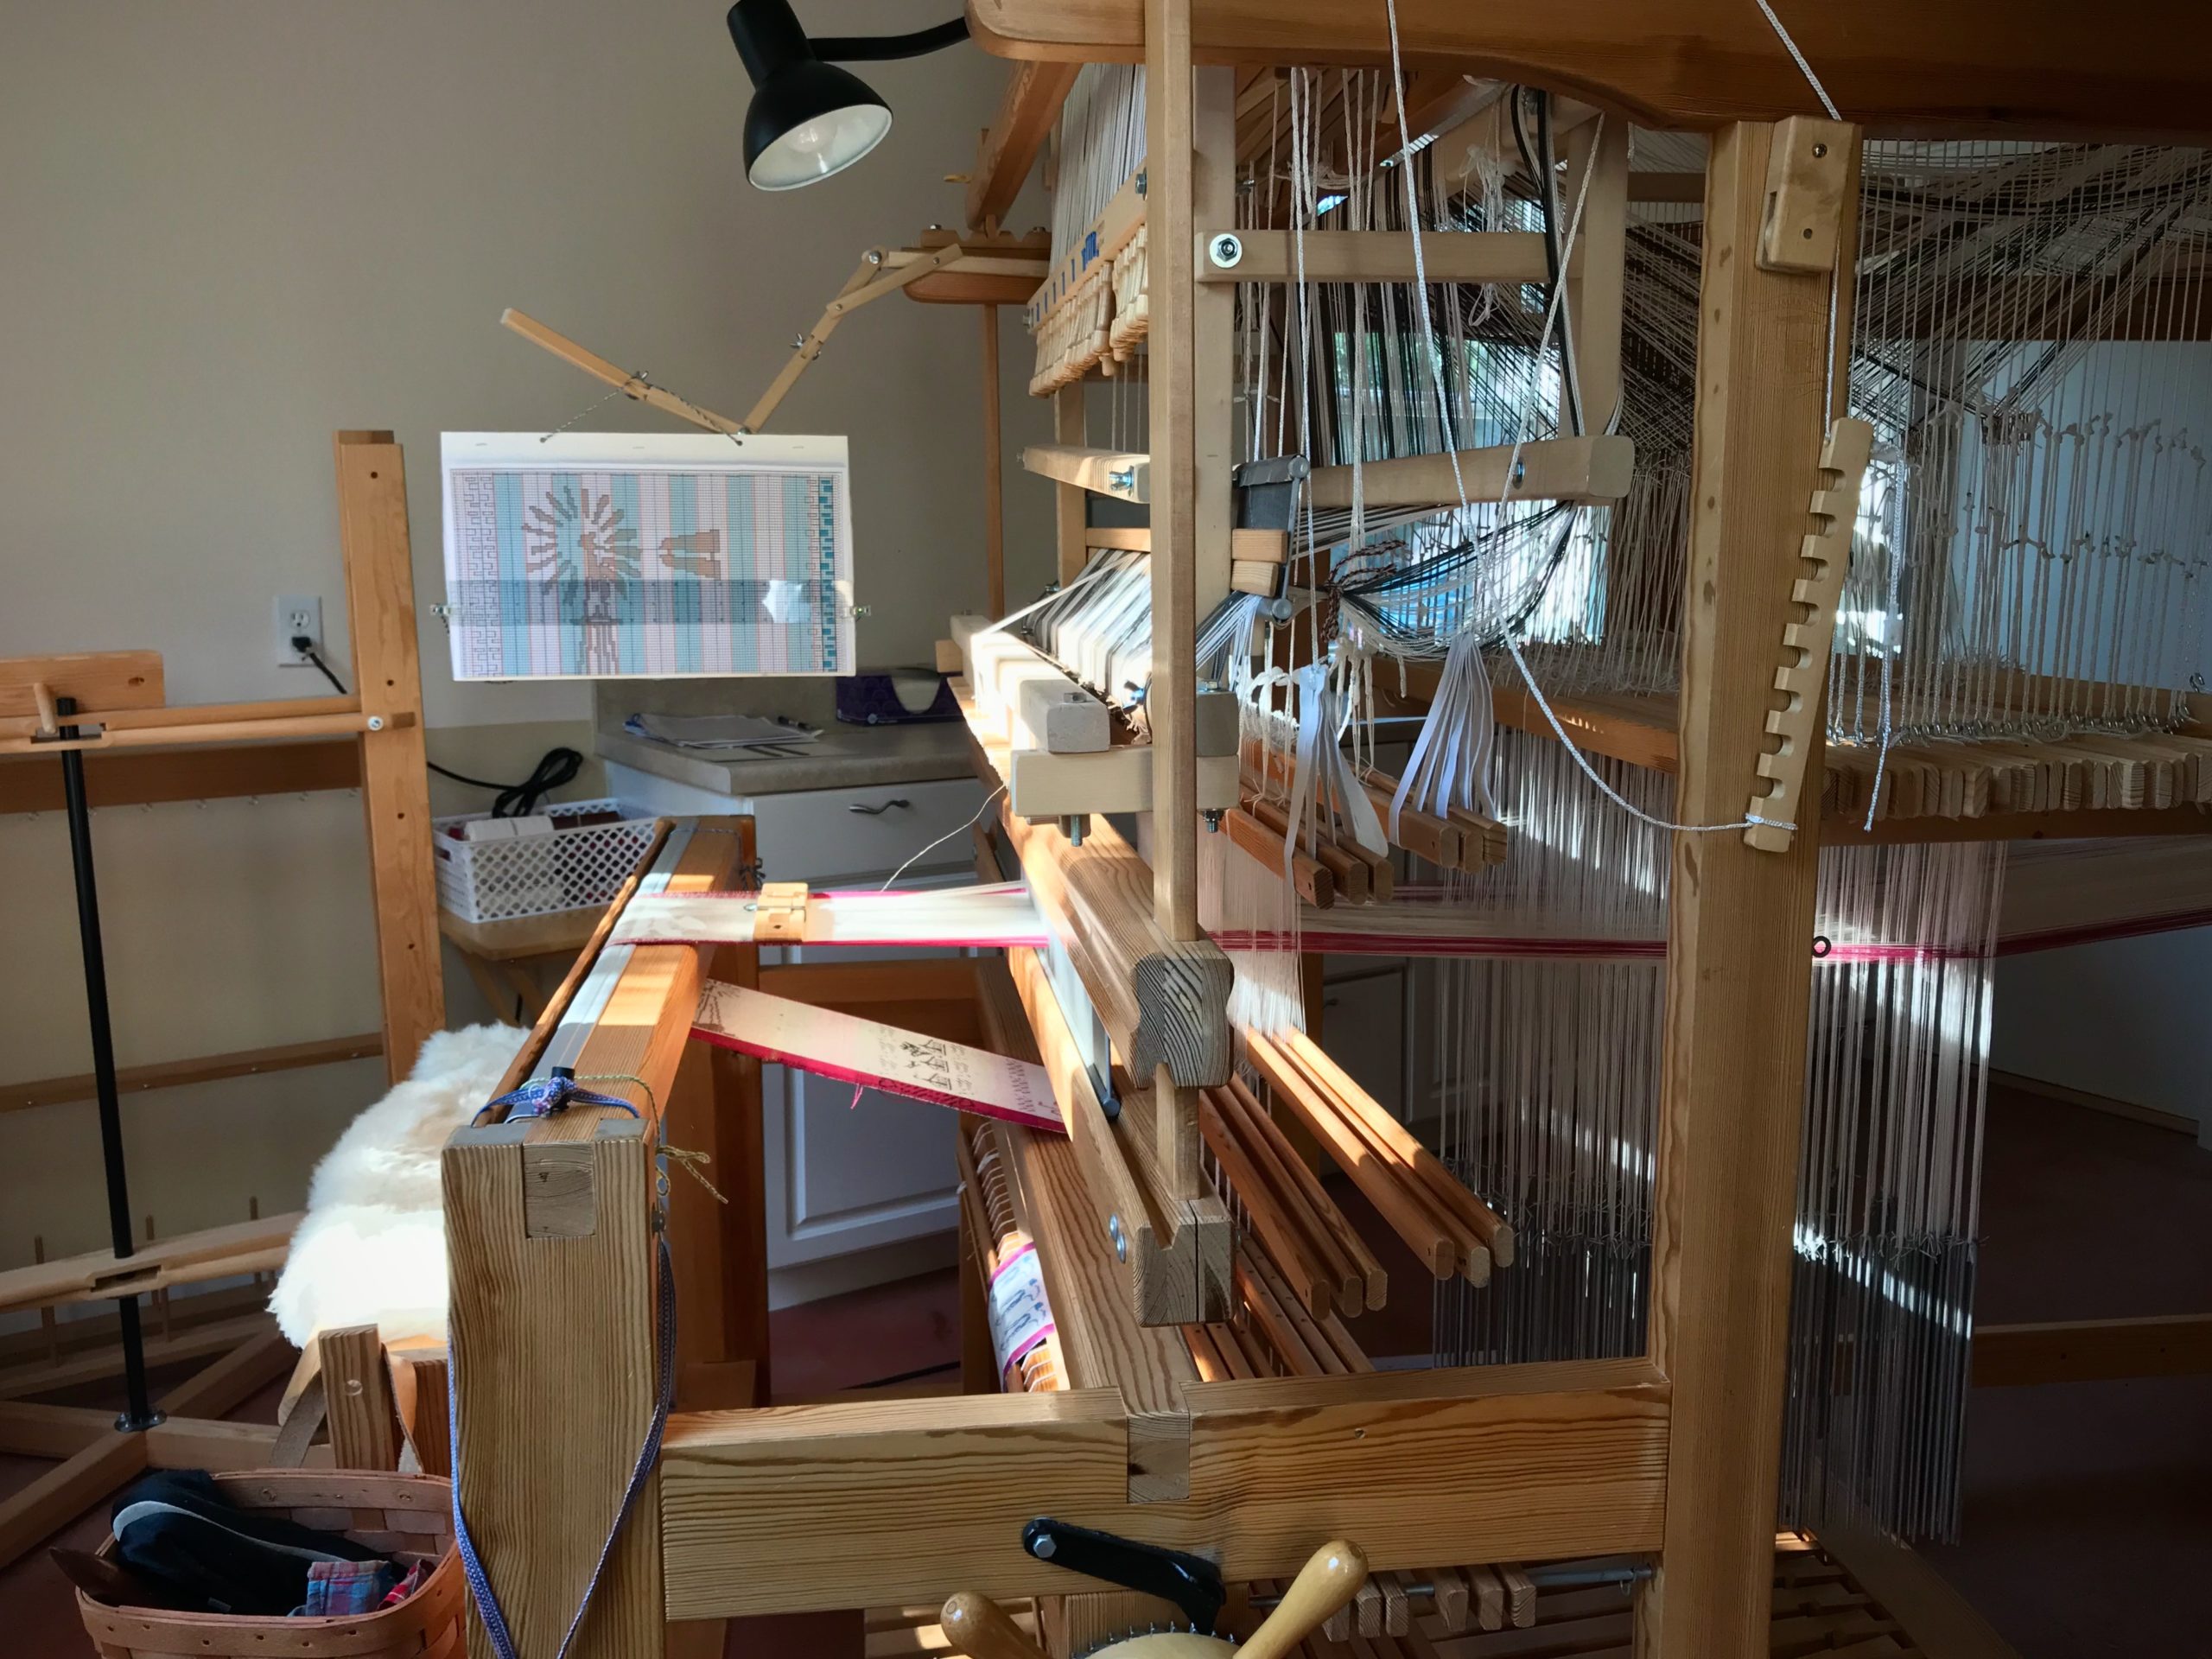
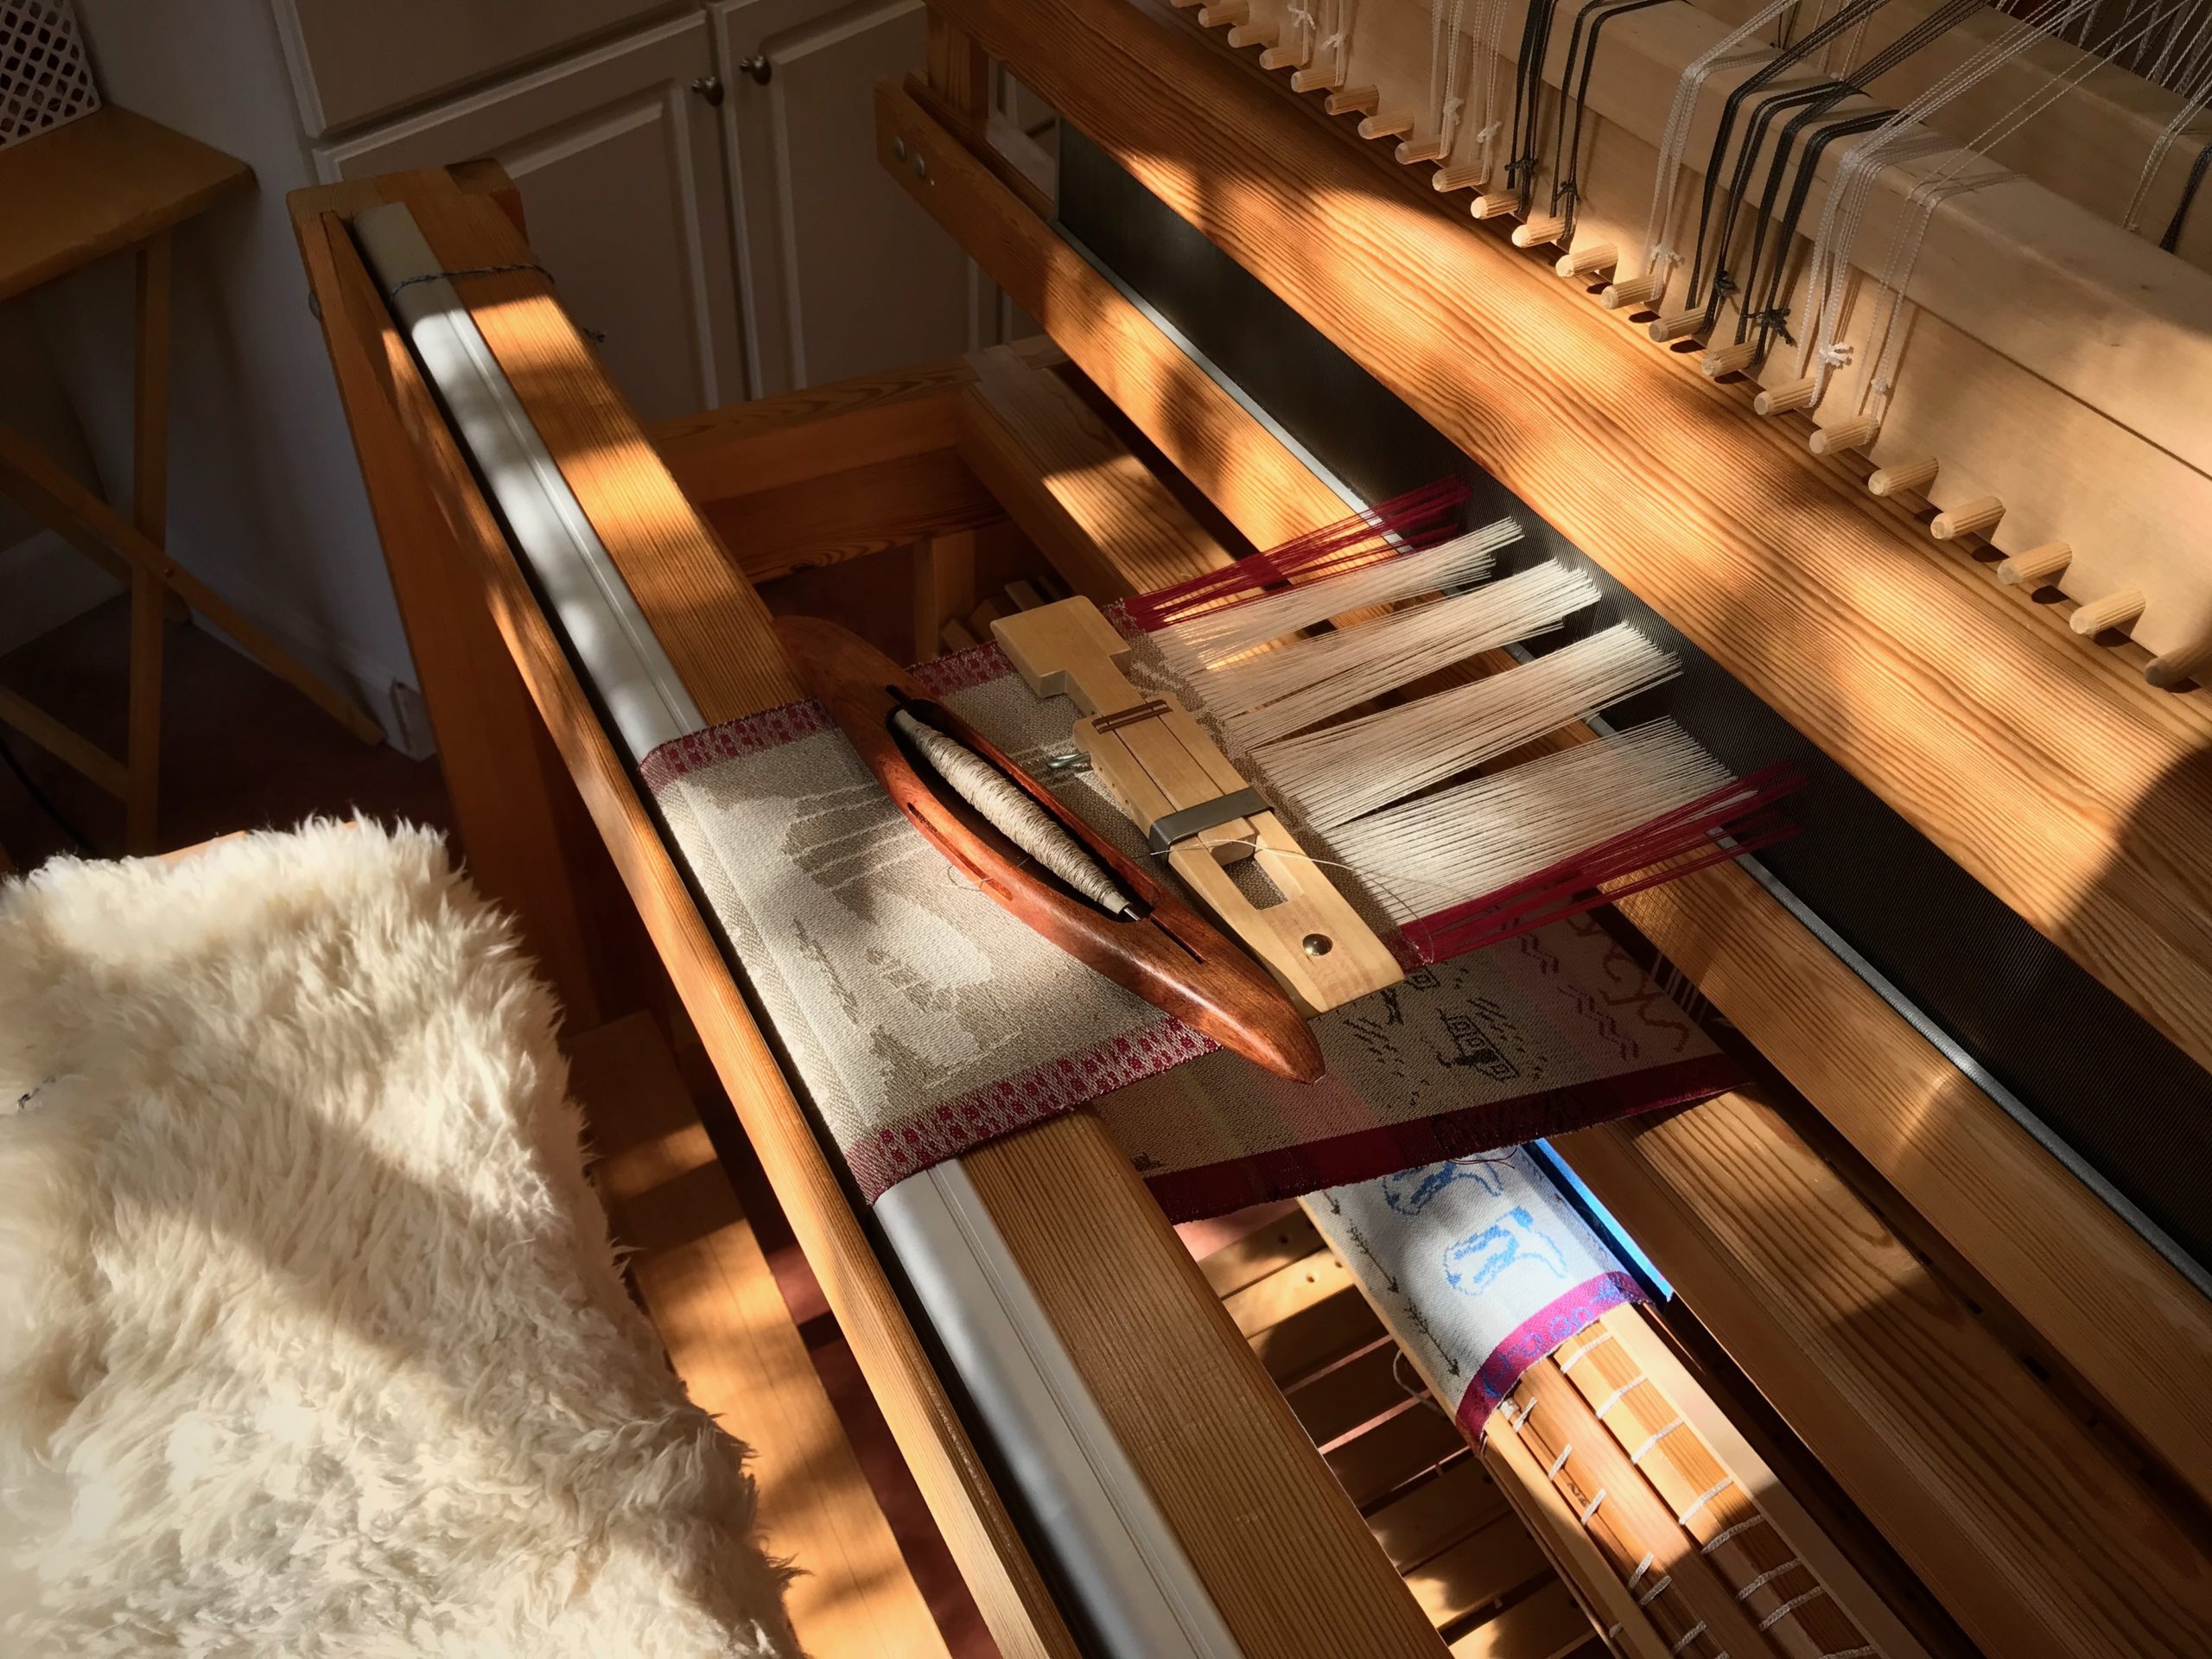
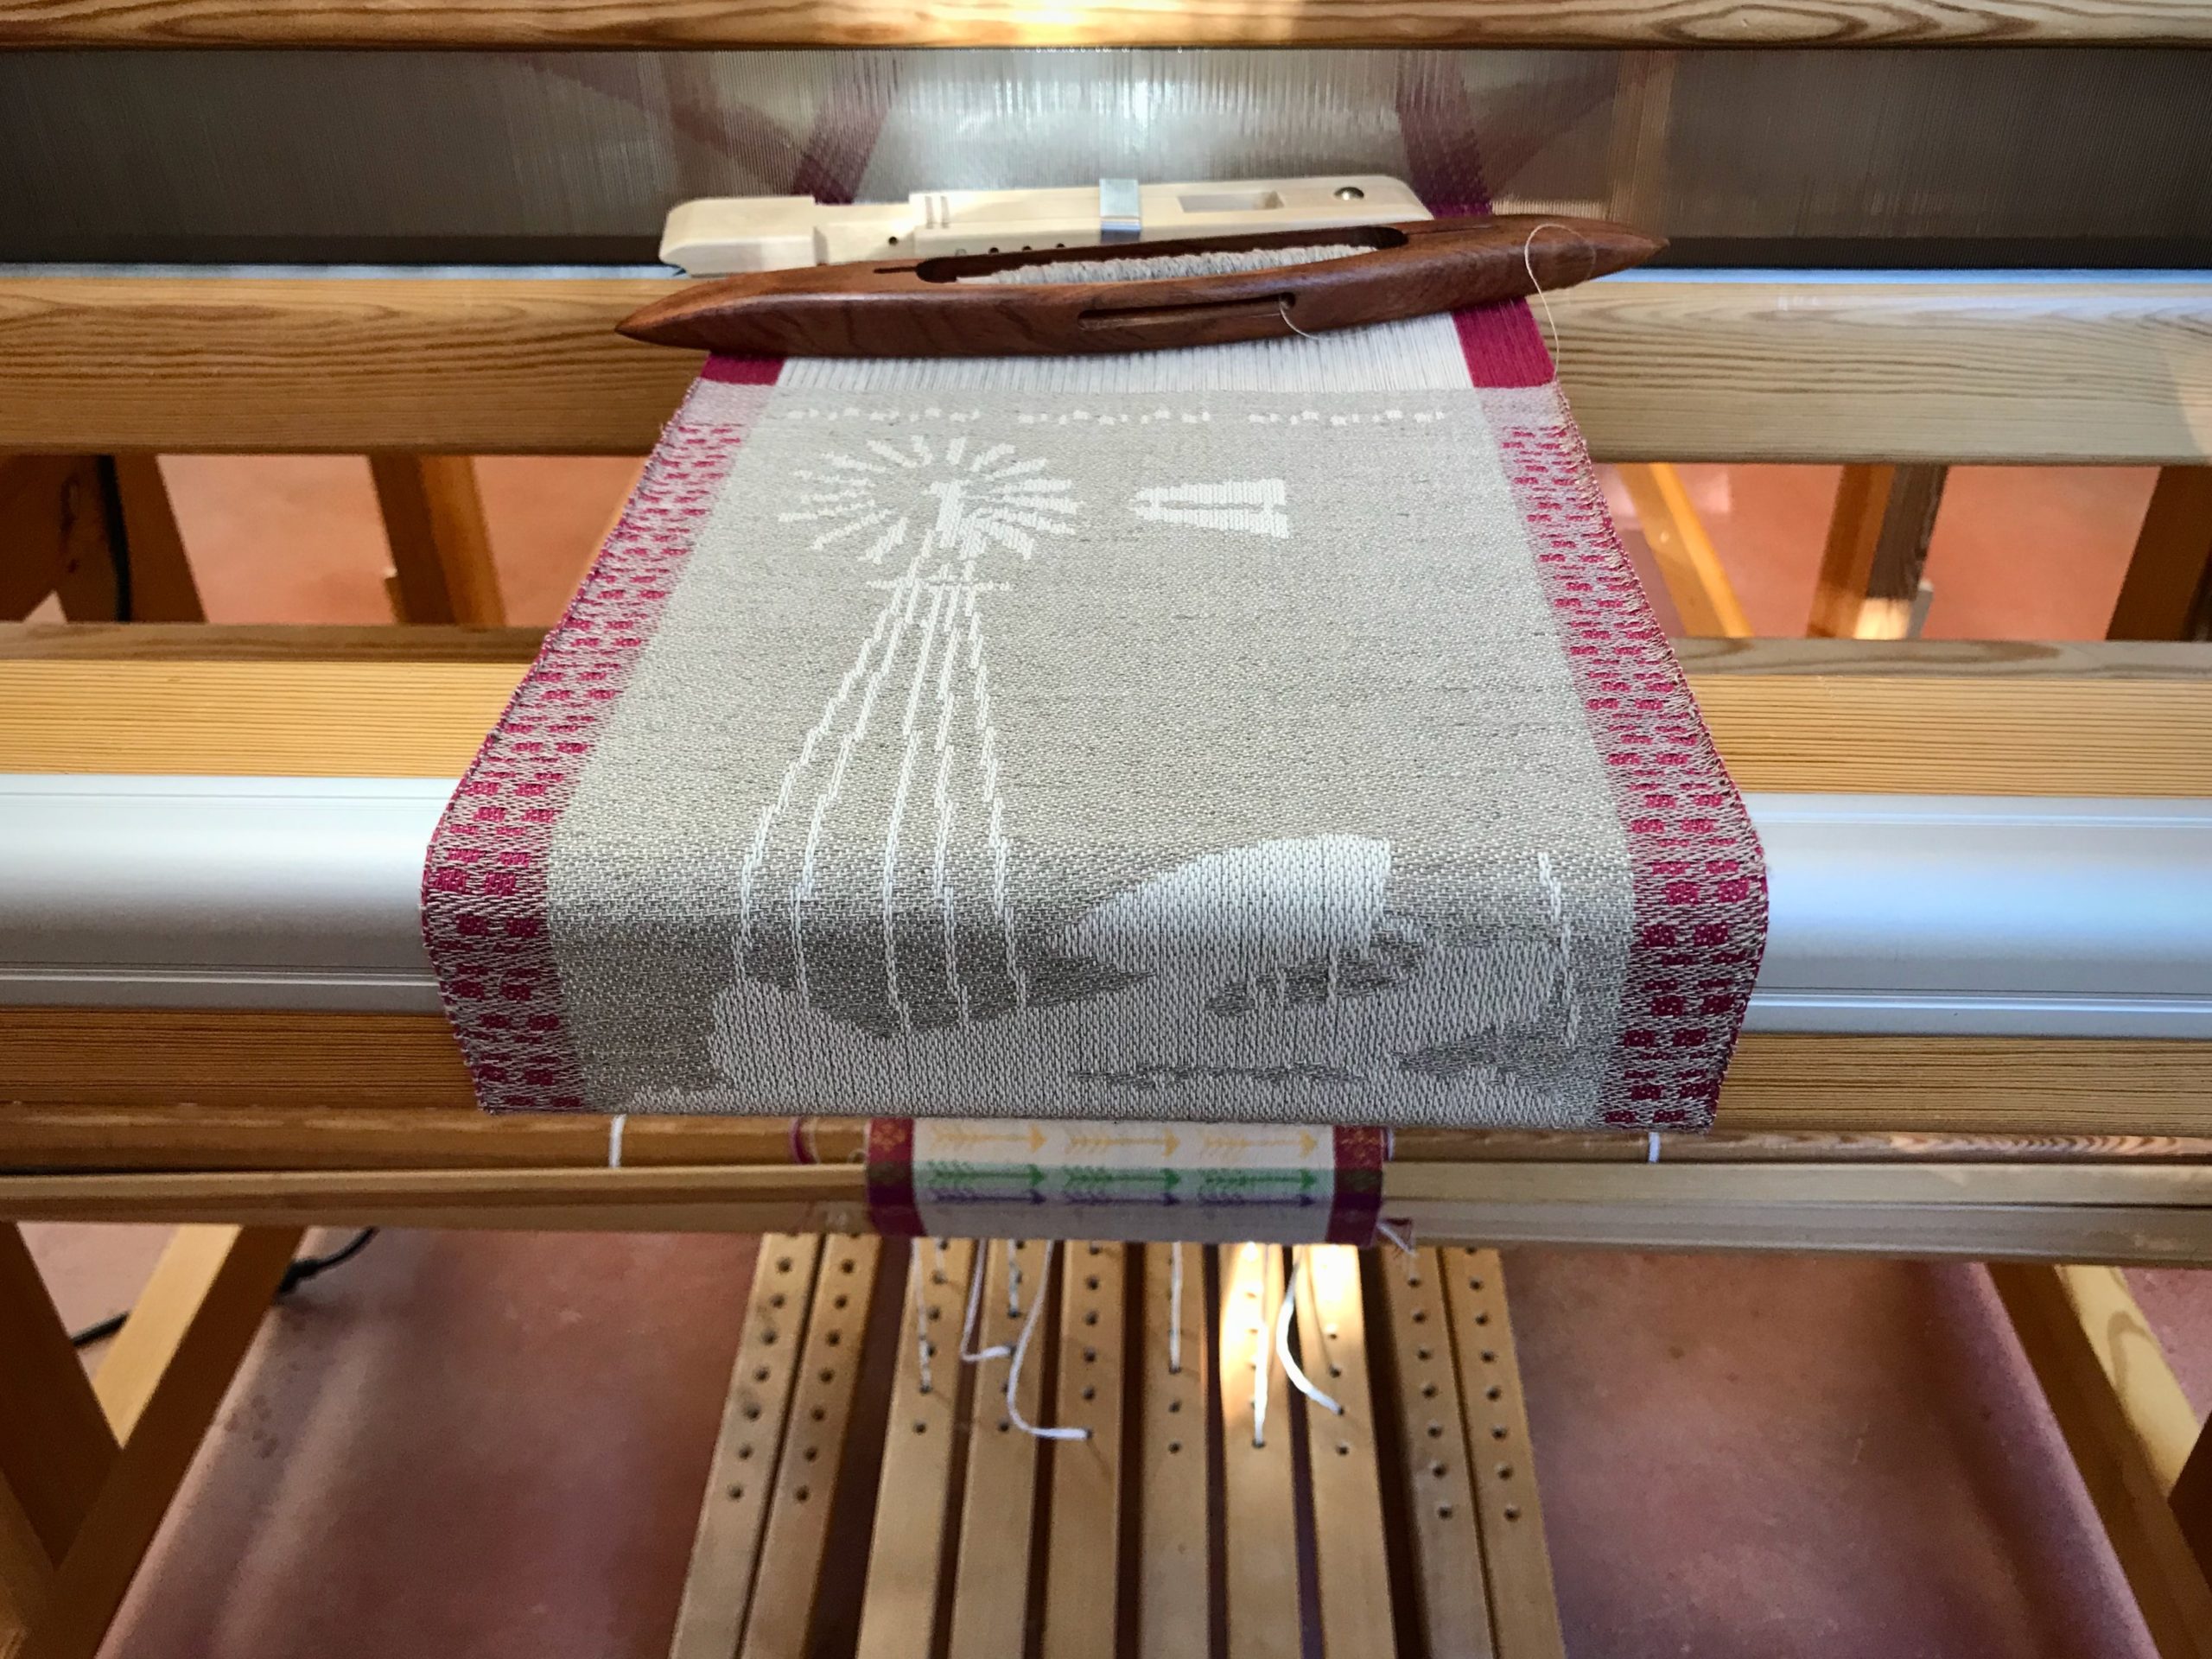
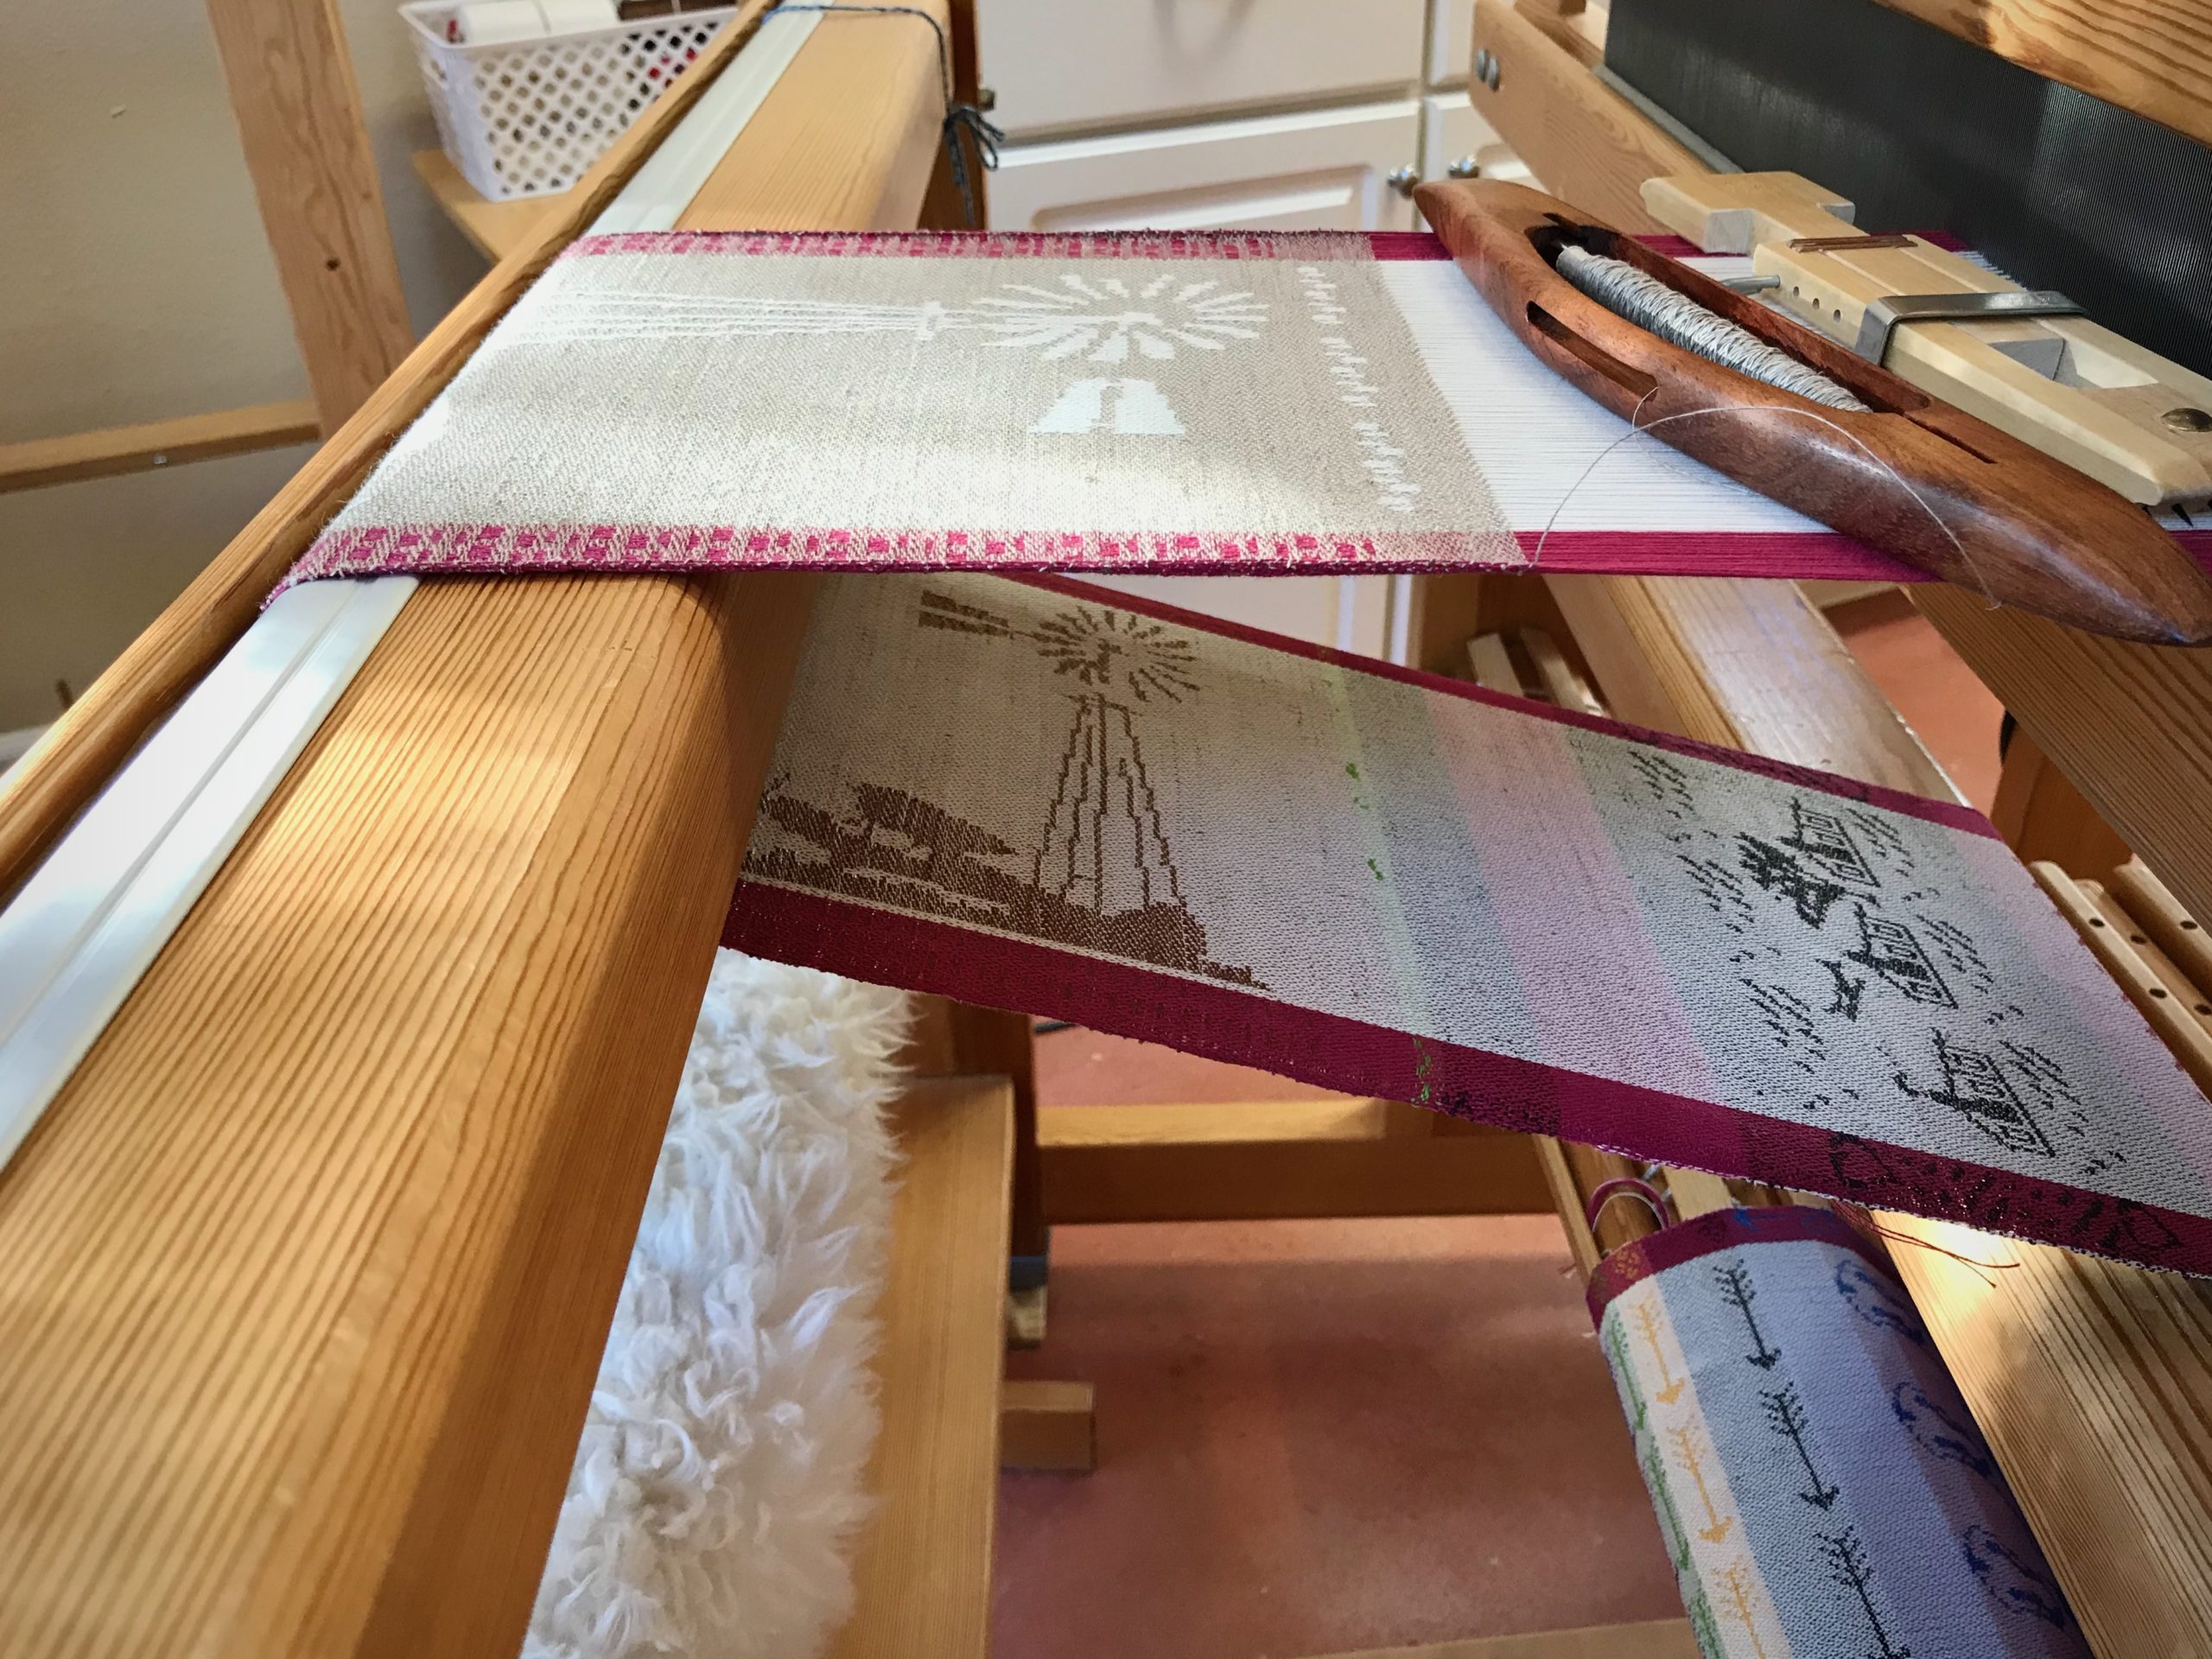
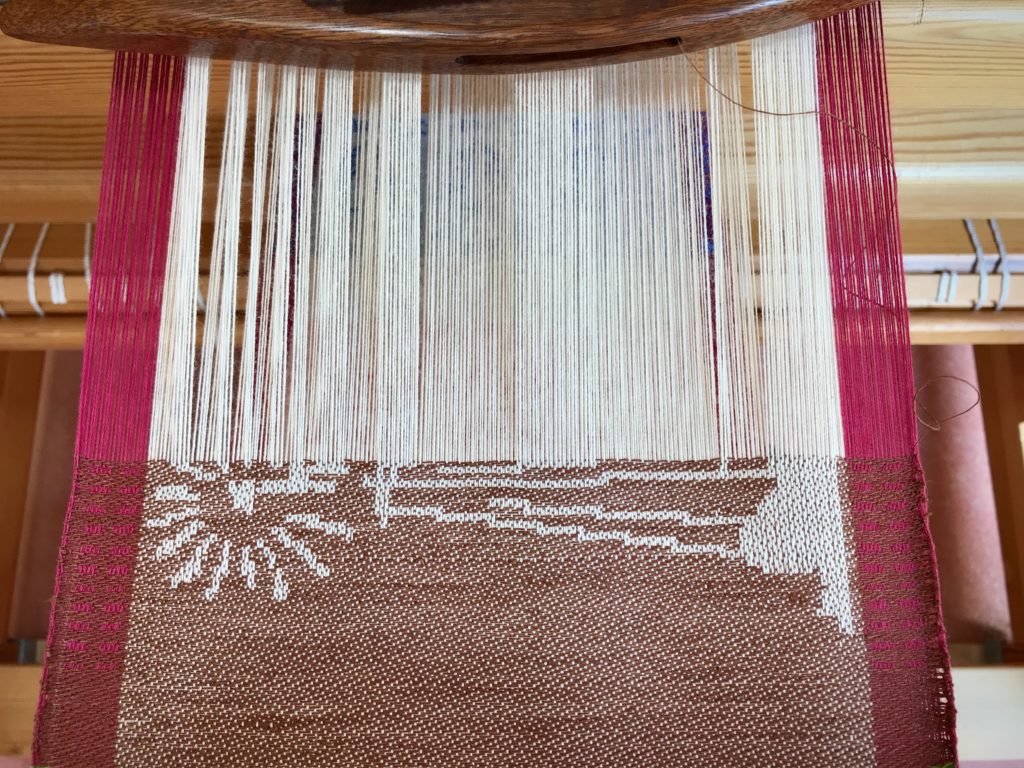
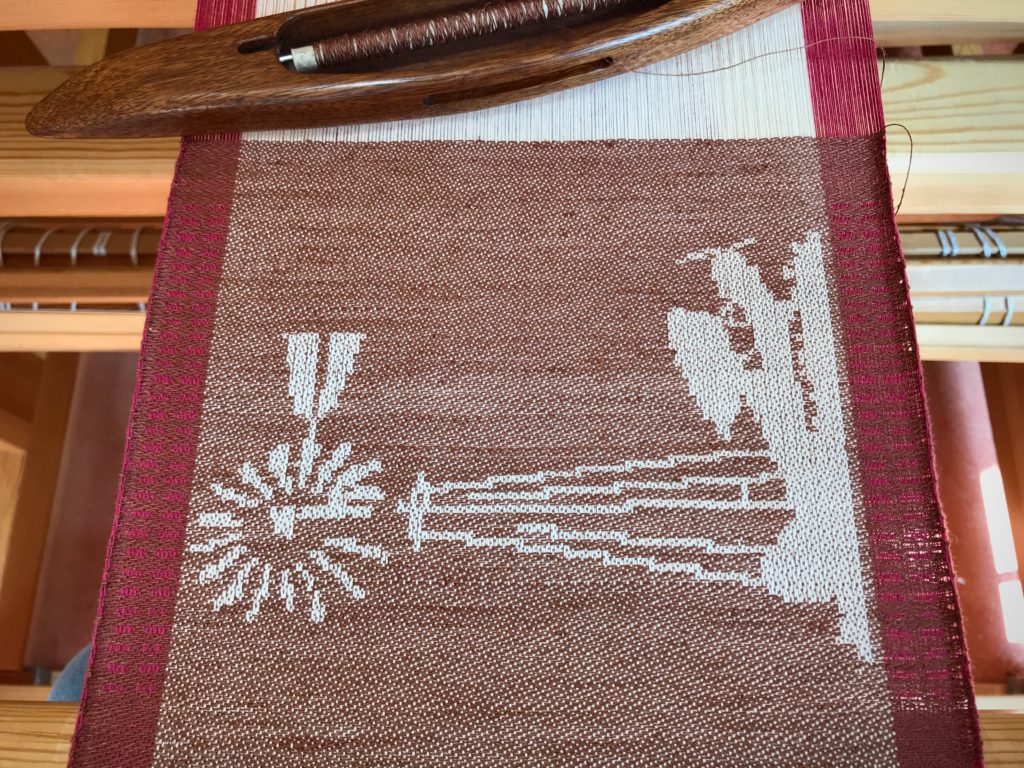
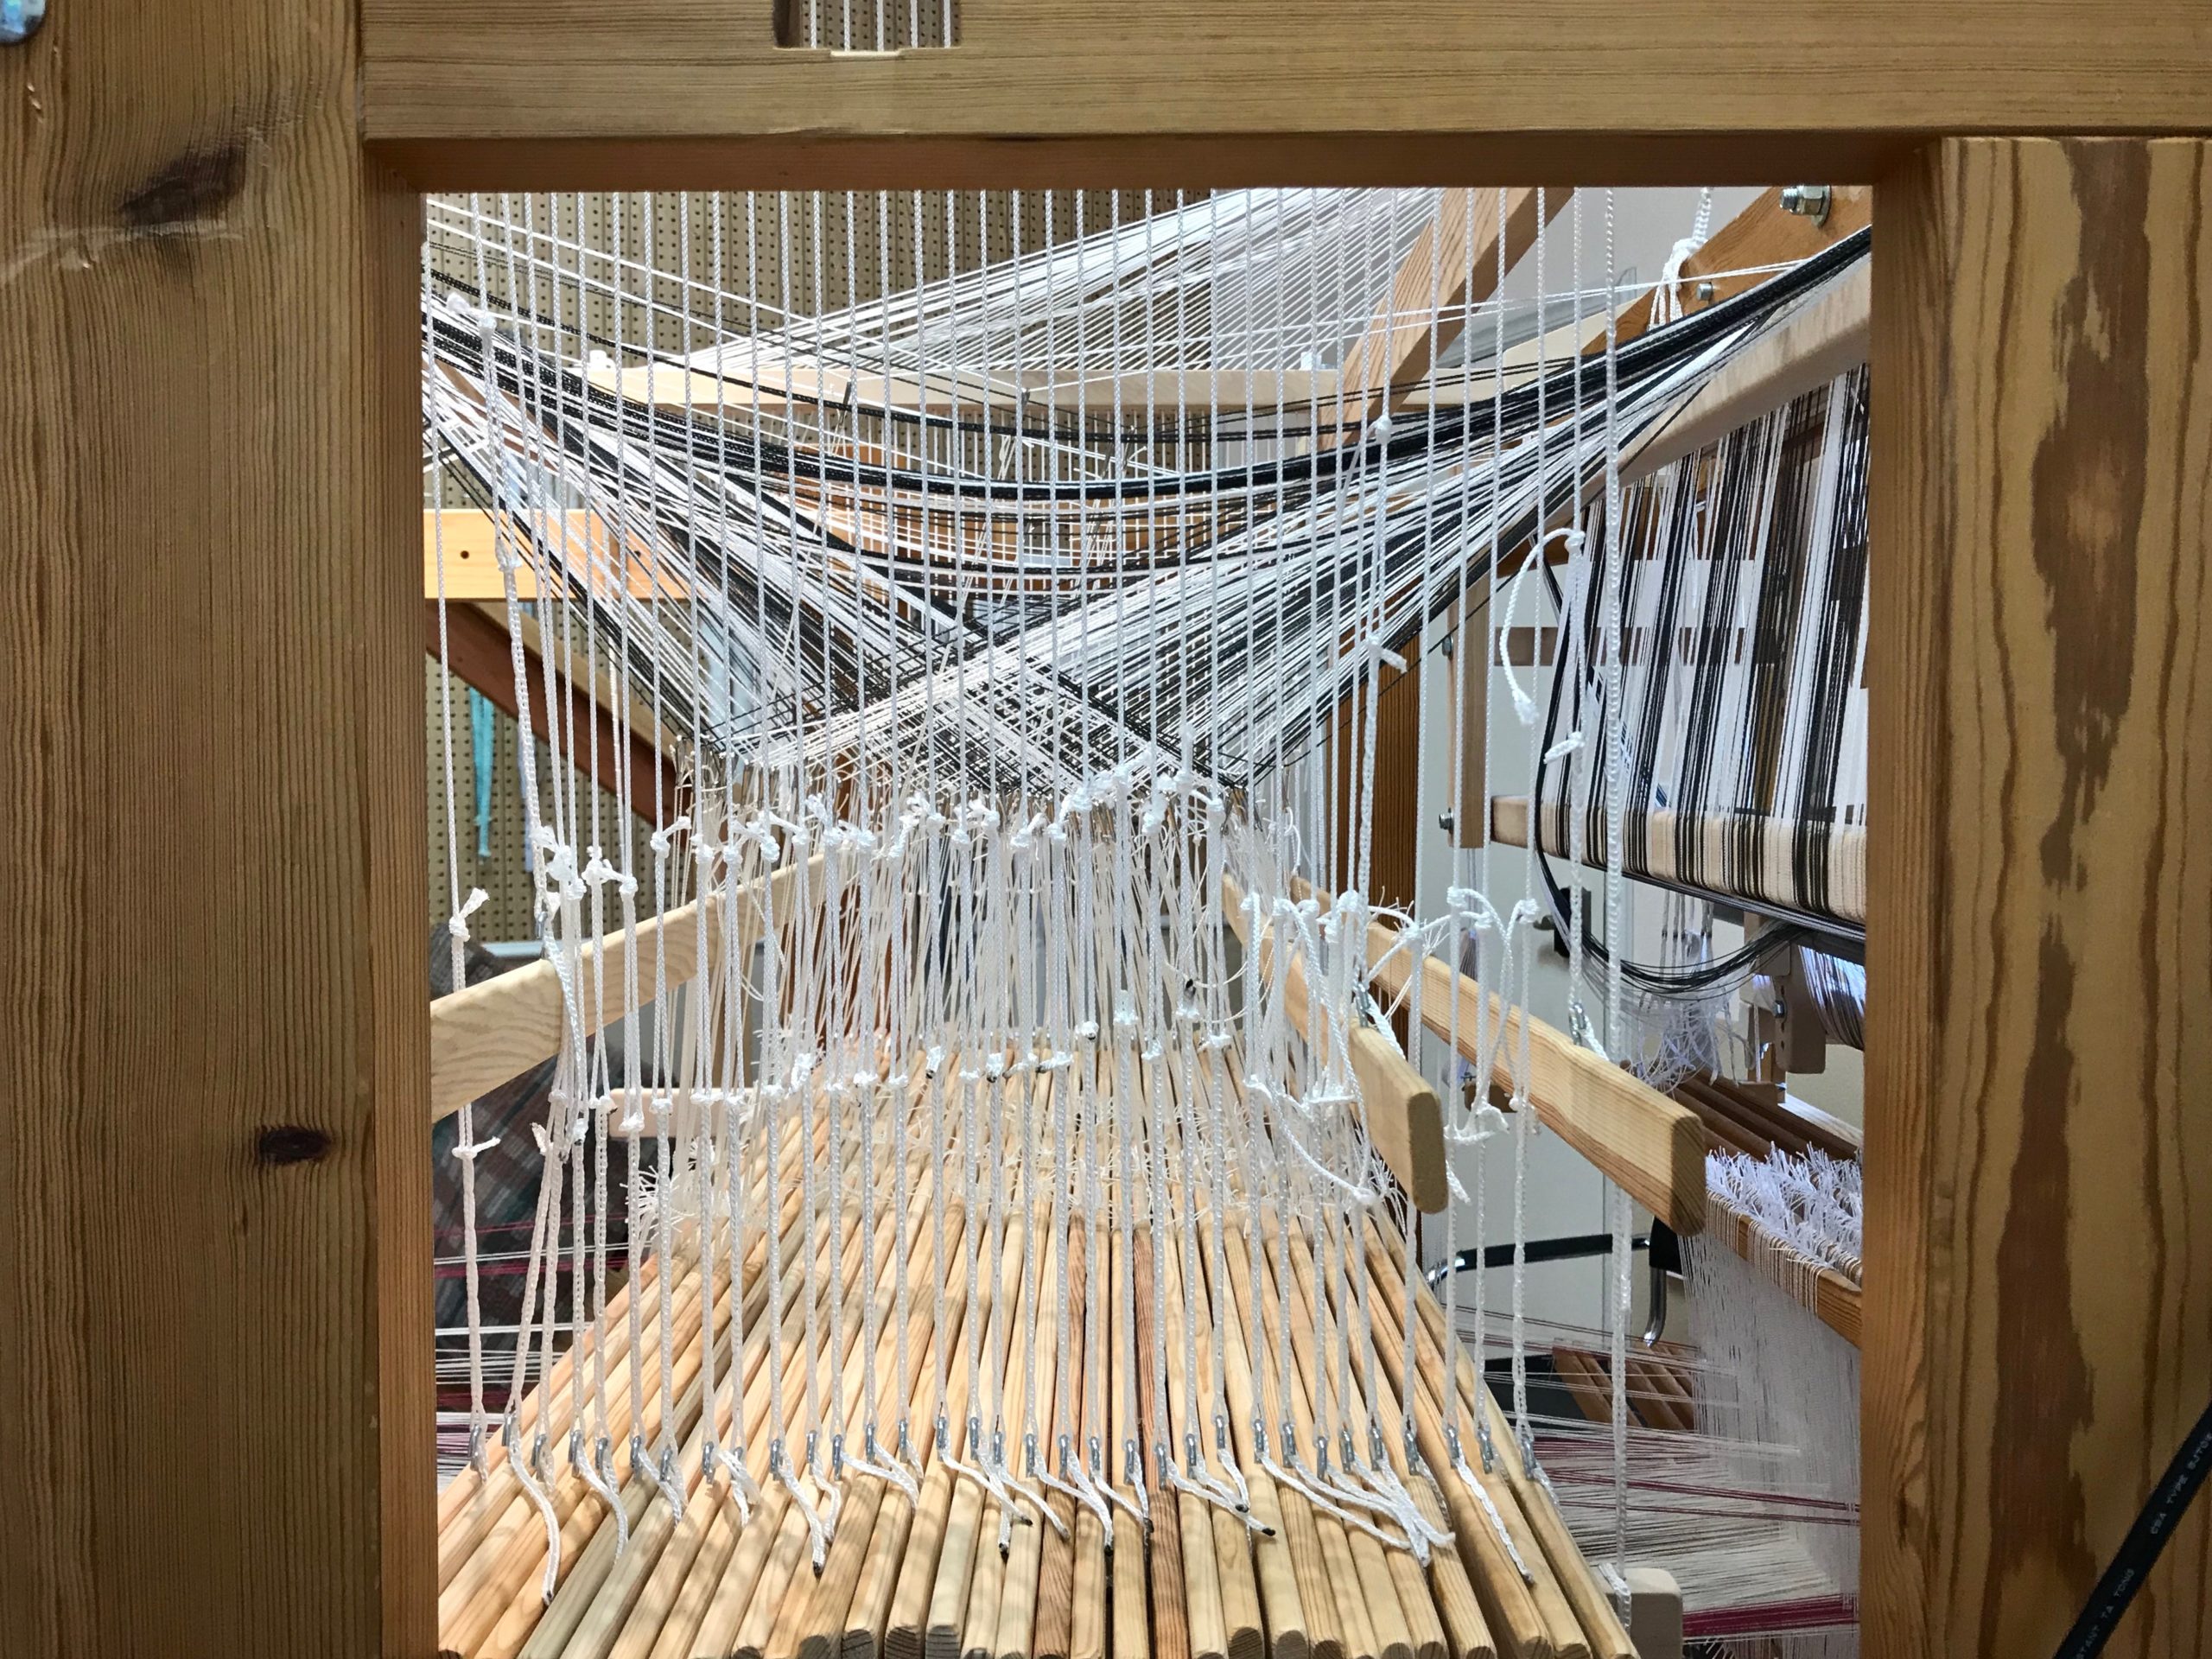
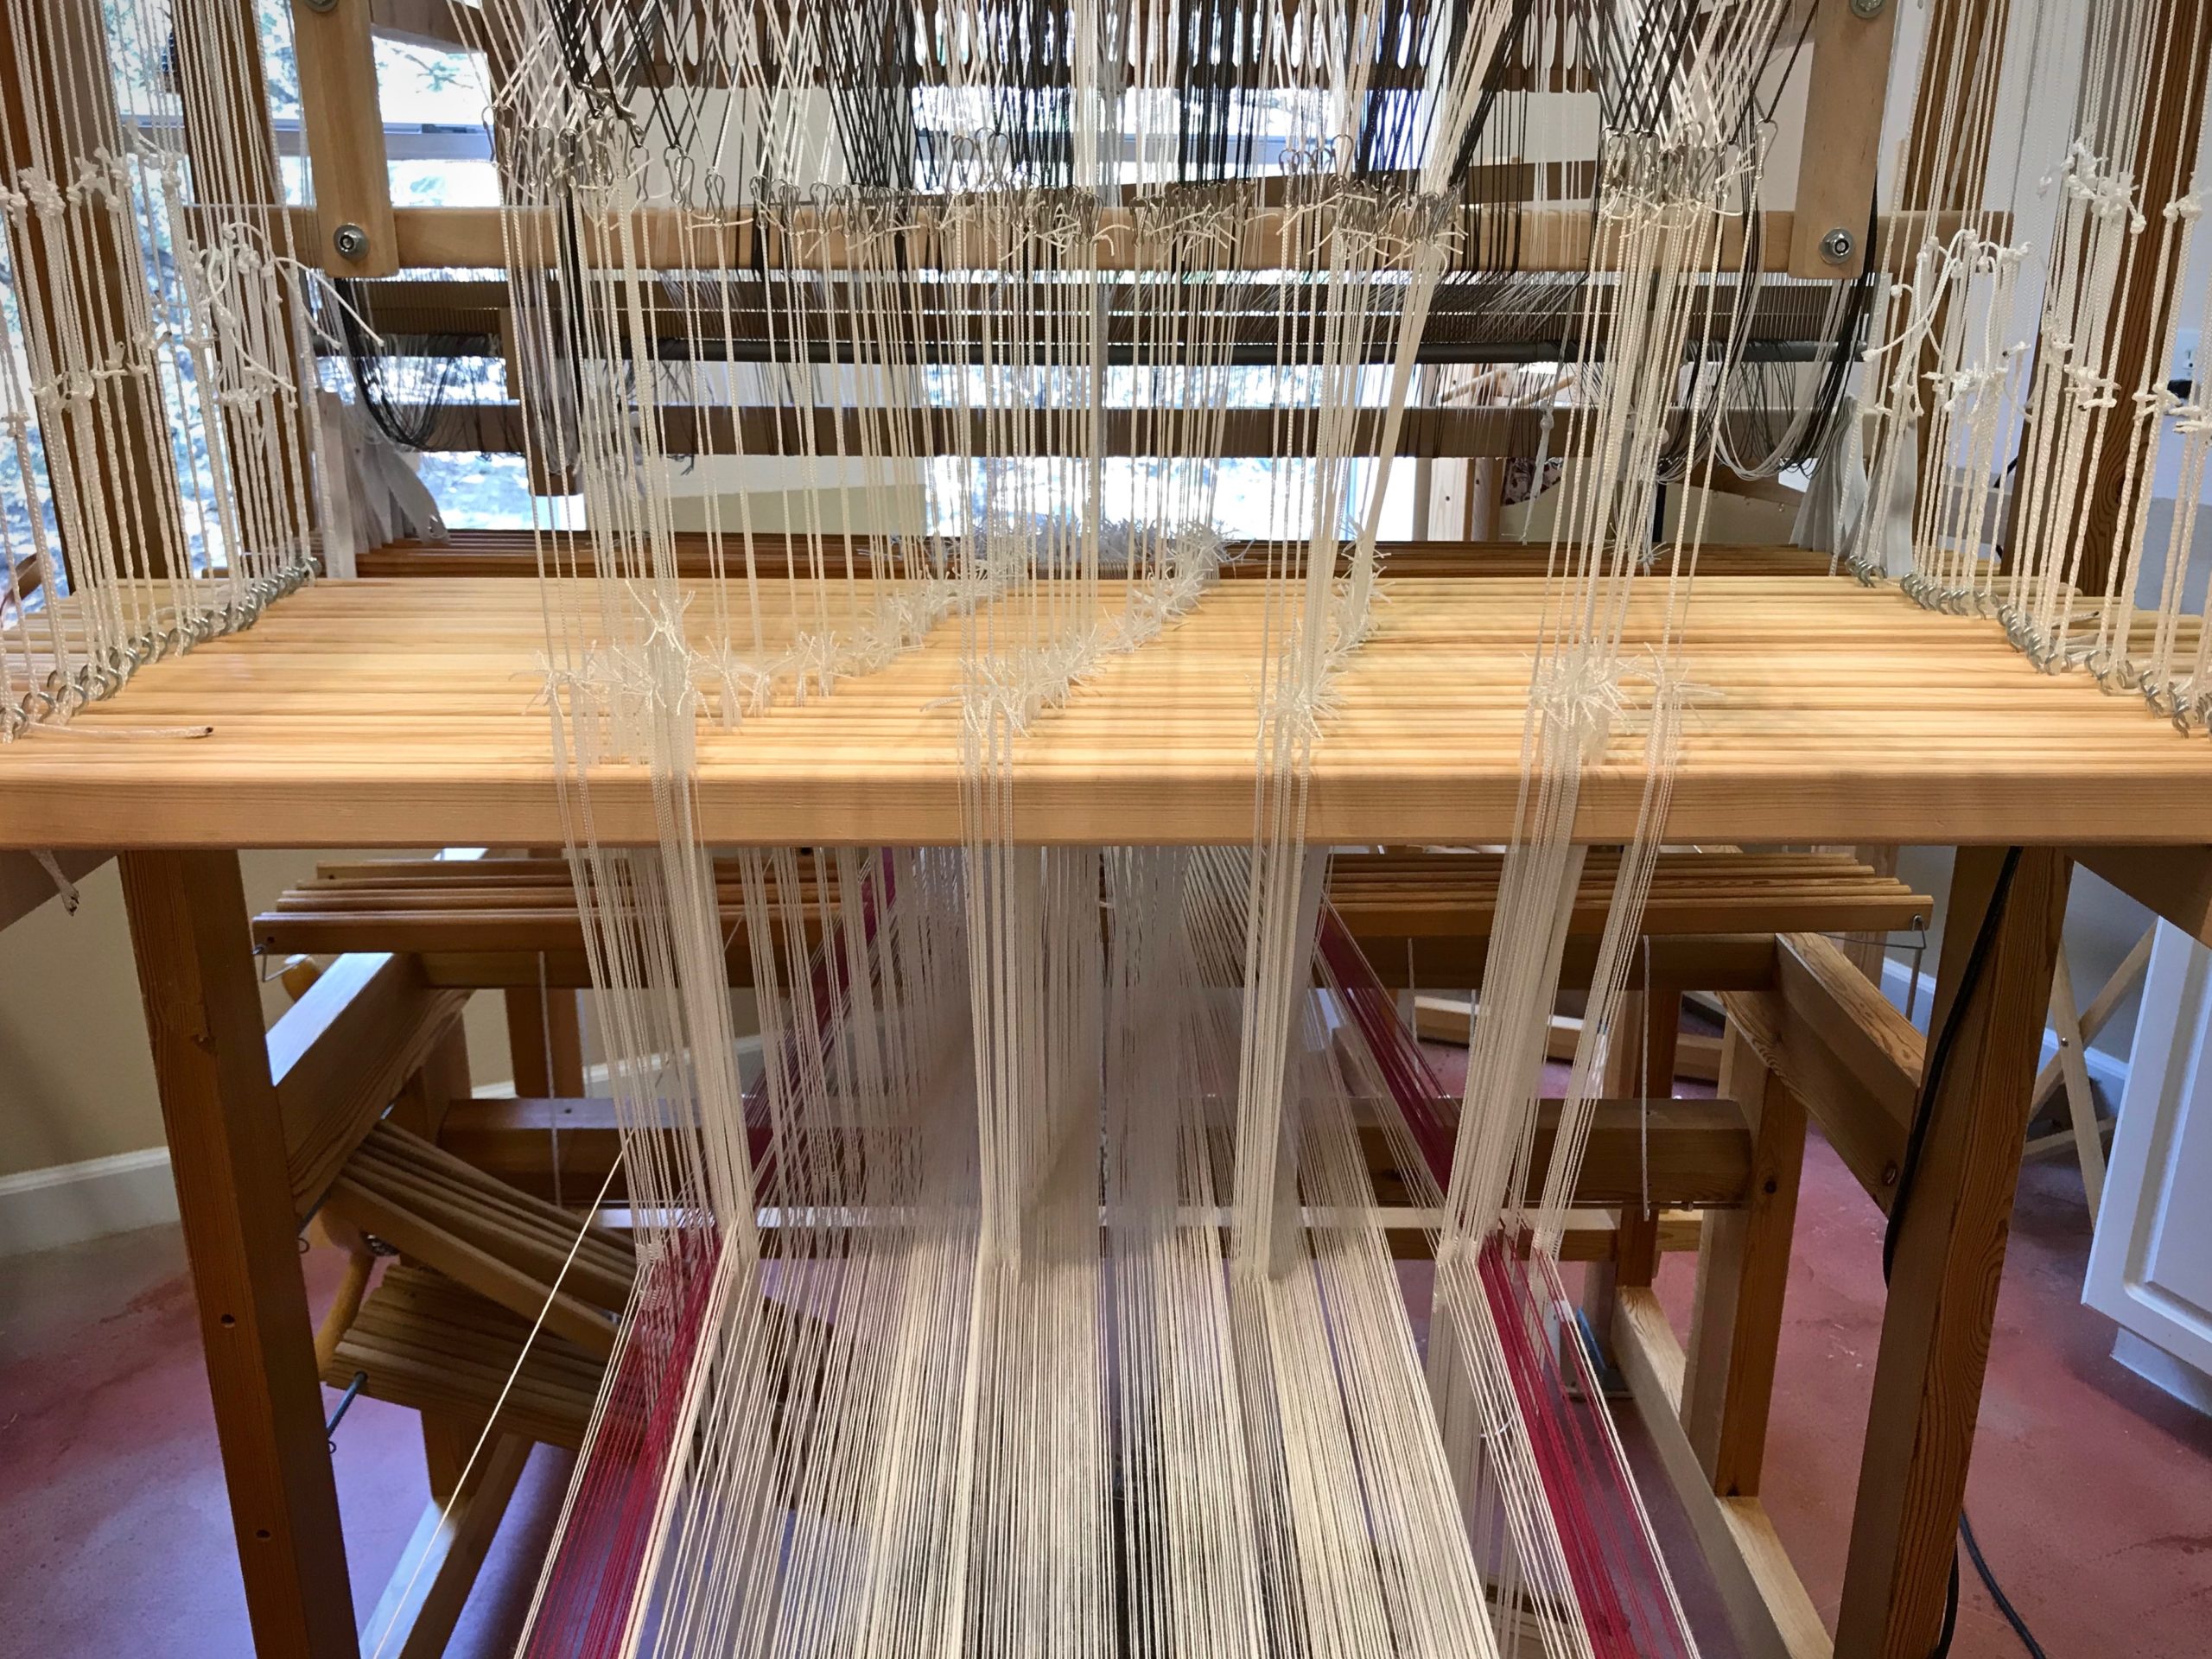
I am weaving several versions of the jam jars. Each variation has a different set of borders as I test my understanding of the Myrehed combination attachment. I am studying the versatility of this drawloom. Pattern shafts enable pattern repeats for the jam jars and side borders. Single units make it possible to weave the peaches in the corners and “Peachy” across the top. Can you tell if the border across the bottom is made with pattern shafts? Or, is it made with single units?
Depth of understanding comes from study. Practice makes it real. Go all in; make mistakes, un-do and re-make; have What-now? moments and Aha! moments. Make deliberate observations. It’s all part of the process. That’s what forgiveness from God through Jesus Christ is like. Forgiveness is good news. When we receive his forgiveness he sets us on a path to study, learn, and understand his grace. The depth of which will take an eternity to understand.
May you increase in understanding.
Grace to you,
Karen