Handwoven Detail Notes

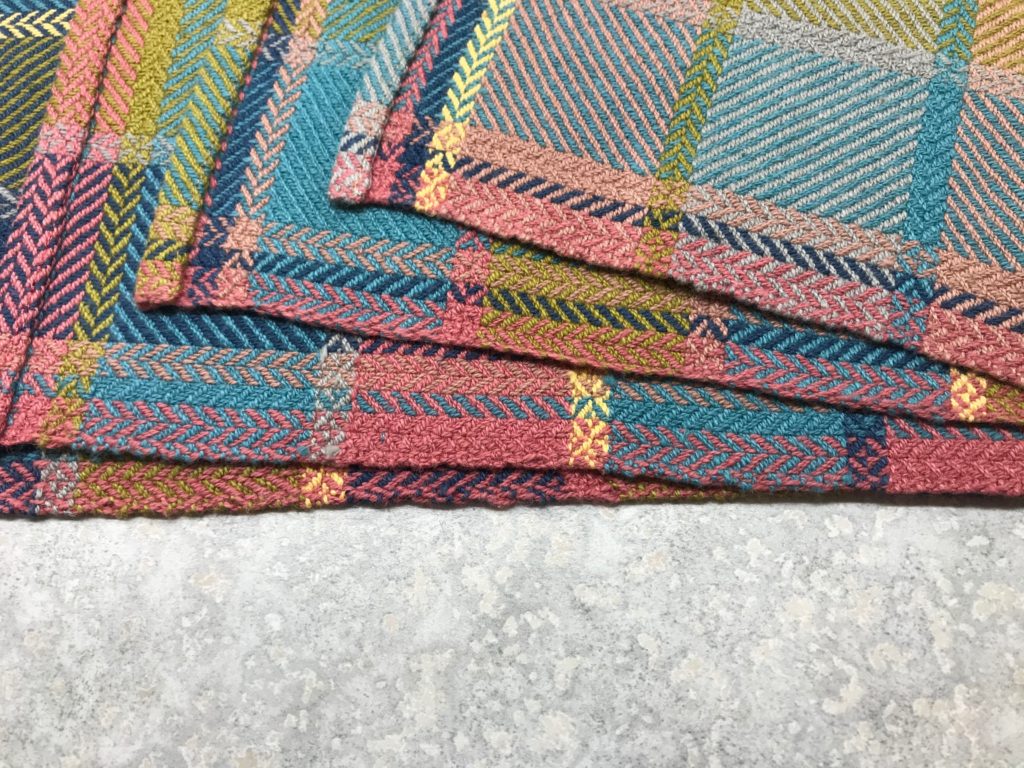
It is the smallest of details that set handwoven towels apart from ordinary towels. With that in mind, I am writing some detail notes in the margin of my project notes. Borders: Towel 1 – sea blue, apple green – contrast thread – ultramarine; Towel 2 – ultramarine, sea blue – contrast thread – maize; Towel 3 – apple green, ultramarine – contrast thread – sea blue; Towel 4 – dusty, sea blue – contrast thread – apple green.

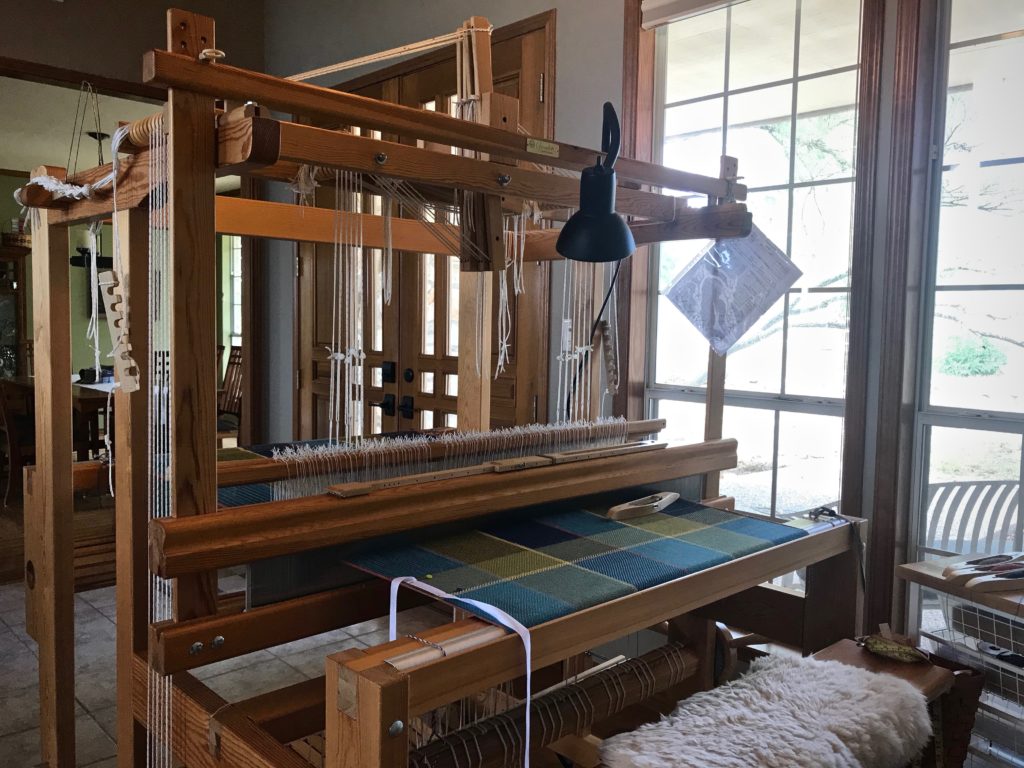
Cottolin bath towels coming up!
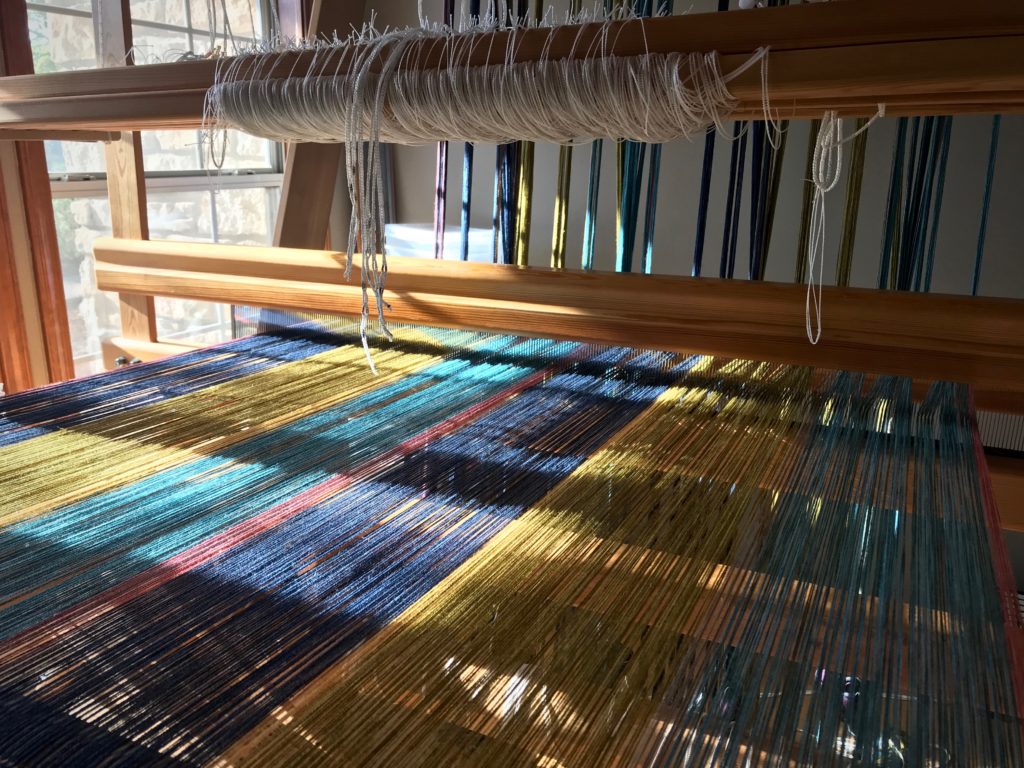
Beaming the cottolin warp for bath towels.
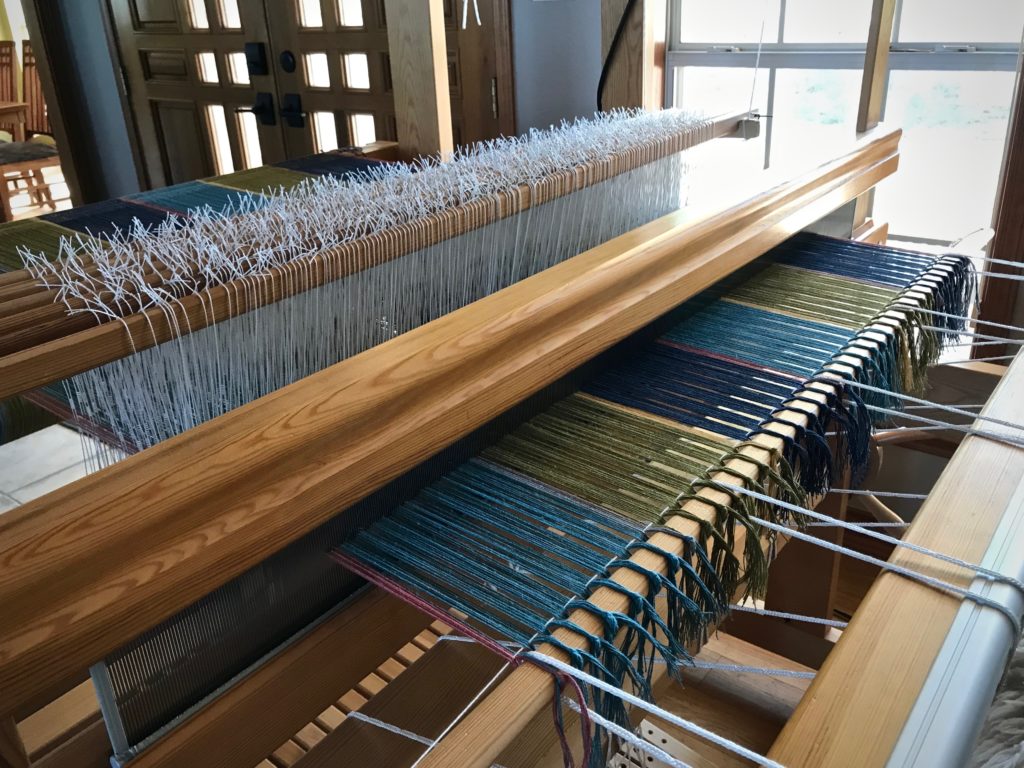
Warp is tied on and leveling string is attached.
Preparing to weave 7-color bath towels.
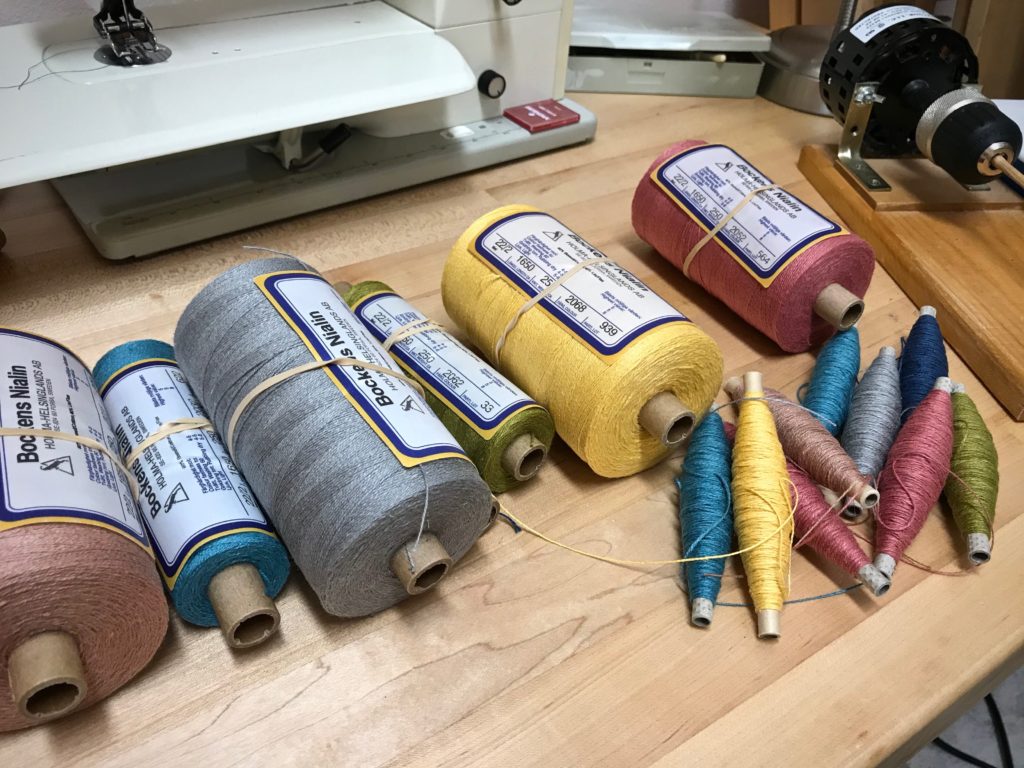
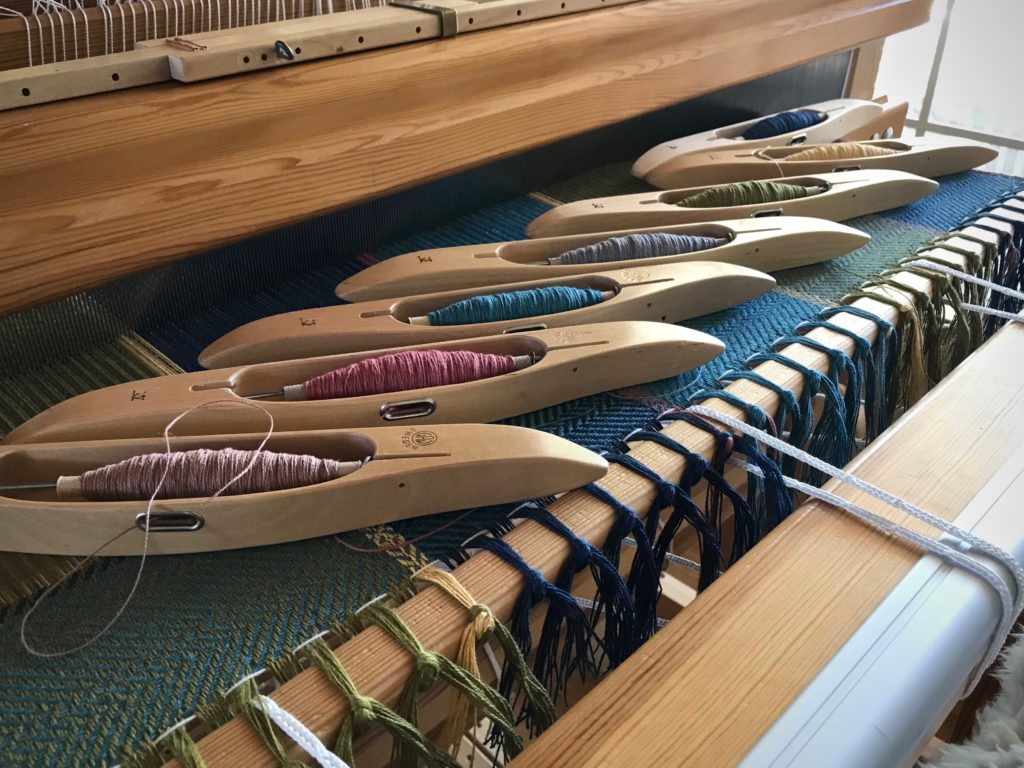
Seven different colors of wound quills. All seven colors are in each towel, warp and weft. The weft sequence varies with each towel.
Boat shuttles vie for the starting line, like in a regatta.
One boat shuttle for each color. This reminds me of sailing with my dad and my sisters. Boat captains would vie for the regatta starting line, shouting, “Starboard!”

There are seven colors of cottolin in the warp, and the same seven colors in the weft, just like the accompanying hand towels I completed in April. (See Process Review: Jubilation Hand Towels.) Narrow warp-wise and weft-wise stripes of broken twill produce interesting patterns in the cloth. The deep borders I am planning on the bath towels give me a chance to add simple details that only a handweaver can do.

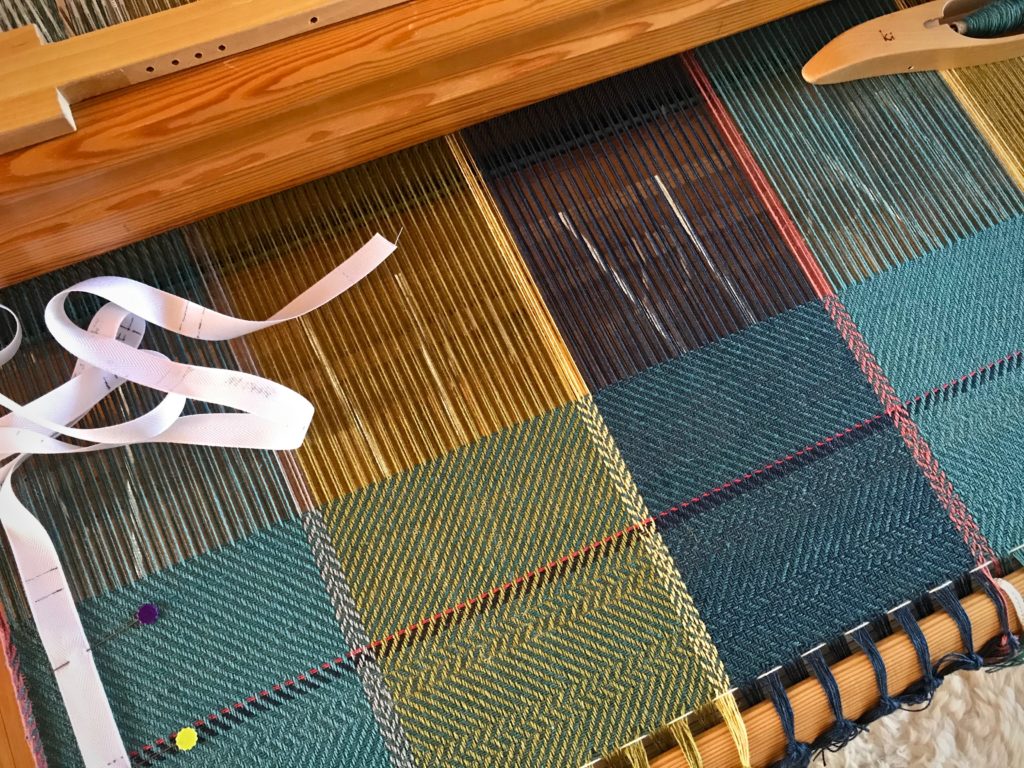
White ribbon shows where to place details on the handwoven bath towel.
After weaving a short section to test the threading, I start the first towel. A red line, as always, denotes the cutting/starting line. I placed marks on the white ribbon at the left that show me where to place details along the length of the towel.
Simple handwoven details make all the difference.
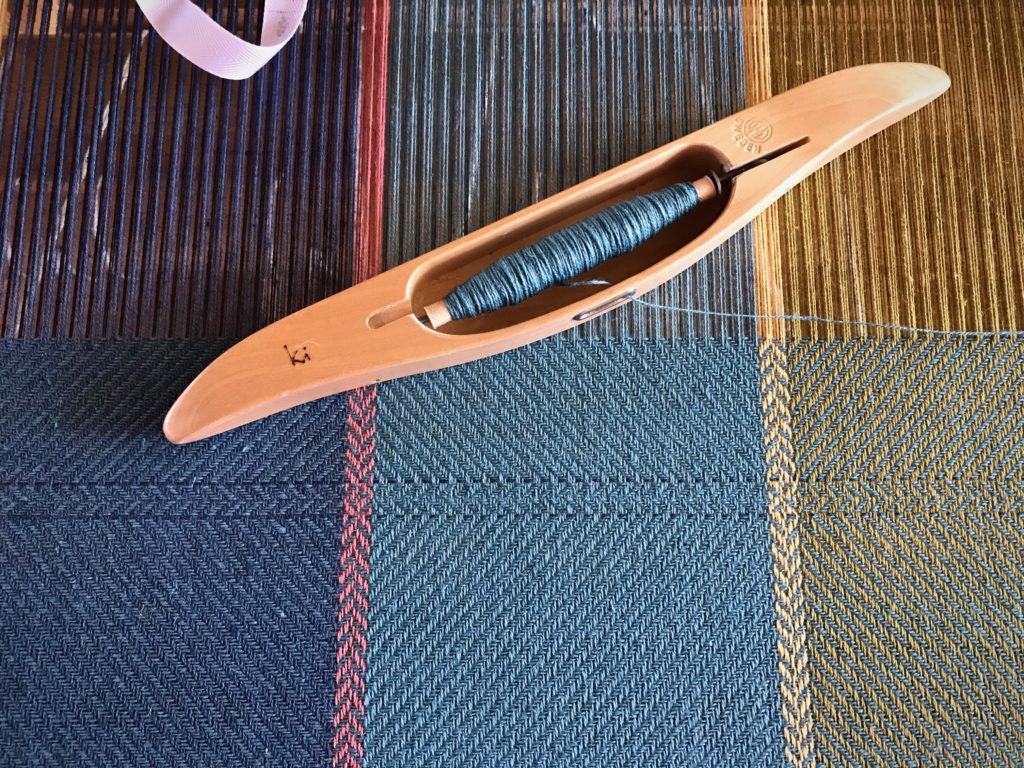
Single ultramarine thread is laid in with the sea blue to outline a change of treadling. A simple handwoven detail.

Have you ever identified a master craftsman by the specific details that show up in the hand-crafted article? In the same way, we can recognize our Maker’s hand through the magnificence of the details we see in each other. You are his masterpiece. Hand-written instructions guide the details. When we come to the Lord as our Maker and Redeemer, we find his hand-written details woven into our hearts, something only the Grand Weaver can do.

May you attend to the details.

Happy Weaving,
Karen

Process Review: Drawloom Weaving without Errors

I found a way to practically eliminate draw cord errors on the single-unit drawloom. After making one too many mistakes while weaving this rag rug, I resolved to find a solution. True, I will still make mistakes, but now I expect them to be few and far between. (To view the first rag rug on this warp, see Stony Creek Drawloom Rag Rug.)

My most frequent error is having a draw cord out of place, either pulled where it shouldn’t be, or not pulled where it should be. And then, I fail to see the mistake in the cloth until I have woven several rows beyond it. I determined to find a way to eliminate this kind of error. (For an example of this kind of error, see Handweaving Dilemma.)

Test 1. Double check my work. Pull all the needed draw cords for one row and then double check all the pulled cords.
Results: This bogs me down. And I still fail to catch errors.

Test 2. Double check my work little by little. Treat every twenty draw cords as a section—ten white cords and ten black cords. Pull the cords in the first section. Double check. Pull the cords in the next section. Double check. And so on all the way across…
Results: Easy to do. I quickly catch and correct errors.

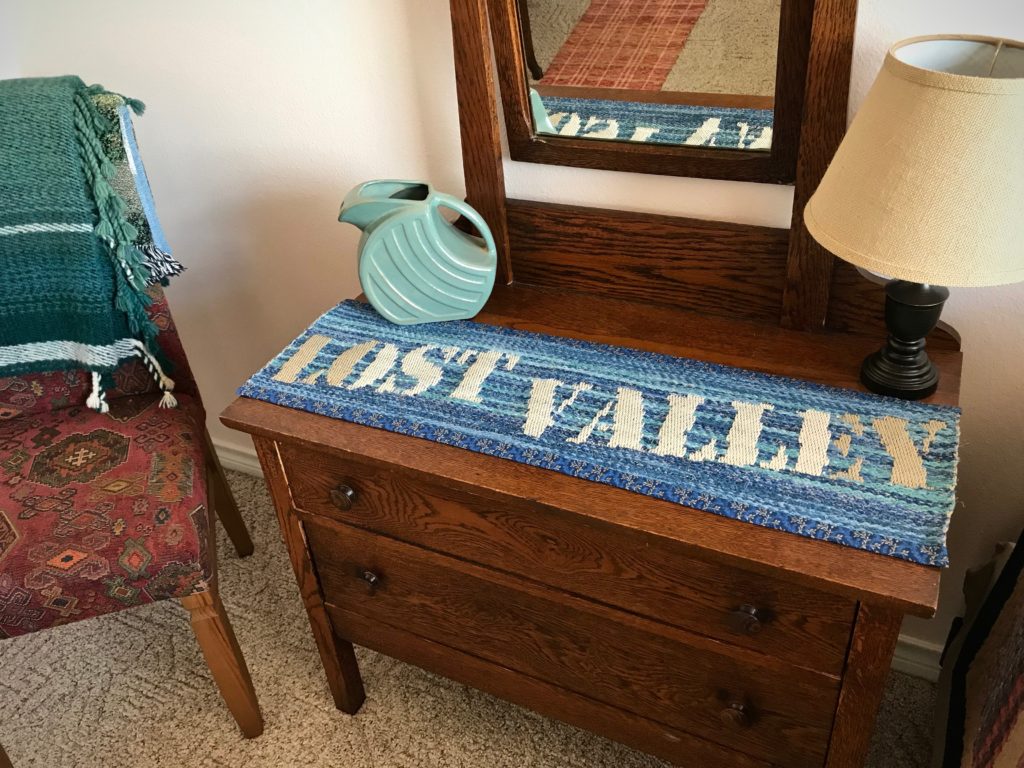
Now, I am implementing this incremental method of double checking my work on the little bit of warp that remains. With a Happily-Ever-After ending, the short Lost Valley piece is completed with NO draw cord errors! (Lost Valley is the name we’ve given our Texas Hill Country home.)

Woven Rag Rug and Lost Valley process in pictures:

May you learn from experience.

Happy Weaving,
Karen

Charted Territory on the Drawloom

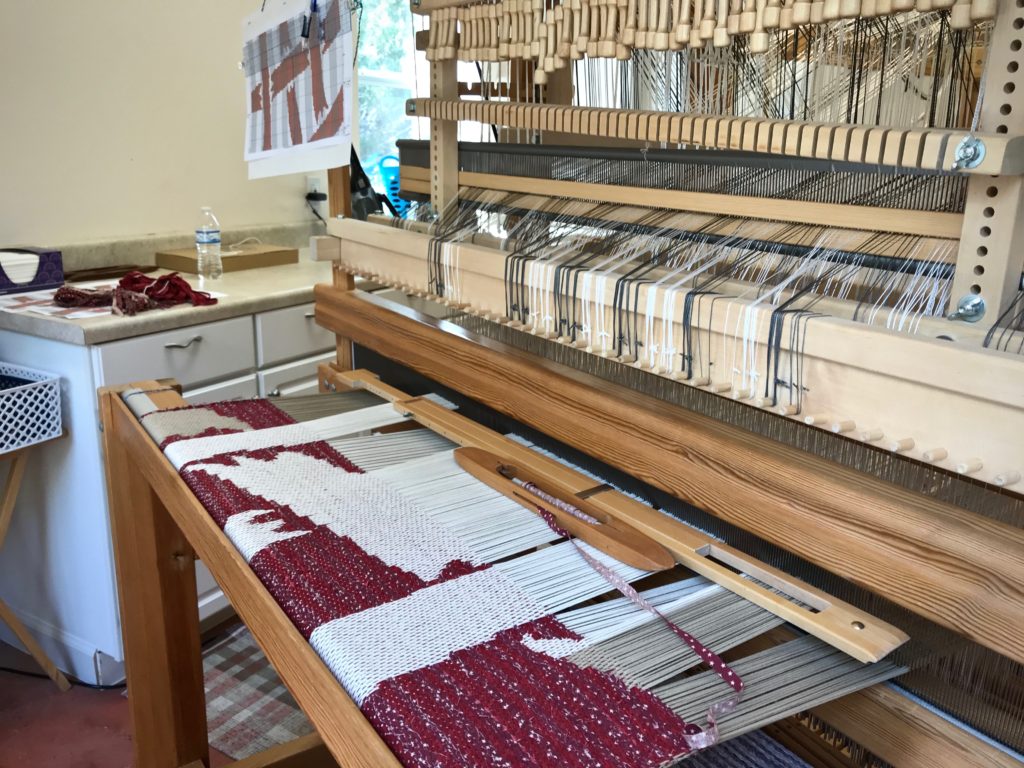
The chart that hangs at the left side of the beater gives a glimpse of the overall design of this rag rug. It’s the second page of a three-page chart. It’s not easy to make sense of the design on the loom, seeing only a small slice of the big picture. I am eager to see the whole project woven, to see how it aligns with the design I’ve imagined.

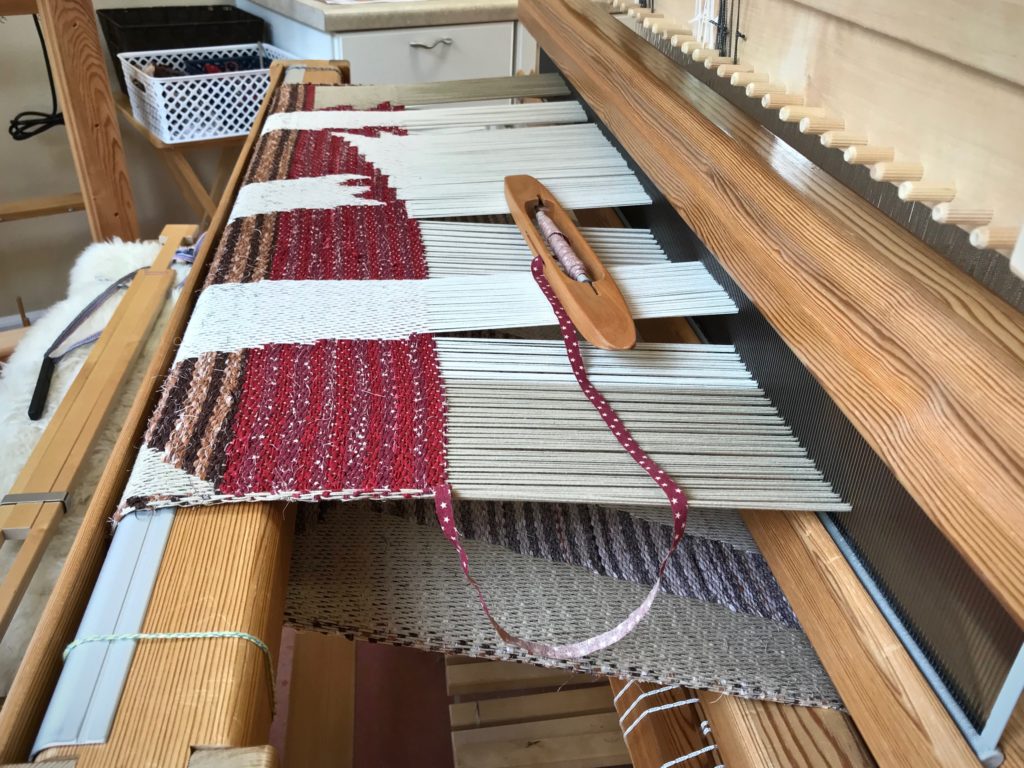
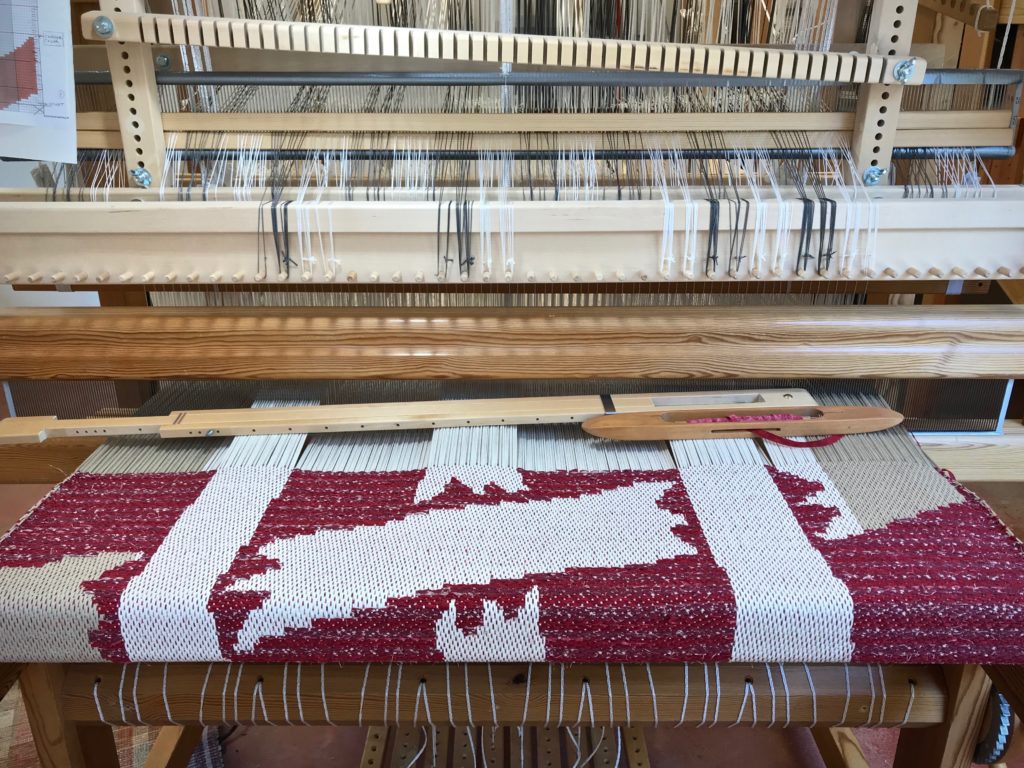
Drawloom rag rug on the loom.
First color block of the rug was brown. The second color block is red. Two different red fabrics alternate.
Following a chart for the single-unit drawloom.
Chart hangs at the left side of the loom. A transparent ruler is clipped to the chart. I move the ruler up, row by row, to keep my place on the chart. Single-unit draw cords that are pulled are held in place along the hook bar just above the beater.

I drew the design in MacStitch, a cross-stitch design program. Then, I imported the gridded image into Photo Affinity to add vertical shaded stripes to match the 10 white-/10 black-cord arrangement of single-unit draw cords on the loom. Lastly, I printed the enlarged chart to use as my guide at the loom.

Drawloom rag rug in the making.

How does our present slice of life fit into the overall plan? Only God knows. But one thing is certain. The Grand Weaver has a purpose for your life. It’s a purpose that he will fulfill. You and I are the work of his hands, work that he will not abandon. Yes, we make our plans. The truth is, our best plan is that which aligns with the design he has imagined.

May you get a glimpse of your life’s design.

On purpose,
Karen

Process Review: Jubilation Hand Towels

These towels make me think of my father. He was a brilliant architect. As an architect’s daughter, I learned to appreciate the interaction of structure, design, and color. This fabric has it all! These towels are also an expression of joy, a prominent aspect of my dad’s personality. If you could create a tangible article of jubilation, this would be it.

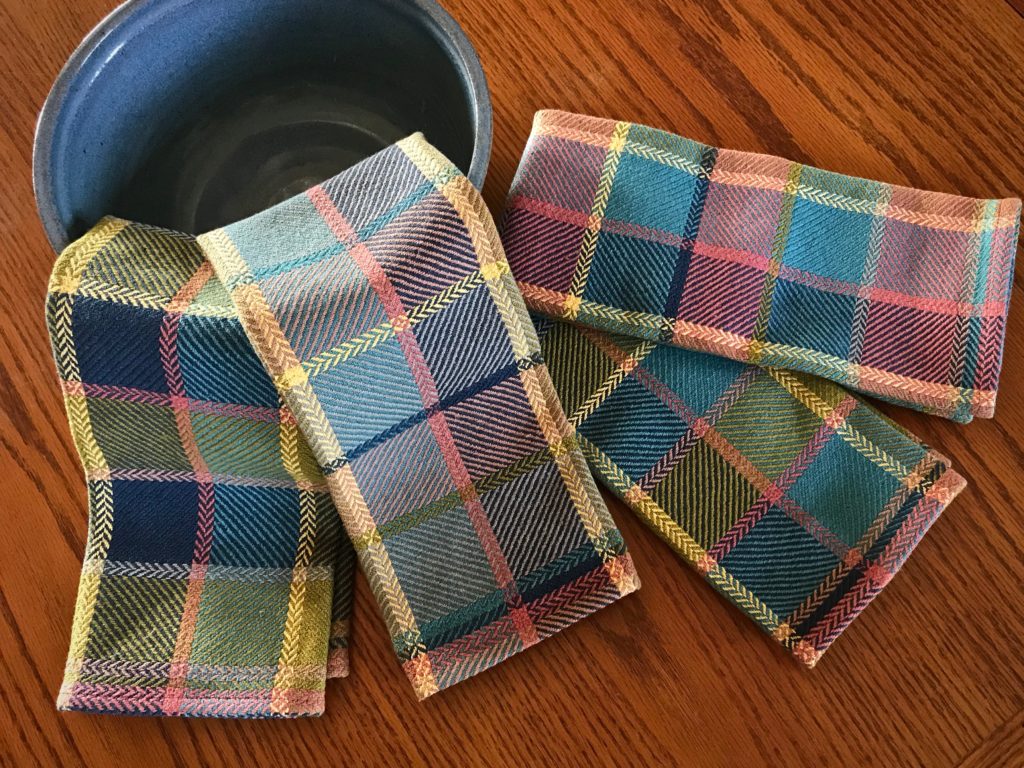
Broken and reverse twill structure. Handwoven towels.
Broken and reverse twill structure. Using all the same colors, each towel has a different sequence of weft color order.

After weaving three towels, I eliminated the floating selvedges. Which one of the four towels do you think was woven without floating selvedges? Leave your answer in the comments. (1 – 4, with the towel on top as #1.)

Four new handwoven towels.
Three of the four towels were woven with floating selvedges.

Here’s a short slideshow video that shows the process from start to finish:

Jubilation bath towels are up next on the Glimåkra Standard!

May your jubilation rub off on your family and friends.

Happy Weaving,
Karen

Stony Creek Drawloom Rag Rug

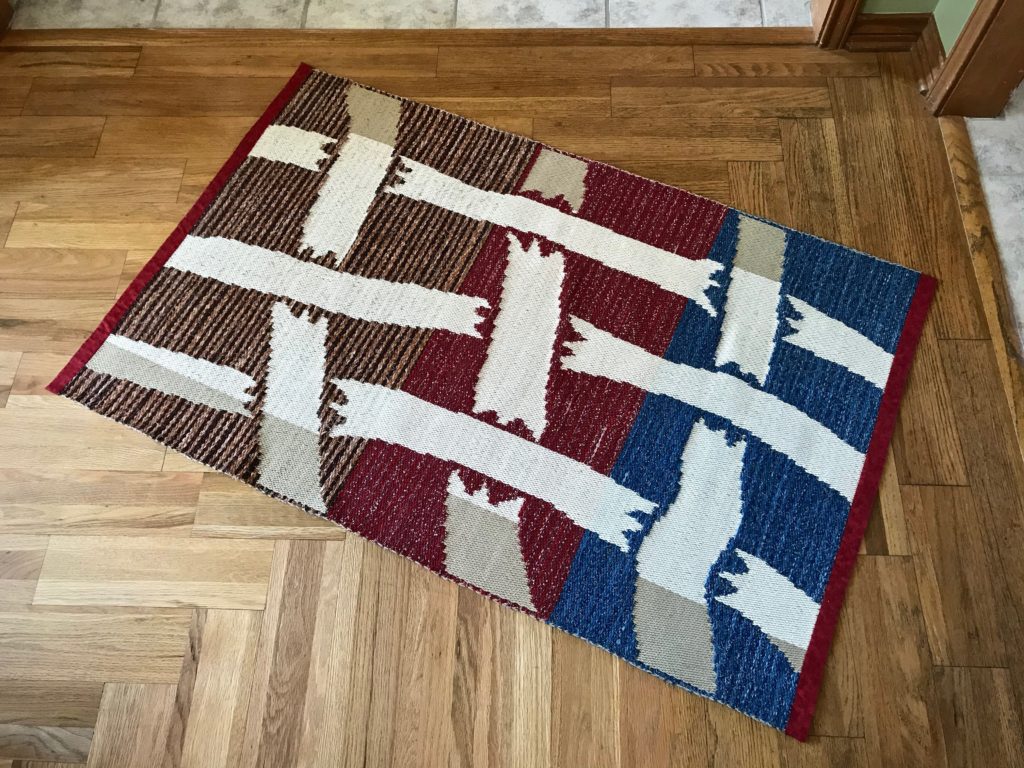
I have woven umpteen rag rugs. But never one like this! Eight-shaft satin on the single-unit drawloom brings its own challenges, from managing draw cords to getting a decent shed. Add rag weaving to the mix and we have a whole new experience!

Cutting off drawloom rag rug.
Cutting off in 1-inch sections to make it easy to tie back on for the second rug on the warp.

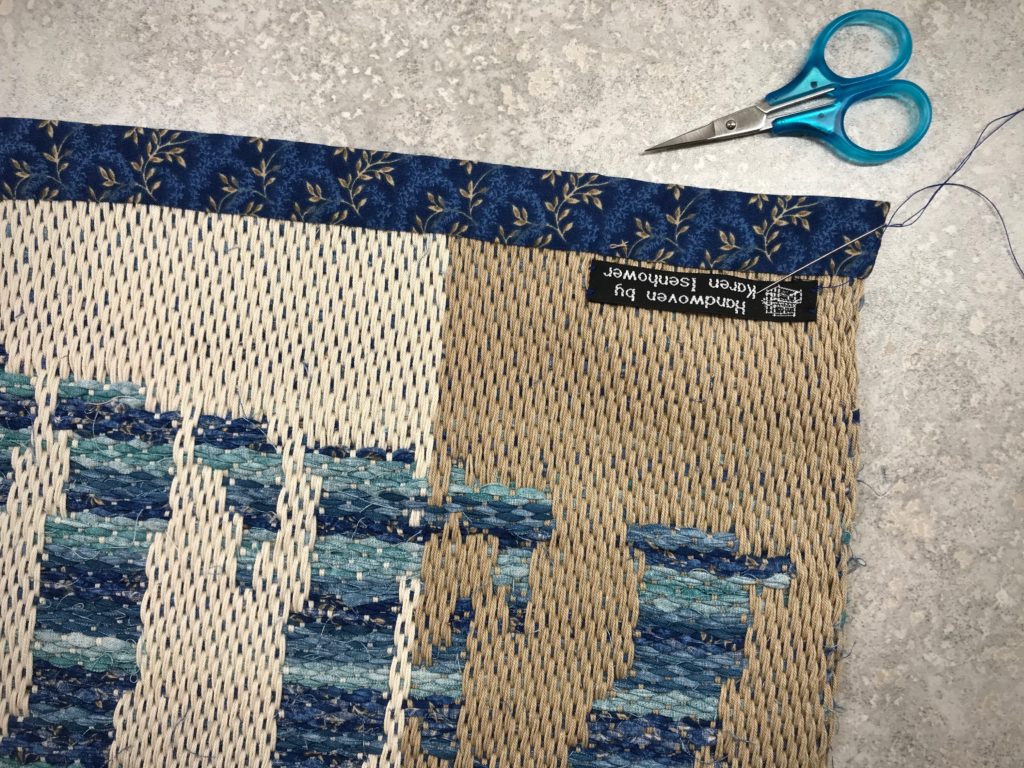
Finishing has its own set of new challenges. My go-to method of tying knots to secure warp ends is unwieldy in this instance because the threads are extremely dense. By quietly doing some detail studies on a sample, I find a way to finish this unusual rug: Secure the ends with the serger. Then, sew two rows of straight stitches on the sewing machine for added security. Sew a narrow bound hem using some of the fabric that was used as weft in the rug. Steam press to finish.

Drawloom rag rug finishing details.
Serger cuts off the ends as it overlocks the edge. I pull out the scrap header little by little just ahead of the serger needles and blade.
Finishing drawloom rag rug - steps.
Two rows of straight stitching.
Bound hem on a drawloom rag rug.
Lightweight woven fusible interfacing backs the fabric used for the narrow bound hem.
My Grandma's thimble.
My Grandma’s thimble helps me hand stitch the back side of the bound hems.
Drawloom rag rug finished!
Finished and pressed.
Stony Creek Rag Rug woven on single-unit drawloom! (Design by Kerstin Åsling-Sundberg)
Dream come true! Stony Creek Rag Rug (Design by Kerstin Åsling-Sundberg)

I have another rag rug to weave on this warp. It will still be a challenge. With what I’ve learned, though, I’m anticipating a satisfying weaving and finishing experience.

We know what to do in normal circumstances. It’s in unusual times that we fall into dismay. Private time with Jesus turns confidential fears to confident faith. He treats our challenges like personal detail studies, showing us the way forward. His grace enables us to conquer the next challenge with confident faith.

May your confidence grow.

With faith,
Karen