Tools Day: Color Wrapping

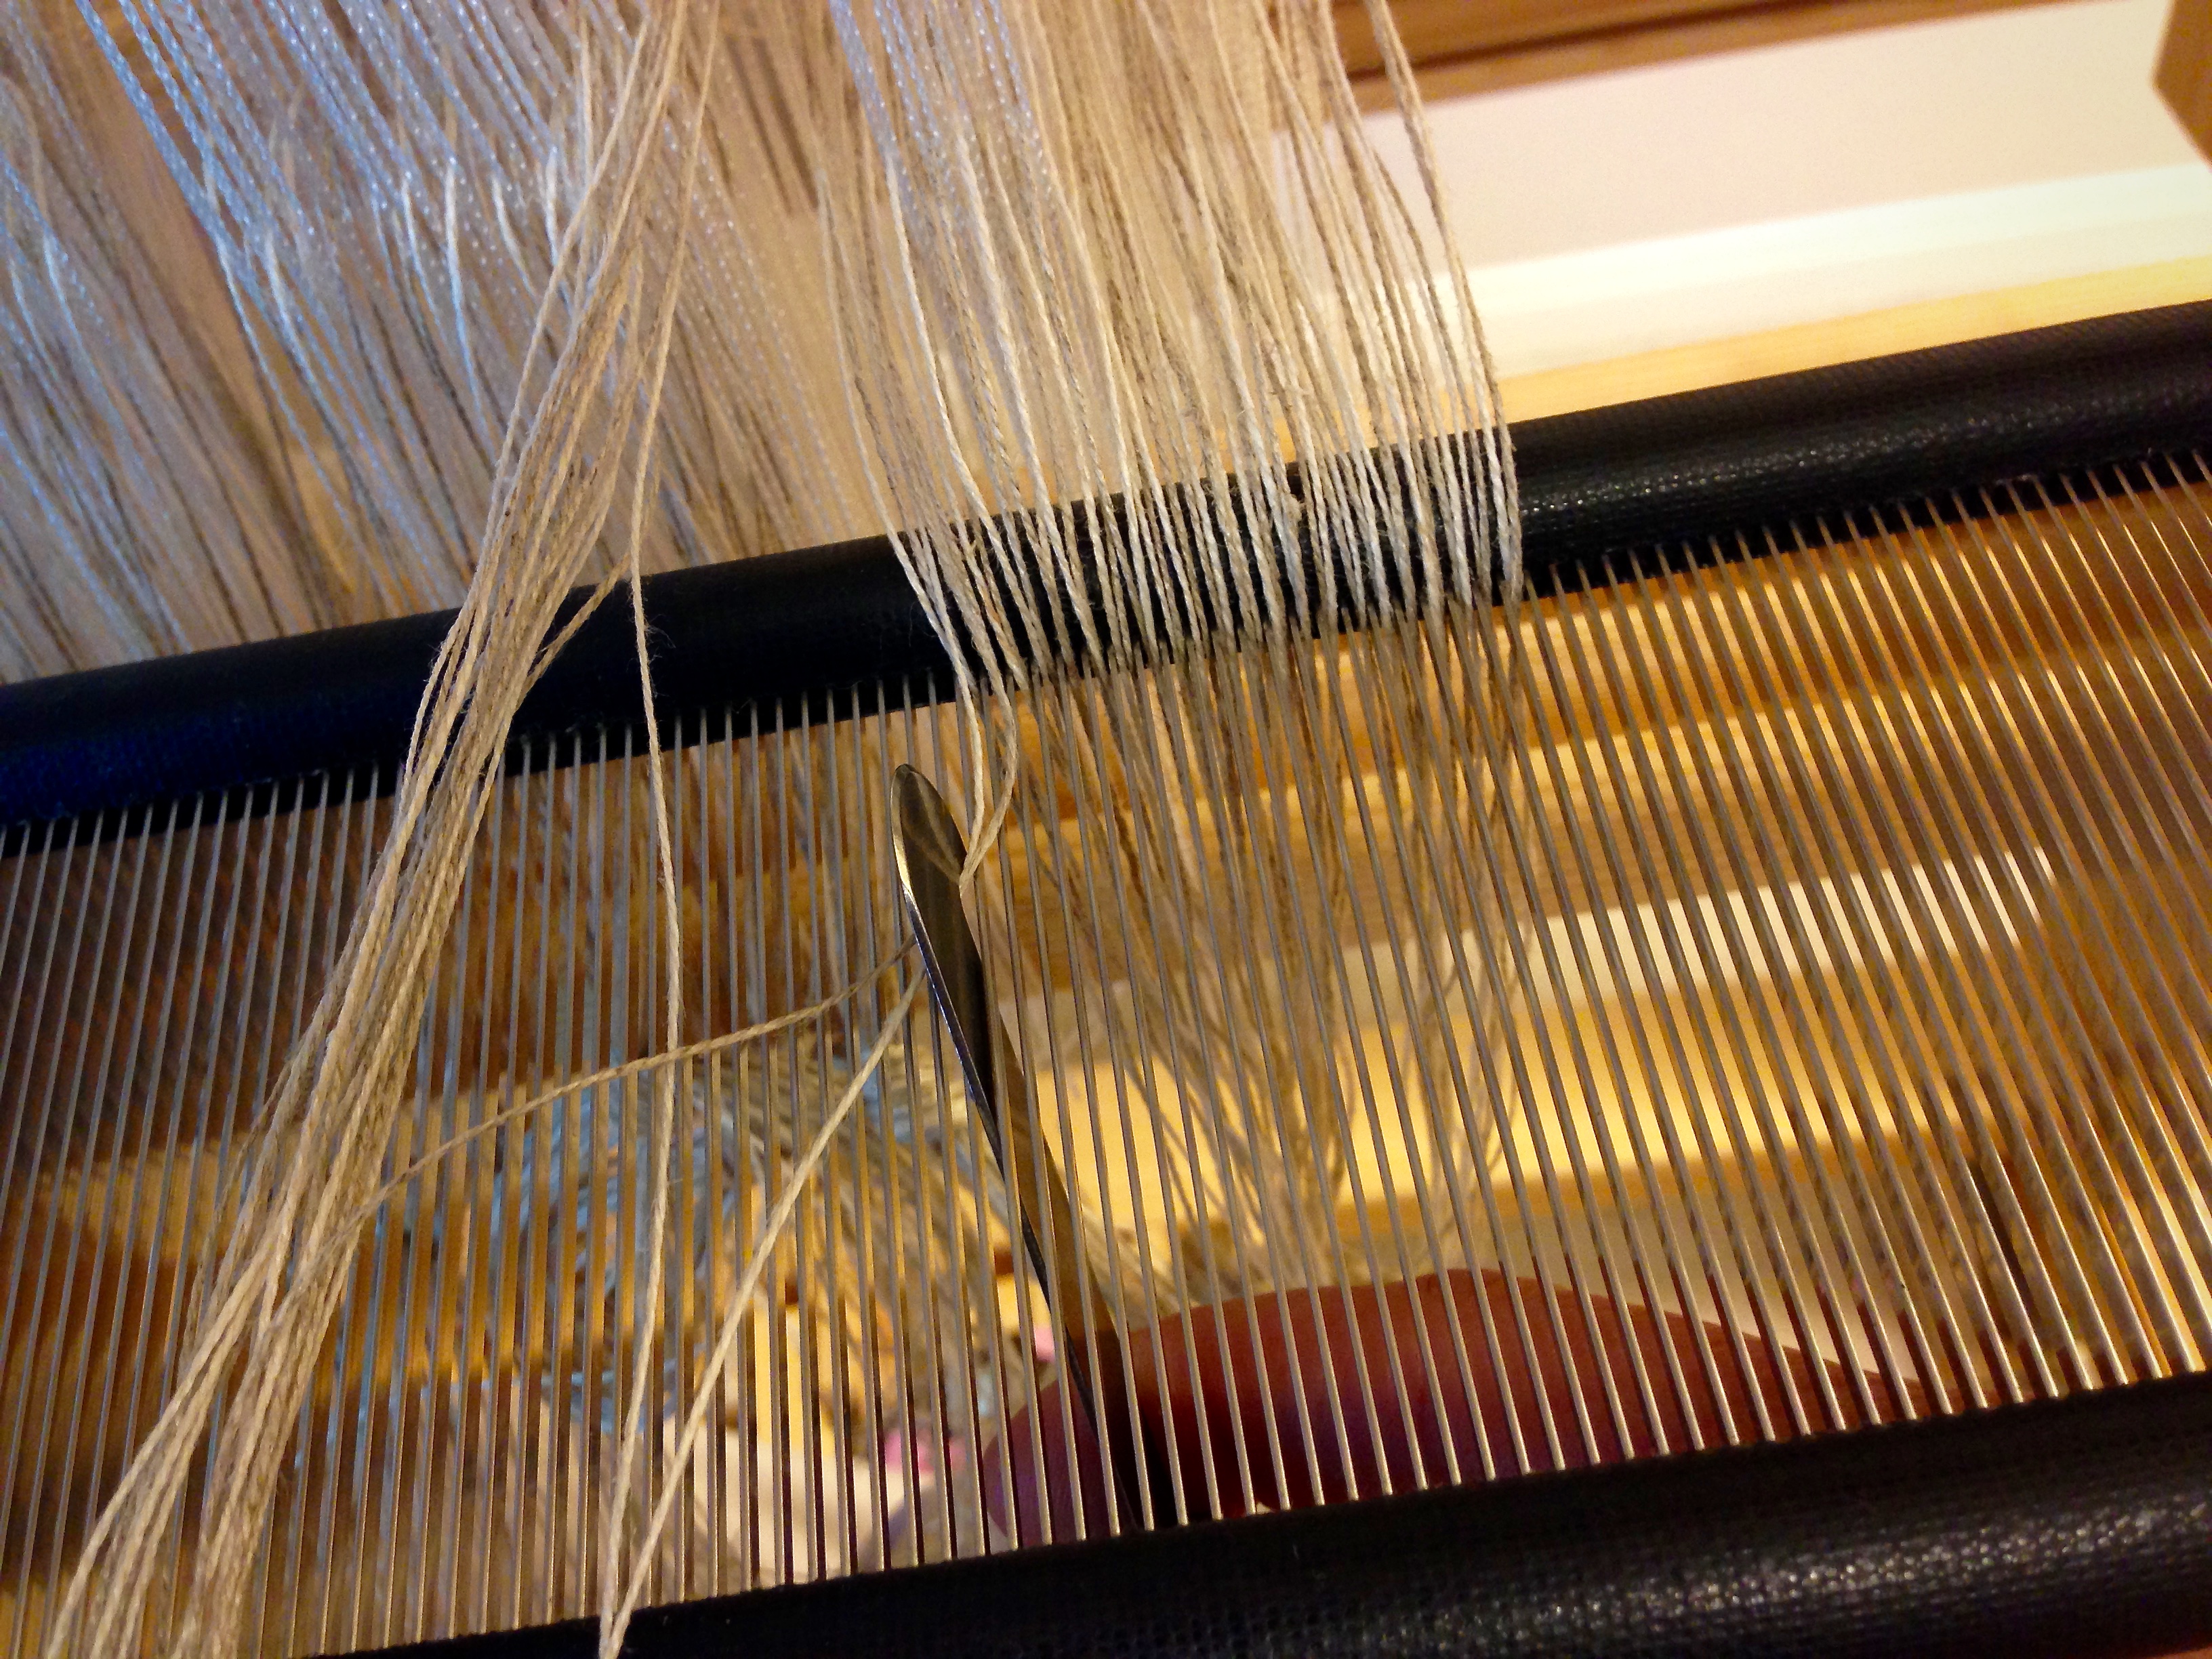
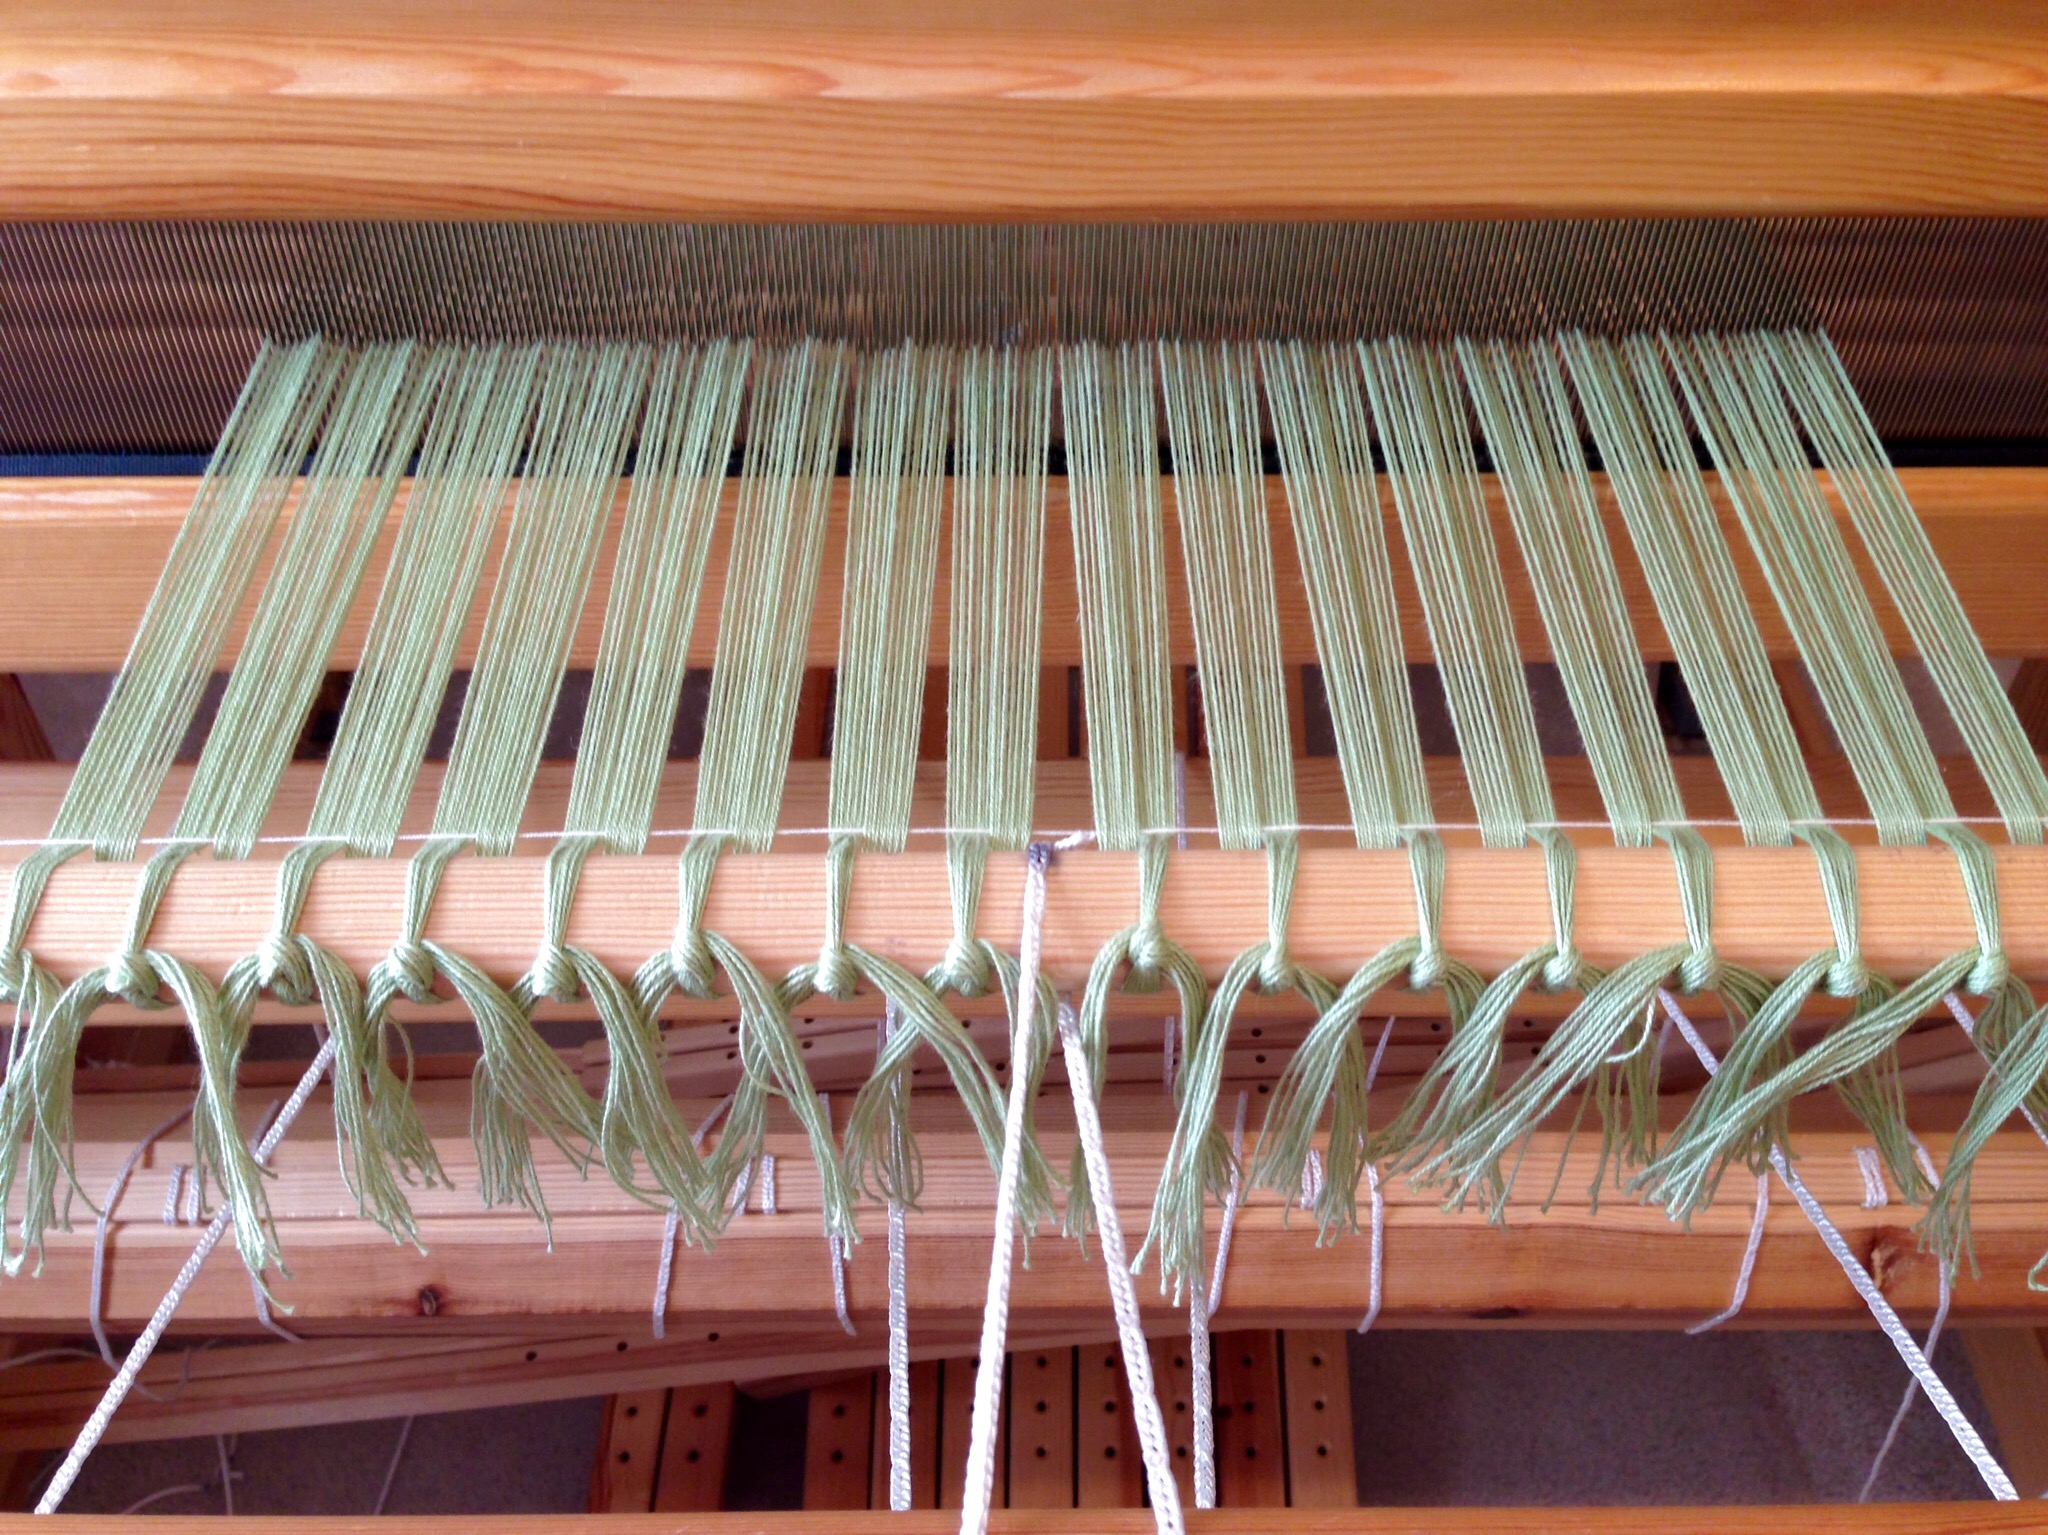
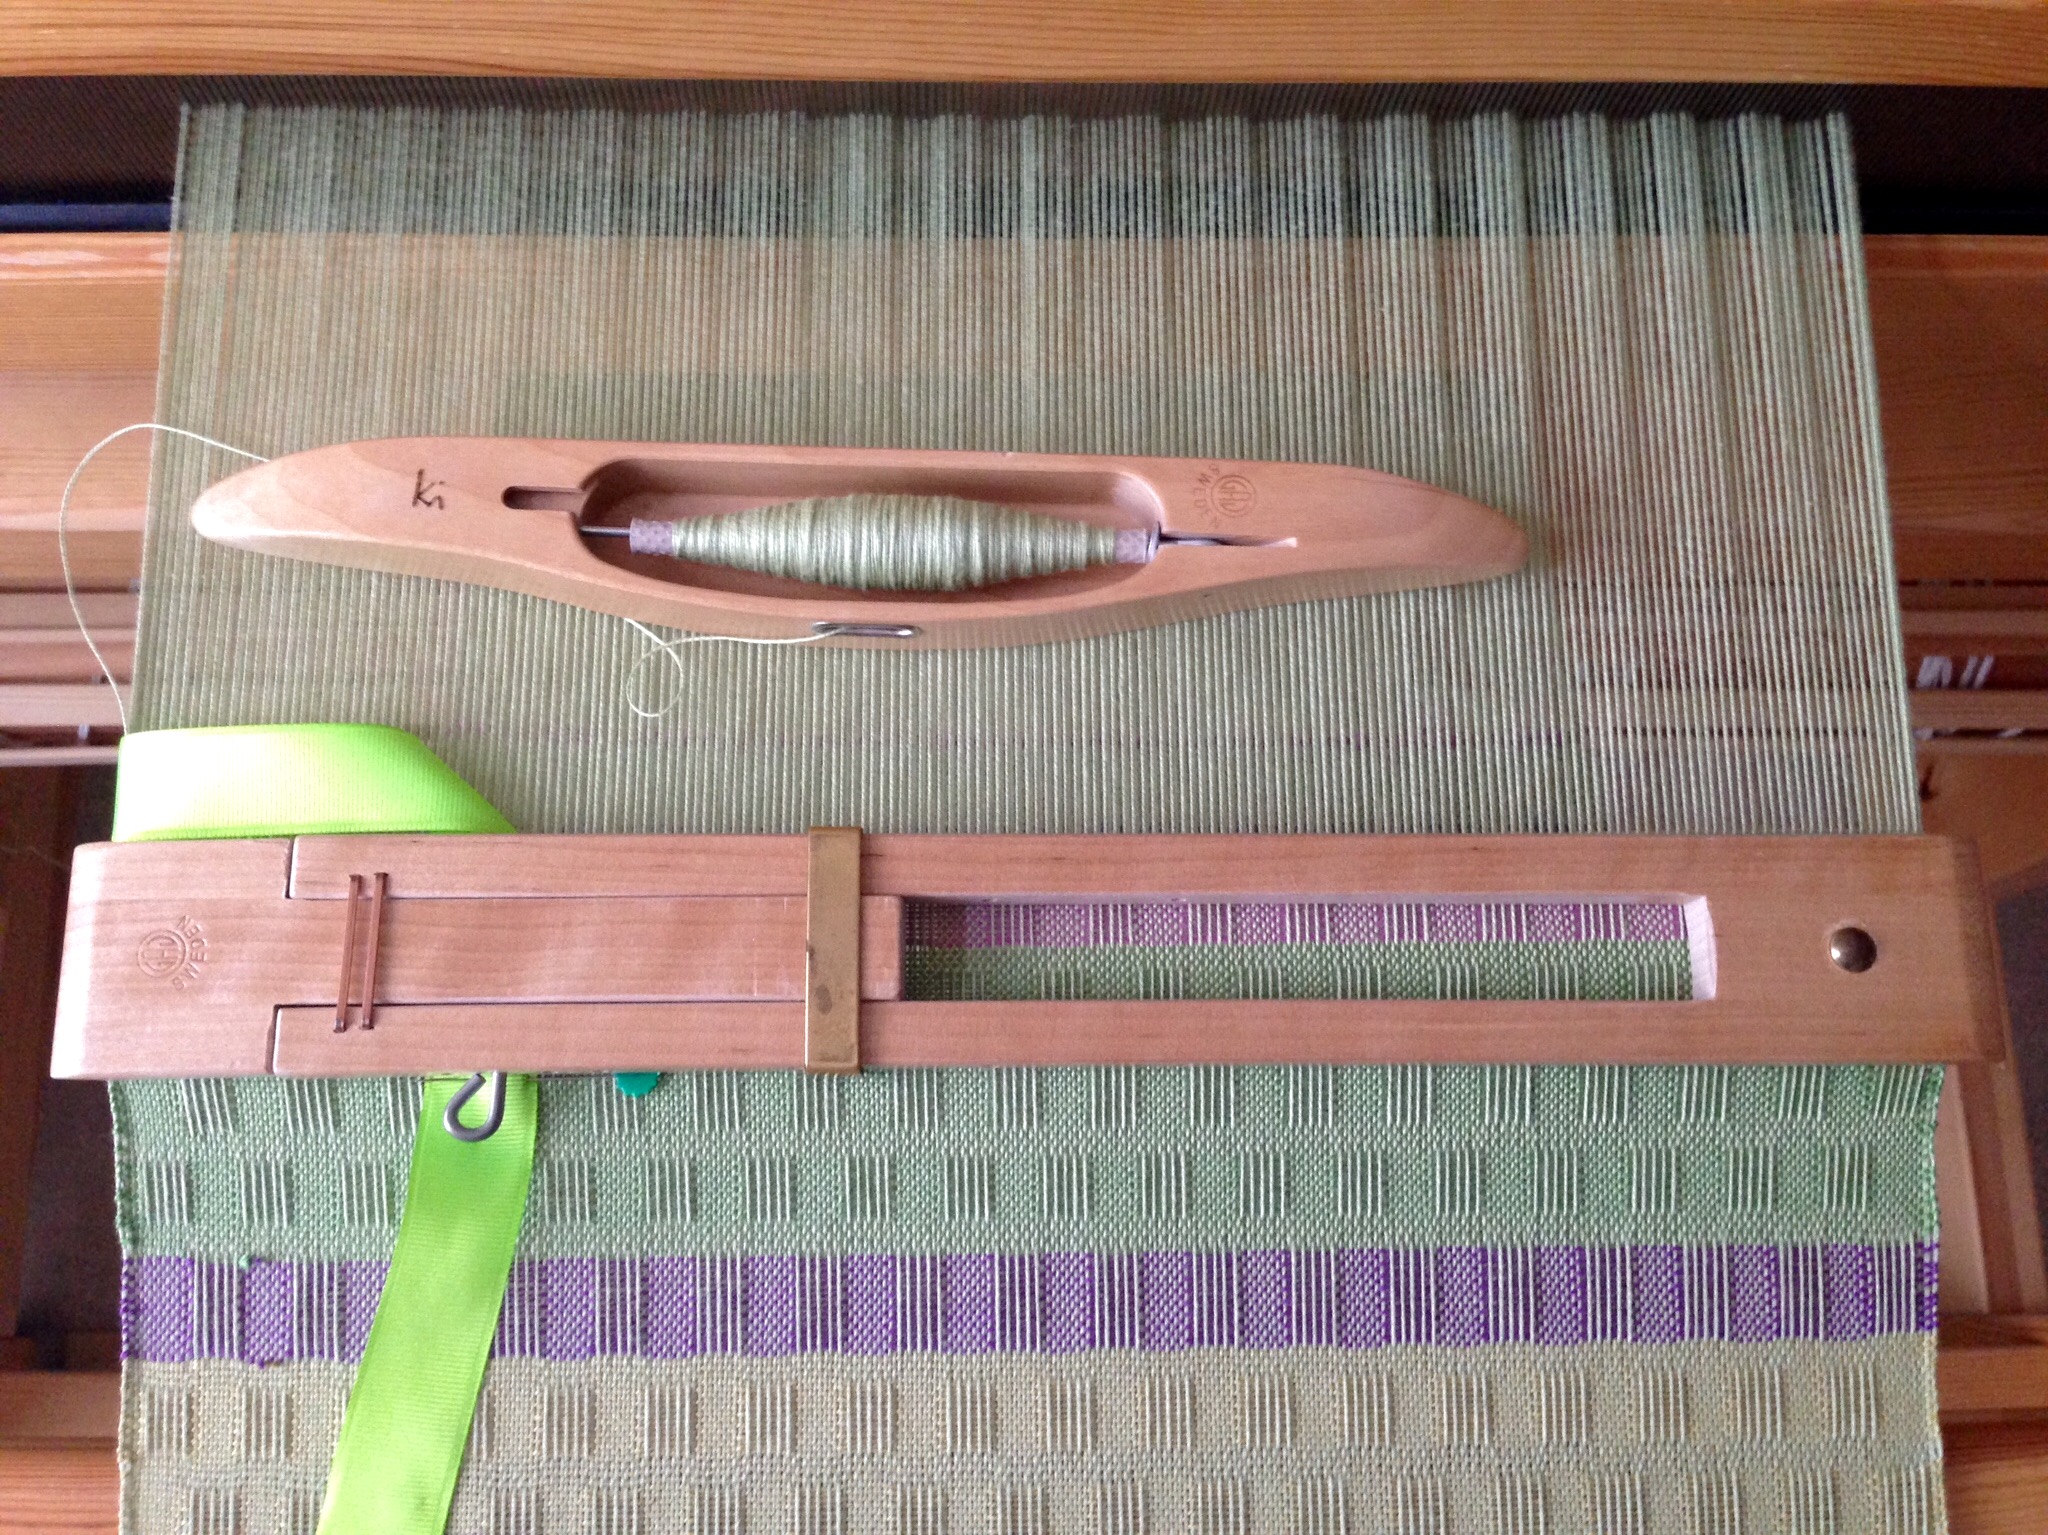
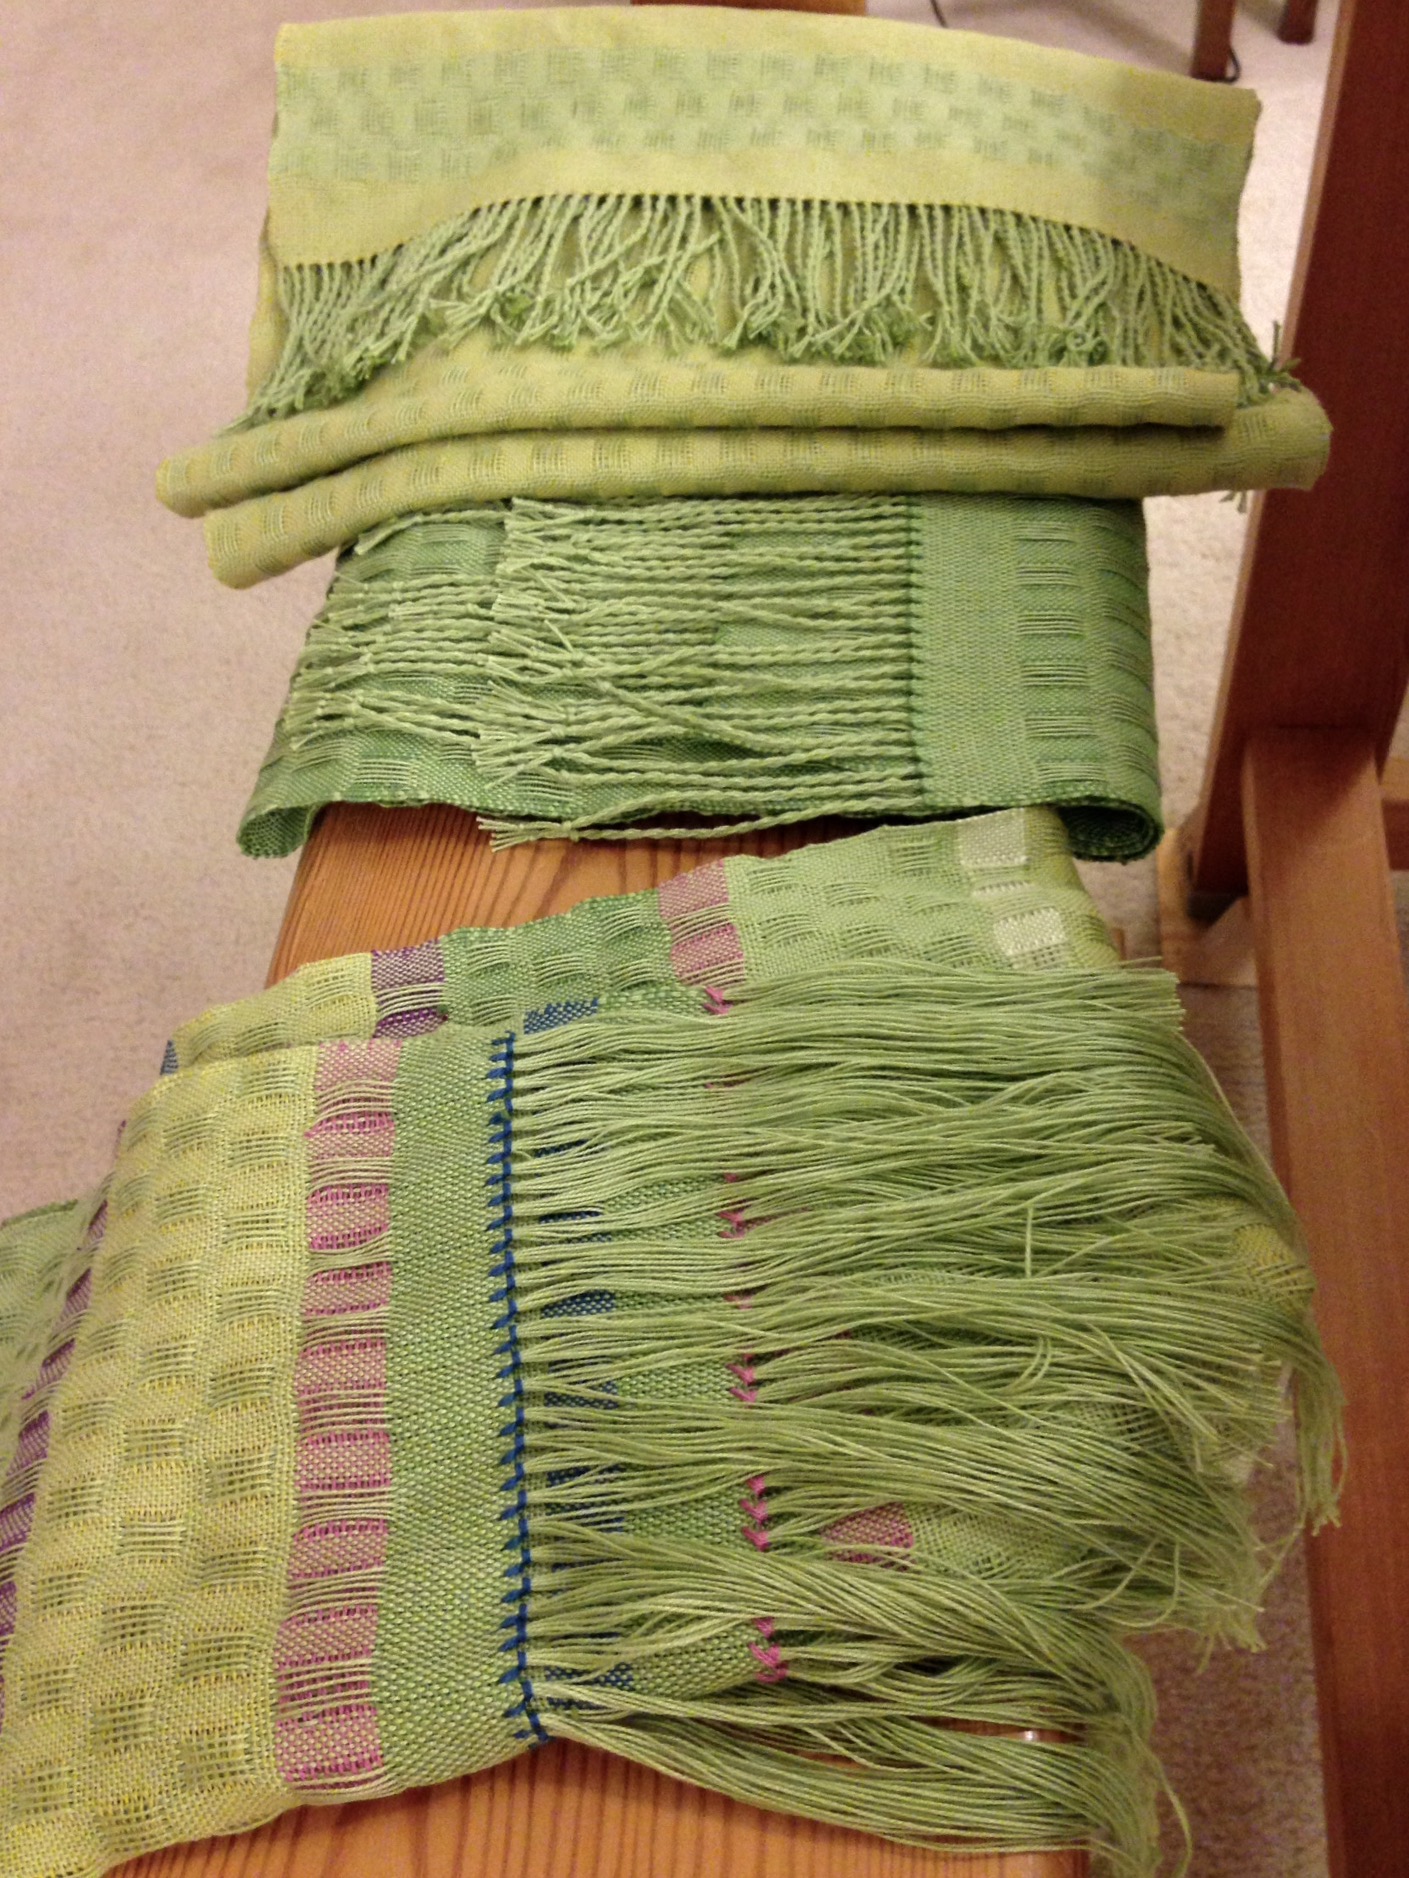
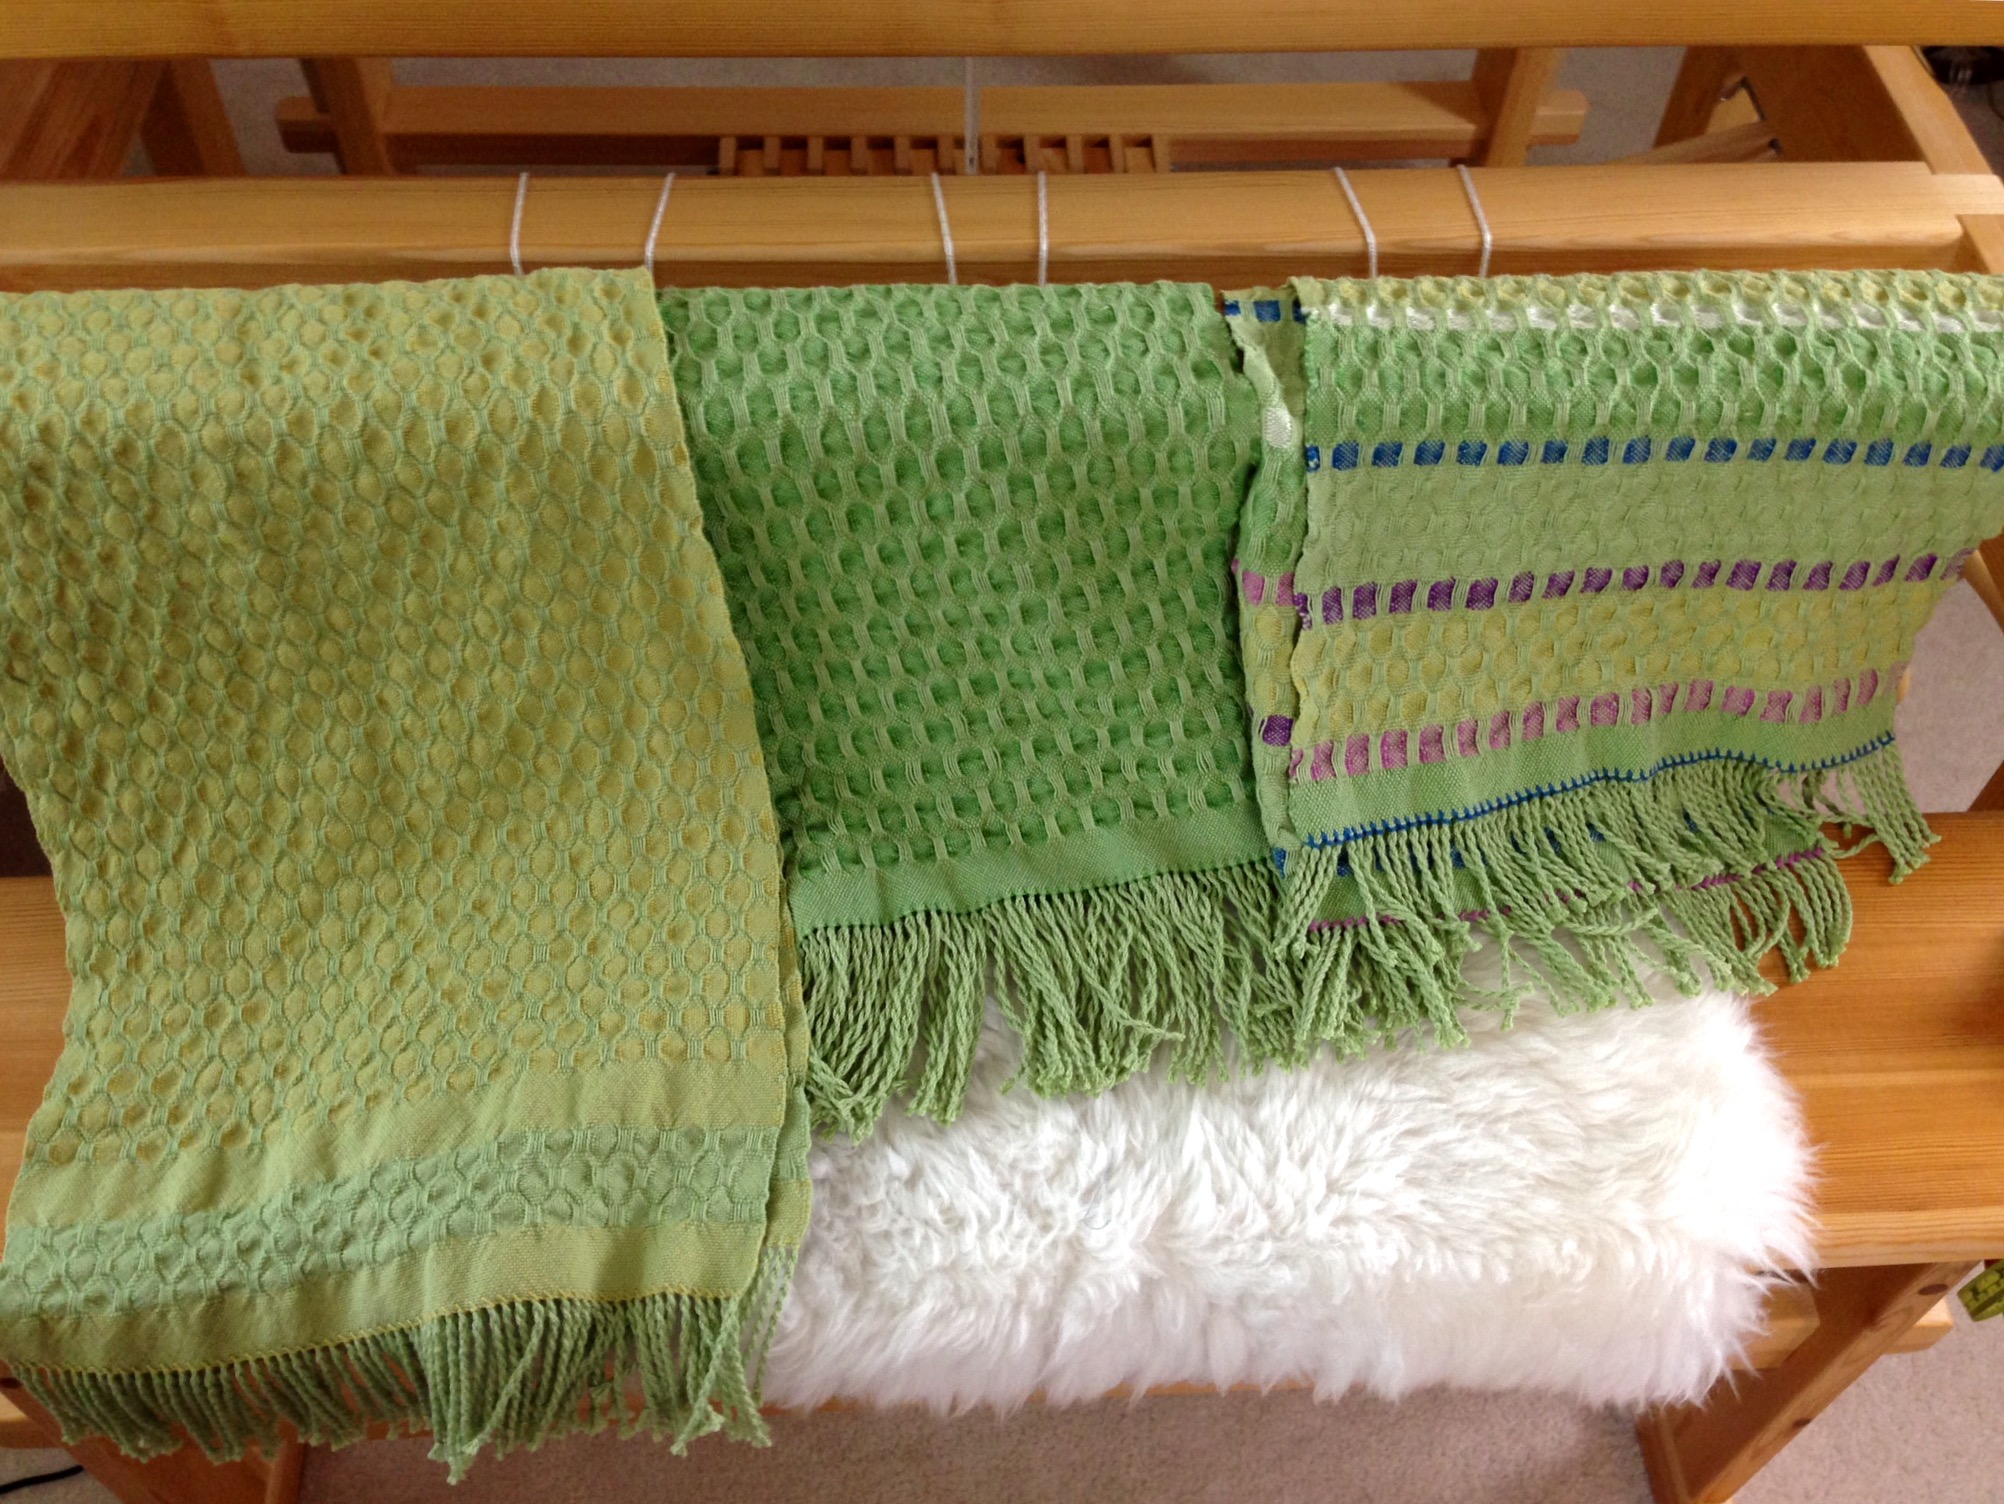
Linen singles line up for a new warp to make lace weave scarves. I have only one tube of each color. This makes an interesting challenge, since I wind warps with two threads together. Adding to the challenge, I am requiring myself to use all six colors. How will the colors behave with each other? What order should I put them in? Color wrapping is a fun way to find answers.

Making color-wrapped cards for planning linen warp.
Playing and planning with color by wrapping threads on index cards.

First I will select one color-wrapped card as “winner.” And then, I will decide whether to repeat the narrow stripes on that card across the warp, or spread the chosen stripe sequence over the width of the warp by expanding each of the narrow two-color stripes.

Color wrapping with linen to plan warp.
Cards wrapped with 16/1 line linen to view warp possibilities.
Color wrapping to plan linen warp.
Each narrow stripe is two colors paired together. (Click on photo to enlarge.)
Color wrapping shown in black and white to see balance.
Black and white gives a view that shows the balance of dark and light.

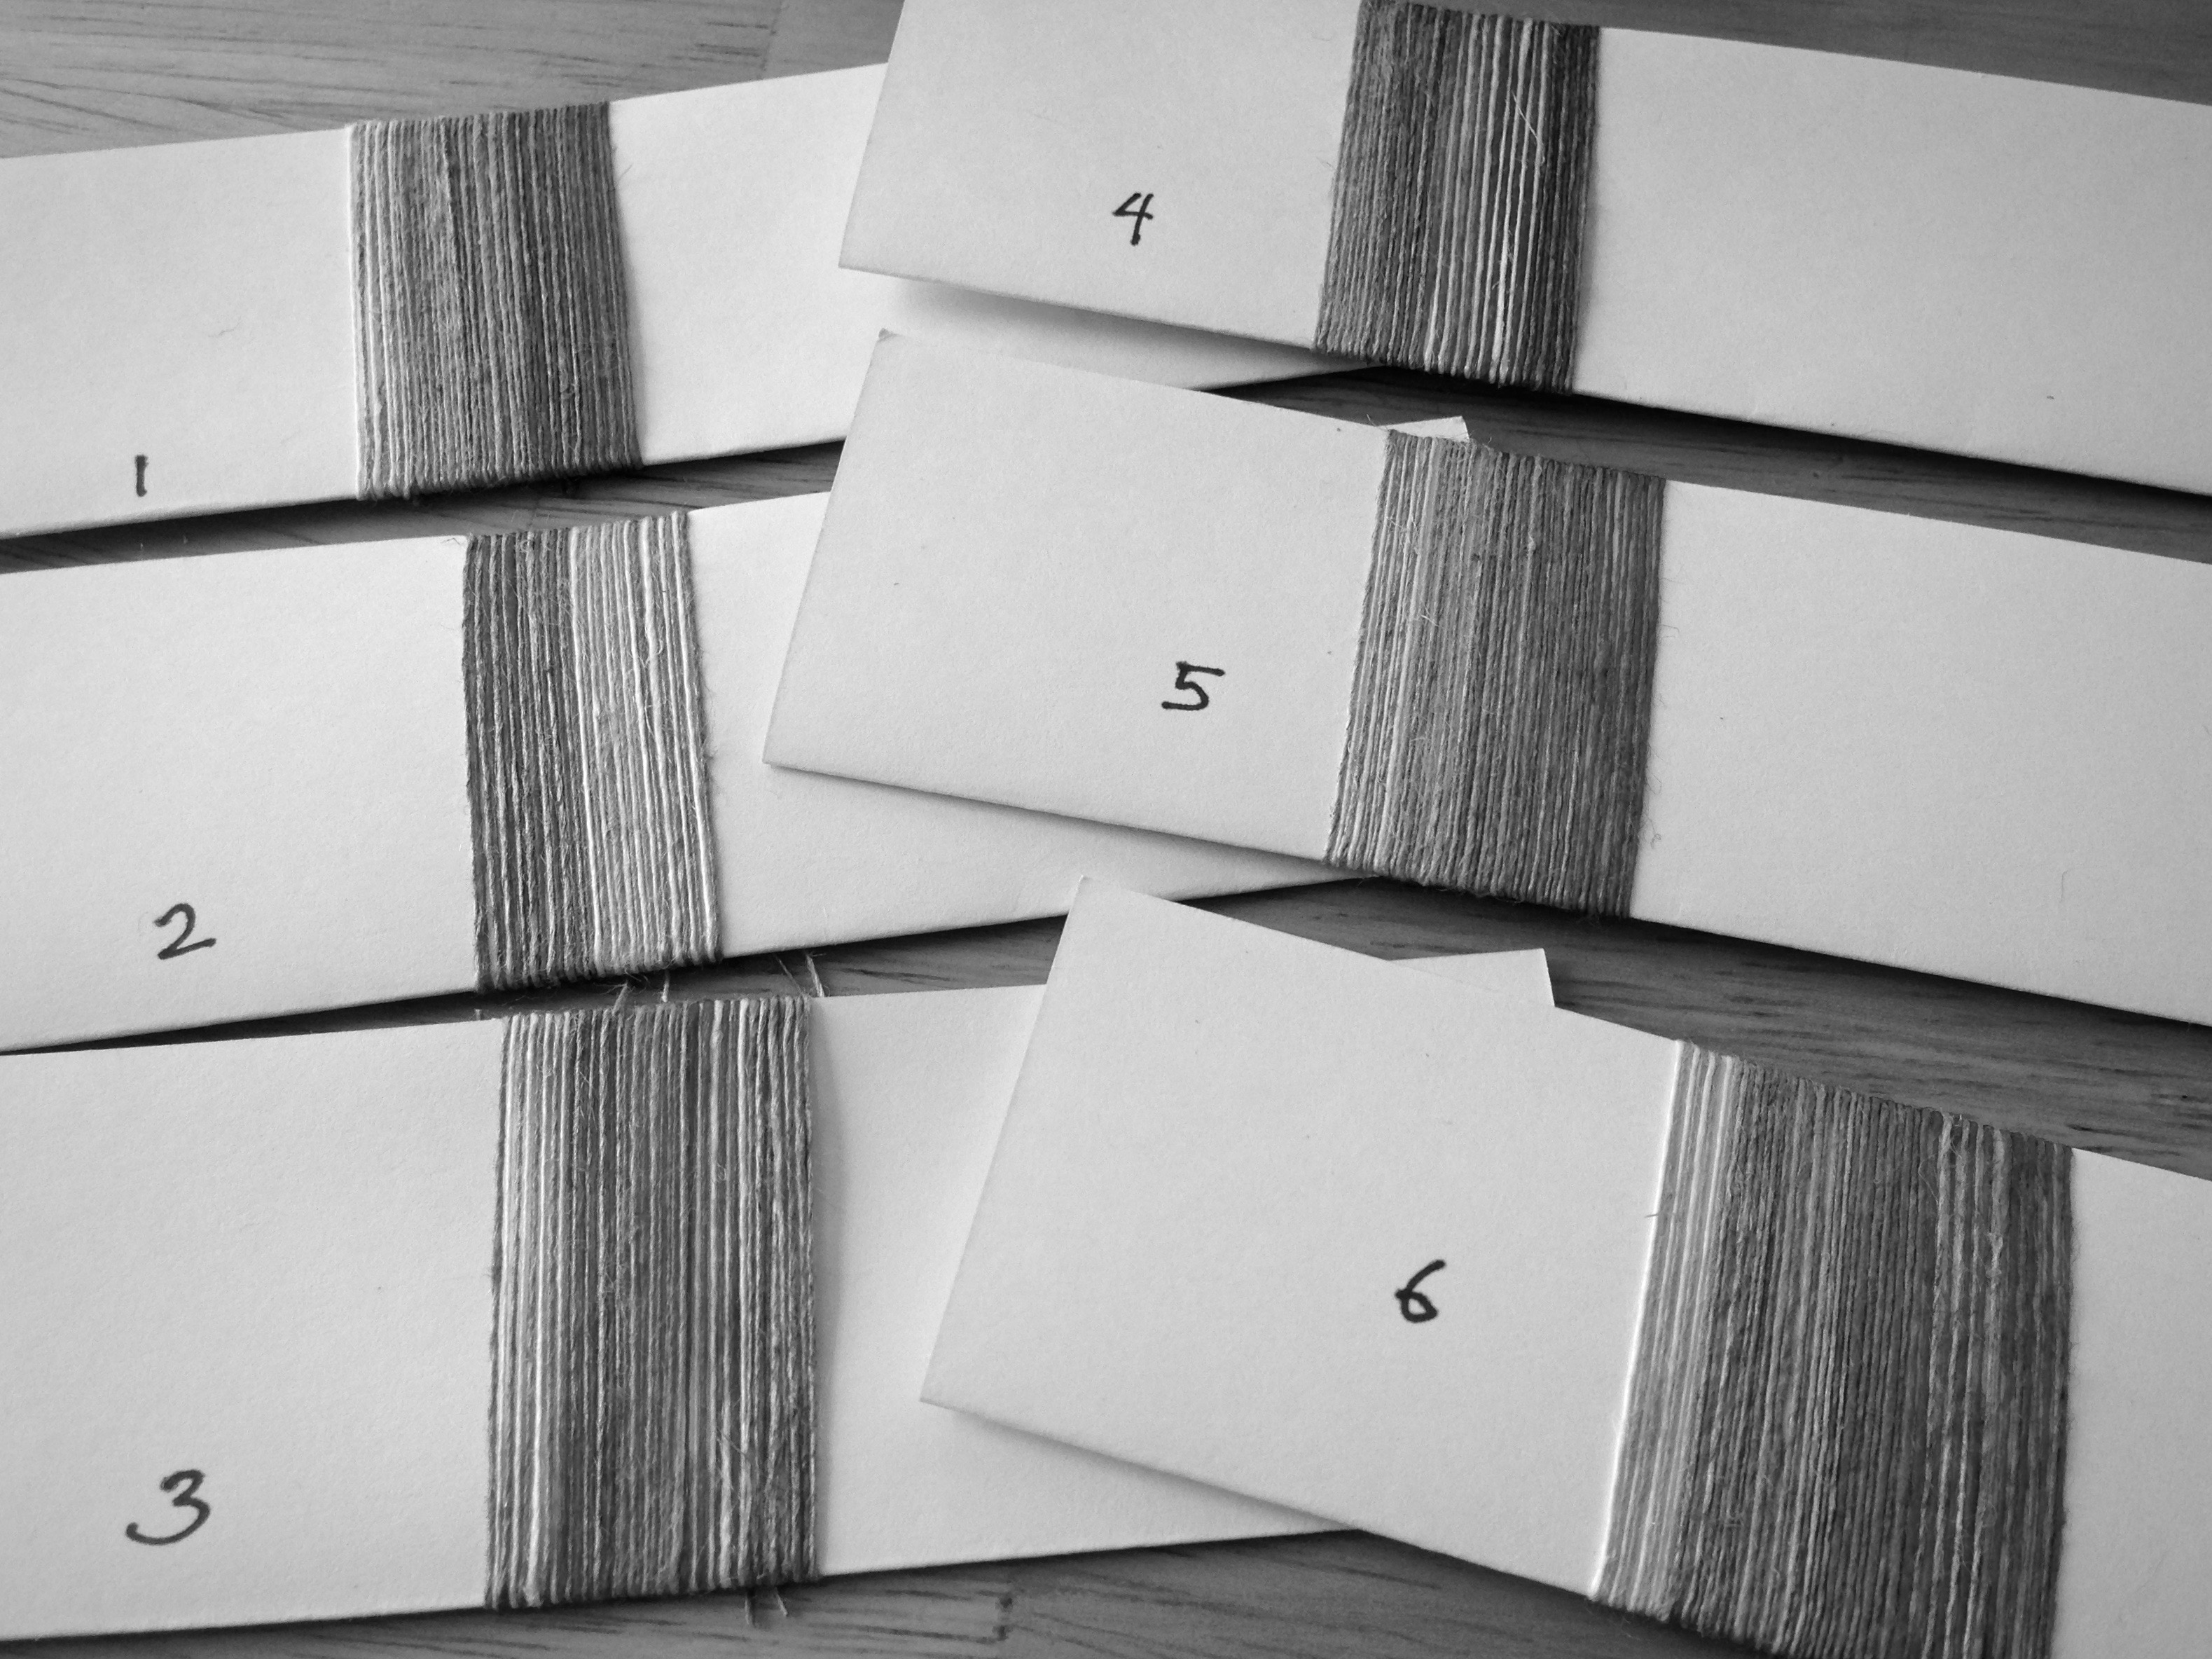
Color wrapping supplies:
Index card, folded in half lengthwise
Double-stick tape

  • Place a length of double-stick tape on one side of the folded index card.
  • Starting on the back of the card (the side with tape), stick the end of a thread (or two threads, as in these examples) to the tape.
  • Wrap the threads around the card, aligning the threads right next to each other, sticking the thread to the tape on the back each time around.
  • Experiment with different arrangements of colors, and vary the width of stripes as desired.

Which of the six color wrapping examples would you choose for an eye-catching lace weave scarf? And would you repeat the sequence across the width of the warp, or would you spread the sequence out over the width of the warp? Share your thoughts and ideas in the comments.

May you discover more options than you know what to do with.

Happy Coloring,
Karen

Quiet Friday: Rag Rug Bag

Think of this as an experiment. A first try. A specimen with which to work out procedures and details. I like the bag, and I will certainly use it; however, there are a few things that I will do differently when I make the next one. And I do intend to make another one, or two, or three. Experiments are like that. One idea leads to another. This warp was all about double binding rag rugs. As always, though, it is delightful to have some warp left at the end for play.

Weaving bag handles into the rag rug bag.
Length of 1-inch/2.5 cm black cotton webbing is woven in. The webbing that extends beyond both selvedges will form the bag handle. Rag weaving continues for a few inches before placing the webbing ends back into the shed.
Placing bag strap ends in the shed.
Both ends of the webbing strap are tapered, and then overlapped in the shed before beating them in.
Temple maintains the weaving width.
Temple maintains the weaving width as the rag weave continues past the woven-in handle straps.
Securing warp ends of rag rug.
Warp ends are secured, as usual. First, square knots, and then cut off to 1/2 inch/1 cm.
Stitching up a rag rug bag.
Sewing the sides of the bag, right sides together. I am using the four rows of woven rug warp at the beginning of the woven hem as my stitching line.
Creating lining for rag rug bag.
After turning the bag right-side out, and pressing the seams open, I created a simple flat lining, with added pocket, to fit inside the bag.
Pinning lining into the rag rug bag.
Lining is pinned into the bag, matching seams and mid-points at front and back.
Lining is inserted into the rag rug bag.
Lining is stitched into place with narrow topstitching.
Rag rug bag, with handle woven in. Karen Isenhower
Voila!
Finished rag rug tote bag! Karen Isenhower
Fun tote bag to carry to and fro.

Next time… Find a strap that is not as stiff, so it will beat in better. Weave in a strap that is the same color as the warp. Make the strap longer. Find a way to secure the cut ends of the strap (this is the biggest issue). Possibly use a band woven on my inkle or band loom for the strap.

What would you use for the strap? Can you think of a good way to secure the ends of the strap together? What other suggestions or thoughts do you have to improve a bag like this? I would love to hear your ideas.

May your experiments lead to fresh ideas.

Always trying new things,
Karen

Tools Day: Sley the Reed

I am dressing the big loom with linen. This flaxen thread brings a worthwhile challenge I find hard to resist. Beaming the warp was slow and deliberate. It pays to be attentive to everything at this stage. Threading for this dice weave could not be simpler; it was finished before I knew it. Now, it is time to sley the reed.

Tools:

  • Reed     I am using a 12-dent reed for this project.
  • Texsolv cord for hanging the reed in front of the shafts
  • Tape measure     I remove the metal ends.
  • Reed hook     Mine is from Vävstuga.
  • Bench, set at comfortable height for threading and sleying     With my Glimåkra Standard, I get to put the bench “in” the loom. It’s like going into my own little playhouse.
  • Good lighting     I use a small Ott Lite Task Lamp when natural light in the room is dim.
Everything is ready for sleying the reed.
Reed is positioned right in front of the threaded heddles. Shafts and reed hang at optimum height for visibility and ease of hand mobility.
Sleying the reed.
Left hand index finger separates the end(s) to be sleyed.
Sleying the reed.
And the right hand holds the reed hook under the reed to pull the end(s) through the dent. (These two pictures show why a third hand would be nice. Normally, I sley the reed with two hands, so a third hand would be useful for taking a picture.)
  1. Form two loops of Texsolv cord that hang down from the top of the loom, one on the right and one on the left, to hold the reed for sleying.     My Texsolv loops hang from the countermarch frame.
  2. Adjust the length of the Texsolv loops so that the reed will fall just below the eyes of the heddles.
  3. Rest the reed horizontally in the Texsolv holders.
  4. Use the tape measure to find the center of the reed.     I mark the center of my reeds permanently by tying a small piece of 12/6 cotton seine twine at the center.
  5. Find your weaving width measurement on the tape measure. Fold that measurement in half and place the folded tape measure at the center point on the reed, to the right, to find the starting dent for sleying the reed. Place one end of the tape measure in that starting-point dent to keep your place.     Some people use the reed hook as a place holder, but when I pick up the reed hook to sley the first dent, I invariably loose my place.
  6. Pull ends through the reed with the reed hook, referring to your draft for the correct number of ends per dent, starting at the dent on the right hand side that has the place holder in it. Good lighting helps to prevent errors.     This is especially true with finer dents and darker threads.
  7. After sleying each group of warp ends, visually examine the sleyed dents to look for missed dents or extra ends in dents.
  8. Tie the sleyed group of ends into a slip knot.
  9. Finish sleying all the ends; and smile, knowing you are a step closer to weaving fabric.

May all your looms be dressed.

Happy Dressing,
Karen

One Treadle Short

I faced a dead end with this six-shaft weave. The draft requires seven treadles in order to include true plain weave. And I do want plain weave for the hems. That is a problem. This loom has only six treadles. So these double binding twill rag rugs were put on hold while I thought about it.

And then I had an idea. What if… I tie the sixth treadle as if it were the seventh treadle, enabling me to weave the plain weave hem. And then, undo the treadle and re-tie it as the sixth treadle for weaving the body of the rug? It works! Essentially, I created seven treadles out of six. What seemed like a dead end became the point of discovering something new.

Changing treadle tie-up to make six treadles into seven.
With this tie-up, the fifth and sixth treadles (counting right to left) are able to weave an even plain weave. The sixth treadle is actually tied up as the seventh treadle, which is only needed for the plain weave hems at the beginning and end of the rug, paired with treadle five. To change the treadle tie-up, the upper and lower lamms for the first and second shafts (counting back to front) need to be switched. That’s all.
Changing treadle tie-up to make six treadles into seven.
Treadle tie-up now follows the draft as written for the first six treadles to produce the twill weave for the body of the rug.
Underneath view of Vavstuga treadle tie-up system. Makes changing tie-ups a breeze.
Under-the-treadle view of the Vävstuga treadle tie-up system. This tie-up system with beads and pointed dowels (or knitting needles) makes changing the tie-up a breeze.

Can you imagine the dead end the friends and family of Jesus felt when they saw his body go limp on the cross? ……………………………………………………………………………………

Easter is about the excitement of knowing Someone who died and came back to life. In the Easter story, the angel tells the women who arrive at the tomb, “I know you seek Jesus, the Crucified. He is now Jesus, the Risen.” For these women, this moment changed everything. What had seemed like a dreadful dead end became the point of discovering new life. Indeed, even now, a dead end is often the starting point of finding new life in the Risen one.

May you discover something new.

Blessings,
Karen

Quiet Friday: Cotton Scarves

One thing I learned is the scarf with the longest warp floats has the greatest shrinkage rate. Another thing I learned – again – is to plan a longer warp than what I think I need. The third scarf is significantly shorter than the first two because I ran out of warp. Table runner, anyone? I always include length for sampling, but I need to include more, more, more. Still, I am very happy with the finished results. And, you have a new video to watch! (Scroll down to see it.)

Cotton warp for scarves is tied on.
Warp of 8/2 cotton is tied on in 1-inch/2.5 cm sections. The leveling string evens out the warp for immediate weaving.
Cotton lace weave scarf on the loom. Fringe twister video.
First scarf, with dark green weft, has the longest warp floats. This scarf ended up shorter than the second scarf, even though the first scarf’s length on the loom was longer than the second scarf.
Cotton lace weave scarves on the loom. Fringe twisting info, too.
Second scarf, with citrine weft, has a border element created with light green weft (same as the warp), including warp floats. The plain weave before and after the border element helps create a natural ruffle at each end of the finished scarf.
Cotton lace weave scarves on the loom. Springtime colors!
Saving the best for last, I used a series of springtime colors to create this scarf. The varied lengths of the floats give an illusion of colored ribbons crossing the scarf.

I wet finished the scarves in the washing machine, adding a small amount of Eucalan, on the gentle cycle, with warm wash and warm rinse, and very short spin. They went in the dryer on low heat until damp, and then hung to dry the rest of the way. The scarves came out lightly puckered, which is exactly what I had hoped for. I could have washed them in hot water and left them in for a longer amount of time if I had wanted the scarves more dramatically puckered.

Twisting fringe using a fringe twister tool.
Two scarves with fringes twisted. One waiting to be a film star in “Using a Fringe Twister.” This is before wet finishing.
Three cotton lace weave scarves, and fringe twisting video. Karen Isenhower
Wet finishing happens after the fringe has been twisted. These scarves have done it all. They are finished.
My favorite scarf. For now...
First seen on Instagram @celloweaver #warpedforgood

There’s nothing like finishing a fun project! Clearly, I know what to do next… Dress the big loom and keeping on weaving.

May you learn something new every day.

Happy Weaving,
Karen