What do you look for in a handwoven rag rug? How do you detect quality of craftsmanship? I look at the selvedges. First thing. I look for selvedges that are nice and tight, and that have a uniform twist at the edge. A few simple steps, consistently practiced, produce the kind of quality you can see and feel. It’s one more reason I find delight in weaving rag rugs.
Beater swings forward to beat in the weft with its just-formed firm and tidy selvedge.Set up for filming the short tutorial. My husband does the filming and proves his patience through several retakes.
Watch this Quick Tip video for a short demonstration.
May the quality of your work be the first thing noticed.
Remember that time you miscalculated when planning your warp? You found the mistake when you were threading, and you ended up with an extra group of ends. If you have ever done something like that, then you understand where this leftover linen warp came from.
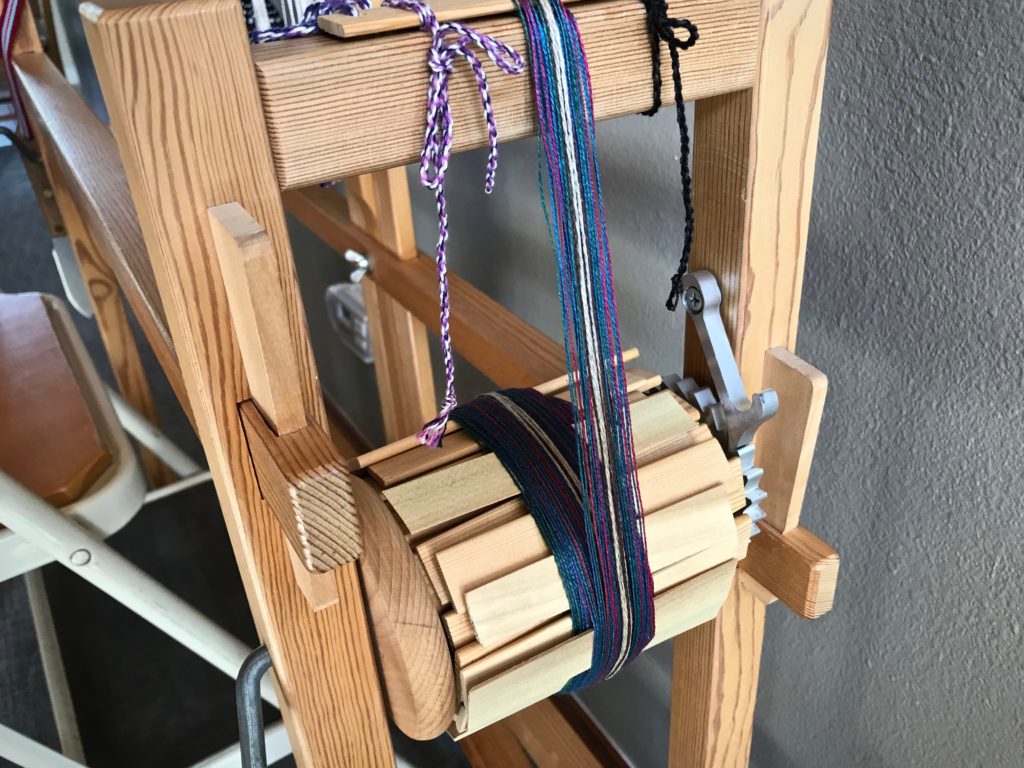
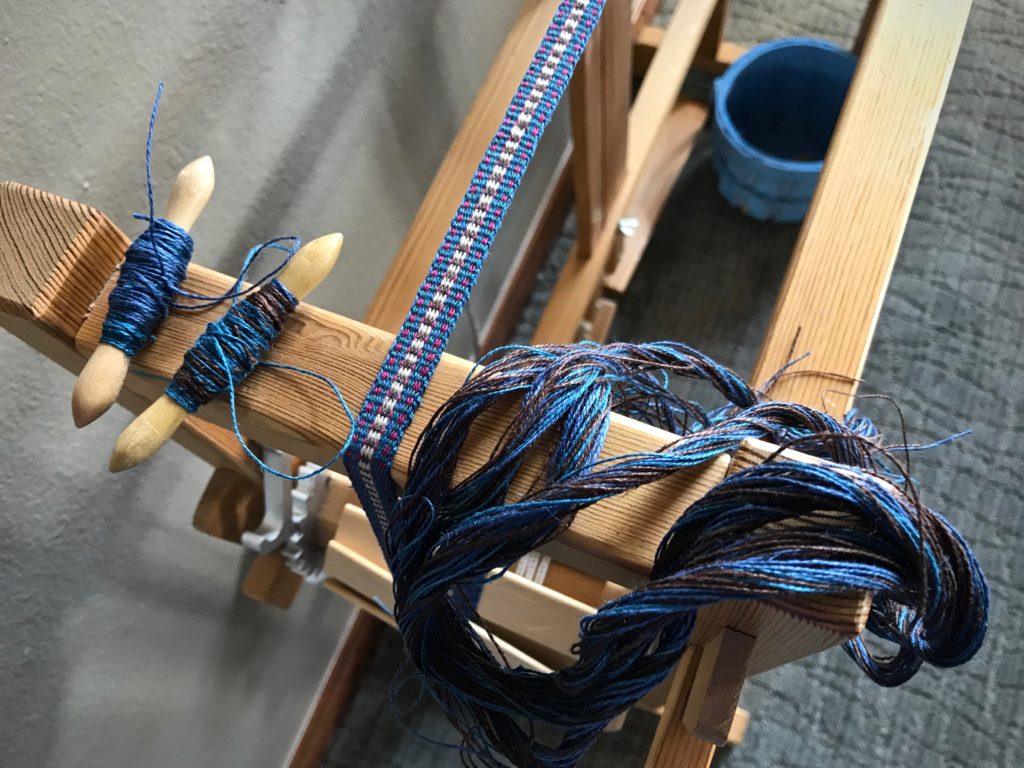
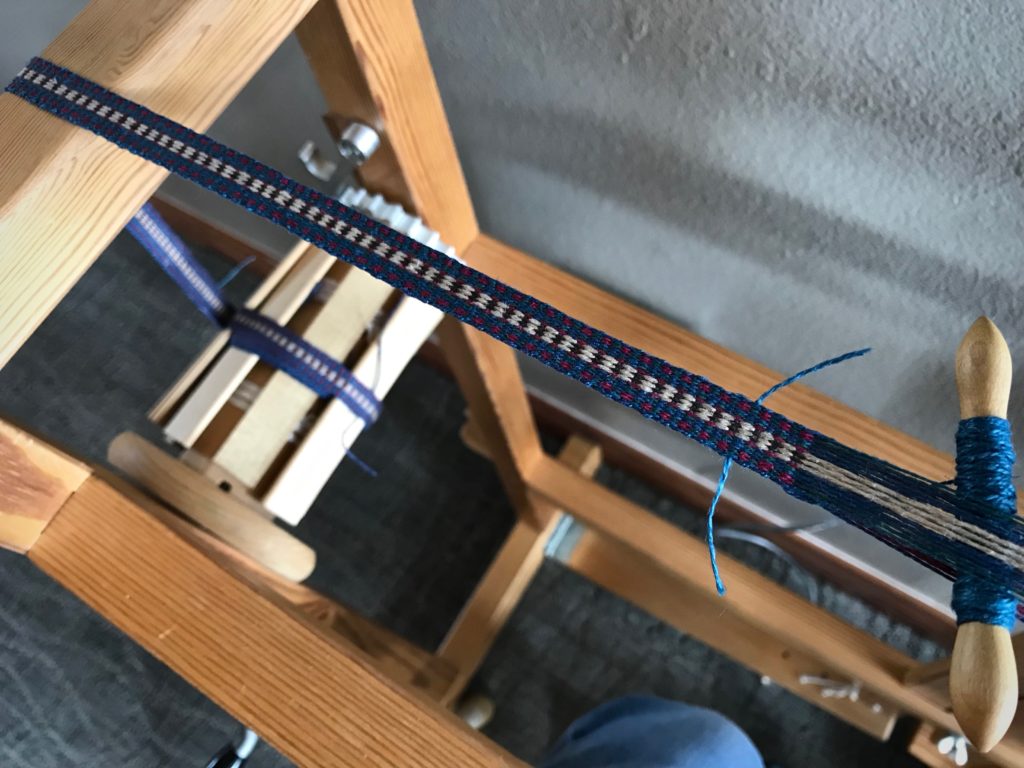
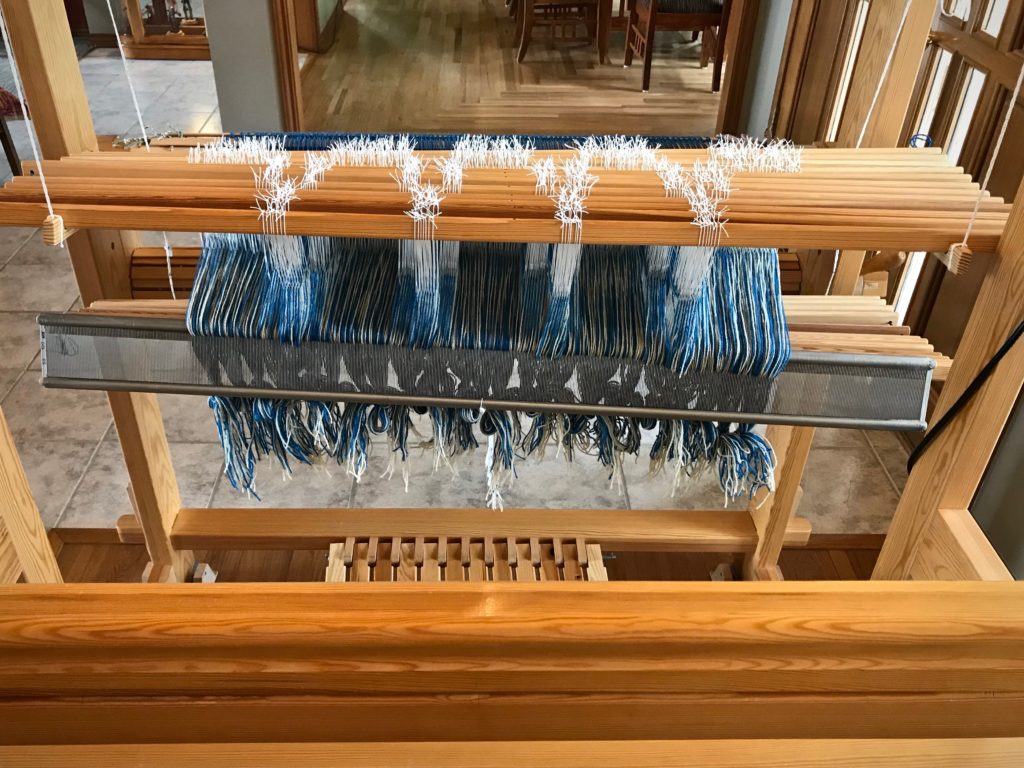
This little linen leftover warp is now on the Glimåkra band loom. I removed two ends to get a warp with symmetrical colors. It’s perfect for making hanging tabs to go on the leftover linen waffle weave washcloths. The weft on these band loom shuttles is from one of the little linen warp chains I mentioned last week. (See Put the Linen Back to Use.)
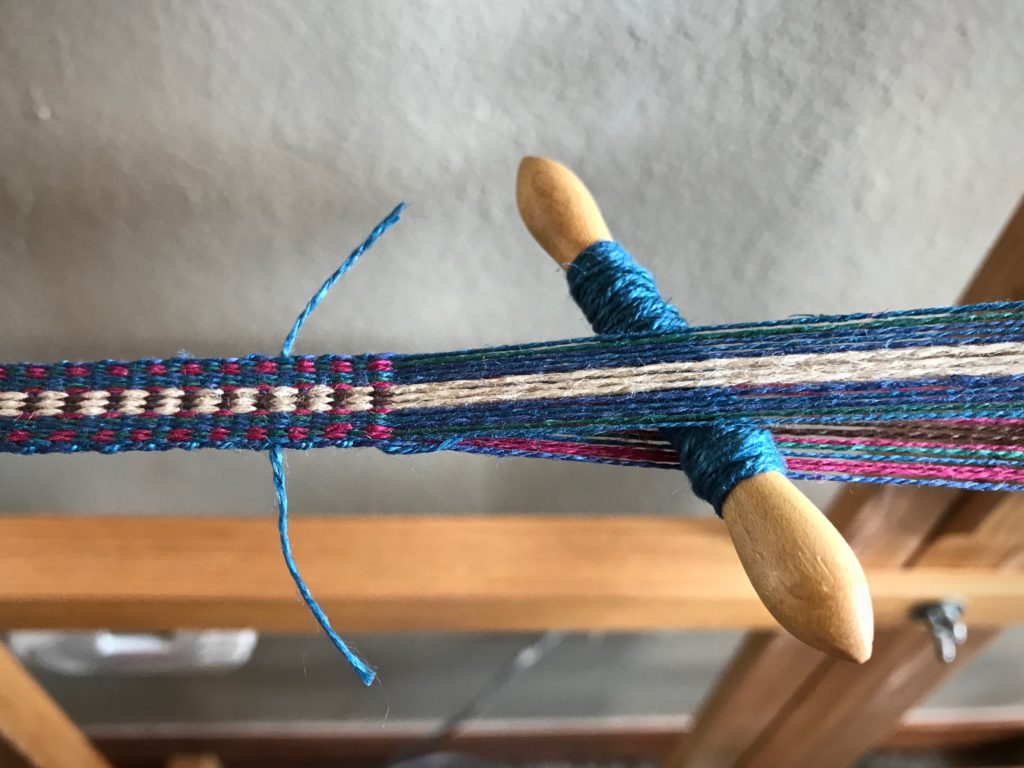
Linen from a leftover warp chain fills the little band loom shuttles.Weft tails show the color variance–turquoise and blue–in the leftover linen used for weft, indistinguishable in the selvedges of the woven band.
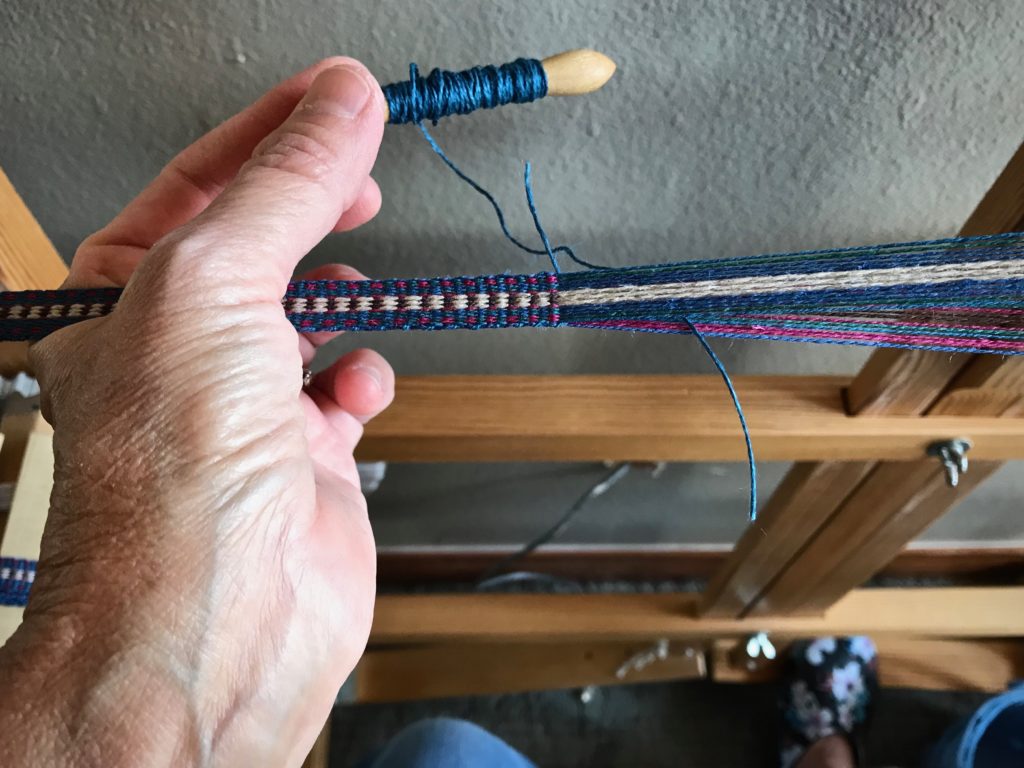
When the thread comes to an end on the shuttle, I follow this simple process to begin a new weft.
Place the ending weft through the shed, leaving a tail of at least 1/2”.
Without changing sheds, lightly tap the weft in place with the band knife.
Bring the new weft on a shuttle through the same shed, going in the same direction as the previous weft’s shuttle, leaving a tail of at least 1/2”. (There is now a weft tail extending in both directions.)
Without changing sheds, lightly tap the new weft into place with the band knife. (This helps to make a snug fit for the two wefts in this shed.)
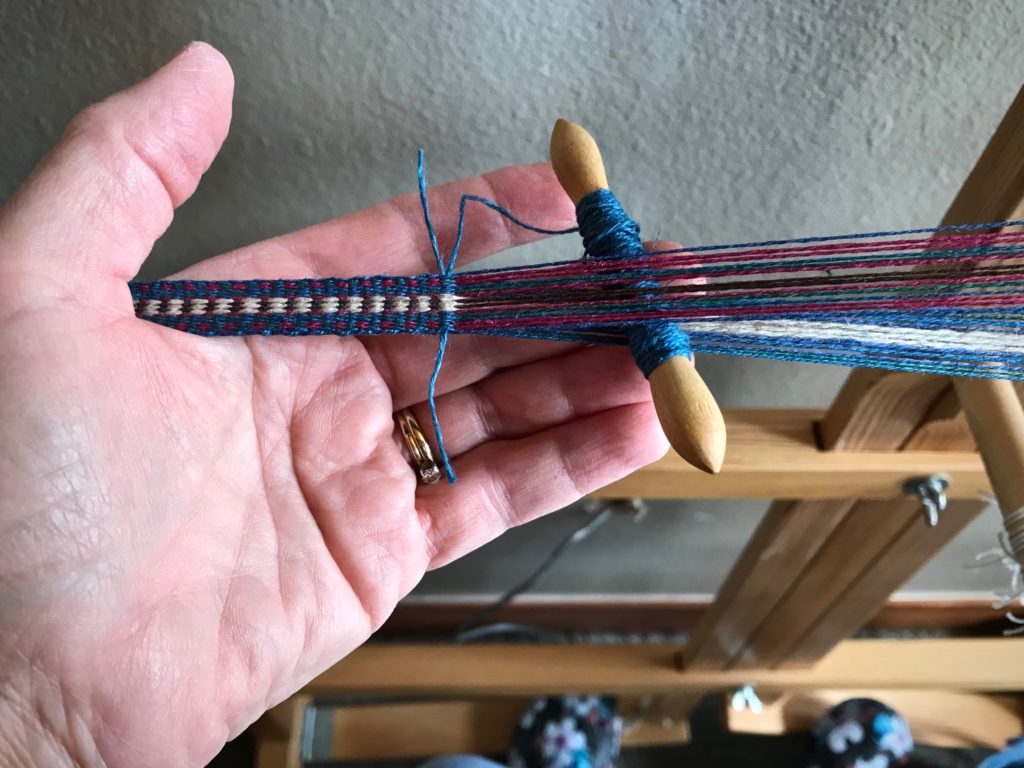
After weaving 1/2” further, clip off the weft tails; or, clip all the tails after the entire band is woven and has been cut from the band loom.
Weft tails are left extended on this band. I may trim some of them later to 1/4″ for effect, to be used as hanging tabs on the leftover linen waffle weave washcloths.
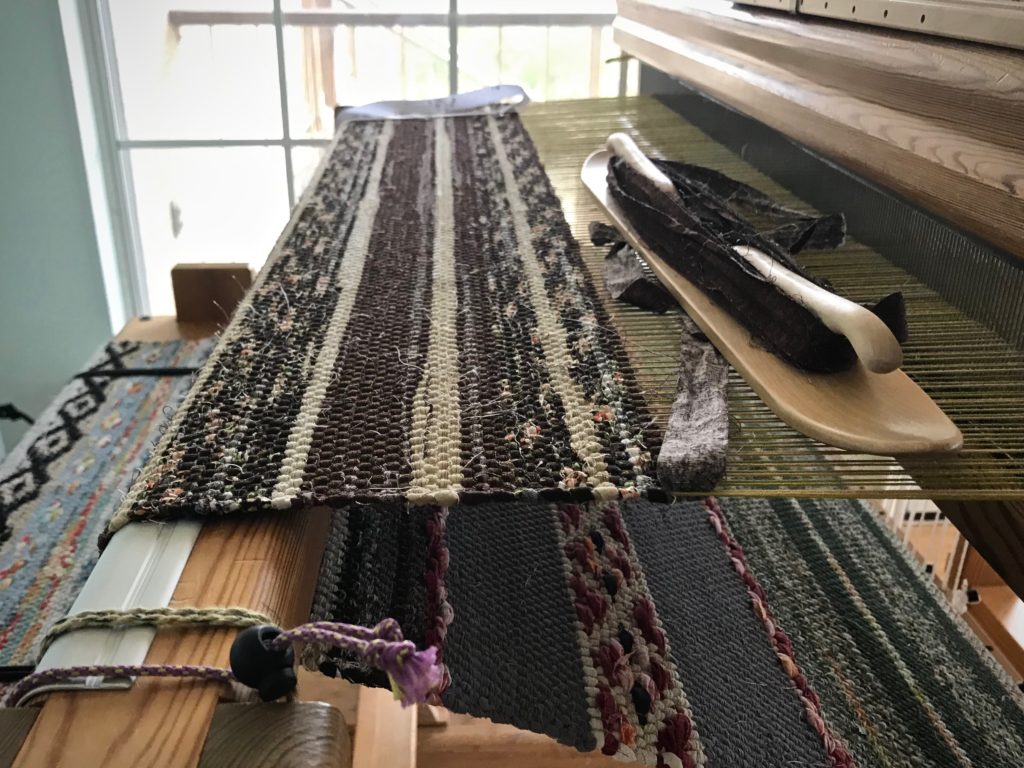
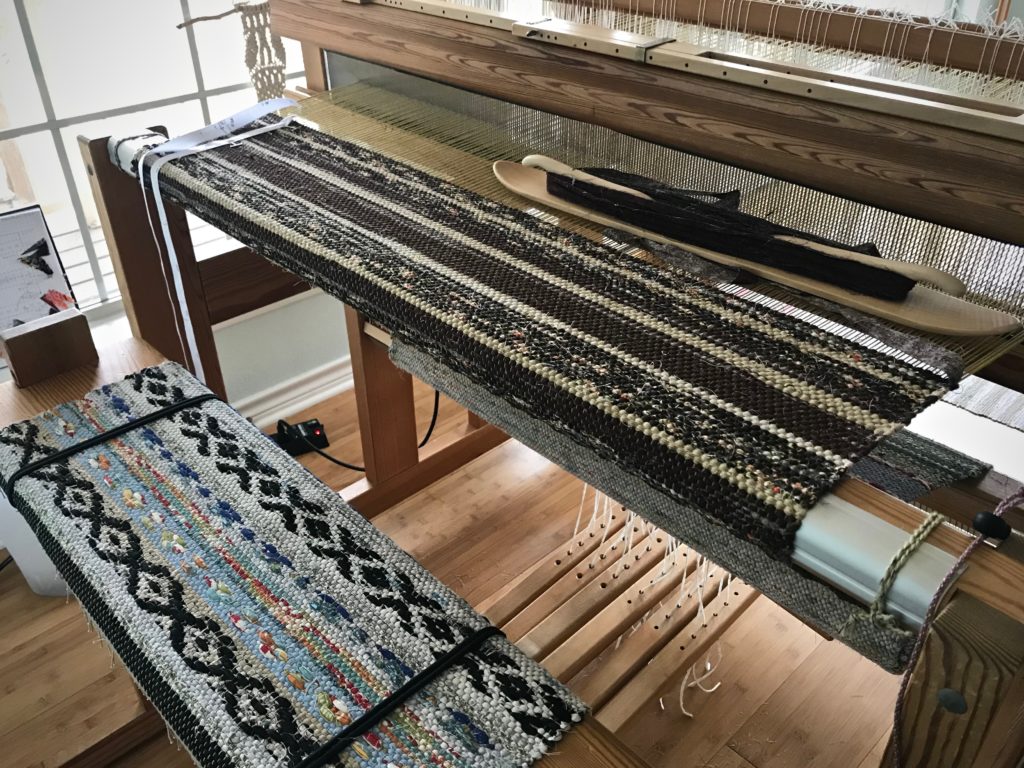
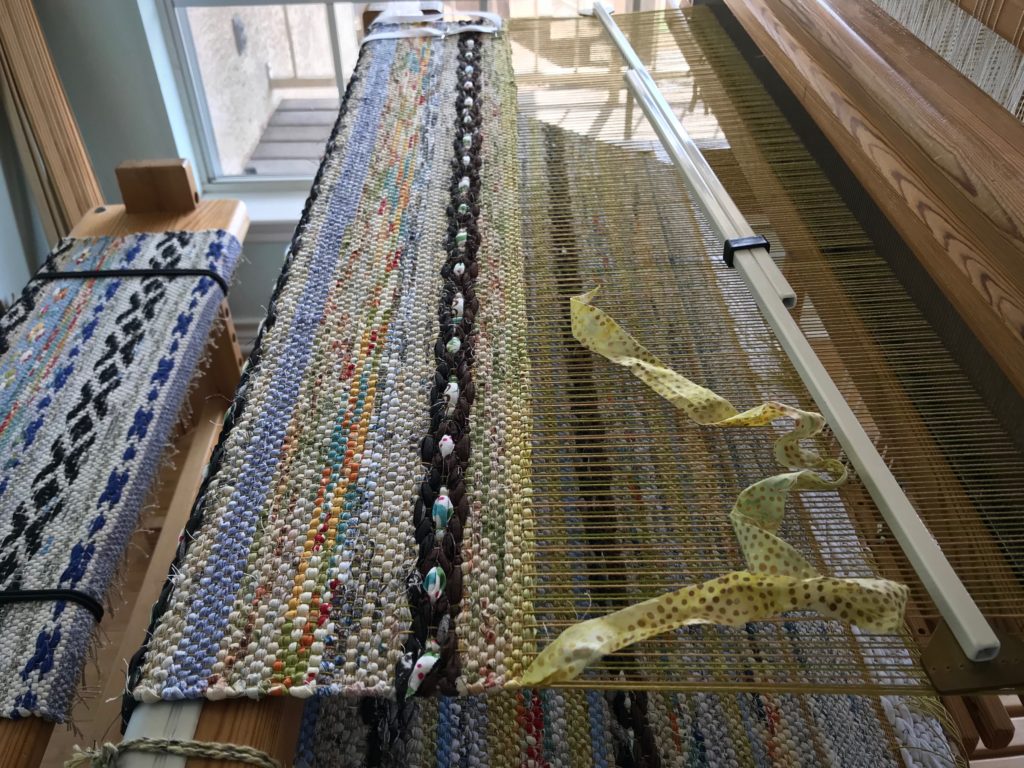
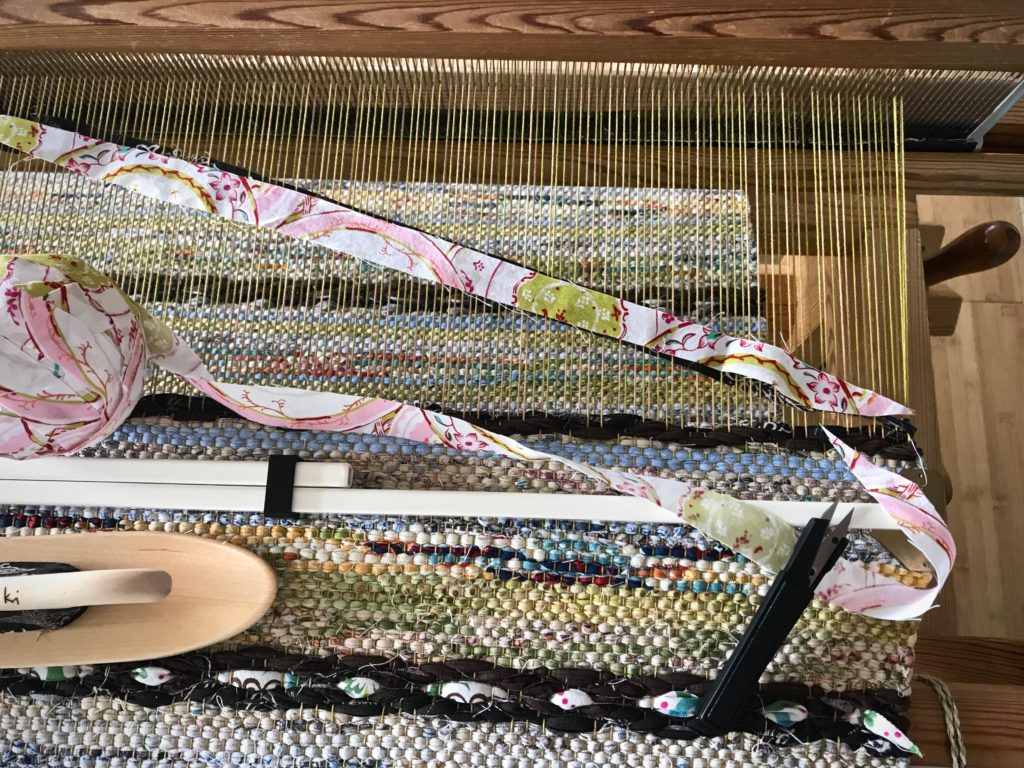
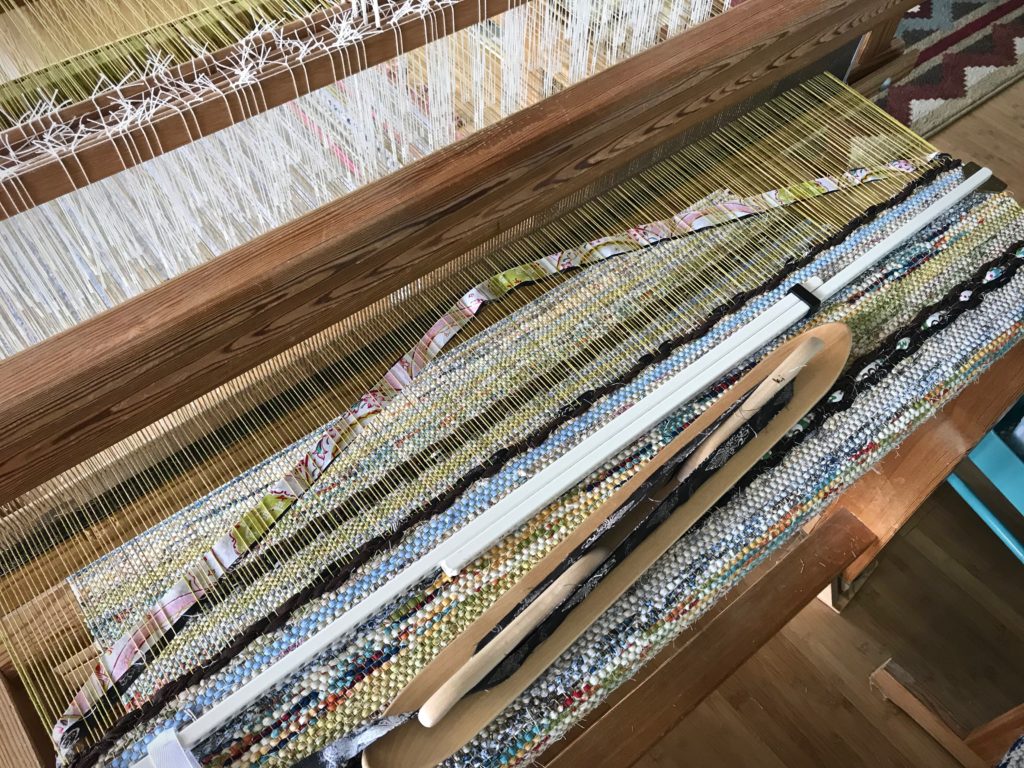
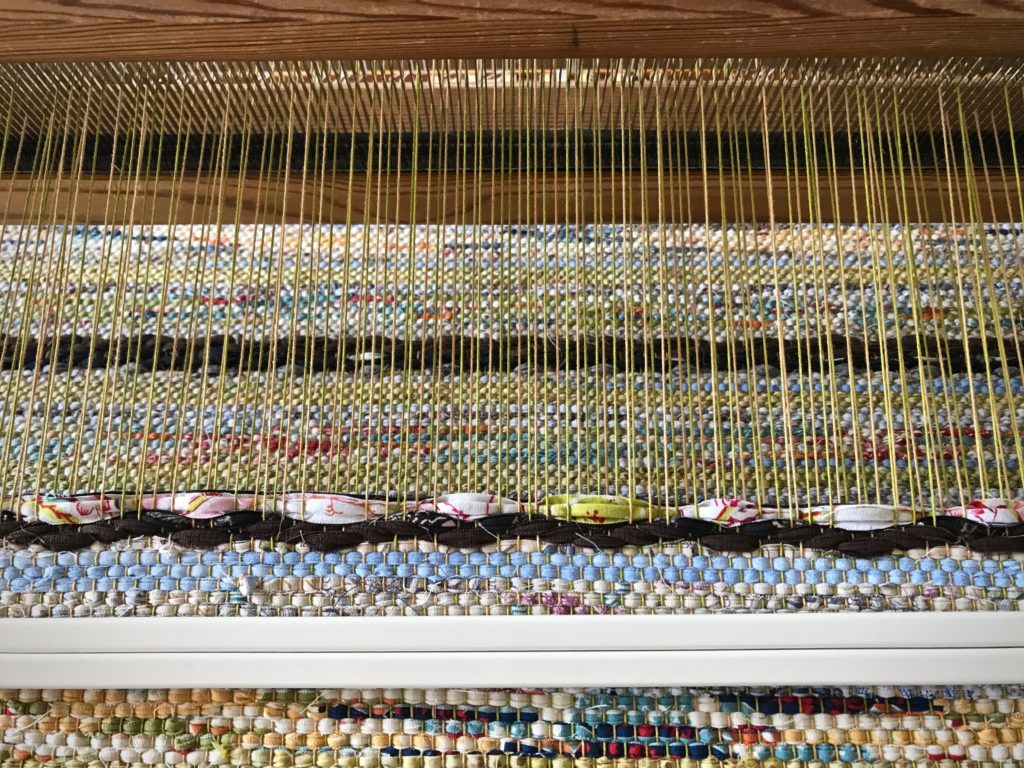
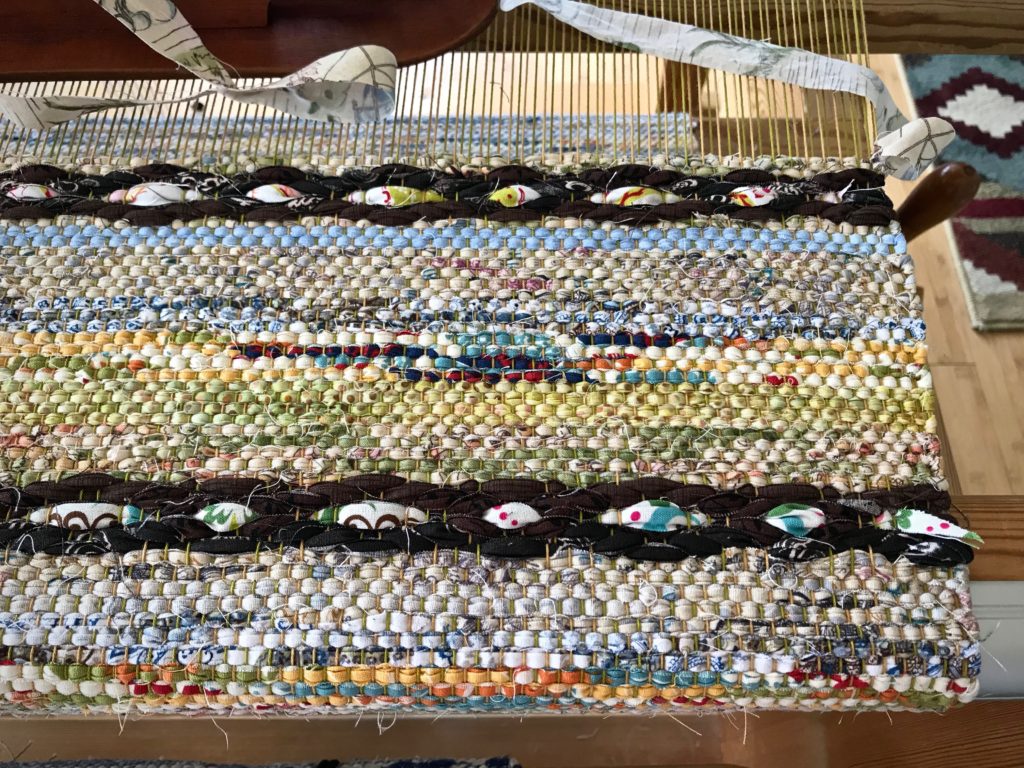
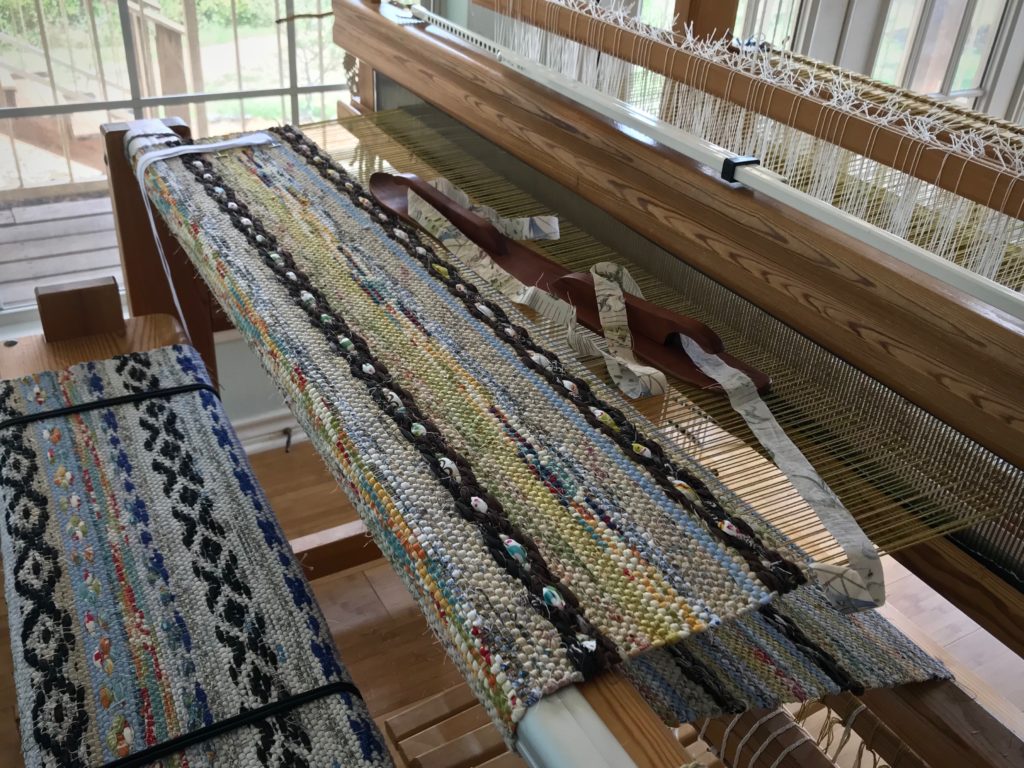
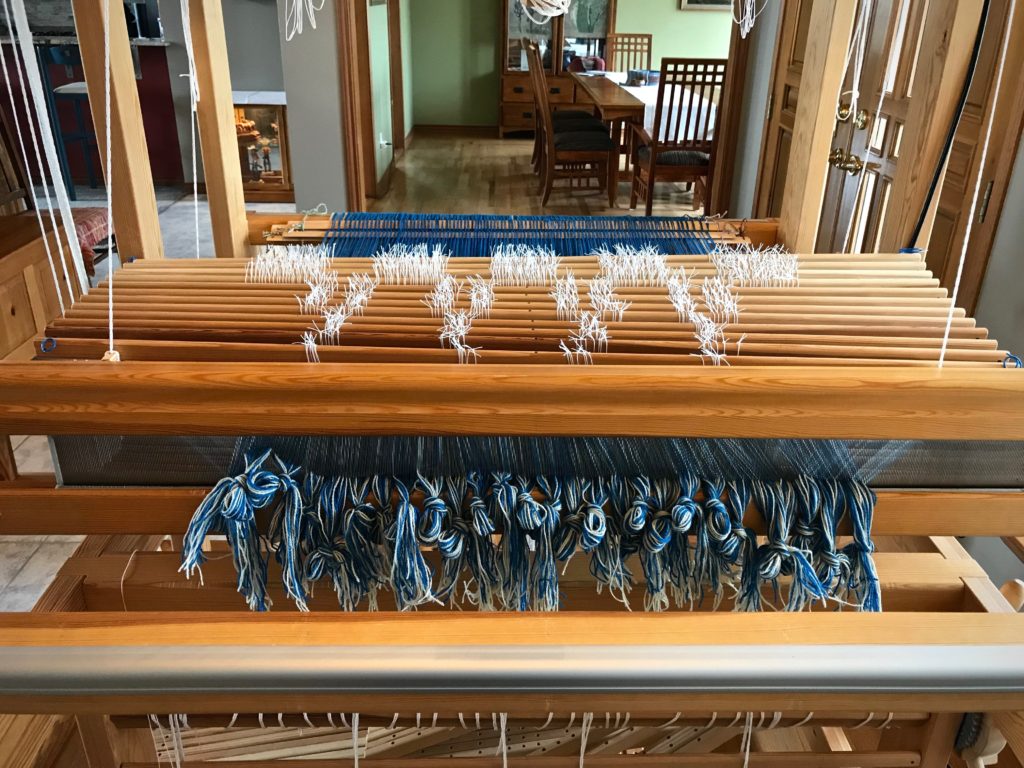
The first rag rug on this 12/6 cotton warp is well underway. This rug is mostly plain weave, with one simple rosepath repeat every ten centimeters. I am weaving the rosepath motif withouttabby between pattern picks. The treadling is 1, 2, 3, 4, 1, 4, 3, 2, 1. The dark brown motif contrasts with the surrounding light-colored plain weave. It almost looks as if a thick chain has been laid across the rug. I transform the otherwise dark rosepath “chains” with a simple bright inlay strip.
Weave the first four picks of the rosepath pattern, treadling 1, 2, 3, 4 (or, if using a different treadling sequence, weave up to the center pick).
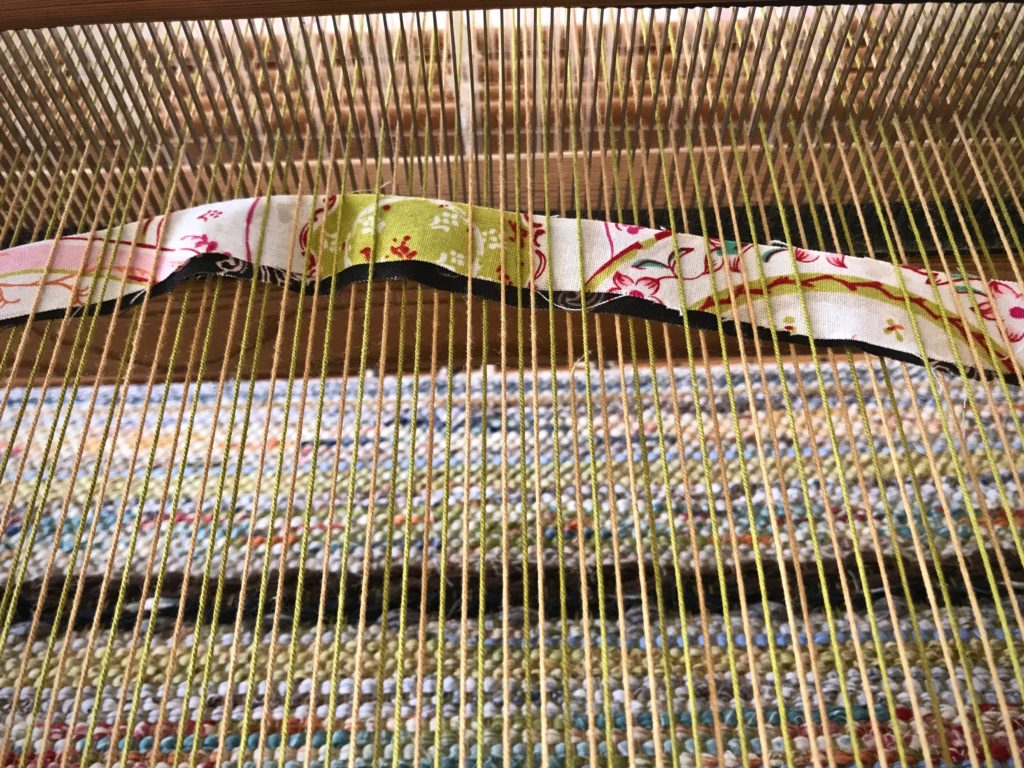
Lay in the center pick (treadle 1, in this example). Wait to beat it in.
Center pick of the rosepath motif is arched in the shed.
Measure and cut the inlay strip to size, tapering the ends.
Inlay fabric strip is measured against the weft in the shed and cut to size.
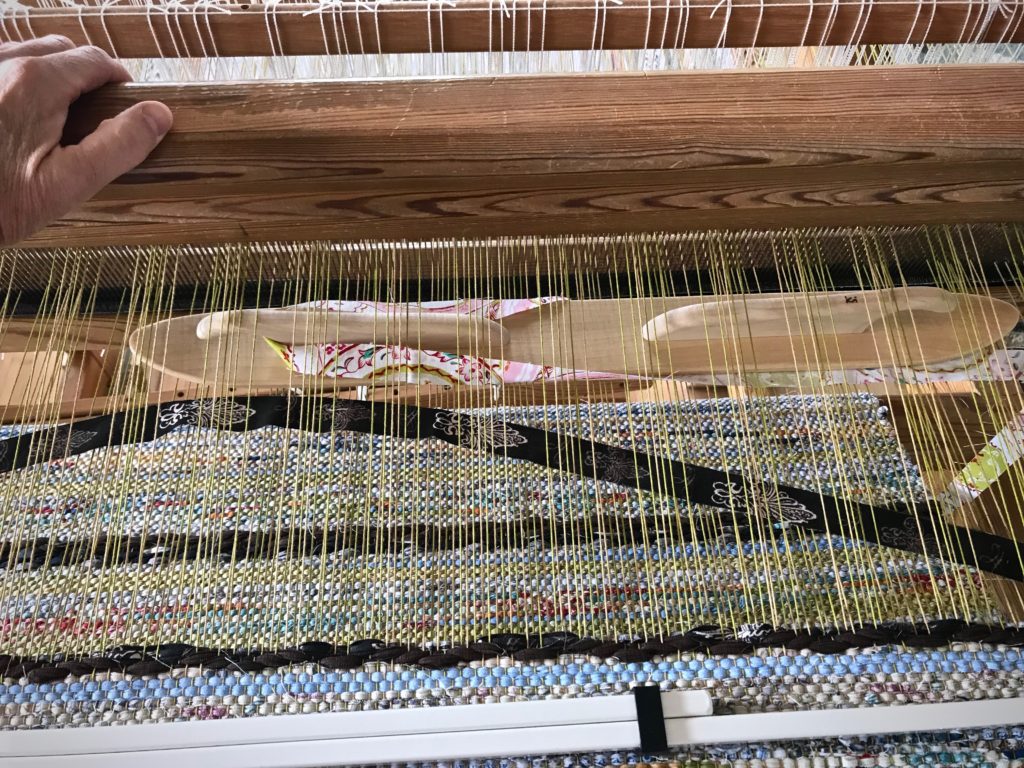
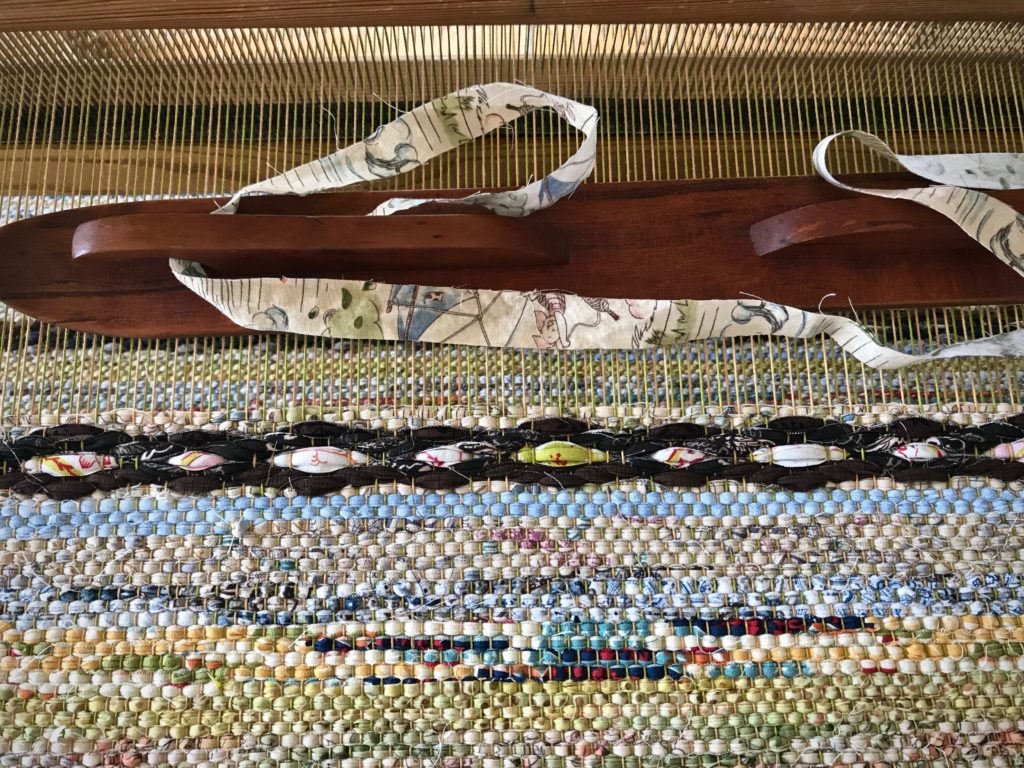
Put the inlay strip in the shed, laying it directly on top of the fabric strip already there.
By pushing the beater back I can send the inlay fabric strip through the shed with a ski shuttle.Place the inlay fabric strip directly over the fabric strip of the center pick in the motif.
Both weft layers are beaten in together. The inlay strip stays visible on top.
Continue weaving to complete the rosepath pattern, treadling 4, 3, 2, 1 (or, as needed, for a different sequence).
Finished rosepath motif.
You can accomplish a similar effect by weaving in a separate fabric strip for the center pick. In that case, cut tapered ends that are long enough to twist and tuck back into the shed. And carry the weft strip from the previous pick up the side.
The inlay method eliminates the extra bulk at the selvedges, and adds a slight thickness to the center pick, helping to give it a raised look. I am leaving the inlay weft tails loose, but you could cut them a little longer and tuck the ends in, if you prefer.
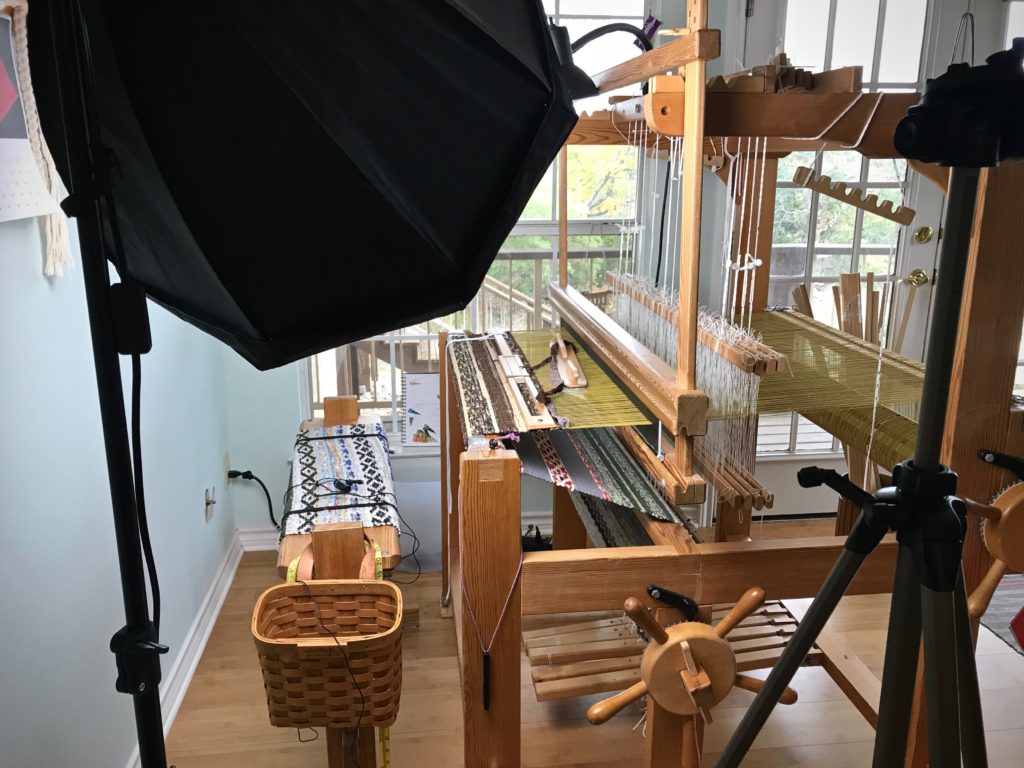
Weft tails are free at the sides, like little flags at the ends of the rosepath rows.Glimåkra Ideal loom–great tool for dreaming up rag rugs!
May you experience the simple pleasure of doing something unexpected.
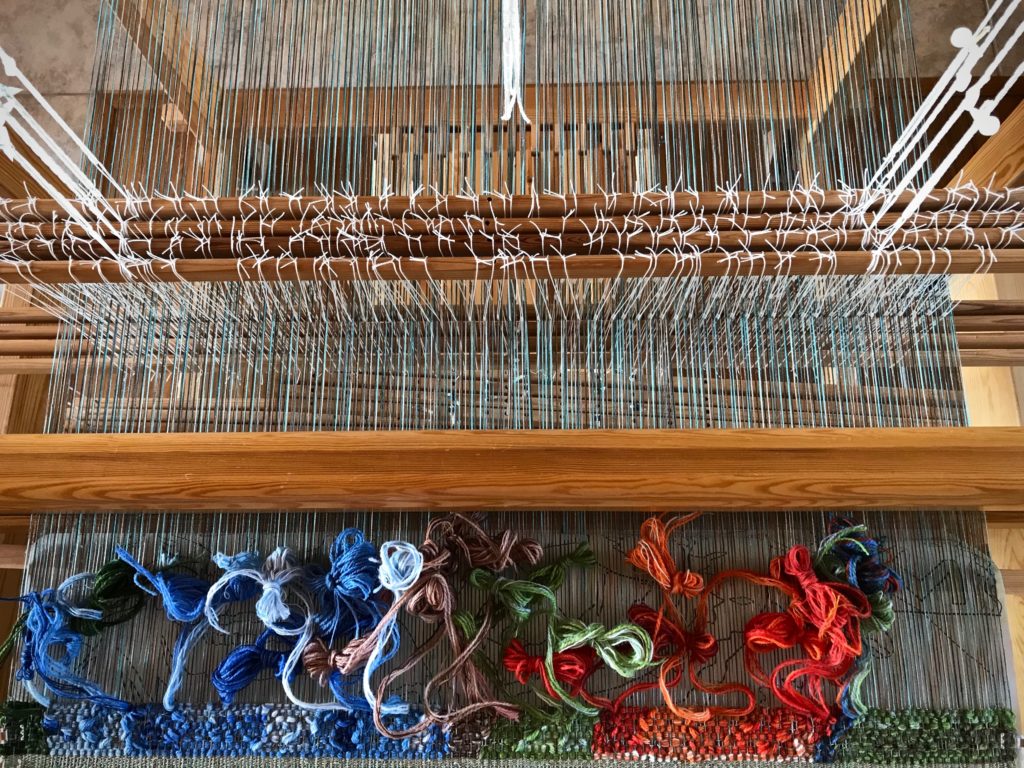
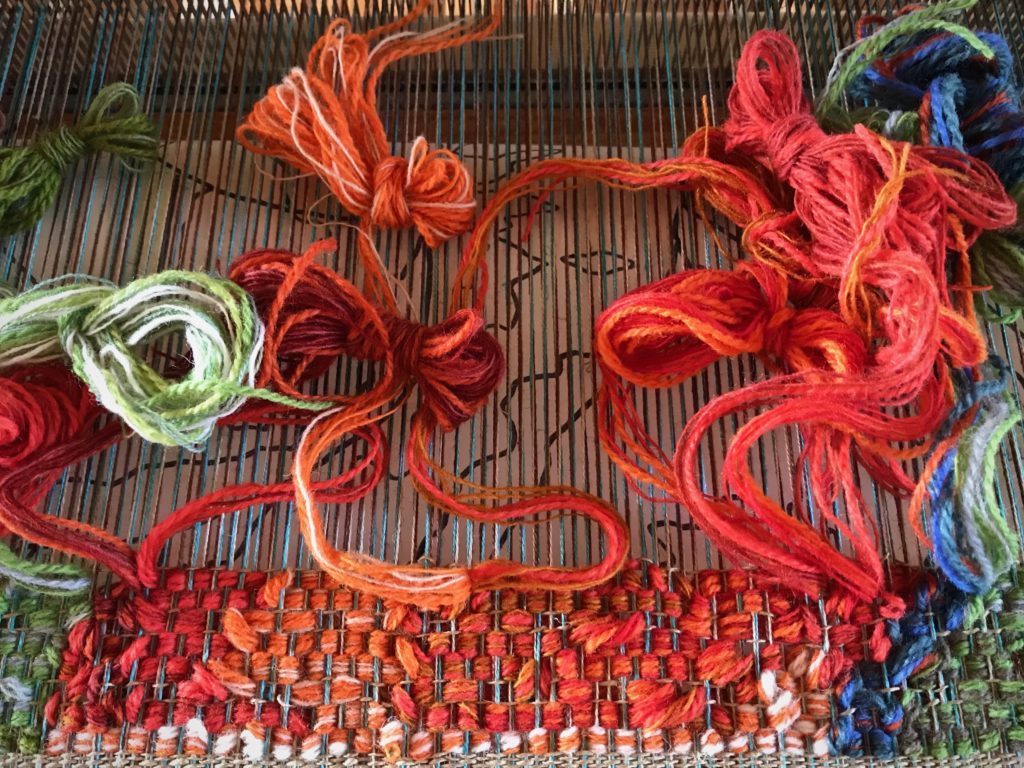
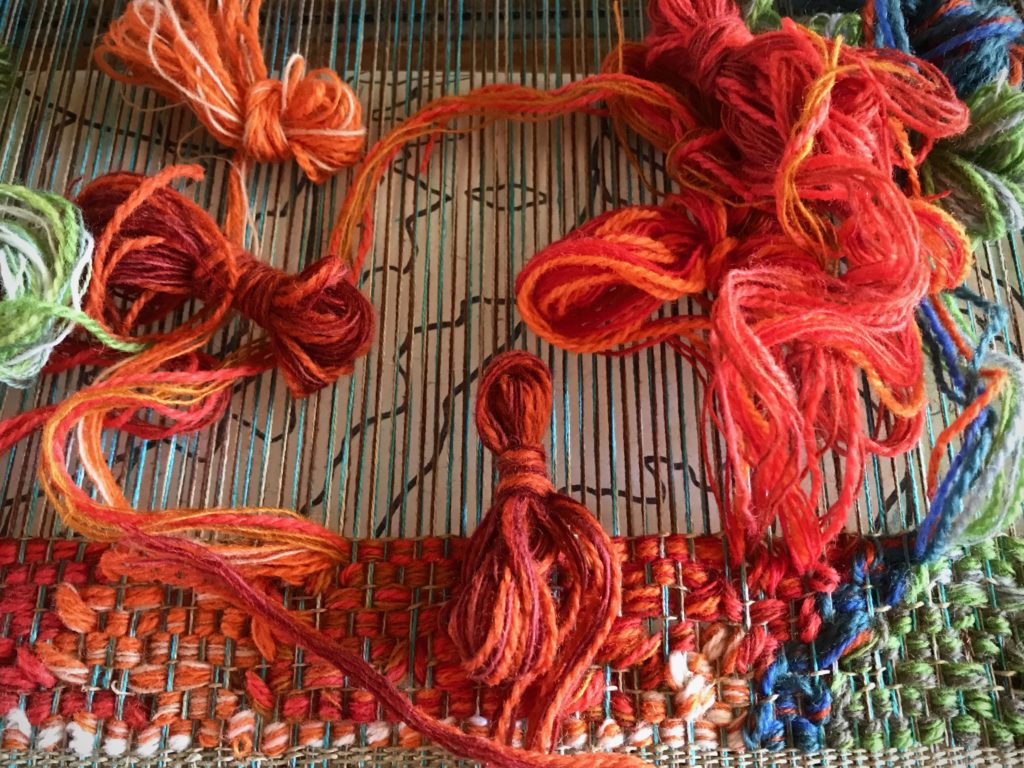
Wool butterflies are my crayons. I use them to color the spaces of my color-by-number cartoon that’s under the warp. I am using Borgs 6/2 Tuna wool and Borgs 6/1 Fårö wool in this tapestry, combining strands of various colors to get just the right hue, value, and intensity. Getting that right is the hard part. Winding butterflies is the easy part. Especially if you learned it from Joanne Hall, as I did.
Start of new tapestry. Butterflies are composed of specific colors to achieve desired results for contrast, shading, and depth.
It is essential to know how to make a good butterfly when you want to weave a tapestry on a big floor loom like this. A good butterfly is compact enough to easily pass through warp ends. And secure enough to stay intact through all those passes. It also needs to have a tail that is simple to extend. A good butterfly never ends up in a knot or a jumble of threads, but instead, gives your hands pure delight as it flows through your fingers to color your tapestry.
Detail of colorful tapestry butterflies.New butterfly is ready to find its place in the mix.
This video shows how I make my tapestry butterflies.
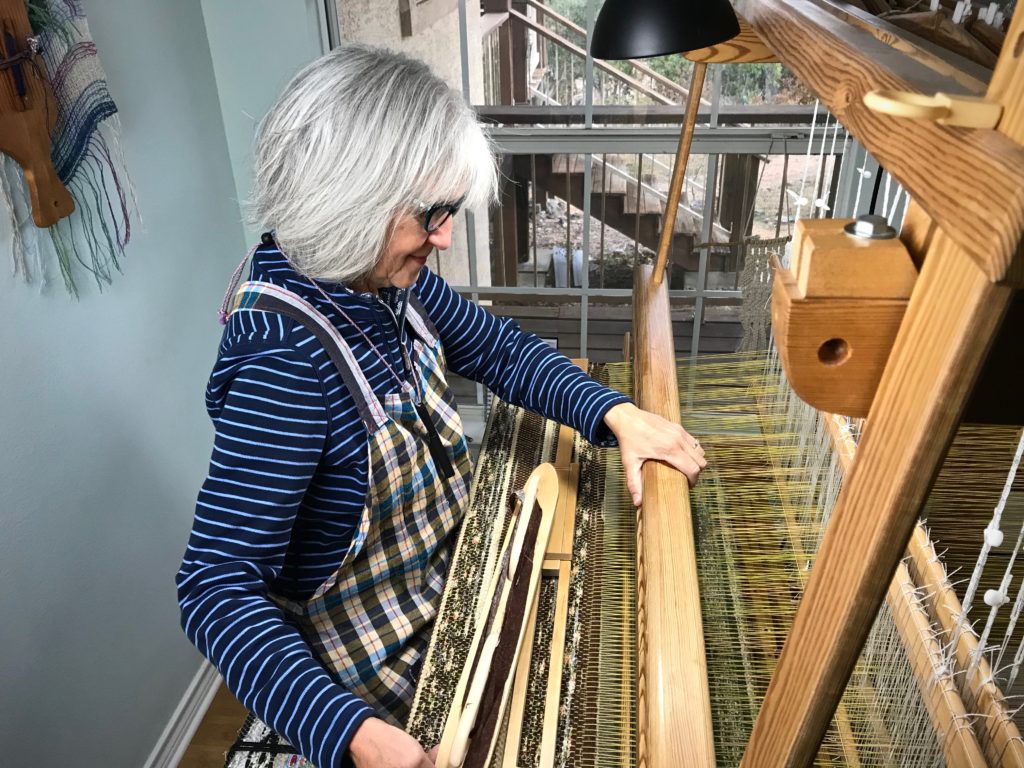
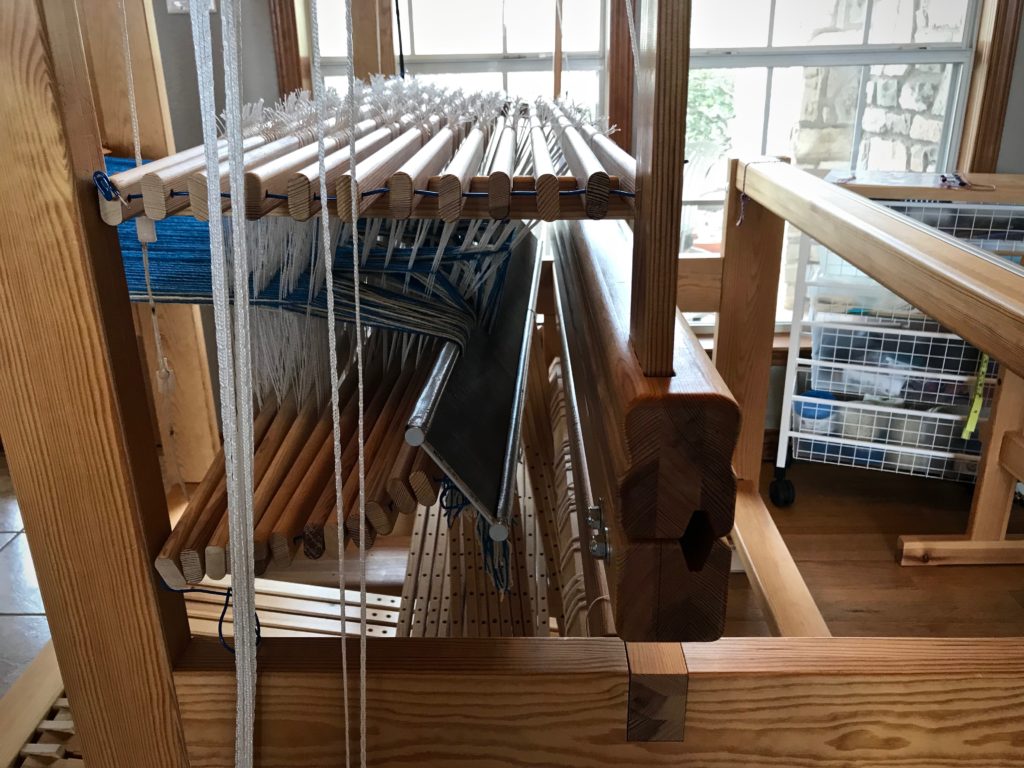
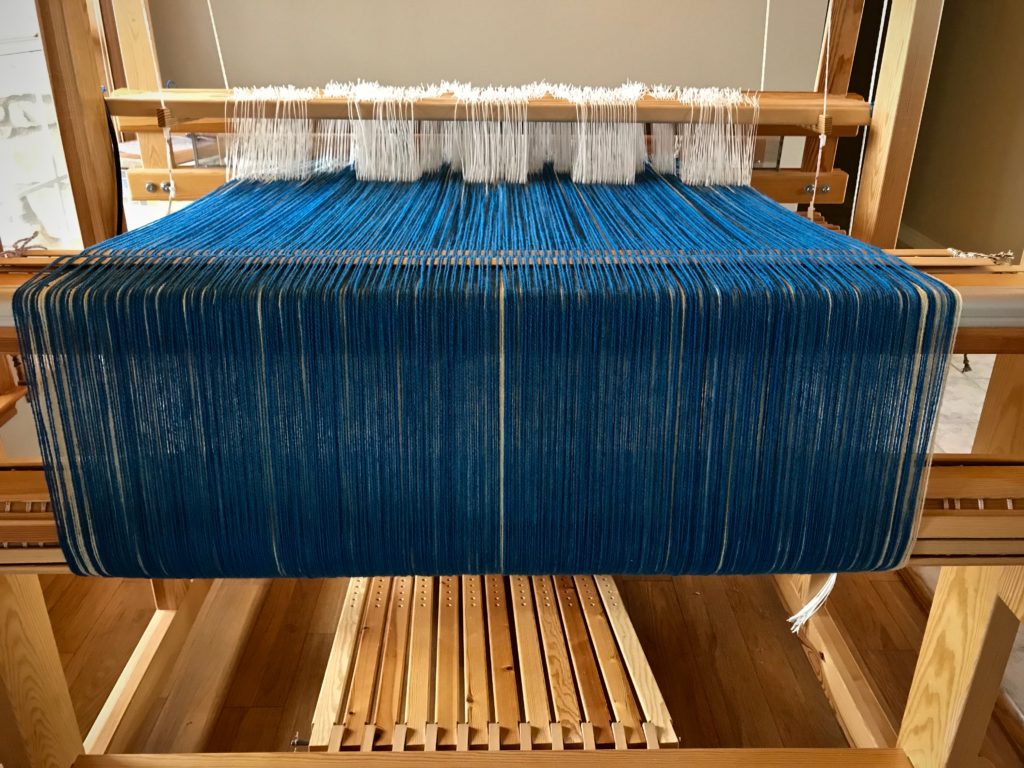
Eleven hours and thirty-six minutes into this project, the starting line for weaving is just around the corner. Wind the warp, and beam it. Thread the heddles. Sley the reed. Unlock the back beam ratchet. Move the countermarch to the front of the loom. … Pause when you think about moving the twelve shafts and the reed forward with the countermarch. Reach. Wiggle. Pull. Wiggle. Pull some more. Got it. Now, put the reed in the beater. Relax? Almost, but not yet.
Reed is sleyed, so reed support cords have been removed. Time to move the whole shebang forward.Plastic-coated wire is threaded through the ends of the shaft bars because I don’t have shaft pins long enough for twelve shafts. After coaxing and wiggling the mass of shafts forward, with the countermarch above them, I am ready to insert the reed into the beater.As I put the reed in the beater I make sure all of the ends are free, and not trapped in the beater’s grip.
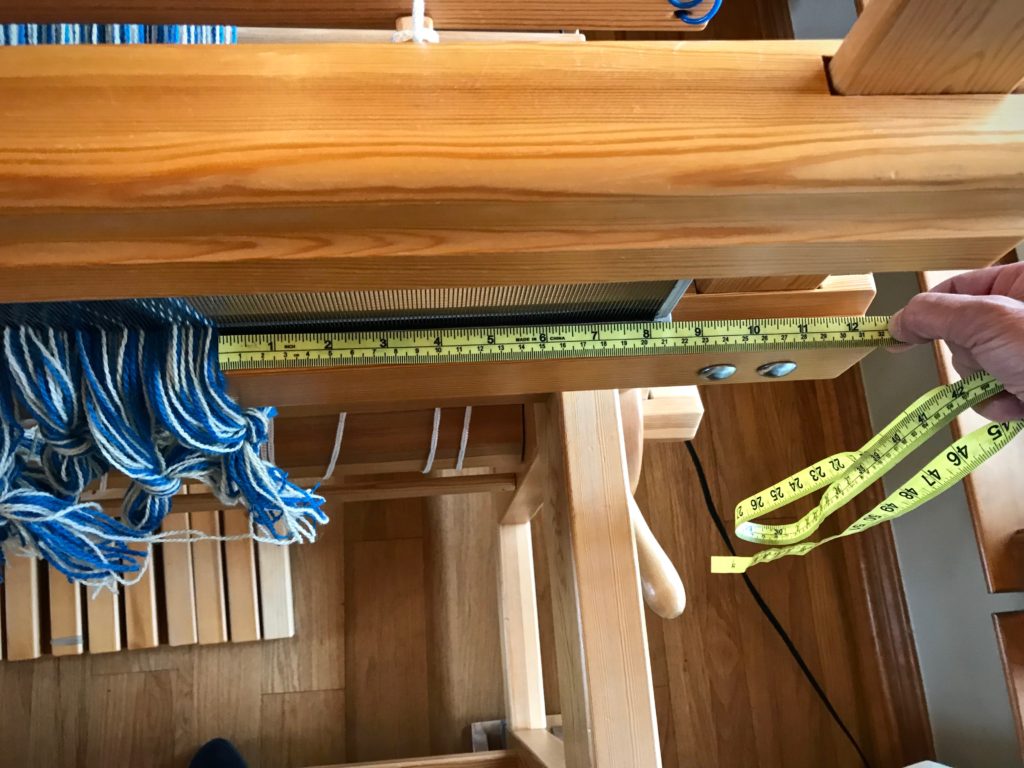
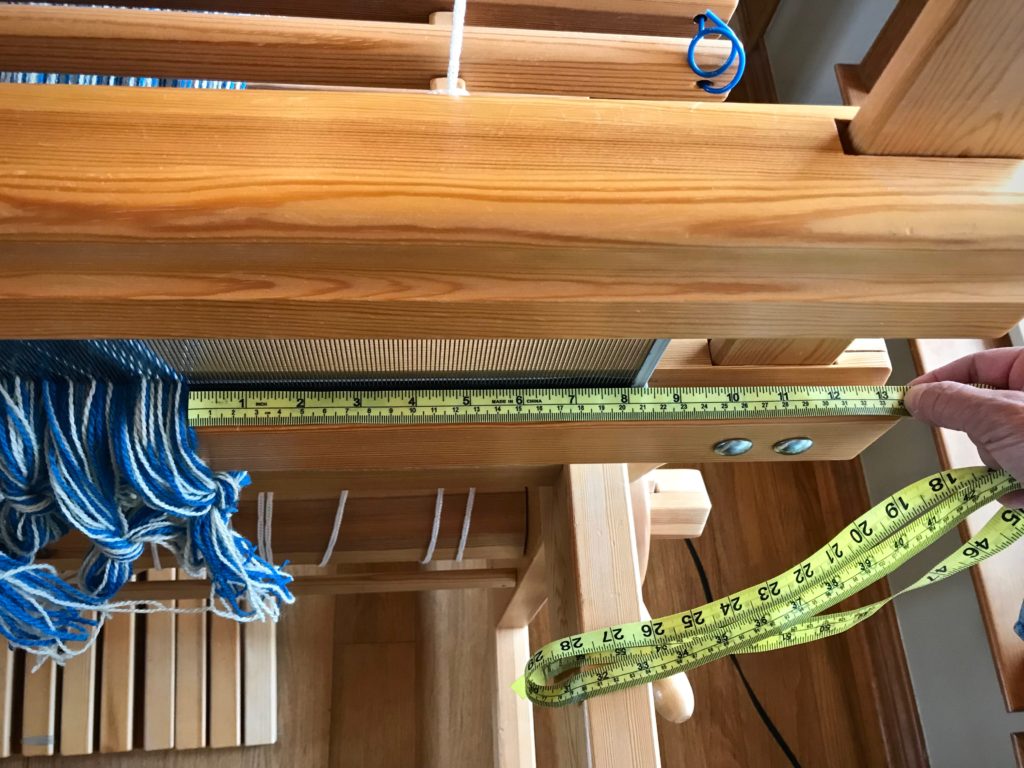
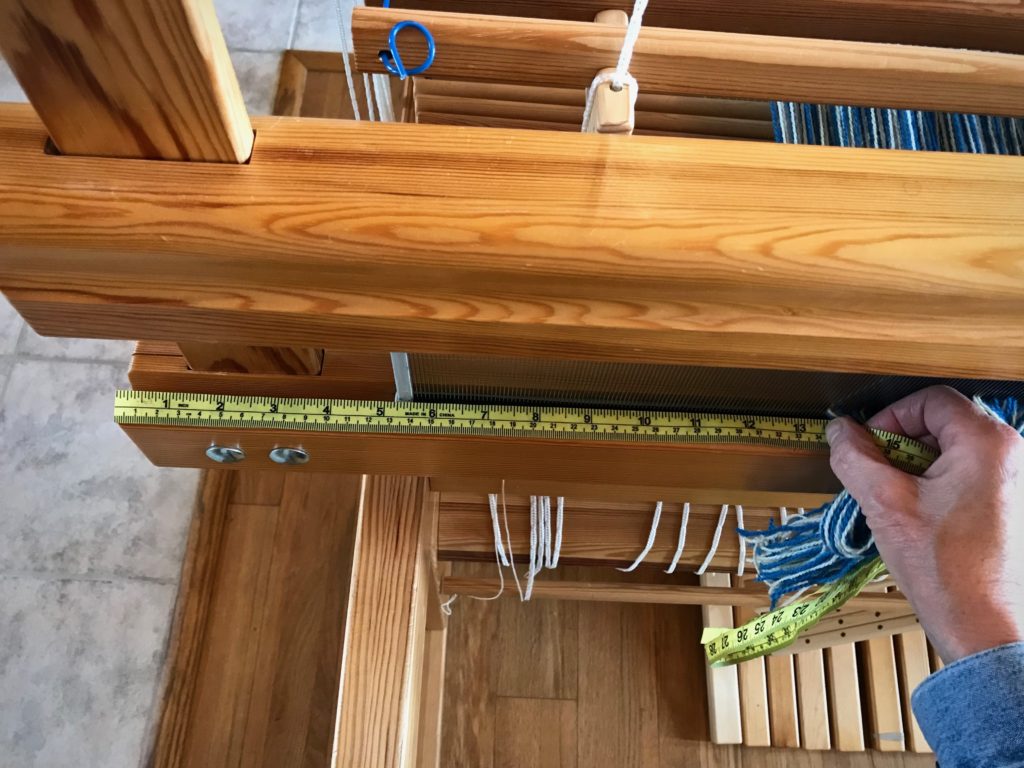
We must not forget to center the reed. I center the reed just as soon as the reed is in the beater.
How to Center the Reed
(We are actually centering the warp that is in the reed.)
Supplies needed: Tape measure (or string)
1. Using the tape measure, measure from the right edge of the warp in the reed to the outer edge of the beater on the right-hand side. Hold the tape measure with your fingers marking the measurement.
2. Holding that measurement, place the tape measure at the left edge of the warp in the reed stretching out toward the outer edge of the beater on the left-hand side.
3. Note the difference in measurement between the right side and left side. Move the reed in the beater to center.
4. Repeat the first two steps until the measurements are the same on both sides.
Reed is centered.
Now you can relax. Enjoy the moment, because you are that much closer to seeing fabric take shape!