Ten Centimeters of Tapestry

Slow weaving is even slower when a full week goes by since you last touched the loom. If only I could sit here and do this every day, hours at a time. But other responsibilities…and other looms call for my attention.

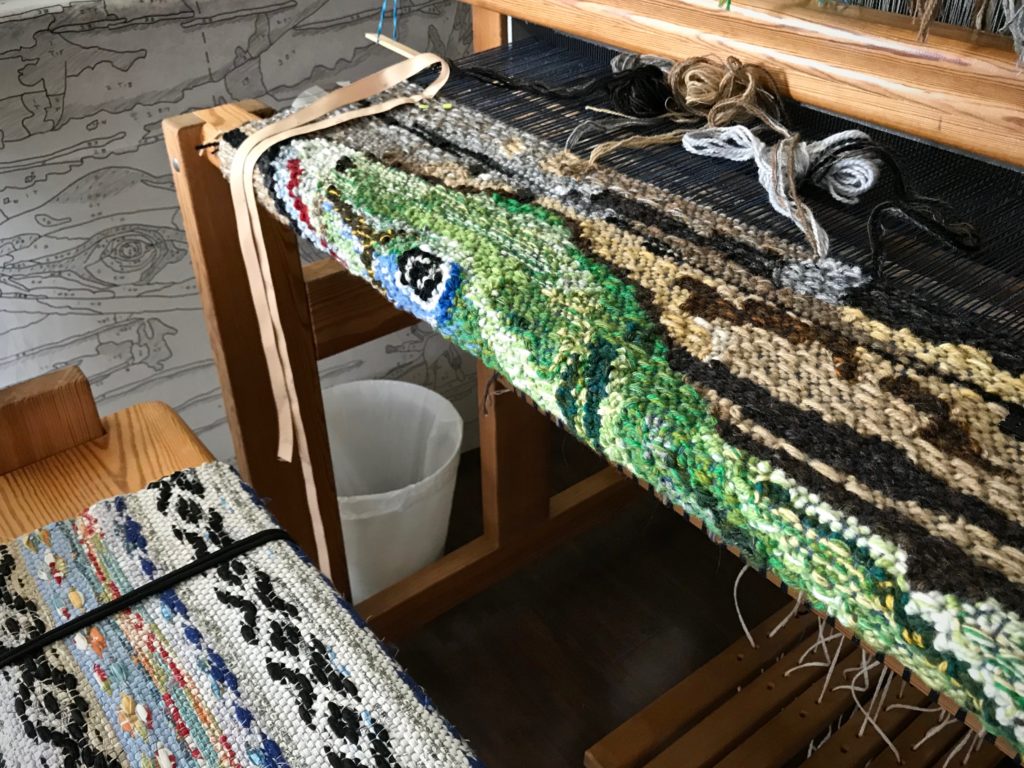
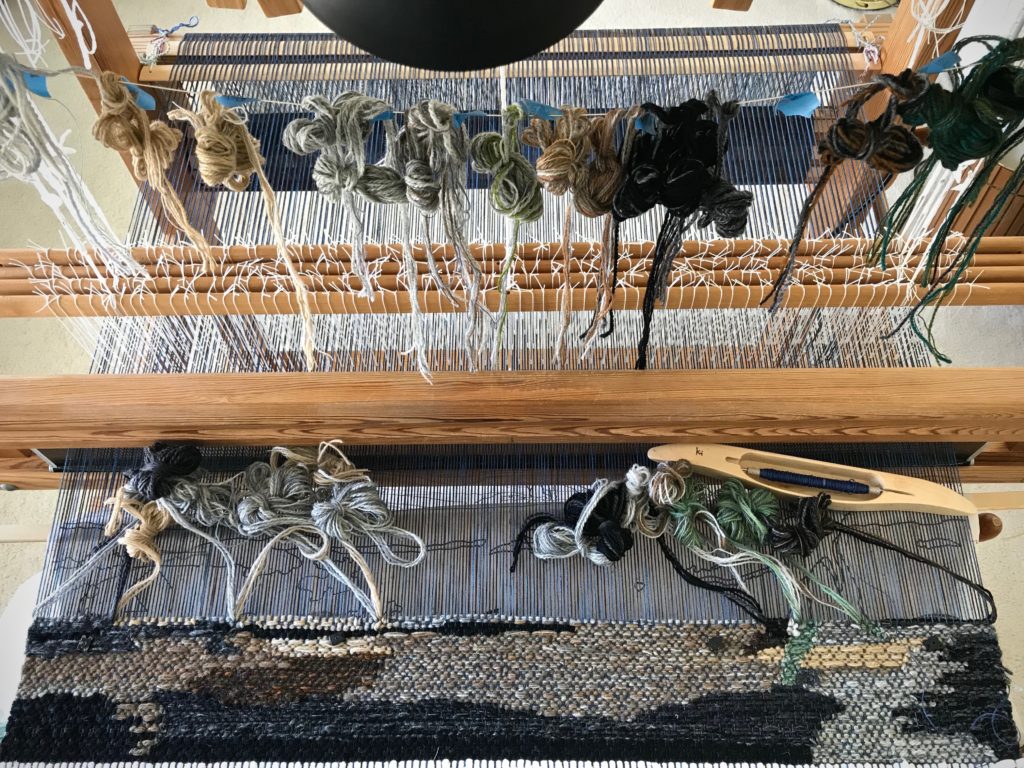
Four-shaft tapestry in progress on the loom.
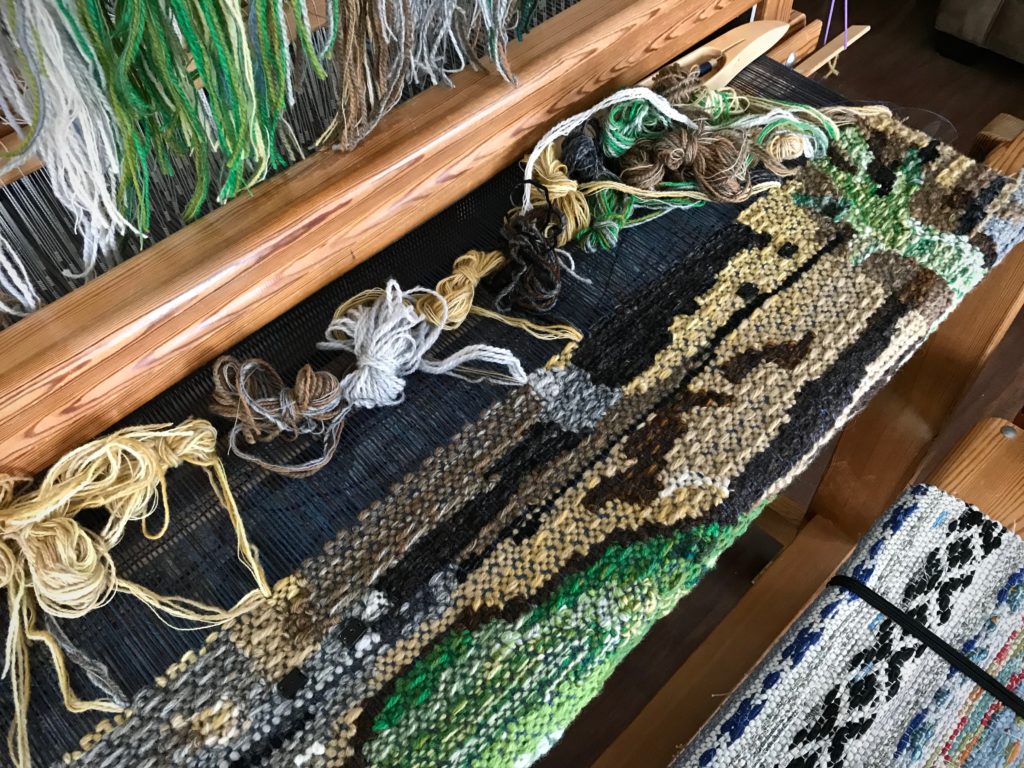
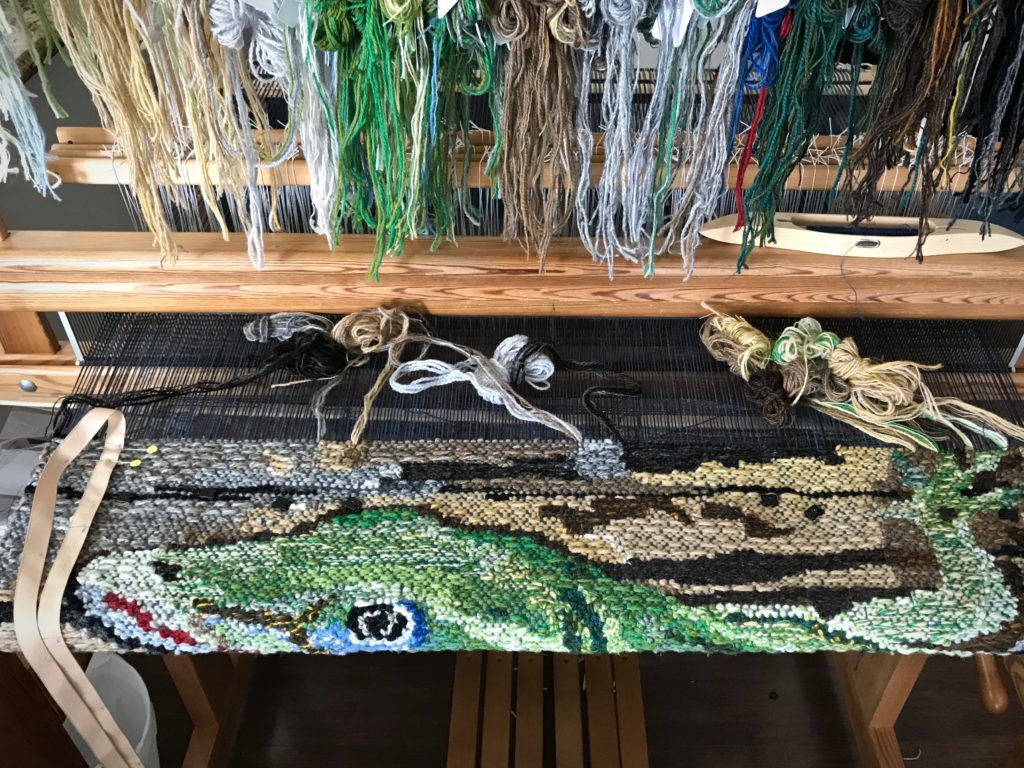
First ten centimeters of the tapestry is complete. Plastic baskets hold the wool yarn beside the loom, sorted by color and value.
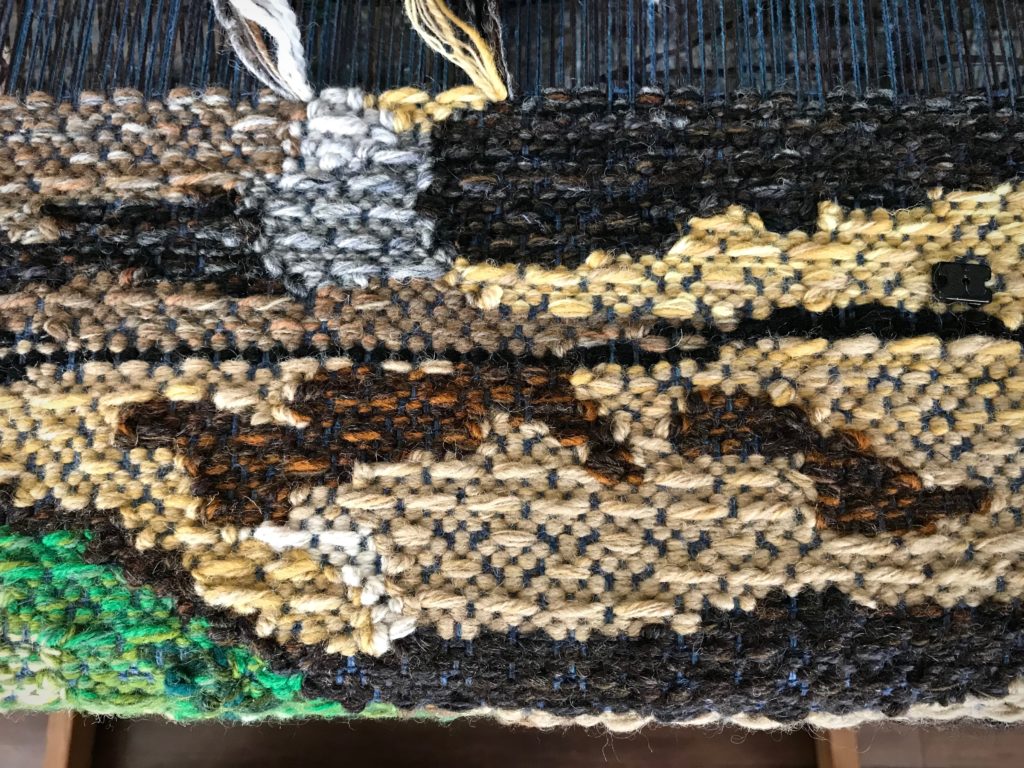
Color blending by combining various colors and weights of wool yarn.
Color blending is achieved by combining various colors and weights of wool yarn.

We don’t see much of the main subject yet. I am intensely eager to see a distinguishable image. I suspect you may be eager to see it, as well. But I know it’s coming, so I gladly pursue this adventure, one row at a time.

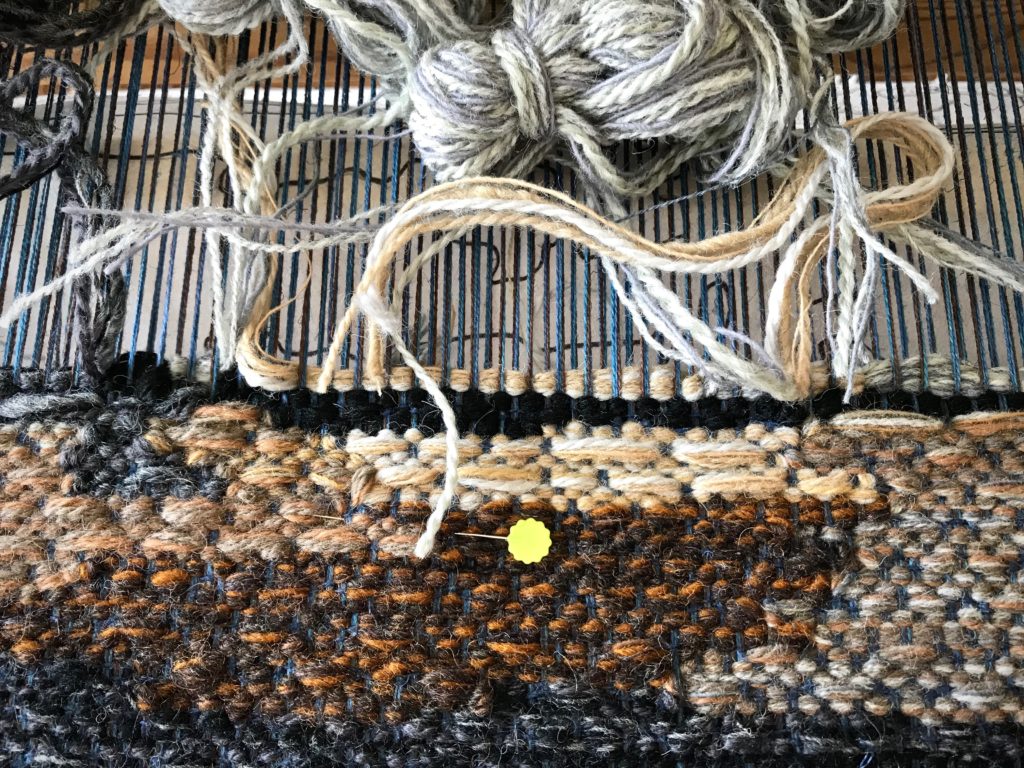
Four-shaft tapestry beginning.
Elements of shading and texture in the beginning background of the four-shaft tapestry.
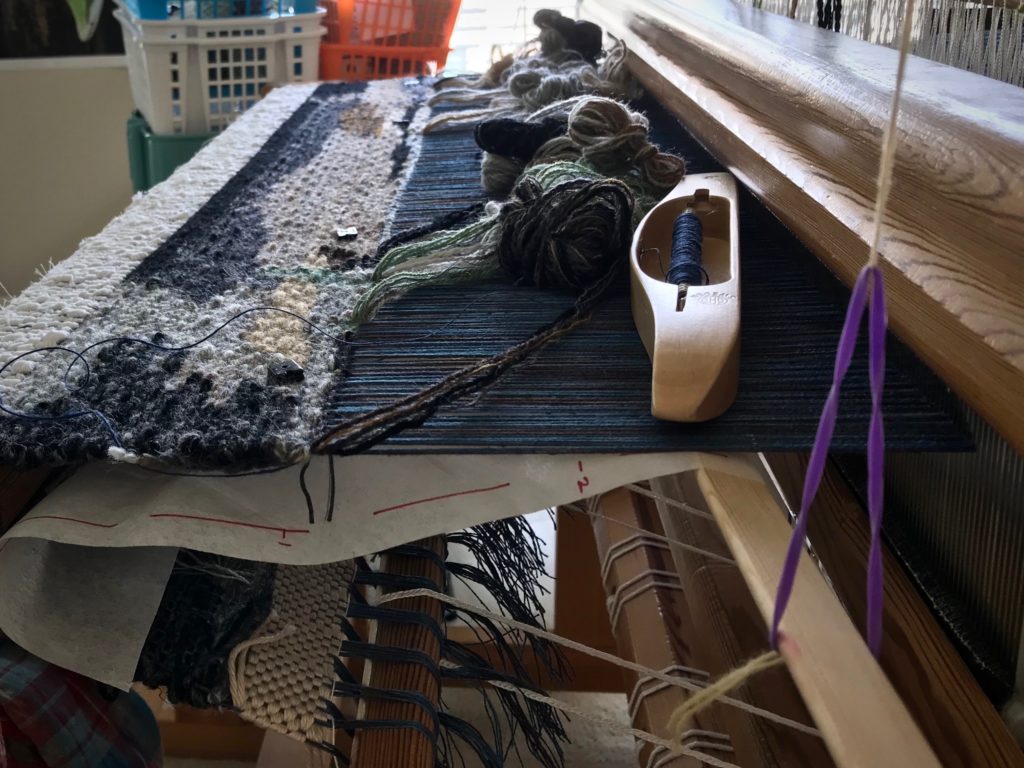
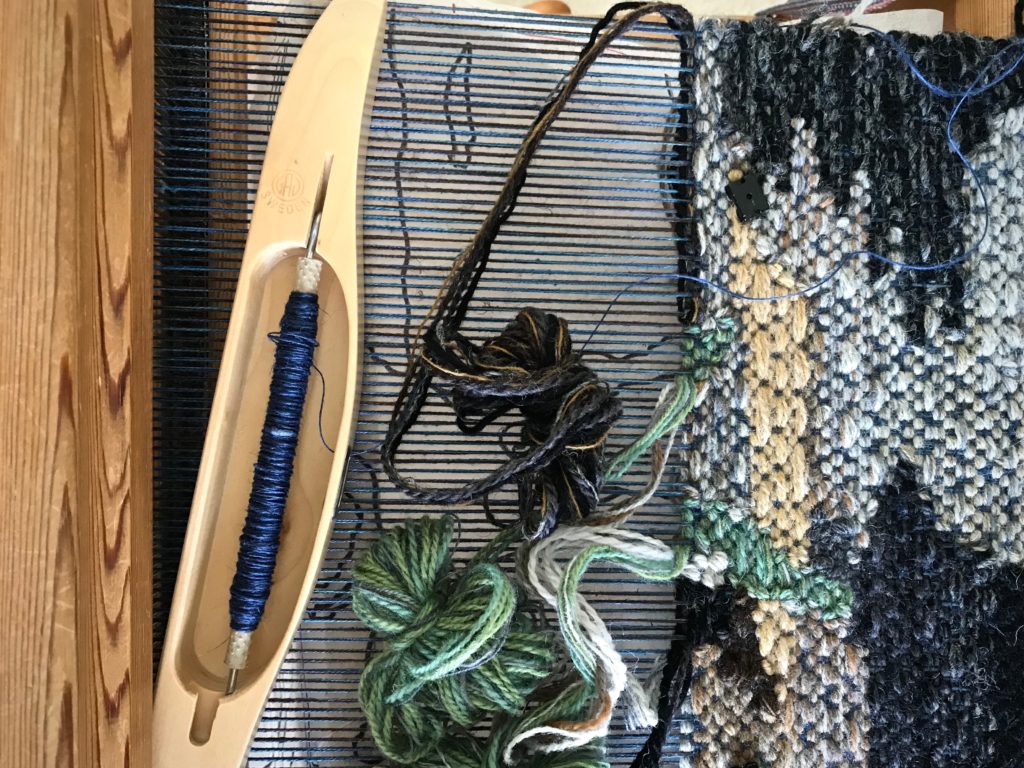
Tapestry, woven from the side.
Tapestry is being woven from the side. So, this is the direction the tapestry will hang.

Gladly. We need strength beyond ourselves to endure and be patient—with gladness. Endurance and patience with a glad attitude is an indicator of maturity. Strength for endurance is one of the treasures that God supplies when we ask. And he reminds us that he sees the completed picture. And that it’s worth the pursuit. Aren’t you glad?

May you find patience for waiting.

Gladly weaving,
Karen

Guest Weavers

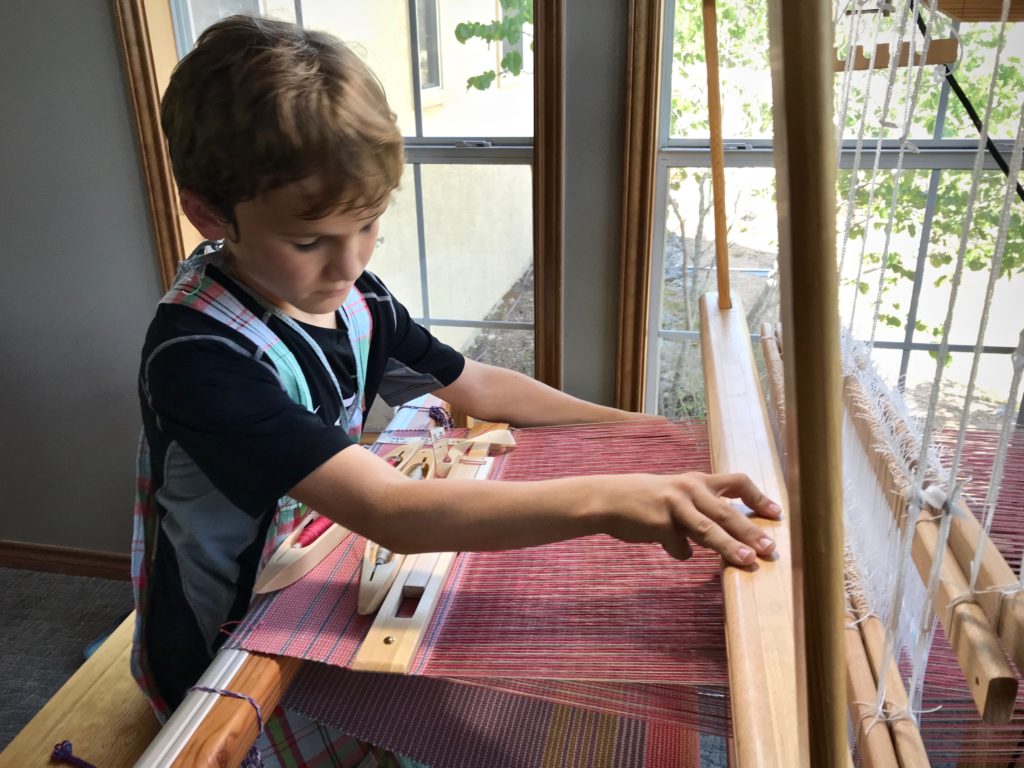
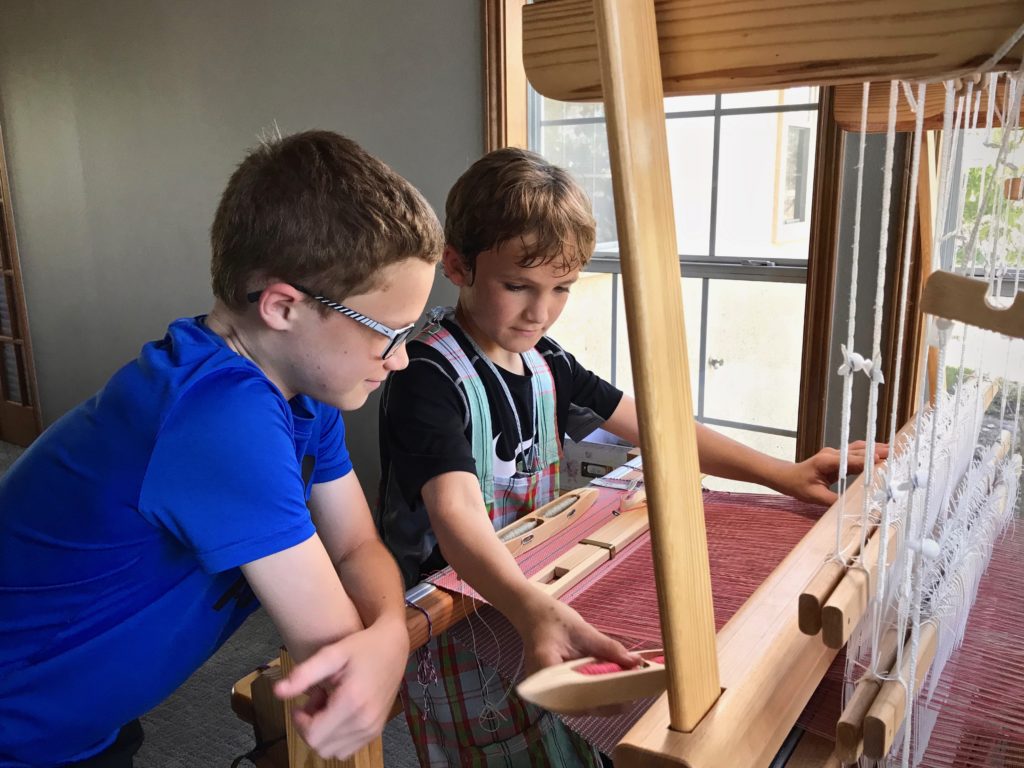
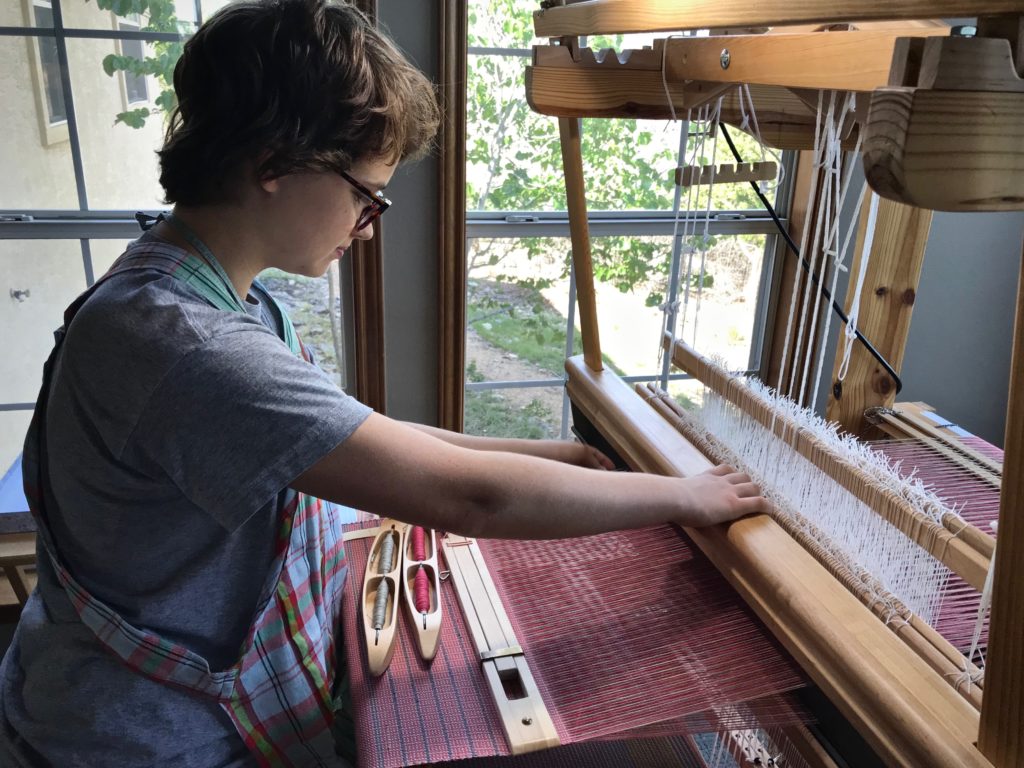
We finished another placemat over the weekend. We, meaning a few guest weavers – and me. I had a small tribe of eager weavers, aged eleven to seventeen. I didn’t give beginner work to these beginners. We did what was required for this color-and-weave project on the loom—double-bobbin shuttles, two (and sometimes three) shuttles at a time, two-pick stripes, advancing the warp, placing the temple, and more. Another placemat completed, with only one broken warp end along the way. I call that a win!

Guest weaver. First time, but not the last!
Quietly watching me, and taking in the details, this young weaver grasped the essentials, and began weaving in a graceful manner. After just a few minutes, Madison told me she could do this all day. That sounds like a budding weaver to me!
New weaver, with great attention to detail!
Sean is an attentive listener, closely following every instruction. He happily donned the weaving apron. And the Gingher snips on a woven band were hanging around his neck, ever ready to be used.
Young weavers at the loom.
Jenson joins in to lend his observation skills while his brother does the weaving.
New young weaver.
Ashley is someone who takes initiative. She enjoyed the challenge of learning something new, and quickly was weaving with very little assistance.
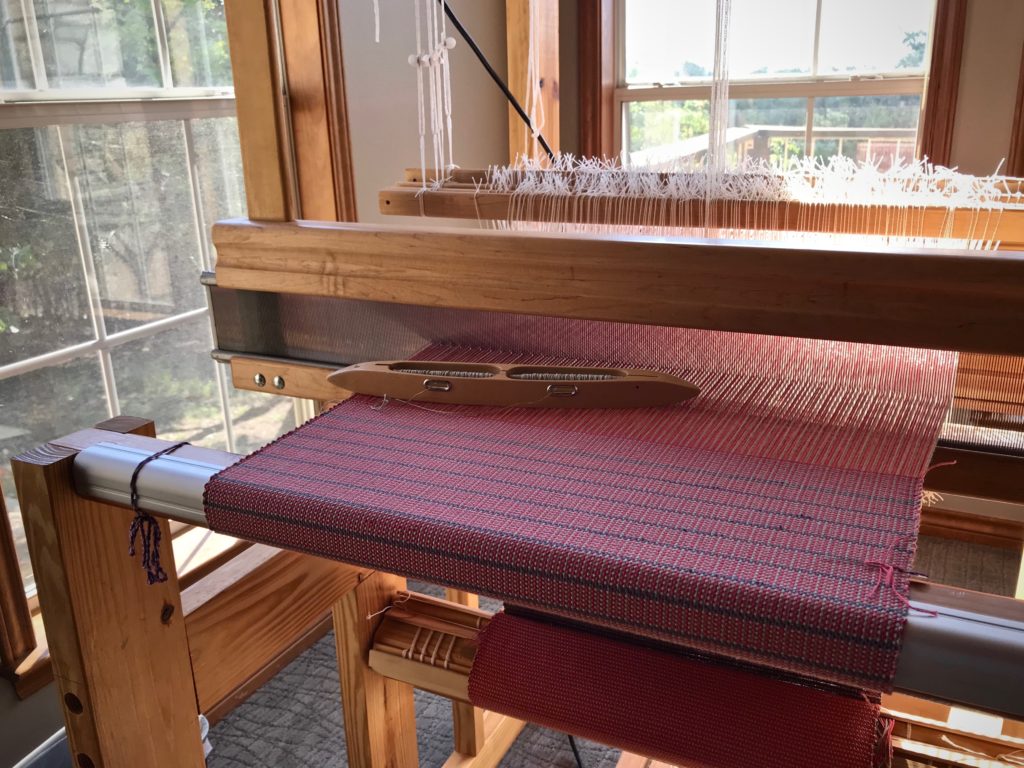
Cotton placemats on the loom.
Broken warp end repaired. Placemat complete. Eight more placemats to go!

Isn’t it delightful to share what you enjoy, and then see the spark of delight and accomplishment on a young person’s face? This is another good reason to make and keep family friends.

May you share your delights.

Love,
Karen

Not the Easiest Way to Weave

I considered making a matching set, but at the loom I get an inclination to explore. Hence, no two placemats are alike. A change in the weft changes everything. New colors emerge! Slate and apple green on a coral warp become periwinkle and avocado. If you look closely, though, you can still see the underlying coral and camel stripes of the warp.

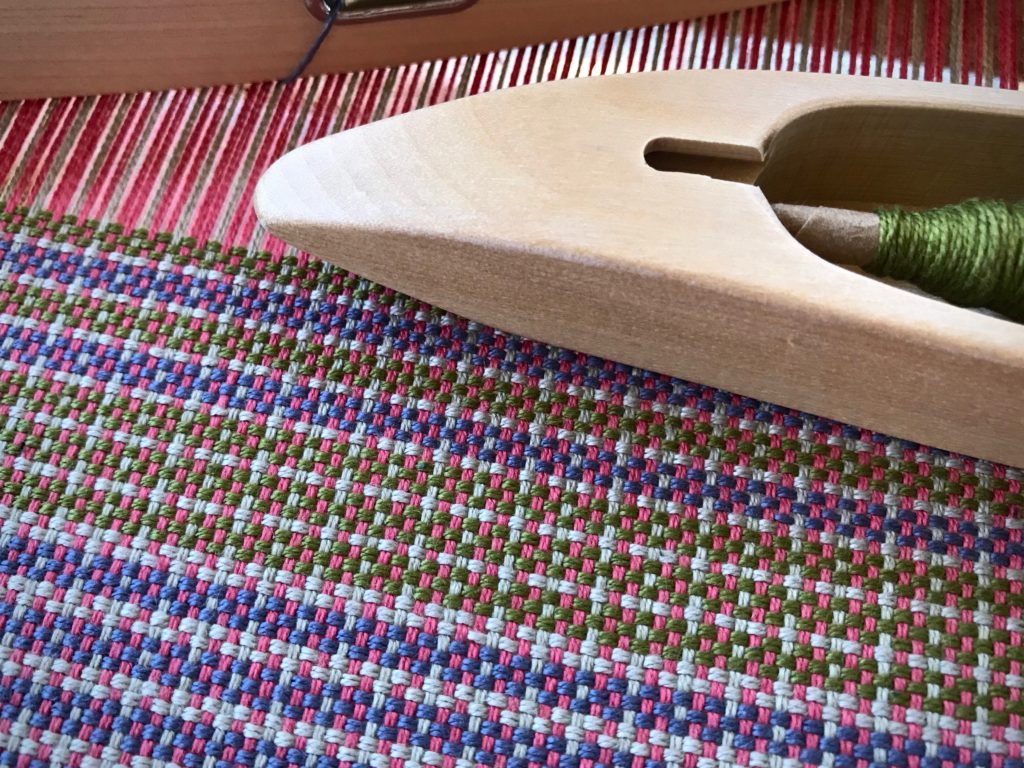
Cotton placemats on the loom with color and weave effects.
Second placemat uses red and orange in the weft. These colors work with the coral in the warp to bring out a distinctive color-and-weave effect in the design.

Three double-bobbin shuttles—this is not the easiest way to weave. I am carrying the colors up the selvedge, so it gets tricky when all three shuttles end up on the same side. Nevertheless, this is the joy of weaving a challenge. How and where to set the shuttles down, and which hand picks them up—ever aiming for efficiency. Newly-formed colors and technical pursuits—this is a handweaver’s thrill of discovery!

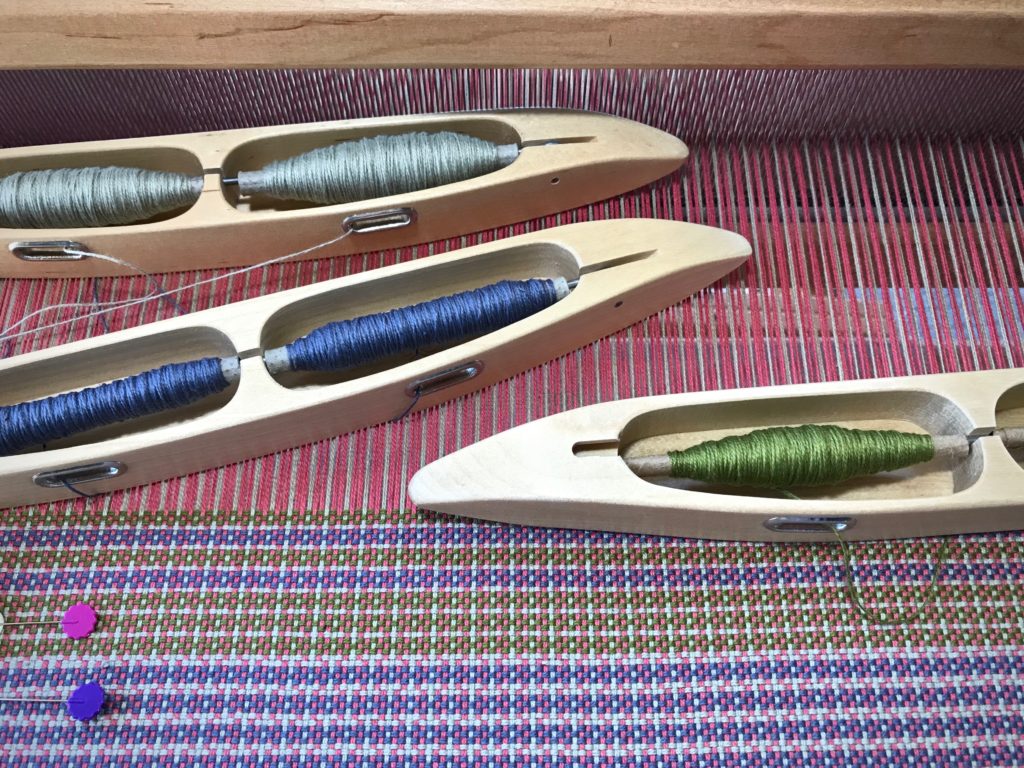
Three double bobbin shuttles for this color and weave placemat.
Beginning of the third placemat shows variation in pattern and color choices. Three double bobbin shuttles put my manual dexterity to the test.
Color and weave variations.
Coral and camel warp stripes form the base of the design. Pattern variations are produced by varying the number of picks per weft color.

Imagine the thrill of discovery that awaits us in heaven! Love permeates heaven. Like a narrow-striped warp, love is written into the fabric. The environment there is love, where pride and selfishness don’t exist. Blending of colorful personalities will be such as we’ve never seen. All to the glory of our Grand Weaver. And how marvelous that through Christ we’ve been given everything needed to practice that kind of love here and now. Double bobbin shuttles, and all.

May you rise to the challenge.

Love,
Karen

What to Do about Weaving Errors

I’ve been waiting for a bright sunshiny day to thoroughly examine this tightly-woven linen satin dräll fabric. Today is perfect. Fixing errors must be done before the fabric is washed, when the weave will become even tighter. I am looking for unwanted floats where the shuttle skipped threads, and for loops at the selvedges.

In my examination I did find an errant float and a few small selvedge loops. Let’s get started.

Tools:

  • Blunt-tip needle. Sharp needle tip has been sanded to a rounded tip.
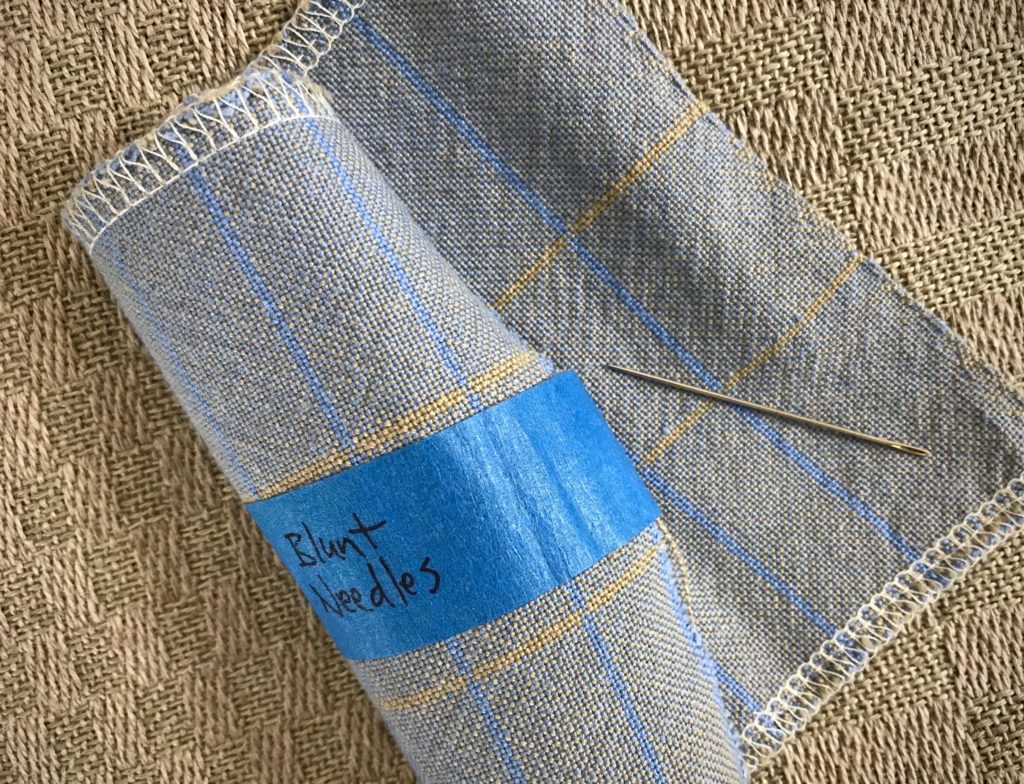
Blunt needle for fixing weaving errors.

  • Thread. Use the same weft or warp thread that is in the area needing repair.
  • Good lighting. If the fabric has a complex structure, good lighting is essential.
  • Magnification. I take a photo on my iPhone, and then zoom in to see the minute details.
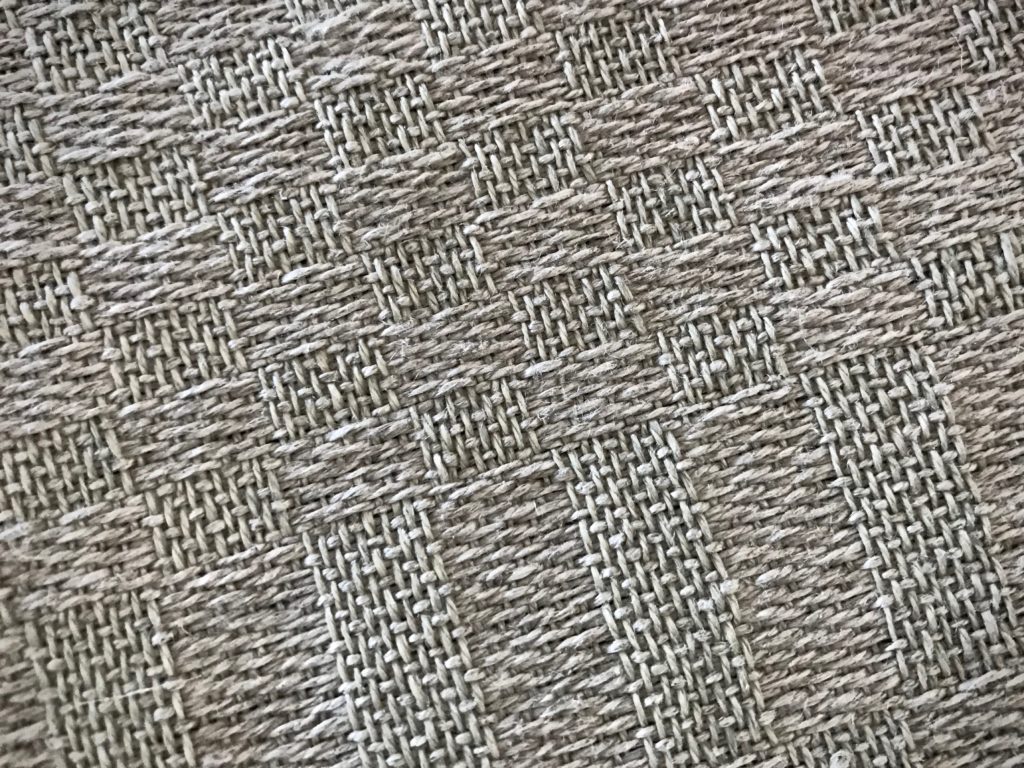
Zoom in on iPhone photo to magnify details.


How to Mend Skipped Threads:

1 Locate the error. Here is a long weft float.
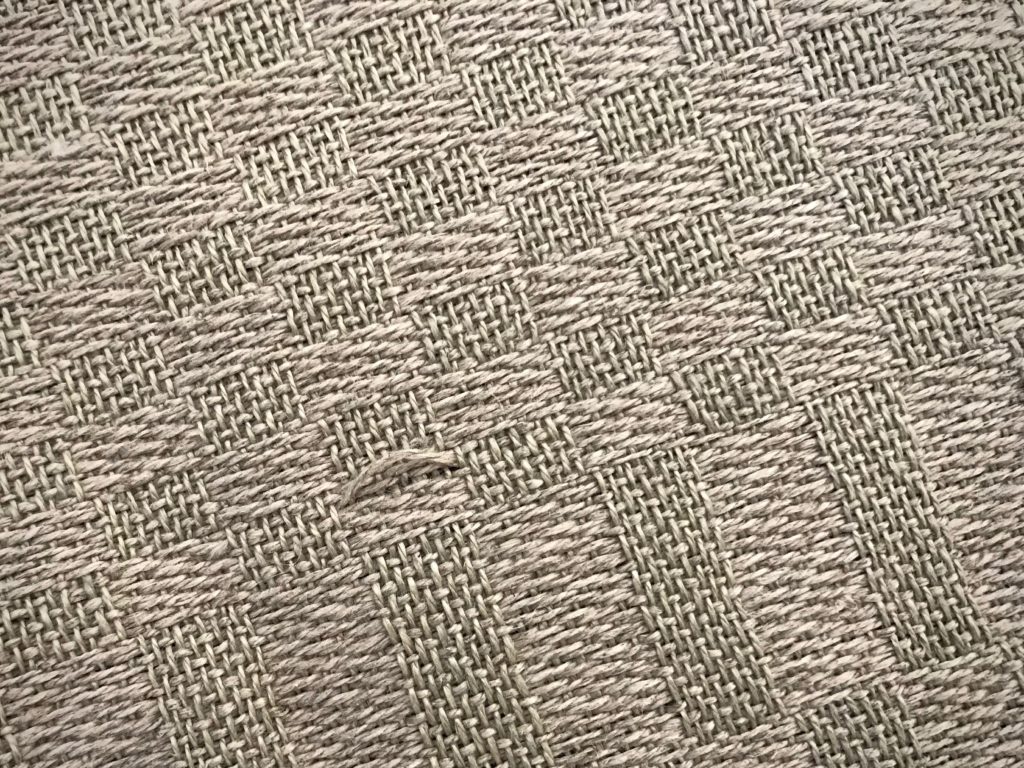
What to do with skipped threads. Tutorial.

2 Thread the blunt-tip needle with a length of the same thread as the float.
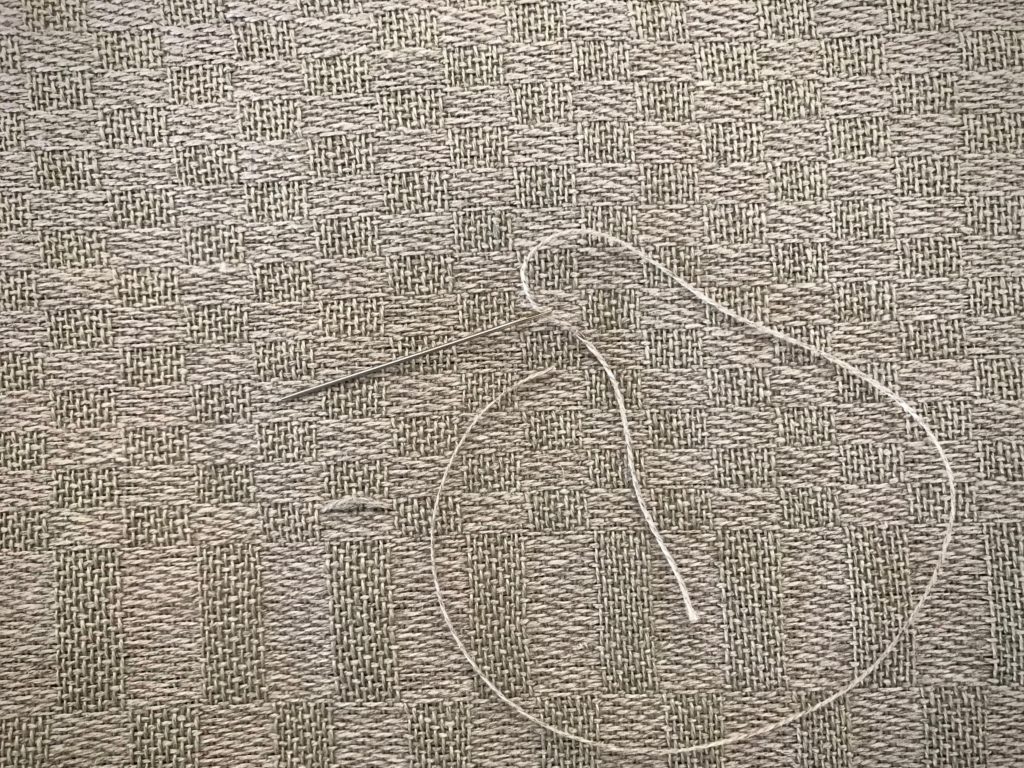
Tutorial on fixing weaving errors.

3 Following the exact under-over pattern of the weave, start one inch before the float and needle-weave toward the float. I lay my iPhone nearby, with the magnified iPhone photo clearly showing the weave pattern.
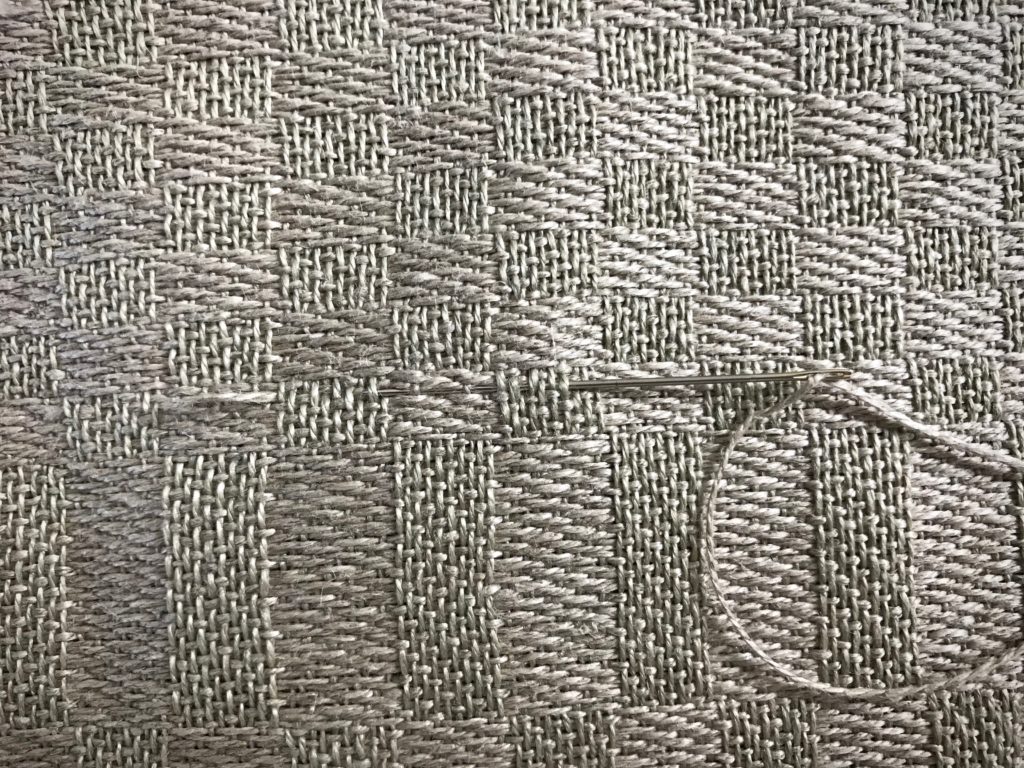
Needle weaving to mend a weaving error. How to.

4 Needle-weave the correct path of the thread through the float area. Continue needle-weaving along the same thread pathway, going one inch beyond the float.
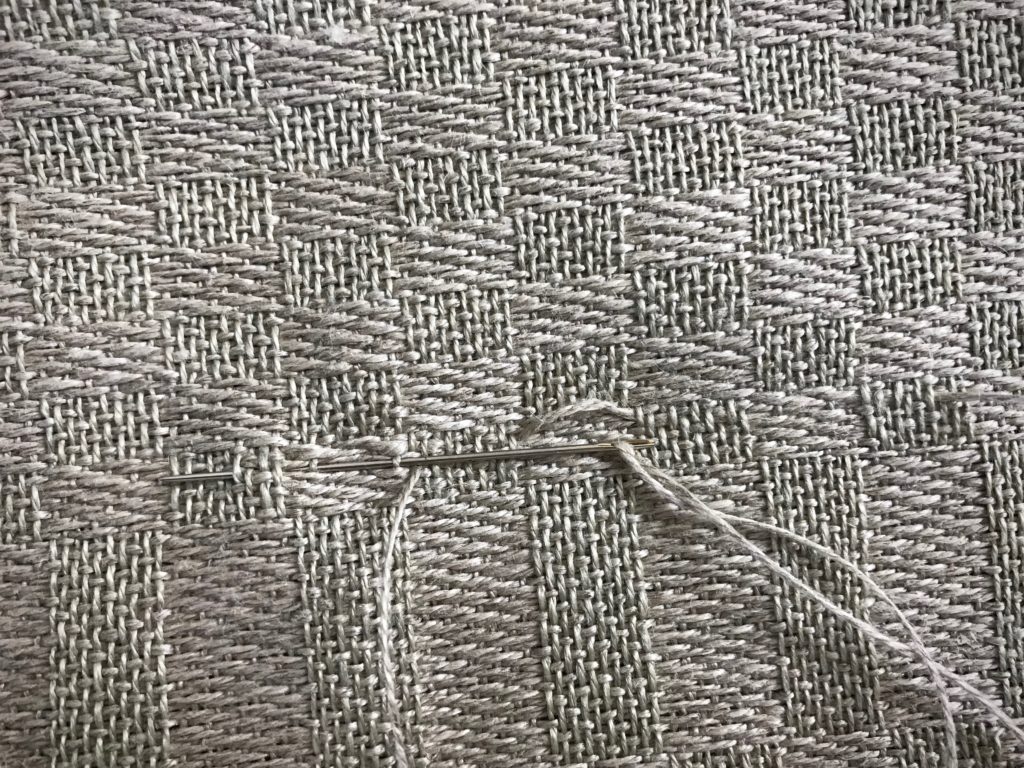
How to fix skipped threads in weaving.

5 Check the front and back of the fabric to see if your stitches match the correct pattern of the weave.
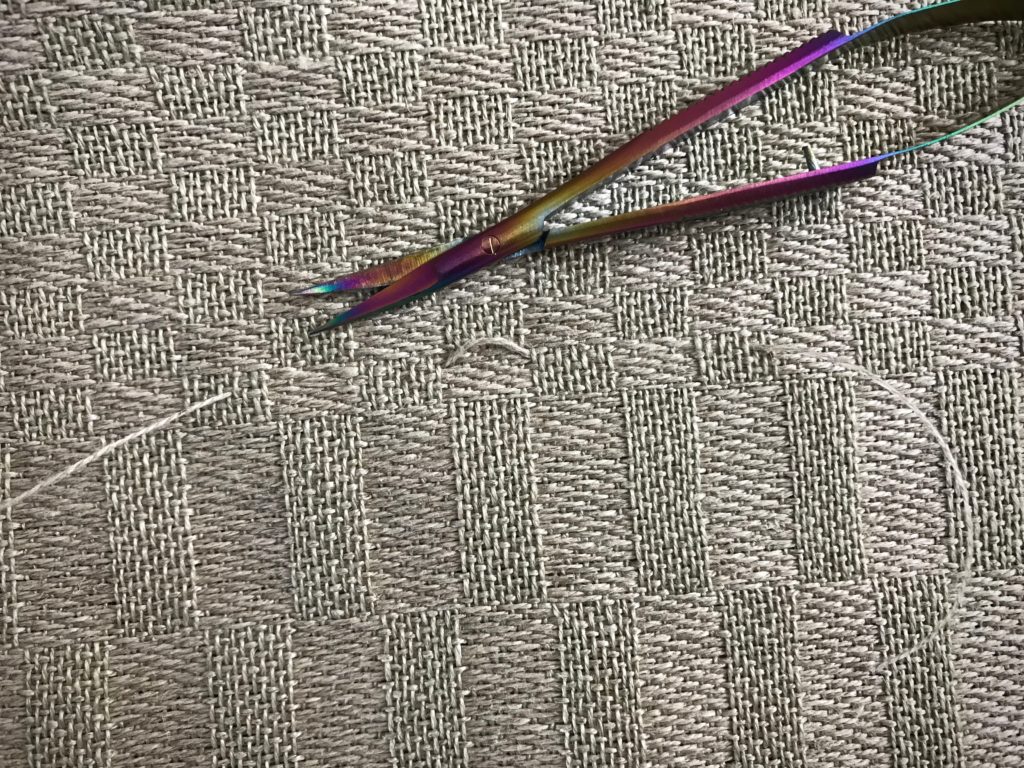
Skipped threads in weaving. Fixed!

6 When you are certain that the float thread has been accurately replaced, clip the float and remove it (or, leave it and trim it after washing). Leave two-inch tails on the replacement thread, and trim after wet finishing. (I leave the replacement tails so I can find and check the repair after it is washed. This also allows for shrinkage before trimming.)
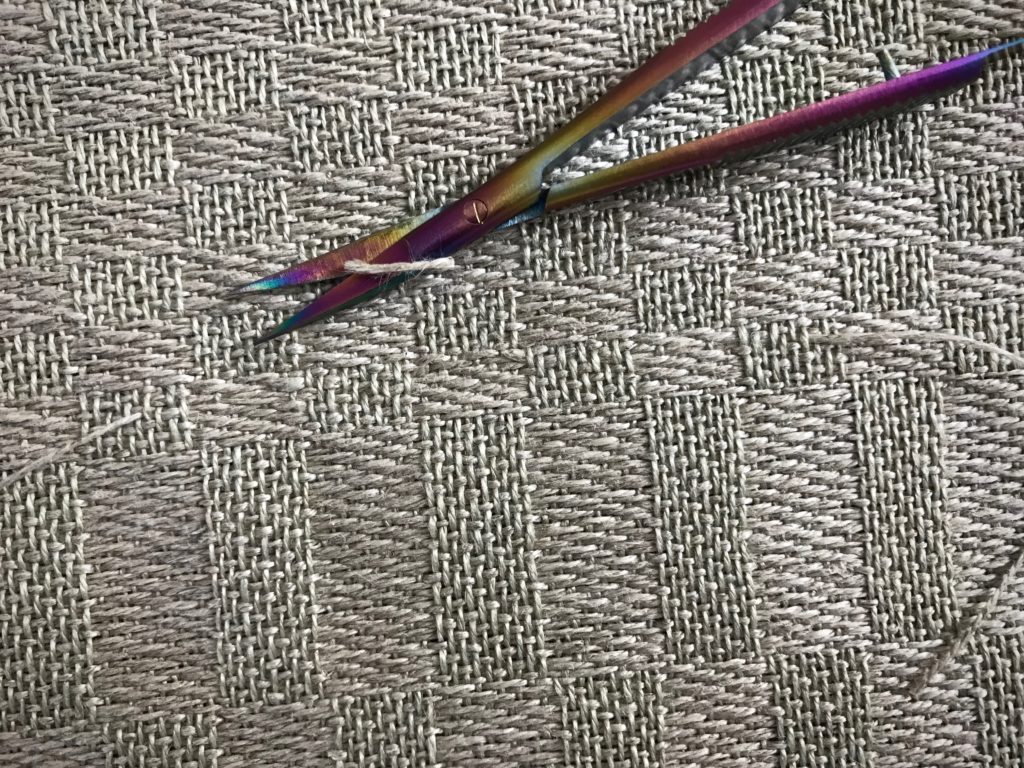
Clip off the float AFTER repair thread is in place.


How to Fix a Small Selvedge Loop

1 Locate the loop.
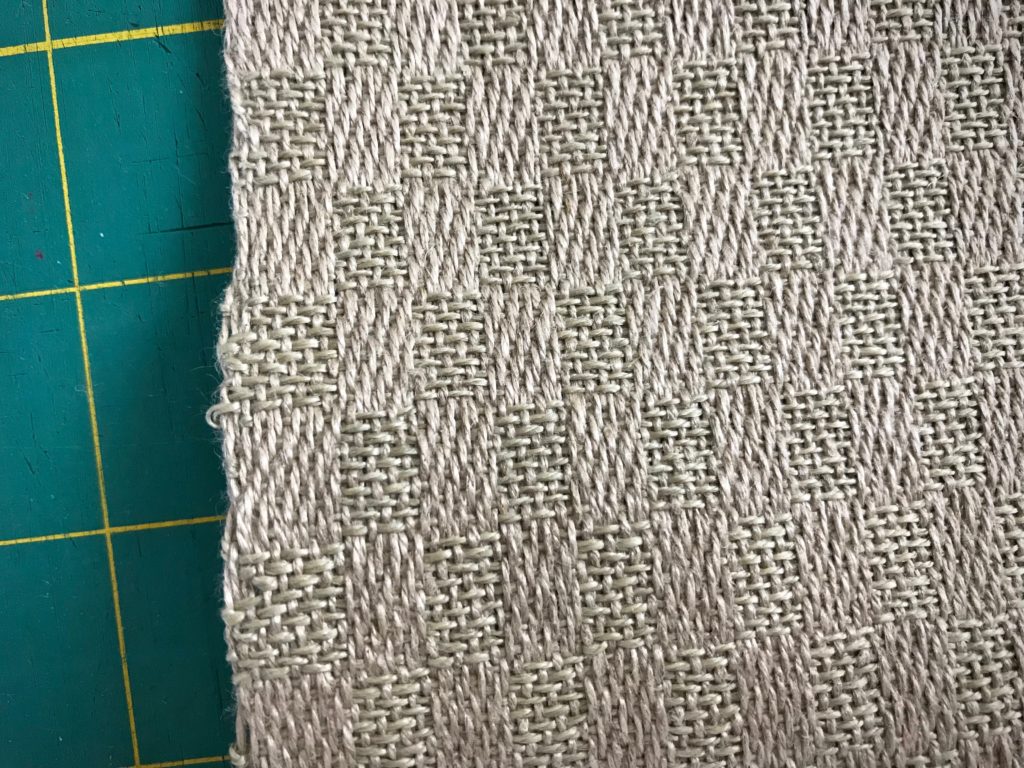
How to fix a loop in the selvedge.

2 Using the blunt-tip needle, gently ease the excess thread to spread over four or five stitches inside the selvedge.
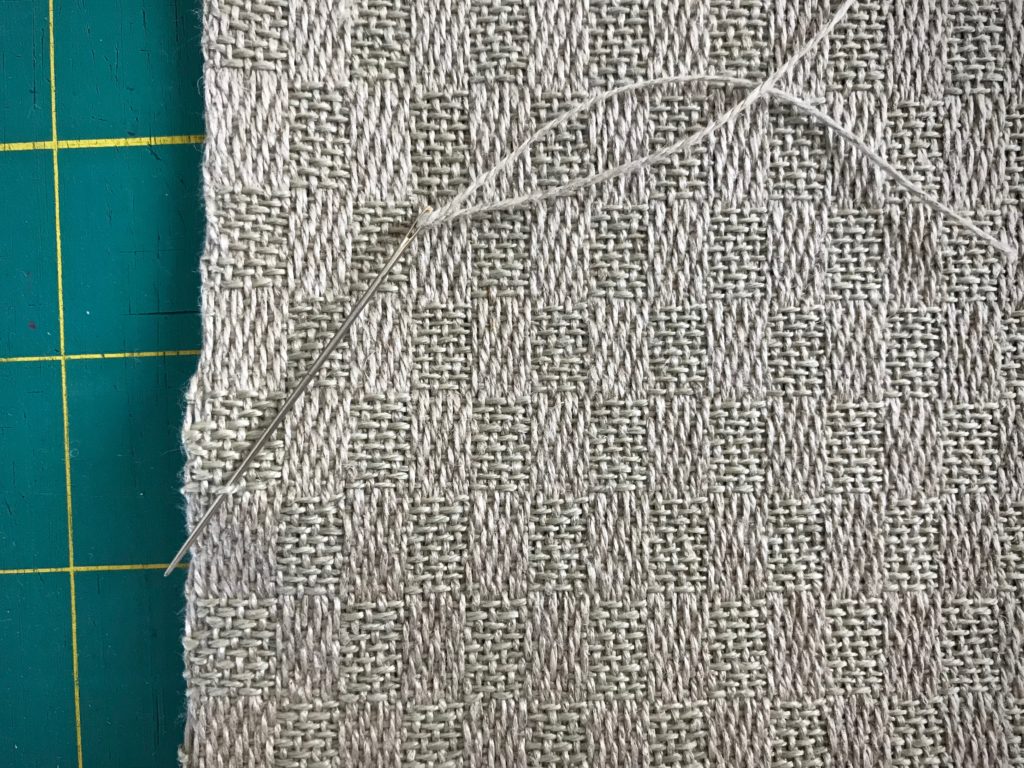
Easing in a loop at the selvedge. Short how-to.

3 The thread that has been eased in (just above the needle) will completely smooth out in wet finishing.
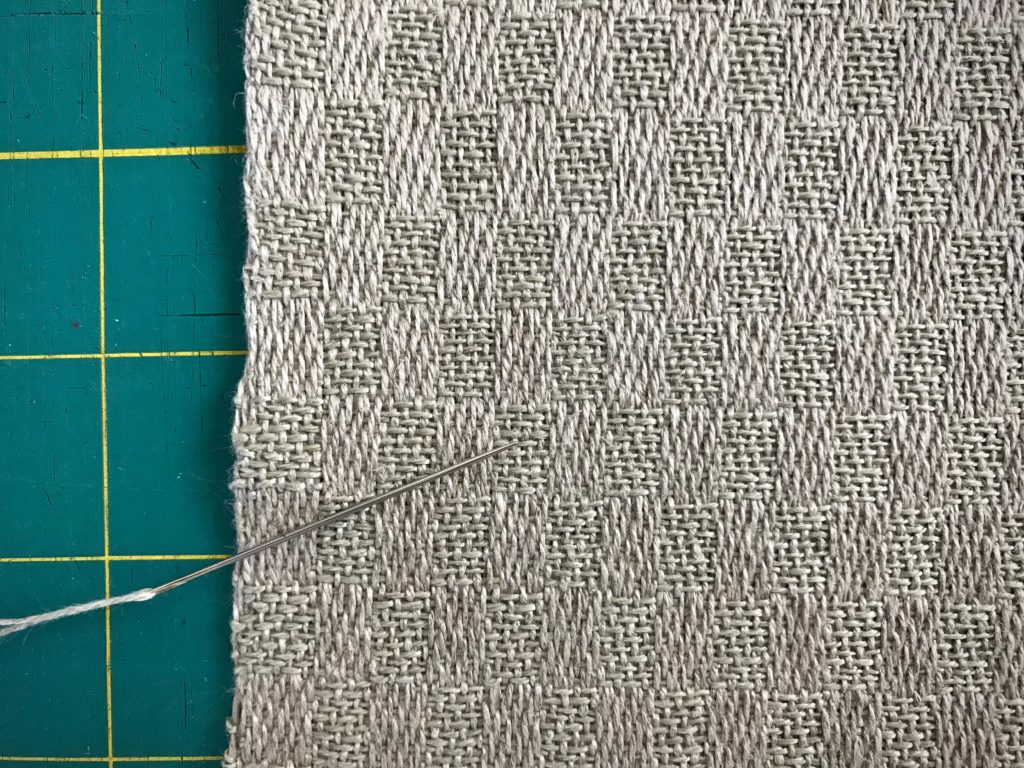
Eliminate an errant loop at the selvedge.

What skipped threads and loops would be found if I were examined this closely? Would I leave them and hope no one notices? Or, would I allow re-weaving and cutting away? A negative attitude is replaced with a thread of thankfulness. A loop of complaining is eased back in. The result is joy. A thankful heart knows joy. When the fabric is washed, the errant floats and loops are gone. What remains is the woven fabric with lustrous threads of joy.

May you have a bright sunshiny day.

With you,
Karen
Awaken the Empty Looms

The transformation of looms has begun! One by one, three empty looms are awakened from their rest. Two of three warps have been wound, and I have started dressing one of the looms. Soon, all three looms will be active as I weave coordinating textiles for our Texas hill country home.

Cotton and linen for planned coordinating textiles.
Cotton and linen threads for the planned coordinating textiles.
Stripes on the warp beam. So inviting!
Warp beam is clothed with a narrow-striped warp. A separate warp chain for each color and two sets of lease sticks make the beaming process a little tricky.

This loom at our hill country home has a warp designated for placemats. Color-and-weave effects will take the simple two-treadle plain weave up a notch, starting with the warp stripes. Is there anything as inviting as stripes on the warp beam? The loom that was bare now holds great promise.

Threading the loom in the best spot in the house!
Threading the loom happens in the brightest corner of the house.
Warp stripes form the base of interesting color-and-weave effects.

Love transforms people. Someone who feels empty is given purpose and hope when they are loved. A reason for being. A start toward something meaningful. Real love is extreme. Love is defined by the ultimate giving up of self-centered motives, as demonstrated by Jesus Christ. This is the extreme love that we have been given, and have been called to give. We’ve known the joy of stripes on the warp beam becoming handwoven fabric before our eyes. And we relish the thought of sharing that joy with someone else.

May you awaken empty looms.

Happy weaving,
Karen