What to Do with Linen Leftovers

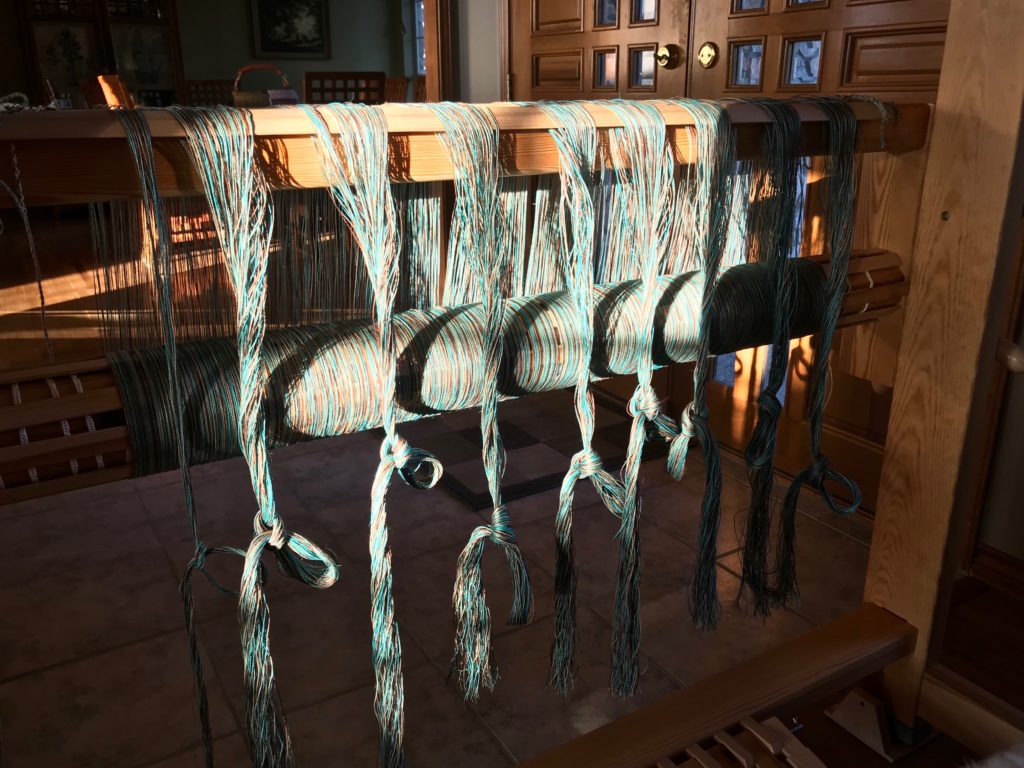
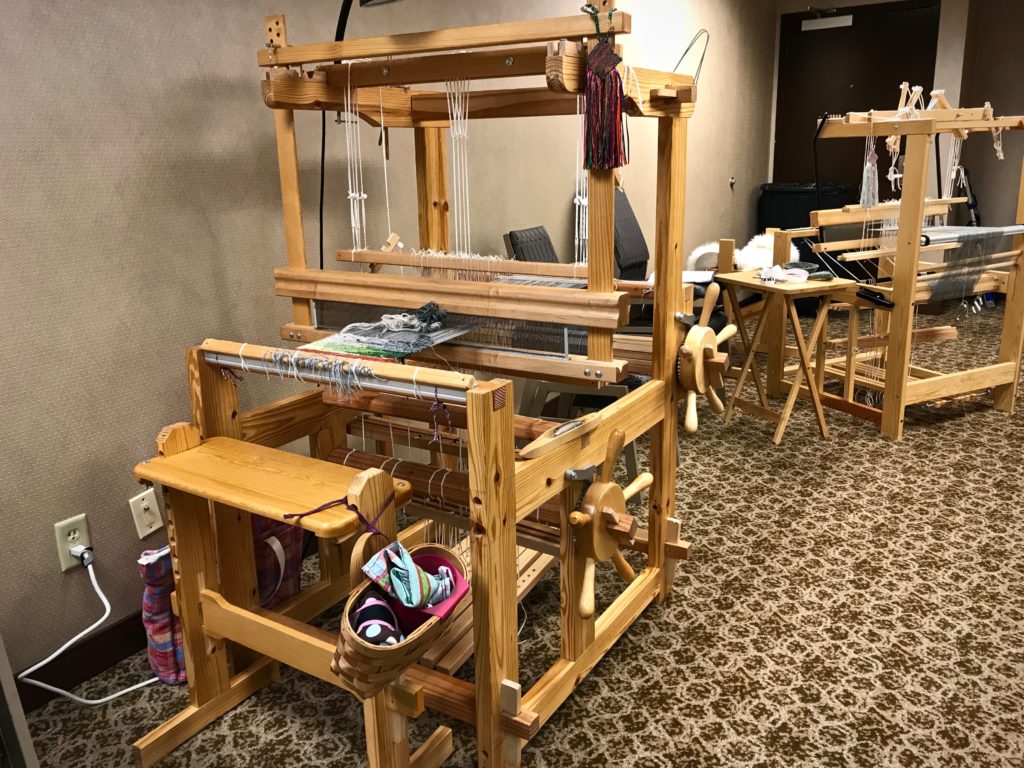
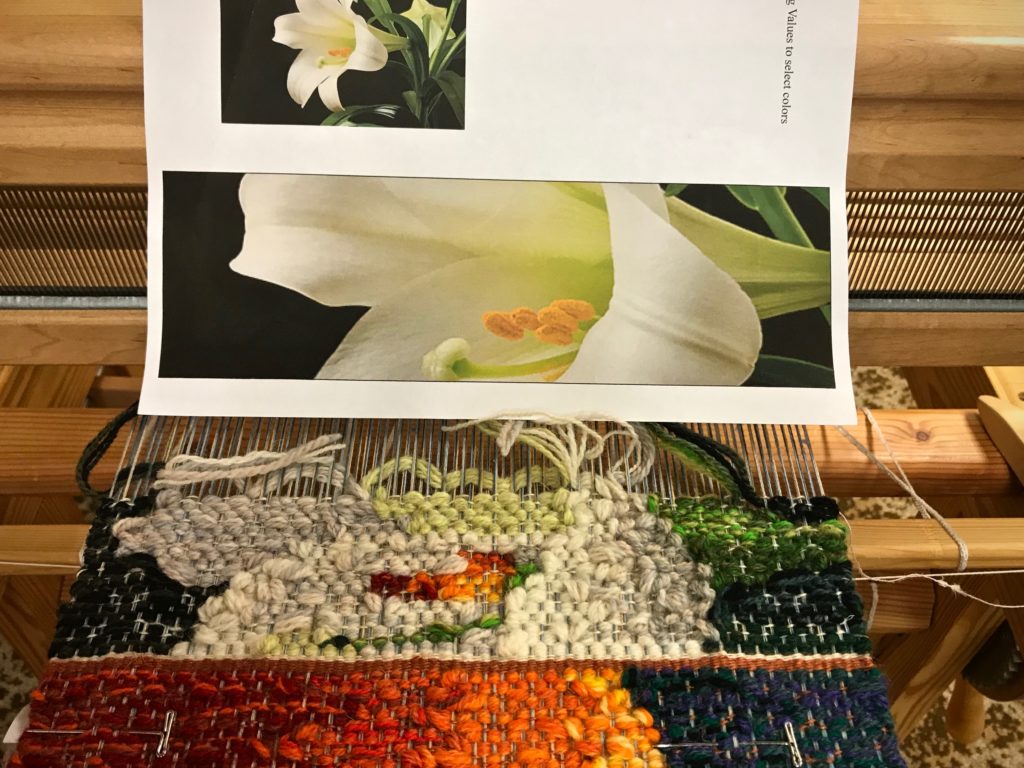
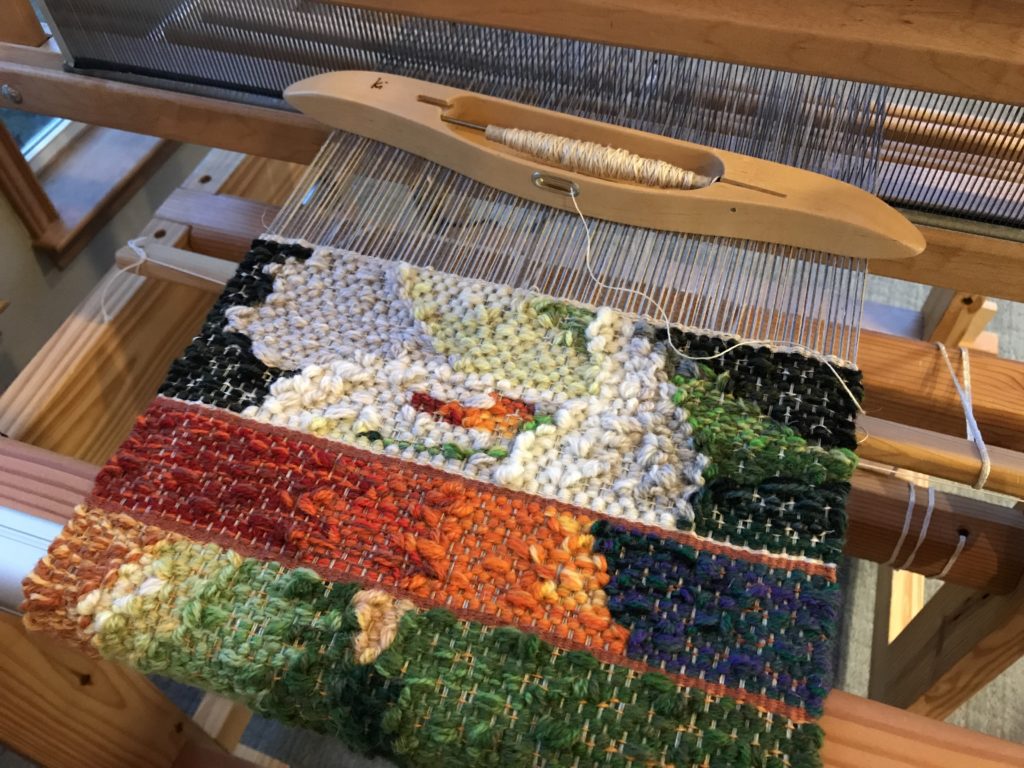
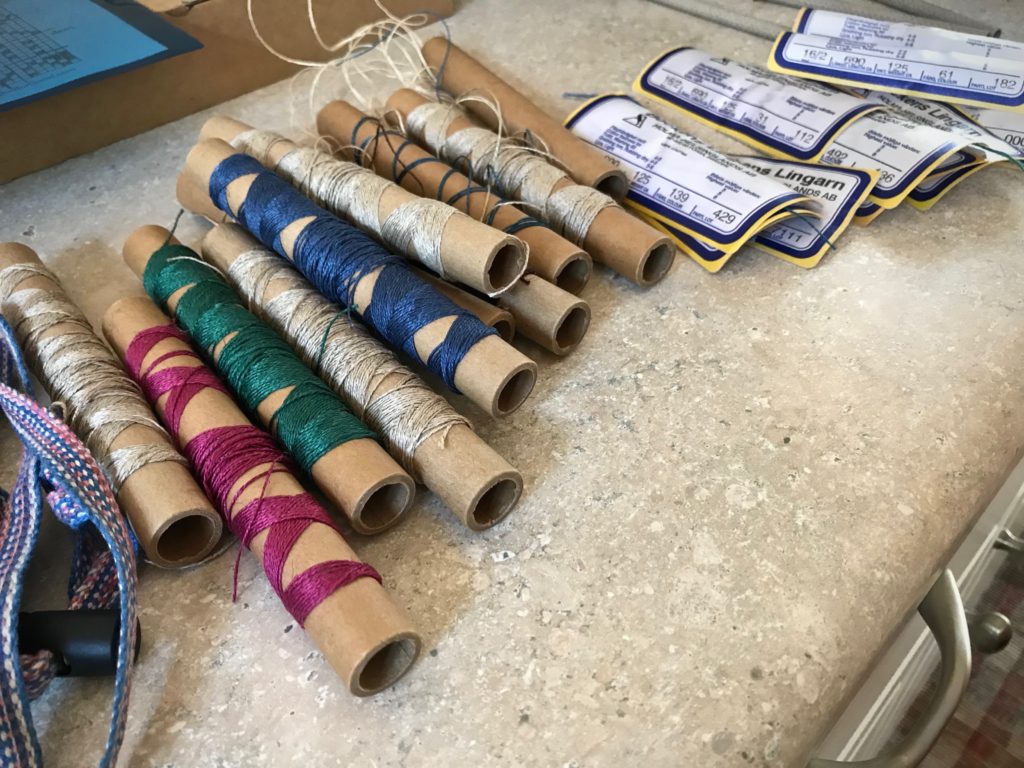
These waffle-weave washcloths are made out of my linen leftovers. For years, I’ve been saving linen scraps: the small amount left on the tube, quills that weren’t used up, thrums that I couldn’t bear to discard, and skinny warp chains from the times I accidentally wound a few extra warp ends.

Using linen leftovers for a new warp.
To make this warp, I finished off about a dozen tubes that had small amounts of 16/2 linen.
Winding a linen warp.
Putting leftover threads together.

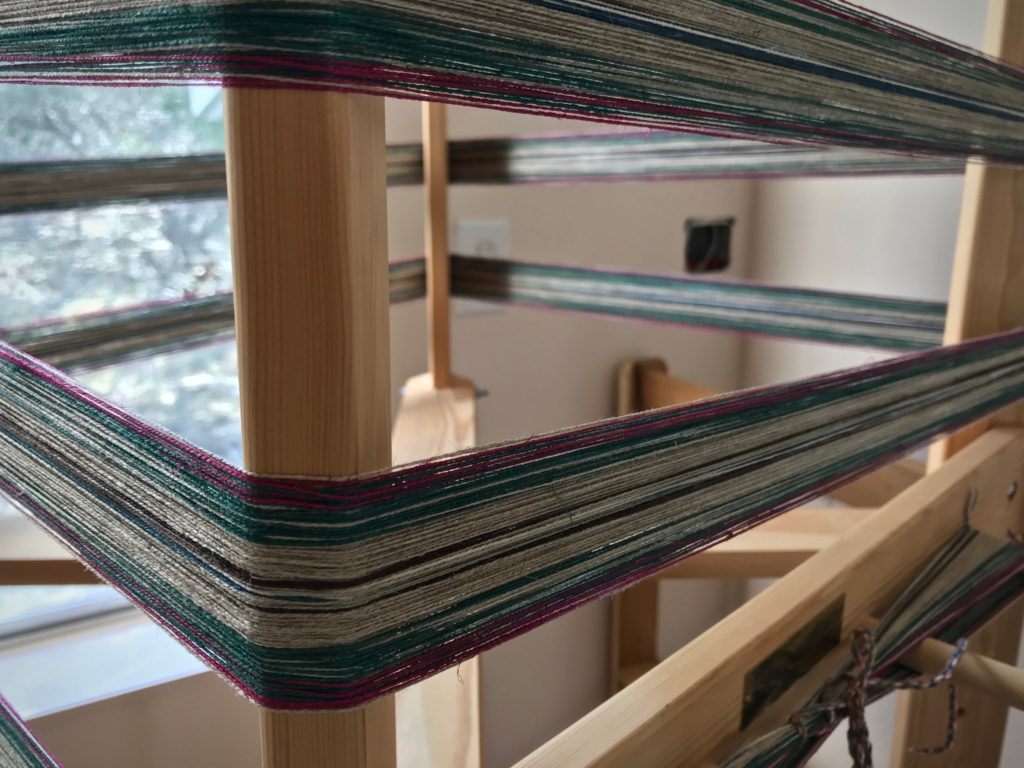
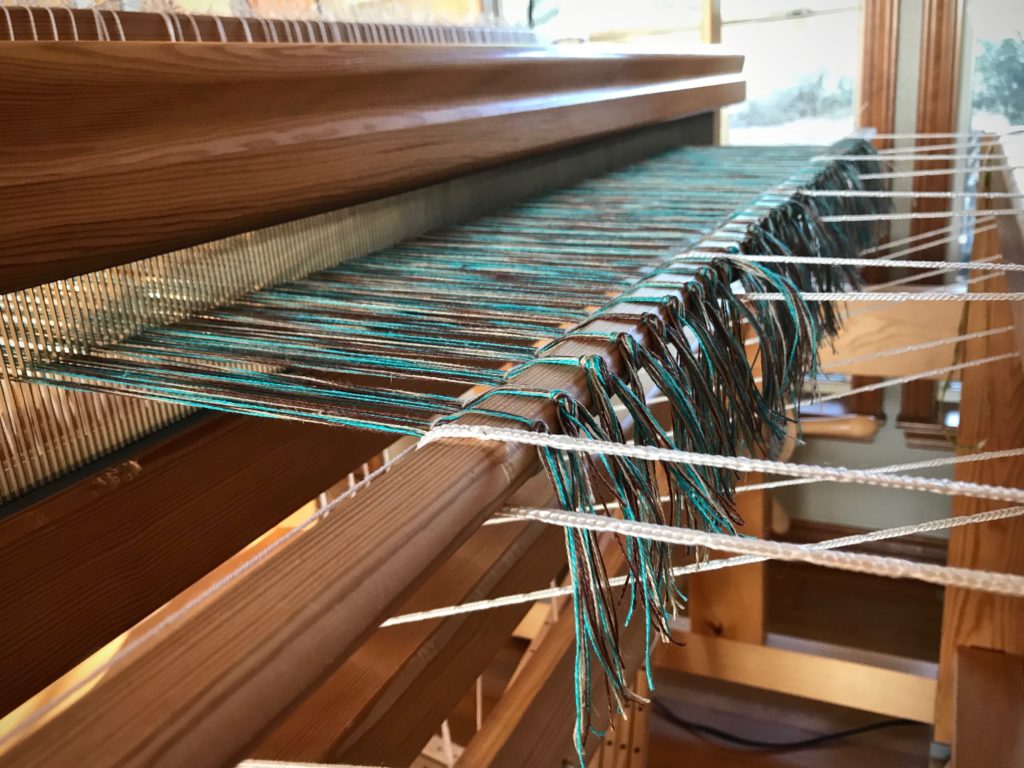
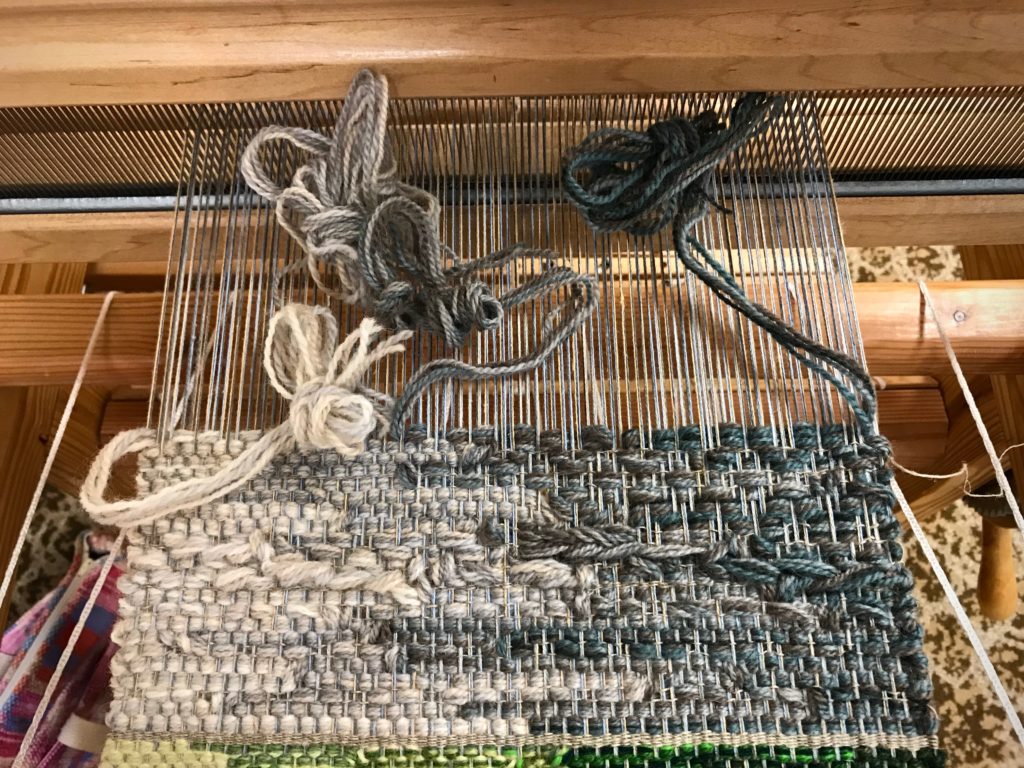
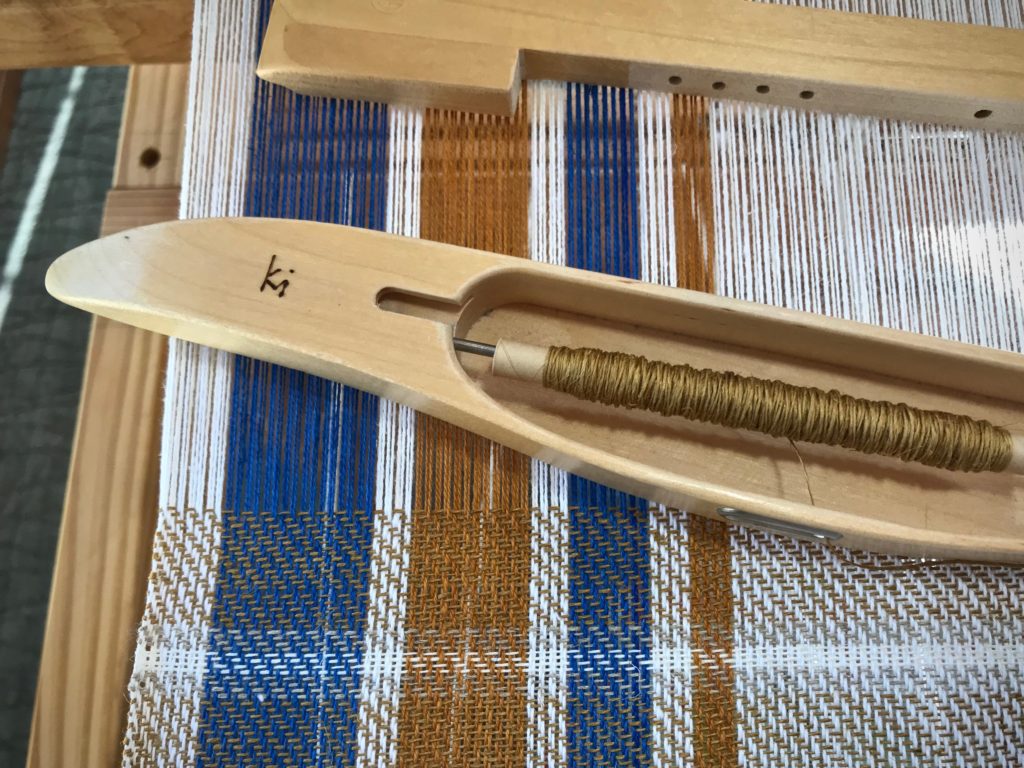
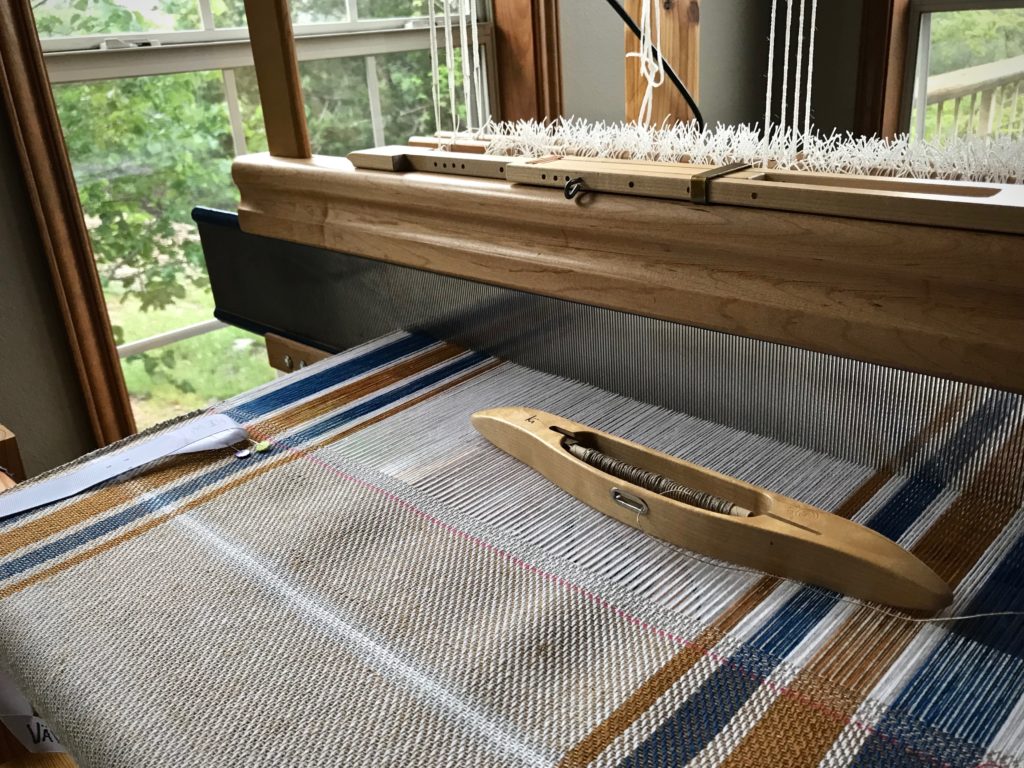
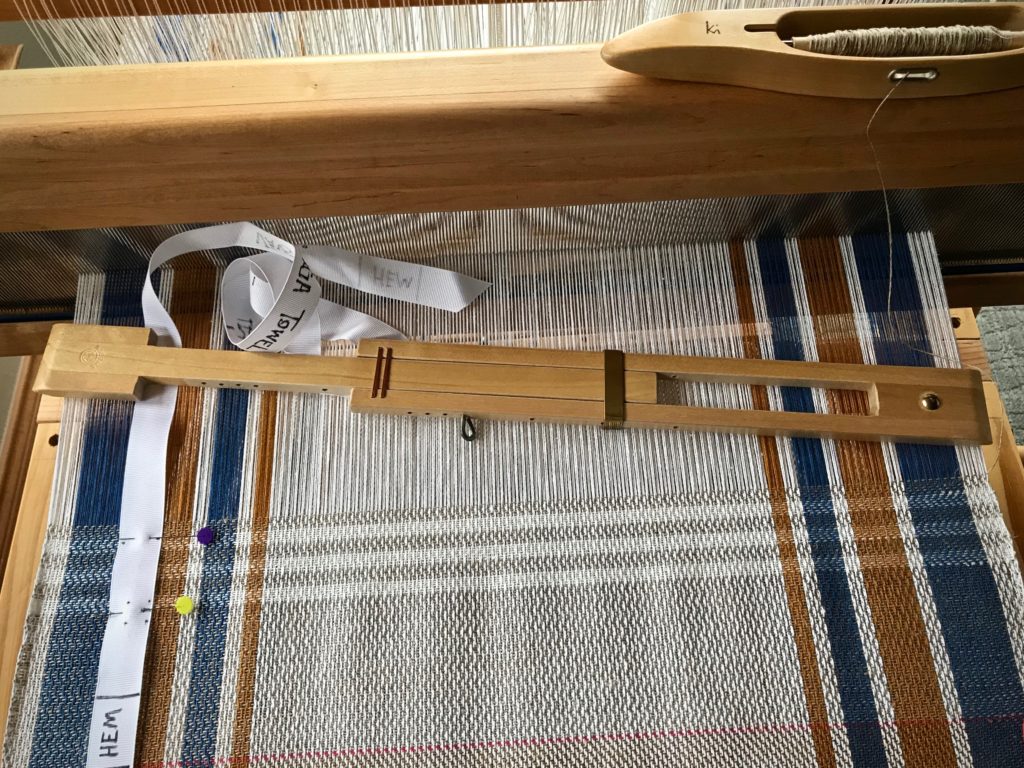
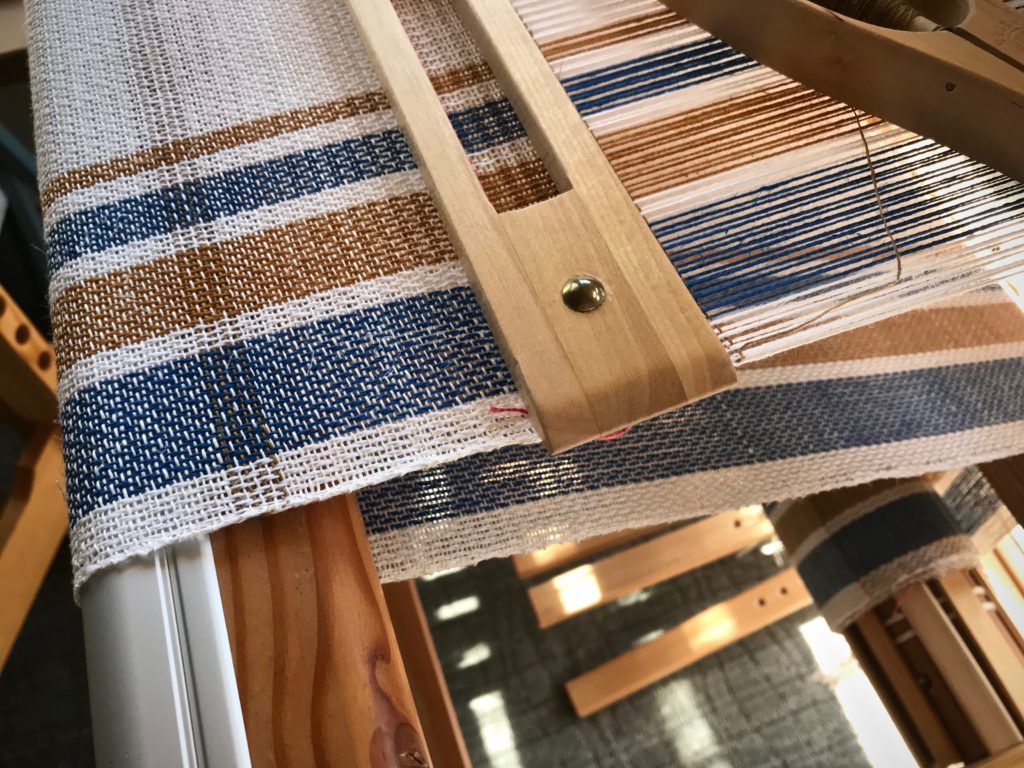
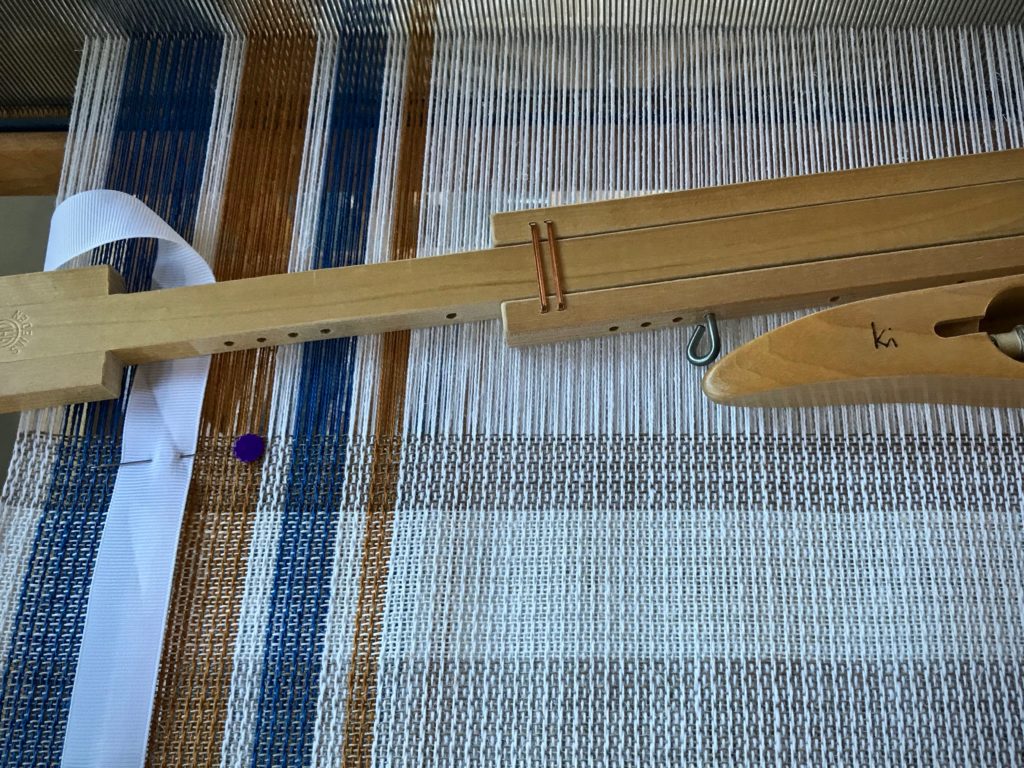
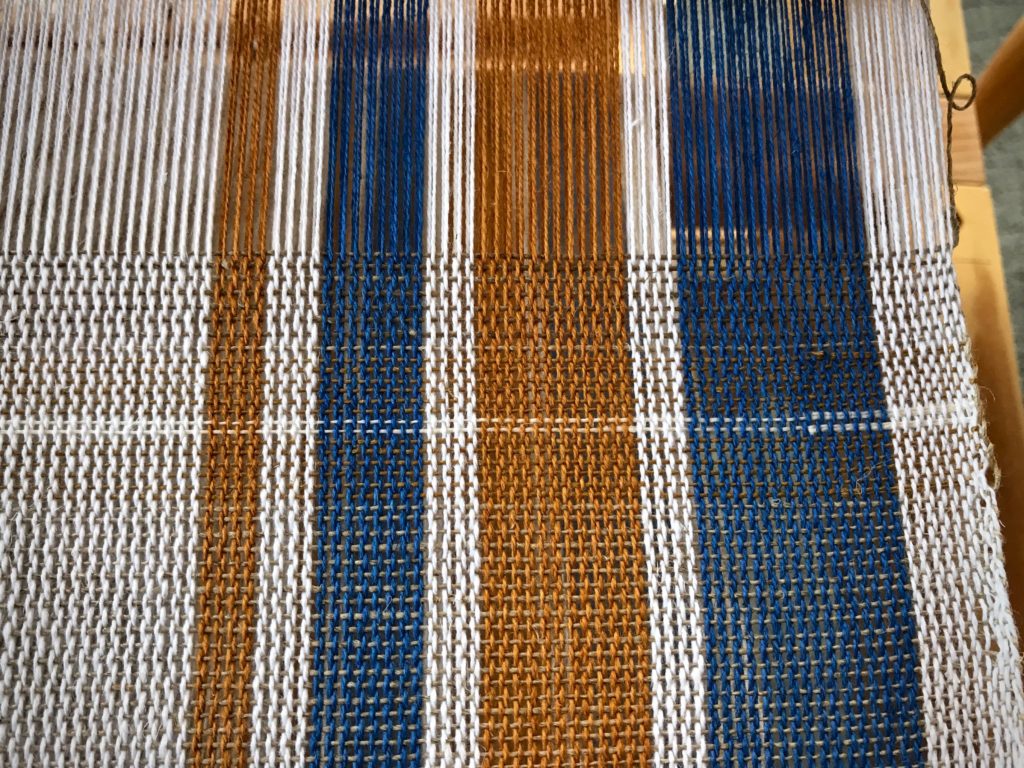
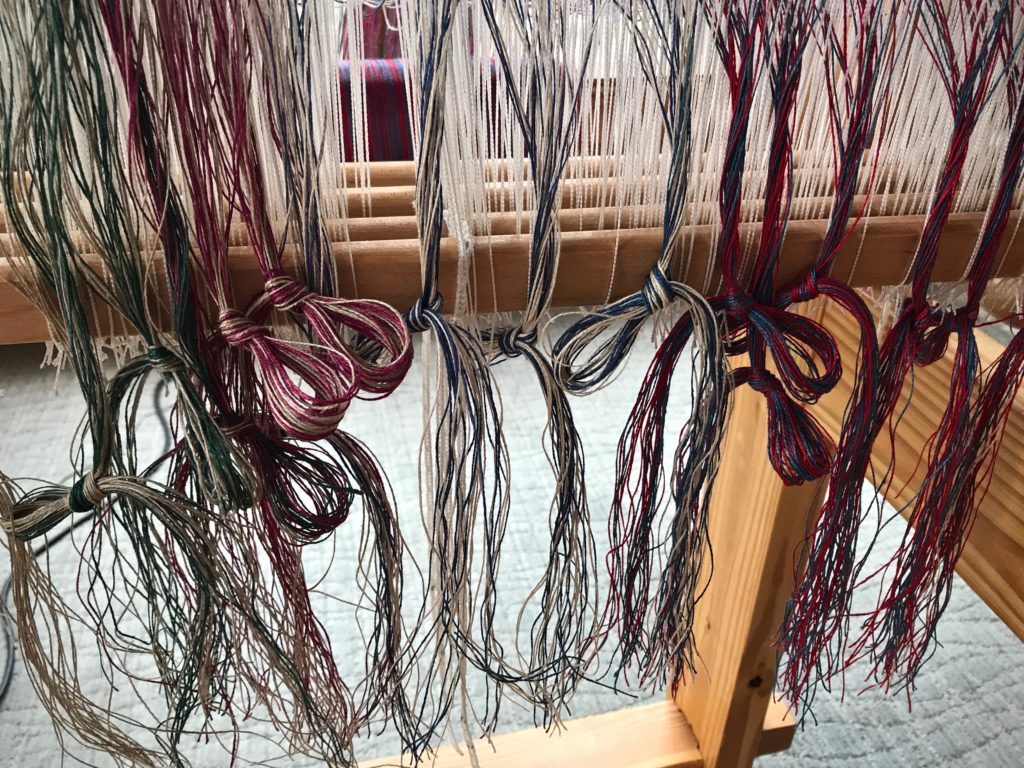
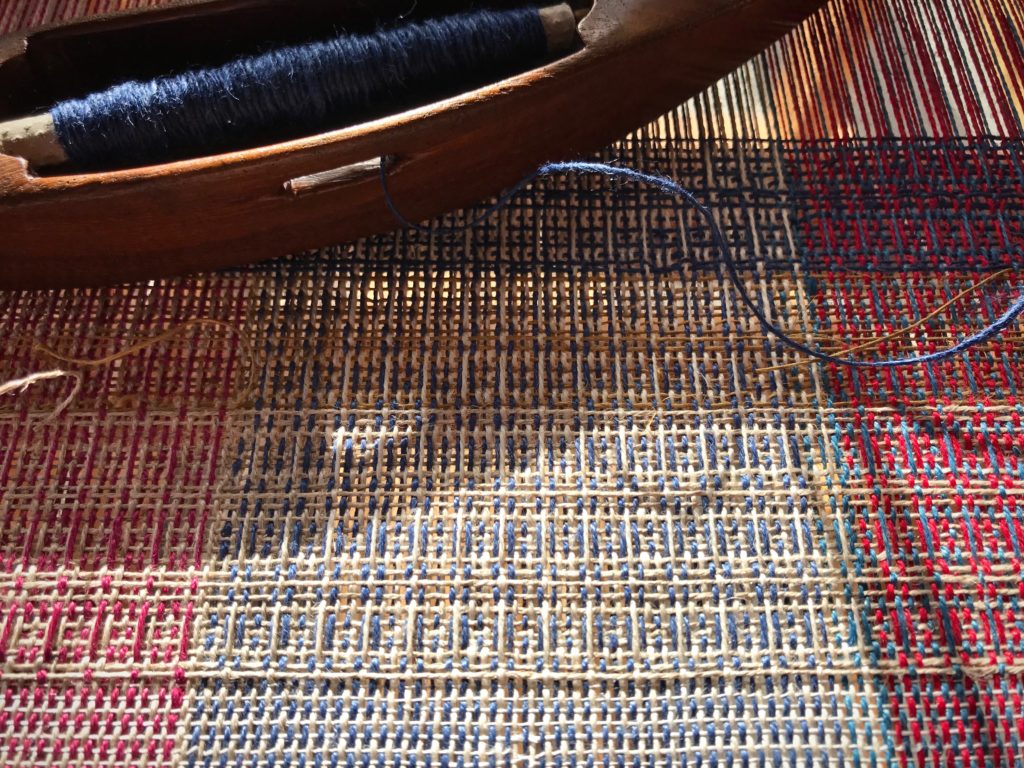
The warp is 16/2 linen. I alternated two colors at a time in the warp, so there are interesting color-and-weave effects that outline the “waffles” in the weave.

New linen warp.
Heddles are threaded in point twill for waffle weave, alternating two colors at a time.
Afternoon sun on a new warp.
Afternoon sun is a pleasant sight on a new warp.

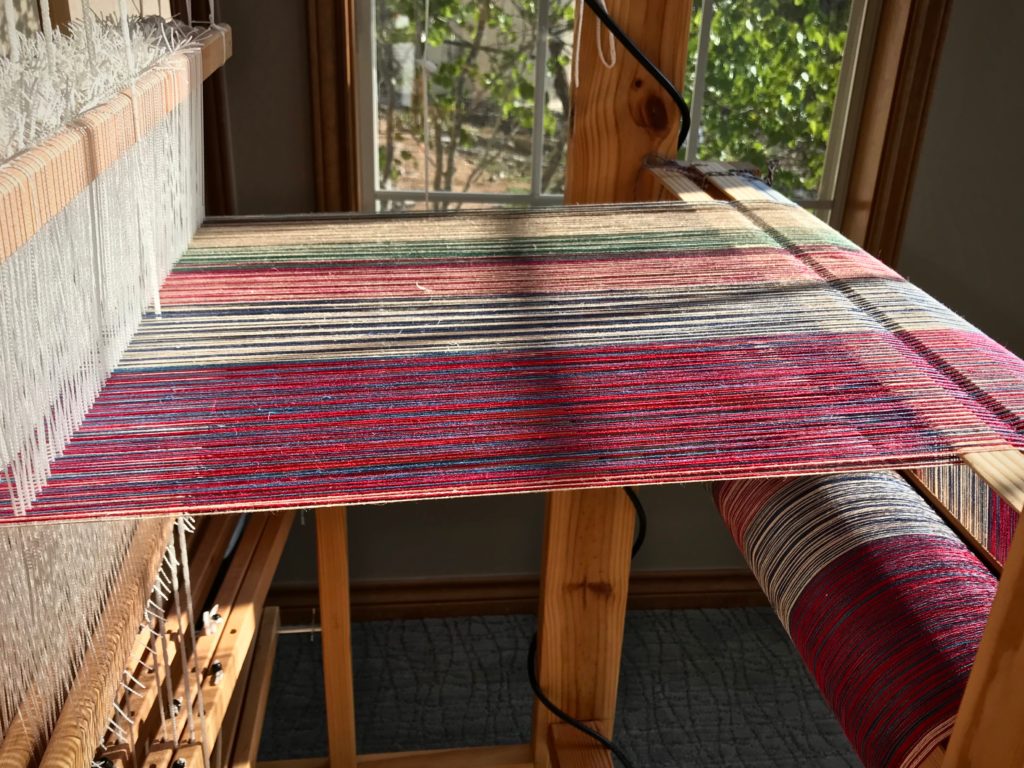
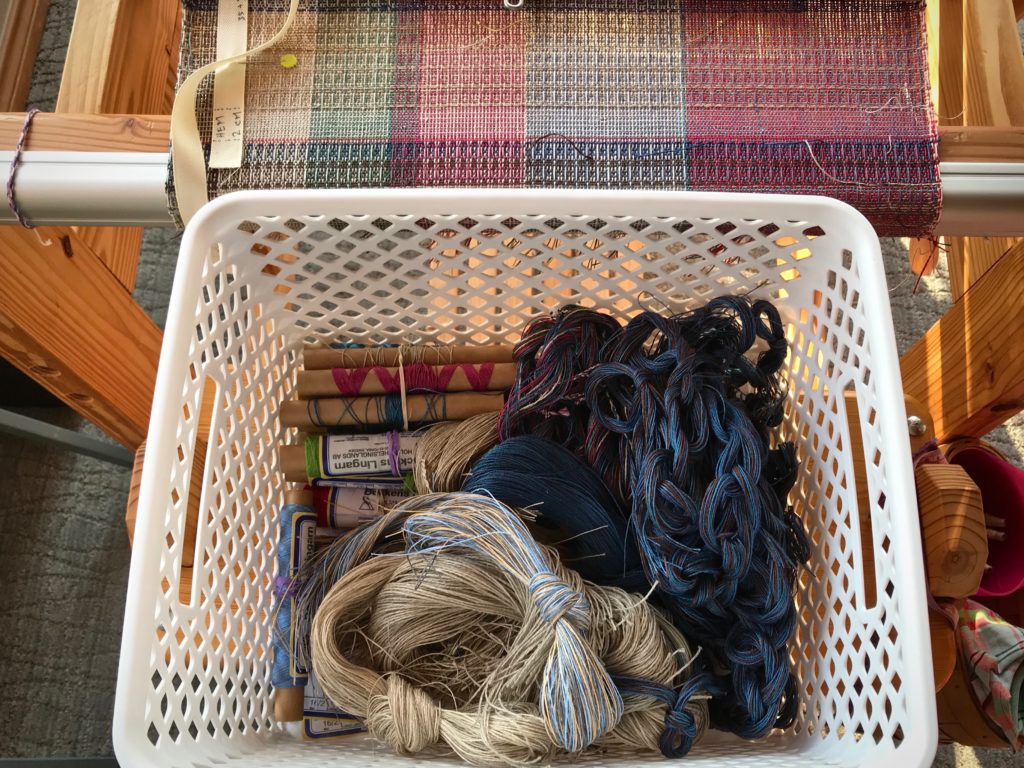
The linen for the weft is everything from fine 16/1 line linen to coarse 8/1 tow linen. I am purposely leaving weft tails exposed. I expect significant shrinkage, so I will trim the tails shorter after wet finishing.

How to use linen leftovers.
Linen “weft-overs” include thrums, end of tubes, and accidental warp chains.

Ideas for this project originated with Clean with Linen, by Sanna Ignell in Väv 2016 No.2, p.6, and Handtowels made of linen, by Elisabet Jansson in Happy Weaving from Vävmagasinet, p.31.

Linen waffle weave.
Linen waffle weave.

Do you have precious leftovers you’ve saved from your journey through life? Memories we don’t want to lose. And memories we wish we could forget. All these leftover threads serve as reminders that we are meant for more than what we can produce on our own. Here’s the good news. Love invites us to hand over our collection of scraps. Listen to Love. His name is Jesus. He takes our linen discards, and, with nothing wasted, weaves his beautiful story of redemption in us.

May your leftovers be given new life.

Love,
Karen

Weaving a Personal Logo

This logo goes back to at least 1982. It is on the underside of a bowl I made that year in my one-and-only pottery class. kmi for Karen Marie Isenhower. This personal logo will be woven into my upcoming pictorial tapestry. I know how I want the image to look, but it’s not easy to weave it successfully. I am practicing on a sample warp.

Woven logo in a tapestry.
Lizard tapestry, woven from the side. This was my first attempt to weave my personal logo into a tapestry.

I am starting with the little cartoon that I used when I wove the Lizard tapestry last year (see Quiet Friday: Lizard Tapestry), thinking I can improve in the weaving of it.

Sample warp.

Nope. It’s not any better. I am redrawing the cartoon to spread the letters out further.

Practicing weaving my personal logo.

Nope. Now, the letters are too spread out.

Finally, I reach a happy medium.

Woven personal logo.
kmi

Yes. This attempt is successful. Now I am ready to weave my personal stamp into the new tapestry project.

Warp is almost ready for the next tapestry.
Linen warp is beamed for the next tapestry.
Ready to weave!
Ready to start the new tapestry!
Final cartoon.
Cartoon of the logo is traced onto the big cartoon that will be used for the pictorial tapestry.

You were made on purpose for a purpose. When the Grand Weaver created you He started a masterpiece with your initials on it. He develops the cartoon and lays out the colorful butterflies of yarn, with your personal logo in mind. Finish what He started. It takes a lifetime. In the end, my personal logo, never quite perfect, will diminish. And His royal insignia, embroidered in threads of gold, becomes the label on my life’s tapestry.

May you see your great value.

With you,
Karen

Pictorial Tapestry Weaving

Inspired by some of Joanne Hall’s exquisite large tapestries, I have been taking steps to learn her techniques. This fascinating style that is unique to Joanne enables her to weave large tapestries at a comfortable pace. My Lizard tapestry last year was a step in this direction. (See Quiet Friday: Lizard Tapestry.) One thing that the lizard taught me is how much more I need to learn. So, you can imagine my delight in having the opportunity to take a Pictorial Tapestry Weaving workshop taught by Joanne Hall last week! (Contemporary Handweavers of Texas Conference in Fort Worth was the setting.)

Texas Wildflowers, tapestry by Joanne Hall.
Texas Wildflowers, tapestry by Joanne Hall. Photo credit: Steve Isenhower 2013
Detail of Texas Wildflowers, tapestry by Joanne Hall.
Detail of Texas Wildflowers. Threaded in rosepath, with a linen warp. Woven with butterfly bundles of wool yarn. Photo credit: Steve Isenhower 2013

Things to remember: Don’t beat hard. Bubble the weft more. Color theory is invaluable for adding depth and intensity. Simplify the cartoon. And countless more bits of insight and instruction! I am invigorated in my pursuit to develop these tapestry skills. Expect to see a tapestry on my 120cm Glimåkra Standard in coming days.

Workshop looms.
My hand-built countermarch loom is perfect for a tapestry workshop. Betsy brought her Glimåkra Julia loom.
Tapestry sampler in Joanne Hall's workshop.
Workshop sampler gives students various tapestry techniques to practice. We learned techniques of other tapestry weavers, such as Hans Krondahl and Helena Hernmarck, as well as Joanne’s unique approach.
Tapestry workshop with Joanne Hall.
Fellow student Cindy created this pear, taking advantage of the rosepath threading to add pattern to the image.
Joanne Hall's tapestry workshop.
Joanne, center, explains the process of creating a cartoon. She spreads out photos of flowers as a starting point for students’ cartoons.
Joanne Hall's tapestry sample.
Joanne’s tapestry sample demonstrates the outcome of her process. A portion of the photo was enlarged from which she drew the cartoon.
Tapestry workshop.
Fellow student Deborah creates a flower from her original cartoon.
Making a tapestry cartoon.
I am choosing to make my cartoon from an enlarged portion of a lily photo.
Weaving from a cartoon in tapestry workshop.
Color studies and technique exercises all come together in the last part of the tapestry sampler. Weaving from a cartoon.
Tapestry progress.
Time to take the loom apart and head home. Checking my progress with the photo before packing up.
Lily sample from tapestry workshop with Joanne Hall.
Lily sample is finished at home.

I find myself pondering how experiences fall into place in our lives. There are times when the stepping stones seem to be set out before us, showing the way, when we don’t know exactly where we are going. The Lord knows where I am going. He knows me. And he kindly sets out the next steps. Perhaps he smiles as he sees our delight when we figure out that we are the bundles of yarn in his tapestry.

May your joy in learning never cease.

Happy Weaving,
Karen

Weaving Some Simple Borders

I need to free up this little loom in order to put on a different warp that has a deadline. So, now that I have returned from my travels, my attention is going to these towels. My friend is letting me weave this lovely cottolin warp that she got at Vavstuga.

Simple border stripe in first towel of the Vavstuga towel kit.
Simple border stripe in first towel. Straight twill.
Cottolin warp and 8/1 tow linen weft.
Point twill on four shafts.
Point twill on four shafts. Three horizontal stripes made with half-bleached tow linen weft.

Straight twill, point twill, broken twill, and now “rick-rack.” And after that, a couple towels in plain weave. Everyone who weaves this Vavstuga towel kit and follows the instructions will end up with the same six towels. True? Not necessarily. I like to step off the expected path. That is why I vary the weft and include some type of simple border design on each towel.

Loom with a view. Texas Hill Country.
Three colors of 8/1 tow linen sit on the little blue table as choices for weft. Half-bleached, Unbleached, and Bronze.
Broken twill for a cottolin towel.
Changed the tie-up to broken twill, which allows me to keep a simple straight treadling pattern. Dashed weft pattern for the border stripe is produced by alternating the bronze linen weft with the half-bleached linen weft.
Color-blocked towel uses three neutral weft colors.
Long wavy vertical lines give the appearance of rick-rack. Again, I changed the tie-up to keep the simple straight treadling pattern. I use all three weft colors in this color-blocked towel.
Cottolin towels with 8/1 tow linen weft.
Plain weave, with four shafts and two treadles. The main body of the towel uses the unbleached linen weft. Two picks of half-bleached linen are sandwiched between several rows of bronze linen weft.

There is a wide path that is crowded with many people. It’s the common and expected way of life. It’s where you stay if you want to fit in with everyone else. But if you search for it, you’ll find an uncommon path. It’s narrow; and few find it. It’s the path of life that is found in Jesus Christ. Stand in the narrow path. That is where your unique features will show up as border designs that set you apart as a cherished child of God.

May you be set apart.

Happy weaving,
Karen

Quiet Friday: Lizard Tapestry

This is the moment we’ve been waiting for! We finally get to see the whole tapestry. This lizard has given me quite a ride! I have learned plenty. Things I’m happy with myself about, like drawing a cartoon from a photograph, following the cartoon details, making and keeping track of butterflies. And some things I’d like to improve, like choosing colors that give the best contrast, managing the cartoon under the tapestry, and choosing where to pick the floats. I’m eager to do four-shaft tapestry again so I can learn some more!

I wove the fringe into an edging, ending with a small braid. Next, I will tack the edging and braids to the back, clip weft tails on the back, and sew on a backing fabric. And then, I’ll find a special place to hang this Lizard tapestry in our Texas hill country home, just a half mile from the place I saw and photographed the cute little green anole in the first place.

Finishing the ends on the Lizard tapestry.
Finishing the ends.


Lizard Tapestry.
Lizard Tapestry. Next steps are clipping weft tails on the back, adding a backing, and hanging in our Texas hill country home.

May your learning experiences take you for an exciting ride.

Happy Weaving,
Karen

~Change Is Coming~
With Steve’s approaching retirement, I am implementing some adjustments for Warped for Good. Friday posts will become less frequent, and by December you will receive new posts only on Tuesdays. Today is my final Quiet Friday post, something I’ve enjoyed doing once a month for the five and-a-half years Warped for Good has been active.

I invite you to continue joining with me on this weaving journey at Warped for Good!