Quiet Friday: Finally Finished

Finish the finishing, please. I always have a pile of handwovens that need finishing. Don’t you? The finishing smorgasbord includes repairing skipped threads (unintentional floats), securing ends, fringe treatments, hemming, wet finishing, pressing, adding hanging tabs, embellishments, and more. You know you are finally finished when your handiwork is being used and enjoyed.

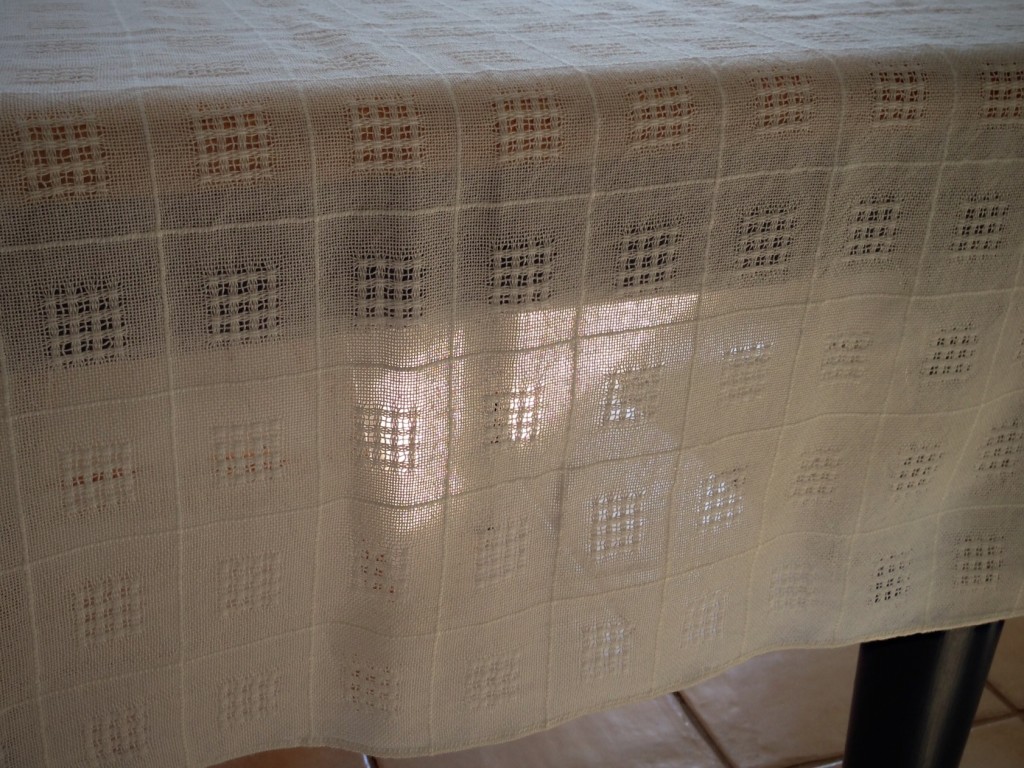
1. Twisted fringe on bamboo huck lace small tablecloth. This cloth covered an heirloom table, becoming the altar, at Melody’s wedding. (This short piece was at the end of the warp after weaving two shawls.) You can see the shawls HERE, and twisting the fringe HERE.
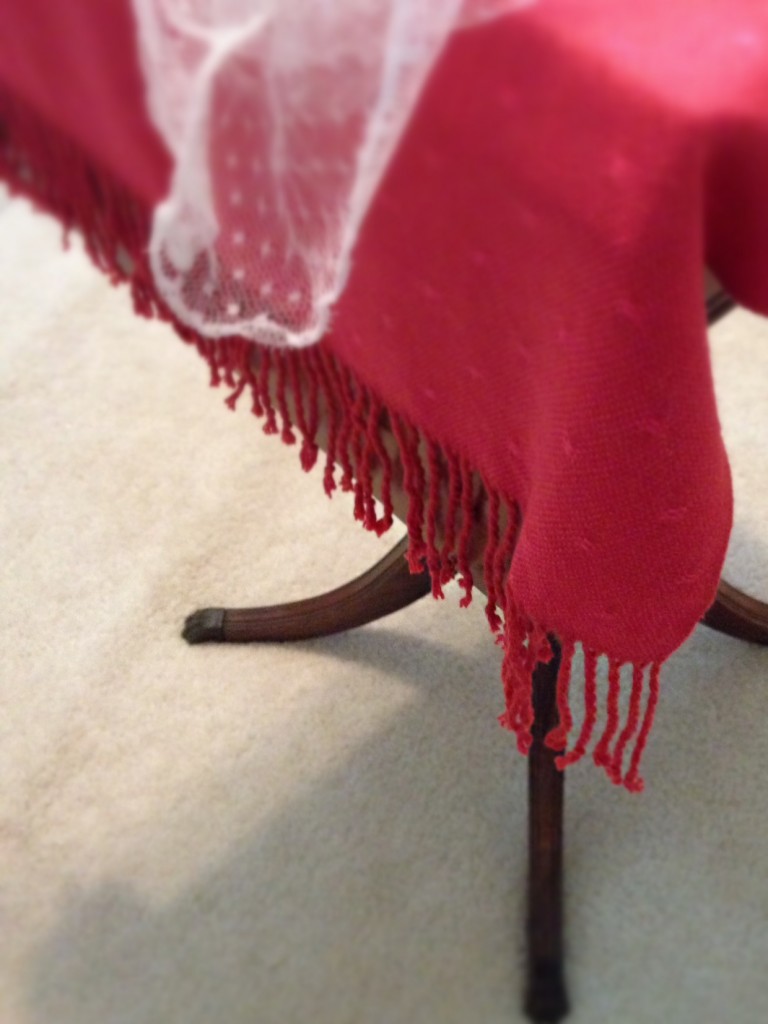
Bamboo huck lace small tablecloth.
Twisted fringe gives an elegant finishing touch to this small huck lace table covering.

2. Added hanging tabs to handtowels. Installed Ikea rod with basket and hooks to hang handwoven handtowels in the powder room. (When you need tabs for towels, it helps to have a collection of inkle and band loom bands.) You can see the most recent towels HERE – I kept one of the eight for myself; the rest became gifts.
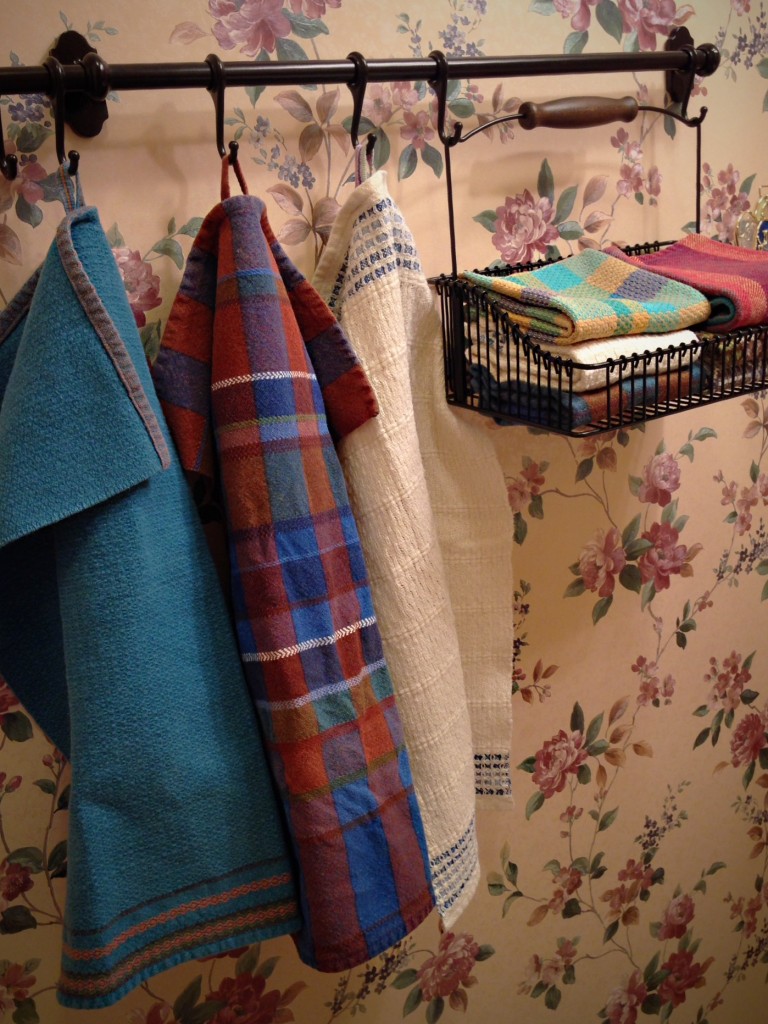
Ikea basket and hooks hold handwoven towels for guests.
Ikea basket and hooks hold assortment of handwoven towels for guests to use in the powder room.

3. Untangled the fringe of alpaca/tencel throw. (A wet finishing nightmare I don’t care to repeat.) You can see what it looked like before washing HERE.
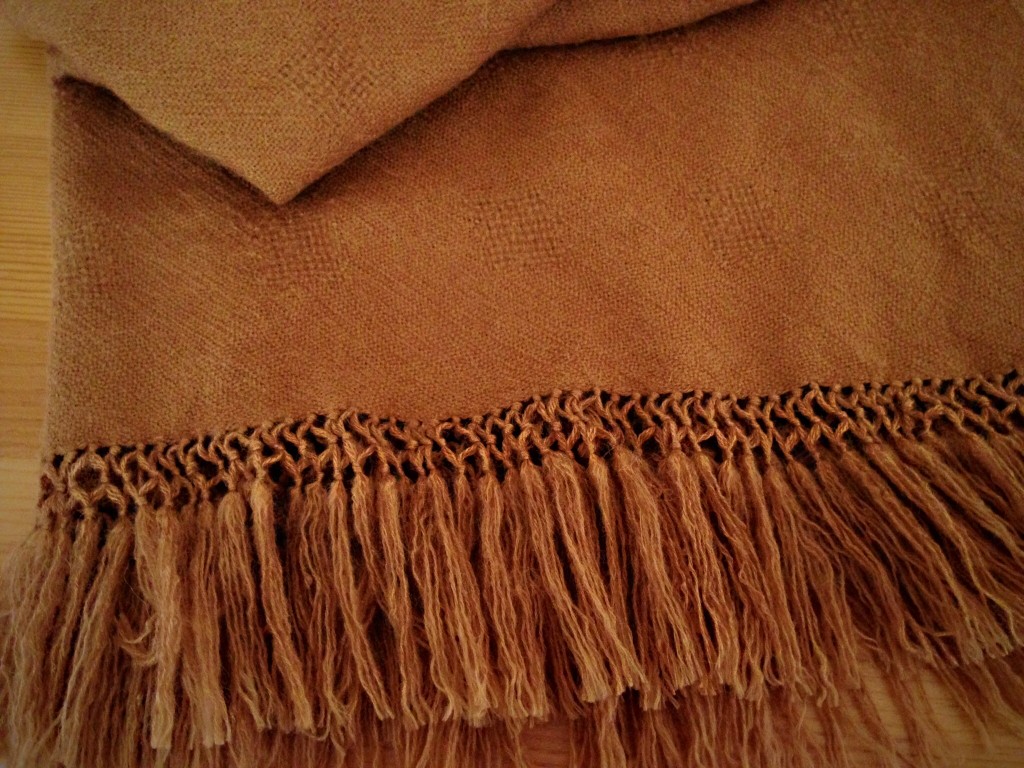
Alpaca Tencel handwoven throw with lattice fringe
Each strand of fringe was carefully separated one-by-one after leaving the alpaca/tencel throw in the washing machine a few minutes too long. Untangling took longer than tying the lattice fringe. Hours and hours.

4. Hand-stitched rolled hem on Swedish lace tablecloth. (I may use this as a curtain for my weaving studio window, hung on rings with clips, on a rod.) HERE are the long curtain panels that hang on windows in my home.
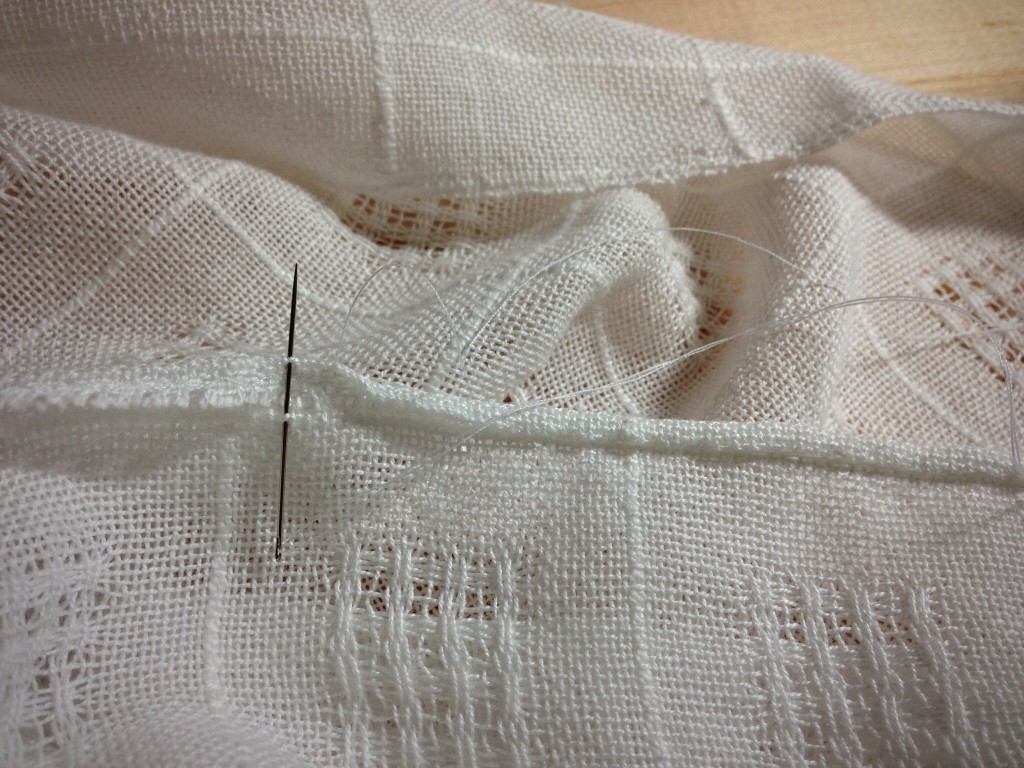
Hand-stitched rolled hem on handwoven Swedish lace cloth.
Swedish lace panel can be used as a tablecloth, or a curtain, or even a light, summery shawl. The hand-stitched rolled hem gives a delicate touch to this elegant piece.
Swedish lace, handwoven cloth. Karen Isenhower
Swedish lace is shown to its best advantage when light is allowed to shine through the cloth. The pressed rolled hem adds a classy touch.

5. Hemmed small sample piece to carry around with me when I have a cup of coffee. (I grab this re-usable “scrap” instead of a paper napkin or paper towel. It also doubles as a coaster wherever I happen to sit down.) The original M’s and O’s towels are HERE; and HERE you can see what I mean about carrying my coffee cup around with me.
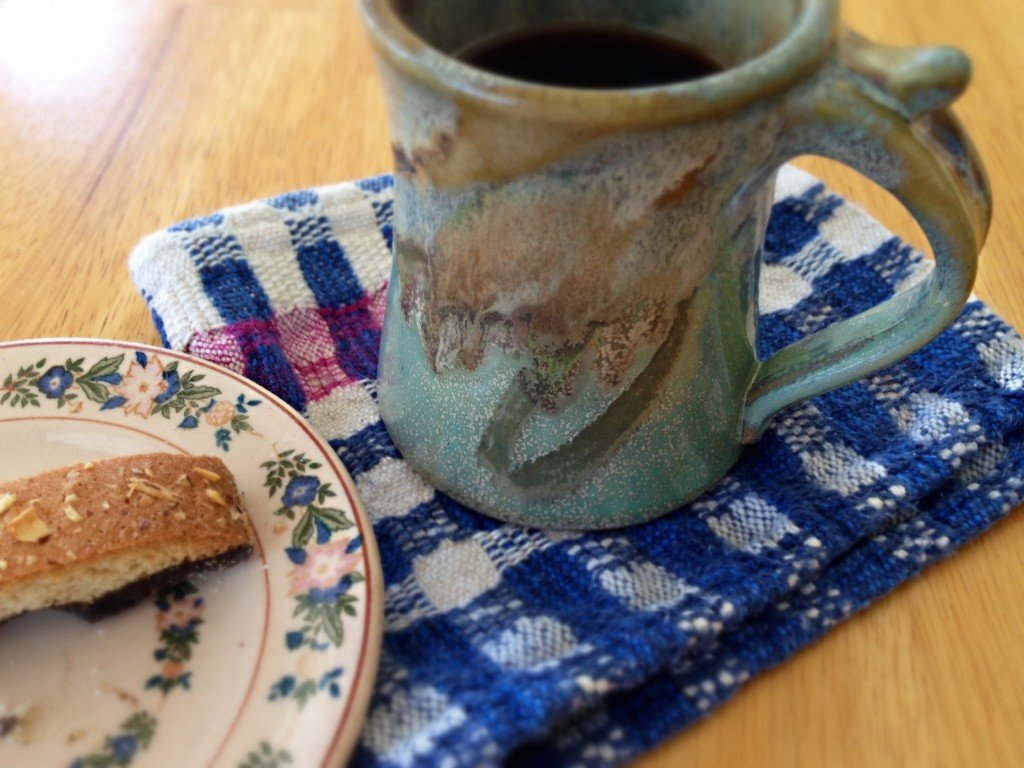
Handwoven scrap is used as a napkin/coaster for cup of coffee.
Scrap of handwoven fabric, from a cottolin warp of handtowels, follows my favorite coffee cup around.

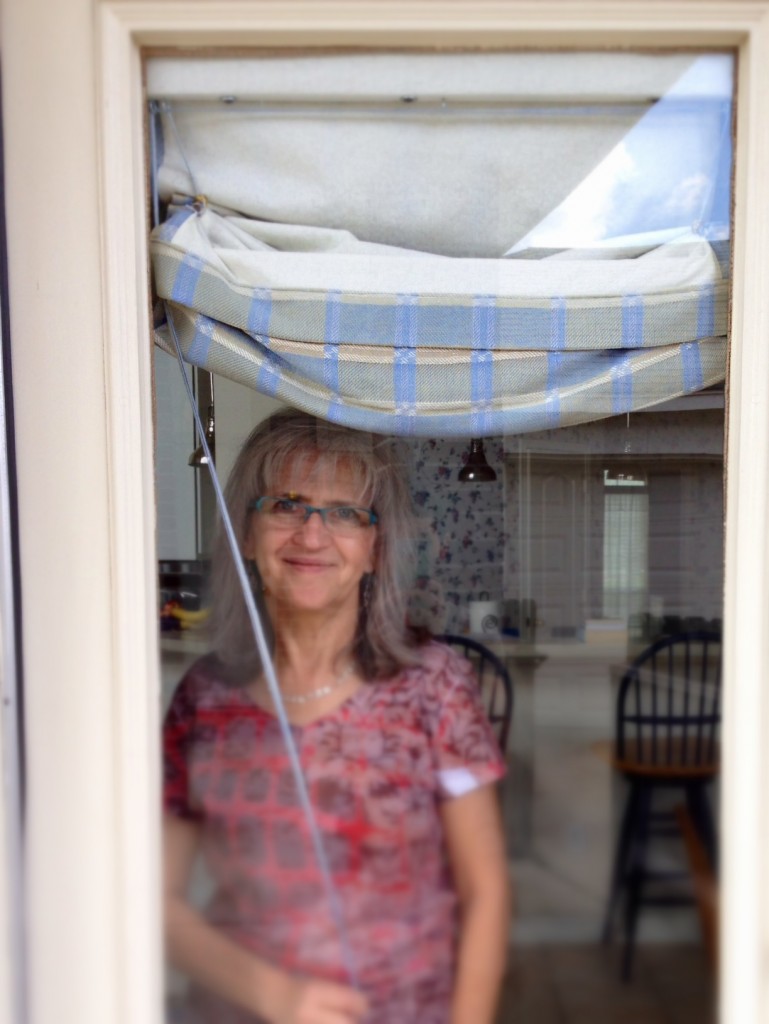
6. Replaced nylon cord on handwoven Roman shades with a cord I wove on my band loom. (The “temporary” nylon cord stayed more than a year. We now enjoy seeing this on our kitchen door every day, finally fully finished.) The only place I have a picture of the original nylon cord, and of the fabric on the loom for the Roman shades is in my Projects on Weavolution HERE. (I’m not sure if you can see it without logging in to the site.)
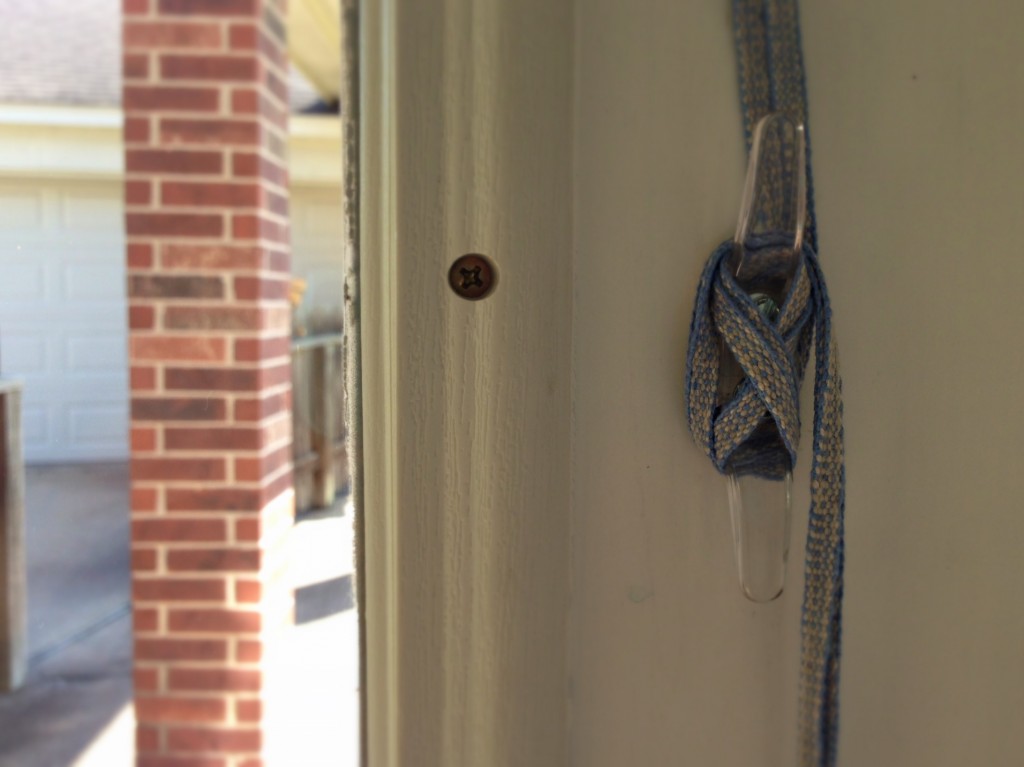
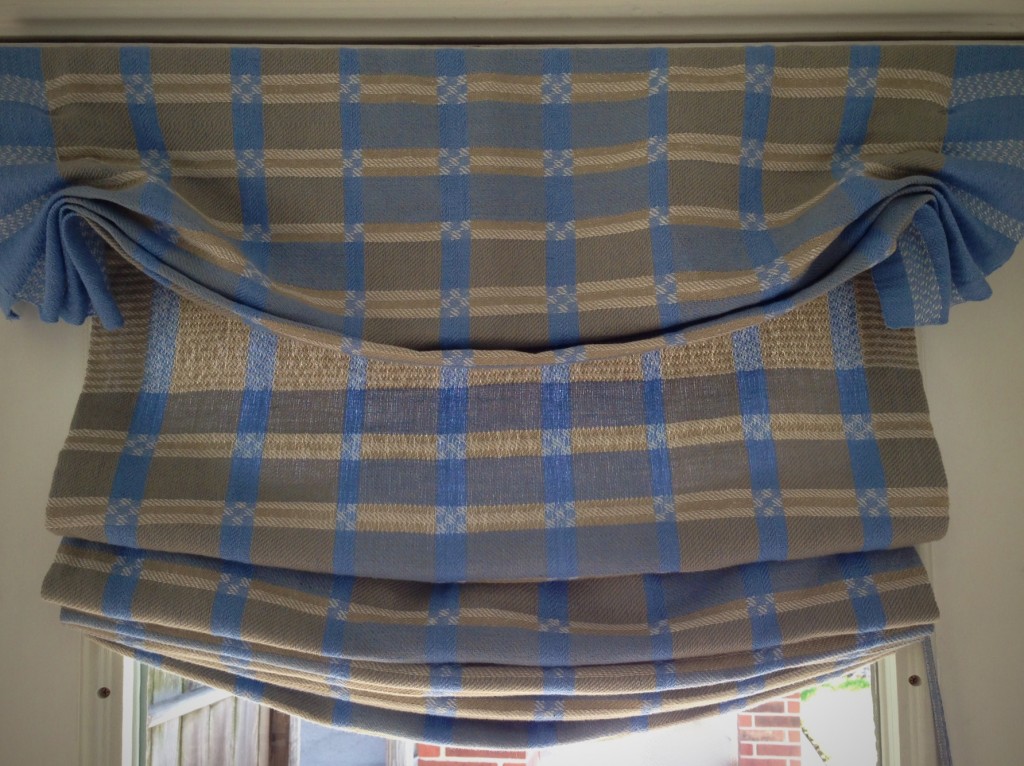
Handwoven on Glimakra band loom - pull cord for Roman shades.
Linen and cotton threads that match the handwoven Roman shades were used to weave the pull cord. Cord woven on Glimakra two-treadle band loom.
Handwoven Roman shades in two-block twill. Karen Isenhower
Handwoven Roman shades finally have a matching pull cord. When the shades are lowered at night, the two-block twill structure is seen covering the whole kitchen door window. Woven on 8-shaft Glimakra Standard loom.
Opening the handwoven Roman shades. Please come on in!
Opening the shades to start the day and welcome you. Please come in!

May you reduce your finishing pile (I know you have one).

Forever finishing,
Karen

Quiet Friday: Coral Shawl for a Memorable Occasion

Have you ever experienced a chain of events, where the dominos start falling, and you just try to keep up? That is the story of this shawl. My daughter got engaged, so I bought a dress to wear at her wedding. The dress is sleeveless, so I wanted a shawl to wear over my shoulders. Not knowing where to find a matching shawl, I decided to weave one. To weave a shawl, I had to finish weaving these towels that were on the loom, plan the draft for a shawl, and order thread.

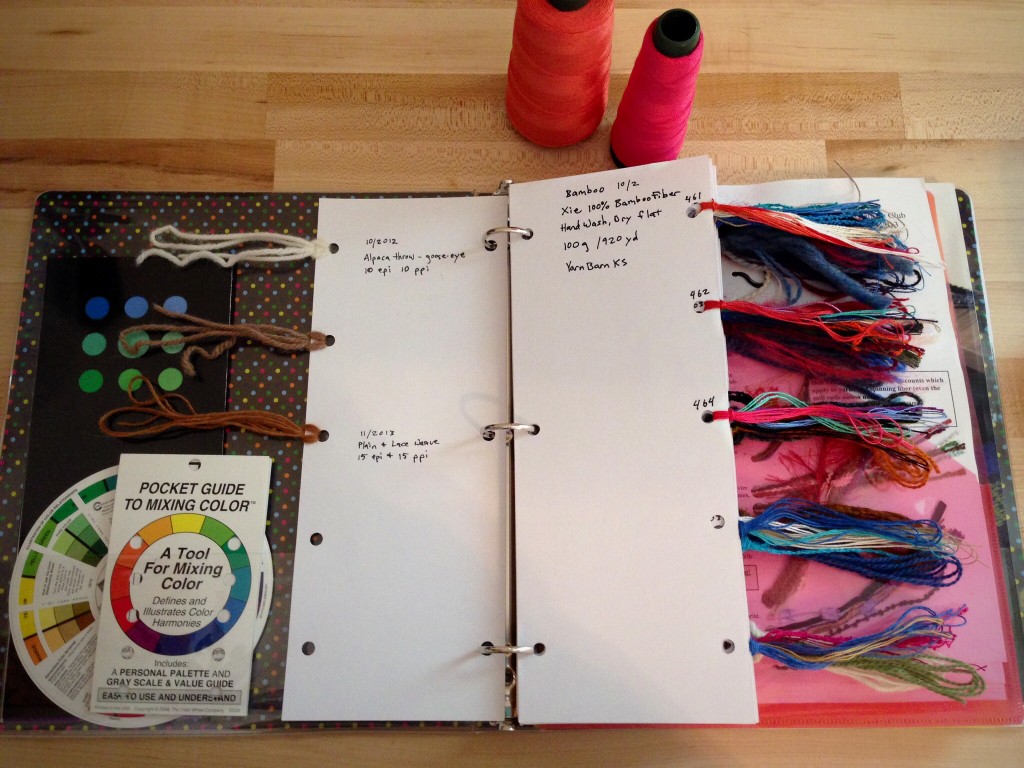
Thread and yarn record notebook.
New 10/2 bamboo thread samples added to my thread/yarn record book.

The excitement of dressing the loom, trying out weft color options, weaving the delicate huck lace pattern, twisting fringe, wet finishing the cloth, and waiting for the wet cloth to dry, is all intensified because of the meaning of the event where I will wear the shawl. The shawl, itself, is a minor player that will serve best if it is not even noticed. The attention will be on Melody and Eddie as they pledge their love and faithfulness to each other, embracing companionship for a lifetime. Three weeks to go!

Threading heddles with coral bamboo thread for huck lace.
Threading heddles for huck lace.
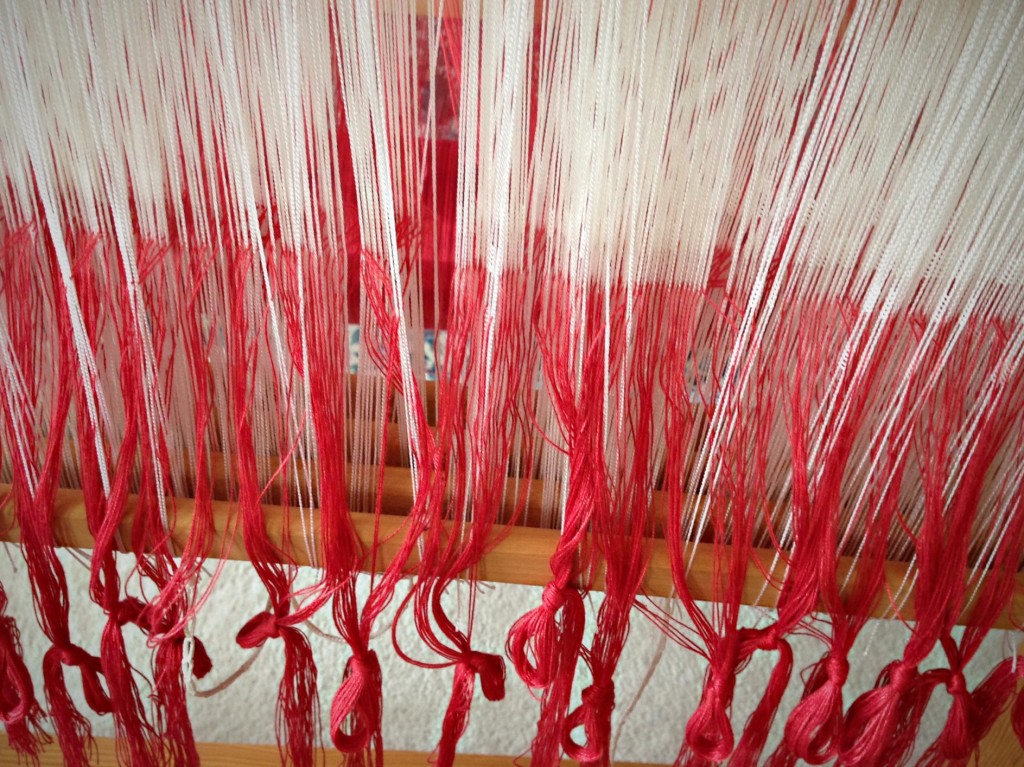
Sleying the reed on Glimakra Ideal.
Reed is sleyed with two ends per dent in a 12 dent reed, which means the sett is 24 ends per inch.
Every thread is ready. Let the weaving begin!
Every thread stands at attention, each in their proper place. Let the weaving begin!
Weft color auditions on coral bamboo warp. Karen Isenhower
Trying out the weft colors in the late afternoon on the dark coral warp. First, coral weft; and then, hot pink weft.
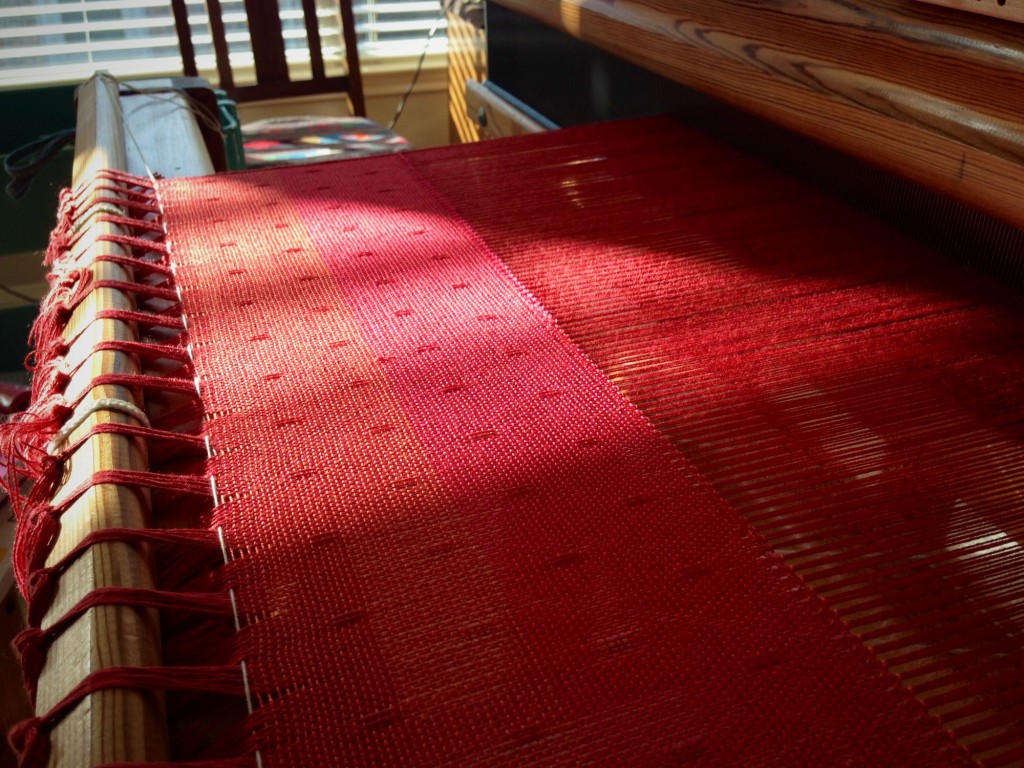
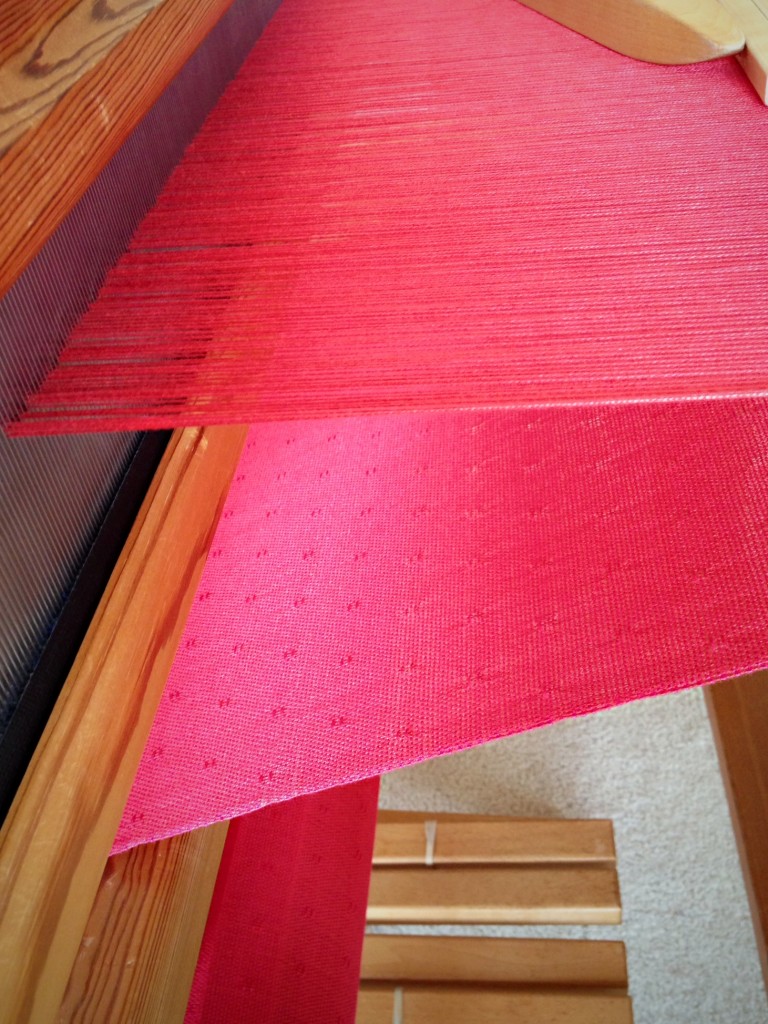
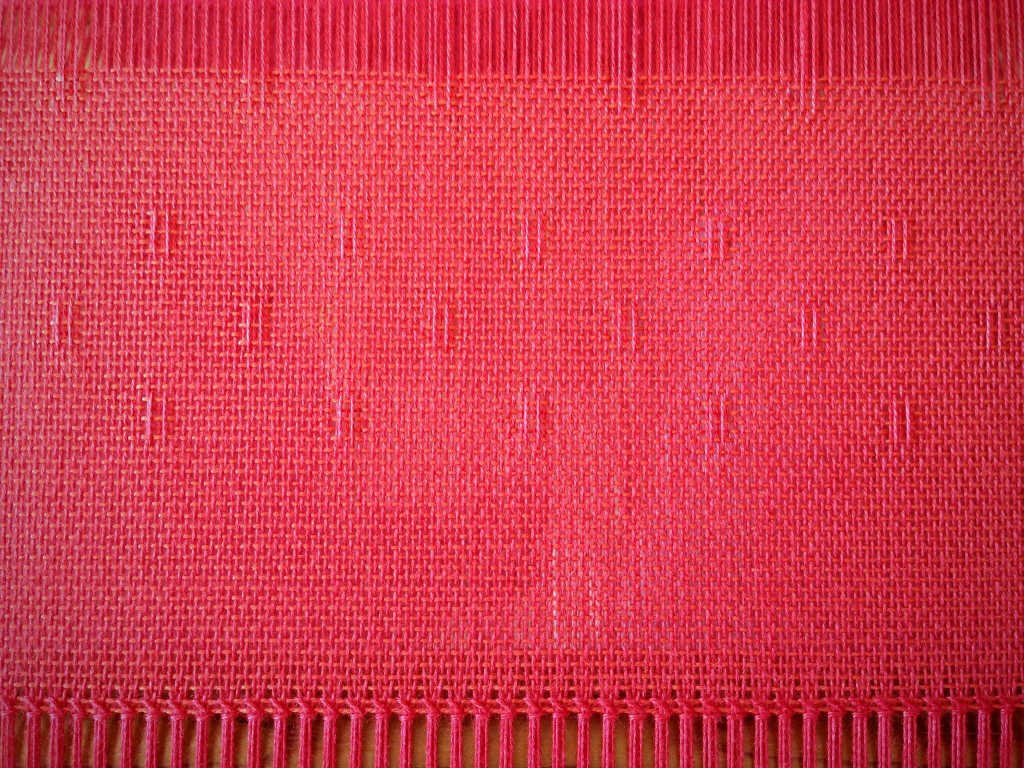
Coral pink bamboo shawl in huck lace.
Pink coral shawl was woven first. The hot pink huck lace weft floats are on the back side of the cloth, visible as the cloth angles toward the knee beam.
Hemstitching on the loom. Huck lace bamboo shawl.
Hemstitching at the beginning of the coral shawl. Notice the subtle border treatment that starts with plain weave and three closer rows of huck lace before the body of the shawl.
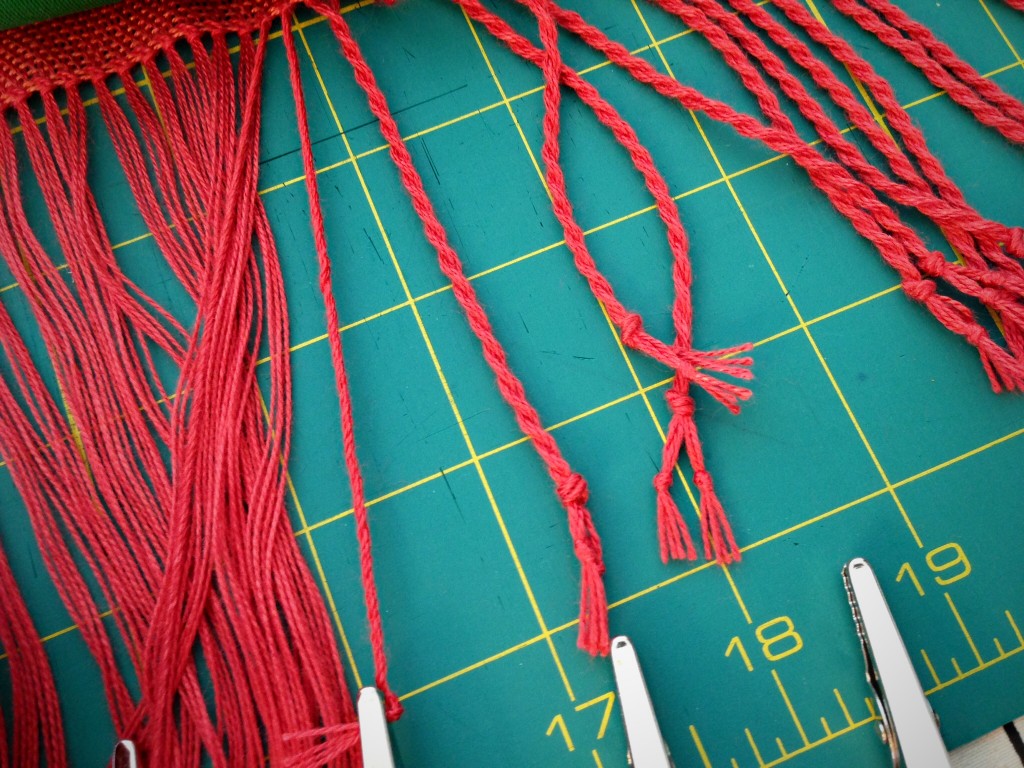
Twisting fringe.
Twisting groups of warp ends together to create twisted fringe that embellishes the ends of the shawl.
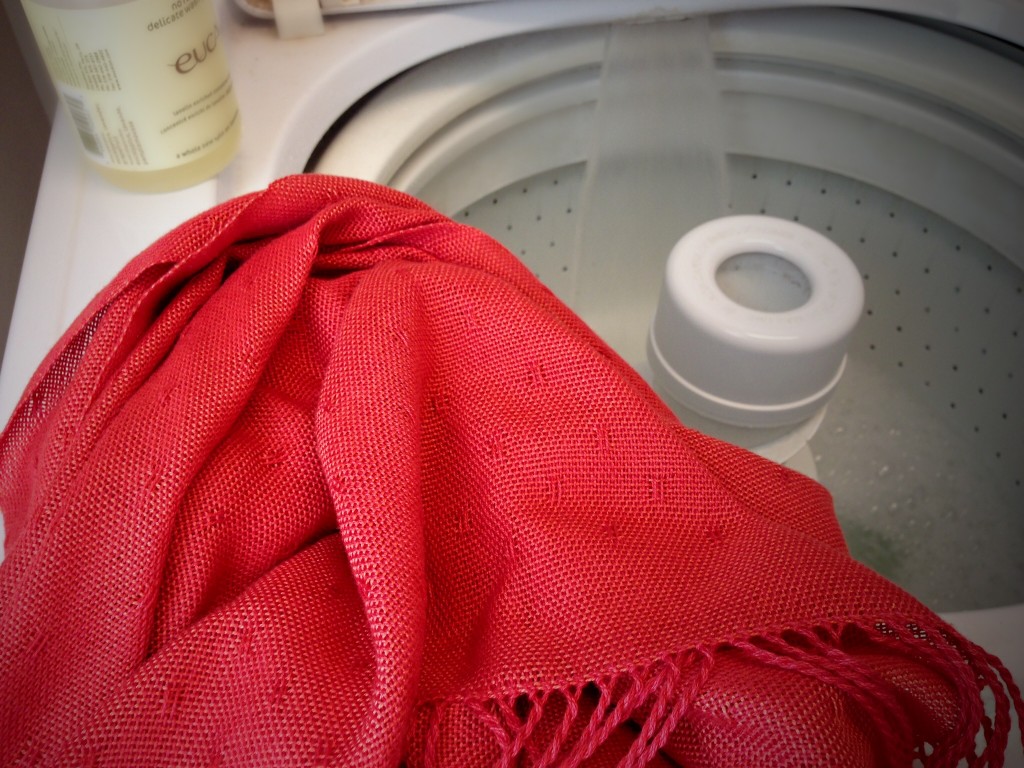
Wet finishing begins for coral huck lace shawl.
There is nothing that makes me more nervous than wet finishing. A mistake at this point can ruin the handwoven masterpiece. For this reason, I first wet finished the sample piece, and then the pink coral shawl. Now, I am confident about throwing the coral shawl into the washing machine with a half-capful of no rinse delicate wash concentrate.
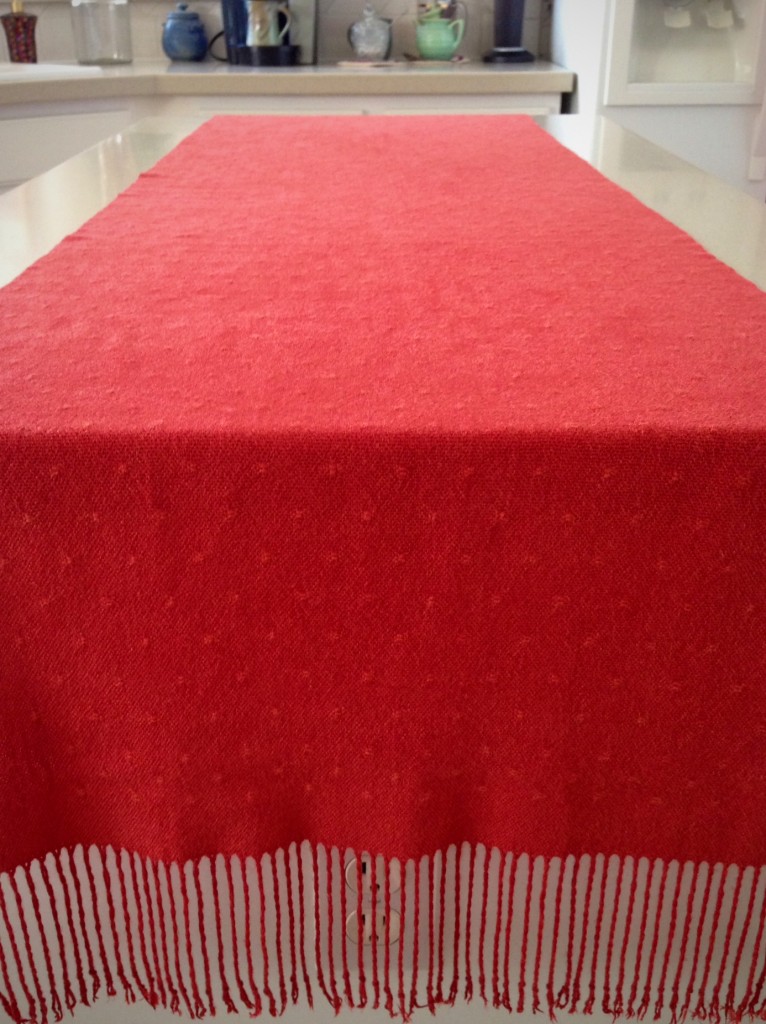
Bamboo shawl, laying flat to dry.
After gently rolling the wet cloth in towels to remove excess water, I lay it out smoothly on my longest countertop, and leave it to dry overnight.
Trimming the fringe after washing. Frayed ends removed.
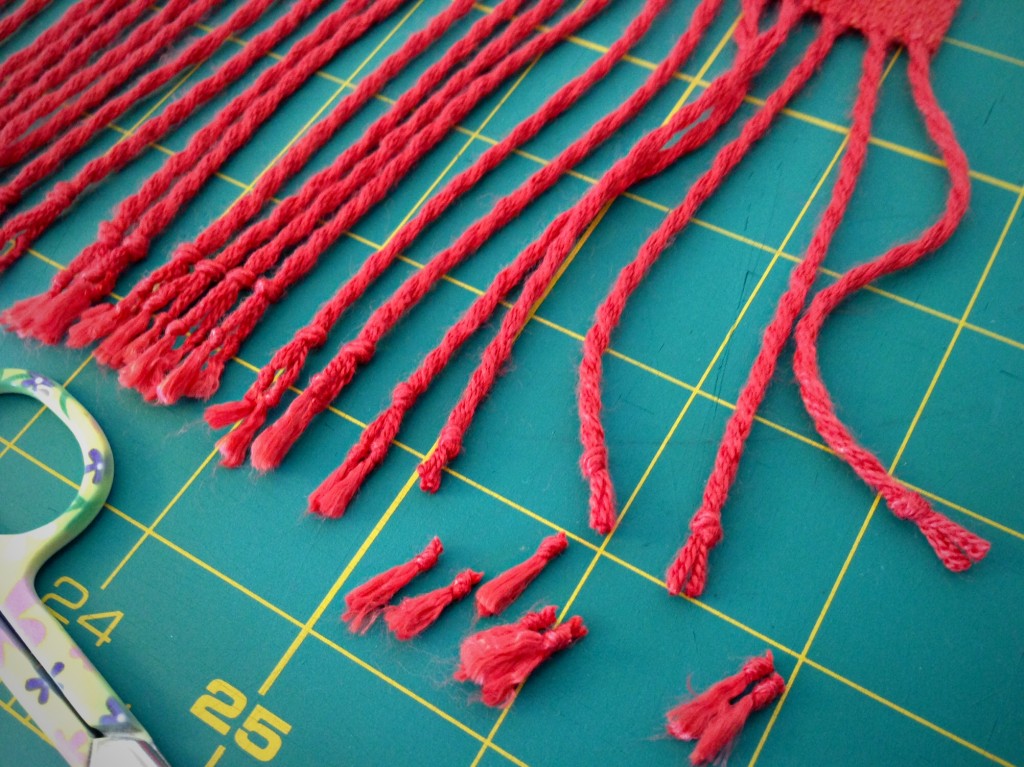
After the cloth is fully dry, knots at the ends of the twisted fringe are trimmed off, removing frayed ends and leaving clean-cut ends.
Finished handwoven coral bamboo huck lace shawl. Karen Isenhower
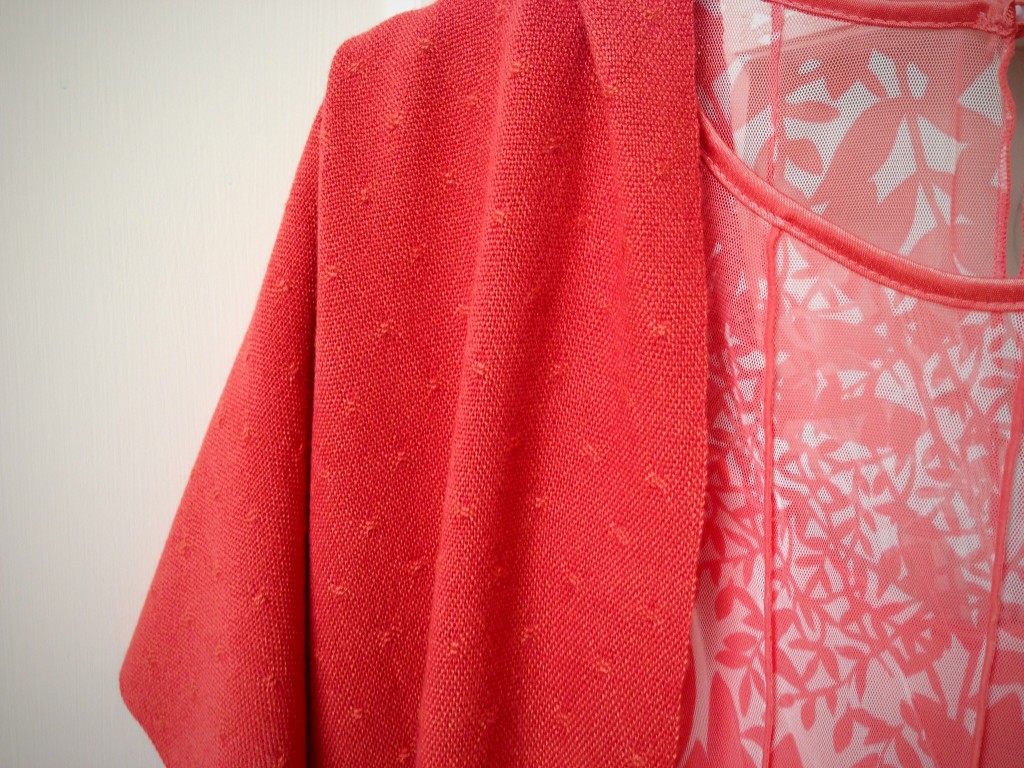
Ready for a special occasion!

May those you love know how much you love them.

With Anticipation,
Karen

Quiet Friday: Making Rya Knots

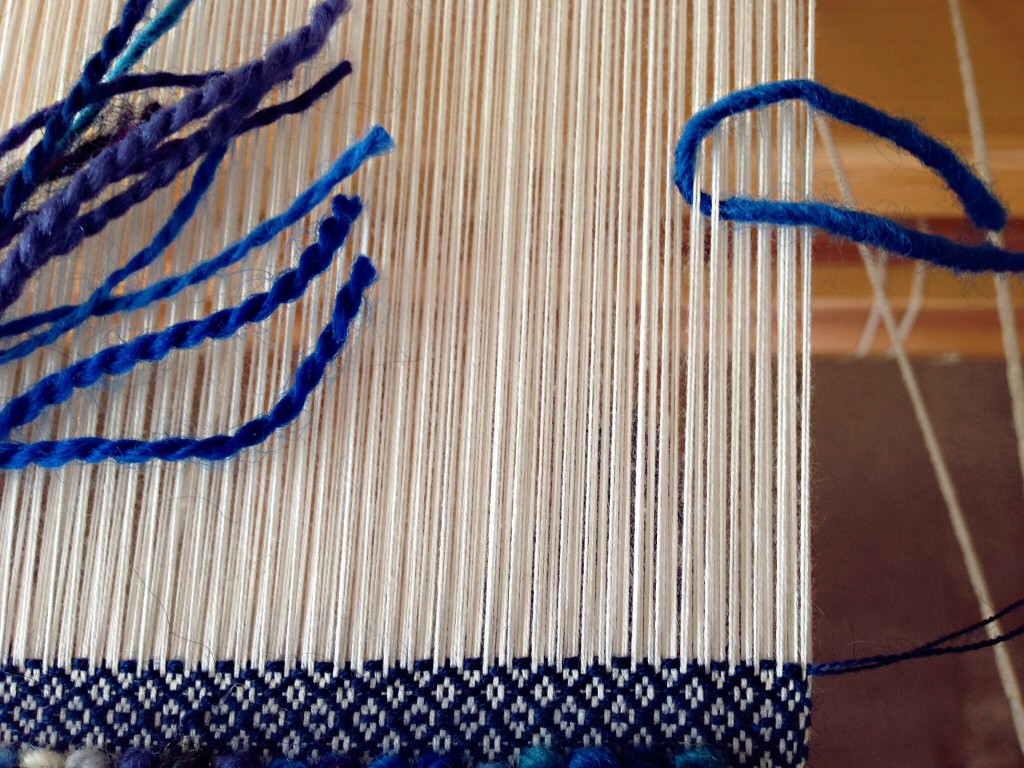
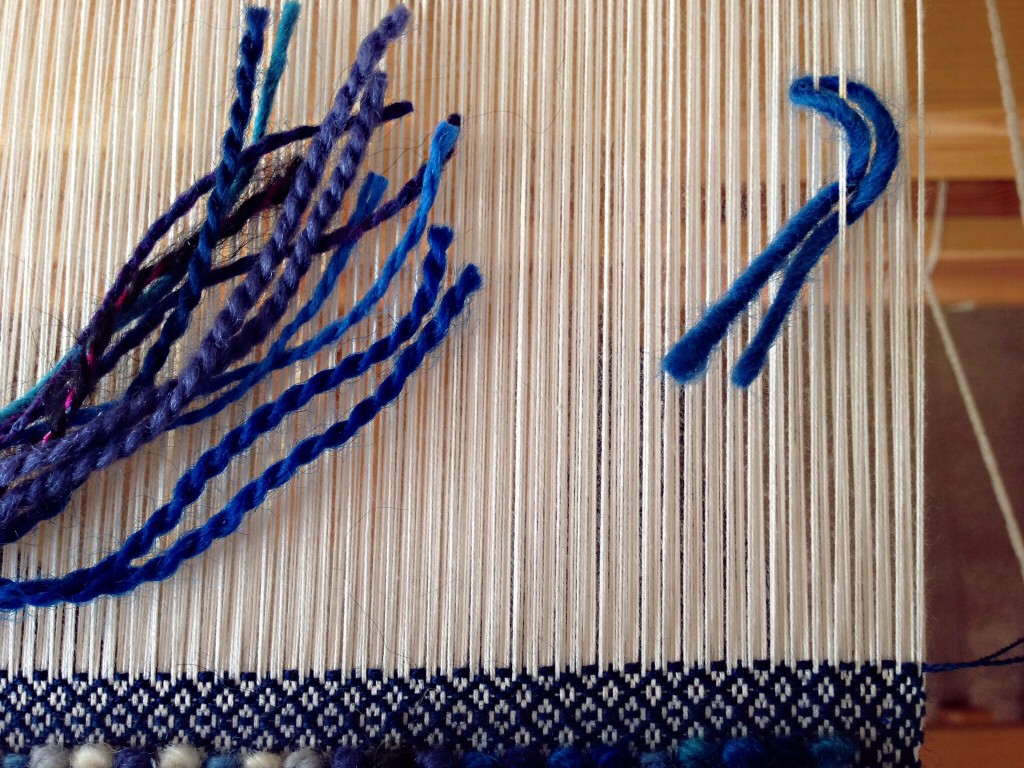
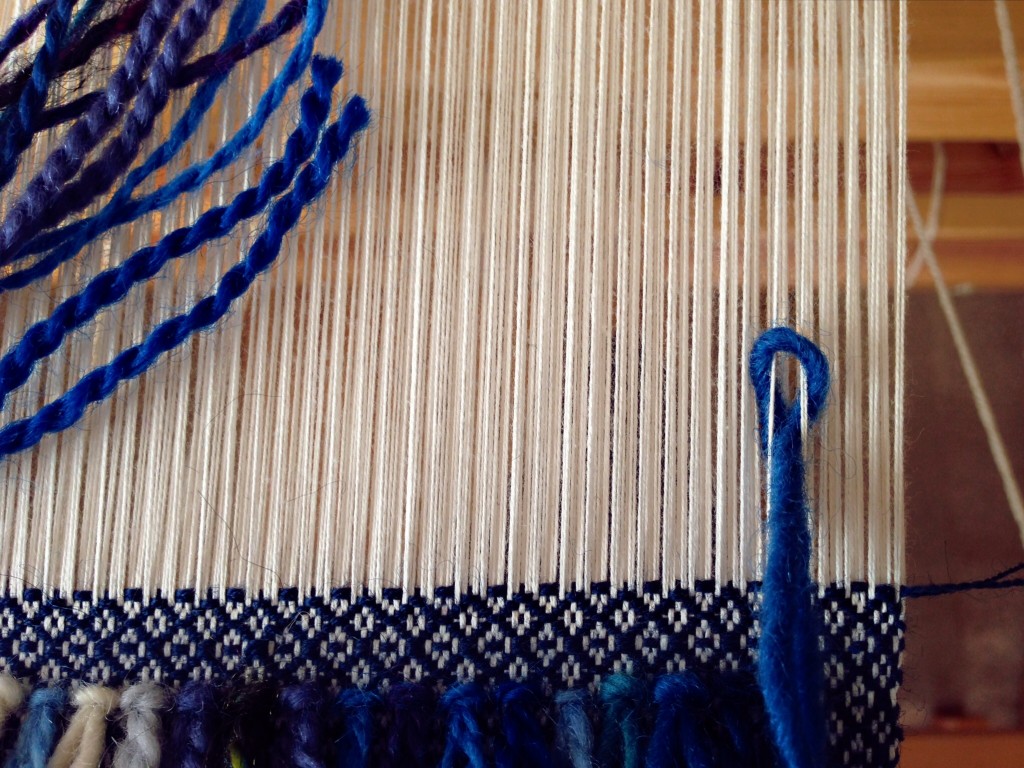
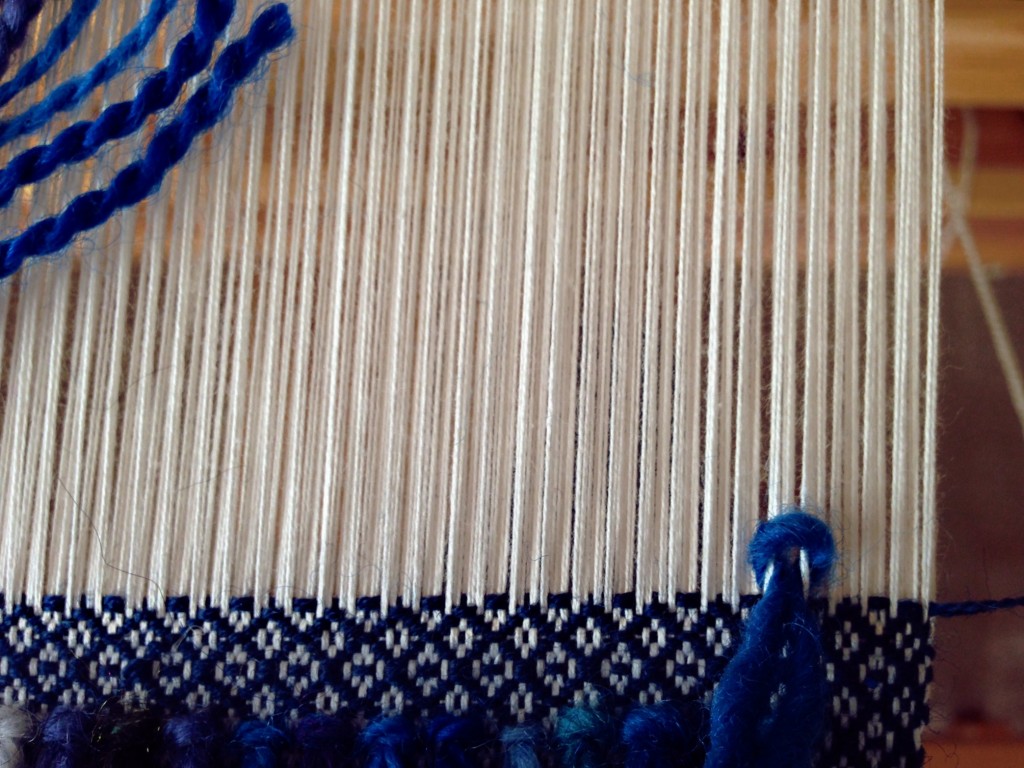
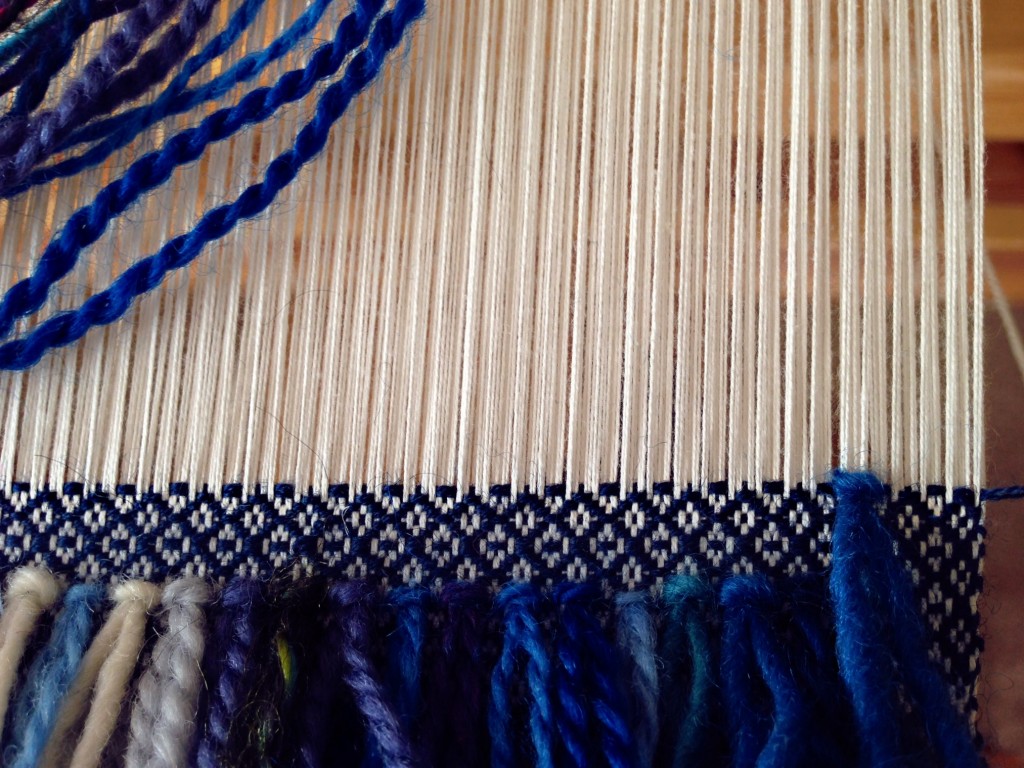
One at a time. Like anything else, you do get faster as you get the hang of it. I select and arrange the colors for the upcoming row, and then I settle into a rhythm. With my right foot pressing the treadle, I use both hands to manipulate both the raised warp ends and the loose wool strands. It is a relaxing and satisfying trek from the right-hand side of the warp to the left, one rya knot at a time.

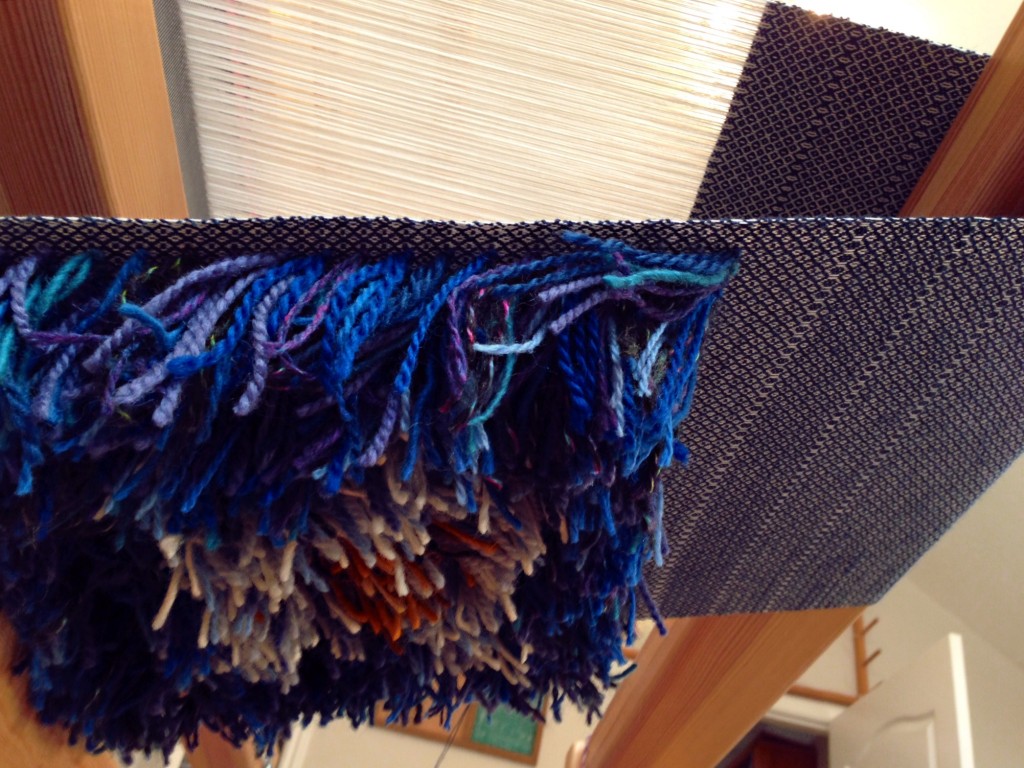
I am letting the pictures speak for themselves. I forgot to take a picture of the completed rya knot pillow top square while it was still in view on top, so you get to crawl under the breast beam with me at the end to see it from underneath.

Ready for another row of rya knots.

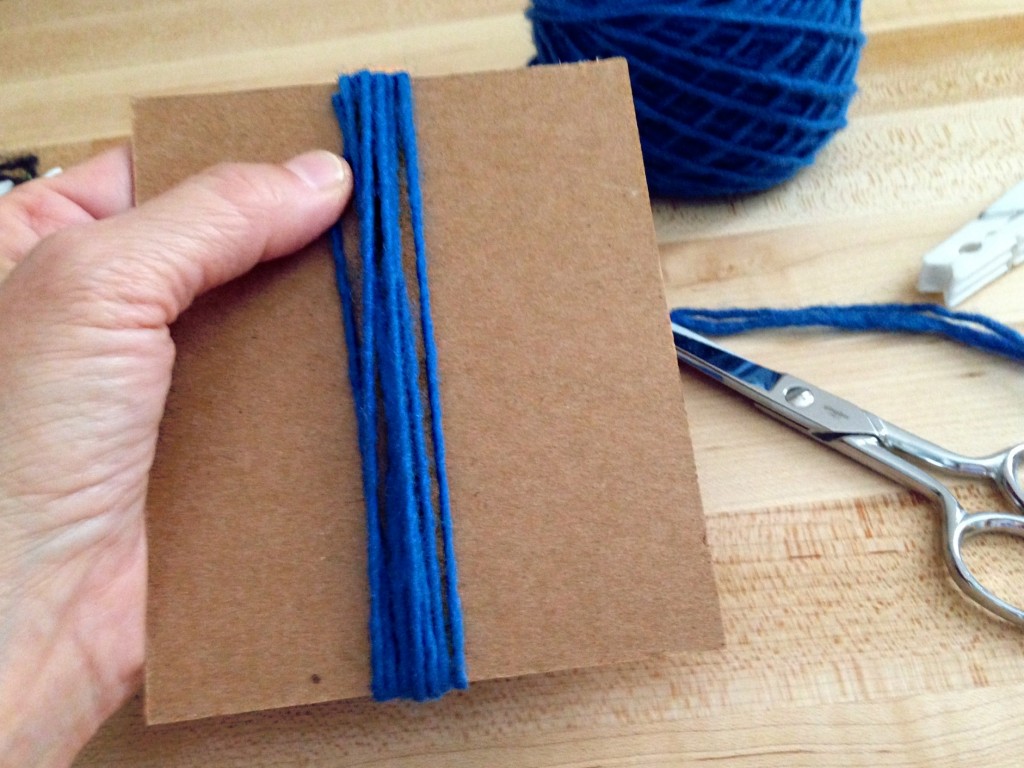
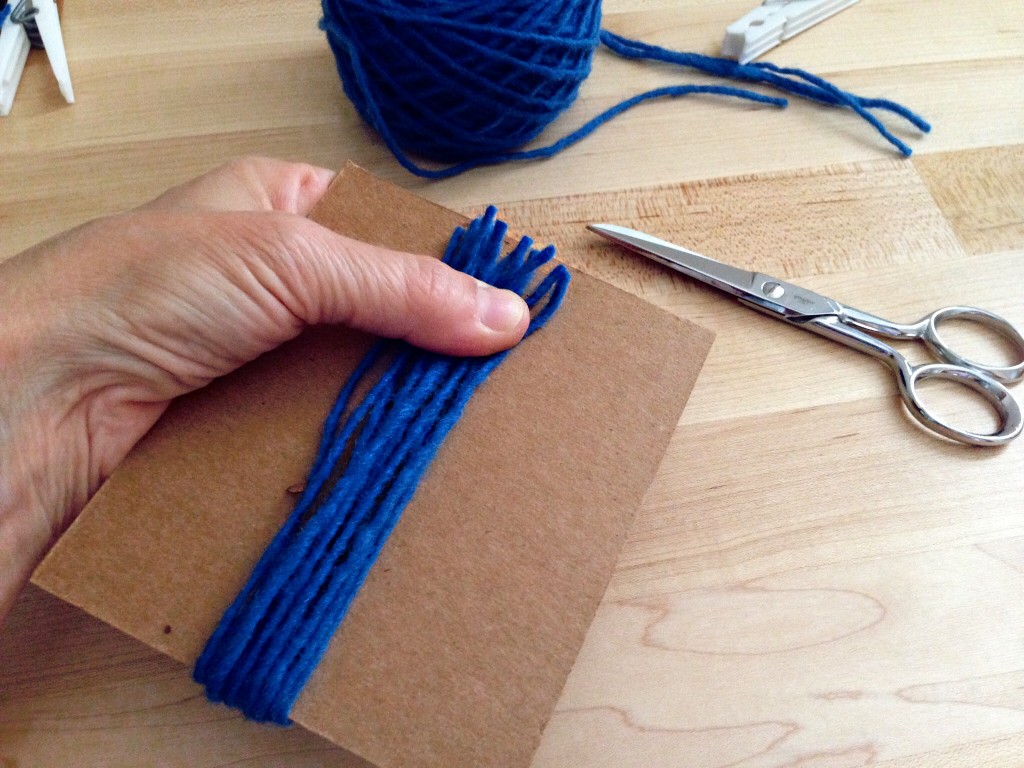
Cardboard template for cutting rya strands. How-to pics.

Cut yarn for rya at both ends of template. More how-to pics.

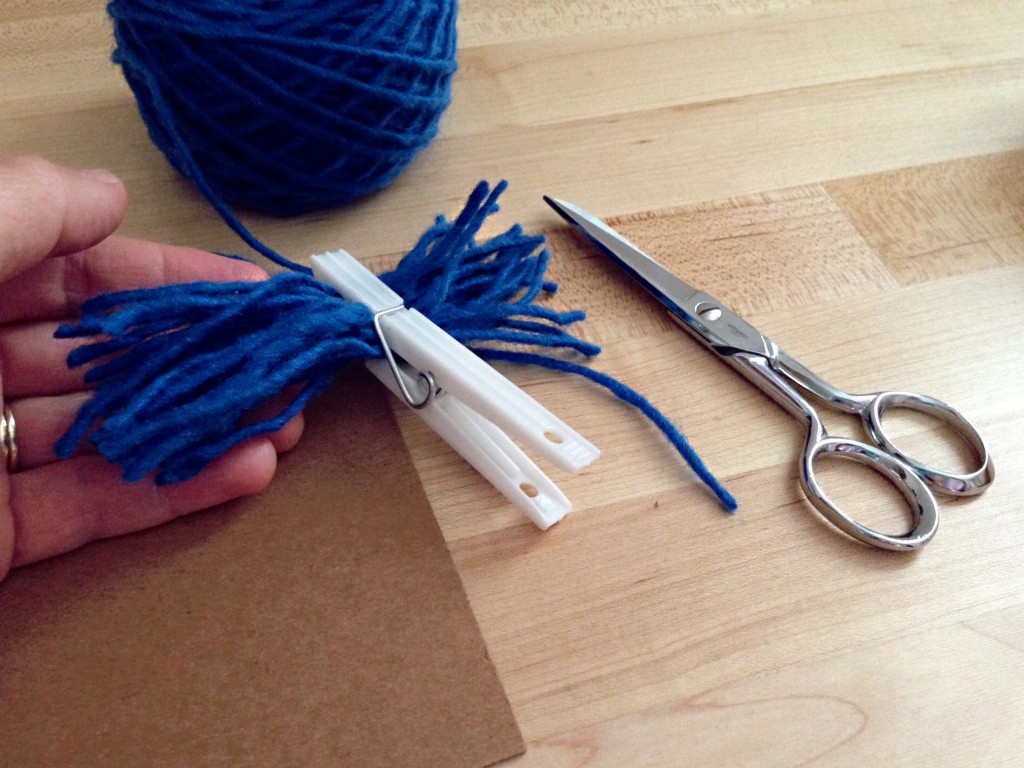
Clothespin keeps cut yarn colors together for rya knots. More rya how-to pics.

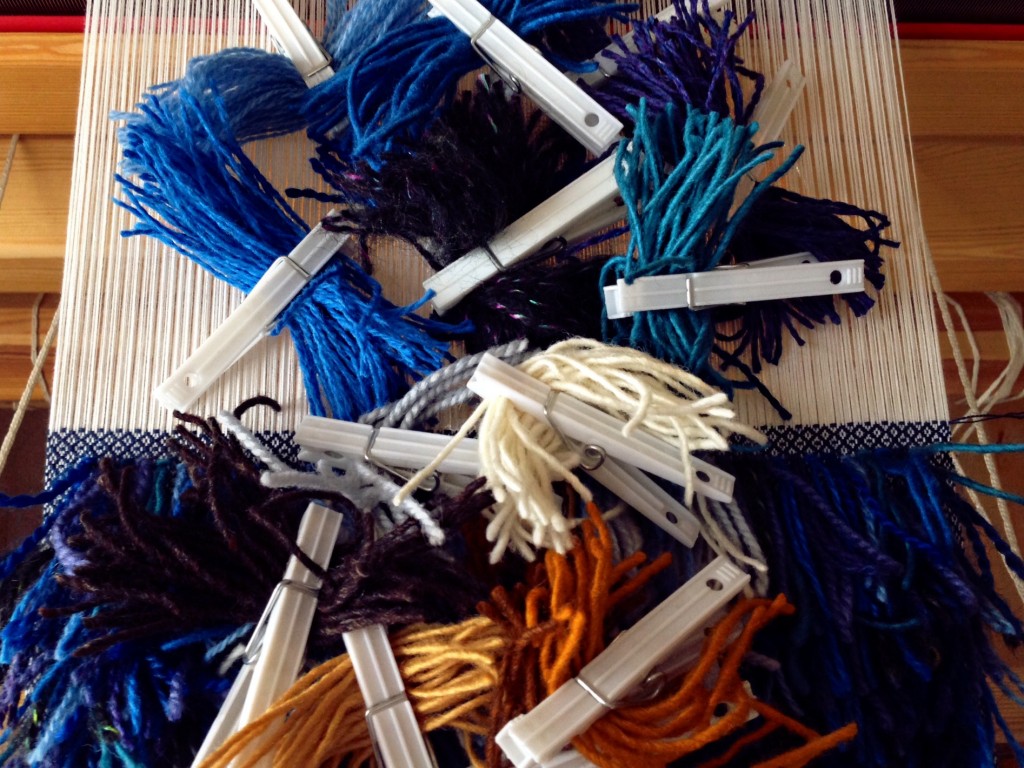
Assortment of wool yarn separated for planning rya knots. How-to pics.

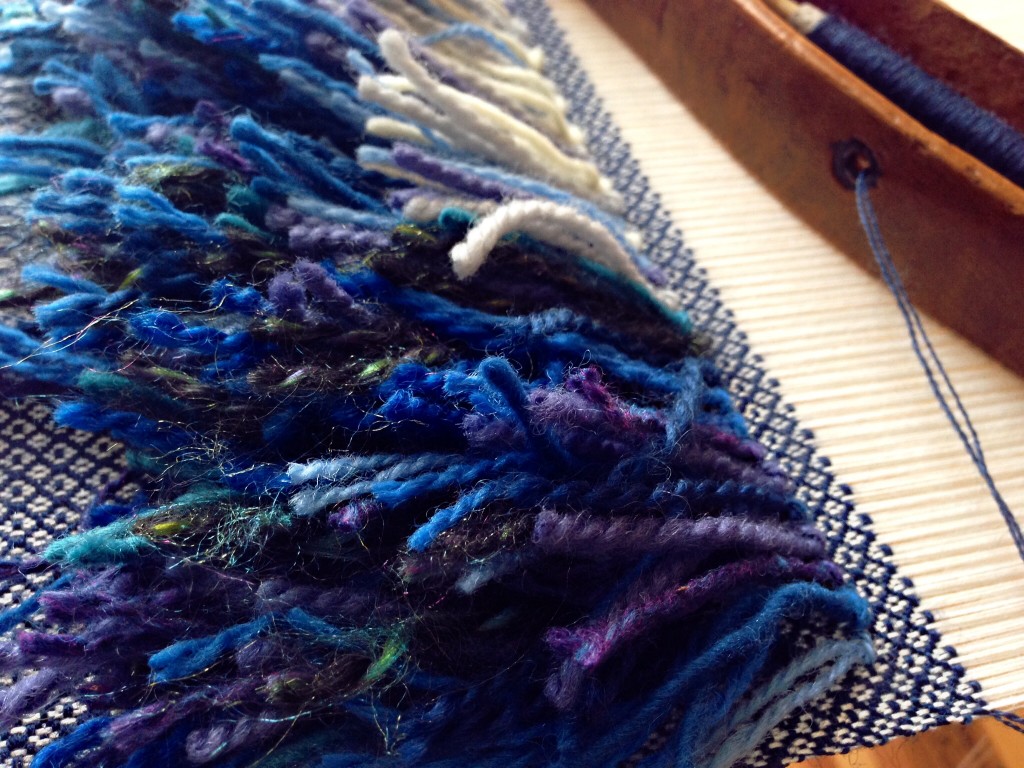
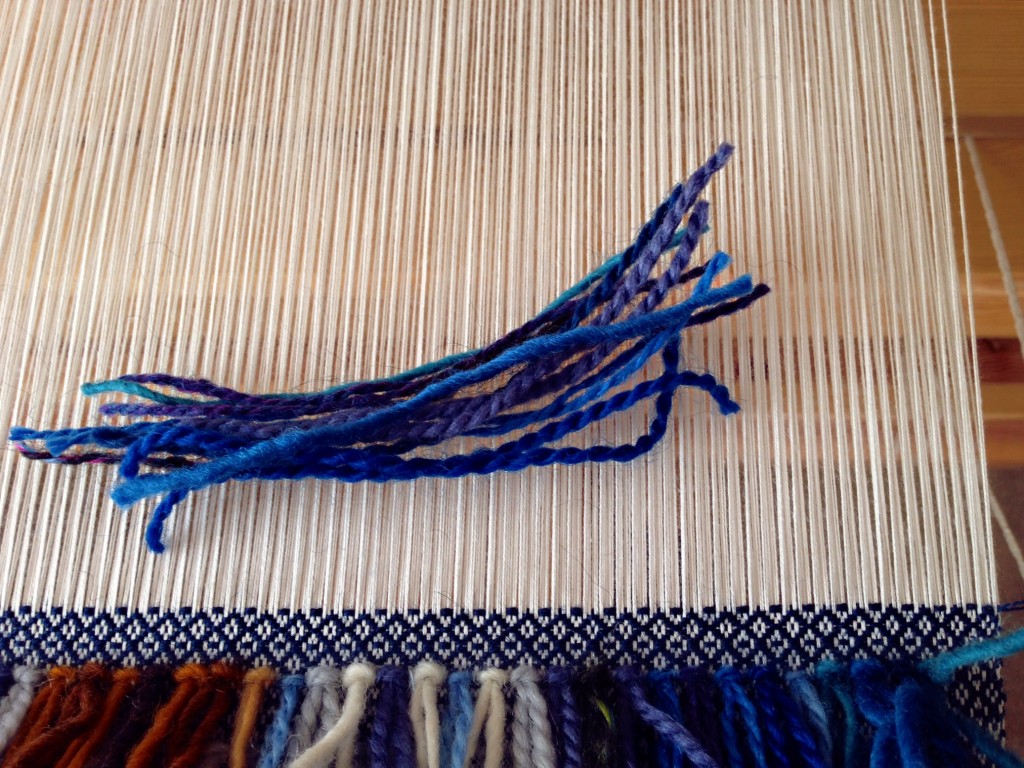
Mixing blue wool strands for rya knots. Pics with rya knots.

Rya first step - around 2 doubled warp ends.

Rya second step - Under and through.

Rya third step - Pull the "legs" down.

Rya fourth step - Pull the yarn evenly into place.

Rya fifth step - Snug it up to the fell line. Rya knots how-to pics.

Pillow top with rya knots, viewed from under loom, looking up. Karen Isenhower

May you enjoy taking your sweet time.

Little by little,
Karen

Other popular Quiet Friday posts you may like:

Quiet Friday: Warping Trapeze

Quiet Friday: Rag Rugs

Quiet Friday: Cutest Loom Ever

Quiet Friday: Warping Trapeze

When I was a girl I dreamed of being a flying trapeze artist. No fooling! I practiced stunts on our backyard swingset, including hanging from my toes. I grew out of that. My new stunt now, is with a different kind of trapeze. A warping trapeze. (Some people call it a warping valet, but let’s call it a trapeze, okay?)

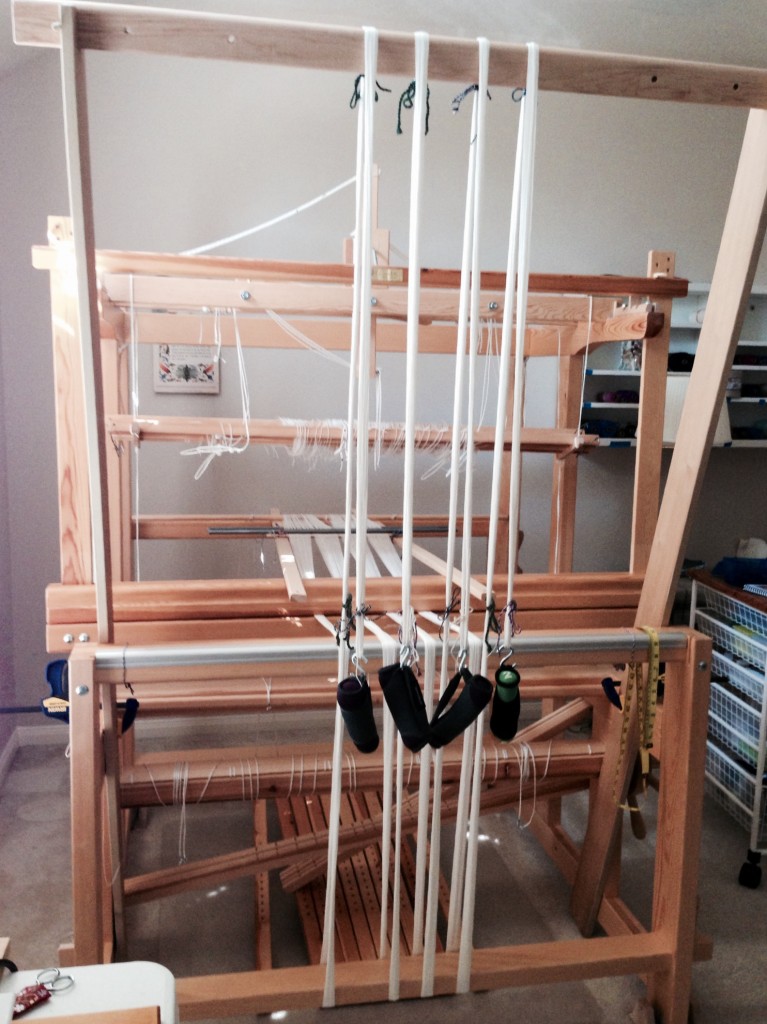
The warping trapeze is used for beaming the warp. The warp comes over the breast beam, under the foot beam, and then over the cross bar of the trapeze. I use two-pound walking weights and S-hooks to weight the warp bouts, since the warp needs to be under sufficient tension as it is wound onto the warp beam. The warping trapeze makes it easy to single-handedly beam a warp with even tension.

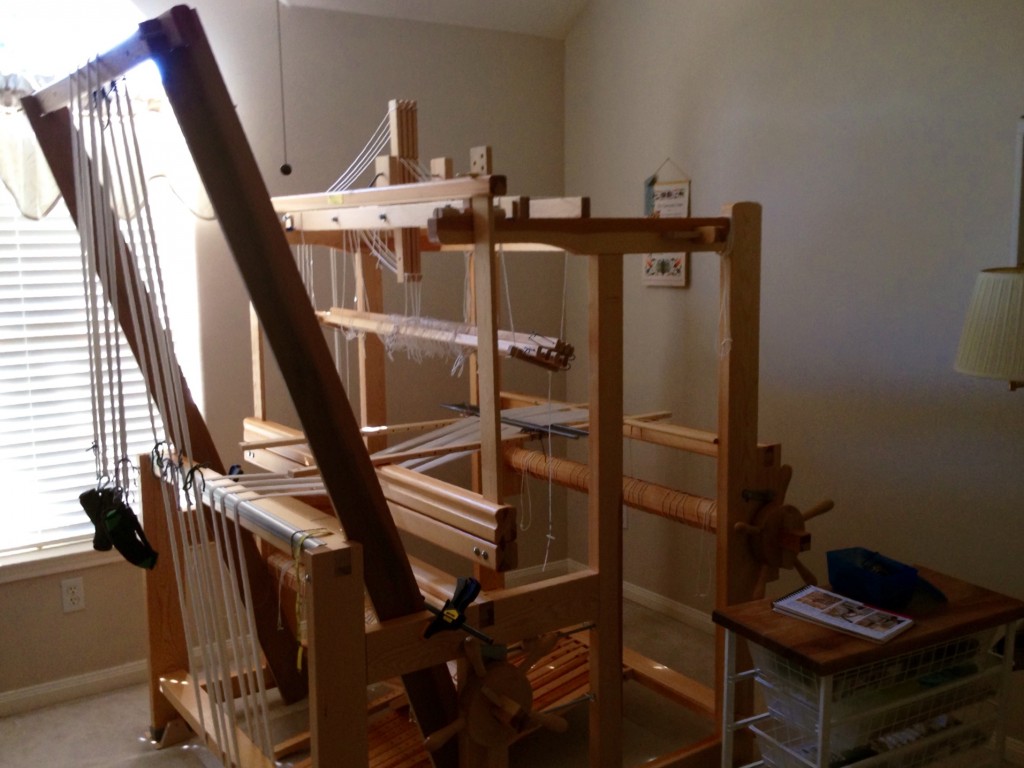
Warping trapeze set up for beaming the warp.
Warping Trapeze: Two tall boards set into place just inside the sides of the loom, angled at the base, between the cloth beam and the breast beam. I clamp them on the sides for extra security. The top piece slips into a cut-out opening at the top of the side boards. Reed will be moved to the beater before beaming.
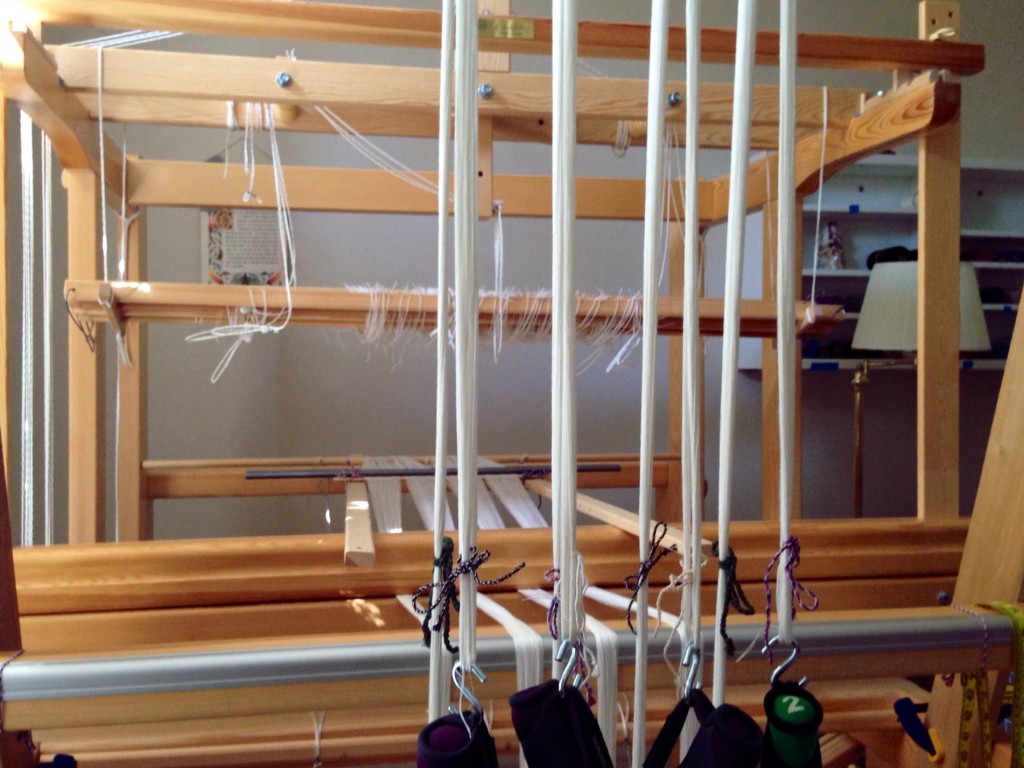
Walking weights are used to weight the warp bouts for beaming the warp.
Two-pound walking weights are perfect for hanging from S-hooks to weight the warp bouts. I can easily increase the amount of weight by adding more walking weights, as needed. For a longer warp, I tie a piece of texsolv cord in a slip knot around the warp bout, and hang the S-hooks and weights on that cord, moving it down as the warp is wound on.
Warping trapeze explained. Karen Isenhower
The trapeze is ready, with the warp weighted. Next steps: Remove the support sticks; move the lease sticks to behind the reed; straighten warp ends; place reed in the beater; slide lease sticks toward the reed. Okay, go! Wind the warp onto the beam.

(Did you notice Becky Ashenden’s flippy book, Dress Your Loom the Vävstuga Way: A Bench-Side Photo Guide on my cart? I still like to follow her step-by-step instructions to make sure I’m not missing anything.)

Enjoy this little time-lapse video I created of myself dressing the loom using the warping trapeze. (You will not see me hanging from my toes.)

I fly through the air with the greatest of ease, my threads all in place with the warping trapeze…

Thank you to Becky Ashenden for introducing me to a warping trapeze at Vävstuga Weaving School.
Many thanks to my talented husband for creating my very own warping trapeze. He’s the best!

May you come up with fantastic new stunts.

Happy Weaving,
Karen
Quiet Friday: Rag Rug Finishing

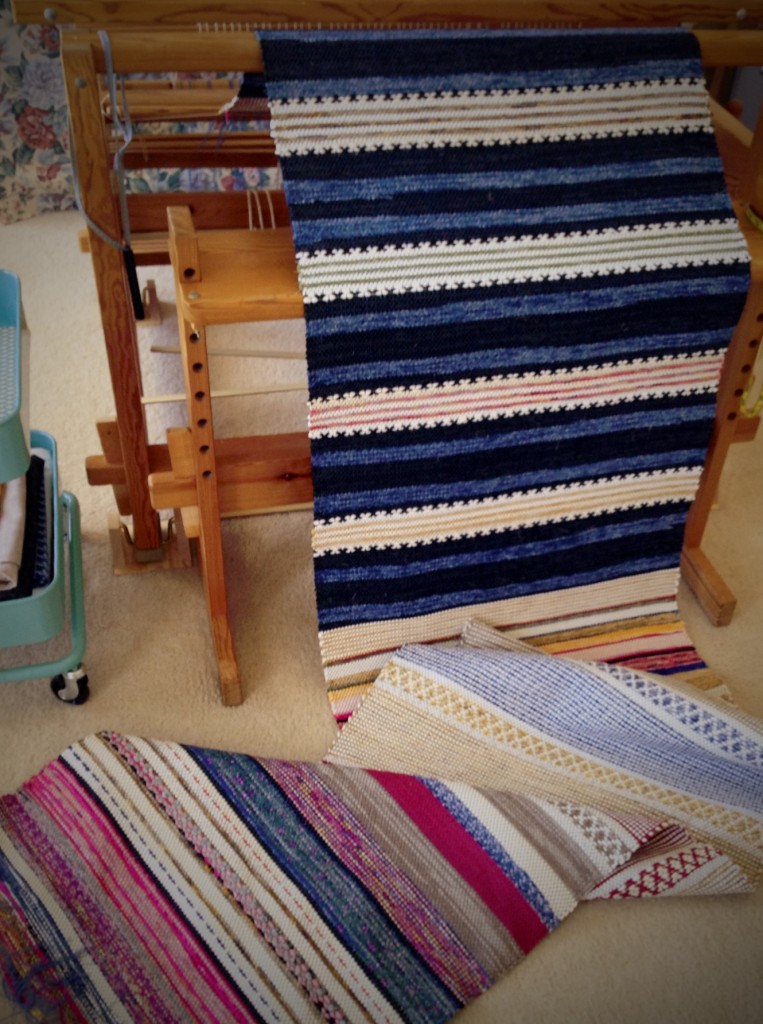
How many people get to have a handmade article right under their feet? You come in from the world, with your feet dusty and weary; you look down, and the rug says, “Welcome home.”

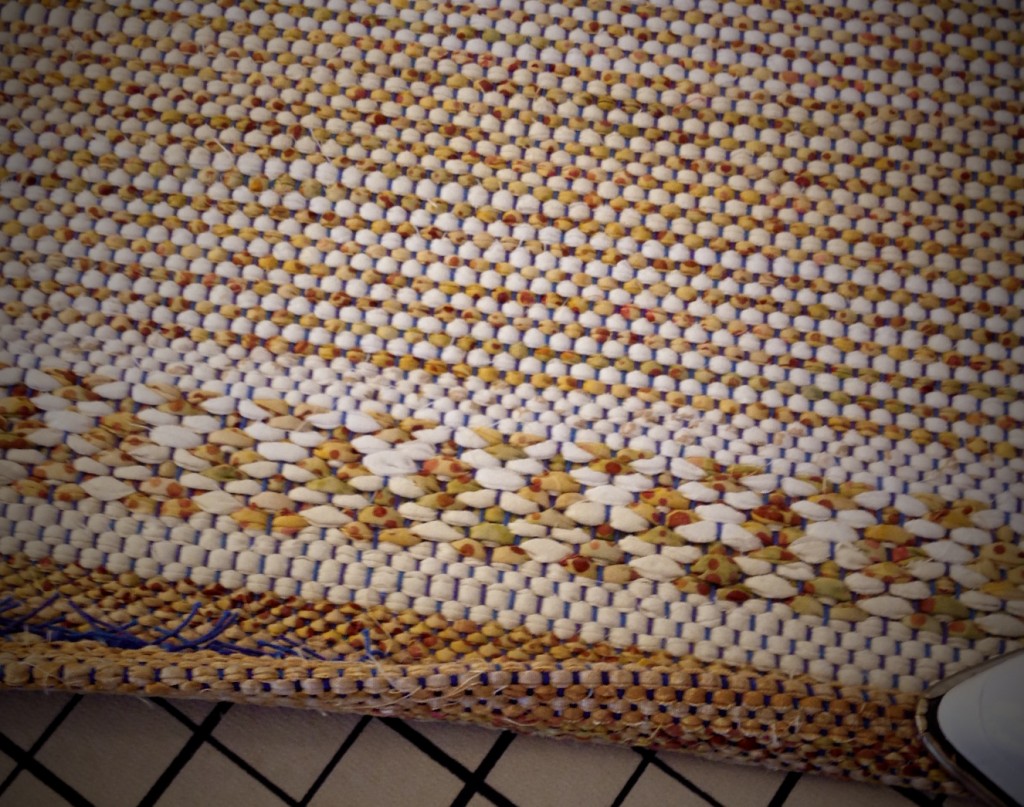
After the weaving is complete, the only thing left is finishing. For rags rugs, that means securing the warp ends, and finishing the ends with fringe or stitched hems. I prefer the look of hems over fringe, so my rugs usually have turned-under hems (occasionally, I do a bound hem, but I’ll save that for another time). The hem area is woven with narrower strips (about 1/4 in. or 1/2 cm) than the rest of the rag rug, to make it less bulky for turning under, and it lays nice and flat on the floor. Ah, rosepath rag rugs, I shall truly miss seeing you on the loom!

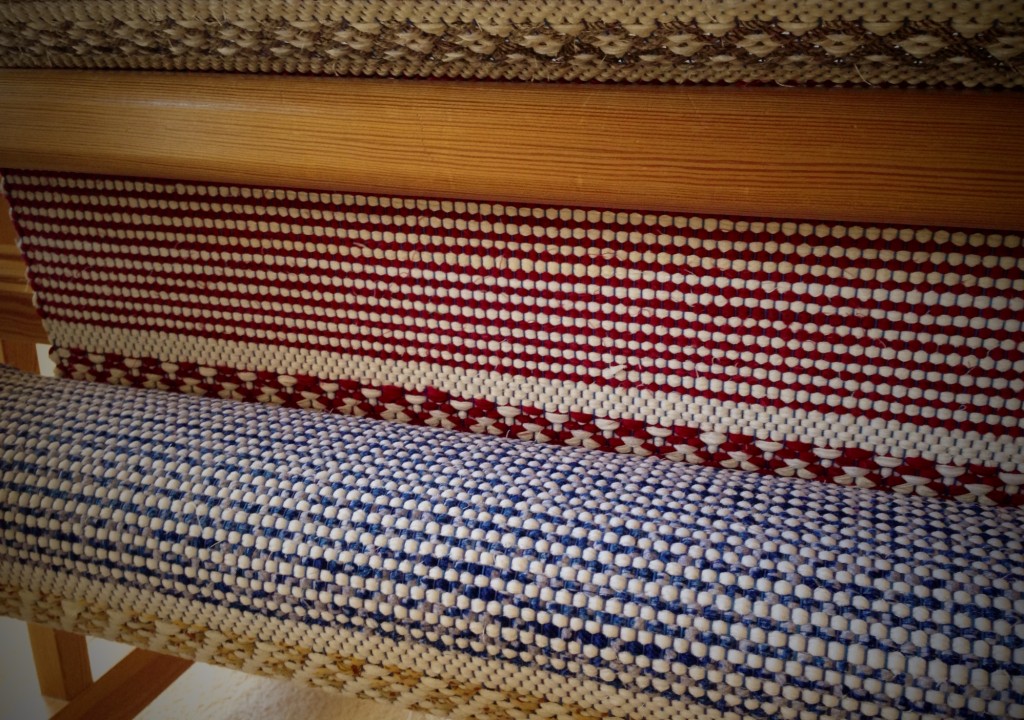
Rosepath Rag Rugs rolled up on cloth beam. Karen Isenhower
The end is the beginning. The end of the warp means the rugs are ready to be unrolled from the cloth beam.
Rosepath rag rugs unfurled from the loom.
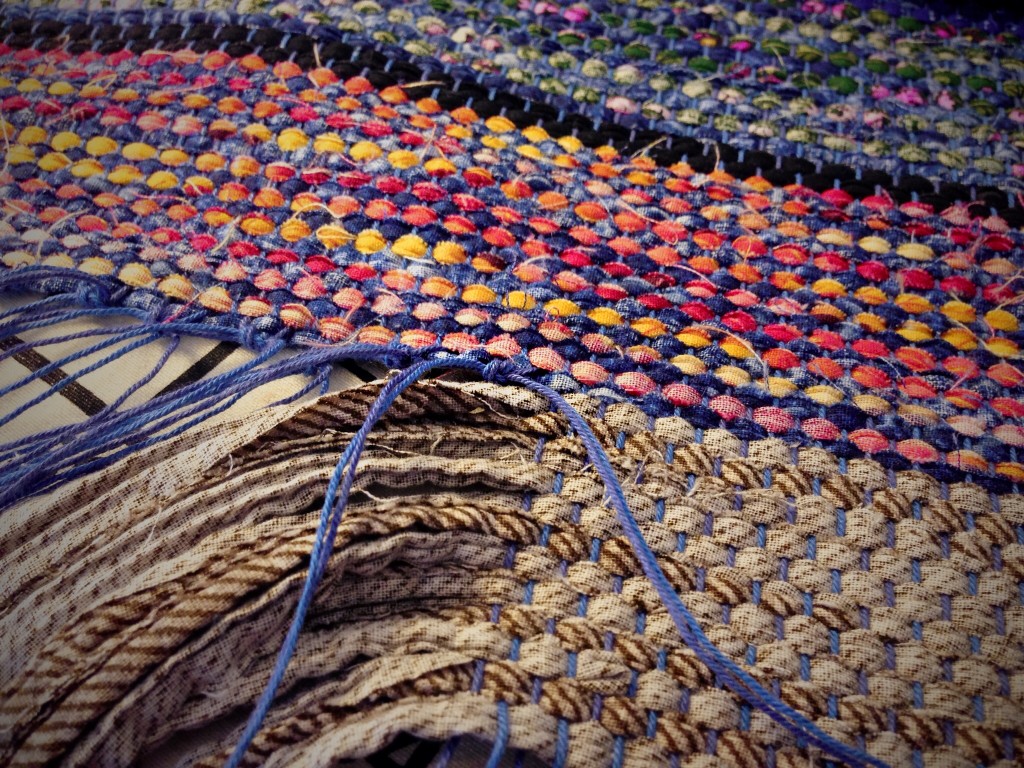
Rosepath rag rugs being unrolled and cut from the loom. This always feels like the moment of truth: I ask myself, “How do they look?” (Note, this view is the underside of the rugs.)
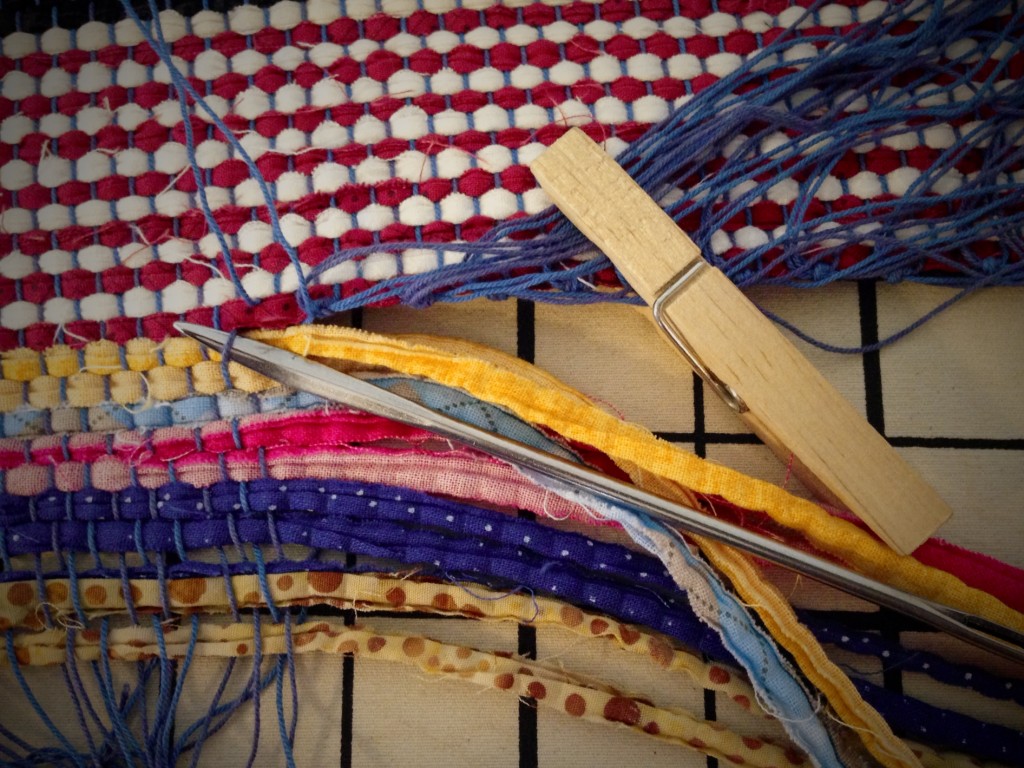
Upholstery needle helps separate warp ends from header to secure ends of rag rug.
Step 1. An upholstery needle helps separate warp ends from the header. A clothespin keeps finished ends out of the way.
Securing rag rug hem with square knots.
Step 2. Secure the hem with square knots. Four ends at a time, pulled out of the header, are firmly tied into knots.
Finishing rag rug with square knots, and trimming warp ends.
Step 3. Trim the warp ends about 3/4 in / 2 cm from the knots.
Steps for finishing rag rug hems. How-to pics.
Step 4. Fold hem edge to the back side of the rug, keeping the knotted ends inside the fold. Press. Fold again to complete the turned hem. Press.
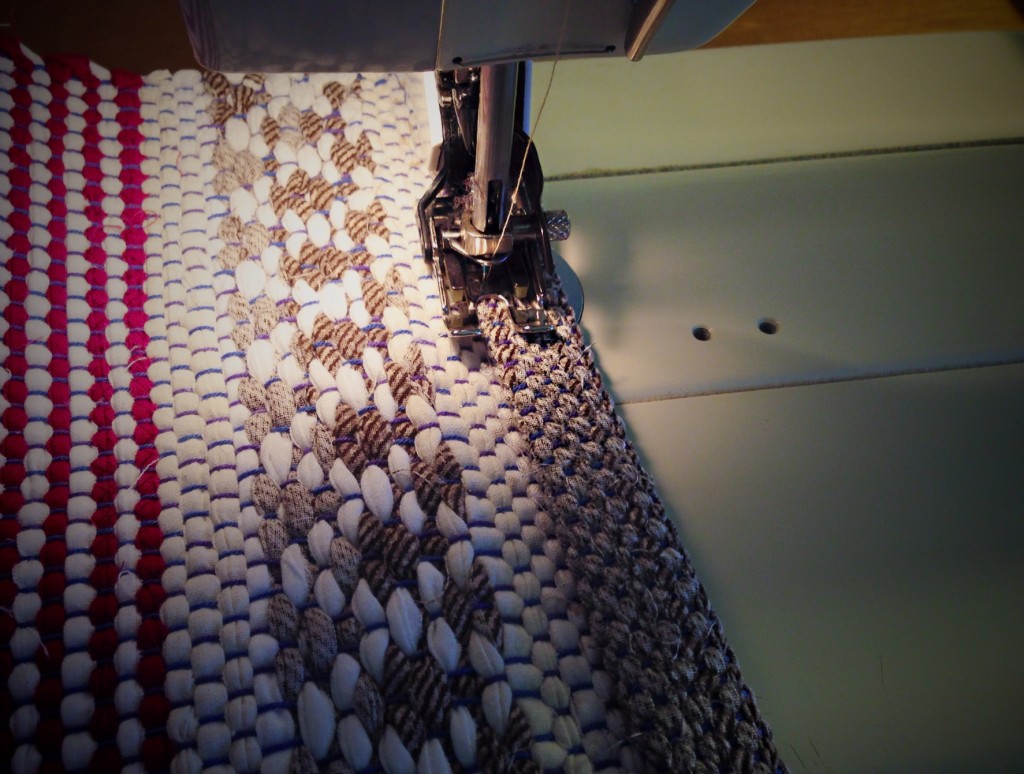
Stitching rag rug hem. Steps for finishing rag rugs.
Step 5. Stitch close to the fold of the hem. Stitch the side edges of the hem closed. Be sure to use sewing thread in the needle that matches the underside of the rug, and bobbin thread that matches the top of the rug.
Rosepath rag rug. Karen Isenhower
Rosepath rag rug, hemmed and ready, with the look of a breath of fresh air.
Rosepath Rag Rug. Welcome home! Karen Isenhower
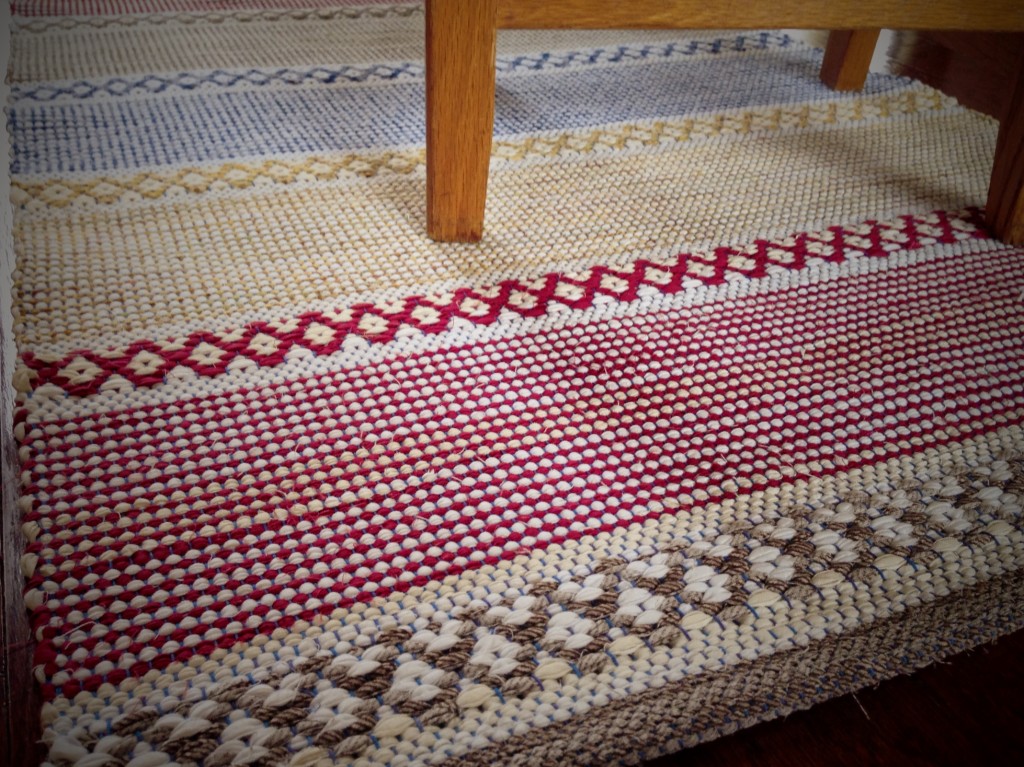
Let’s call this one the “Welcome Home” rug. We’d love to have you stay a while.

May weary feet find your home to be a welcoming place.

Still being finished,
Karen