Tools Day: Eliminating Warp Knots

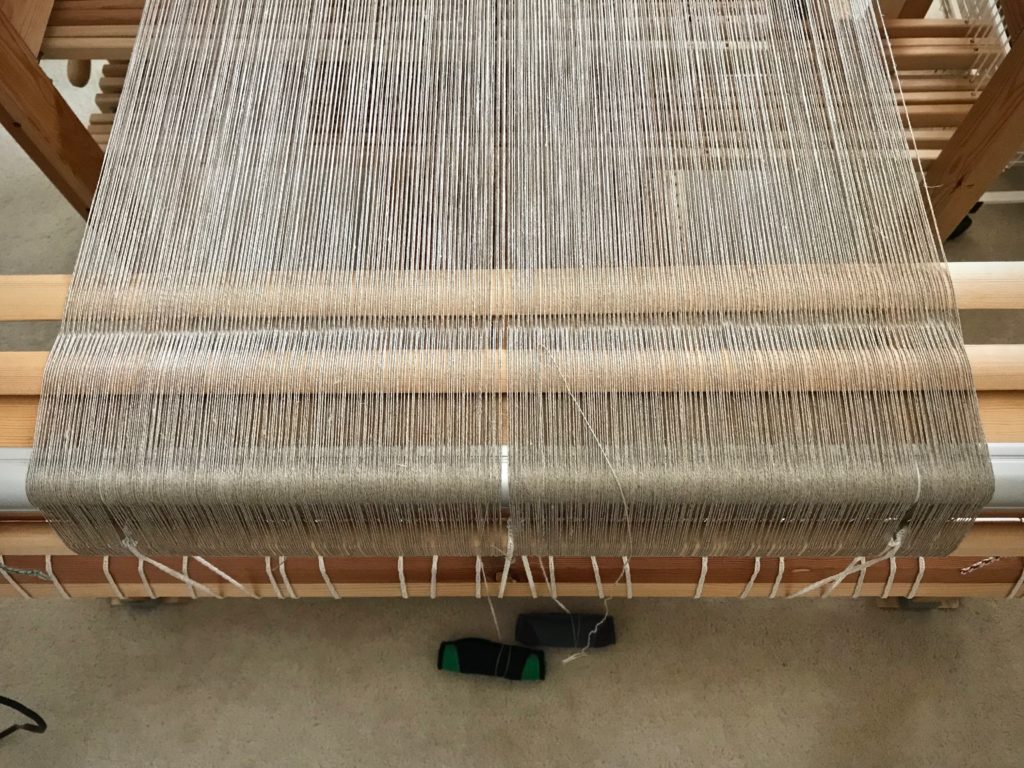
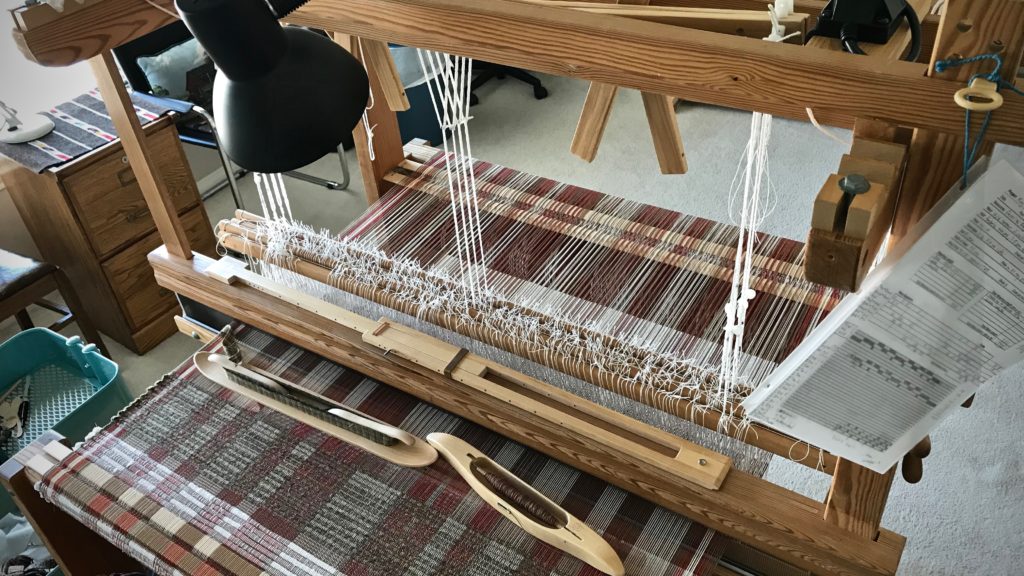
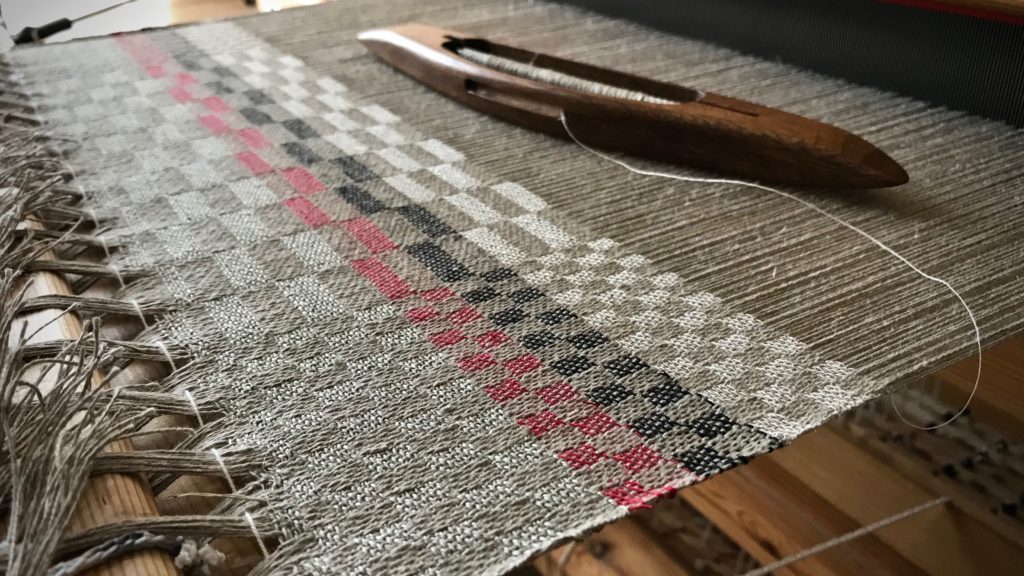
You are not going to believe how many knots I came across in this 16/2 linen warp! Too many. As I wound the warp I made the decision to leave most of the knots, and deal with them on the loom. (I did remove knots that were close to the beginning or ending peg on the warping reel.) I lost count, but I’m sure I have spliced the warp on this five-and-a-half-meter project at least a dozen times. (To see more details about how I splice the warp, visit this blog post and video: How To Splice the Warp – Video.)

I do not weave over warp knots. A knot introduces a spot of vulnerability to the fabric. Knots can fray, loosen, or come undone over time, even if the knot is originally imperceptible.

In a couple instances, a knot distorted the tension of the warp end because of catching on a heddle or passing through the reed. For that reason, I now try to eliminate knots in the warp before they reach the heddles.

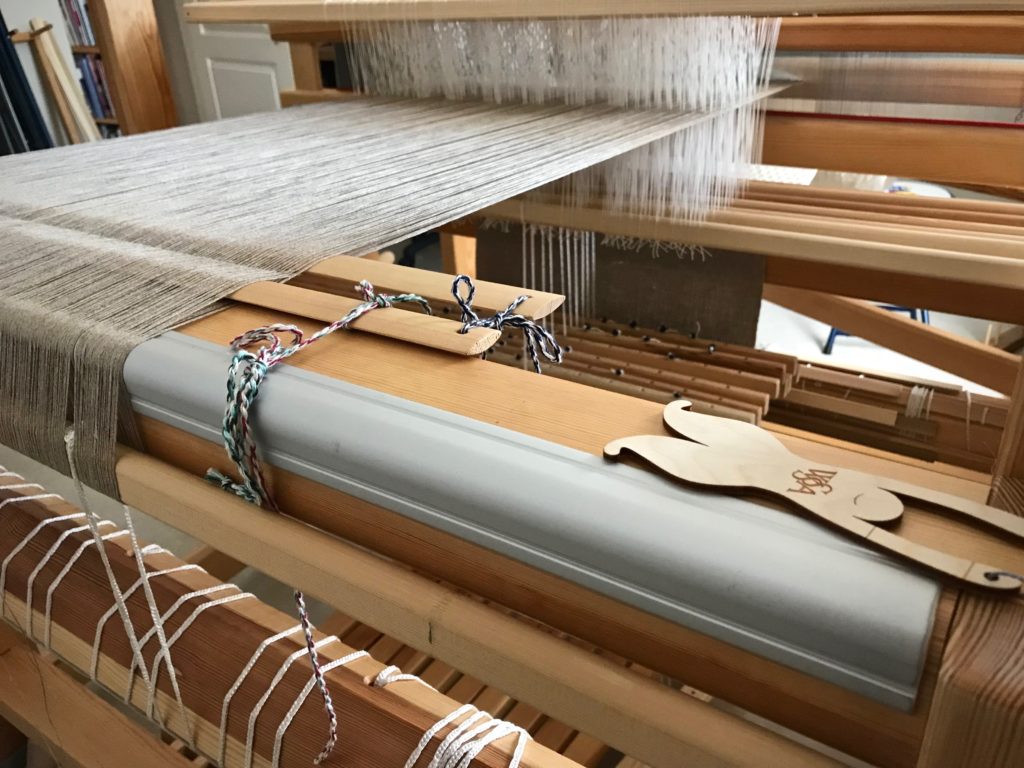
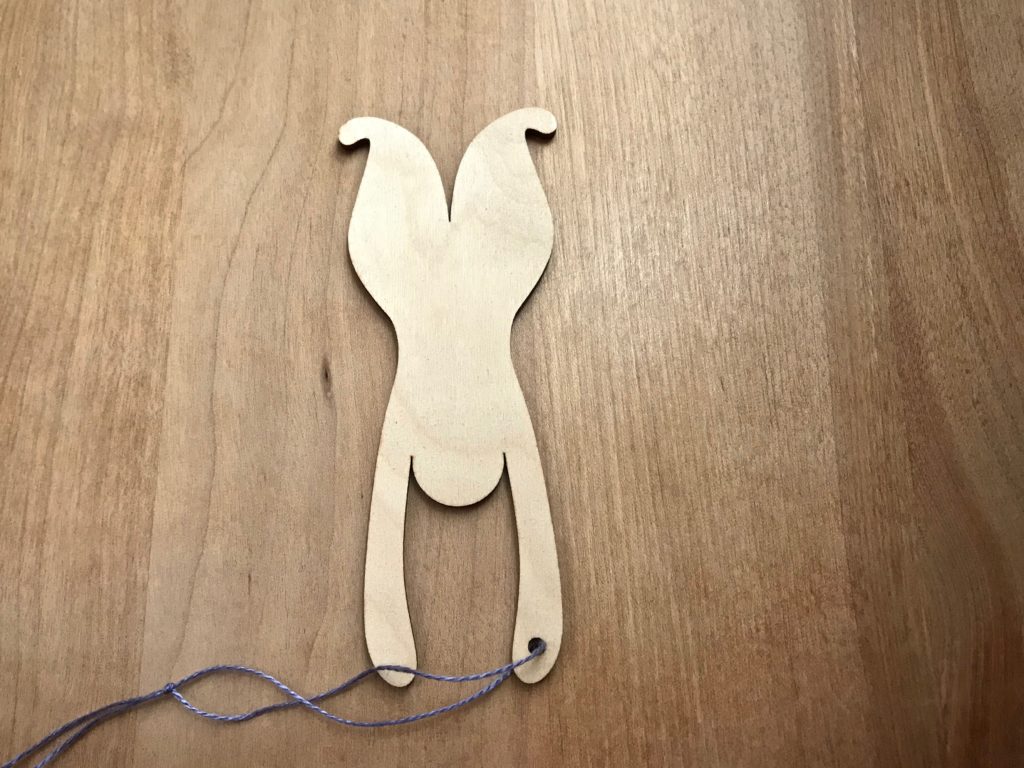
Tool: Warp Separator

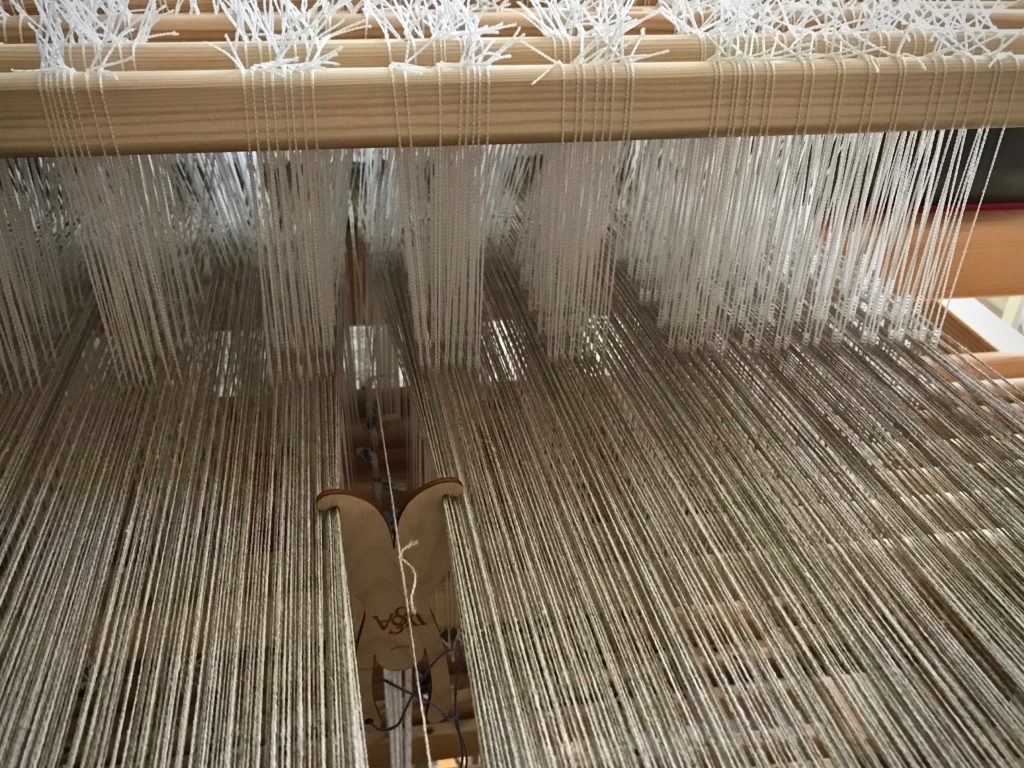
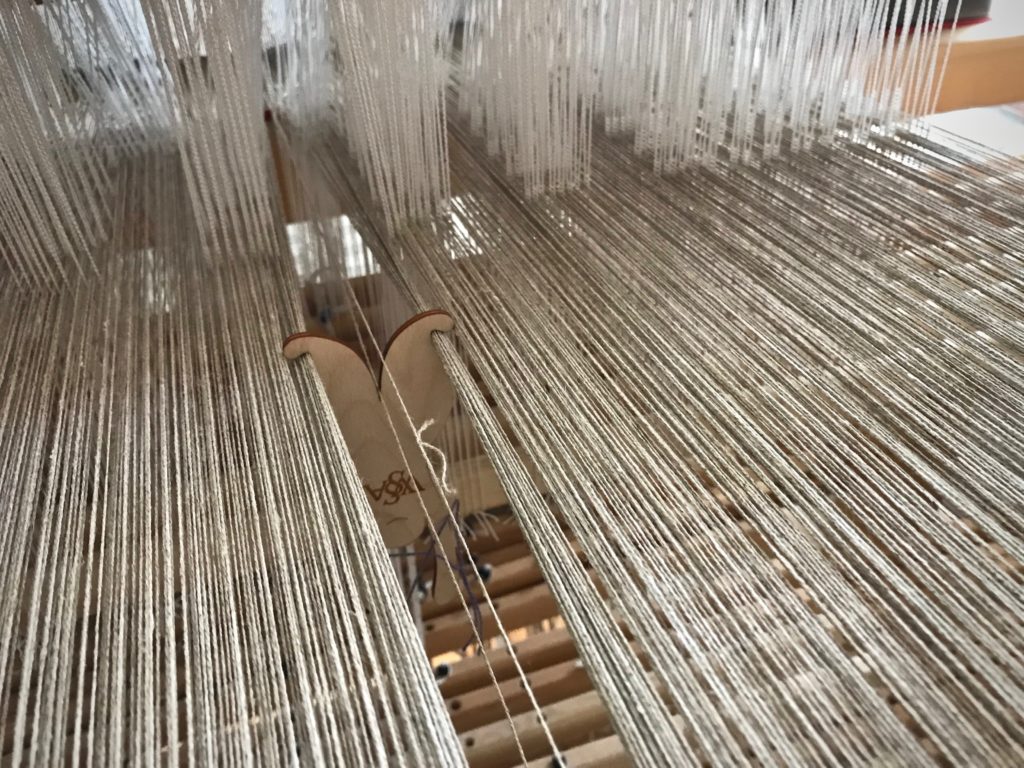
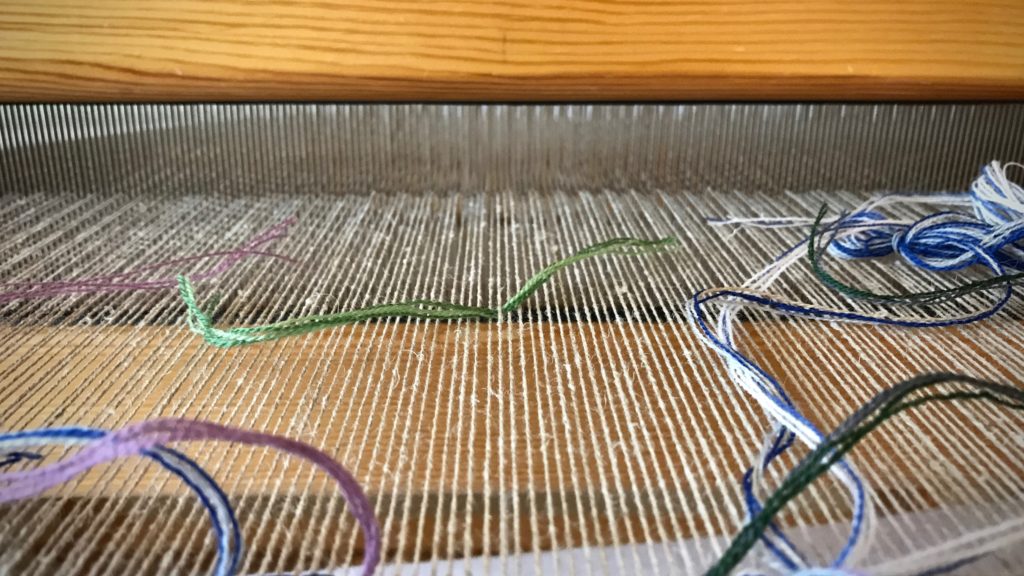
  • Identify the warp end that has a knot, and insert the warp separator between warp ends to isolate the thread.

Warp separator to isolate warp with knot.

  • With a length of repair warp thread, follow the path of the original thread to splice in the new warp end, feeding it through the heddle of the original warp end.

Warp separator to isolate warp end with knot.

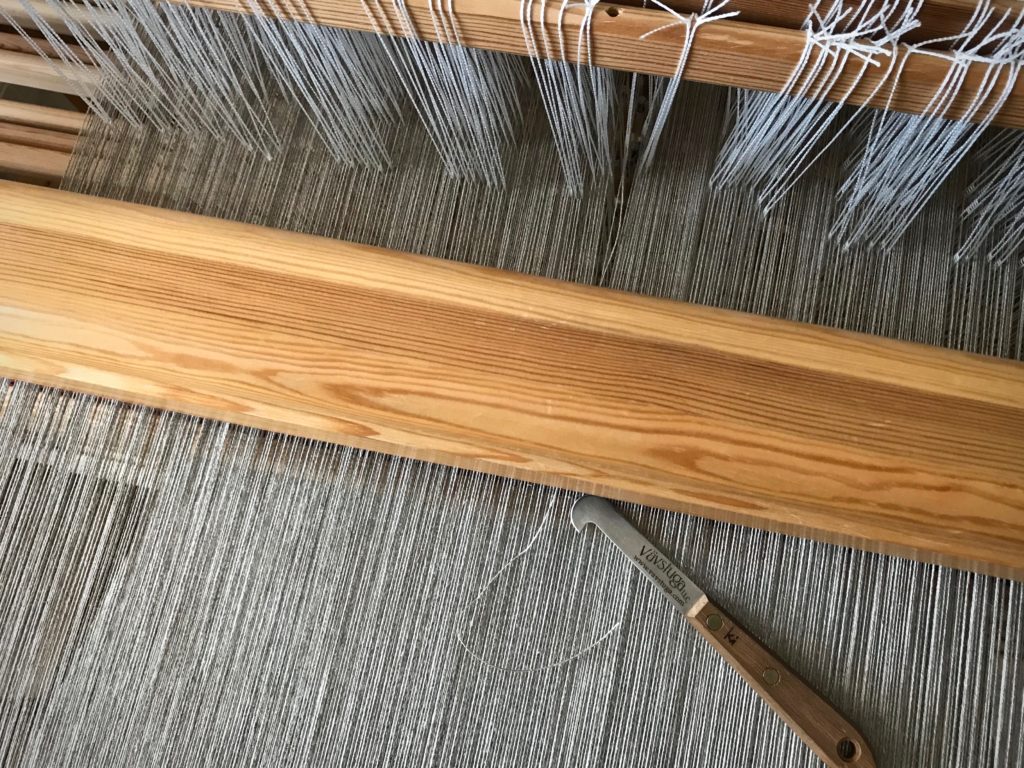
  • Bring the repair warp thread through the reed in the same dent as the warp end that has a knot.

Eliminating a warp knot.

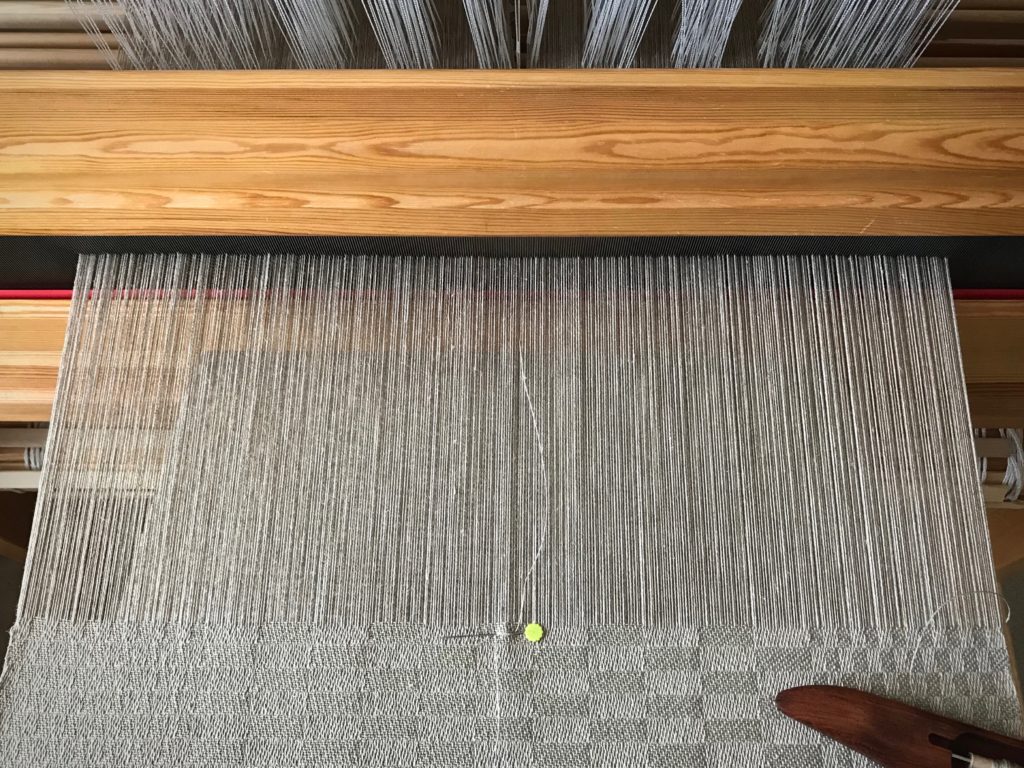
  • Attach the repair warp thread near the fell by wrapping it around a flat straight pin.

Splicing a warp end.

  • Remove the warp separator from between the warp ends.

Warp separator for repairing a warp end.

  • Place a weight on the floor below the back beam. Wrap the repair thread around the weight two or three times to hold the thread at tension that matches the rest of the warp. Loosen the wrapped-around thread before advancing the warp, and then re-tighten before resuming weaving.

Splicing warp ends.

  • Weave one to two inches with both the original warp end and the repair warp thread in place.
  • Then, cut the original warp end with the knot (behind the heddles) and let it hang over the back beam.

Cutting a warp knot behind the reed.

  • The original and replacement warp ends overlap in the weaving for about one to two inches.
  • Remove the straight pin when it reaches the breast beam.
  • Re-attach the original warp end when it is long enough to secure in front of the fell line with a flat straight pin.
  • And then, cut and remove the replacement warp thread.
  • Trim all the spliced warp tails after wet finishing.
Spliced warp end to eliminate a knot in the warp.

Warp separator guy, ready to jump in and help!

This warp separator was a gift from The Weavers and Spinners Society of Austin, included in the goodie bag from last summer’s Contemporary Handweavers of Texas Conference. It would not be hard to make a warp separator like this from wood or sturdy cardboard. I have not been able to locate a supplier online.

If you know where to find a warp separator tool, please put a link in the comments.

May you have very few warp knots.

All the best,
Karen

Tools Day: Needles

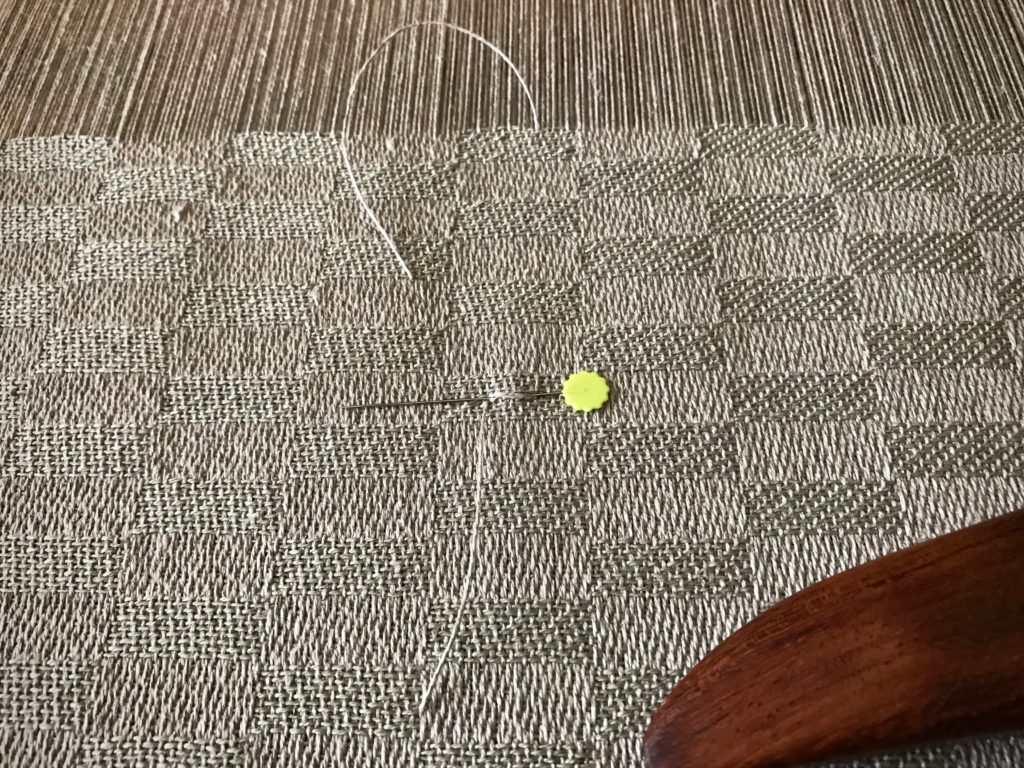
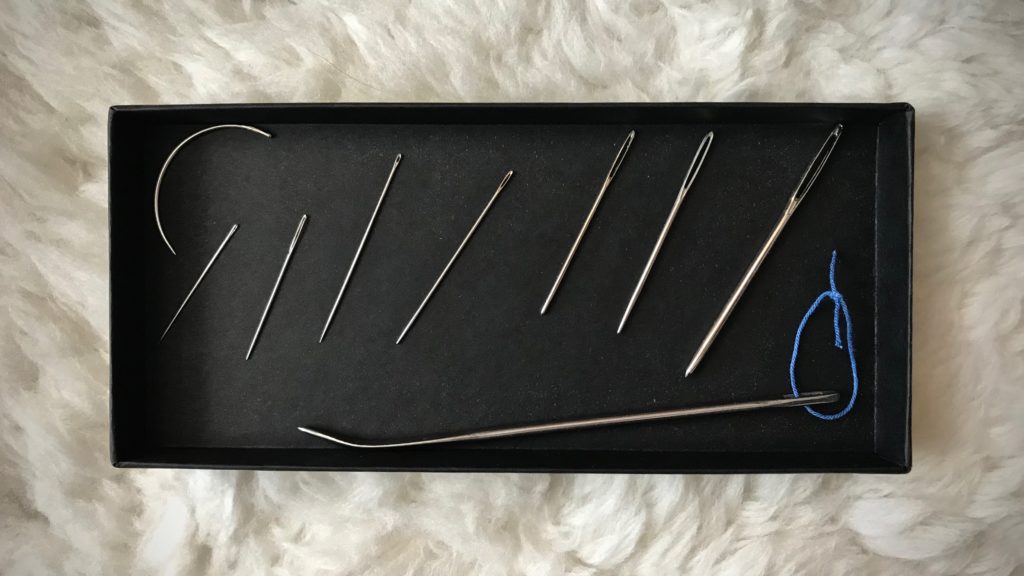
Even though there are dozens of needles in and around my weaving and sewing spaces, nine stand out from the rest. These go-to needles have earned special favor. As essential tools, these needles have specific holders and permanent homes.

The 9 needles I use most for handweaving.

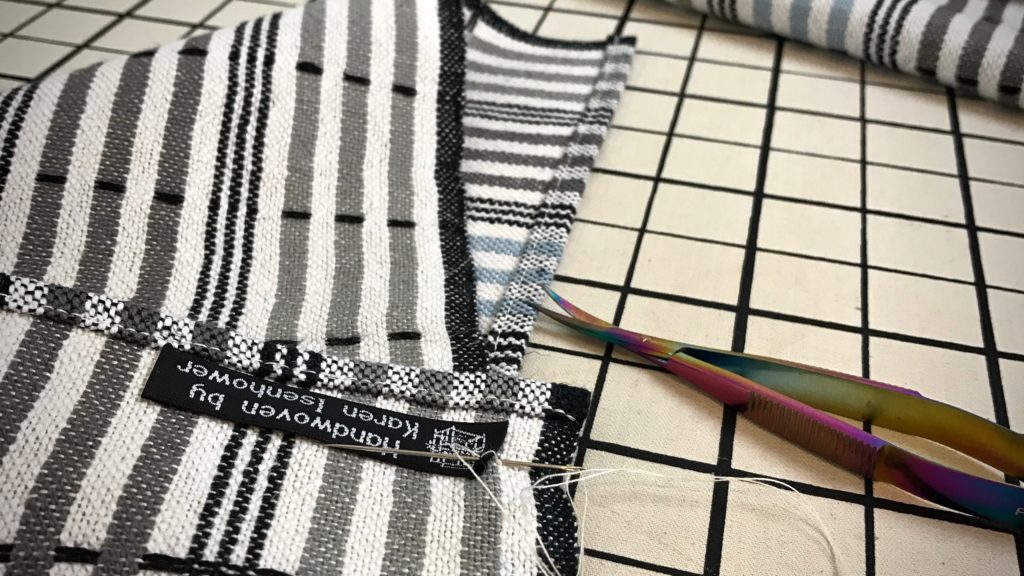
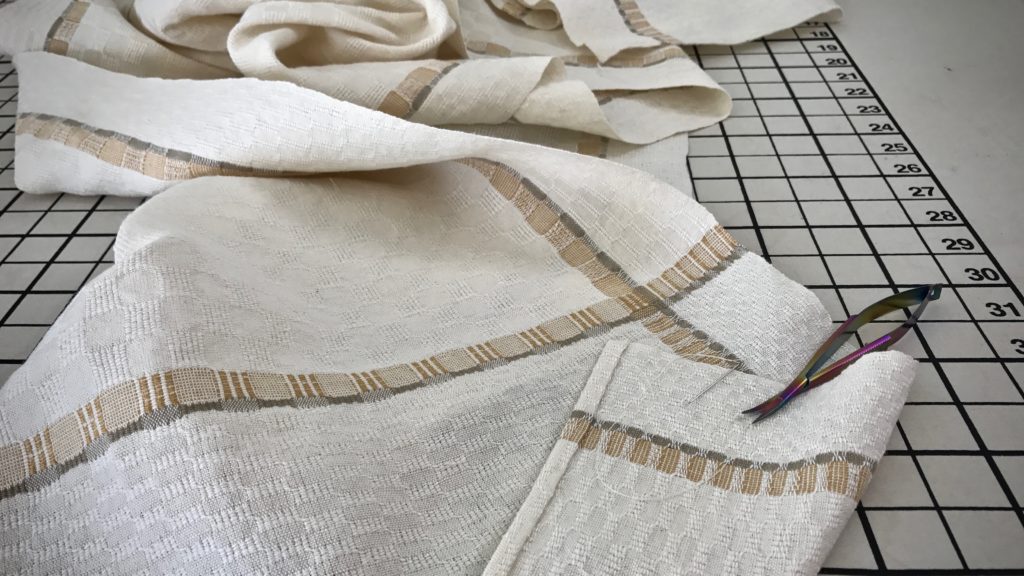
  • Sharp needles: hand-hemming, hand-sewing, stitching on labels, and stitching a tapestry to a linen mat for mounting (curved needle)
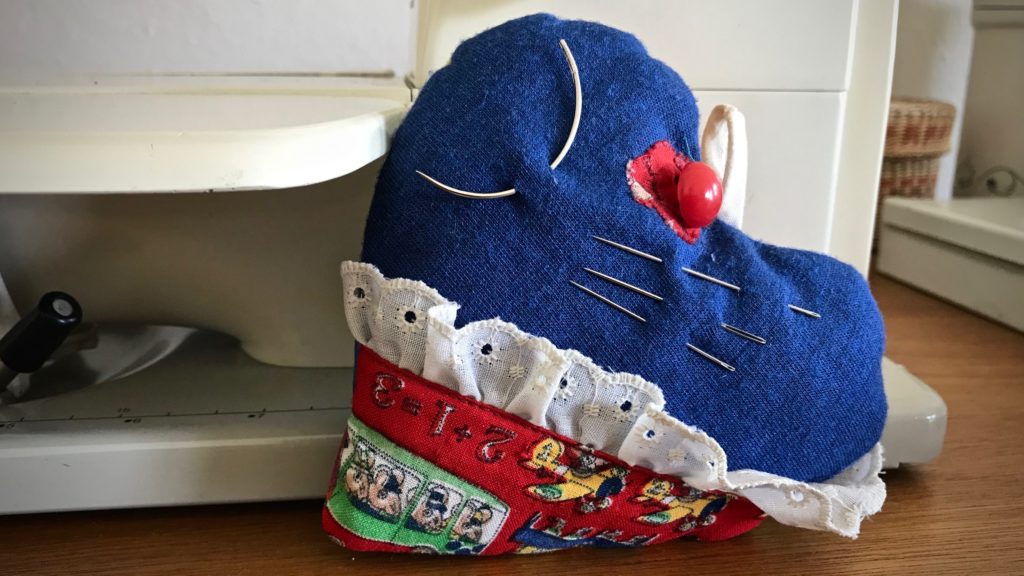
    HOLDER: Pincushion I made in 1980
    HOME: Sewing supply closet, “Needles and Pins” drawer

Sharp needles for hand-hemming. 1980 pin cushion.

Stitching labels onto handwoven towels.

Hand hemming handwoven table runner.

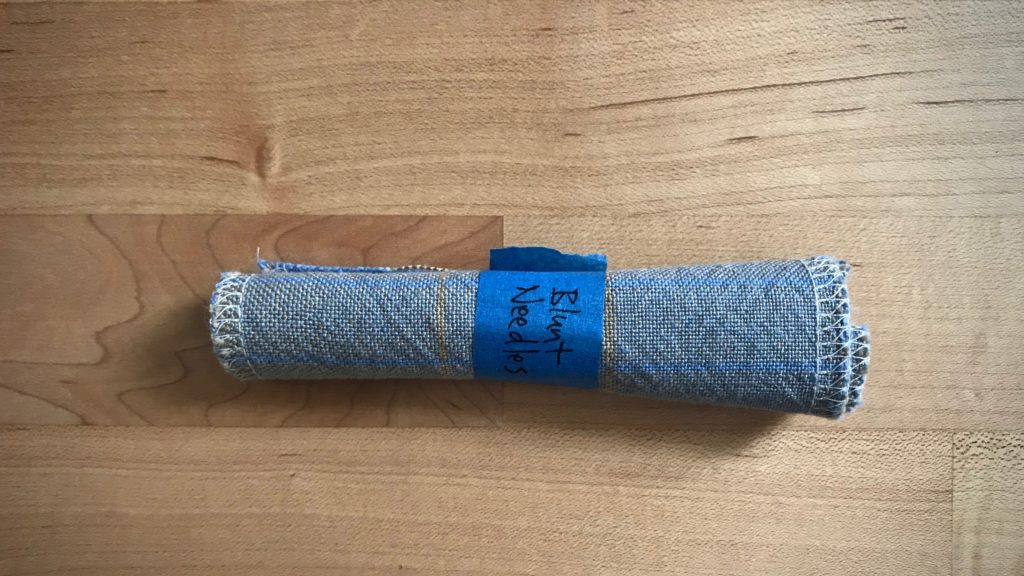
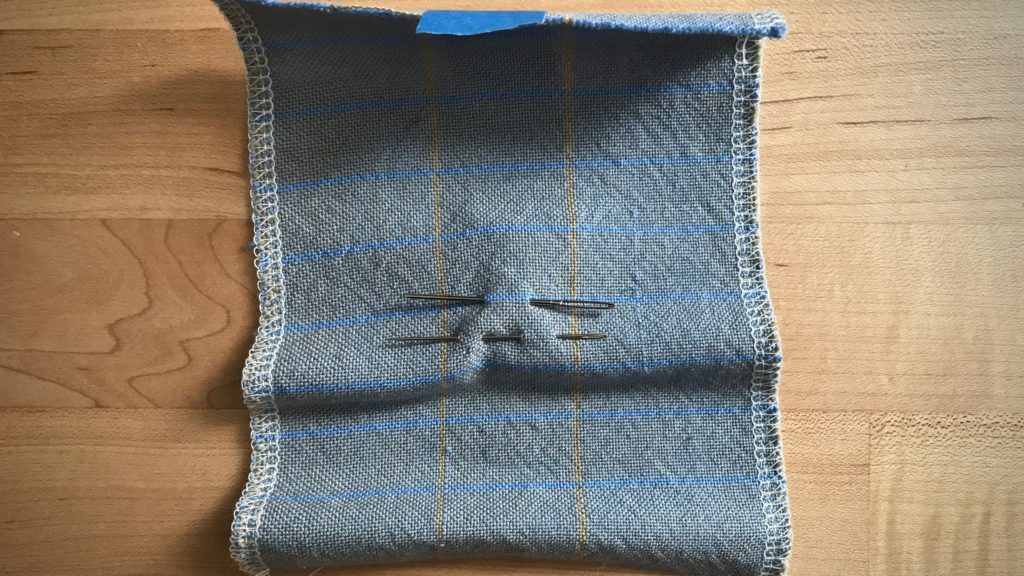
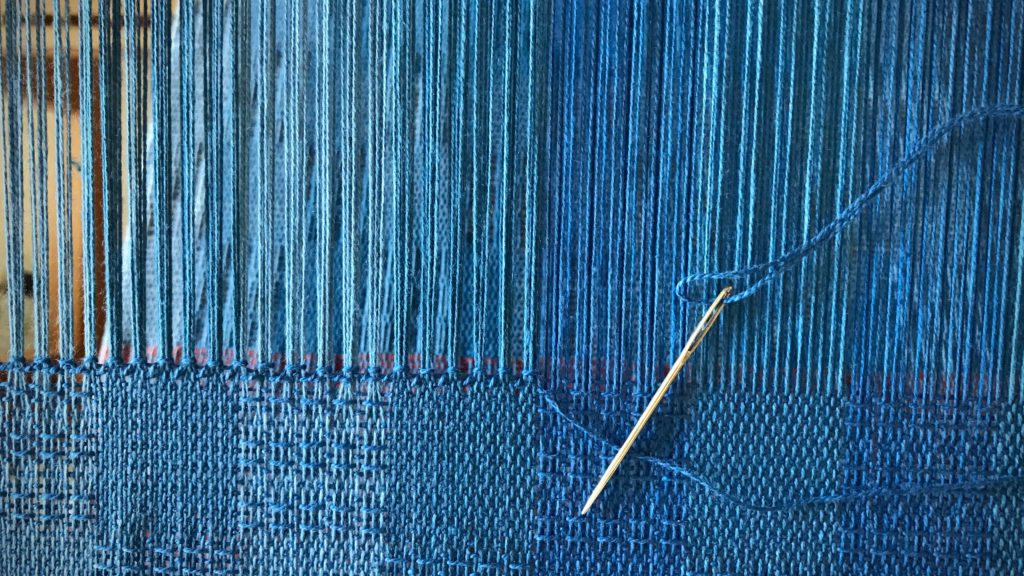
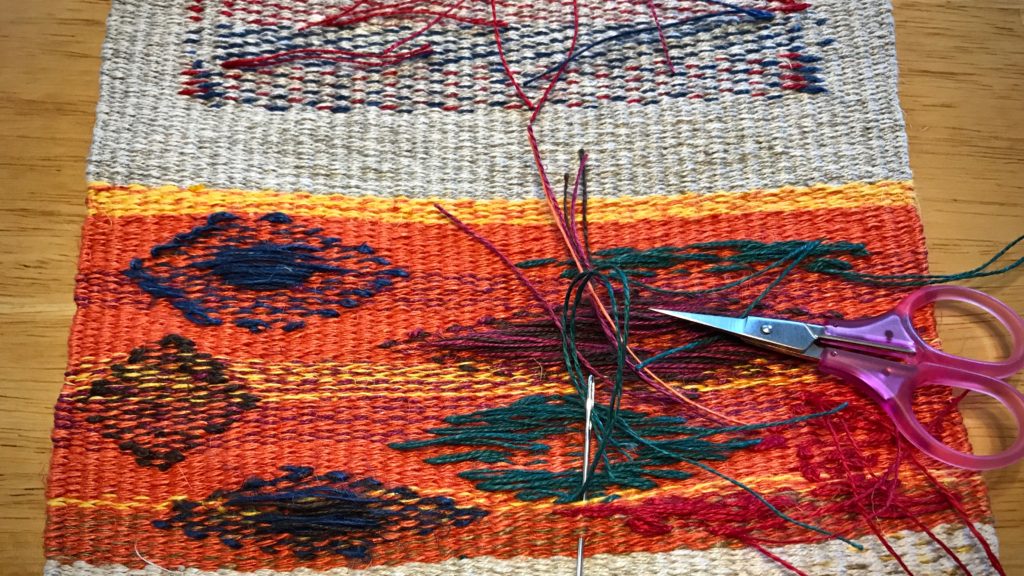
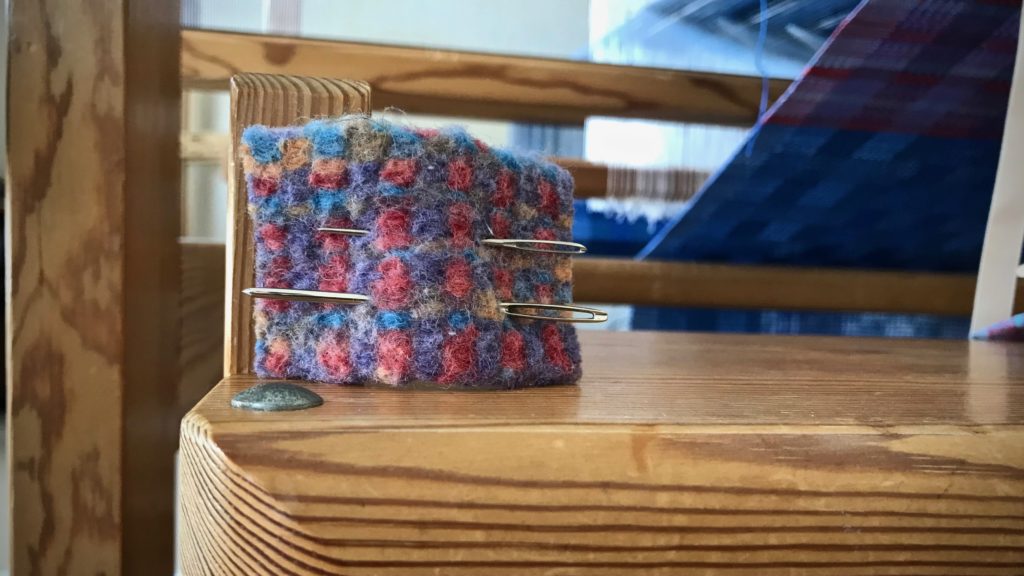
  • Blunt tapestry needles, small and medium: hemstitching, stitching a thread mark to the right side of the fabric, sewing in tapestry weft tails, finishing work—needle-weaving for corrections and repairs
    HOLDER: Remnant of cotton handwoven plain weave fabric
    HOME: Loom-side cart, top drawer

Handy needles to keep by the loom.

Blunt needles by the loom.
Steve sanded and rounded the tips of the needles to make them blunt. A needle with a rounded tip won’t pierce and split the threads.

Hemstitching at the loom.

Sewing in weft tails in the back of a tapestry.

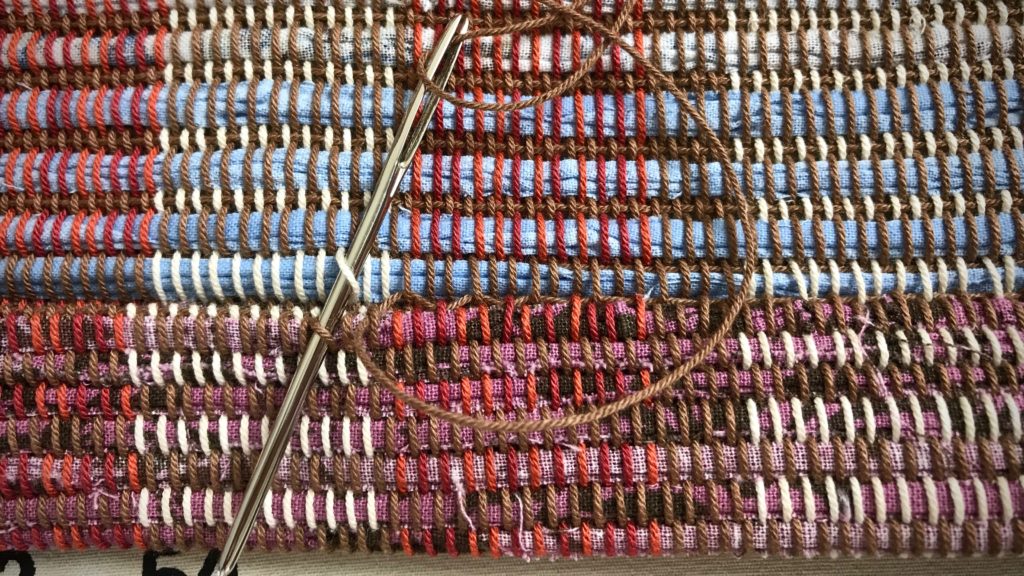
  • Blunt tapestry needles, large: hemstitching, hand-hemming rugs, weaving small tapestries
    HOLDER: Felted inkle-woven tape
    HOME: cutting/work table, Grandma’s old sewing tin

Felted inkle-woven needle holder.

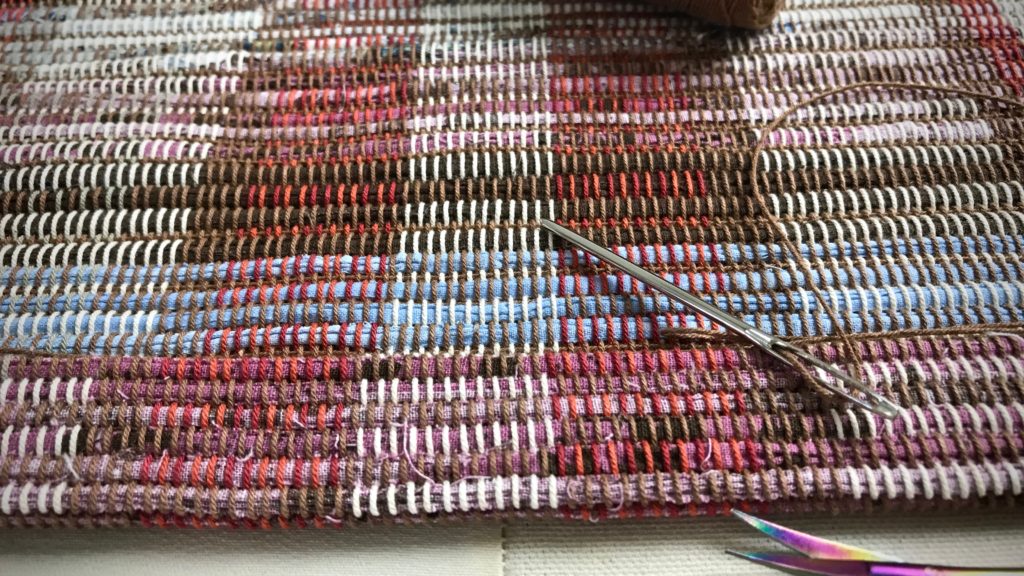
Rag rug hemming by hand.

Hemming a handwoven rag rug.

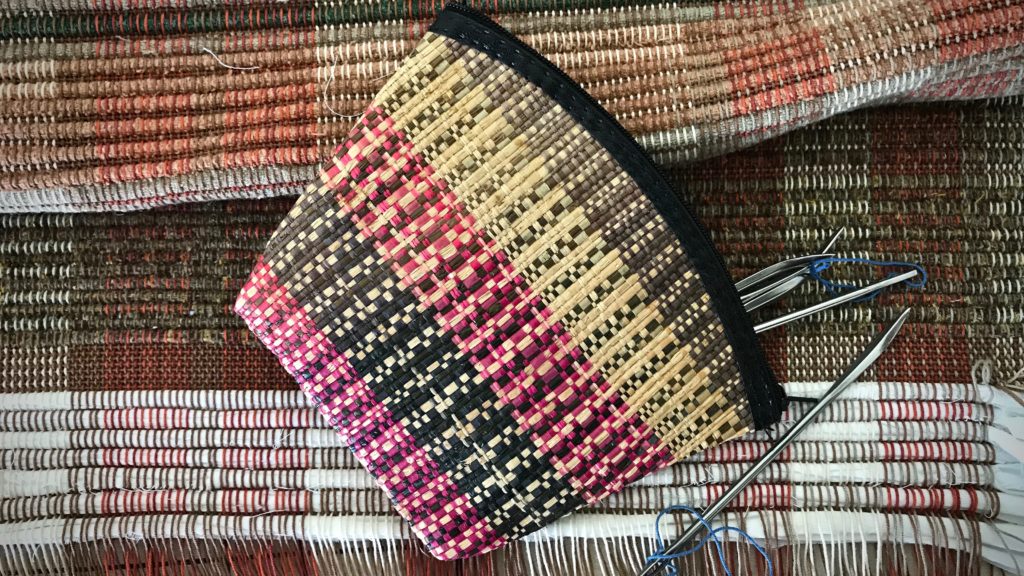
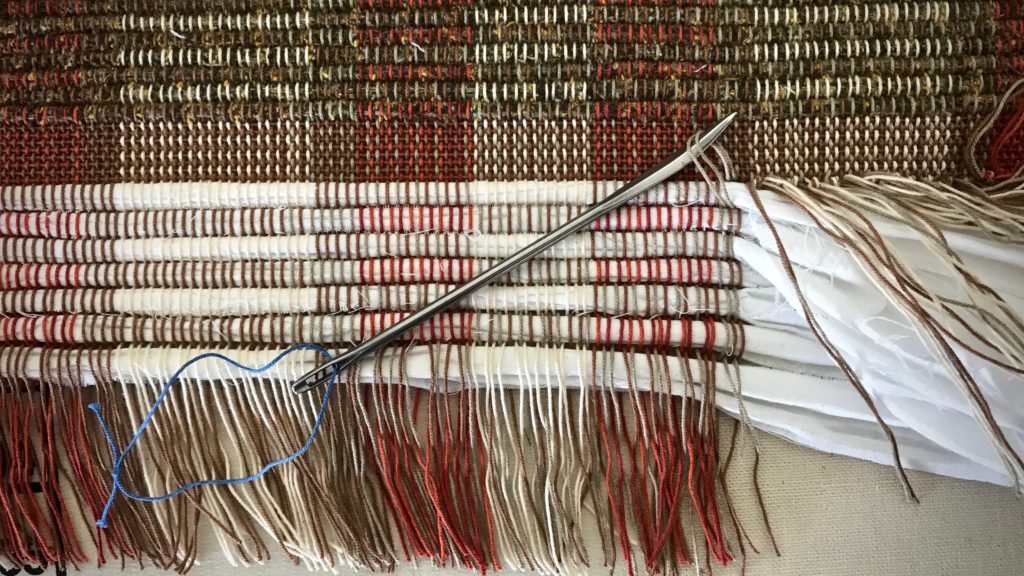
  • Sacking needles: pulling rag rug warp ends out of scrap weft, threading warp ends back into a wool rug (I did this…once)
    HOLDER: straw-woven pouch from a trip to The Philippines
    HOME: weaving supply closet, top drawer on the left

Woven pouch from The Philippines.

Tying warp ends into knots. Rag rug finishing.

May you find the needle you need when you need a needle.

All the best,
Karen
Tools Day: Countermarch Loom Pros and Con

When my long-held dream of weaving on a floor loom became a possibility, I started my journey with questions. What are the pros and cons of the different types of looms? After considerable research, a winner emerged—the Swedish countermarch loom!

Pros and Con of Countermarch Looms
(My experience is with Glimåkra. Other countermarch looms may differ.)

Pros

  • Weave anything. Rag rugs to lace-weight fabric.
  • Hanging beater. Swinging beater has momentum that enables a firm beat. No strain to shoulders, arms, or wrists. Asset for weaving rag rugs, and superb control for cloth with an open weave. Beater placement is adjustable, making it possible to weave longer before advancing the warp.
  • Rear-hinged treadles. Pressing treadles is effortless, no matter how many shafts. No strain on back, legs, knees, or ankles, even with robust weaving. Because treadles are close to each other, I press correct treadles with sock- or bare-footed ease…without having to watch my feet. Ample foot rest makes it easy to trade feet when using many treadles.
  • Clean shed. Stepping on a treadle raises and lowers shafts at the same time, so a great shed is not only possible, but usual.
Horizontal countermarch. Info about CM looms.
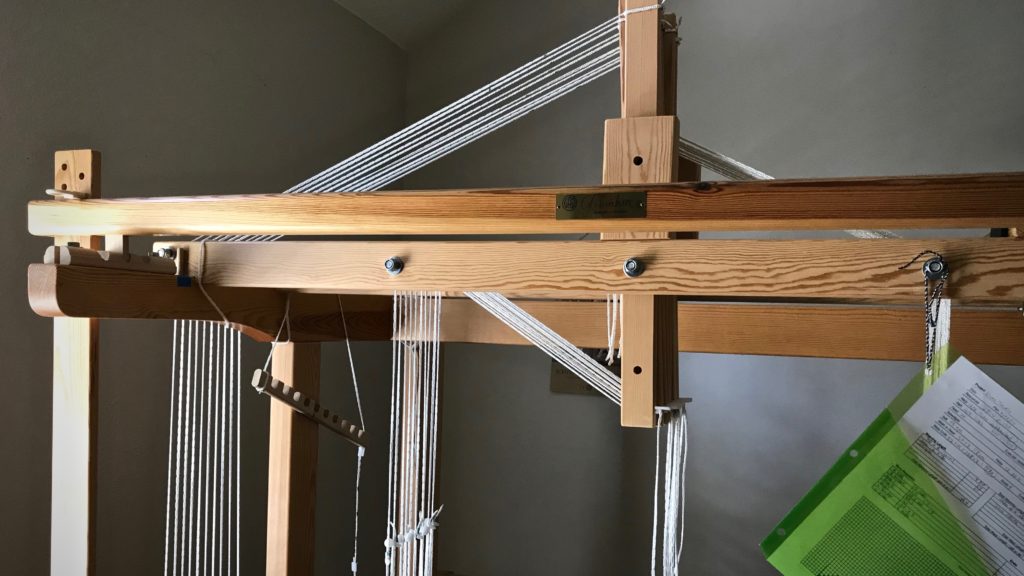
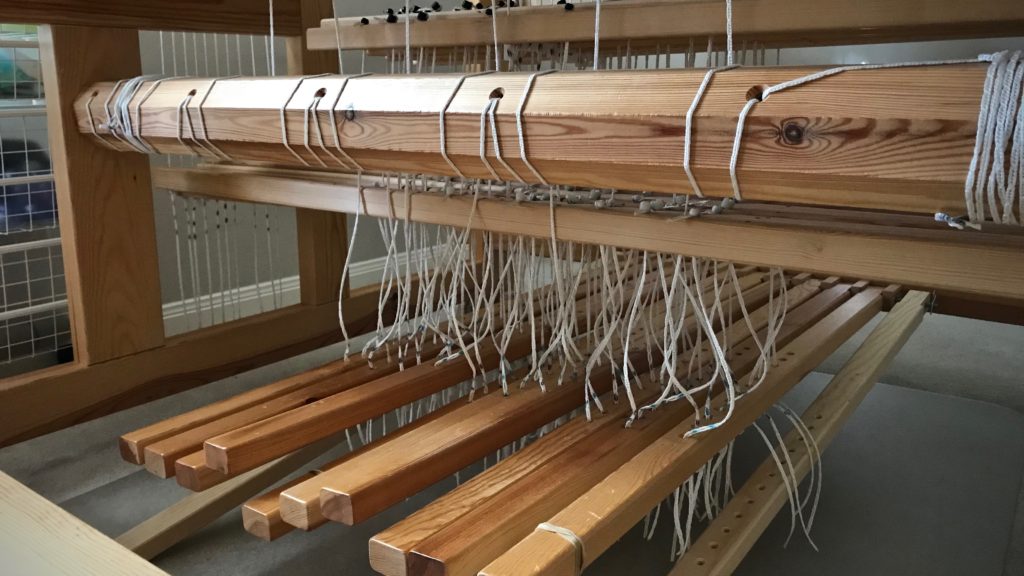
Glimåkra Ideal with horizontal countermarch. The cords from the countermarch jacks at the top of the loom go straight down through the warp to the lower lamms. The lower lamms connected to treadles cause shafts to lift when a treadle is depressed.
  • Even warp tension. Because shafts are both raised and lowered, tension is equal on raised and lowered warp ends. Even warp tension is good for all types of weaving. This even tension makes a tight warp possible. Perfect for linen, and for rugs.
Vertical Countermarch Loom - info about CM
Gimåkra Standard loom with vertical countermarch. Cords from the countermarch jacks go over the side of the loom to the lower lamms below. The upper lamms (not pictured) attached to treadles cause shafts to sink when a treadle is depressed.
Threading ease of countermarch looms.
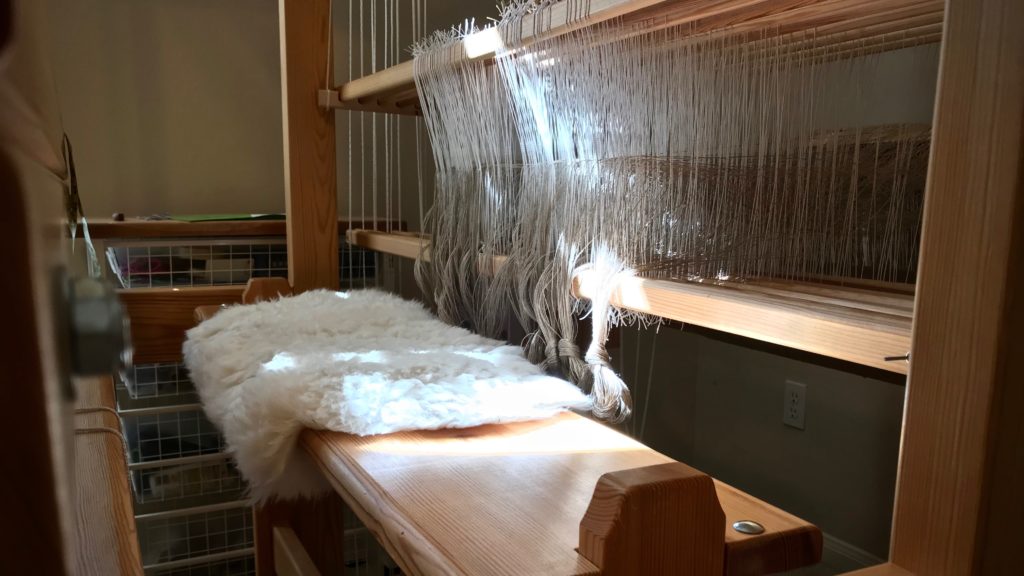
Bench sits in the loom for threading heddles. I call this my little playhouse.
  • Texsolv heddles. Heddles can be easily added or removed from shafts (shafts are also easily added or removed). Quiet. Easy to thread.
  • Perfect fit. A petite person like me can weave on a large loom (my Standard is 47”/120cm) as comfortably as someone with longer arms and legs. Able to sit in upright posture for weaving.
  • Wooden. The loom is primarily wood. Bonus if you appreciate natural beauty of wood. Held together with wooden wedges and a few bolts. No screws or wing nuts.
  • Scandinavian clarity. Because of the Swedish loom, I adopt Swedish weaving practices and have an interest in traditional Scandinavian textiles. The loom fits the style. Streamlined design, precision, systematic and logical processes, and beauty with function.

Con

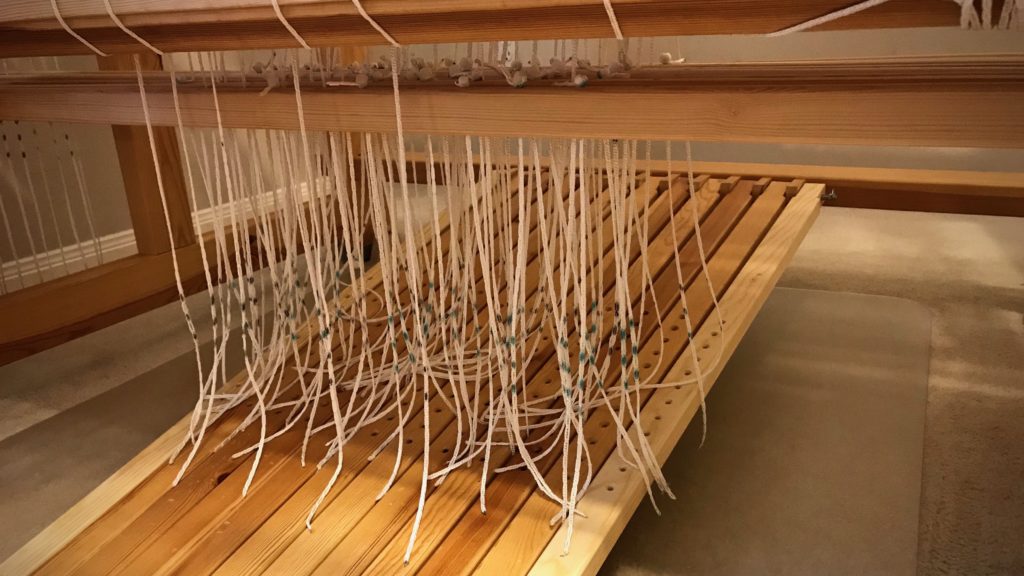
  • Treadle tie-ups. Shafts are connected to upper lamms and lower lamms. Treadle cords with a bead at one end are hung in the lamms. Lamms are then attached to treadles. Treadle tie-ups normally fall under the Pros category, because this is what enables the loom to have the clean shed it’s known for. But since I just finished tying up ten shafts to ten treadles (that’s 100 treadle cords), this is my least favorite part right now. 😉 (The weaving pleasure more than makes up for it, though.)
Countermarch treadle cords. Pros and cons.
One hundred treadle cords hang from upper and lower lamms. The only thing left is to attach all the cords to treadles. 😉
Treadle cords for 10 shafts! 5-shaft satin coming up!
Treadle cords are attached. Little anchor pins lock each cord into position under the treadle. After a few adjustments, the shed on each treadle is good. The loom is dressed! Five-shaft satin dräll coming up!

Conclusion:
When I weave on my Glimåkra Standard countermarch loom, I am soaring like an eagle. I’m sailing with the spinnaker up. I am a pipe organ maestro. I am dreaming while fully awake. This is everything I imagined weaving could be, only better.

Countermarch looms - pros and con.
Testing weft options. Gorgeous handcrafted damask shuttle, Chechen wood, made by Moberg Tools. Five-shaft satin dräll–a weaver’s dream.

For more in-depth information about countermarch looms, comparisons of looms, and other fantastic resources, see articles written by Joanne Hall, found at Glimåkra USA.

May you live your dream.

Very Happy Weaving,
Karen
Tools Day: How to Set a Temple and Video

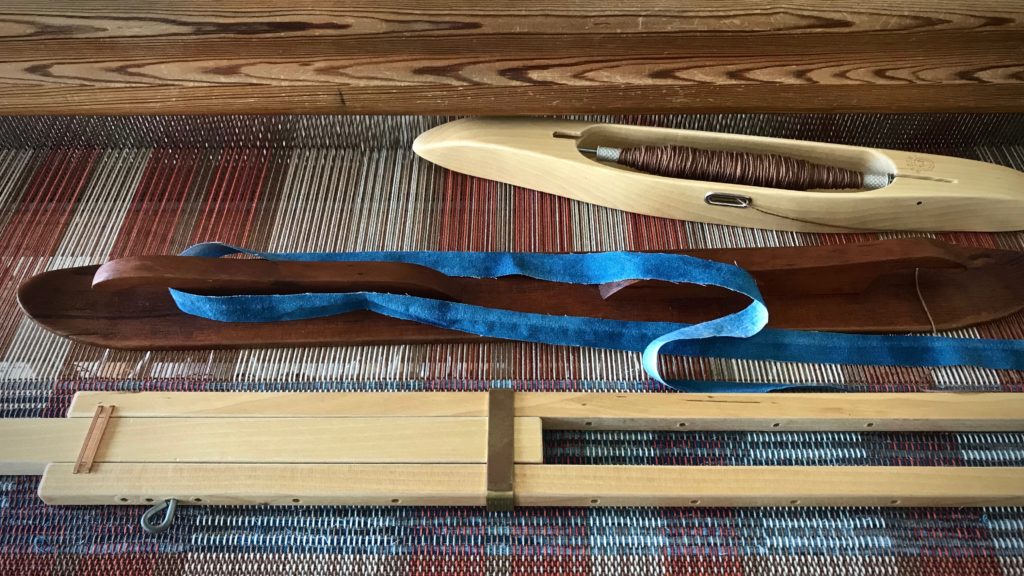
The temple is one of my favorite tools. I have a collection of them. I happily use a temple for almost everything I weave. And I certainly wouldn’t dream of weaving a rag rug without one!

Temple instructions and video.
Temple in place.

Rag rugs are especially susceptible to draw-in, and a temple helps reduce that by maintaining the proper width of the rug. Draw-in distorts the shape of a rug, contributes to uneven warp tension, and can make selvedge threads break. A temple also aids in getting tight selvedges, and enables the firmest beat possible. (My favorite temples to use, even for rugs, are the wooden ones made by Glimåkra.)

How and why to use a temple for rag rugs.
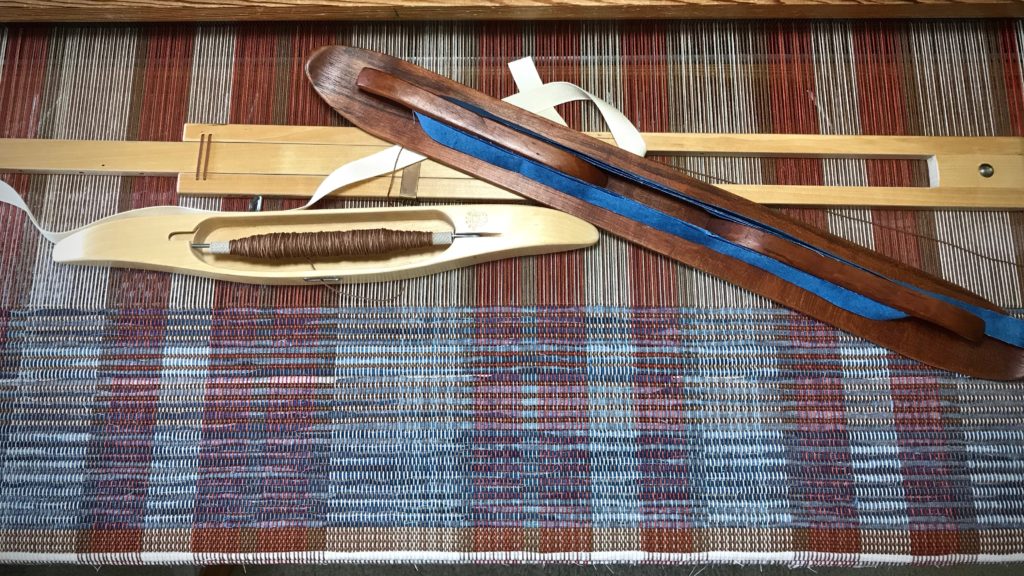
Spaced rep rag rug, using fabric strips and warp thread for weft.

Temple Tips:

  • Set the temple to the proper width. (The video below shows how I do it.)
  • You can set the temple into the cloth as soon as there is is enough woven for two or three teeth to sink into. Then, move the temple up when you have woven enough to set all the teeth into the cloth.
  • Even with a temple, place adequate weft through the shed. The tool works best in conjunction with careful weaving practices.
  • Watch out for the sharp points! I get pricked when I forget and reach around the selvedge to straighten something out.
  • Make sure the temple is far enough back from the fell line that it won’t scrape the edge of your beater. I have a scar on my beater because it was hitting the temple. Unfortunately, I didn’t notice until the damage was done.
  • Move the temple frequently. For consistency at the selvedges on a rag rug, I move the temple at least every inch.
  • Remove the temple by moving the slider with one hand, while holding the center part down with the other hand. Keep the pin in place and the temple will draw up in the center. Then, disengage the teeth from the cloth on both sides.
Spaced rep rag rugs on the loom. Tutorial for using a temple.
Width in the reed for this rag rug is 90 cm on this 100 cm loom. I keep a supply of temples so that I have what I need for any weaving width.


May your tools serve you well.

Happy weaving,
Karen
Tools Day: Paper and Yarn

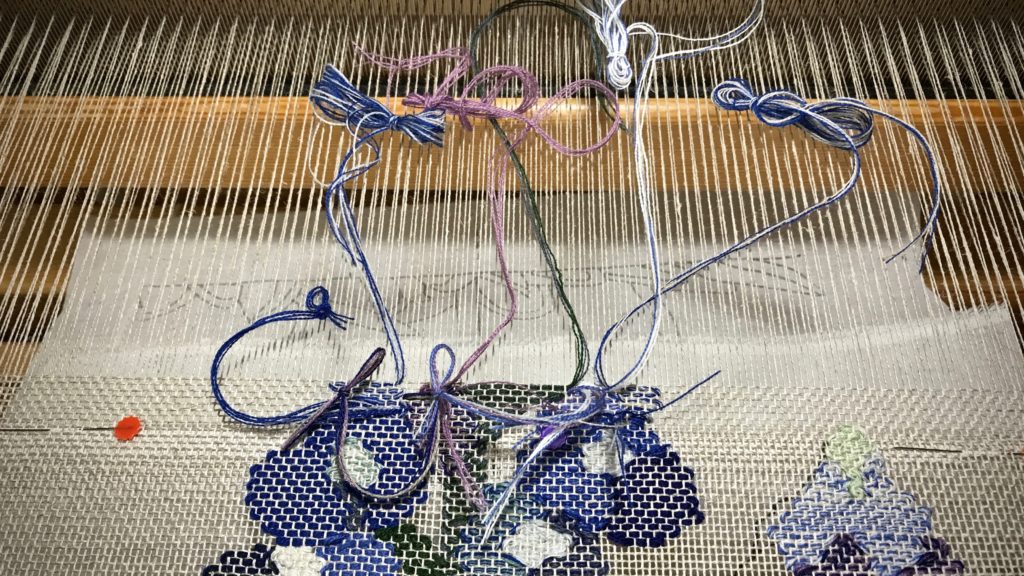
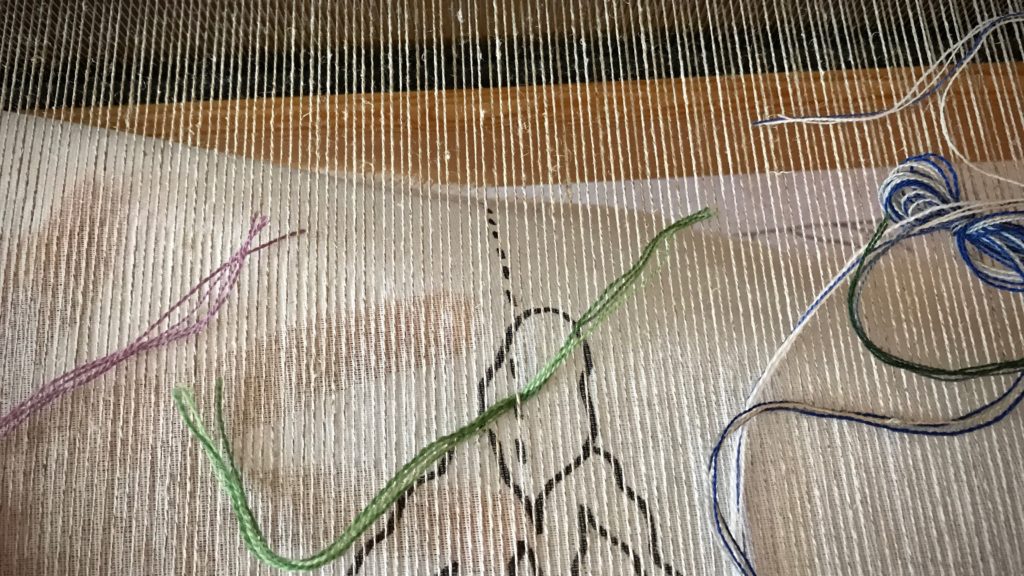
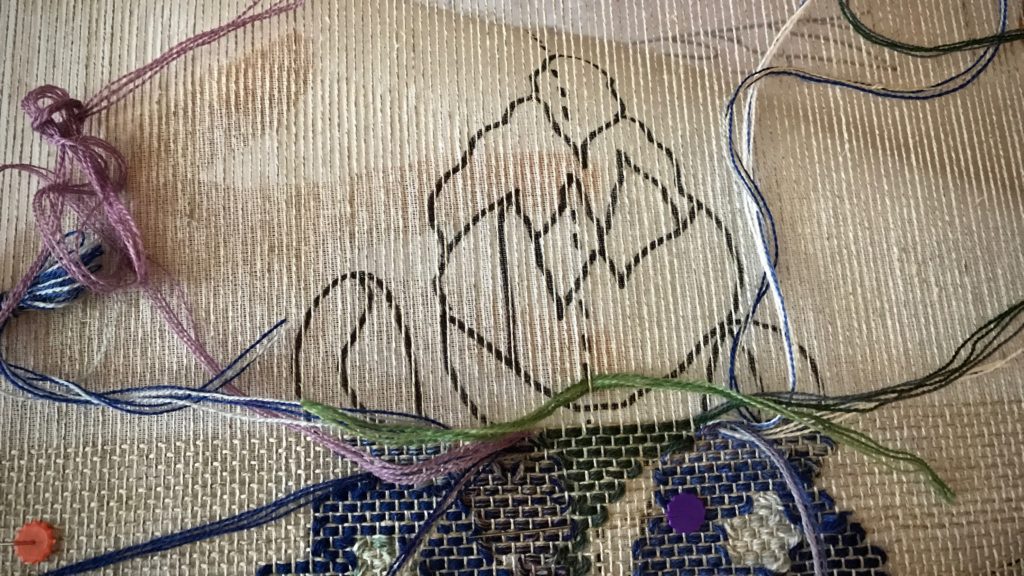
A folded piece of paper and a seven-inch tail from a yarn butterfly become an answer to a small technical problem. When using a cartoon, like I am for this transparency, it’s imperative to identify the center warp end so I can align the dotted-line center of the cartoon with that one end. Finding the center warp end is my technical problem. The paper and yarn work together as the tool that helps remove the guesswork.

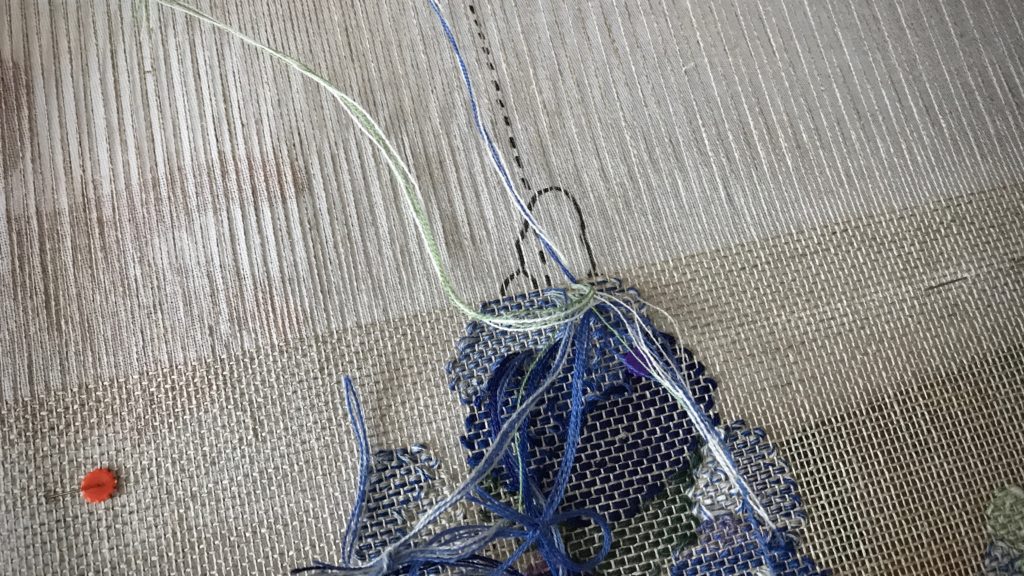
Weaving a transparency. Bluebonnets.
I check the alignment of the cartoon about every inch, and move up the pins that hold the cartoon in place.

With these bluebonnets, if the cartoon slides to the right or left by even one warp end it distorts the picture. It’s not enough to eyeball it. I need a way to make sure I am finding, and marking, the exact center end every time.

How to Find and Mark the Center Warp End

Supplies:

  • Pencil
  • Subscription card from a magazine, folded in half lengthwise
  • Seven-inch tail from a yarn butterfly, or a strand of yarn
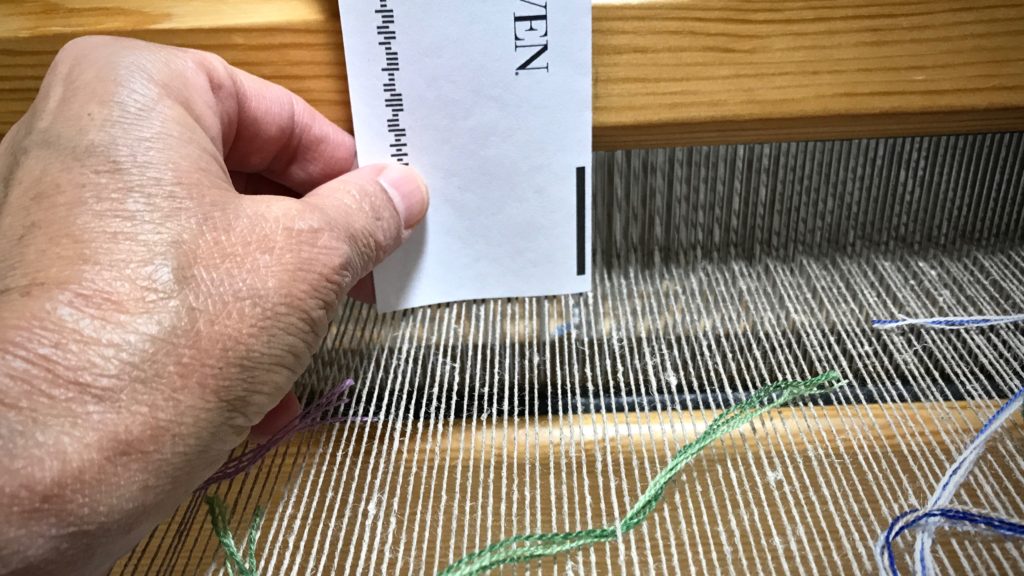
  1. Measure the width of the beater and use a pencil to mark the exact center with a vertical line.
  2. Hold the folded edge of the card against the vertical pencil line on the beater, with the bottom edge of the card almost touching the warp.

Finding and marking the center warp end to align with cartoon.

3. Slip the yarn tail under the center warp end, as identified by the bottom corner of the card.

Aligning center warp end with cartoon. Tutorial.

4. Check the alignment of the center line of the cartoon with the center warp end.

How to mark the center warp end.

5. Slide the yarn from the reed to the fell line to check the entire length of the alignment. Reposition the cartoon, if needed.

Aligning cartoon with center warp end. How to.

Bluebonnet woven transparency almost finished!
Ready for one last alignment!

May you find a solution that eliminates guesswork.

All the best,
Karen