Tried and True: Checklist for Winding a Warp

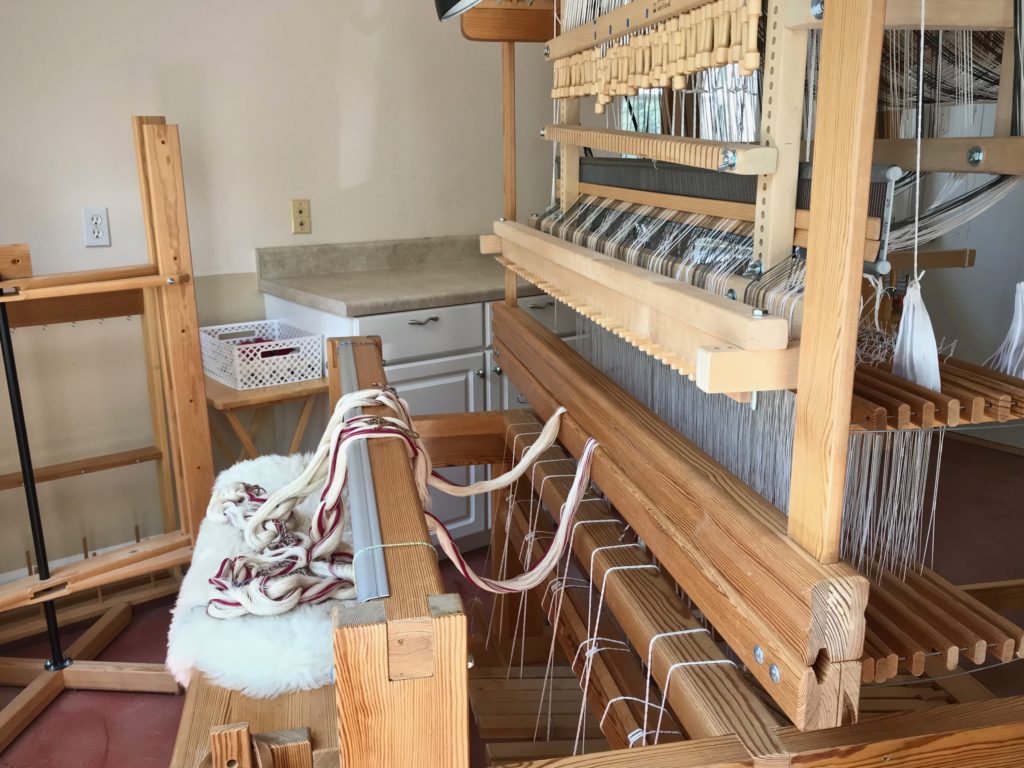
I am winding a narrow warp for my next drawloom project. My warping reel is in a little four-foot-by-four-foot corner of my drawloom studio, and has just enough room to maneuver. When I am ready to wind a warp the first thing I pull out is my trusty checklist. I use a checklist for efficiency. It keeps me on track. And it’s more dependable than my memory.

Checklist for Winding a Warp

__ Weigh warp thread and write the amounts on the project notes. By weighing the thread before and after a project, you will know exactly how much warp thread was used in the project.

__ Stick a sample four-inch thread to each thread label; put a rubber band around the tube. After you finish winding the warp, you can quickly pair each yarn with its correct label because of the sample thread stuck to the label.

__ Bring supplies to the warping reel. If your warping reel is in a different room, or in a separate building, like mine is, make sure you have all you need before you head to the warping reel.

+ Thread for the project

+ Thread stand, if not already in place

+ Scissors

+ Choke ties

+ Project notes, with fully completed draftAn incomplete draft may give faulty information. Also, a review of the project notes and draft is a good idea, especially if weeks or months have passed since you wrote it all down.
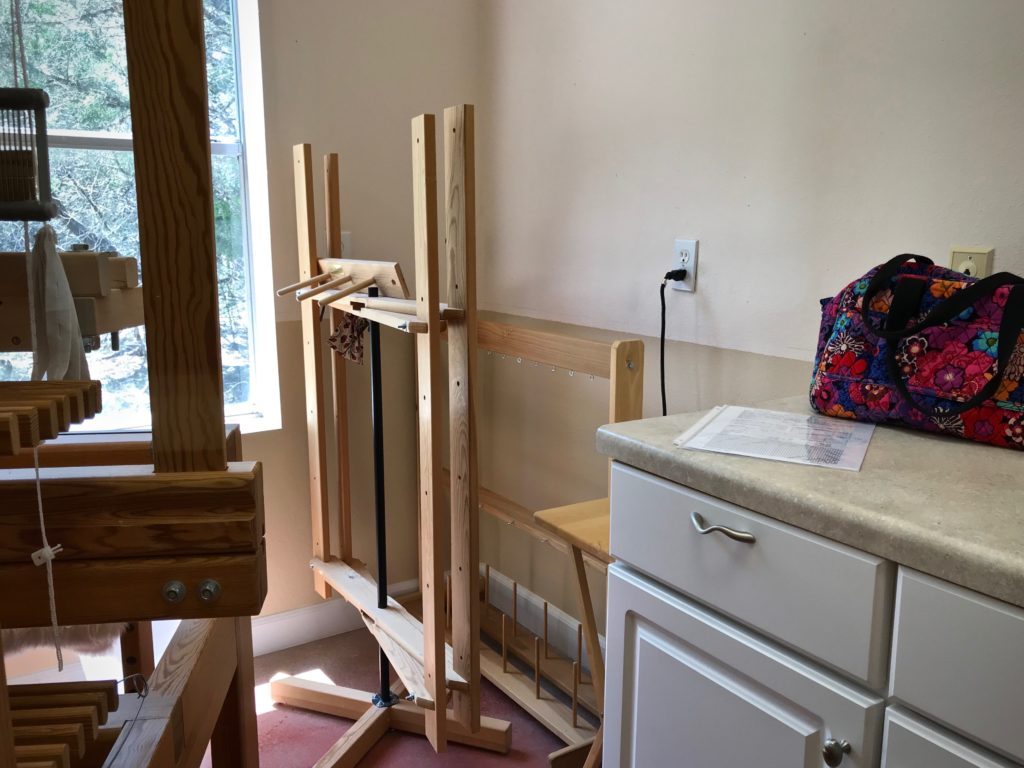
Checklist for winding a warp.

__ Set up the warping reel for warp length. Use a guide string, or measure the distance needed to place the pegs and turning pin at the right place on the warping reel for the warp you are going to wind.
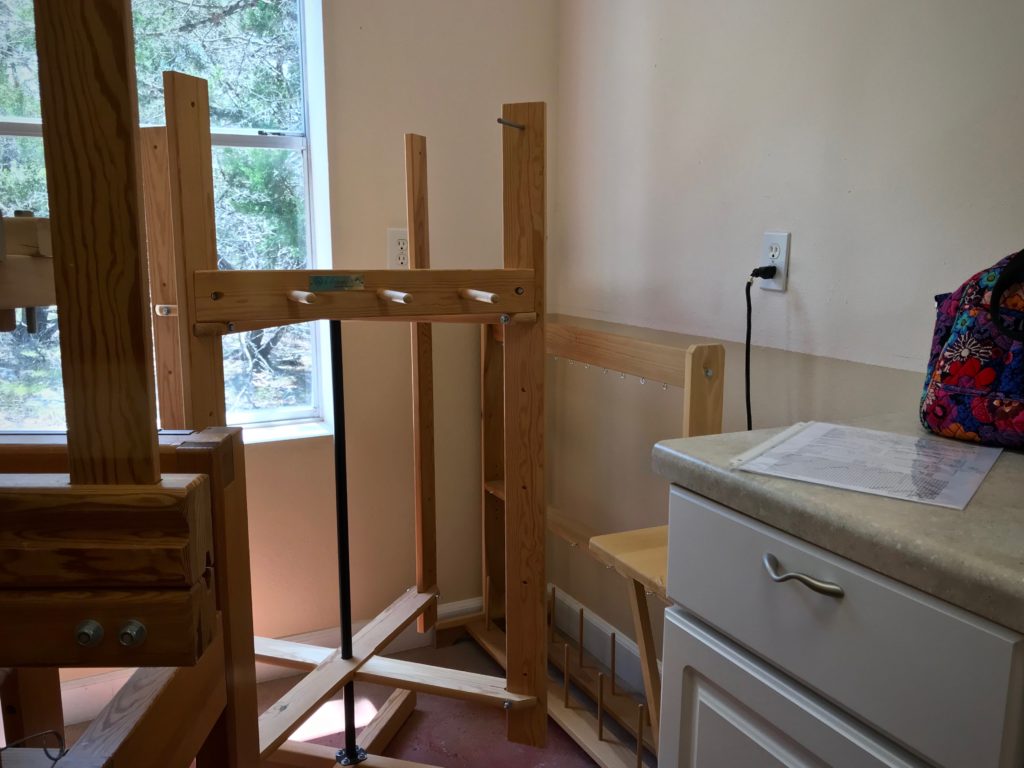
Checklist for winding a warp.

__ Set out the thread on the thread stand. Wind the warp with two or more threads at the same time, for best results.

__ Hang or tape up the project notes at eye level. Project notes show the warp sequence and other vital information.

__ Take note of warp length, number of bouts, and number of ends in each bout. Aim for 25 cm (10”) or less in the reed, or 200 or fewer ends, per bout. For the drawloom, wind the warp in pattern unit increments when possible.
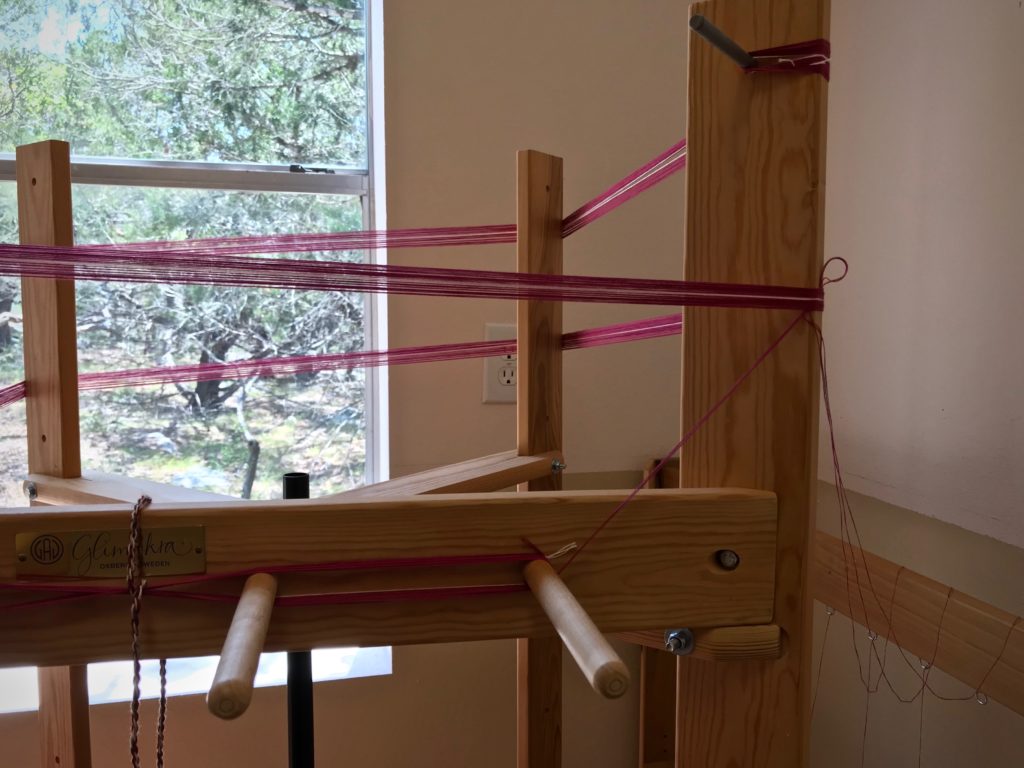
Checklist for winding a warp.

__ Wind first bout, counting warp ends. Use a cord between groups of ends to keep track of the counting.
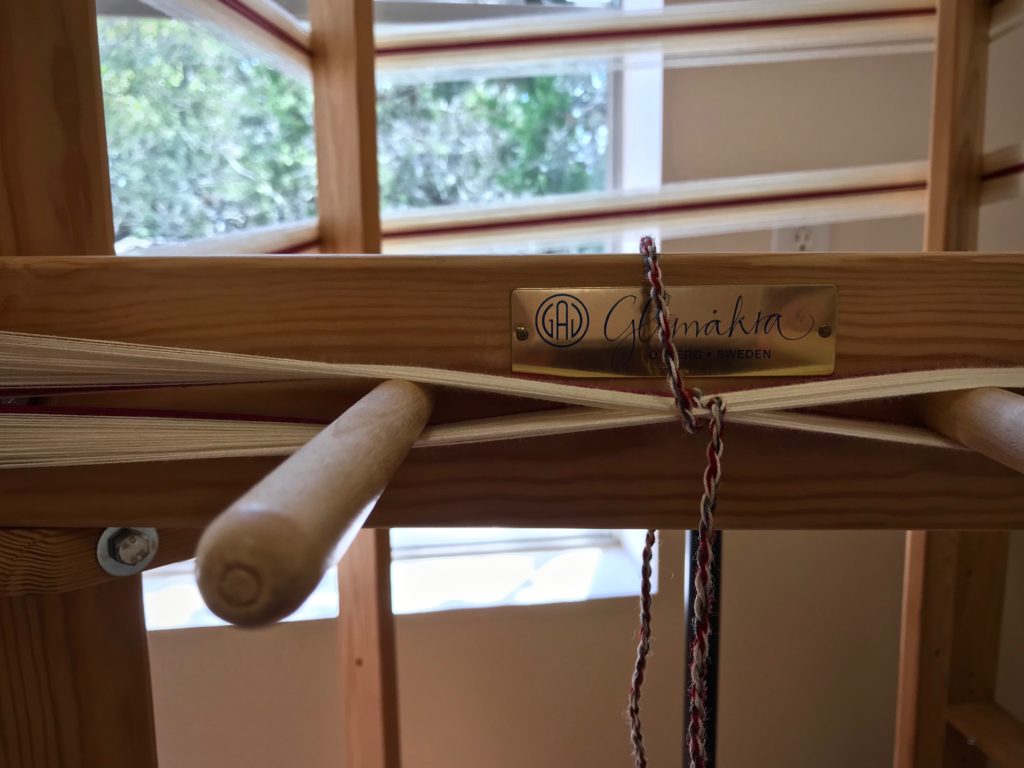
Checklist for winding a warp.

__ Visually check the warp order. Check to see that the warp order on the warping reel matches the warp sequence on the project notes. (I added this step to my checklist after the time I omitted 6 threads at the center of a warp, discovered after threading the loom.)

__ Tie off around the turning pin or the outside peg. Always wind the last pass with two or more threads together so you can tie them around the pin or peg.

__ Tie the lease cross; and tie choke ties on the warp. Tie the cross first, and tie any passes of the warp directly above the cross. Then, spin the wheel and tie the warp wherever it passes on the side opposite the cross. Also tie at the turning pin, at the top and bottom of the loop.
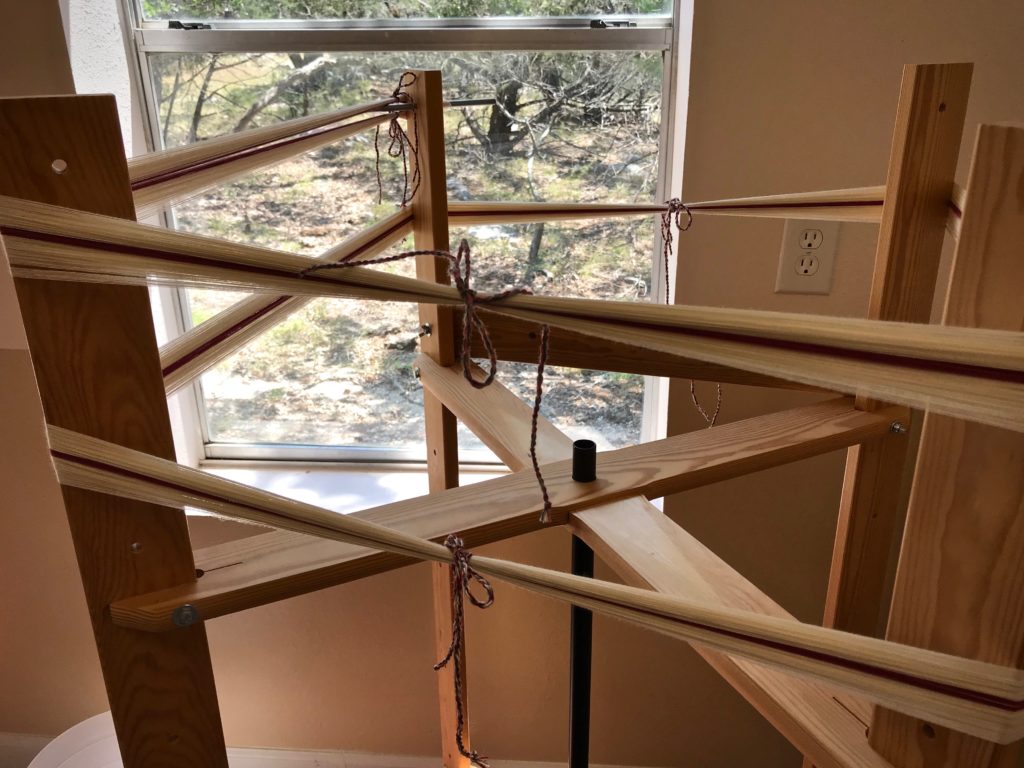
Checklist for winding a warp.

__ Chain the warp bout. Start the chain by holding the loop at the turning pin, and pull out the pin. Chain the warp, ending at the cross. (I use my knee, not so gracefully, to control the turning of the reel as I chain the warp.)
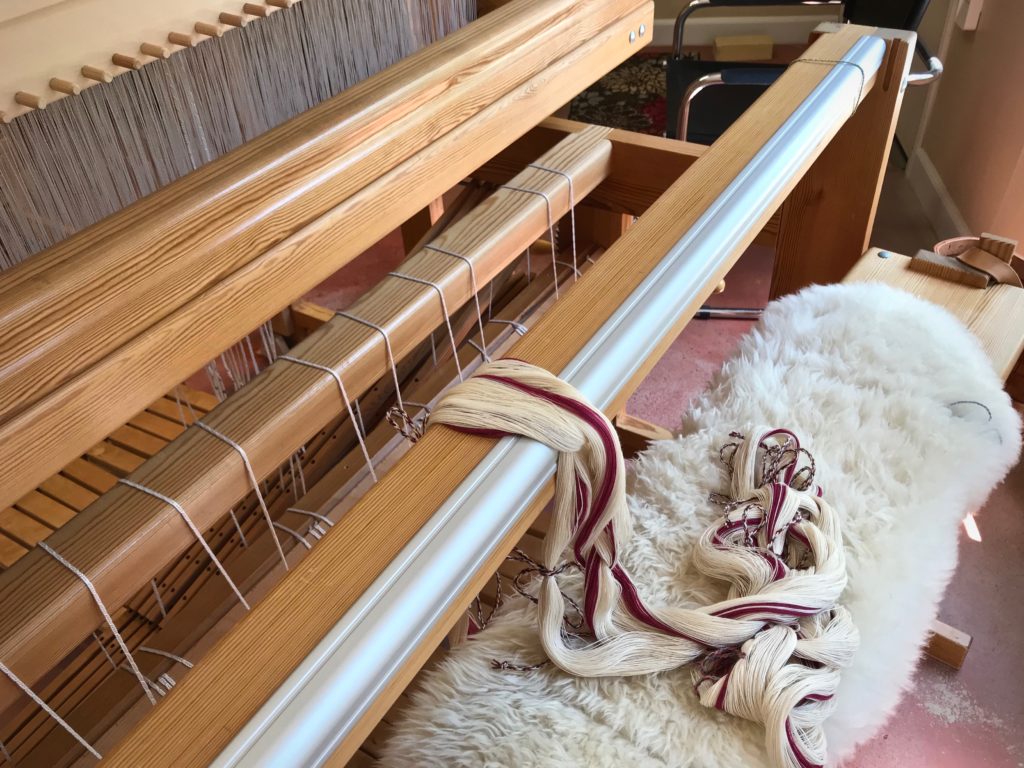
Checklist for winding a warp.

__ Place the warp bout on the loom, with the lease cross end going through the beater.

__ Wind remaining bouts, following the same procedure. When you place the warp chain on the loom double check the warp sequence to make sure the bouts are in the right order.
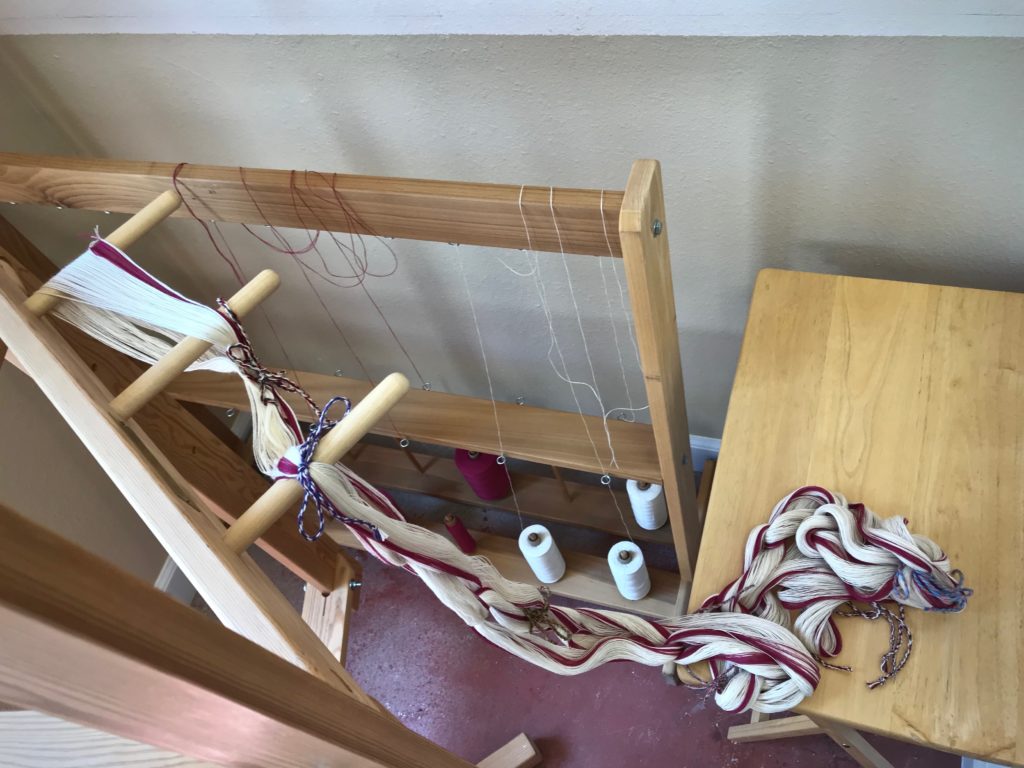
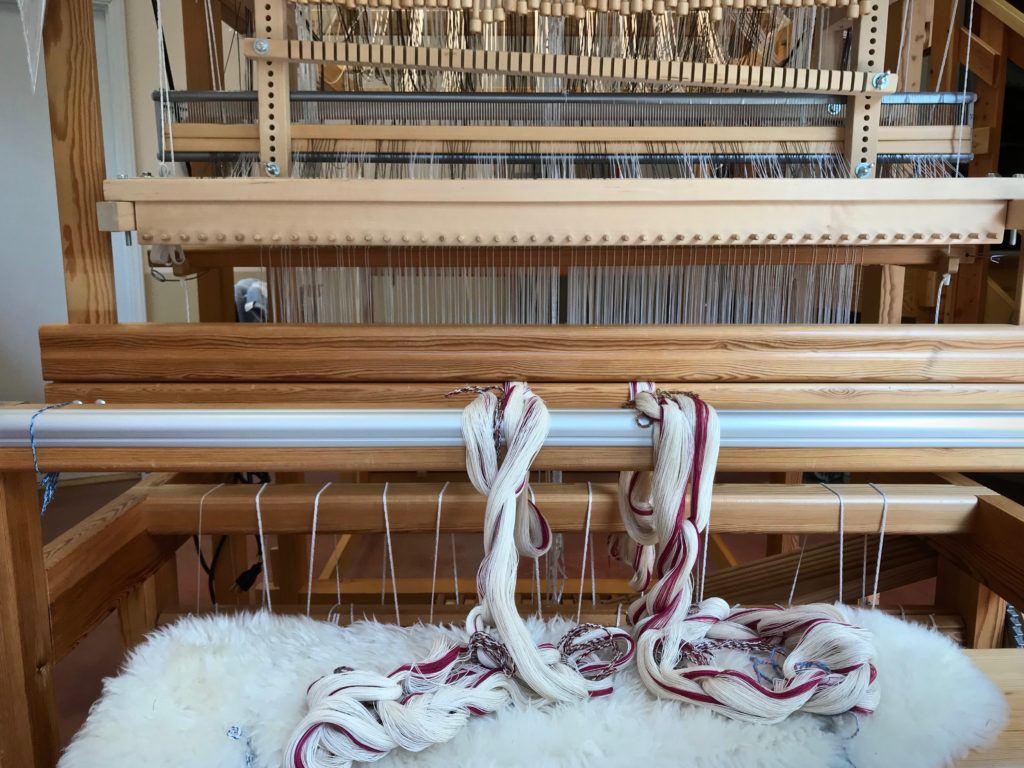
Checklist for winding a warp.

__ Roll up the thread tubes, replace labels, weigh thread and write down amounts, and place thread tubes in project bin. Each loom has its own project bin to hold the thread for that project.

Checklist for winding a warp.

__ Put away the choke ties, scissors, and thread holder.

__ Fold up the warping reel.
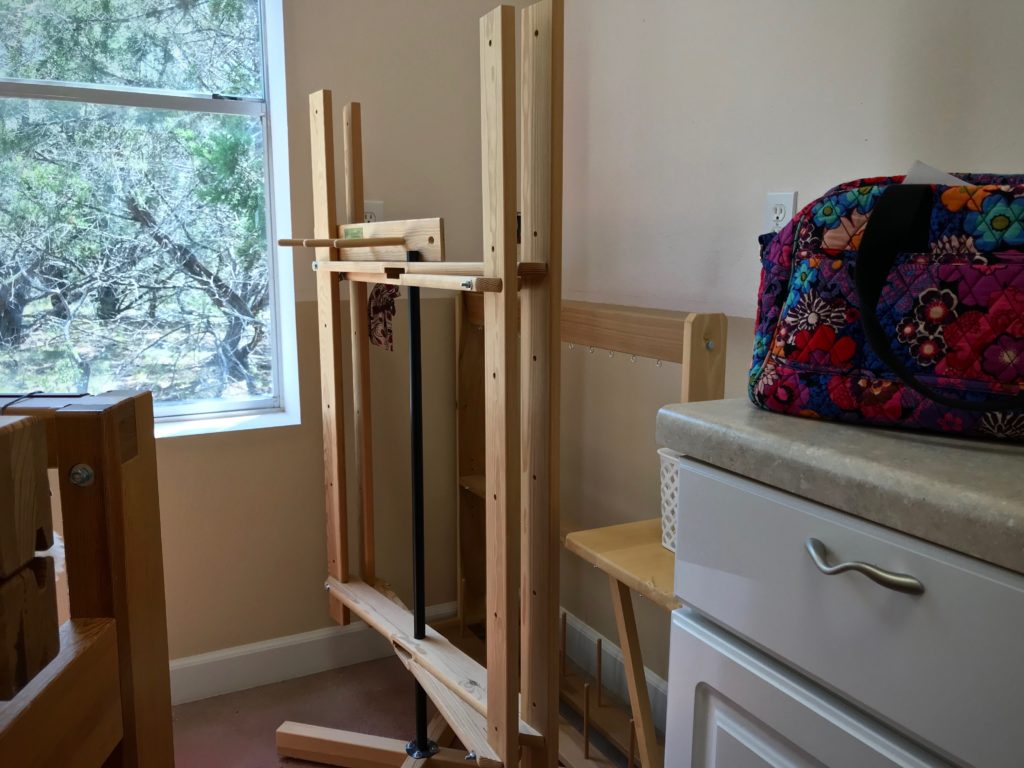
Checklist for winding a warp.

Get ready to dress the loom!

Checklist for winding a warp.

May you enjoy the process.

Happy Weaving,
Karen

Tried and True: Something New from Something Old

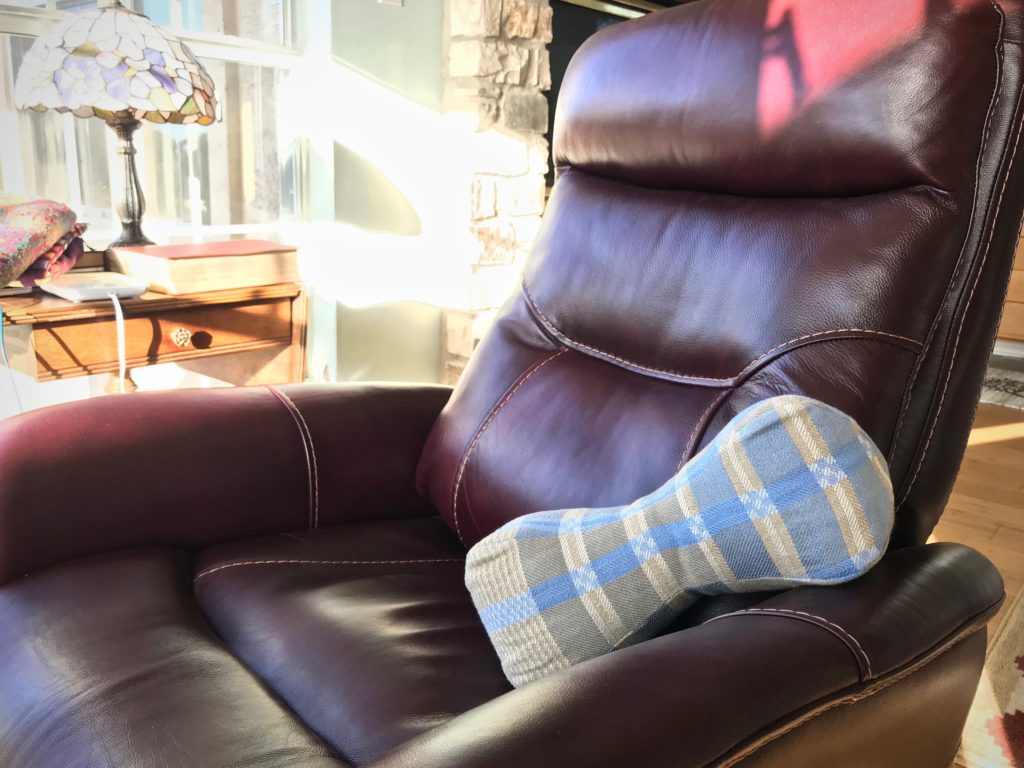
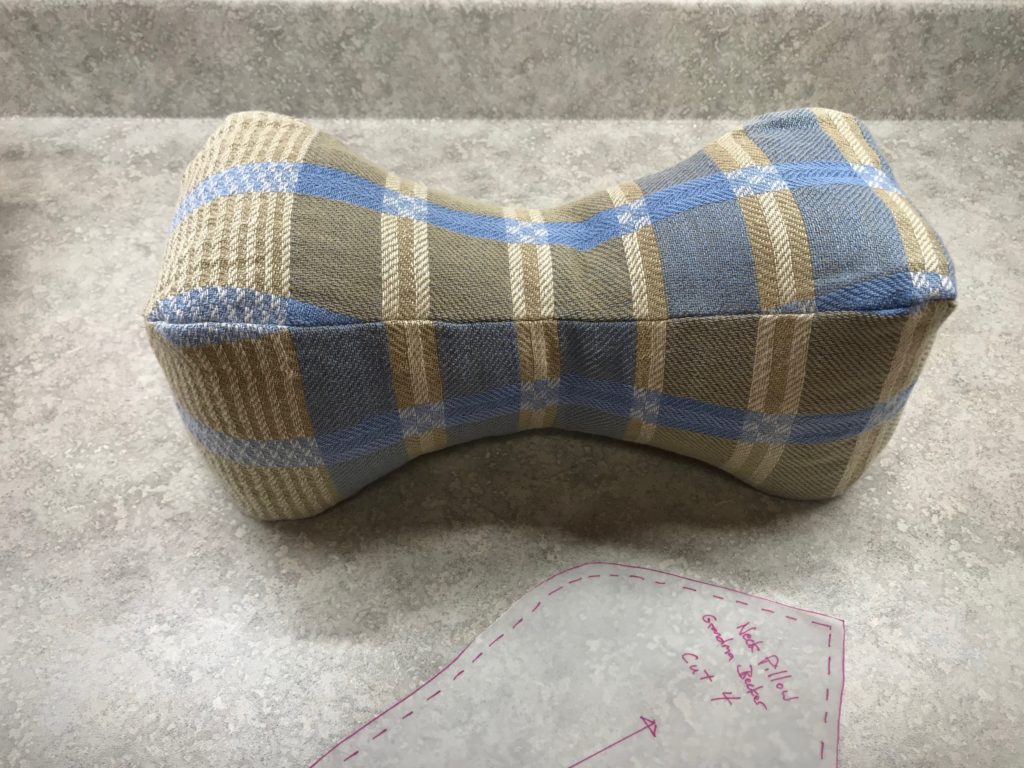
My grandma made a pattern on brown paper for a neck pillow. I suppose she found the pattern in a magazine or newspaper decades ago. I am using my copy of her pattern to make my own neck pillow. Maybe someday my pillow will be as worn and wobbly as Grandma’s well-loved neck pillow that I remember.

My version of Grandma’s neck pillow.

Looking through my pile of handwoven scraps I find the piece of fabric that had been hanging as a Roman shade on the back door of our previous home. This two-block twill in cotton and linen was my first 8-shaft project on my floor loom. Good memories! The fabric, softened and slightly faded through daily use, is perfect for the comfy neck pillow I’m imagining. (Unlike Grandma’s pillow, I’m making this one with a removable cover so it can be easily laundered.)

Roman shade from my first 8-shaft weaving project.
Roman shade from my first 8-shaft weaving project. I wove the linen draw cord on my two-treadle band loom.

Instructions for Constructing a Handwoven Neck Pillow

Supplies:

  • Cotton muslin, pre-washed
  • Handwoven fabric, pre-washed
  • Cluster Fluff, or other cluster fill or polyester fiberfill
  • 7” invisible zipper
  • Sewing machine
  • Invisible zipper foot
  • Sewing thread
  • Hand-sewing needle
  • Iron
  • Sleeve board for pressing, optional

Steps:

  1. Cut four pillow pattern pieces from the muslin.
  2. Sew two of the muslin pieces together, right sides together. Press seams open.
  3. Sew the other two muslin pieces together, right sides together. Press seams open.
  4. Sew the two parts together, right sides together, leaving a 4-inch opening for turning and stuffing. Press seams open using a sleeve board.
  5. Turn the pillow right side out.
  6. Stuff with Cluster Fluff, starting at the furthest end from the opening. Fill to desired fullness.
  7. Hand stitch the opening closed.
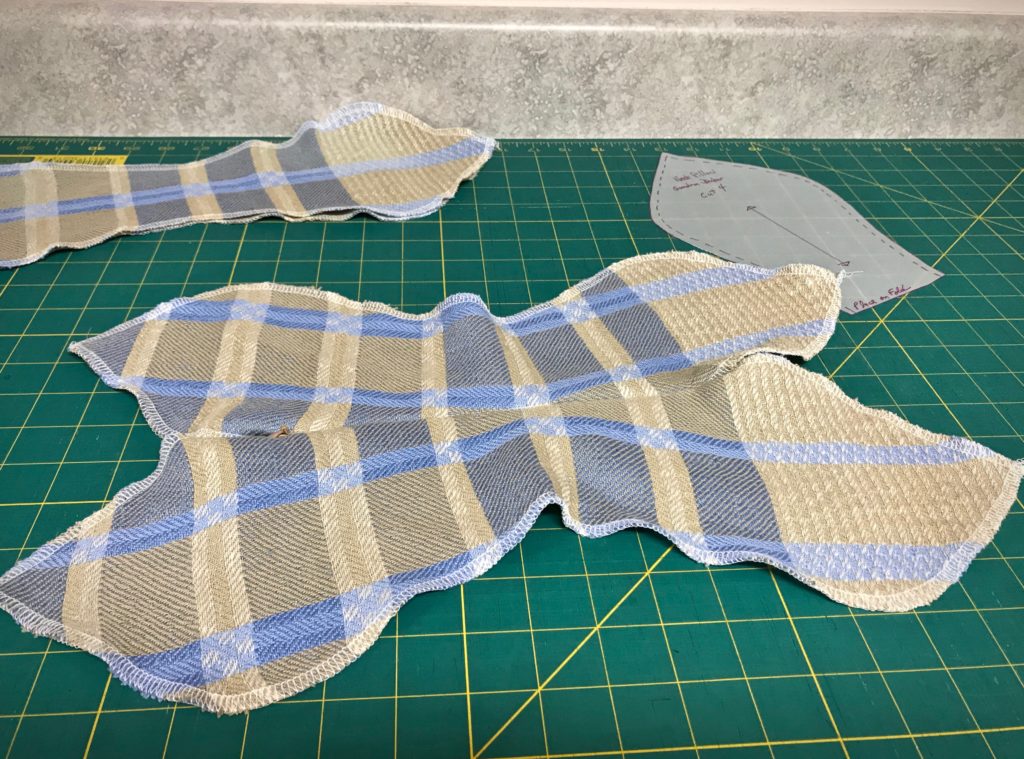
  8. Cut four pillow pattern pieces from the handwoven fabric.
  9. Serge or zigzag the fabric edges. Press flat.
  10. Insert invisible zipper between two of the pieces.
Making a handwoven neck pillow.
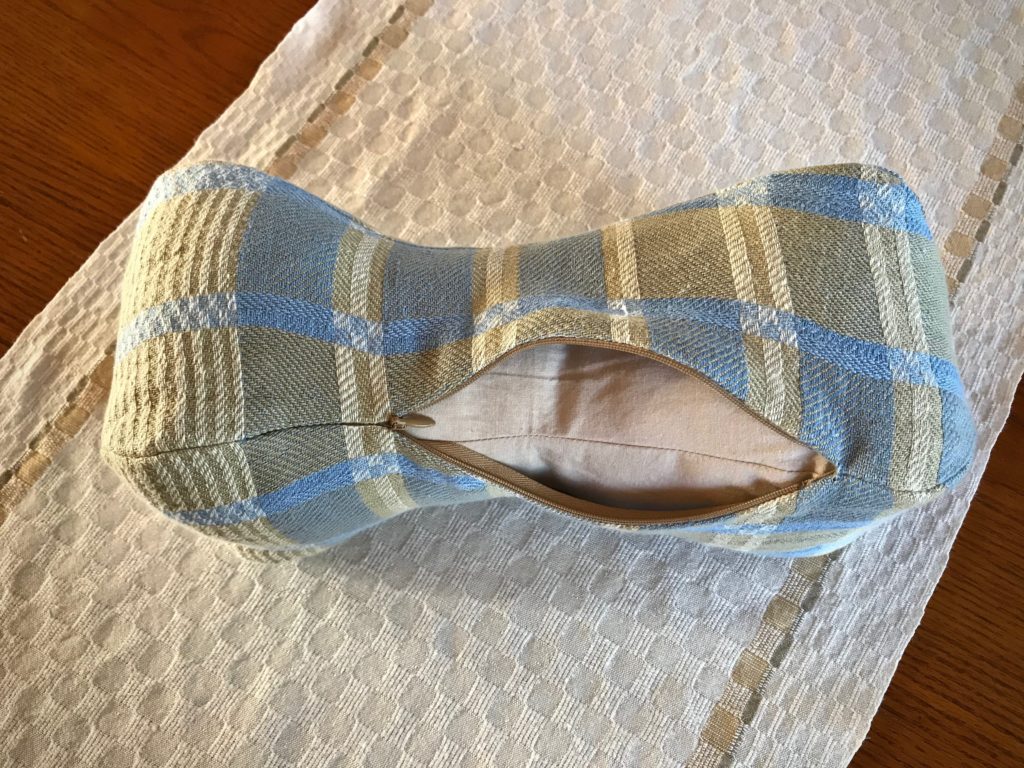
Invisible zipper is sewn into place between two of the panels.
  1. Complete the seams at both ends of the zipper. Press seams open.
  2. Sew the two other pieces together, right sides together. Press seams open.
  3. Open zipper, and sew the two parts together, right sides together. Press seams open using a sleeve board.
  4. Turn the pillow case right side out.
  5. Push the muslin pillow into the pillow case. Close the zipper.
Handwoven neck pillow cover.
Inner pillow and outer cover are made from the same pattern to make it a snug fit.
Handwoven neck pillow. How to with construction steps.
Fabric is 16/2 cotton warp and 16/1 linen weft.
  1. Take a nap in your favorite chair with the pillow behind your neck.
Handwoven neck pillow.

If you would like a pdf copy of my grandma’s neck pillow pattern, please click HERE to send me an email request. I will be happy to send the pattern to you.

May you see old treasures in new ways.

Rest and Be Well,
Karen

Tried and True: Outsmart the Rag Rug Weft Tails

What do you do with weft tails on a rag rug? Normally, you wrap the weft tail around the outer warp end and tuck it back into the shed. But what about color changes? If you have several color changes in a row, you can end up with extra bulk on one selvedge or another from those tucked-in tails.

3 Ways to Outsmart Rag Rug Weft Tails

  • TWO PICKS For a two-pick stripe, leave a tail of several inches on the first pick. For the second pick, lay the weft tail from the first pick in the shed. Lay in the second pick, and cut the fabric strip to overlap the weft tail in the shed. This eliminates any extra bulk at the selvedges. (All tails are cut at a steep angle.)
  • CARRY IT When feasible, carry the weft up the side. If a weft is out of play for only one or two rows, do not cut it. When another weft enters the shed, make sure it encircles the idle weft.
  • DISTRIBUTE Whenever possible, avoid tucking in weft tails two picks in a row. Wait, and tuck in the tail on a subsequent pick.

HERE IS AN EXAMPLE:

How to outsmart rag rug weft tails!
Gray weft ends with weft tail tucked in. White tabby weft tail is not tucked in.
How to outsmart rag rug weft tails!
Rosepath pattern weft for a two-pick stripe. Loooooong weft tail.
How to outsmart rag rug weft tails!
Tabby weft goes around the rosepath pattern weft, and is tucked in the shed.
How to outsmart rag rug weft tails!
Tabby weft comes through the shed and lays over the tucked-in tail.
How to outsmart rag rug weft tails!
Tabby weft is beaten in.
How to outsmart rag rug weft tails!
Pattern weft is laid in the shed, with tails overlapping near the center of the warp.
Tabby weft is beaten in, and weft tail is tucked in. In the middle of the rosepath medallion the orange print weft is carried up the side until it is used again. For the gray strip that follows the last white tabby pick, the weft tail is tucked in on the second gray pick.
How to outsmart rag rug weft tails!
Rosepath medallion with several color changes.

One more thing. Cut the weft tail extra long if you are tucking it in a row with weft floats, as in rosepath (Like the center pick in this medallion). This helps keep that weft tail from popping out of place. You don’t want those tails to start waving at you.

May you pay attention to the details.

Happy Weaving,
Karen

Tried and True: Five Steps for Rag Rug Selvedges and a Quick Tip Video

What do you look for in a handwoven rag rug? How do you detect quality of craftsmanship? I look at the selvedges. First thing. I look for selvedges that are nice and tight, and that have a uniform twist at the edge. A few simple steps, consistently practiced, produce the kind of quality you can see and feel. It’s one more reason I find delight in weaving rag rugs.

Rag rug selvedges. Short quick tip video.
Rag rug selvedges. Weft is snugly wrapped around the selvedge warp ends.

Five Steps for Firm Selvedges on a Rag Rug

  1. Throw the shuttle, leaving a loop of the fabric-strip weft at the selvedge.
  2. Hold the weft out taut, and turn the weft under twice at the selvedge.
  3. Untwist the weft in the shed, straightening it, as needed.
  4. Pull the weft tight against the selvedge.
  5. Position the weft in the shed and beat it in.
Weaving a rag rug. Tutorial video of a quick tip.
Beater swings forward to beat in the weft with its just-formed firm and tidy selvedge.
Filming a short video on weaving rag rug selvedges.
Set up for filming the short tutorial. My husband does the filming and proves his patience through several retakes.

Watch this Quick Tip video for a short demonstration.

Rag rug on the loom. Tutorial about selvedges.

May the quality of your work be the first thing noticed.

Happy Weaving,
Karen

Tried and True: Leftover Linen on the Band Loom

Remember that time you miscalculated when planning your warp? You found the mistake when you were threading, and you ended up with an extra group of ends. If you have ever done something like that, then you understand where this leftover linen warp came from.

New warp on the Glimakra band loom.

This little linen leftover warp is now on the Glimåkra band loom. I removed two ends to get a warp with symmetrical colors. It’s perfect for making hanging tabs to go on the leftover linen waffle weave washcloths. The weft on these band loom shuttles is from one of the little linen warp chains I mentioned last week. (See Put the Linen Back to Use.)

Leftover linen to use as weft on the band loom.
Linen from a leftover warp chain fills the little band loom shuttles.
Band Loom weaving.
Weft tails show the color variance–turquoise and blue–in the leftover linen used for weft, indistinguishable in the selvedges of the woven band.

When the thread comes to an end on the shuttle, I follow this simple process to begin a new weft.

  • Place the ending weft through the shed, leaving a tail of at least 1/2”.
How to change the weft on the band loom.
  • Without changing sheds, lightly tap the weft in place with the band knife.
  • Bring the new weft on a shuttle through the same shed, going in the same direction as the previous weft’s shuttle, leaving a tail of at least 1/2”. (There is now a weft tail extending in both directions.)
How to overlap wefts on the band loom.
How to add a new weft. Glimakra Band Loom.
  • Without changing sheds, lightly tap the new weft into place with the band knife. (This helps to make a snug fit for the two wefts in this shed.)
  • Change sheds. Beat firmly with the band knife.
  • Send the weft back through.
How to end one weft and begin another on the band loom.
  • Beat firmly, and continue weaving.
Instructions for ending and starting wefts on the band loom.
  • After weaving 1/2” further, clip off the weft tails; or, clip all the tails after the entire band is woven and has been cut from the band loom.
Linen band weaving for hanging tabs on linen washcloths.
Weft tails are left extended on this band. I may trim some of them later to 1/4″ for effect, to be used as hanging tabs on the leftover linen waffle weave washcloths.

May you put your leftovers to good use.

Happy Weaving,
Karen