Tried and True: Rag Rug with Surprising Rosepath Inlay

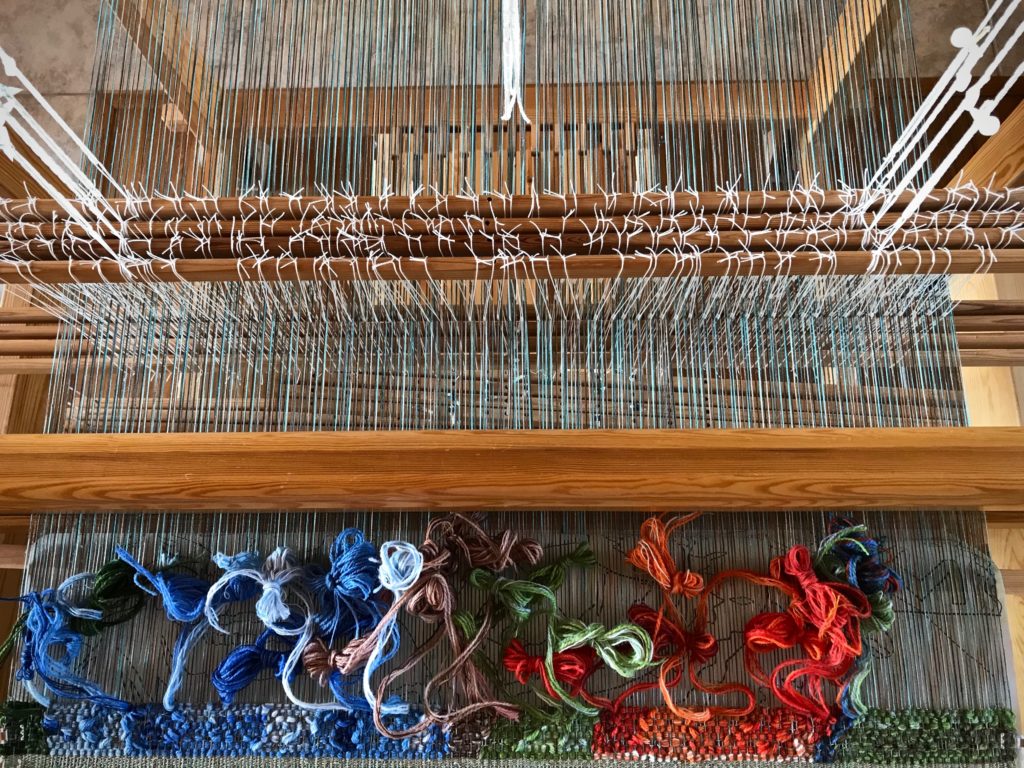
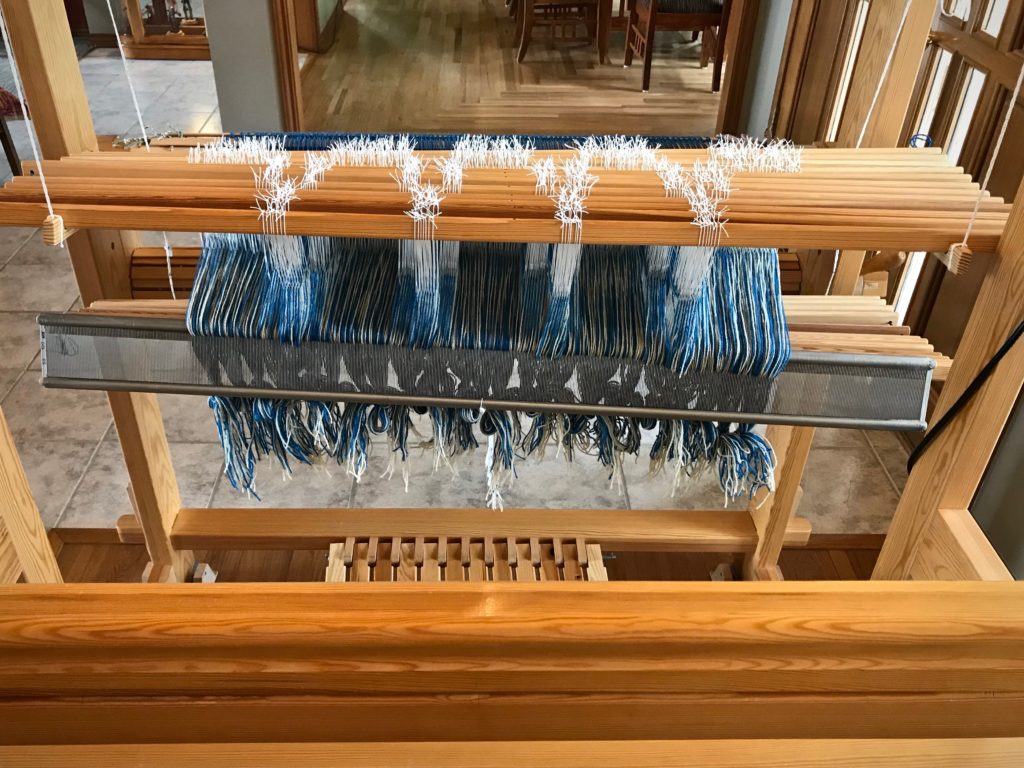
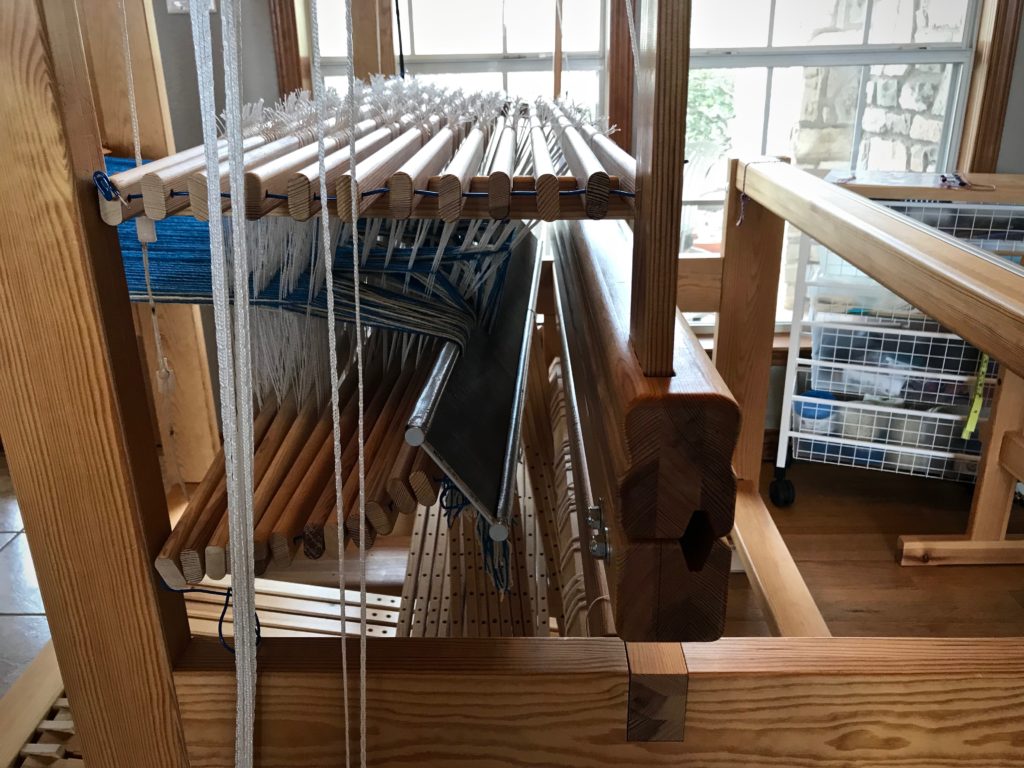
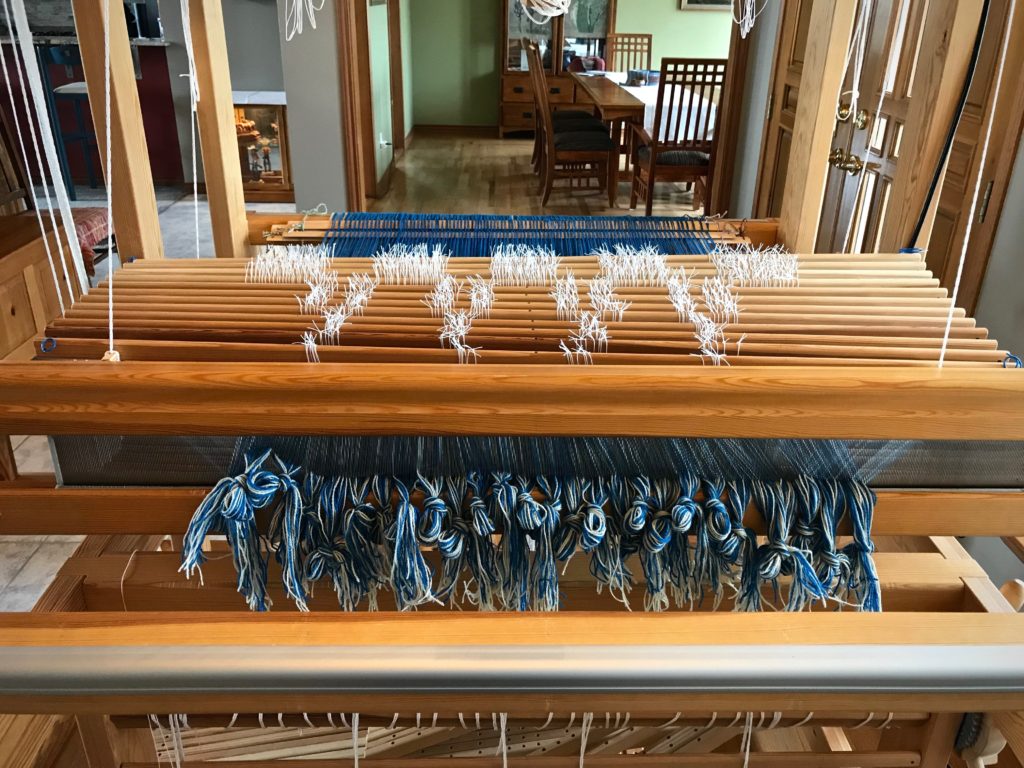
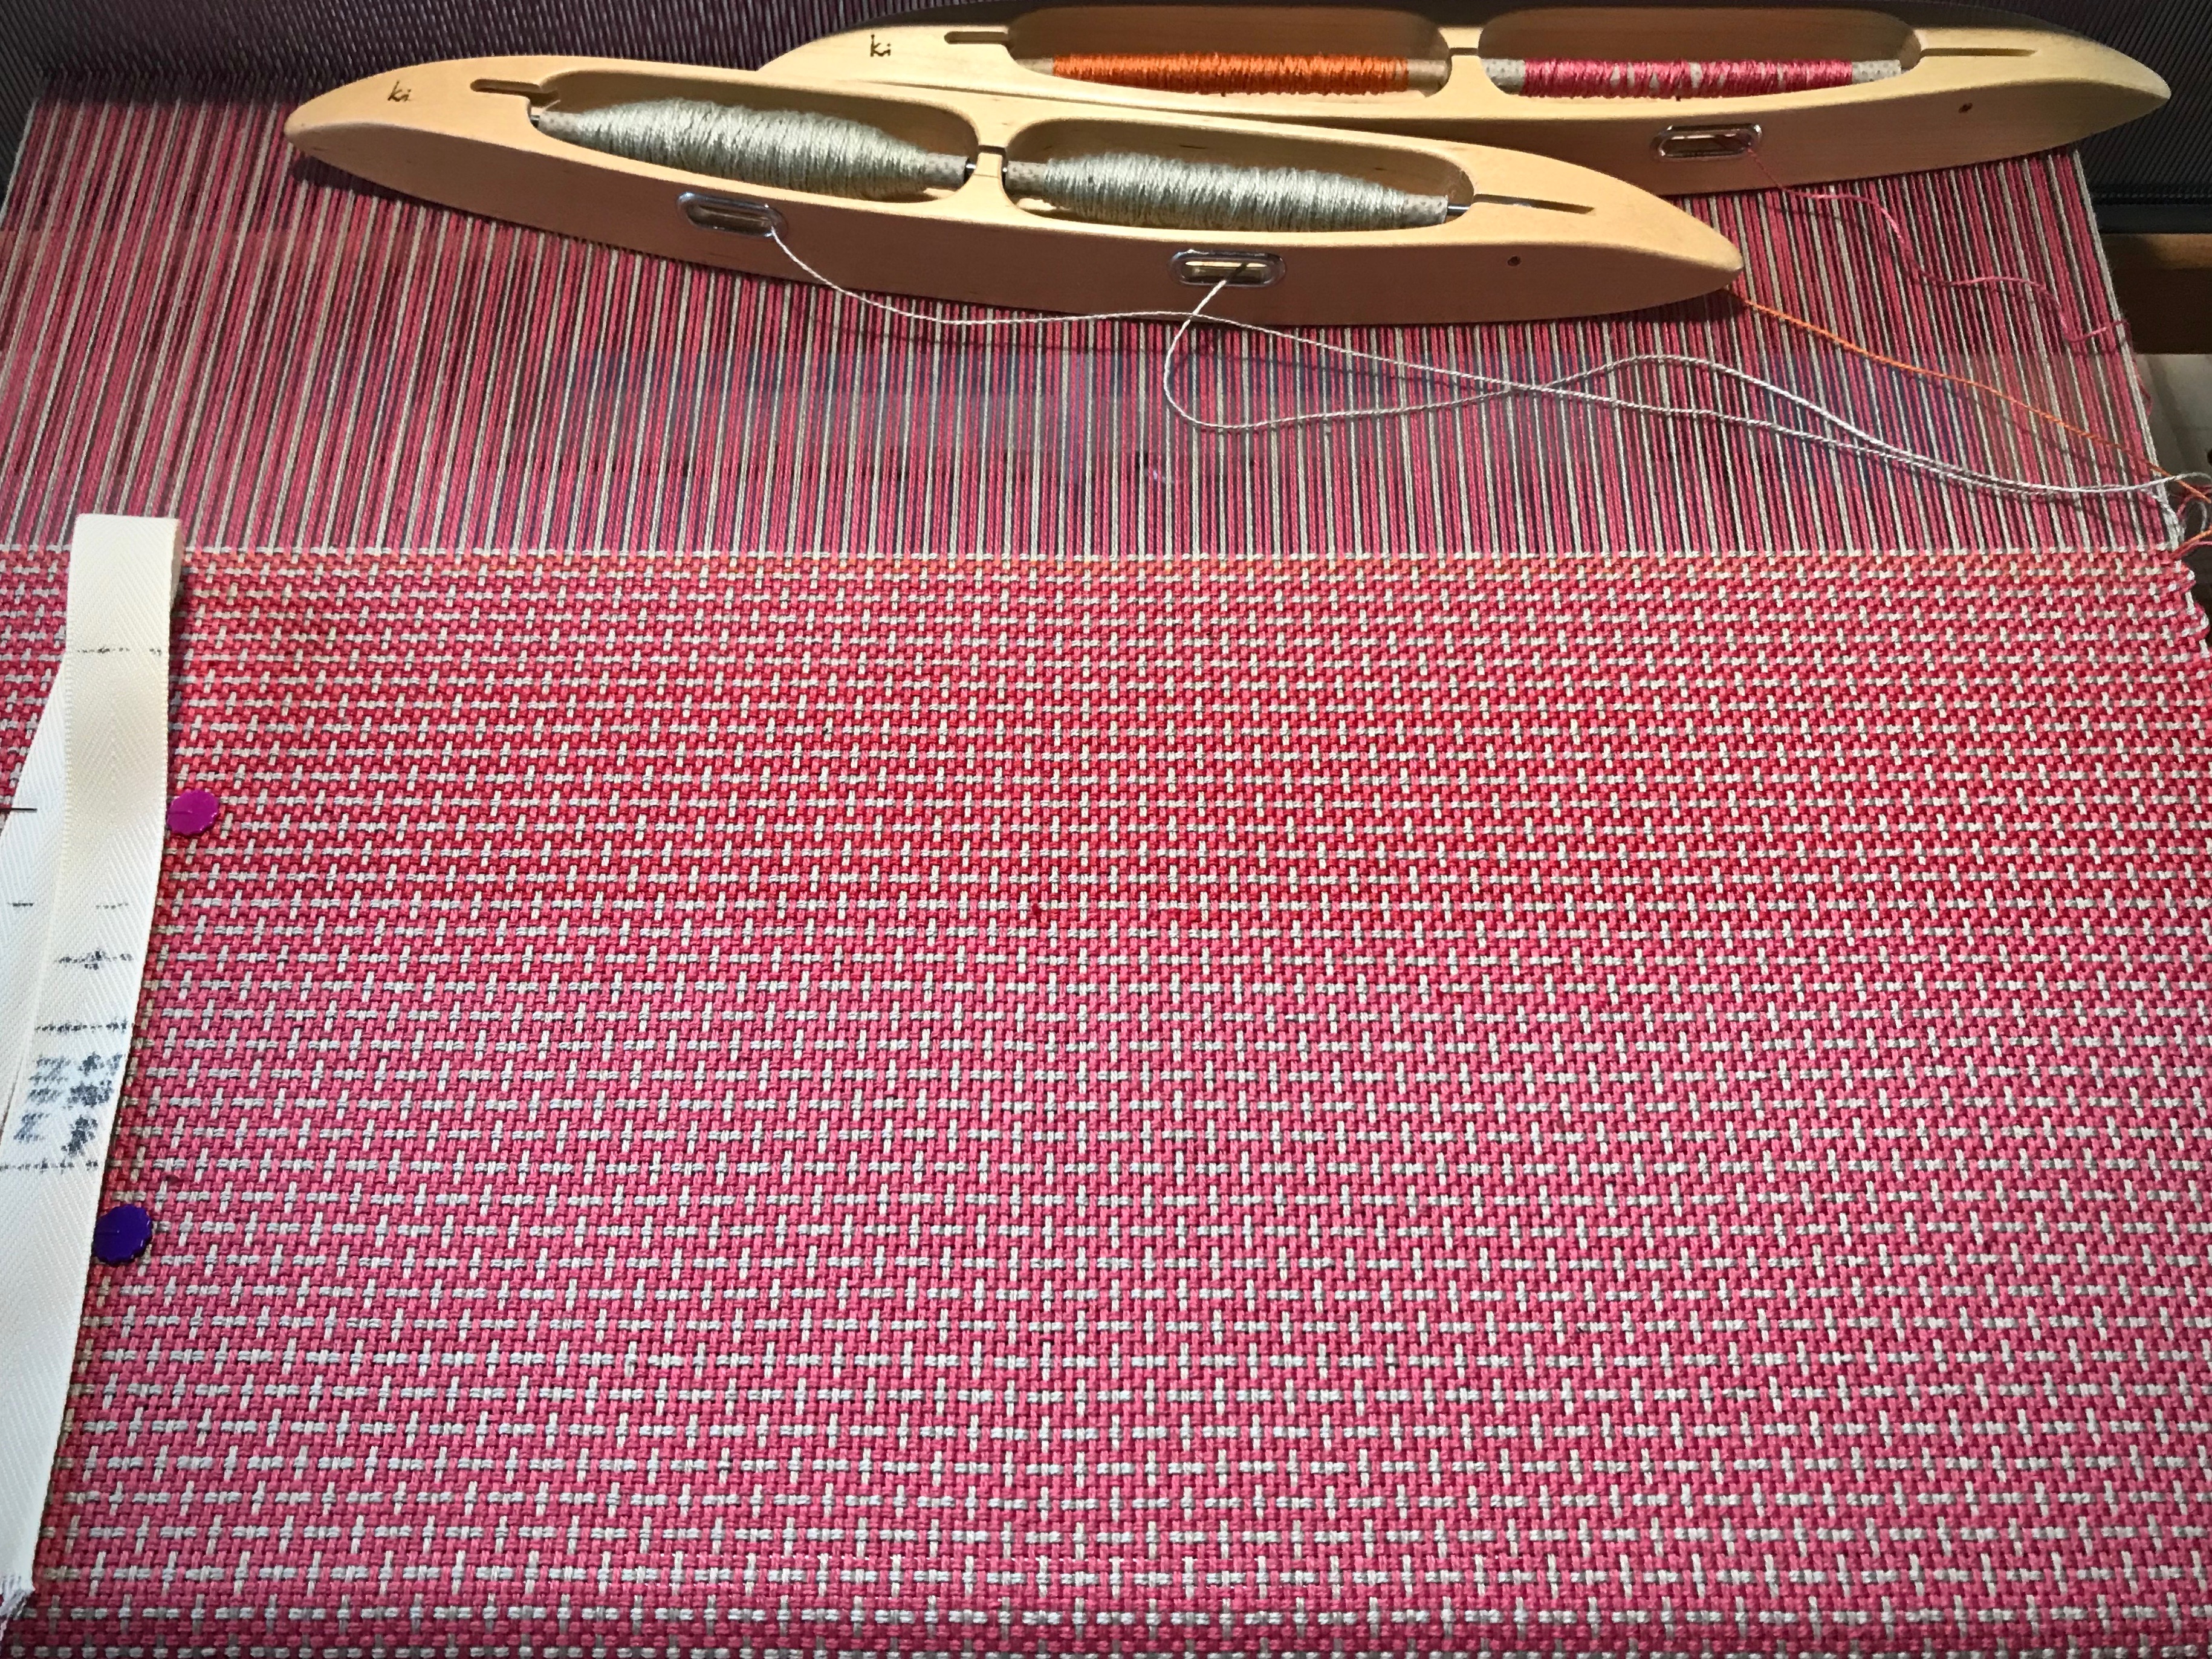
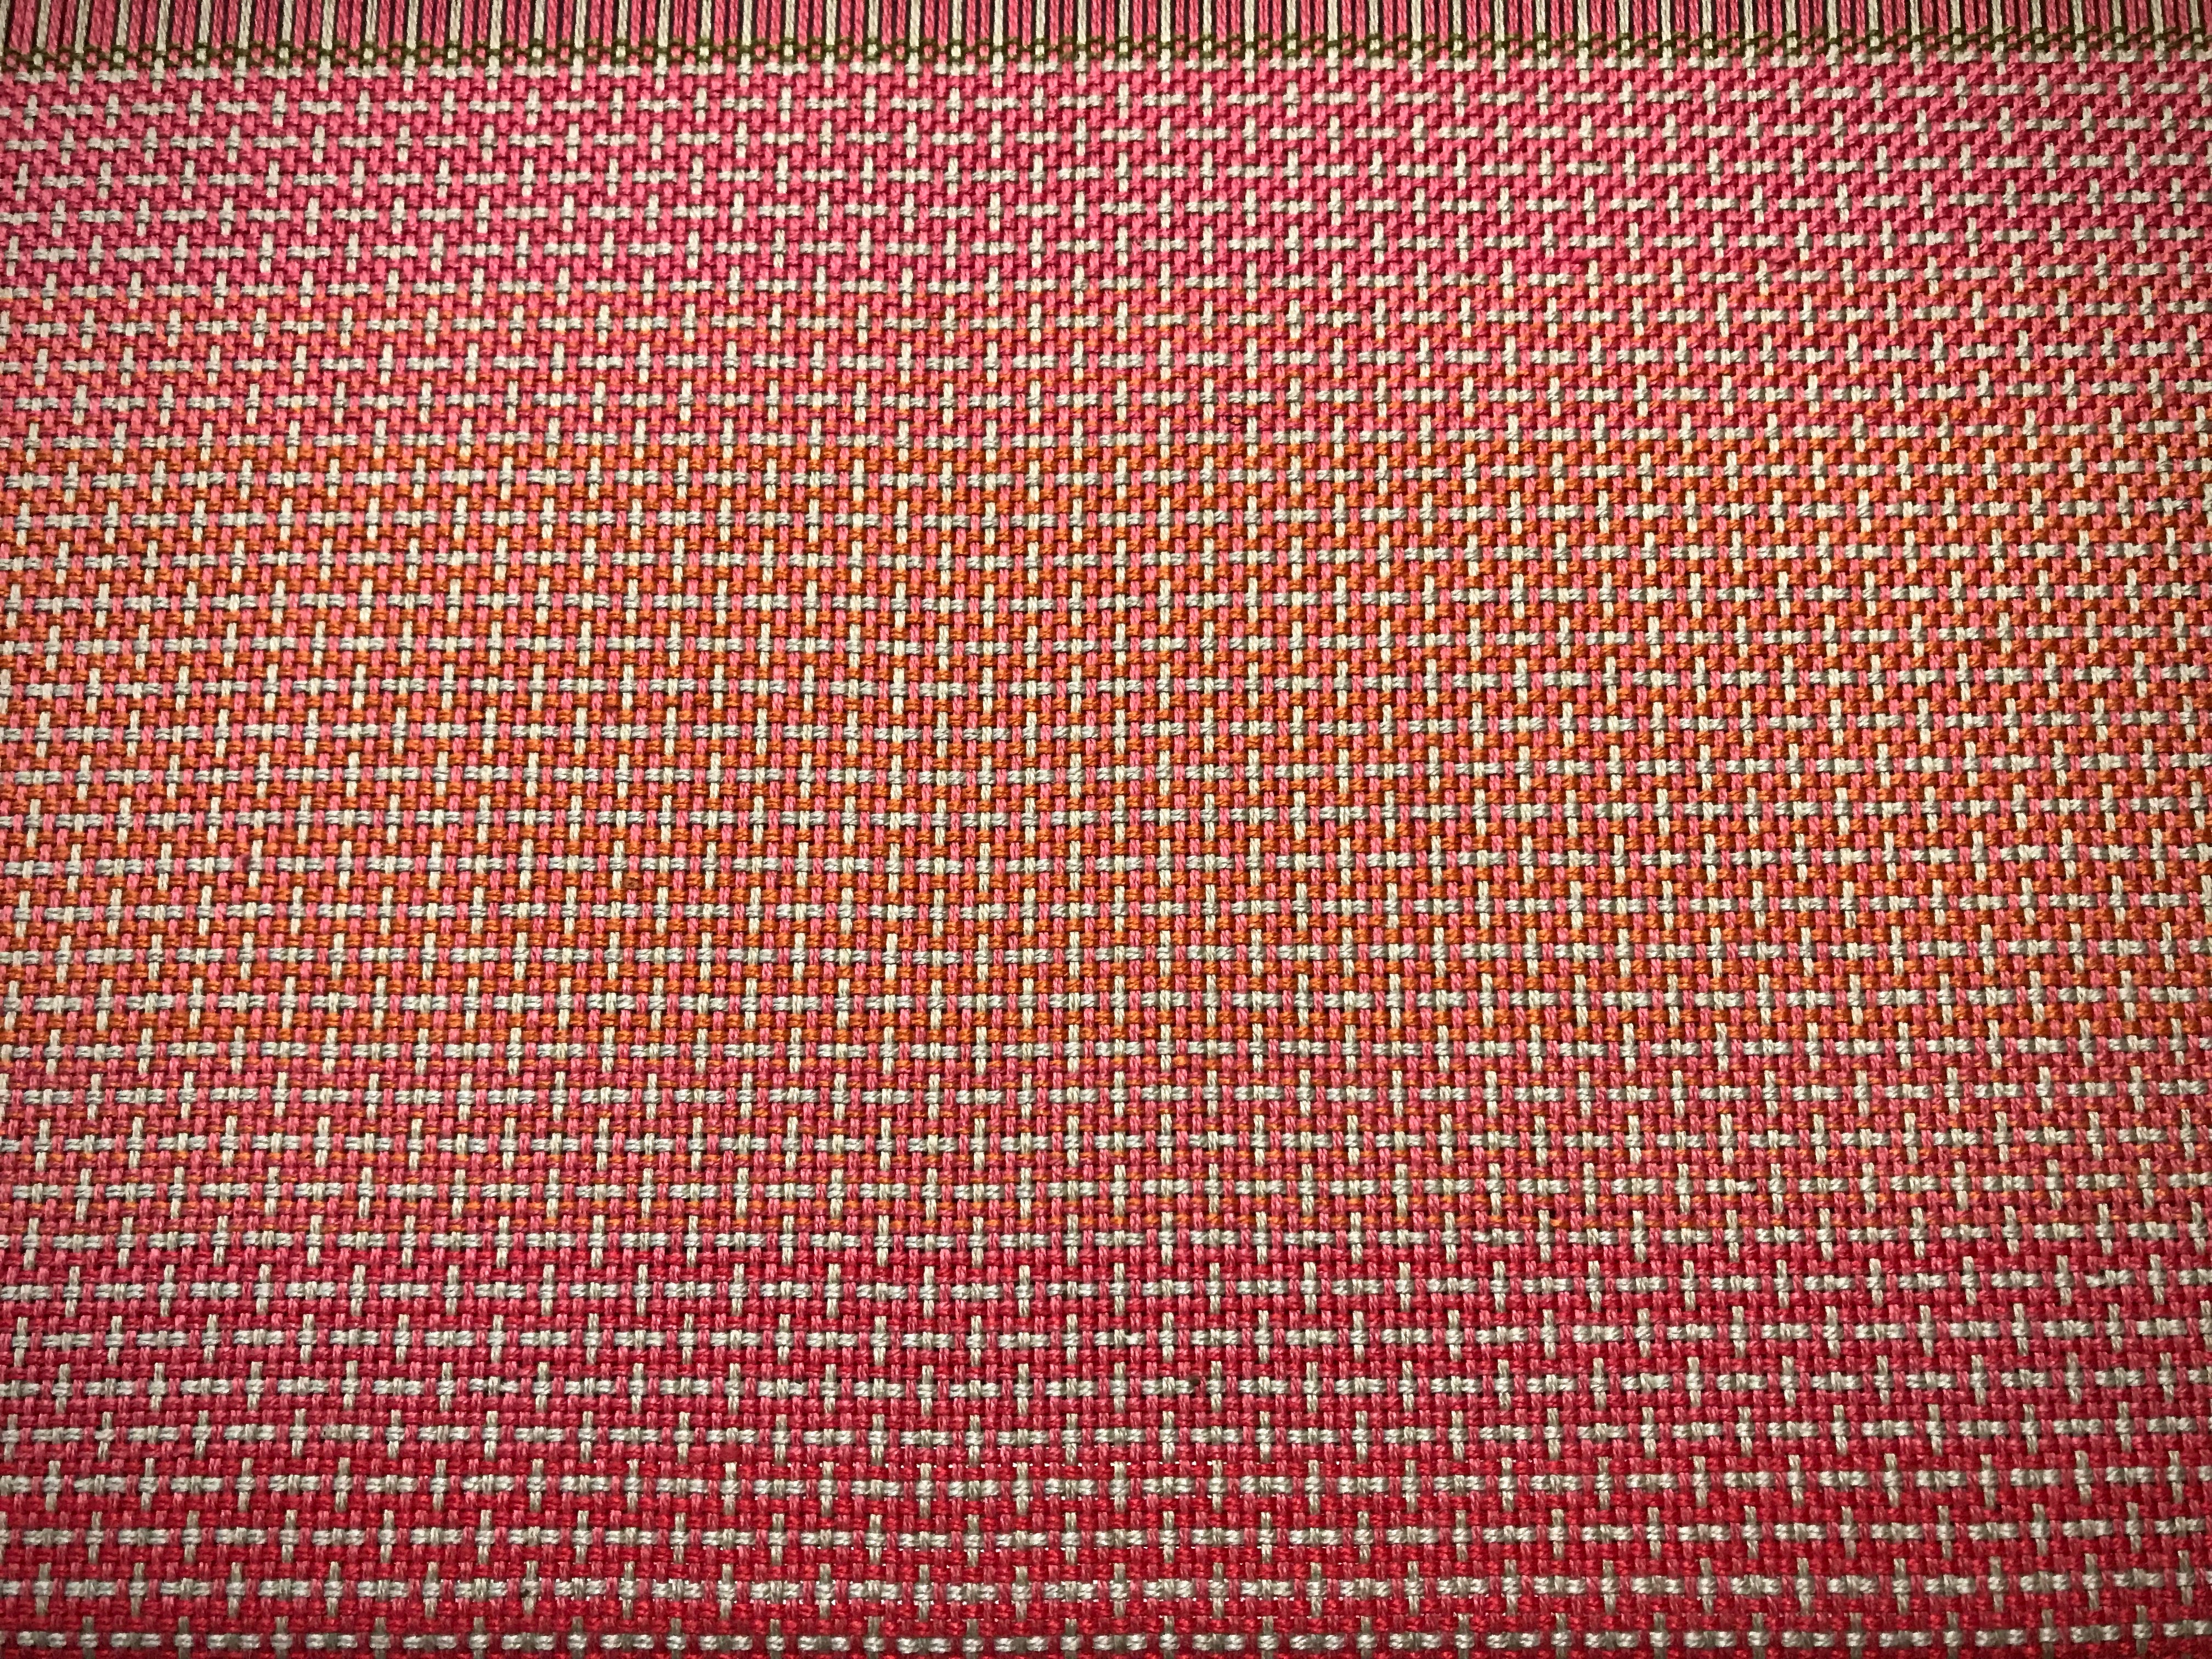
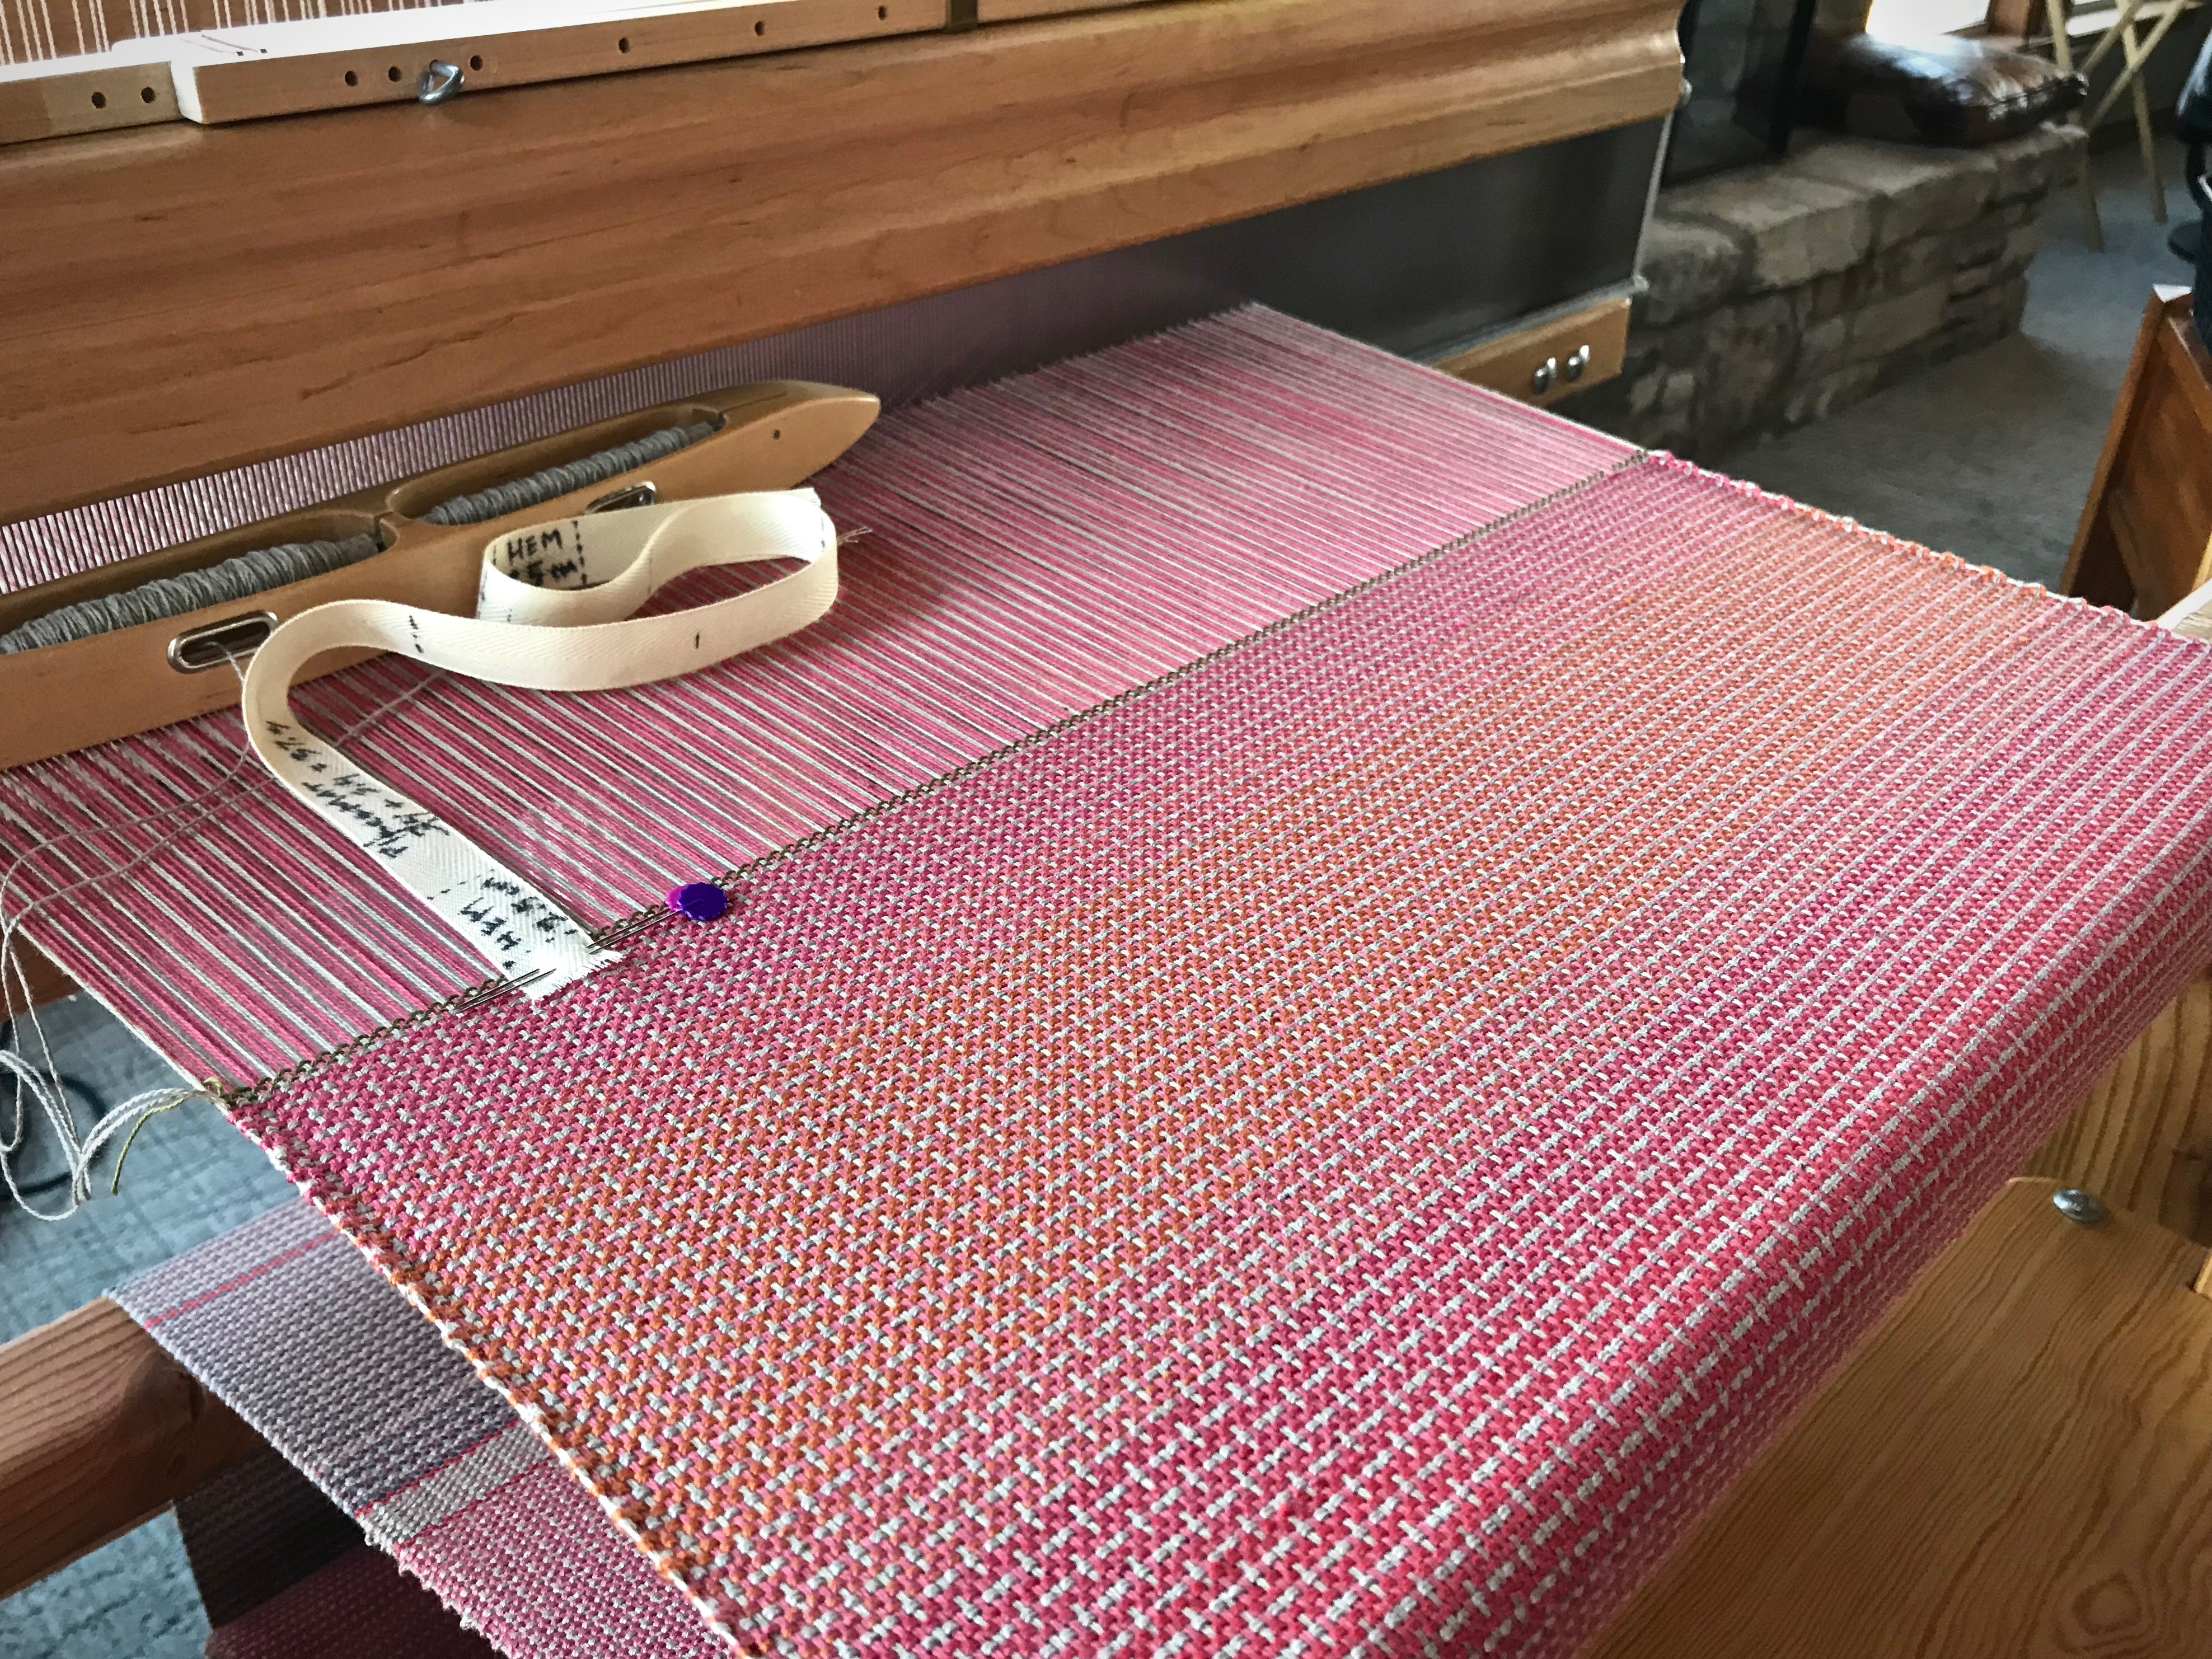
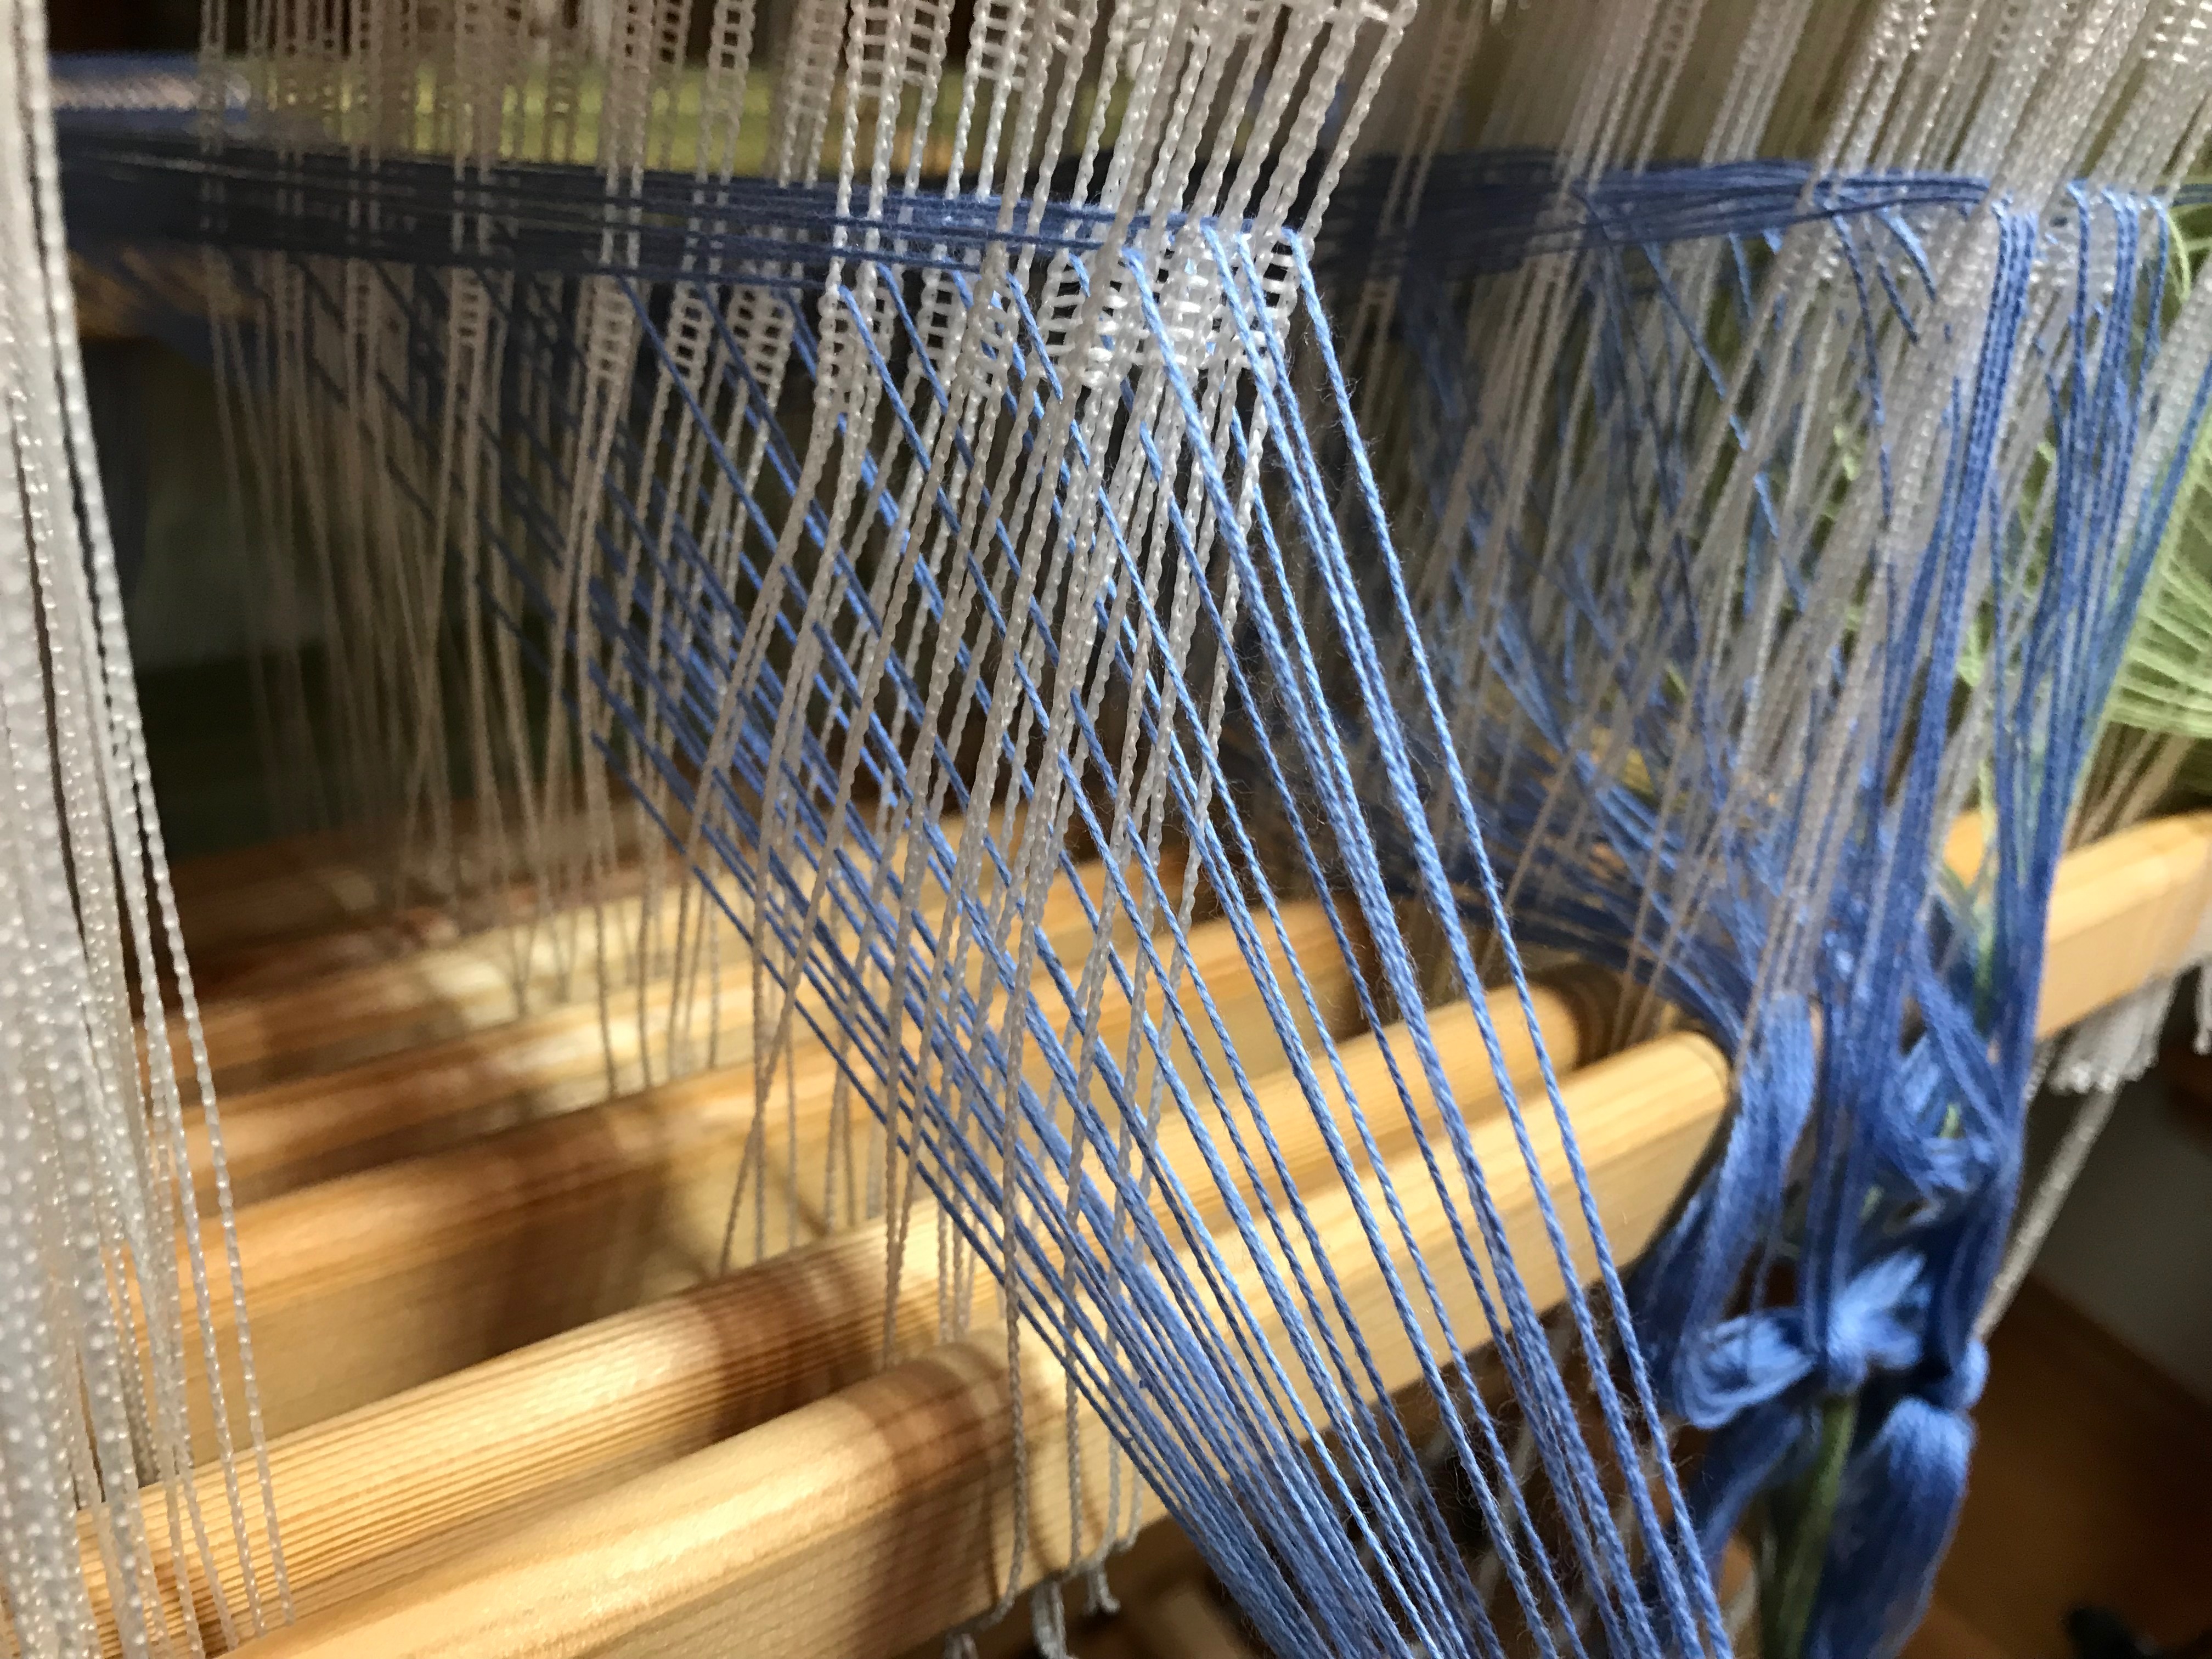
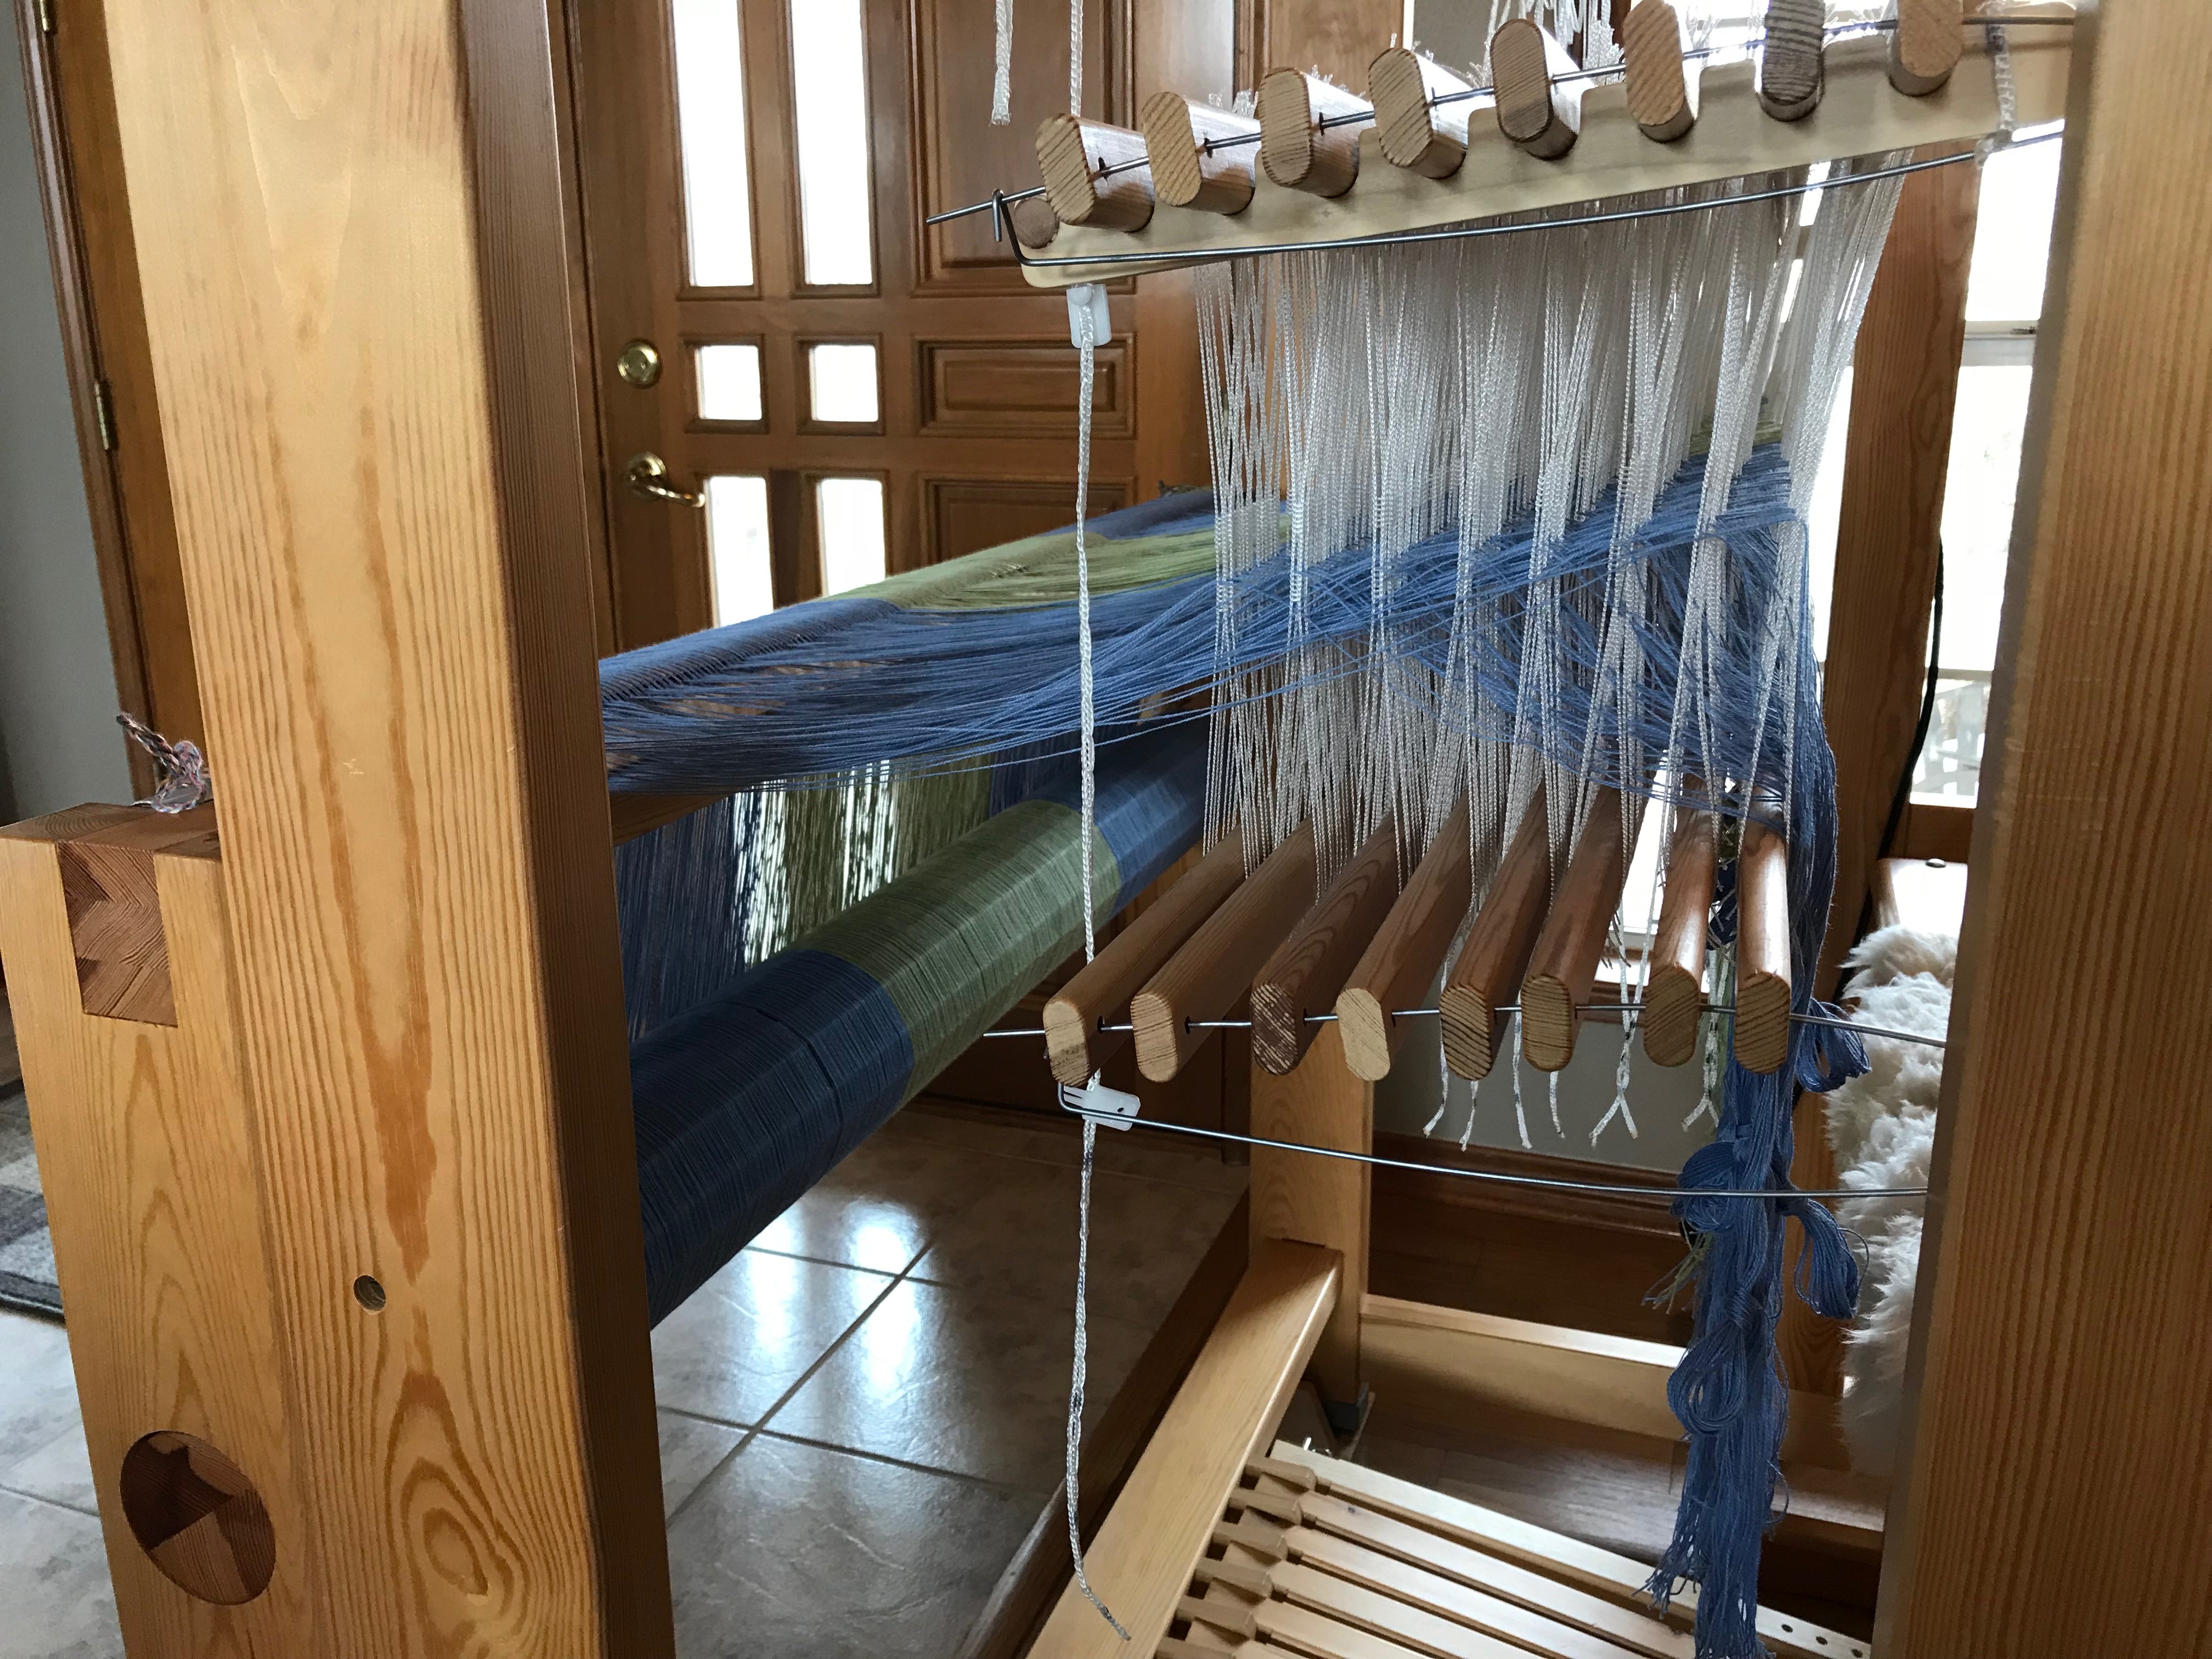
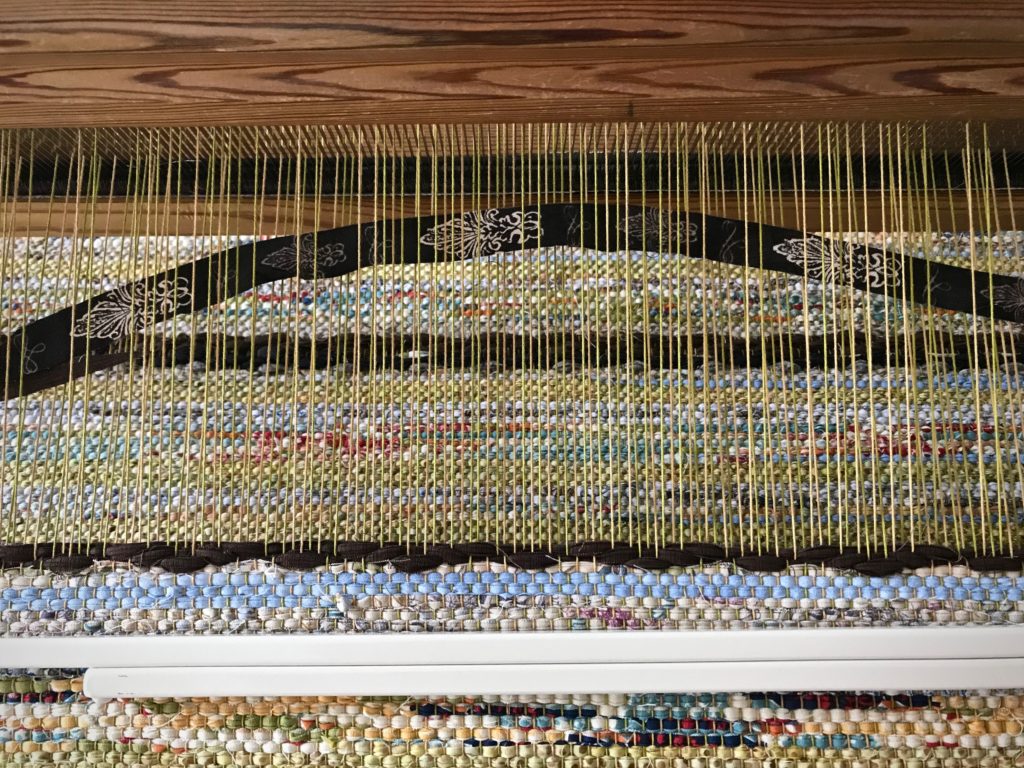
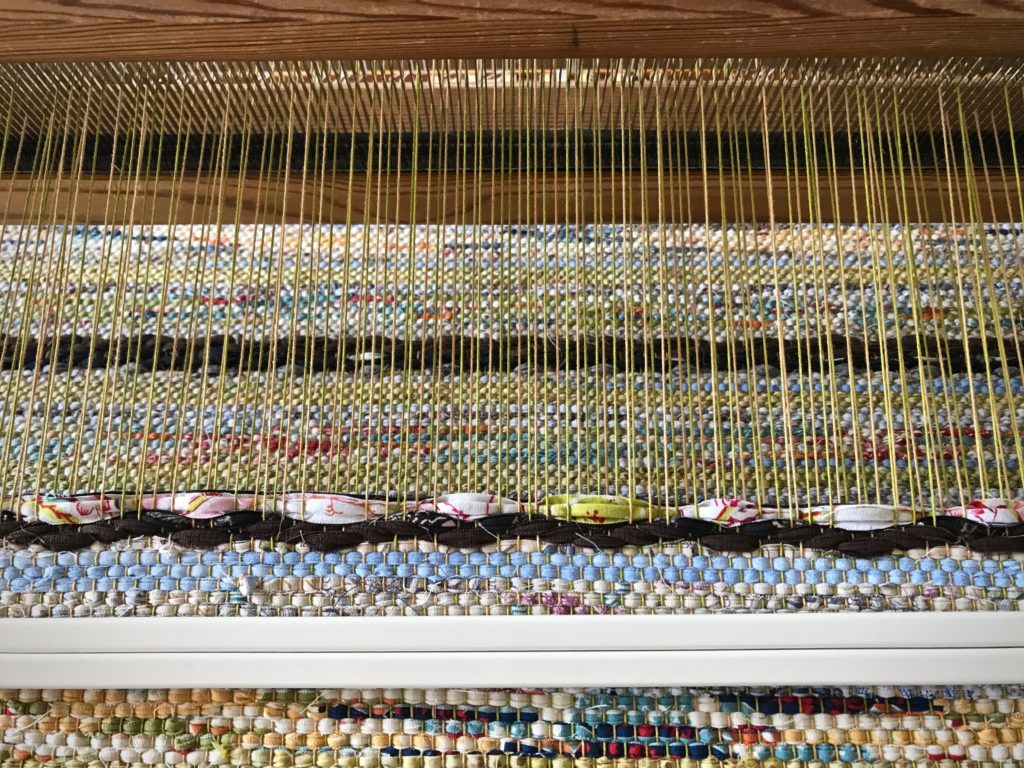
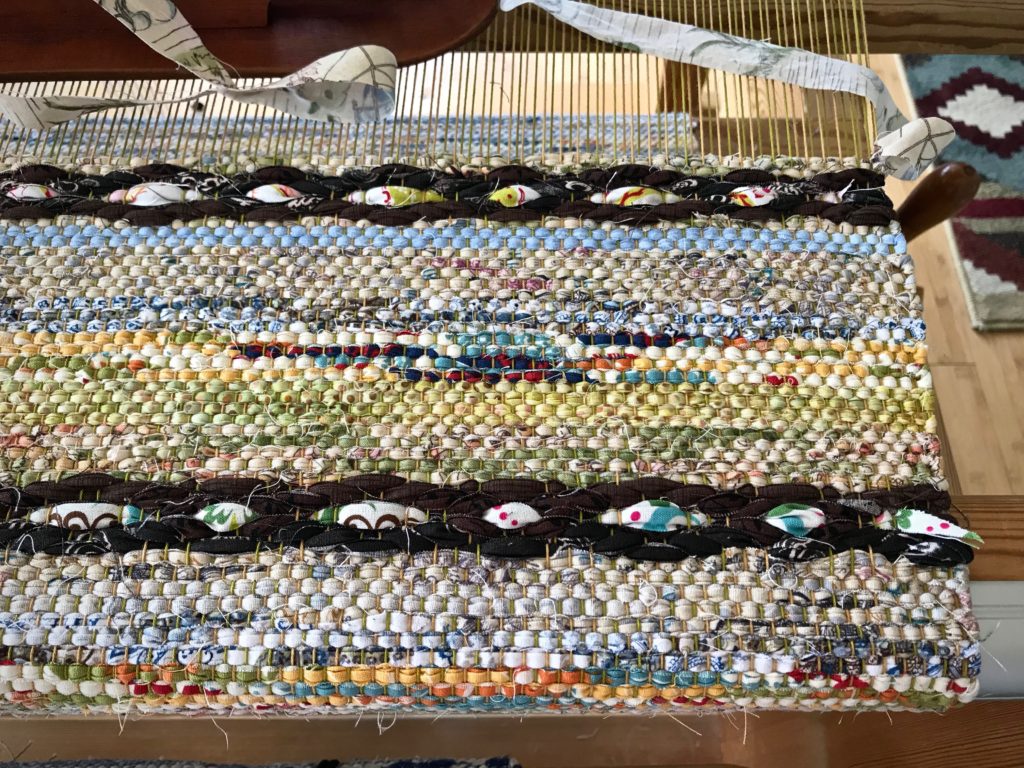
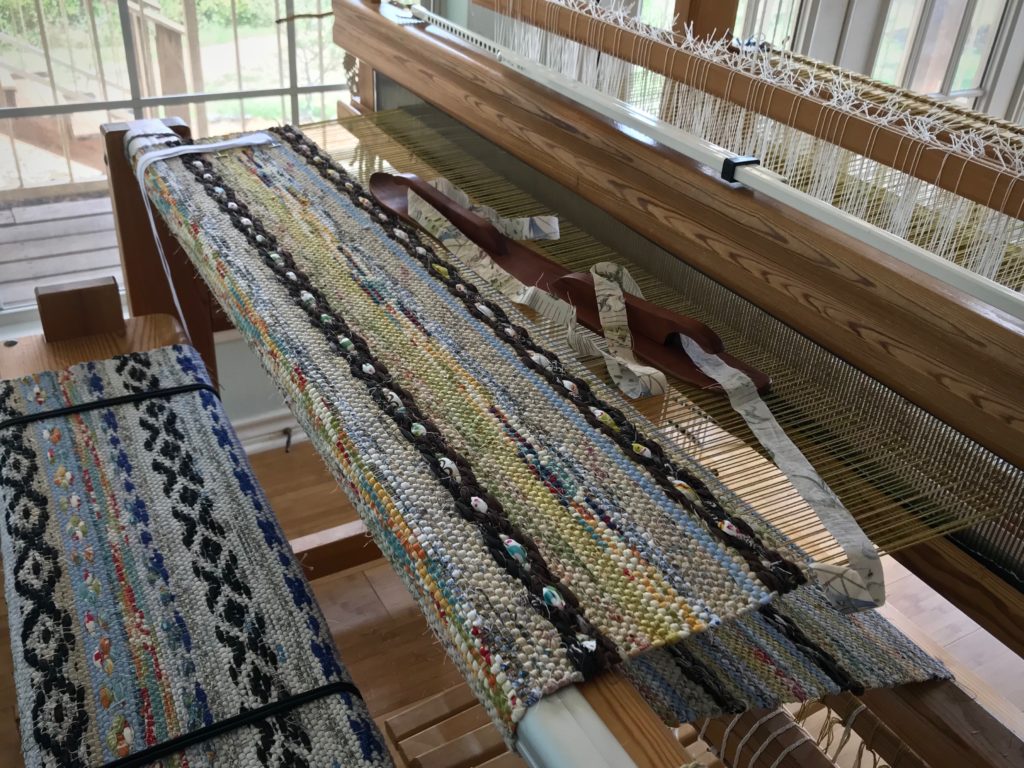
The first rag rug on this 12/6 cotton warp is well underway. This rug is mostly plain weave, with one simple rosepath repeat every ten centimeters. I am weaving the rosepath motif without tabby between pattern picks. The treadling is 1, 2, 3, 4, 1, 4, 3, 2, 1. The dark brown motif contrasts with the surrounding light-colored plain weave. It almost looks as if a thick chain has been laid across the rug. I transform the otherwise dark rosepath “chains” with a simple bright inlay strip.
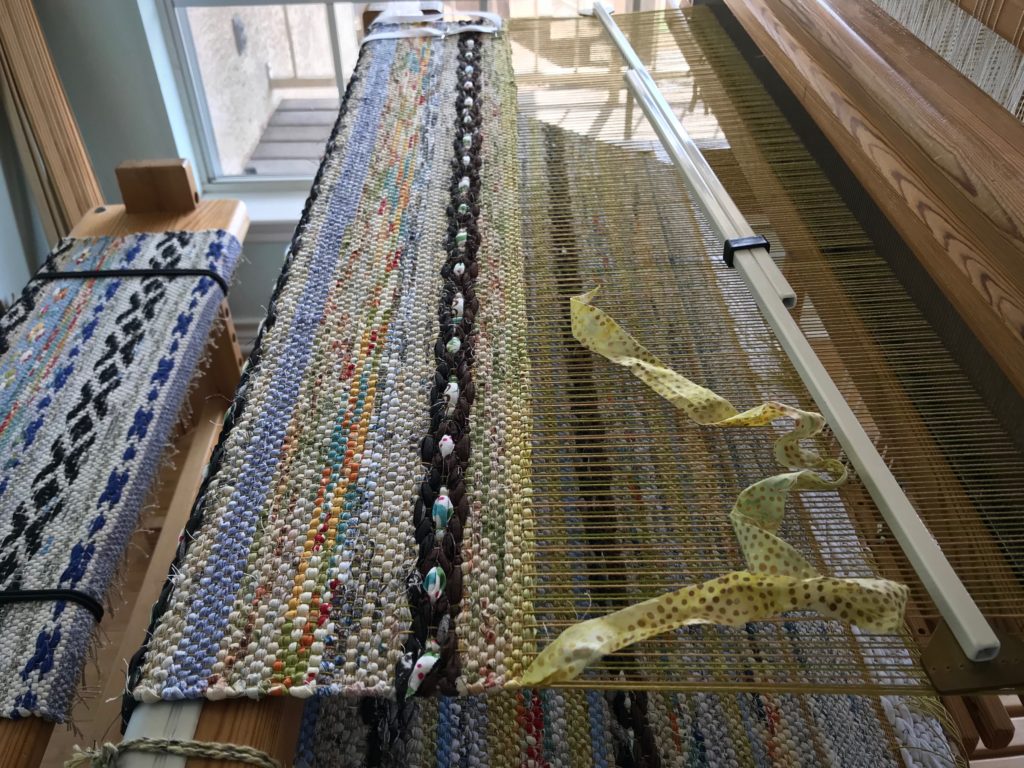
Rag rug with rosepath motif.
Rosepath motif stretches across the plain weave surface.

Rosepath with Inlay

  • Weave the first four picks of the rosepath pattern, treadling 1, 2, 3, 4 (or, if using a different treadling sequence, weave up to the center pick).
  • Lay in the center pick (treadle 1, in this example). Wait to beat it in.
How to do rosepath with inlay.
Center pick of the rosepath motif is arched in the shed.
  • Measure and cut the inlay strip to size, tapering the ends.
How to add an inlay strip to rosepath rag rug.
Inlay fabric strip is measured against the weft in the shed and cut to size.
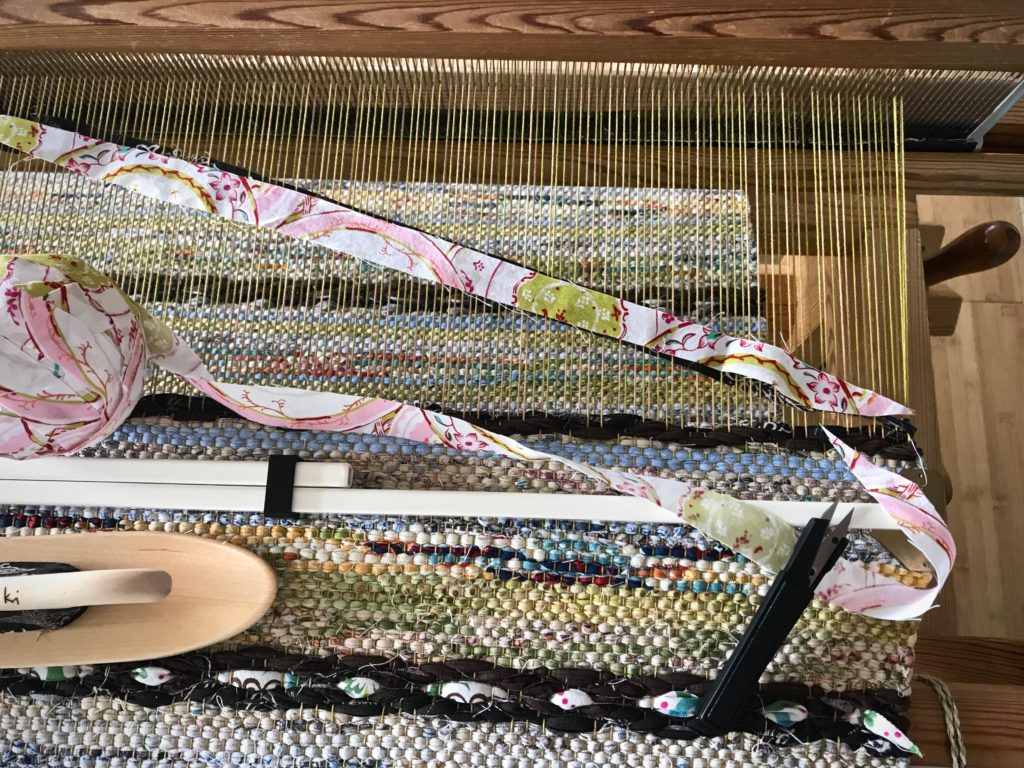
  • Put the inlay strip in the shed, laying it directly on top of the fabric strip already there.
Making a rosepath rag rug with an inlay strip.
By pushing the beater back I can send the inlay fabric strip through the shed with a ski shuttle.
Rag rug with inlay.
Place the inlay fabric strip directly over the fabric strip of the center pick in the motif.
Inlay instructions.
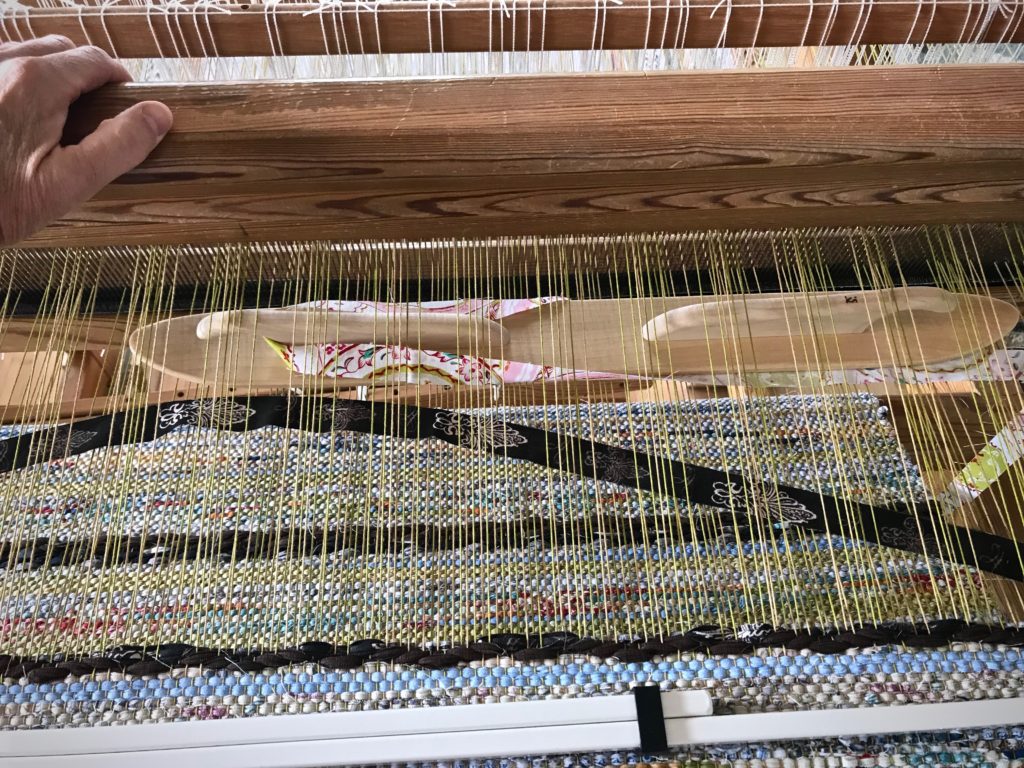
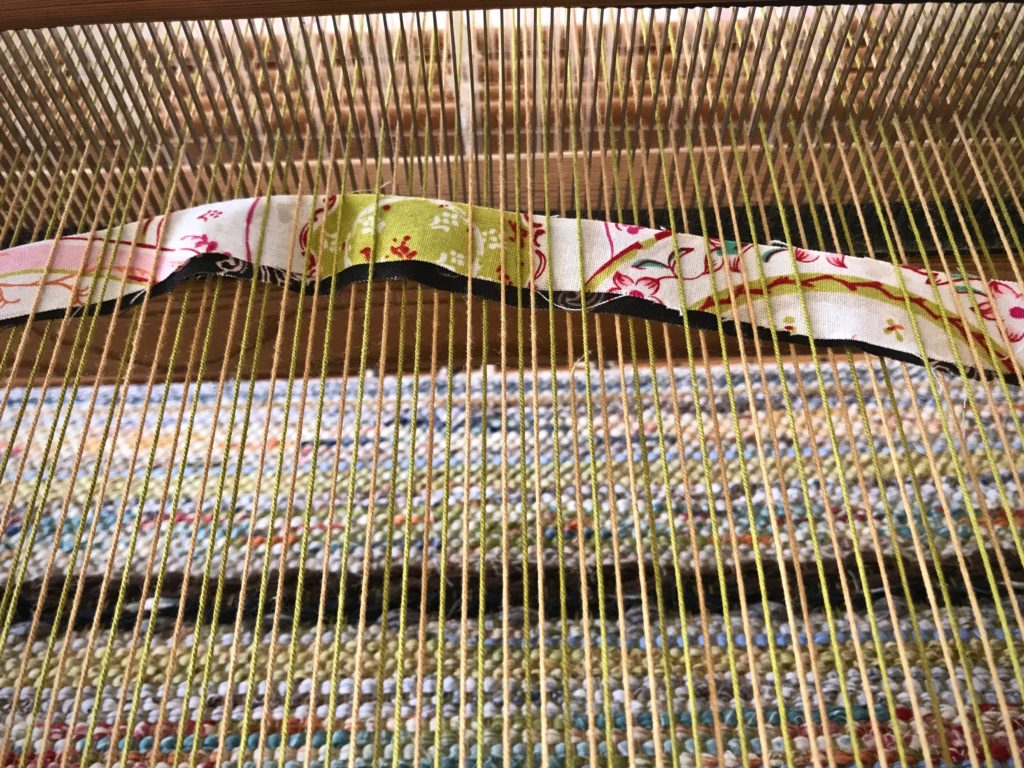
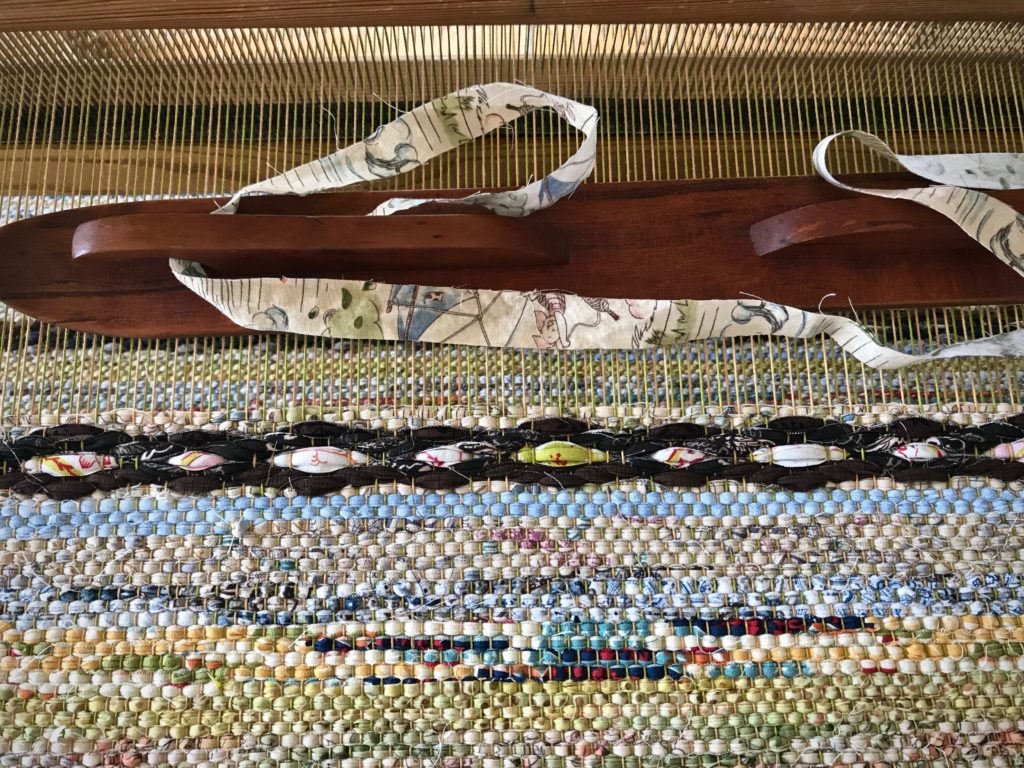
  • Beat in the weft as usual.
One type of inlay on a rag rug.
Both weft layers are beaten in together. The inlay strip stays visible on top.
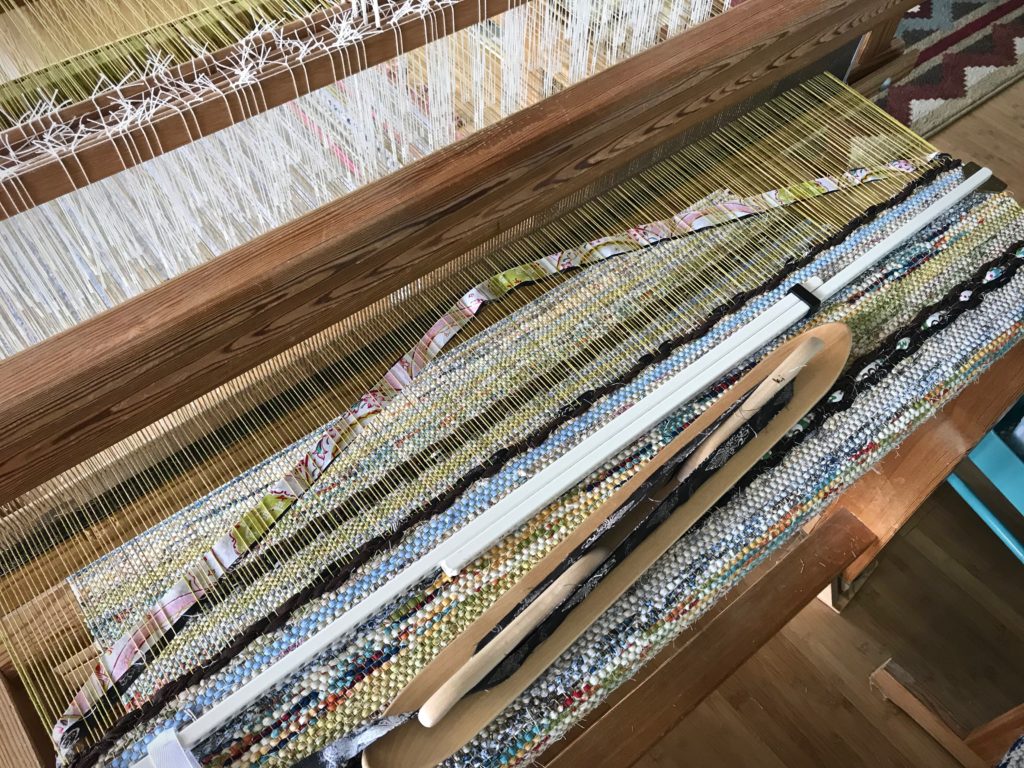
  • Continue weaving to complete the rosepath pattern, treadling 4, 3, 2, 1 (or, as needed, for a different sequence).
Rosepath with inlay.
Finished rosepath motif.

You can accomplish a similar effect by weaving in a separate fabric strip for the center pick. In that case, cut tapered ends that are long enough to twist and tuck back into the shed. And carry the weft strip from the previous pick up the side.

The inlay method eliminates the extra bulk at the selvedges, and adds a slight thickness to the center pick, helping to give it a raised look. I am leaving the inlay weft tails loose, but you could cut them a little longer and tuck the ends in, if you prefer.

Rag rug with special rosepath motif.
Weft tails are free at the sides, like little flags at the ends of the rosepath rows.
Glimakra Ideal loom--great tool for dreaming up rag rugs!
Glimåkra Ideal loom–great tool for dreaming up rag rugs!

May you experience the simple pleasure of doing something unexpected.

Happy Weaving,
Karen

Tapestry Butterflies and Video Tutorial

Wool butterflies are my crayons. I use them to color the spaces of my color-by-number cartoon that’s under the warp. I am using Borgs 6/2 Tuna wool and Borgs 6/1 Fårö wool in this tapestry, combining strands of various colors to get just the right hue, value, and intensity. Getting that right is the hard part. Winding butterflies is the easy part. Especially if you learned it from Joanne Hall, as I did.

Pictorial tapestry beginning.
Start of new tapestry. Butterflies are composed of specific colors to achieve desired results for contrast, shading, and depth.

It is essential to know how to make a good butterfly when you want to weave a tapestry on a big floor loom like this. A good butterfly is compact enough to easily pass through warp ends. And secure enough to stay intact through all those passes. It also needs to have a tail that is simple to extend. A good butterfly never ends up in a knot or a jumble of threads, but instead, gives your hands pure delight as it flows through your fingers to color your tapestry.

Colorful tapestry butterflies.
Detail of colorful tapestry butterflies.
New butterfly is ready to fly in.
New butterfly is ready to find its place in the mix.

This video shows how I make my tapestry butterflies.

May your days be colored with delight.

From the crayon box,
Karen

Tried and True: Center the Reed

Eleven hours and thirty-six minutes into this project, the starting line for weaving is just around the corner. Wind the warp, and beam it. Thread the heddles. Sley the reed. Unlock the back beam ratchet. Move the countermarch to the front of the loom. … Pause when you think about moving the twelve shafts and the reed forward with the countermarch. Reach. Wiggle. Pull. Wiggle. Pull some more. Got it. Now, put the reed in the beater. Relax? Almost, but not yet.

Time to move the whole shebang forward.
Reed is sleyed, so reed support cords have been removed. Time to move the whole shebang forward.
Ready to insert the reed into the beater.
Plastic-coated wire is threaded through the ends of the shaft bars because I don’t have shaft pins long enough for twelve shafts. After coaxing and wiggling the mass of shafts forward, with the countermarch above them, I am ready to insert the reed into the beater.
Basics: How to center the reed.
As I put the reed in the beater I make sure all of the ends are free, and not trapped in the beater’s grip.

We must not forget to center the reed. I center the reed just as soon as the reed is in the beater.

How to Center the Reed

(We are actually centering the warp that is in the reed.)

Supplies needed: Tape measure (or string)

1. Using the tape measure, measure from the right edge of the warp in the reed to the outer edge of the beater on the right-hand side. Hold the tape measure with your fingers marking the measurement.

Center the reed.


2. Holding that measurement, place the tape measure at the left edge of the warp in the reed stretching out toward the outer edge of the beater on the left-hand side.

How to center the reed.


3. Note the difference in measurement between the right side and left side. Move the reed in the beater to center.


4. Repeat the first two steps until the measurements are the same on both sides.

Centering the reed.
Tips for centering the reed in the beater.
Reed is centered.

Now you can relax. Enjoy the moment, because you are that much closer to seeing fabric take shape!

May you enjoy the process you’re in.

Patiently,
Karen

Tried and True: Color Gradation

When I decided to use up some of the quills that have collected, I stumbled on one of my favorite techniques—color gradation. The weft colors change gradually instead of making distinct weft stripes. Remember the placemats on the little countermarch loom? I am weaving the last few.

Color gradation on plain weave with color and weave effects.
Using up thread left on quills for some color gradation play.

Doubled weft gives opportunity for easy color gradation.
Color and weave effects on plain weave. 8/2 cotton weft is doubled.

The quills on a double-bobbin shuttle don’t always empty at exactly the same time. The quill that has thread remaining on it goes in a box for later use. Those quills in the box are what I’m using here. For this placemat I’m letting gradient color changes happen in varying increments, according to the amount of thread left on the quill. I have five shades of 8/2 cotton, ranging from coral pink to pumpkin.

Colors for gradient weaving.
Color “sisters” play well together.

This is the perfect setup for some subtle color gradation: Five closely-related hues, a double-bobbin shuttle, and a supply of leftover quills. For best effect, I arrange the colors in order, from light to dark, or dark to light.

Color Gradation

  • Weave a section with two quills of color A (the lightest color)
  • Weave the next section with one quill of color A and one quill of color B (one shade darker than color A)
  • Weave the next section with two quills of color B
  • Weave the next section with one quill of color B and one quill of color C (one shade darker than color B)

And so on…

What could be simpler?

Color gradation.
Pumpkin color adds a pleasing subtle accent to the corals and reds in the cloth.

May you make something beautiful with the little bits that you have.

Happy weaving,
Karen

Tried and True: Threading Eight Shafts

Threading four shafts is straightforward because the heddles fit perfectly between four fingers and a thumb. Threading eight shafts is tricky because we don’t have that many fingers! Thankfully, threading eight shafts can be as straightforward as threading four shafts. I like to think of it as four shafts in the back, and four shafts in the front.

For a review of threading four shafts, watch the short video in this post: You Can Prevent Threading Errors.

Threading Eight Shafts – Straight Draw

  • Set a small group of heddles apart on each shaft to prepare for threading the next group of ends.
  • Pick up the next threading group of ends and bring it to the front, on the left side of the separated heddles.
  • Lace the threading group of ends under, over, under, over the fingers of your left hand, palm up.

Threading eight shafts - the easy way.
Left hand becomes tensioning device for threading the heddles. I like to put my index finger in between the two parts of the cross, as separated by the lease sticks.

  • Wrap left hand index finger around the group of heddles on shaft one (the shaft nearest the back of the loom), the middle finger around heddles on shaft two, the ring finger around heddles on shaft three, the pinky around heddles on shaft four, and bring the thumb around to hold it all loosely together.

Threading eight shafts - the easy way.
Each warp end is taken in order from between the lease sticks, and then threaded through the heddles in order.

  • Thread the first four heddles—1, 2, 3, 4.
  • With the right hand, hold the group of warp ends taut, and open the fingers of the left hand to release the heddles.
  • Keeping the group of warp ends loosely laced around the fingers, slide the left hand toward you to thread the next four heddles—5, 6, 7, 8. Position your fingers around the heddles on each shaft, as you did for the first four shafts.

Threading eight shafts - the easy way.
Left hand slides toward the front of the loom to thread the next four heddles. It helps to hold the warp ends taut with the right hand while the left hand is repositioned.

  • After threading the second set of heddles, follow the same procedure as before and slide the left hand back again to thread 1, 2, 3, 4.
  • Continue sliding the left hand forward and back, until the threading is completed for that group of ends.
  • Check the threading group for accuracy, and then tie the group of ends together in a loose slip knot.

Threading eight shafts.
Always check for accuracy before moving on to the next threading group.

Complete the threading across the warp. And then, step back and admire the beauty of a beamed and threaded loom.

Glimakra Standard. Threading the loom.
Shafts are raised high for good access and visibility for threading, and for checking for accuracy.

Threading is complete. 8-shafts undulating twill.
Threading is complete. Cotton throw. 8/2 cotton, undulating (wavy) twill on eight shafts.

May you find efficient methods for the work of your hands.

Happy weaving,
Karen