In My Drawloom World

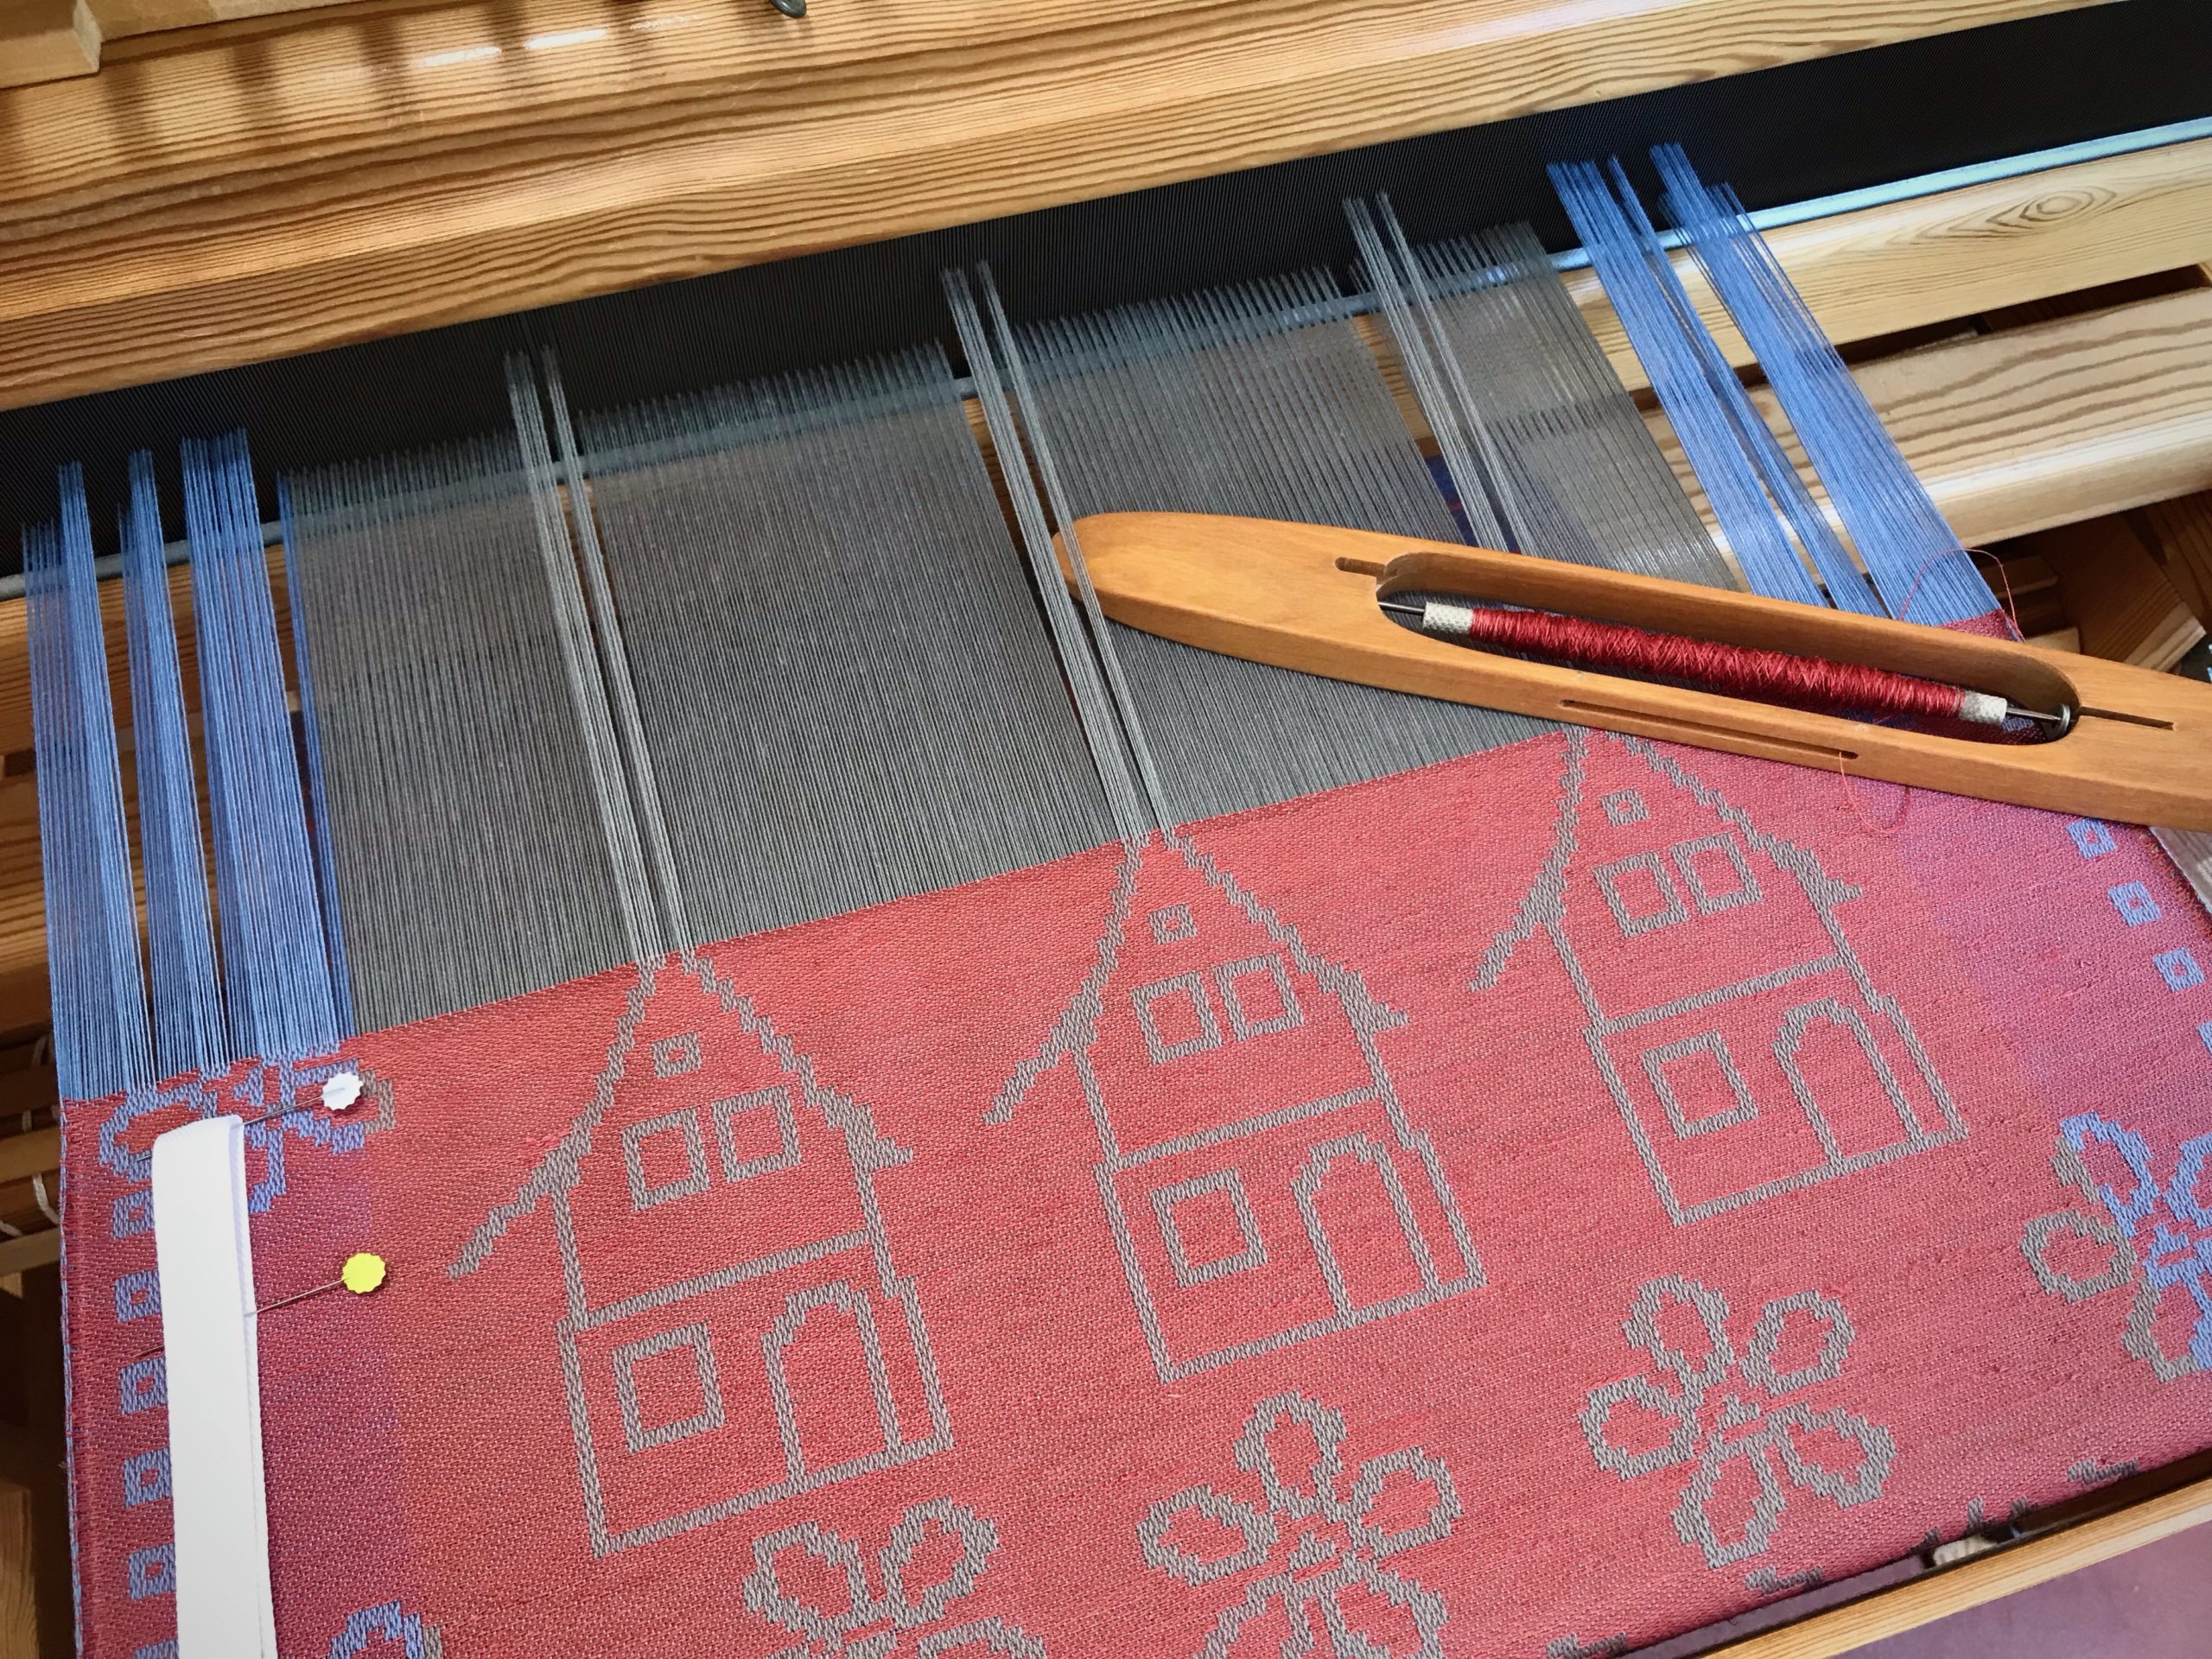
I’m in my own little world when I’m at the drawloom. No podcasts, no music going, no interruptions. It’s all deliberate focused attention on this thing I’m doing—following the chart row by row, drawing handles and cords, imprinting trees into cloth. It’s a delightful experience that I don’t want to end.

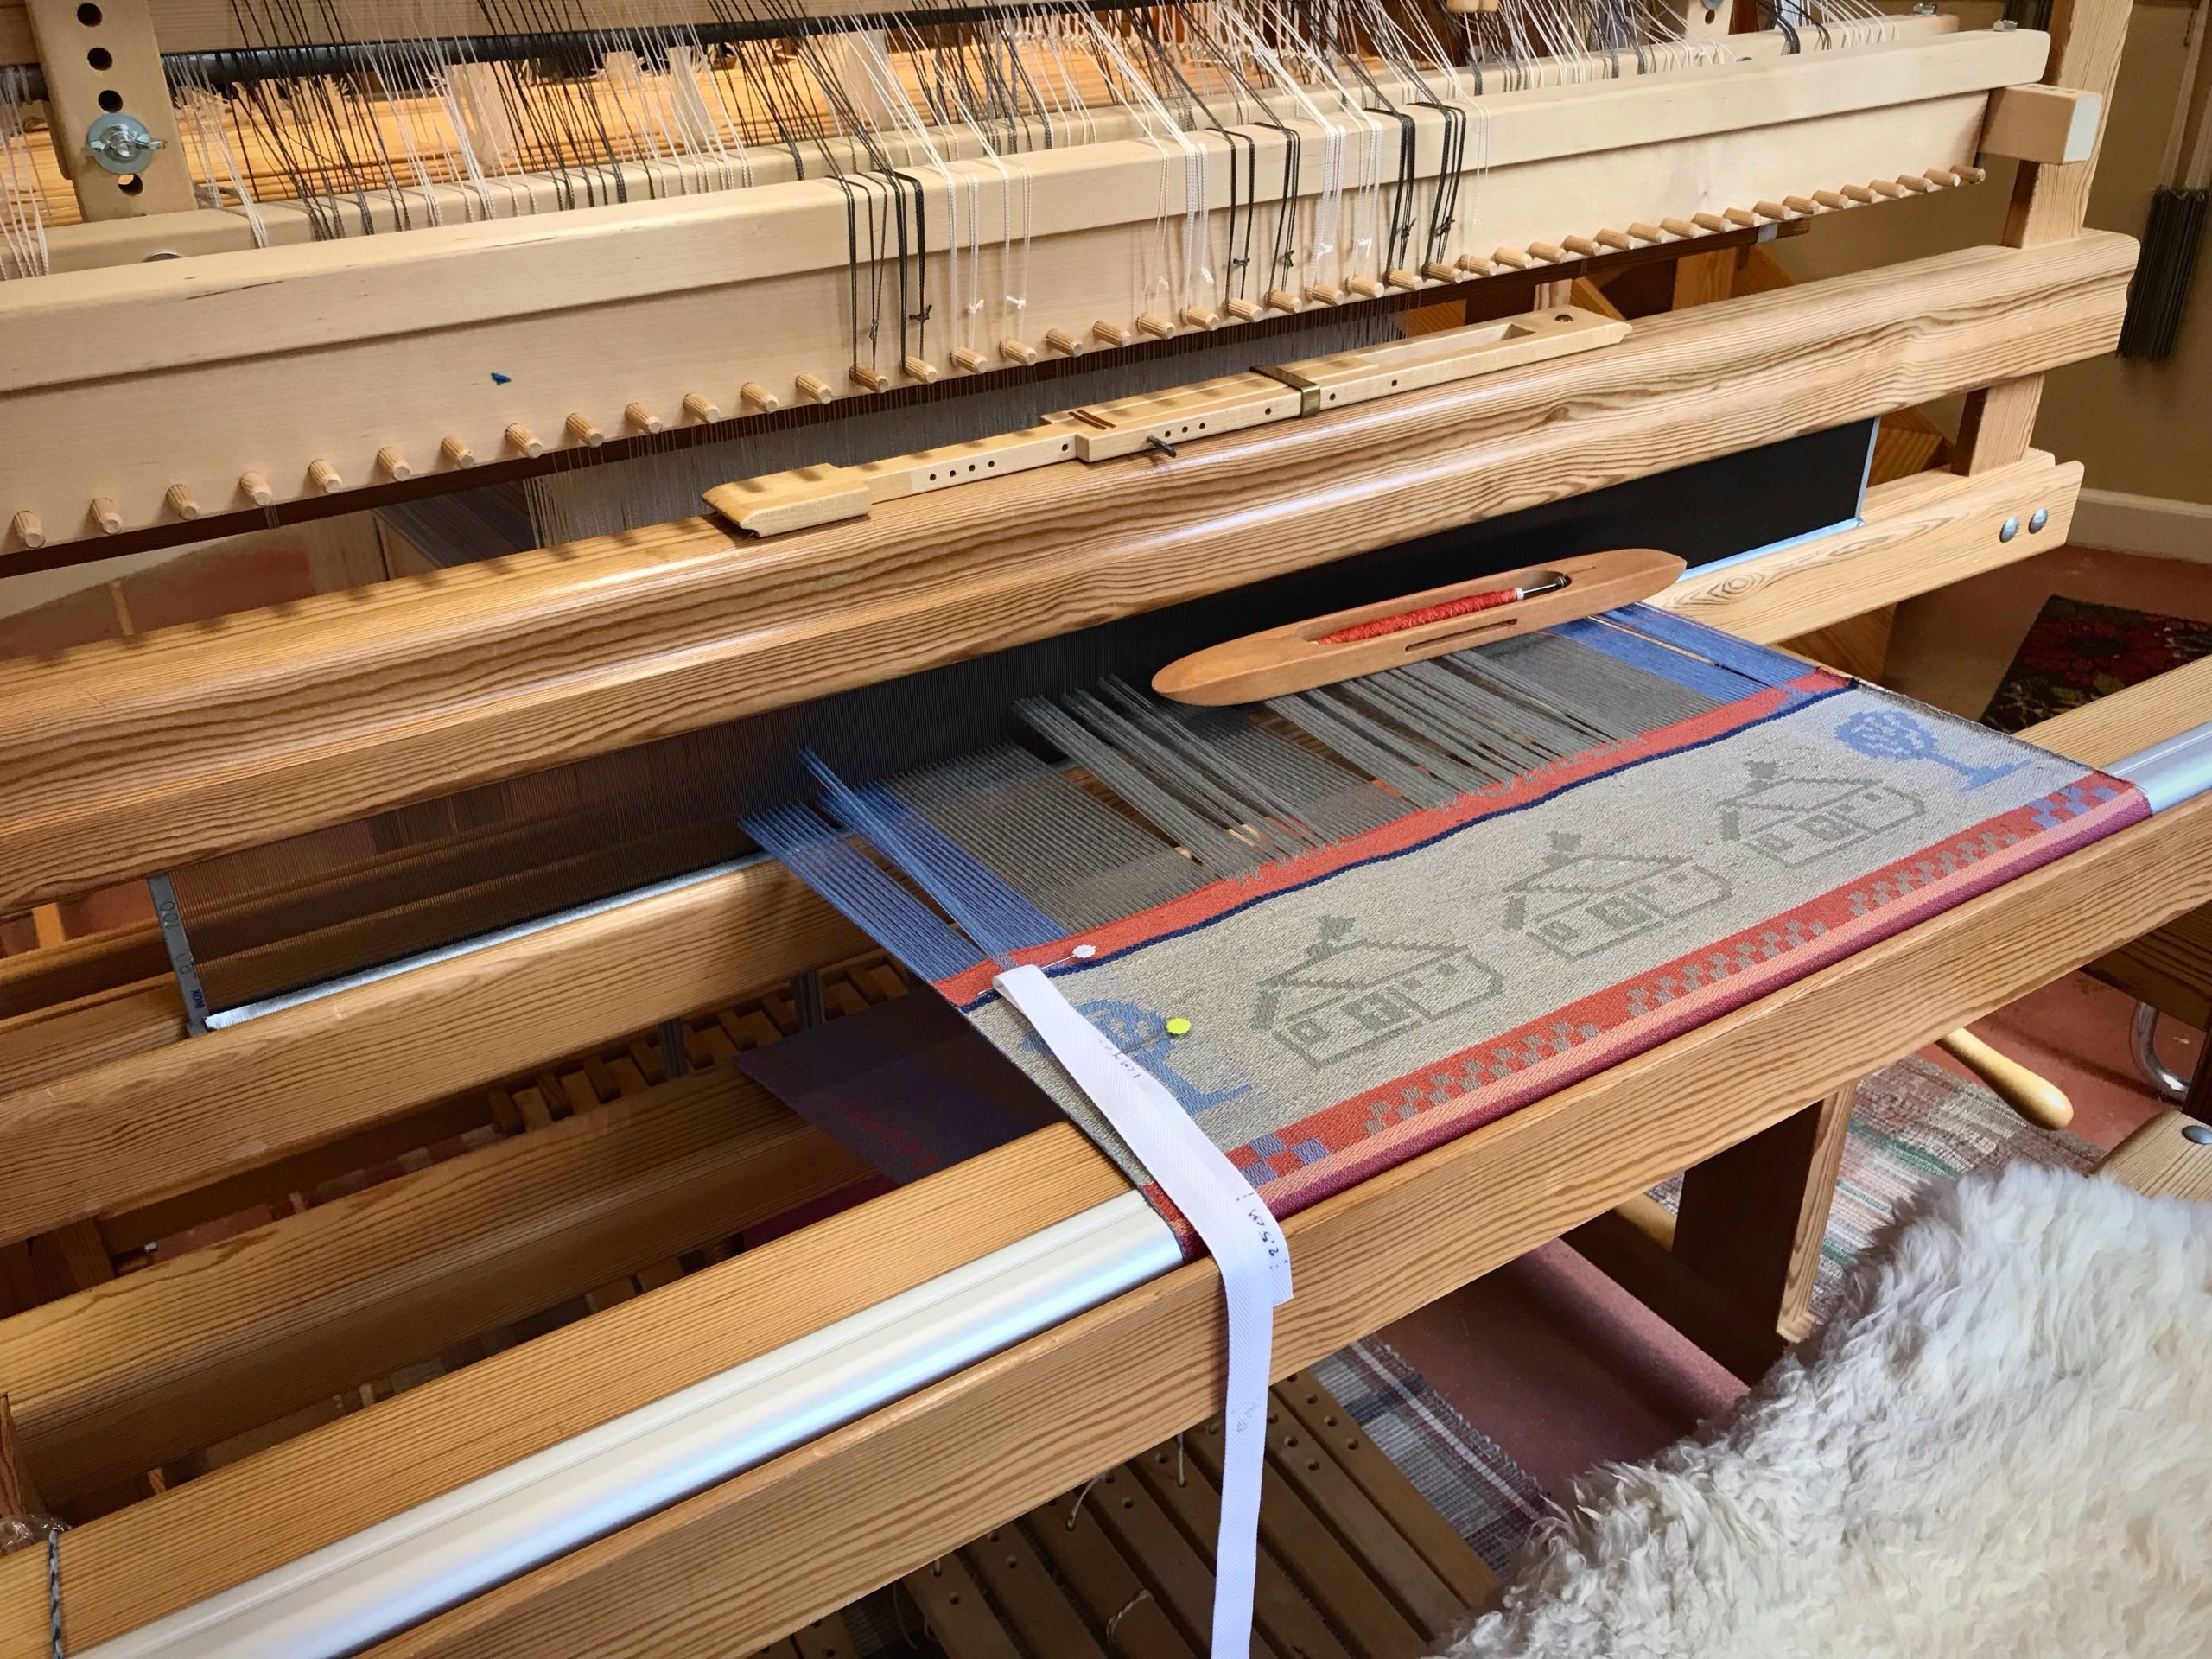
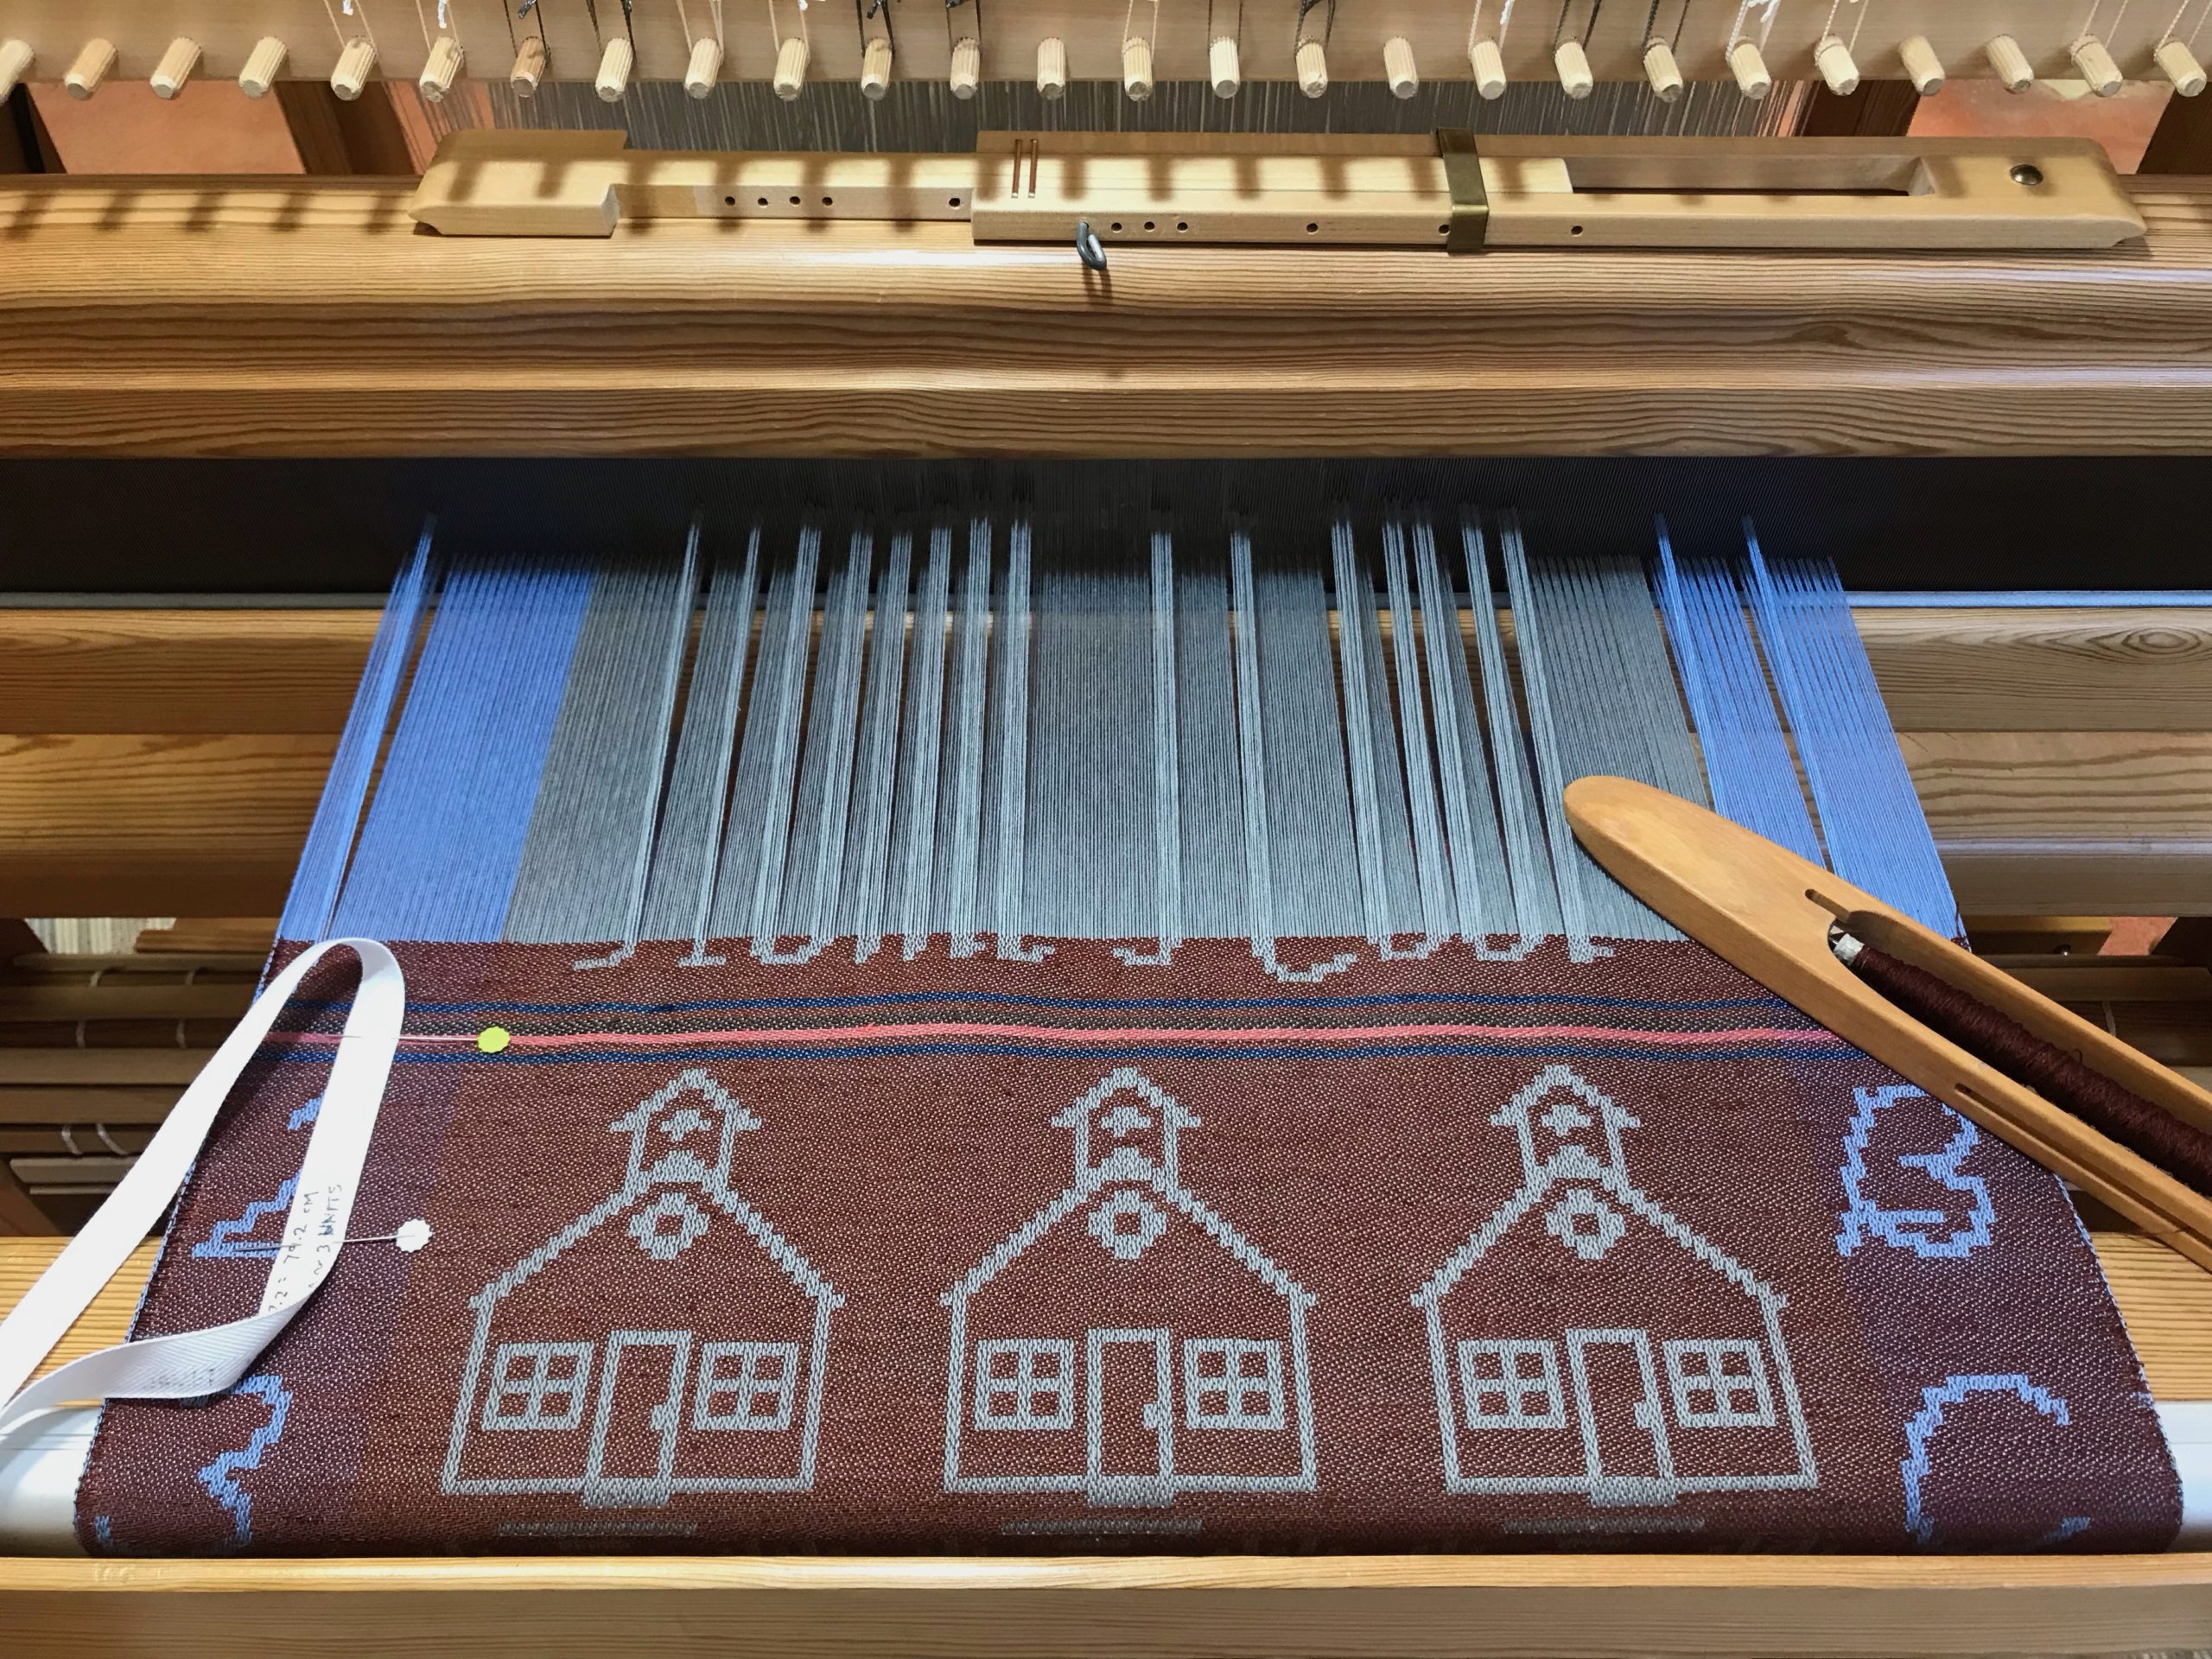
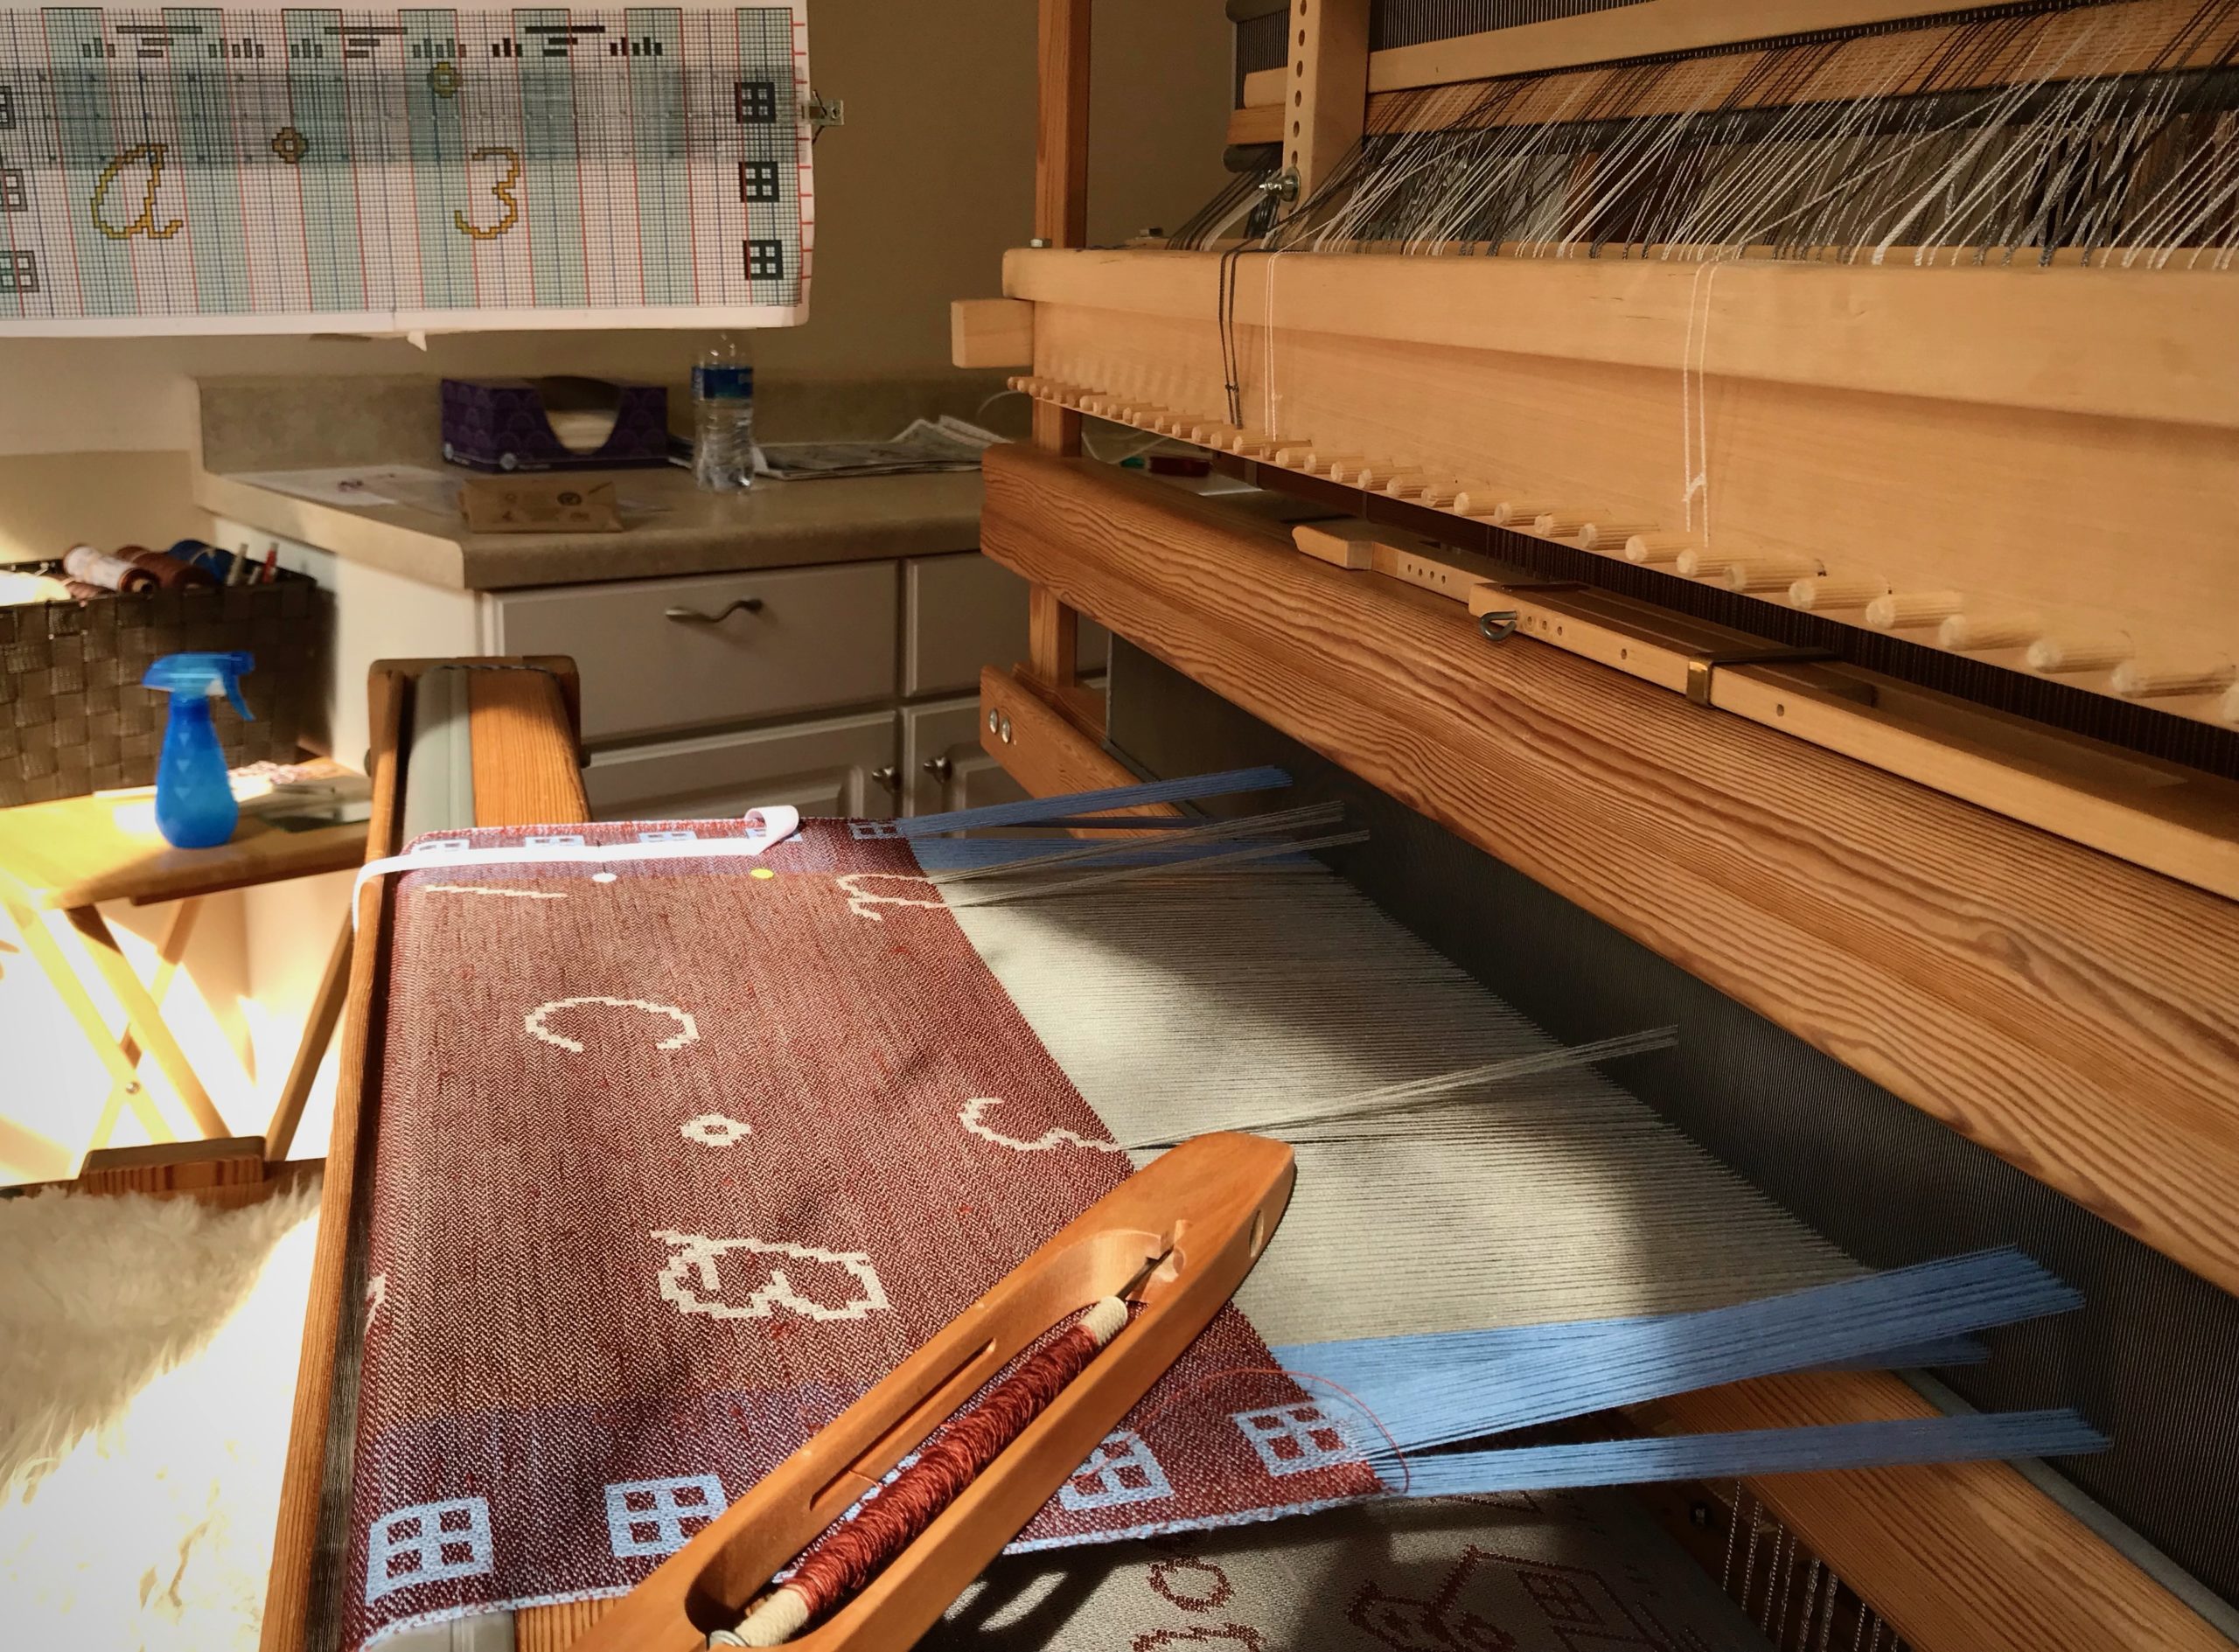
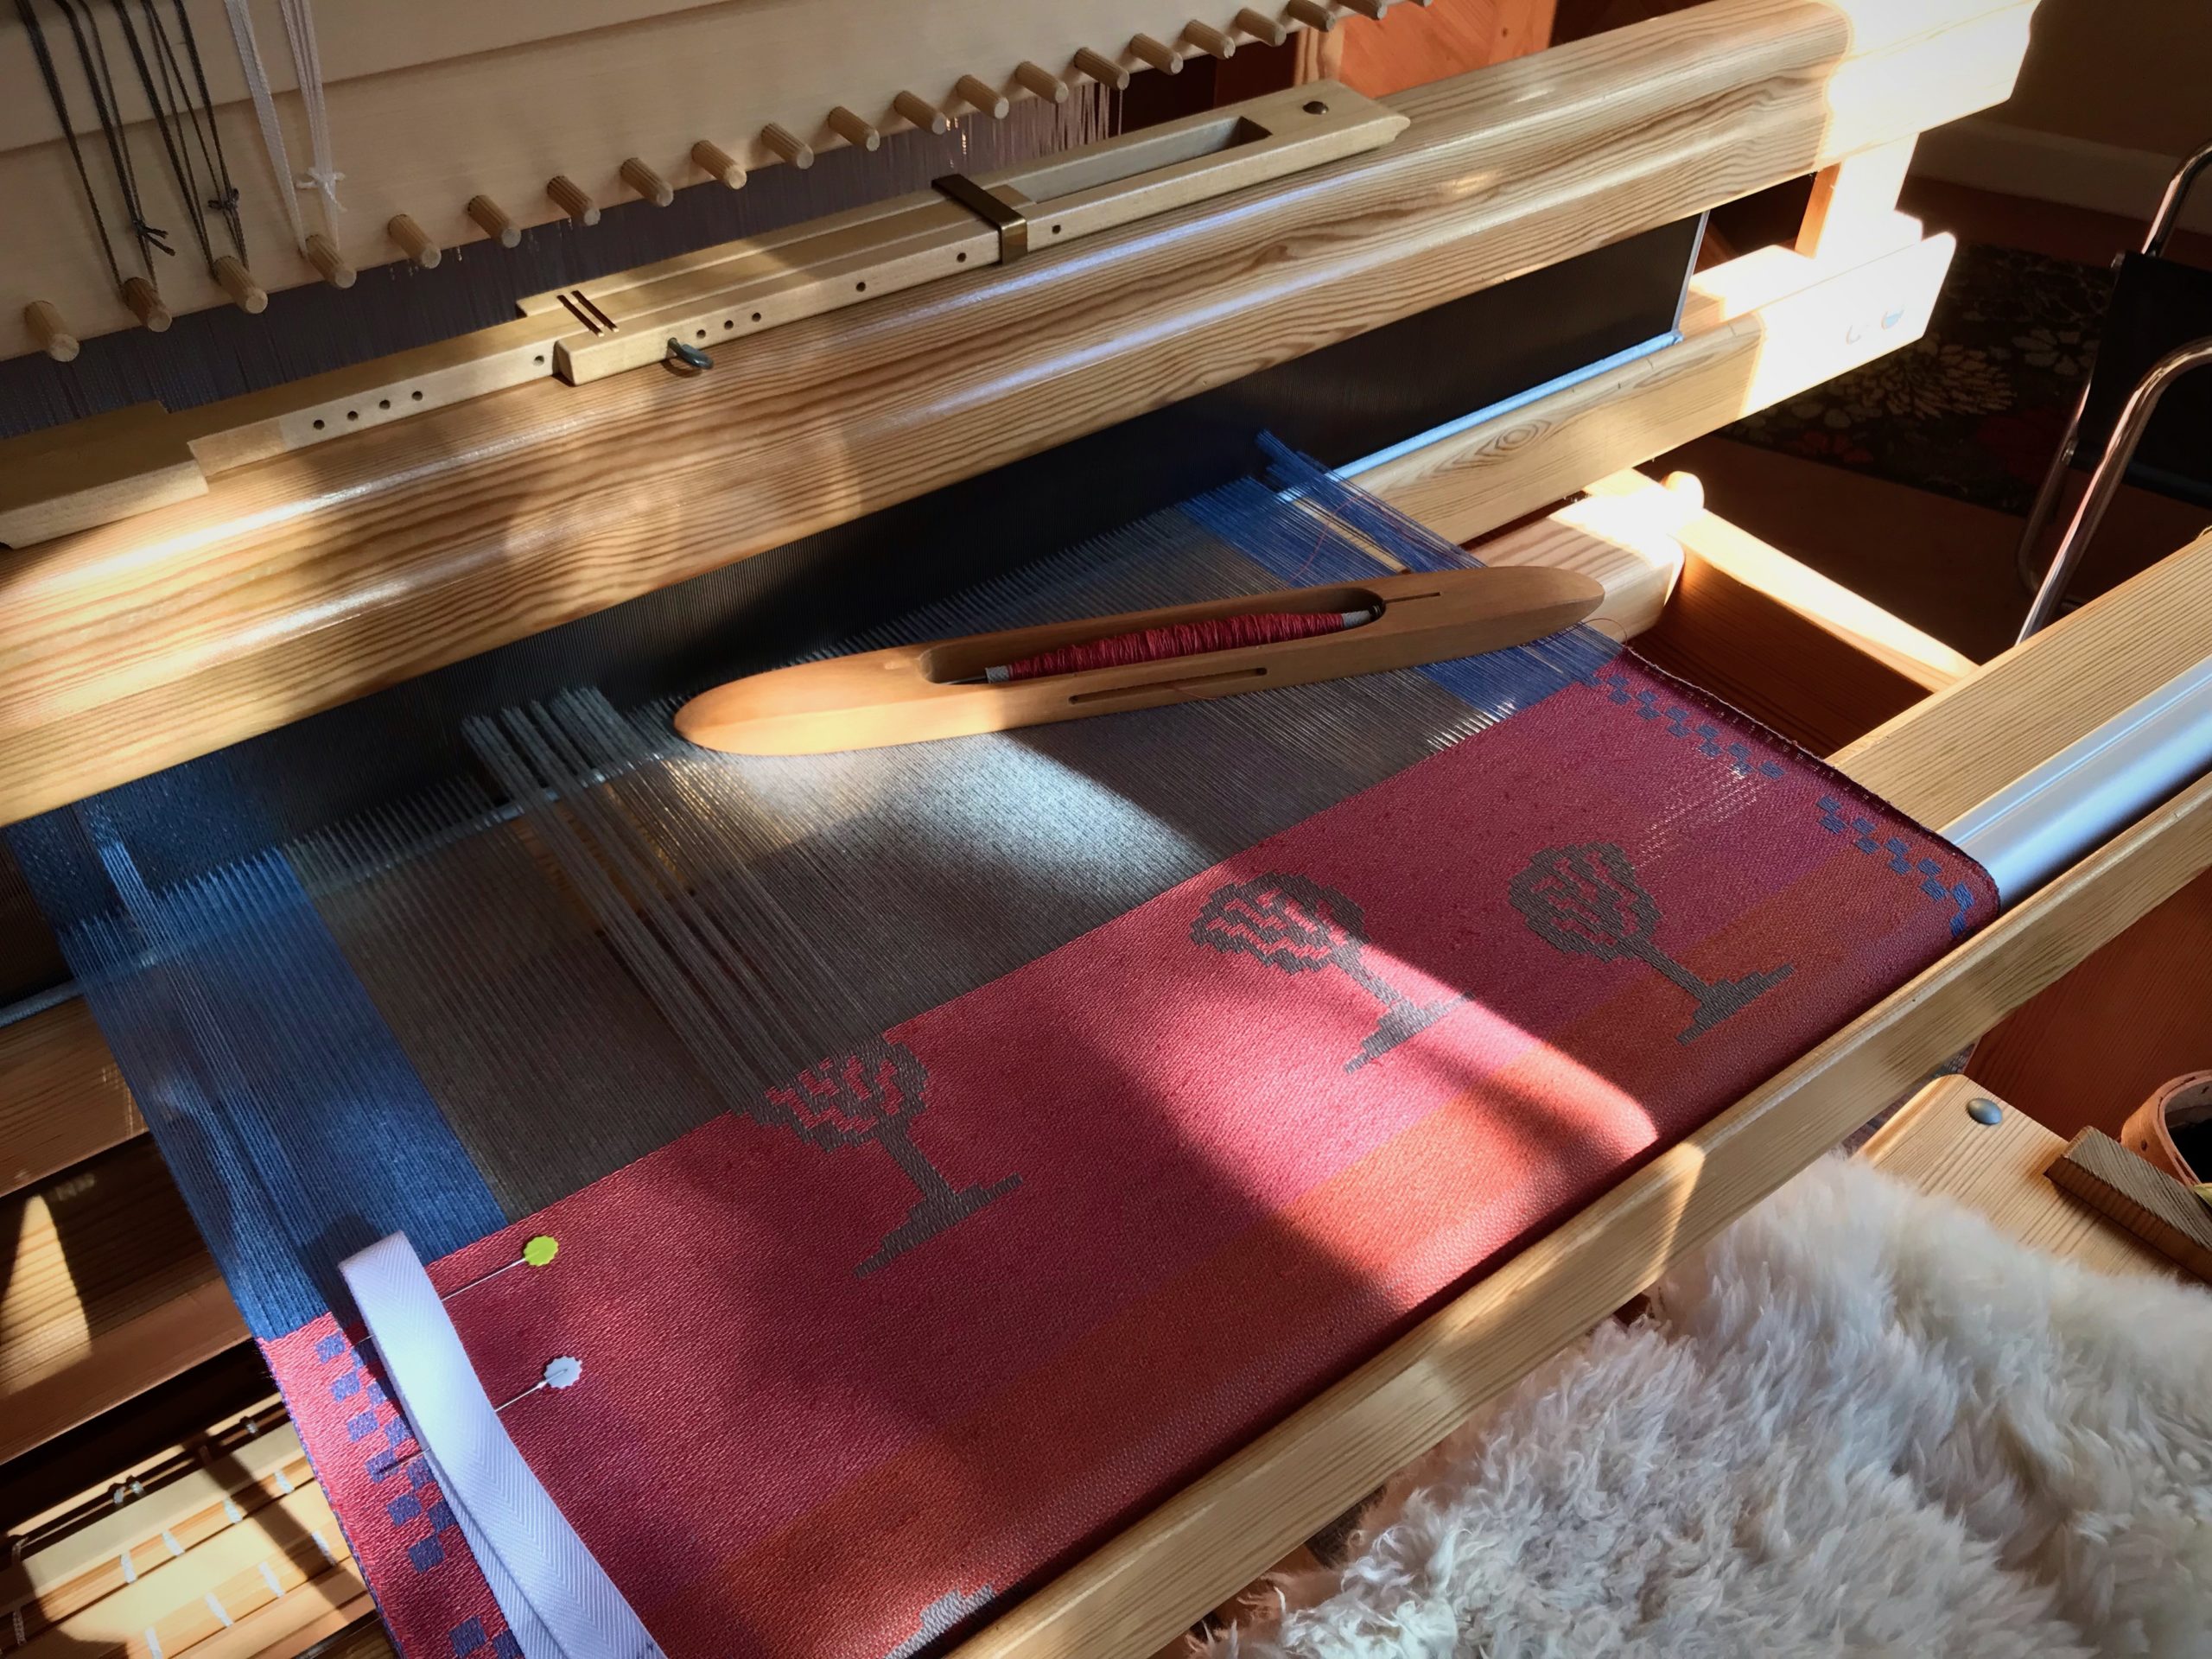
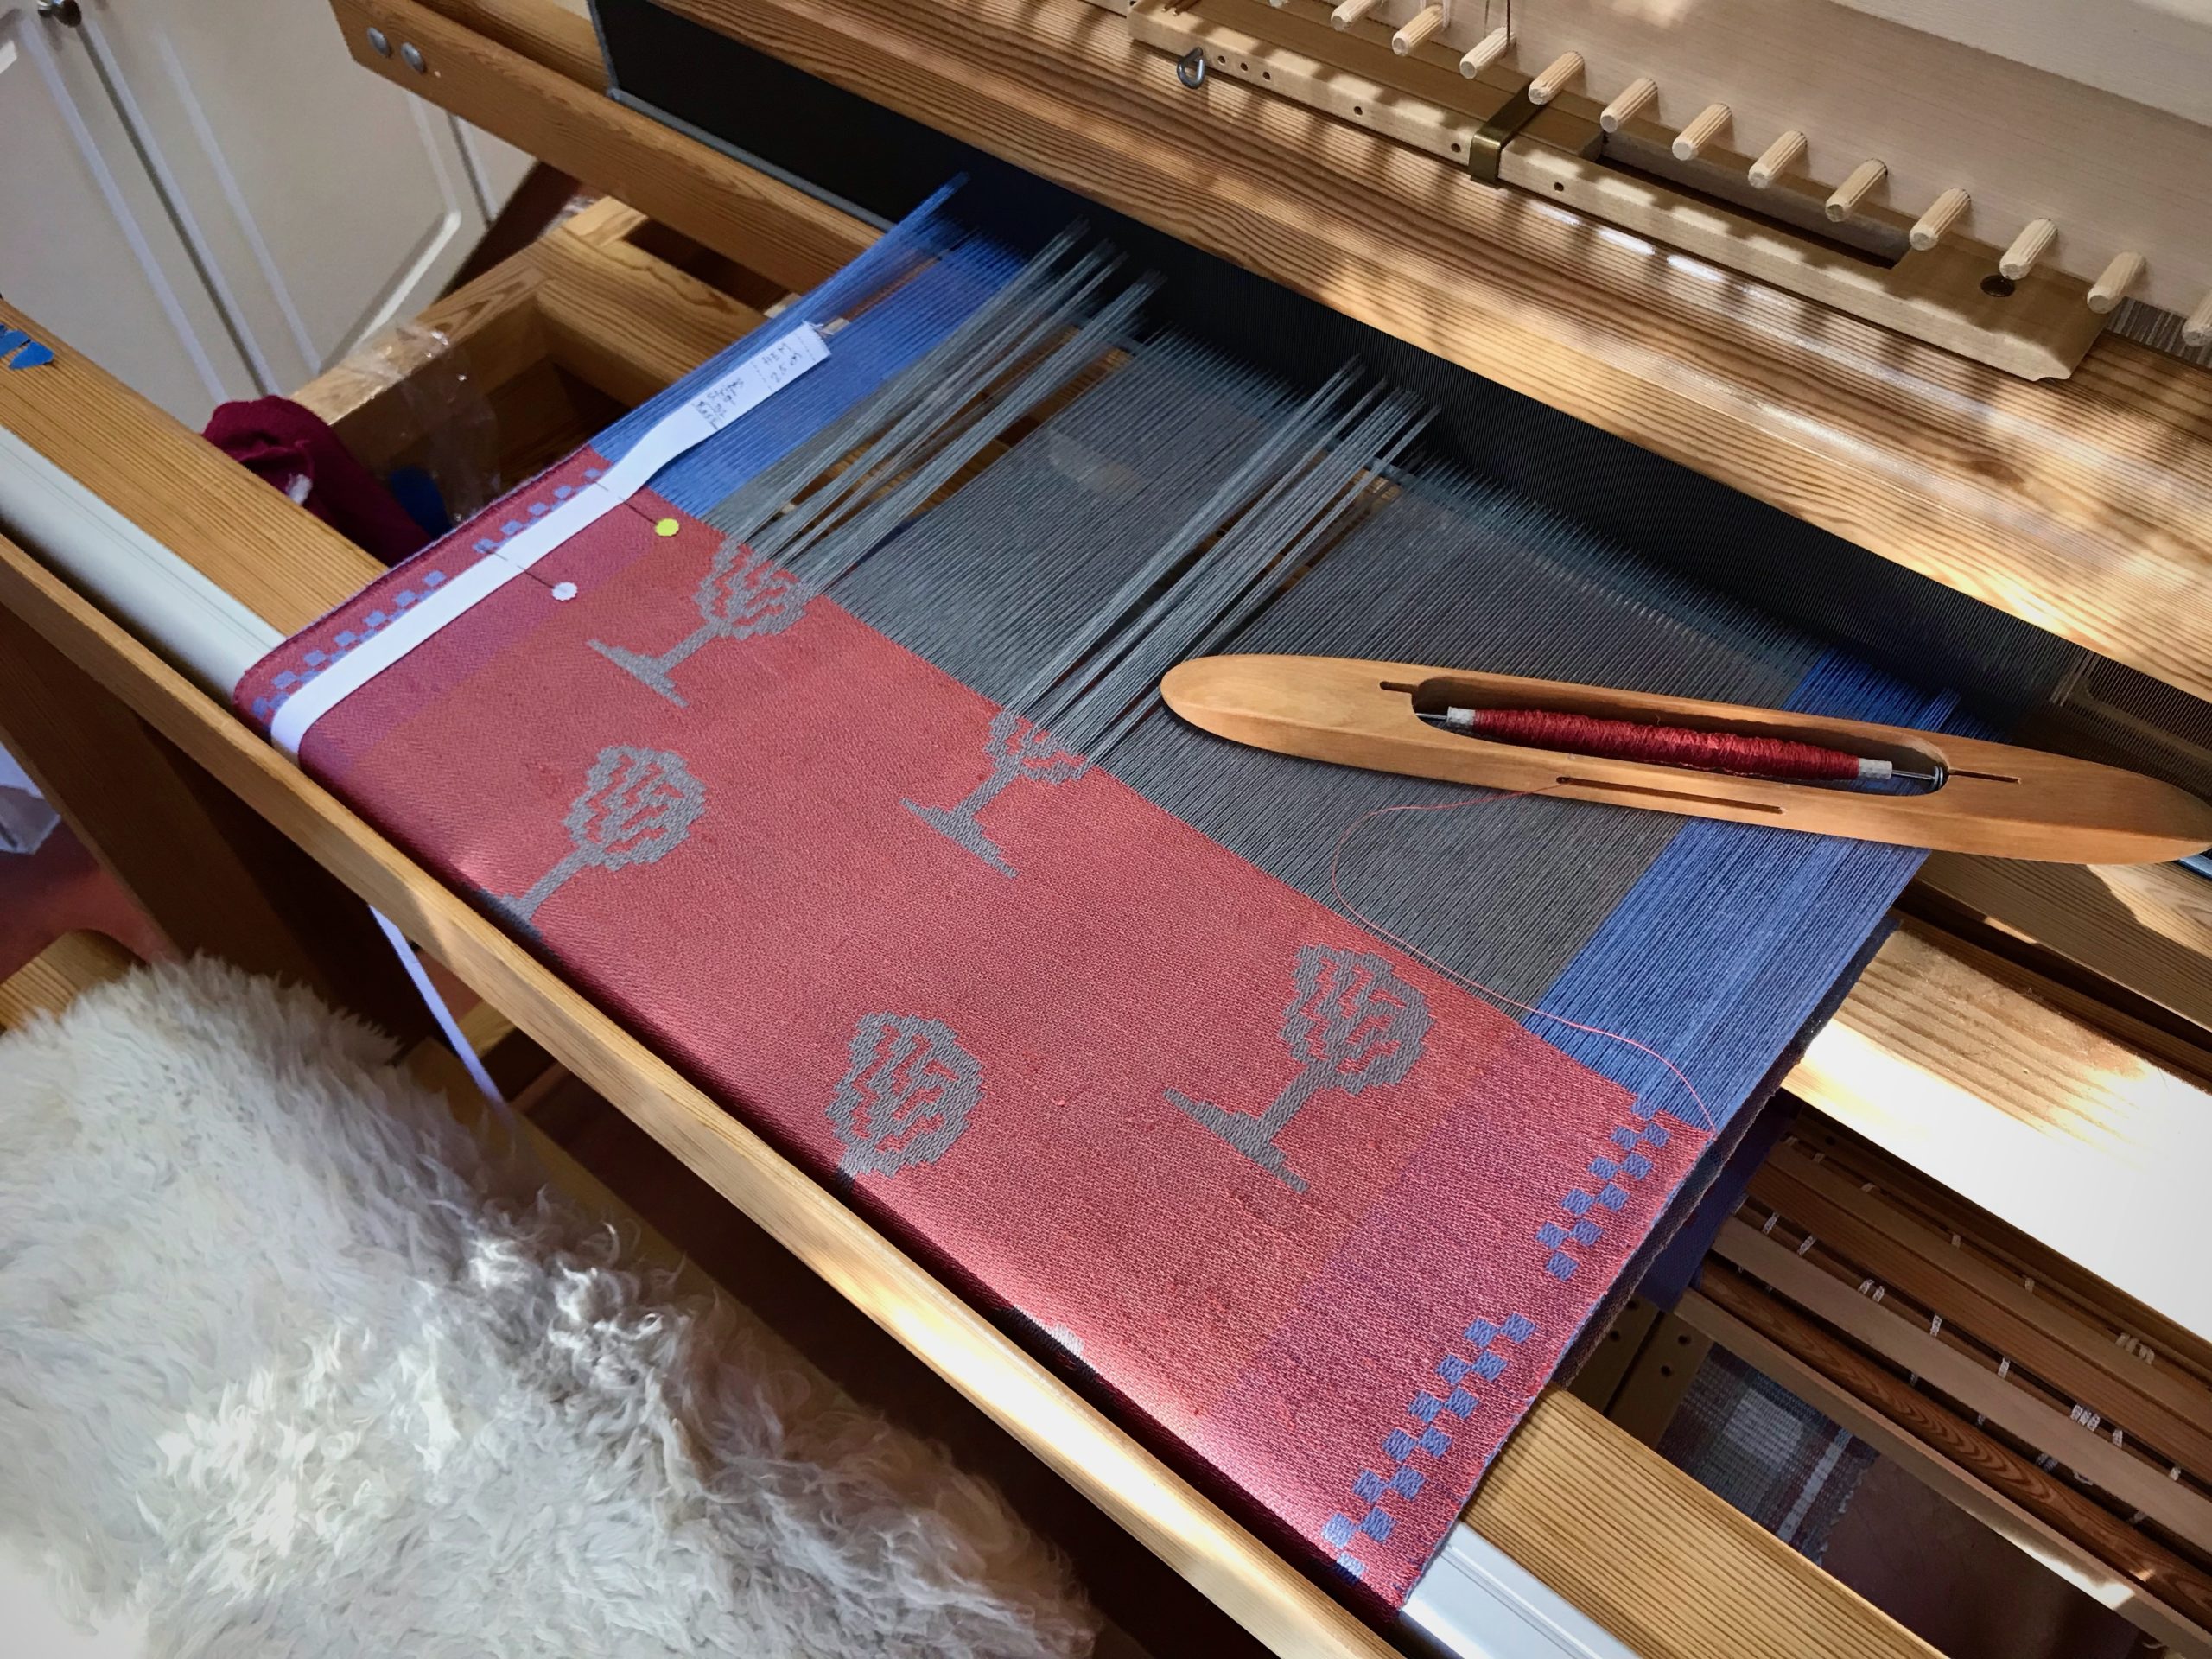
Myrehed combination drawloom. Weaving trees.
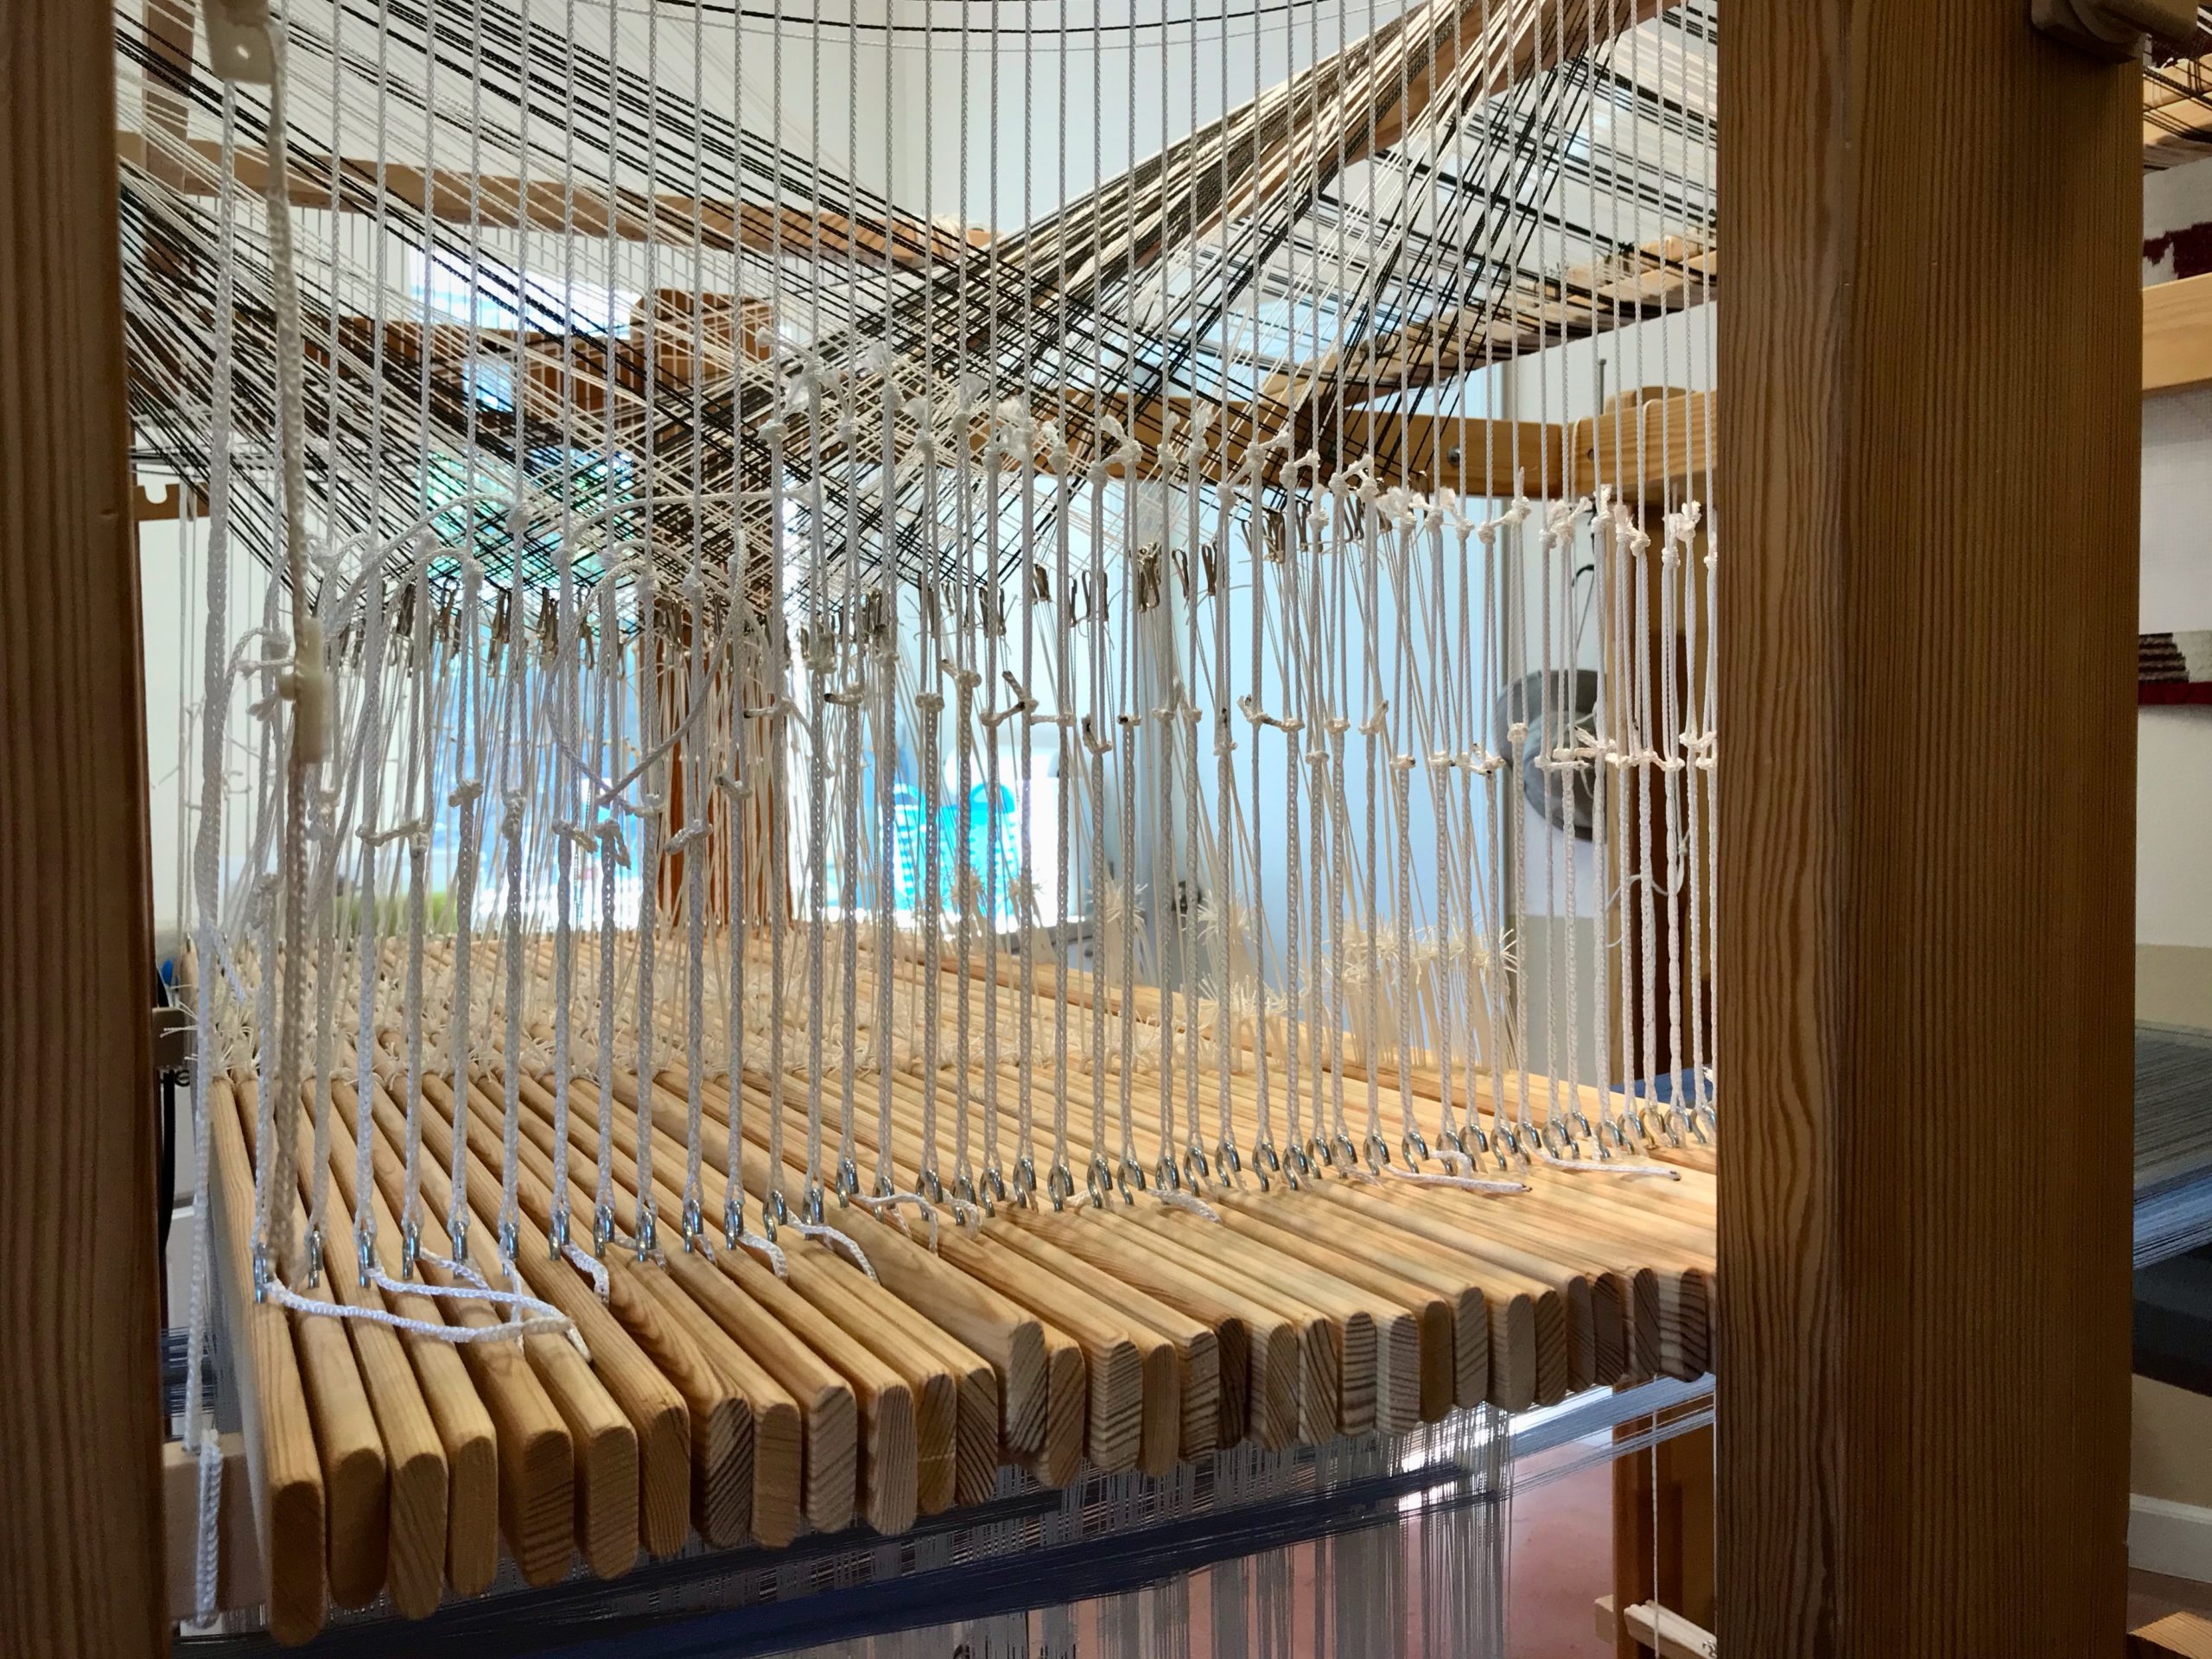
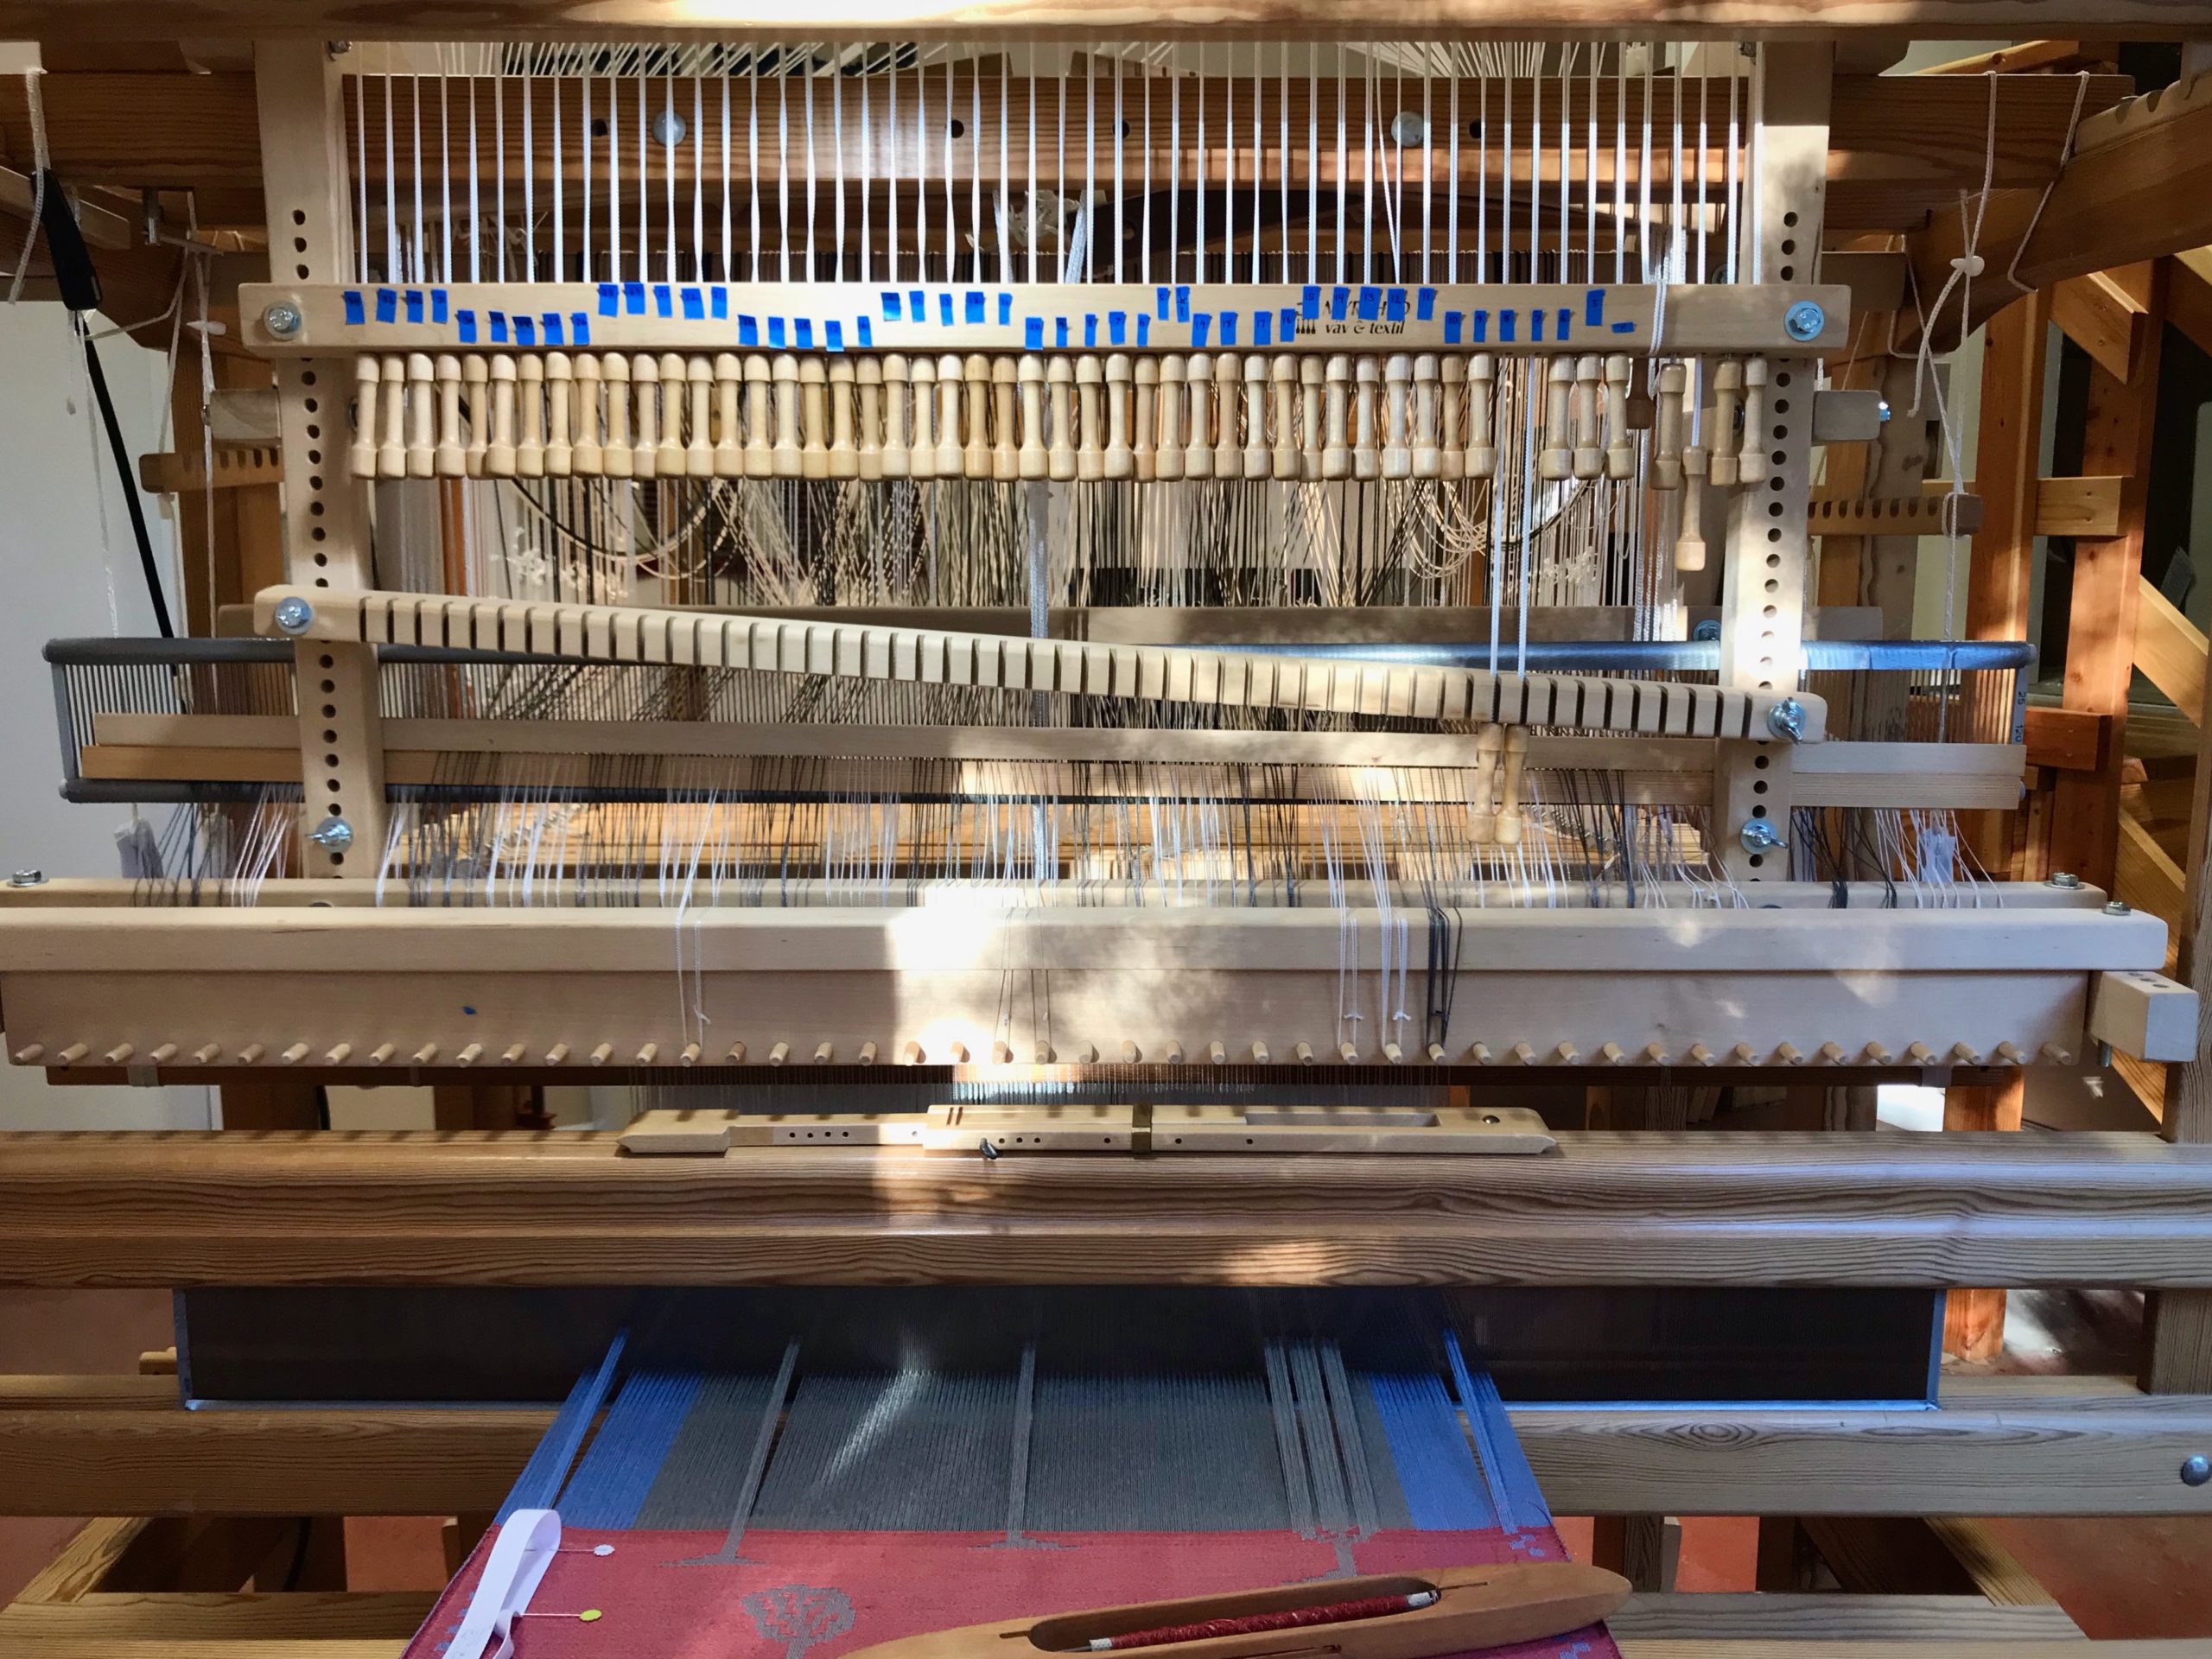
Single unit draw cords pull up single units of threads. For the setup on this project one unit is 6 ends.
Weaving trees on the drawloom.
Trees inside and outside.

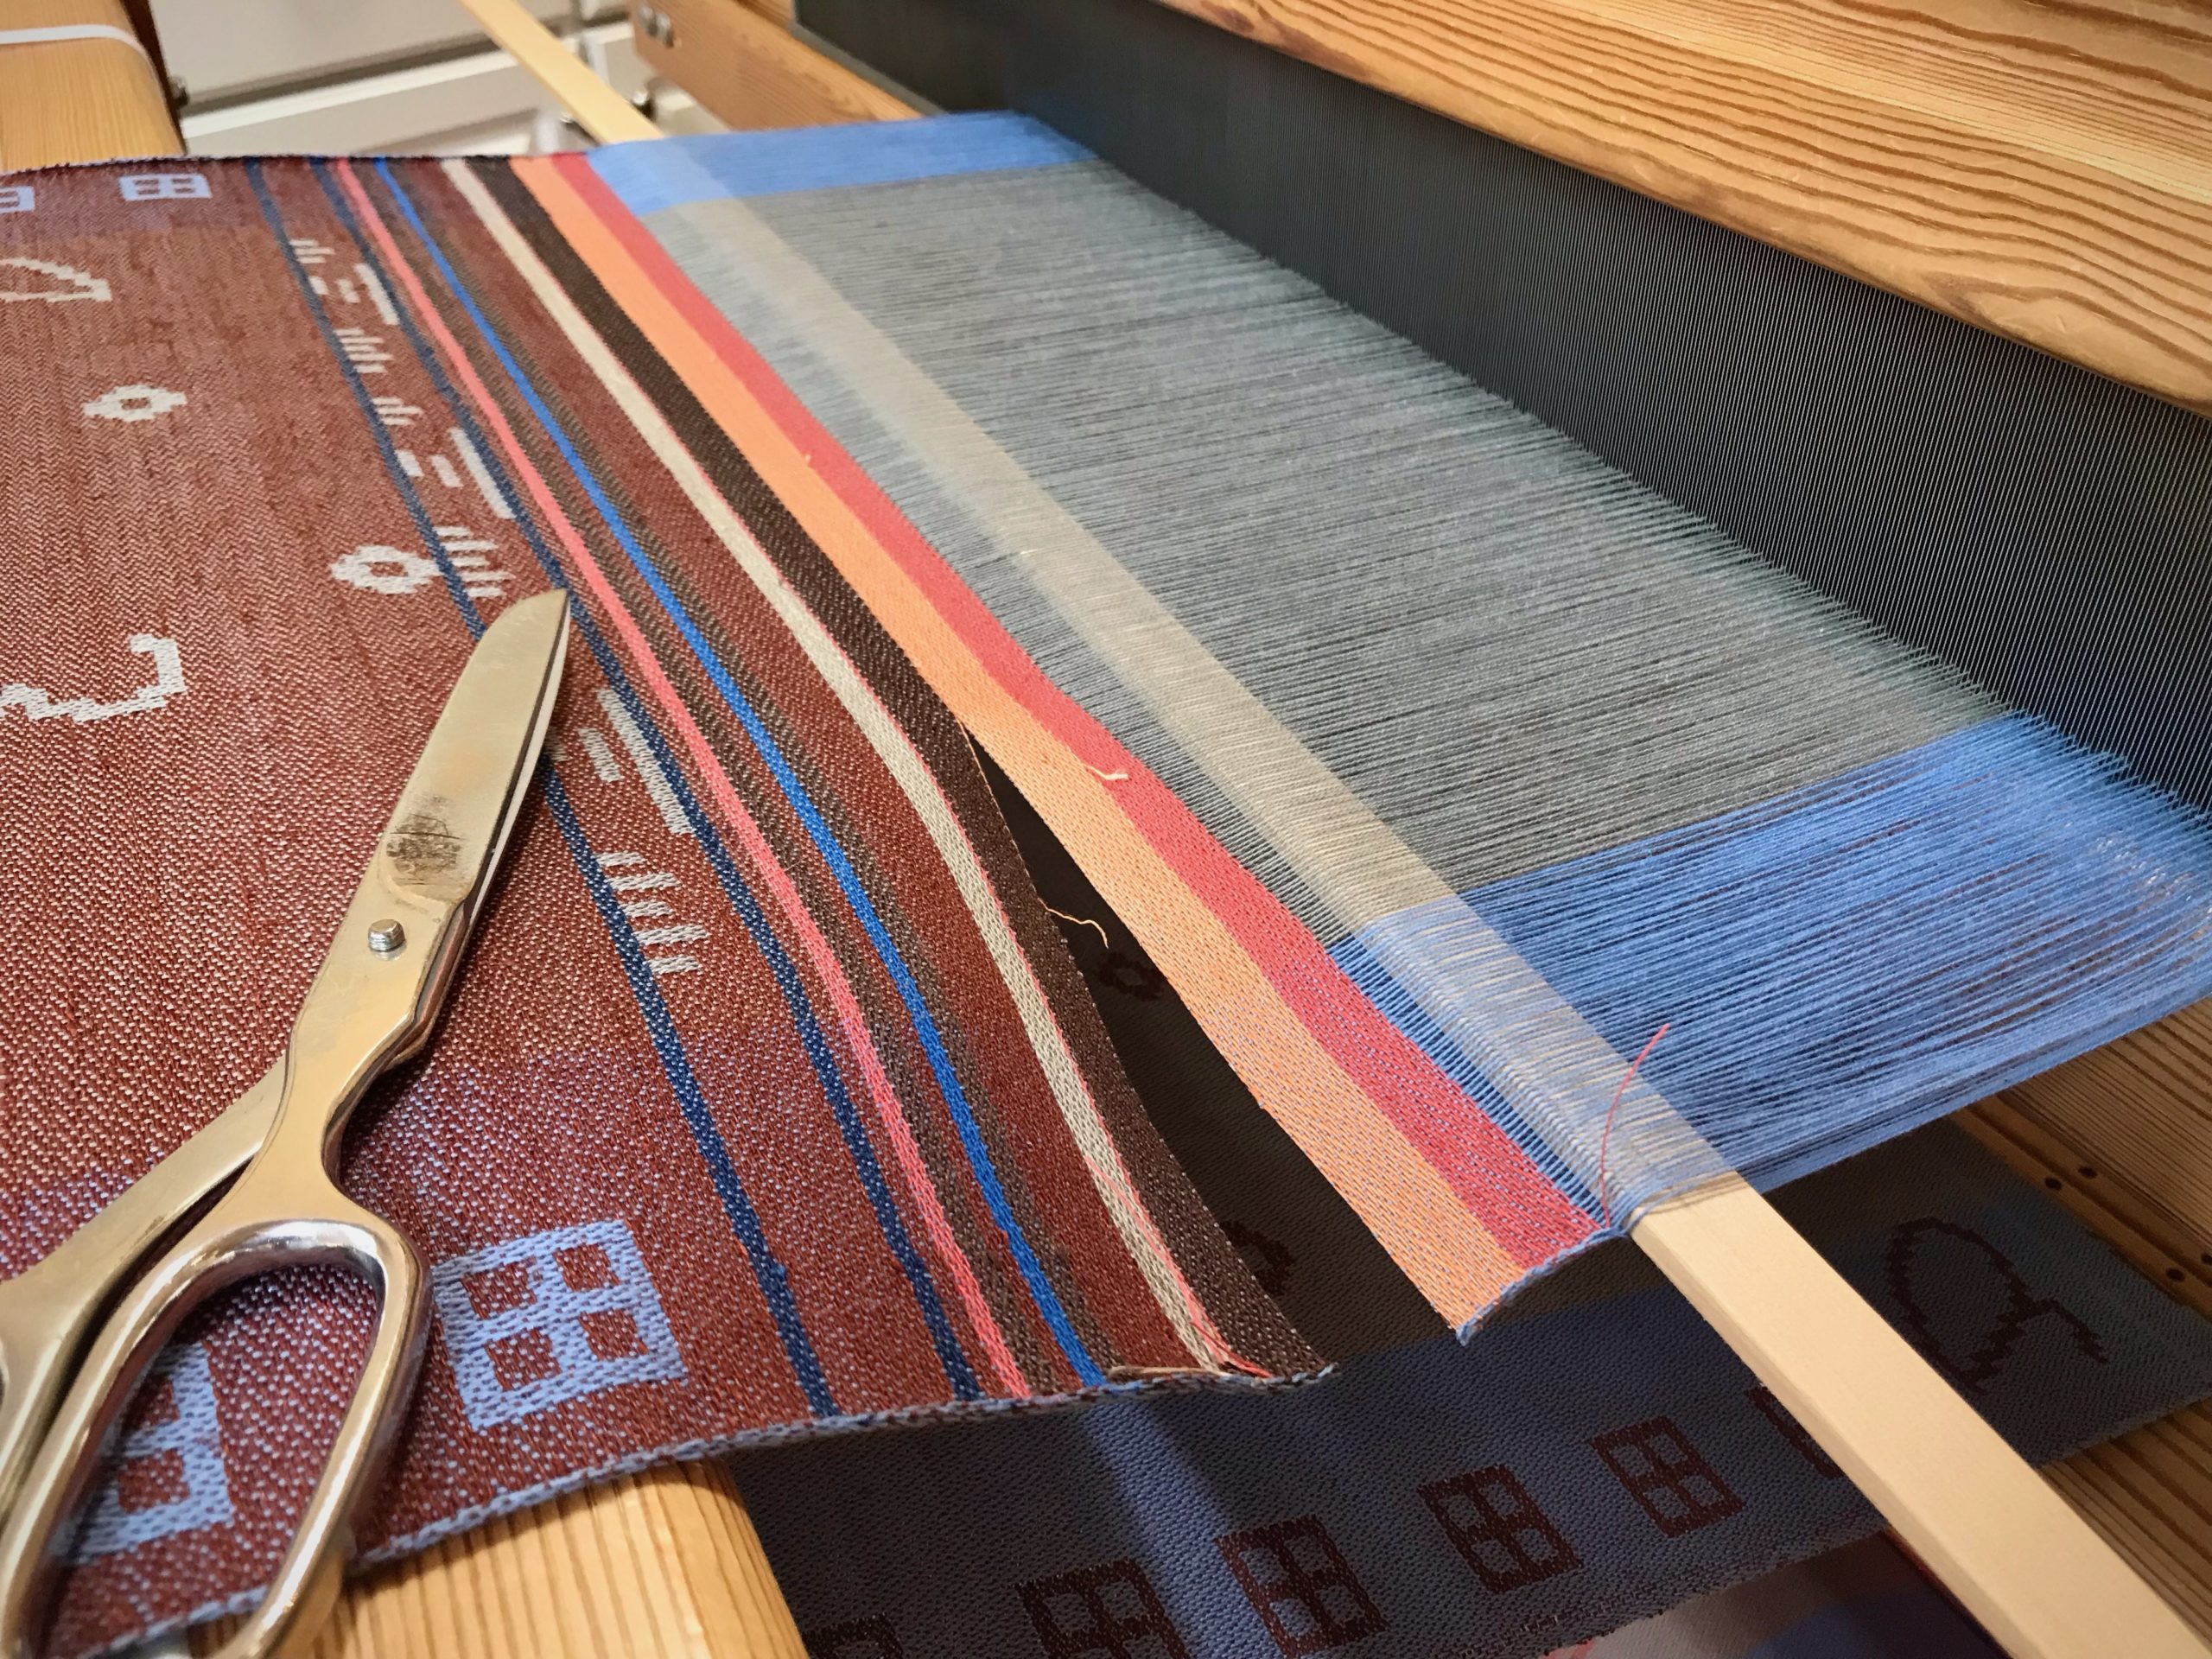
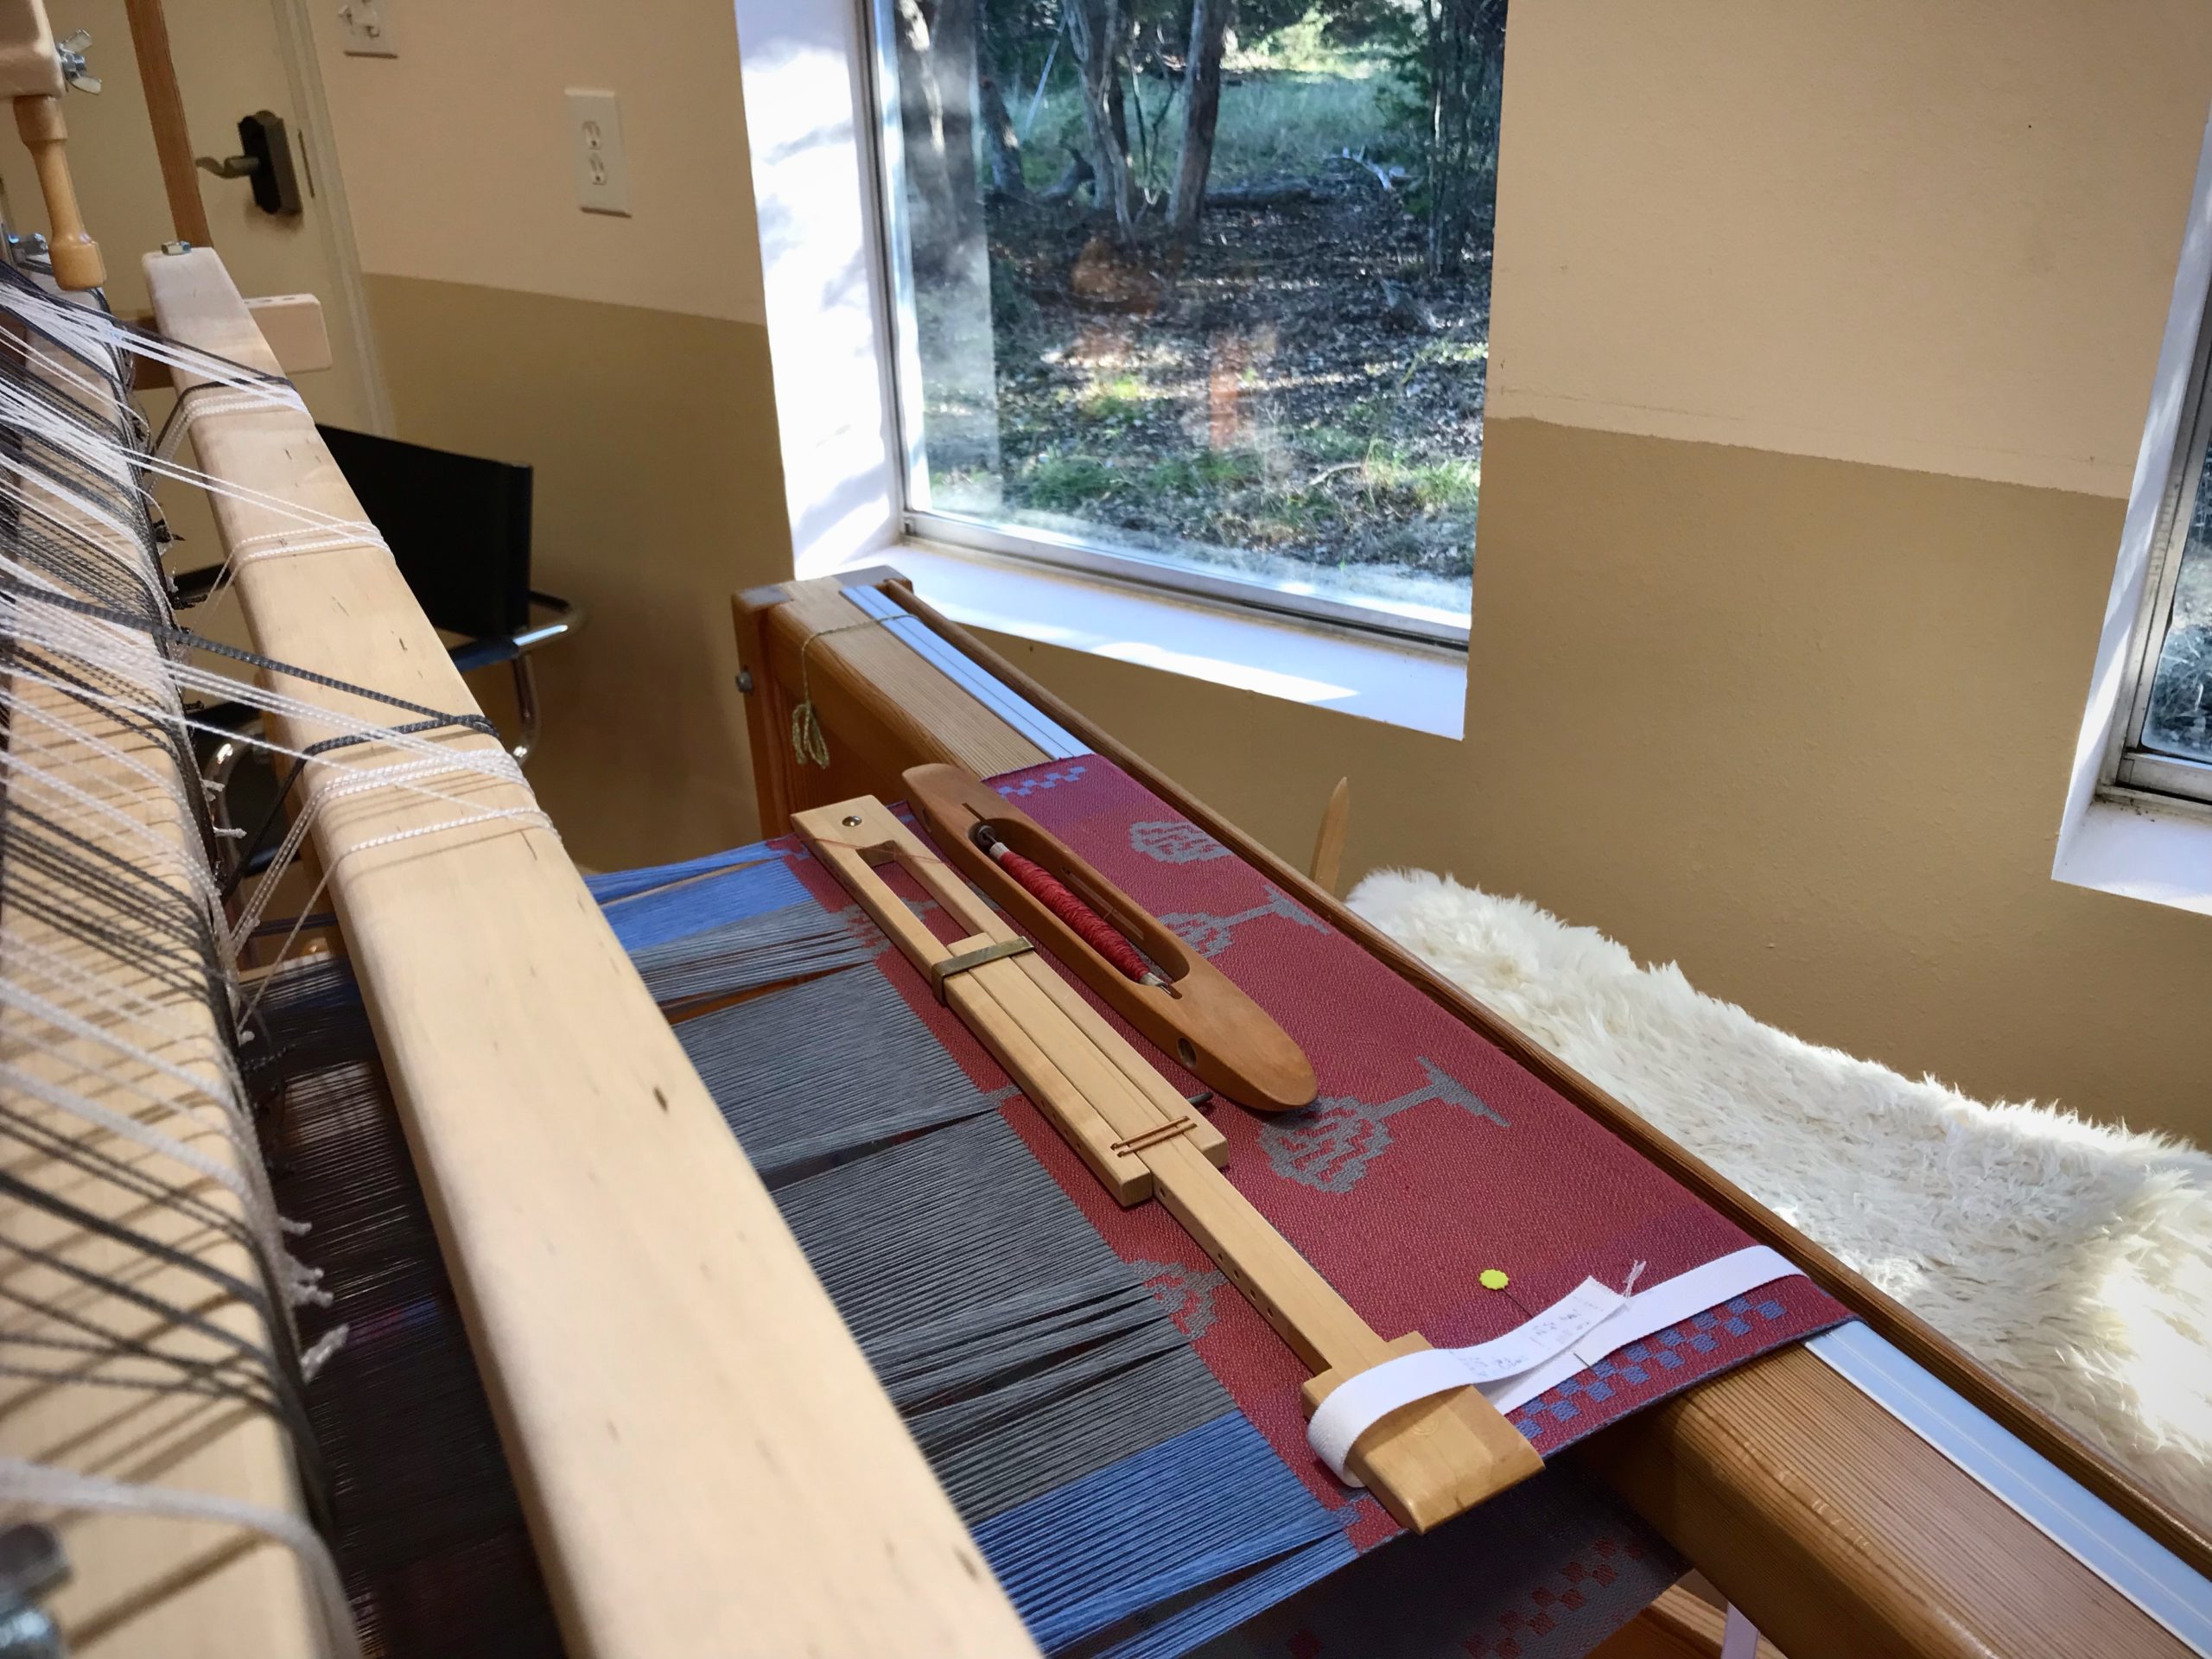
The simple tree design is scattered across the fabric using the single unit draw system. At the start of this towel, the same tree design was woven on the side borders using the pattern shafts. With this combination drawloom I combine single units and pattern shafts to work in complex harmony, as an expression of my creativity.

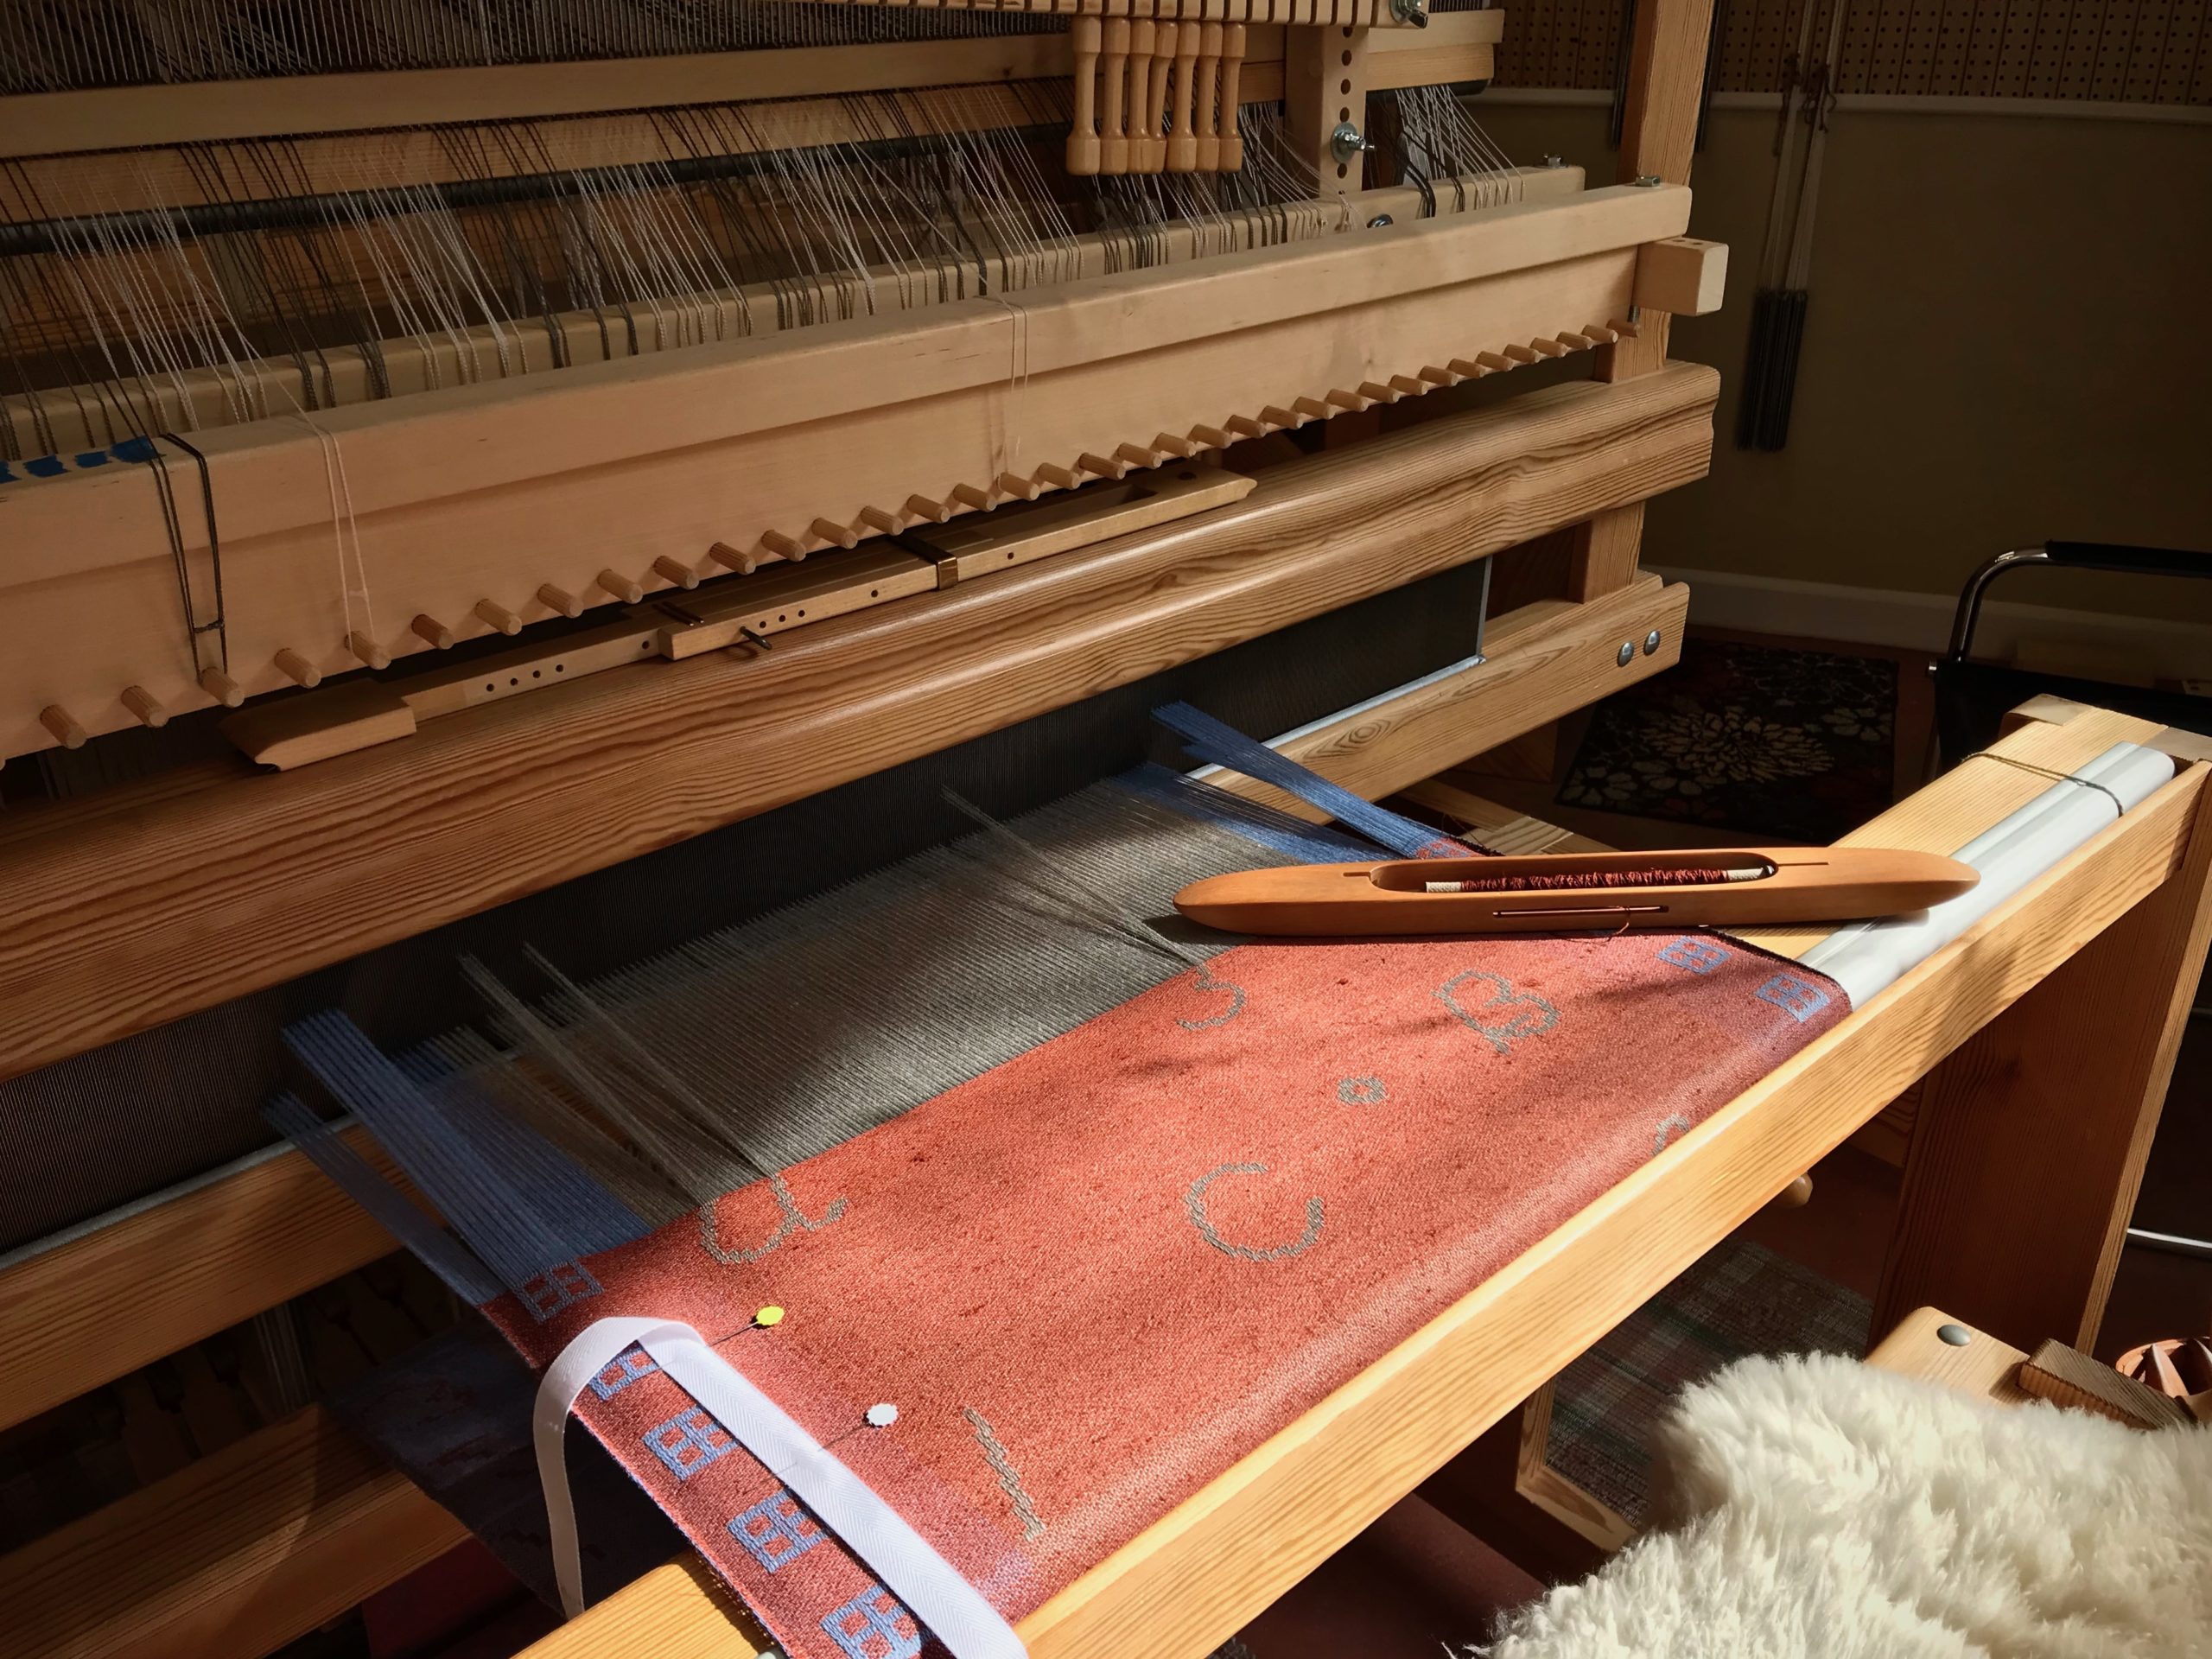
Myrehed Combination Drawloom on a Glimakra CM loom.
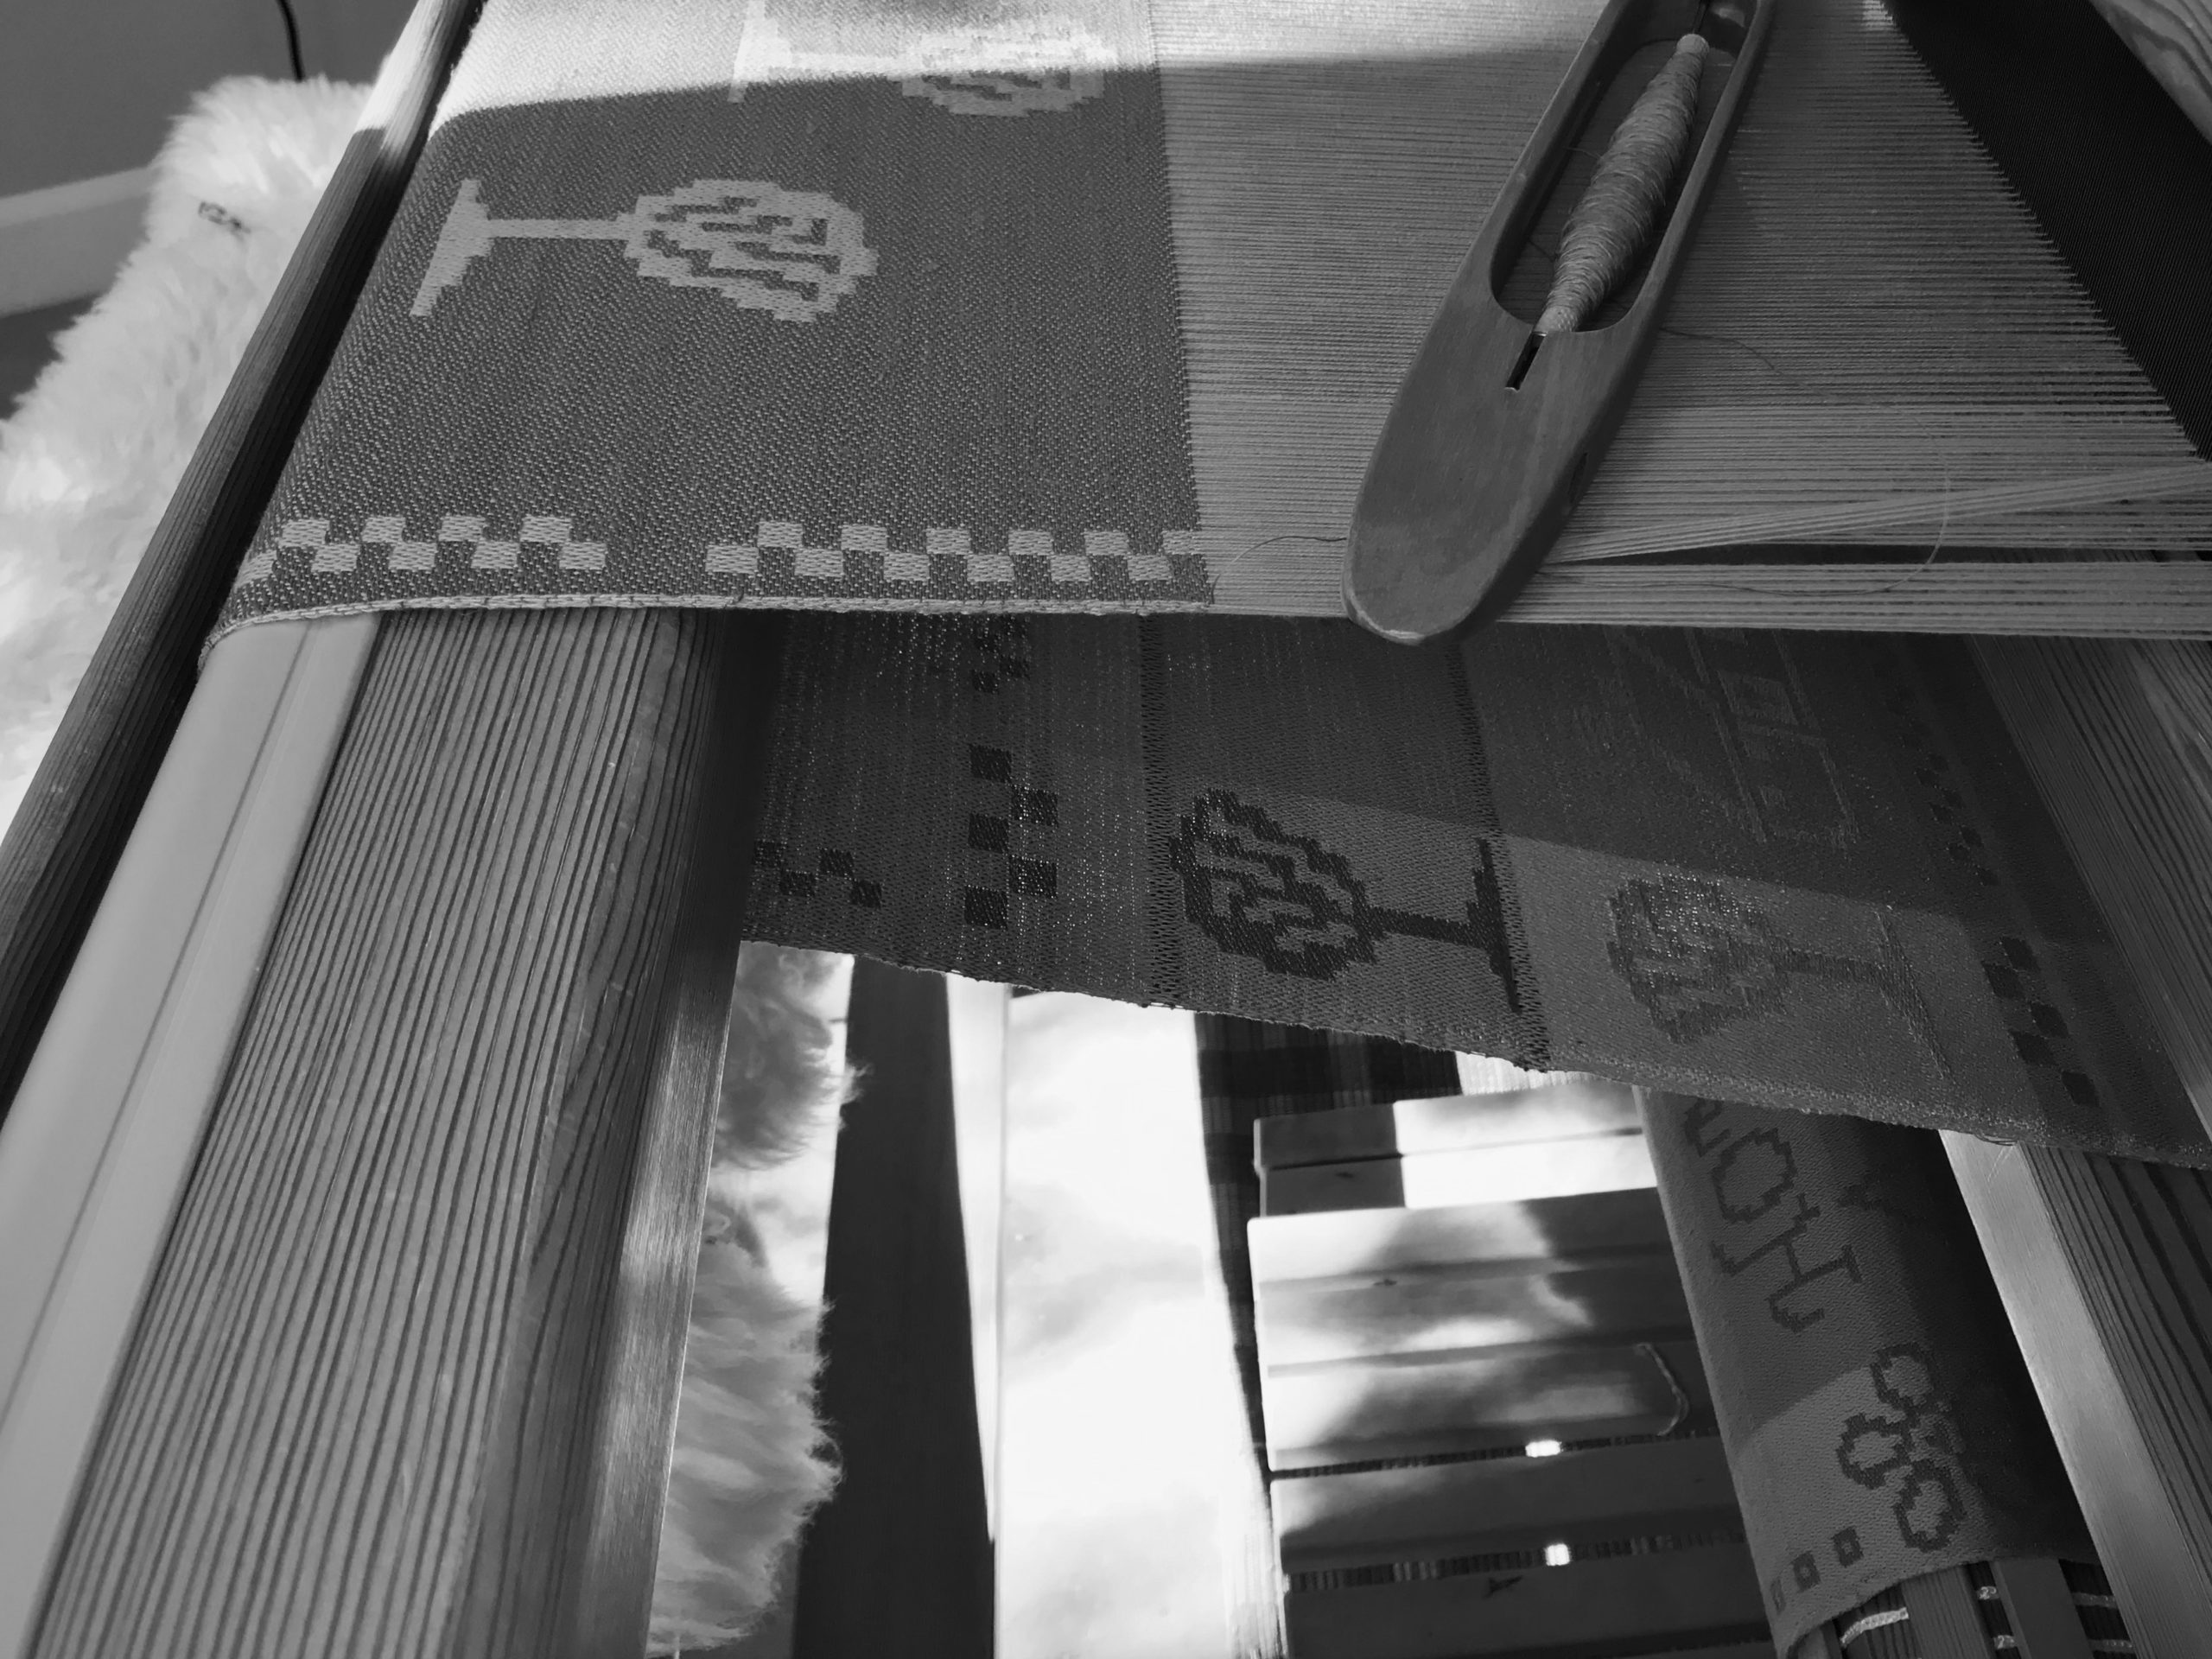
Trees on the side borders, as seen on the cloth below the breast beam, were woven using pattern shafts. Each pattern shaft holds units of ends in a certain order, which enables me to duplicate patterns across the warp or on the sides, as with these trees.
Weaving hand towels on the drawloom.
Near the finishing line for this towel.
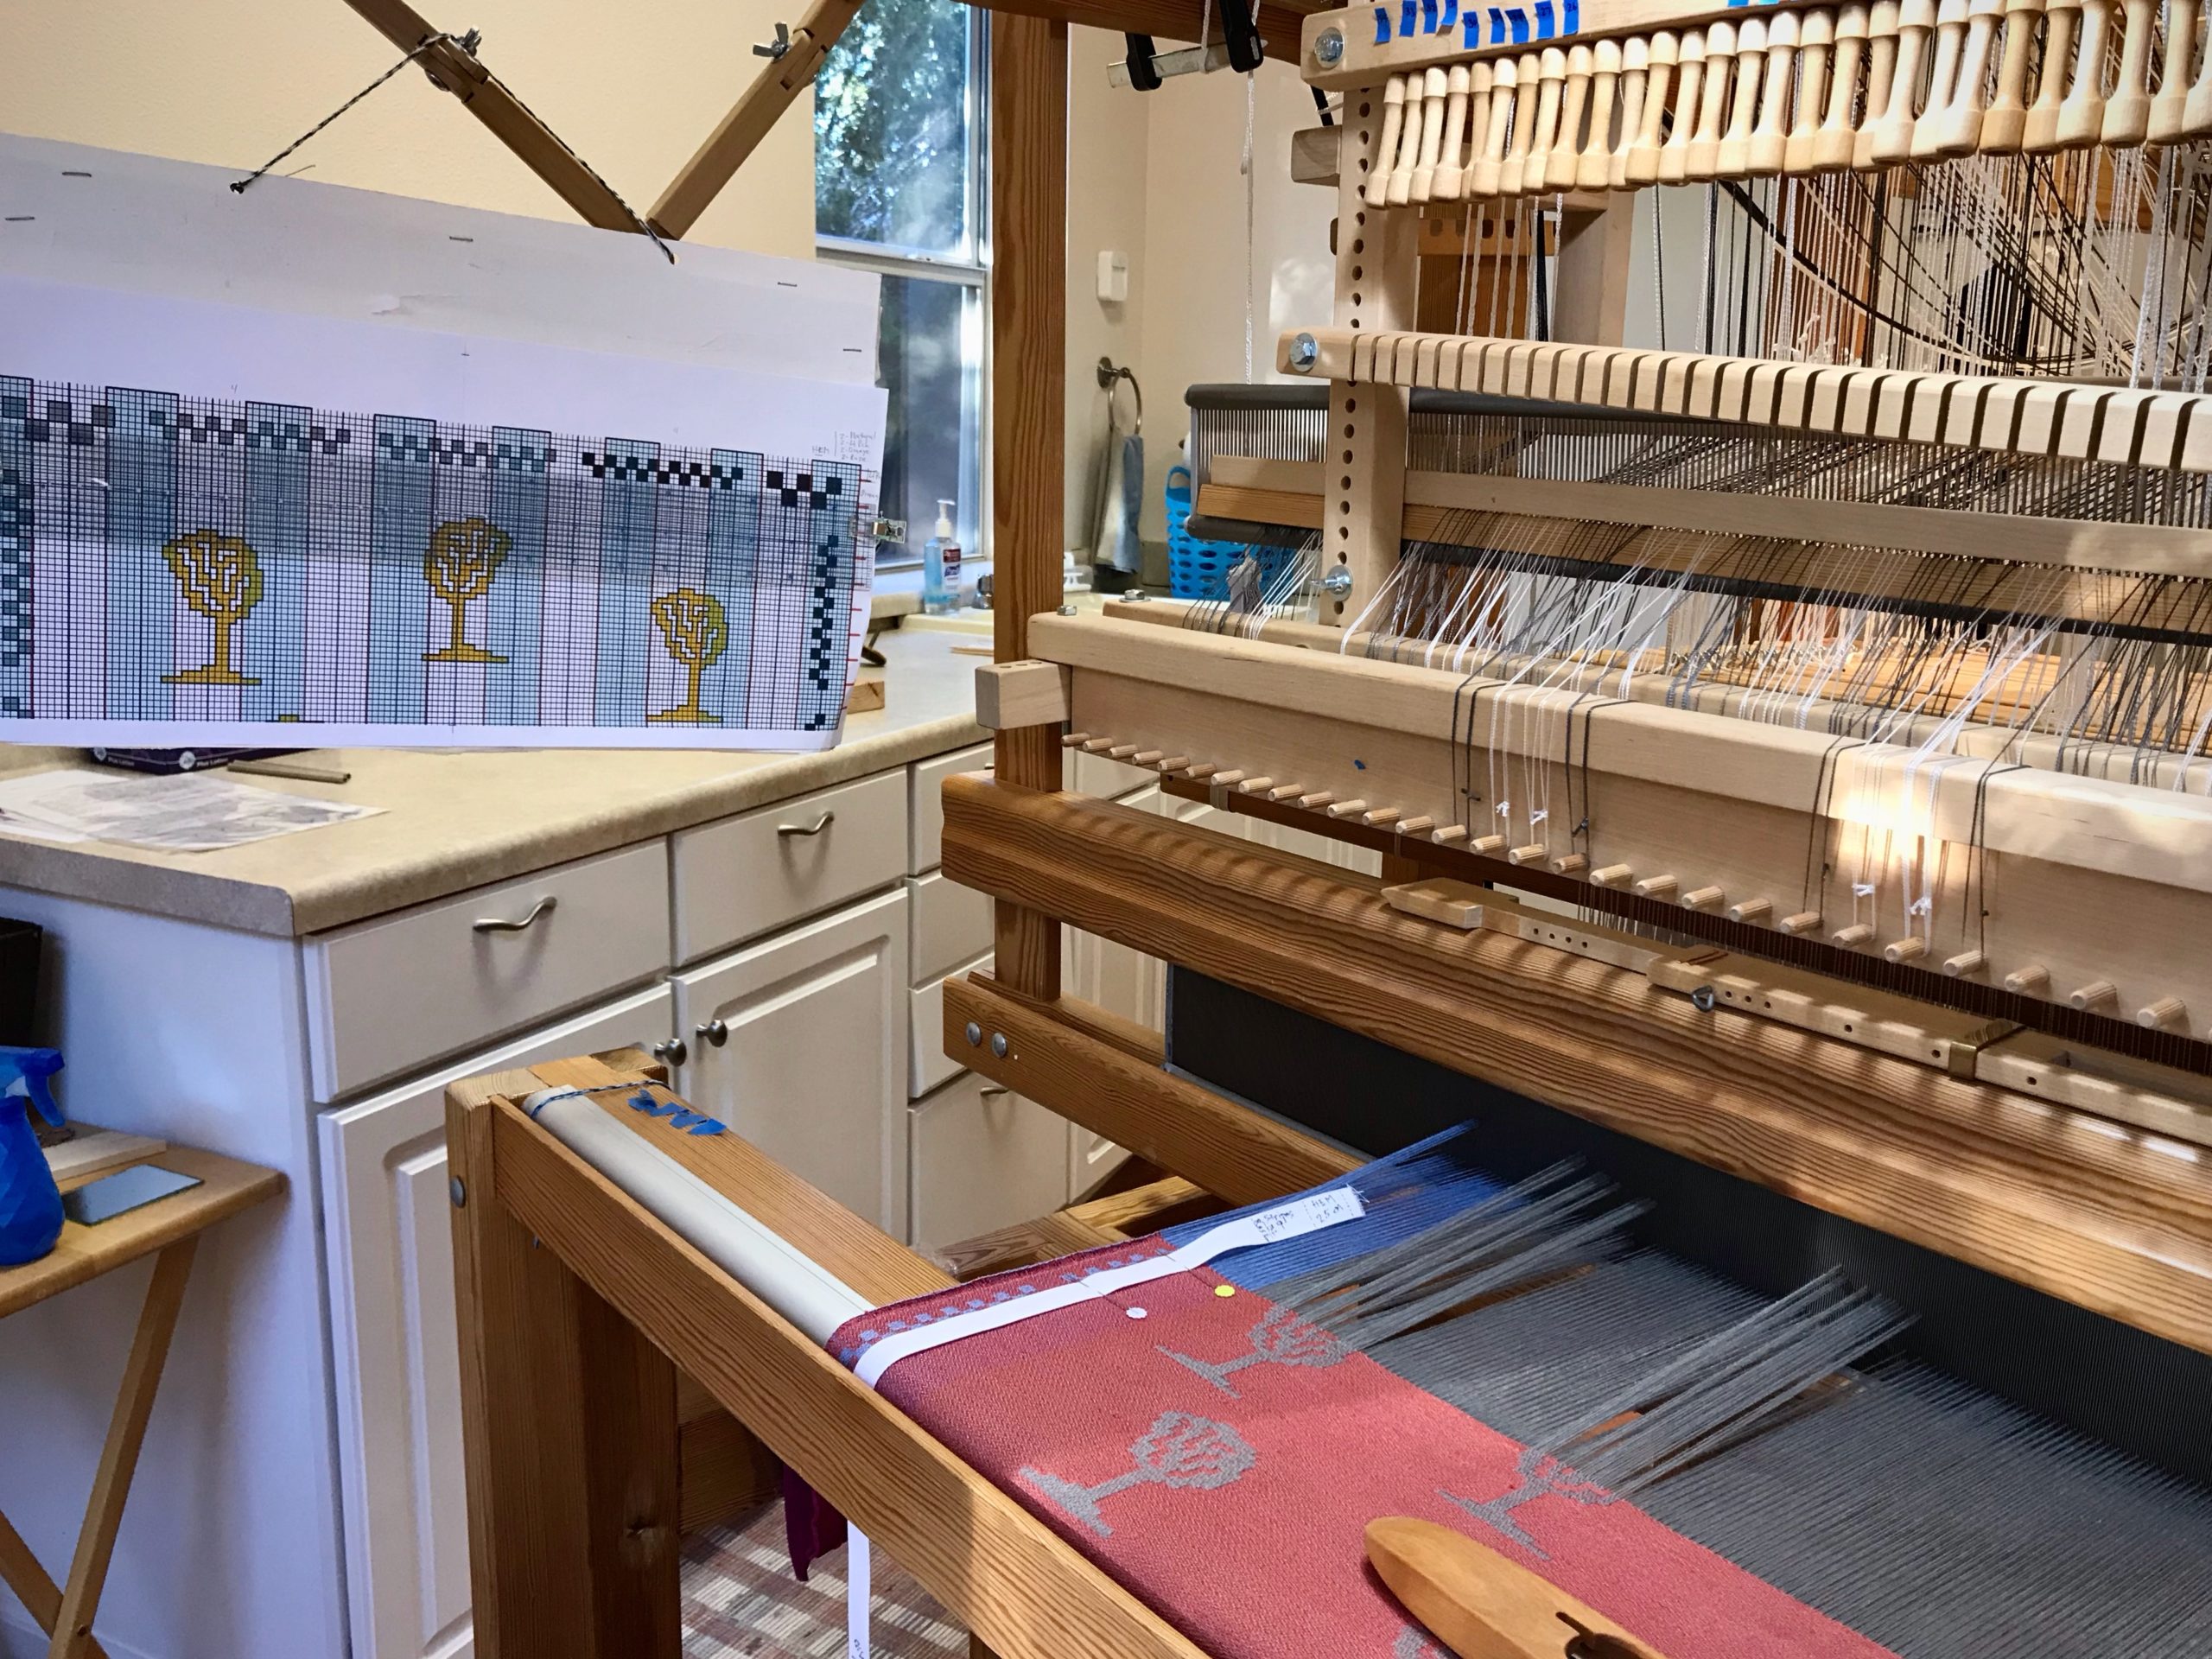
Myrehed Combination Drawloom - follow the chart.
Clear ruler moves up the chart, line by line, showing me exactly which black or white single unit cords to draw. The checked borders are produced with the pattern shaft draw handles.

The Lord is ready to give us his focused attention. Our complexity is no threat to him. When we allow him to direct our hearts, pulling cords at the right place to imprint his will in us, he faithfully completes the work, to the very last detail. The Lord embraces those who fully trust him. His unseen designs become visible in the lives of those who belong to him. We can just imagine the delight this brings to our Maker.

May you find yourself in a big hug.

Happy Weaving,
Karen

Tried and True: What a Little Piece of Tape Can Do

You never know when you’ll need a piece of blue tape. A roll of blue painter’s tape is among my essential weaving supplies. My favorite way to temporarily mark just about anything is with a piece of blue tape.

Blue Painters Tape for Temporary Markings

  1. Cut (or tear) the tape to size.
  2. Fold one edge of the tape under. This makes a little tab so that the tape is easy to remove or reposition.
  3. Use a fine point Sharpie to write on the tape.
Weaver's uses for blue painter's tape.
Tape prepared for pointing.

Three Examples

  • Keep your place. Draw an arrow on a small piece of blue tape. Use the arrow on the tape to follow along the threading or treadling draft. This eliminates confusion, especially after a pause.
Blue tape uses in the weaving studio.
Rosepath treadling for 4-shaft tapestry. Since there are plain weave picks between each rosepath row, I need something to remind me where I left off.

  • Measure the space. Draw a straight line on small pieces of tape. Measure the warp width on a tapestry frame or rigid heddle loom. Use the lines on the tape to mark where the first and last warp ends should lie on the loom. This eliminates guessing when warping the loom.
Uses for blue tape in my weaving studio.
Tapestry frame is ready for a new warp. After measuring for weaving width, and counting dents, I mark the dents with tape. No more guessing if I’m “almost there” when putting on the warp.
Blue tape to mark the rigid heddle. And other uses for blue tape.
By clearly marking the first and last slots/holes I can verify that my calculations are correct before I start warping the rigid heddle loom. This is helpful for direct warping and for indirect warping methods.

  • Number with Grace. Write out a series of numbers on a long piece of tape, leaving space between the numbers. Cut the numbers apart. Use the numbers to label pattern shaft draw handles on the drawloom. Place the numbers directly above the draw handles, arranged in groups of five for easy visual recognition. Use a separate series of numbers for border pattern shafts, if applicable. This temporary numbering system gives the advantage of being able to customize the numbering for each drawloom draft.
This is how I number my drawloom handles. Blue tape!
Using the Myrehed Combination Drawloom, I configure the numbers for the pattern shaft draw handles to coordinate with the single unit draw cords, which are grouped by tens. This makes my working chart that uses single units and pattern shafts much less complicated. For this reason, it doesn’t make sense to give my draw handles “permanent” numbers.

Have you found ways to use blue painter’s tape in your weaving studio? Share in the comments!

May your life leave marks that are more than temporary.

Have fun,
Karen

On Drawloom Time

As much as I tried to look under the warp to see it, I could not get a decent view of the reverse side of the fabric. Until now. I am overjoyed to see that this gray and blue warp is even better than I had imagined. As the first towel on the warp rounds the cloth beam I see a silver-like glimmer behind the cursive “Peach,” and shiny blue loveliness at the borders.

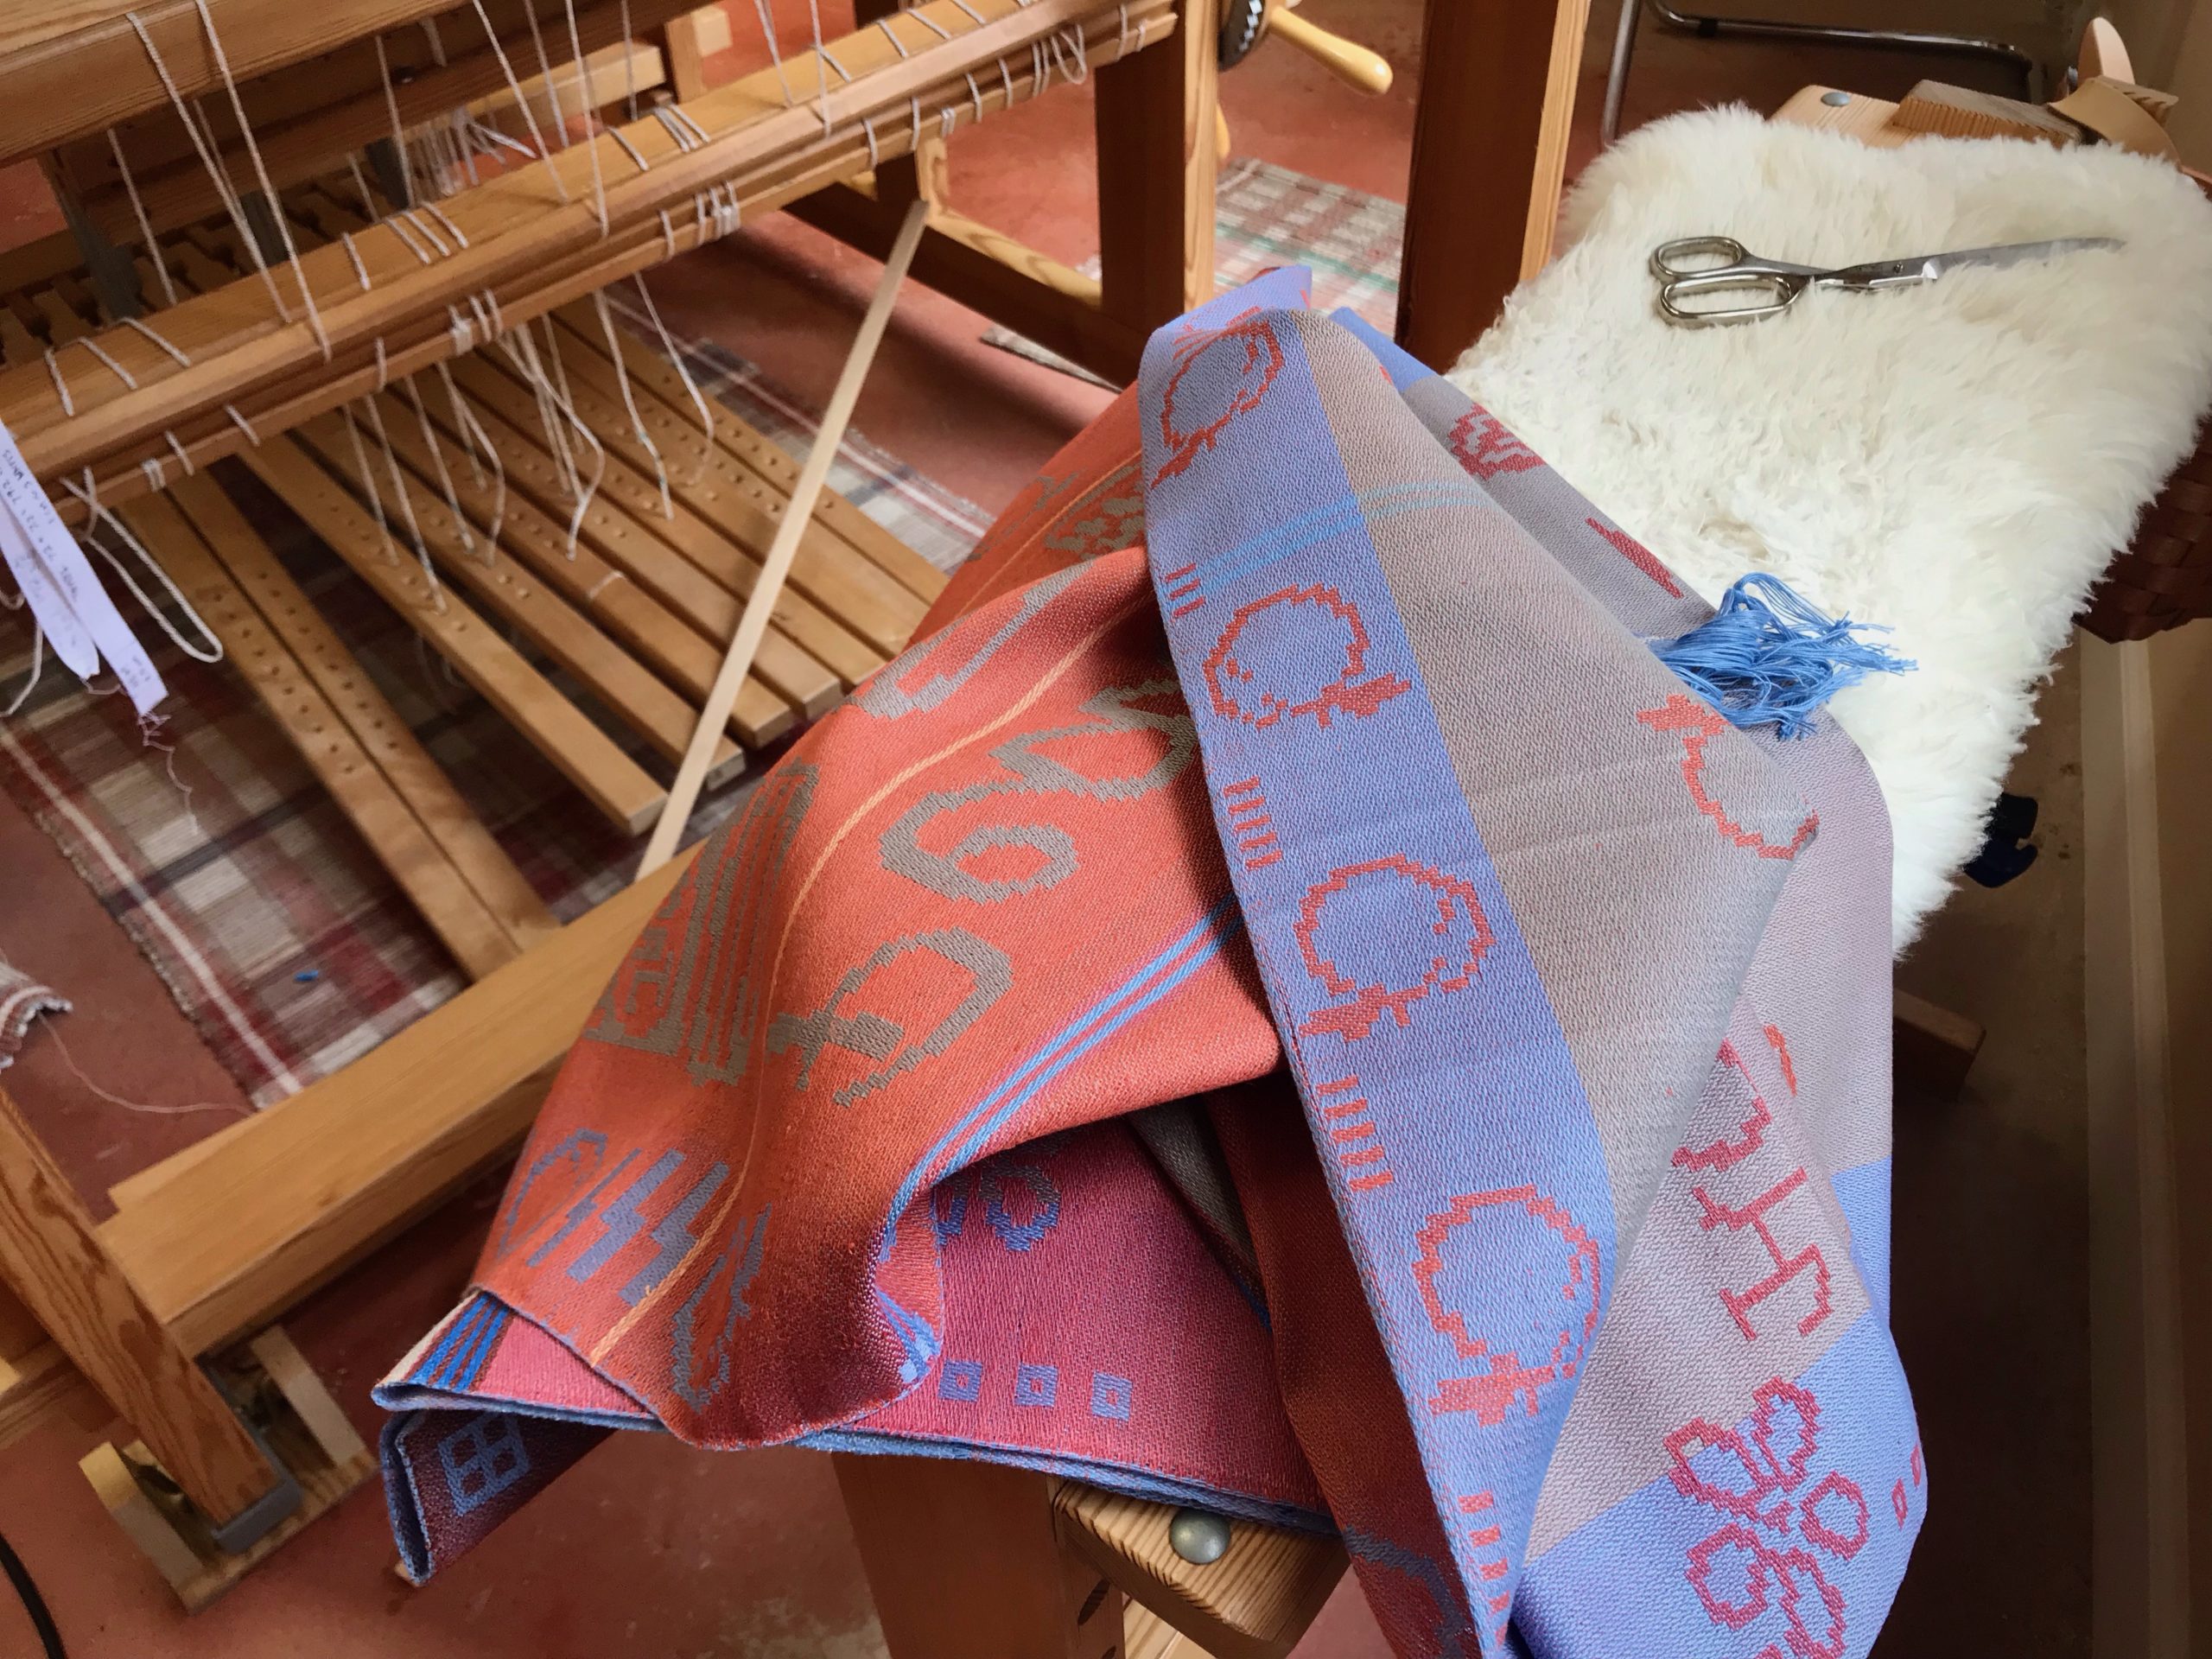
Whimsical flowers woven on the drawloom.
Conclusion of Towel Number Two. This is when I can finally look at the cloth beam to clearly see the reverse side of Towel Number One.

Yet, this is but a fleeting glimpse. Oh, drawloom, you make me wait sooo long to see what I have woven. In that waiting, I continue to weave, content with the process. The towels that will result will last a very long time. That makes every minute at the loom time well spent.

Anticipation! Seeing the reverse side of what's woven on the drawloom!
First towel wraps around the cloth beam, revealing the silver and blue side that was underneath while weaving.

We work and work for things that are temporary. Even the most spectacular drawloom-woven towels wear out eventually. God has placed eternity in our hearts. We know there’s more to life that these fleeting days. Eternity gives meaning for today. The full scope of what God is doing is beyond our here-and-now comprehension. But at times, when we are given a glimpse into his wondrous mysteries, we are assured that eternity with him will far surpass our brightest imaginations.

May your days be full of meaning.

Happy Weaving,
Karen

Typical Questions for a New Warp

I have questions galore as I begin a new warp on the combination drawloom. Is this the best sett for these threads? How are my sheds? What will orange-ey weft colors do on this pewter and blue warp? Is the image of this first design better face up, or face down? How can I include a couple extra colors in the design? The loom is set up with 45 pattern shafts and 148 single units. I’m eager to begin!

Combo drawloom with 45 pattern shafts and 148 single units.
New drawloom warp.
Myrehed Combo Drawloom attachment.

Sampling at the beginning of the warp gives me answers. The sett is good—18 ends per centimeter, with 16/2 cotton in 6-shaft irregular satin. After some tweaking, the sheds are good—and all the treadles touch the floor when the optimum shed is reached. The weft colors look good—better than expected. And, definitely, the jam jars need to be face down—so, I reverse the image in Affinity Designer on the computer and print out a new chart. I can sneak in some extra colors with narrow weft stripes—beginning and ending borders. I’m ready to roll! New kitchen towels in various designs are moving forward! First up…Peach Jam Jars.

Testing colors on new drawloom warp.
Mirror shows reversed side of drawloom fabric.
Jam Jars drawloom pattern.
Design is reversed for the drawloom.
Testing patterns and colors on new drawloom warp.
Beginning first towel on drawloom warp.
Ready - Sett - Go! New towels on the drawloom.

~It is a joy to have you visit with me every week! It is time for my annual pause for the month of July. I’ll see you back here on Tuesday, August 3, 2021.~

Until then, may the Lord bless you and protect you; may the Lord make his face shine on you and be gracious to you; may the Lord look with favor on you and give you peace.

May your questions get answered.

Happy Weaving,
Karen

Tried and True: Just in Case

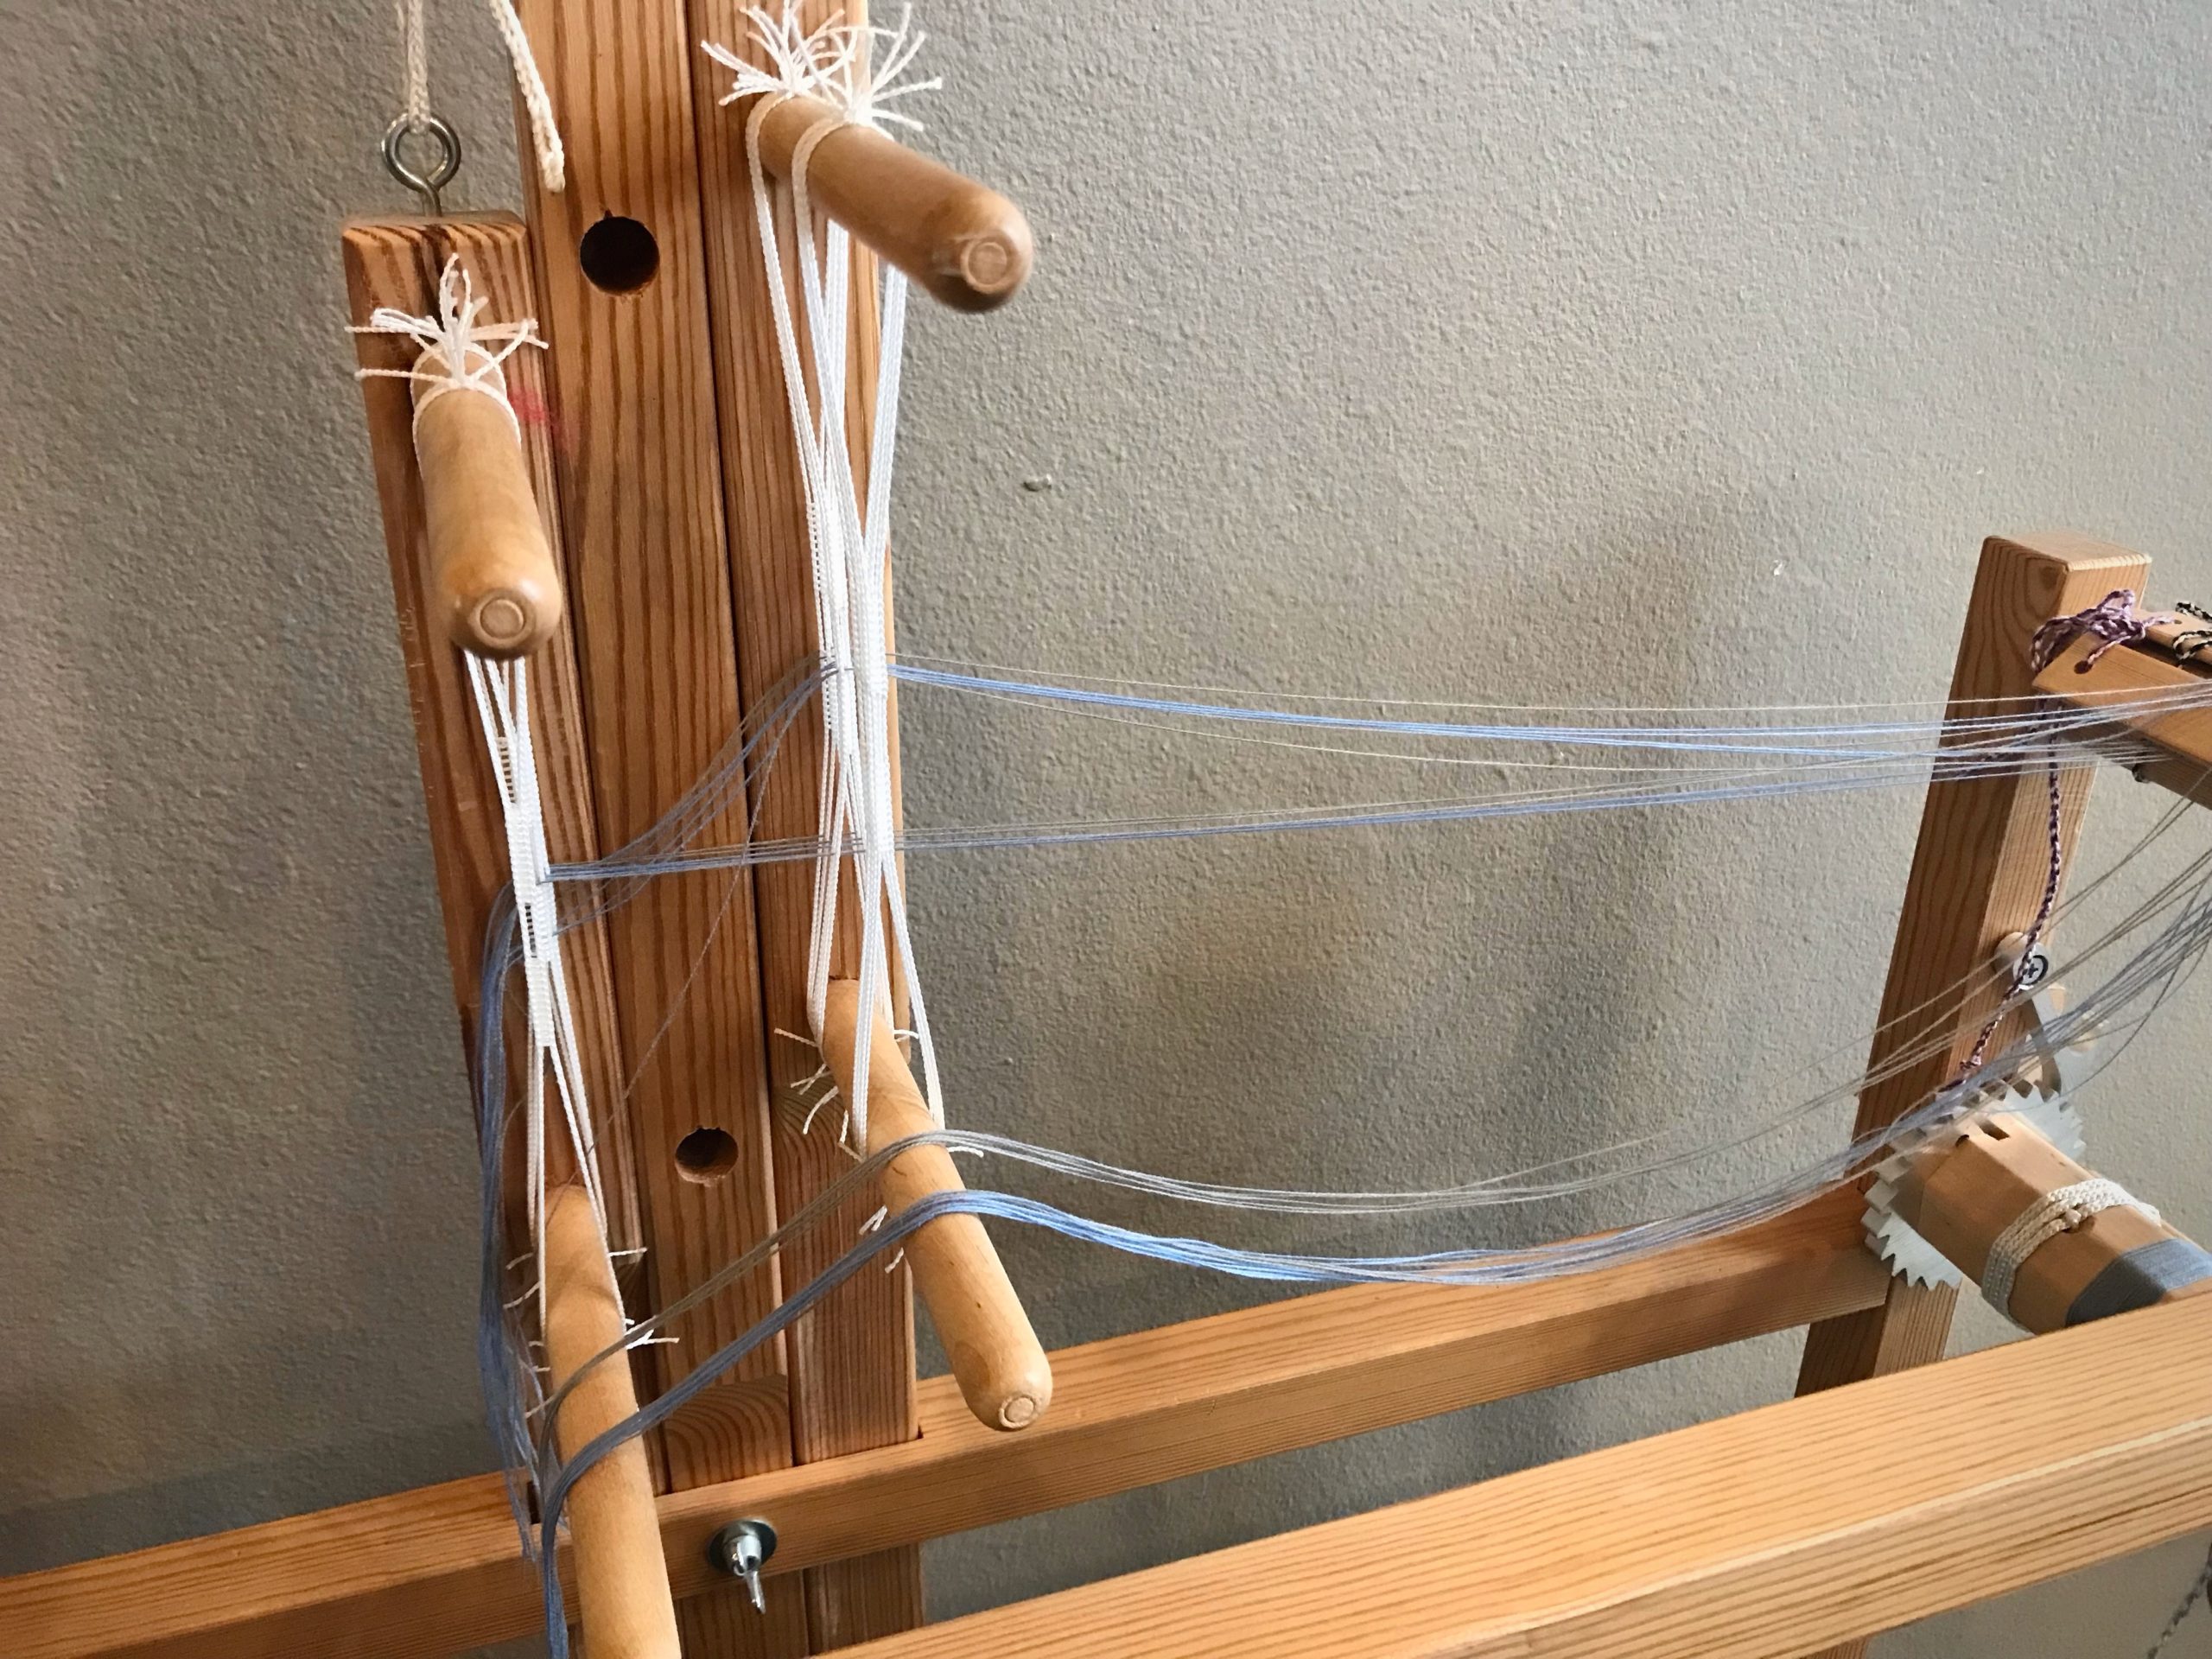
Texsolv cord is ingenious! It suspends shaft holders while I dress the loom. It also suspends the heddling bar during drawloom setup. A small anchor pin or arrow peg does the trick of holding everything together.

How to use Texsolv cord and anchor pins.
Anchor pin is buttoned through the Texsolv cord and placed into the hole at the bottom of the shaft holder.
Talking about Texsolv cord and arrow pins.
Thread one end of the Texsolv cord through a hole in the other end to make a loop. Insert an arrow peg through a hole to secure the loop.

But there is one potential hazard…

In order to adjust the height of the suspended heddling bar at the drawloom, I want to move the arrow peg. I hold one end of the bar while pulling the peg out of the Texsolv cord. That little peg fumbles out of my hand and drops to the floor. OOPS! I am left holding one end of the bar that has 148 threaded pattern heddles, weights included. Now what?! Alone in the room, I am now the sole support for that end of the heavy bar. The peg on the floor is out of reach.

Super Simple Tip of the Day

Always keep a spare anchor pin or arrow peg on the loose end of the Texsolv cord. Always.

Just in Case strategies.
Spare anchor pin stays on the shaft-holder cord. You do not want to be left holding a shaft holder with eight shafts if your anchor pin ever falls out of your hand…

The rest of the story…
When that pesky little arrow peg slips out of my hand I calmly take the spare peg that is there “just in case,” and secure the Texsolv loop that holds the heddling bar. No big deal, after all.

Strategies for Just in Case!
Spare arrow peg dangles below. Whew!
Tips for just in case!
Spare arrow peg is a life saver on the rare occasion it is needed. There is a significant amount of weight on that heddling bar.

May you be ready for anything, just in case.

Ready or not,
Karen