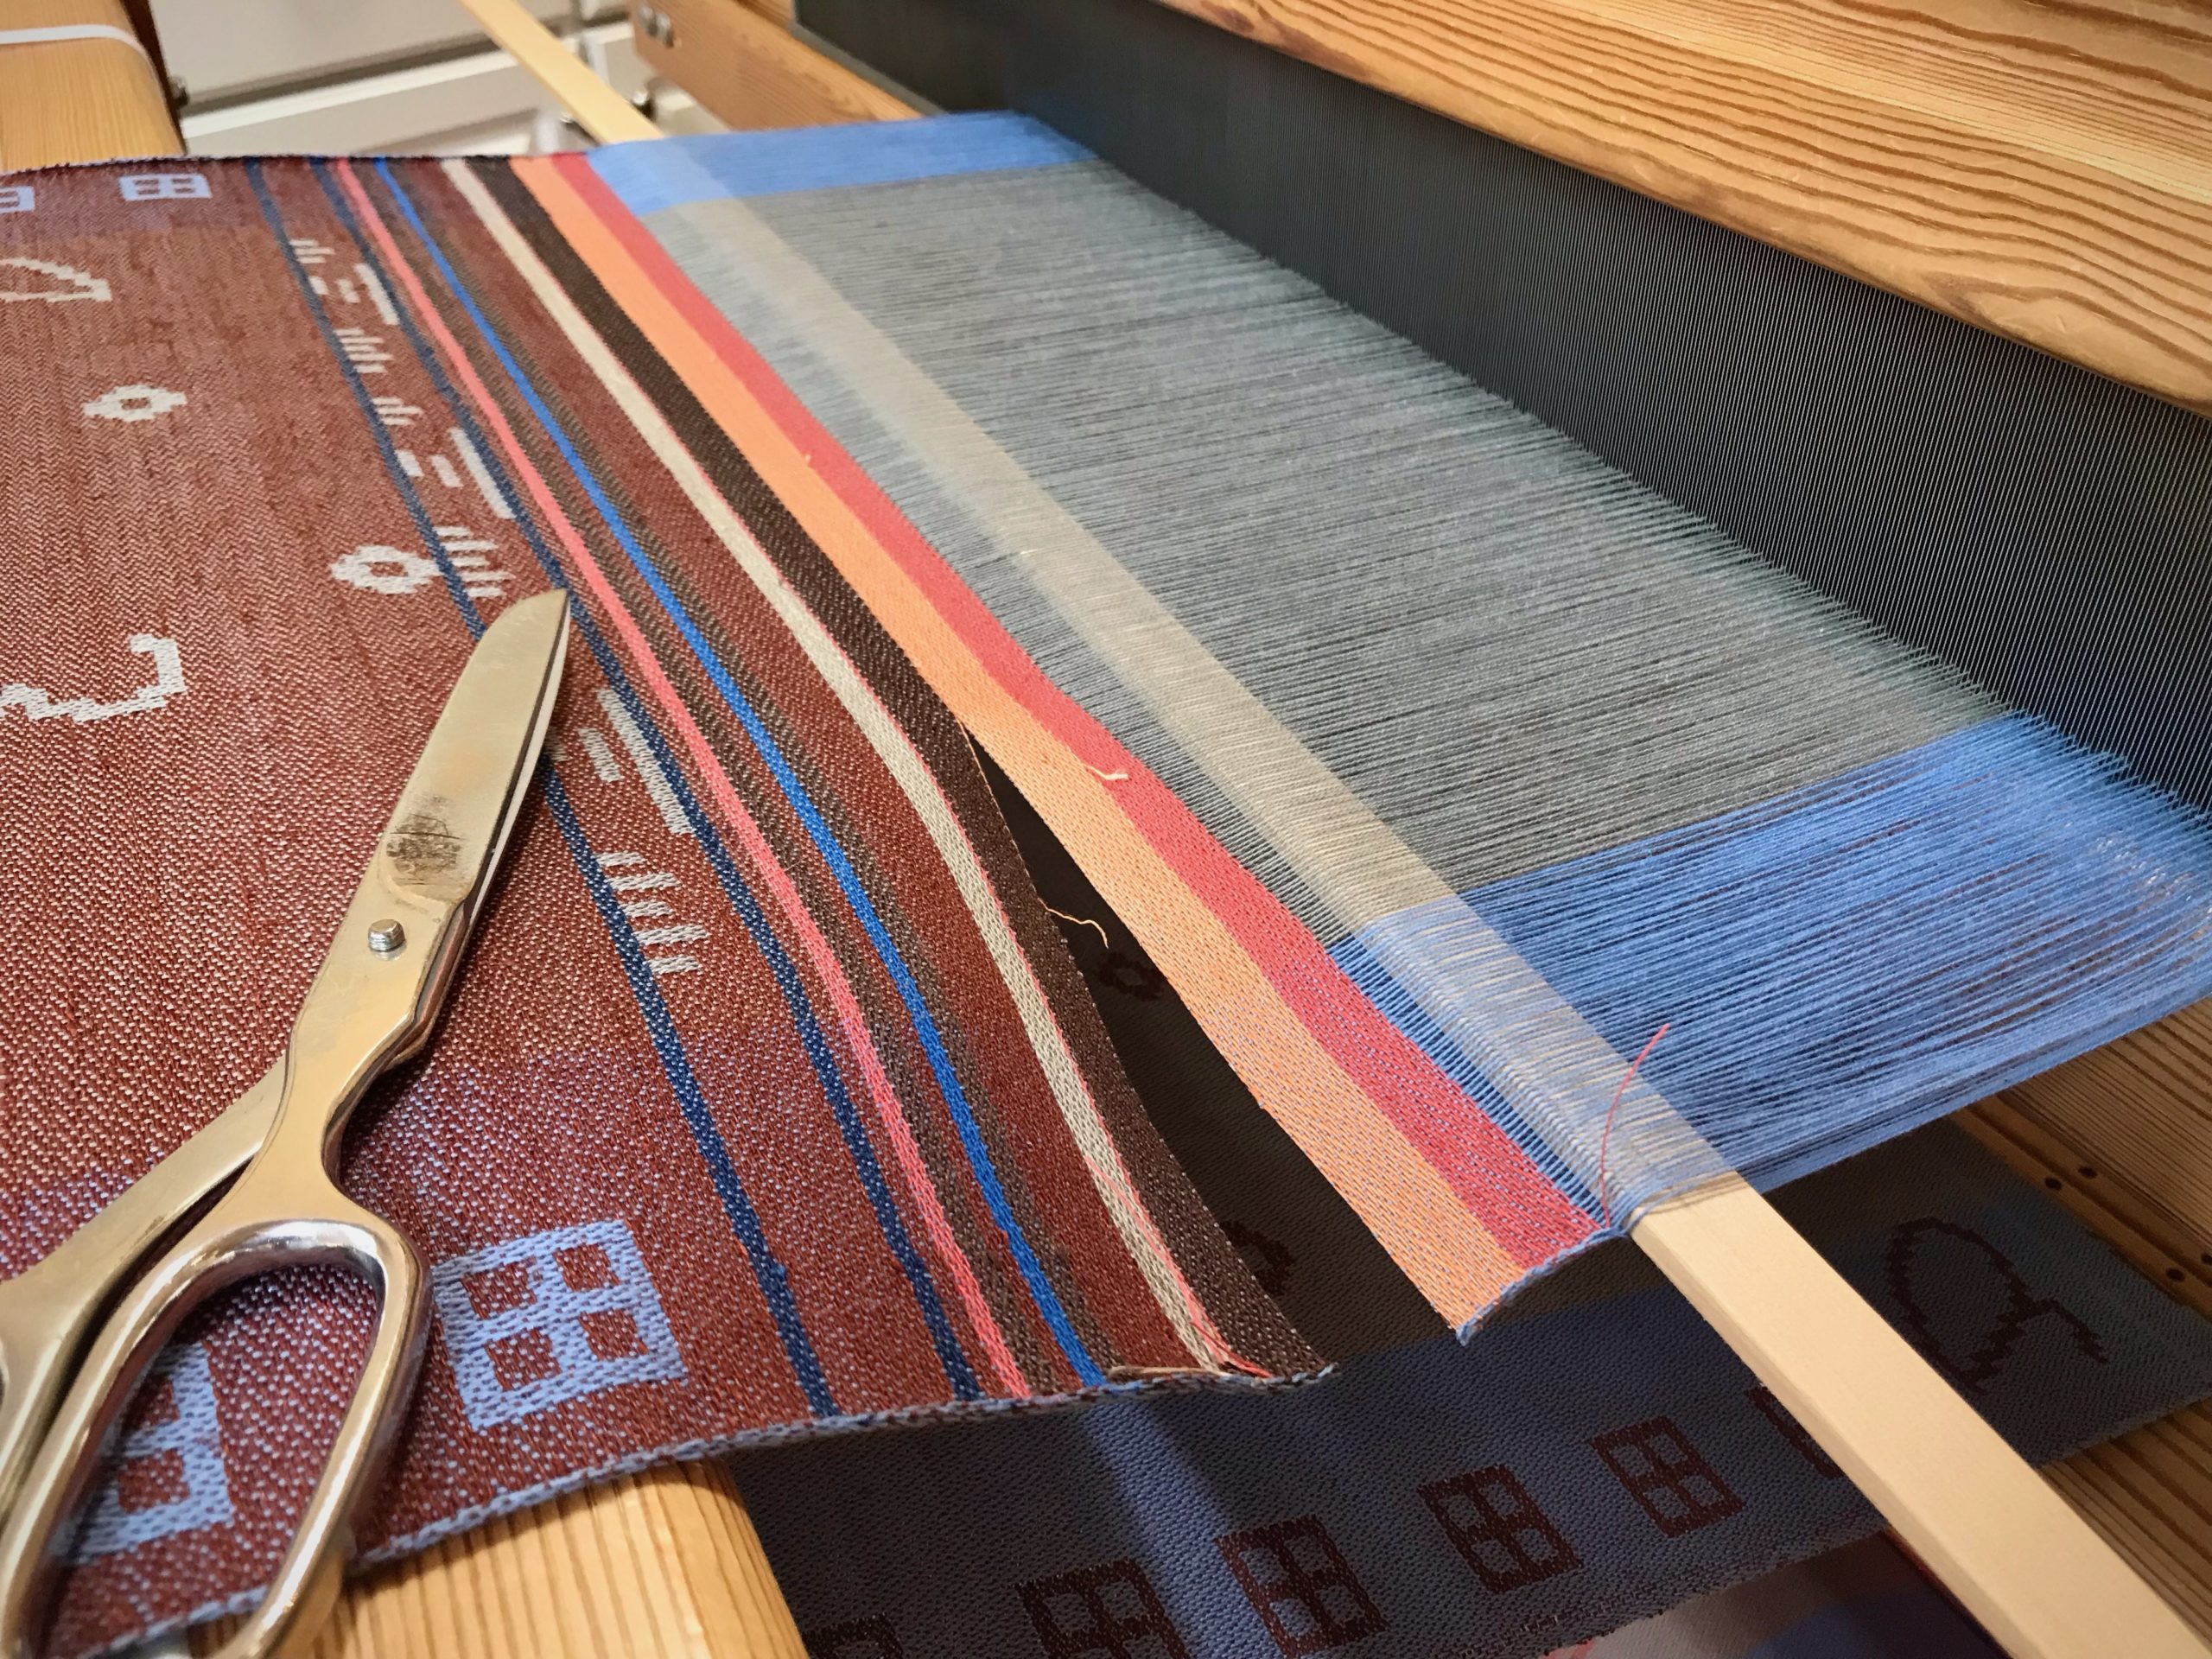
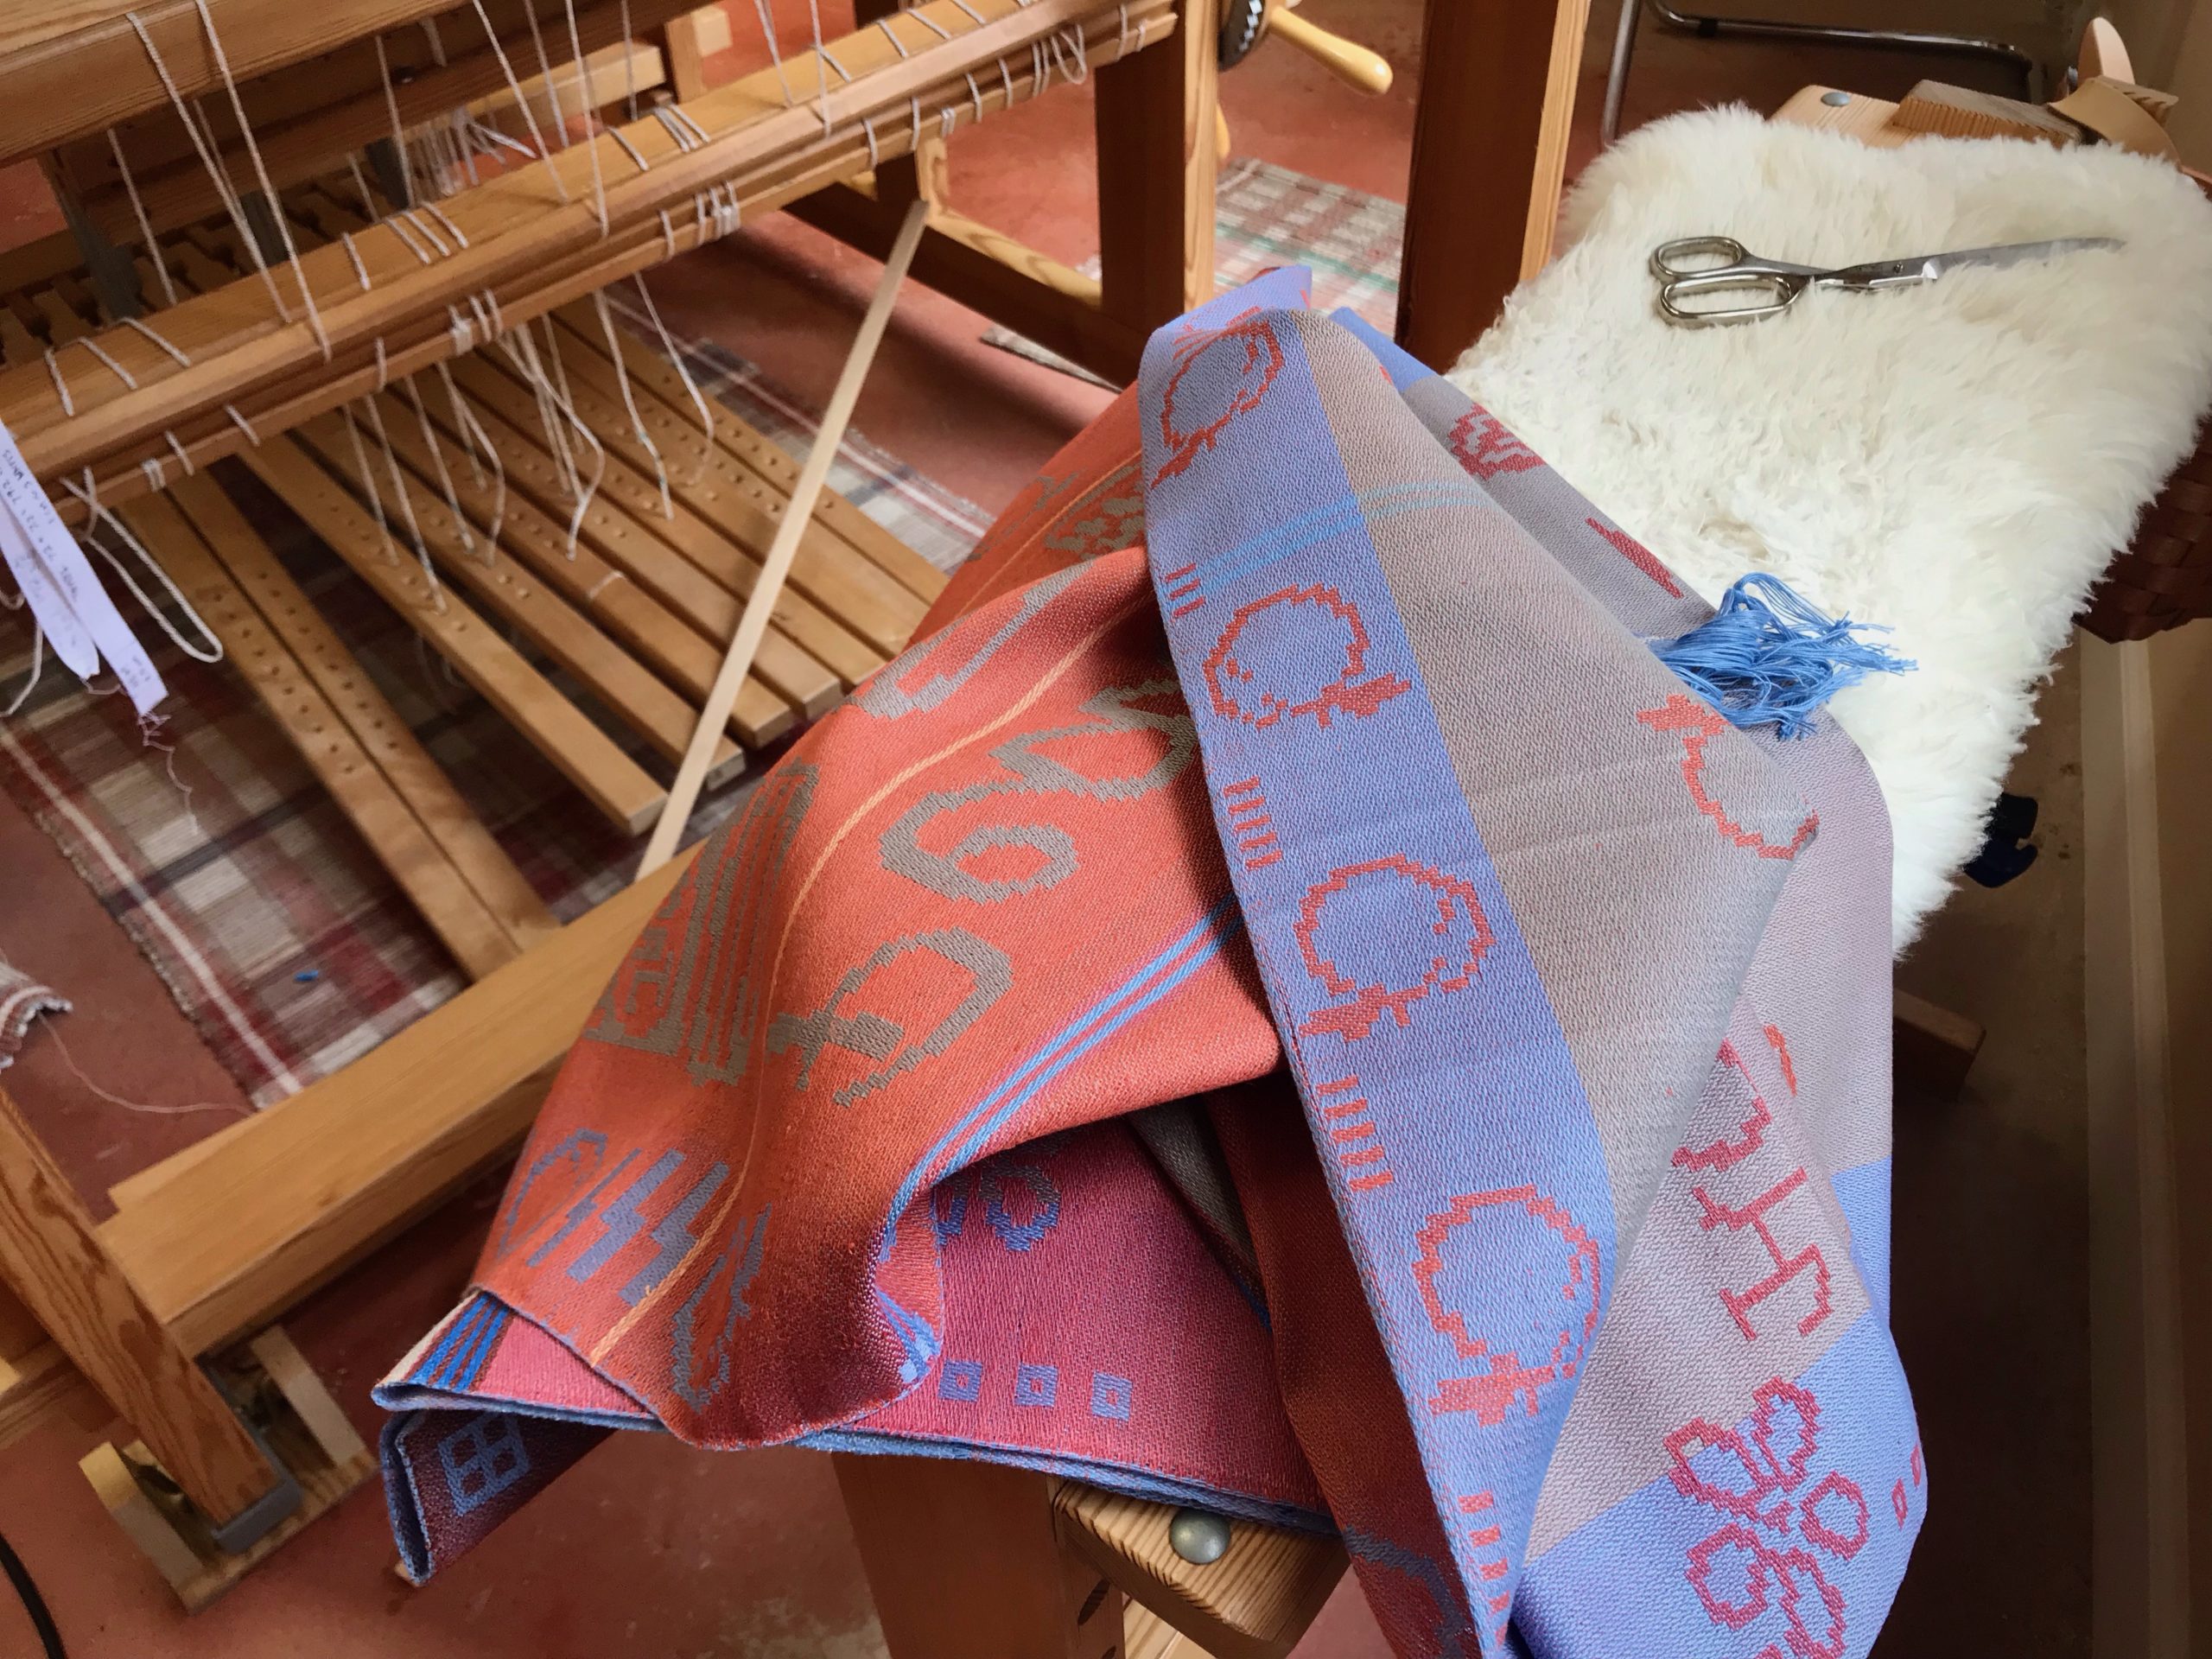
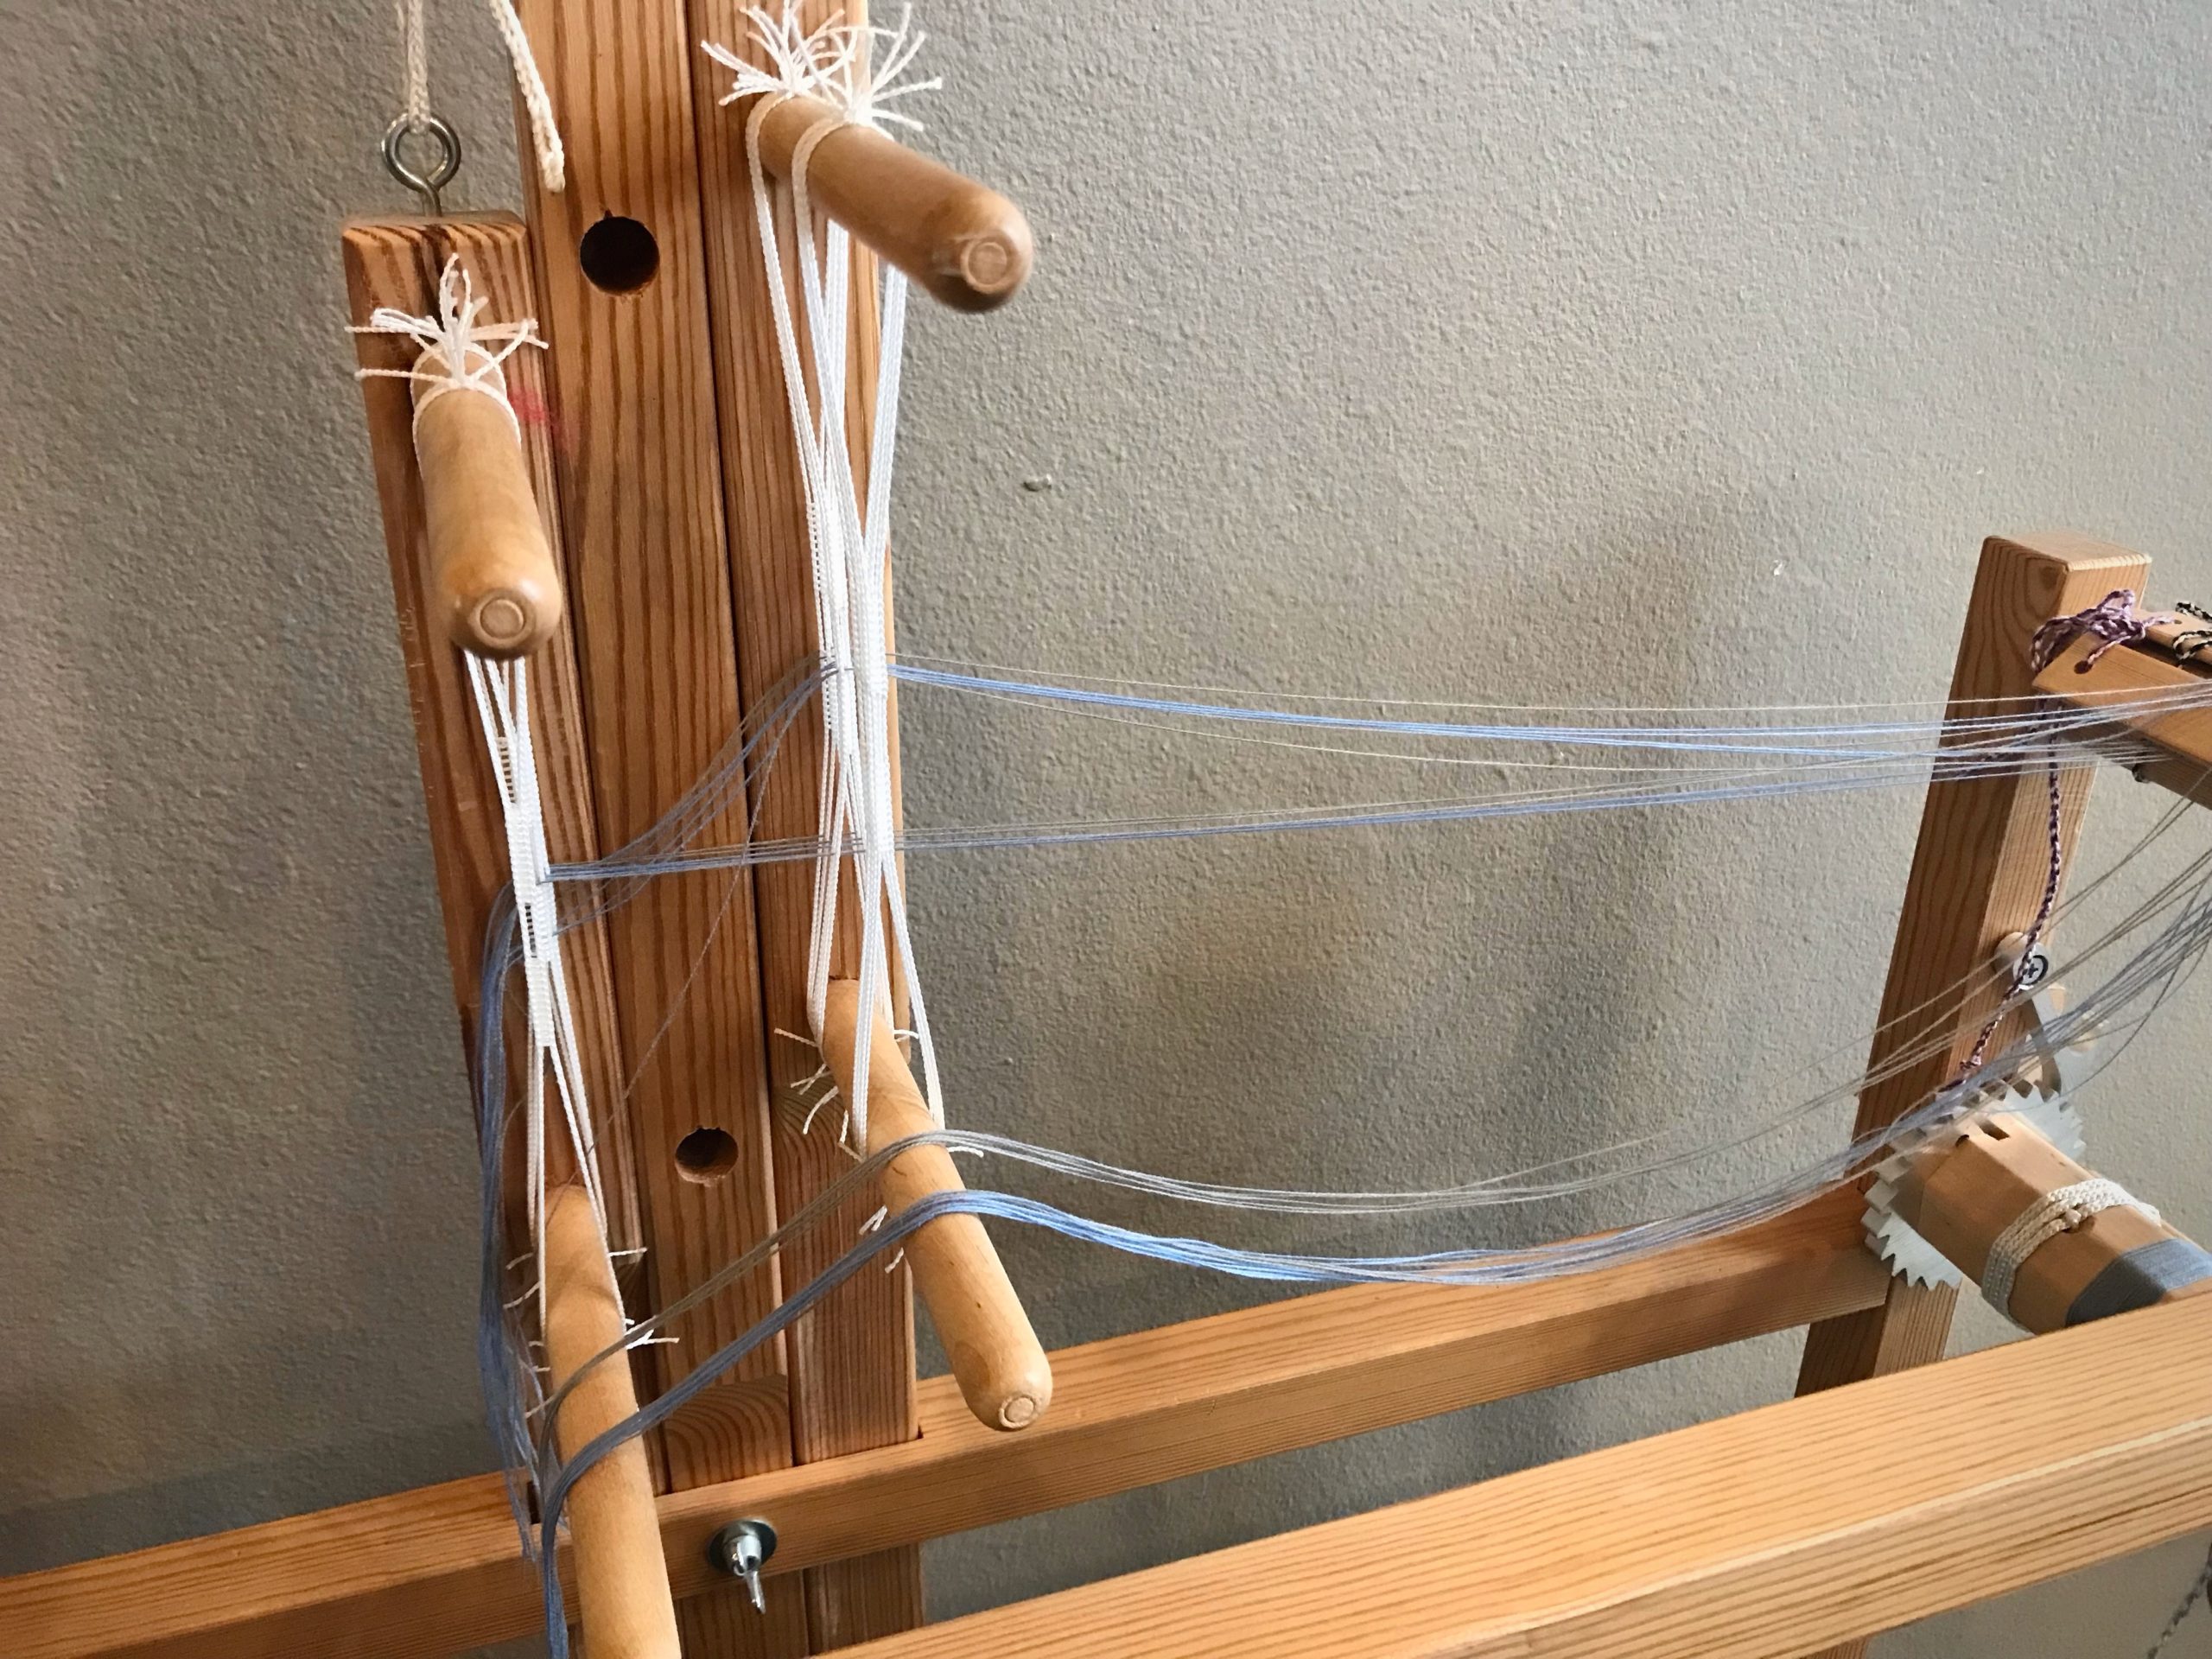
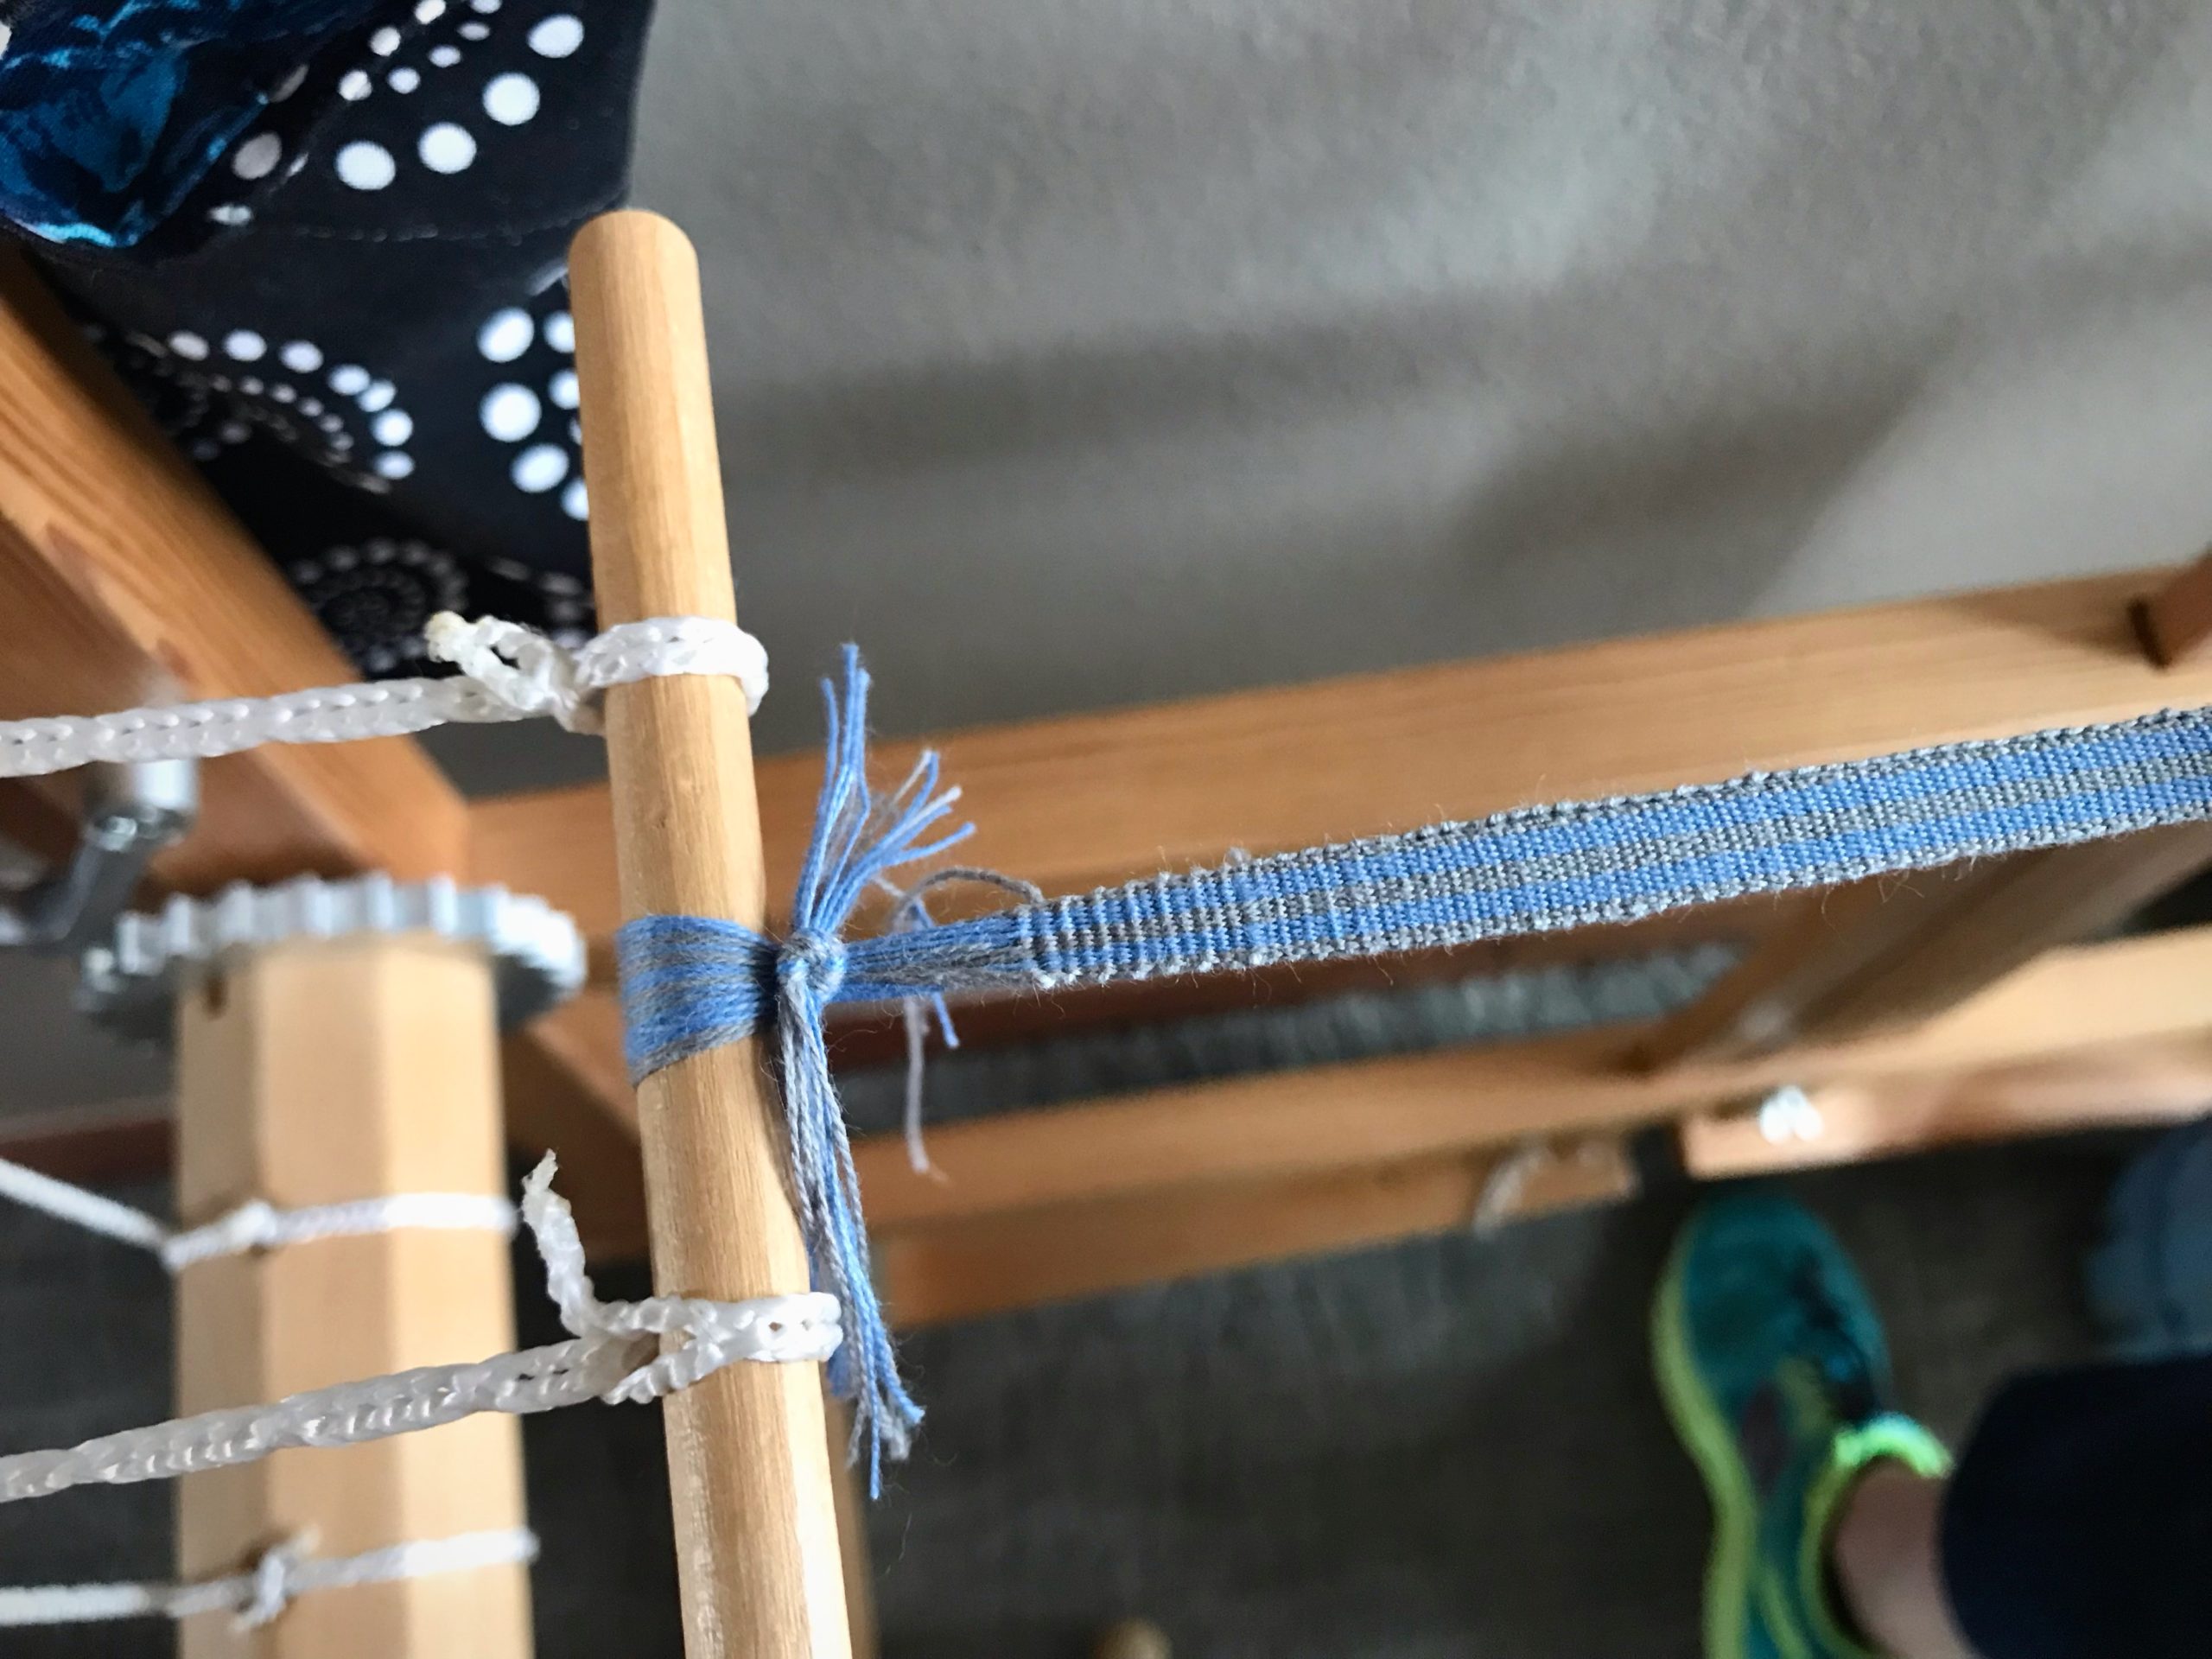
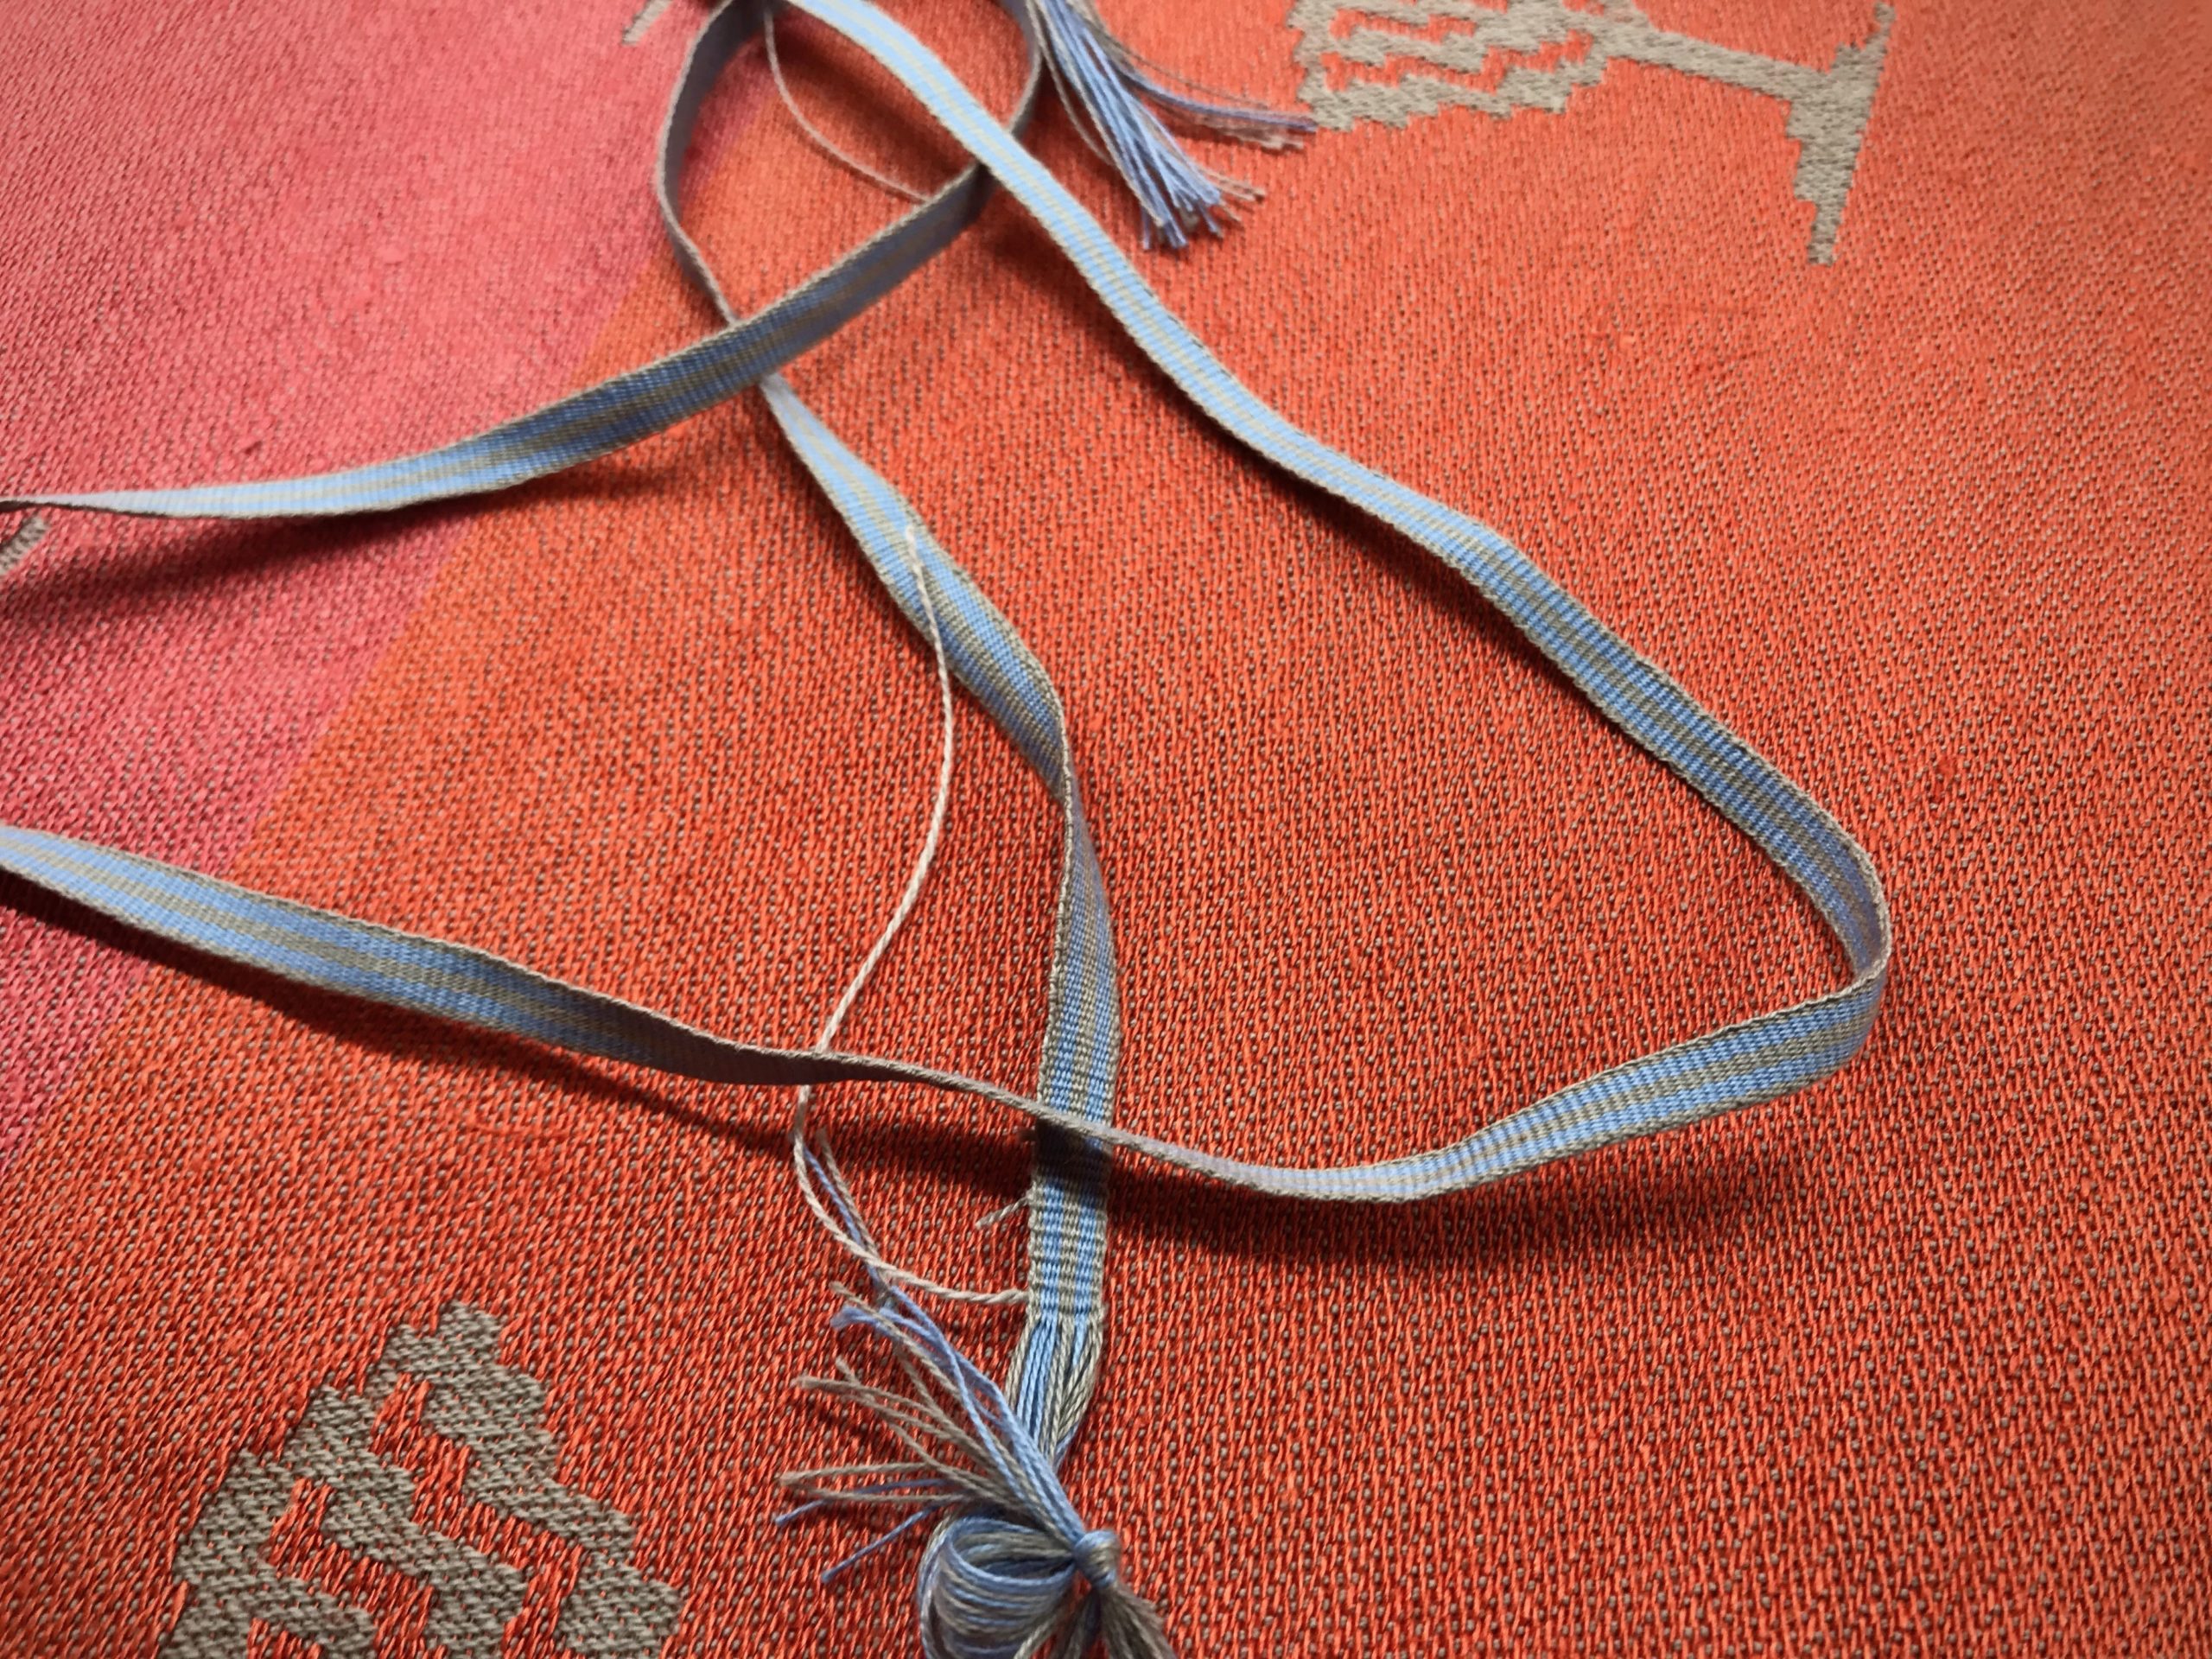
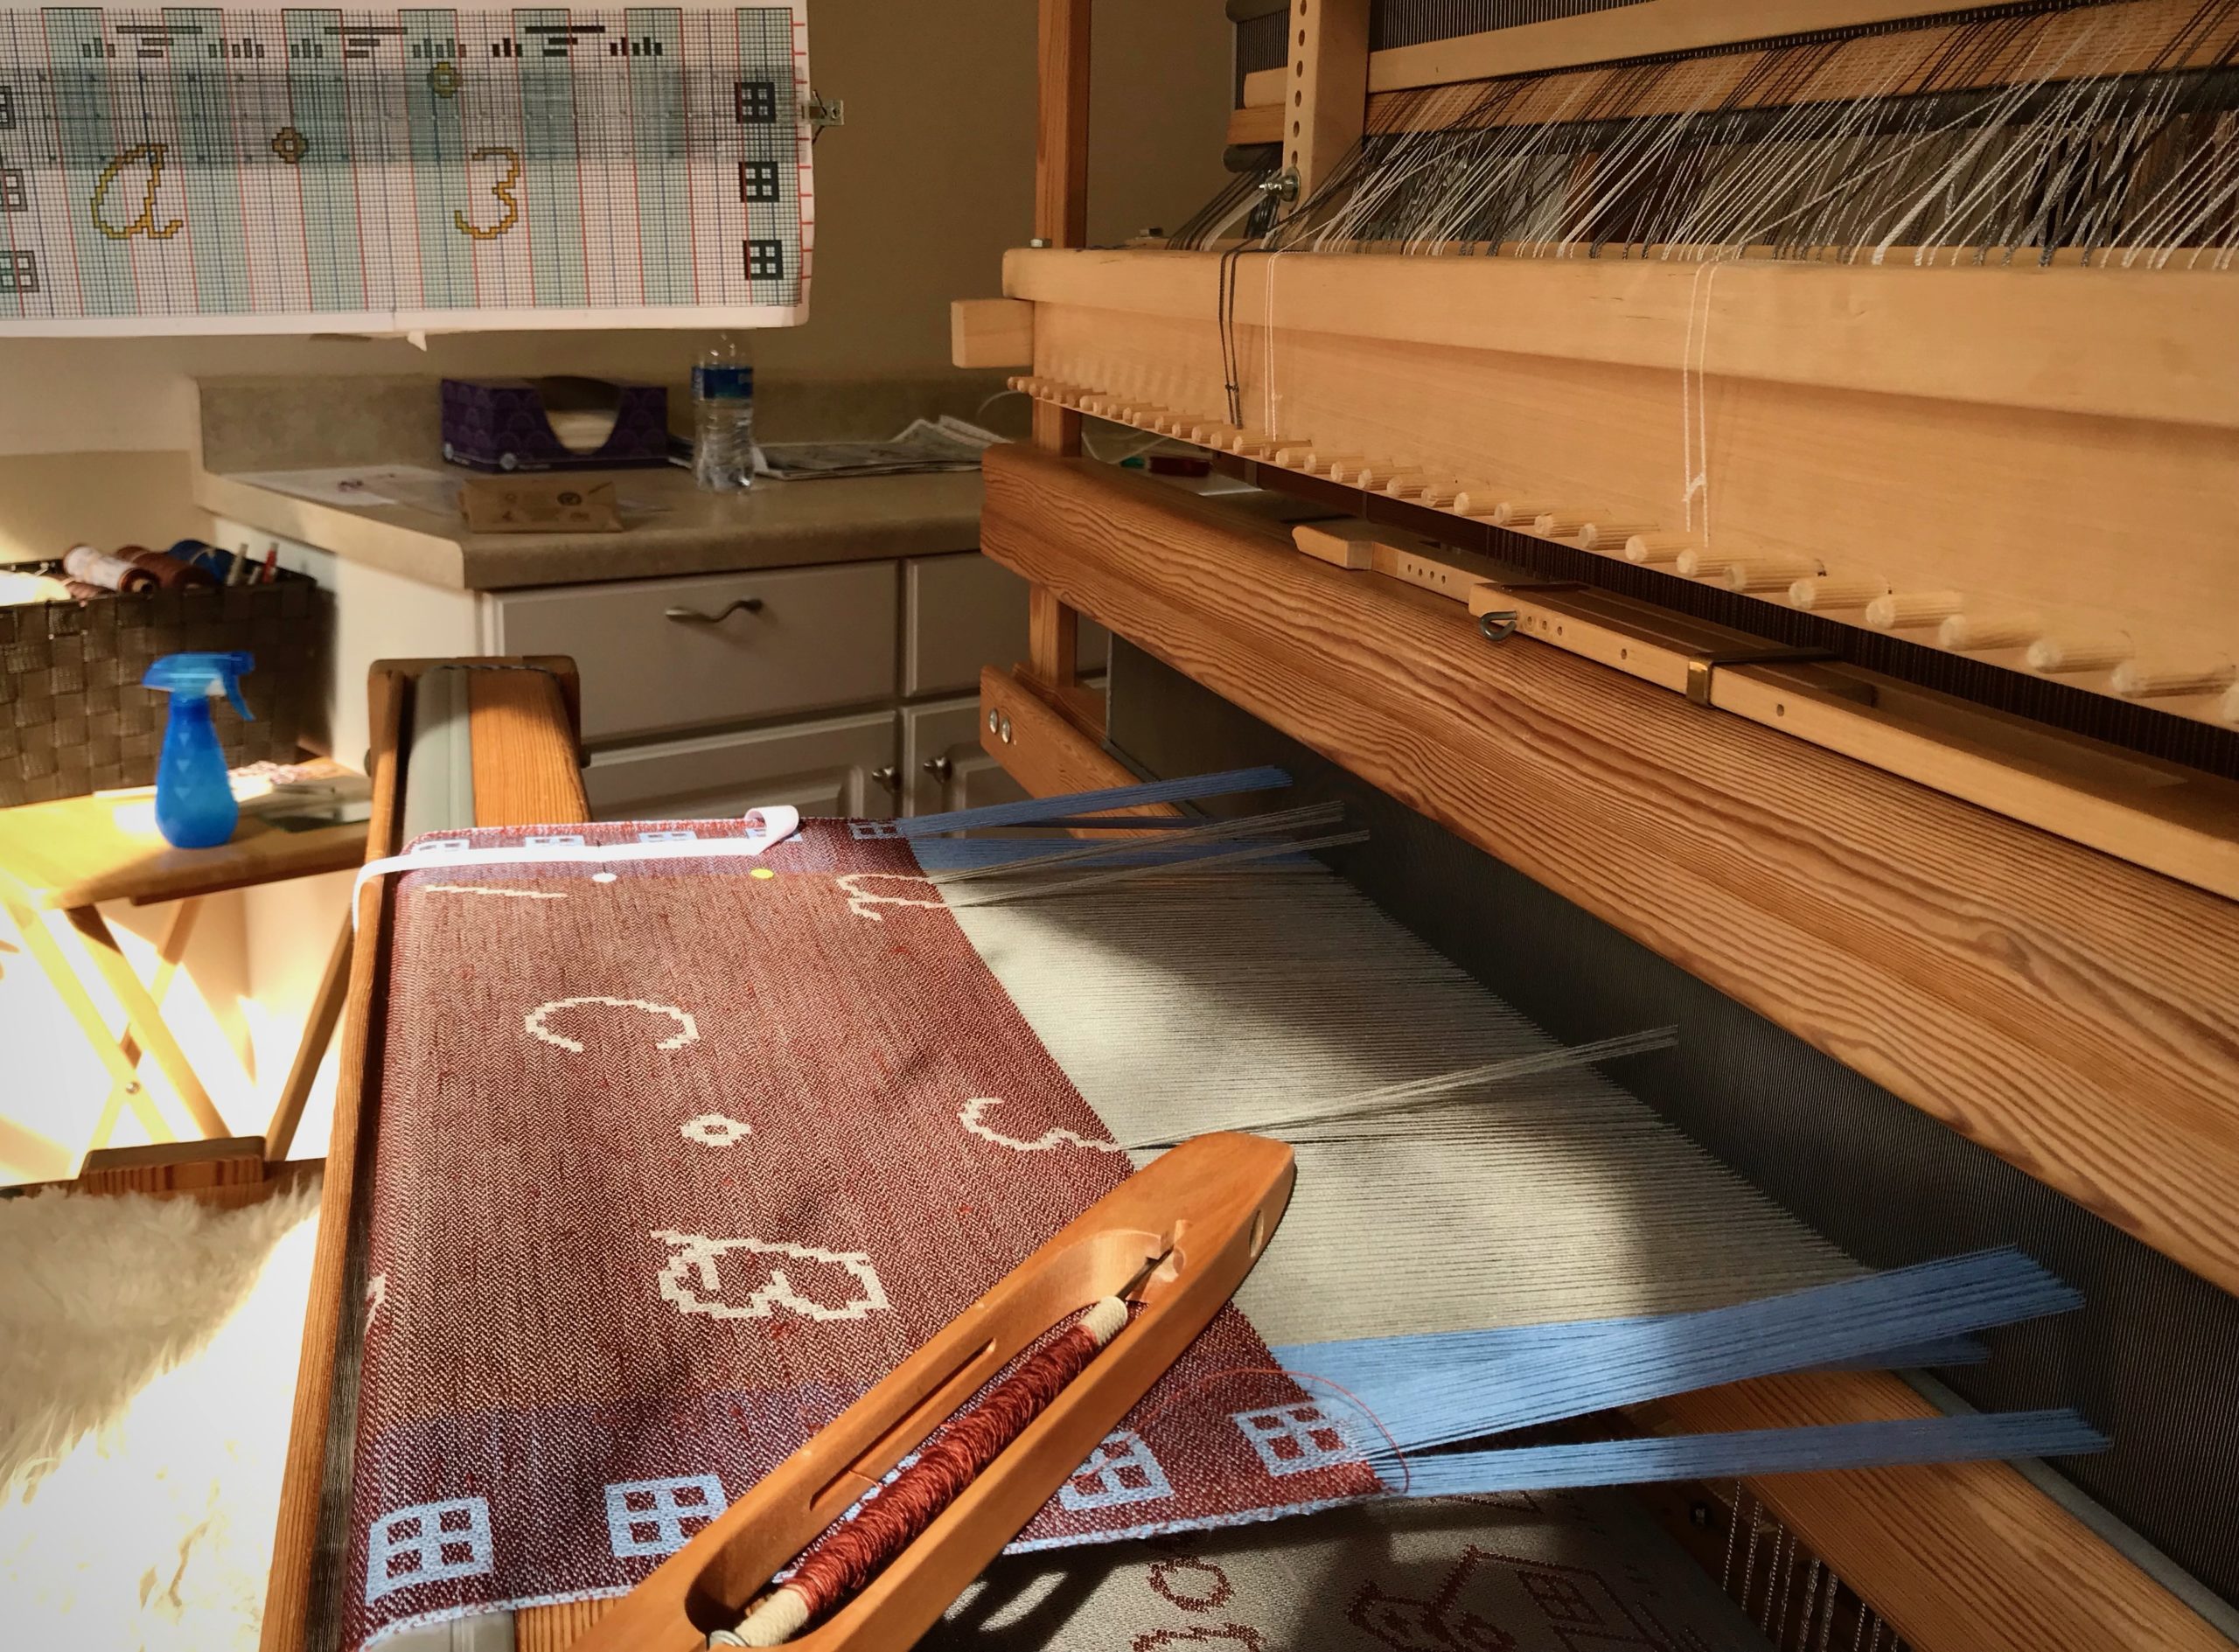
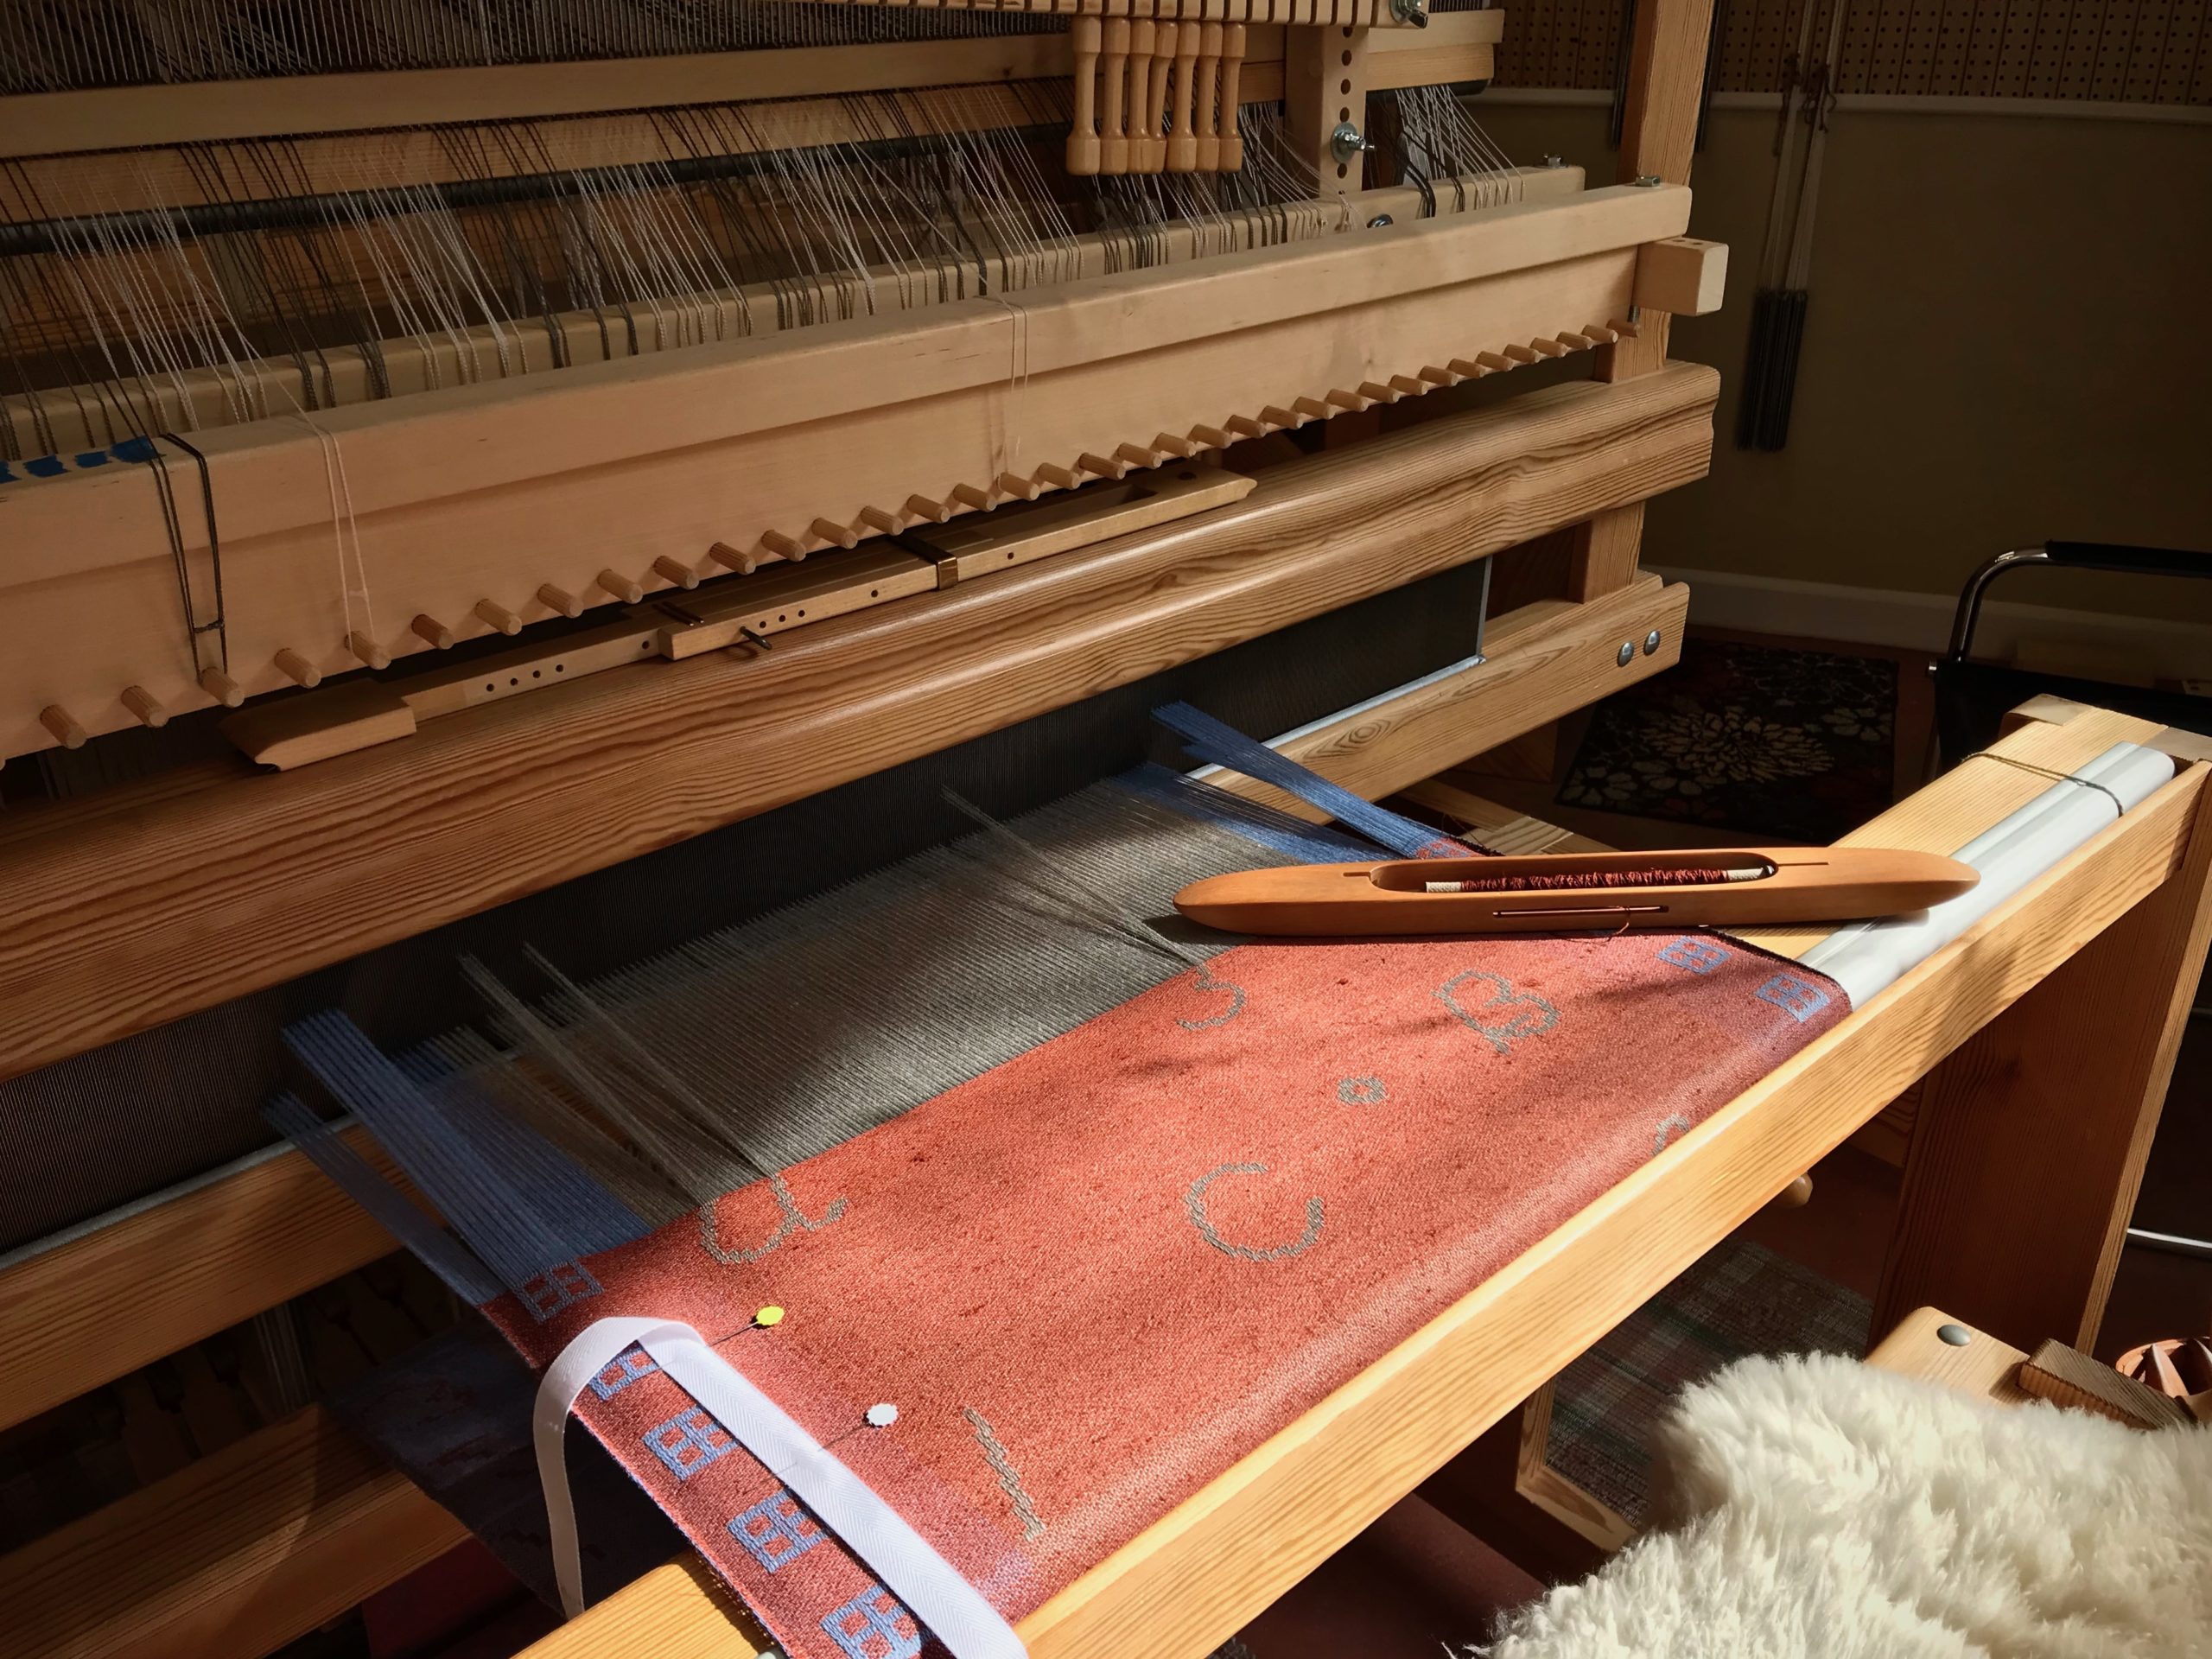
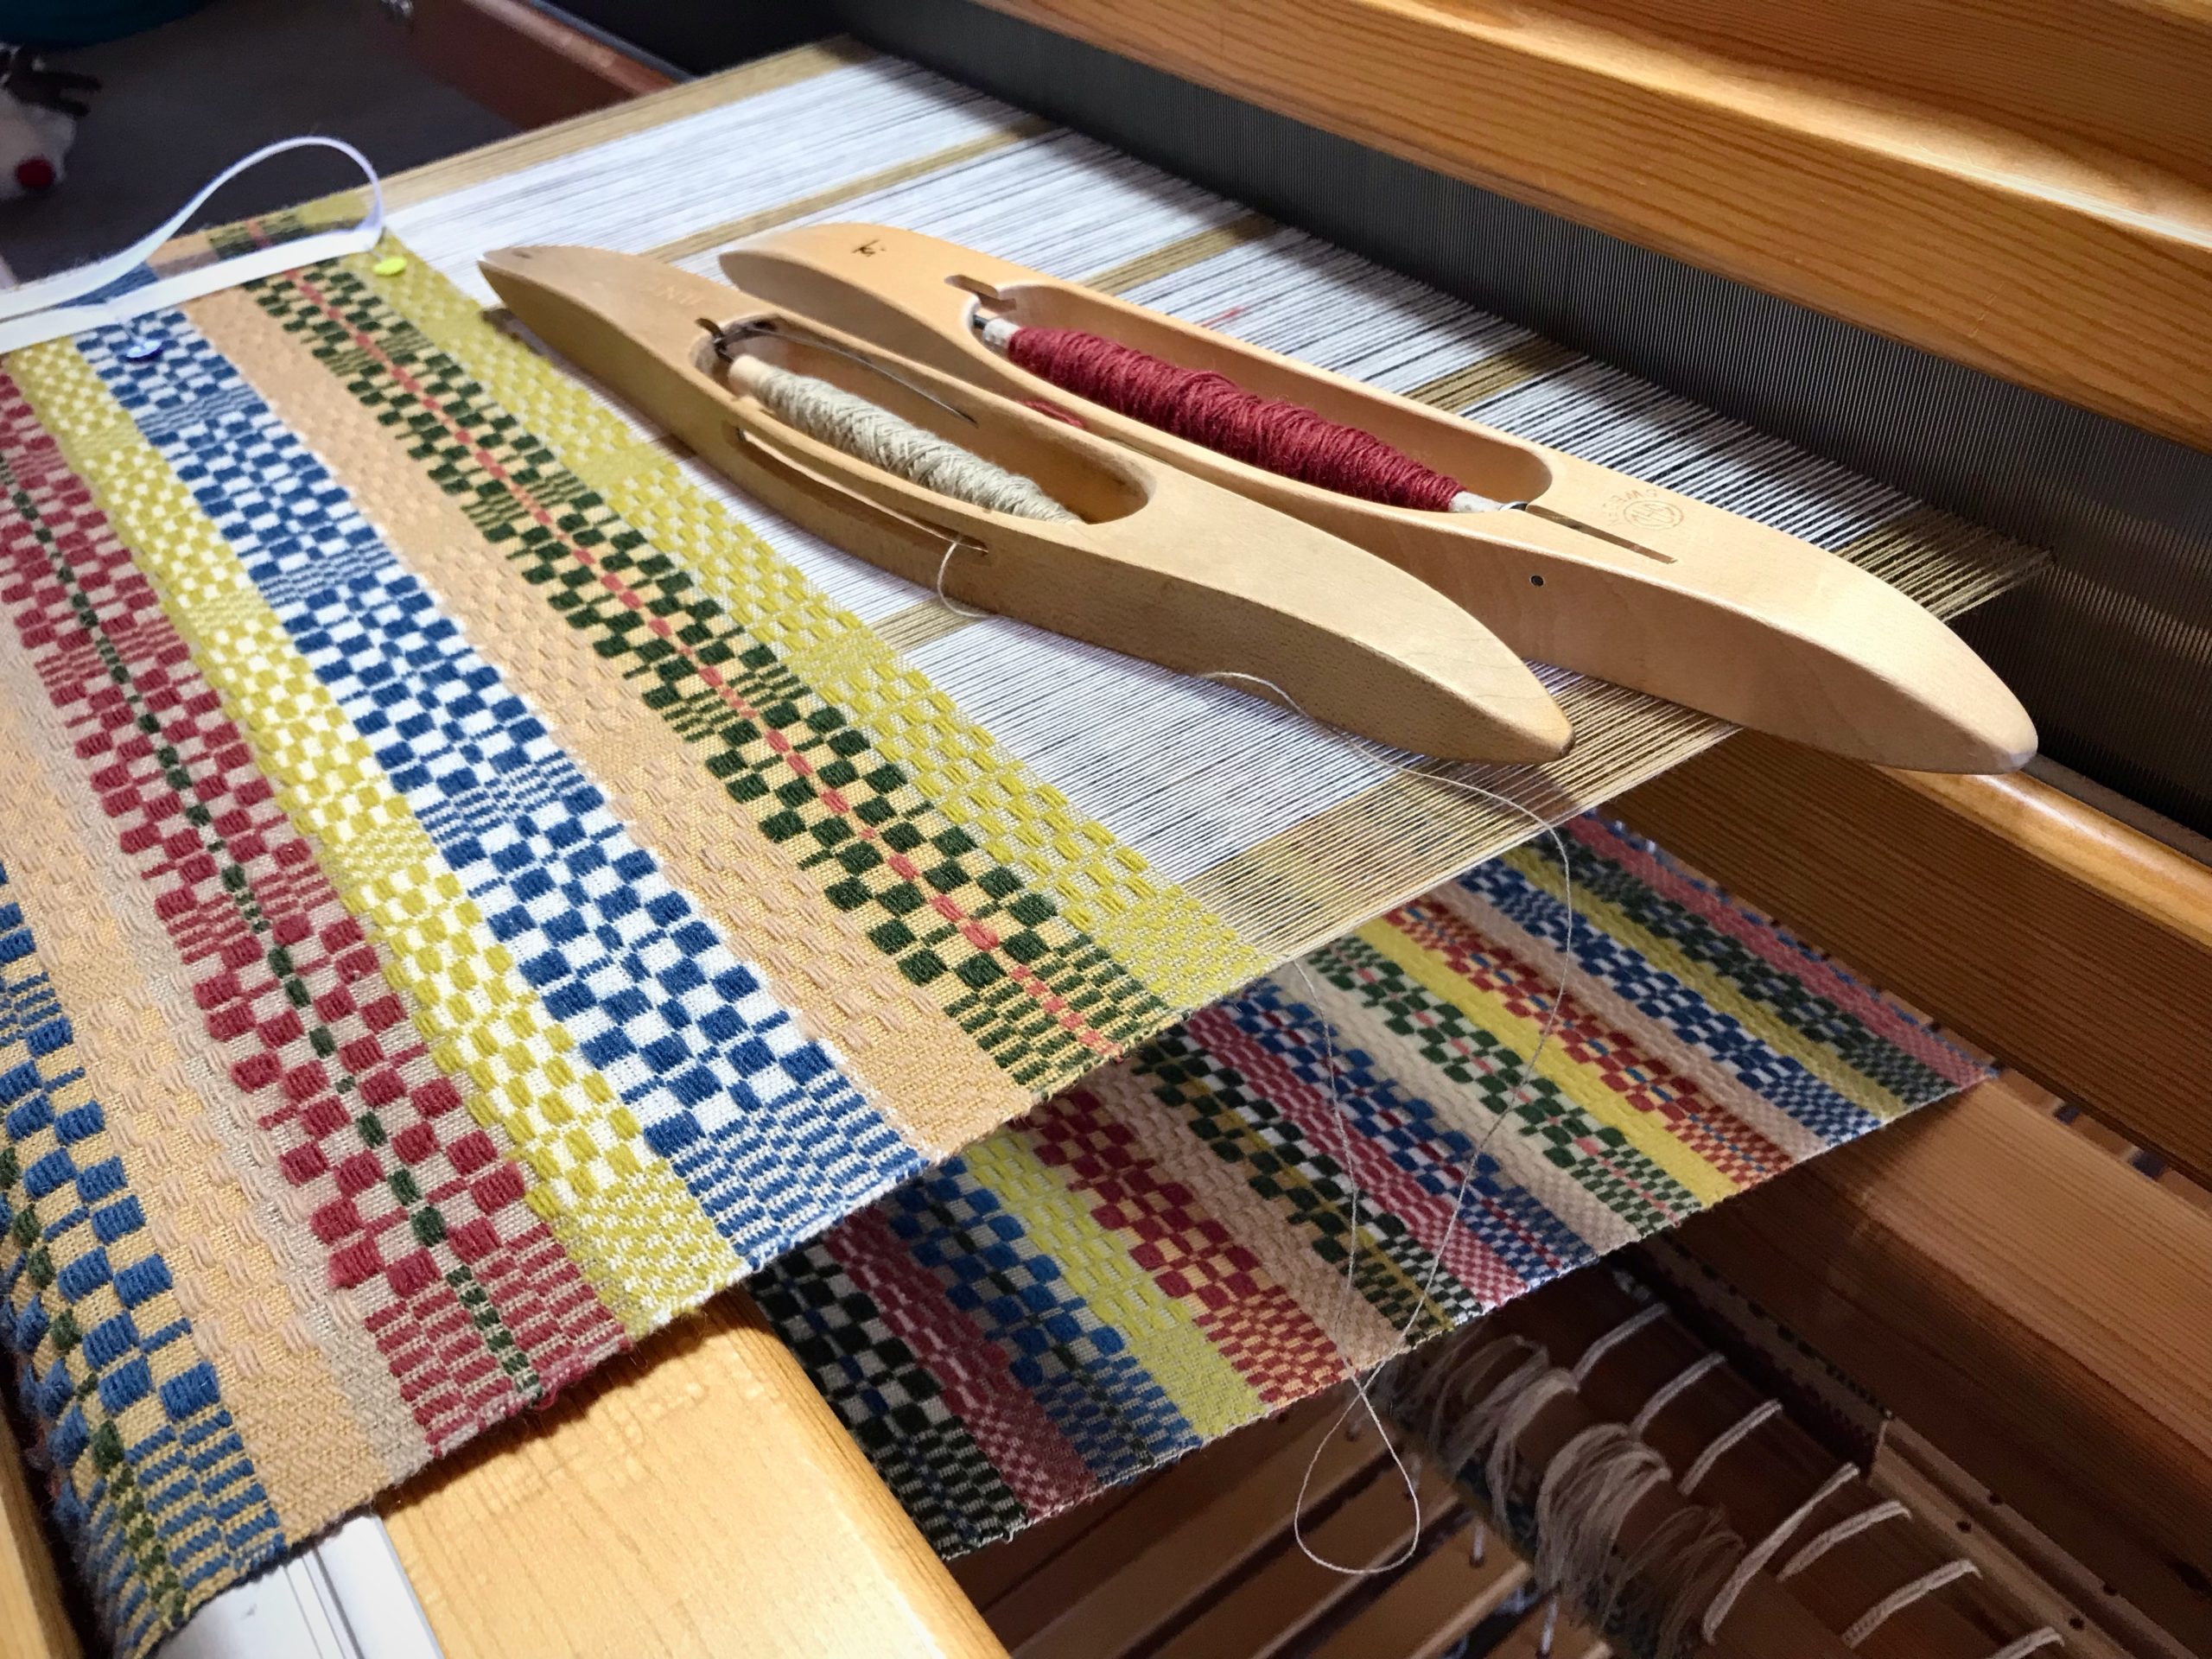
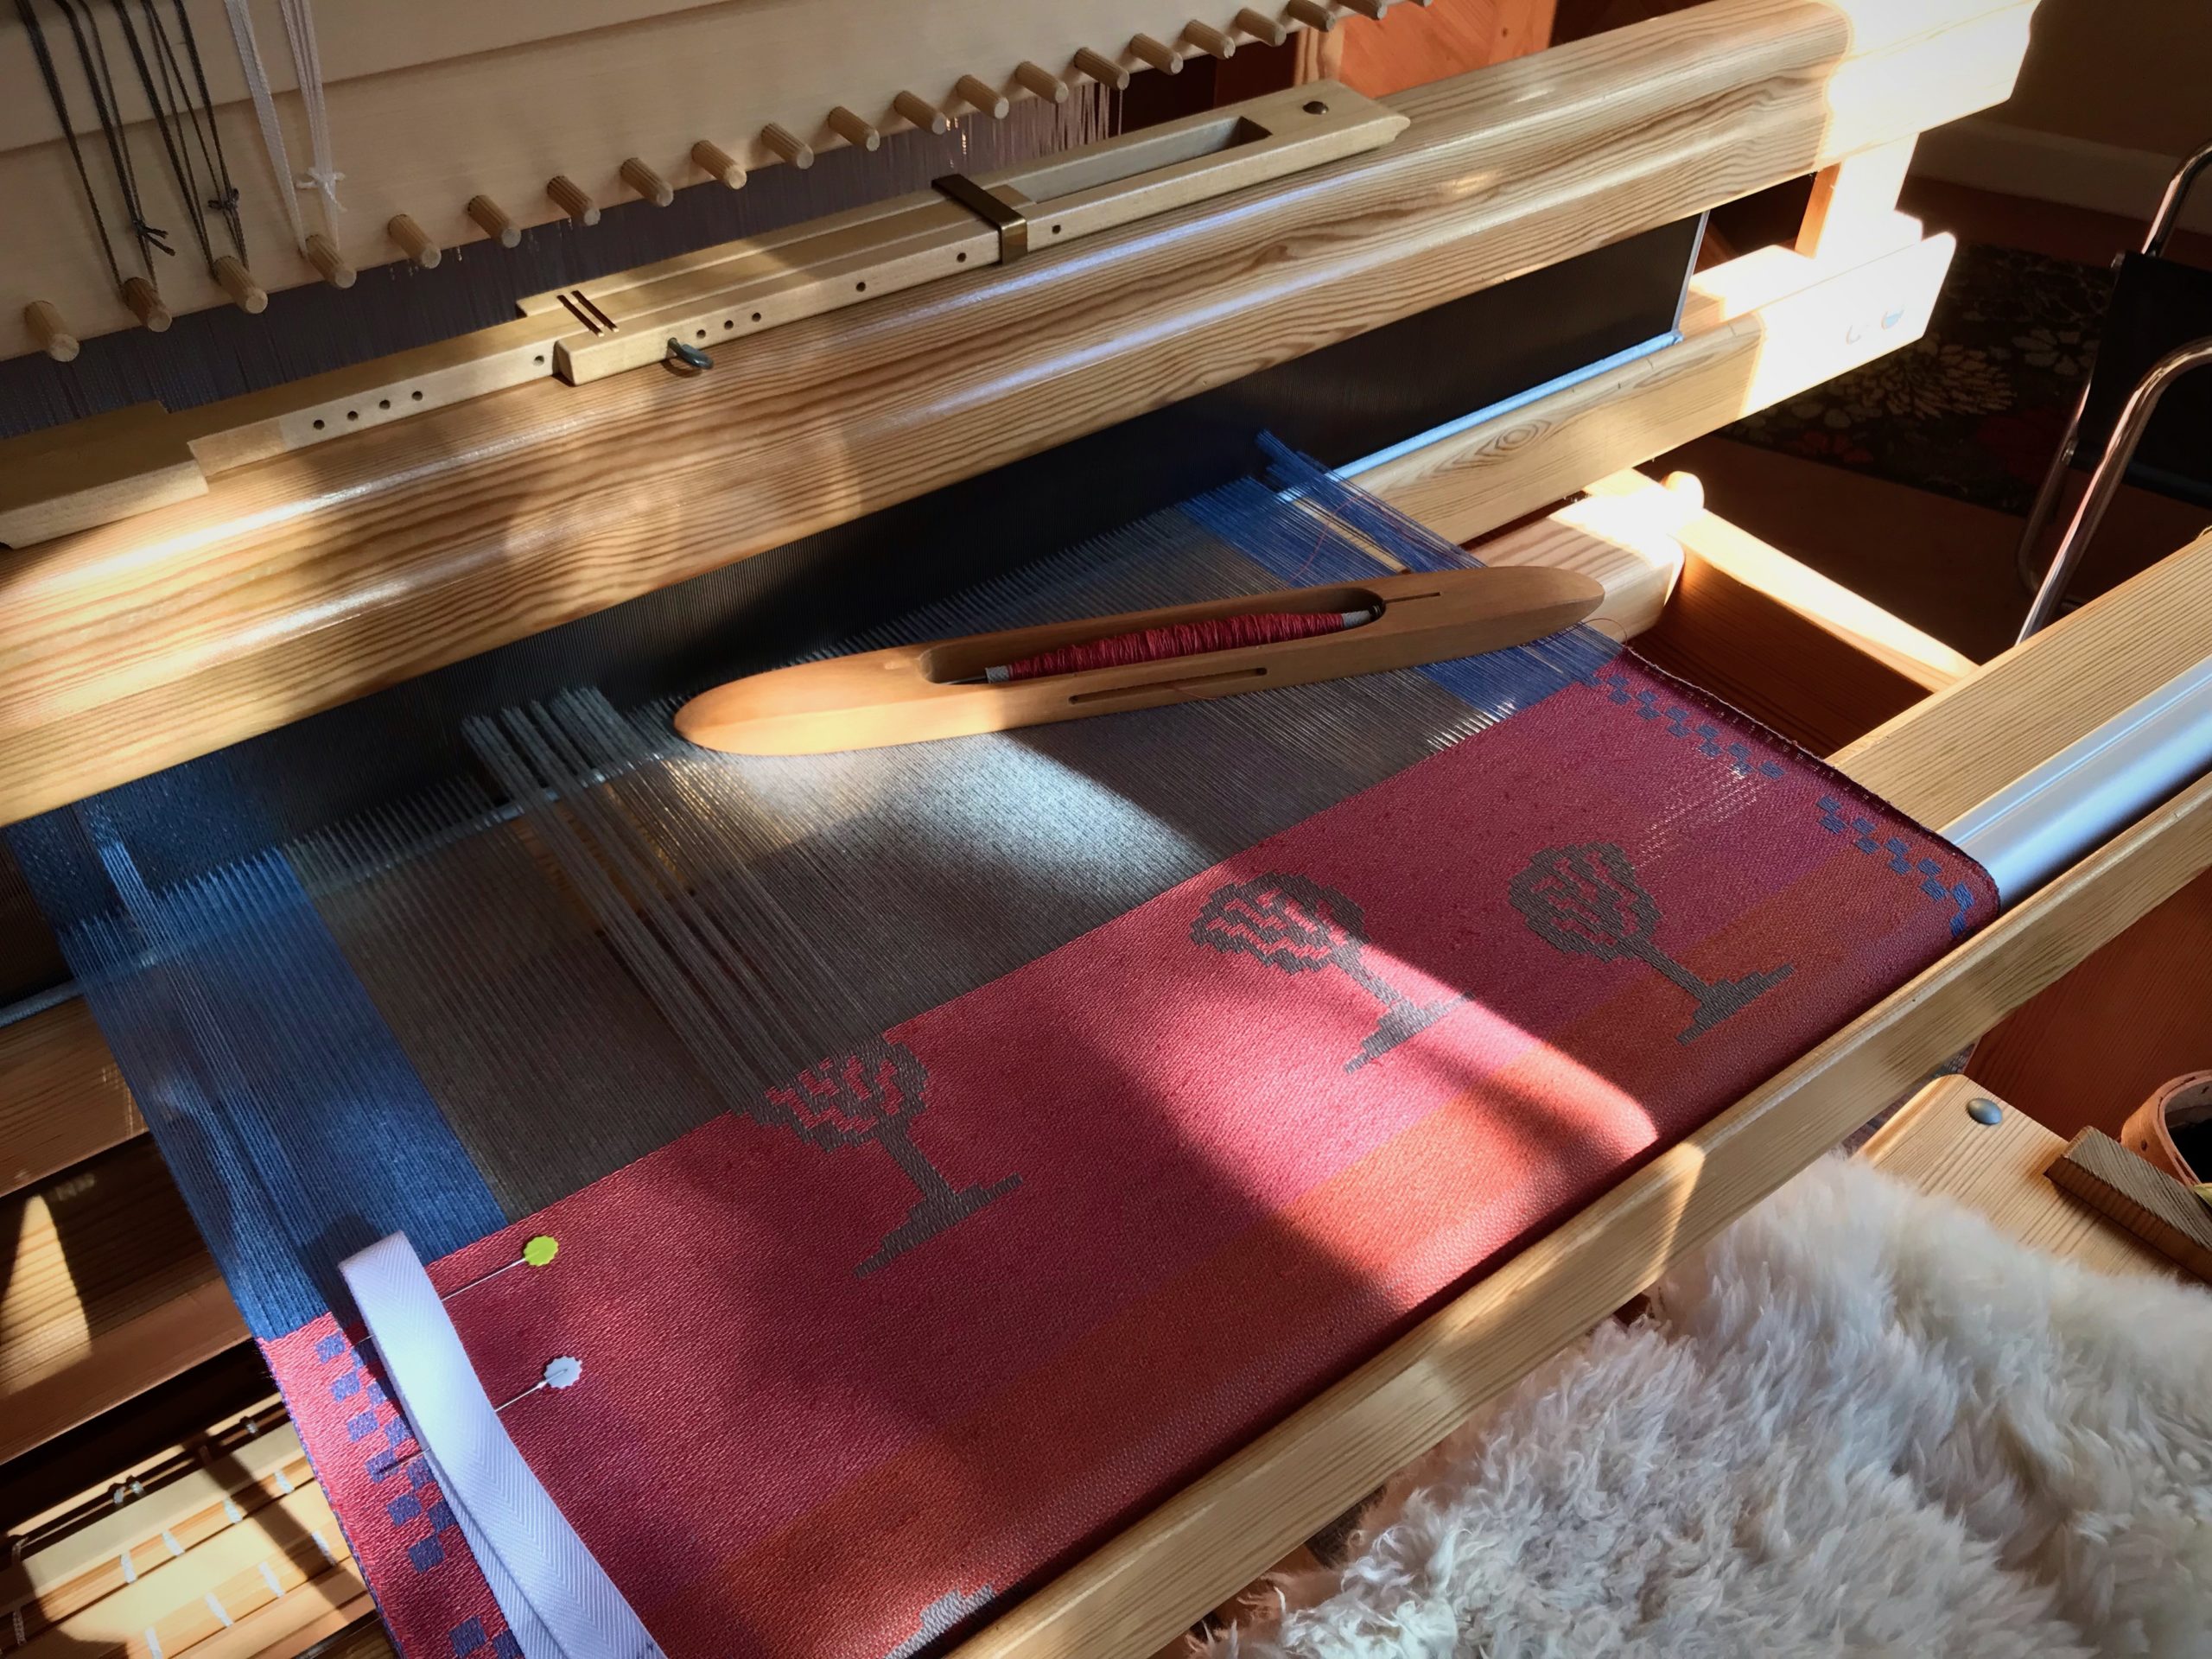
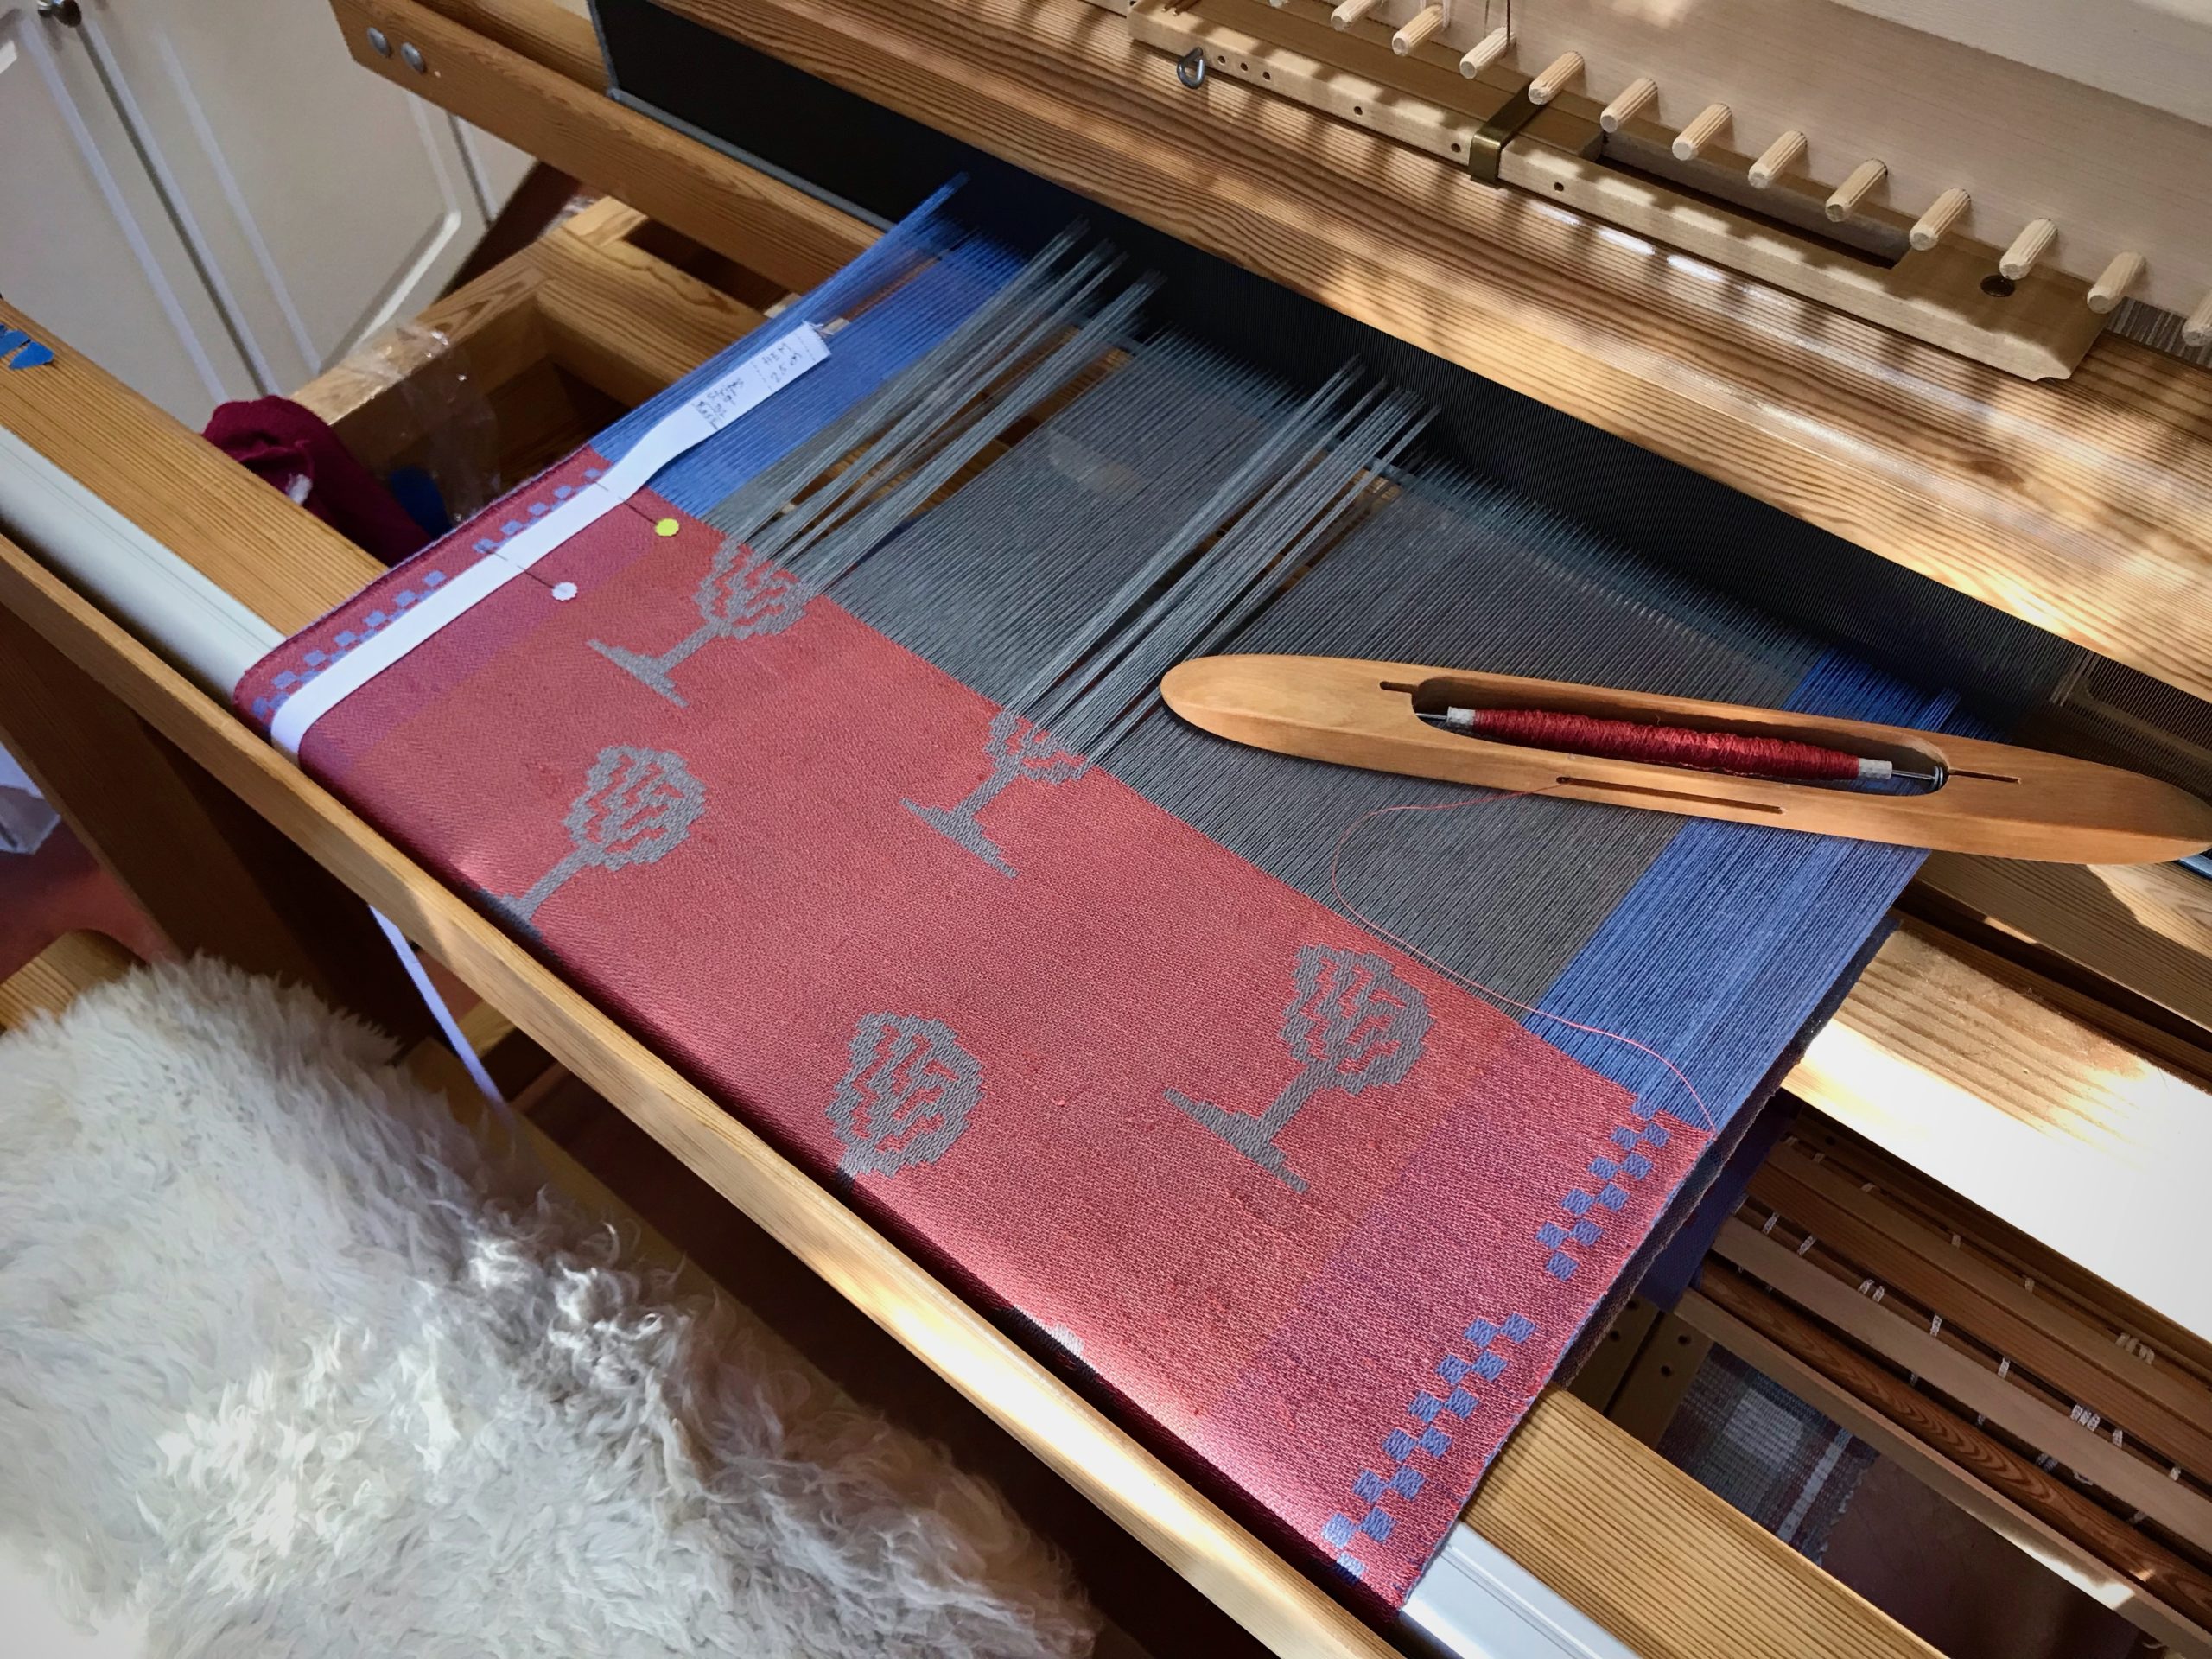
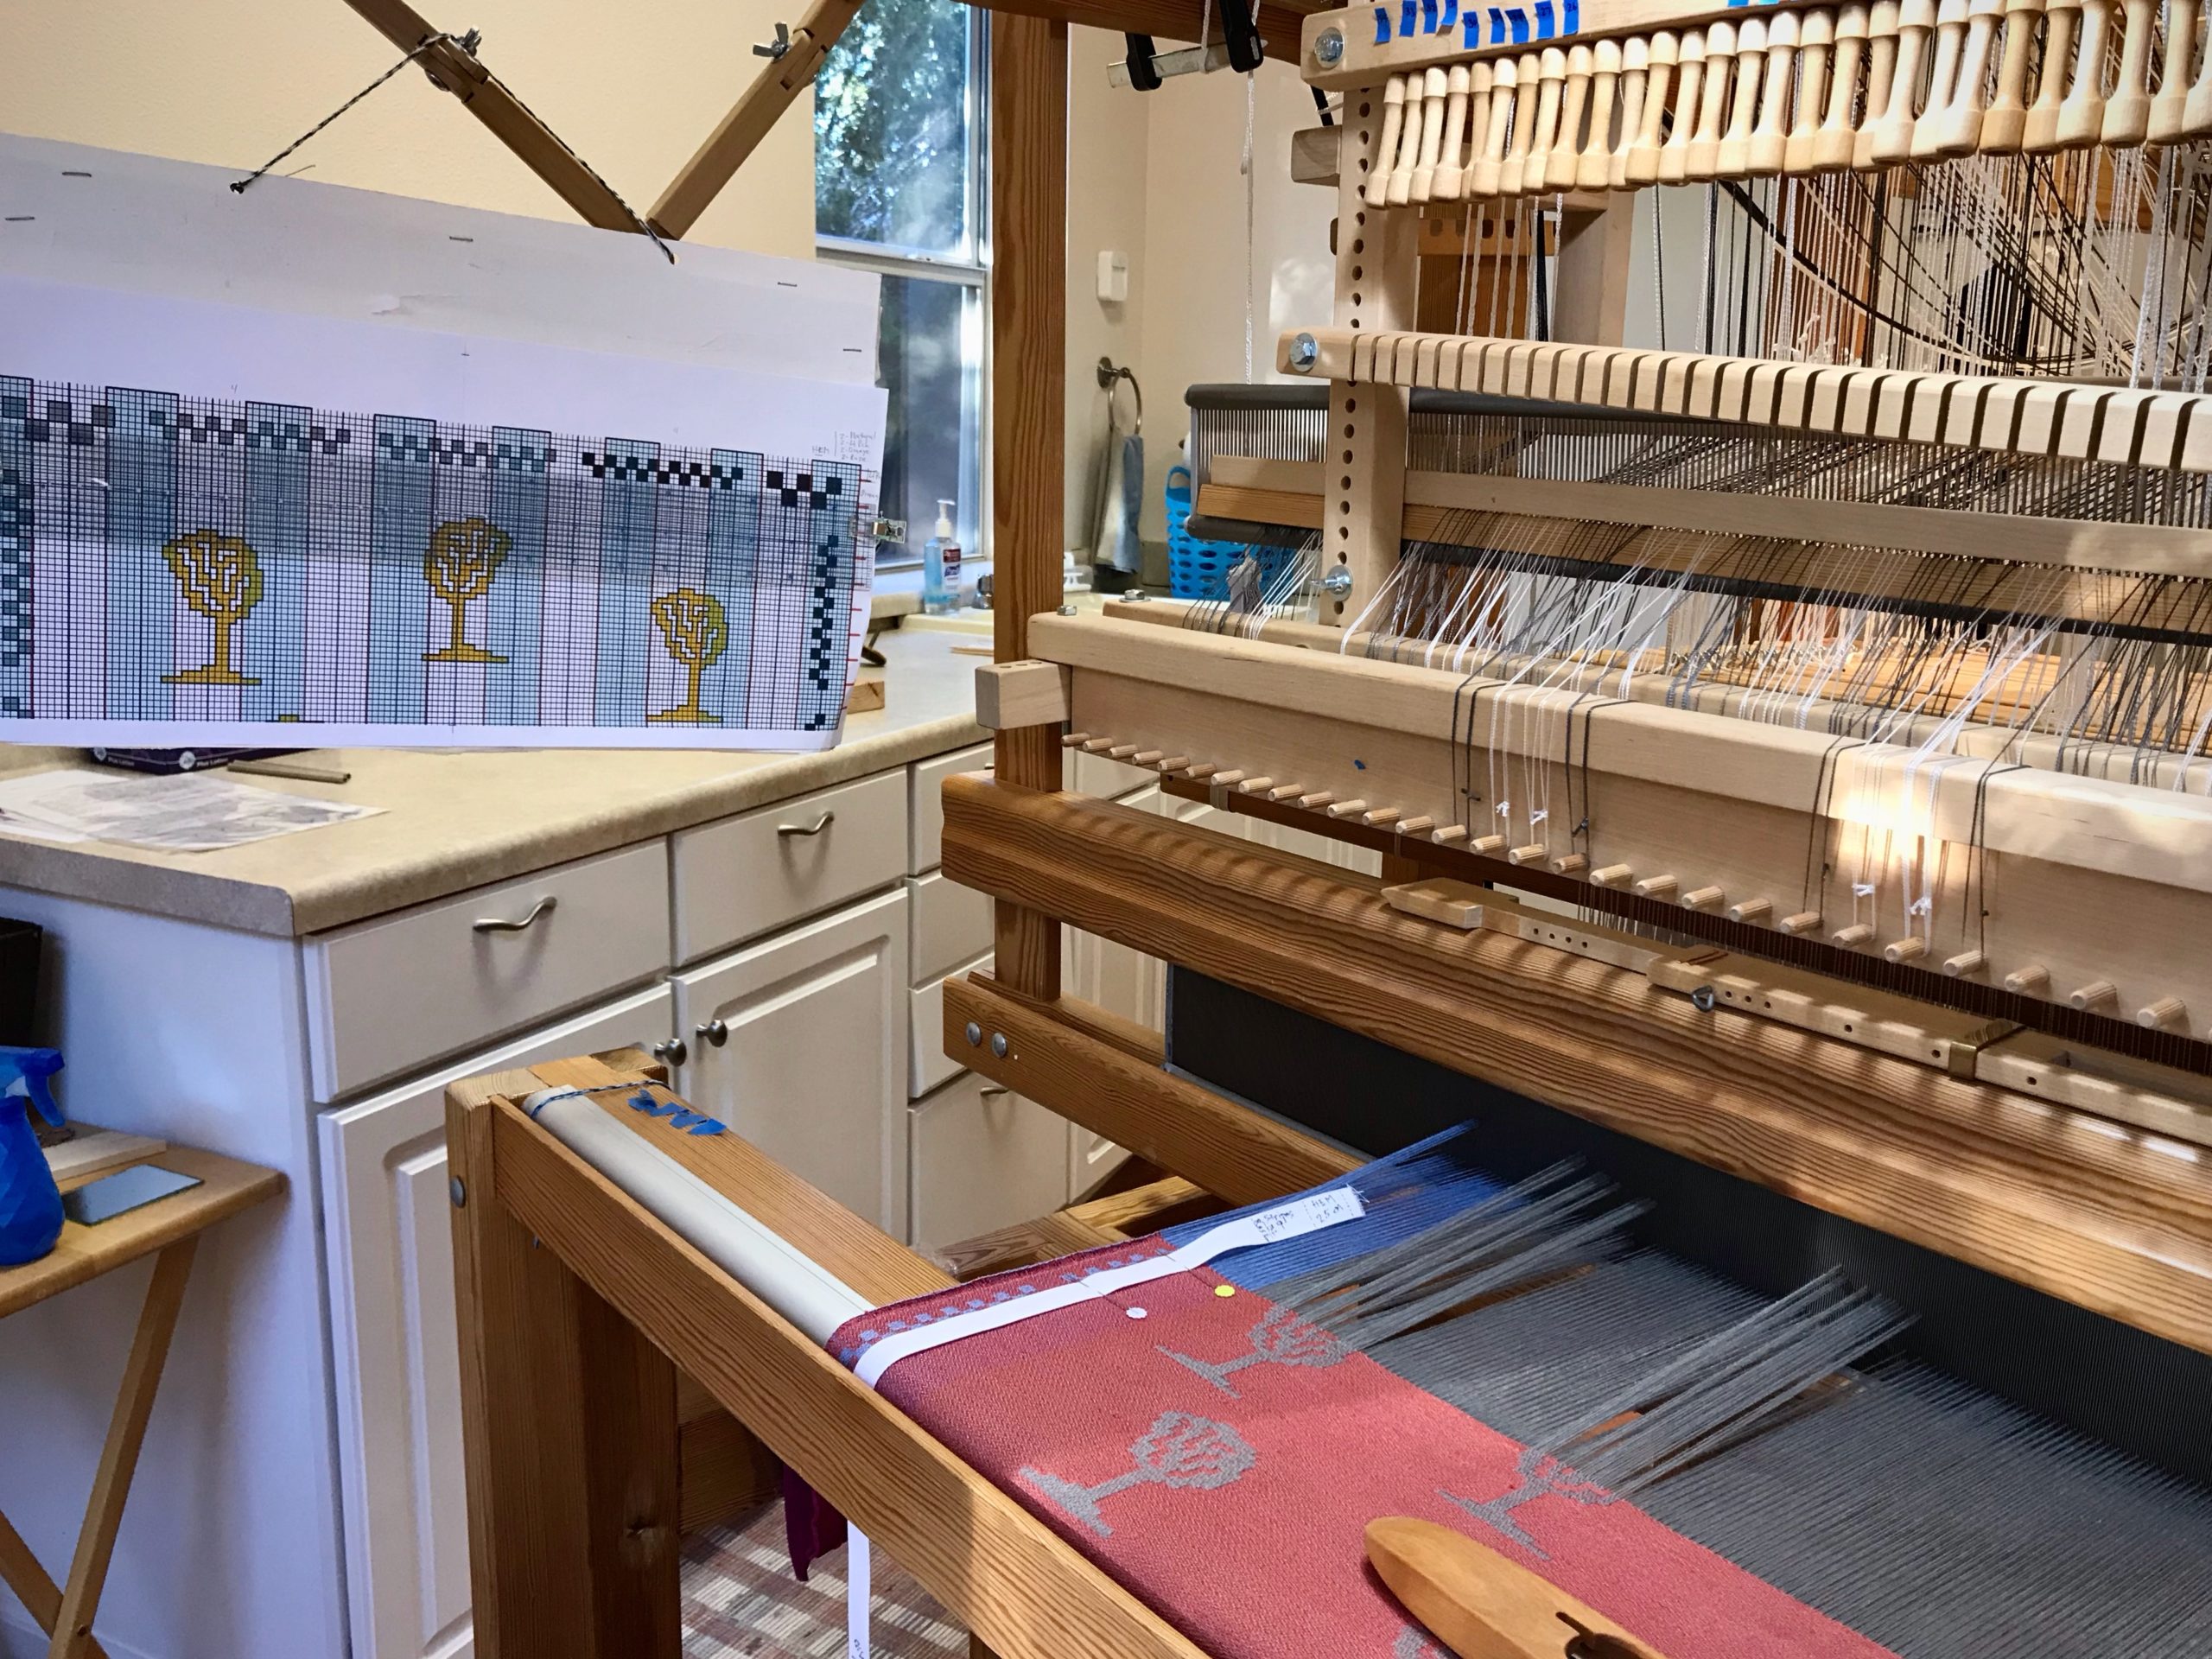
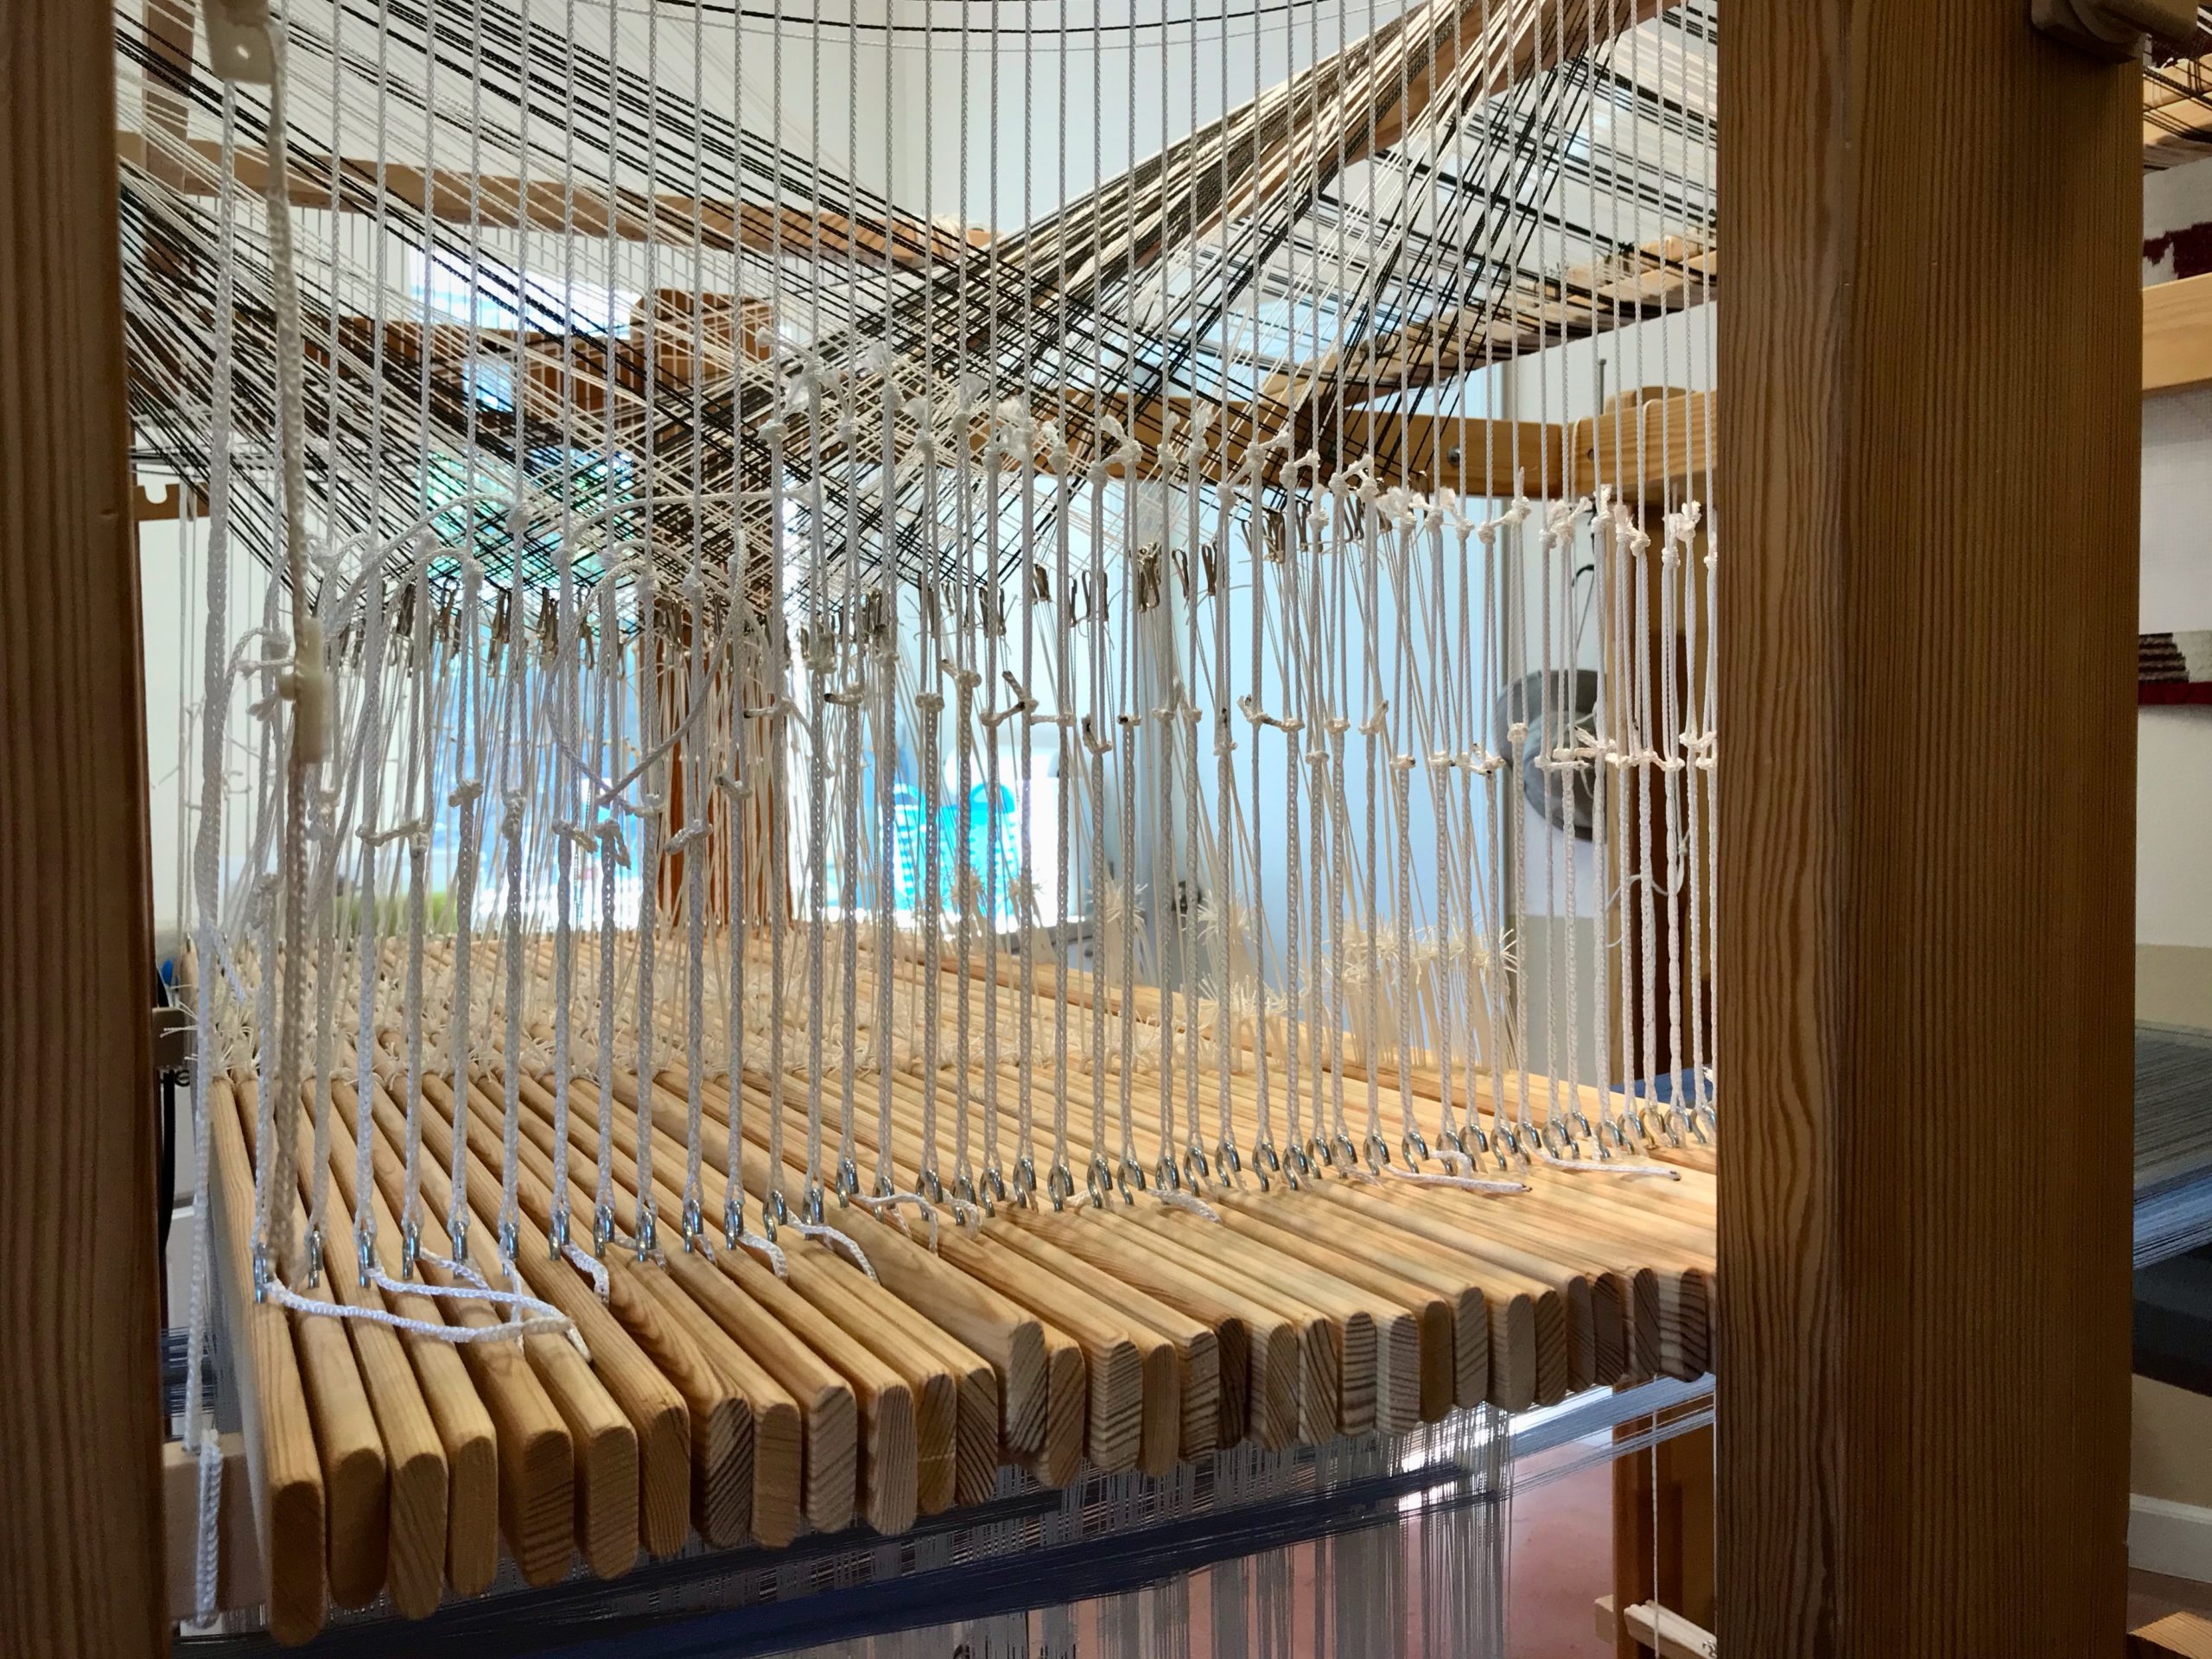
House is a structure. Home is an atmosphere—an atmosphere of love. Three young mothers have made their houses into homes. These are the mothers of my grandchildren, and I am giving a personalized towel to each of them. The combination drawloom is my favorite tool for an undertaking like this. (Be sure to watch the video/slideshow below to see the whole process!)
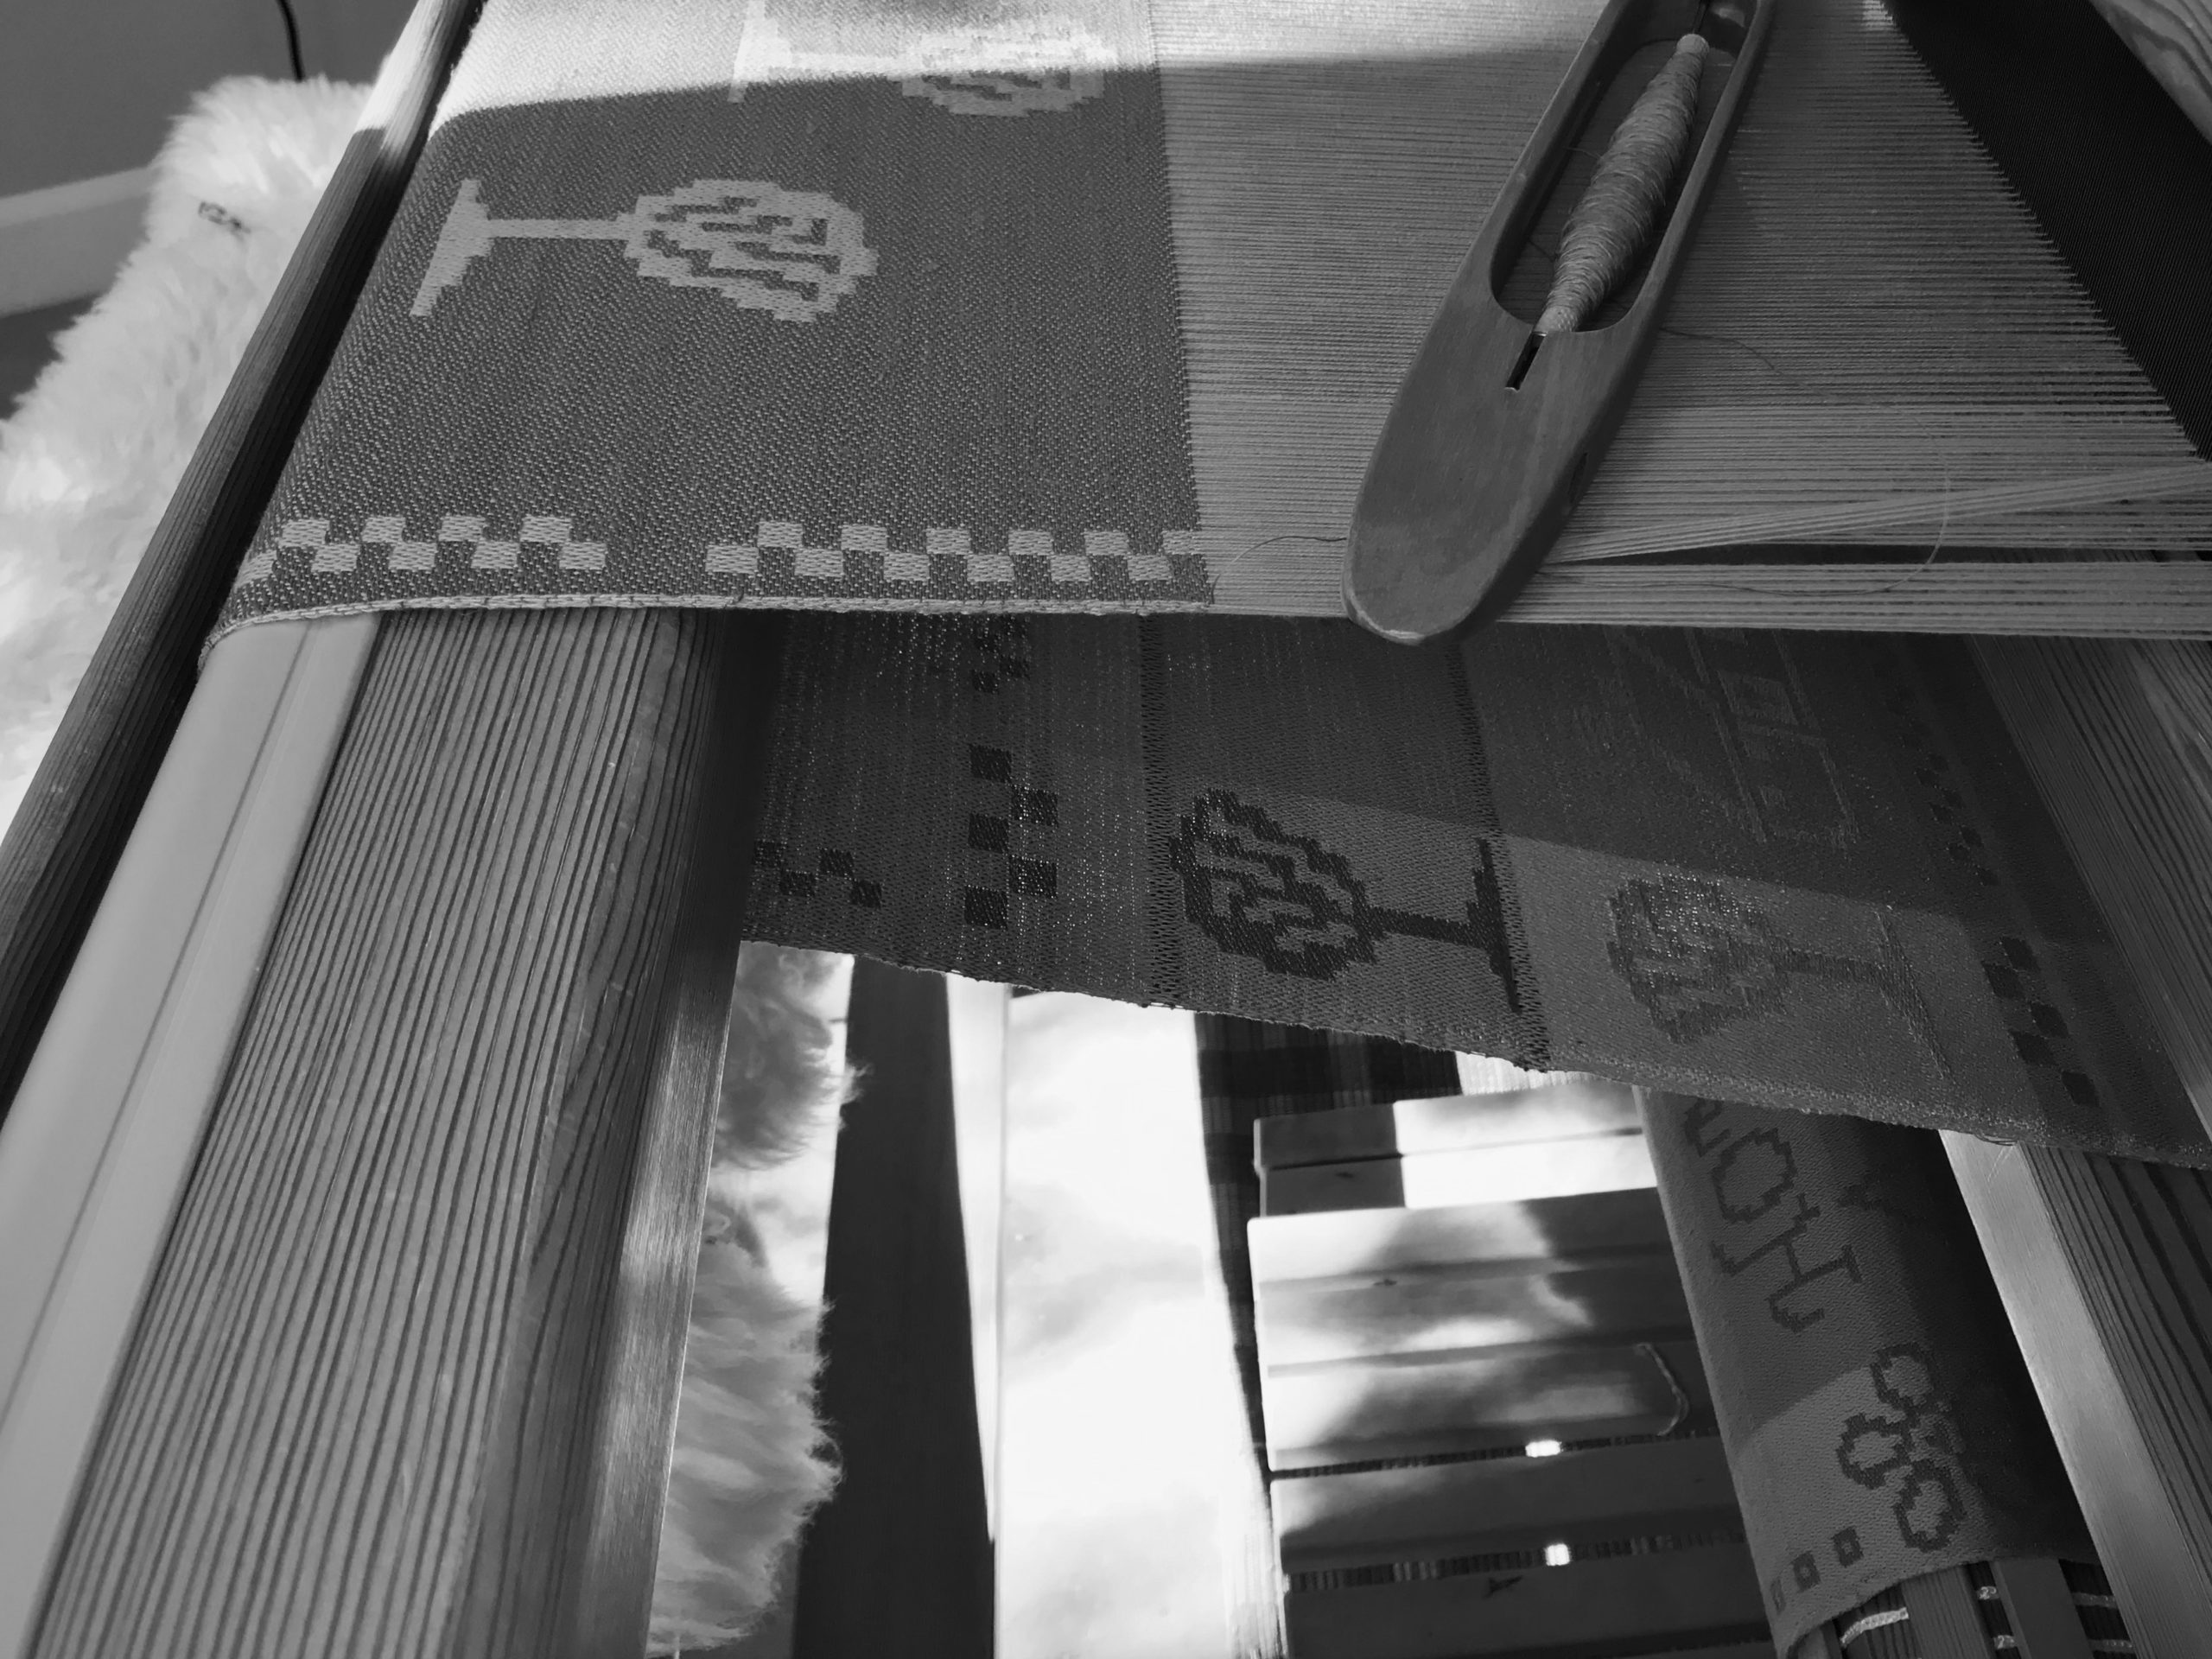
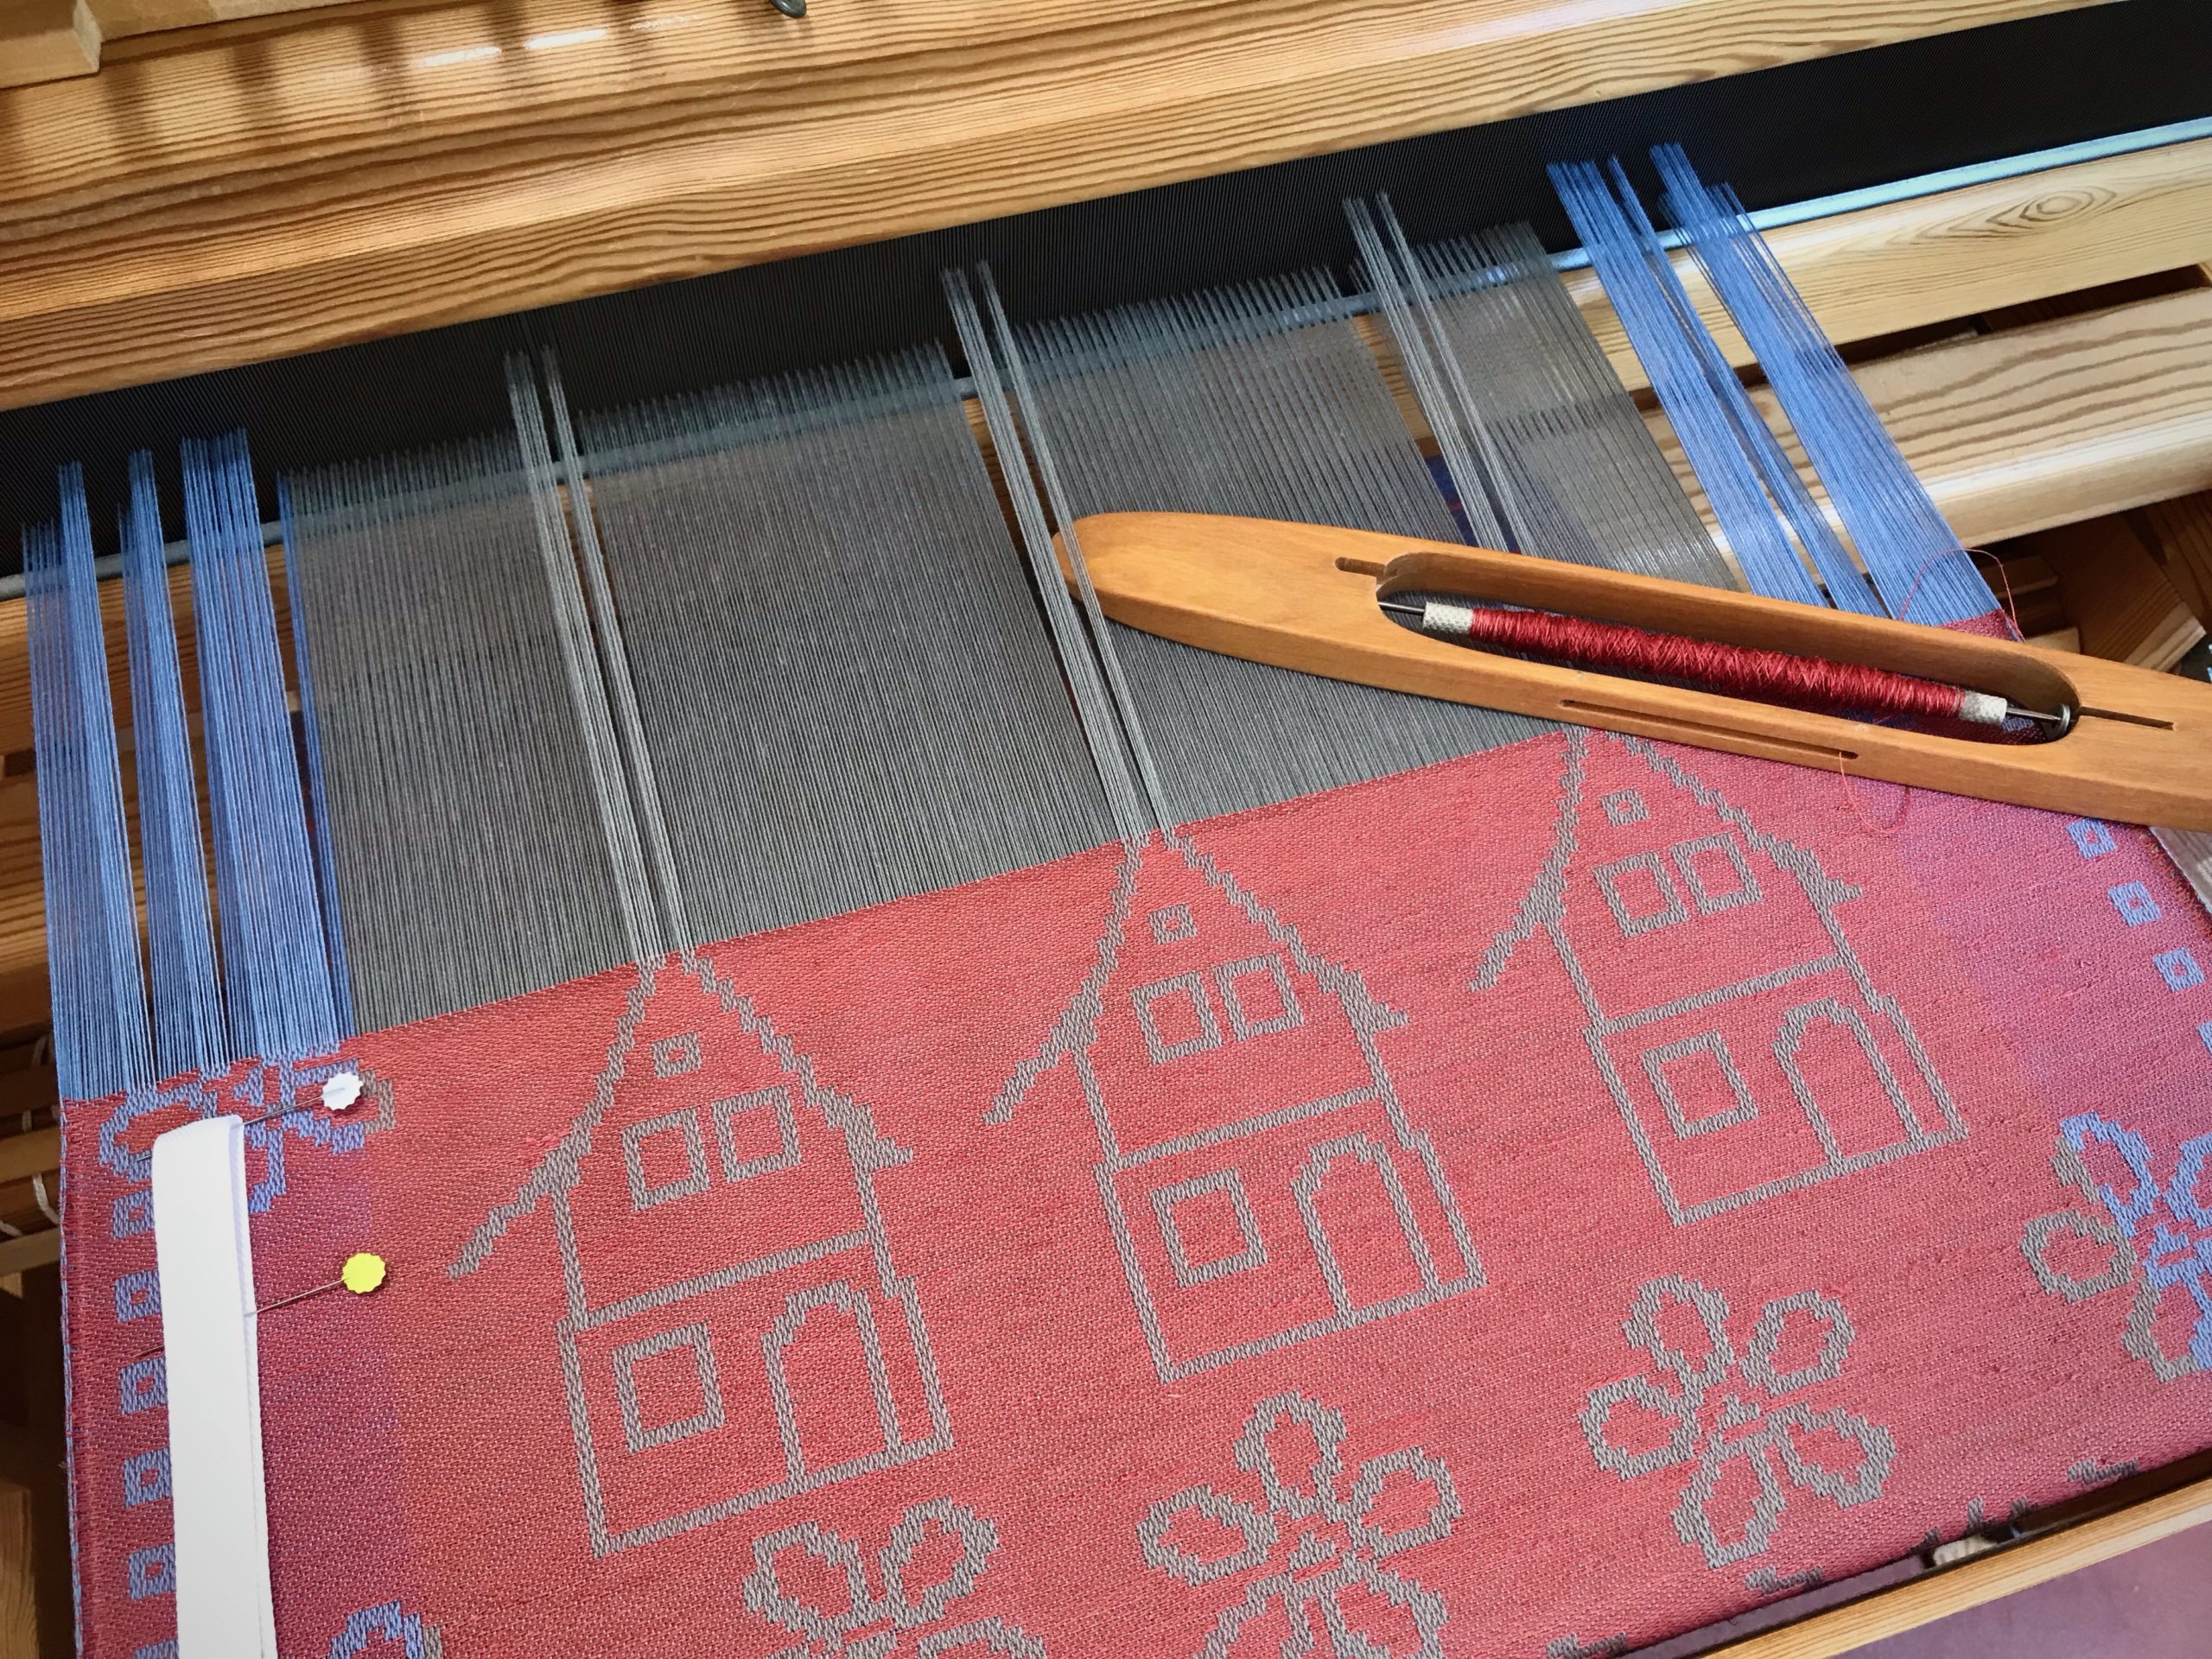
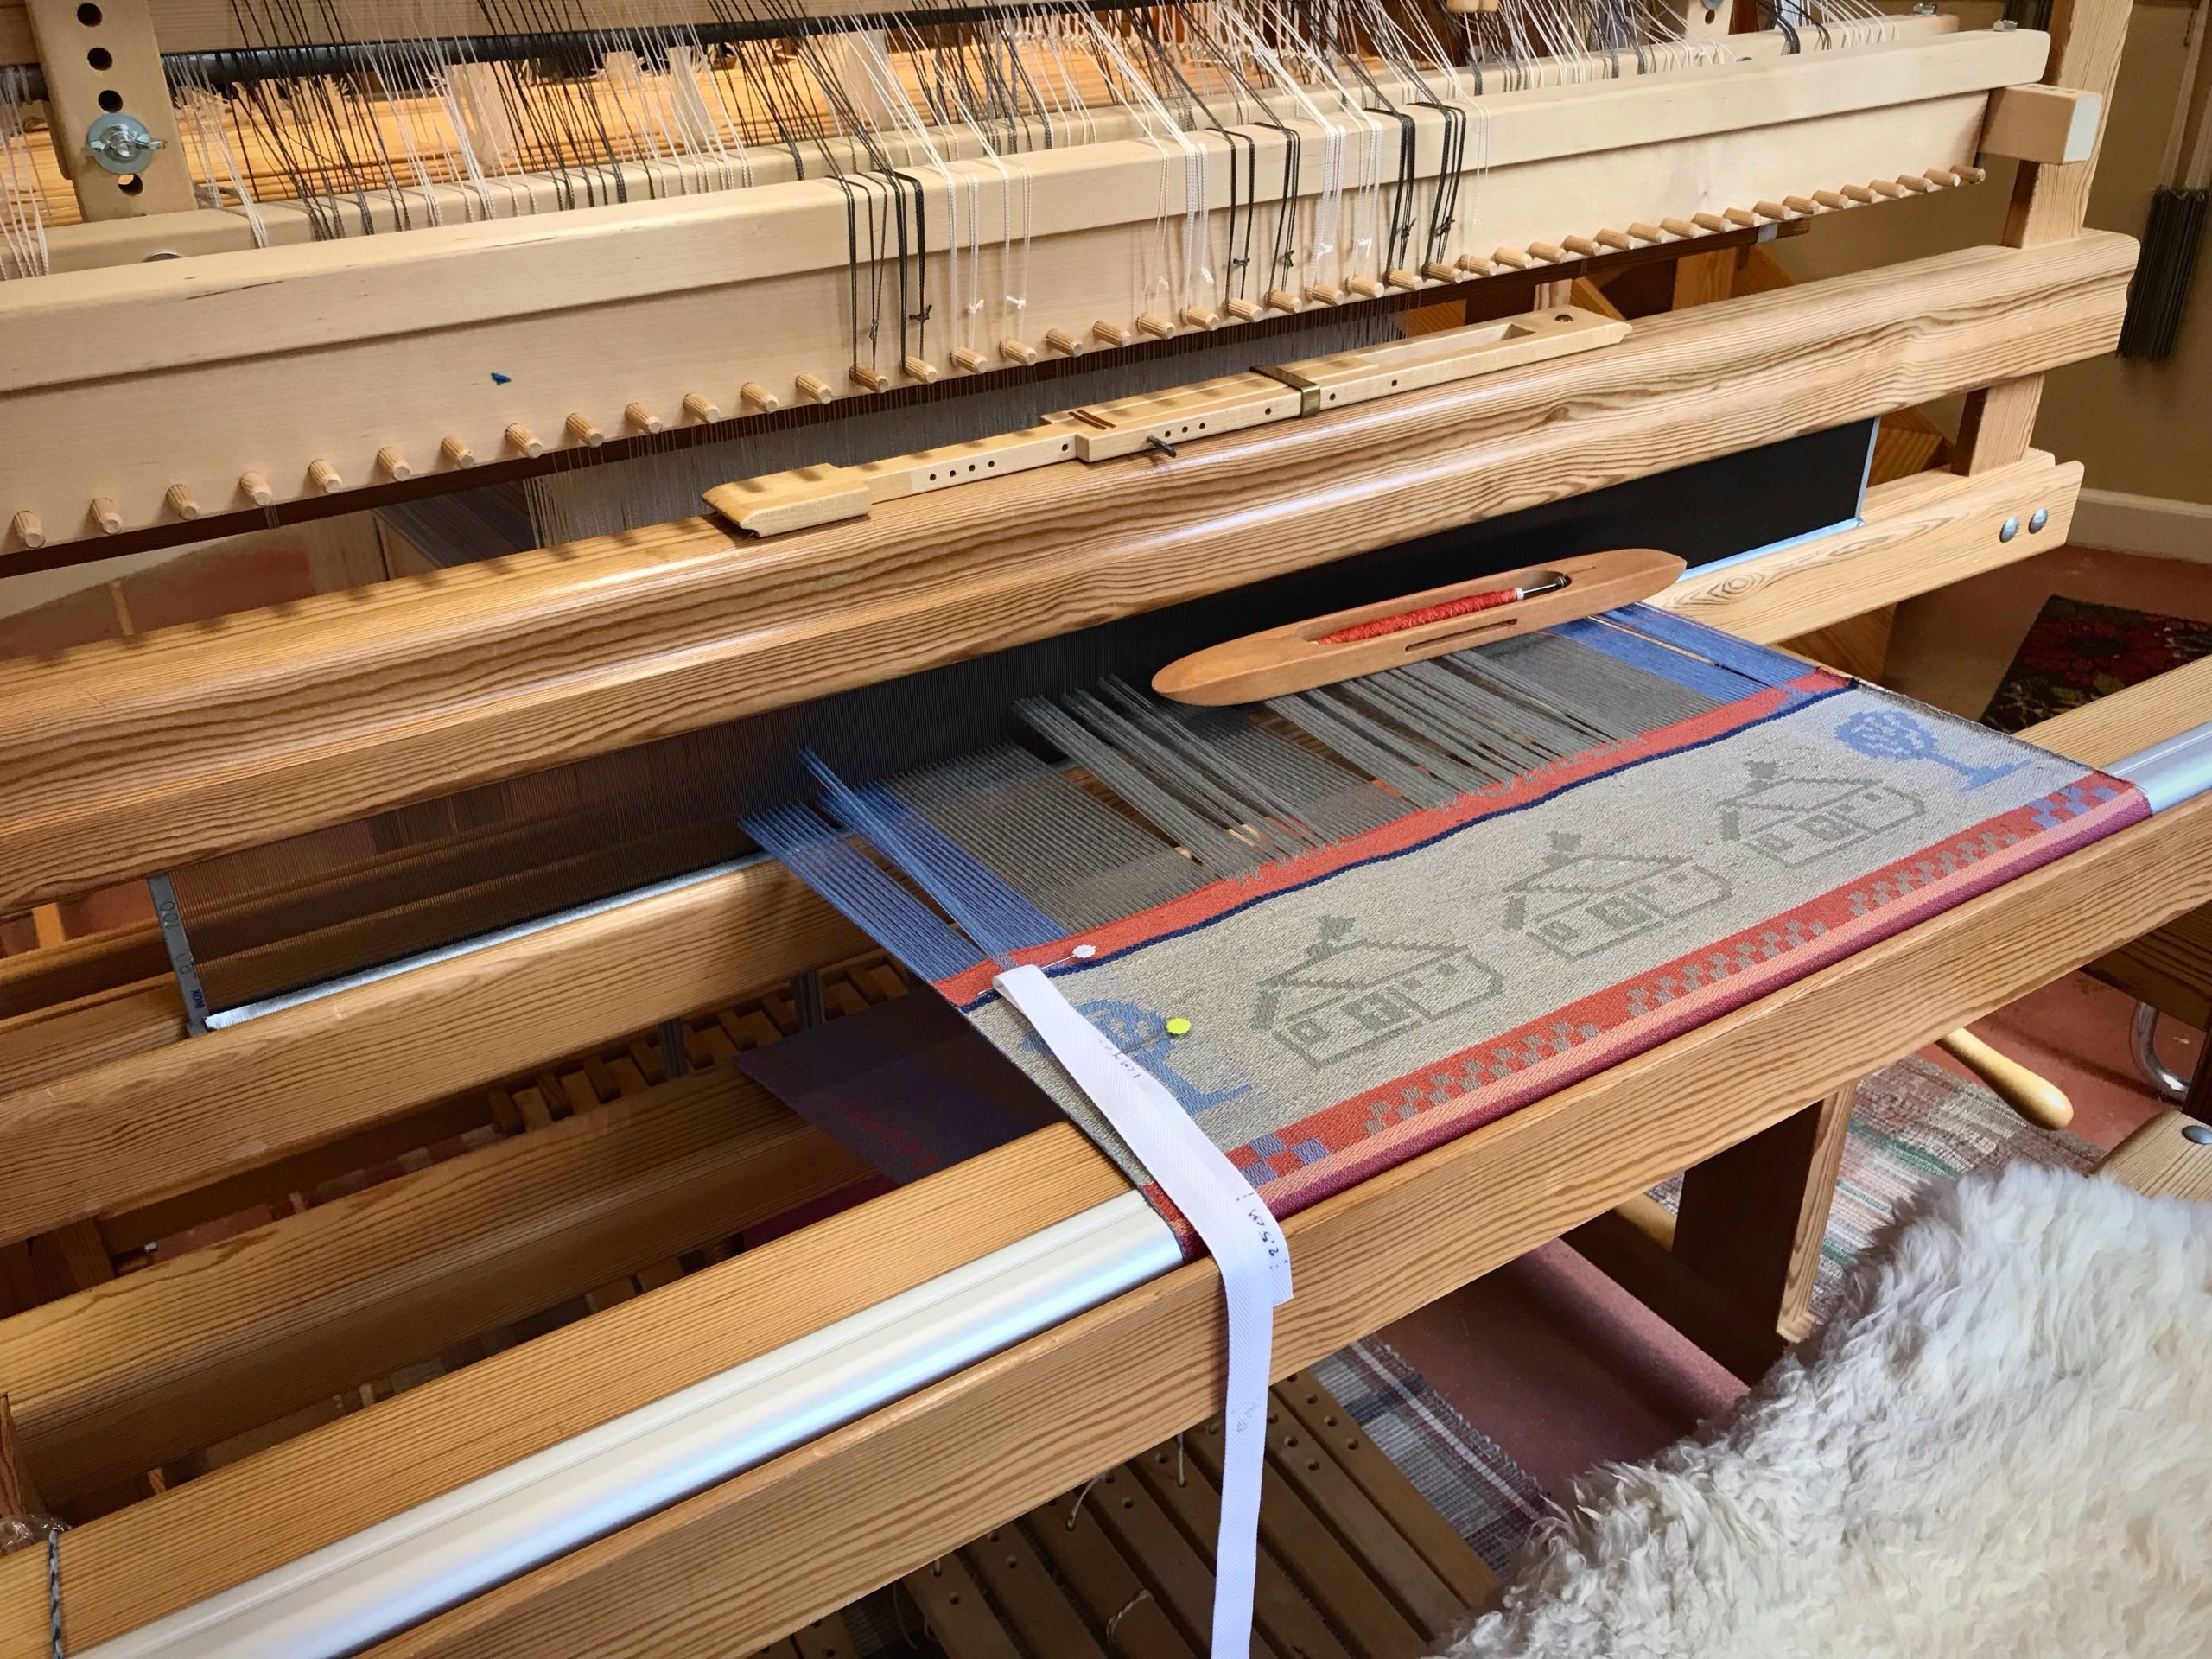
First up is the Peach Jam towel to hang in my house, where all the families come for flavors of home. Next is Melody’s towel, with a whimsical cottage as Home (which can be read from front or back). Marie’s towel copies the cover of one of her favorite books, The Wise Woman. And Lindsay, a homeschool mom, has a towel that shows the wordplay humor that her family enjoys, Home’s Cool. A house is for people; come on in. A home is for family; welcome home.

Join me in watching the whole process, all the way to the finished towels (several months compressed into a few minutes):
May your house be a welcome home.
With affection,
Karen