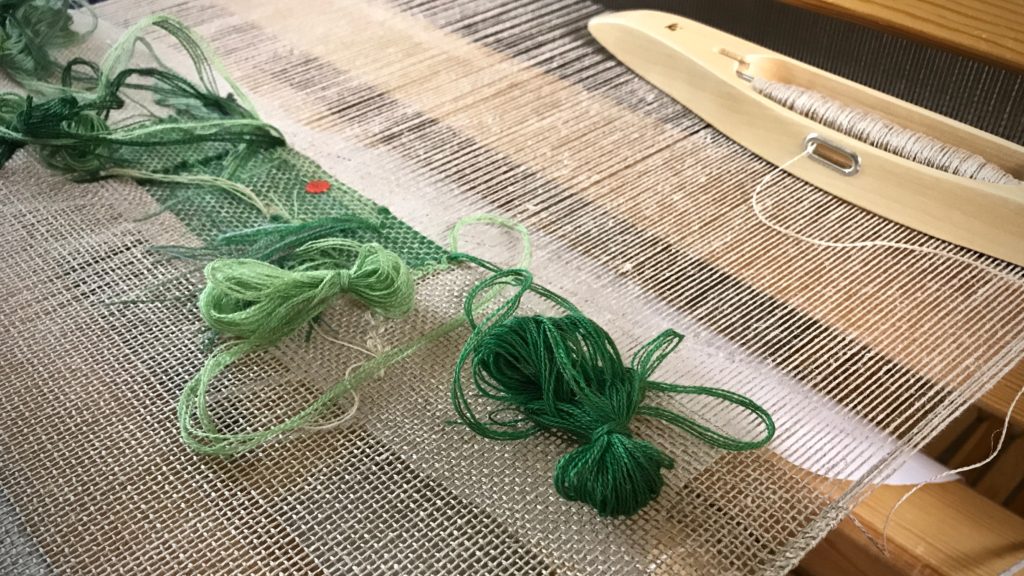
Treadle Adjustments on a Countermarch Loom

The countermarch loom is known for having a clean shed, so that is my goal. Is that possible for ten shafts and ten treadles? The first treadle I step on reveals that treadle cord adjustments are definitely needed!
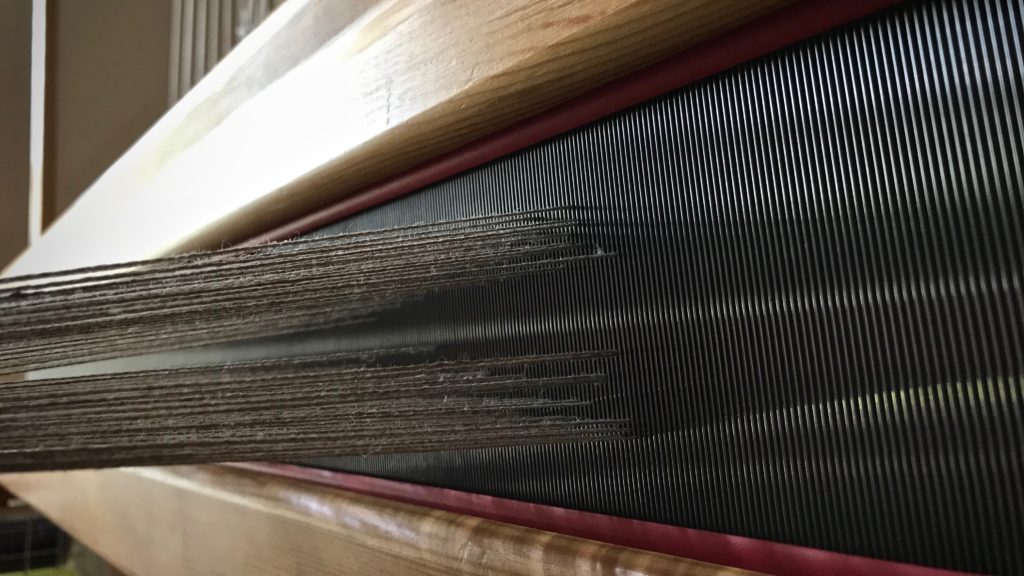
How to evaluate the shed and adjust on countermarch looms.
Before making any adjustments, a few of the sheds look impassable, like this one.

I learned the basics of making adjustments to treadle cords from Learning to Warp Your Loom, by Joanne Hall, and The Big Book of Weaving, by Laila Lundell. I also gained valuable experience from Vävstuga Basics, with Becky Ashenden.

Here’s how the process looks for me, with this ten-shaft, ten-treadle project as an example.

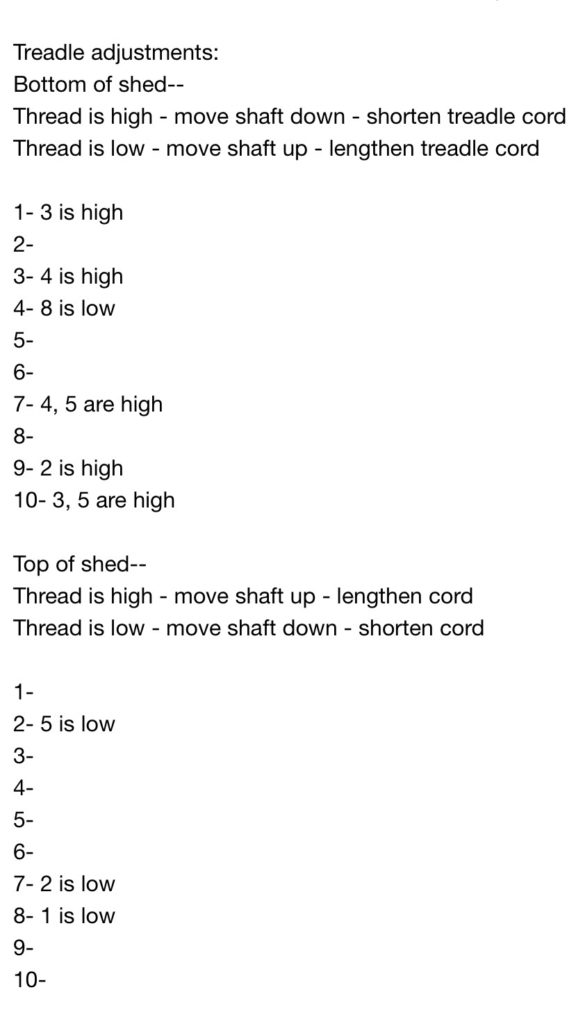
I keep the following note on my iPhone. It helps me remember how things work.
I fill in the blanks for each treadle, noting which shafts are too high or too low. Then, using my iPhone note for reference, I make the needed adjustments.

Note on iPhone for making countermarch treadle adjustments.

  • The first time through, I am primarily interested in the bottom of the shed. I make adjustments to clear the shed enough to be able to weave a little bit.
  • Weave an inch or two. It is surprising how the shed cleans up with a little bit of weaving.
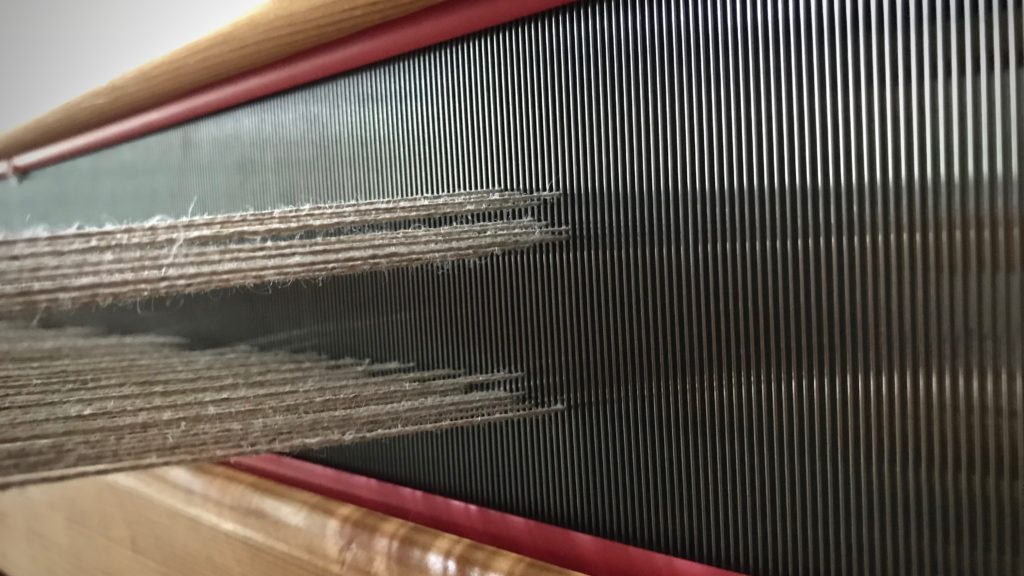
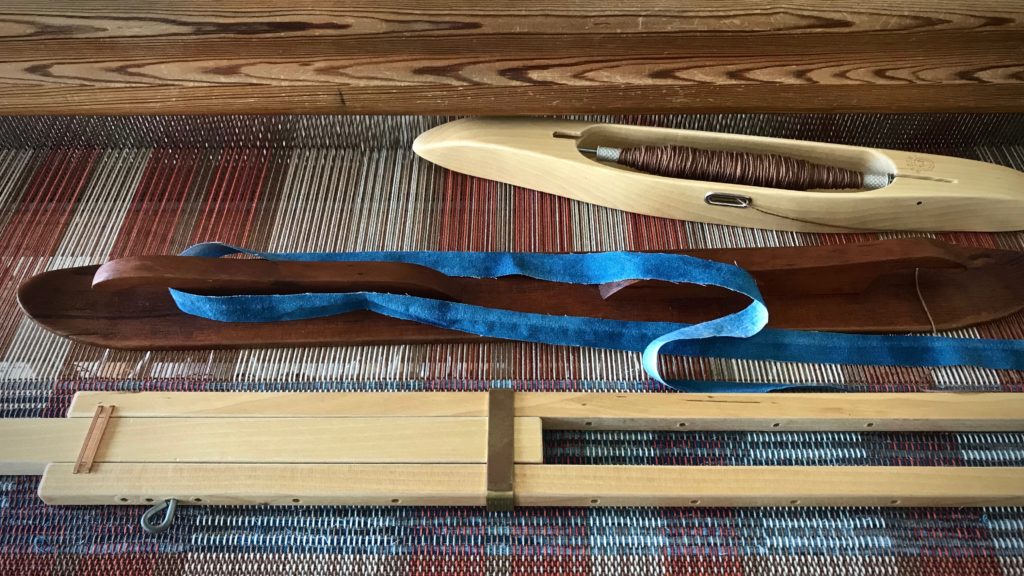
Adjusting treadles on countermarch loom.
Bottom of the shed has threads on one or two shafts that need to be lowered. After making those adjustments, this treadle will have a clean shed for weaving.
  • After weaving that first inch or so, I go through a second, and a third time, if needed, to get a clean shed on each treadle. Adjustments for the top of the shed are only needed if there are threads that will interfere with the shuttle.
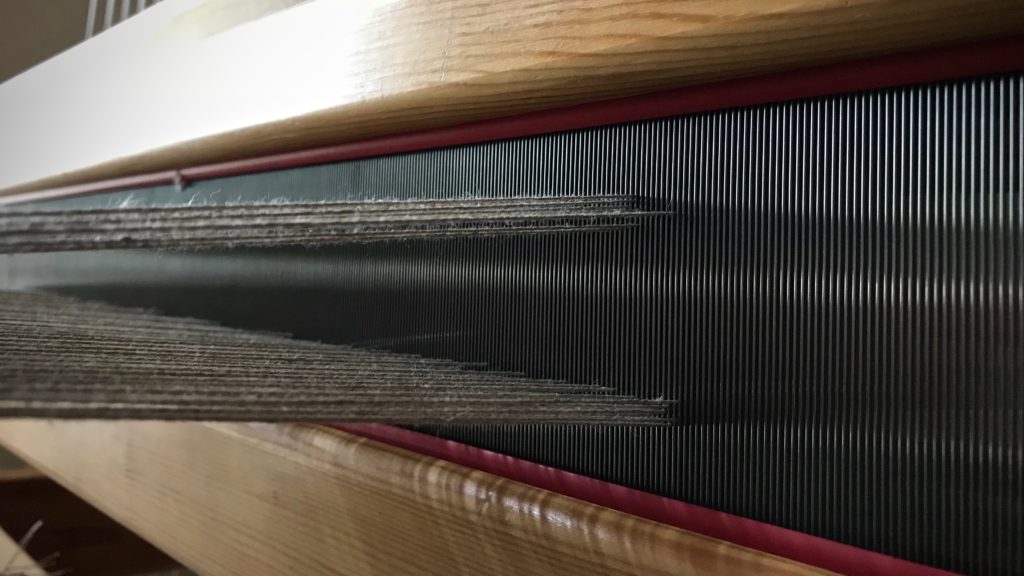
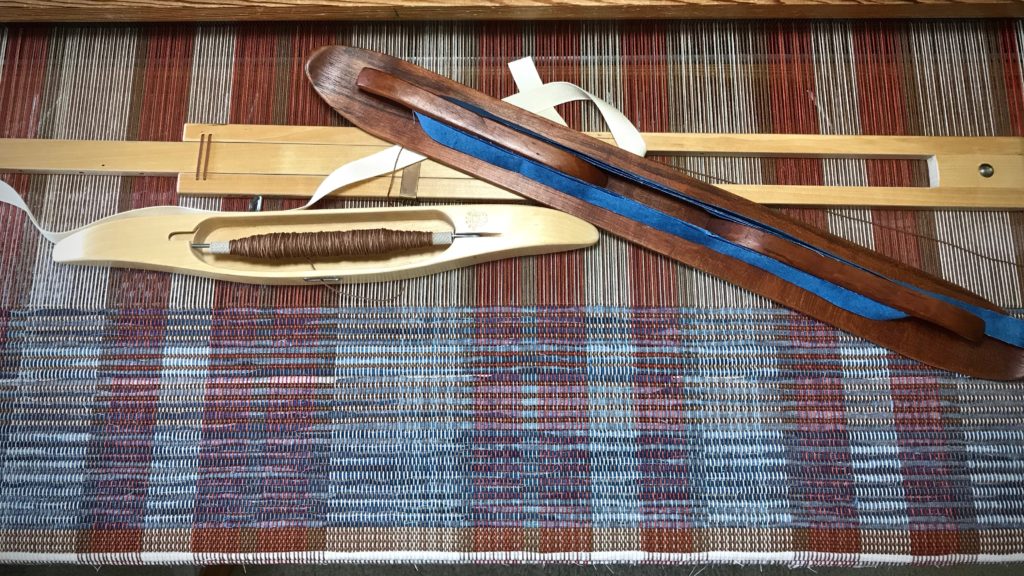
Clean shed of a countermarch loom. Tutorial.
No hindrance for the shuttle here. This is the kind of shed I hope to see on every treadle.

When I first see a messy shed, I think, “How will I ever get my shuttle through that?” But it turns out to be little adjustments here and there. It’s not too difficult if you understand the loom.
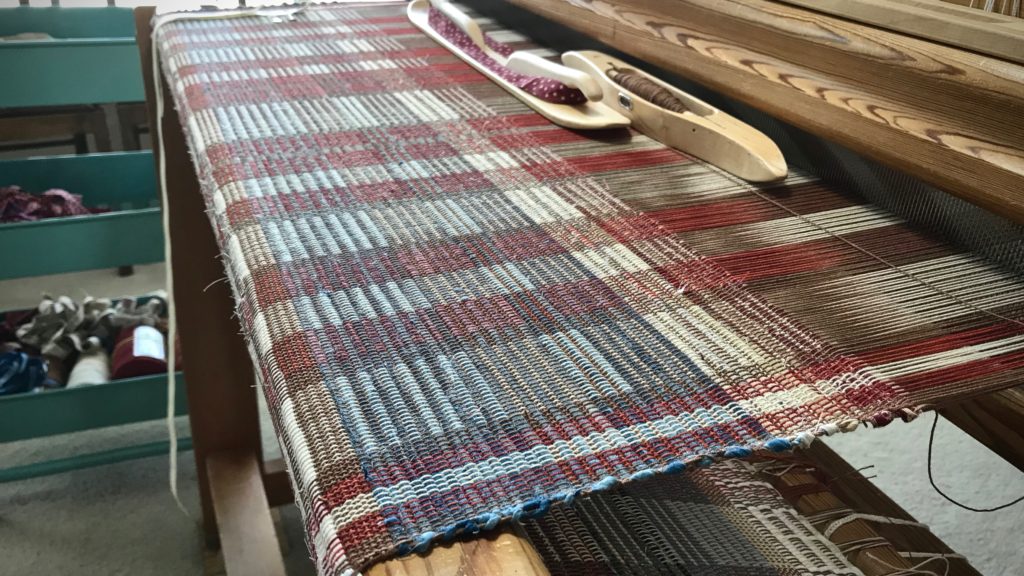
Five-shaft satin dräll in linen. How to adjust countermarch treadles.
After all treadle adjustments have been made, the shuttle glides freely through the shed. And pick by pick, linen threads become cloth.

Nothing is too difficult for the one who made heaven and earth. Our Creator knows how to help us. He hears our prayers for help, and little by little, we see what He is doing as the shed clears and the shuttle glides through, unhindered.

May little adjustments clear the way for you.

With you,
Karen

Tools Day: How to Set a Temple and Video

The temple is one of my favorite tools. I have a collection of them. I happily use a temple for almost everything I weave. And I certainly wouldn’t dream of weaving a rag rug without one!

Temple instructions and video.
Temple in place.

Rag rugs are especially susceptible to draw-in, and a temple helps reduce that by maintaining the proper width of the rug. Draw-in distorts the shape of a rug, contributes to uneven warp tension, and can make selvedge threads break. A temple also aids in getting tight selvedges, and enables the firmest beat possible. (My favorite temples to use, even for rugs, are the wooden ones made by Glimåkra.)

How and why to use a temple for rag rugs.
Spaced rep rag rug, using fabric strips and warp thread for weft.

Temple Tips:

  • Set the temple to the proper width. (The video below shows how I do it.)
  • You can set the temple into the cloth as soon as there is is enough woven for two or three teeth to sink into. Then, move the temple up when you have woven enough to set all the teeth into the cloth.
  • Even with a temple, place adequate weft through the shed. The tool works best in conjunction with careful weaving practices.
  • Watch out for the sharp points! I get pricked when I forget and reach around the selvedge to straighten something out.
  • Make sure the temple is far enough back from the fell line that it won’t scrape the edge of your beater. I have a scar on my beater because it was hitting the temple. Unfortunately, I didn’t notice until the damage was done.
  • Move the temple frequently. For consistency at the selvedges on a rag rug, I move the temple at least every inch.
  • Remove the temple by moving the slider with one hand, while holding the center part down with the other hand. Keep the pin in place and the temple will draw up in the center. Then, disengage the teeth from the cloth on both sides.
Spaced rep rag rugs on the loom. Tutorial for using a temple.
Width in the reed for this rag rug is 90 cm on this 100 cm loom. I keep a supply of temples so that I have what I need for any weaving width.


May your tools serve you well.

Happy weaving,
Karen

Tools Day: Paper and Yarn

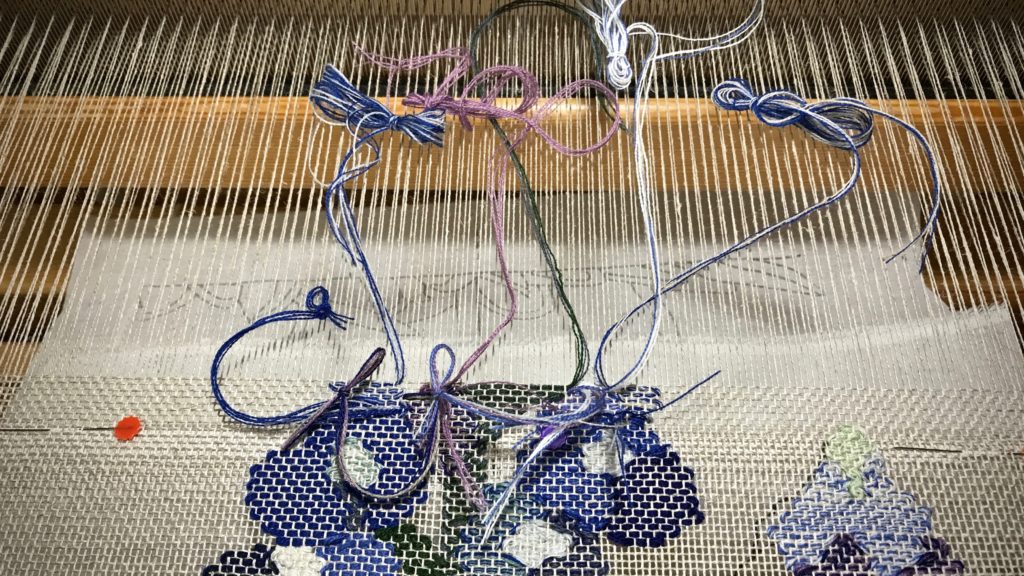
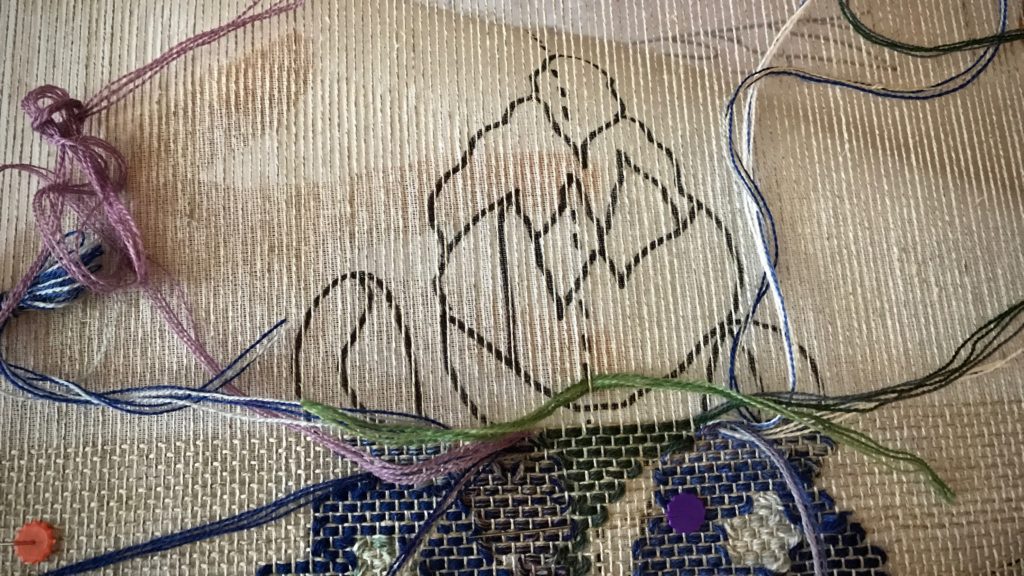
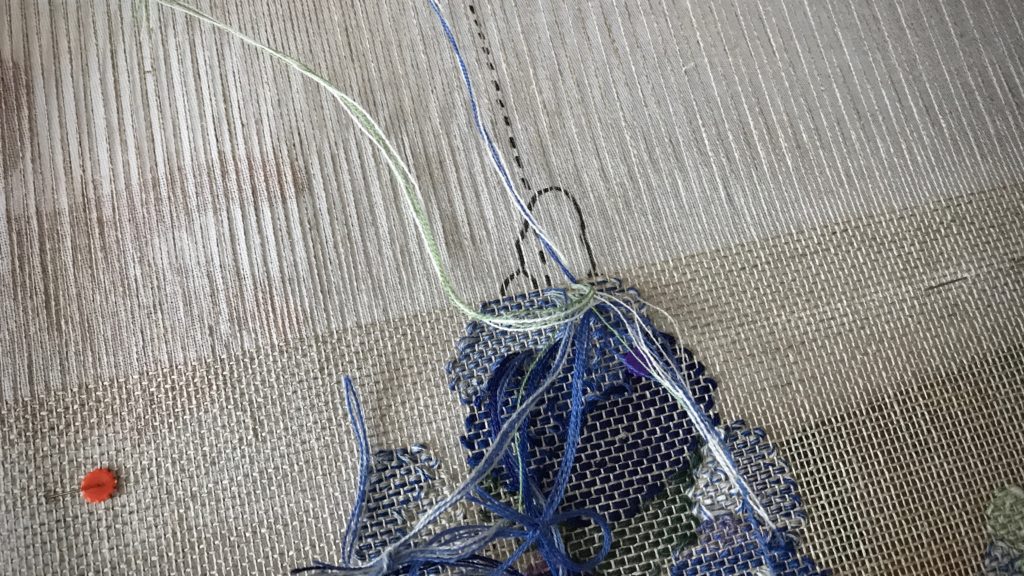
A folded piece of paper and a seven-inch tail from a yarn butterfly become an answer to a small technical problem. When using a cartoon, like I am for this transparency, it’s imperative to identify the center warp end so I can align the dotted-line center of the cartoon with that one end. Finding the center warp end is my technical problem. The paper and yarn work together as the tool that helps remove the guesswork.

Weaving a transparency. Bluebonnets.
I check the alignment of the cartoon about every inch, and move up the pins that hold the cartoon in place.

With these bluebonnets, if the cartoon slides to the right or left by even one warp end it distorts the picture. It’s not enough to eyeball it. I need a way to make sure I am finding, and marking, the exact center end every time.

How to Find and Mark the Center Warp End

Supplies:

  • Pencil
  • Subscription card from a magazine, folded in half lengthwise
  • Seven-inch tail from a yarn butterfly, or a strand of yarn
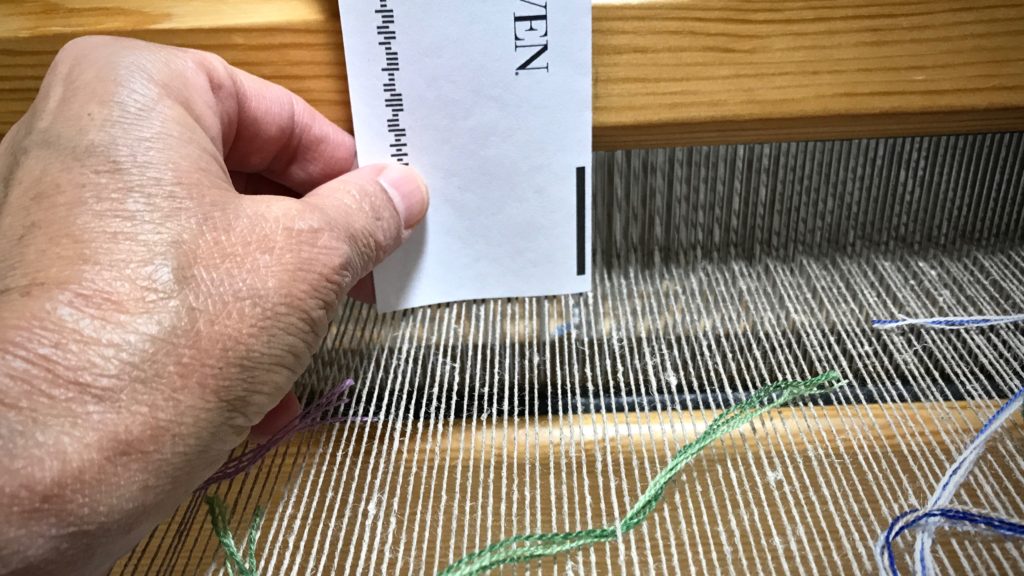
  1. Measure the width of the beater and use a pencil to mark the exact center with a vertical line.
  2. Hold the folded edge of the card against the vertical pencil line on the beater, with the bottom edge of the card almost touching the warp.

Finding and marking the center warp end to align with cartoon.

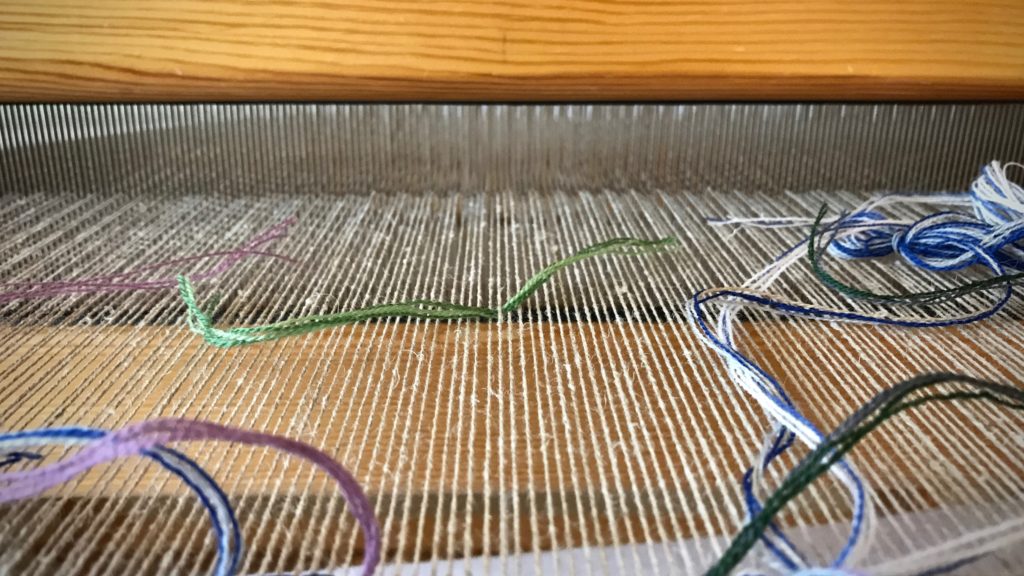
3. Slip the yarn tail under the center warp end, as identified by the bottom corner of the card.

Aligning center warp end with cartoon. Tutorial.

4. Check the alignment of the center line of the cartoon with the center warp end.

How to mark the center warp end.

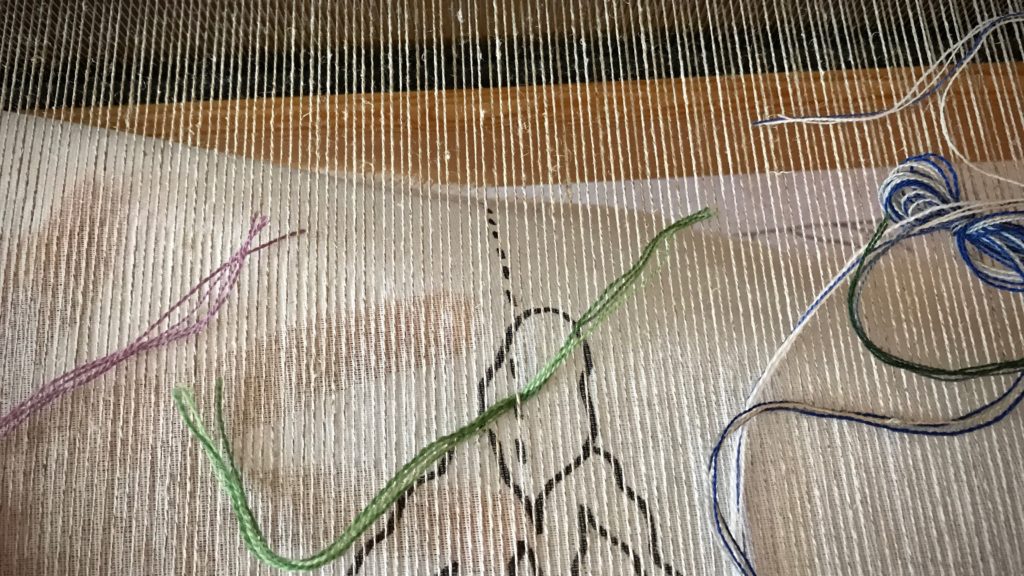
5. Slide the yarn from the reed to the fell line to check the entire length of the alignment. Reposition the cartoon, if needed.

Aligning cartoon with center warp end. How to.

Bluebonnet woven transparency almost finished!
Ready for one last alignment!

May you find a solution that eliminates guesswork.

All the best,
Karen

Tools Day: Narrow Hems

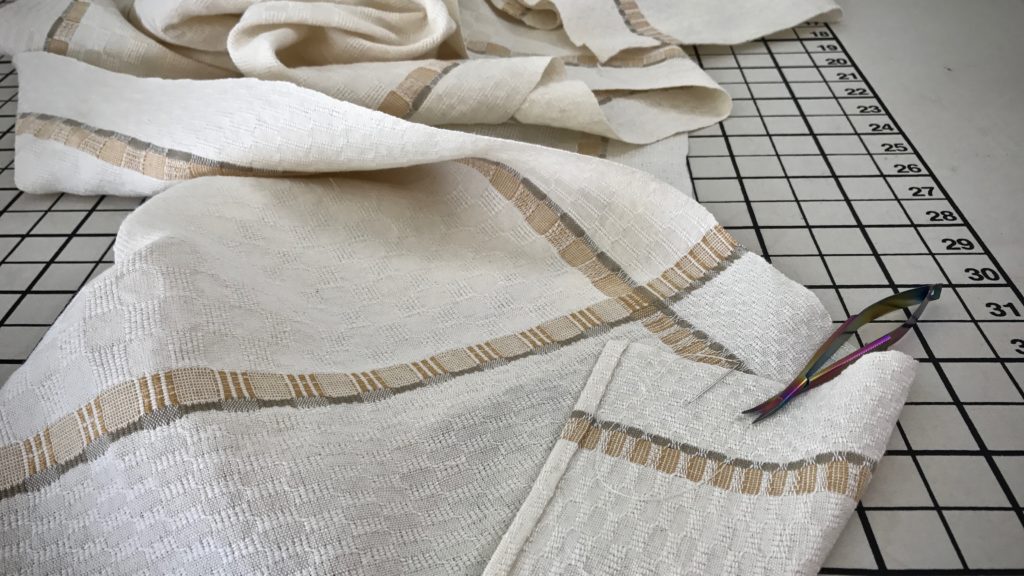
Hems shouldn’t be noticed. At least, not at first glance. I don’t want the stitching of the hem to detract from the overall handwoven quality. Decorative items, like this table runner, deserve a hand-stitched hem. But for functional pieces, like these tea towels, I stitch the hems on my trusty old Bernina sewing machine. This ensures the durability I want for something that will be thrown in the washer and dryer again and again.

Long M's and O's table runner is hemmed by hand.
Long M’s and O’s table runner is hemmed by hand using an invisible hem stitch.

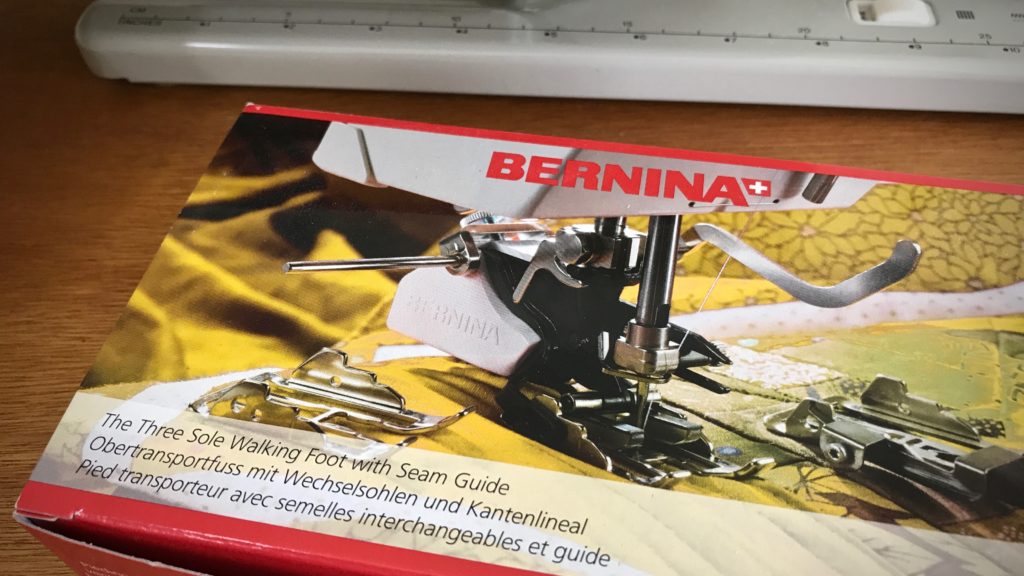
Last year I purchased a Bernina walking foot through my local Bernina repairman. It was one of the best sewing investments I have made. (Don’t be fooled by off-brand “Bernina compatible” products.) The advantage of a walking foot is that it evenly feeds layers of fabric, which is especially useful for sewing handwoven fabric. And for the towel hem, it means the top of the hem won’t become skewed and slanted as you sew, like it might with a regular sewing machine foot.

Bernina Walking Foot - good investment!
Bernina Three Sole Walking Foot with Seam Guide. The walking foot stays on my Bernina sewing machine almost all the time.

One of the three sole plates that comes with the Bernina walking foot is a sole for edge stitching. This works beautifully for stitching a narrow hem on lighter-weight fabric, like these airy cotton and linen towels.

My process for a machine-stitched narrow hem

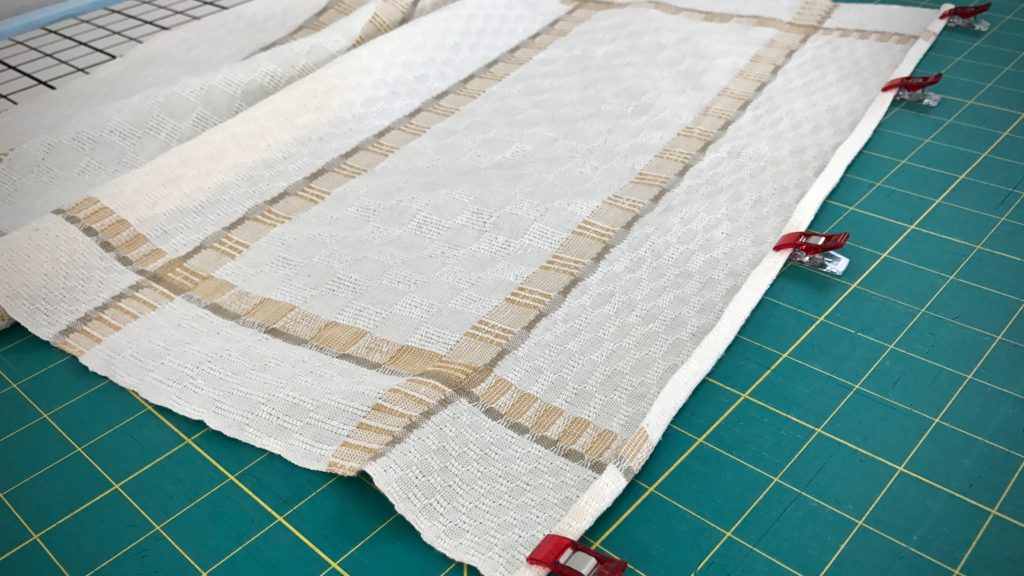
  • Turn and press the 1/4″ hem twice. Hold the folded edge in place with small fabric clips.
Sewing narrow hems on handwoven towels.
Small fabric clips hold the folded and pressed towel hem in place, in preparation for stitching the hem.
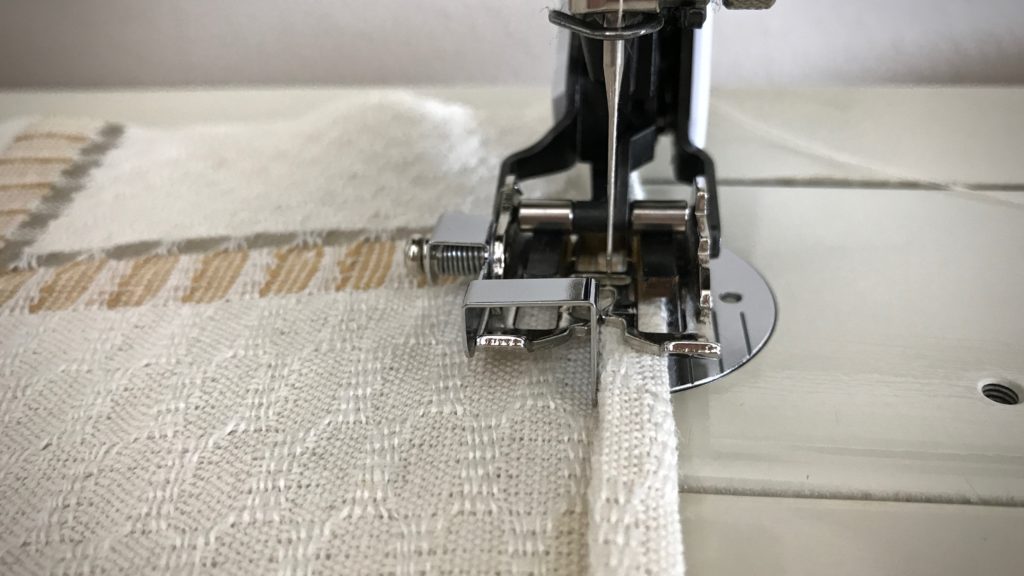
  • At the sewing machine, attach the edge-stitching sole plate to the walking foot. Align the fold of the hem with the edge-stitching guide.
Bernina walking foot with stitch guide.
Sole with stitch guide. The metal plate that extends below the foot is a steady guide that works for sewing a narrow hem, as well as for top-stitching, or “stitch-in-the-ditch” techniques.
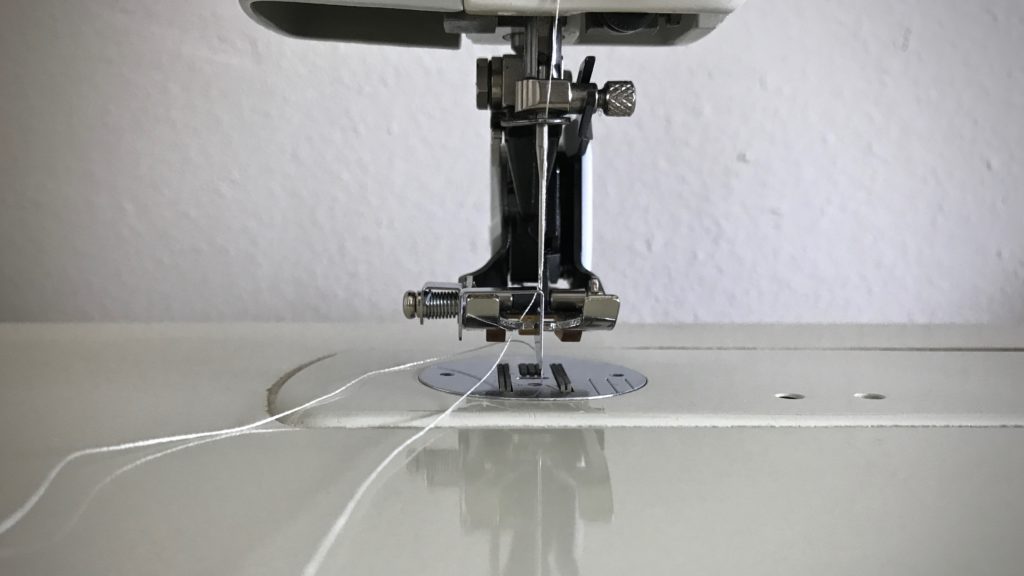
  • Adjust the sewing machine needle to the right, so that it catches the fabric just inside the edge of the fold.
Sewing hems on handwoven towels.
Sewing the narrow hem. Needle is positioned so that it is to the right of the hem fold.

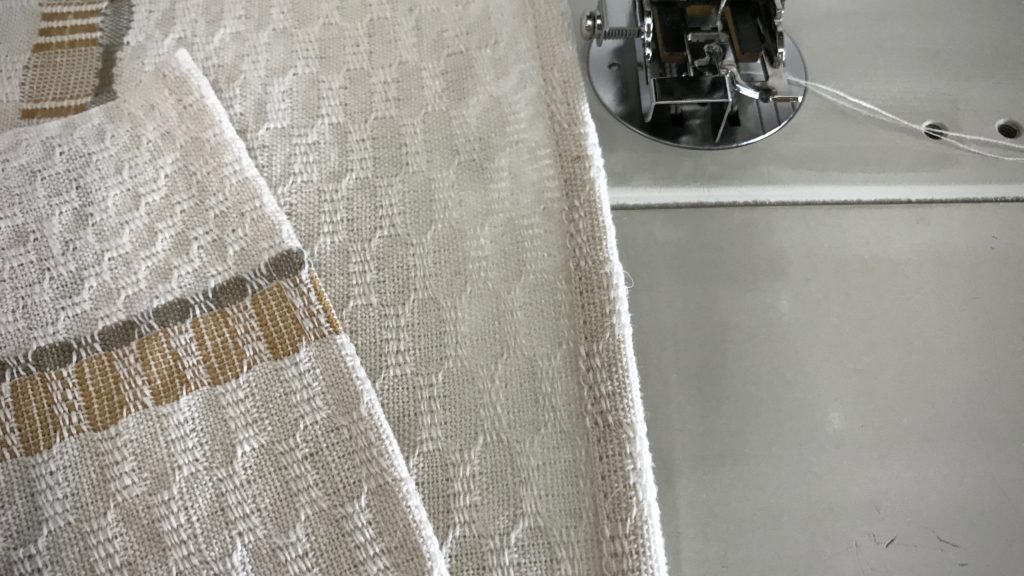
Slowly sew a narrow hem, keeping the folded edge next to the walking foot’s edge-stitching guide. Remove fabric clips before they come to the needle.

Hemming handwoven towels.
Front and back of the hem have consistent, straight stitching. The narrow hem (not yet pressed) will be barely visible.

May your hems be a suitable frame for your handiwork.

Finishing,
Karen

Woven Transparency Cactus

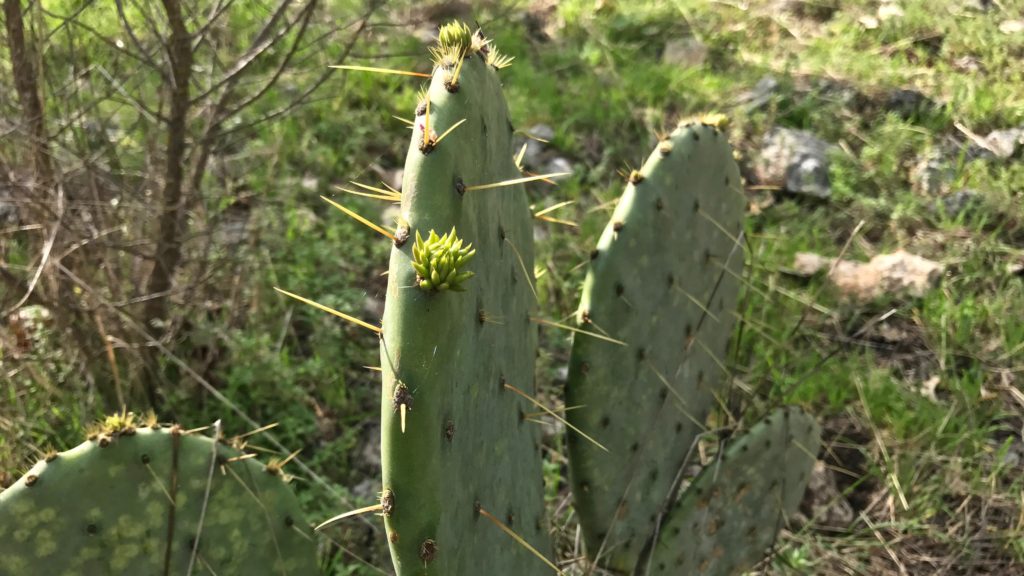
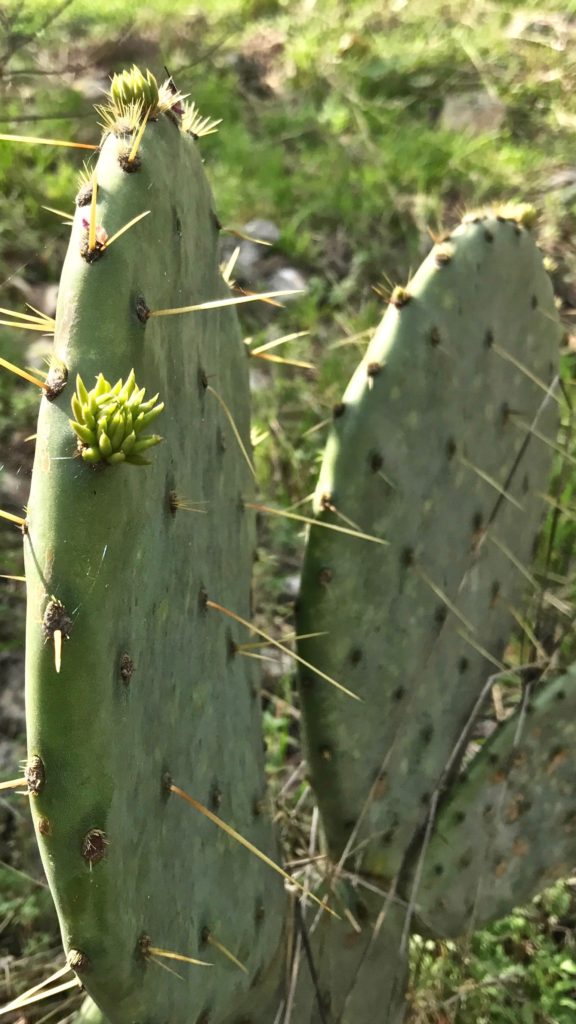
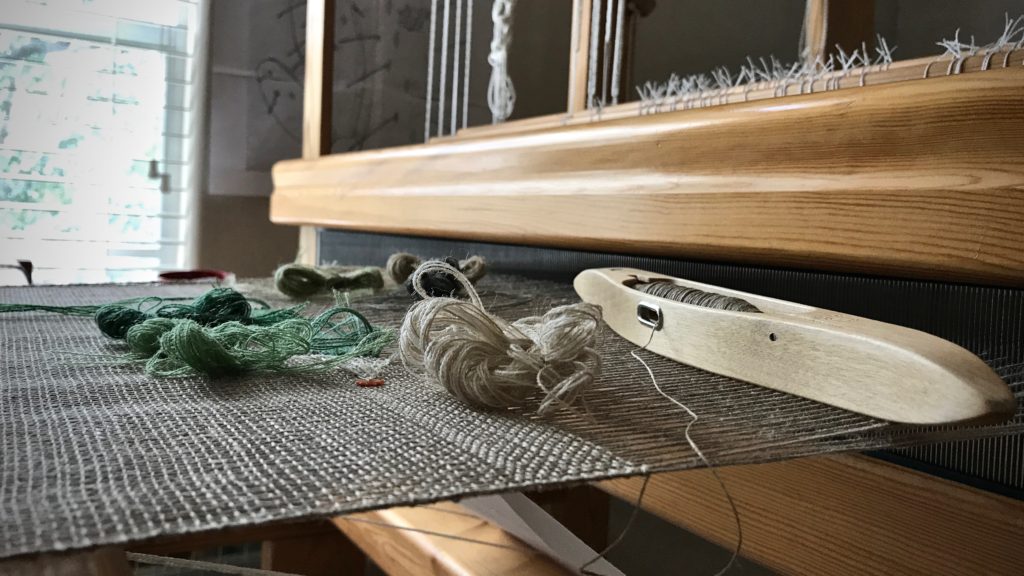
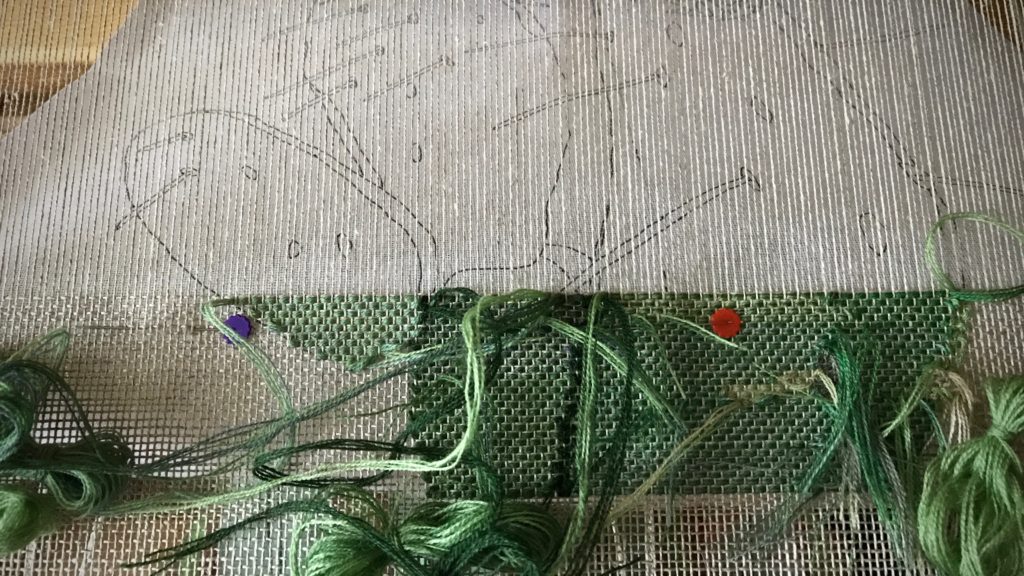
I found a subject for my next transparency. It’s a prickly pear cactus in Texas hill country. Weaving this cactus is a fantastic experience! I started with a photograph, from which I made a cartoon. And I have an outline that shows where to place each color. It’s all based on the timeless beauty of colors in nature. I’m hopeful that when light shines through the final woven transparency we will see a likeness of the original cactus.

Prickly Pear Cactus in Texas hill country.
Prickly Pear Cactus in the front yard of our Texas hill country home.

Make a Cartoon

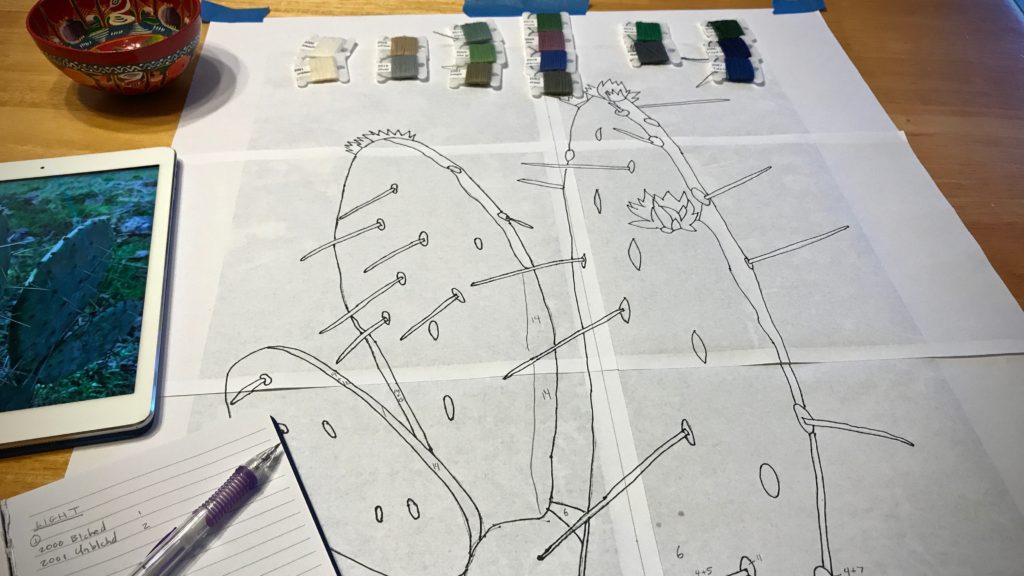
  • Crop and enlarge the photo. (I use Acrobat Reader to enlarge and print in multiple pages, and then tape the pages together.)

Prickly Pear Cactus in Texas hill country.

  • Outline the main lines of the picture.
  • Turn the enlarged picture over and draw the traced lines on the back to have the reverse image. (This transparency is woven from the back.)

Photo to sketch to cartoon for woven transparency.

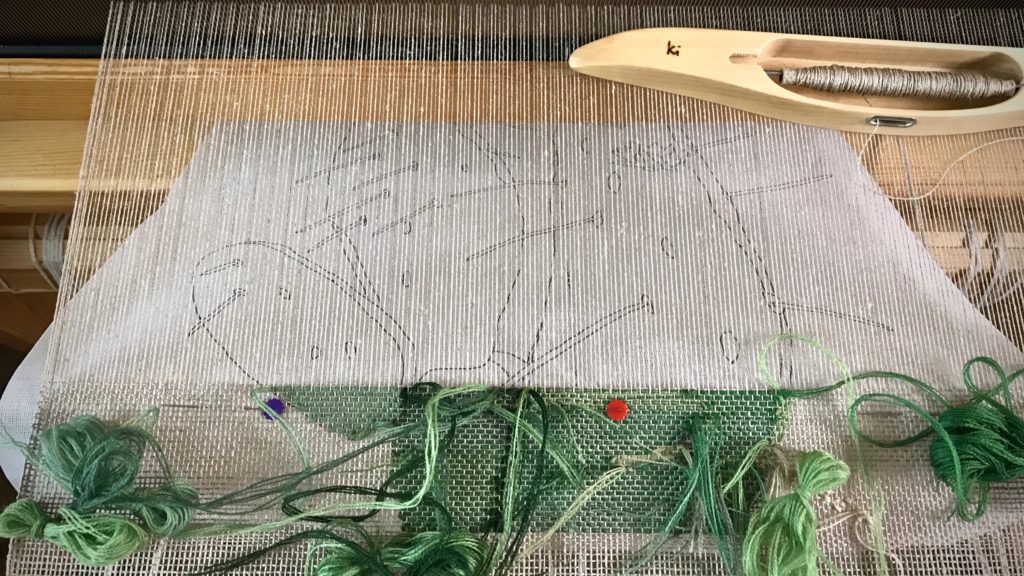
  • Trace the line drawing onto a piece of buckram to use as the cartoon.
  • Draw a vertical dashed line down the center of the buckram cartoon.
  • Pin the cartoon under the weaving, lining up the center line on the cartoon with the center warp end. Move the pins, one at a time, before advancing the warp each time.

Buckram used for transparency cartoon.

Color Selection

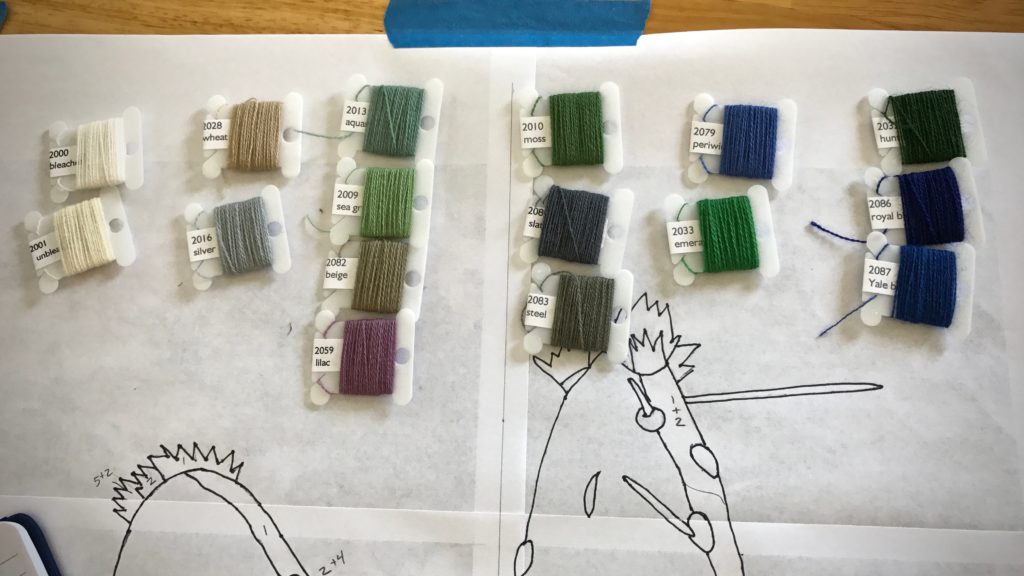
  • Use the photograph to select yarn colors for the transparency. (I used the iPad to view the photo, and selected sixteen shades of 20/2 Mora wool.)
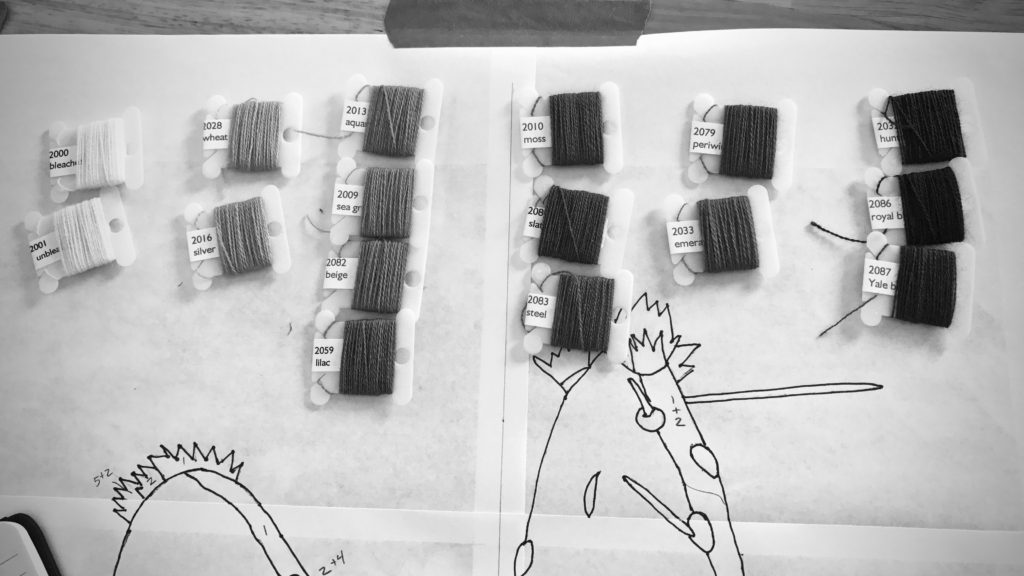
  • Sort the yarn by hues. (I used my iPhone camera black-and-white setting to help in the sorting.) Sorting by hues helps me blend similar-hued colors, and shows me the contrasts that will help define the picture.

Color selection for woven transparency. Sorting by hues.


Sorting colors by hues for woven transparency.

  • Assign a number to each yarn color.
  • Make the enlarged outline into a color-by-number sheet by designating a color or blend of colors for each section. (I taped this sheet to the wall beside my loom, to use as a color guide. The iPad photo also serves as a reference.)

Butterflies of Mora wool for woven transparency.

Virtues are timeless. Virtues are like colors that blend together to weave a masterpiece. When we let the Grand Weaver lay in the weft, these are the colors that appear as light shines through His woven transparency: love, joy, peace, patience, kindness, goodness, faithfulness, gentleness, self-control. And when this occurs, it shows that we are made in His image.

Making a transparency cartoon. Tutorial.


Woven transparency from a photo. How to.

May the next leg of your journey be a fantastic experience.

I’ll meet you back here on Tuesday, August 1st, 2017.
In the meantime, I hope you investigate claims of Jesus. Take time with people. Keep weaving. And the same for me.

Head over to Instagram to stay in touch with my daily journey.

Love,
Karen