Tried and True: Leftover Linen on the Band Loom

Remember that time you miscalculated when planning your warp? You found the mistake when you were threading, and you ended up with an extra group of ends. If you have ever done something like that, then you understand where this leftover linen warp came from.

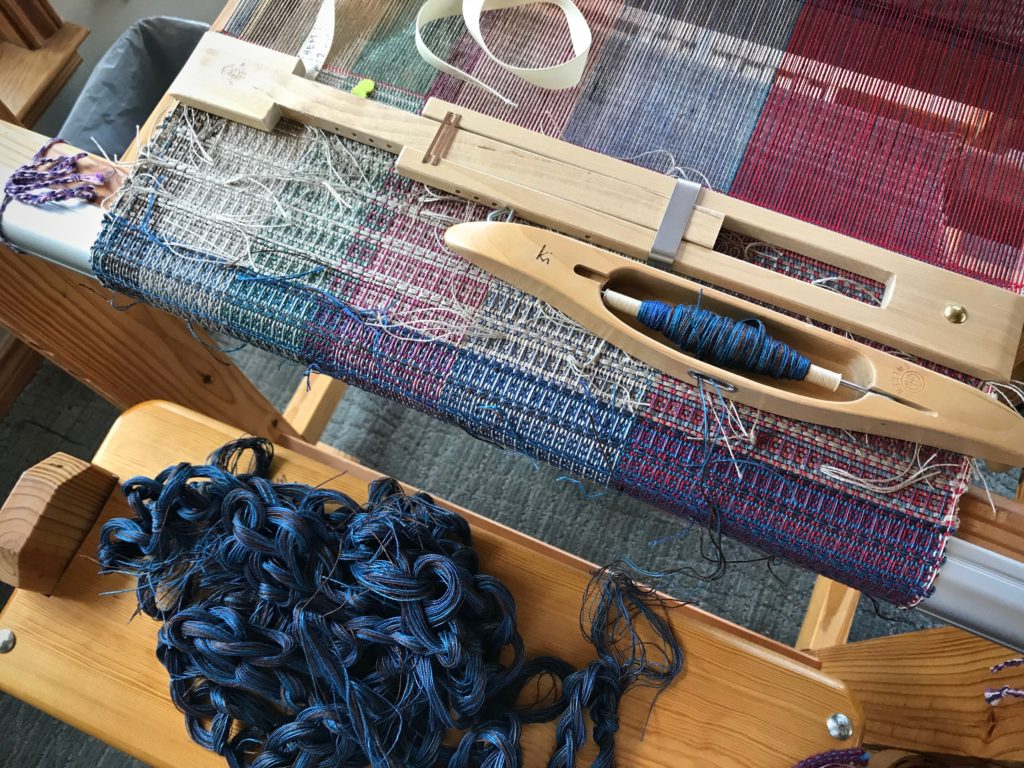
New warp on the Glimakra band loom.

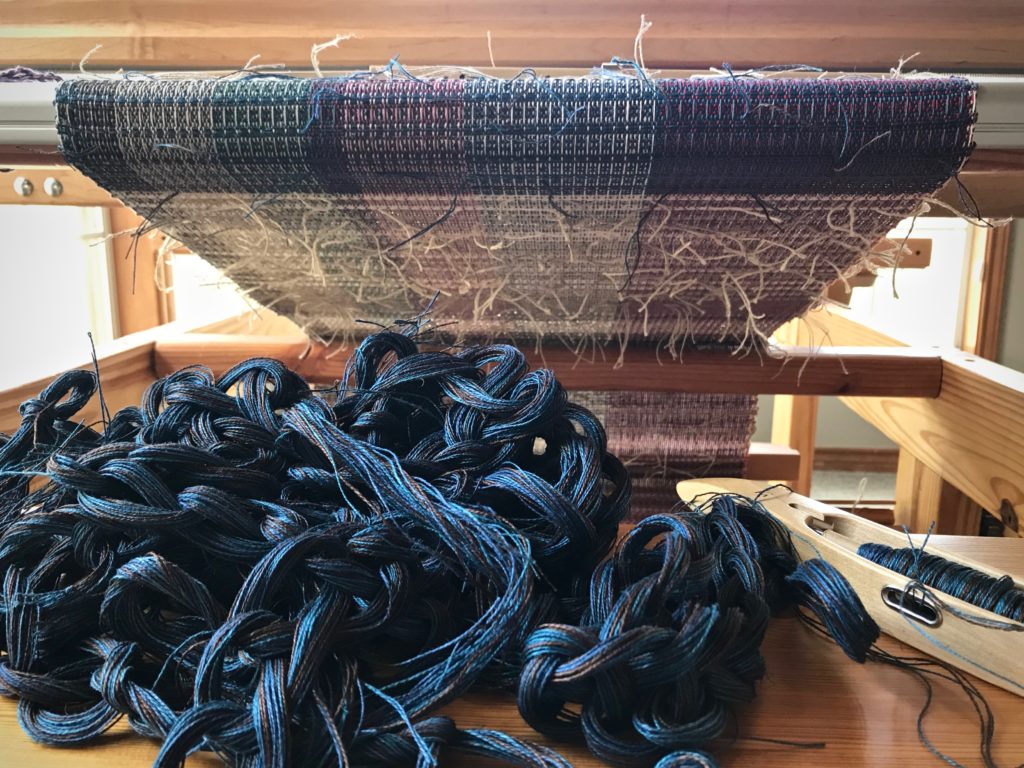
This little linen leftover warp is now on the Glimåkra band loom. I removed two ends to get a warp with symmetrical colors. It’s perfect for making hanging tabs to go on the leftover linen waffle weave washcloths. The weft on these band loom shuttles is from one of the little linen warp chains I mentioned last week. (See Put the Linen Back to Use.)

Leftover linen to use as weft on the band loom.
Linen from a leftover warp chain fills the little band loom shuttles.
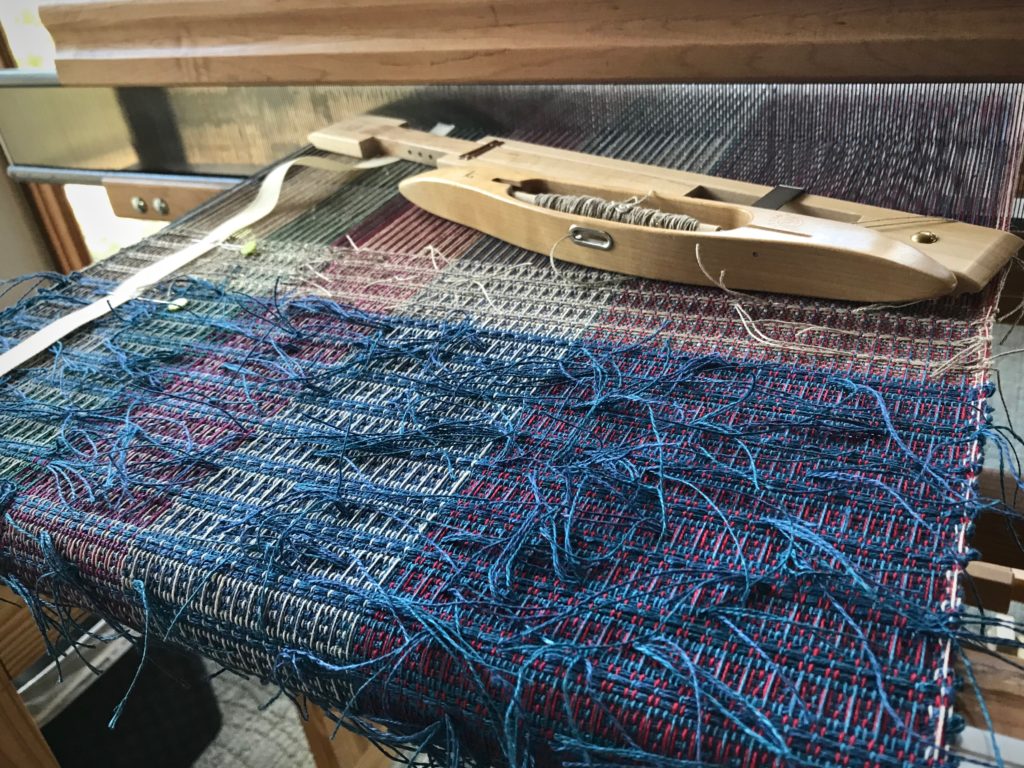
Band Loom weaving.
Weft tails show the color variance–turquoise and blue–in the leftover linen used for weft, indistinguishable in the selvedges of the woven band.

When the thread comes to an end on the shuttle, I follow this simple process to begin a new weft.

  • Place the ending weft through the shed, leaving a tail of at least 1/2”.
How to change the weft on the band loom.
  • Without changing sheds, lightly tap the weft in place with the band knife.
  • Bring the new weft on a shuttle through the same shed, going in the same direction as the previous weft’s shuttle, leaving a tail of at least 1/2”. (There is now a weft tail extending in both directions.)
How to overlap wefts on the band loom.
How to add a new weft. Glimakra Band Loom.
  • Without changing sheds, lightly tap the new weft into place with the band knife. (This helps to make a snug fit for the two wefts in this shed.)
  • Change sheds. Beat firmly with the band knife.
  • Send the weft back through.
How to end one weft and begin another on the band loom.
  • Beat firmly, and continue weaving.
Instructions for ending and starting wefts on the band loom.
  • After weaving 1/2” further, clip off the weft tails; or, clip all the tails after the entire band is woven and has been cut from the band loom.
Linen band weaving for hanging tabs on linen washcloths.
Weft tails are left extended on this band. I may trim some of them later to 1/4″ for effect, to be used as hanging tabs on the leftover linen waffle weave washcloths.

May you put your leftovers to good use.

Happy Weaving,
Karen

Put the Linen Back to Use

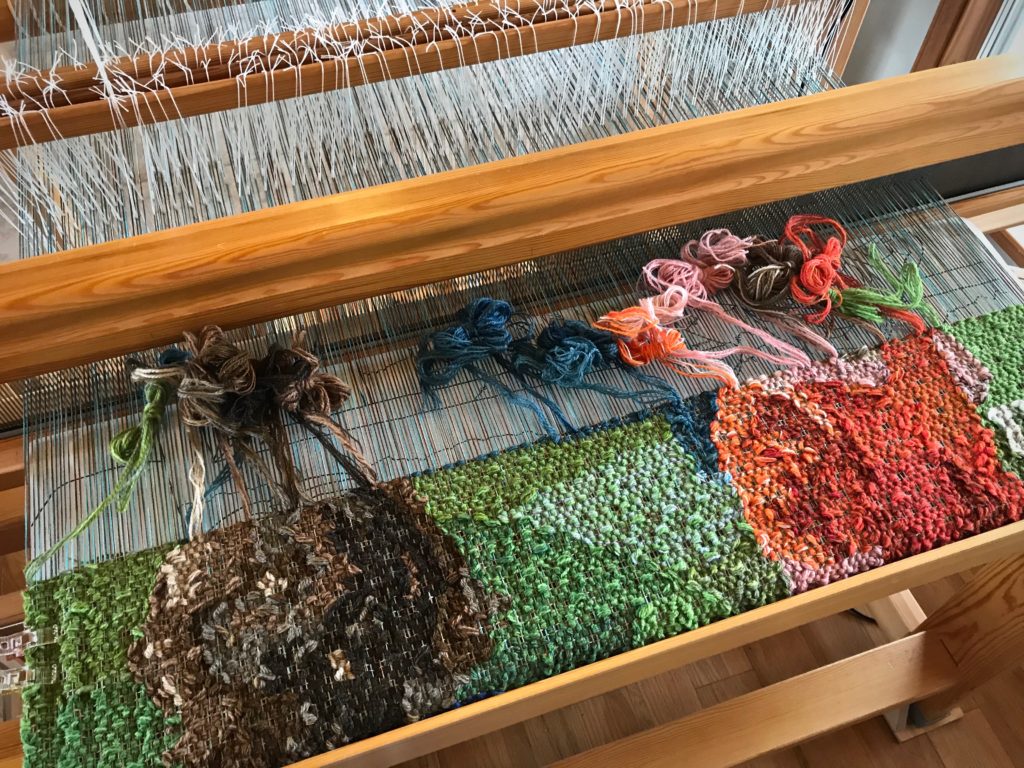
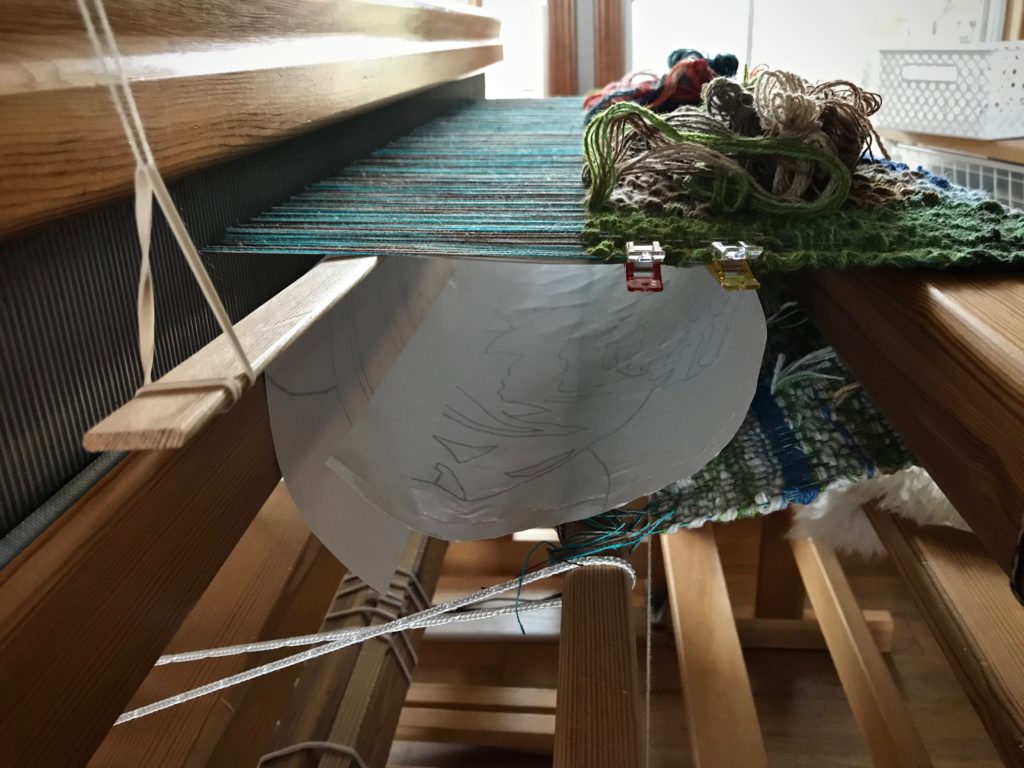
Almost in tears, I chained off the remaining linen warp, a handful of ends at a time. I had come to the end of the Lizard tapestry. There was still enough warp to weave another small tapestry, but because of our move, there wasn’t enough time. Oh, beautiful linen, what am I going to do with you? Too precious to hide or throw away. See Quiet Friday: Lizard Tapestry.

Linen Leftovers
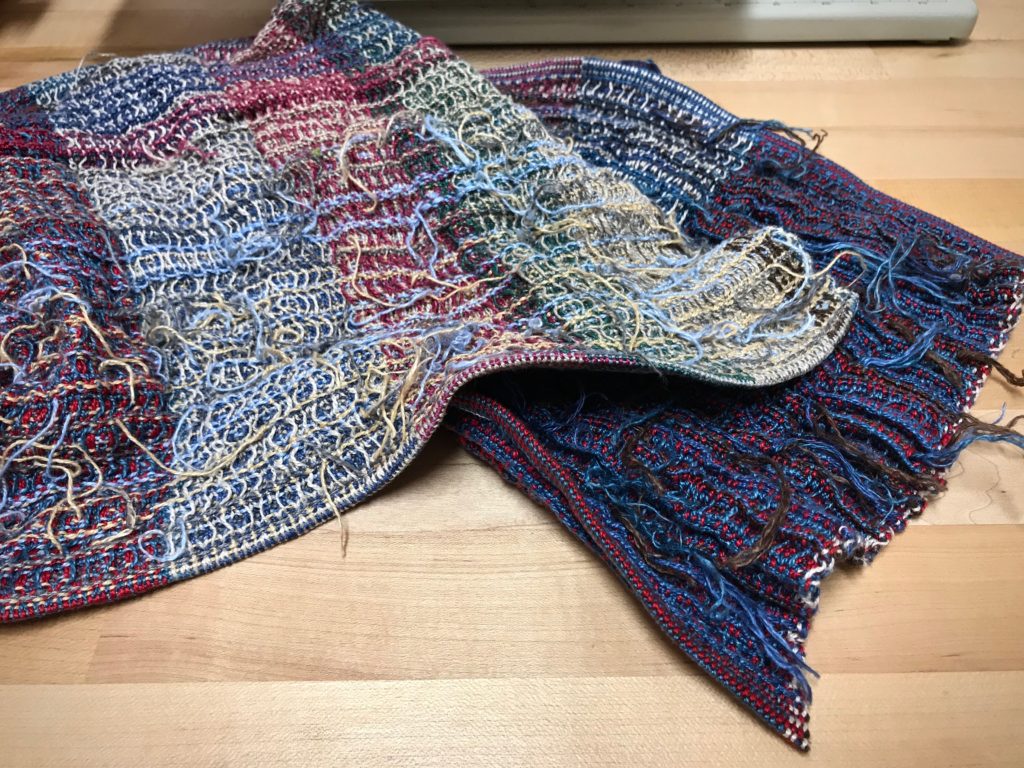
Small linen warp chains are given new purpose as weft in these waffle weave washcloths made entirely of linen leftovers.

Linen washcloths, made completely from linen leftovers. Now, almost a year later, this is the answer for my precious linen warp—now weft. A single thread, or two or three bundled together. What a glorious way to put the beautiful linen back to work. See how these colors—blue, turquoise, and brown—influence the warp colors (also all leftovers)? It’s delightful.

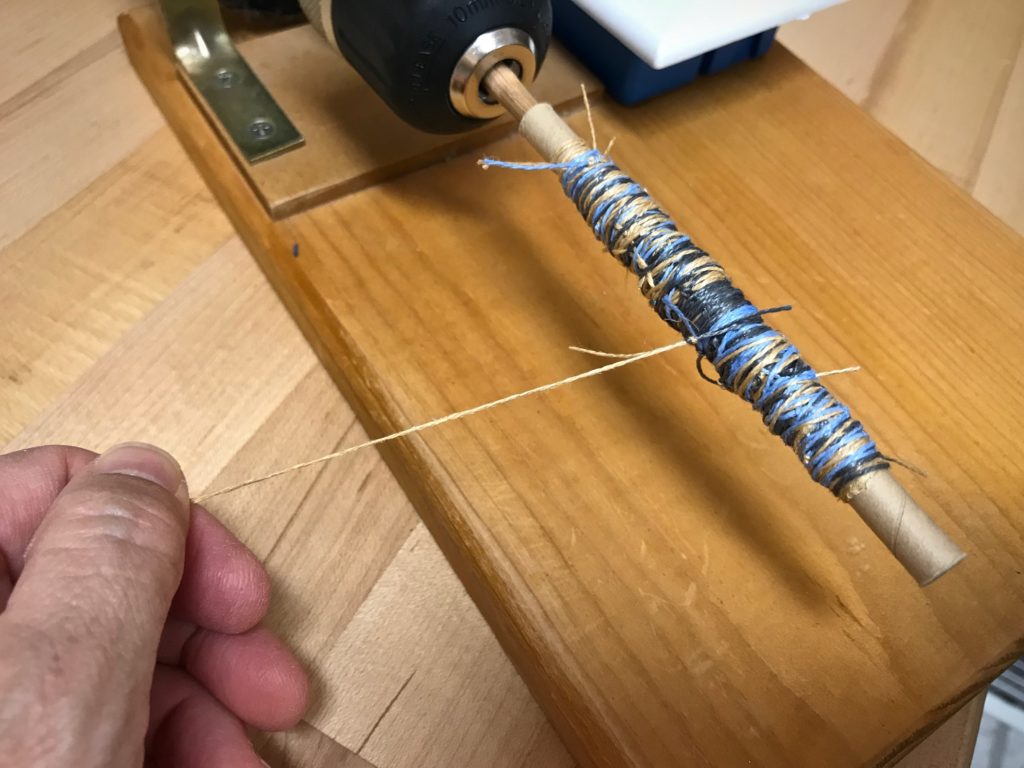
Three threads are grouped together, and lengths are connected with square knots, and wound onto a quill for the boat shuttle. When I come to a knot while weaving, I untie the knot, overlap the threads in the shed, and leave weft tails exposed. I plan to clip the weft tails shorter, later, after wet finishing.

Where have your dreams and hopes been cut short? We all have times when disappointments make us wonder about our purpose. The Lord isn’t finished with you. As the Grand Weaver, he knows how to put leftovers to use. The Lord weaves us into connections with people. Influence a few for good. Your kind touch makes a difference in those lives with whom you personally intersect. The outcome is delightful.

May your connections be worthwhile.

Love,
Karen

Process Review: Drawloom Jewels

It is exciting when Maverick walks by. Although he never comes in my drawloom studio, he does stop for a moment to look my way. You’ll see him in the slideshow video below. But what happens inside the studio is even more exciting, especially when it’s time for cutting off!

Drawloom with 16 pattern shafts.
Drawloom, set up with sixteen pattern shafts. I graph out the designs in Excel on my computer. Then, I print out the gridded pattern to use at the loom. I keep my place in the pattern with a magnet and magnet board made for cross-stitch embroidery.

This is Tuna wool, so I expect some shrinkage, but how much? I take careful measurements before and after wet finishing. Besides the main piece of fabric that I’m using for a garment, I have two sample pieces. I can experiment with the samples before wet finishing my garment fabric.

Here are my findings:
Sample 1. Hand wash and air dry.

10% shrinkage in width; 13% shrinkage in length.

Sample 2. Machine wash (3 minutes agitation on a gentle cycle, with a short spin) and machine dry (low setting) till damp, finish with air drying.

13% shrinkage in width; 14% shrinkage in length.

~How to do the shrinkage calculations~
First measurement (on the loom) minus the second measurement (after washing and drying) equals the difference. The difference divided by the first measurement equals the percentage difference.
For example, 50 cm – 43.5 cm = 6.5; 6.5 / 50 = 0.13; 13% shrinkage.

The first sample fabric is softer than the unwashed fabric, but not as soft as I’d like. The second sample fabric is beautifully soft, like a nice warm sweater. So, with confidence, I wet finish the garment fabric—with great results. It’s perfect for the fall/winter vest that I’ll soon be wearing, made from this fabric!

Wool garment fabric from a drawloom.
Like a sweater, this soft fabric will be comfortable to wear.
Making a pattern for handwoven garment fabric.
Muslin pattern for a simple vest. First, I’ll make a vest out of a wool throw, woven on my rigid heddle loom ages ago. Then, I will cut into the new drawloom fabric, with confidence about the fit.

Enjoy this photo show of the drawloom process.

May you enjoy the process you’re in.

Happy Weaving,
Karen

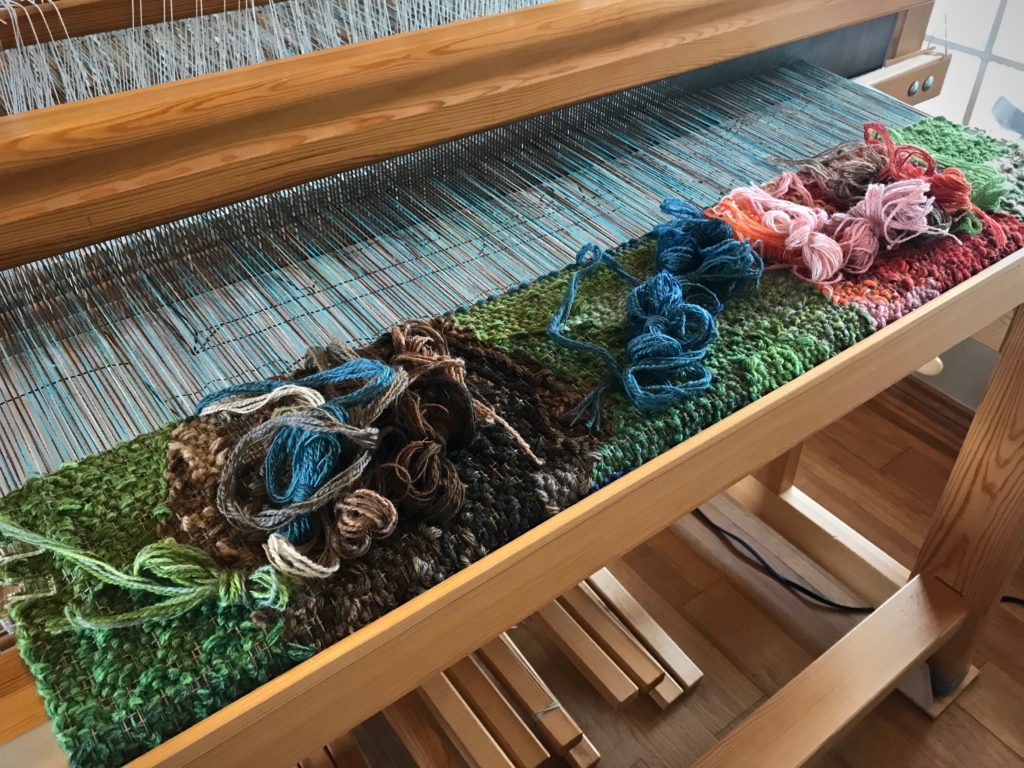
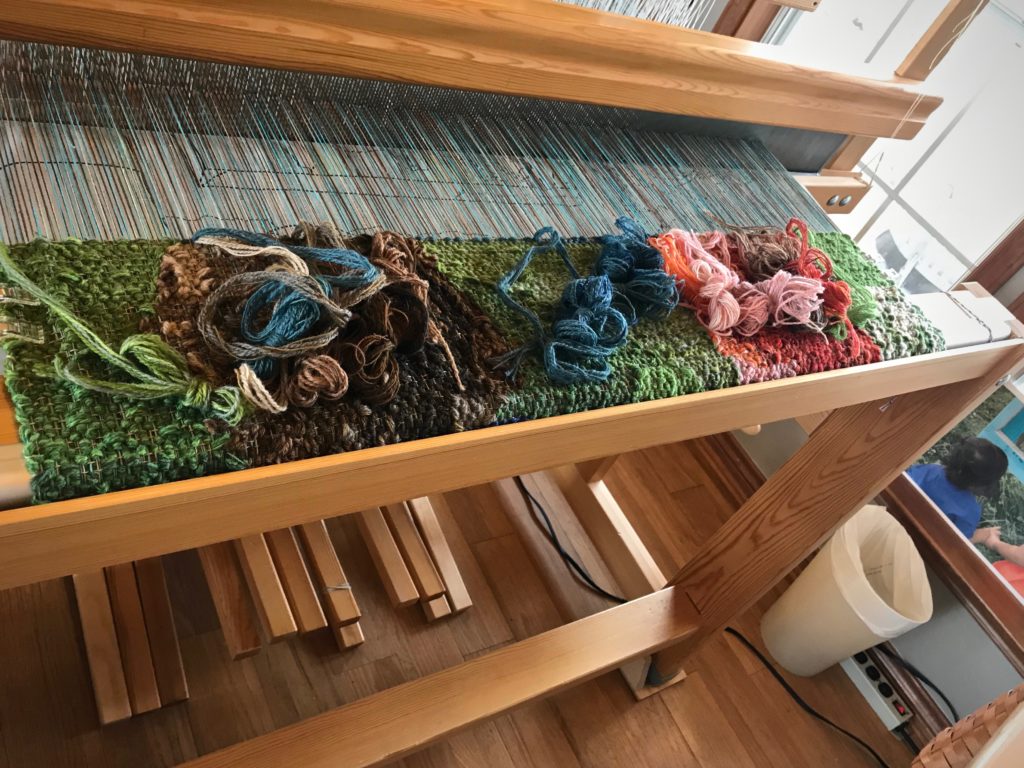
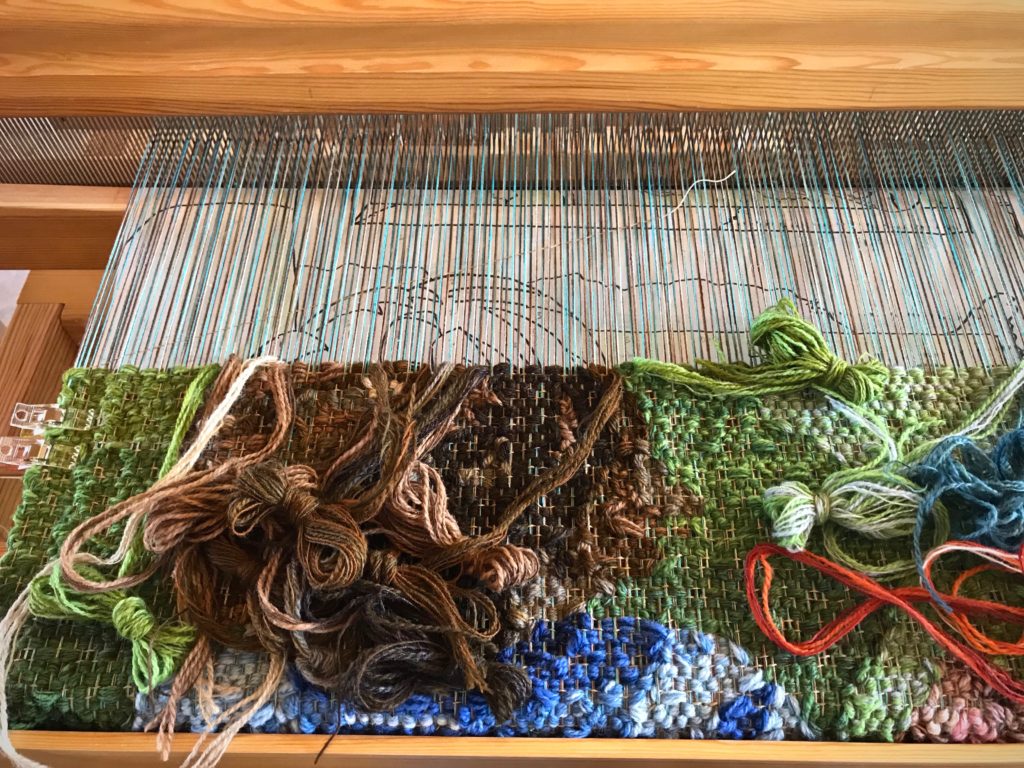
Biggest Challenge of Weaving a Pictorial Tapestry

Lucia grasps Ari’s plump wrist as they bravely inch a step closer to the rabbit hutch. For them, it’s a step of faith. Sugar Pie, the bunny, is wide-eyed at their approach. You’ll see the bunny later in the weaving of this pictorial tapestry.

Detail of a pictorial tapestry in progress.
Lucia’s tiny thumbnail is on top of Ari’s hand. Contrast in skin color is exaggerated to make the two arms distinct from each other.
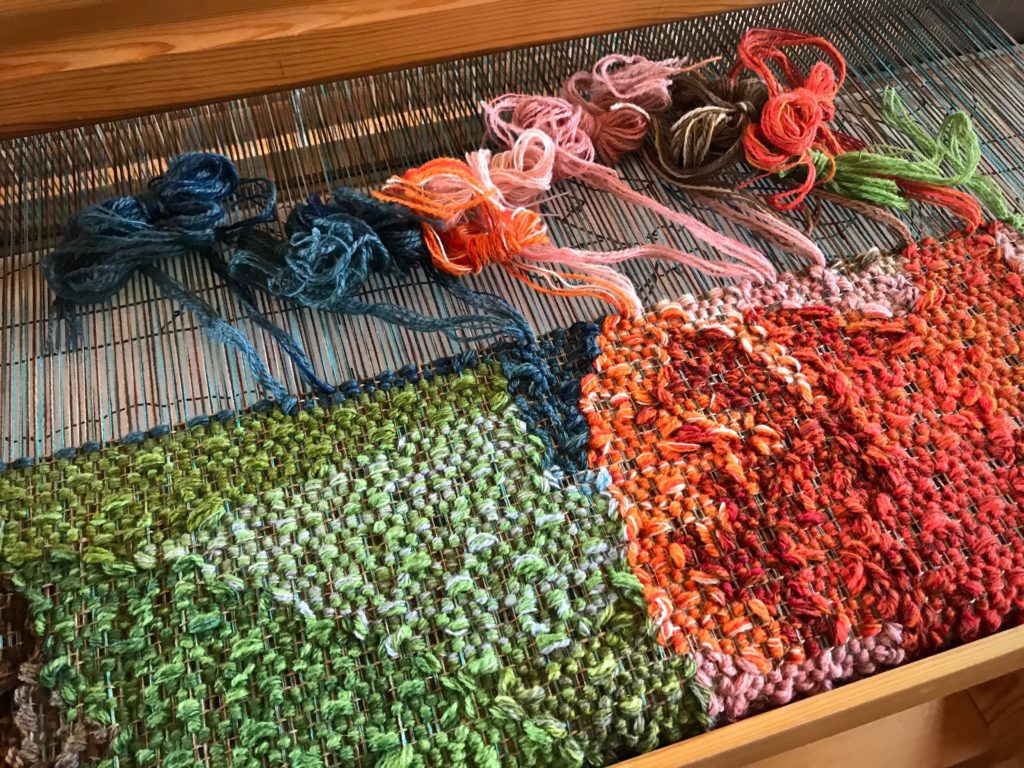
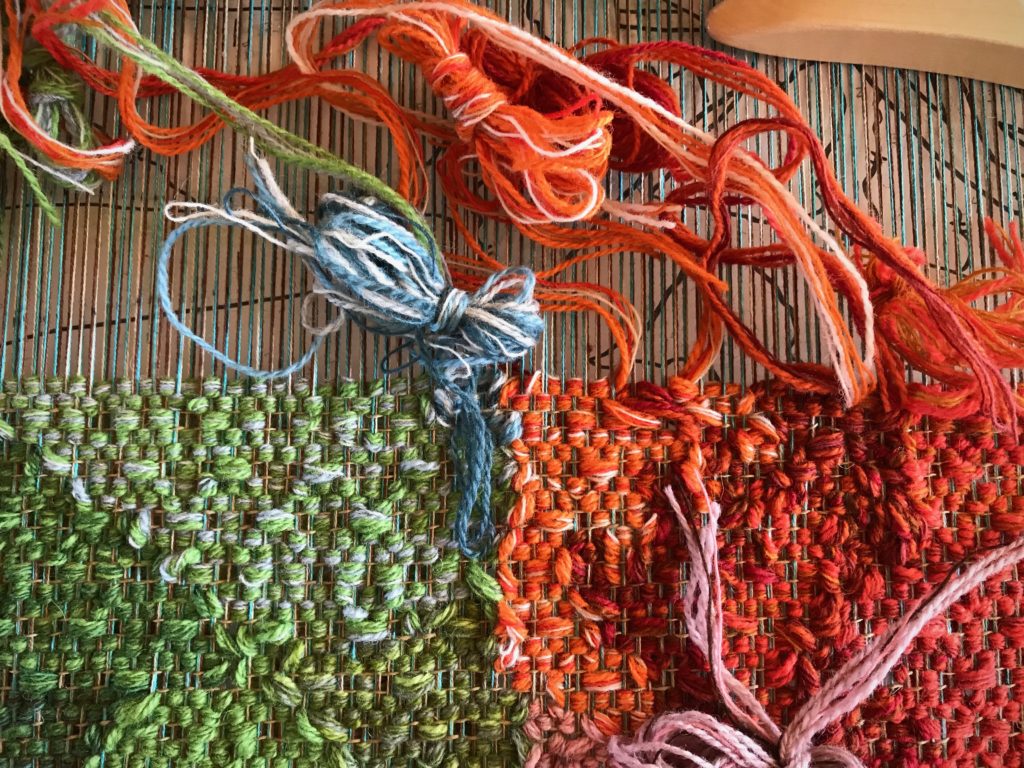
Color gradation in a new large tapestry.
Five shades of orange/red butterflies are used to make the fabric of Lucia’s orange shirt.

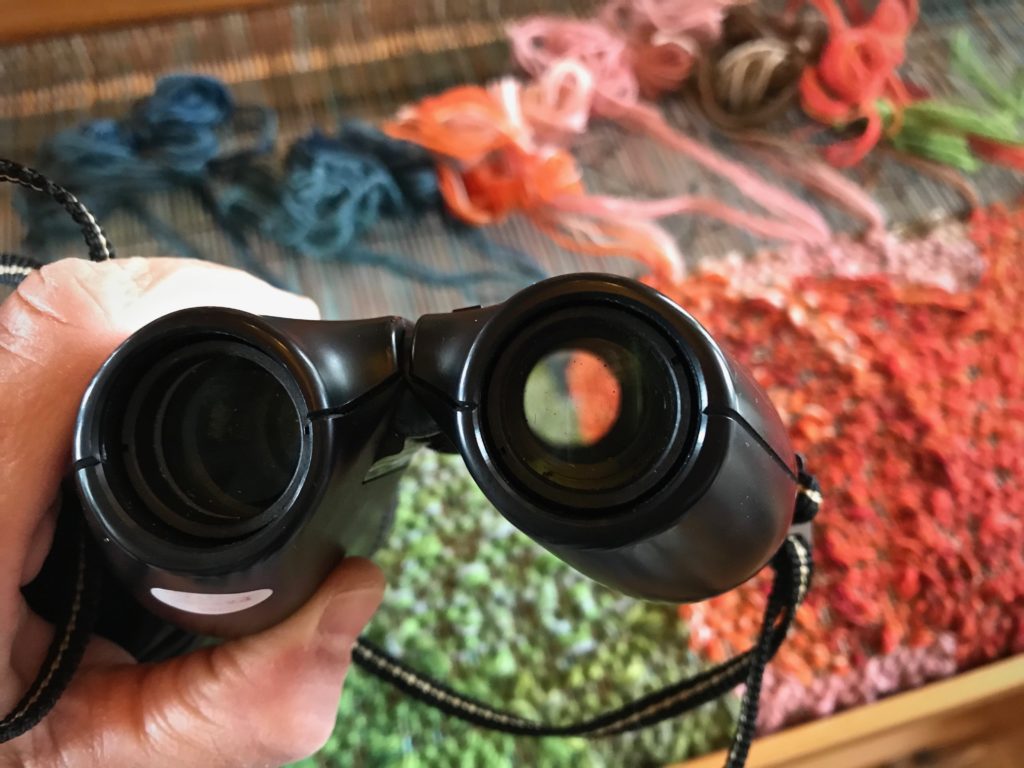
It is a huge challenge to work on one element, like the hands, while not being able to see it in the context of the whole picture. The row-by-row weaving is an act of faith. I peer through the wrong end of the binoculars, and stand on a chair to take pictures. And I’m reassured about the outcome. It’s not blind faith. It’s a series of carefully reasoned and thought-out steps.

Gaining a higher perspective.
Gaining a higher perspective by standing on a chair.

We see only a small slice of life at a time. Where do my day-to-day threads fit in the context of the big picture of a lifetime? Grace is amazing! Grace is unearned good favor. Grace is a final tapestry that makes sense of all the wanderings. Grace is good favor extended by God to all who trust Jesus. So, with God’s grace we walk by faith, with carefully reasoned and thought-out steps. And we extend grace at every opportunity, holding the wrist of our fellow adventurer to walk by faith together.

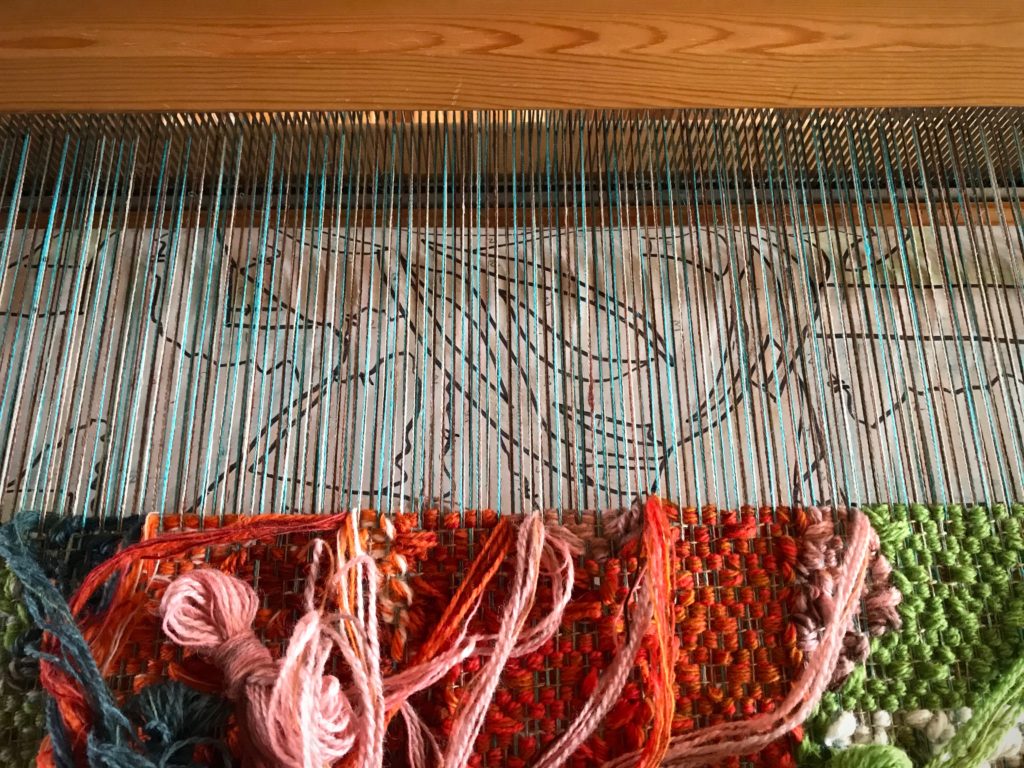
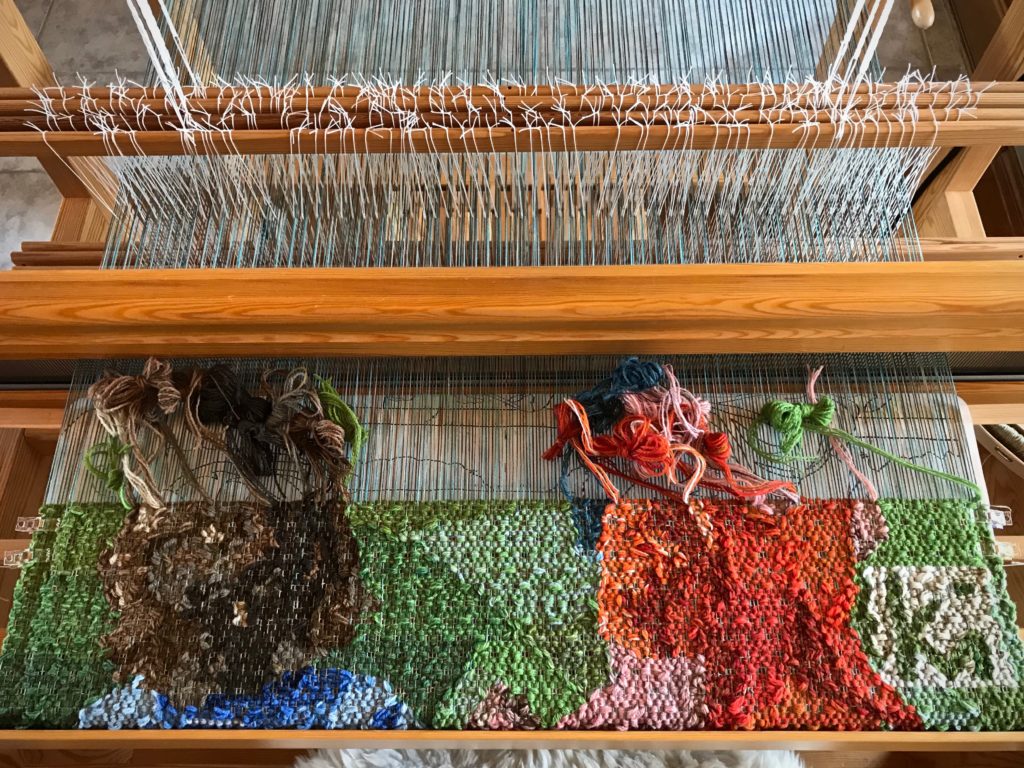
"Siblings" tapestry.
Siblings tapestry, work in progress.

Grace is amazing.

May your life make a difference.

Grace,
Karen

Tried and True: Rag Rug with Surprising Rosepath Inlay

The first rag rug on this 12/6 cotton warp is well underway. This rug is mostly plain weave, with one simple rosepath repeat every ten centimeters. I am weaving the rosepath motif without tabby between pattern picks. The treadling is 1, 2, 3, 4, 1, 4, 3, 2, 1. The dark brown motif contrasts with the surrounding light-colored plain weave. It almost looks as if a thick chain has been laid across the rug. I transform the otherwise dark rosepath “chains” with a simple bright inlay strip.

Rag rug with rosepath motif.
Rosepath motif stretches across the plain weave surface.

Rosepath with Inlay

  • Weave the first four picks of the rosepath pattern, treadling 1, 2, 3, 4 (or, if using a different treadling sequence, weave up to the center pick).
  • Lay in the center pick (treadle 1, in this example). Wait to beat it in.
How to do rosepath with inlay.
Center pick of the rosepath motif is arched in the shed.
  • Measure and cut the inlay strip to size, tapering the ends.
How to add an inlay strip to rosepath rag rug.
Inlay fabric strip is measured against the weft in the shed and cut to size.
  • Put the inlay strip in the shed, laying it directly on top of the fabric strip already there.
Making a rosepath rag rug with an inlay strip.
By pushing the beater back I can send the inlay fabric strip through the shed with a ski shuttle.
Rag rug with inlay.
Place the inlay fabric strip directly over the fabric strip of the center pick in the motif.
Inlay instructions.
  • Beat in the weft as usual.
One type of inlay on a rag rug.
Both weft layers are beaten in together. The inlay strip stays visible on top.
  • Continue weaving to complete the rosepath pattern, treadling 4, 3, 2, 1 (or, as needed, for a different sequence).
Rosepath with inlay.
Finished rosepath motif.

You can accomplish a similar effect by weaving in a separate fabric strip for the center pick. In that case, cut tapered ends that are long enough to twist and tuck back into the shed. And carry the weft strip from the previous pick up the side.

The inlay method eliminates the extra bulk at the selvedges, and adds a slight thickness to the center pick, helping to give it a raised look. I am leaving the inlay weft tails loose, but you could cut them a little longer and tuck the ends in, if you prefer.

Rag rug with special rosepath motif.
Weft tails are free at the sides, like little flags at the ends of the rosepath rows.
Glimakra Ideal loom--great tool for dreaming up rag rugs!
Glimåkra Ideal loom–great tool for dreaming up rag rugs!

May you experience the simple pleasure of doing something unexpected.

Happy Weaving,
Karen