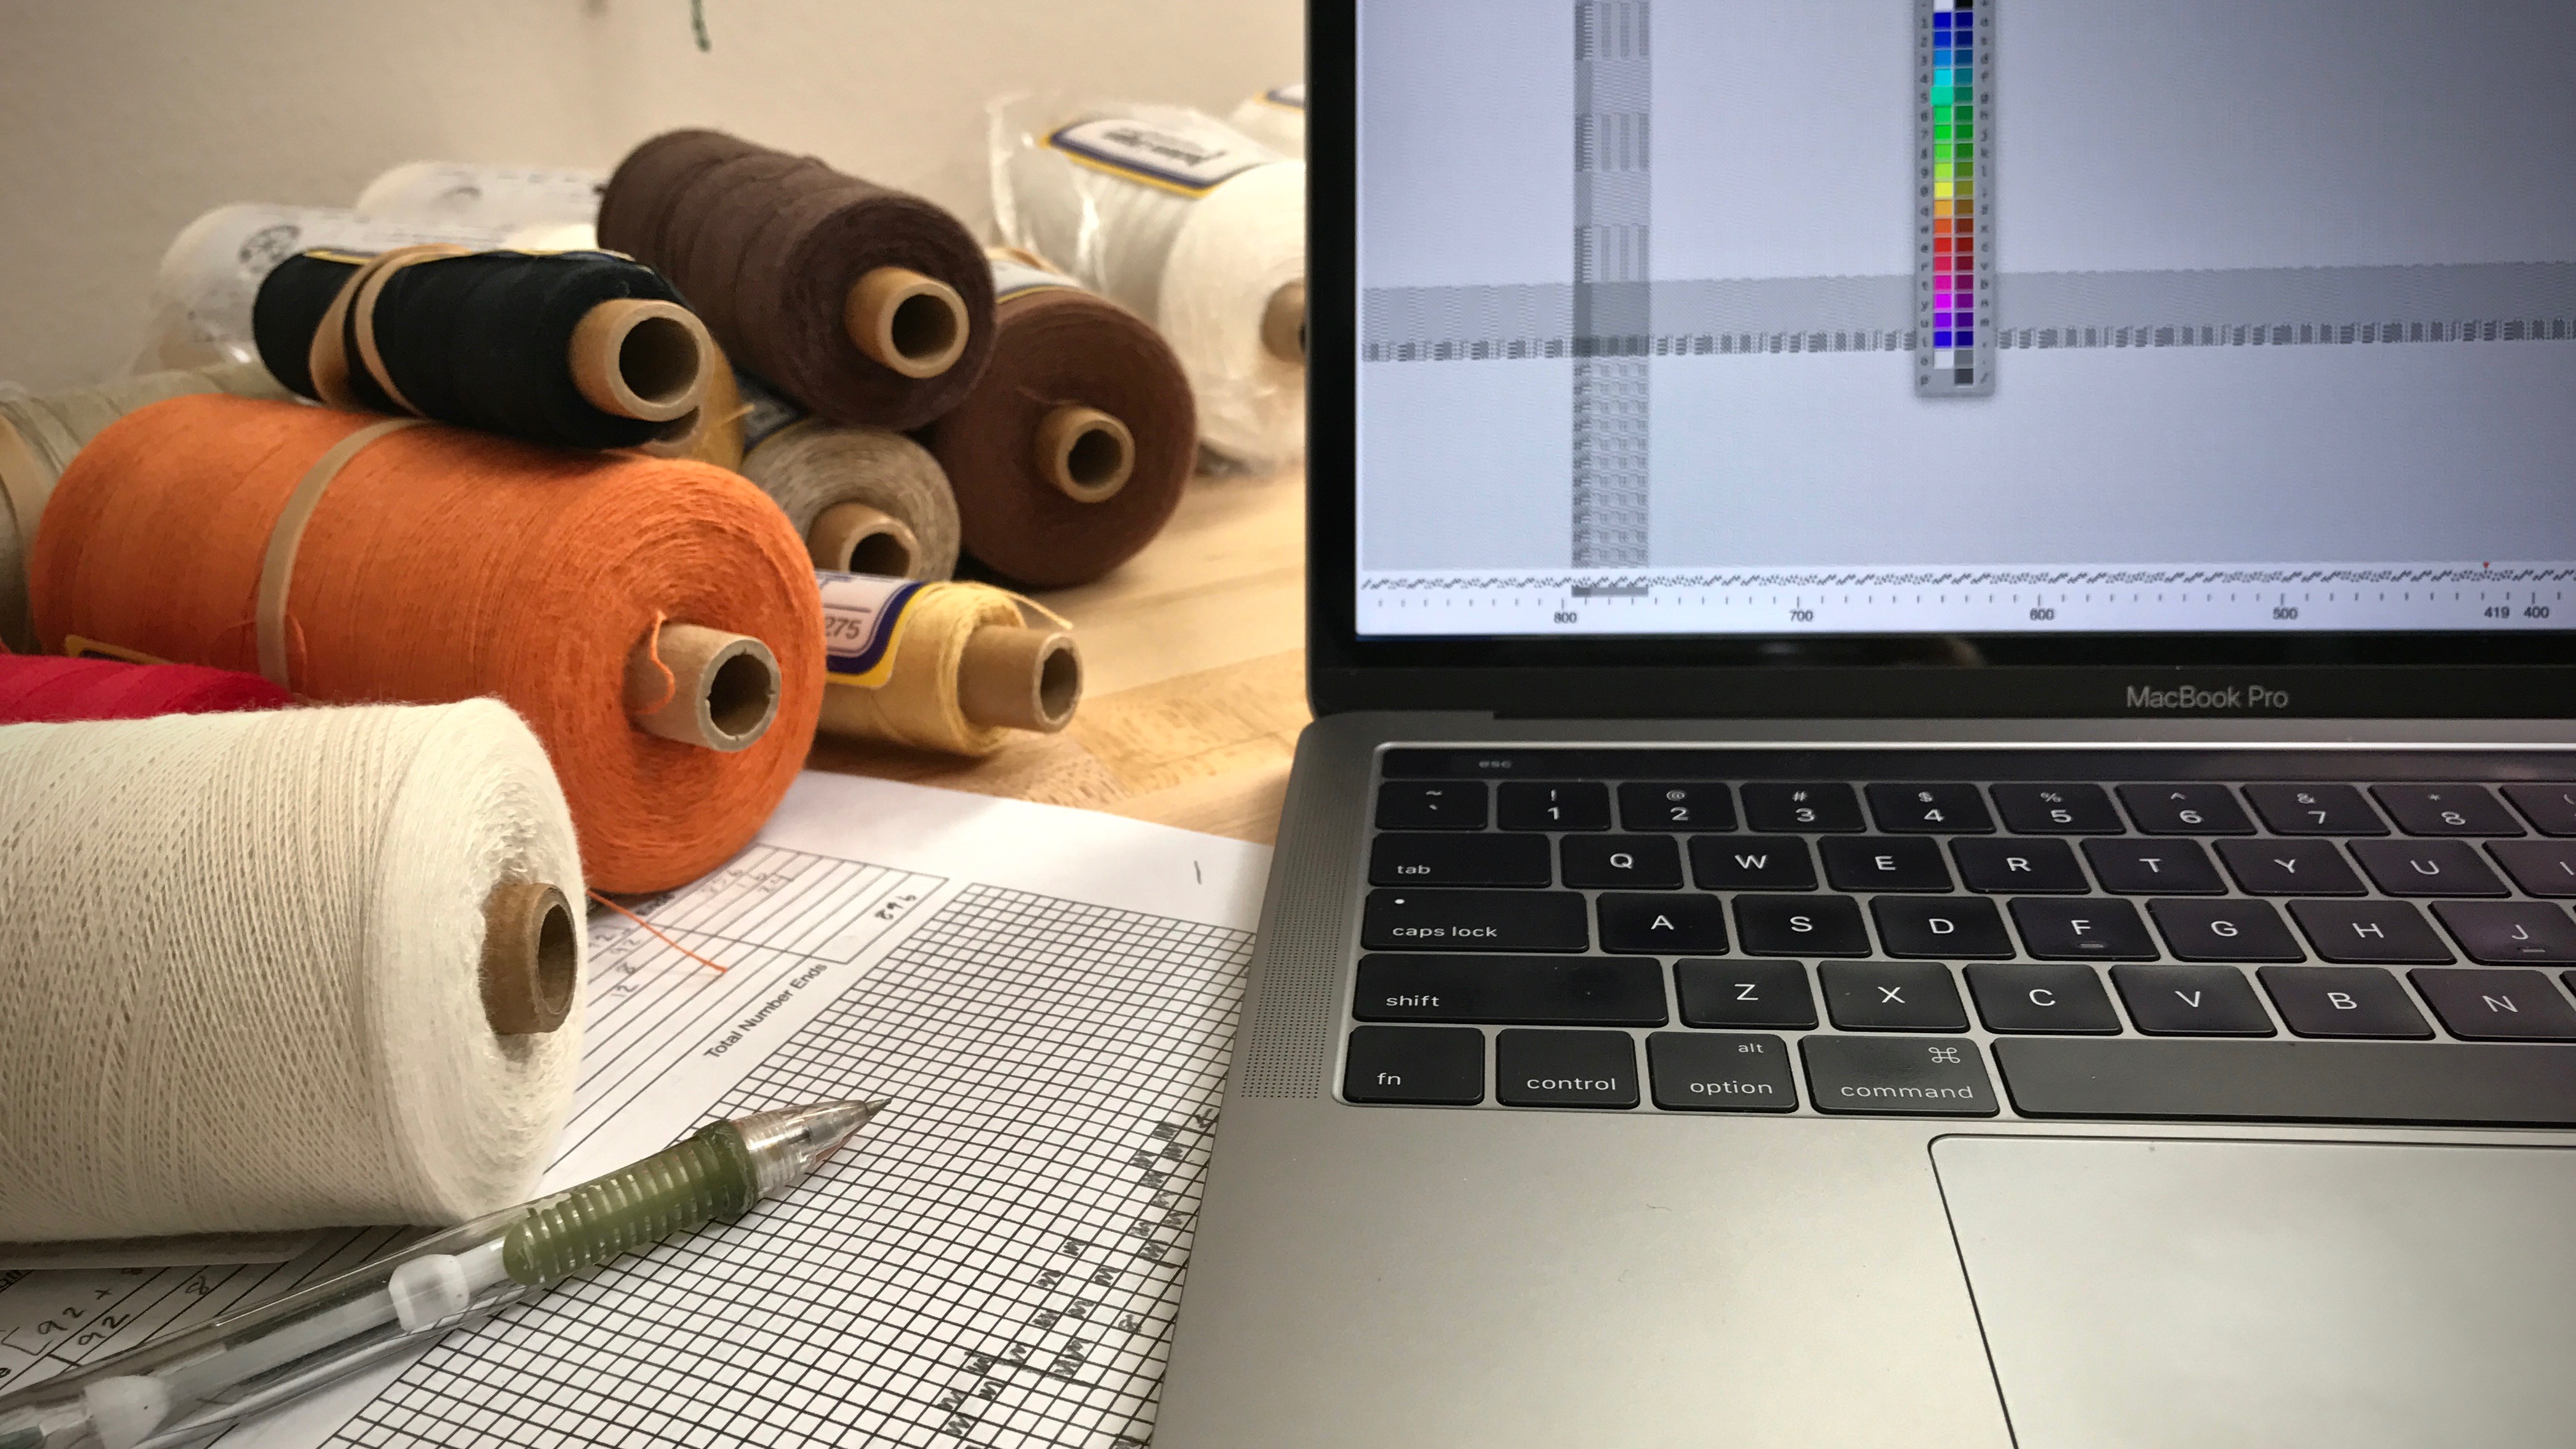
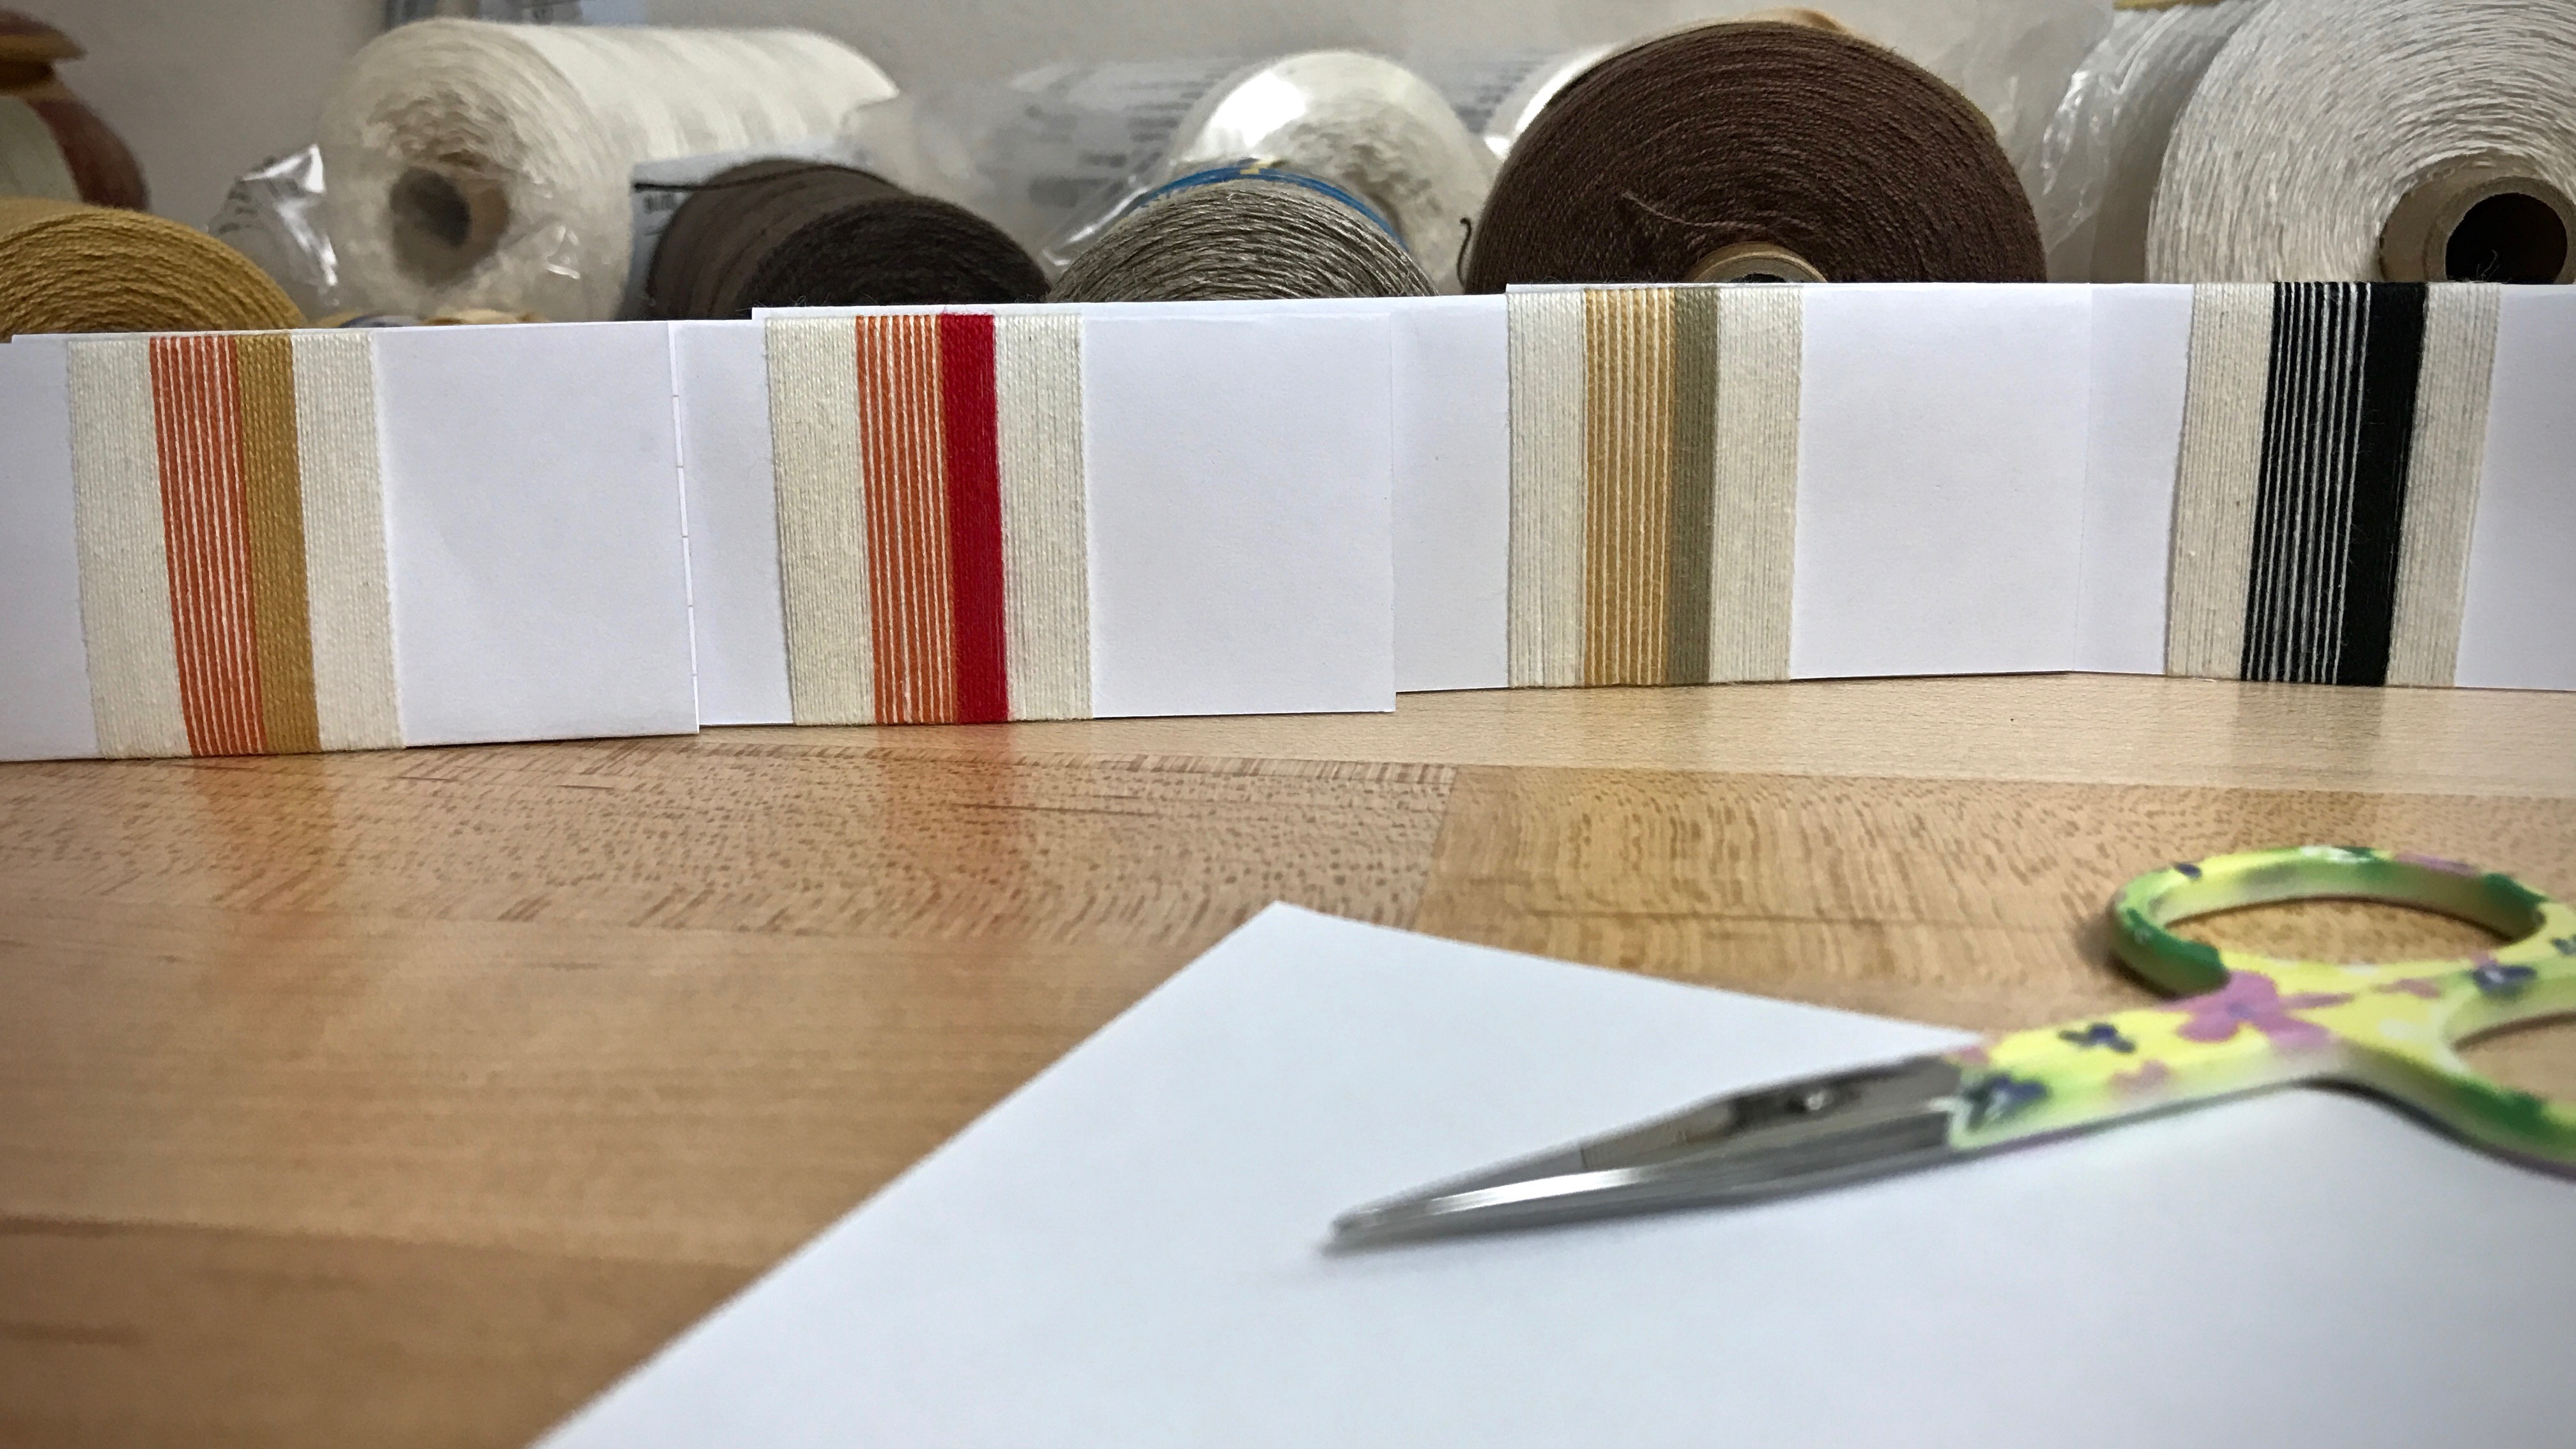
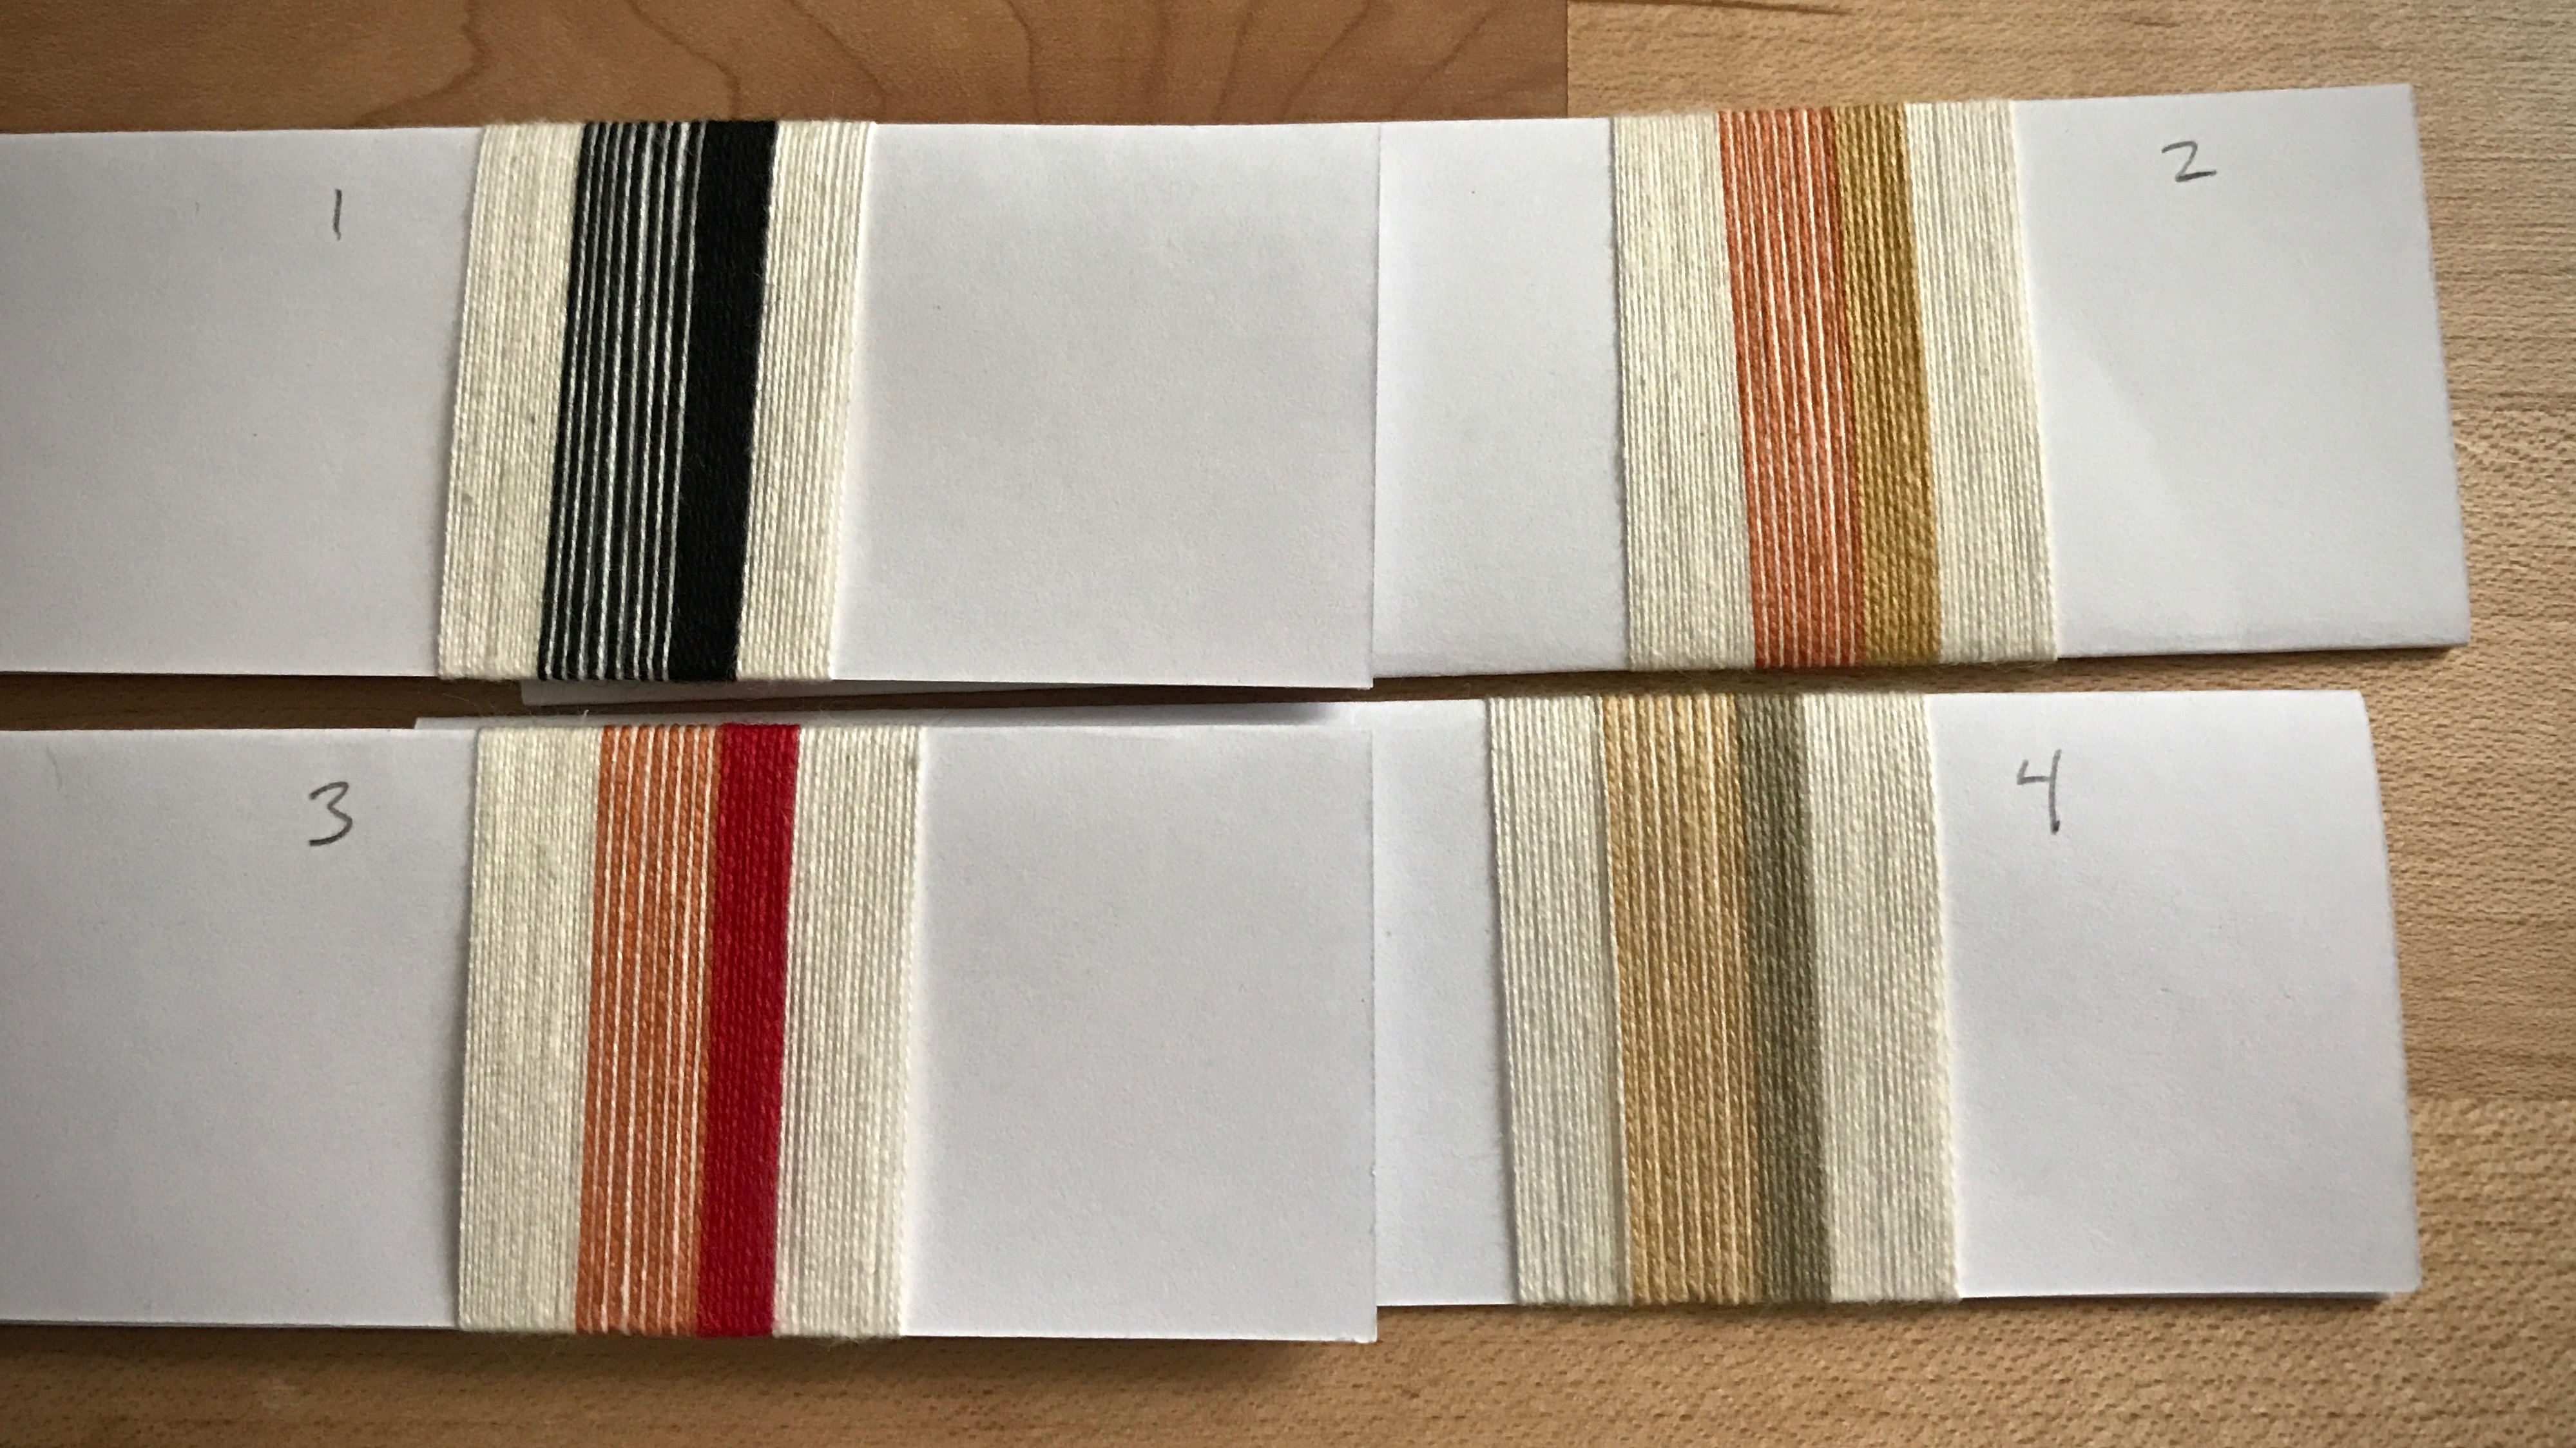
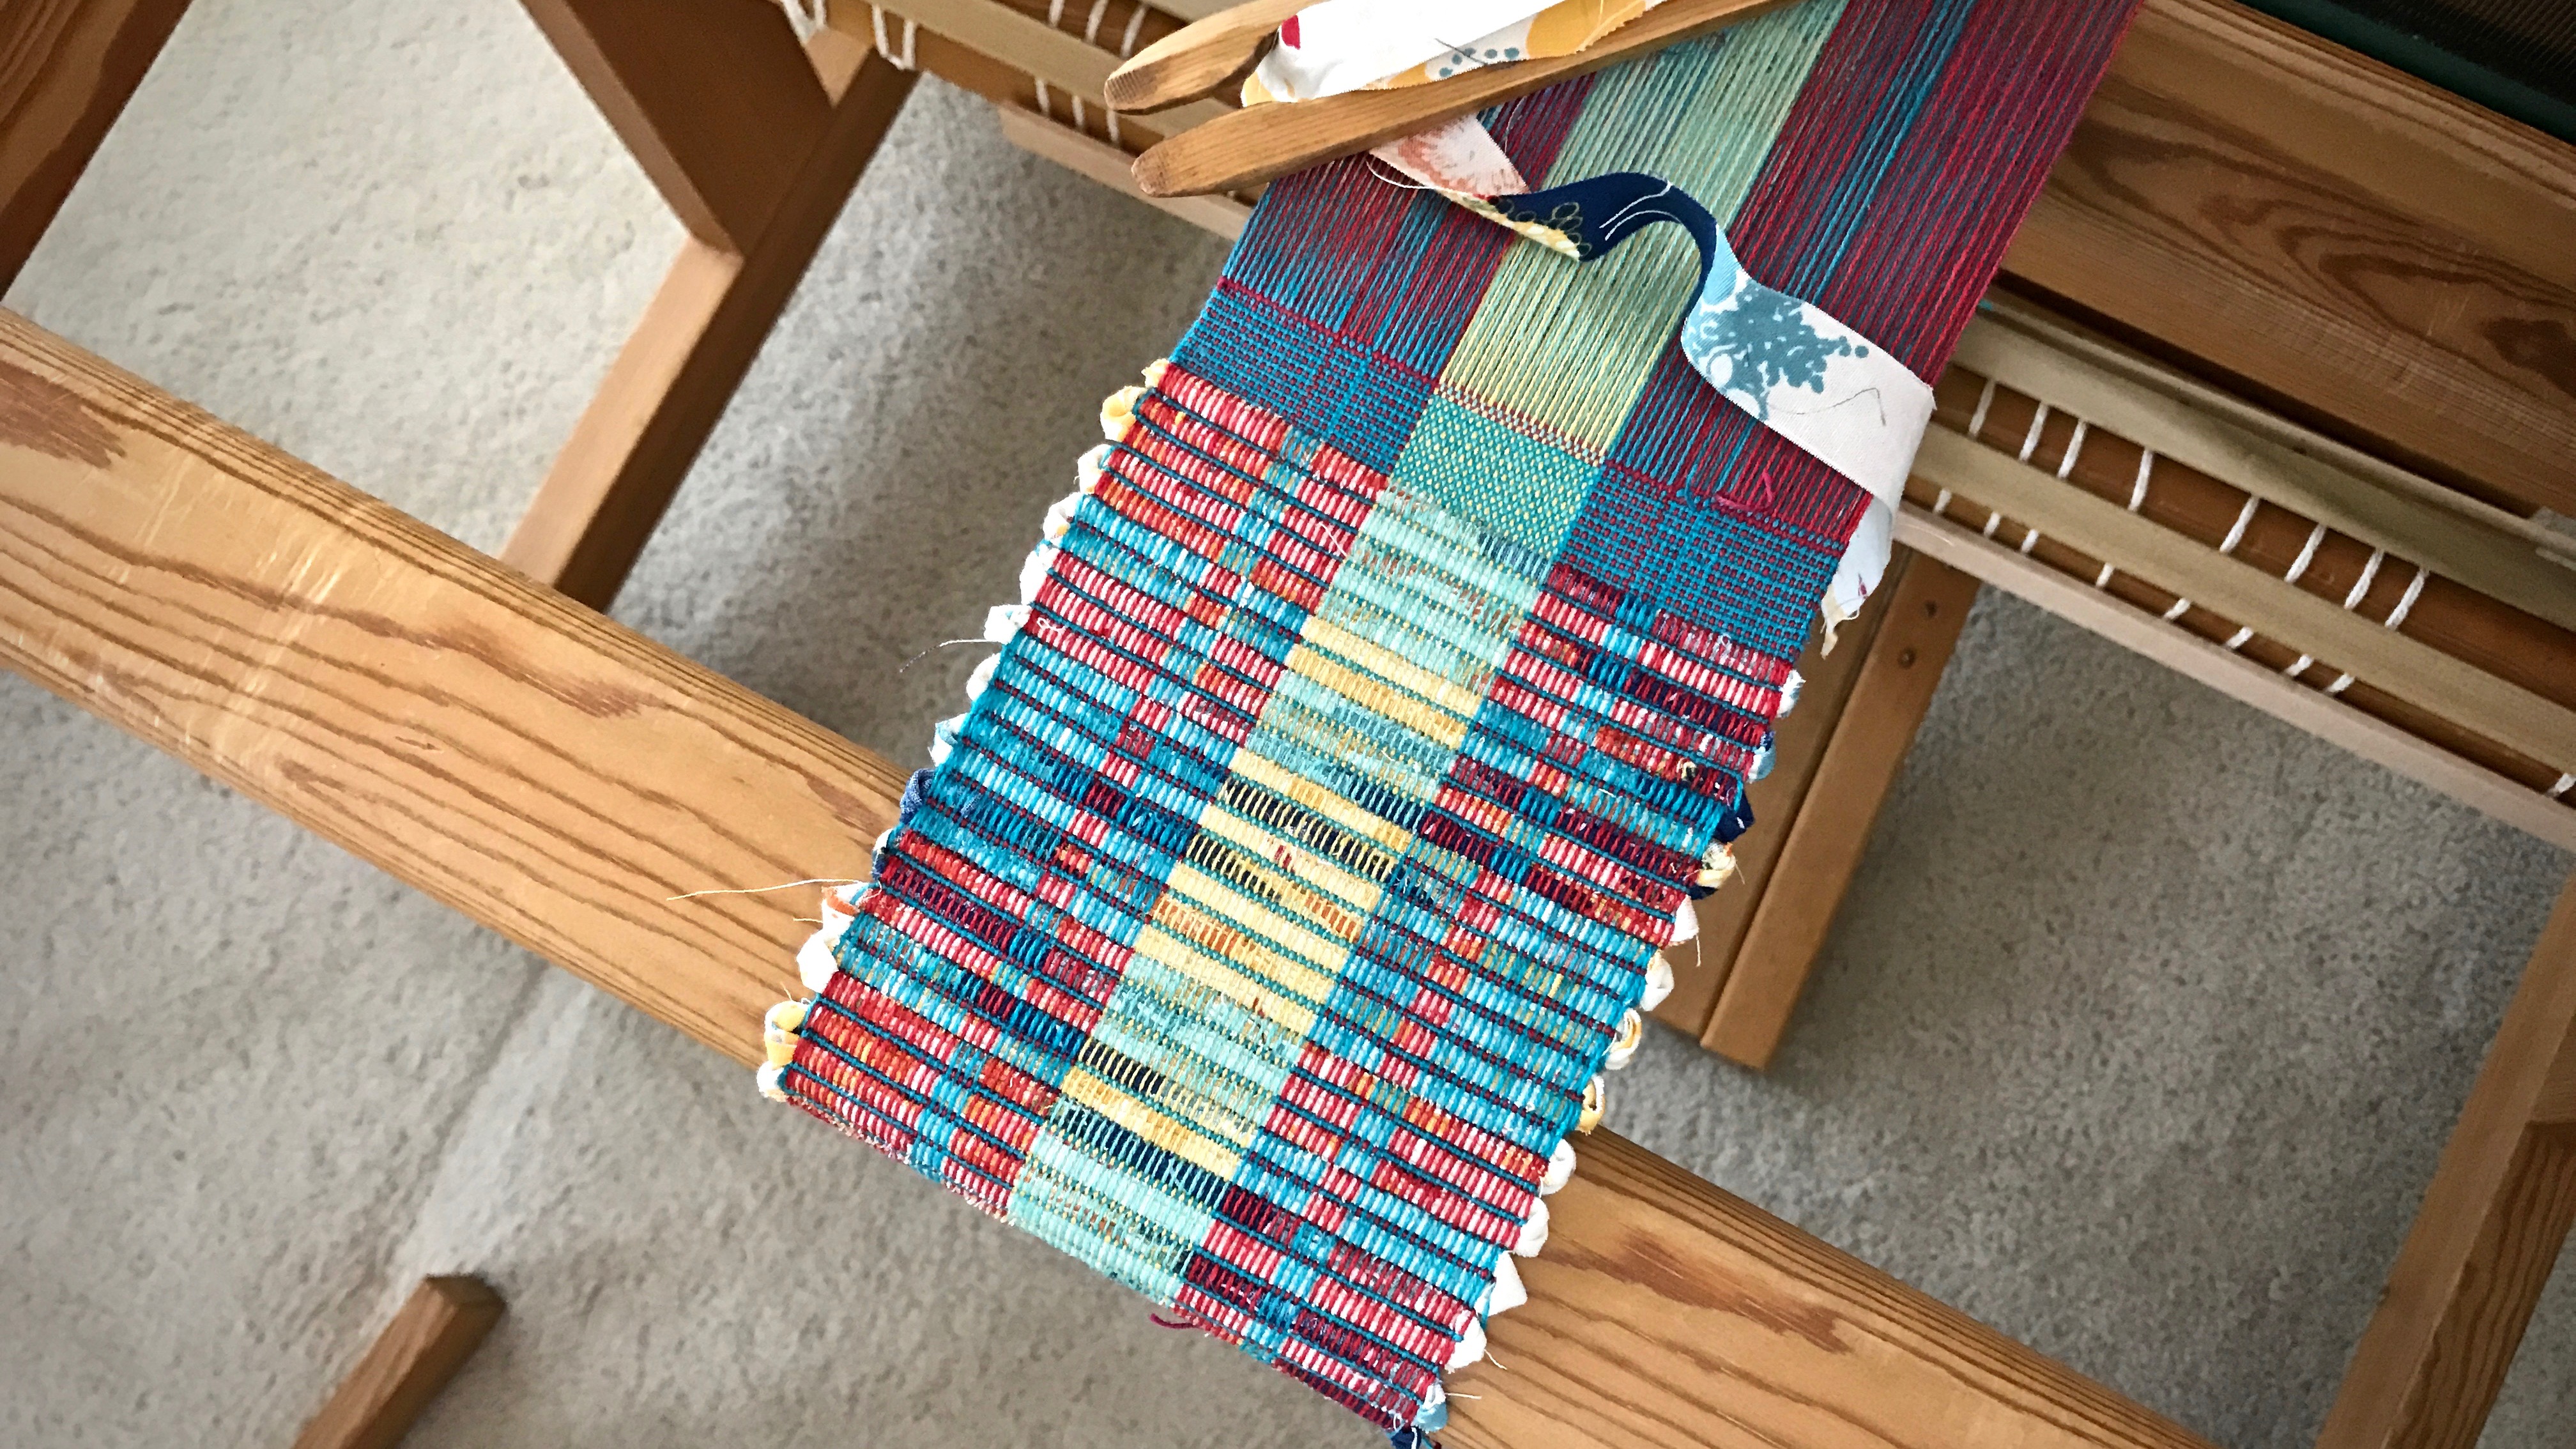
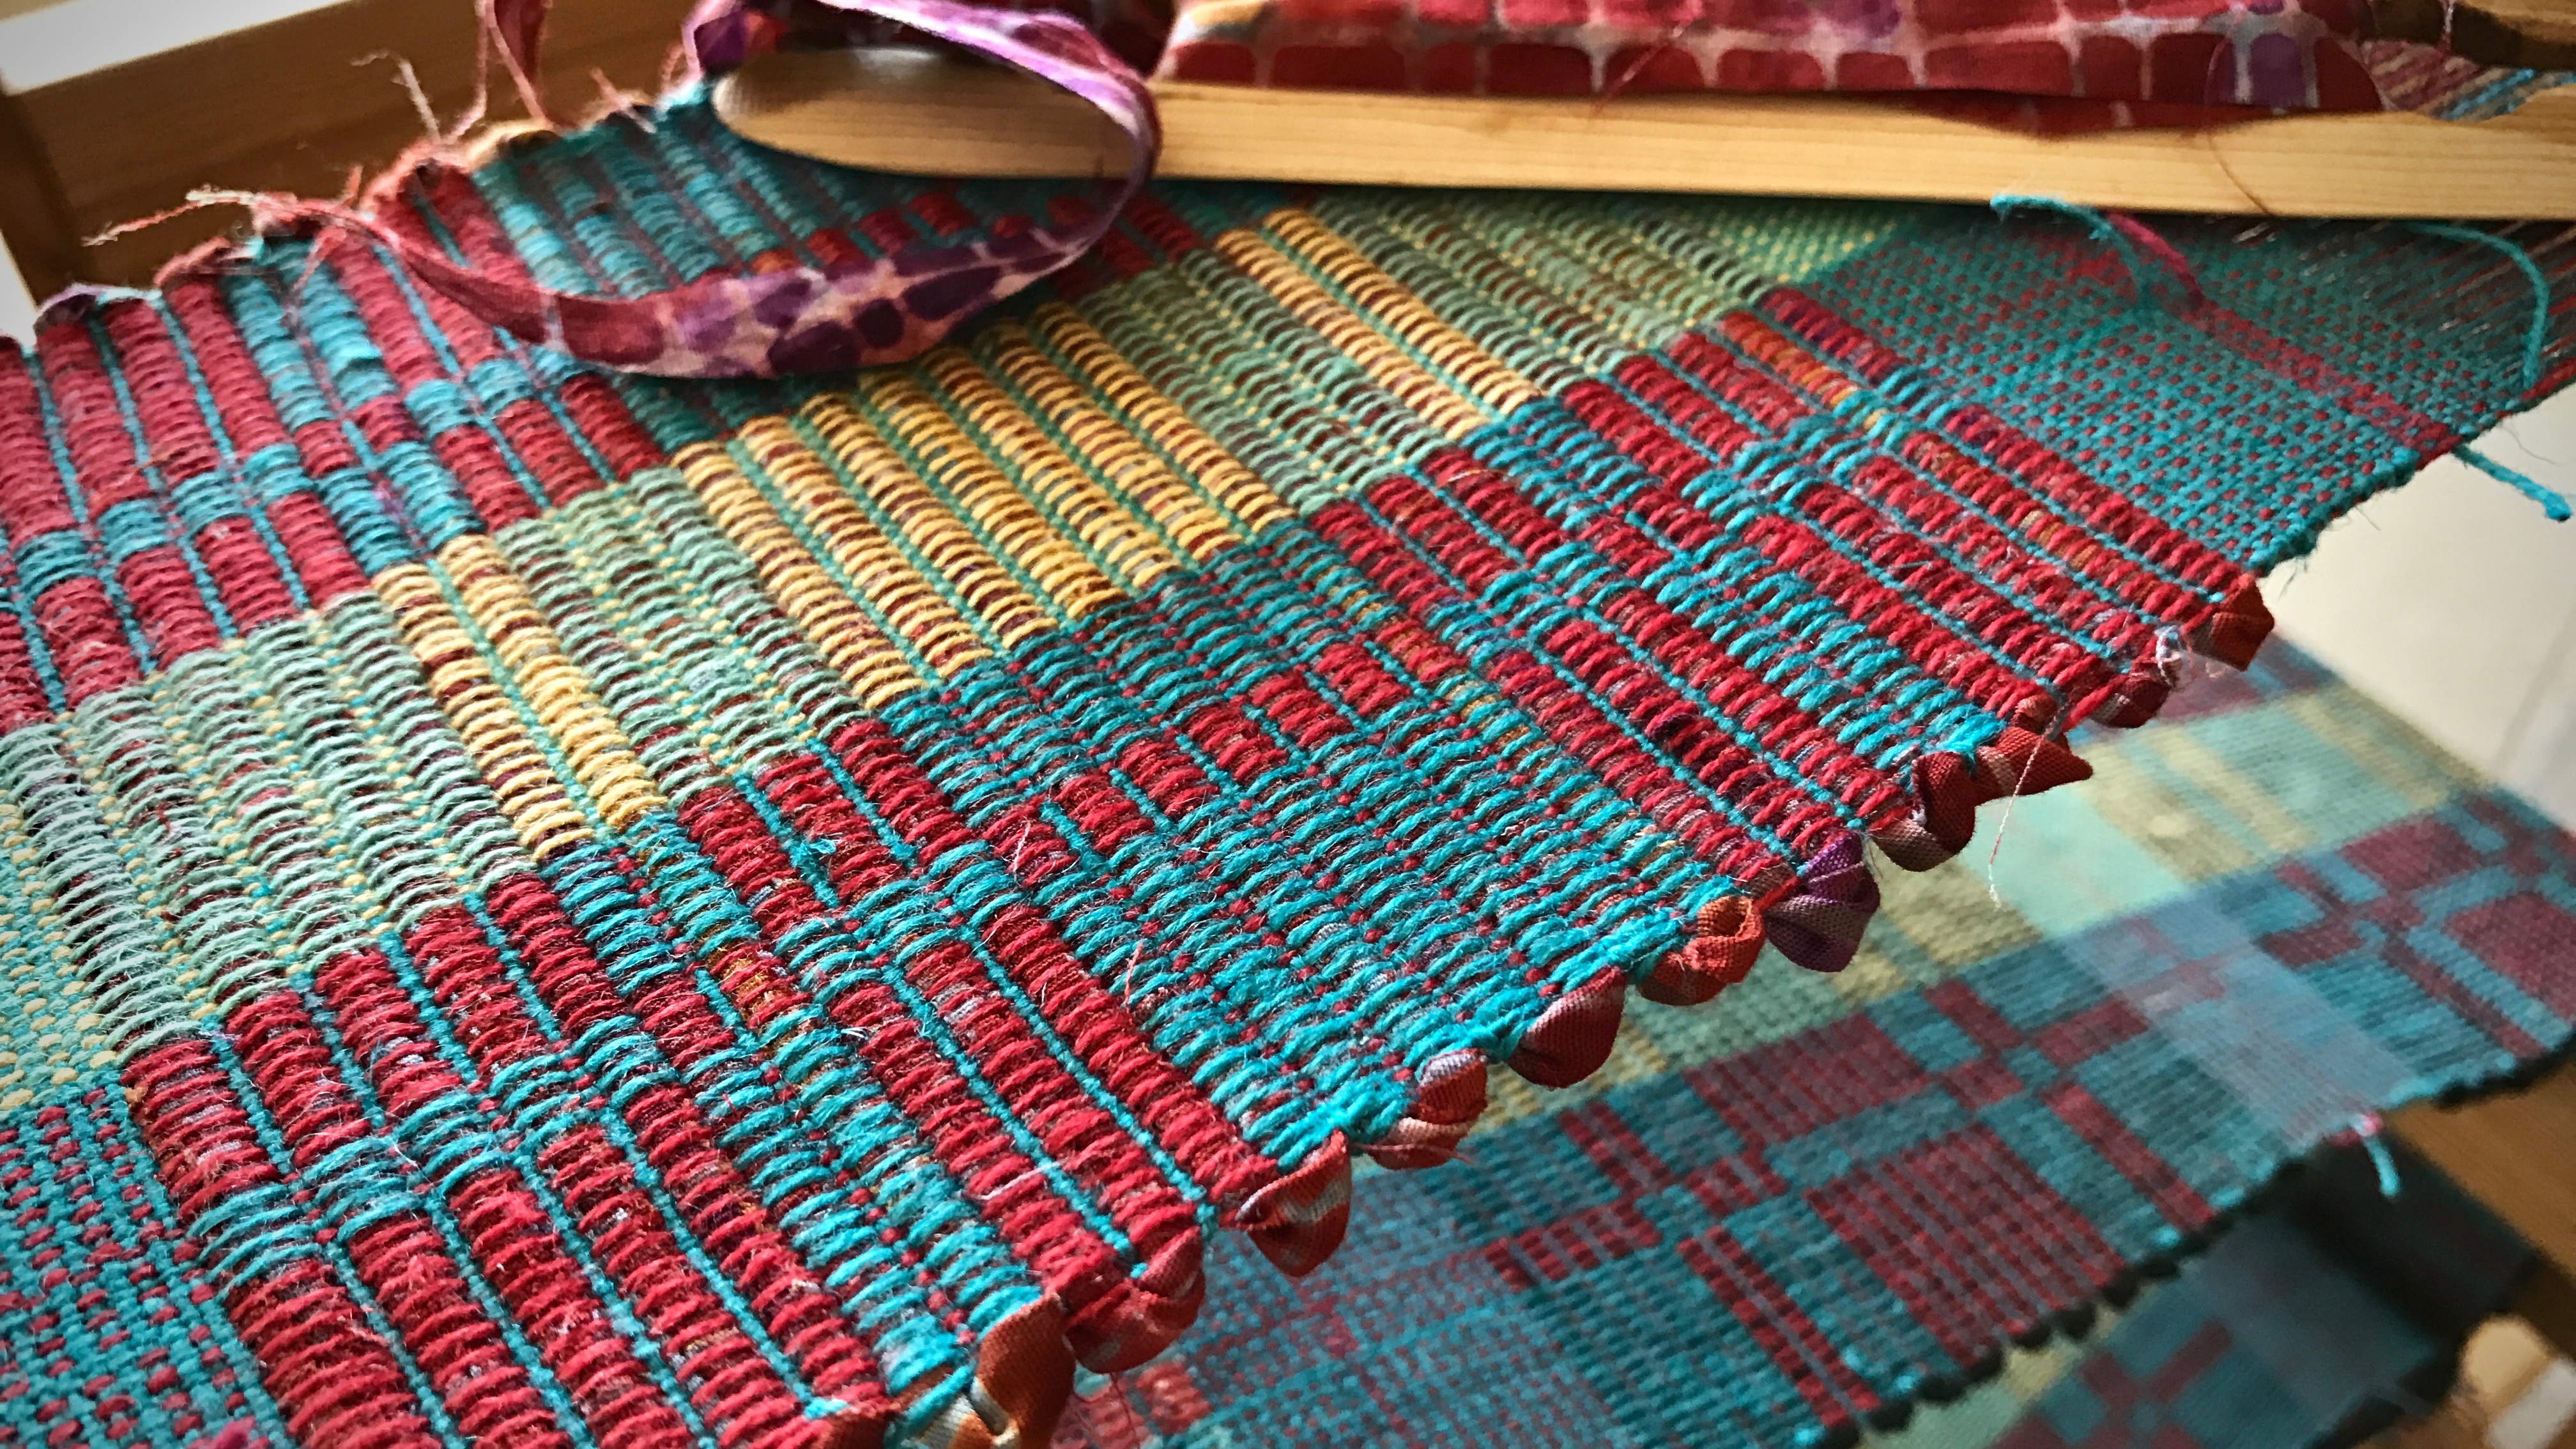
Quiet Friday: Swedish Rosepath Rag Rug

My introduction to rosepath rag rugs was on a room-size loom in Joanne Hall’s magical Montana studio. I was so happy at that moment that I actually cried. It’s no surprise, then, that I relish every opportunity to weave a rosepath rag rug. And even better, to share the joy with other handweavers who may not have tried it yet. Look what came in the mail this week! The March/April 2017 issue of Handwoven, with a project by yours truly–Swedish Rosepath Rag Rug!

Swedish Rosepath Rag Rug, as seen in March/April 2017 Handwoven.

Not everyone loves weaving rag rugs. That’s fine. But if you’re a weaver, there is probably something that draws your interest and brings delight. A certain weave structure, silky fibers, fine threads, complex patterns, bold colors. Something. And if you’re not a weaver, there is something else that triggers your pursued interest. Find that spark that ignites joy in you!

Beginning a rag rug.
Besides using a pre-measured tape, taking a picture at the beginning of the rug, with the yellow tape measure in view, makes it easy to replicate the hem at the end of the rug.
Temple in place, weaving Swedish rosepath rag rug.
Temple is in place, keeping the rugs a consistent width. Metal rug temples are good, but I still prefer a regular wooden Glimåkra temple for weaving rag rugs.
Weaving rosepath rag rugs. Fun!
Many rosepath variations are possible. The rug on the cloth beam uses a similar design, with different colors.
Swedish Rosepath Rag Rug. Karen Isenhower
Making paths of roses. Rosepath.
Swedish Rosepath Rag Rug.
Progress!
Seeing the reverse side of the rosepath rag rug on the loom.
Reverse side of the rug has a subtly different pattern.
Swedish rosepath rag rug on the loom. Rug in March/April 2017 Handwoven.
Cloth beam fills up with rag rugs. Pleasant sight for a rag rug weaver!
Ending the rosepath rag rug on the loom.
Ending the rug on the loom. Following the markings removes guesswork.

Keep a song in your heart. Sing. Sing for joy. Sing praise to the Grand Weaver who put the seed of searching in you. A seed that bursts open with joy when ignited with a spark, and flourishes into something distinguishable. Trust the Lord with all your heart. Your heart will find its melody.

Swedish Rosepath Rag Rug as seen in March/April 2017 Handwoven.
Published in March/April 2017 Handwoven.

May your heart sing a joyful tune.

ATTENTION: The draft for the  Swedish Rosepath Rag Rug from Handwoven is written for a sinking shed loom. Therefore, for a jack loom, you must tie up the “white” empty squares instead of the numbered squares for the pattern to show right side up as you weave.

If you are interested in weaving rag rugs, take a look at Rag Rug Tips, a new tab at the top of the page.

Happy Weaving,
Karen

Tips for Taming String Yarn Weft Tails

Those pesky string yarn weft tails! There is a lot of starting and stopping with these mug rugs. Normally, tucking a weft tail back into the shed adds a bit of extra thickness at the selvedge. So, what about this very thick weft? It has the potential to throw everything off balance. A few easy tips help minimize the distortion the thicker weft can cause.

Taming String Yarn Weft Tails

  • Begin the thick weft on alternating sides. This will prevent one selvedge from building up more than the other.
  • Taper the end of the string yarn, cutting it at a steep angle.
  • Starting about 1 3/4″ inside the selvedge, send the shuttle through the shed toward the selvedge, going over or under the outermost warp end. Pull through until almost all of the weft tail is caught.
What to do with string yarn weft tails.
Starting the shuttle from the inside, going outward, is an easy way to catch all the separate threads of the string yarn.

Taming string yarn weft tails.

  • In same shed, send the shuttle back through to the other side, aware of encircling the one warp end.

Tucking in string yarn weft tails. Tips.

  • Beat. (Beat on open shed. Beat again. Change sheds. Beat again.)

How to manage string yarn weft tails.

  • Continue weaving.

Rep weave mug rugs. String yarn weft tails - tips!

  • To end the thick weft, leave a 1 3/4″ tail, and taper the end of the string yarn, as before. Lay the tail back in the last shed, going around the outermost warp end. Beat.

Things happen that throw us off balance. From personal celebrations to unexpected losses. Don’t be afraid. Putting trust in the Lord minimizes the inner turmoil. The Lord is my light. He lights my way. What is there to be afraid of? Wholehearted trust in the Lord pushes fearfulness away.

May you walk in a lighted path.

Happy weaving,
Karen

Weaving Adventure

An idea is merely a collection of thoughts until it begins to take shape. Plans, thinking things through, trial and error, sampling, writing, formatting. That’s what it has been for this Plattväv towel kit. The idea to develop a towel kit is taking shape. Finally. River Stripe Towel Set, a Pre-Wound Warp Instructional Kit! I am winding the warps now. I have written the instructions. There are still a few loose ends (obviously a weaver’s term) to take care of, but we’re closer to turning this idea into a real thing. Made especially for adventurous weavers.

Winding warps for a towel kit.
Winding one of two bouts for a towel kit.
Warp chain in hand, for towel kits.
Warp chain in hand!

If these kits can inspire a few people to weave their own exceptional adventure, I will call this idea a success!

(If you would like to be notified when the kits are ready, no obligation, please send me an email or let me know in the comments below.)

May your best ideas take shape.

Happy Weaving,
Karen

Tools Day: Swedish Weaving Draft

Cooks have recipes, builders have blueprints, and handweavers have weaving drafts. There are a few different formats, but all drafts carry the same essential information. There is the tie-up box, the threading pattern, and the treadling sequence. Finally, there’s the drawdown, a graphic representation of how all the threads intersect.

The two formats I see most often are the typical American draft (e.g., Handwoven), and the Swedish draft (e.g., VÄV Magasinet). Many American drafts assume jack looms; whereas, Swedish drafts usually assume counterbalance or countermarch looms. However, any loom can weave from any draft.

As Madelyn van der Hoogt says in The Complete Book of Drafting, “Any tie-up can be used for any type of loom. Discover from the tie-up which shafts must be up and which down for each shed, and do to the loom whatever is required to get them there.”

All the draft formats have this in common: The tie-up box is the starting point. The threading pattern and treadling sequence begin at that point, and go out from there.

The Swedish draft makes perfect sense (remember, of course, I weave on Swedish countermarch looms). I picture the draft as if it is lying flat in front of me.

Becky Ashenden says in the forward to Weave Structures the Swedish Way, “With this orientation of tie-up, treadling, and threading, the draft has a direct relationship to the weaving of the fabric. The tie-up’s location in the lower right-hand corner of the draft allows all other information to match as closely as possible the physical aspects of the loom.”

Here is a comparison of the Swedish and American draft formats:

Swedish Draft

Reading a Swedish draft.
Swedish draft, with a weft drawdown.
  • Weft drawdown (filled-in squares show lowered warp threads, weft passing over)
  • Tie-up is in lower right corner, and uses black squares to designate shafts that sink / white squares for shafts that rise
  • Threading is below the drawdown
  • Shafts are numbered from back of the loom to front, with the first shaft the furthest from the weaver seated at the loom
  • Treadling sequence is on the right, and reads from bottom to top
  • Treadles are numbered from right to left
  • For a “sinking shed” loom (countermarch or counterbalance loom), use the black squares to tie up sinking shafts
  • For a “rising shed loom” (jack loom), use the white squares to tie up rising shafts

American Draft

Reading weaving drafts.
American draft, with a warp drawdown.
  • Warp drawdown (filled-in squares show raised warp threads, weft passing under)
  • Tie-up is in upper right corner, and uses numerals to designate shafts that rise / white squares for shafts that sink
  • Threading is above the drawdown
  • Shafts are numbered from front of loom to the back, with the first shaft the closest to the weaver seated at the loom
  • Treadling sequence is on the right, and reads from top to bottom
  • Treadles are numbered from left to right
  • For a “sinking shed” loom (countermarch or counterbalance loom), use the white squares to tie up sinking shafts
  • For a “rising shed loom” (jack loom), use the squares with numerals to tie up rising shafts

Similarities between Swedish and American Drafts

  • Threading reads right to left
  • Squares in the tie-up box represent treadle cords that attach treadles to corresponding shafts
Weaving draft in place for weaving mug rugs.
Draft is hanging at the corner of the loom. The fabric logically grows in the same direction as the sequence of weft picks as seen on the treadling draft.

Resources
Getzmann, Ulla, and Becky Ashenden. Weave Structures the Swedish Way. Shelburne, MA: Väv Stuga Press, 2006.
Hoogt, Madelyn Van der. The Complete Book of Drafting for Handweavers. Coupeville, WA: Shuttle-Craft Books, 1993.

May you flourish at your loom.

All the best,
Karen

Linen Butterflies

This project has been on my mind for a long time. But I purposely waited to begin until I could weave it on my new sweet little loom with a view. Four Decorative Sample Strips, it’s called in The Big Book of Weaving, by Laila Lundell. It includes four-shaft tapestry, as well as weft inlay techniques. Each of the four strips will be a sampling of 8-12 different patterns or techniques. The weft is all linen, in various colors and sizes. Several strands are bundled together and made into butterflies. I have the sections mapped out, but the actual designing is happening at the loom.

Box of colorful linen for a tapestry project!
Box of linen! A variety of 16/2 line linen, 6/1 tow linen, and 8/1 tow linen.
Weft inlay with linen butterflies.
First sample strip starts with some weft inlay.
Linen butterflies.
Linen butterflies.

The box of vibrant shades of linen that sits by the loom makes me think of the wonderful colors in creation. The Grand Weaver puts an assortment of strands together, making something as only He can. The world belongs to its Maker. We are His. Sometimes we forget that it is not that He is in our universe, it is that we are in His. I love the way He puts an assortment of us together to put a splash of color on His tapestry.

May you enjoy the colors around you.

Happy weaving,
Karen