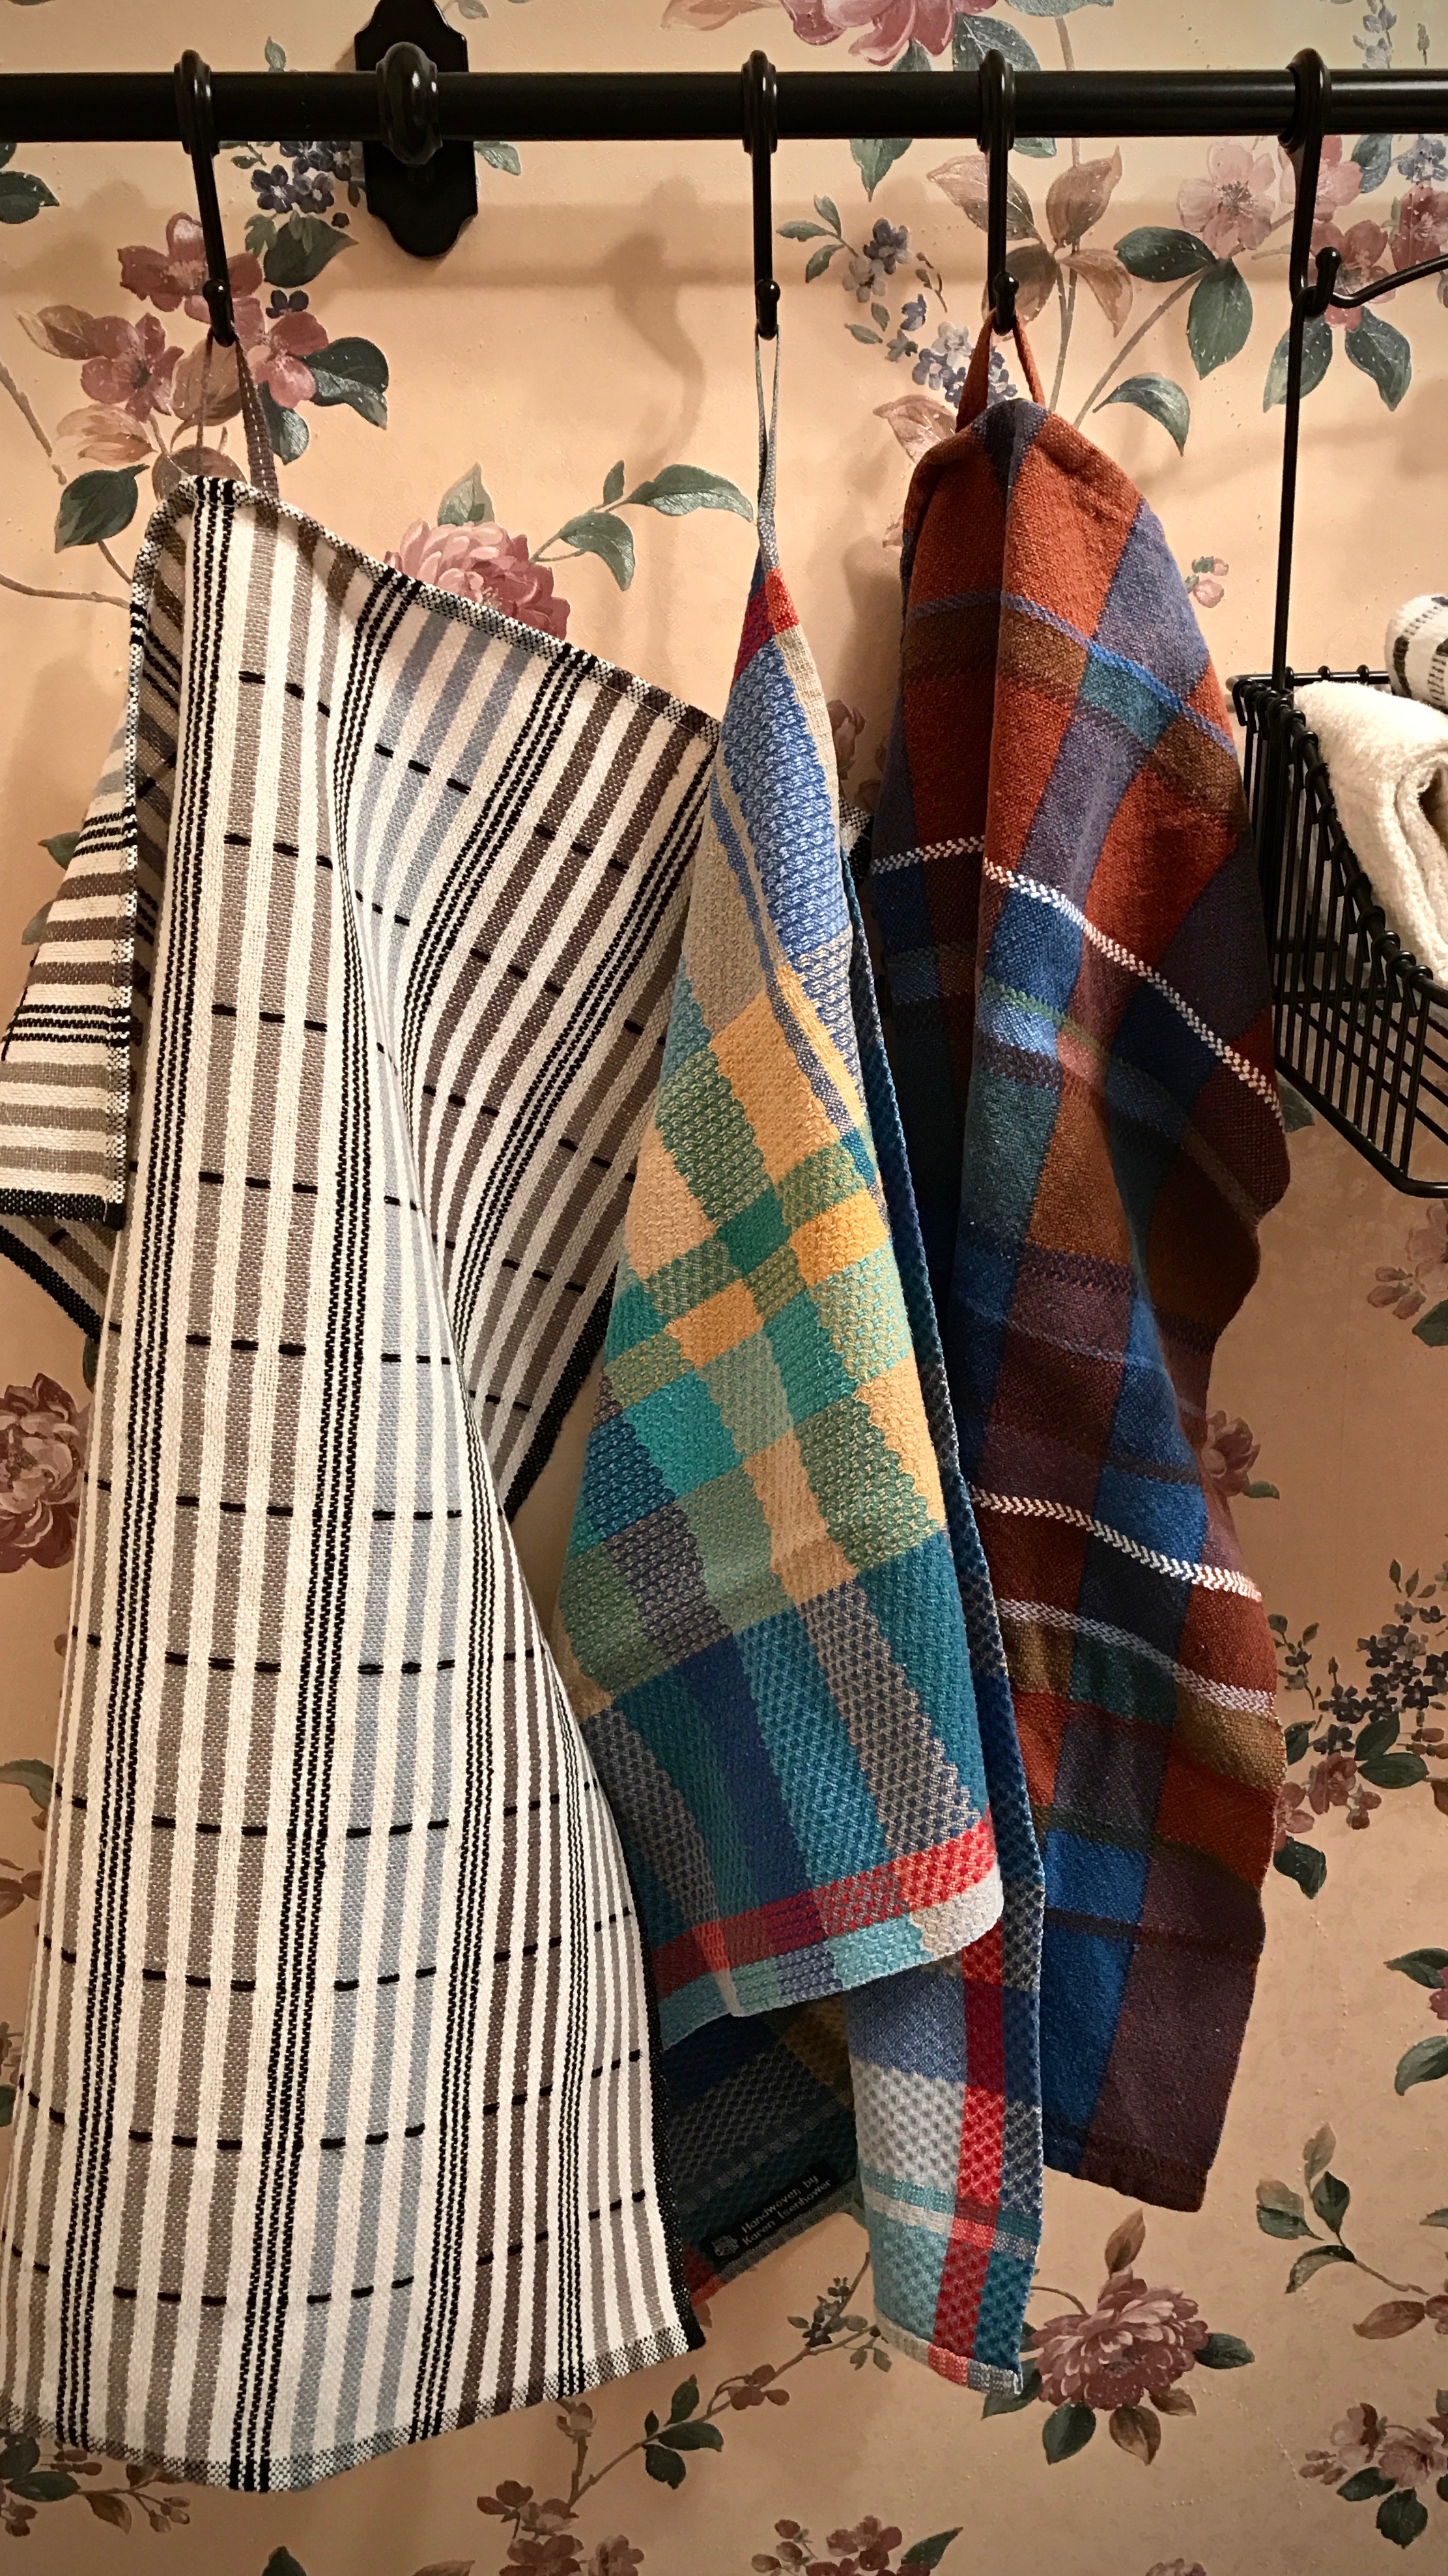
It’s this kind of detail that takes a handcrafted item up a notch. A hanging tab made from a handwoven band is more than an accent for a handwoven hand towel. The small hanging tab, mostly unnoticed, adds a statement: This towel has a purpose. It is meant to be placed where it will be used.
How to Make Hanging Tabs for Towels from a Handwoven Band:
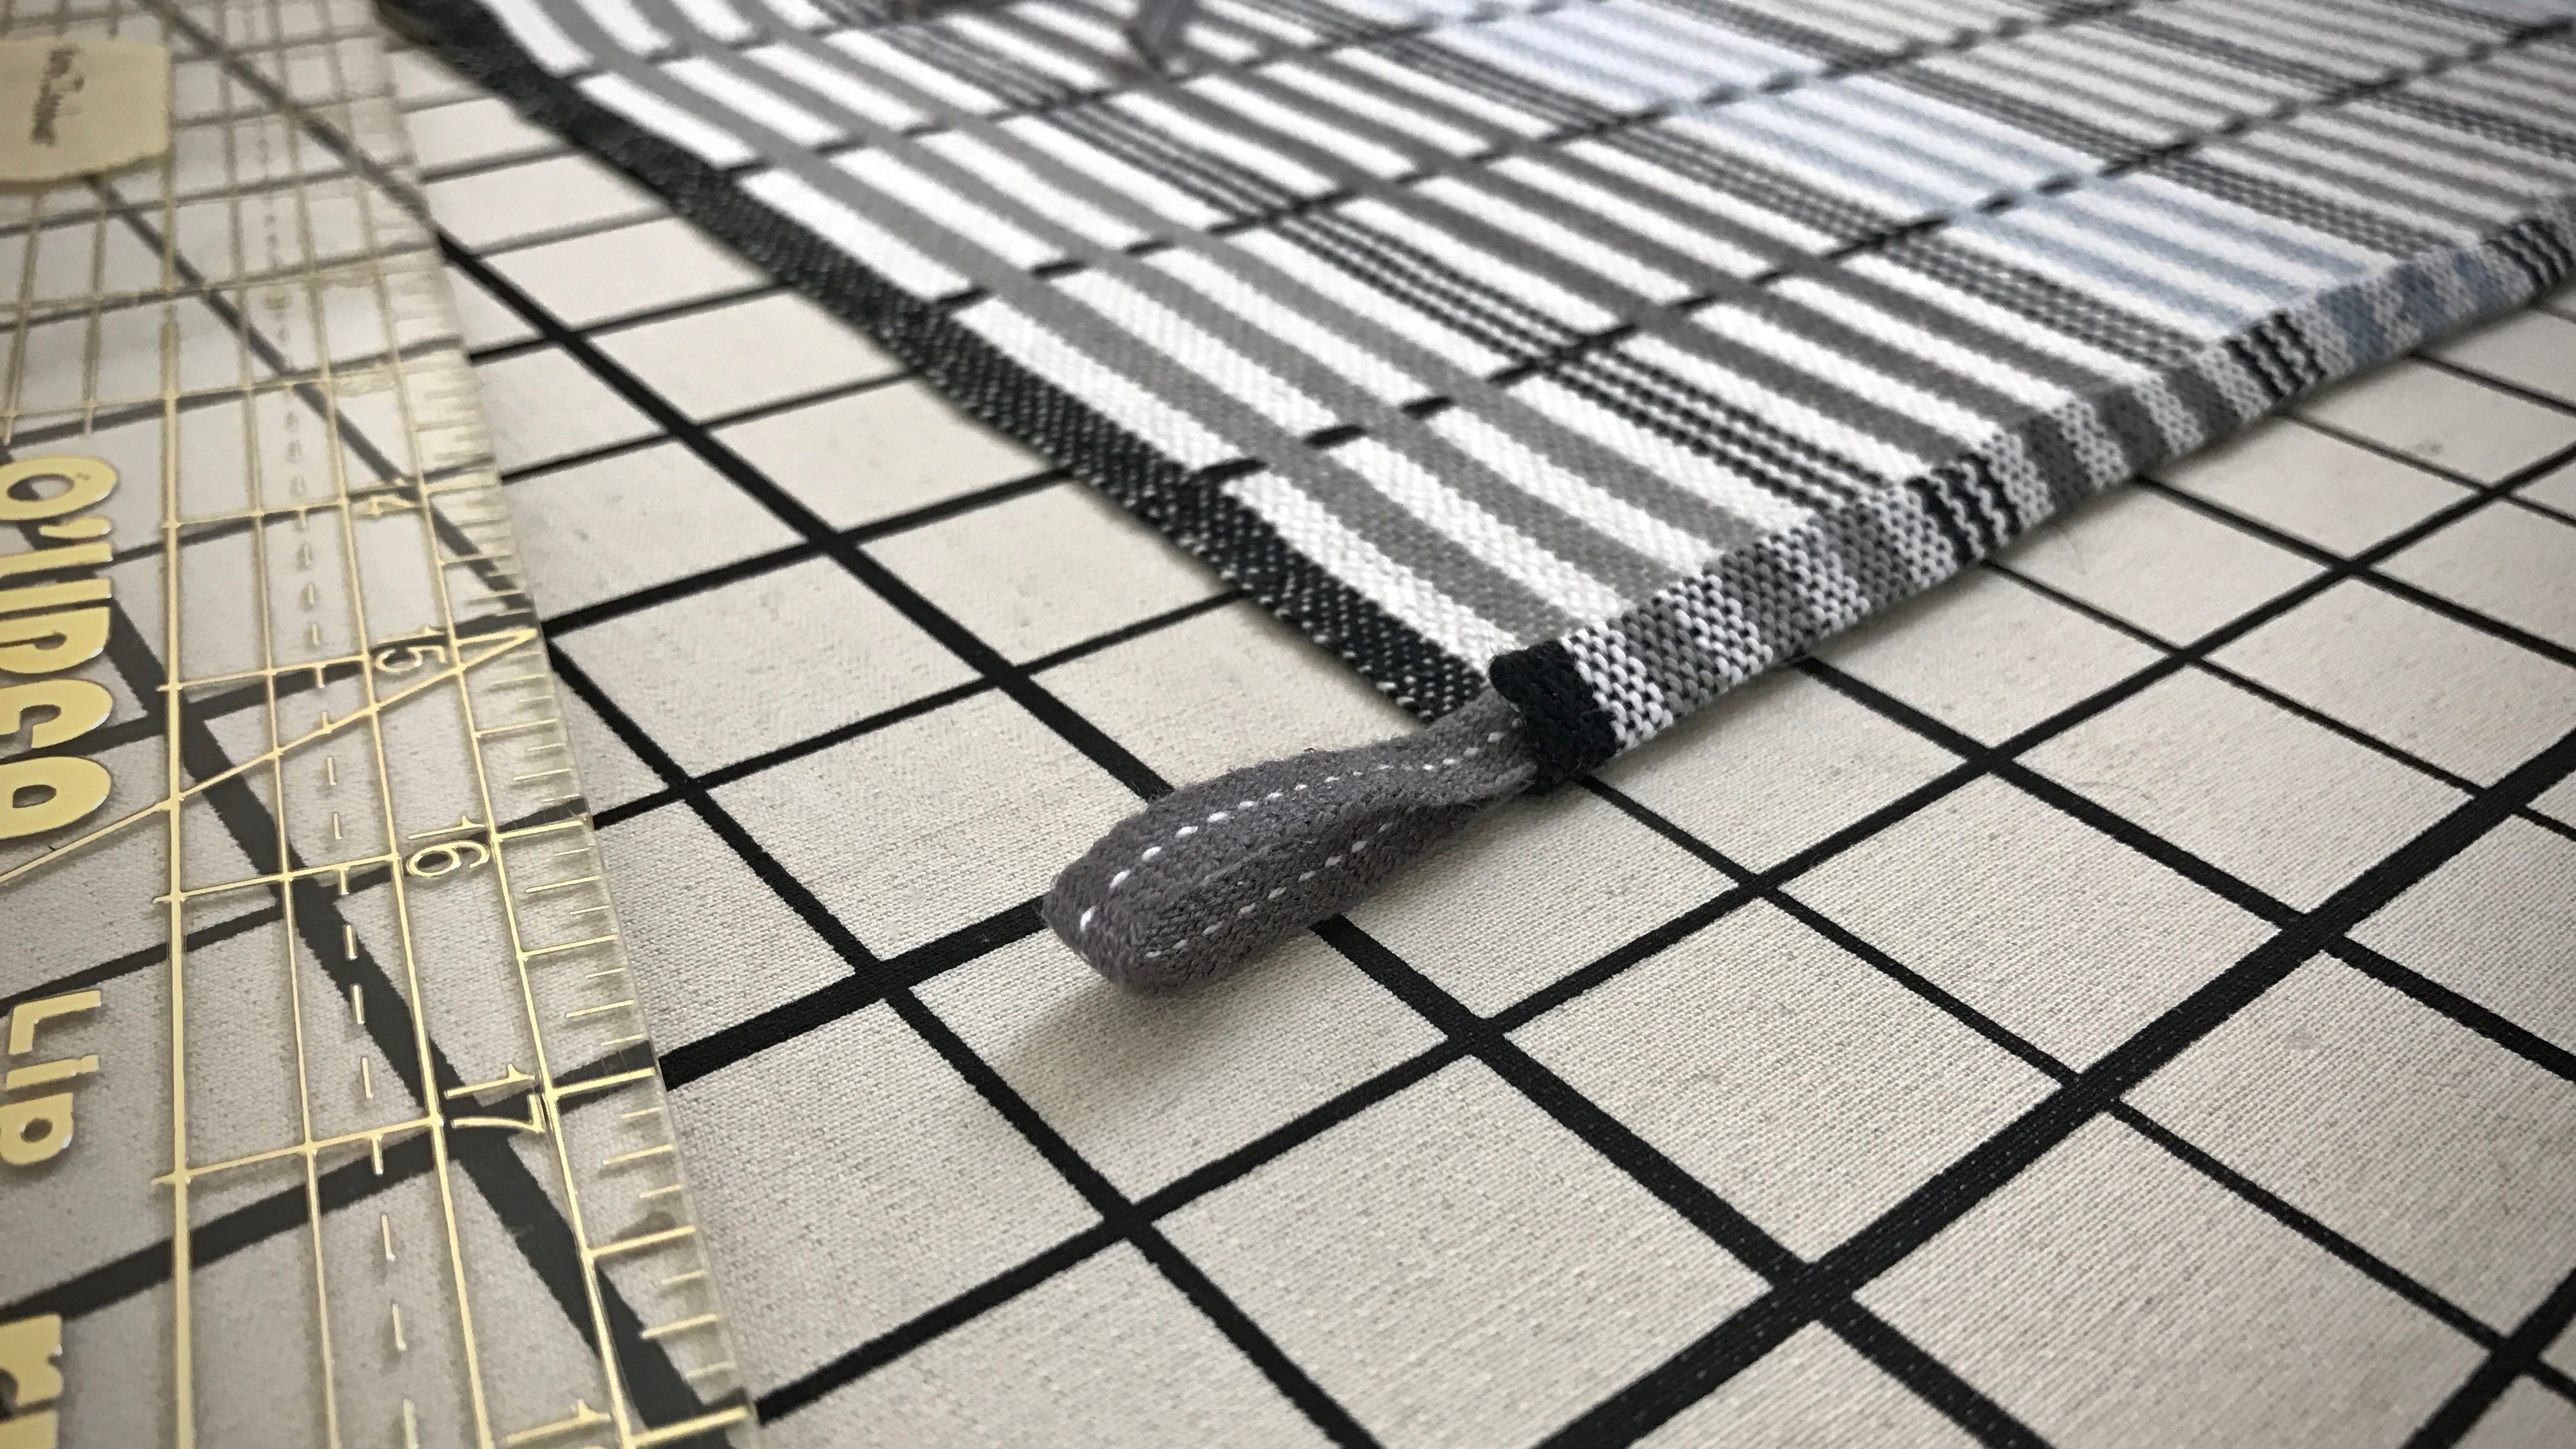
- Mark cutting lines on the woven band. My lines are 4 1/4″ apart.
- Zigzag forward and back on both sides of the marked lines, leaving room for cutting apart.

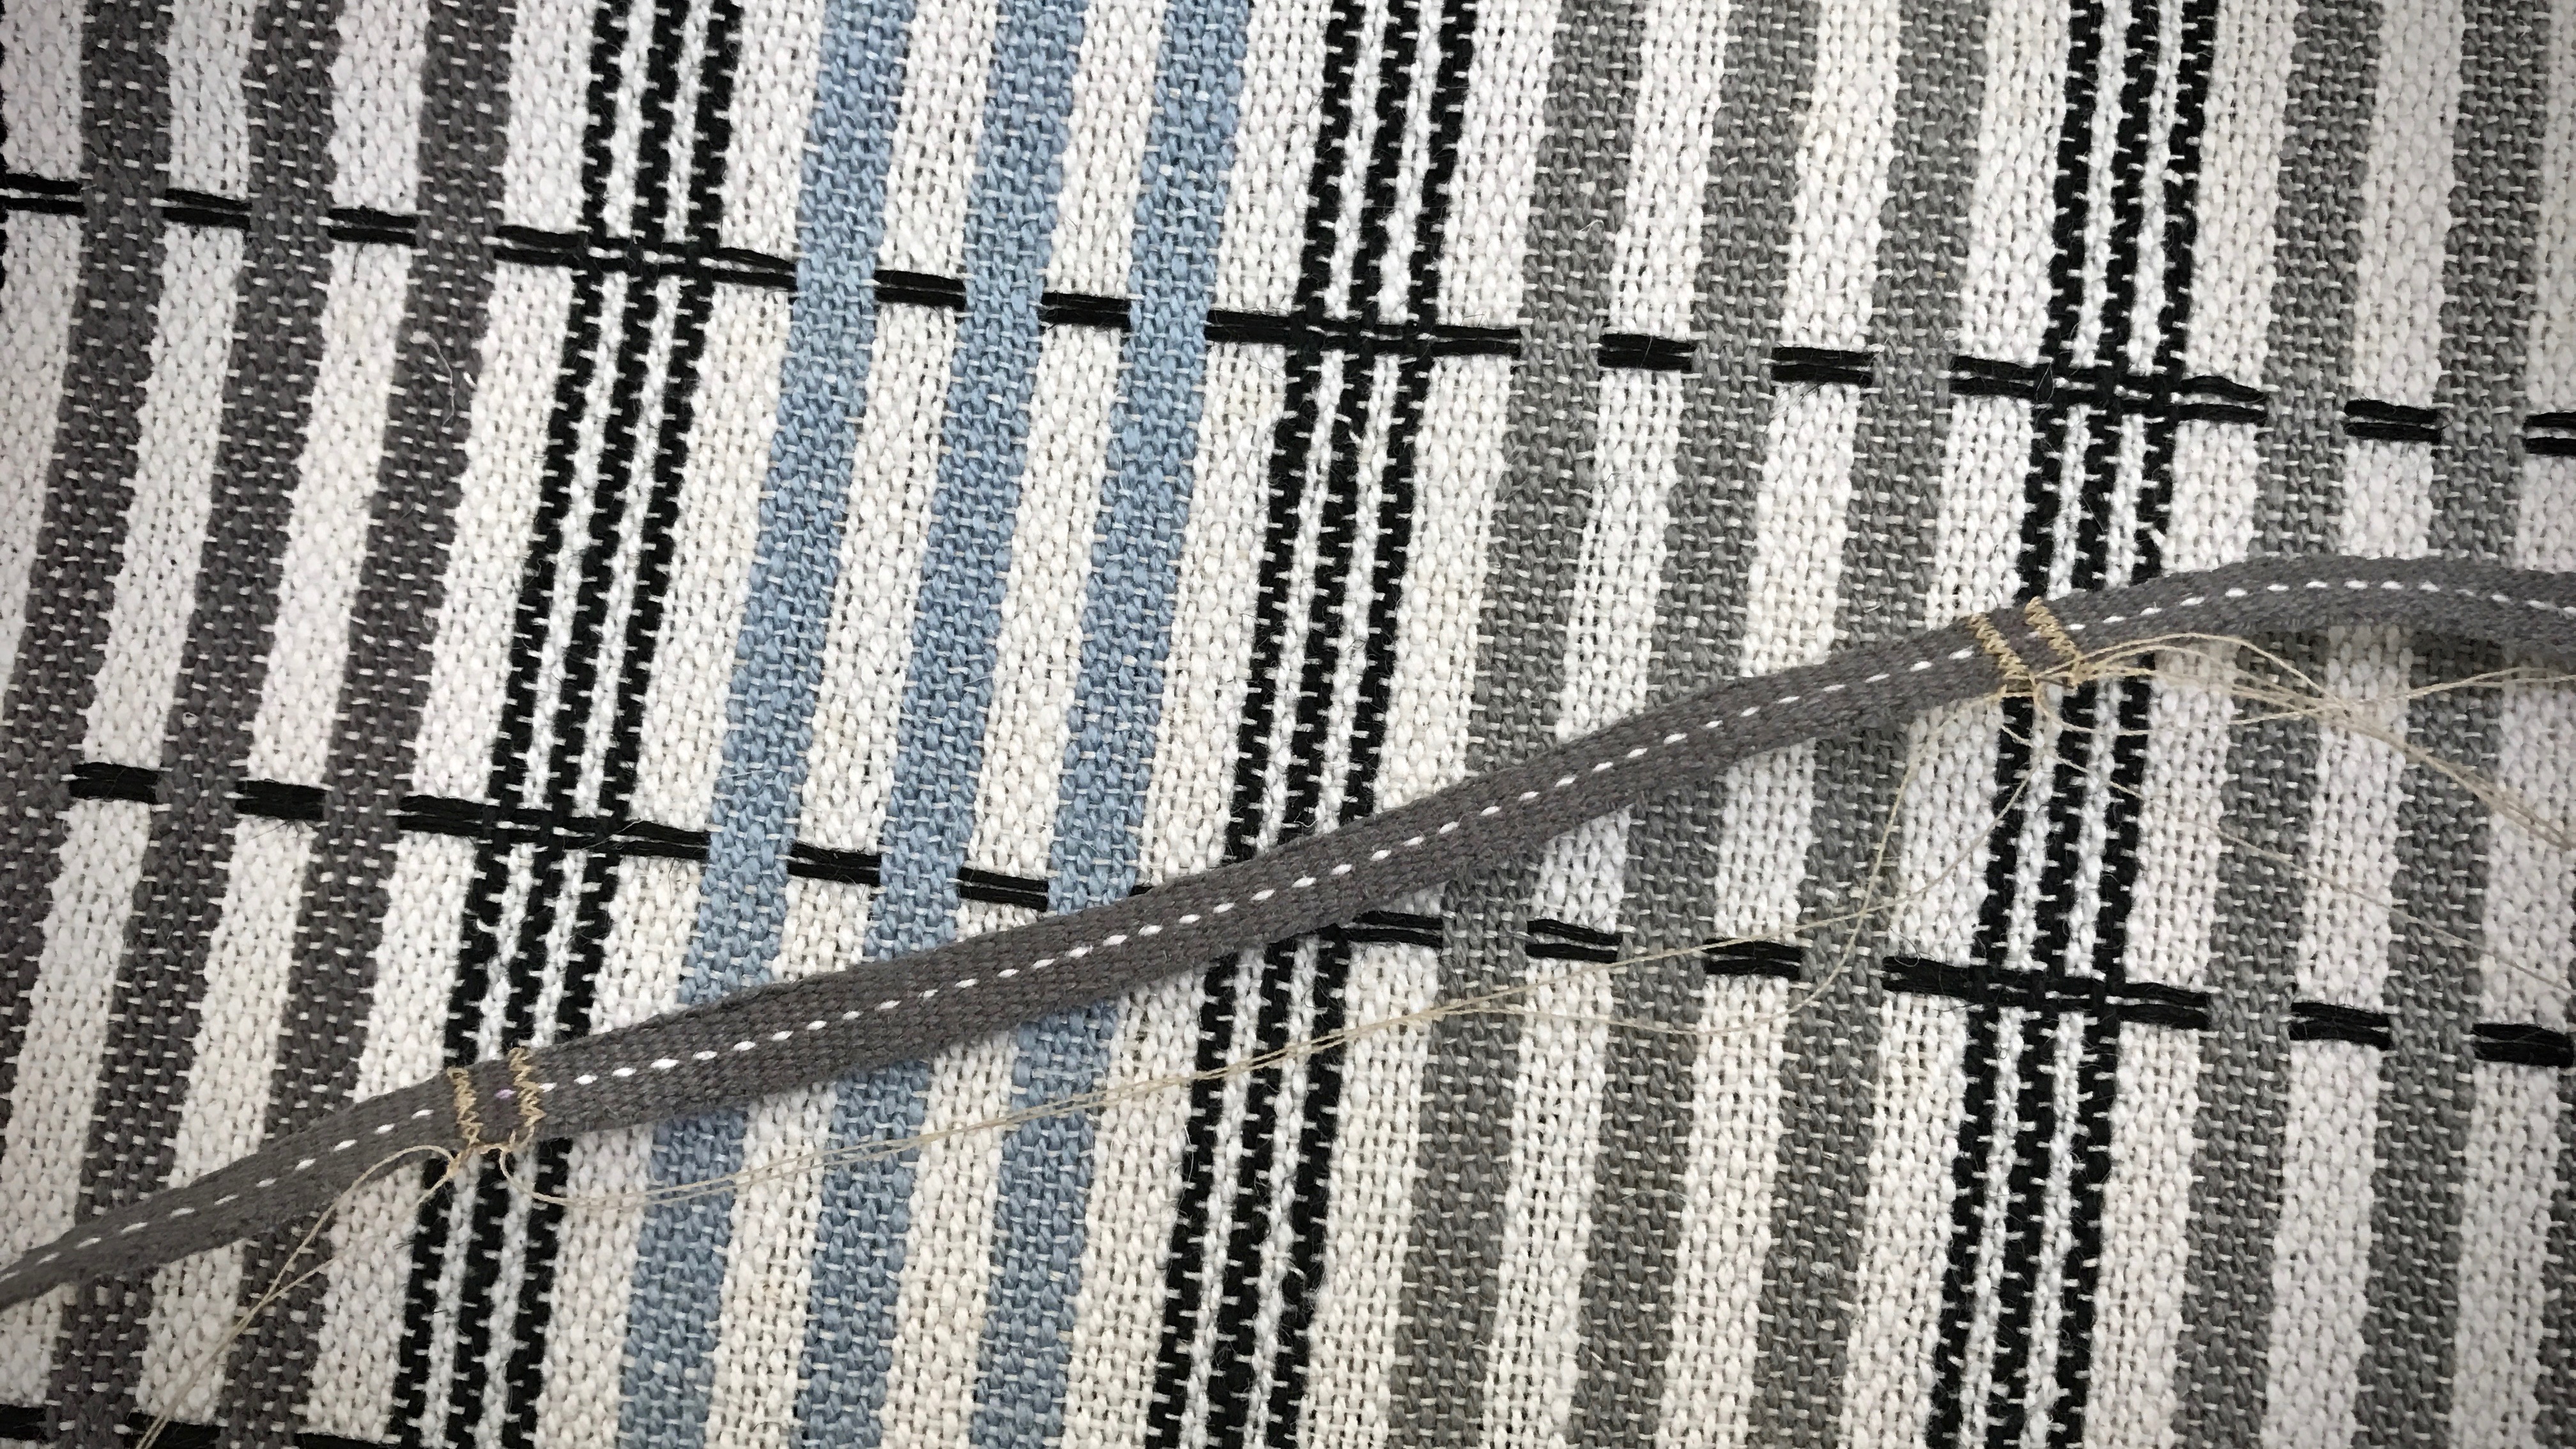
- Cut the band apart at the marked lines, between the zigzag rows.
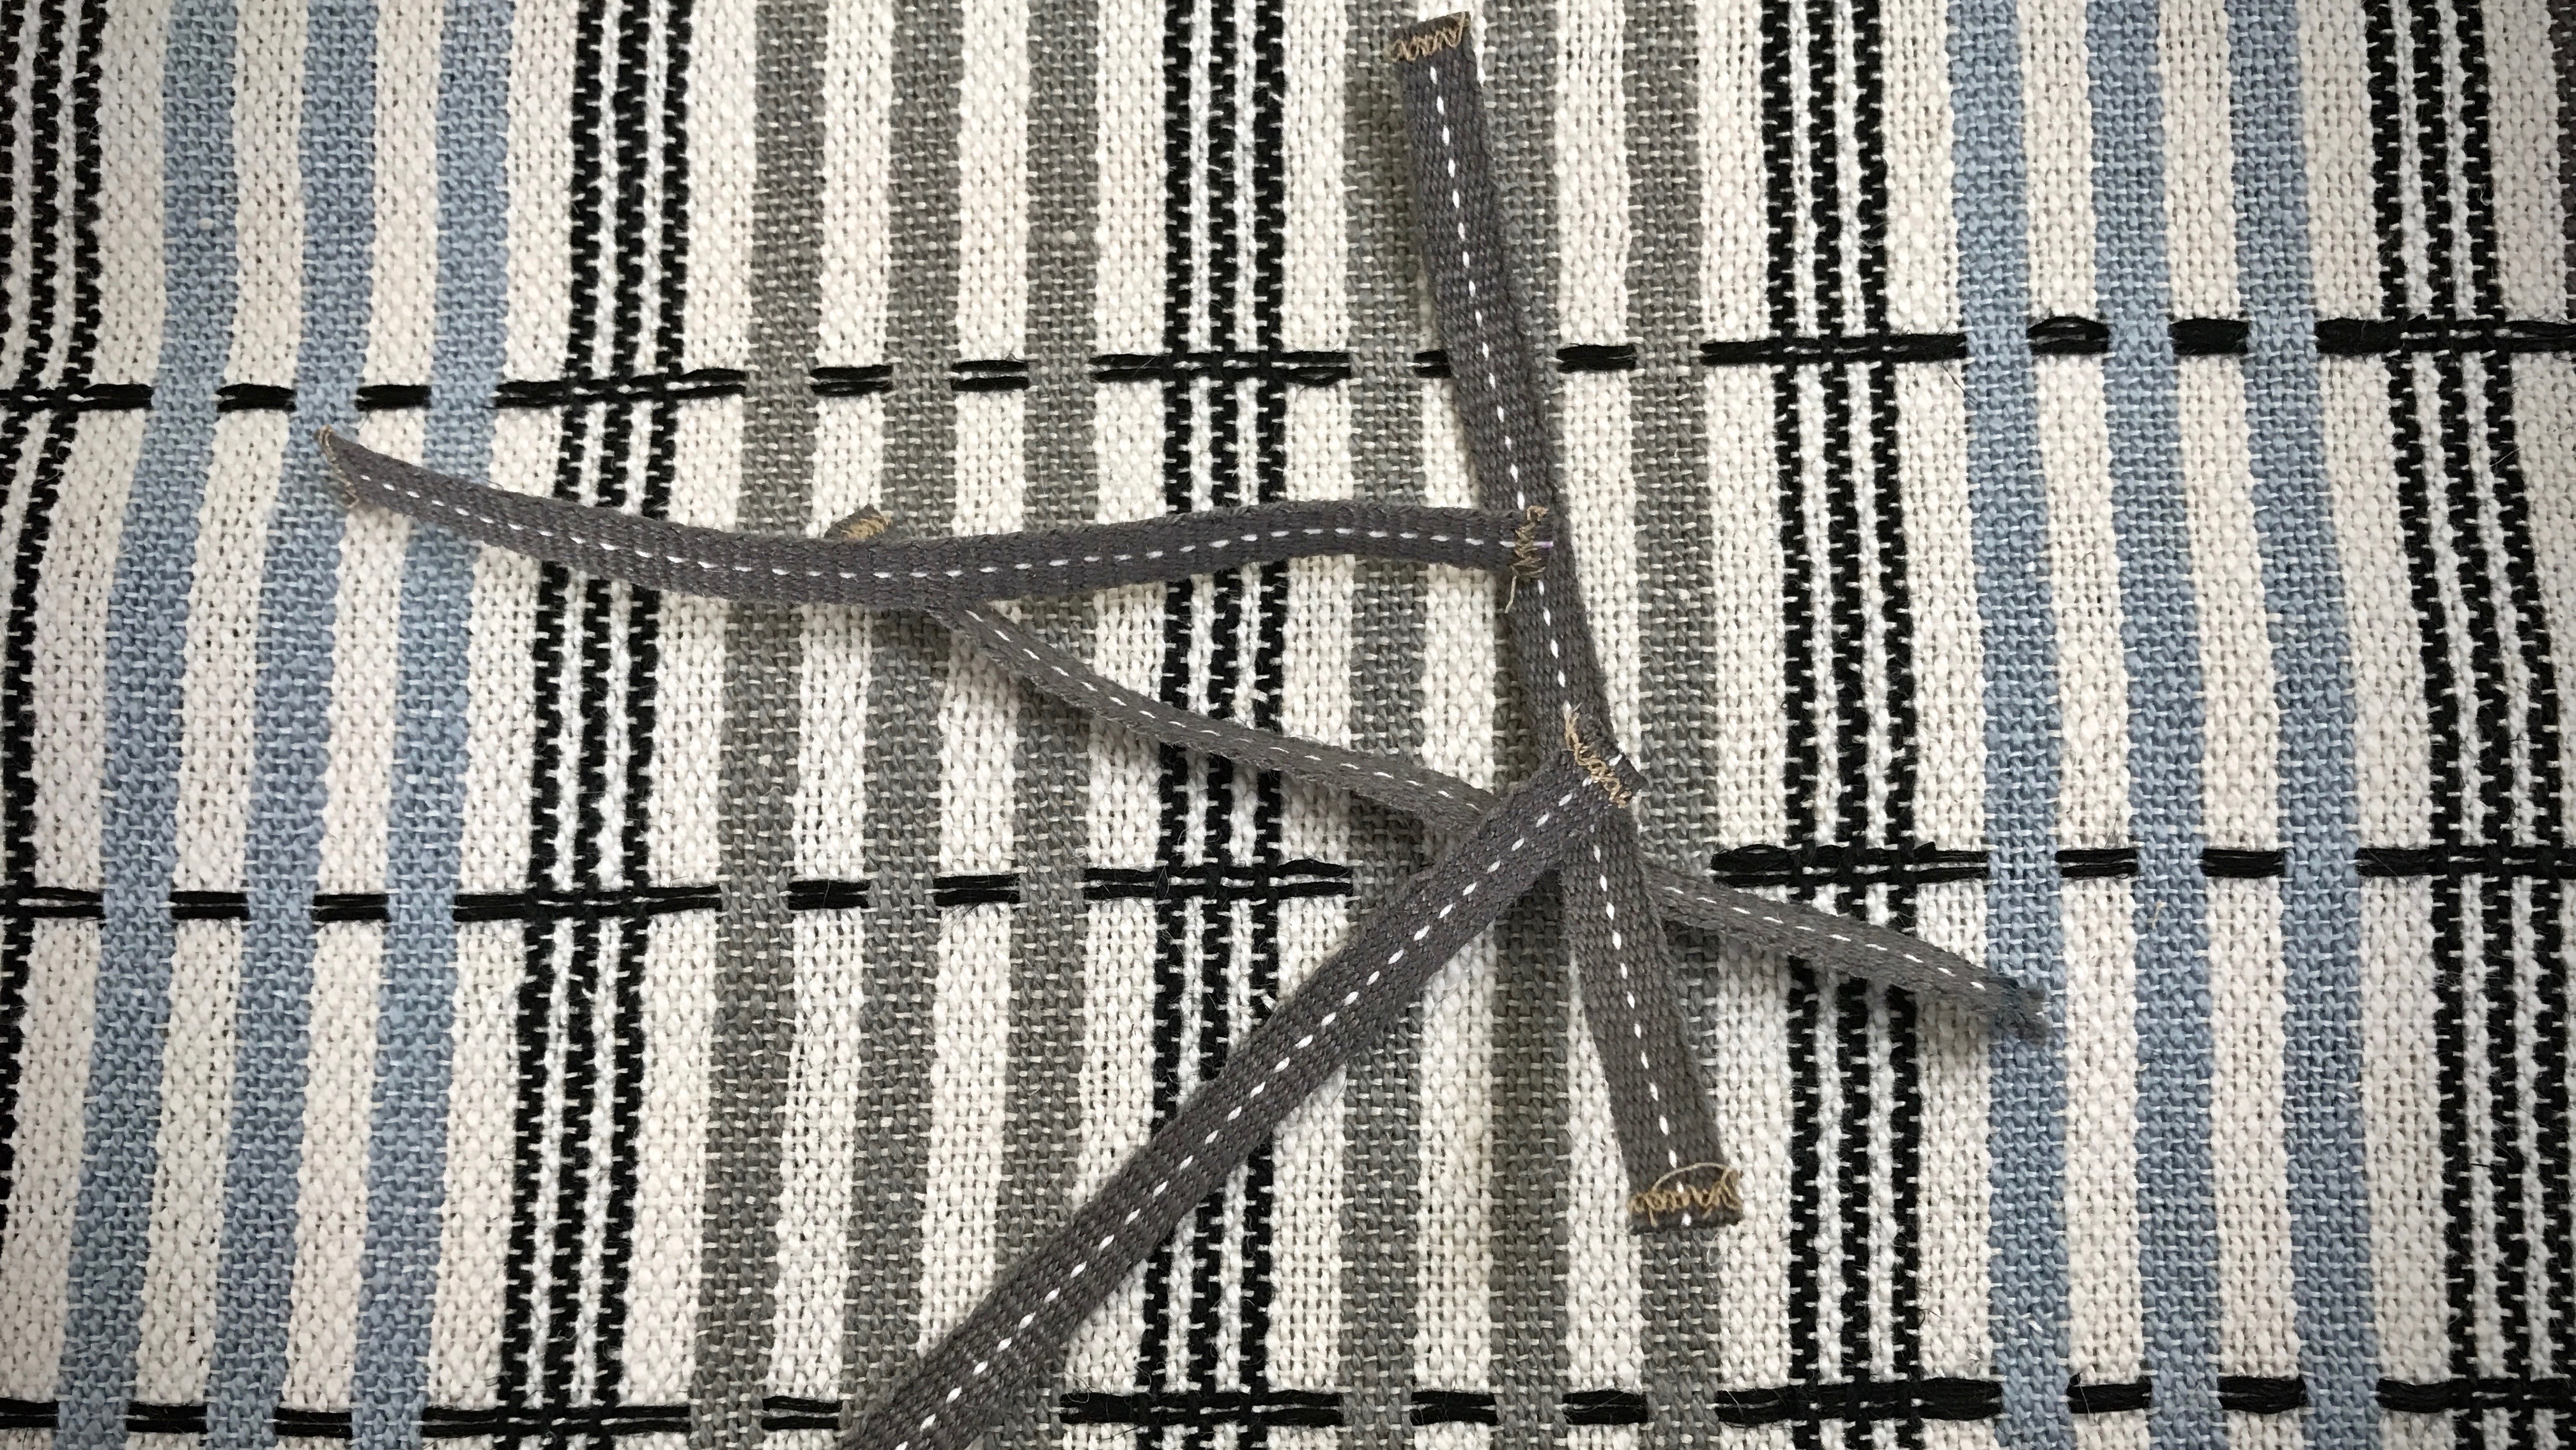
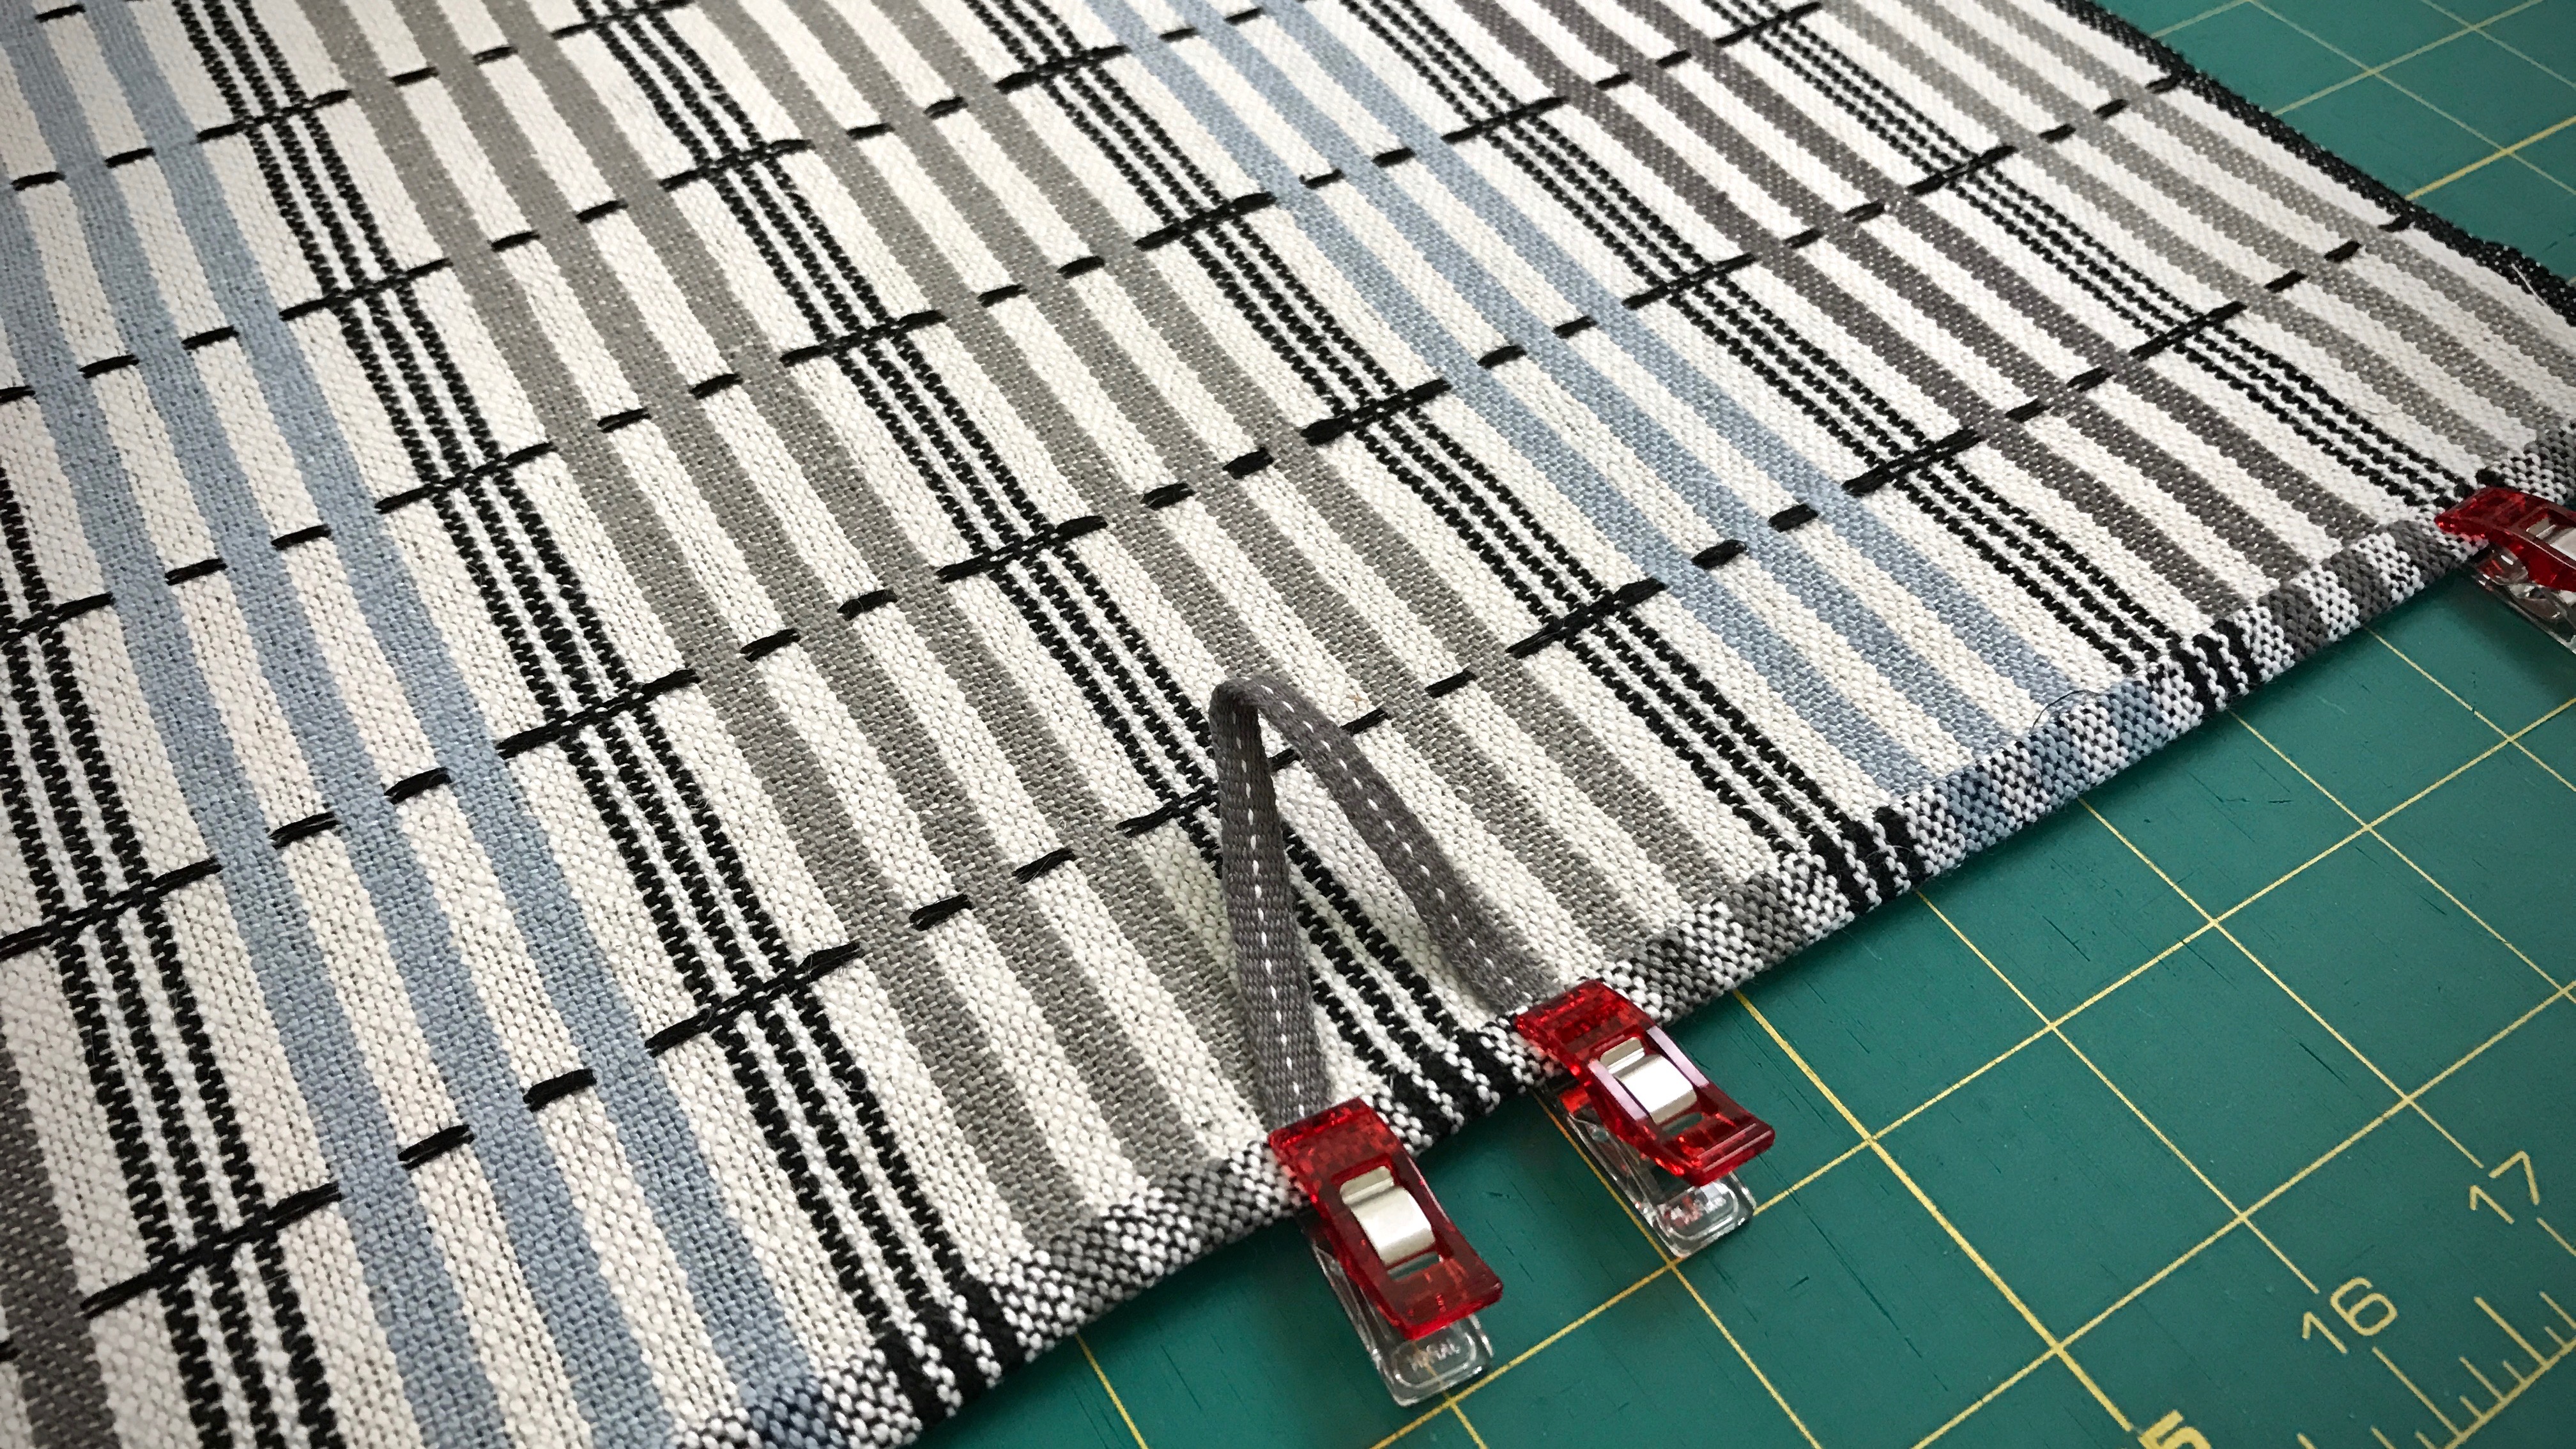
- Decide where and how to place the hanging tab.
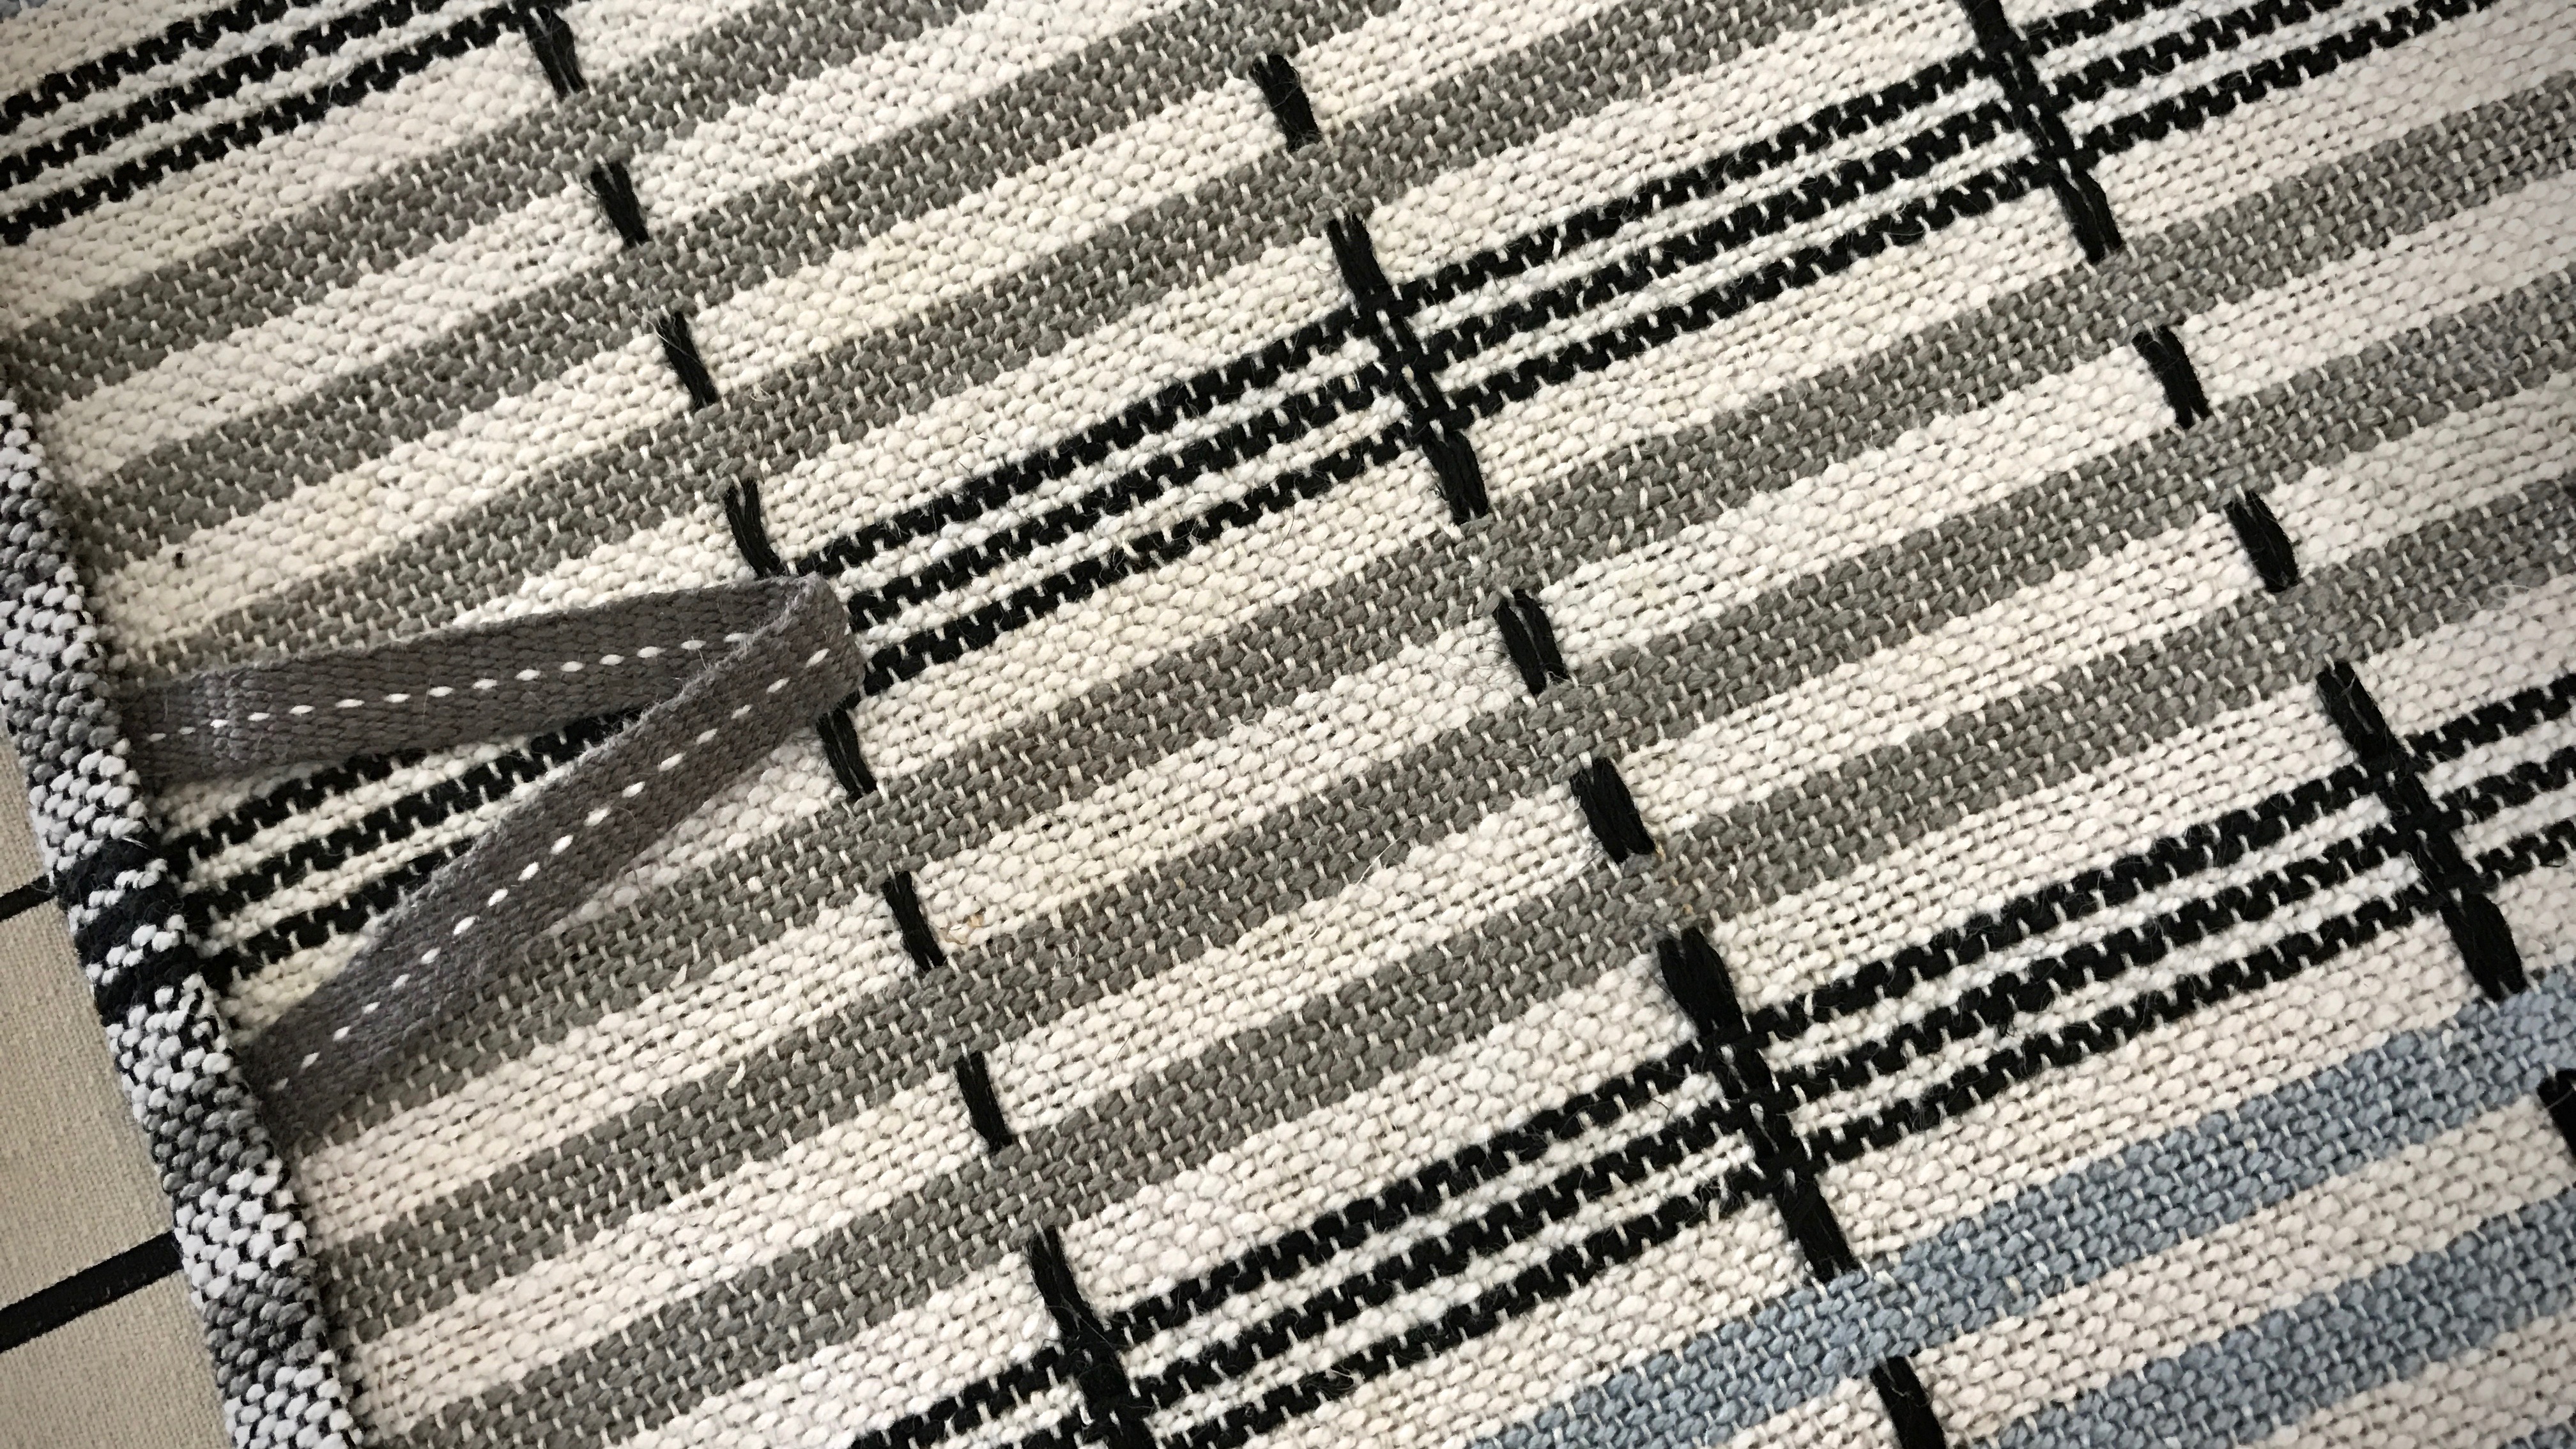

- Position the tab, and push the zigzagged ends to the fold inside the pressed and folded towel hem. Pin or clip in place.
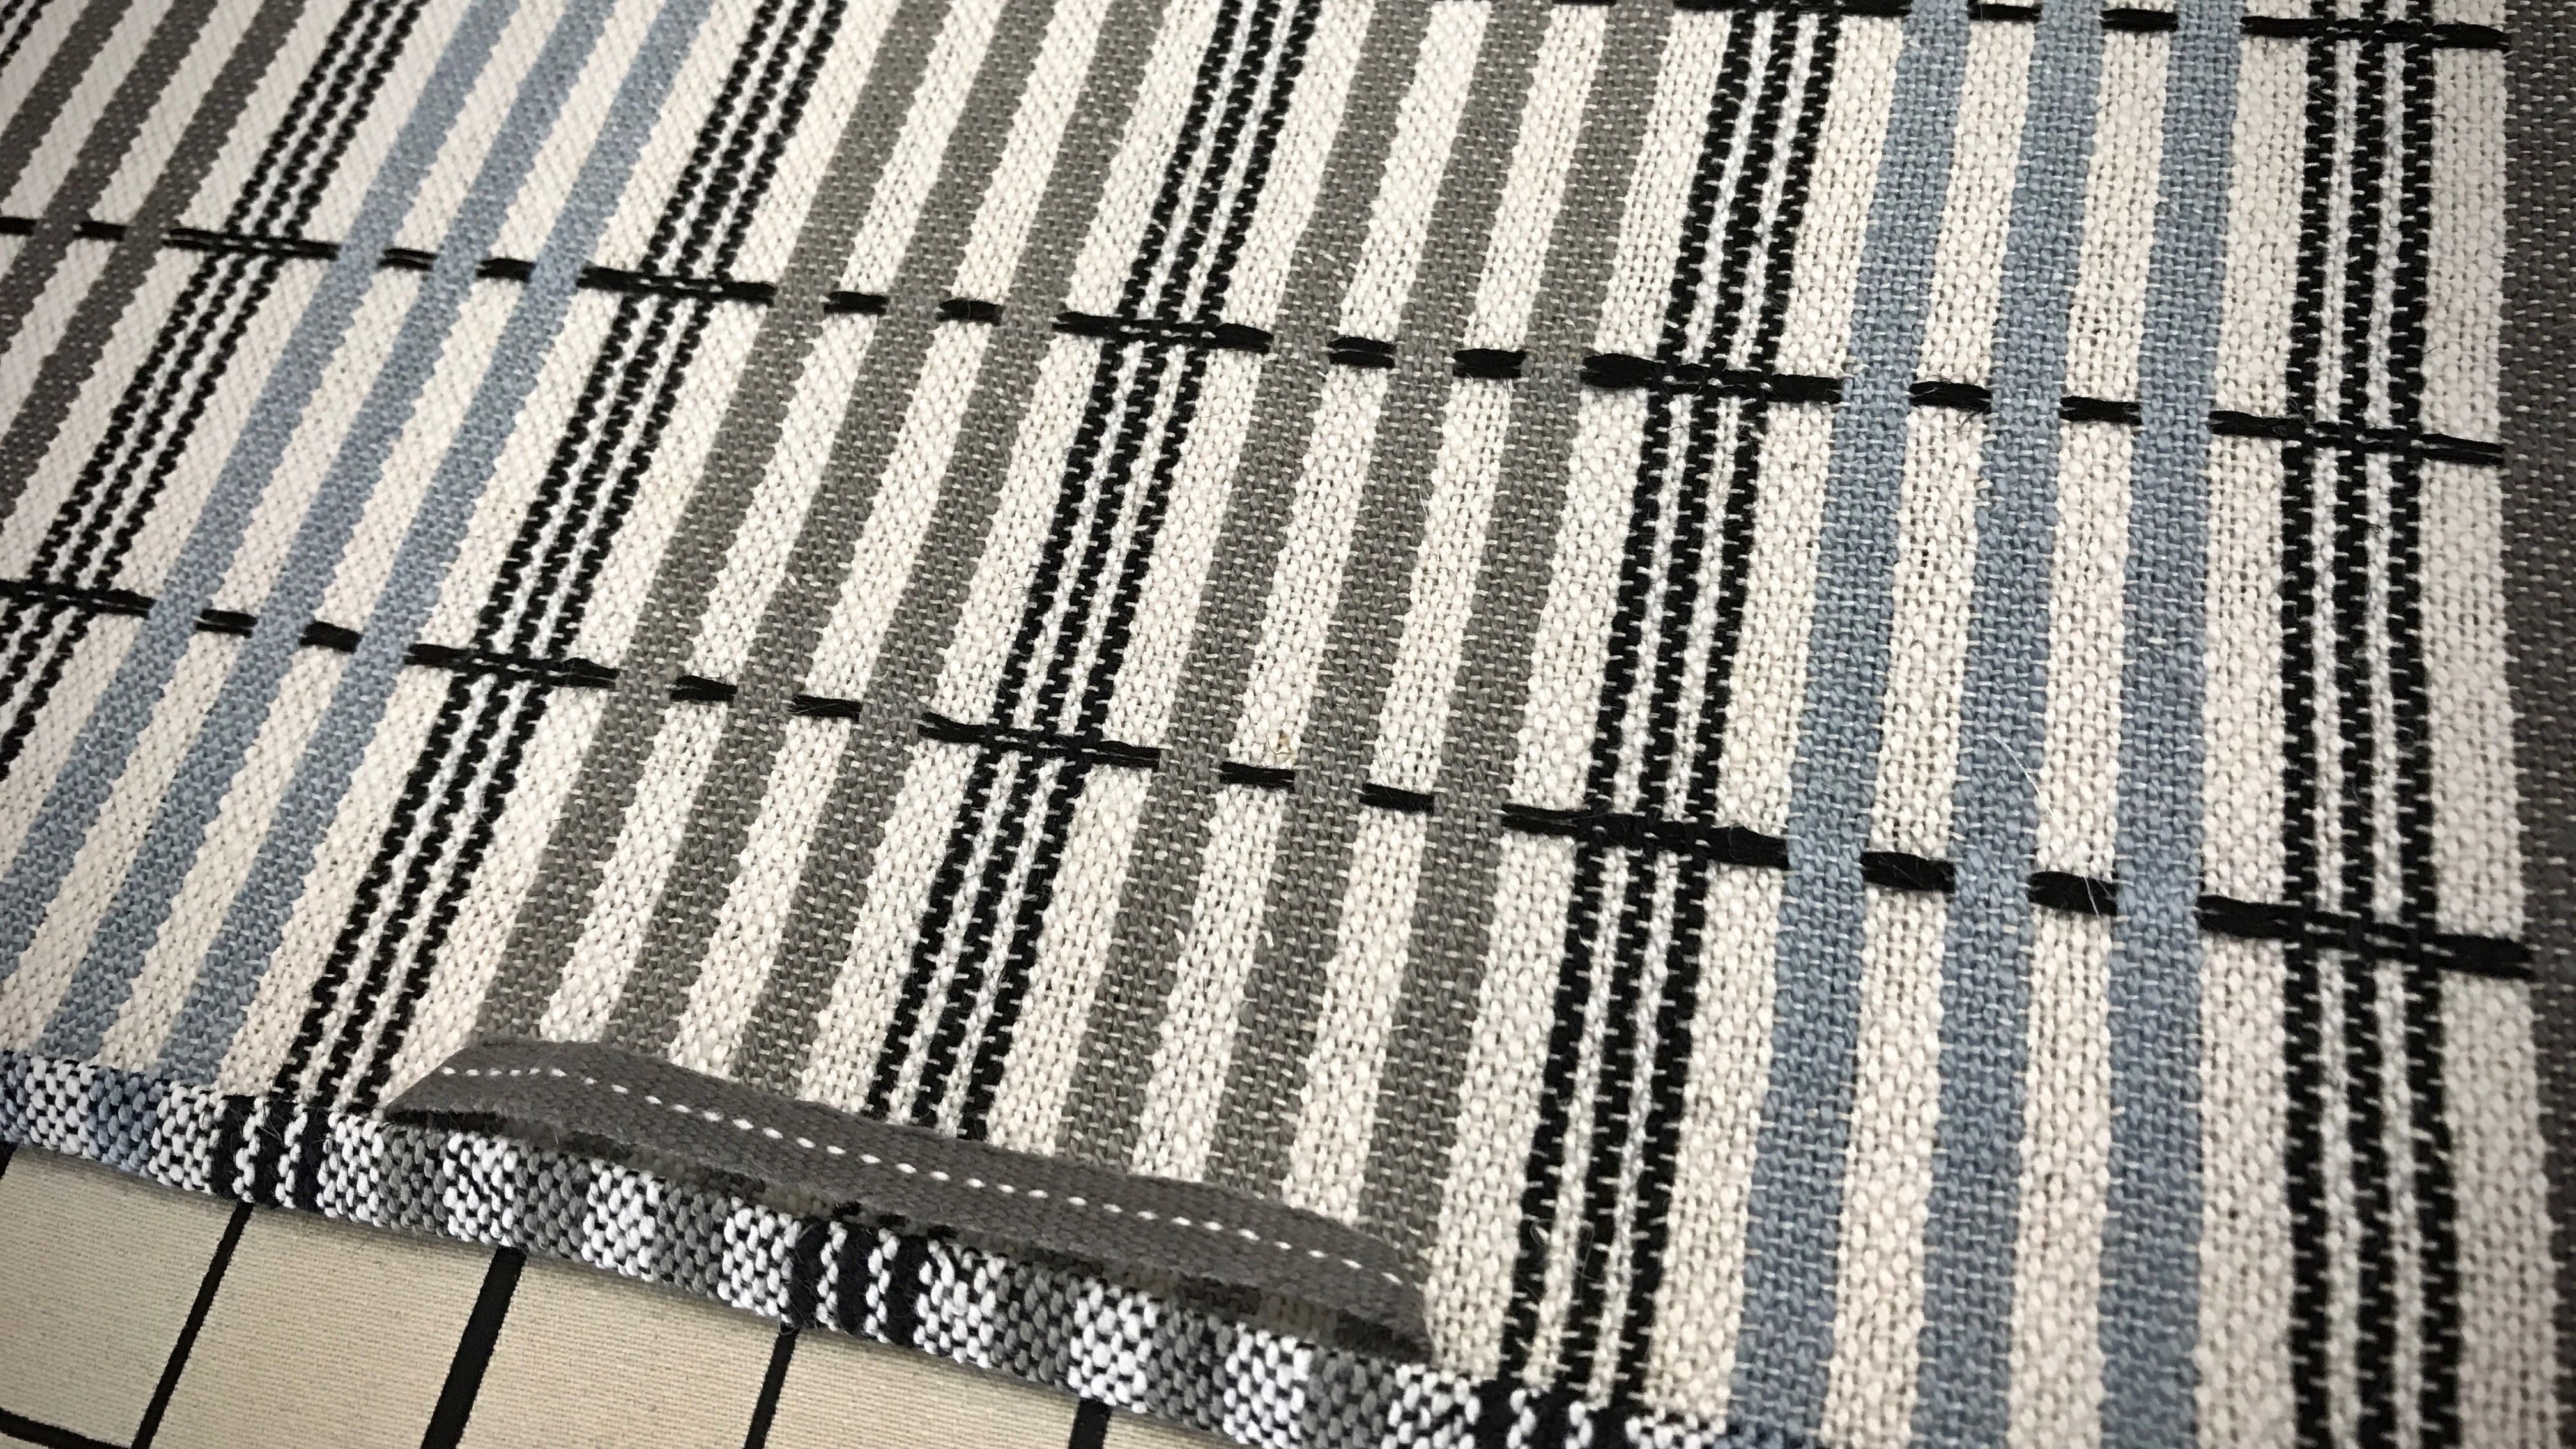
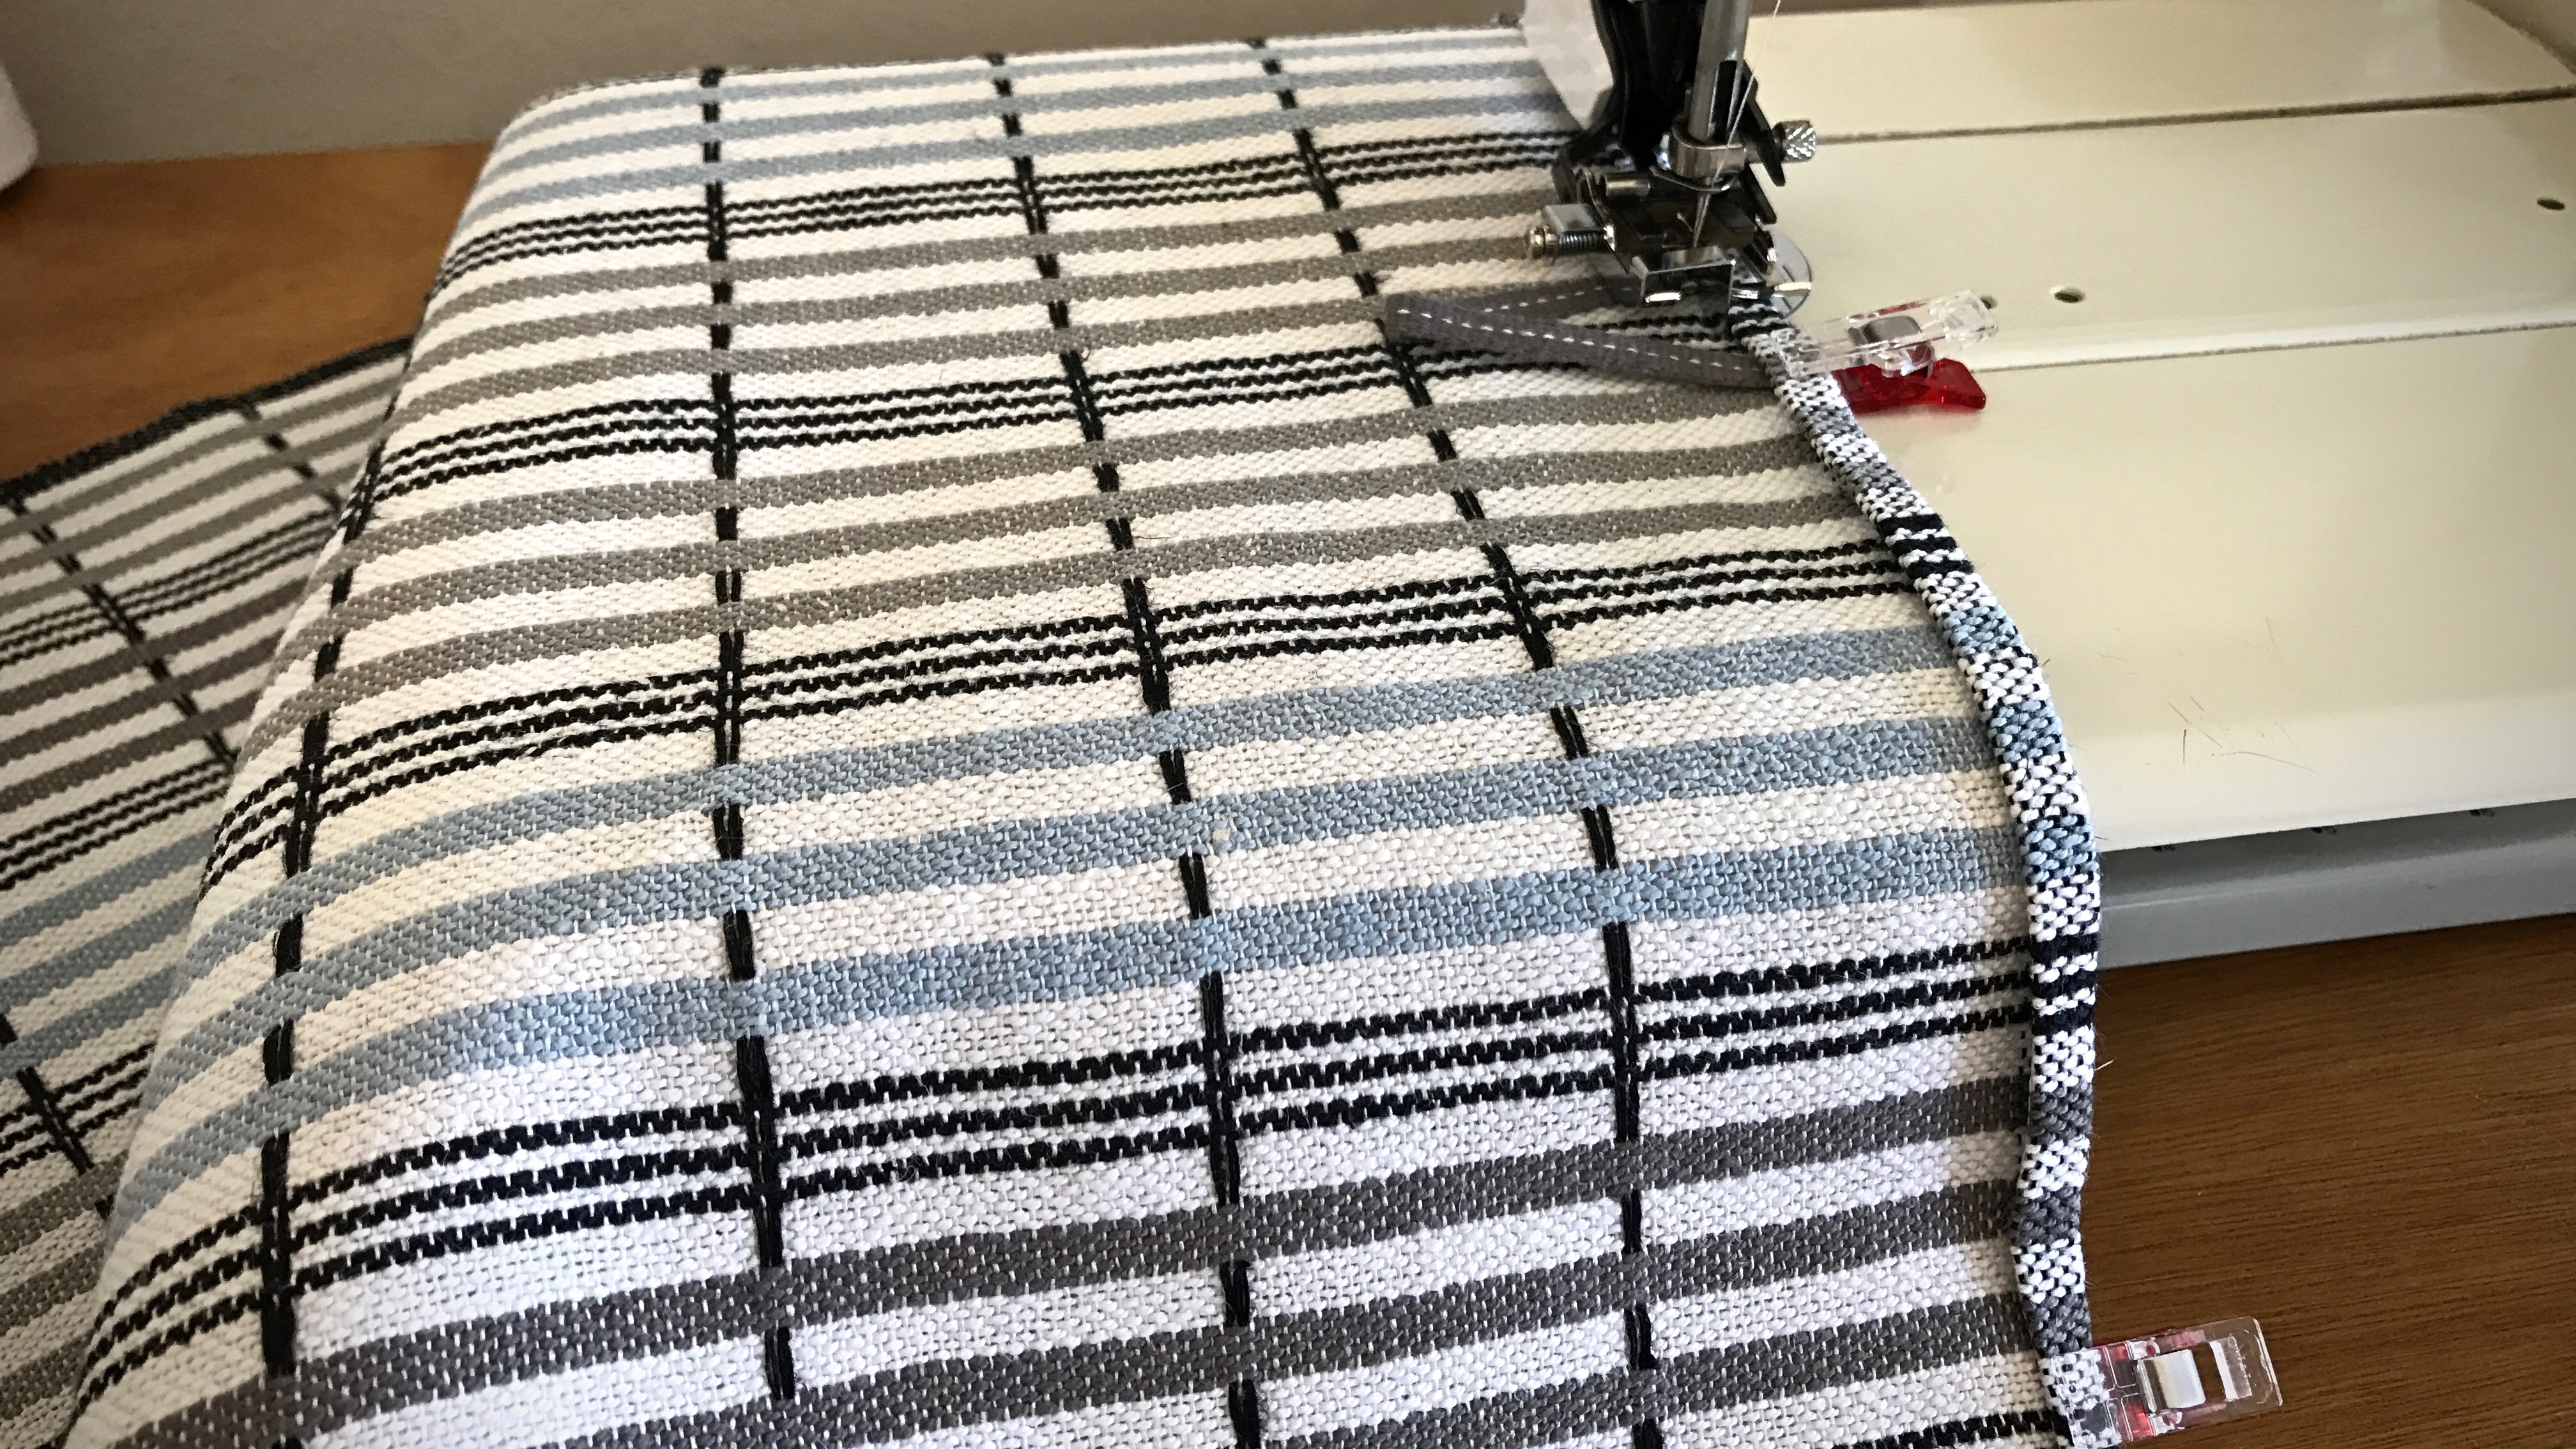
- Stitch the towel hem, securely catching the ends of the hanging tab.
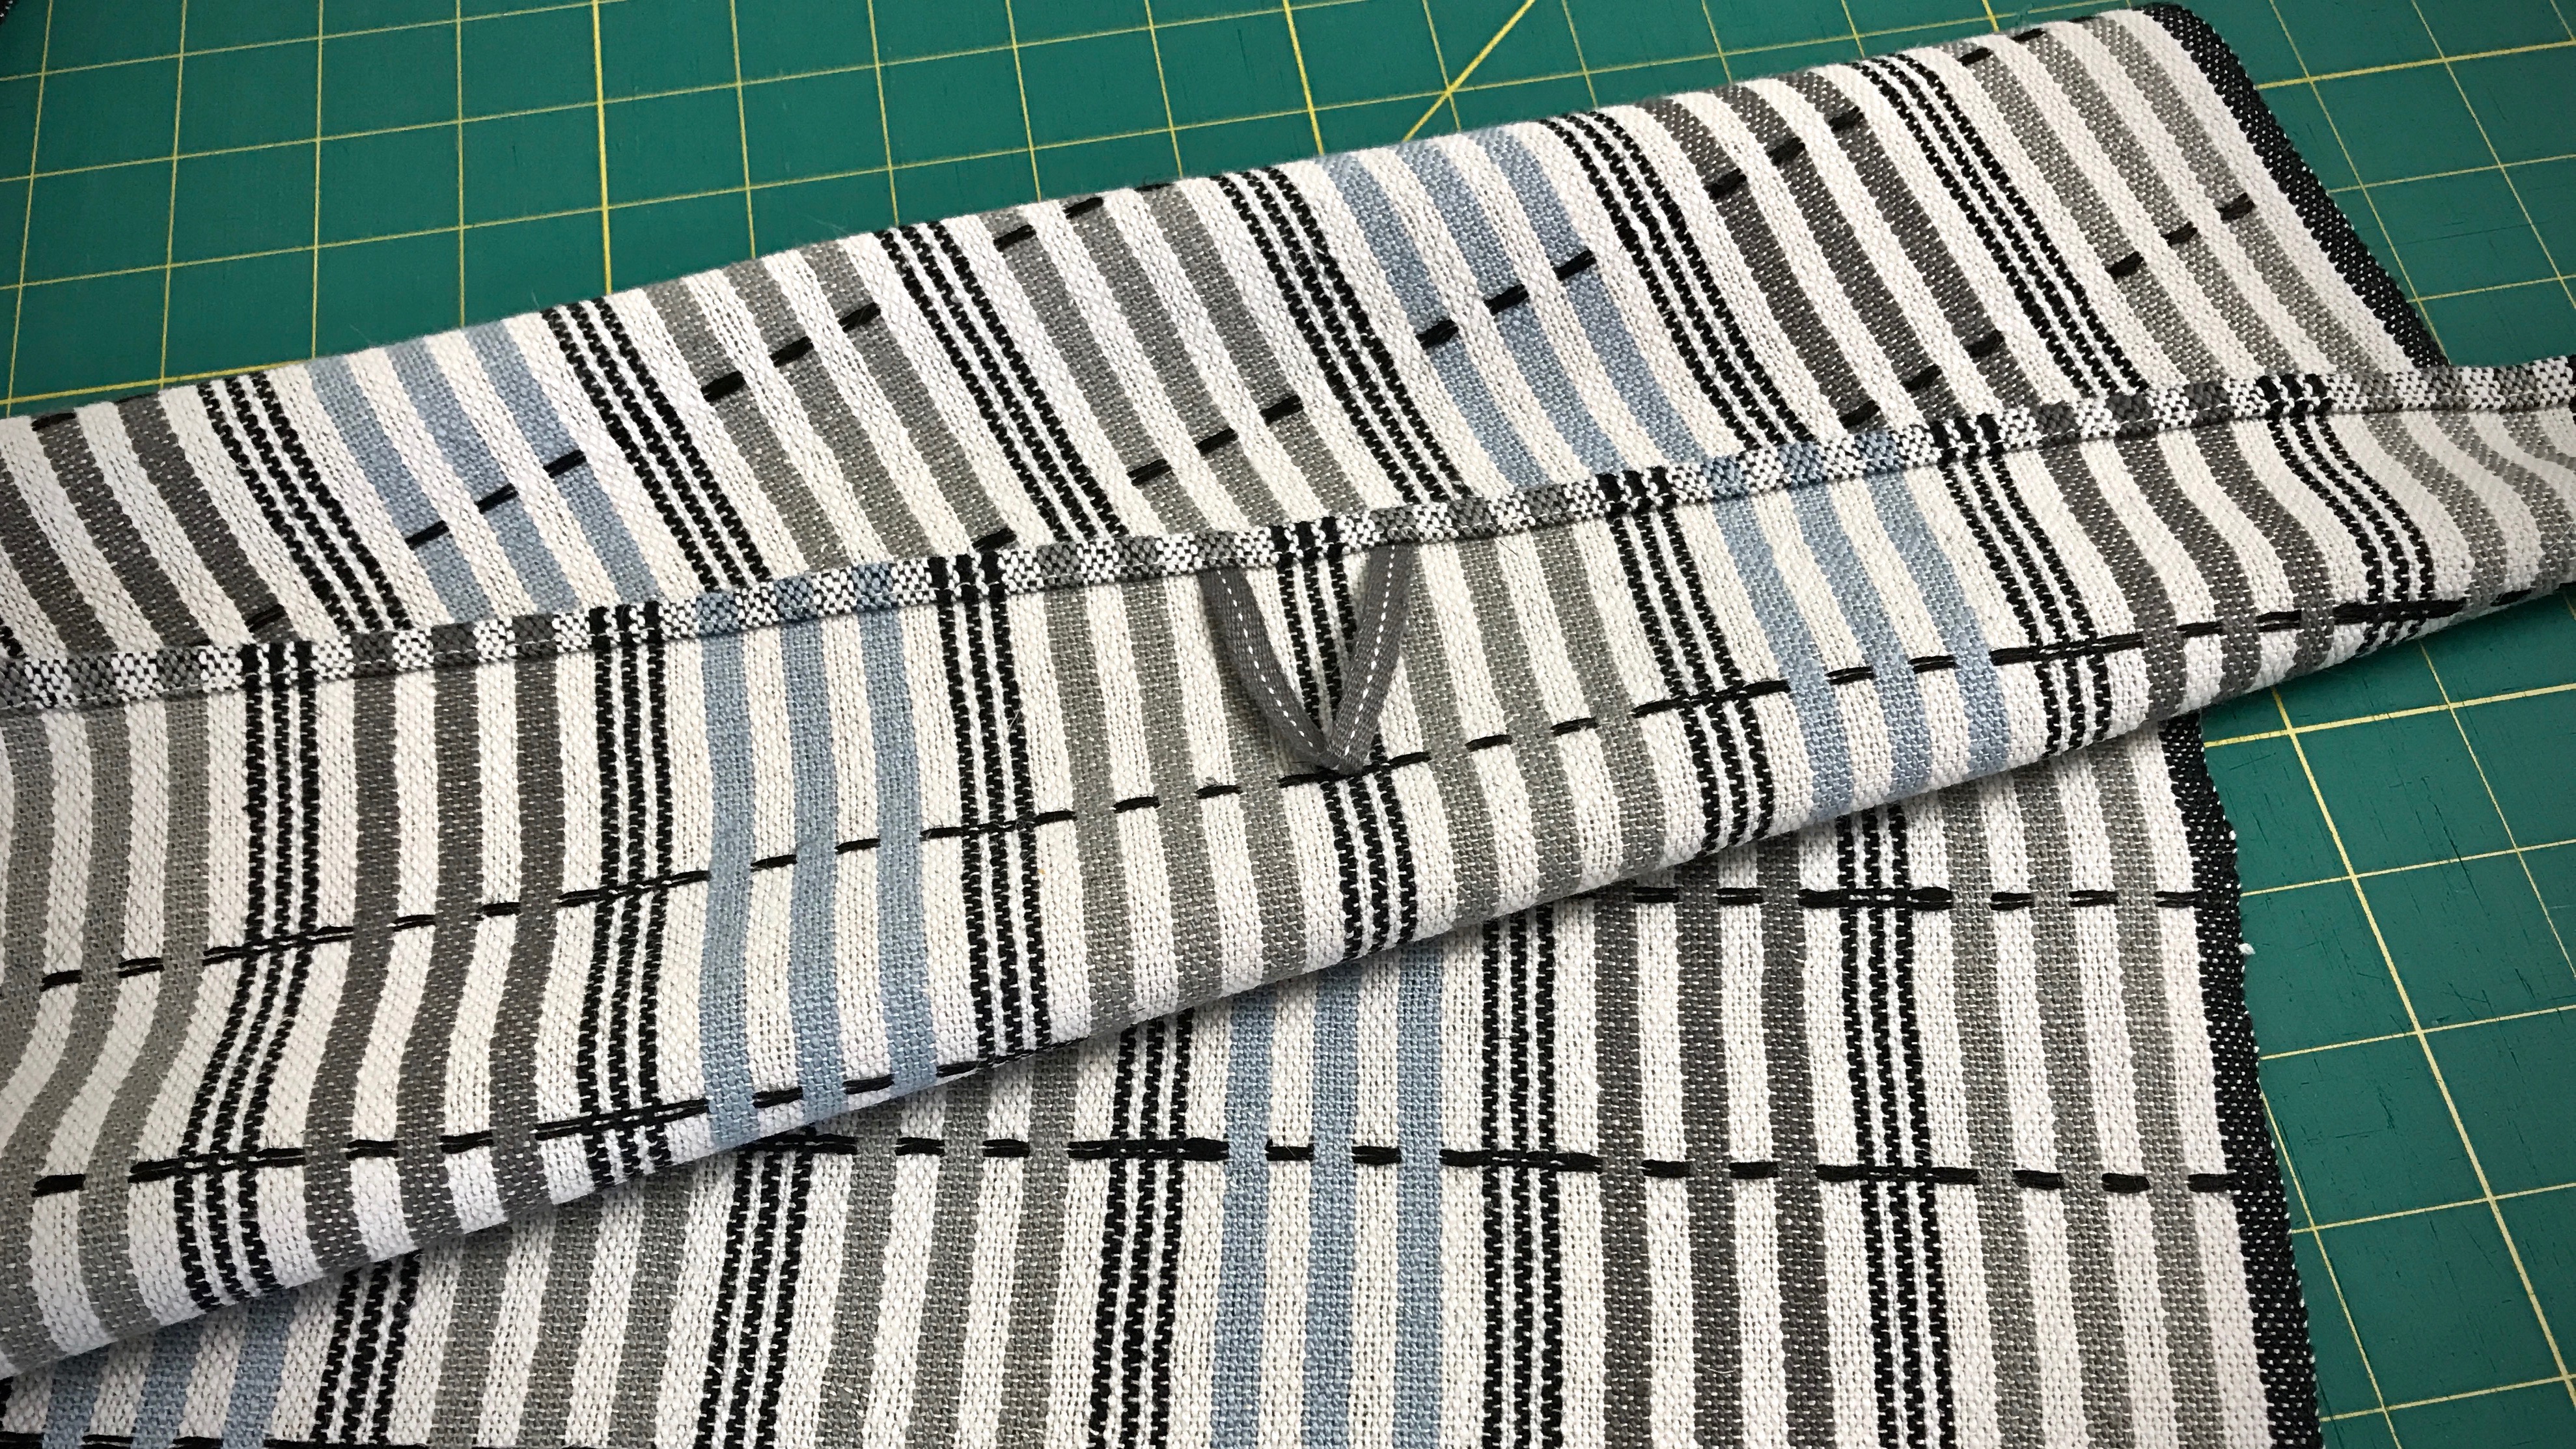
- Use the towel. Enjoy!
Your prayers matter. Pray a blessing on your children and grandchildren. Your prayers add a detail to their lives that sets them apart. The blessing we ask is that they know the Lord. That they will call on the Lord. That they will say they belong to the Lord. Ultimately, our prayer is for the Lord to place them where they live out the purpose for which he has designed them.
May your prayers reach the heart of God.
With purpose,
Karen