Tried and True: What a Little Piece of Tape Can Do

You never know when you’ll need a piece of blue tape. A roll of blue painter’s tape is among my essential weaving supplies. My favorite way to temporarily mark just about anything is with a piece of blue tape.

Blue Painters Tape for Temporary Markings

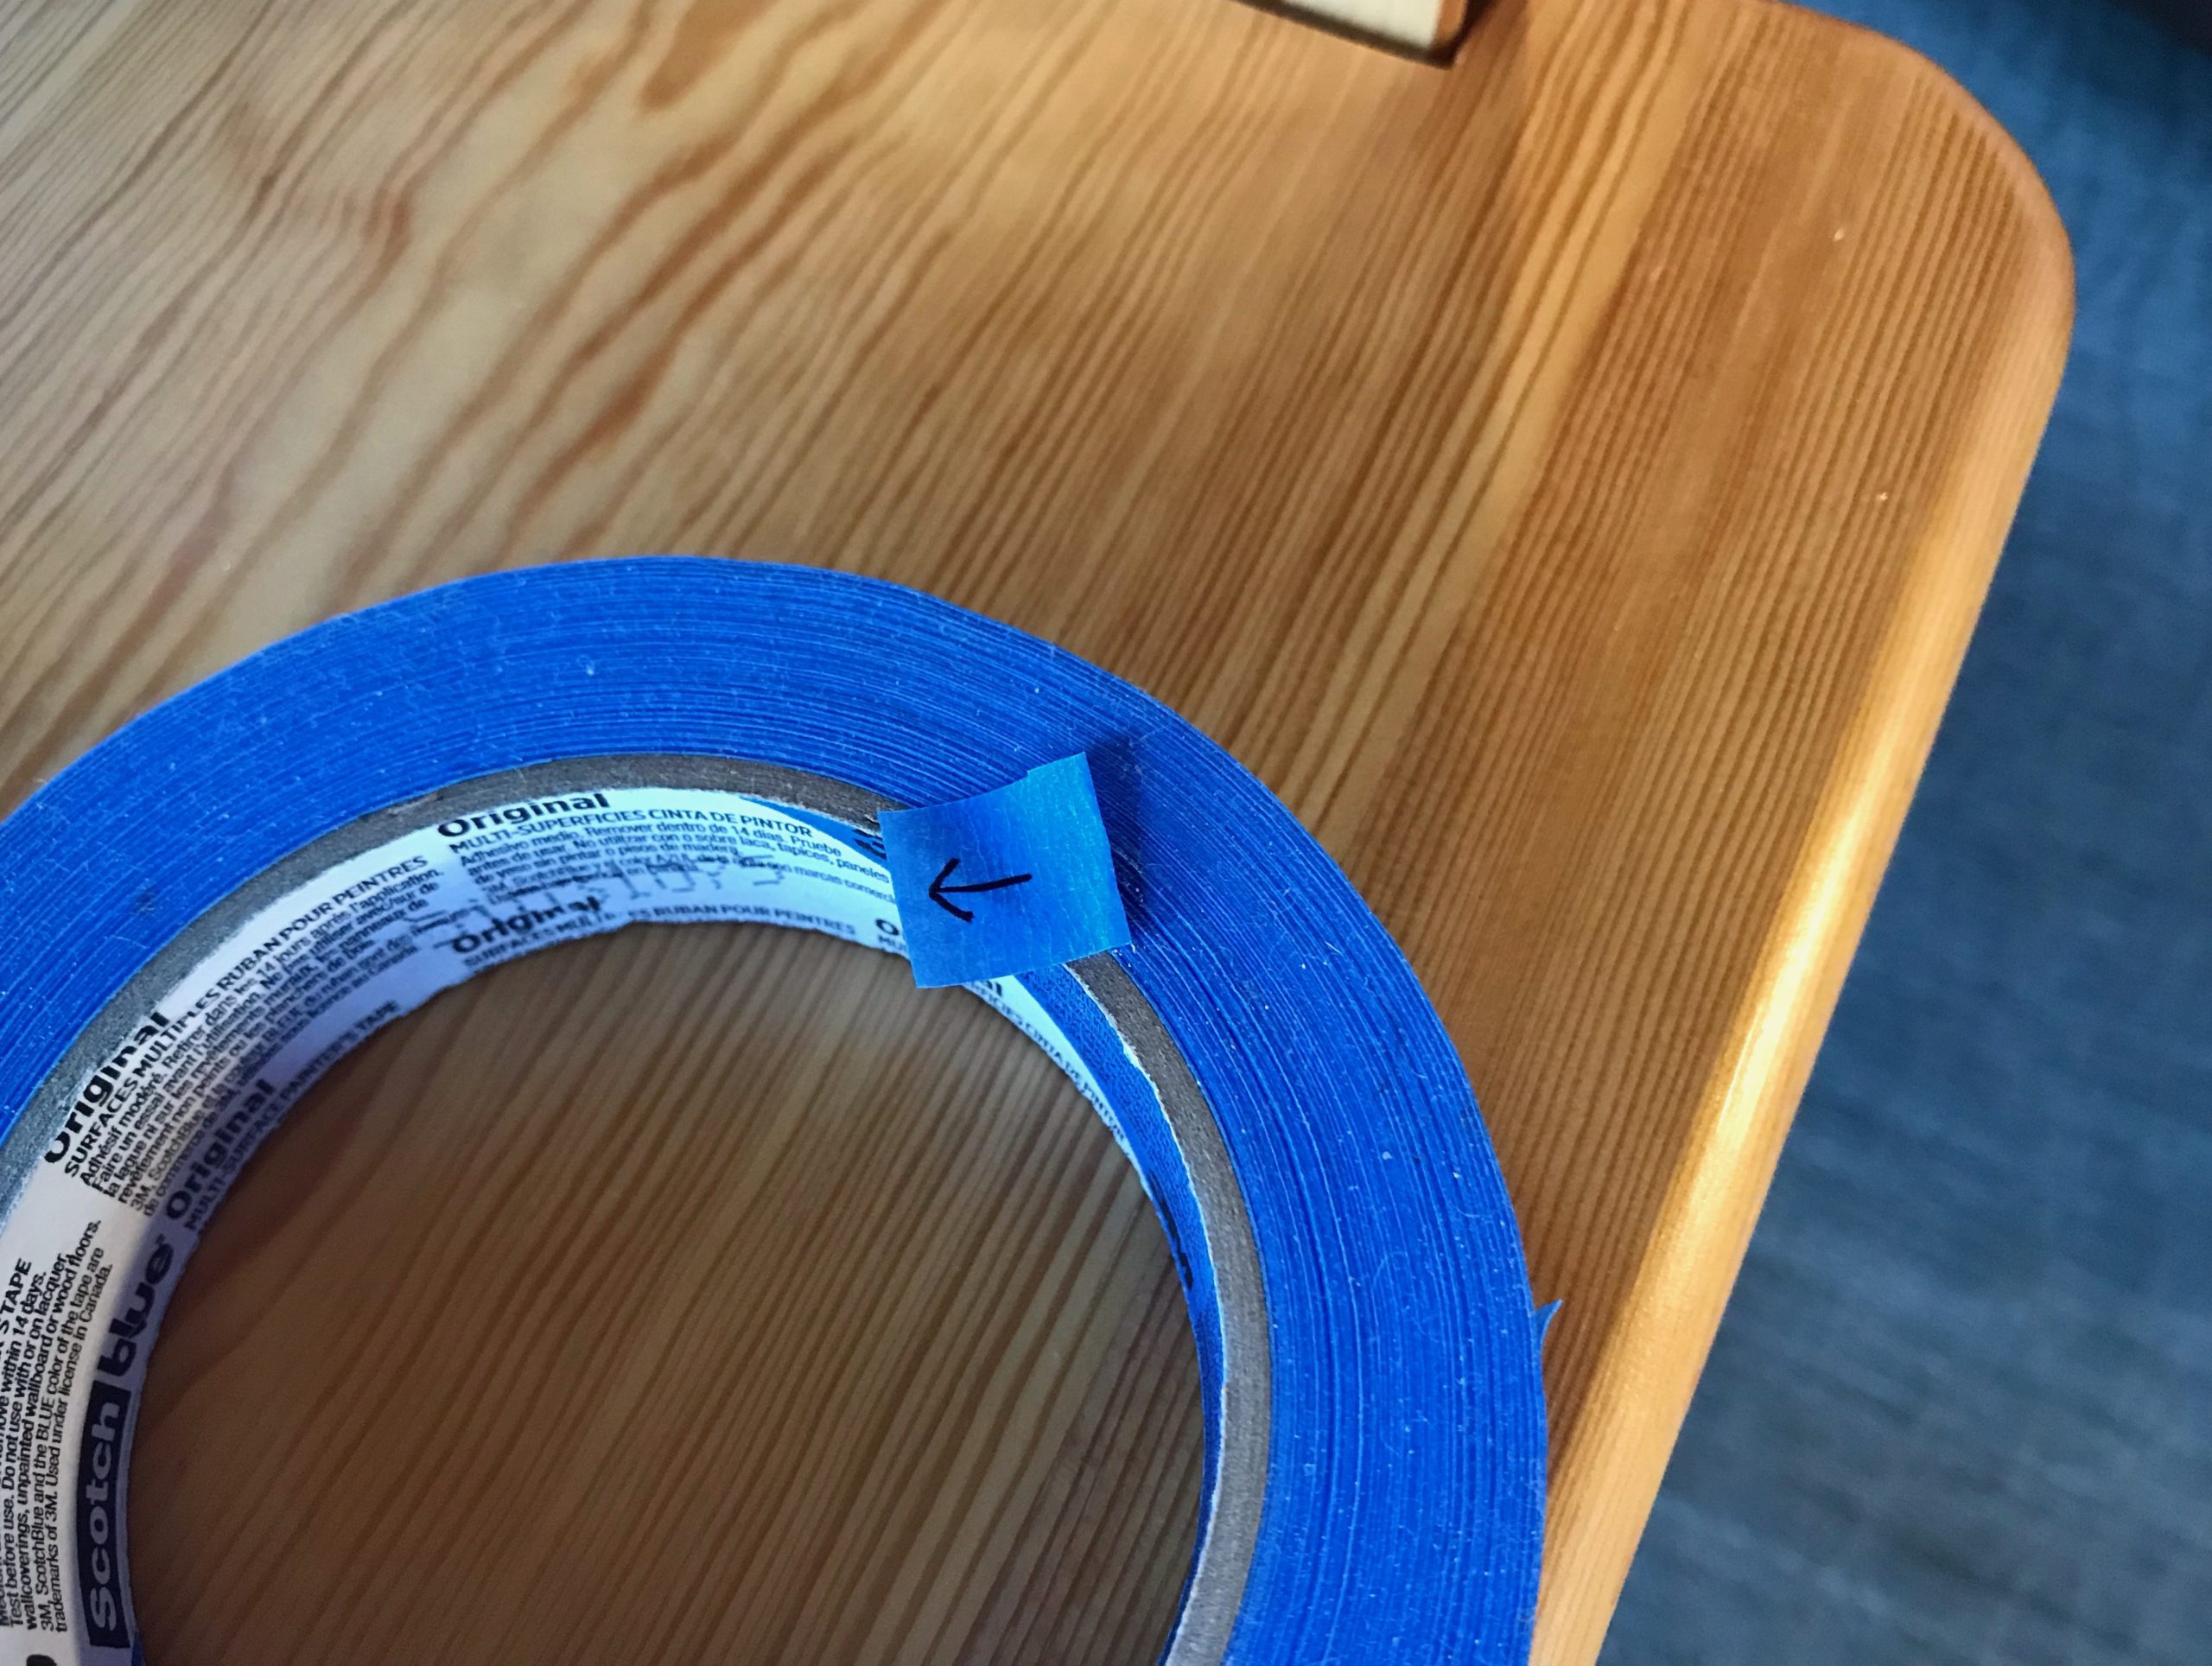
  1. Cut (or tear) the tape to size.
  2. Fold one edge of the tape under. This makes a little tab so that the tape is easy to remove or reposition.
  3. Use a fine point Sharpie to write on the tape.
Weaver's uses for blue painter's tape.
Tape prepared for pointing.

Three Examples

  • Keep your place. Draw an arrow on a small piece of blue tape. Use the arrow on the tape to follow along the threading or treadling draft. This eliminates confusion, especially after a pause.
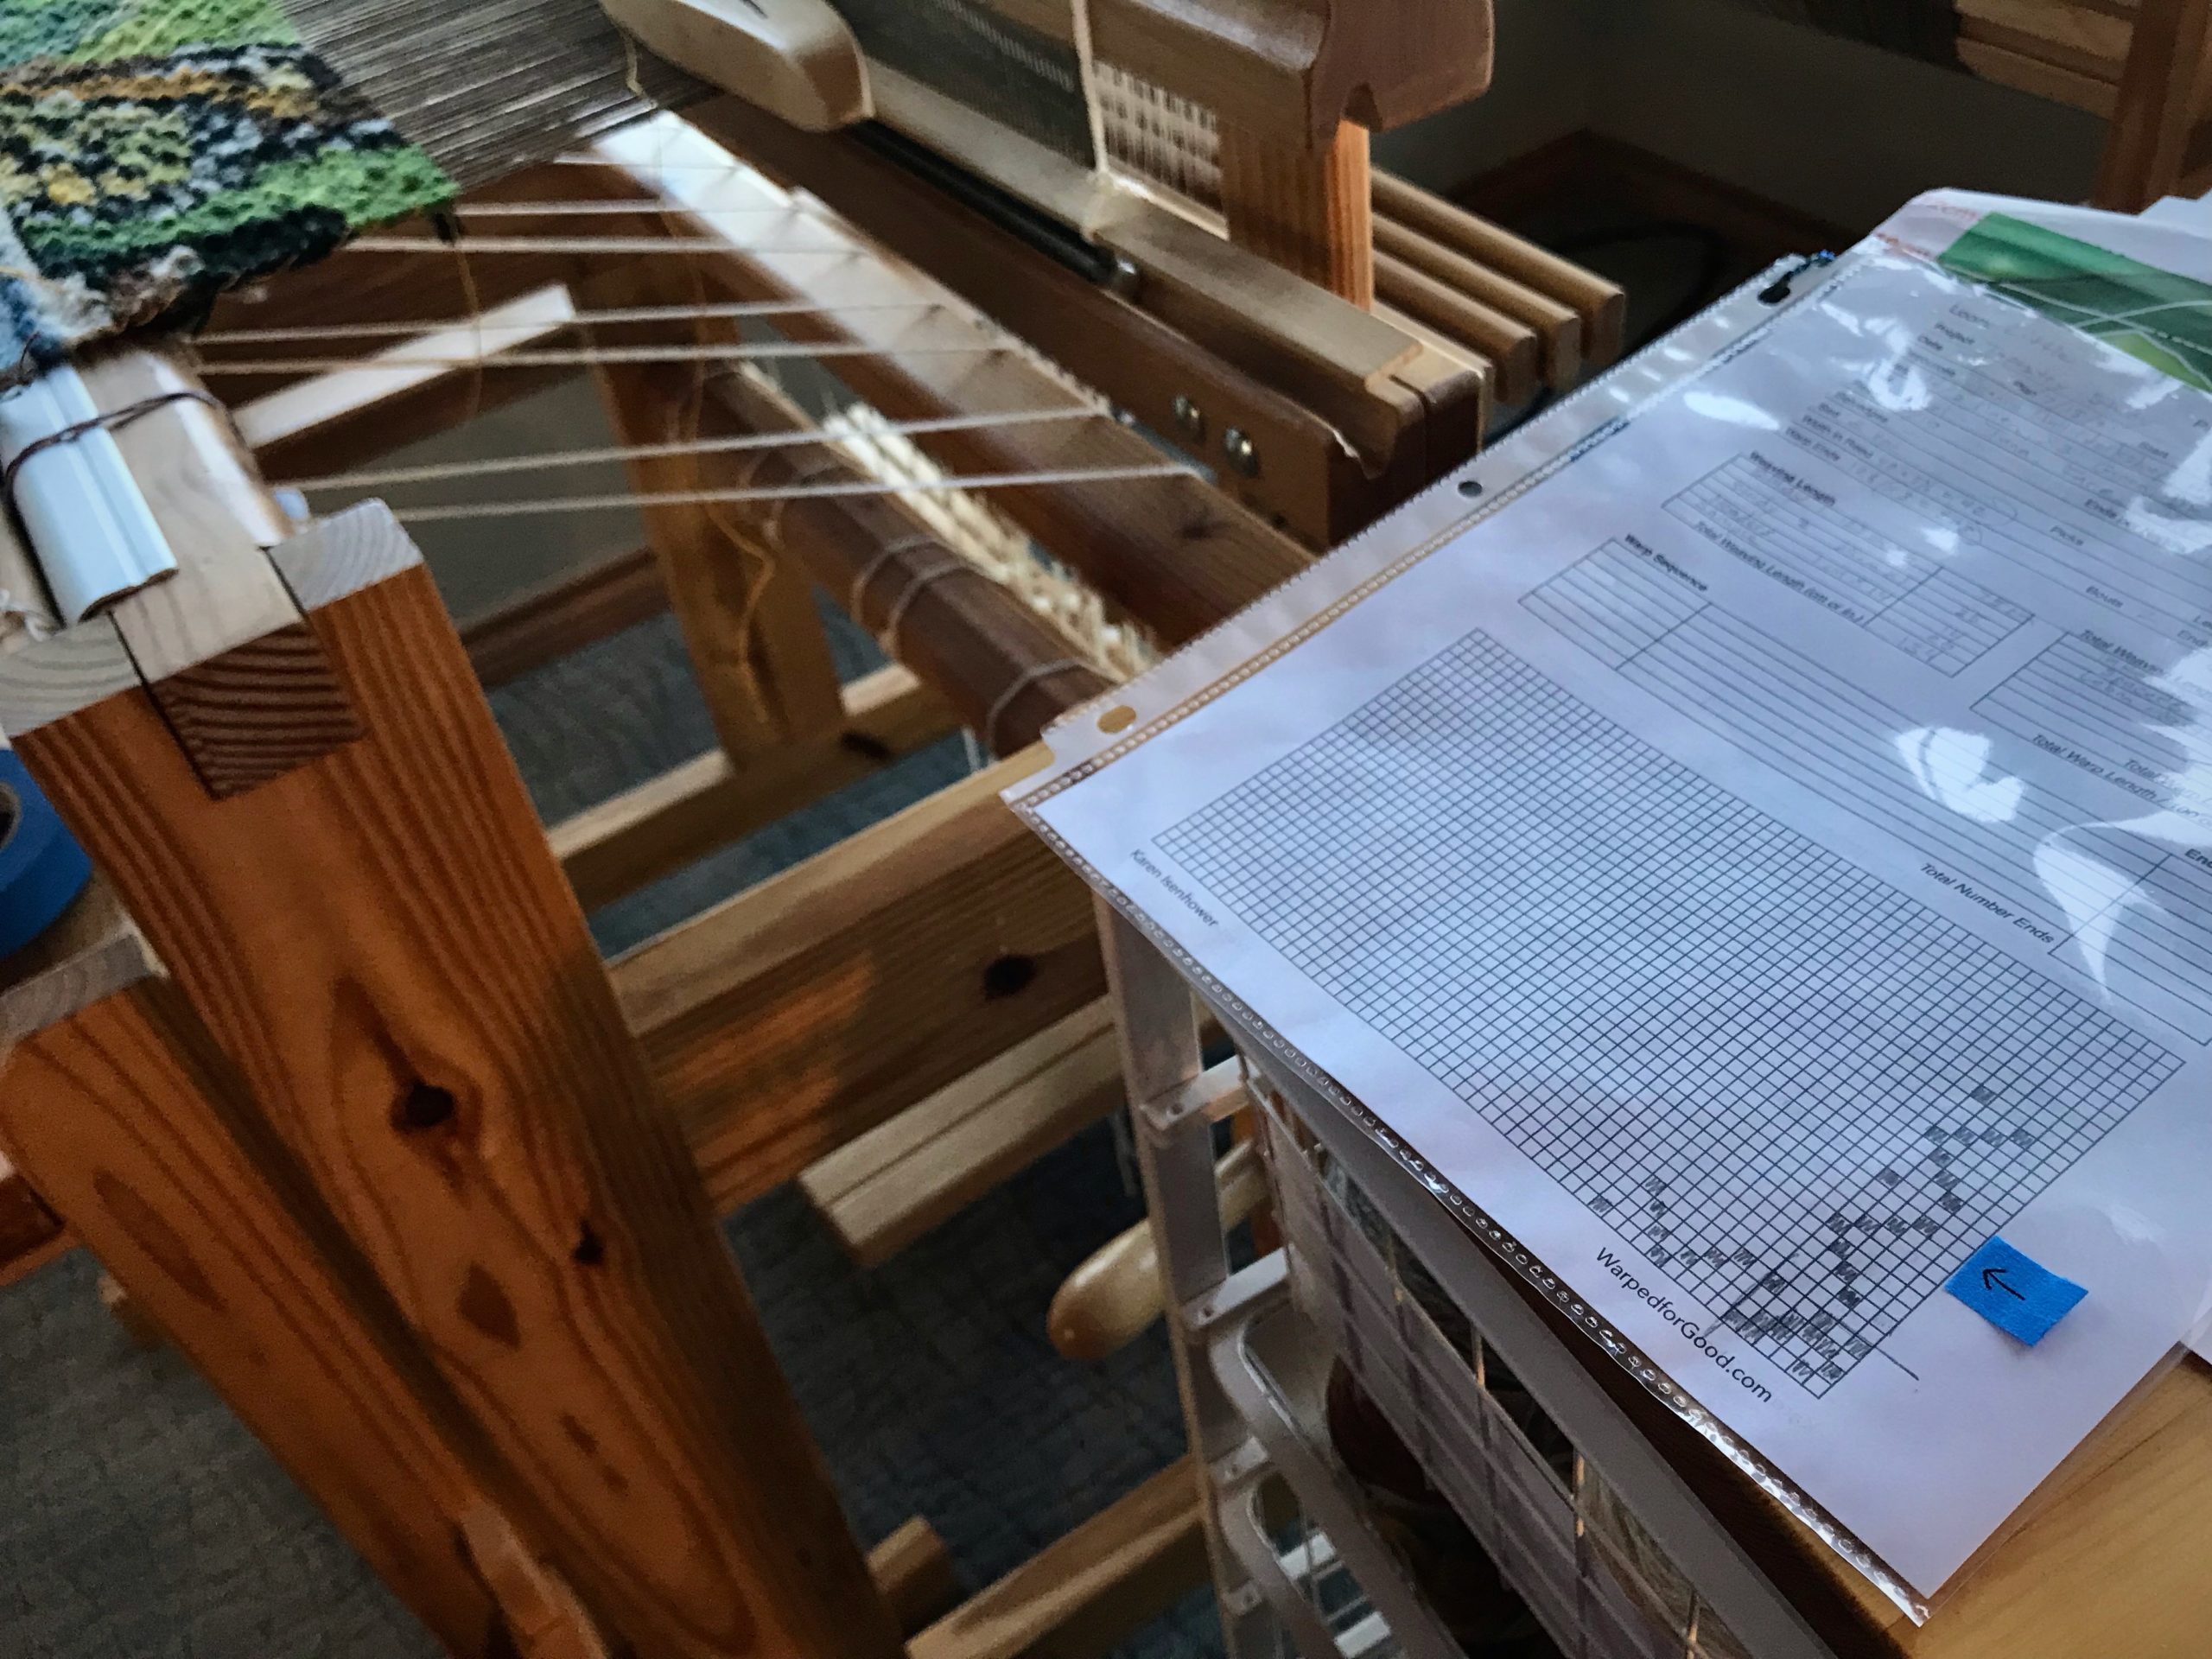
Blue tape uses in the weaving studio.
Rosepath treadling for 4-shaft tapestry. Since there are plain weave picks between each rosepath row, I need something to remind me where I left off.

  • Measure the space. Draw a straight line on small pieces of tape. Measure the warp width on a tapestry frame or rigid heddle loom. Use the lines on the tape to mark where the first and last warp ends should lie on the loom. This eliminates guessing when warping the loom.
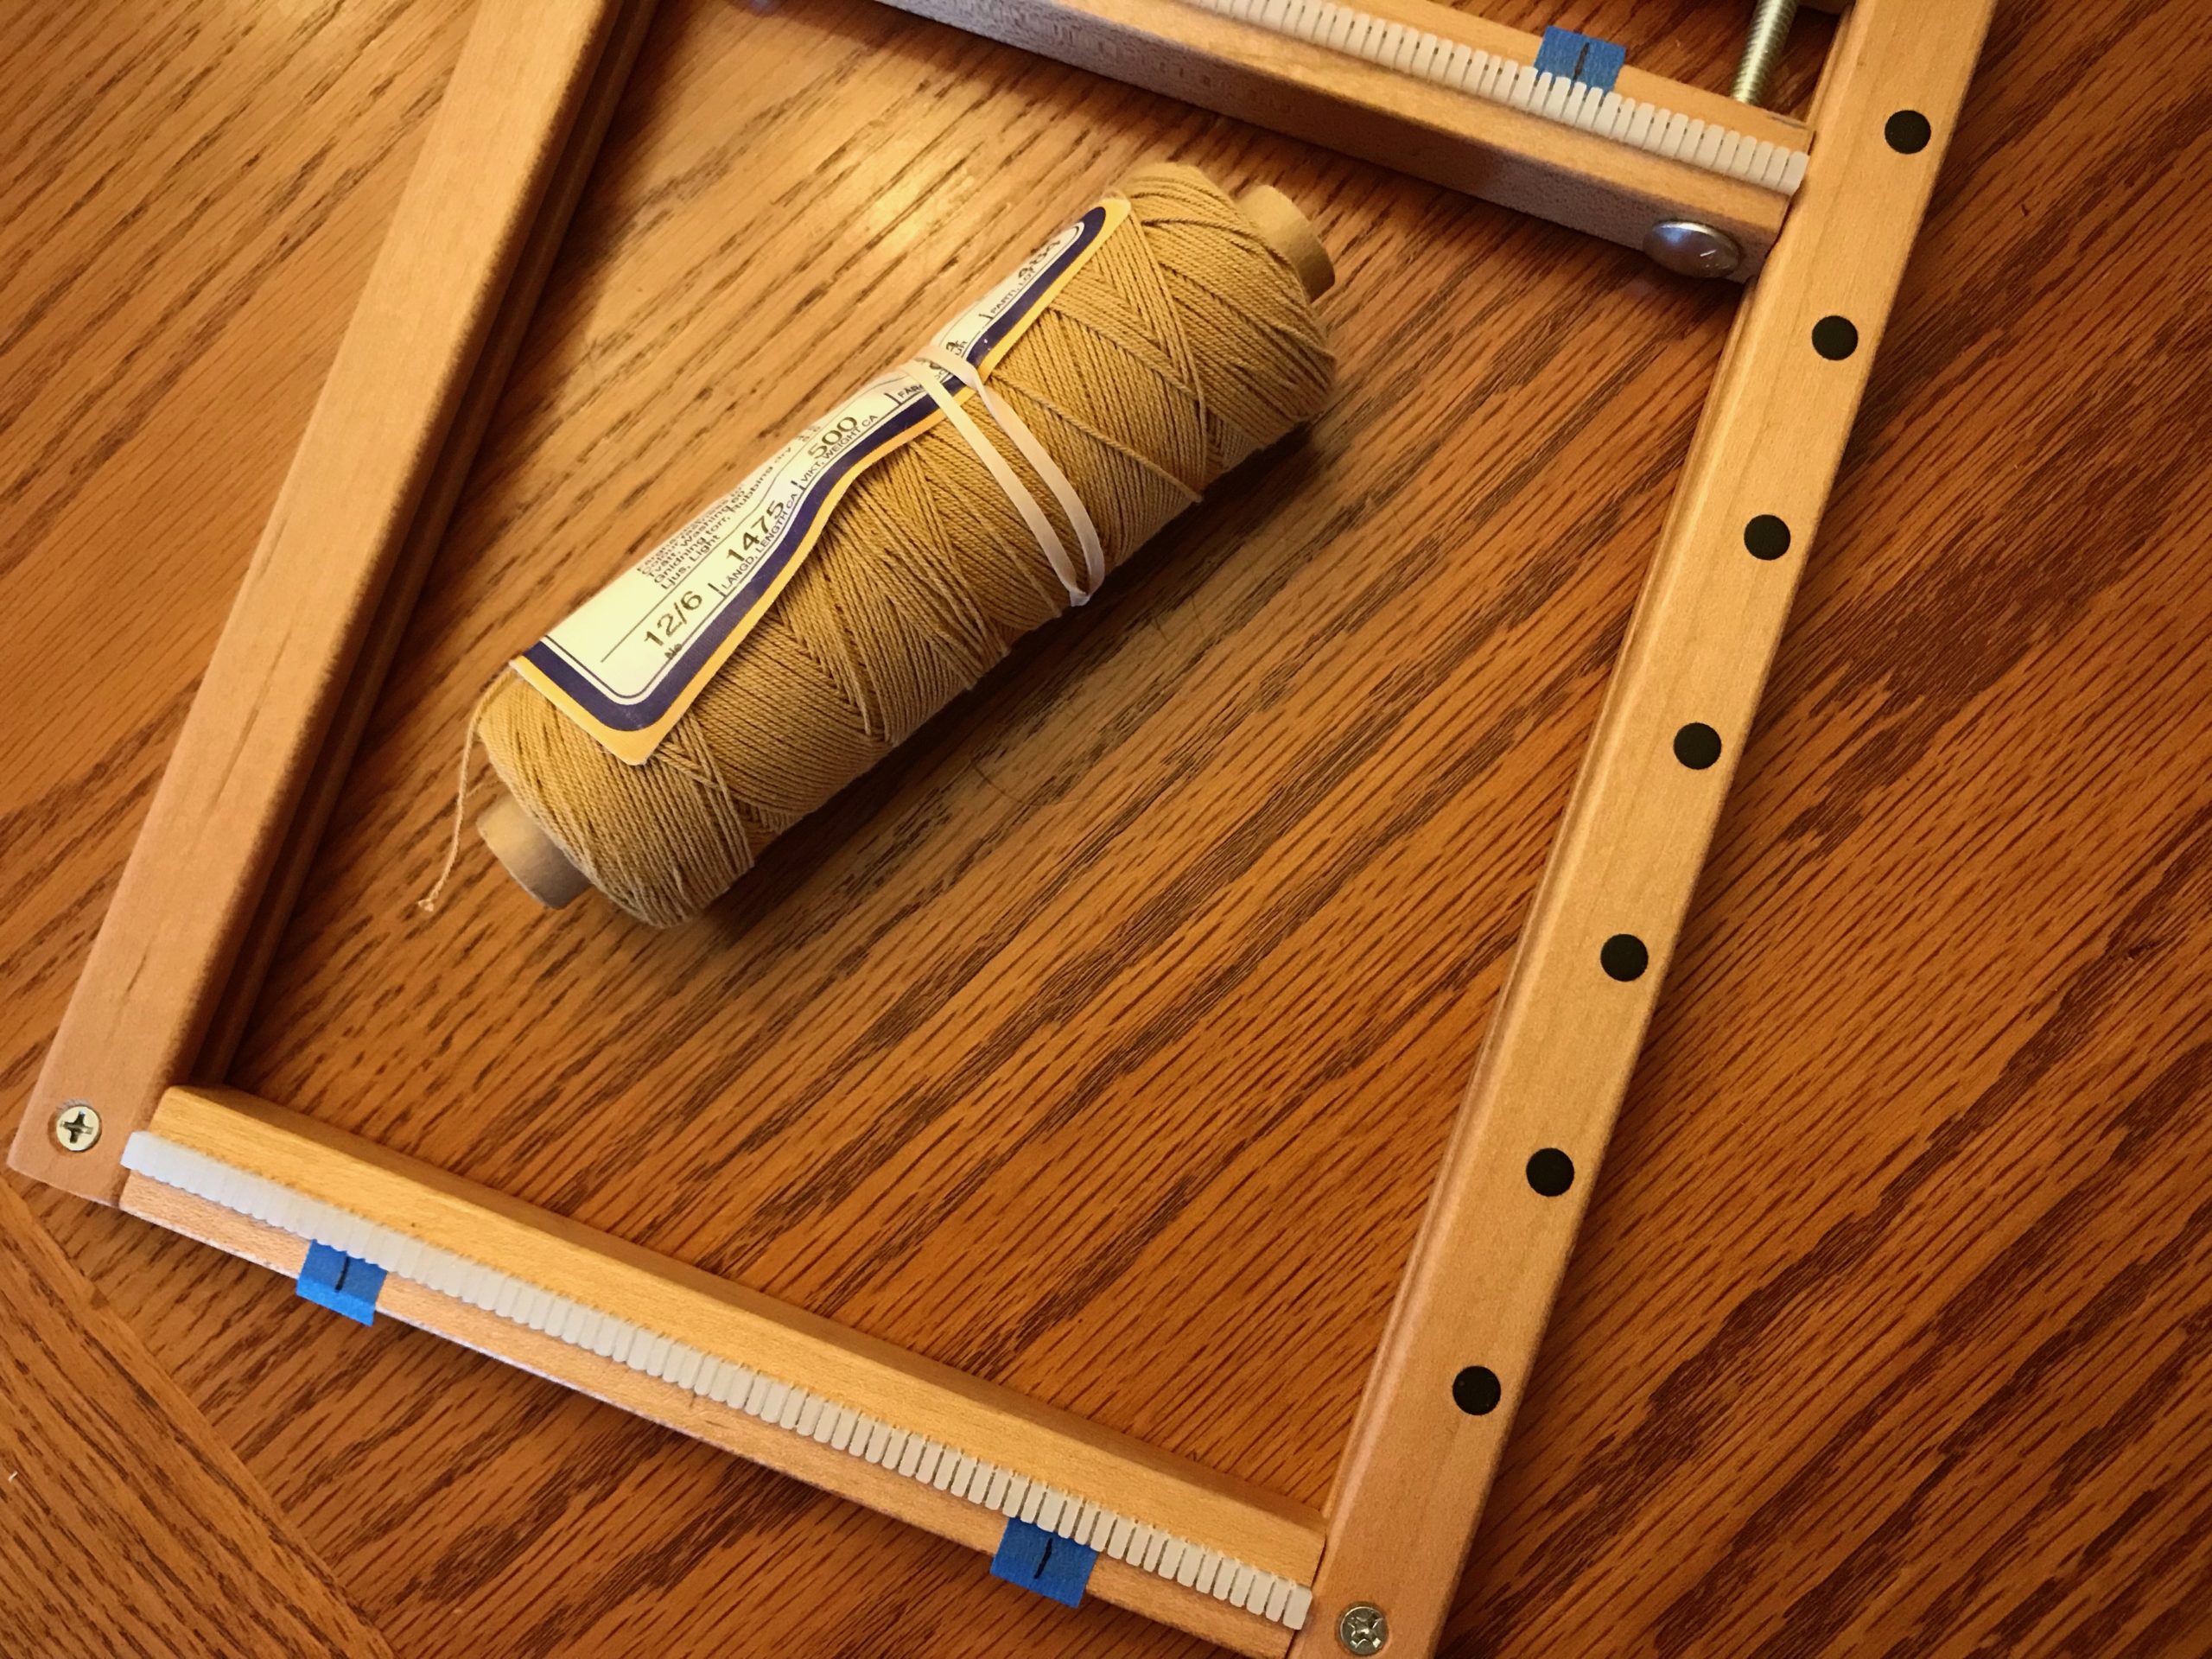
Uses for blue tape in my weaving studio.
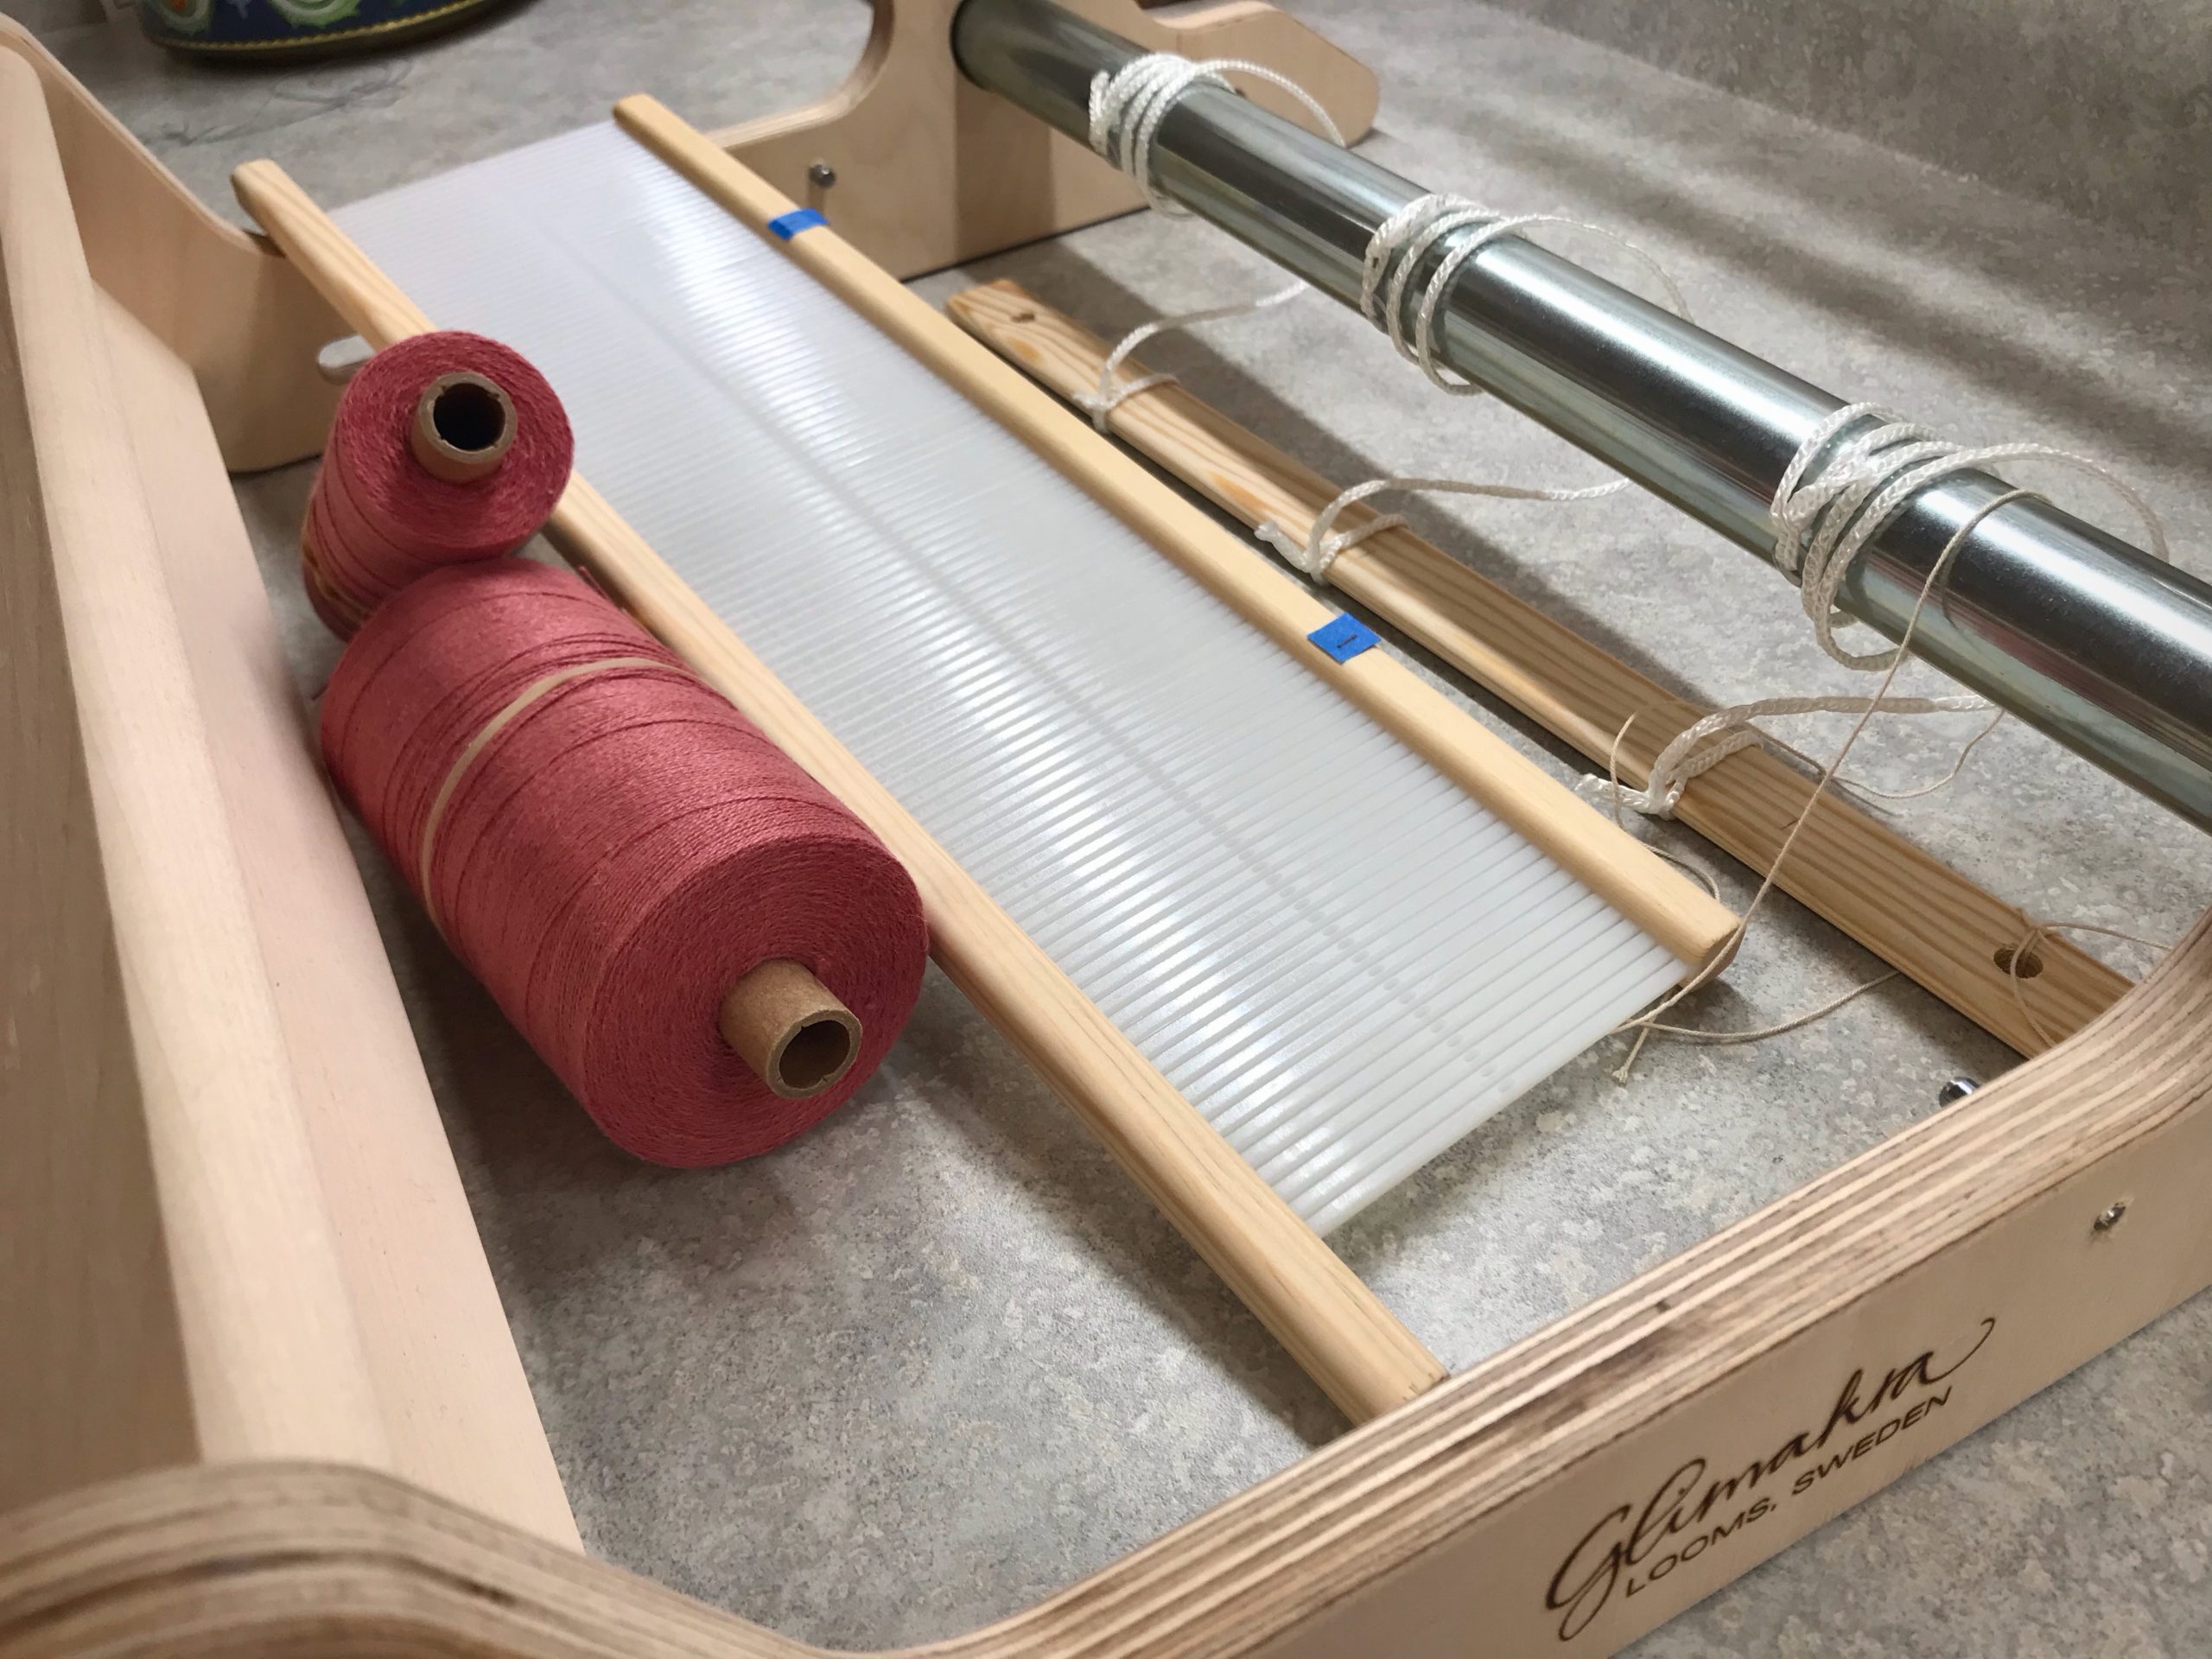
Tapestry frame is ready for a new warp. After measuring for weaving width, and counting dents, I mark the dents with tape. No more guessing if I’m “almost there” when putting on the warp.
Blue tape to mark the rigid heddle. And other uses for blue tape.
By clearly marking the first and last slots/holes I can verify that my calculations are correct before I start warping the rigid heddle loom. This is helpful for direct warping and for indirect warping methods.

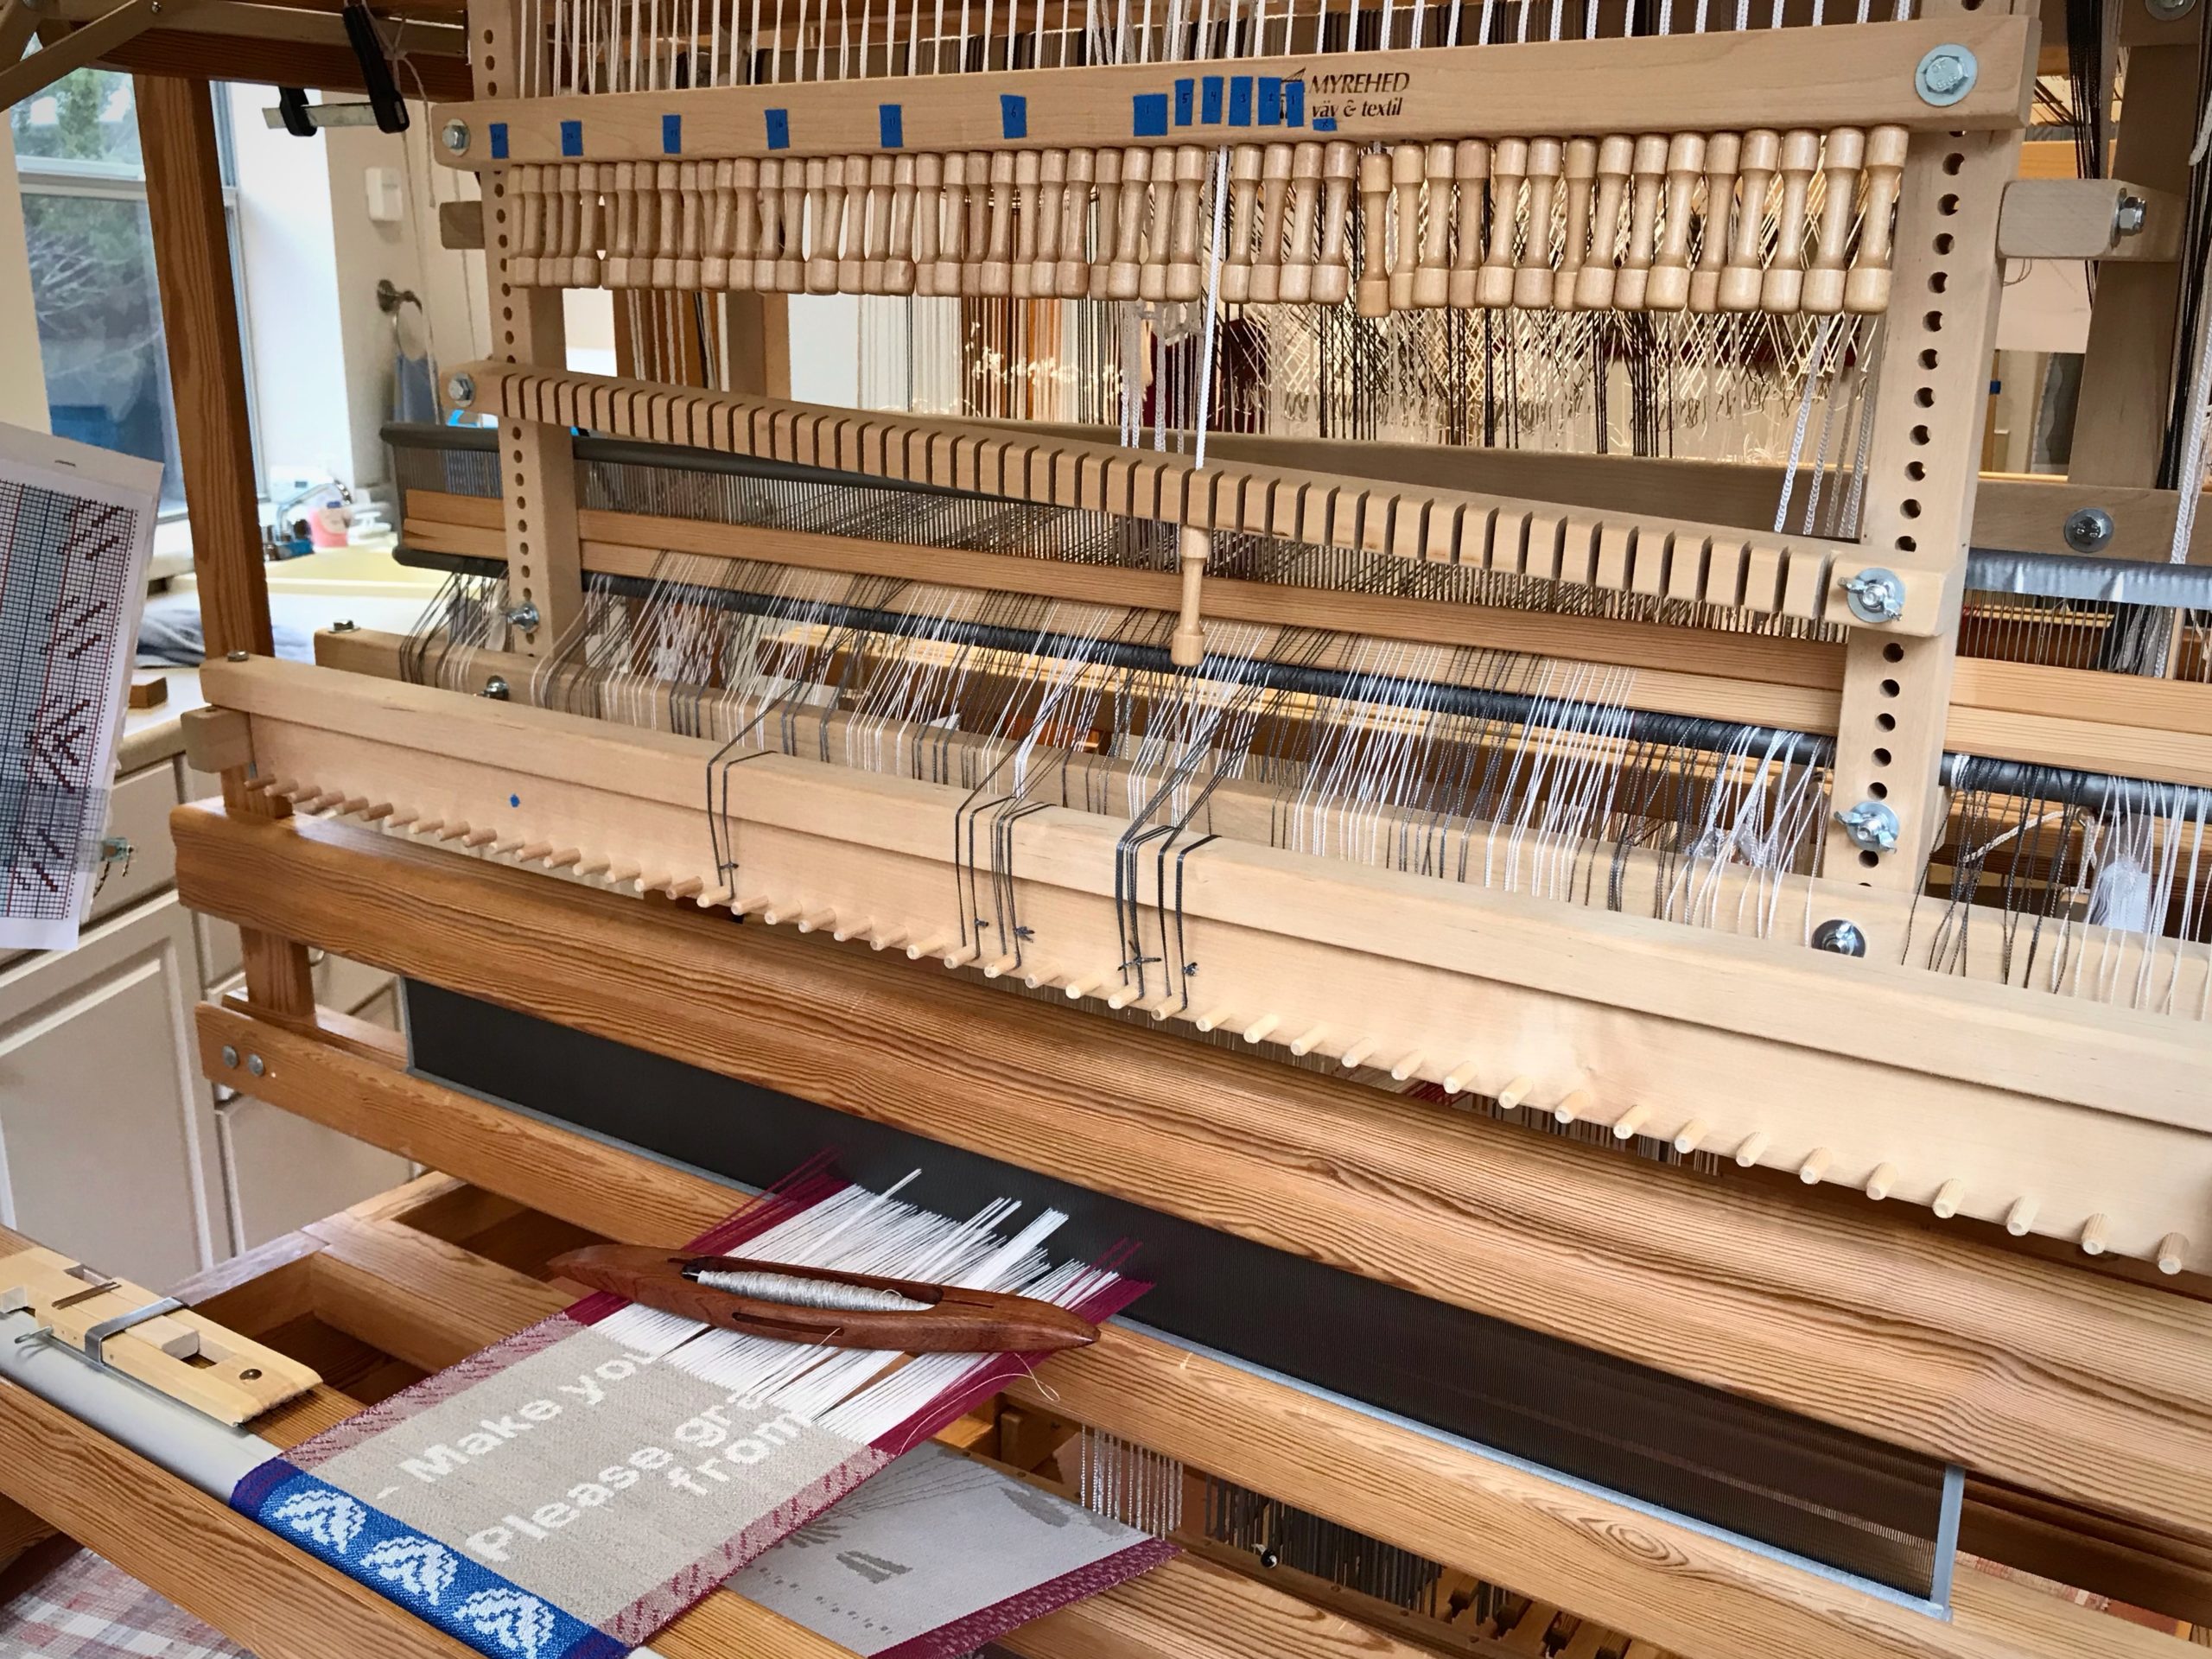
  • Number with Grace. Write out a series of numbers on a long piece of tape, leaving space between the numbers. Cut the numbers apart. Use the numbers to label pattern shaft draw handles on the drawloom. Place the numbers directly above the draw handles, arranged in groups of five for easy visual recognition. Use a separate series of numbers for border pattern shafts, if applicable. This temporary numbering system gives the advantage of being able to customize the numbering for each drawloom draft.
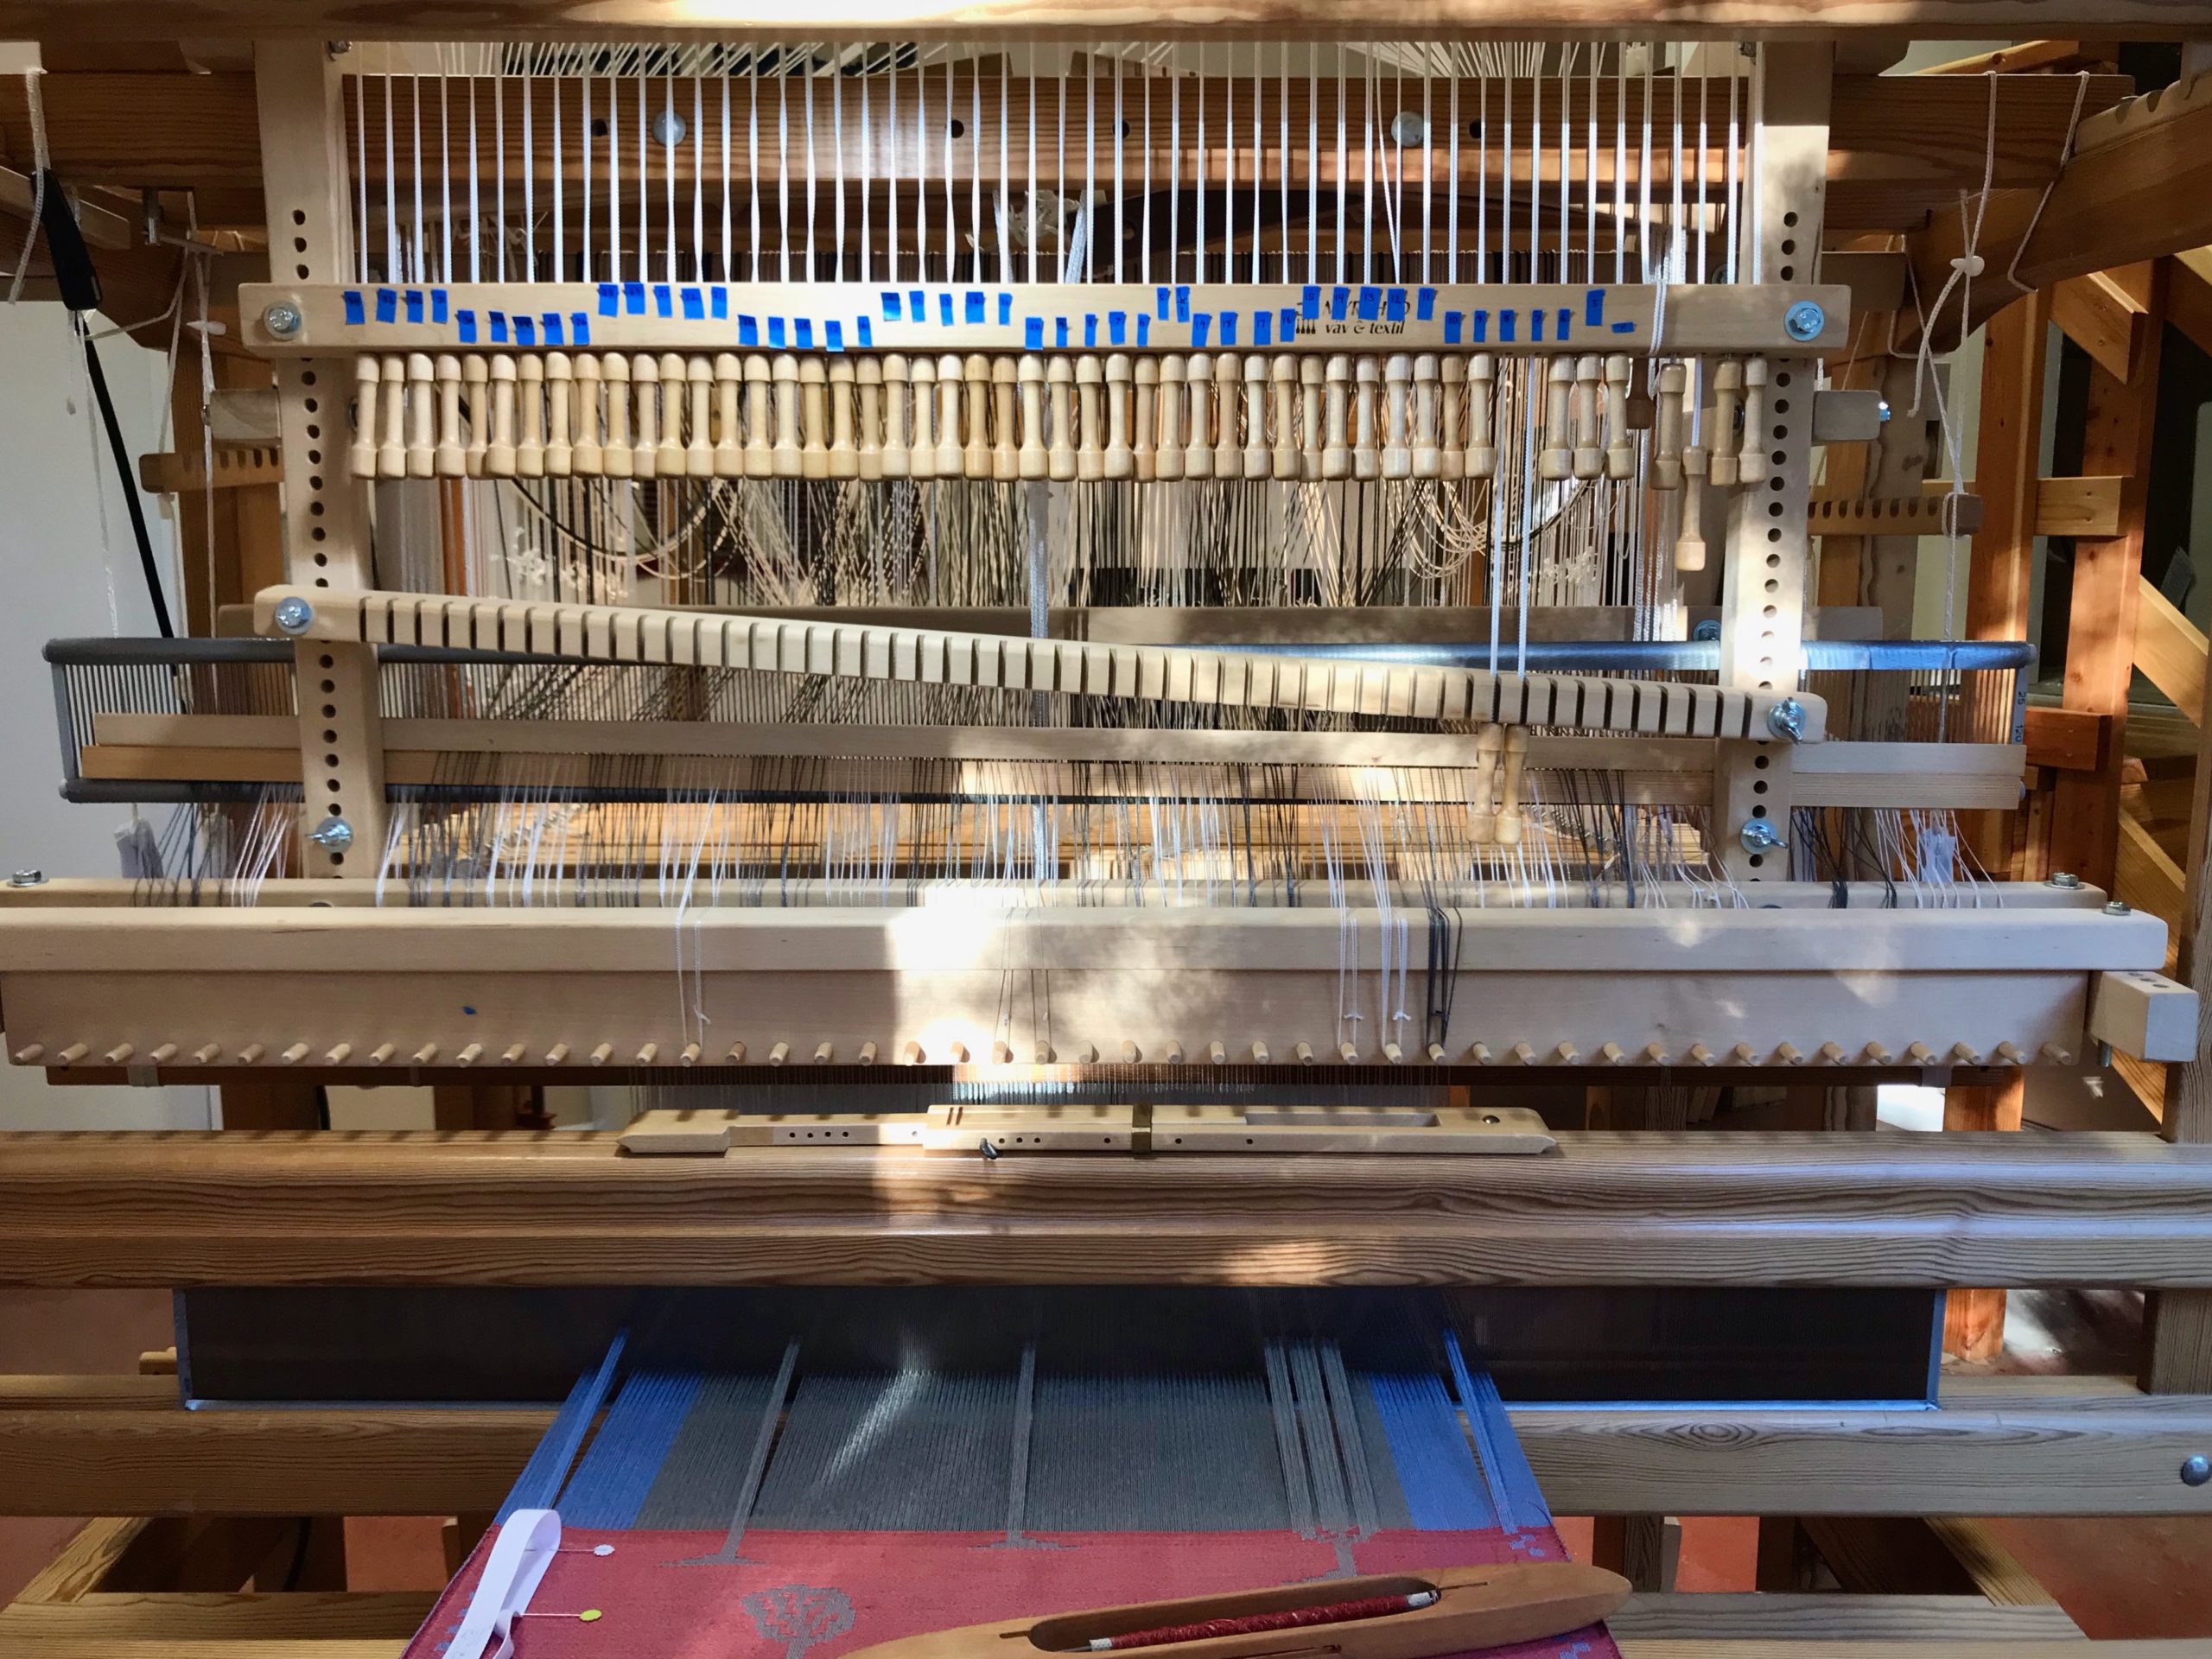
This is how I number my drawloom handles. Blue tape!
Using the Myrehed Combination Drawloom, I configure the numbers for the pattern shaft draw handles to coordinate with the single unit draw cords, which are grouped by tens. This makes my working chart that uses single units and pattern shafts much less complicated. For this reason, it doesn’t make sense to give my draw handles “permanent” numbers.

Have you found ways to use blue painter’s tape in your weaving studio? Share in the comments!

May your life leave marks that are more than temporary.

Have fun,
Karen

Drawloom Stars and Snowflakes

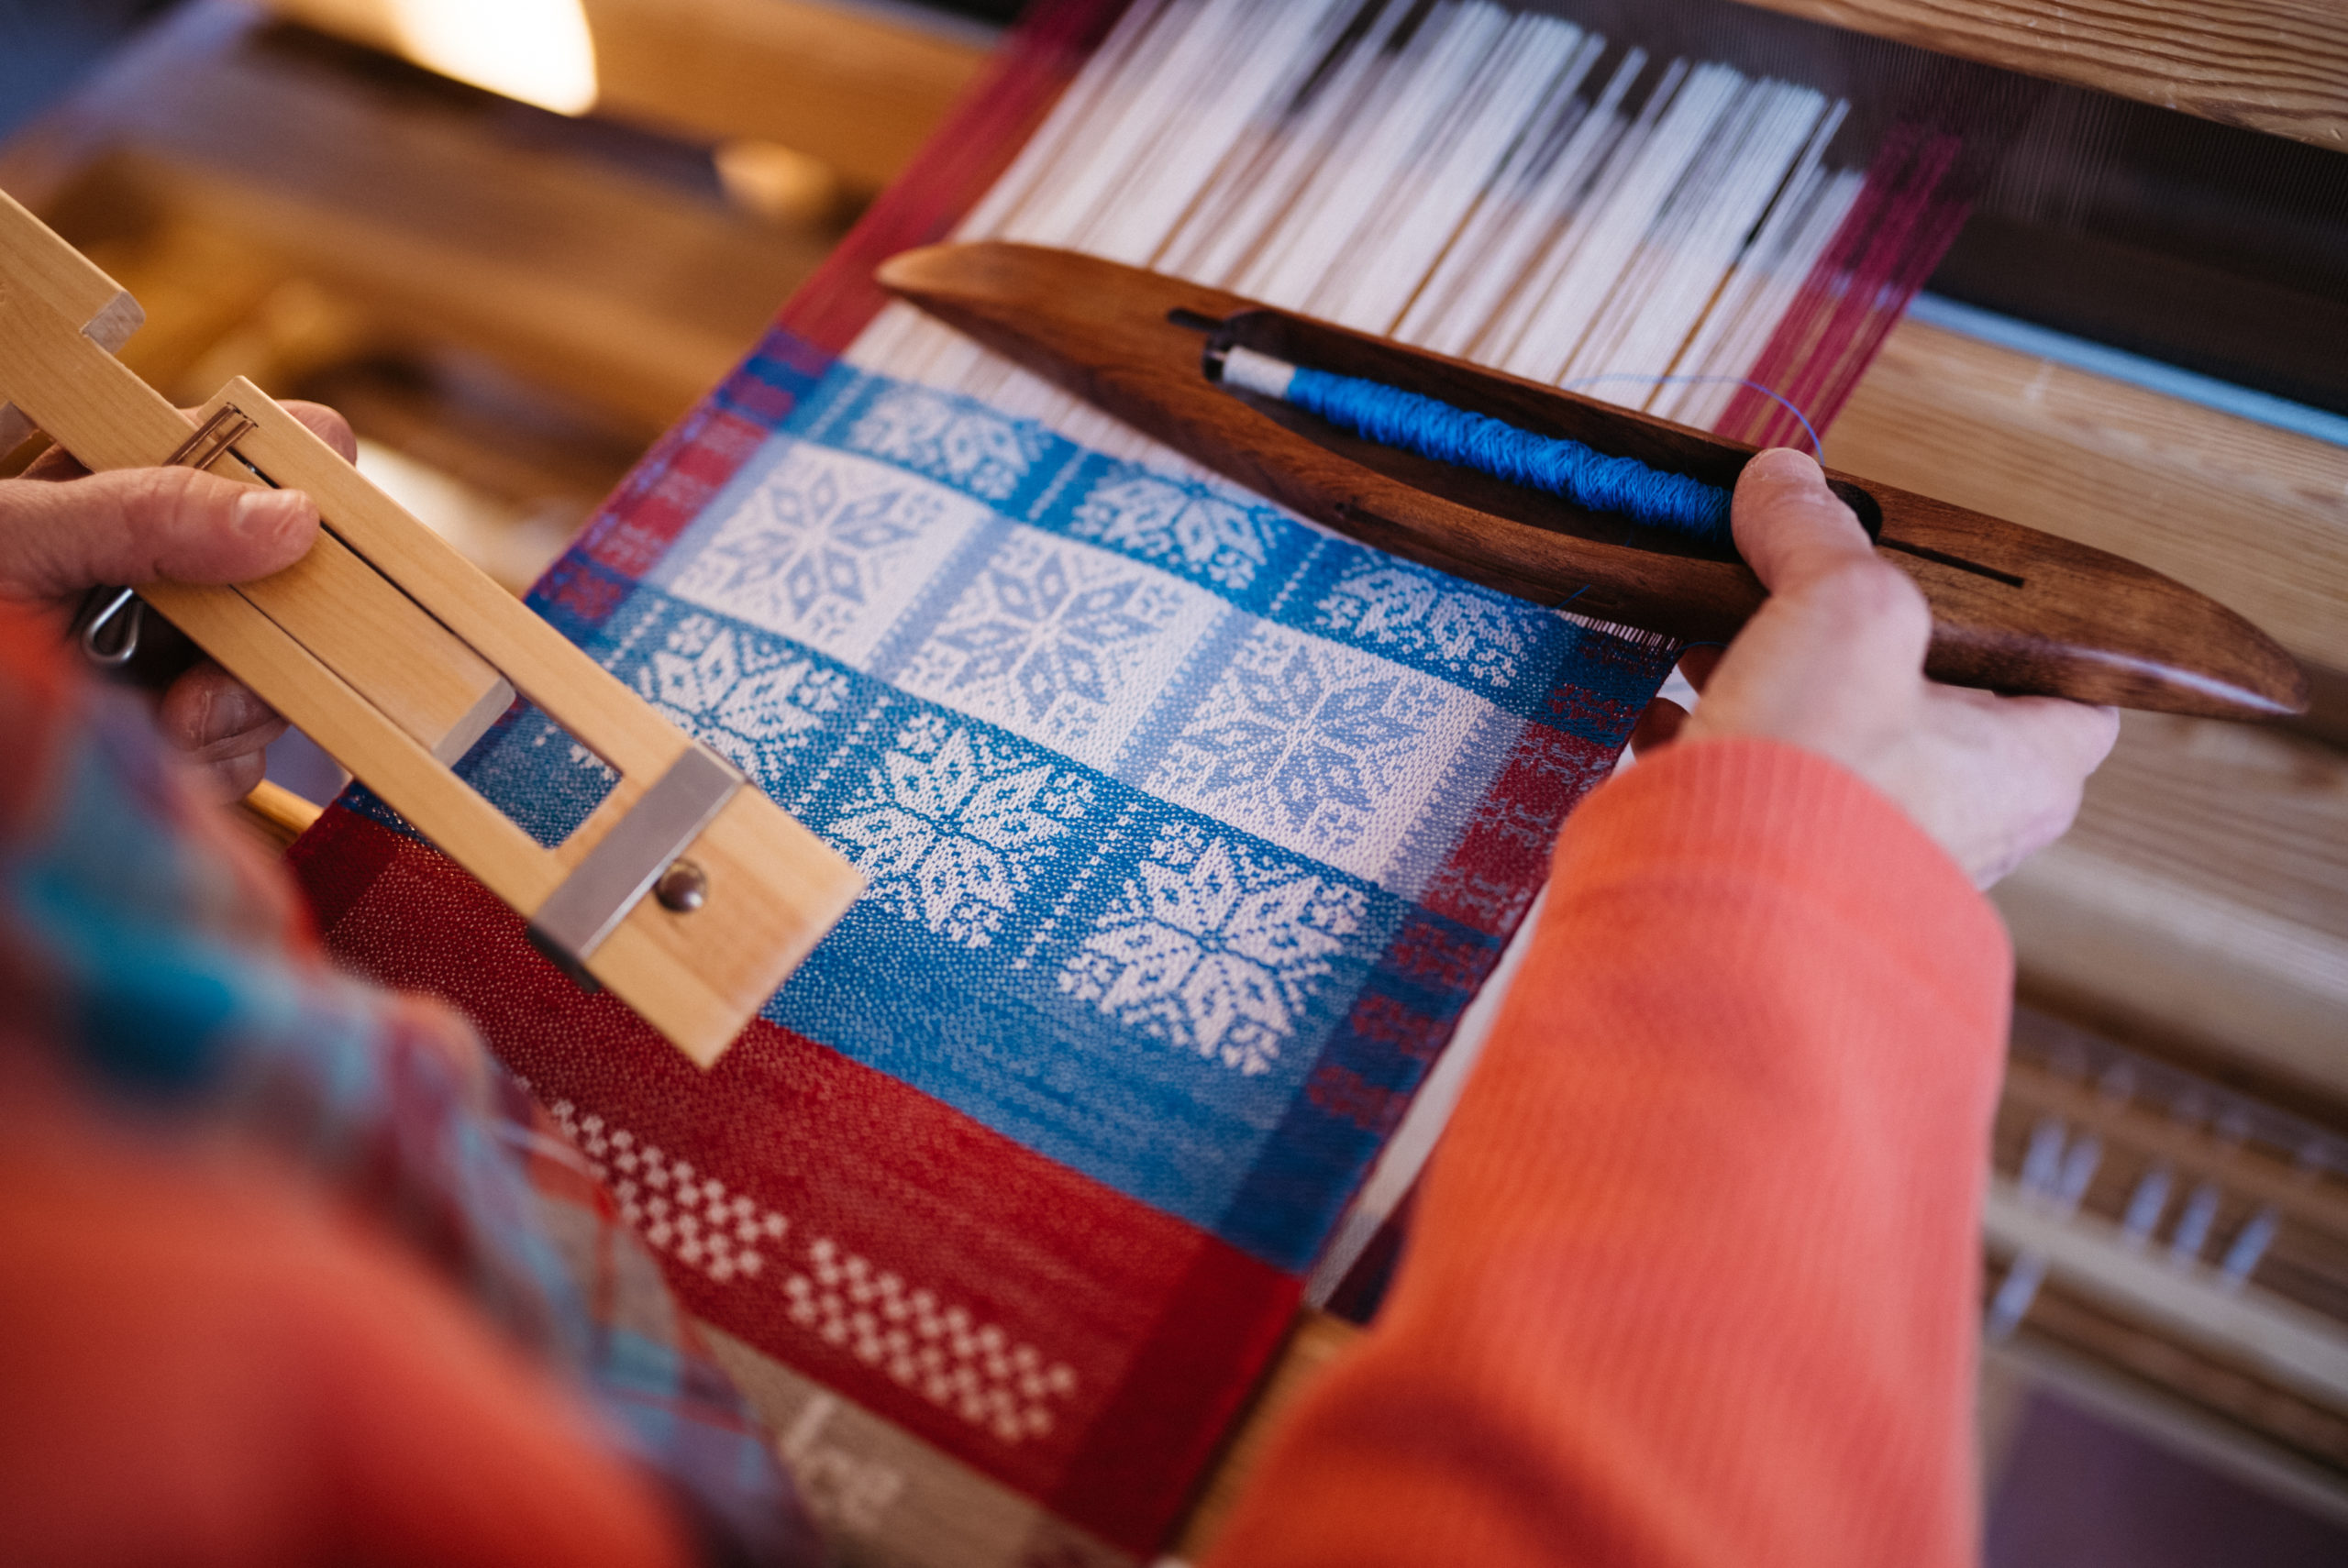
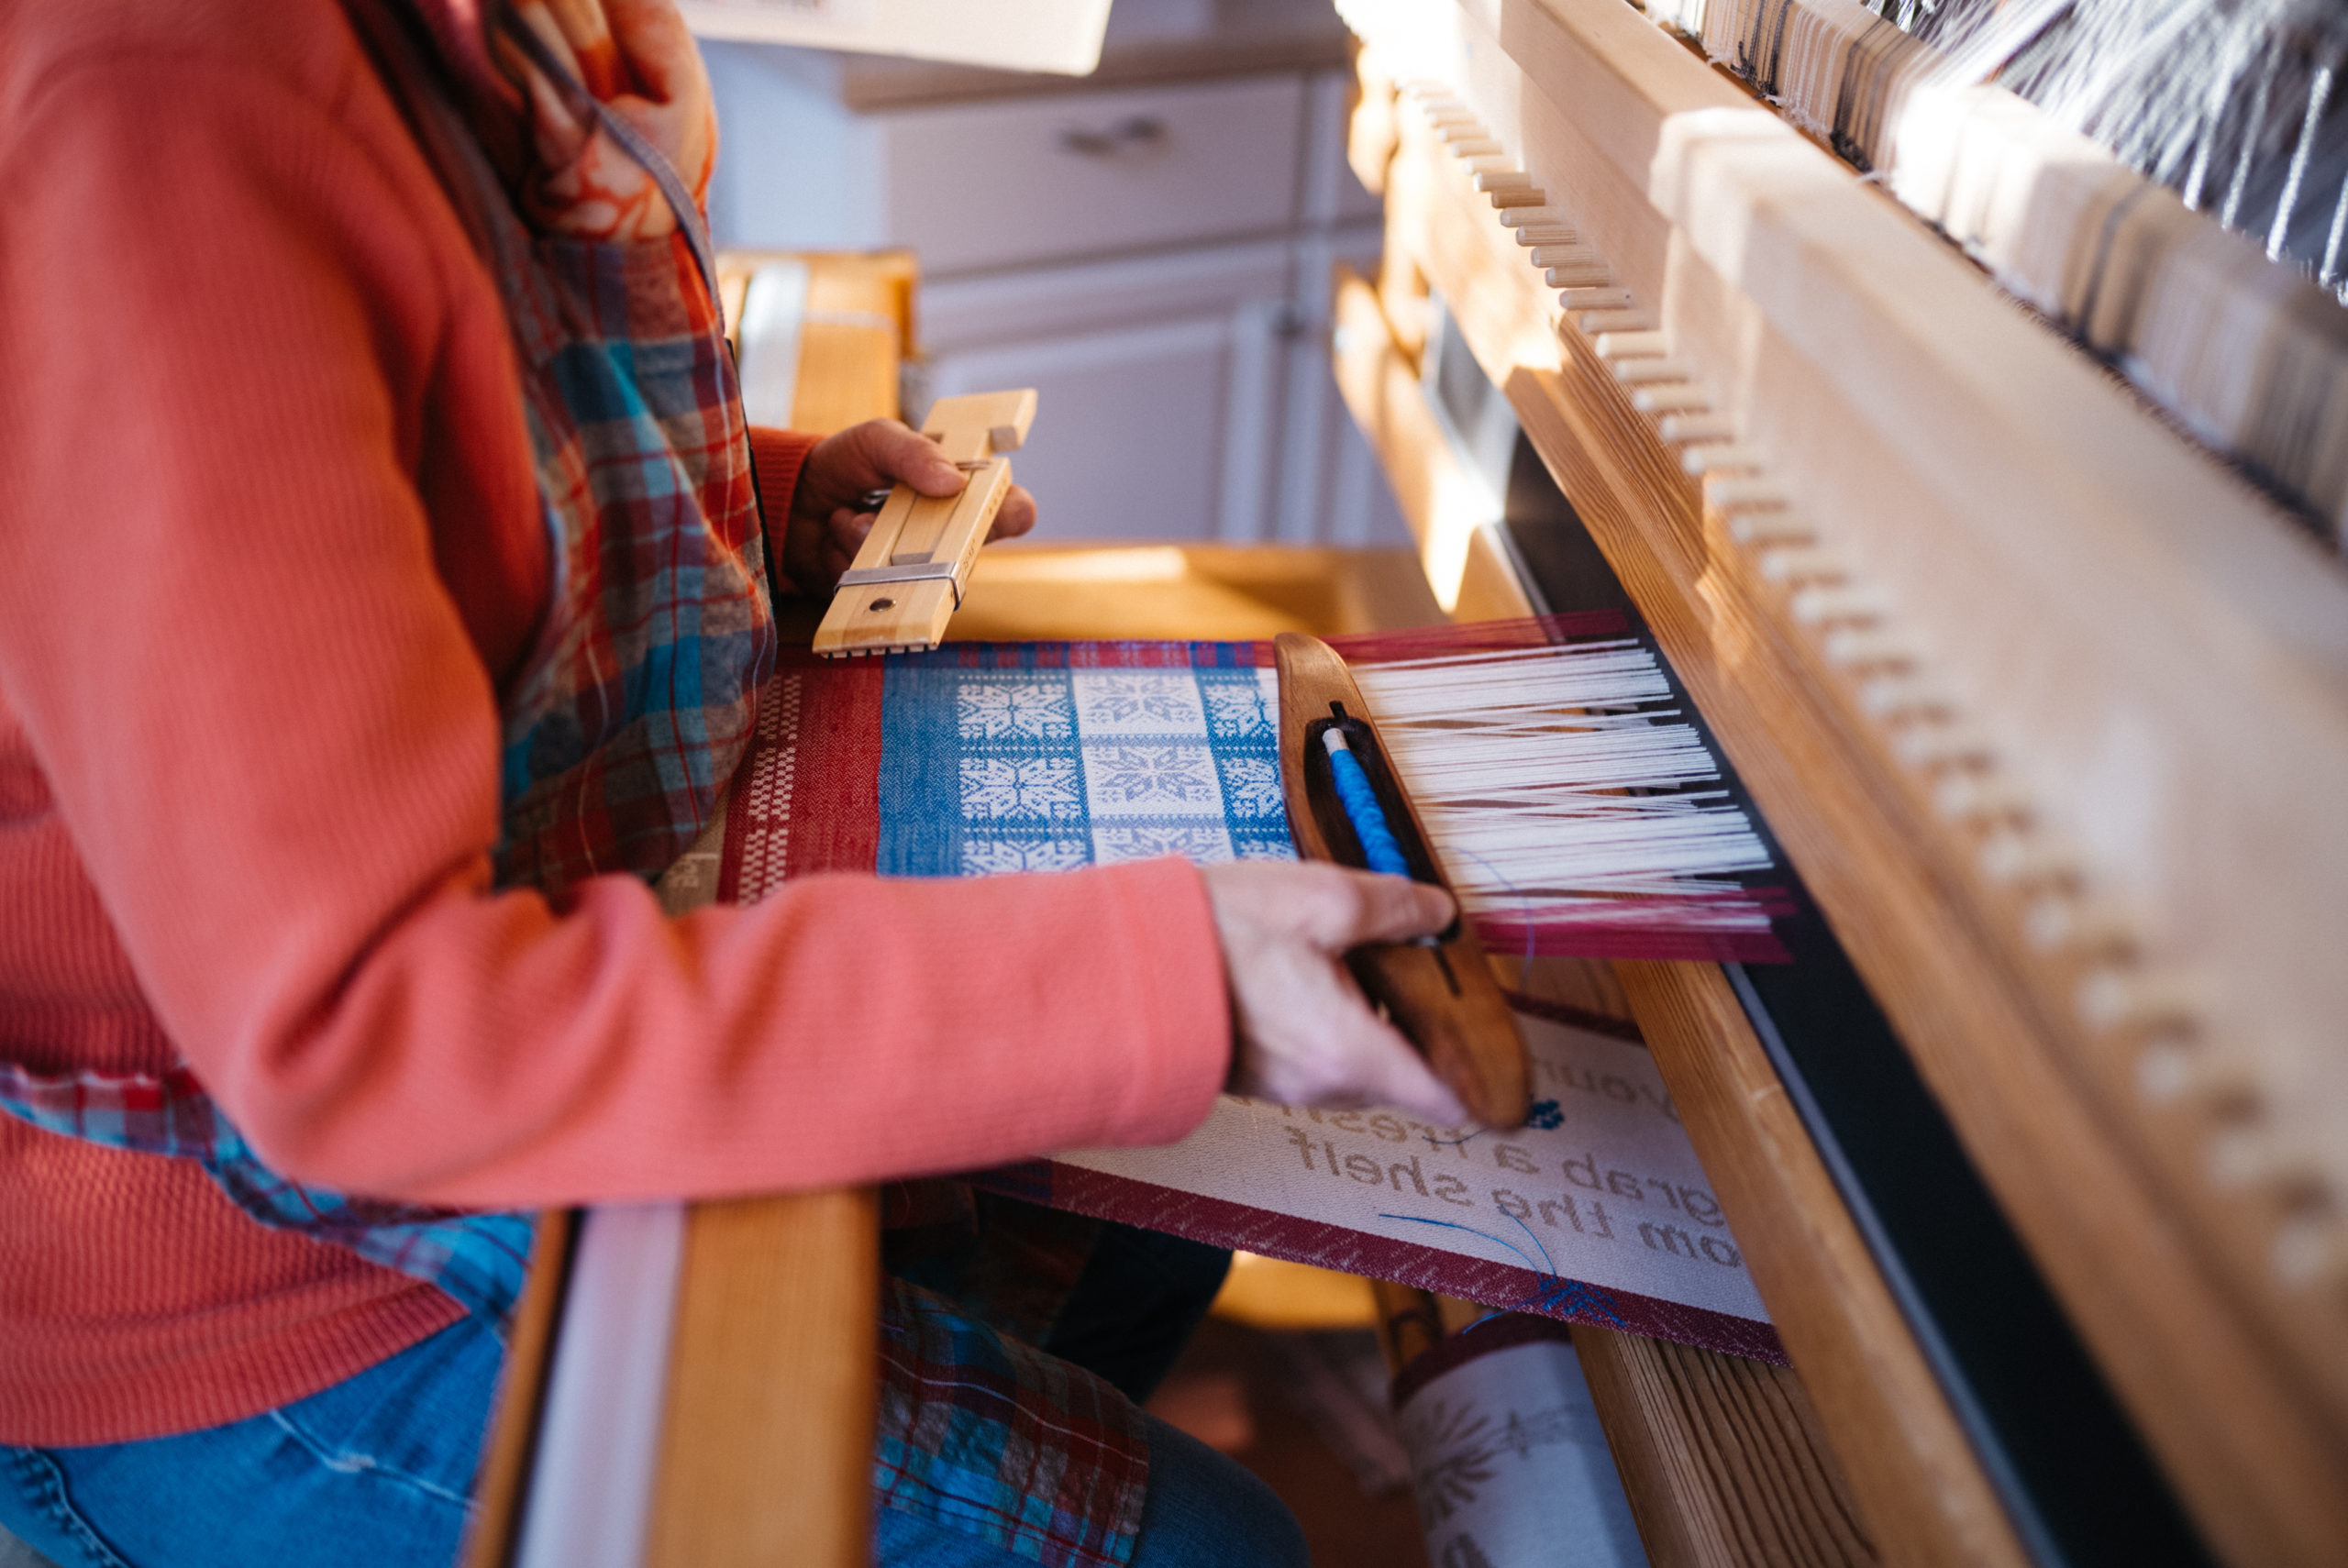
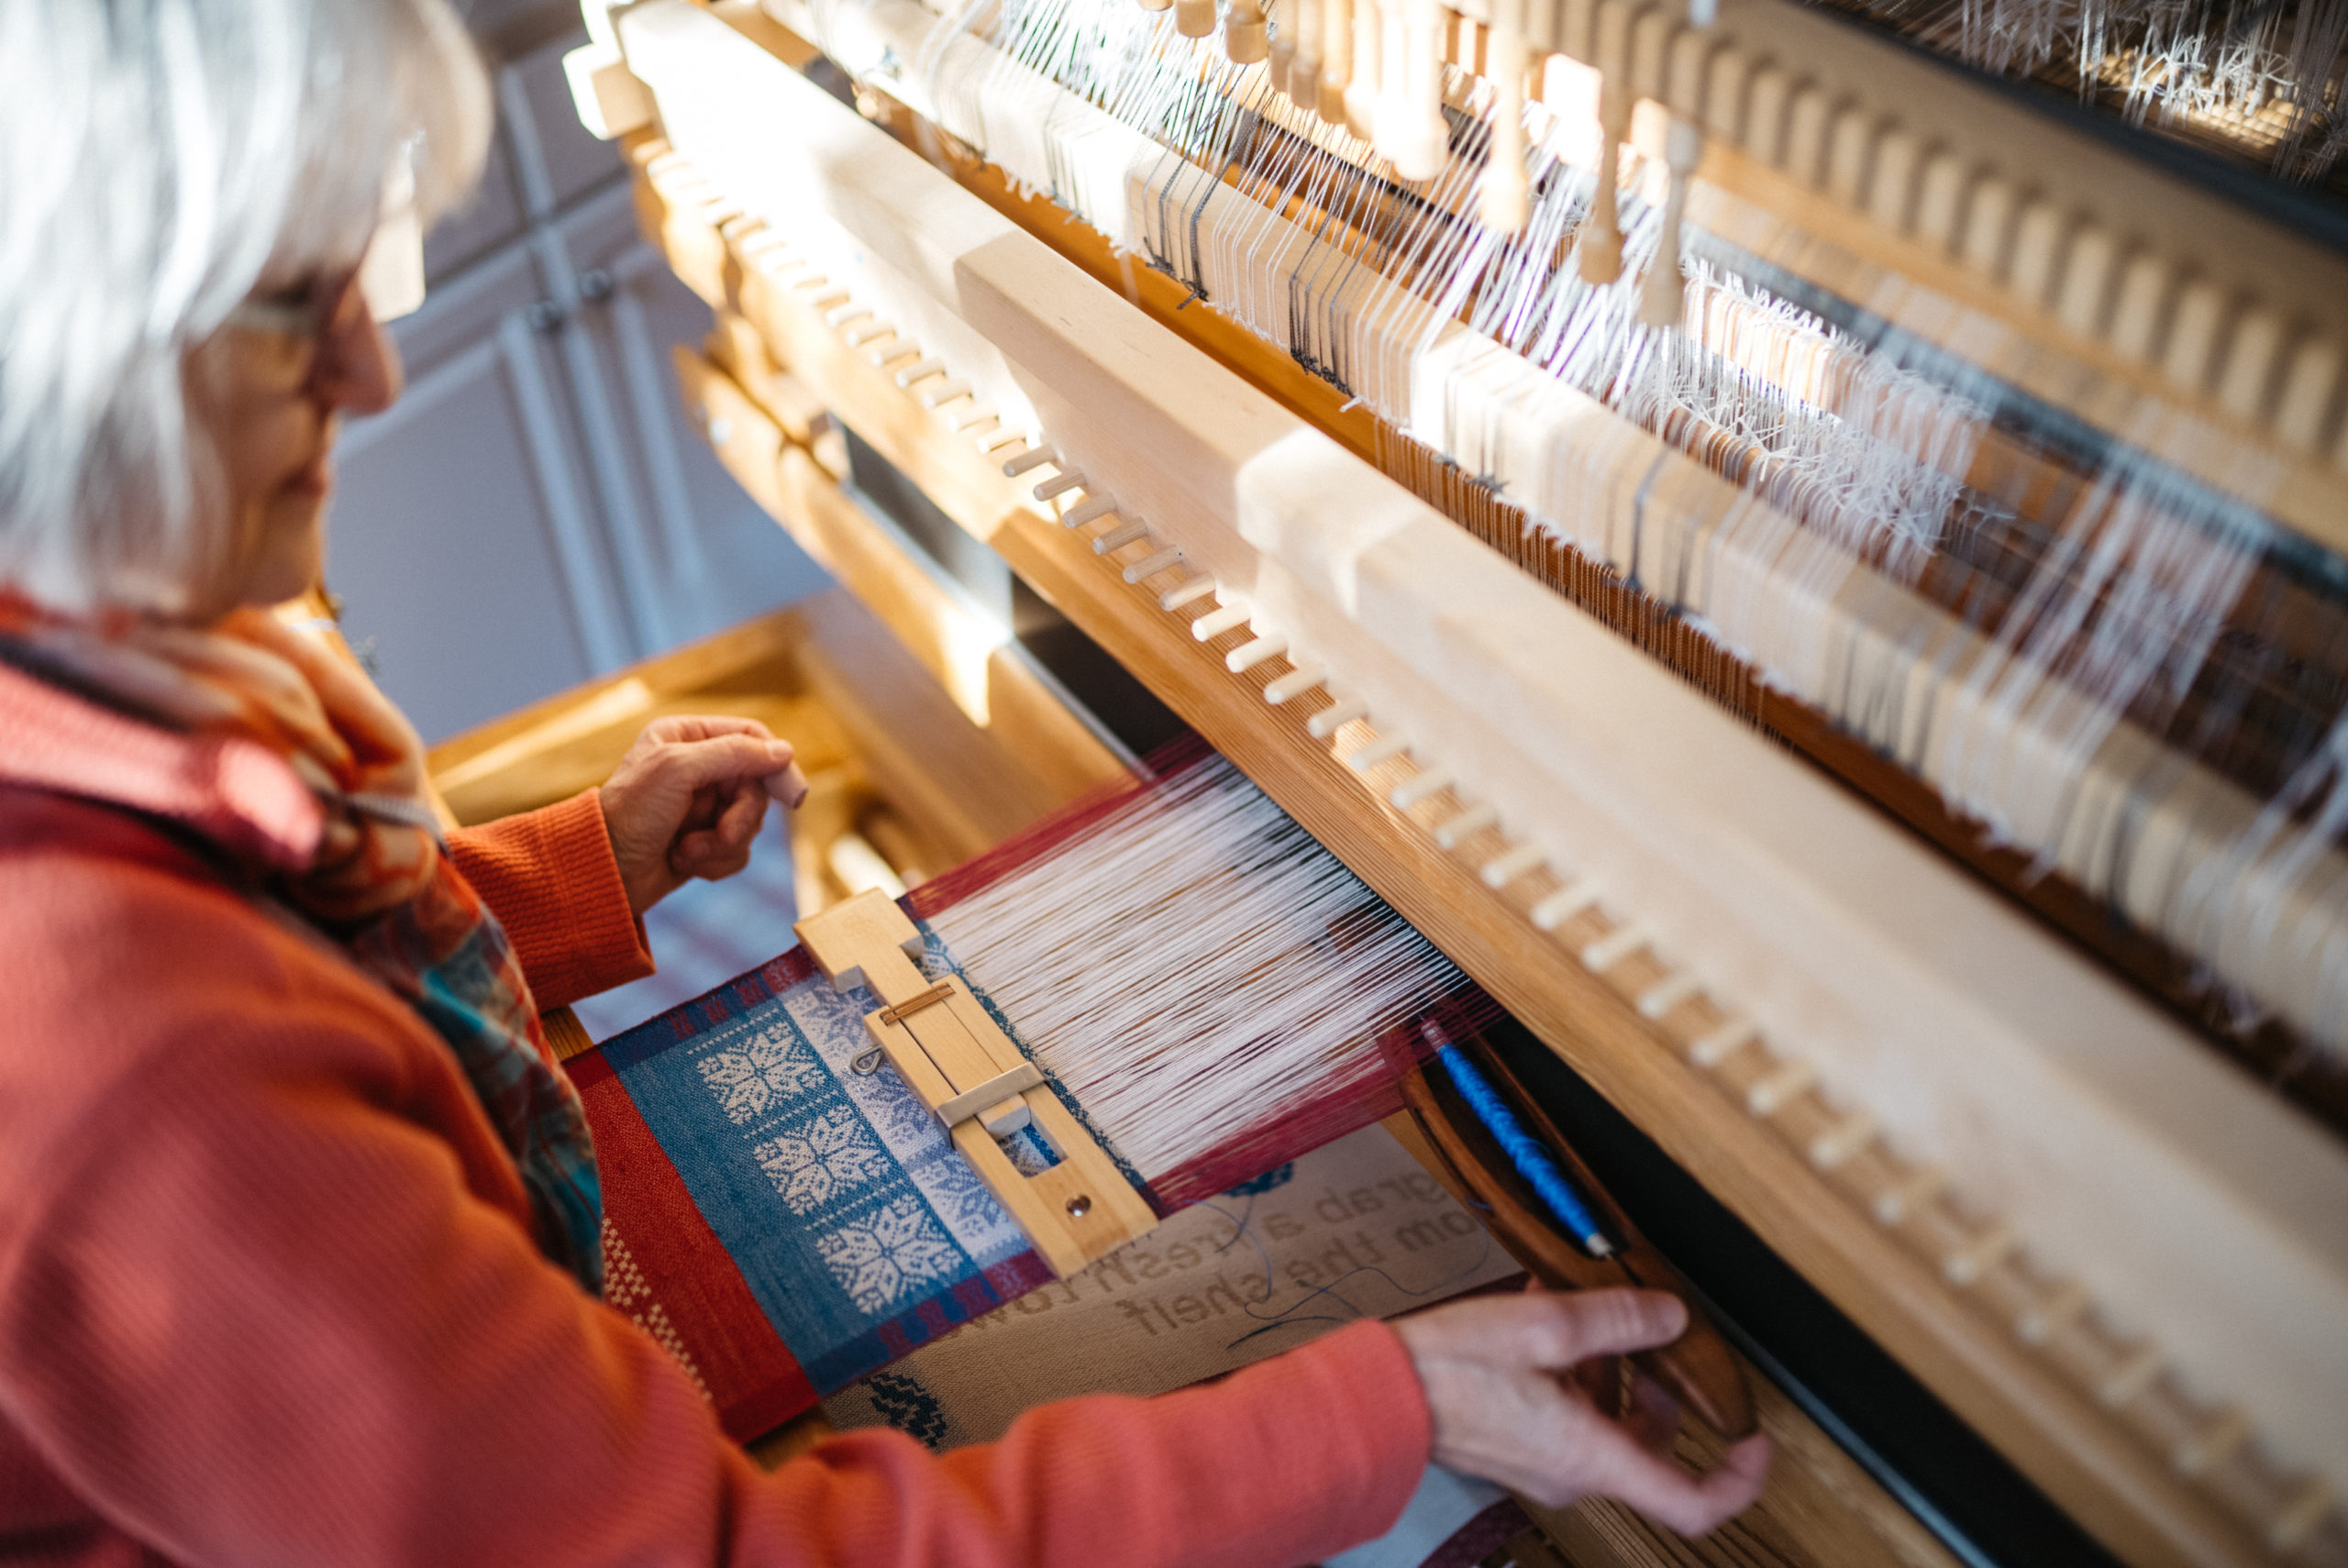
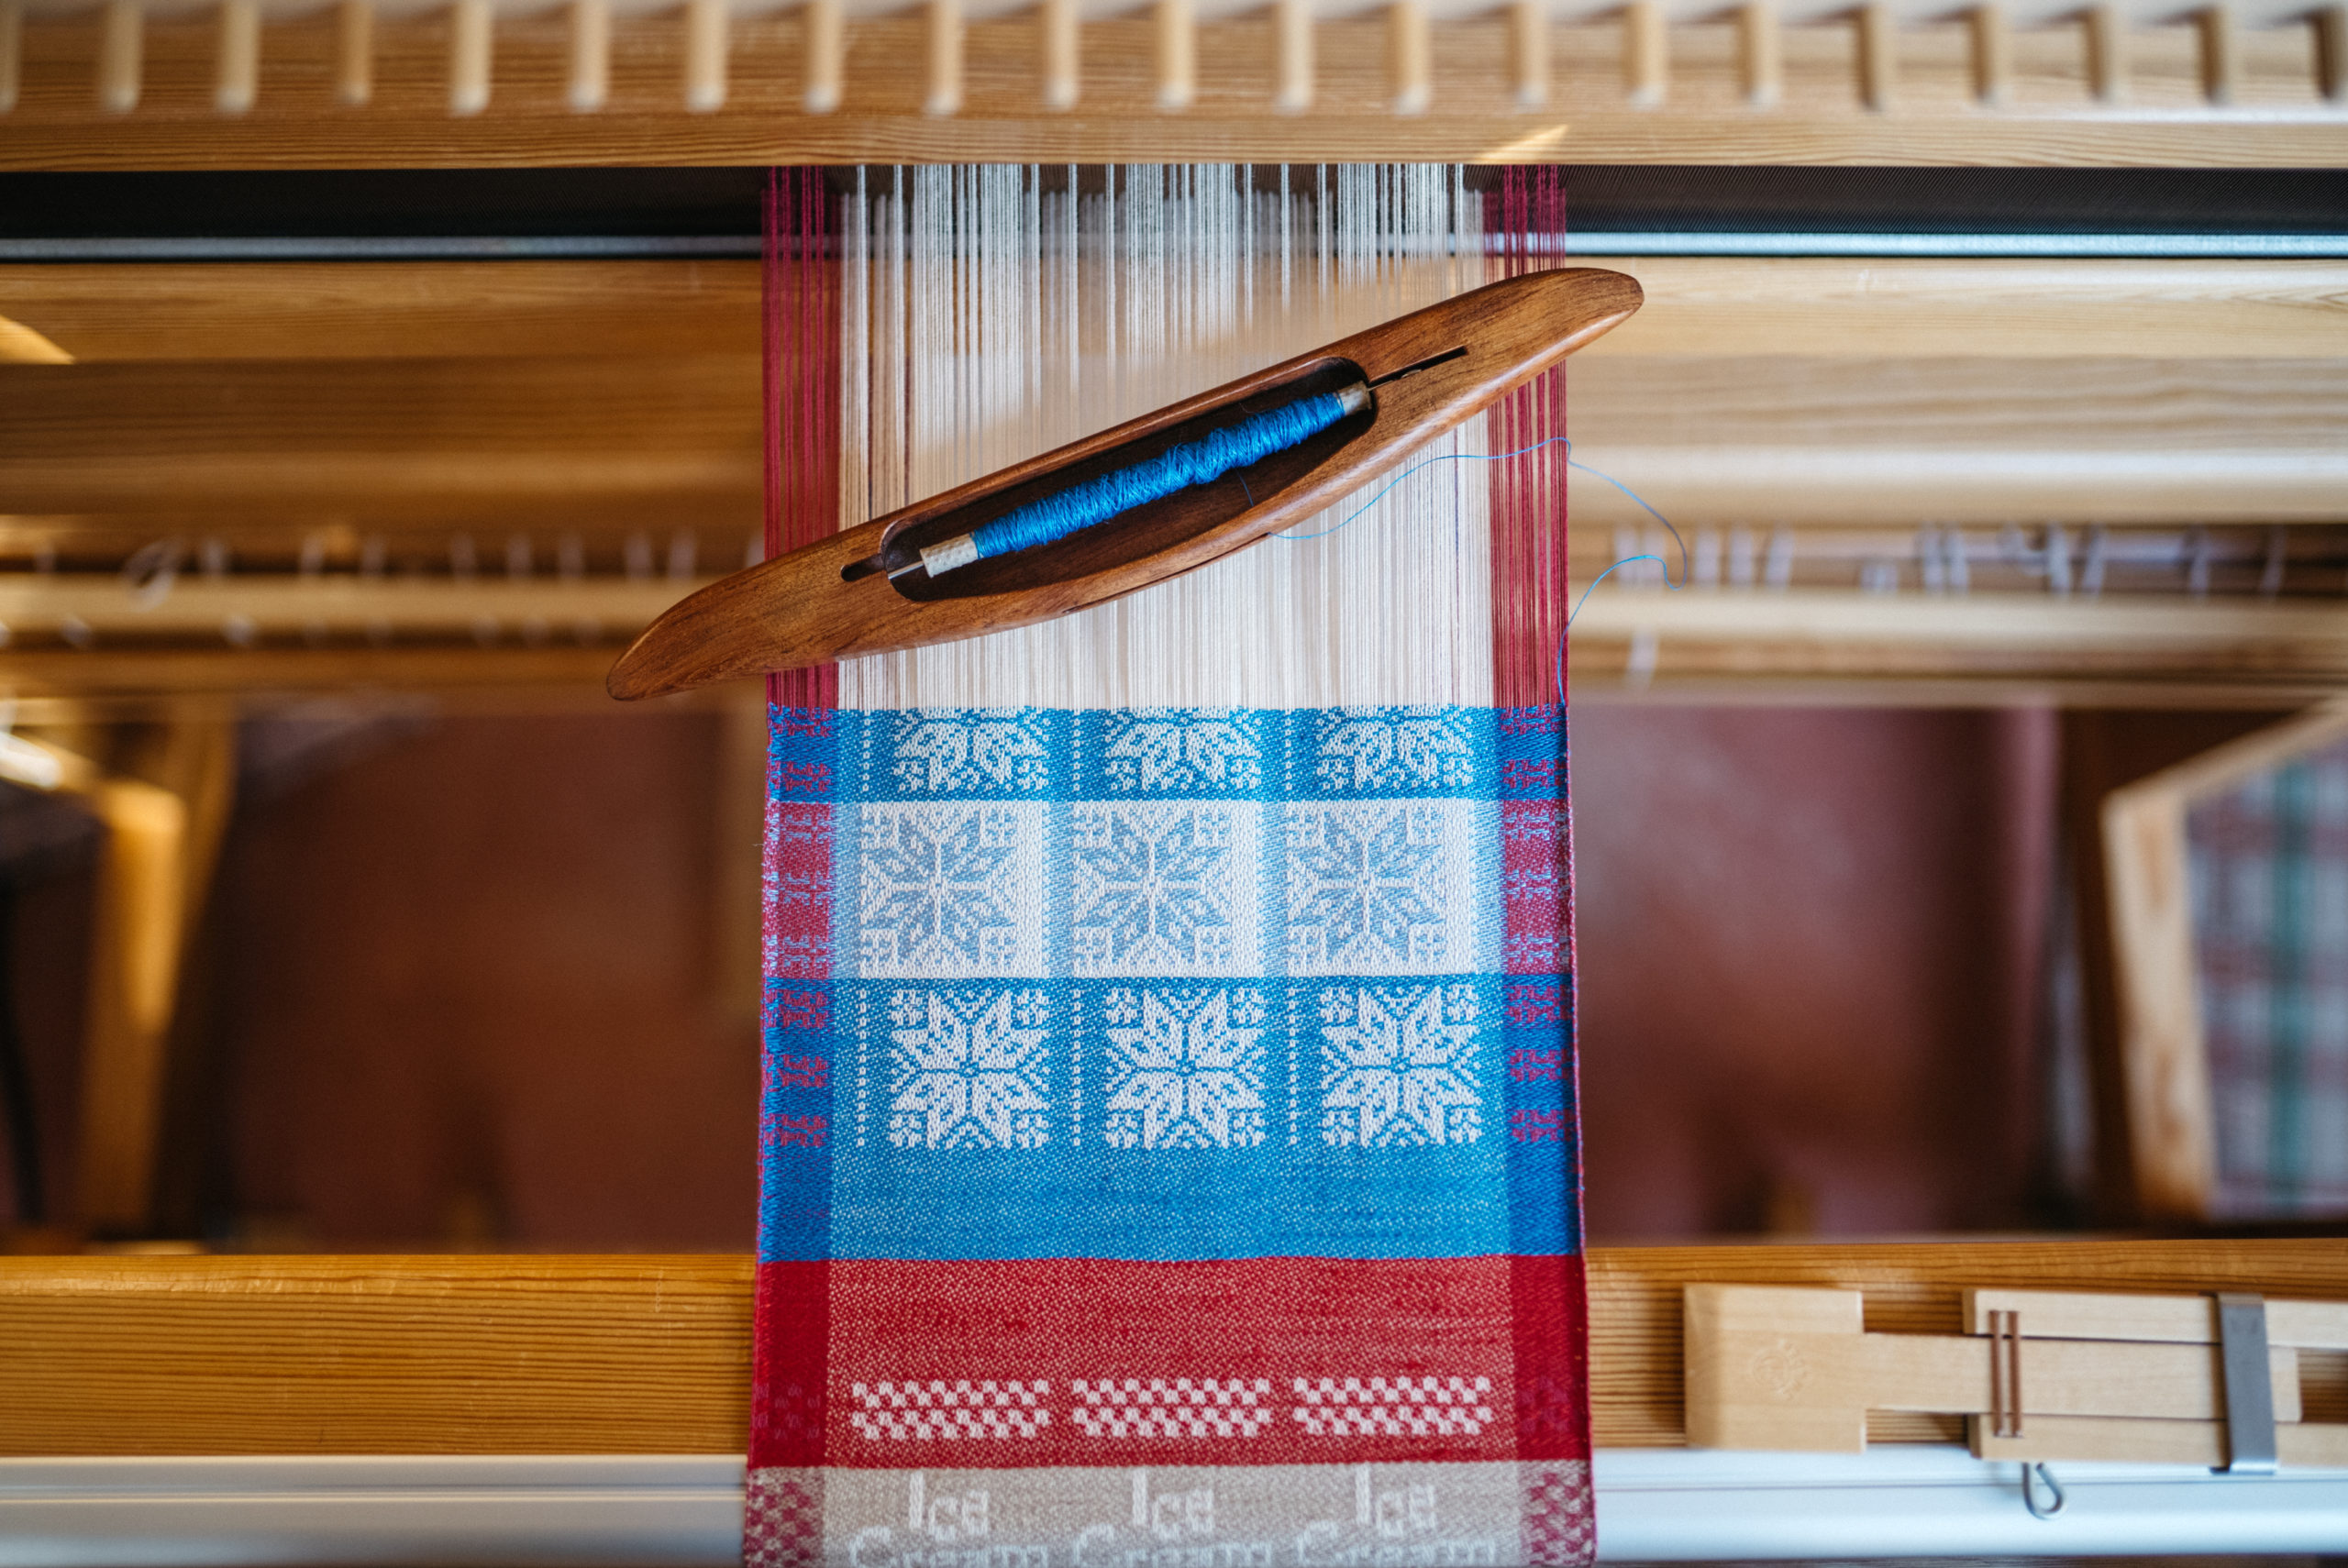
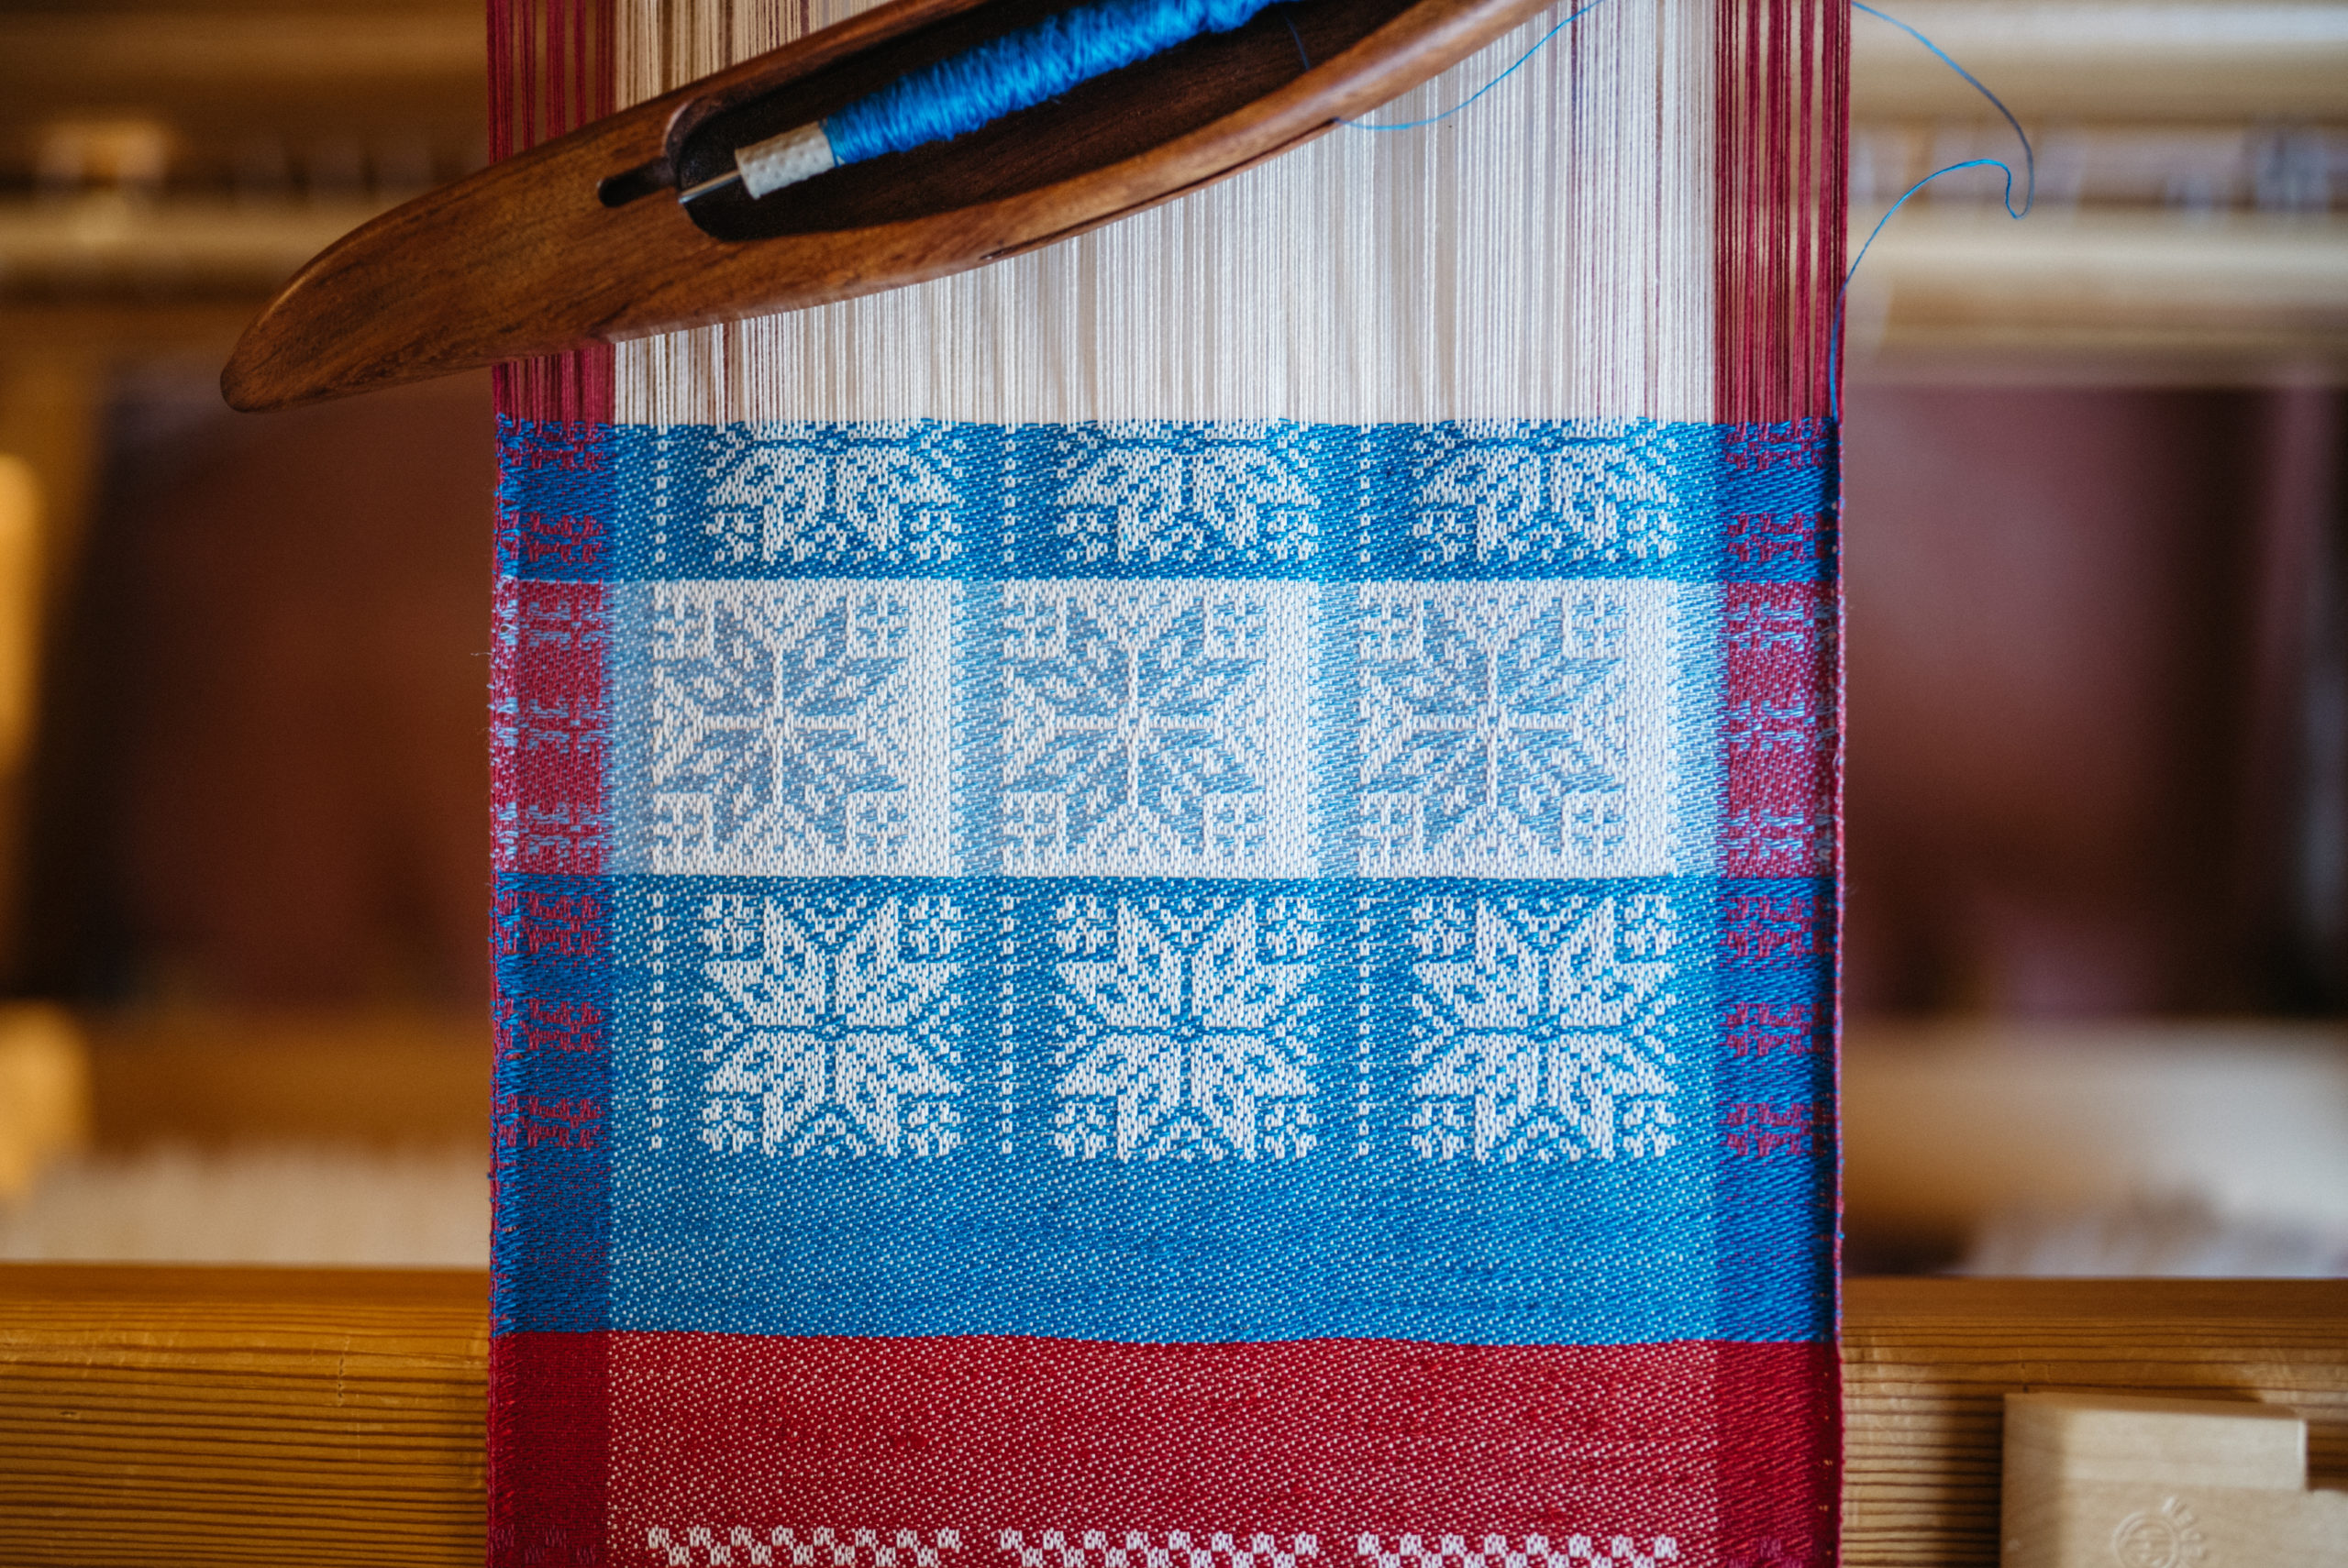
I am ending this warp with spectacular stars. Or are they snowflakes? I got a new book of patterns just in time. My friend Cathleen shared her innovative source with me—Selbu Mittens: Discover the Rich History of a Norwegian Knitting Tradition, by Anne Bårdsgård. This book is filled with beautiful charts, perfect for translating into drawloom designs. It has page after page of classic eight-pointed stars, which look like snowflakes to me.

Eight-pointed stars on the drawloom.
Drawloom weaving.
Drawloom weaving.
Pattern shaft drawloom. 35 pattern shafts.

The star patterns all have an odd number of squares across the chart. My drawloom is currently set up with an even number of pattern shafts. To compensate, I am offsetting the star and adding a vertical dotted line. For the second row of stars I am flipping the offset and switching to a lighter shade of blue weft. I am also pulling the pattern shaft cords for the background around the star pattern. This reverses the pattern and ground, giving a different perspective of the same design, making the star blue and the background white.

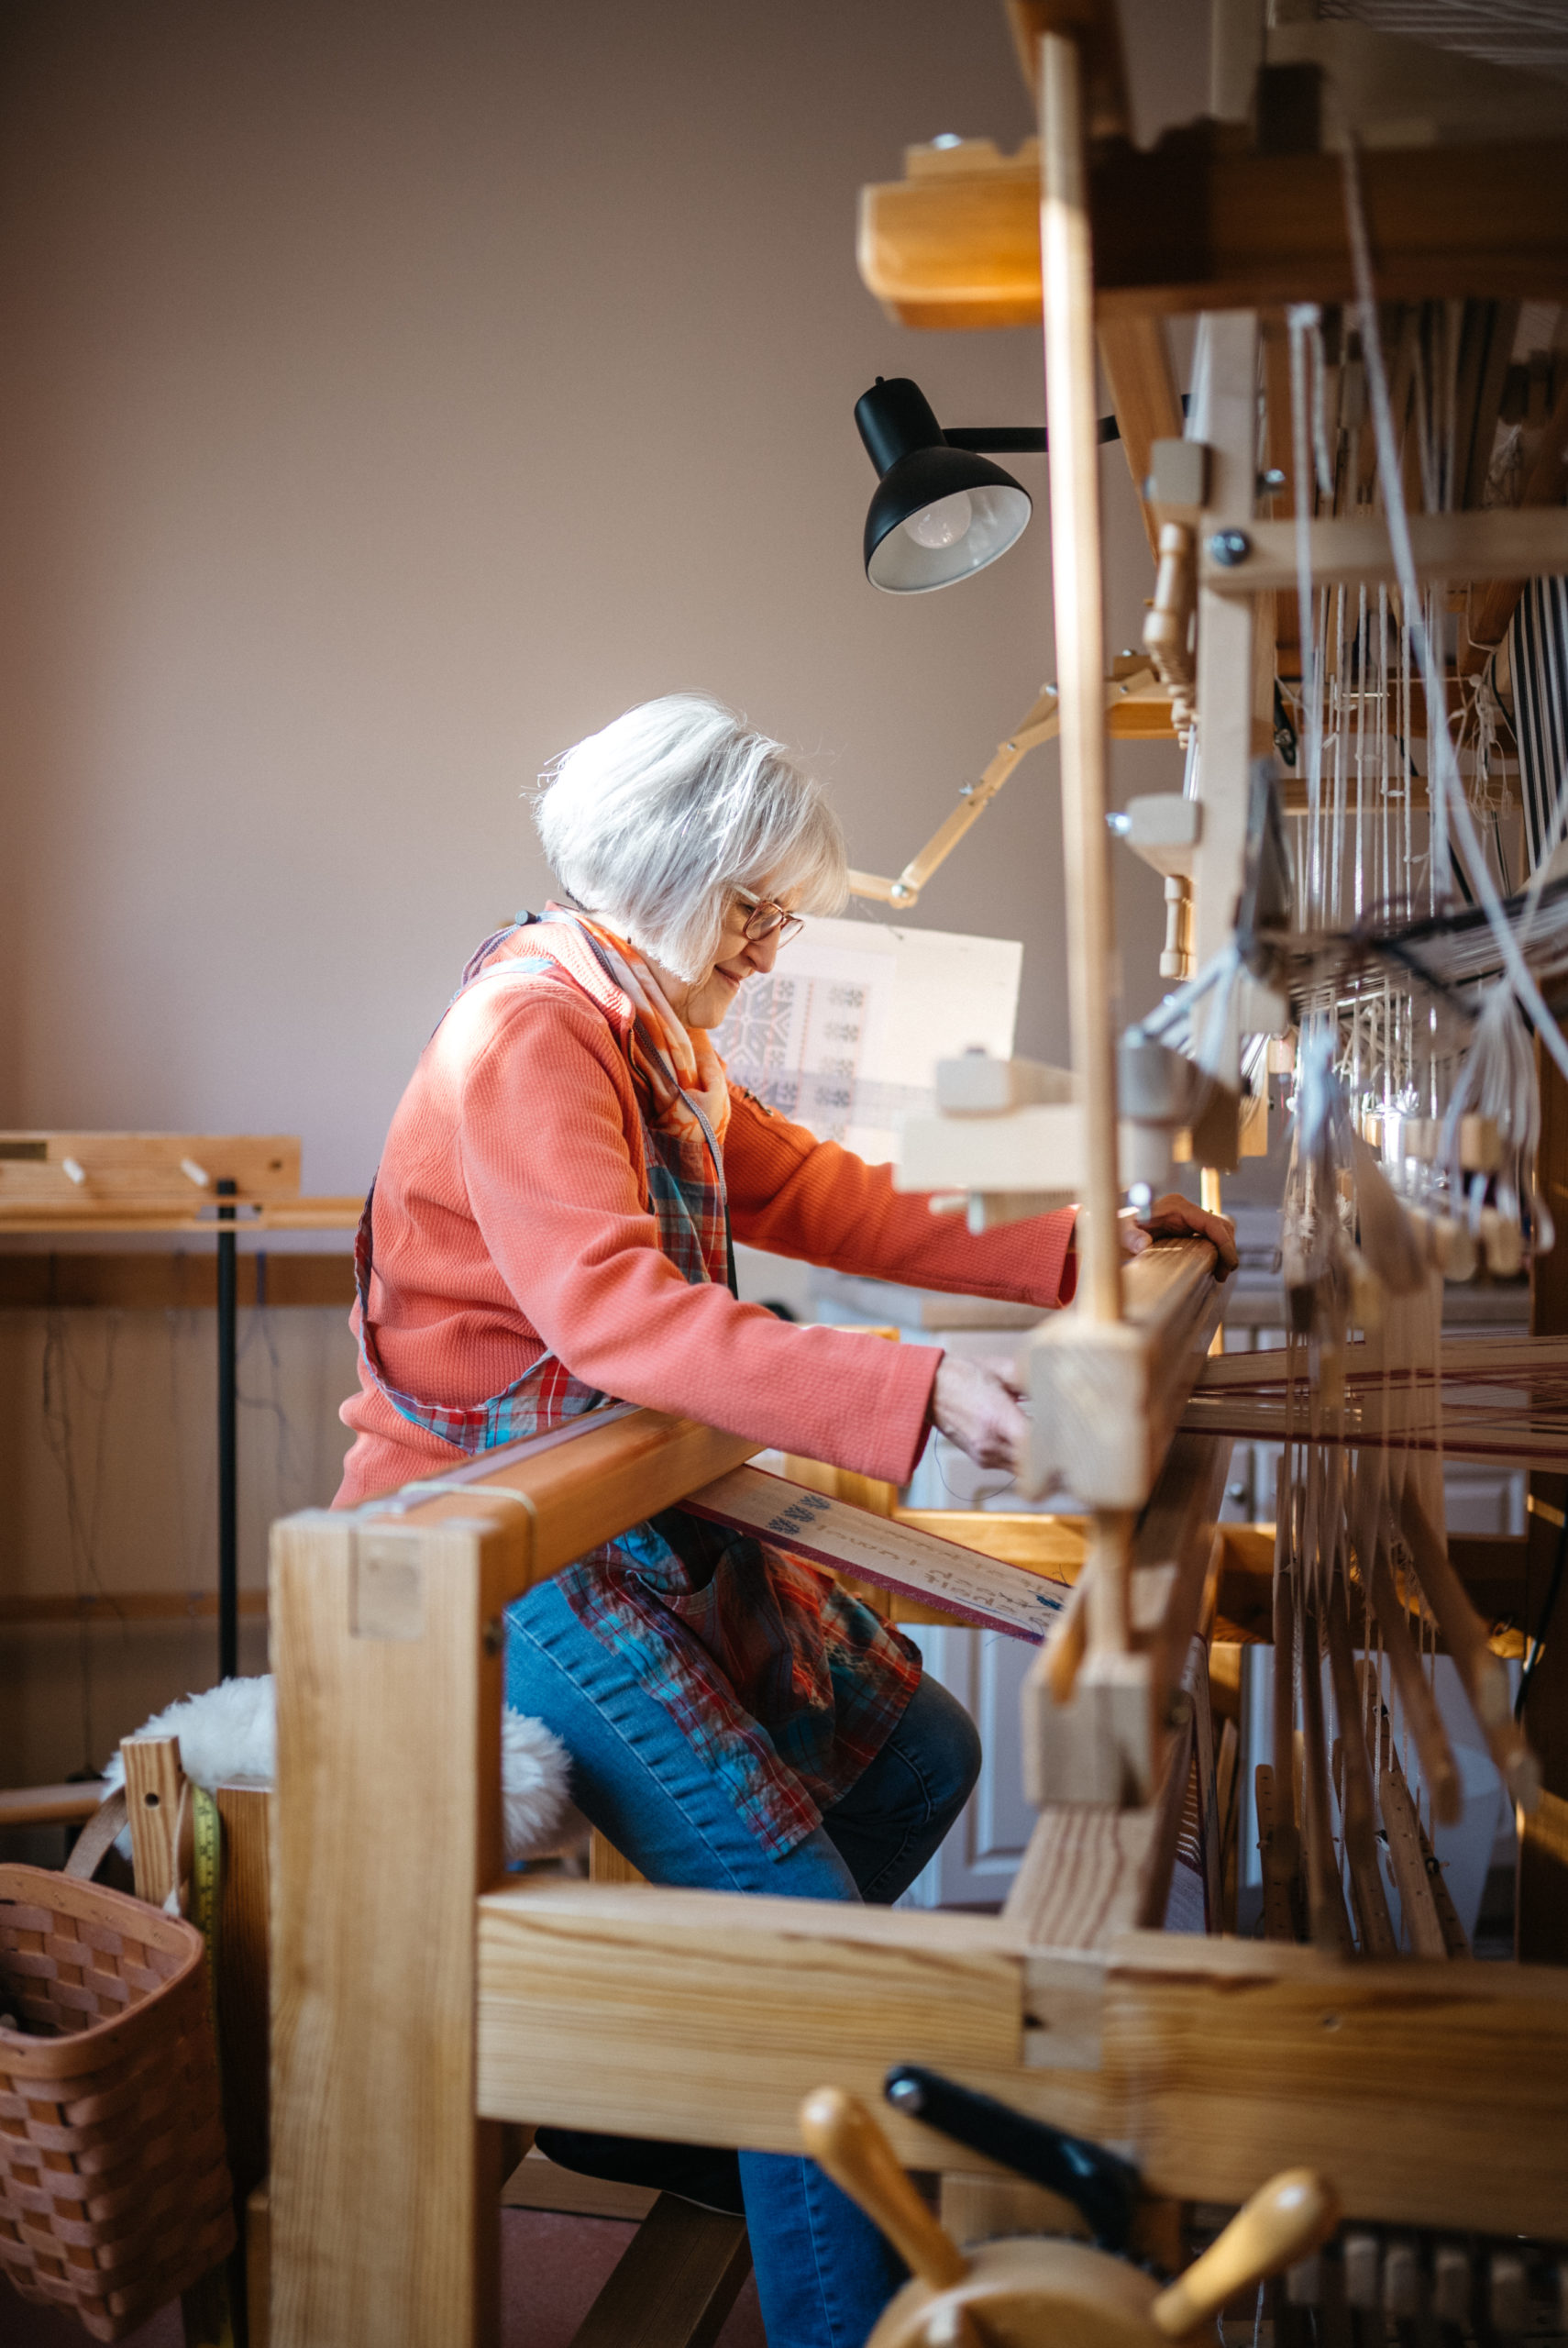
In the drawloom studio.
Are they stars or snowflakes.
Stars / Snowflakes on the pattern shaft drawloom.
(Photos by Eddie Fernandez)

Even when our perspective changes, the foundation stays the same. Truth endures. God speaks truth, even through his created designs. Stars in the heavens and snowflakes on the earth attest to the enduring truth of their Designer’s glory.

May the end of your warp be spectacular.

Happy Weaving,
Karen

Slow Me Down with Inlay

I intended to weave this part quickly, and move on. But when I noticed I could see the end of the warp I changed my mind. I’m going to do something that will slow me down—inlay. It’s something I’ve been thinking about doing. Now’s my chance before I run out of warp.

Weaving on the combination drawloom.
One handle is drawn for the simple side borders design. The beginning blue border motifs were also woven using draw handles, connected to pattern shafts.

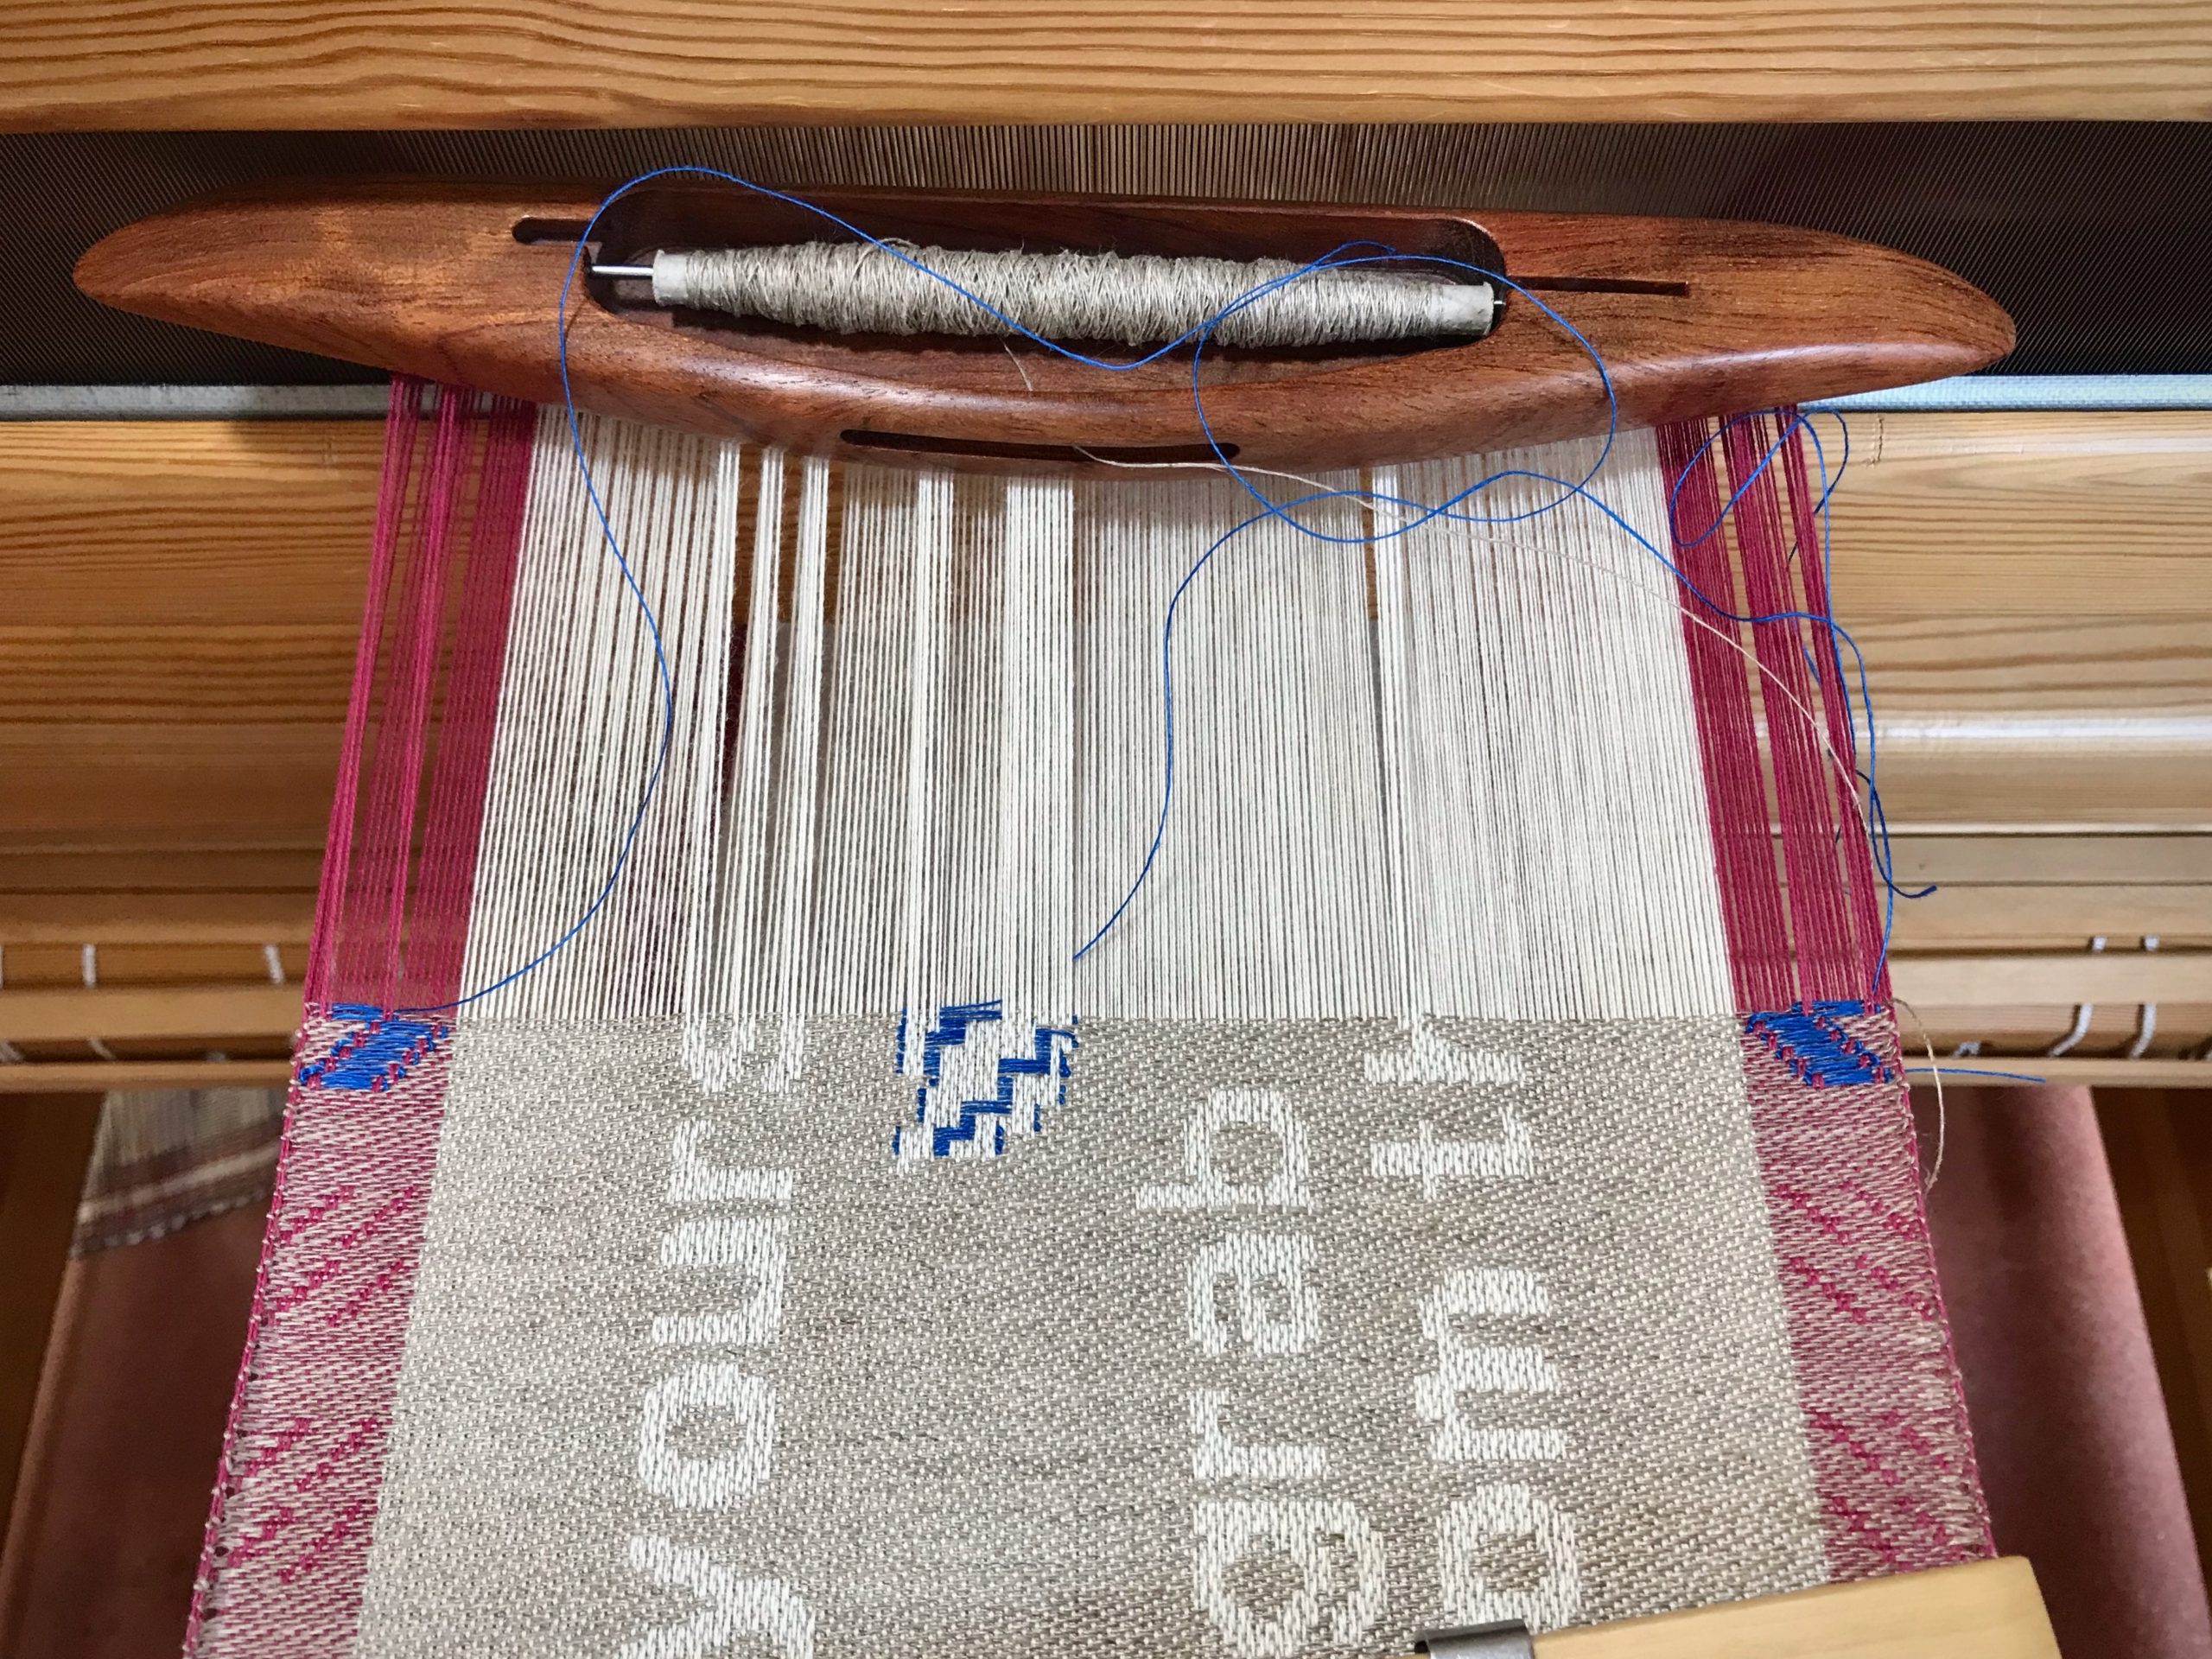
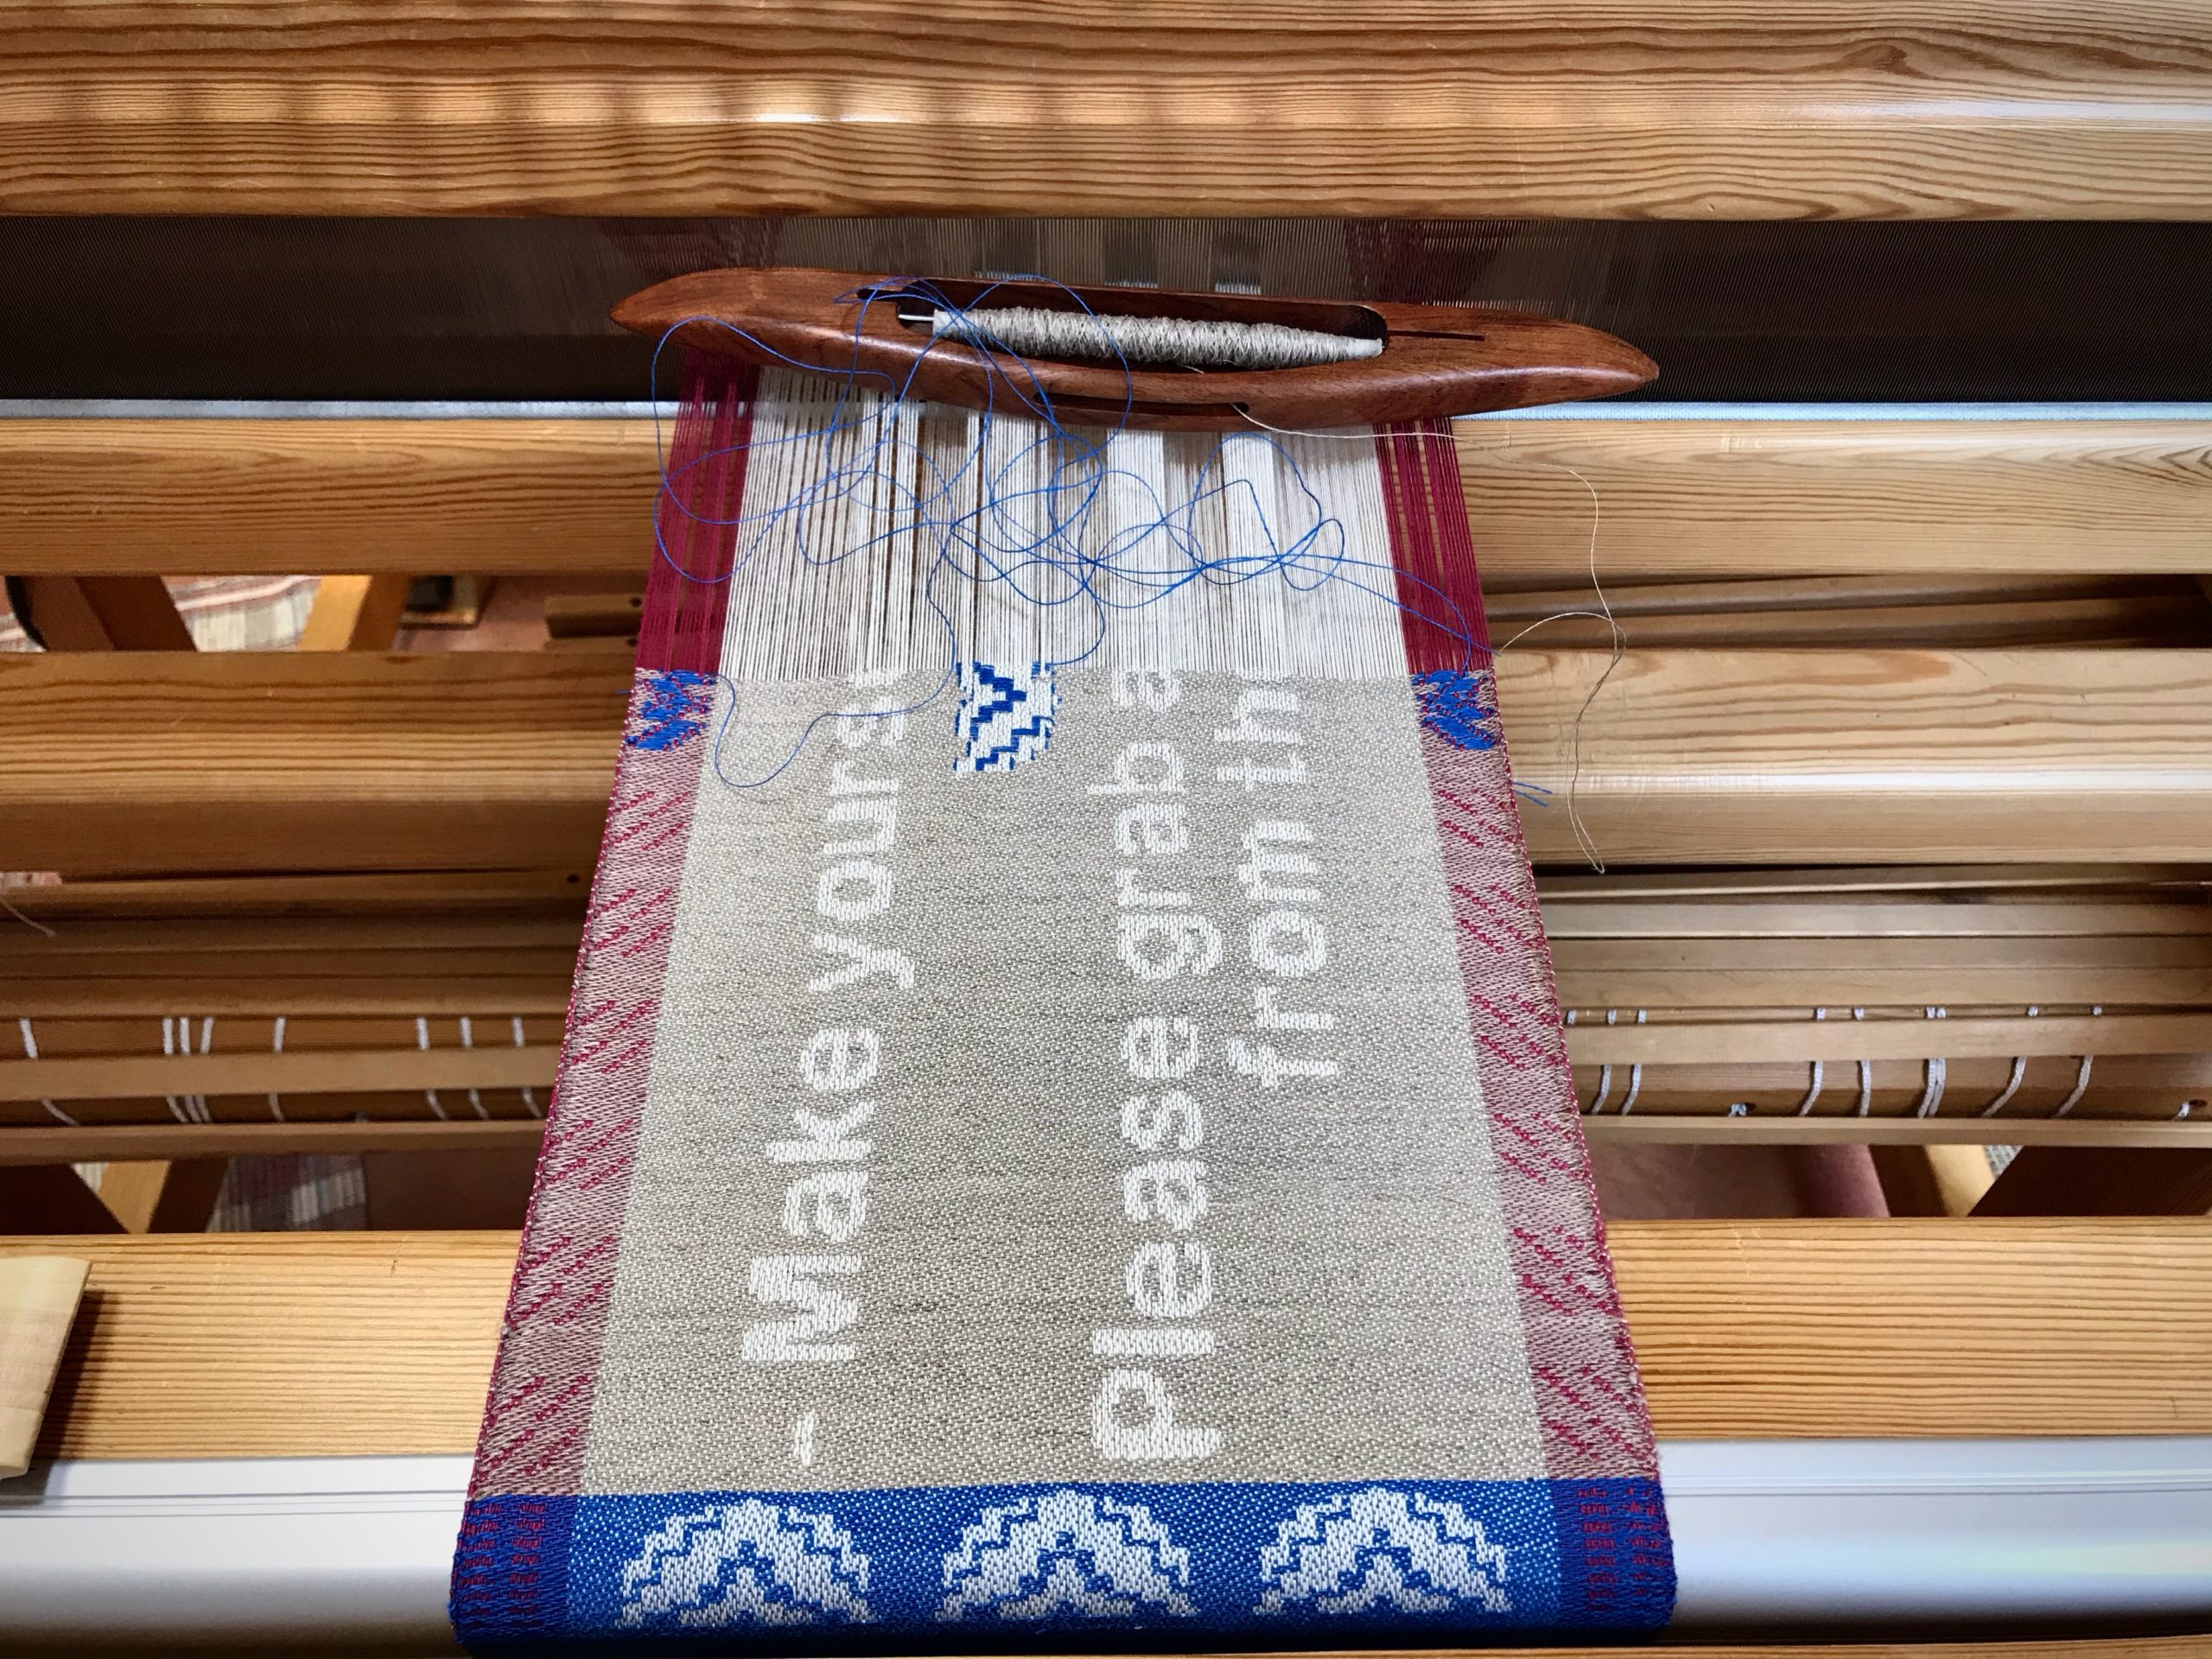
I am adding blue 16/1 linen inlay to the center motif. The same color blue is laid in at the center motif on the side borders, as well.

Blue linen inlay on the combination drawloom.
Blue linen inlay leaves floats between the raised pattern threads.

Draw the pull-handles for the borders – draw single unit cords – throw the shuttle – lay in the blue thread – throw the shuttle and lay in the blue thread two more times. Move up one row on the chart, and follow the same sequence as before. Ever so carefully, learning as I go. Delightfully slow as molasses. Intently paying attention, and thinking about what I would do differently next time.

Drawloom. Weaving a sign for house guests.
Draw cord pegs just above the beater create interesting shadows.

Changing your mind changes your direction. When the Lord sees our thoughts turning in his direction, he reveals more and more of himself to us. Like small lines of color added a row at a time, the image becomes more and more distinct. With the warp we have remaining, there is still time to see the Grand Weaver’s image woven in us.

May you know when to change your mind.

Making room for Jesus,
Karen

Time Lapse: Windmill and Taildragger on the Drawloom

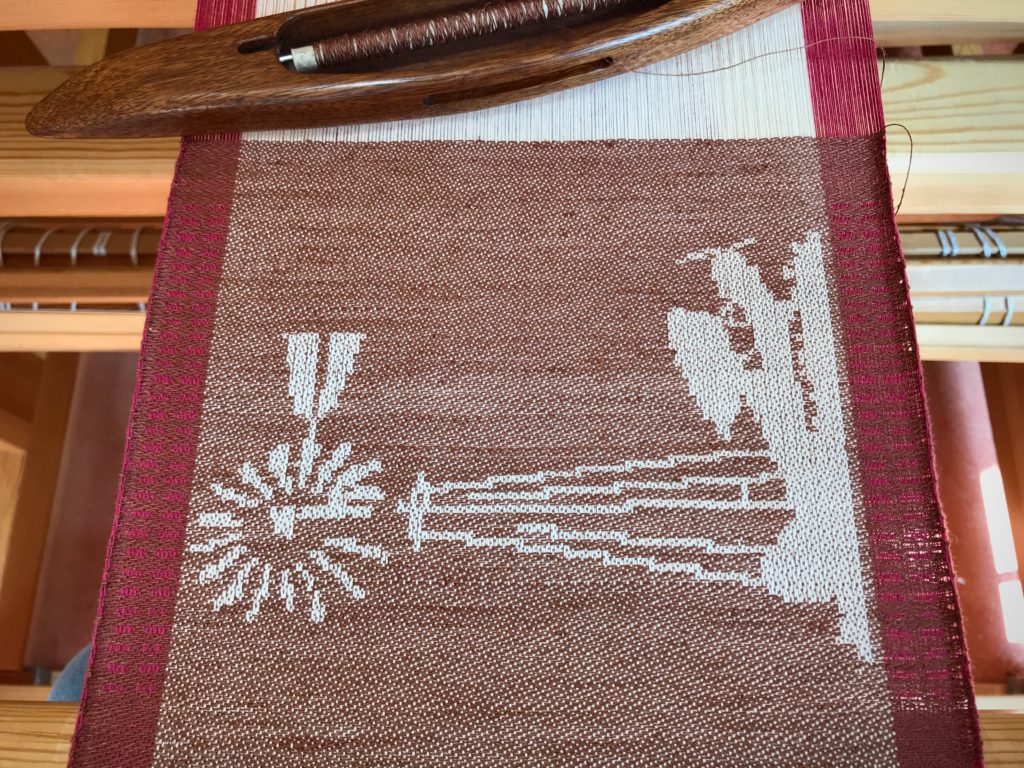
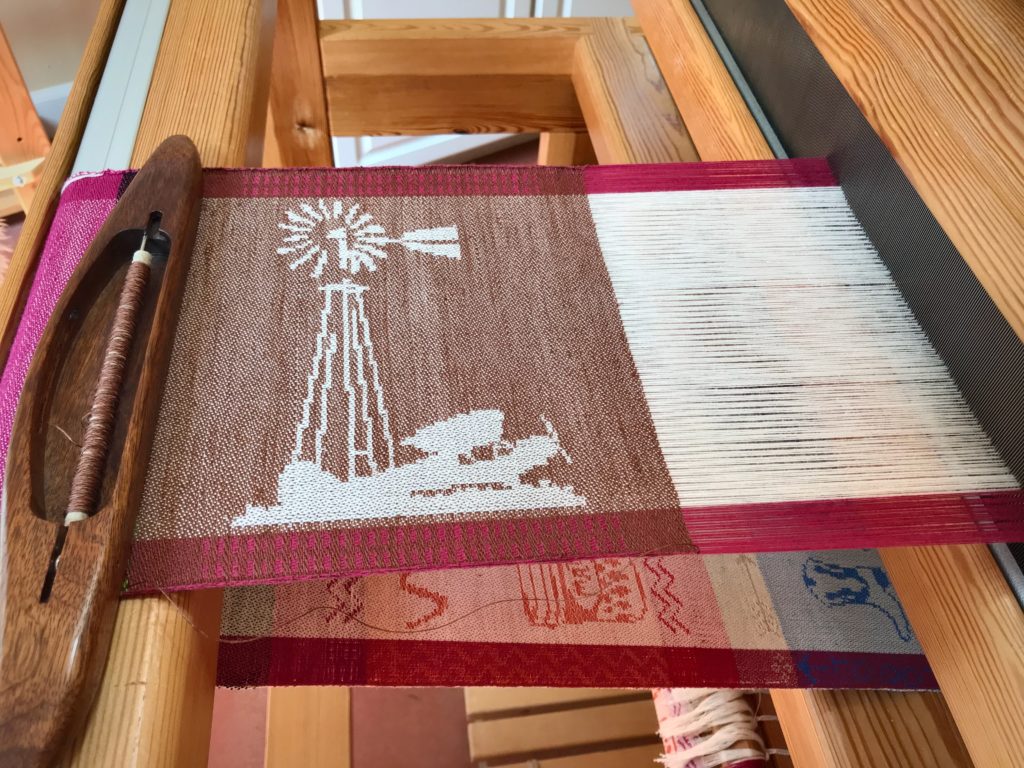
Come, look over my shoulder as I weave a windmill and taildragger image on the drawloom. The central design is woven using 103 single-unit draw cords. I have a simple motif for the borders that uses only three pattern shafts. In the video below, watch as the three draw handles for those pattern shafts appear and disappear throughout the weaving.

Drawloom weaving, with time-lapse video.
Draw cords are used to raise single units of threads to create the image, one row at a time.
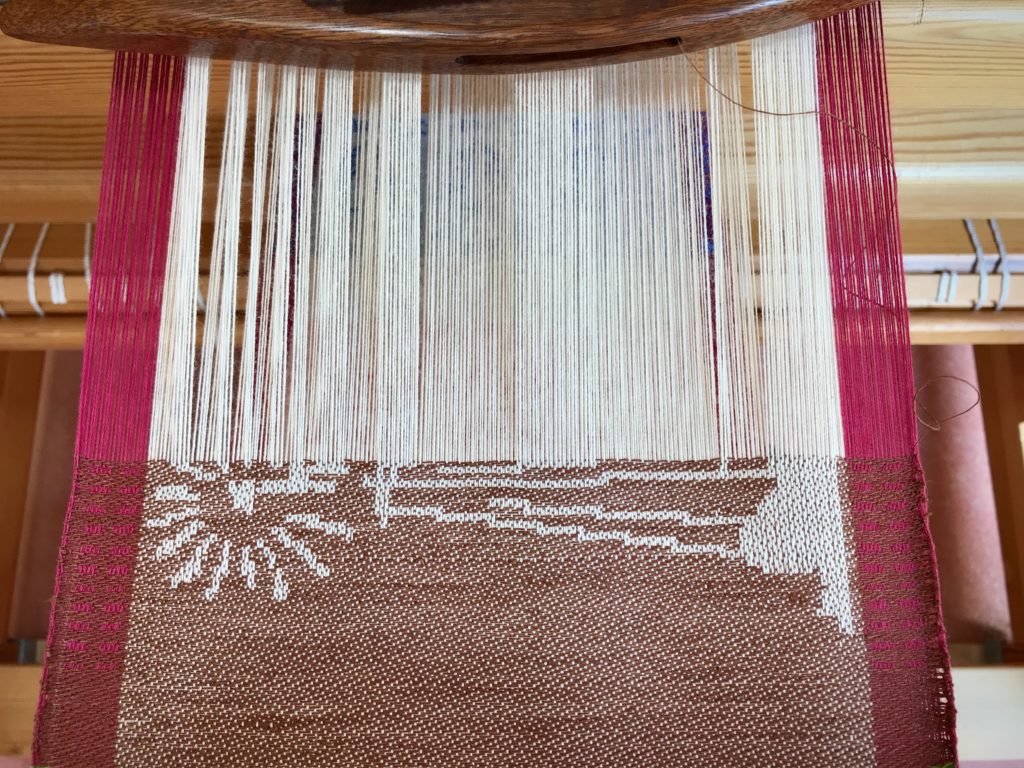
Windmill and taildragger woven on the drawloom.
Woven from the side.

I recorded my weaving in time-lapse form so you can watch three hours of effort compressed into three-and-a-half minutes. In the video you will see my hand pulling the draw cords, and then touching all the pulled cords from right to left to double check my work. That double checking saved me from dreaded do-overs.

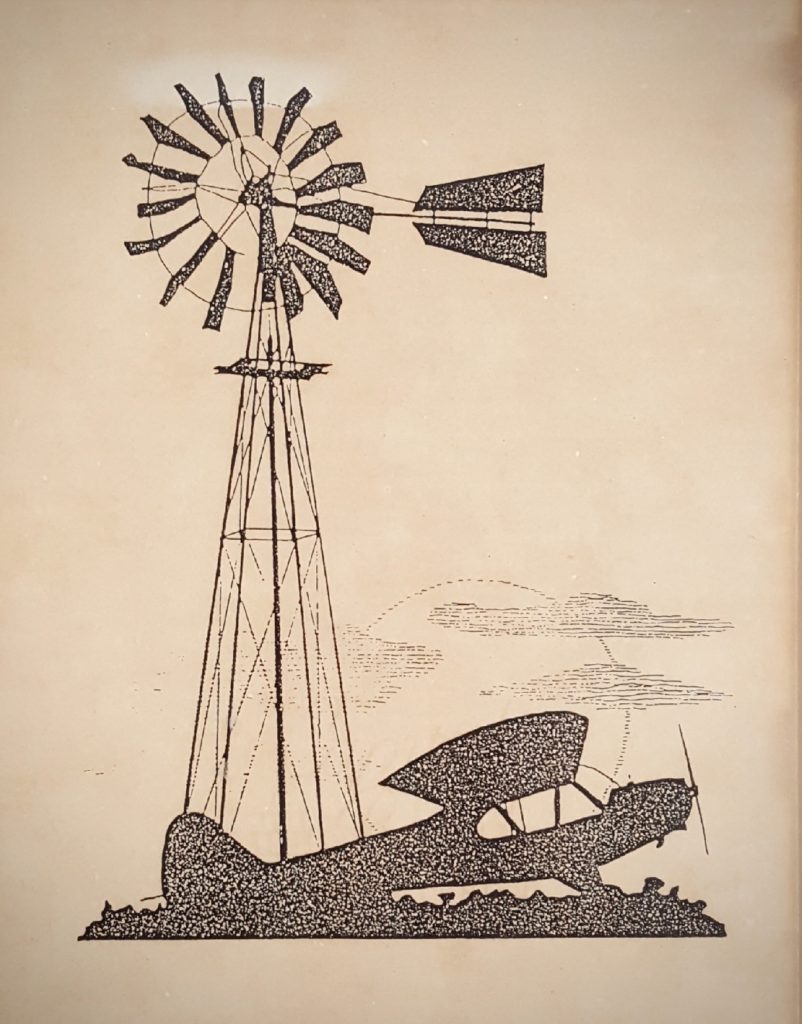
Windmill and Taildragger Silhouette from an old "Flying" magazine.

When our good friends, Jerry and Jan, saw my drawloom they brought this picture to my attention. — Forty years ago Jerry discovered the silhouetted windmill and airplane tucked away on a back page in an old issue of Flying magazine. Because of his affinity for airplanes and windmills he cut out the tiny picture and saved it. Years later, Jan found the picture and had it enlarged and framed. — After learning about my loom’s pictorial capability, Jerry and Jan wondered aloud if this special image could be woven on a drawloom…

Windmill and Taildragger woven on the drawloom. With time-lapse video.

Enjoy the video, and hold on to your hat!

May you ride the wind.

Happy Weaving,
Karen

Home in Texas on the Drawloom

The sky is the limit! That is my conclusion after weaving a few designs using the Myrehed combination drawloom. The shaft draw and the single unit draw systems are combined on this ingenious apparatus that is attached to an otherwise ordinary loom. The shaft draw system enables me to weave repeated patterns. The single unit system enables non-repeat patterns. This narrow warp is my playground to do both.

Myrehed Combination drawloom - learning its potential.
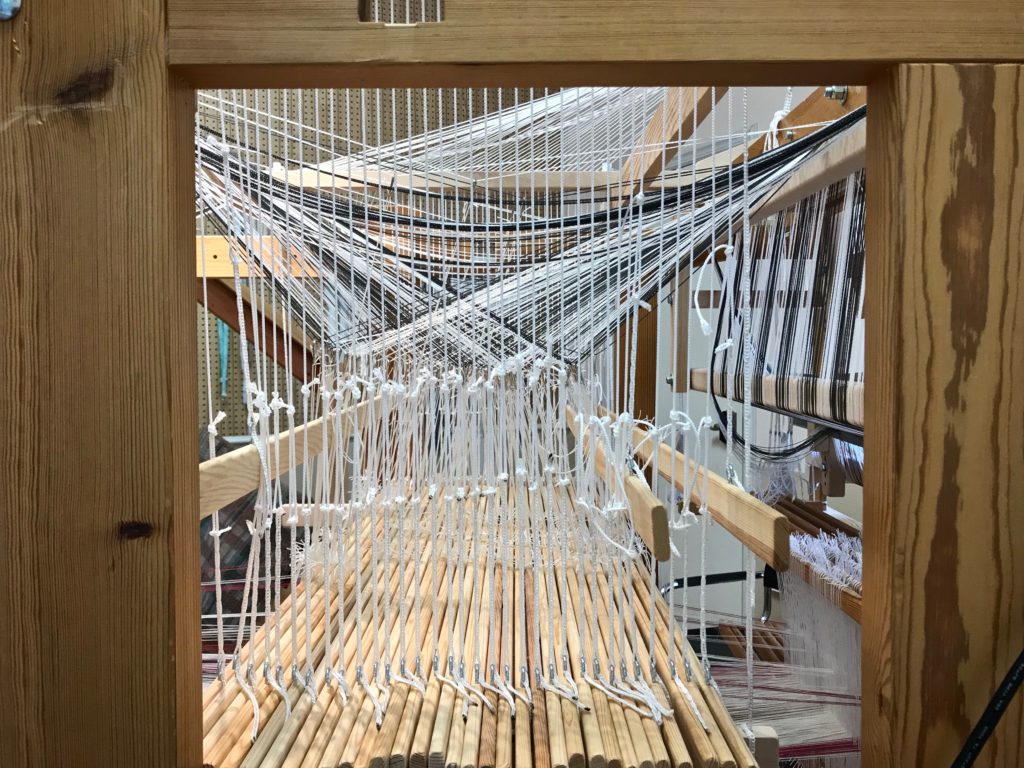
Pattern shafts (the wood bars) and single units (with black and white draw cords) are combined for this warp. 36 pattern shafts, including the X shaft. 132 single units.
Setting up the Myrehed combination drawloom.
Central design area uses a repeat of 30 pattern shafts threaded in a straight draw. Side borders use a repeat of 5 pattern shafts. Lift heddles and lanyard clips on the single unit draw cords attach the draw cords to the all the individual units (single units) on the pattern shafts.

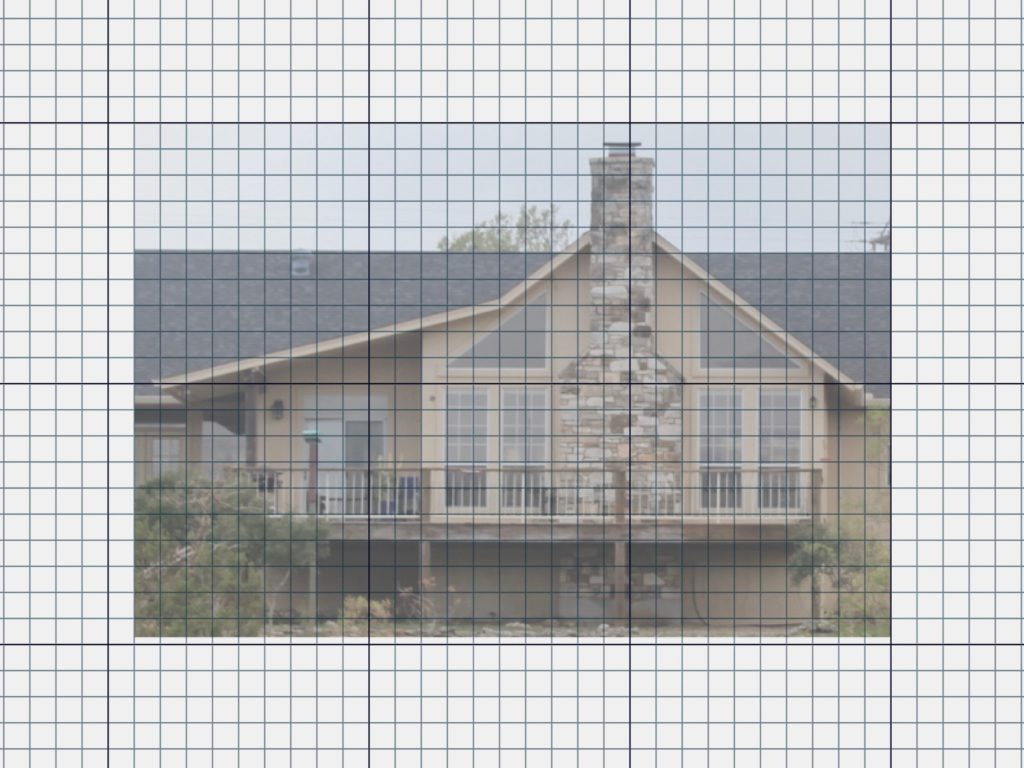
I use the computer to create designs. ”Home in Texas” shows the back of our house, with its massive stone chimney. The tree in the scene is a tracing of the oak tree that I pass as I walk up the hill to my drawloom studio. The airplane is a copy of the Mooney that our pilot friend took us in to fly over Enchanted Rock. I am delighted to discover that I can use a drawloom to bring features of personal meaning such as these to life.

Making a gridded pattern for weaving on the drawloom.
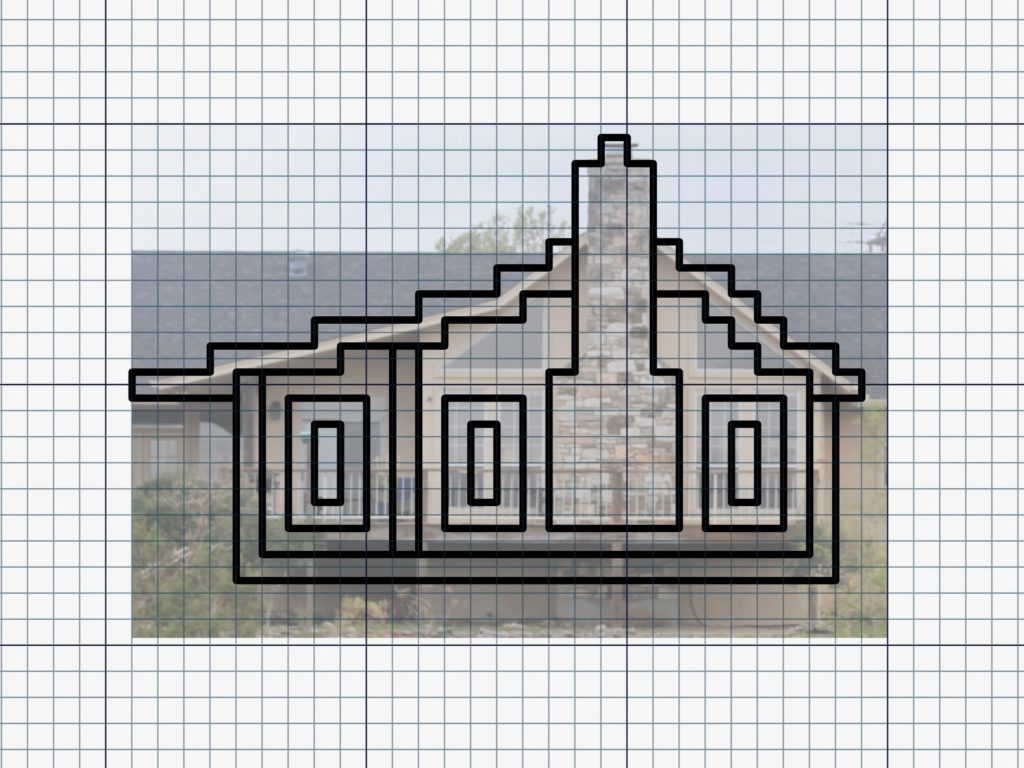
Photo of our back deck. Using Affinity Photo, I set up a grid on the page to represent 30 pattern shafts. I then import my photo onto the gridded page.
Creating a simple gridded pattern on the computer.
Simple outline is created and saved as a separate image. The filled-in outline becomes my drawloom pattern.
Creating gridded designs in Affinity Photo.
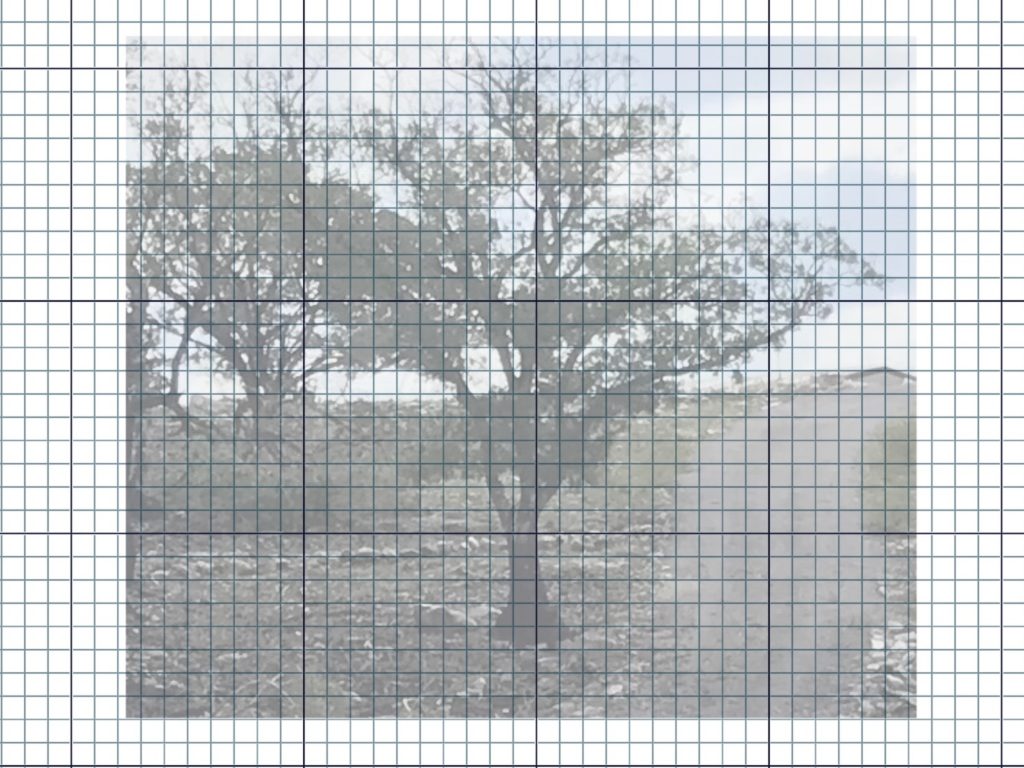
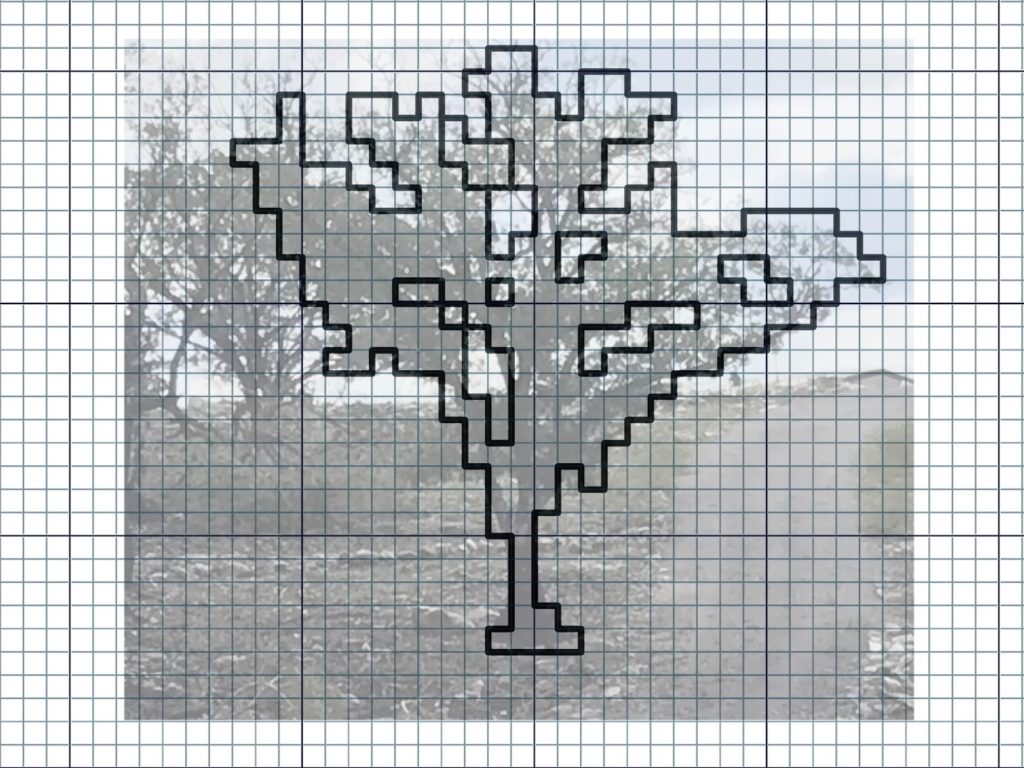
Oak tree that I pass on the hill up to my drawloom studio. After importing the photo, I adjust the opacity to fade the picture, which makes tracing easier.
Tracing a tree in Affinity Photo to make a drawloom pattern.
I use a pen tool in Affinity Photo set at 3 pt to do the tracing. Now I can fill in the outline and copy and paste the image onto my chart that I will print and then use at the loom.
Drawloom weaving, using the Myrehed Combination.
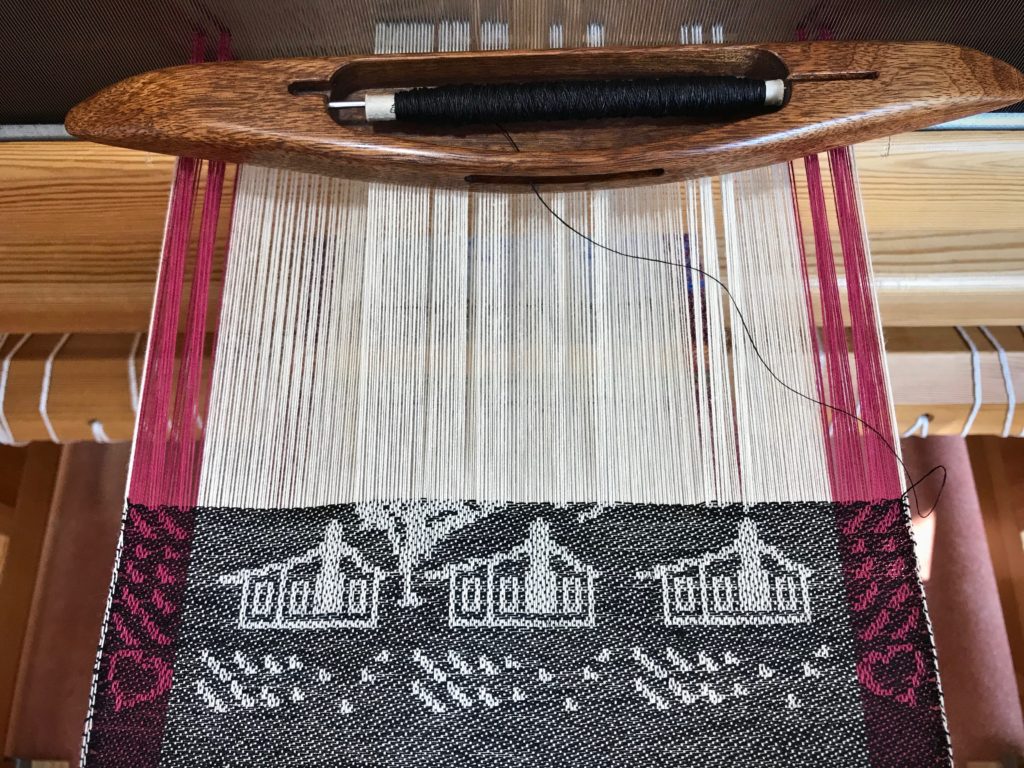
Houses are woven with 30 pattern shafts. The hearts in the corners and the added details above the houses use the single unit draw cords. The tree is beginning to appear between the two houses on the left.
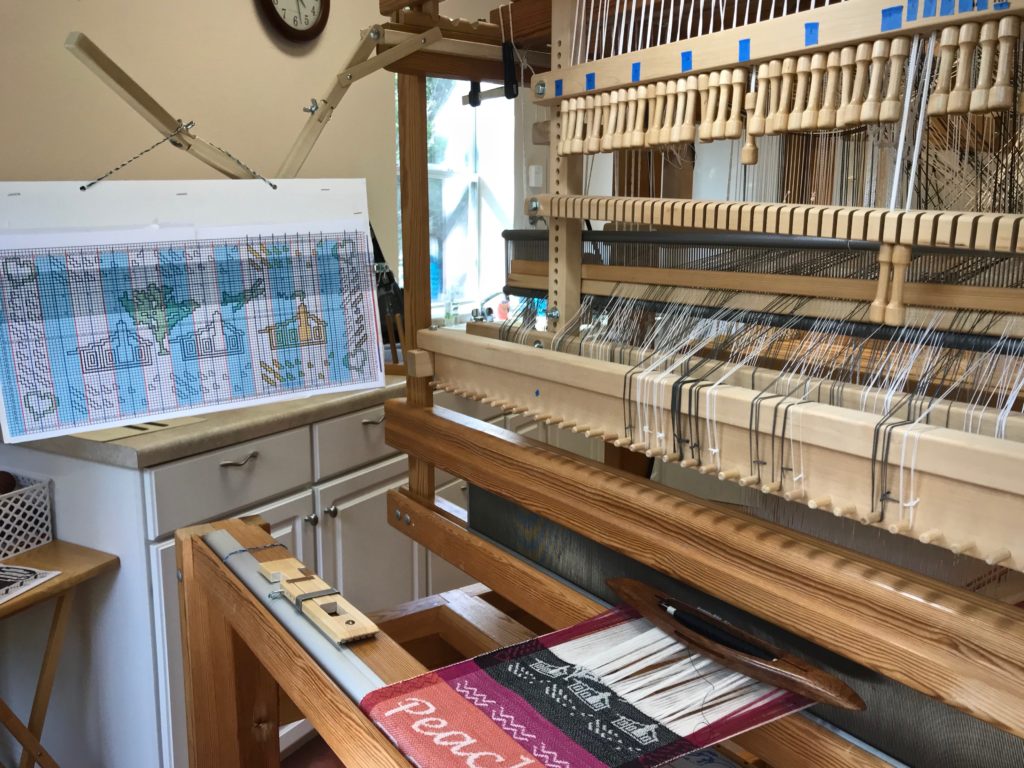
Myrehed Combination drawloom.
Two draw handles are pulled for the pattern on the side borders. Single unit draw cords are pulled and held in place on the hook bar above the beater.
Our Texas Home - woven on the drawloom.
Our Texas Home

The words of the Creator have life in them. It’s as if he puts his thoughts on the loom and weaves them into being. Let there be light! He speaks; and it is so. Listen closely. Hear the Grand Weaver say, Peace to you. And it is woven so. You are his workmanship, bringing his design to life.

Experimental warp on the drawloom.
More ideas are forming, even as this fabric begins to hug the cloth beam.

May your life reveal the Creator’s design.

Happy Weaving,
Karen