Pictorial Tapestry Weaving

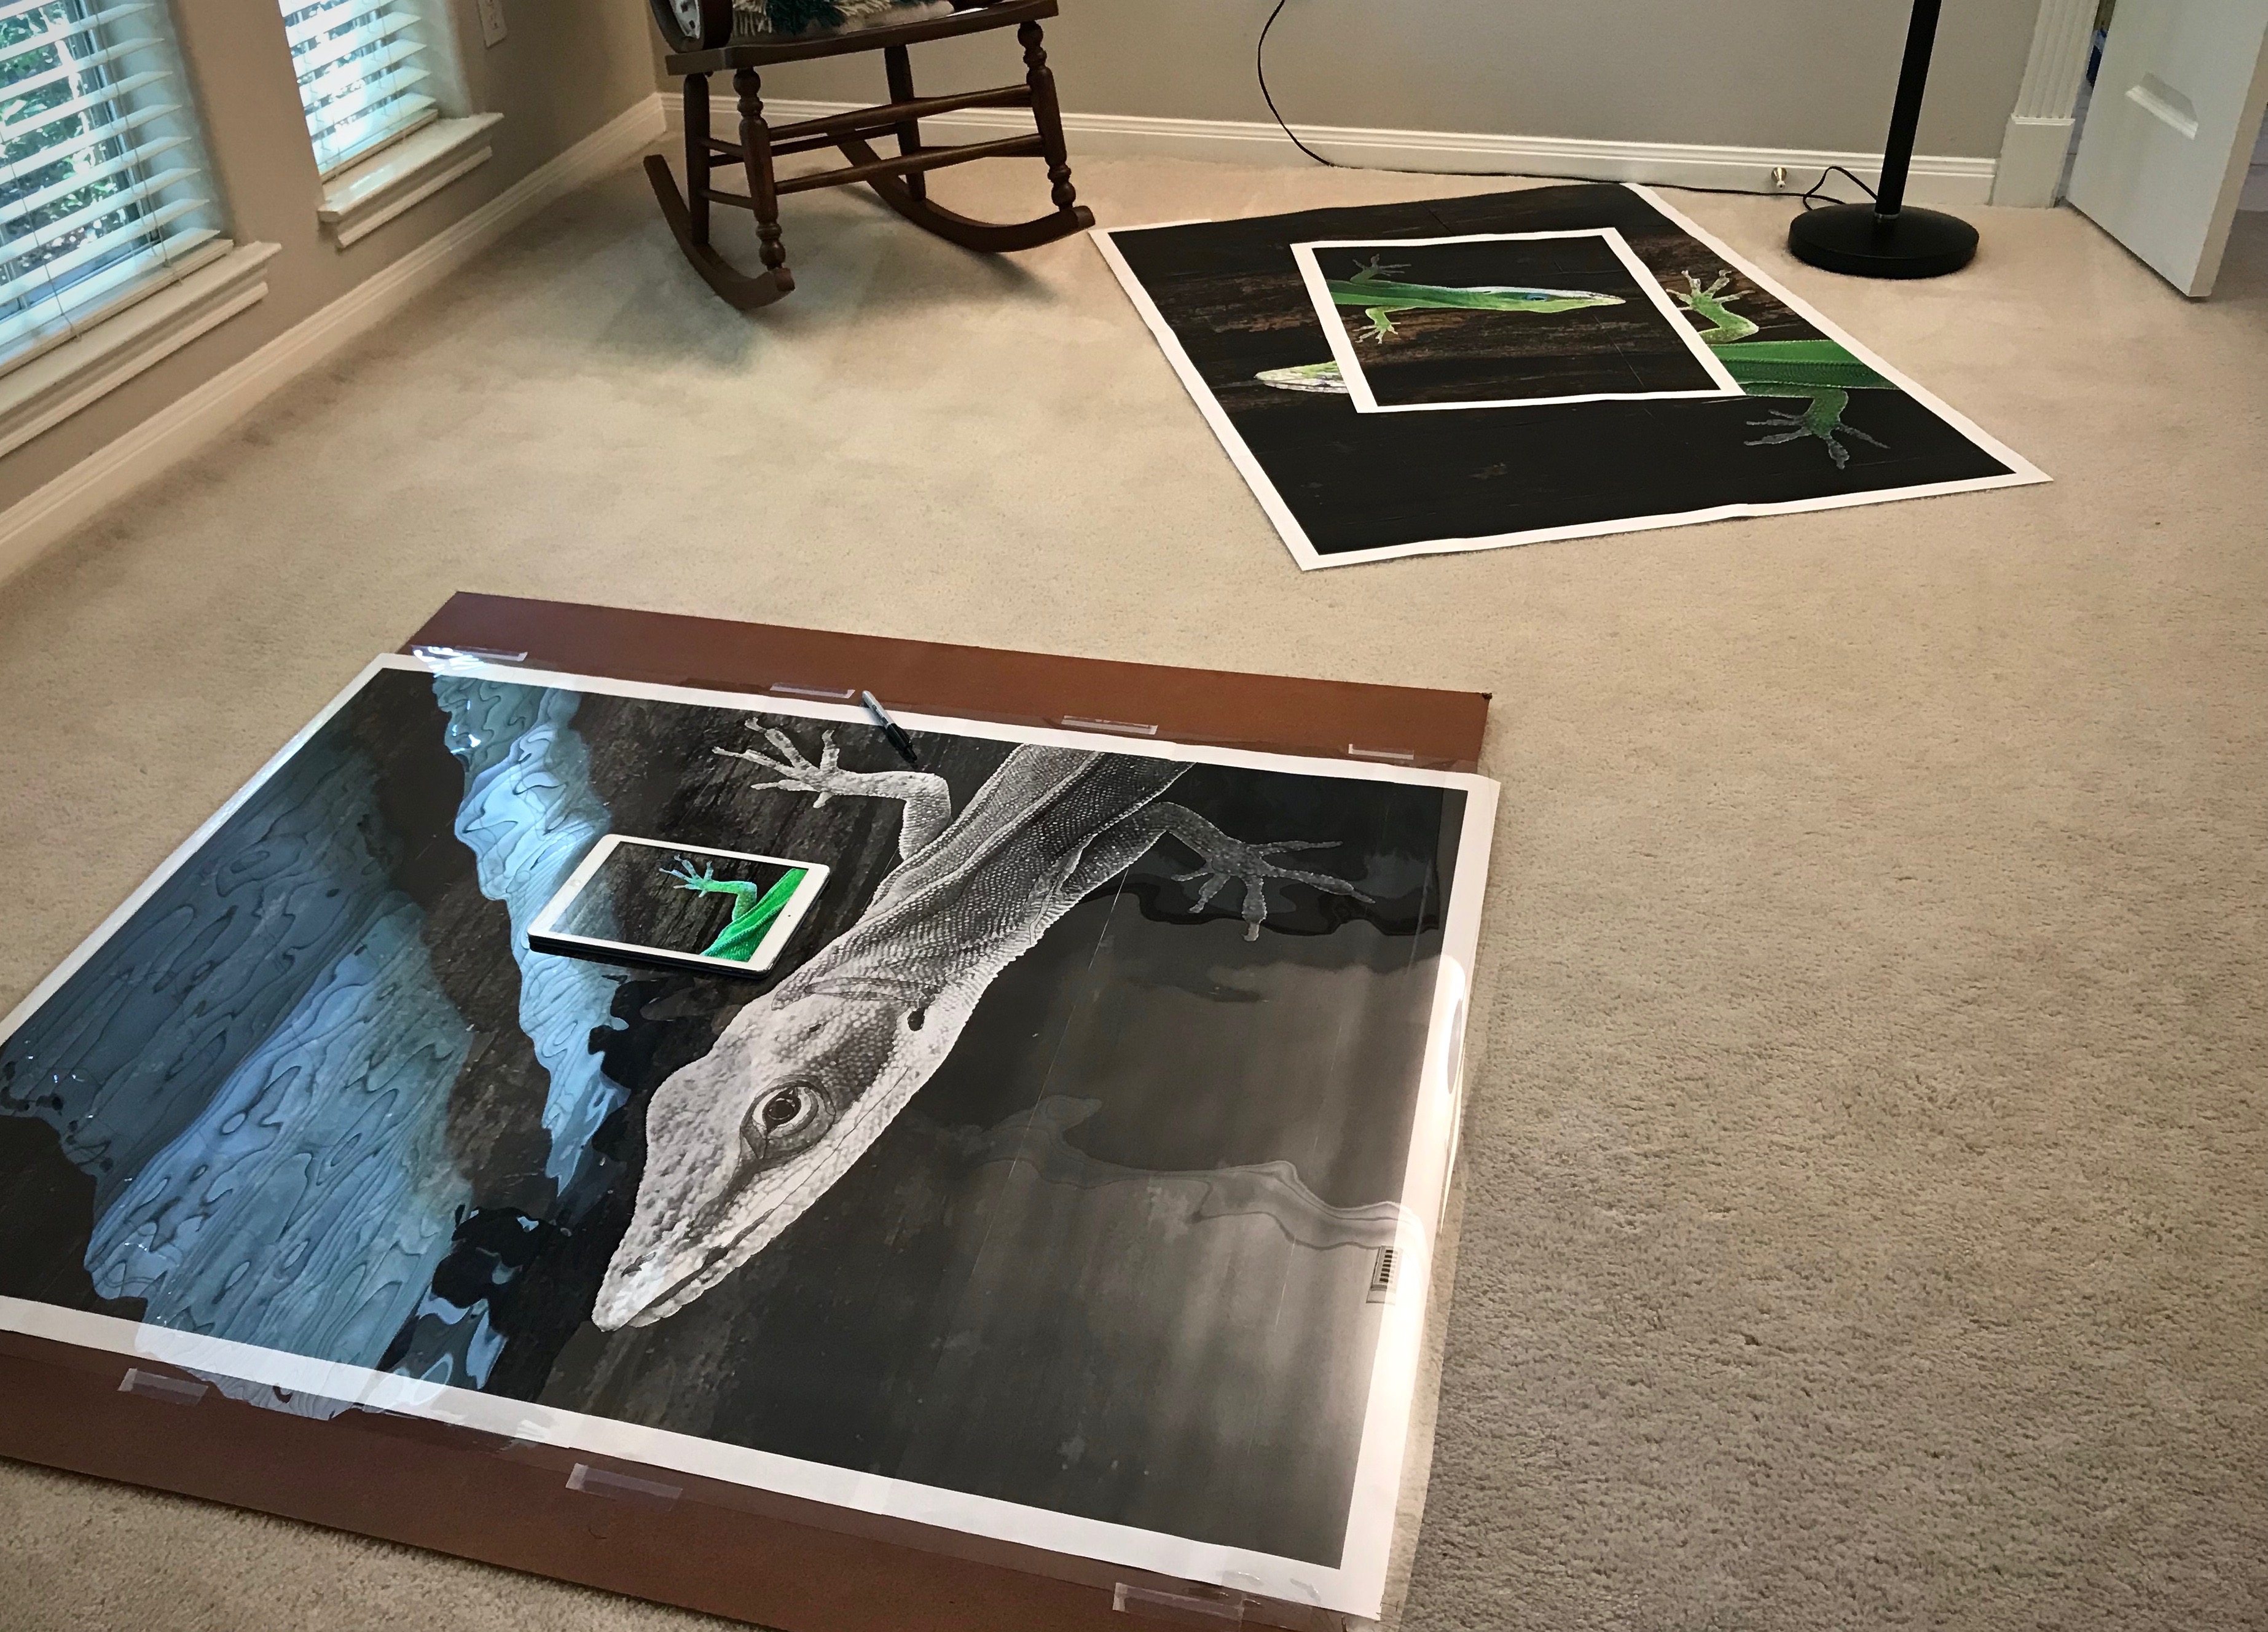
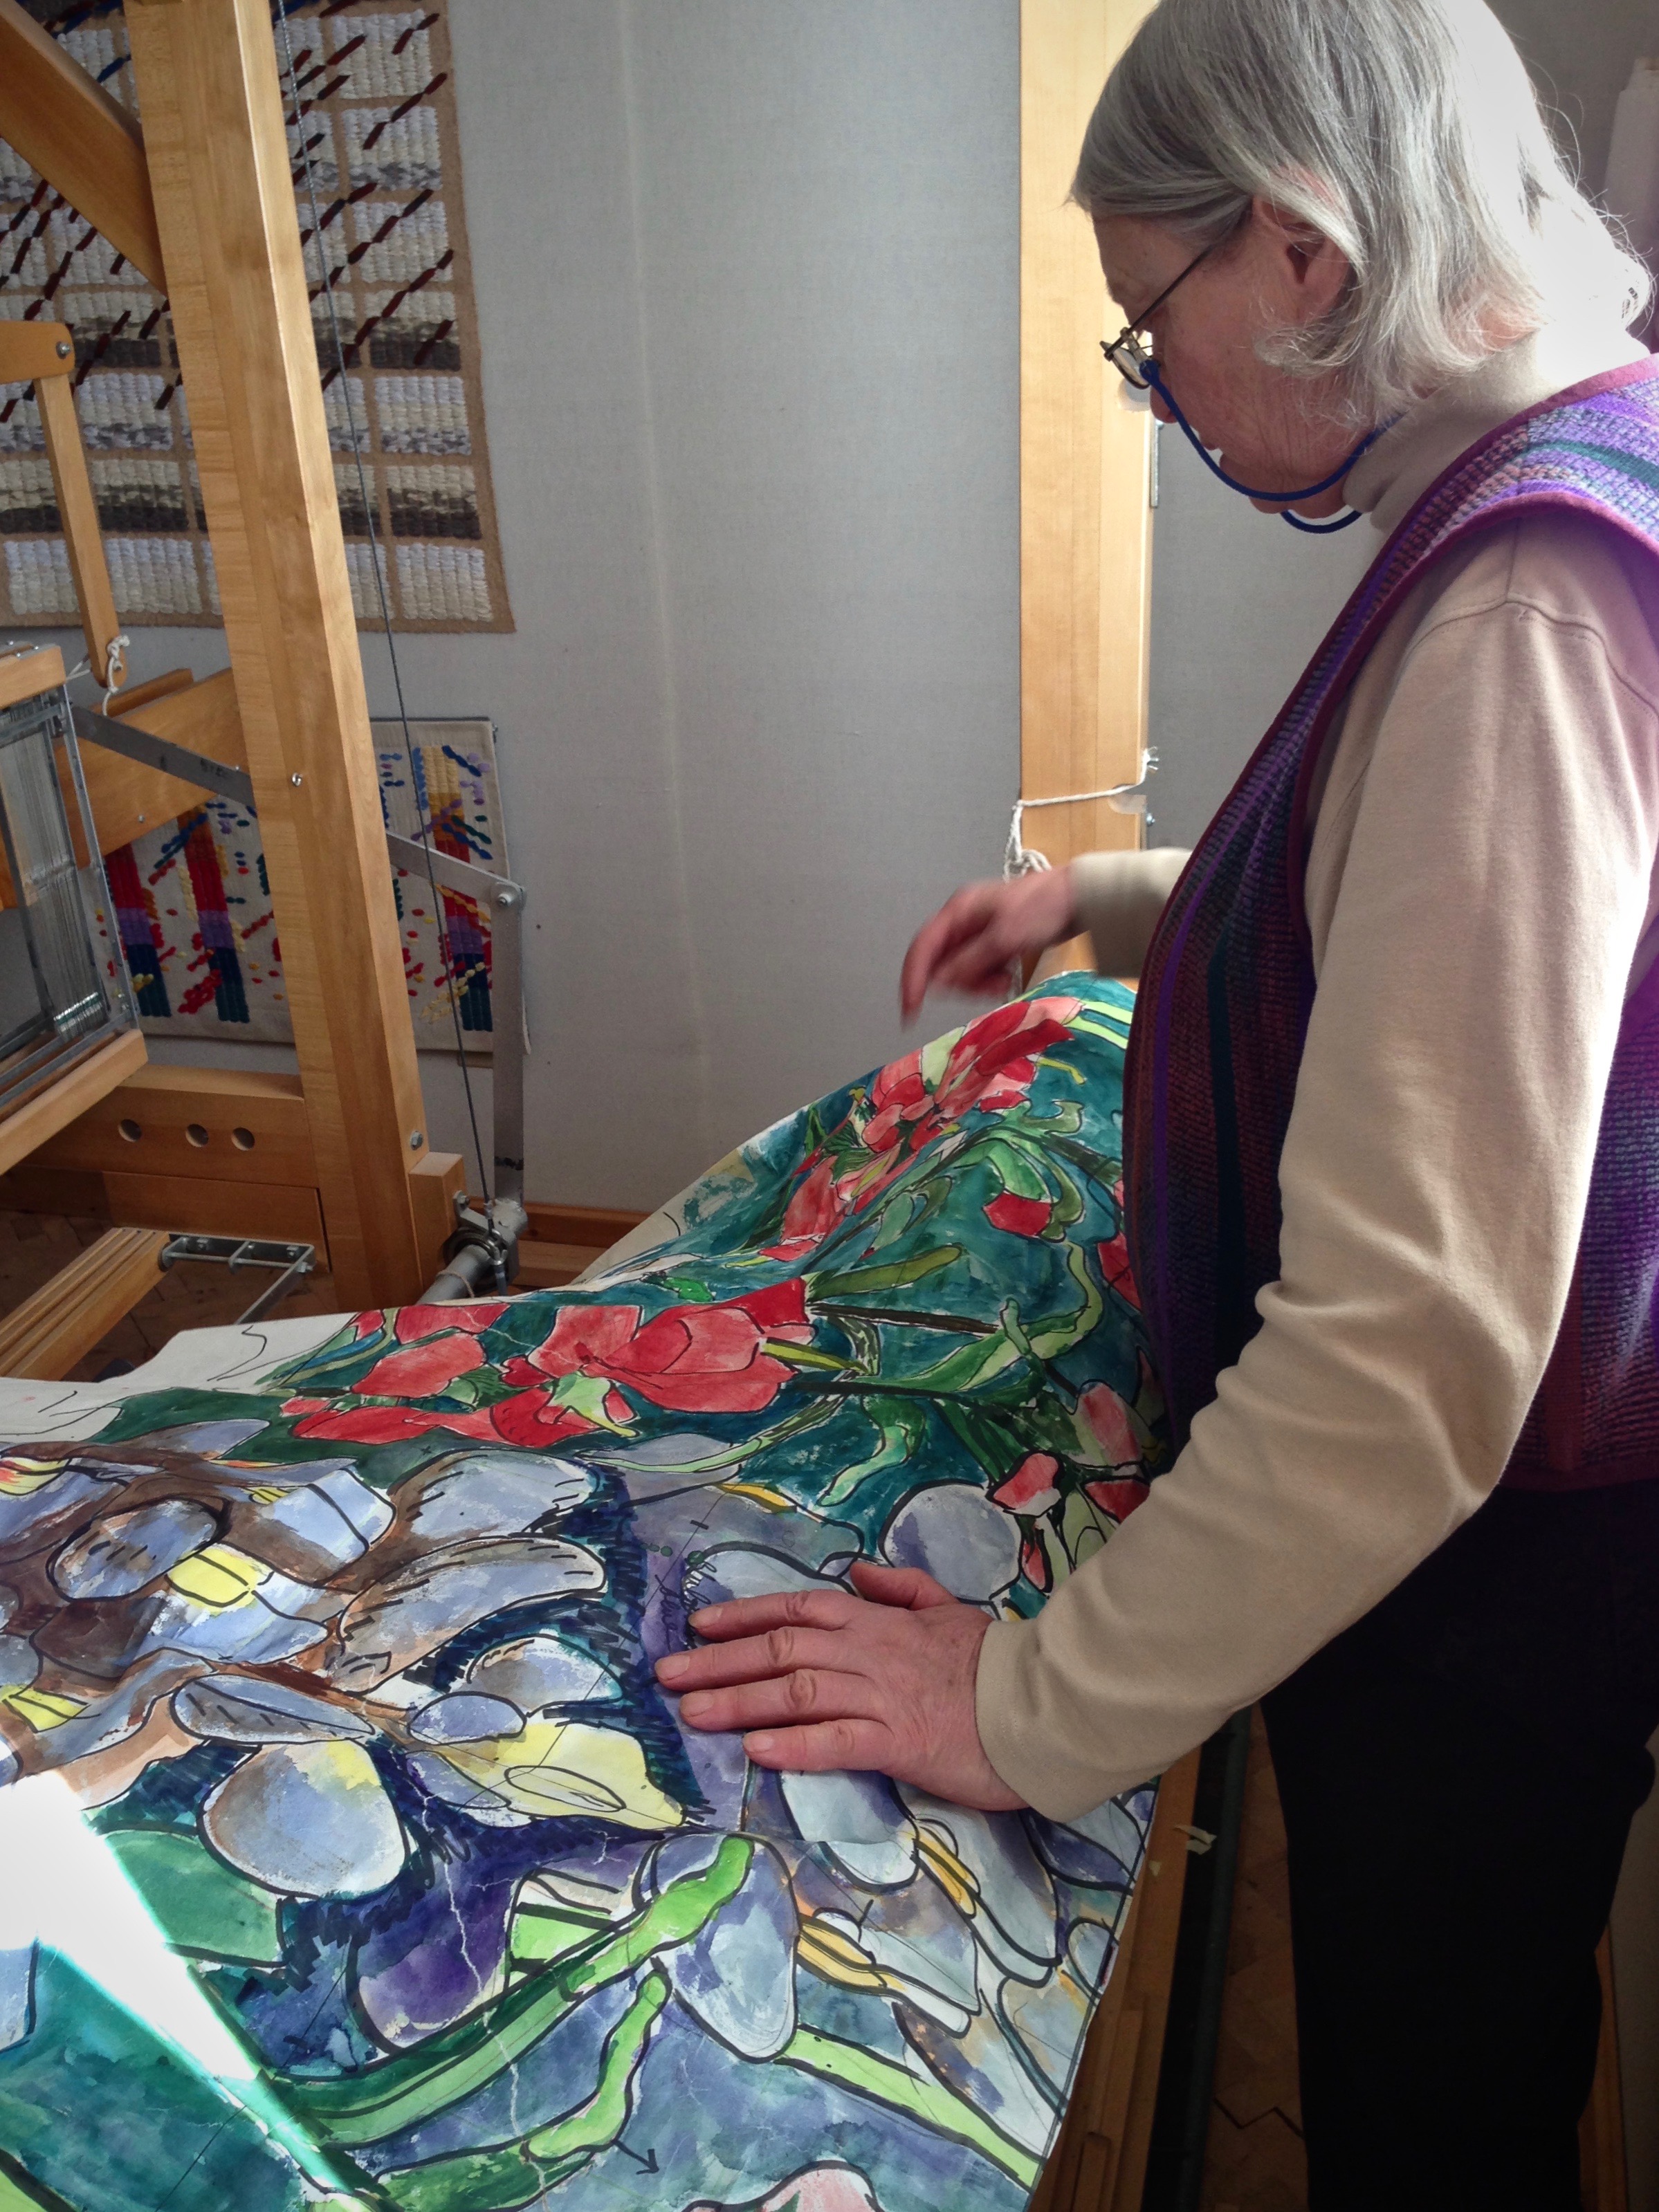
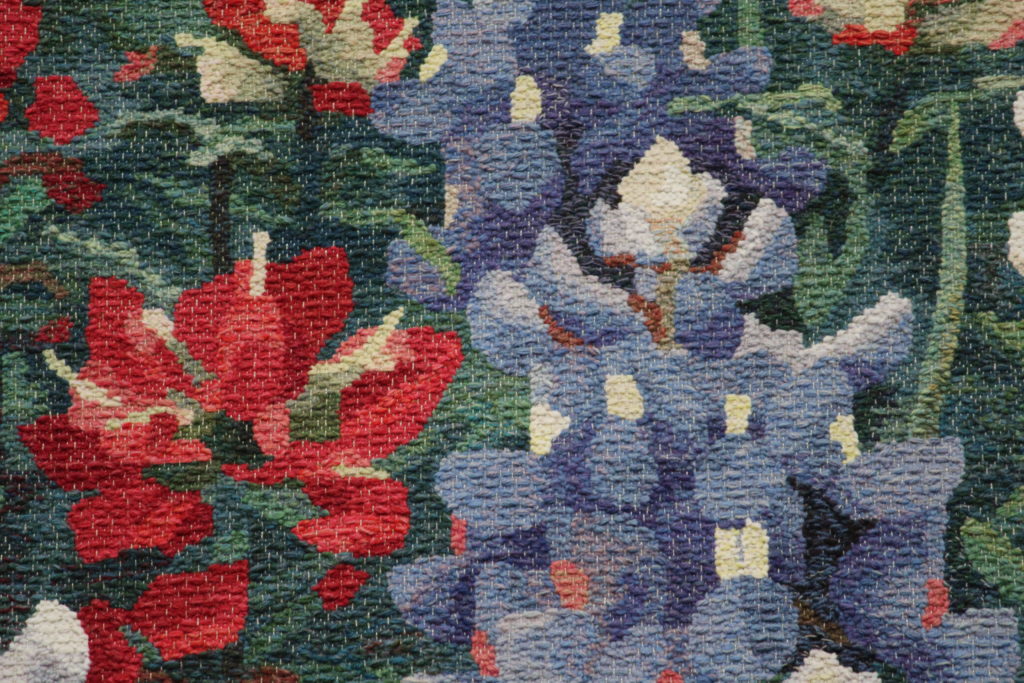
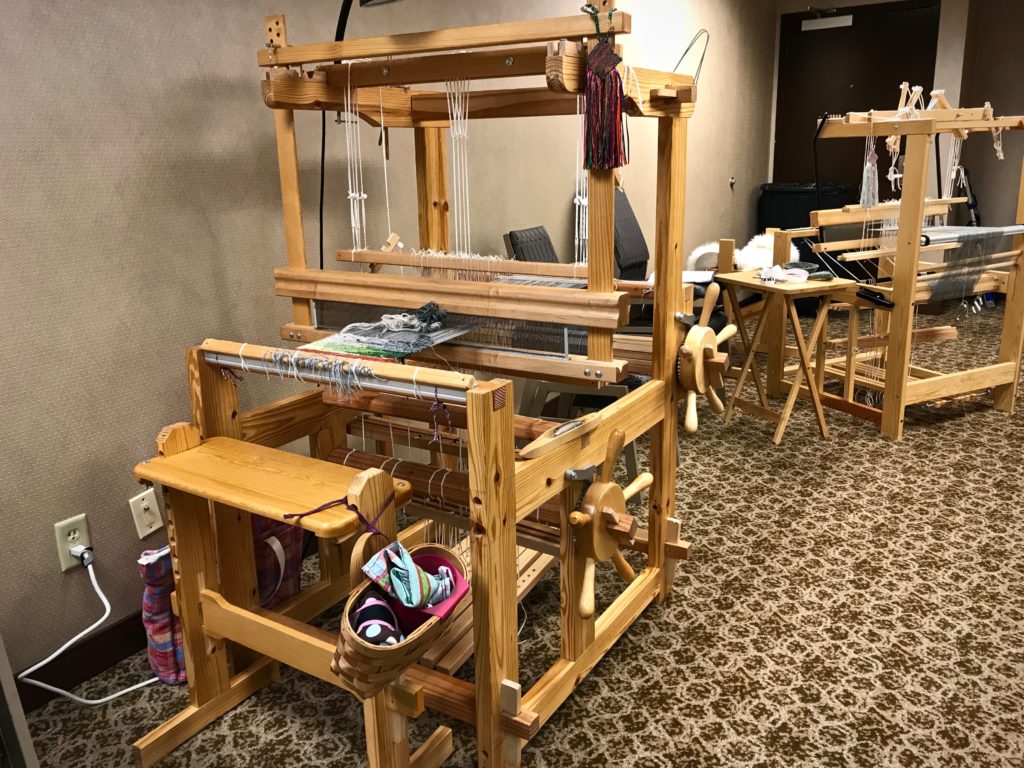
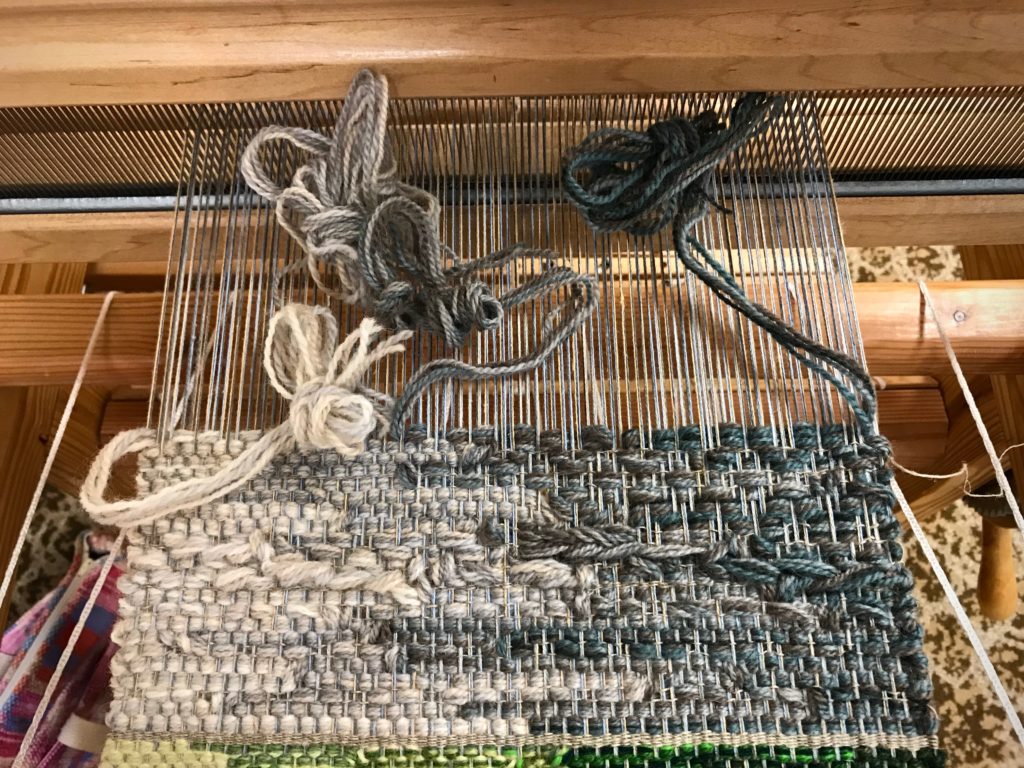
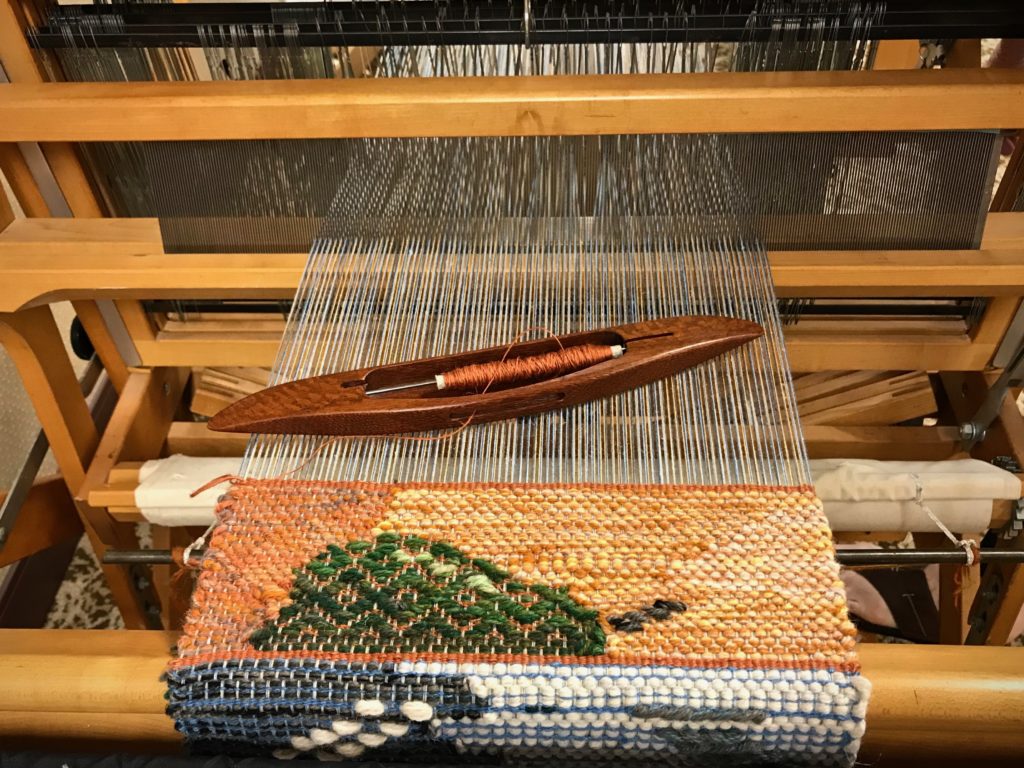
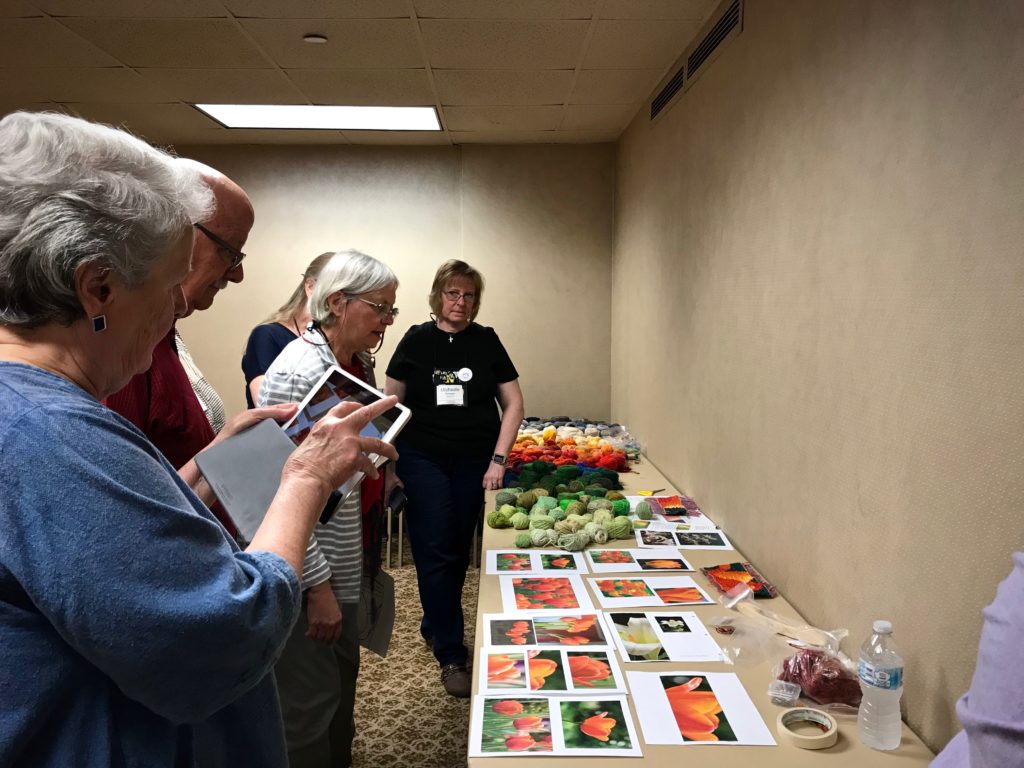
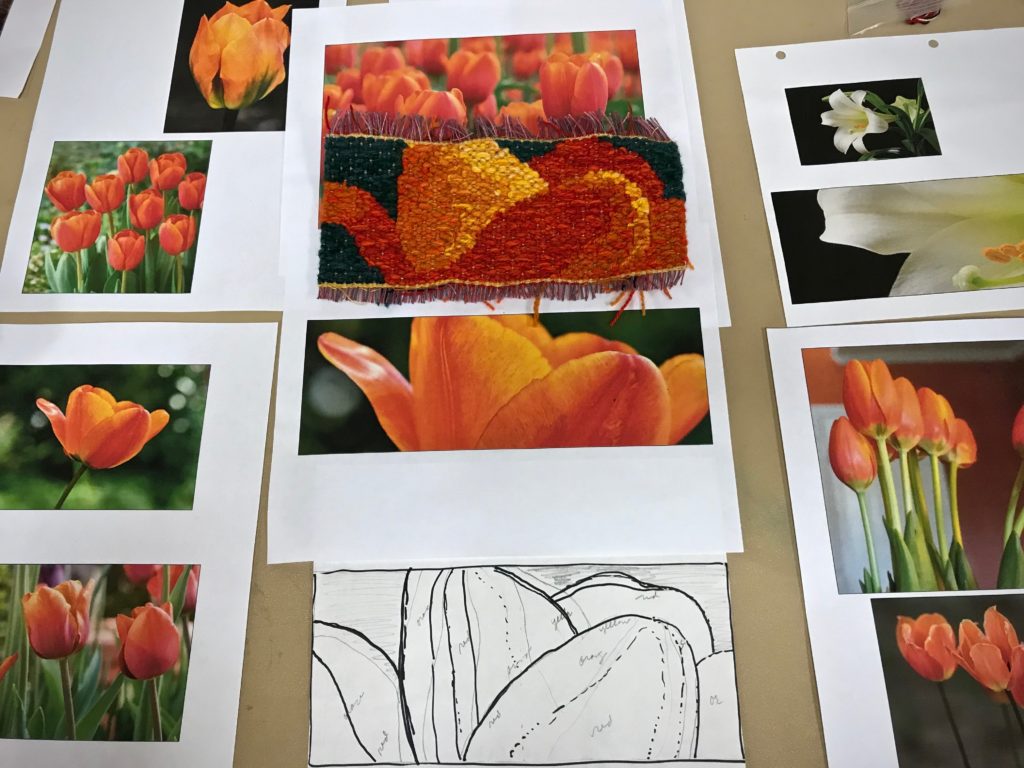
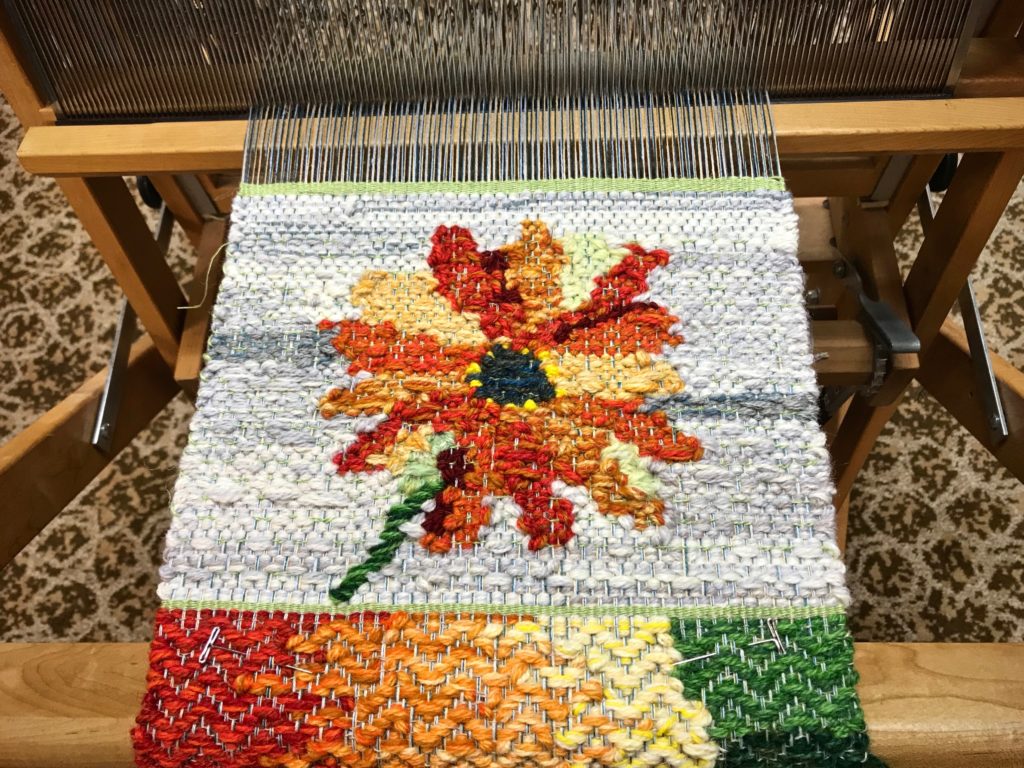
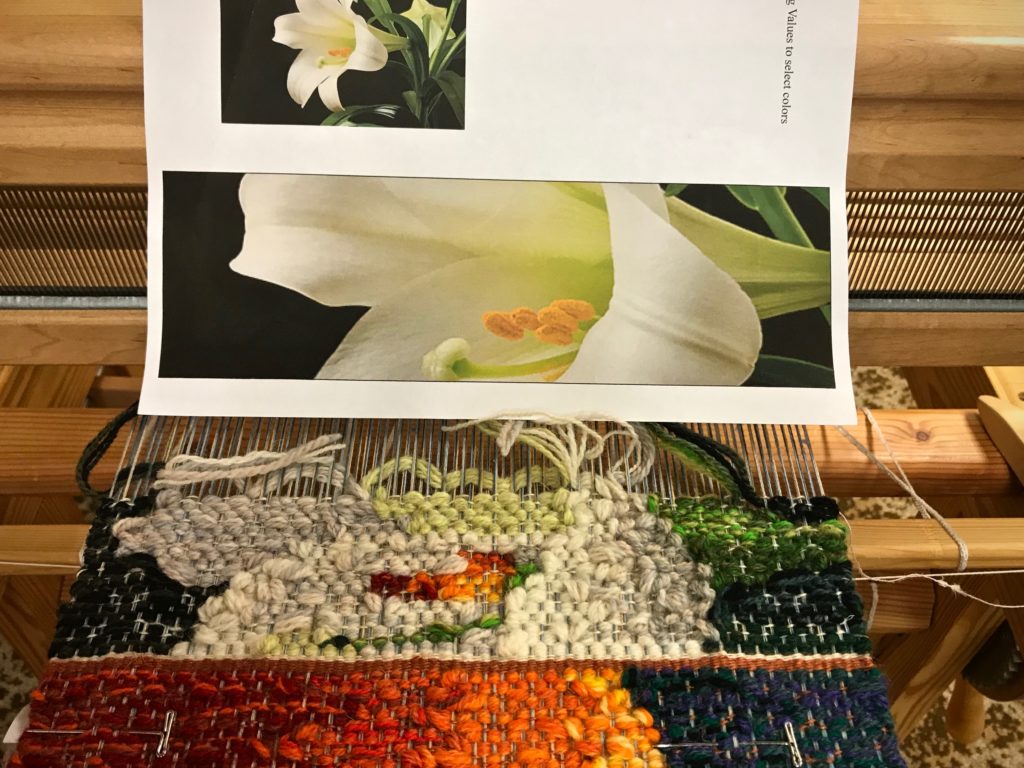
Inspired by some of Joanne Hall’s exquisite large tapestries, I have been taking steps to learn her techniques. This fascinating style that is unique to Joanne enables her to weave large tapestries at a comfortable pace. My Lizard tapestry last year was a step in this direction. (See Quiet Friday: Lizard Tapestry.) One thing that the lizard taught me is how much more I need to learn. So, you can imagine my delight in having the opportunity to take a Pictorial Tapestry Weaving workshop taught by Joanne Hall last week! (Contemporary Handweavers of Texas Conference in Fort Worth was the setting.)

Texas Wildflowers, tapestry by Joanne Hall.
Texas Wildflowers, tapestry by Joanne Hall. Photo credit: Steve Isenhower 2013
Detail of Texas Wildflowers, tapestry by Joanne Hall.
Detail of Texas Wildflowers. Threaded in rosepath, with a linen warp. Woven with butterfly bundles of wool yarn. Photo credit: Steve Isenhower 2013

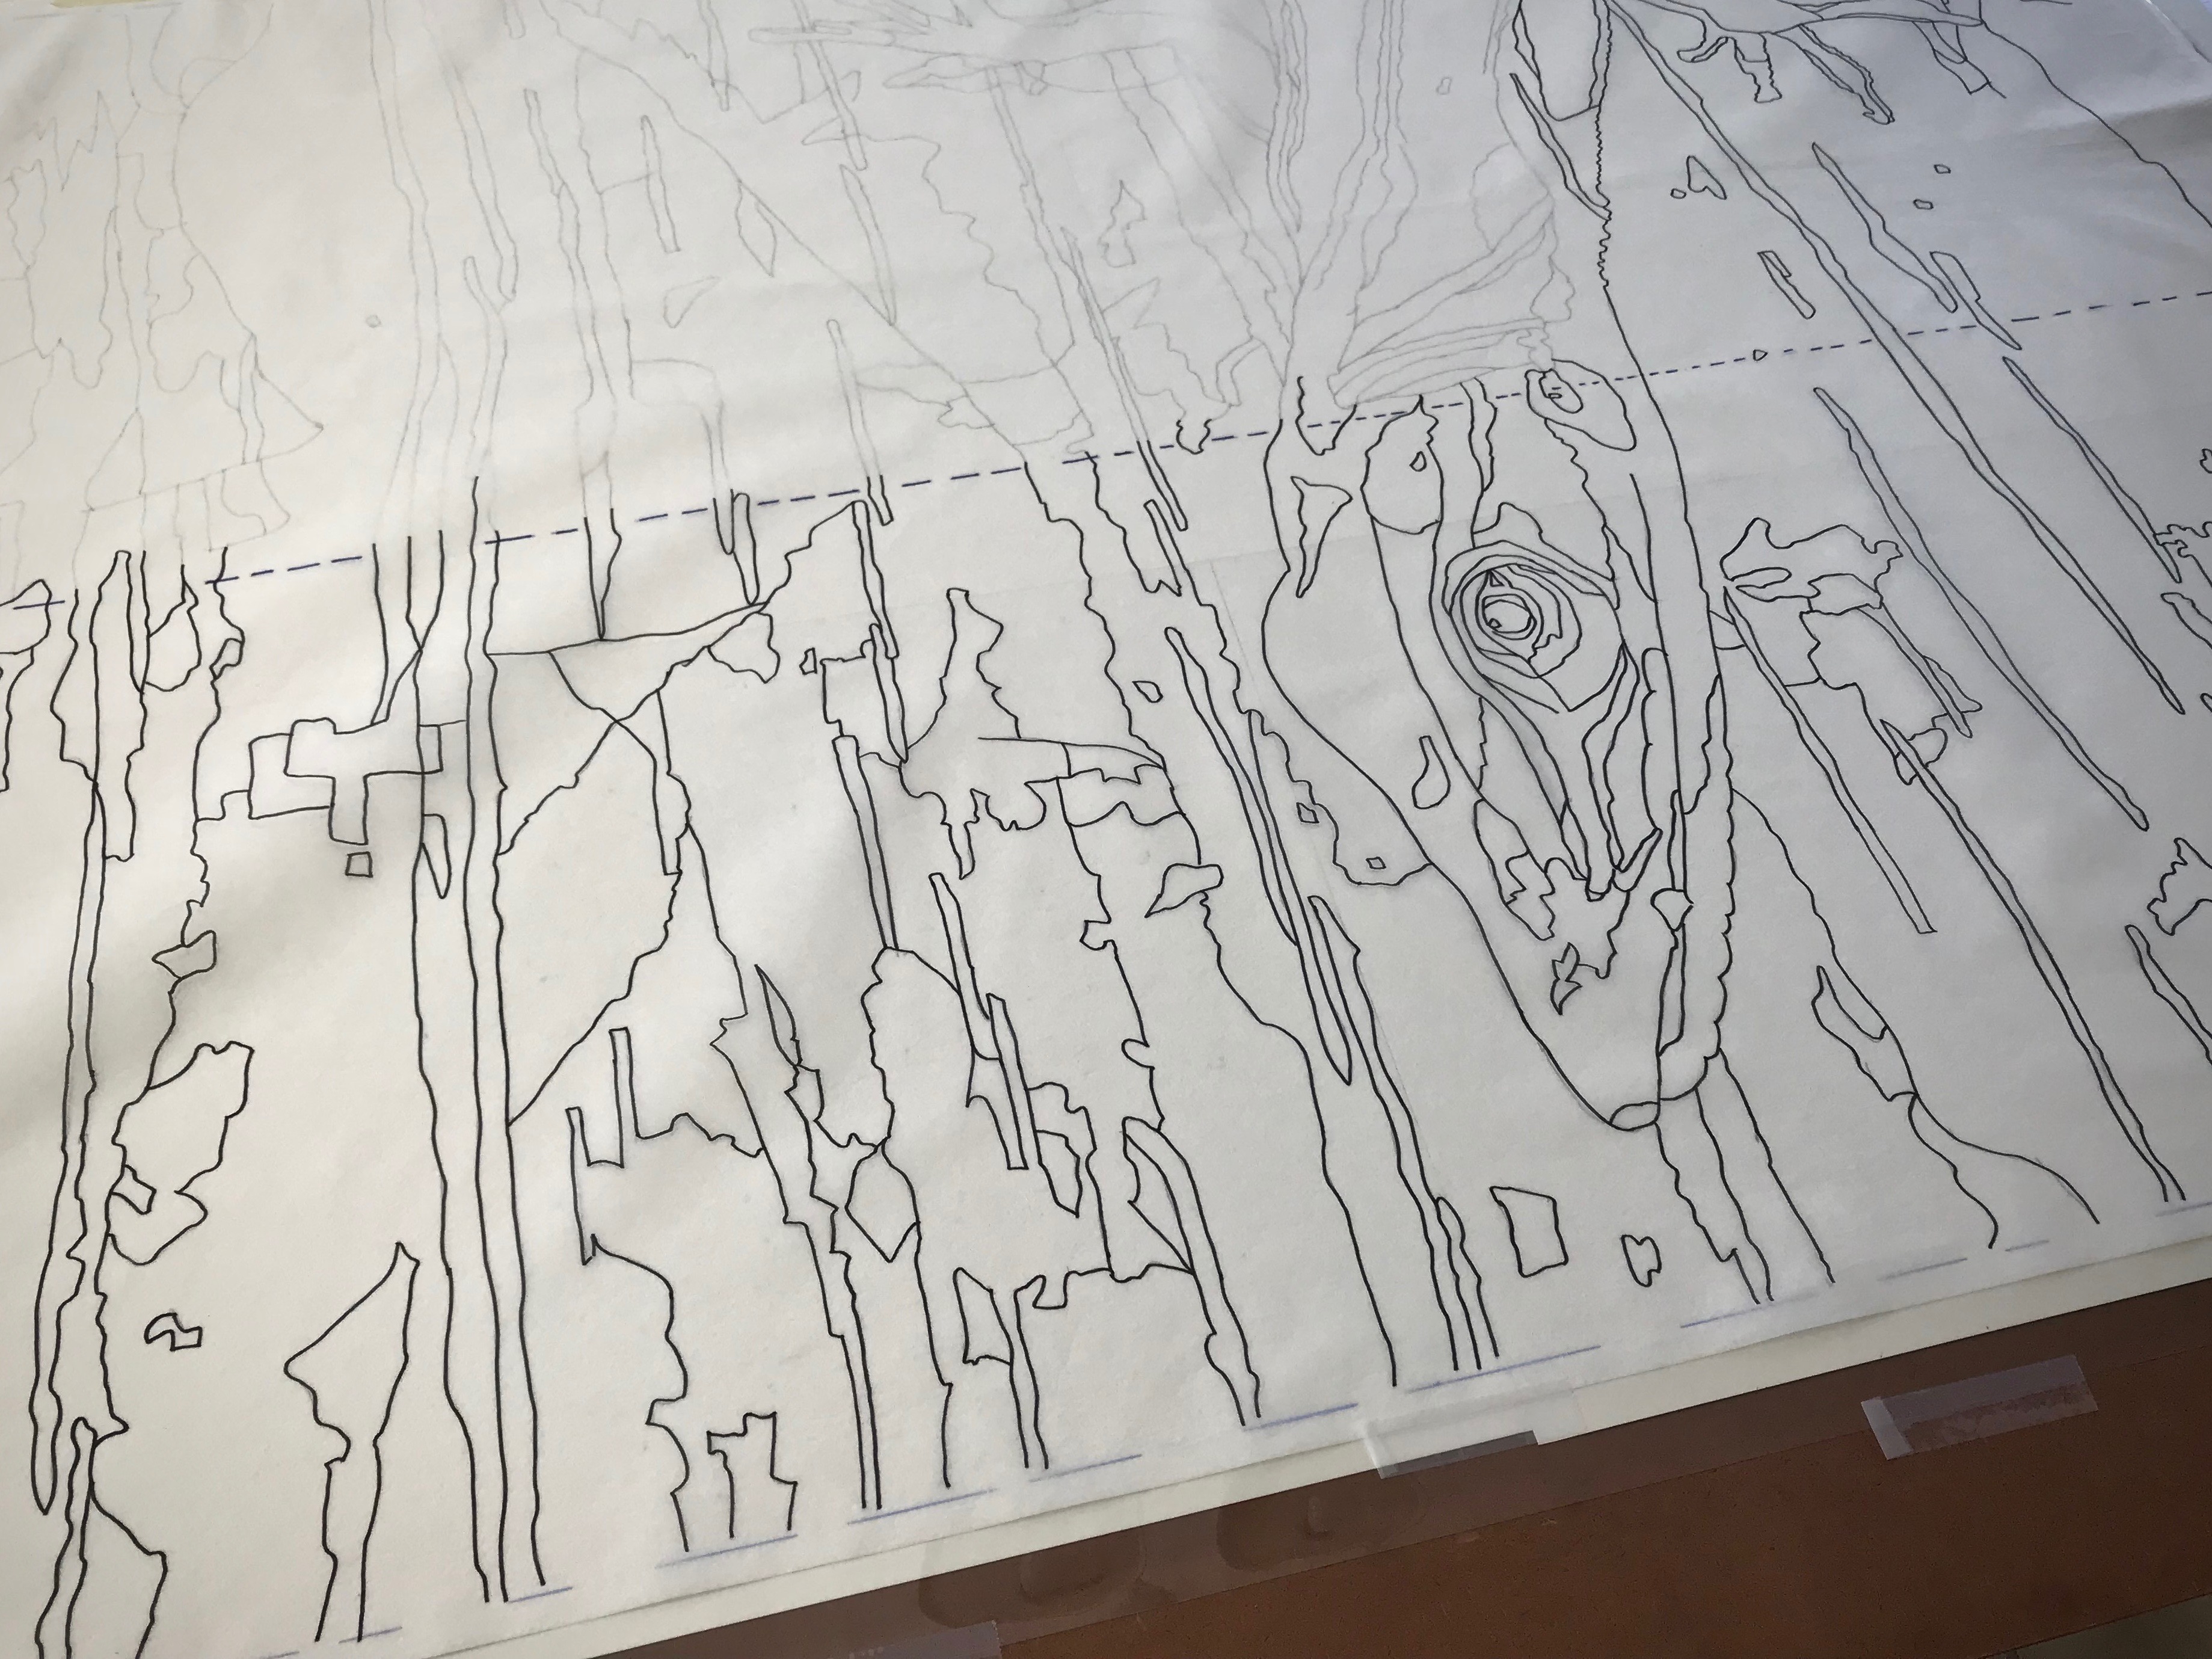
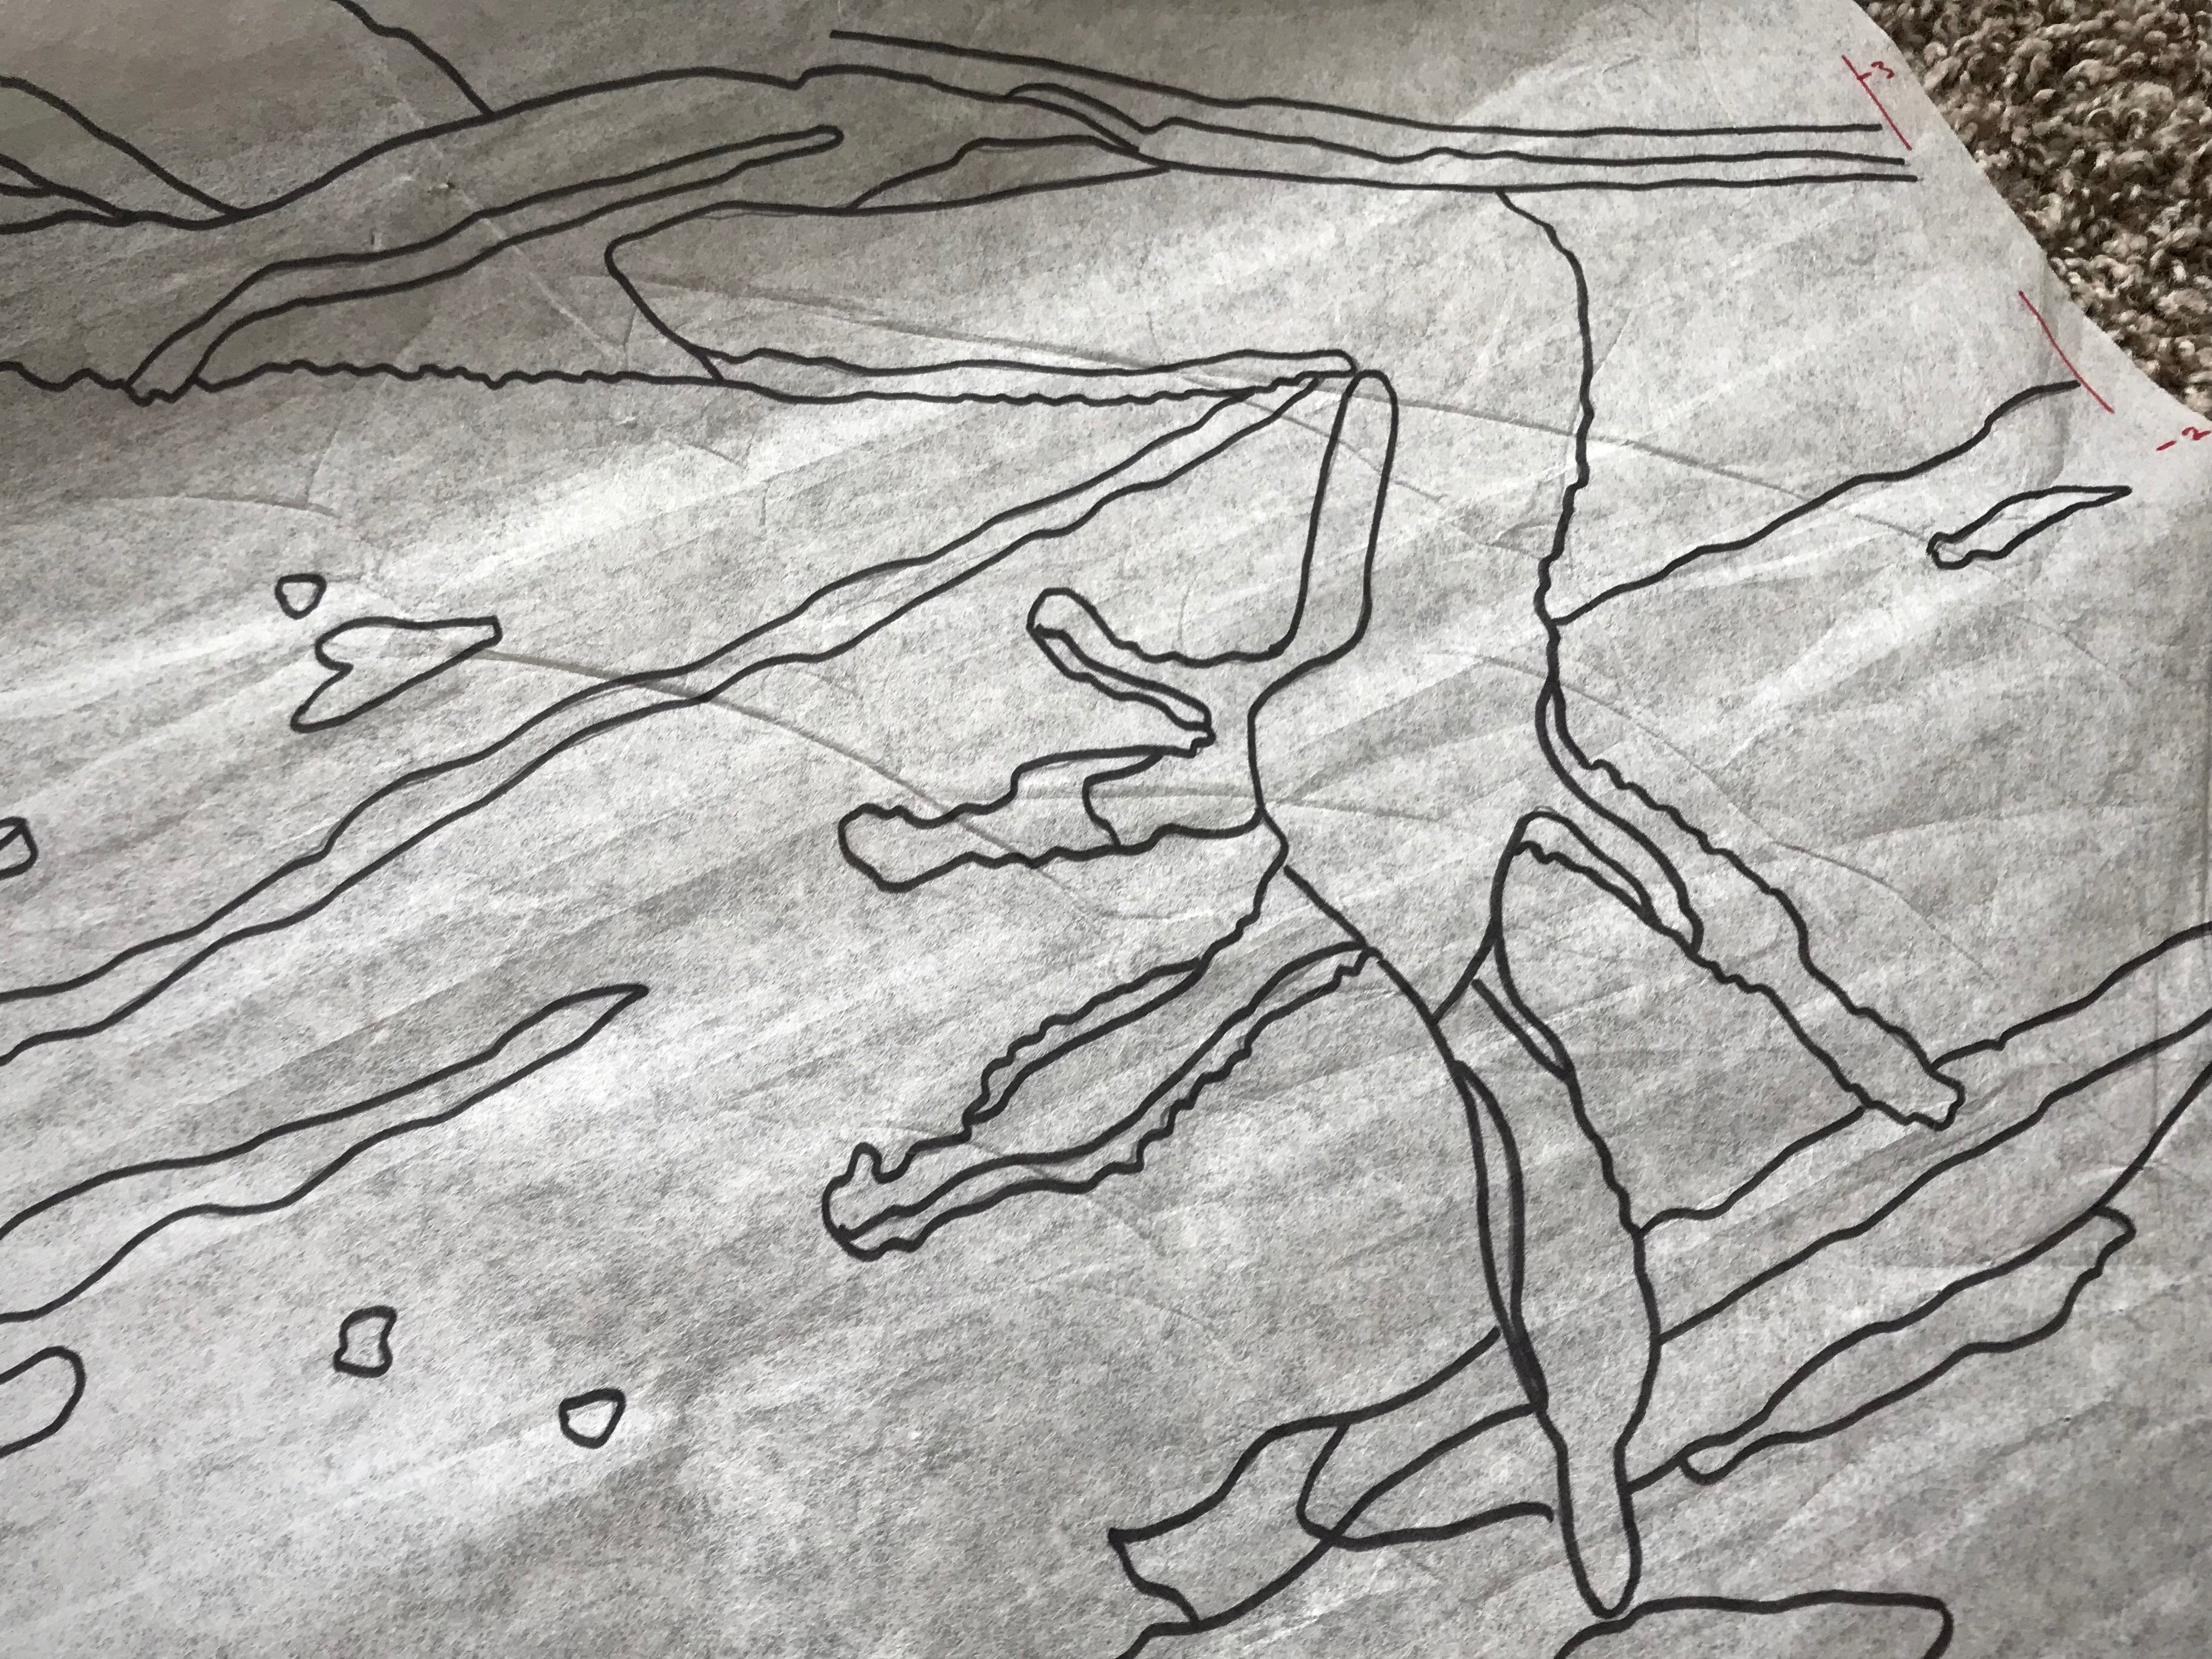
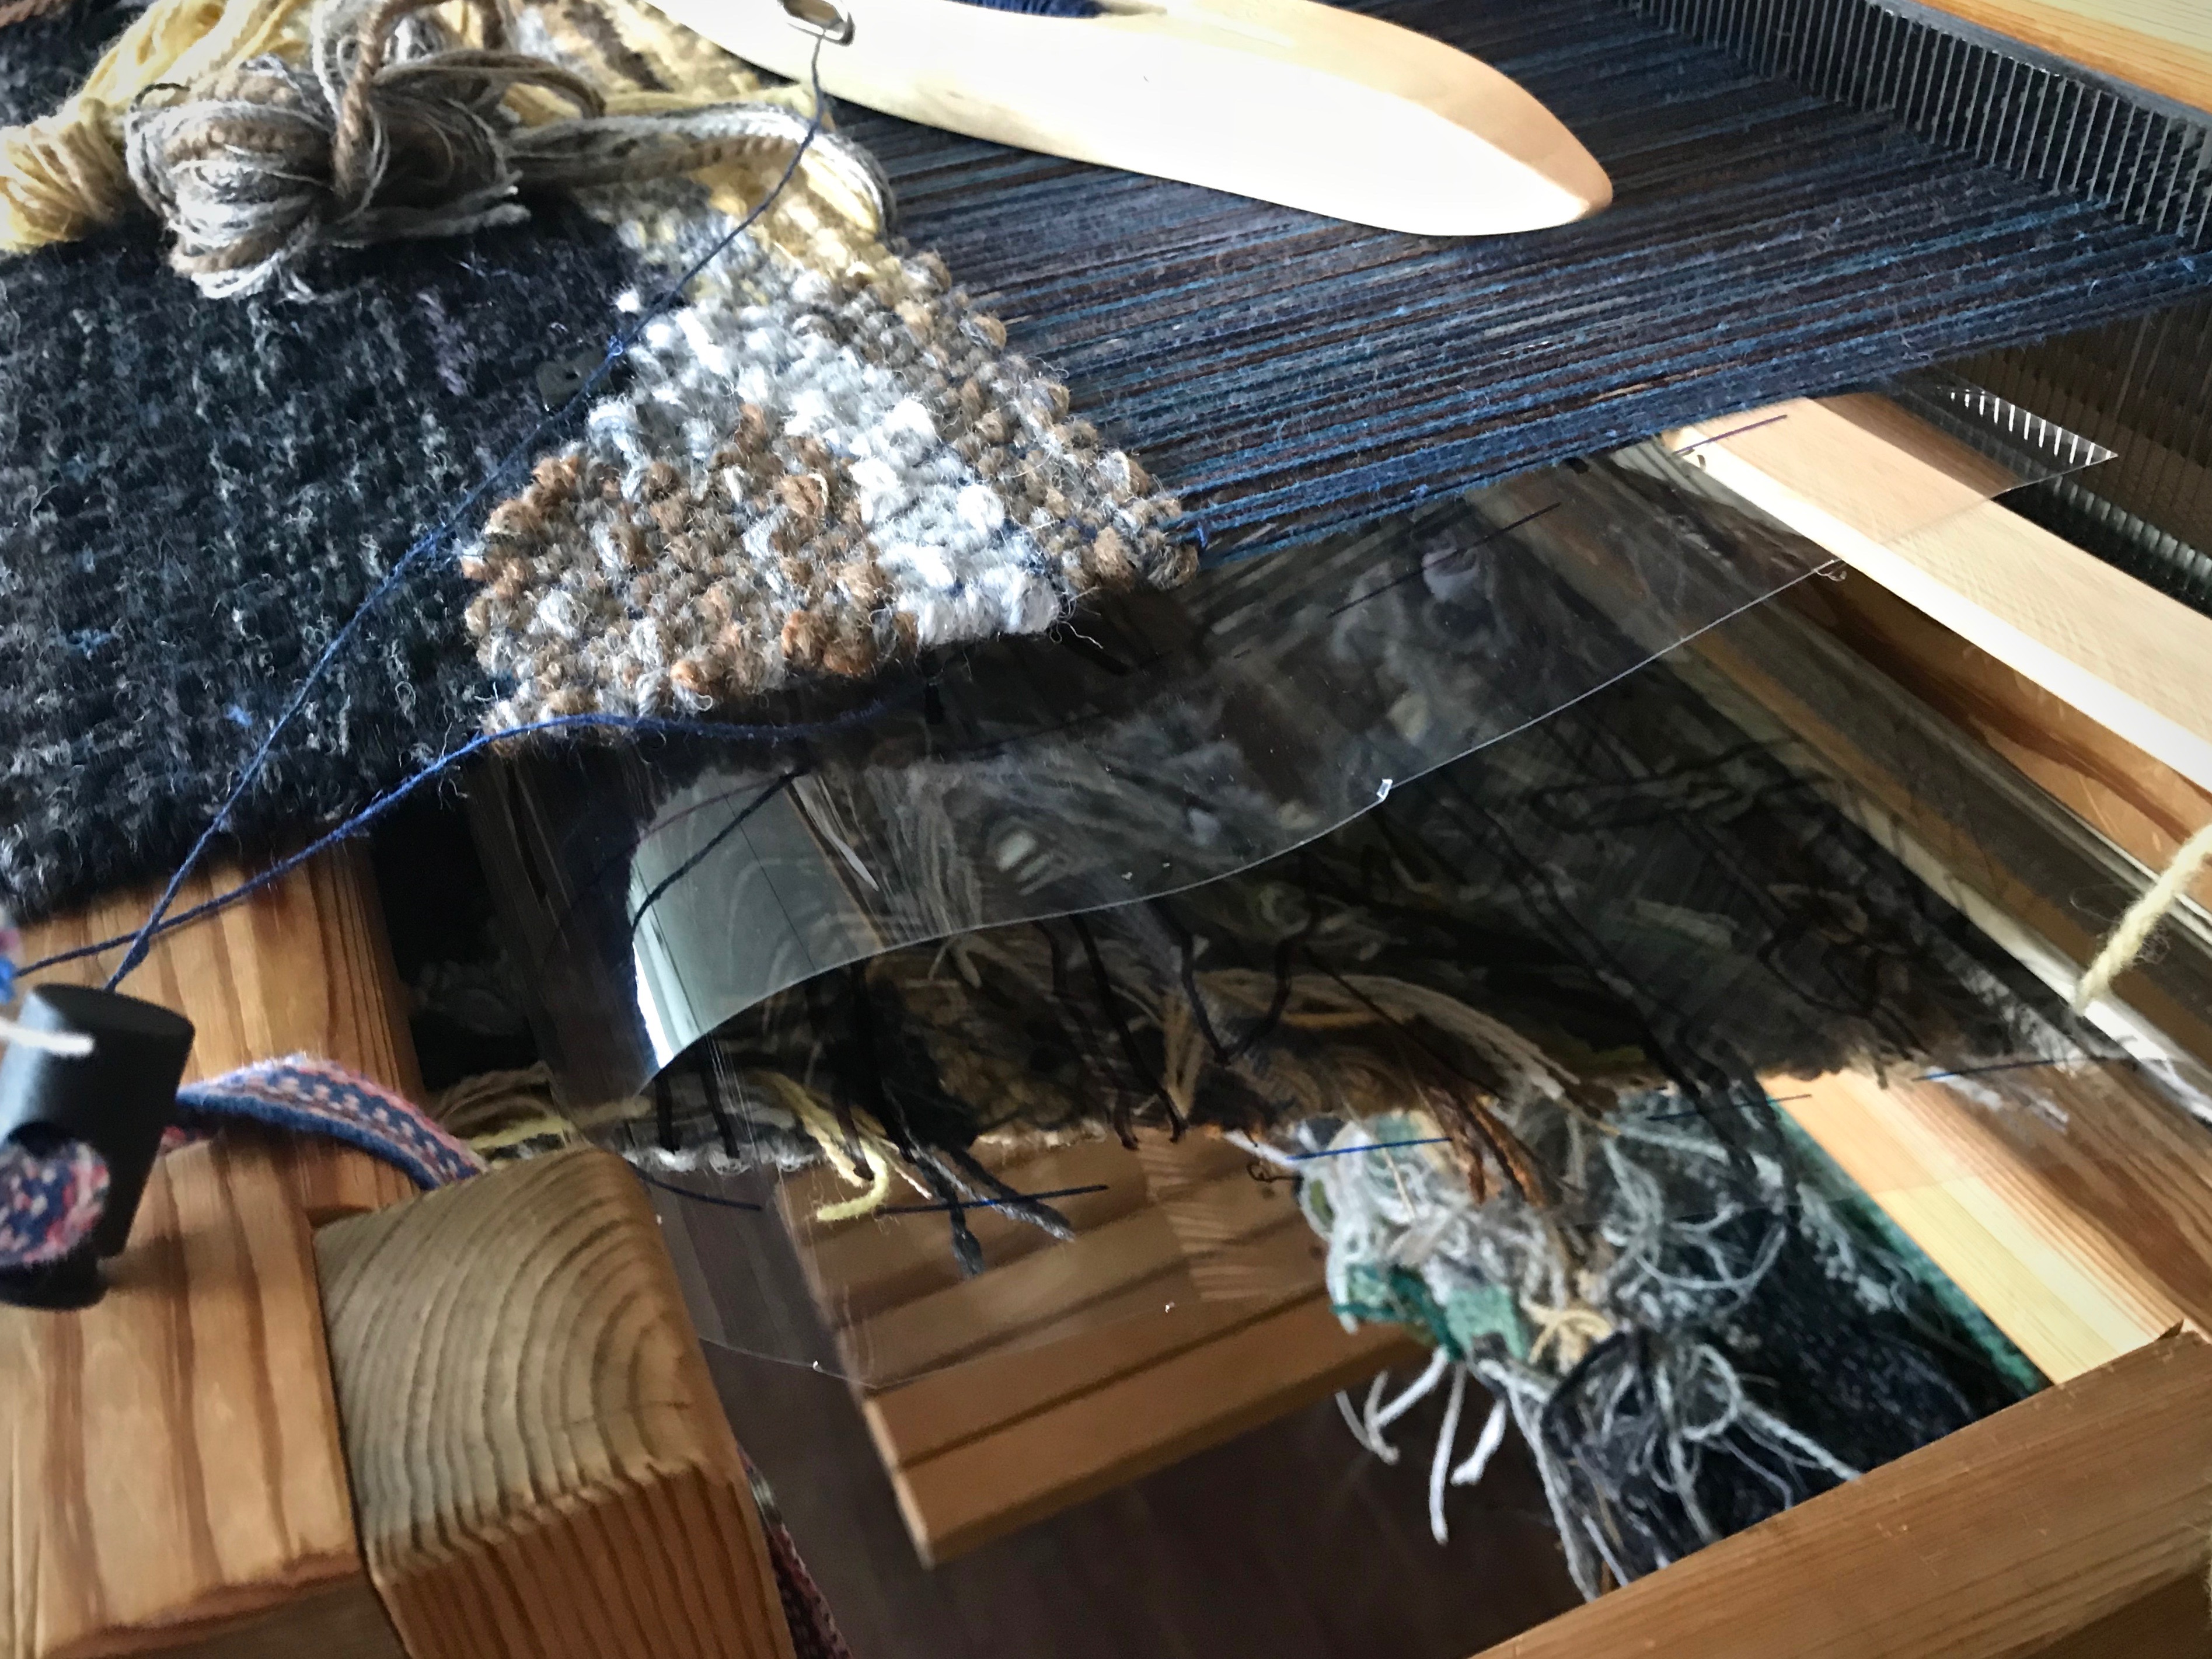
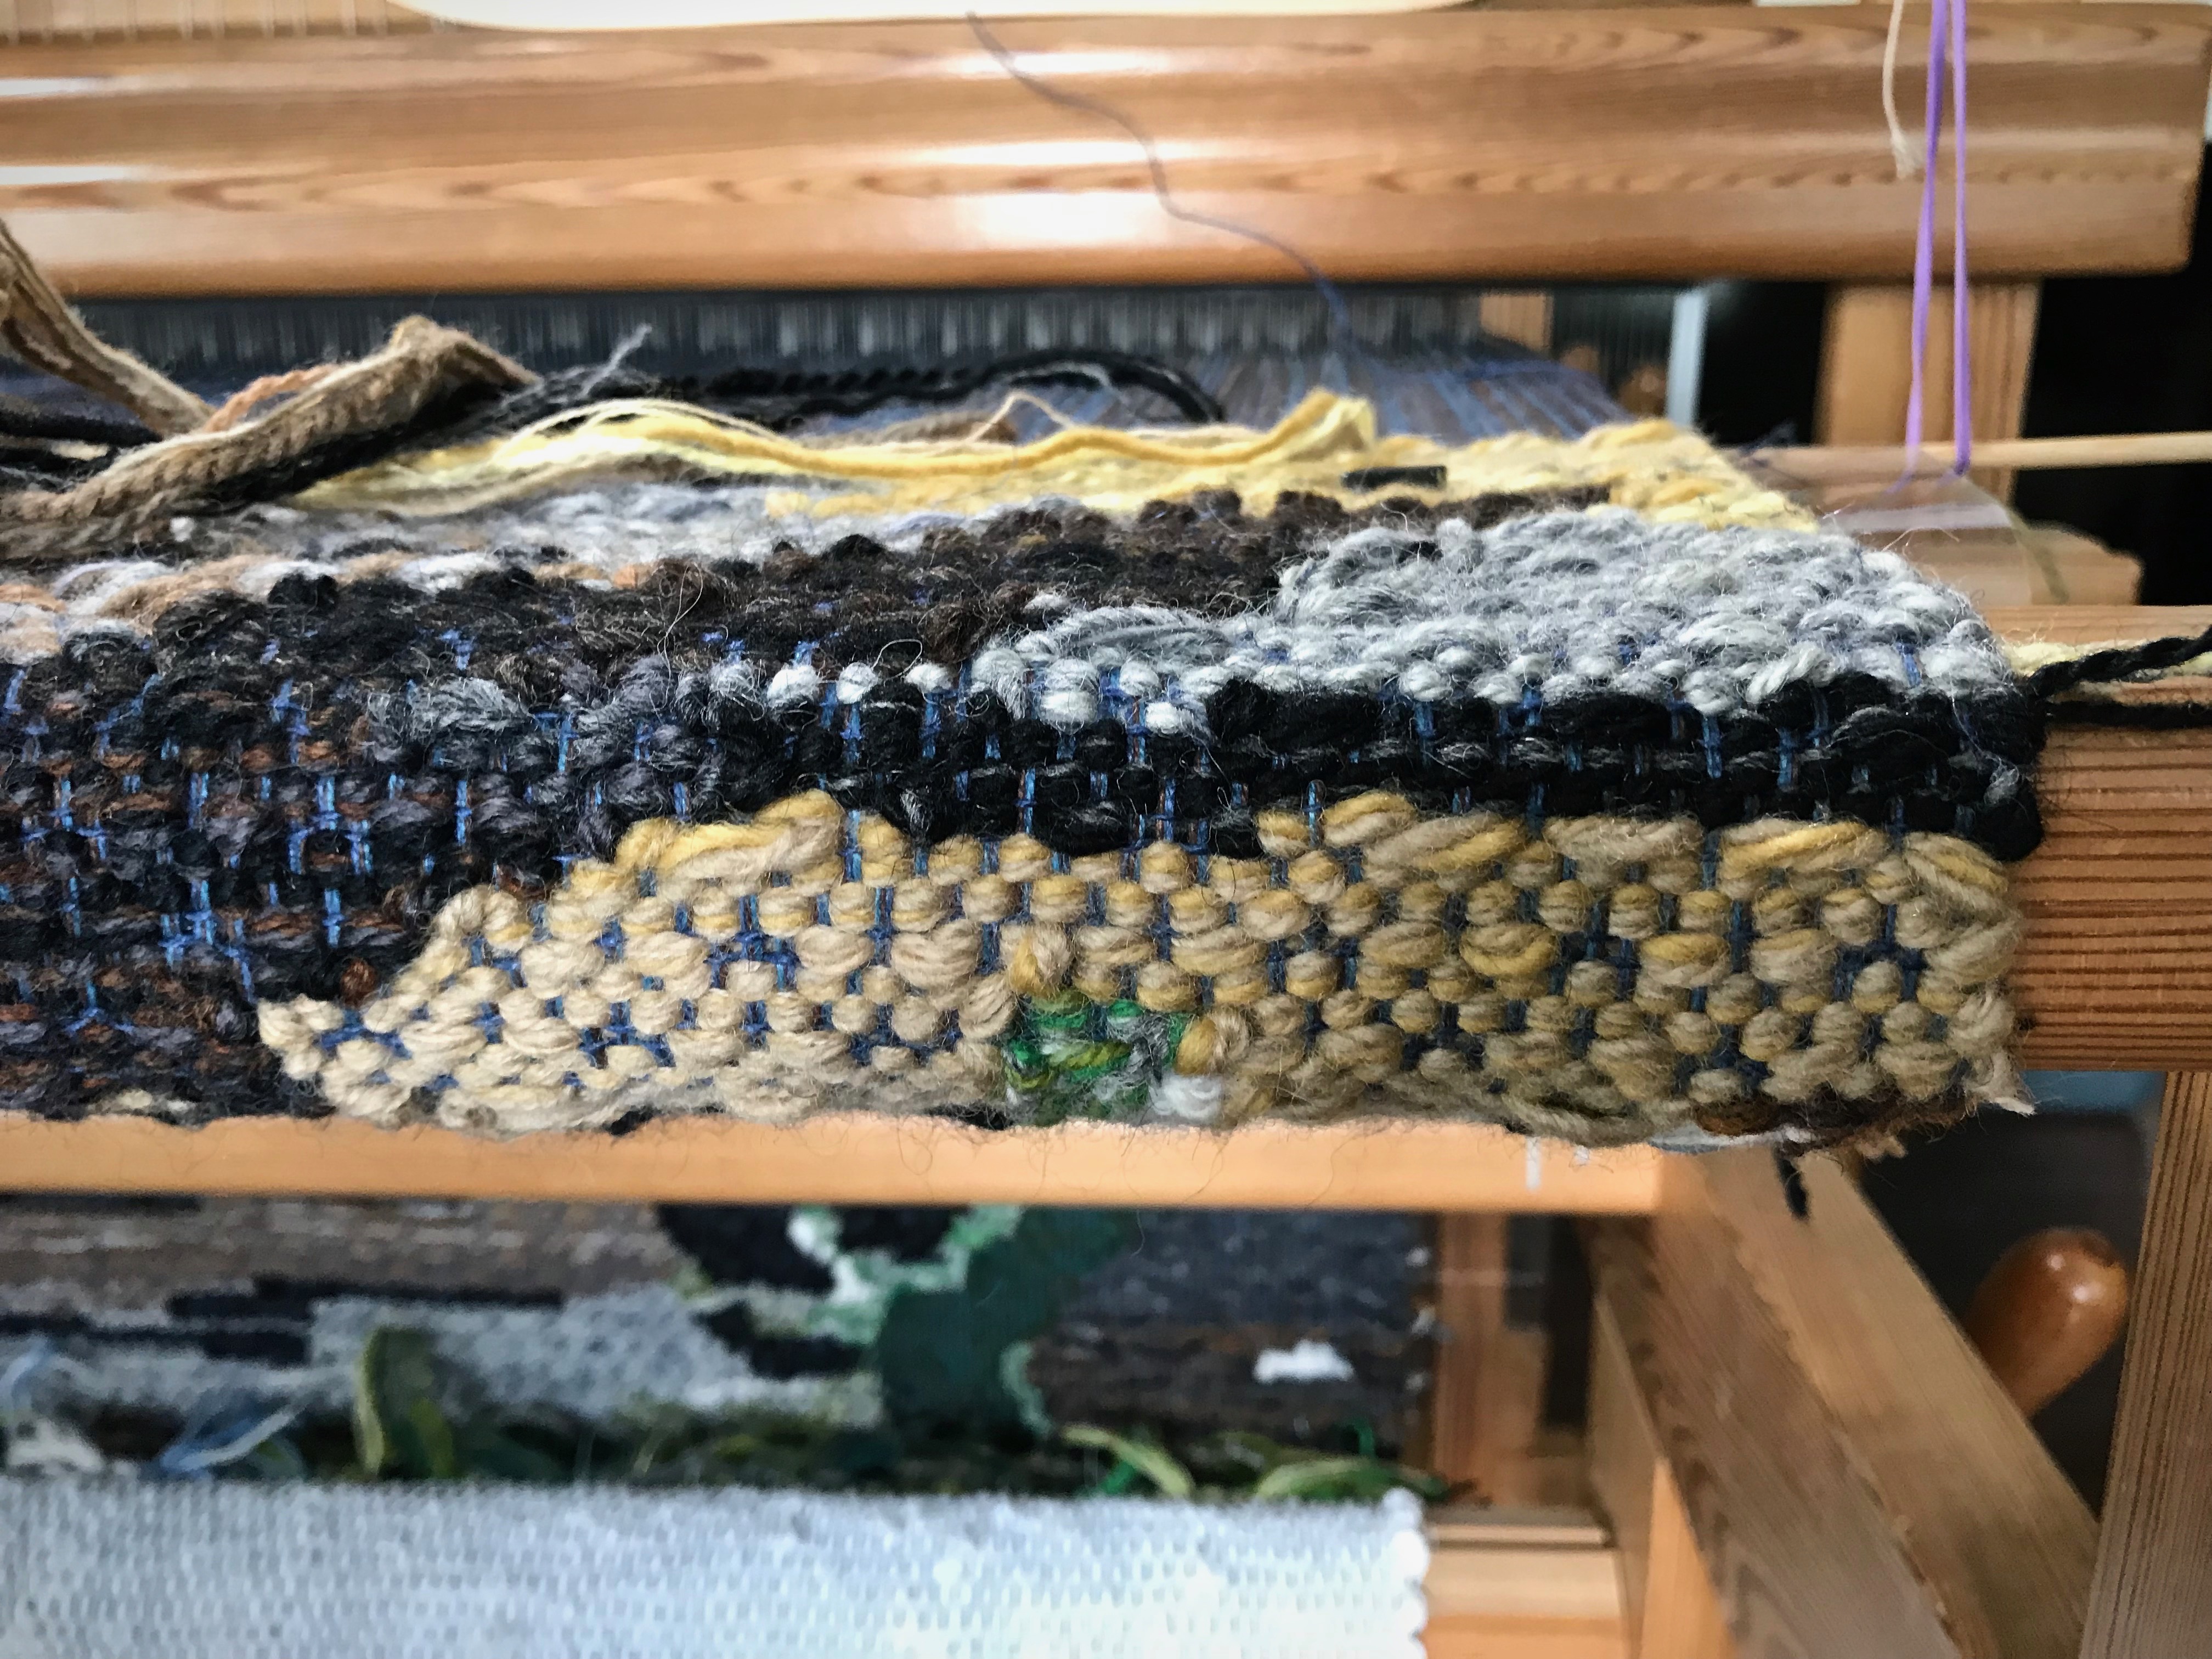
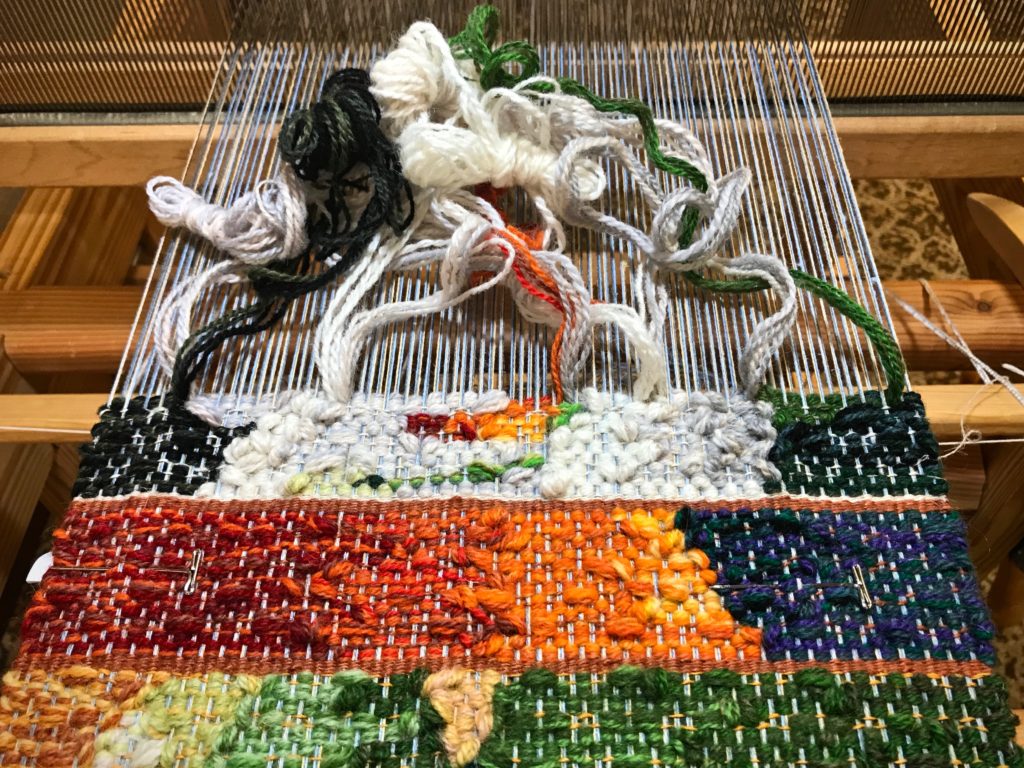
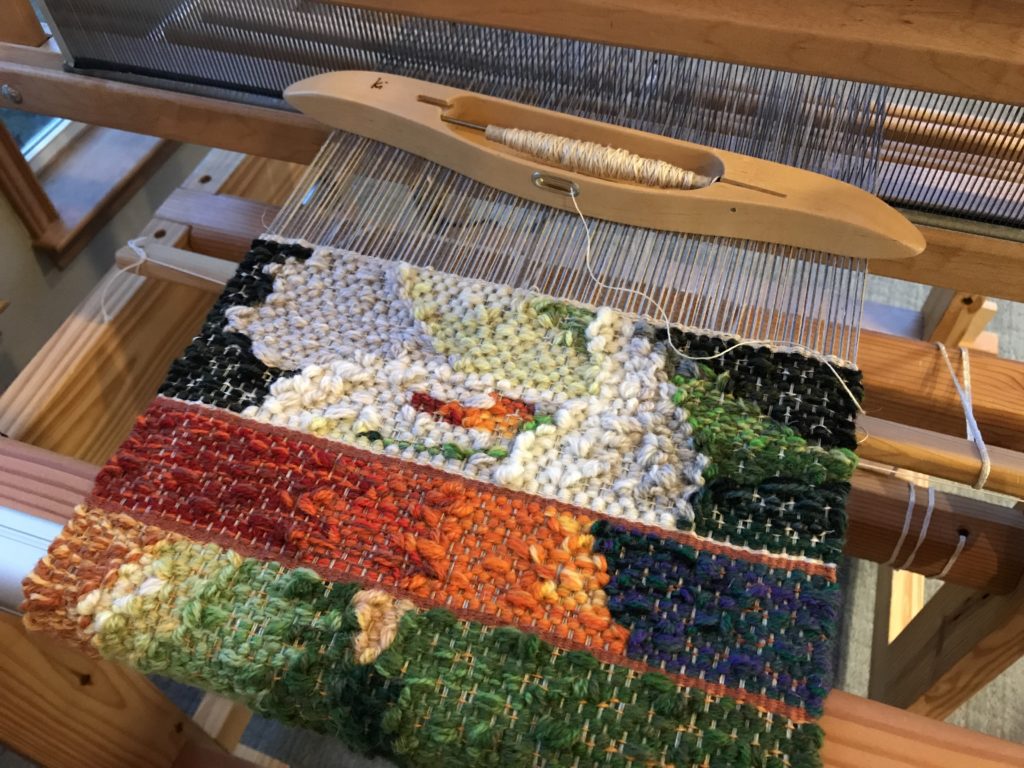
Things to remember: Don’t beat hard. Bubble the weft more. Color theory is invaluable for adding depth and intensity. Simplify the cartoon. And countless more bits of insight and instruction! I am invigorated in my pursuit to develop these tapestry skills. Expect to see a tapestry on my 120cm Glimåkra Standard in coming days.

Workshop looms.
My hand-built countermarch loom is perfect for a tapestry workshop. Betsy brought her Glimåkra Julia loom.
Tapestry sampler in Joanne Hall's workshop.
Workshop sampler gives students various tapestry techniques to practice. We learned techniques of other tapestry weavers, such as Hans Krondahl and Helena Hernmarck, as well as Joanne’s unique approach.
Tapestry workshop with Joanne Hall.
Fellow student Cindy created this pear, taking advantage of the rosepath threading to add pattern to the image.
Joanne Hall's tapestry workshop.
Joanne, center, explains the process of creating a cartoon. She spreads out photos of flowers as a starting point for students’ cartoons.
Joanne Hall's tapestry sample.
Joanne’s tapestry sample demonstrates the outcome of her process. A portion of the photo was enlarged from which she drew the cartoon.
Tapestry workshop.
Fellow student Deborah creates a flower from her original cartoon.
Making a tapestry cartoon.
I am choosing to make my cartoon from an enlarged portion of a lily photo.
Weaving from a cartoon in tapestry workshop.
Color studies and technique exercises all come together in the last part of the tapestry sampler. Weaving from a cartoon.
Tapestry progress.
Time to take the loom apart and head home. Checking my progress with the photo before packing up.
Lily sample from tapestry workshop with Joanne Hall.
Lily sample is finished at home.

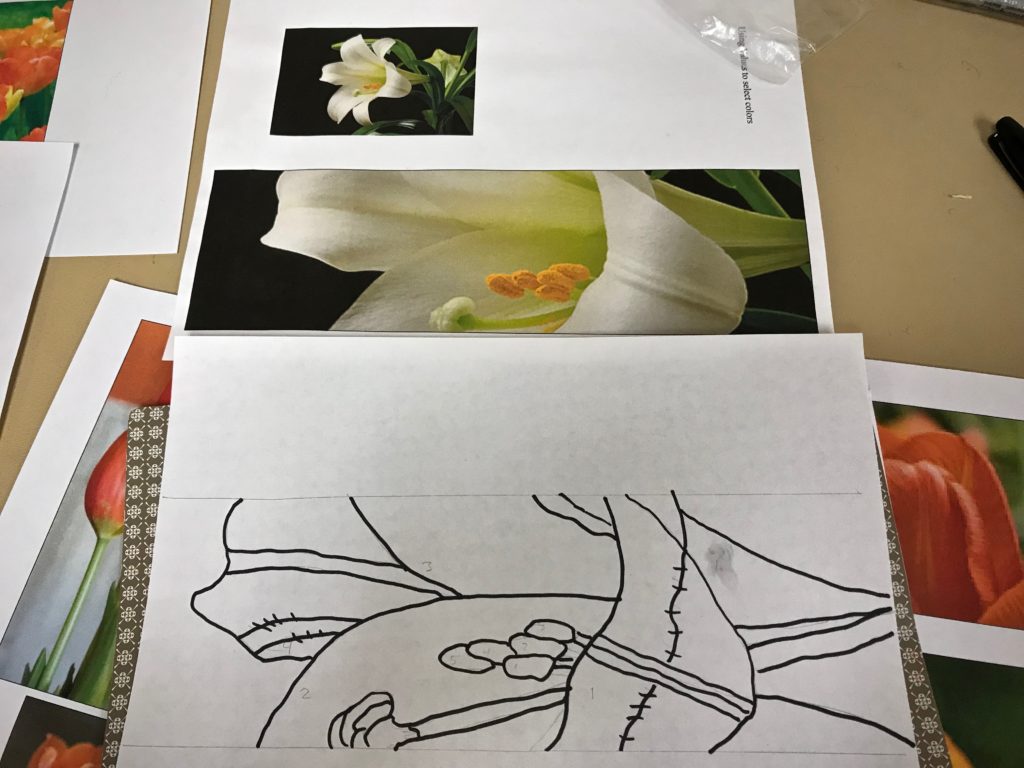
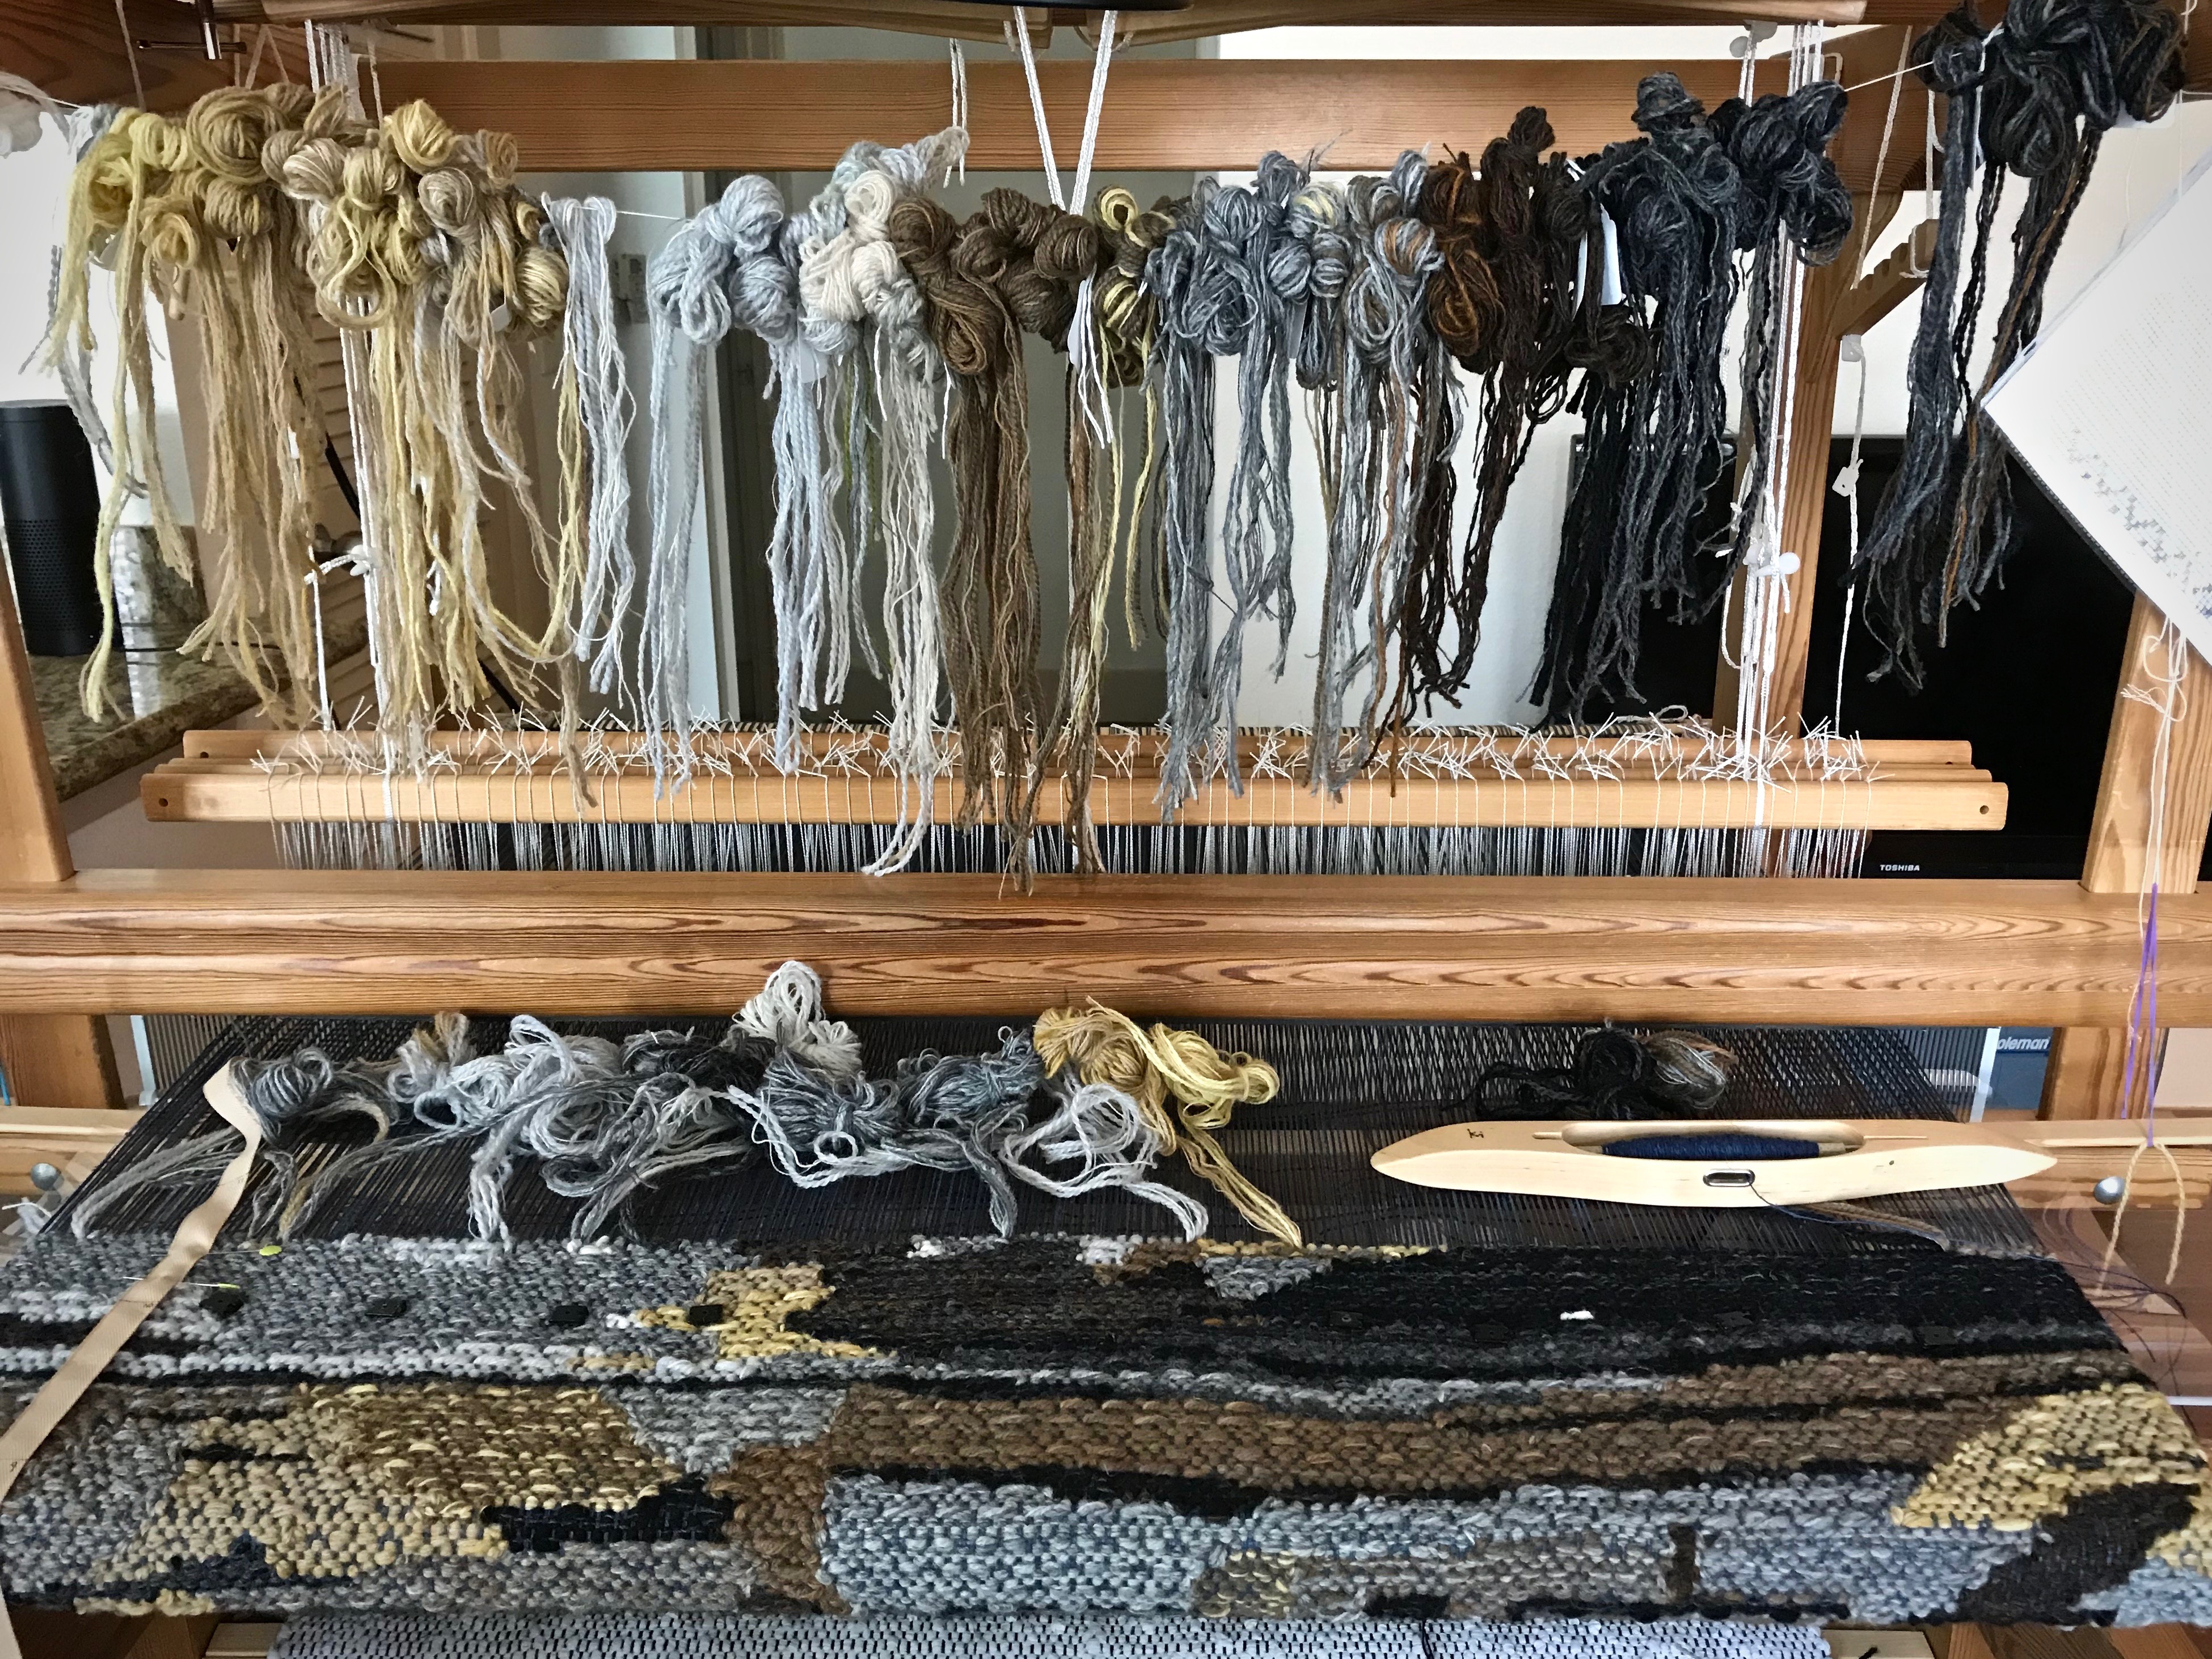
I find myself pondering how experiences fall into place in our lives. There are times when the stepping stones seem to be set out before us, showing the way, when we don’t know exactly where we are going. The Lord knows where I am going. He knows me. And he kindly sets out the next steps. Perhaps he smiles as he sees our delight when we figure out that we are the bundles of yarn in his tapestry.

May your joy in learning never cease.

Happy Weaving,
Karen

All the Looms

The plan to keep every loom dressed is easy when there is only one loom. Now that I have four floor looms, it’s a tough plan to follow. The drawloomcheck. The Glimåkra Standard, dressed in Tuna wool—check. The two smaller looms are threaded, and just need tying on and tying up. So, I’m well on my way! The end of the first warp on the drawloom is in view, however. That means the drawloom will soon be back in the queue. And so it goes.

Winding a warp for rosepath rag rugs. 12/6 cotton. Spring colors.
Warp for cottolin towels.
Warp for cottolin towels is threaded on the little hand-built loom.
Opphämta on the drawloom.
Opphämta on the drawloom. Pattern weft is 6/1 Fårö wool. The right side of the fabric is seen underneath, as it comes around the breast beam.
Threading heddles on the Glimåkra Ideal.
Blue and Almond Tuna wool warp.
Blue and Almond Tuna wool warp is tied on in 1″ sections.

I like to stay a step ahead of my looms. I’m ready to wind a new warp as soon as I finish cutting off. It’s the cycle of weaving. But I have trouble staying ahead.

Tying up treadles on the Glimakra countermarch.
Twelve shafts. Twelve upper lamms. Twelve lower lamms. Twelve treadles. This is an amazing system.
Warp is tied on. Ready for rag rugs!
Warp is tied on. Ready to add the leveling string.
Loom is dressed for small wool double weave blanket.
Loom is dressed. Treadle cords are adjusted. Ready for weaving!
End of warp on the drawloom.
End of warp comes near the pattern heddles. This is my first drawloom warp, so I’m waiting to see how far I can weave until I lose a good shed. So far, so good.
My first drawloom warp.
Closing chapter of my first drawloom warp. I’ll keep “turning pages” until the shed disappears.

We have good plans for our lives. But often, it’s tough to follow those plans. Too many things happen at once, and we don’t know how to stay ahead of it all. The thing to remember is that our plans stem from our inner commitments. When we commit our ways to the Lord, trusting him, he leads us through our days. Trust turns plans into achievements. And those are the plans worth pursuing.

May your best plans succeed.

Happy Weaving,
Karen

Weaving Rhythm Awakening

All the looms are bare right now. Four empty, quiet looms. But they won’t be quiet for long. I have thread/yarn and plans ready for each loom. I hear a rumbling as the looms begin to wake up. Before long, the weaving rhythm will be fully awakened in this place!

12/6 cotton rug warp in Pear and Brass for rag rugs.
Glimakra 100cm Ideal countermarch loom has moved into the spot vacated by my recently-acquired Glimakra Standard 120cm countermarch loom that we have moved to a new location.
12/6 cotton rug warp in Pear and Brass for Rosepath rag rugs.
6/2 Tuna wool for a 12-shaft double weave blanket.
Glimakra 120cm Standard countermarch loom in its favored position in our home. This loom has not been moved.
6/2 Tuna wool in Lapis Lazuli and Almond for a 12-shaft double weave blanket.
Vavstuga pre-wound warp for towel kit.
Handbuilt little 70cm countermarch loom in its perfect little corner by the windows. Pre-wound warp from Vavstuga (Mary’s Towel Kit) that my dear friend Elisabeth is letting me weave.
22/2 Cottolin in Sapphire and Yellow Ochre for towels.
Moving the Glimakra Standard loom to its new studio space.
Glimakra 120cm Standard countermarch loom…in pieces. We are moving the newest loom in the family to a room that is next to Steve’s carving workshop.
Starting to put together the new drawloom.
Glimakra Standard horizontal countermarch loom is being reassembled in its new Drawloom Studio! The drawloom boxes have been opened and parts sorted and organized. Let the fun begin!
The room is undergoing some renovations, too.
New jacks for th horizontal countermarch to fit with the drawloom attachment.
Draw attachment frame obstructs the jacks in the horizontal countermarch on the 120cm Standard loom. So Steve made all new horizontal jacks for the countermarch.
New drawloom!
Loom has an extension added at the back. We put it at its fully extended length to make sure it fits in this room. It does!
New drawloom! Just about ready to start!
Glimakra Standard with Myrehed Combination Drawloom–Shaft draw system and single unit draw system.
Unbleached 16/2 cotton for I-don’t-know-what-yet. But I will soon!
Book pictured is Drawloom Weaving, An introduction to warping and weaving on a drawloom by Joanne Hall.

May you see your best dreams unfold.

Happy, Happy Weaving,
Karen

Tools Day: Cartoon Trials

Making a cartoon for a lizard tapestry this size is quite a process. First, I enlarge the photograph. Then, I trace the outlines of the details onto a sheet of clear acetate. Next, to make the cartoon, I trace the bold Sharpie lines of the acetate image onto interfacing material meant for pattern making. But next time, it will be different.

Tracing photograph to make a tapestry cartoon.
Tracing outlines from the enlarged photograph onto the sheet of acetate. Photo image on the iPad helps clarify which distinctive lines to draw.

Making a tapestry cartoon.
White poster board under the acetate makes the Sharpie lines visible. The interfacing material lays on top of the acetate so I can trace the lines to make my cartoon.

I don’t plan to use this interfacing material again for a cartoon. It is not stiff enough. As the tapestry progresses it becomes more and more difficult to keep the cartoon from puckering and creasing in places. A better option would have been stiffer buckram, like I used for my transparencies. (See – Quiet Friday: Painting with Yarn and Animated Images.) But I am not able to find buckram in sufficient width.

Unwanted creases in the tapestry cartoon.
Interfacing material is susceptible to puckers and creases. Unevenness in the cartoon can result in a distorted woven image on the tapestry.

After I finished weaving the lizard portion of the tapestry, I decided to experiment. I removed the interfacing cartoon and switched to the acetate sheet instead. There’s no puckering with this one! It is much easier to line up the cartoon with the weaving. It has drawbacks, though. Noisy! When I beat in the weft it makes thunderstorm sound effects. (Not so great for our temporary apartment life.) It’s also harder to see the cartoon lines. And the magnets I use to hold the cartoon slip out of place too easily.

Using a sheet of acetate for a tapestry cartoon.
Slat holds the cartoon up to the warp. To beat the weft, I move the slat out of the way of the beater, just under the fell line. The sheet of plastic would be a good prop for making sounds effects for a film about a thunderstorm.

Next time... White paper, like the gorgeous tapestry cartoon I have seen in Joanne Hall’s studio. That’s what I’ll use. Next time

Joanne Hall and her tapestry cartoon!
Joanne Hall in her Montana studio. This is the cartoon she made for her impressive Bluebonnets tapestry that hangs on display in a Dallas hospital.

May you learn from your experiments.

All the best,
Karen

Final Batch of Butterflies

That last little bit of lizard toe? It’s long gone. This week I am making significant progress on the tapestry. My pace is picking up and the end is in view. What a joy ride this has been!

Last tip of a green lizard toe at the breast beam.
Last tip of a green lizard toe makes its way around the breast beam.

Coming to the end of this lizard tapestry!
End of the measure tape is in view.

I am closing in on the final ten centimeters. That means it’s time to evaluate the ten centimeters just passed. And to make a few more butterflies, enough to take me all the way to the end.

Four-shaft tapestry. Butterflies are prepared for each new section.
Butterflies are prepared in advance for each ten centimeters of weaving.

Forgiven people forgive. Think of forgiveness as the lavish supply of yarn that’s been given us through the name of Jesus. There is no shortage. And we make our butterflies from that supply. People fail us, disappoint, and even do damage. Being ready to forgive is like making butterflies in advance. Thankfully, our small wool butterflies are close at hand for us to weave grace in the moment it is needed.

May you have a lavish supply.

Love,
Karen