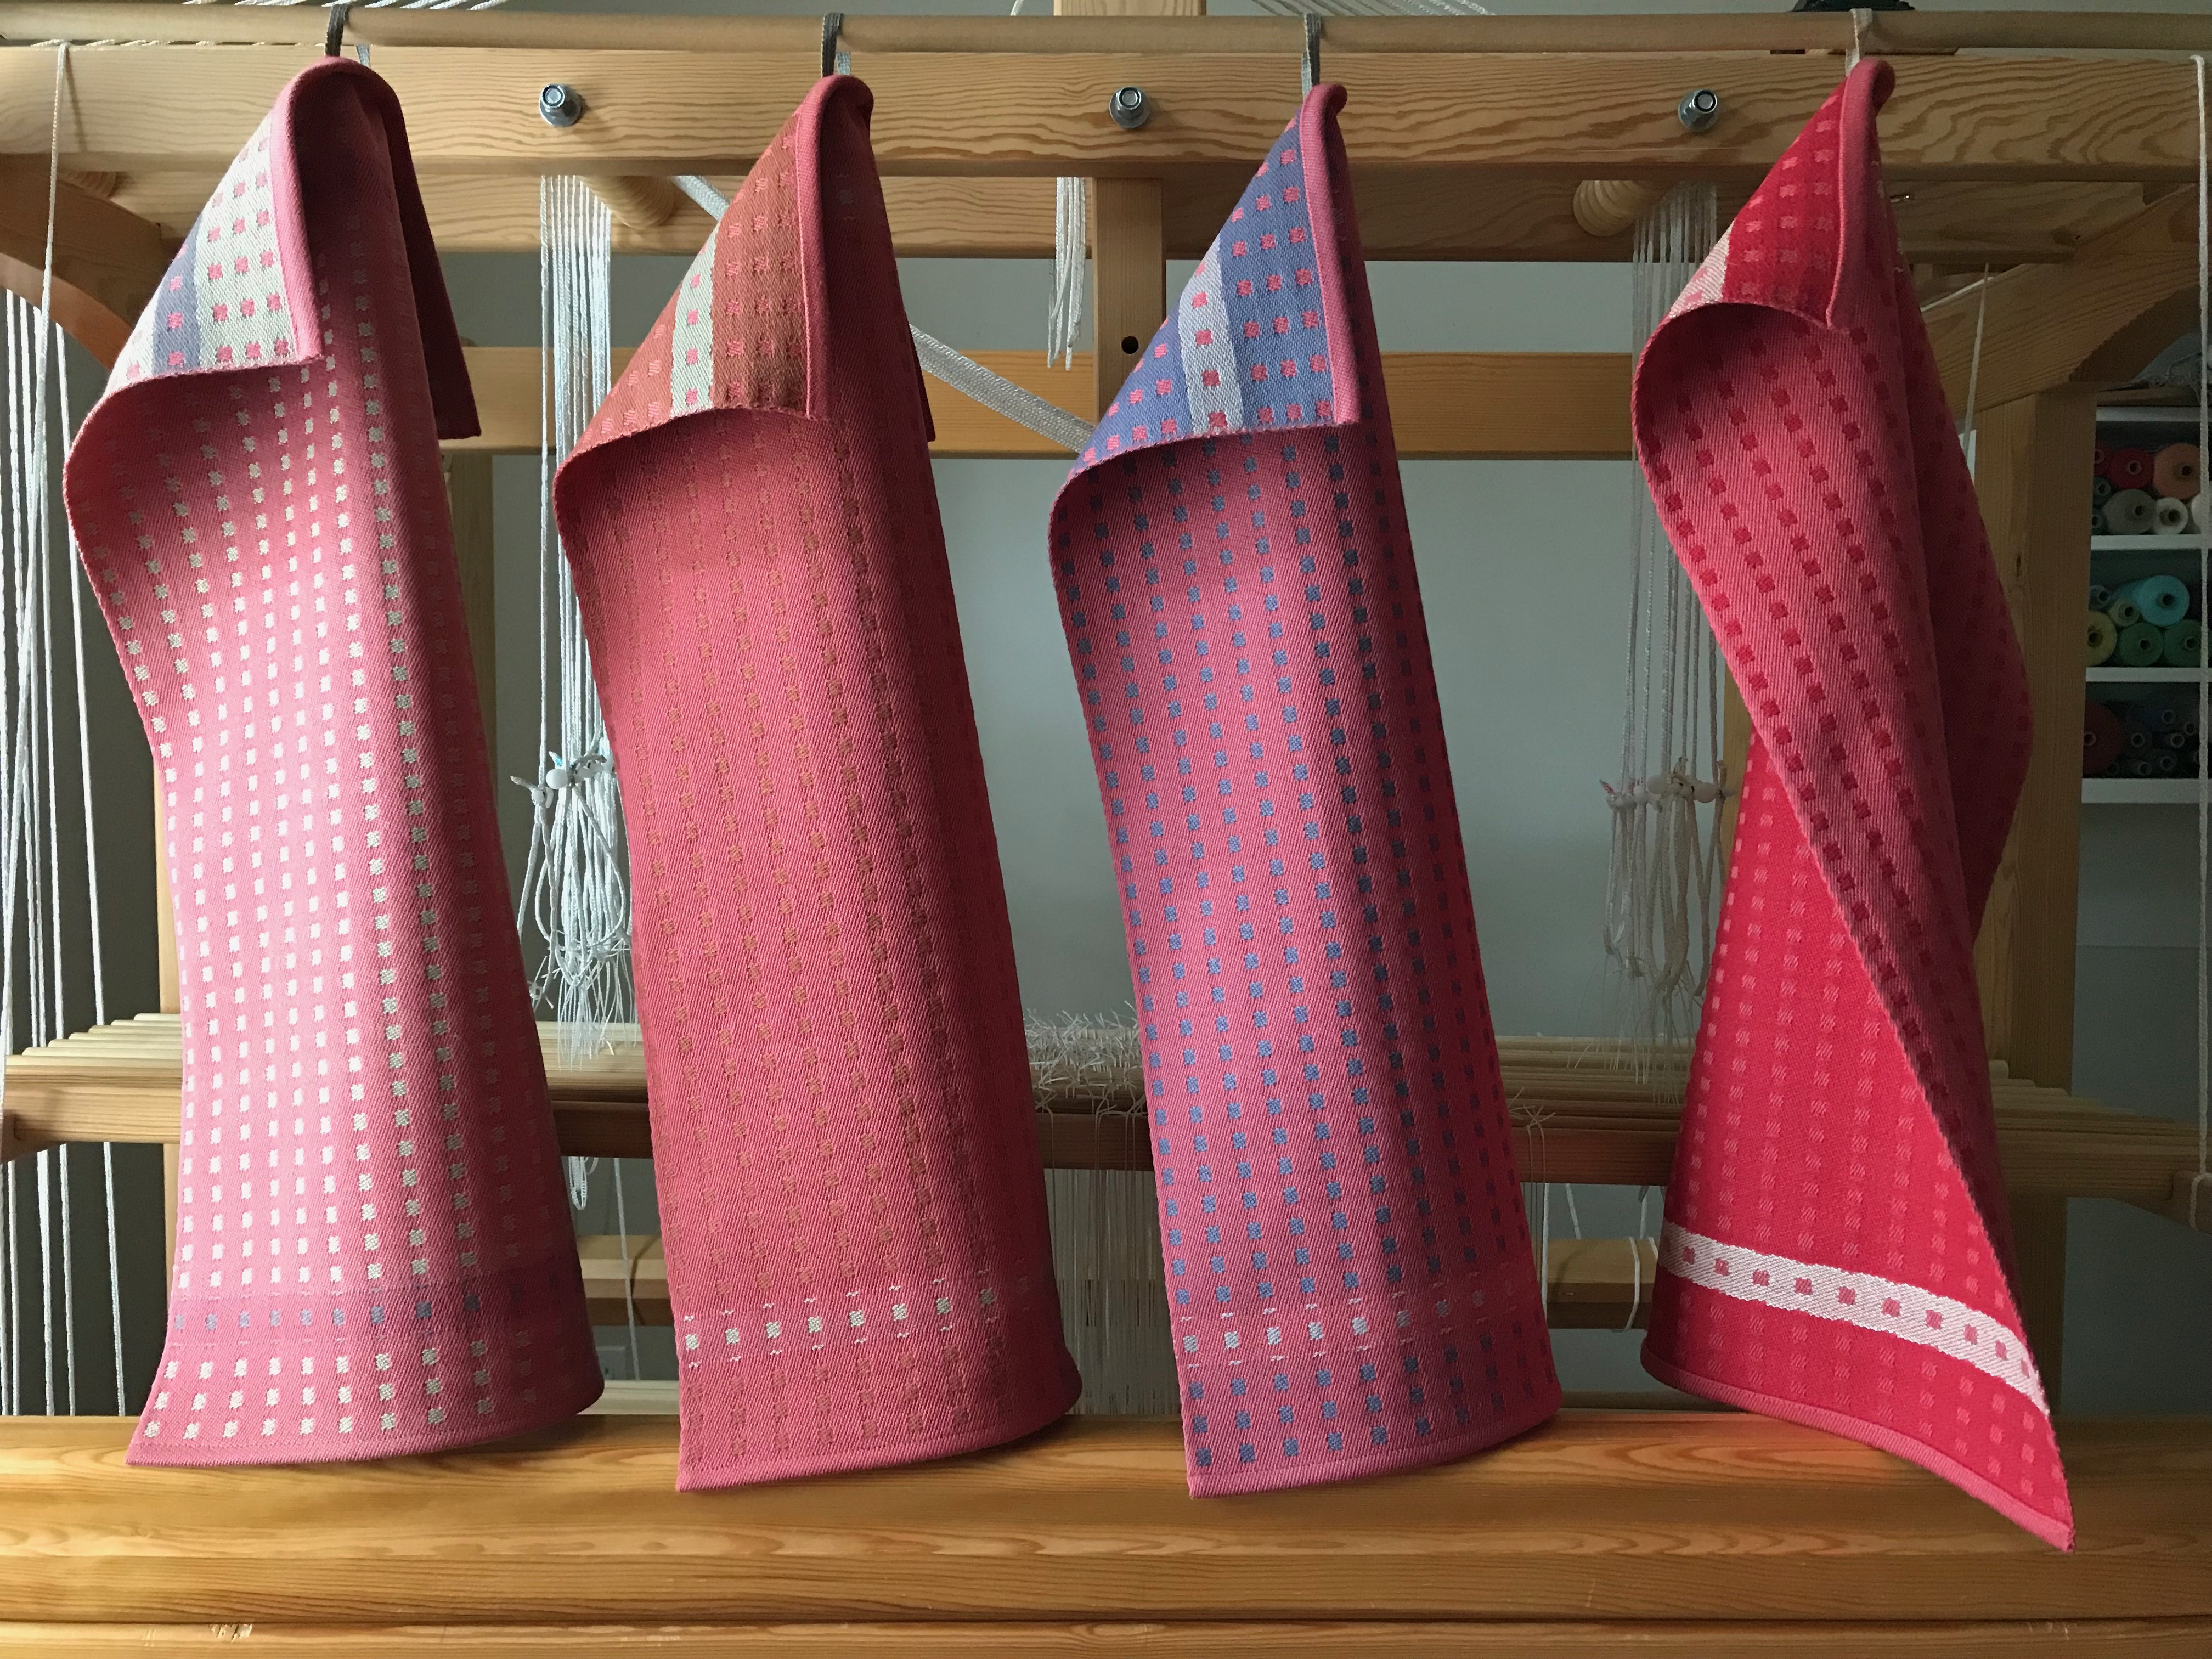
It was six weeks ago that I began winding the warp for these towels. The thread for my next Glimåkra Standard project is due to arrive tomorrow. Just like I like it—revolving door weaving. I have no doubt that this set of towels will become family favorites. They are a feast for the eyes, and a tactile delight for the hands. Seeing the color on the reverse side takes my breath away. This whole experience has been the weaving satisfaction that I’ve come to cherish!
Square Dot towels. Ten shafts, ten treadles. Two block five-shaftsatindräll. 8/2 cotton warp. Weft is 8/2 cotton and 22/2 cottolin, and 16/2 linen for the white stripes on the red towel.
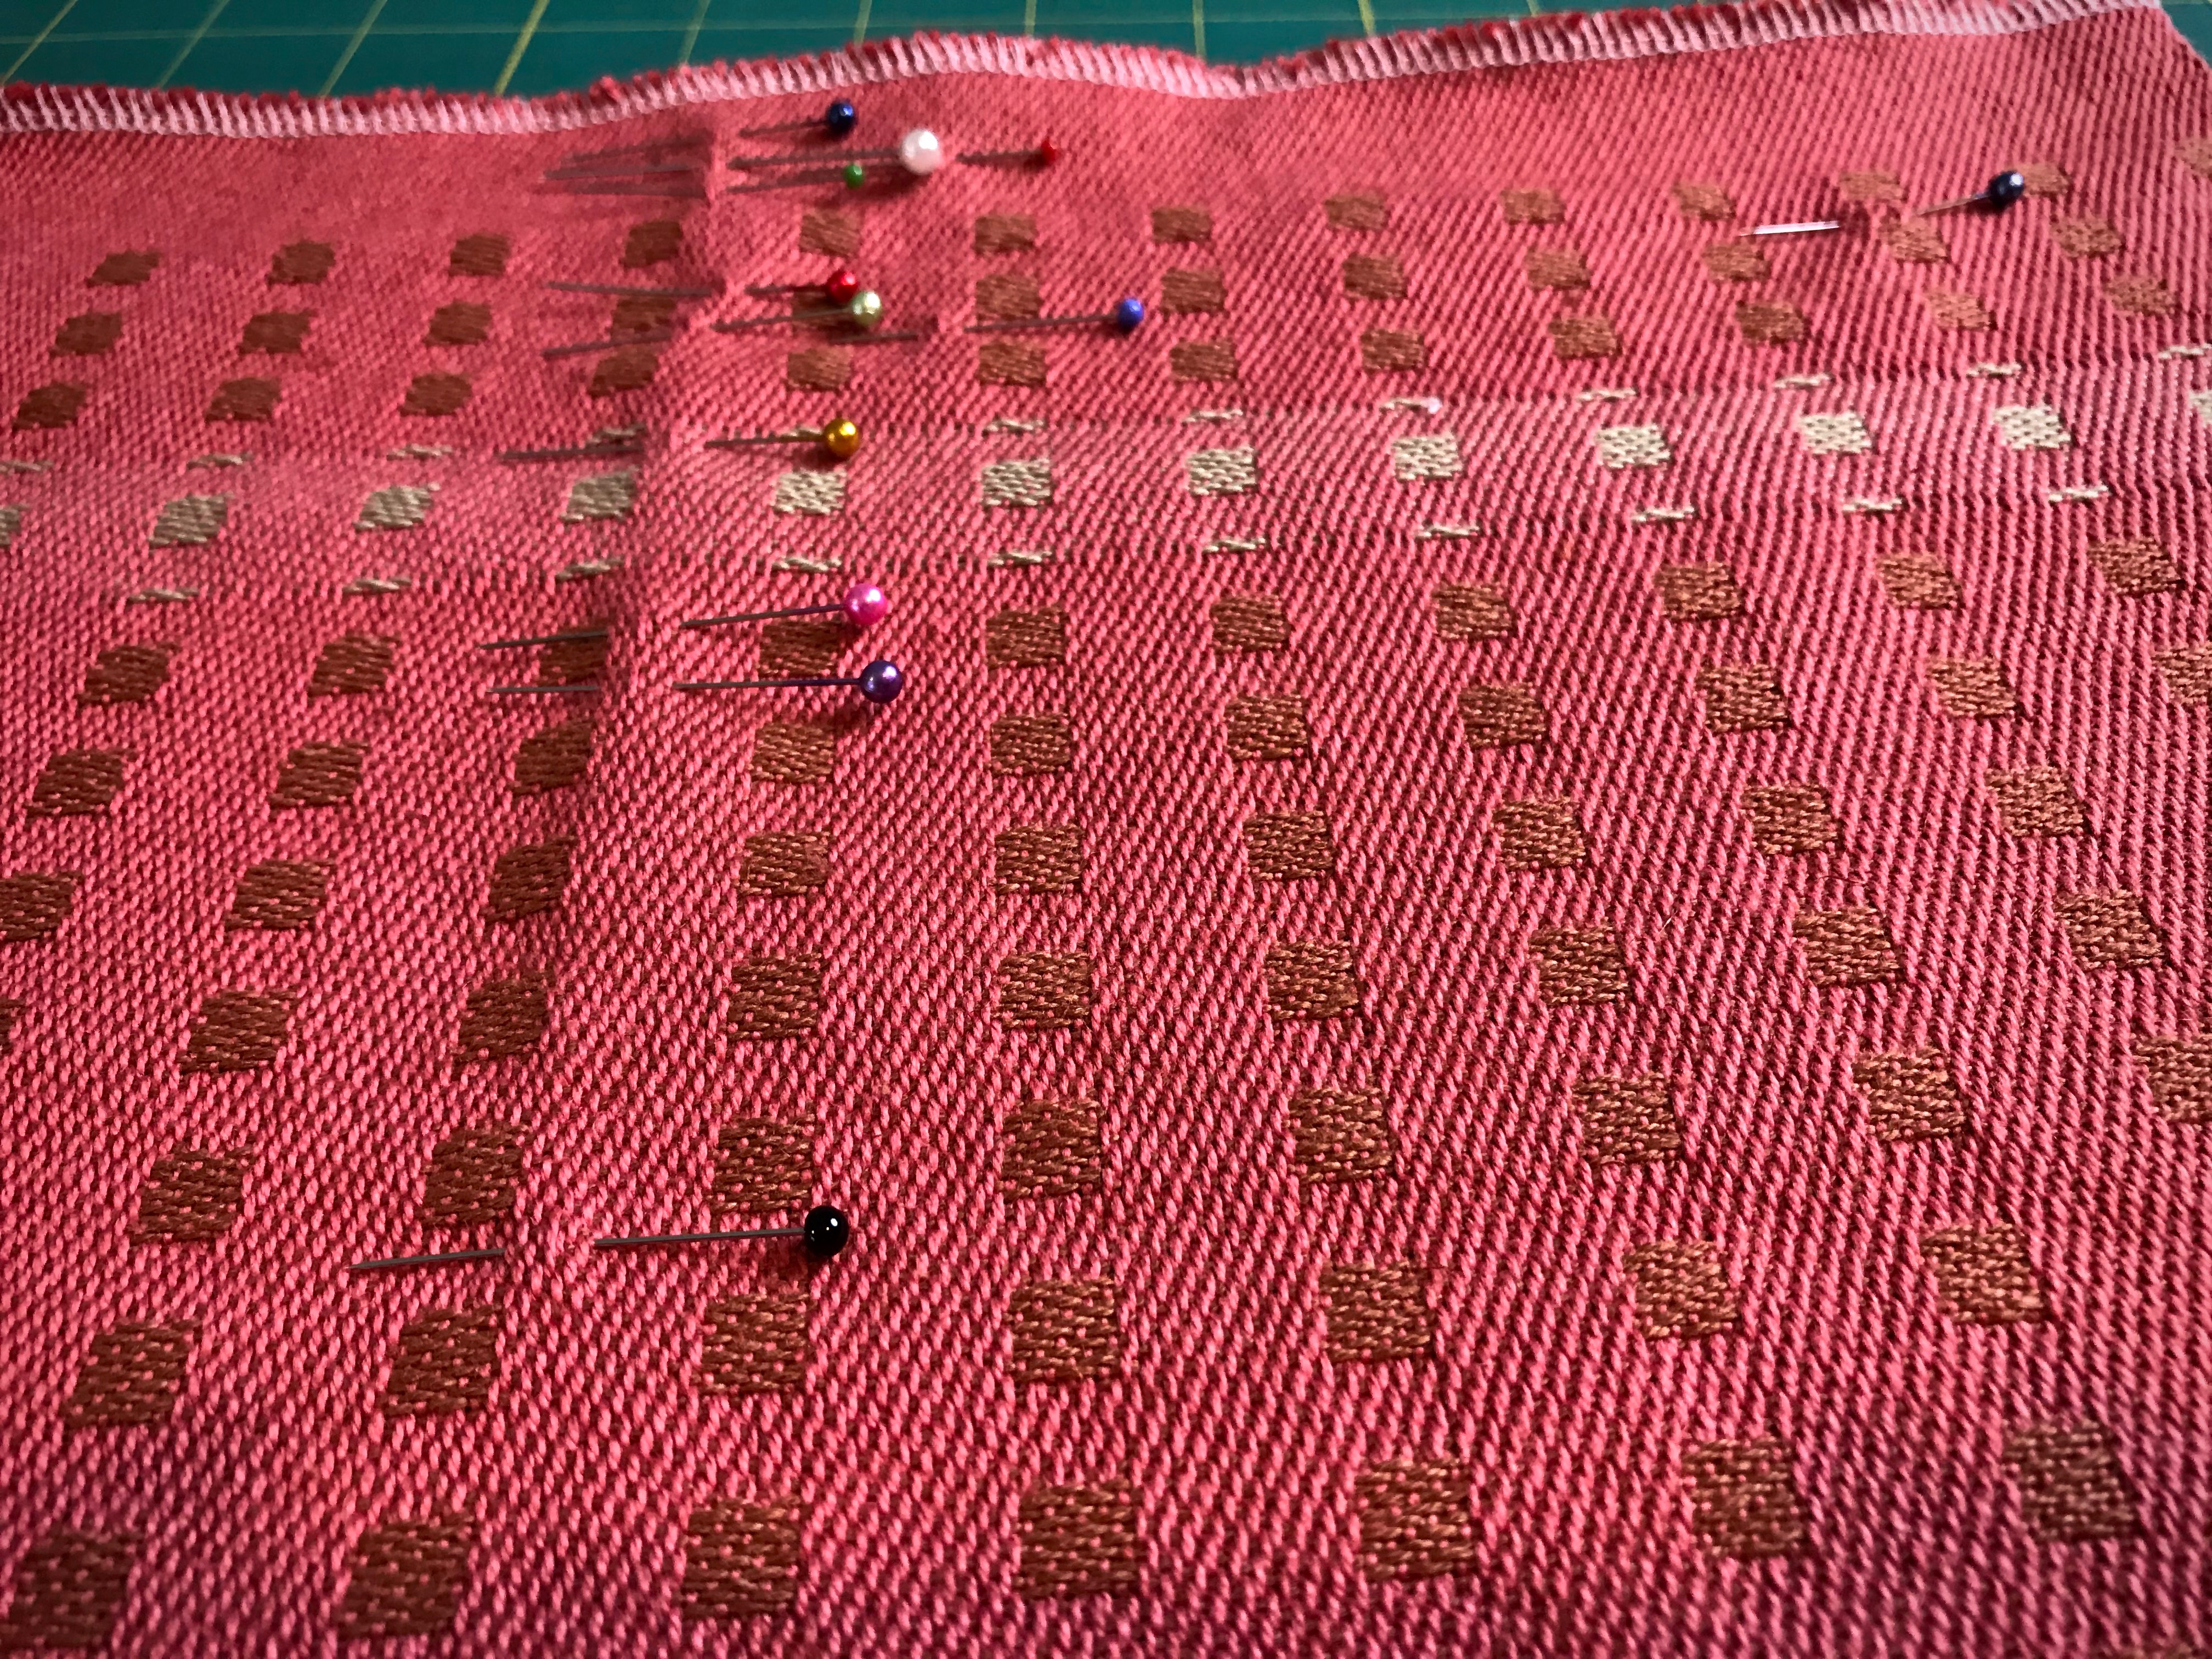
I did face difficulties near the end of the warp. The shed started deteriorating with some of the shafts, but I was determined to finish off the last towel to its full length. That meant coaxing the low profile shuttle through for a few inches. Consequently, I did have more errant floats to repair than usual. But, isn’t it wonderful that we can fix just about anything in this weaving adventure?
End of warp. What I didn’t see at the loom is that one shaft in particular was not behaving. There were at least eight floats along that one warp end. After repairs and washing and pressing, the errors are barely noticeable.
I made a warp from thread on leftover quills to weave up some hanging tabs on my band loom for three of the towels. And I found a linen piece in my “band stash” that is perfect for the red and white towel.
Enjoy the slideshow that I made for you with details of the process.
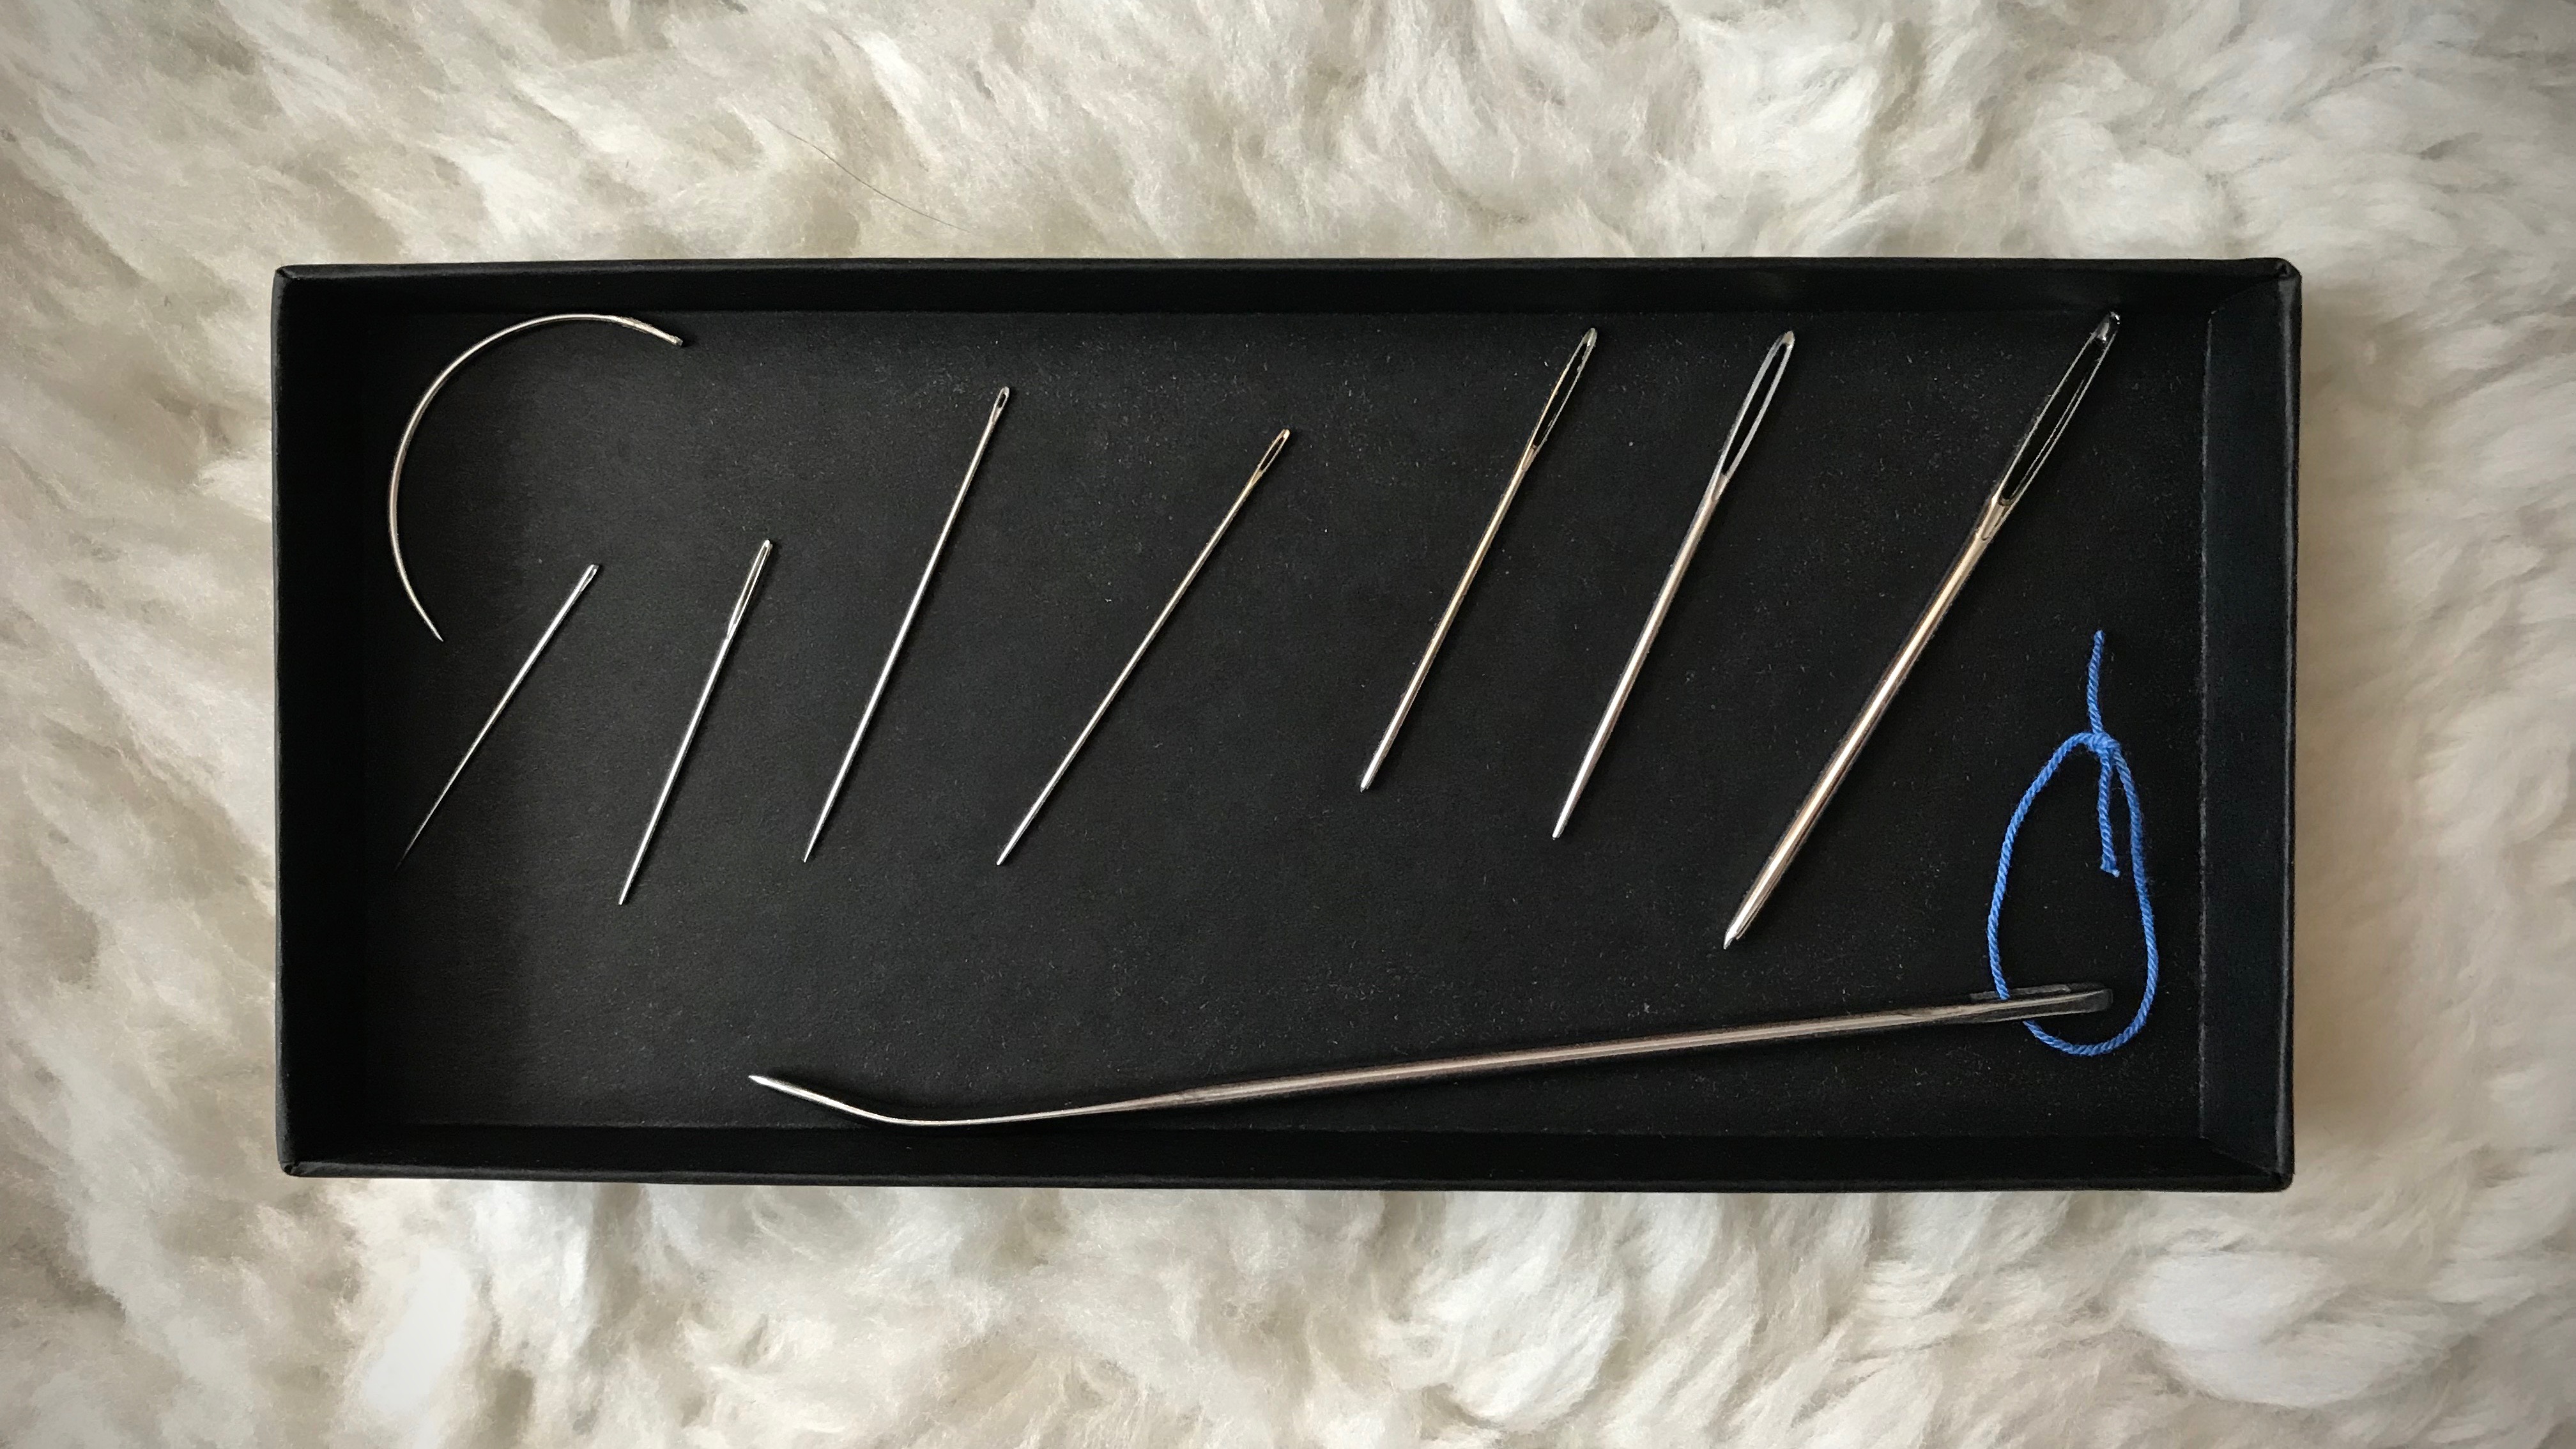
Even though there are dozens of needles in and around my weaving and sewing spaces, nine stand out from the rest. These go-to needles have earned special favor. As essential tools, these needles have specific holders and permanent homes.
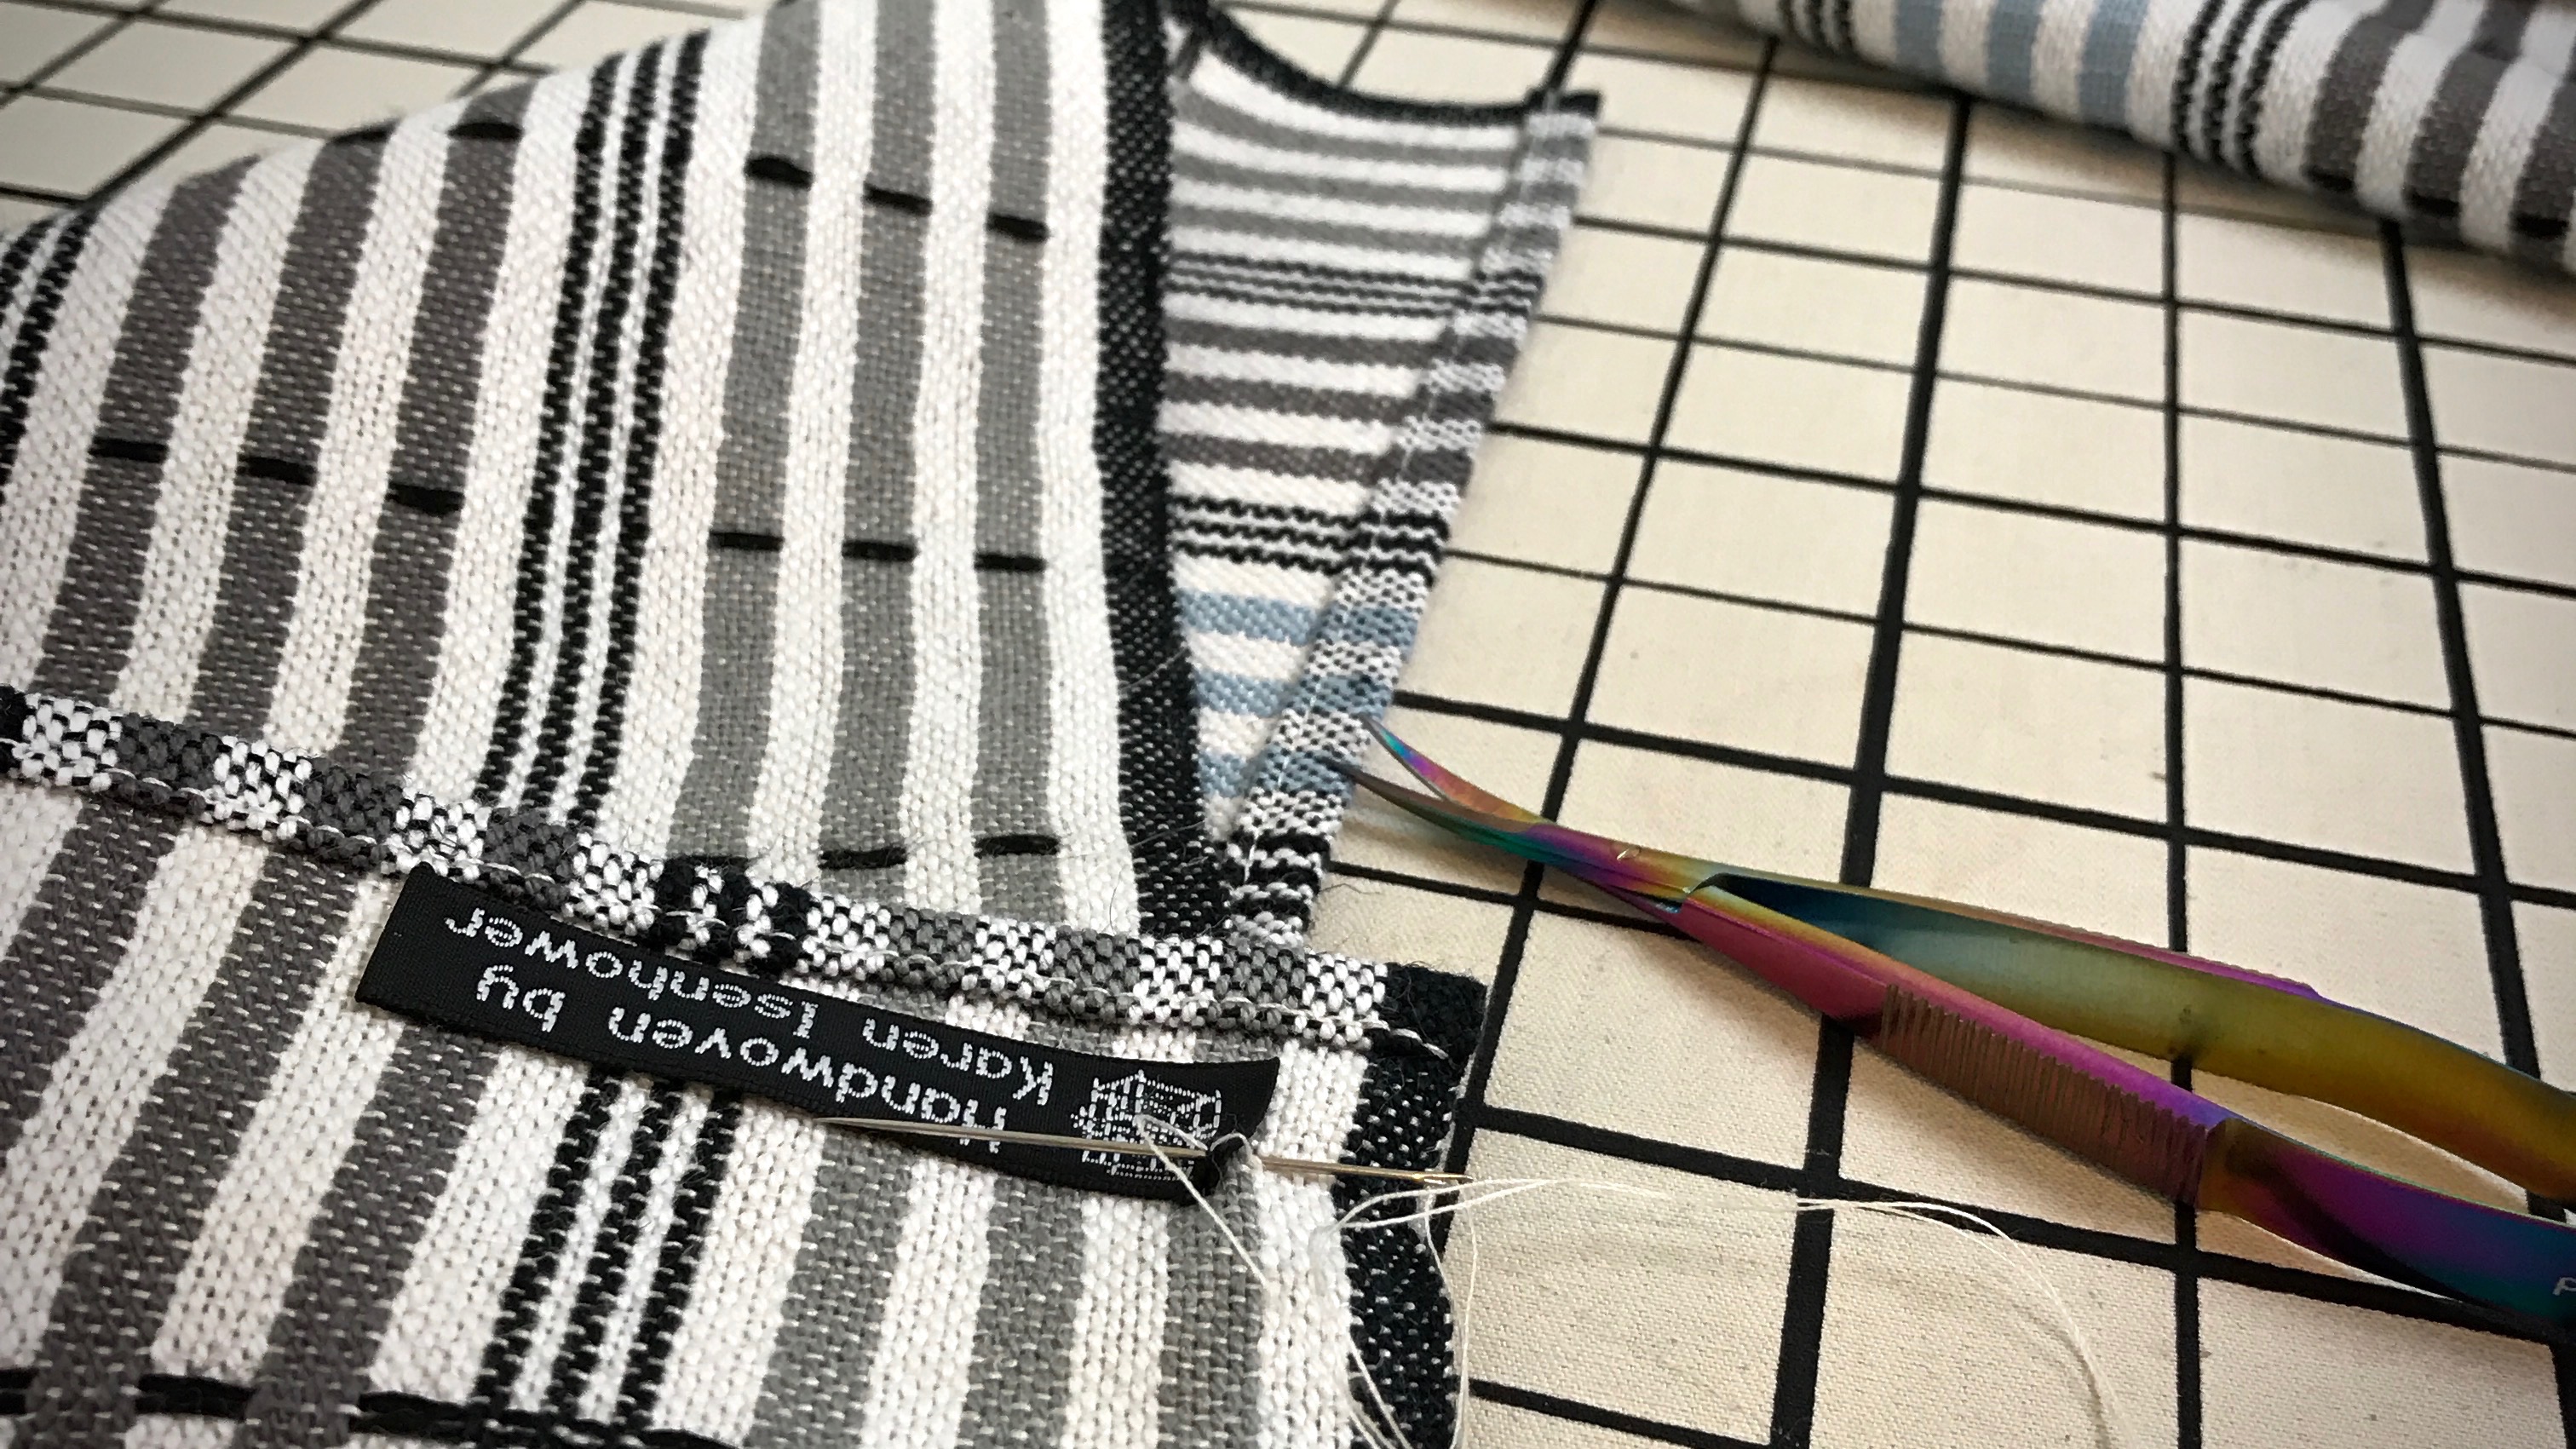
Sharp needles: hand-hemming, hand-sewing, stitching on labels, and stitching a tapestry to a linen mat for mounting (curved needle)
HOLDER: Pincushion I made in 1980
HOME: Sewing supply closet, “Needles and Pins” drawer
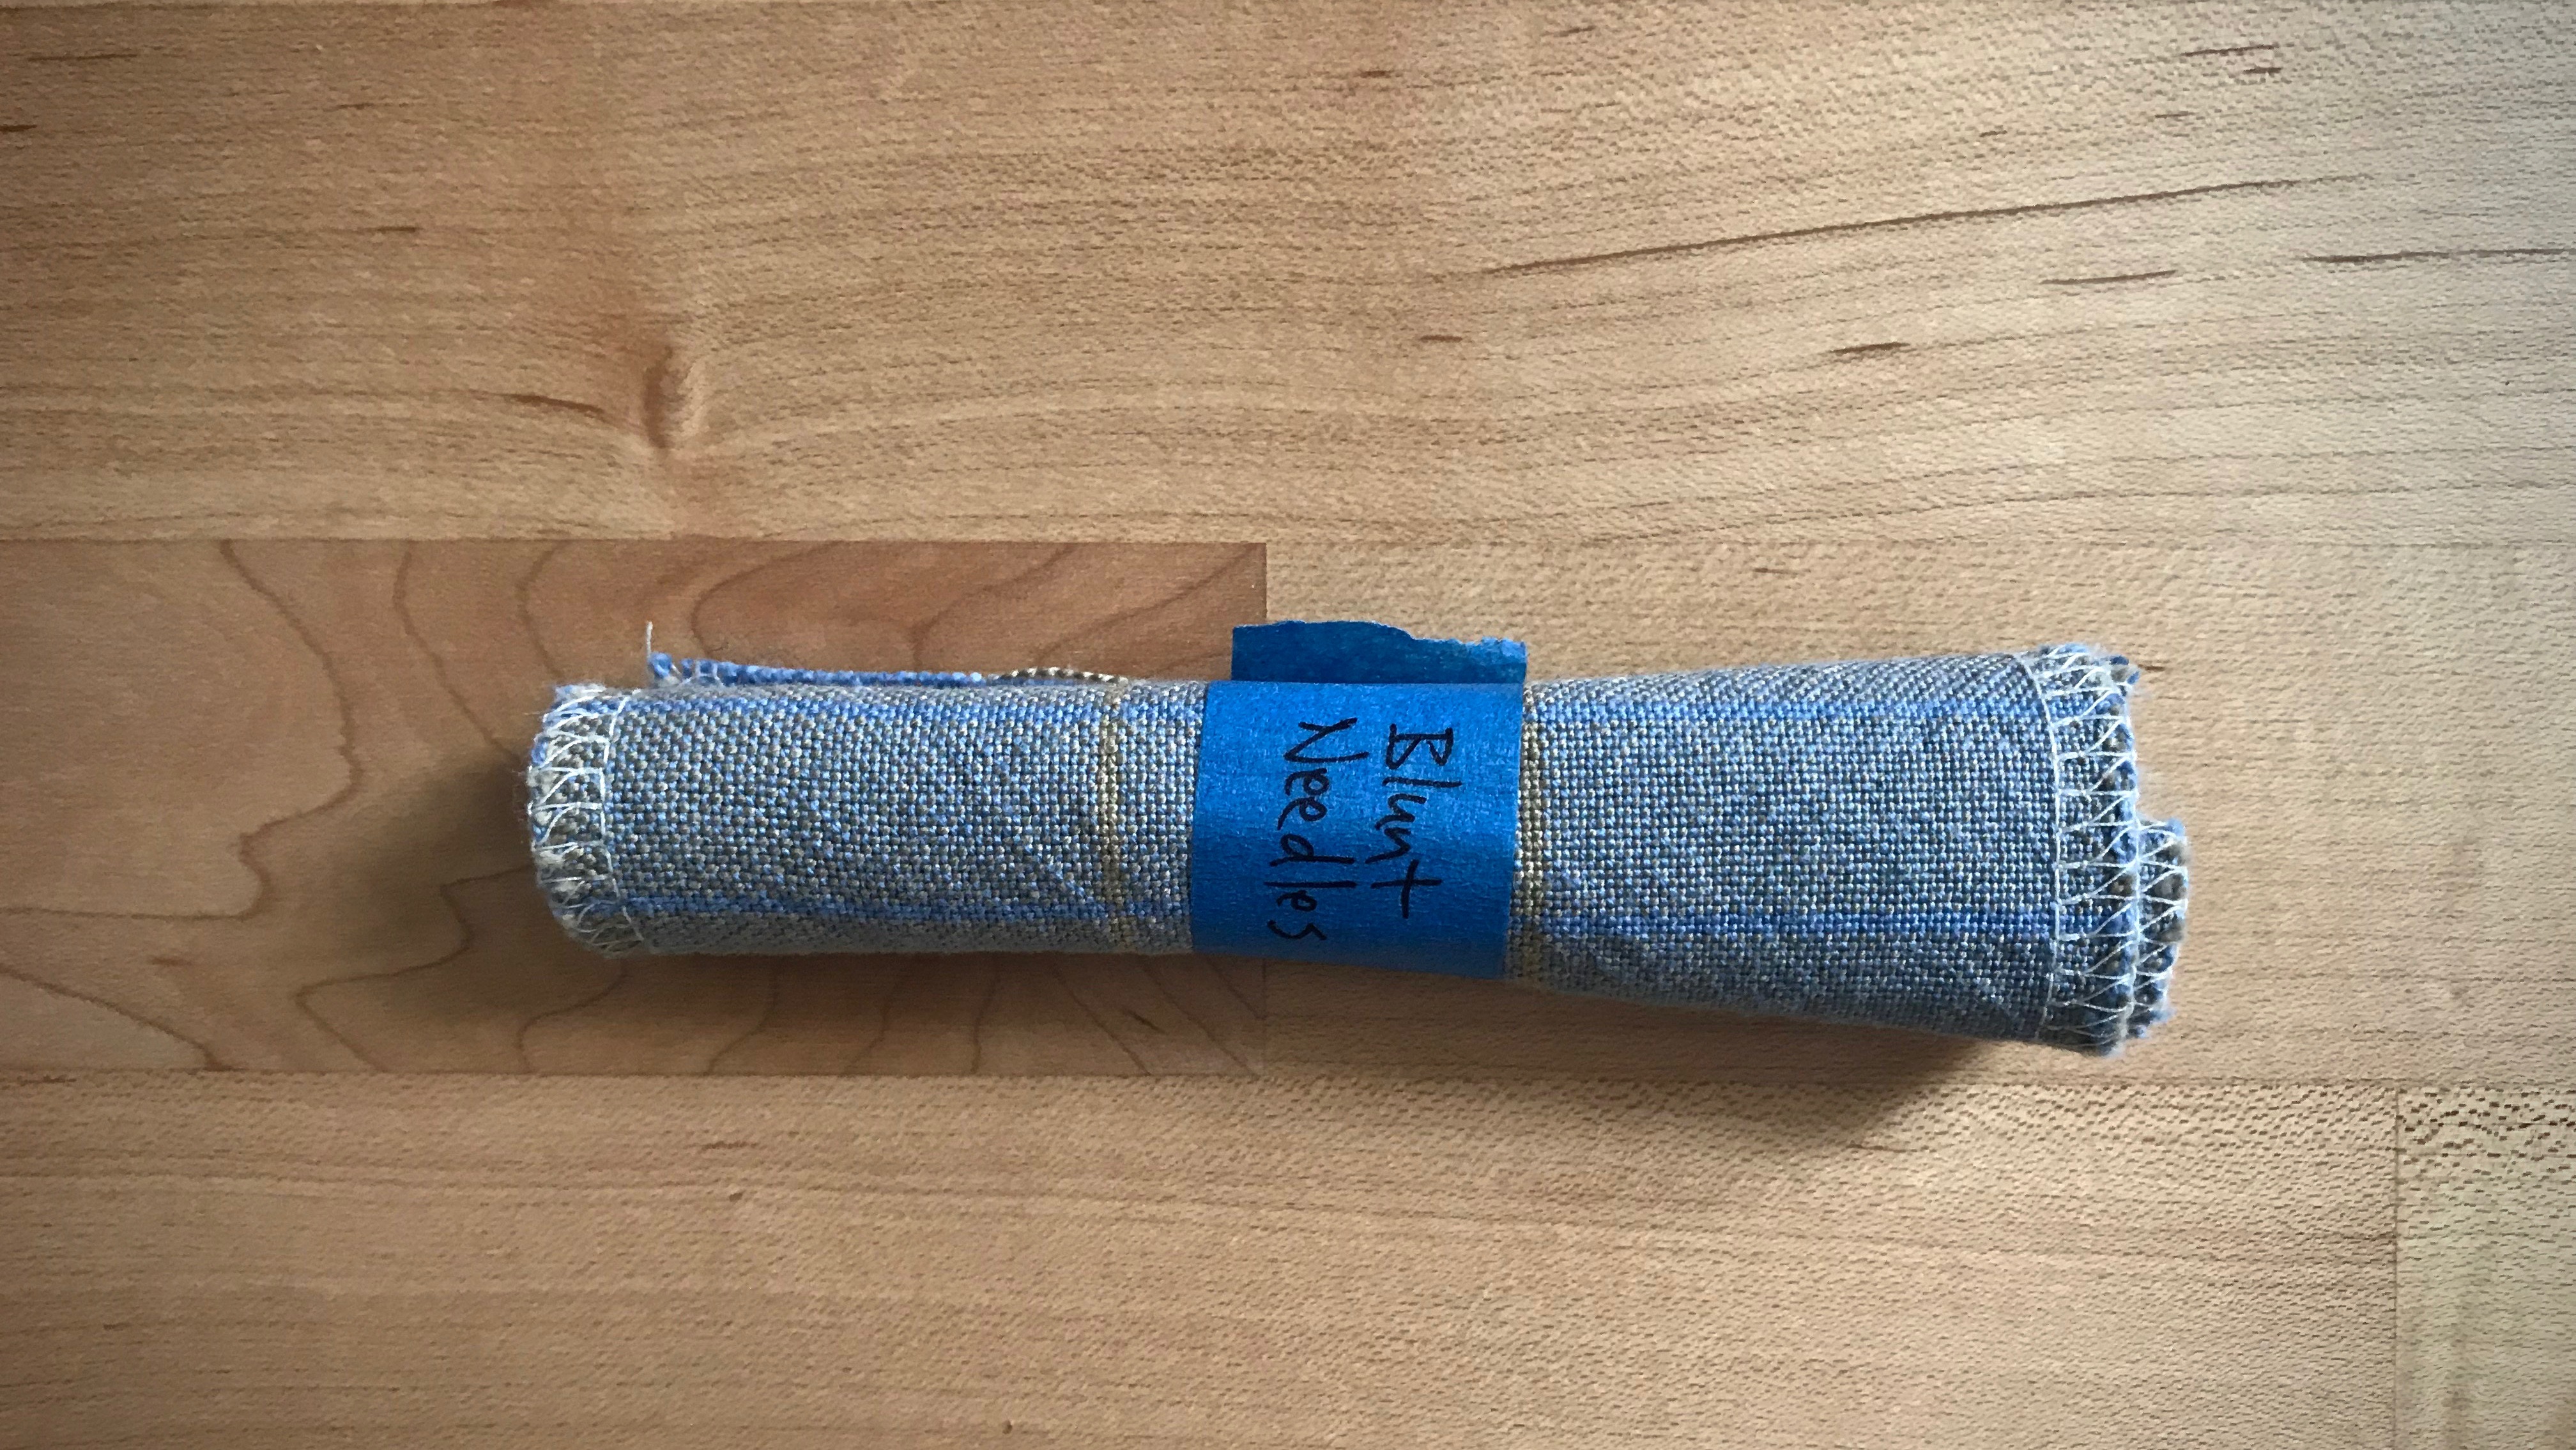
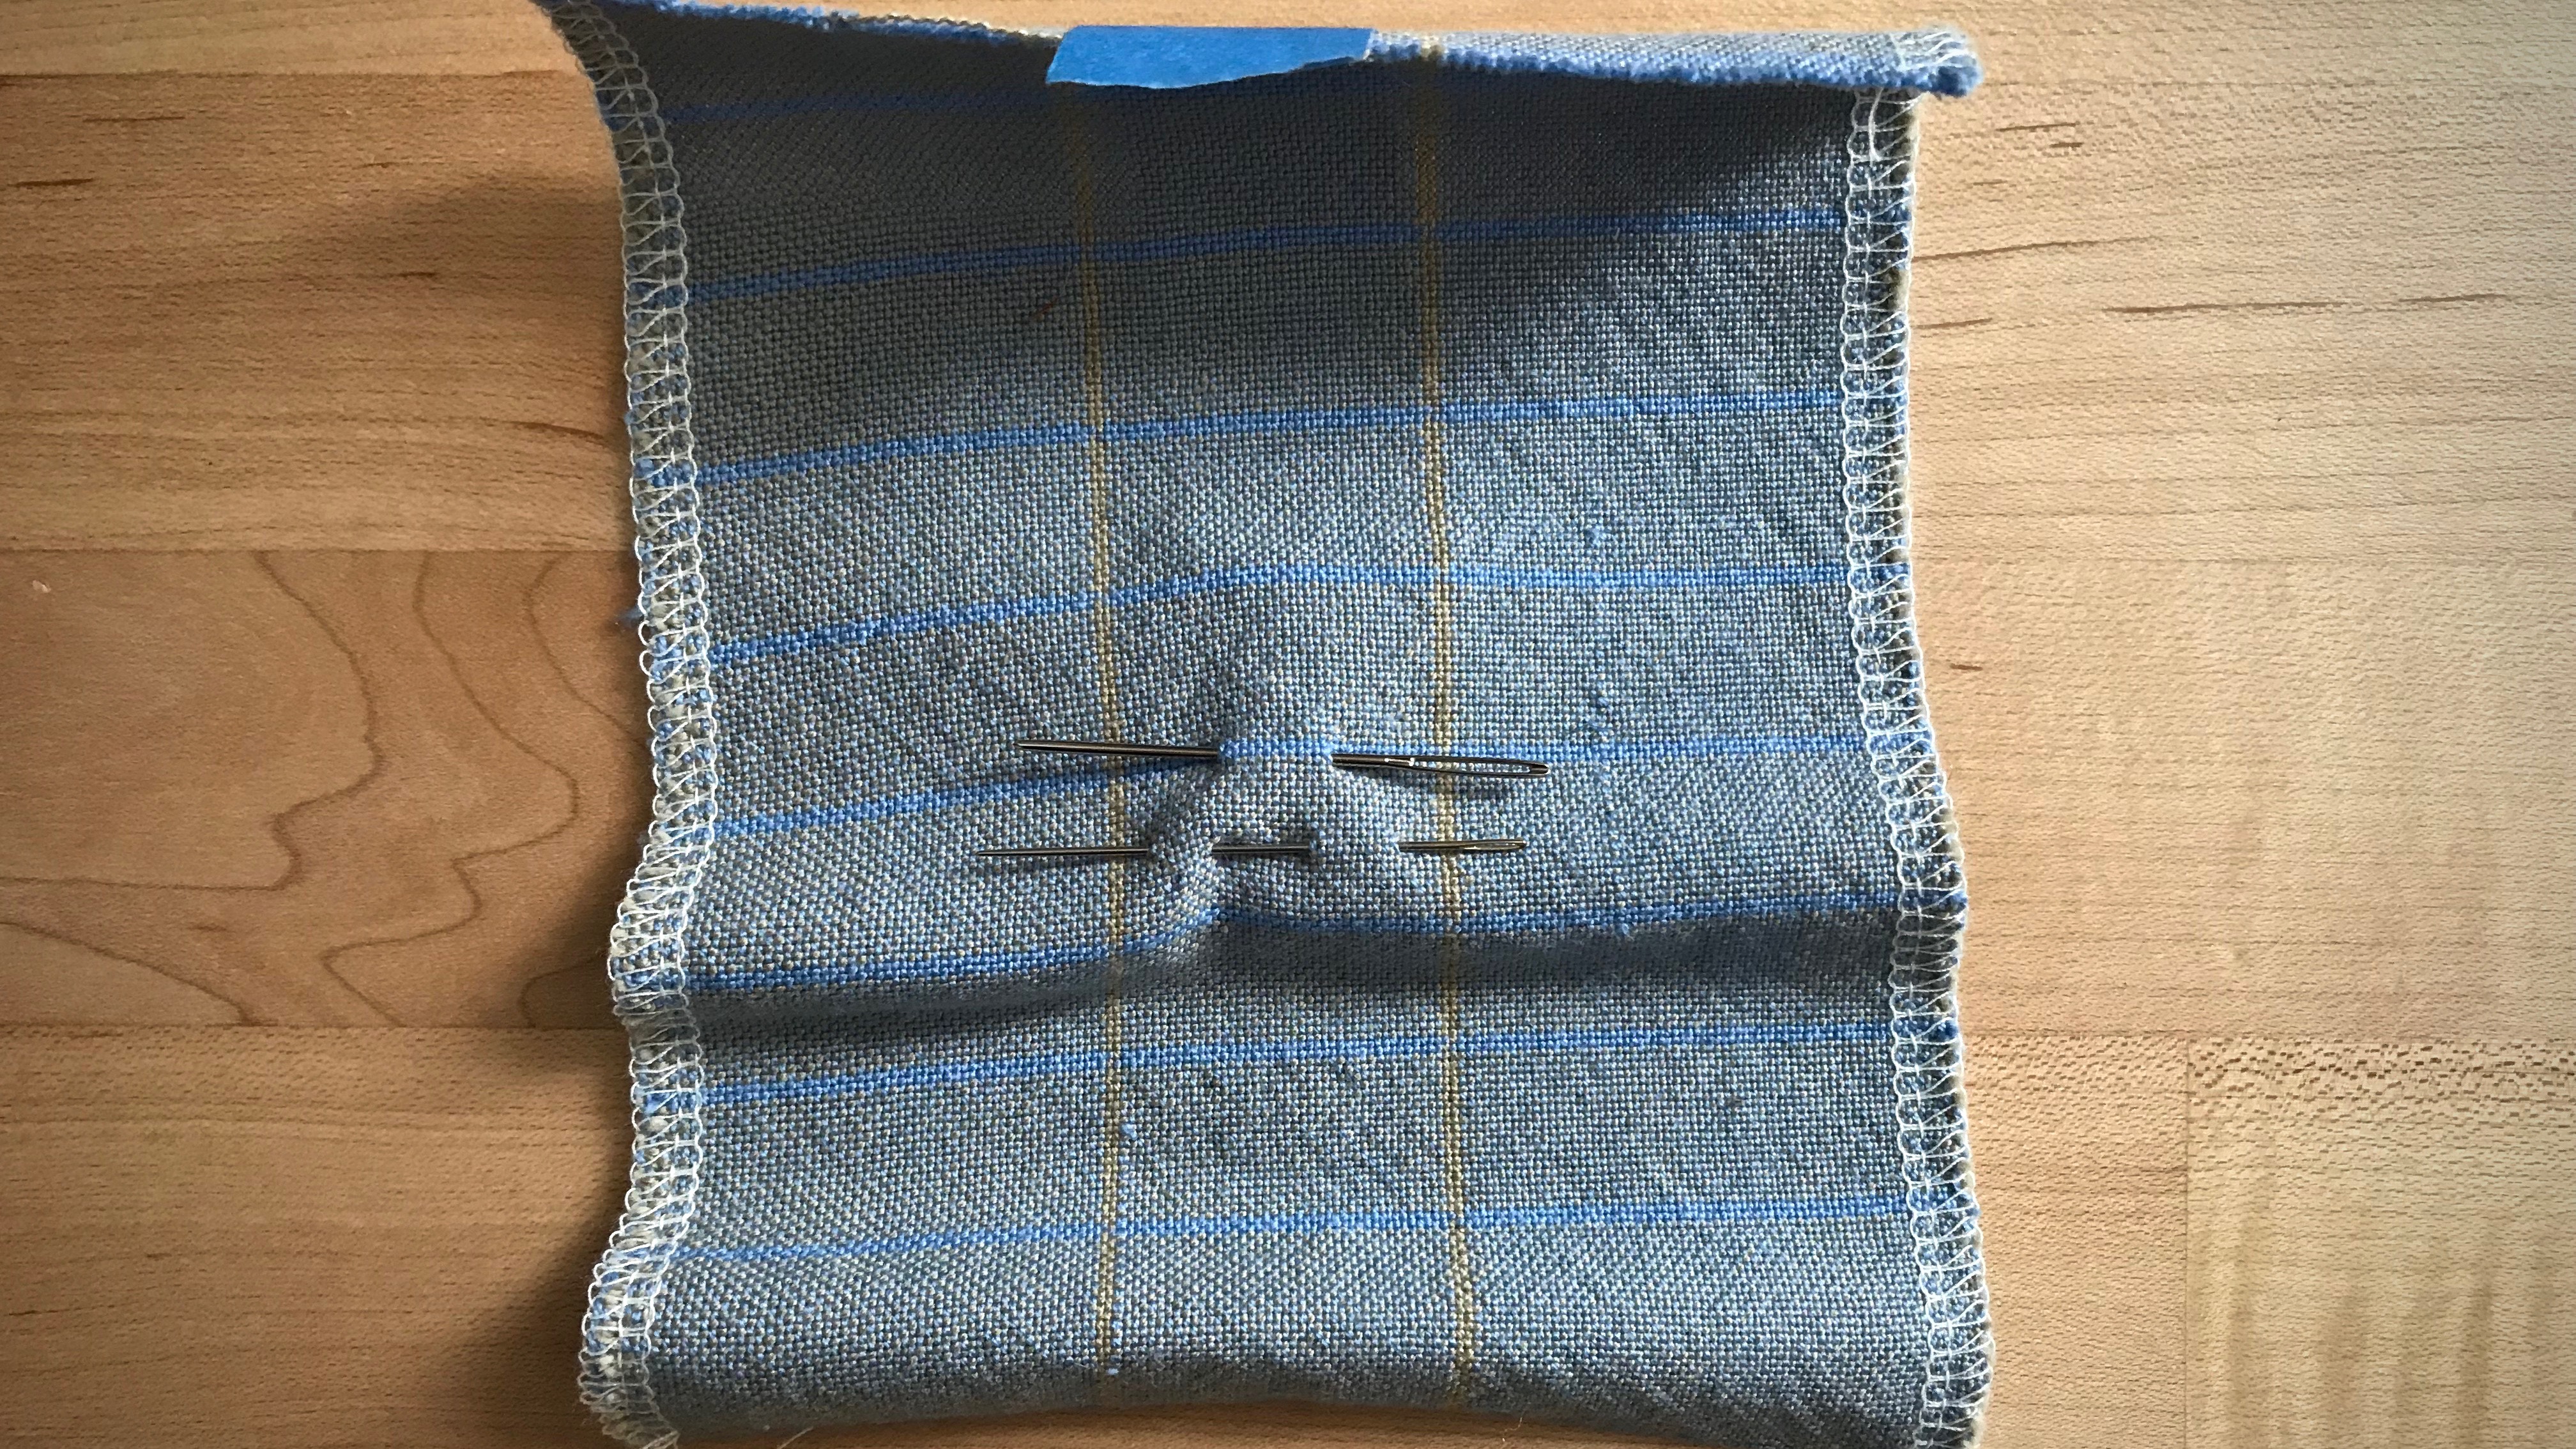
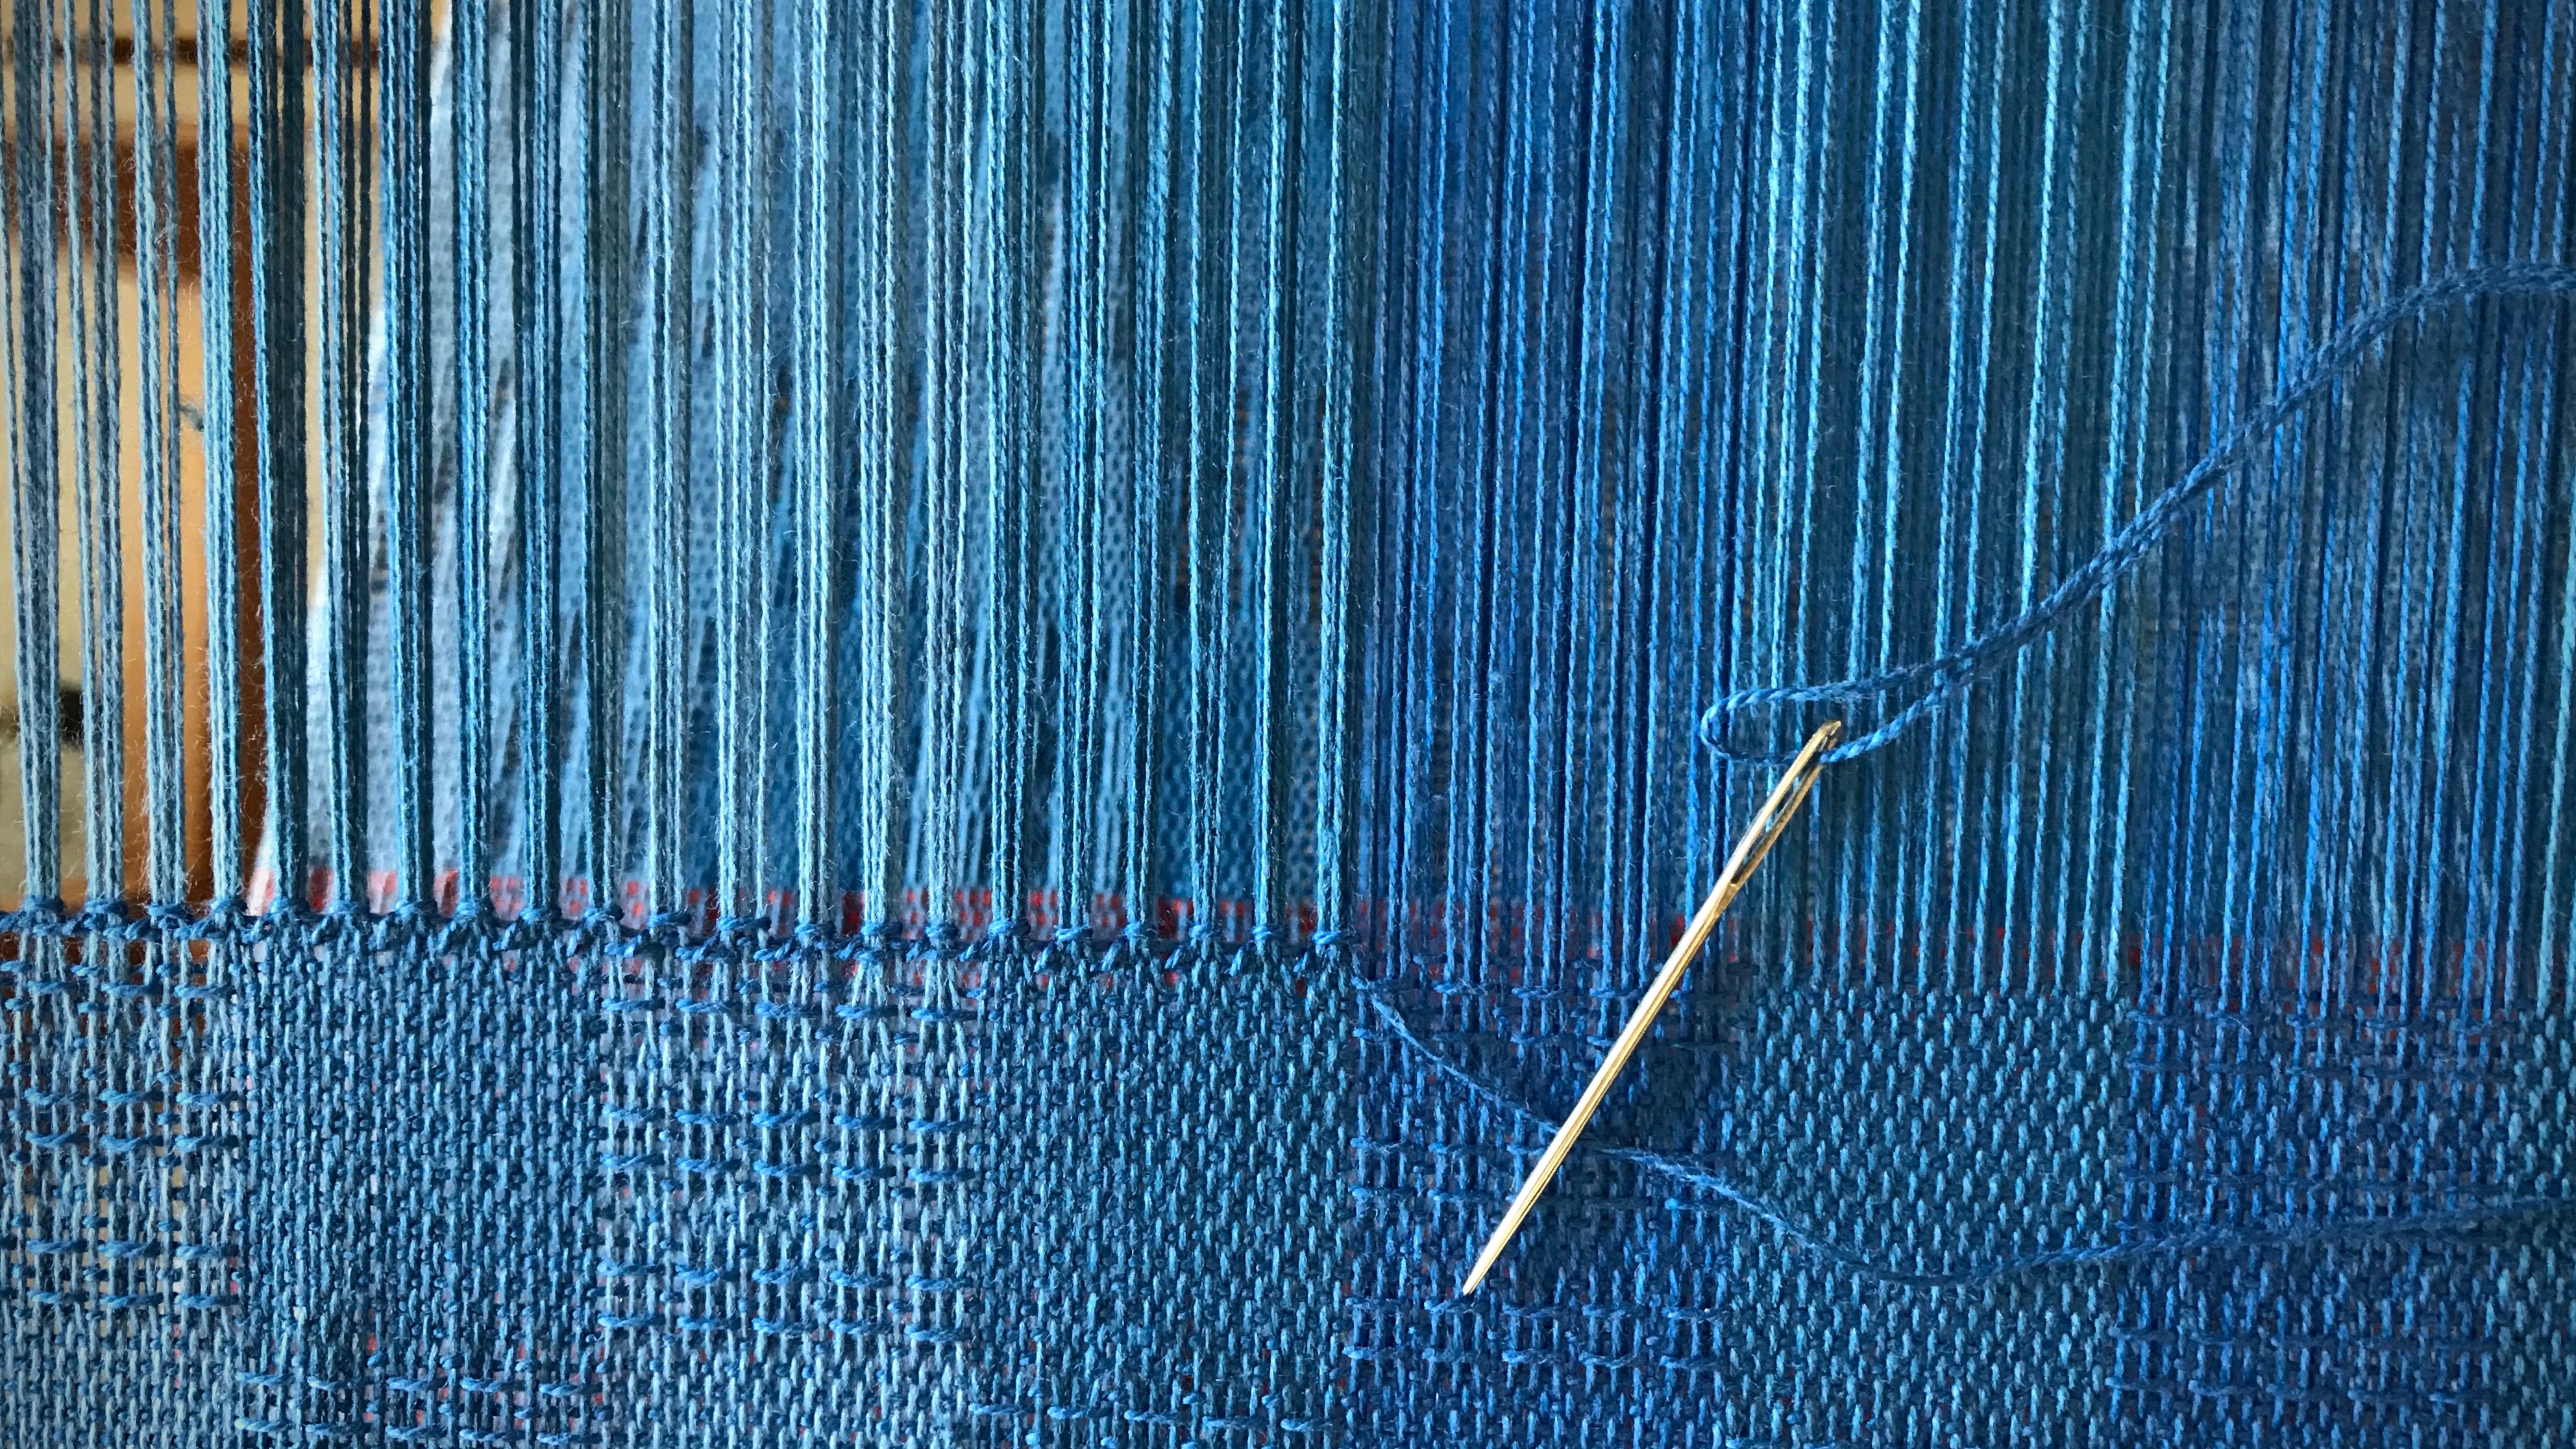
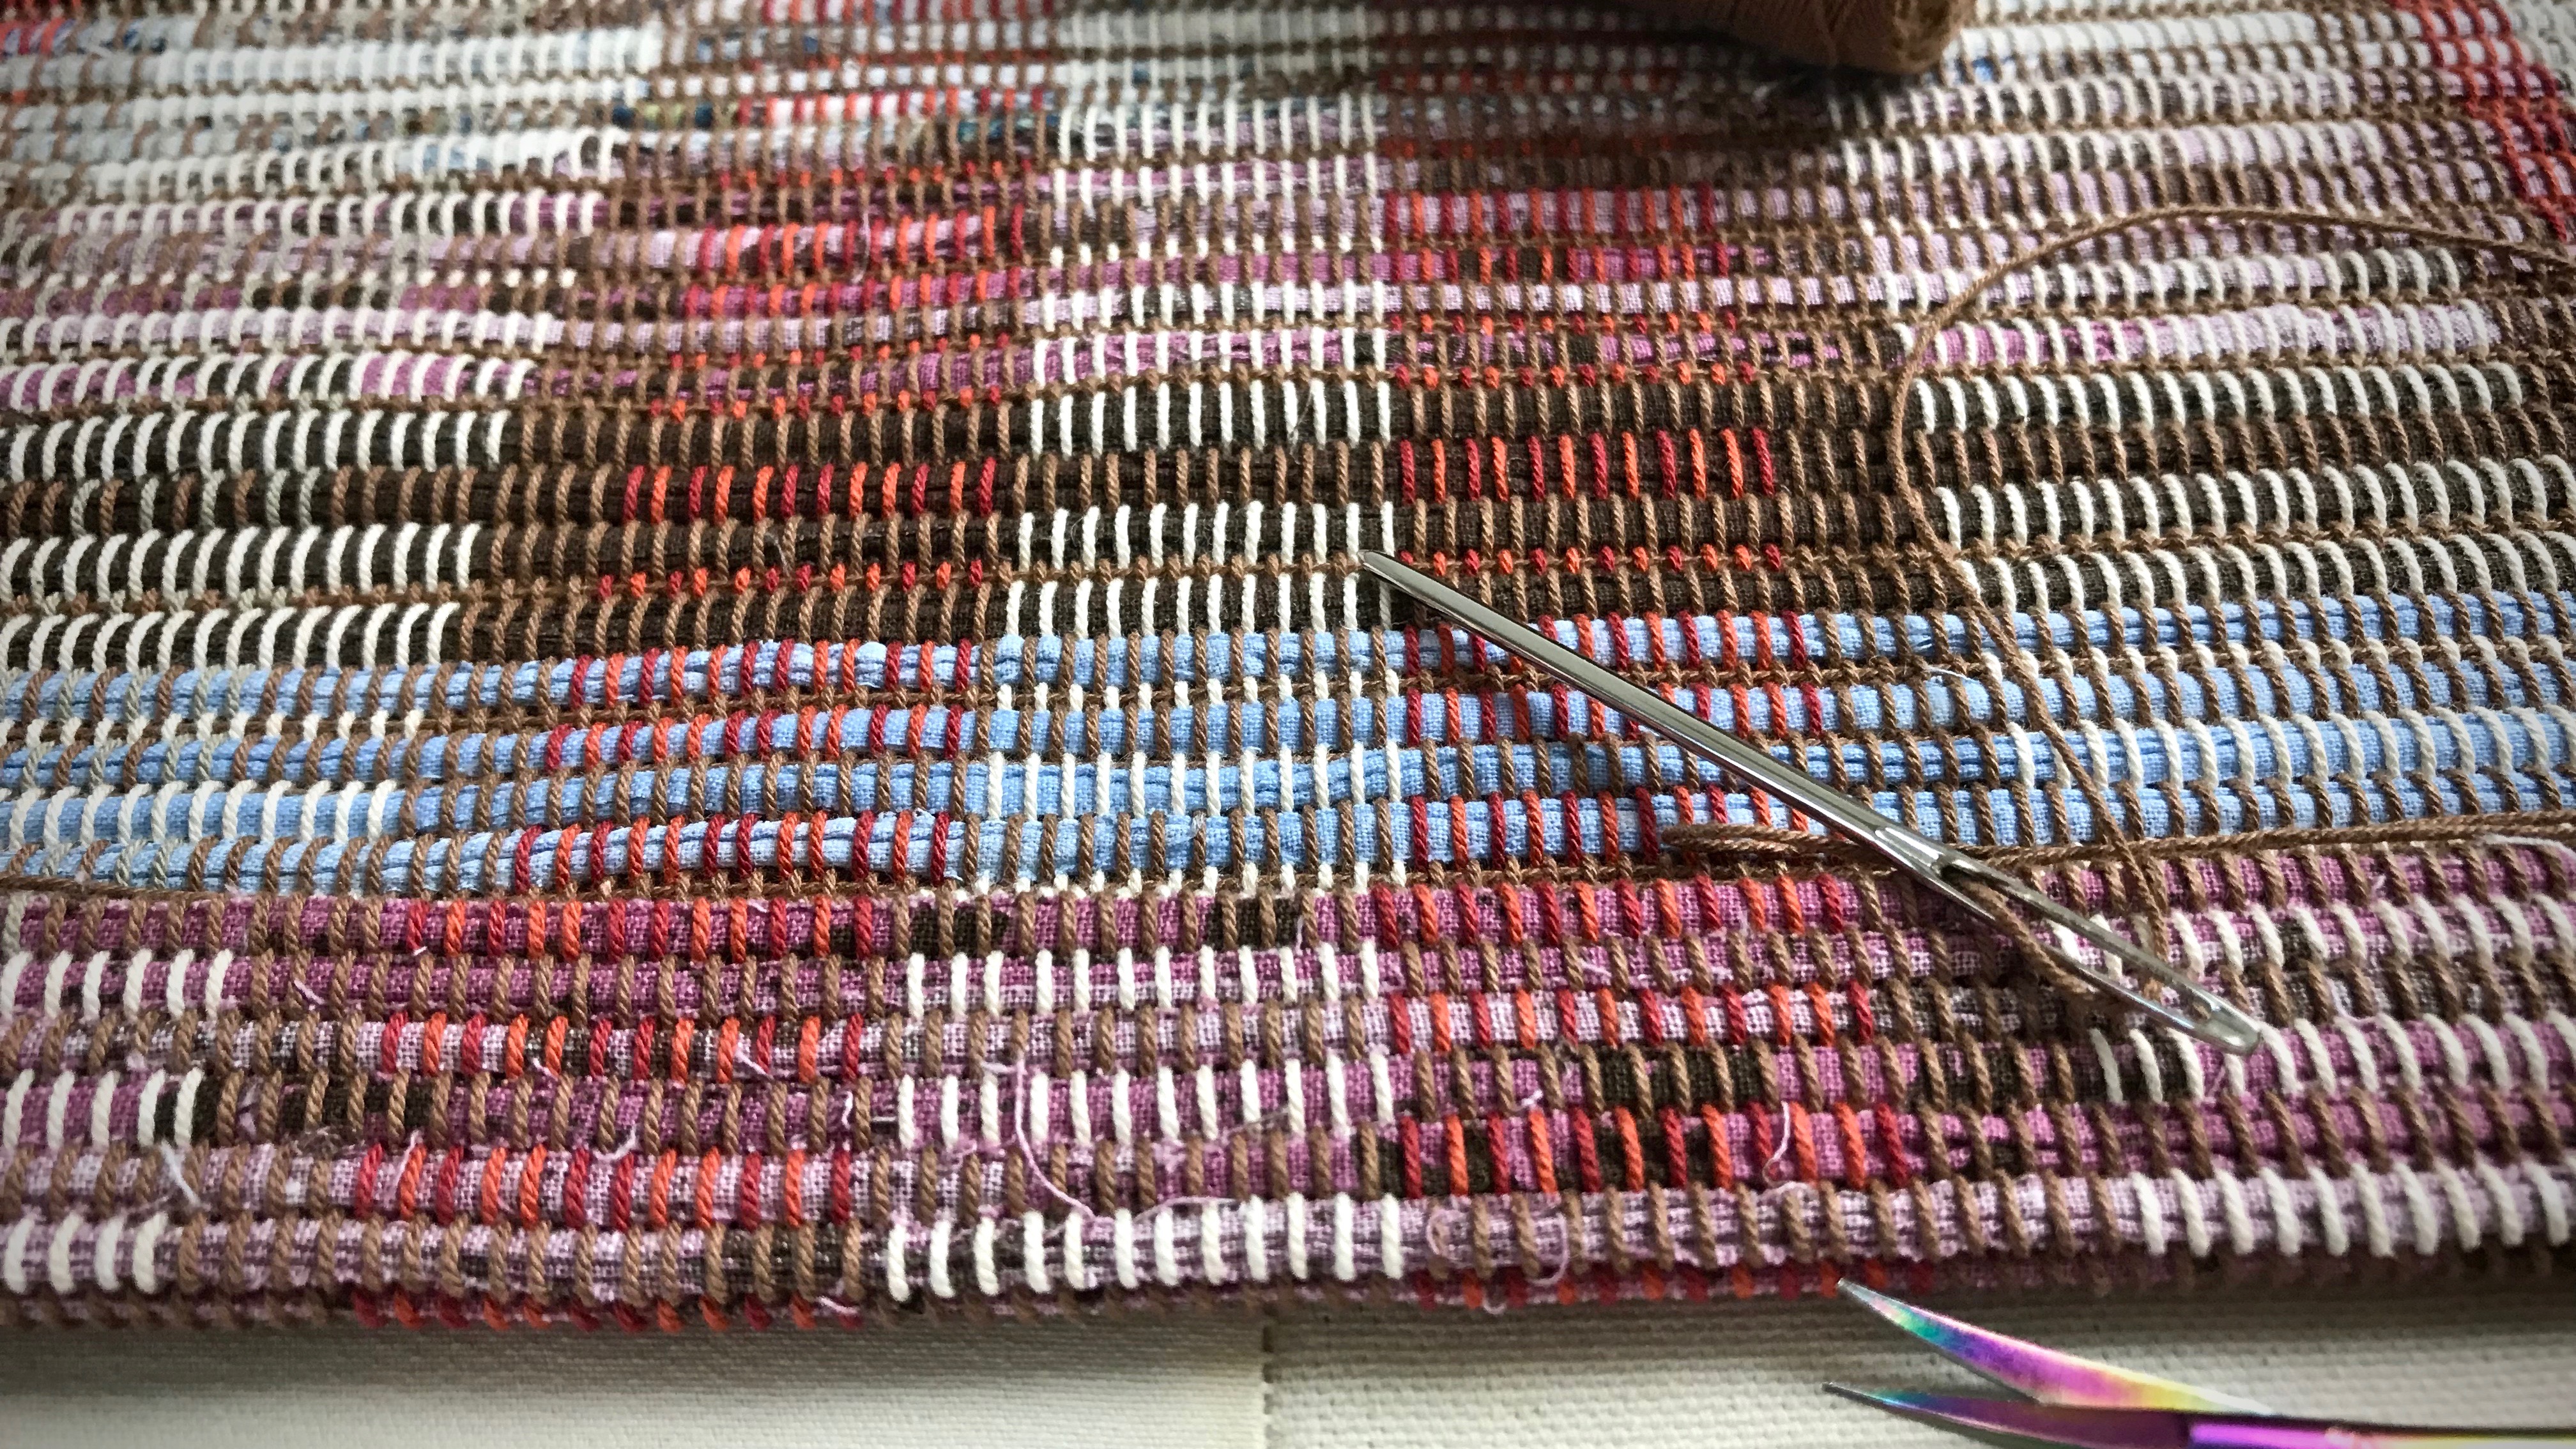
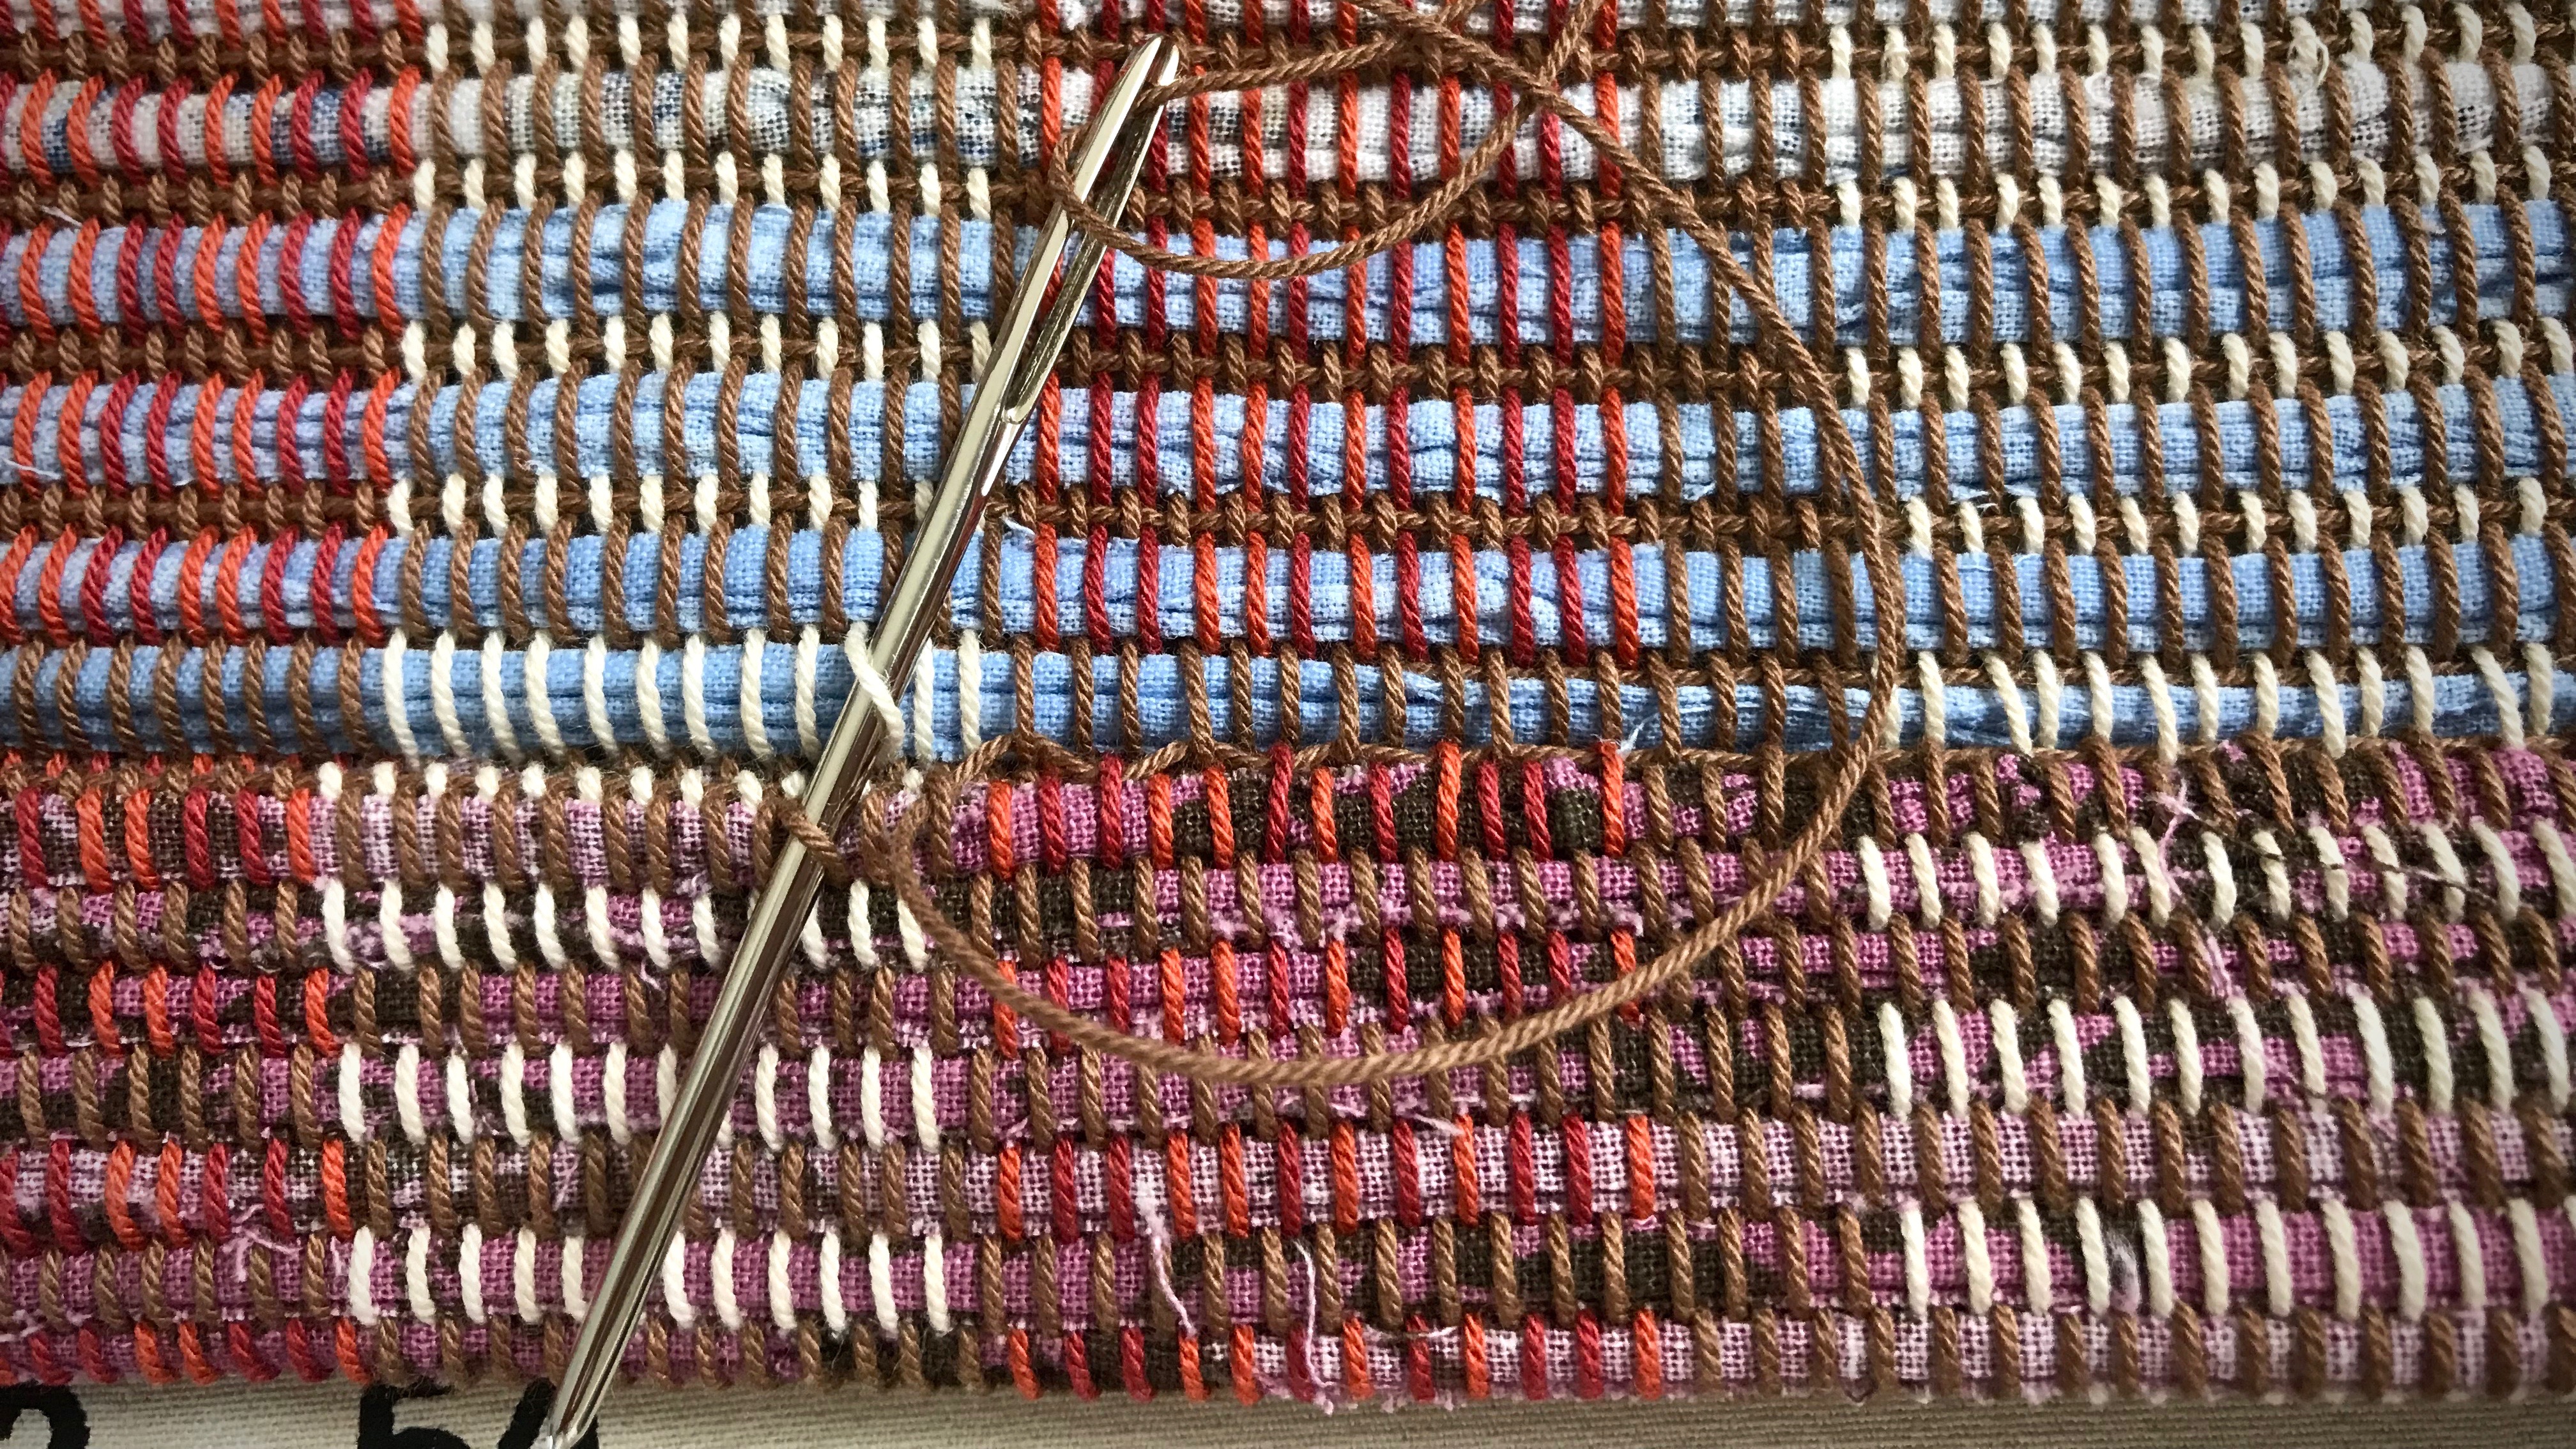
Blunt tapestry needles, small and medium: hemstitching, stitching a thread mark to the right side of the fabric, sewing in tapestry weft tails, finishing work—needle-weaving for corrections and repairs
HOLDER: Remnant of cotton handwoven plain weave fabric
HOME: Loom-side cart, top drawer
Steve sanded and rounded the tips of the needles to make them blunt. A needle with a rounded tip won’t pierce and split the threads.
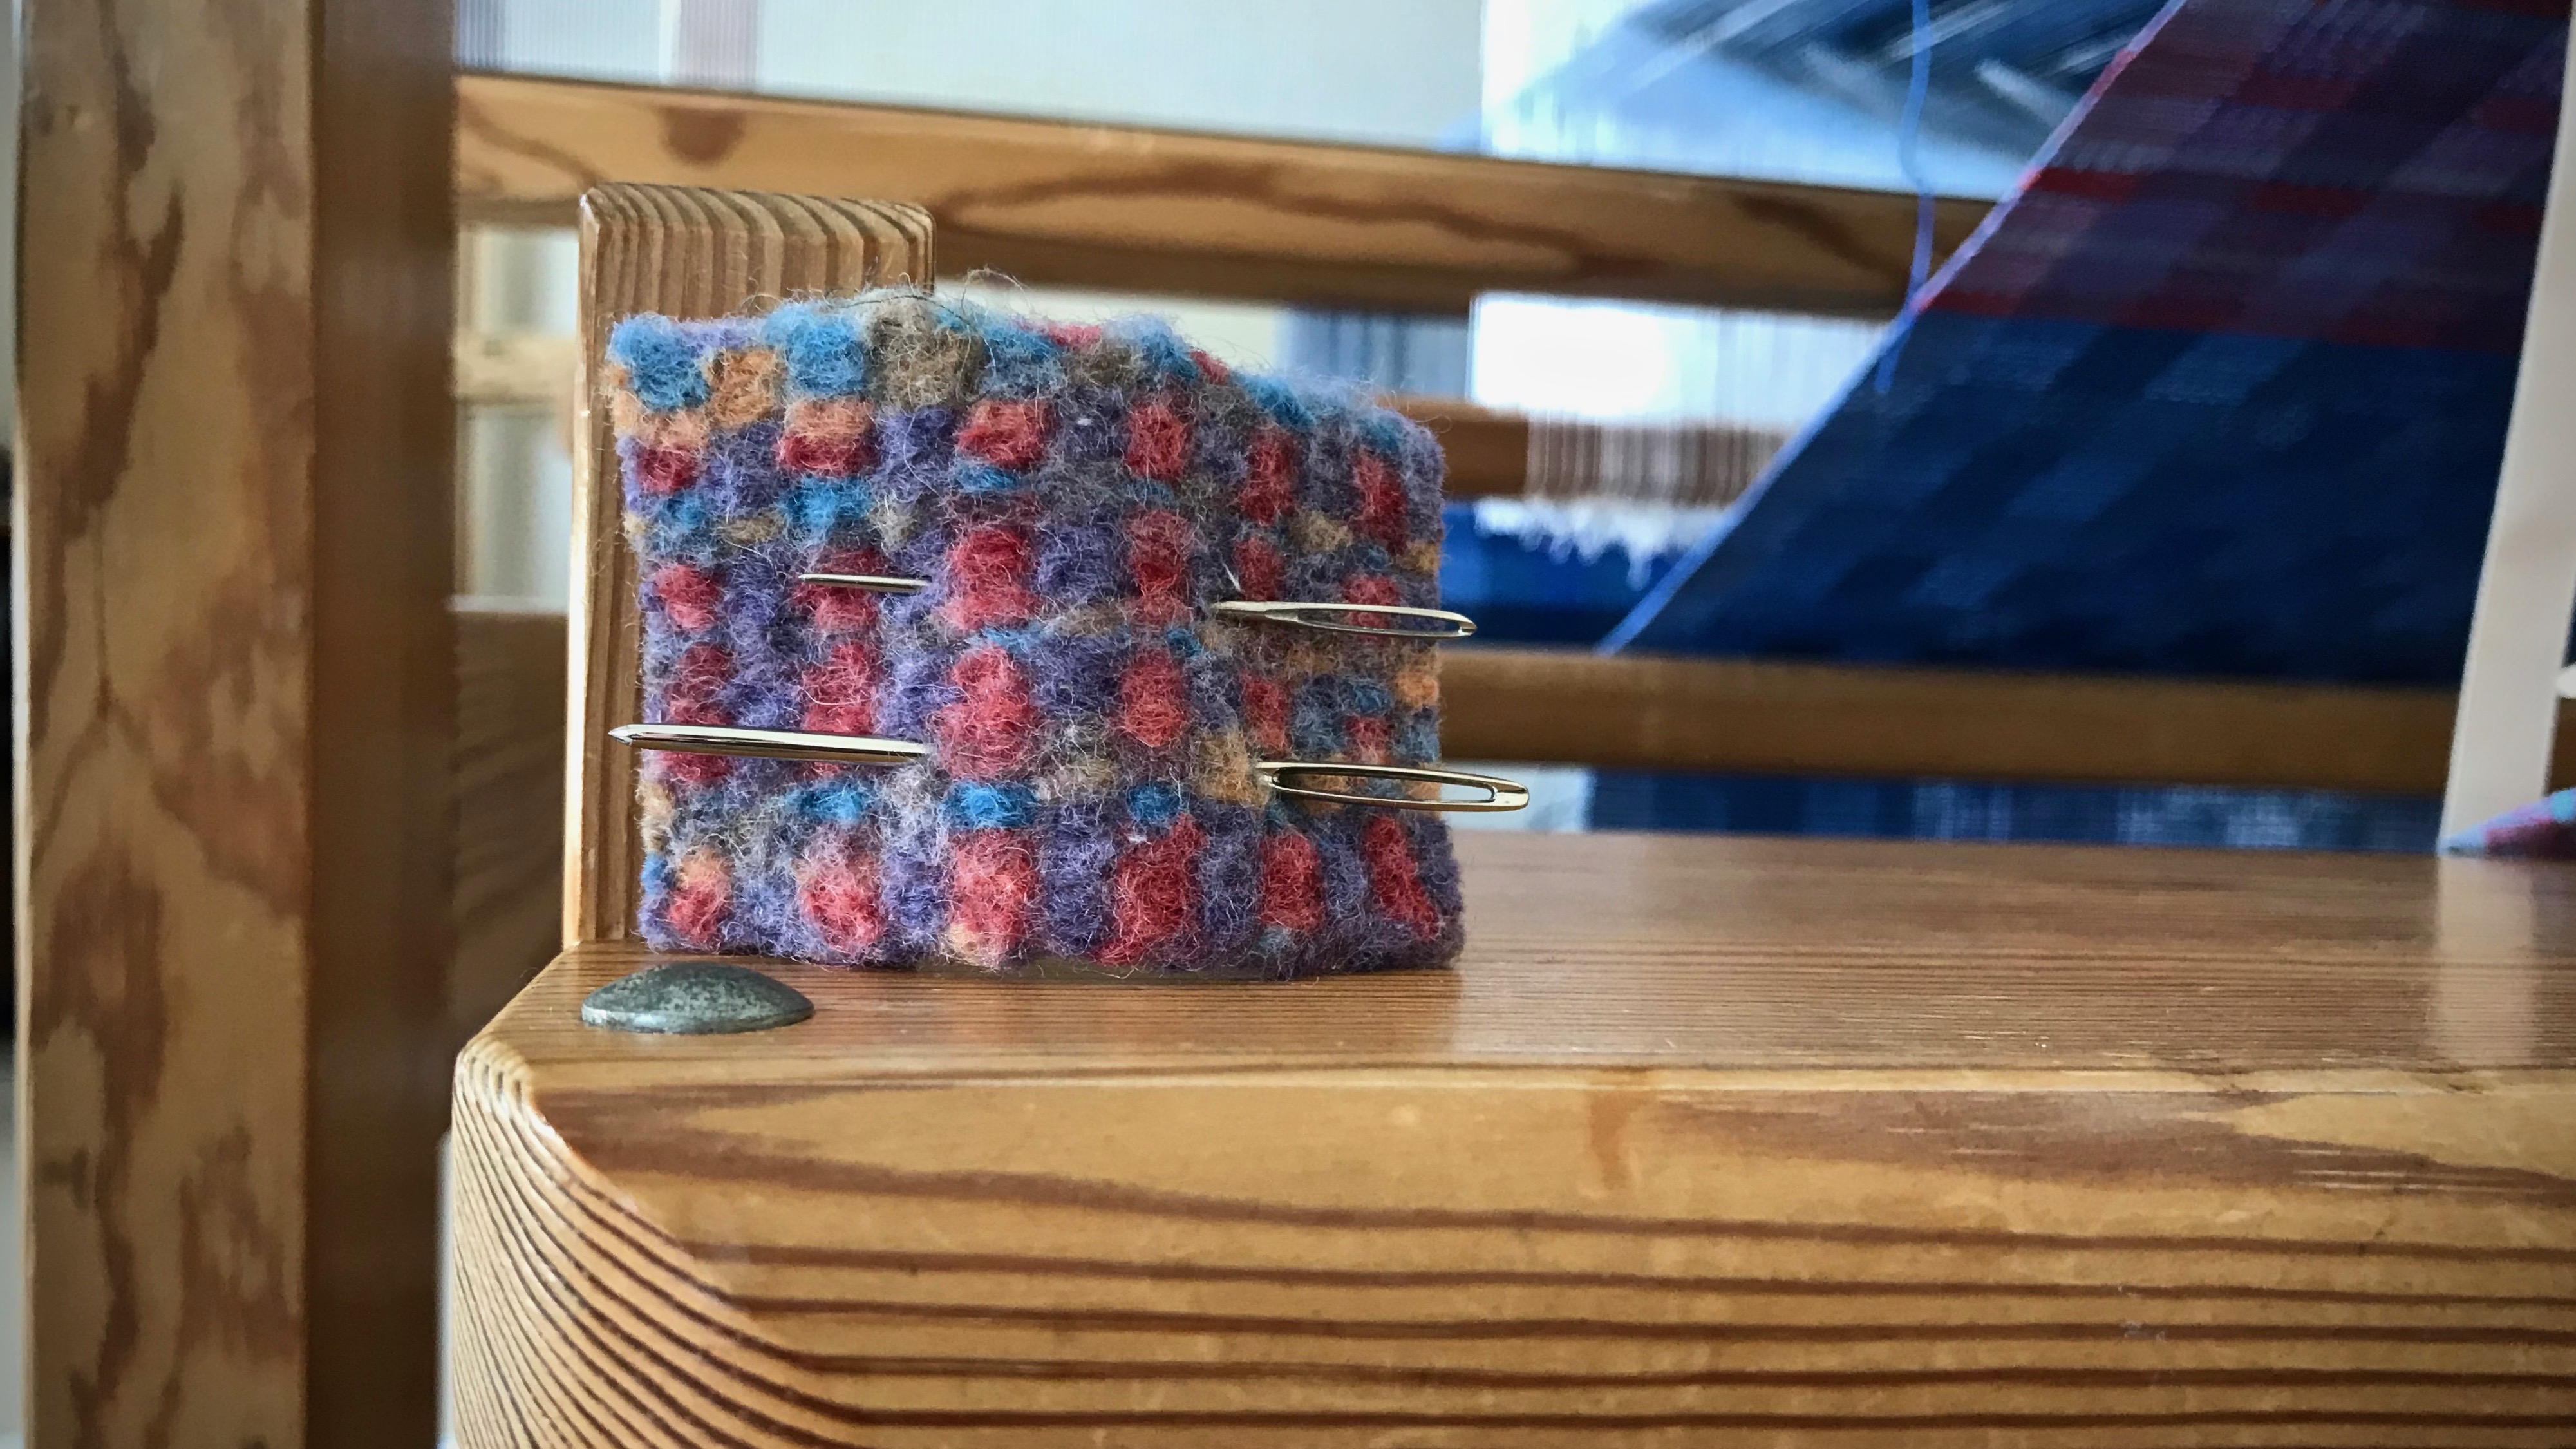
Blunt tapestry needles, large: hemstitching, hand-hemming rugs, weaving small tapestries
HOLDER: Felted inkle-woven tape
HOME: cutting/work table, Grandma’s old sewing tin
Sacking needles: pulling rag rug warpends out of scrap weft, threading warp ends back into a wool rug (I did this…once)
HOLDER: straw-woven pouch from a trip to The Philippines
HOME: weaving supply closet, top drawer on the left
May you find the needle you need when you need a needle.
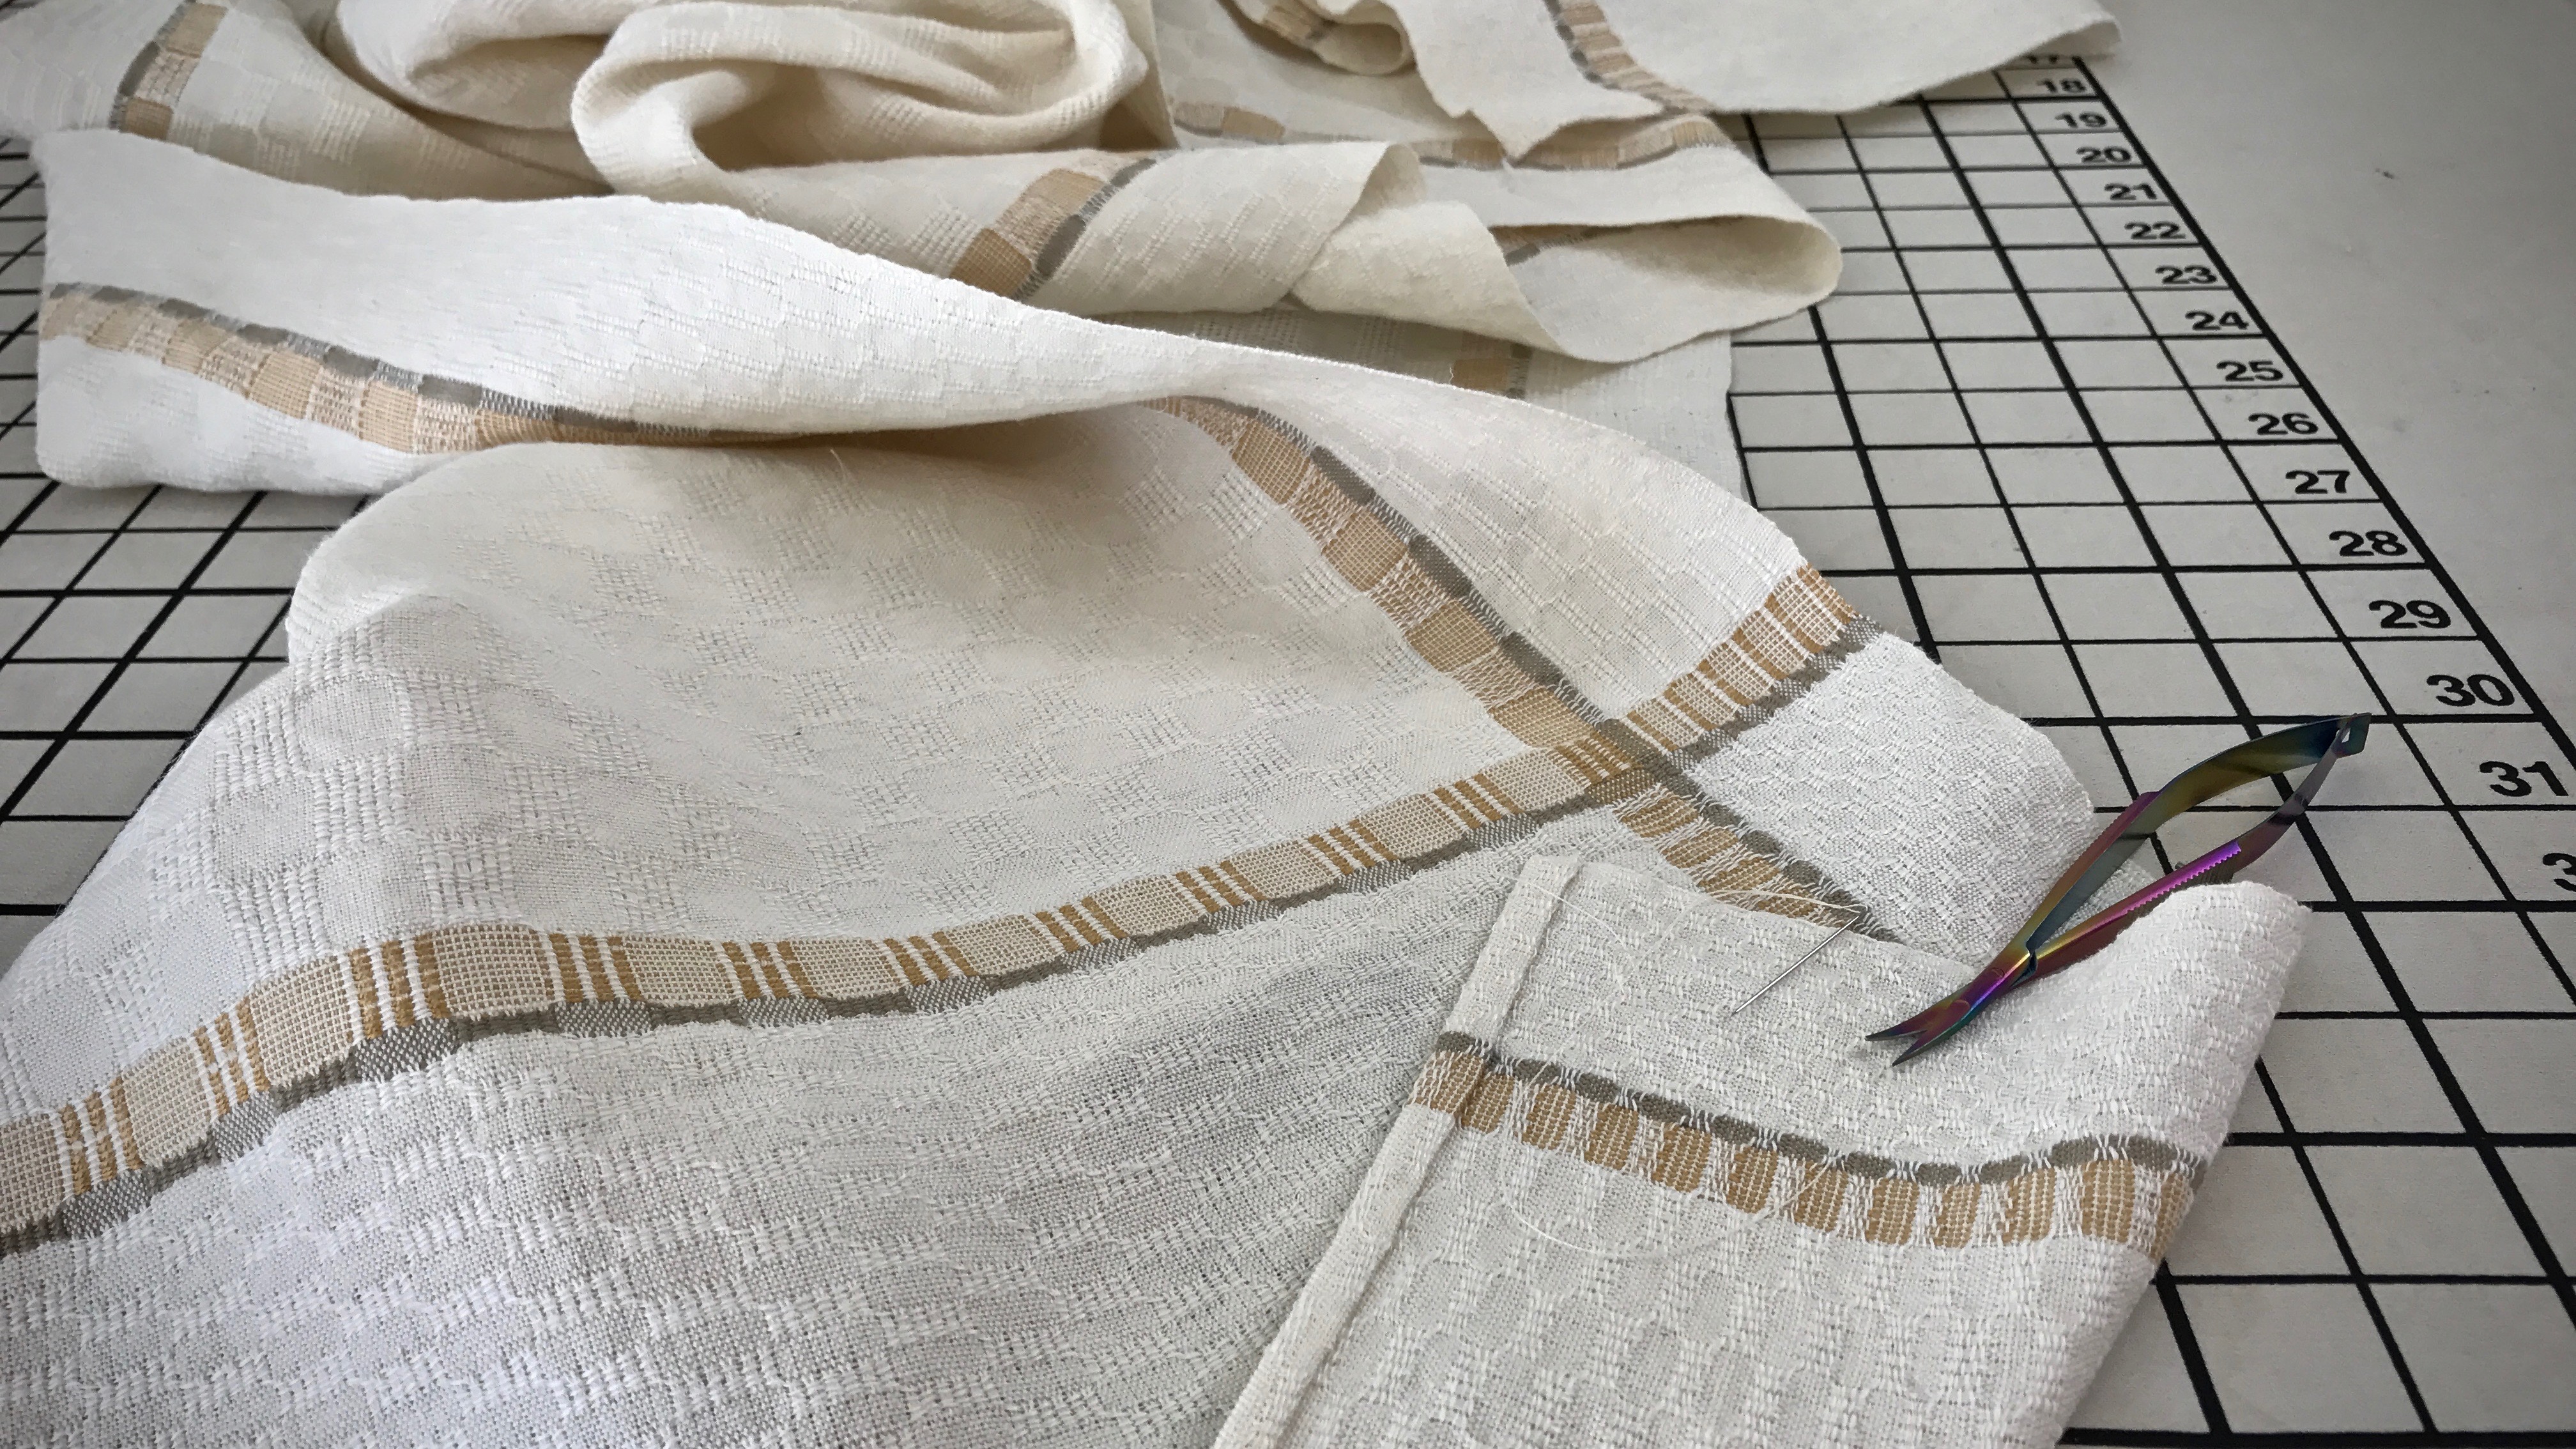
Hems shouldn’t be noticed. At least, not at first glance. I don’t want the stitching of the hem to detract from the overall handwoven quality. Decorative items, like this table runner, deserve a hand-stitched hem. But for functional pieces, like these tea towels, I stitch the hems on my trusty old Bernina sewing machine. This ensures the durability I want for something that will be thrown in the washer and dryer again and again.
Long M’s and O’s table runner is hemmed by hand using an invisible hem stitch.
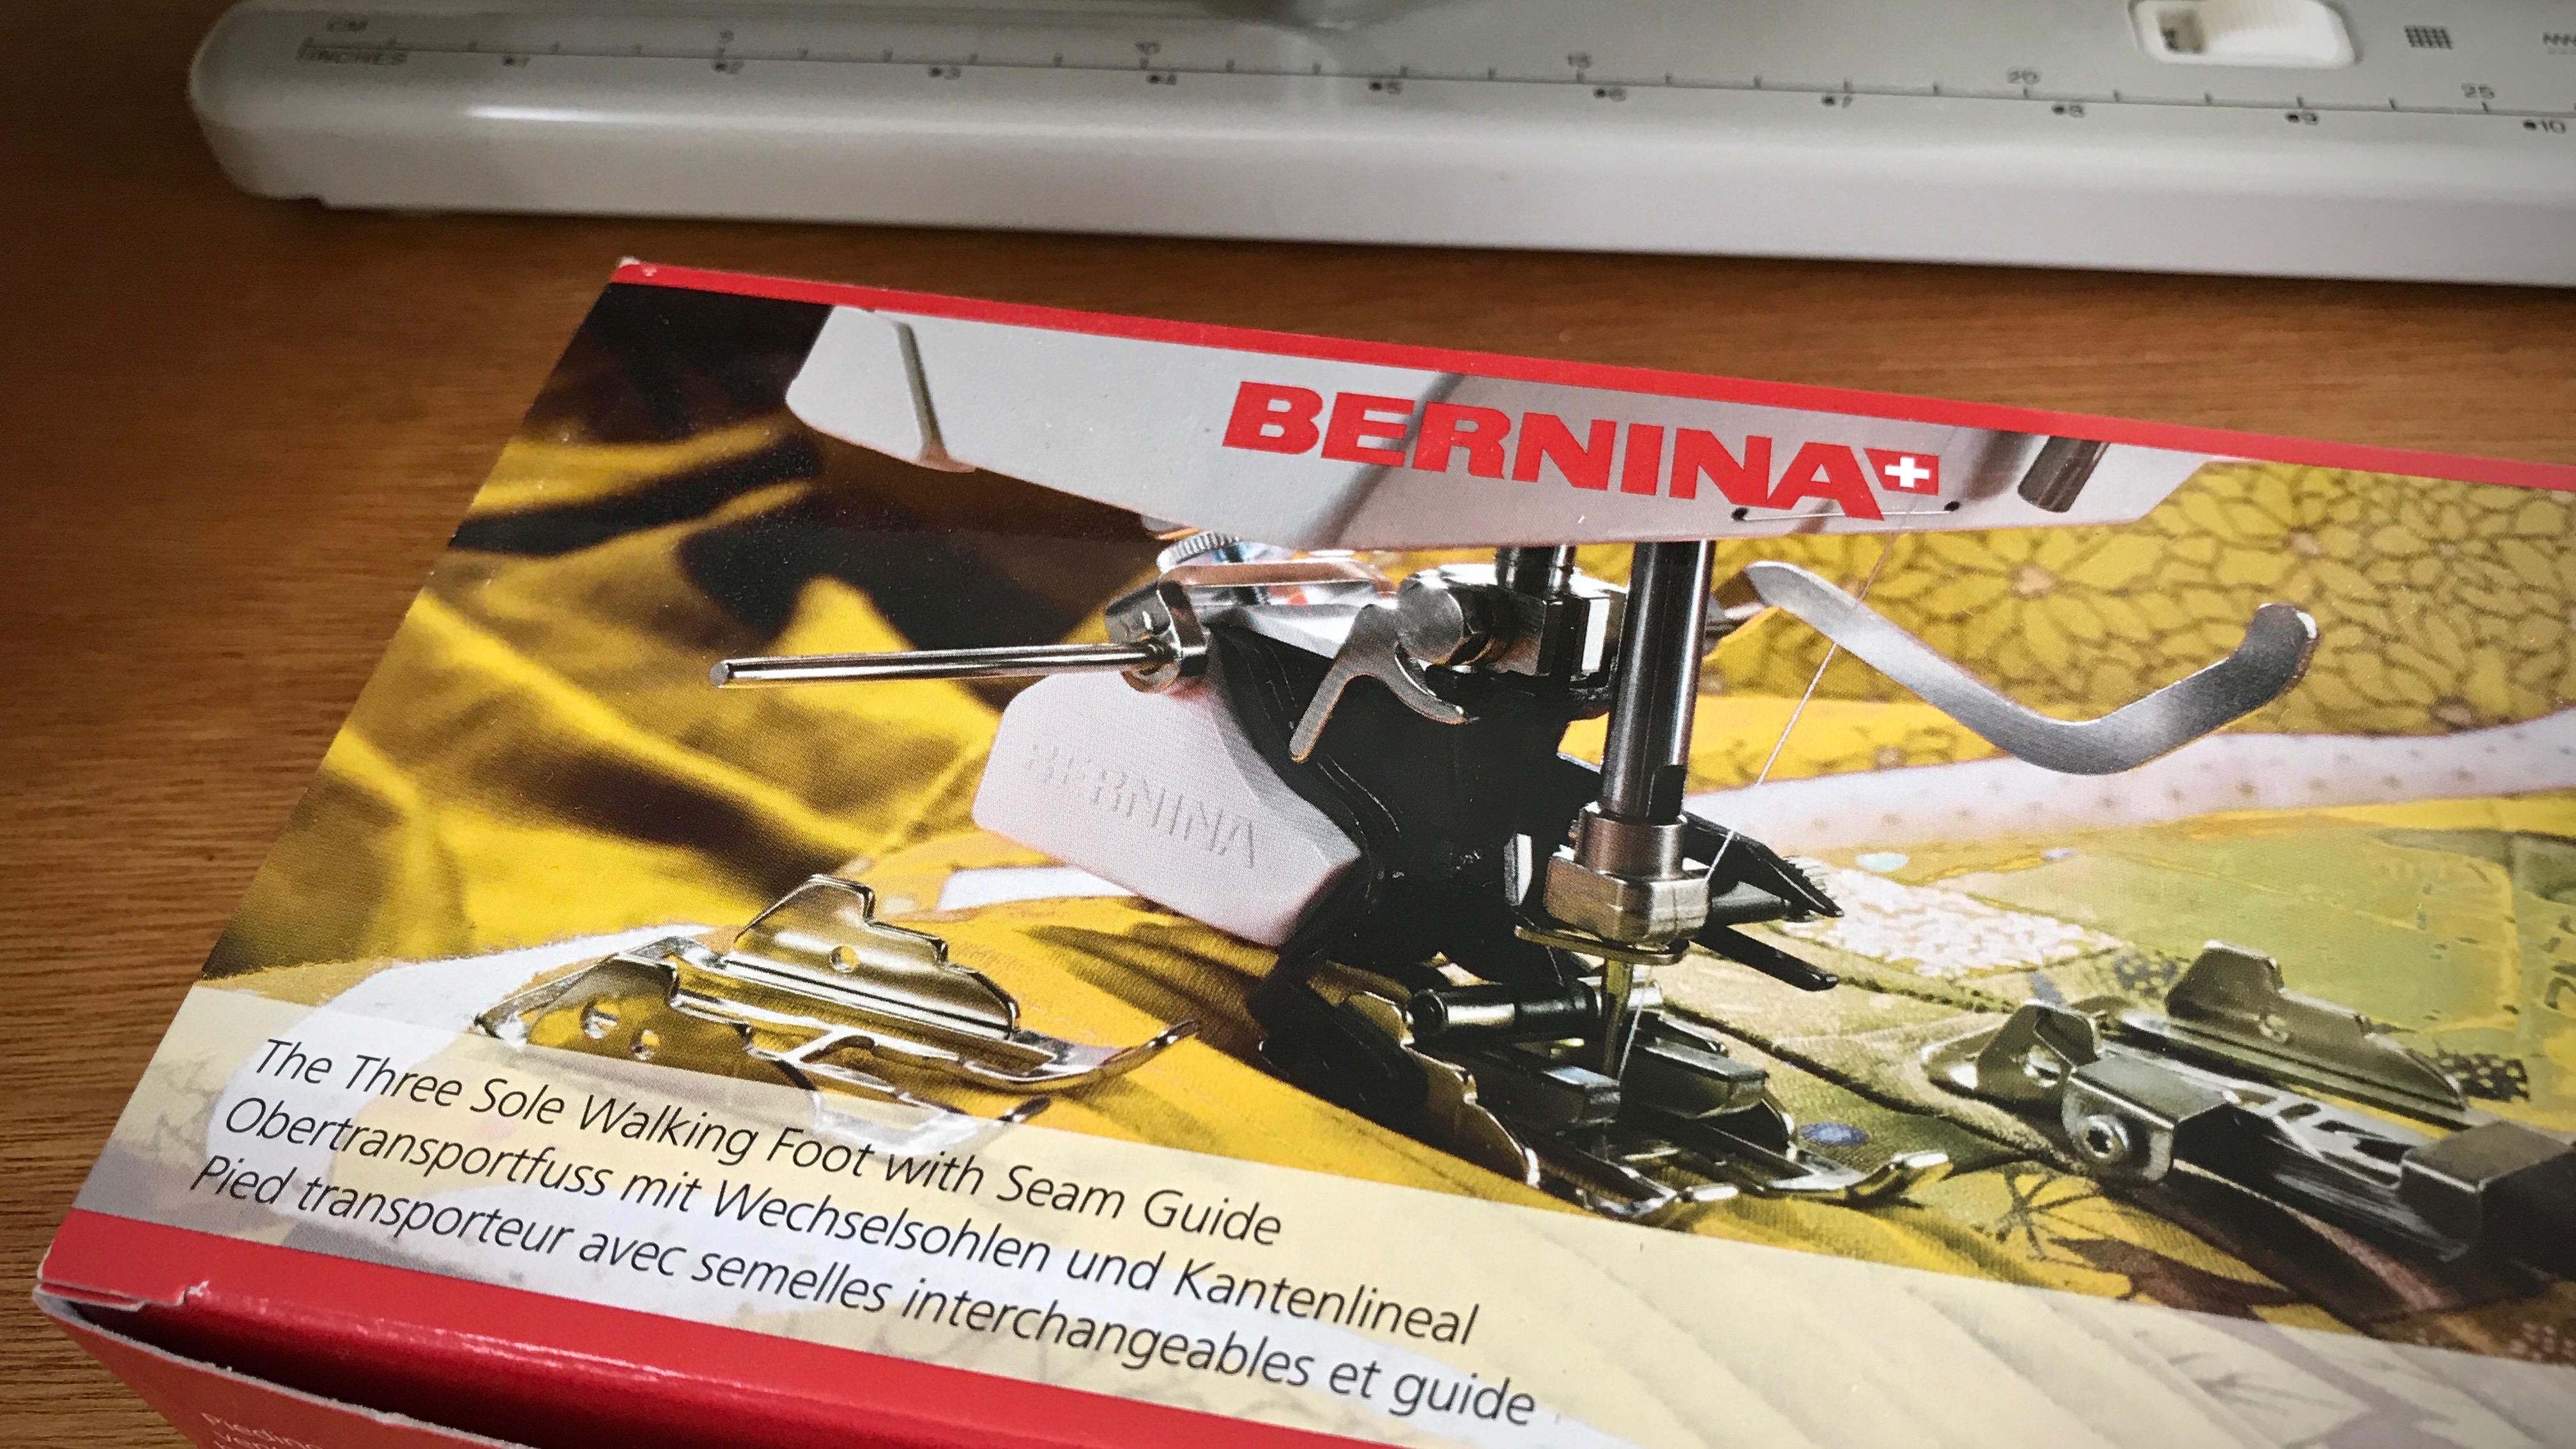
Last year I purchased a Bernina walking foot through my local Bernina repairman. It was one of the best sewing investments I have made. (Don’t be fooled by off-brand “Bernina compatible” products.) The advantage of a walking foot is that it evenly feeds layers of fabric, which is especially useful for sewing handwoven fabric. And for the towel hem, it means the top of the hem won’t become skewed and slanted as you sew, like it might with a regular sewing machine foot.
Bernina Three Sole Walking Foot with Seam Guide. The walking foot stays on my Bernina sewing machine almost all the time.
One of the three sole plates that comes with the Bernina walking foot is a sole for edge stitching. This works beautifully for stitching a narrow hem on lighter-weight fabric, like these airy cotton and linen towels.
My process for a machine-stitched narrow hem
Turn and press the 1/4″ hem twice. Hold the folded edge in place with small fabric clips.
Small fabric clips hold the folded and pressed towel hem in place, in preparation for stitching the hem.
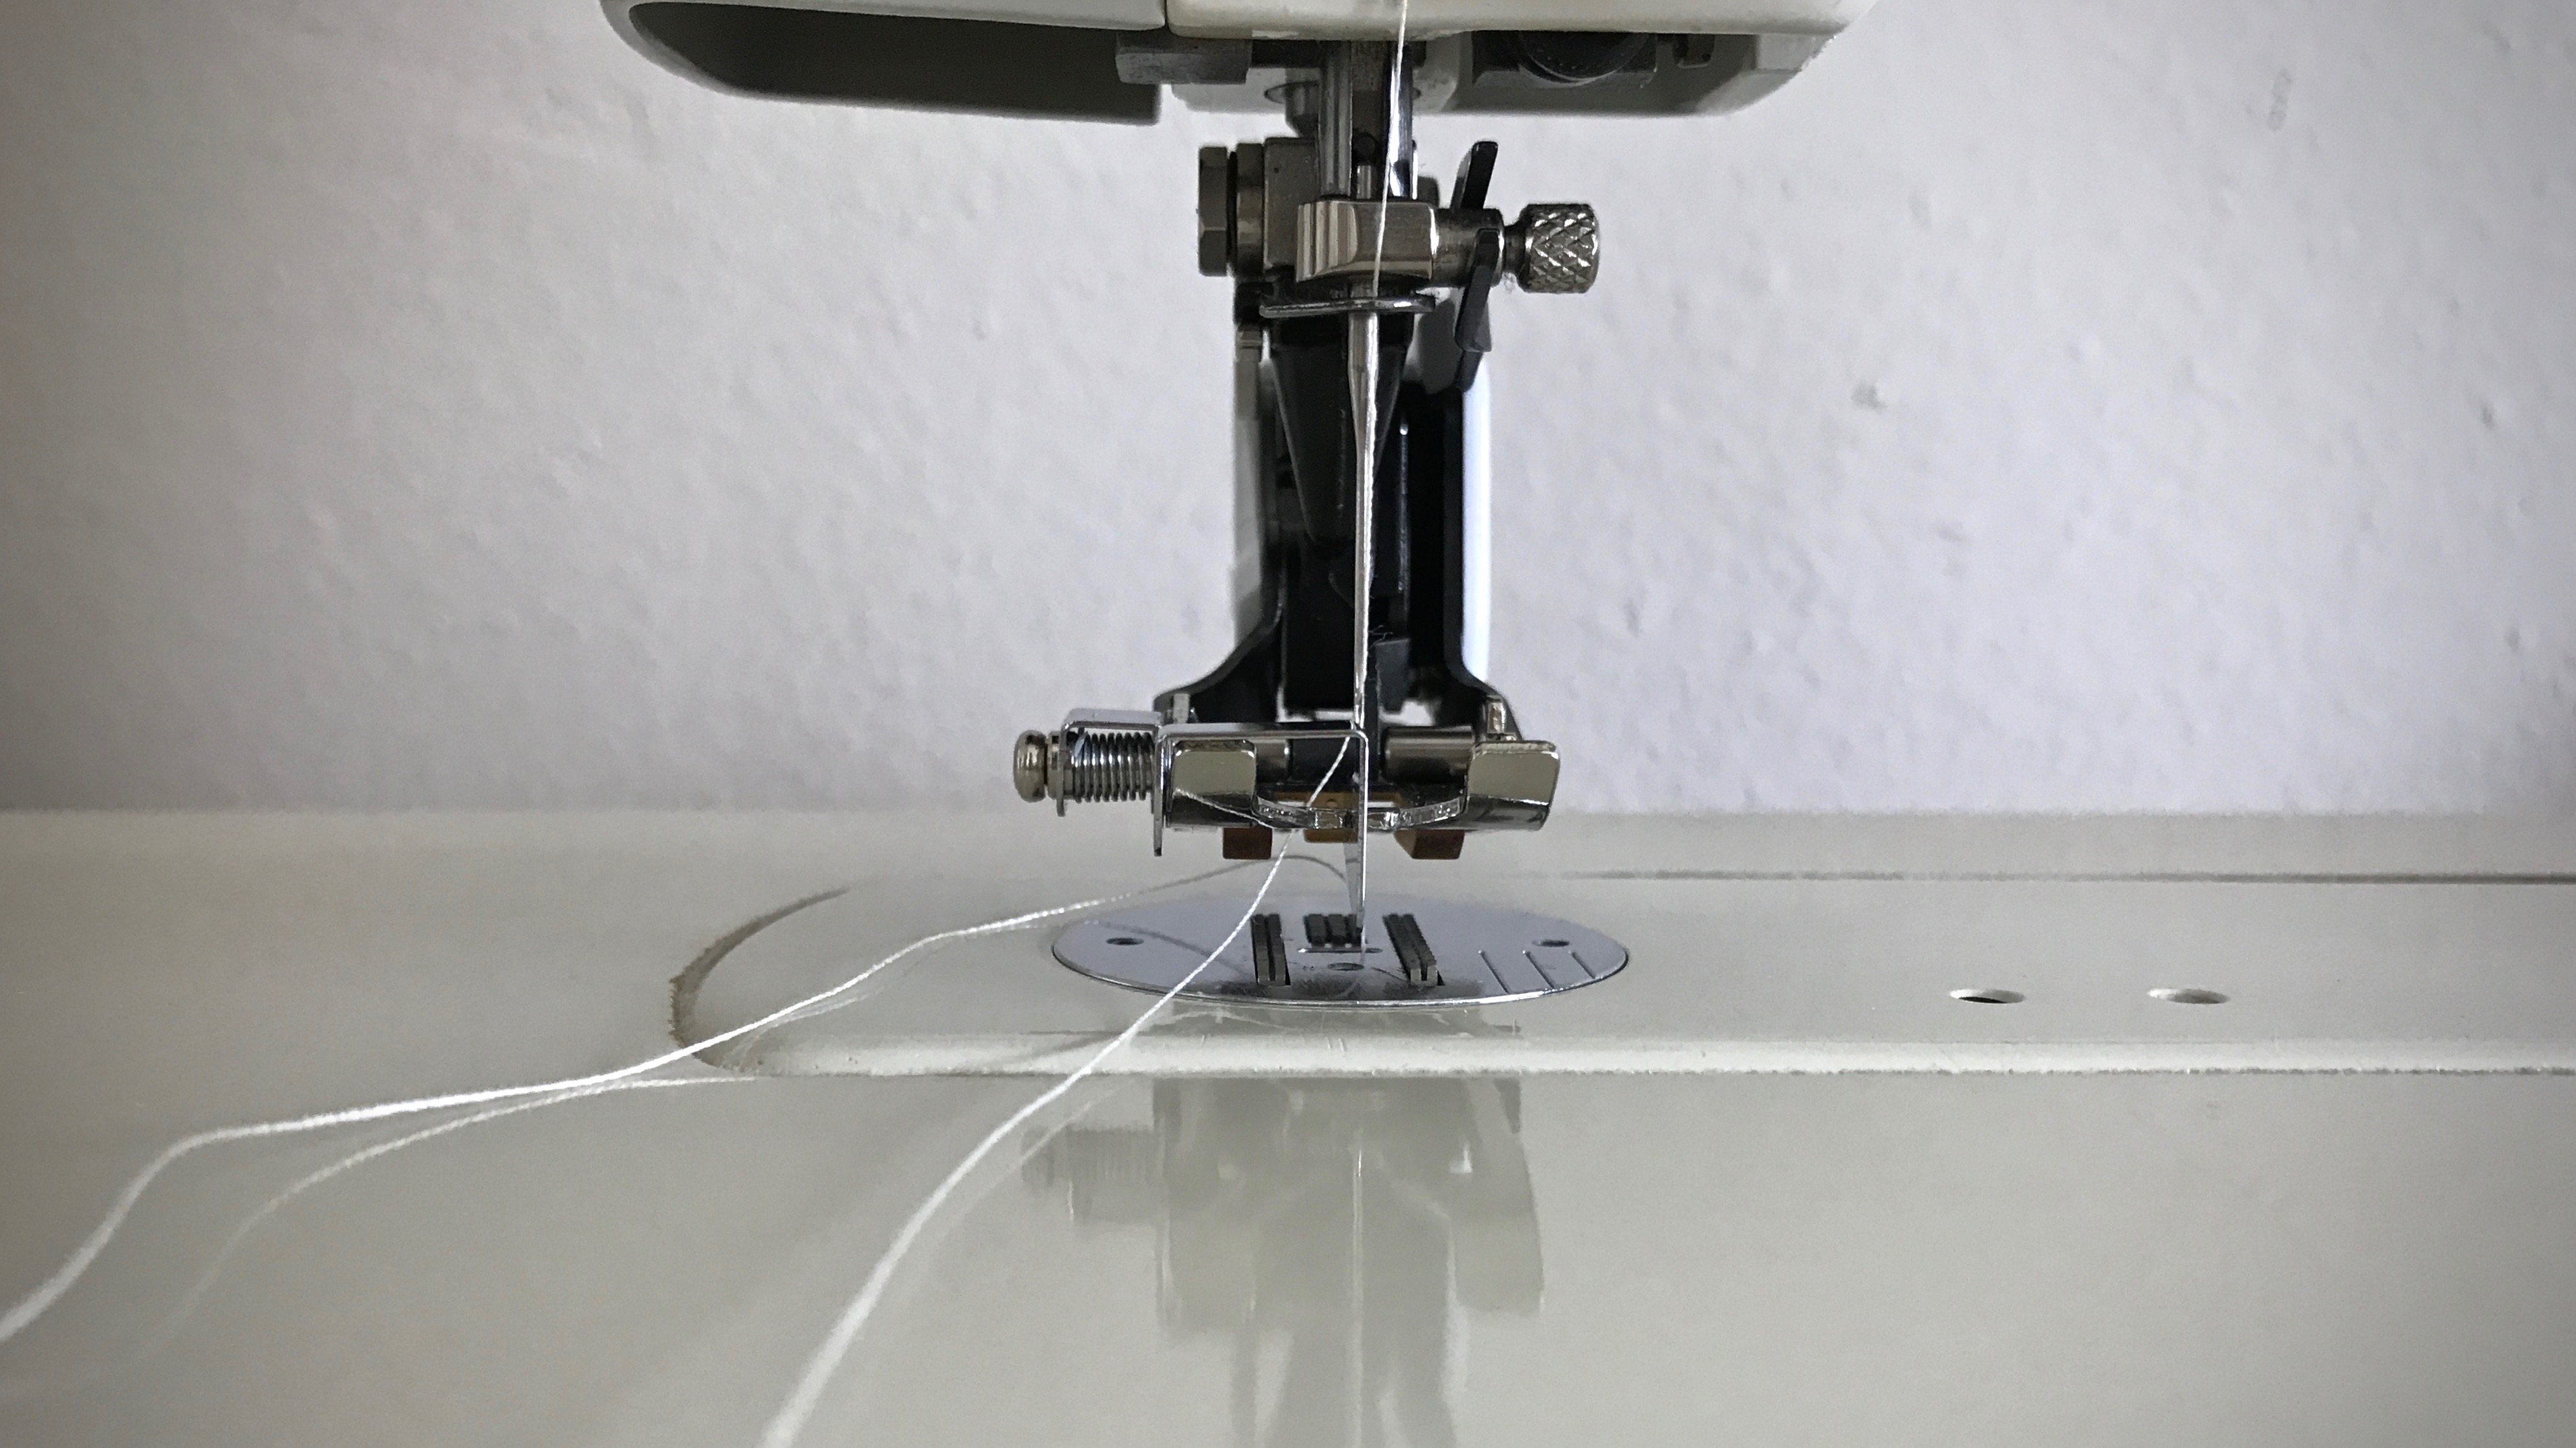
At the sewing machine, attach the edge-stitching sole plate to the walking foot. Align the fold of the hem with the edge-stitching guide.
Sole with stitch guide. The metal plate that extends below the foot is a steady guide that works for sewing a narrow hem, as well as for top-stitching, or “stitch-in-the-ditch” techniques.
Adjust the sewing machine needle to the right, so that it catches the fabric just inside the edge of the fold.
Sewing the narrow hem. Needle is positioned so that it is to the right of the hem fold.
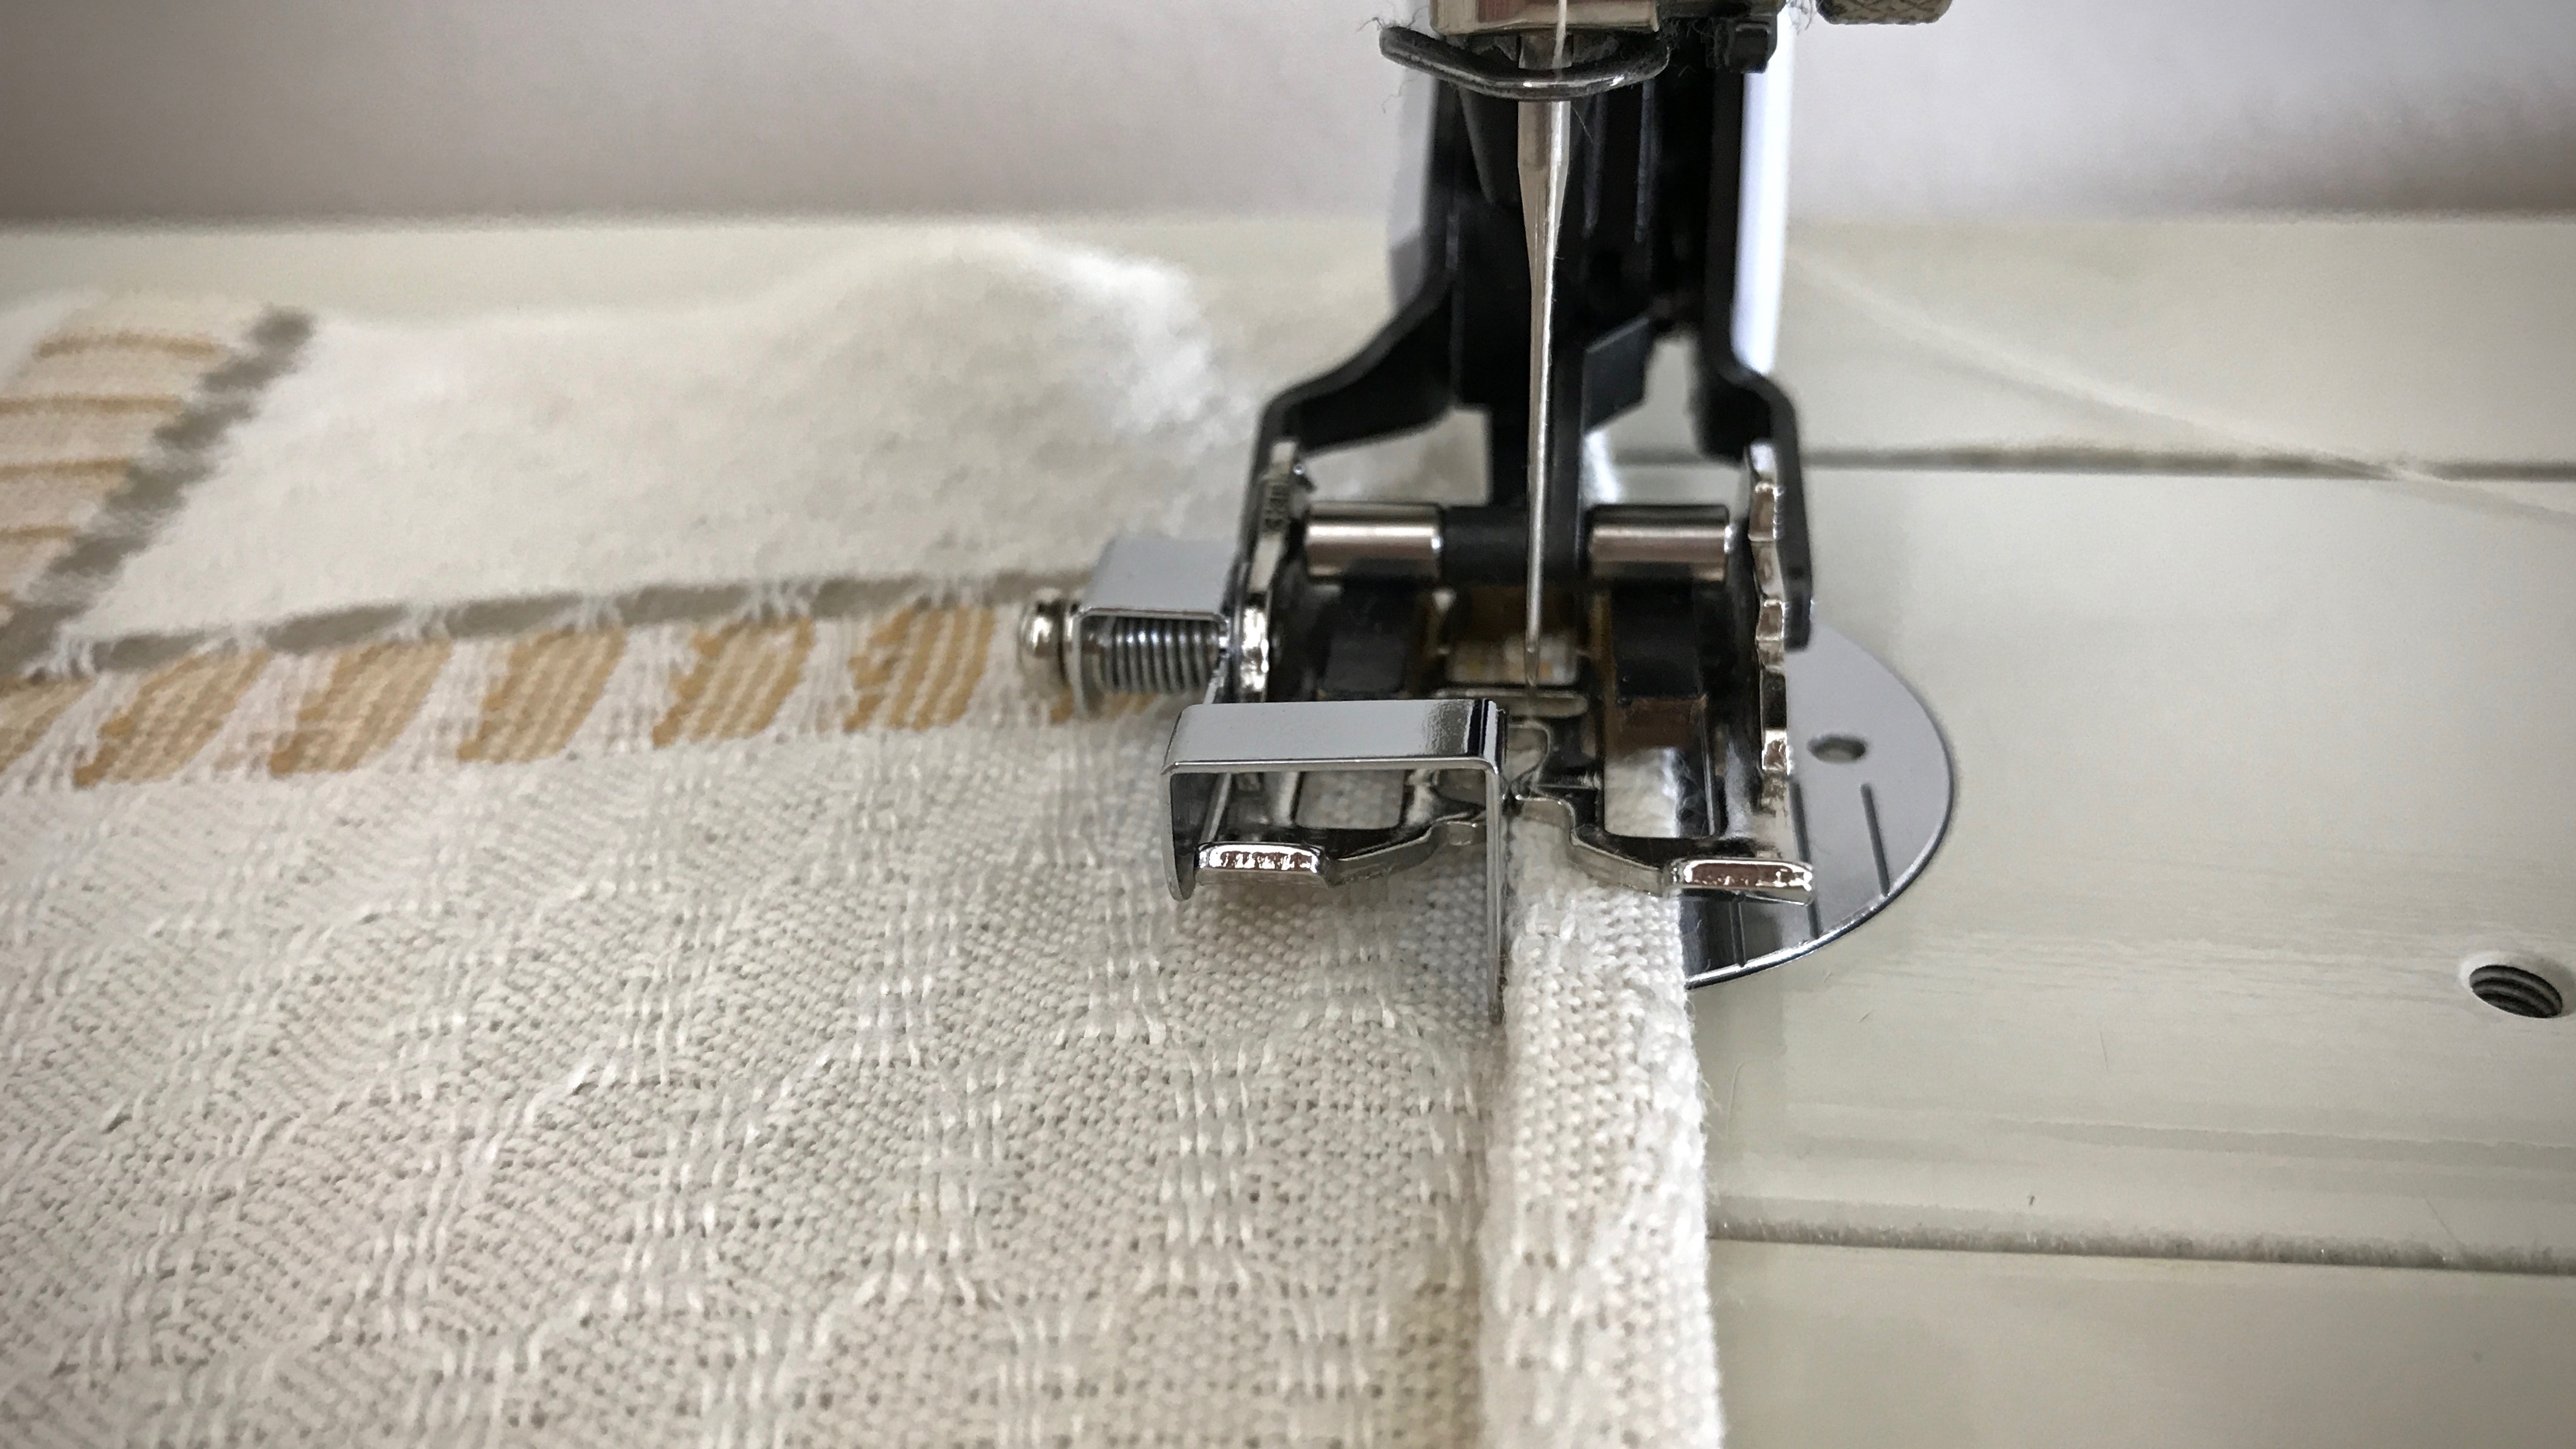
Slowly sew a narrow hem, keeping the folded edge next to the walking foot’s edge-stitching guide. Remove fabric clips before they come to the needle.
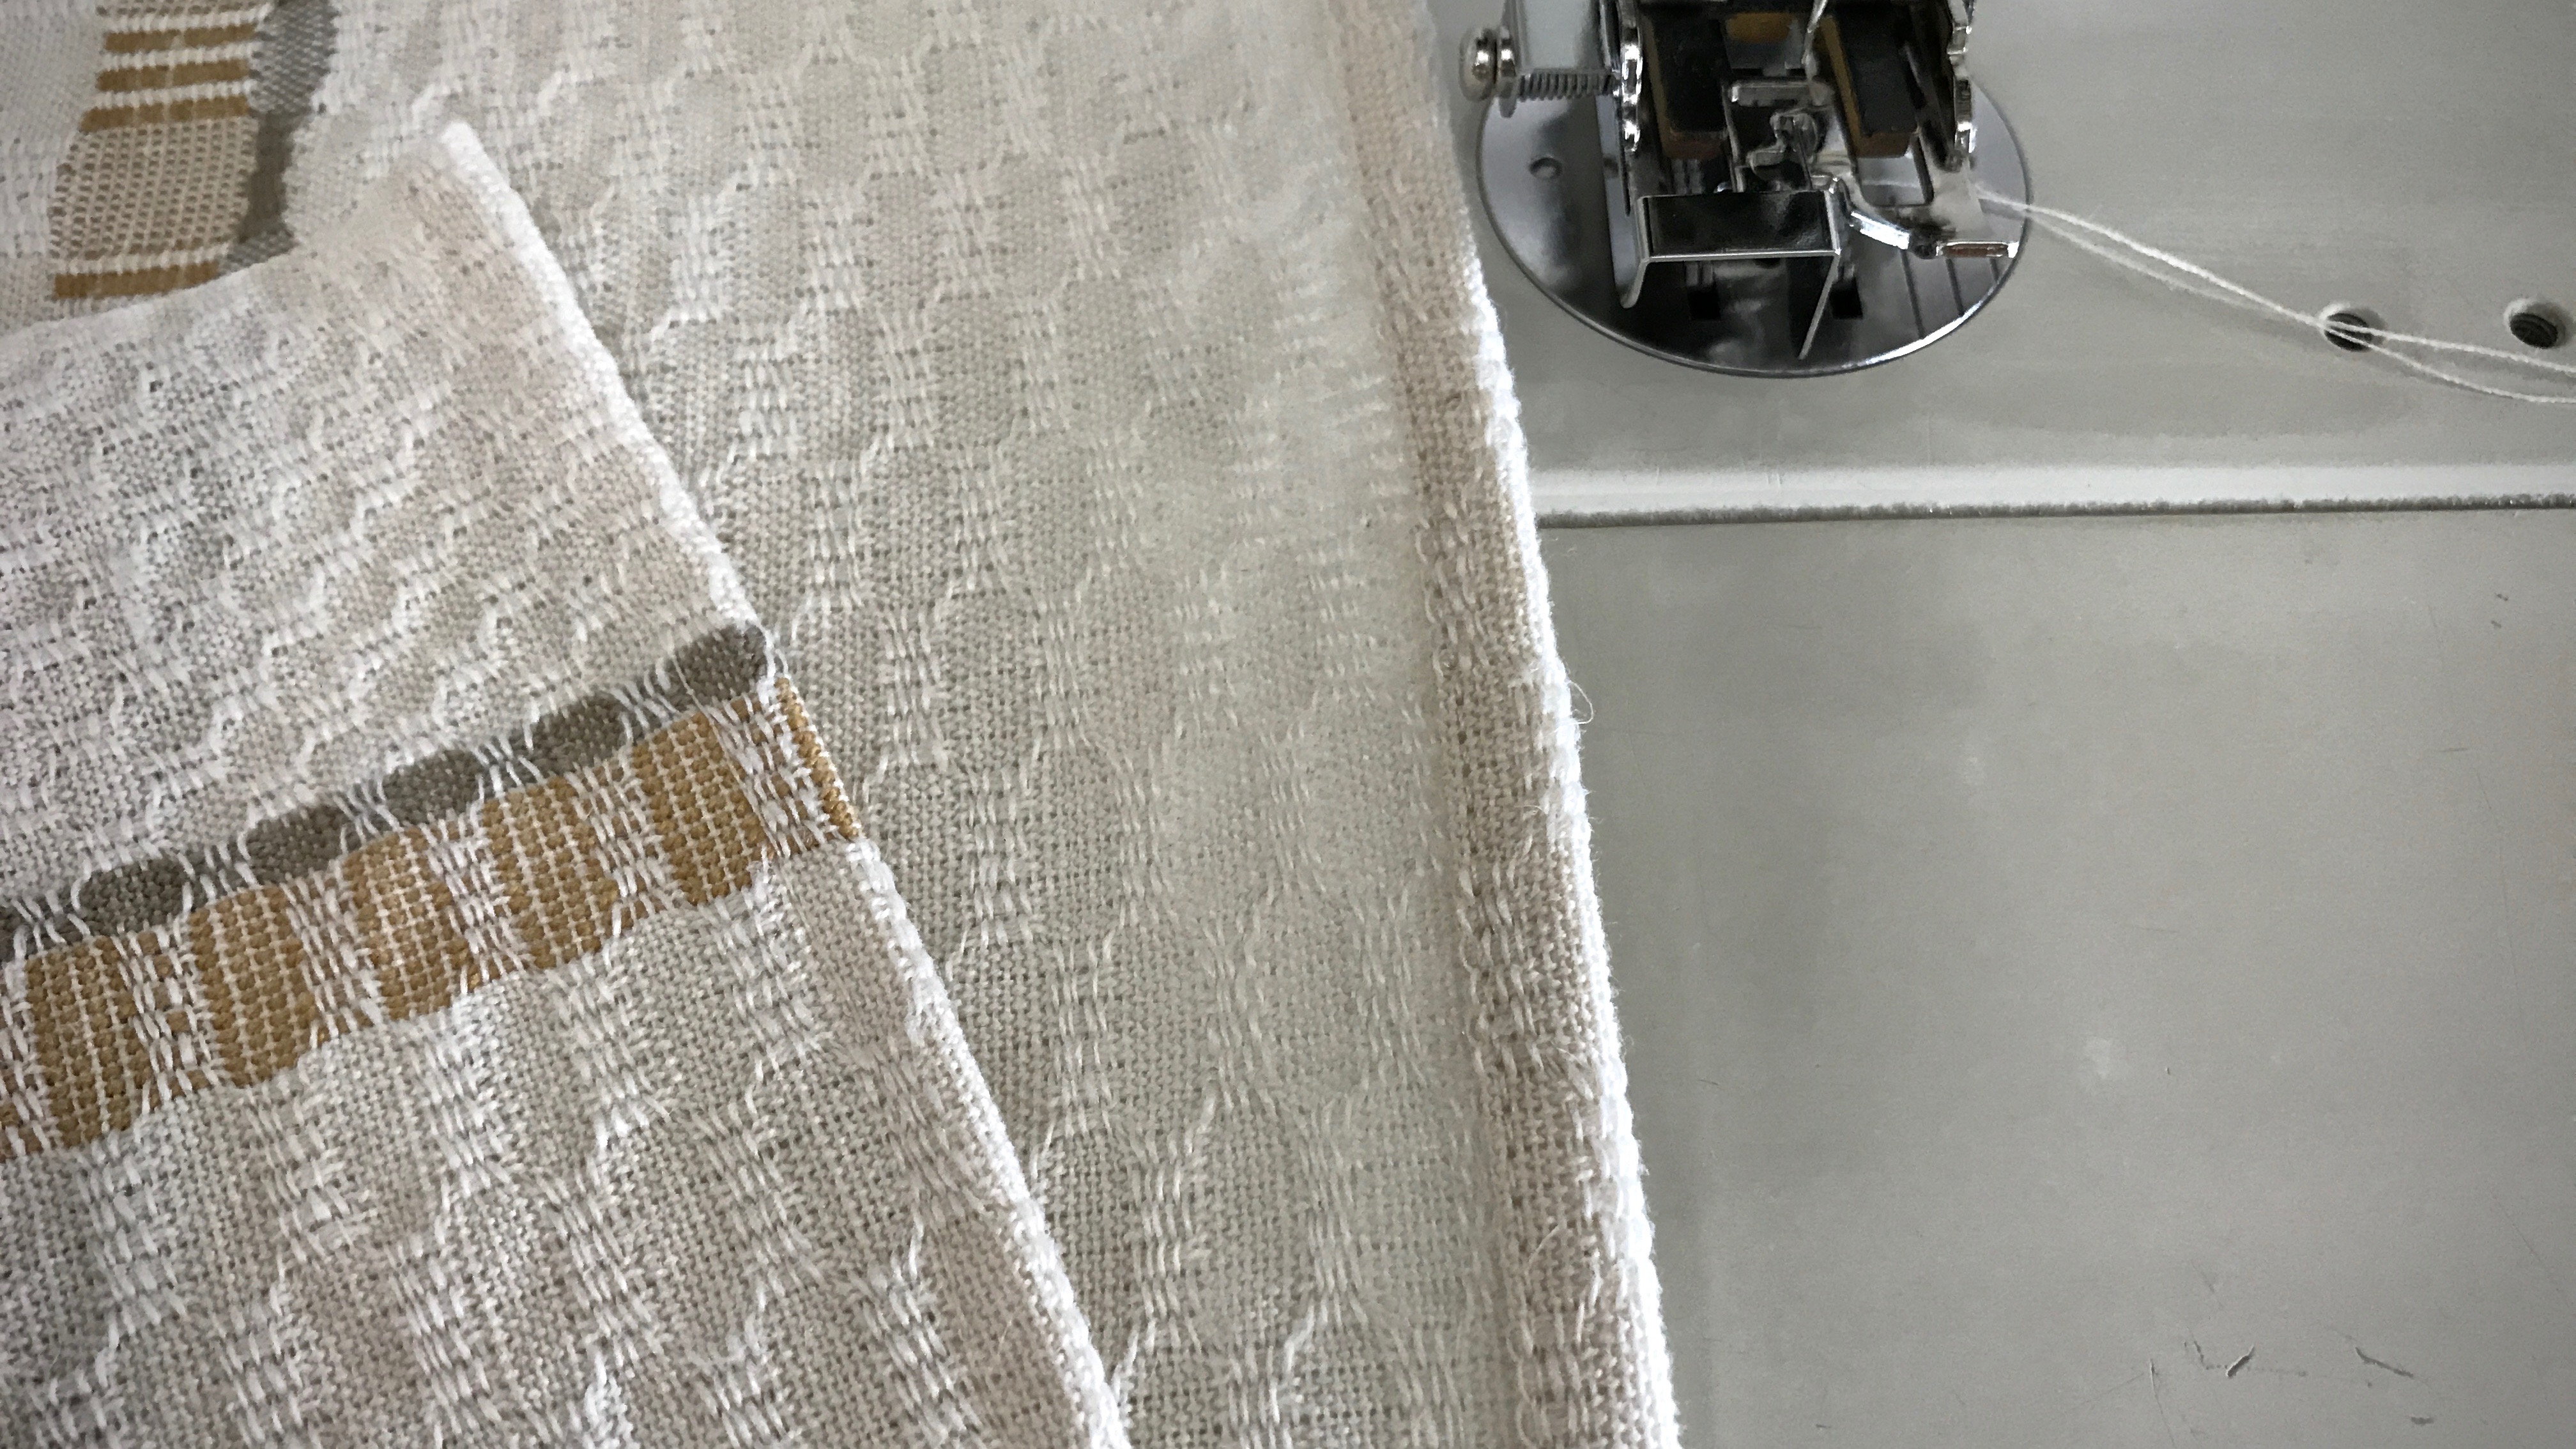
Front and back of the hem have consistent, straight stitching. The narrow hem (not yet pressed) will be barely visible.
May your hems be a suitable frame for your handiwork.
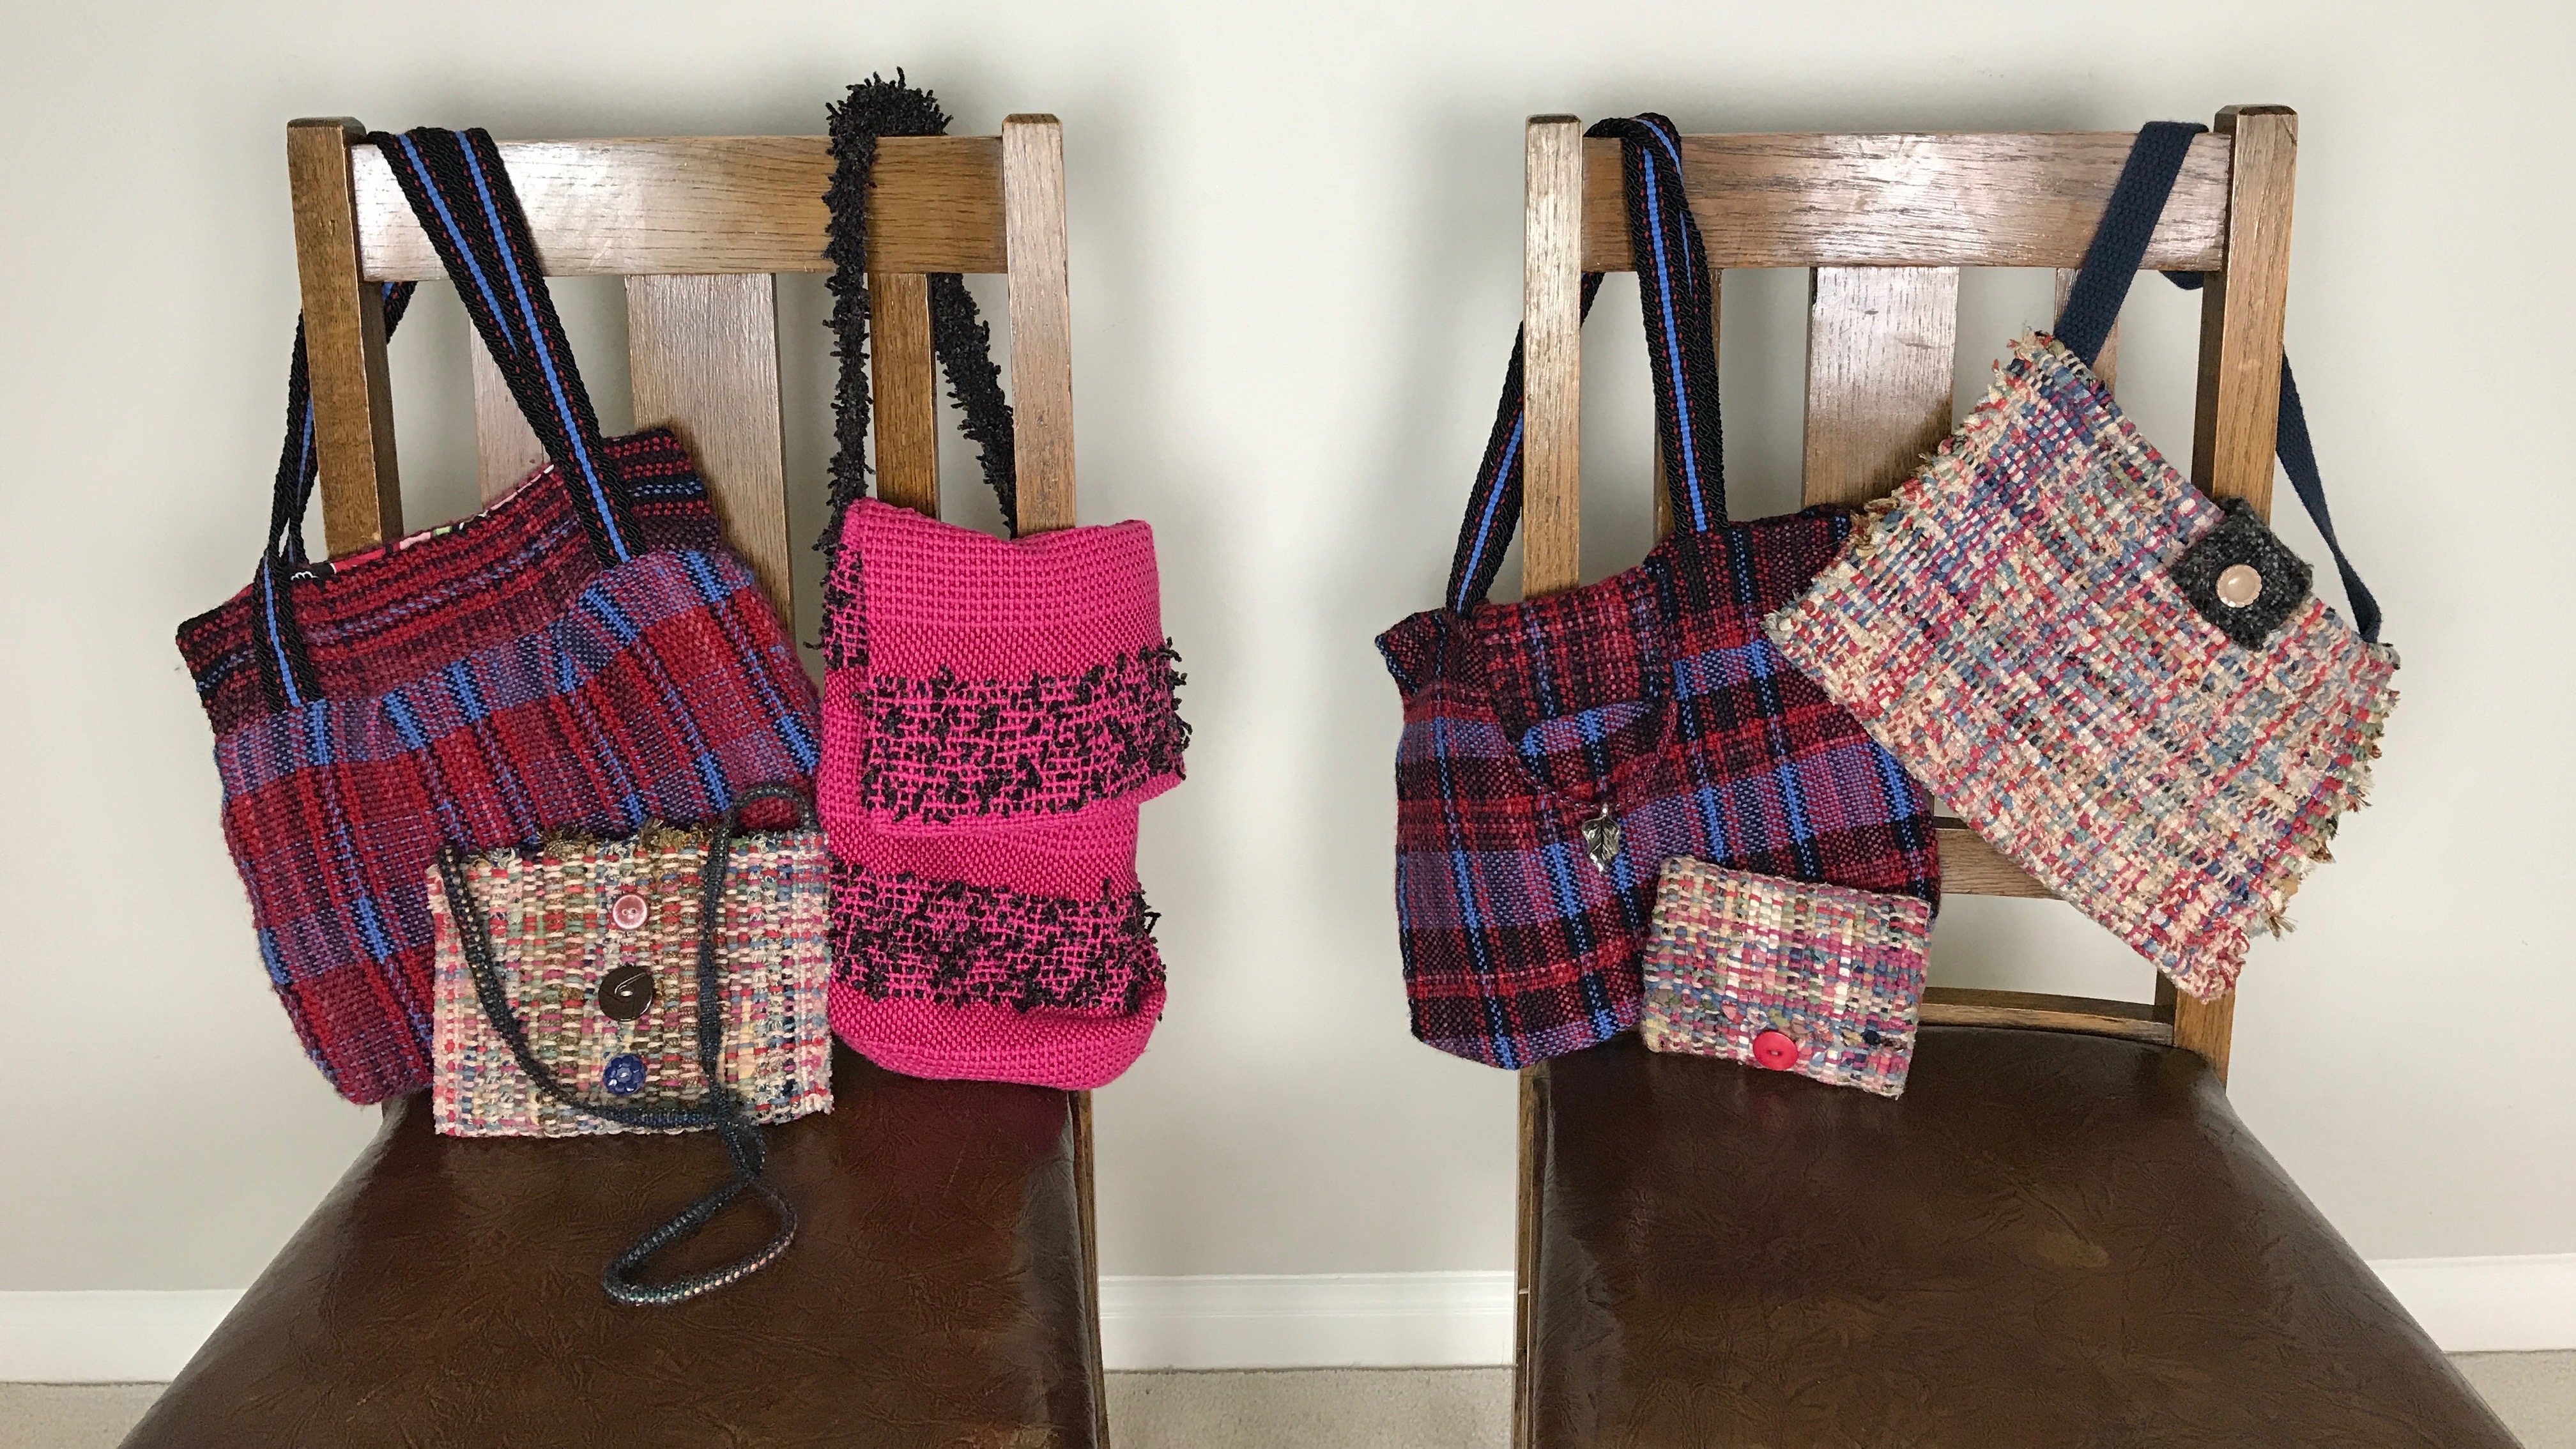
Is there such a thing as too many handbags, pocketbooks, tote bags, and purses? Of course not. Naturally, my favorite handbags are made from handwoven fabric. Linings made from remnants, handwoven bands used for shoulder straps, hidden zippers, and, of course pockets–these are the details that other people will seldom notice. Yet these are the details that make me smile every time I use one of these bags.
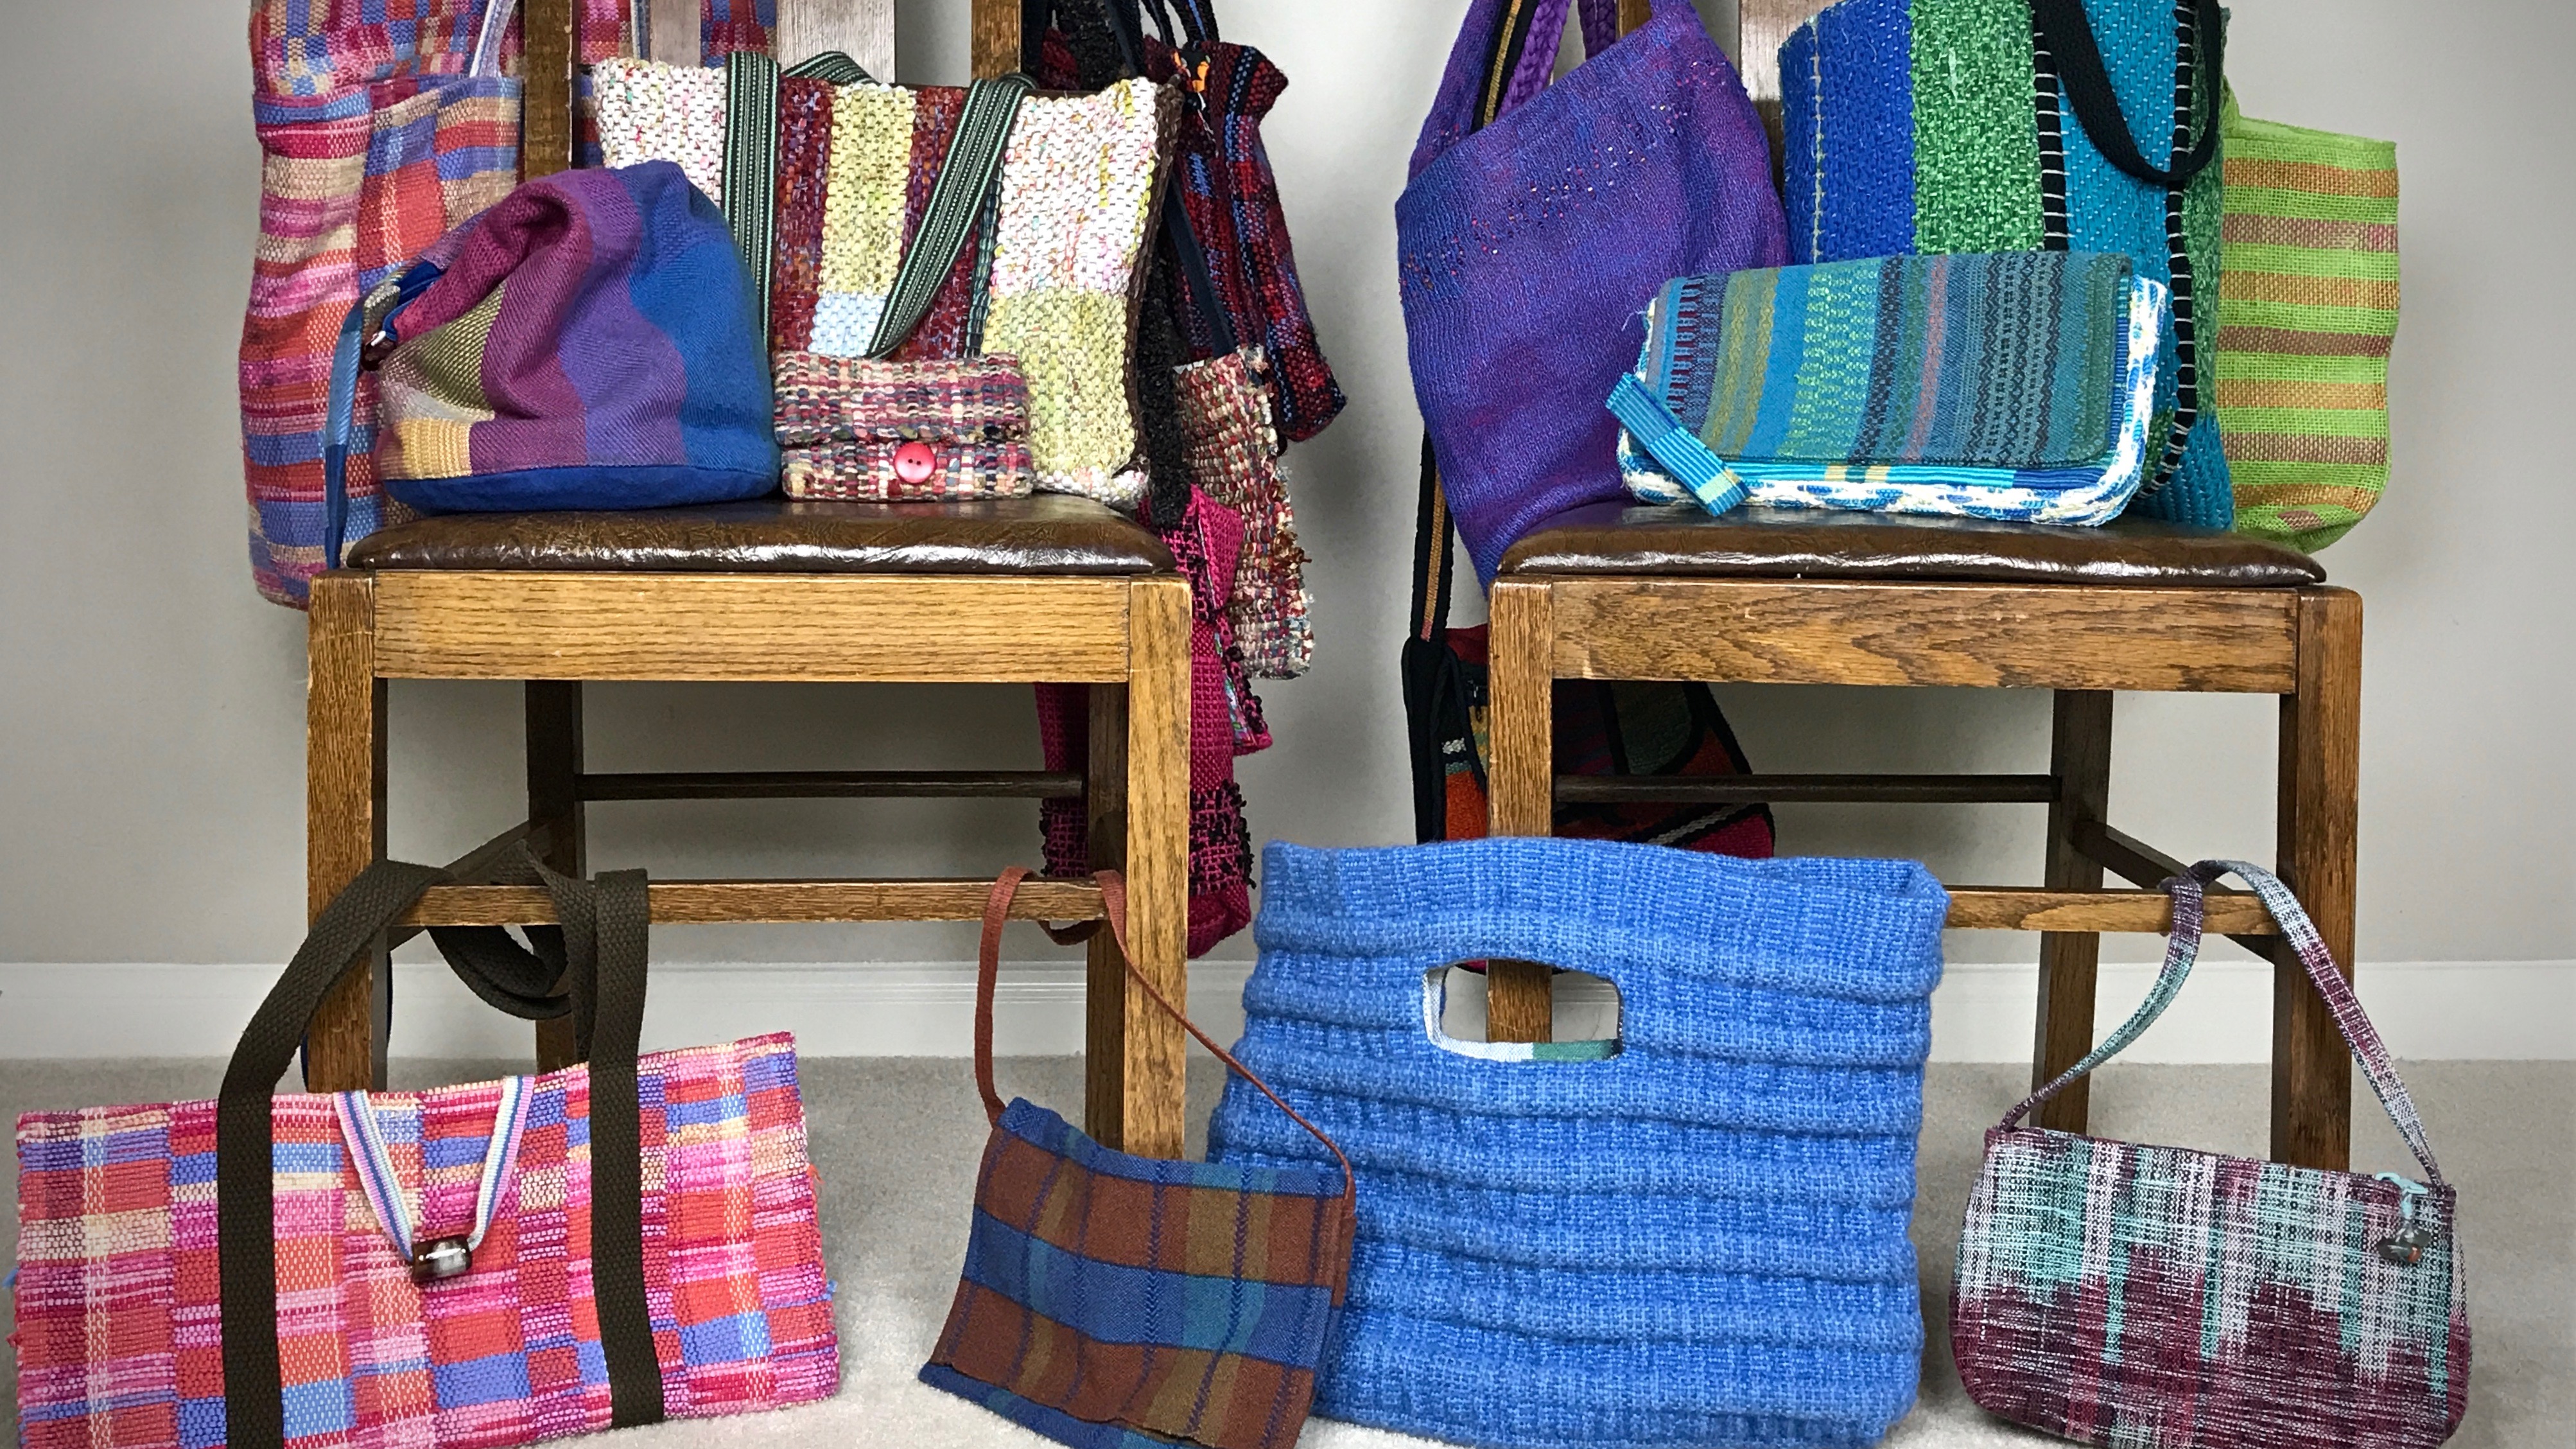
Nineteen handwoven handbags. Various sizes, fibers, styles, and purposes. And colors. Lots of colors!
…You know that box of handwoven bits and pieces? Those weavings from the end of the warp, and the “scraps” from various projects? Hmm… looks like I might need to make another handbag or two.
Here is my collection of handwoven handbags, divided into a few categories. Plus, a short video just for the fun of it!
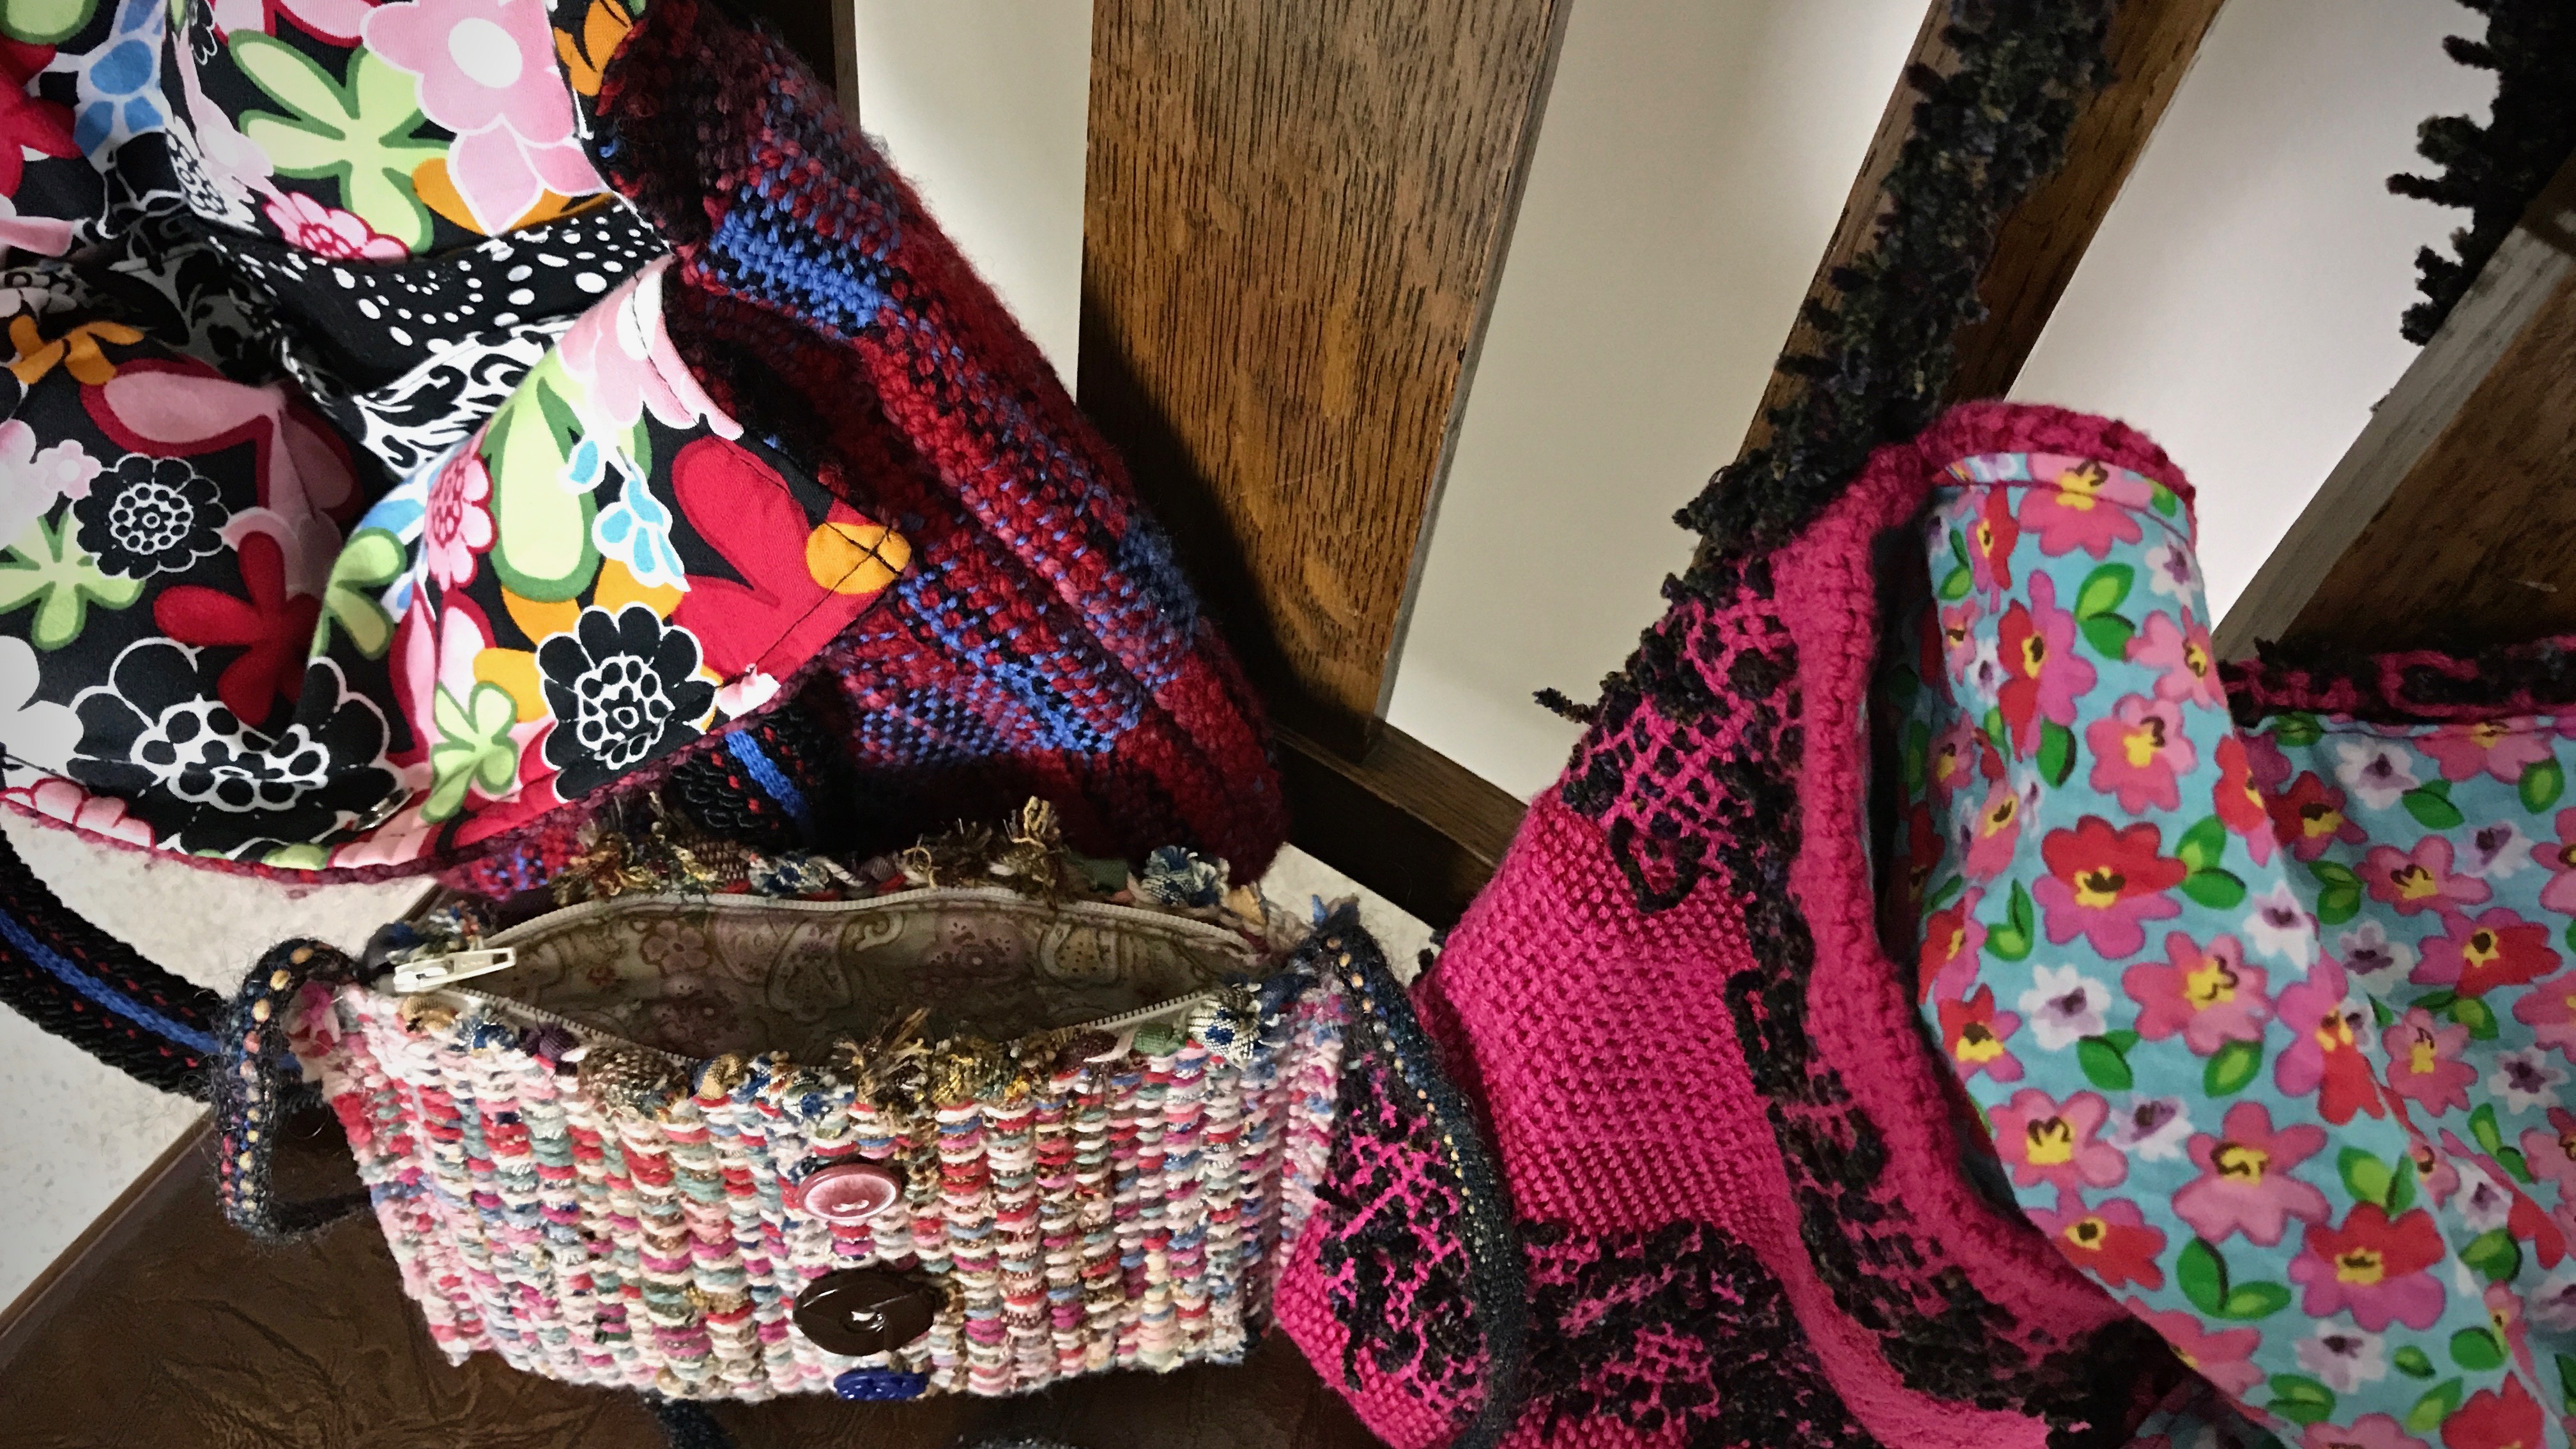
Wool, novelty chenille yarn, crochet cotton, and narrow fabric strips are used for weft in these bags. Buttons are from my grandma’s button jar. The small rag-weave pocketbook has a permanent home in my daily handbag. The fabric for these bags was woven on my Beka 32″ rigid heddle loom.Linings are from remnants of other sewing projects. Bag handles were woven on my inkle loom.
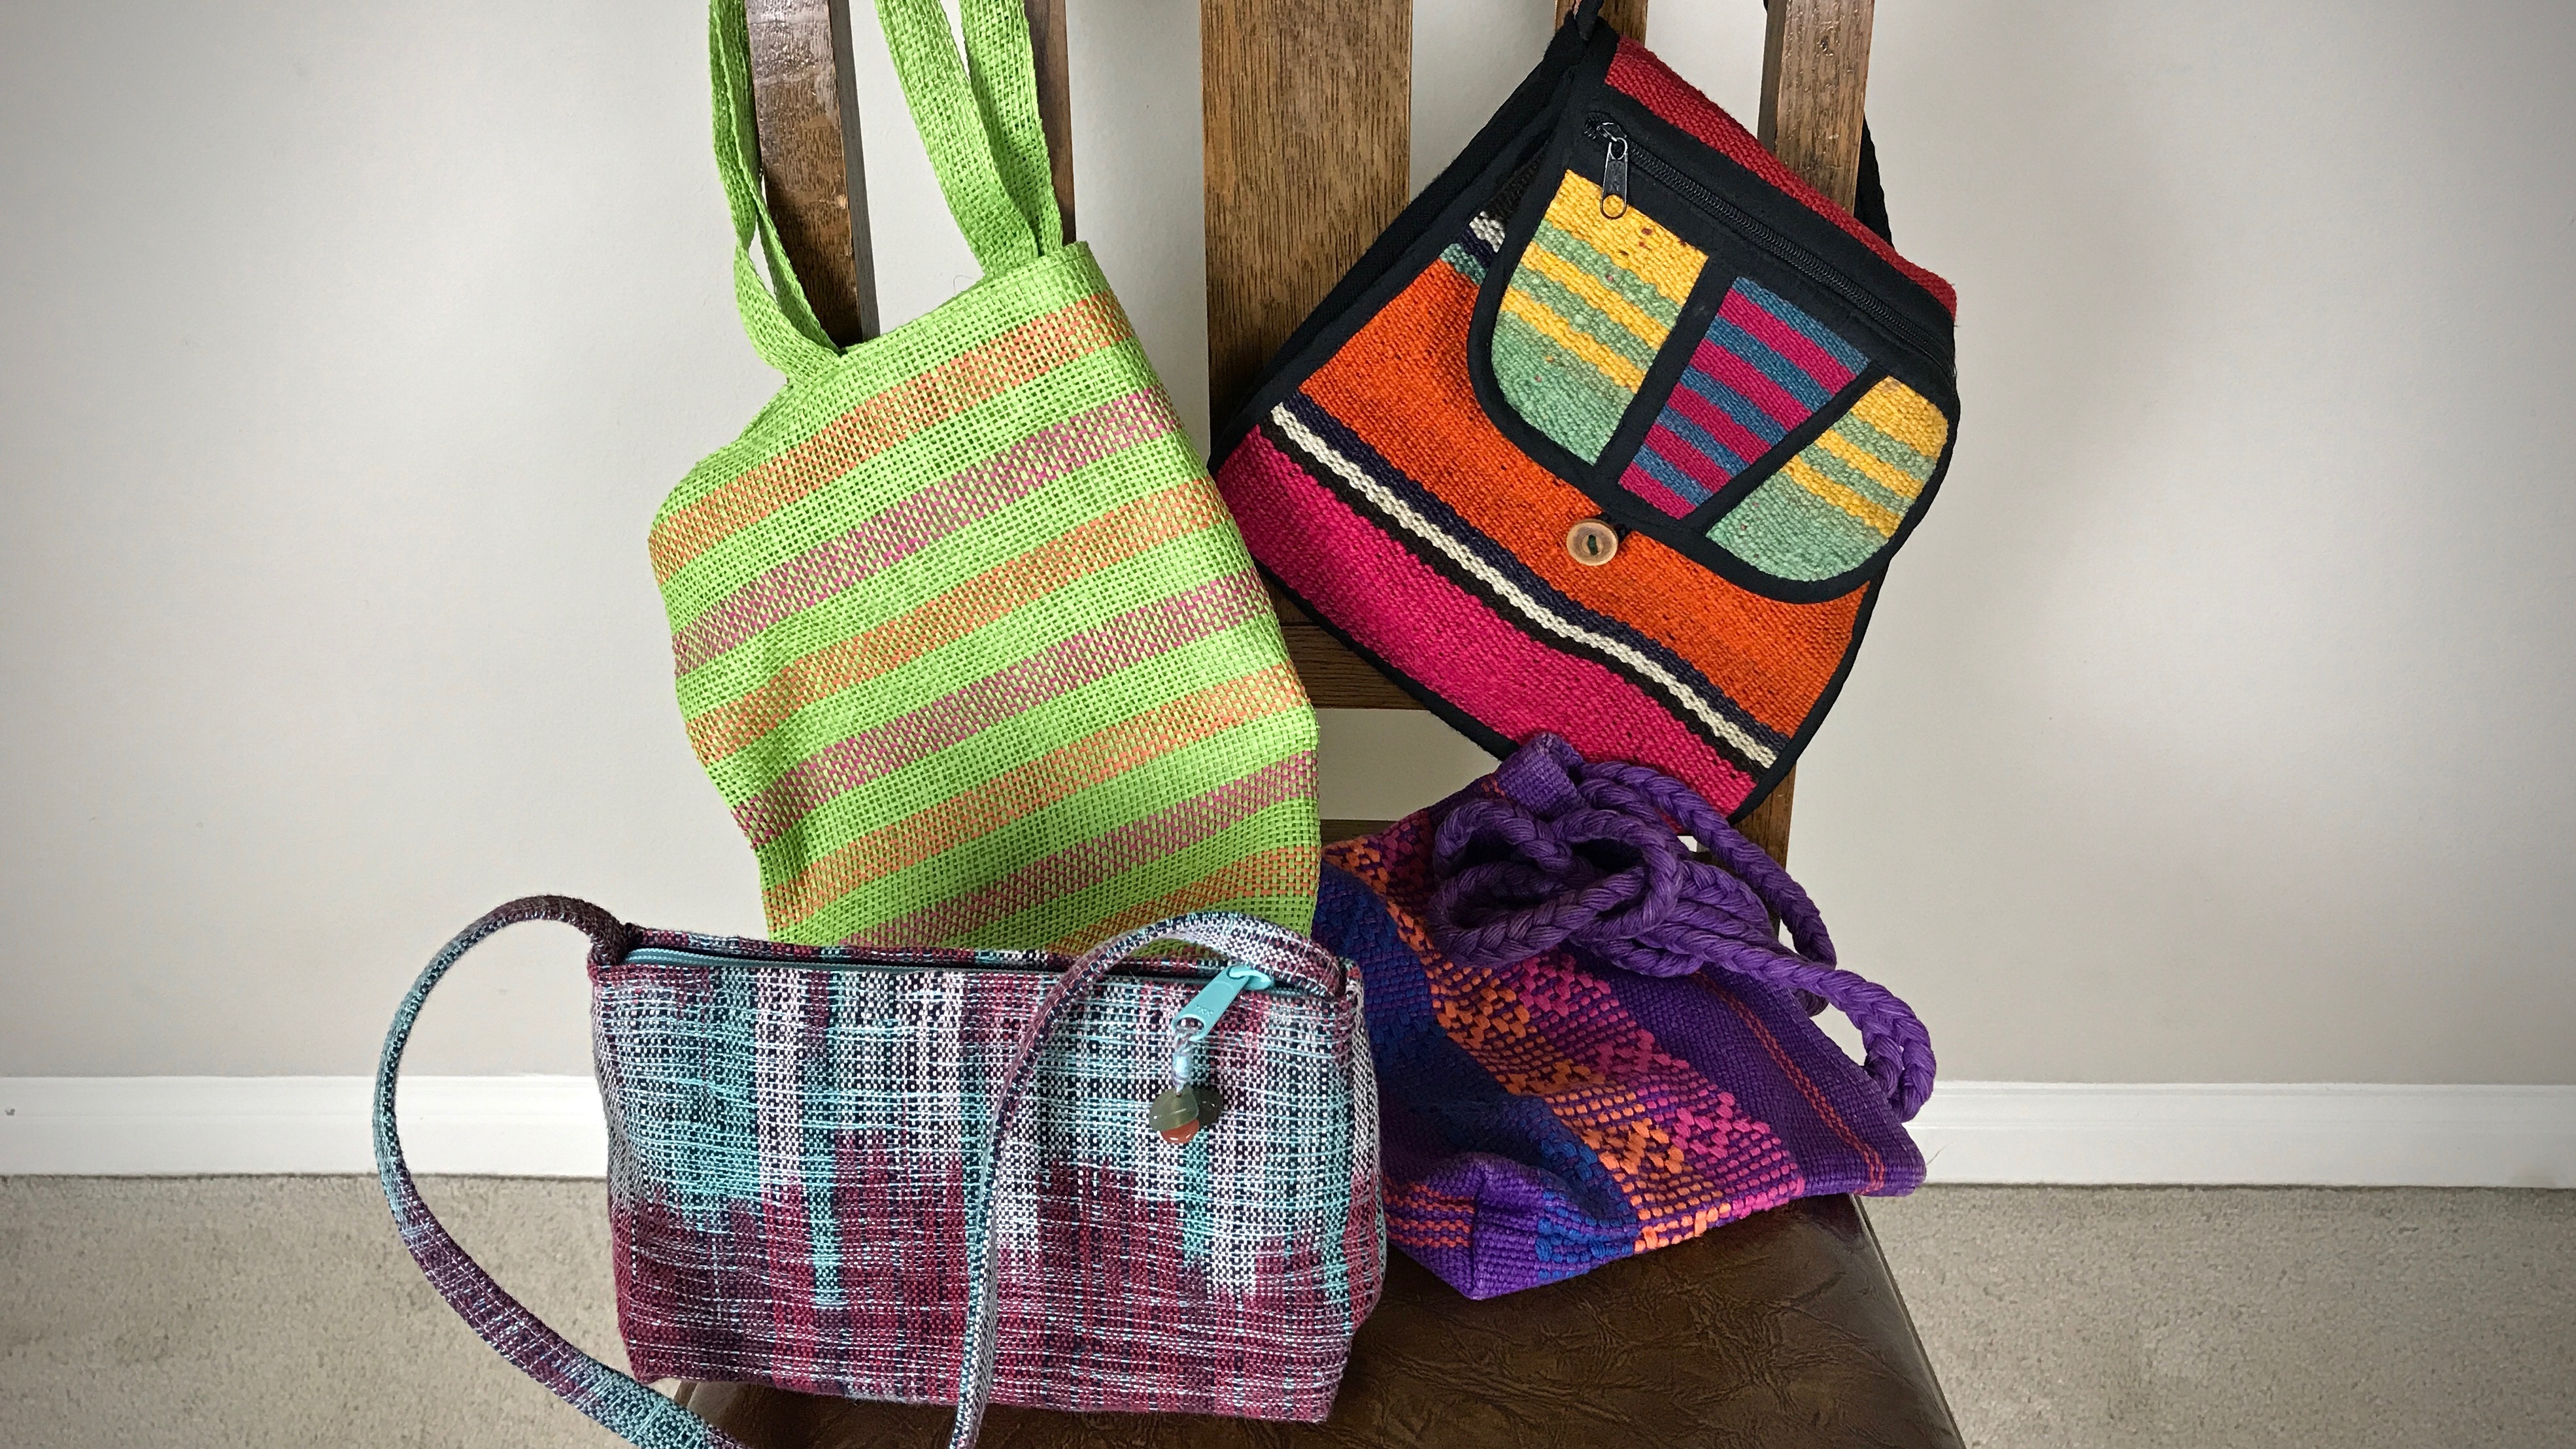
Travel Finds
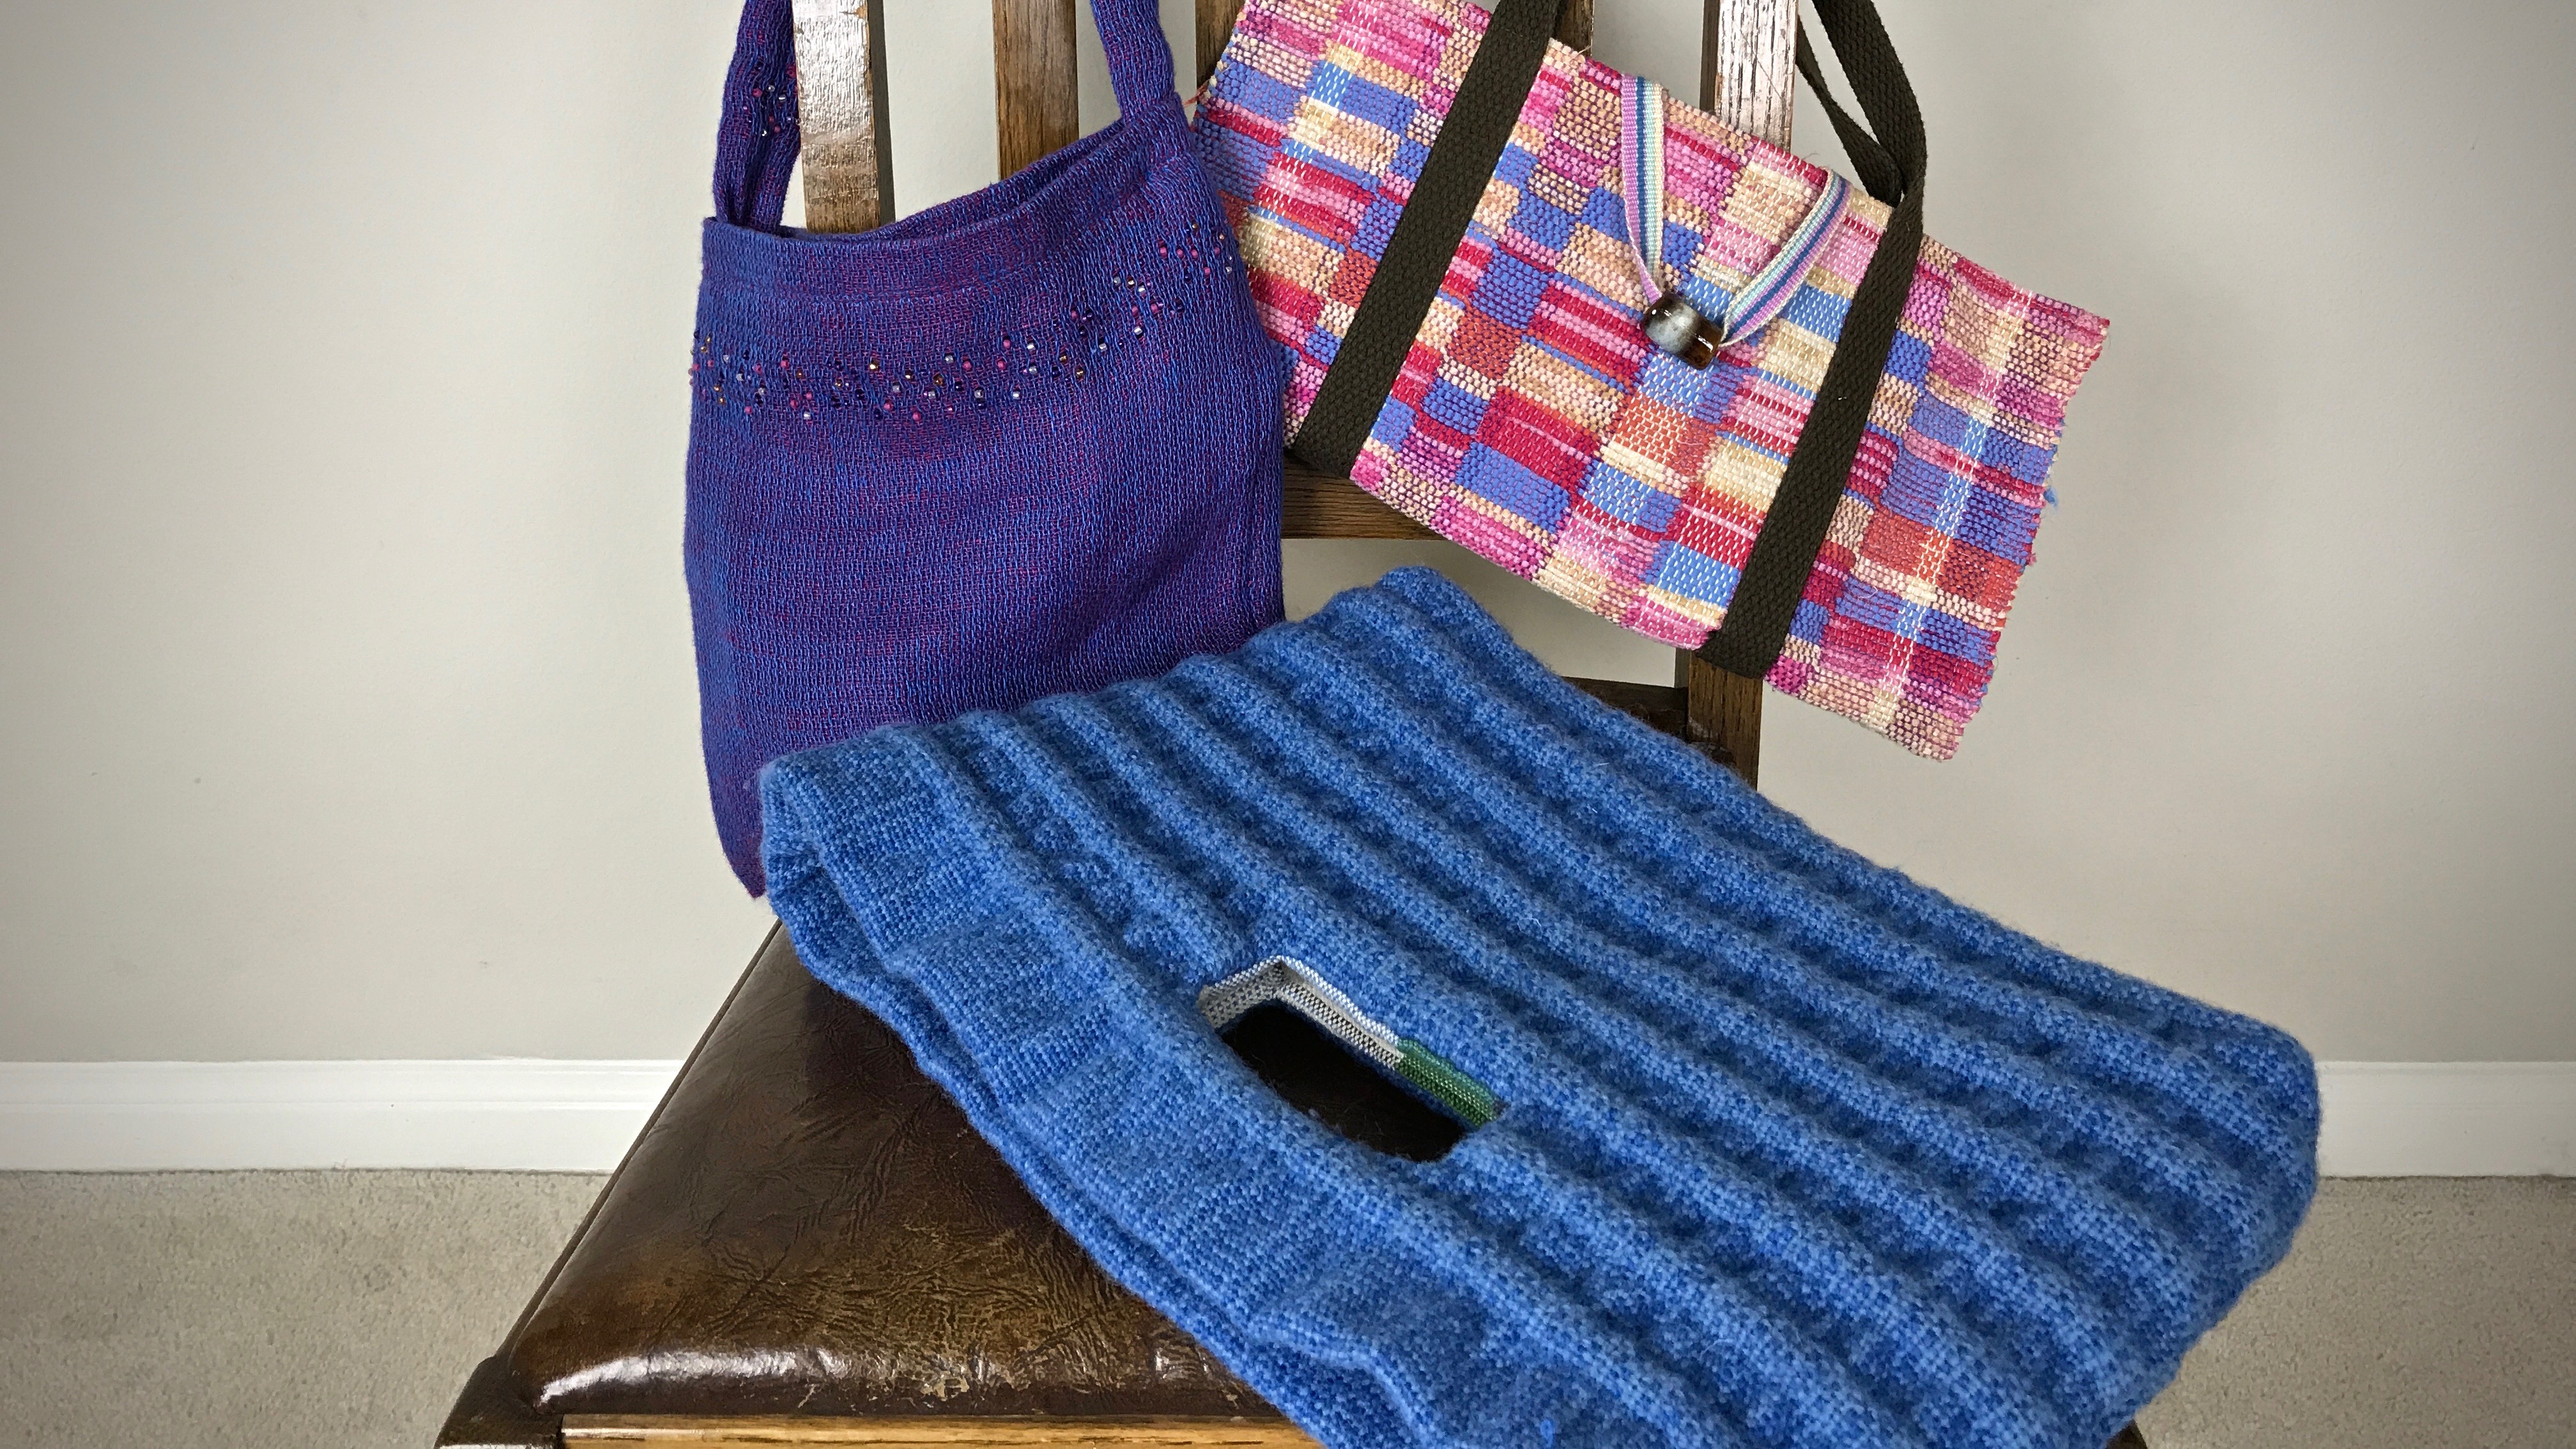
Trips to The Philippines yielded interesting woven goods by artisans there. The green stripe tote bag is woven from native plant material, and the teal and burgundy purse is a beautiful example of ikat weaving. The colorful weft-faced woven shoulder bag and the purple bag with lovely weft-float patterning came from travel to Chile.
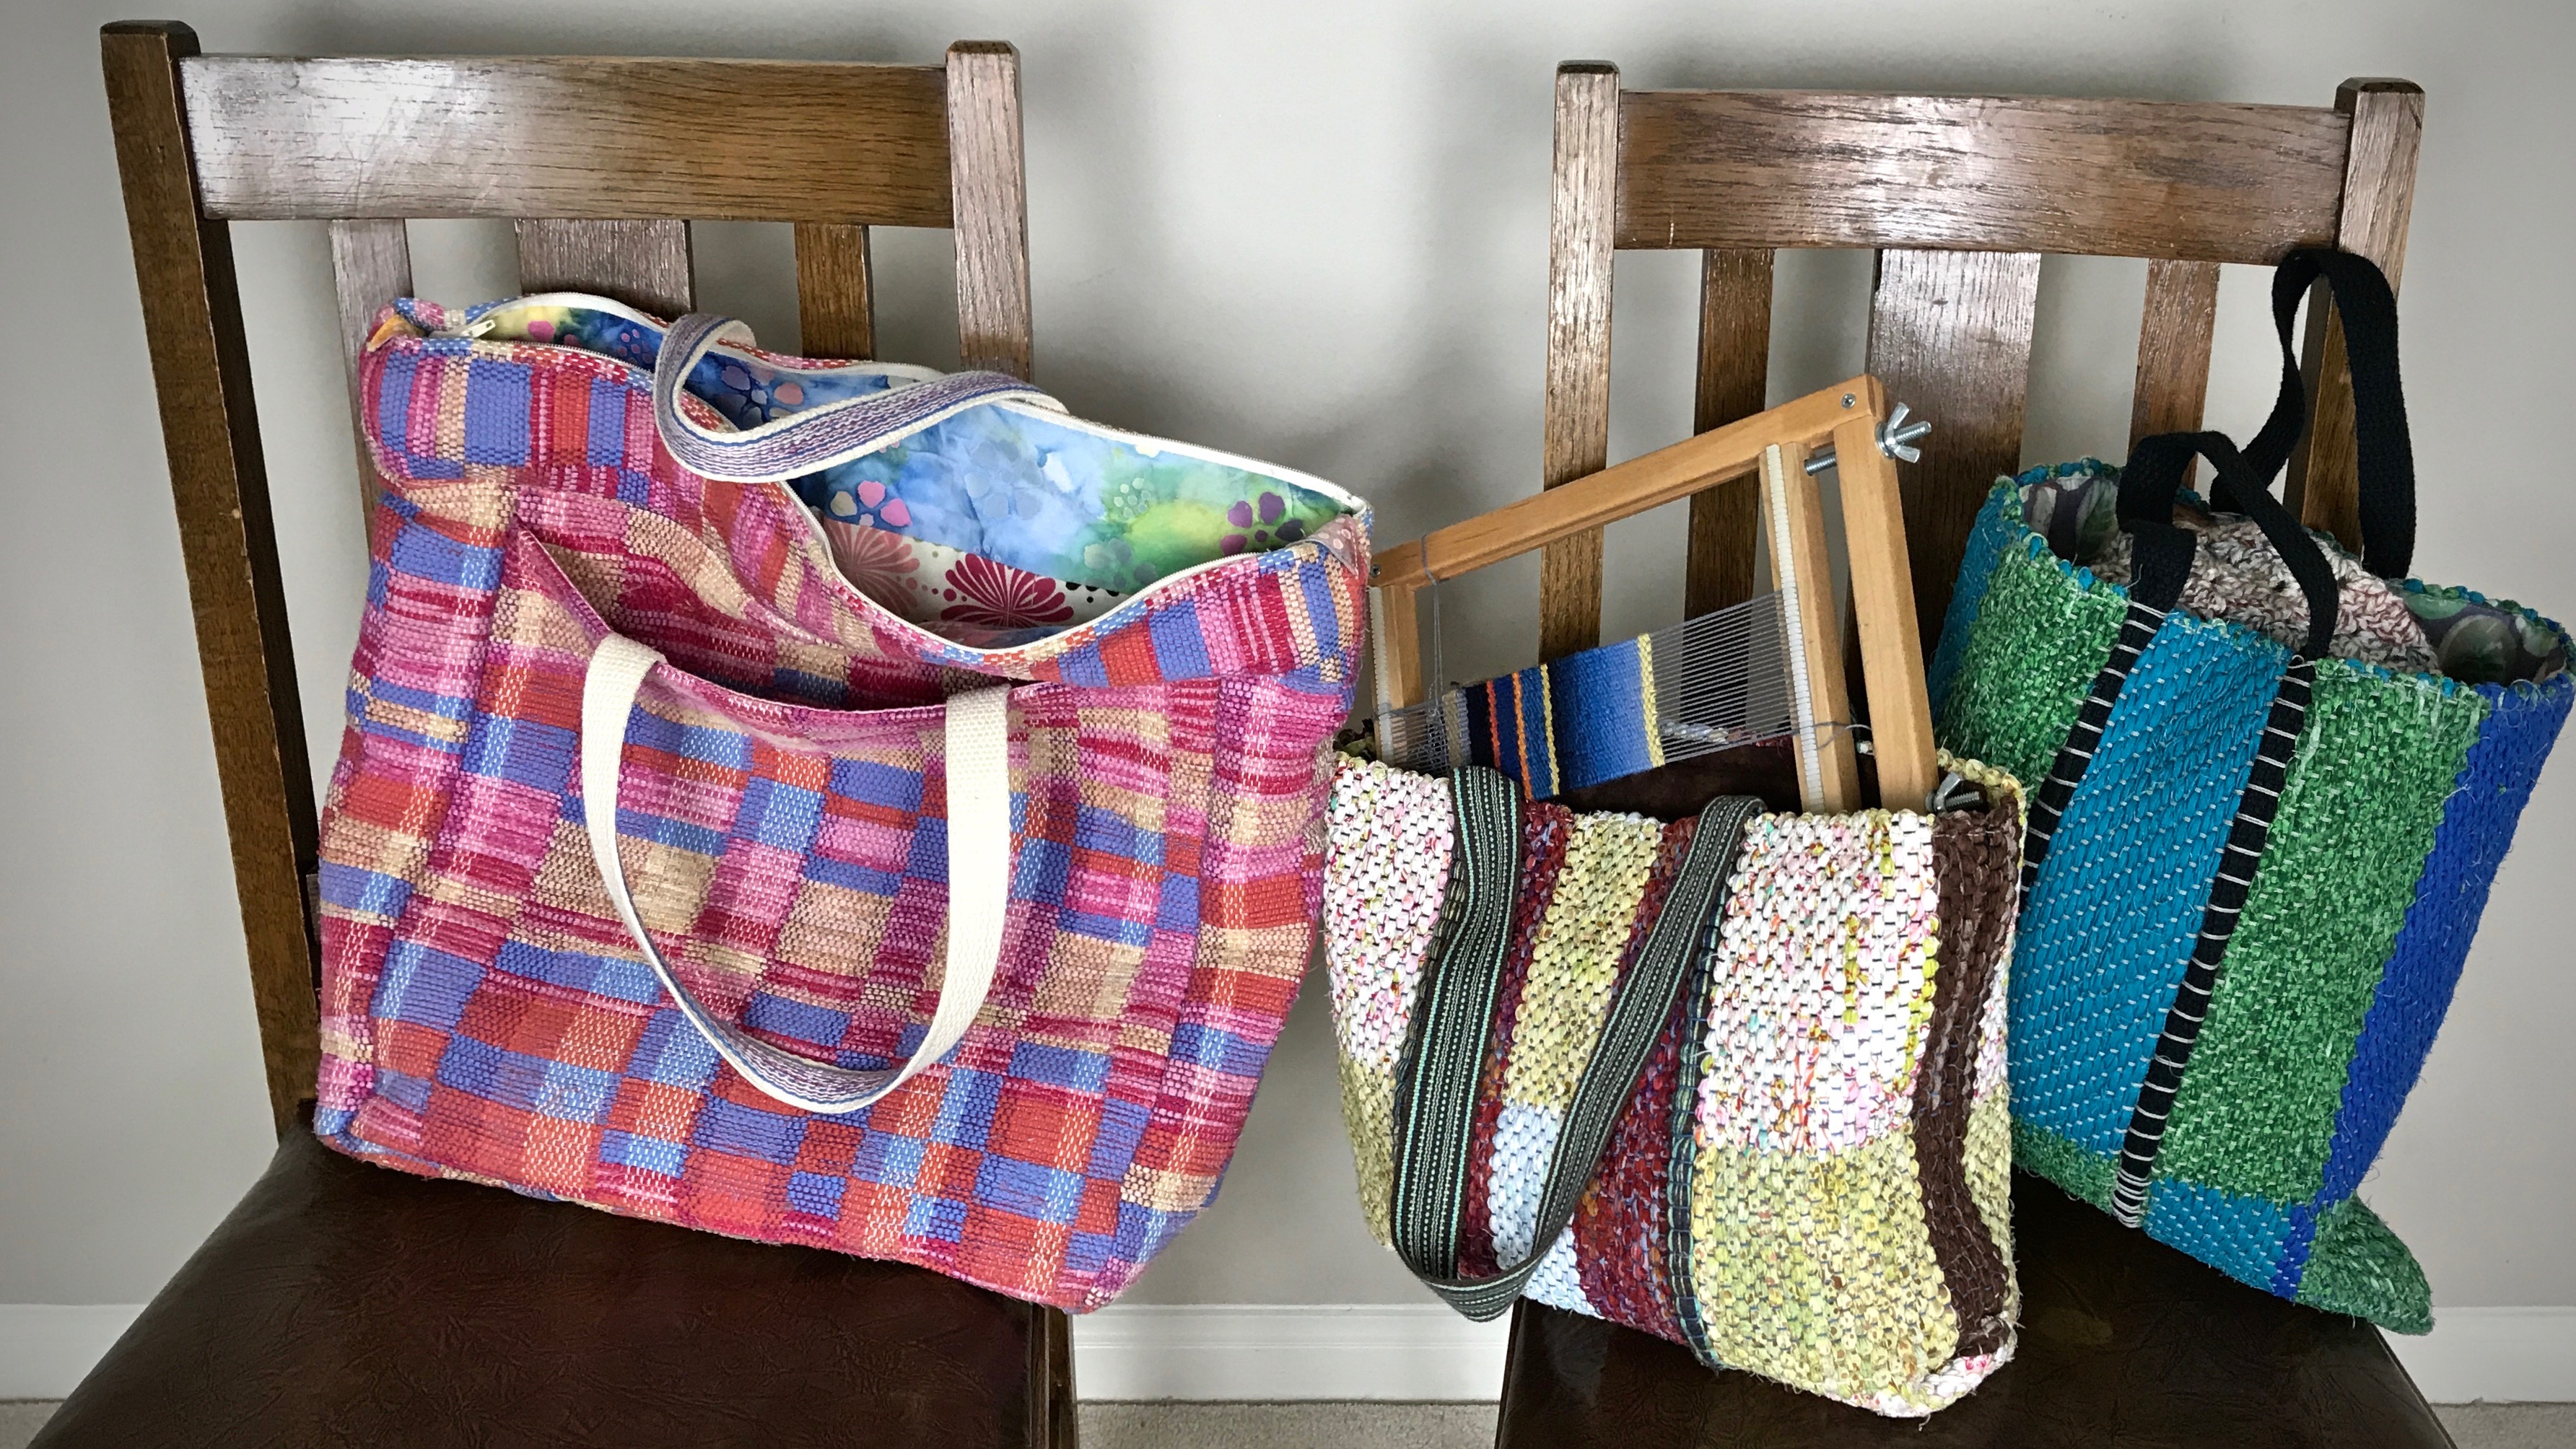
Project Carriers
Large tote bag, woven with 1/4″ fabric strips for weft, carries my “show and tell” when I go to my weaving study group. It’s known as the “Mary Poppins Bag.” Rag-rug bag in the center has straps, woven on the band loom, that were woven into the bag. This bag carries my portable tapestry weaving. The rag rug bag on the right carries my one-and-only crochet project.
Special Use
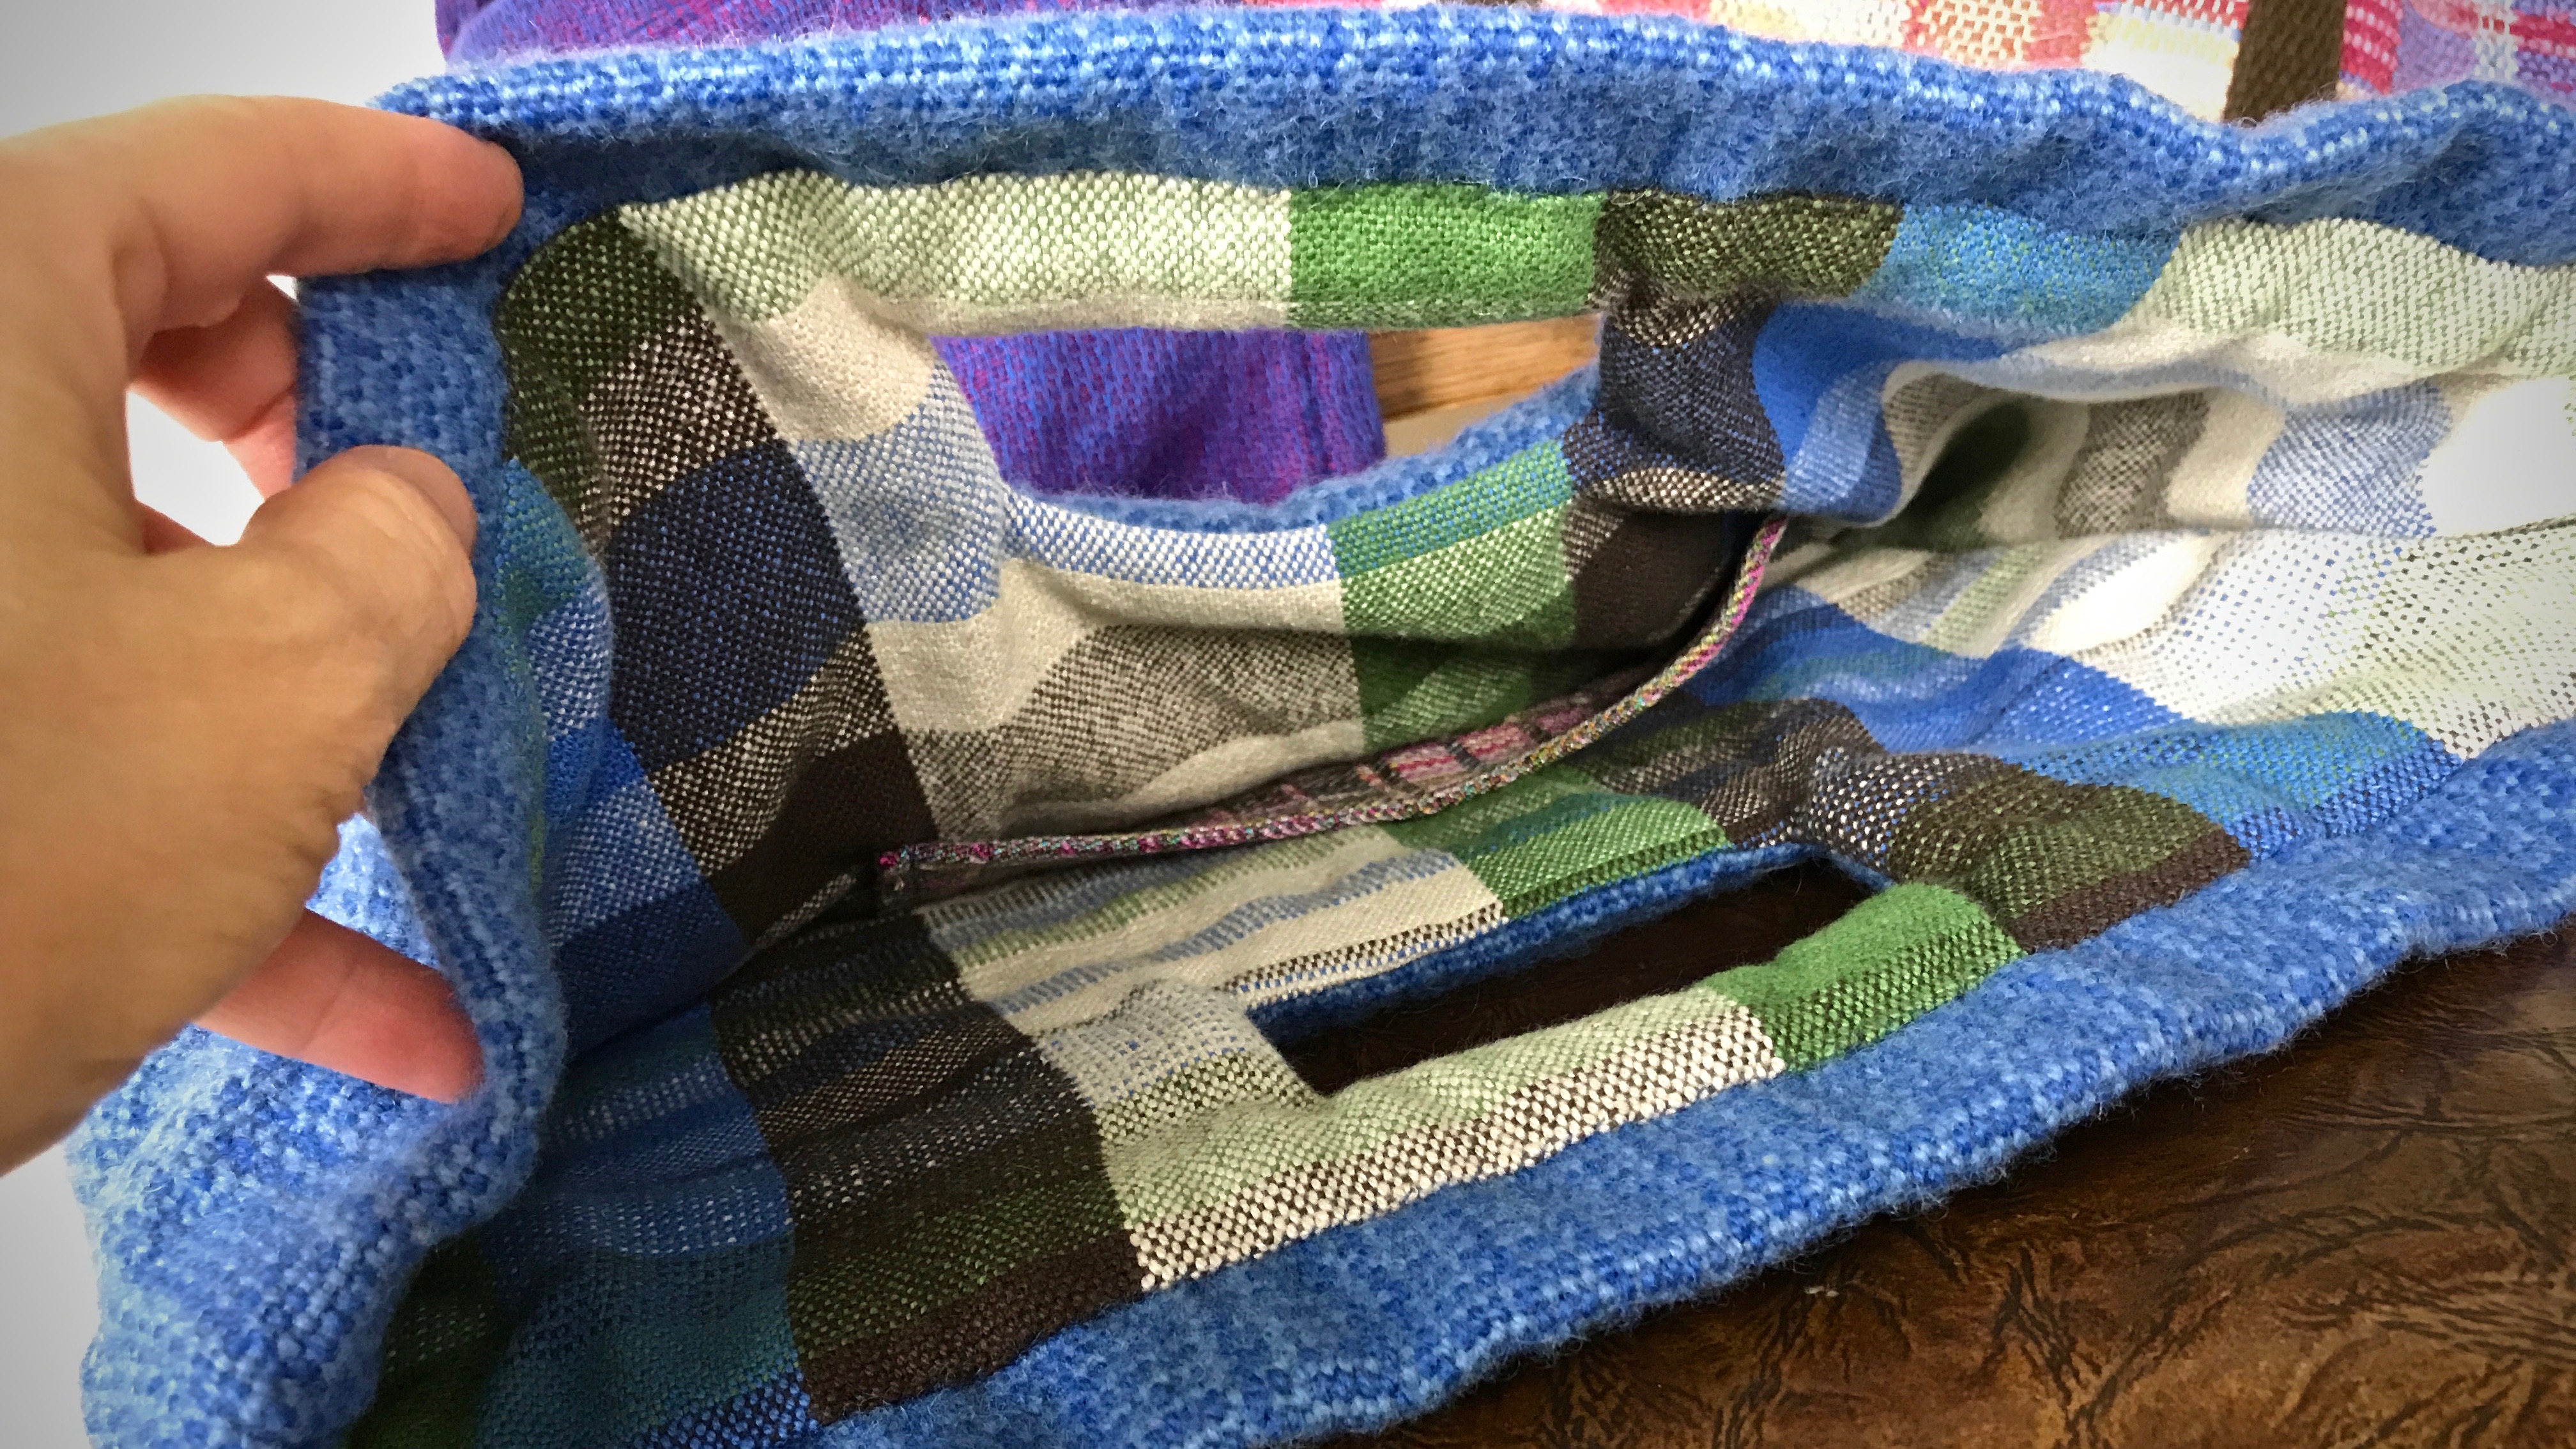
Linen bag has beads woven into the fabric. It is lined with satin. Rag-weave purse is simply a flat piece folded in half, with lining and pockets added to the inside. The blue bag is wool, woven in a weft-cord technique. The fabric was partially fulled to produce the ribbed texture.Lining for this bag is made from extra fabric after weaving cotton/linen fabric for cushions, and the pocket is a remnant from a two-block twill tencel scarf.
Daily Use Favorites
Representing some of my “firsts.” The brown and blue small shoulder bag is from one of my first cottolin towel projects. This is what I did when the last piece was too short to use for a towel. The green and turquoise clutch has remnants of my first ever handwoven towel, my first rosepath rag rug, and my first big rep weave project! The blue shoulder bag is the bag I use every day. It’s a remnant from the baby wrap I wove for my daughter’s first baby. It’s lined with a remnant from an Easter dress I made for her when she was a little girl.
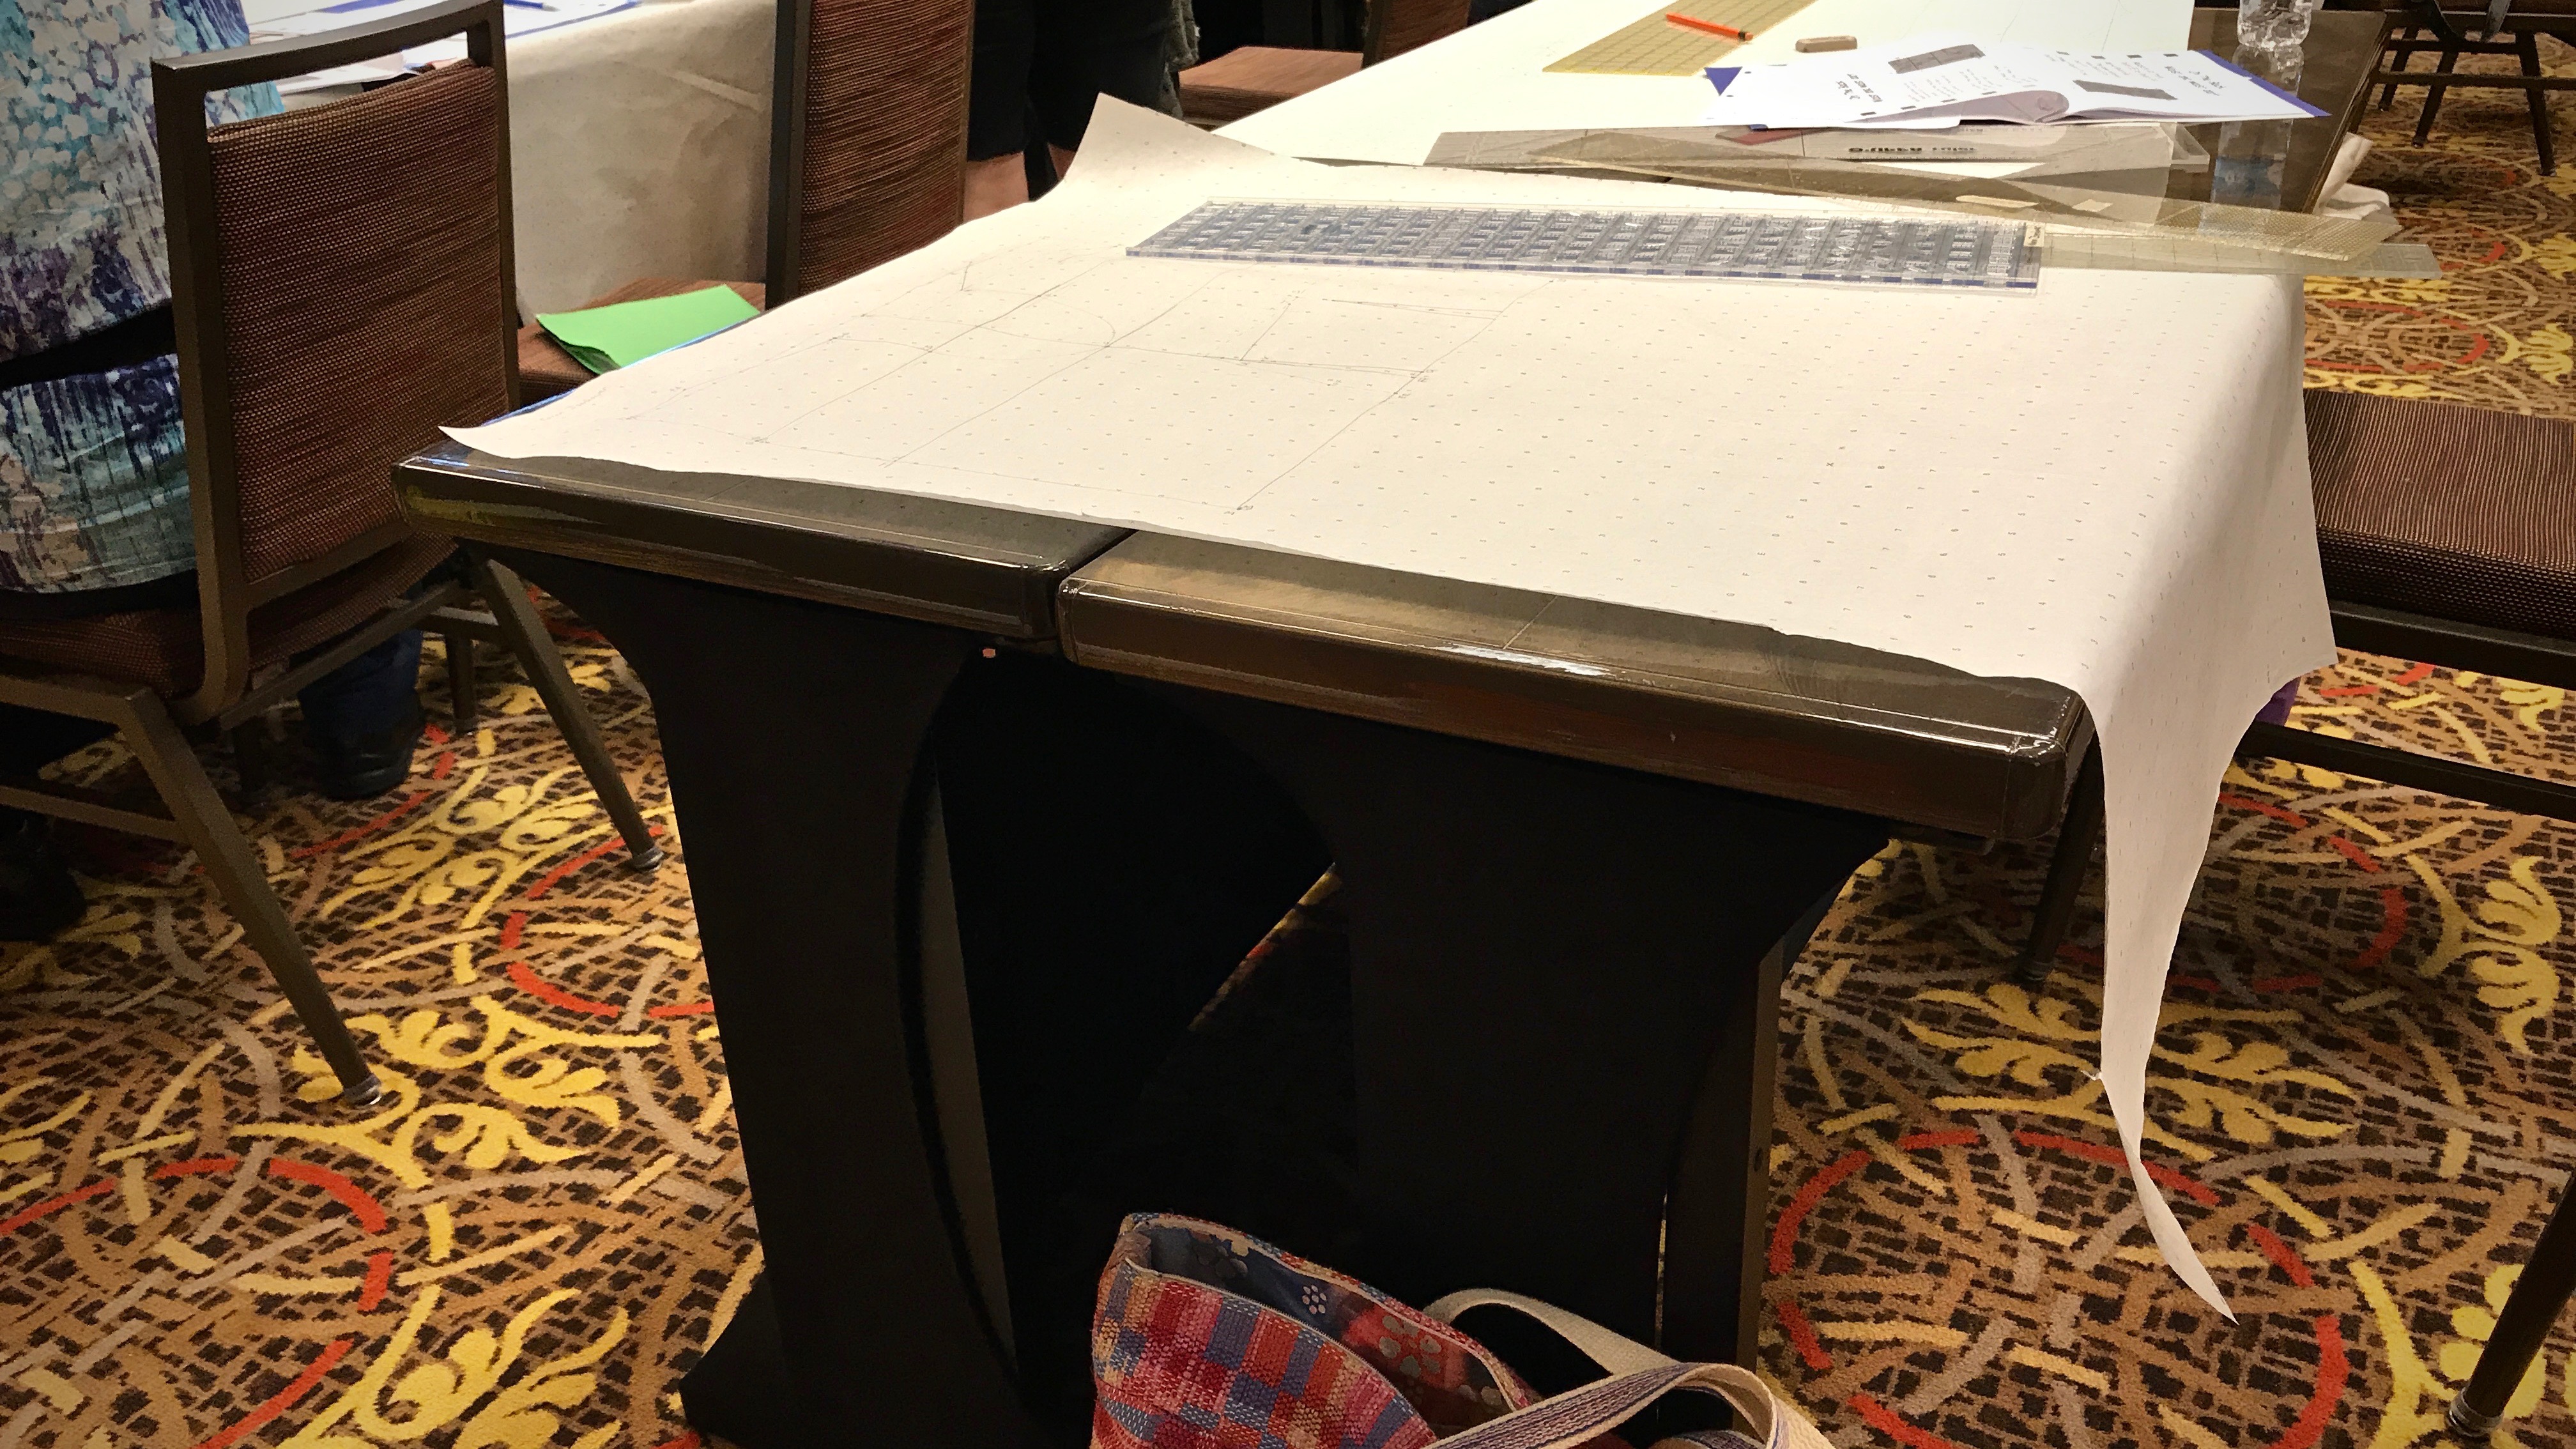
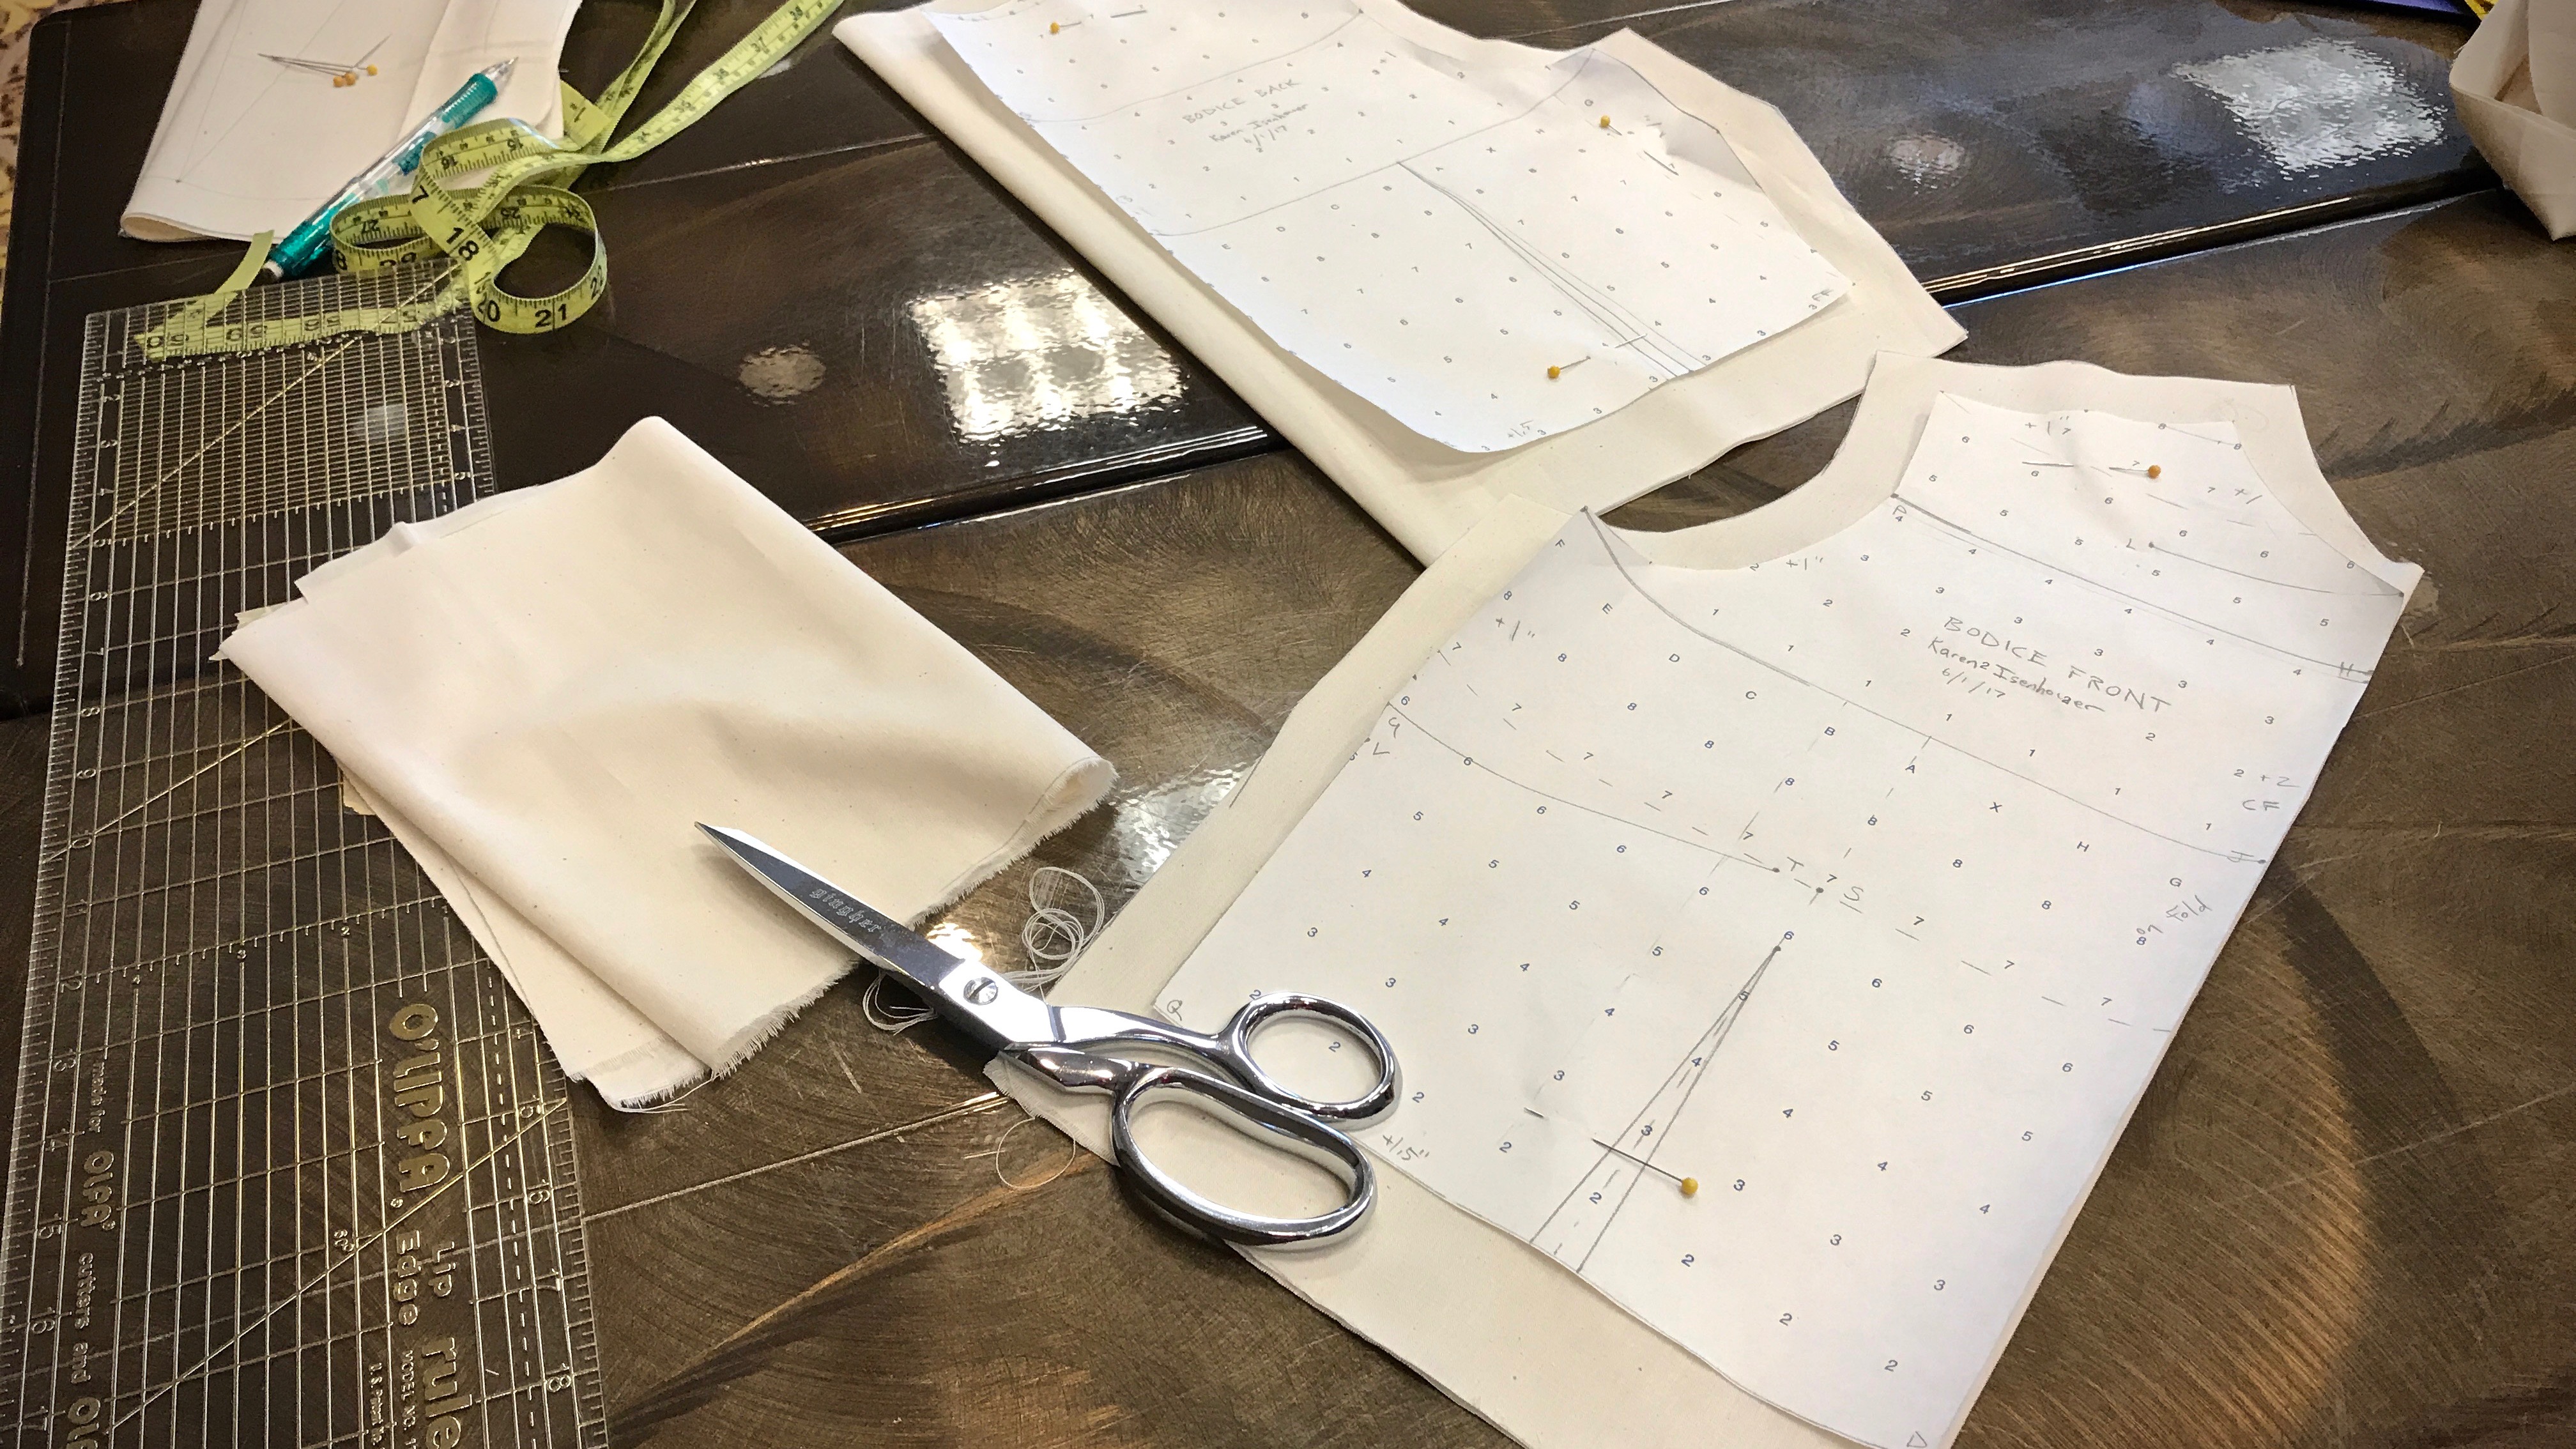
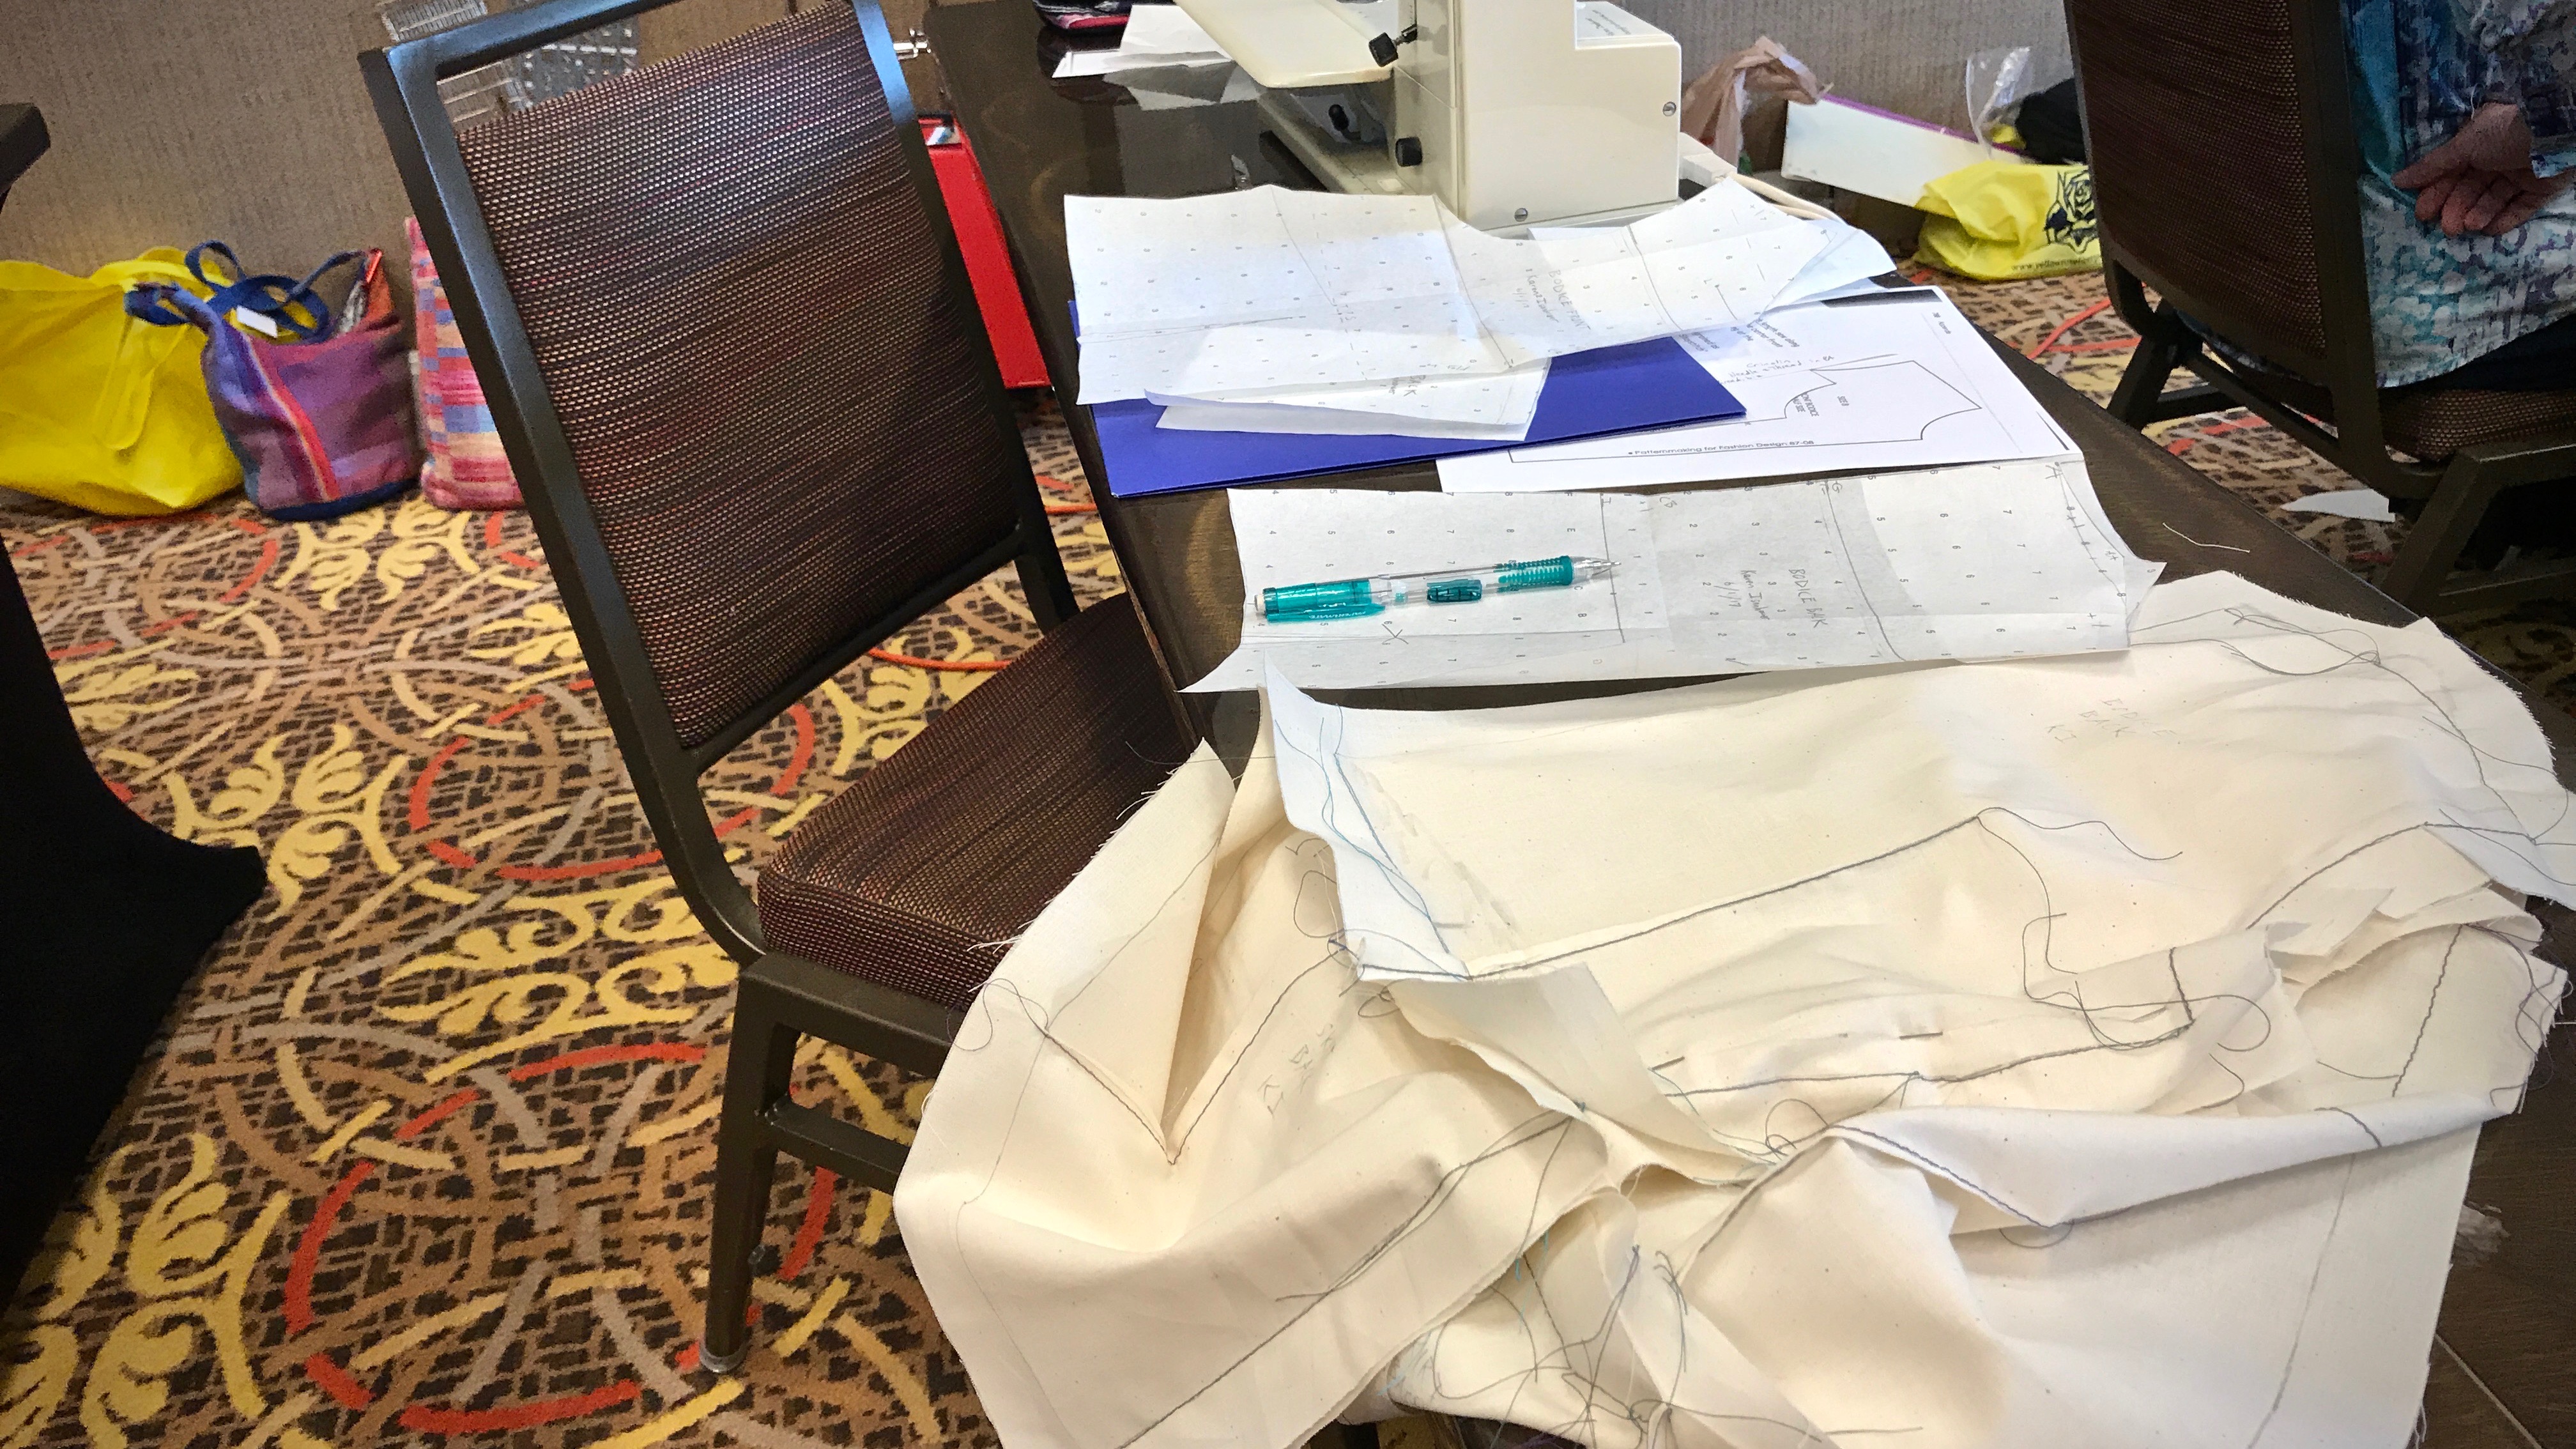
I have a weaving “bucket list.” Making a handwoven jacket is on that list. I took a step toward that dream with Michele Belson’s (of Lunatic Fringe Yarns) workshop on pattern drafting last week. This Contemporary Handweavers of Texas Conference workshop was exactly what I needed.
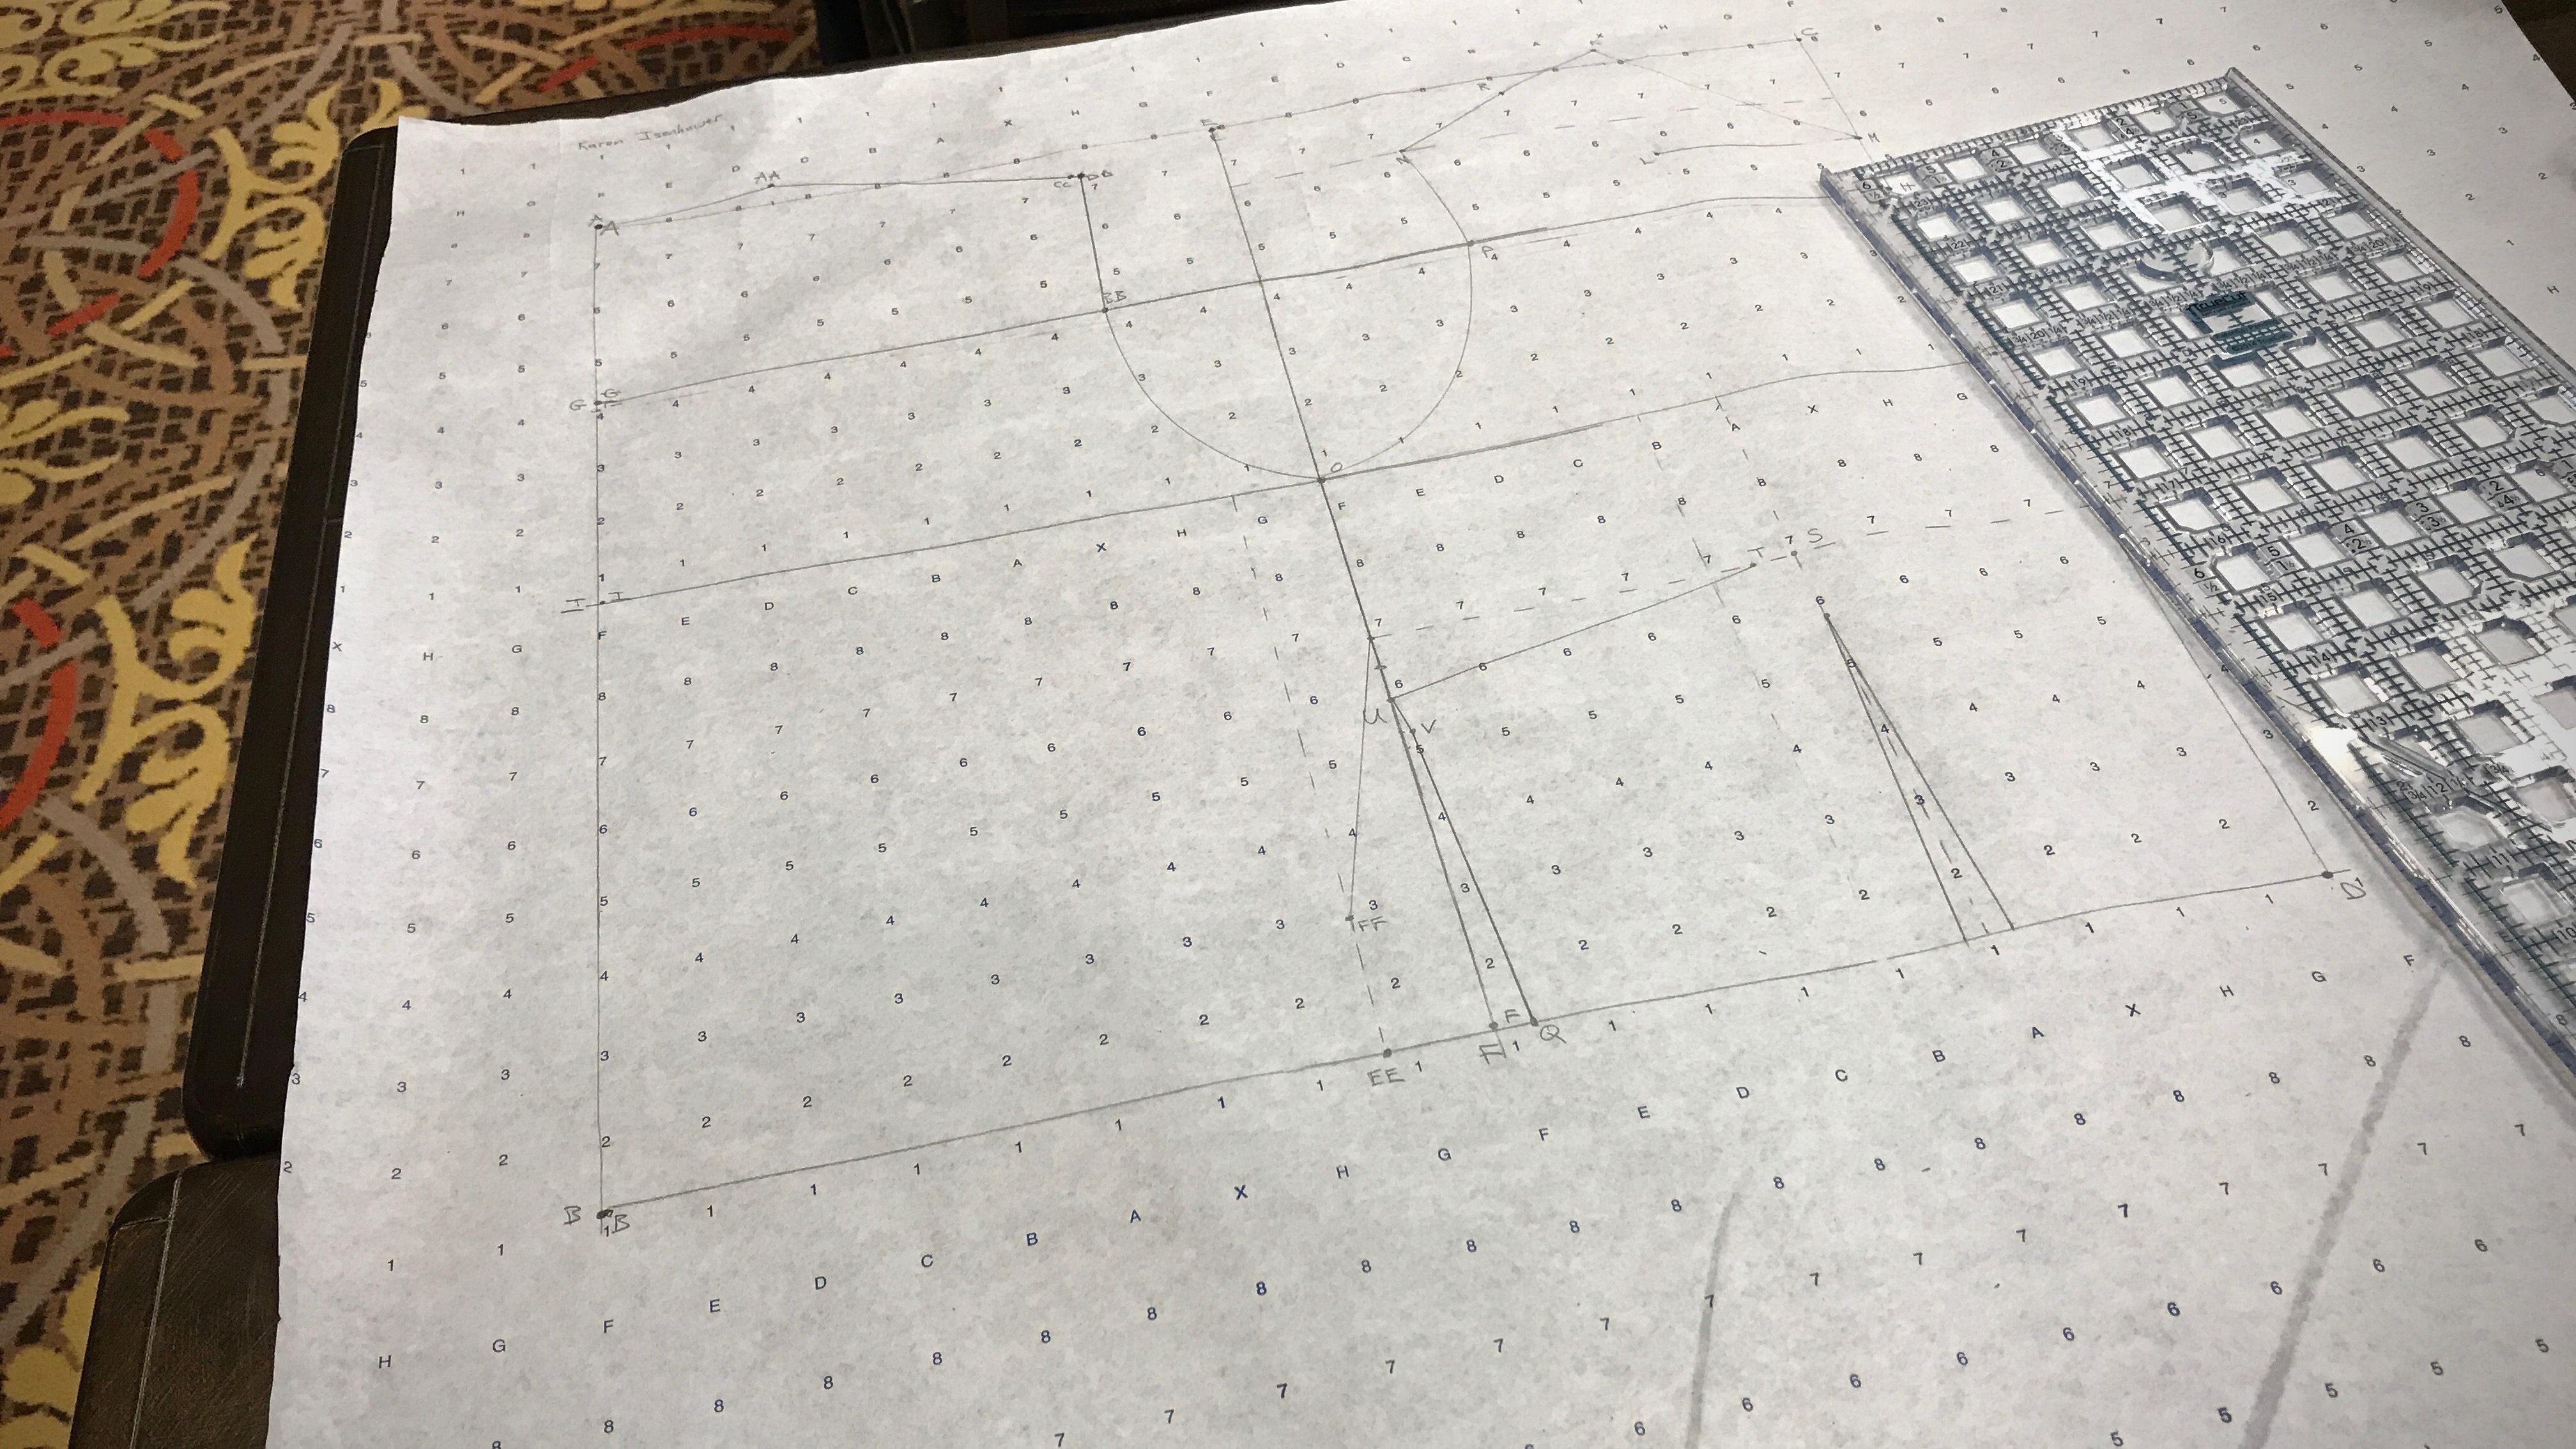
Taking precise body measurements is the first step in making a body block pattern draft. The measurements are then transferred to the pattern paper in a systematic way. My handwoven “Mary Poppins” bag on the floor holds all my supplies for the day.Front and back bodice patterns in progress.Making a muslin by transferring pattern markings and adding seam allowances.
I can weave fabric for a jacket. And I have sewing skills to sew a jacket. But the fitting! That’s been the missing link for me. And who wants to cut into handwoven fabric when the fit is not a sure thing?
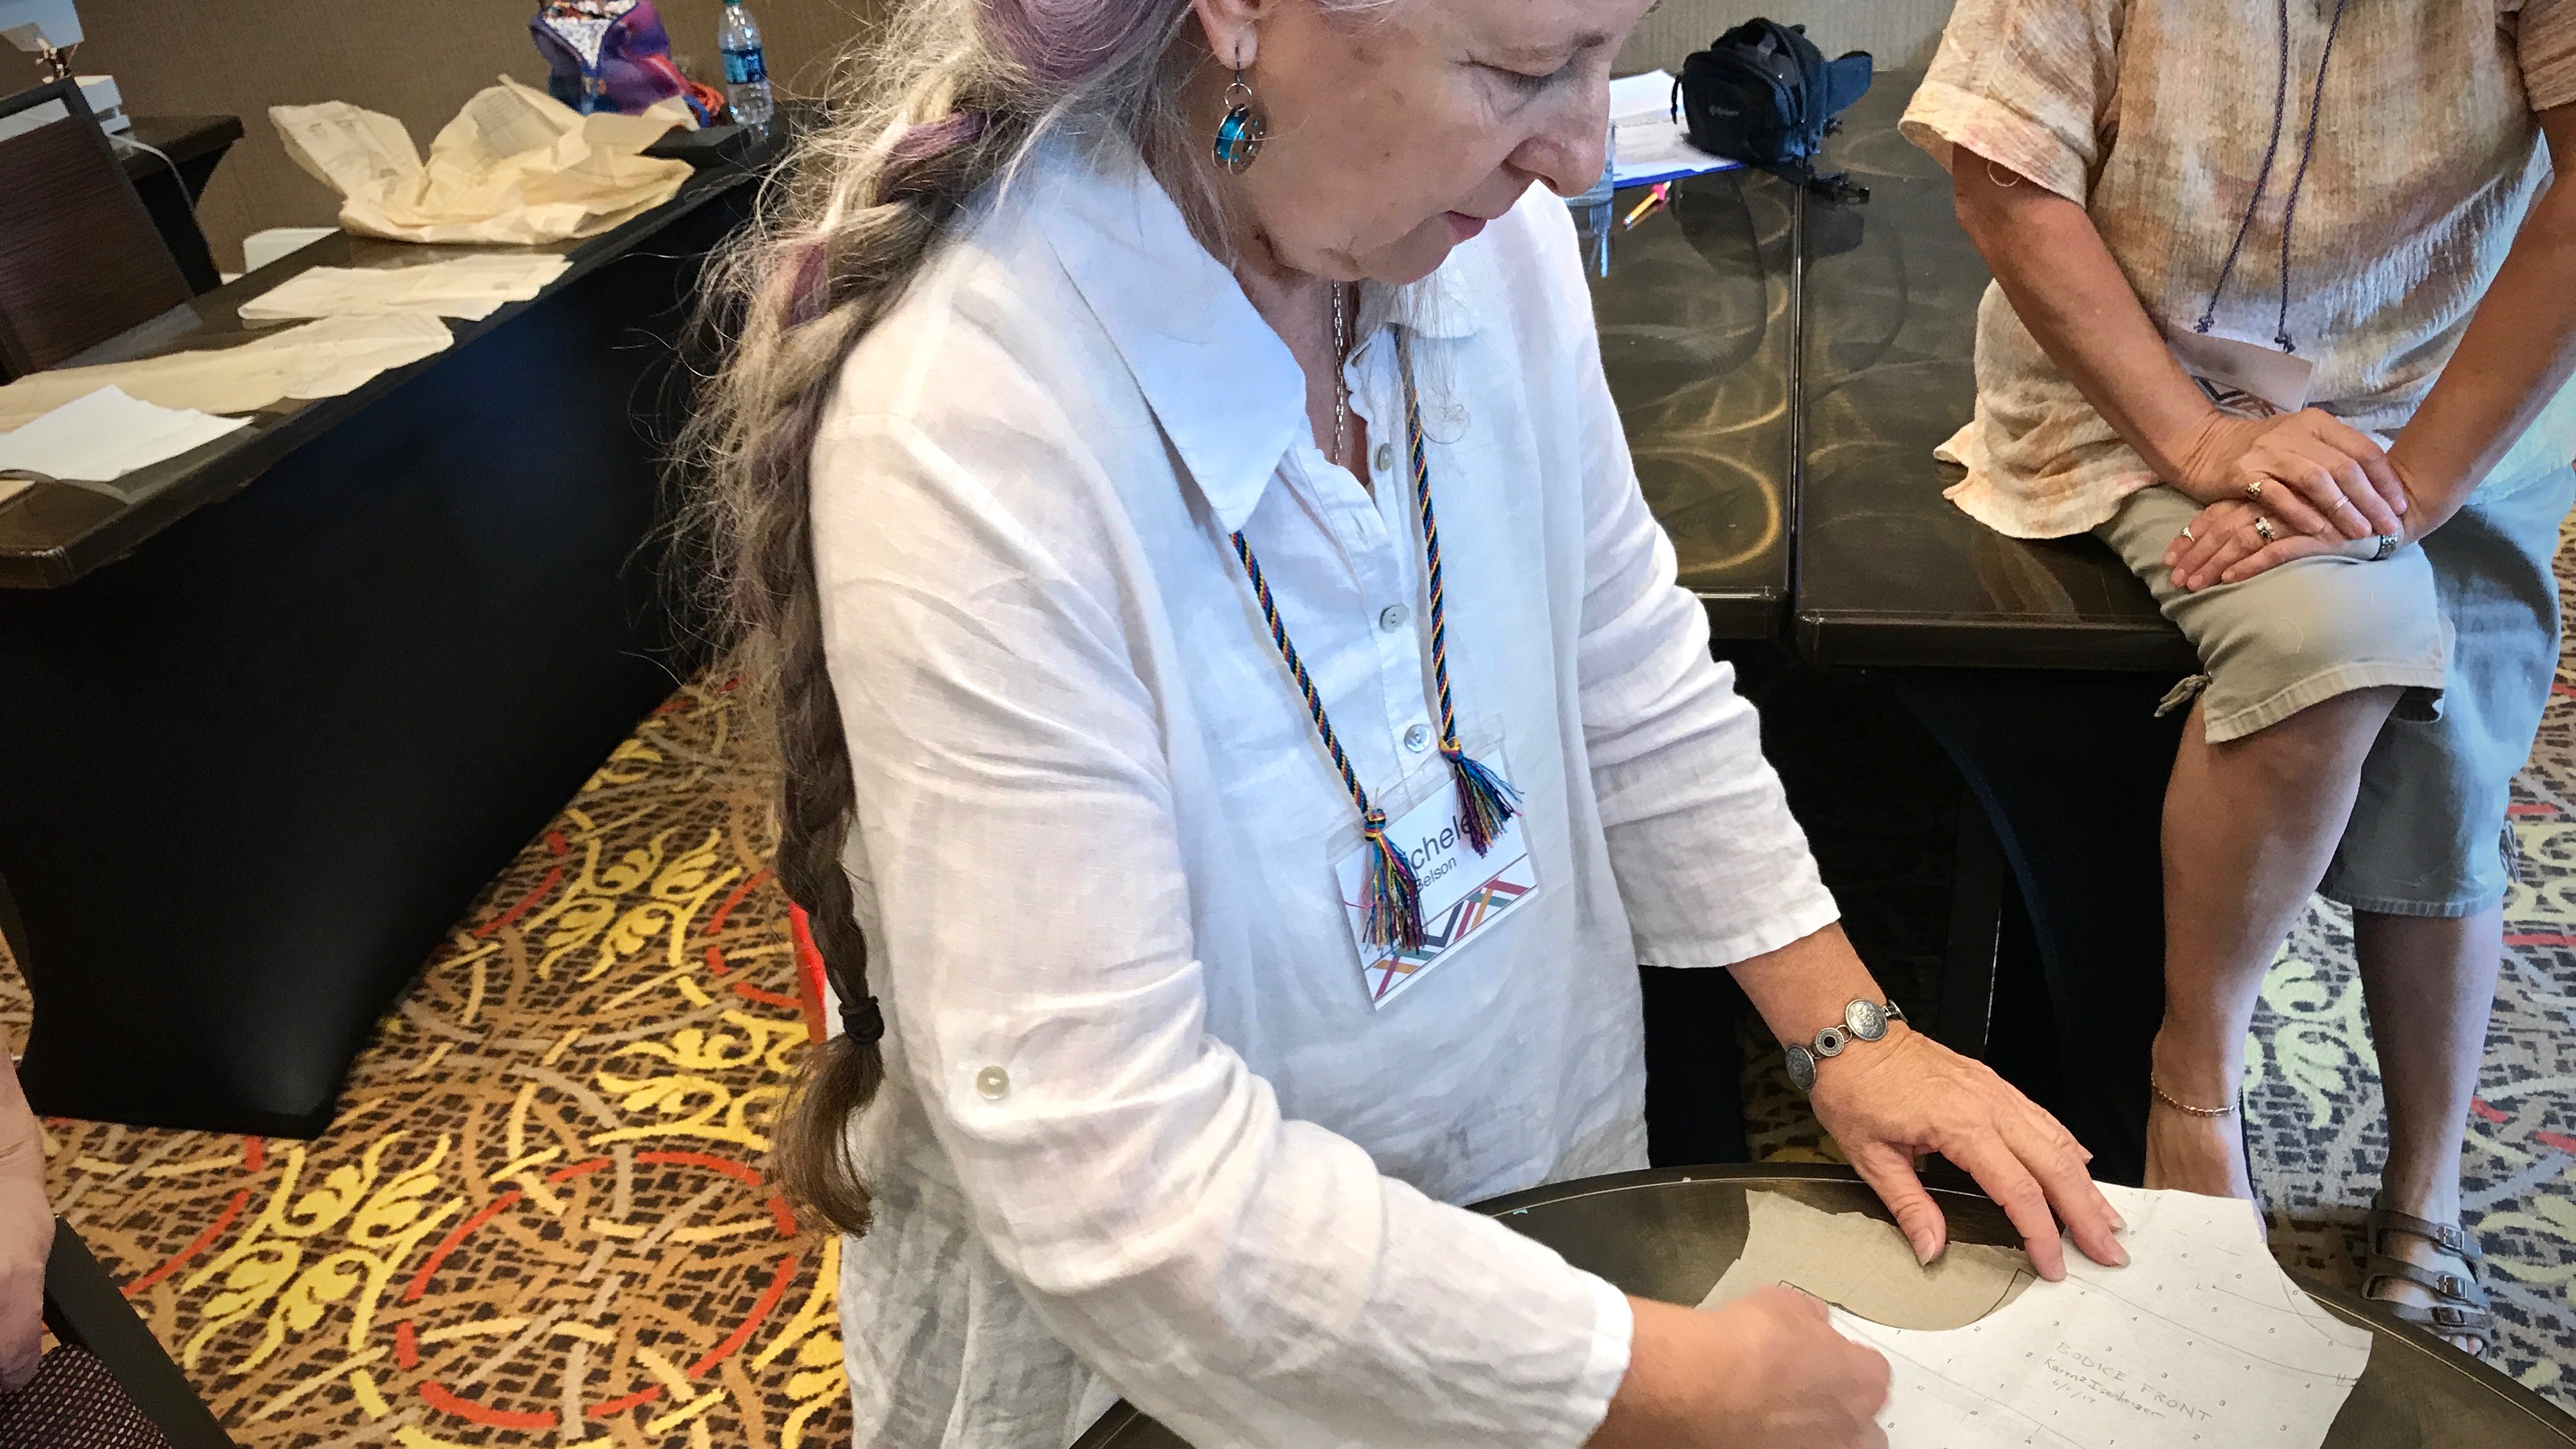
Muslin pieces are sewn together so the bodice can be fitted.Michele Belson checks the fit of the muslin. After some small adjustments, she pronounces it a perfect fit! Ease will be added, suitable to the garment being made, when the time comes to make a garment pattern.Michele demonstrates how to use the finished body block pattern draft to adjust the fit of a commercial pattern.
Mindful attention to details. Processing information to apply it to the work in your hands. Learning a glossary of terms. Combining new skills with old ones. Listening, with an intent to understand. These are elements of wisdom. Think of the created world around us. Look at the detail, complexity, and beauty in it. Is it any surprise that our Creator is the source of wisdom? Wisdom is the key to skillful work. And, as always, it must be applied and practiced. I will certainly practice fitting and sewing. And then, when it’s time, I’ll weave jacket fabric, and let wisdom guide me in cutting it.
I’m curious, do you have a weaving bucket list, too?