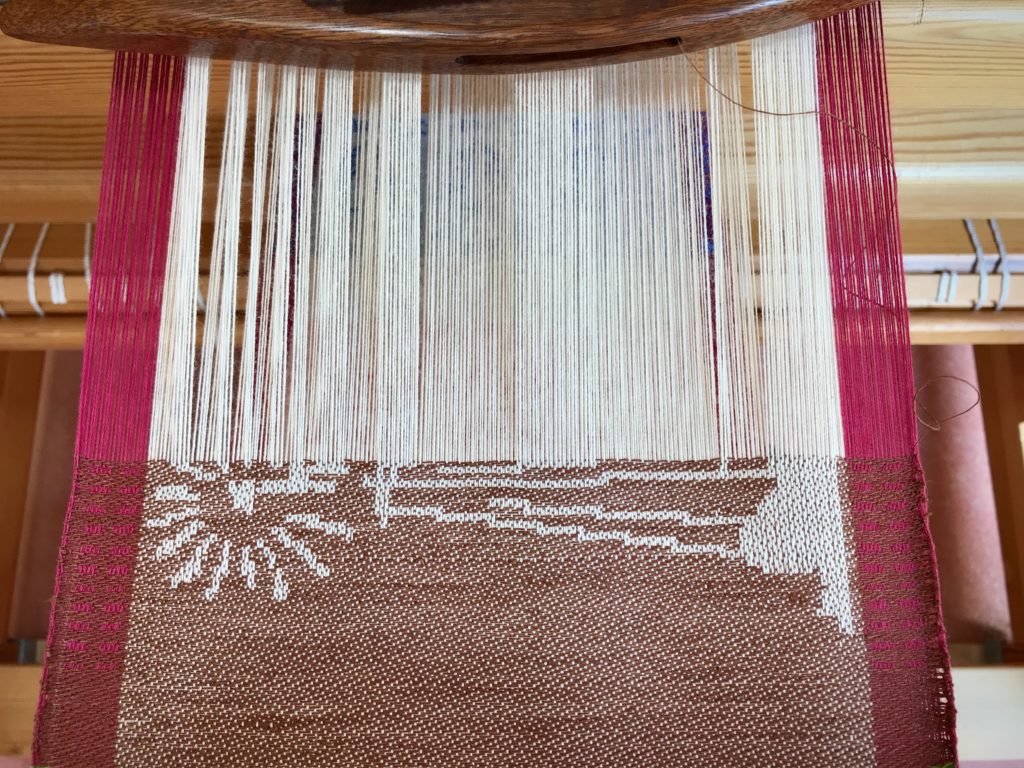
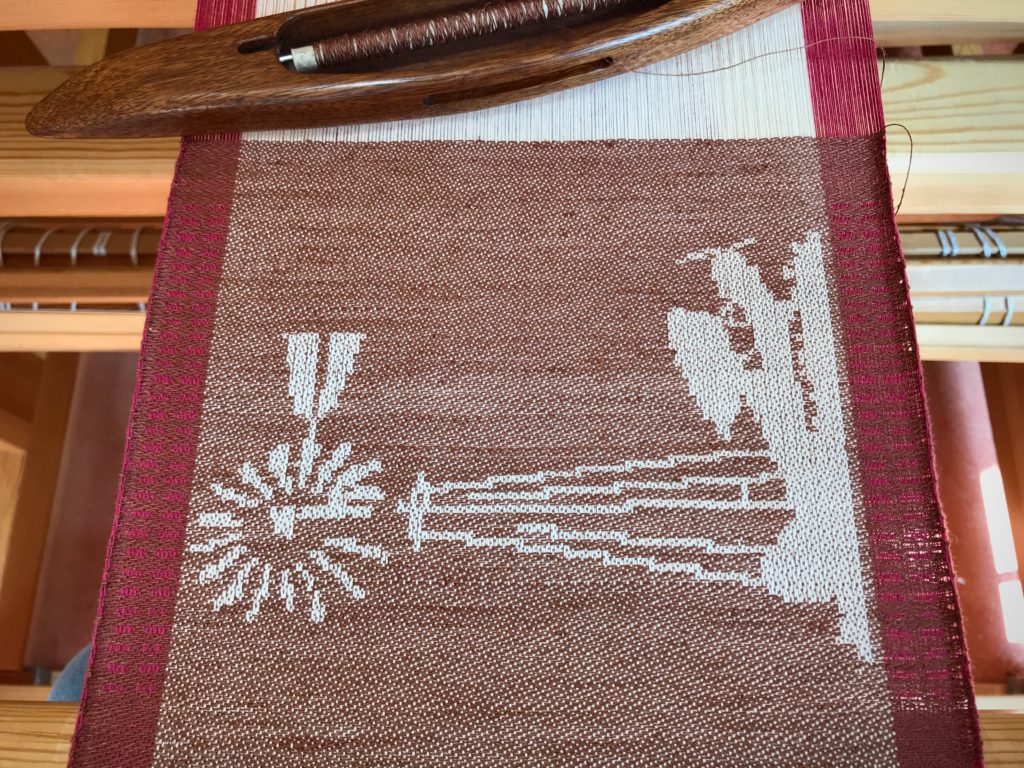
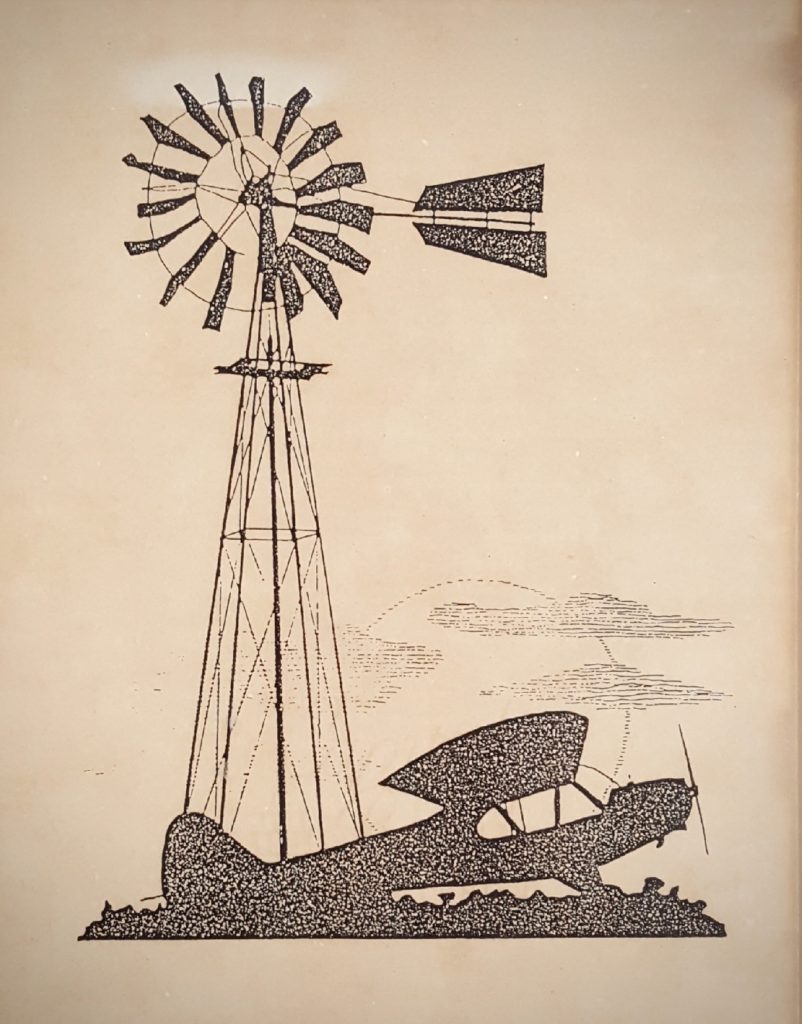
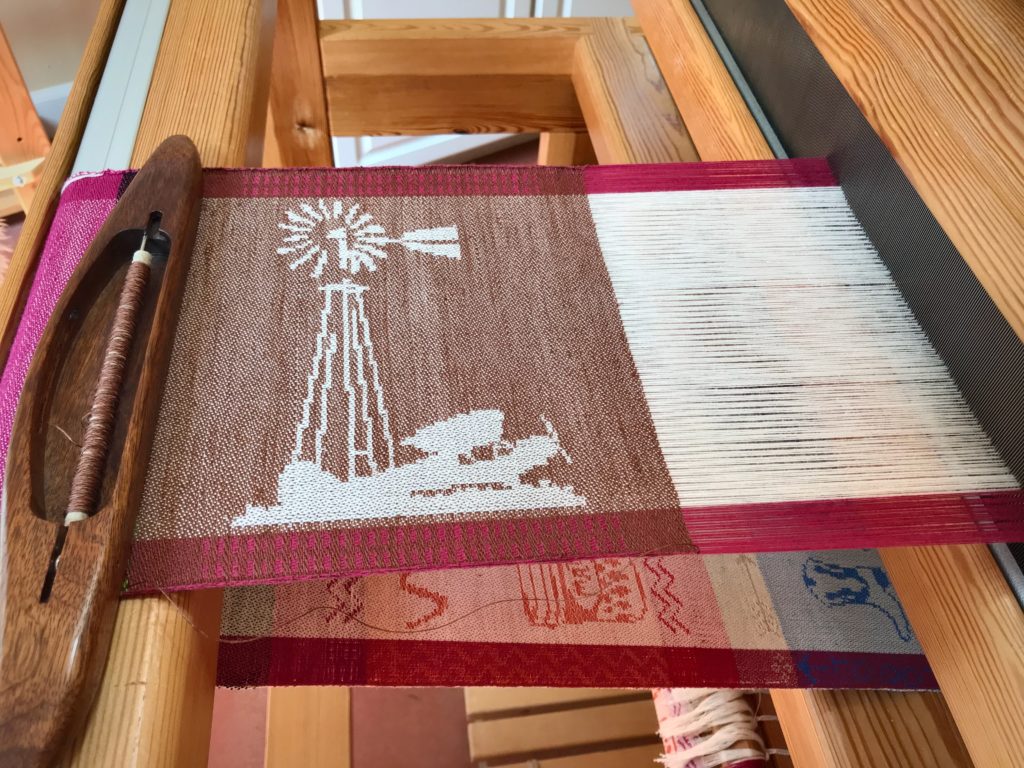
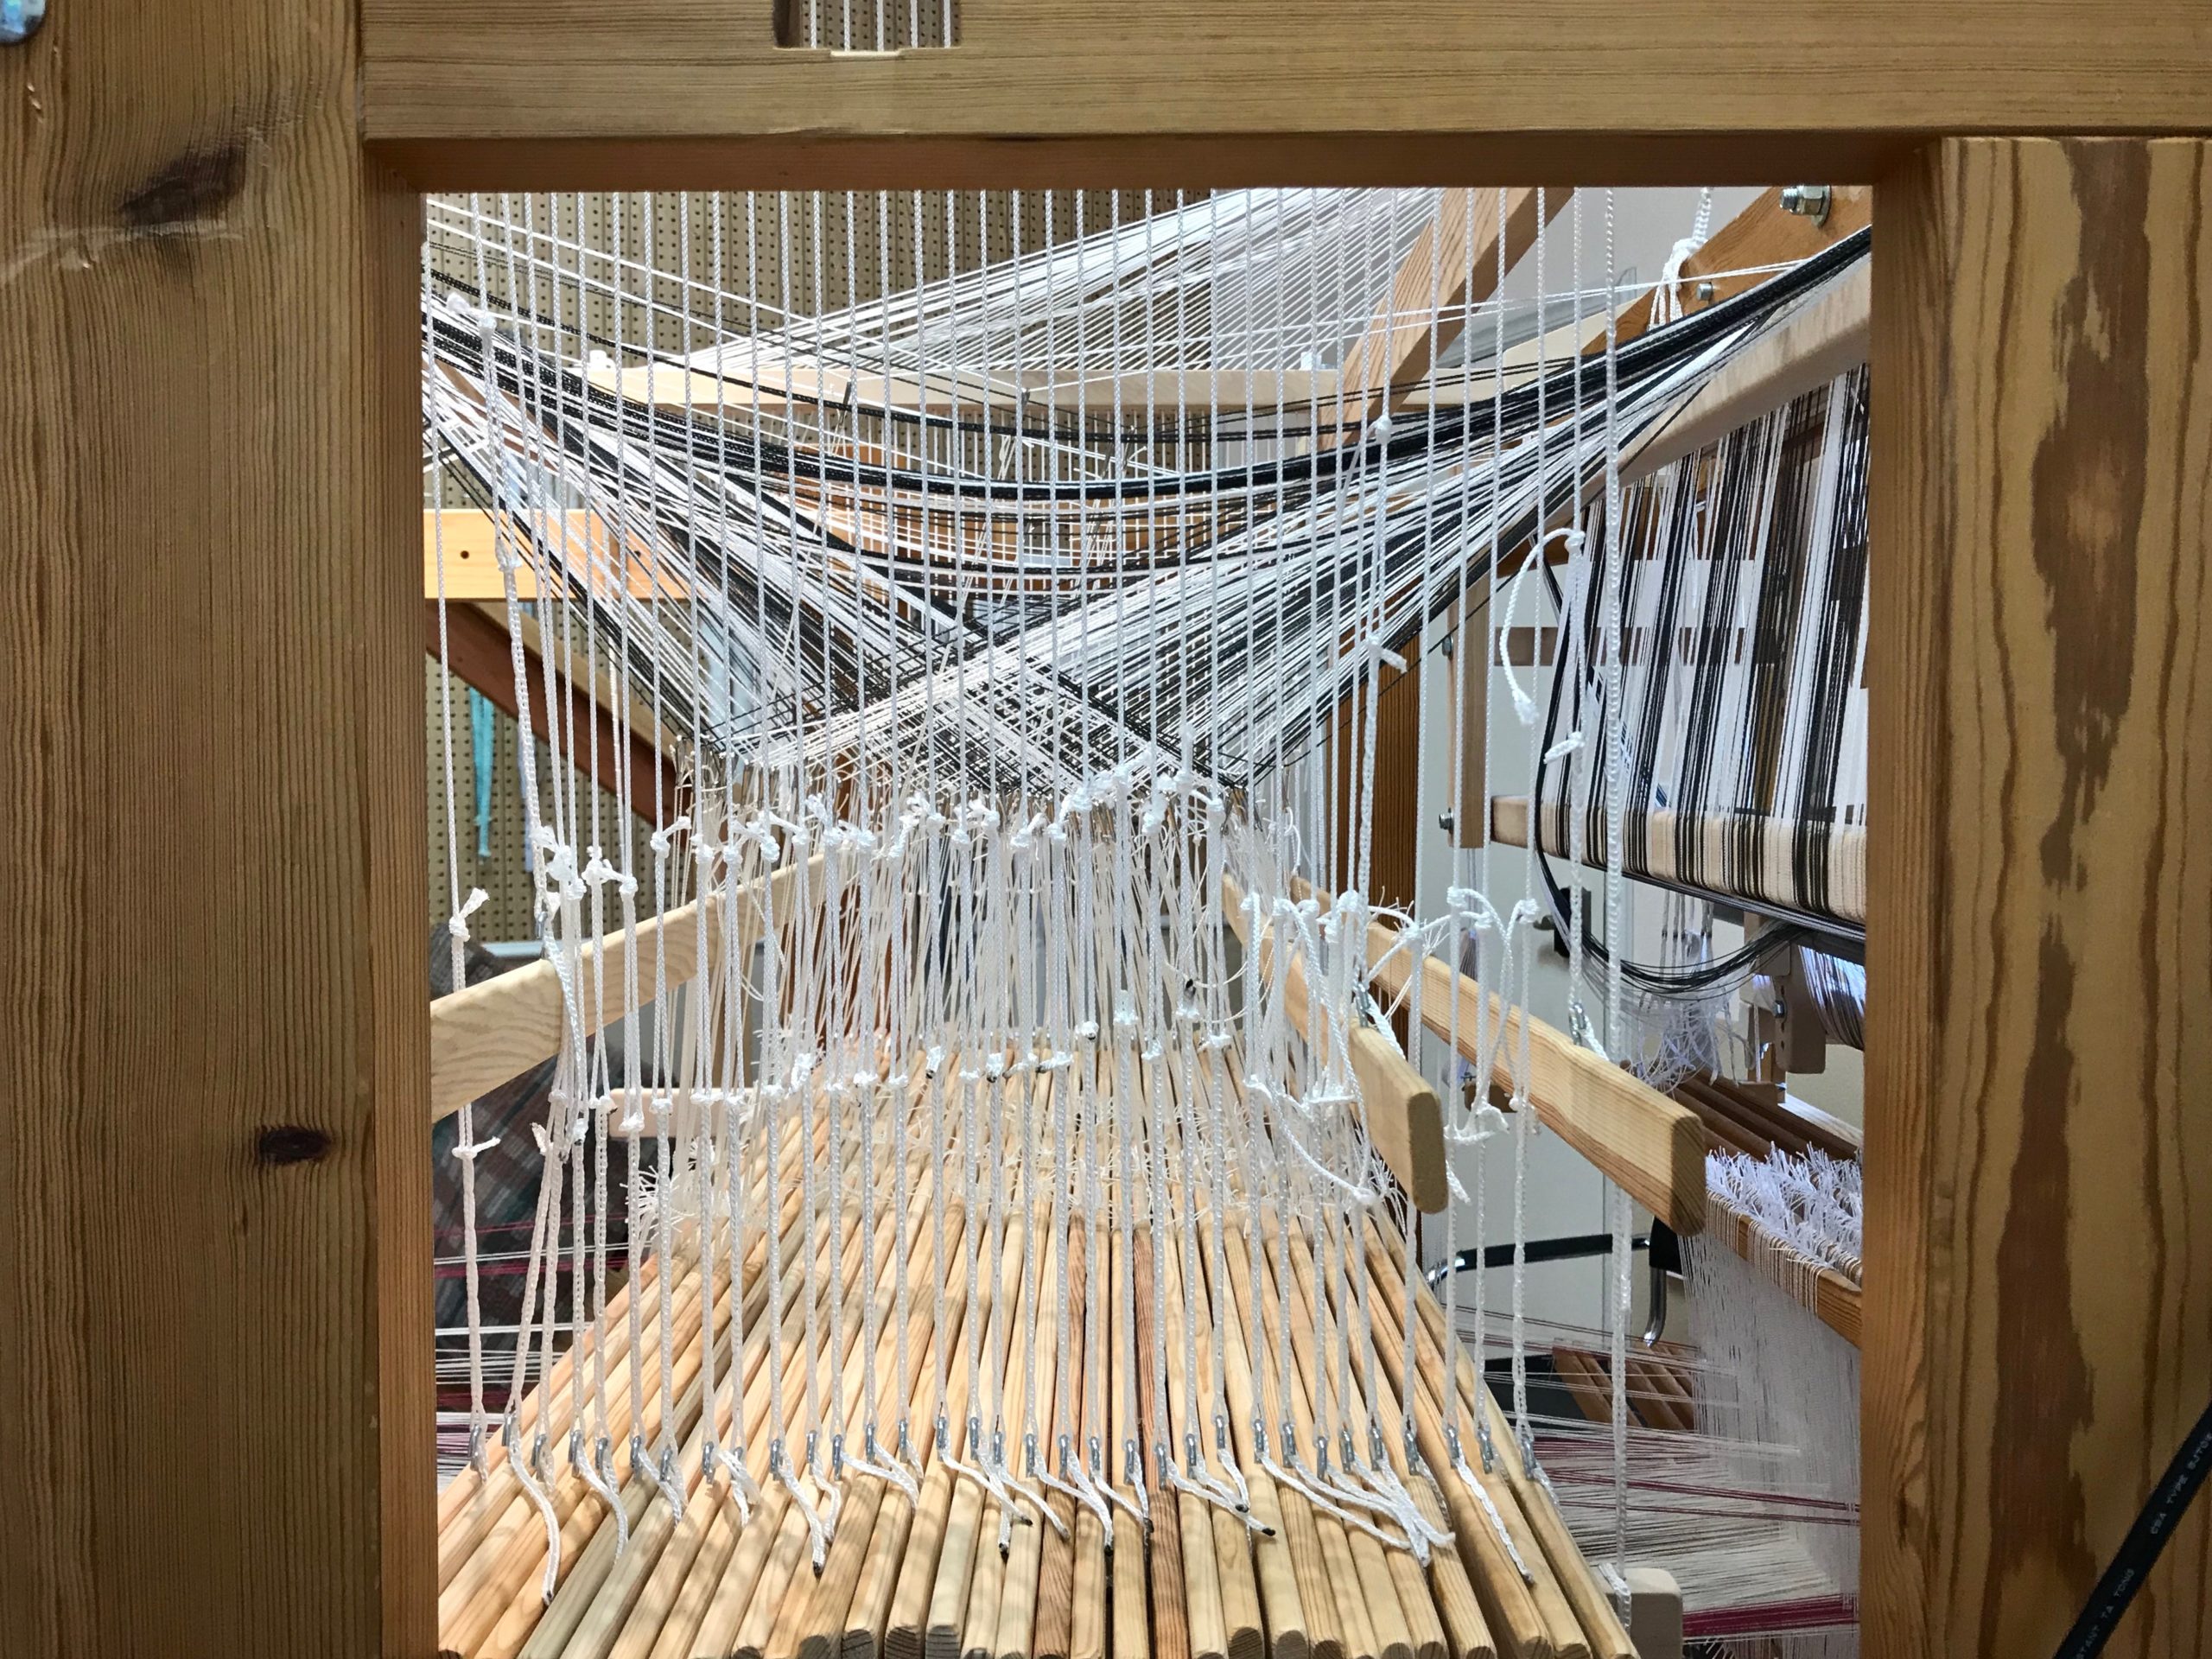
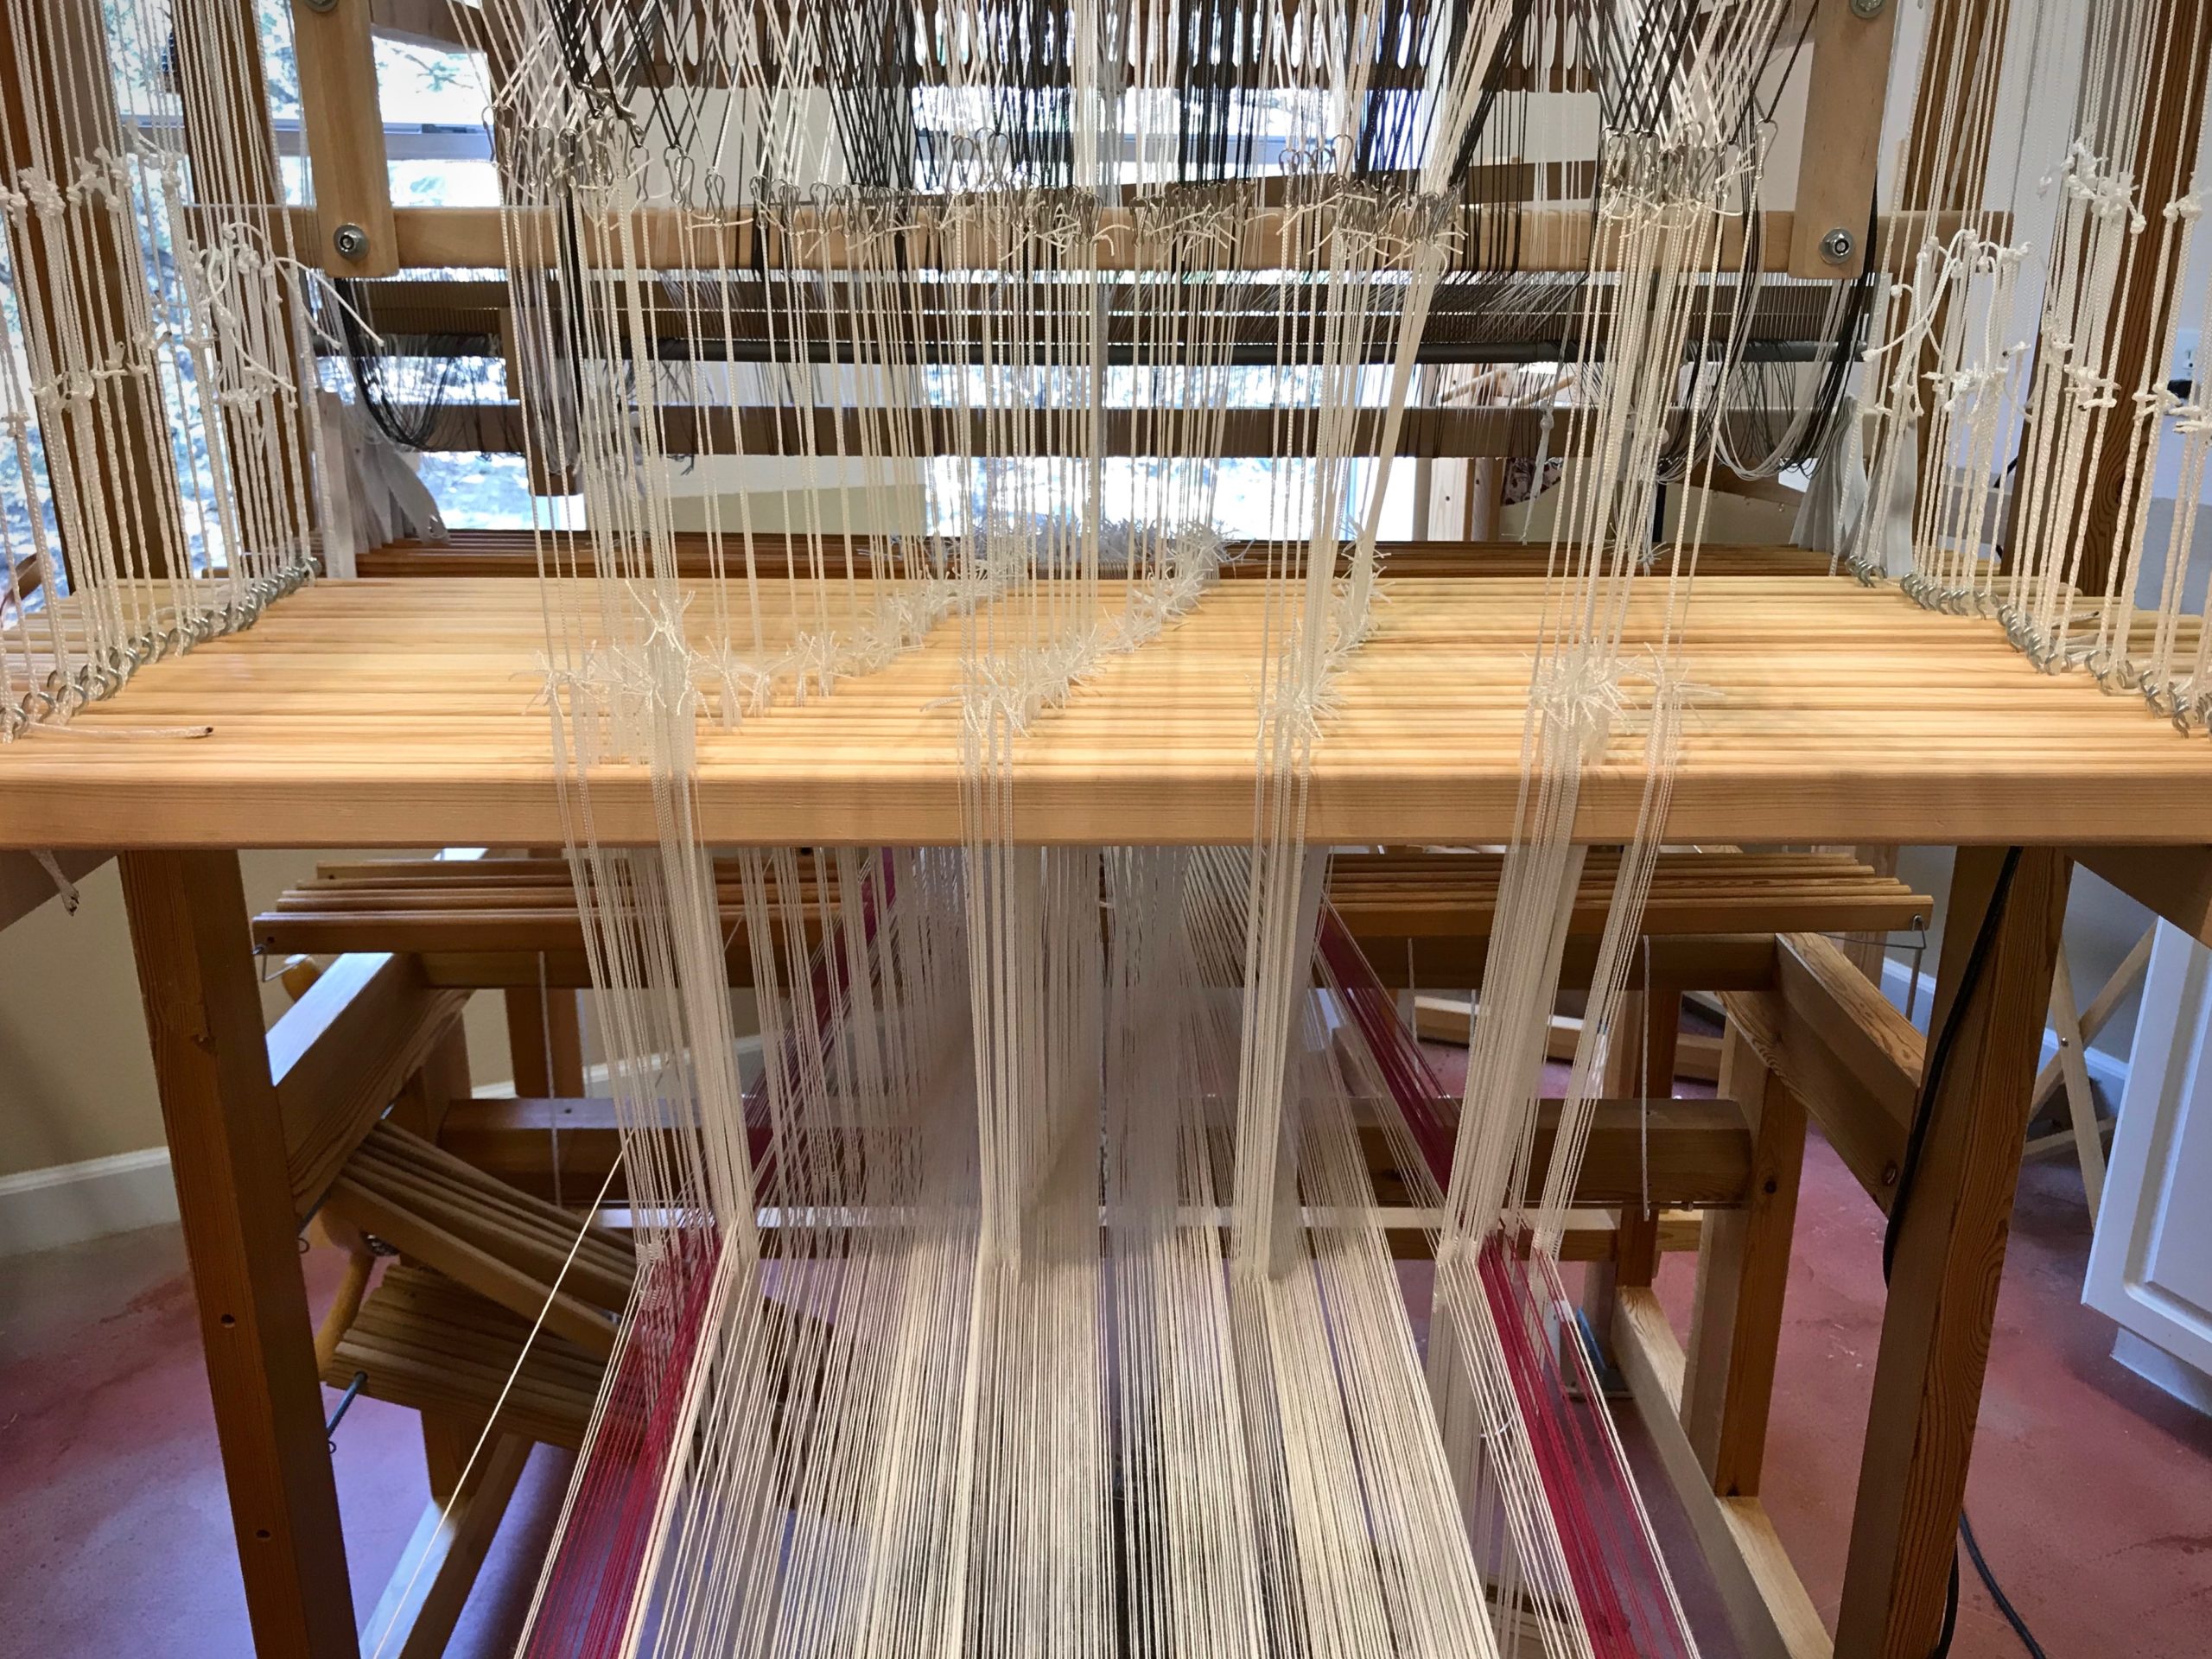
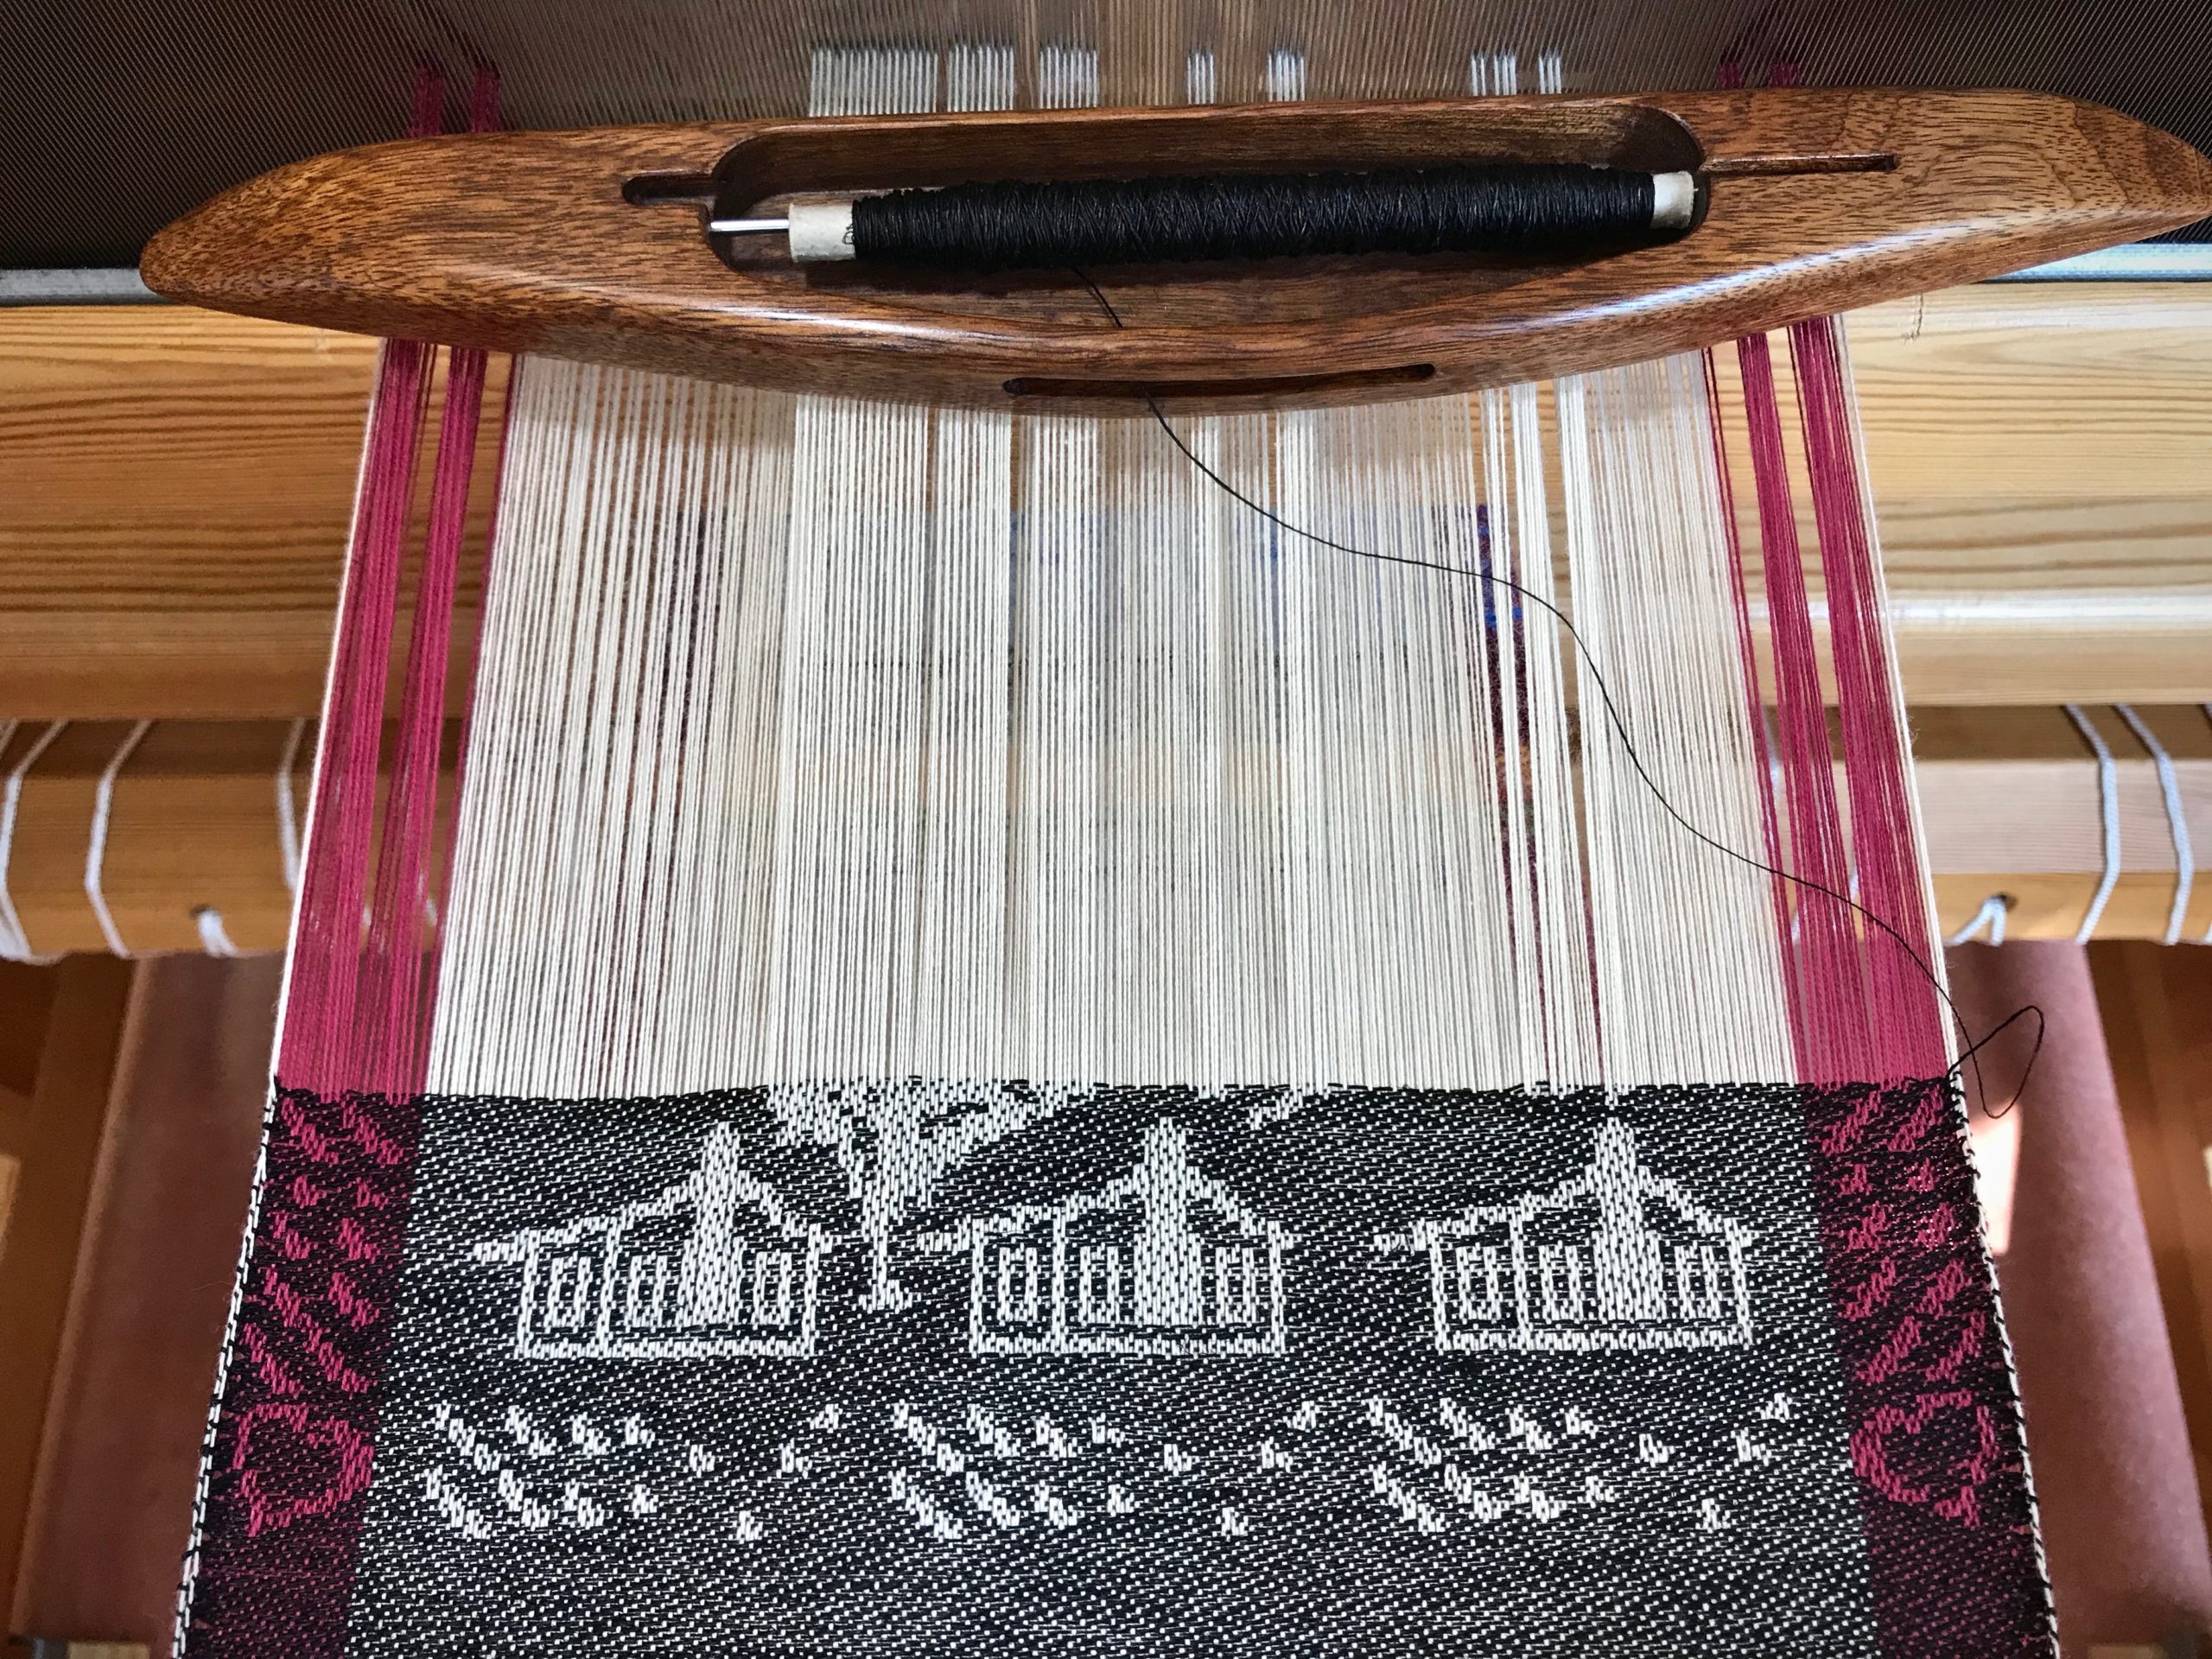
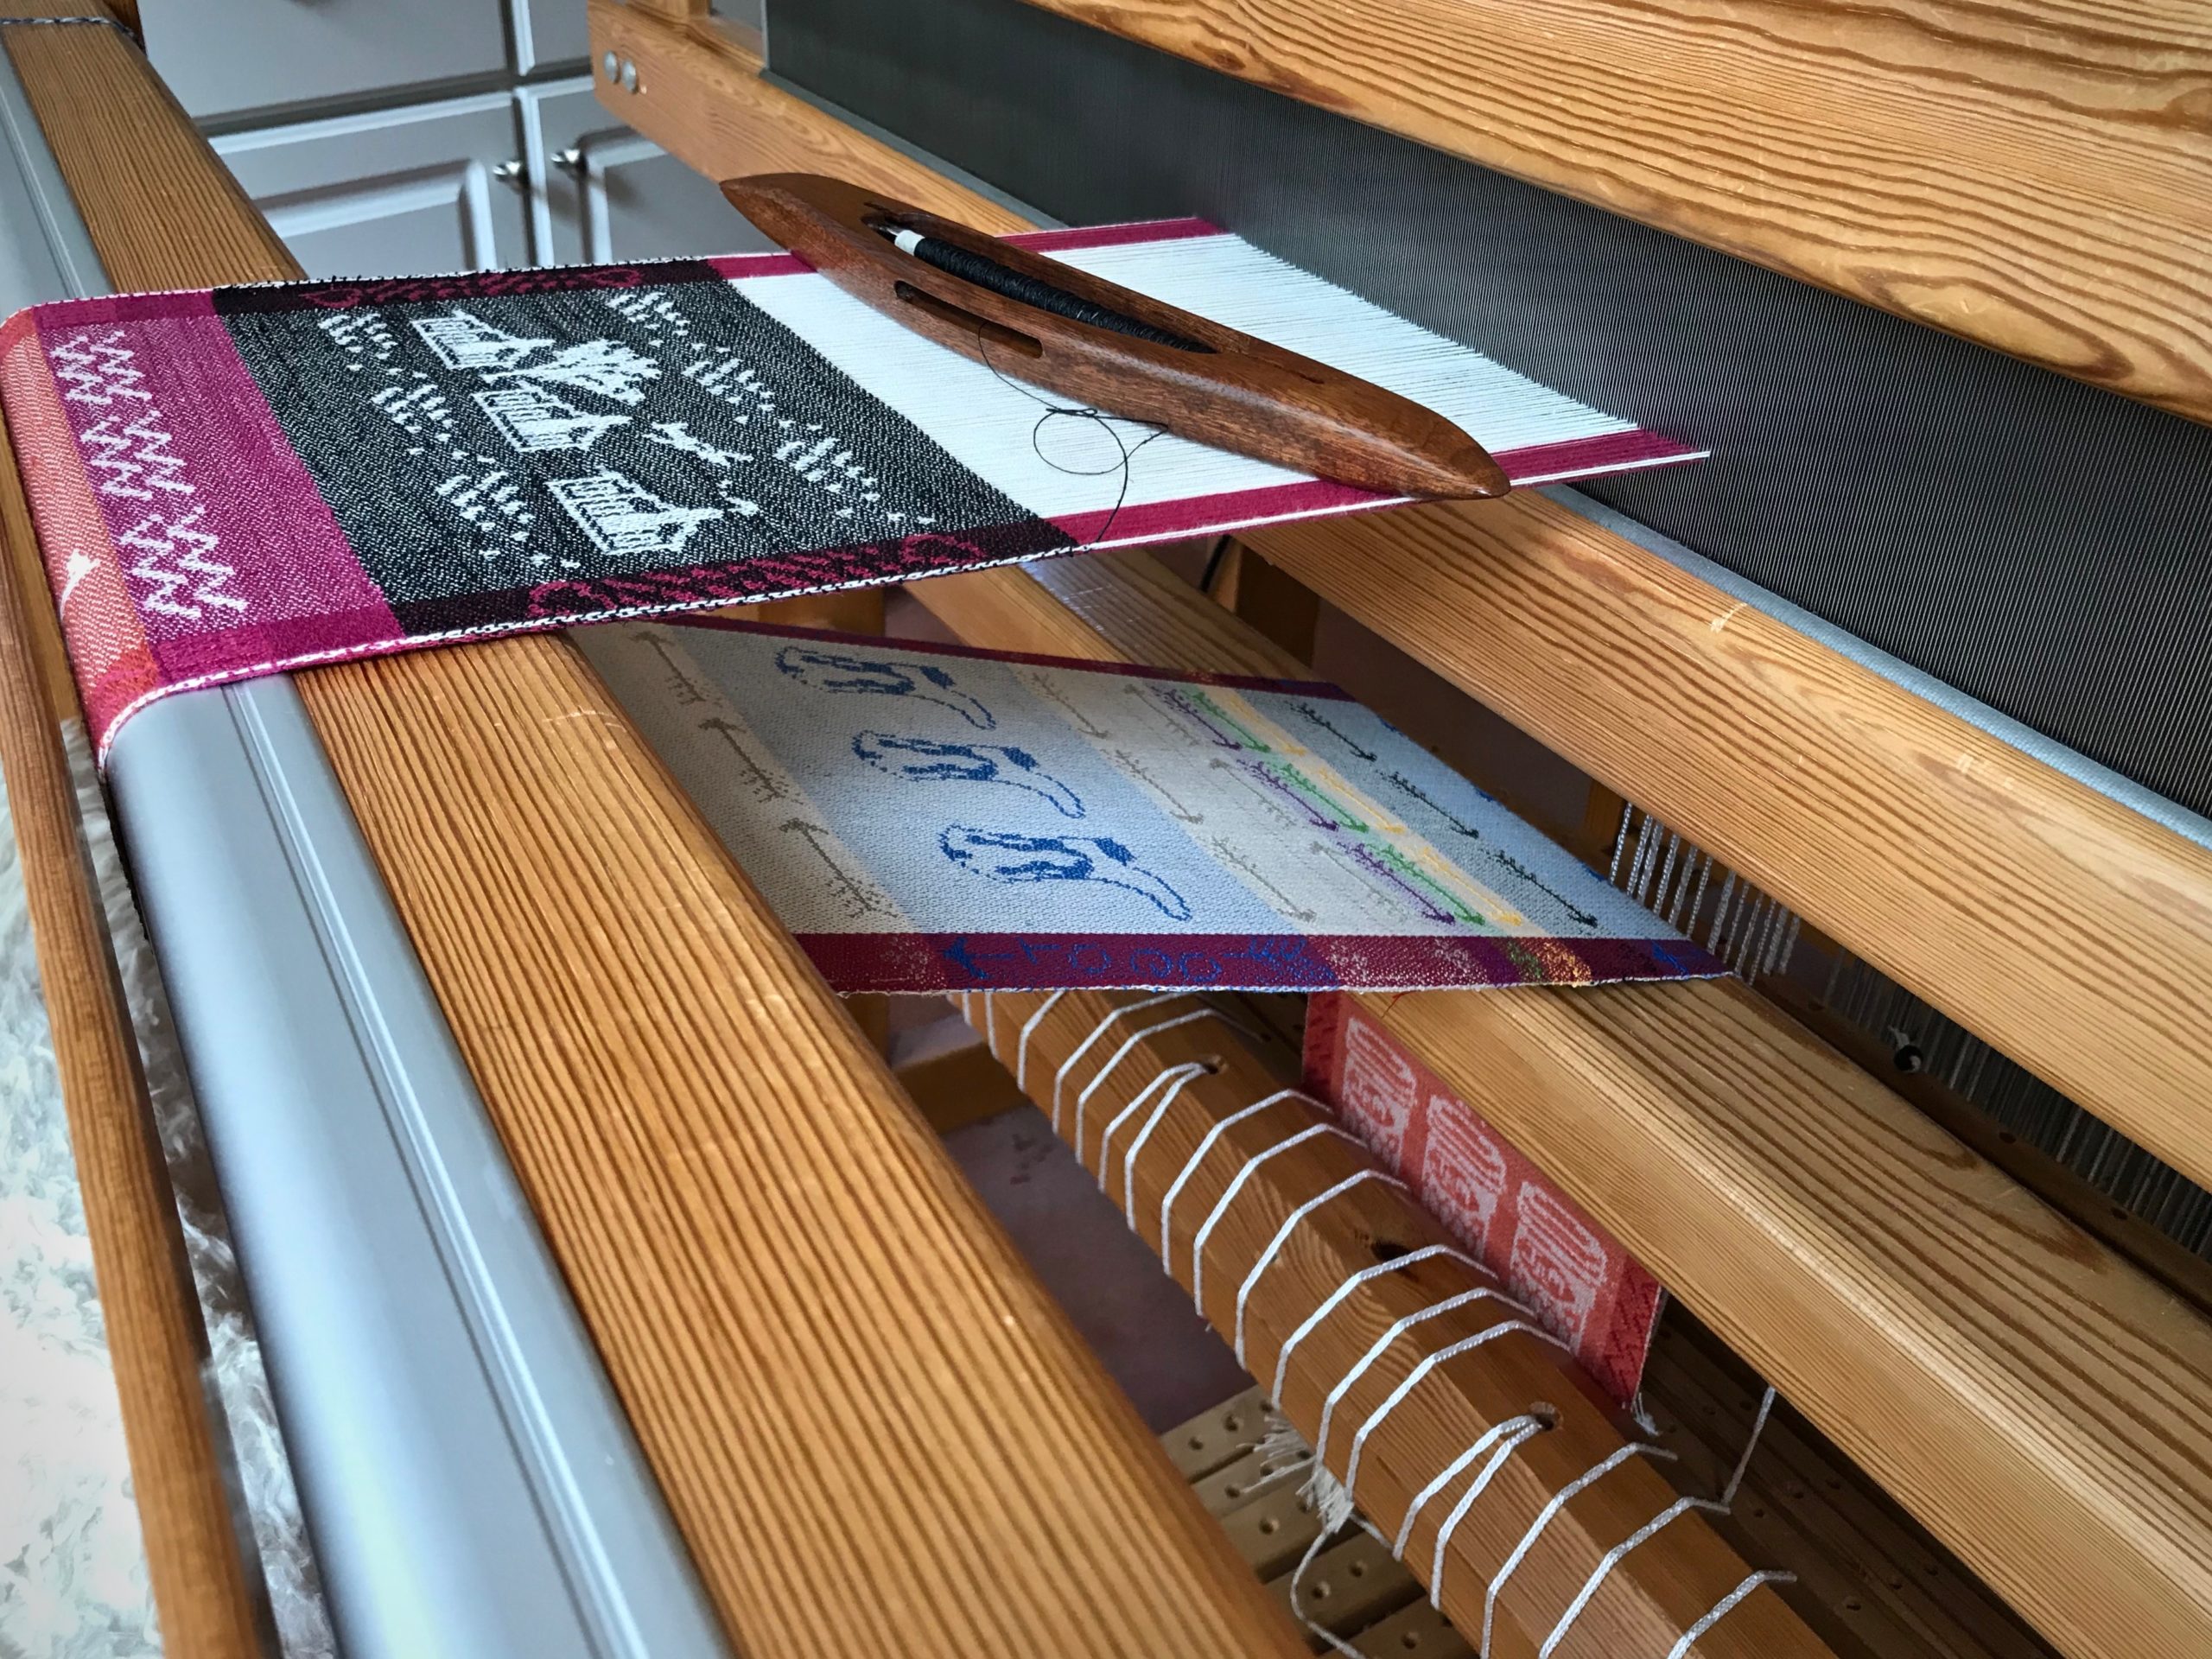
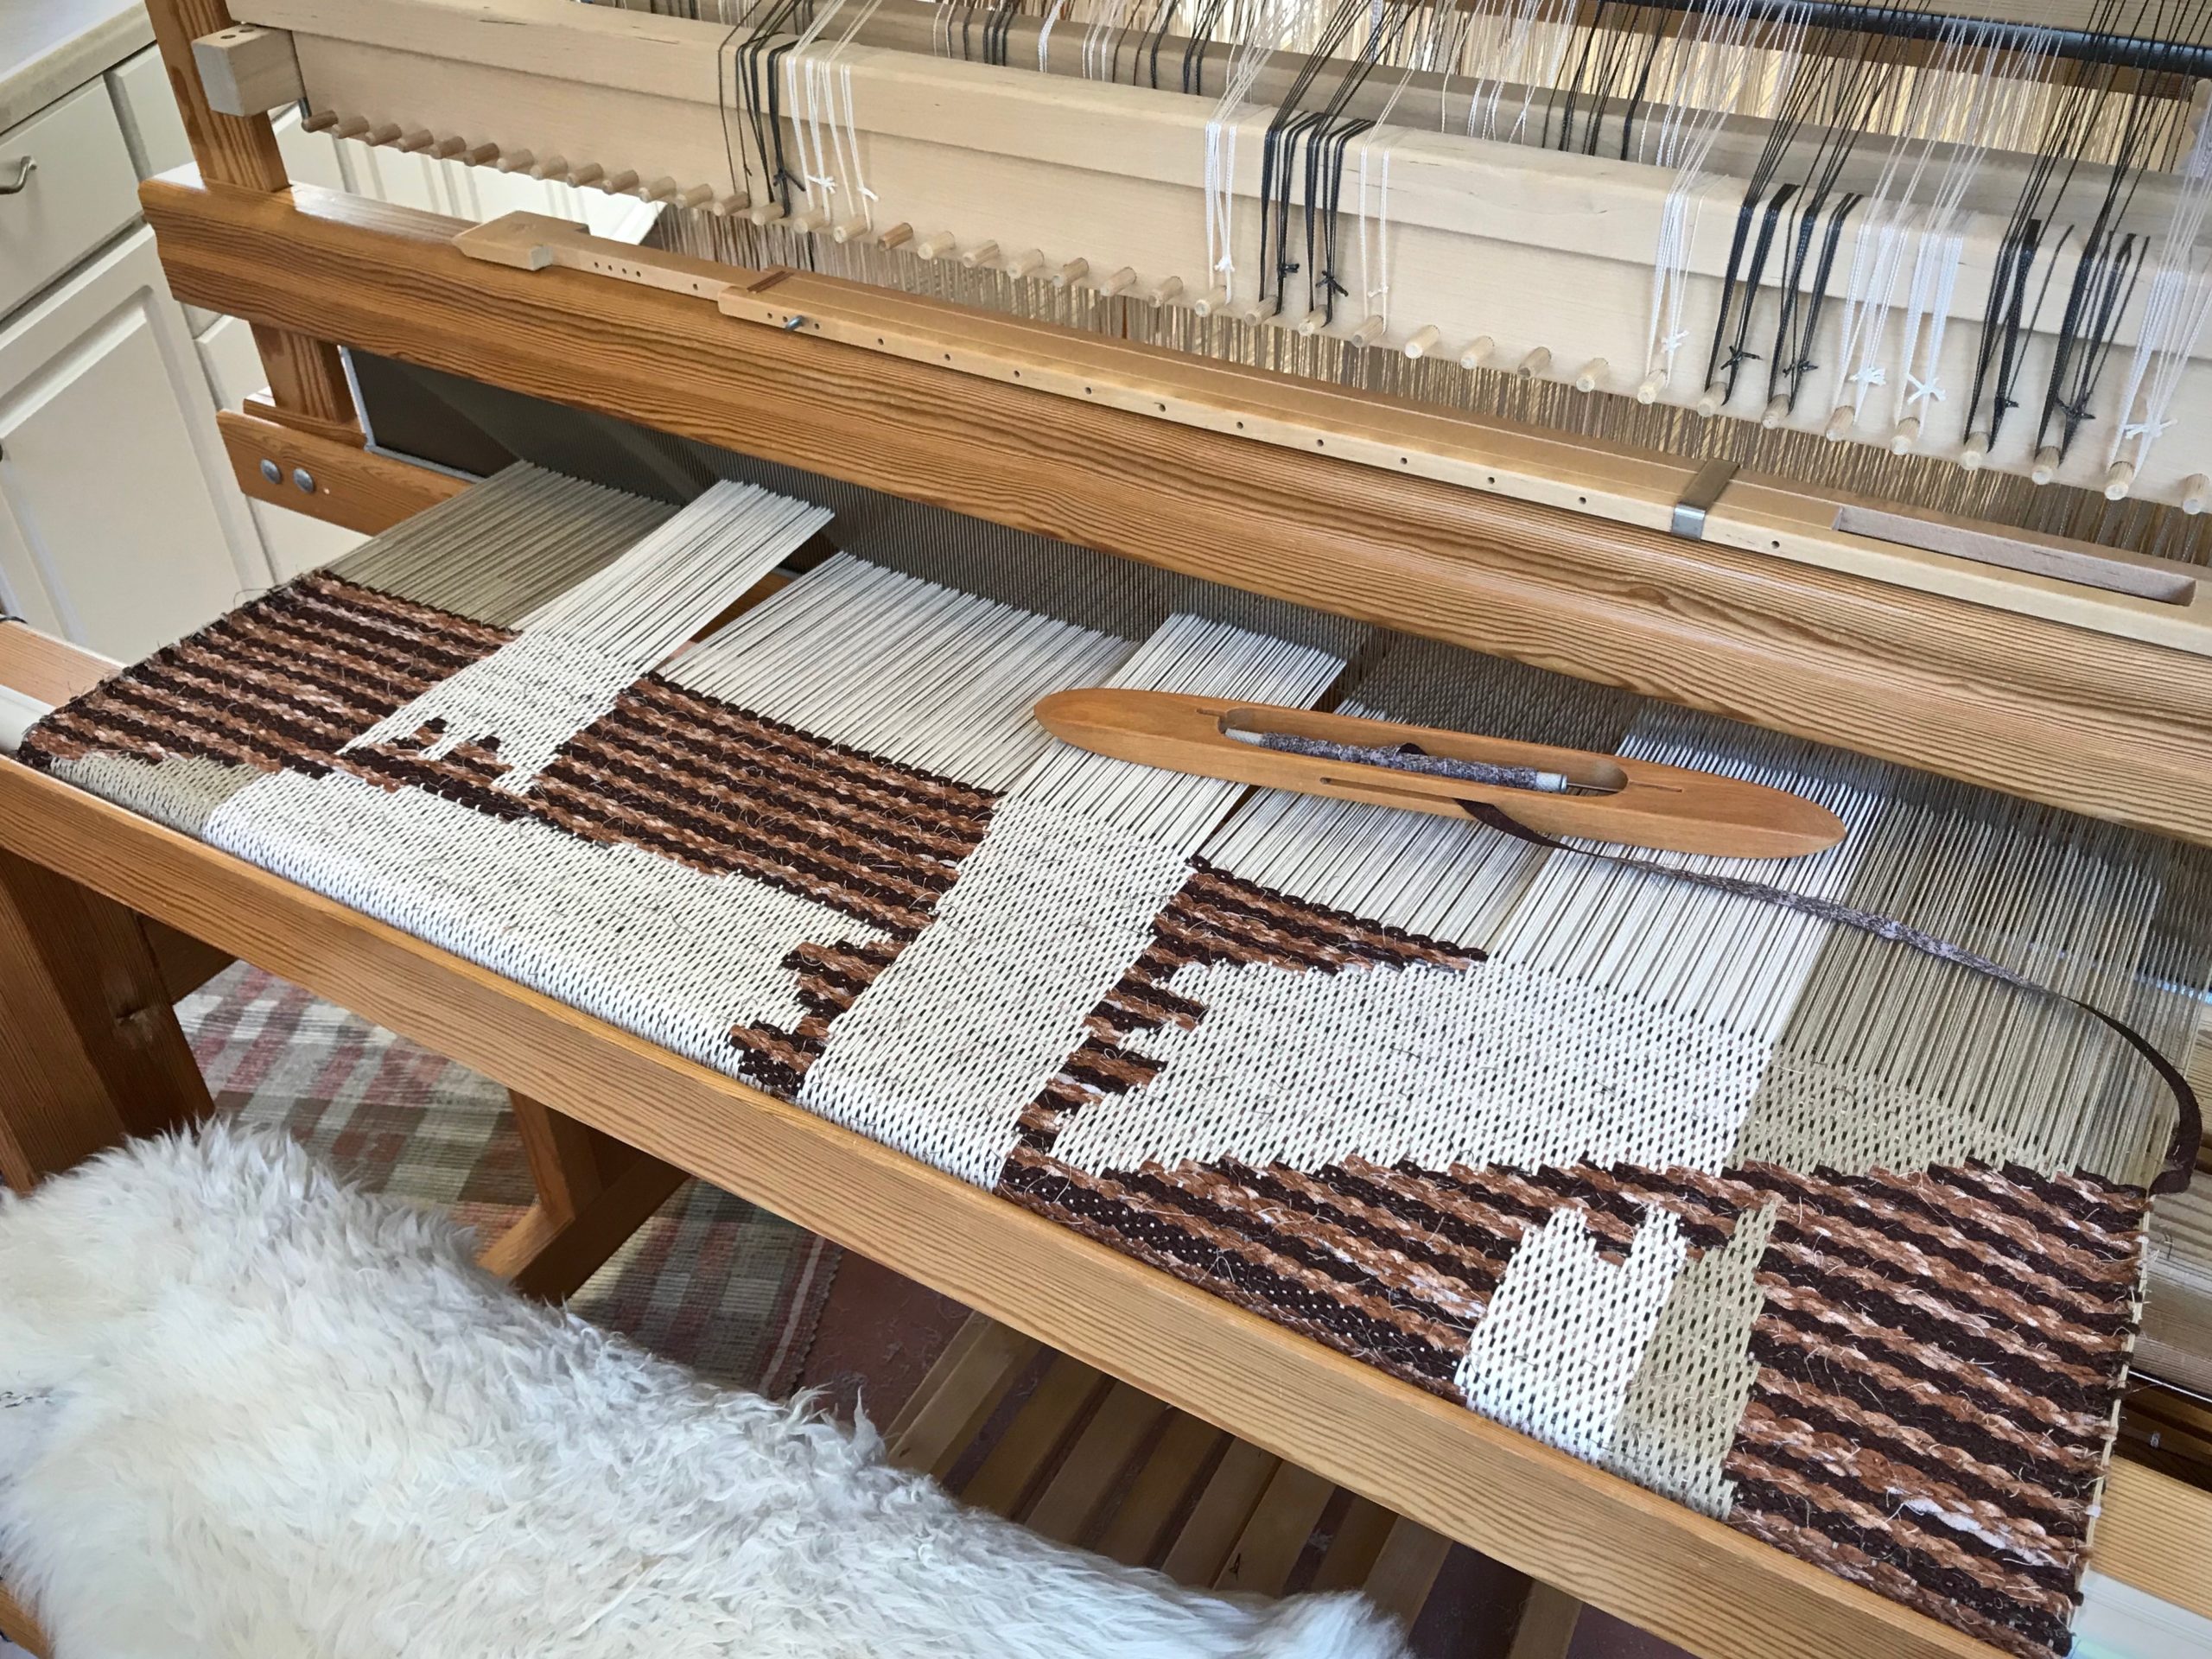
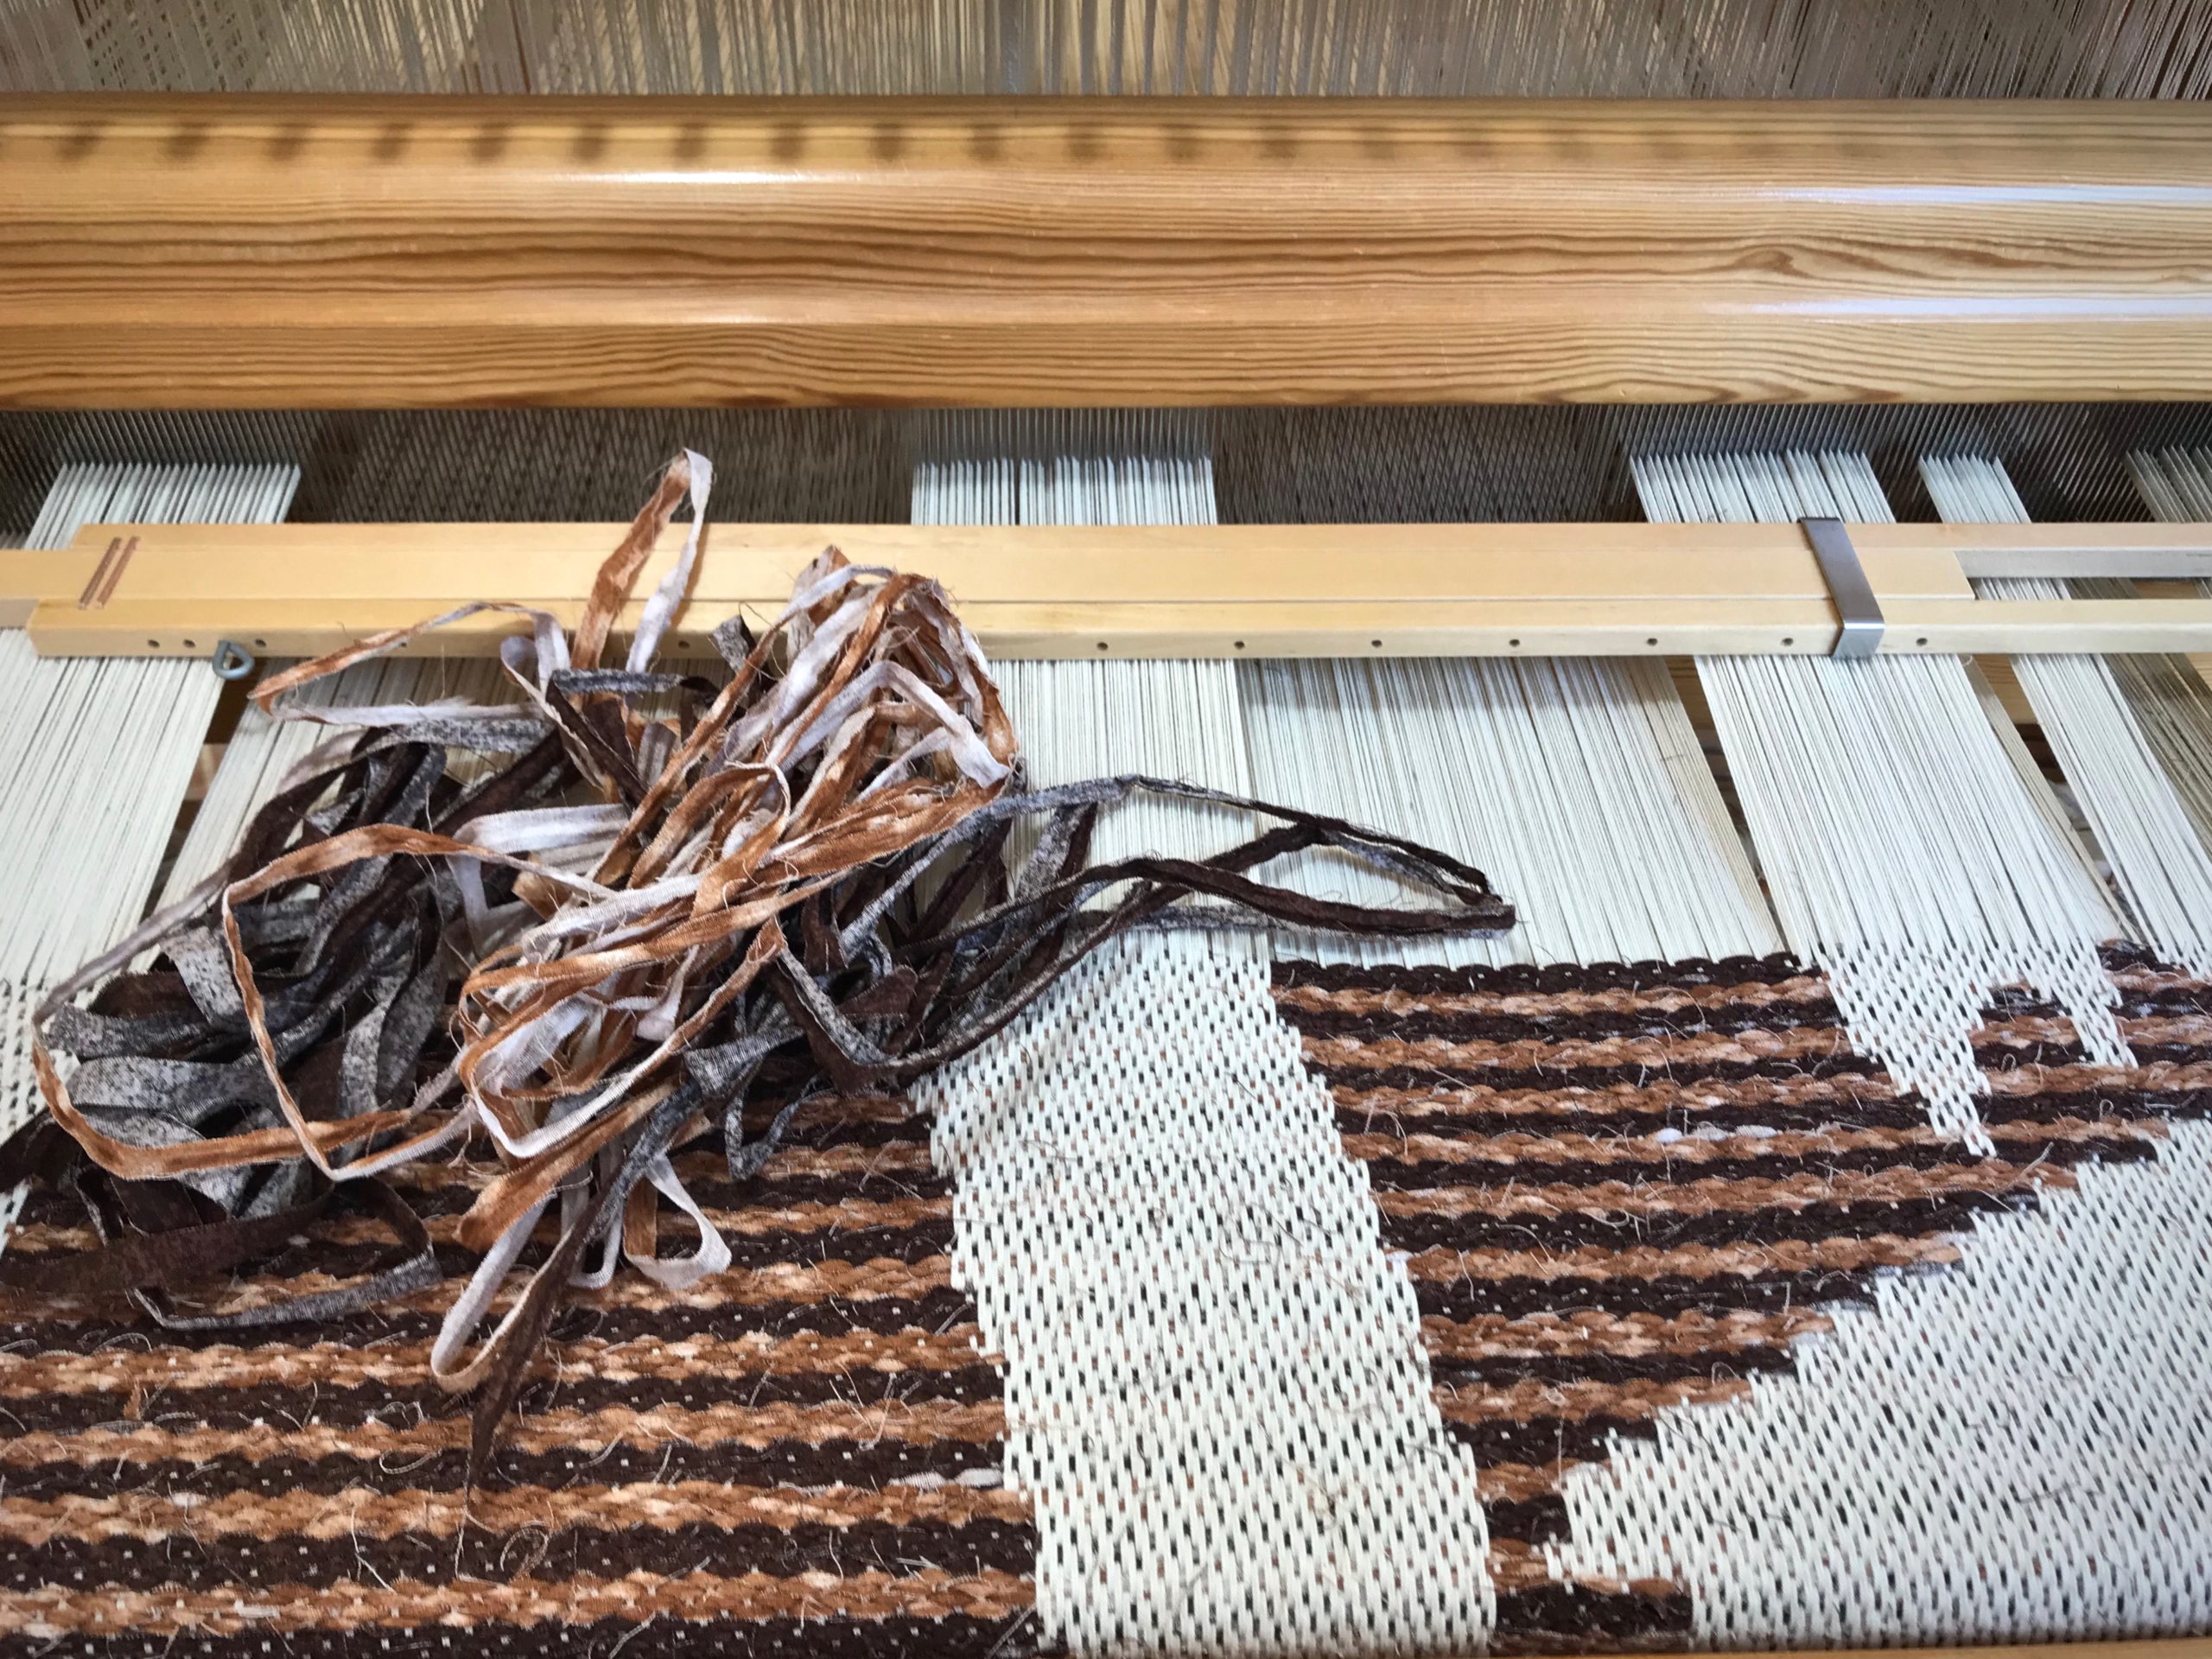
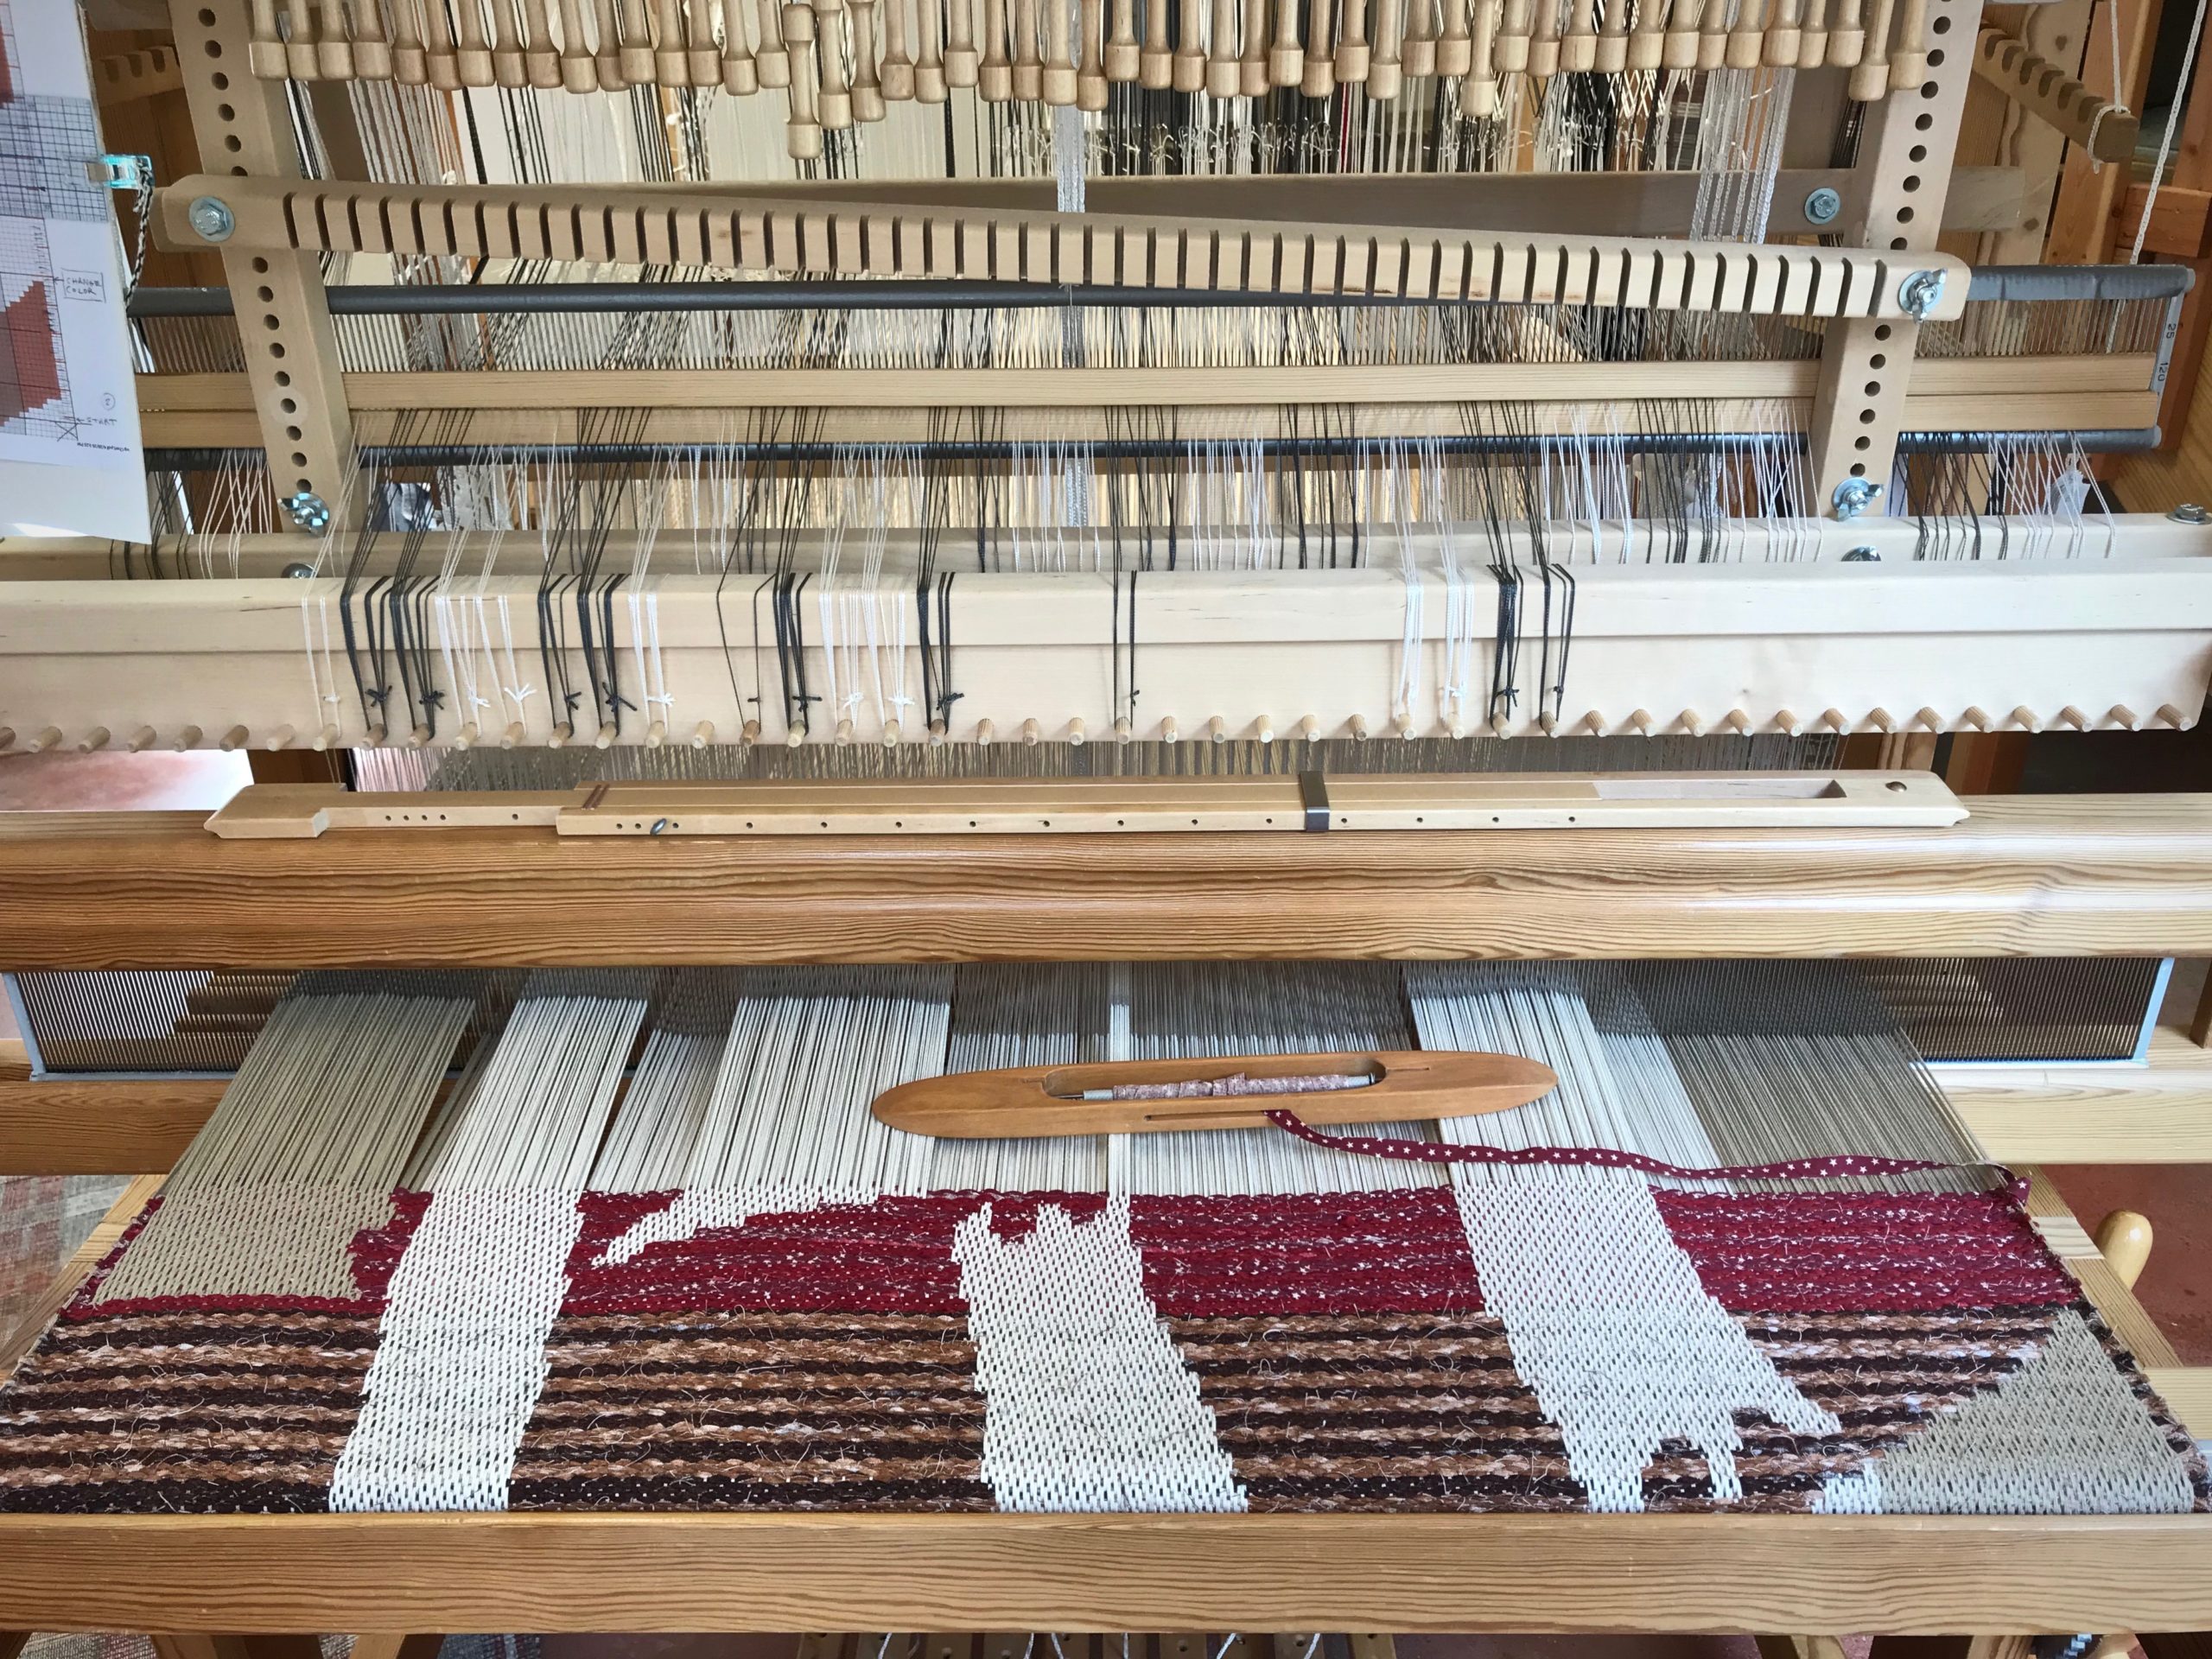
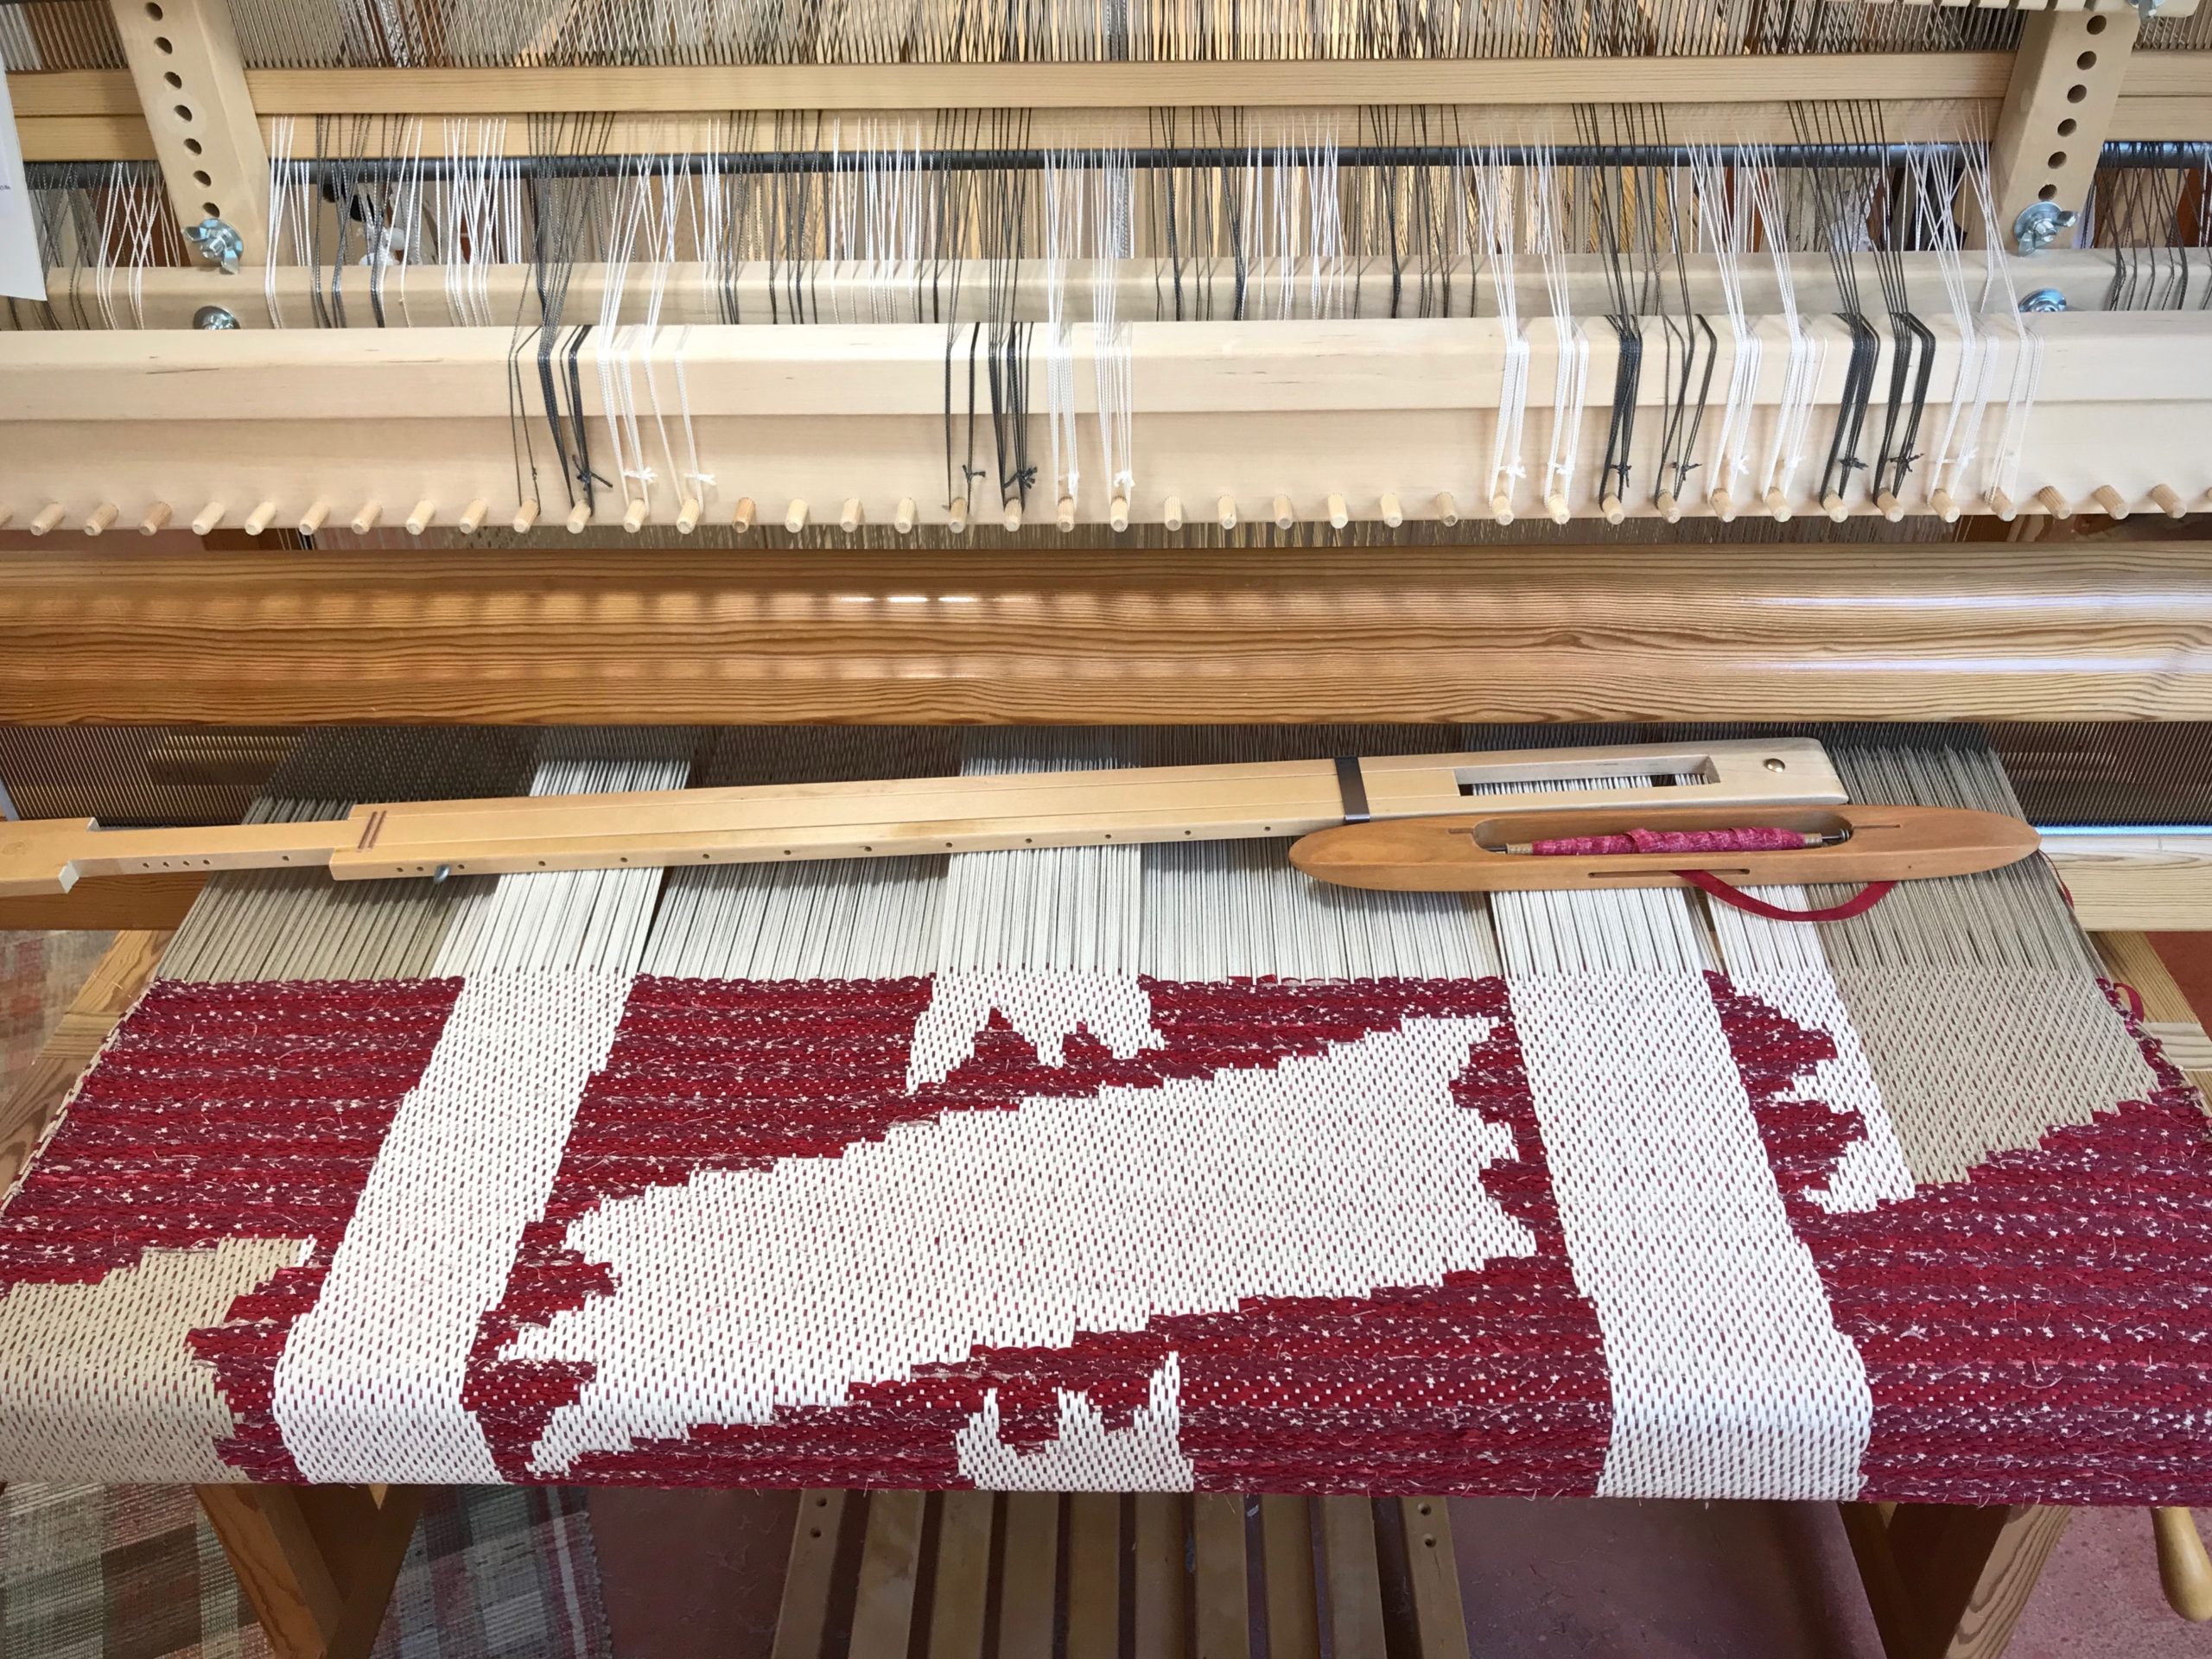
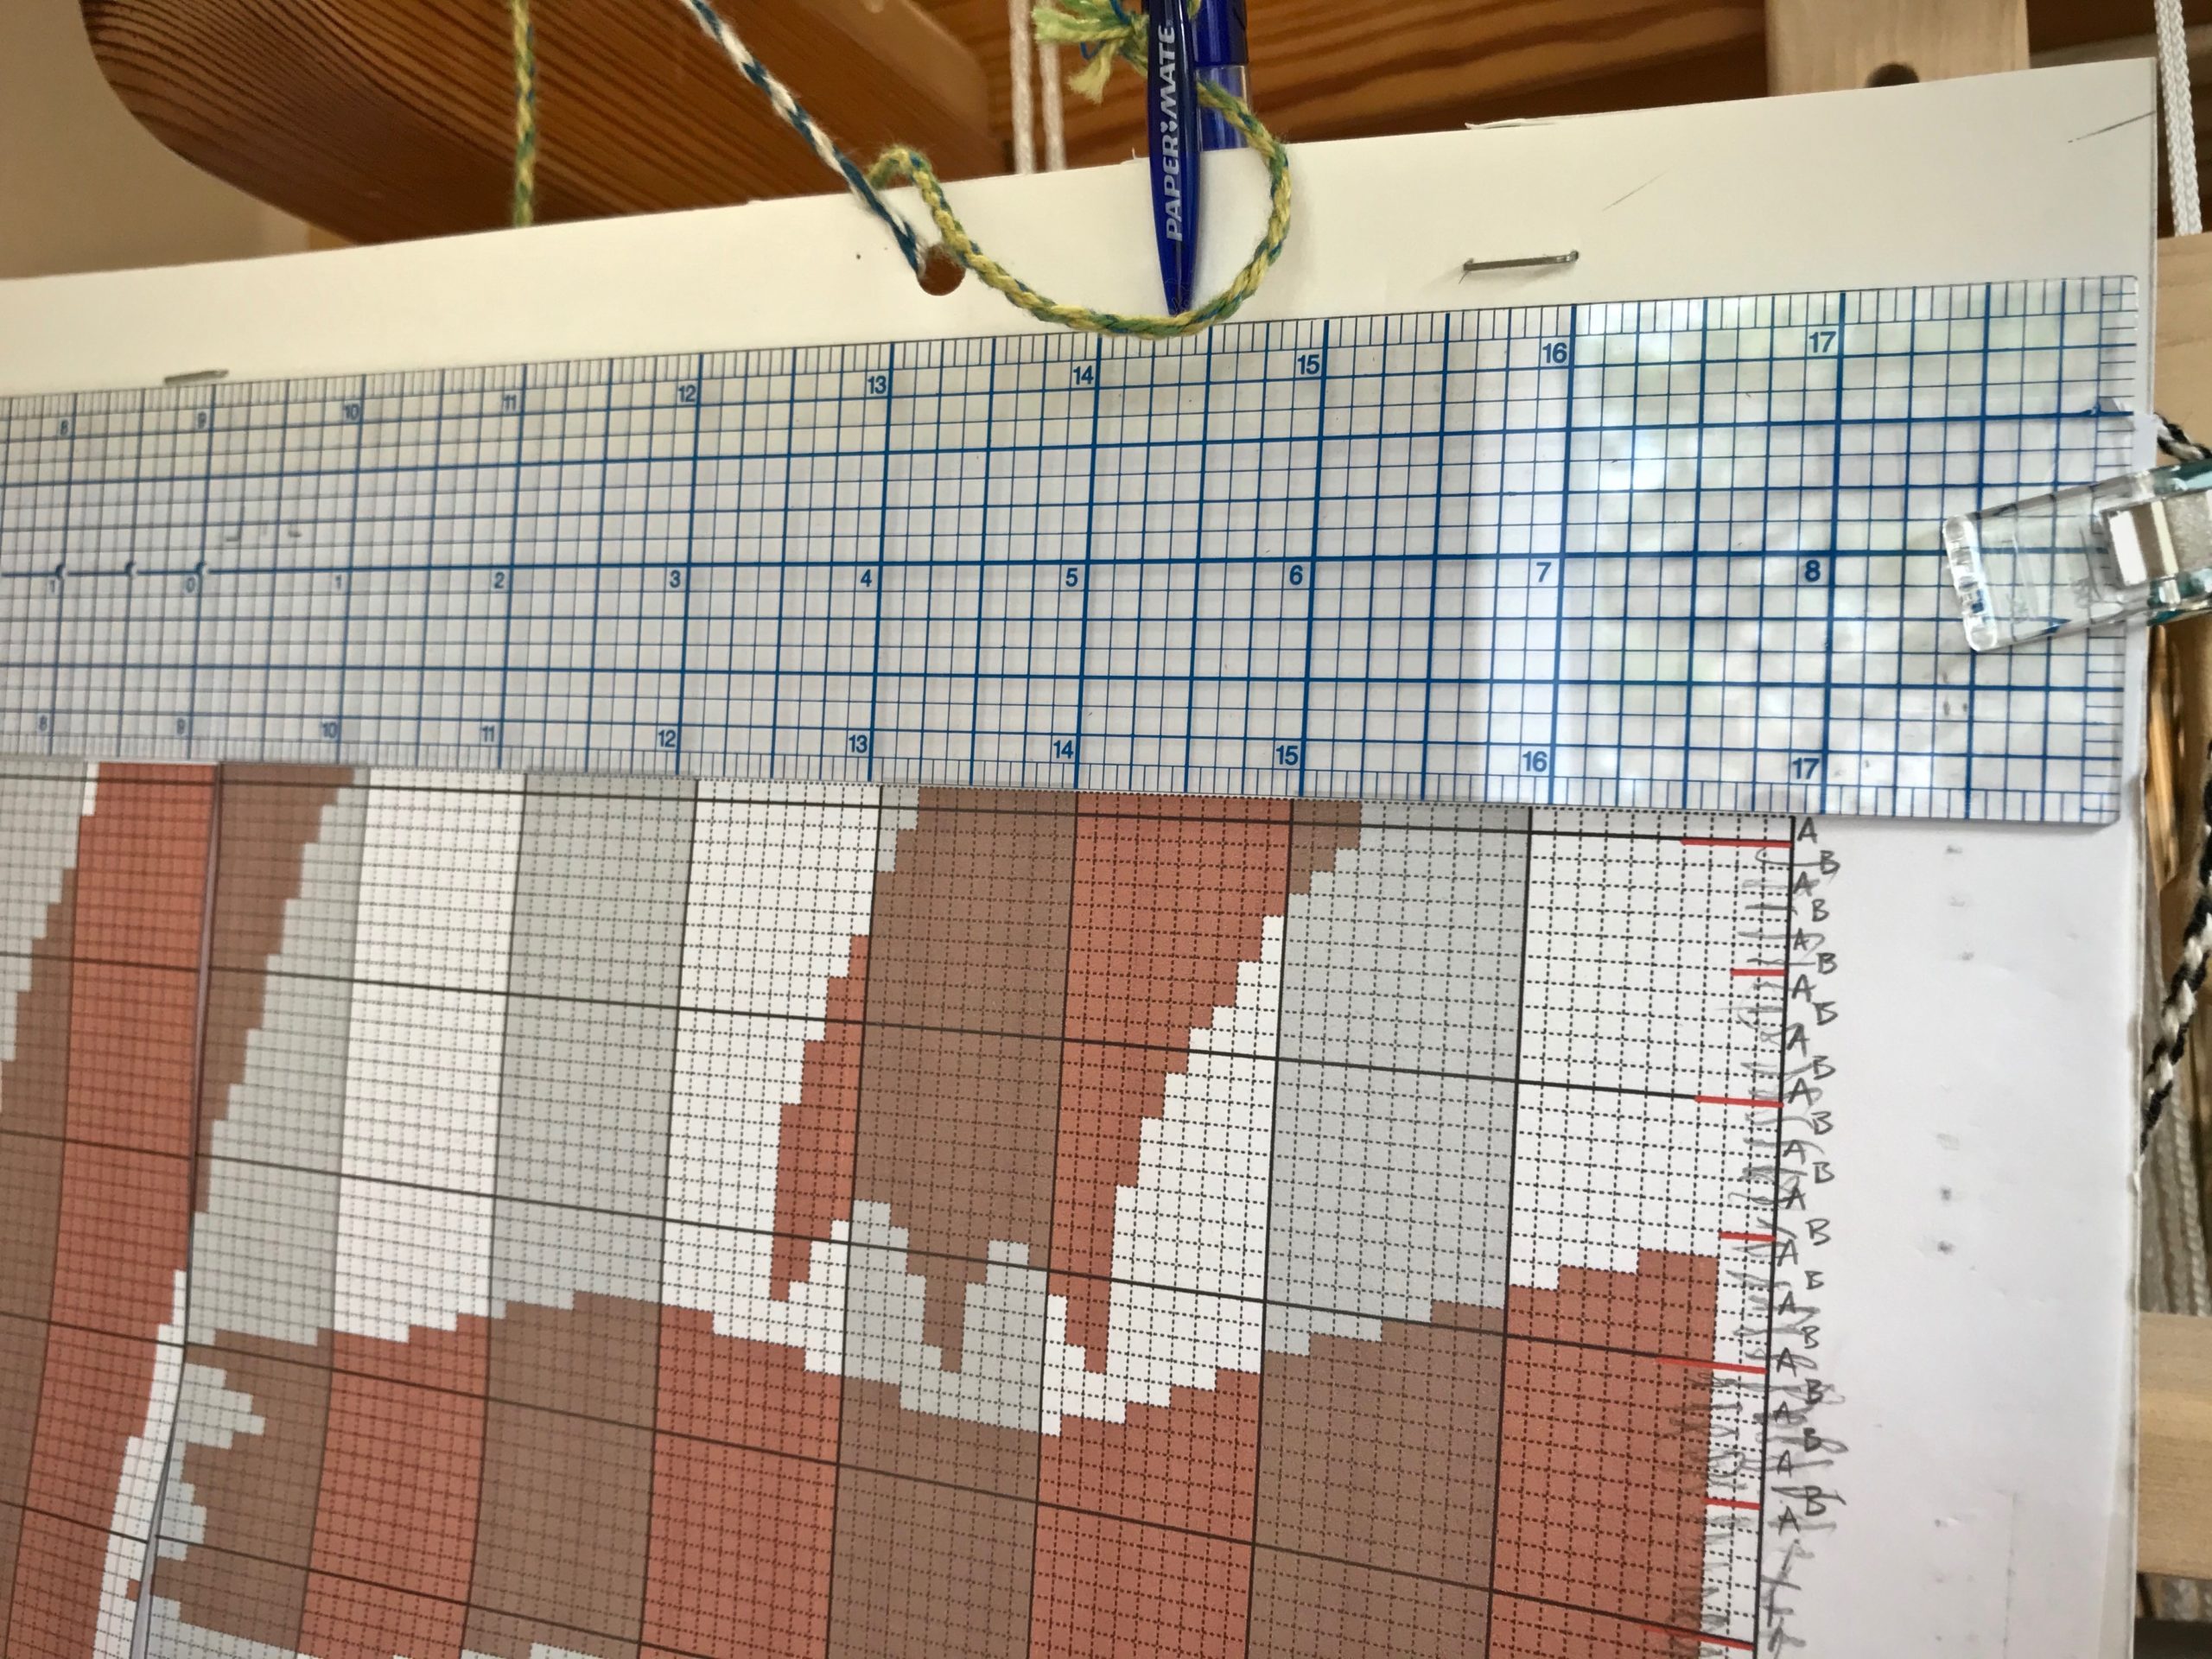
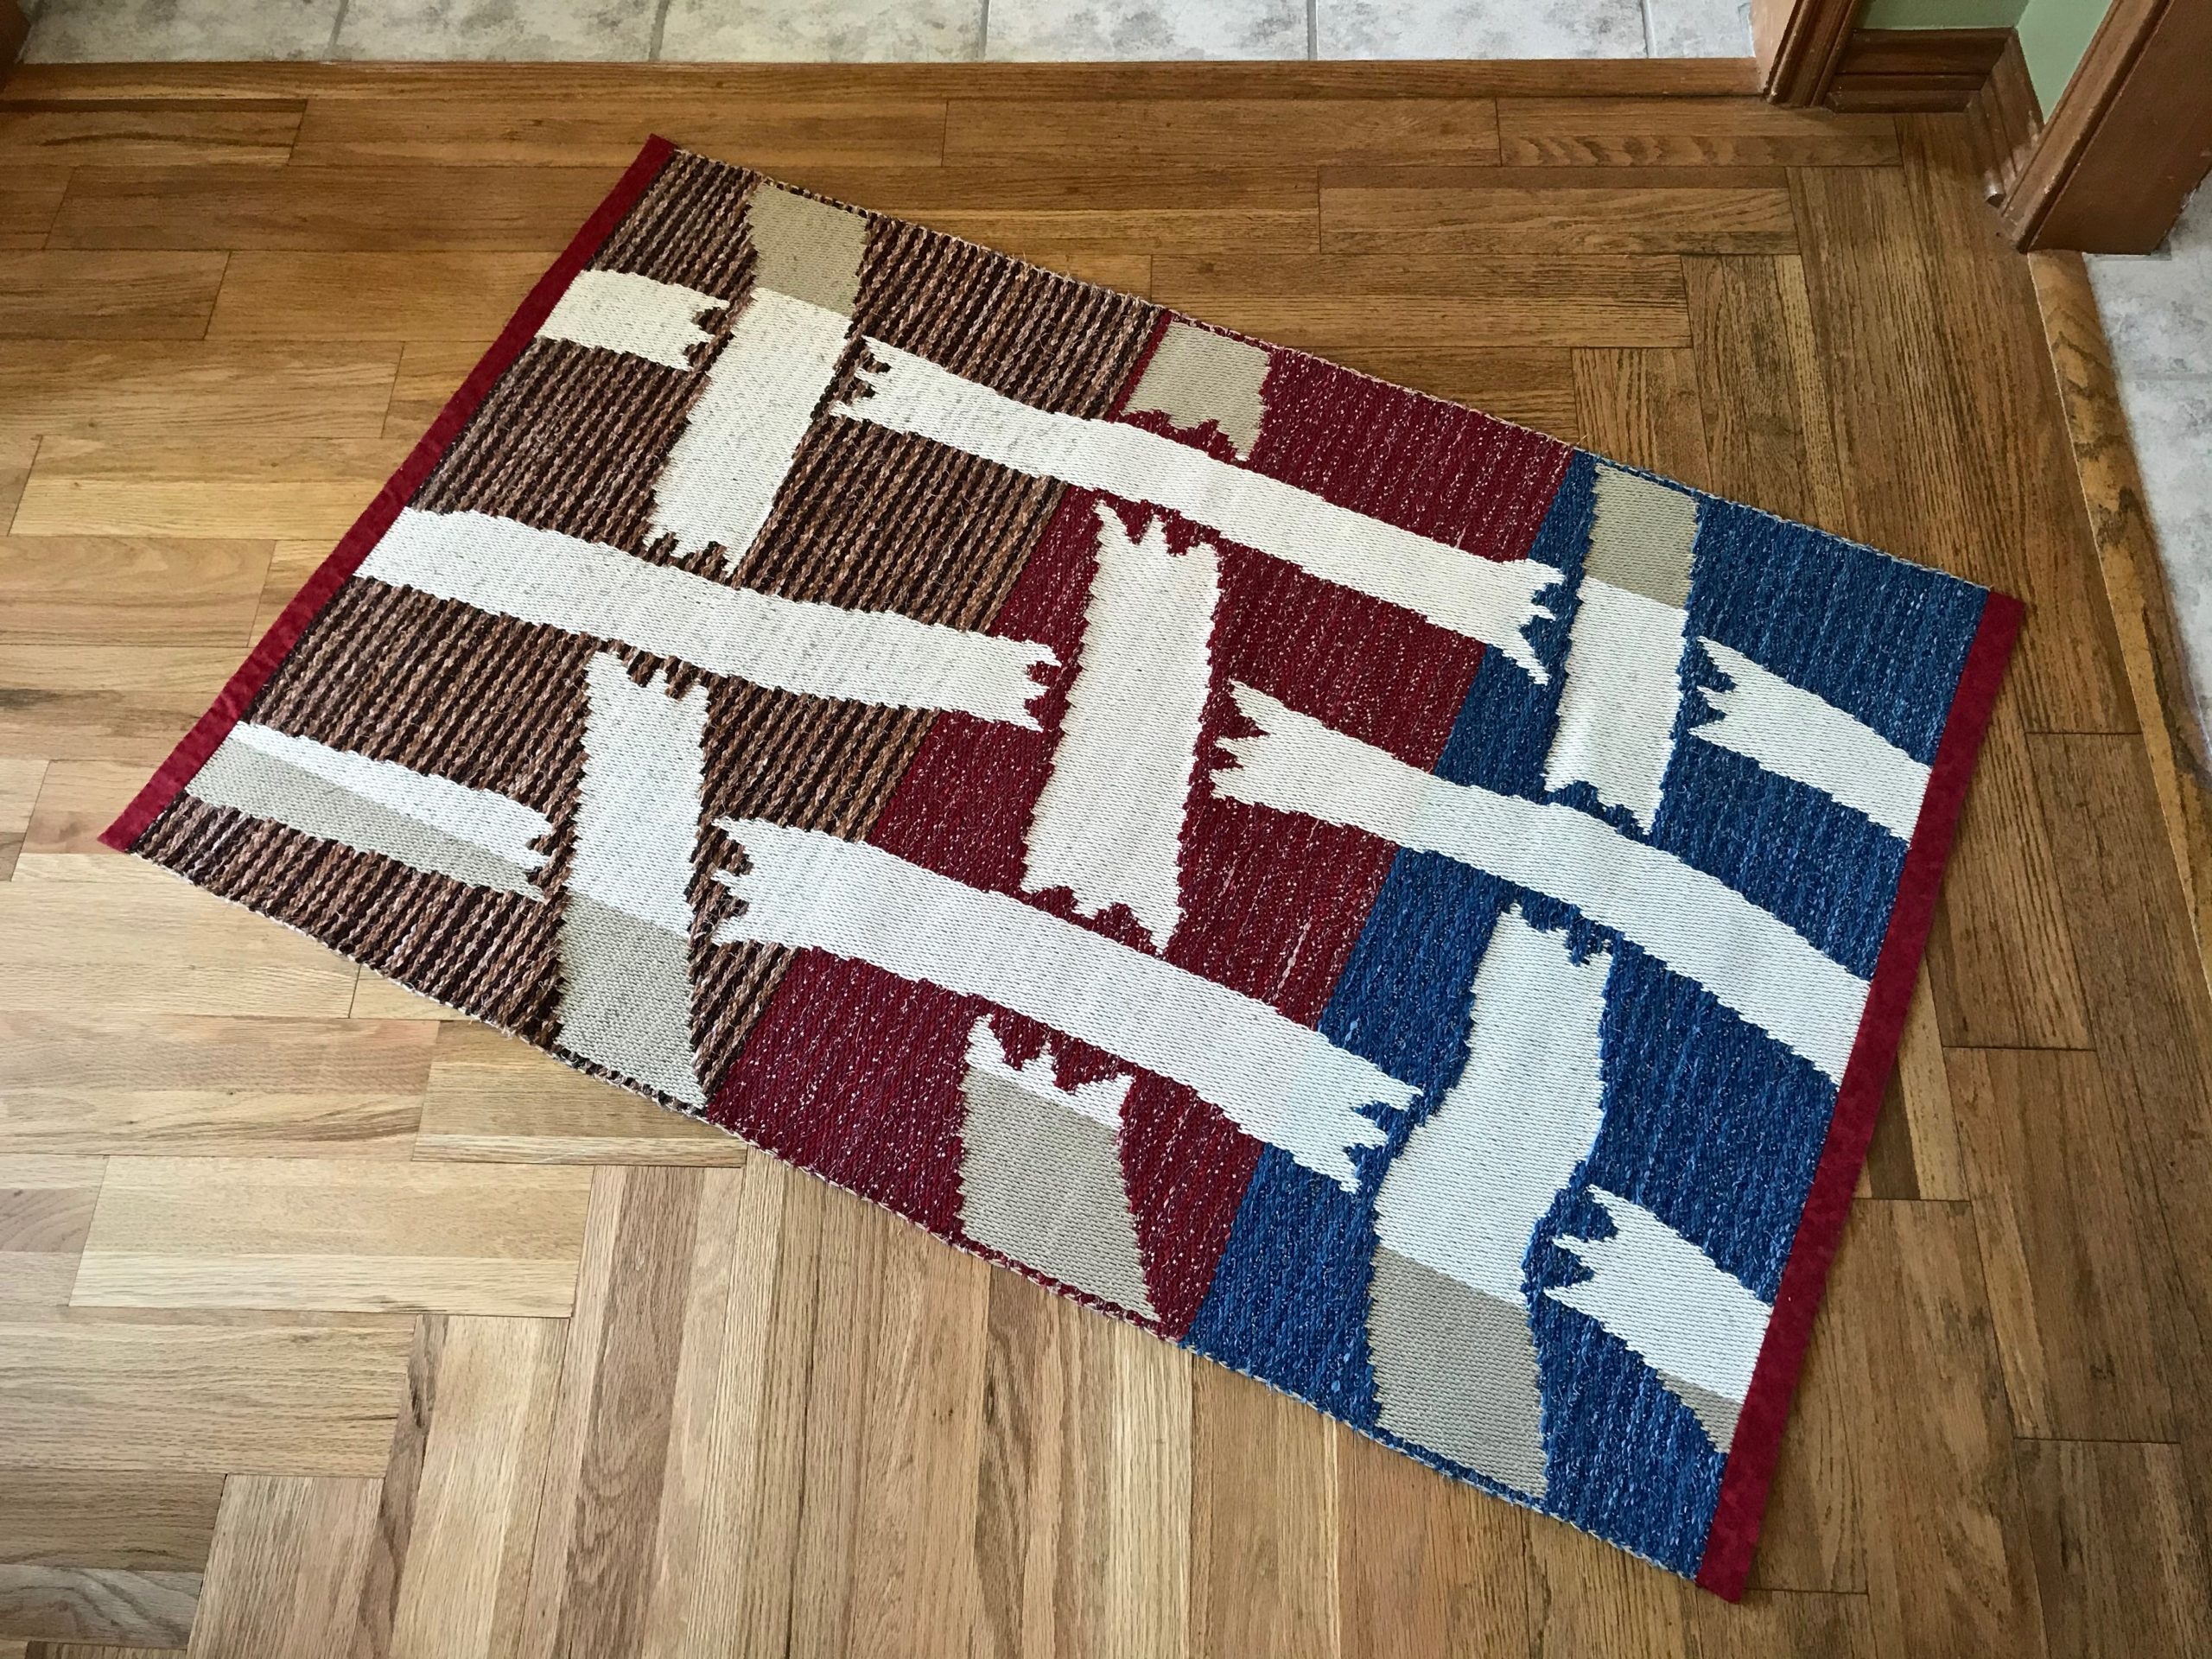
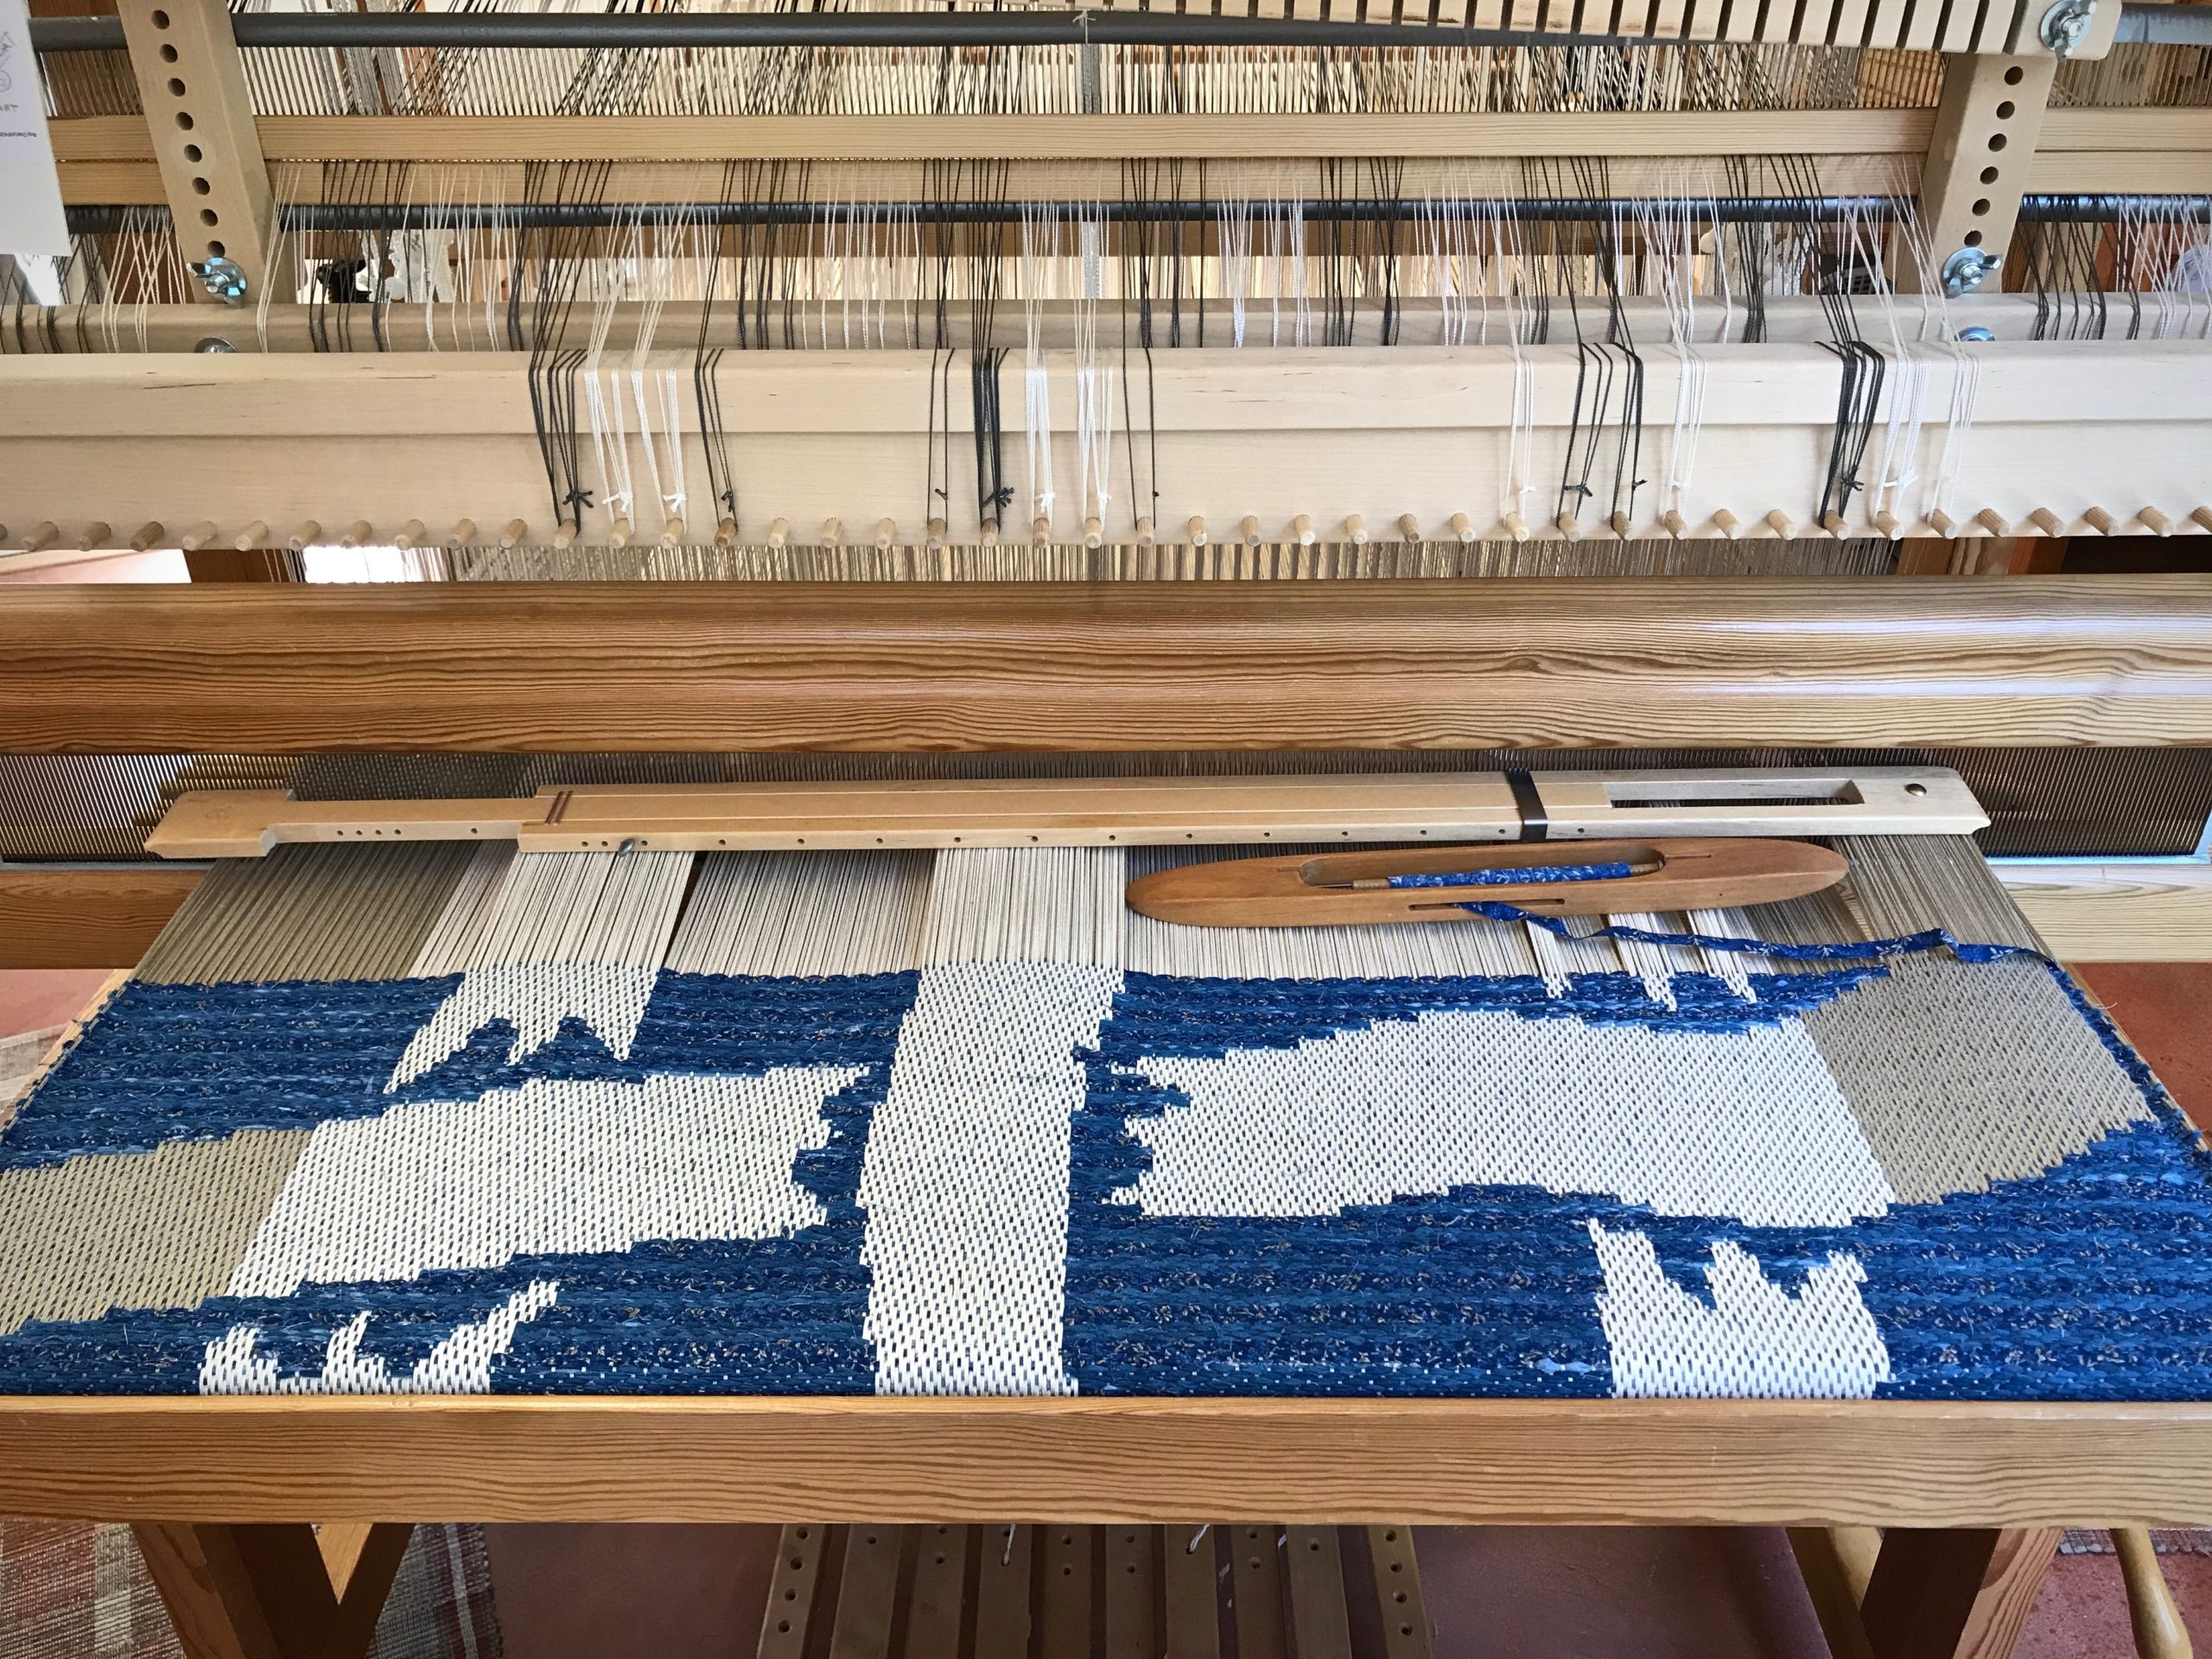
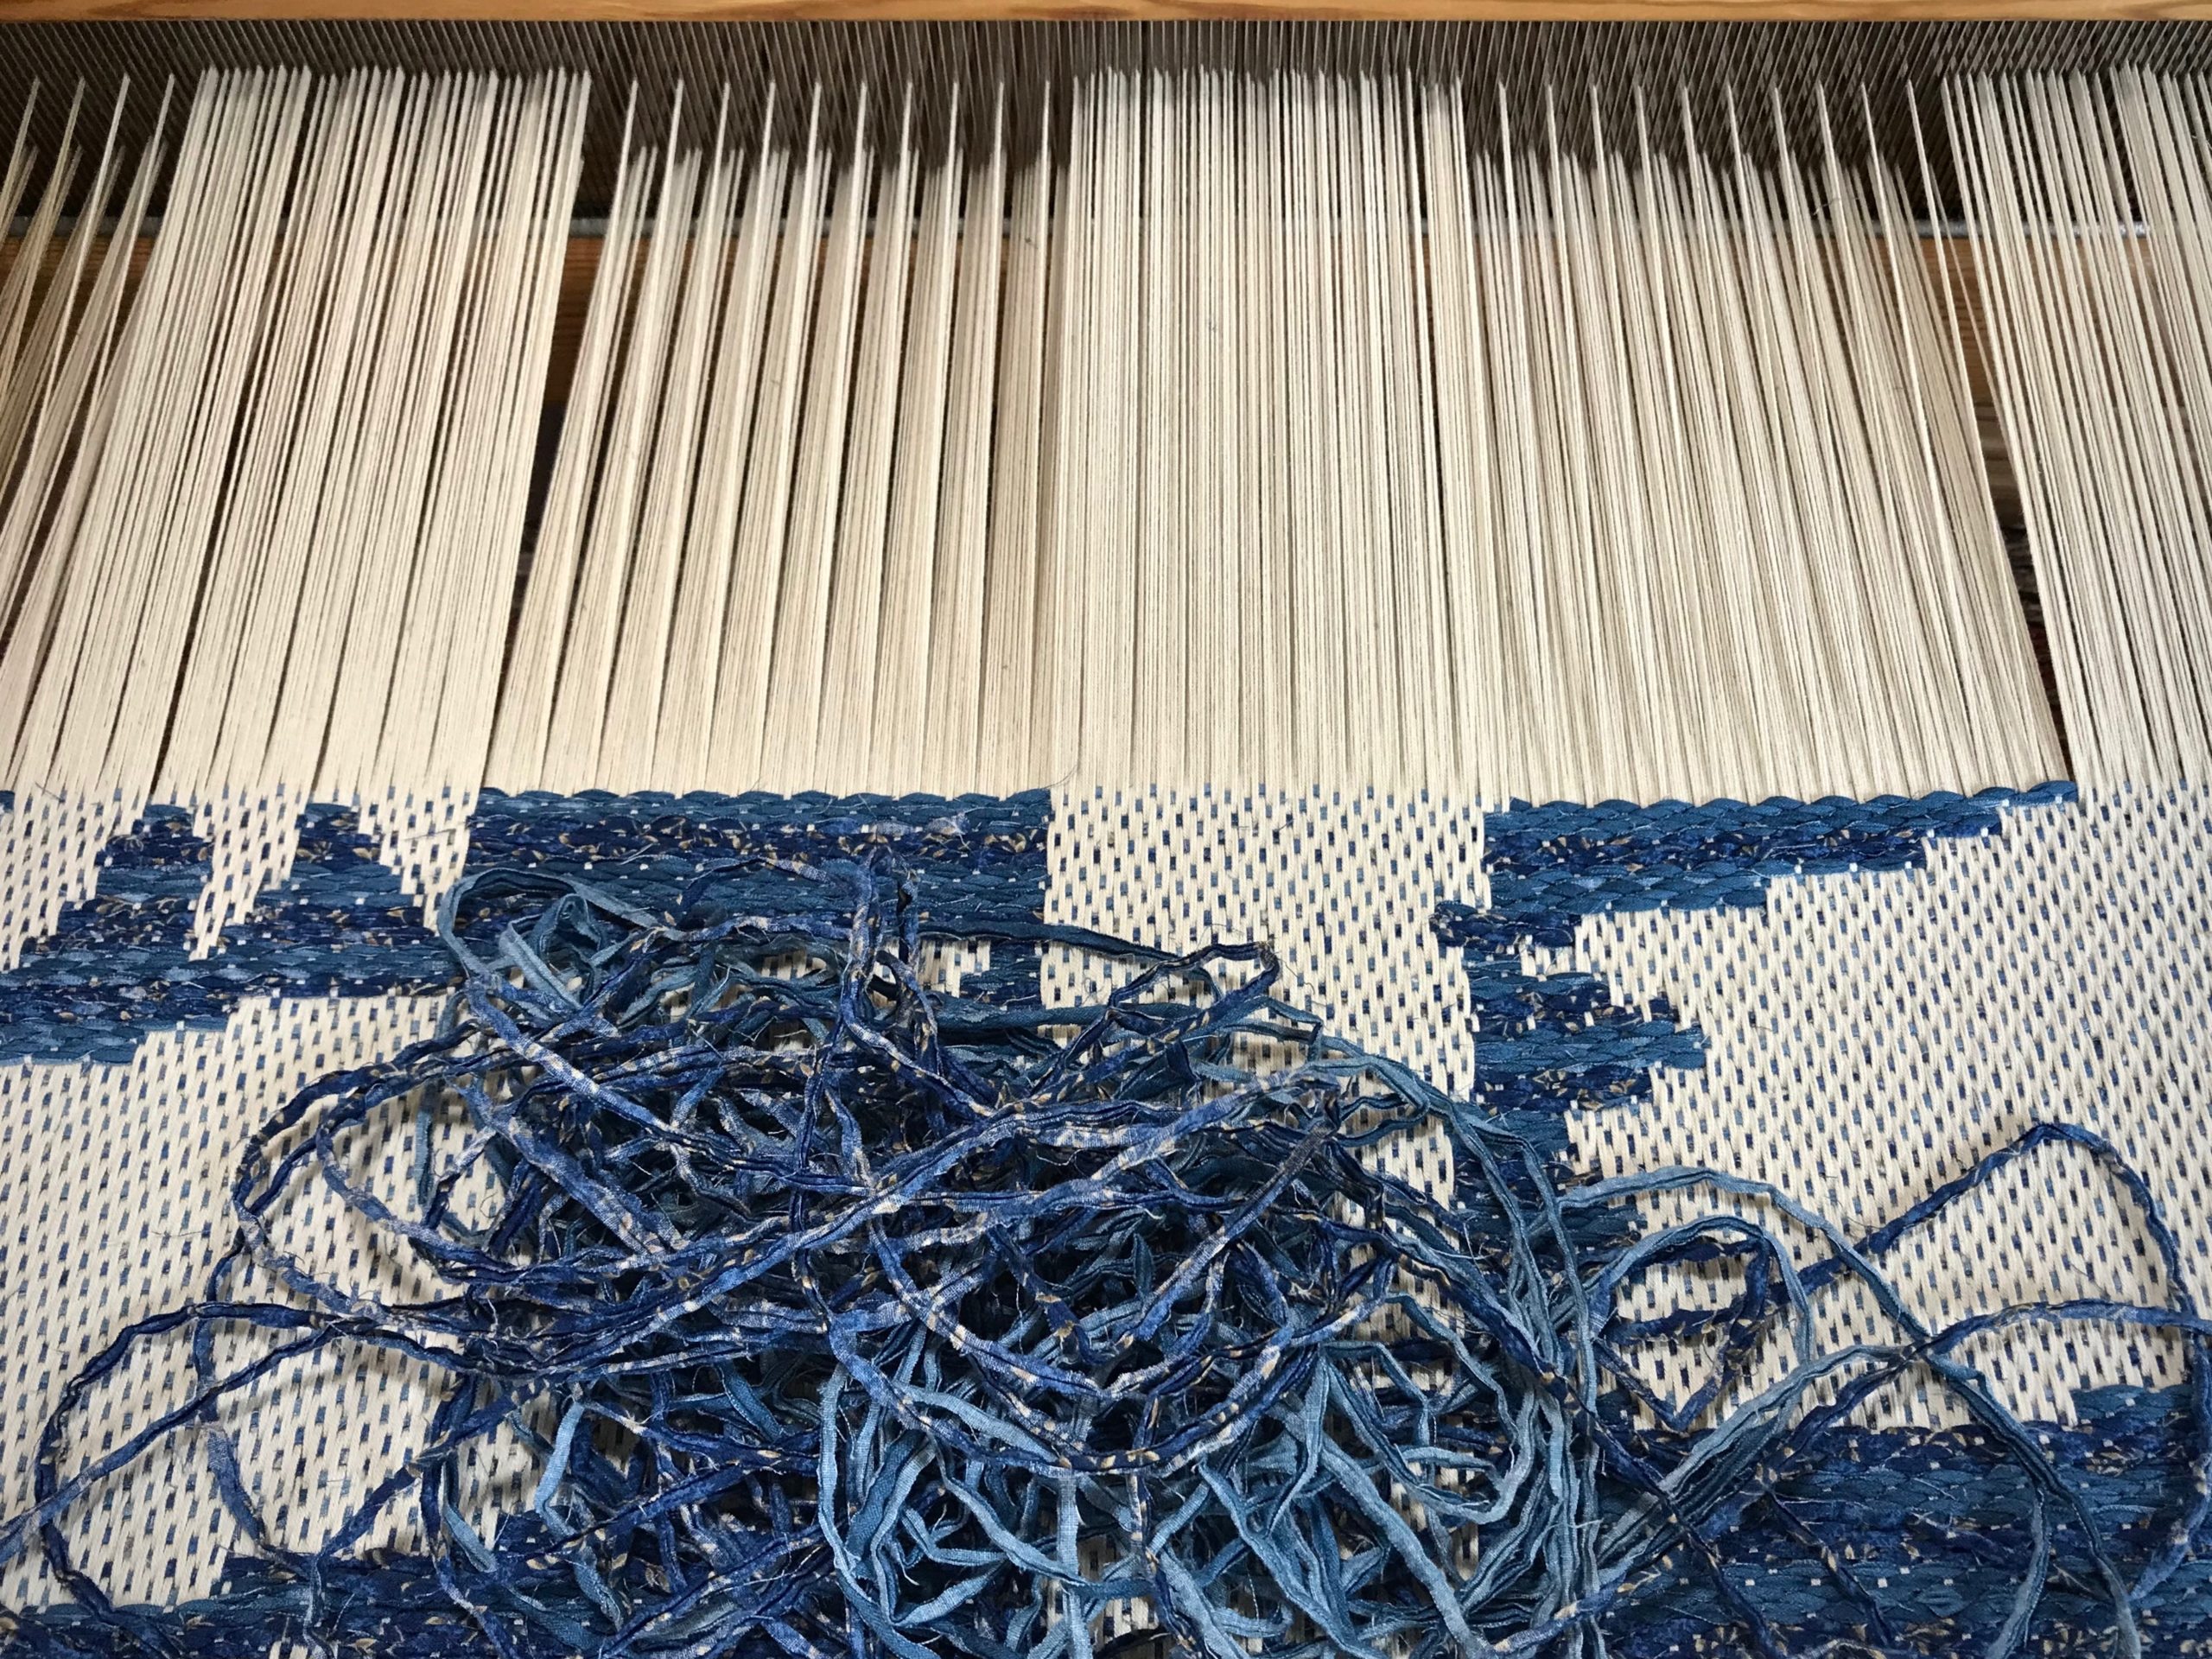
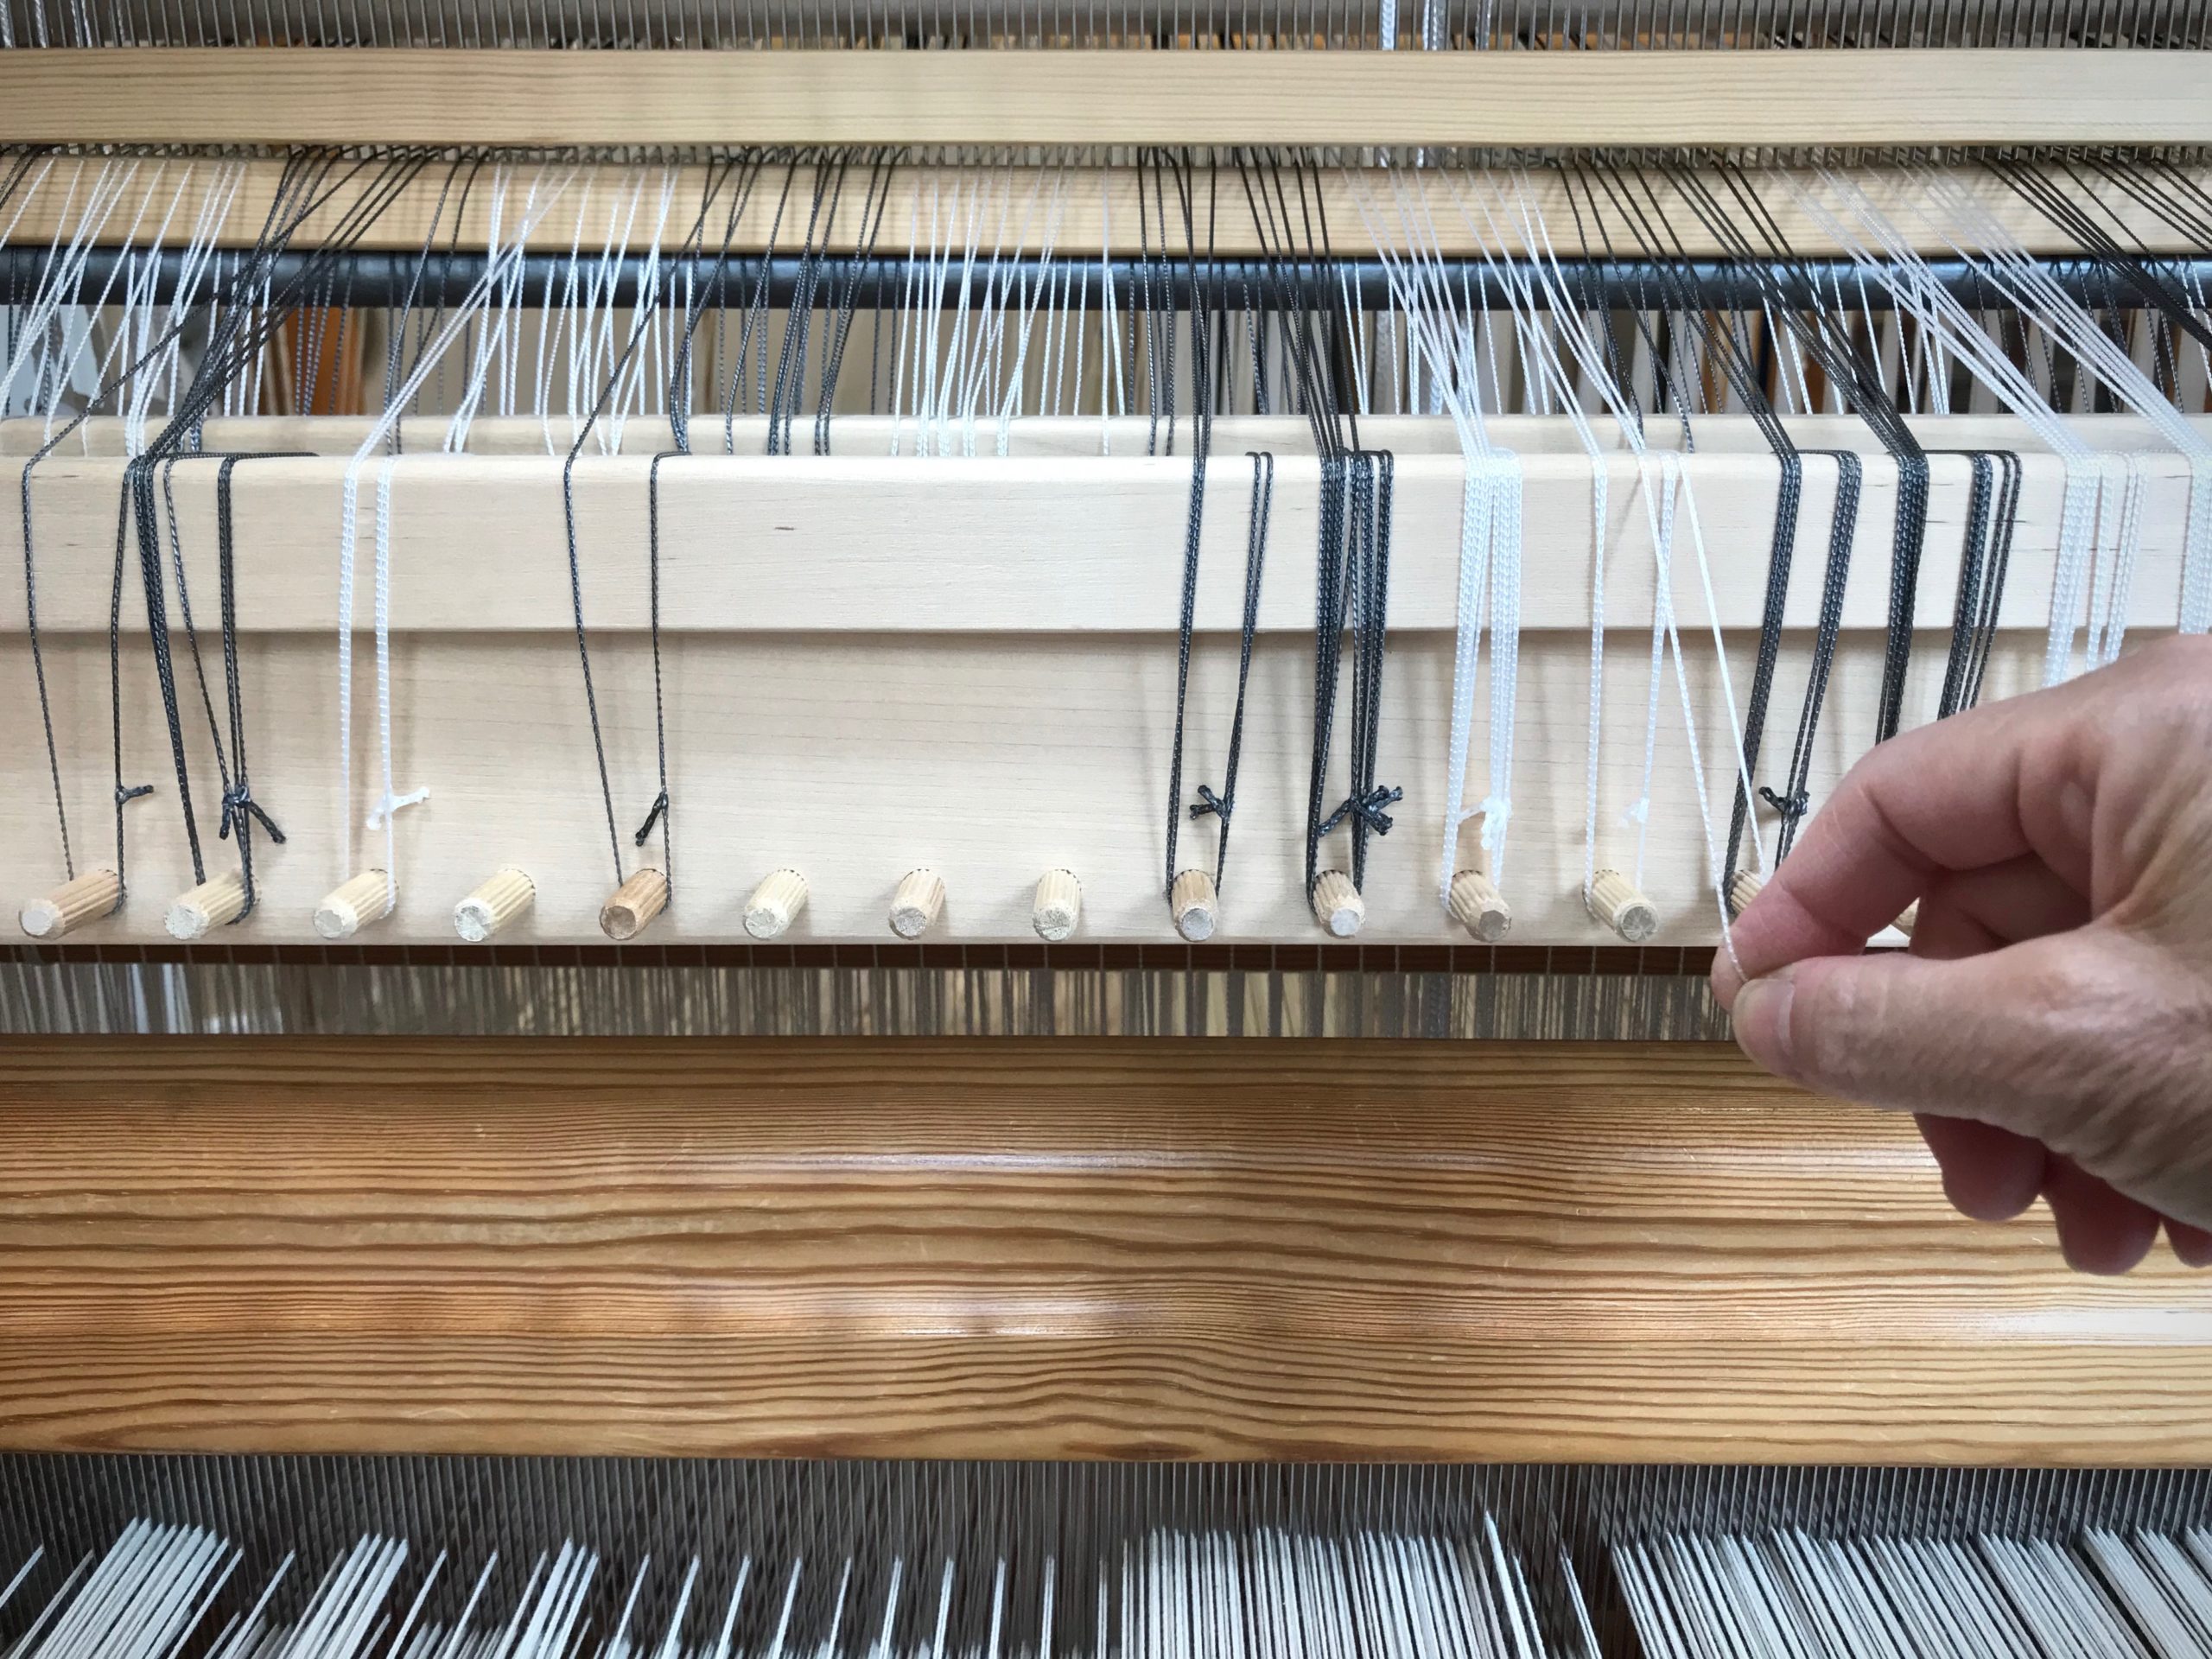
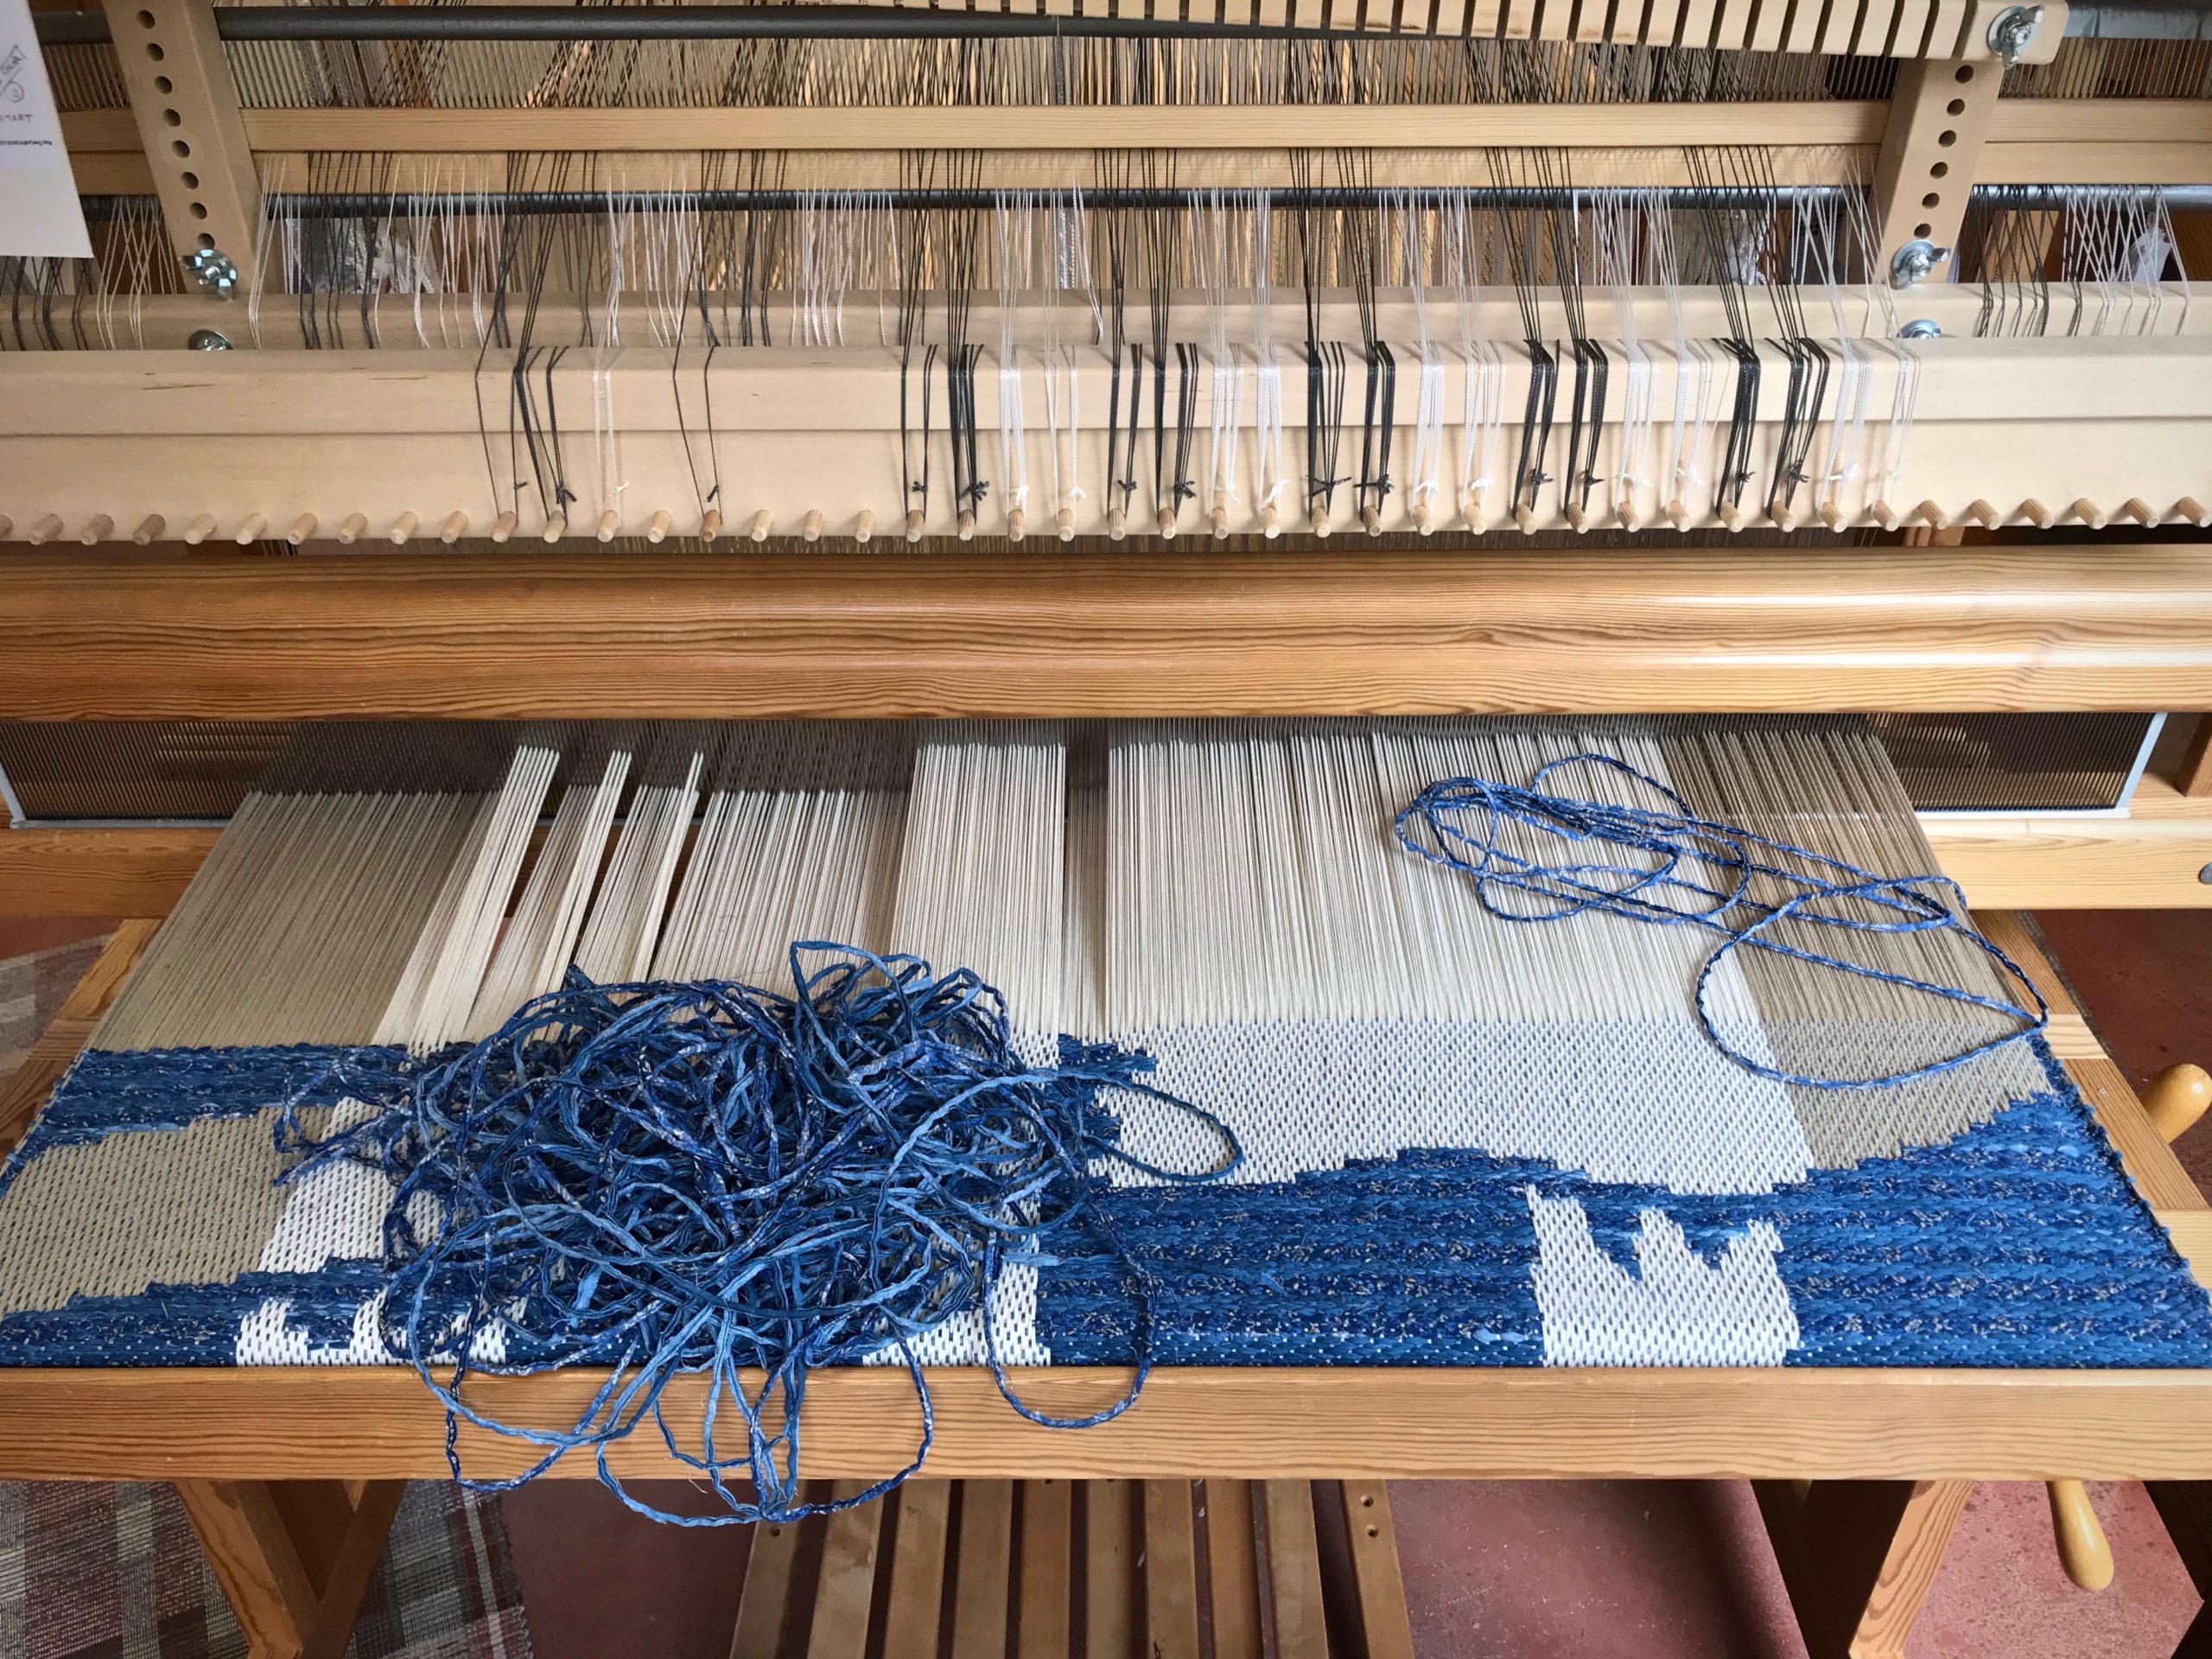
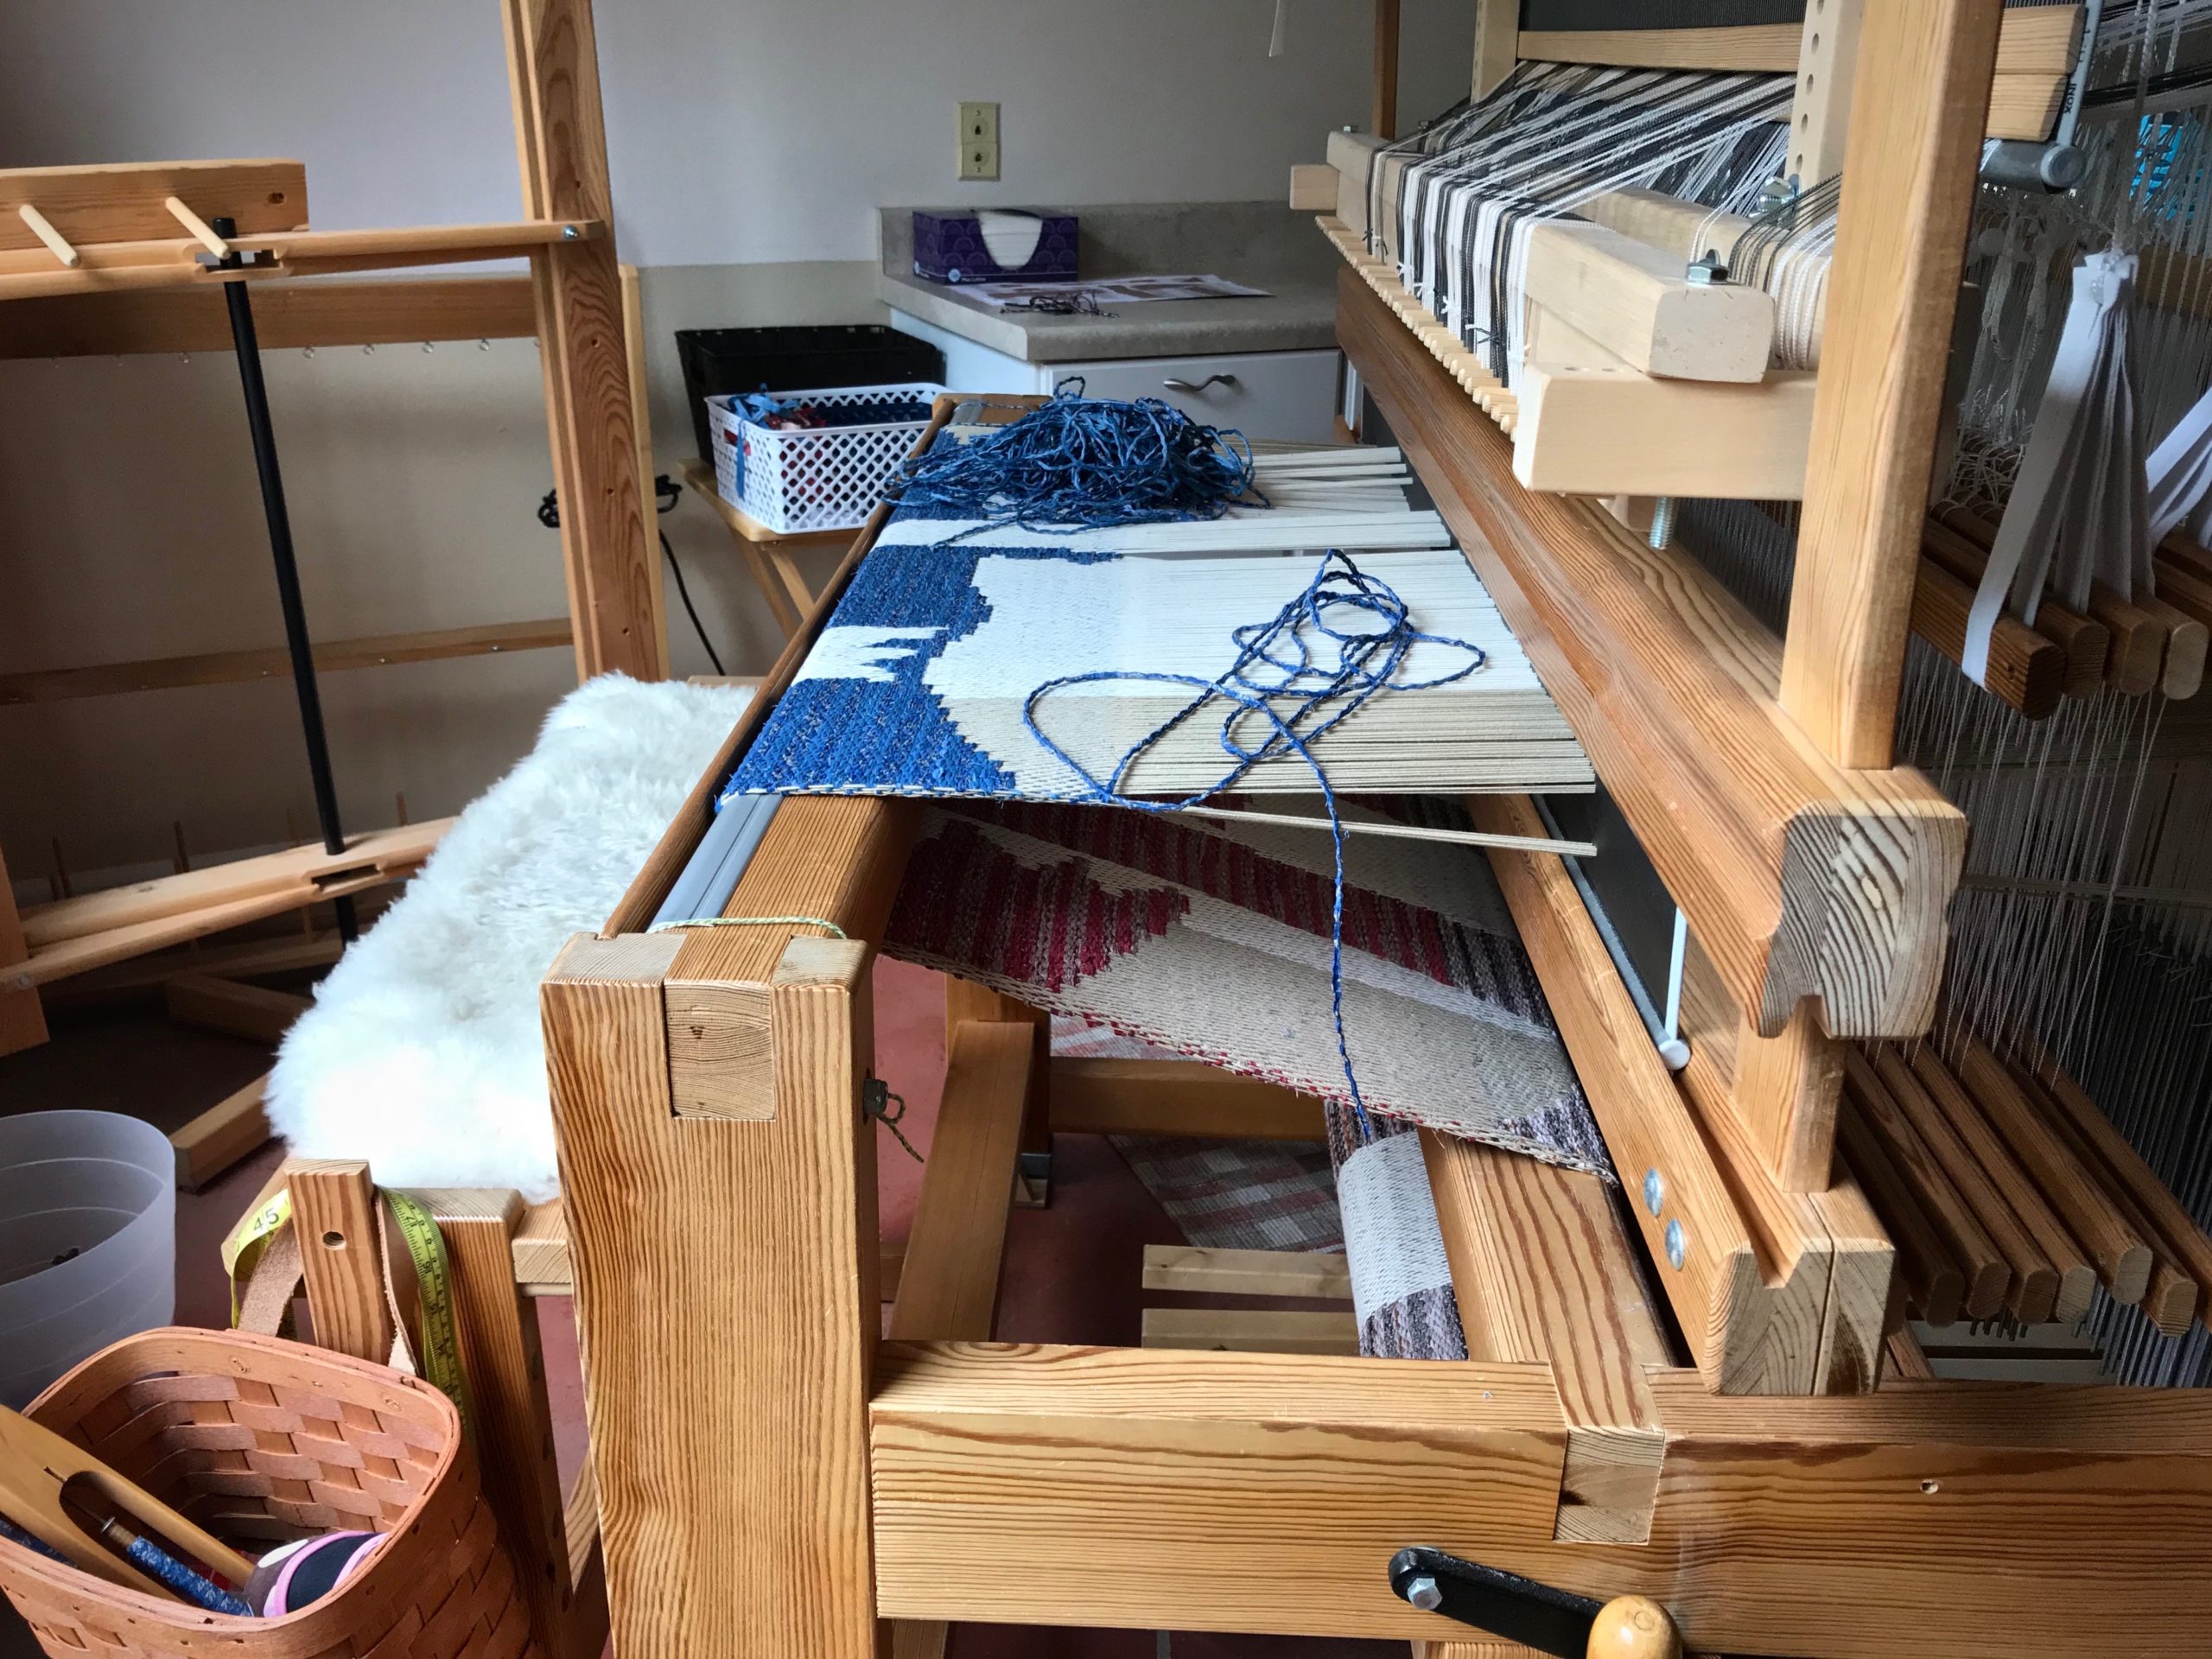
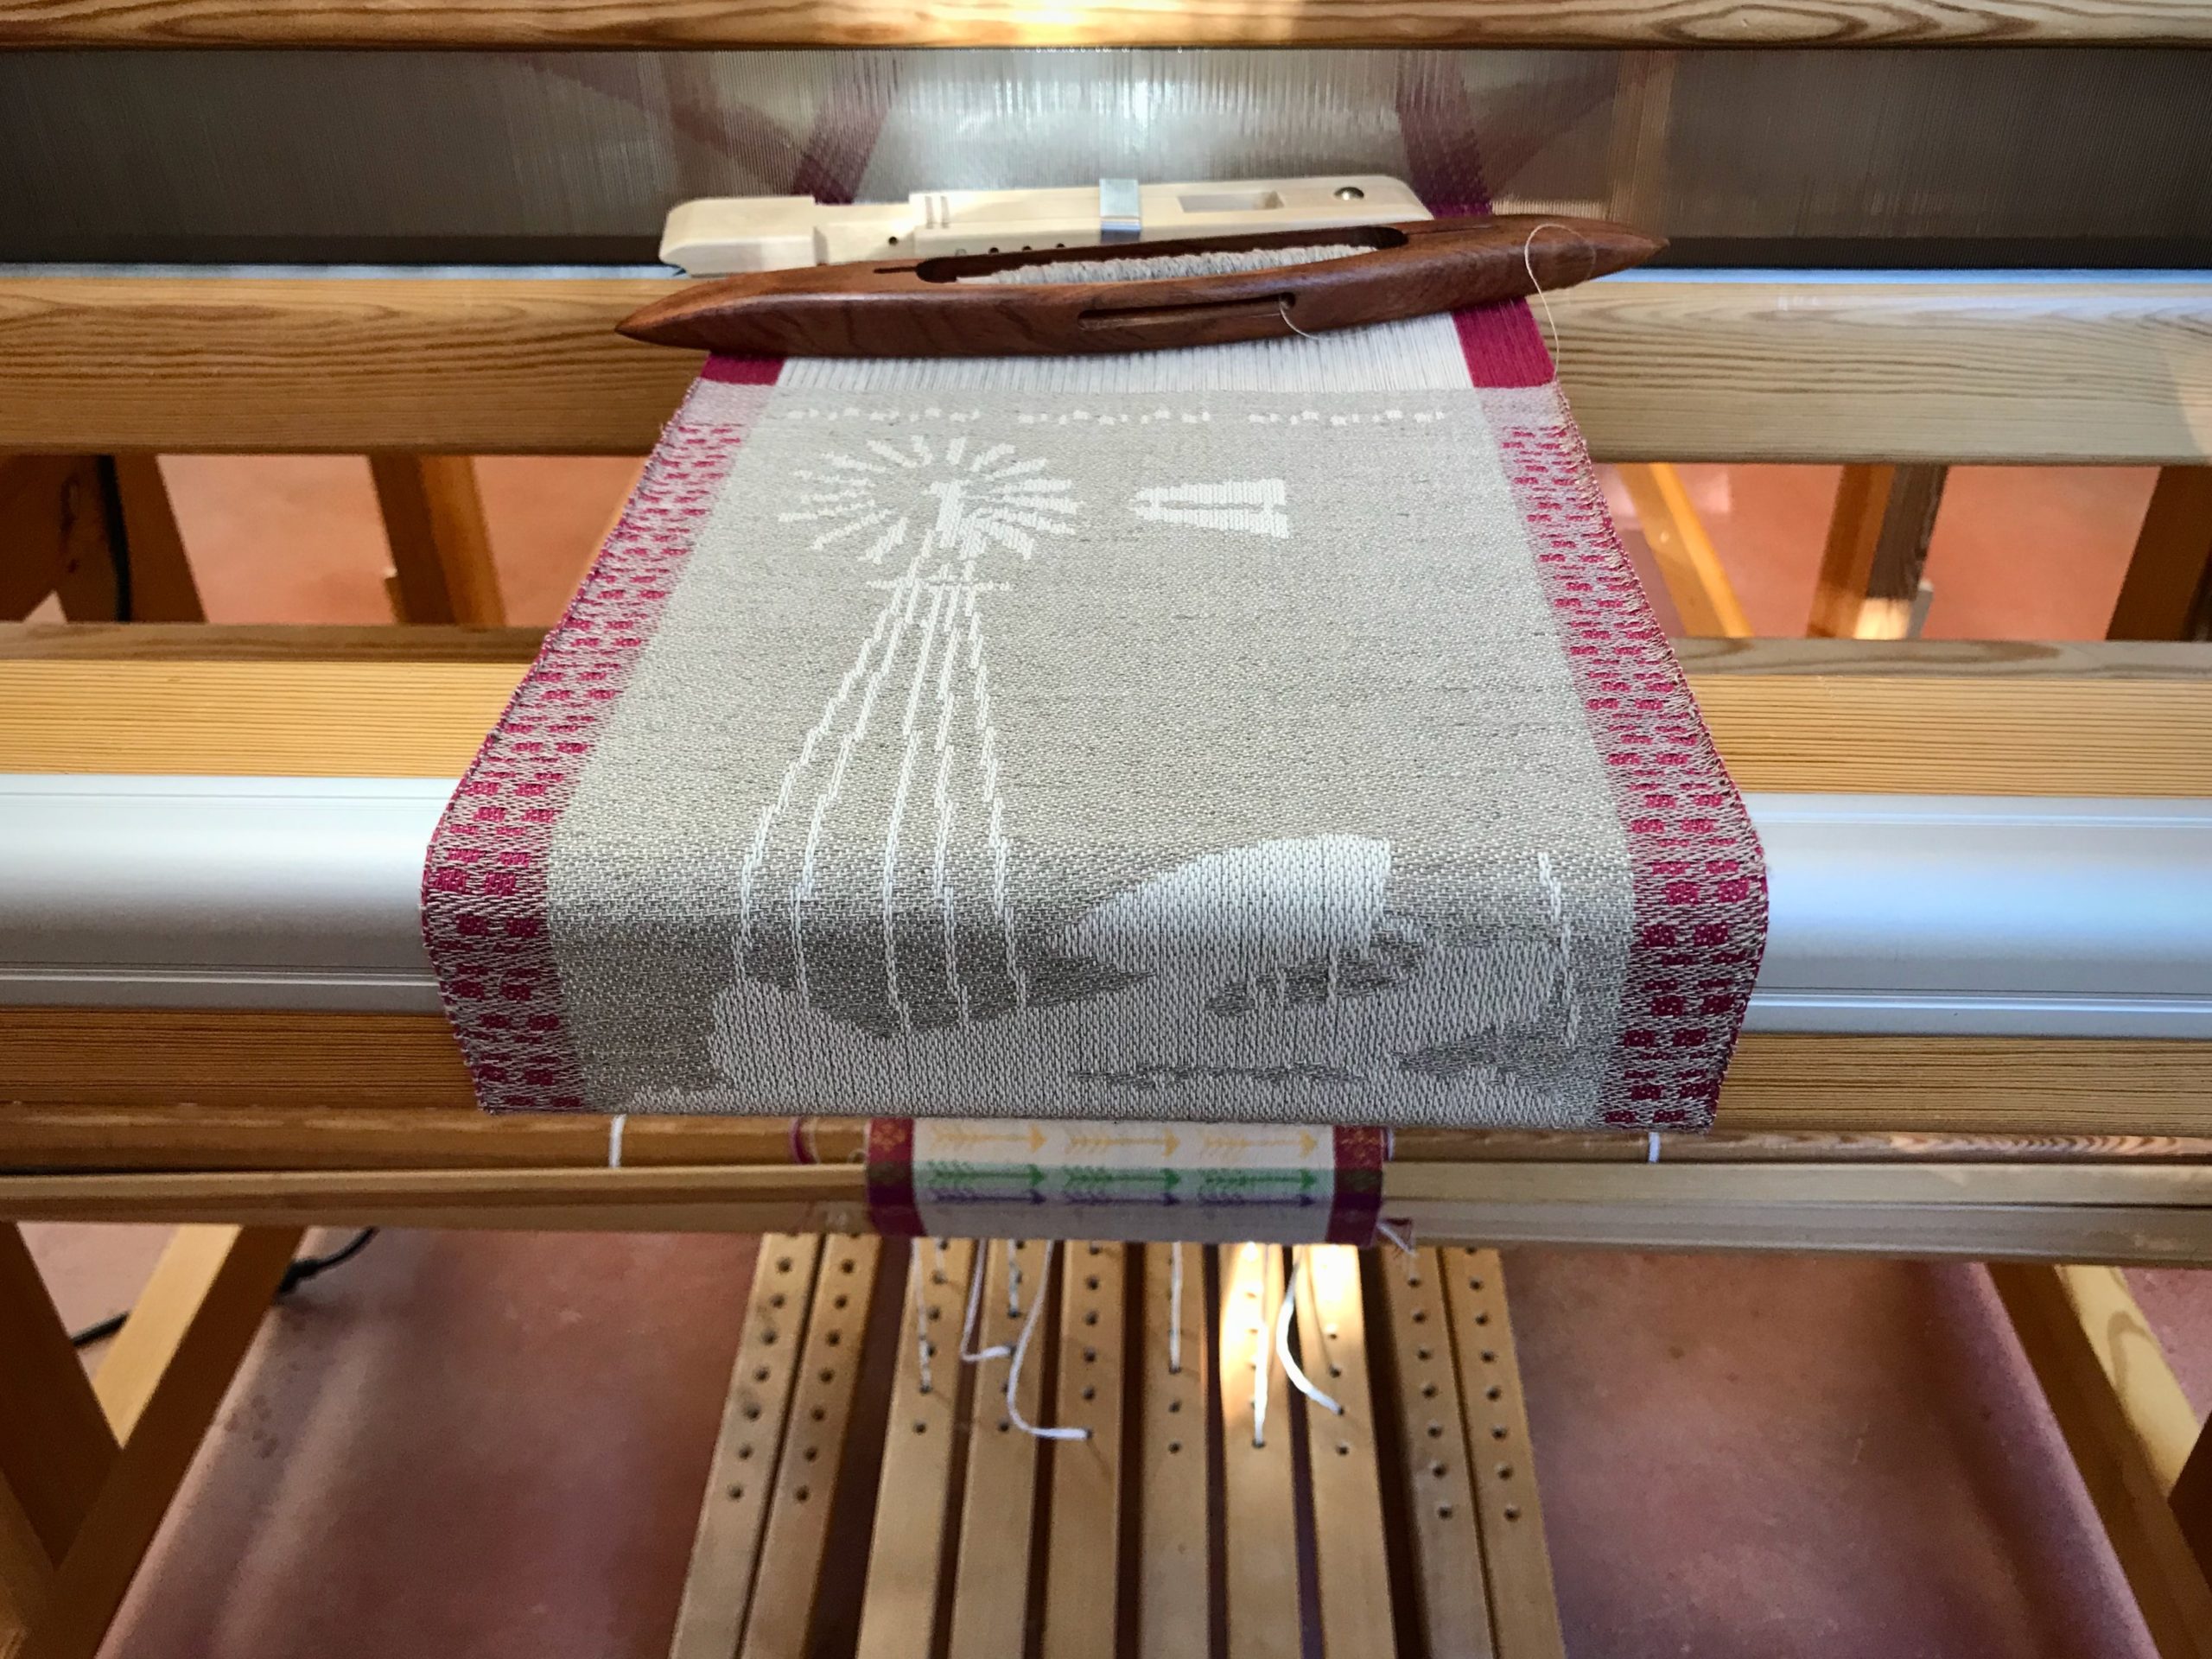
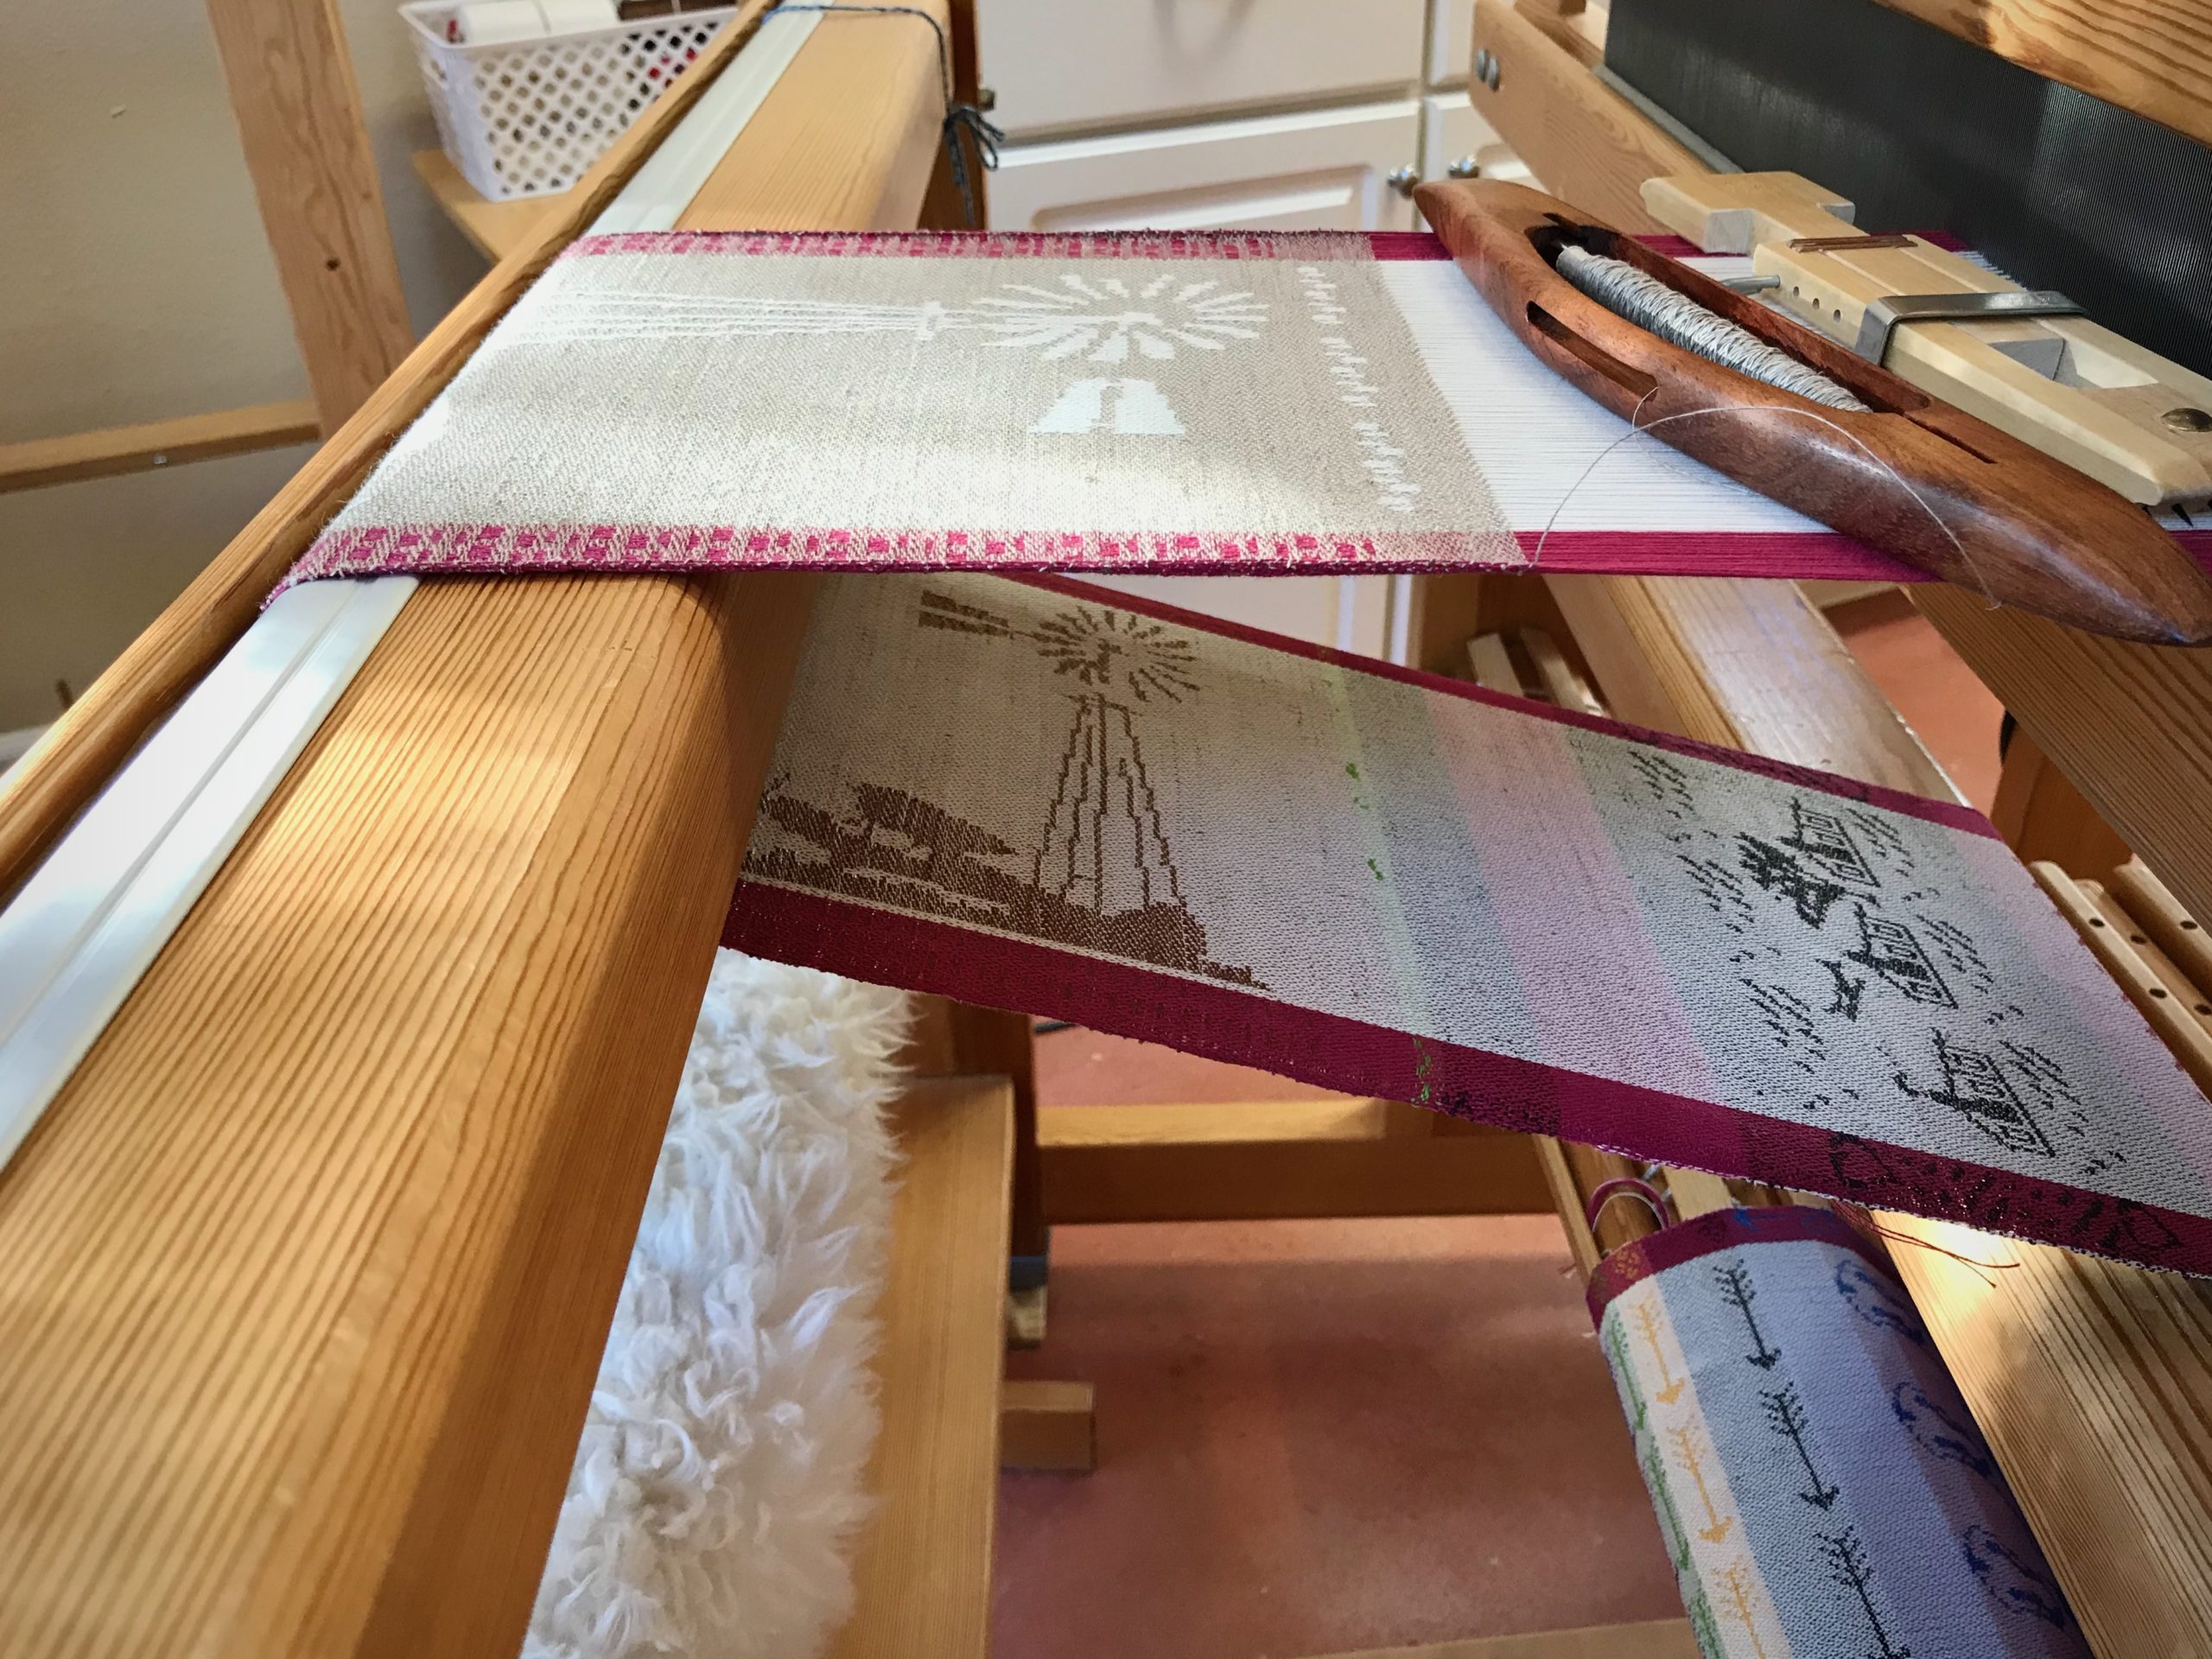
I’m curious. How much difference will it make to change the direction of the design? I wove the first Windmill and Taildragger from the side. (See Time Lapse: Windmill and Taildragger on the Drawloom.) This second one, I am weaving from bottom to top. For one thing, I know I can enlarge the image if I turn it upright, giving me more distinct details.
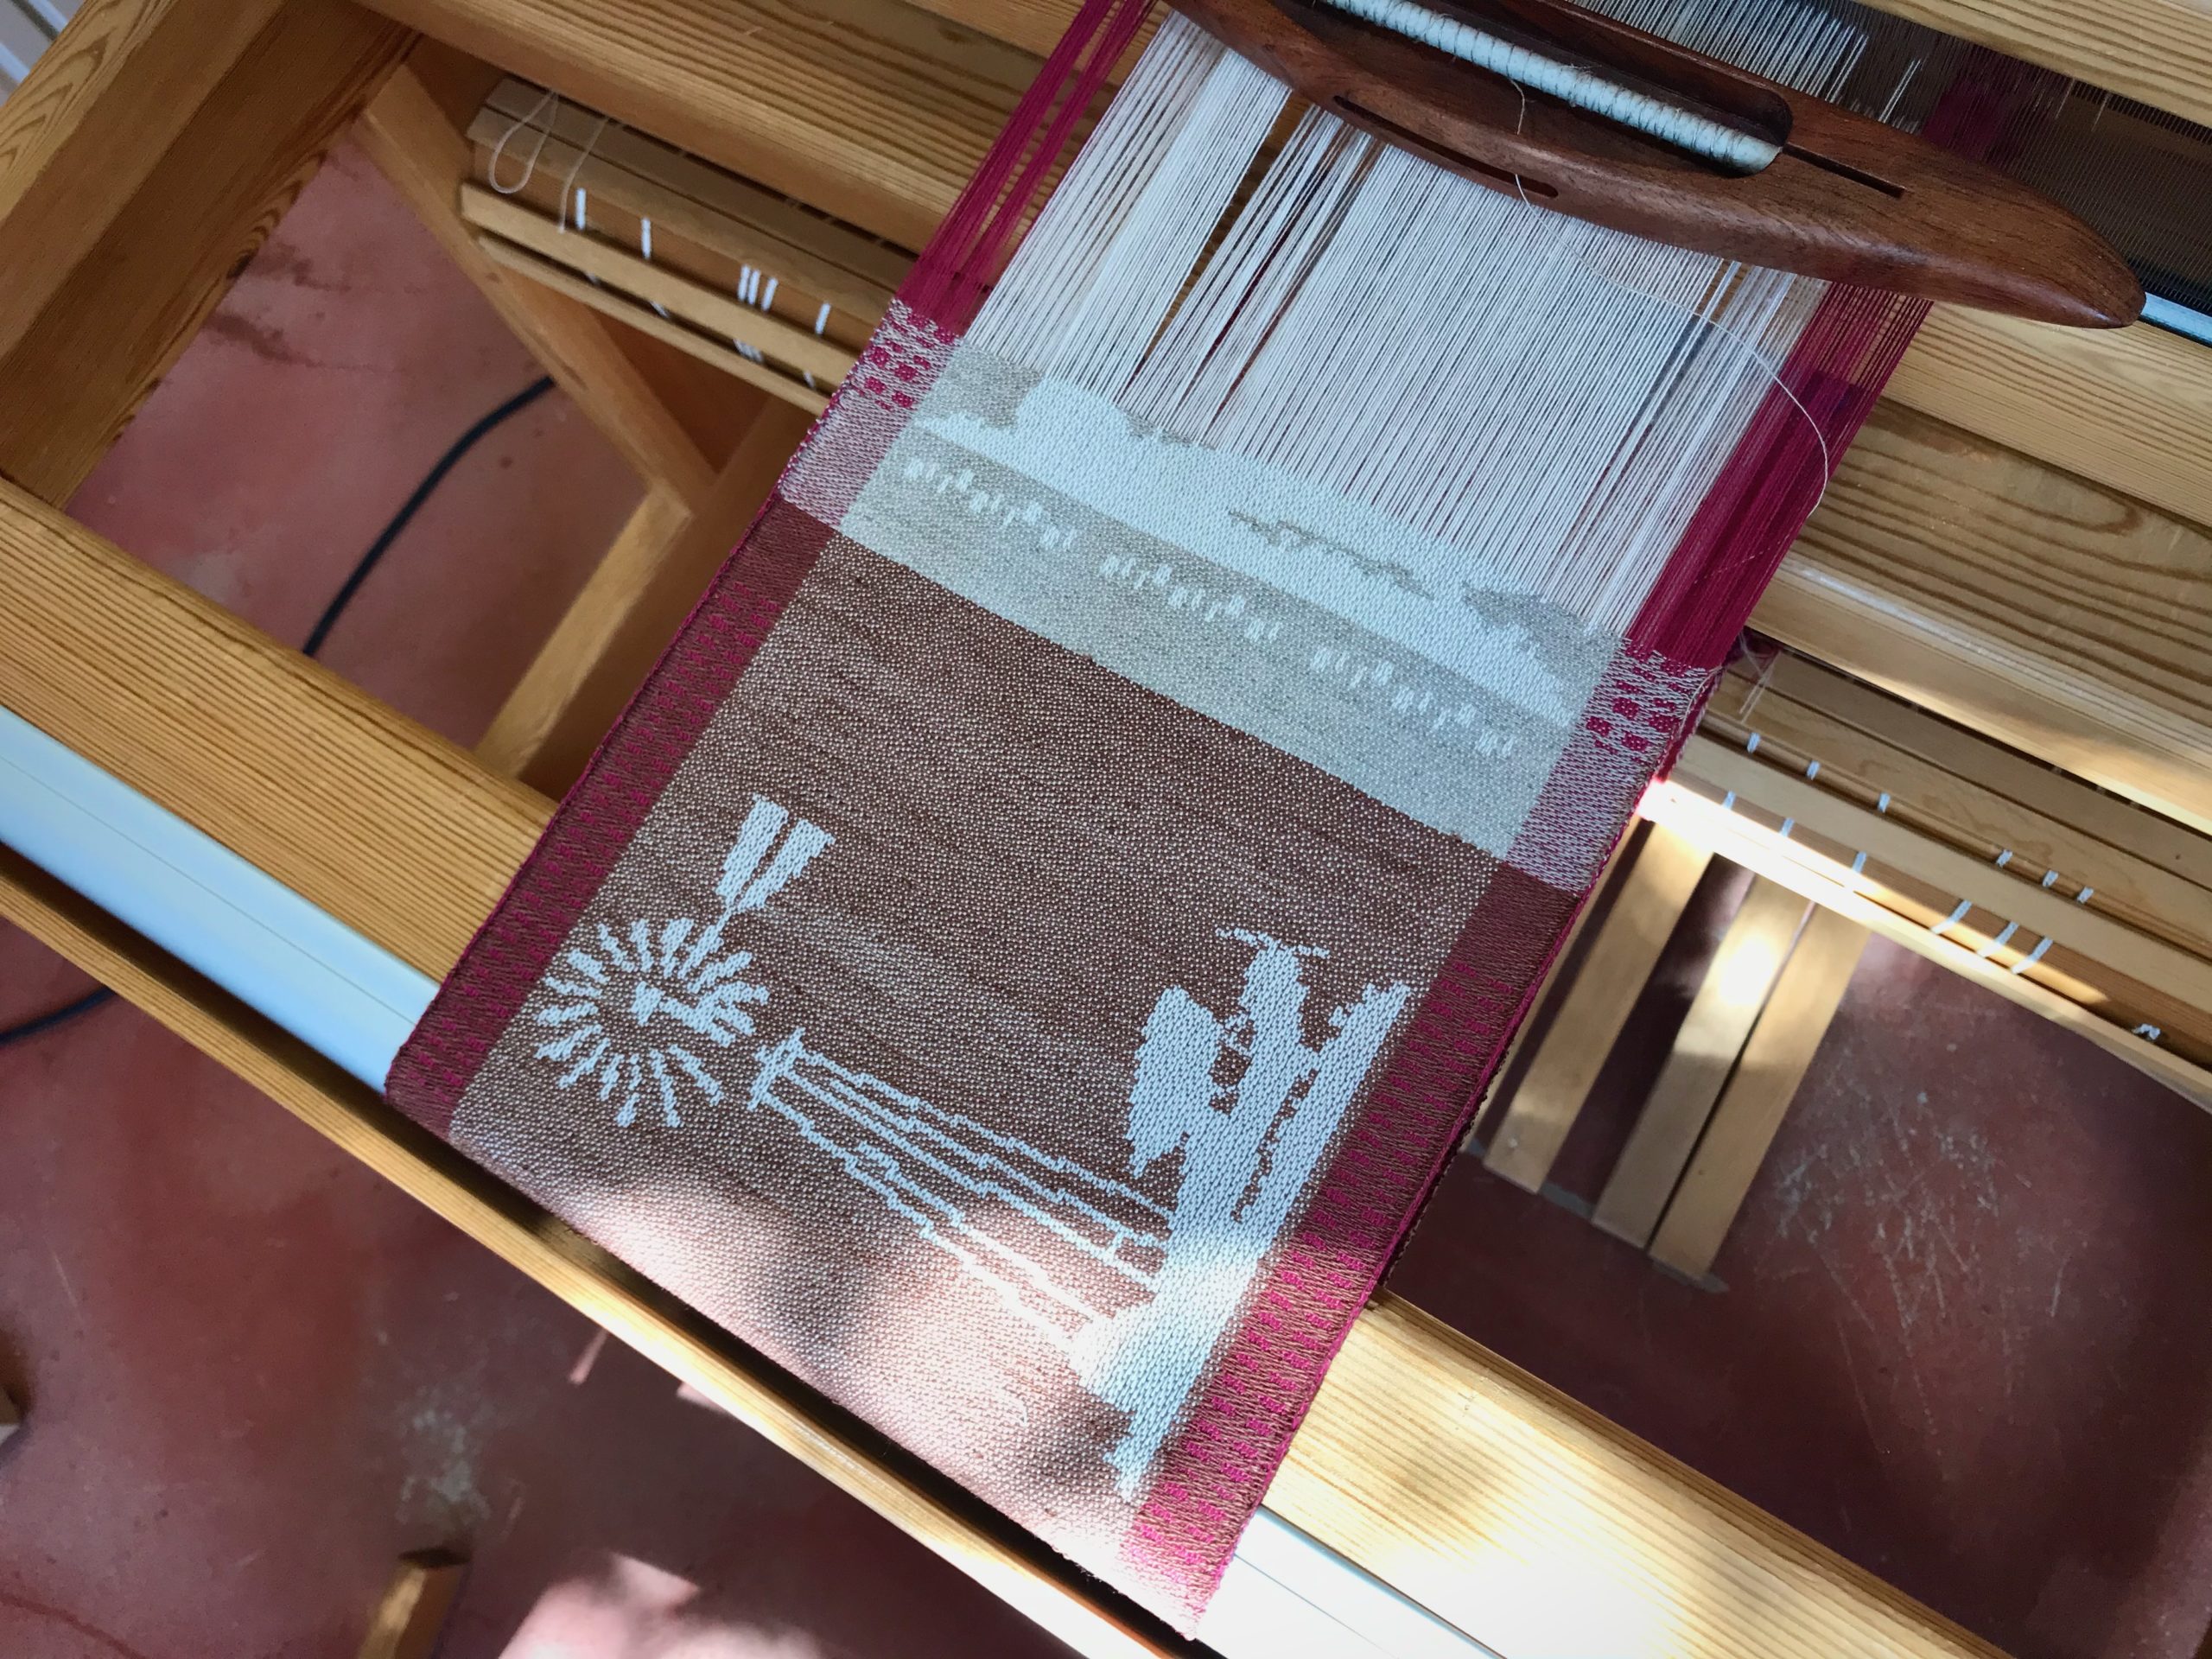
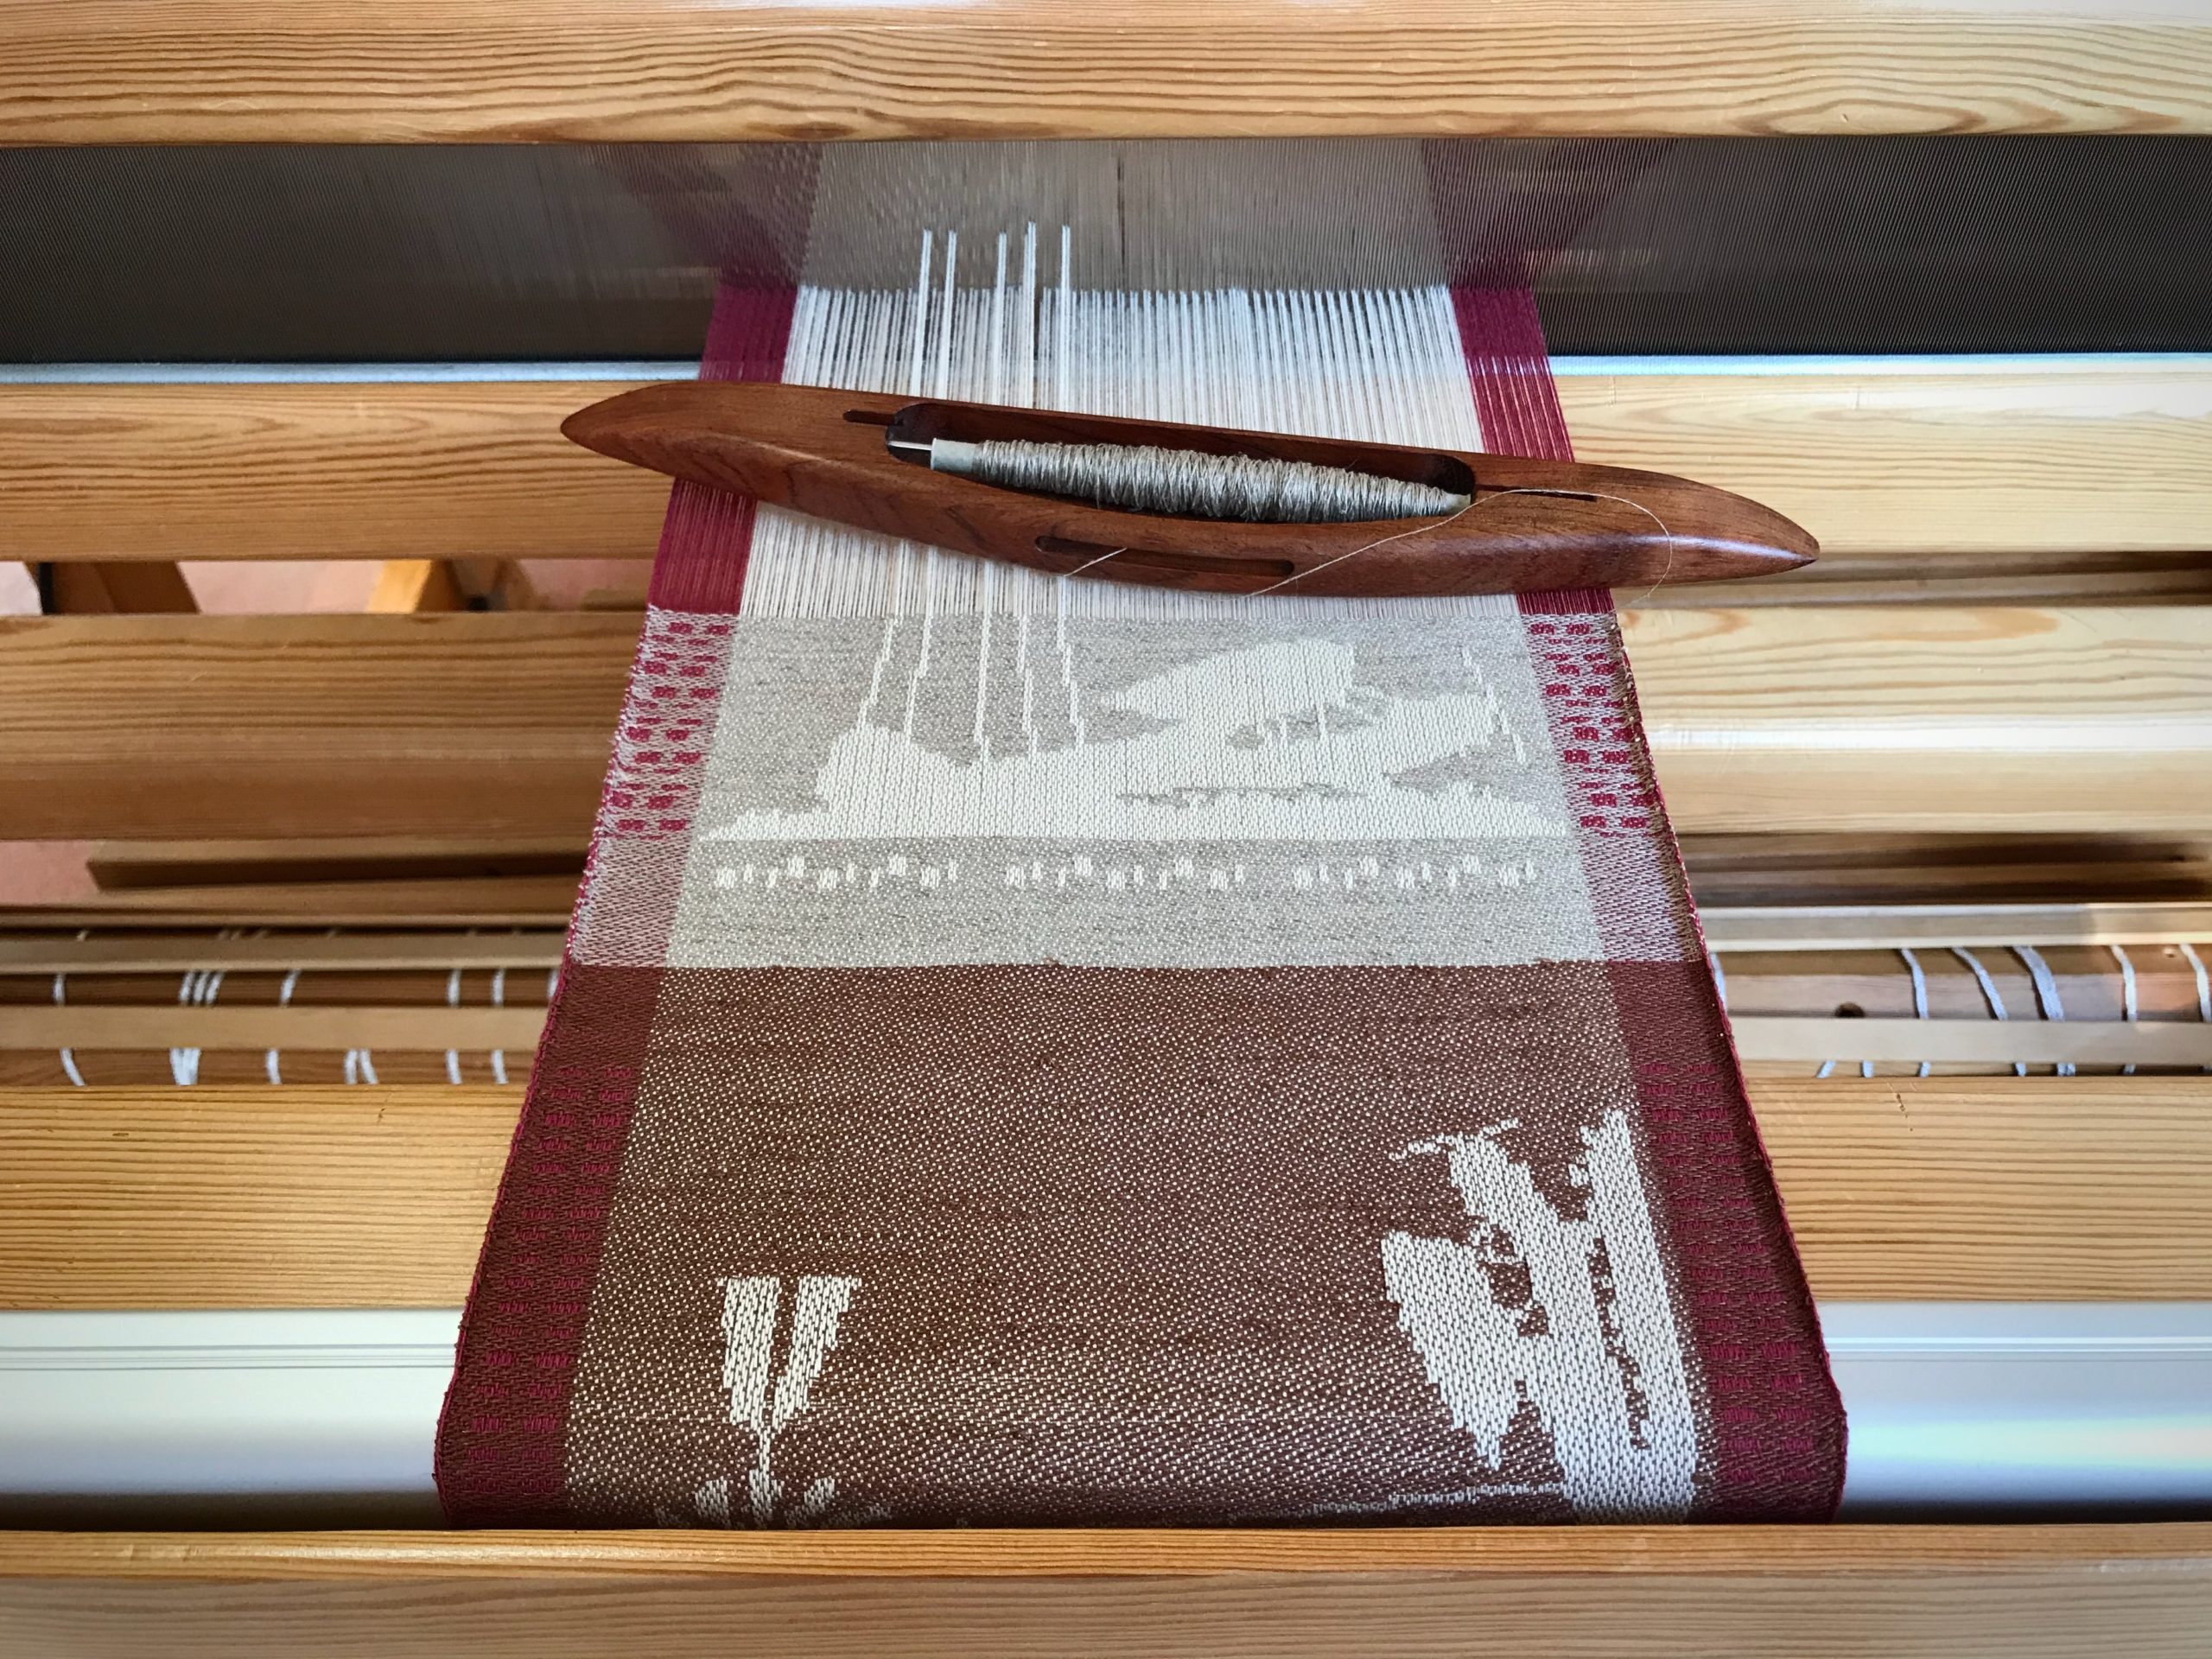

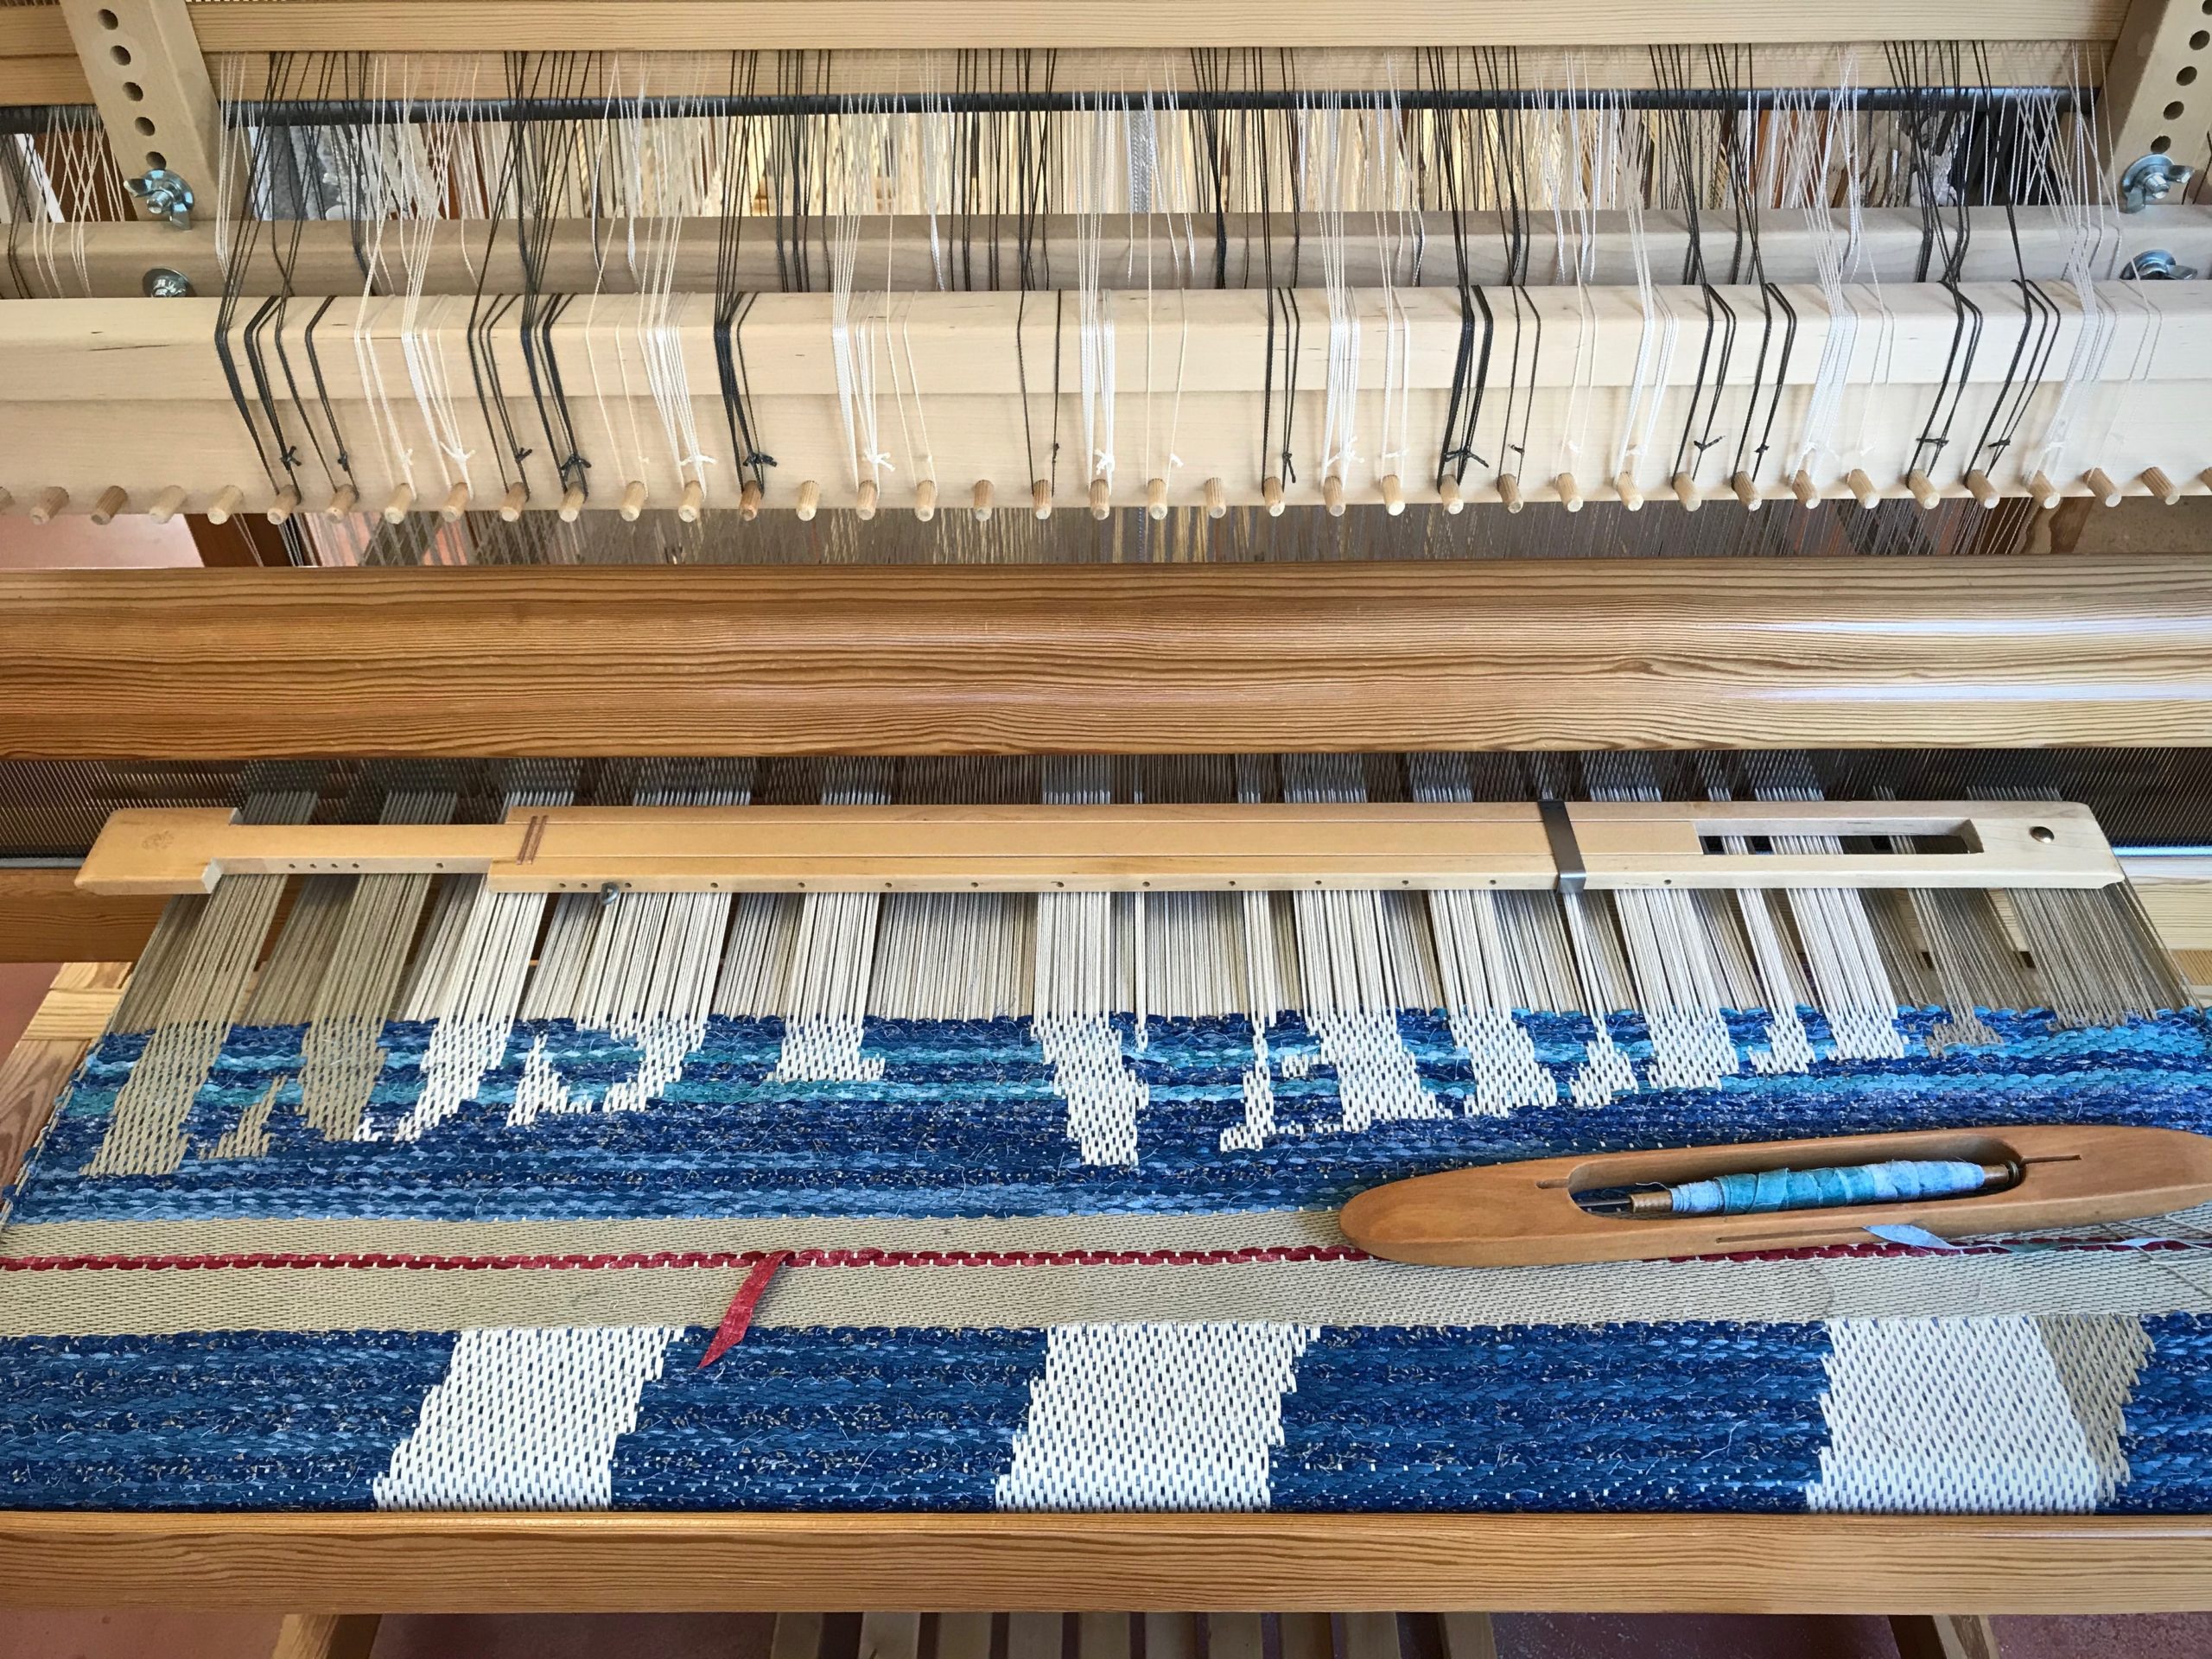
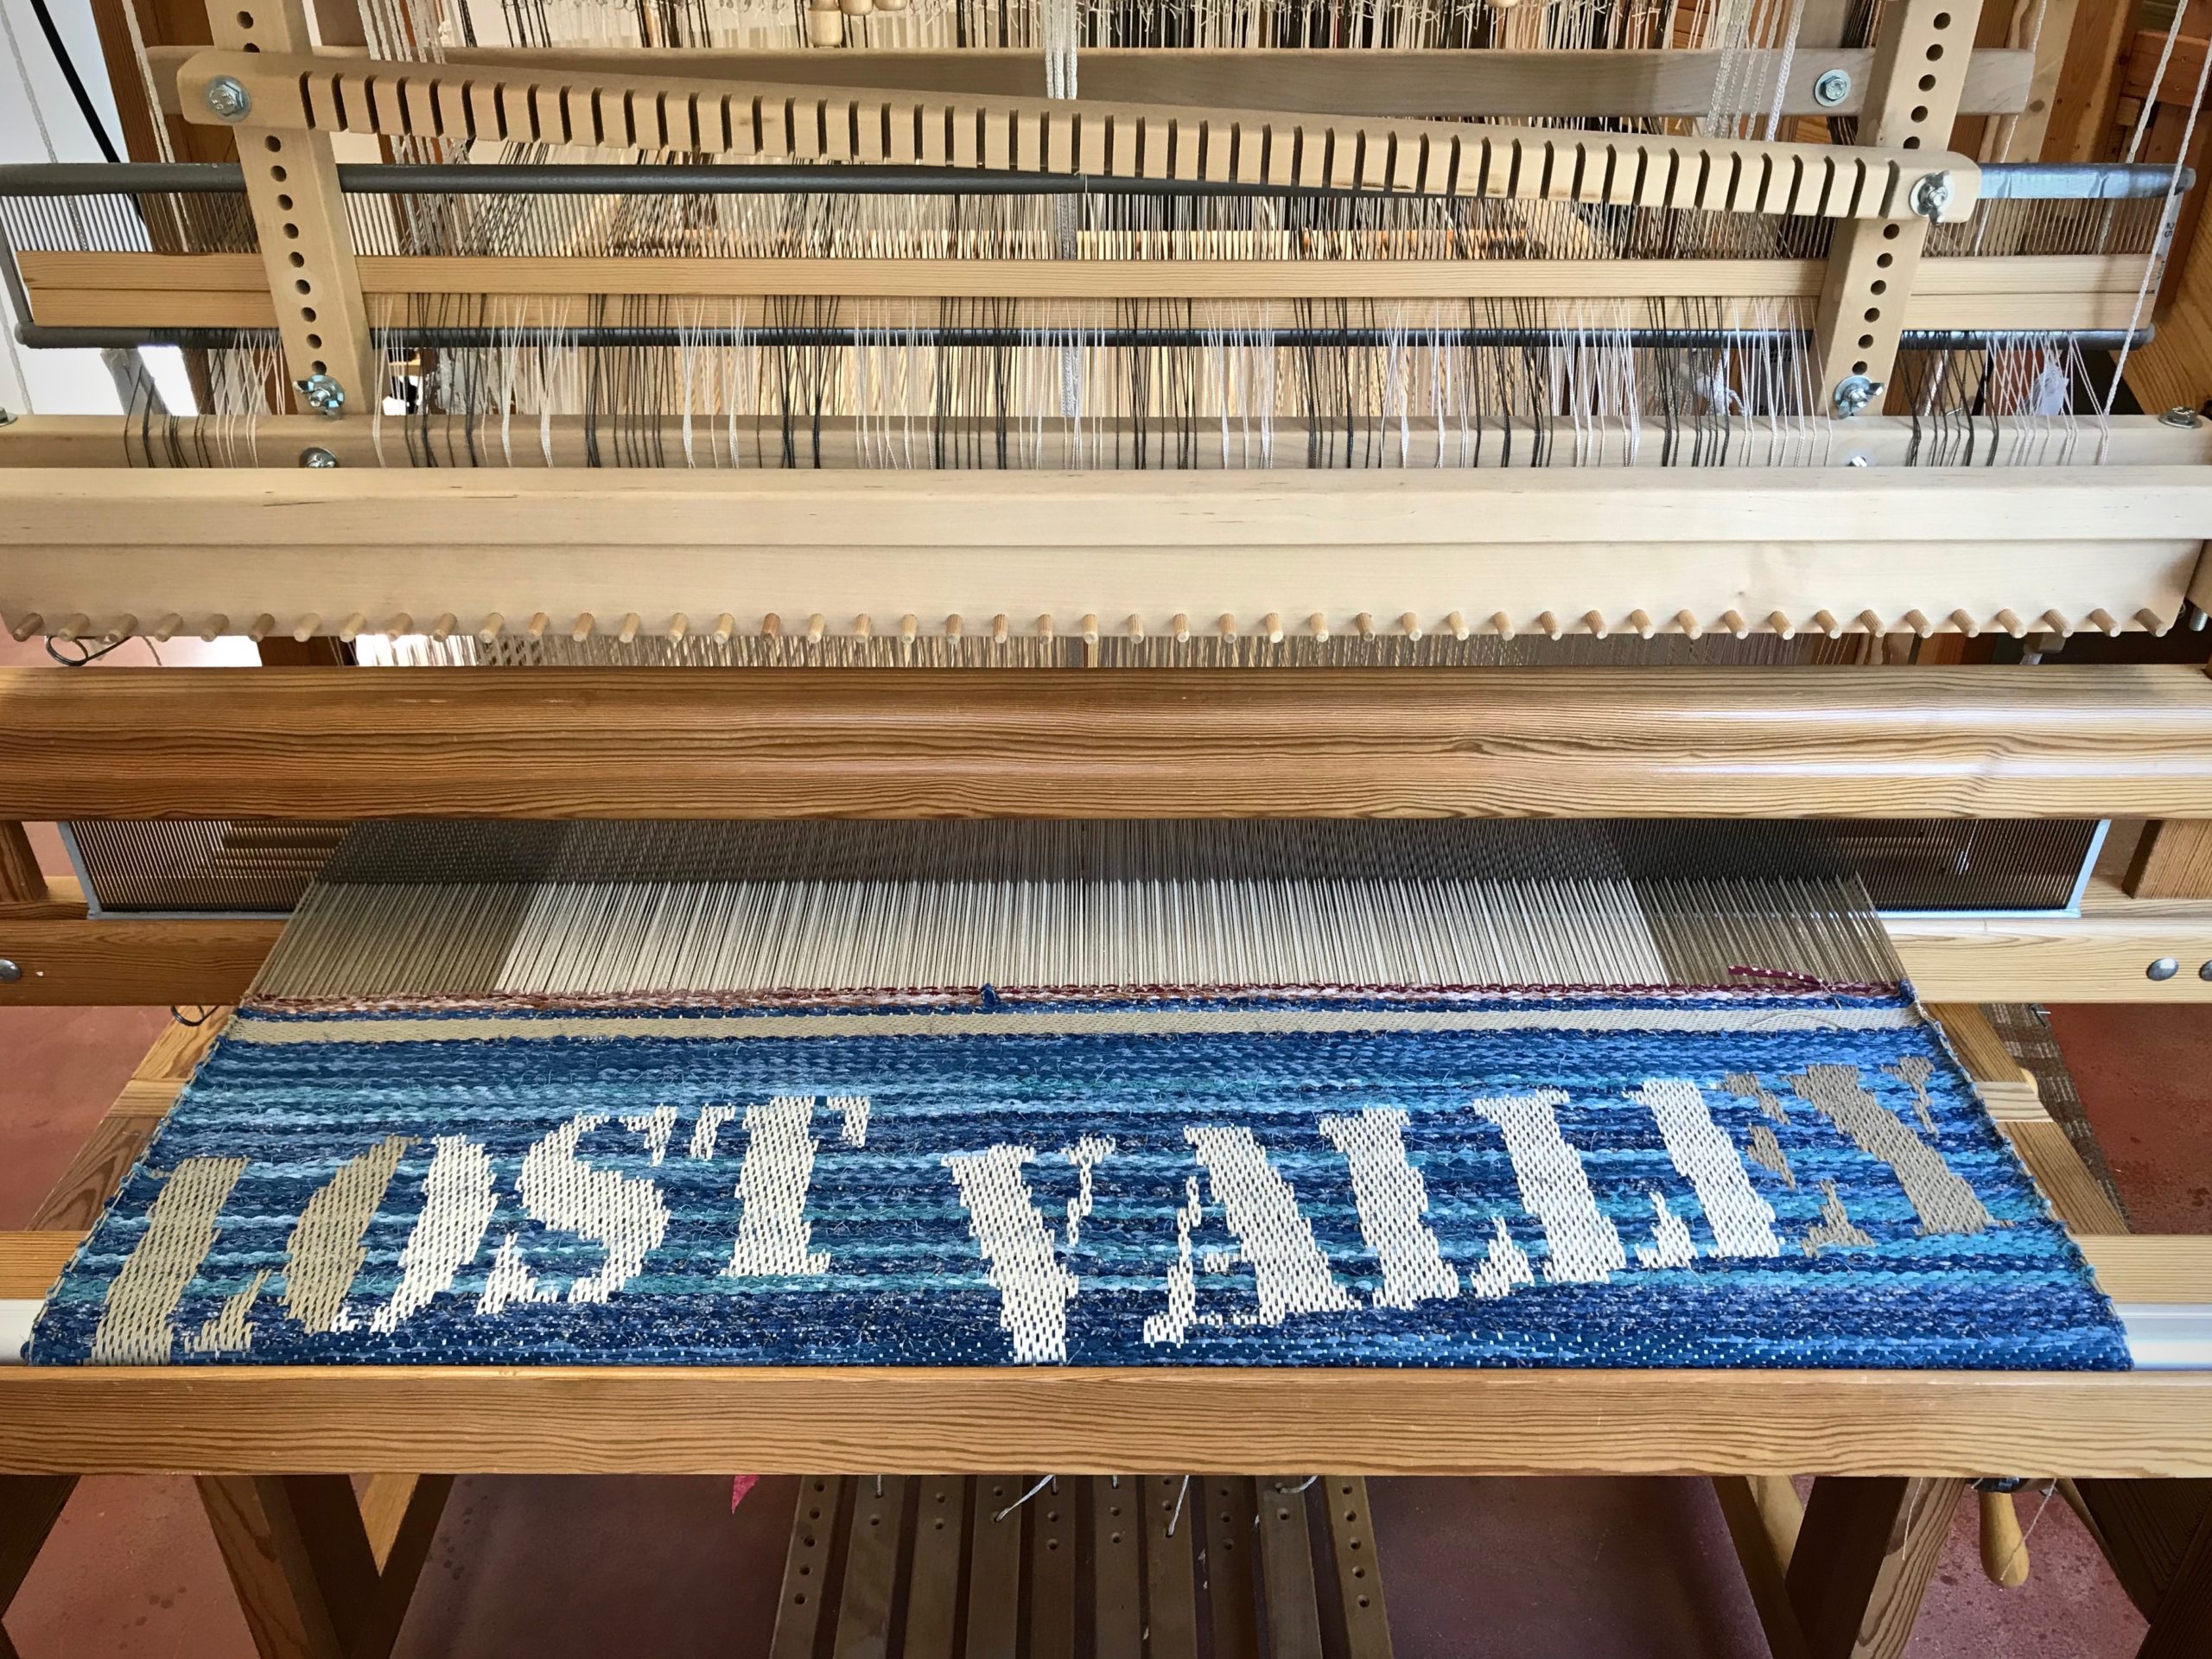
This second Windmill and Taildragger is indeed larger, with smoother detail lines. No surprise. What does surprise me is how much simpler this one is to weave! The single-unit pulls are more manageable now that the design is turned in a lengthwise direction. Enlargement, clarity, and ease—all from a single design adjustment.
Spoken wishes express our needs. Our wishes are sincere, but hold no power in themselves. What if we turn the direction of our wishes? When we turn those expressions upward to God they become prayer. Prayer is an expression of belief. Jesus invites us to tell him our needs through prayer. Prayer enlarges and clarifies our hopes. You may be surprised how simple it is to take your needs to the Lord in prayer.
May your prayers bring the help you need.
Peace to you,
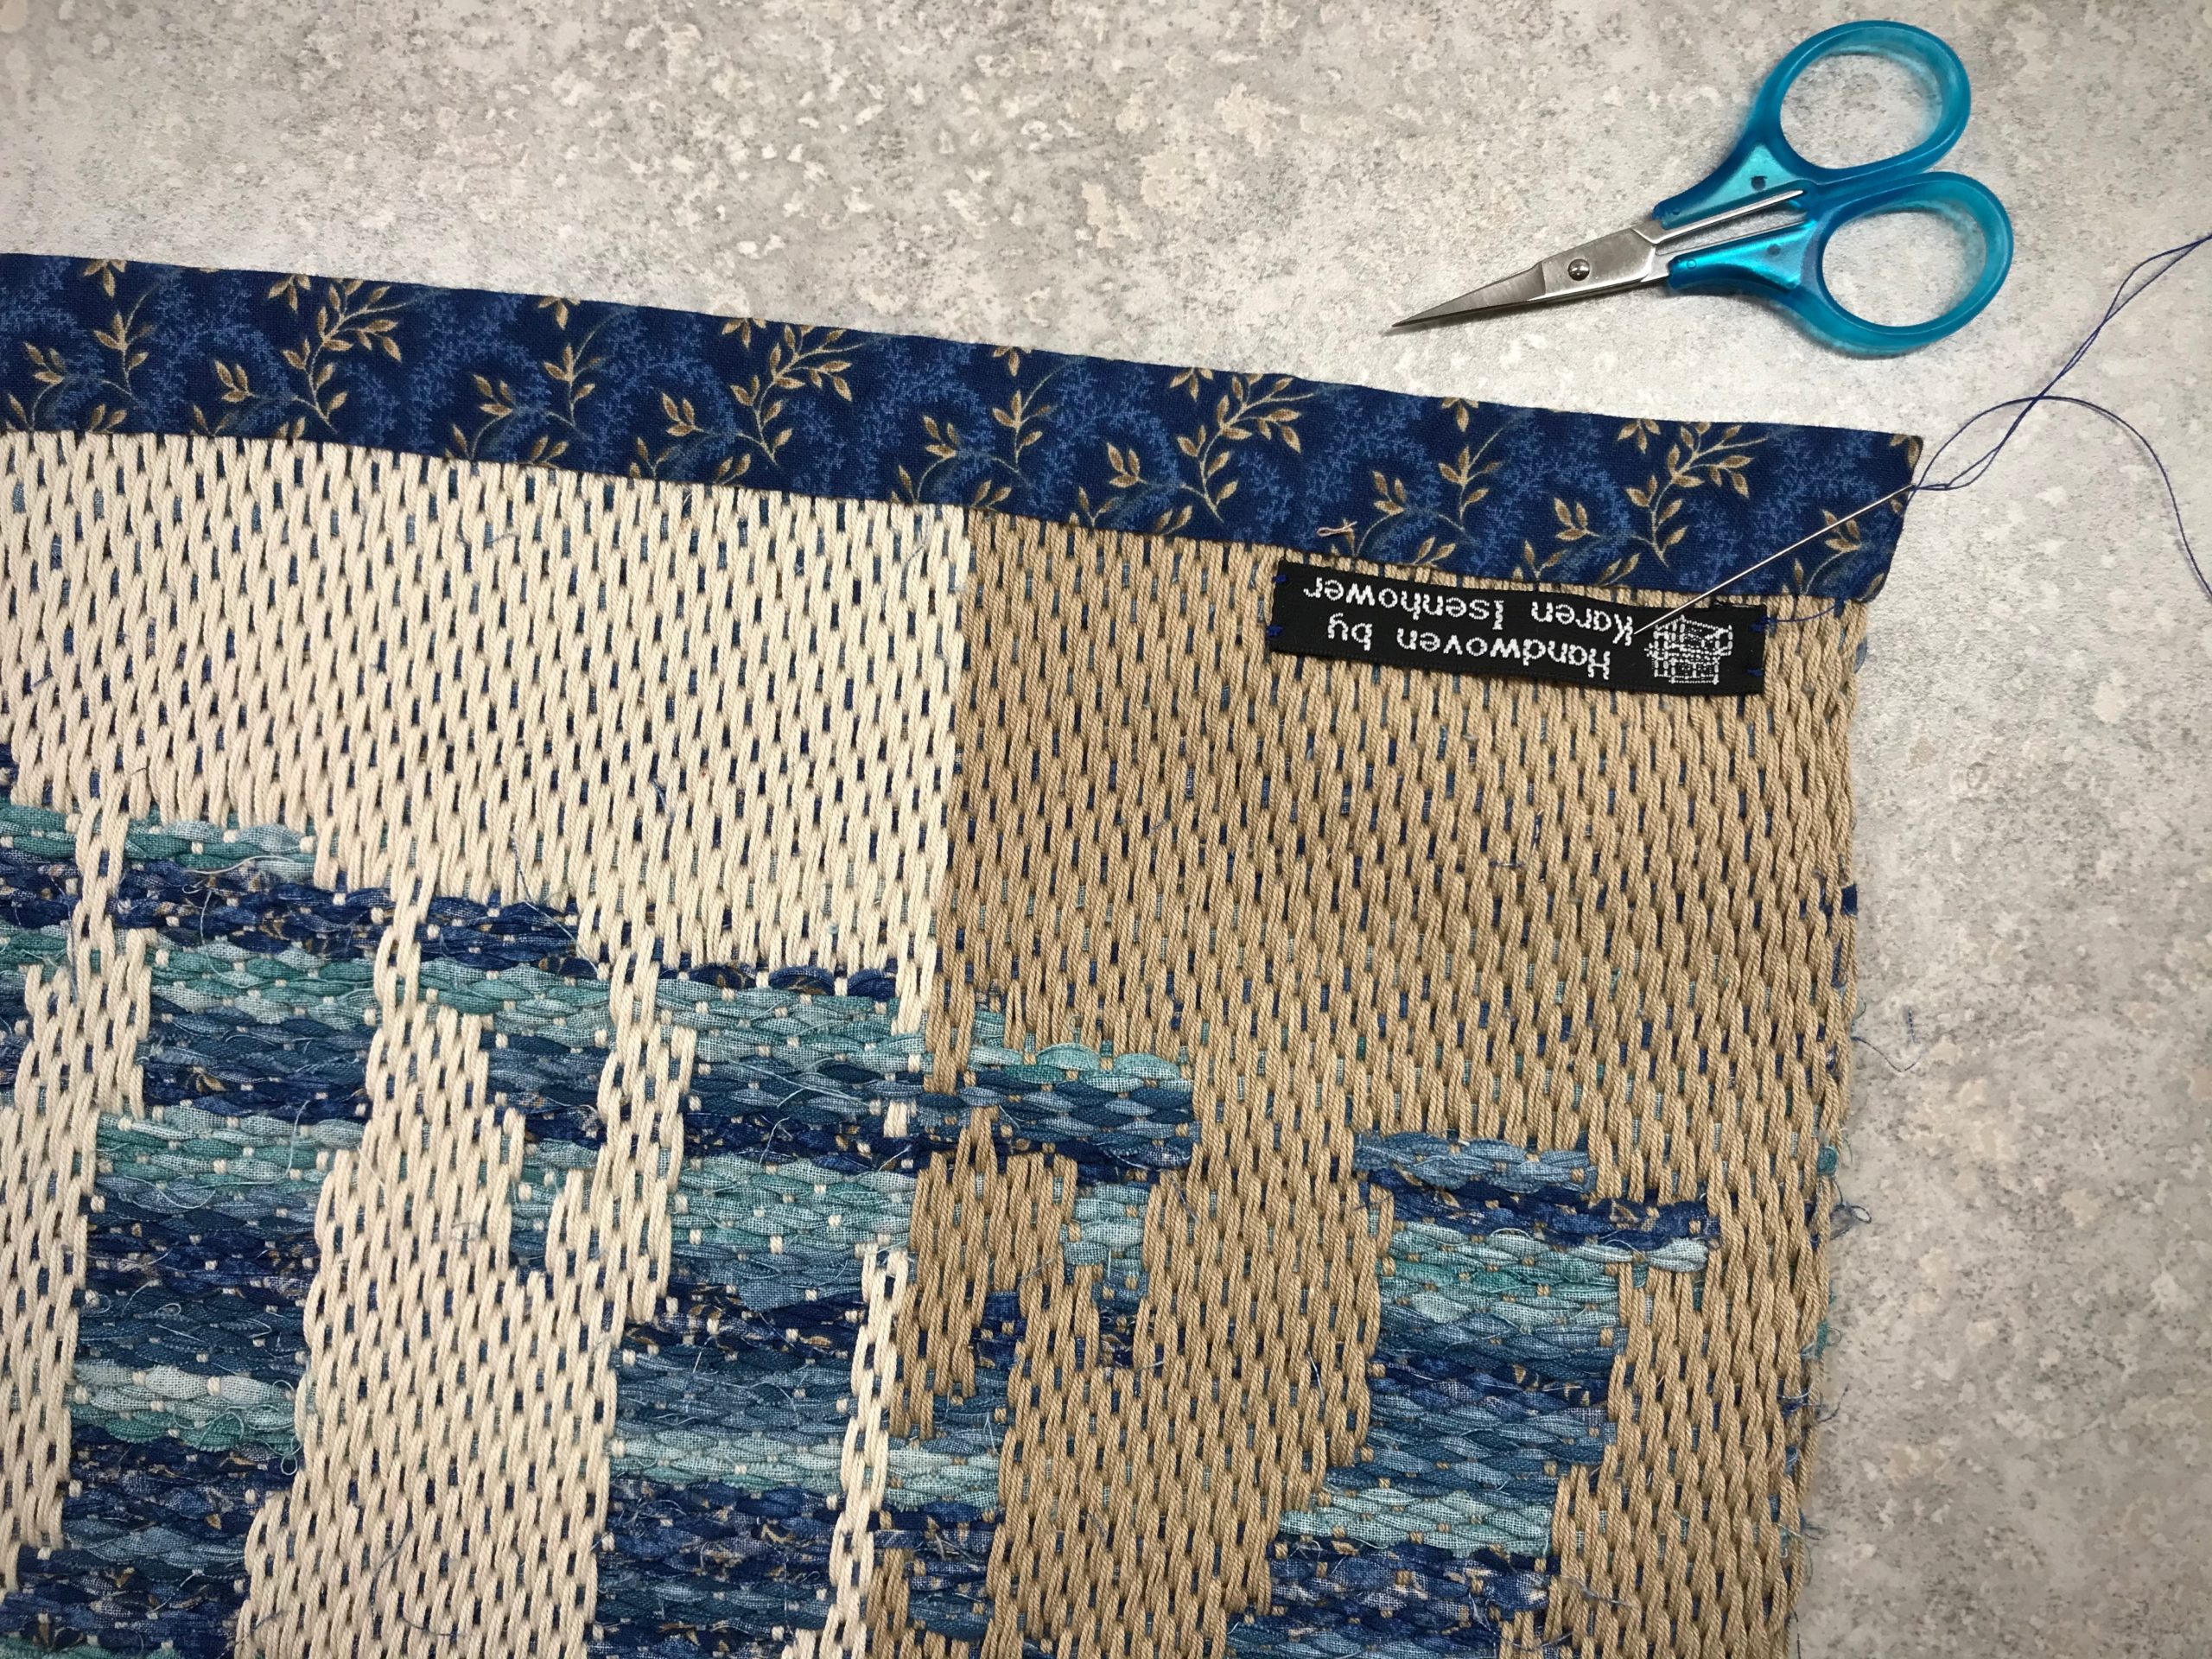
Karen