Would you believe me if I told you I had the exact length of fabric needed to cut out the three tiers for this skirt, with not a millimeter to spare? It’s true. Despite a profusion of fitting conundrums, detail studies, do-overs, ripping outs, mind-bending problem solving, and to-the-thread close calls, I never considered giving up. That’s not true. I did think of throwing in the towel. But, thankfully, my cheerleader husband won’t let me take that option.
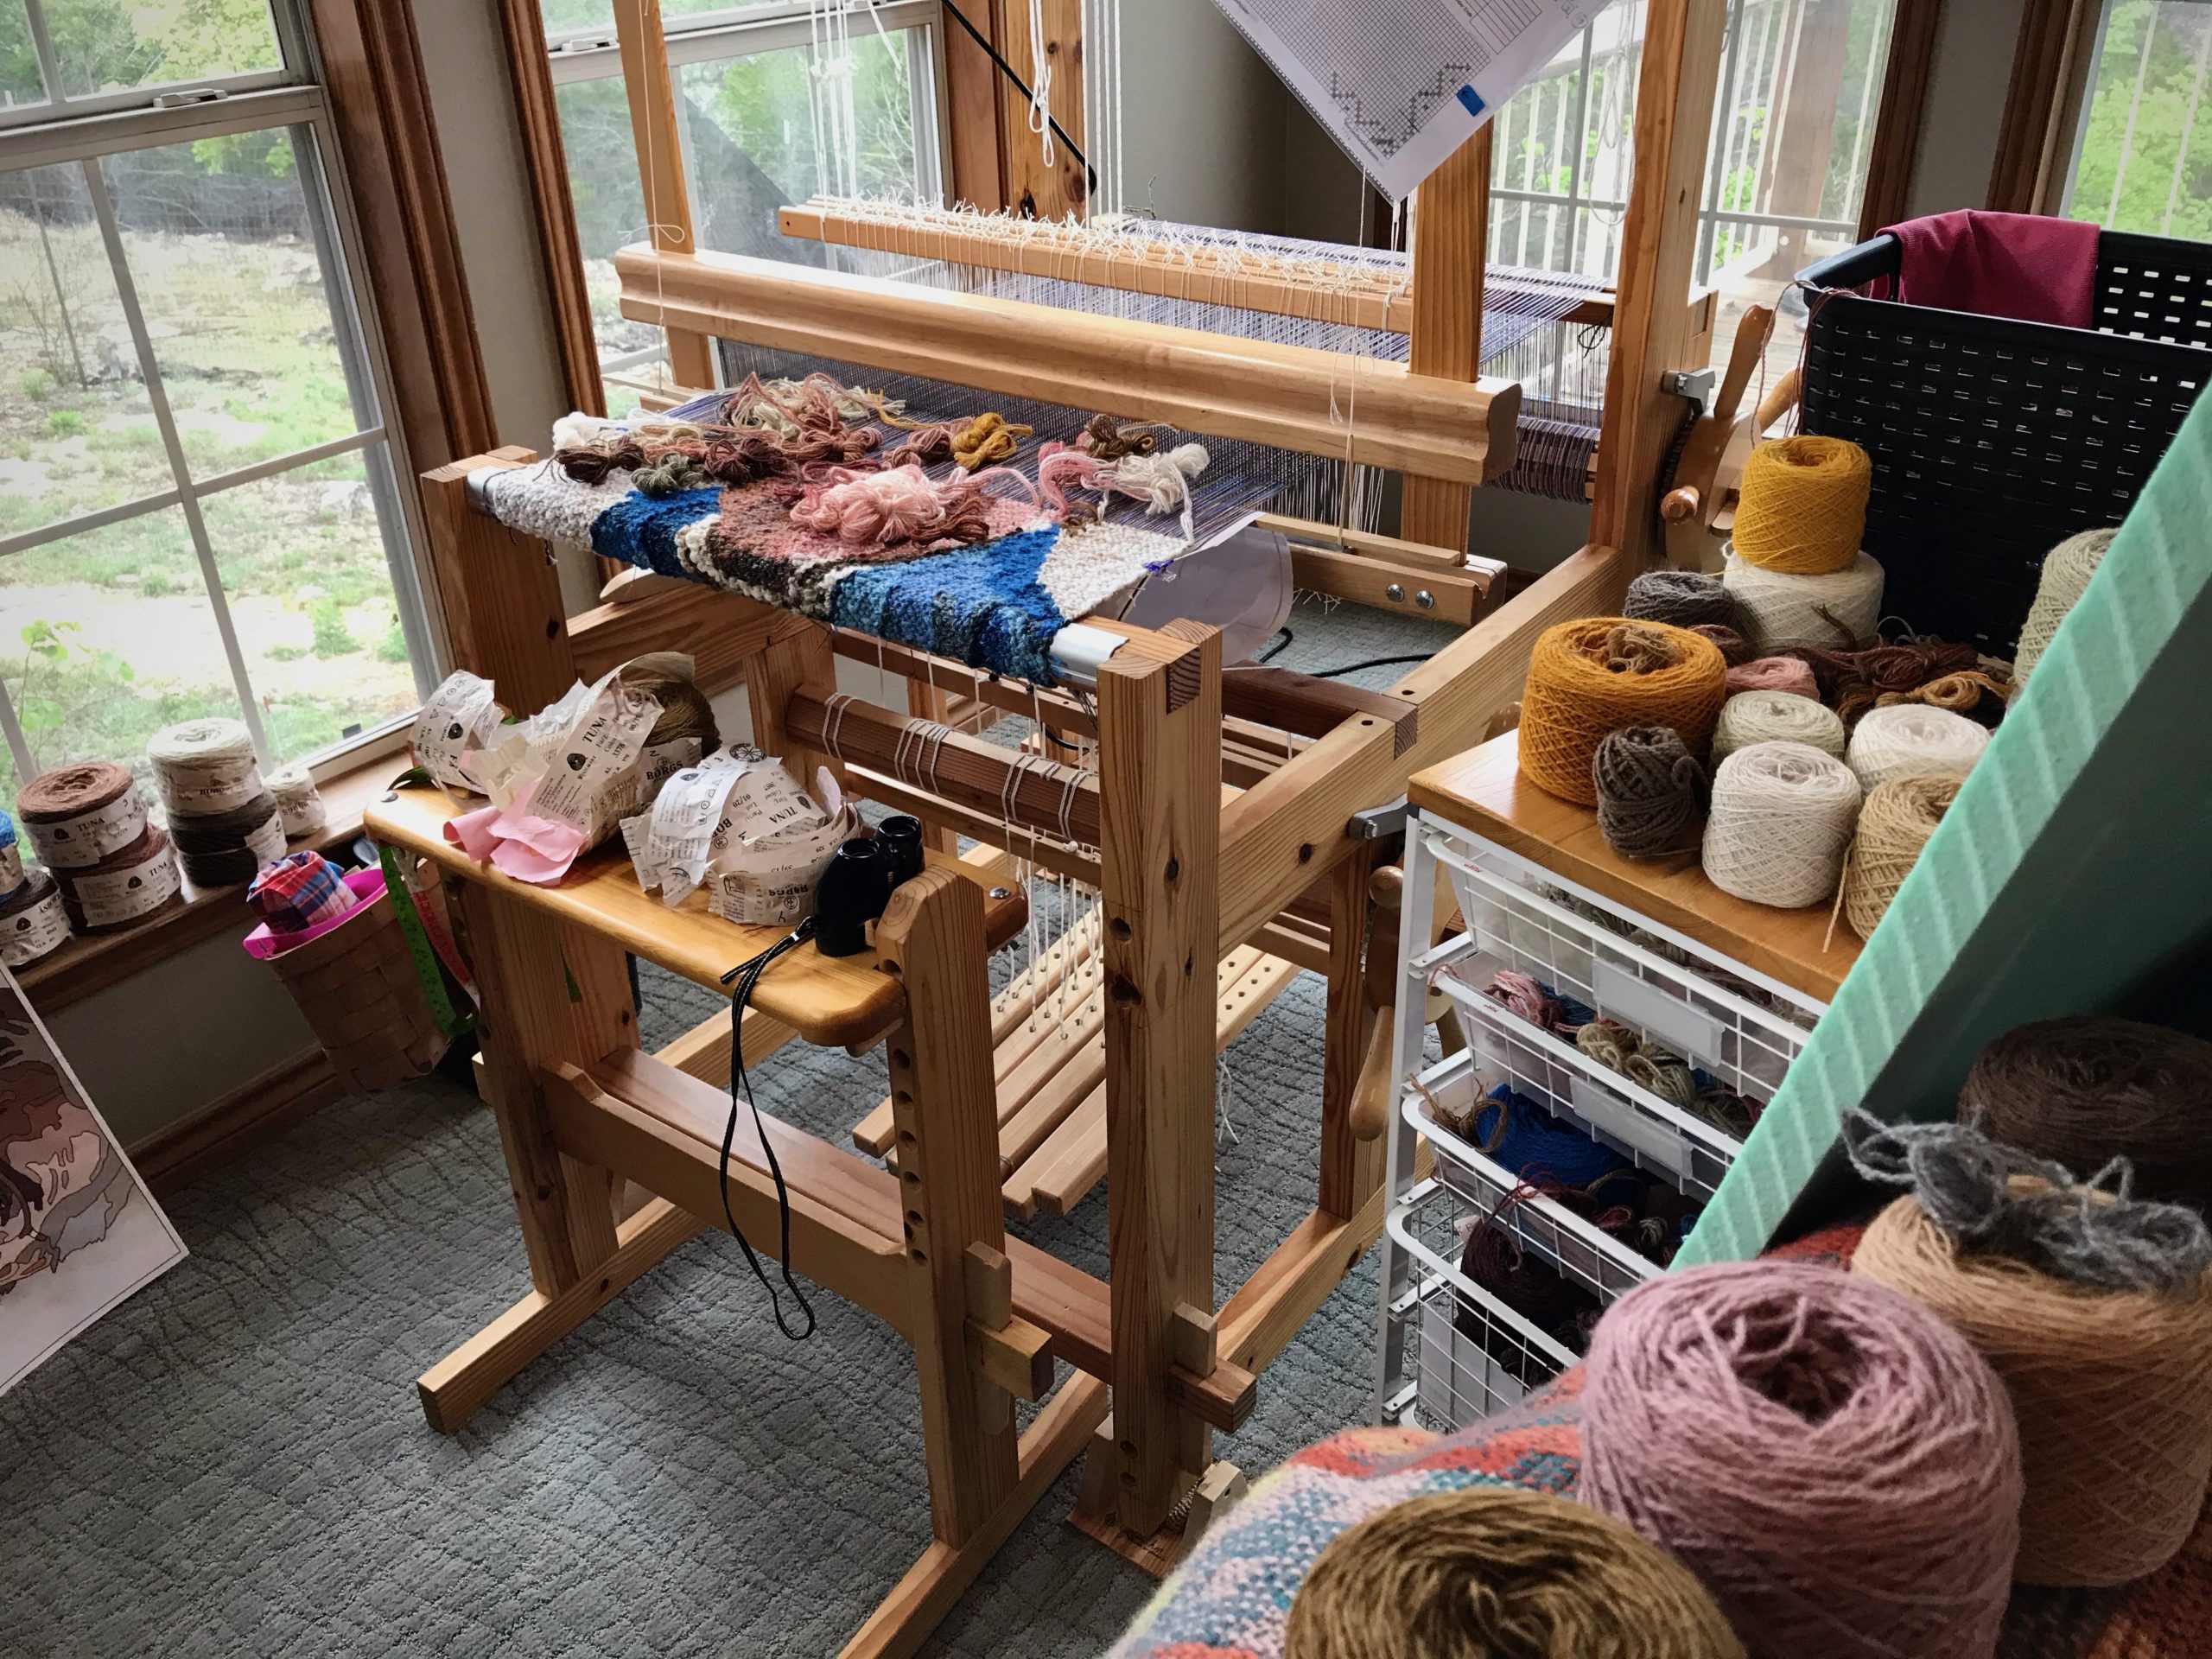
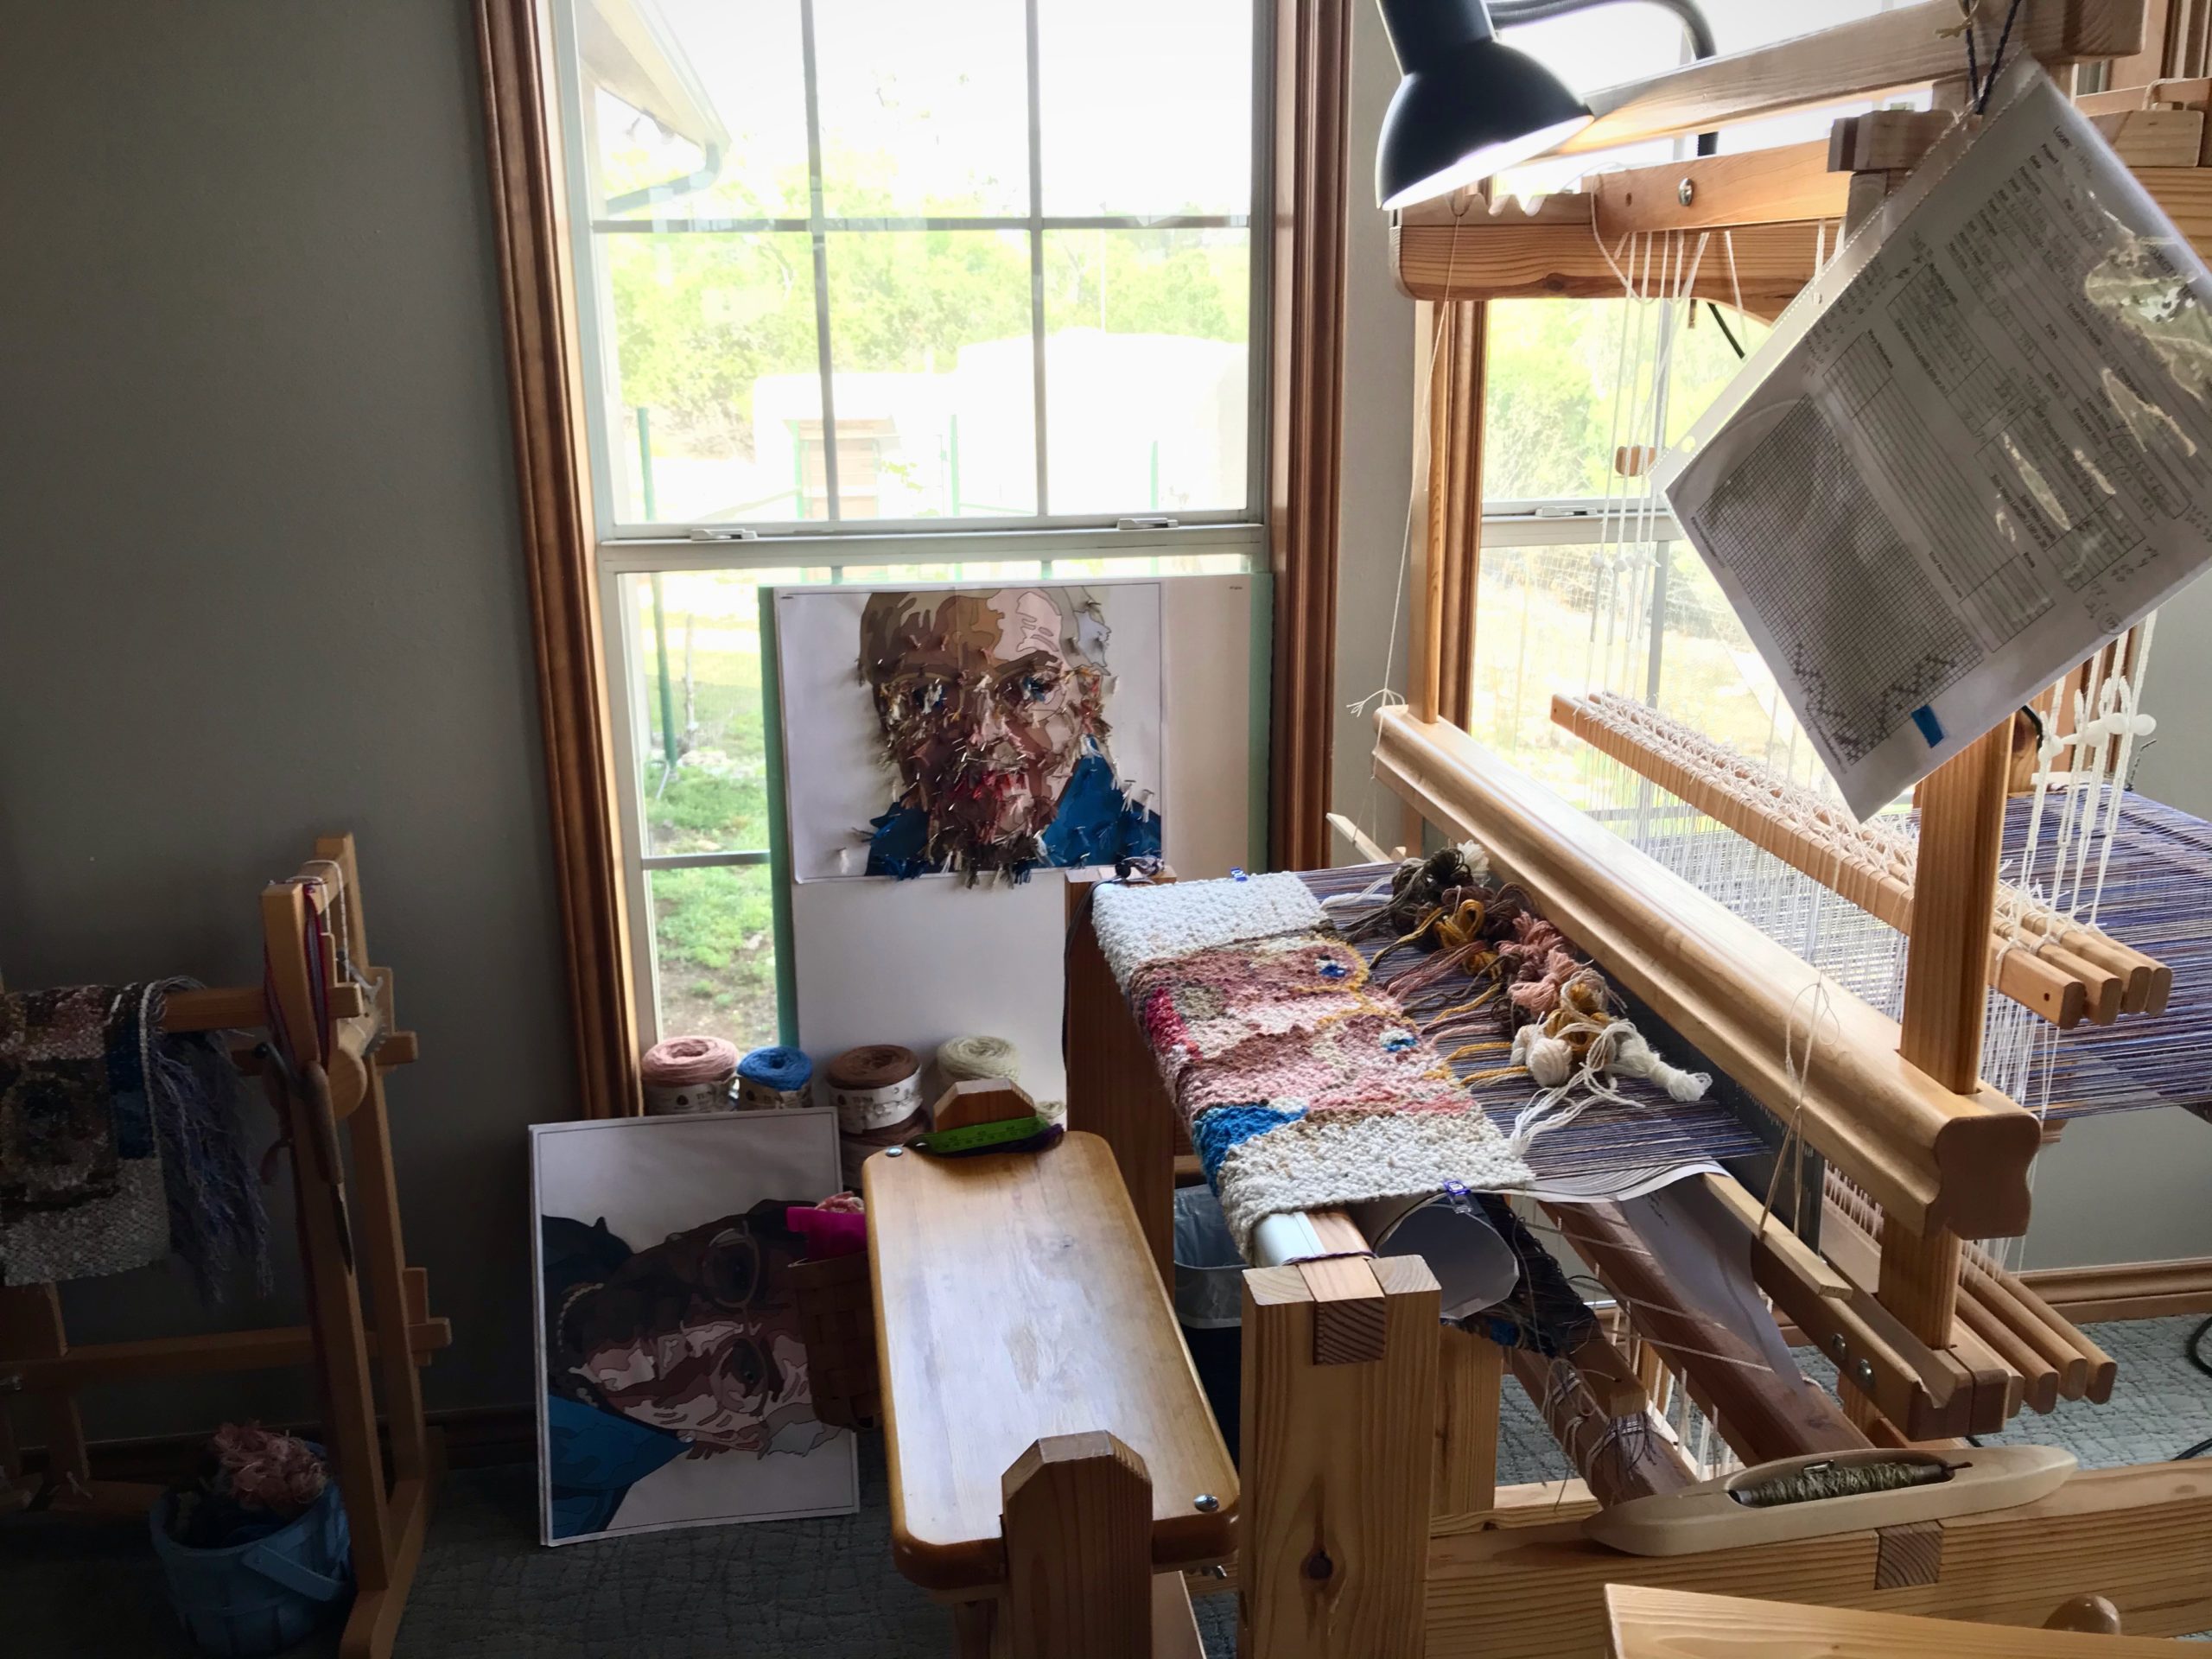
I have a deeper respect now for my friends whose sweet spot is garment design and construction. This Tiers of Joy experience has reminded me that handweaving is my sweet spot. It’s the thing I do that makes me say, “I was made for this.” When I’m at the loom I am soaring. What is your sweet spot? Let the breath of God make you soar.
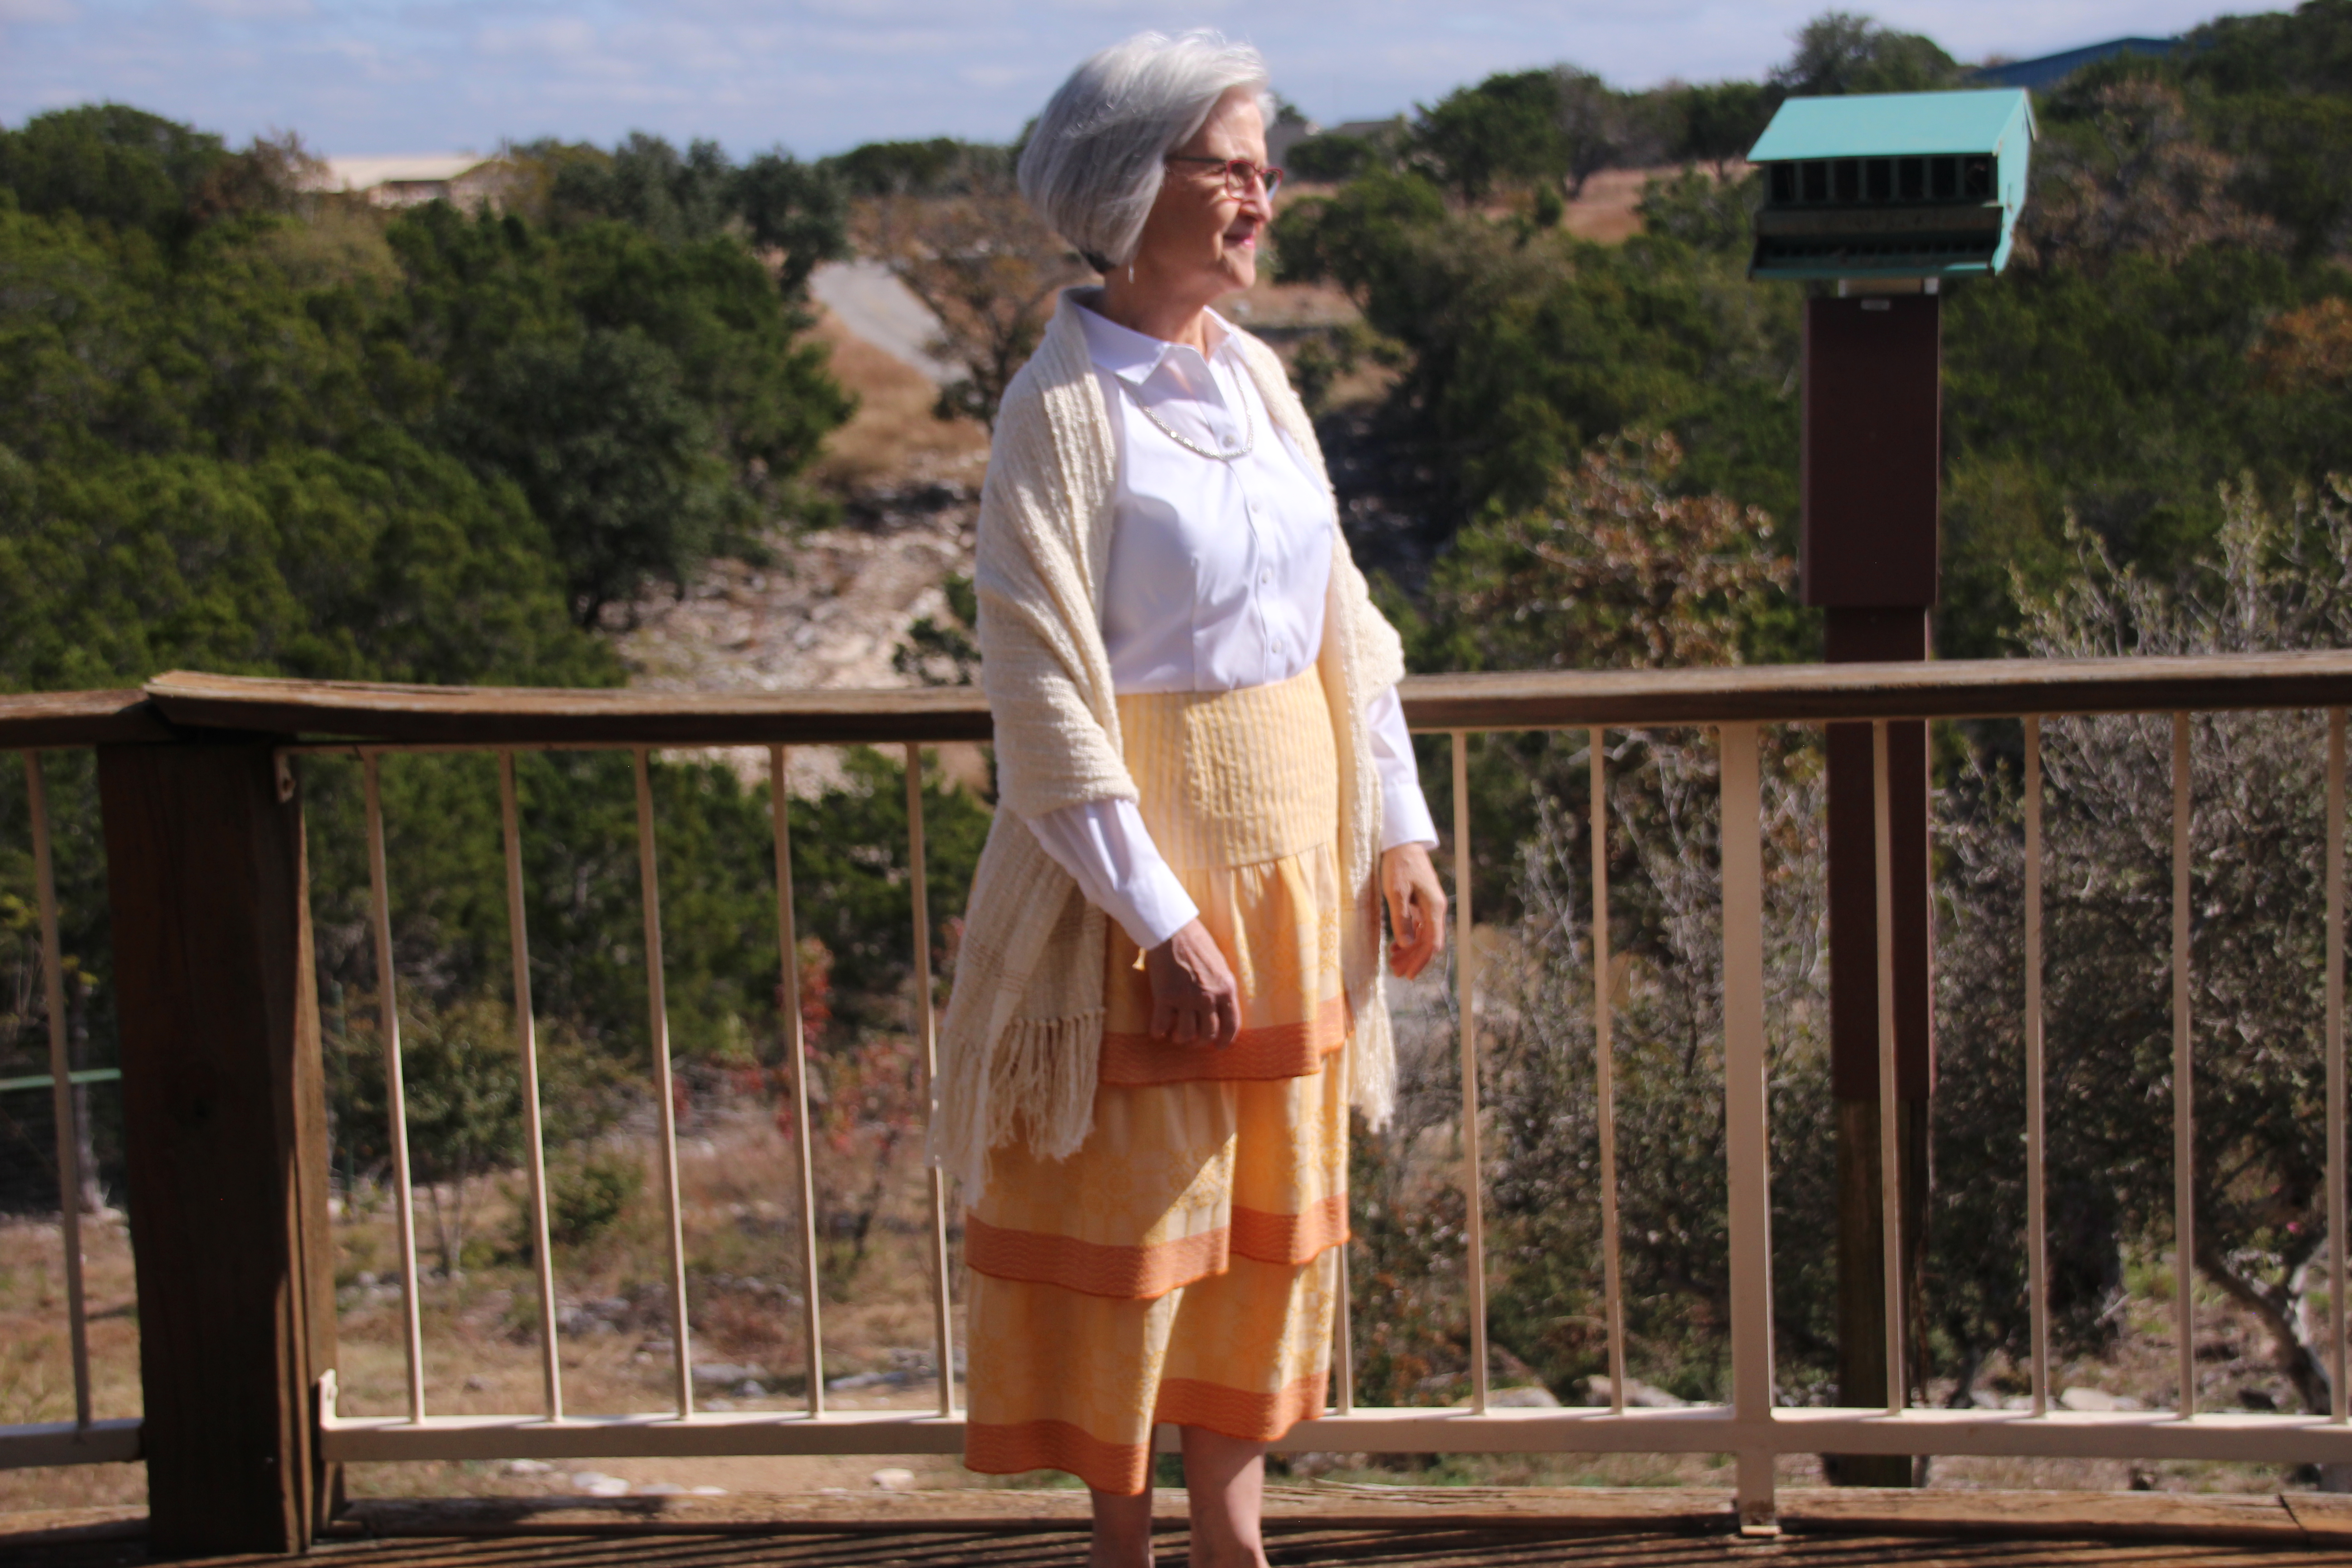
Happily, I have a memorable handwoven skirt to wear on my date with Steve to the Symphony of the Hills Christmas concert next week.
Here’s a short slideshow video of this thread-to-garment story:
I am giving thanks for you! I’m glad you and I get to walk through this weaving (and sewing) journey together.
May your heart soar with thanksgiving.
Happy Giving Thanks,
Karen