New Life for an Old Rigid Heddle Loom Blanket

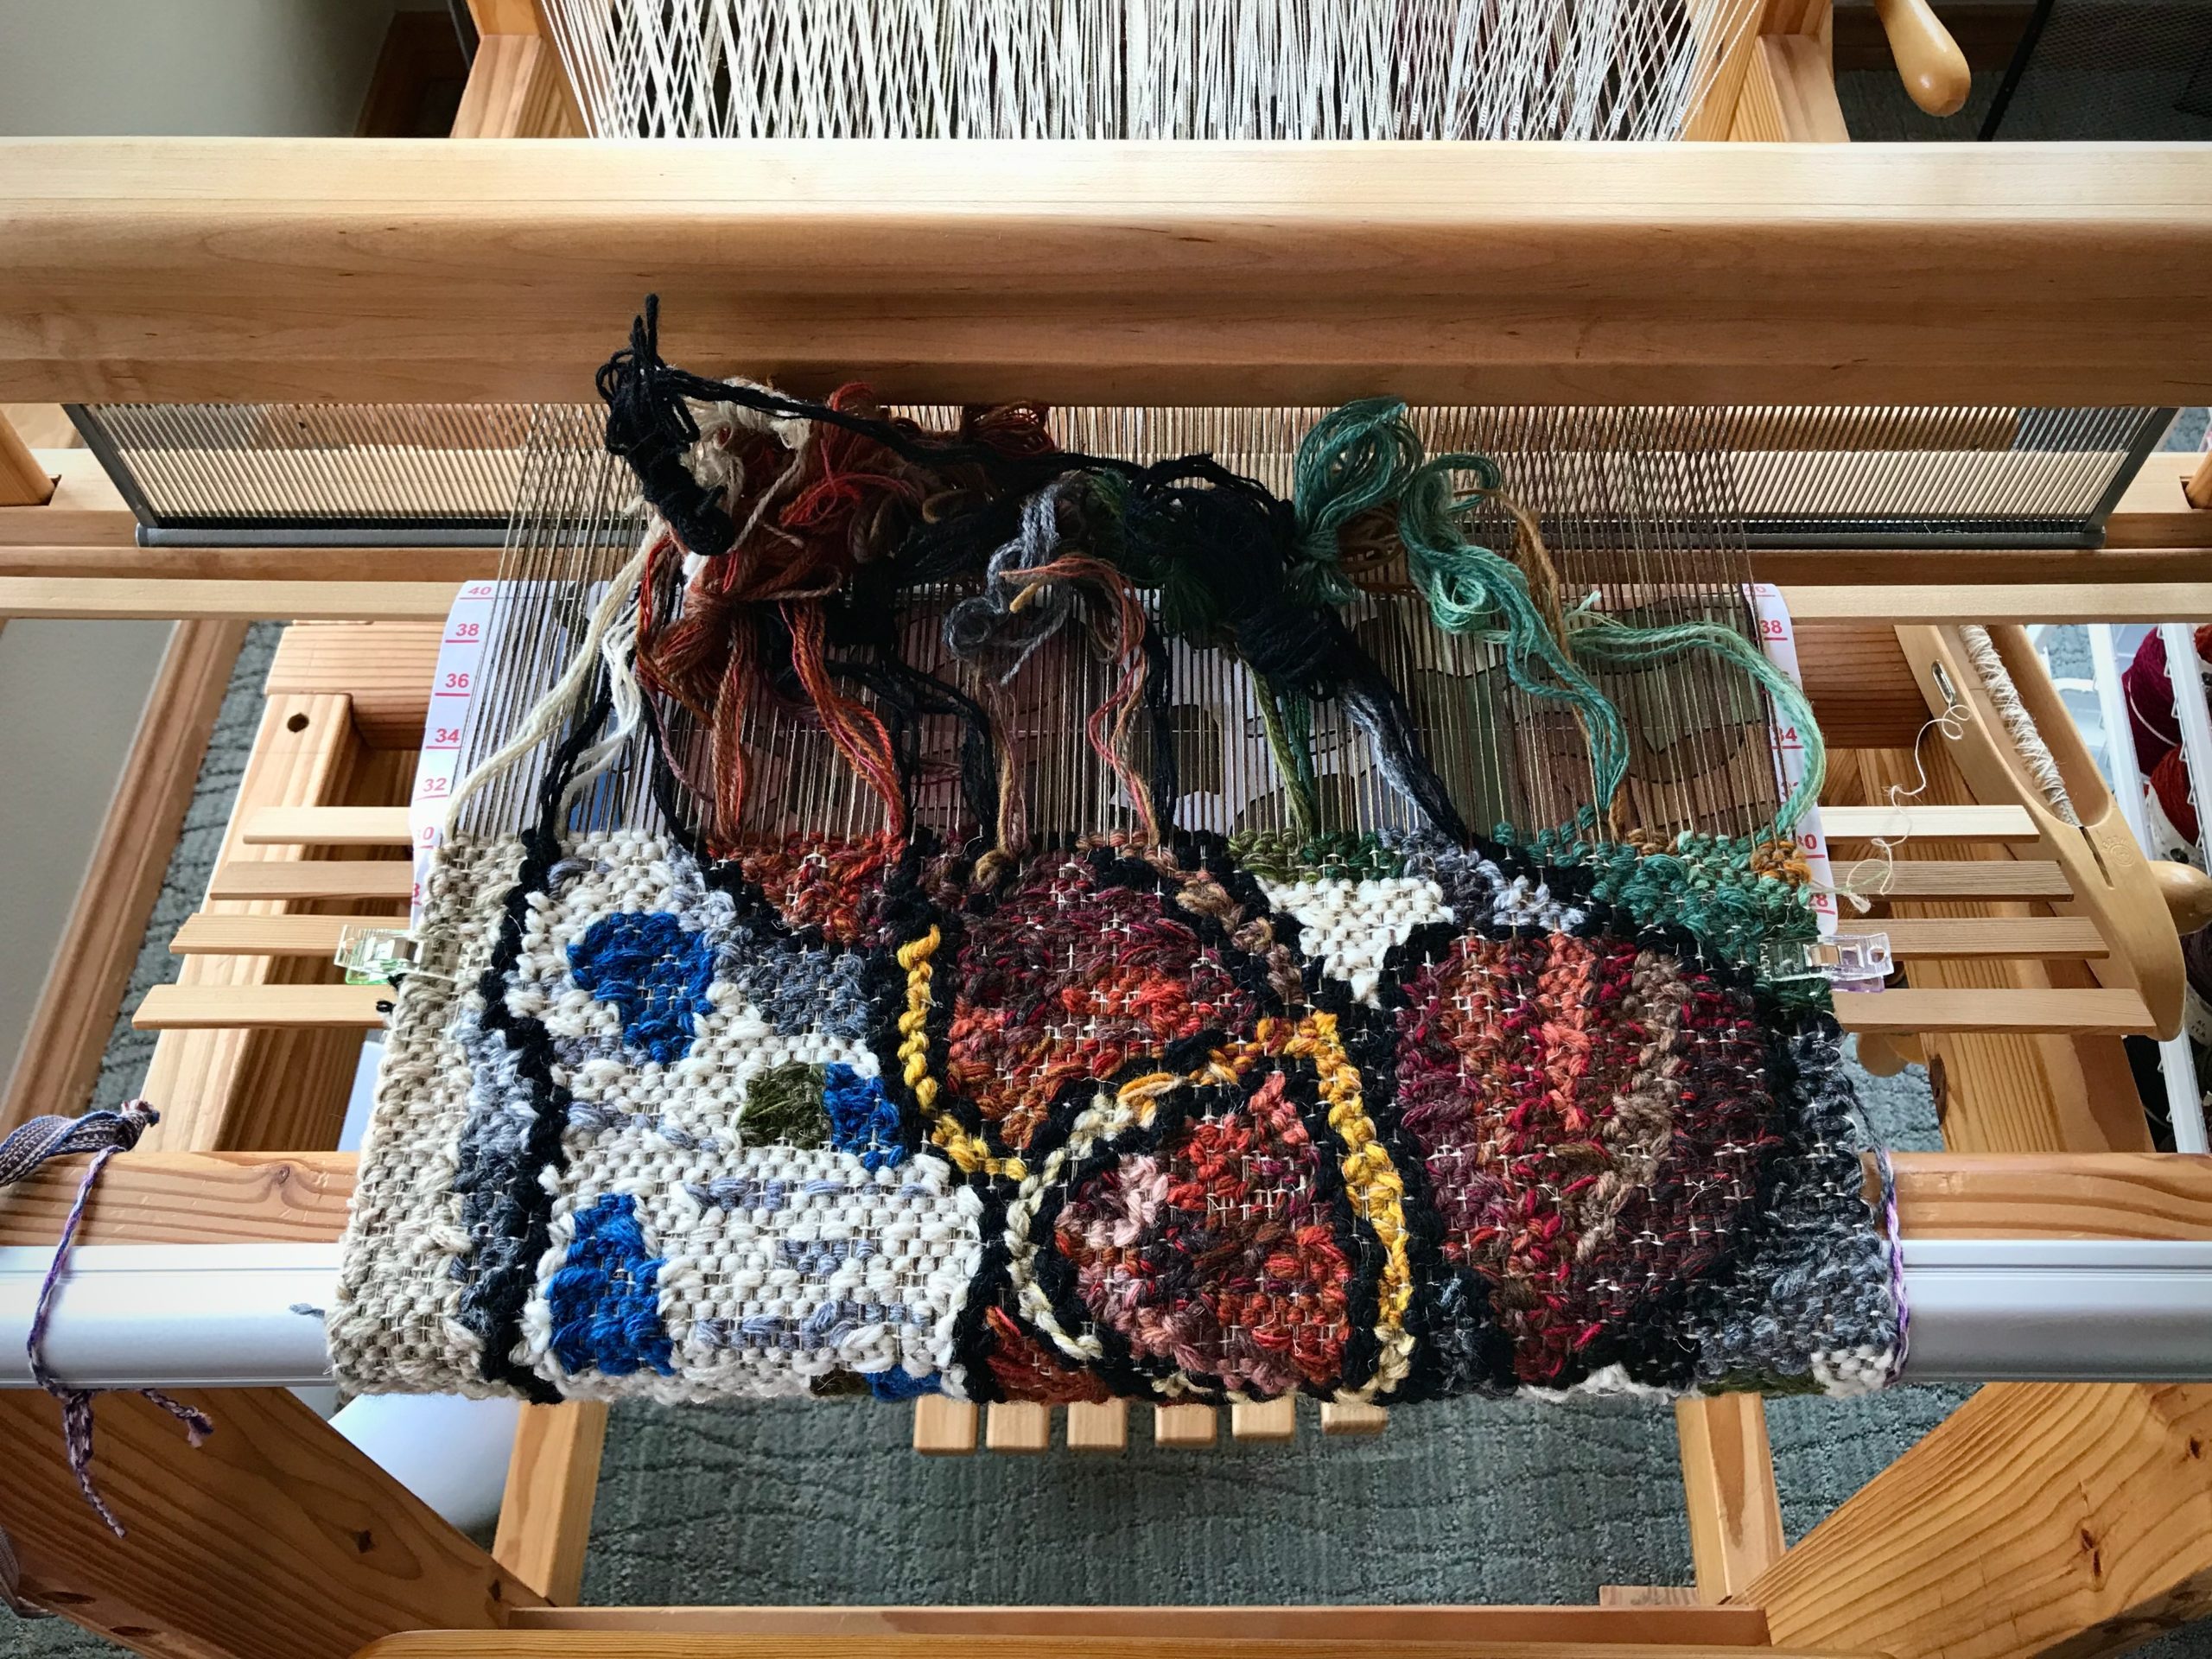
My weaving interest started in 1982 when I happened across a rigid heddle loom class by Lynn Tedder at Johnson Atelier in Tulsa, Oklahoma. I acquired a 32-inch Beka Rigid Heddle Loom and began weaving during snippets of time as I was being a full-time mommy to one, two, and then three little ones. One of my very first projects on that simple loom was a wool color gamp sampler. I wove full width for a length equal to two panels that I then hand-stitched together to make a small blanket. That little blanket got a lot of use and wear, and at some point I packed it away because some of the edges had become a little ragged over time.

In 2019 I finished one of my first warps on the drawloom–Tuna wool fabric in which I wove designs for a simple vest I would make for myself. I created the pattern for the vest, and after doing several muslins, I wanted to do a mockup in similar weight to the wool fabric from the drawloom. I dug out that old rigid heddle loom blanket! Perfect for this assignment as a mockup.
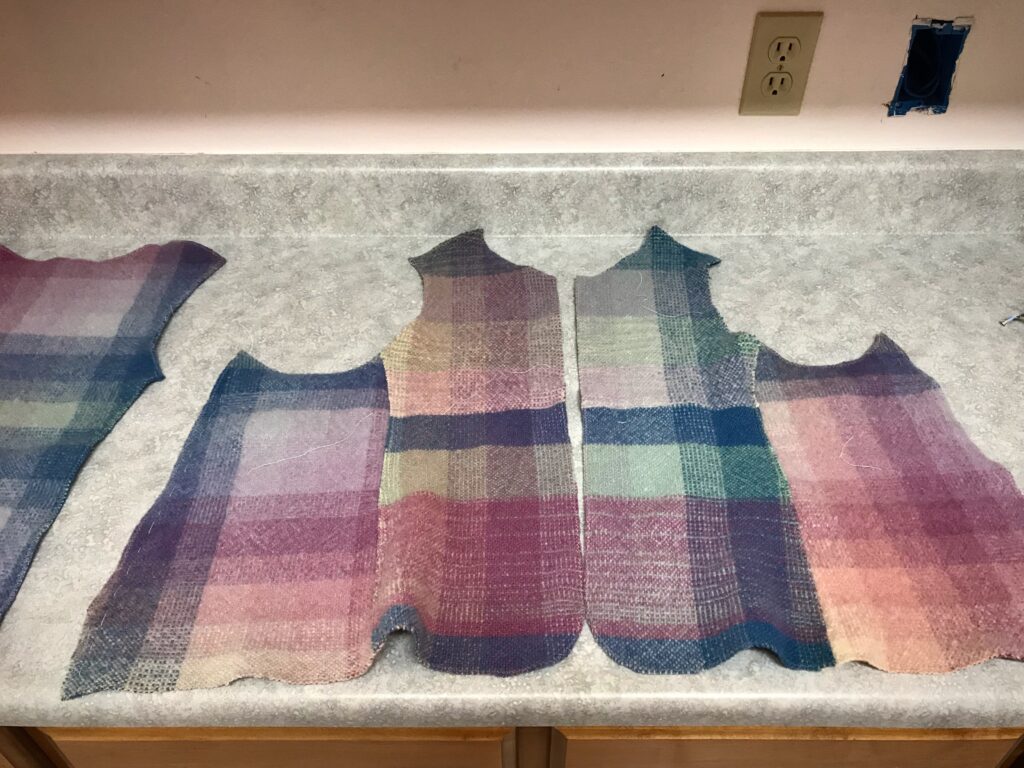
I made a mockup for the drawloom vest. I cut the mockup vest from a plain weave color gamp sampler blanket I wove on my 32″ Beka rigid heddle loom in 1982. The blanket was made from two panels hand-stitched together down the middle.
Wool vest made in January 2020 from fabric woven on the drawloom.

Why not make that color gamp mockup into a wearable vest on its own? That is what I have finished this week. The pictures that follow tell the story.
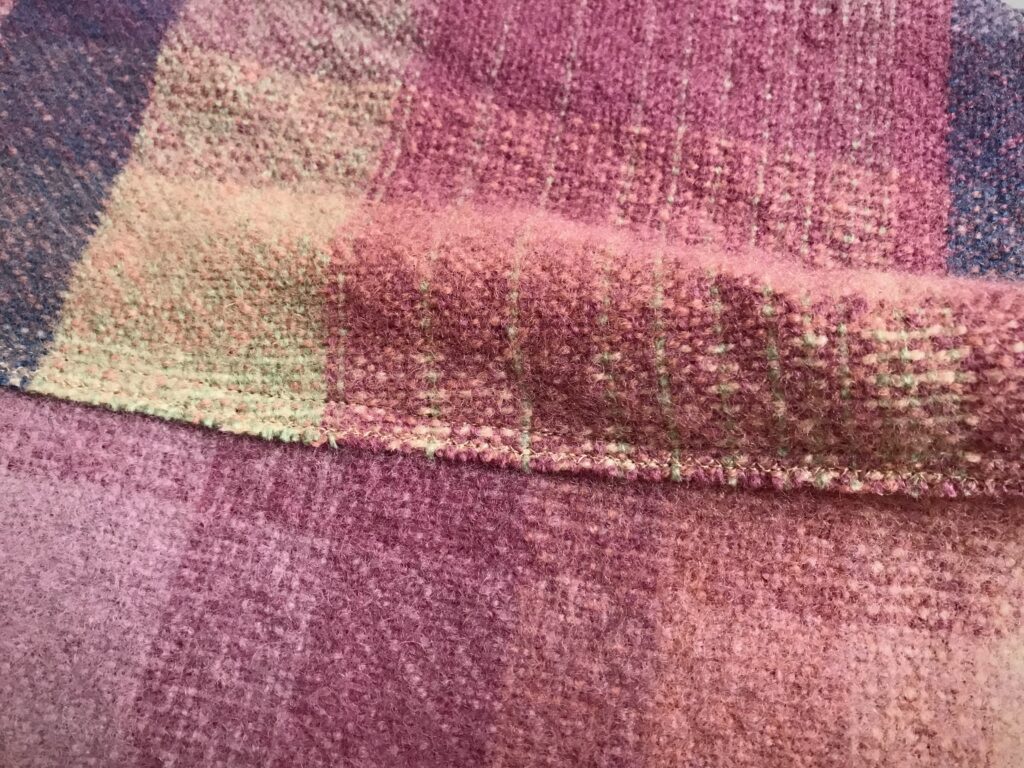
I made the mockup vest with overlapped seams.
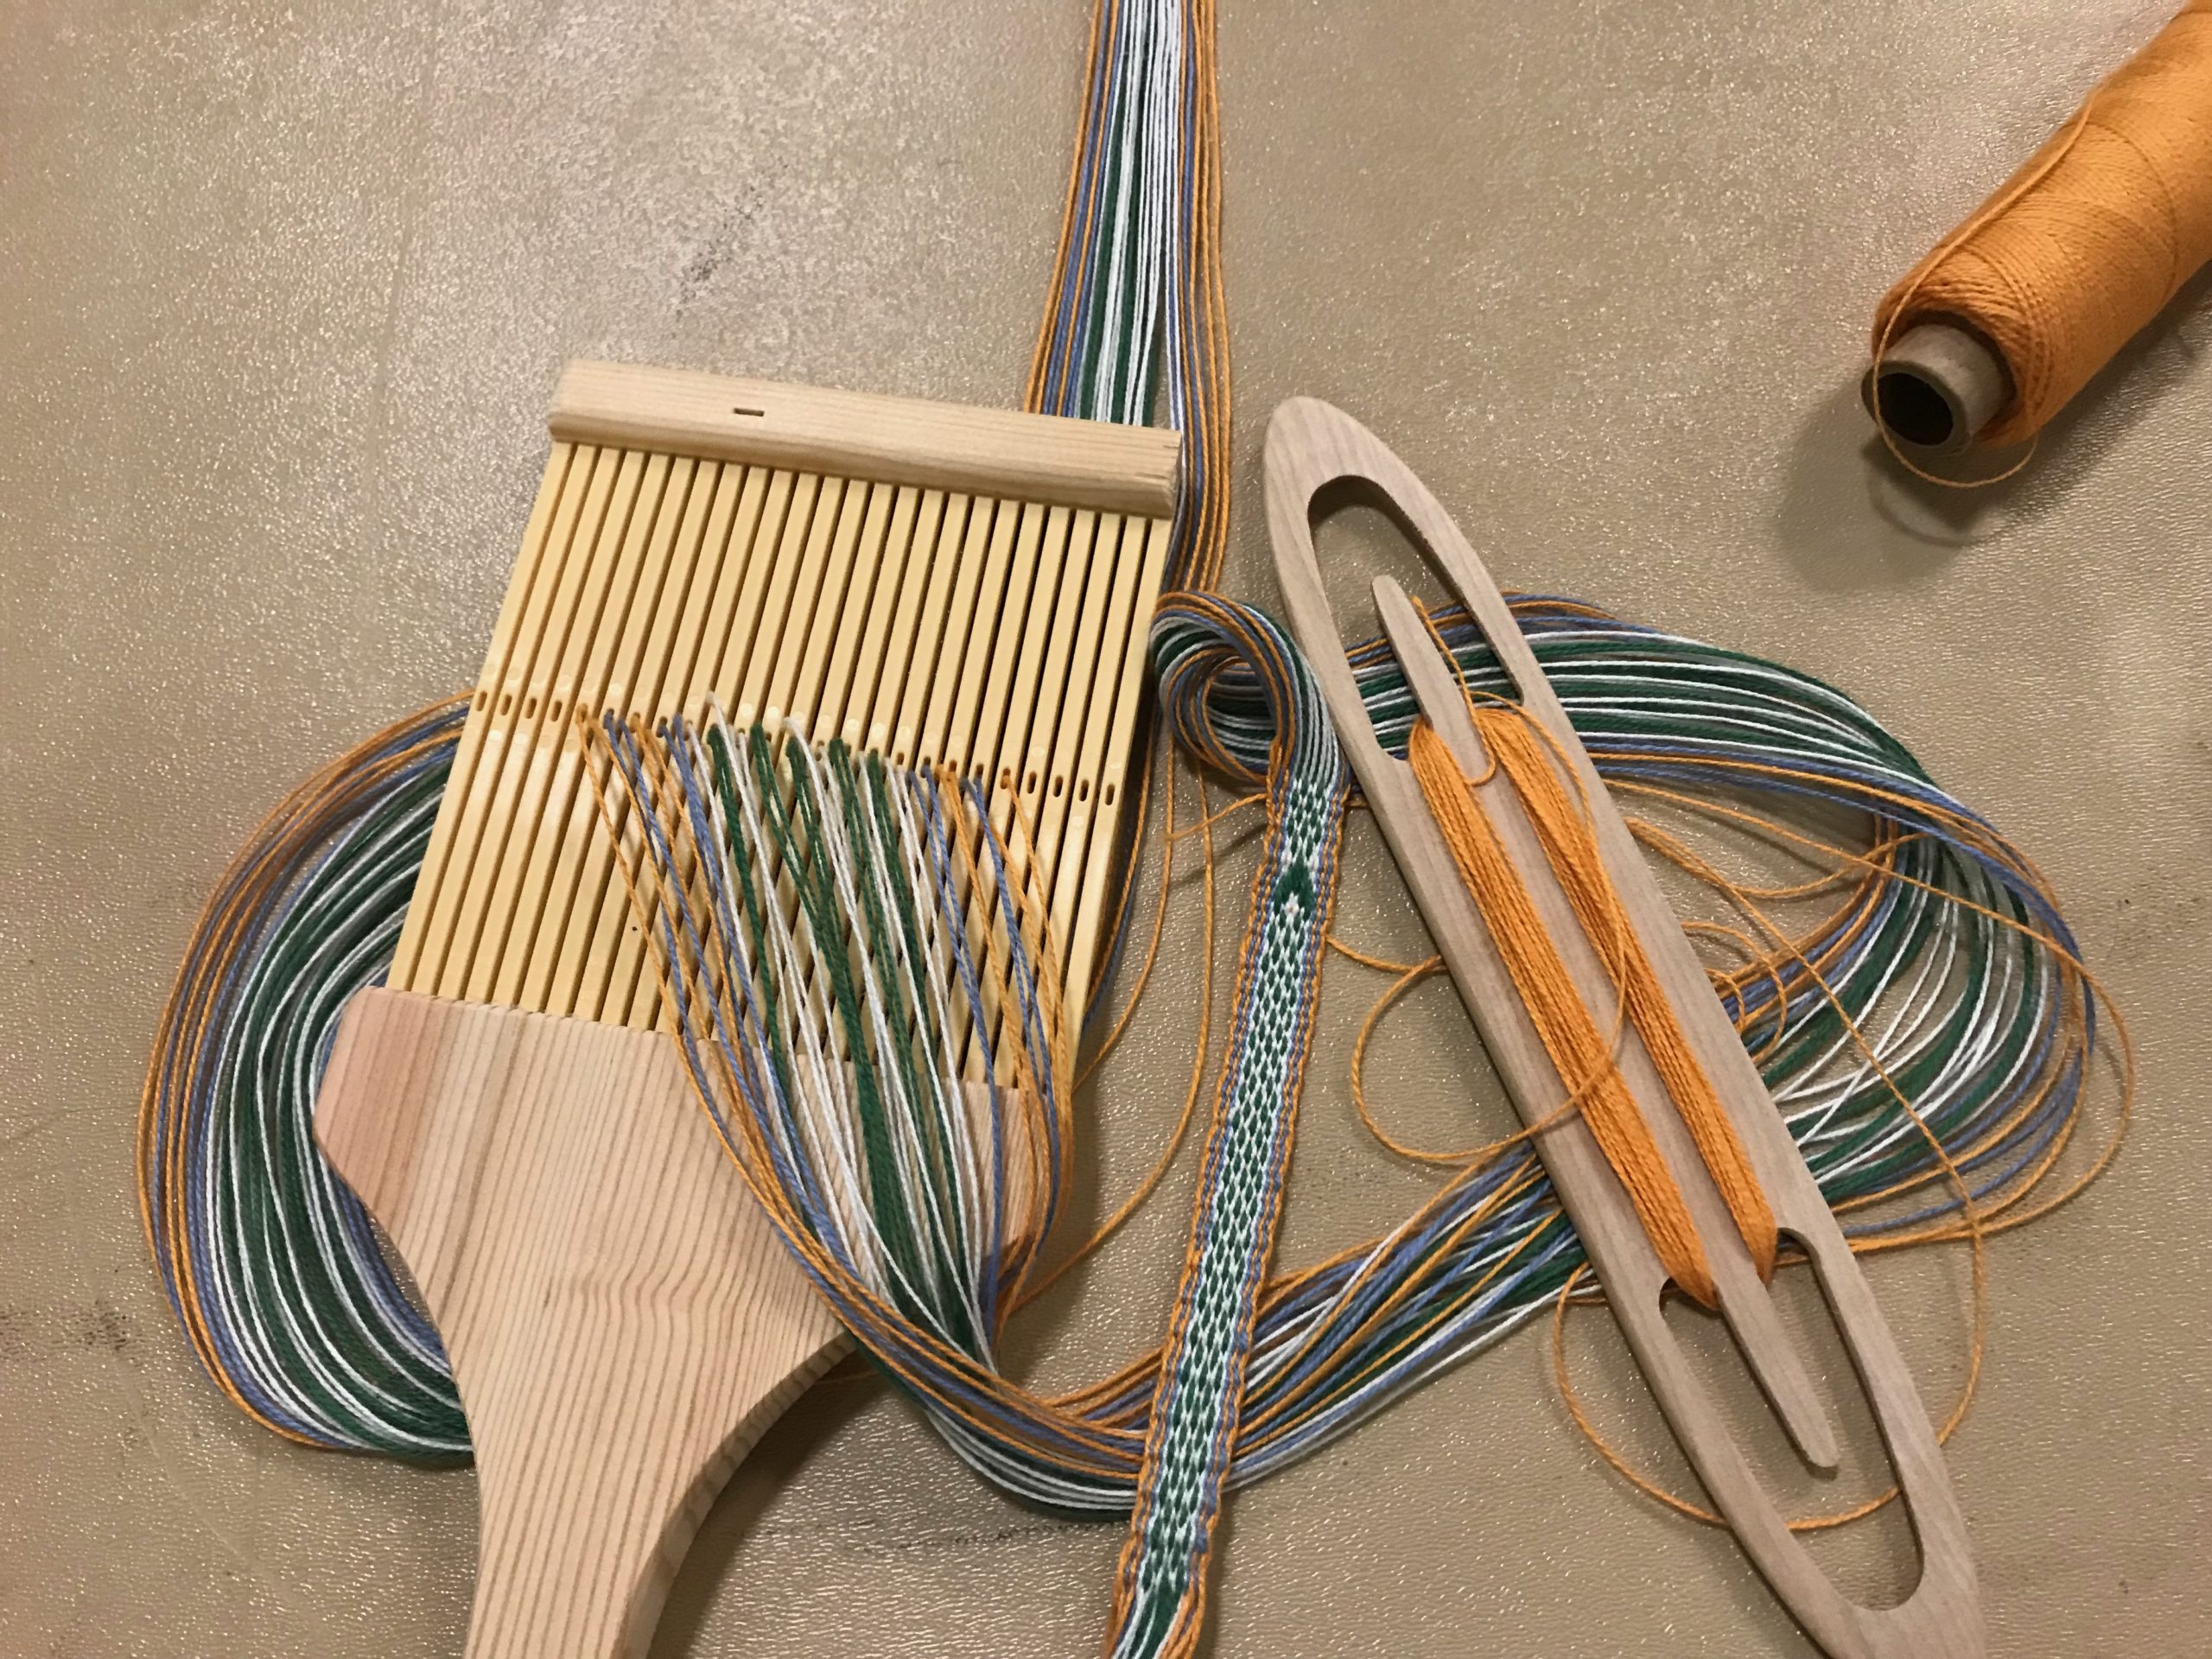
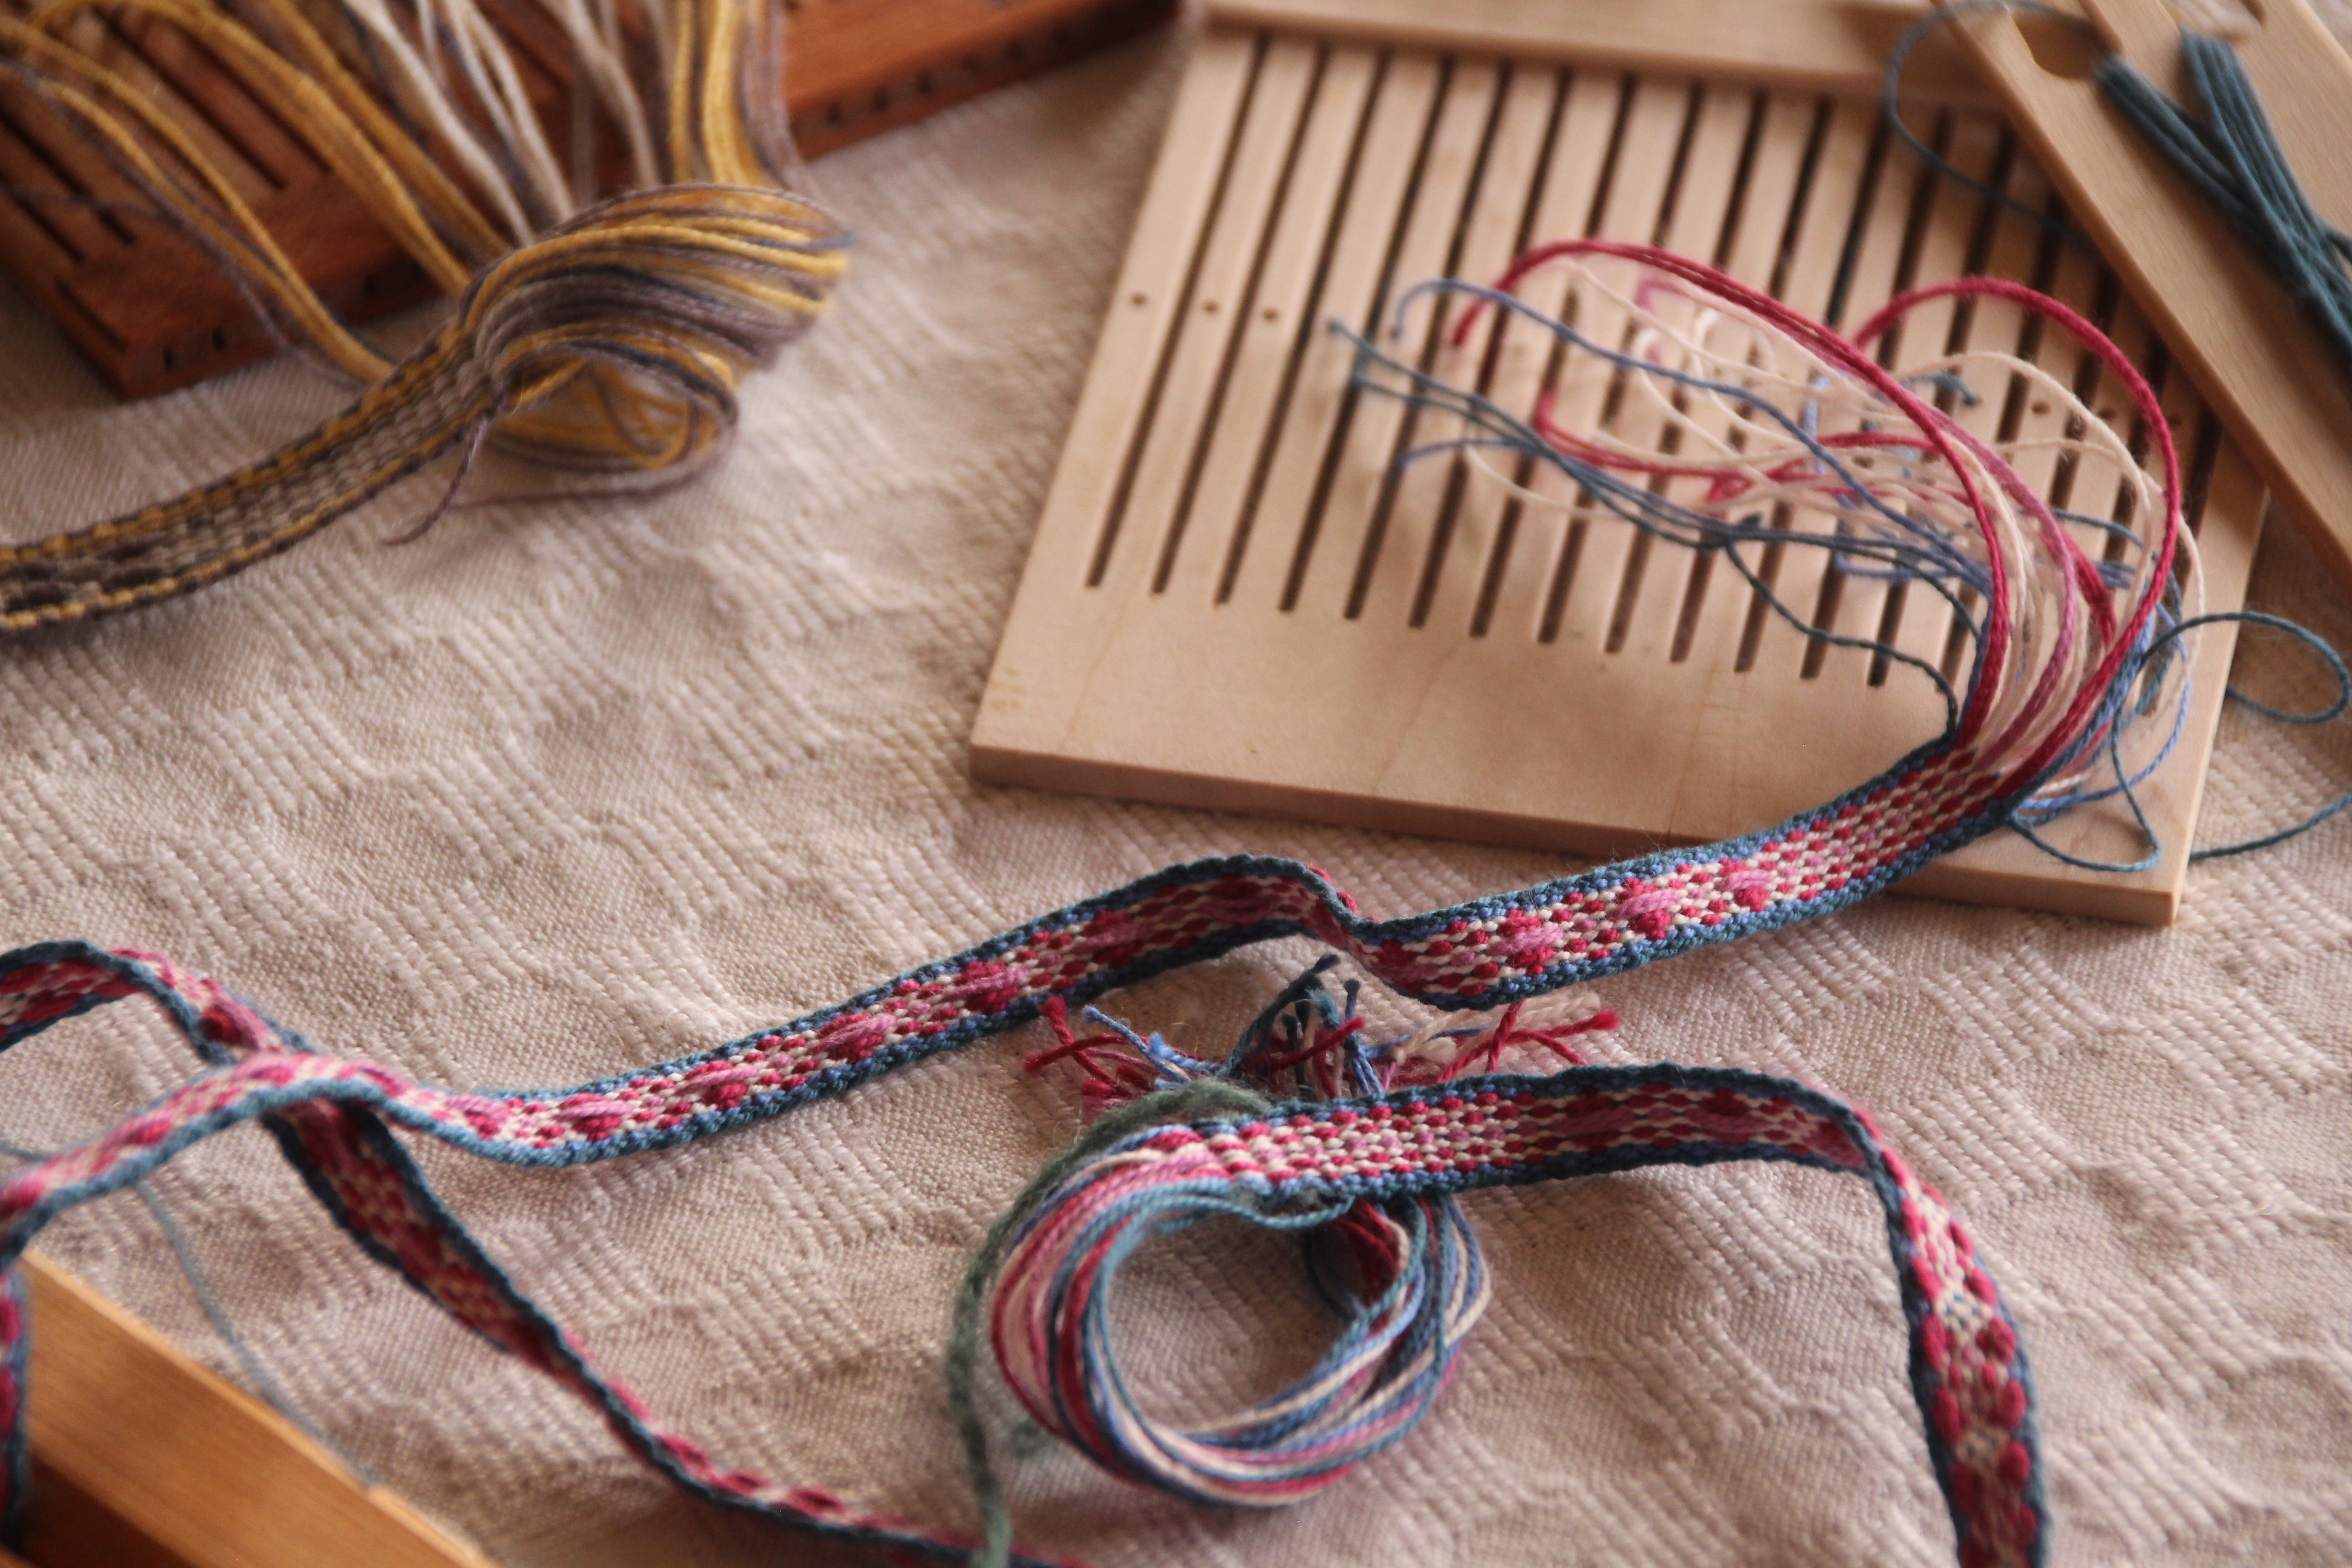
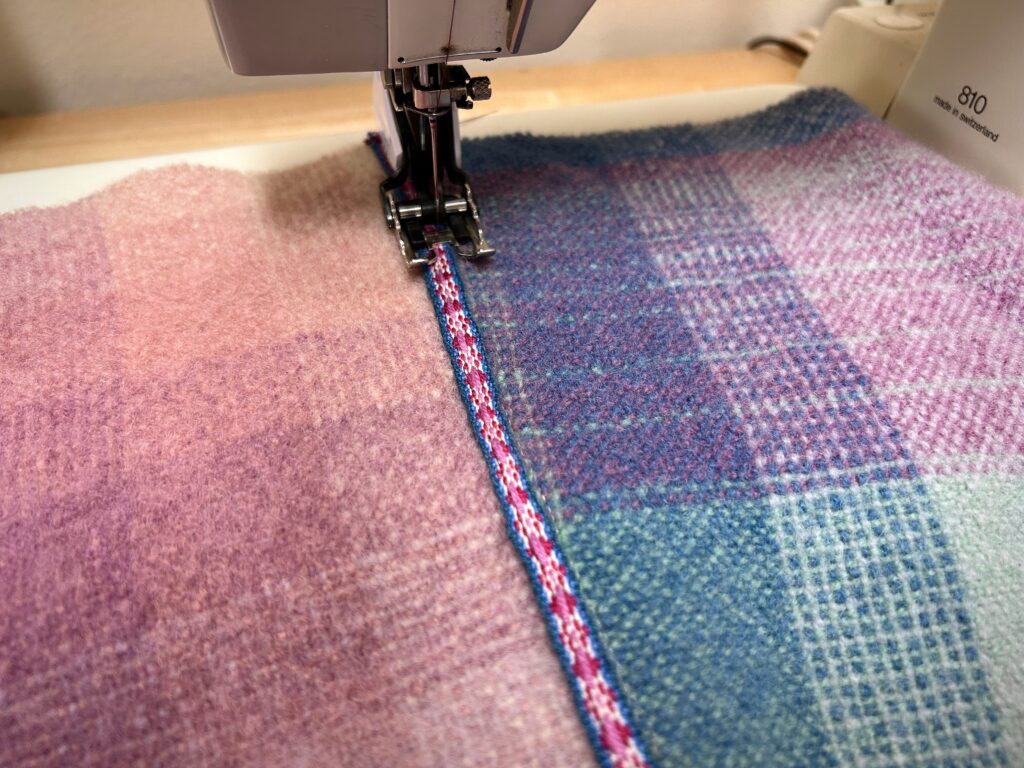
I am using handwoven bands to cover the seams on the vest. This pretty band was woven a couple years ago on a small band heddle that Steve made for me.
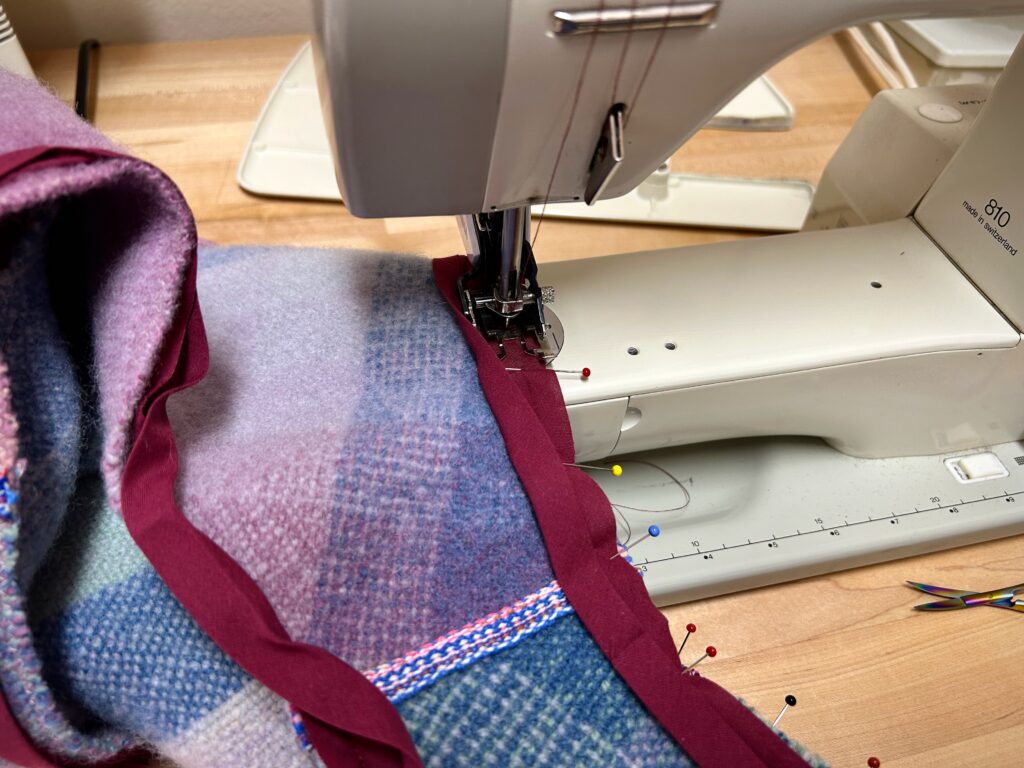
Double fold bias tape covers all the edges of the vest. First I stitch the tape to the edge of the vest, right sides together. You can see another handwoven band that I am using to cover the shoulder seams.
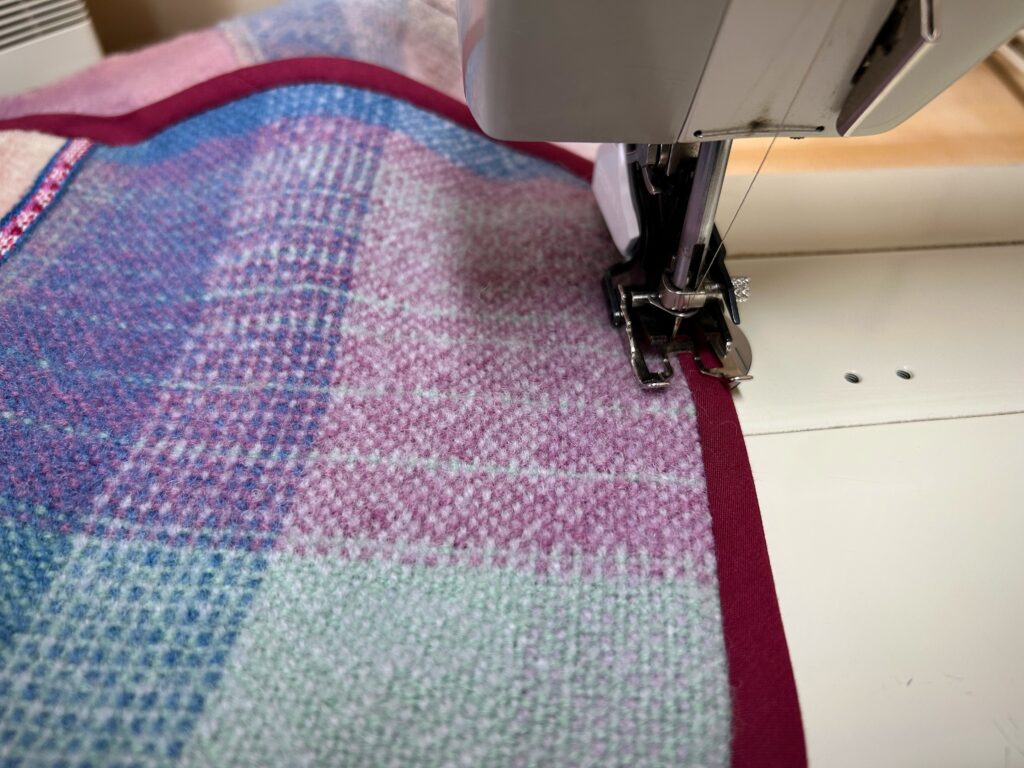
Next, I fold the bias tape around the edge and to the inside, and “stitch in the ditch” to catch the edge of the bias tape on the inside of the vest.
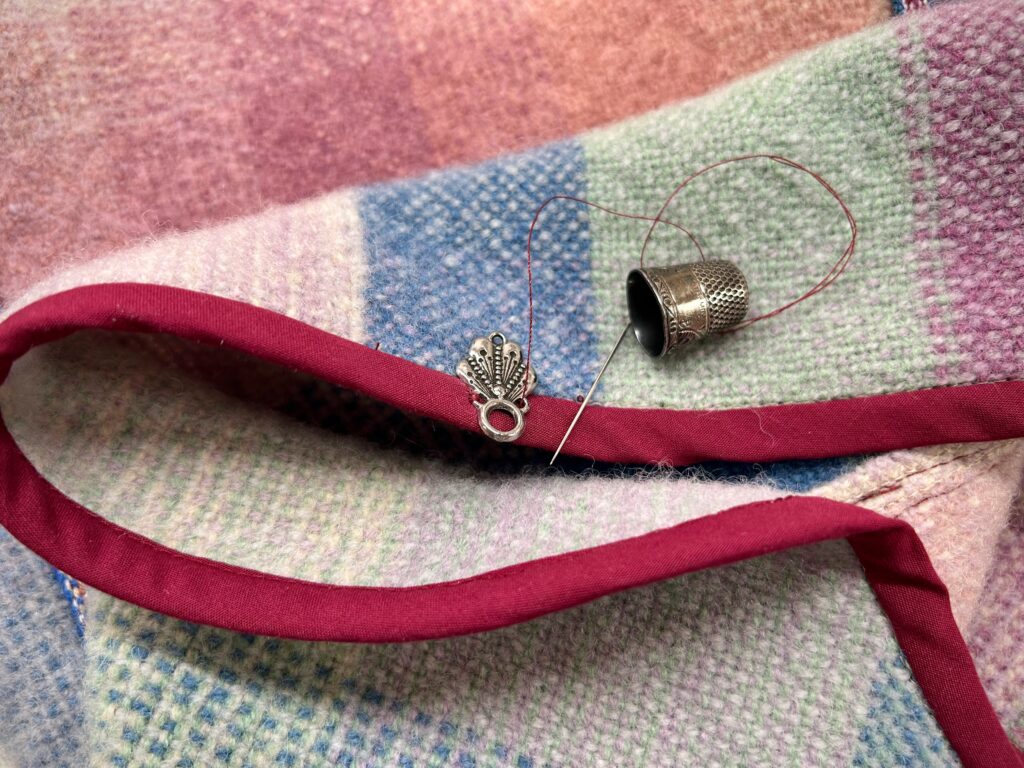
I found this two-part metal closure in my box of sewing odds and ends. It’s perfect for this vest. The thimble is one my grandmother used in her many hand-sewing projects.
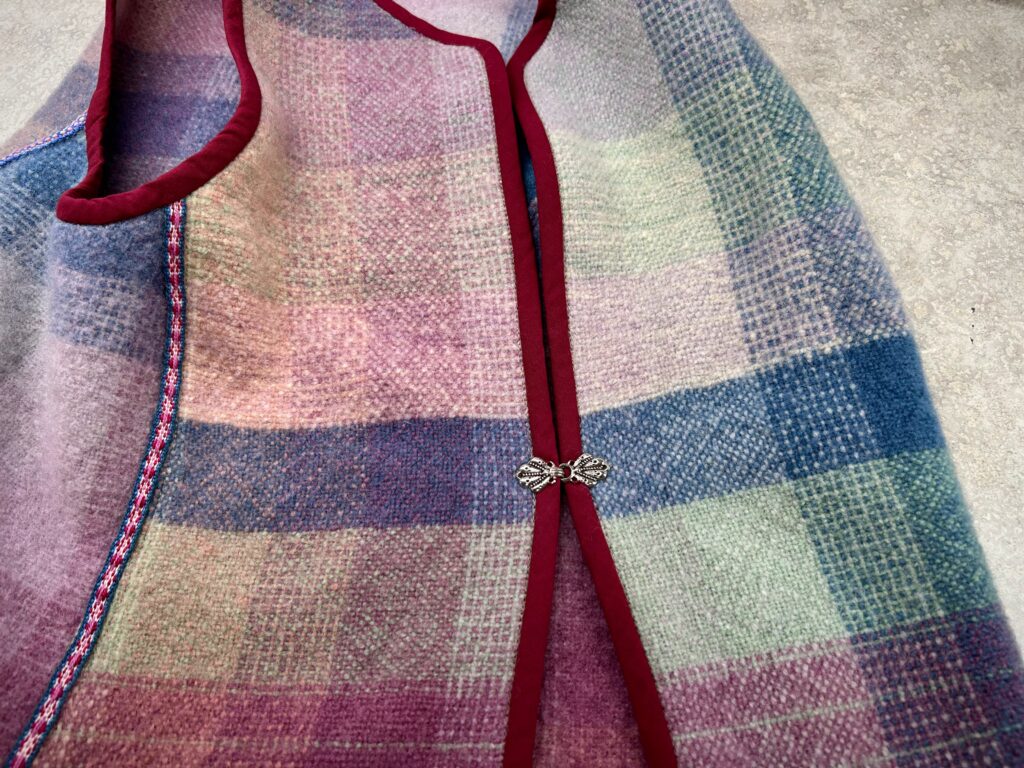
Simple closure for a simple vest.
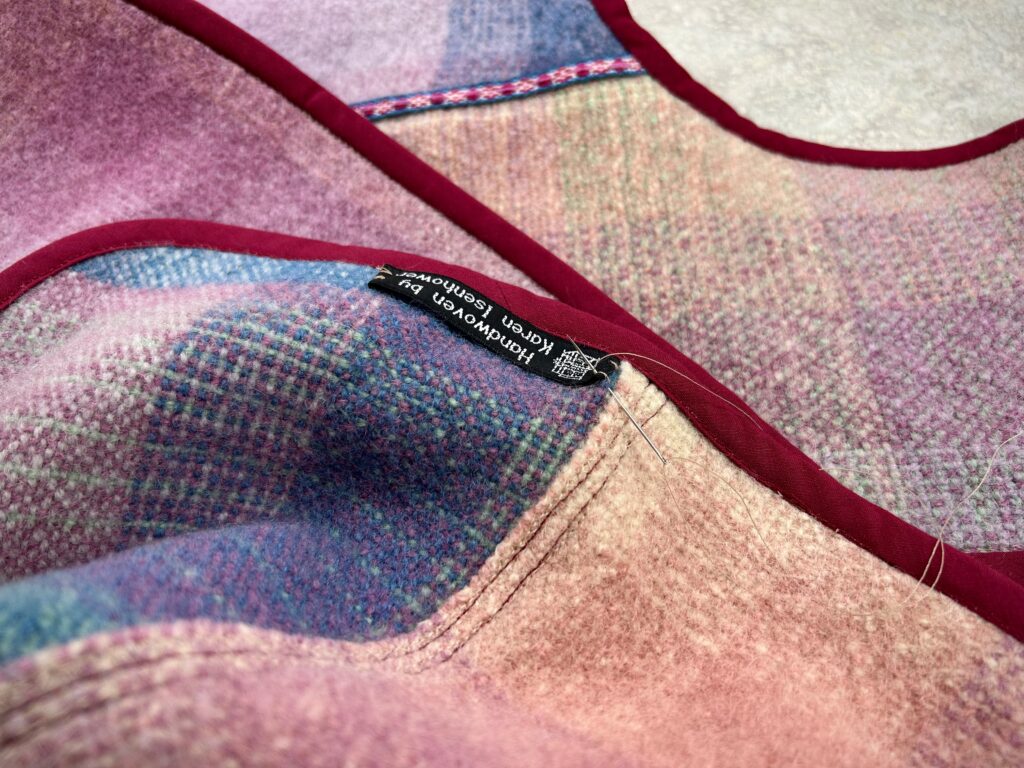
Sewing my handwoven label on the lower edge of the inside is the finishing touch.
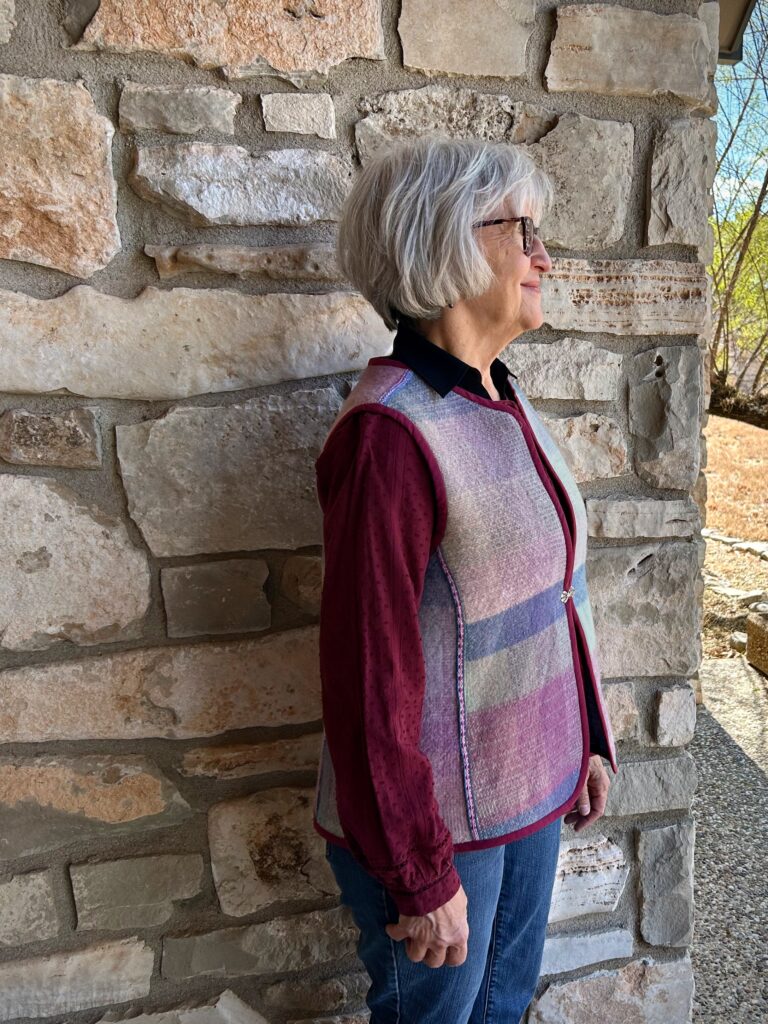
Rigid heddle blanket, now a wearable vest!

When I think about how the Lord allowed me to discover the joy of weaving on a simple little frame loom… And how He has allowed me to enjoy growing in these skills, and how I get to have the pleasure of weaving on a not-so-simple large drawloom… It reminds me of Psalm 16:11 “You reveal the path of life to me; in Your presence is abundant joy; at Your right hand are eternal pleasures.”

Happy to wear a remnant of my rigid heddle loom days!

Thanksgiving: Giving thanks to the Lord for allowing us to know the joy of walking in His path of life.

Happy Thanks Giving, Karen

Looms Have Personality and Year in Review Video

How do you keep five floor looms busy? You sit at them, one loom at a time. Each loom has its own personality. Or, just maybe, the personality of the loom is more about how the loom makes me feel when I’m active with the loom to turn threads into cloth.

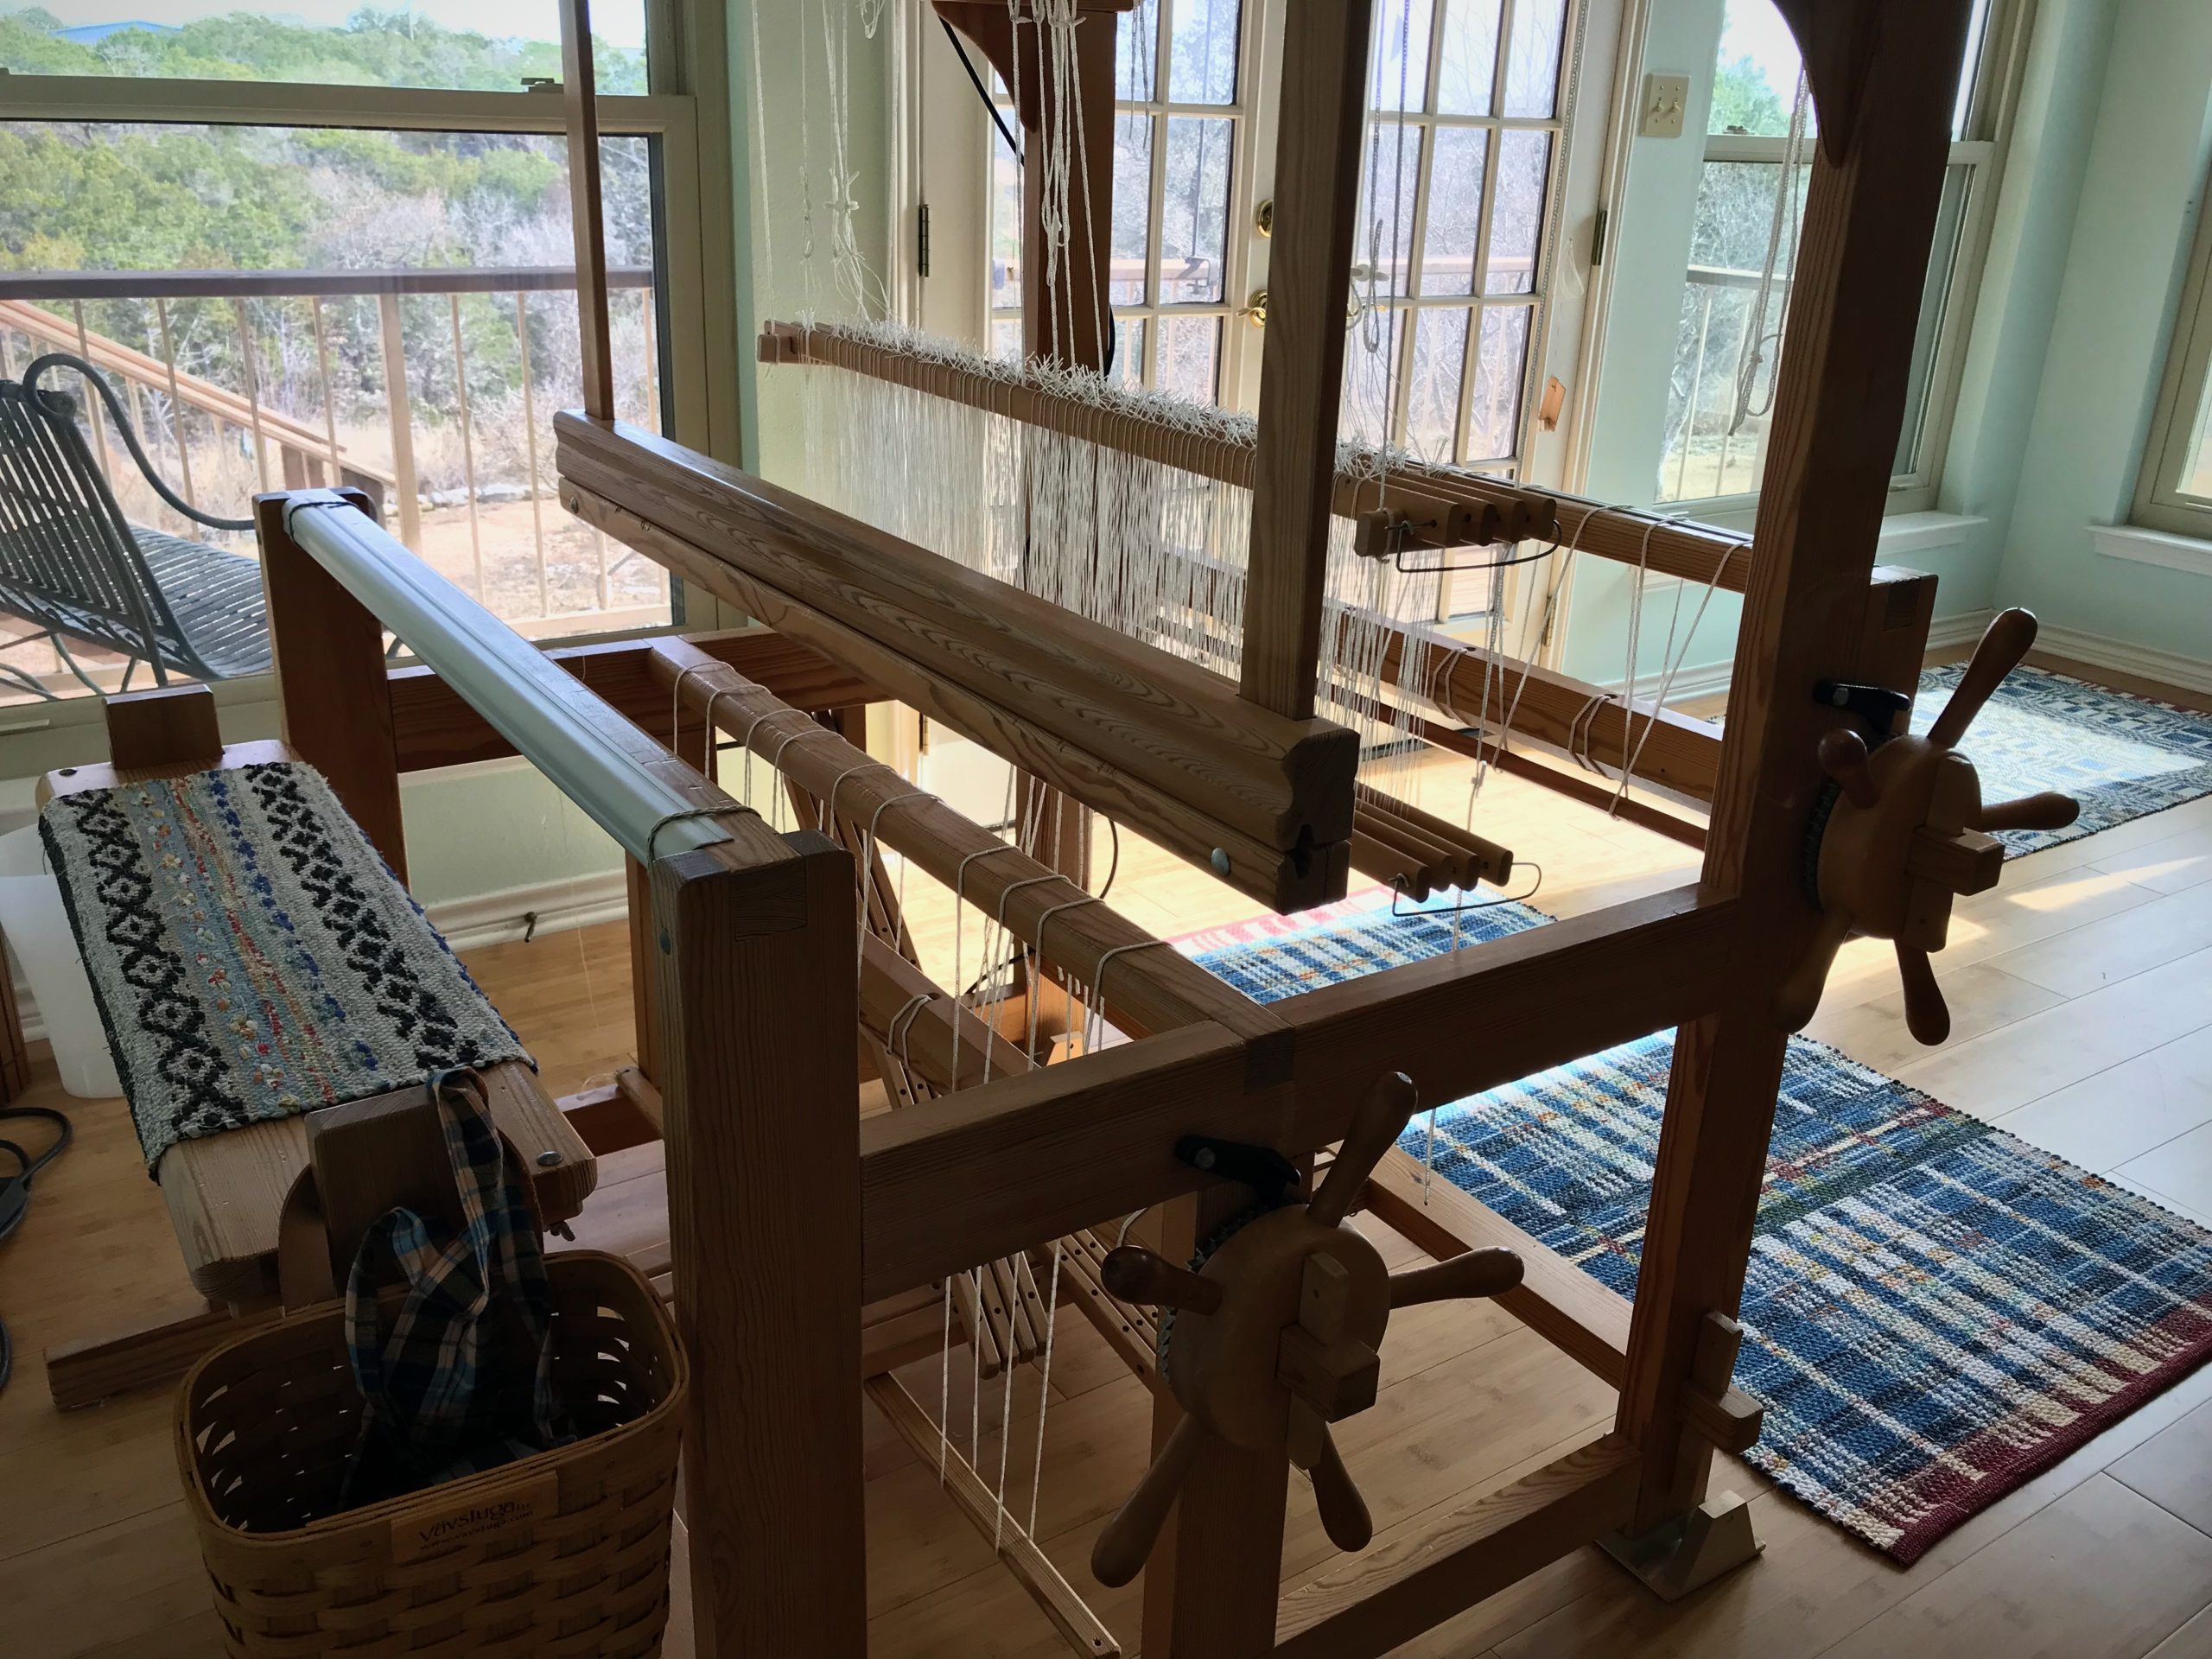
The 120cm Glimåkra Standard Vertical Countermarch is my Queen of Looms.
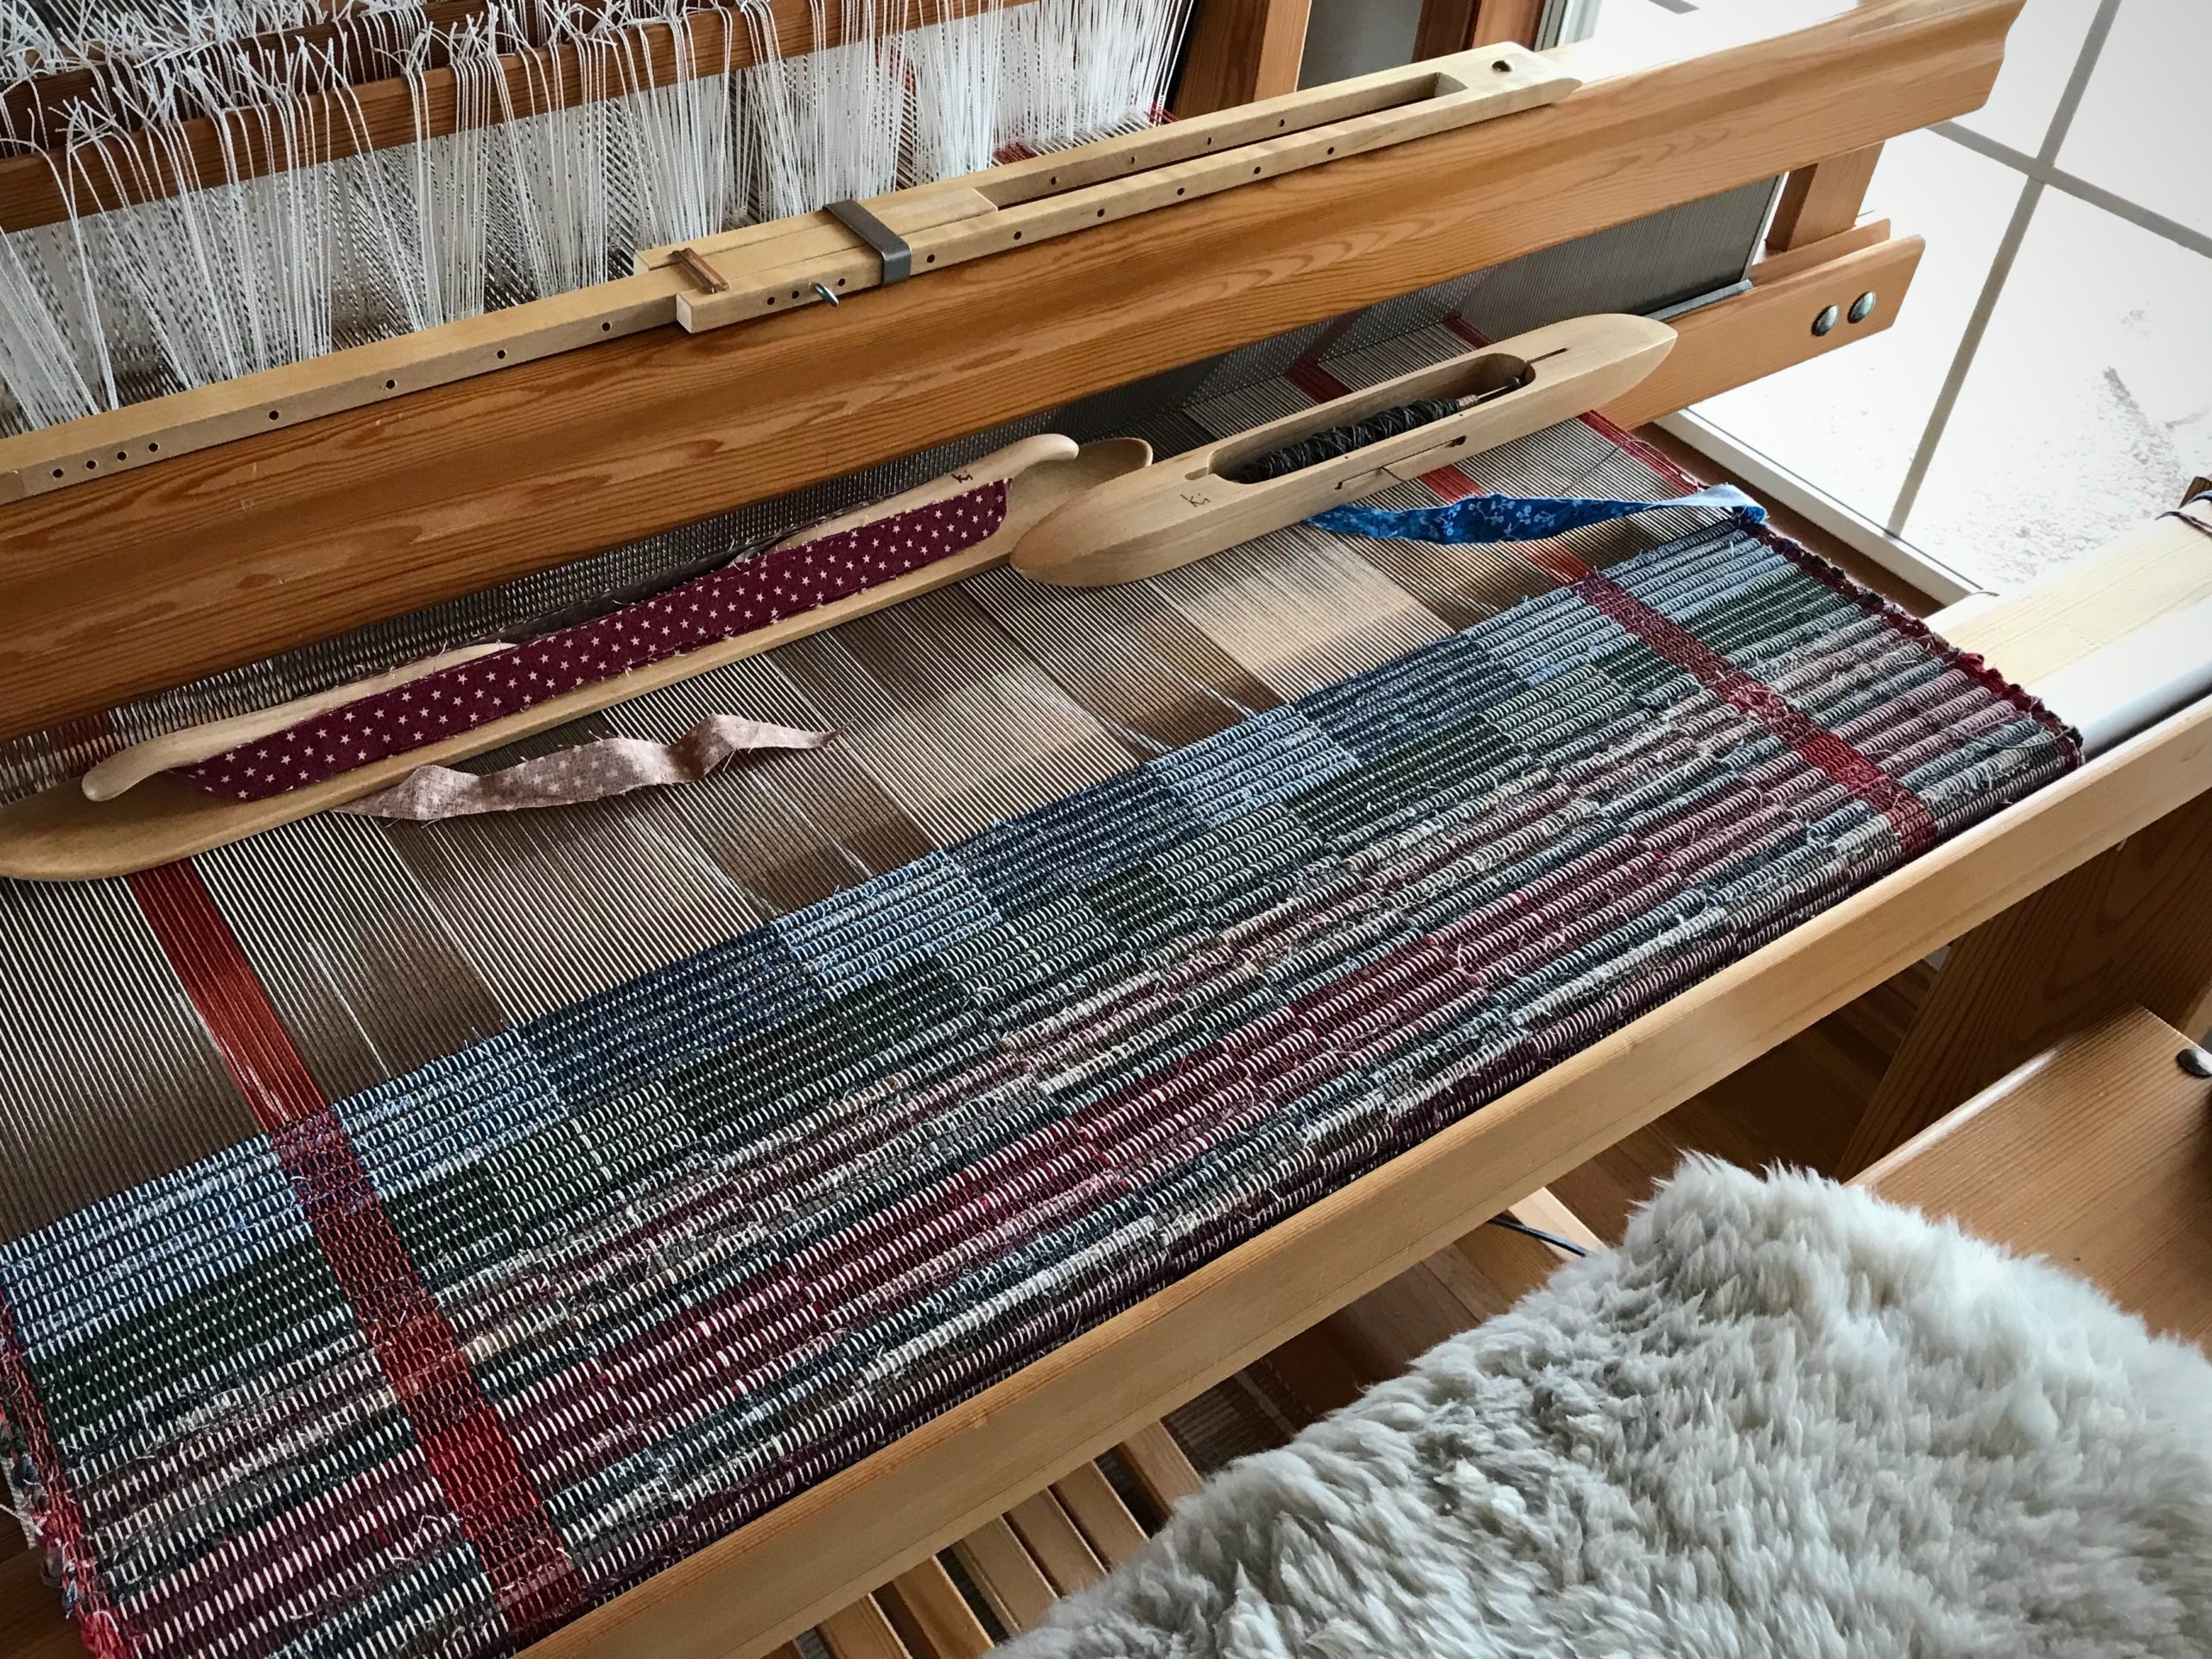
Now: Spaced Rep rag rugs. Two more rugs on this warp.
Next: Jämtlandsdräll (Crackle) rag rugs

The 100cm Glimåkra Ideal Horizontal Countermarch is my Workhorse of Looms.
Now: Empty
Next: Pictorial Tapestry (subject matter to be determined)

The 70cm Isenhower Little Horizontal Countermarch is my Princess of Looms.
Now: Pictorial Tapestry sampler. Currently, “Figs and Coffee.”
Next: unknown

The 120cm Glimåkra Standard Horizontal Countermarch with Myrehed Combination Drawloom Attachment is my Gentle Giant of Looms.
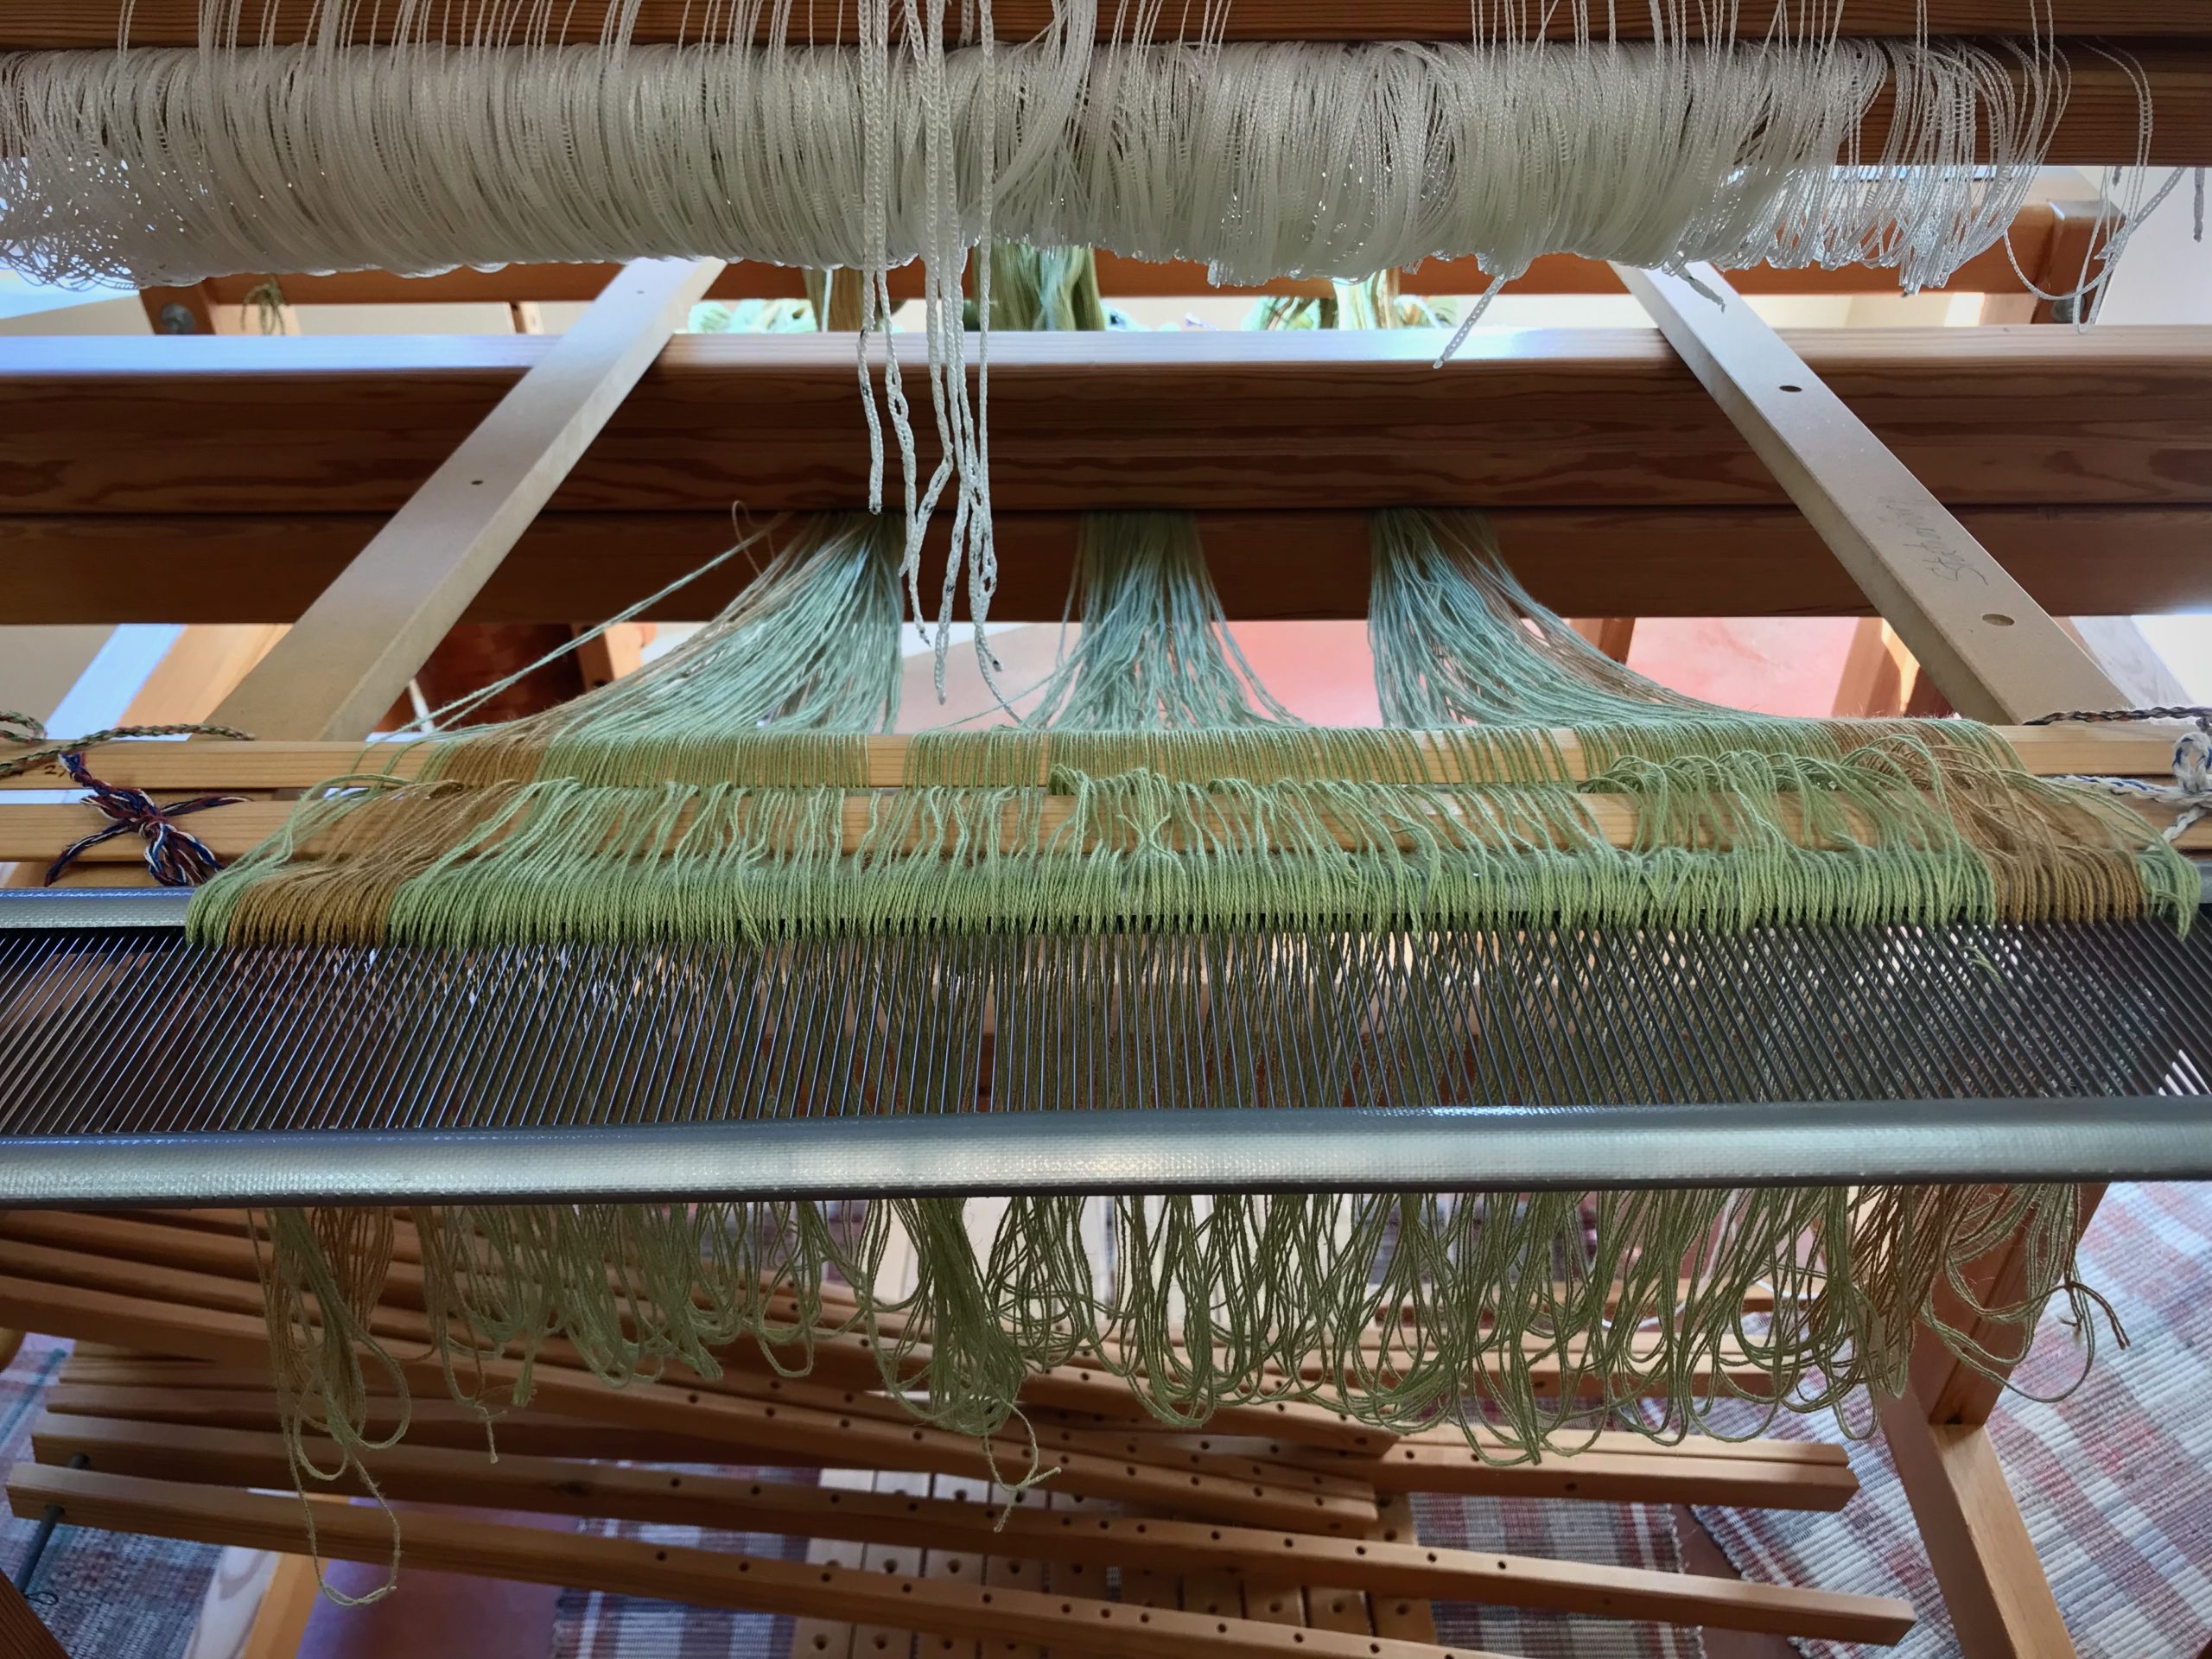
Now: Being dressed for cottolin/linen napkins in 6-shaft broken twill
Next: unknown

The 70cm Glimåkra Julia Horizontal Countermarch is my Cinderella of Looms.
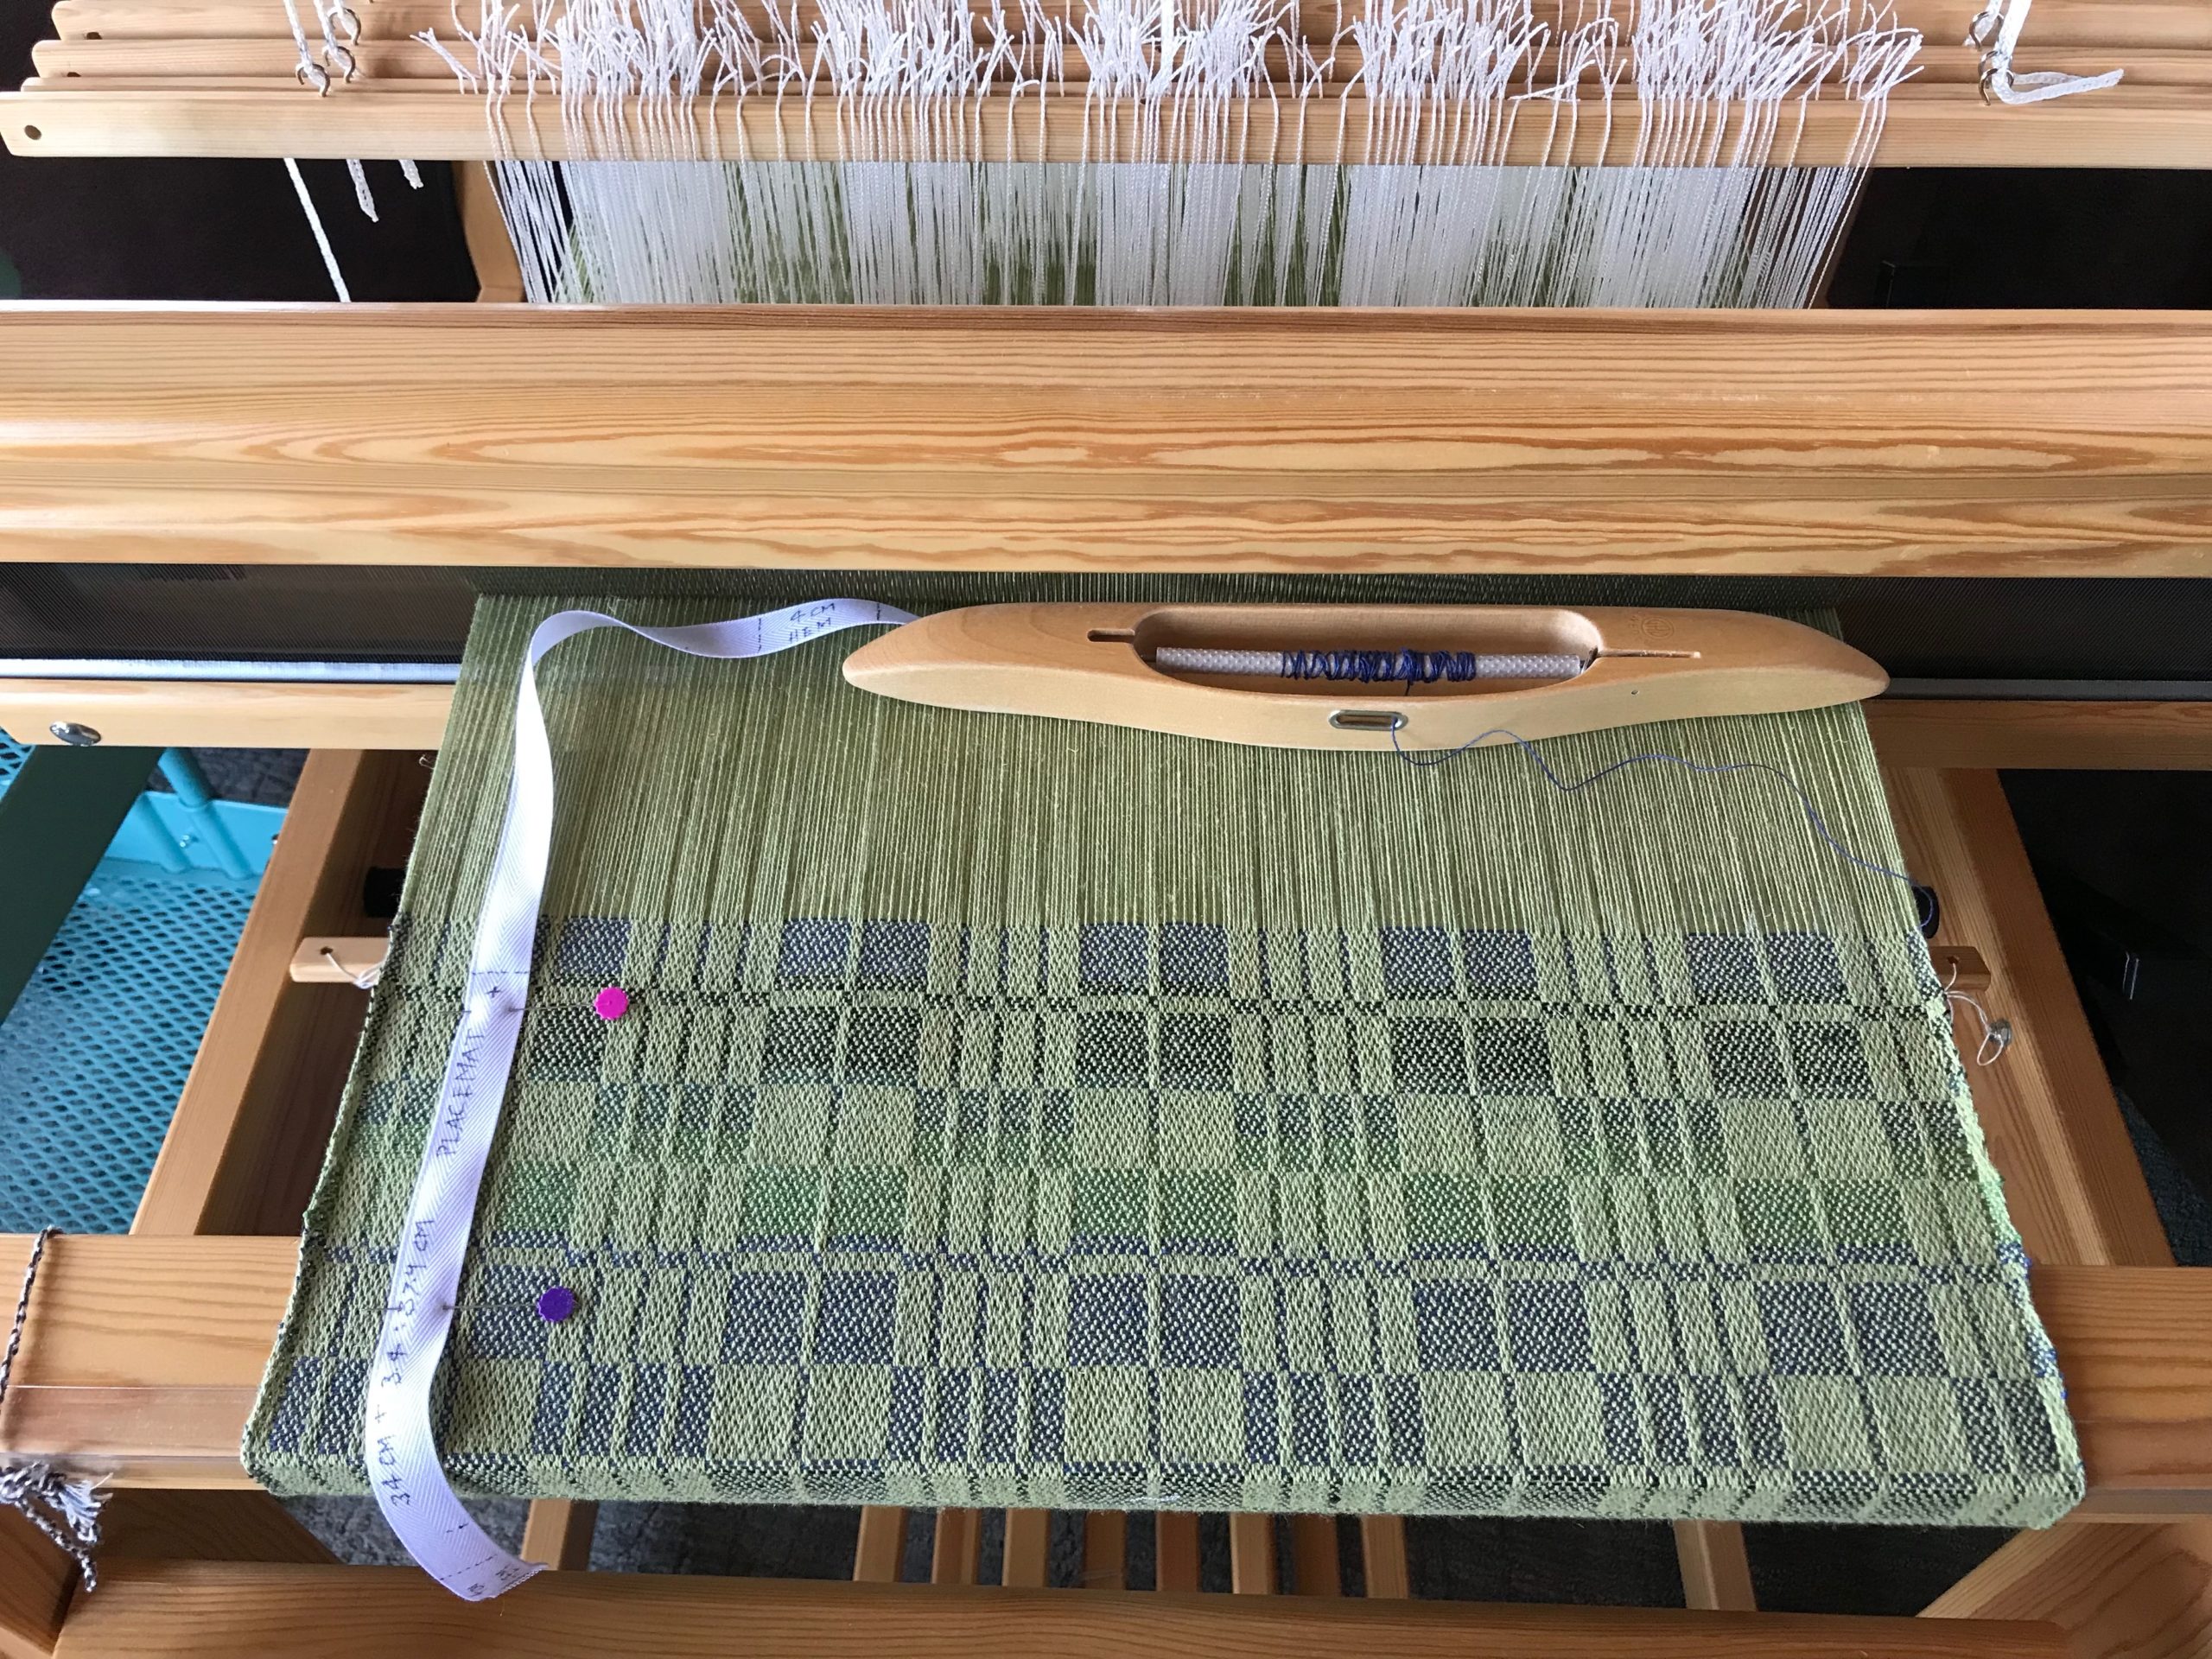
Now: Two-block broken twill cottolin/linen placemats
Next: Fabric for a stylish cape, using a vintage sewing pattern

Let’s take a look back to see how these looms showed their personalities in 2022!

What personality does your loom(s) have?

May your heart and soul flourish in the new year.

Happy Weaving New Year,
Karen

Process Review: Snowflake Banners

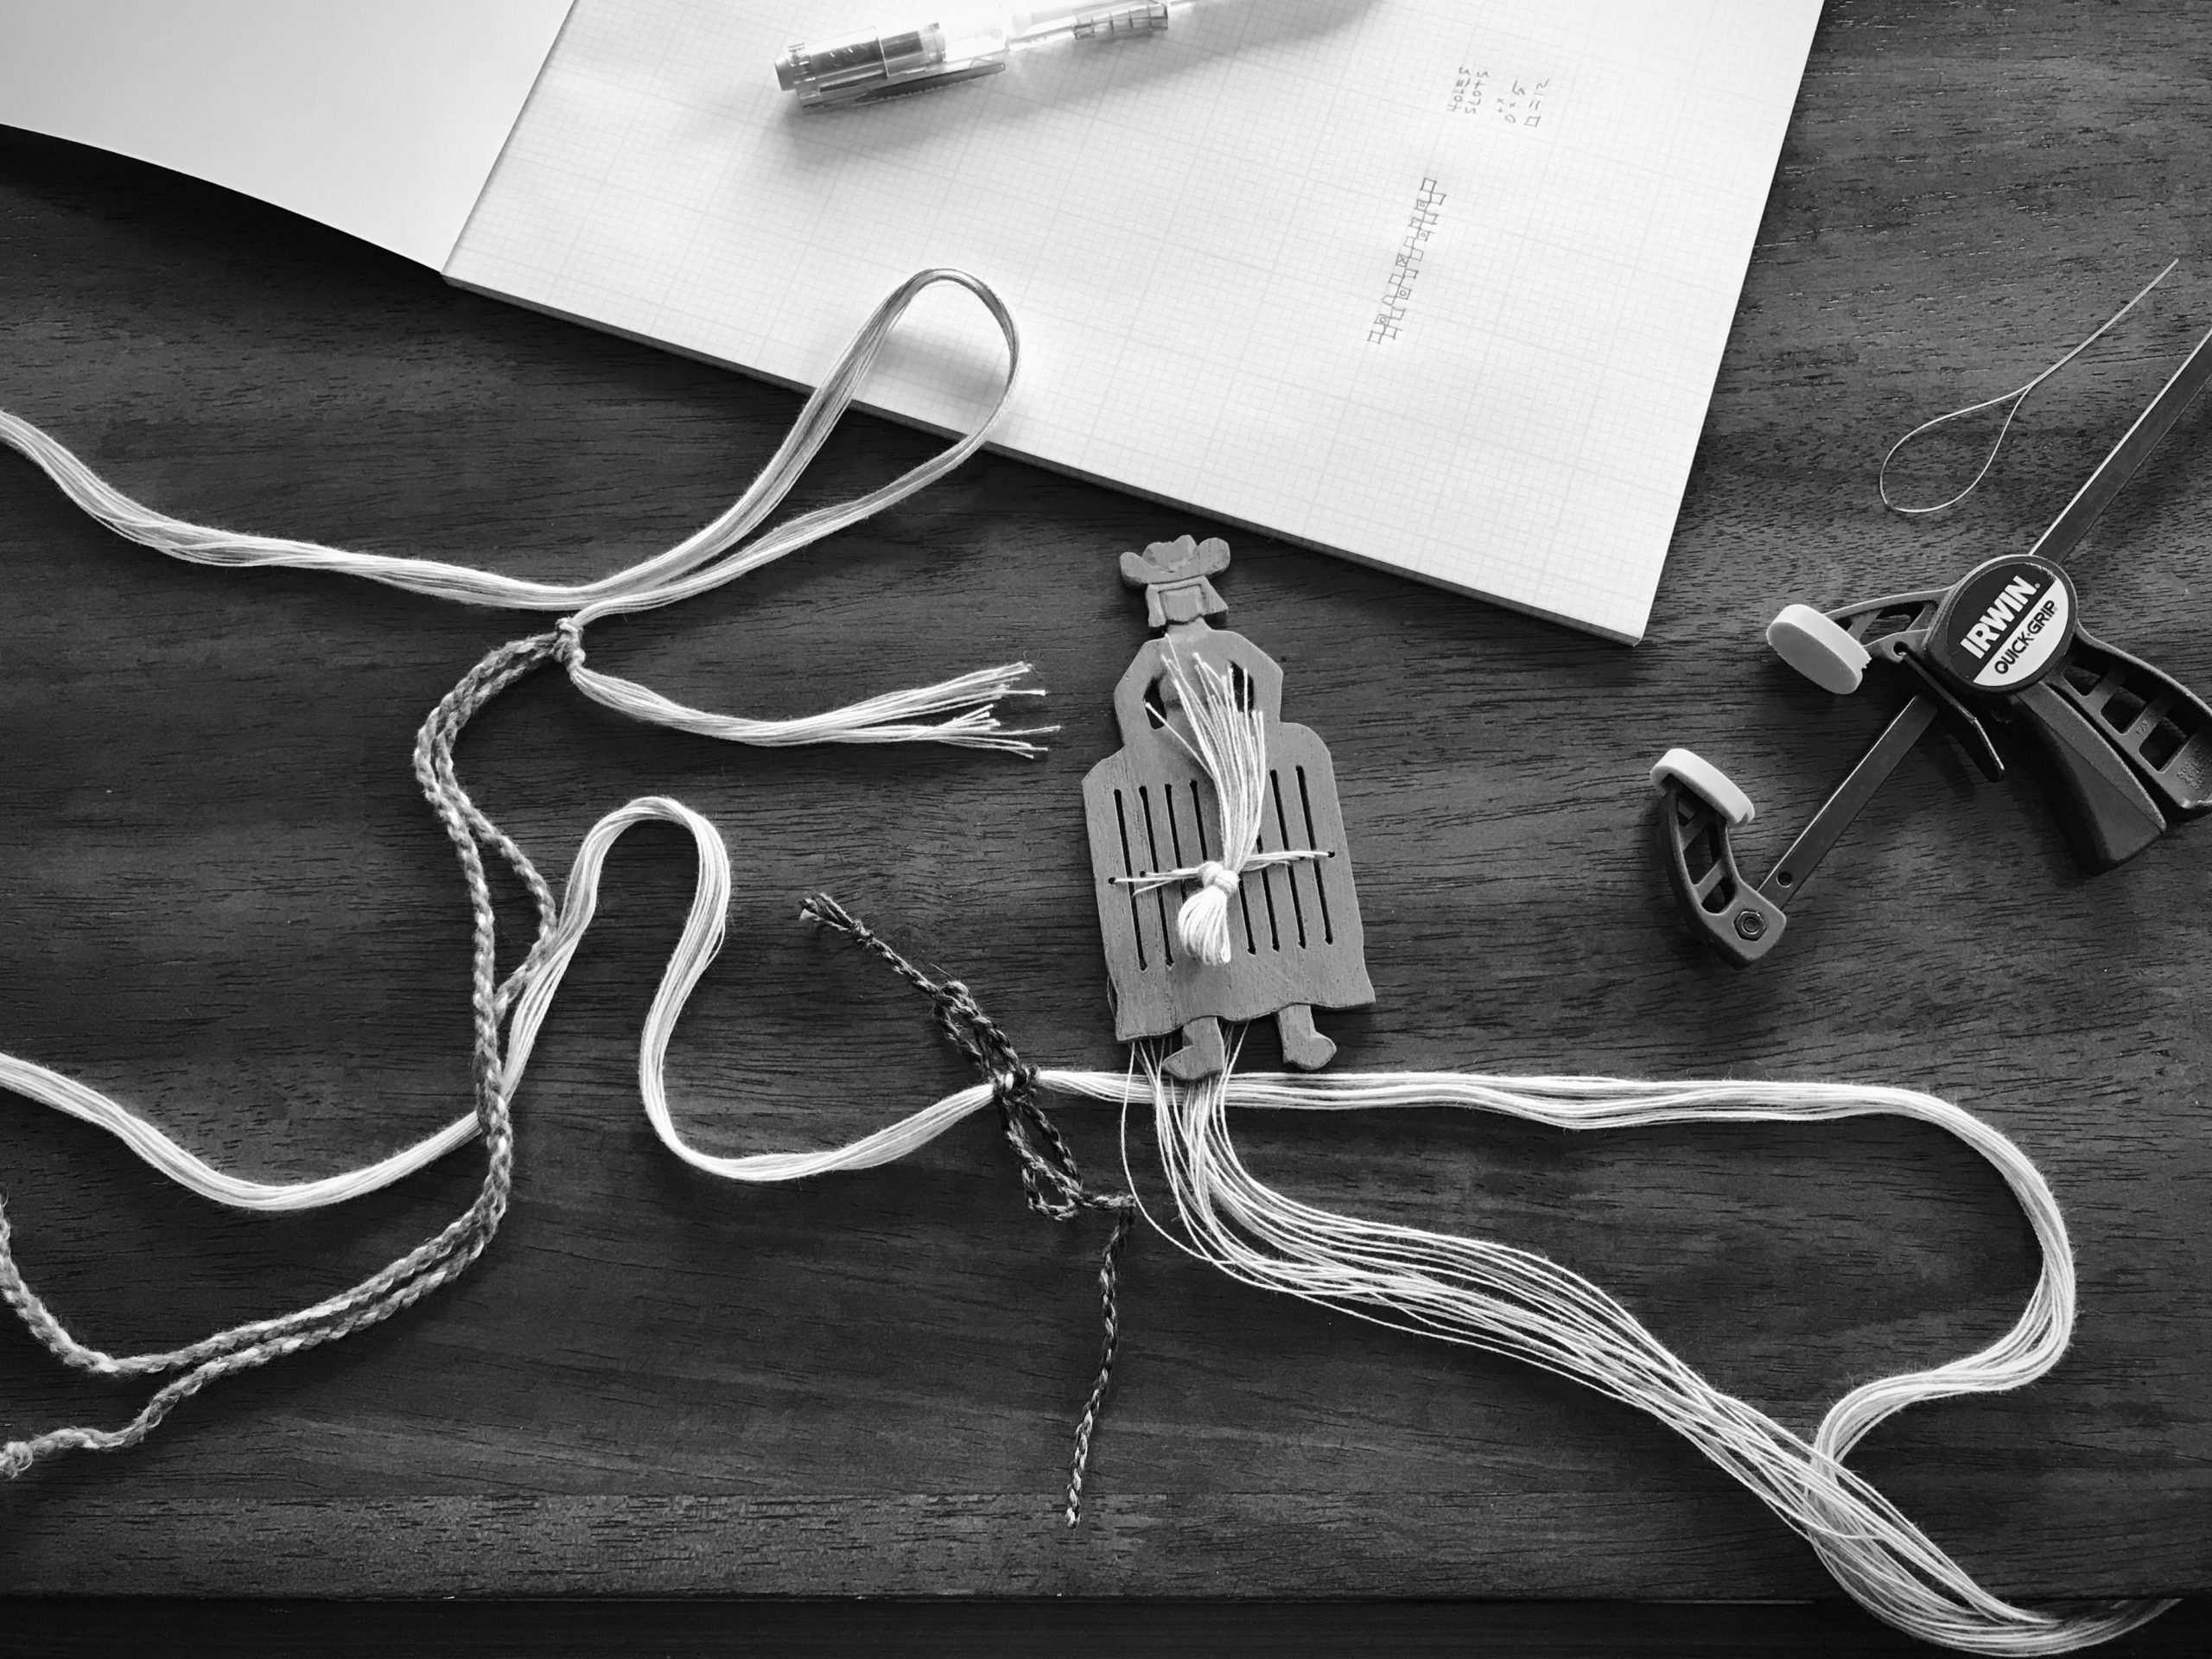
I reached the end of the drawloom warp on Tuesday evening. Wednesday morning, before Steve and I finished loading up the Casita travel trailer, I cut the warp off the loom. I grabbed a handful of thrums, chained them so they wouldn’t tangle, and threw the bundle into a small bag along with my cowgirl band heddle. And off we went for a short little getaway!

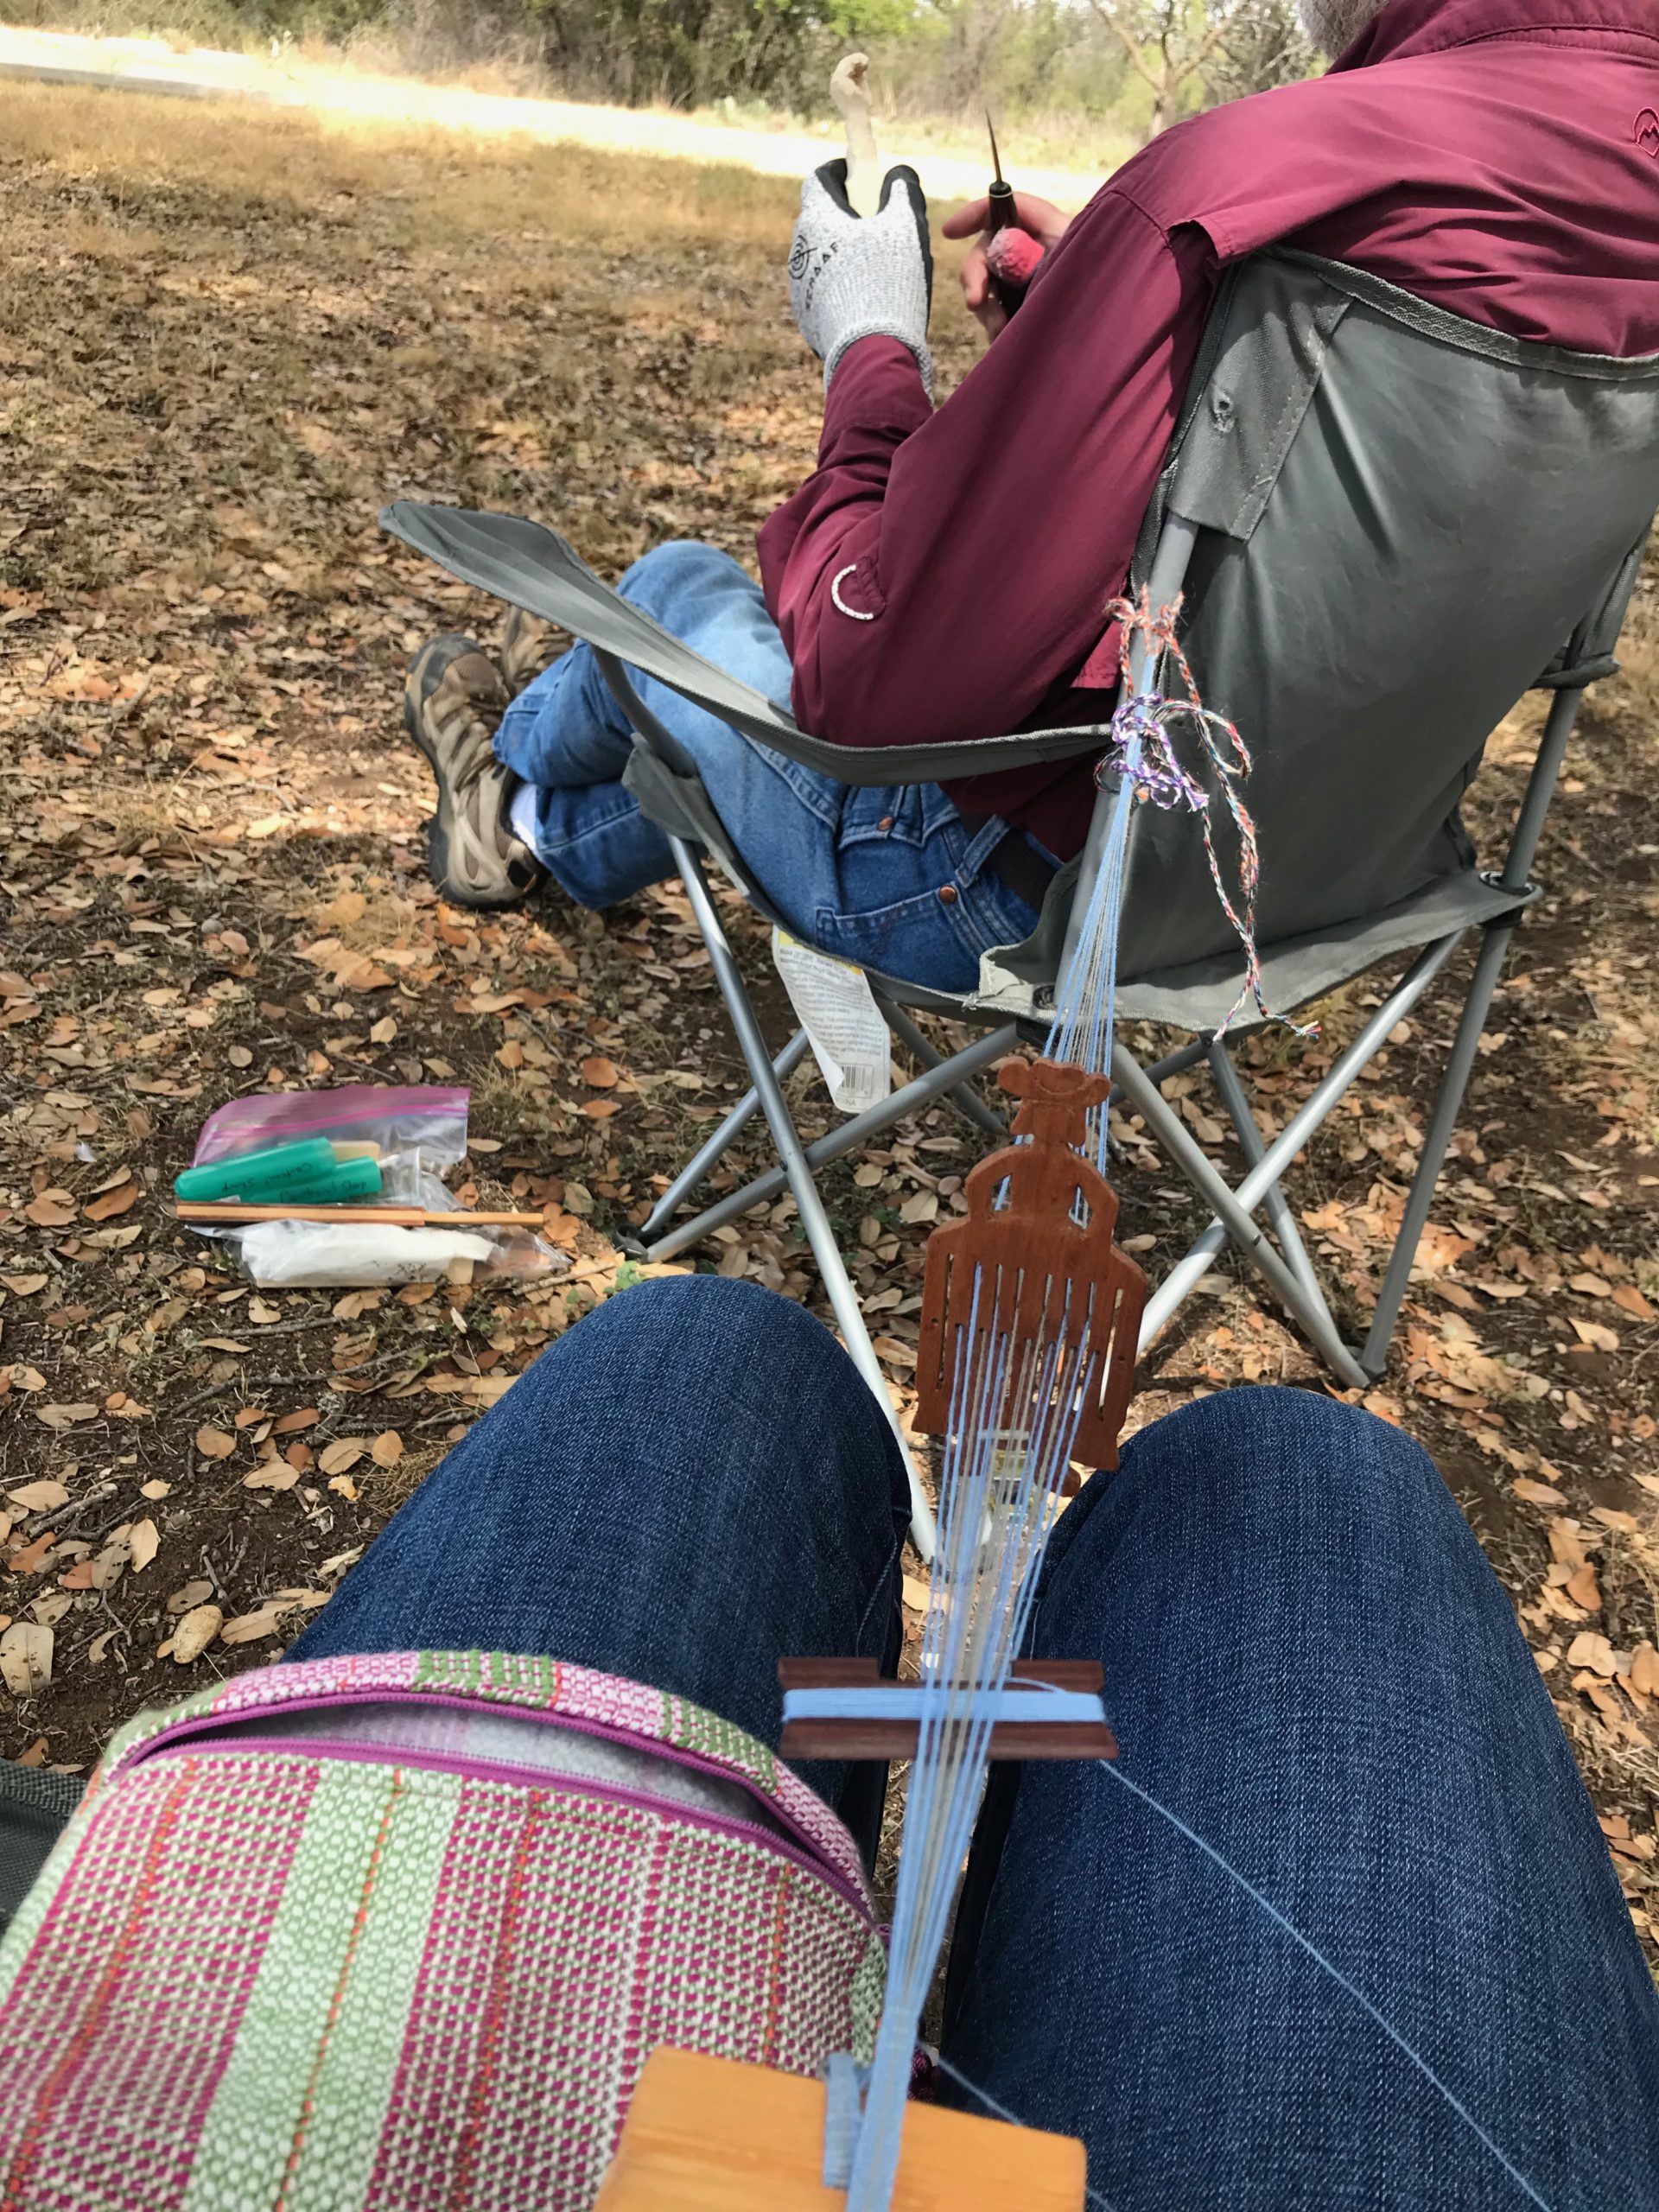
Relaxing under shade trees at the campground, I weave what I need for the four towels’ hanging tabs.

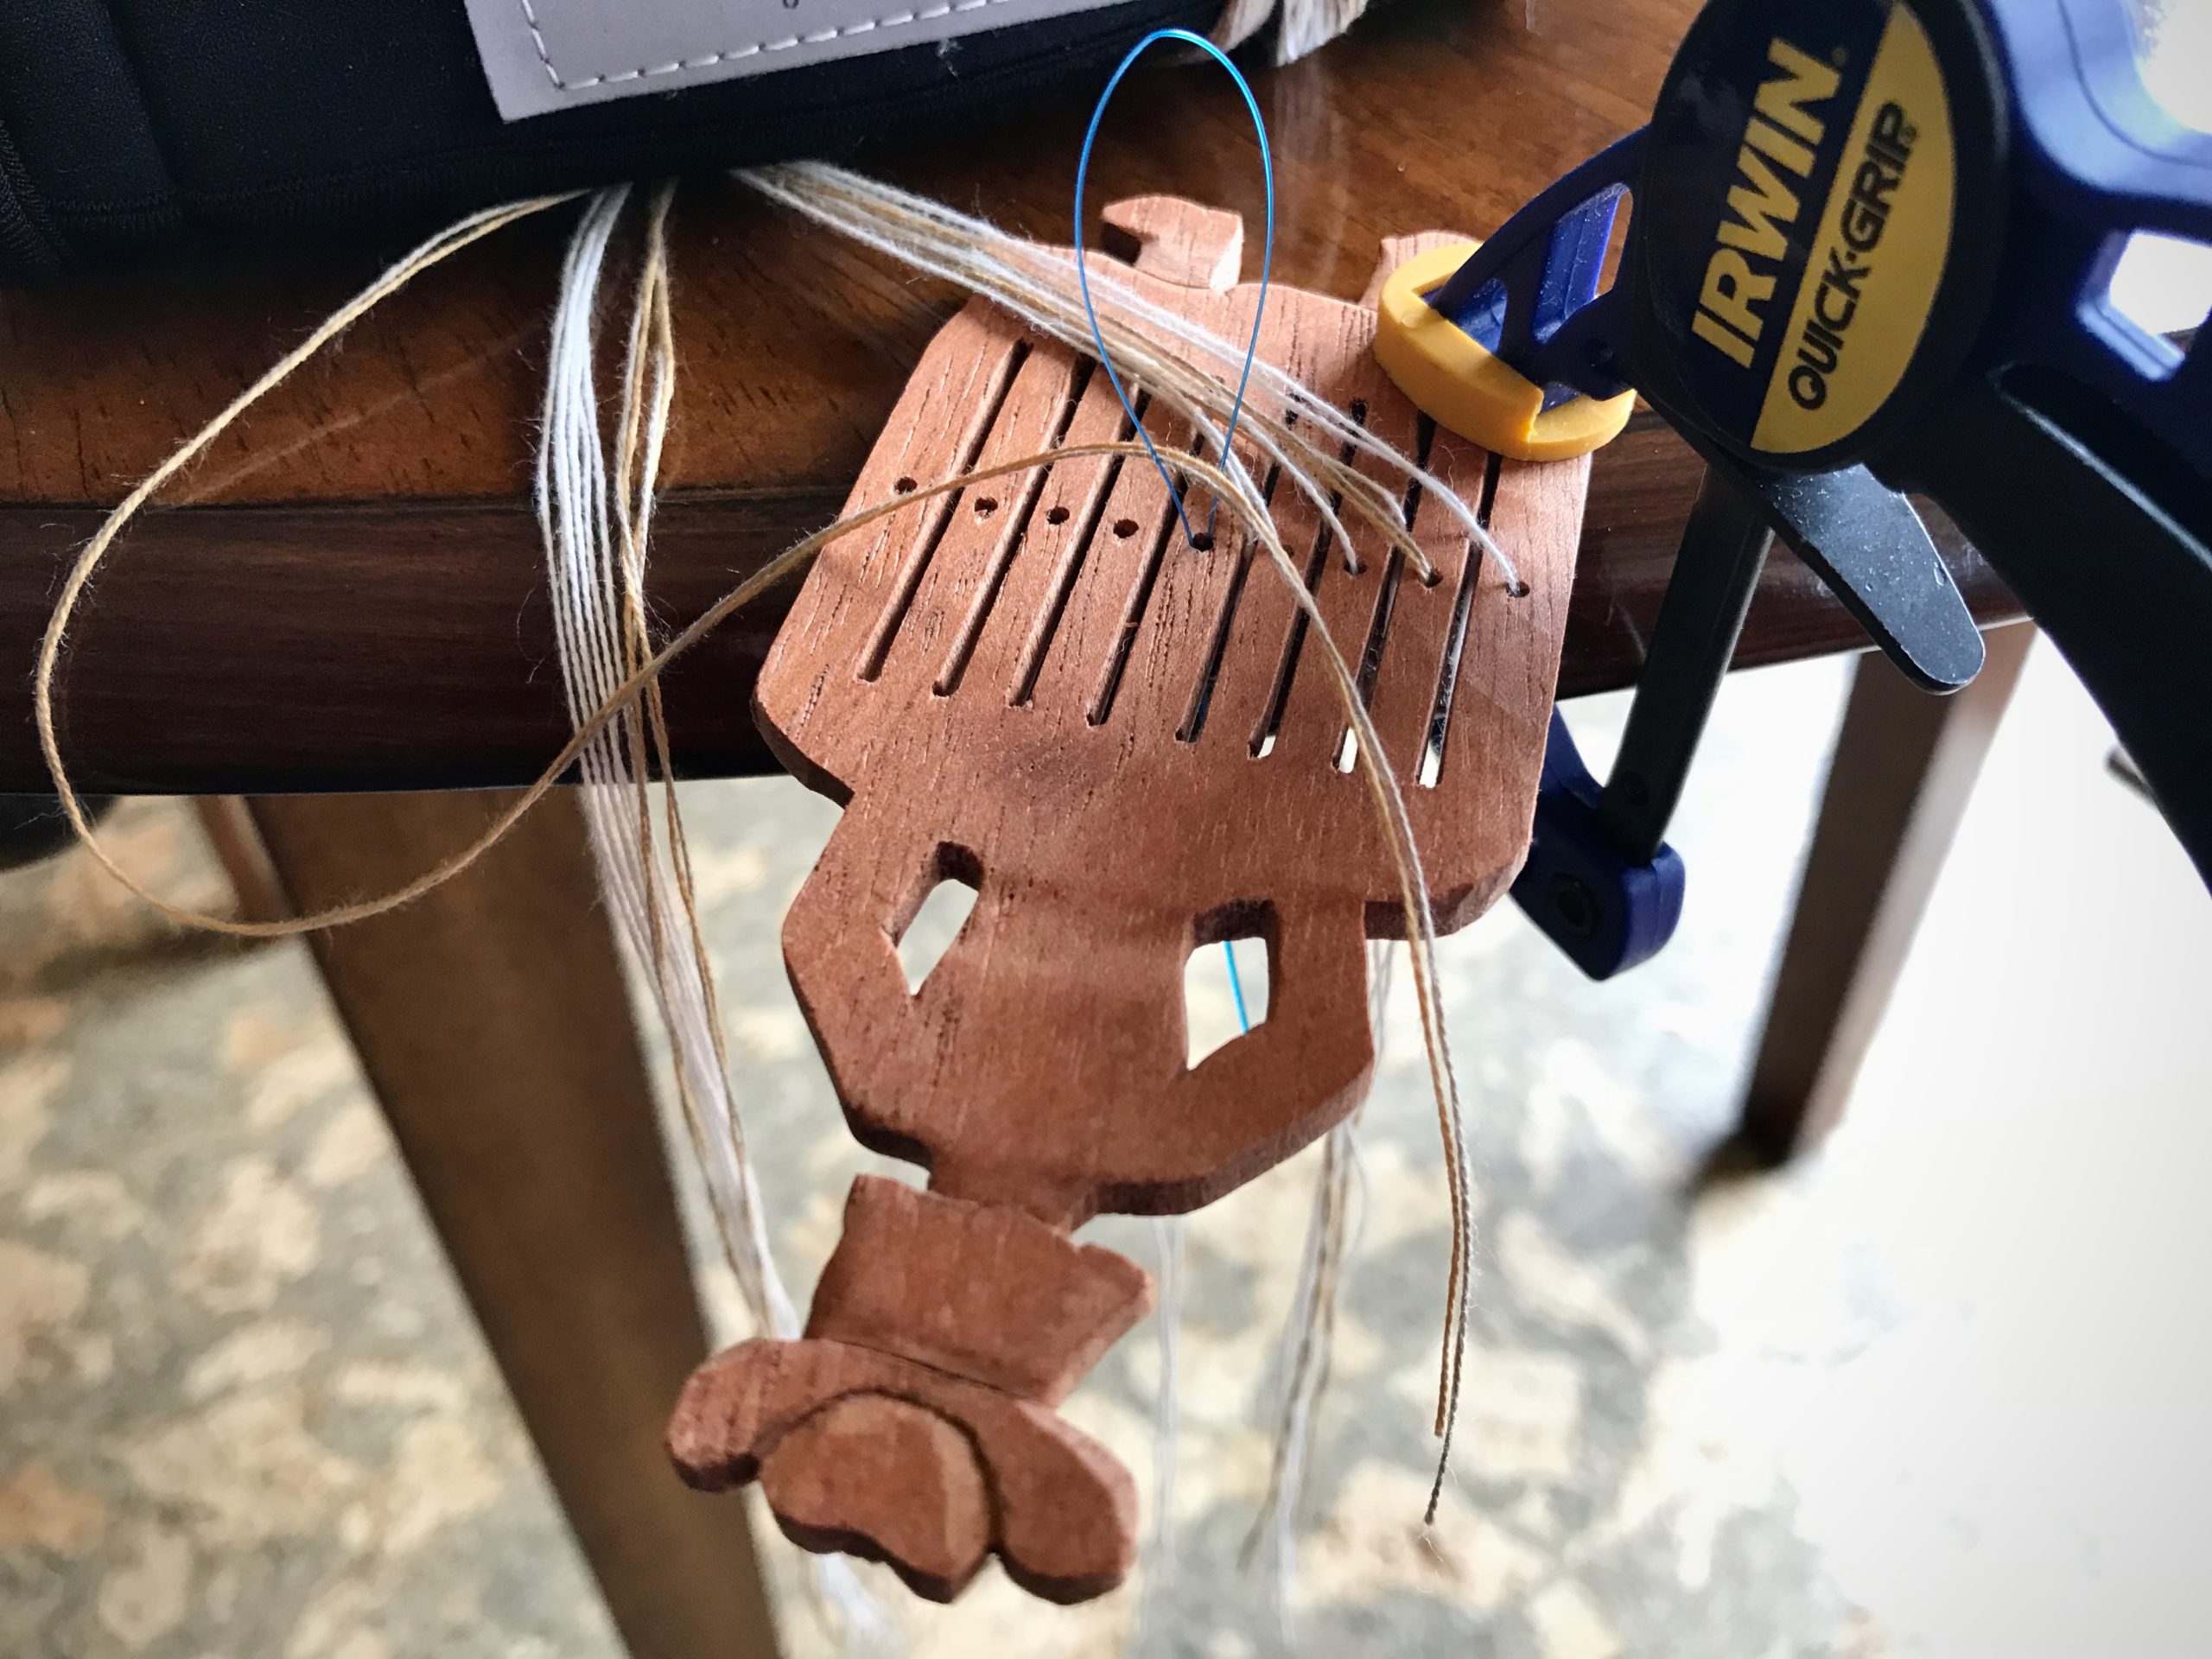
Steve is doing some wood carving. I tied my band warp to his chair. I doubled the 16/2 cotton warp threads in the cowgirl band heddle to make the band wide enough for towel hanging tabs.

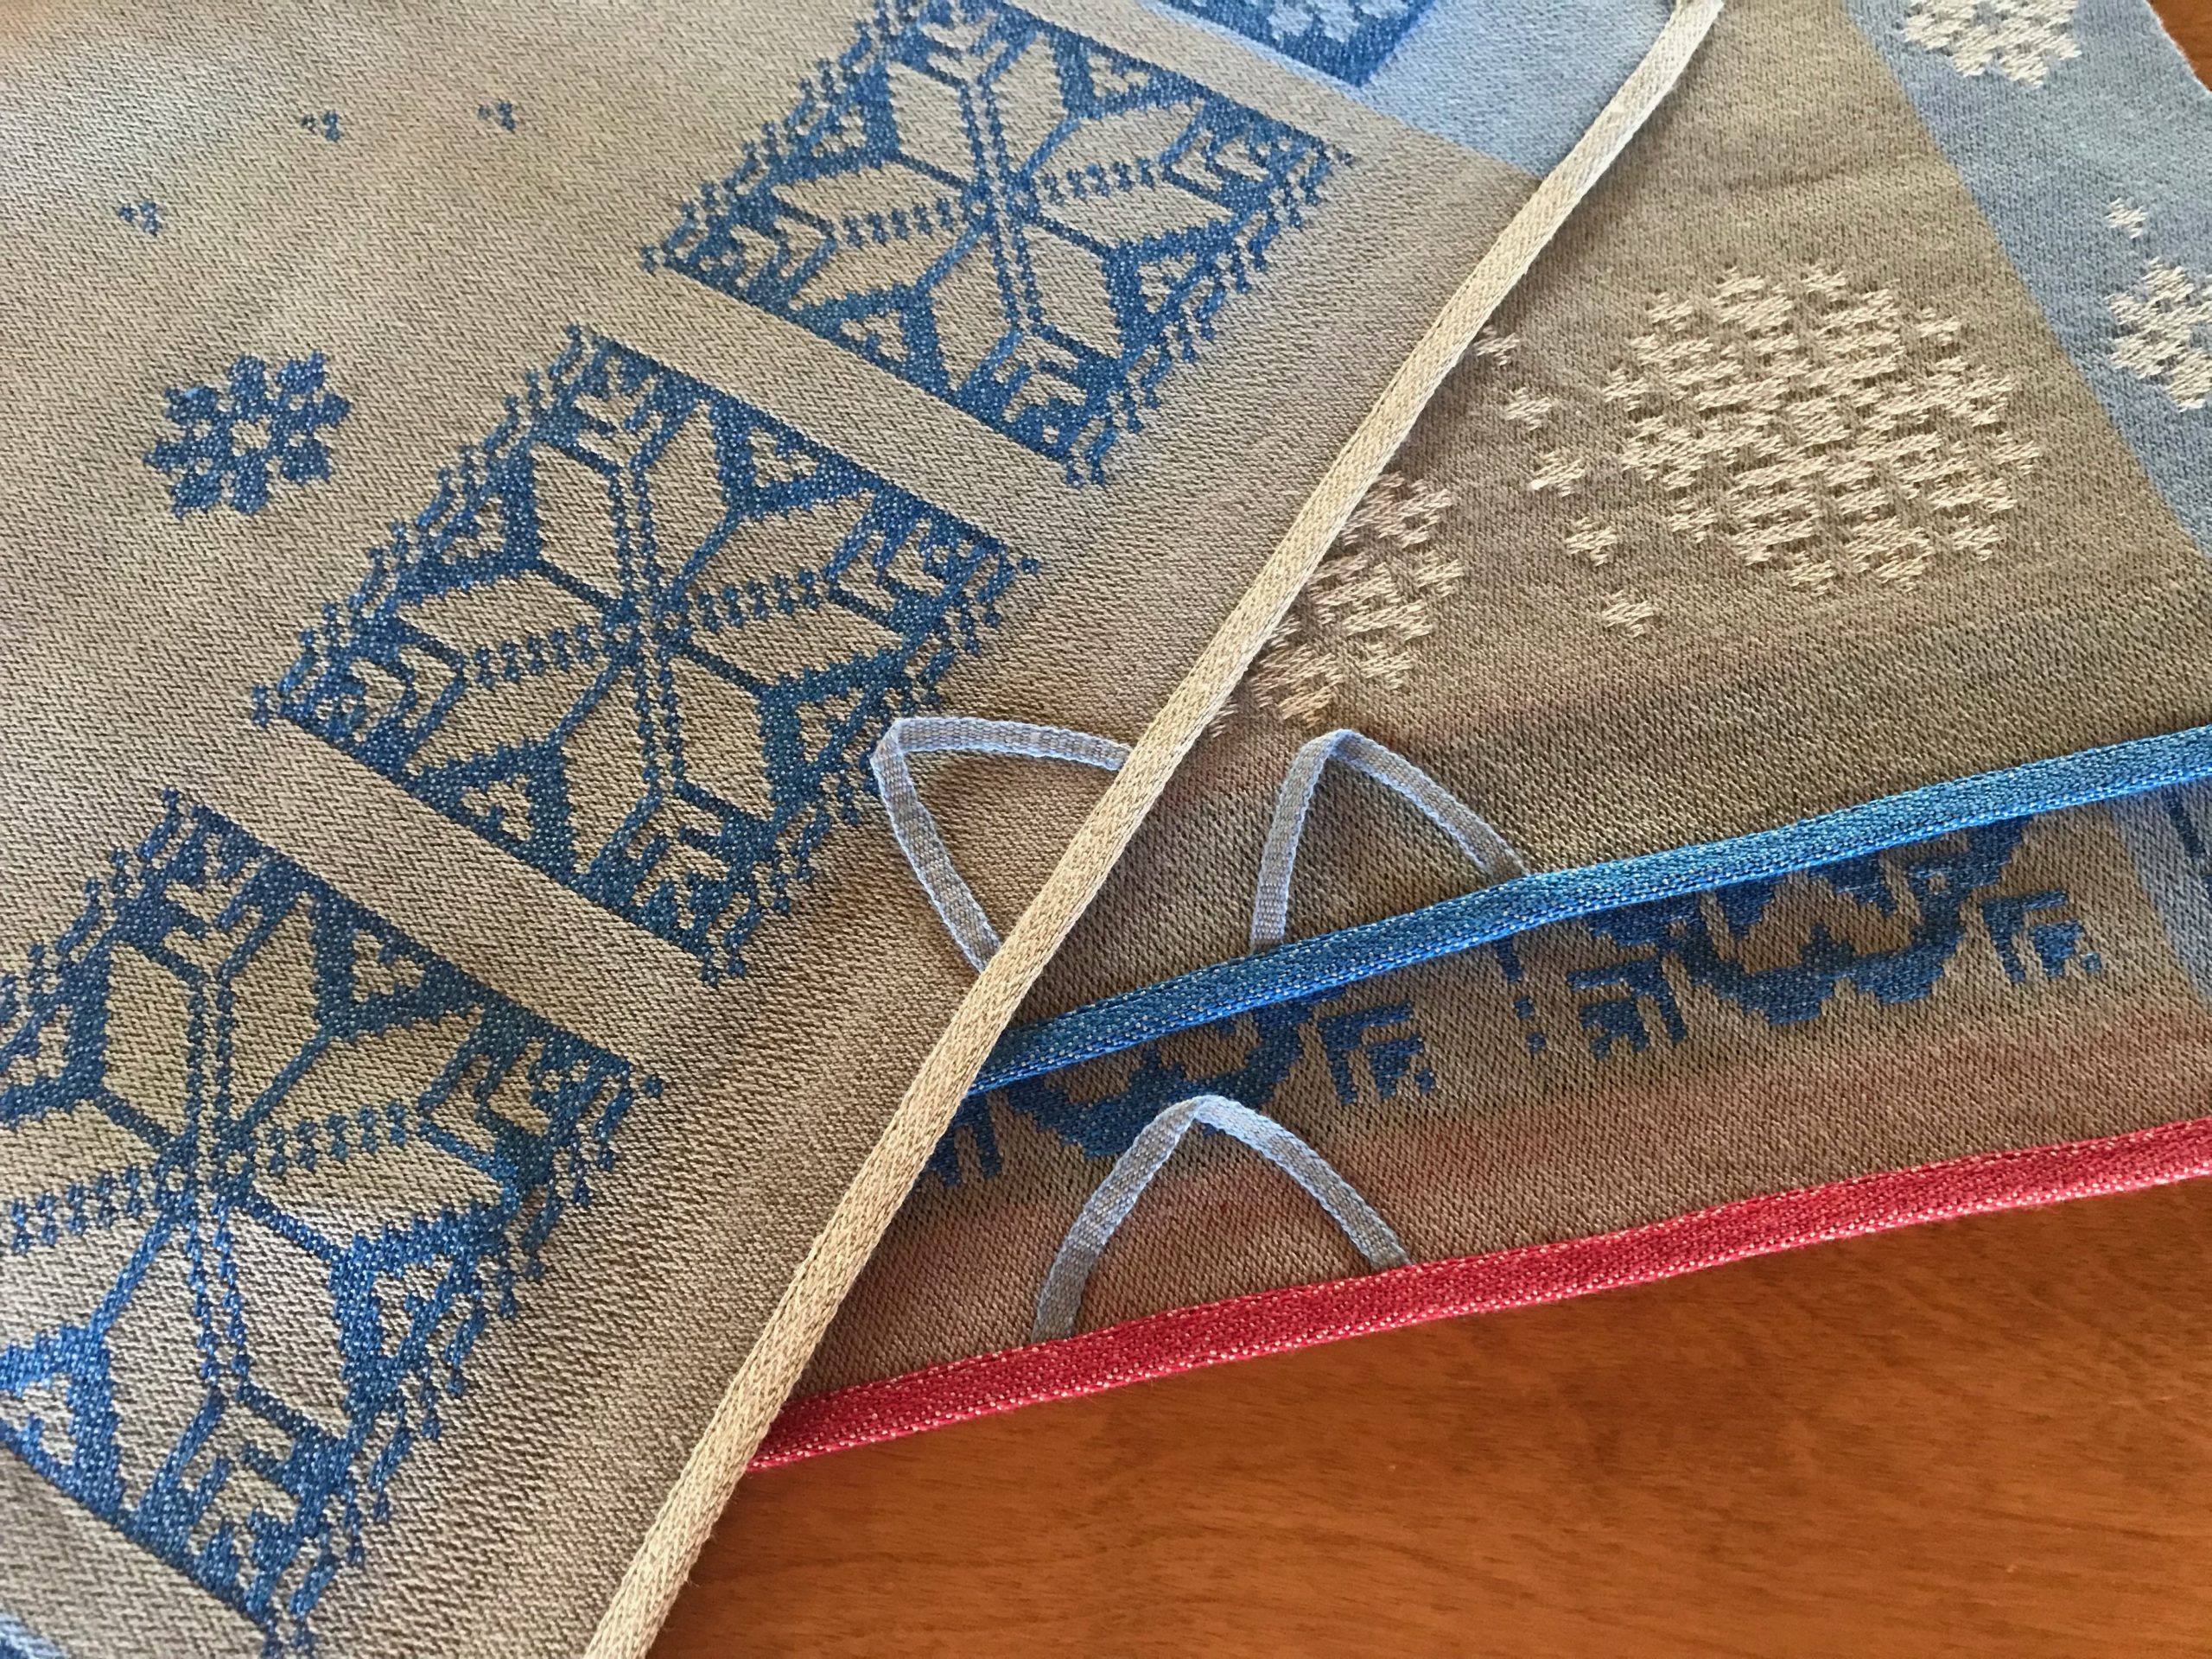
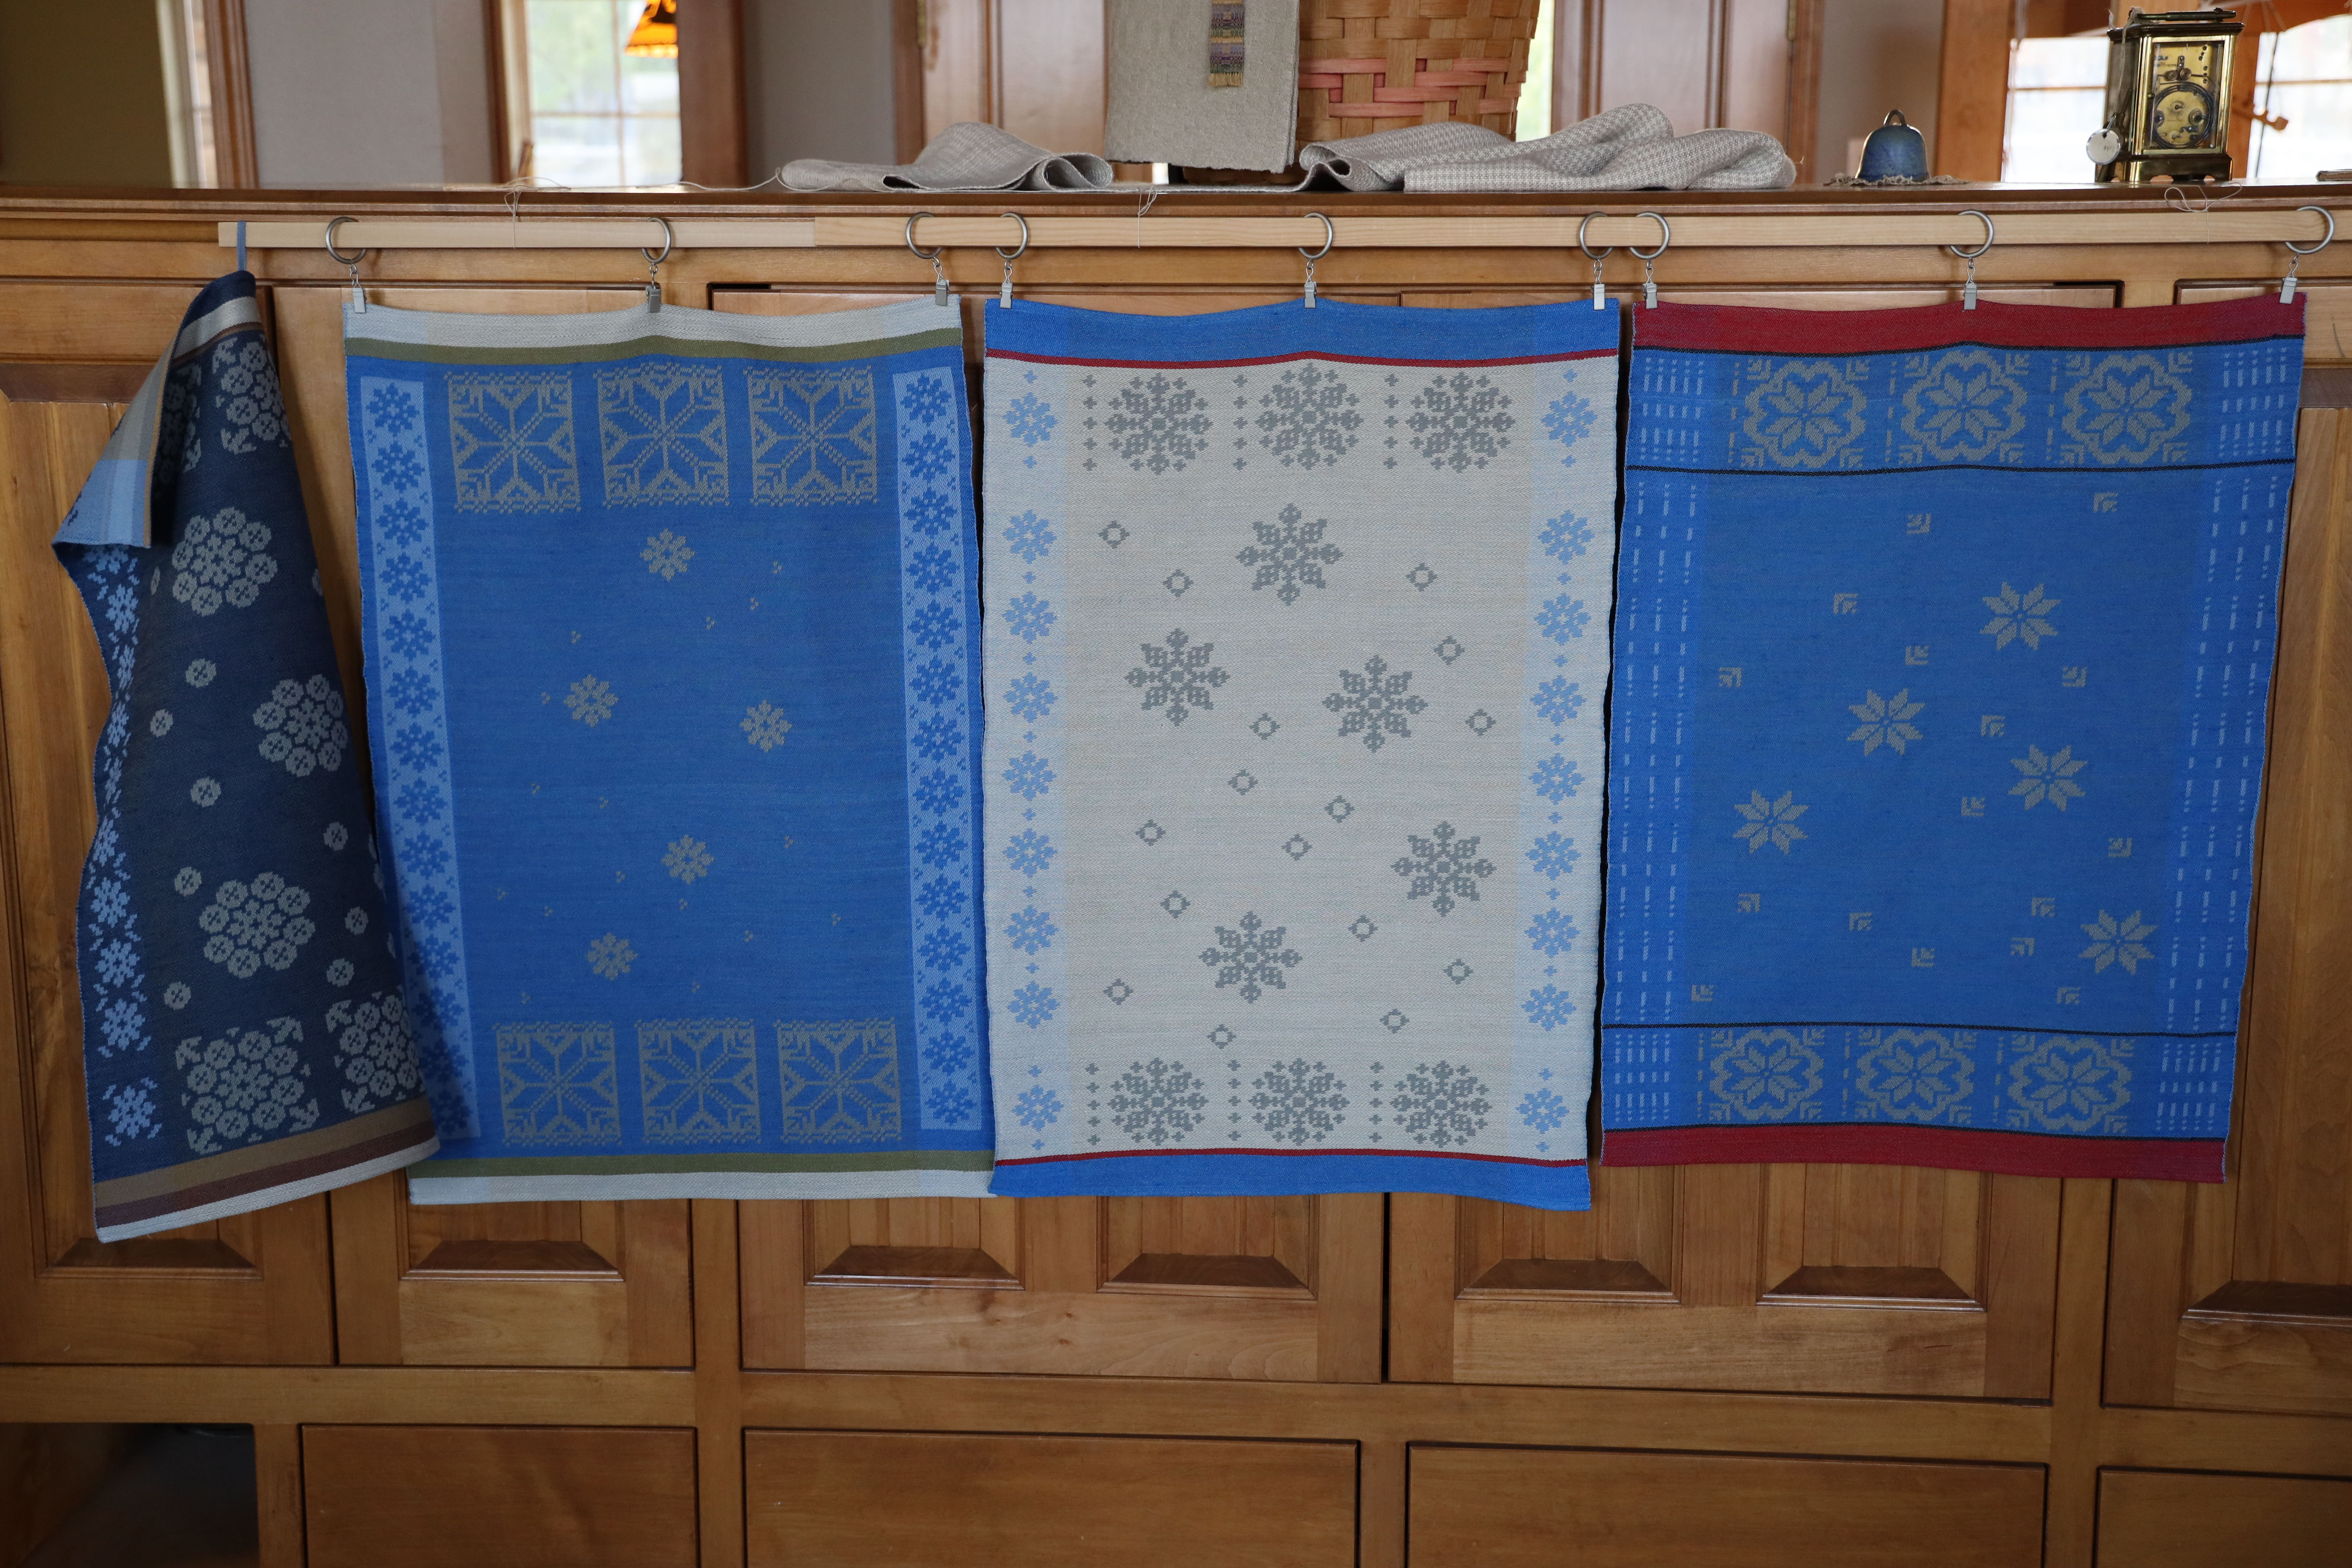
Back home, after the towels are wet finished and hemmed, I have an “a-ha!” moment: Only one of these cloths shall be used as a towel. The other three cloths will serve as Christmas Snowflake banners.

There is some irony in the fact that I wove hanging tabs for these three cloths that have since been given an alternate purpose as celebratory Christmas banners.

Christmas Snowflake banners. Revisit the process with me, start to finish:

To see the towels from the first half of this warp, click here: Process Review: House and Home Towels. To see more about the cowgirl band heddle, click here: Cowgirl Band Weaving.

May you have “a-ha!” moments that change how you see things.

Love,
Karen

Cowgirl Band Weaving

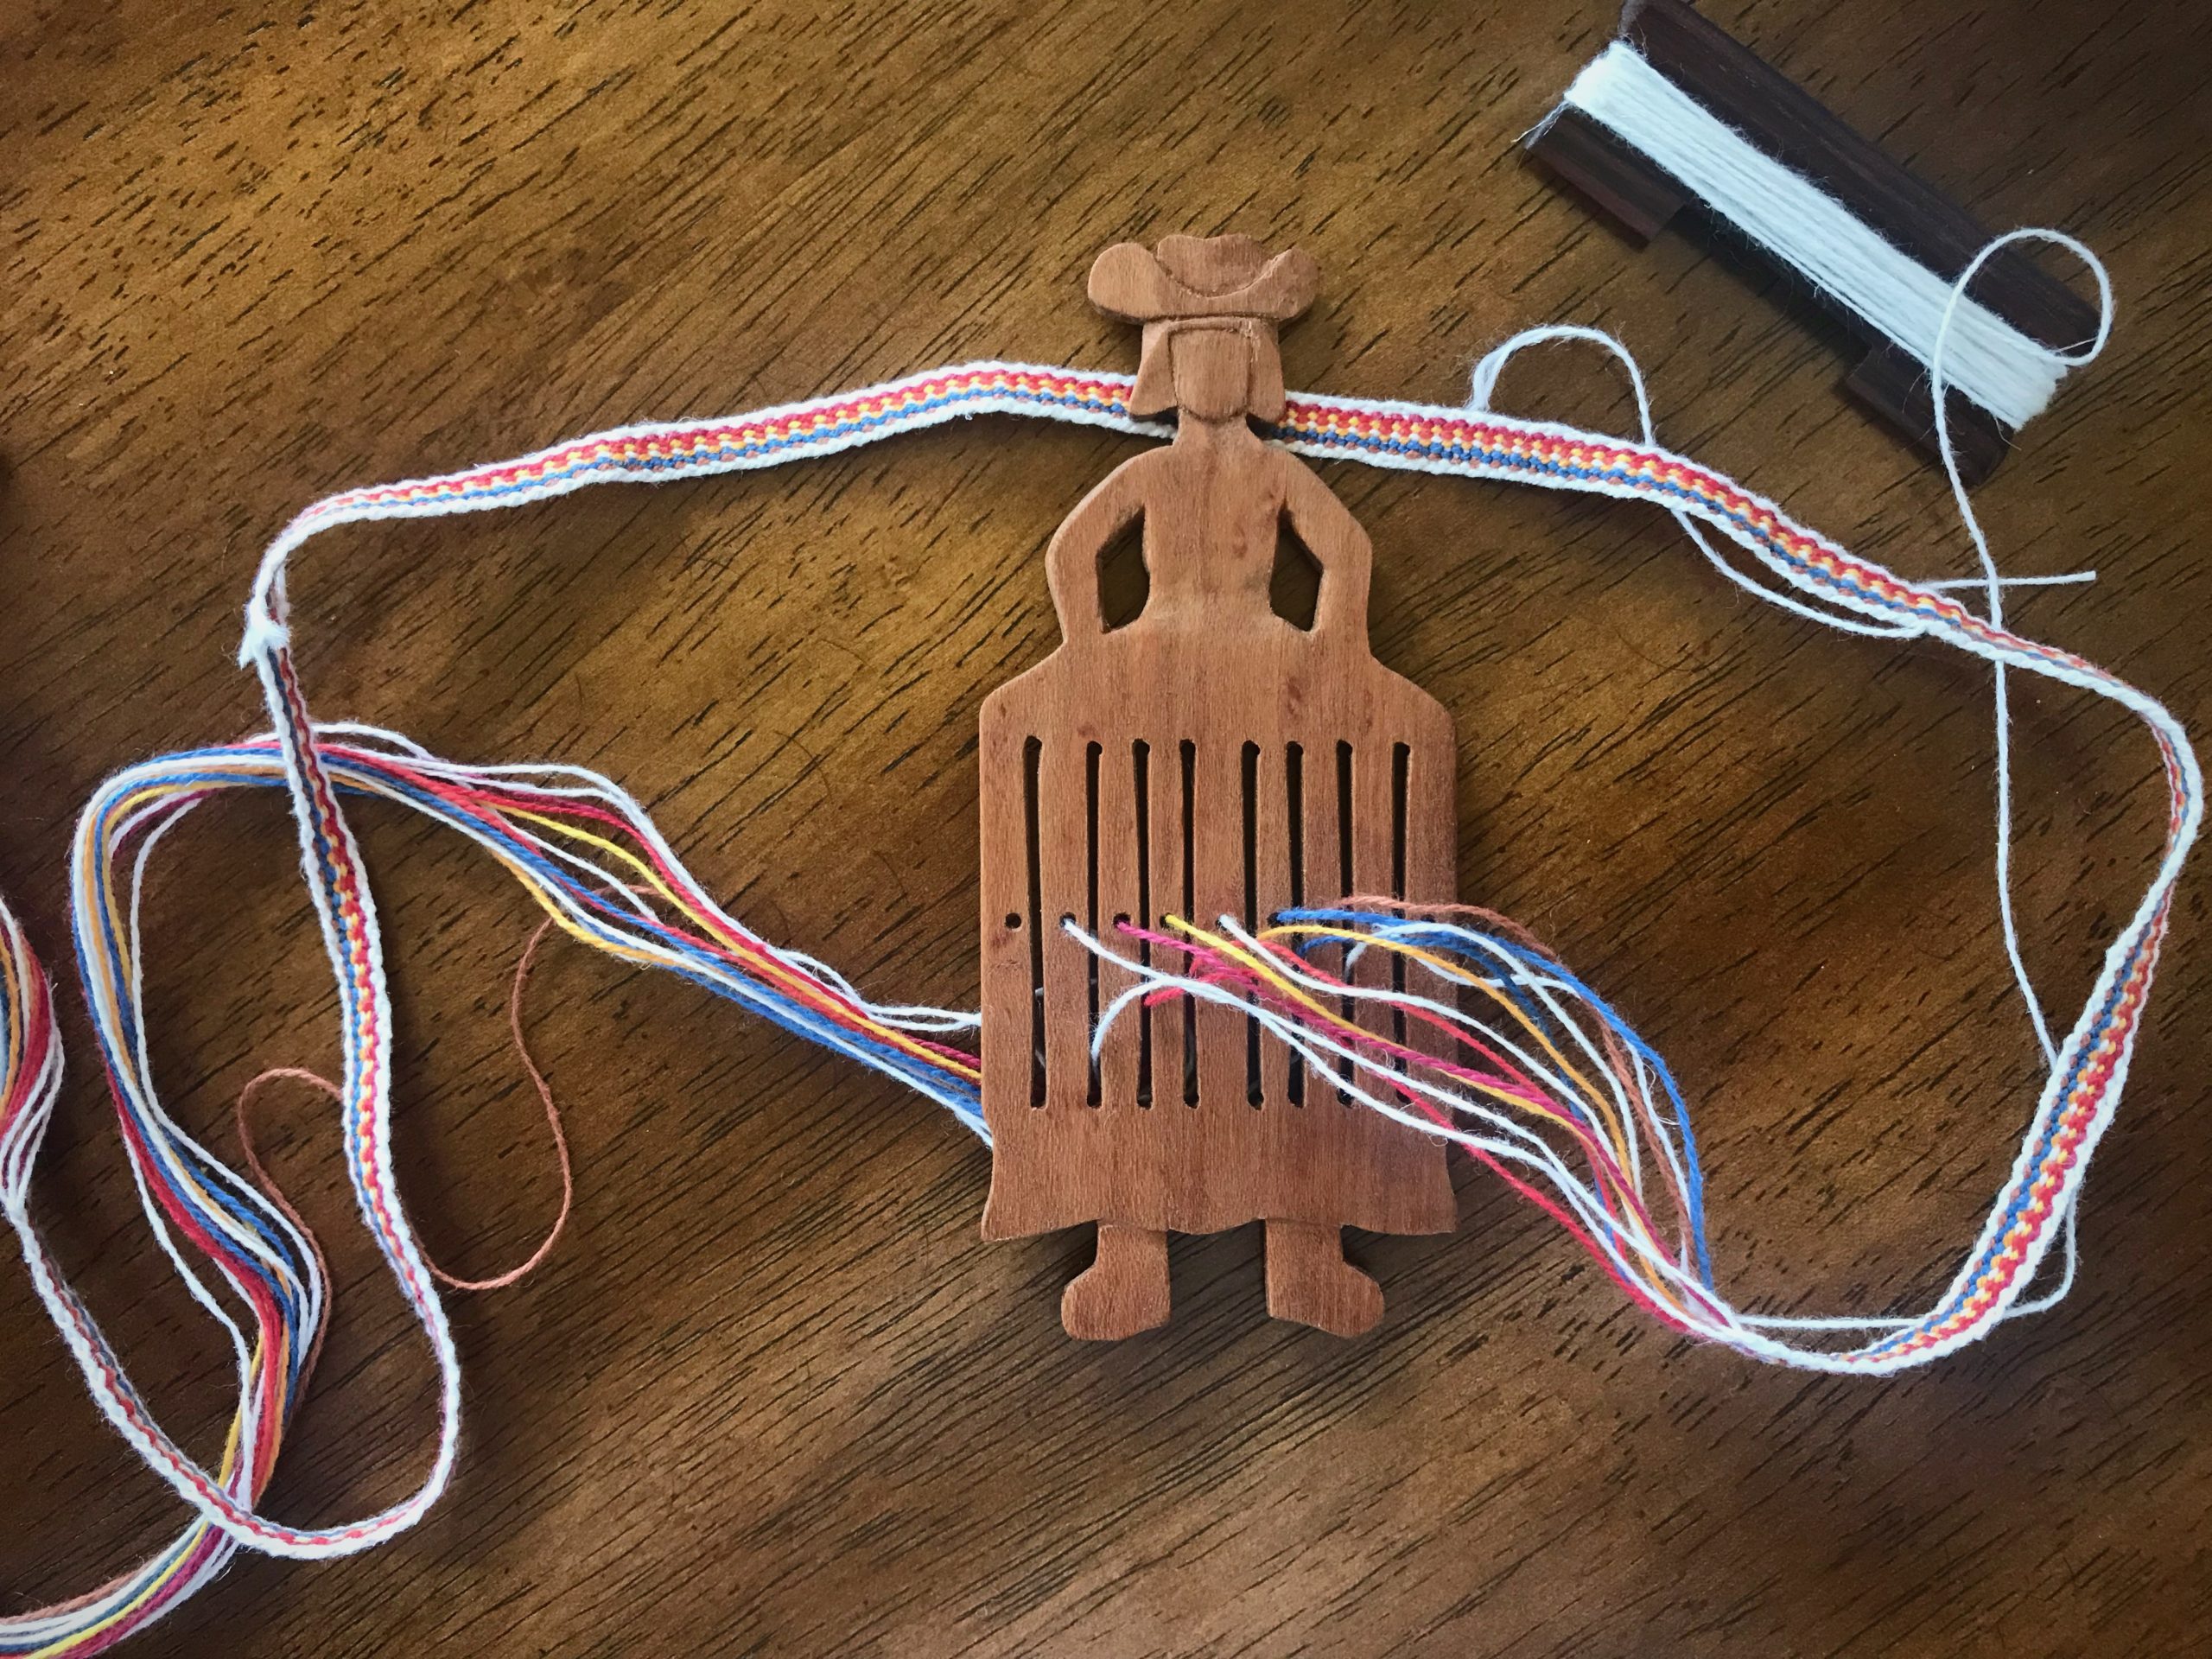
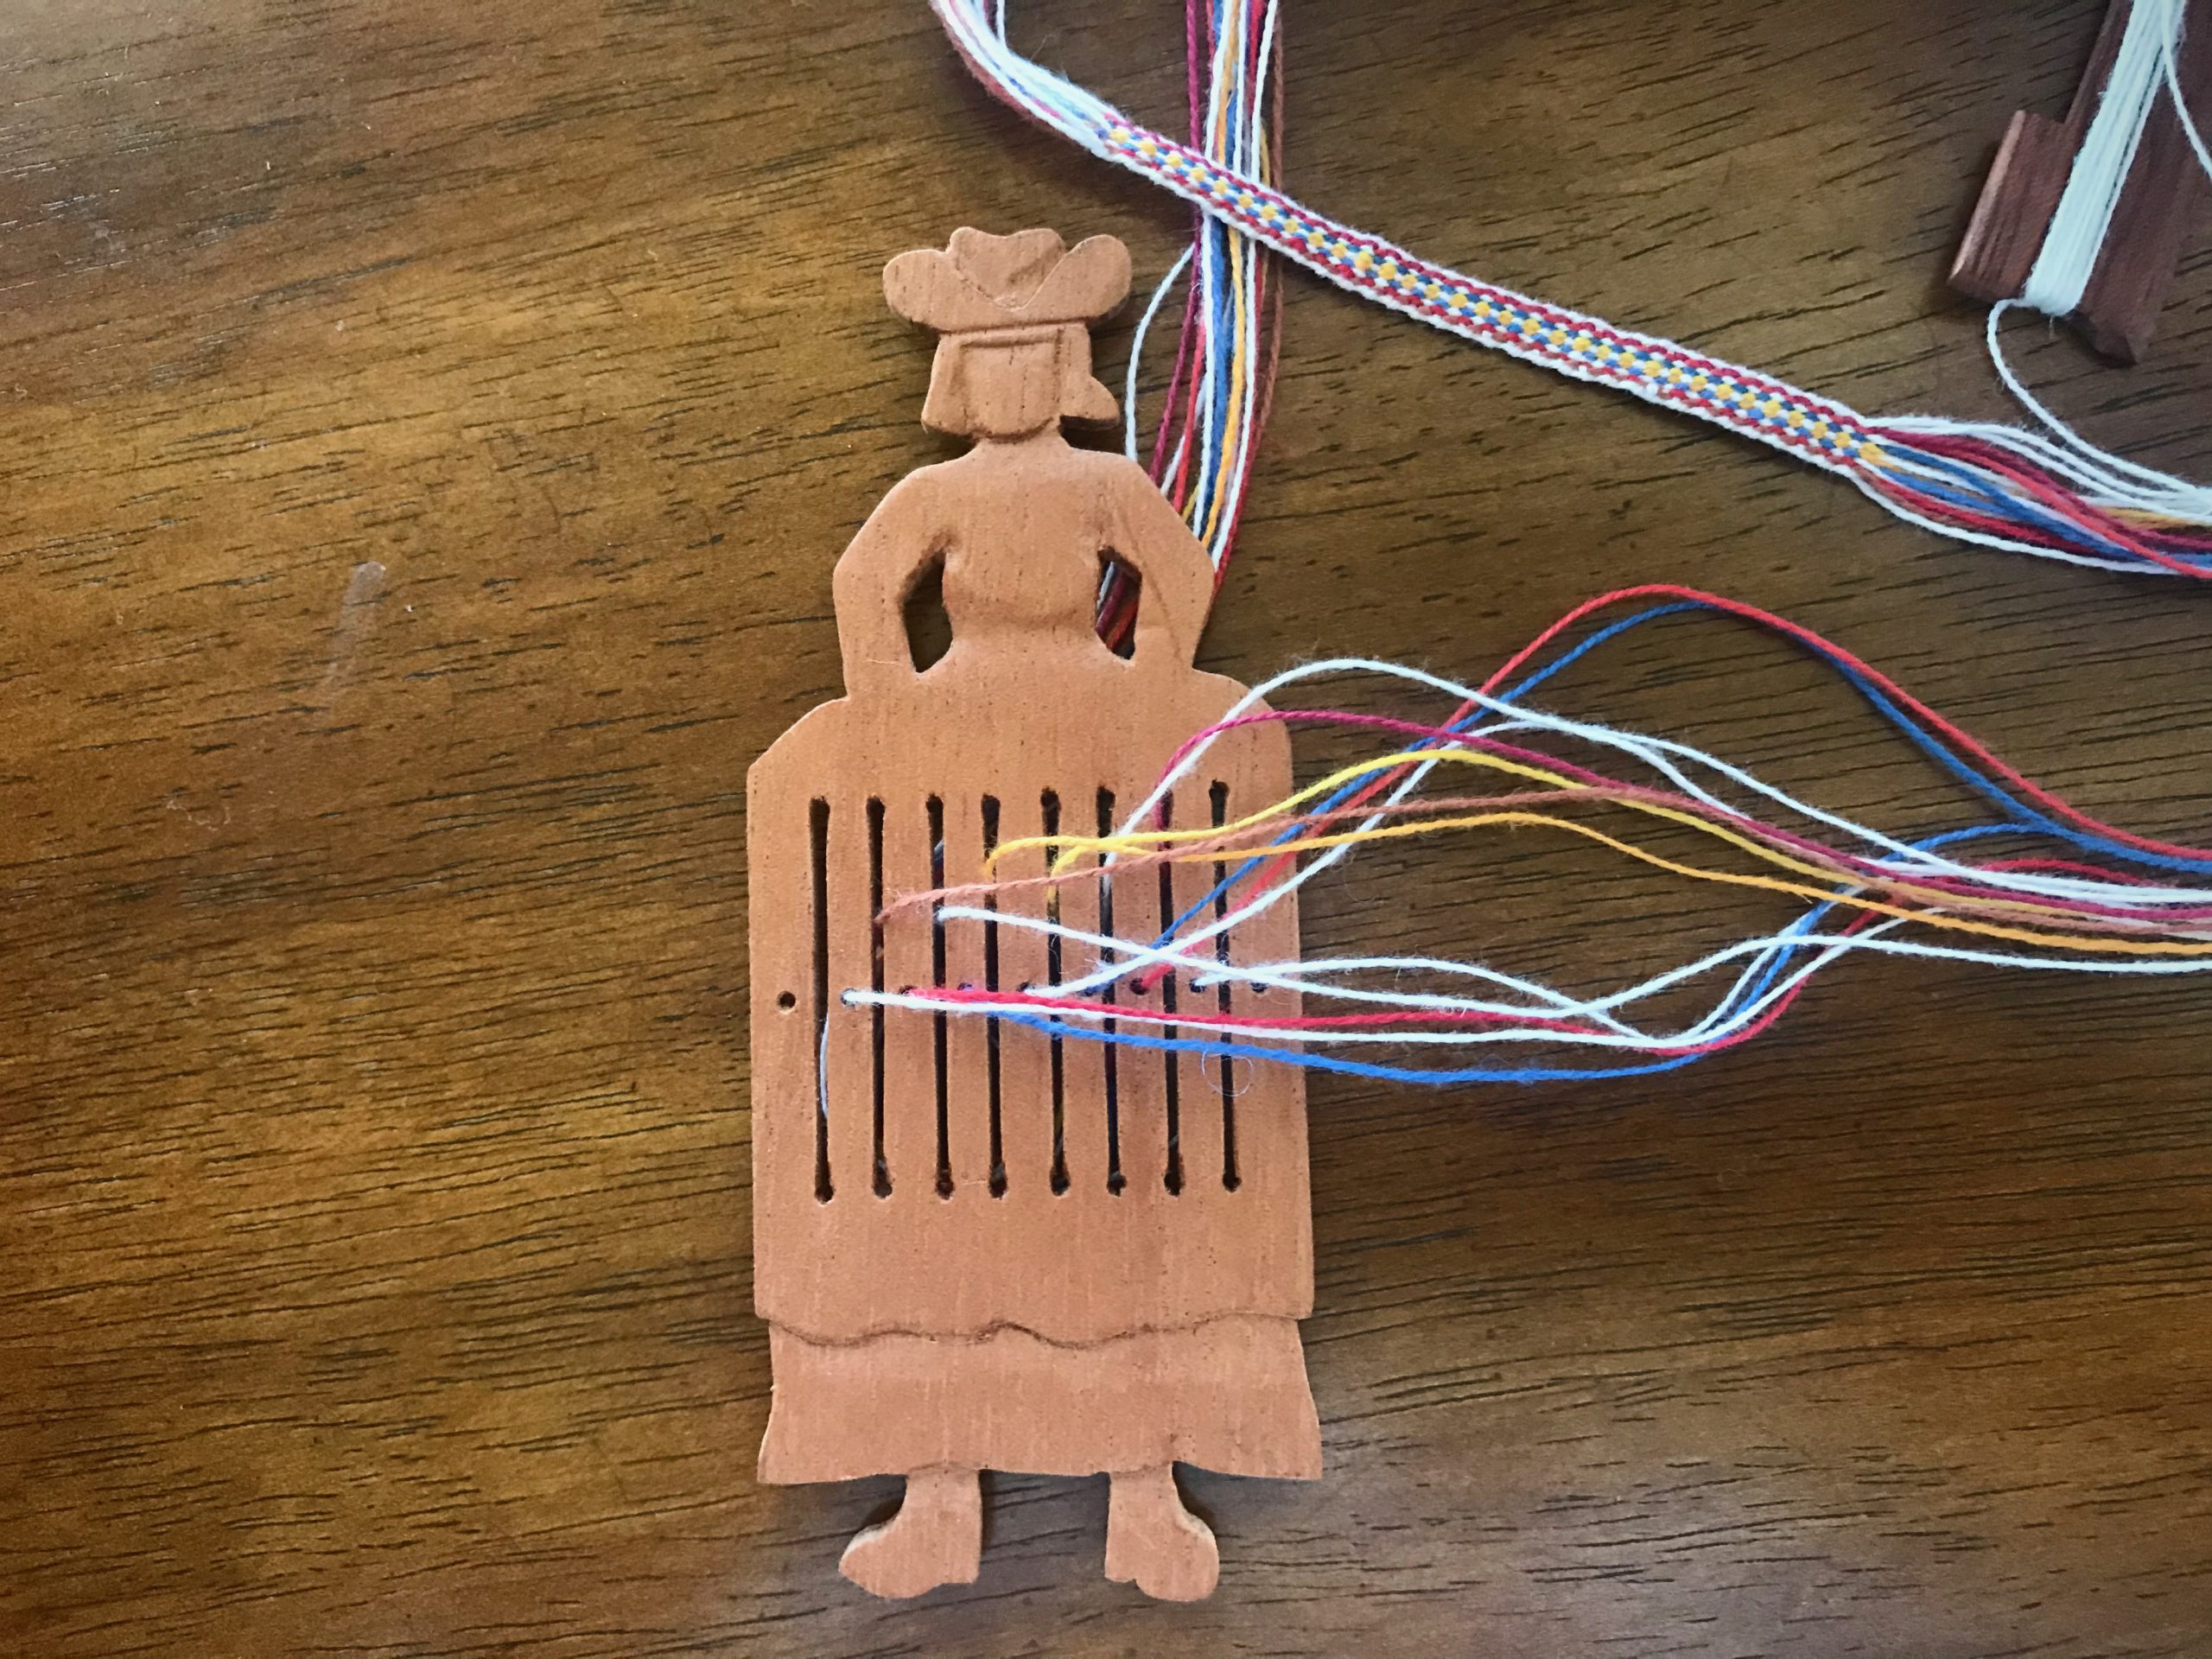
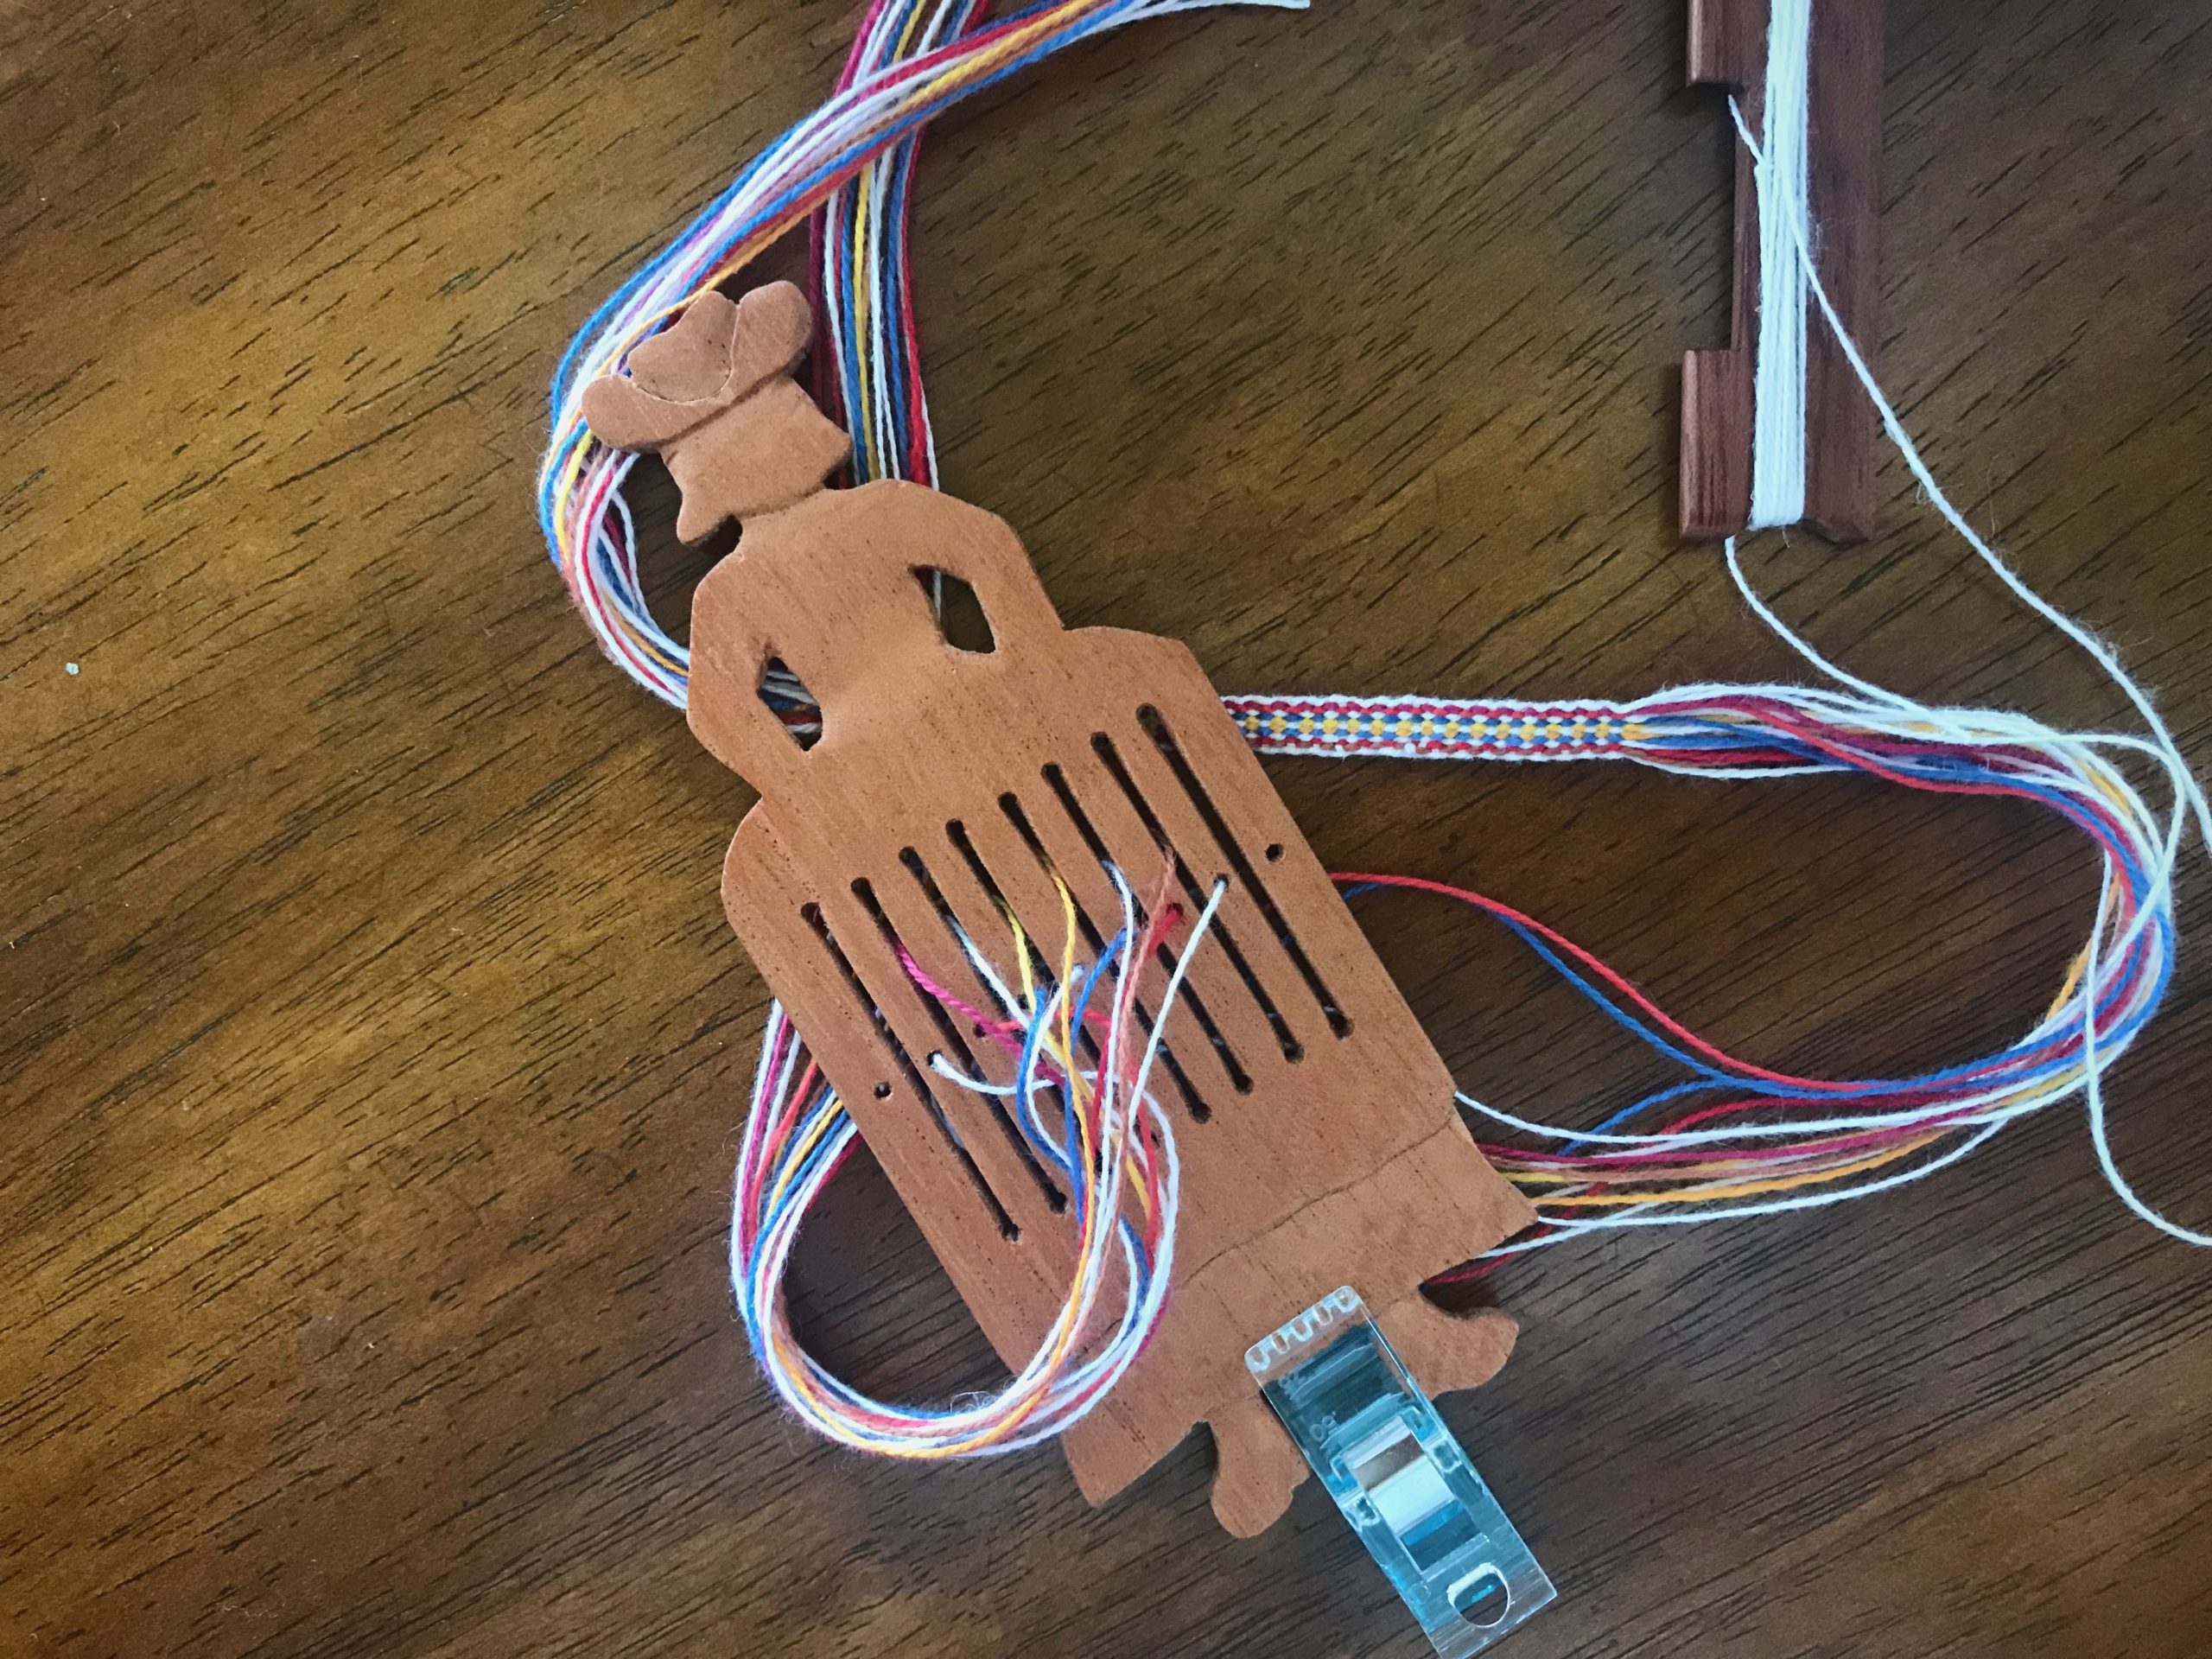
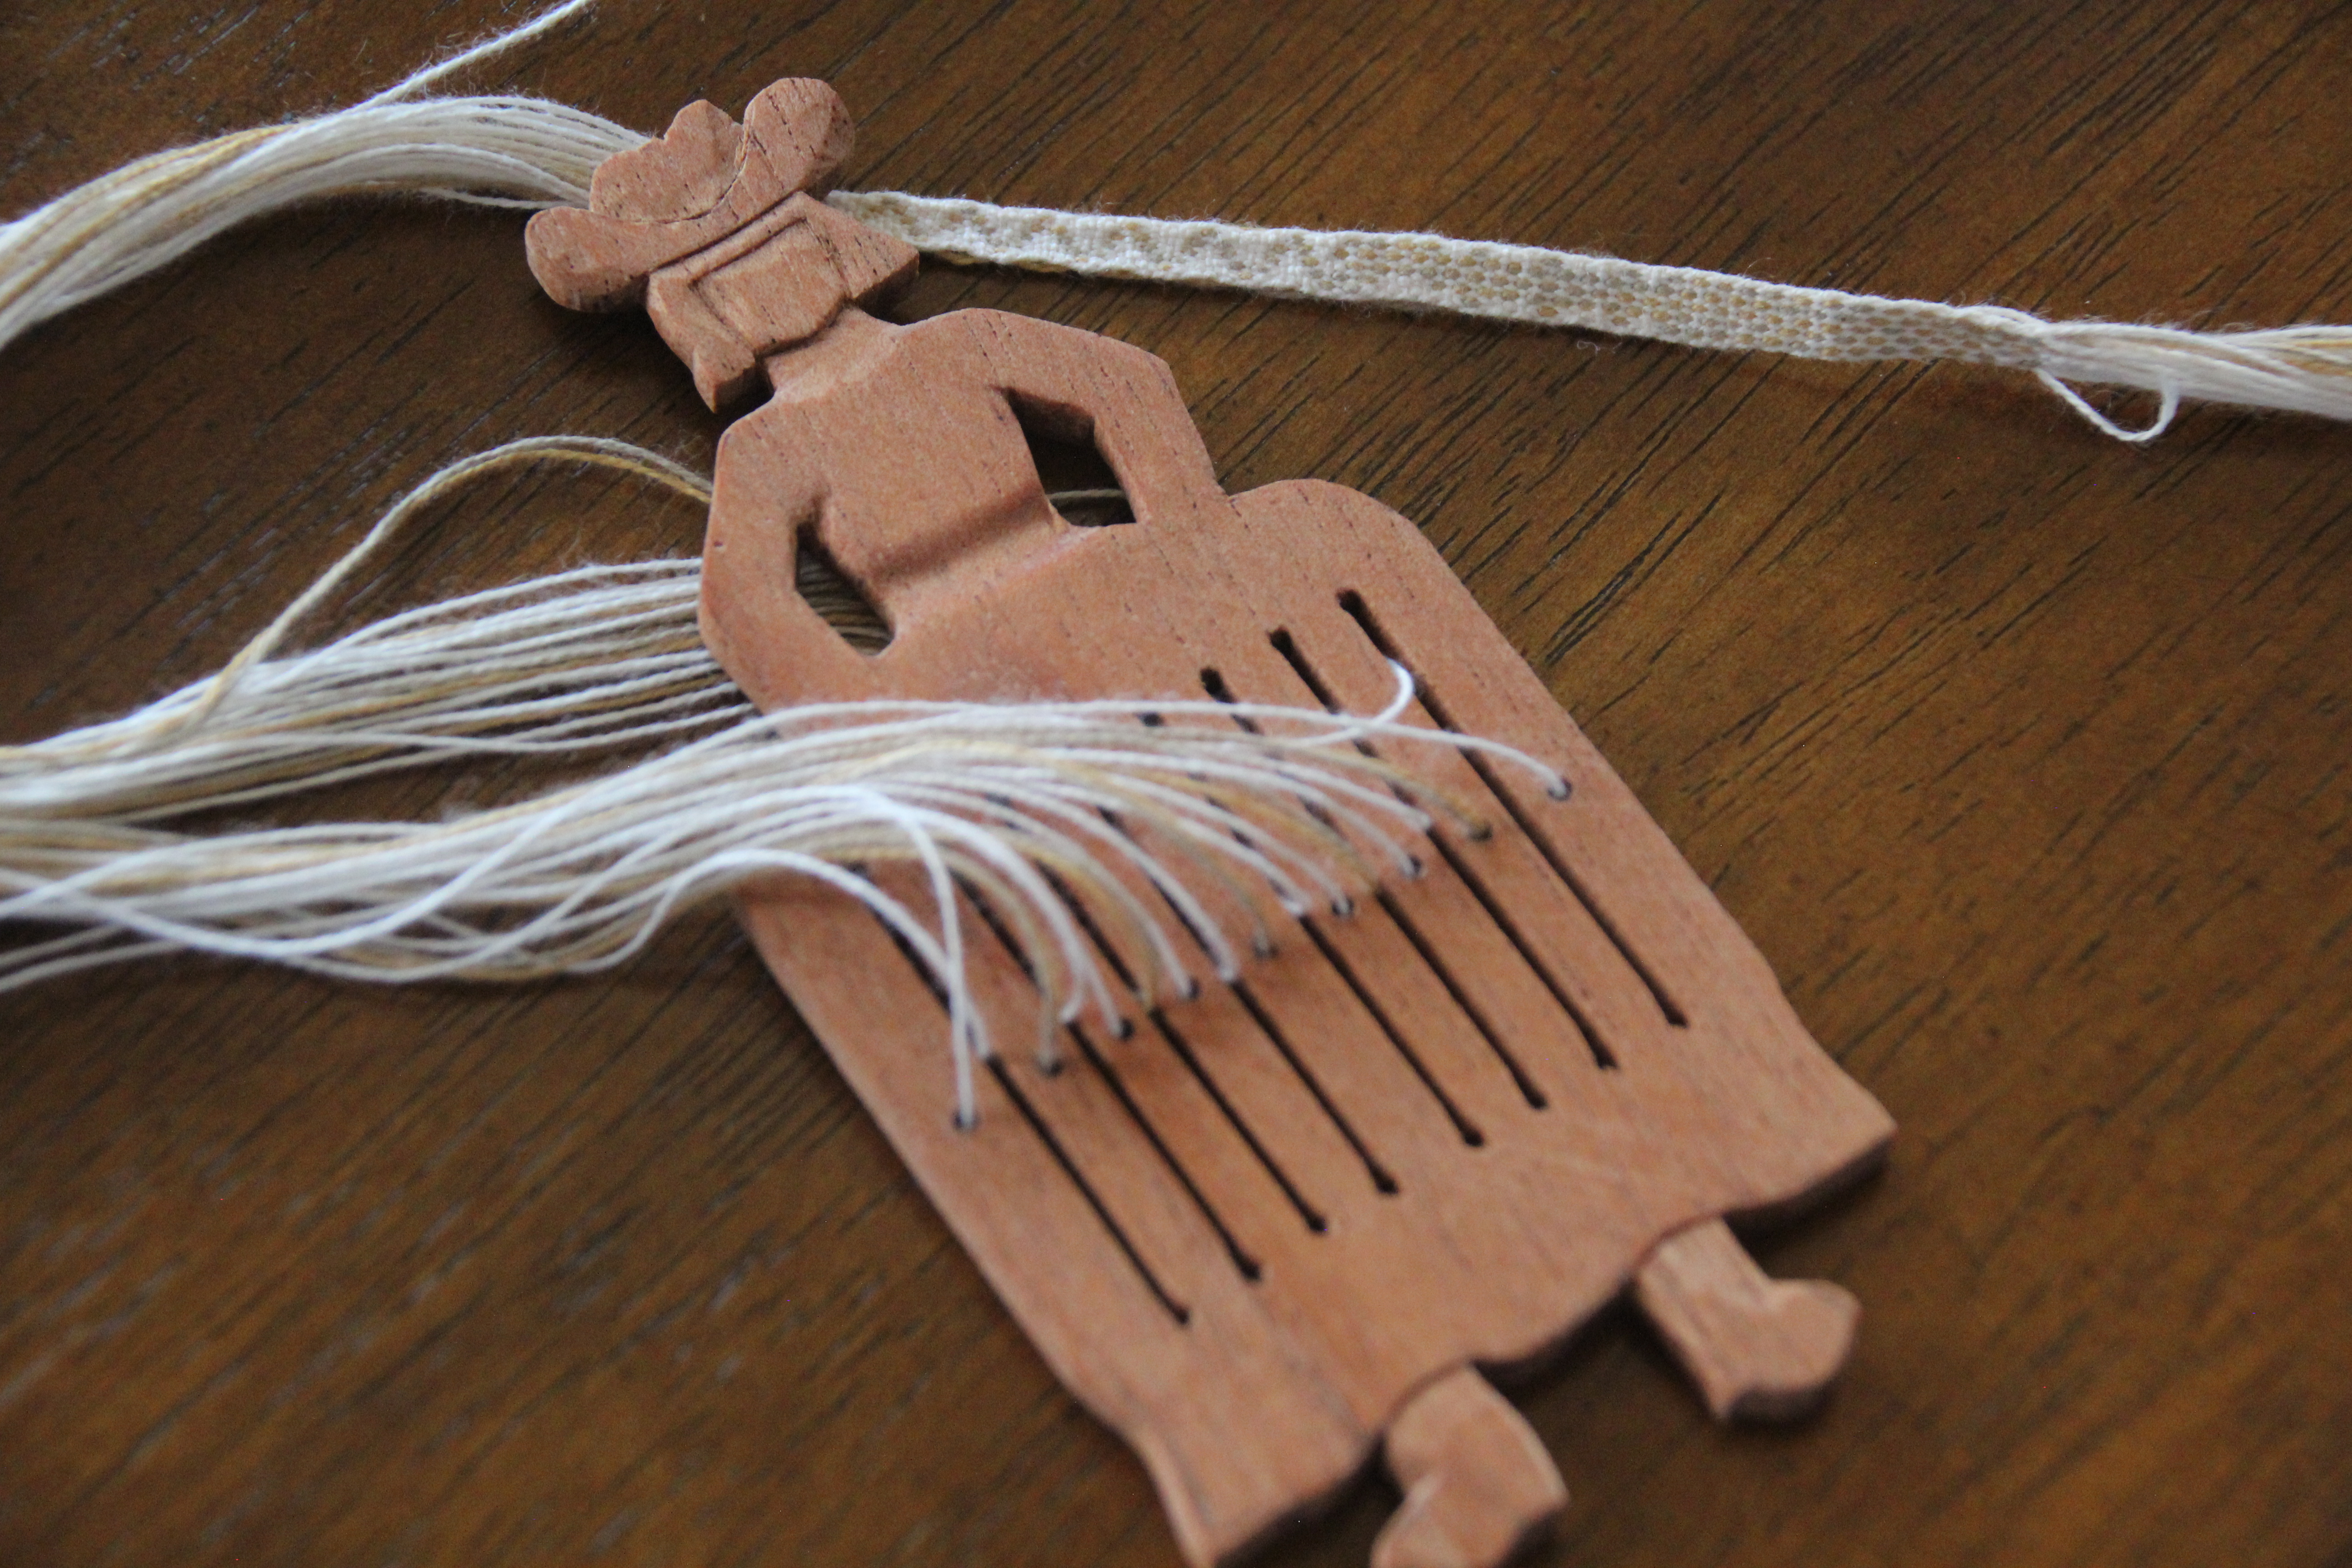
Remember the rigid heddles for band weaving that Steve made for me? (See Process Review: Heddles and Bands) Soft maple, Spanish cedar, and walnut. Steve says they are missing the “cuteness factor.” So, what does he do? He makes a cowgirl heddle out of cherry that is cute as can be!

Miss Cherry Cutie has a warp of 8/2 cotton and 22/2 cottolin, mixed in an asymmetrical design. Steve converted a little sett tool into a shuttle by bevelling the long edge and carving the sides into curves to hold the wrapped thread.

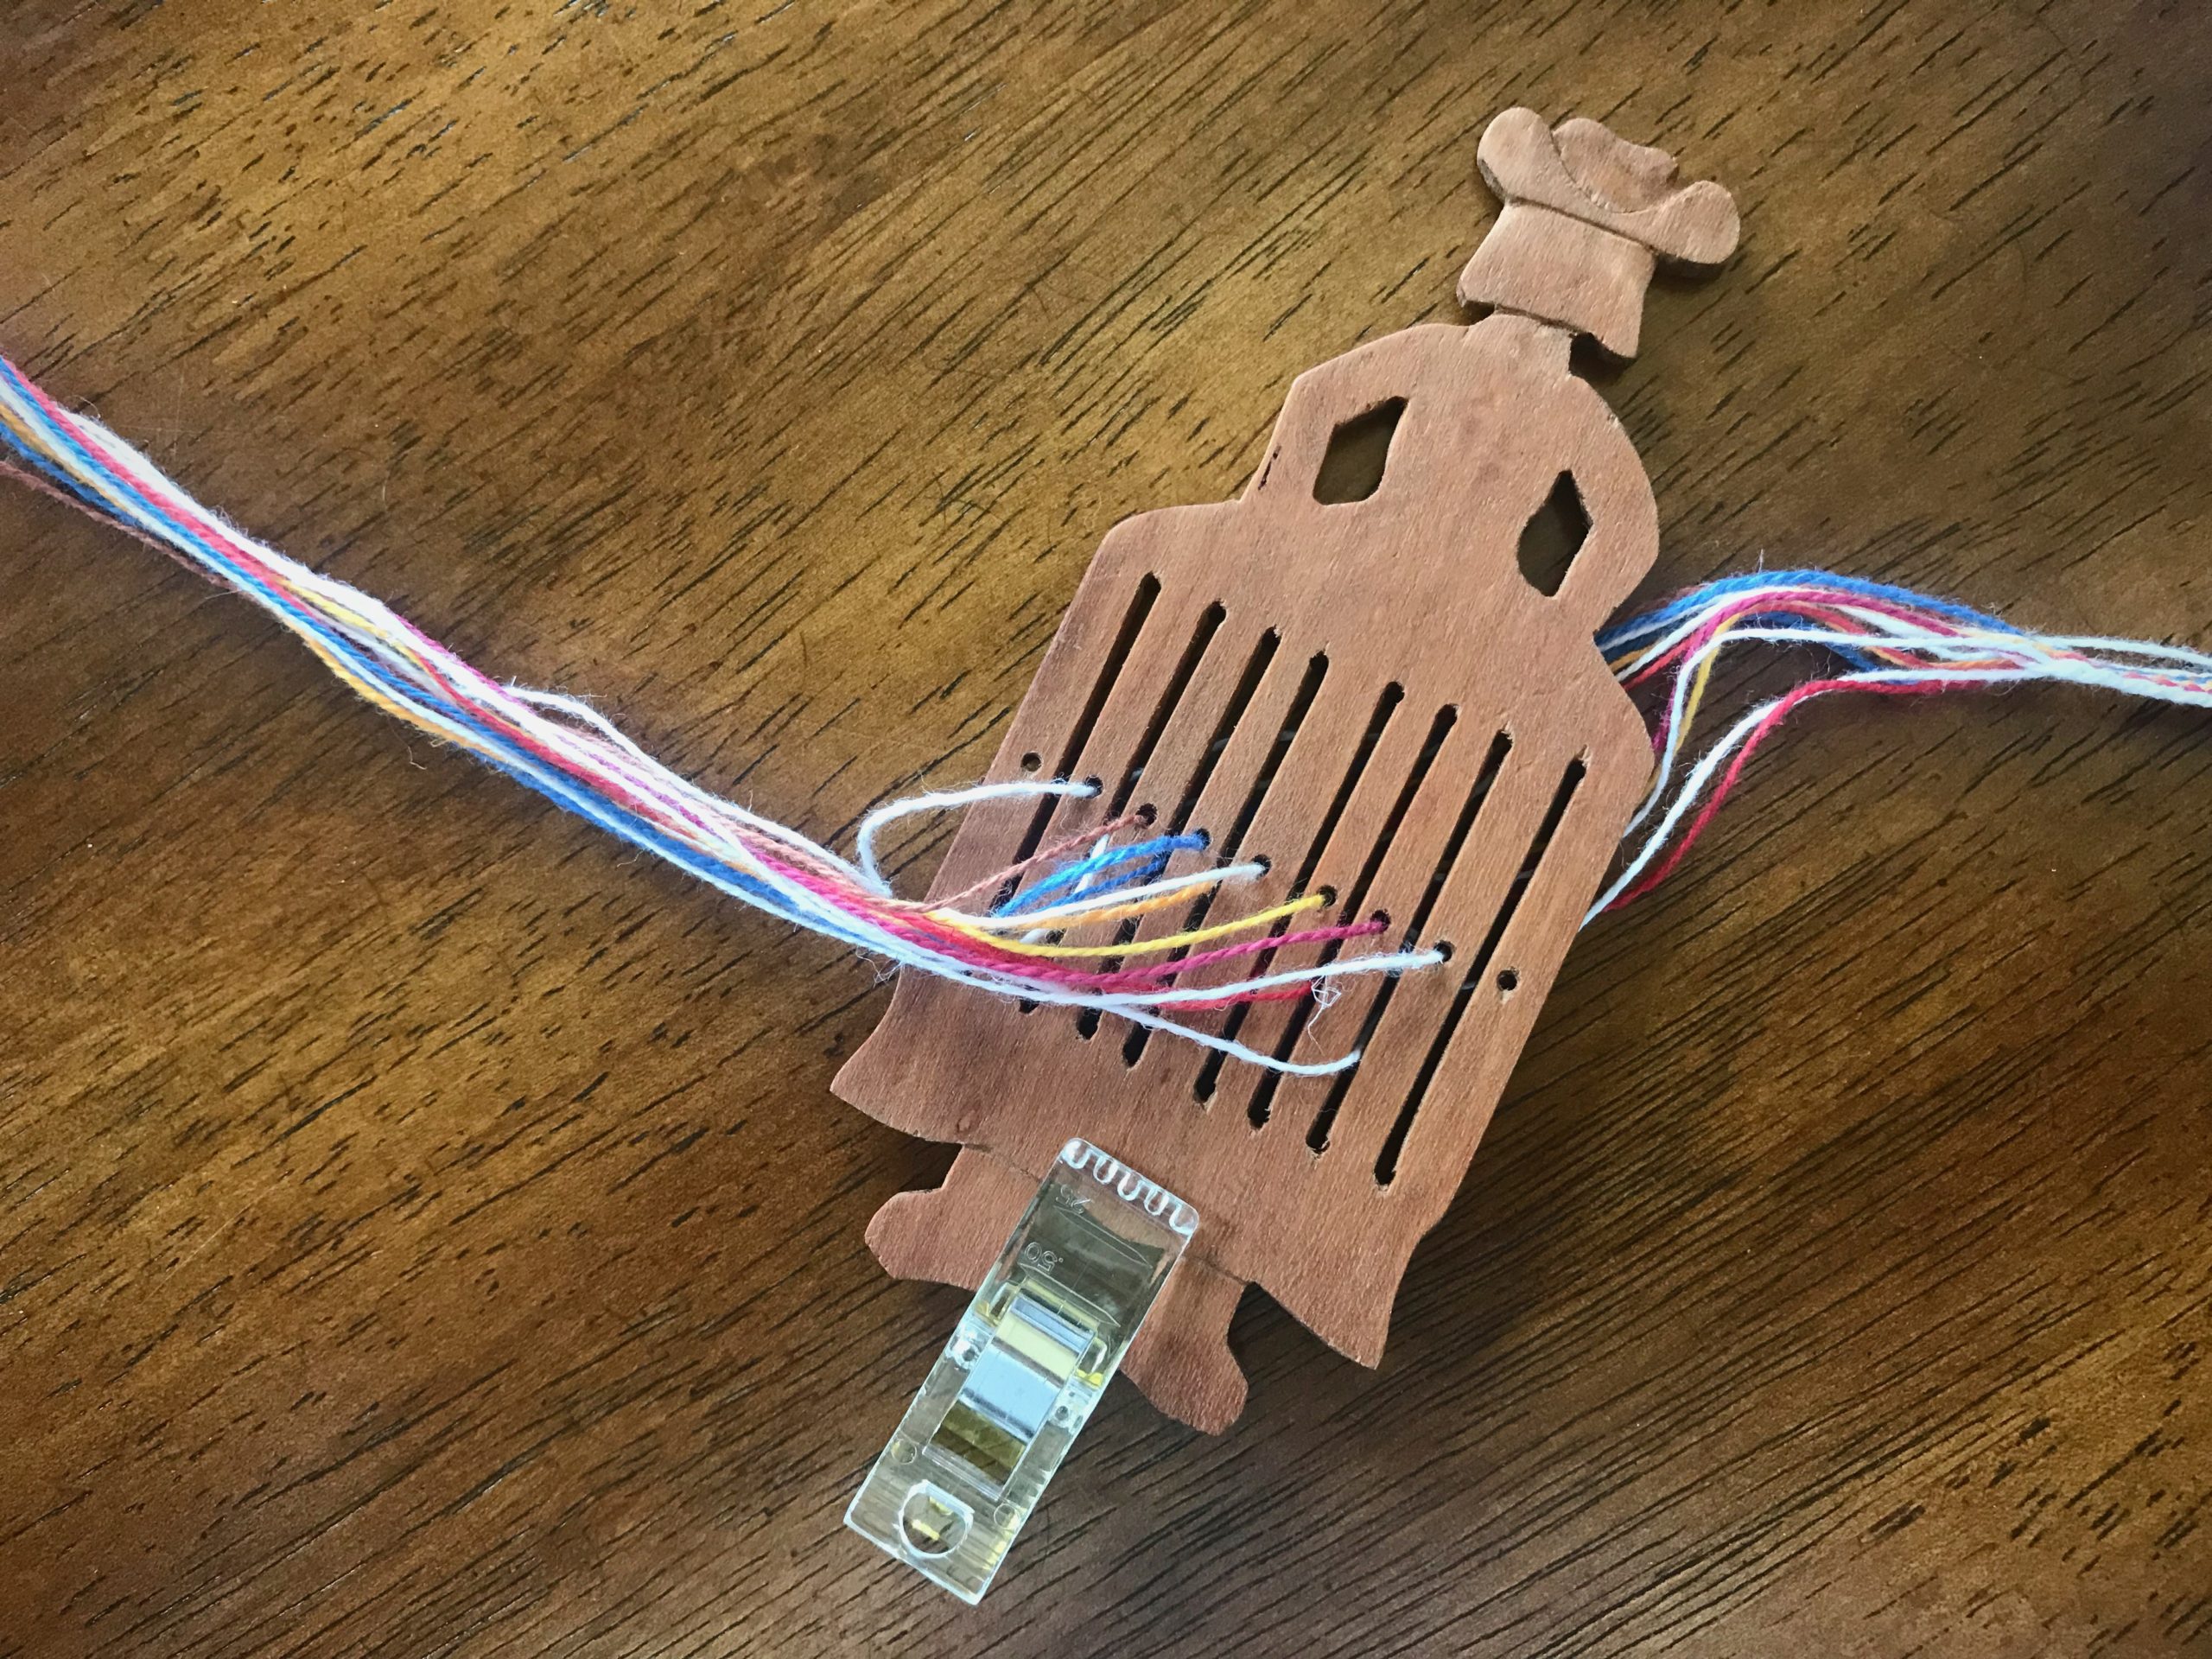
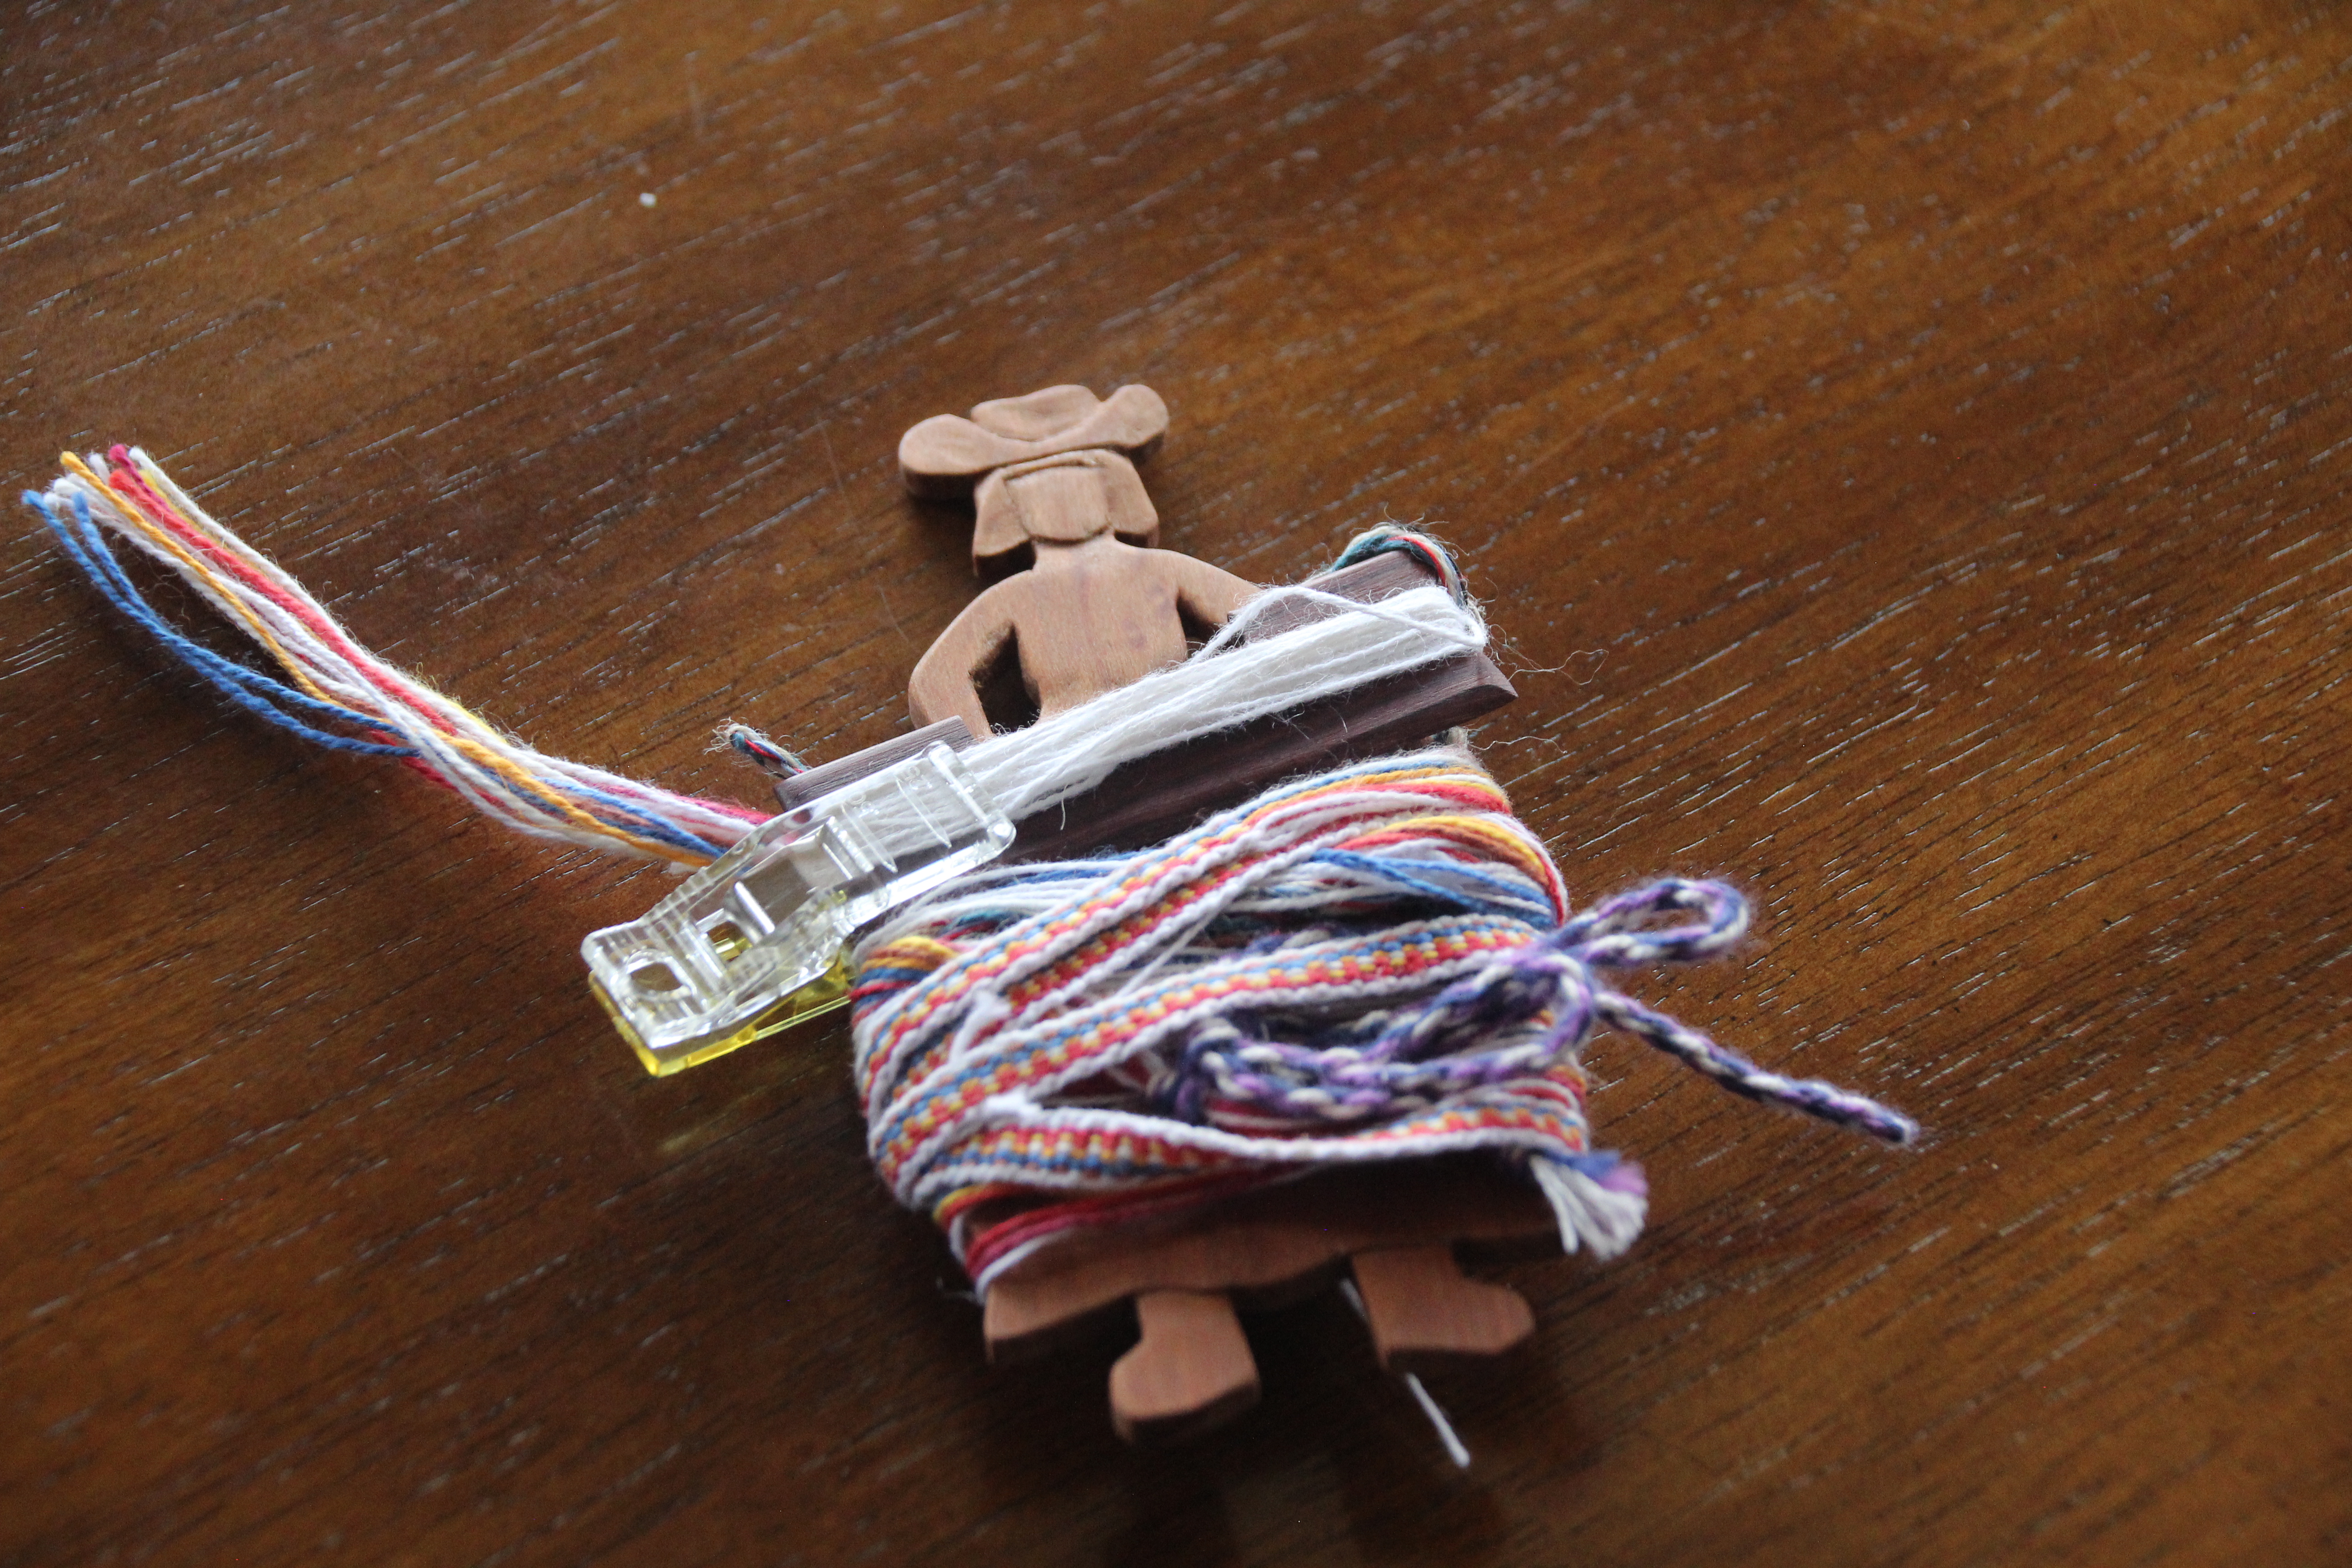
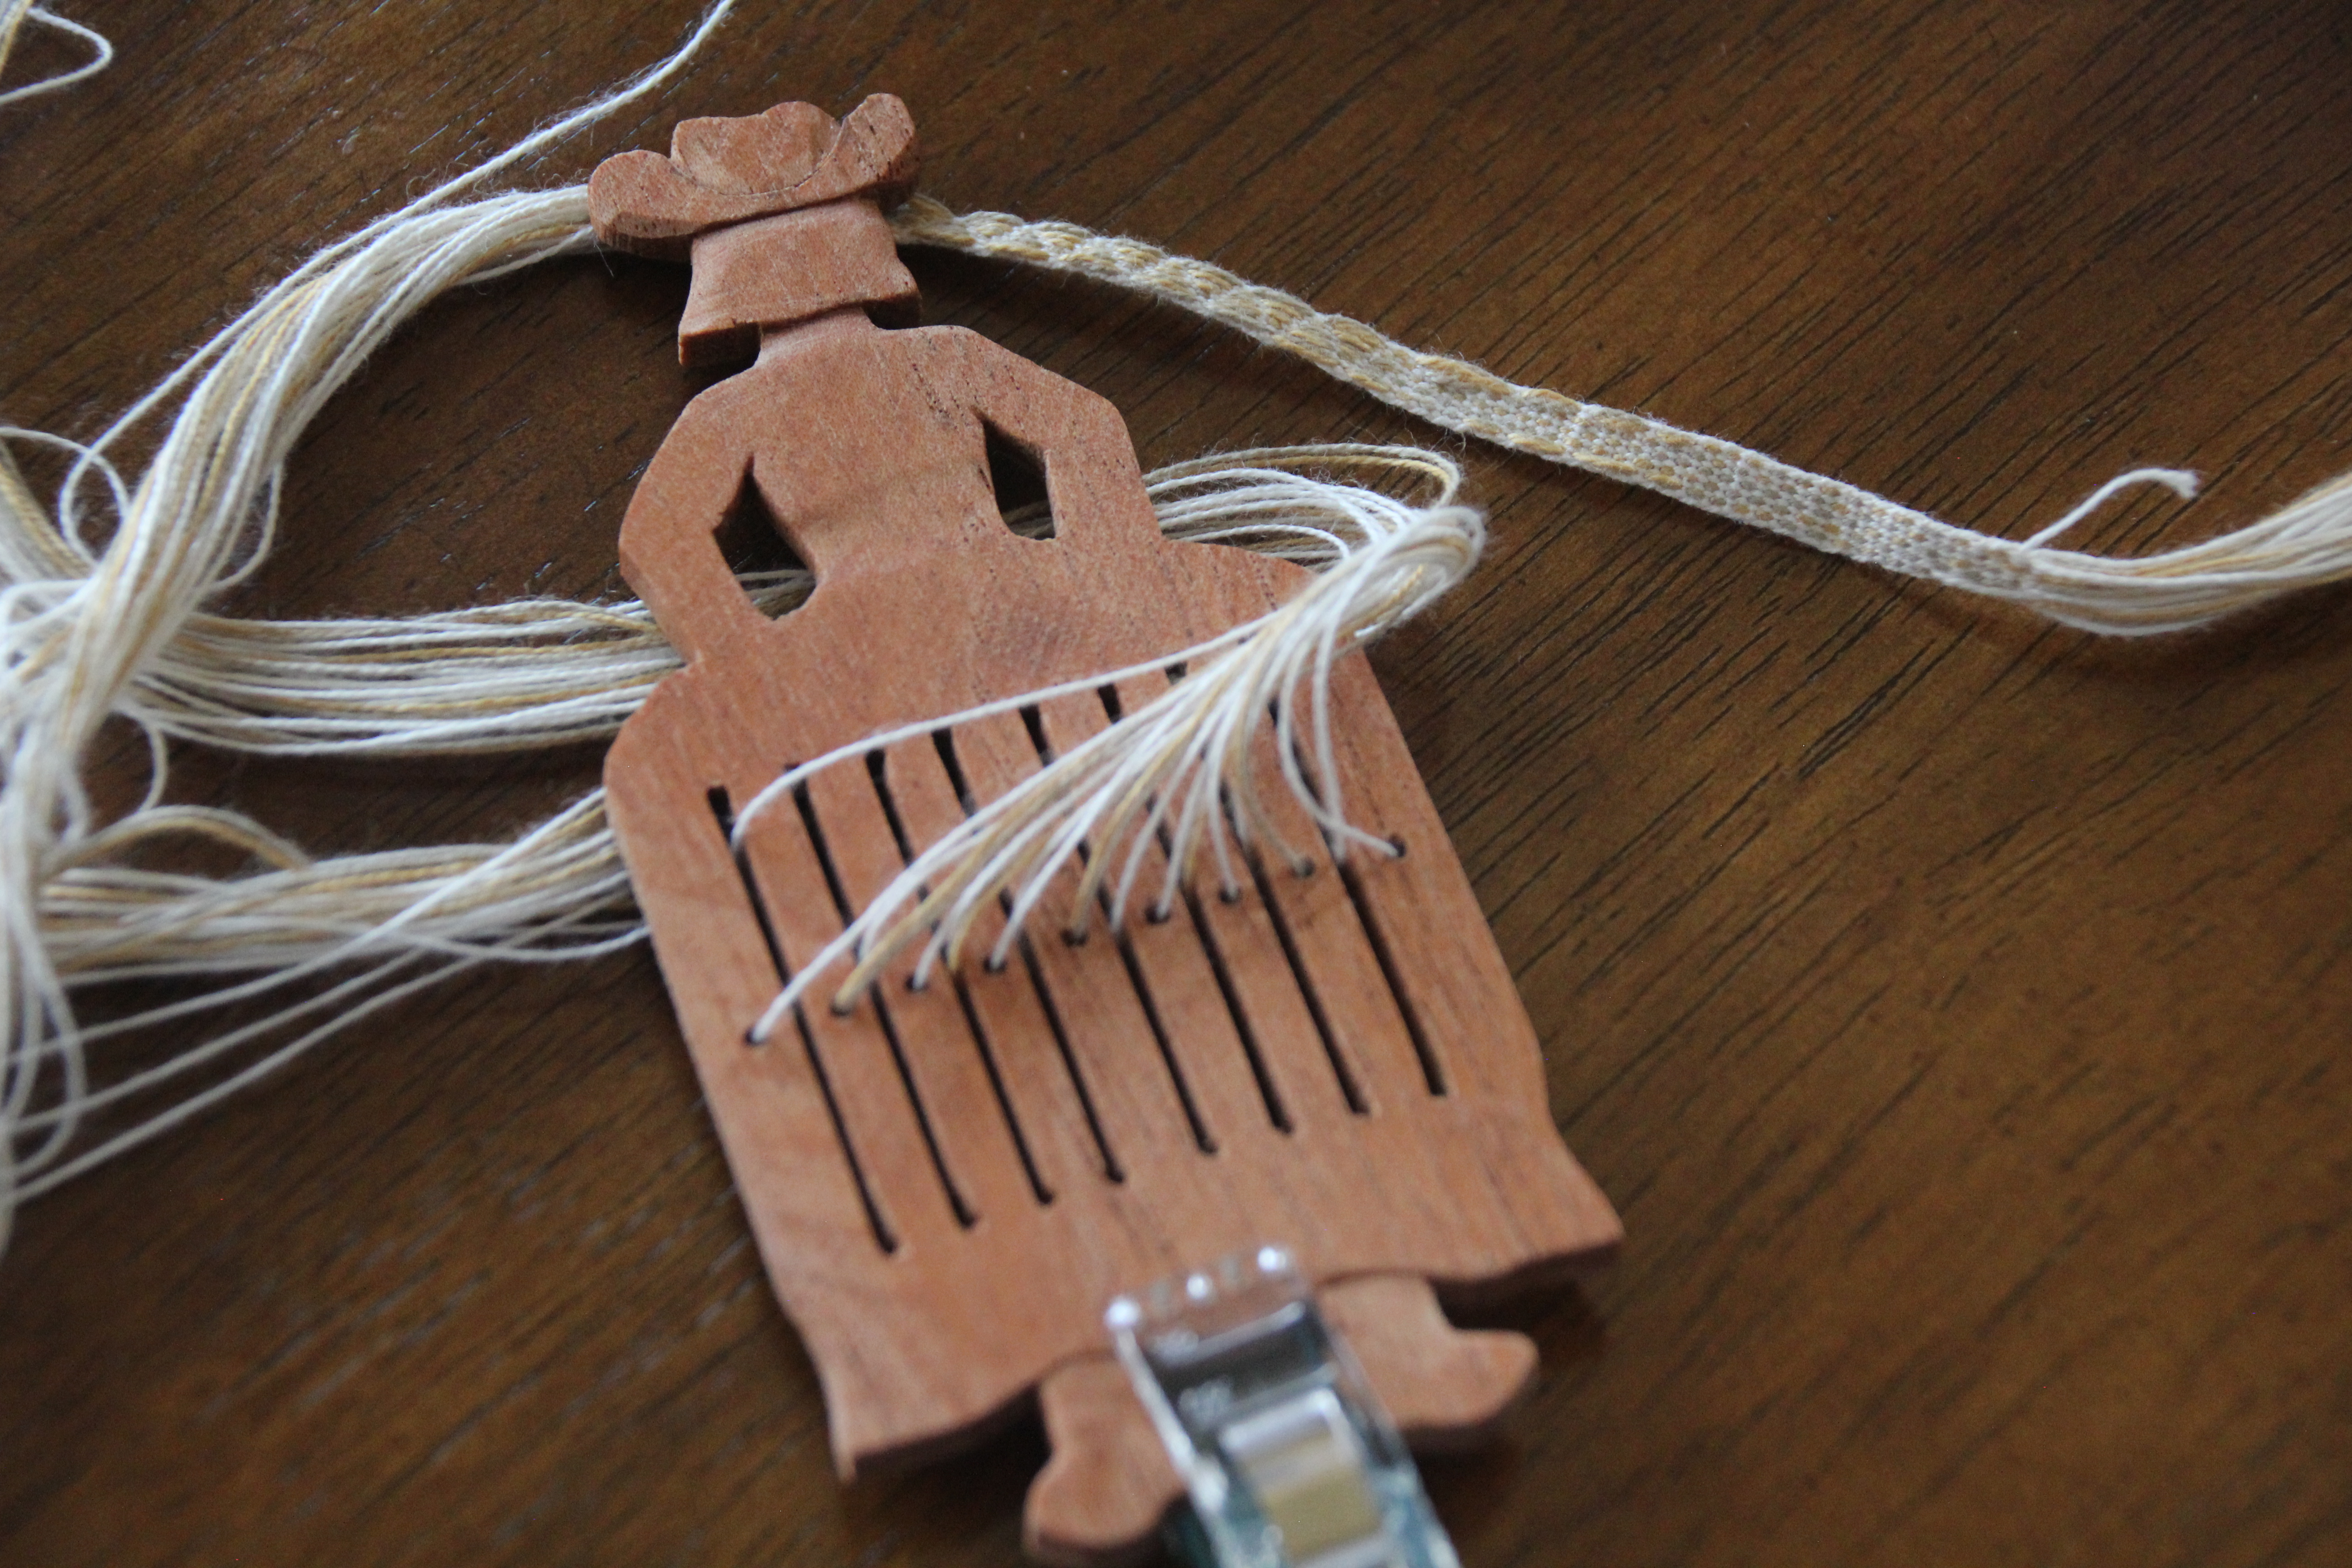
Well, Miss Cherry Cutie wants to flip over while weaving. A little quilter’s clip on the bottom adds just enough weight. Problem solved. Now Steve wants to make one that has more weight on the bottom half.

Quilter’s clip at the bottom gives Miss Cherry Cutie the balance she needs to stay upright while weaving.
Quilter’s clip serves a dual purpose. Besides adding weight for balance while weaving, the clip holds everything together nicely. I can drop this small bundle in a bag, and add a belt and a band lock, and off we go!

Here comes Miss Cutey II in Spanish cedar, with a longer skirt. She doesn’t tip all the way, but she does lean this way and that. The clip helps her, too. Conclusion? The shorter version, with the clip, is more compact and is our favorite design.

Miss Cutie II has a petticoat that hangs below her skirt. This extra length makes her a bit more stable than Miss Cherry Cutie. I cut Miss Cherry Cutie’s warp in half to give Miss Cutie II a warp. These are the same threads, but arranged in a more symmetrical order. She has her own sett tool shuttle, too.
Miss Cutie II also benefits from the added weight of a quilter’s clip.

Look who shows up! Miss Cutie III in Spanish cedar. It’s time for a band weaving party, y’all!

Miss Cutie III shows up unexpected. She waits to be threaded with a few ends from the thrums of the Priceless Monksbelt Runner. (See Process Review: Priceless Monksbelt and Video.)
Facedown for threading, Miss Cutie III receives the 16/2 cotton threads for her warp. This warp has five doubled pattern threads.
Threaded and ready for a 5-thread pick-up pattern.
Narrow band, with a subtle zigzag pattern.
Back of band has soft floats in triangular shapes.

Persistence comes from having an end in mind. Prayer is like that. We know our heavenly Father hears us when we pray. We know his outcome is good. Faith compels us to persist in prayer. As we do, the Lord guides our heart to align with his will. All the while, he works behind the scenes to bring his answer, which is better than anything.

May you persist as needed.

In his time,
Karen

Process Review: Heddles and Bands

Band weaving is a simple activity that helps you notice the little things. You see how each thread falls into place. How the thread turns the selvedge corner just so. How the pattern threads stand proud in floats or hide in subtle patterns. I enjoy practicing my skills as a band weaver. And more so, now that Steve has turned his attention to making band heddles for me.

Workshop at Contemporary Handweavers of Texas Conference 2019 got me started with weaving patterned bands on a rigid heddle.
First heddle by Steve is made from Soft Maple. Band has 21 ends (with 5 pattern threads, doubled). 8/2 cotton and 22/2 cottolin.
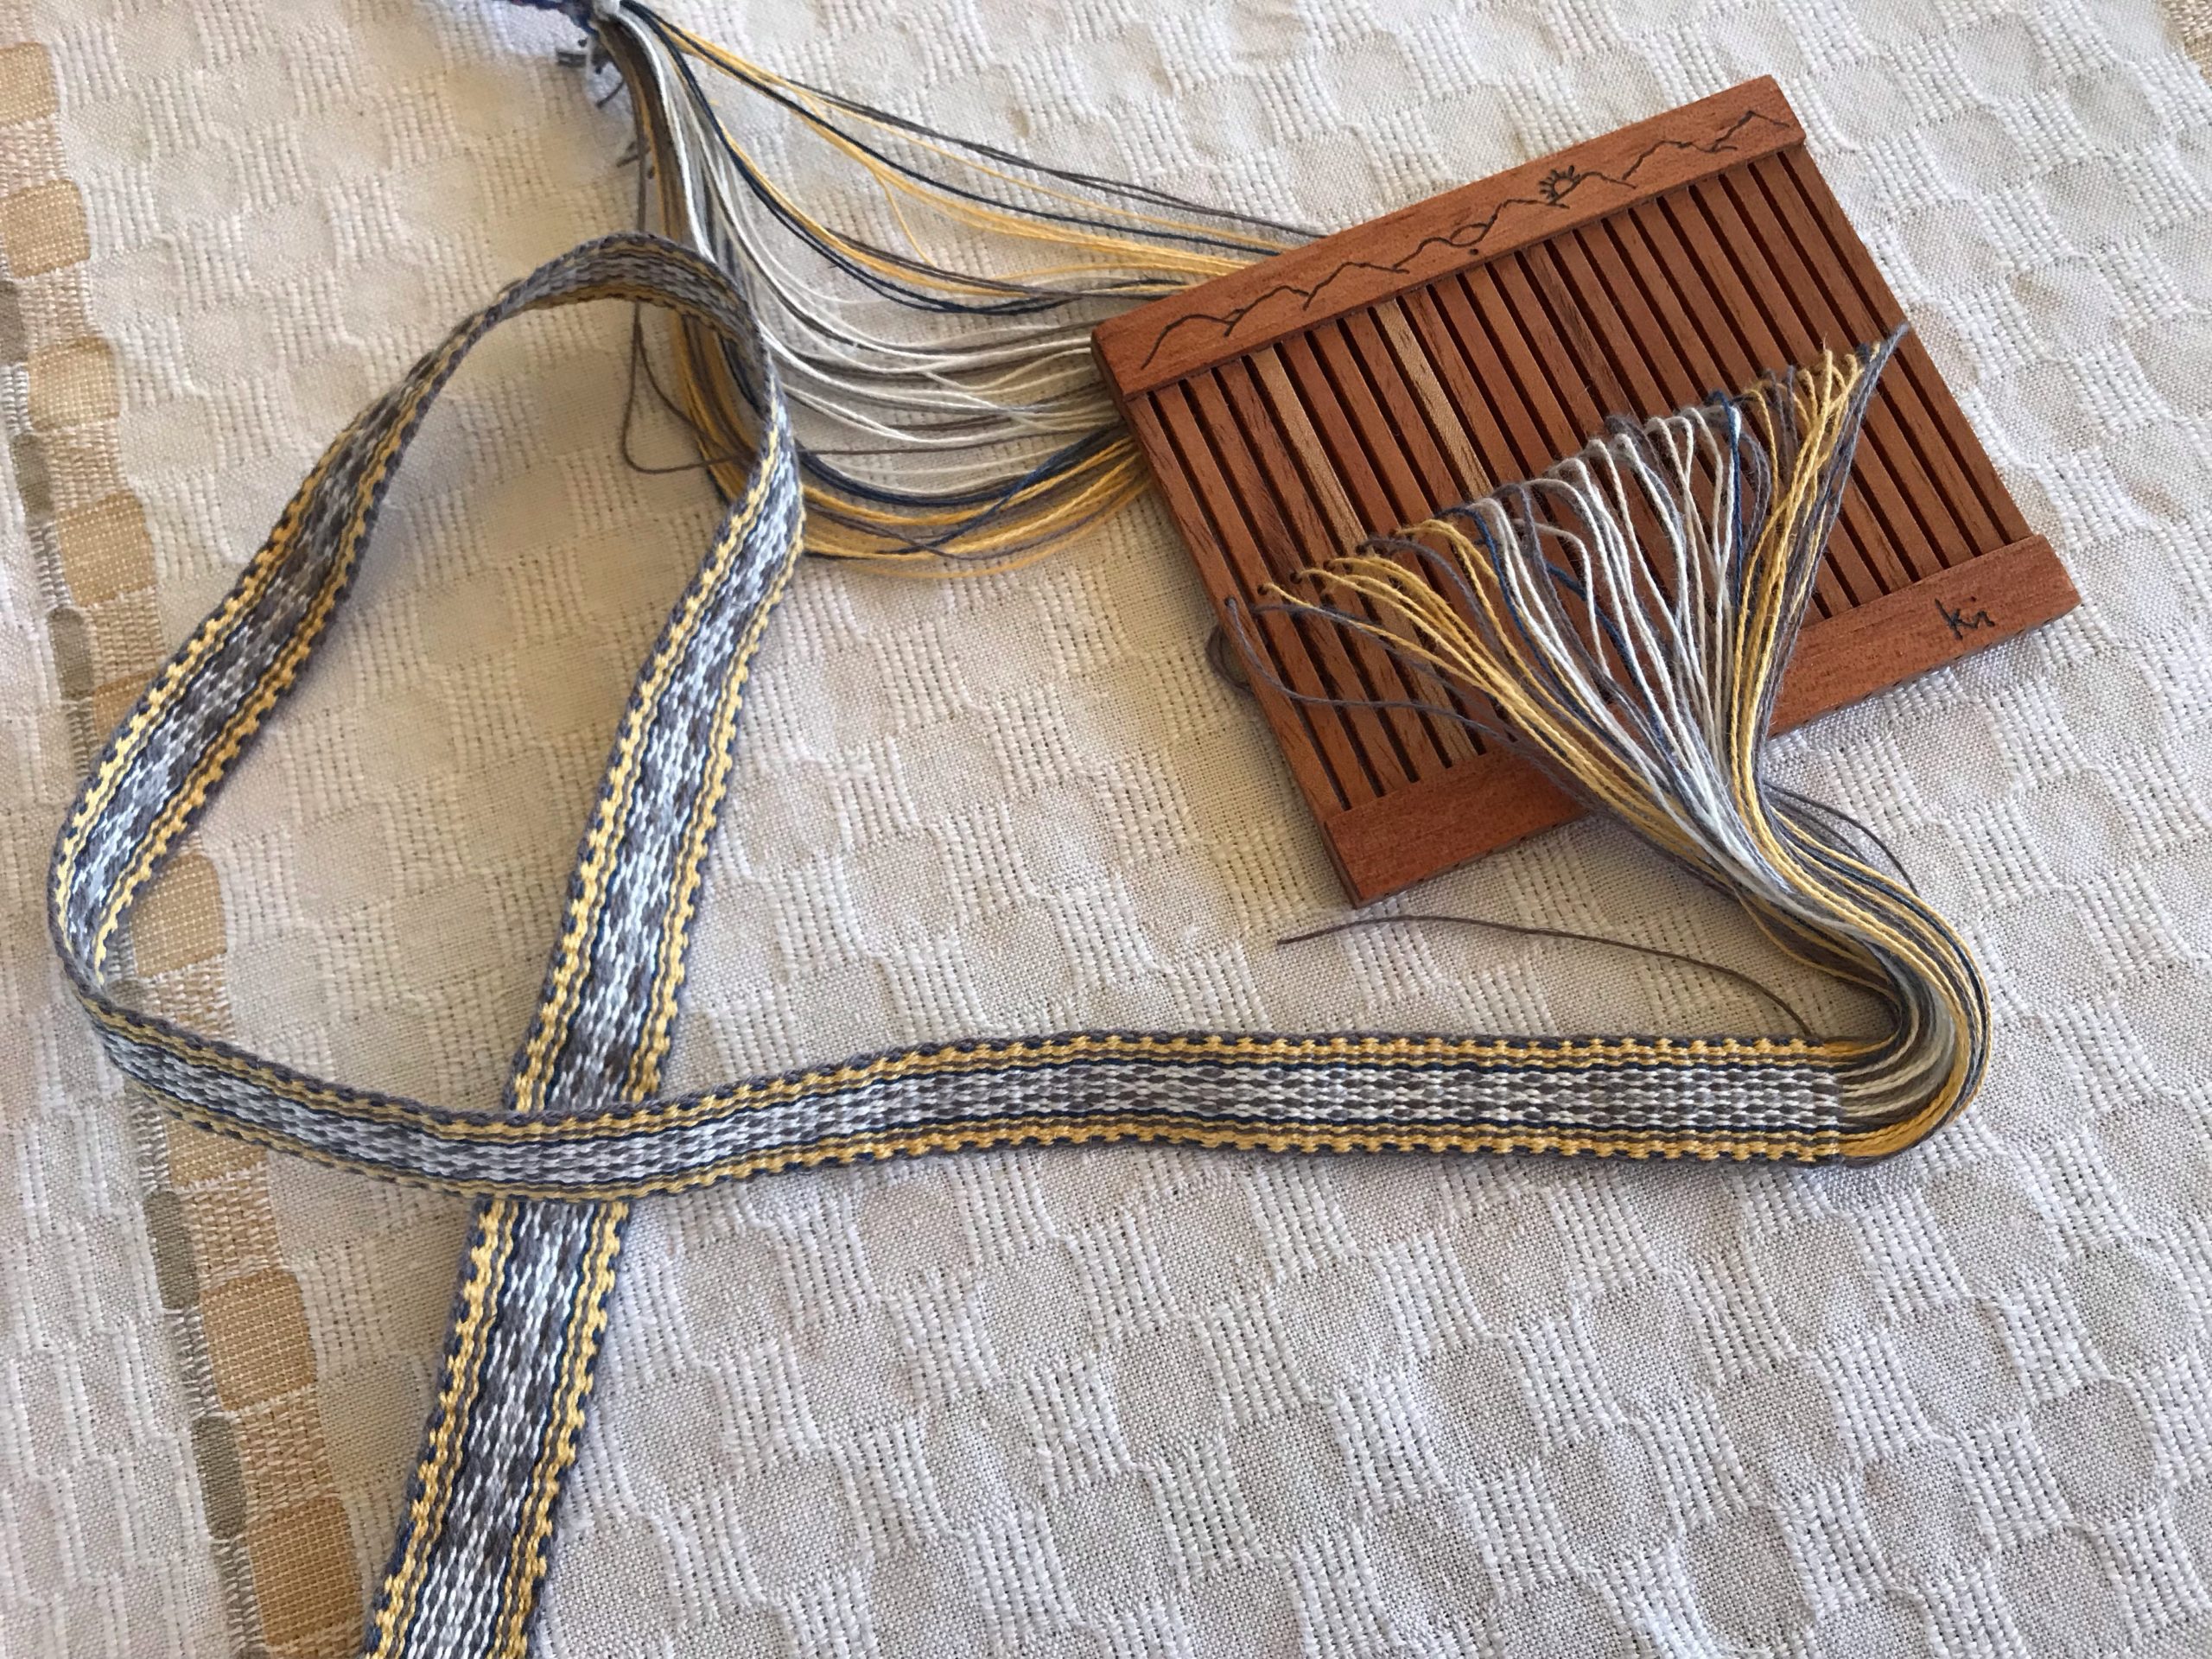
Heddle made from Spanish Cedar. Wood-burned top represents the Texas Hill Country hills that we enjoy. Band has 45 ends (with 5 pattern threads, doubled), using the heddle’s full width. 8/2 cotton and 22/2 cottolin.
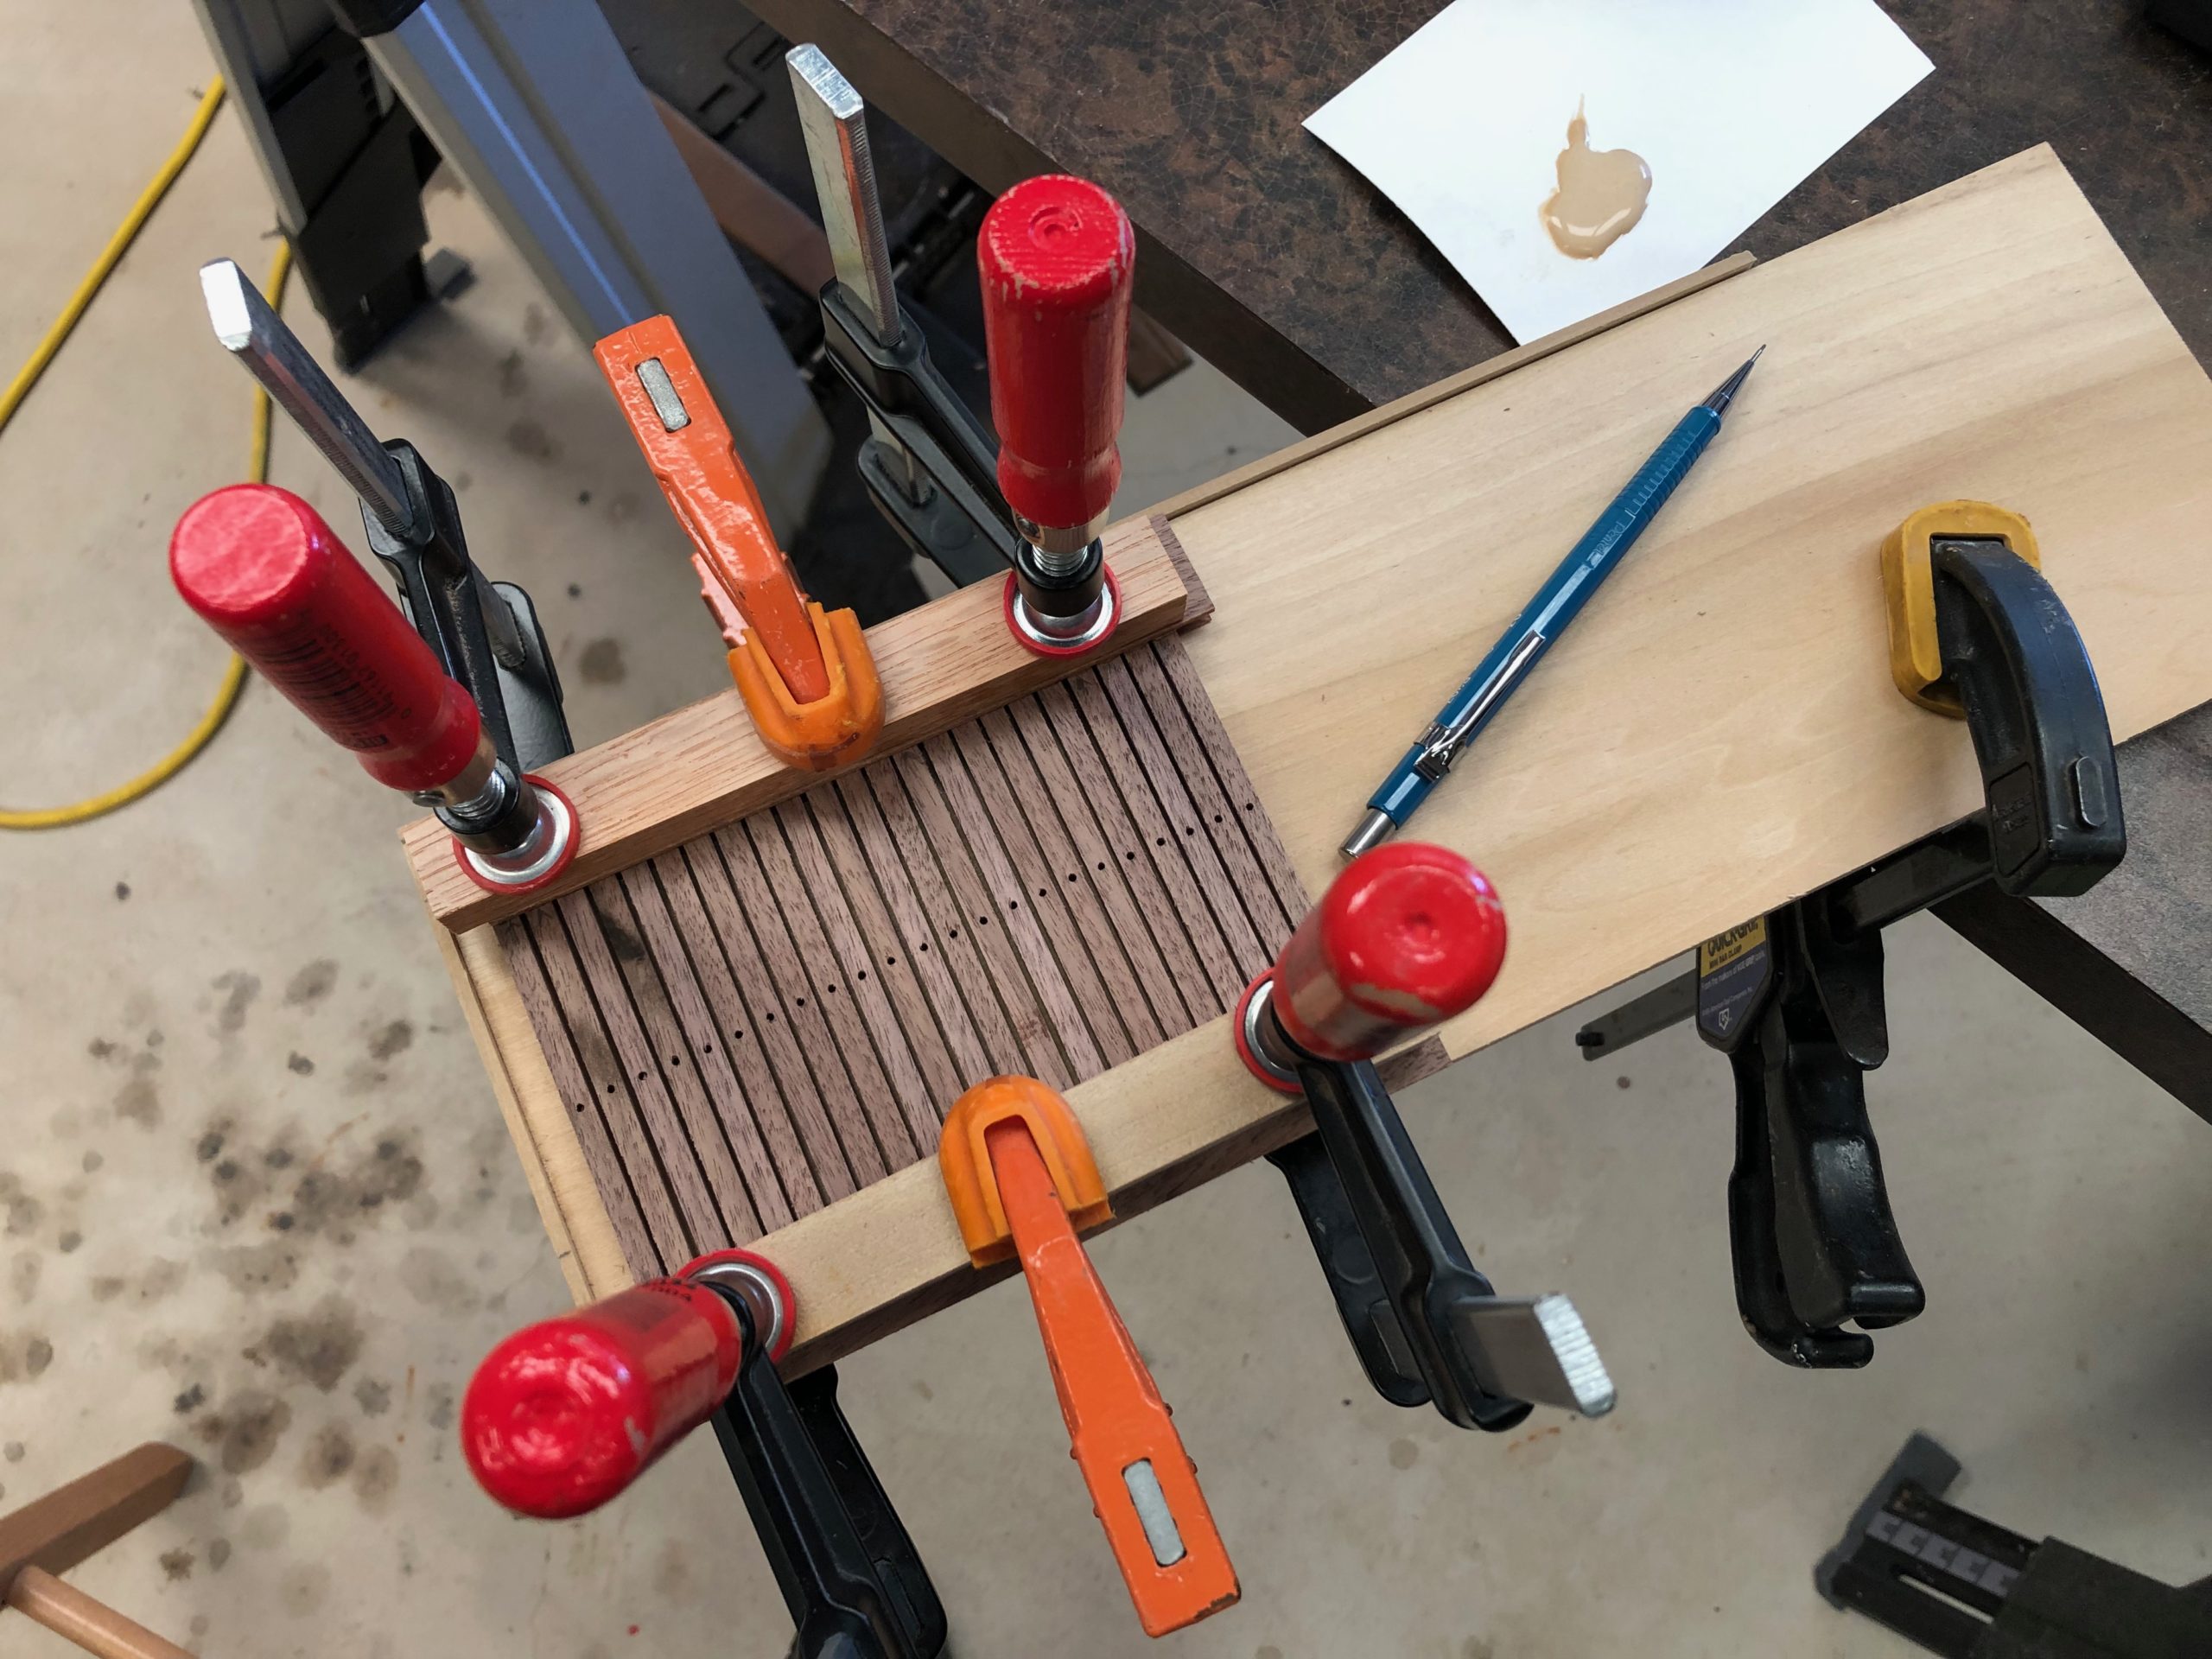
Walnut band heddle in the making.
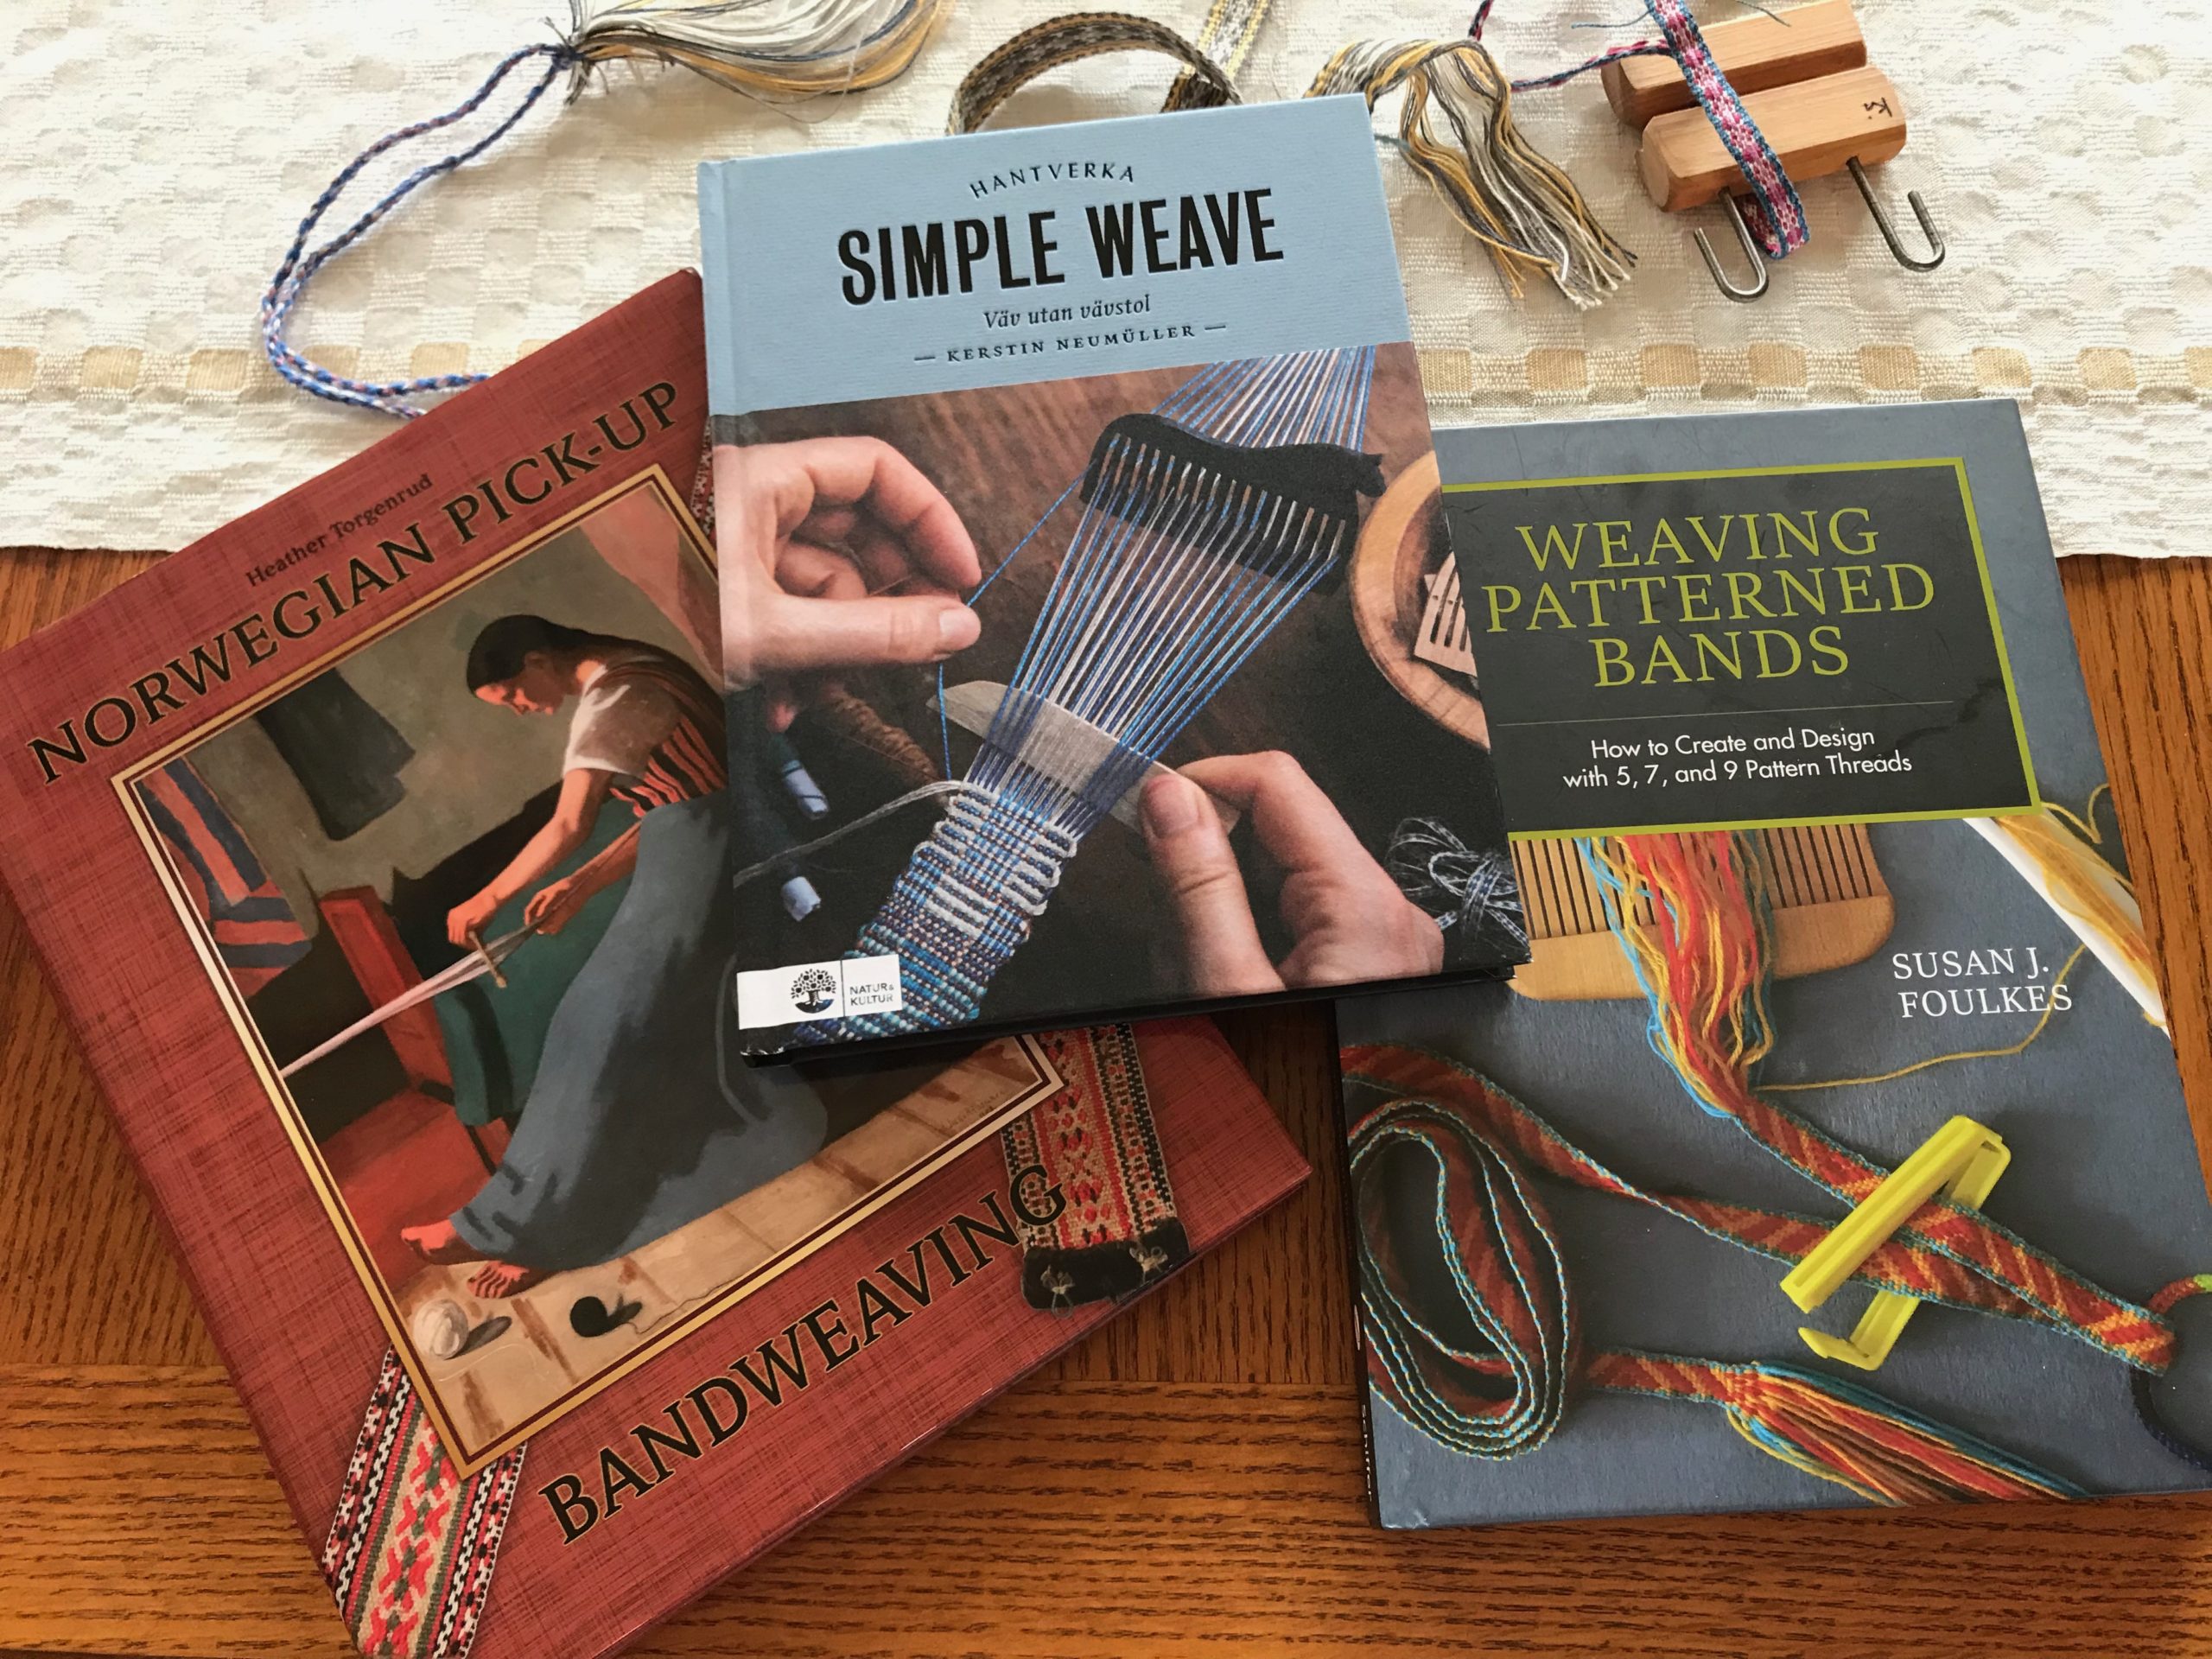
Torgenrud, H. (2015). Norwegian pick-up bandweaving. Schiffer Publishing; Foulkes, S. (2018). Weaving Patterned Bands. How to Create and Design with 5, 7, and 9 Pattern Threads. Schiffer Publishing; Neumüller, K. (2021). Simple Weave. (Language: Swedish). Natur & Kultur, Stockholm.

Pictures in the following slideshow video tell more of the story.

Edited: Steve has compiled photo documentation of how he made my Spanish Cedar and Walnut heddles. Click HERE to send me an email requesting a PDF copy of Making a Band Heddle.

May you take time to notice the little things.

Love,
Karen