Tried and True: Measurement Tape

You can measure what you are weaving. A set of towels will all be the same length. A table runner will fit the table as planned. A rug will be the right size for the designated floor space. All it takes is a dependable way to measure. (Thanks to Elisabeth S. for writing me, “I’d love to have a better way to measure my work as I’m weaving it.”)

Dependable way to measure on the loom!

Measurement Tape (accompanying video below)

Supplies:

  • Calculator
  • Project notes
  • 5/8” polyester twill tape
  • Fine point indelible marker
  • Tape measure
  • 2 flat-head straight pins

Make Calculations

  • Determine the finished length.
    • Consider the Golden Ratio, 1:6.
    • Consider where the finished textile will be placed.
  • Estimate take-up and shrinkage.
  • Include these measurements in your project notes.

Prepare a Measurement Tape

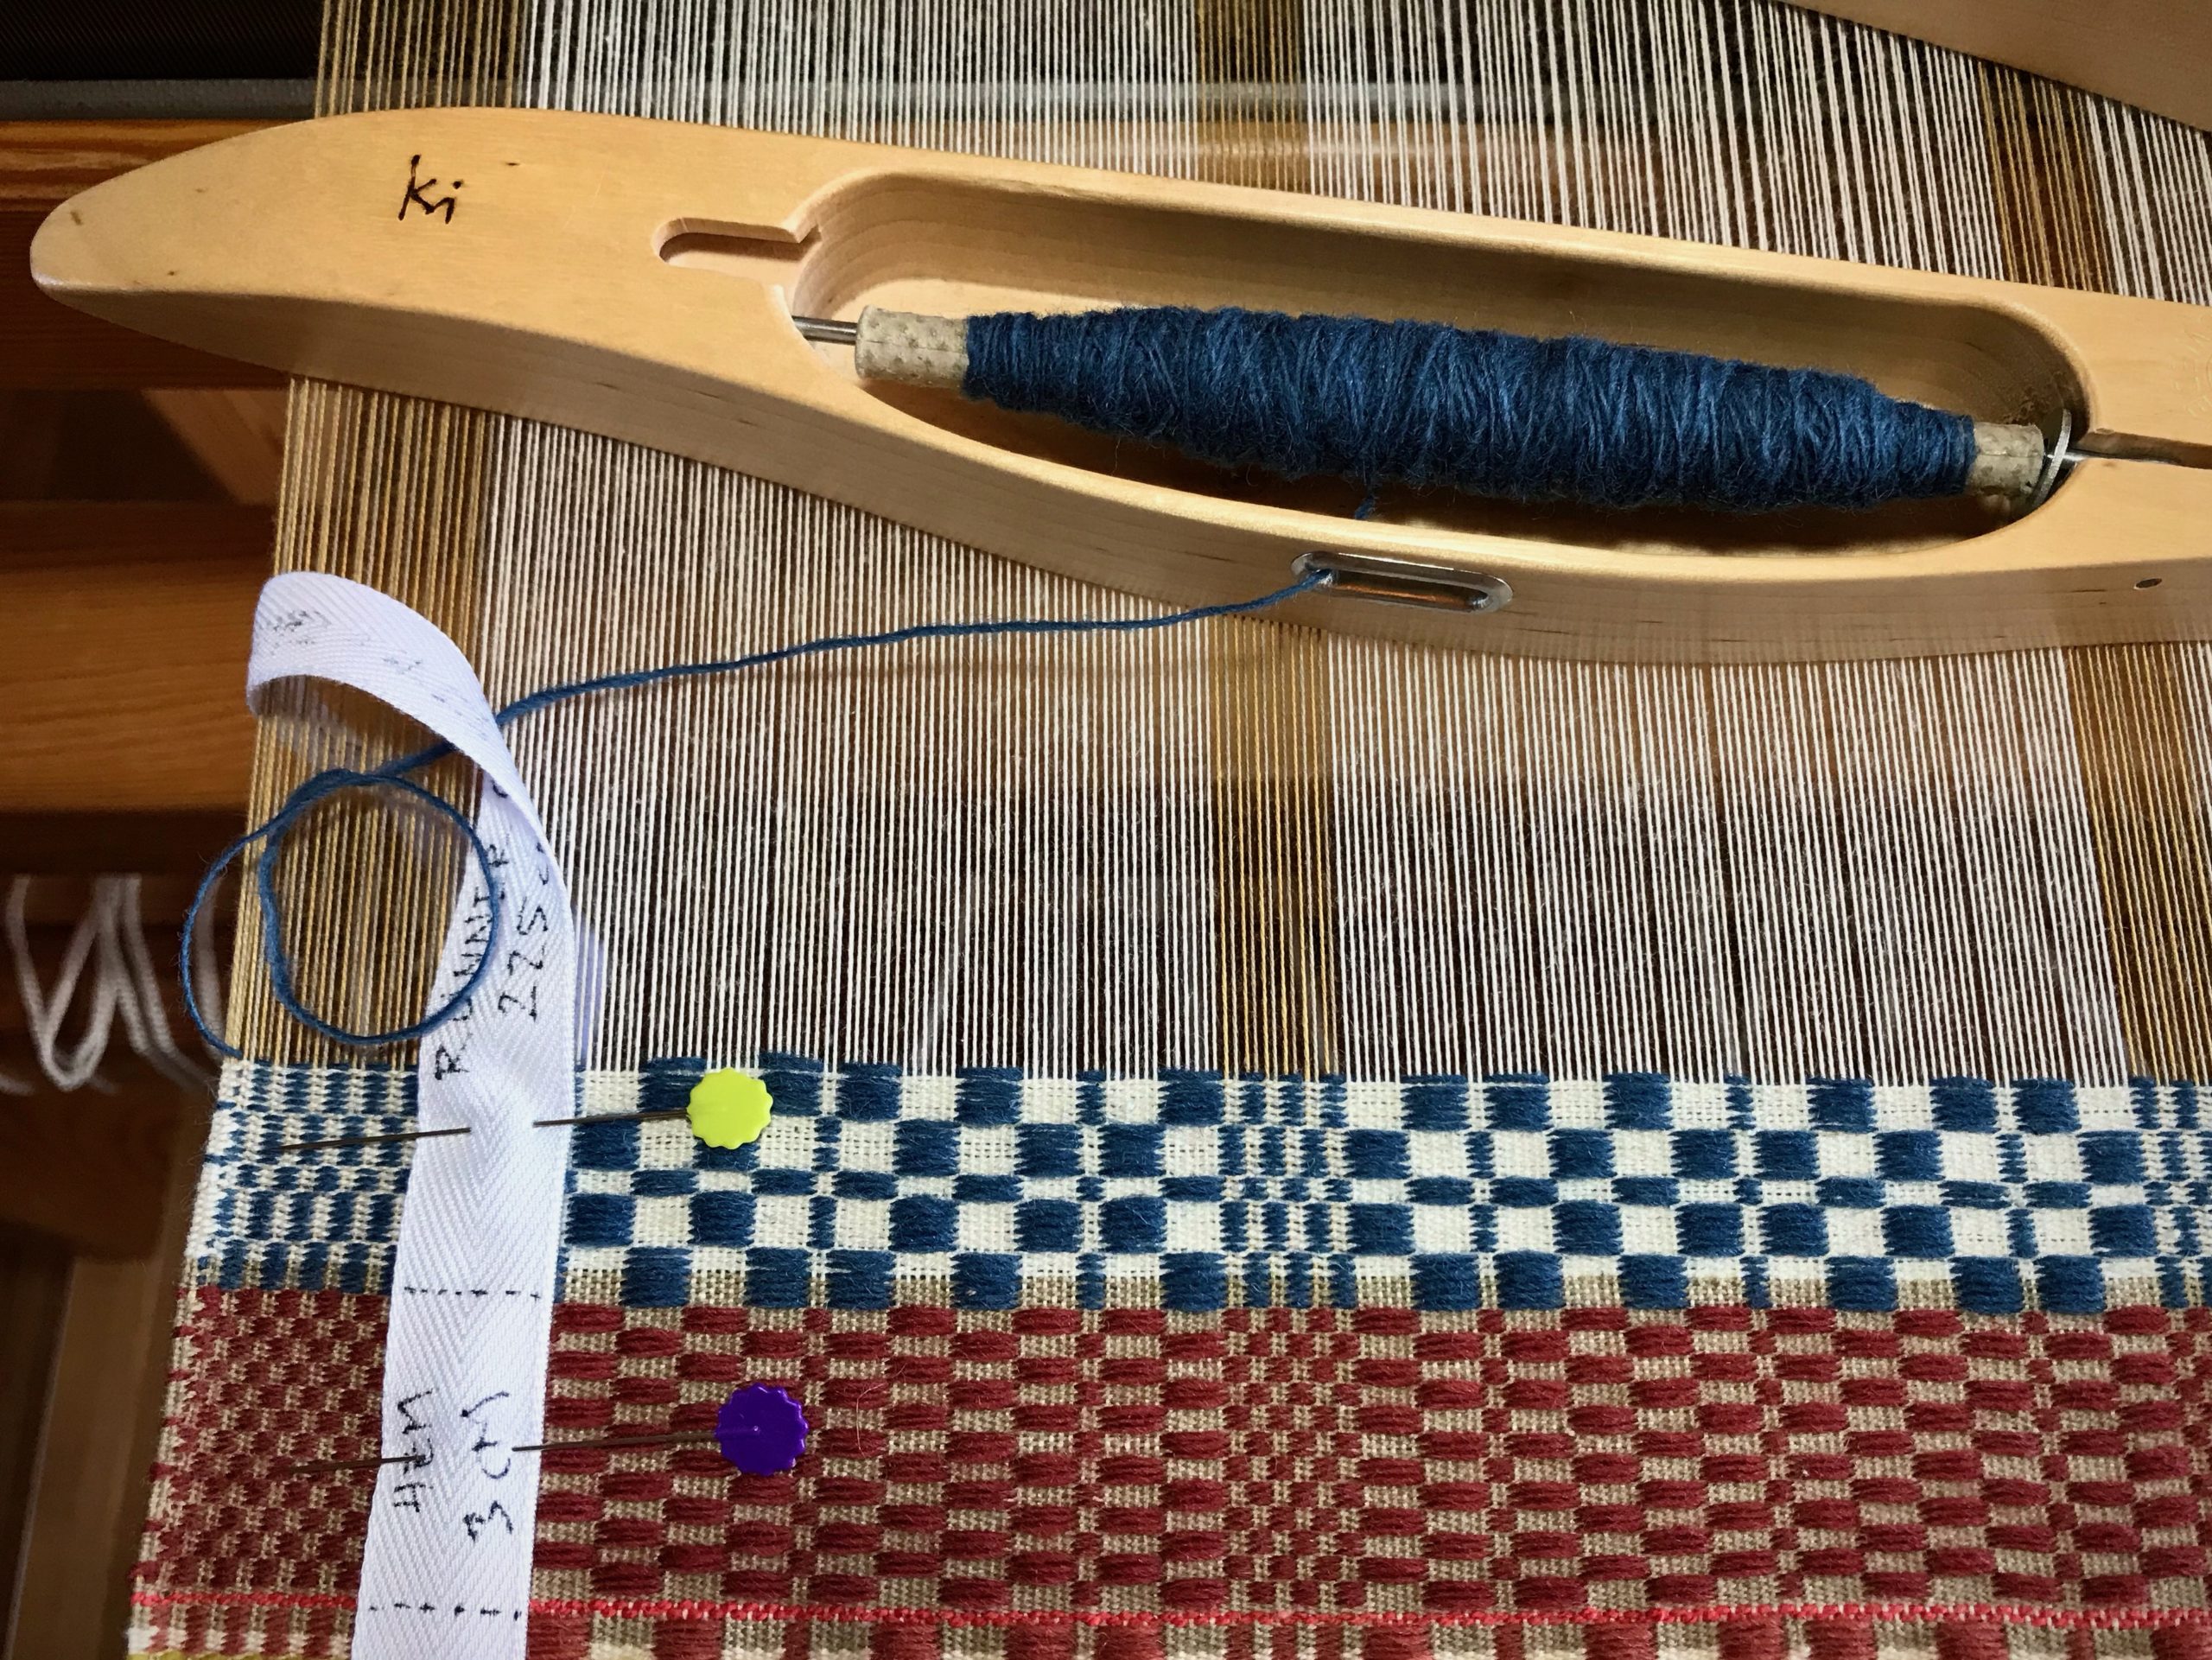
  • Draw the beginning line about 2 cm from the end of the tape. If there is a hem, draw a second line to mark the hem’s length.
  • Write the item description on the tape.
  • Write ” ___ (finished length) + ___ (take-up and shrinkage) = ___ (total length)” on the tape.
  • Measure the total length from the first line (or from the hem) on the tape. Draw a line at the end (add hem, if needed).
  • Cut the tape about 2 cm after the ending line.
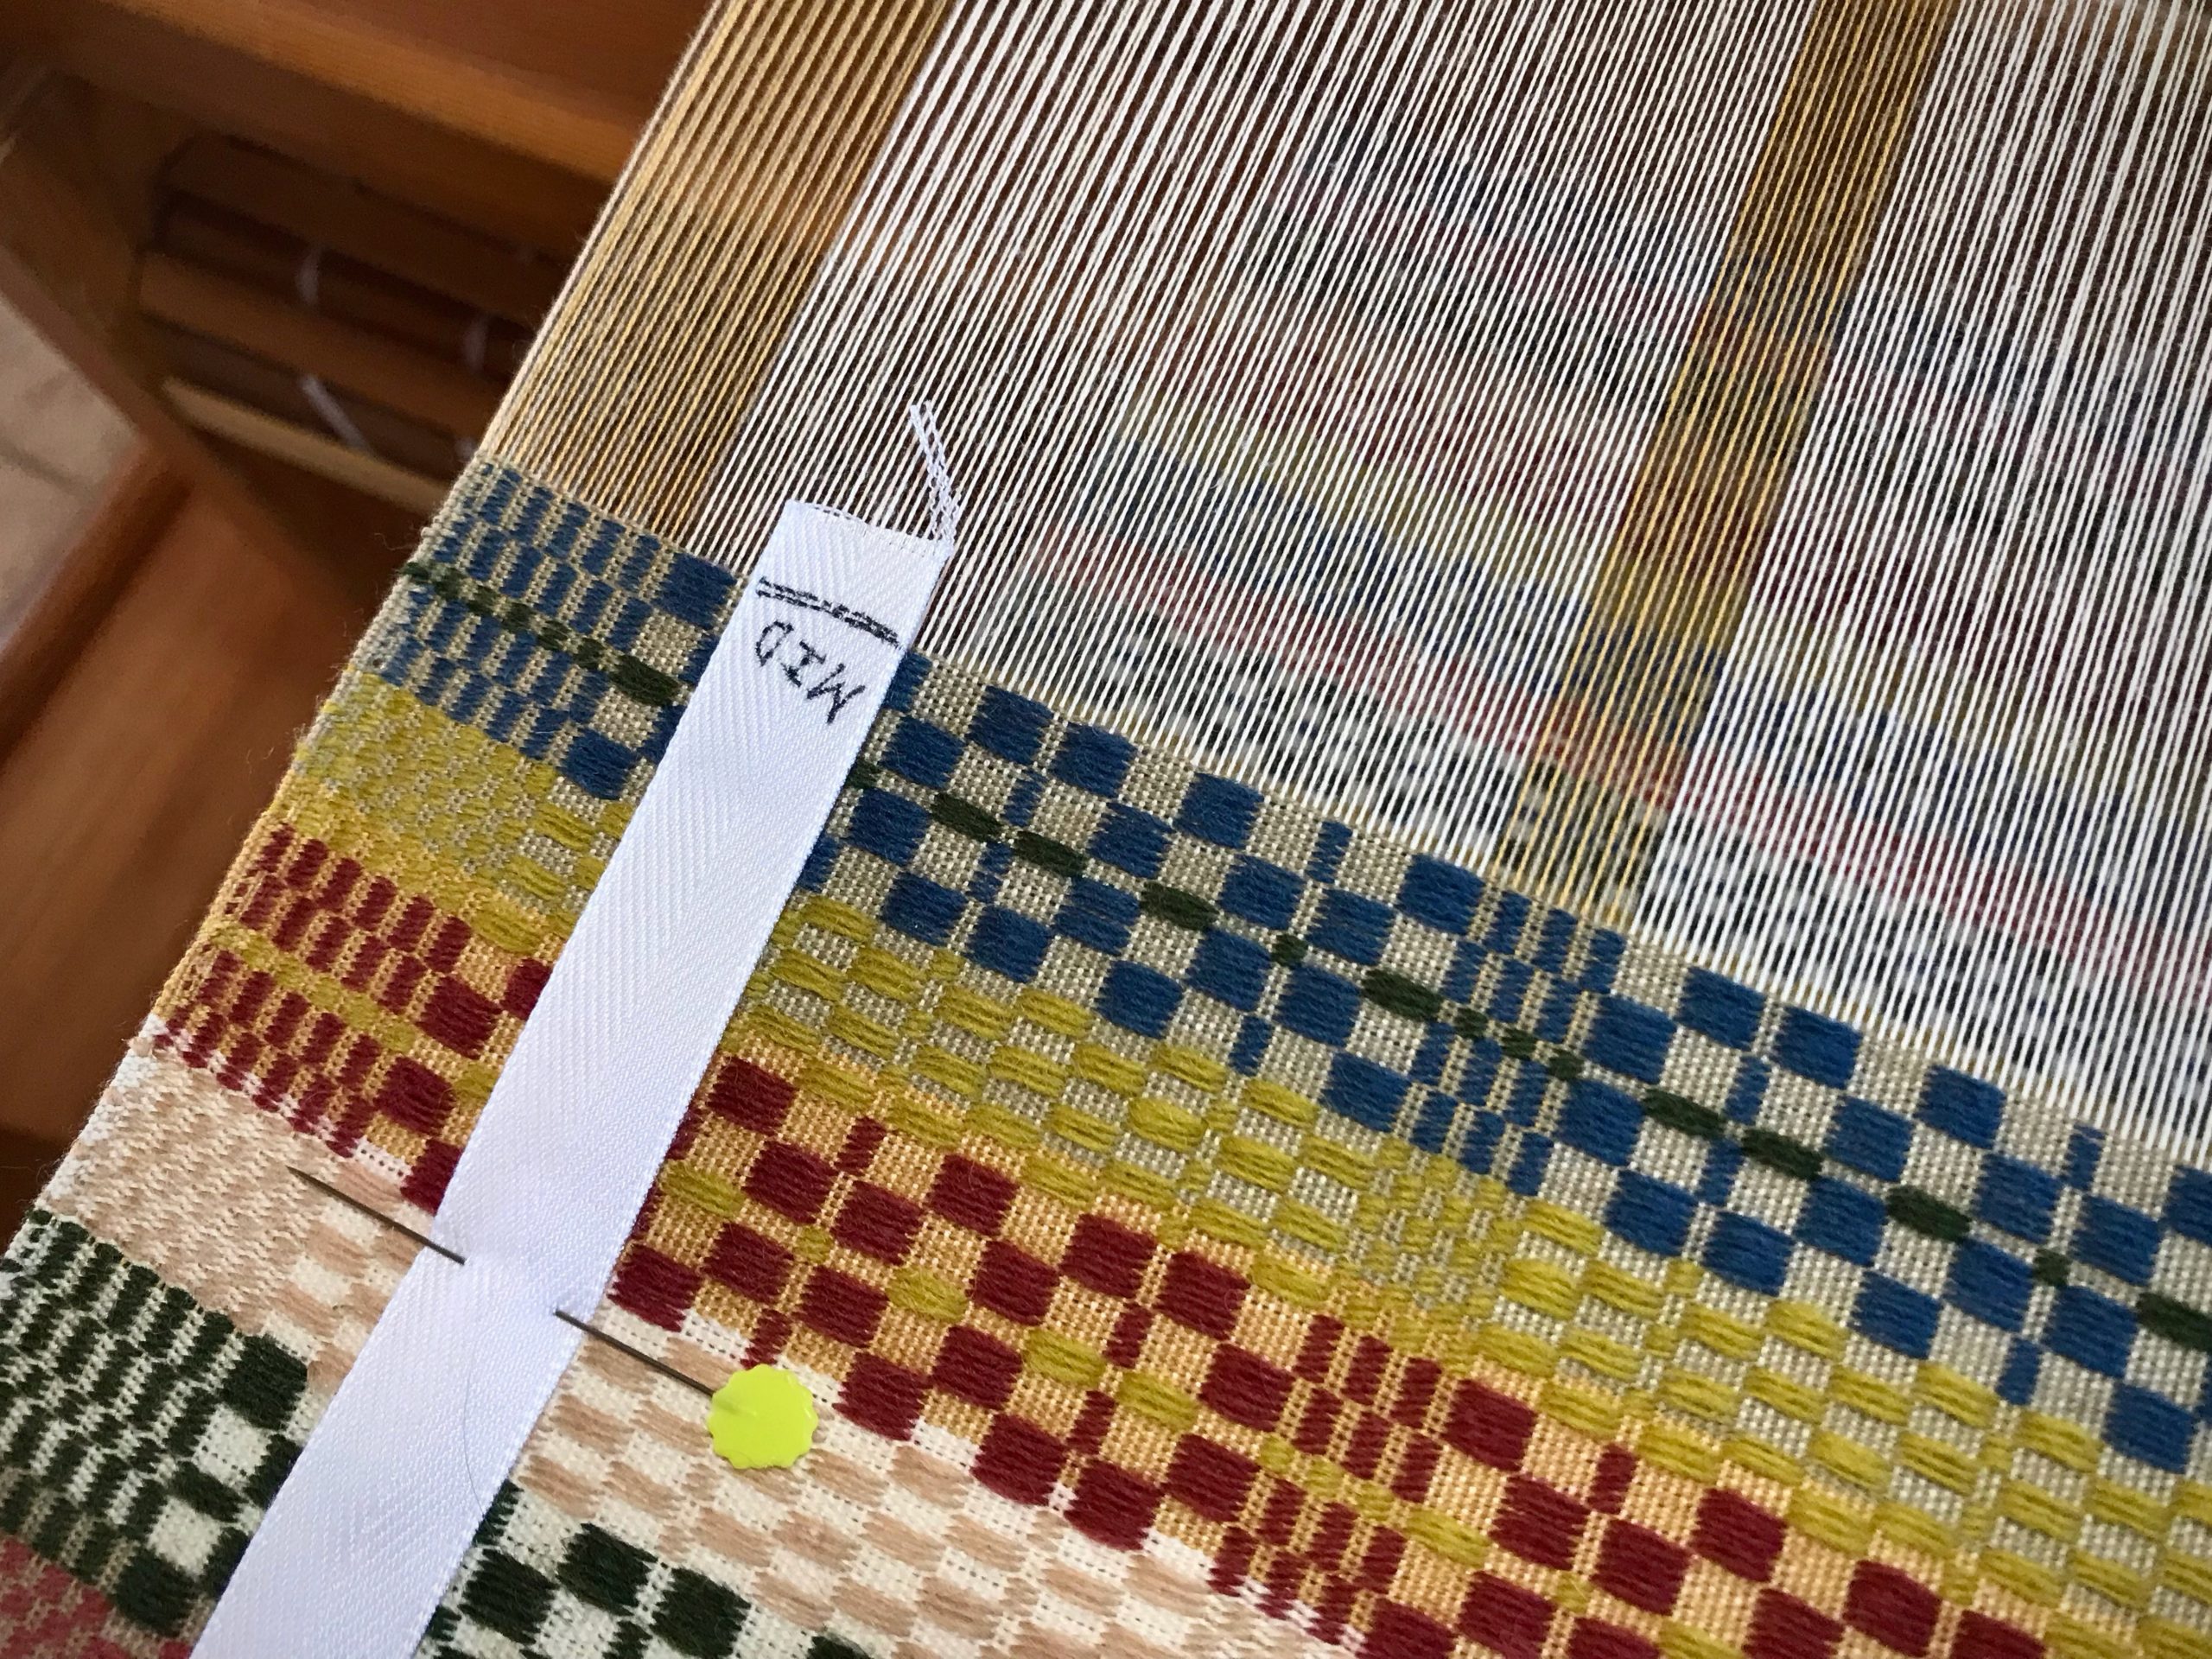
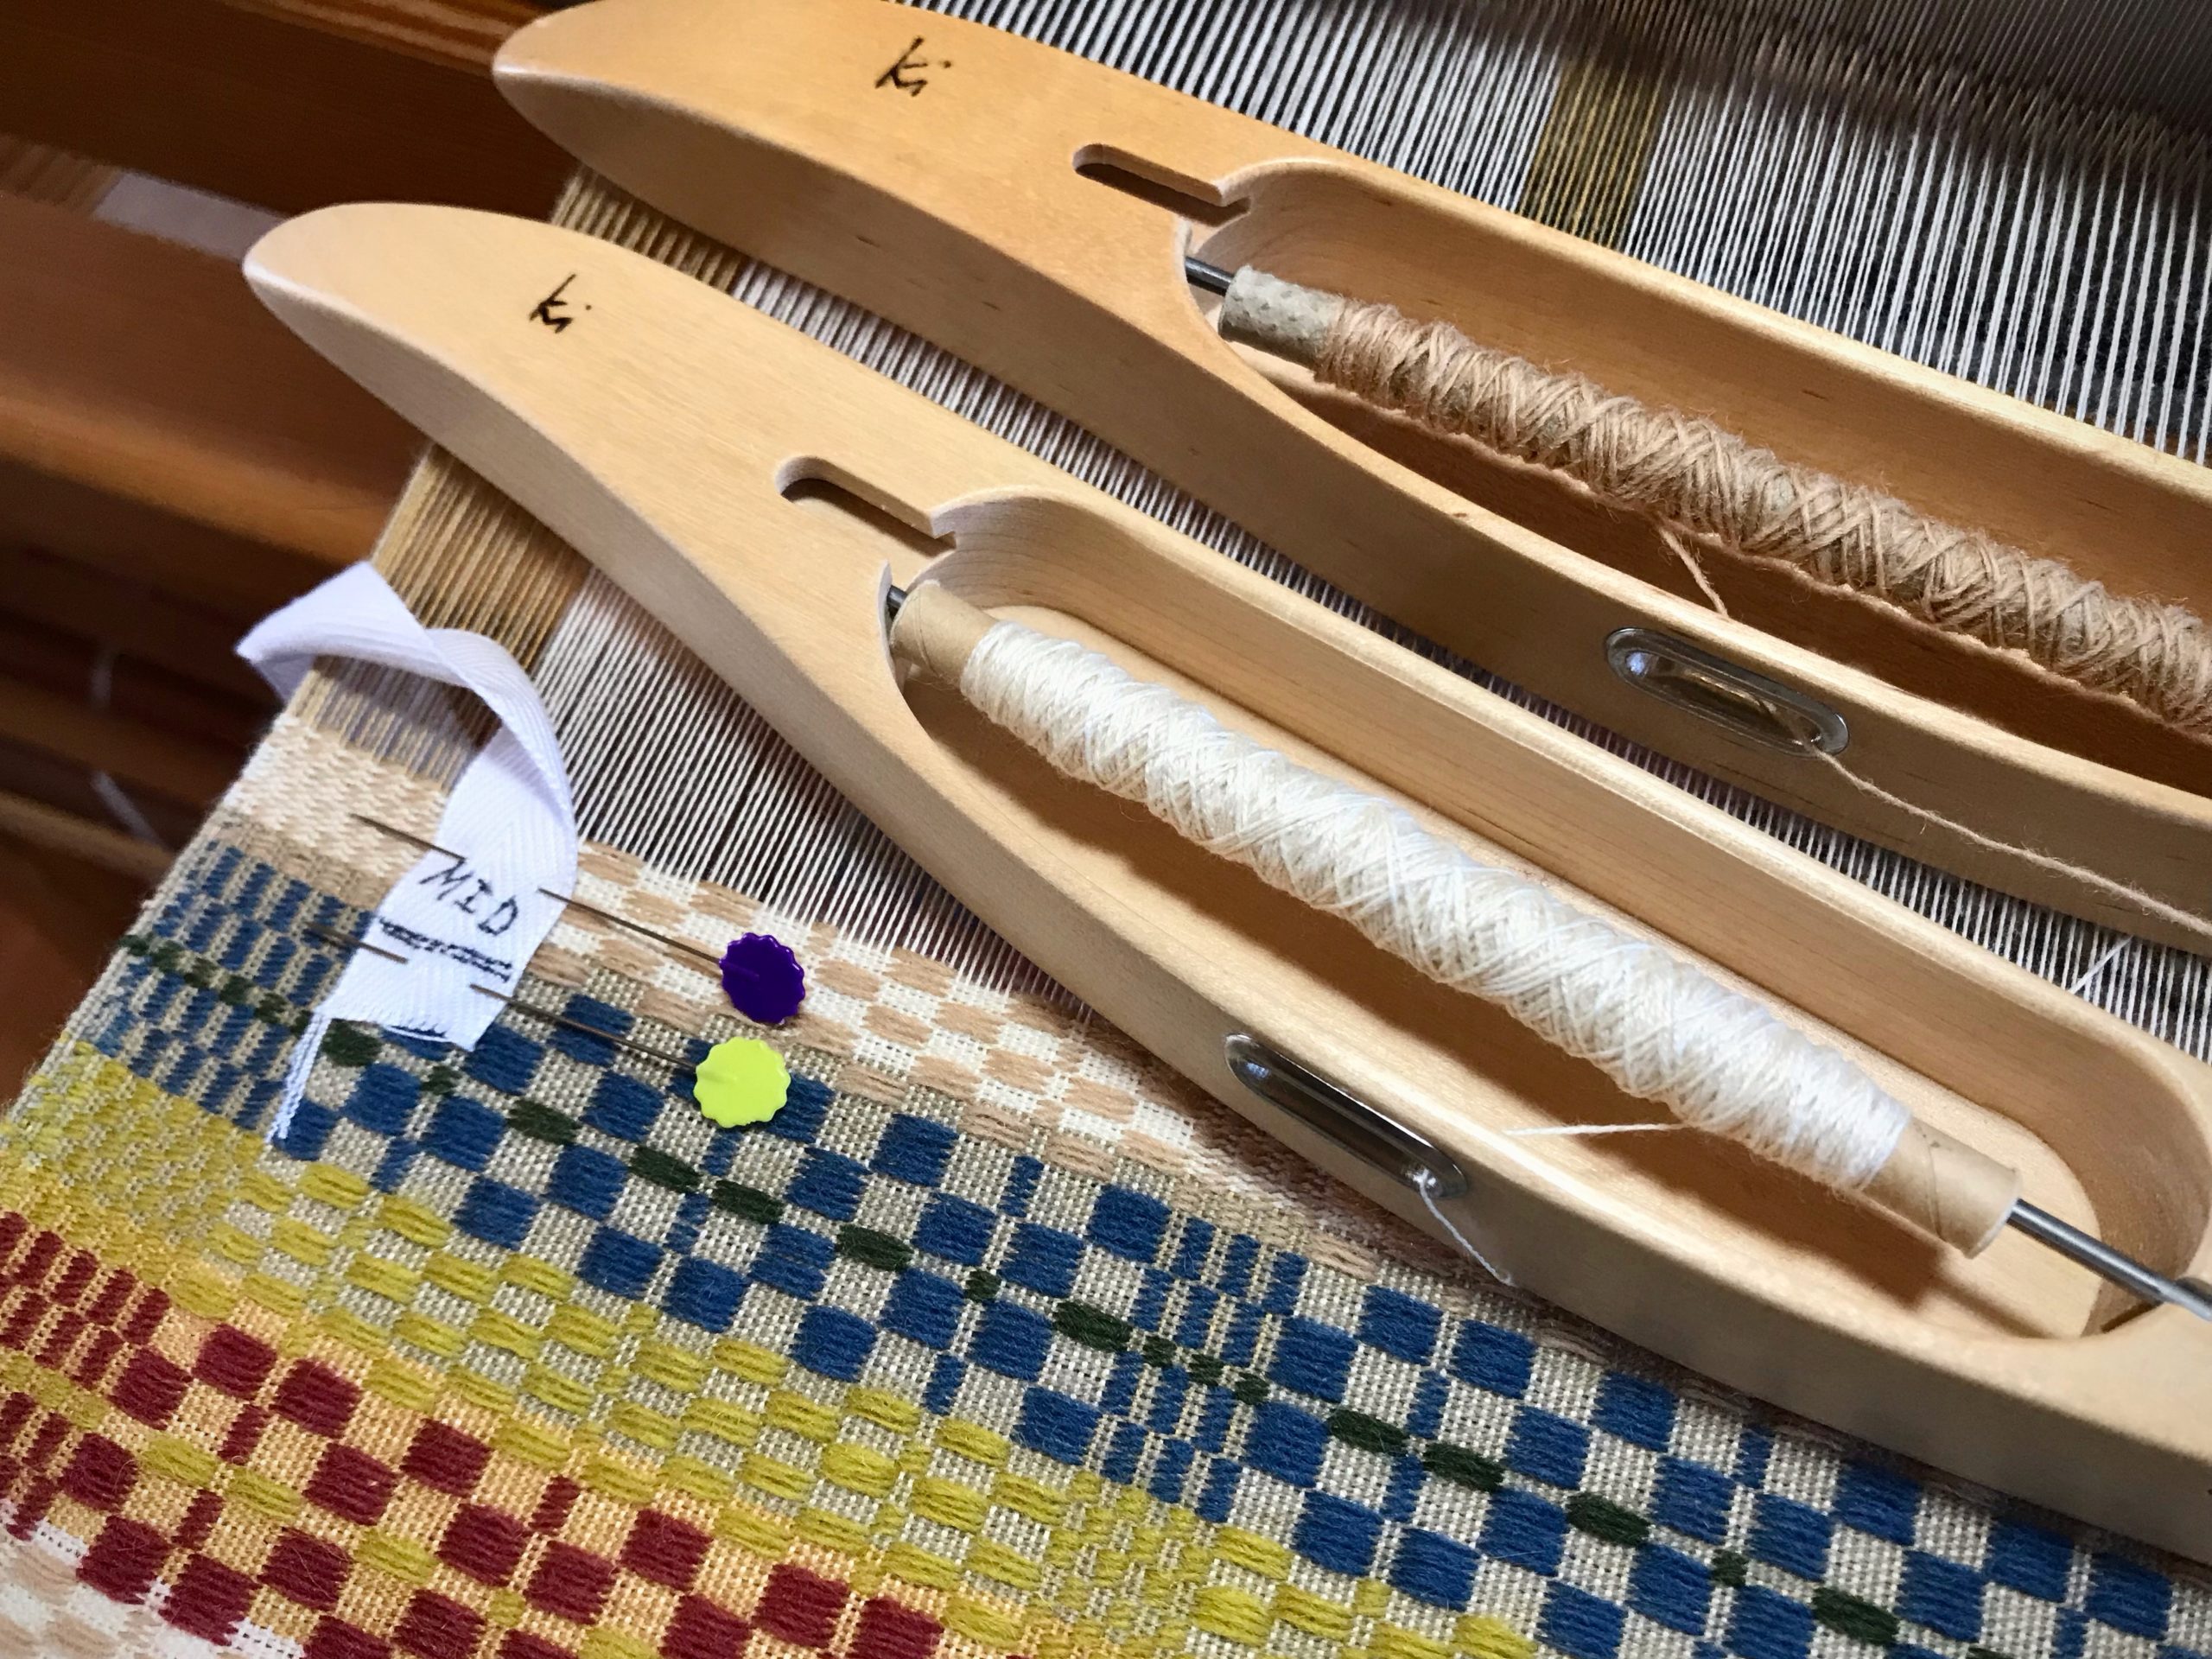
  • Find the middle of the tape. Draw a line and write “MID”.
How to measure your weaving on the loom.
Place the first line of the measurement tape directly over the beginning picks of the woven article.

Prepare a Half Measurement Tape

  • Do the same as for a full-length measurement tape, except divide the total length measurement in half. Draw a line on the tape at the halfway point. Write “MID” before the line.
  • Cut the tape about 2 cm after the MID line.

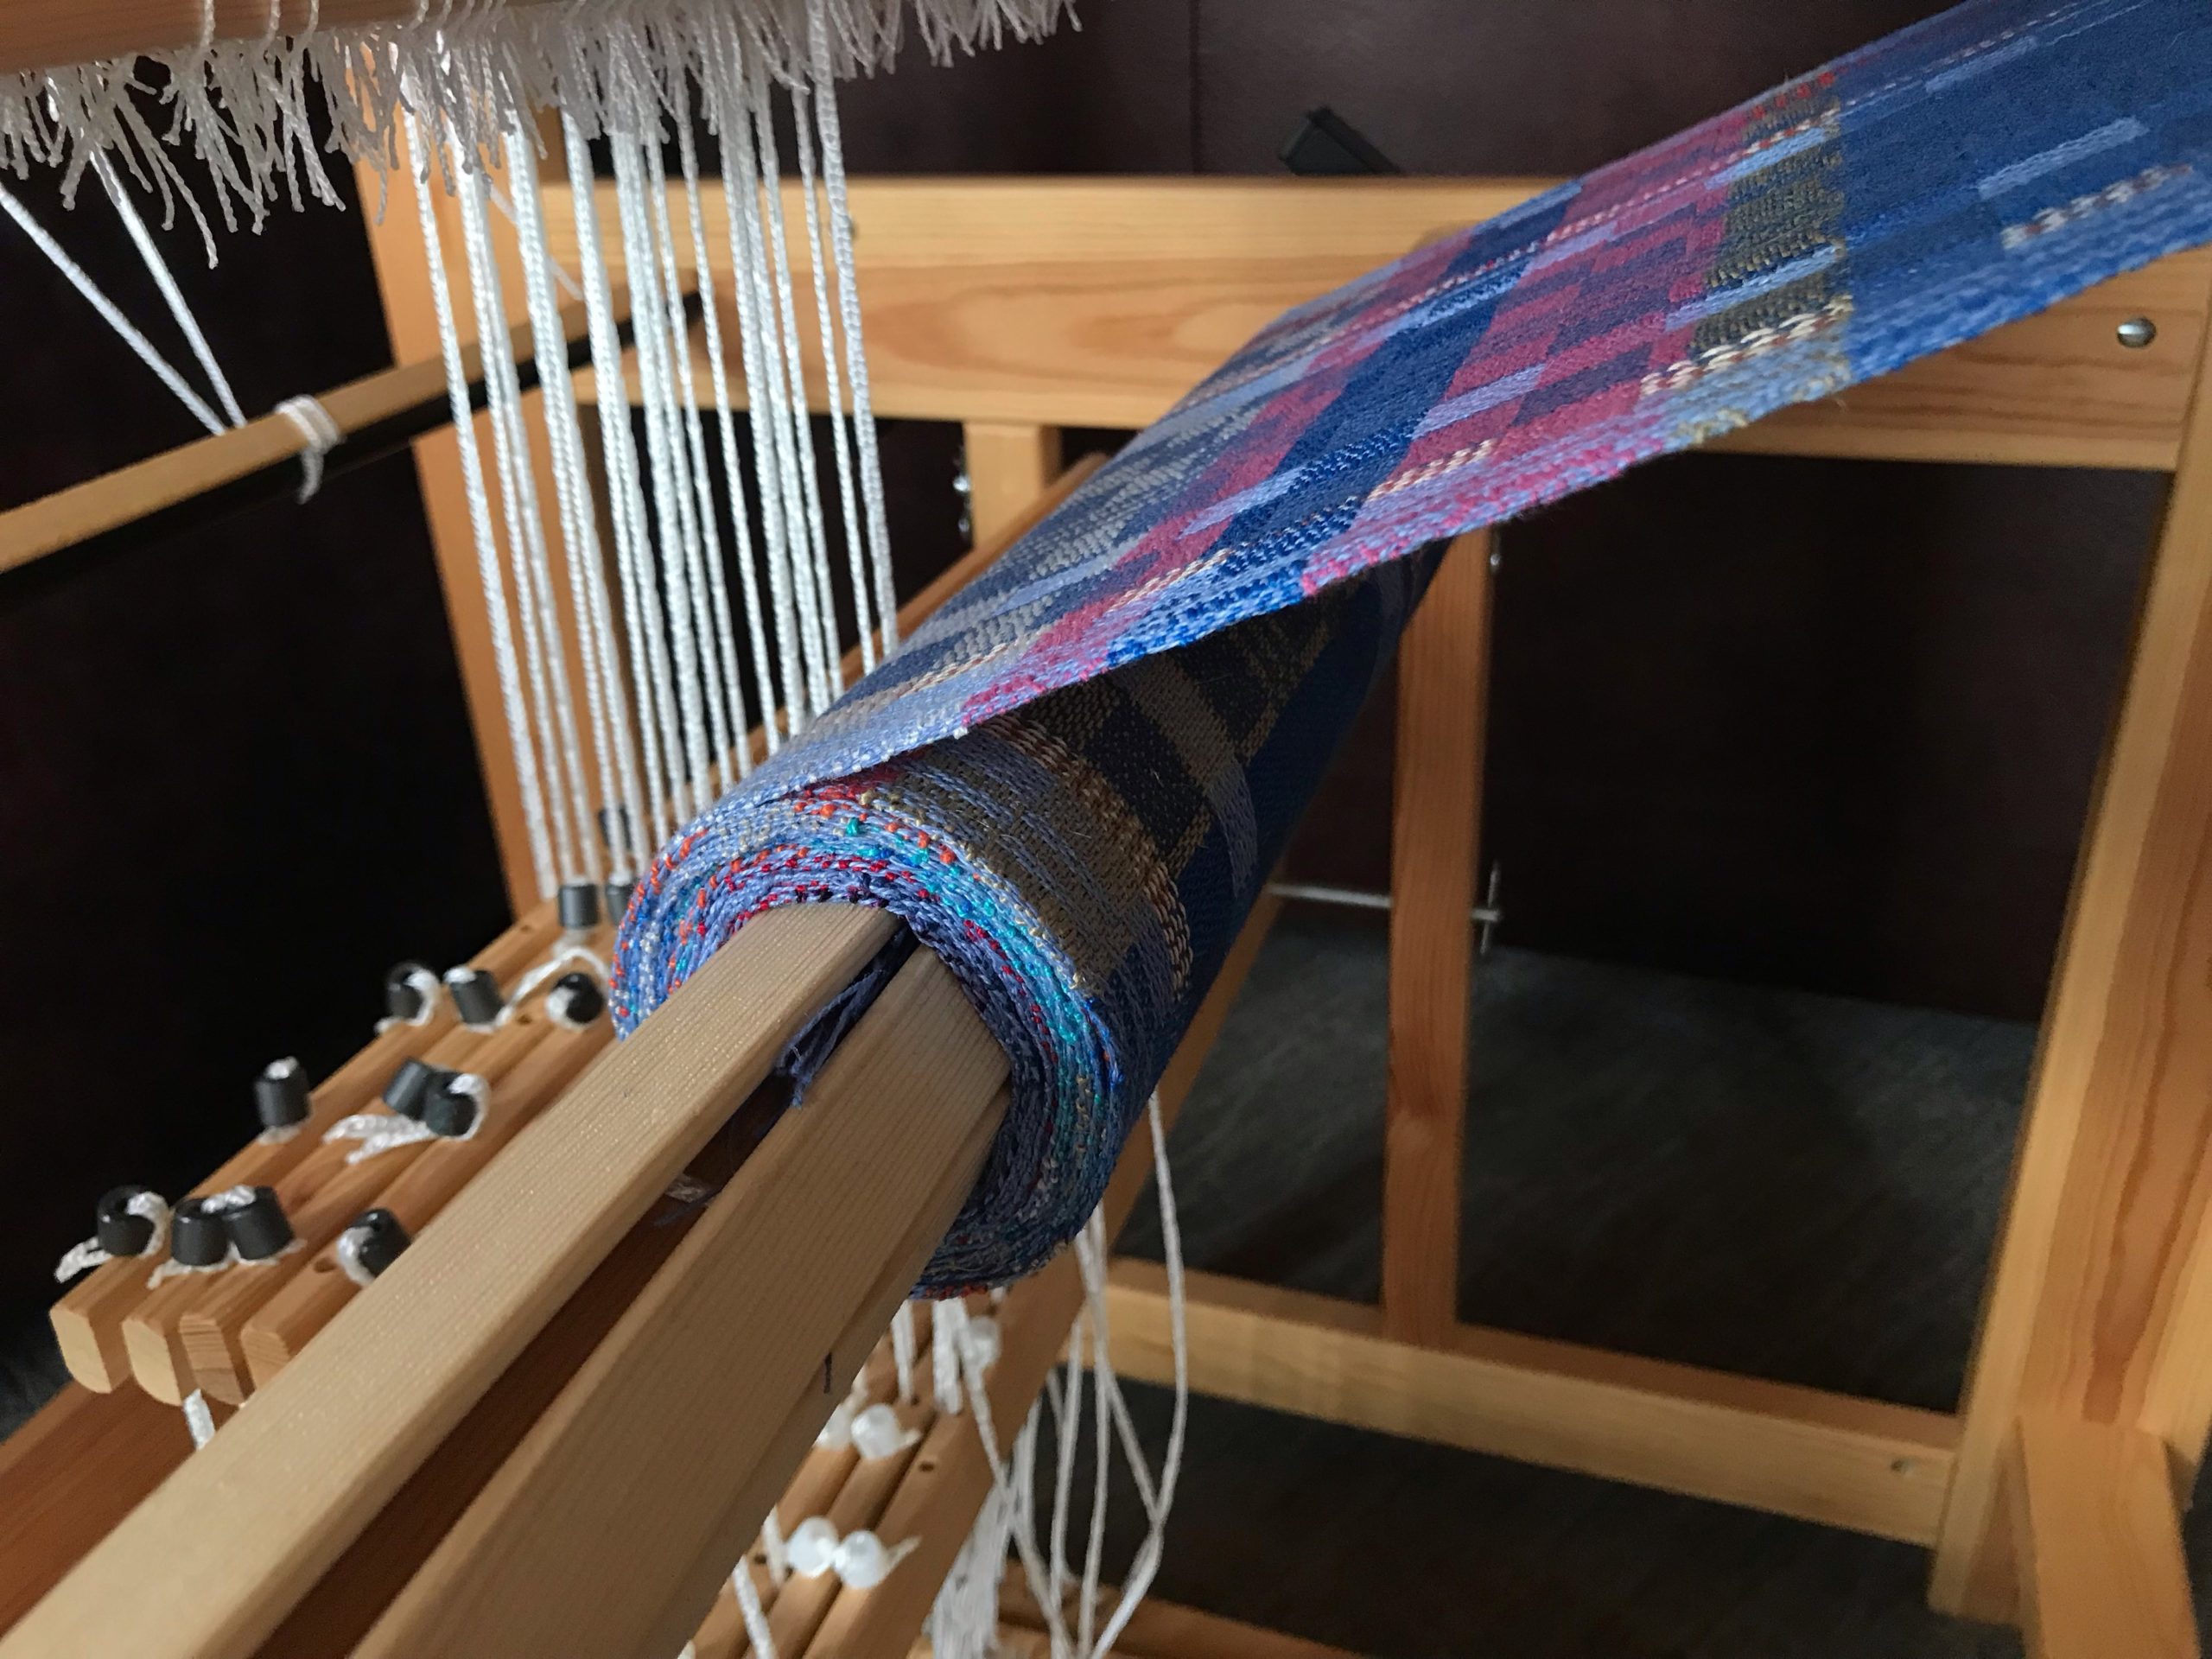
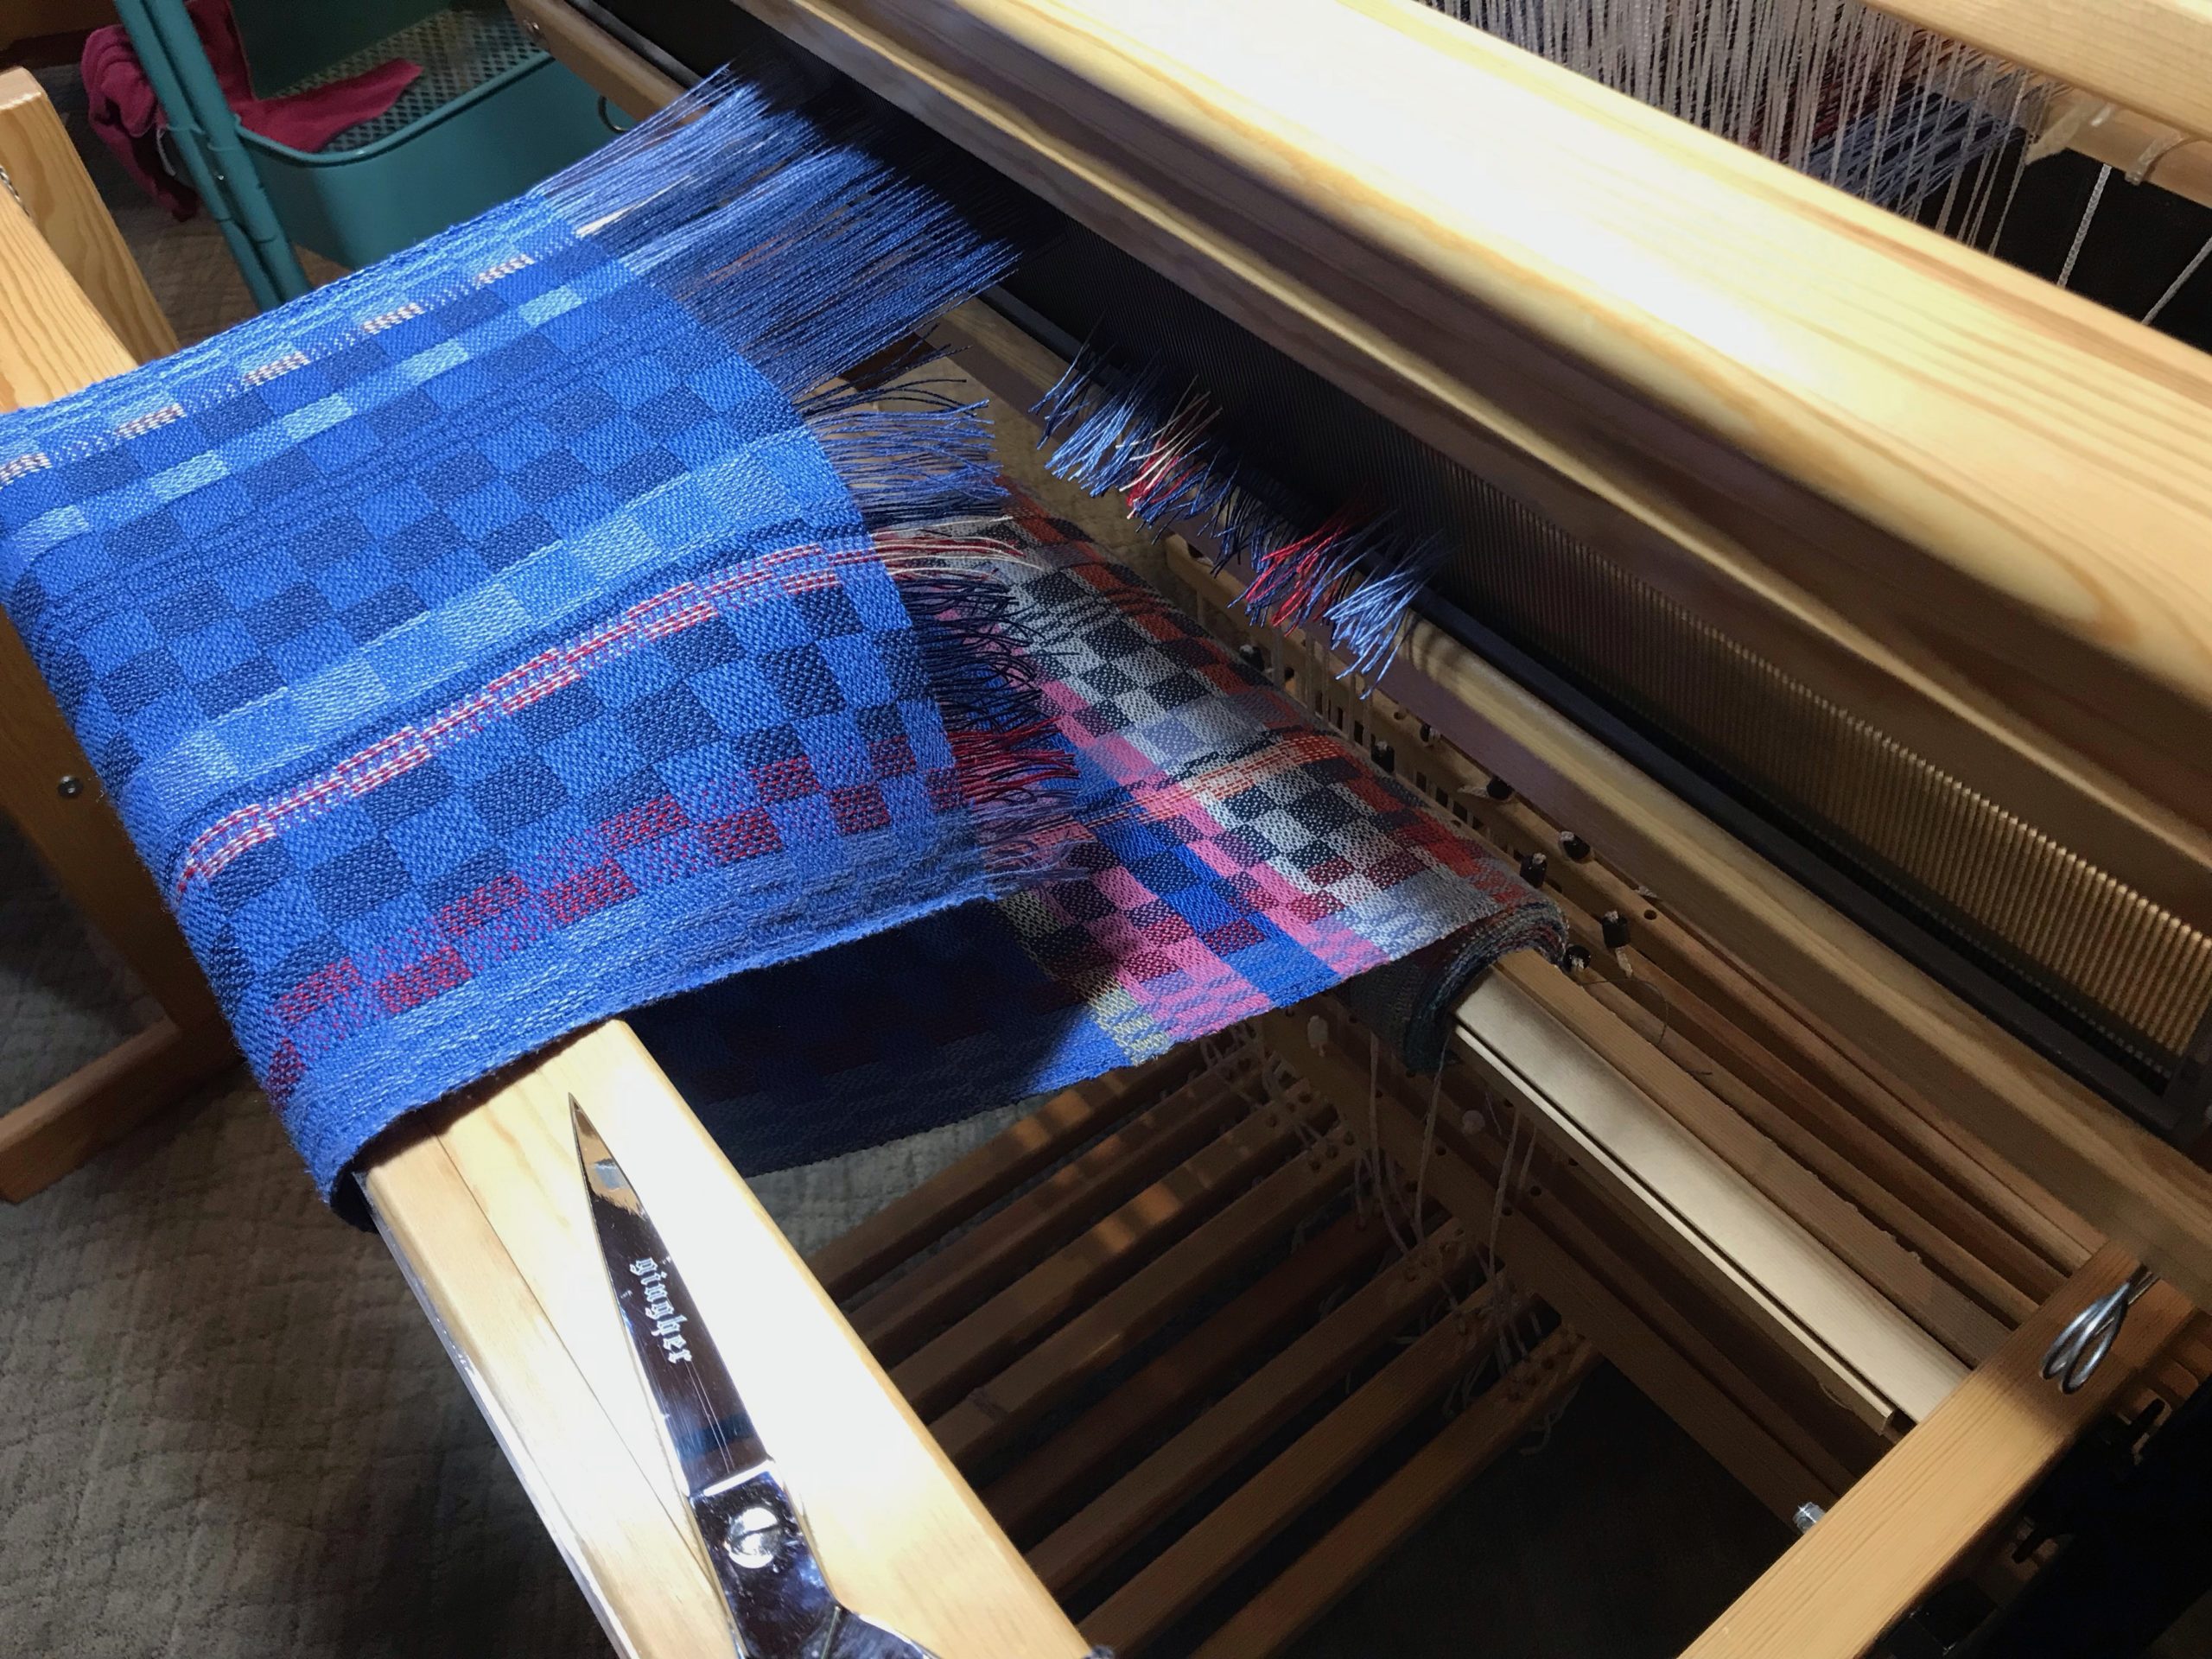
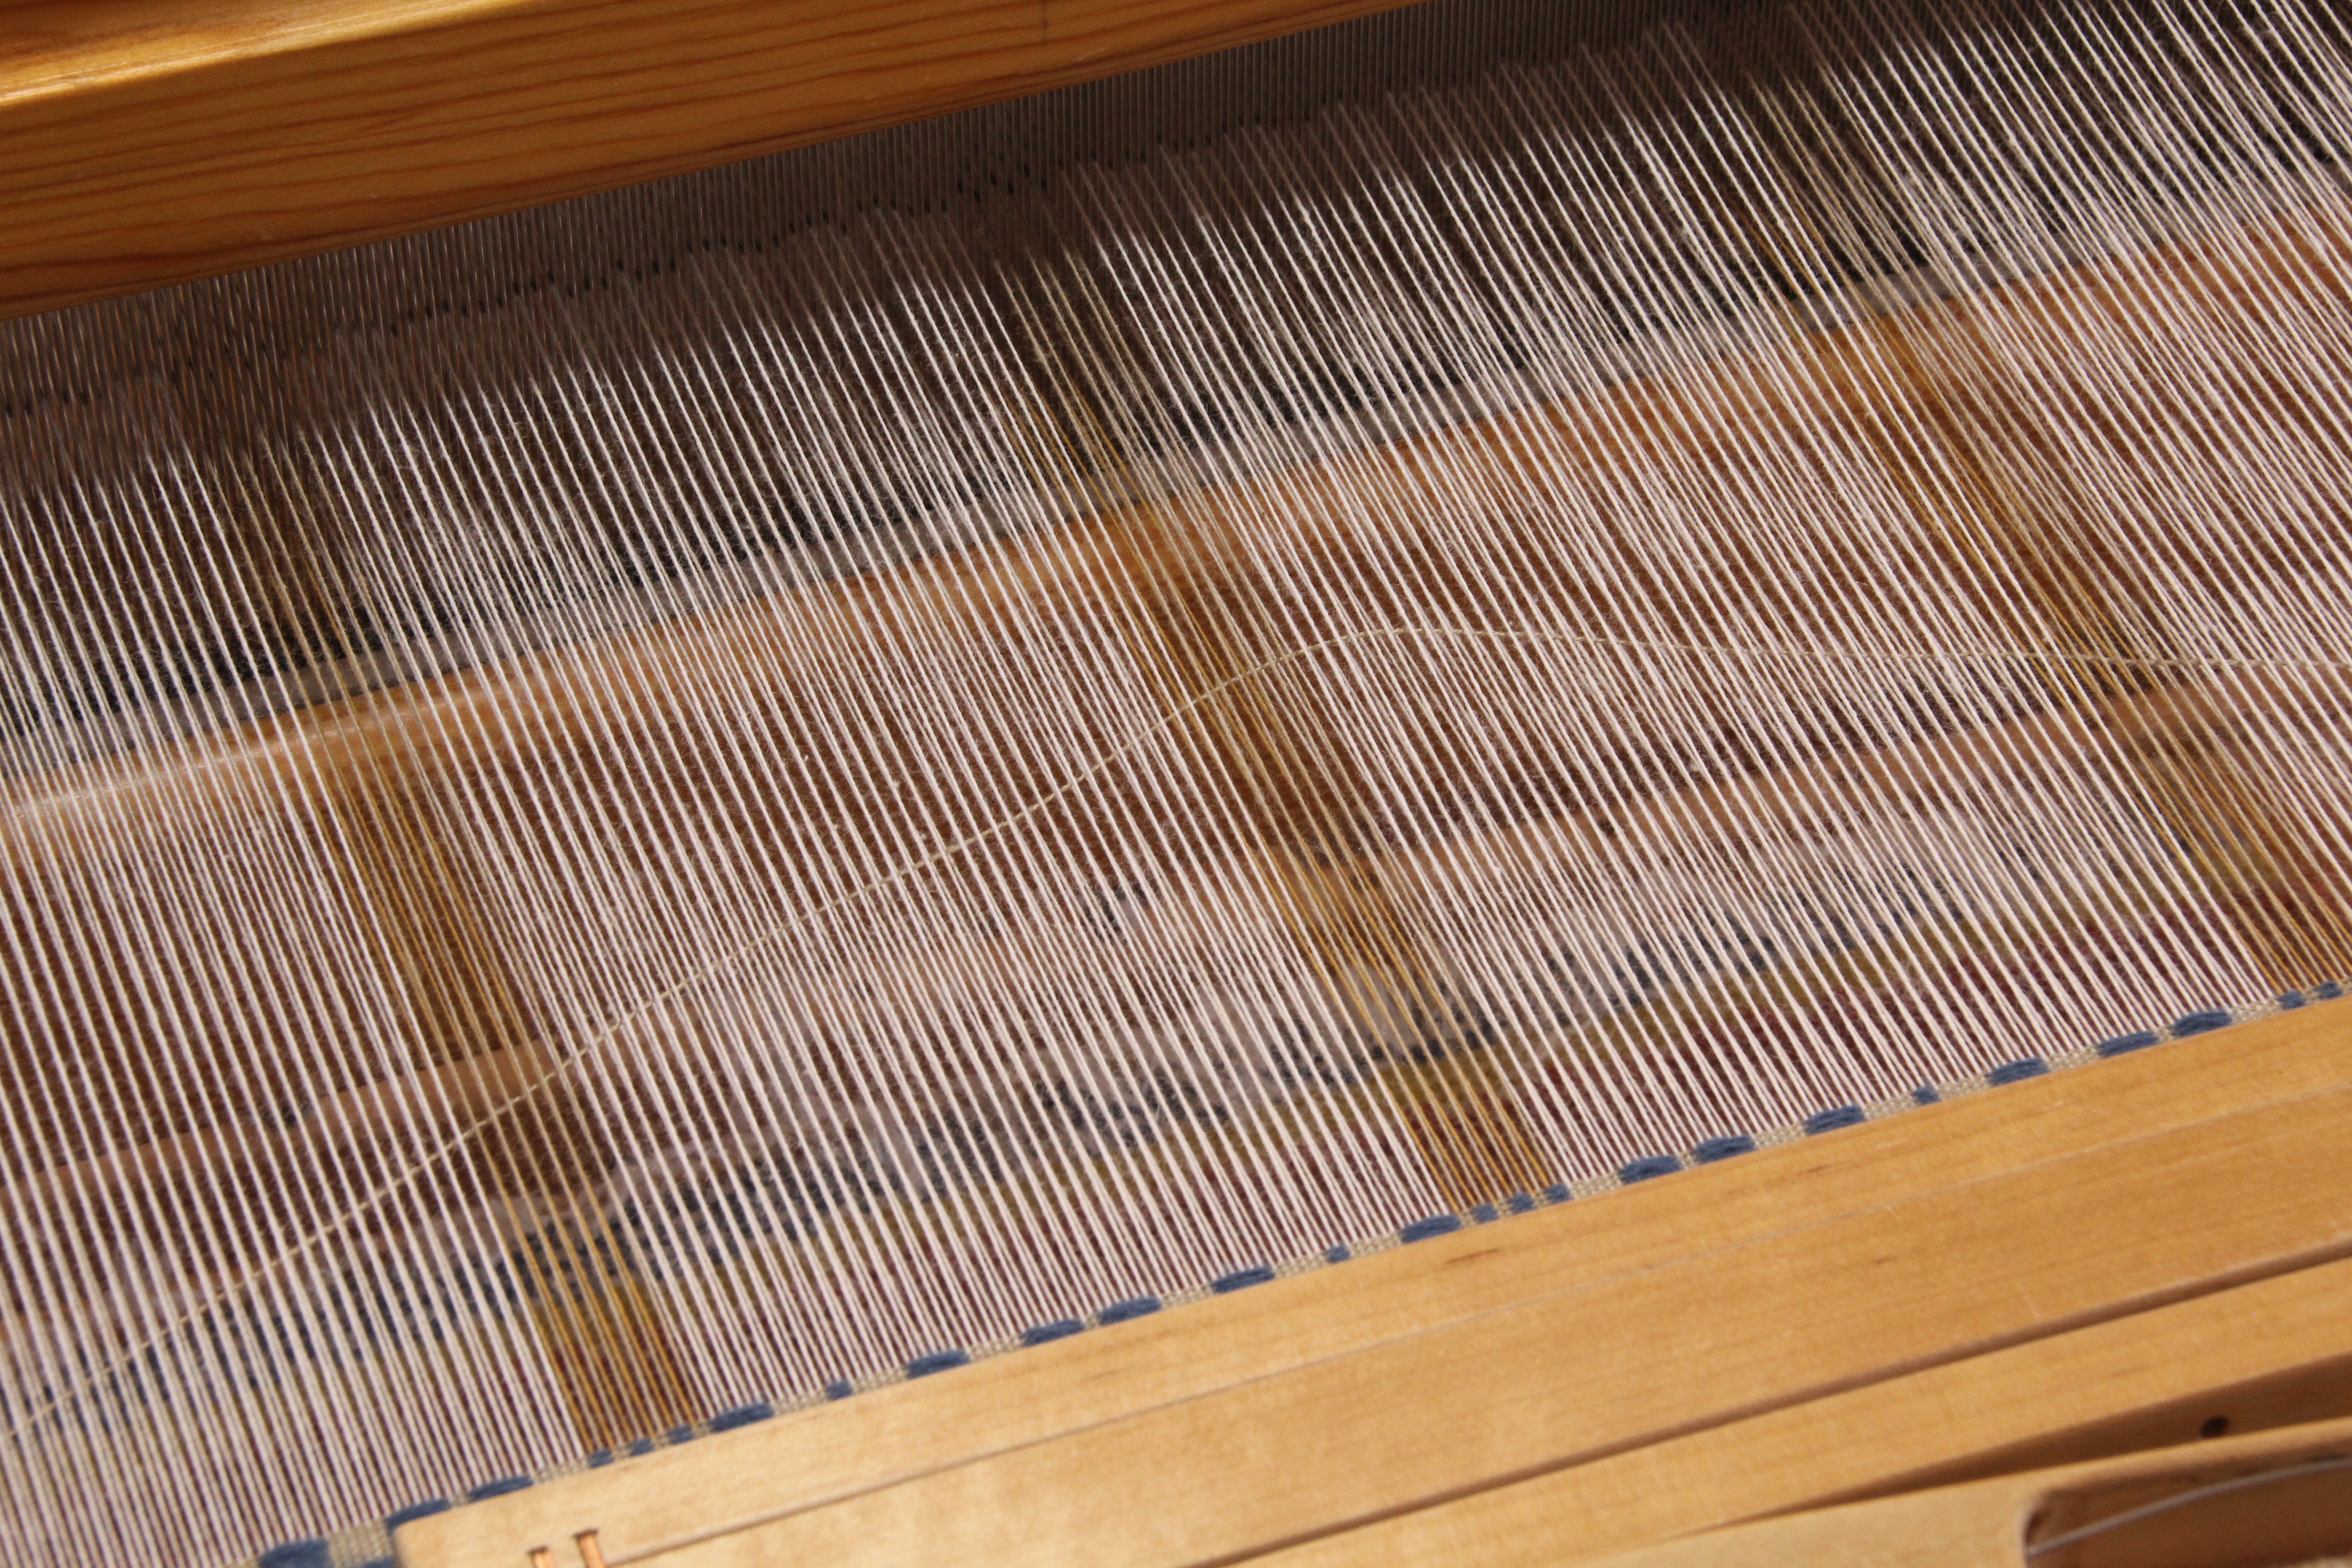
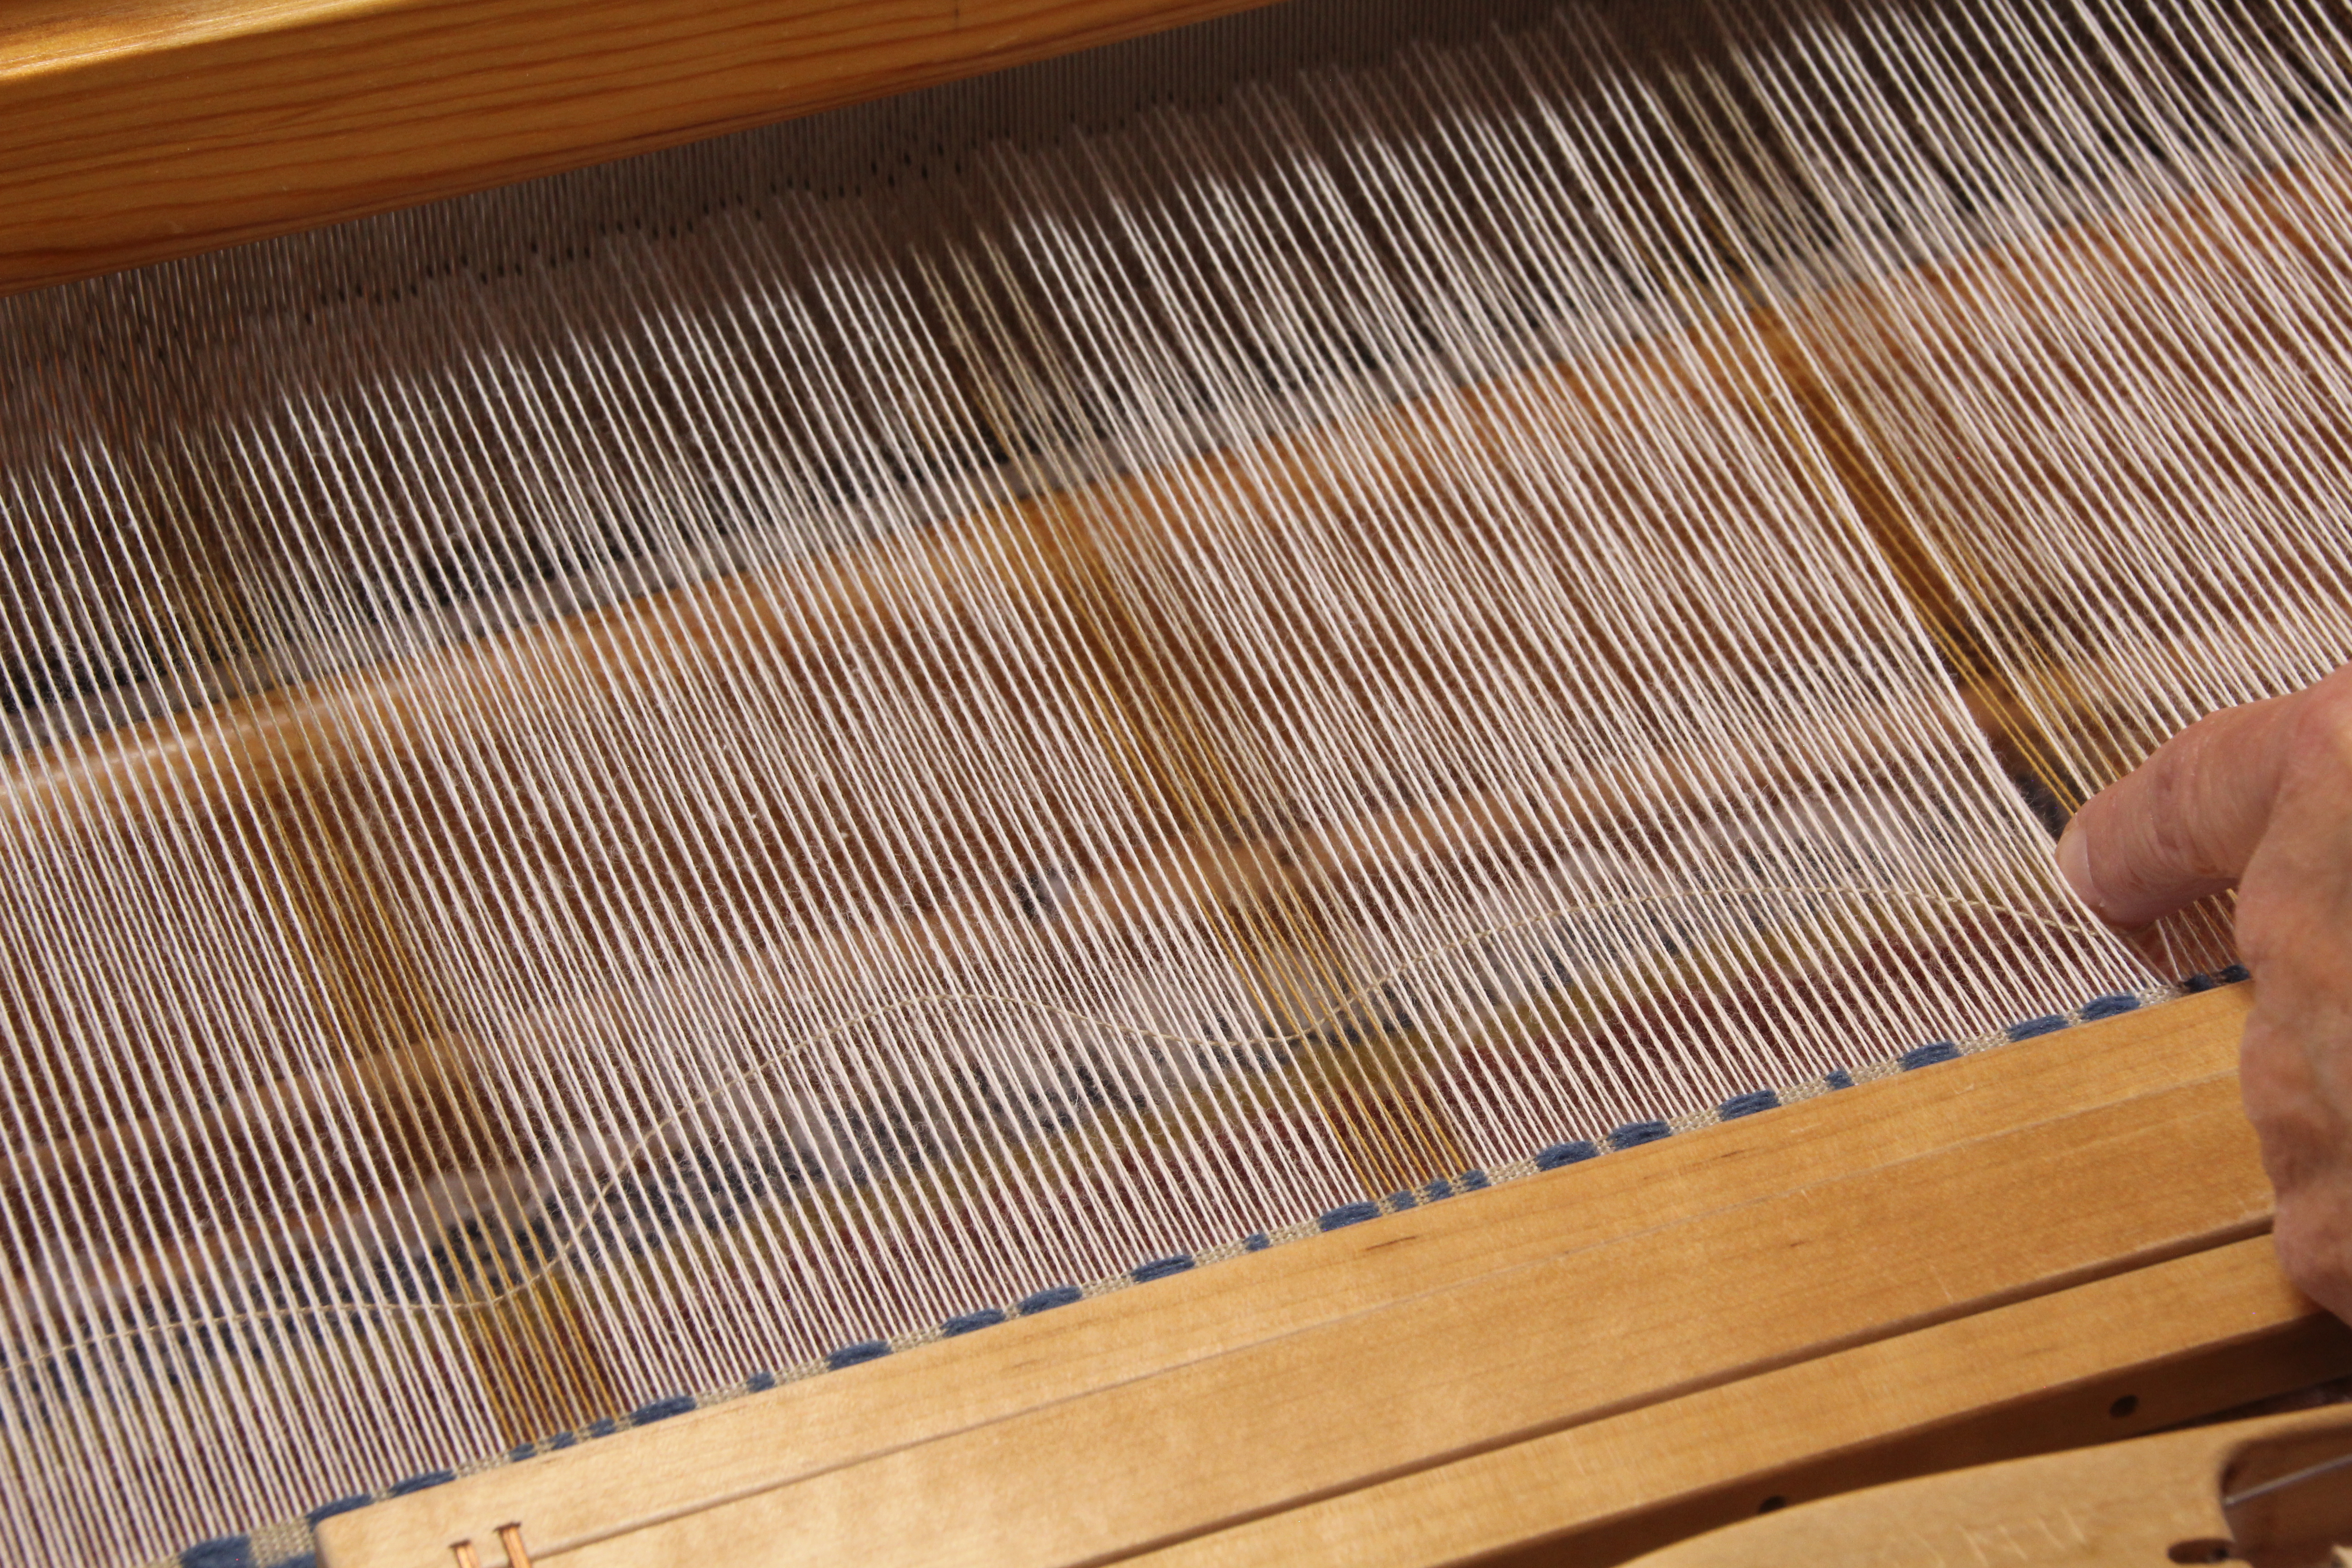
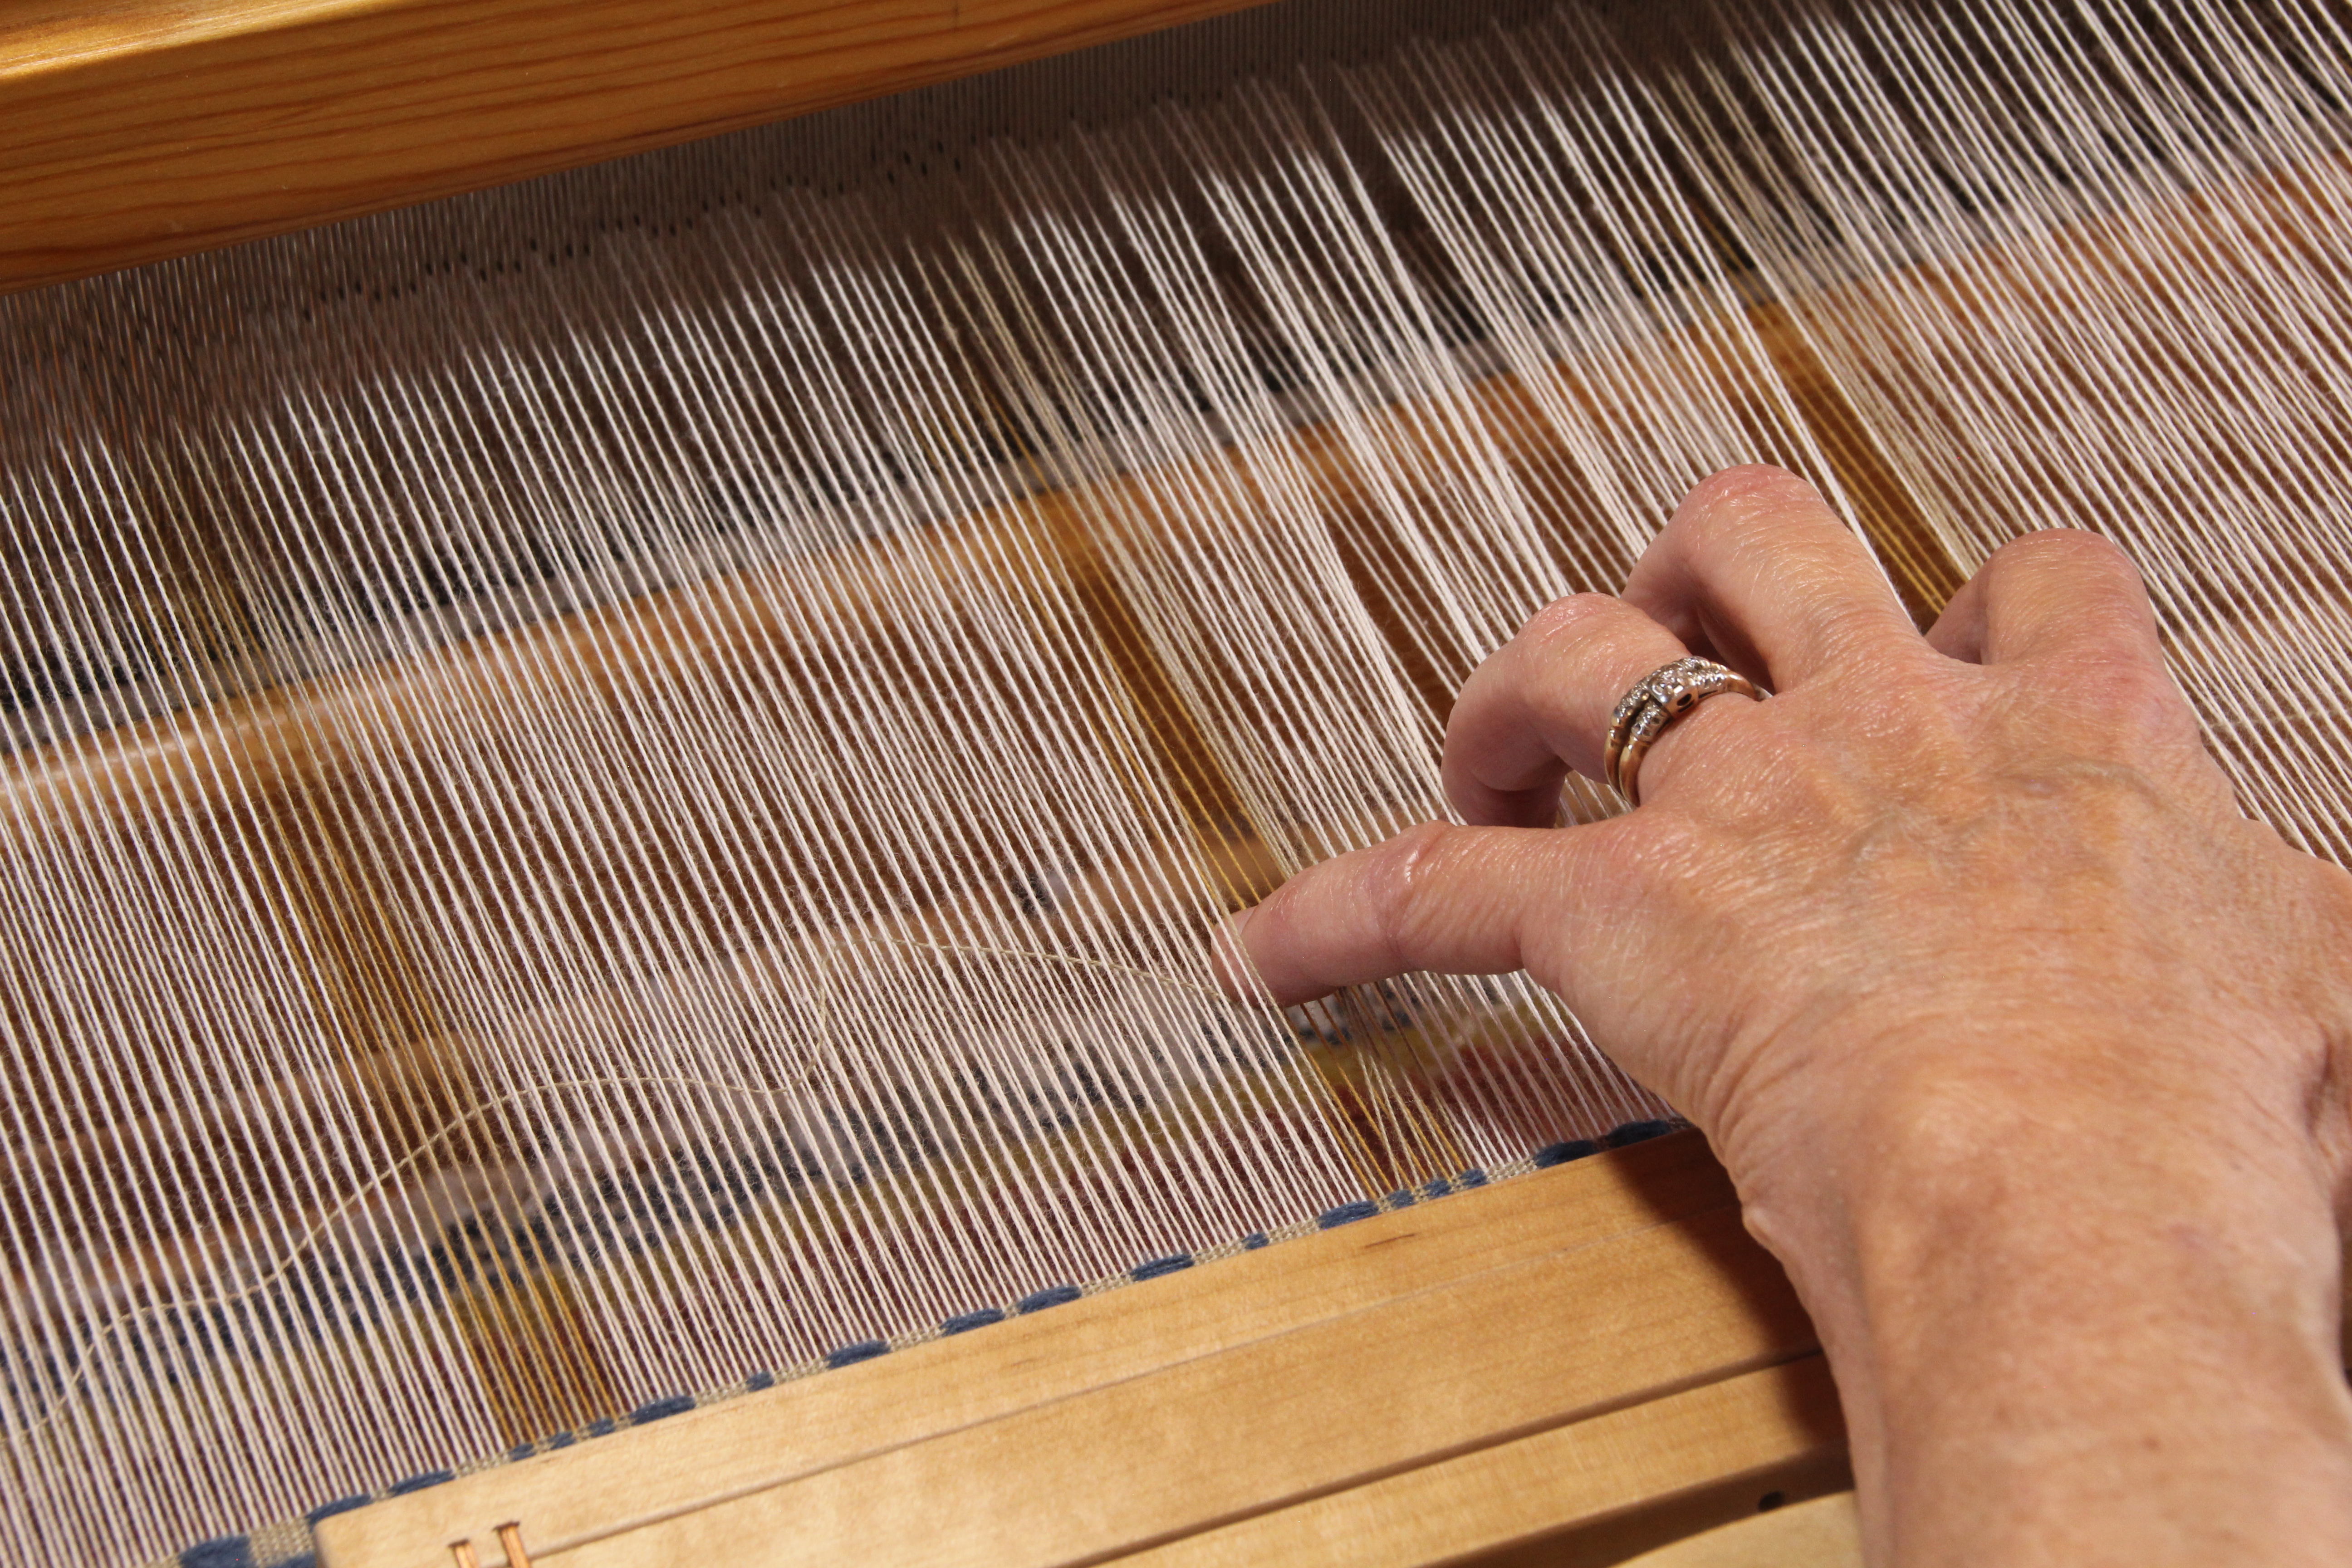
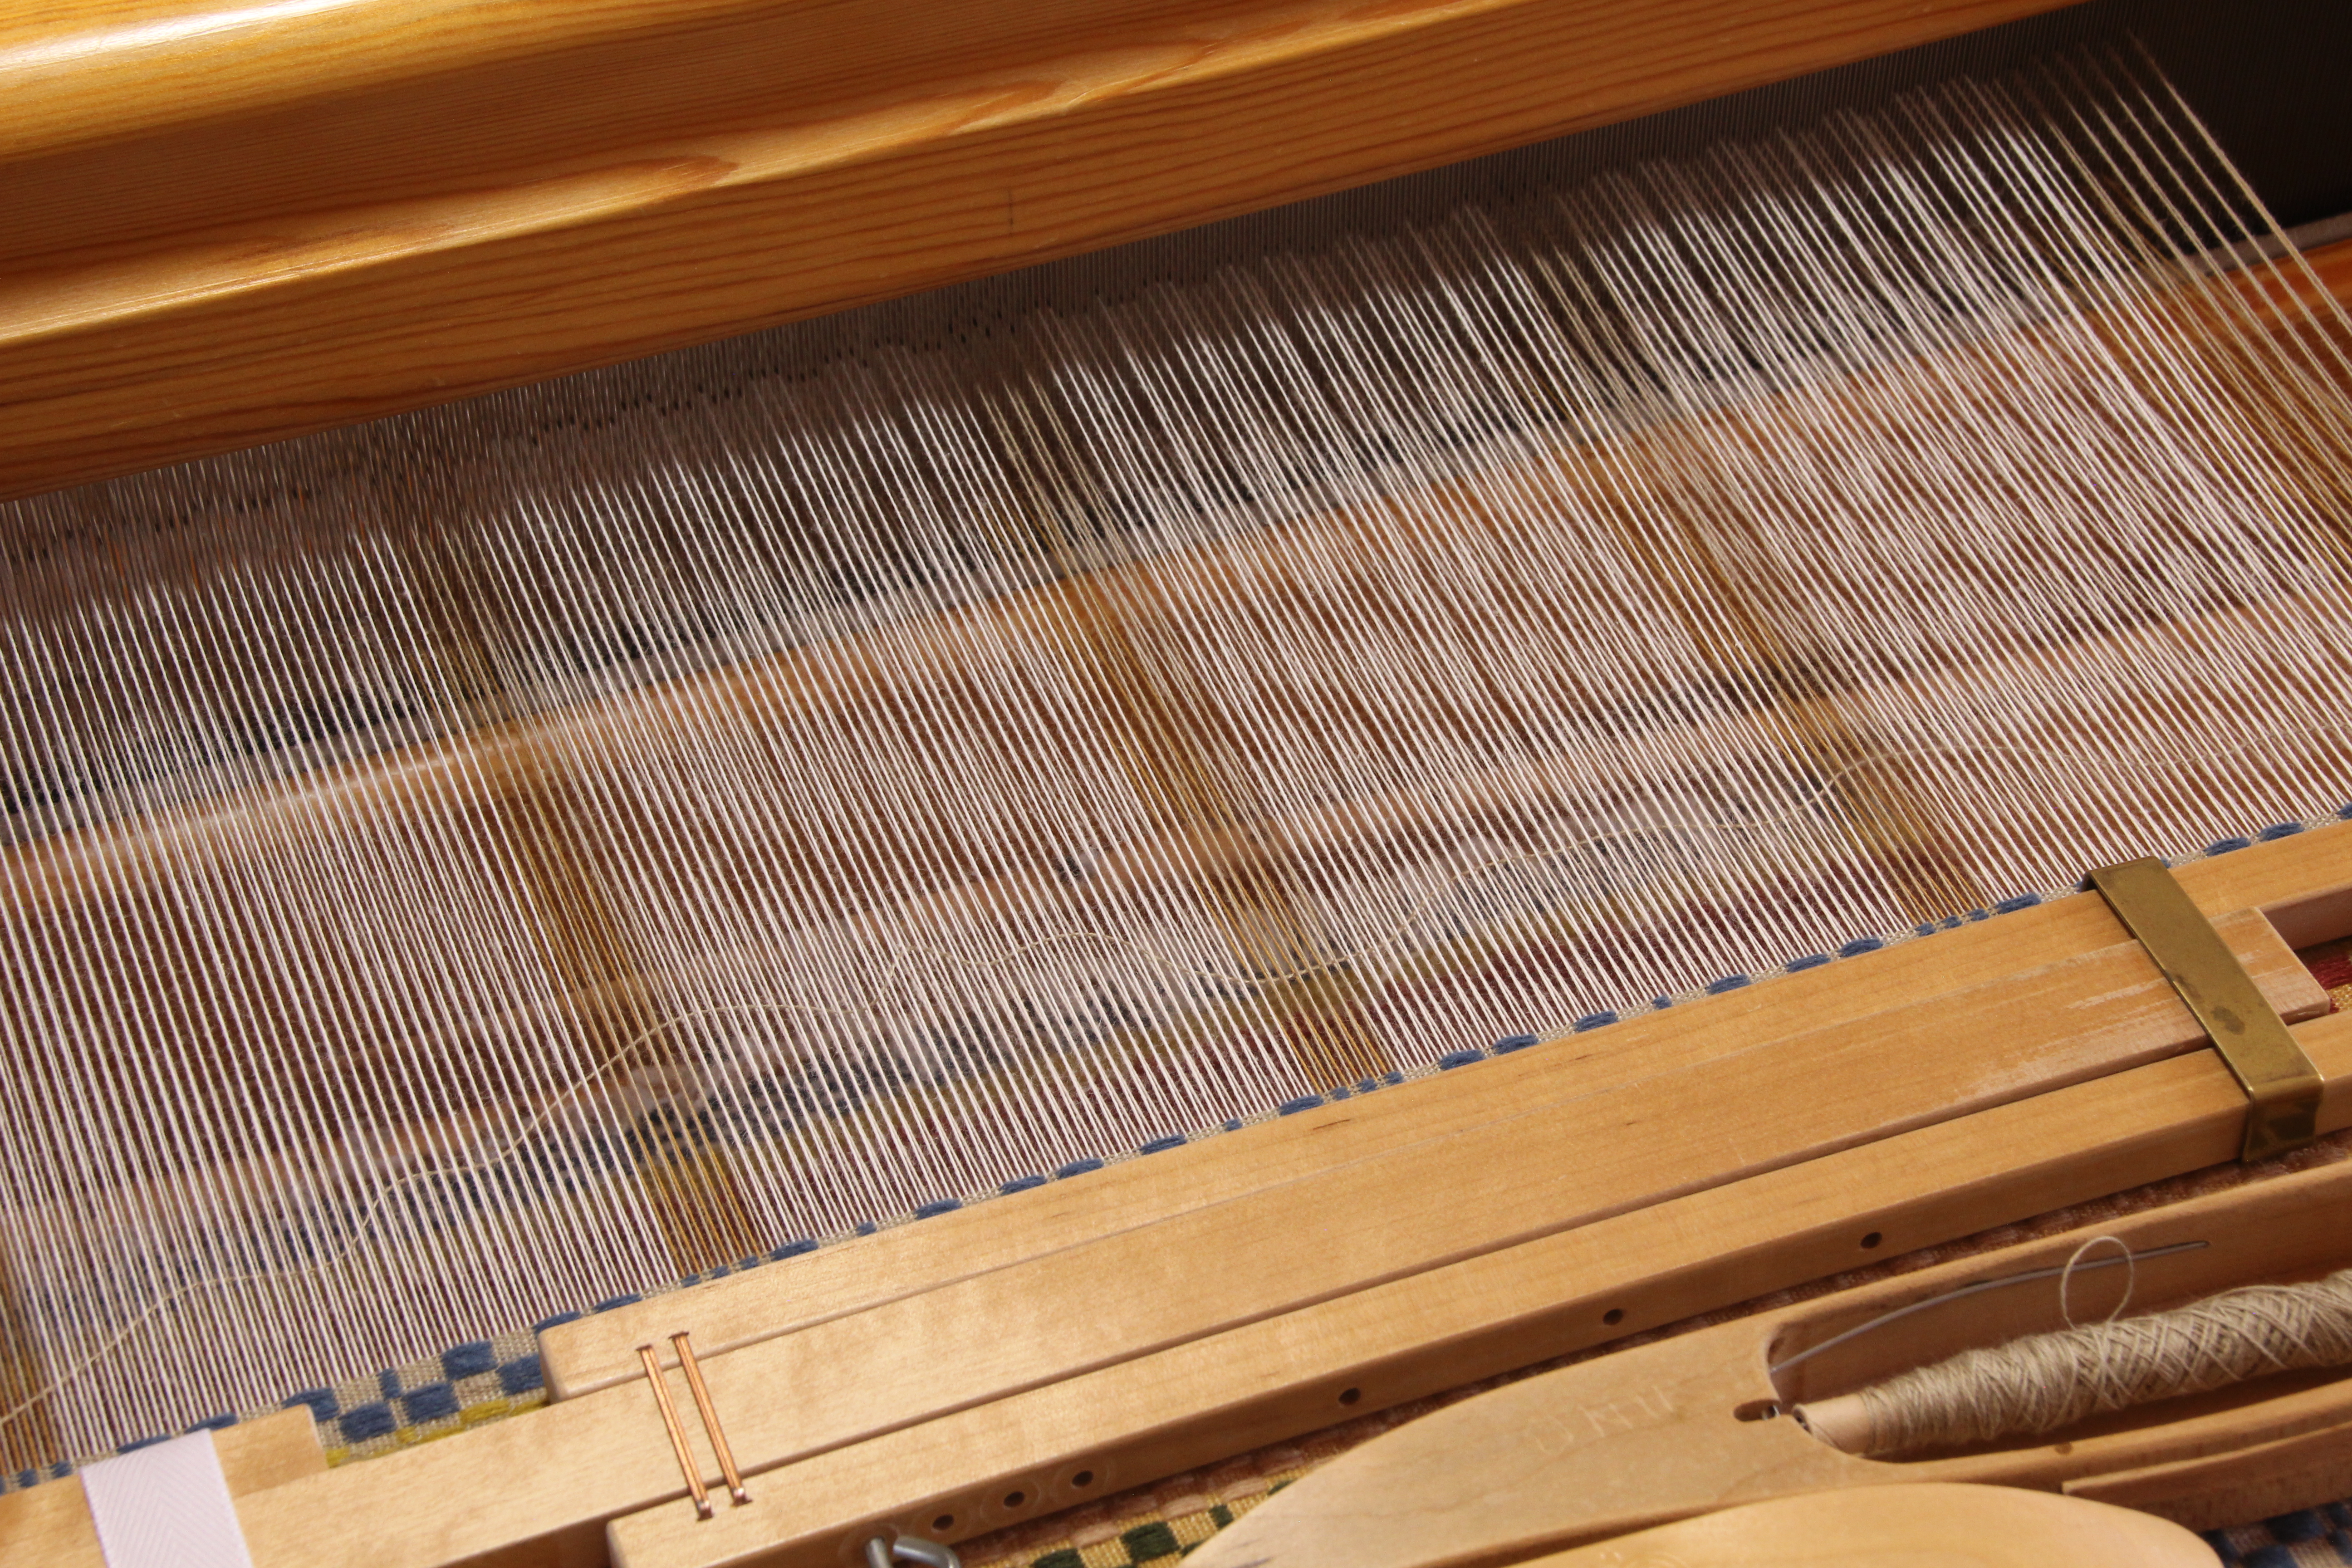
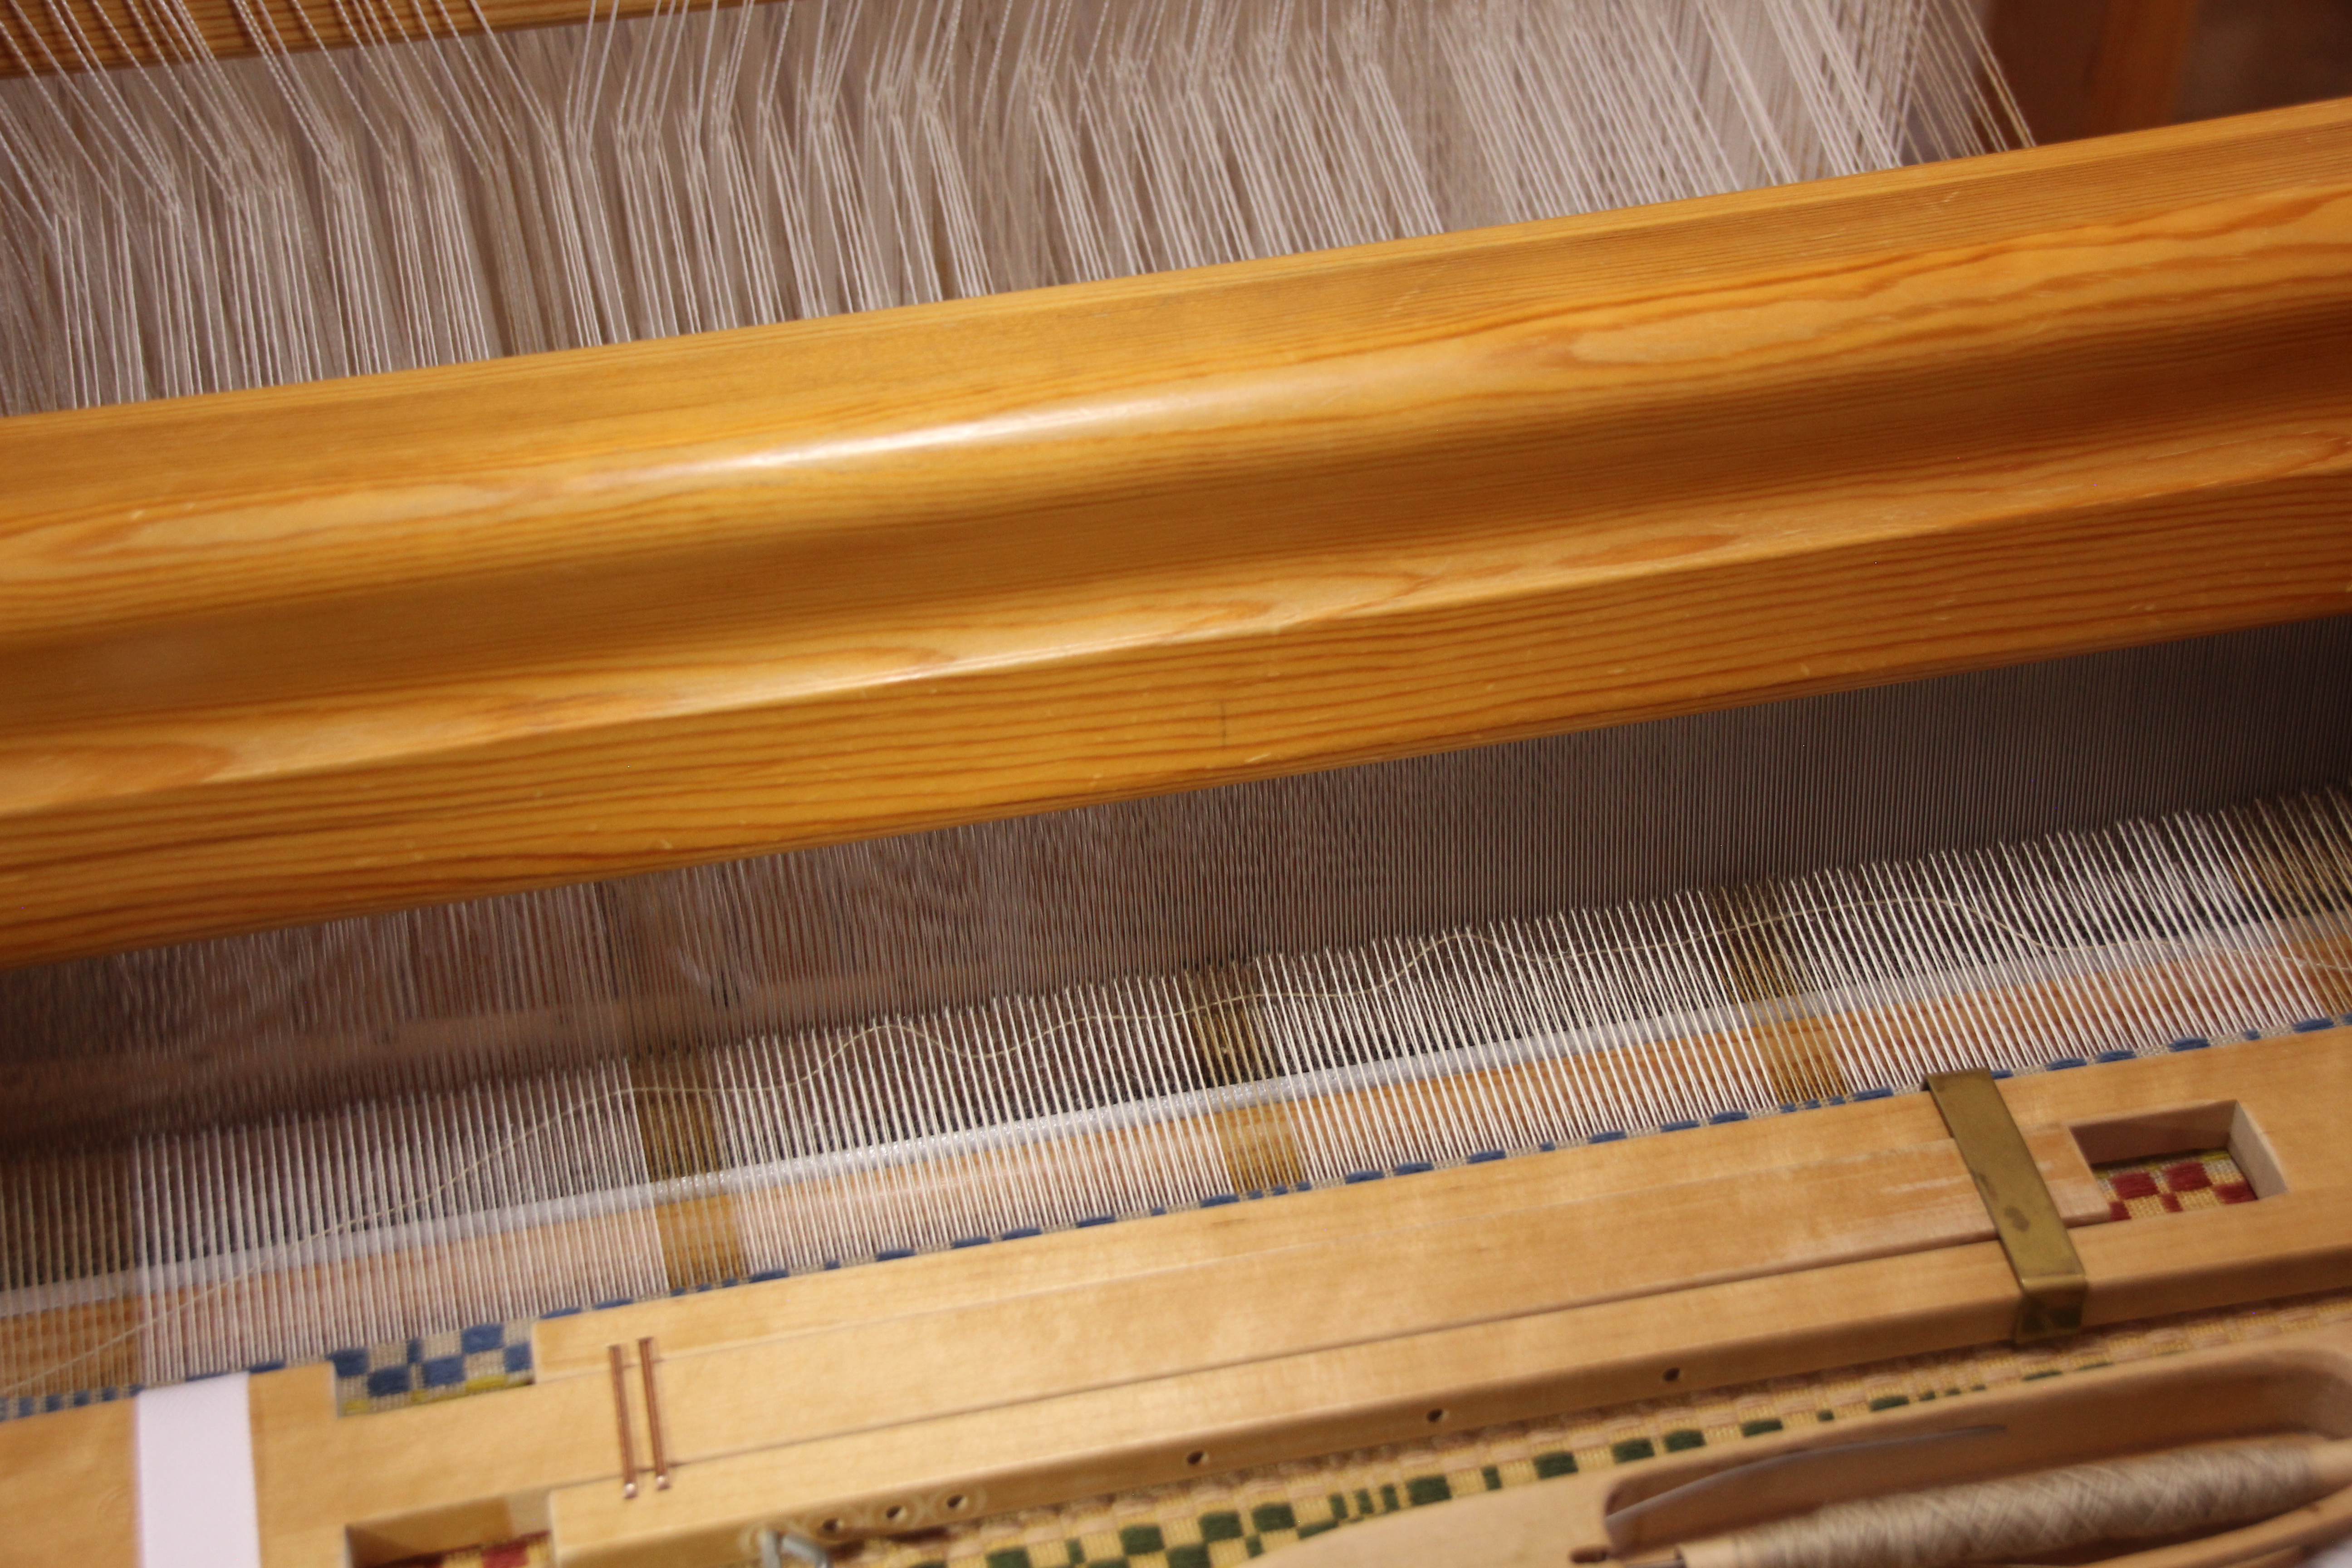
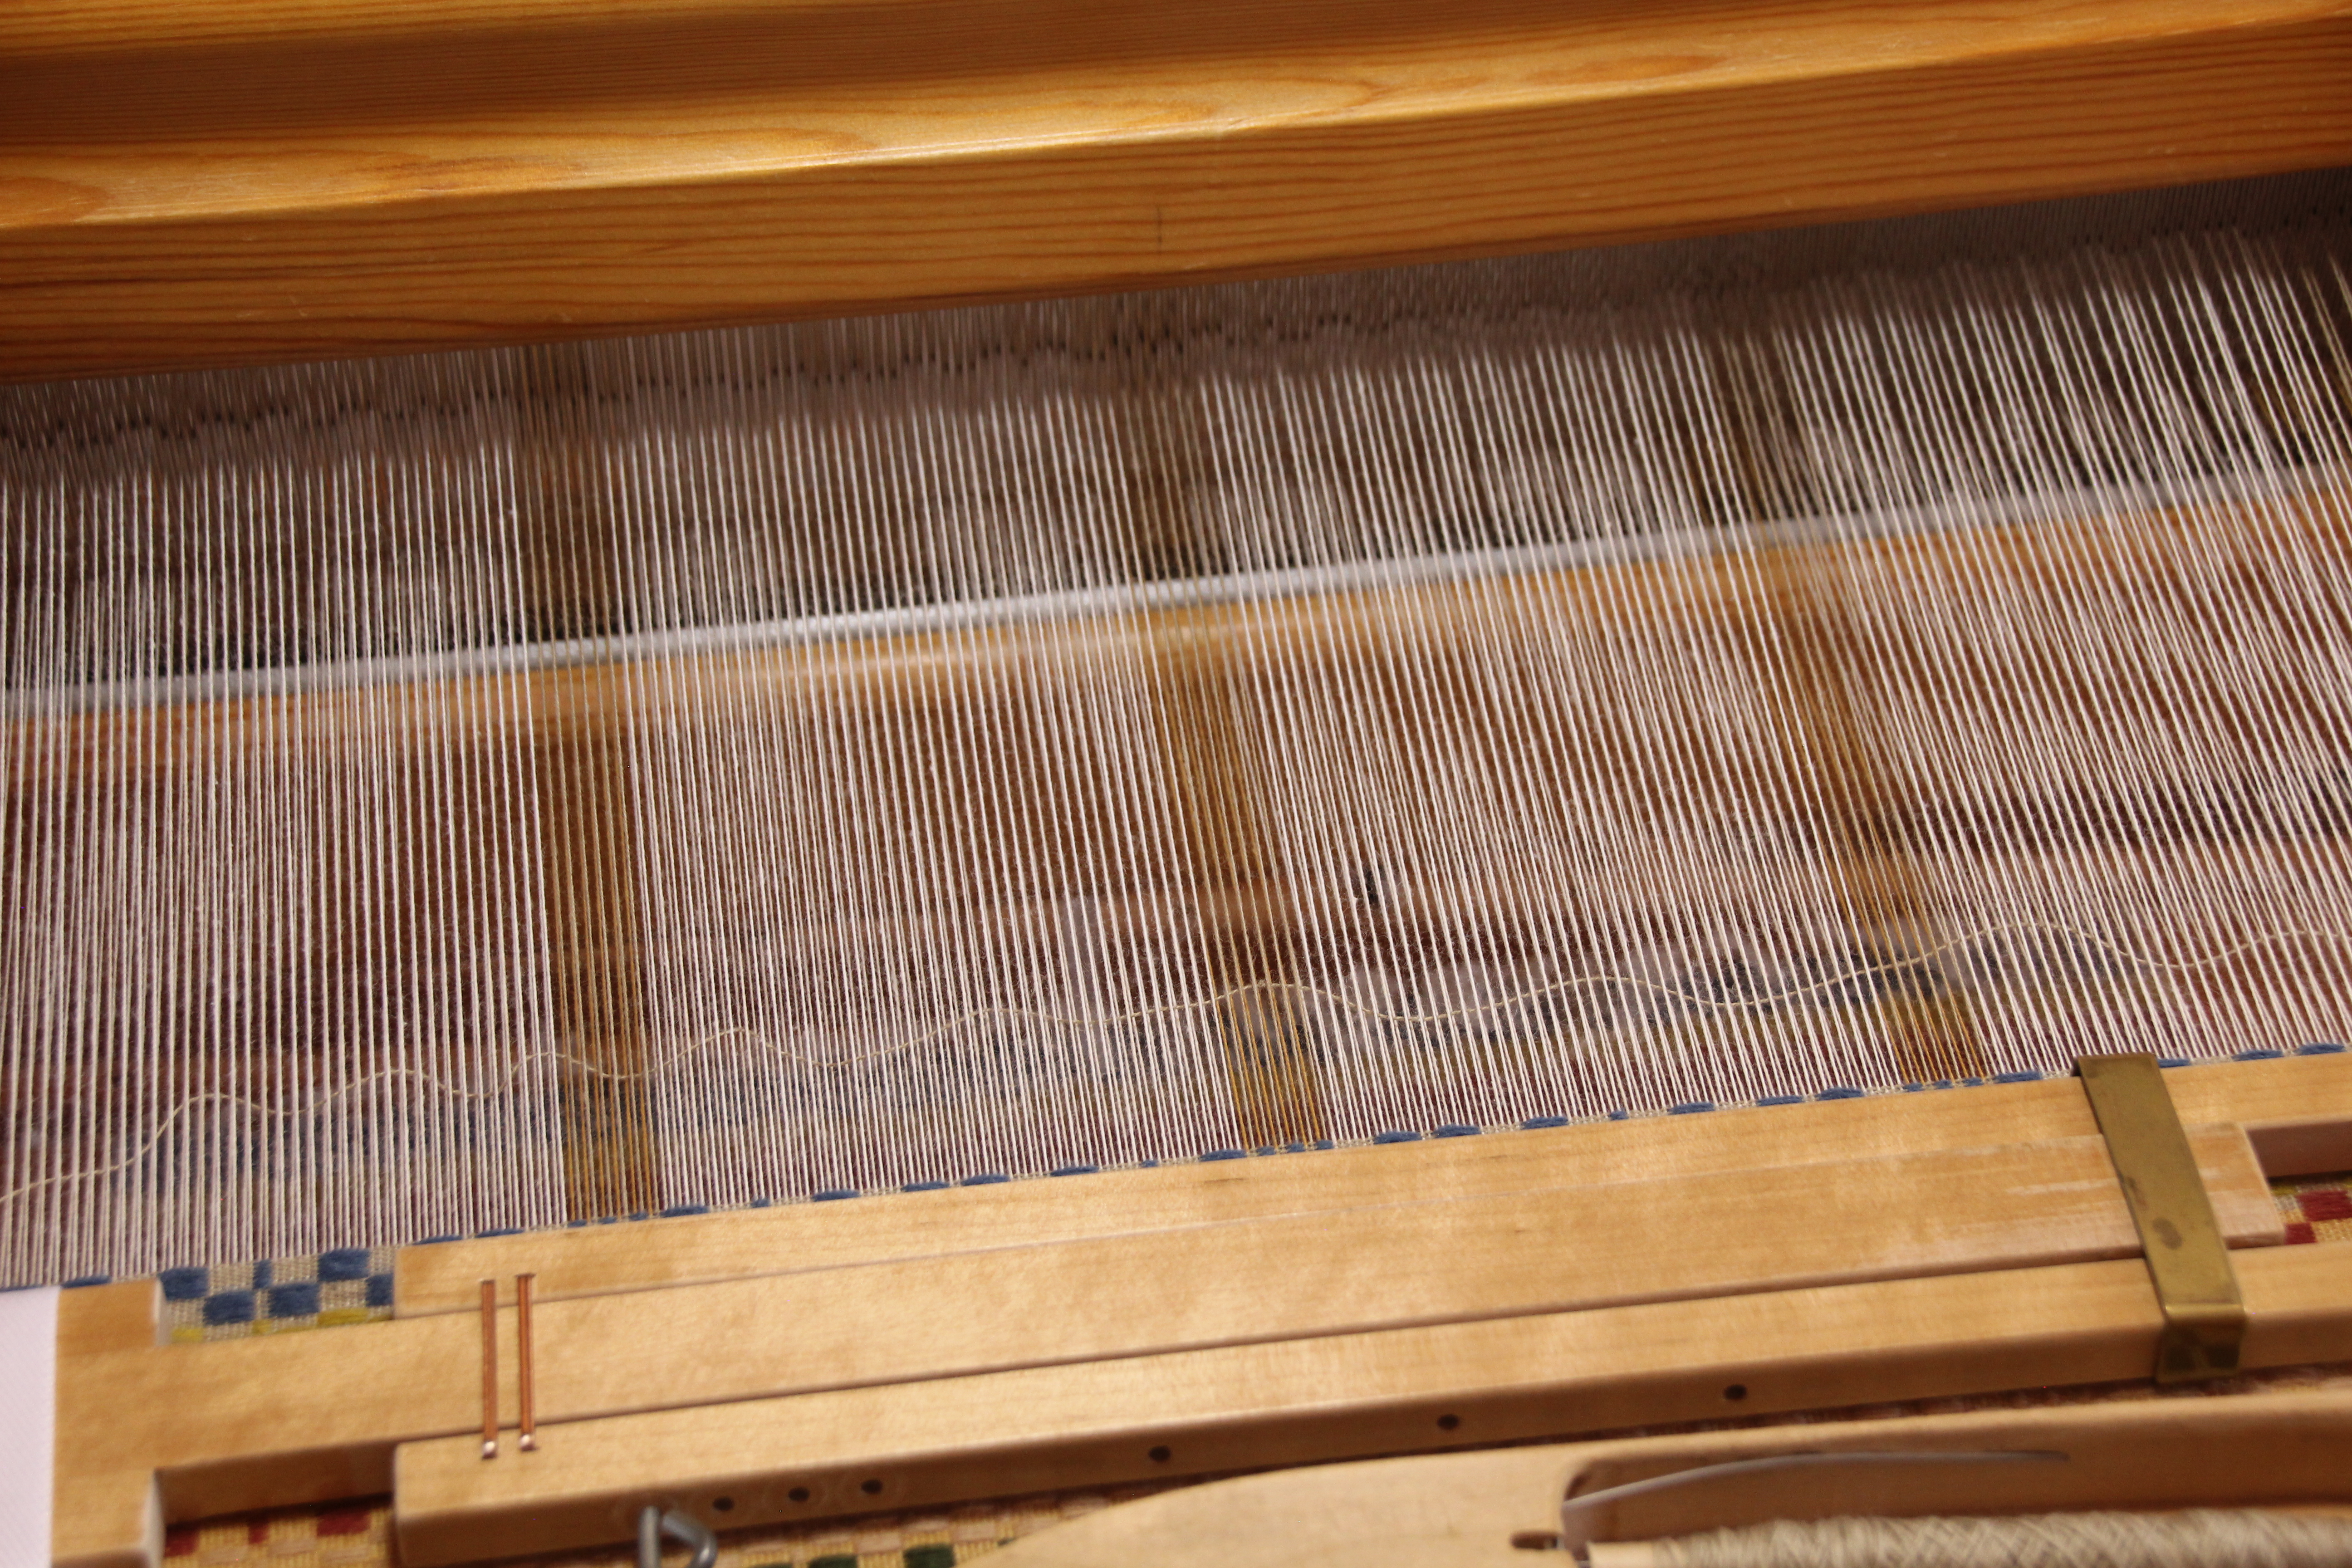
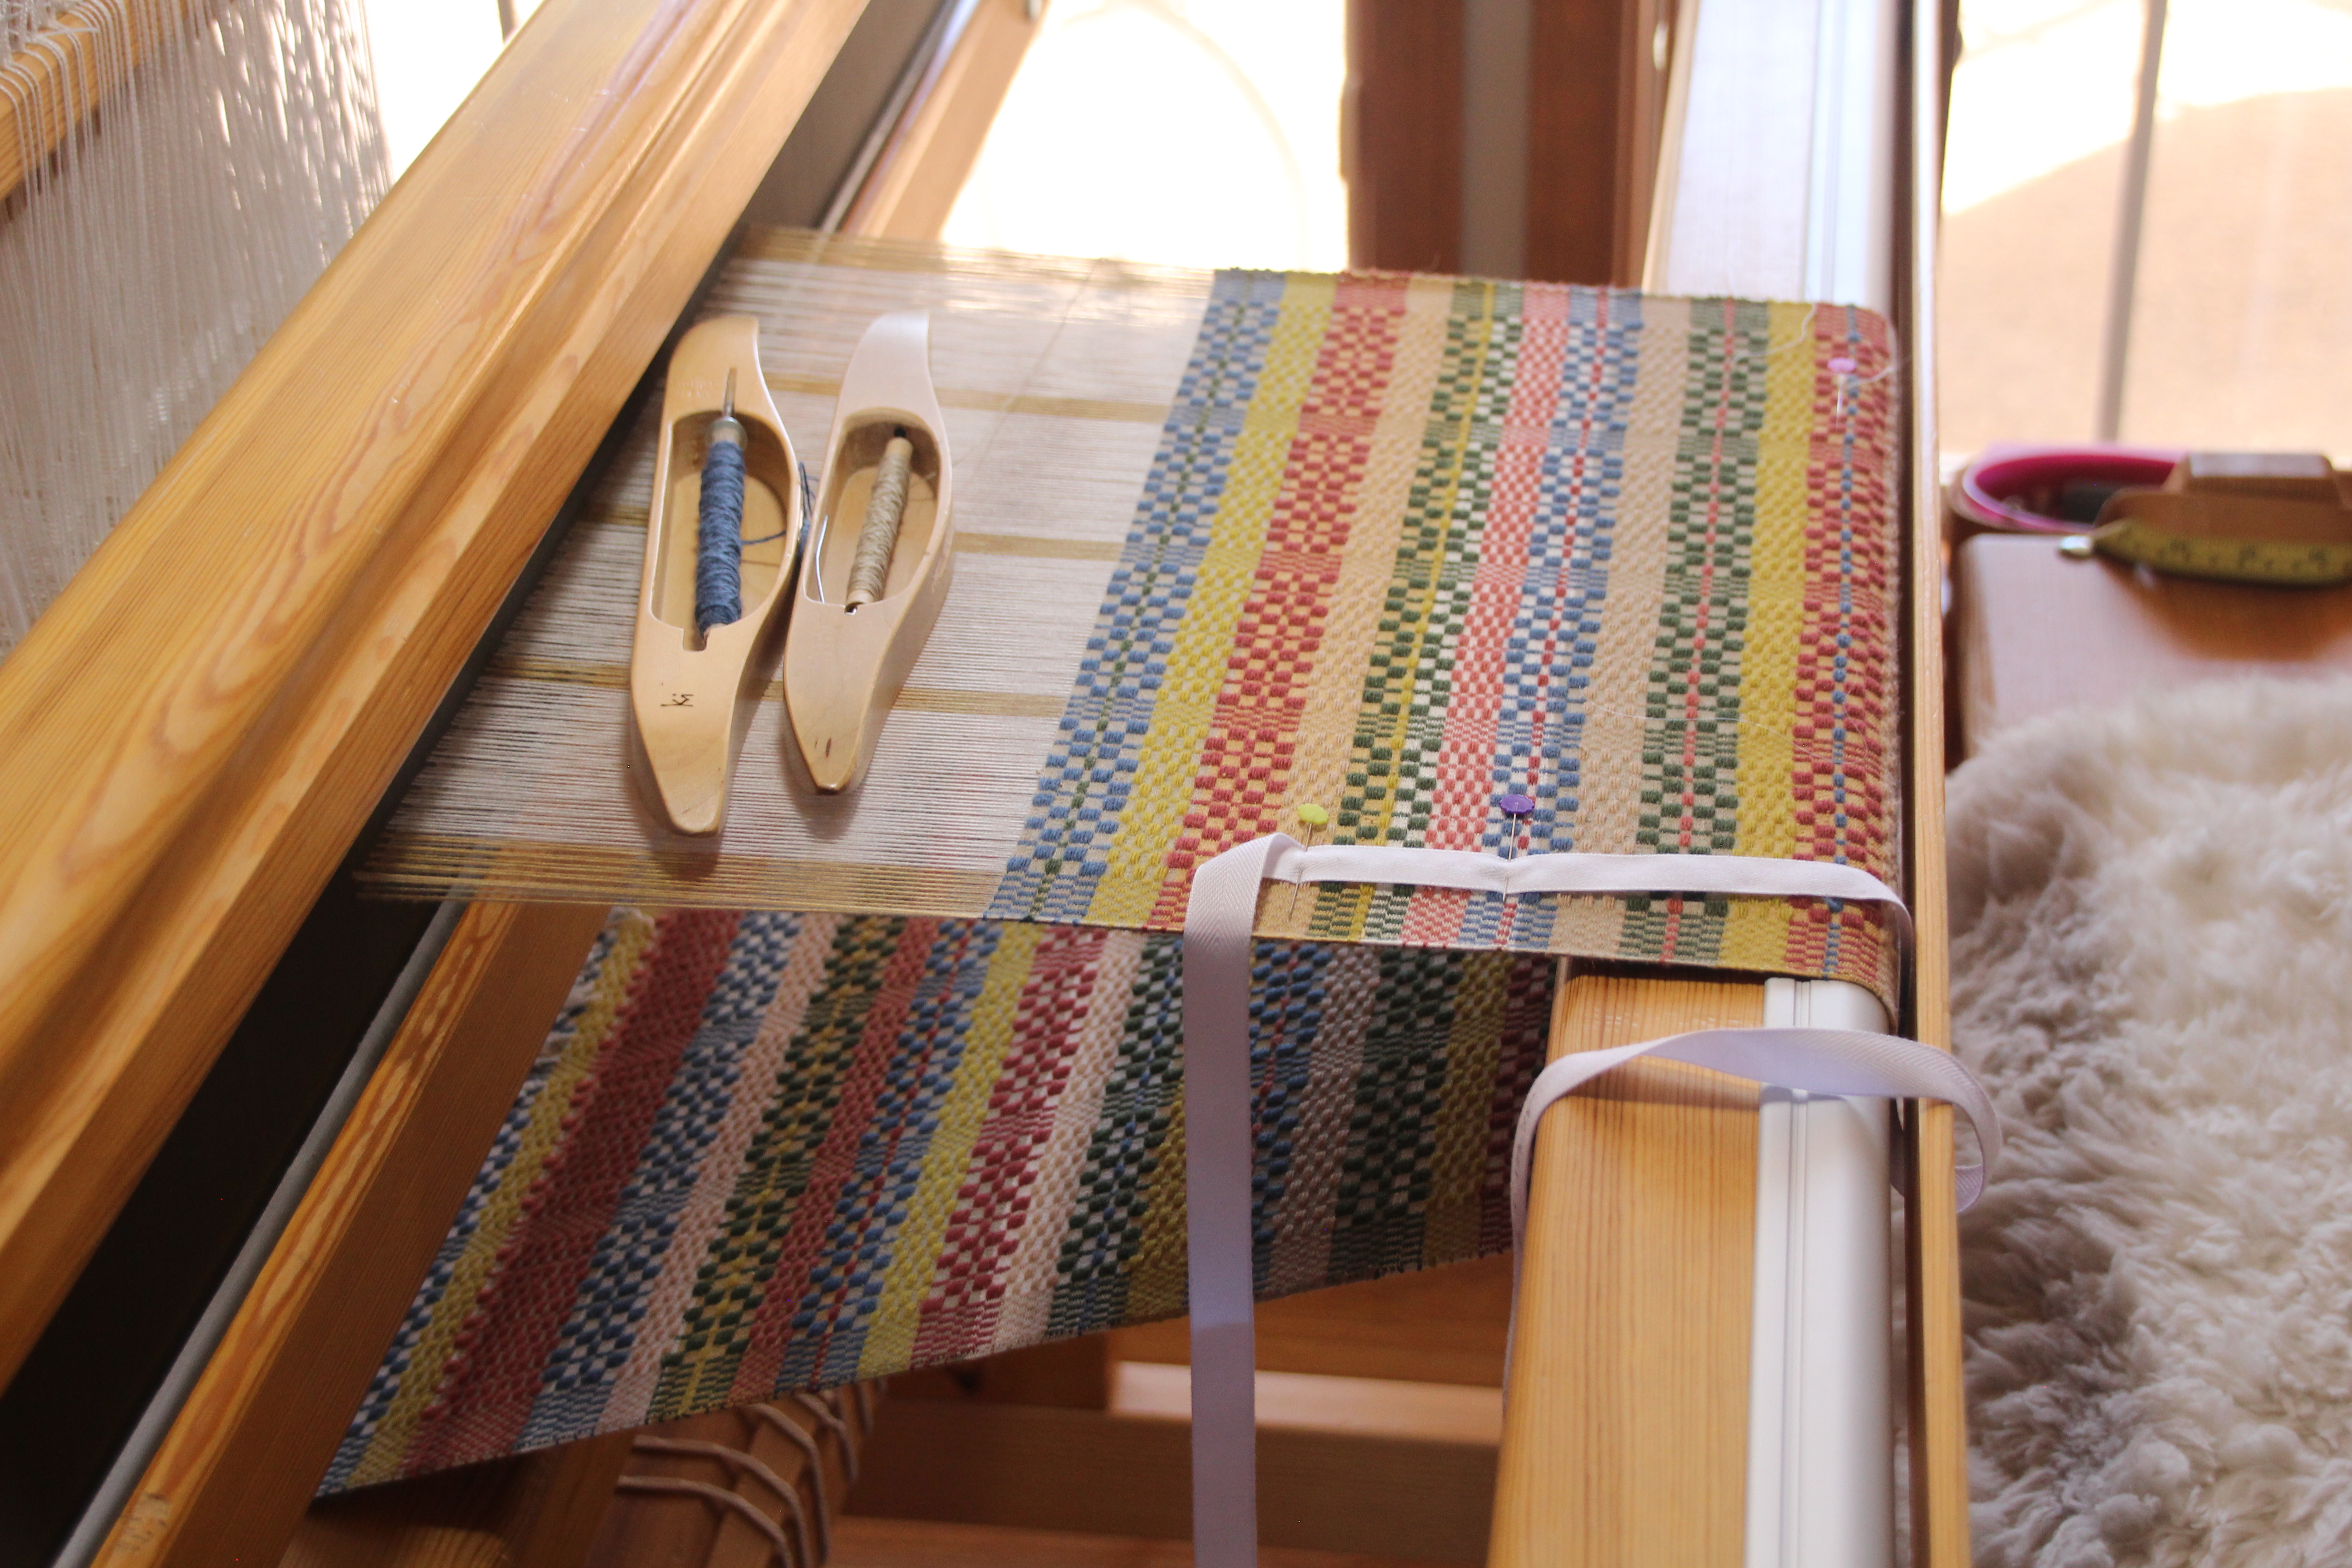
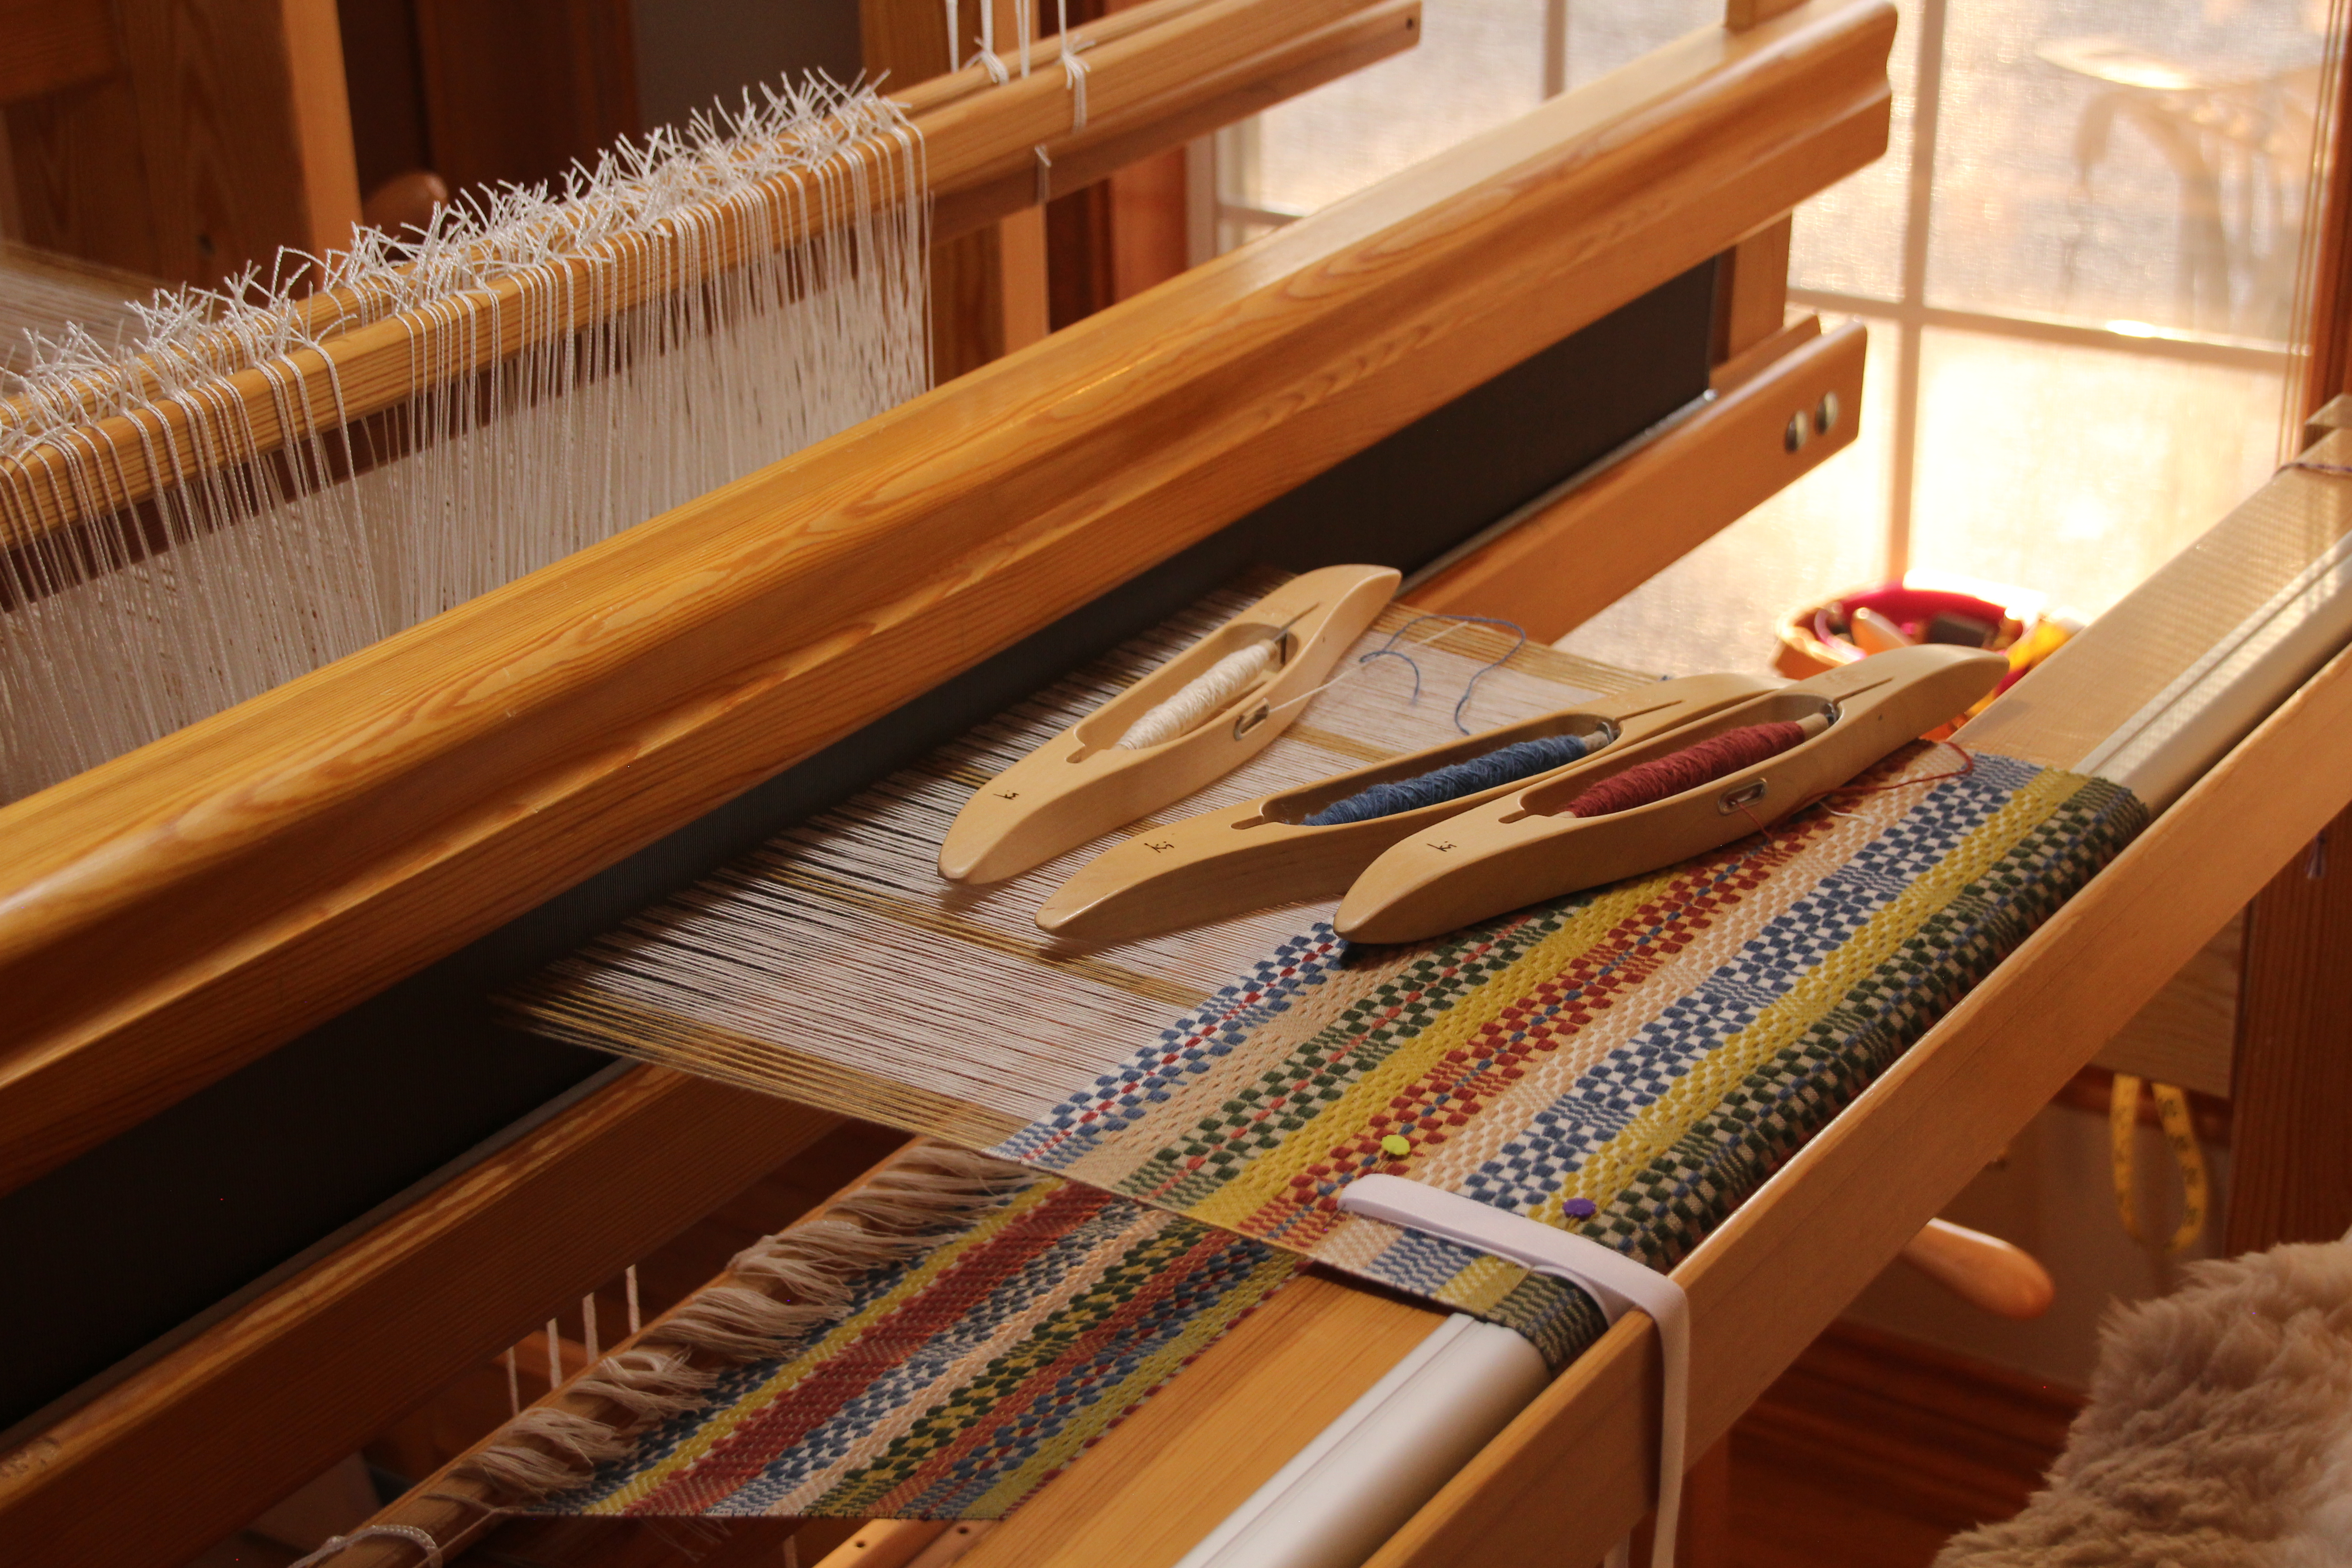
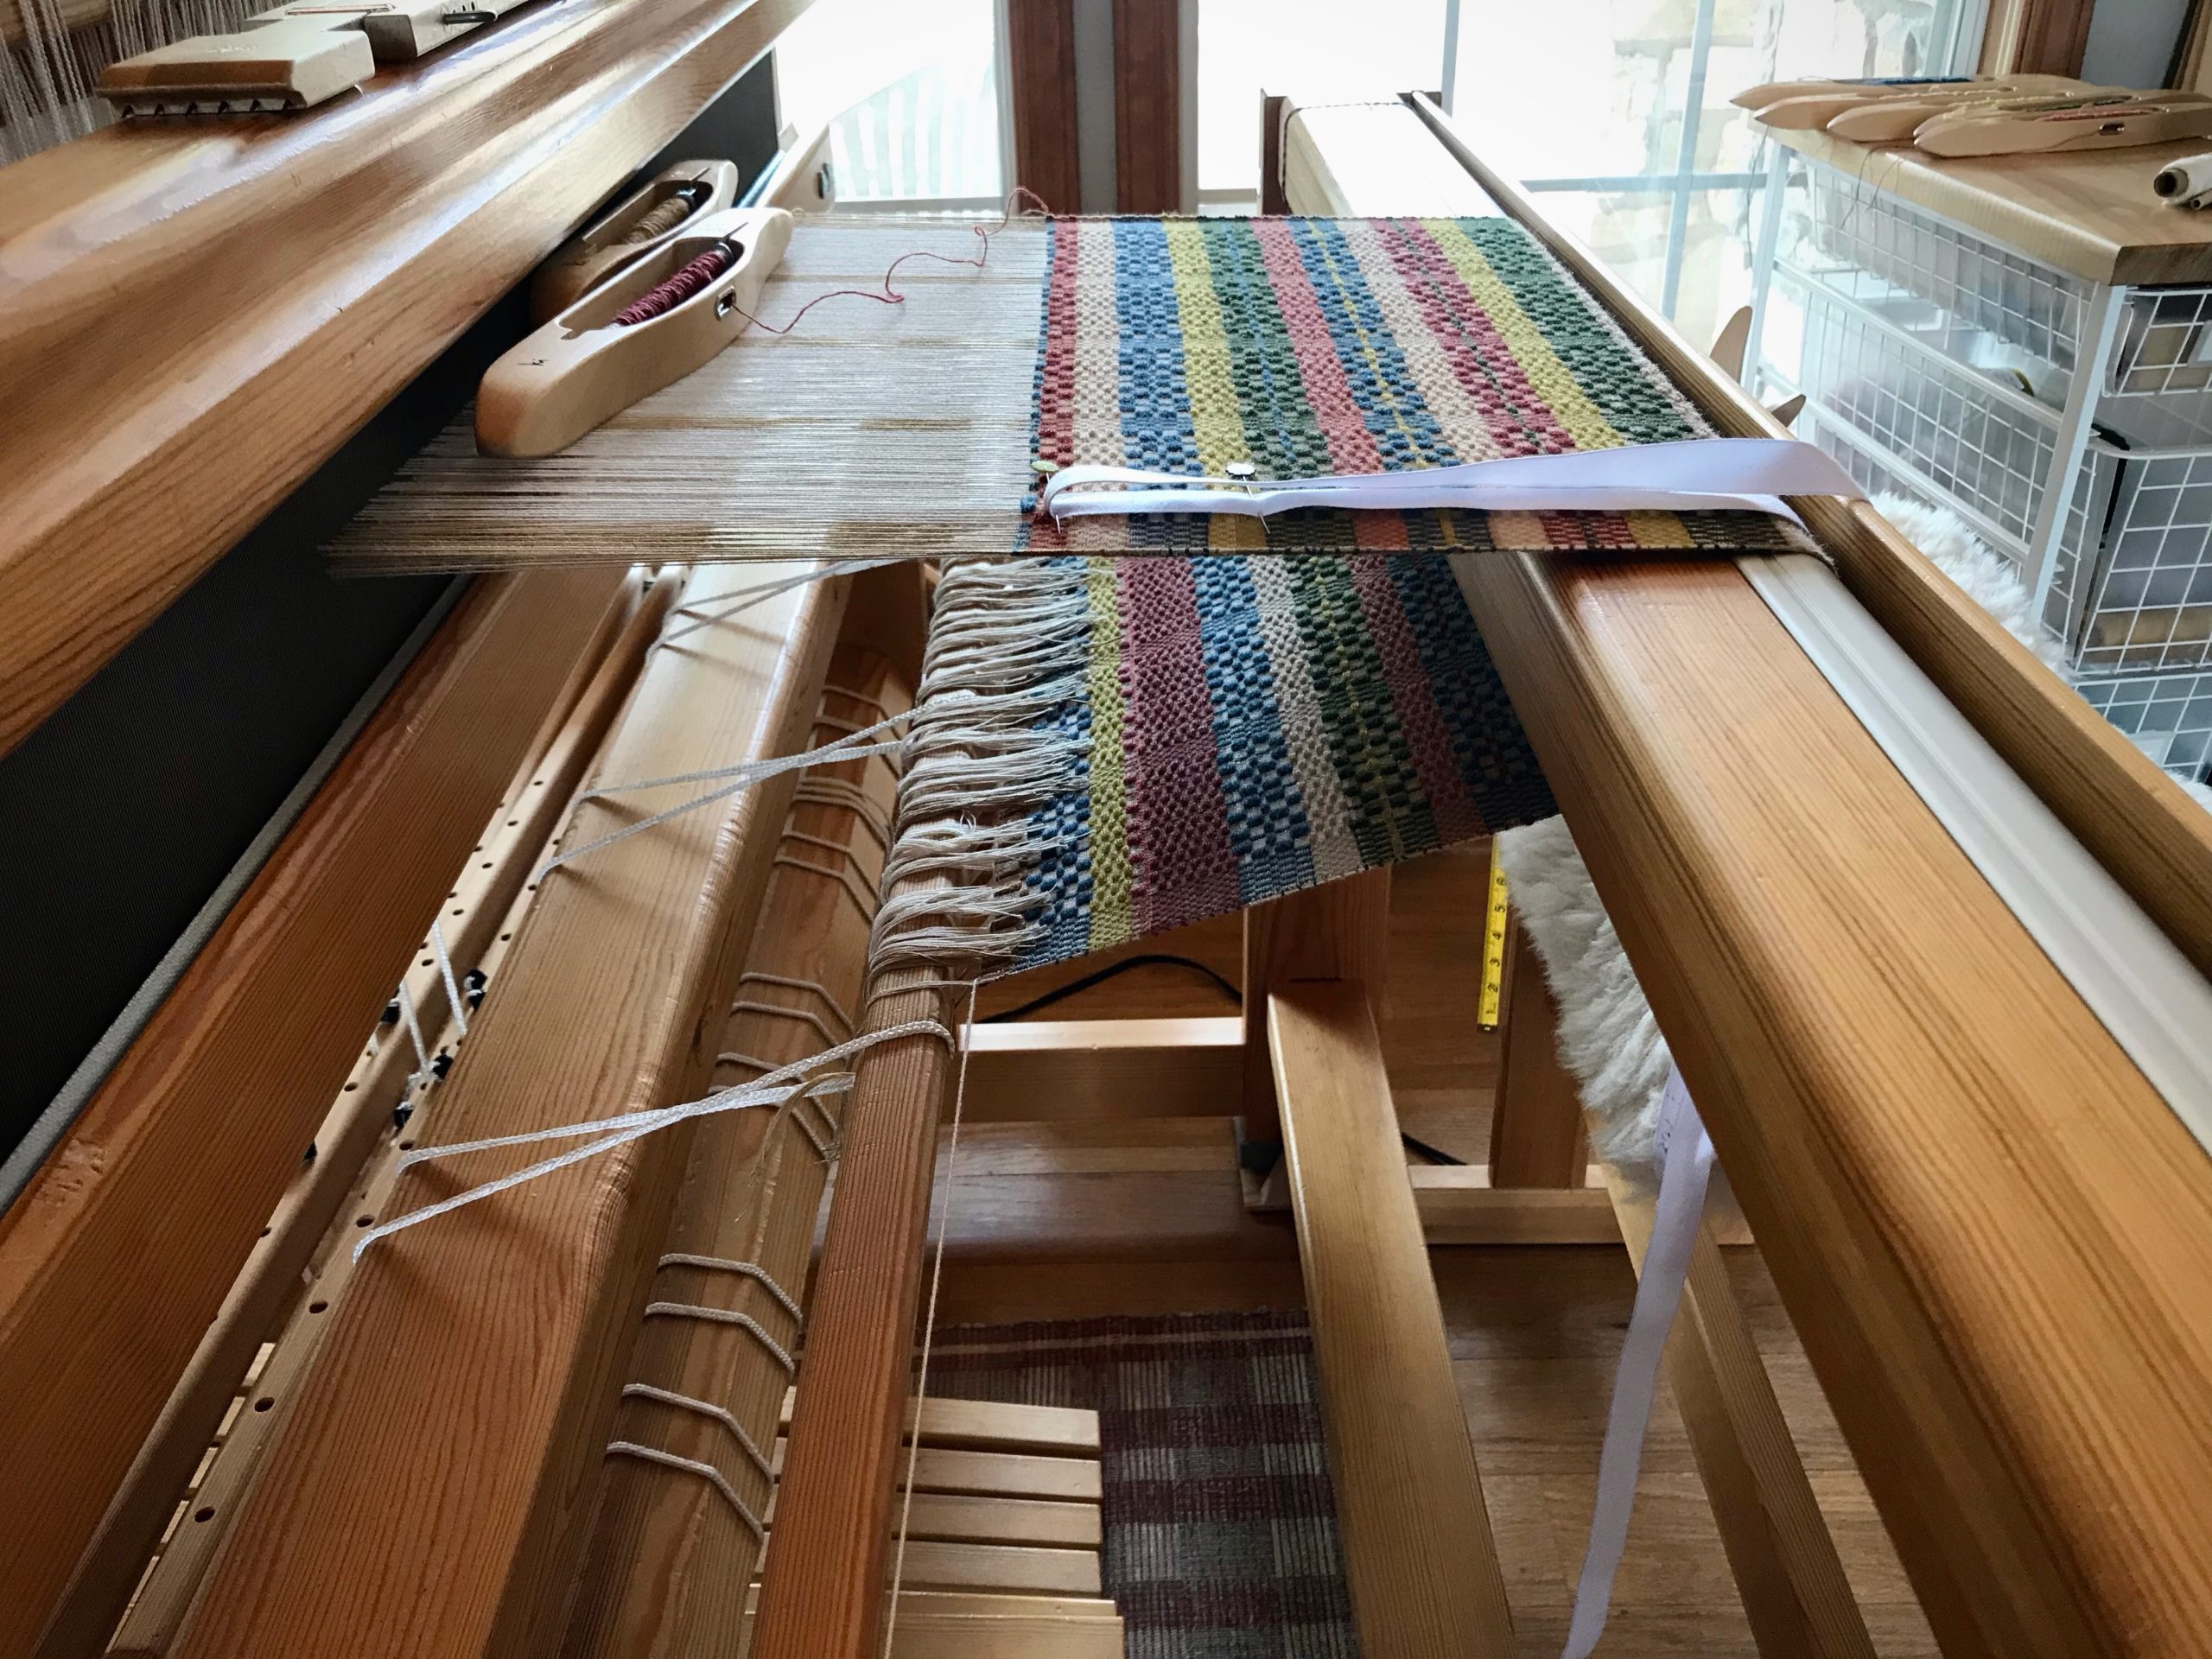
Weave and Measure (Always with the warp under tension)

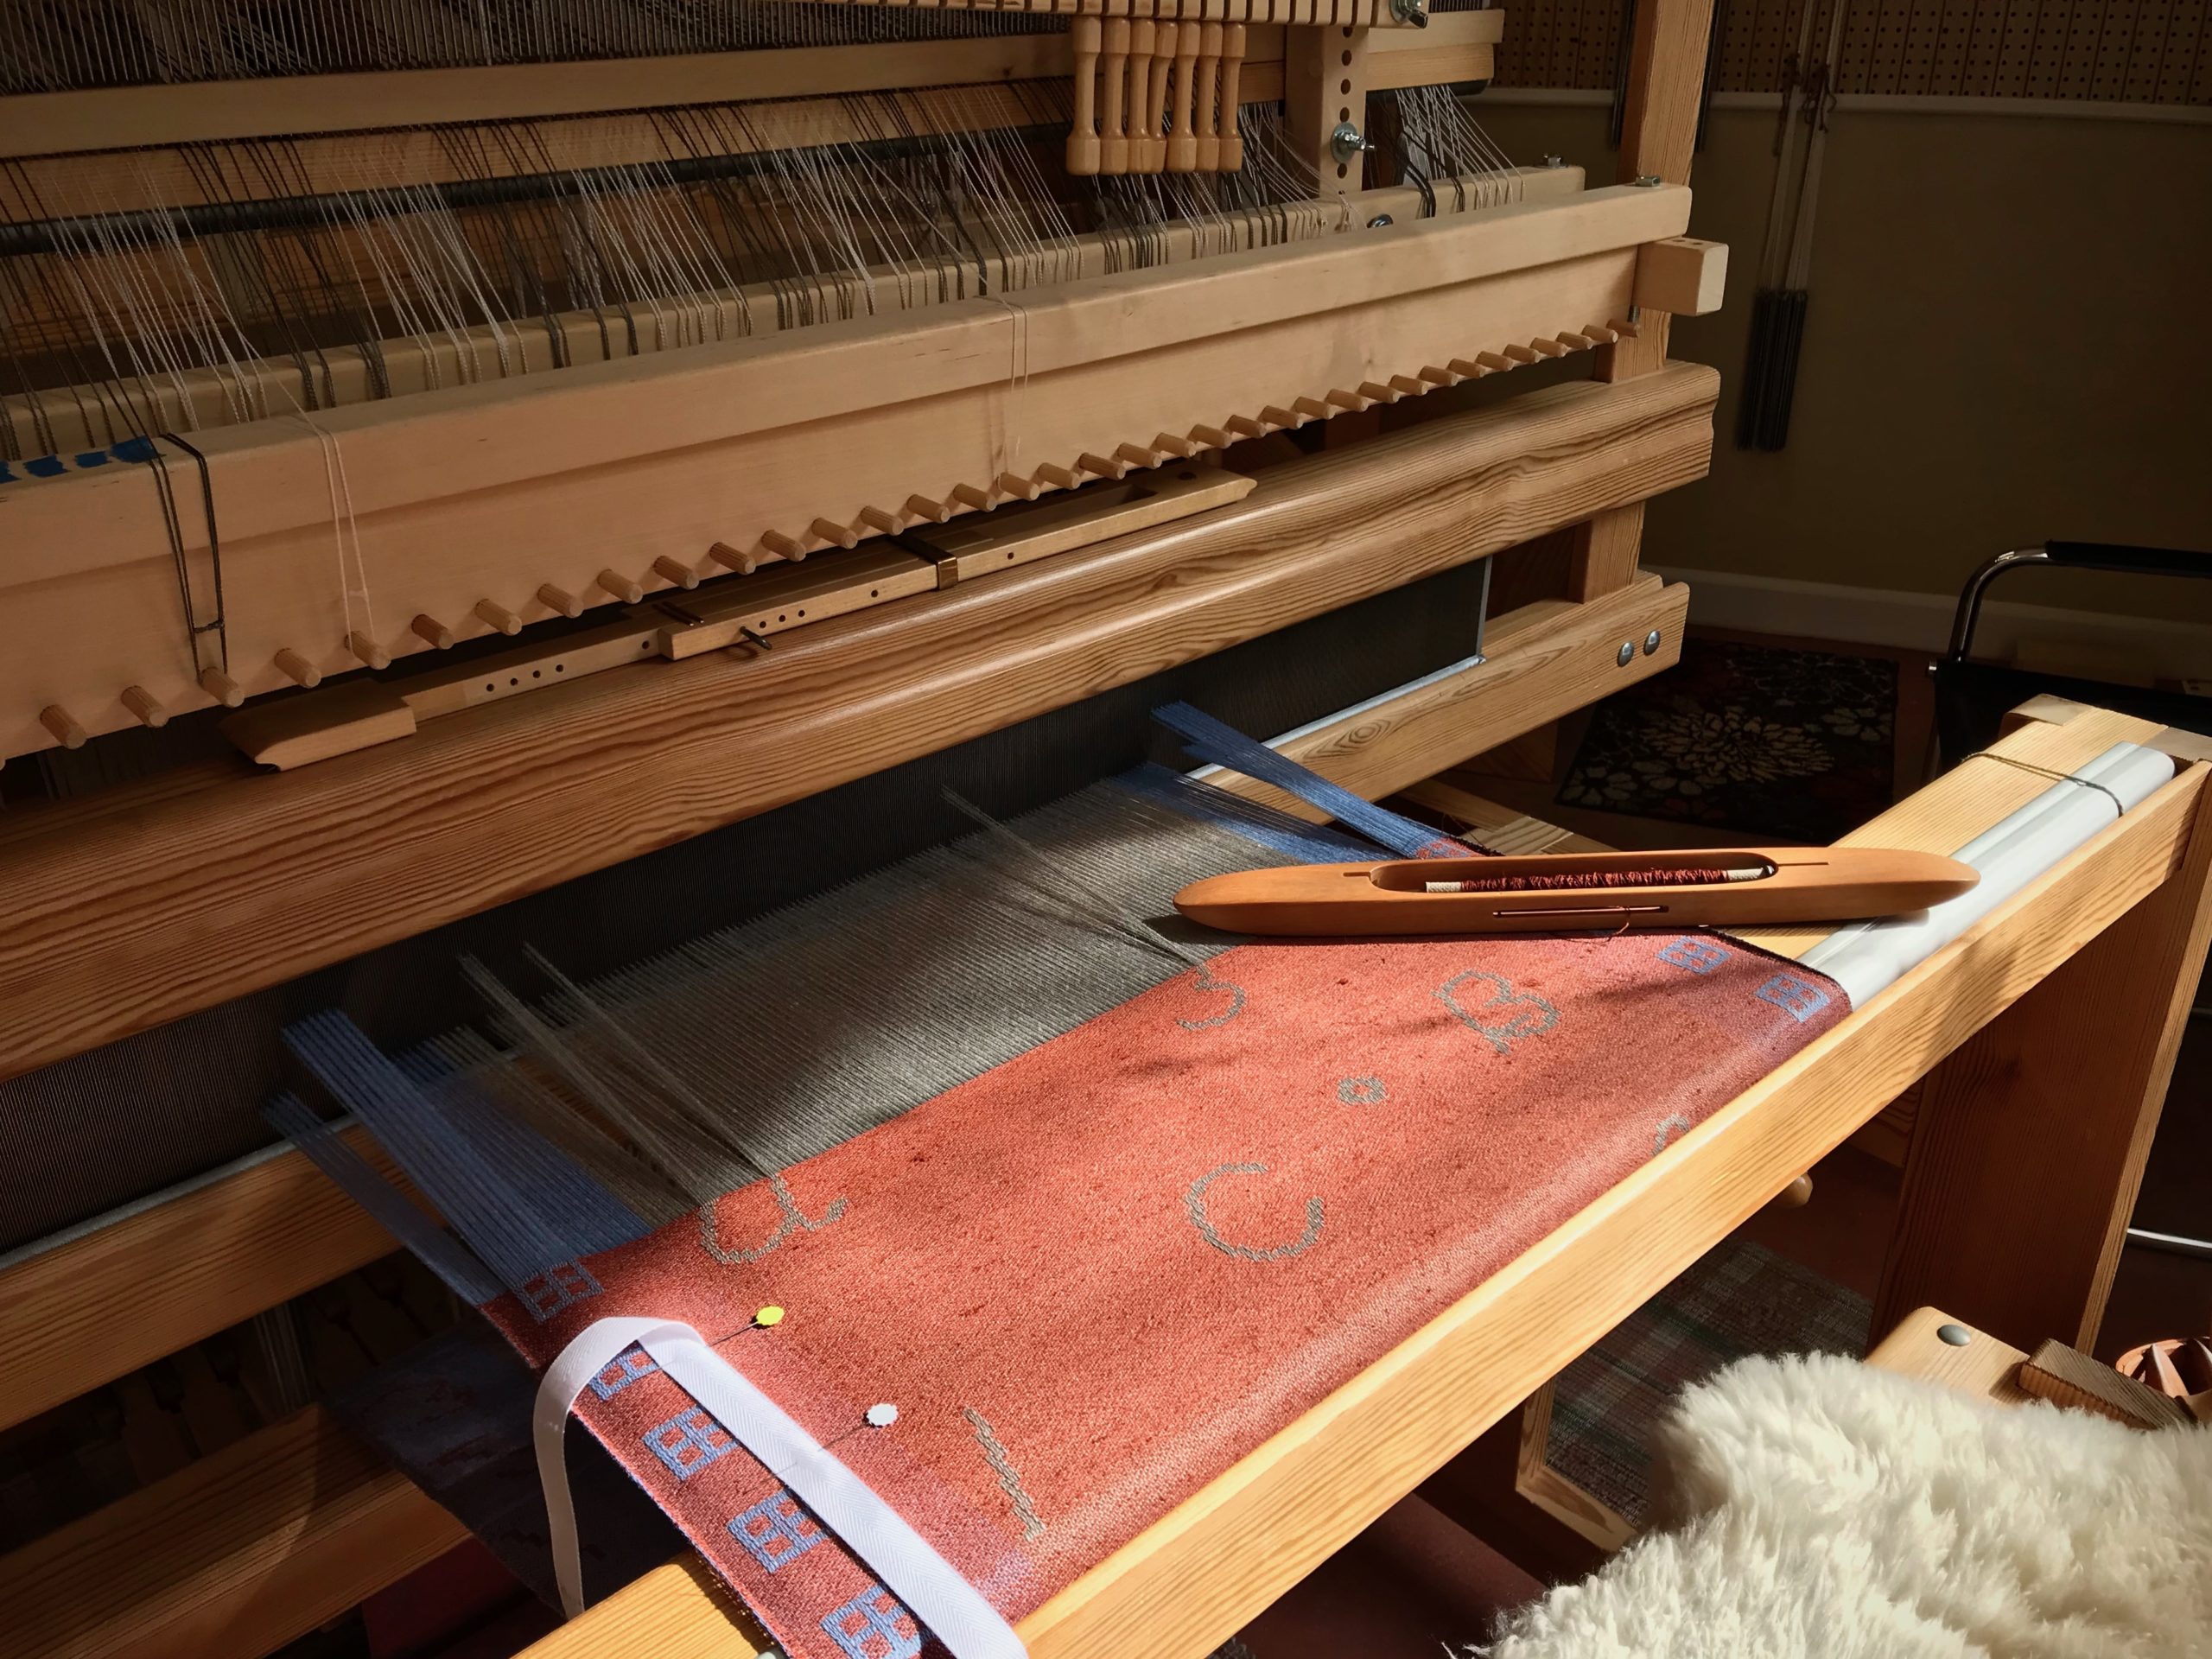
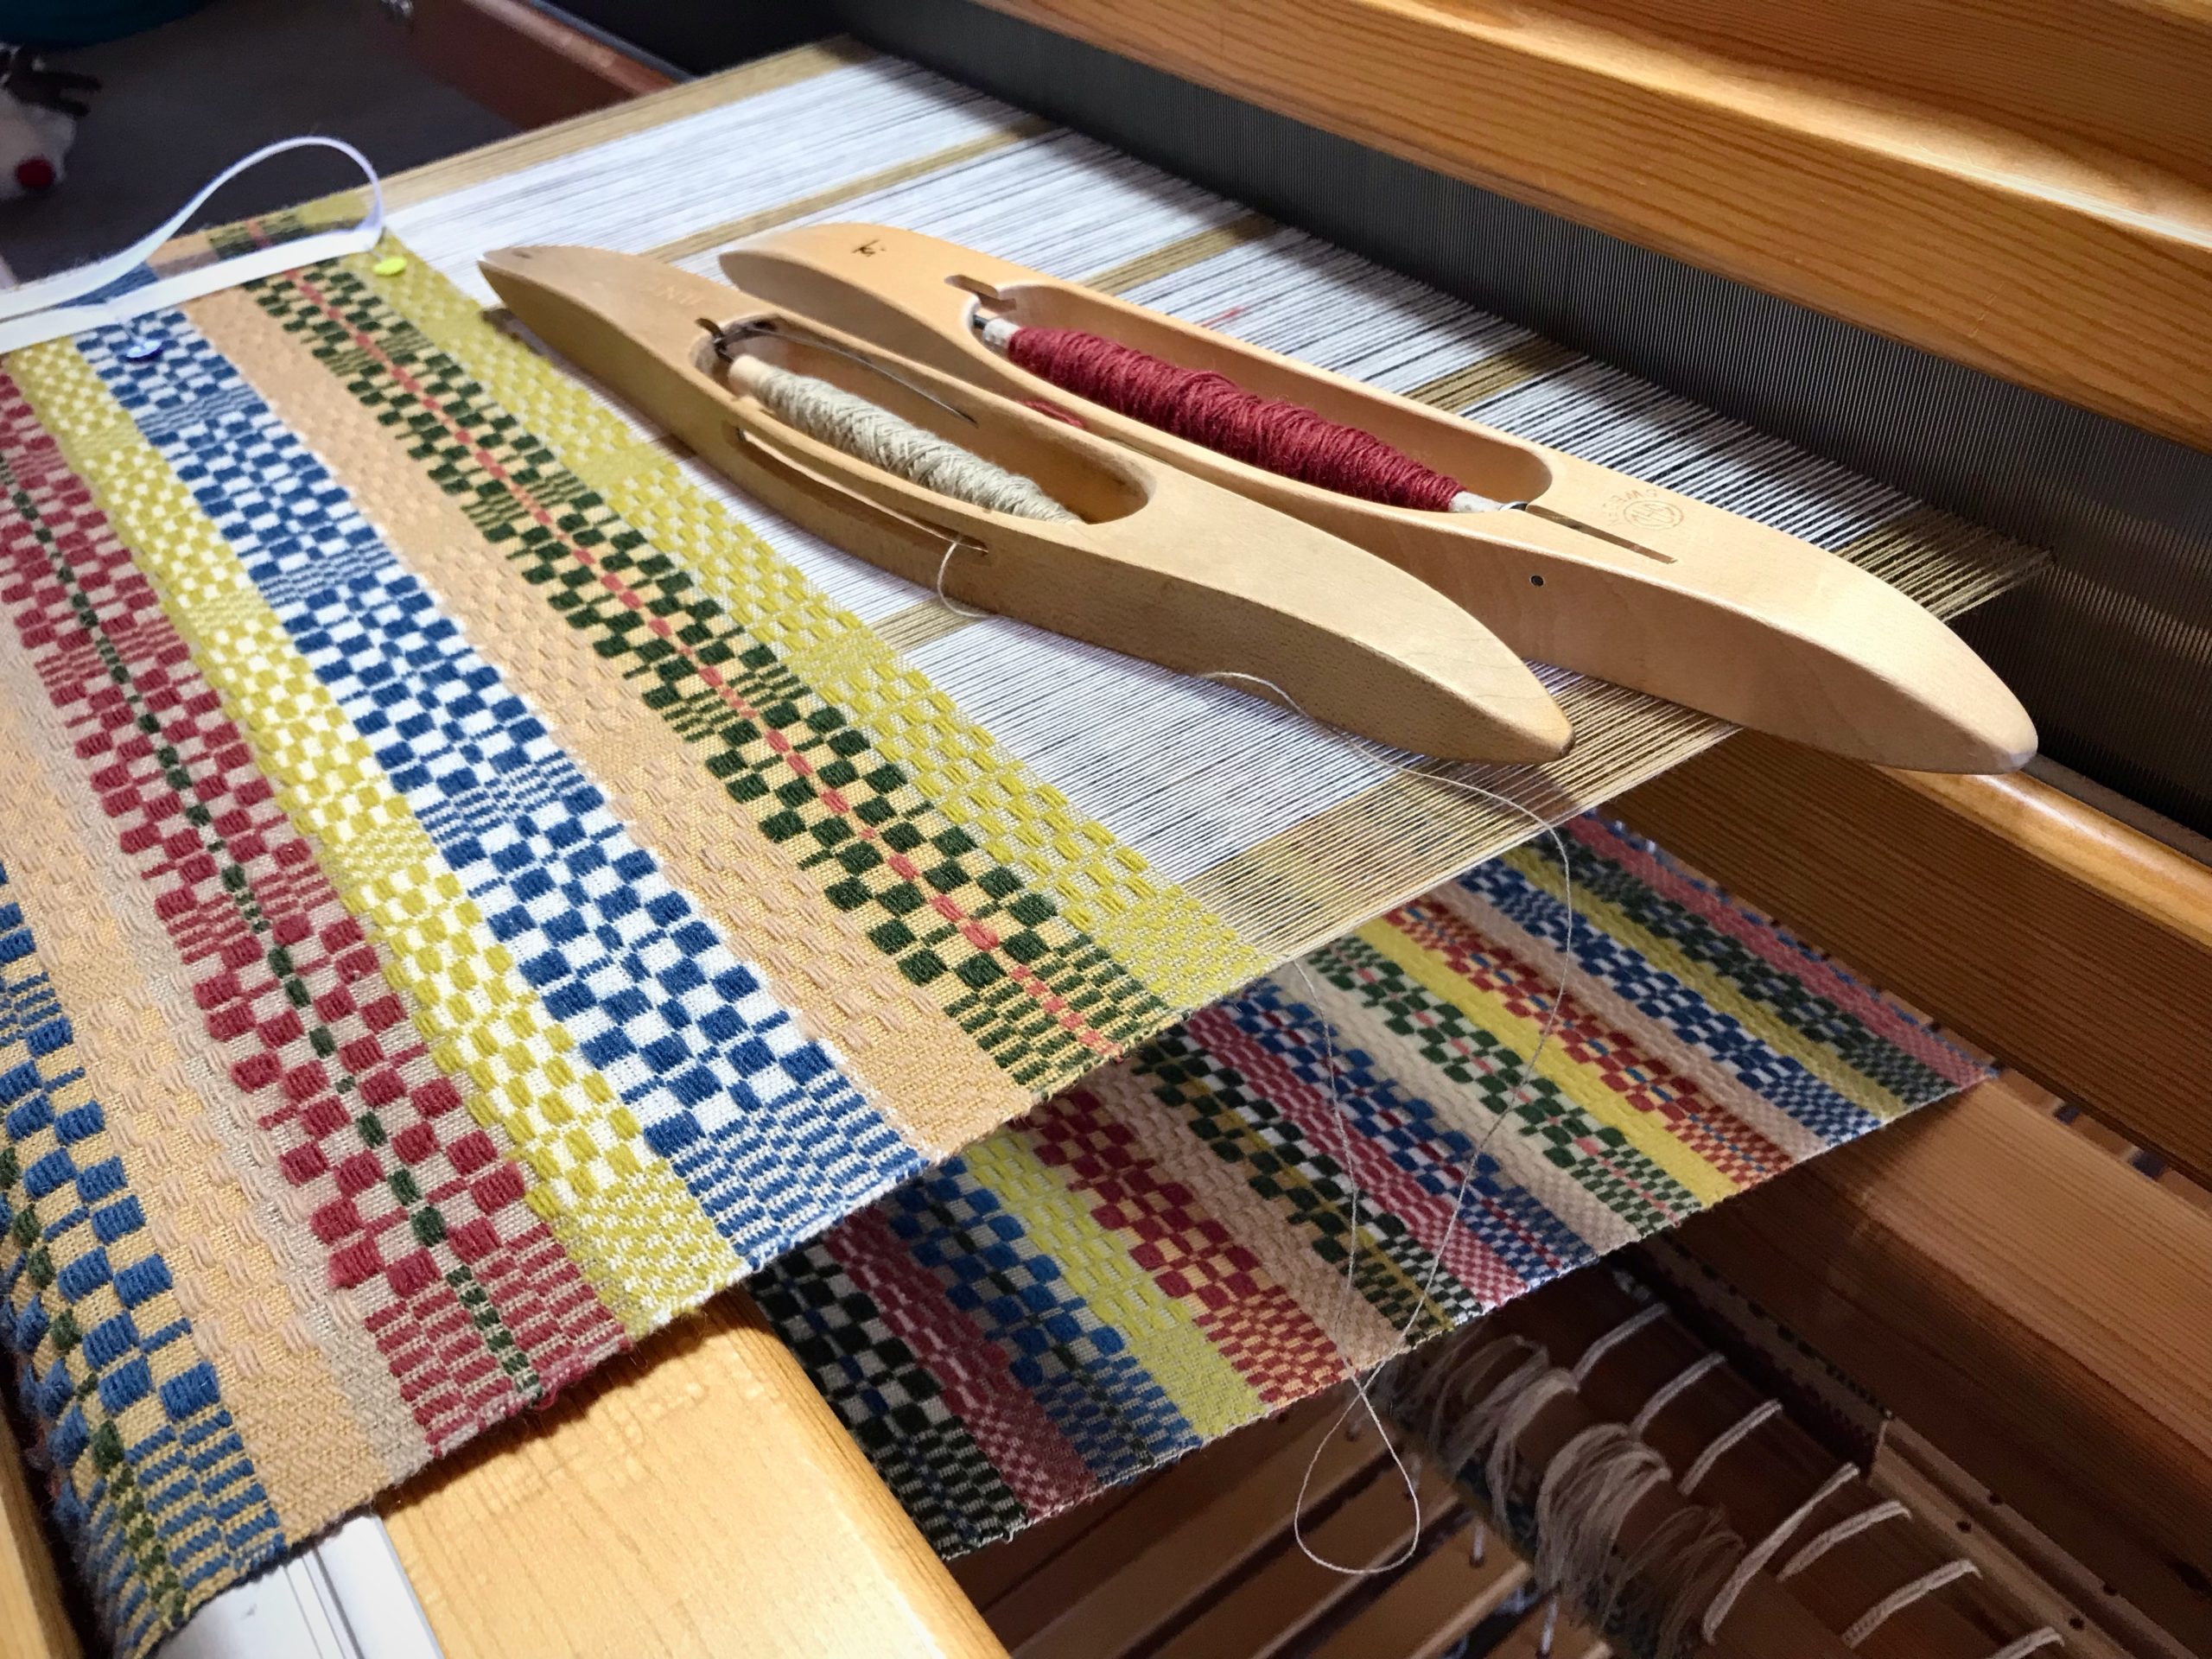
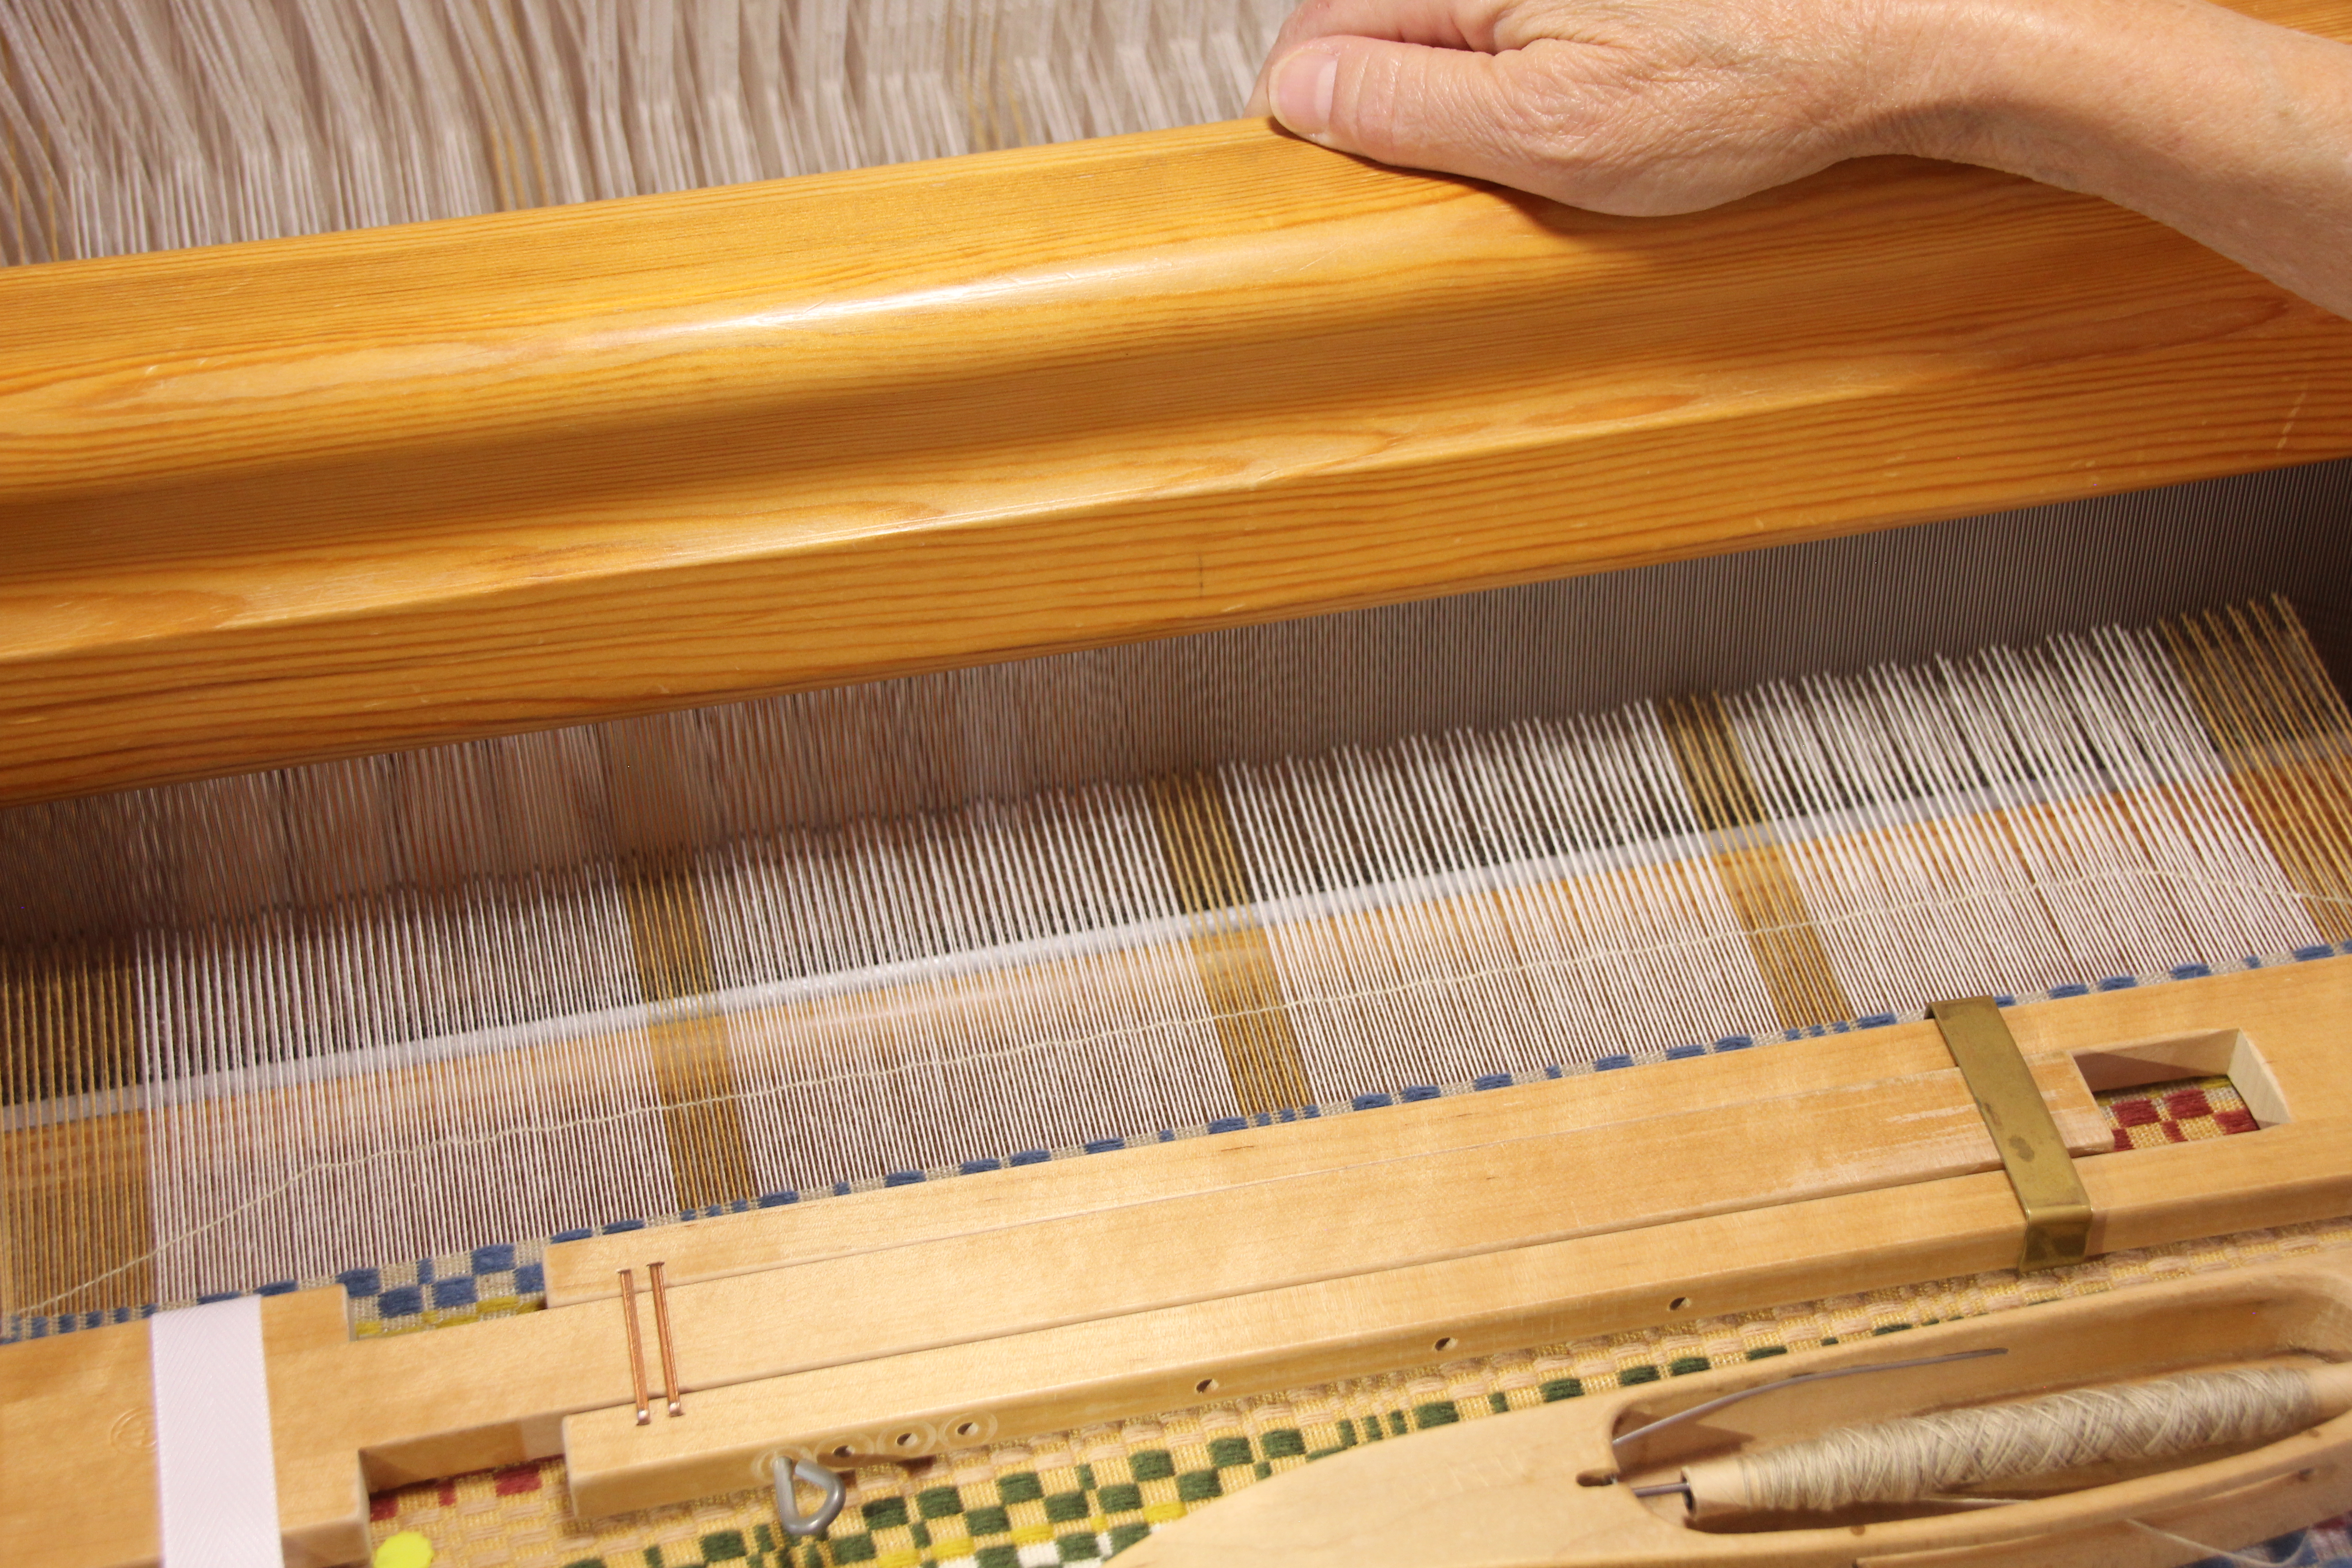
  • Use two straight pins to pin the measurement tape to the weaving near one selvedge. Place the beginning line of the tape directly over the beginning of the woven article.
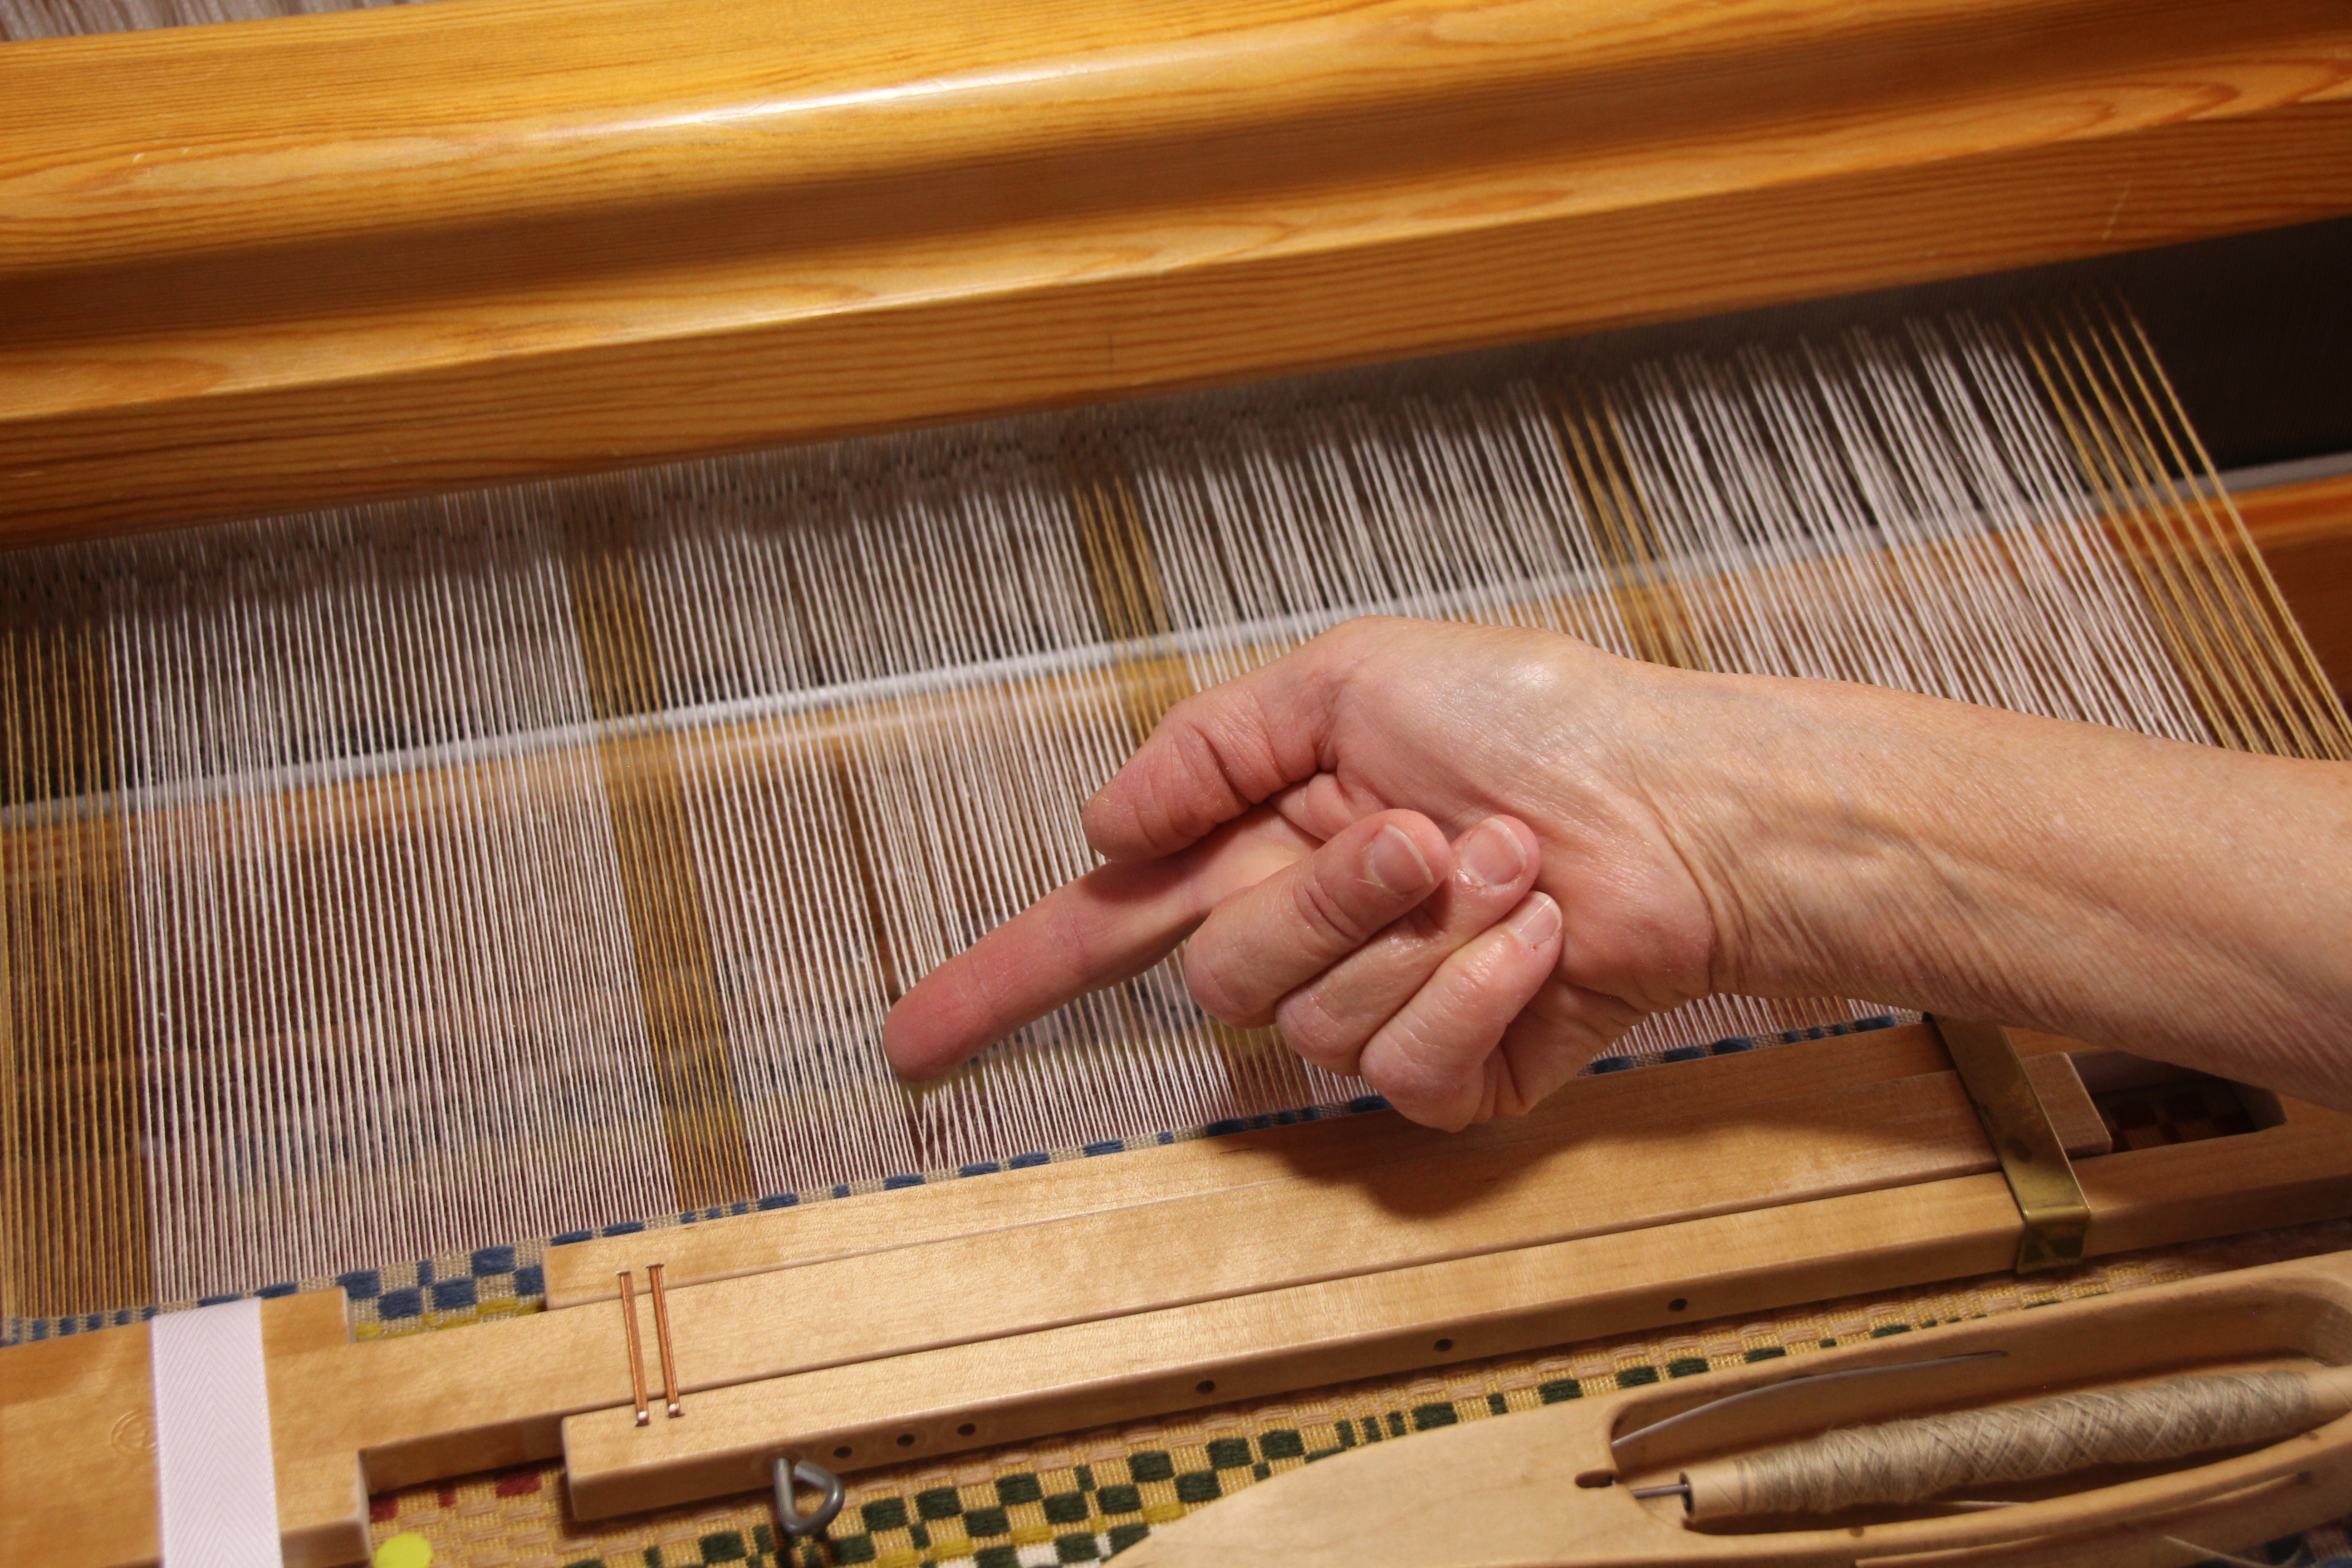
  • As weaving progresses, remove the pin closest to the breast beam. Leapfrog over the remaining pin. Reinsert the removed pin through the tape near the fell line.
Using a measurement tape for weaving consistent lengths.
Move one pin at a time. I usually move the pin right before I advance the warp.
  • If using a half measurement tape, weave past the MID line. Mark the spot with a pin. Remove the measurement tape. Turn the tape and pin into place to weave the second half.
How to make a half measurement tape.
When you reach the MID line on a half measurement tape, keep the measurement tape in place until you have woven a few more centimeters.
How to make and use a Measurement Tape for weaving accurate lengths.
Place one pin through the cloth, pointing to the MID line. Then, it’s safe to remove the measurement tape and turn it around. Go your merry way, weaving the second half of the Monksbelt runner, or whatever you have on your loom.

Here’s a demonstration of making and using a measurement tape:

(For a previous discussion of this topic, see Tools Day: Measured Weaving.)

Since you can measure what you are weaving, do relax and enjoy the ride.

May you reach the mid point at just the right time.

Happy Weaving,
Karen

Happy New Warp – Year in Review Video

The 2021 cloth is cut from the loom. Let’s unroll the year to see how it looks. I see cherished moments. Treasured memories. New friendships. Family relationships enjoyed. Mistakes made. A few heartbreaks. Sorrow and rejoicing are intertwined at times. Besides the finished fabric, there are a few odd remnants worth keeping in my heart. And, like most thrums, there are some things I am not going to hold on to.

Cloth beam on the Glimakra Julia. Linen dish cloths.
Final project of 2021. Linen dish cloths, with warp made from what was left on several tubes of linen. Glimåkra Julia, using 8 shafts, 8 treadles.
Glimakra Julia - linen dish cloths!
Good-bye, 2021. Nine linen dish cloths, plus one large blue rectangle at the end. Washing dishes has never looked so good!

Three weaving highlights: 1. Eye of the Beholdertapestry of my mom. The Lord used the making and finishing of this woven portrait to reiterate His nearness when I needed it most. 2. Siblings, tapestry from the previous year, earned the HGA (Handweavers Guild of America) Award at the Contemporary Handweavers of Texas Conference last summer. 3. The yellow huckaback three-tiered skirt, Tiers of Joy, ought to earn an achievement award. However, the real reward is a genuine sense of accomplishment through perseverance.

Rag rugs up next!
First warp of 2022. Glimåkra Ideal. Double-binding rag rugs coming up. Hooray!

Know when to let go. 2022 is a new warp on the loom. Some things from last year don’t belong. We have a fresh start with no room for complaints. Threads on the loom are rich with hope, ready for the intersection of thoughtful wonder and exploration. Look for results of tangible beauty.

Please enjoy looking back at the weaving journey of 2021 with me. I’m grateful to have you here, and look forward to more good times together!

The three highlights: Process Review: Eye of the Beholder, Siblings Tapestry and Process Video, Process Review: Tiers of Joy!

May you know what to hold, and what to let go.

Happy New Warp (Year),
Karen

Tried and True: Prevent Weaving Mistakes with Two Secret Weapons

As much as I am enthralled with what I am doing at the loom, my concentration ability wanes. It is in those waning moments that errors happen. Also, as you know, I have looms in my home, which means I can weave well into the evening in my pajamas, if I want to. But, I better not exceed my limits, or else…

Combination drawloom. Towels for gifts.
Seven pattern shafts are being used for the border “windows.” The center area uses single units to make the design that includes numerals and letters.

Weaving on the drawloom demands my undivided attention, as does pictorial tapestry and any intricate pattern weave. All of these are especially tedious to undo. Therefore, mistakes are outlawed! To that end, I have two secret weapons that prevent all most mistakes—

Combination drawloom for weaving towels.
Same towel, same weft, same time of day as previous picture. A change of viewing angle highlights the rust in the brown-rust 16/1 linen weft. I notice things like this when I get up and take a break.

Five-Minute Breaks

Twenty-Five Minutes On – Five Minutes Off

25 Minutes. Go full strength. Be completely absorbed in the task.
5 Minutes. Take a break. Stand up, walk around, stretch.
(I use an app on my phone, Focus Time Activity Tracker, but any timer will do.)

The Cinderella Hour

Know When to Stop

If I am weaving at the end of the day (in my pajamas, or not), I stop when the clock chimes 8 times. I call it my Cinderella hour. My loom turns into a pumpkin after 8:00 pm. If I keep weaving, I can expect to be fixing errors the next day.

Weaving in the evening in my pj's. Monksbelt.
Weaving monksbelt in the evening (in my pajamas). Oh listen, I hear the clock chiming…1.2.3.4.5.6.7.8. Time to put the shuttles down.

May you know when to take a break.

Happy Restful Weaving,
Karen

Tried and True: Weft Rep

The monksbelt piece that adorns our entry is my favorite from all the projects in The Big Book of Weaving, by Laila Lundell. This current narrower version on the Standard is another heirloom monksbelt piece in the making. The ground cloth is weft rep.

Classic monksbelt in modern colors.
Multi-color ground weave and vibrant Fårö pattern colors make this monksbelt fabric a standout. Glimåkra Standard in the background holds a new version of this favorite piece.

This is snail’s-pace weaving, with 2 picks of 16/2 cotton for the ground weave between every 6/1 Fårö wool pattern pick.

“To weave [weft rep]…the weft must be longer than the width of the warp and so the weft has to arc across the shed. There are two ways to do this: with many small waves across the width or with a large and high arc…The tiniest bit of unevenness can quickly build into hills and valleys across the weft line…”

The Big Book of Weaving, p. 236

Weft Rep in Three Steps

1. Make a Mountain.

After throwing the shuttle, increase the length of the weft by making it into a large arc in the open shed. Put one finger through the warp to form the peak while keeping enough tension on the thread with your other hand to maintain a good selvedge.

Weft rep tutorial
Weaving monksbelt with weft rep. How to.

2. Make Hills and Valleys.

Keeping the shed open, push the mountain down into hills and valleys to evenly distribute the extra weft.

  • Turn the mountain into hills and valleys with your finger.
Monksbelt with weft rep. Tutorial.

OR,

  • Simply drag your spread-out fingers lightly through the weft.
Weft rep how to.
Monksbelt with weft rep. Tutorial.

OR,

  • TIMESAVER – Slowly pull the beater toward you (shed open), smooshing the weft into a wavy line. Stop two or three inches away from the fell line.
Weft rep using the beater to make wavy line.
Simplified weft rep.

3. Flatten the Hills

Treadle for the next shed. On the closed shed beat in the weft. Two short pulses with the beater distribute the weft more effectively than a single squeeze with the beater.

Simplified weft rep.

Watch for little loops that may form in places where there is a bit too much weft. To correct, open the shed, pull that portion of the weft back into a little hill and redo.

OR,

  • TIMESAVER – Draw the back of your fingernail across the warp where you see excess weft. This is often enough to even out little bumps.
Weft Rep - How to, and simplified.

Slower weaving develops into a rhythmic pace that is comfortable. And the cloth grows, line by line.

Monksbelt on the Glimakra Standard.
Rows of monksbelt flowers.

May your slow pace yield thoughtful progress.

Slowly and Surely,
Karen

Tried and True: Shuttle Shuffle

Some of the monksbelt flowers have a different color for the three center picks. The new color is only temporary, so I simply carry the first weft color up the side for that short distance.

How to shuffle shuttles.
Monksbelt with six colors of 6/1 Fårö pattern weft and three colors of 16/2 cotton ground weft.

More than one shuttle doesn’t necessarily mean more difficult. Everything runs a little smoother when there is an efficient exchange of shuttles between your hands.

Monksbelt flower garden.

How to Handle the Exchange of Shuttles

  1. For this example, the temporary weft starts from the left and goes to the right. Weave the first pick of the temporary weft, catching the shuttle with your right hand. (If the first pick of the temporary weft goes from right to left, reverse the right hand/left hand instructions, here and following.)
  2. Transfer the shuttle with the temporary weft (active weft) to your left hand.
  3. With your right hand pick up the shuttle that has the weft that will be carried up the side (inactive weft). Bring the shuttle all the way around the active weft and then lay the shuttle down again.
  4. Transfer the shuttle with active weft back to your right hand and continue weaving.
  5. Follow steps 2 – 4 until the section with temporary weft is finished.
  6. Tuck in the tail of the temporary weft and continue weaving with the weft that has been carried up the side.

Here’s a short demo:

May your shuttle exchanges go smoothly.

Happy Weaving,
Karen