Tools Day: Tapestry Weaving in Flight

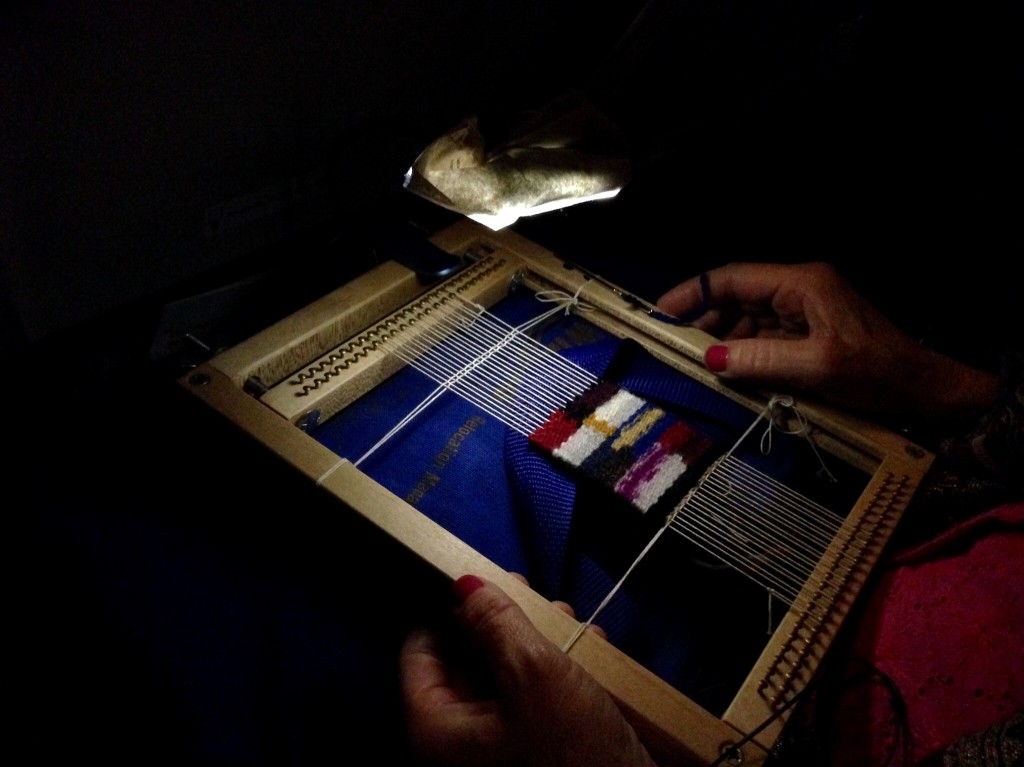
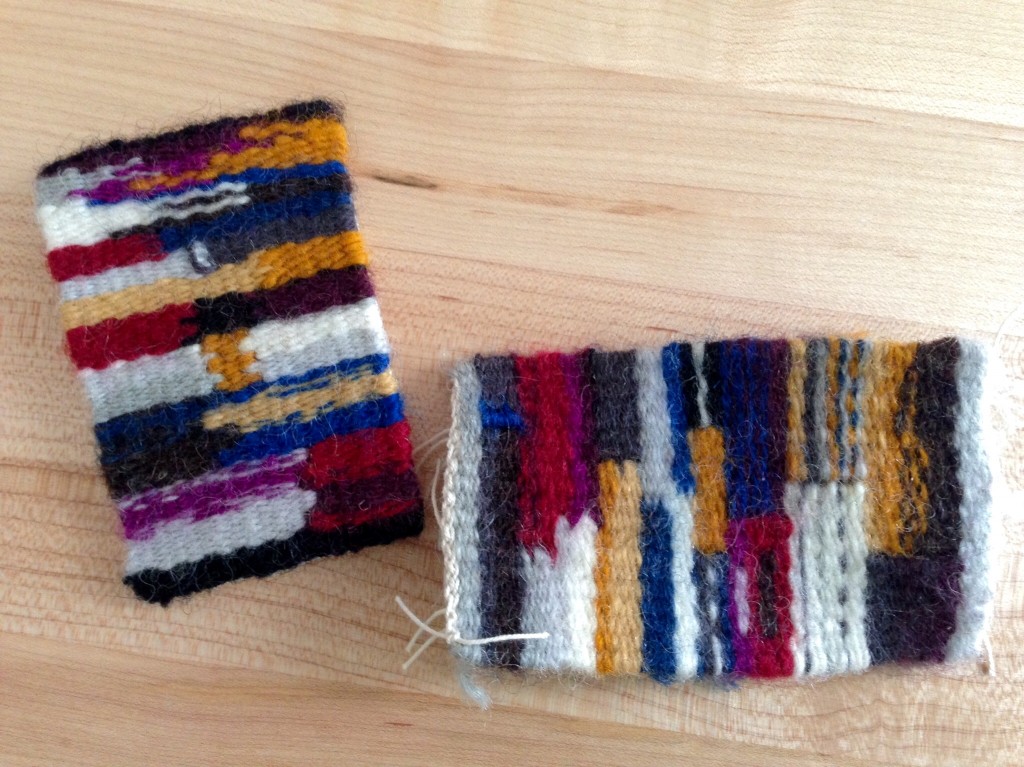
This is how a weaver enjoys a long haul flight. I keep my hands busy. A direct flight from Houston to Tokyo takes about fourteen hours. And then five more hours to Manila. Add layover time, and you have almost a full day of travel. I have been wanting to try the exercises in Kathe Todd-Hooker‘s Tapestry 101. So that is how I spent my travel time to and from The Philippines on our recent visit there. I followed advice I received from Teresa Loveless when I was at Weaving Southwest in New Mexico, to warp my little tapestry loom at a sett of 8 epi, using rug wool for weft. The coarse sett made the weaving easy to see and work with, even in the dim lighting of the airplane. (This is in contrast to last year’s travel tapestry using embroidery floss.) I kept the samplers small, so I could finish by the end of the trip. I ended up with two mini samplers.
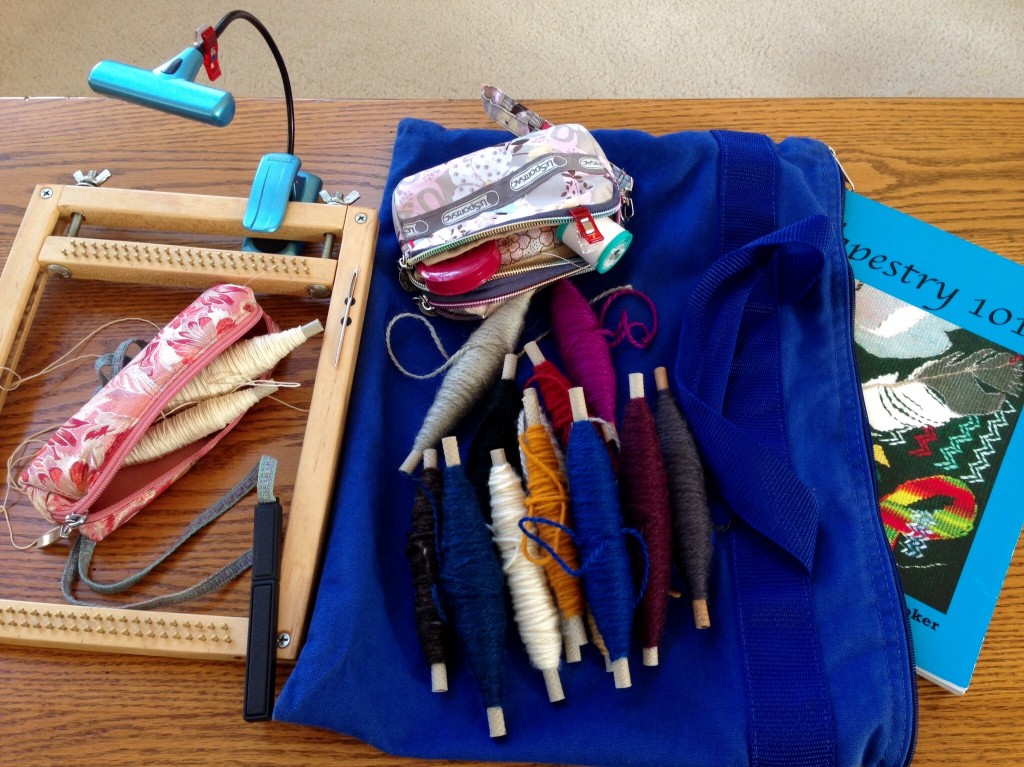
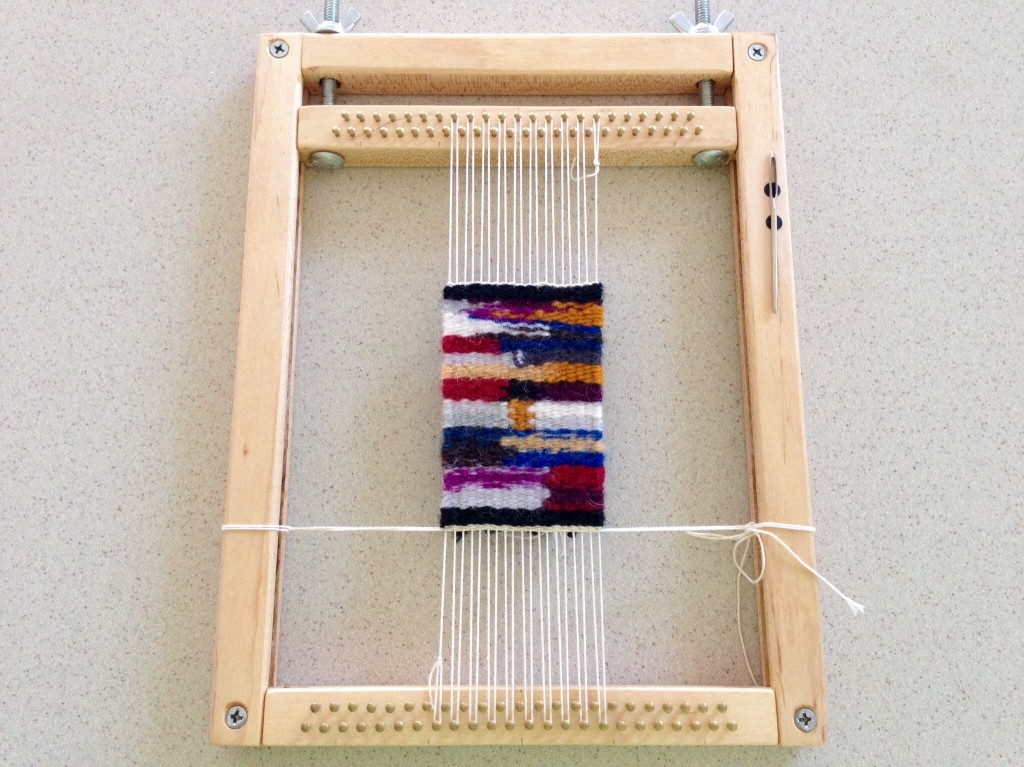
Traveling with portable tapestry loom.
Ready to travel with all tapestry weaving supplies in a soft bag that is easy to slip into my flight carry on bag.

Tools:
– Travel-size tapestry loom (with tensioning device, and counter sunk rare earth magnets for holding tapestry needle)
– Warp thread (12/6 cotton seine twine), wound on a couple five-inch quills
– Wool rug yarn assortment (Jason Collingwood Rug Wool, and Borgs 25/1 Mattgarn), wound on five-inch quills
– Blunt tapestry needles (have extras in case you drop one in the dark)
– Travel snips (make sure they meet TSA regulations) on a neck strap (hand woven, of course)
– Clip-on book light (with paper napkin or thin cloth to diffuse the light, and extra batteries)
– Tape measure
– Small clips (you never know when you might need one, like to clip a napkin over the book light)
– Sewing thread and sewing needle (for stitching slits, which I did not do)
– Tapestry resource book (like Tapestry 101, by Kathe Todd-Hooker)
– Bag to hold everything (and a couple small pouches within to keep things organized)
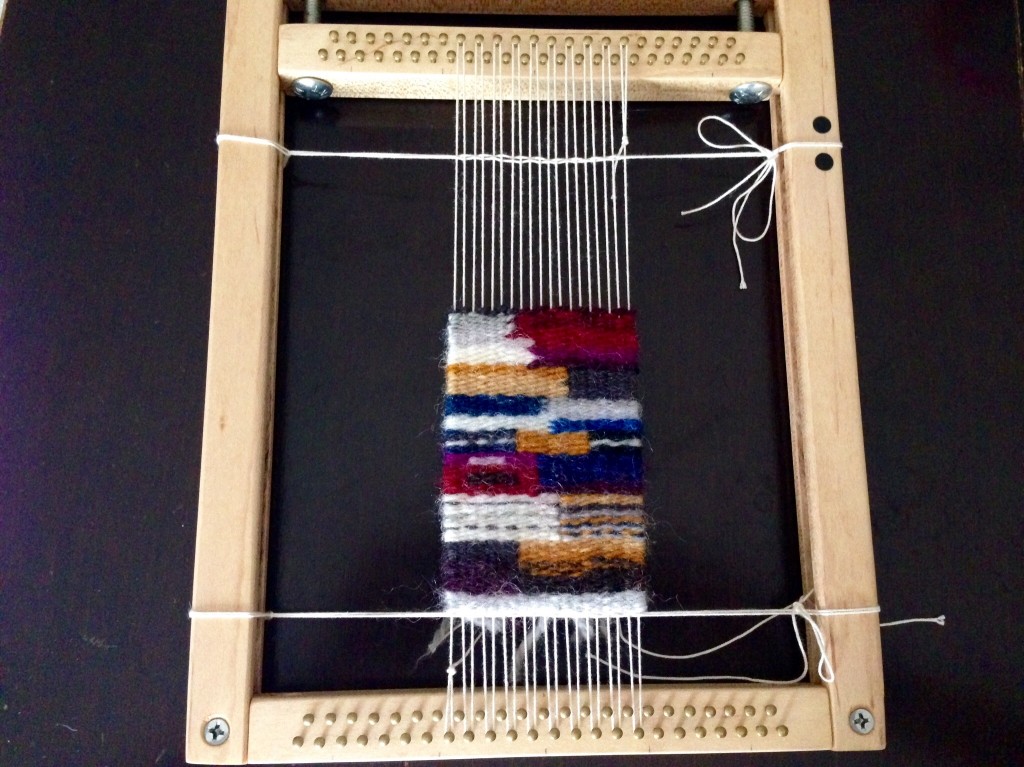
Mini tapestry sampler.
First mini sampler was almost finished by the time we arrived in Manila.
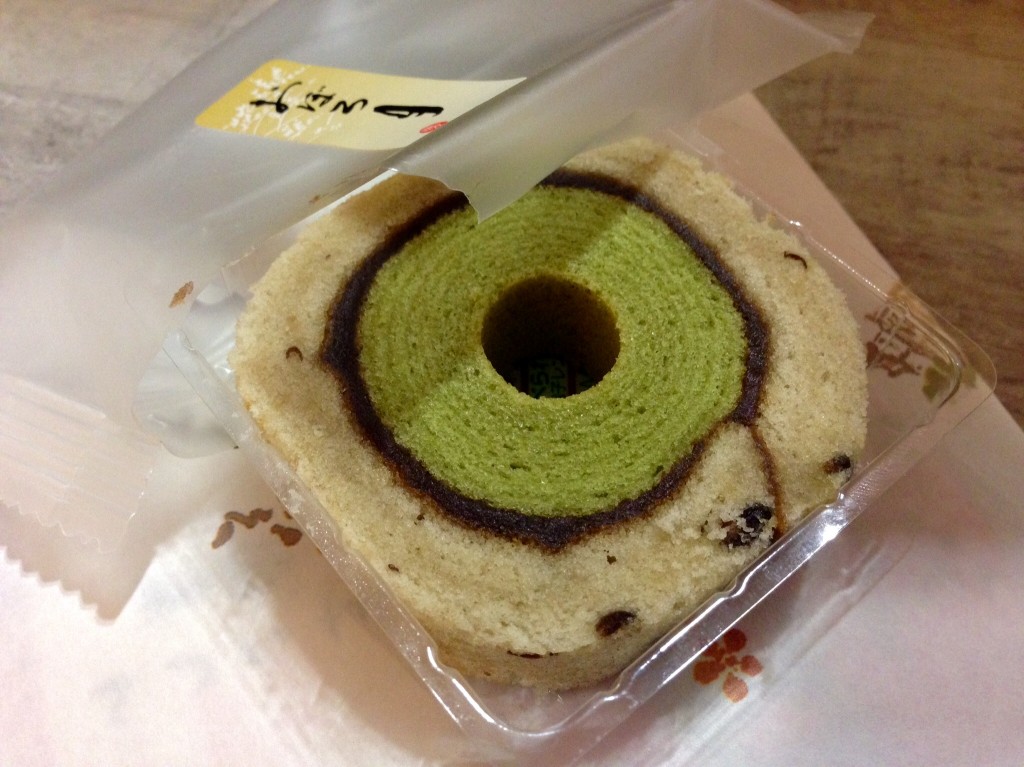
Green tea cake roll in Tokyo.
Green tea cake roll was a yummy snack at Narita International Airport in Tokyo on the trip home. Maybe this should be a future color scheme for a weaving project?
Weaving on the airplane.
Weaving in the dark. The Starbucks napkin that I saved from Houston came in handy as a light diffuser around the too-bright reading light when other passengers were sleeping.
Mini tapestry sampler.
Second mini sampler was almost finished by the time we arrived back home in Houston.
Mini tapestry samplers.
Mini tapestry samplers show a compact view of the passage of time.

May you find something for your hands to do.

Merry Weaving,
Karen

Tools Day: Handwoven Photography Simplified

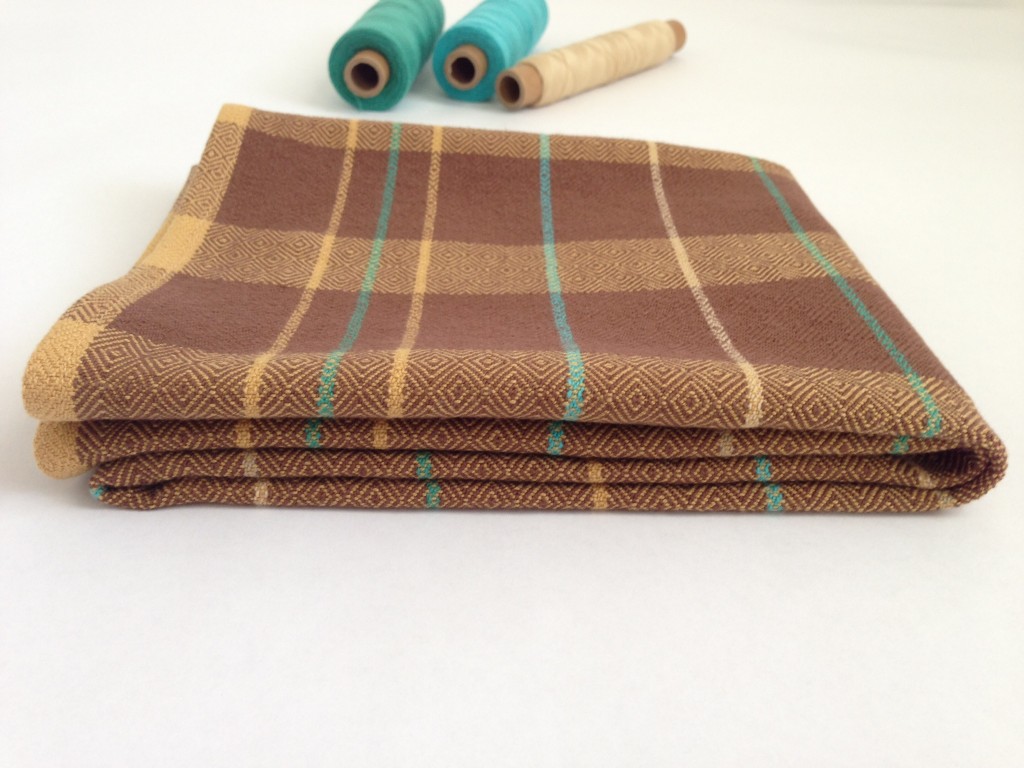
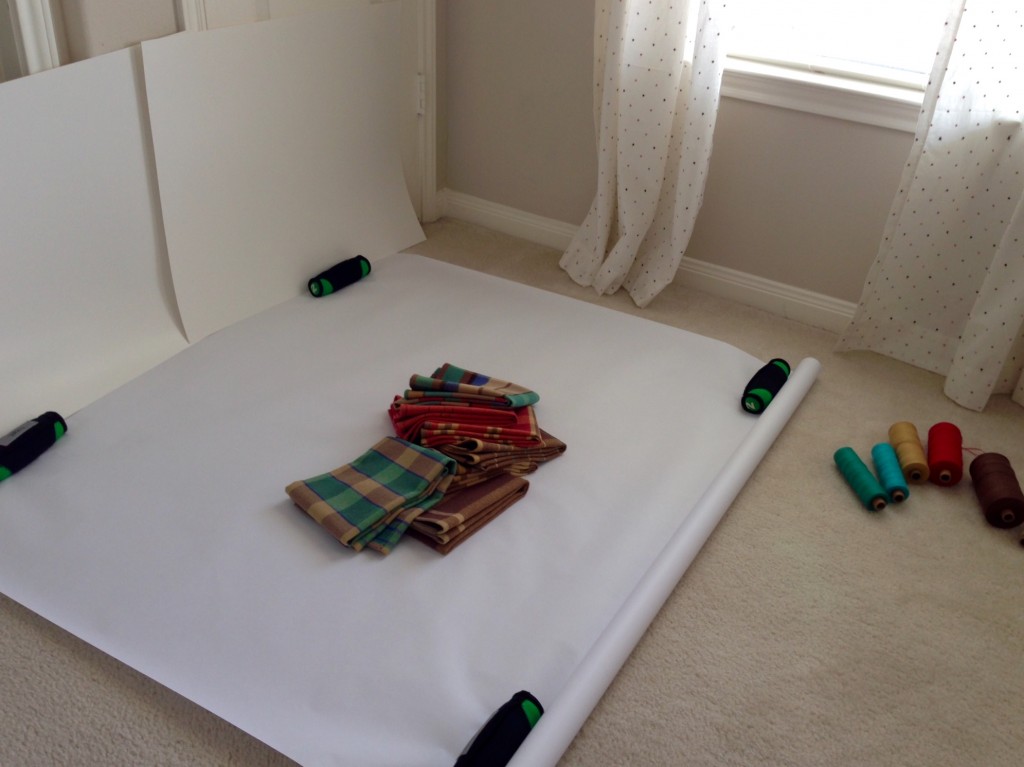
If you take pictures, does that make you a photographer? I enjoy taking pictures at the loom. Besides the creative challenge of finding a good shot, I like the aspect of letting a picture tell a story. The Warped for Good Etsy shop is another avenue to expand my photo skills. My goal is to take photos that showcase finished handwoven articles, while keeping the process as simple as possible. Typically, I take fifteen to twenty pictures of an item, and then choose the best five shots to upload on Etsy. When I have new items to add to Etsy, I do a photo marathon on a good sunshiny day.

Tips for taking photos of handwovens.
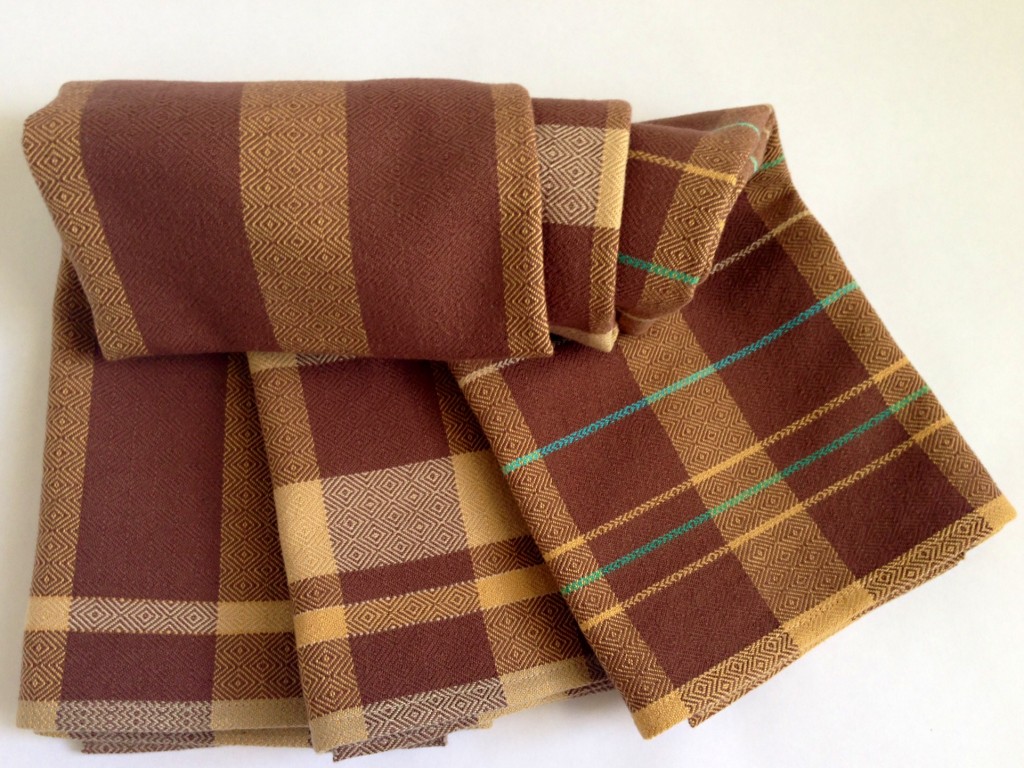
Single towel photo from photo marathon.

TOOLS:

iPhone 5
– I take all my photos with my phone. I know that is crazy! I never use my husband’s fancy digital SLR camera. My phone is always in my pocket, and there is nothing for me to figure out.

Tripod
– I do not actually attach the camera (iPhone) to the tripod. By leaning my hand on the tripod, I can get a steady shot; and I change the angle or height simply by moving my hand.

Natural light
– Colors are not true if I use any artificial lighting. Colors will vary on computer monitors and mobile screens, but natural light gives the best chance of capturing the colors as I see them.

Sunshine, not cloudy
– With the iPhone camera, I find it impossible to get true colors if the sky is overcast. Sometimes an overcast sky in the afternoon still seems bright, not dark. Even so, I find the colors are distorted. If the conditions are not favorable, it is worth waiting.

Long roll of white paper
– A white background appeals to me. I think it conveys simplicity and elegance.

Four walking weights
– There is no end to the usefulness of two-pound walking weights. These soft weights are perfect for holding the roll of paper out to size, without creasing. (You’ll find me using walking weights for just about everything …except walking.)

White poster board
– Sometimes a white poster board or two is needed to provide background for a shot from a lower angle.

Tips for simplified photo shoot for handwovens.
Simple set up for photo shoot. Testing lighting with first shot.
Tips for setting up simple textile photo shoot.
First few practice shots show me what adjustments to make with lighting, focus, and white paper and poster board background arrangement.
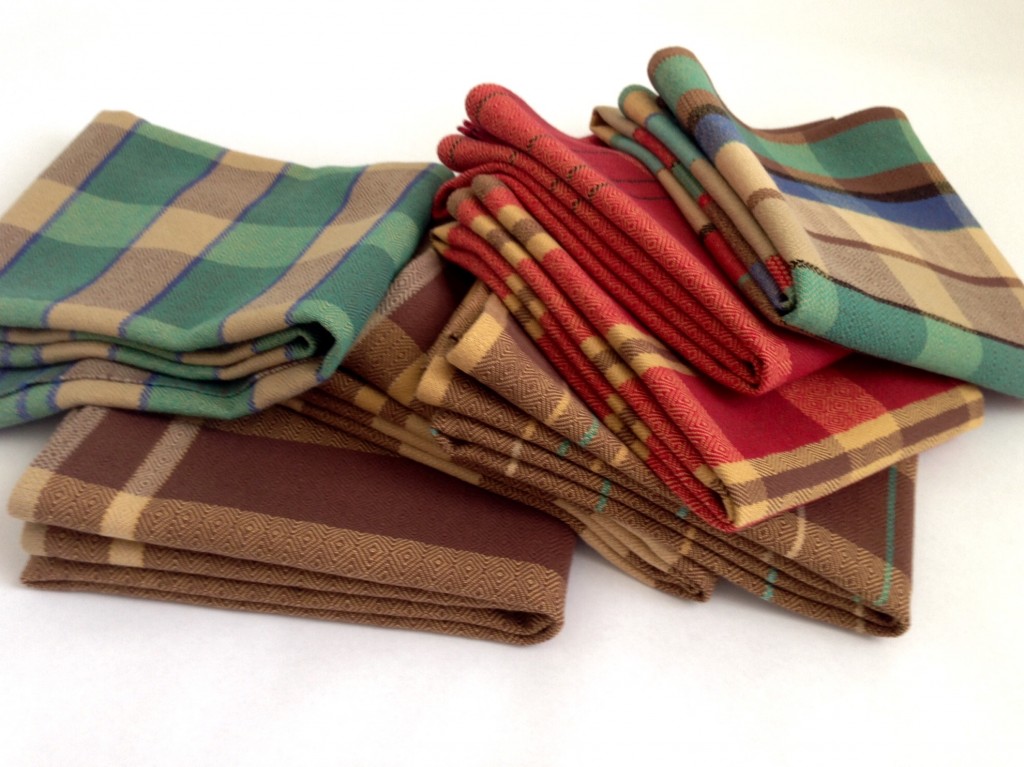
Three of a kind. Simple photo tips.
Three of a kind. I like to photograph complimentary pieces together.

May your photos show your best moments.

Say cheese,
Karen

Tools Day: Colored Pencils

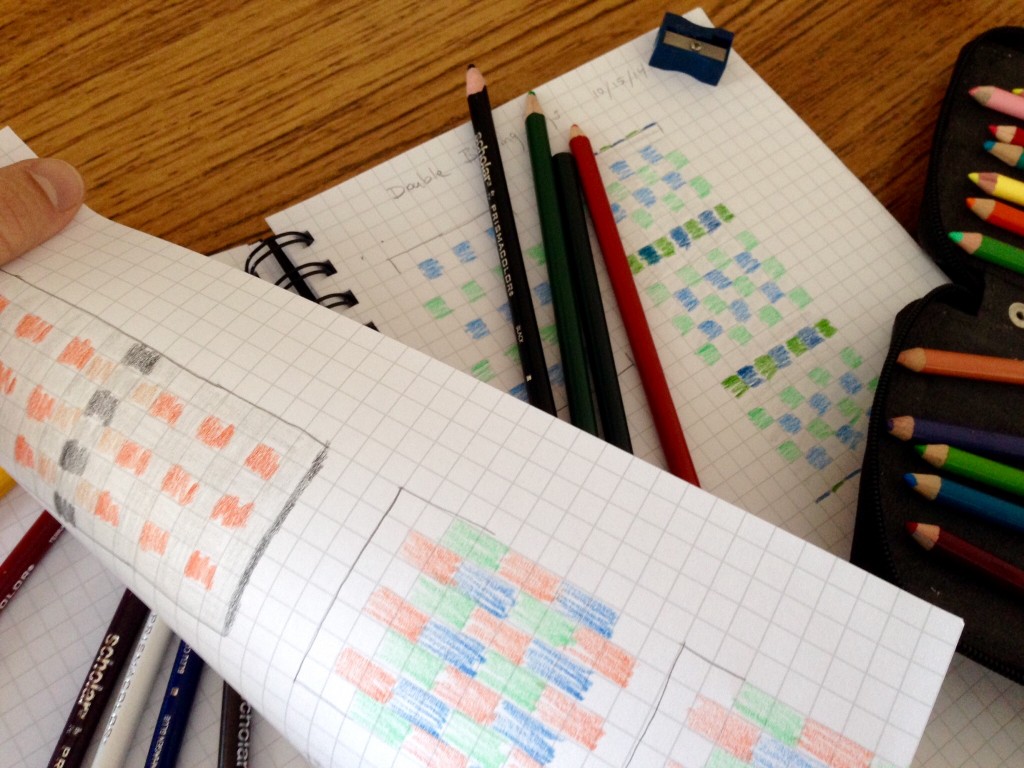
Graph paper and 24 Prismacolor colored pencils. The first scribbles look silly to me, but if I keep going, design ideas keep coming and it turns into play. One idea morphs into another, and I soon have too many designs to use on this rug warp. I am weaving double-binding rag rugs right now. My favorite one is always the one I am working on. And then I start a new design… and that one becomes my favorite. Rag rugs are especially rewarding to weave because of the abundant design options. The saddest part for me is coming to the end of the warp. Maybe I need to put on longer warps…

Designing double-binding rag rug patterns.
Colored pencils and graph paper help get ideas flowing for double-binding rag rug designs.

May you come up with fascinating designs.

Happy Designing,
Karen

Tools Day: Enough Shuttles for Now

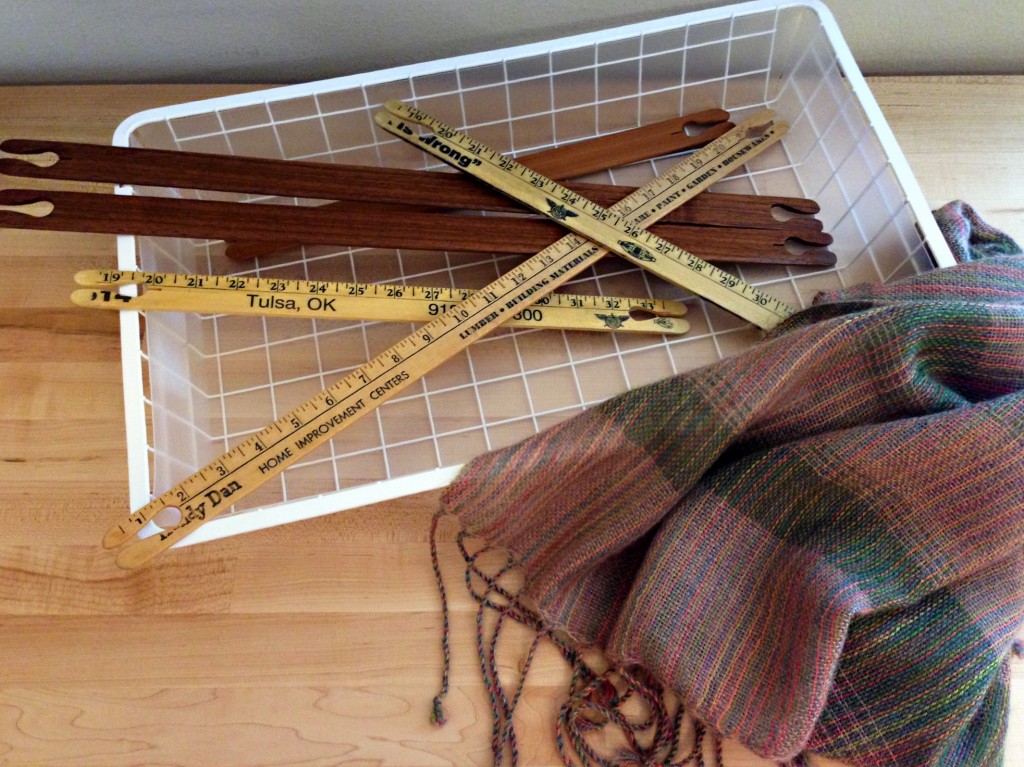
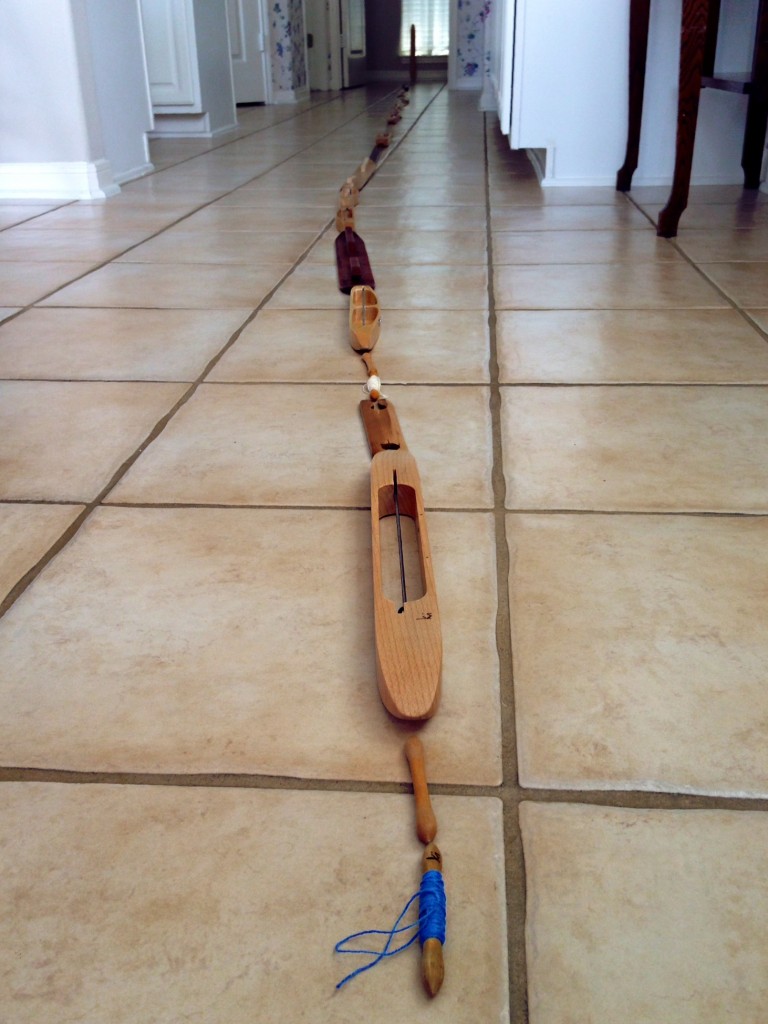
If I line up all my weaving shuttles, end to end, how far do you think they will reach? The accumulation started slowly, adding a shuttle here and there, as needed. My husband contributed to my collection by handcrafting some of the shuttles for me. “I could use a stick shuttle in such-and-such a size.” “Okay, dear,” he would say, before going out to the garage to whip up yet another yardstick shuttle for my rigid heddle loom.

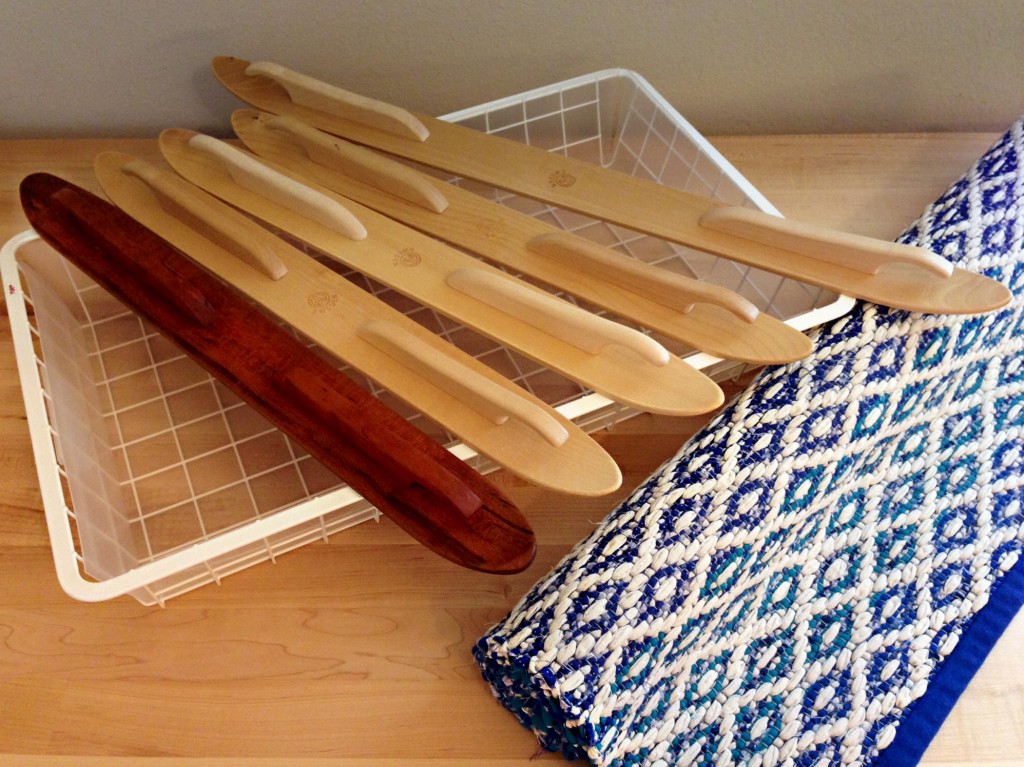
Ski shuttles are for rag weaving. Boat shuttles are for almost everything else. Most of my boat shuttles are traditional Swedish shuttles. All these fascinating shuttles, such simple tools, work the wonder of weaving.

Hand-crafted walnut stick shuttles for rigid heddle loom. Mohair/silk/alpaca shawl.
Shawl woven on 32-inch rigid heddle loom, with super kid mohair/silk and baby alpaca. Smooth, handcrafted walnut stick shuttles were used for this project.
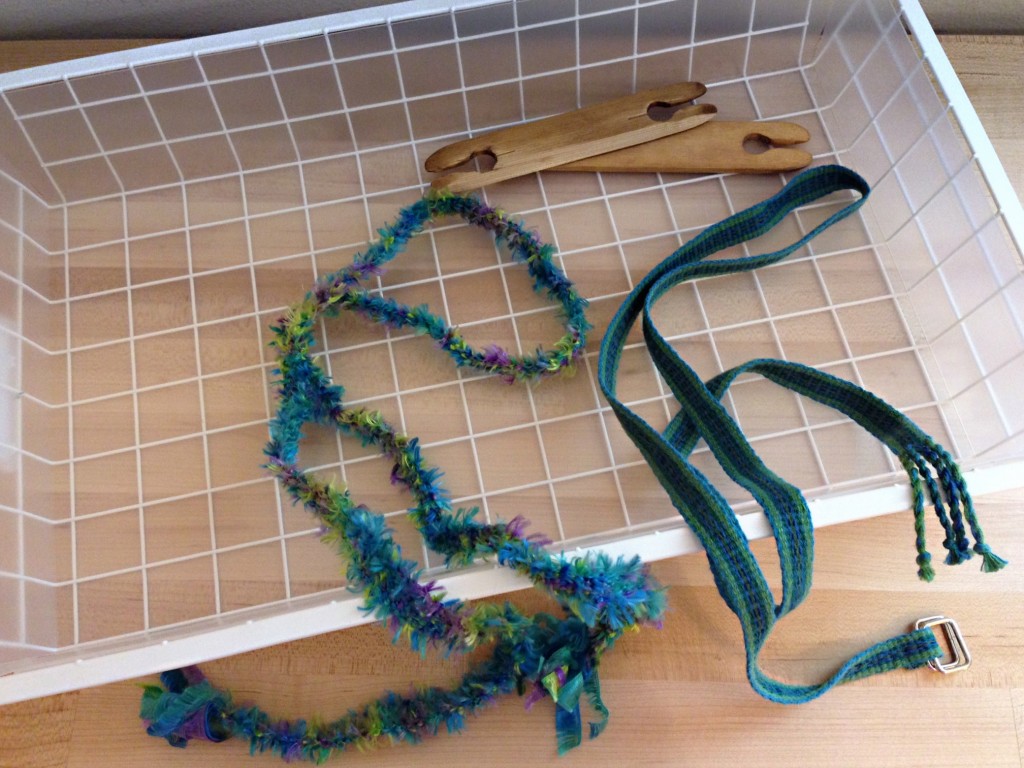
Novelty yarn woven on inkle loom.
Tapered edge on pine inkle loom shuttle helps for beating in the weft. I have been known to weave with crazy novelty yarns on my inkle loom.
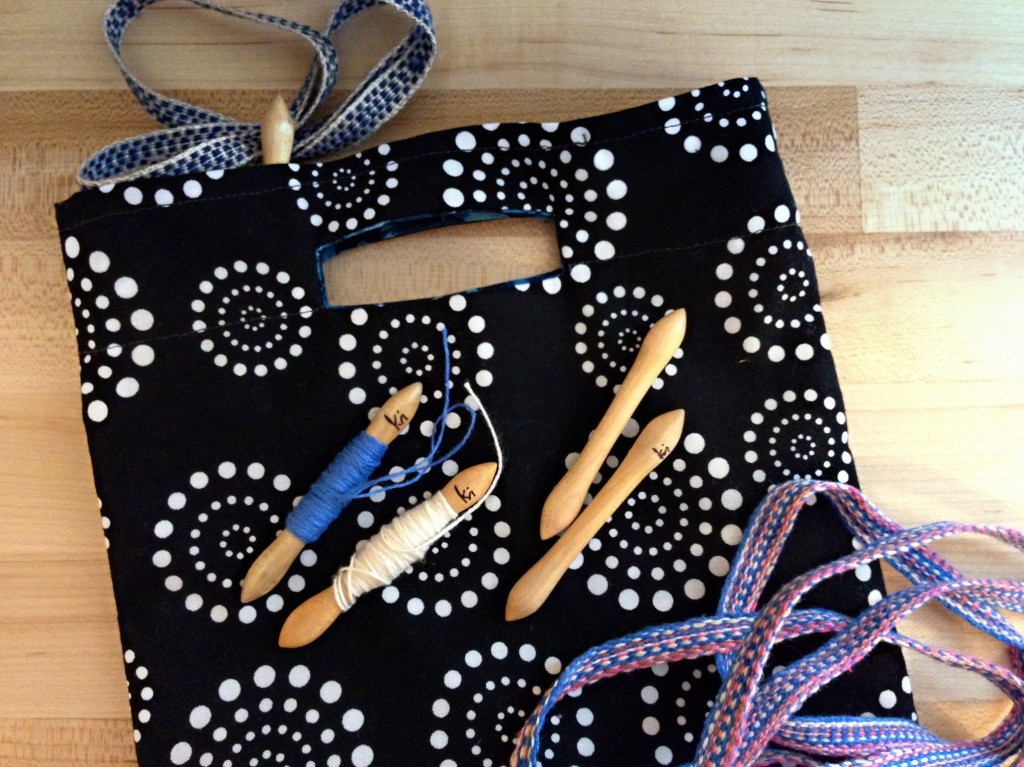
Hand-carved maple band loom shuttles, and woven bands.
Maple band loom shuttles, hand-carved by my husband, *live* in a small handmade bag that hangs on the back corner of the band loom. This shaped shuttle is perfect for the tricky one-handed manipulation that is needed. If they are too smooth and polished, however, they slip right out of my hand.
Ski shuttles for rag rug weaving. This rug used 3 shuttles at a time.
My favorite ski shuttle is the beautiful cherry wood shuttle made by my husband, Steve. It helps to have several ski shuttles. The “Creative Expression” Rosepath Rag Rug used three shuttles at a time to get the gradient color effect.
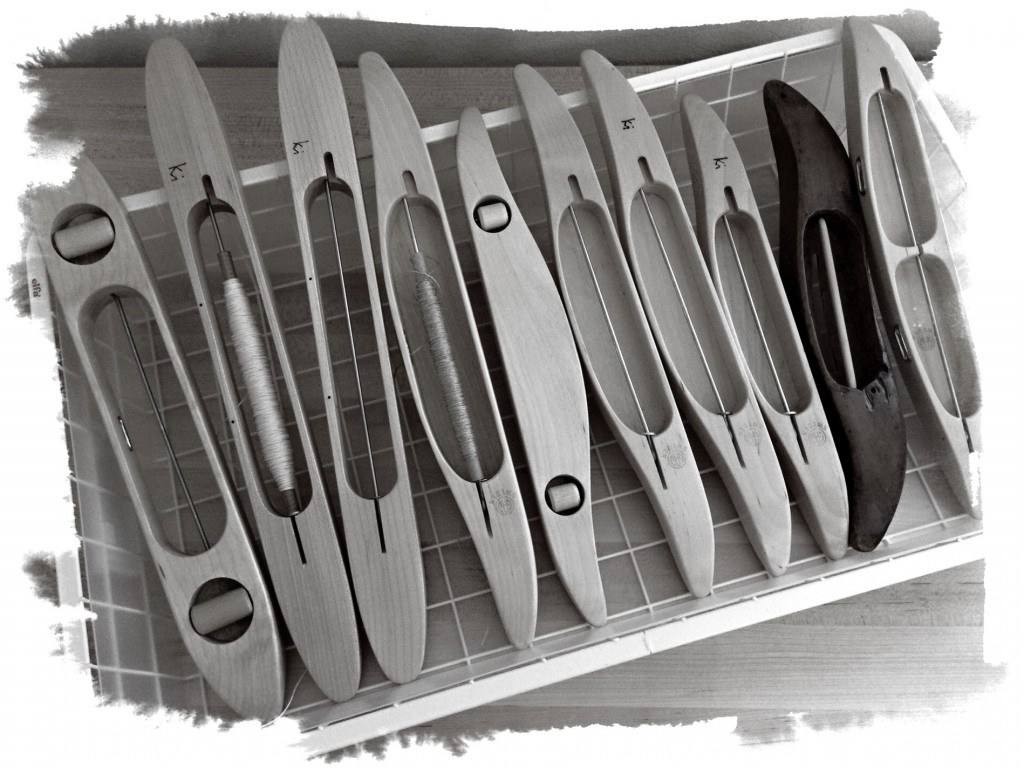
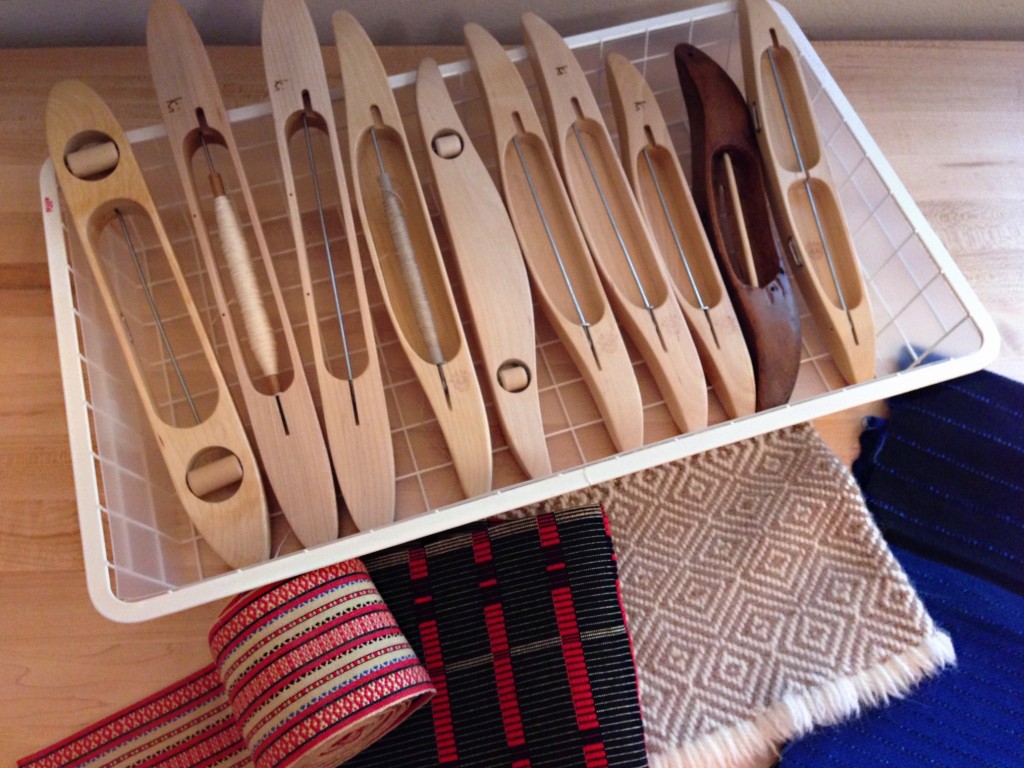
Boat shuttles ready to weave.
Boat shuttles eager to weave. Do you hear them? … “Pick me”…”No, pick ME!”
A few of my favorite things. Karen Isenhower
These are a few of my favorite things. Swedish woven goods made on a Swedish loom with Swedish boat shuttles. (I’m the only thing not Swedish here.)
34 1/2 feet of weaving shuttles.
How far will my shuttles reach? 34 1/2 feet (that’s 11 1/2 yards, or 10 1/2 meters long). I ran out of room, so the last one is standing on end.

May you fascinated with things that work.

Happy Weaving,
Karen

Tools Day: Jury Rigging

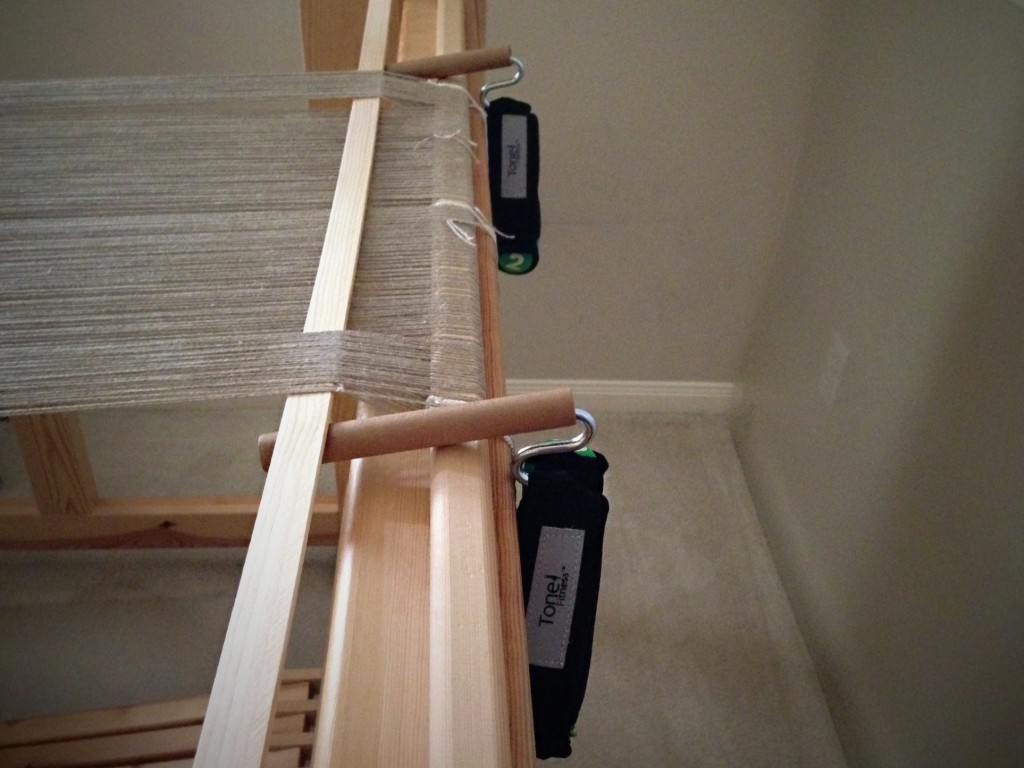
Resourcefulness, make-do ability, outside-the-box thinking, solution-minded questions, and a little stubbornness. These are some of the best things to keep in the weaver’s toolbox. Jury rigging is an old nautical term having to do with sailors improvising the replacement of a damaged mast and sails, using only tools and materials that happen to be on hand. You could call it makeshift repairs or temporary contrivances. That describes what I did this week as I came near the end of the linen warp. And, like a sailor, I was working with wood, strings, and cloth.

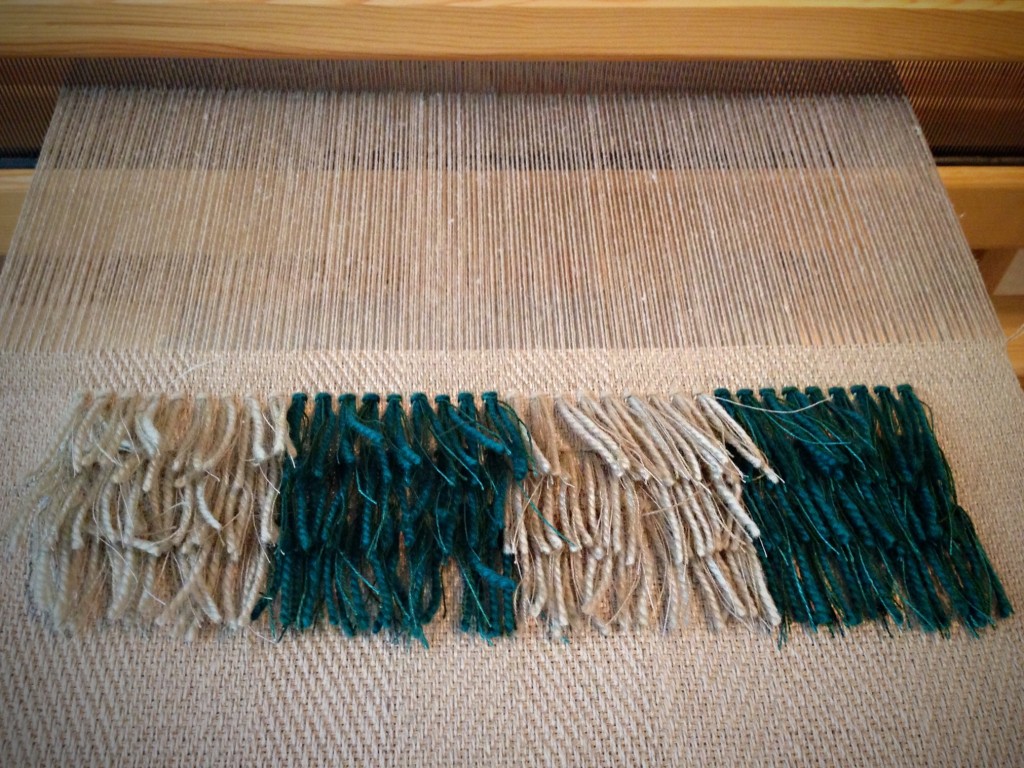
Rya knots in linen cloth.
Warp ends on the sides have become looser than the warp that has the rya knots in it. That’s not good. Tension needs to be even across the warp.

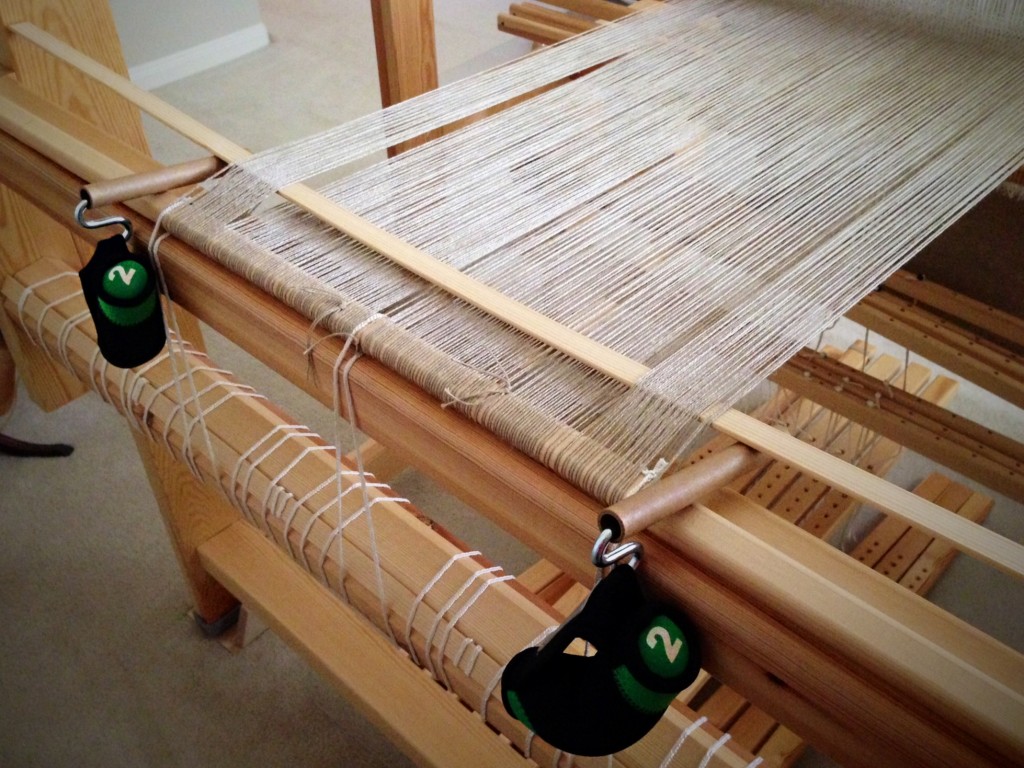
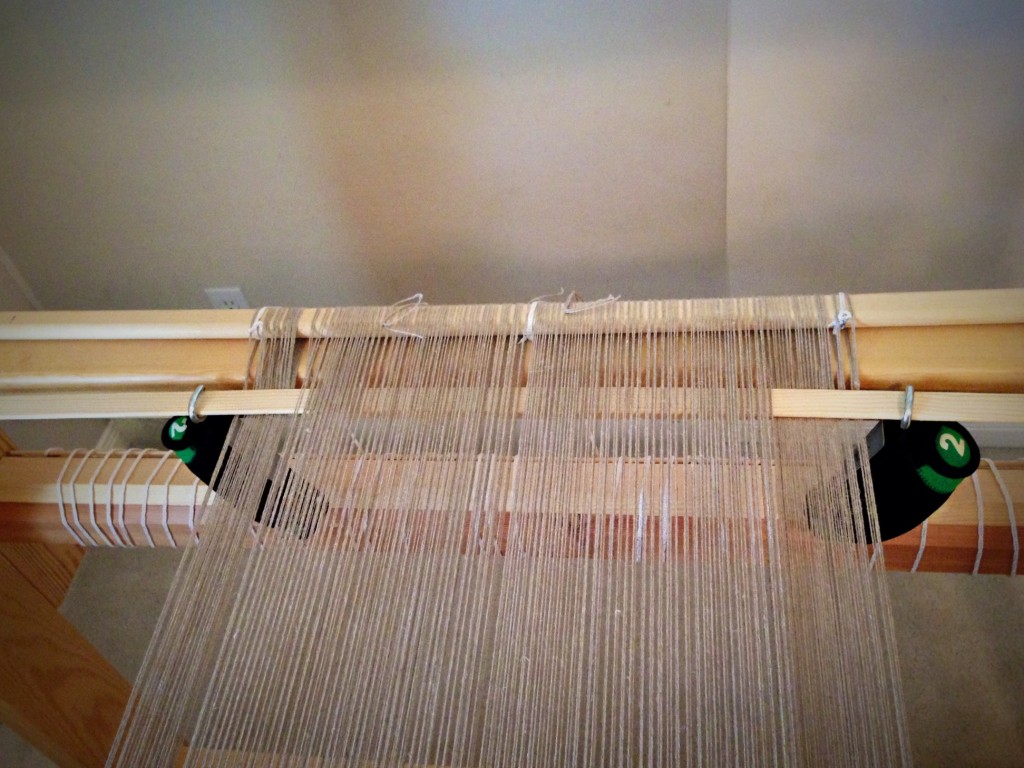
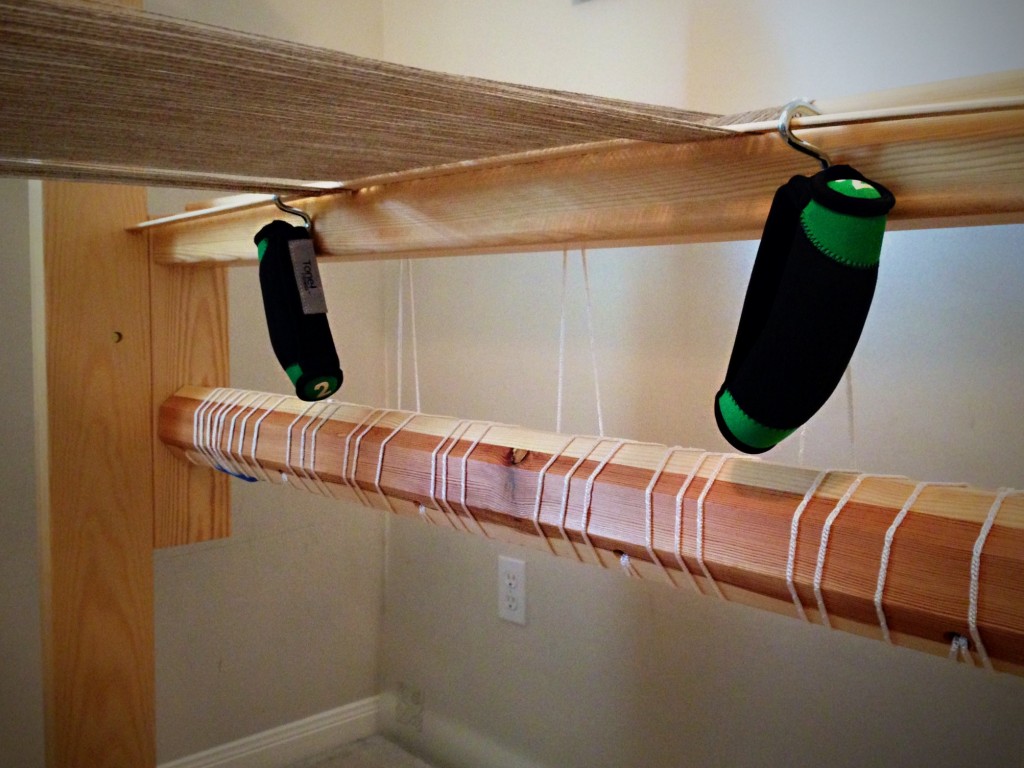
I needed to even out the tension across the warp ends, because the outer edges were not taking up at the same rate as the warp in the center, because of the rya knots. The pictures show how I jury rigged a warping slat, empty thread tubes, S-hooks, and 2-pound walking weights to adjust the tension so I could continue weaving.

Jury rigged warp tensioning.
Adding weight to the loose sections of the warp.
Jury rigged warp tensioning
Two-pound walking weights are easy to hang from S-hooks. Using empty thread spools was a short-lived solution. That had to change when I advanced the warp.
Evening out warp tension with weights
Changing the slat so it is over the loose warp ends enables me to hang the weights directly on the slat with S-hooks.
Walking weights to tighten loose warp ends.
View from underneath, walking weights hang from warping slat to increase tension on the loose warp ends.

May you know when to make a temporary, but useful, contraption.

All the best,
Karen

(~My thank-you to you, my reader friends–a discount coupon good during August 2014 toward anything in my Etsy Shop. Find the coupon code on my About Page.~)