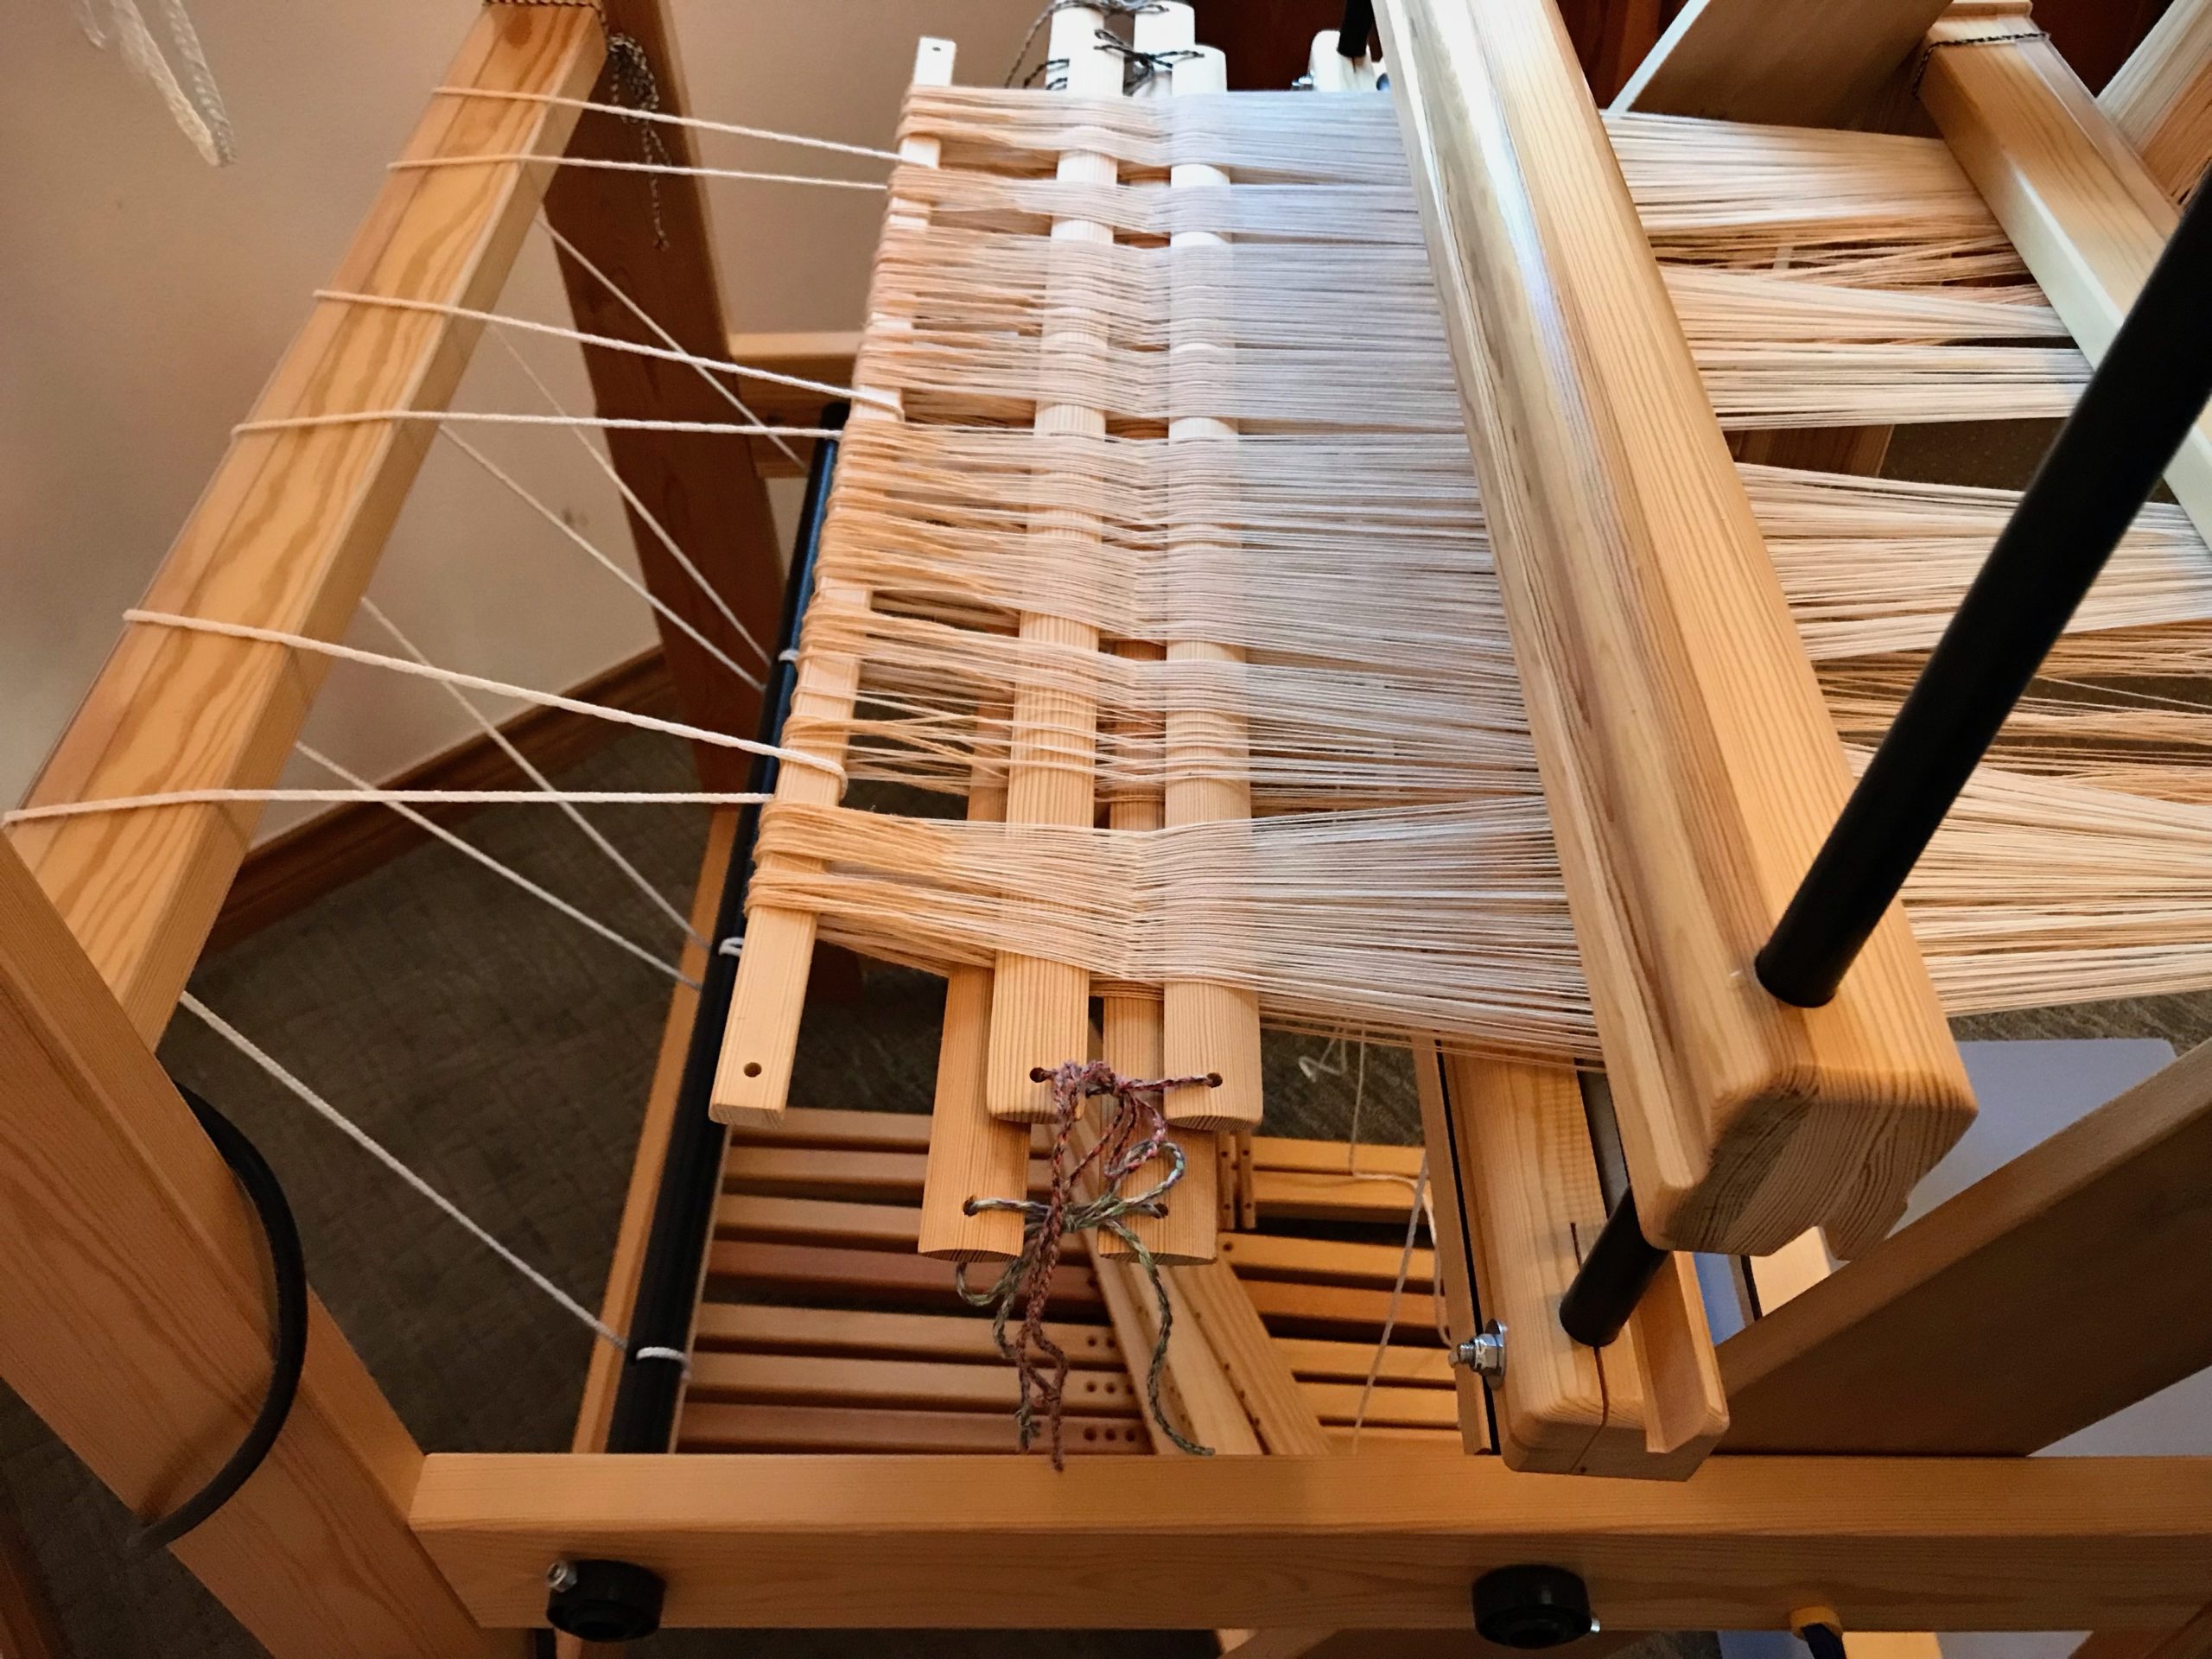
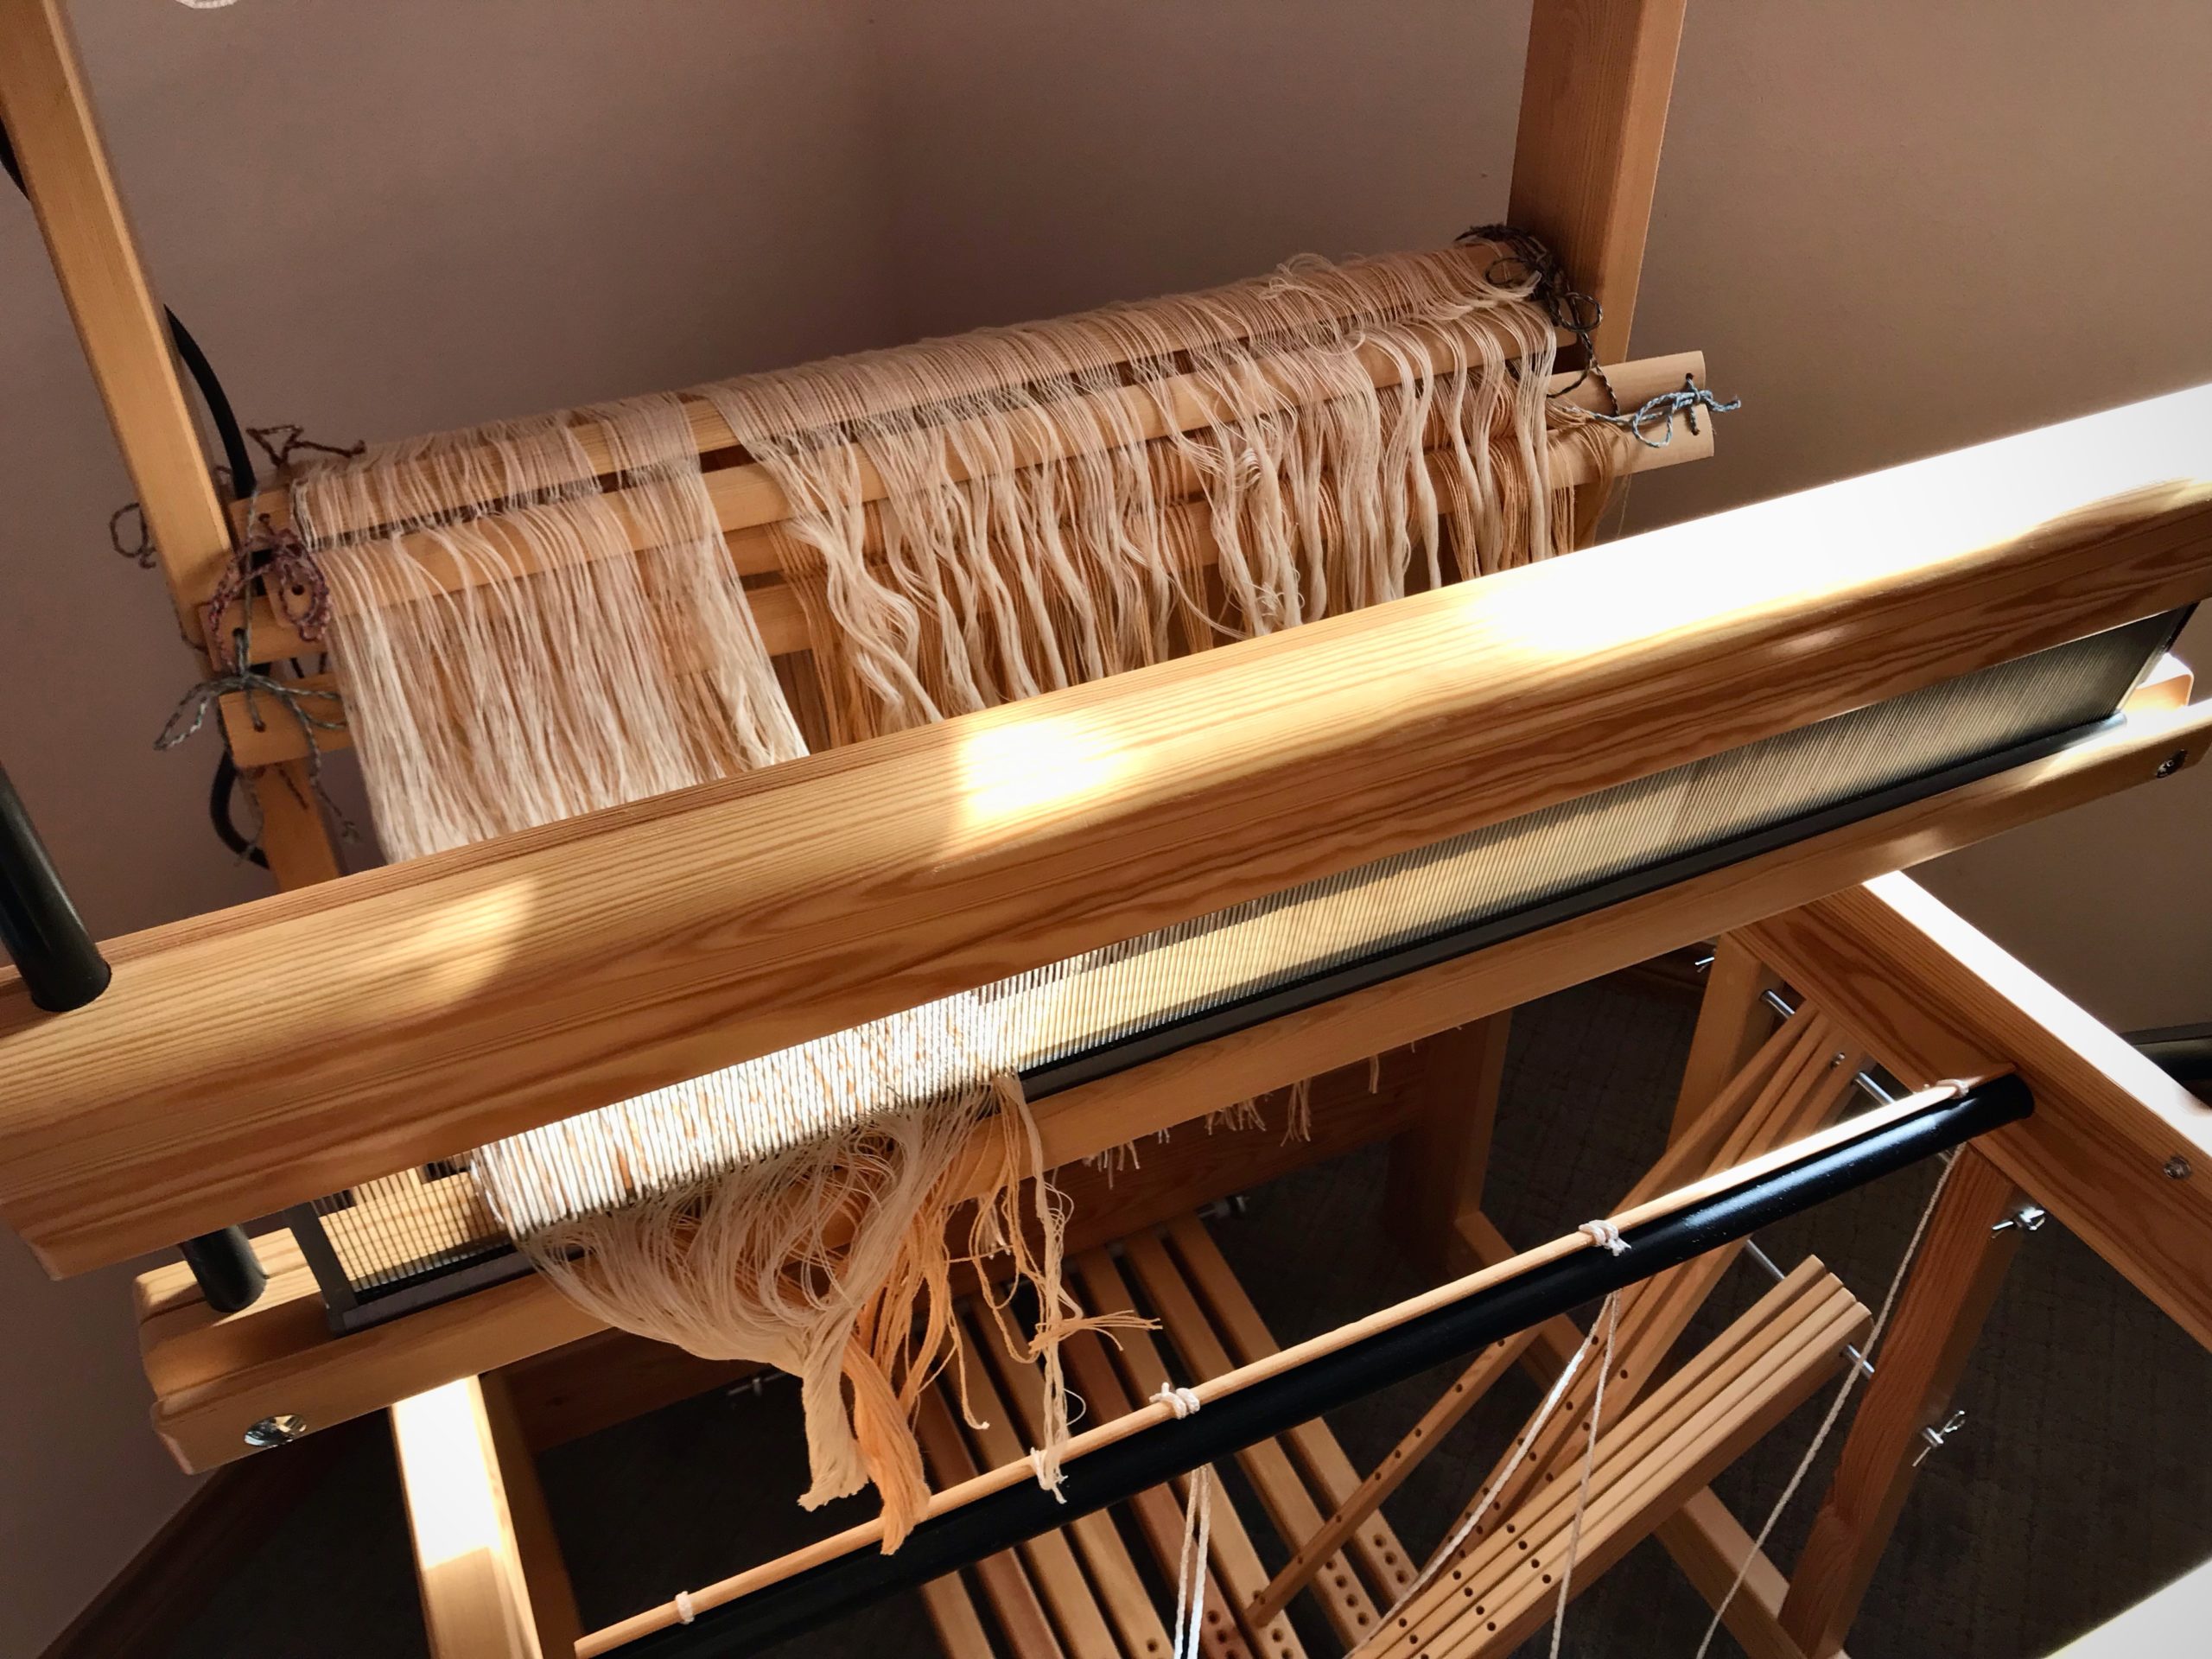
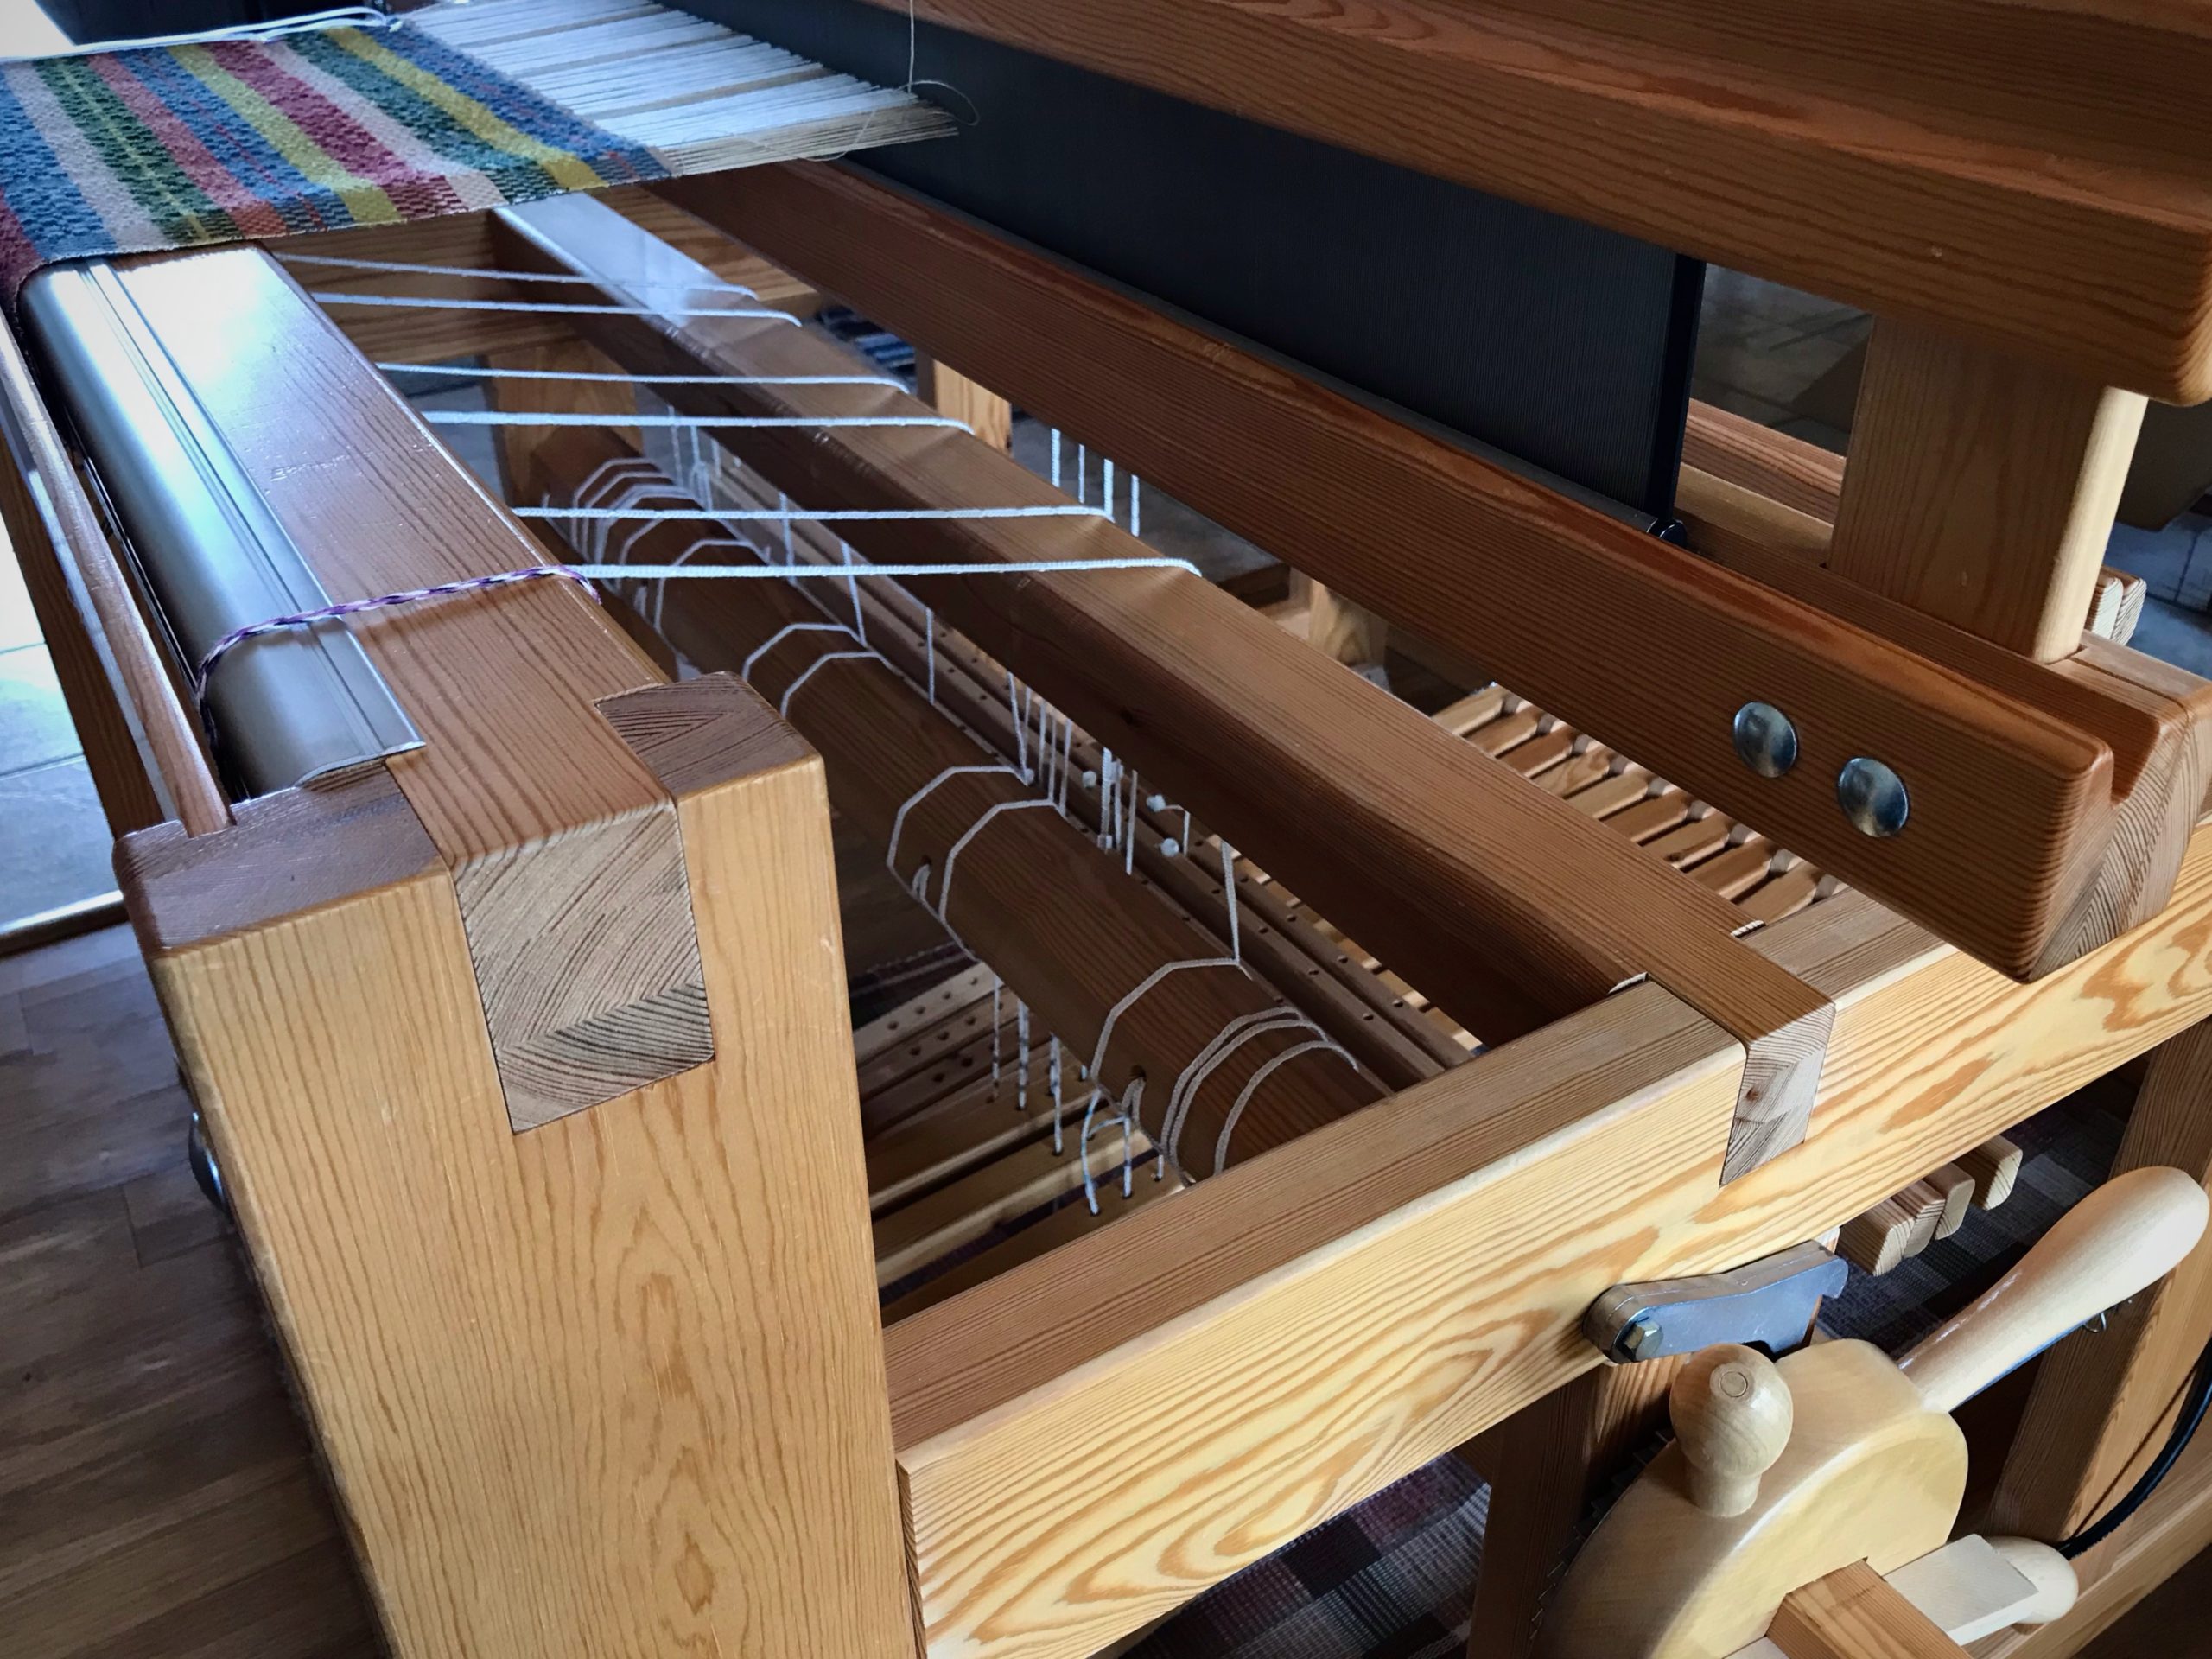
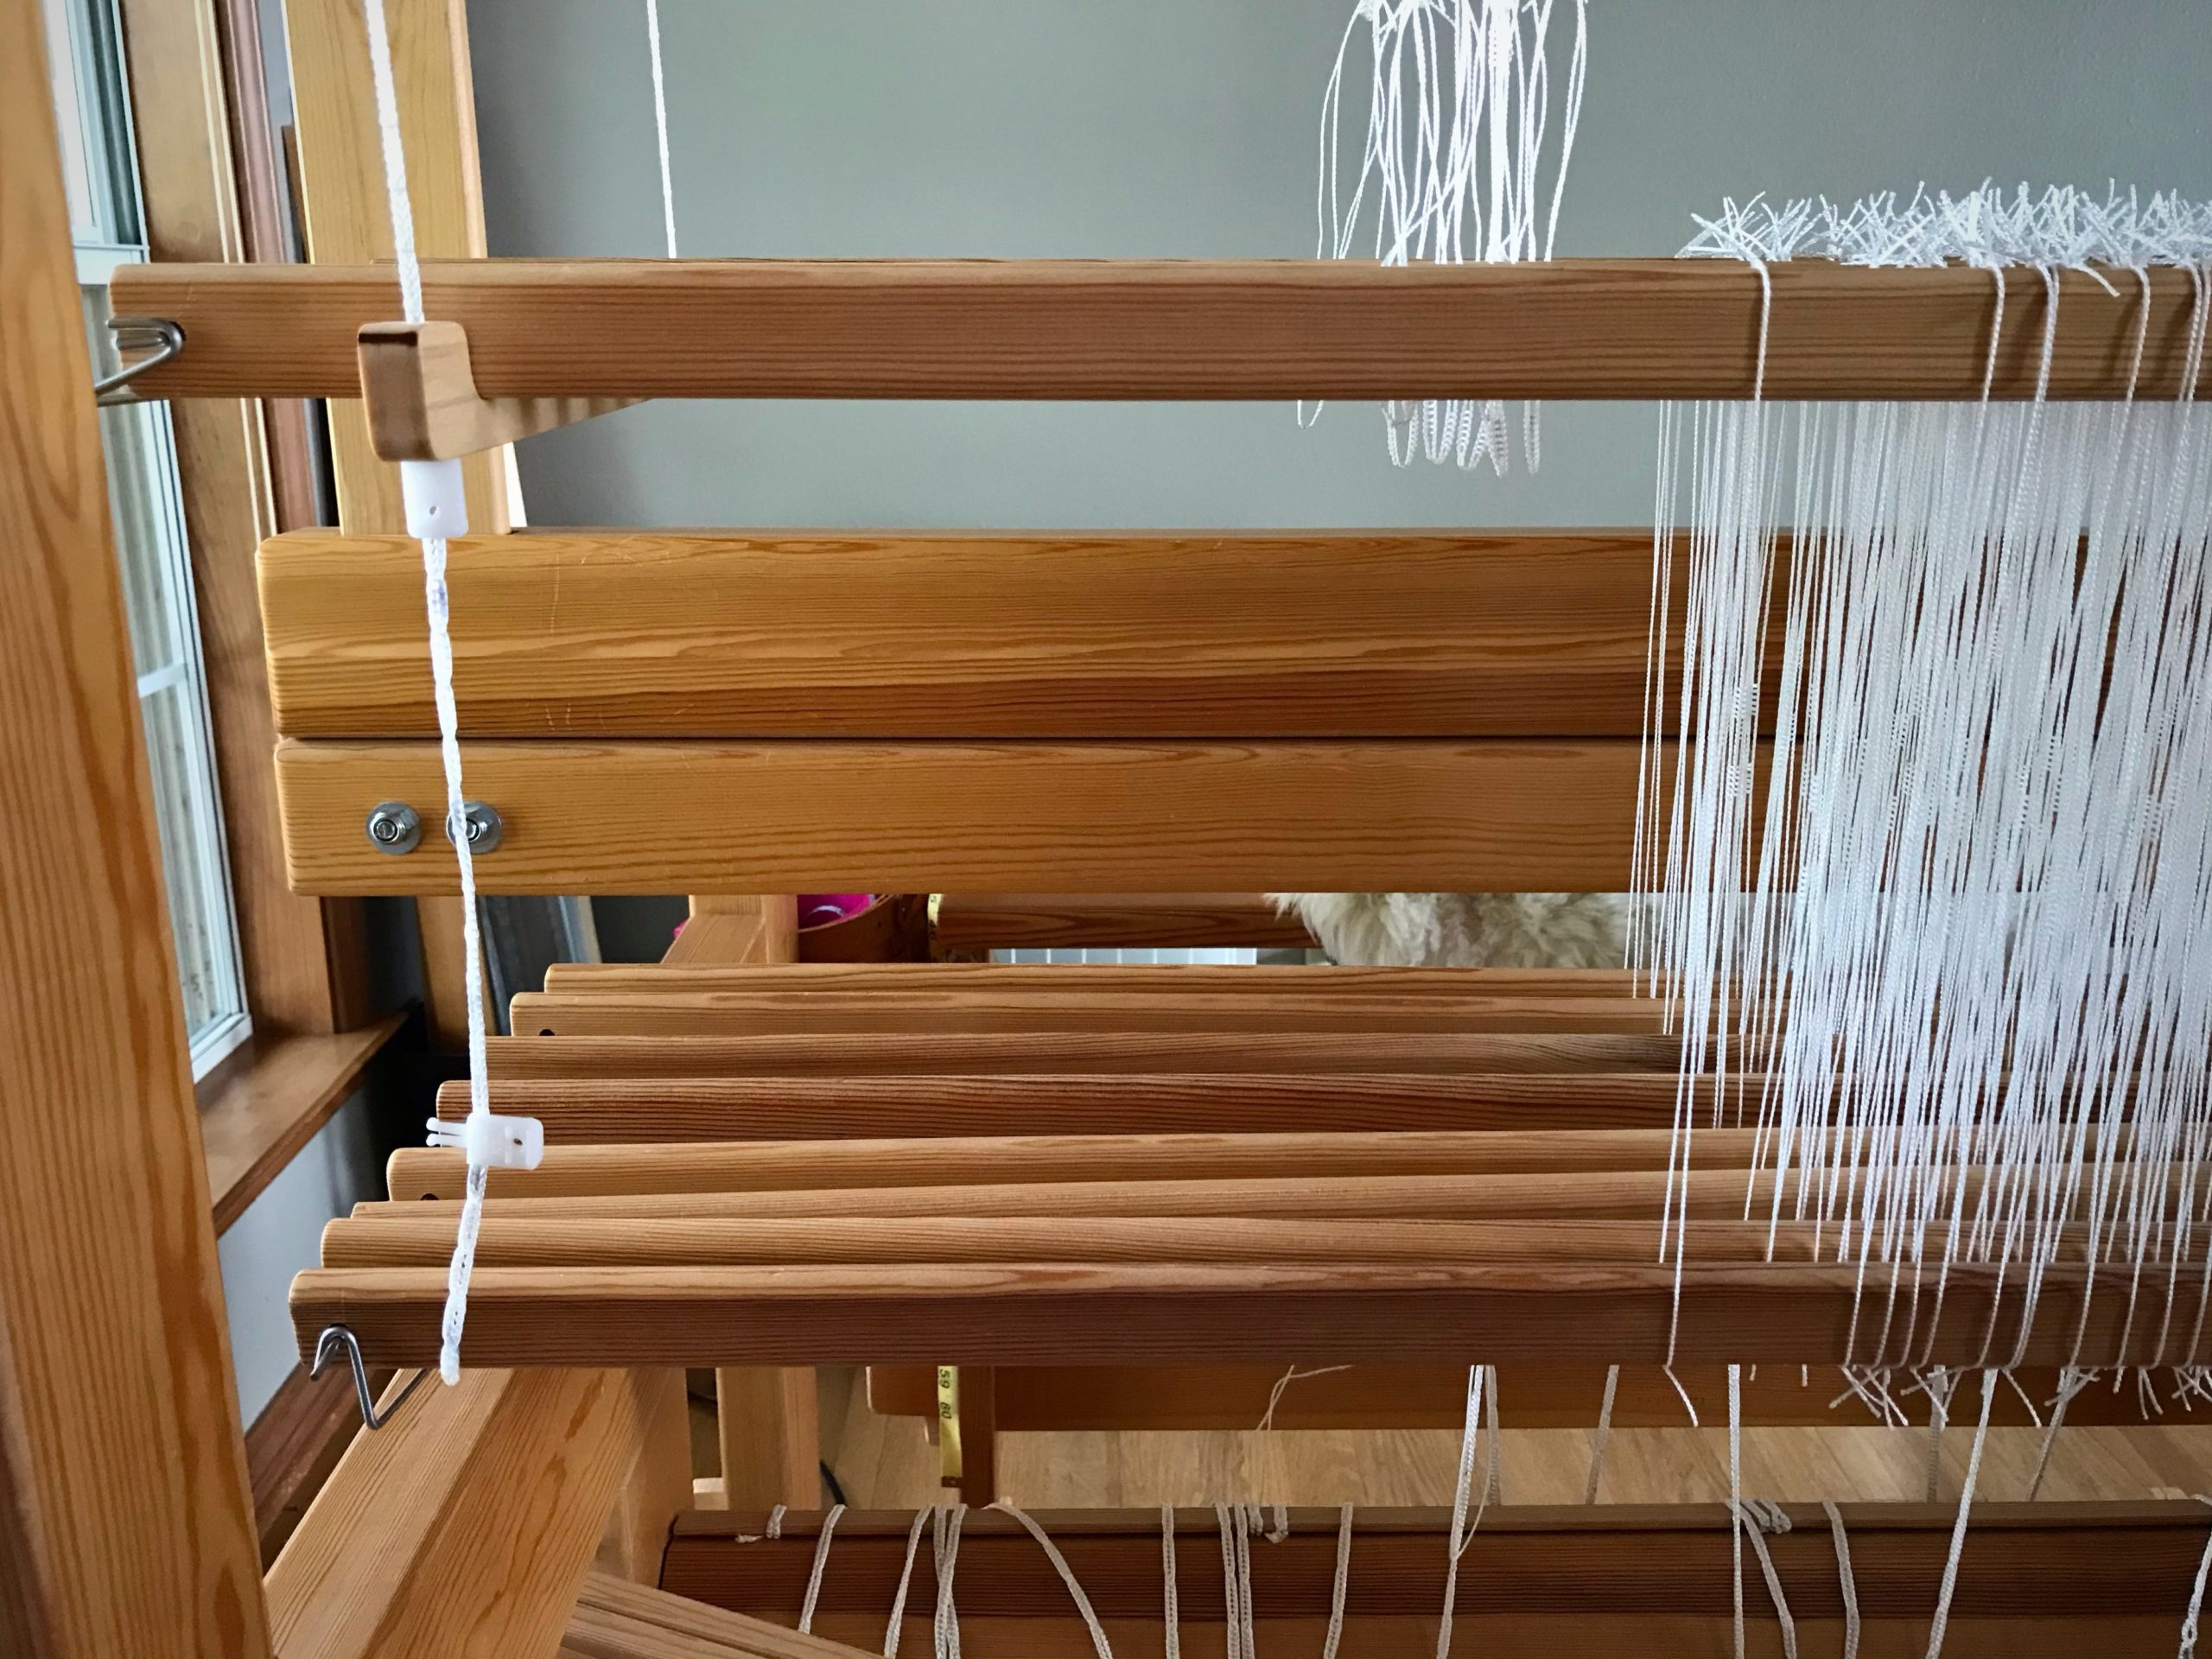
Dressing the loom with two sets of lease sticks keeps me on my toes. It means I am thinking carefully as I transfer lease sticks from in front of the reed to behind the reed. And, after beaming the warp(s), it means I am counting carefully as I put ends into threading groups of 48 threads each—32 ends of 20/2 cotton, and 16 ends of 22/2 cottolin.
Two set of lease sticks have been carefully moved from in front of the reed to behind the reed. After straightening all the warp ends, I will beam the warp.
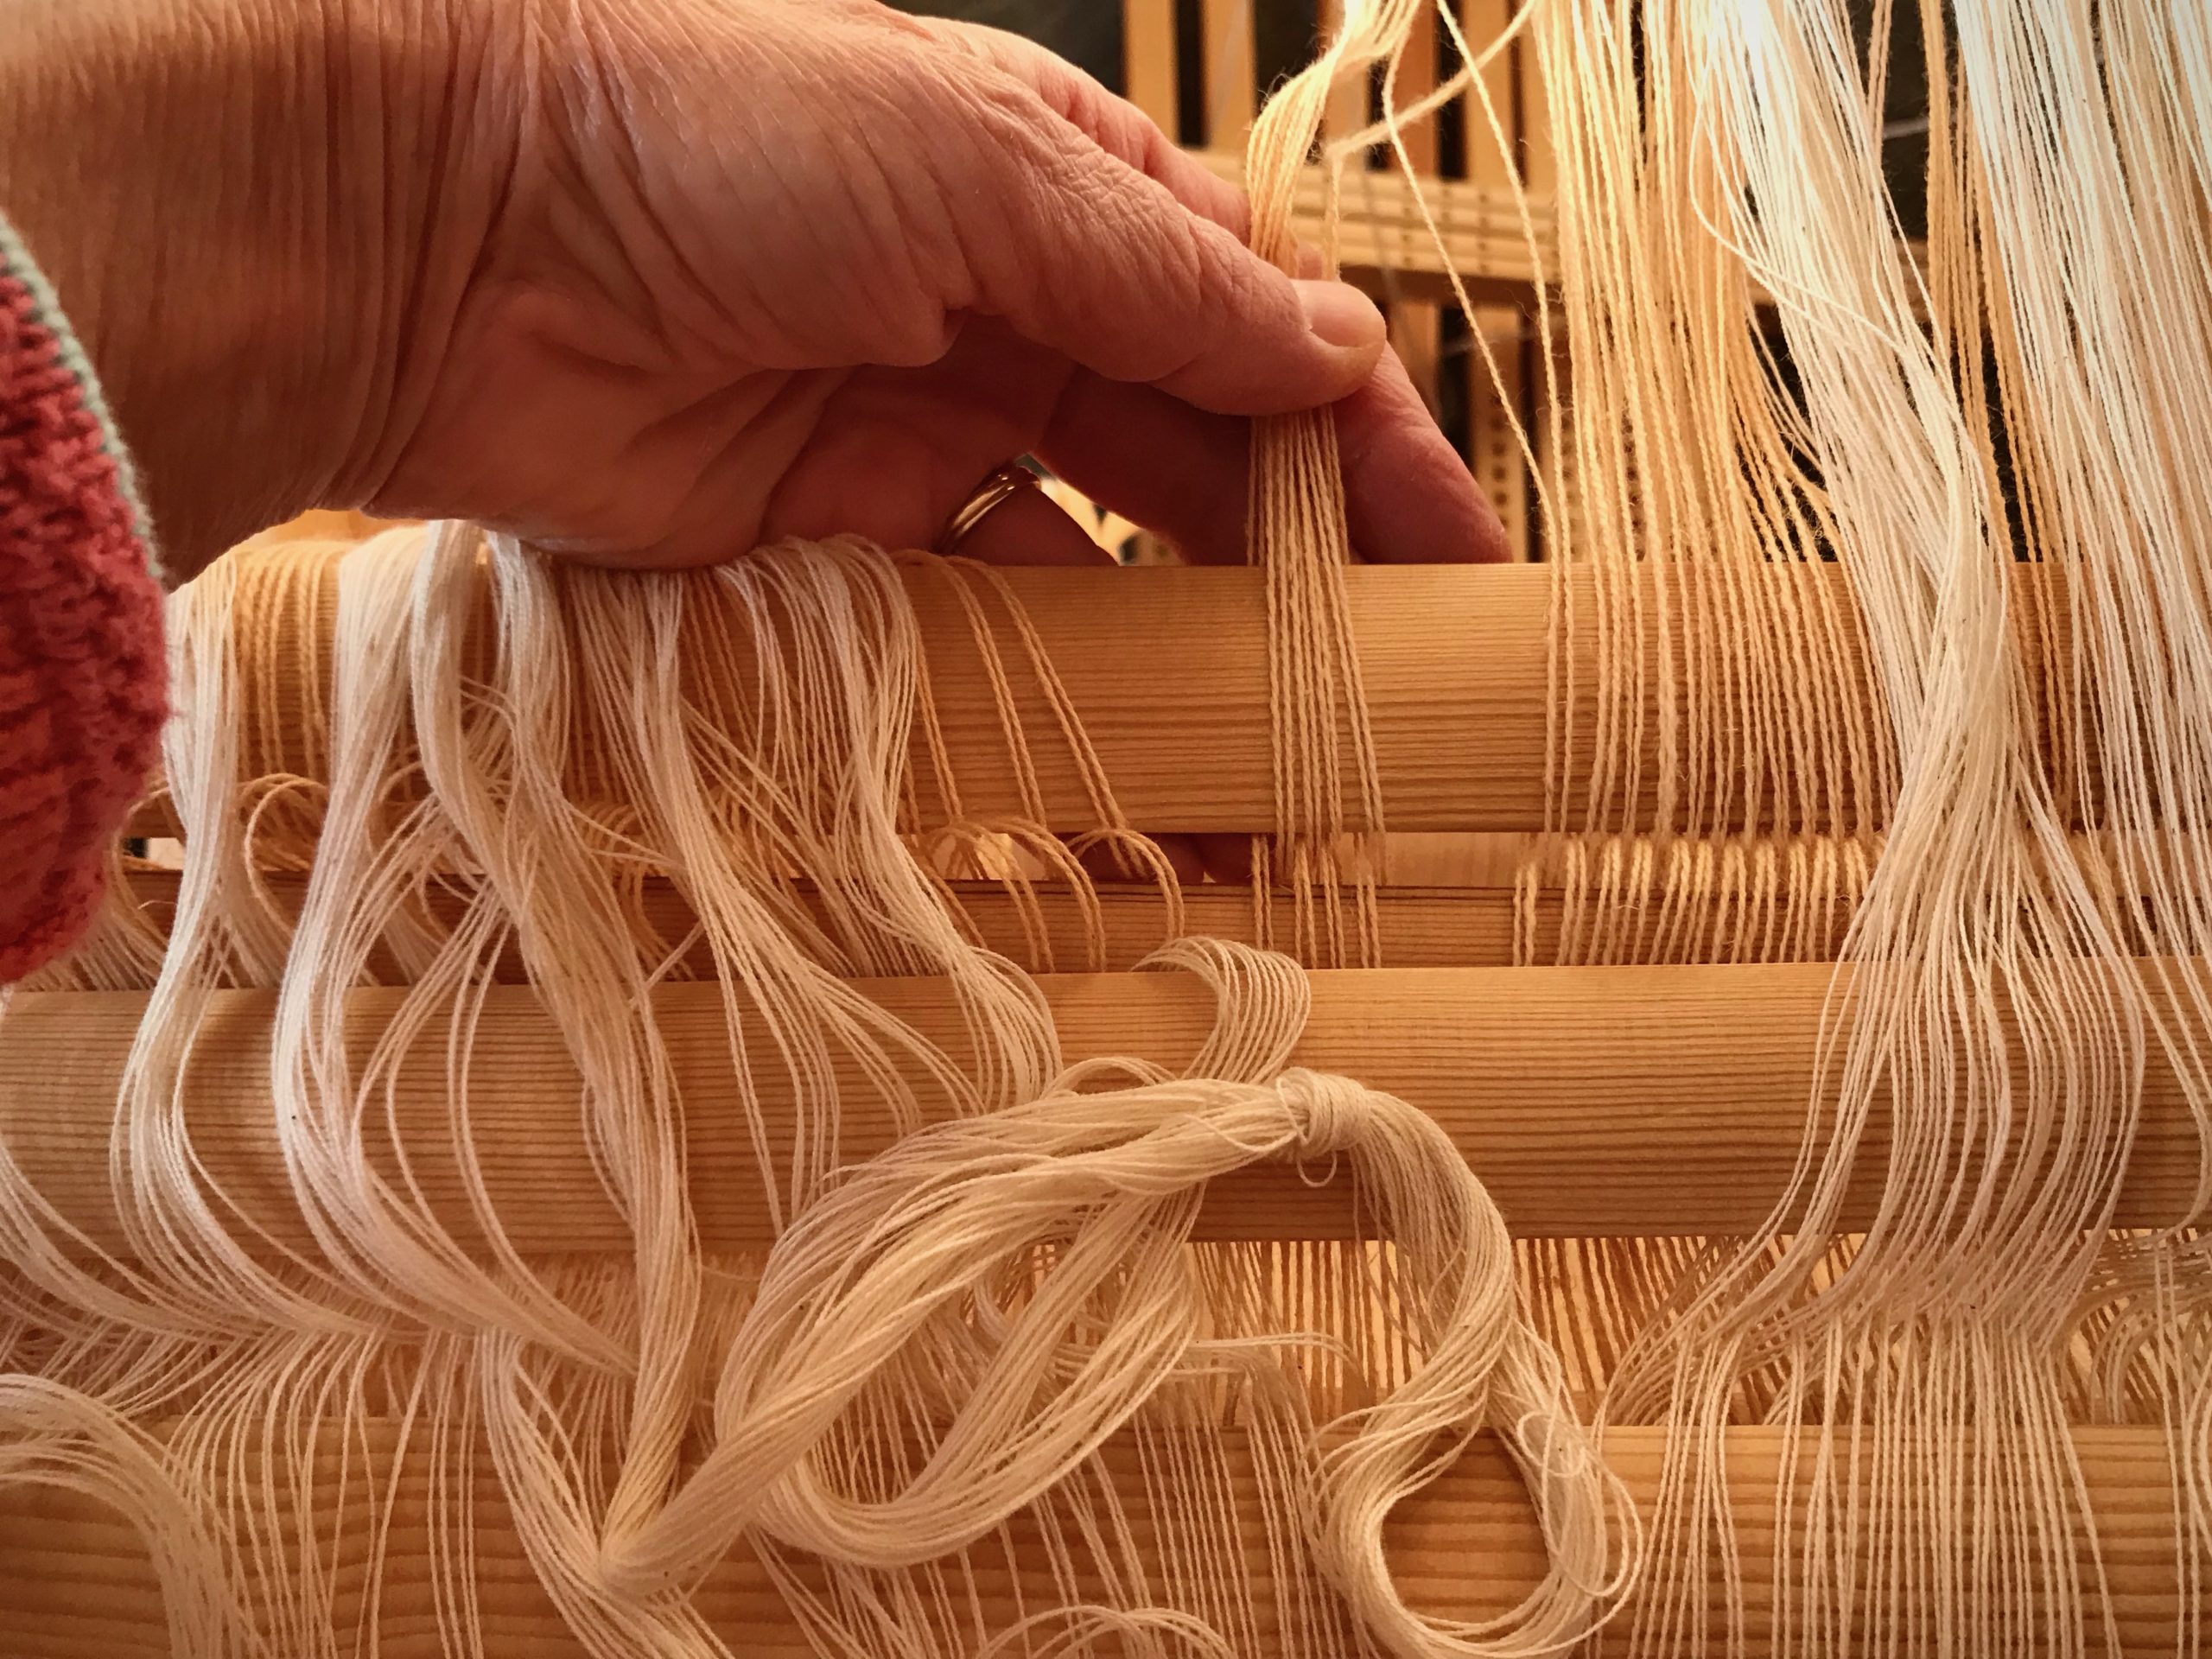
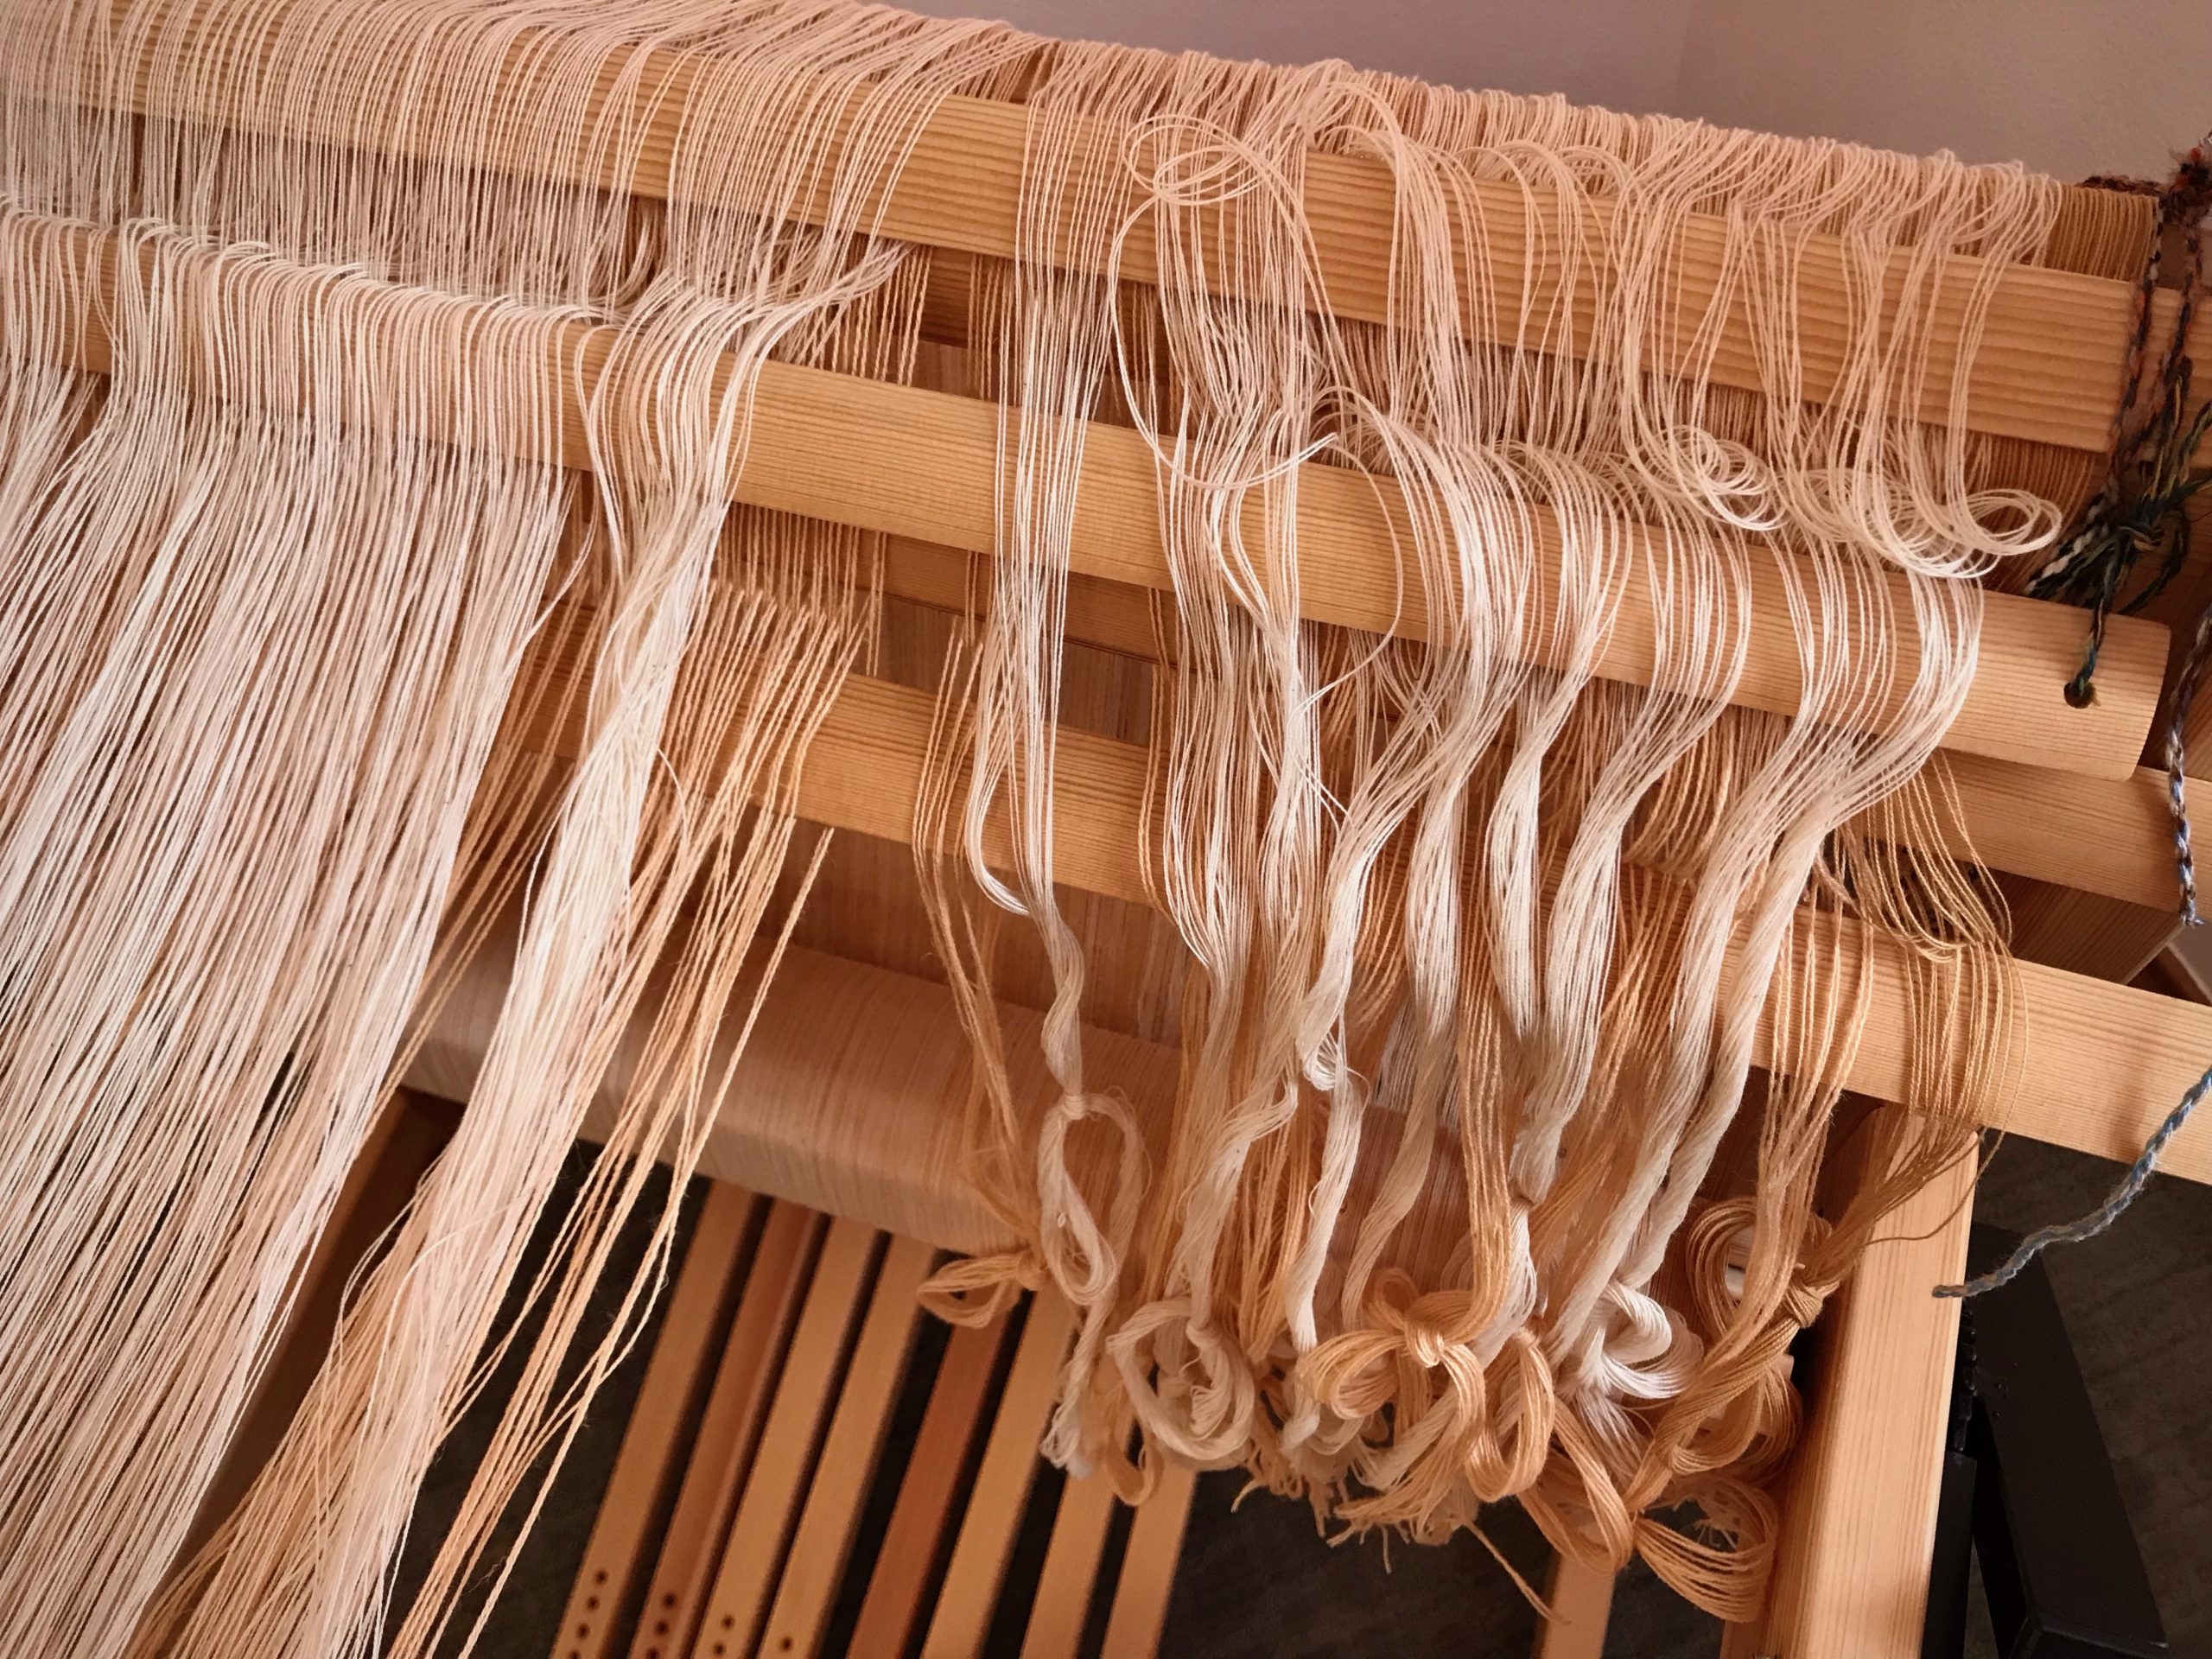
I group ends together before threading. Then, when threading, if there is a discrepancy in the number of ends, it alerts me to find a threading error. Counting out these delicate unbleached cotton threads is challenge enough. Having the layer of cream cottolin threads underneath presents additional complexity. With all these ends, this part of the process is tedious. Still, it’s worth it if it lessens my chance of making threading errors with these 1,472 ends.
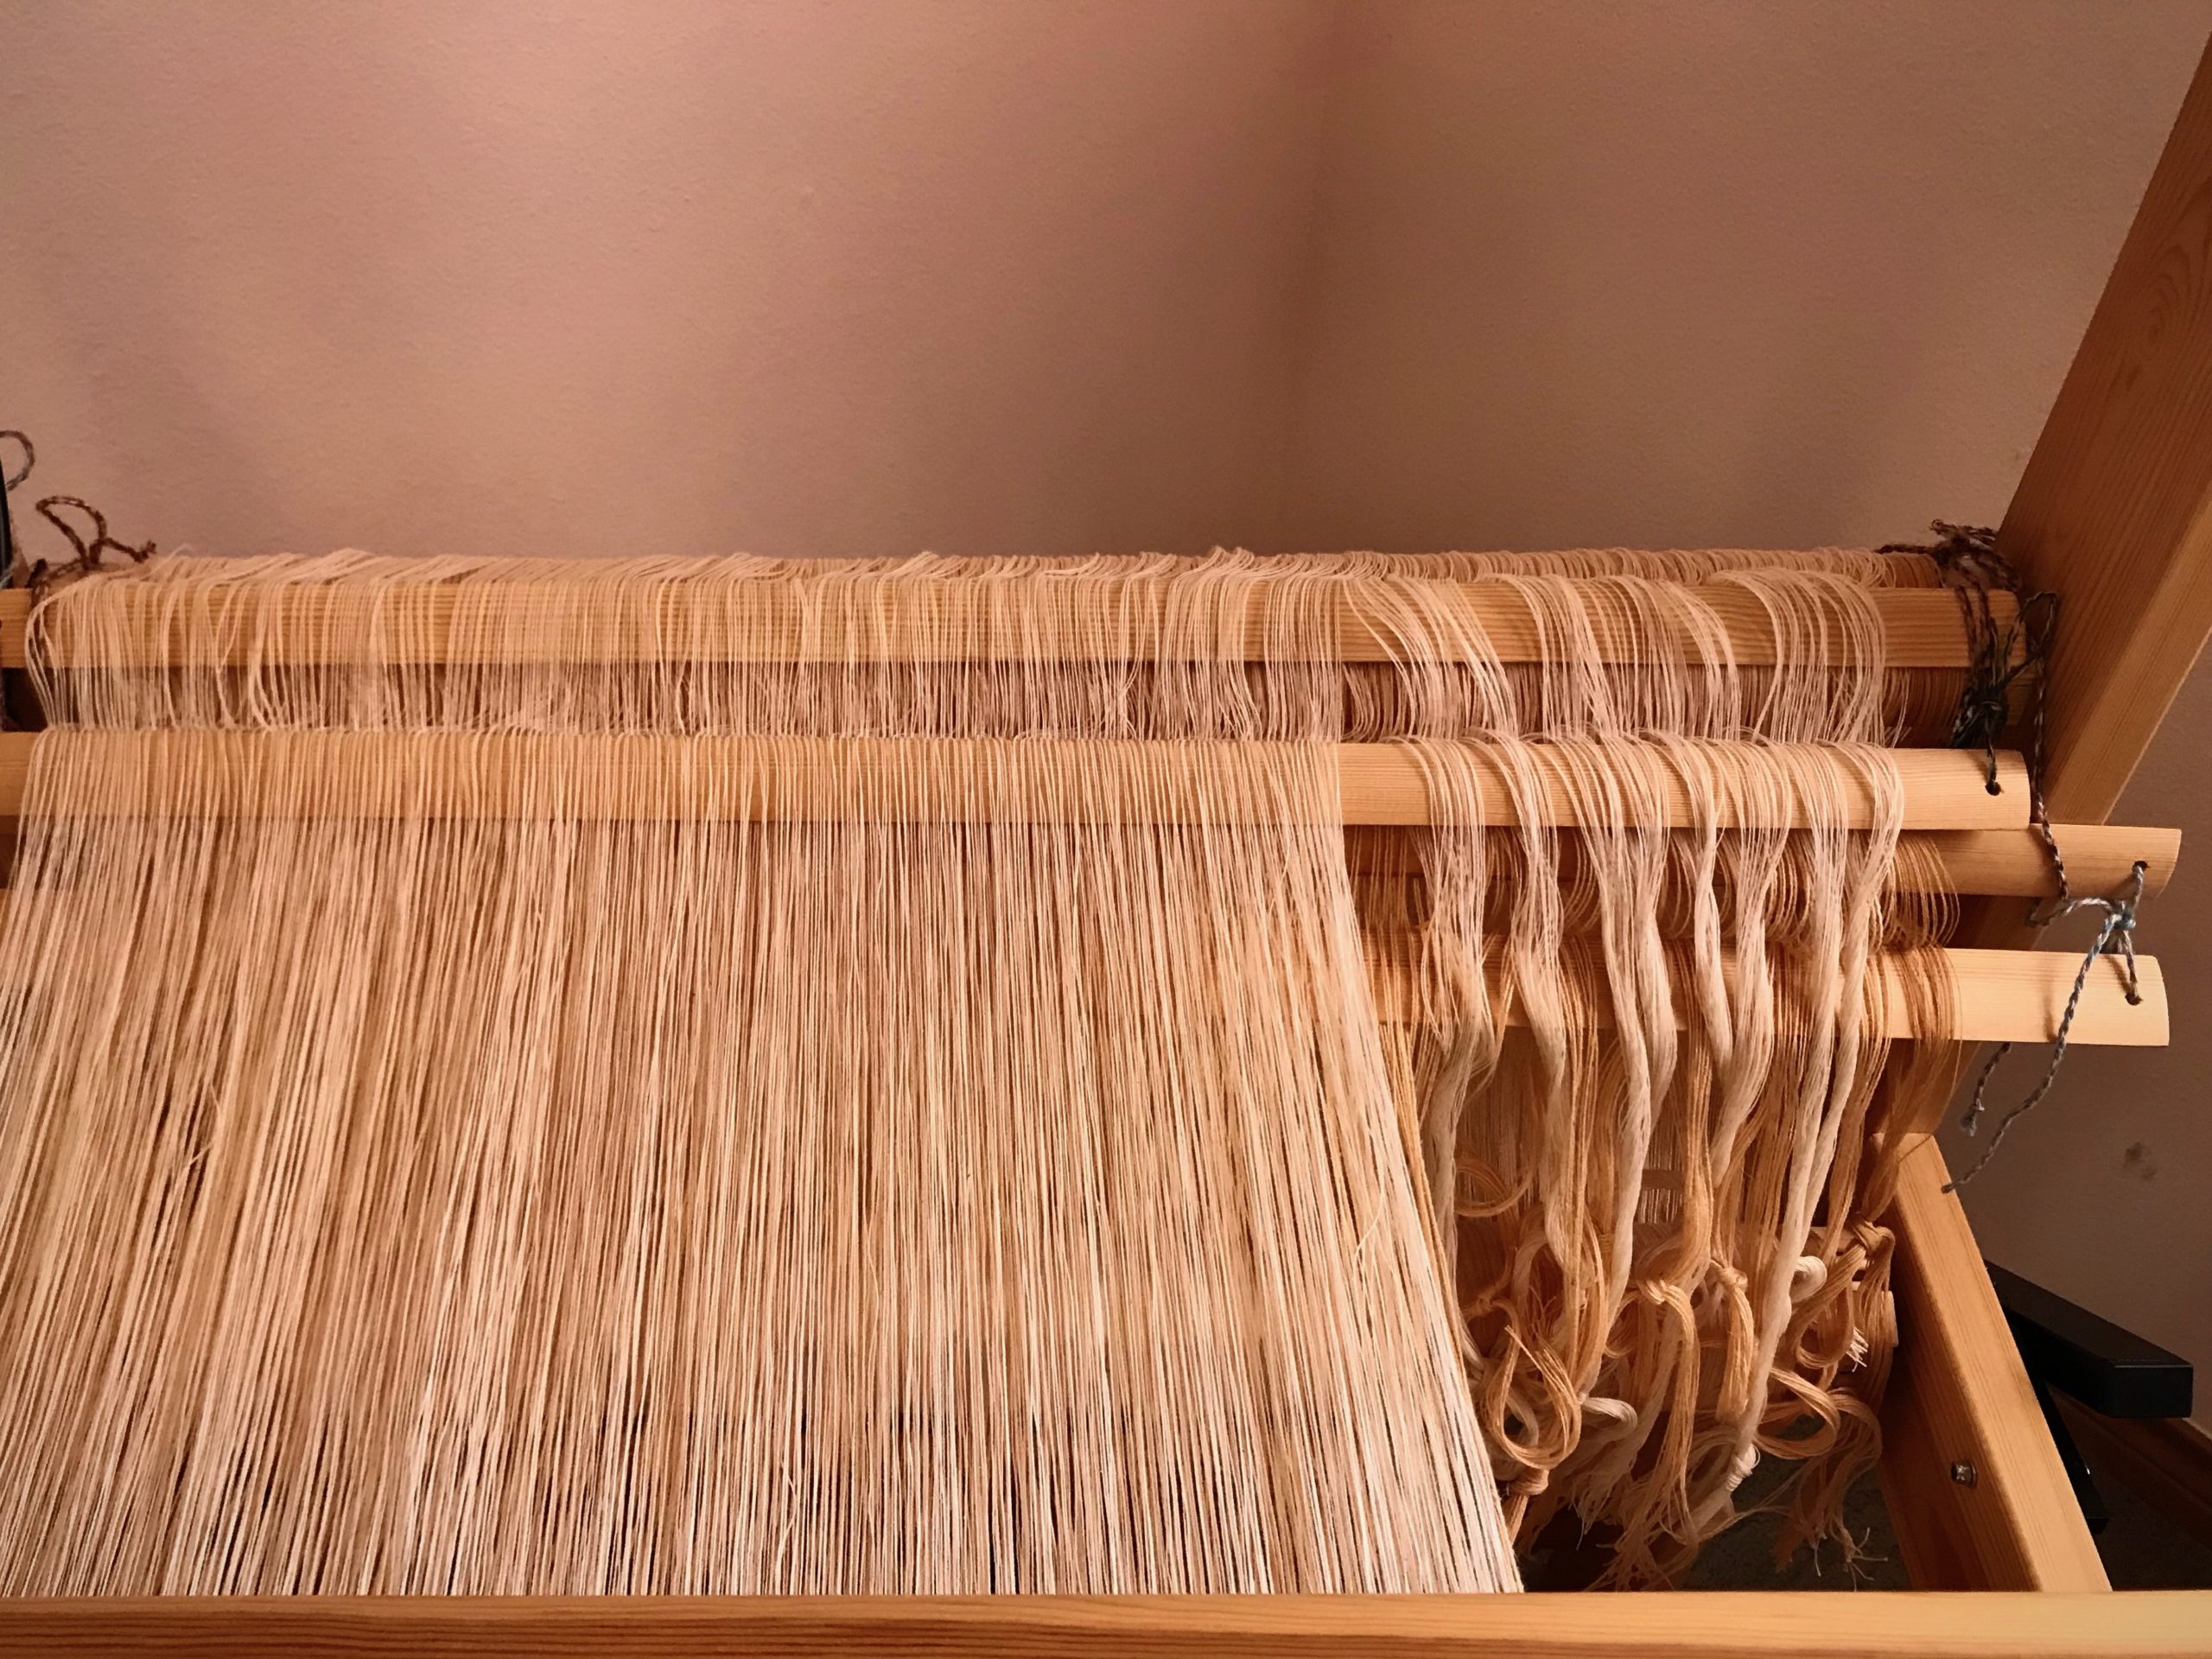
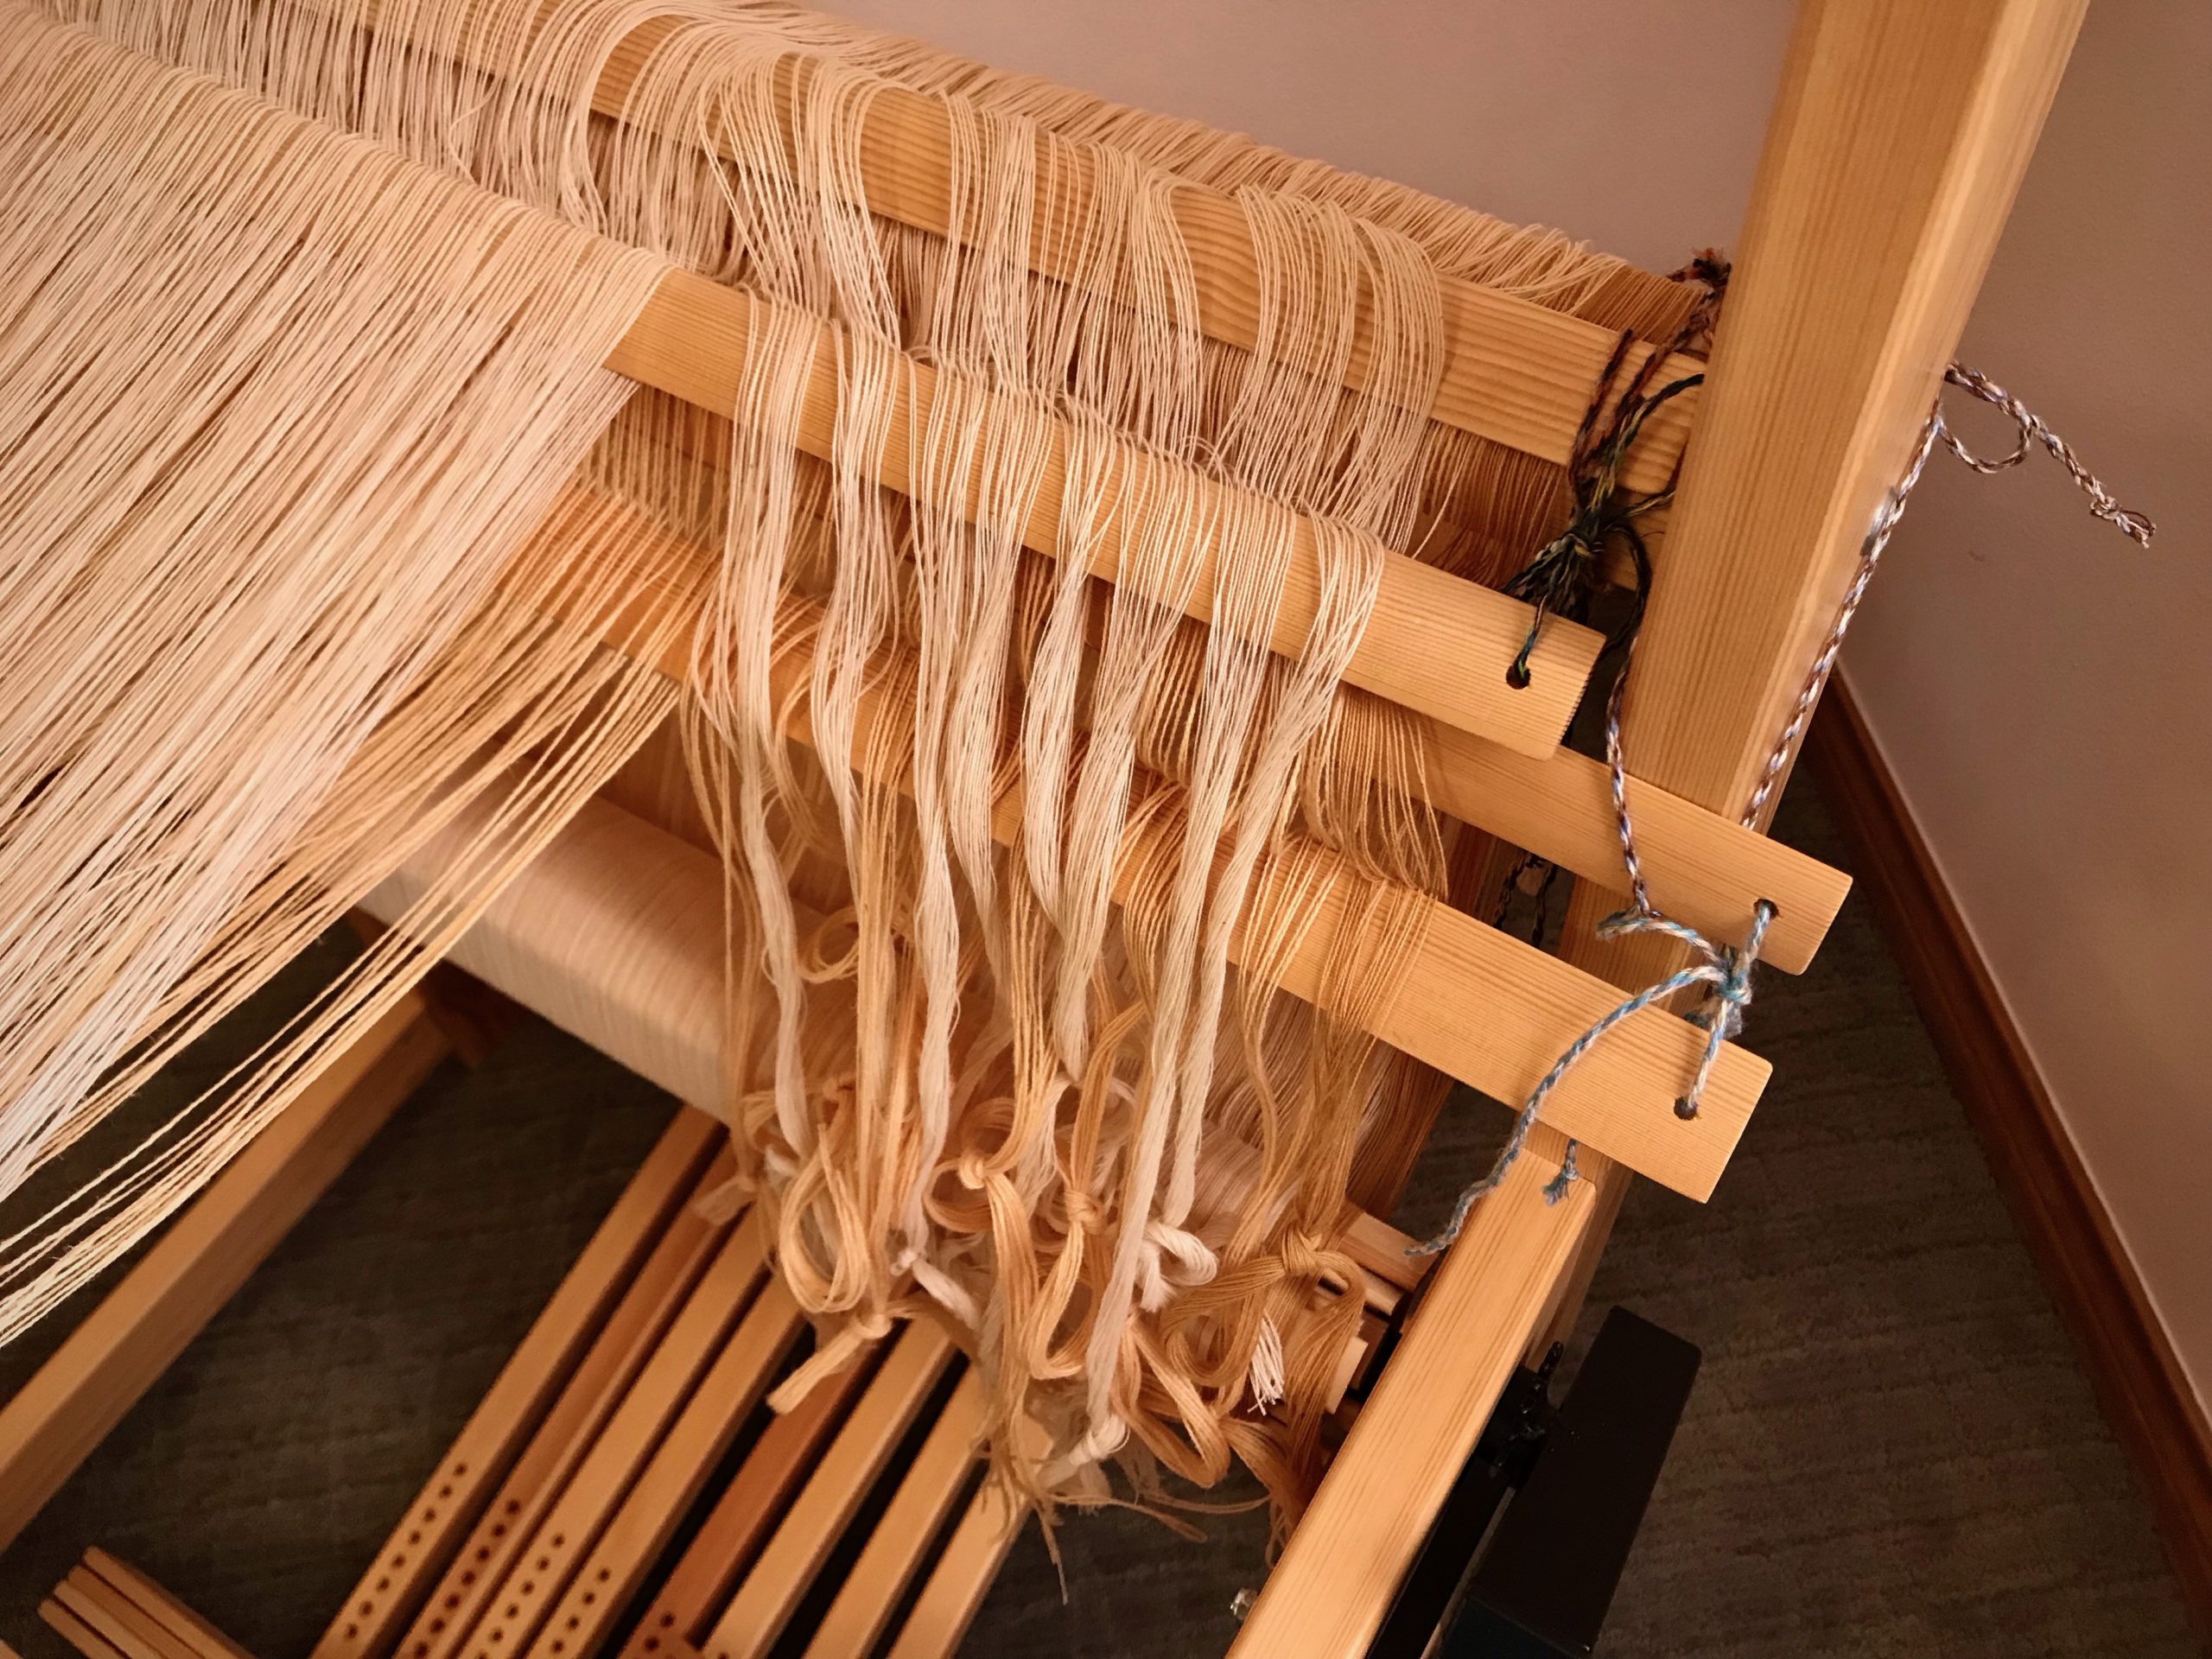
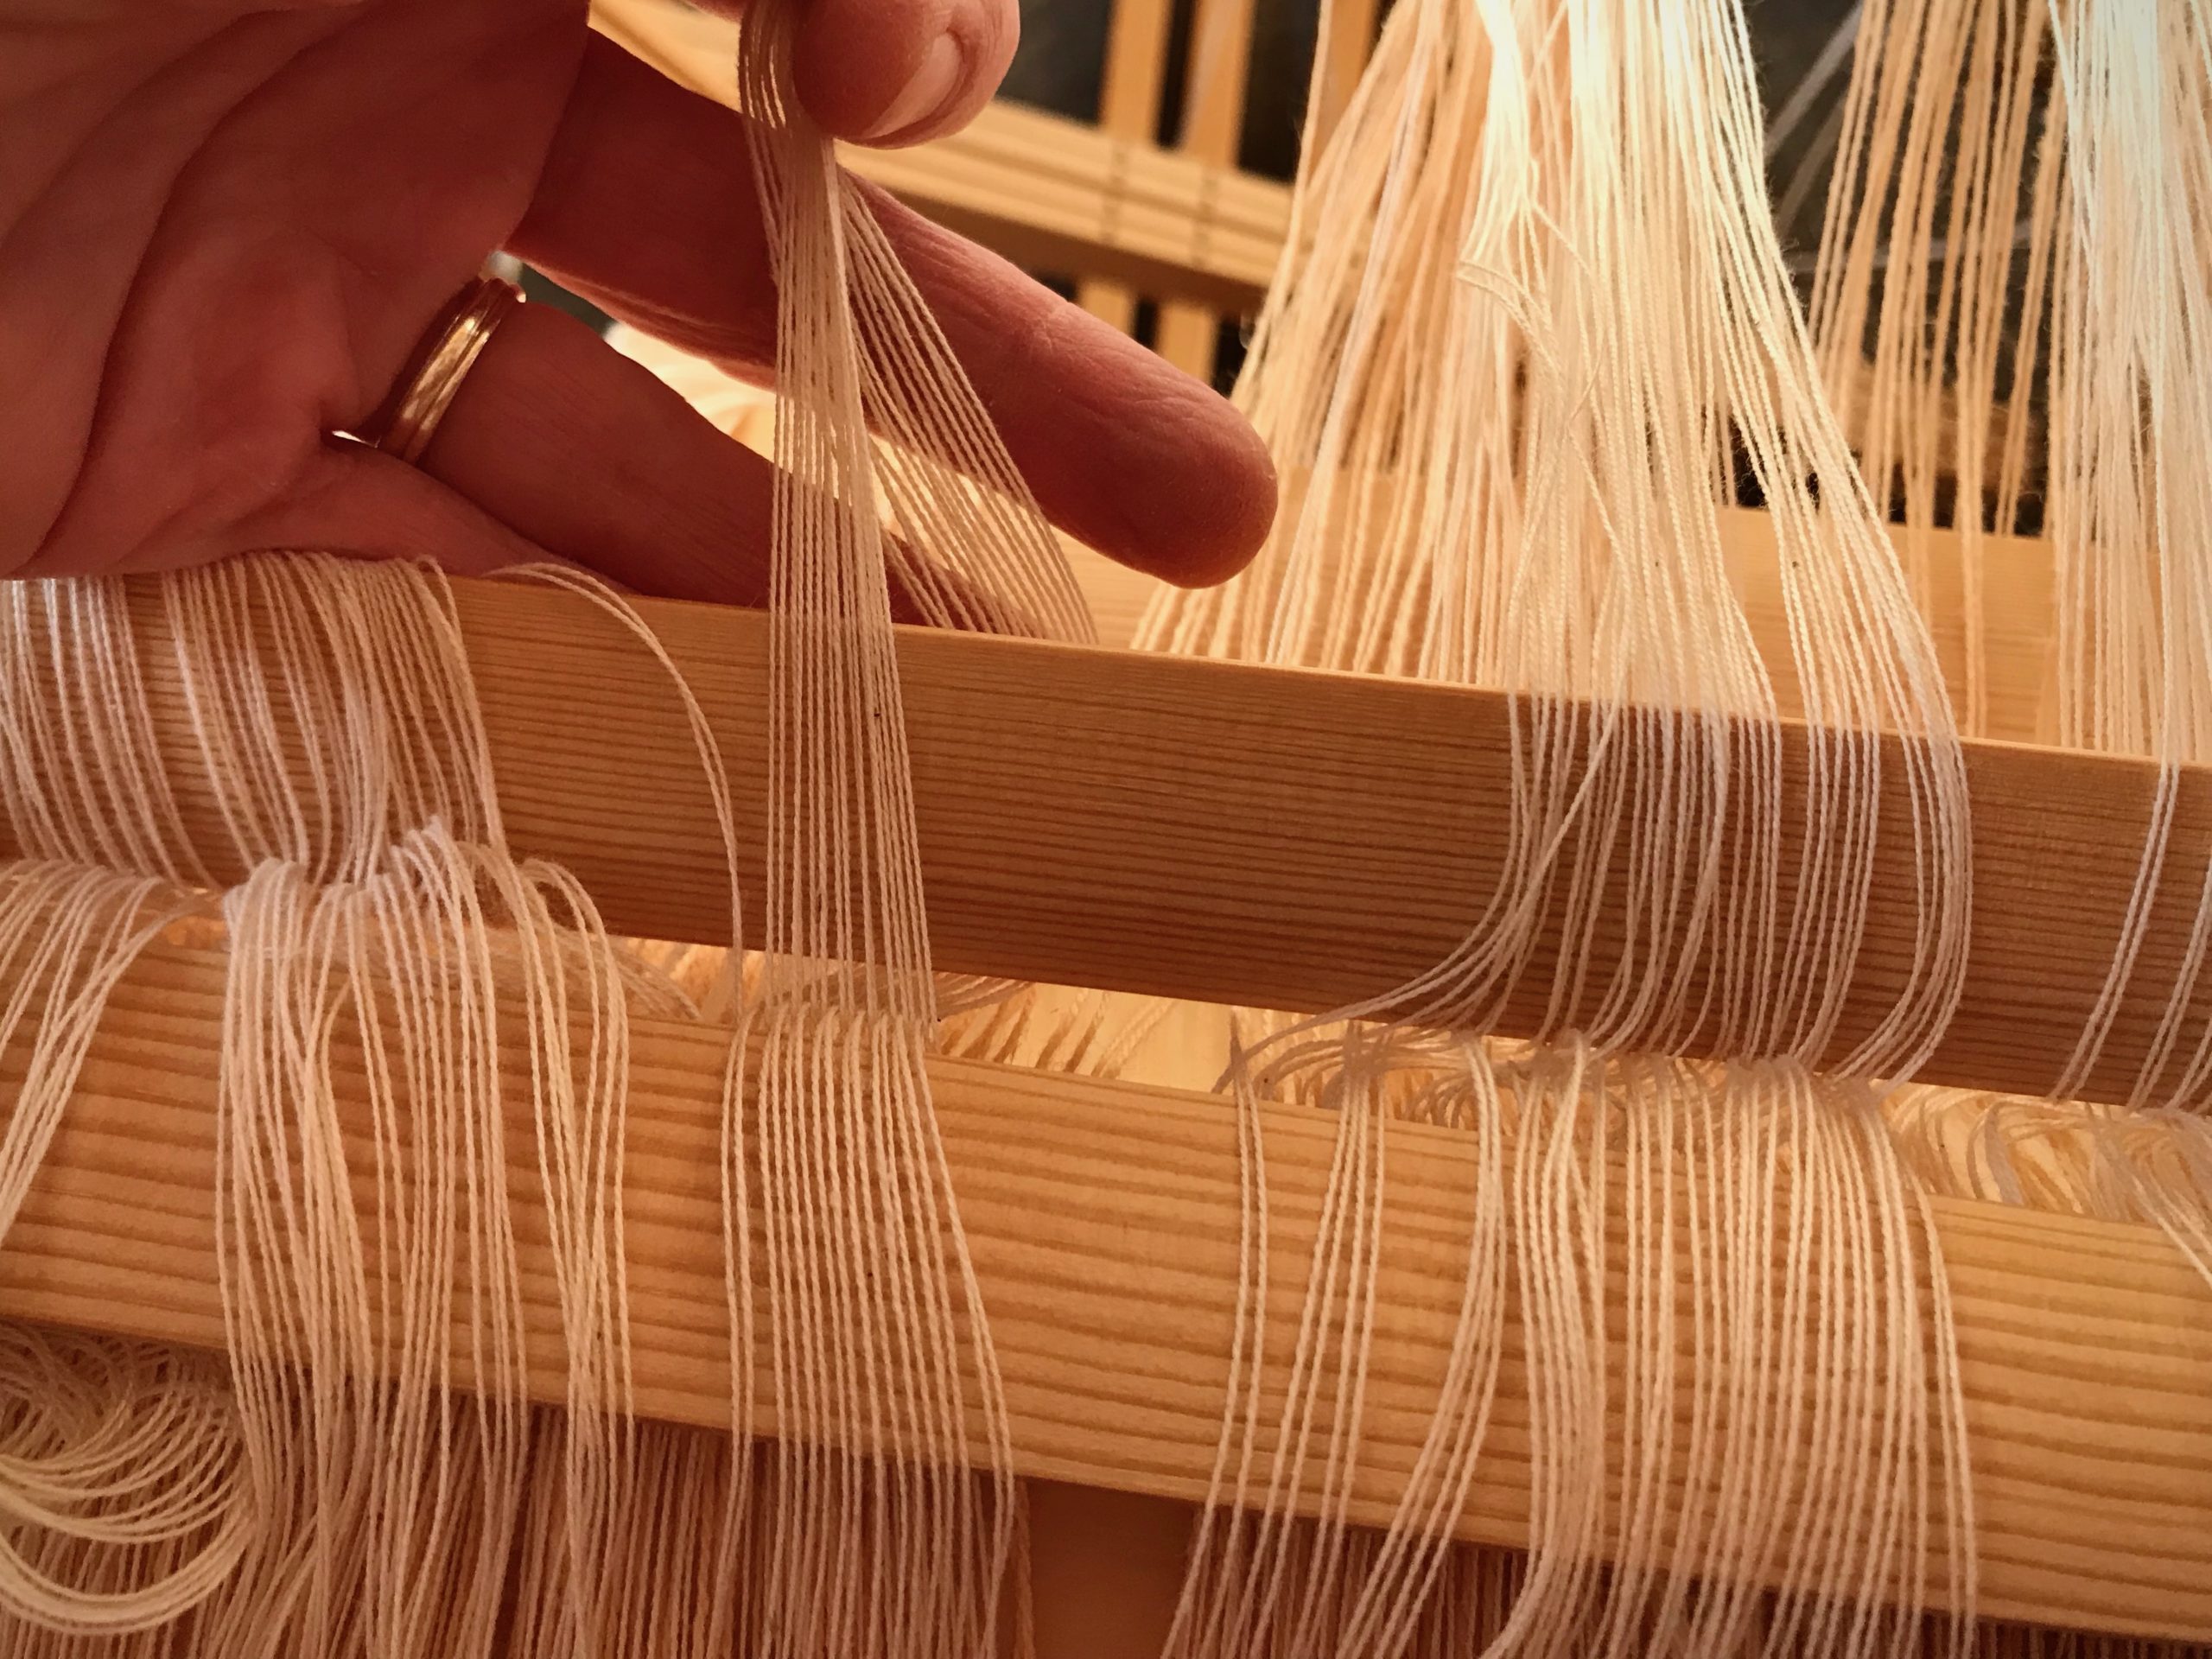
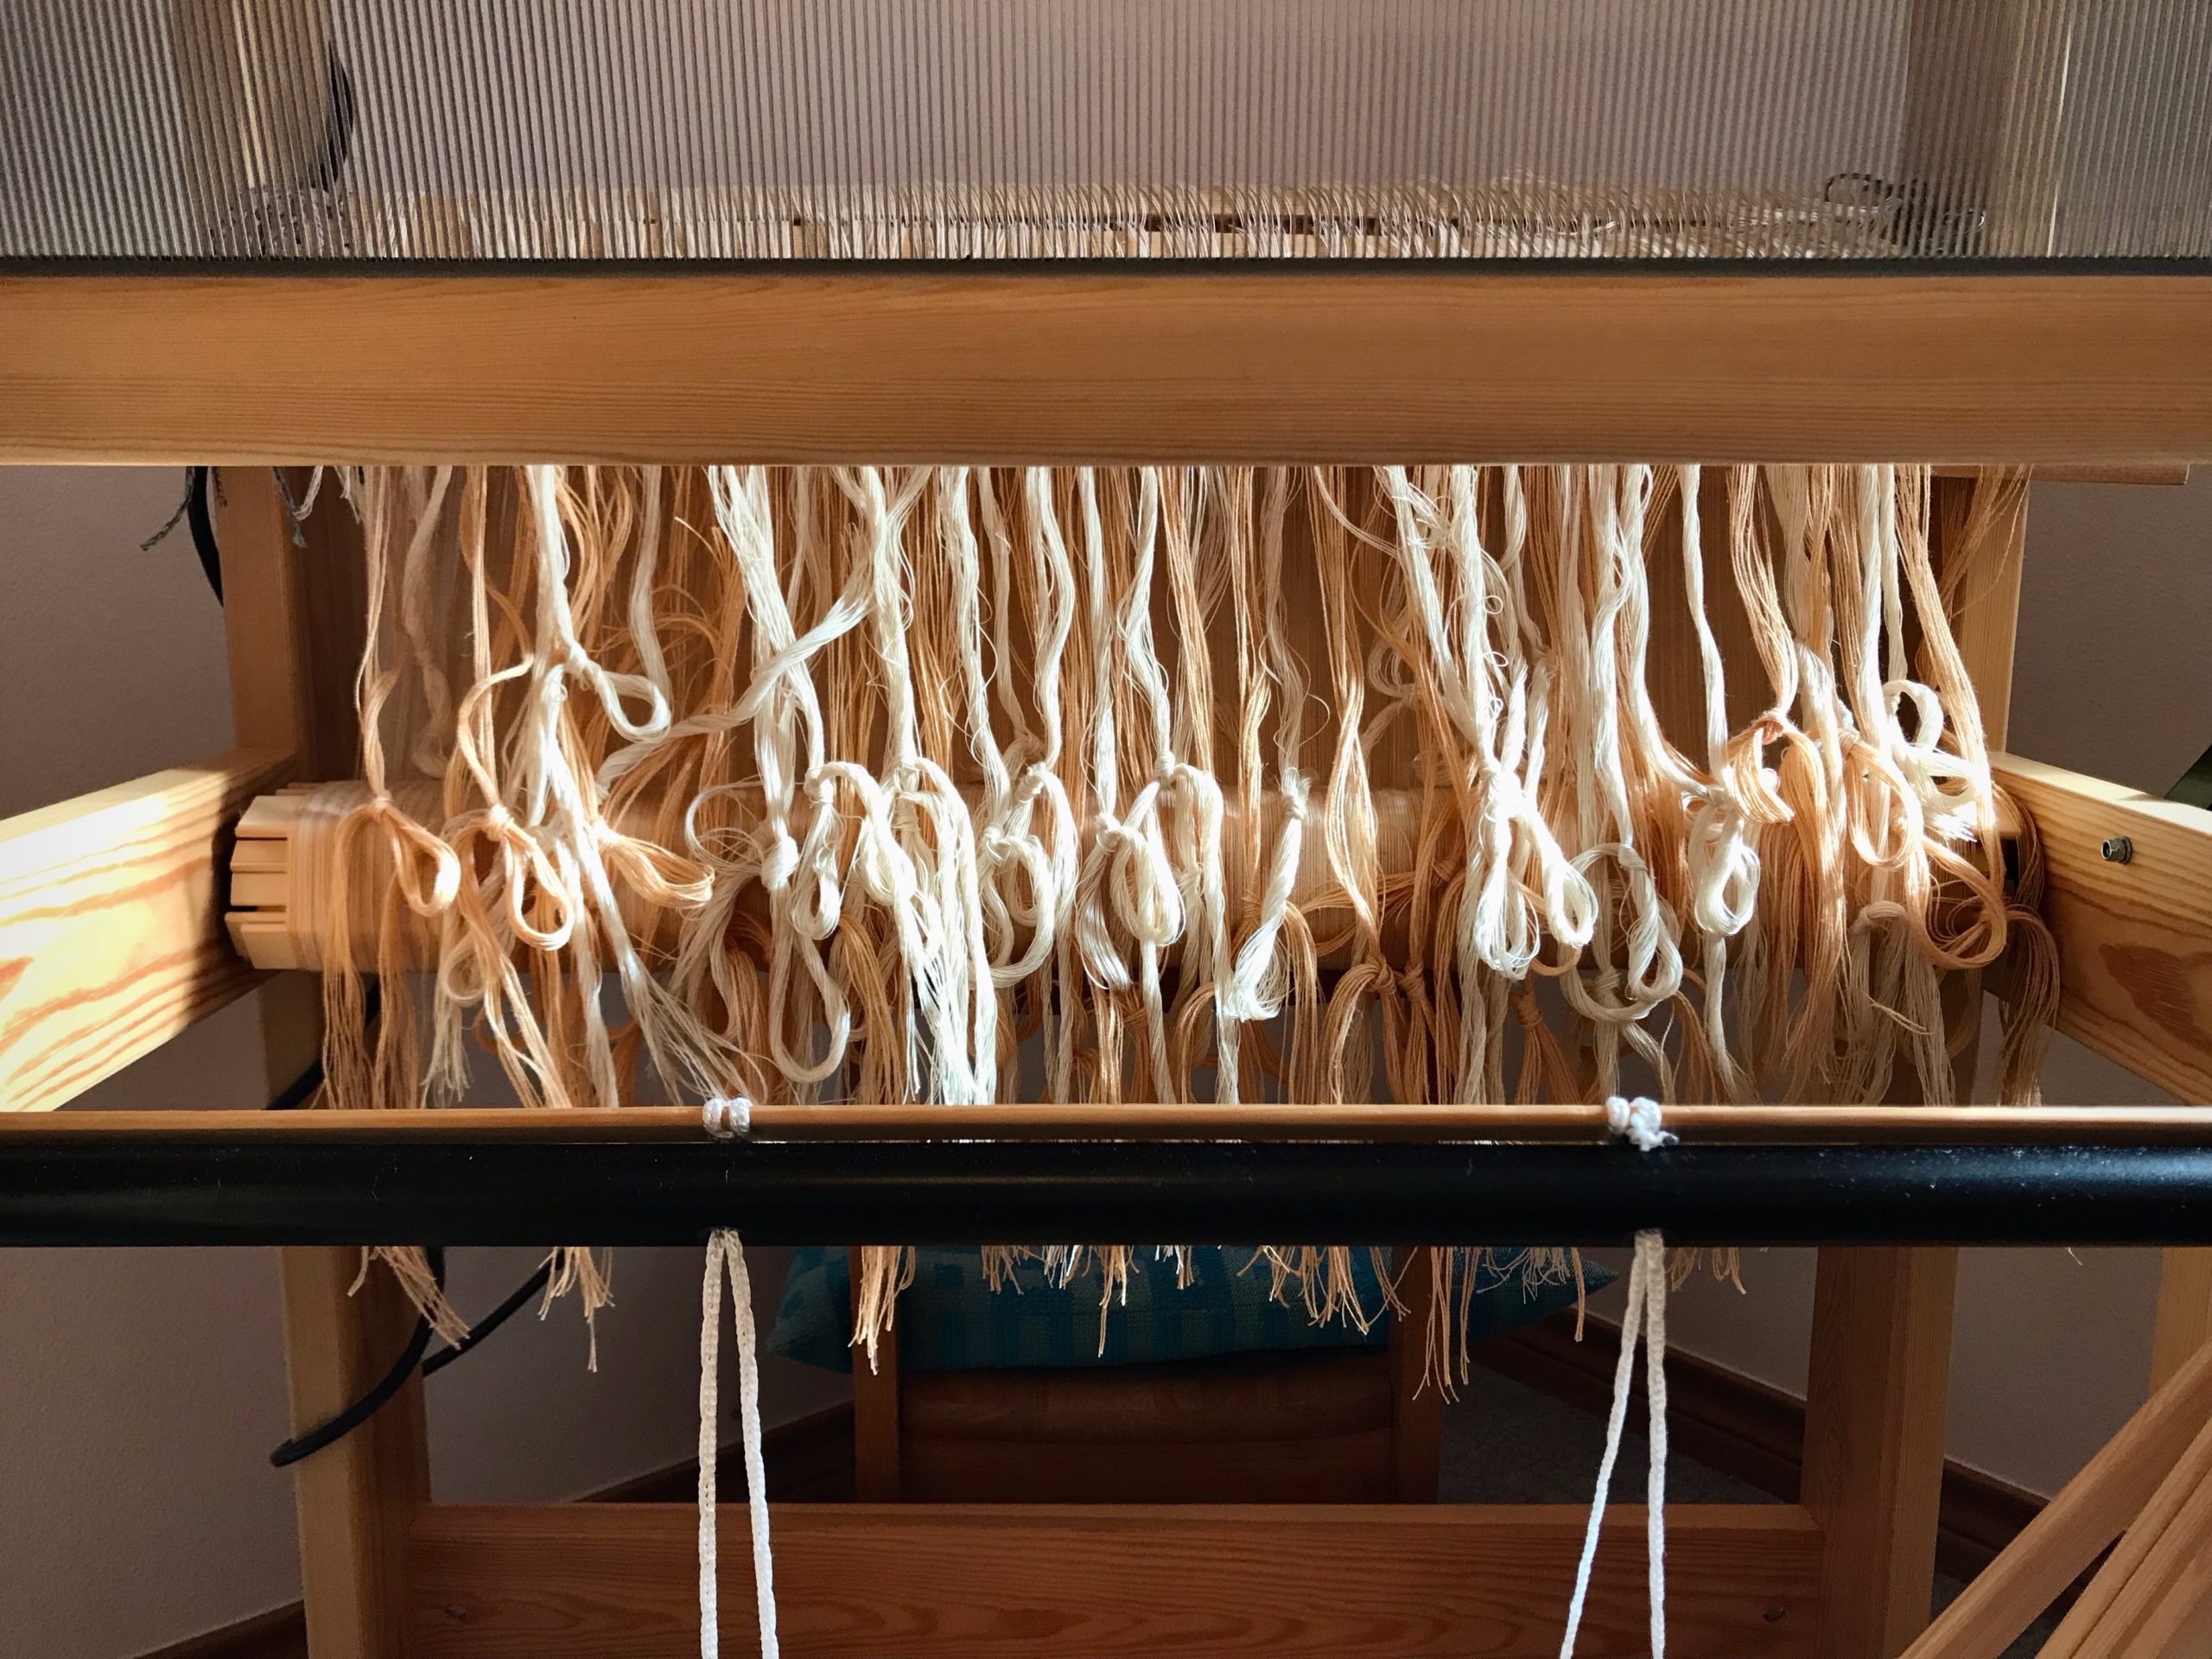
Preparation for threading. Ends are gathered into threading groups and tied together with a loose slip knot.Each set of lease sticks is tied to the back beam separately, so they can hang at different heights. The lower set is tied around the side frame and over the back beam.If I stand behind the loom, my back is in a leaning-forward position and not comfortable for long. I placed a child’s chair and cushion behind the loom. Kneeling behind the loom at this height gives me good visibility and access to the threads.View from the back of the loom. Ends are counted at the center of a pair of lease sticks. These counted ends are tied together in a loose slip knot.View from behind the loom. Loop of unbleached ends just counted lay on top to clear the view. Ends on lower pair of lease sticks are counted and tied separately. I tied the cotton threads and the cottolin threads separately to make it easier to find an error if I miscounted along the way (which, fortunately, didn’t happen).Counted ends are dropped into hanging position before moving on to the next grouping. (After taking this picture, I re-tied the lease sticks closer together, making counting easier.)Threads remain in the reed. I pull threads out of the reed when they are counted.Pretty sight of counted ends. Ready for threading!
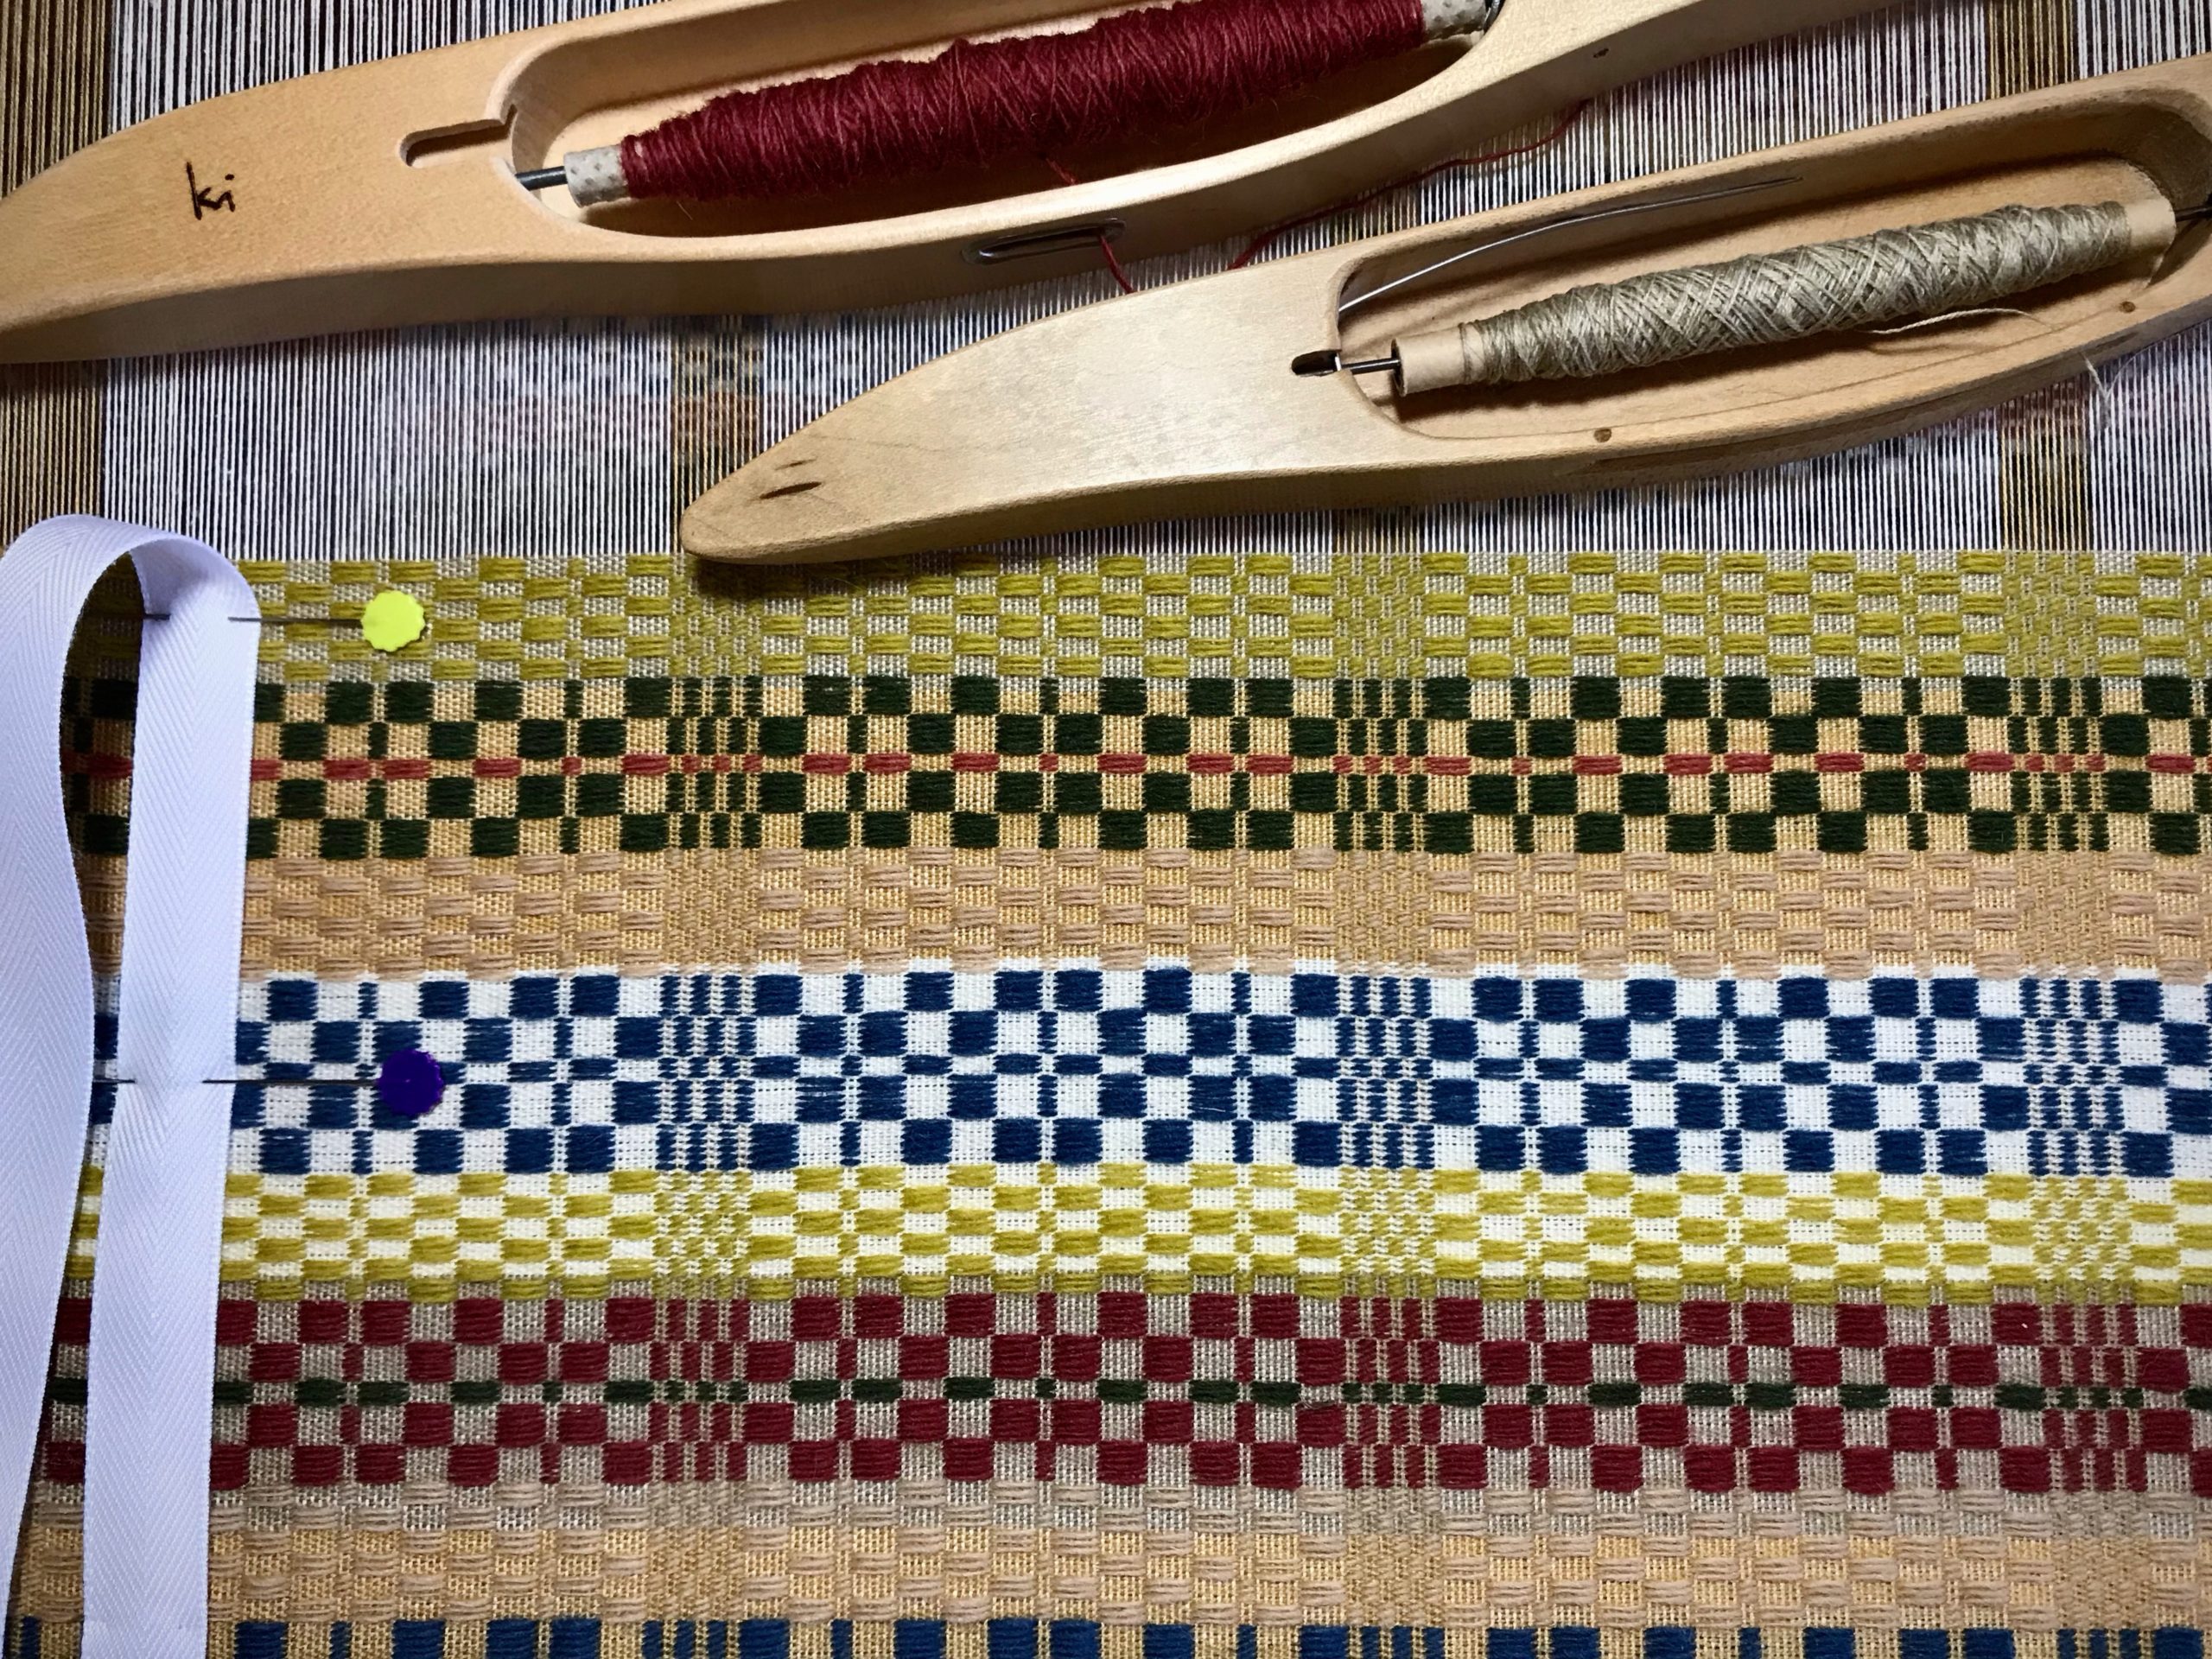
You can measure what you are weaving. A set of towels will all be the same length. A table runner will fit the table as planned. A rug will be the right size for the designated floor space. All it takes is a dependable way to measure. (Thanks to Elisabeth S. for writing me, “I’d love to have a better way to measure my work as I’m weaving it.”)
Measurement Tape (accompanying video below)
Supplies:
Calculator
Project notes
5/8” polyester twill tape
Fine point indelible marker
Tape measure
2 flat-head straight pins
Make Calculations
Determine the finished length.
Consider the Golden Ratio, 1:6.
Consider where the finished textile will be placed.
Estimate take-up and shrinkage.
Include these measurements in your project notes.
Prepare a Measurement Tape
Draw the beginning line about 2 cm from the end of the tape. If there is a hem, draw a second line to mark the hem’s length.
Write the item description on the tape.
Write ” ___ (finished length) + ___ (take-up and shrinkage) = ___ (total length)” on the tape.
Measure the total length from the first line (or from the hem) on the tape. Draw a line at the end (add hem, if needed).
Cut the tape about 2 cm after the ending line.
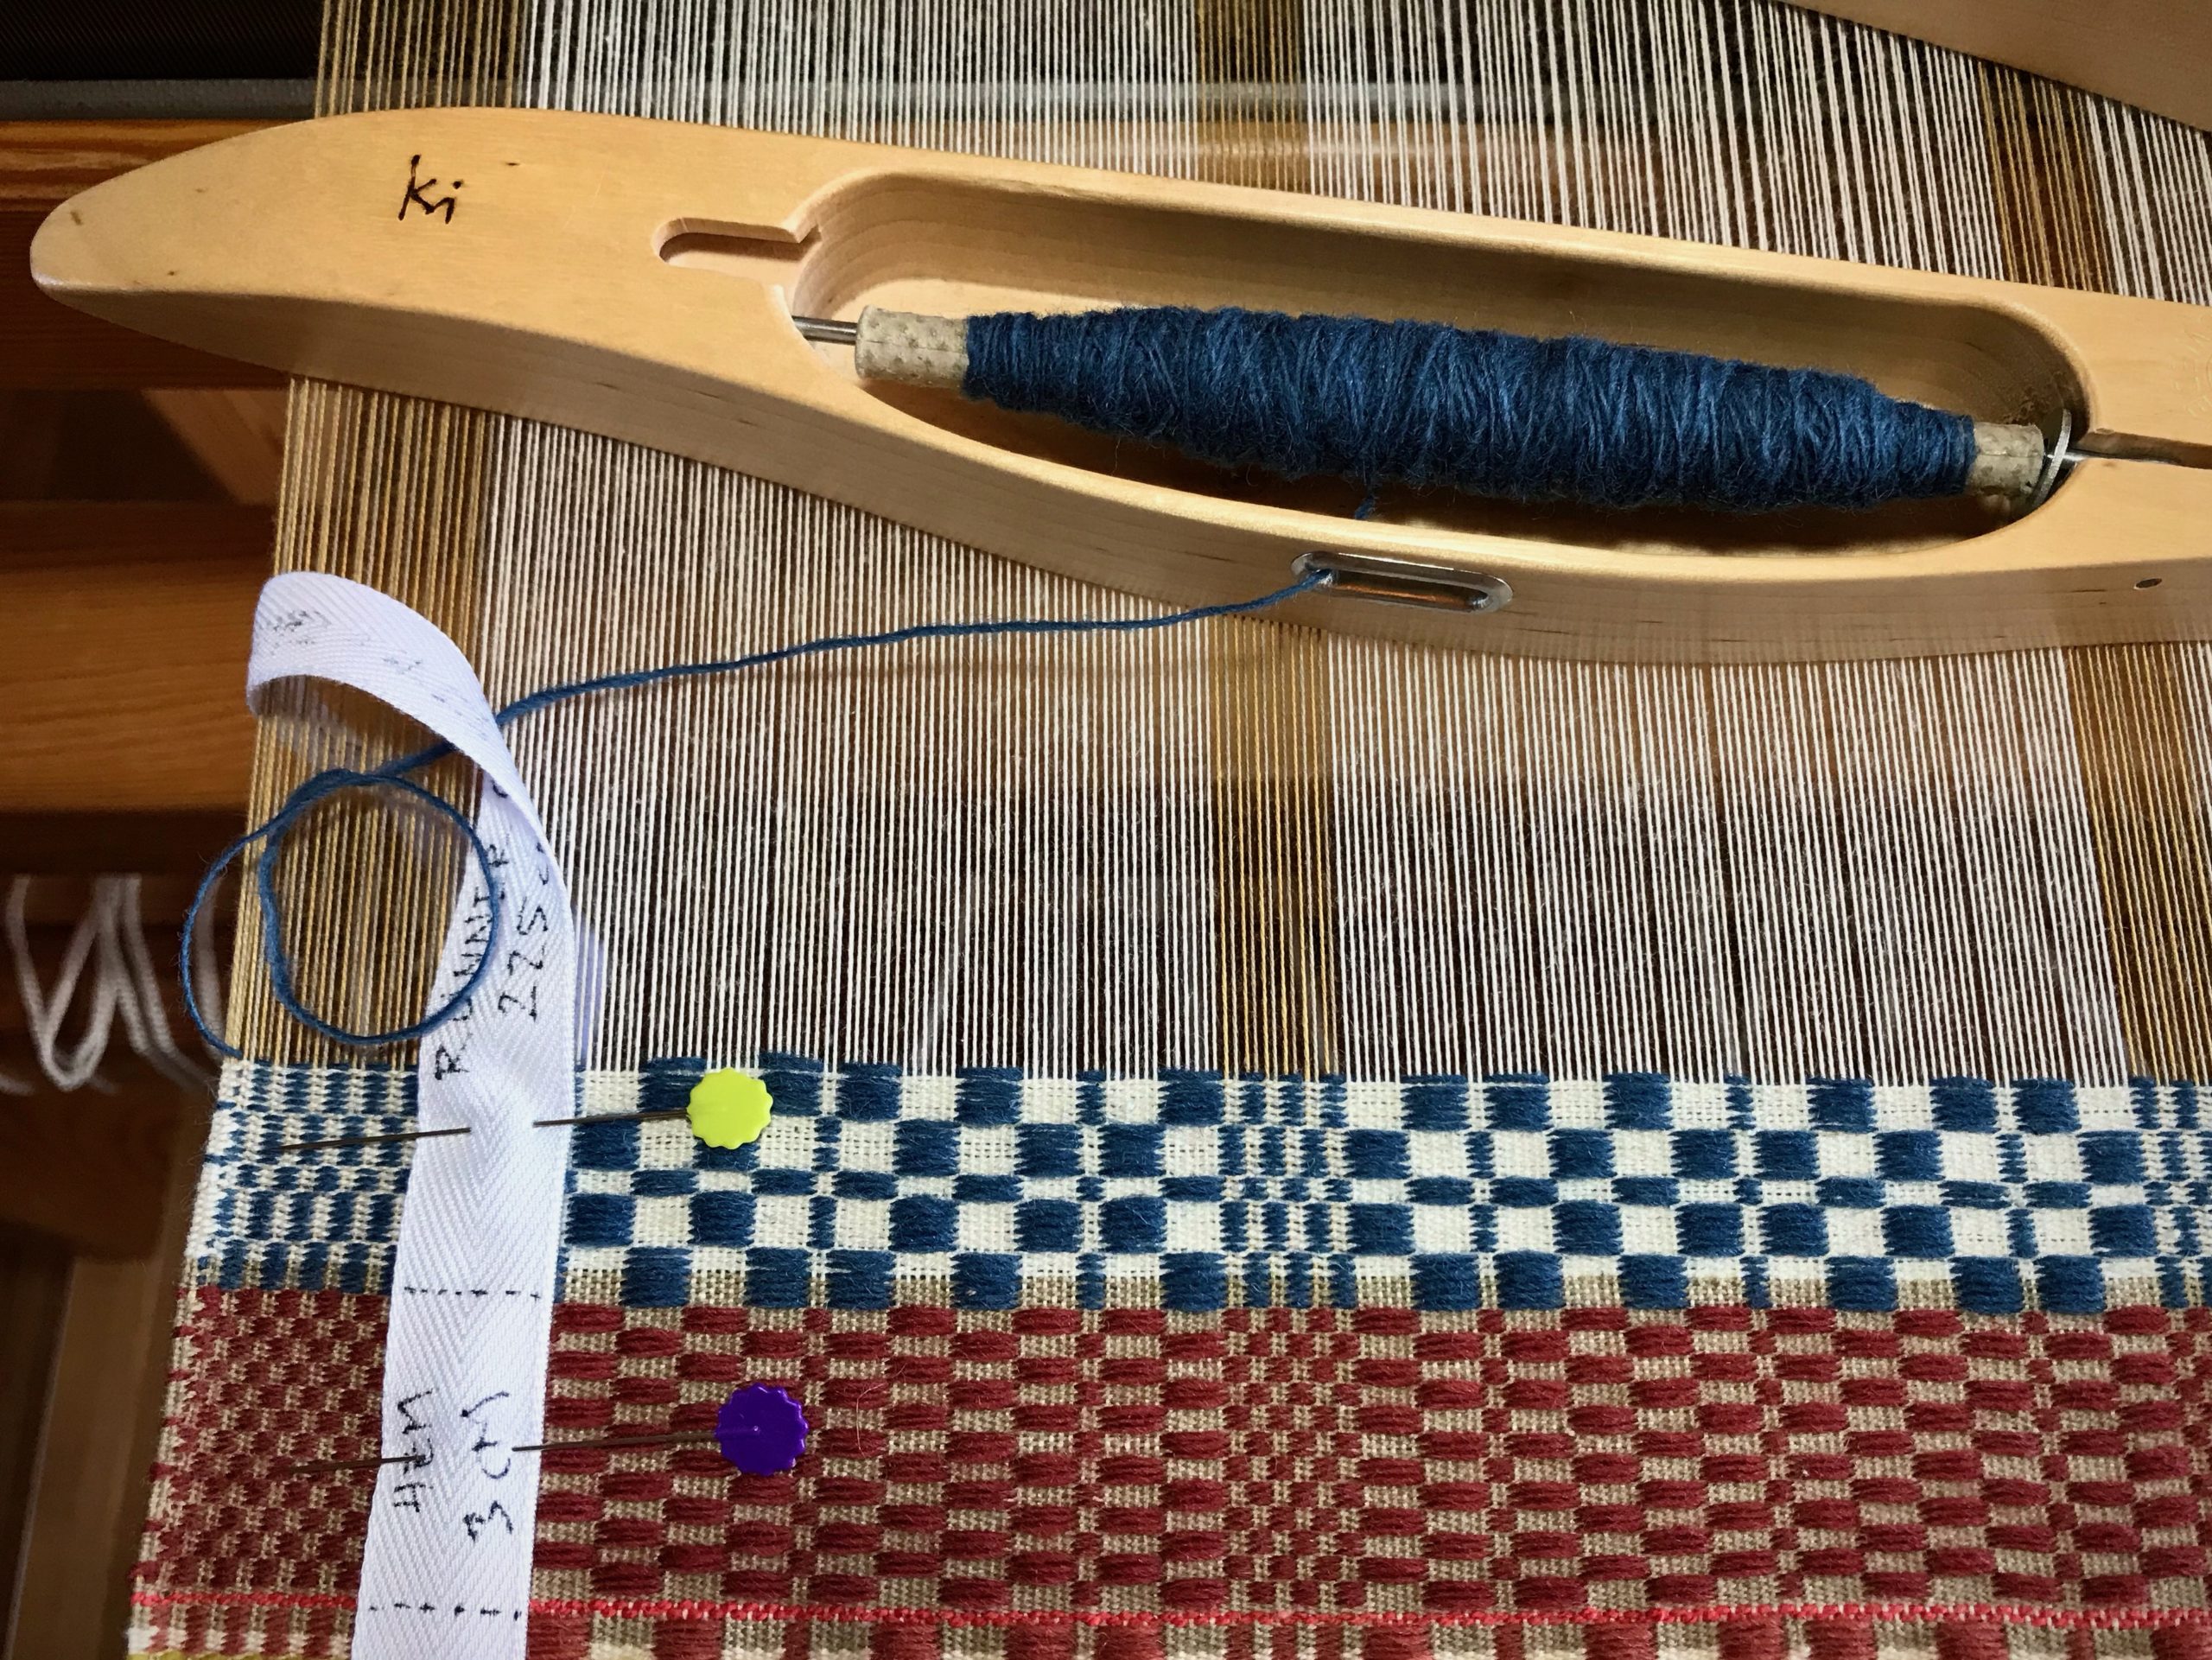
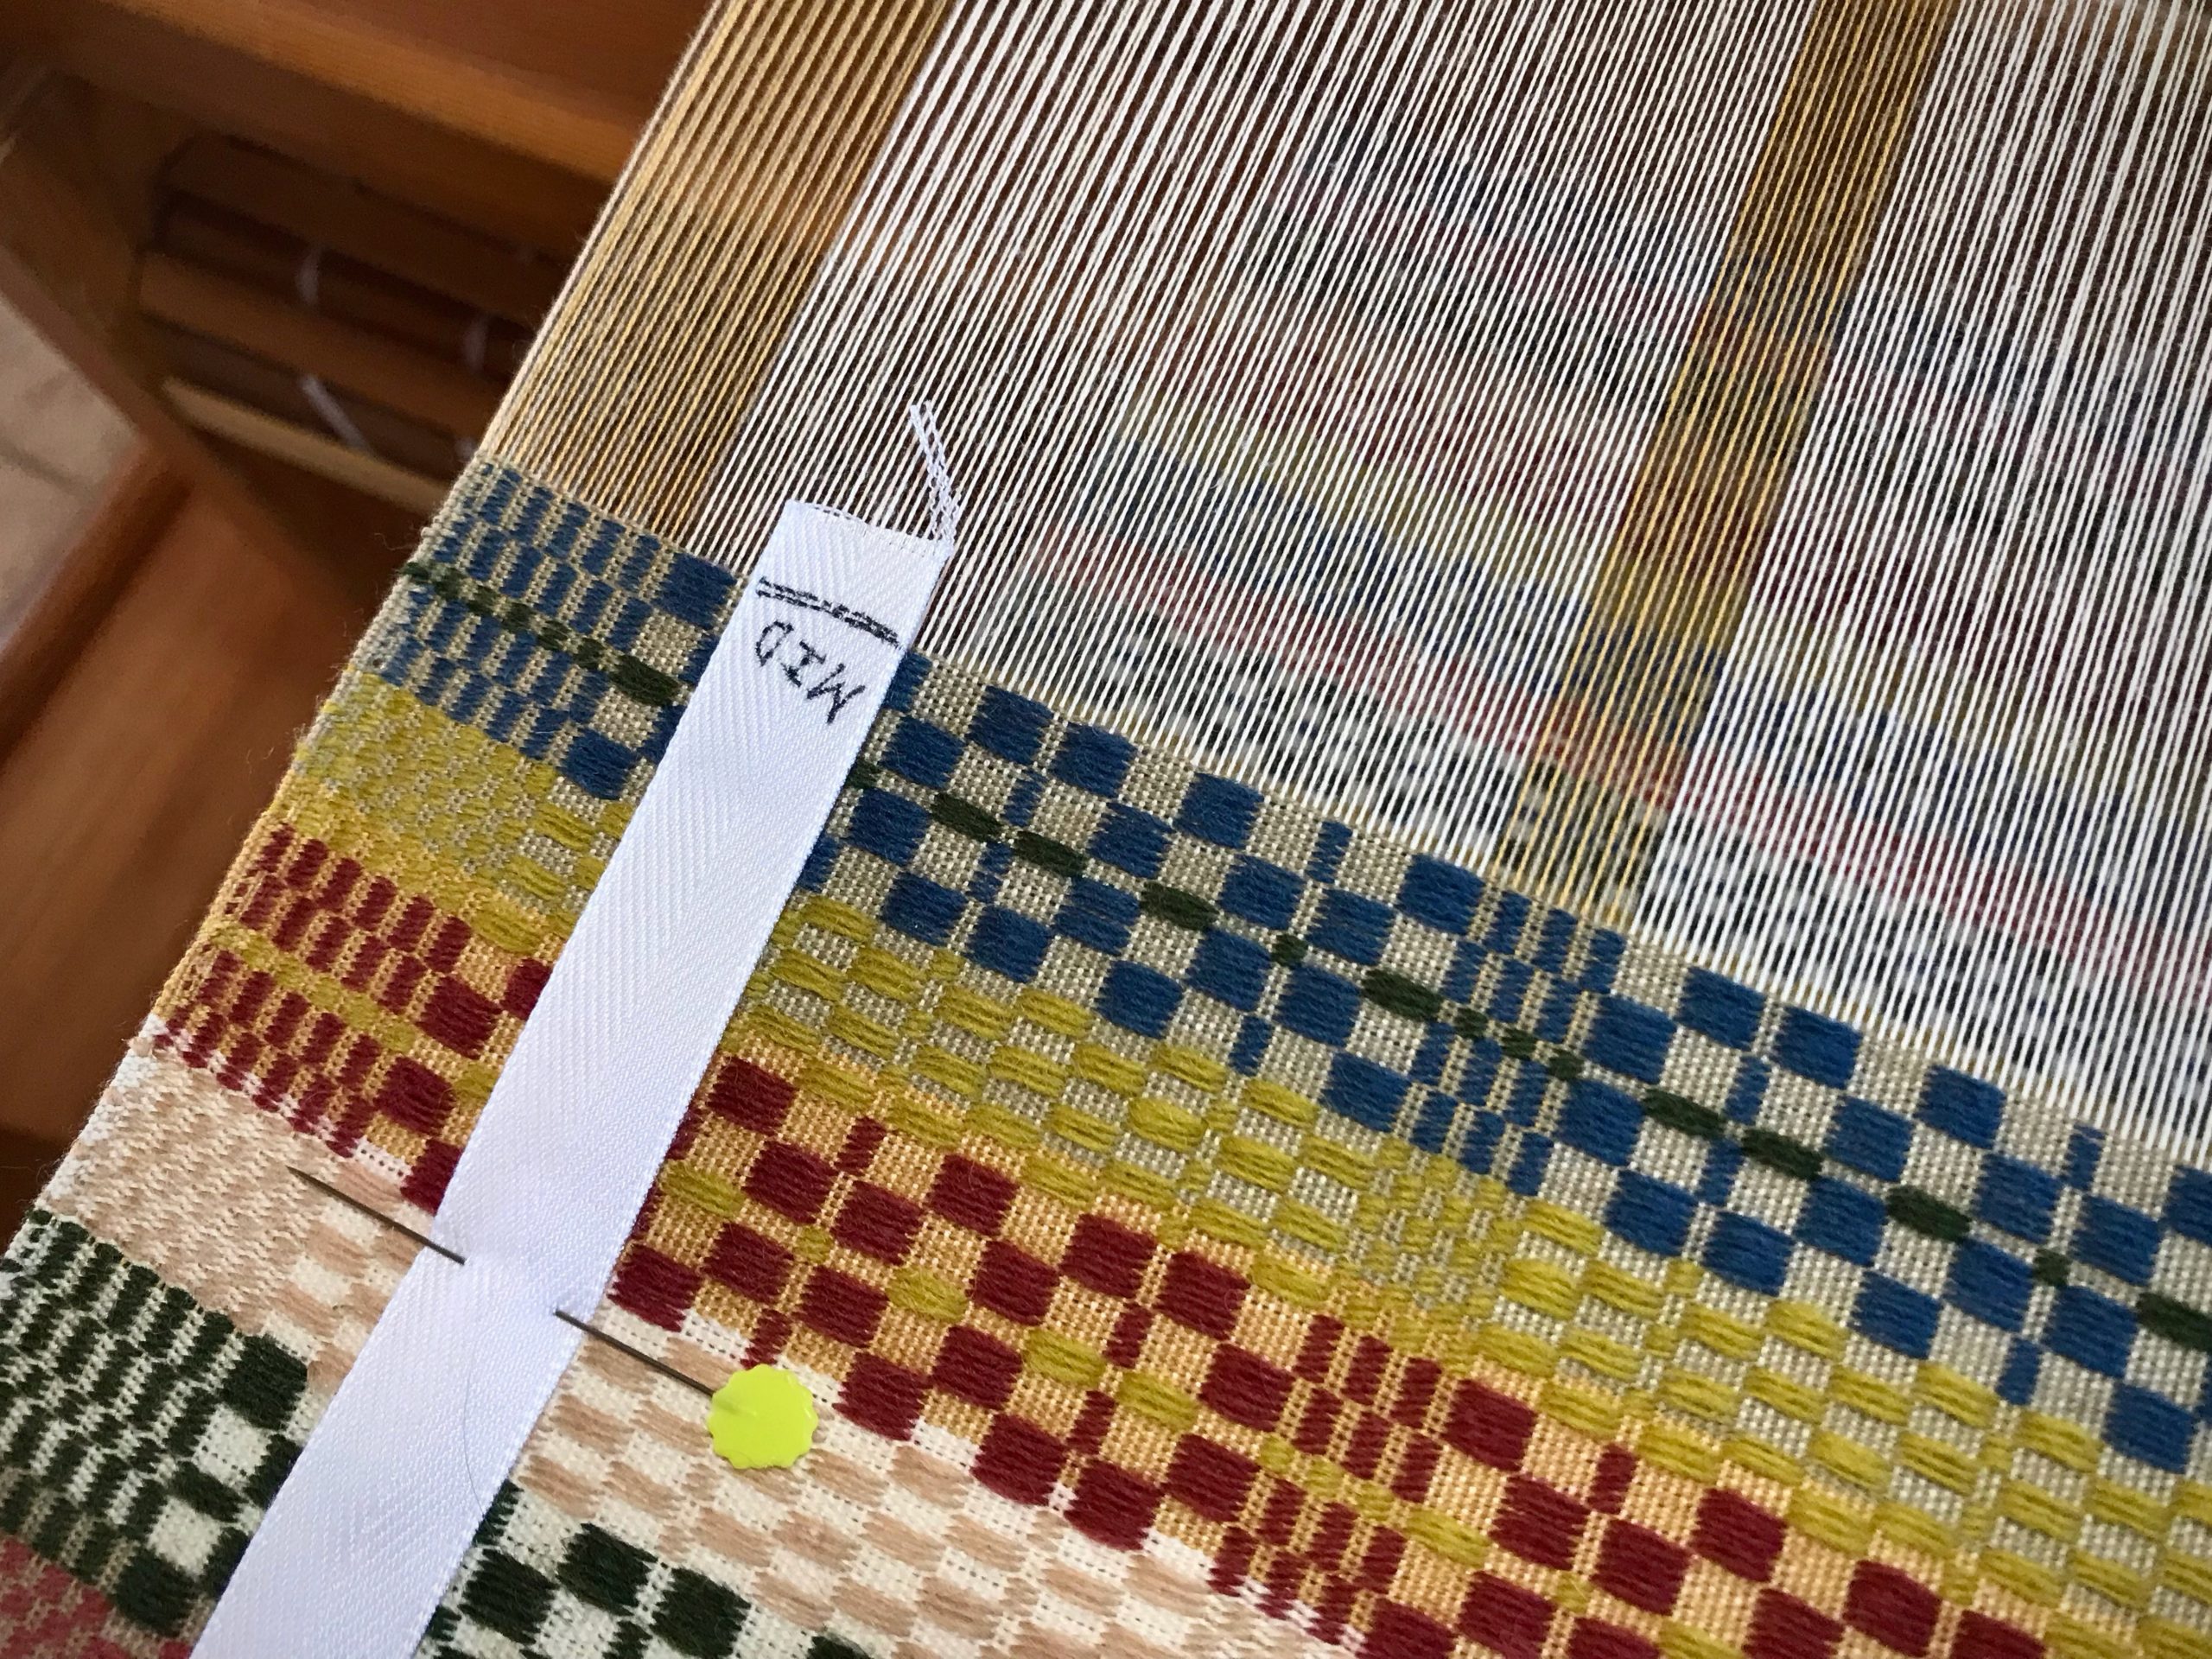
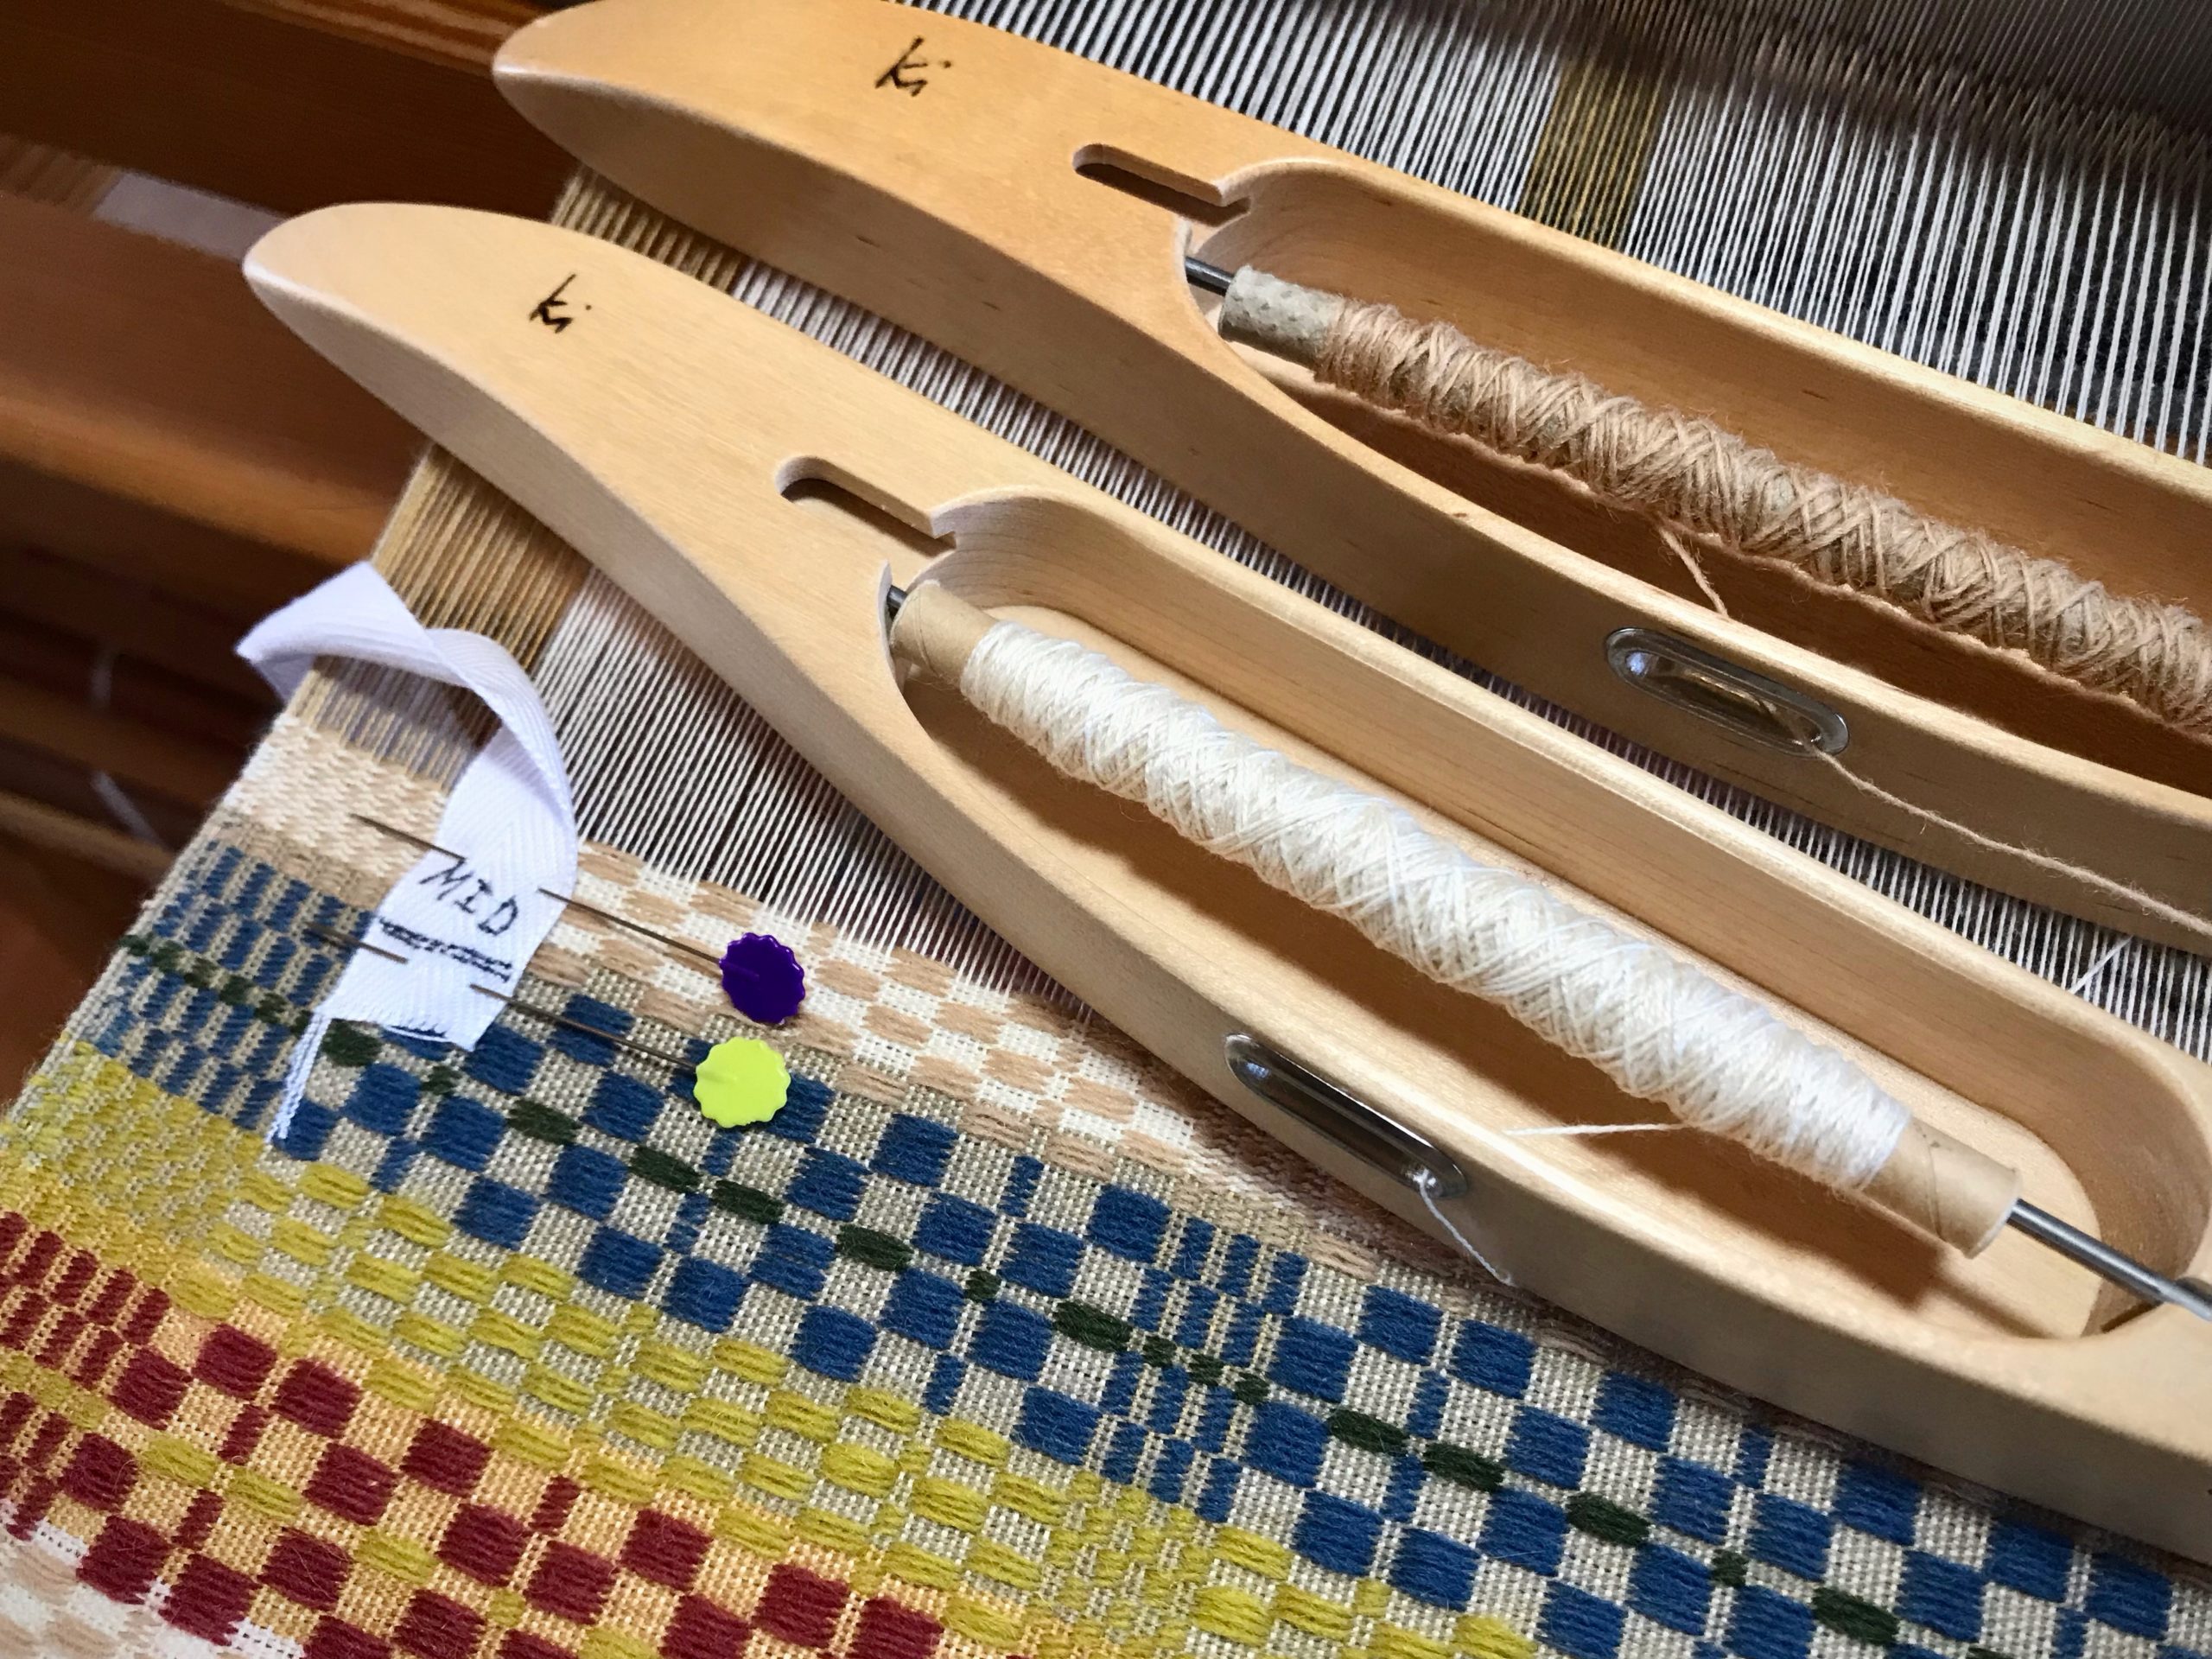
Find the middle of the tape. Draw a line and write “MID”.
Place the first line of the measurement tape directly over the beginning picks of the woven article.
Prepare a Half Measurement Tape
Do the same as for a full-length measurement tape, except divide the total length measurement in half. Draw a line on the tape at the halfway point. Write “MID” before the line.
Cut the tape about 2 cm after the MID line.
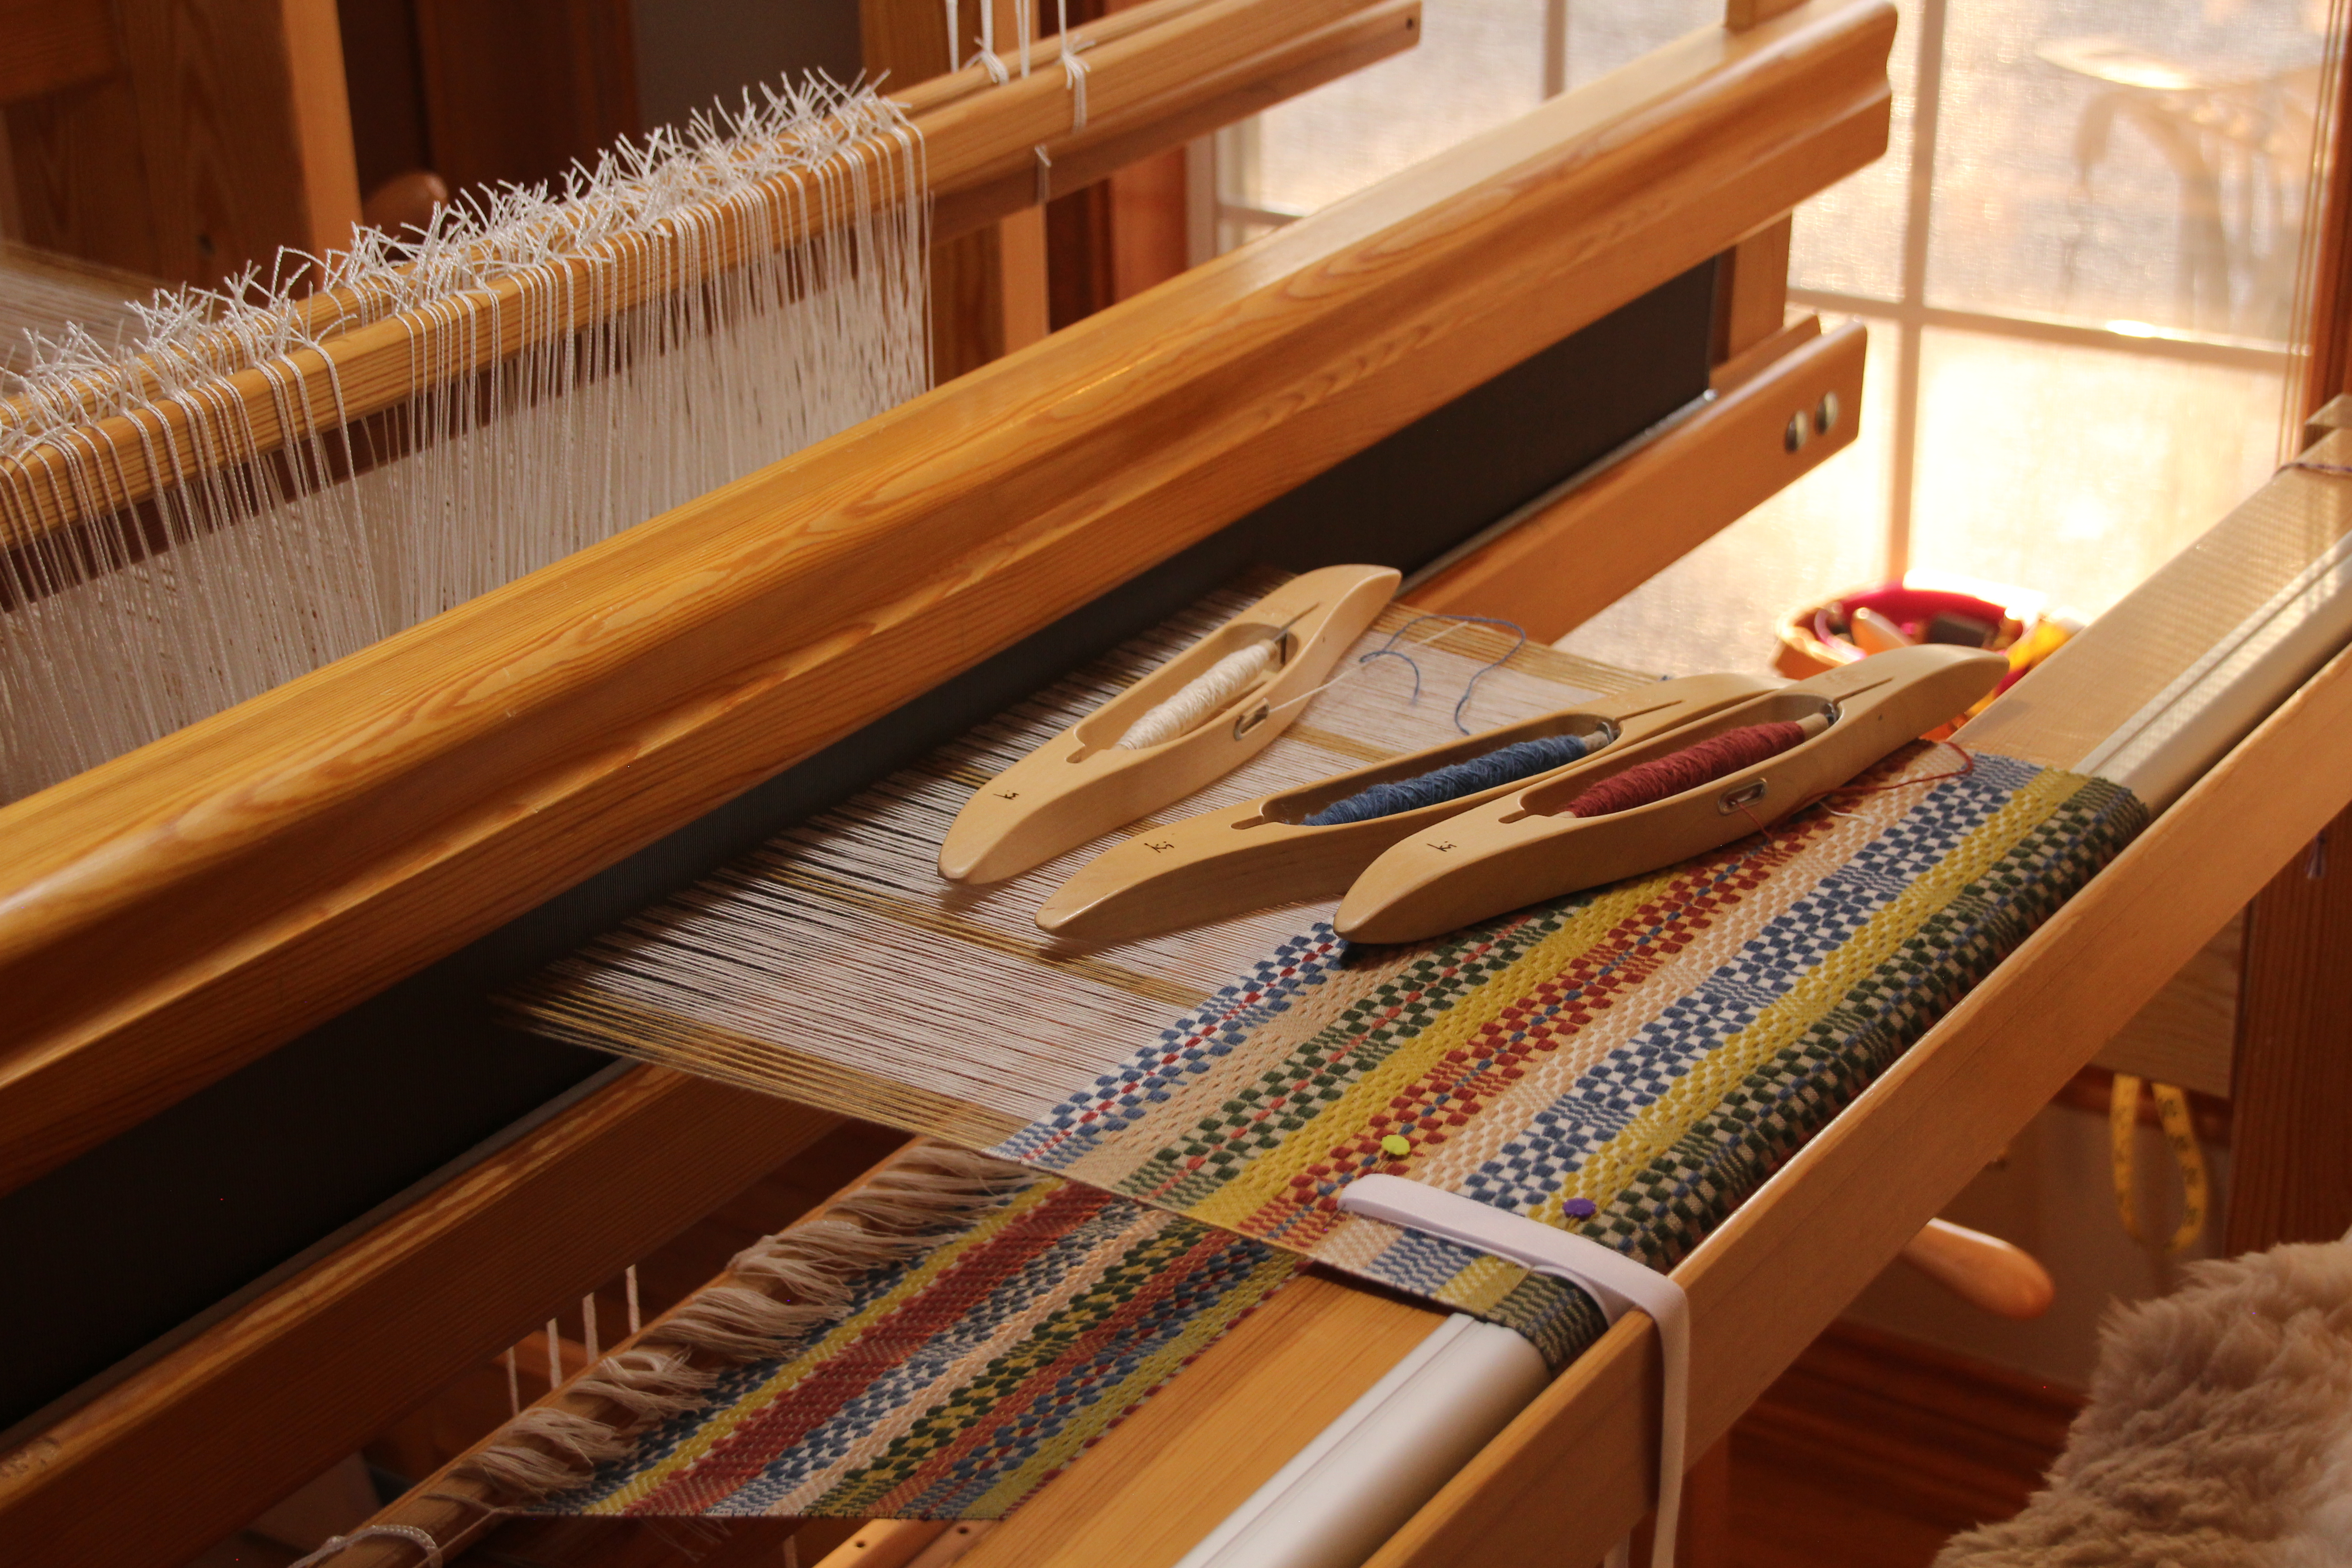
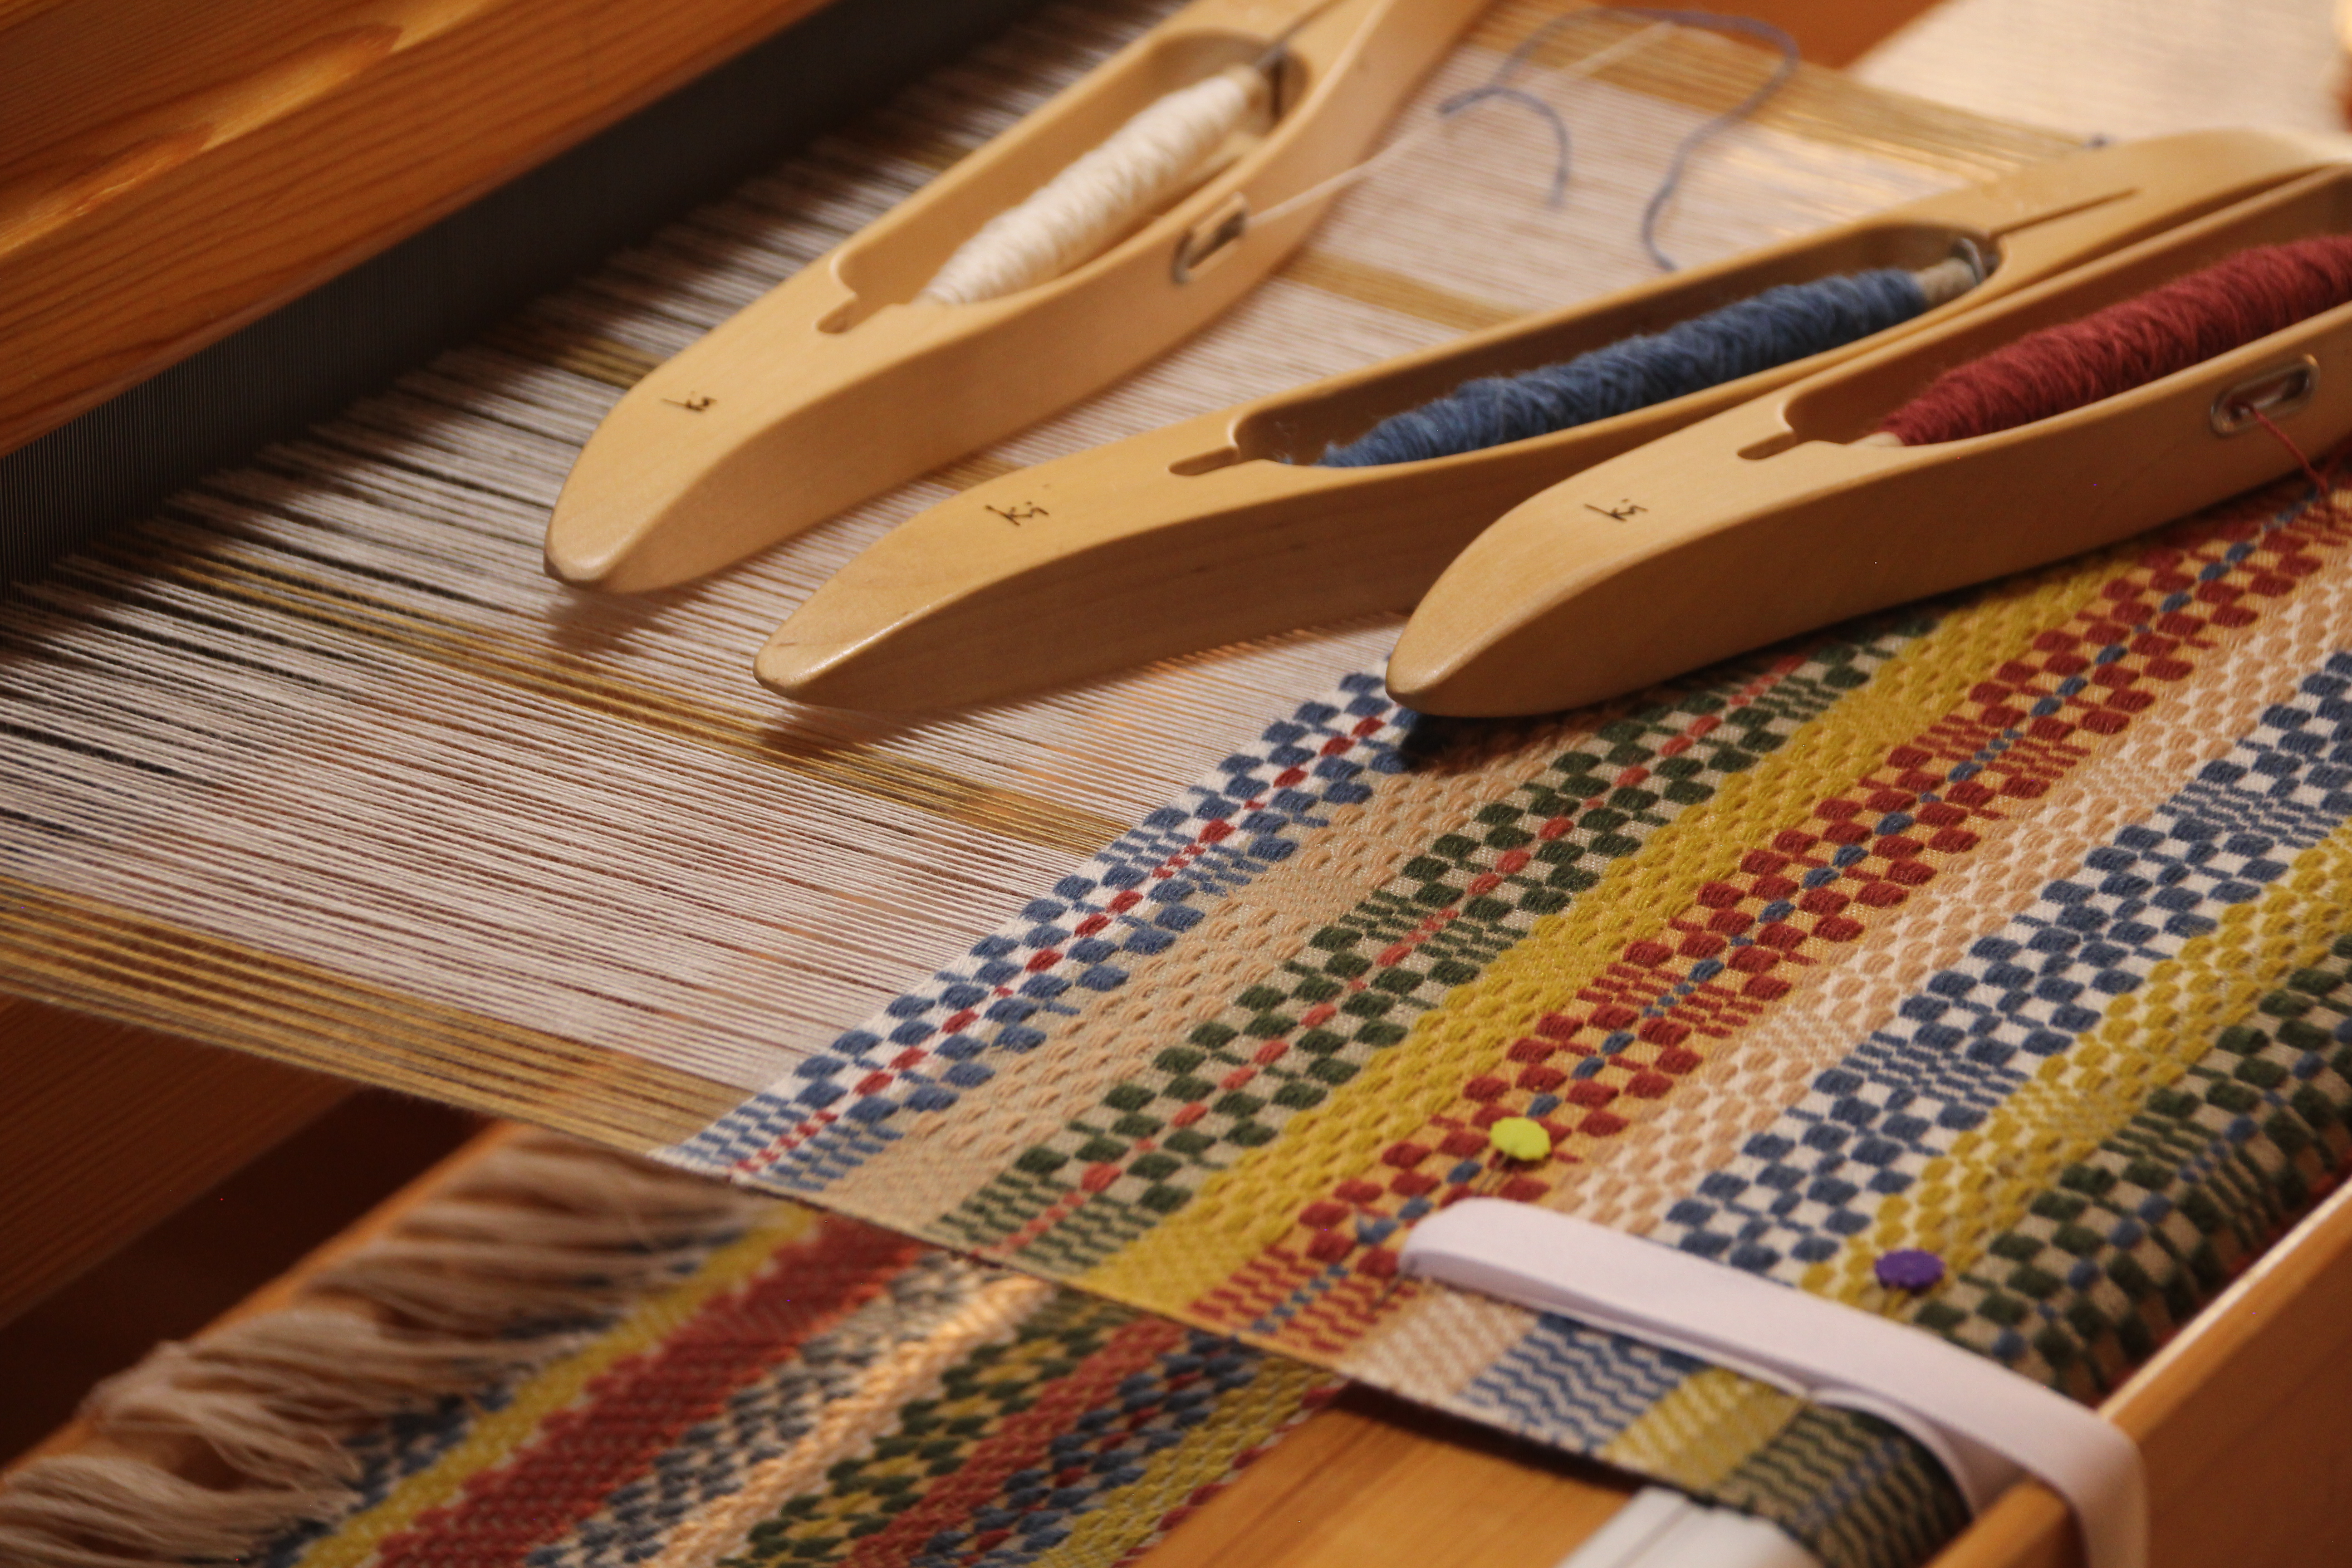
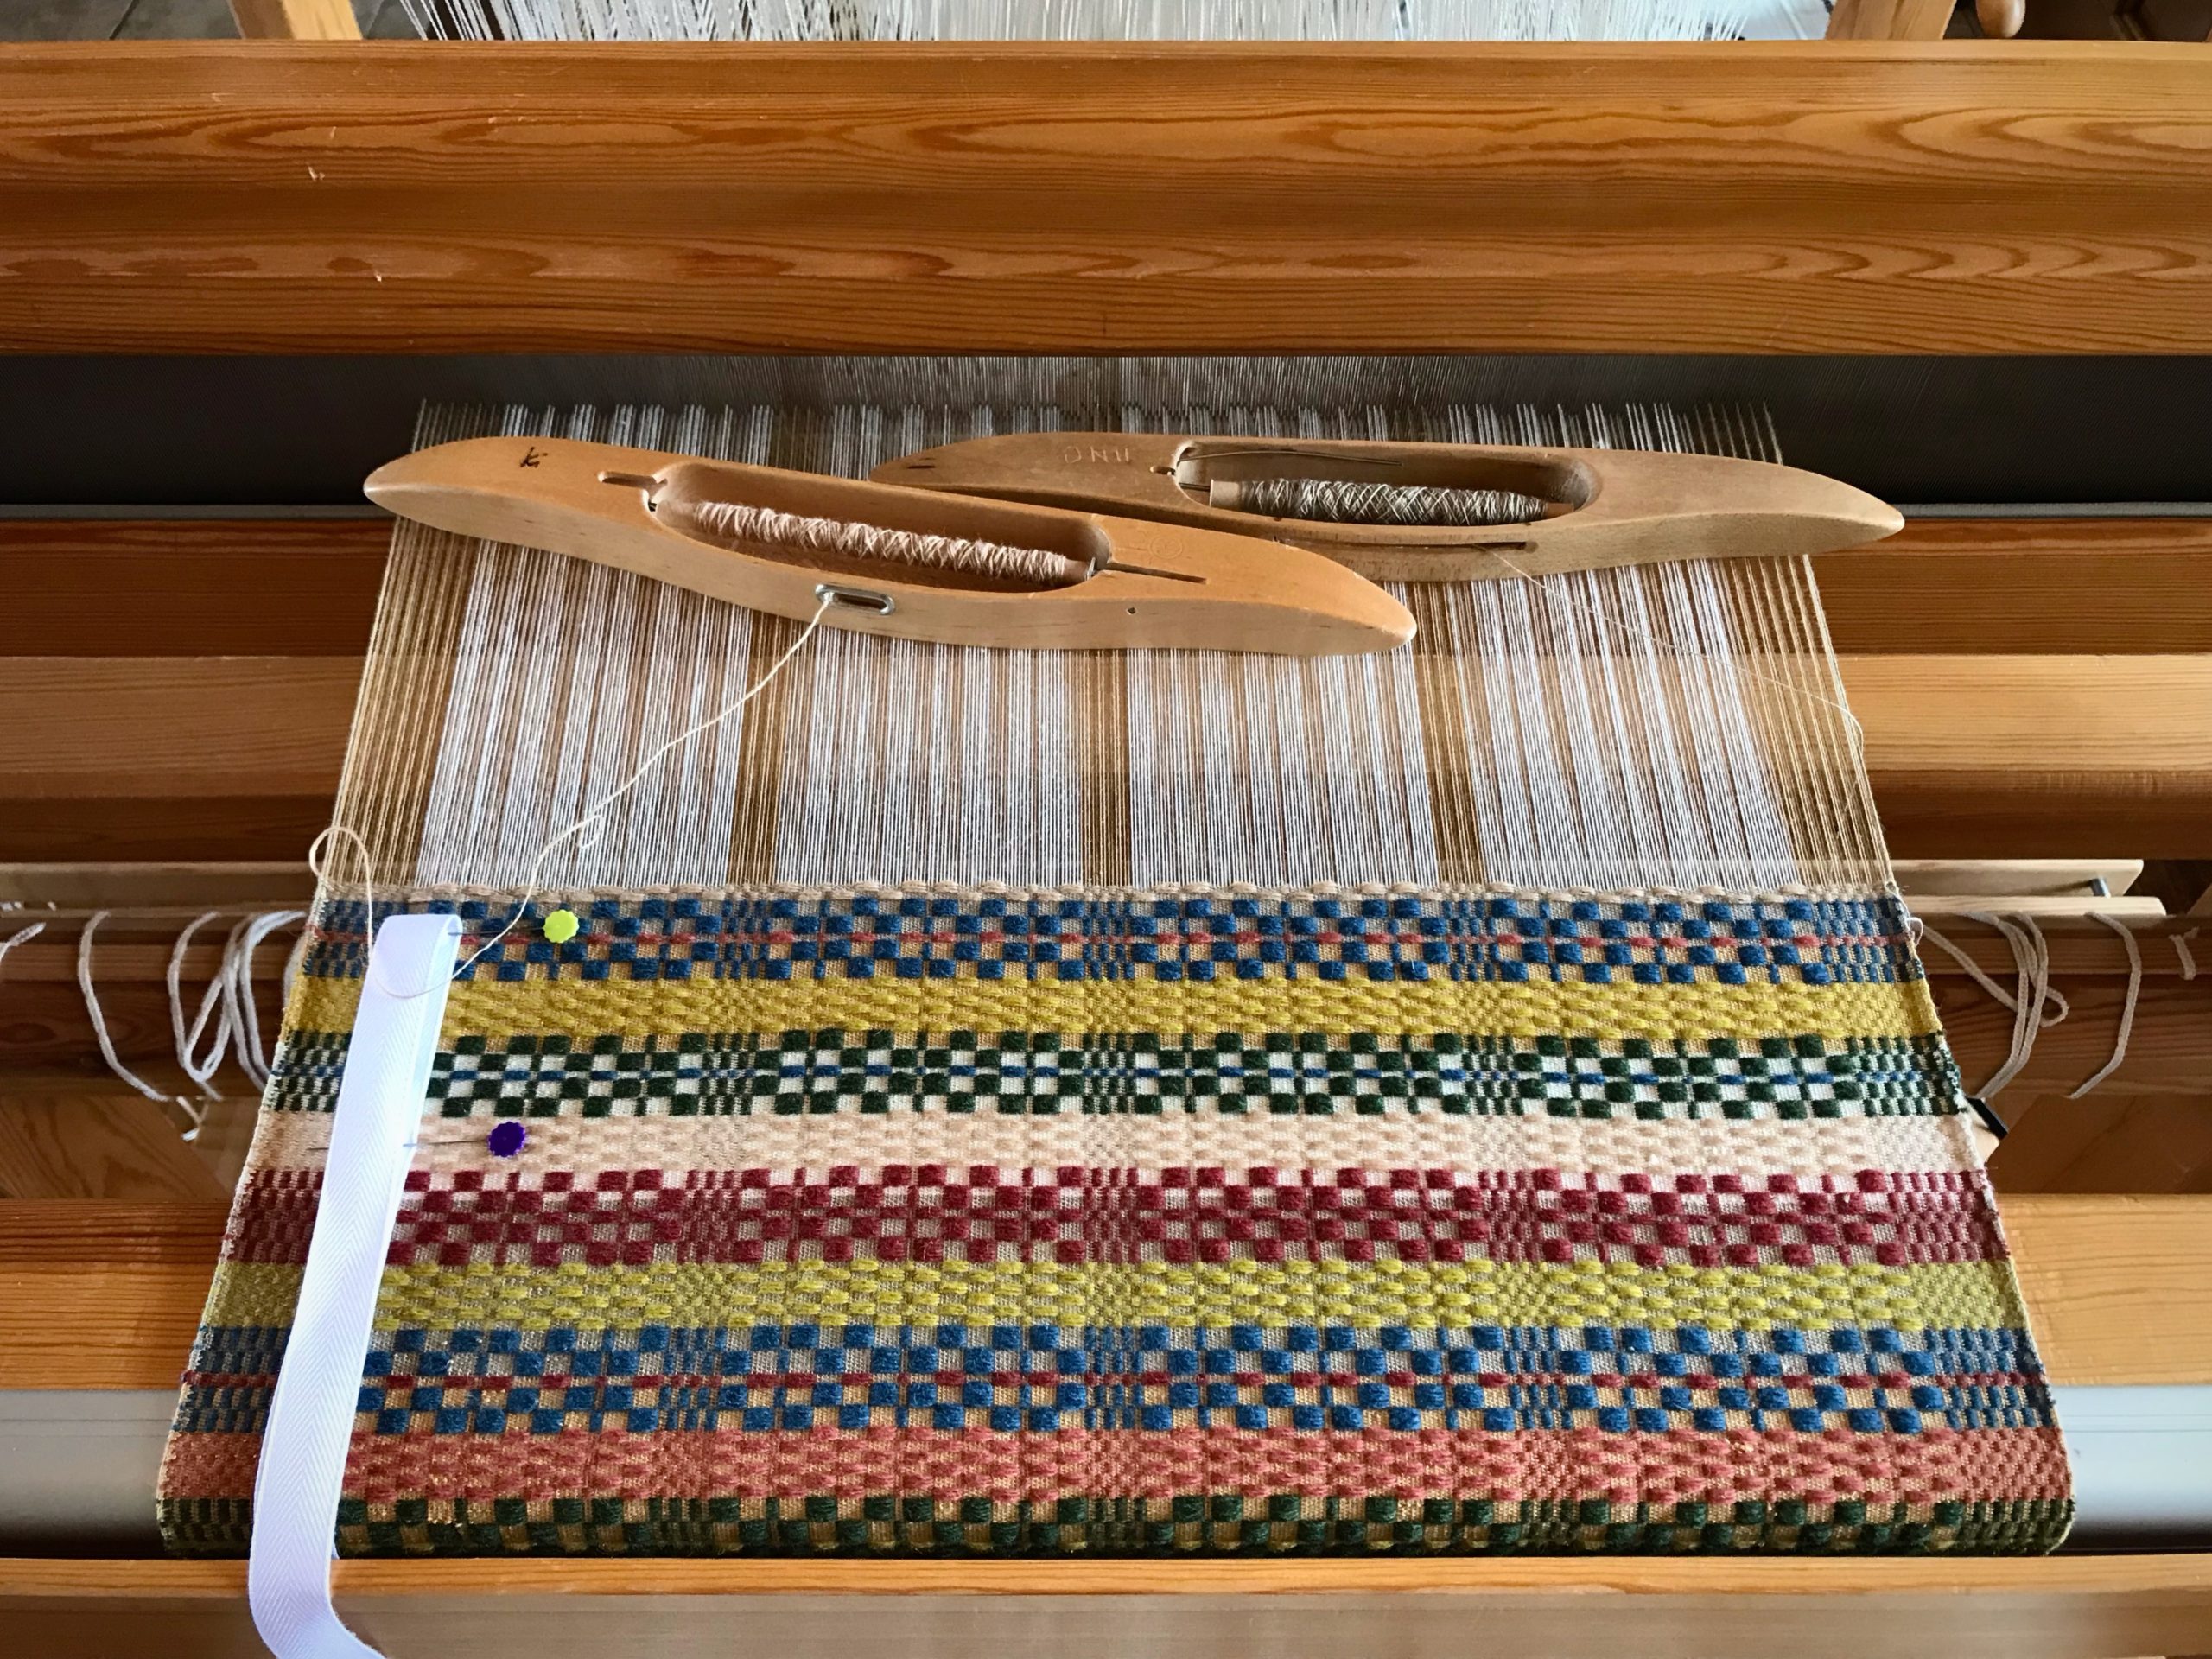
Weave and Measure (Always with the warp under tension)
Use two straight pins to pin the measurement tape to the weaving near one selvedge. Place the beginning line of the tape directly over the beginning of the woven article.
As weaving progresses, remove the pin closest to the breast beam. Leapfrog over the remaining pin. Reinsert the removed pin through the tape near the fell line.
Move one pin at a time. I usually move the pin right before I advance the warp.
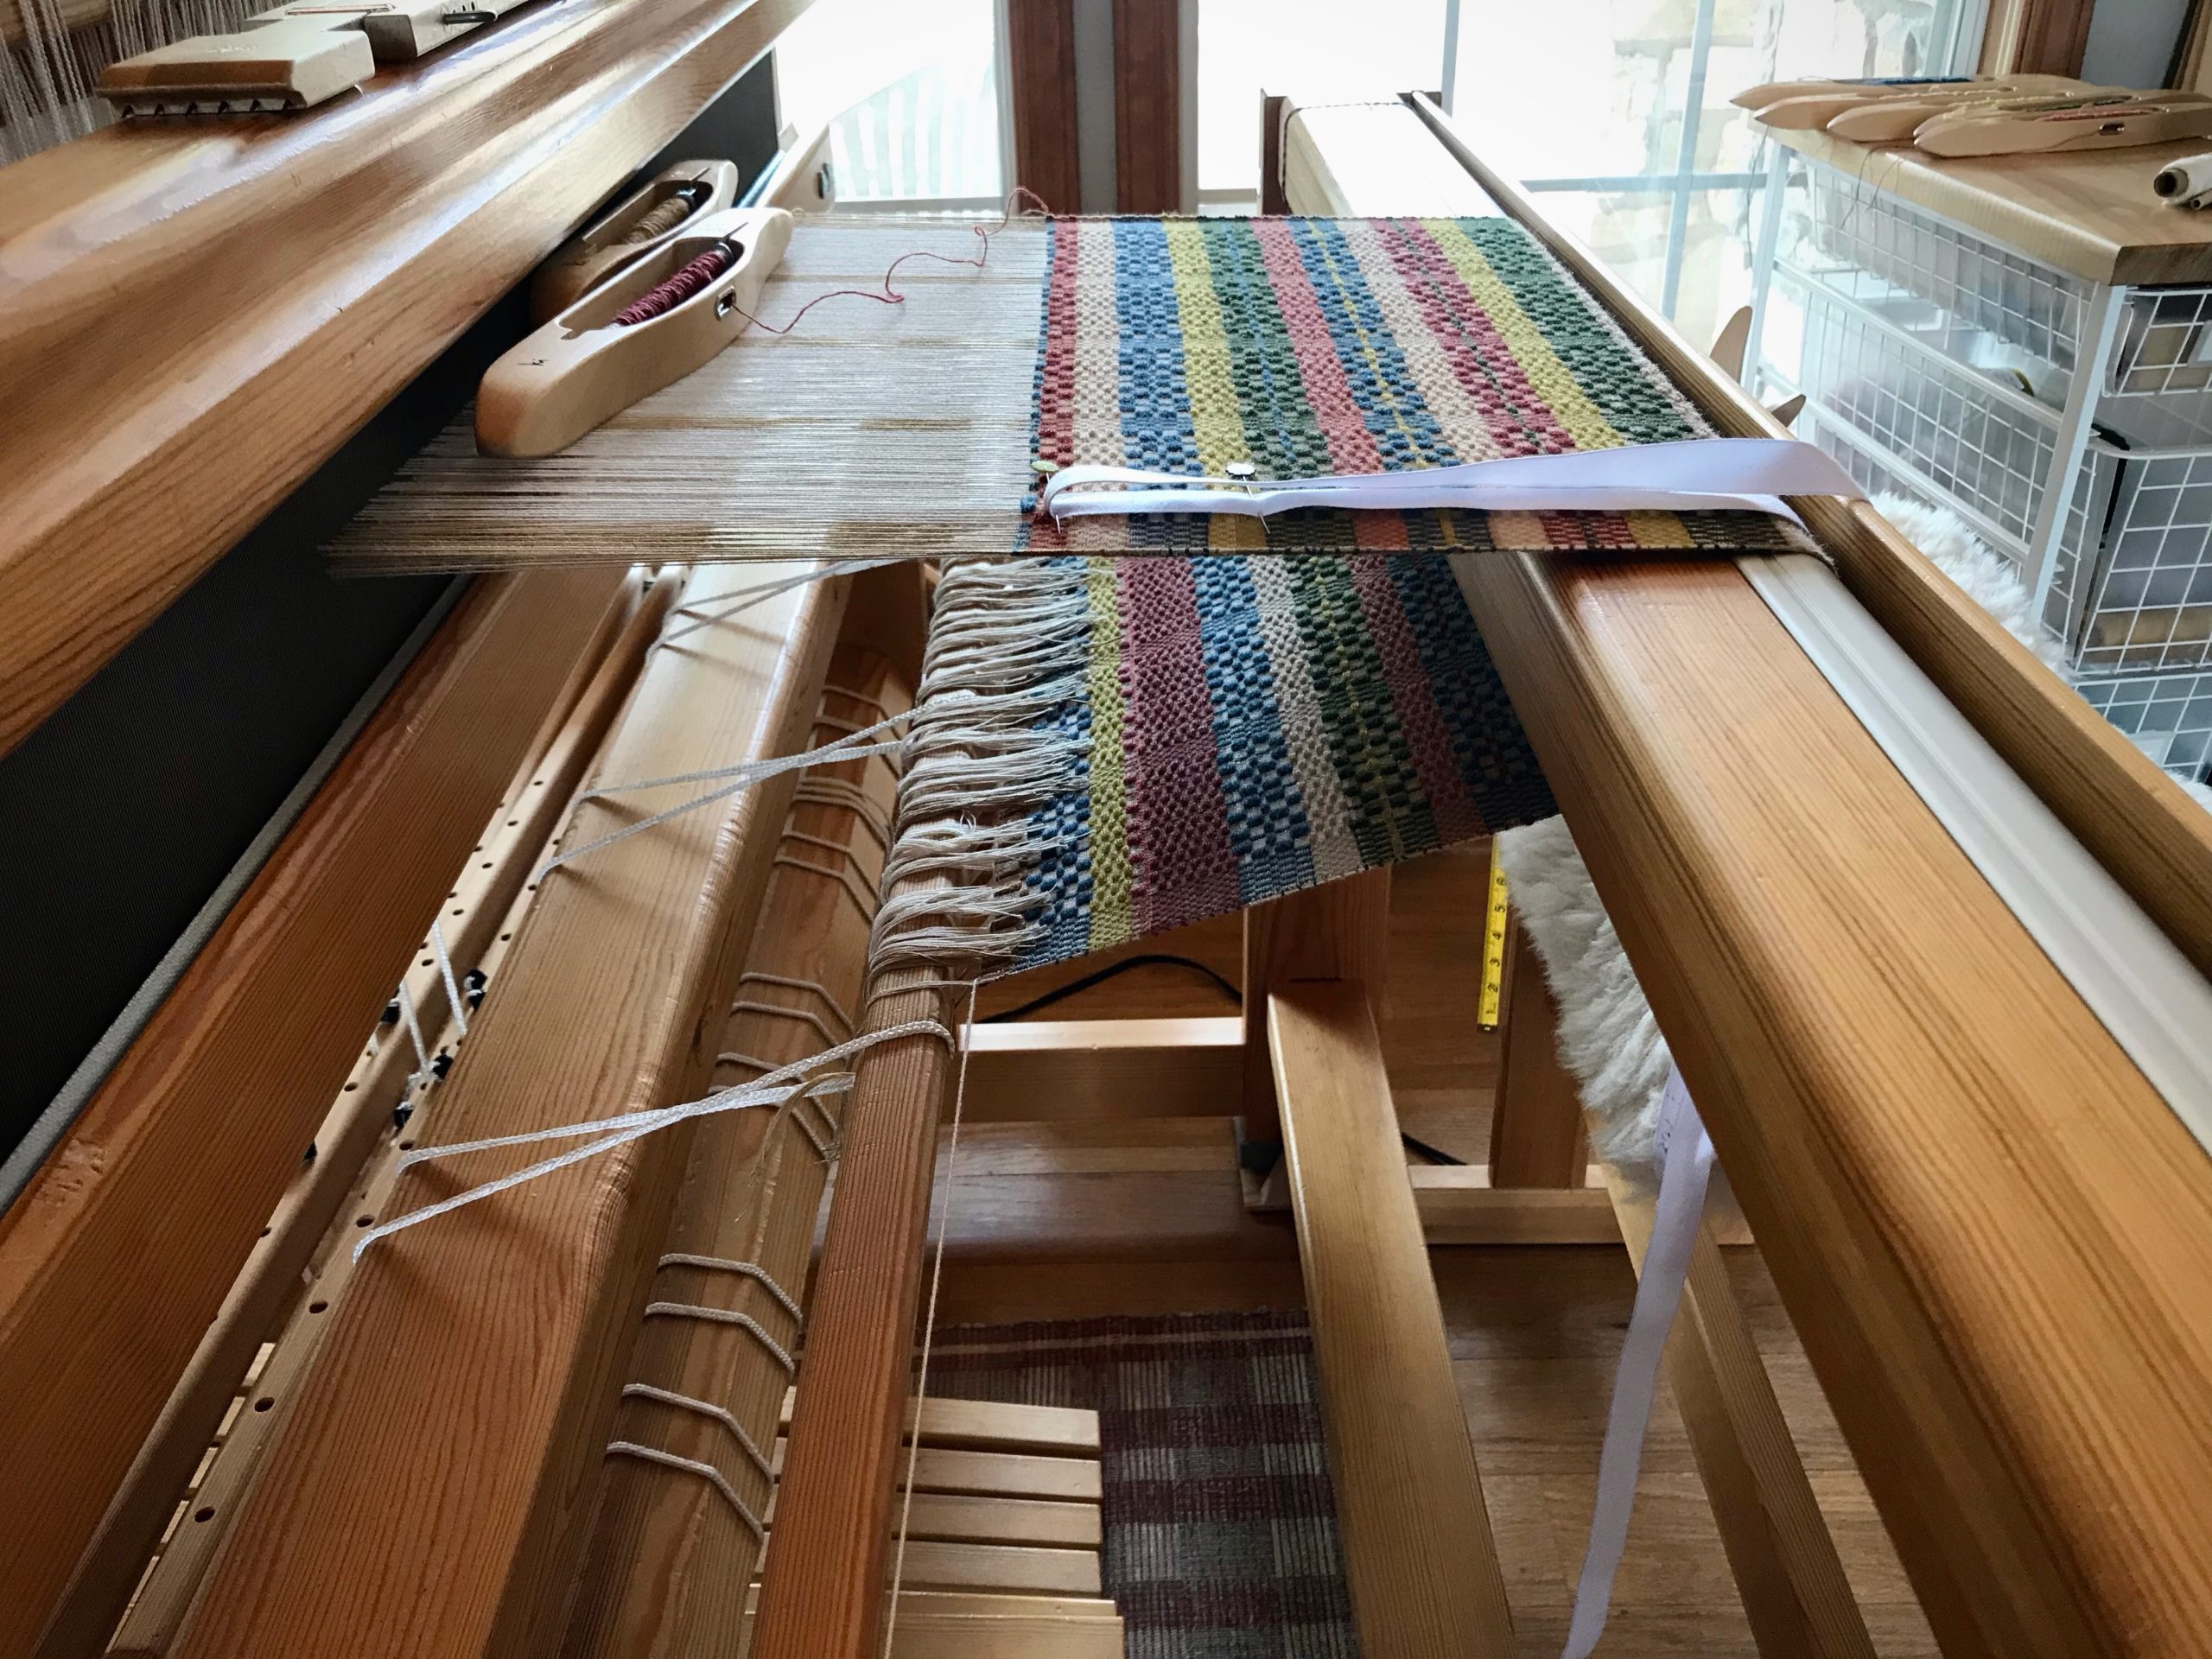
If using a half measurement tape, weave past the MID line. Mark the spot with a pin. Remove the measurement tape. Turn the tape and pin into place to weave the second half.
When you reach the MID line on a half measurement tape, keep the measurement tape in place until you have woven a few more centimeters.Place one pin through the cloth, pointing to the MID line. Then, it’s safe to remove the measurement tape and turn it around. Go your merry way, weaving the second half of the Monksbelt runner, or whatever you have on your loom.
Here’s a demonstration of making and using a measurement tape:
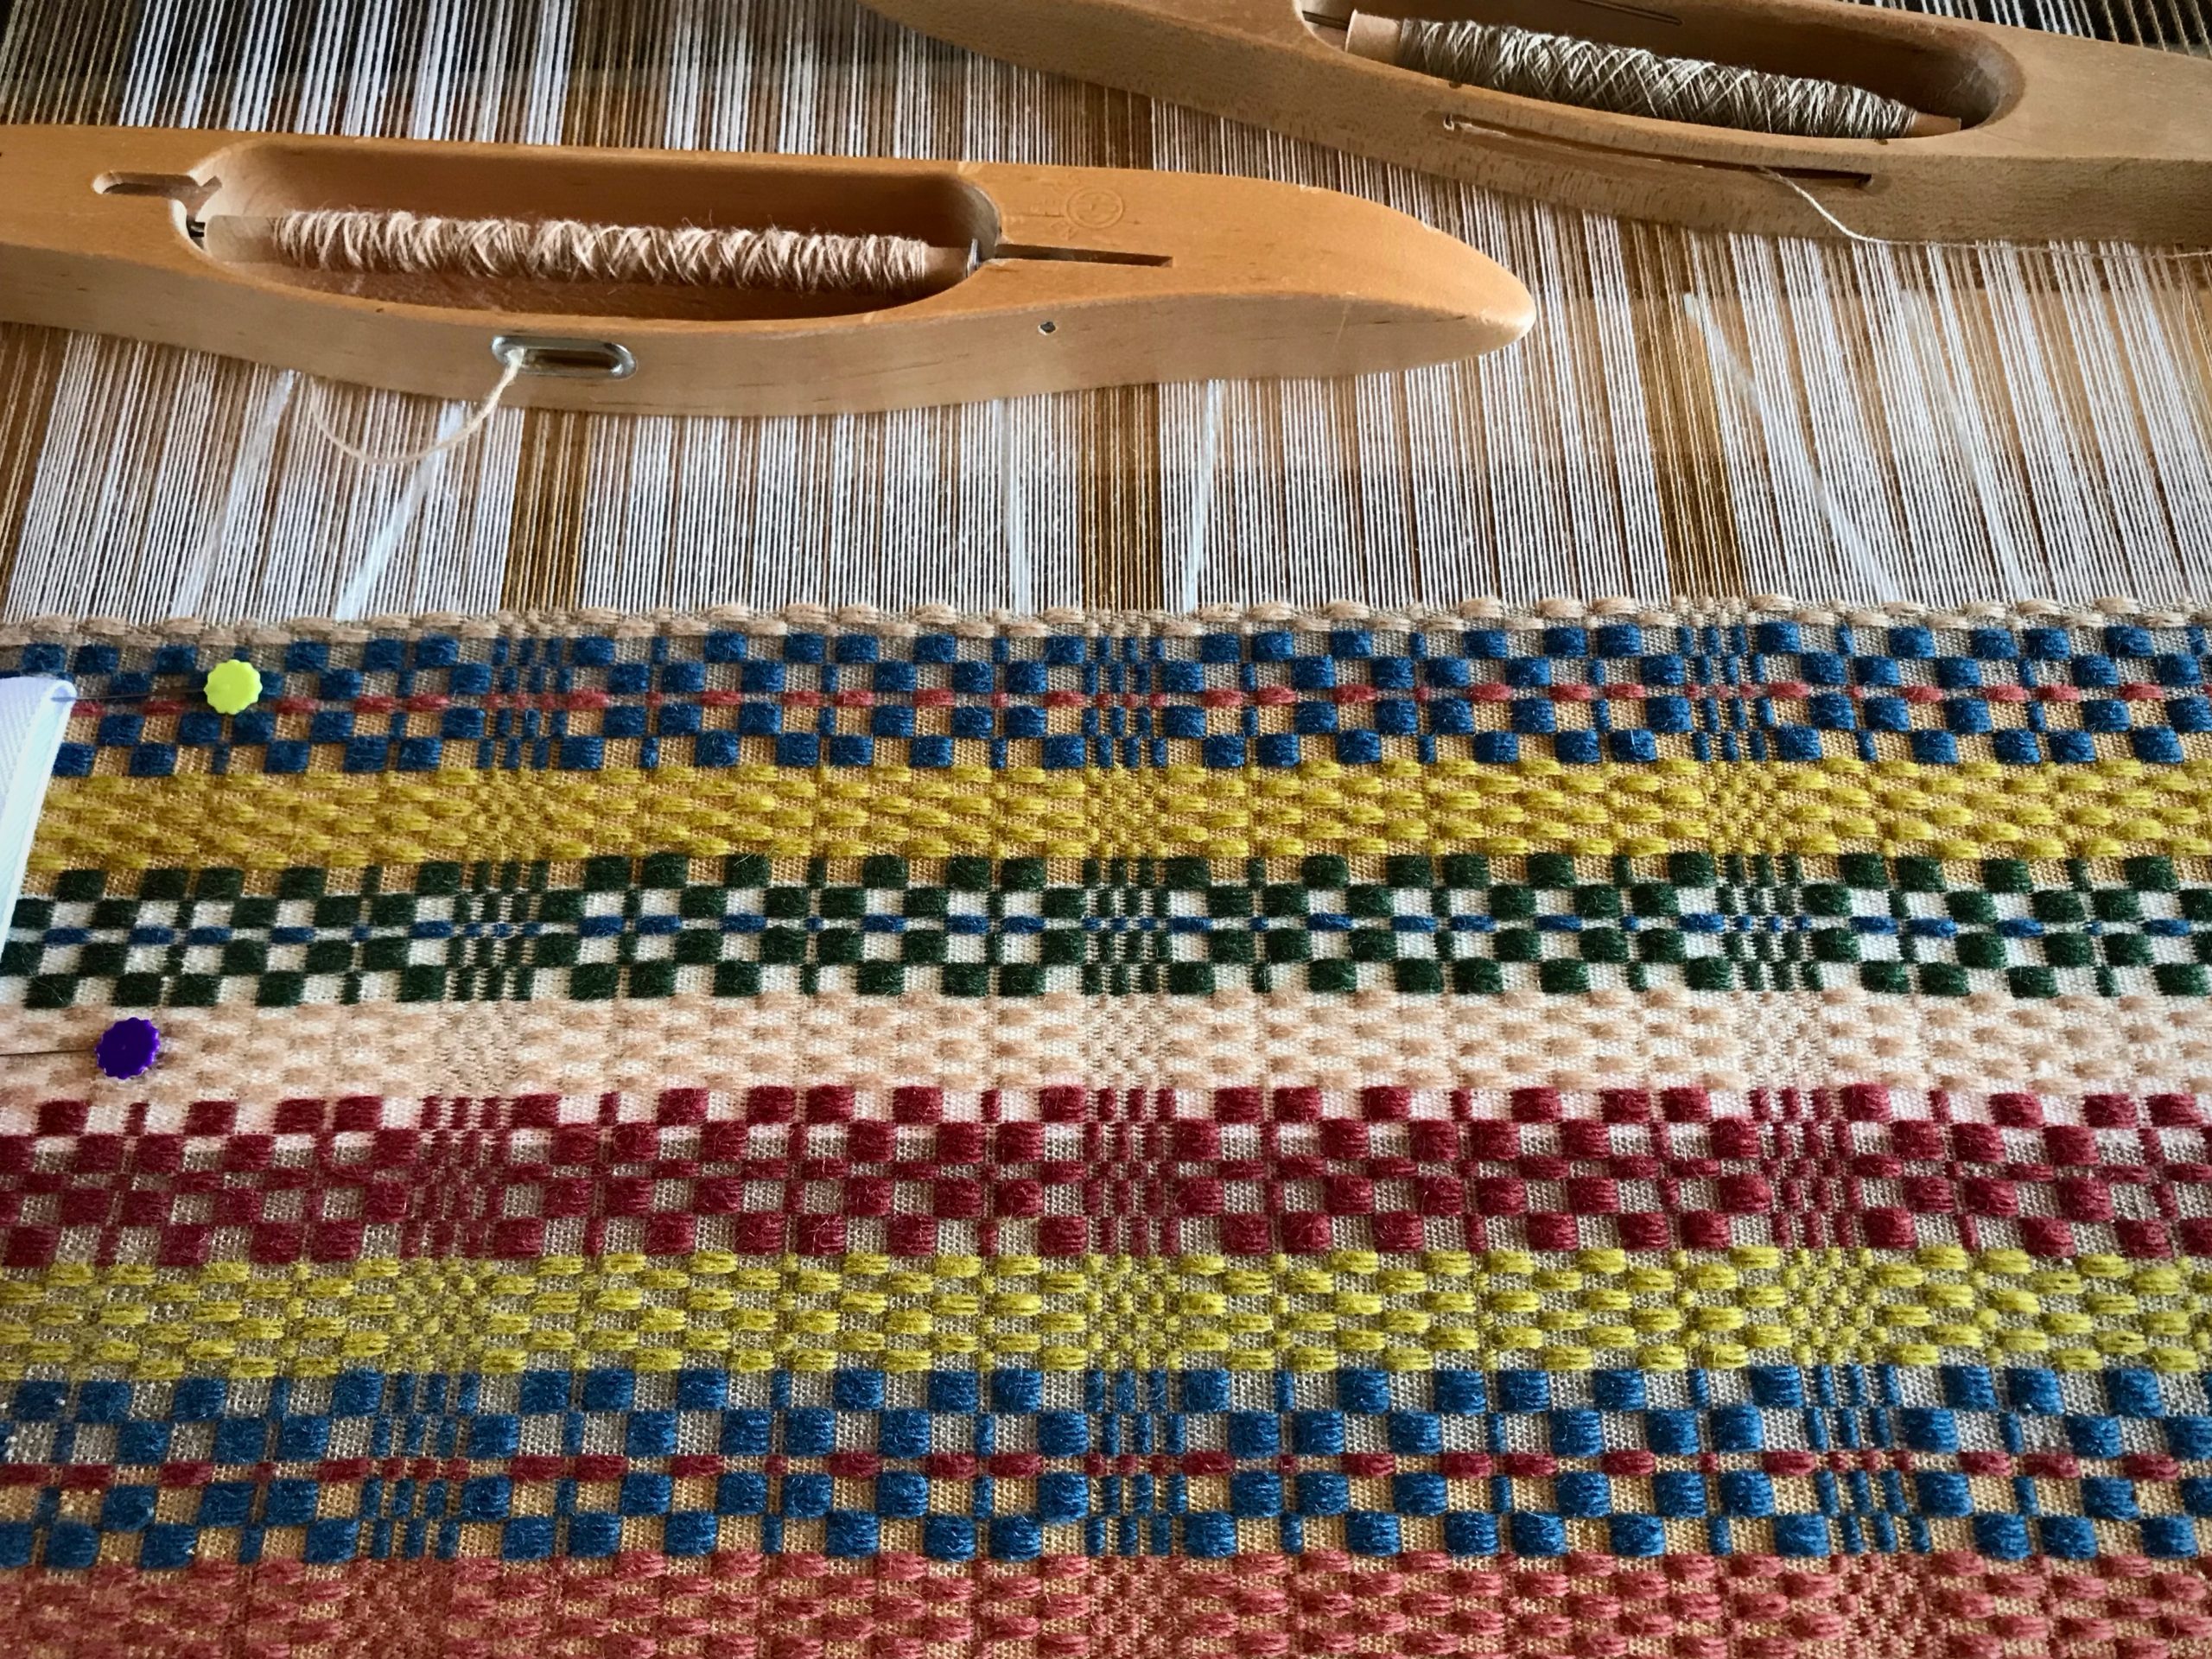
Some of the monksbelt flowers have a different color for the three center picks. The new color is only temporary, so I simply carry the first weft color up the side for that short distance.
Monksbelt with six colors of 6/1 Fårö pattern weft and three colors of 16/2 cotton ground weft.
More than one shuttle doesn’t necessarily mean more difficult. Everything runs a little smoother when there is an efficient exchange of shuttles between your hands.
Monksbelt flower garden.
How to Handle the Exchange of Shuttles
For this example, the temporary weft starts from the left and goes to the right. Weave the first pick of the temporary weft, catching the shuttle with your right hand. (If the first pick of the temporary weft goes from right to left, reverse the right hand/left hand instructions, here and following.)
Transfer the shuttle with the temporary weft (active weft) to your left hand.
With your right hand pick up the shuttle that has the weft that will be carried up the side (inactive weft). Bring the shuttle all the way around the active weft and then lay the shuttle down again.
Transfer the shuttle with active weft back to your right hand and continue weaving.
Follow steps 2 – 4 until the section with temporary weft is finished.
Tuck in the tail of the temporary weft and continue weaving with the weft that has been carried up the side.
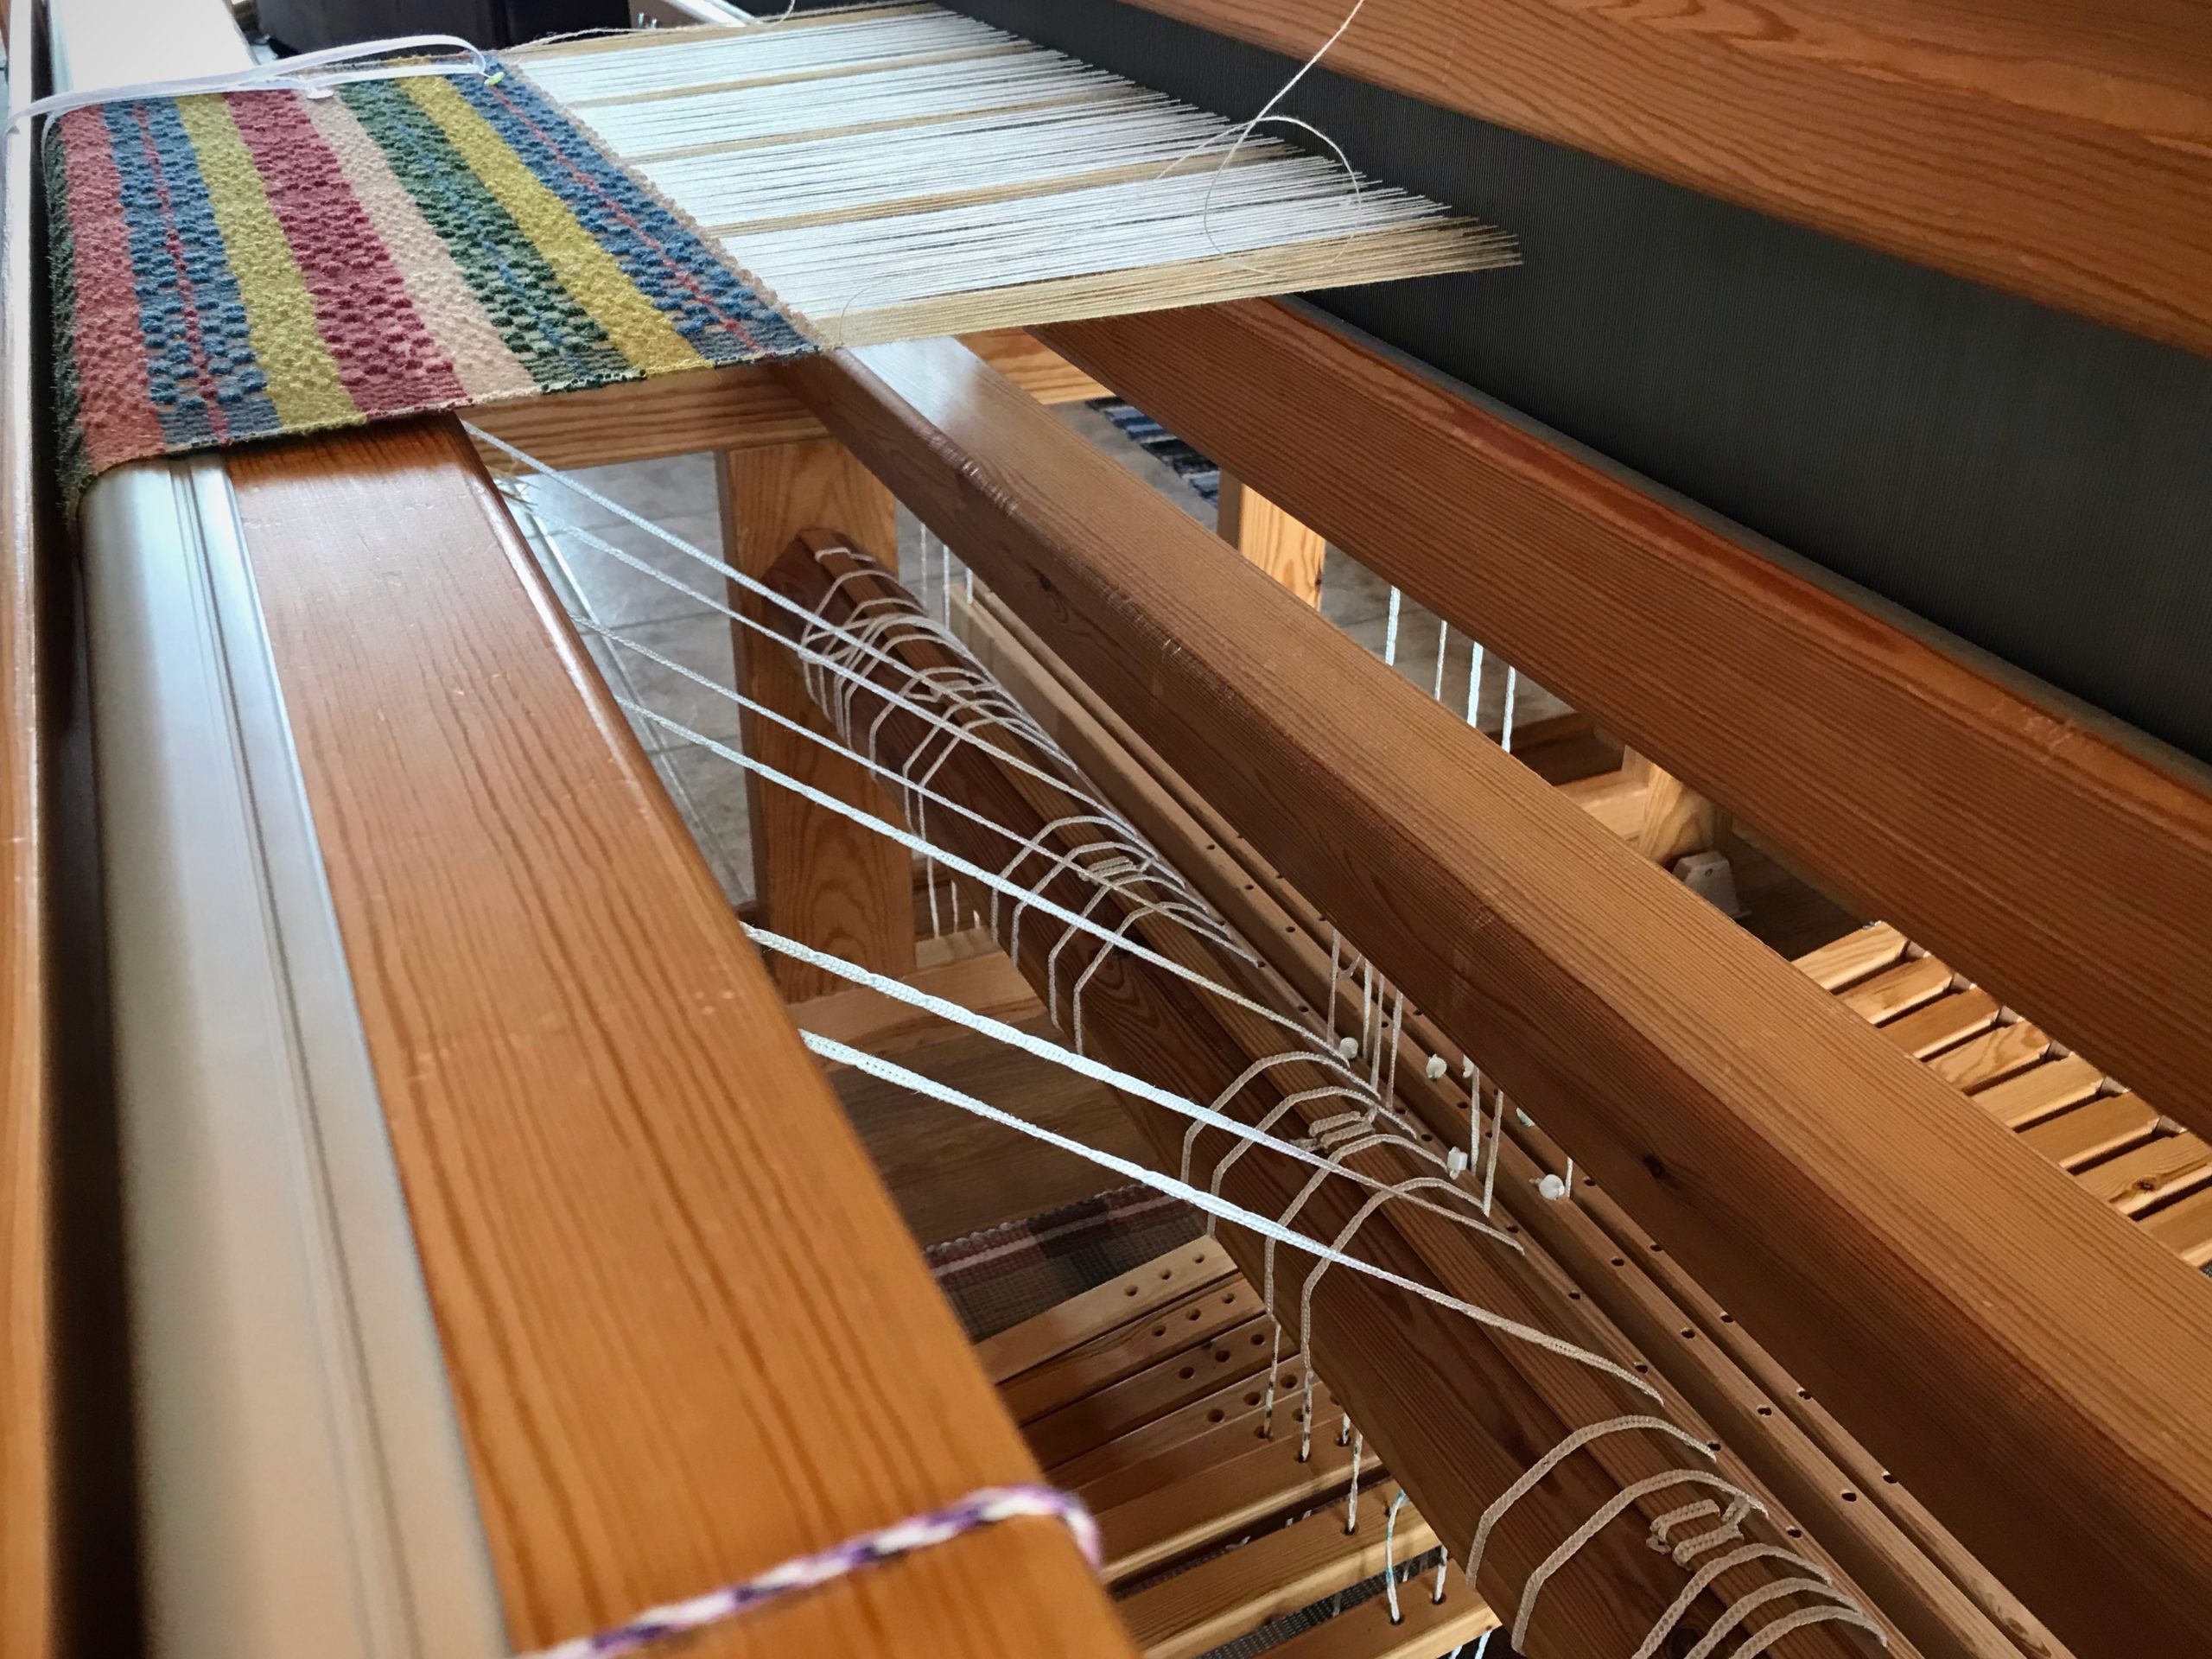
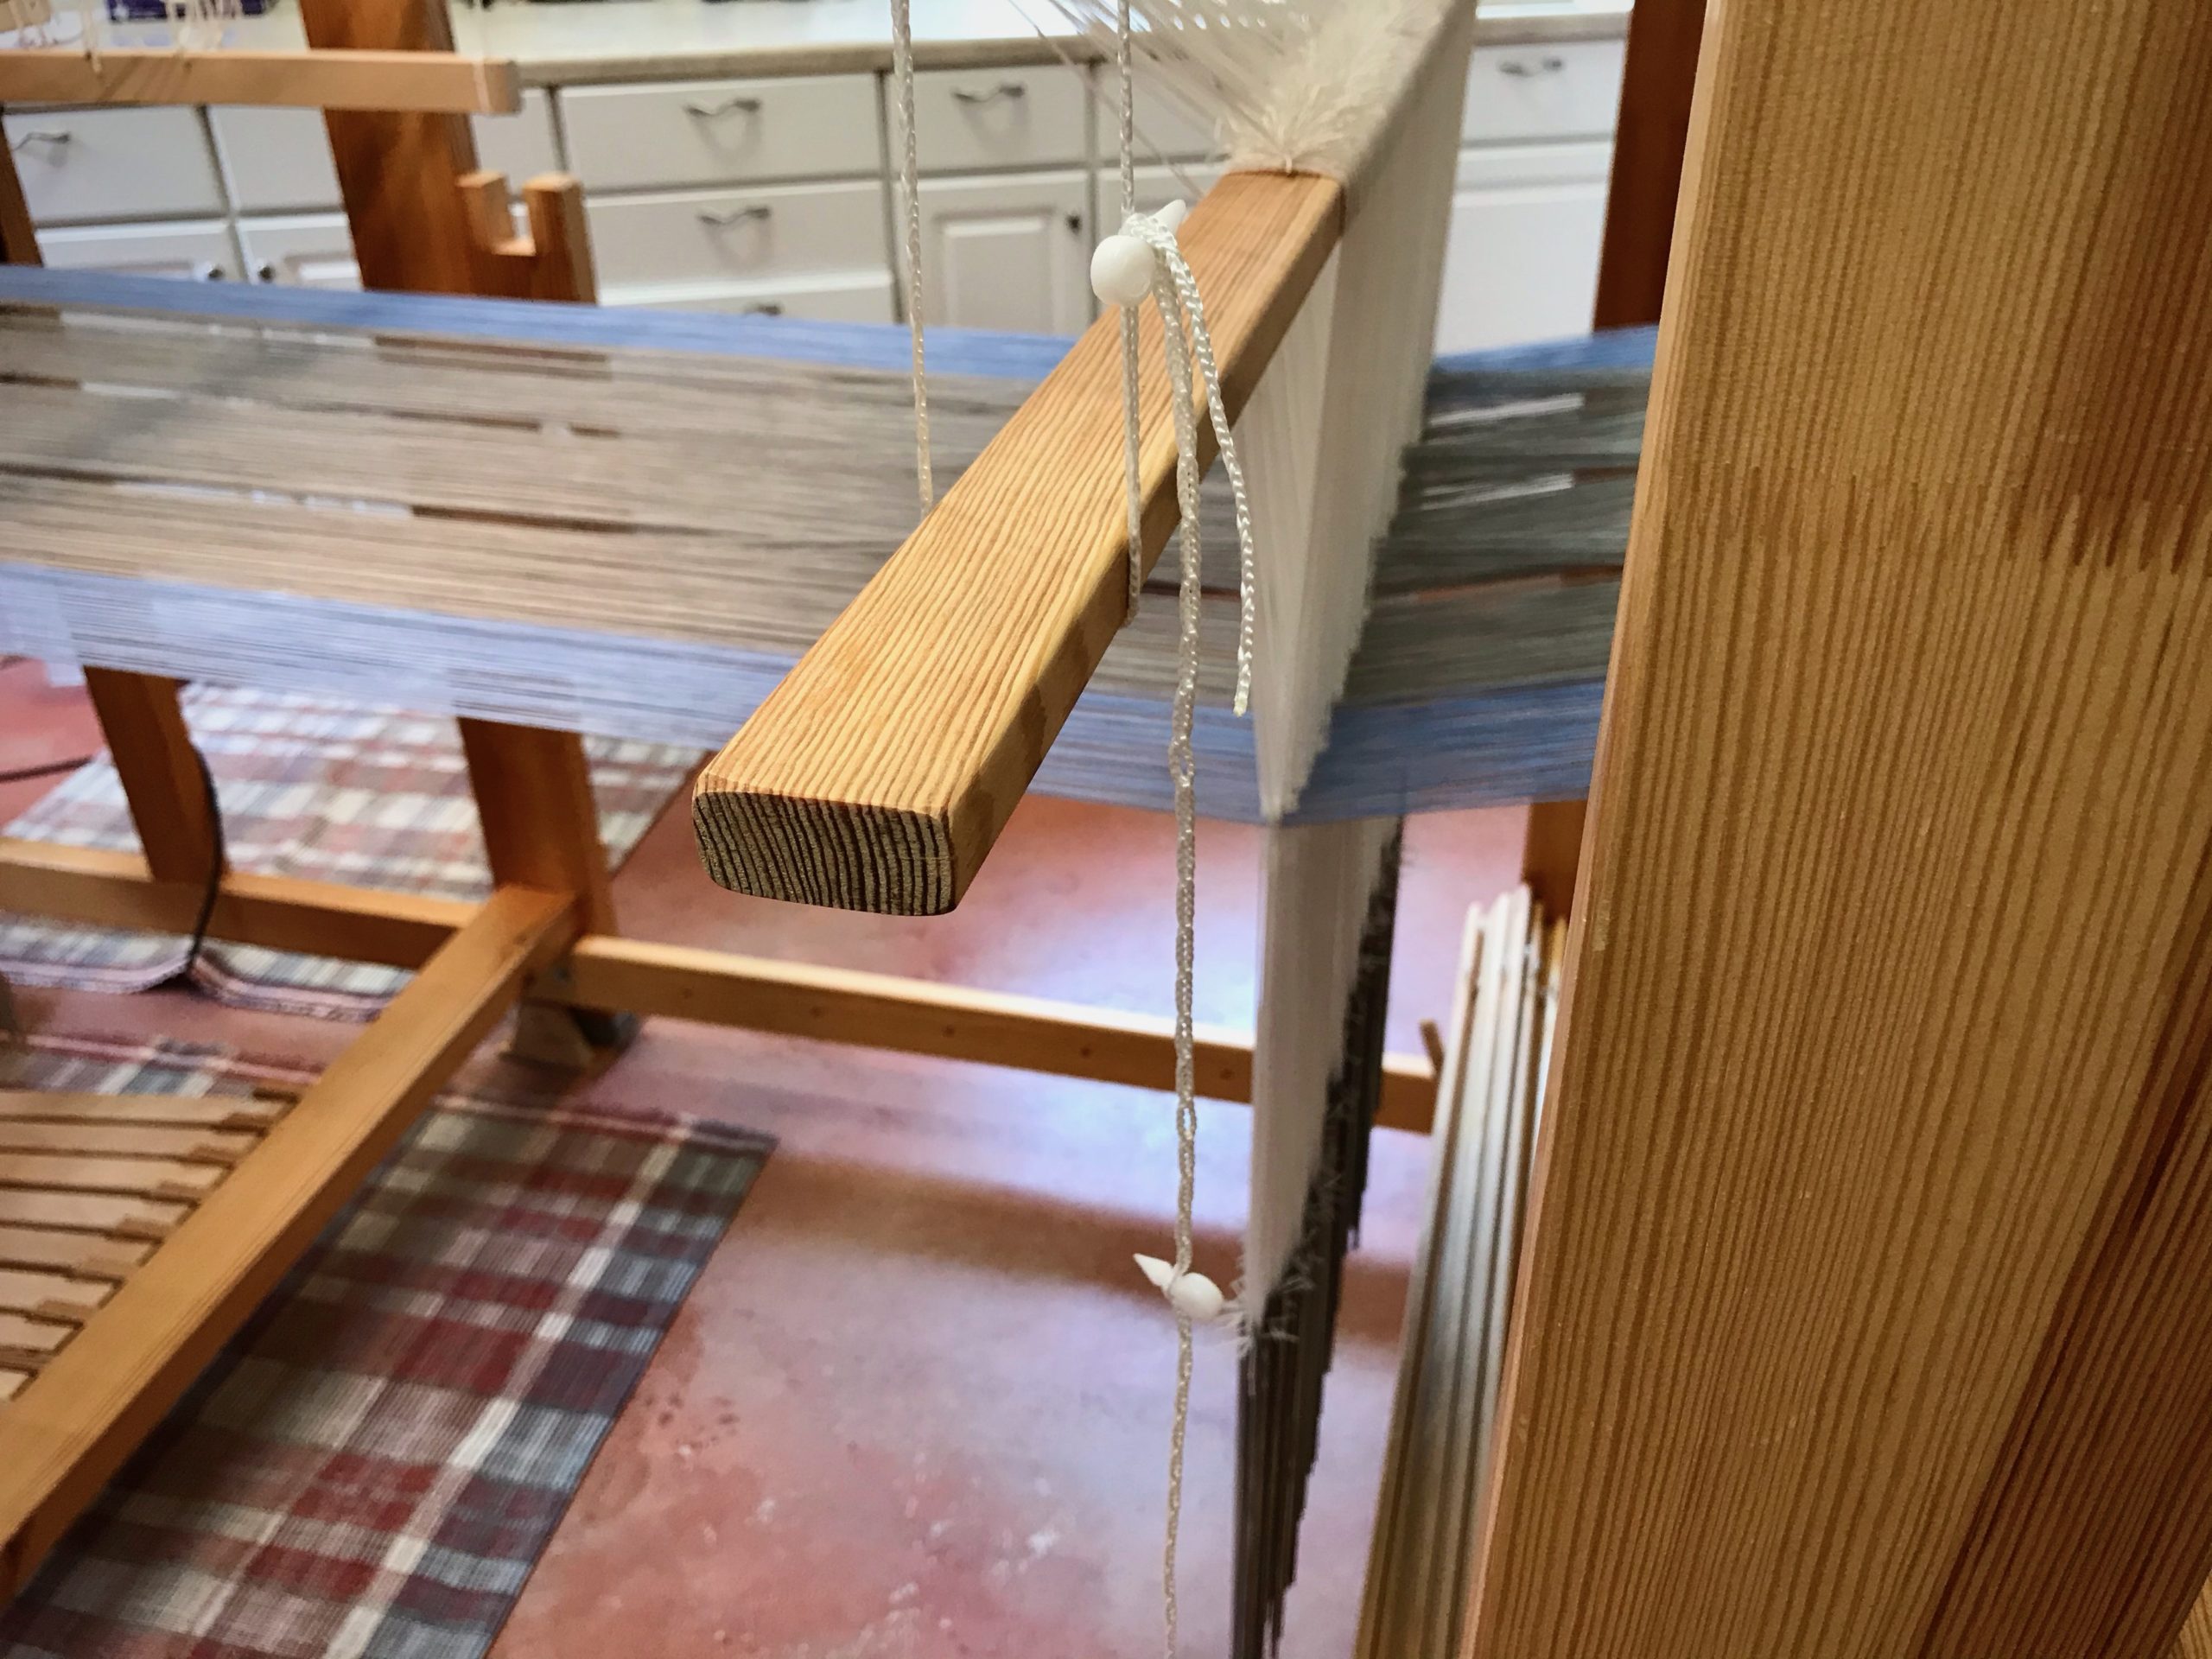
I first noticed that something was amiss right after advancing the warp. Something brushed my knees when I sat down. Aha!Beam cords, attached to the tie-on bar. I see that the tie-on bar is going straight from the cloth beam to the breast beam. I had forgotten to bring the tie-on bar over the knee beam. Really? Nearly everyone does this at least once when they are starting out. But it has been a few years since I made this mistake. Apparently, I still need my checklist.
Fortunately, forgetting the knee beam is one of the easiest blunders to remedy.
See the beam cords going from the cloth beam to the breast beam? The knee beam is feeling left out.
Re-Set the Knee Beam
1. Remove the knee beam. Rest the beam on the loom frame.
2. Unlatch the front ratchet to release warp tension.
3. Pull the knee beam all the way out. Put it back across, underneath the beam cords. Rest the beam on the loom frame.
4. Reseat the knee beam gently, positioning the beam cords along with the beam.
5. Tension the warp. Resume weaving.
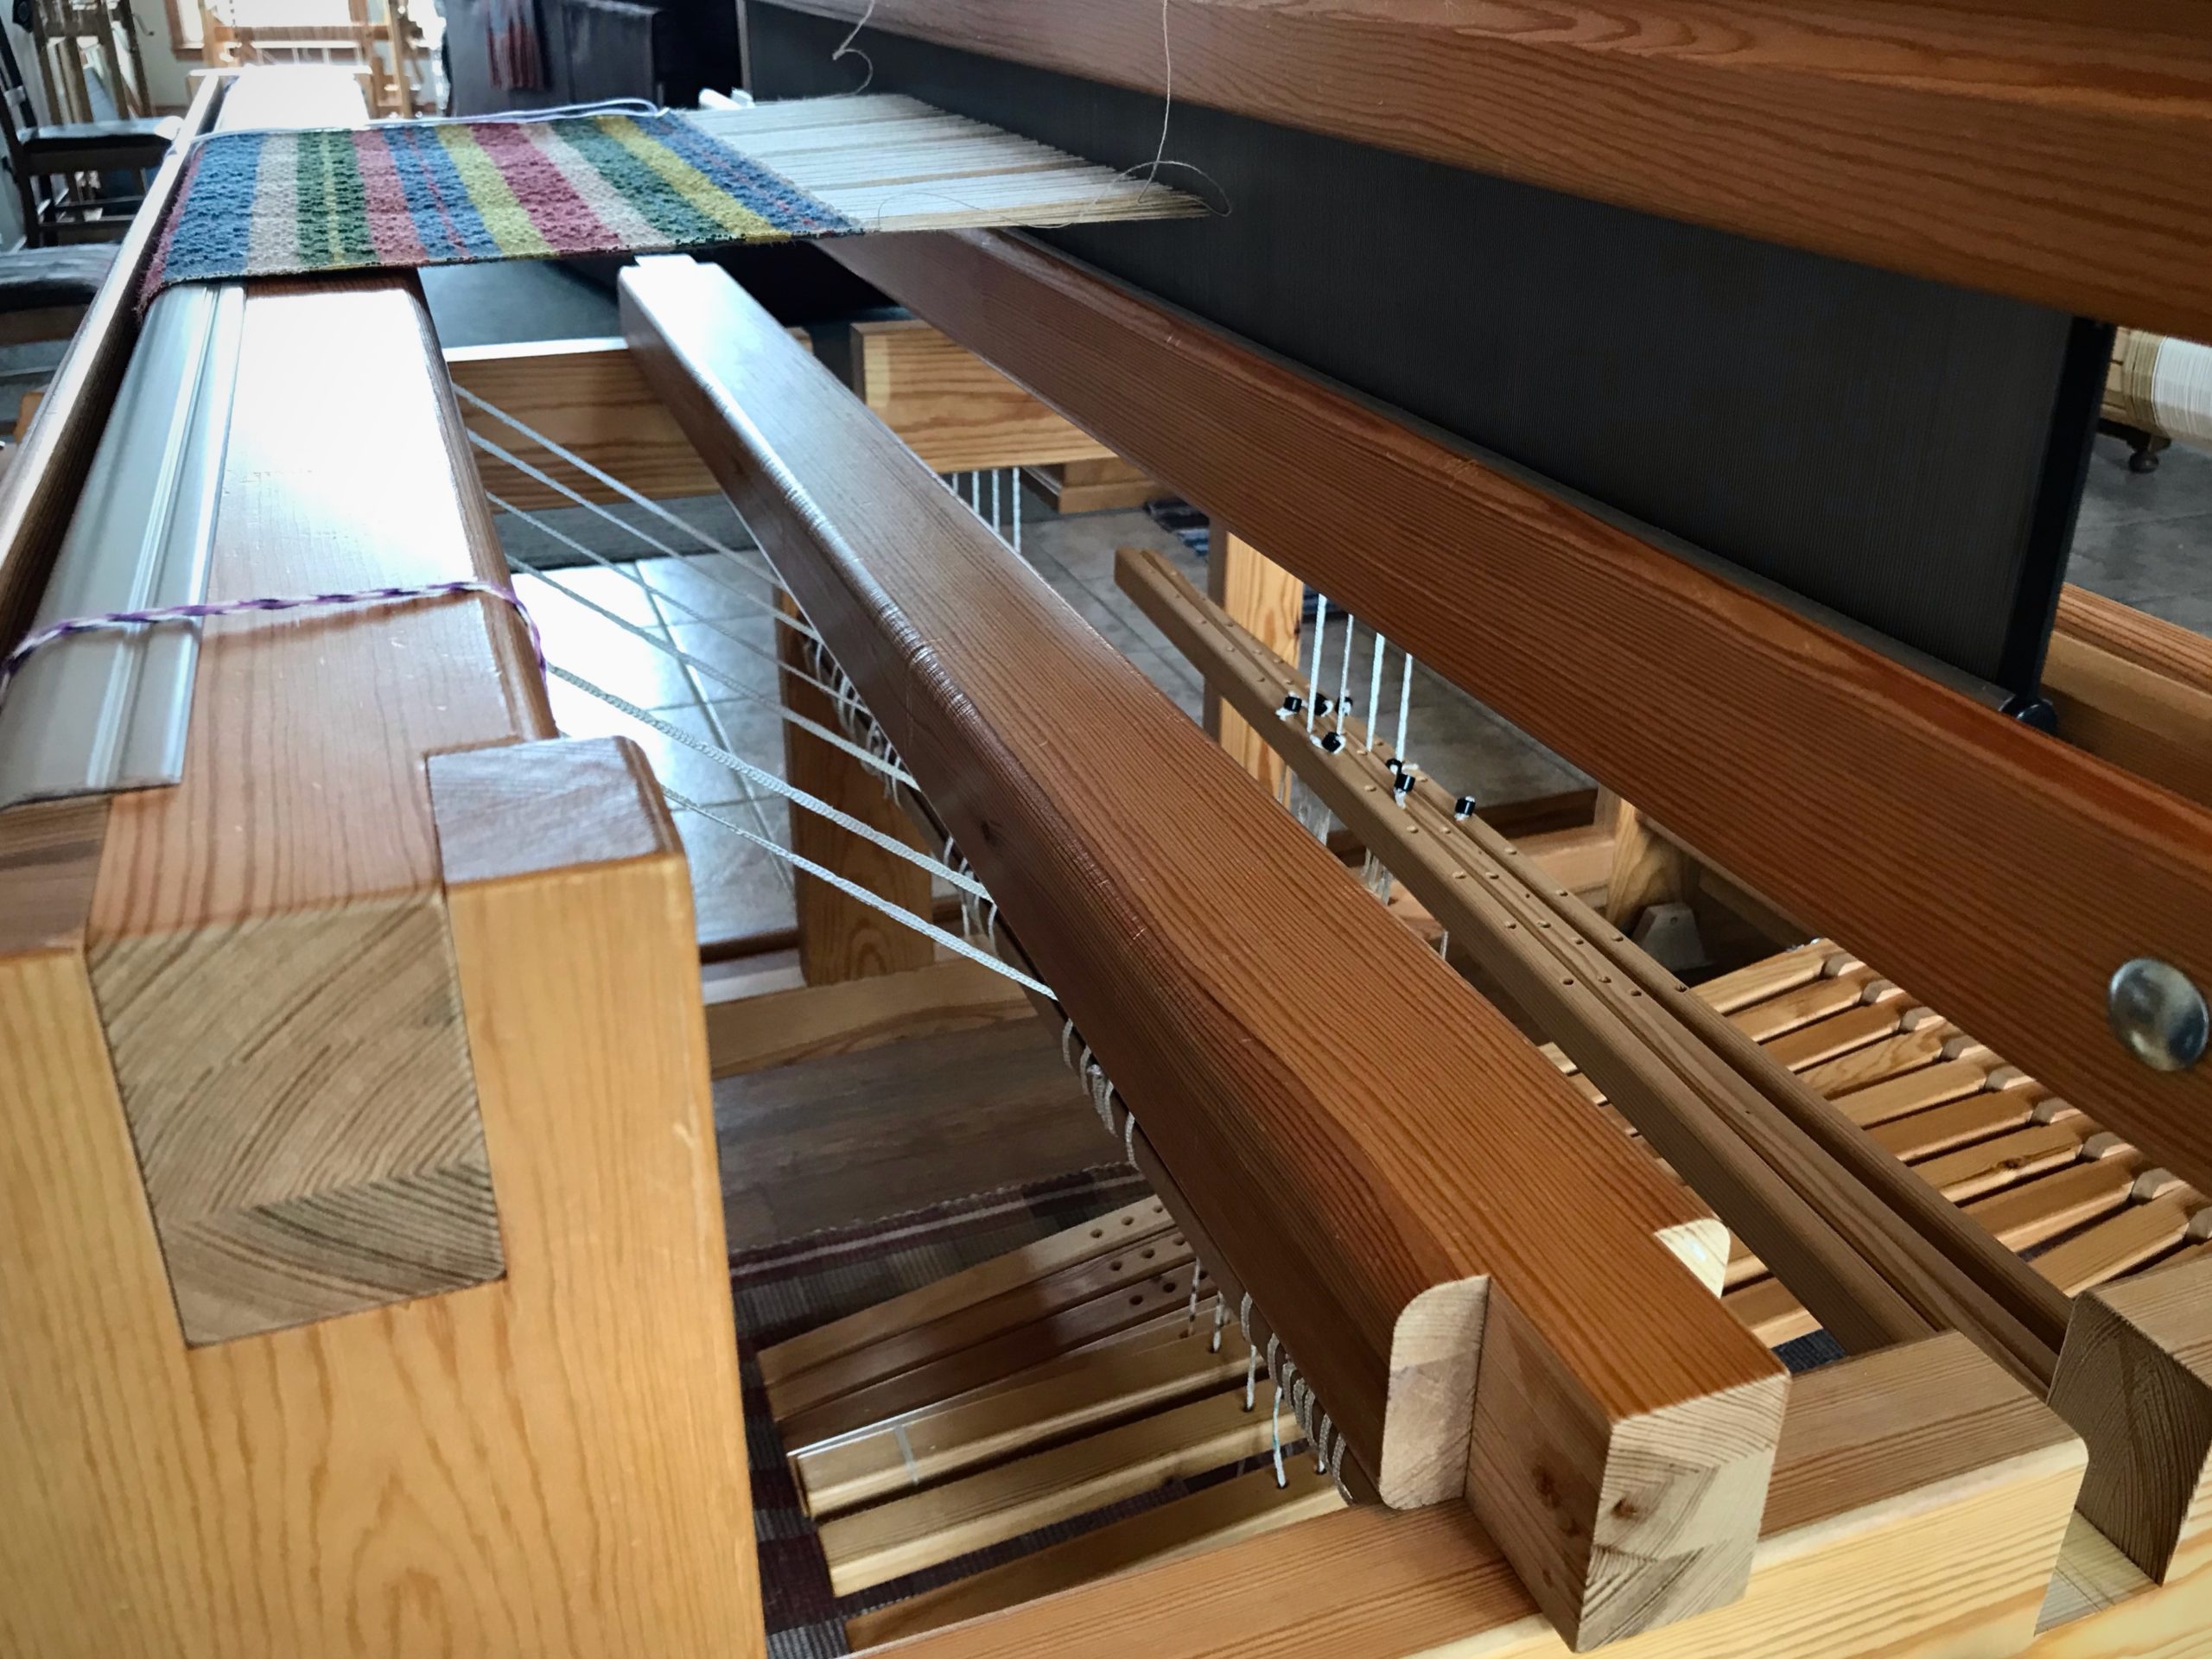
Now you can see the beam cords through the warp, located where they should be.Swedish Monksbelt weaving resumes. 16/2 cotton warp and groundweft, 6/1 Fårö wool pattern weft.
May your trouble be inconsequential and short lived.
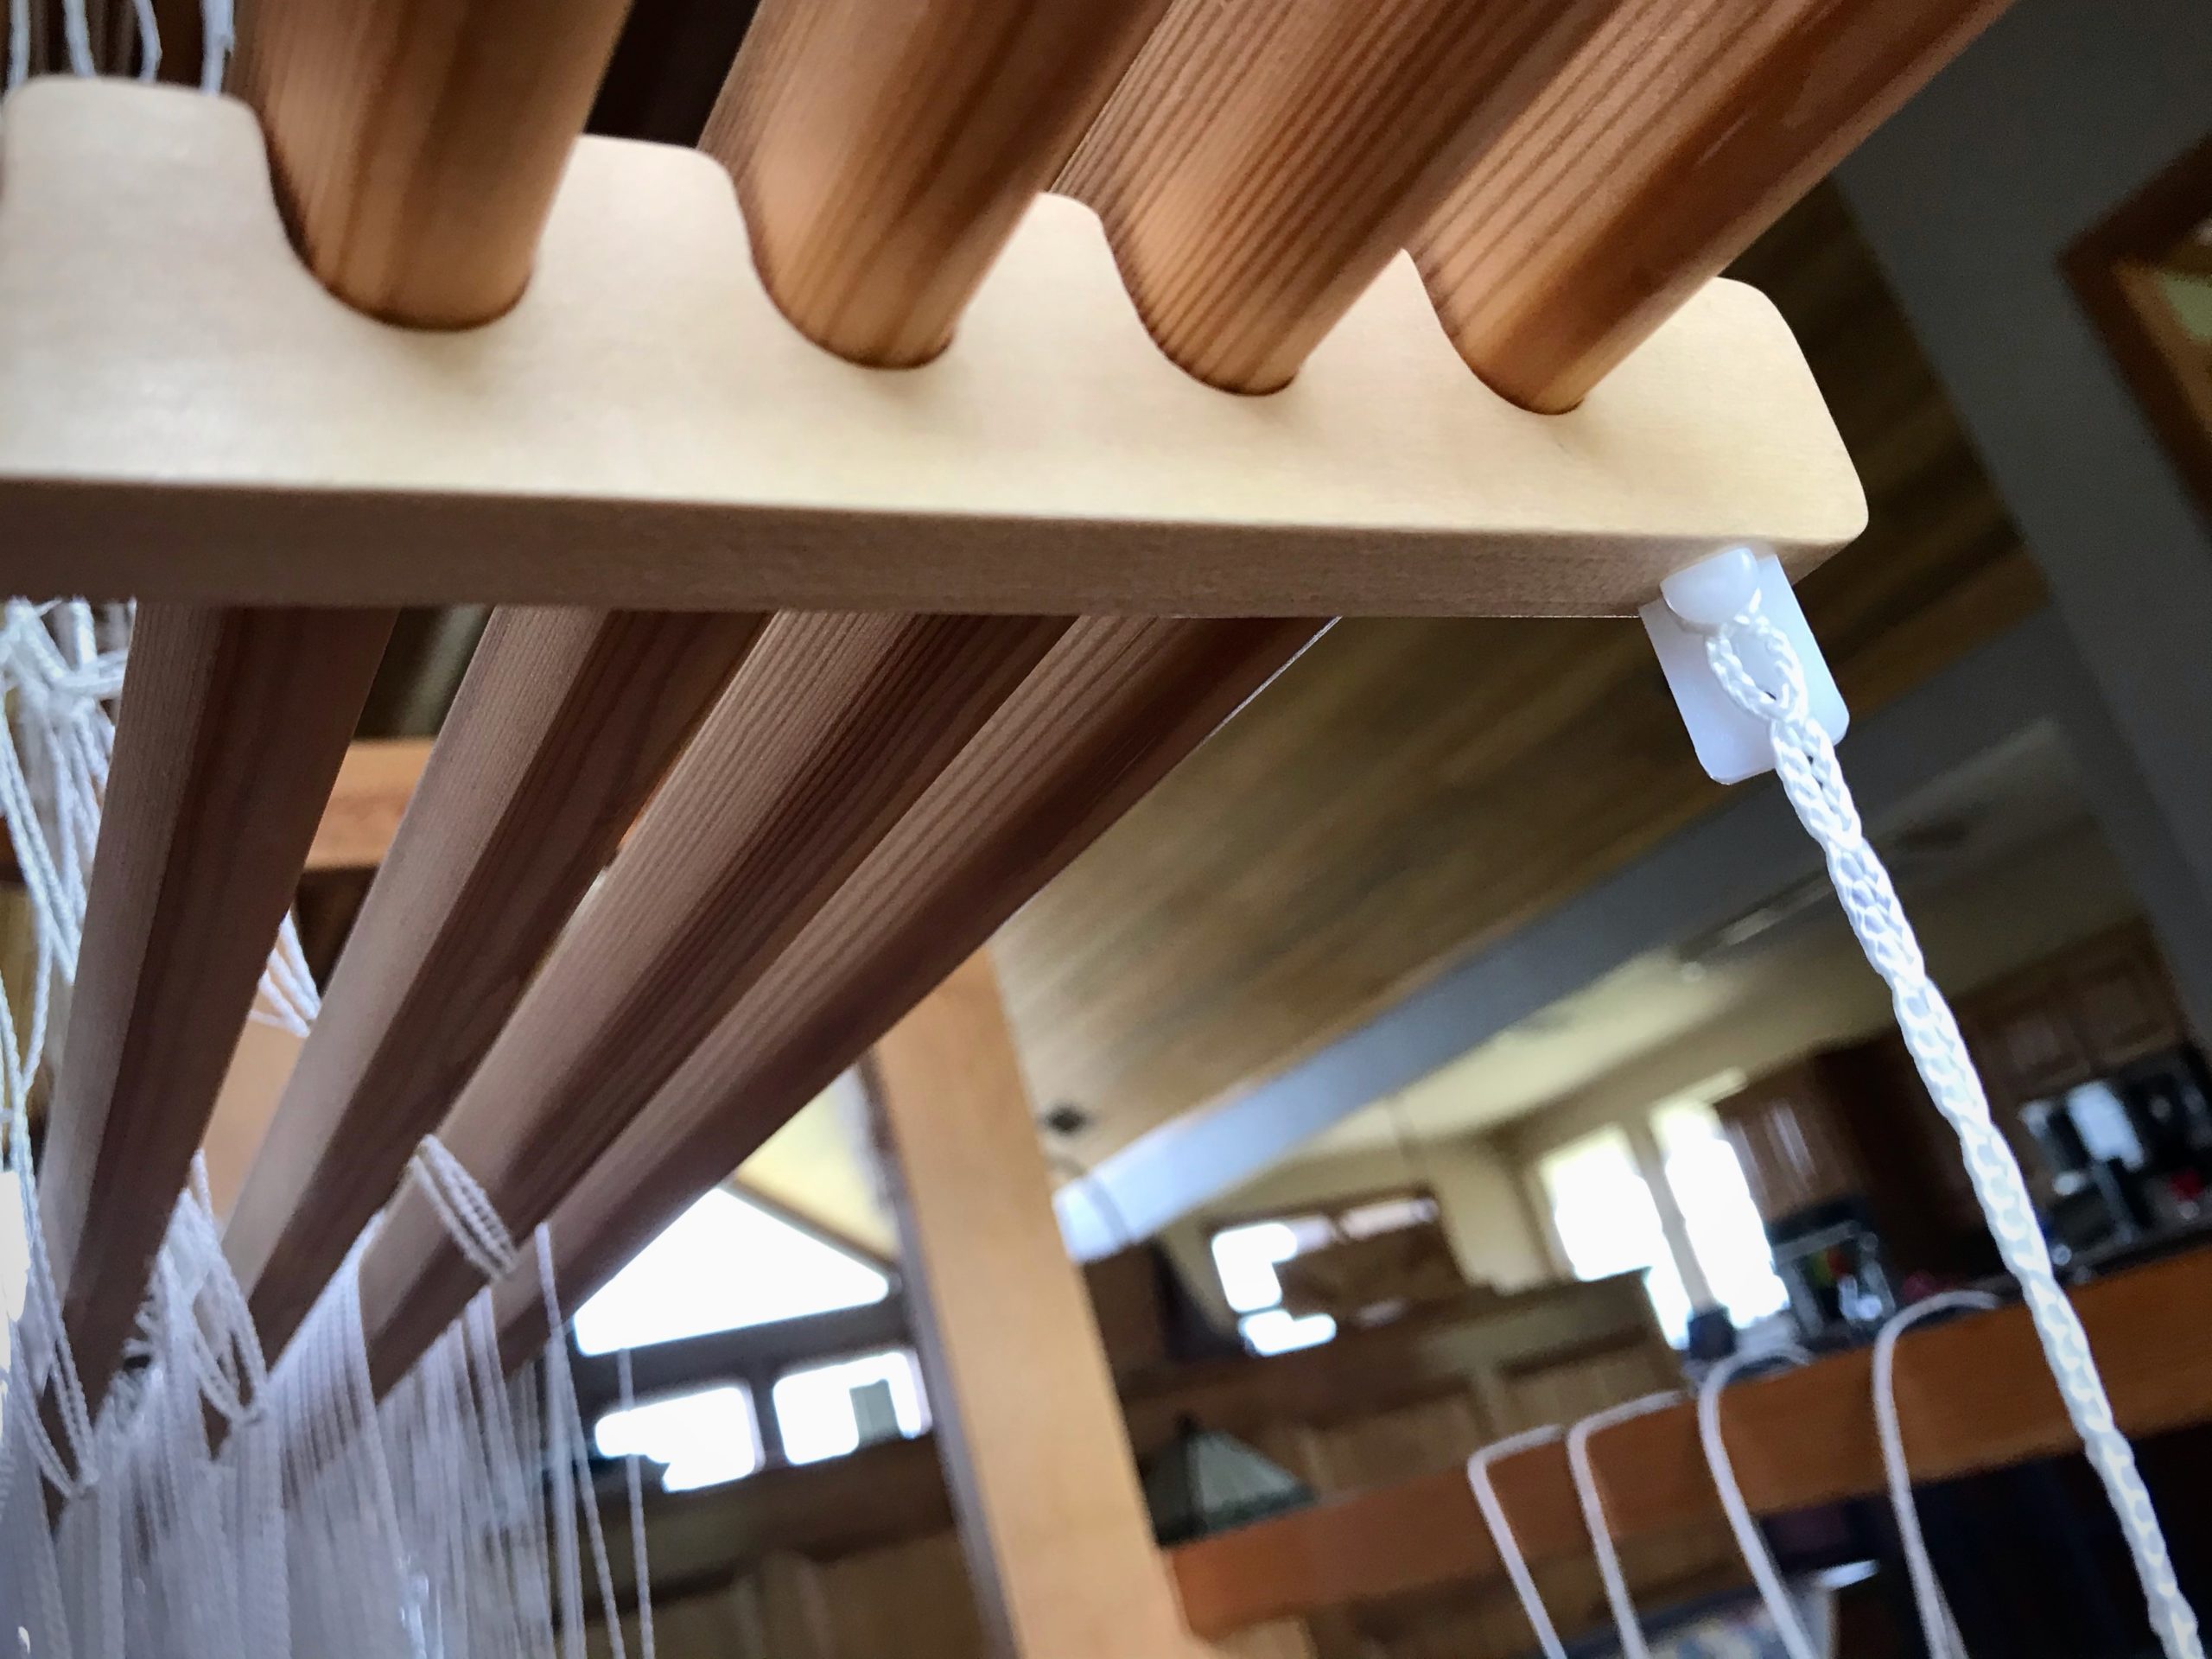
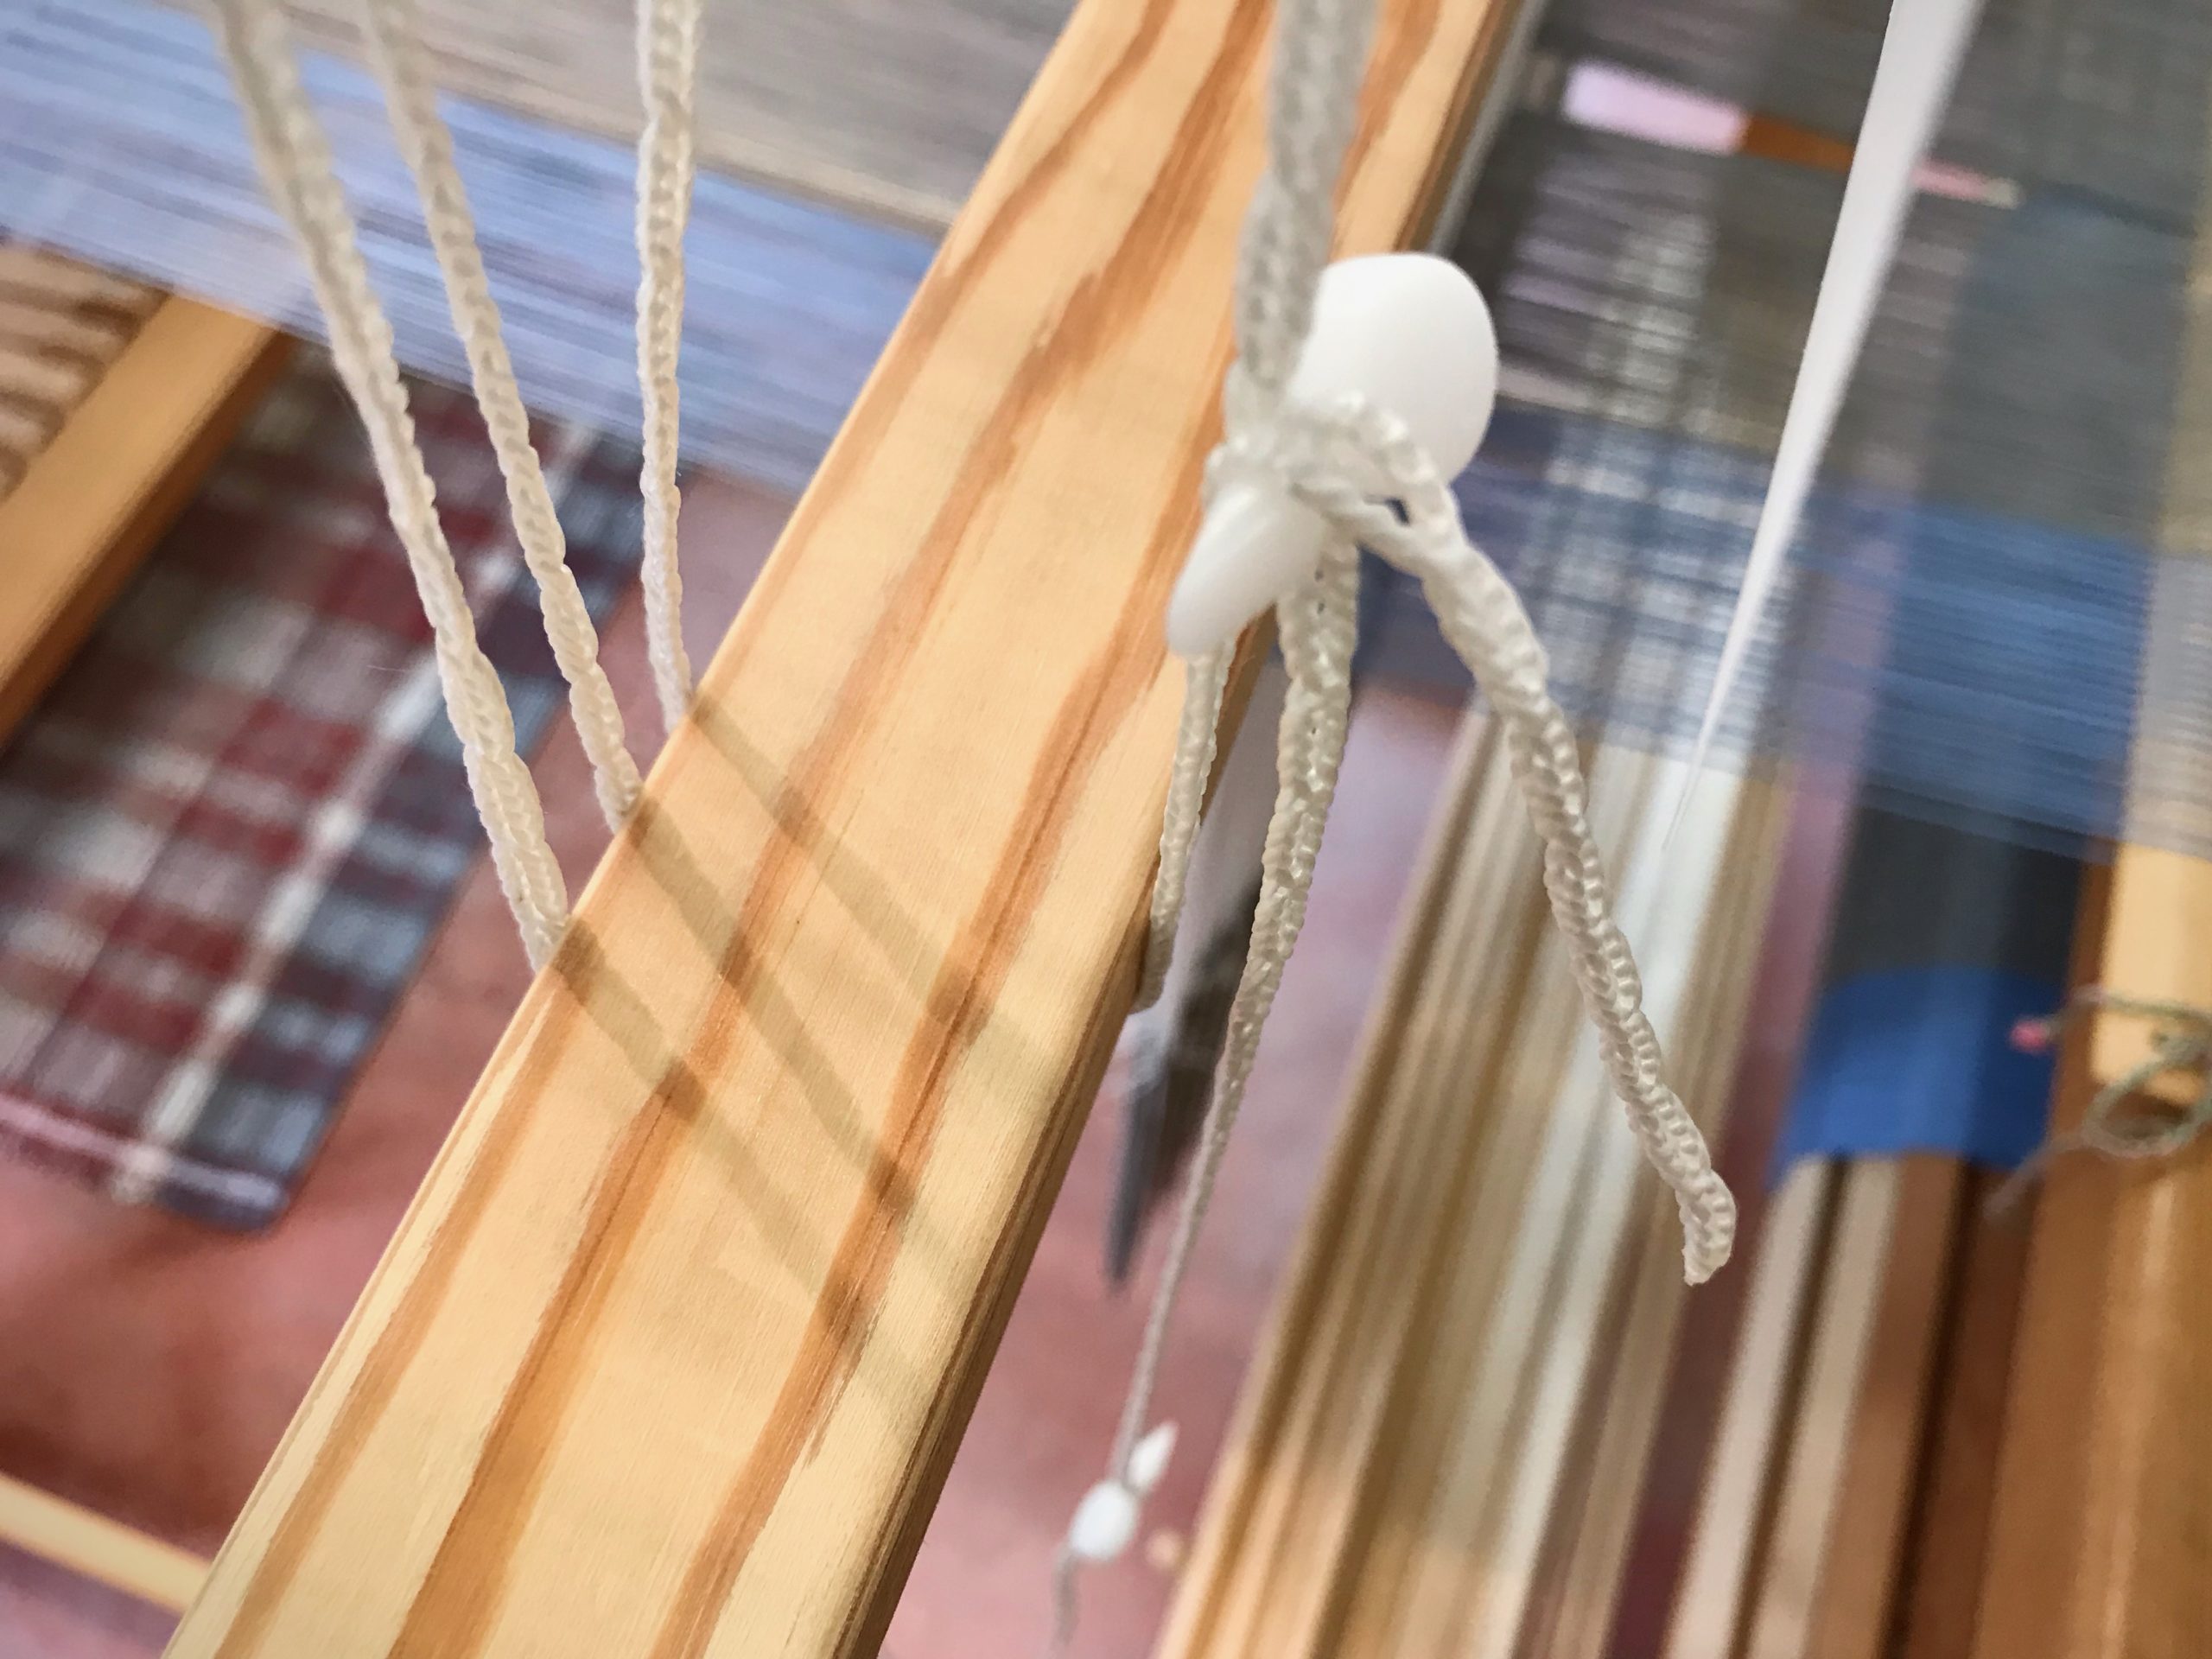
Anchor pin is buttoned through the Texsolv cord and placed into the hole at the bottom of the shaft holder.Thread one end of the Texsolv cord through a hole in the other end to make a loop. Insert an arrow peg through a hole to secure the loop.
But there is one potential hazard…
In order to adjust the height of the suspended heddling bar at the drawloom, I want to move the arrow peg. I hold one end of the bar while pulling the peg out of the Texsolv cord. That little peg fumbles out of my hand and drops to the floor. OOPS! I am left holding one end of the bar that has 148 threadedpattern heddles, weights included. Now what?! Alone in the room, I am now the sole support for that end of the heavy bar. The peg on the floor is out of reach.
Super Simple Tip of the Day
Always keep a spare anchor pin or arrow peg on the loose end of the Texsolv cord. Always.
Spare anchor pin stays on the shaft-holder cord. You do not want to be left holding a shaft holder with eight shafts if your anchor pin ever falls out of your hand…
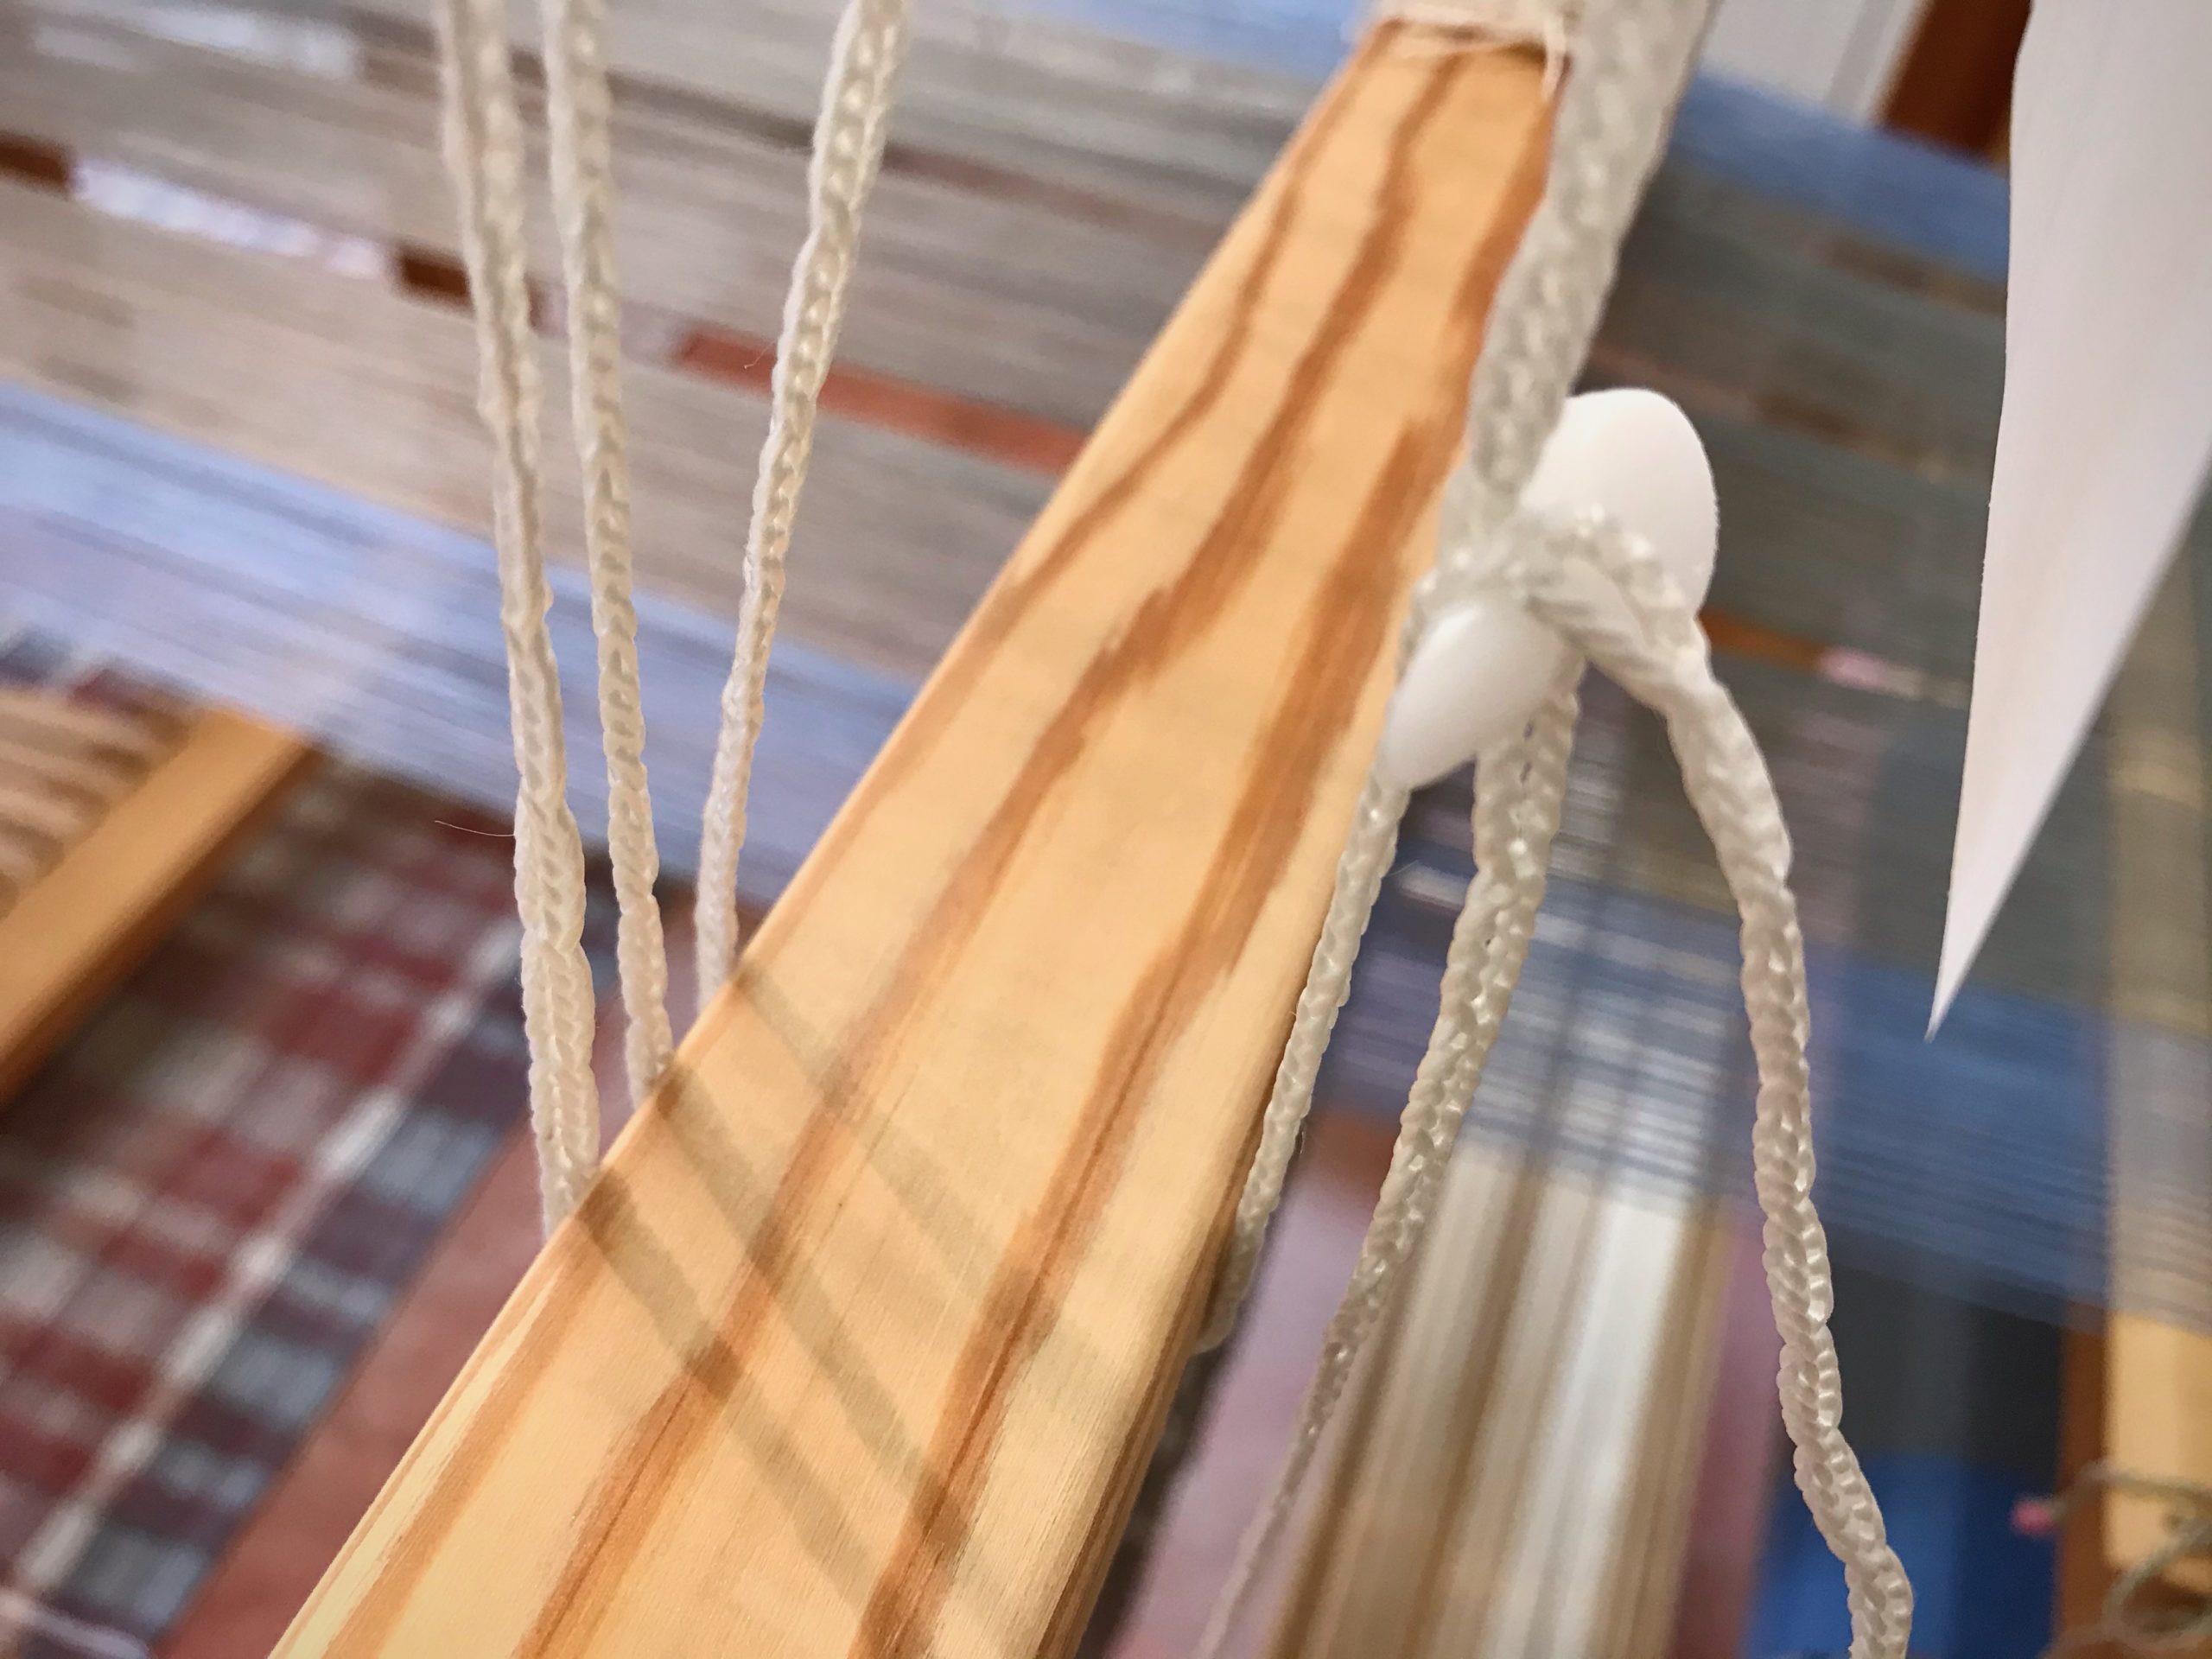
The rest of the story… When that pesky little arrow peg slips out of my hand I calmly take the spare peg that is there “just in case,” and secure the Texsolv loop that holds the heddling bar. No big deal, after all.
Spare arrow peg dangles below. Whew!Spare arrow peg is a life saver on the rare occasion it is needed. There is a significant amount of weight on that heddling bar.