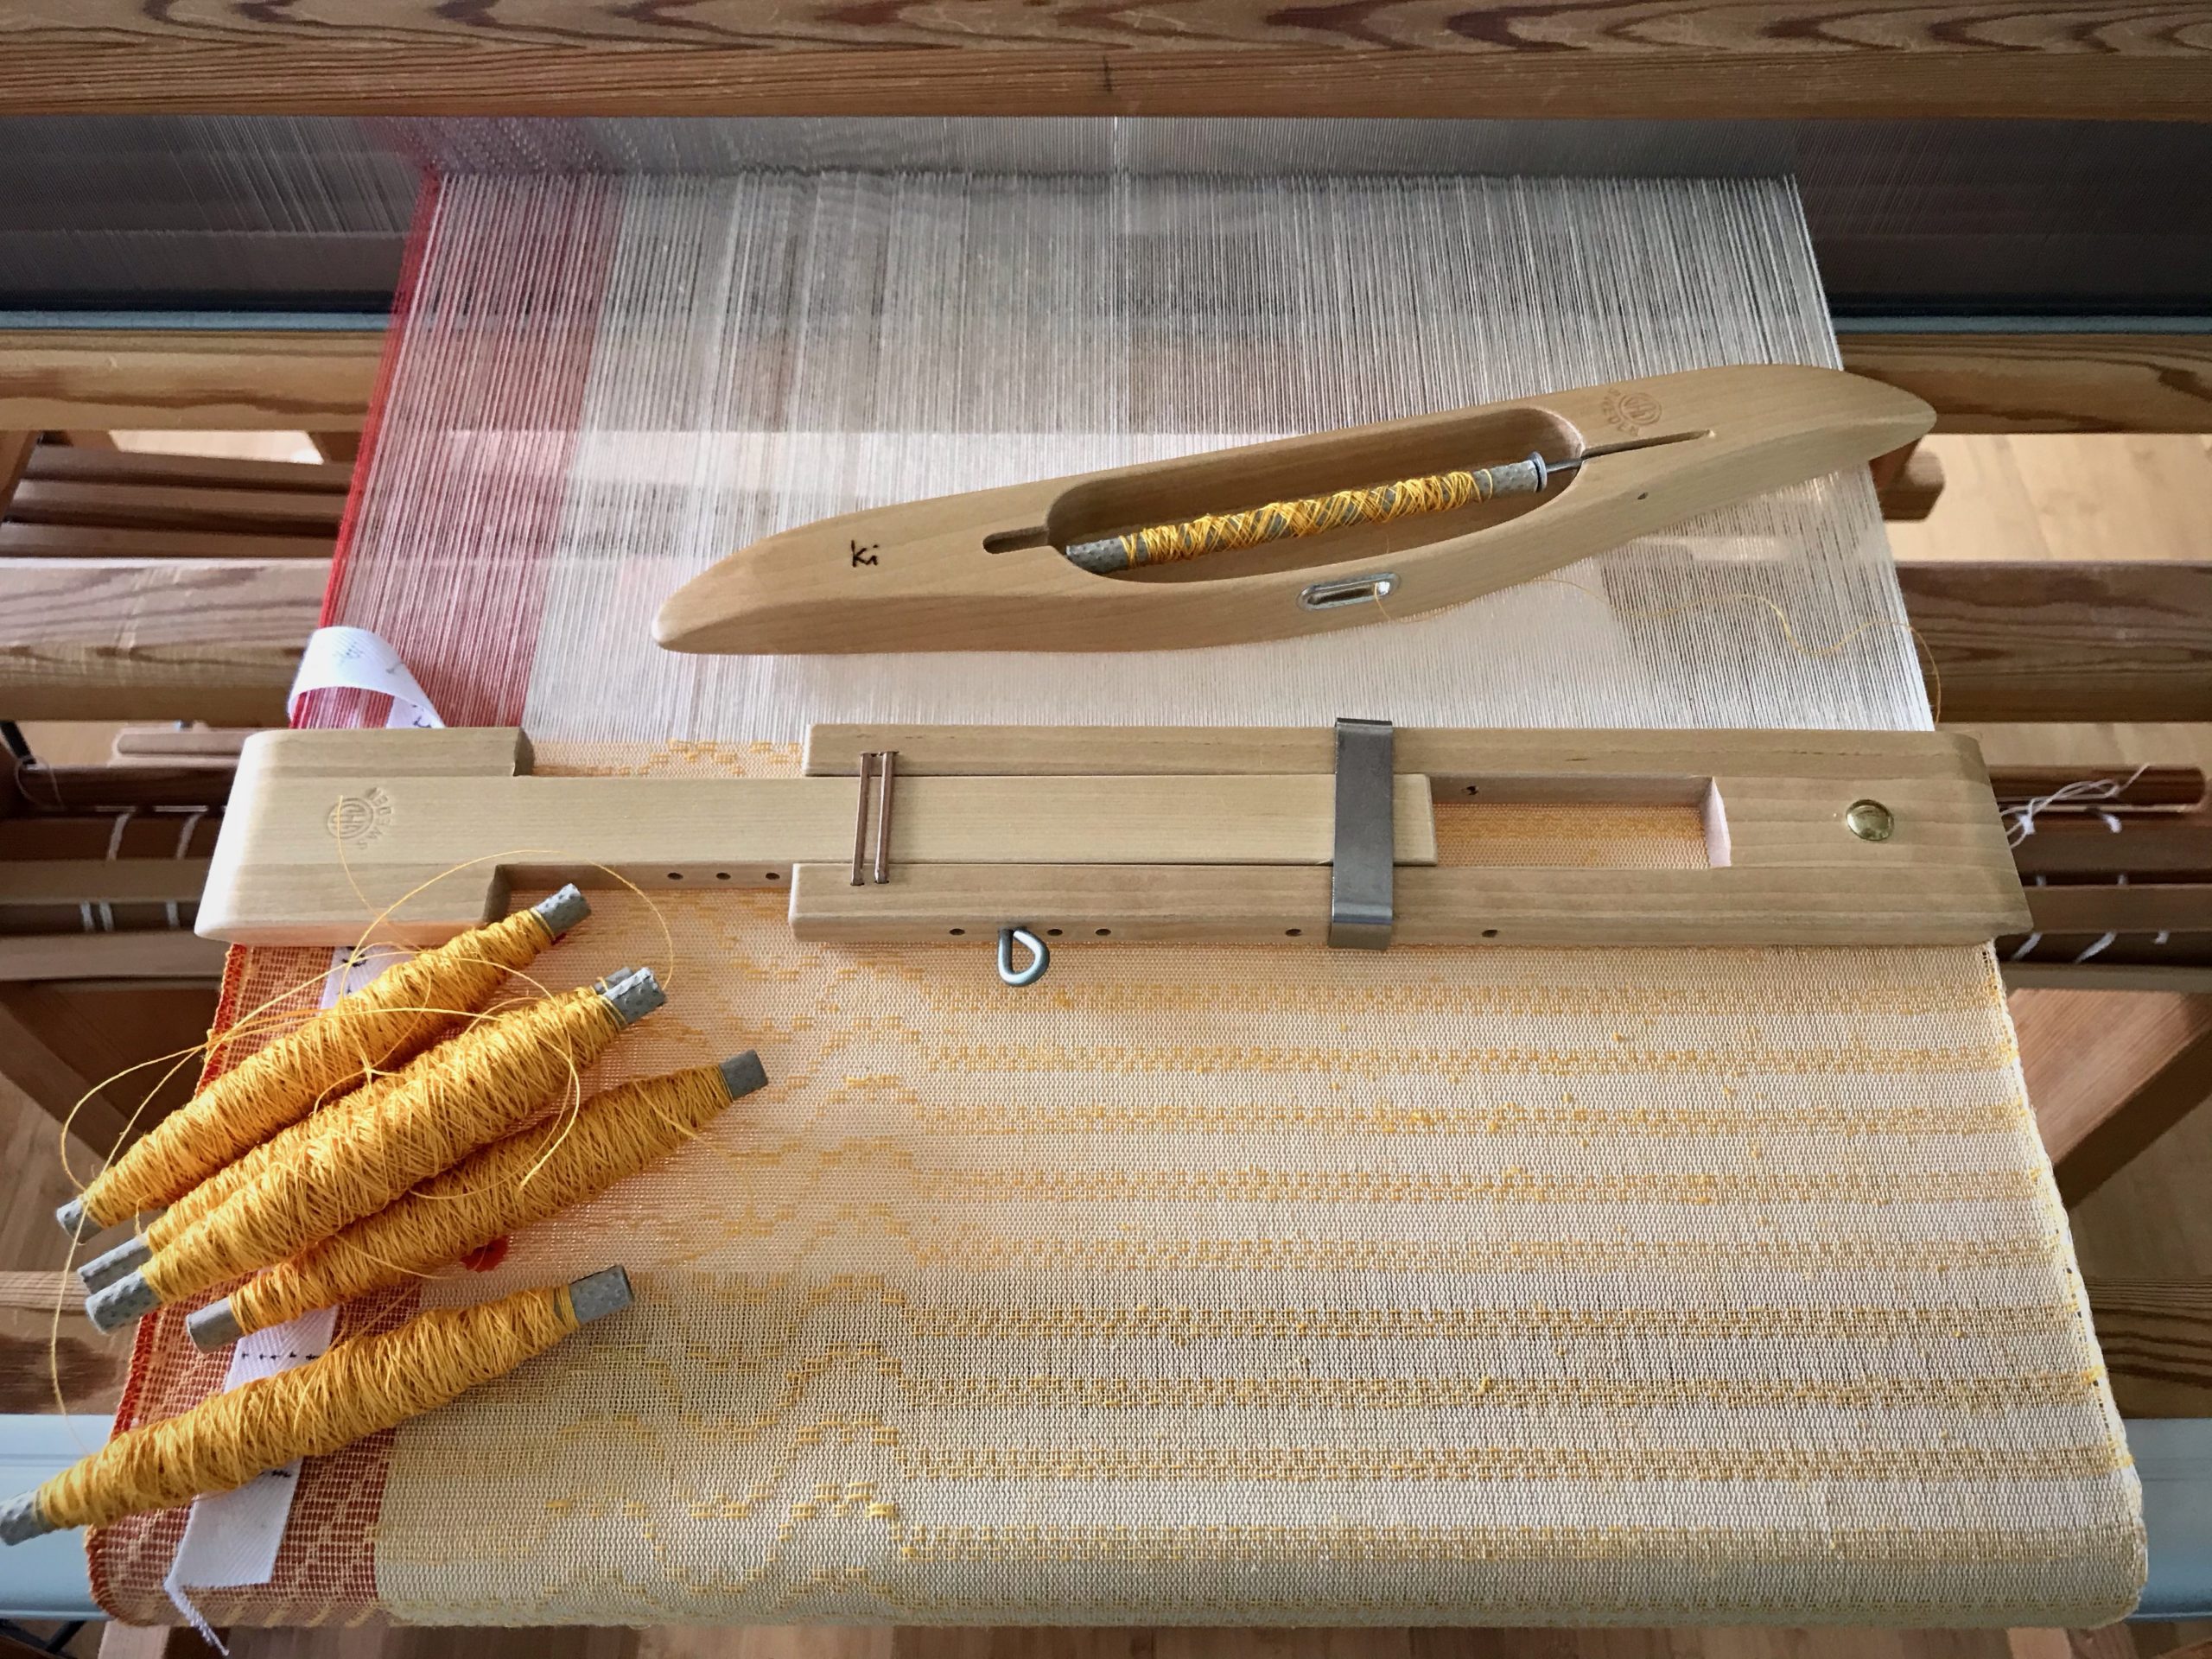
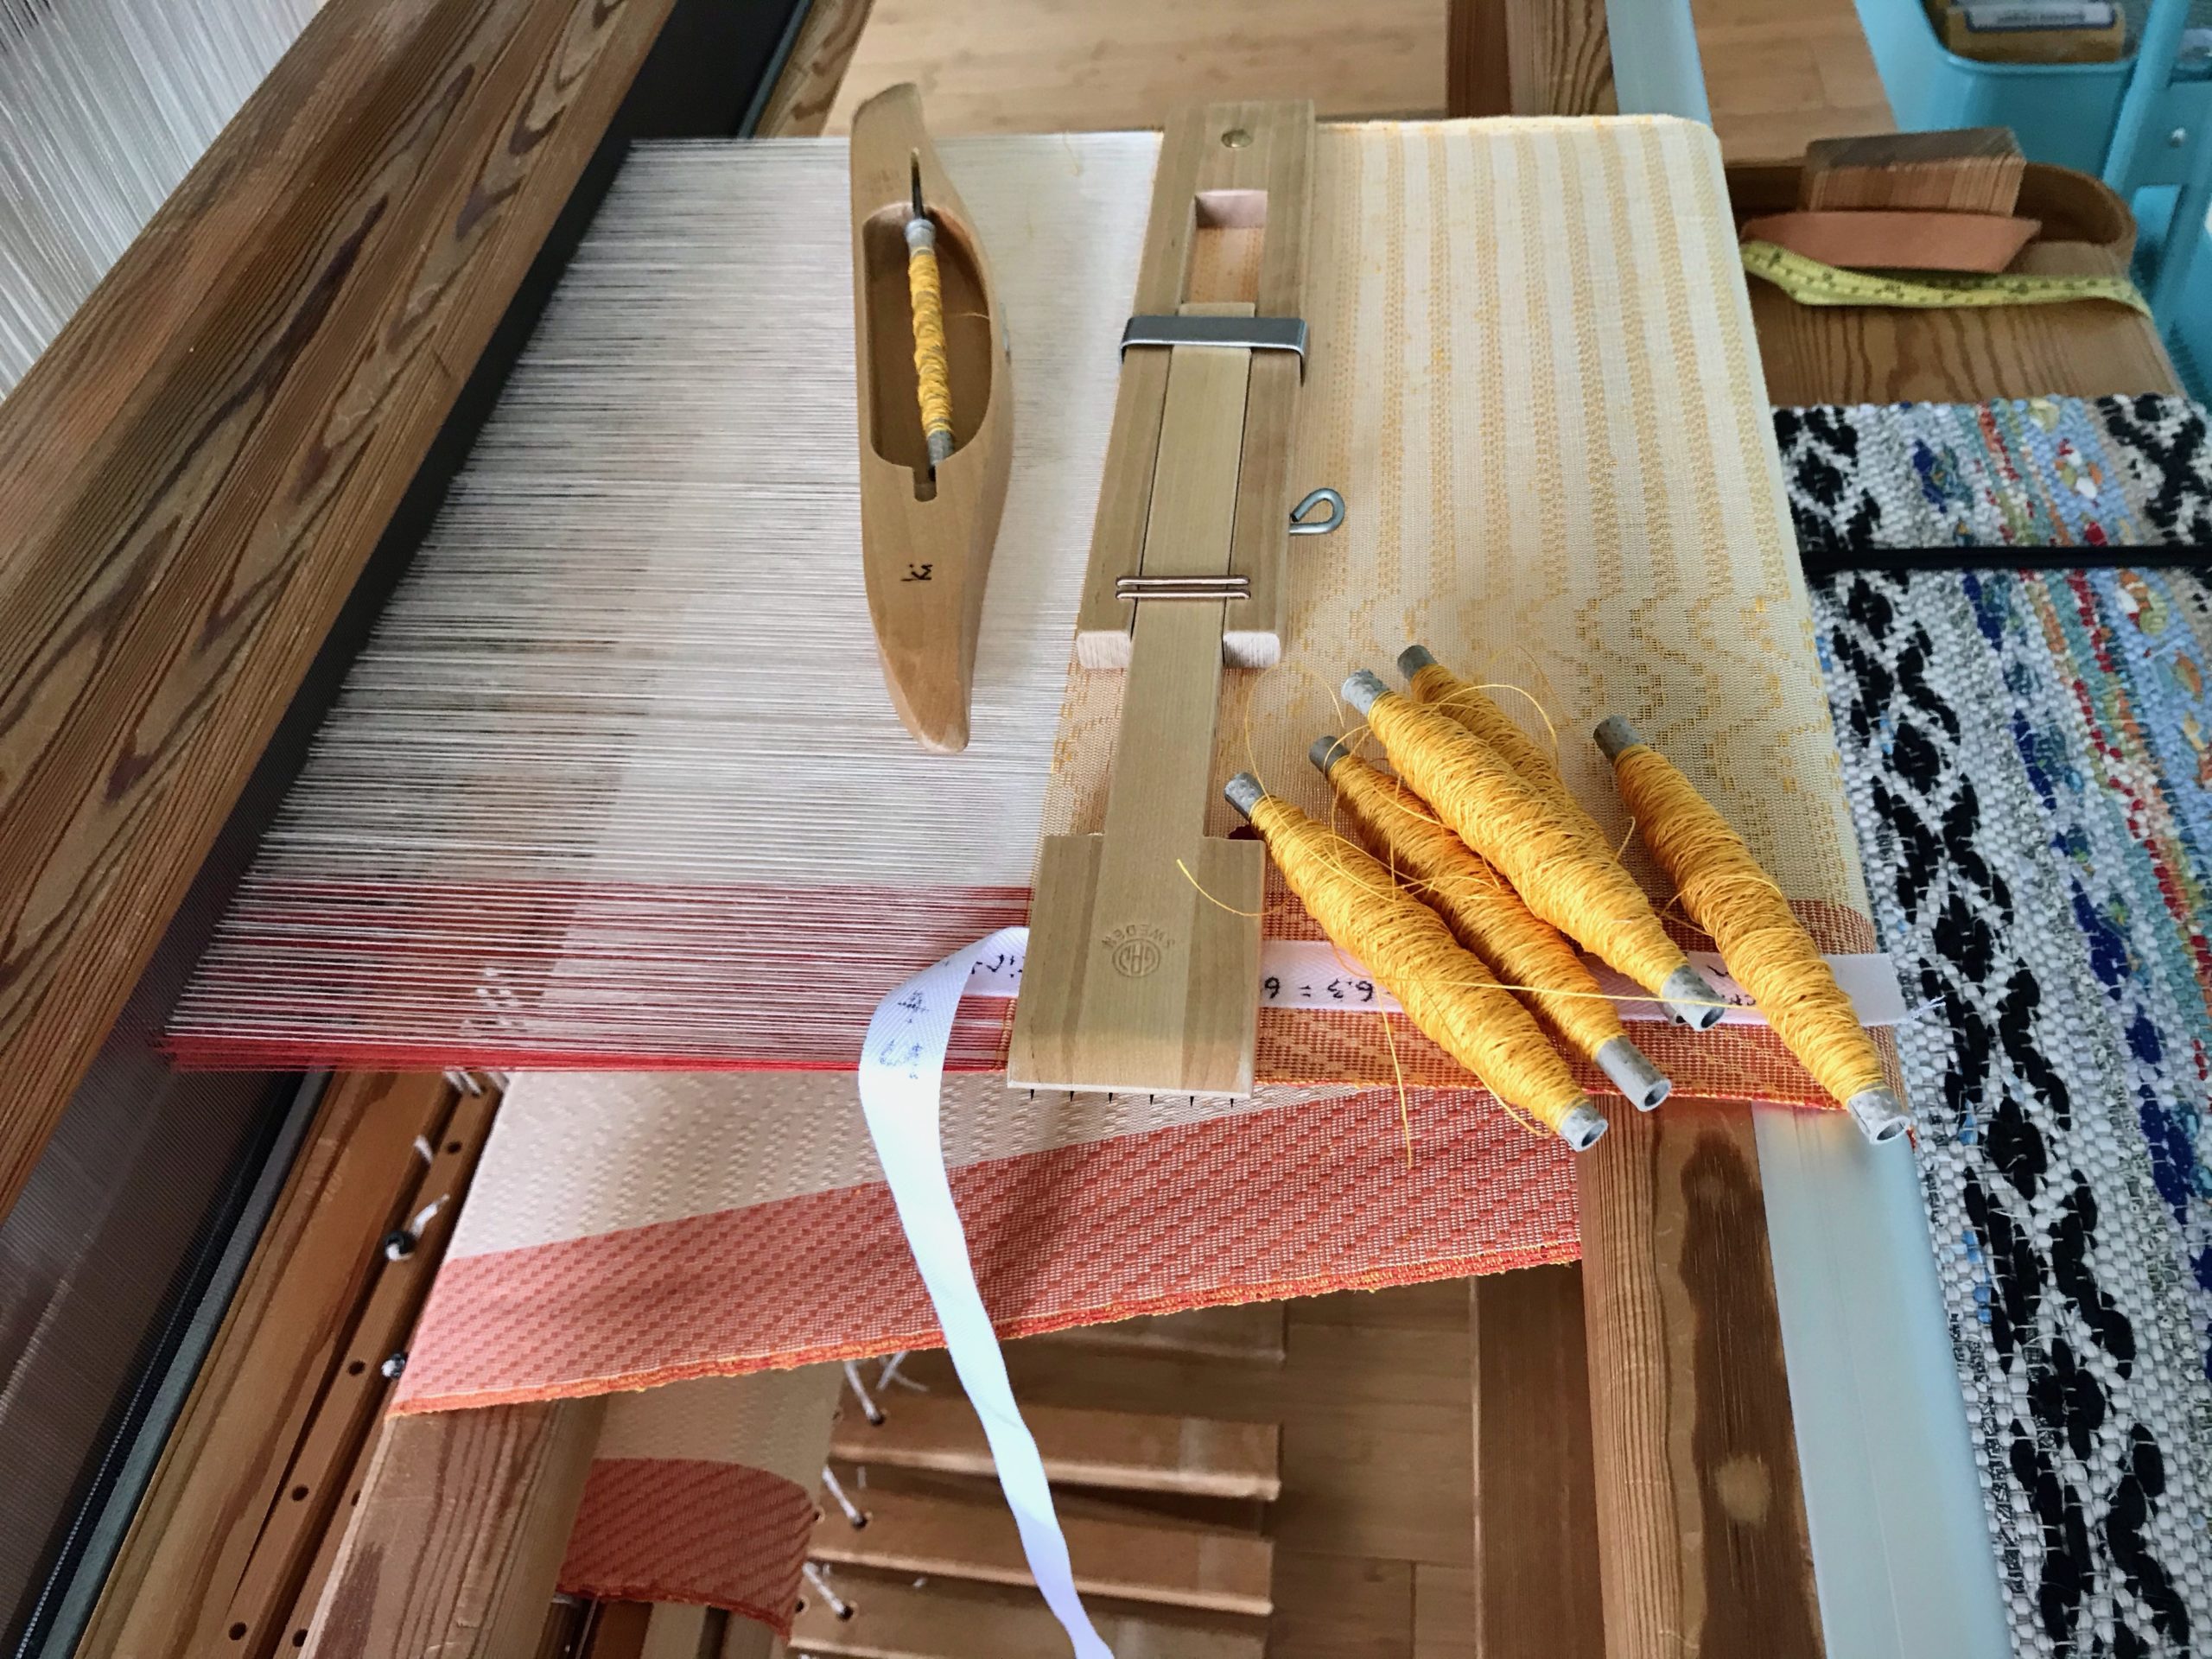
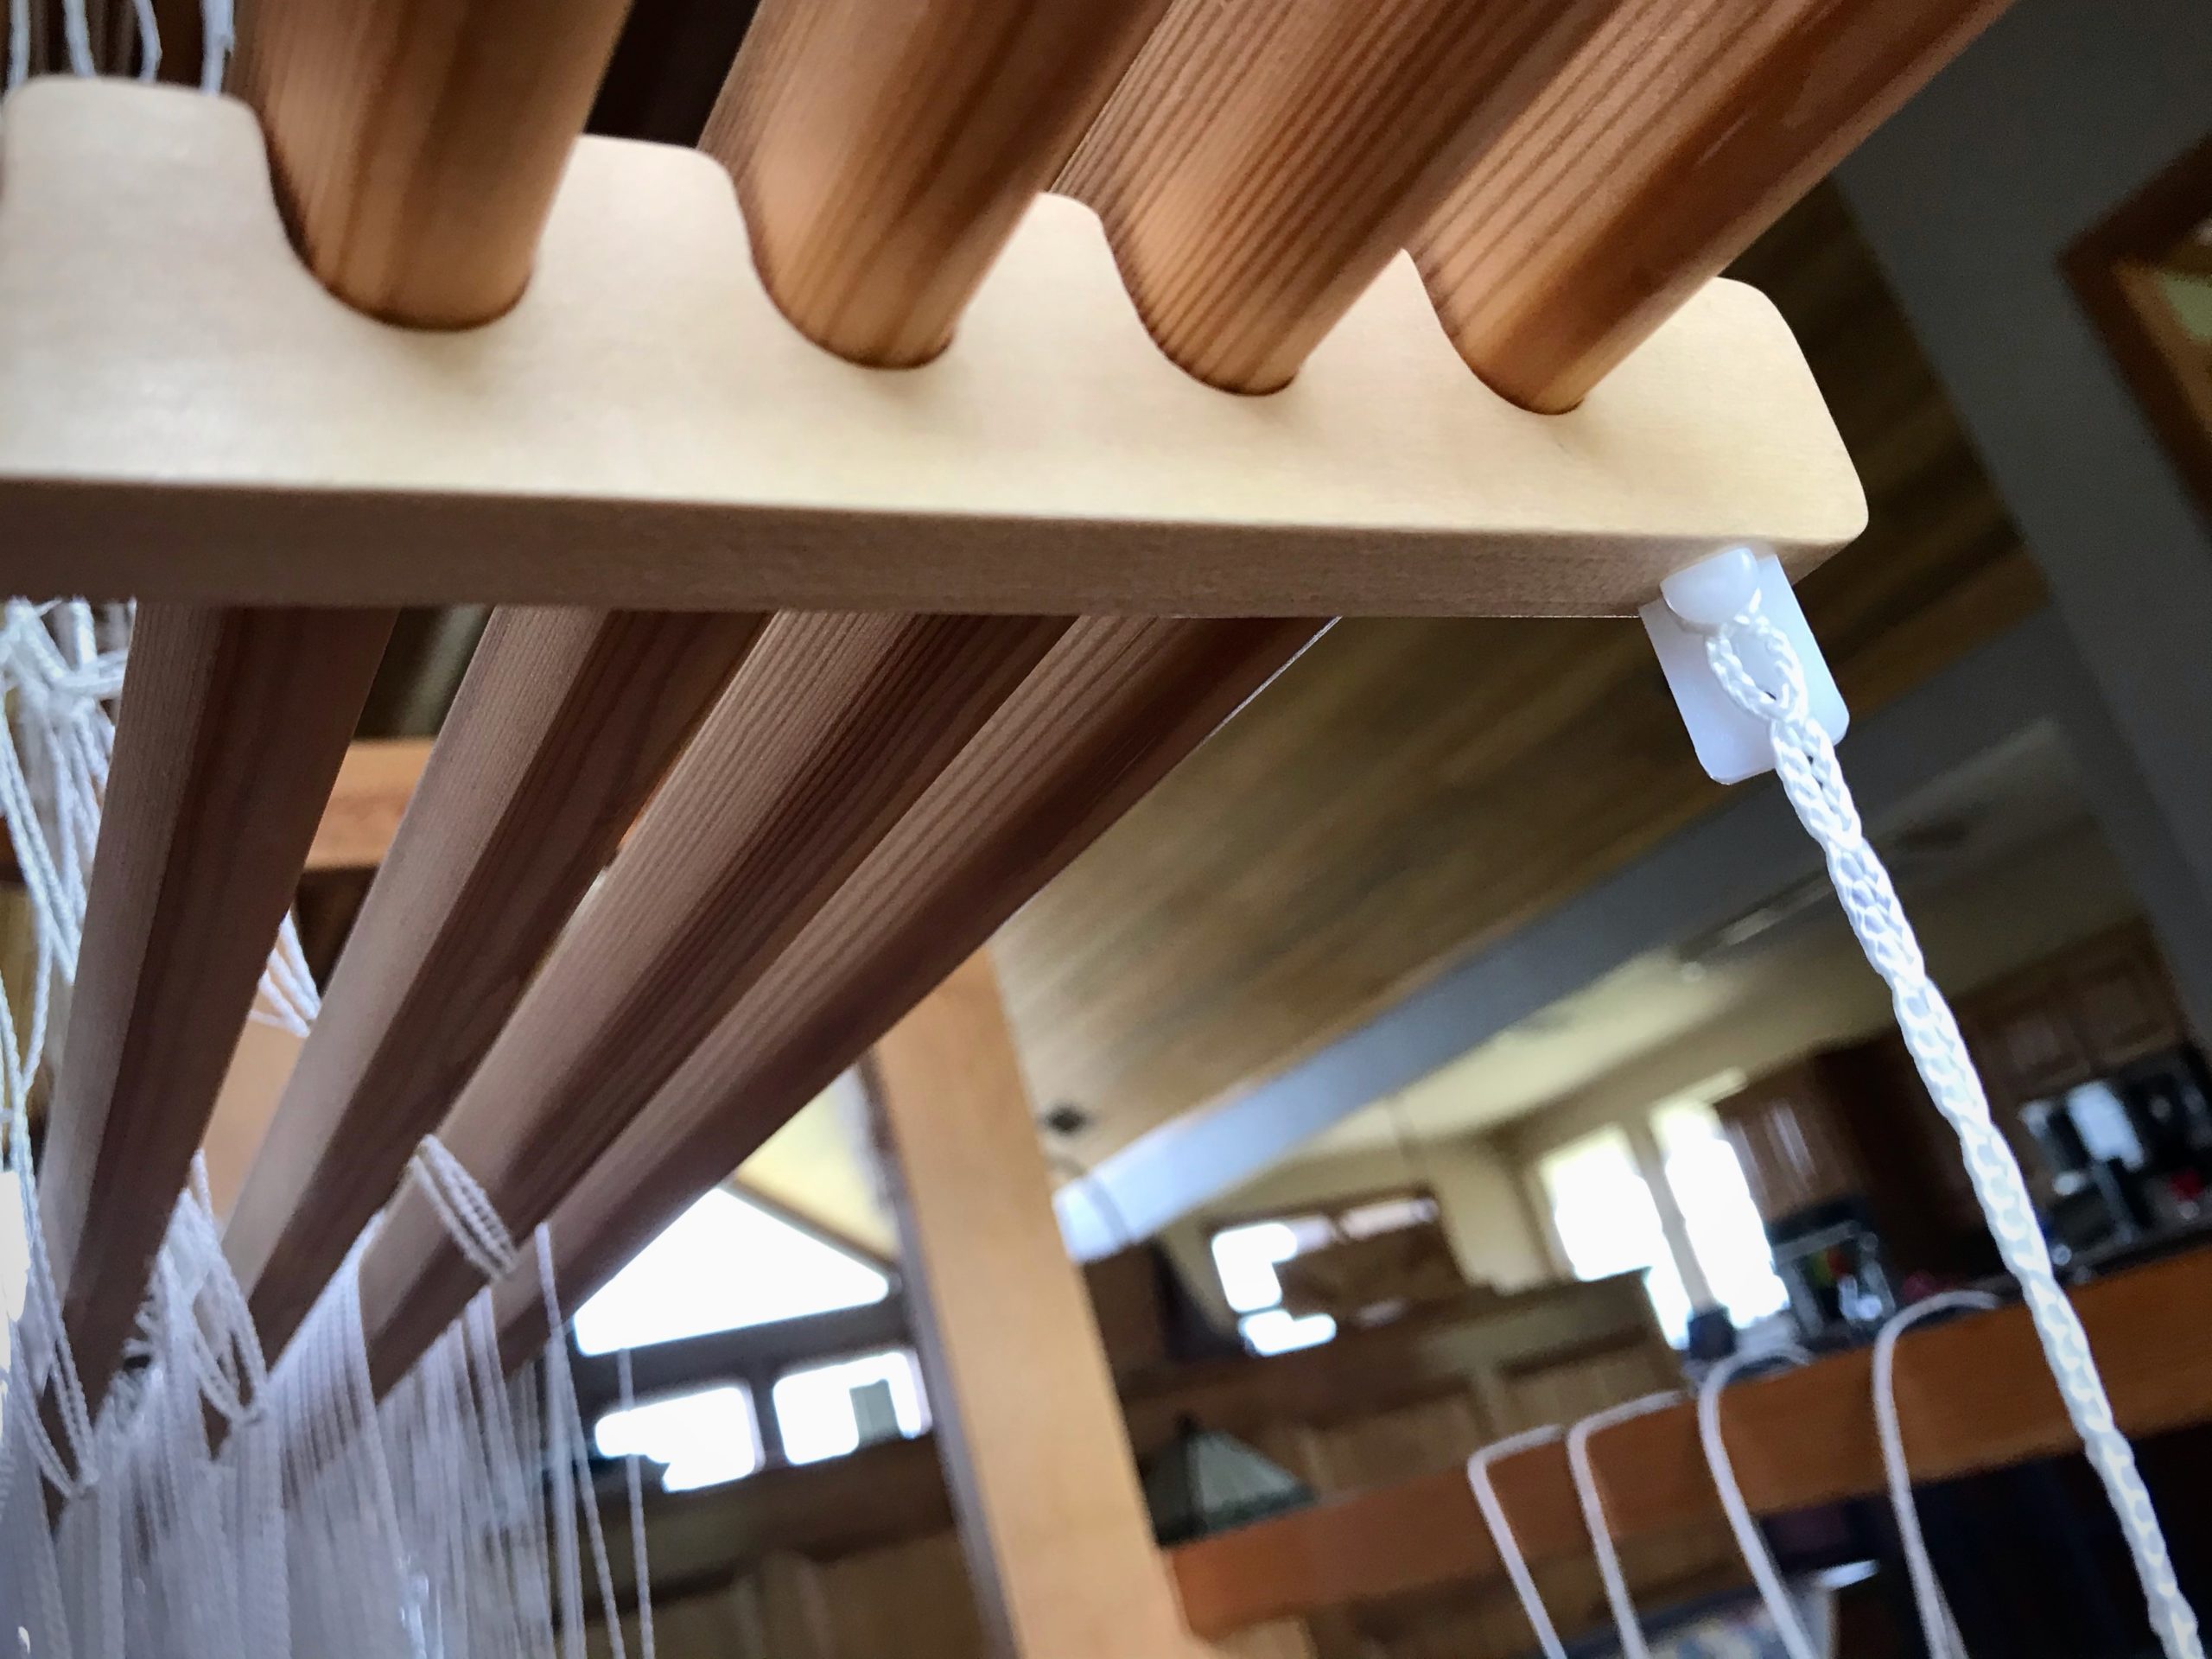
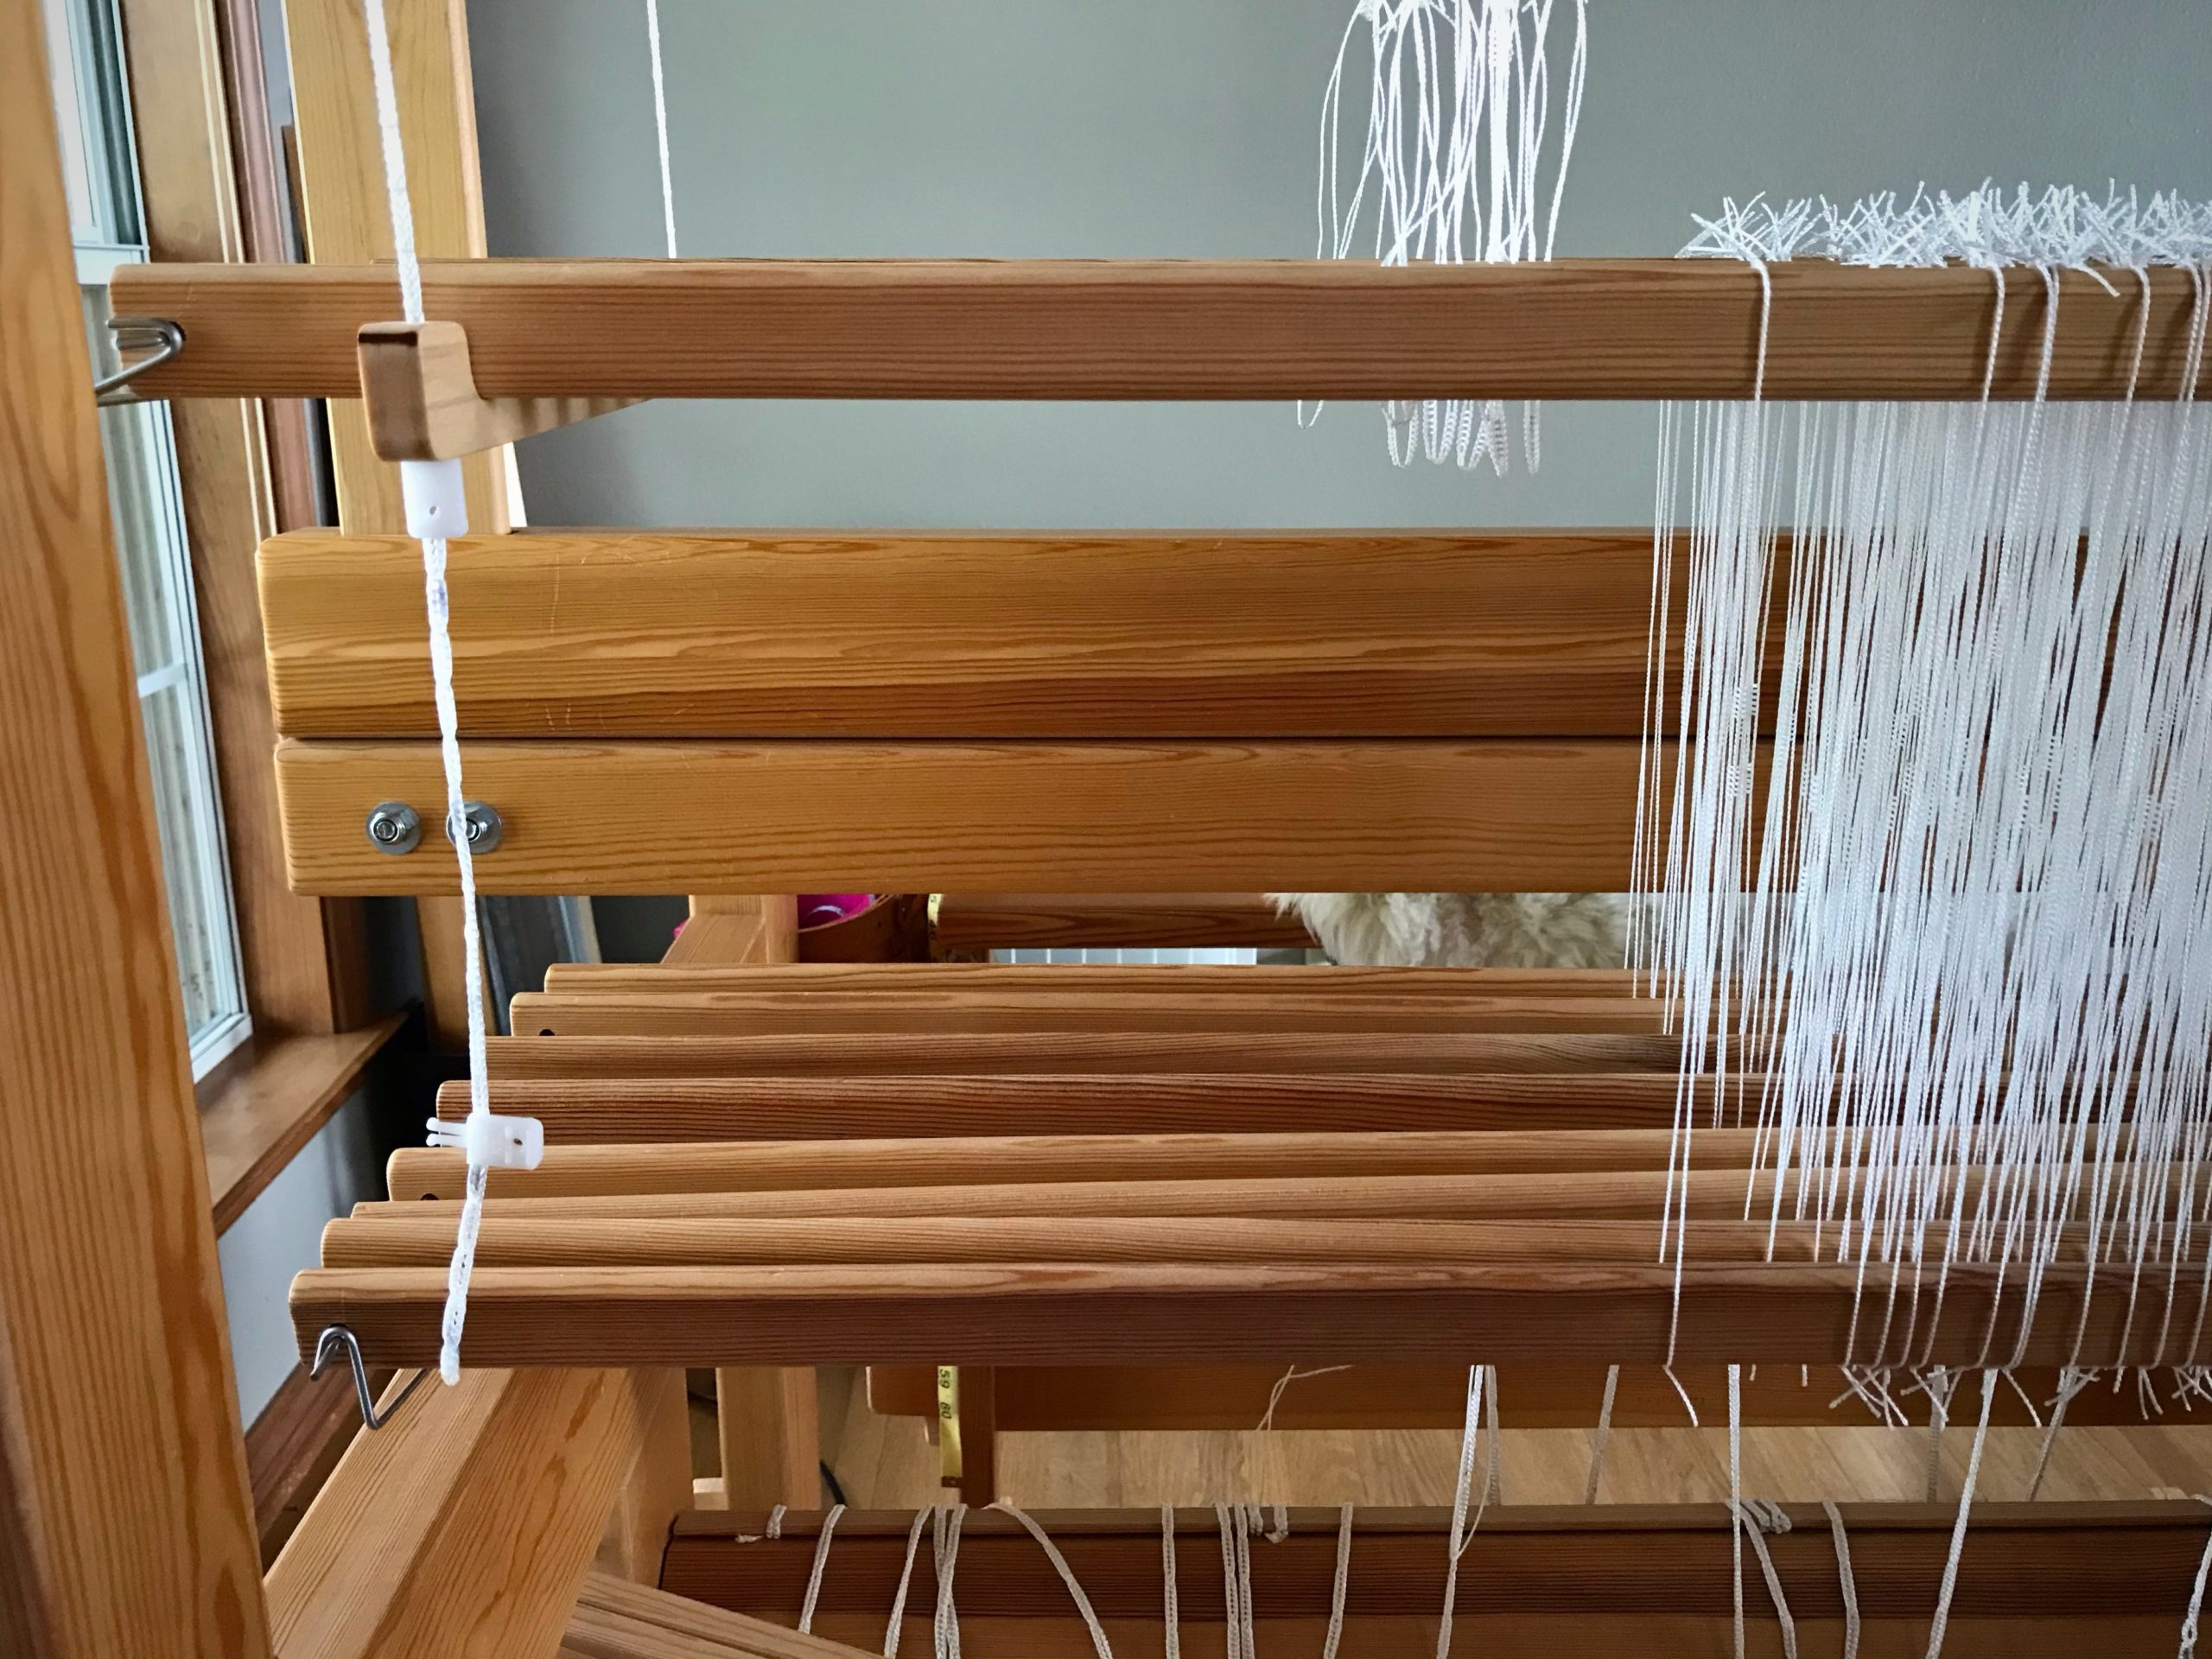
Texsolv cord is ingenious! It suspends shaft holders while I dress the loom. It also suspends the heddling bar during drawloom setup. A small anchor pin or arrow peg does the trick of holding everything together.
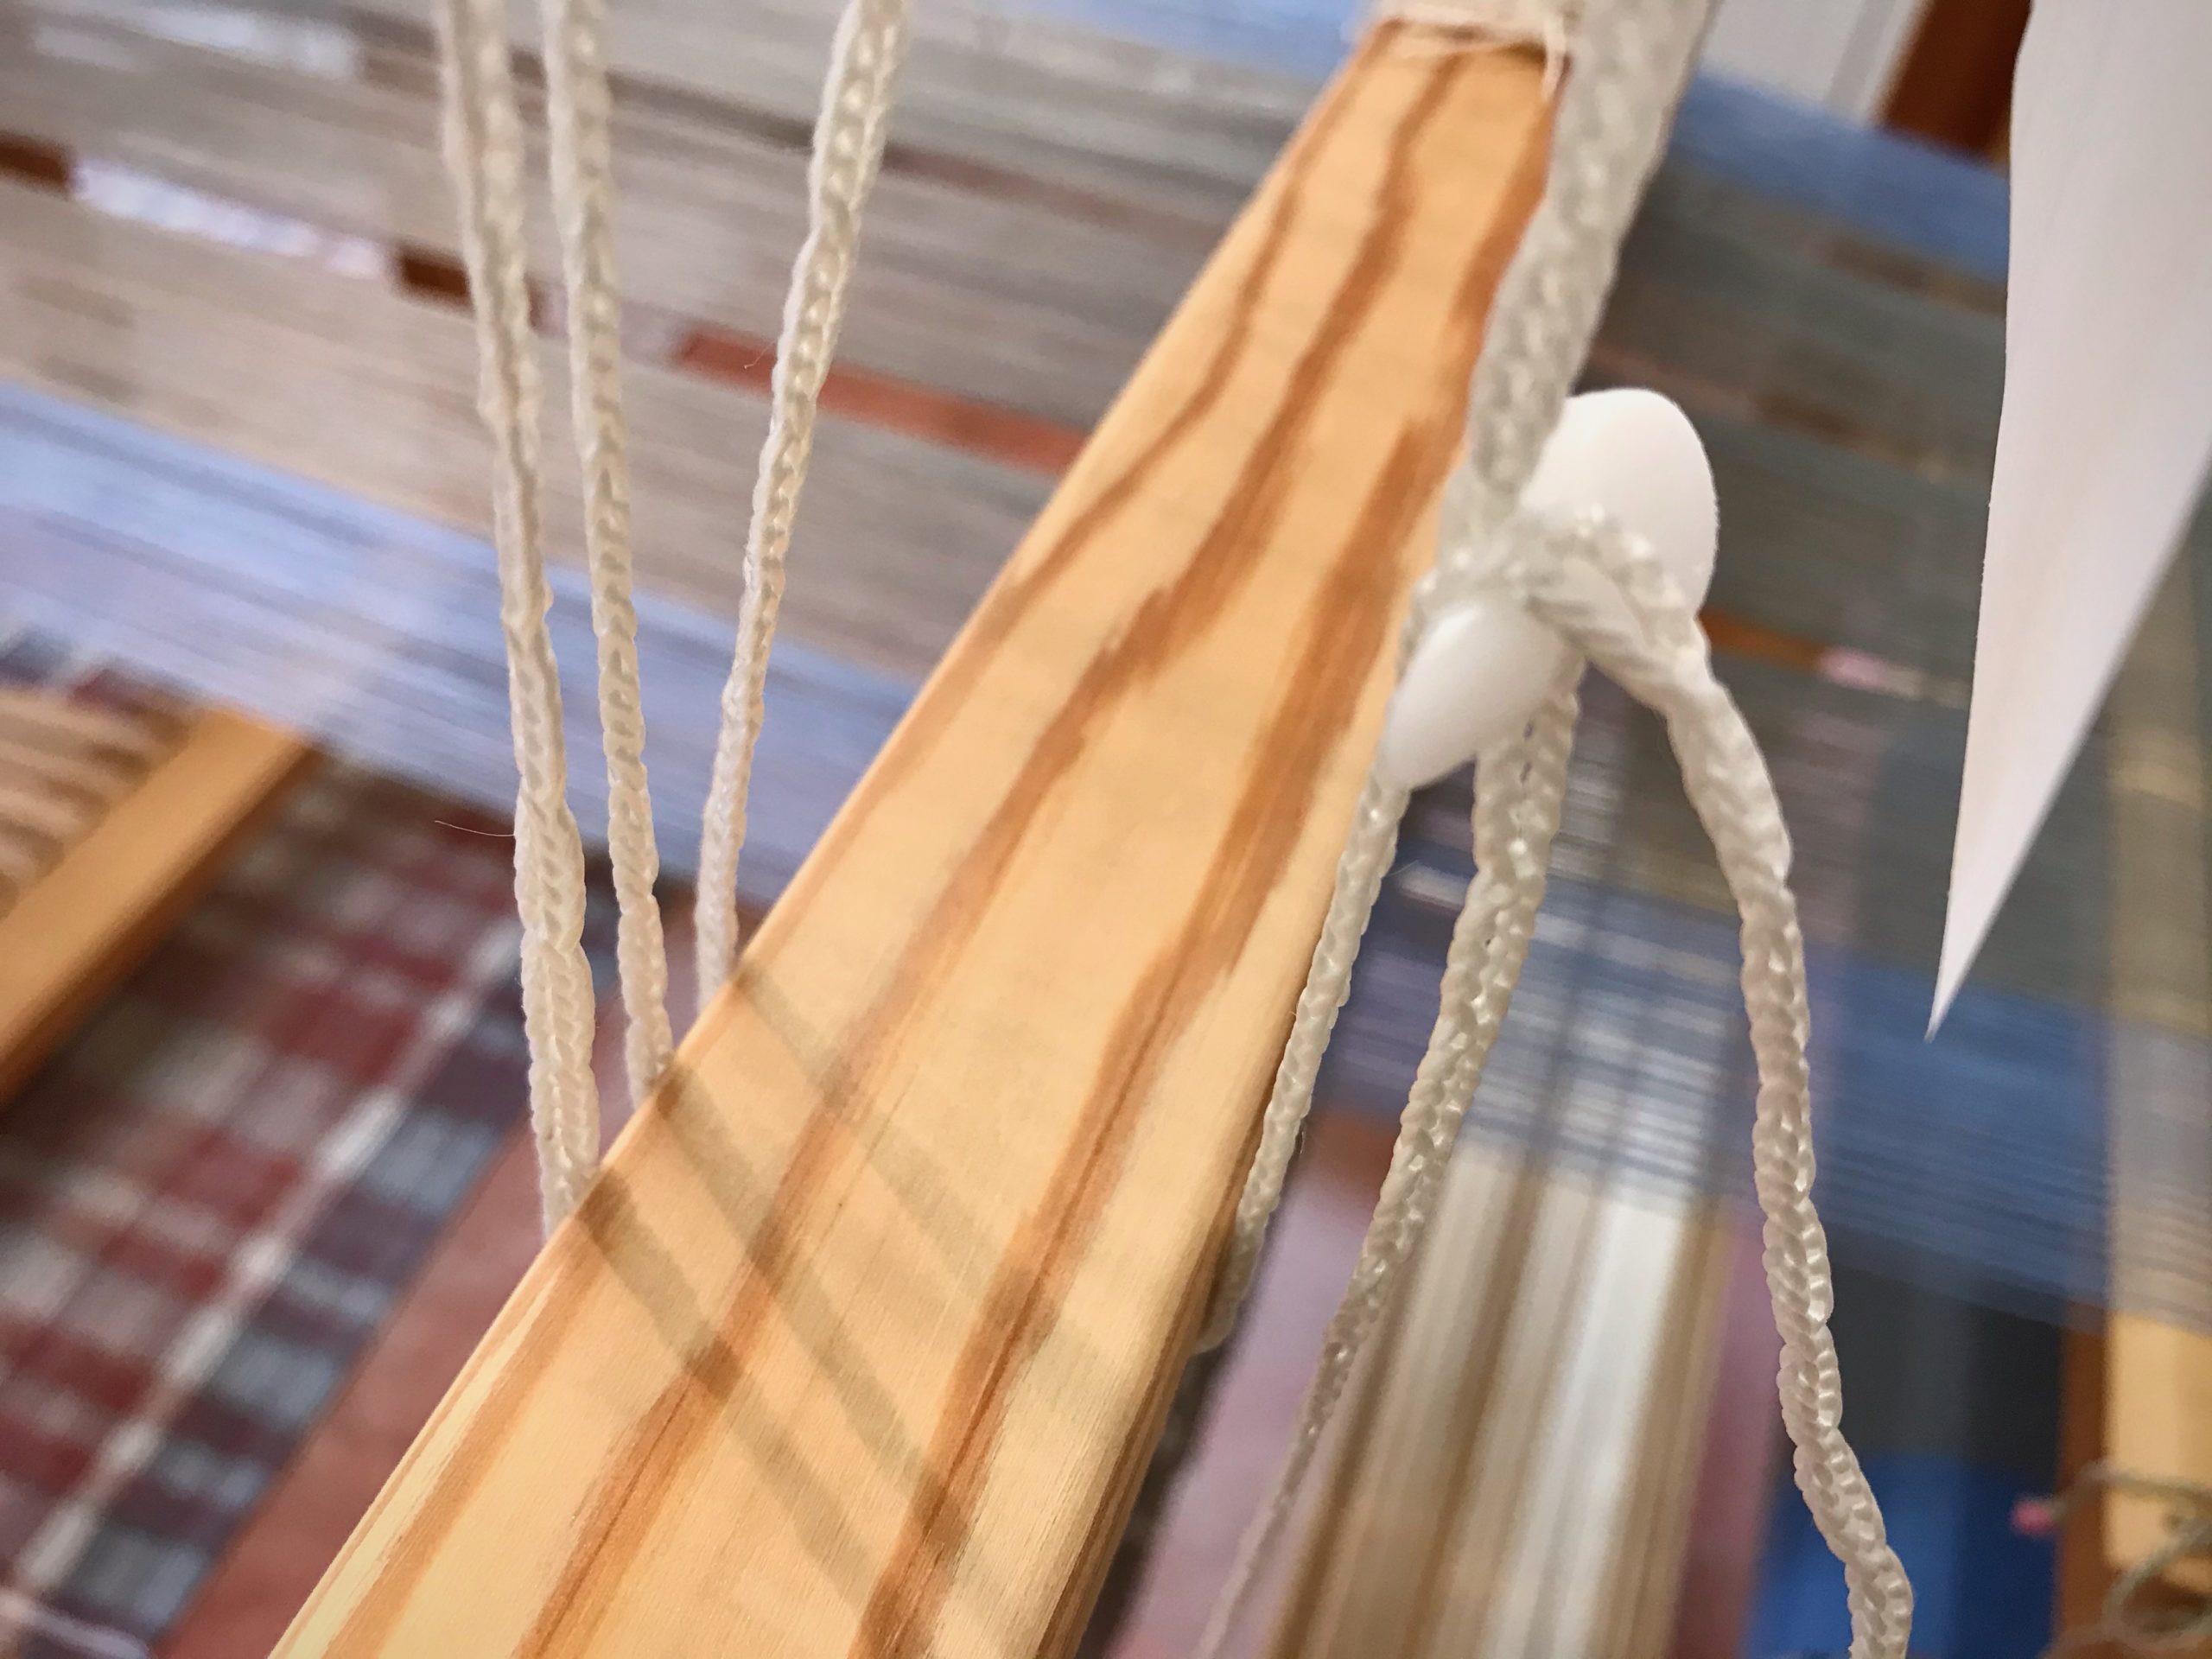
But there is one potential hazard…
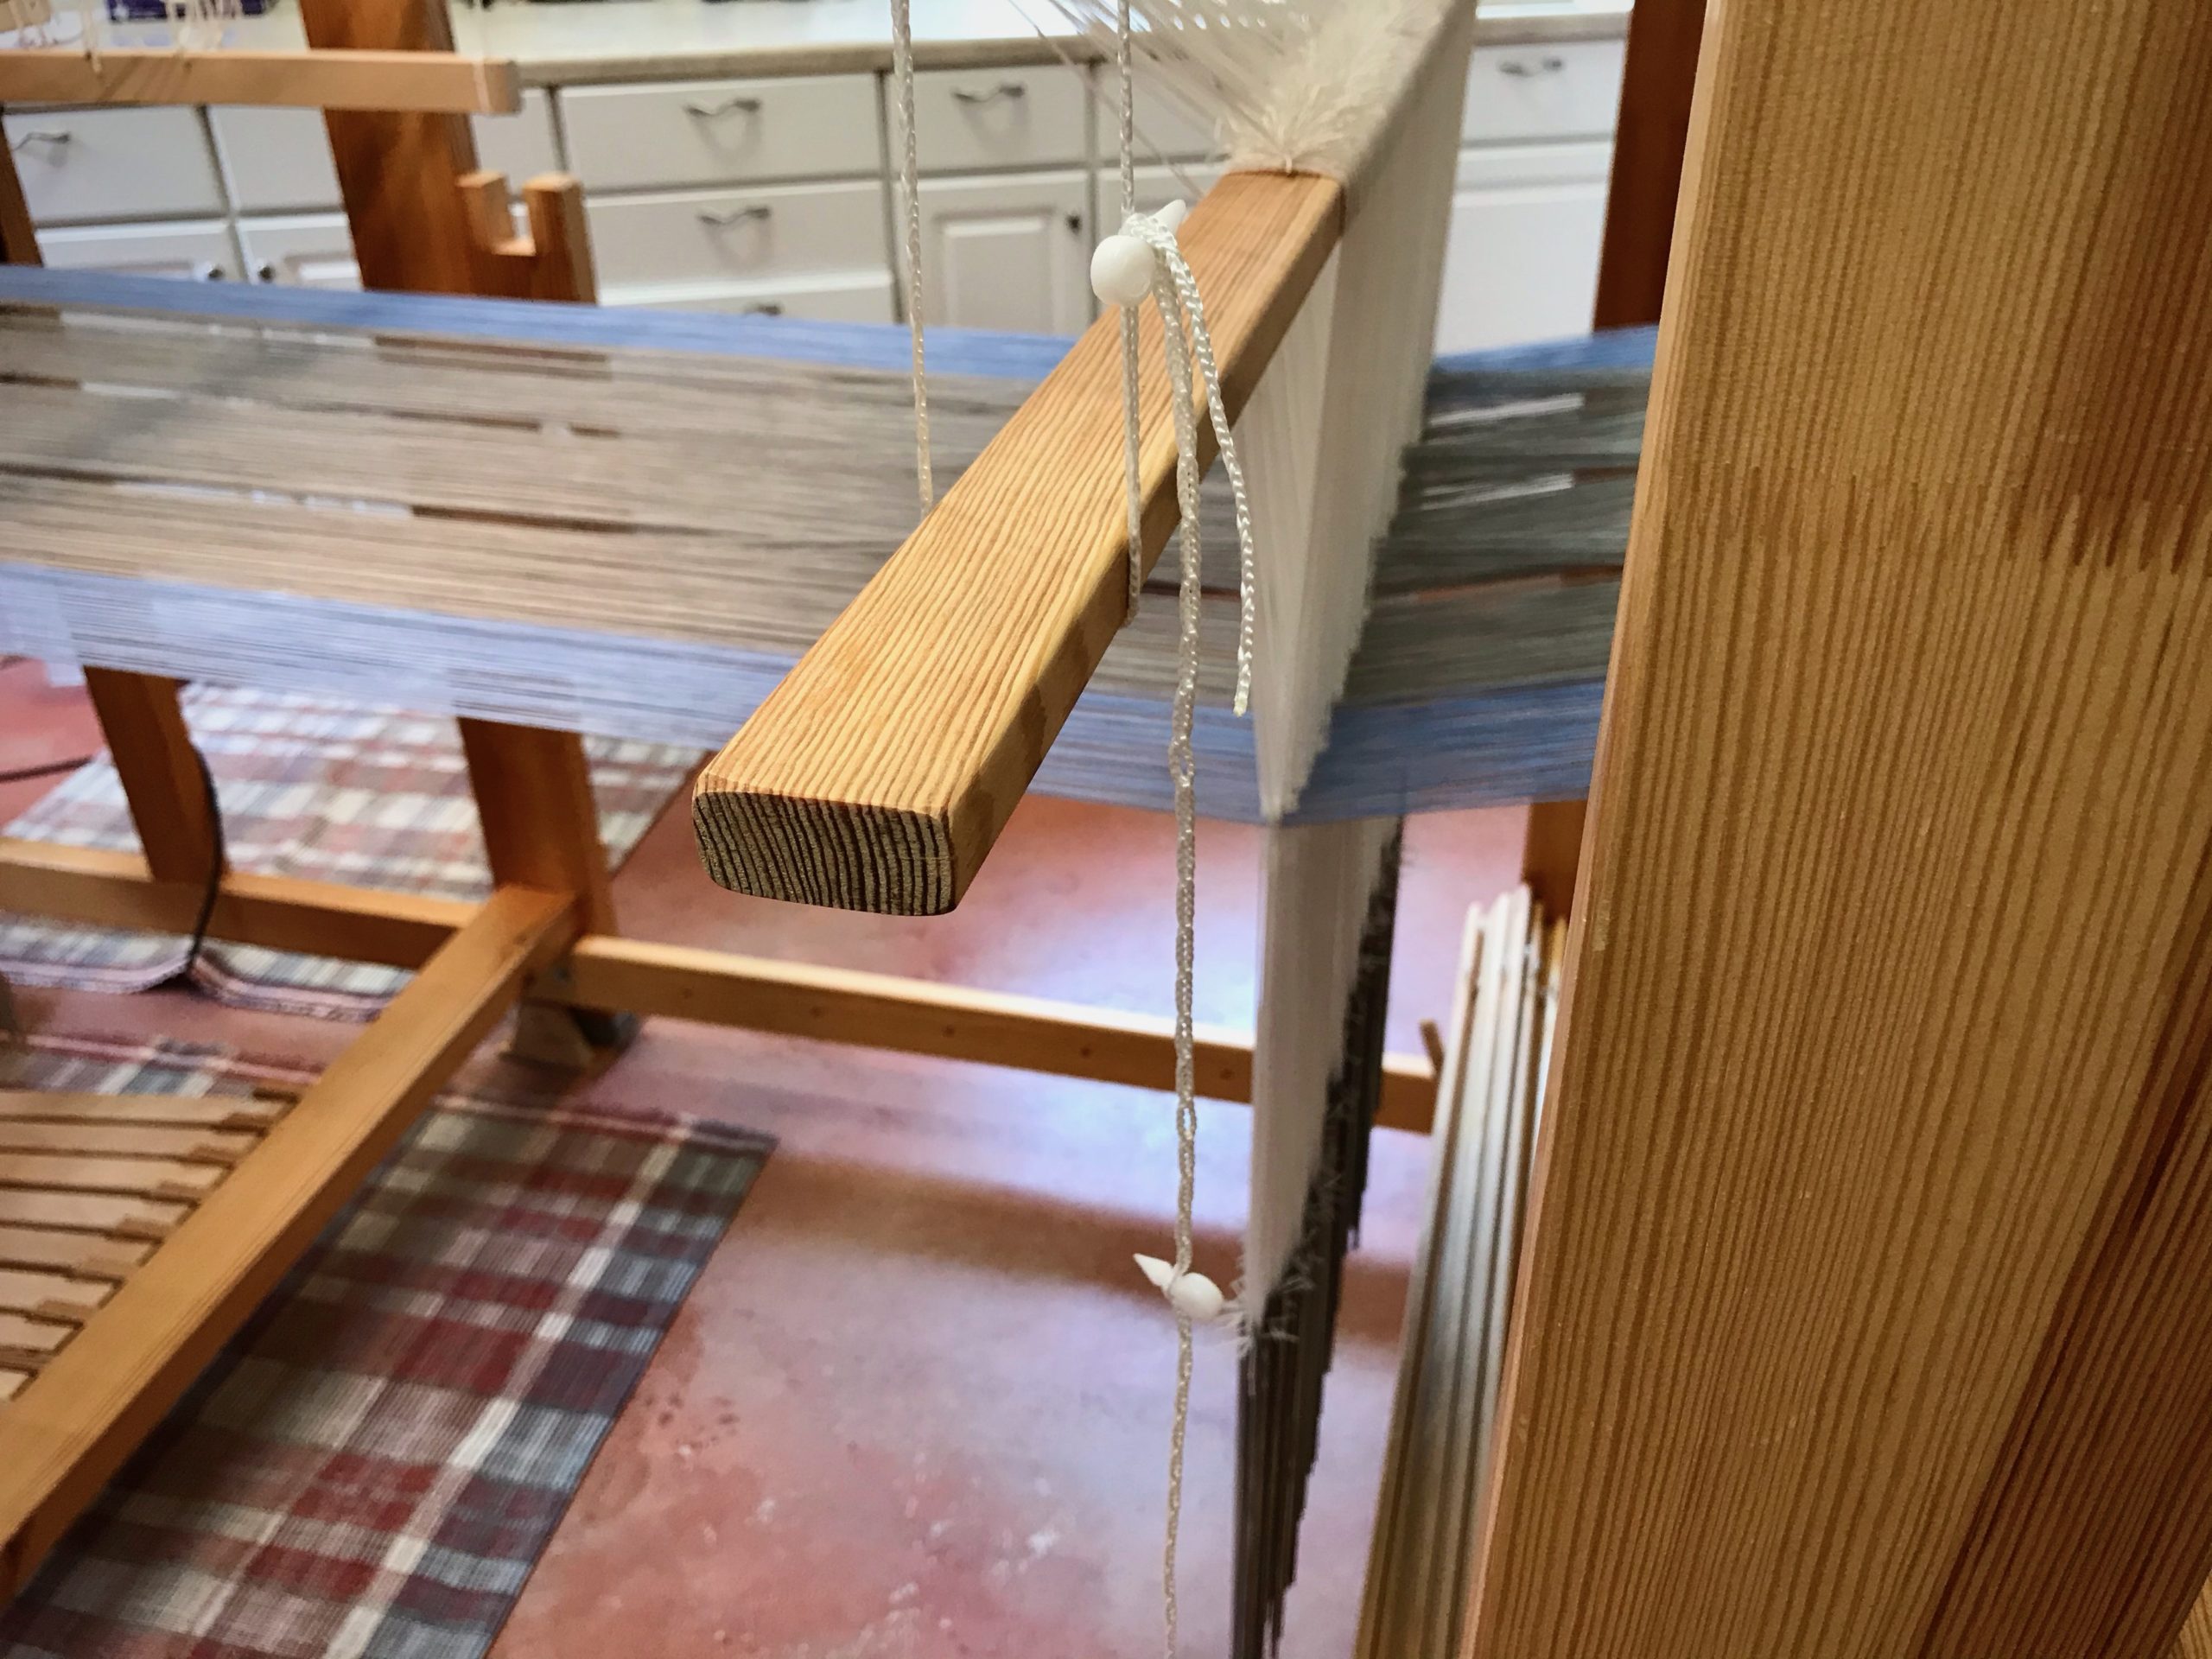
In order to adjust the height of the suspended heddling bar at the drawloom, I want to move the arrow peg. I hold one end of the bar while pulling the peg out of the Texsolv cord. That little peg fumbles out of my hand and drops to the floor. OOPS! I am left holding one end of the bar that has 148 threaded pattern heddles, weights included. Now what?! Alone in the room, I am now the sole support for that end of the heavy bar. The peg on the floor is out of reach.
Super Simple Tip of the Day
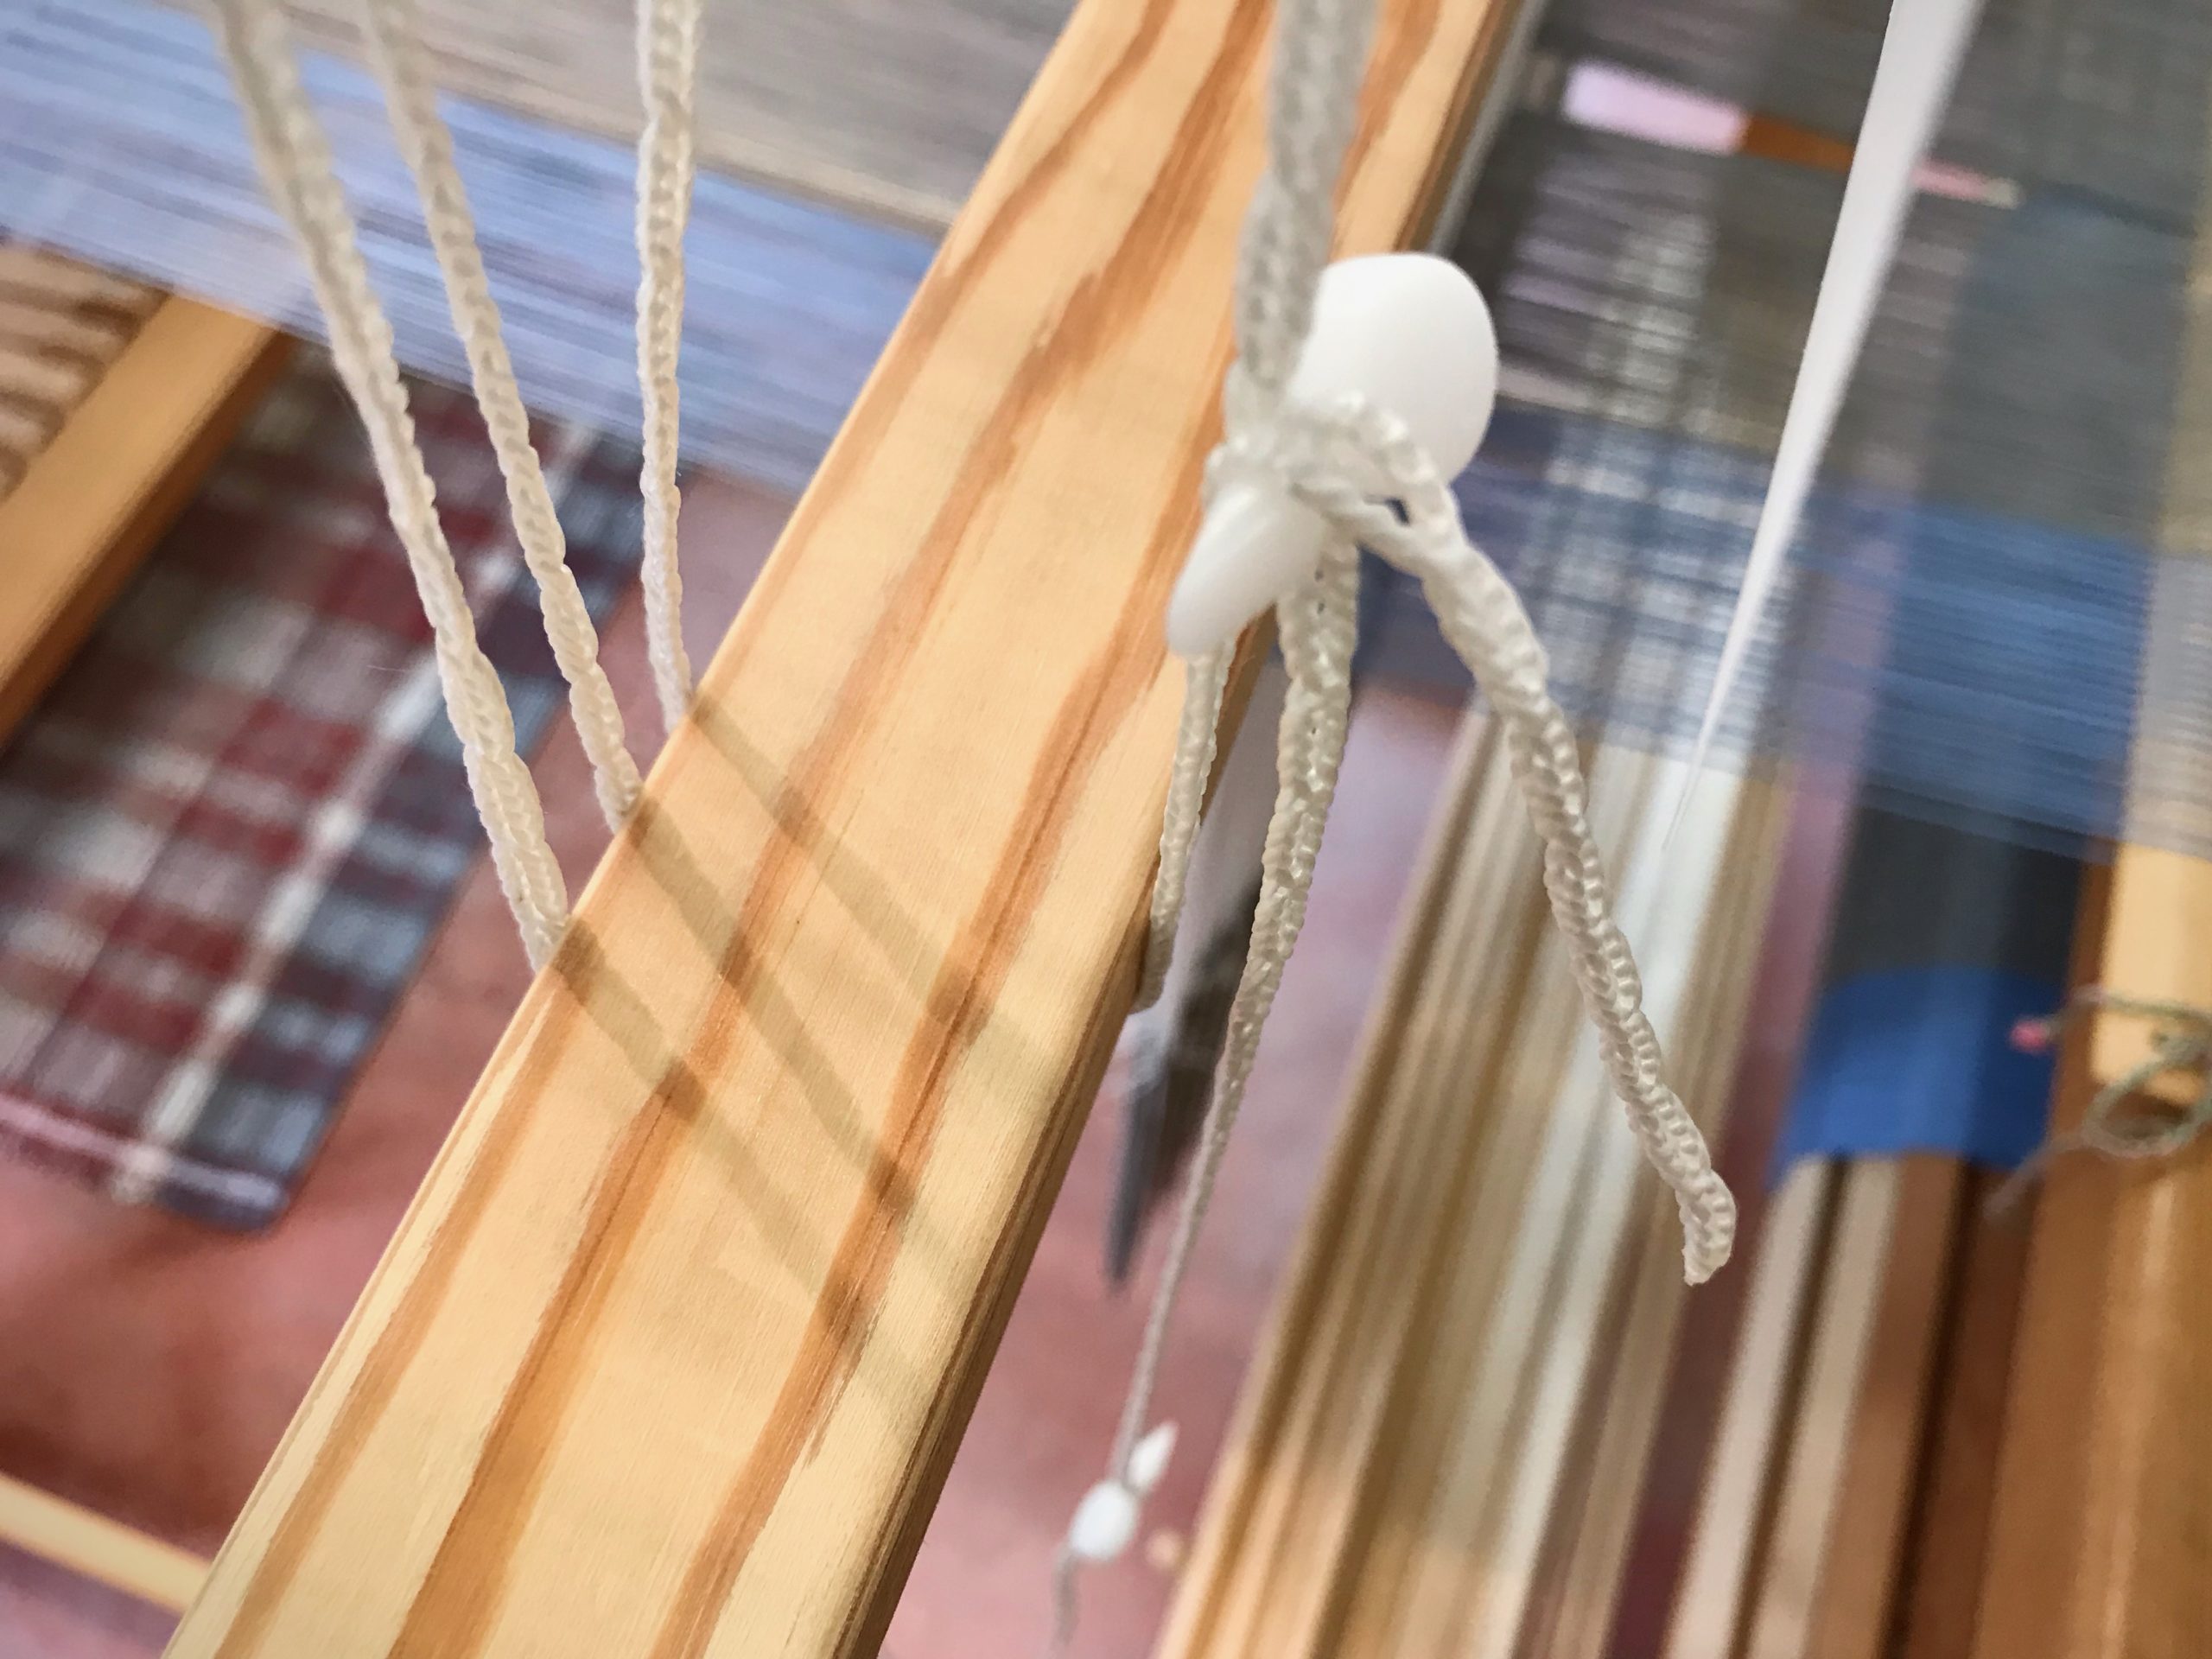
Always keep a spare anchor pin or arrow peg on the loose end of the Texsolv cord. Always.
The rest of the story…
When that pesky little arrow peg slips out of my hand I calmly take the spare peg that is there “just in case,” and secure the Texsolv loop that holds the heddling bar. No big deal, after all.
May you be ready for anything, just in case.
Ready or not,
Karen