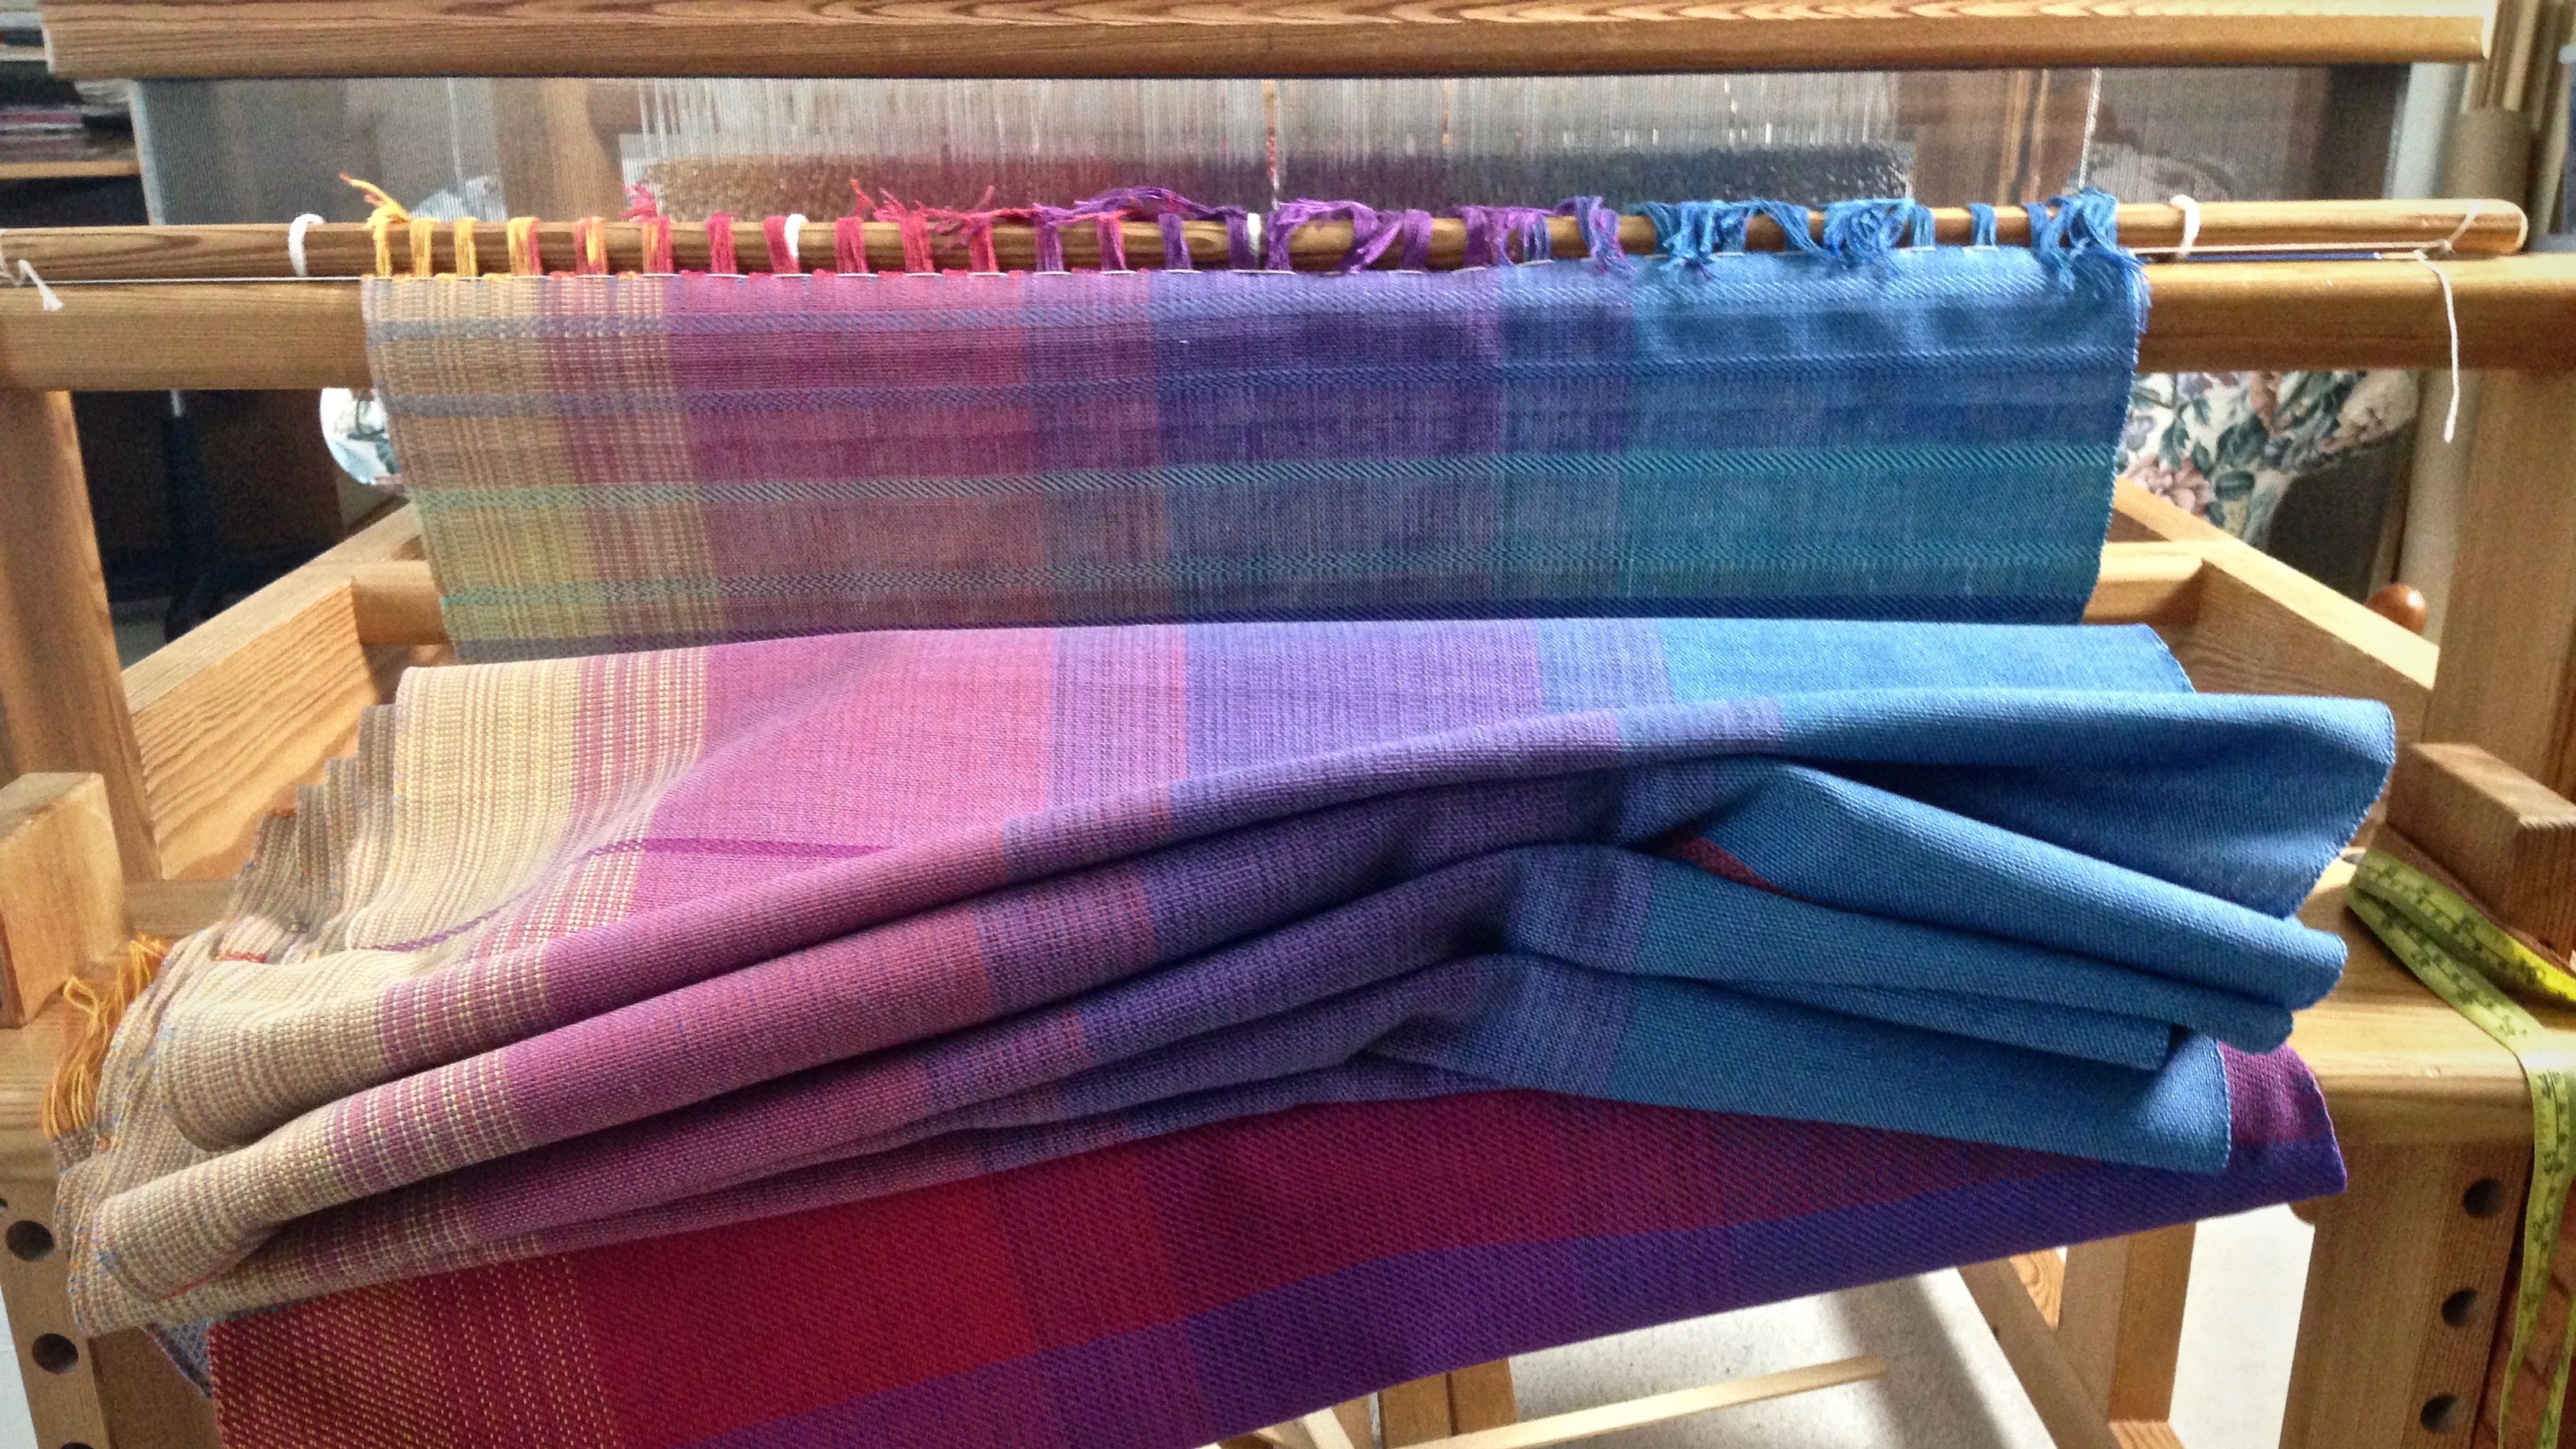
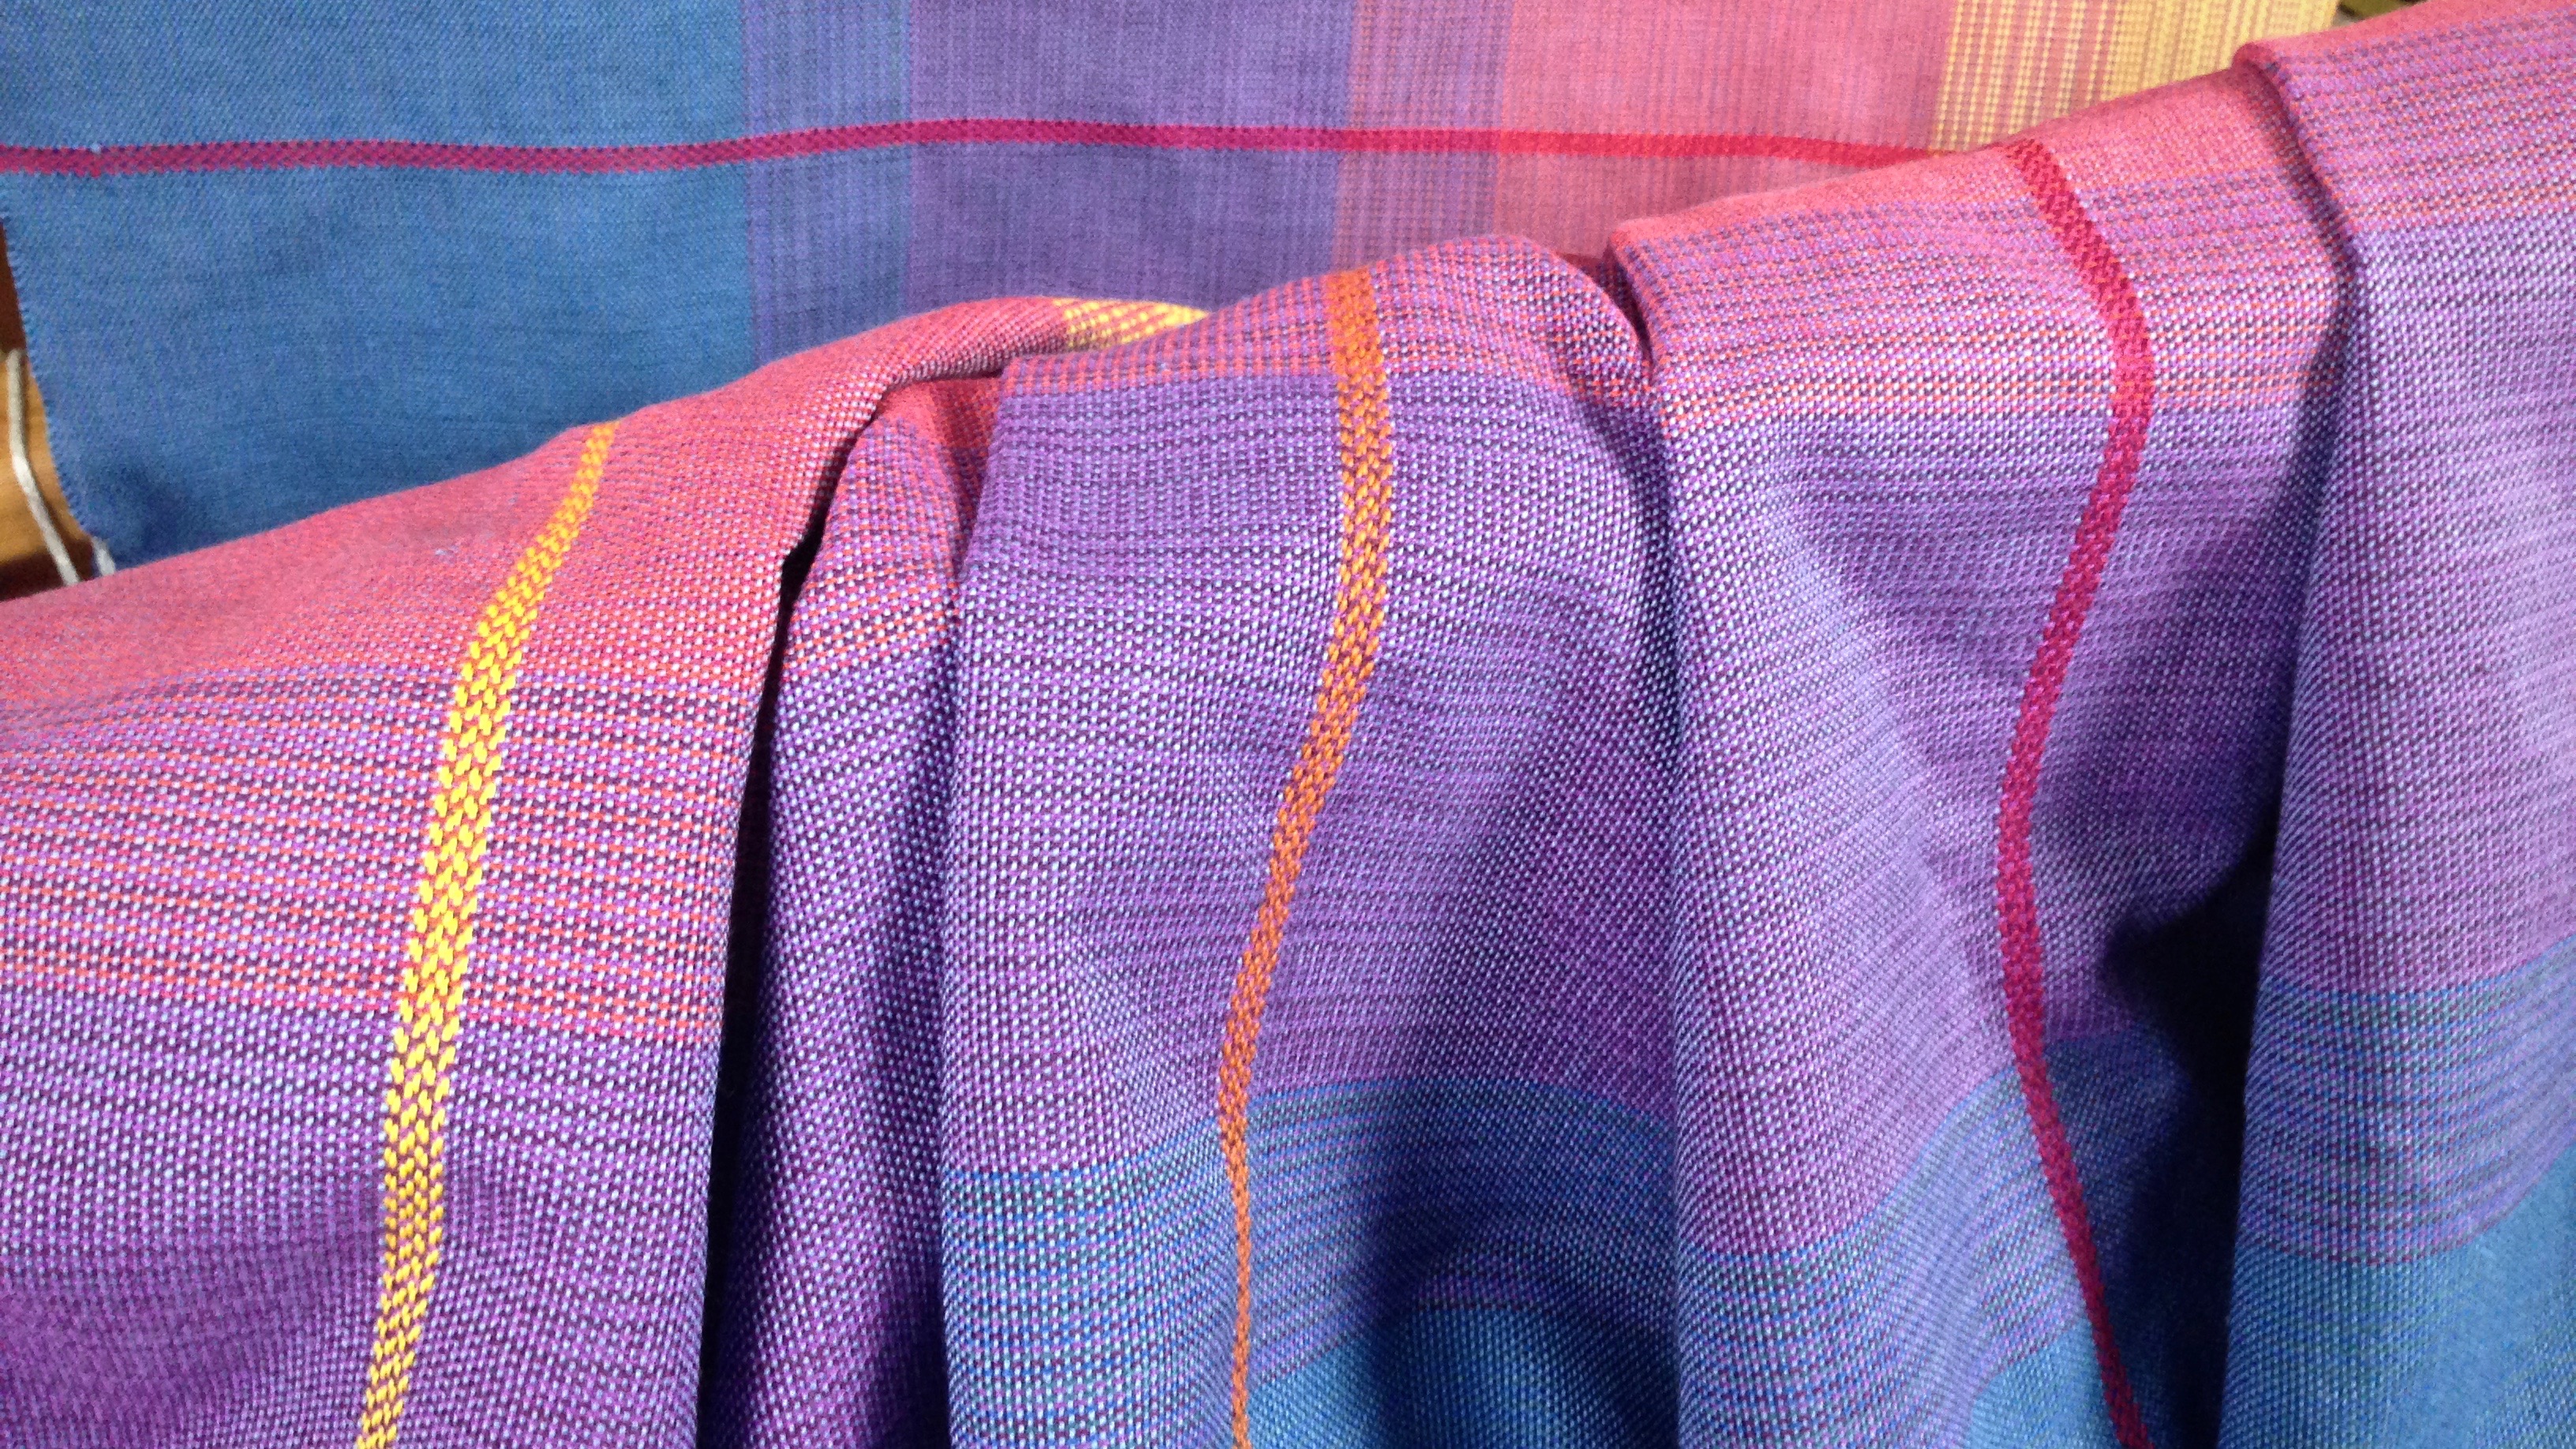
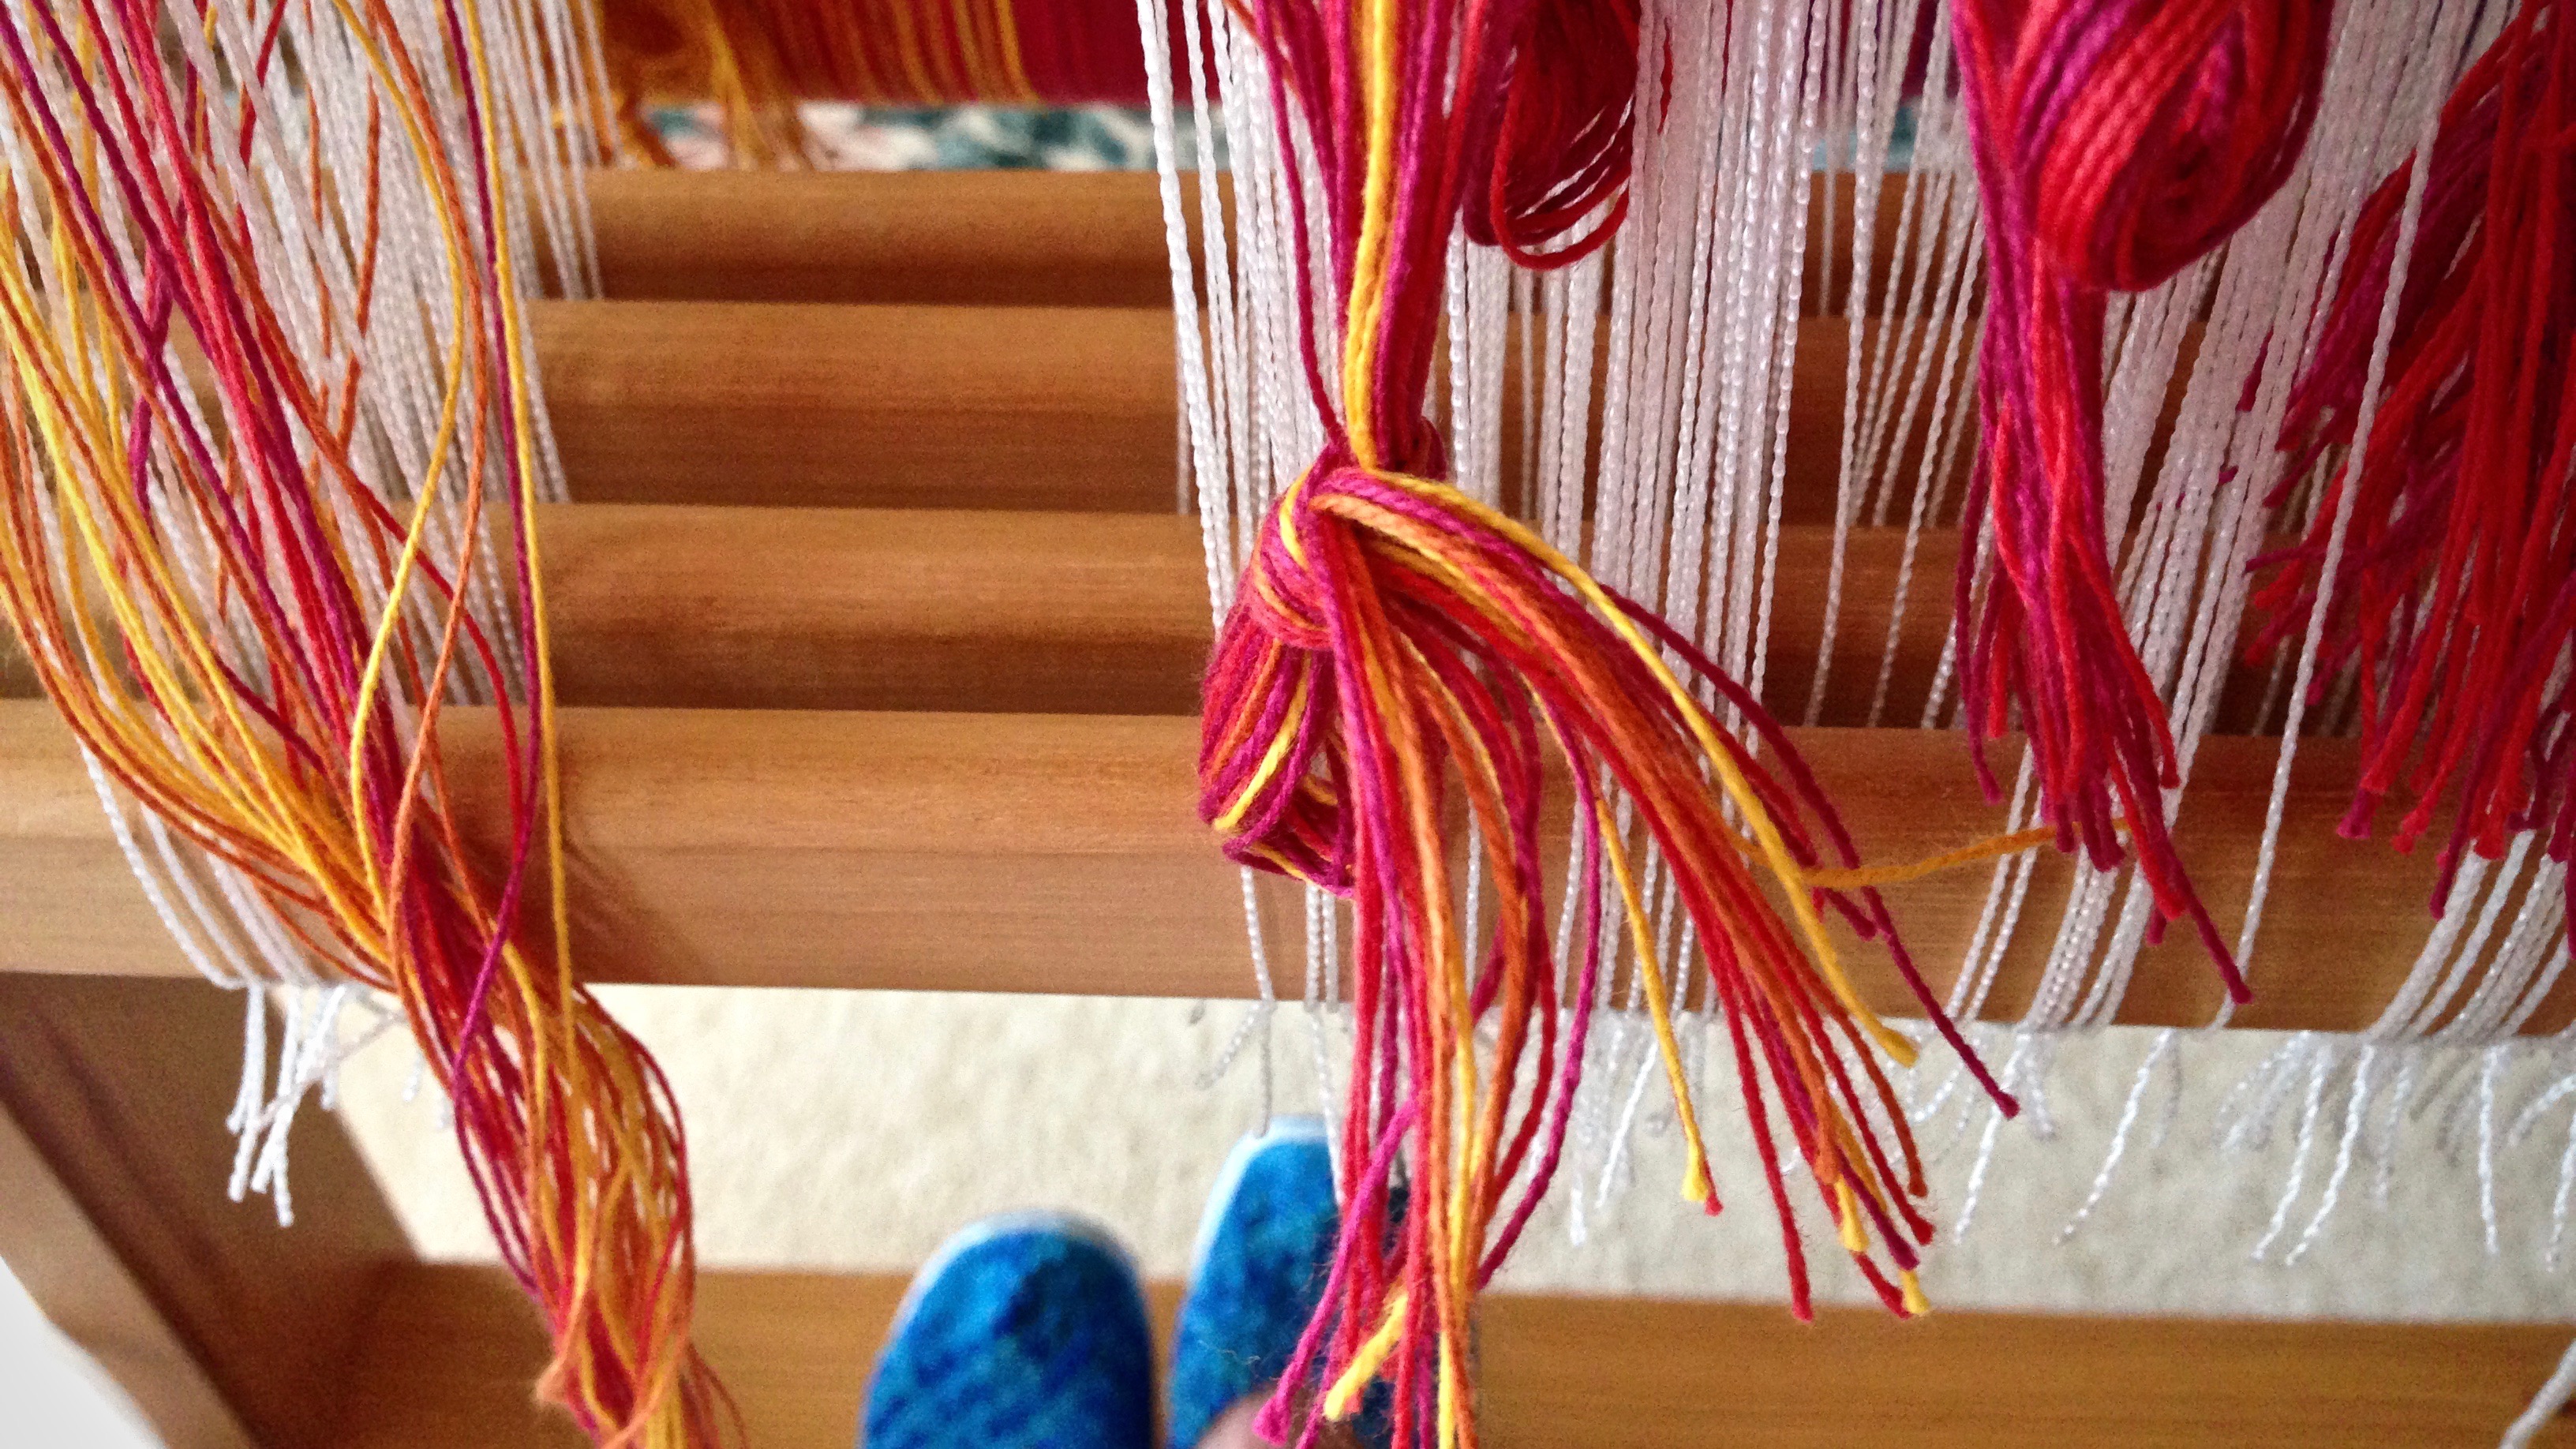
What do you weave into the fabric that will be cradling your future granddaughter? Love, and lots of it, of course. The baby wrap has been woven, and is cut from the loom! All that is left is the finishing work–examining for errors, washing and drying, and hemming. …And Melody learning how to wrap a baby wrap. Soon enough, baby Lucia will be wrapped in this love-made piece of cloth.
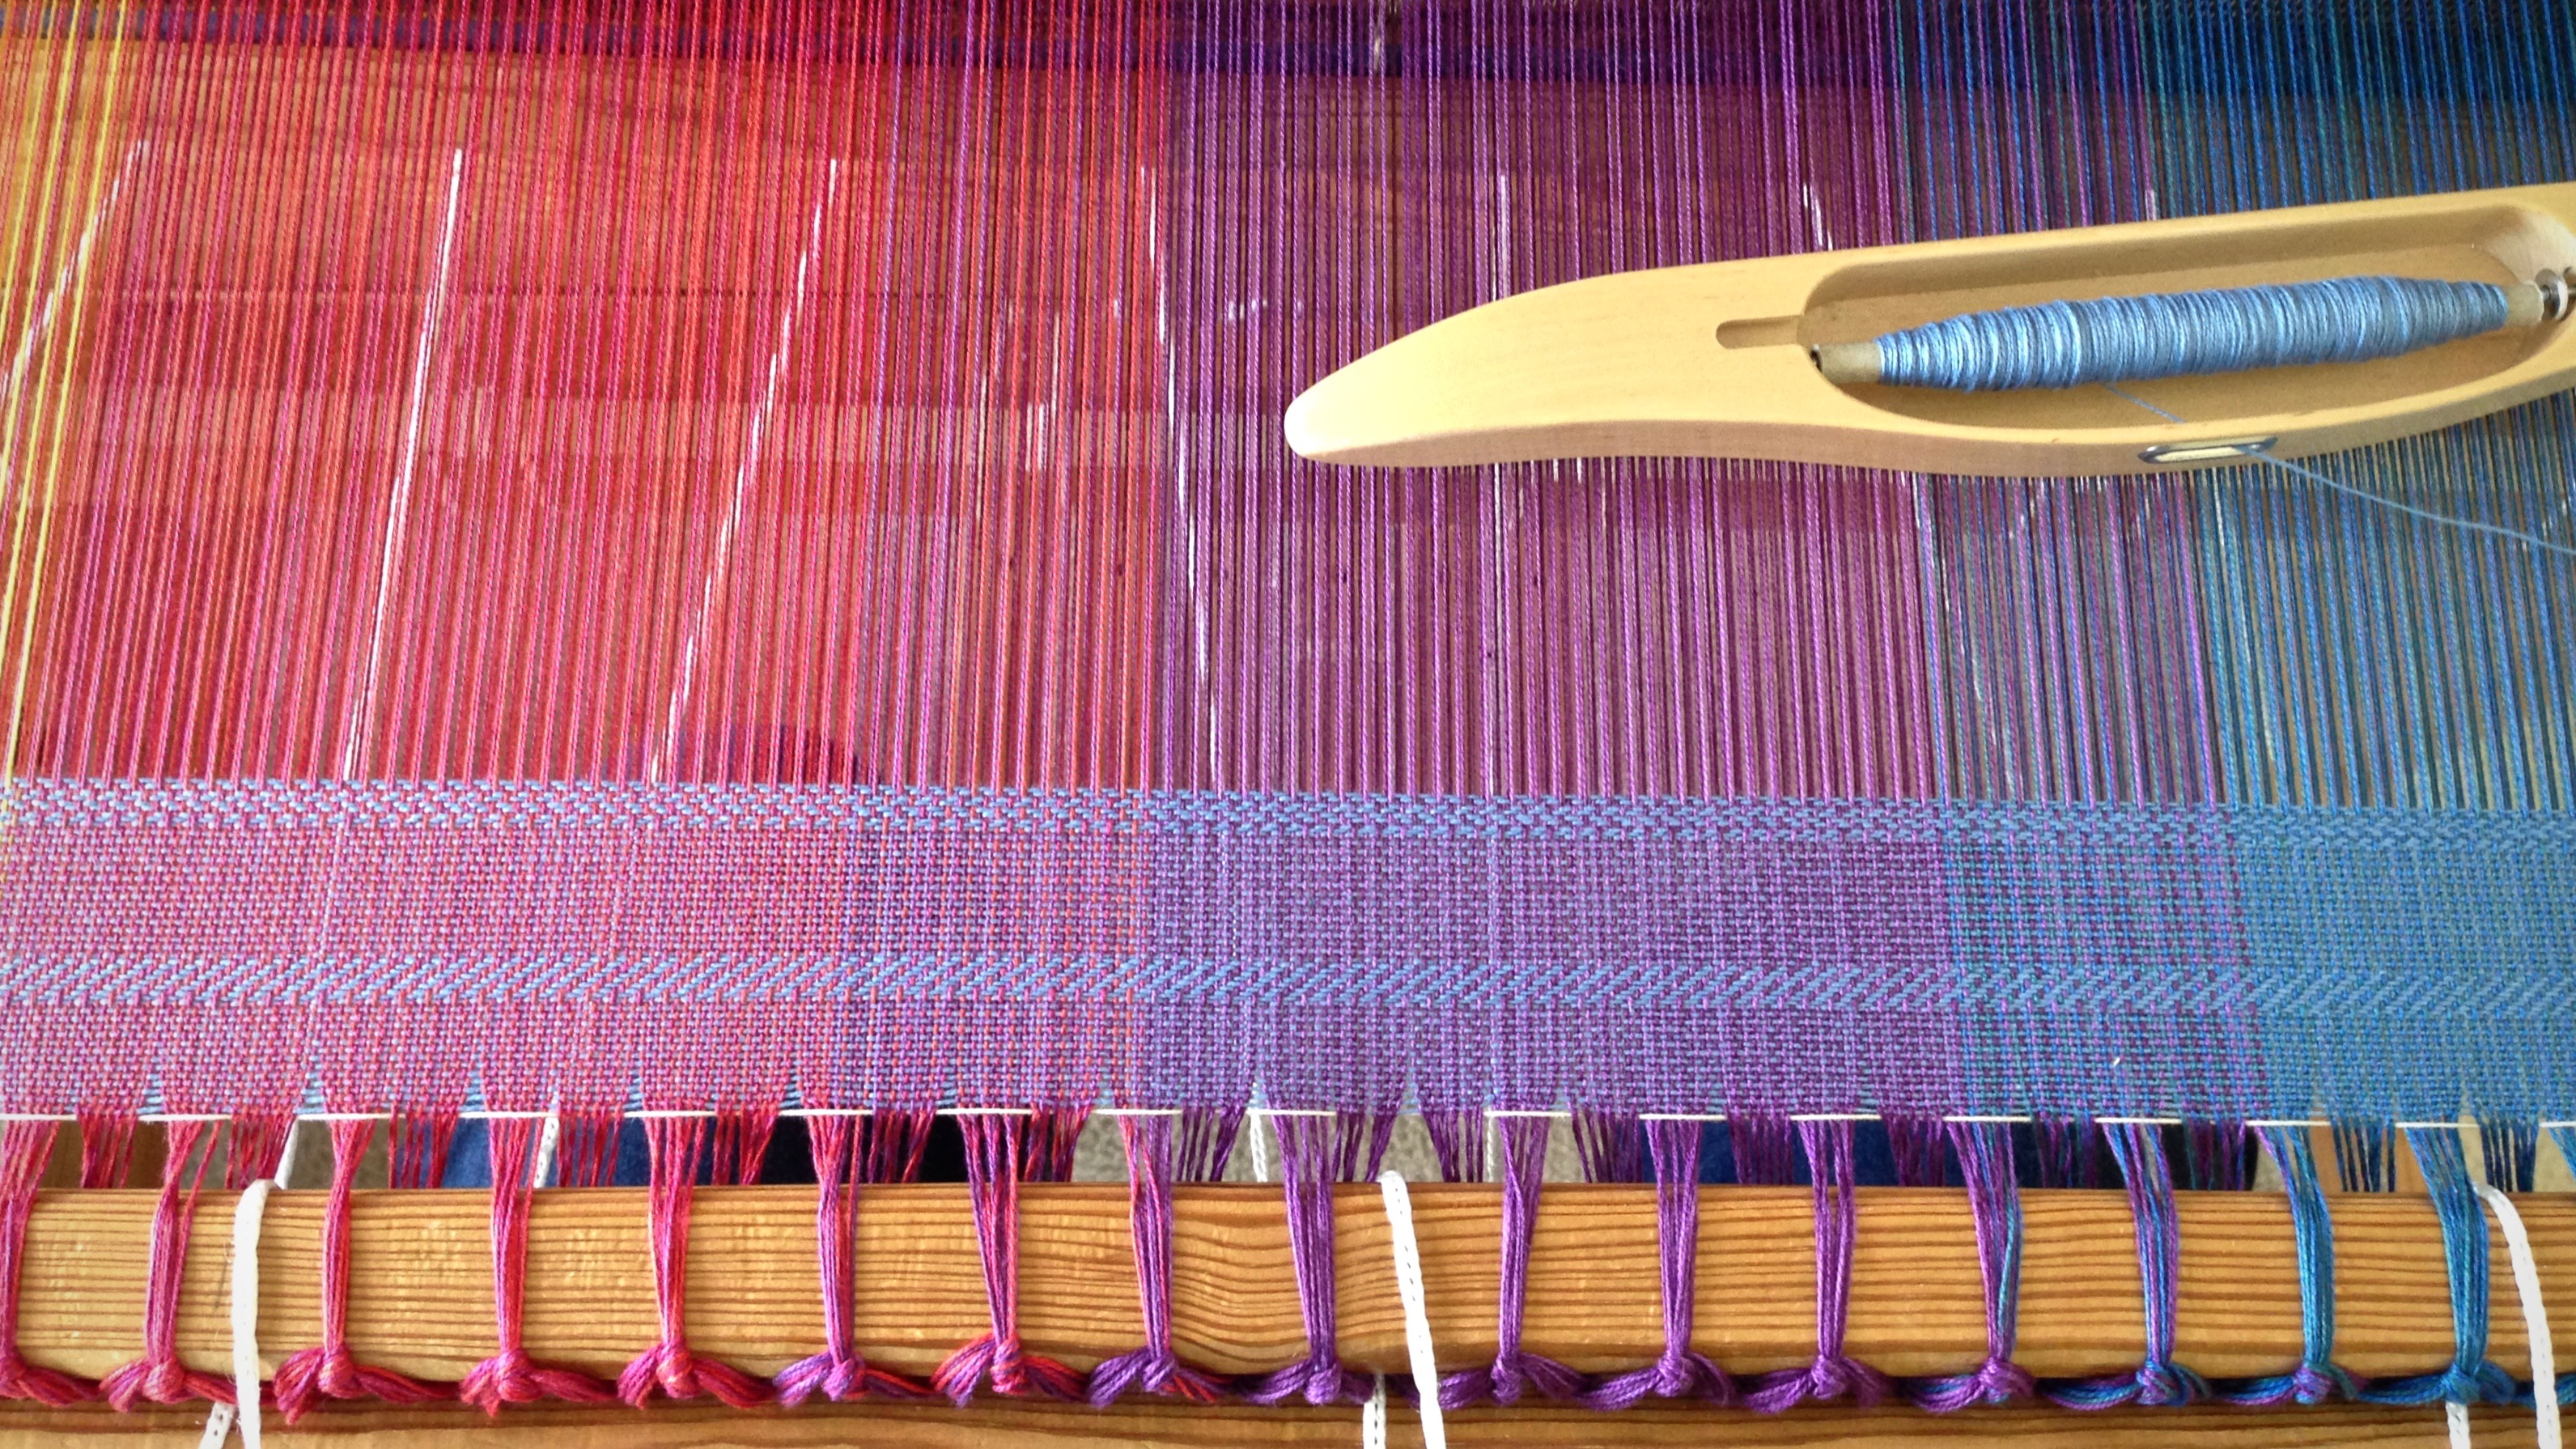
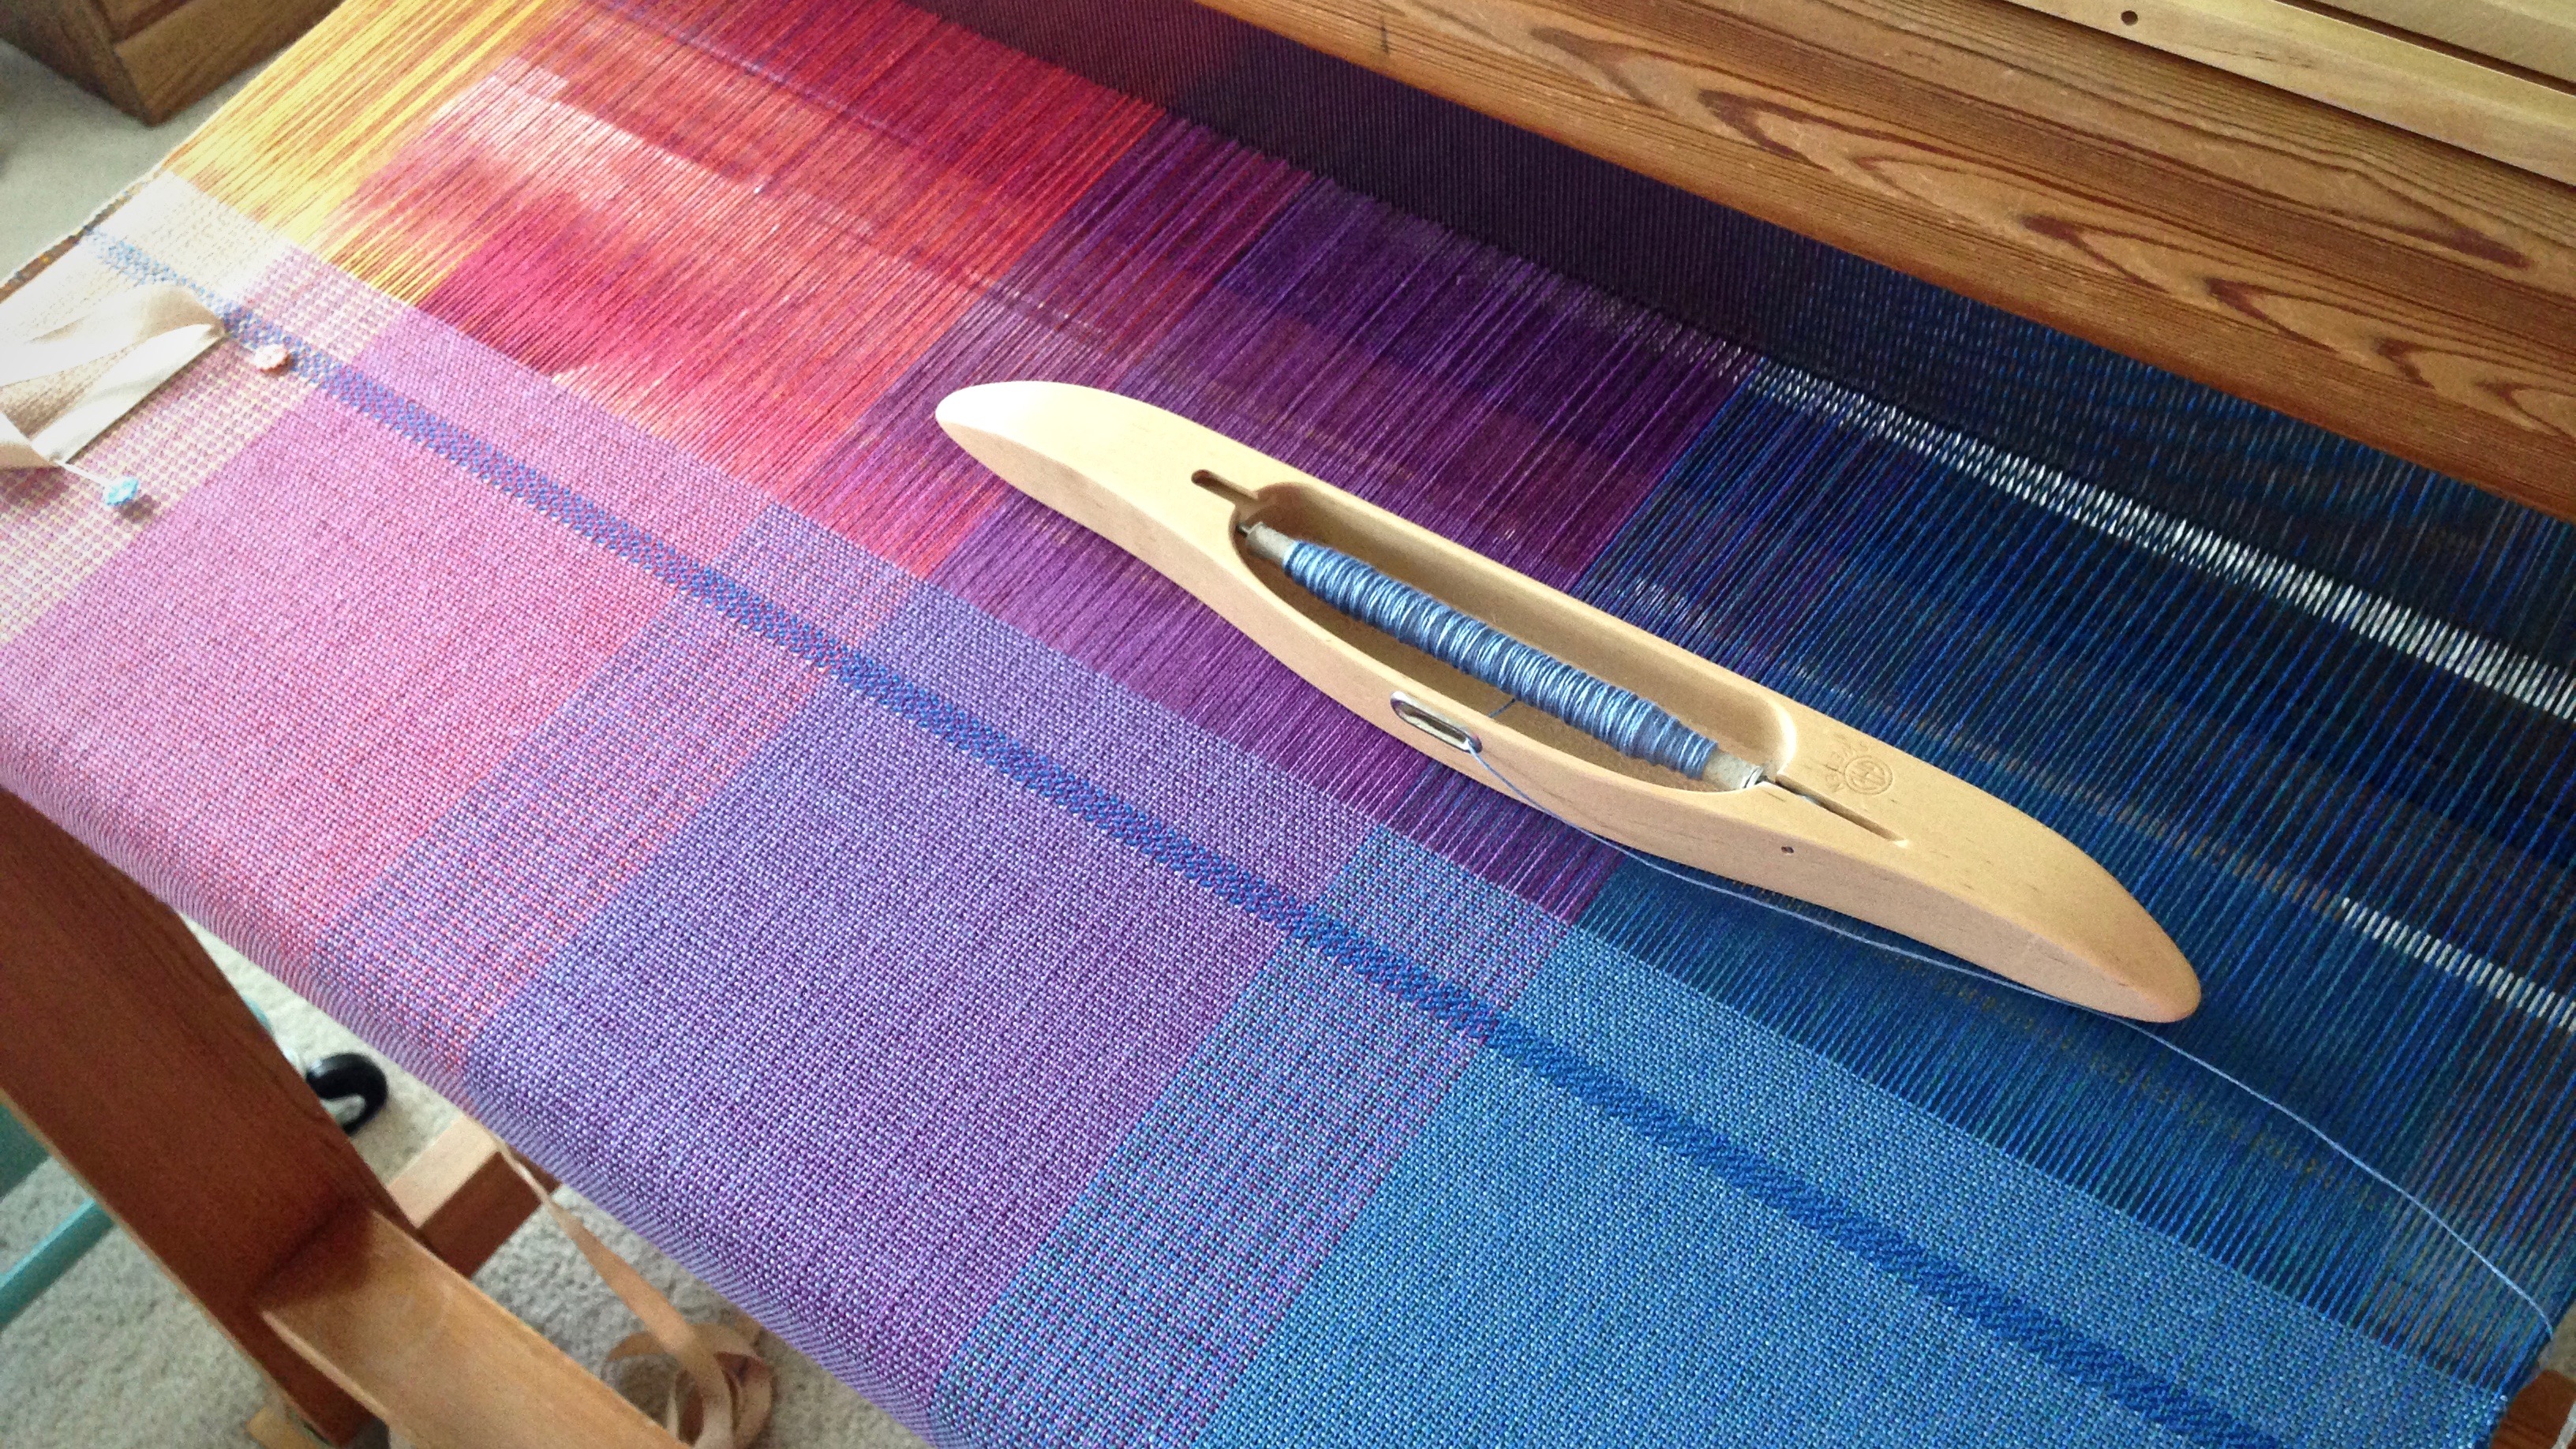
I am already a quarter of the way on this baby wrap. Simple plain weave with one shuttle is fast and uncomplicated, making this the perfect setting to improve weaving technique. Surely, I can gain efficiency by examining some of my practices.
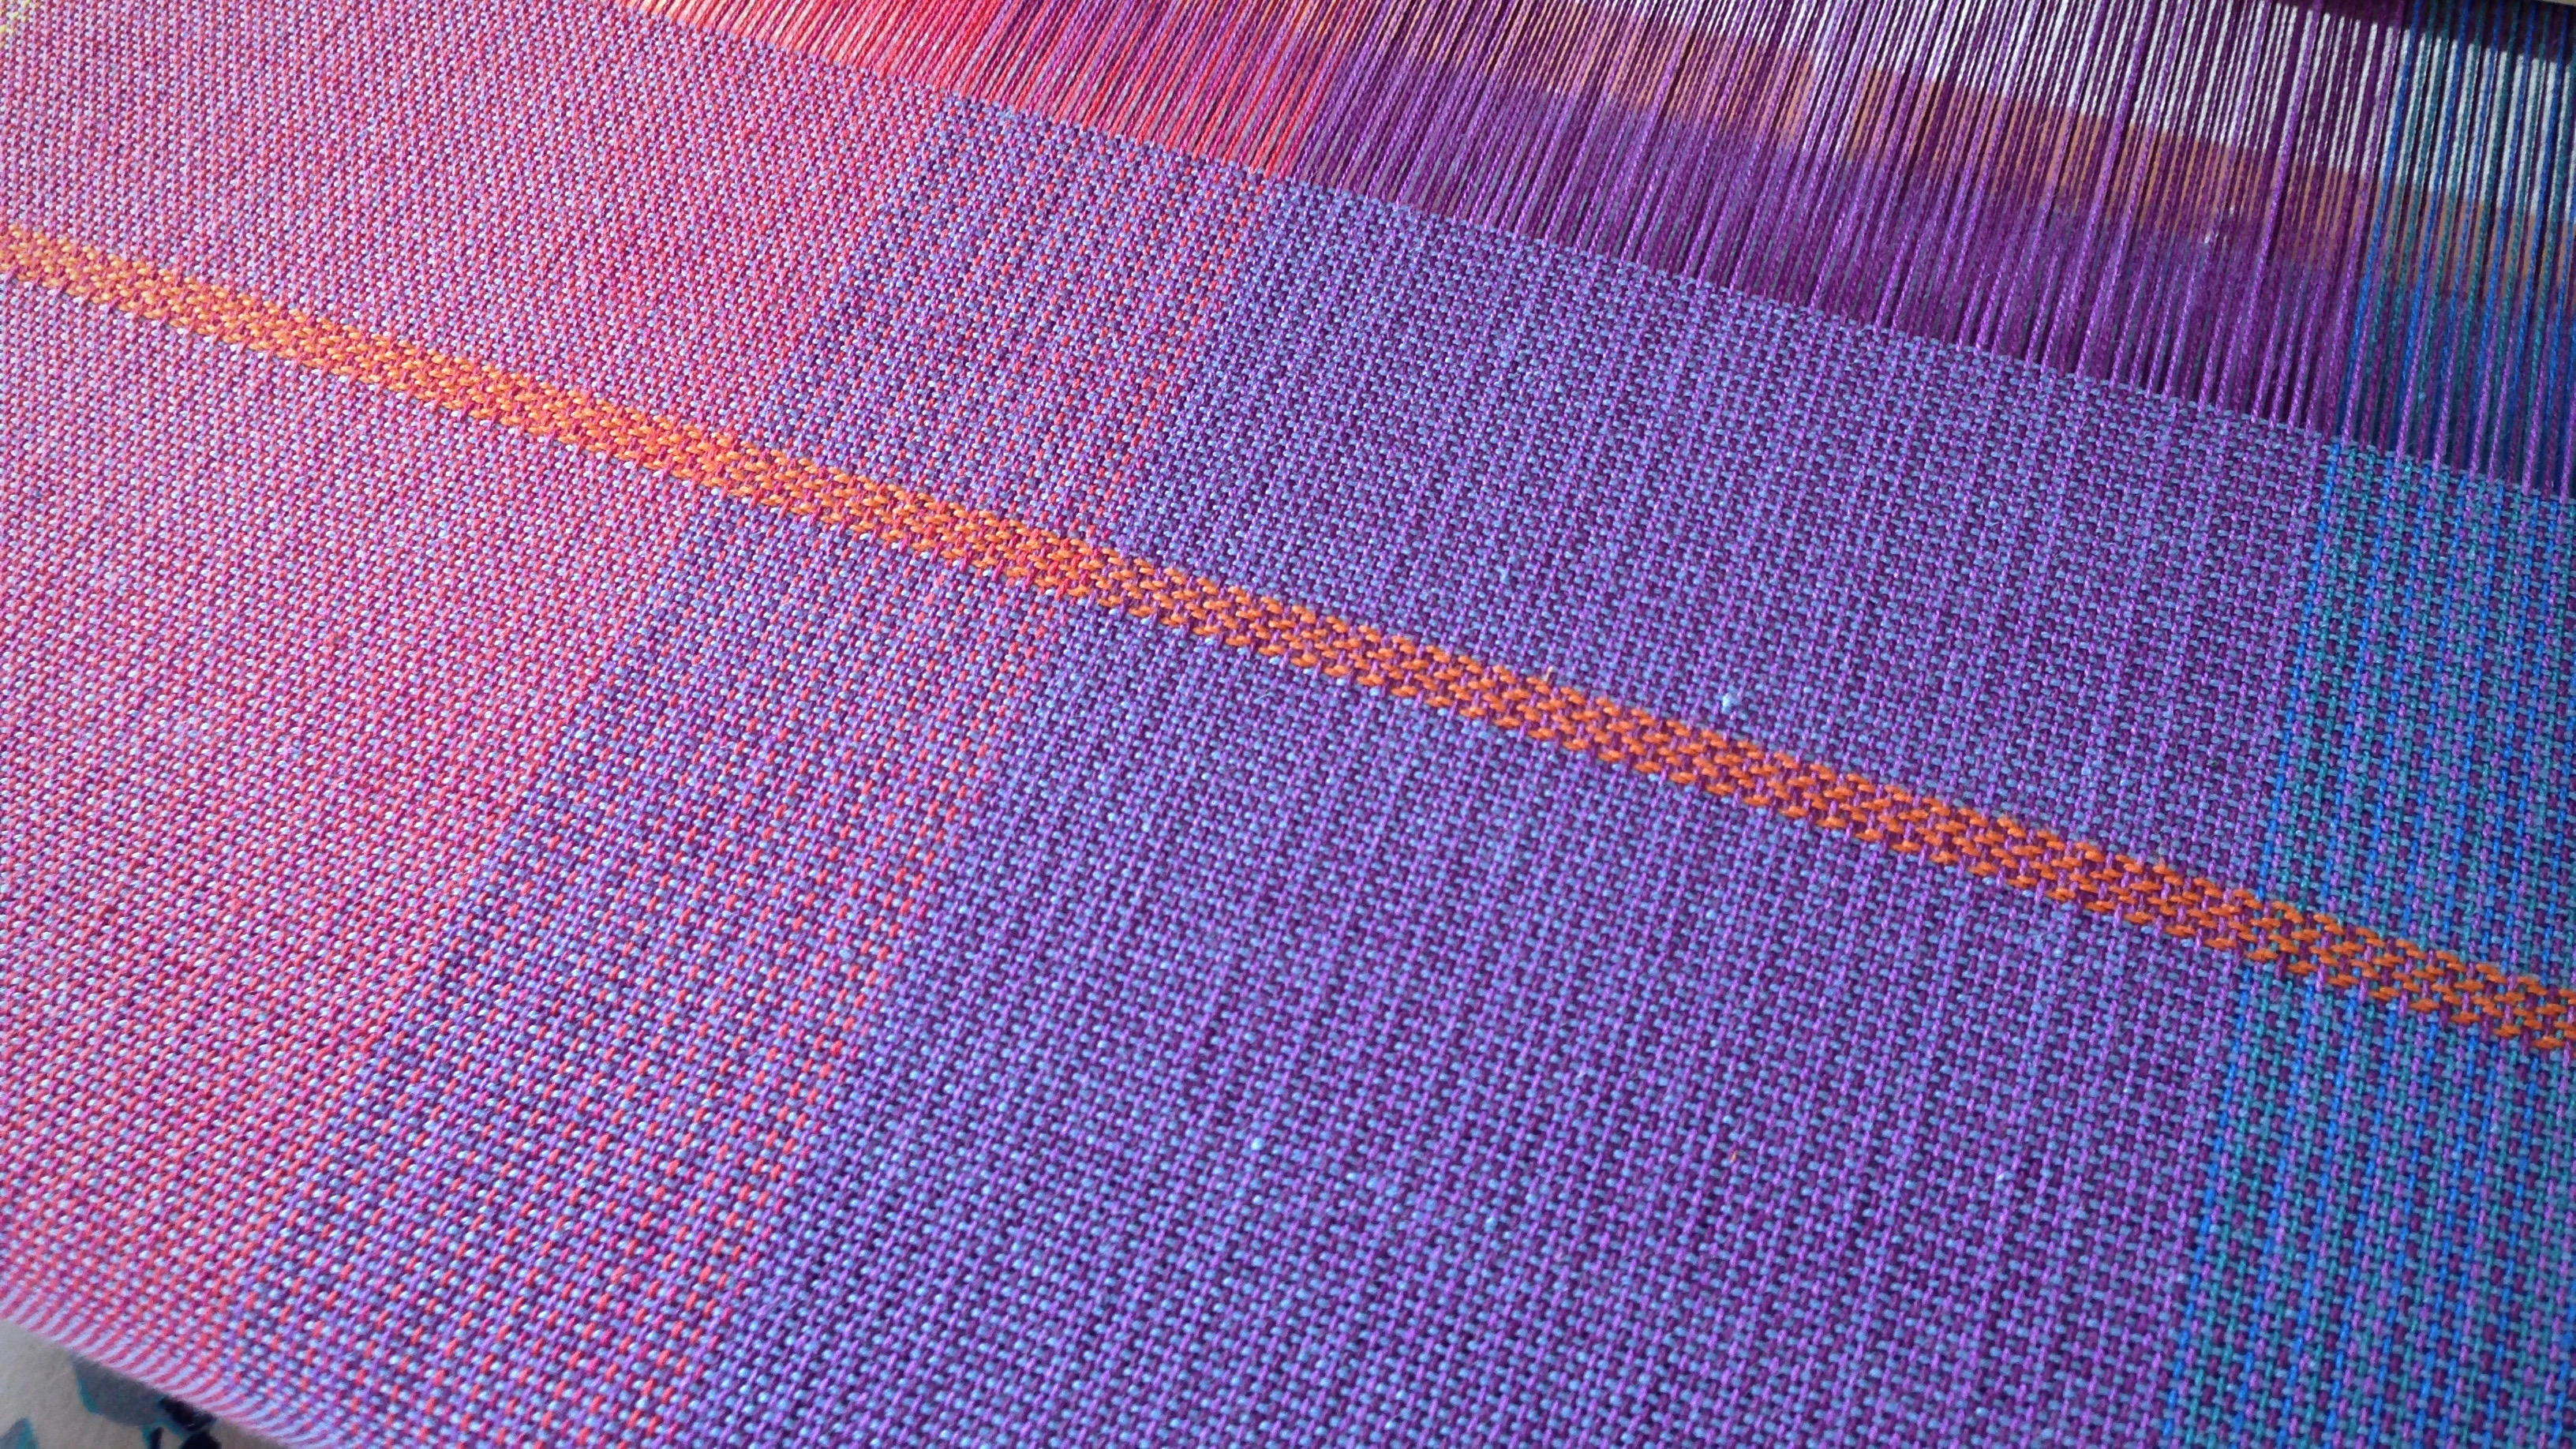
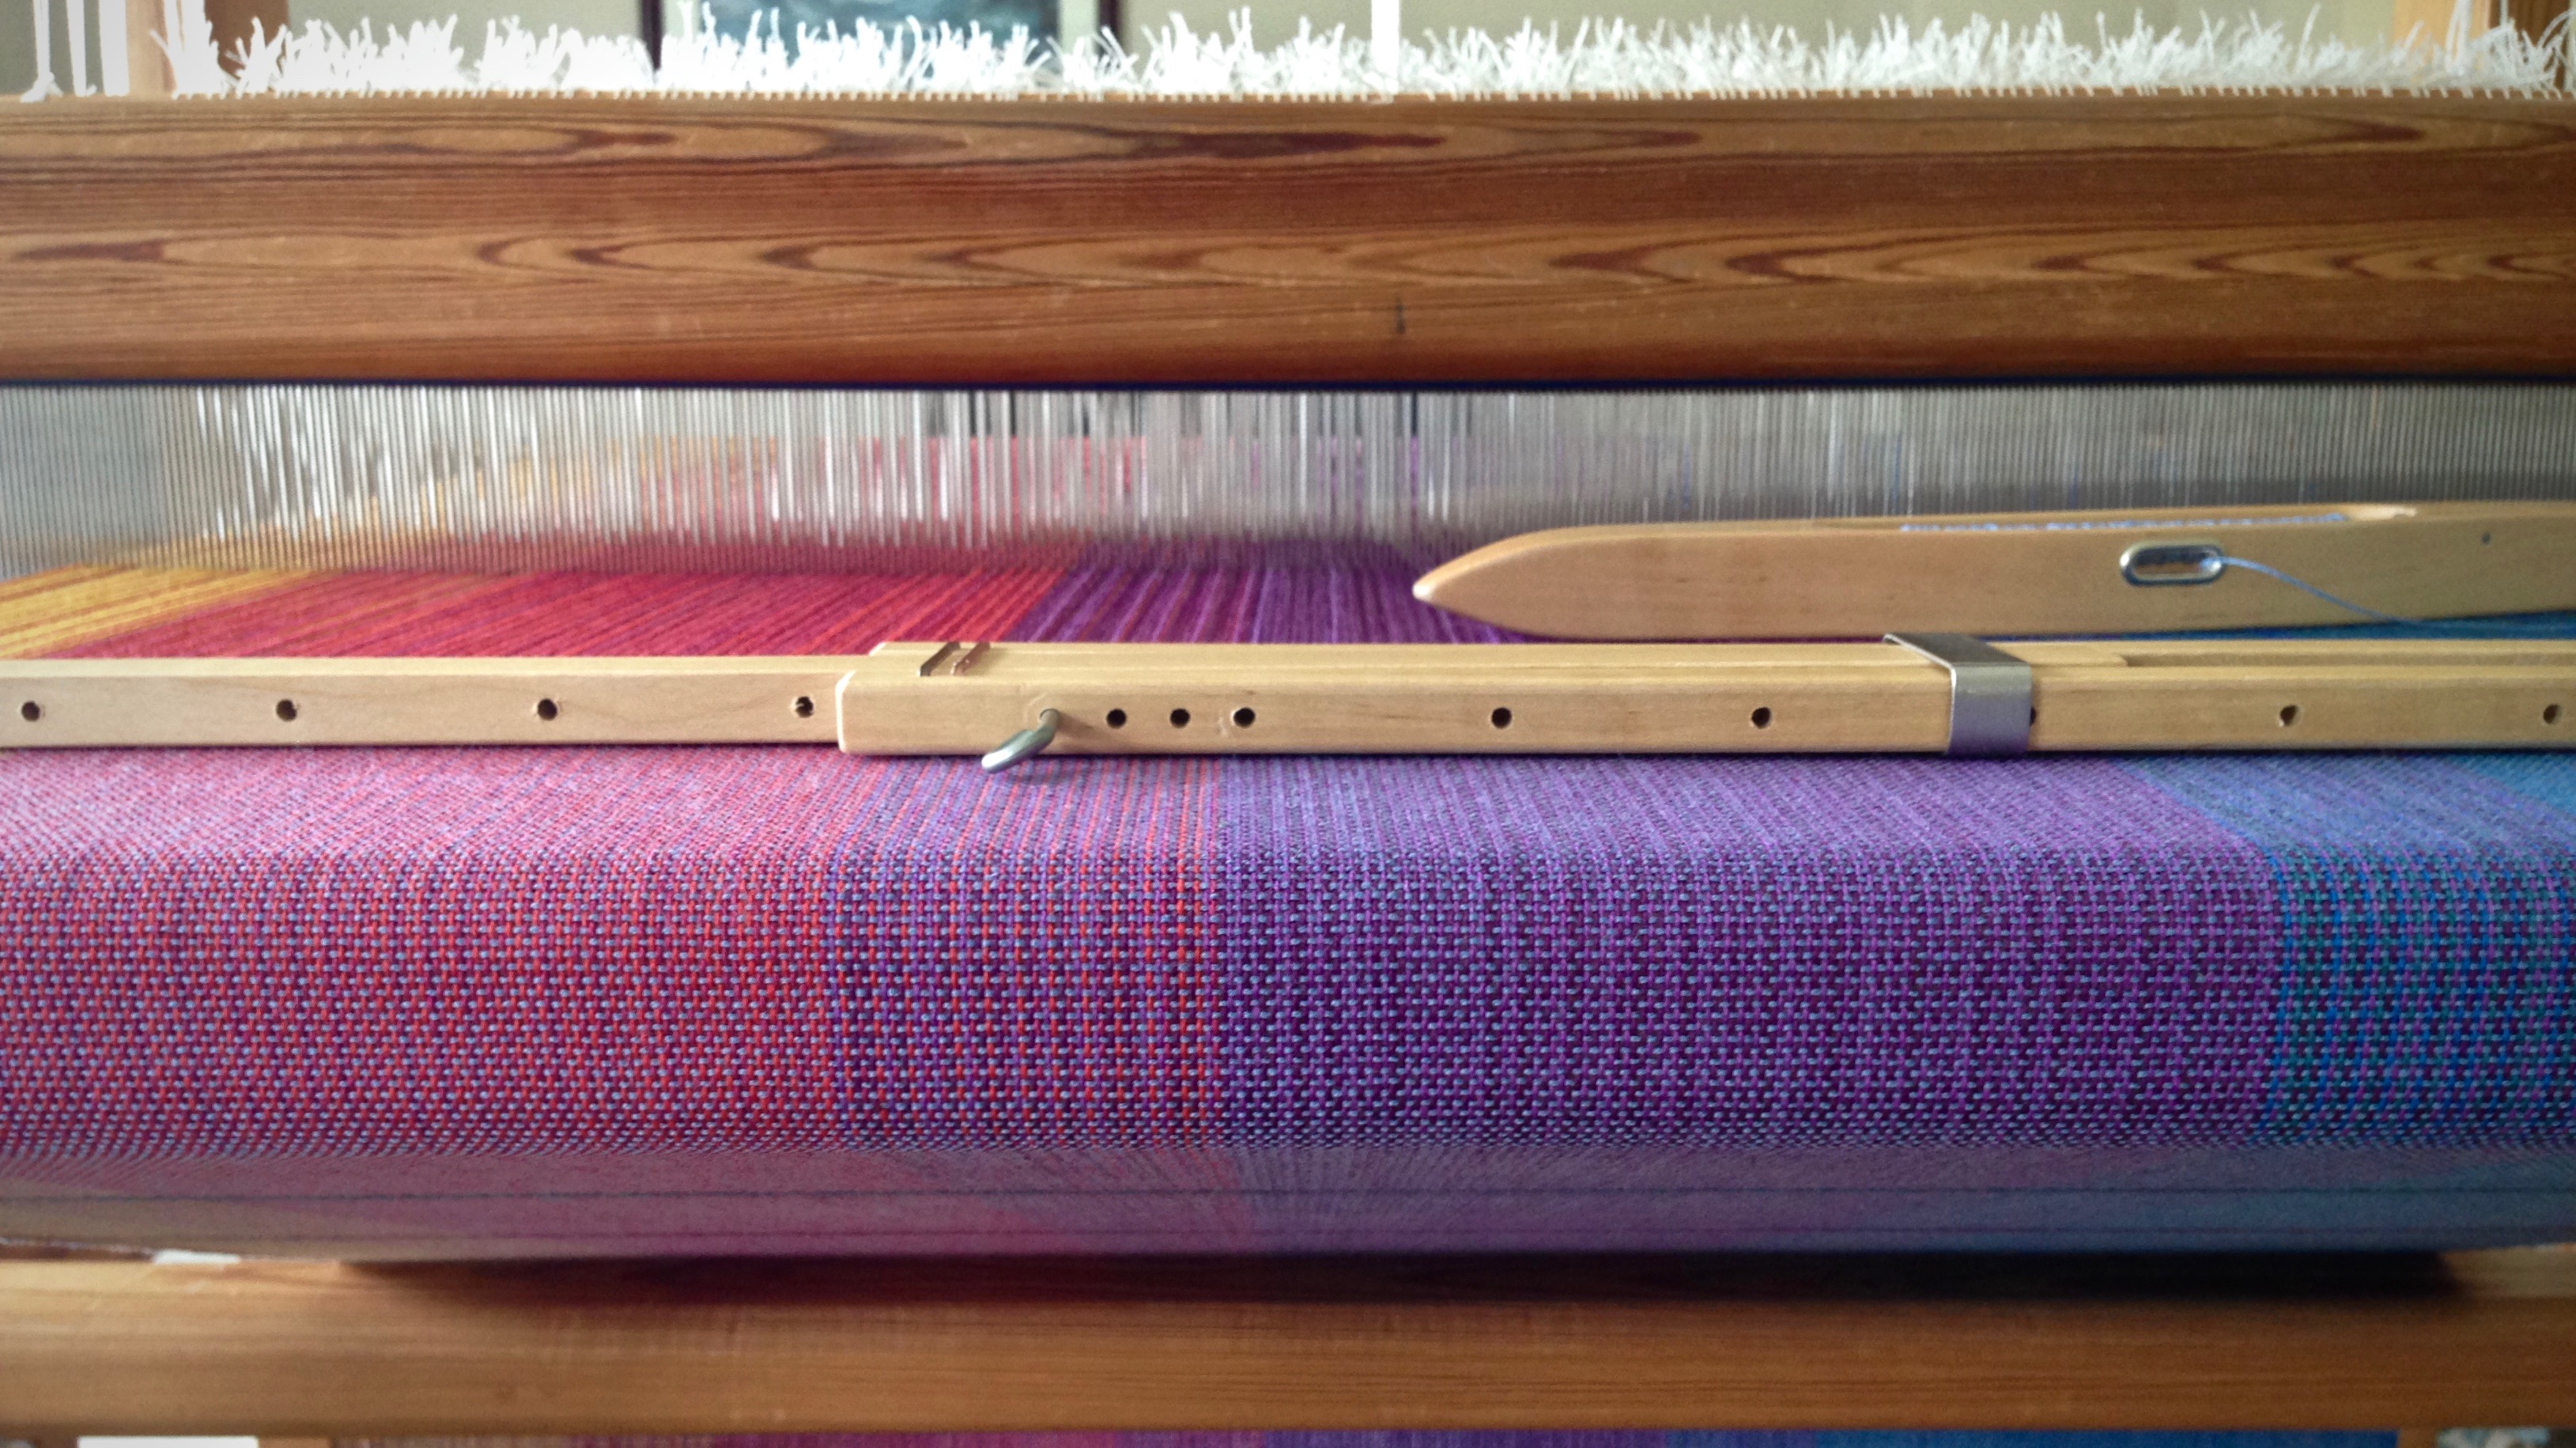
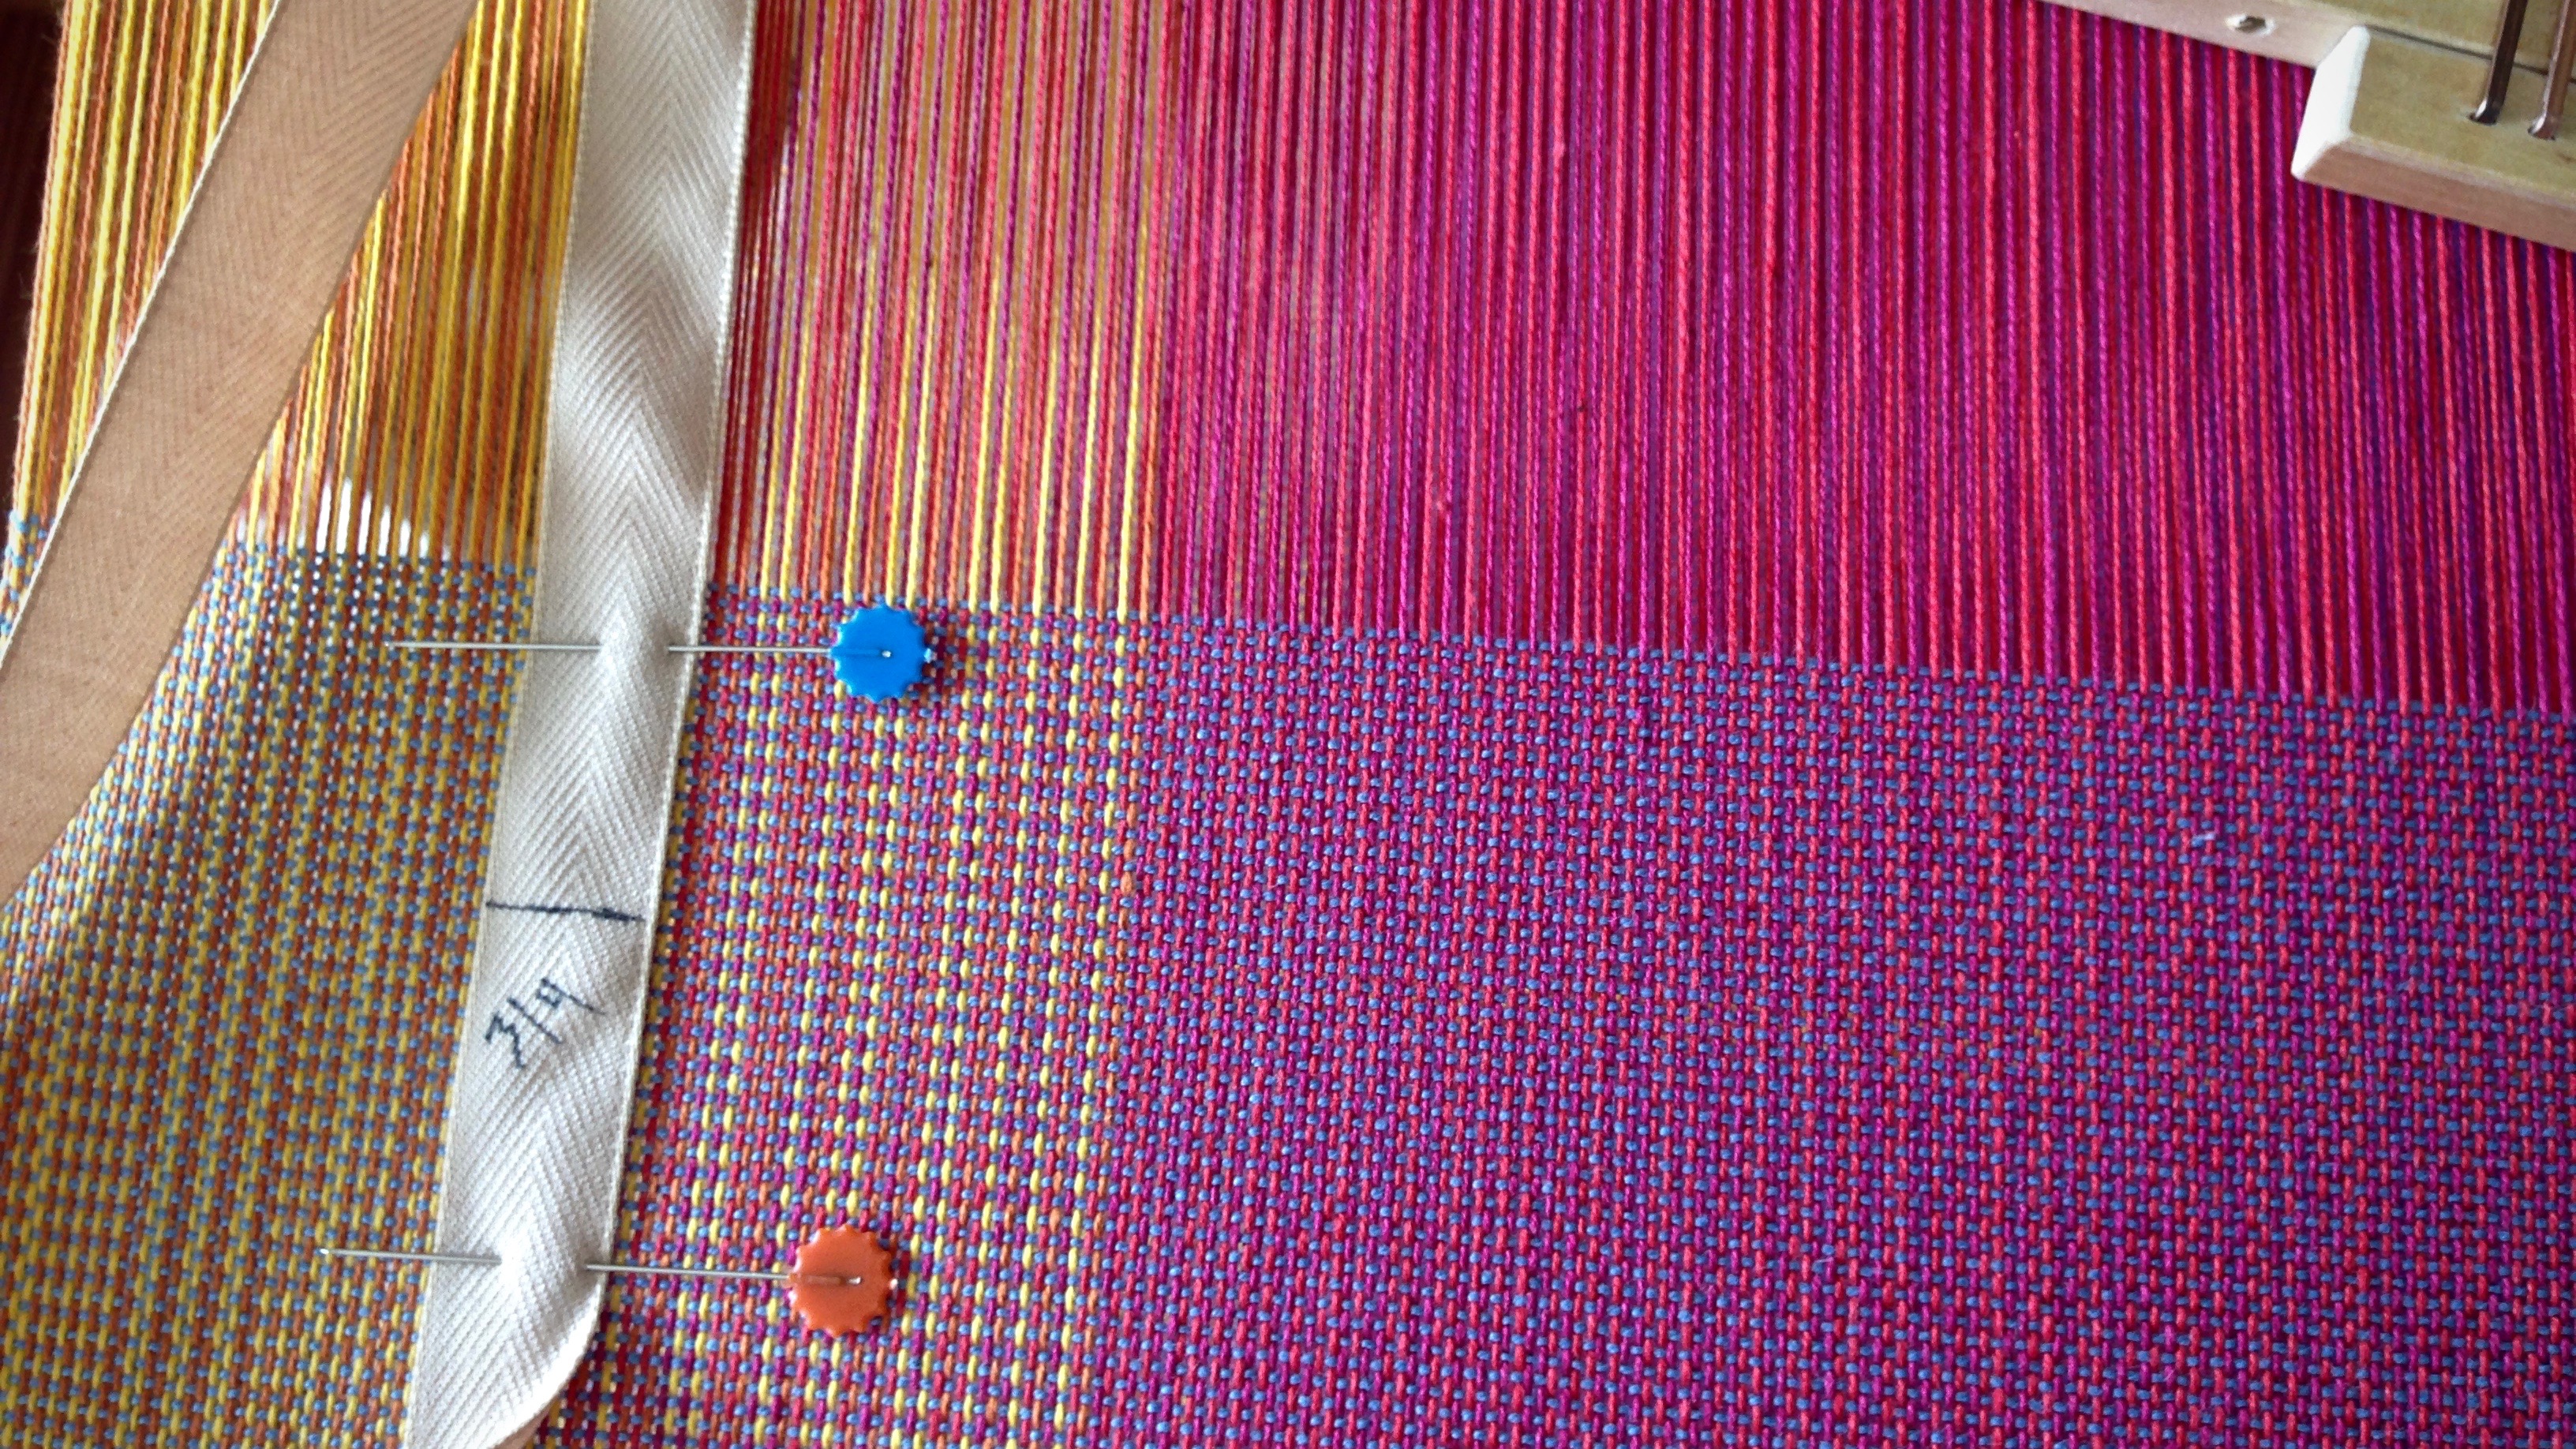
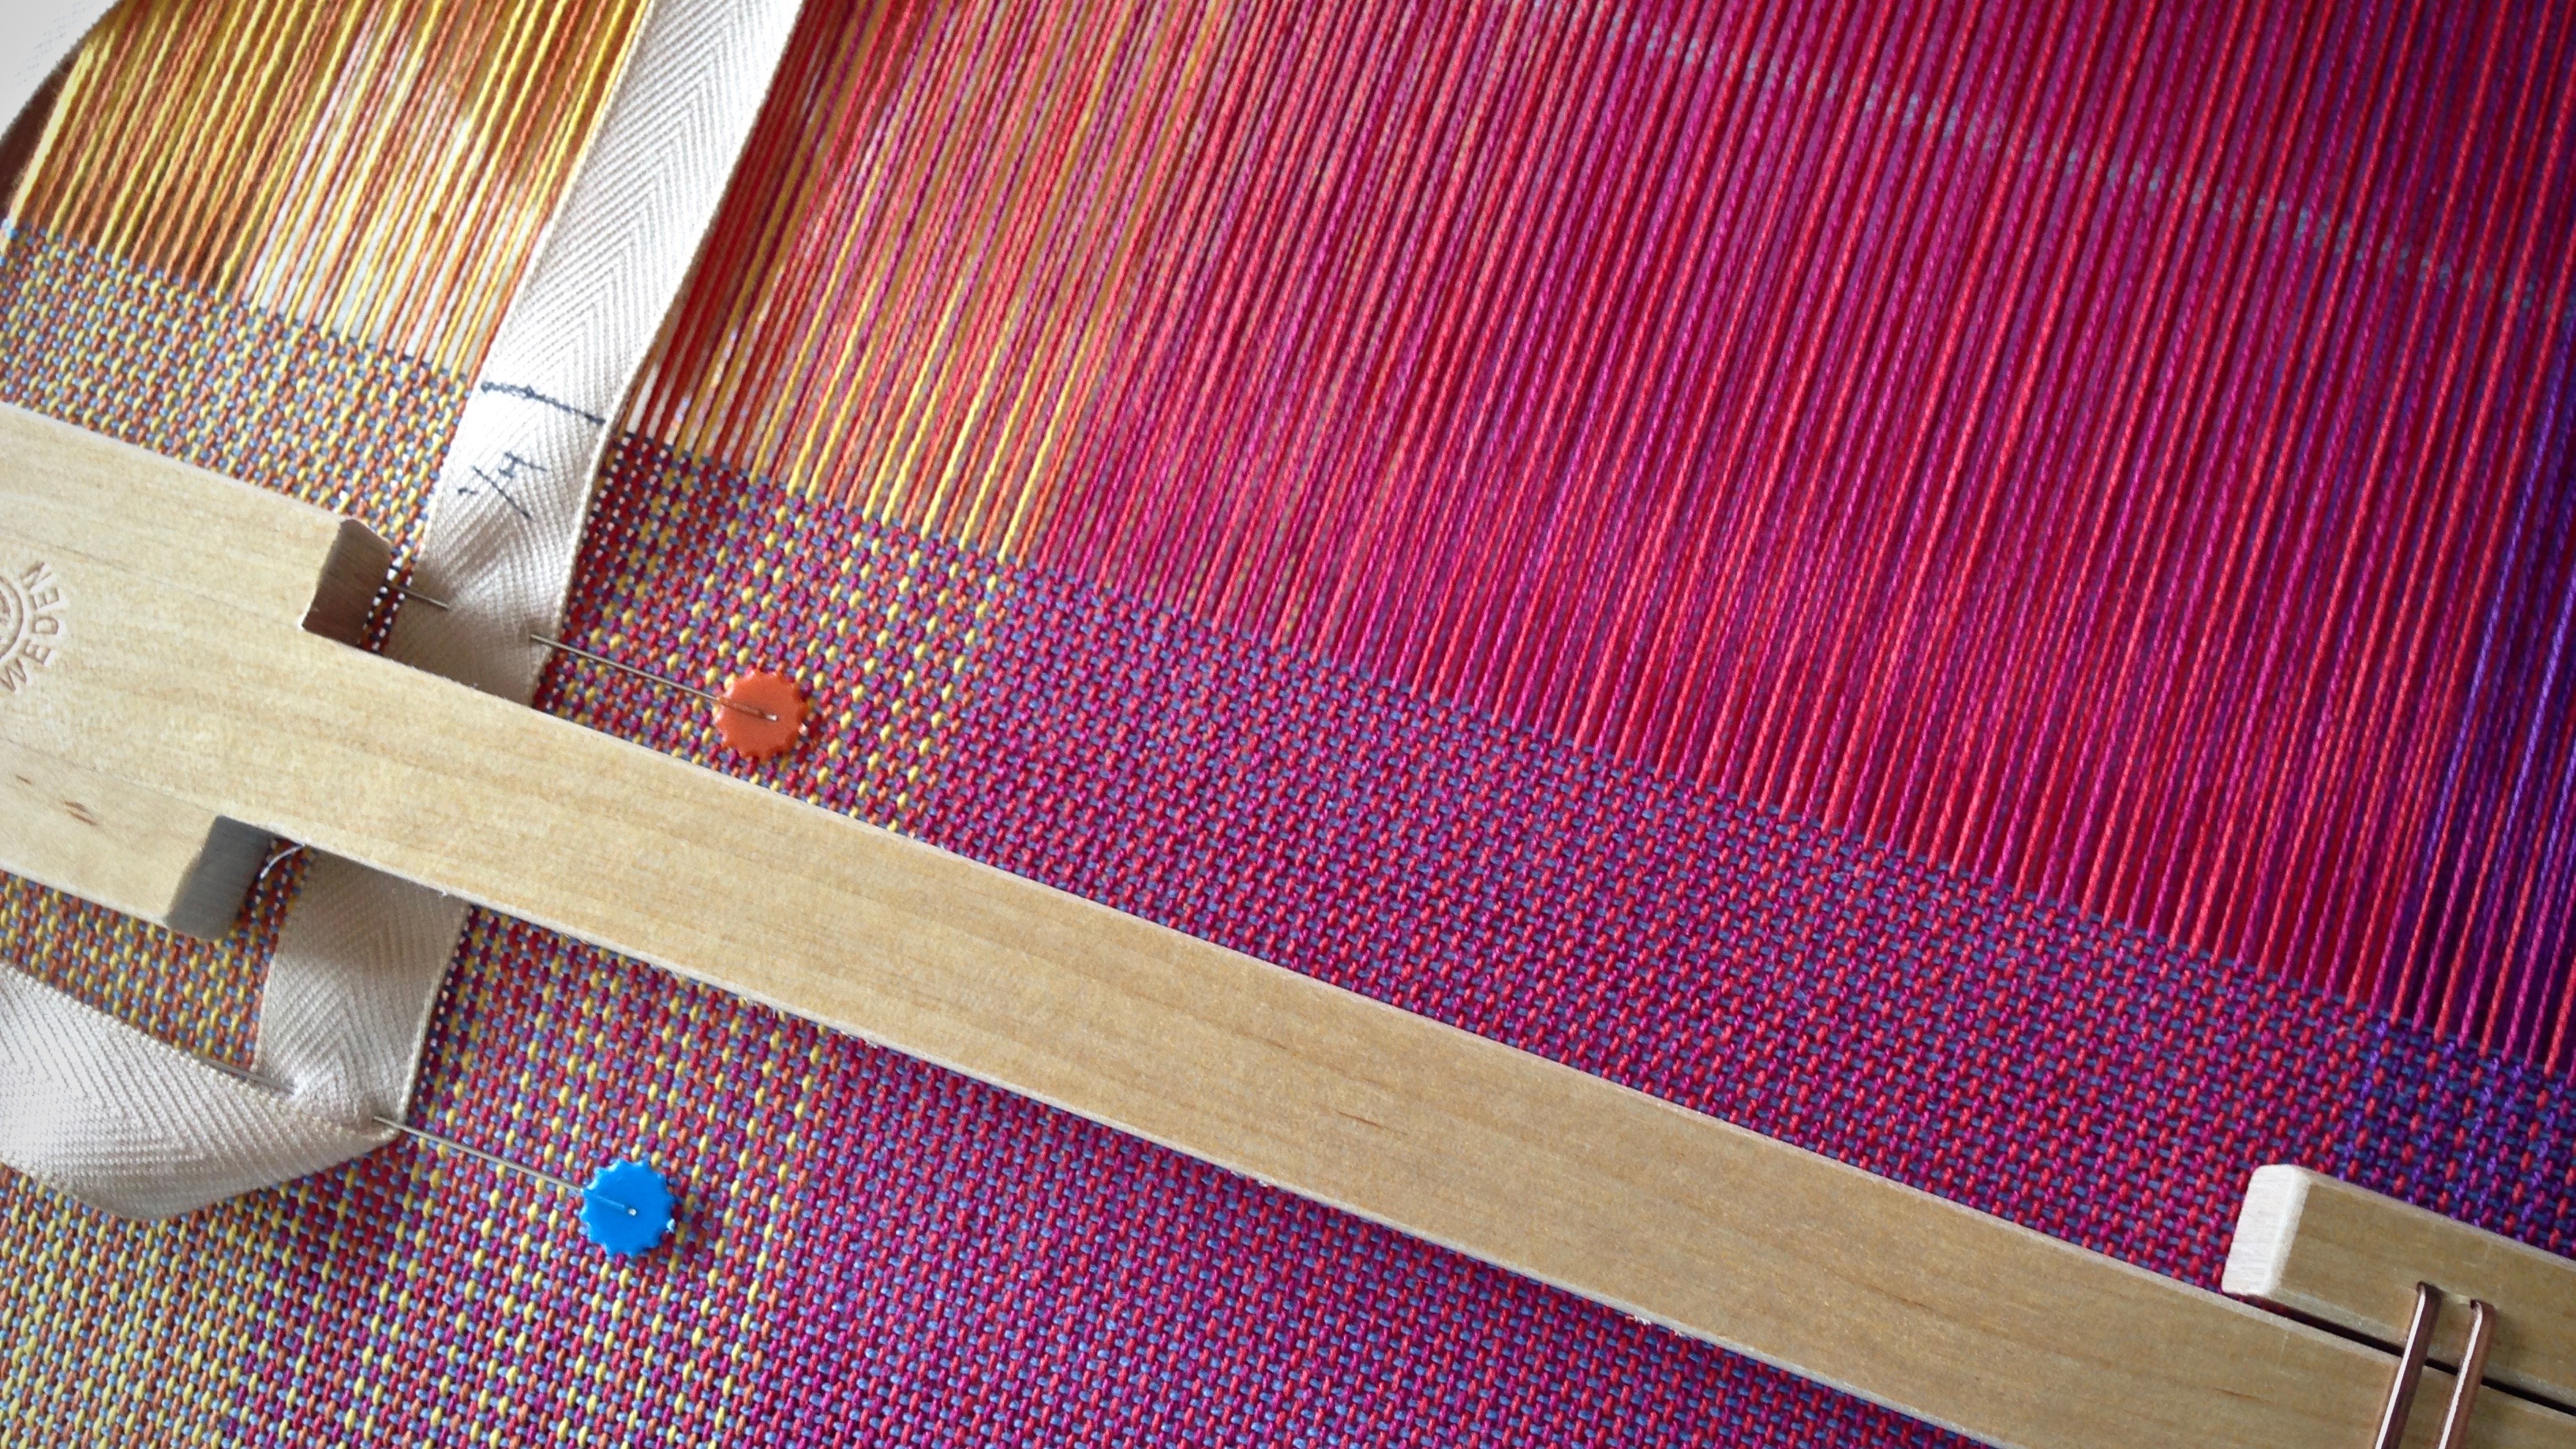
Twill tape has marks that show 1/4, Mid (1/2), and 3/4 of the length of woven baby wrap. The first quarter used about seven full quills of light blue weft.
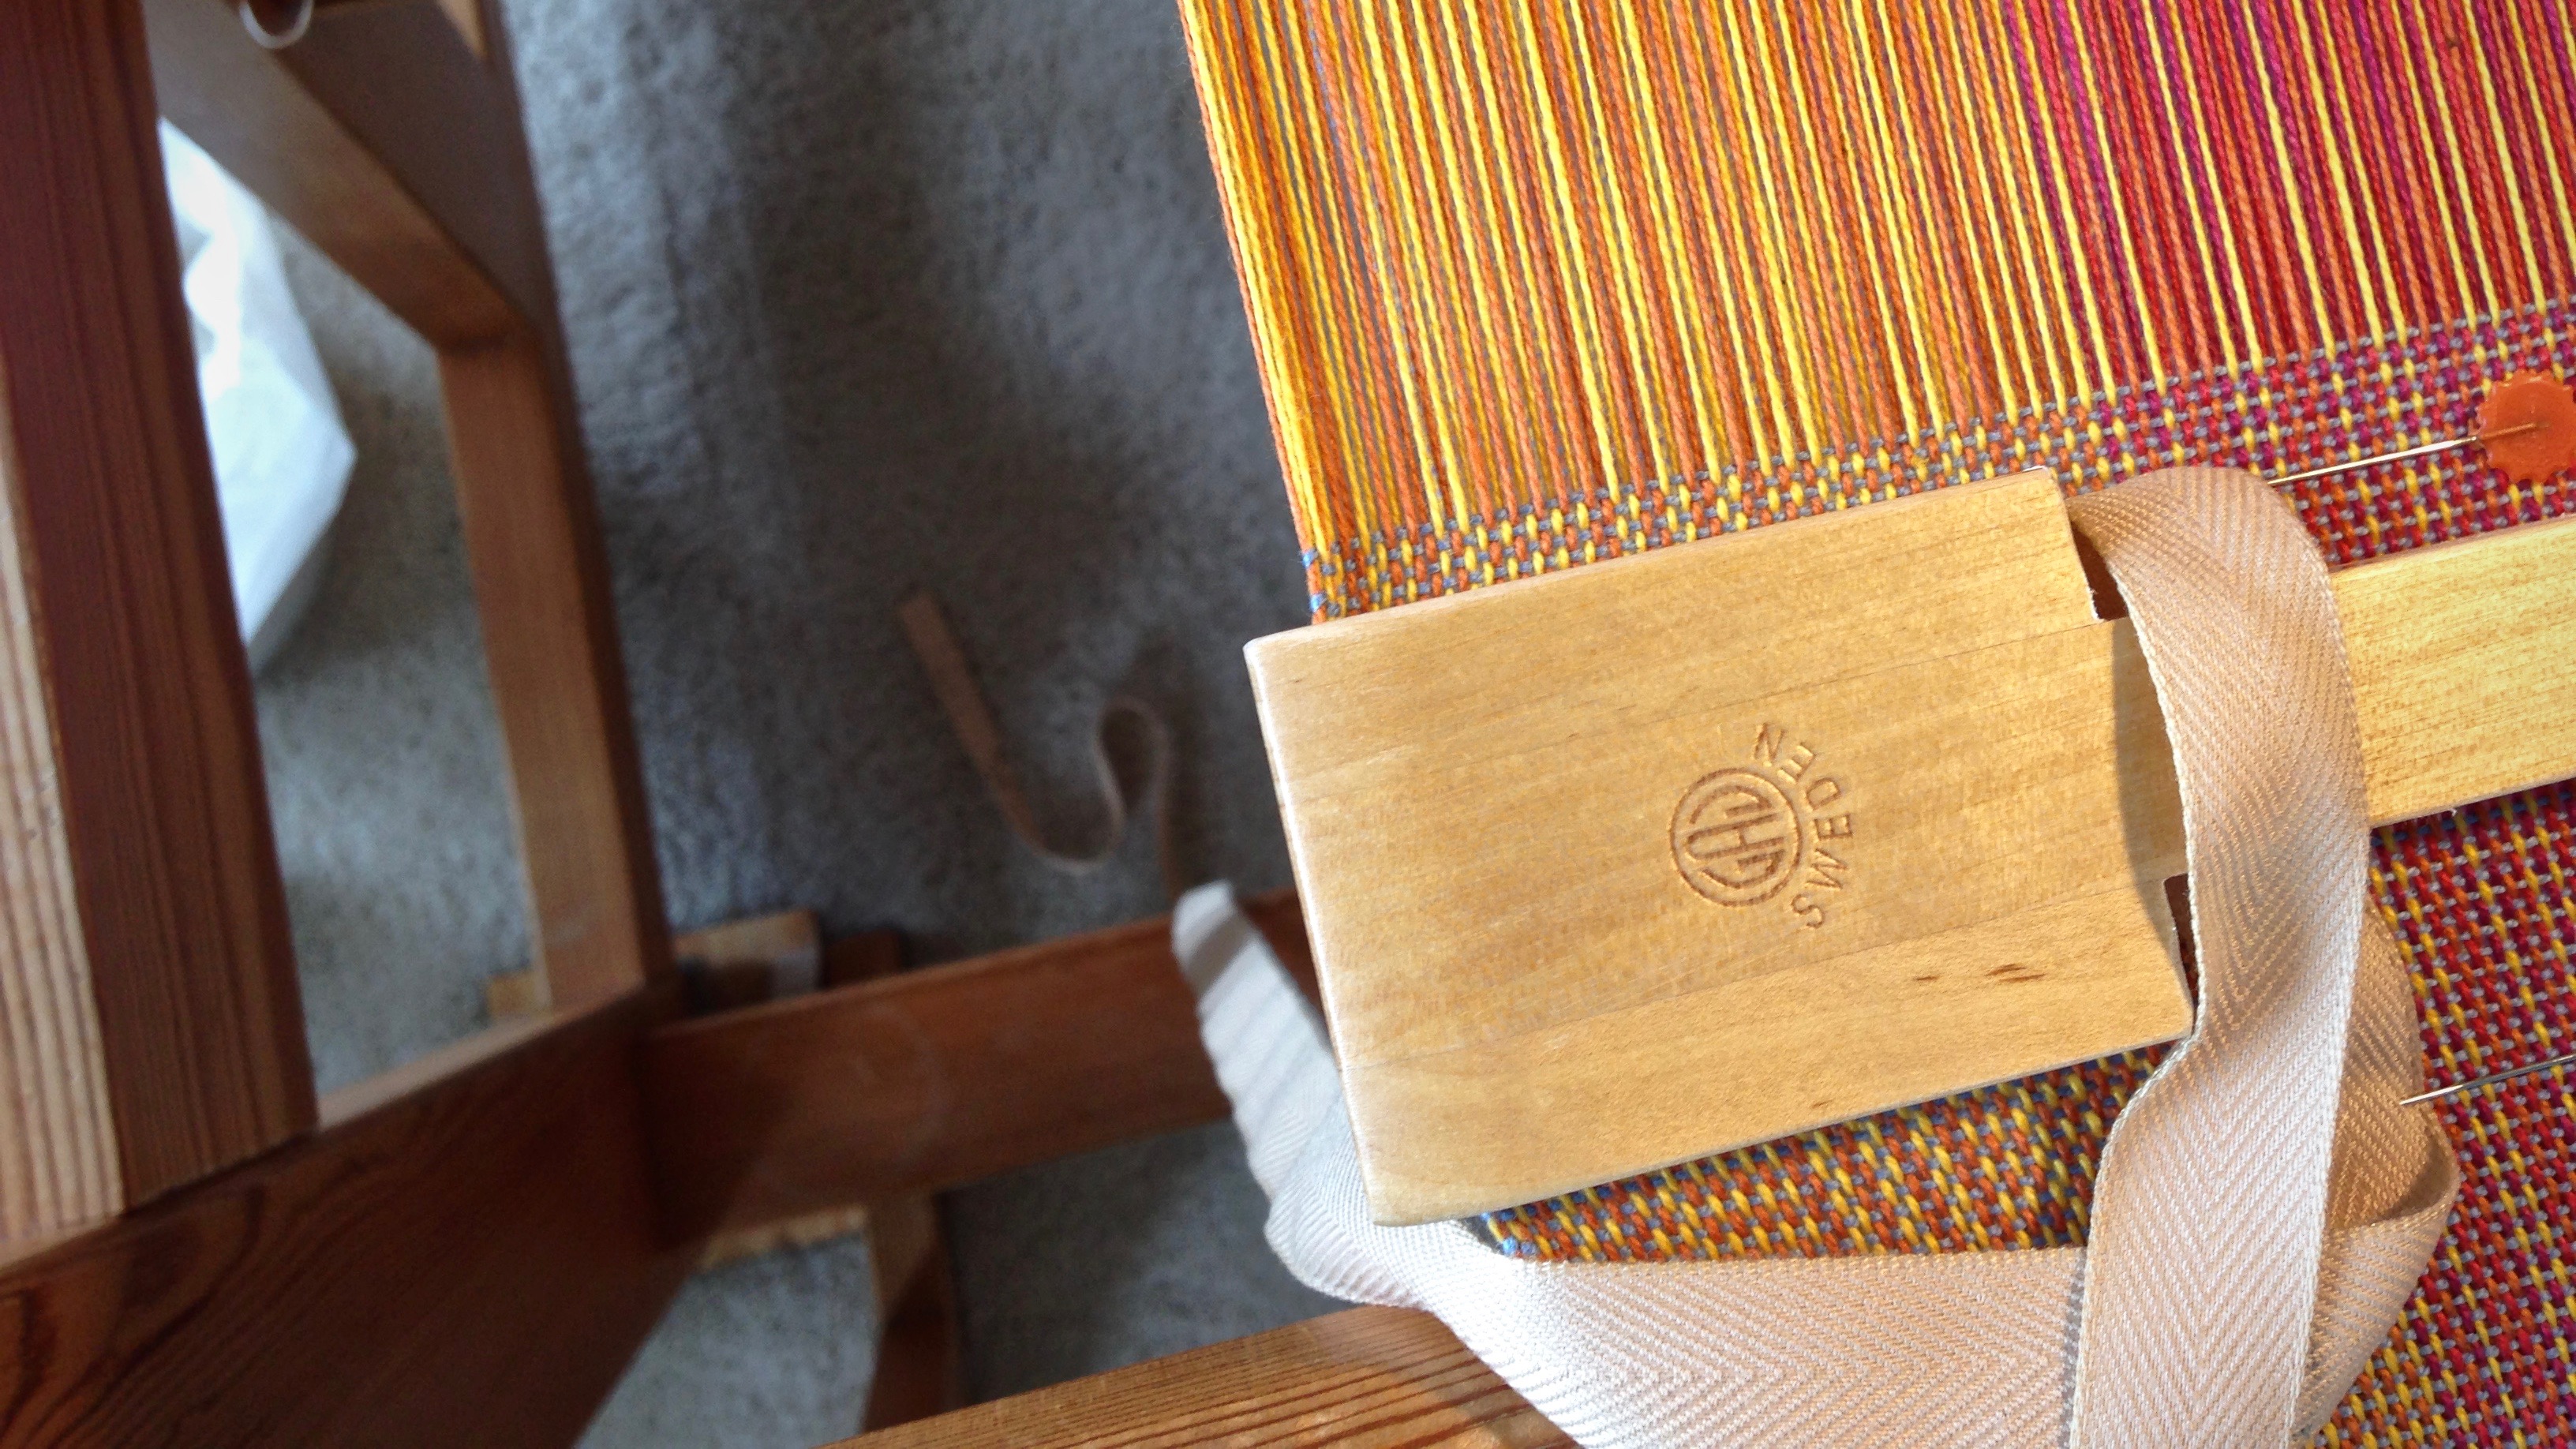
Under scrutiny, I see that I am not consistent in how I catch the shuttle. It makes a difference where I make contact with the shuttle as it glides into my hand. I often have to reposition the shuttle in my hand to prepare it for the return throw. That’s not very efficient. Solution?Look at the hand that is catching the shuttle. All I have to do is turn my head to look, and the hand does the job. It’s amazing how that works. It pays to pay attention.
Following Jesus can be compared to finding a breakthrough in weaving technique. It’s more than just meeting him, and trying to go the right way. That is weaving by habit, doing it like I’ve always done it. Jesus gives all to those who give him all. Breakthrough comes when I give up my habits to find a better way–his way.
He is no fool who gives what he cannot keep to gain what he cannot lose.
I can let my mind wander for this part. I am threading 664 warpends in a straight draw, one warp end at a time (1-2-3-4). This is repetitive and easy. Relaxing. Of course, I have safeguards to prevent mind-wandering errors. First, I count the ends into threading groups before I start threading. Second, I double-check each threaded group of heddles, one warp end at a time.
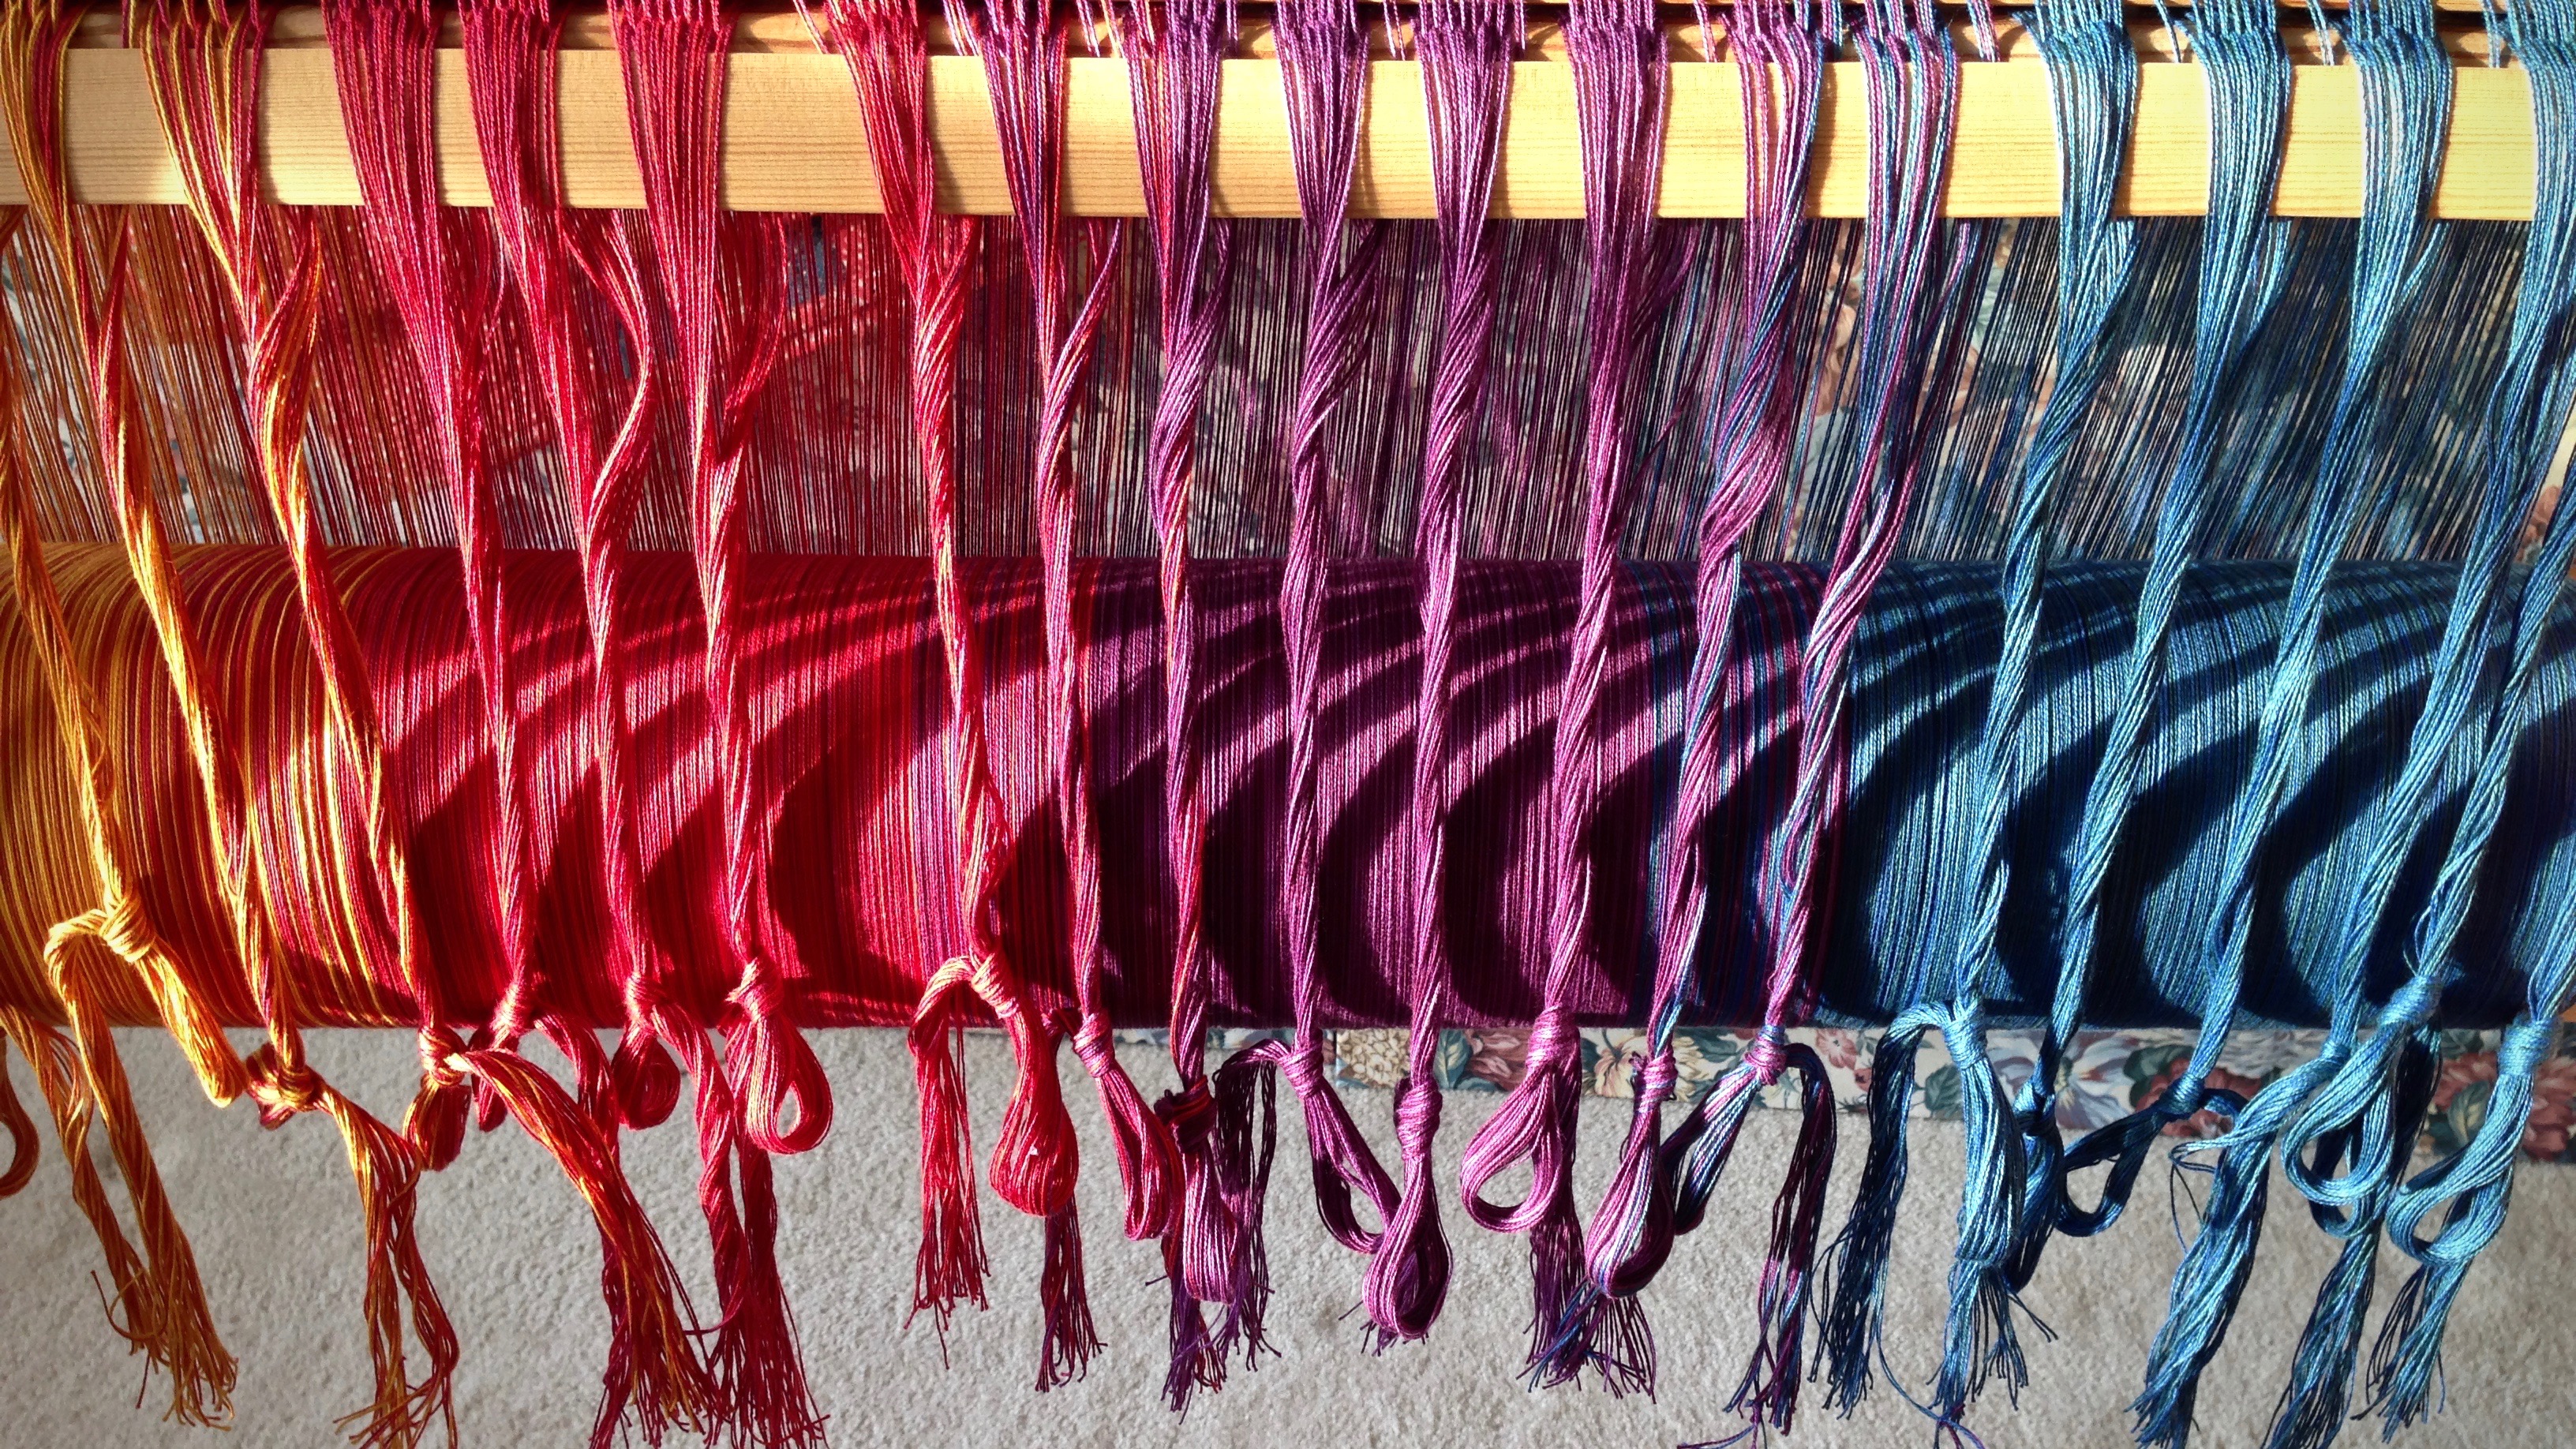
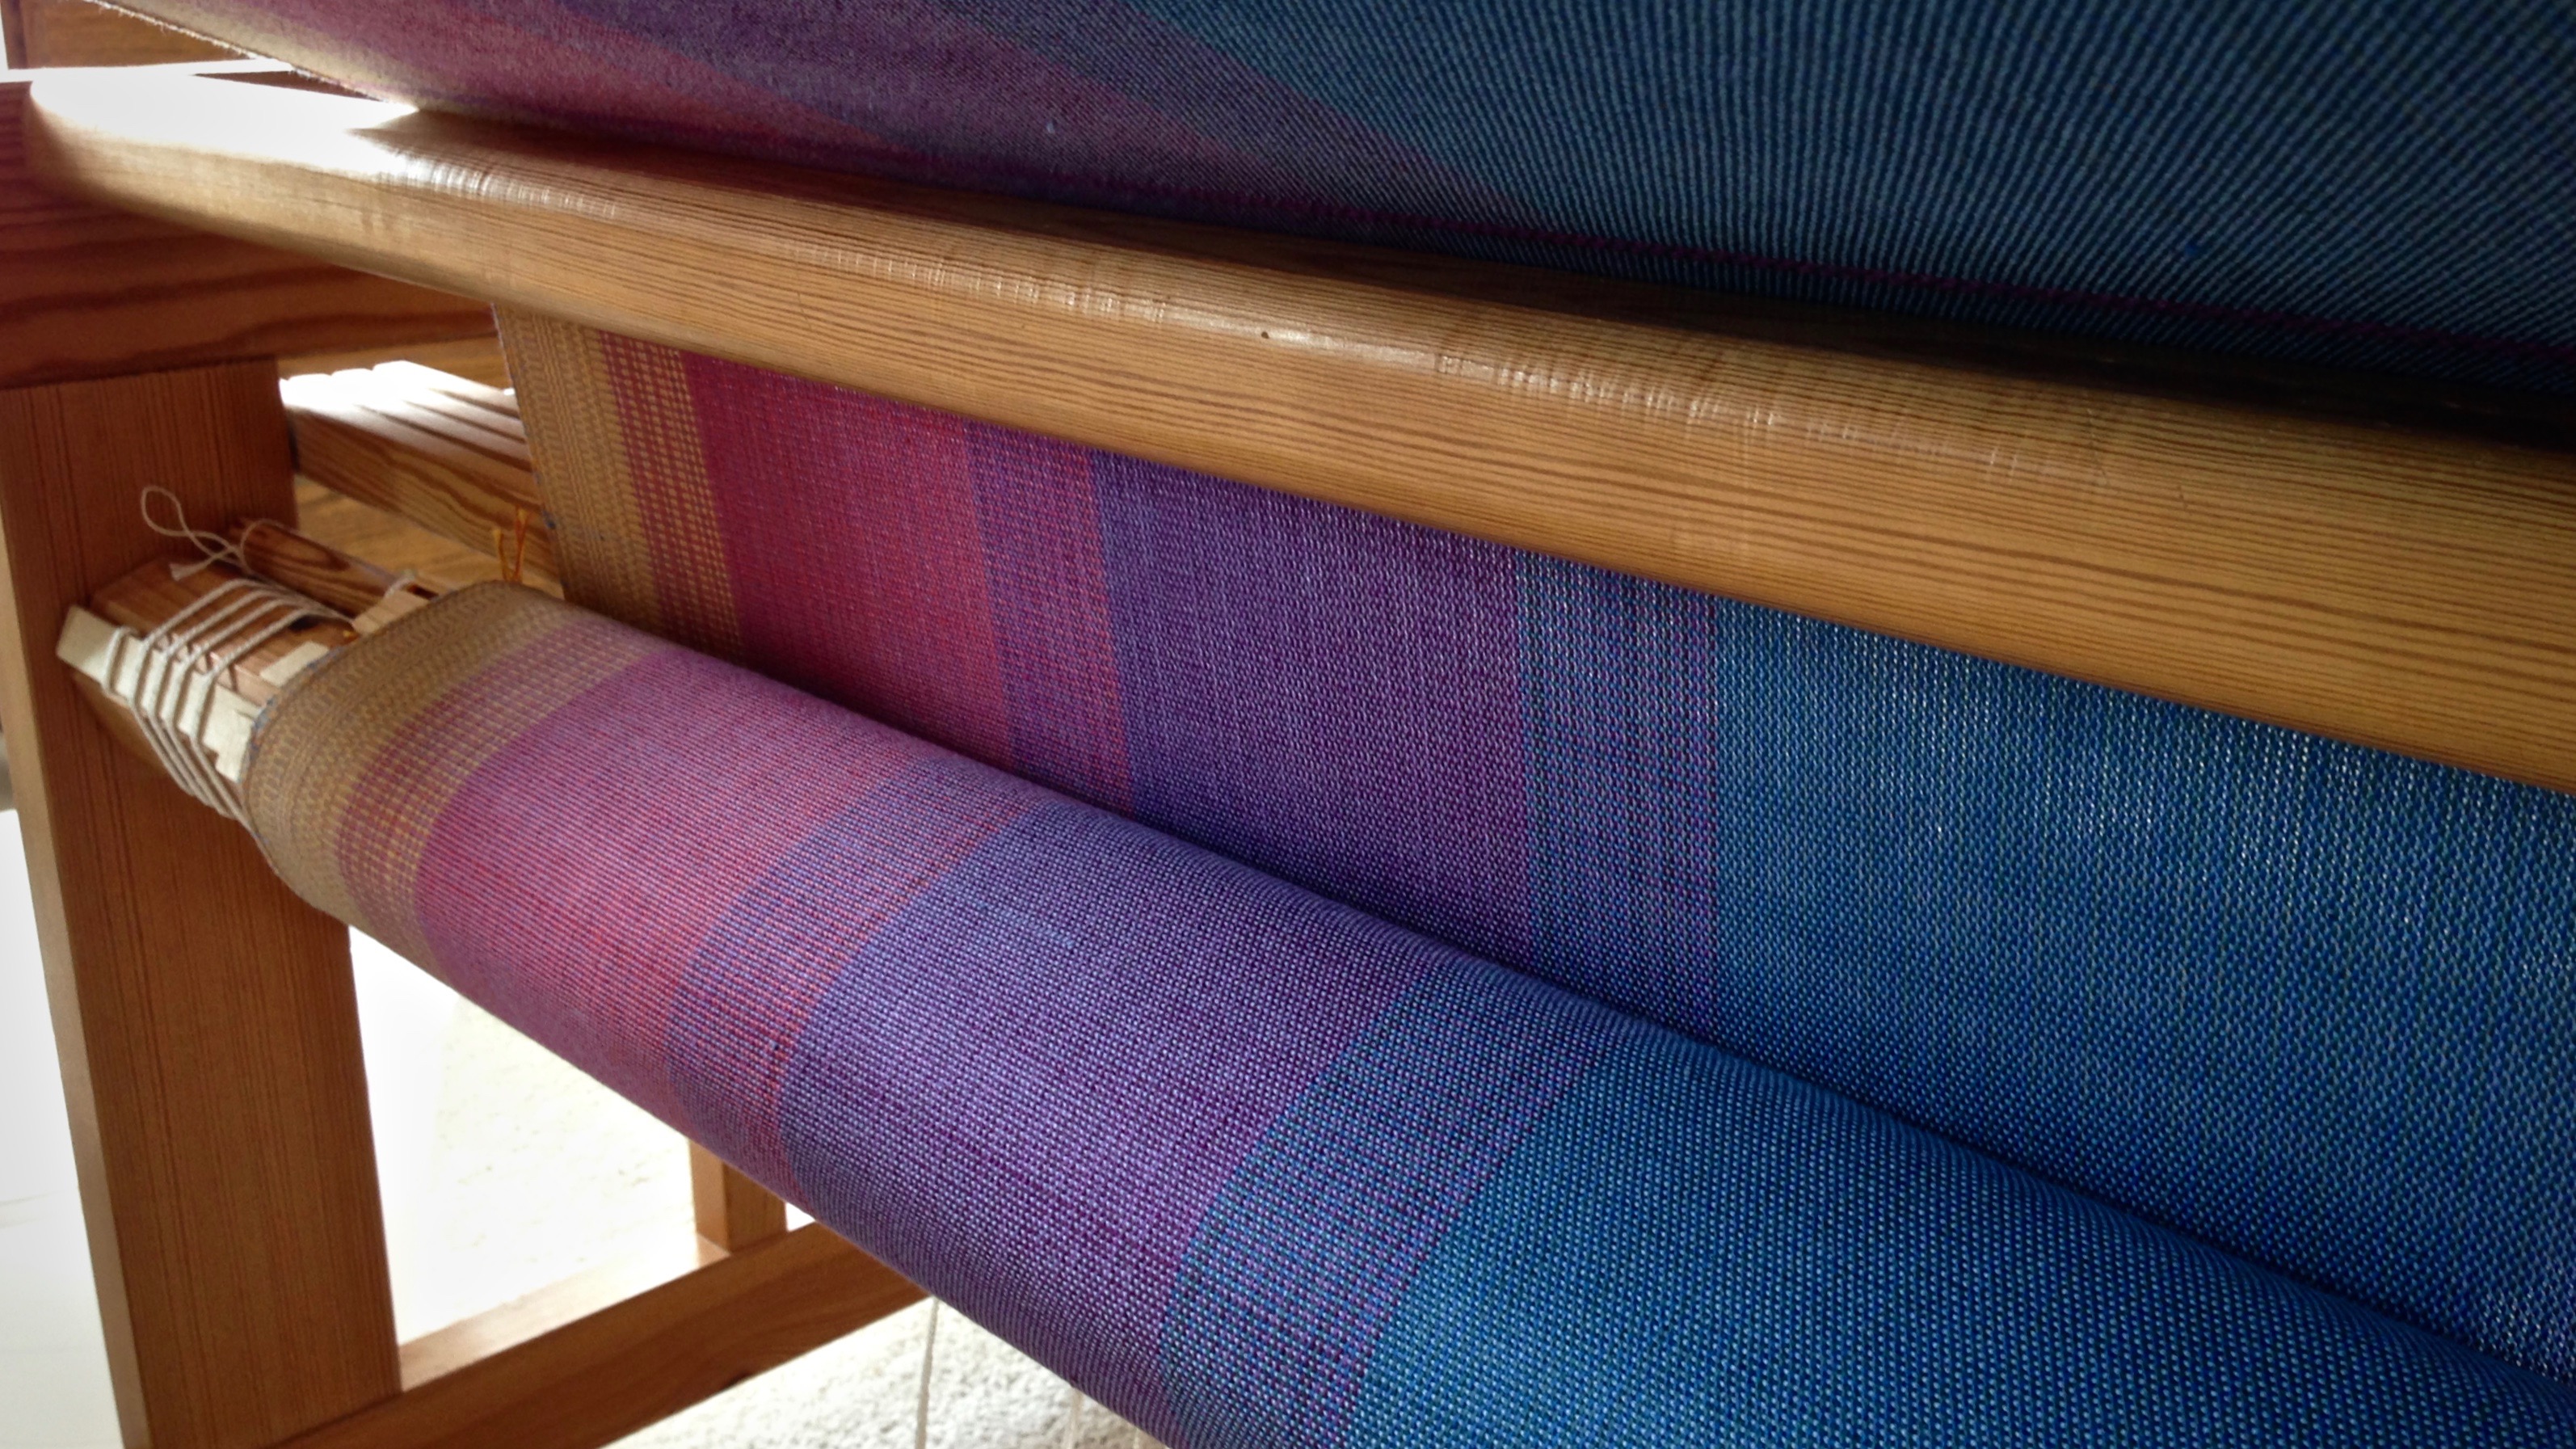
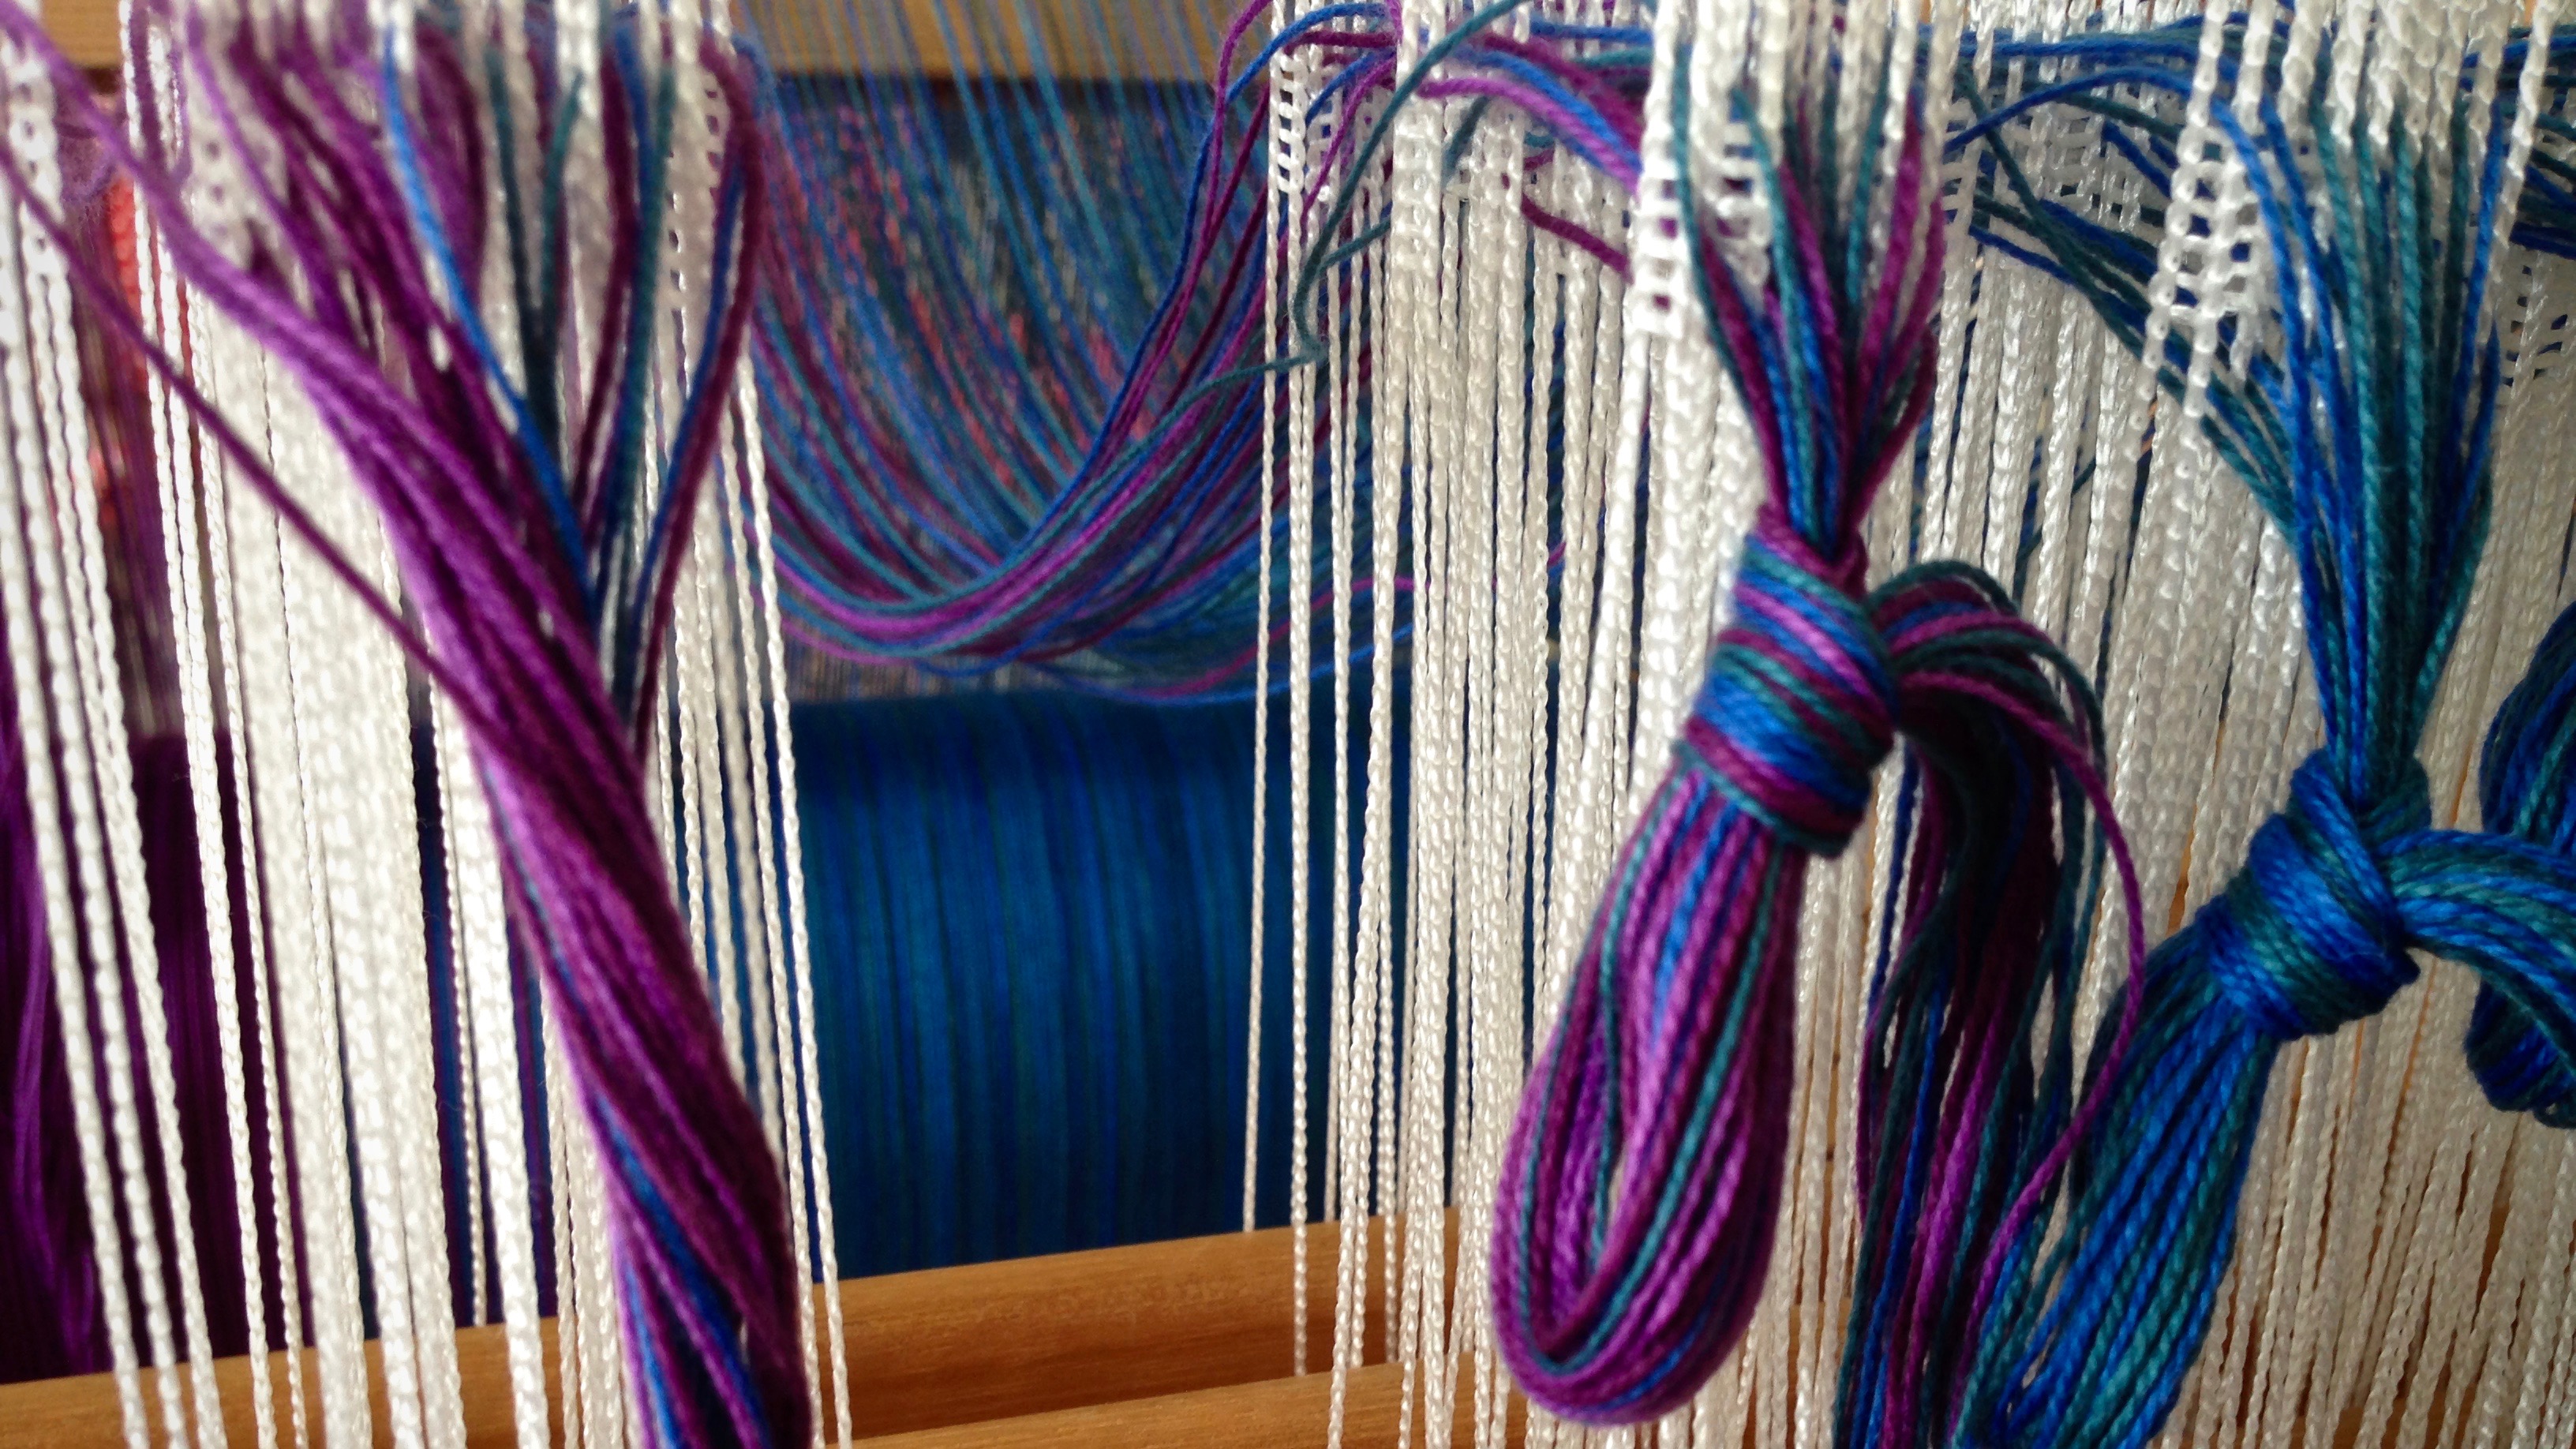
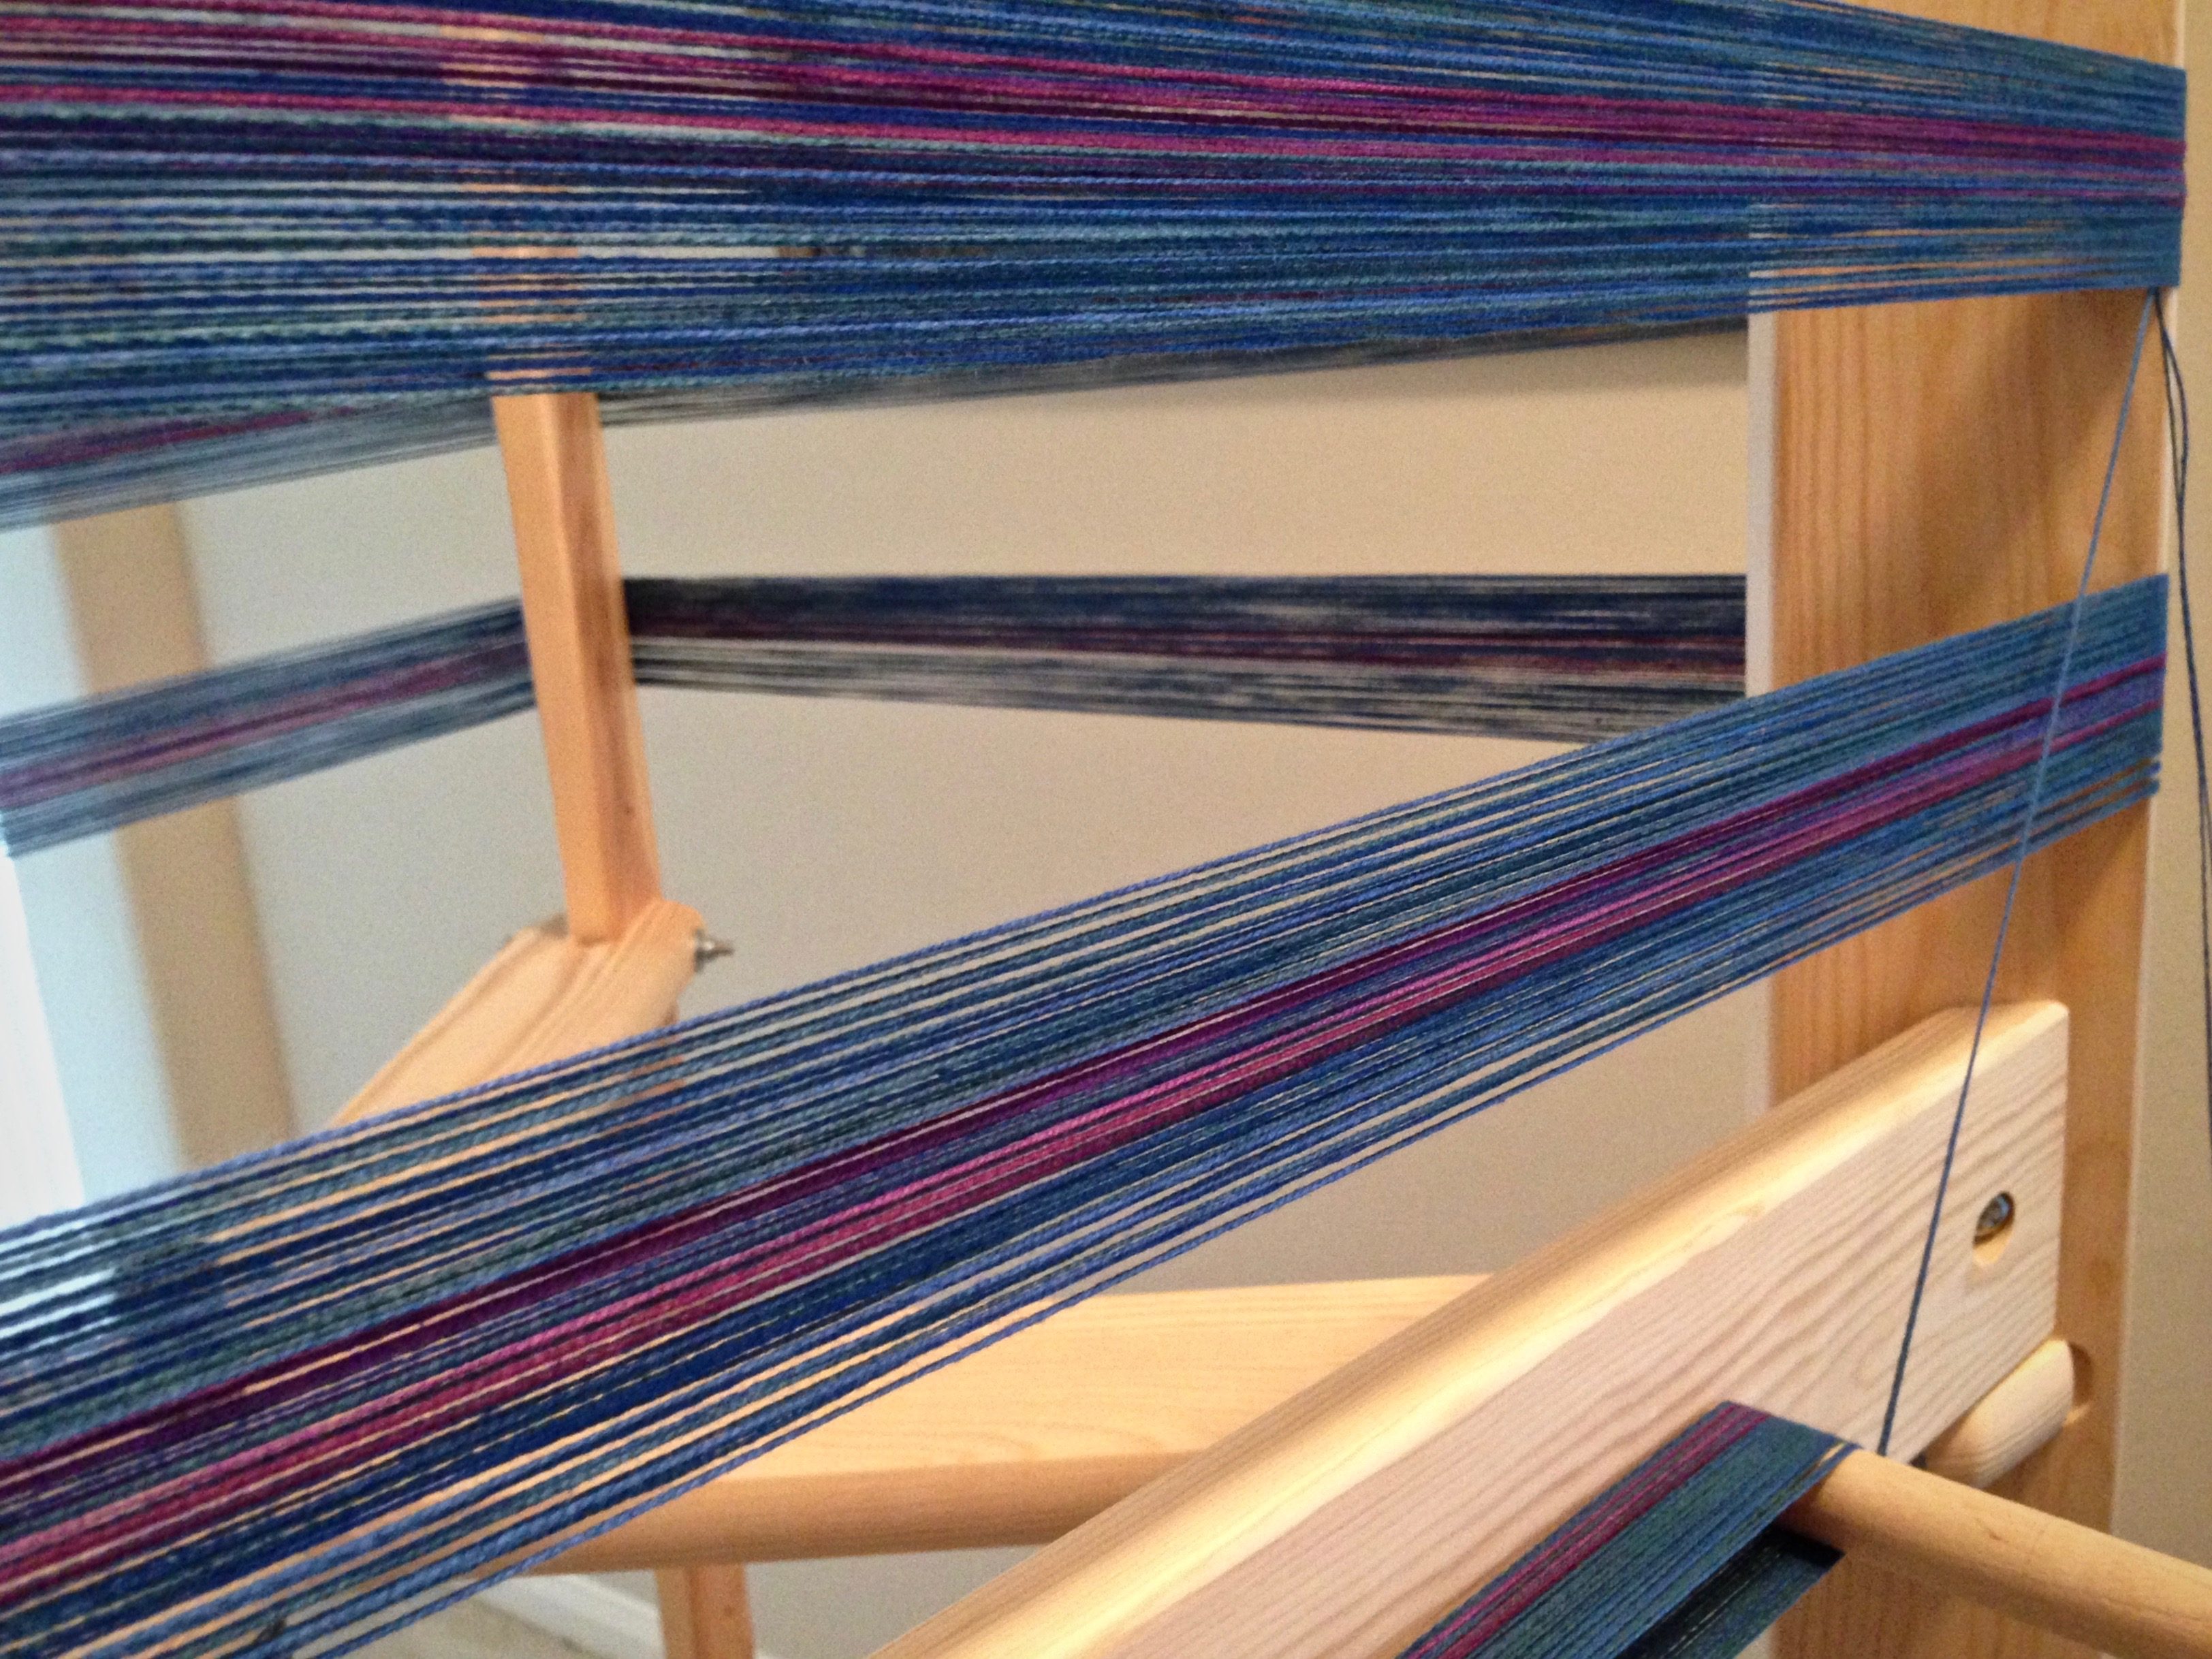
Two shades of blue are mixed with two shades of purple for transition between the blue and purple wide stripes in the warp.
In quiet moments like this, my mind drifts over recent events, and ponders plans for the near and distant future. I think about friends and family–dear ones going through struggles. I remember things I’m thankful for, and who I’m thankful to. I often wish threading could go on a little longer. I like to linger there.
Groups of 32 warp ends are tied into slip knots at the back beam. Each group is threaded and then checked for accuracy before tying the threaded ends into a slip knot.Sitting in my “playhouse” in the loom, threading from right to left, I slow down near the end so I can linger a while longer.
The wondrous thing is that I can turn all these thoughts into prayers. The Lord hears us when we pray. The Lord hears the sound of your voice. In our quiet moments we have the sweet assurance that when we call upon the Lord, he bends down and listens. Instead of wishful thinking or fruitless worrying, prayer turns thoughts into faith.
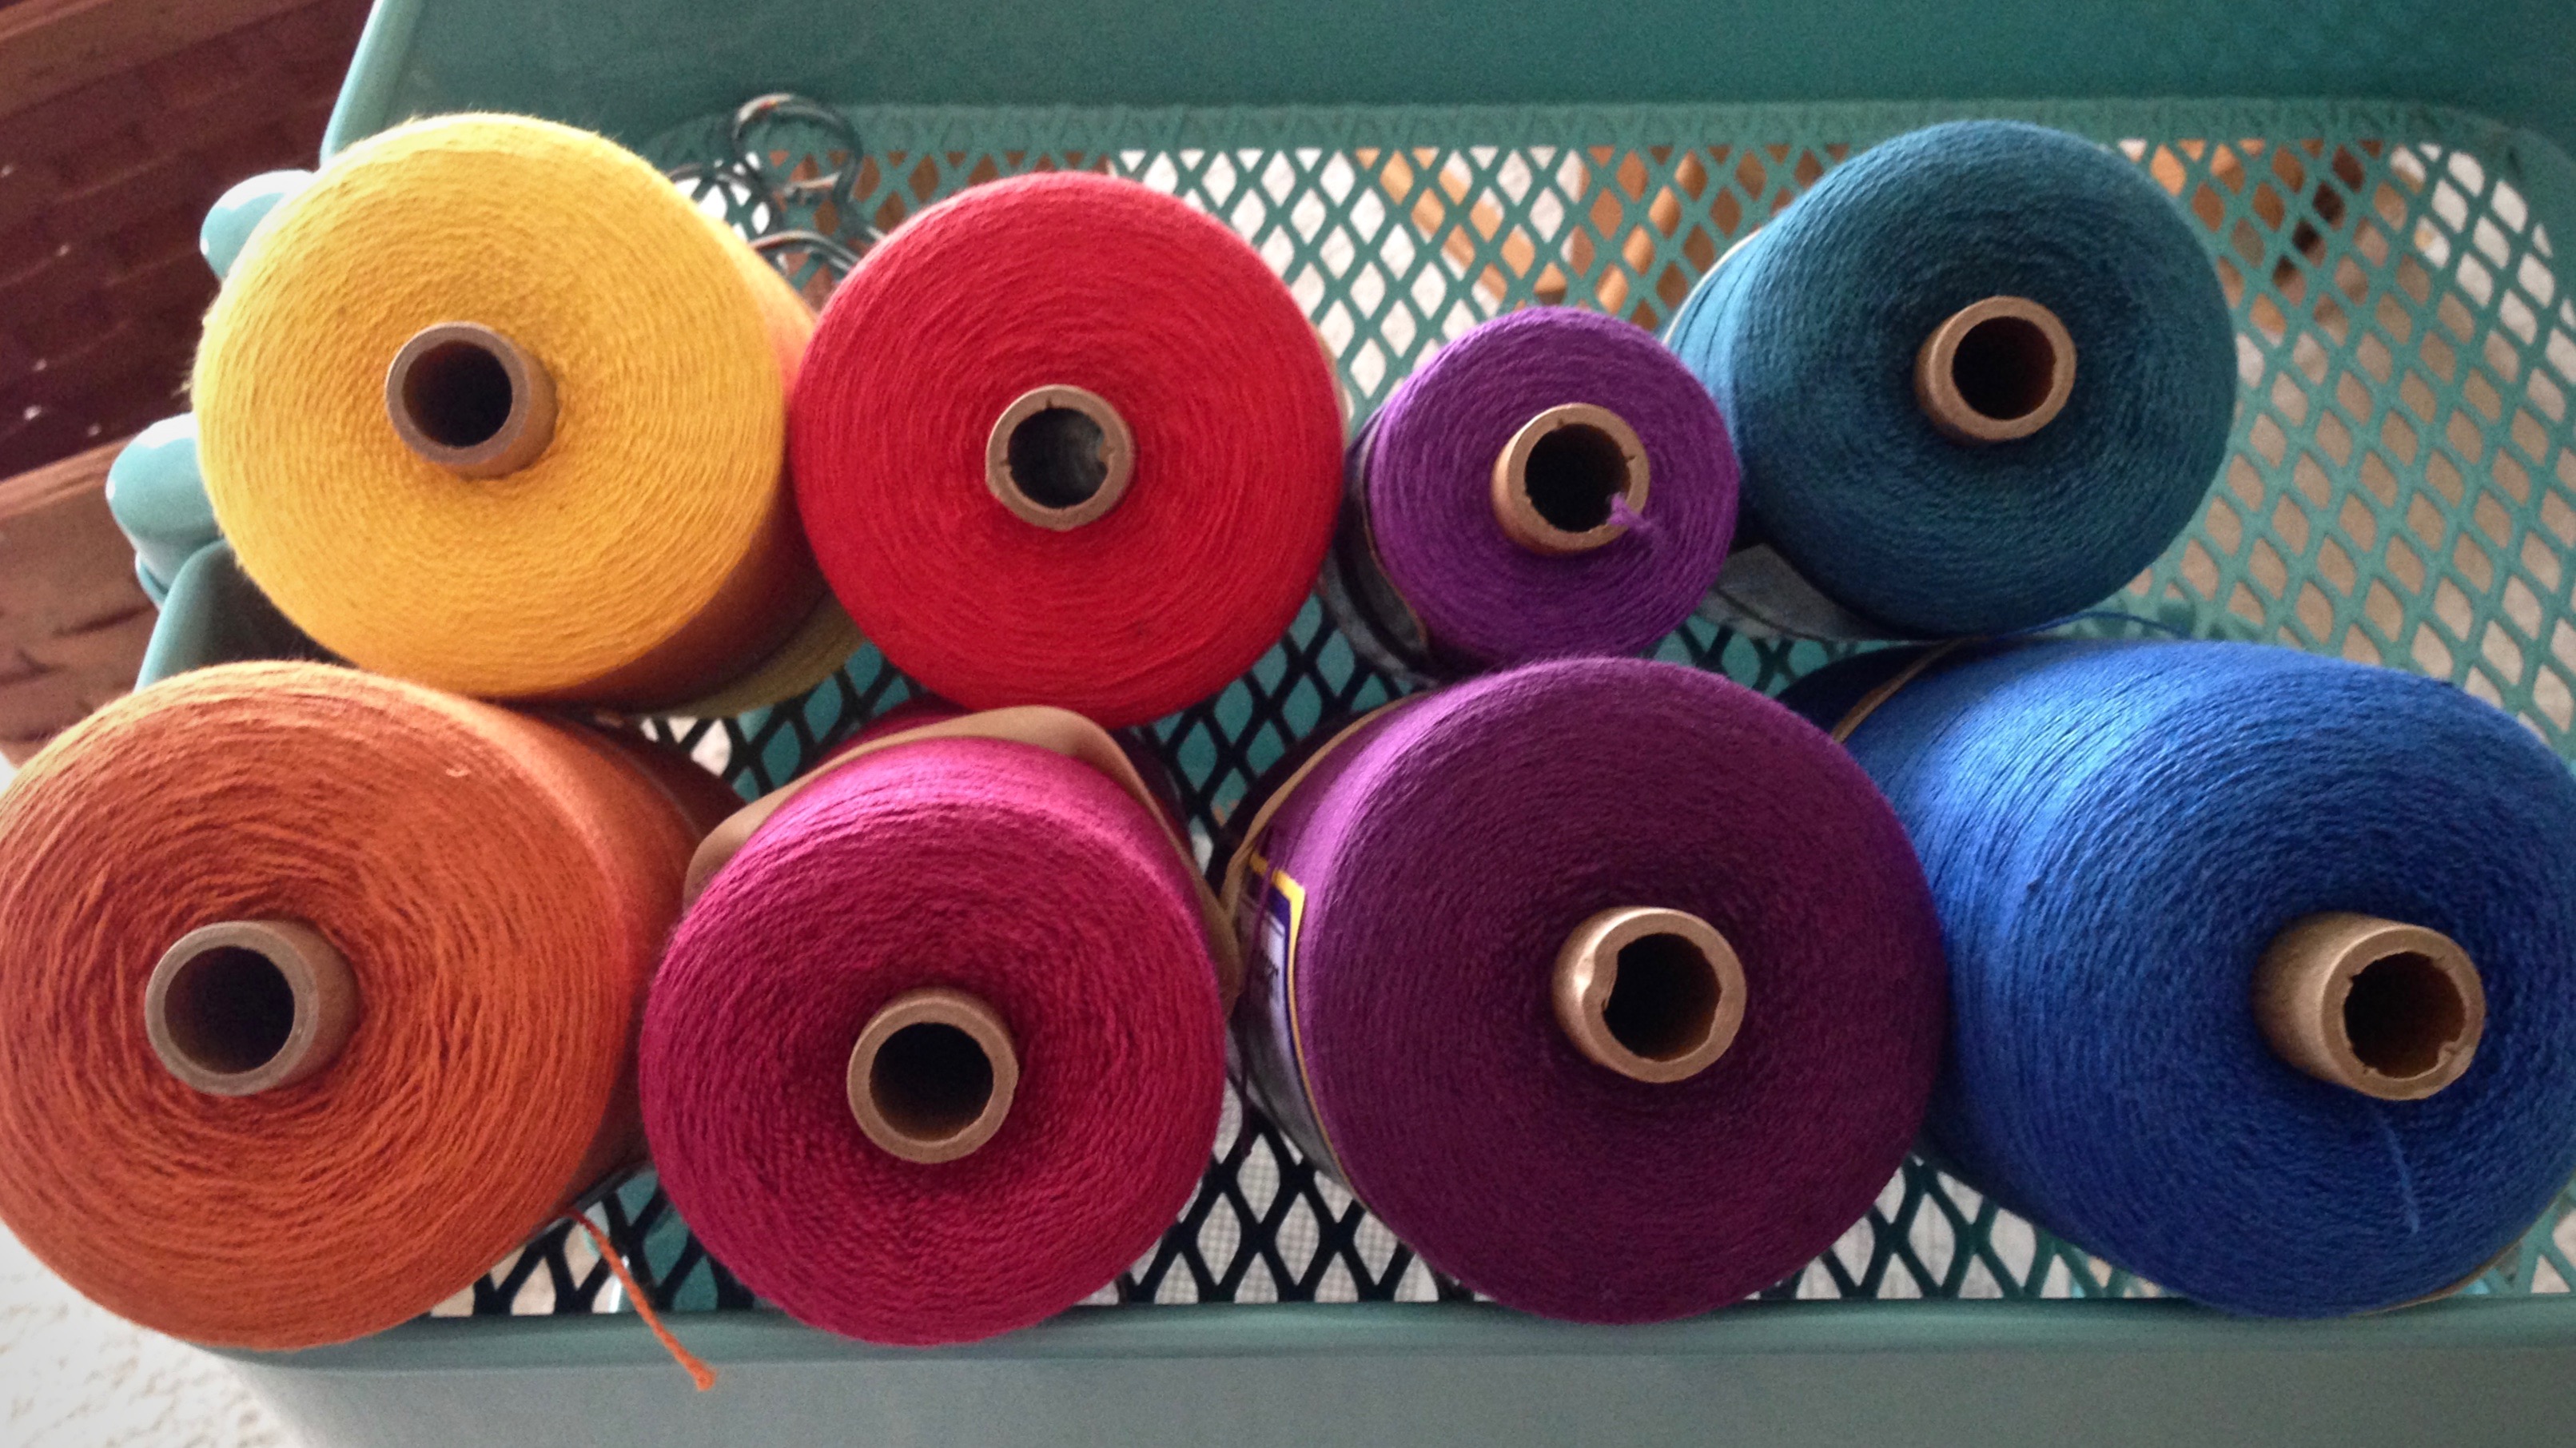
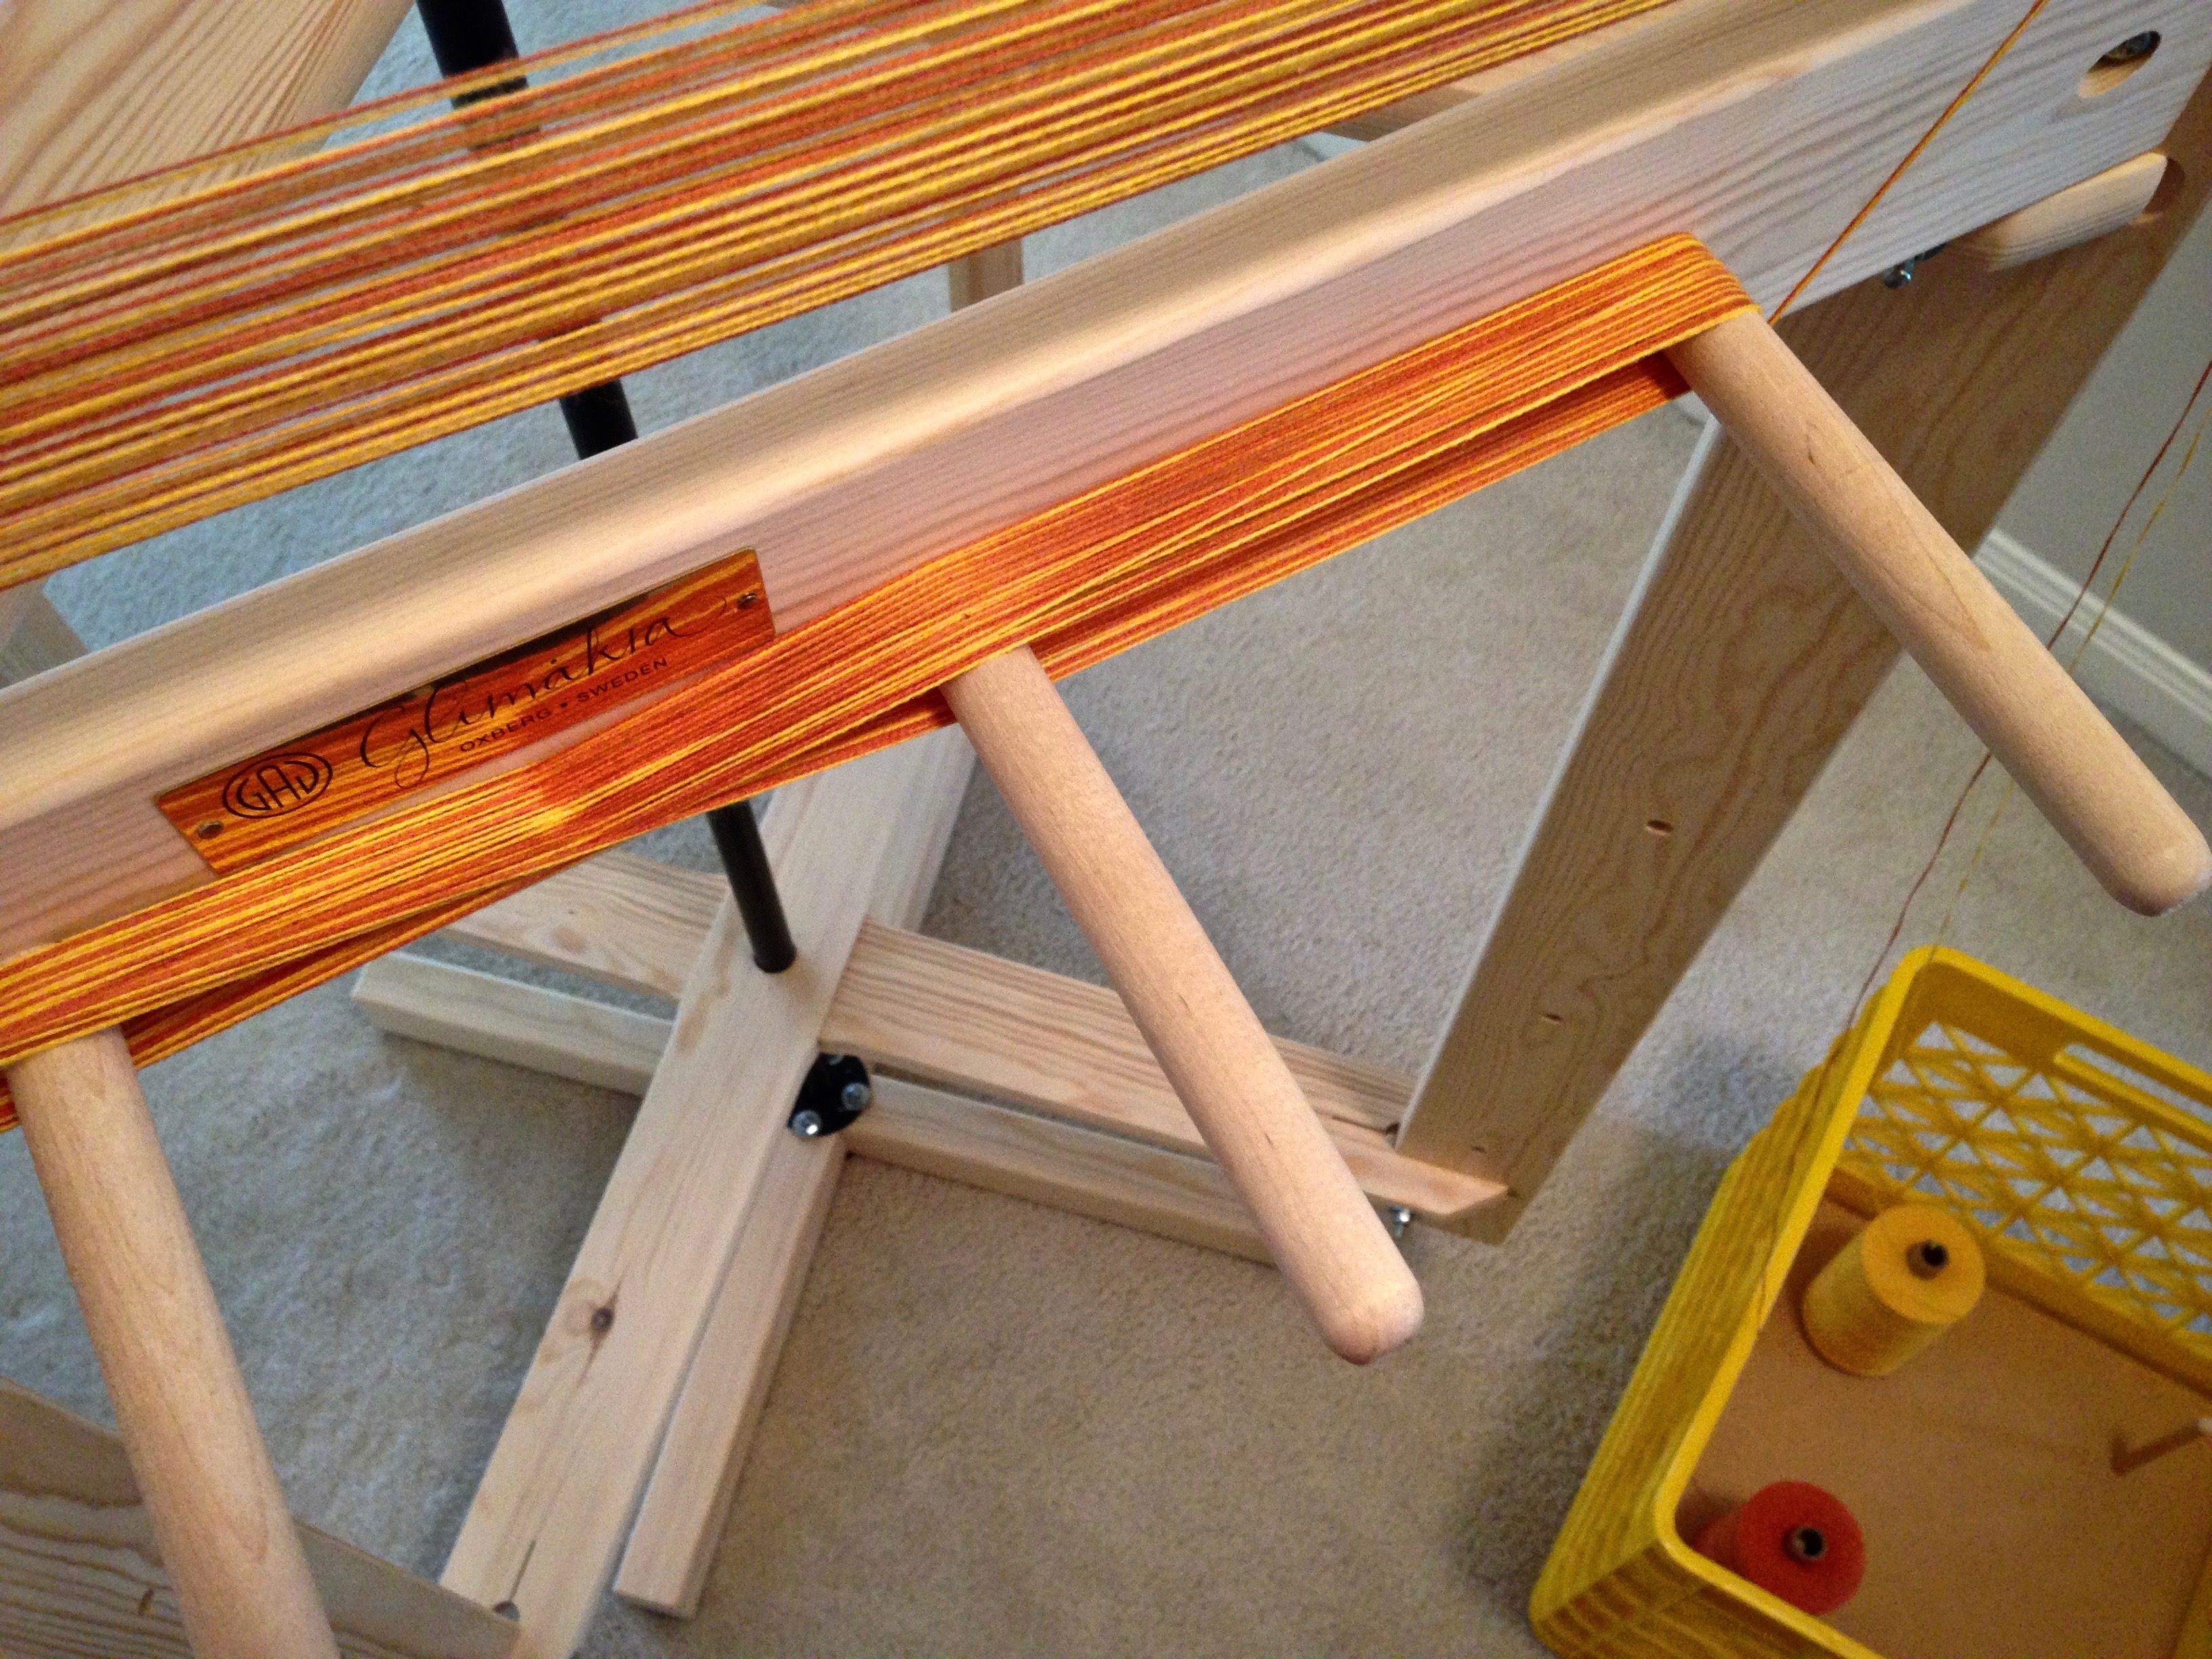
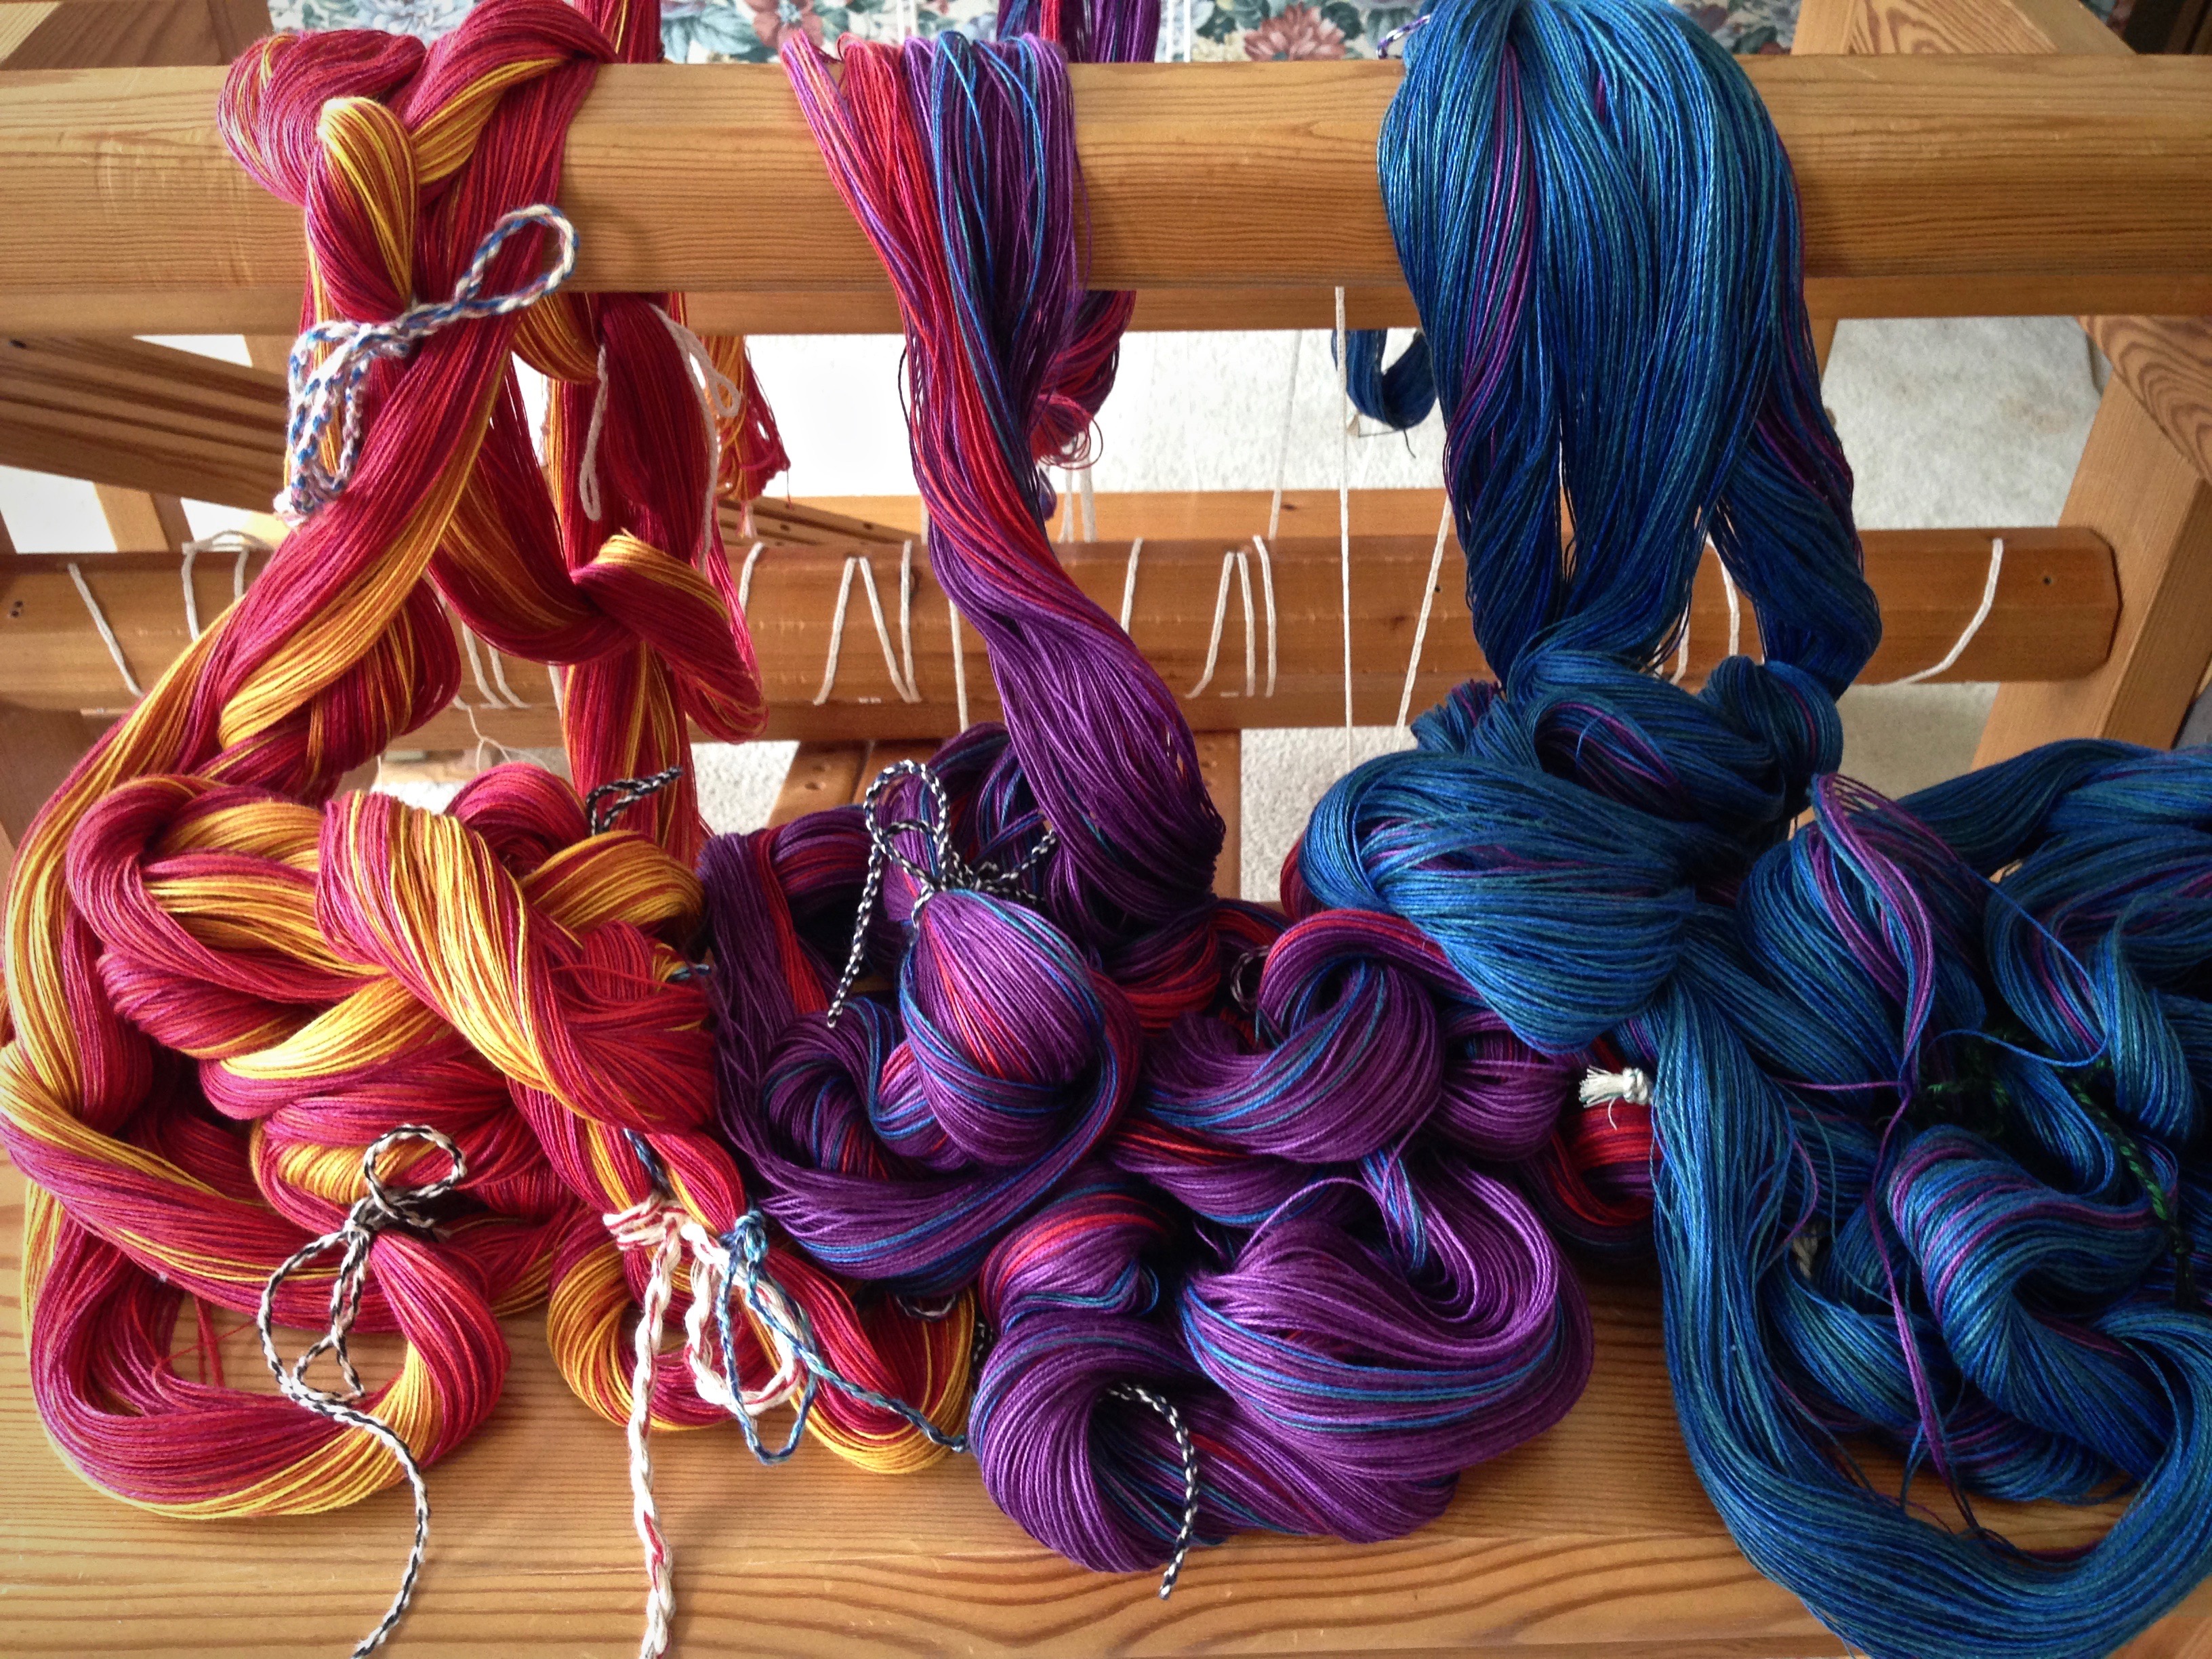
Weaving a baby wrap is something I have been interested in doing. I am pleased, therefore, that my daughter wants to try babywearing. It’s the perfect excuse for me to put a colorful warp on the loom–a warp with wide stripes of blended colors. After research and careful planning, I am ready to start. Baby Lu will be here before we know it!
New tubes of 8/2 cotton thread combine with colors I already had on my shelves.
It is exciting to weave something on purpose to give to someone you love. The whole process has meaning–from planning, to dressing the loom, to throwing the shuttle. You hope it turns out as you envision, or better. Making something to give is the best kind of making. The thought you put into it shows up as a gift of love.
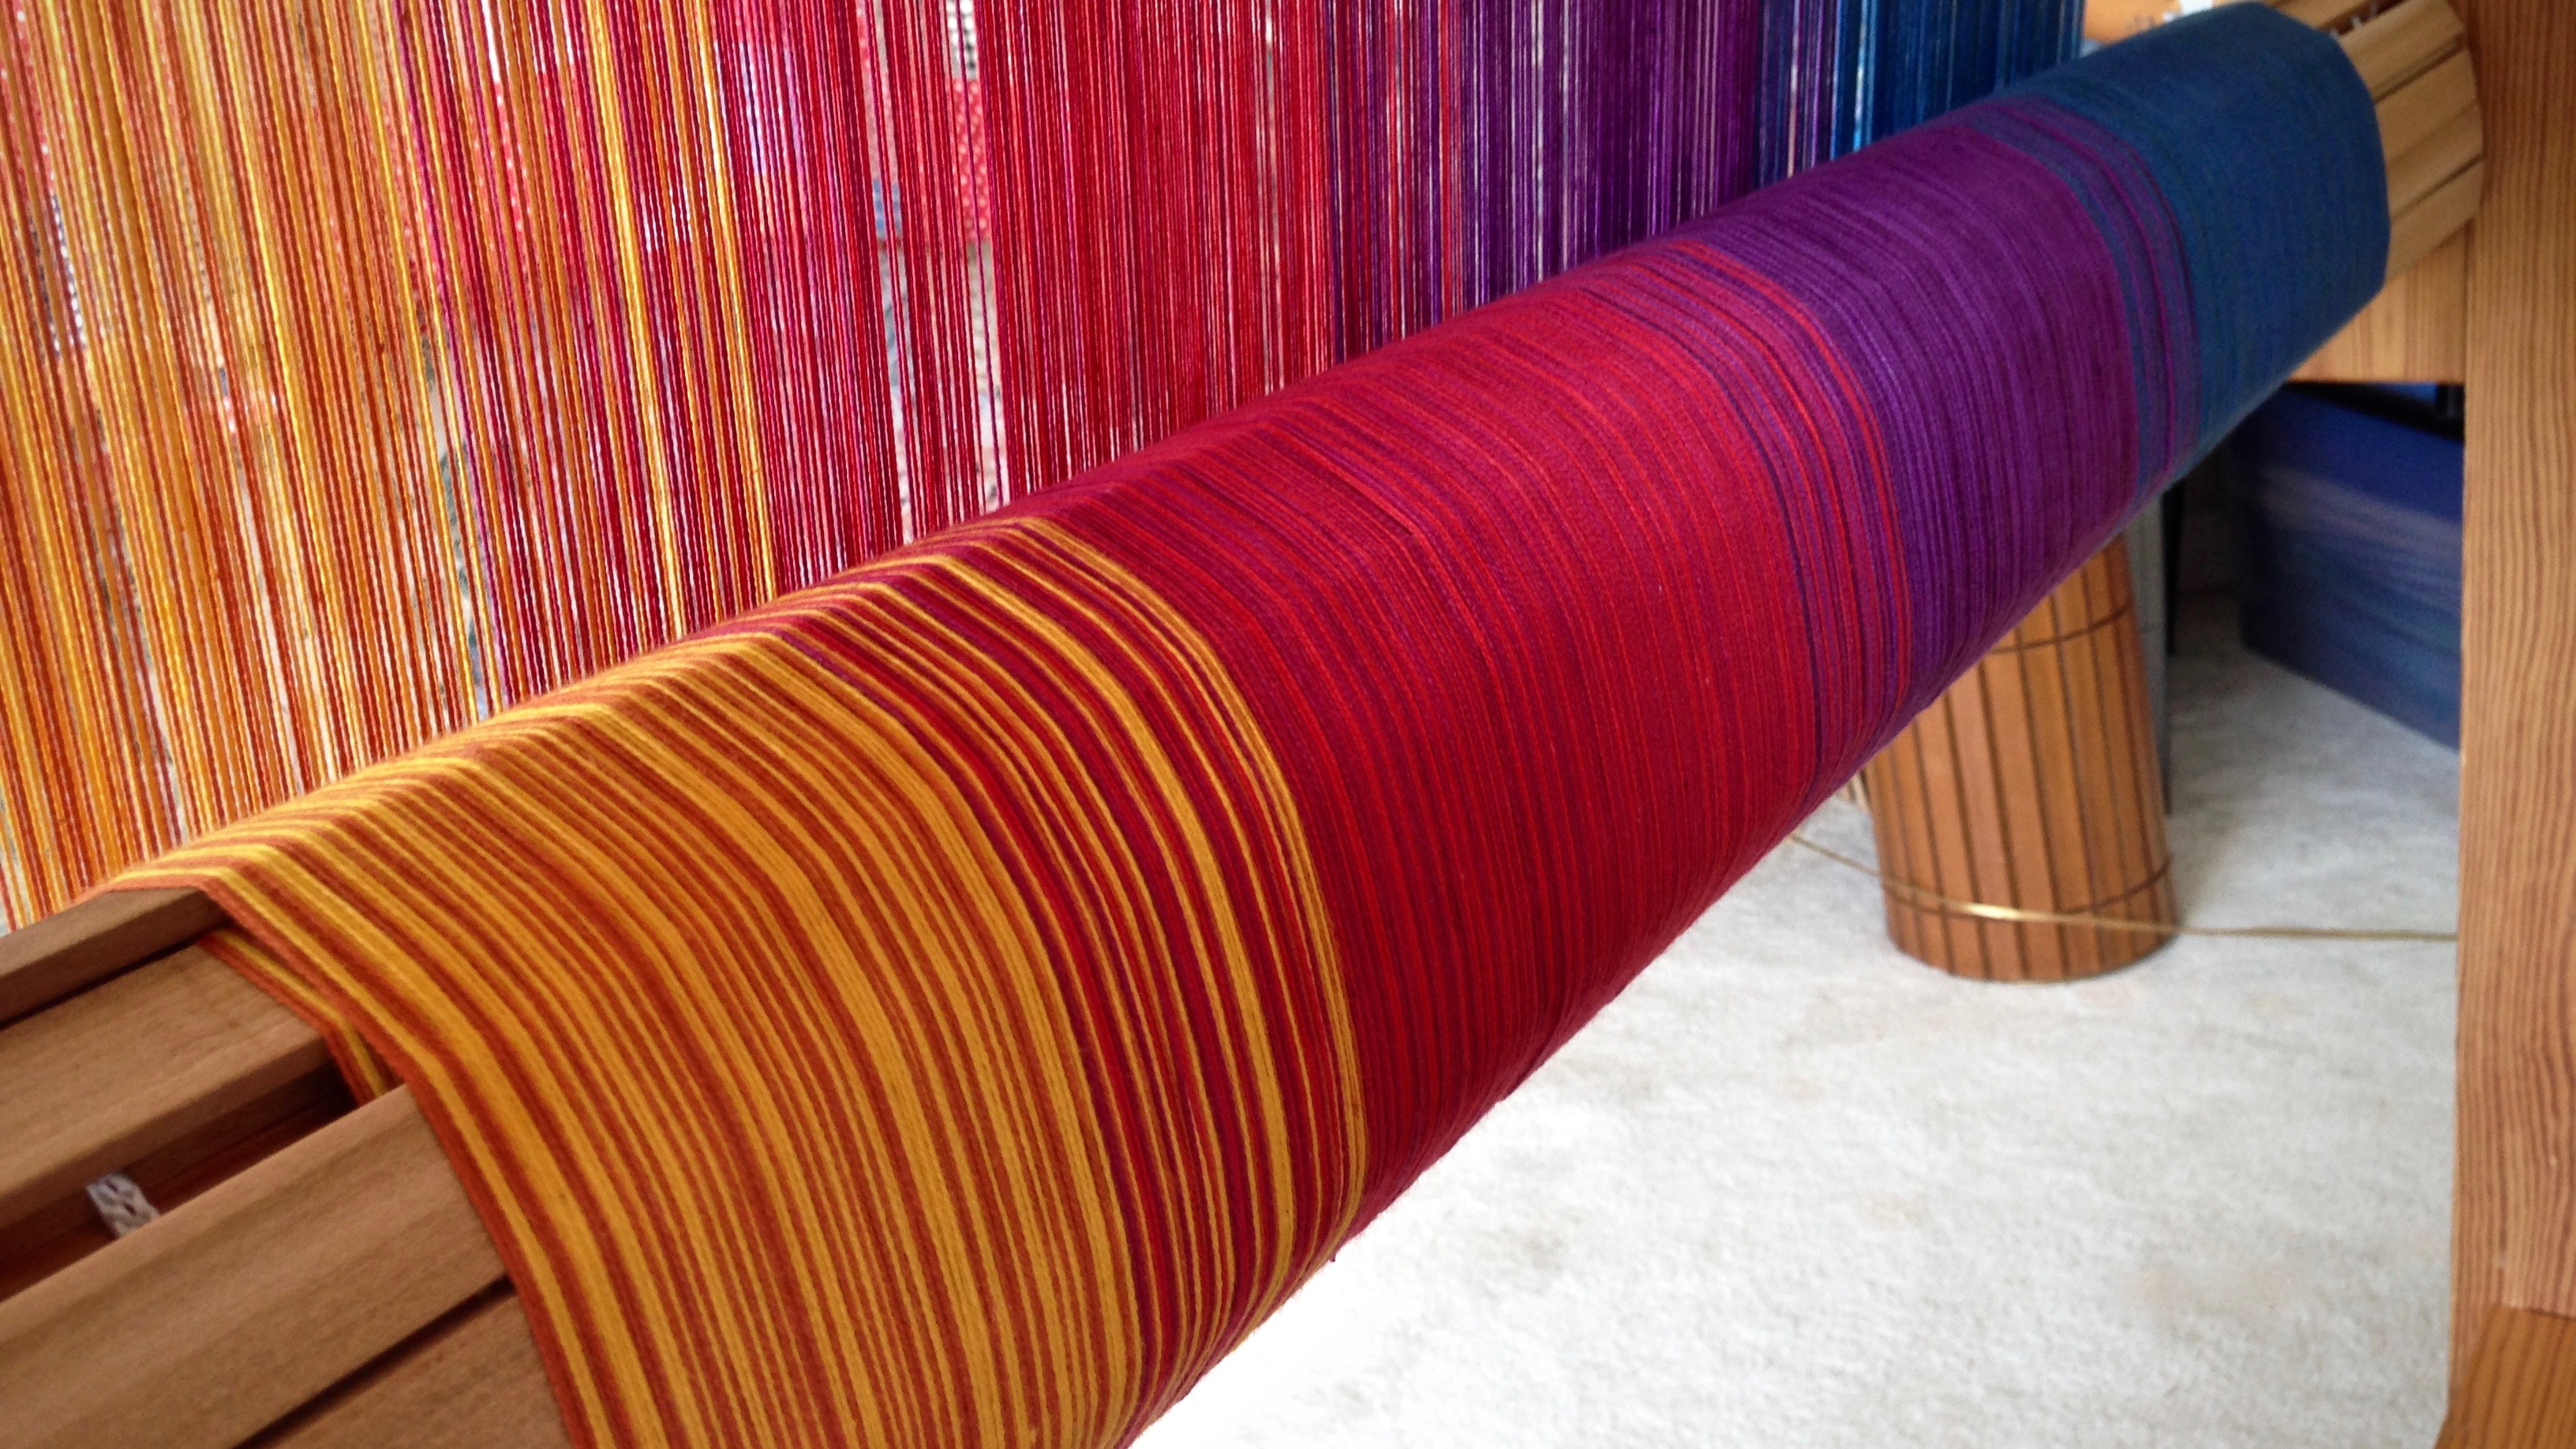
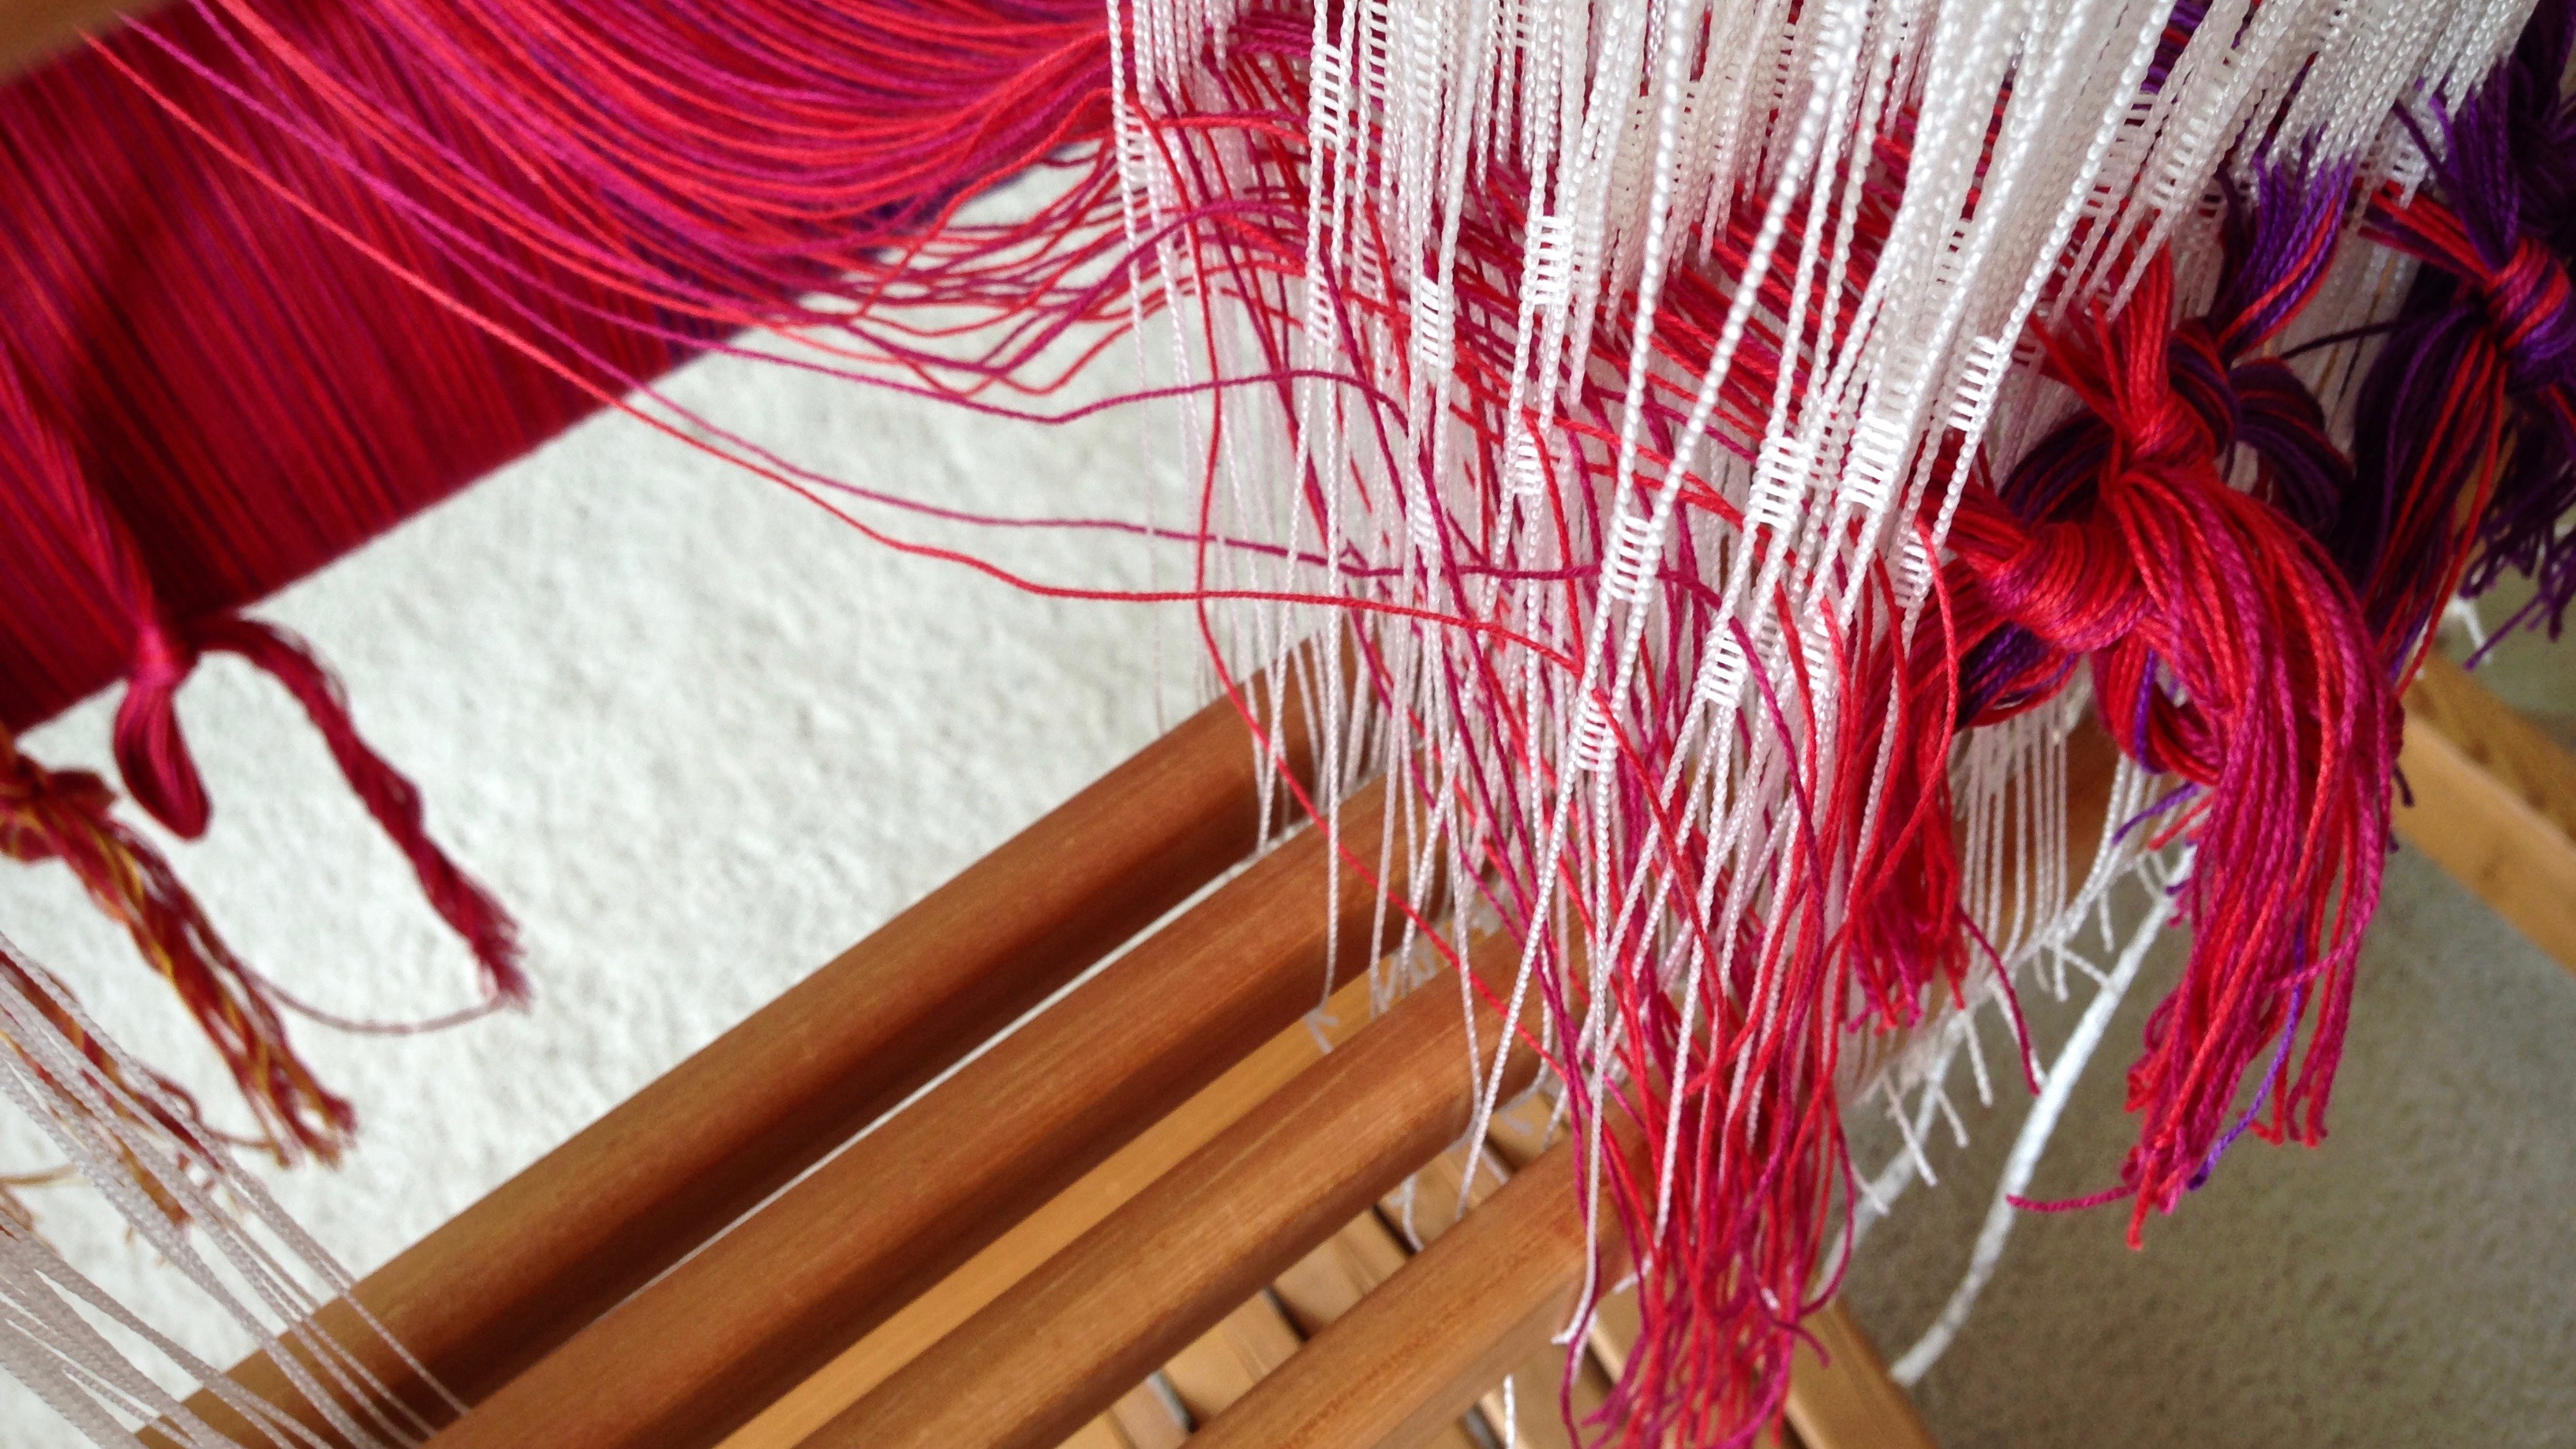
Cheerful start to the warp with “Pumpkin” and “Sunshine” alternating threads.Second bout adds in “Plum” and “Mulberry” threads.“Sapphire” and “Teal” threads make up most of the third bout.
Our words can be thoughtful gifts, as well. It takes thought to speak sentences and paragraphs, and conversations, that bless and enrich. Our considerate words give our recipient the means for wrapping someone else with love. Words can heal. These are the words to speak, words that give life. Weave comfort and encouragement into the things you say, touching others with kindness. Let the little ones be wrapped in their mother’s love. And let the rest of us practice sweet thoughtfulness day after day.
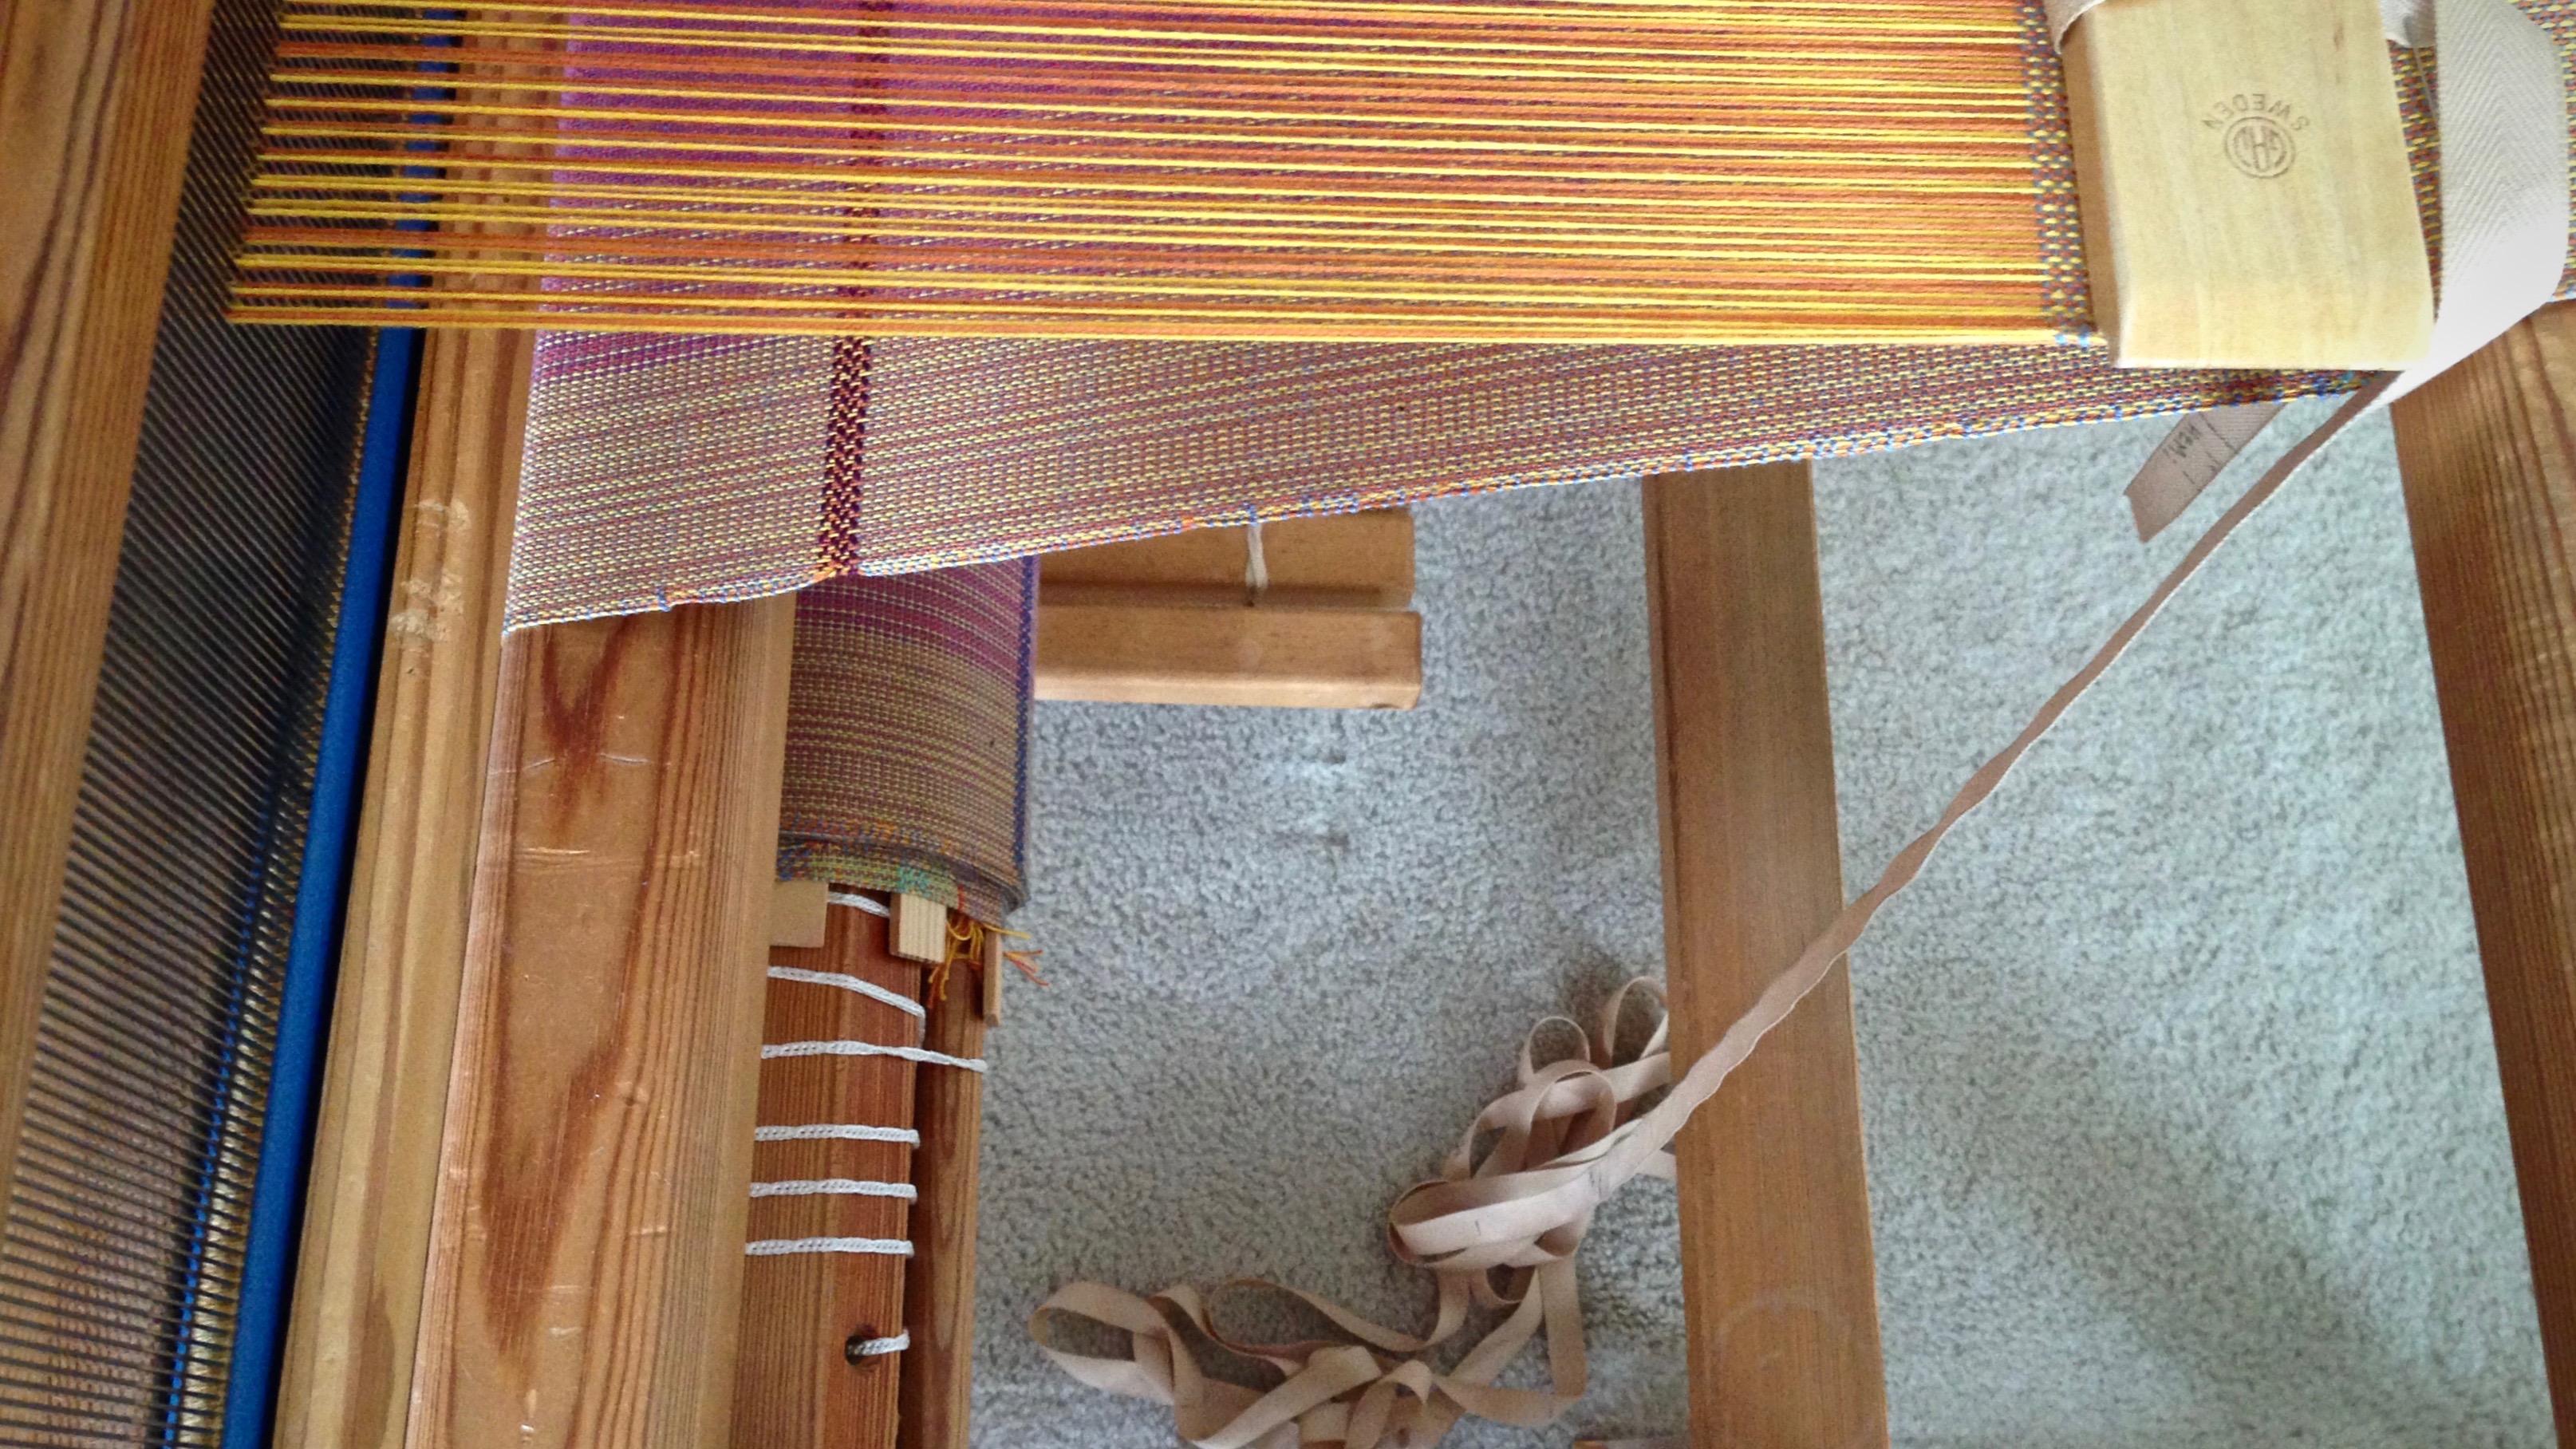
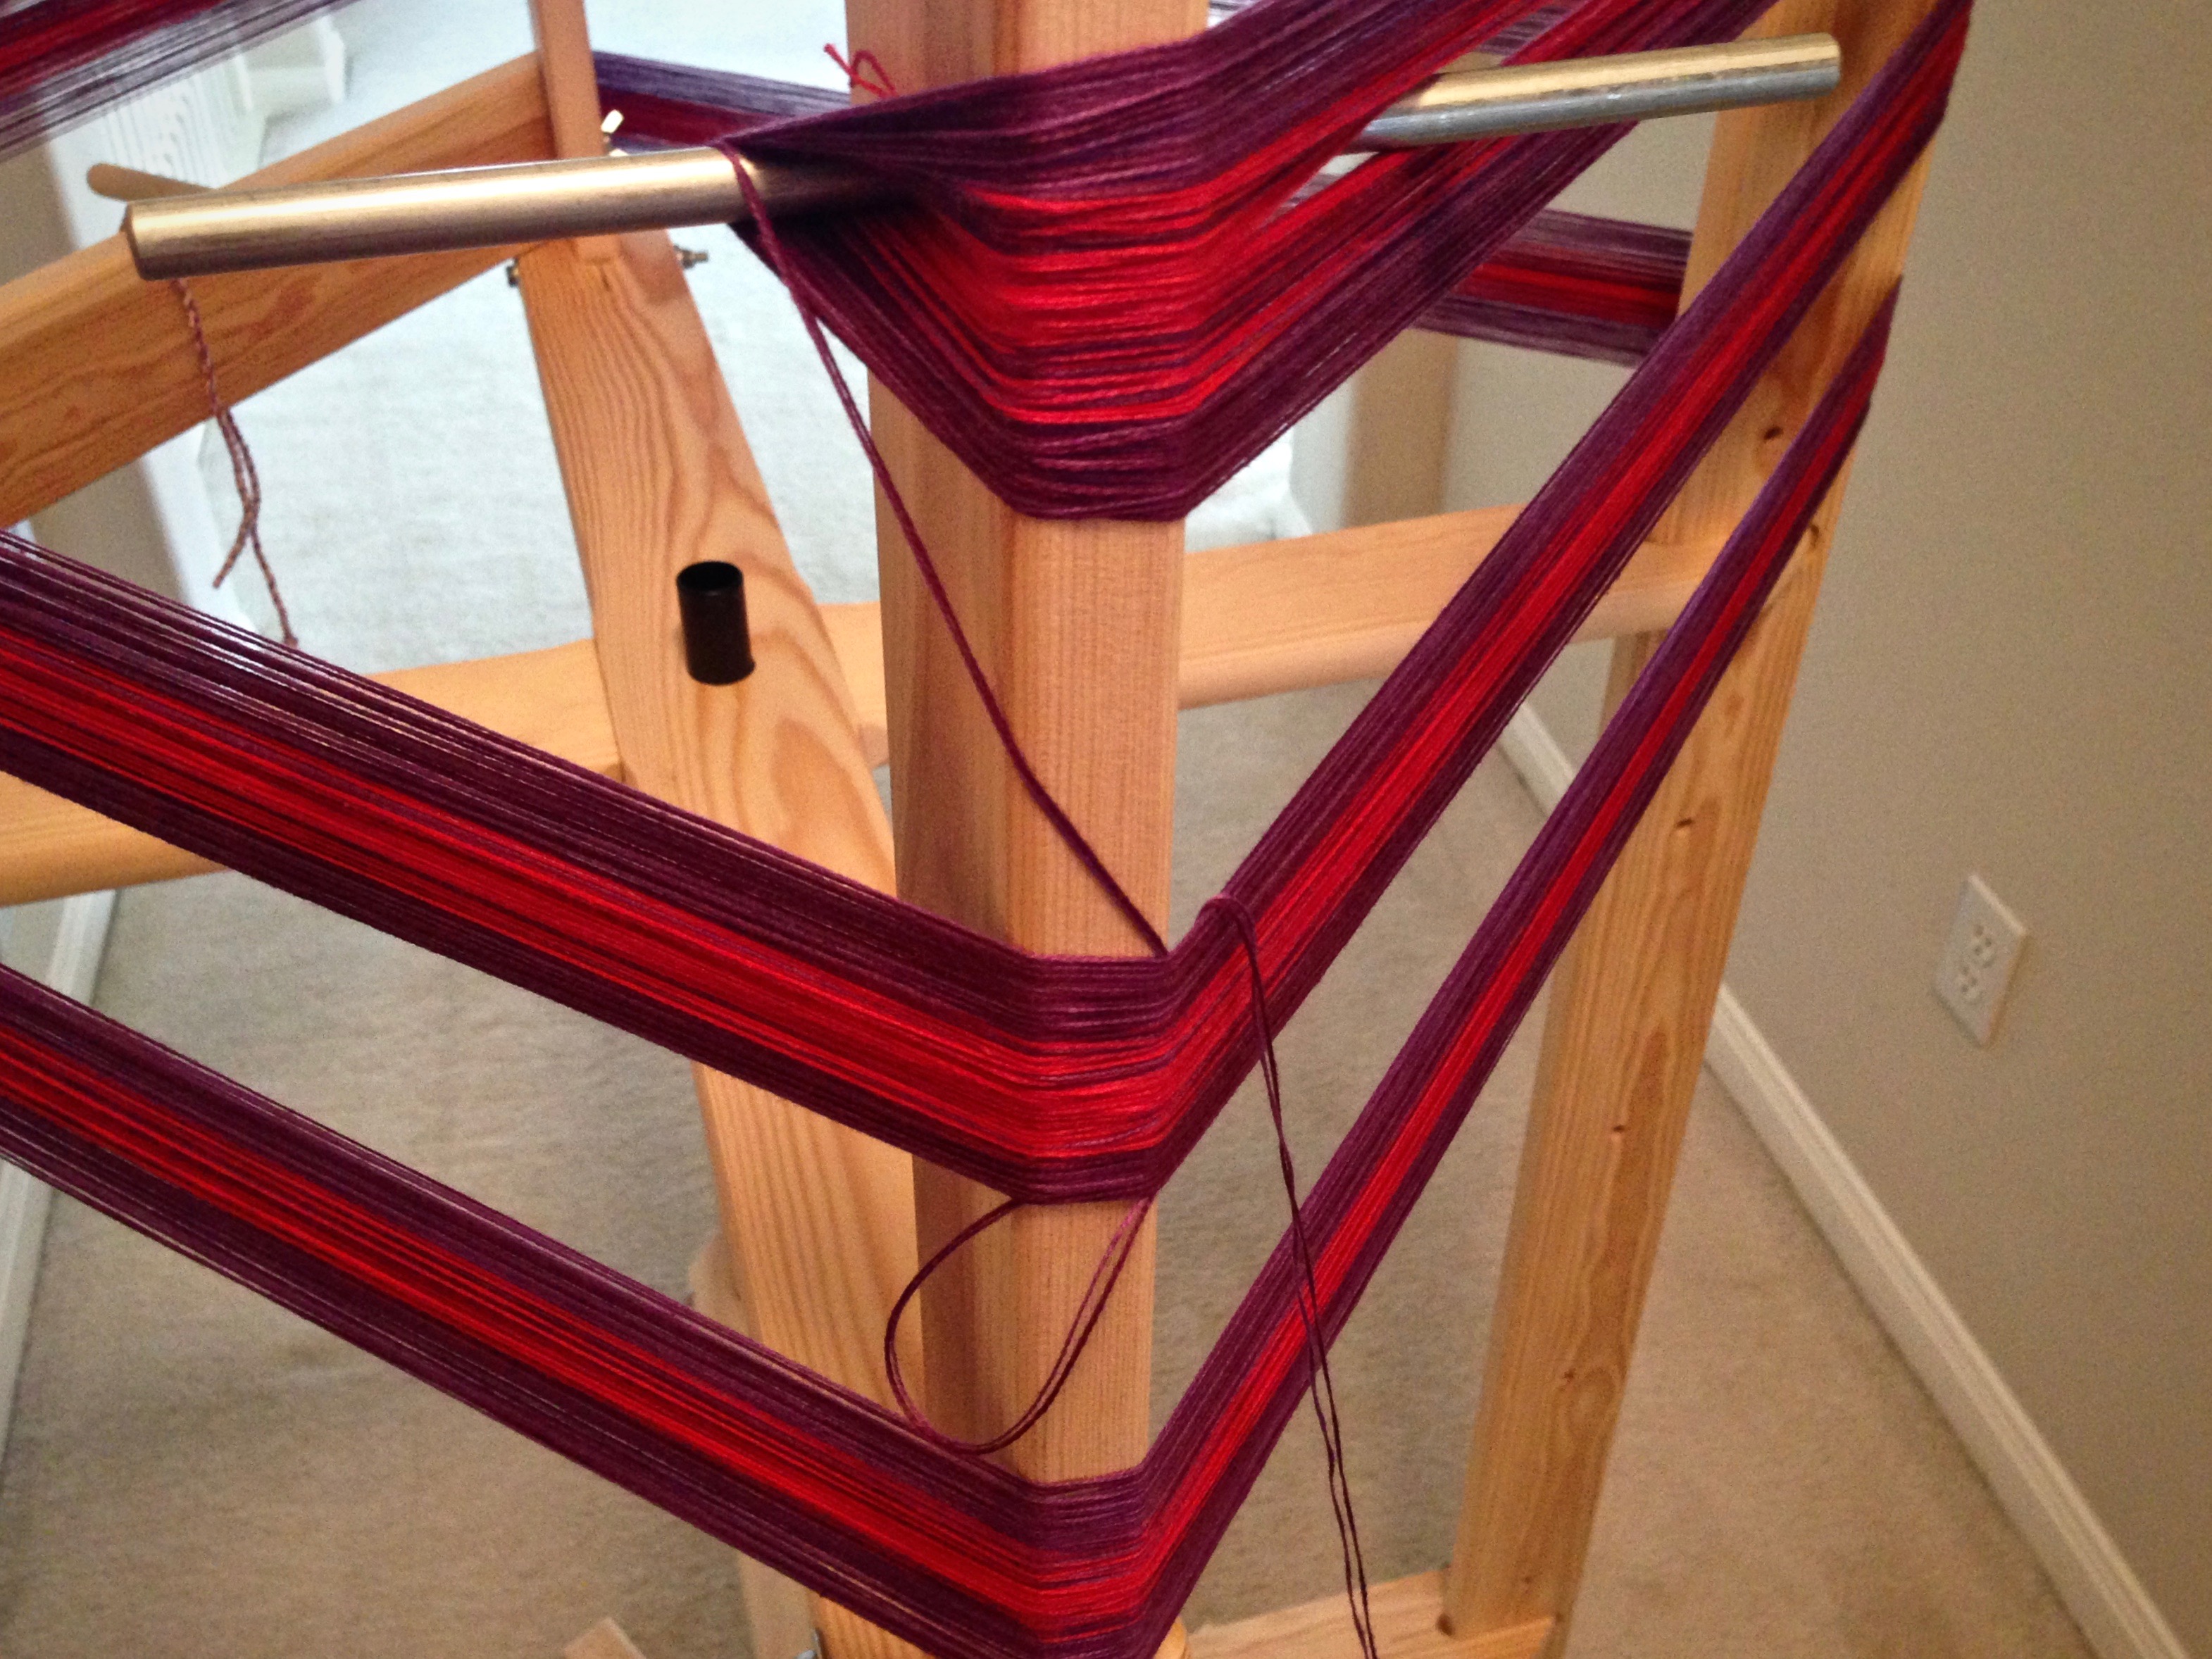
Dividing the warp into three bouts helps distribute the threads for even tension during beaming.
May your words be thoughtful gifts from your heart.
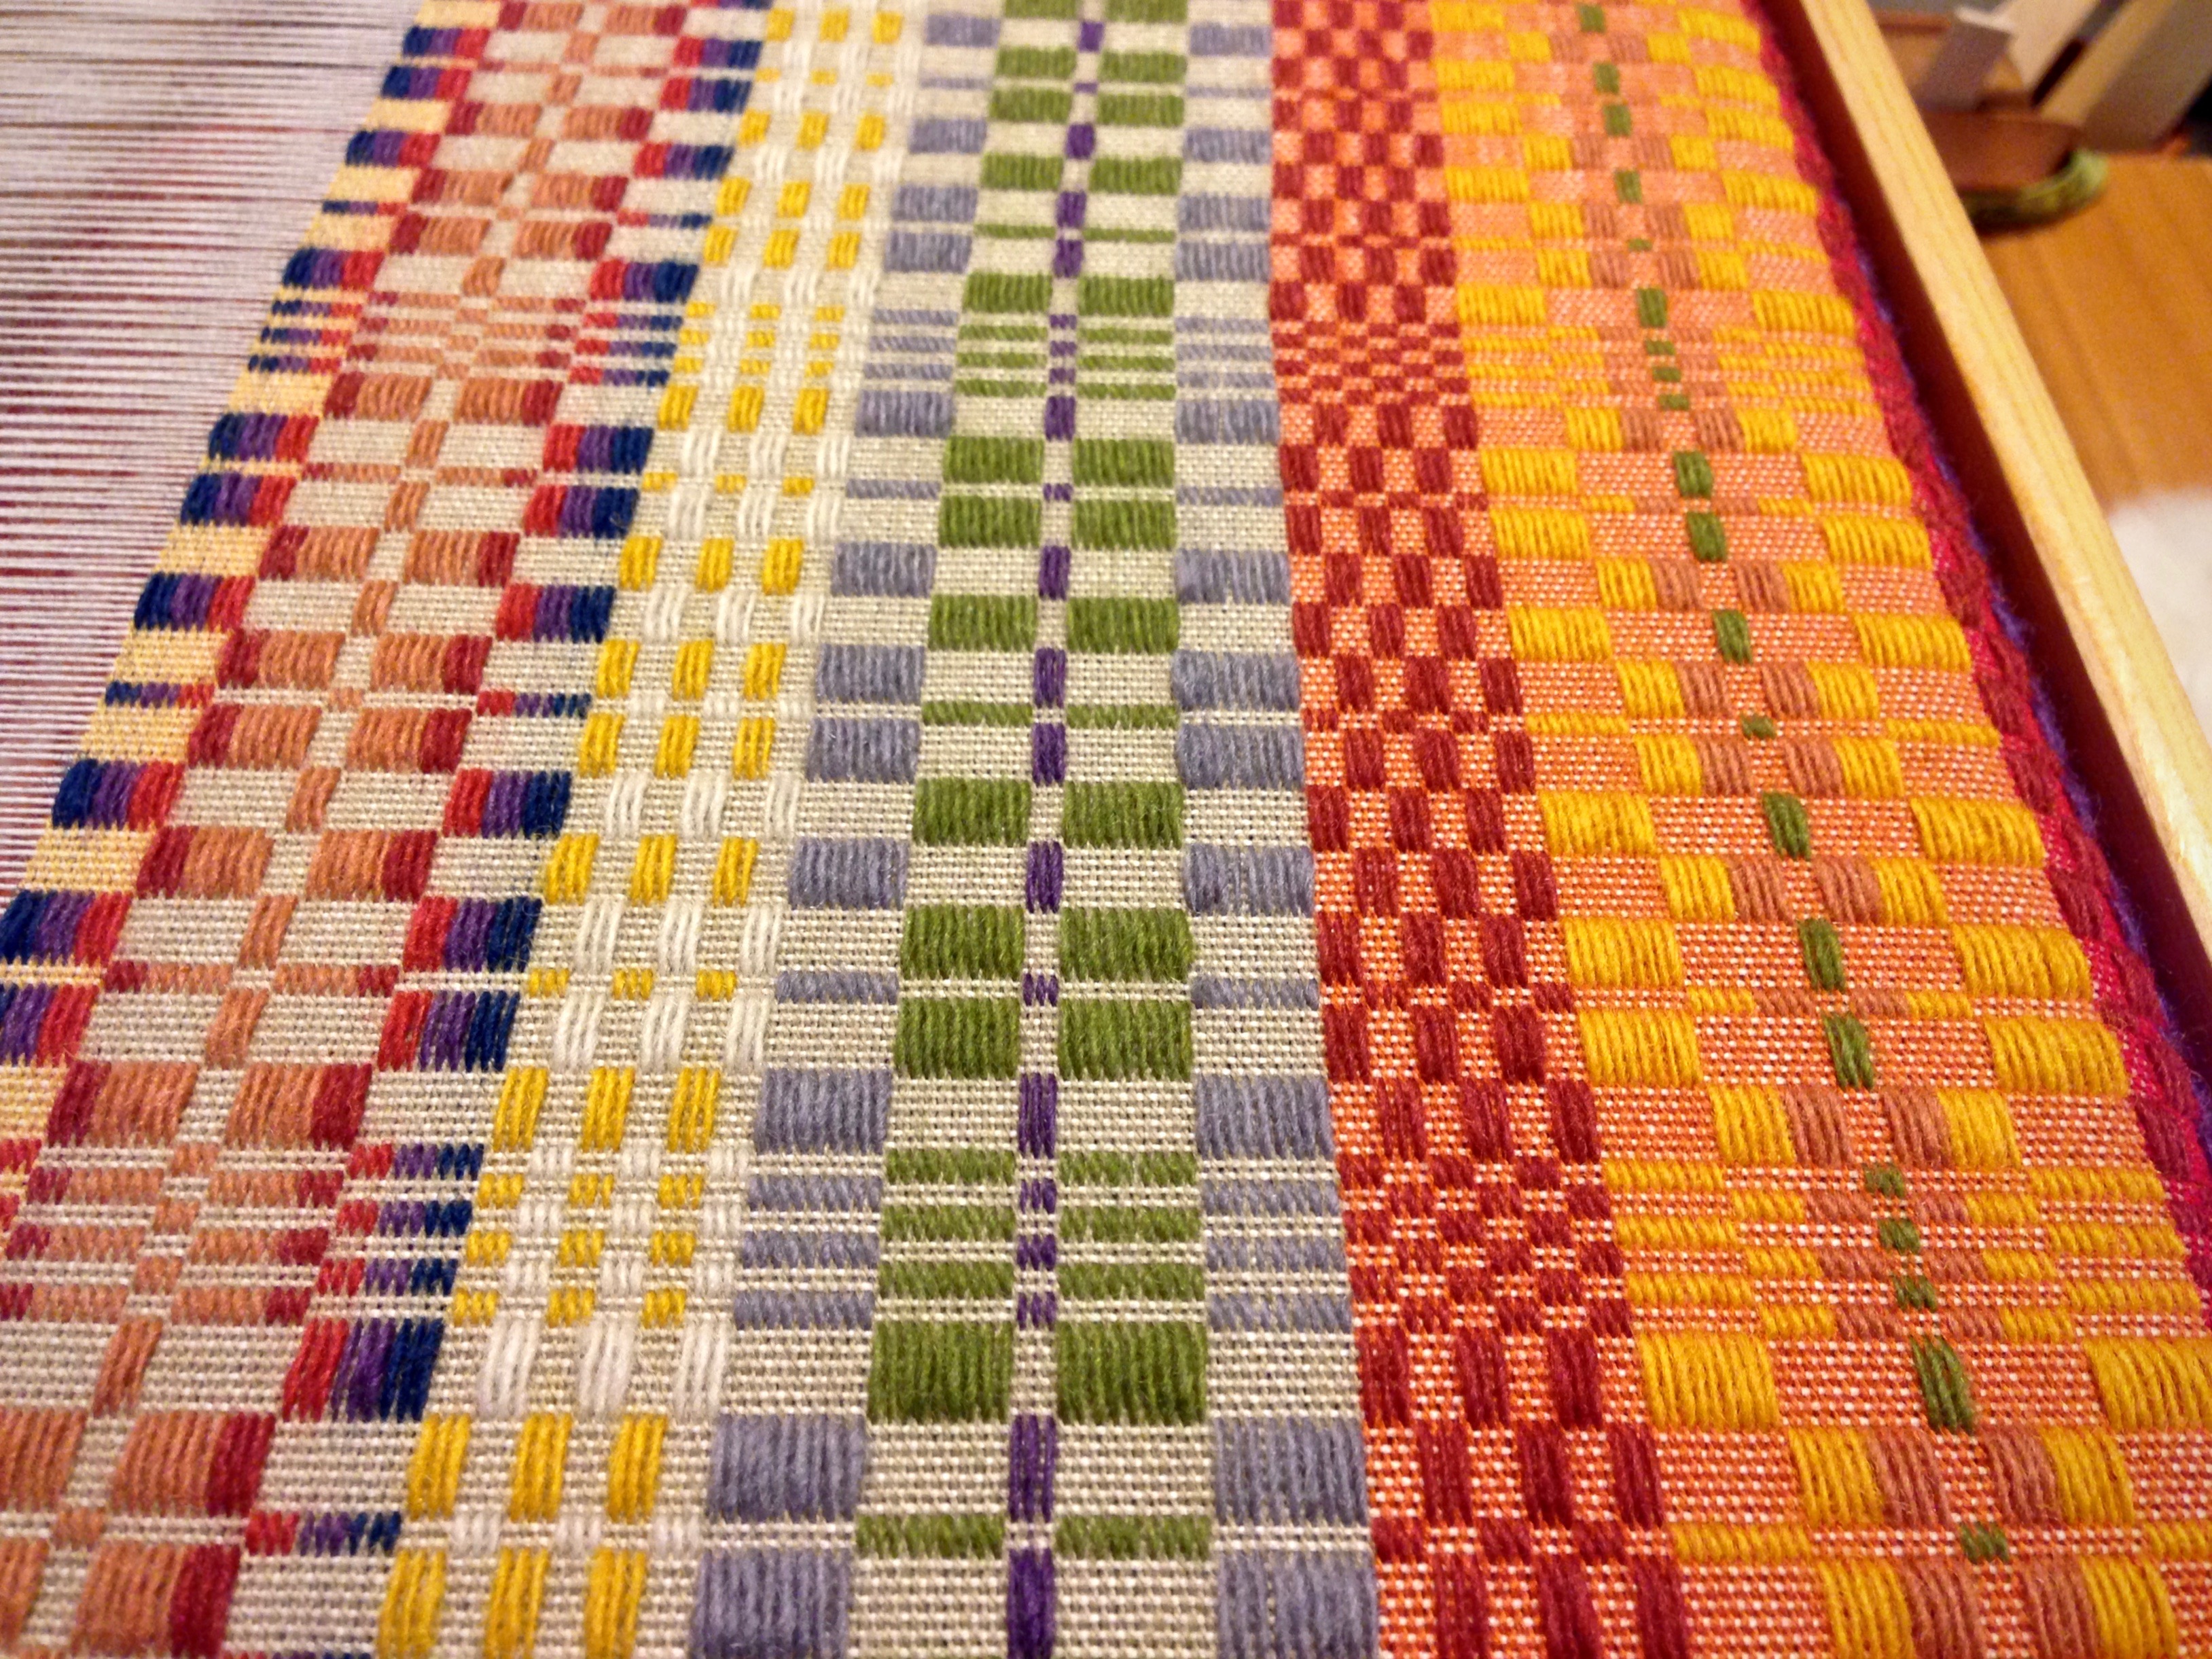
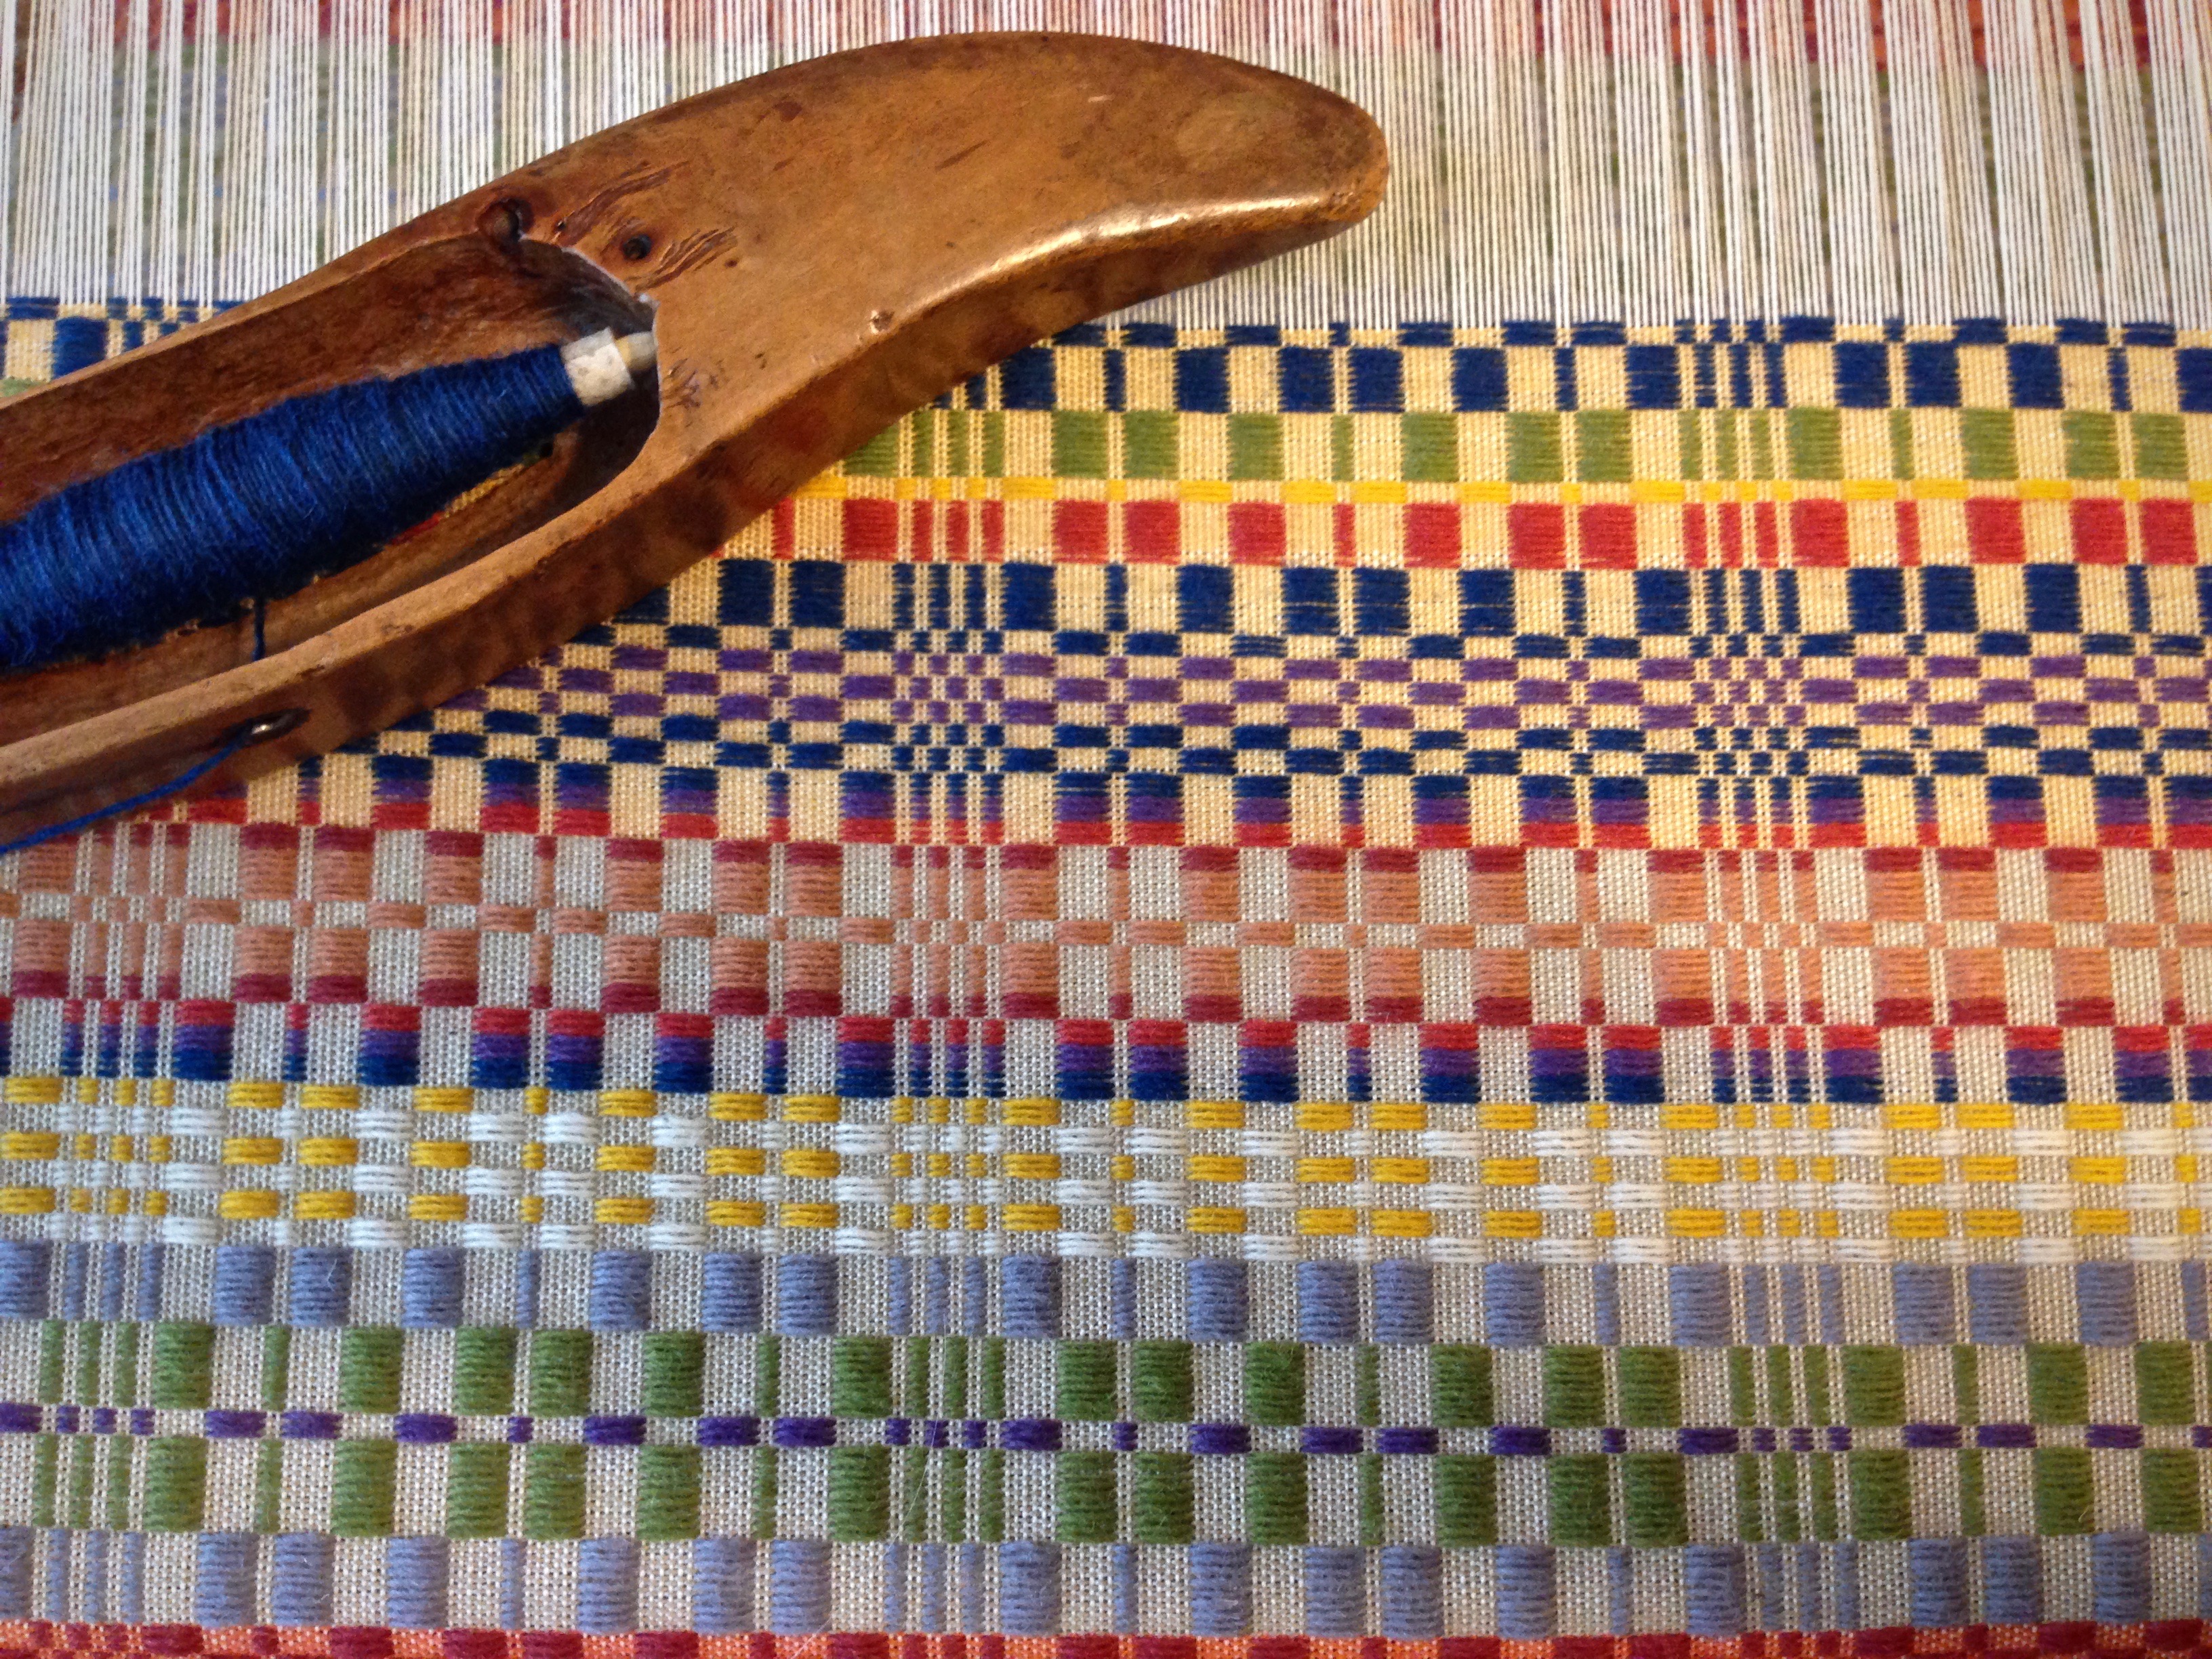
Experience builds on experience. The more I practice the classic Swedish weave structures, the more freedom I have in the process. Dice weave, halvdräll, and, now, this monksbelt, are all related. These are variations of overshot. I am putting what I know into practice, even though this is the first time I have woven monksbelt on my own loom. (My prior experience with monksbelt was first in a workshop with Joanne Hall, and then, under Becky Ashenden’s tutelage at Vävstuga Swedish Classics.)
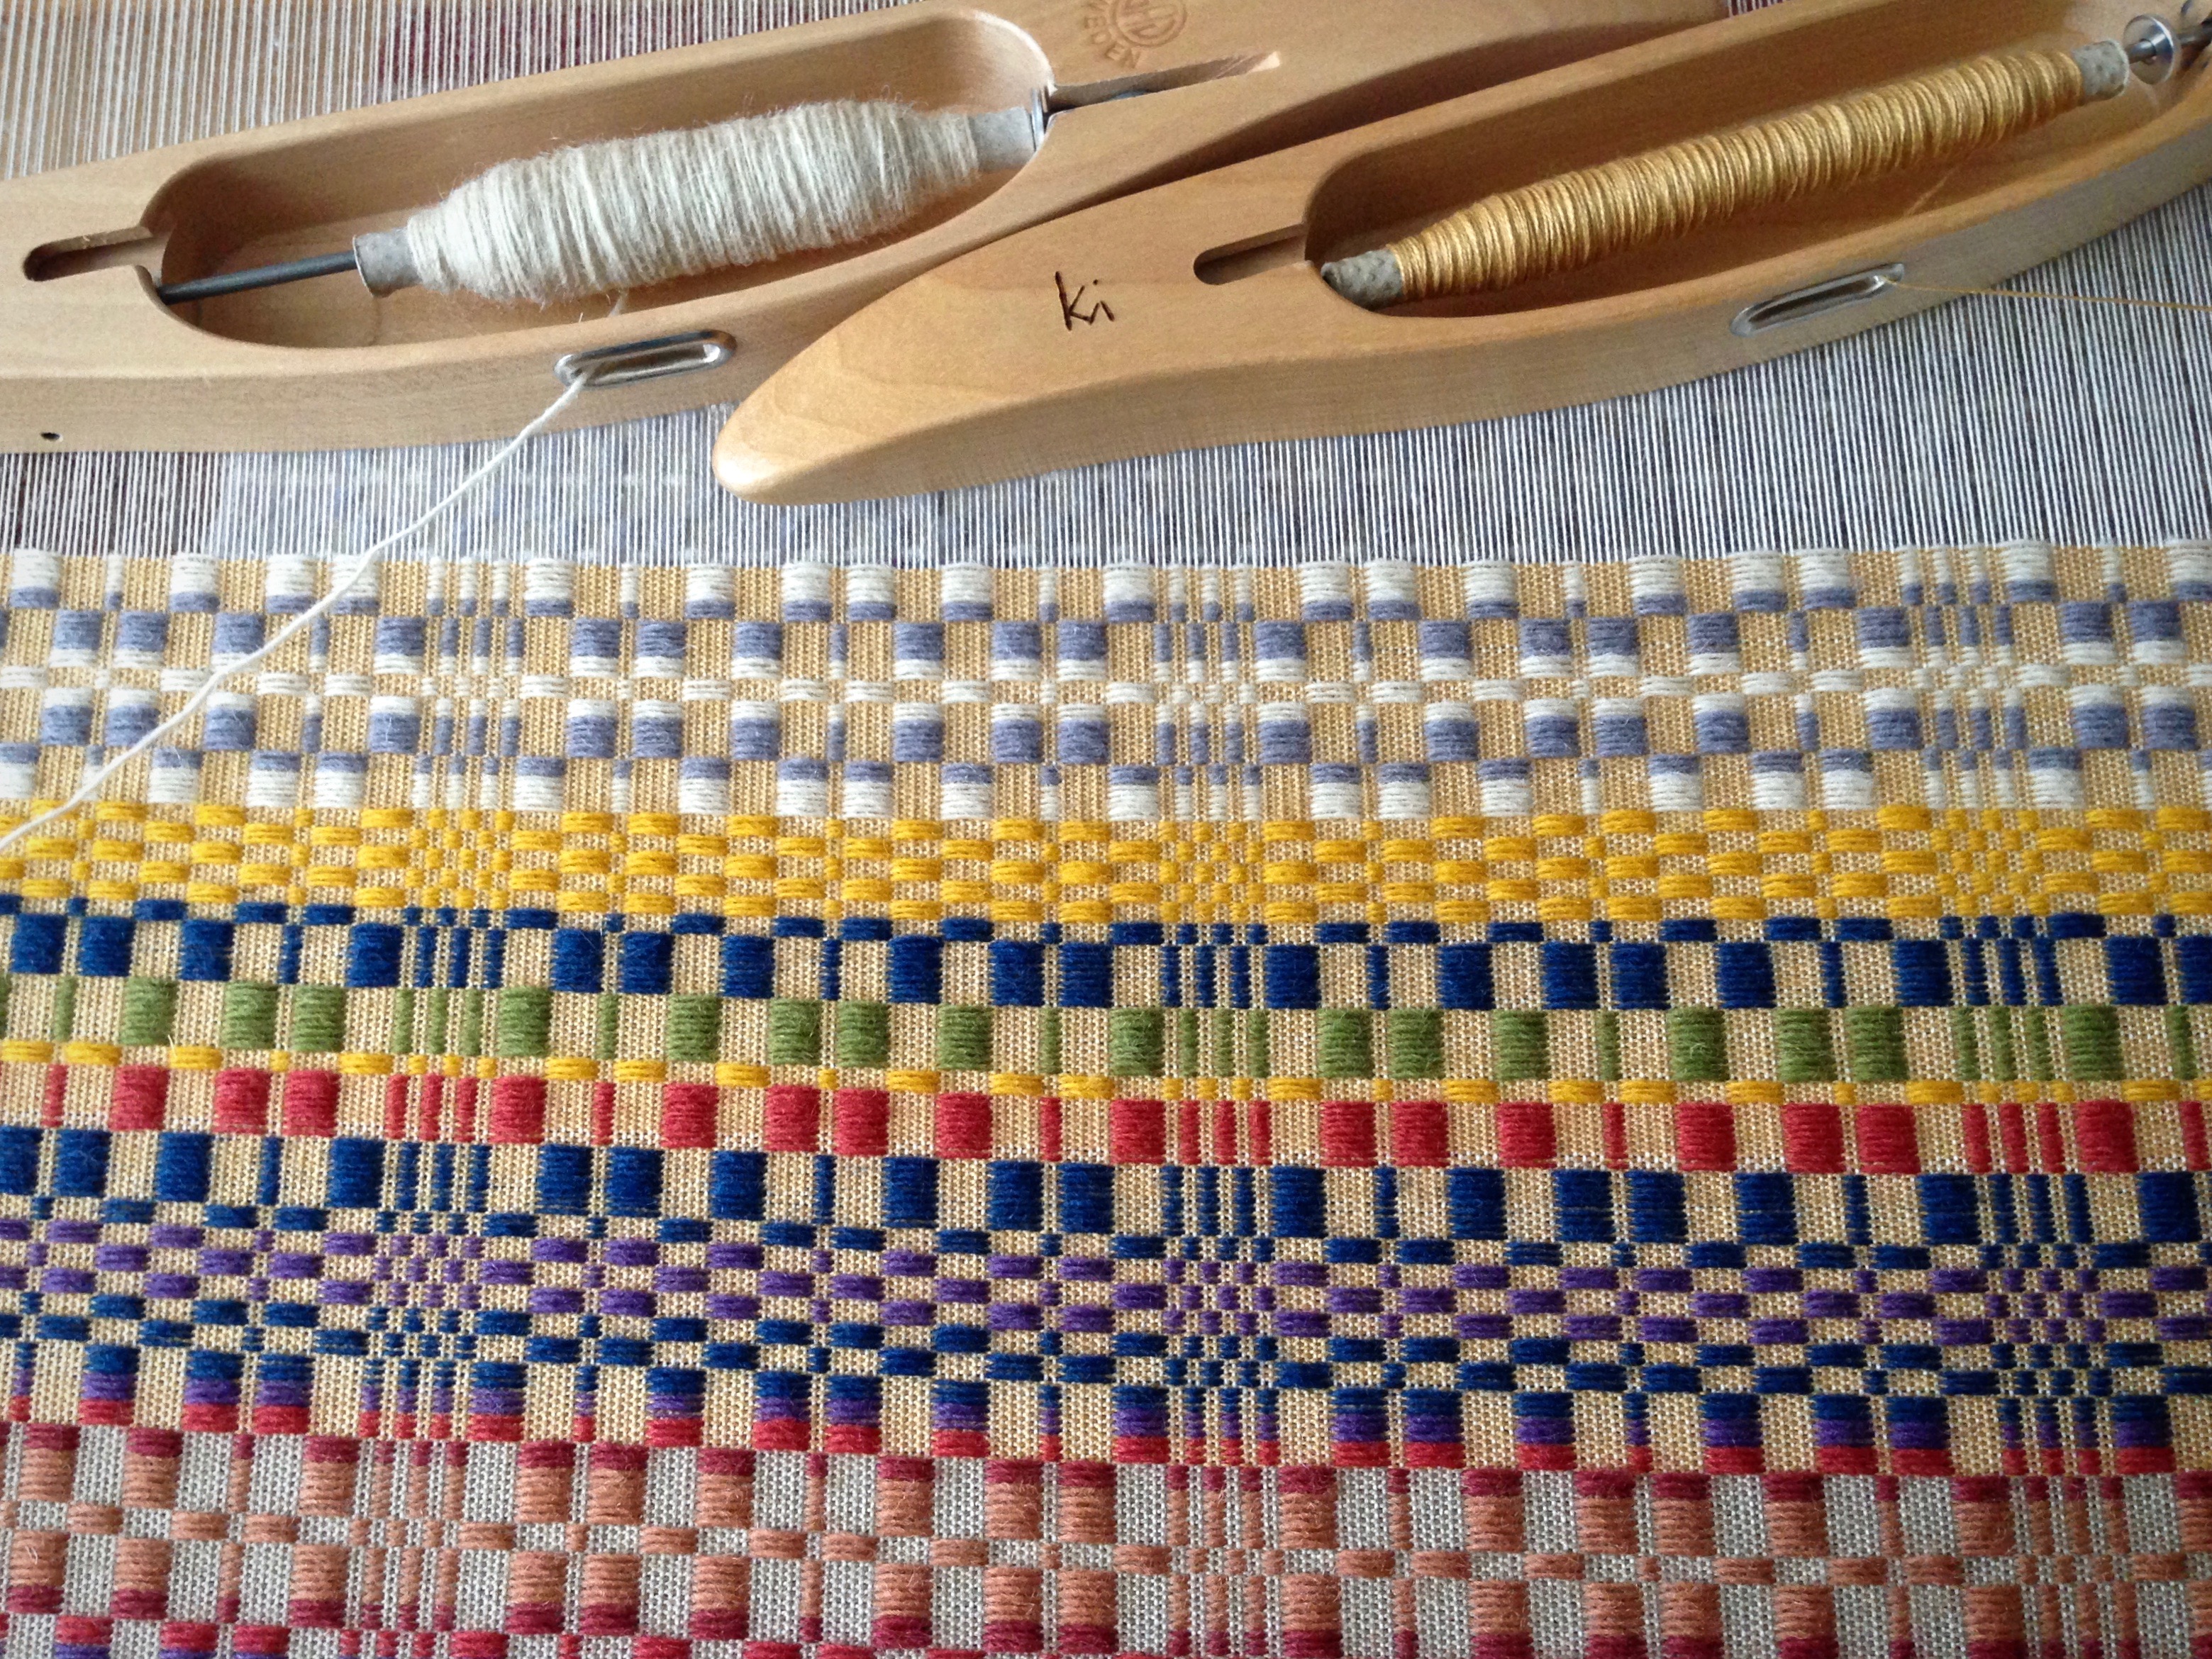
Colorful Fårö wool is used for the monksbelt pattern weft.
Plan projects from start to finish, dress the loom single-handedly, use complex threading and complicated treadling, and weave with multiple shuttles. Do you relish these challenges? It is possible to weave things that don’t require as much training or practice. You can find a pattern on Pinterest or in a magazine, and do what “everybody” is doing. Not much is required of “everybody” in the crowd.
Classic monksbelt patterning is repeated with different color variations.Swedish overshot, such as monksbelt, uses two shuttles–one for fine thread, and one for the thicker pattern weft. Warp is 16/2 cotton. Ground weave weft is 16/2 cotton. Pattern weft is 6/1 Fårö wool. Sett is 22 1/2 ends per inch. Weft density is 30 pattern picks per inch, with 2 tabby picks in between.
But some people strive to learn, and practice what they learn, building on previous experience. Consider truth. You are responsible for the truth you know. The more you are taught, the more that is required of you. And as you practice the truth you know, you discover the freedom that comes along in the process.