Tools Day: Enough Shuttles for Now

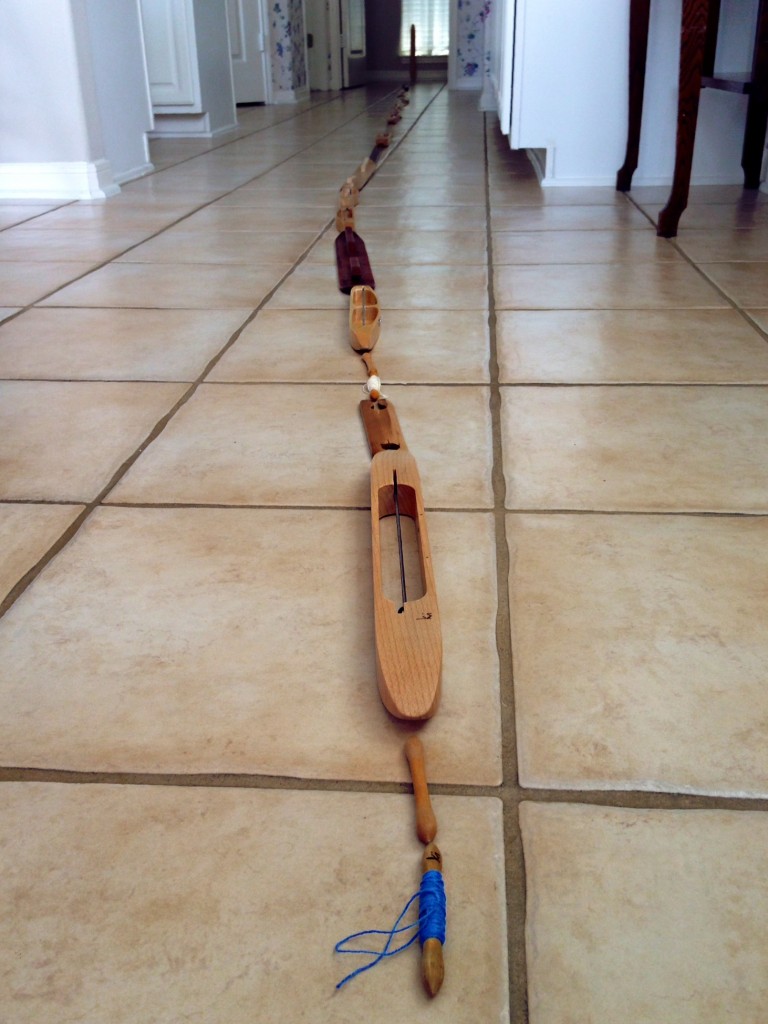
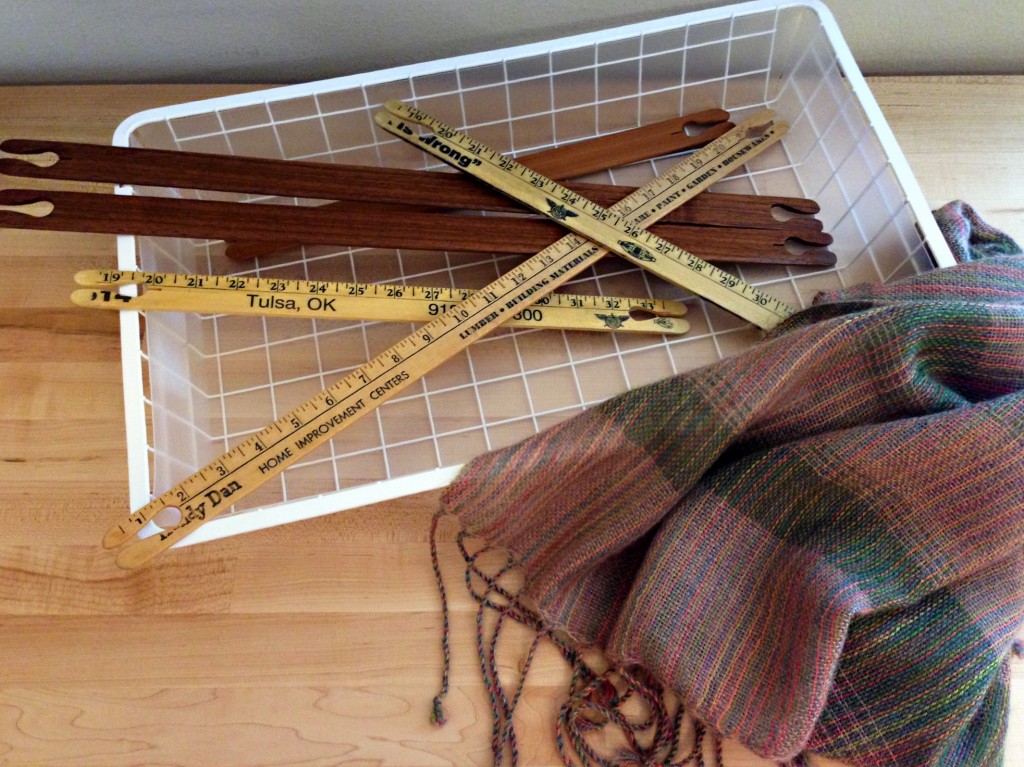
If I line up all my weaving shuttles, end to end, how far do you think they will reach? The accumulation started slowly, adding a shuttle here and there, as needed. My husband contributed to my collection by handcrafting some of the shuttles for me. “I could use a stick shuttle in such-and-such a size.” “Okay, dear,” he would say, before going out to the garage to whip up yet another yardstick shuttle for my rigid heddle loom.

Ski shuttles are for rag weaving. Boat shuttles are for almost everything else. Most of my boat shuttles are traditional Swedish shuttles. All these fascinating shuttles, such simple tools, work the wonder of weaving.

Hand-crafted walnut stick shuttles for rigid heddle loom. Mohair/silk/alpaca shawl.
Shawl woven on 32-inch rigid heddle loom, with super kid mohair/silk and baby alpaca. Smooth, handcrafted walnut stick shuttles were used for this project.
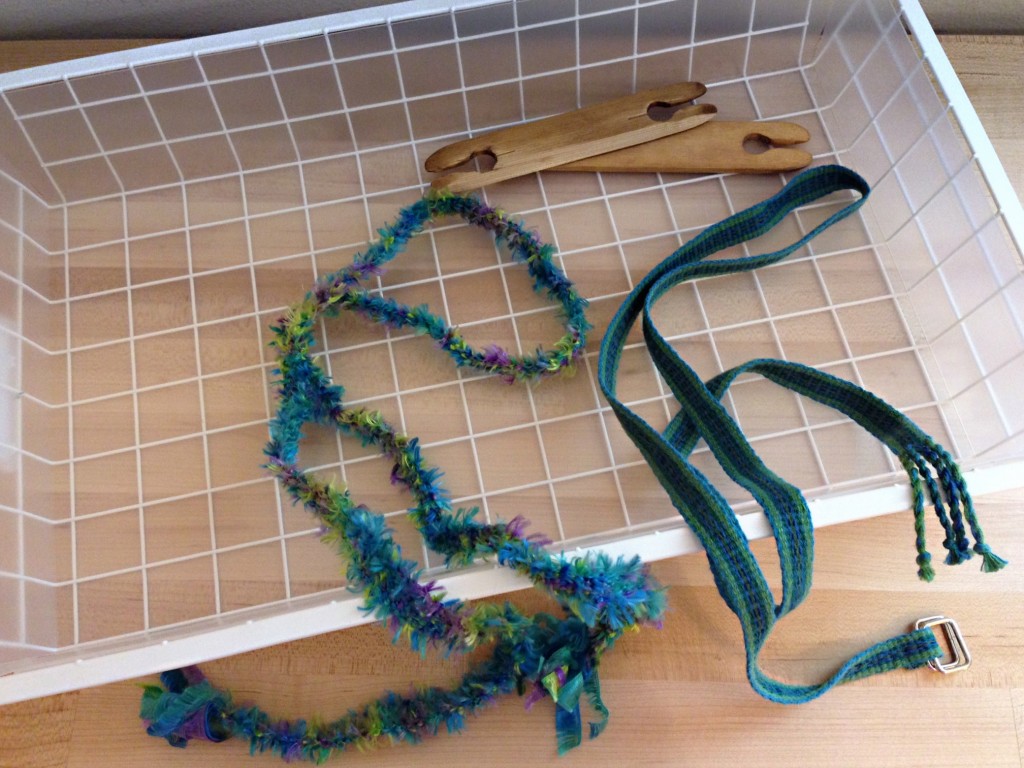
Novelty yarn woven on inkle loom.
Tapered edge on pine inkle loom shuttle helps for beating in the weft. I have been known to weave with crazy novelty yarns on my inkle loom.
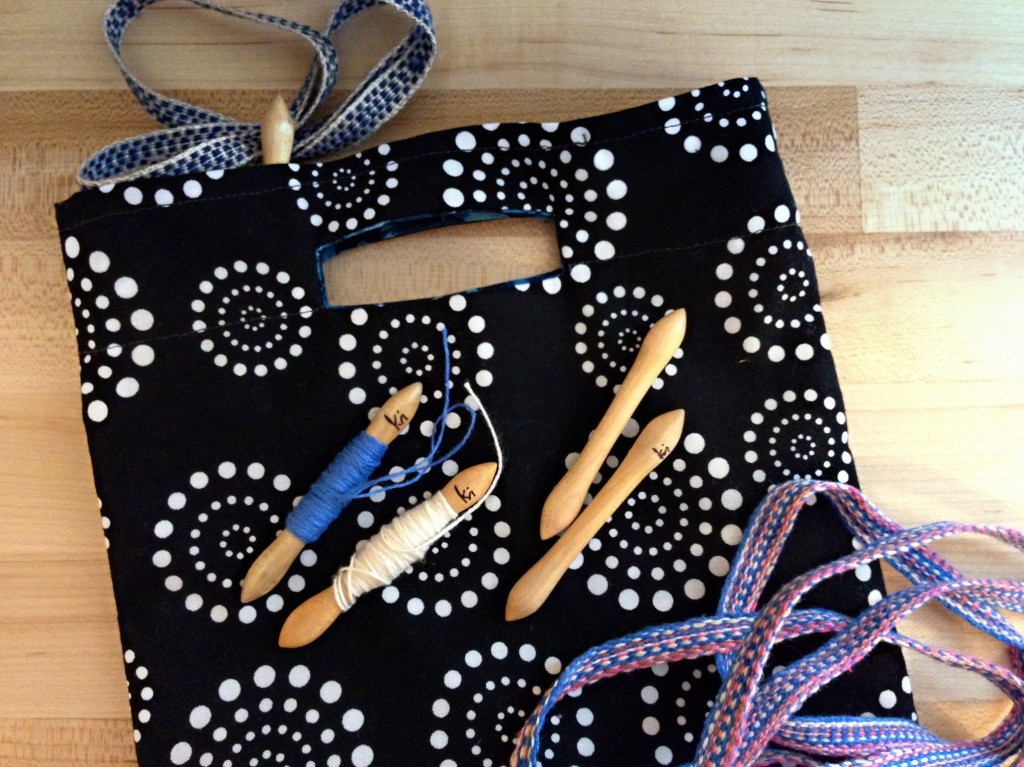
Hand-carved maple band loom shuttles, and woven bands.
Maple band loom shuttles, hand-carved by my husband, *live* in a small handmade bag that hangs on the back corner of the band loom. This shaped shuttle is perfect for the tricky one-handed manipulation that is needed. If they are too smooth and polished, however, they slip right out of my hand.
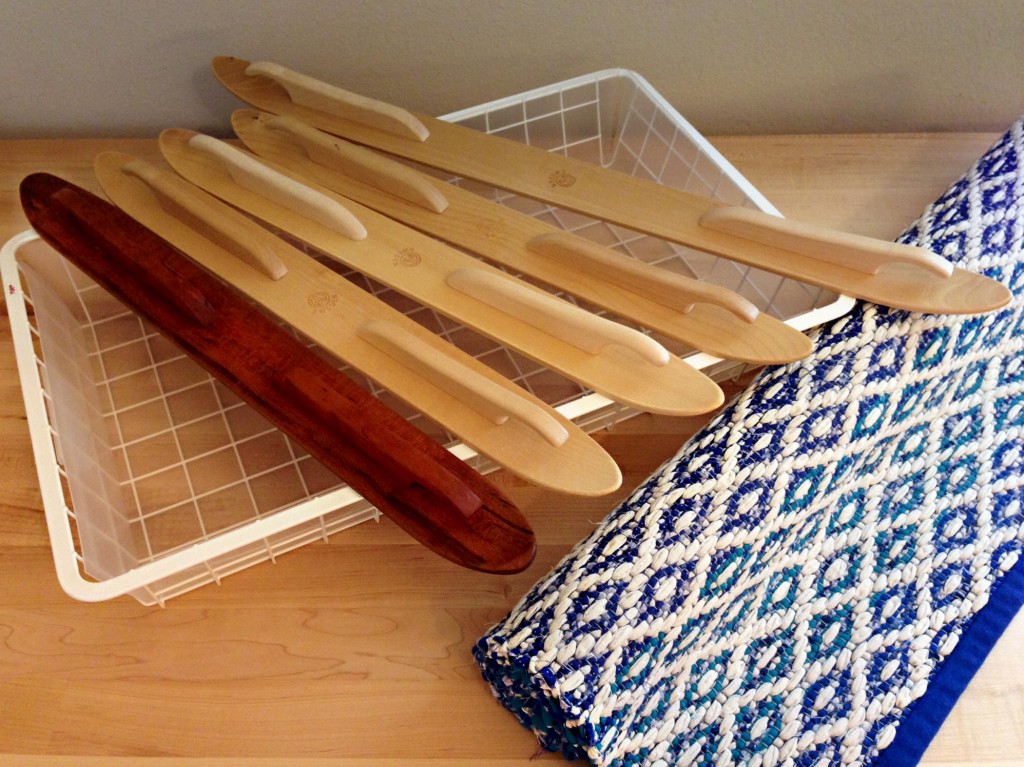
Ski shuttles for rag rug weaving. This rug used 3 shuttles at a time.
My favorite ski shuttle is the beautiful cherry wood shuttle made by my husband, Steve. It helps to have several ski shuttles. The “Creative Expression” Rosepath Rag Rug used three shuttles at a time to get the gradient color effect.
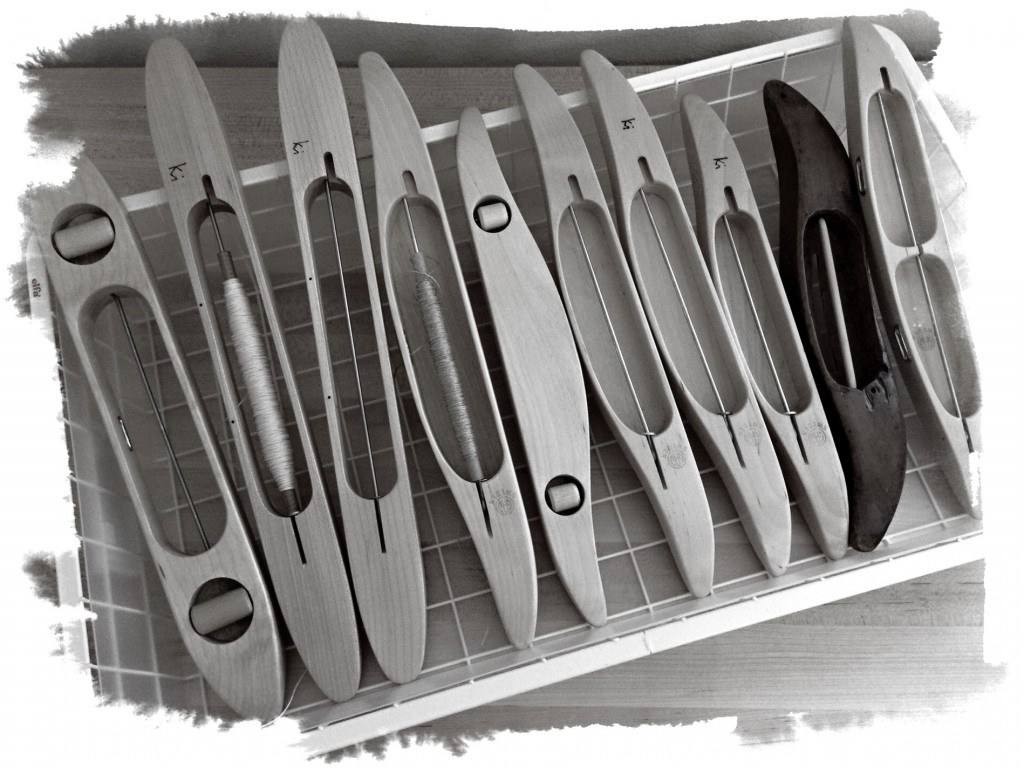
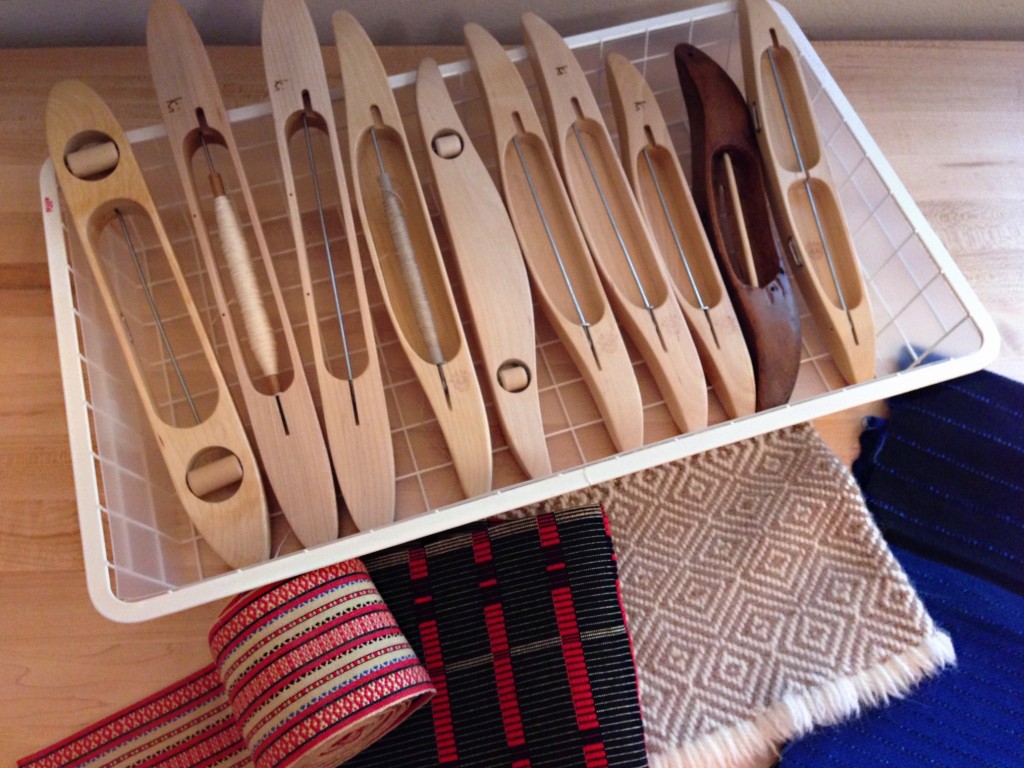
Boat shuttles ready to weave.
Boat shuttles eager to weave. Do you hear them? … “Pick me”…”No, pick ME!”
A few of my favorite things. Karen Isenhower
These are a few of my favorite things. Swedish woven goods made on a Swedish loom with Swedish boat shuttles. (I’m the only thing not Swedish here.)
34 1/2 feet of weaving shuttles.
How far will my shuttles reach? 34 1/2 feet (that’s 11 1/2 yards, or 10 1/2 meters long). I ran out of room, so the last one is standing on end.

May you fascinated with things that work.

Happy Weaving,
Karen

Quiet Friday: Finally Finished

Finish the finishing, please. I always have a pile of handwovens that need finishing. Don’t you? The finishing smorgasbord includes repairing skipped threads (unintentional floats), securing ends, fringe treatments, hemming, wet finishing, pressing, adding hanging tabs, embellishments, and more. You know you are finally finished when your handiwork is being used and enjoyed.

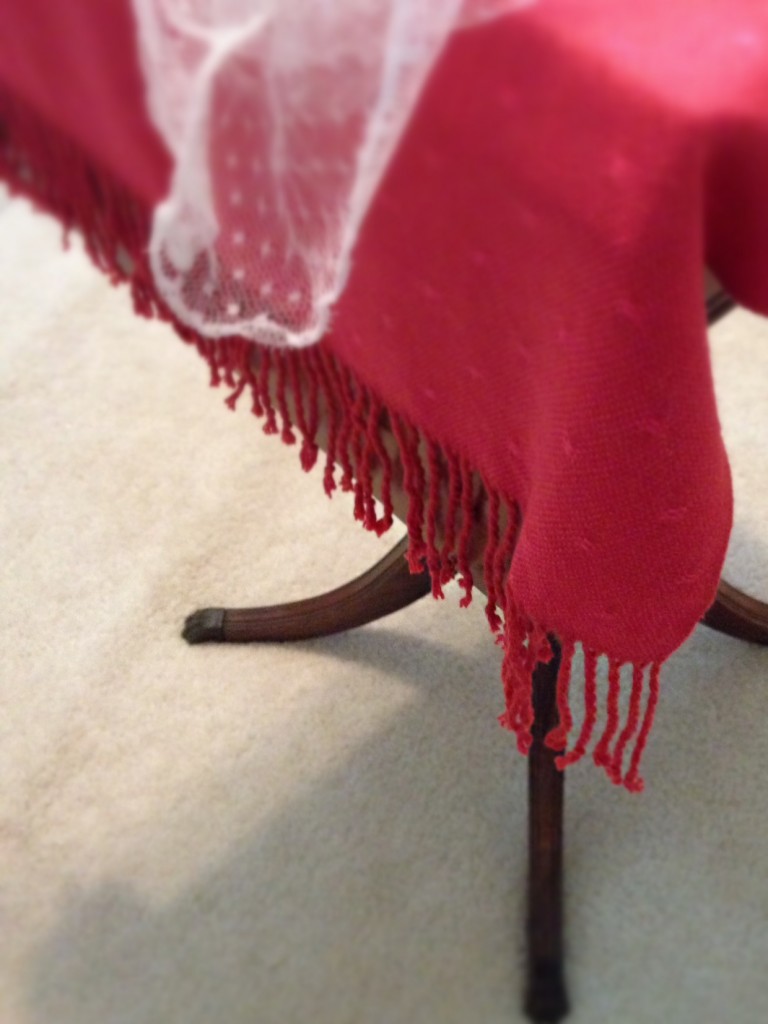
1. Twisted fringe on bamboo huck lace small tablecloth. This cloth covered an heirloom table, becoming the altar, at Melody’s wedding. (This short piece was at the end of the warp after weaving two shawls.) You can see the shawls HERE, and twisting the fringe HERE.

Bamboo huck lace small tablecloth.
Twisted fringe gives an elegant finishing touch to this small huck lace table covering.

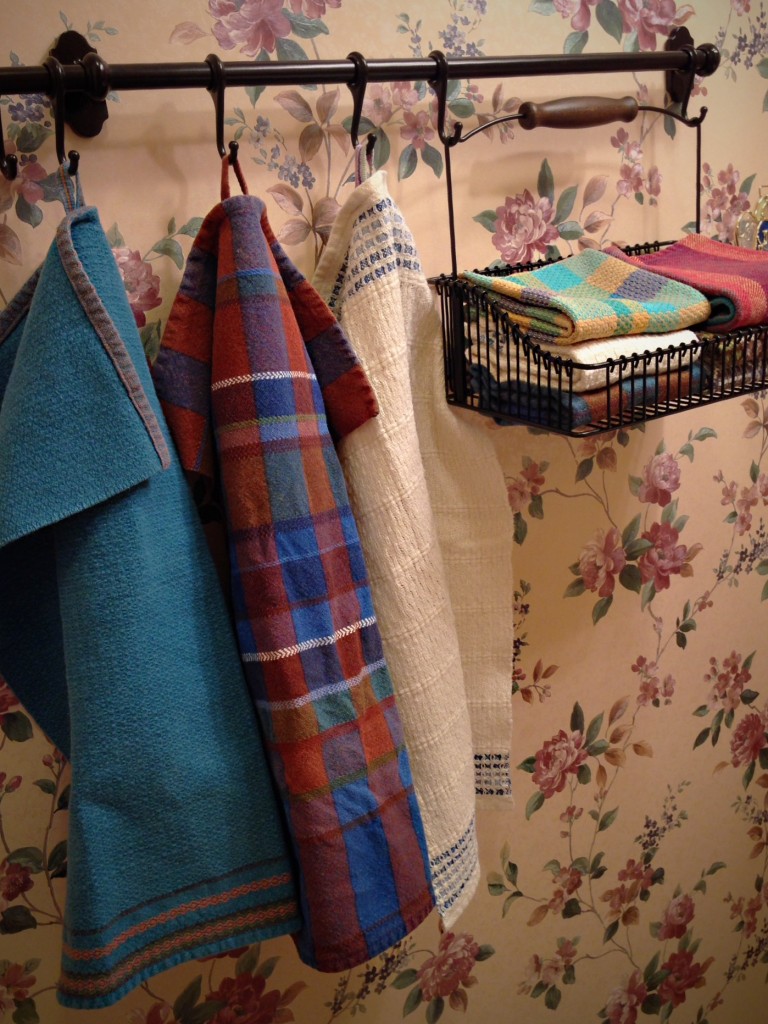
2. Added hanging tabs to handtowels. Installed Ikea rod with basket and hooks to hang handwoven handtowels in the powder room. (When you need tabs for towels, it helps to have a collection of inkle and band loom bands.) You can see the most recent towels HERE – I kept one of the eight for myself; the rest became gifts.

Ikea basket and hooks hold handwoven towels for guests.
Ikea basket and hooks hold assortment of handwoven towels for guests to use in the powder room.

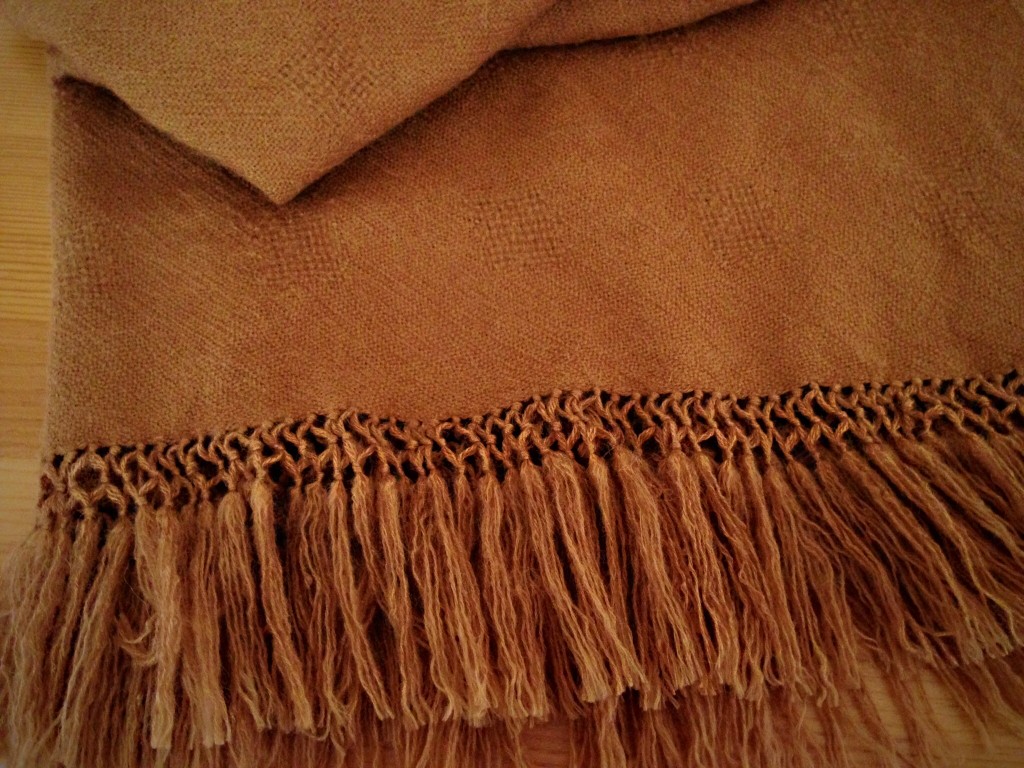
3. Untangled the fringe of alpaca/tencel throw. (A wet finishing nightmare I don’t care to repeat.) You can see what it looked like before washing HERE.

Alpaca Tencel handwoven throw with lattice fringe
Each strand of fringe was carefully separated one-by-one after leaving the alpaca/tencel throw in the washing machine a few minutes too long. Untangling took longer than tying the lattice fringe. Hours and hours.

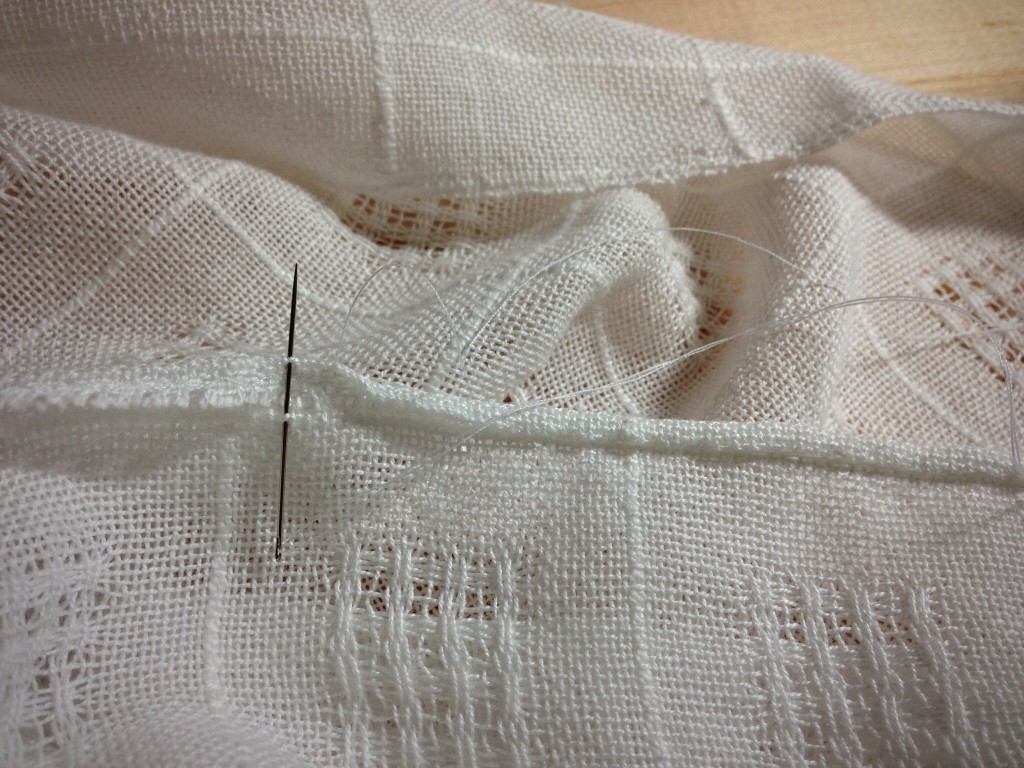
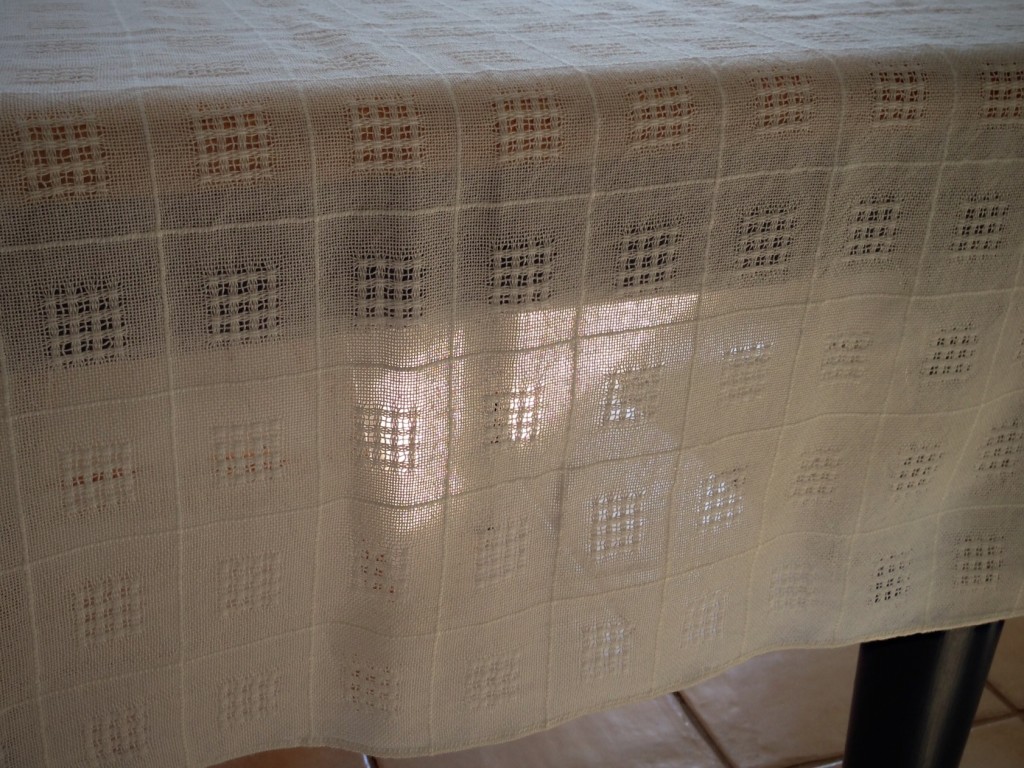
4. Hand-stitched rolled hem on Swedish lace tablecloth. (I may use this as a curtain for my weaving studio window, hung on rings with clips, on a rod.) HERE are the long curtain panels that hang on windows in my home.

Hand-stitched rolled hem on handwoven Swedish lace cloth.
Swedish lace panel can be used as a tablecloth, or a curtain, or even a light, summery shawl. The hand-stitched rolled hem gives a delicate touch to this elegant piece.
Swedish lace, handwoven cloth. Karen Isenhower
Swedish lace is shown to its best advantage when light is allowed to shine through the cloth. The pressed rolled hem adds a classy touch.

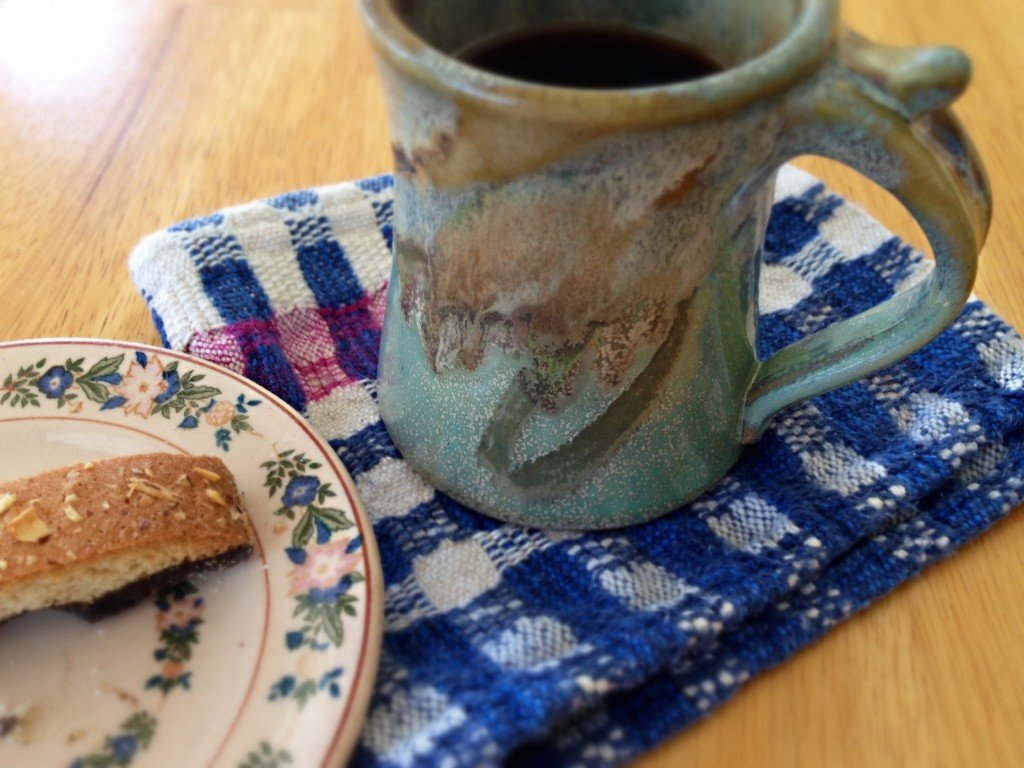
5. Hemmed small sample piece to carry around with me when I have a cup of coffee. (I grab this re-usable “scrap” instead of a paper napkin or paper towel. It also doubles as a coaster wherever I happen to sit down.) The original M’s and O’s towels are HERE; and HERE you can see what I mean about carrying my coffee cup around with me.

Handwoven scrap is used as a napkin/coaster for cup of coffee.
Scrap of handwoven fabric, from a cottolin warp of handtowels, follows my favorite coffee cup around.

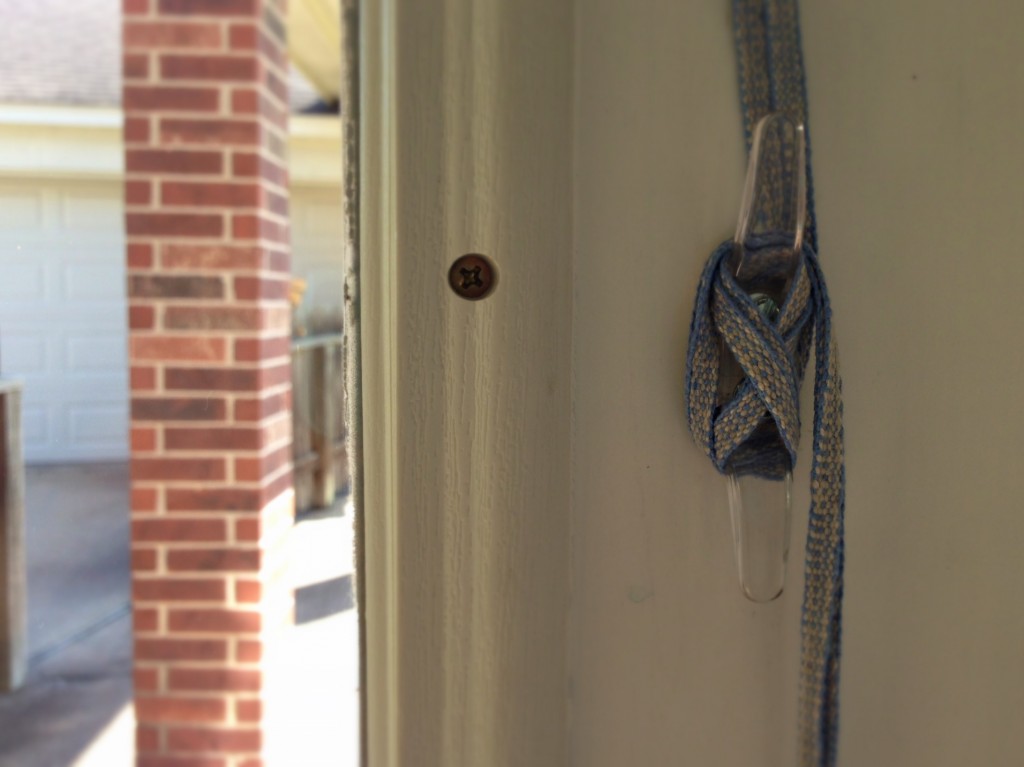
6. Replaced nylon cord on handwoven Roman shades with a cord I wove on my band loom. (The “temporary” nylon cord stayed more than a year. We now enjoy seeing this on our kitchen door every day, finally fully finished.) The only place I have a picture of the original nylon cord, and of the fabric on the loom for the Roman shades is in my Projects on Weavolution HERE. (I’m not sure if you can see it without logging in to the site.)

Handwoven on Glimakra band loom - pull cord for Roman shades.
Linen and cotton threads that match the handwoven Roman shades were used to weave the pull cord. Cord woven on Glimakra two-treadle band loom.
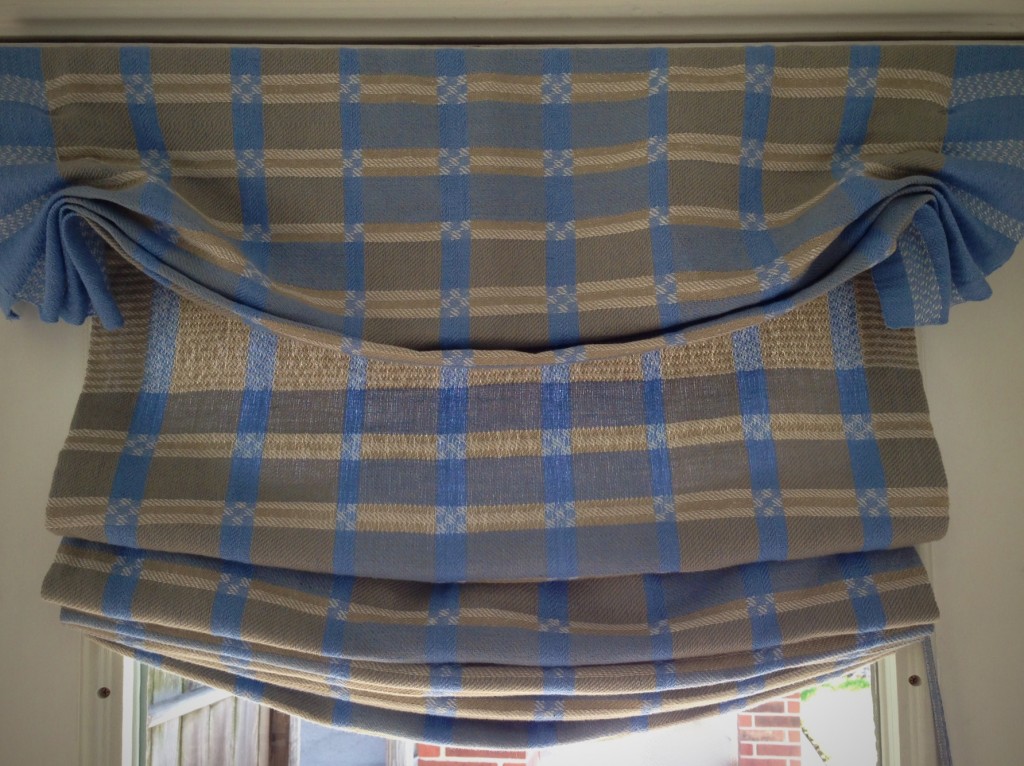
Handwoven Roman shades in two-block twill. Karen Isenhower
Handwoven Roman shades finally have a matching pull cord. When the shades are lowered at night, the two-block twill structure is seen covering the whole kitchen door window. Woven on 8-shaft Glimakra Standard loom.
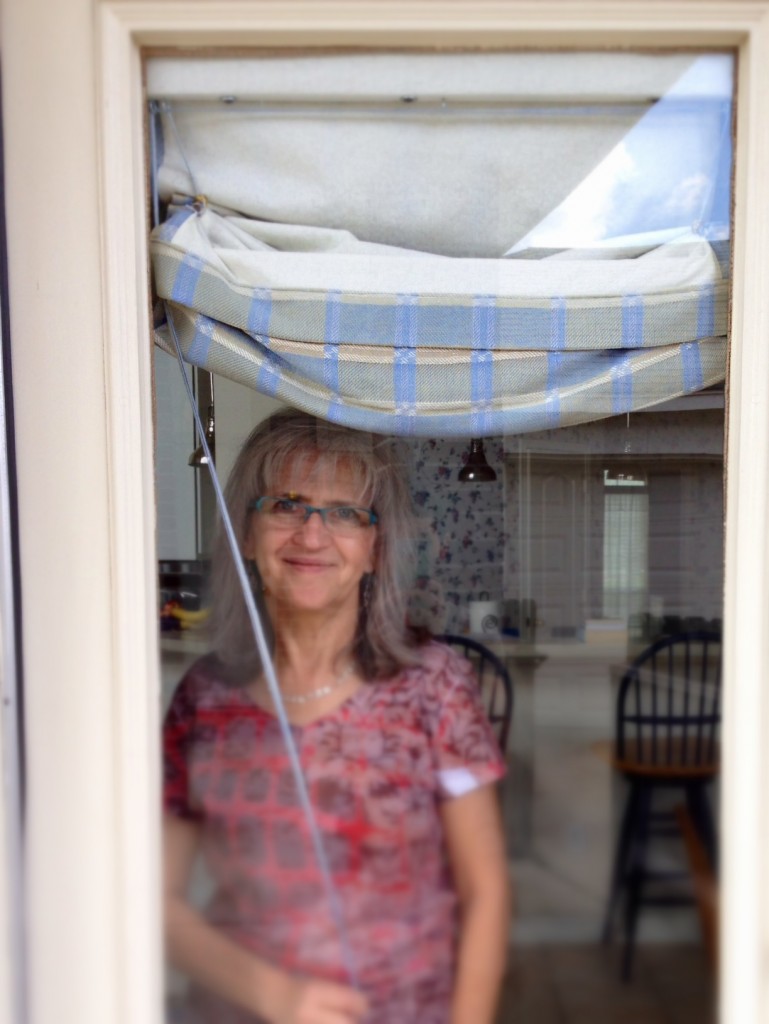
Opening the handwoven Roman shades. Please come on in!
Opening the shades to start the day and welcome you. Please come in!

May you reduce your finishing pile (I know you have one).

Forever finishing,
Karen

Christmas Eve Is Here

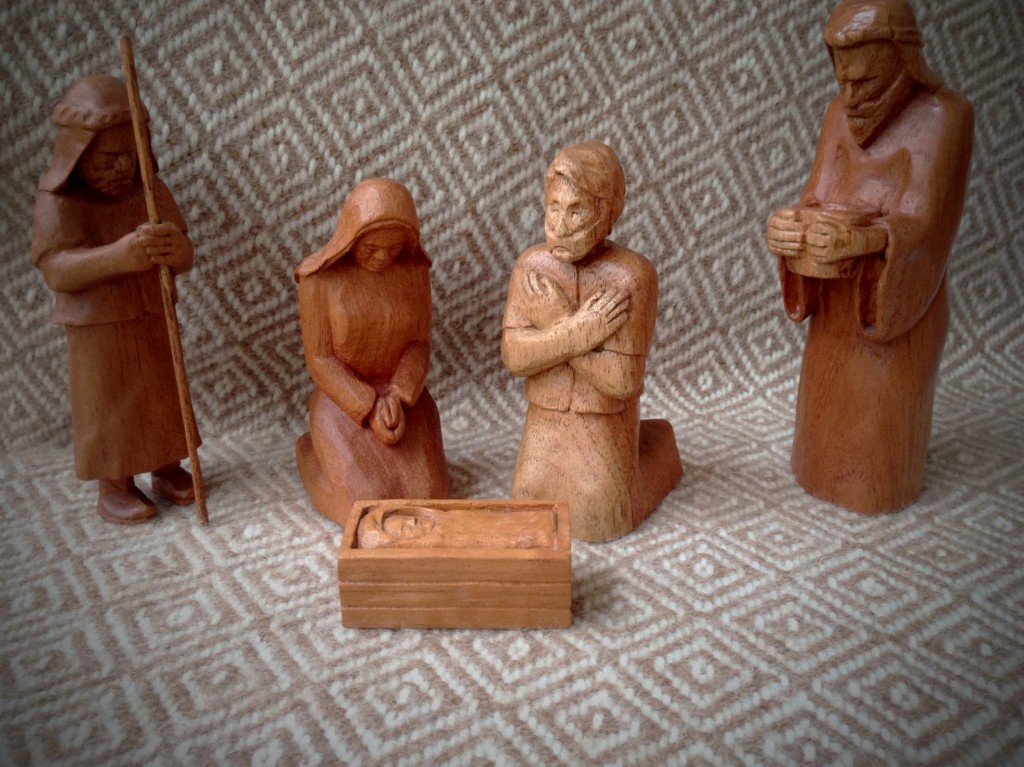
This is the season to give thought to the wonder of life, to be grateful for unconditional love, and to recount the story of Christmas. Four years ago Steve began carving wooden figures for a Nativity scene. Every year, each of the five women in his life (daughter and daughters-in-law, his mother, and me) receive a new figure. The new Nativity figure this year is a king bearing gifts for the infant king.

Hand-carved Nativity from Spanish Cedar, backdrop of handwoven goose-eye throw.
Nativity carved from Spanish cedar, by Steve Isenhower. Seen on backdrop of handwoven alpaca throw, in goose-eye twill.

May your days be filled with peace.

Good Christmas Eve to you,
Karen

The Secret to Making Lattice Fringe

First, a short tutorial for tying perfect lattice fringe, and then some thoughts about keeping our eyes open to reality. I decided to tie three rows of knots with this fringe for a pretty lattice effect, knowing the results are worth the time it takes.

How to Tie Lattice Fringe – Step-by-Step Tutorial

Supplies:

  • 7/8″ (2 cm) blue rigid foam insulation (mine is Dow Styrofoam Residential Sheathing Insulation, found at The Home Depot or Lowes), cut to 32 x 36″ (81 x 91 cm) (This great idea came from Thrums, one of my favorite weaving blogs.)
  • 16 straight pins
  • 7/8″ (2 cm) warping slat (or template of desired width)

1. The first row of overhand knots has been tied. (More detail HERE.) Lay the fabric over the foam board, with the fringe laying toward you at the front of the board.
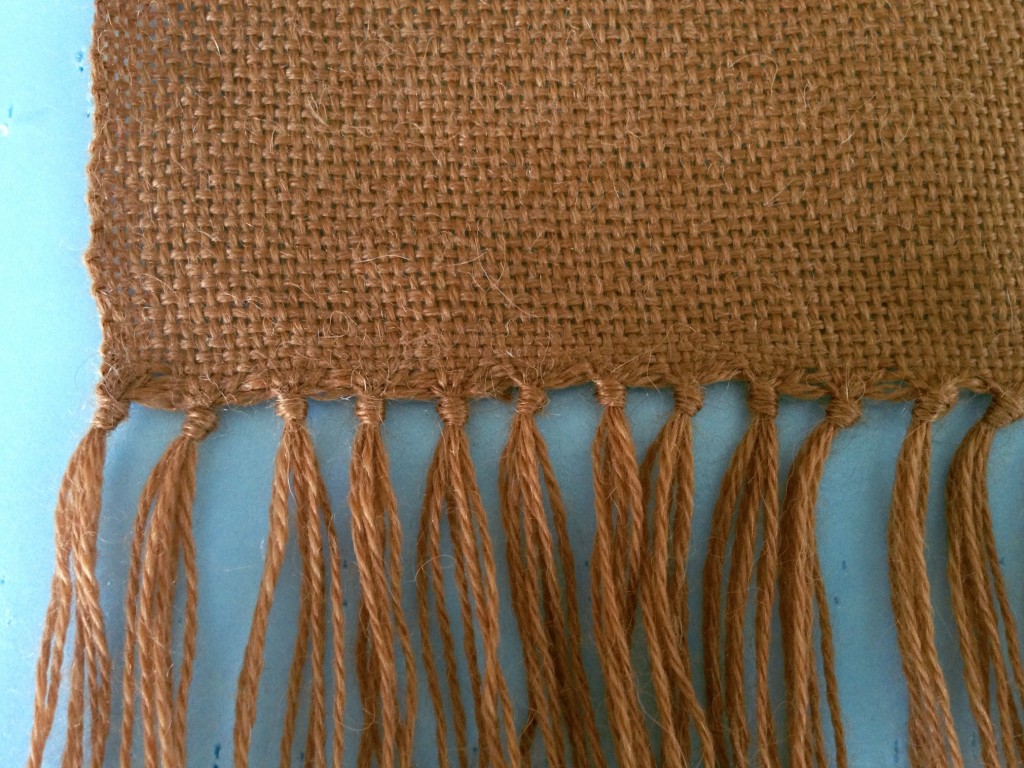
How to add lattice fringe to a row of knotted fringe. Step-by-step tutorial with pics.


2. Place a straight pin through the top thread of each of several knots in a row, into the foam board under the fabric.
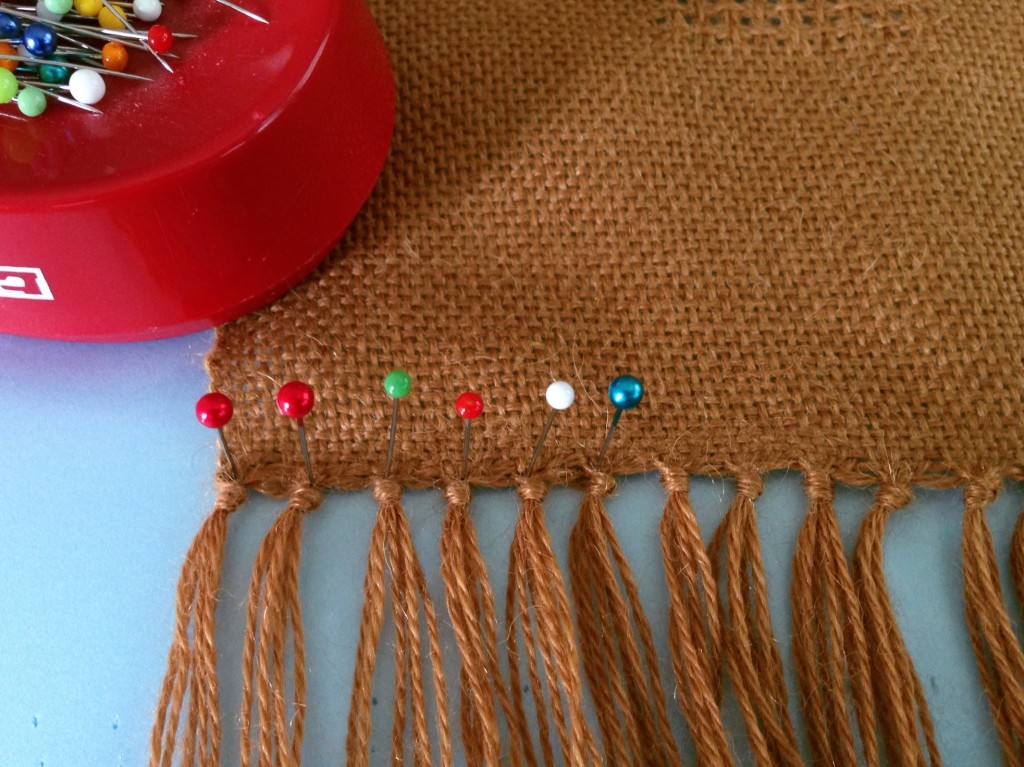
Lattice Fringe Tutorial. Step-by-step, with pics.


3. Use warping slat (or other template) as as spacing guide for the second row of knots. Lay warping slat flat, and place it flush against the row of pins. Using the width of the warping slat as a spacer, place a pin in the second row just below the slat, at the point where the knot will be formed.
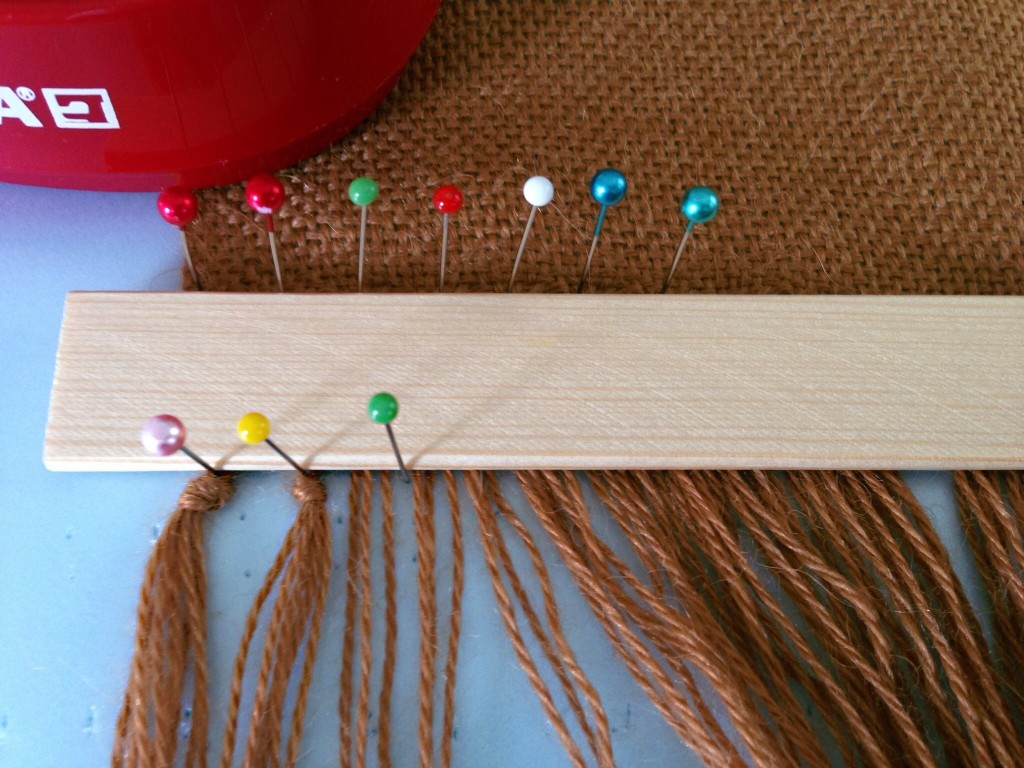
Lattice Fringe Tutorial. Step-by-step with pics.


4. Remove warping slat. Loosely tie an overhand knot below the just-placed pin in the second row, leaving the center of the knot wide open.
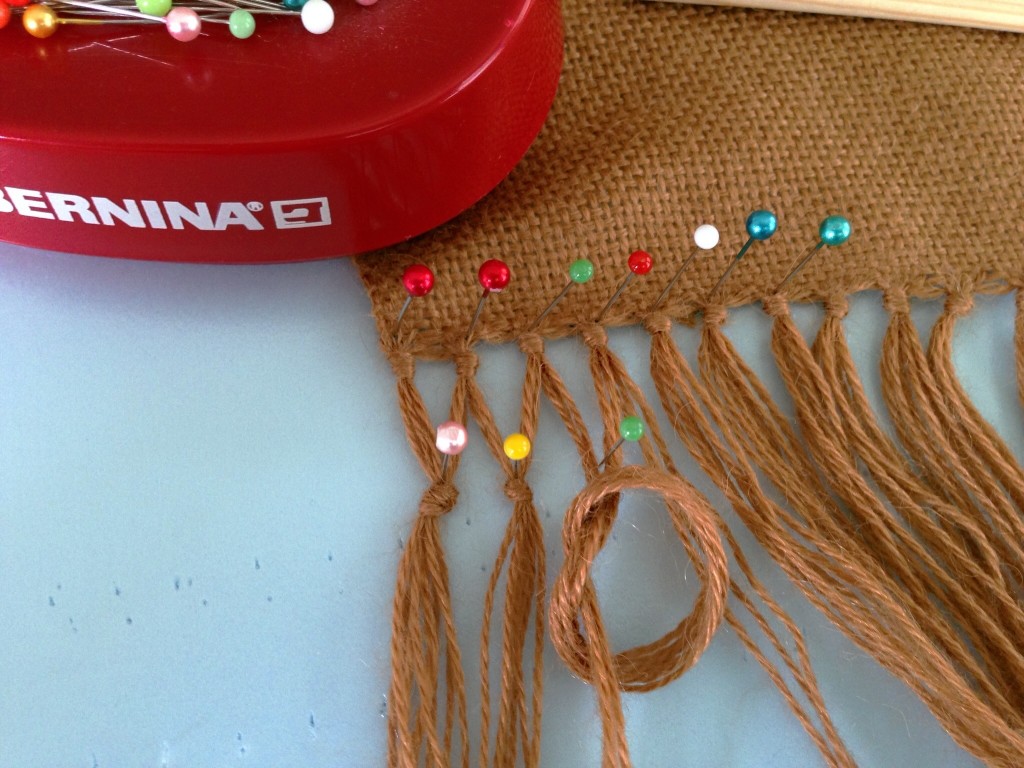
Overhand knot in lattice fringe tutorial. Step-by-step with pics.


5. Insert another pin through the center of the knot just a fraction below the point of the first pin.
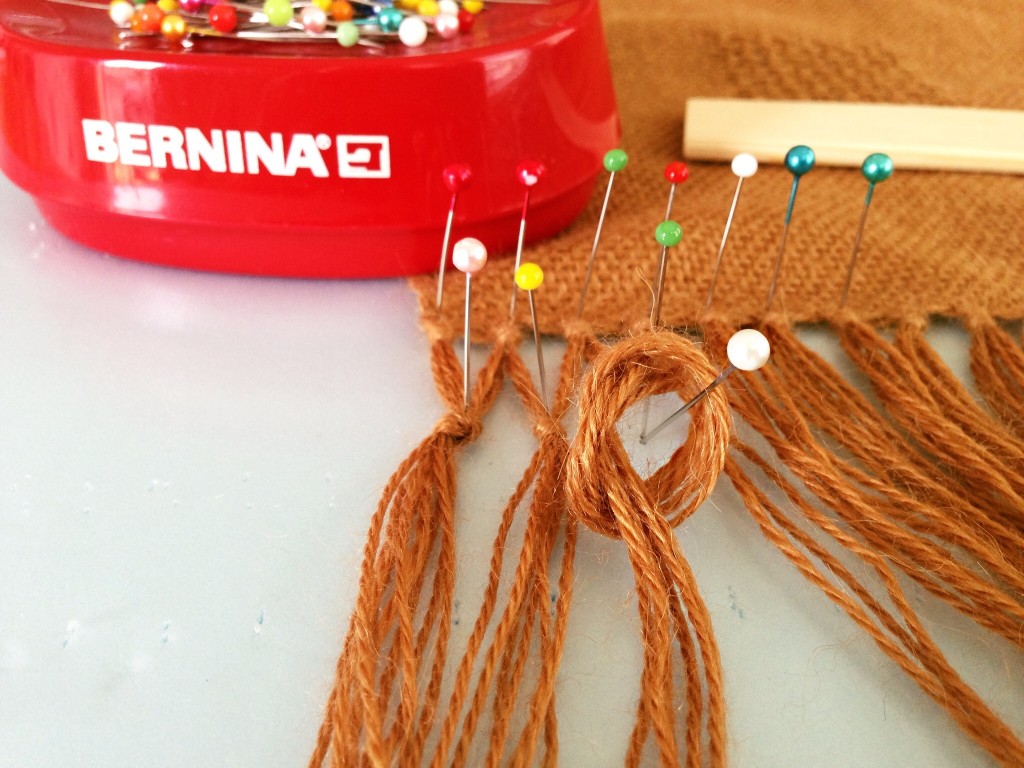
Making Lattice Fringe. Step-by-step tutorial with pics.


6. Slowly pull the knot to cinch it up to the point of the second pin.
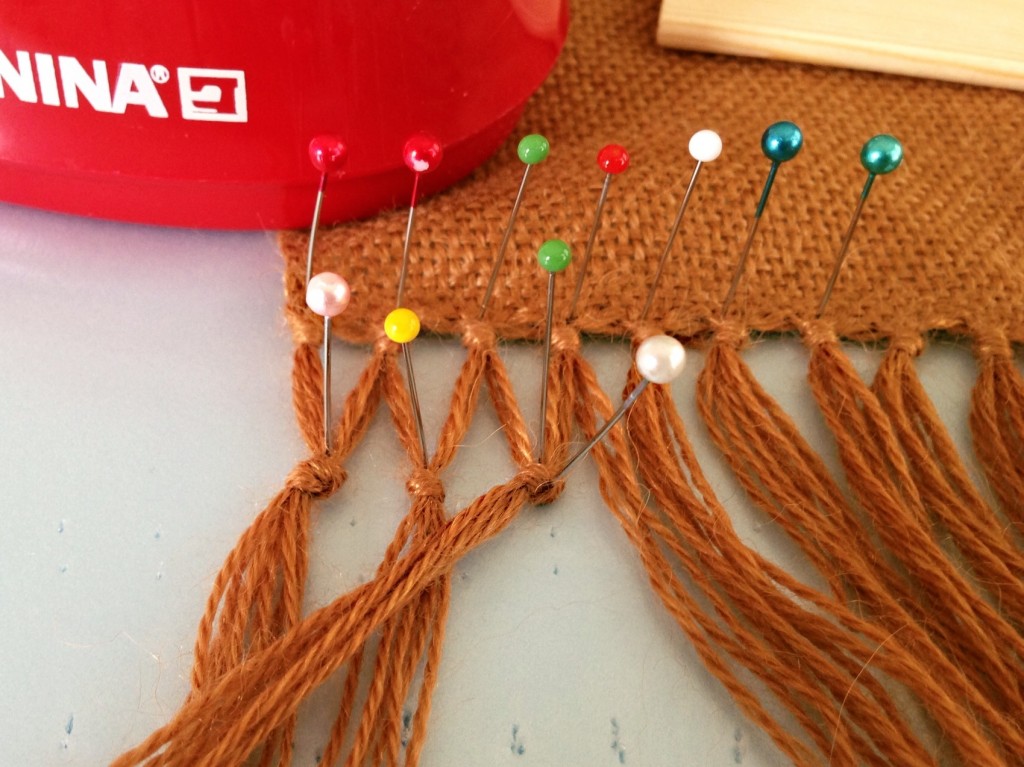
Cinching the knot for lattice fringe. Tutorial with pics.


7. Holding the knot firmly between the fingers of one hand, with your other hand gently tug each strand of the knot to its full length.
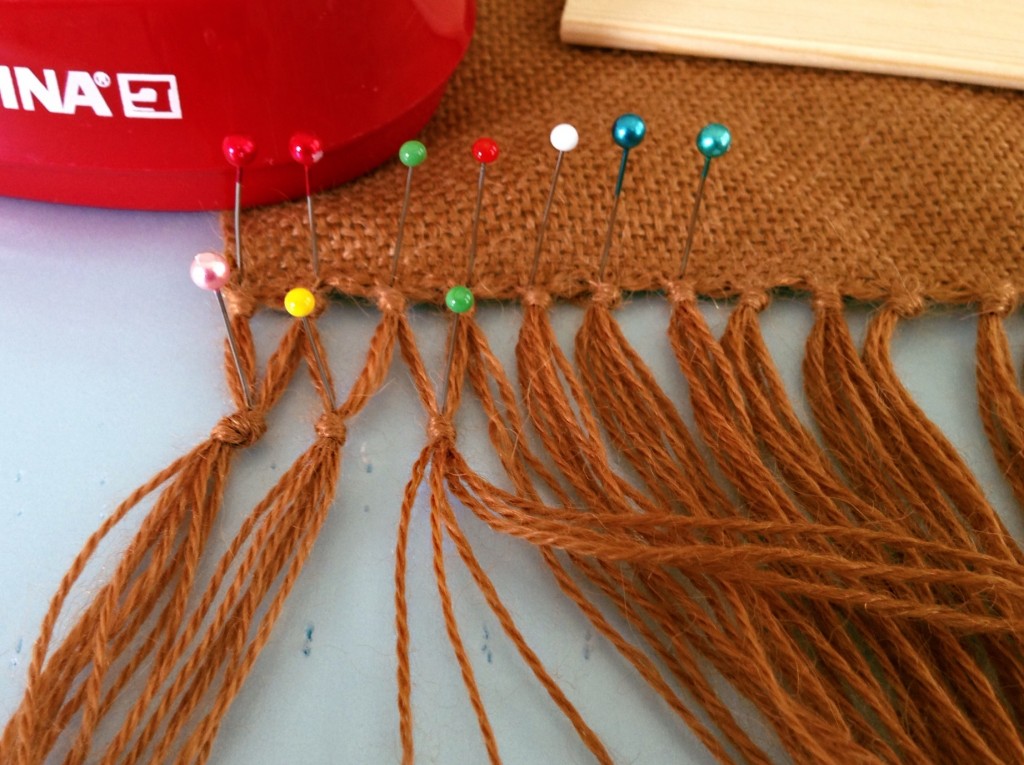
Making lattice fringe - tutorial with pics.


8. Continue tying knots across the entire row.
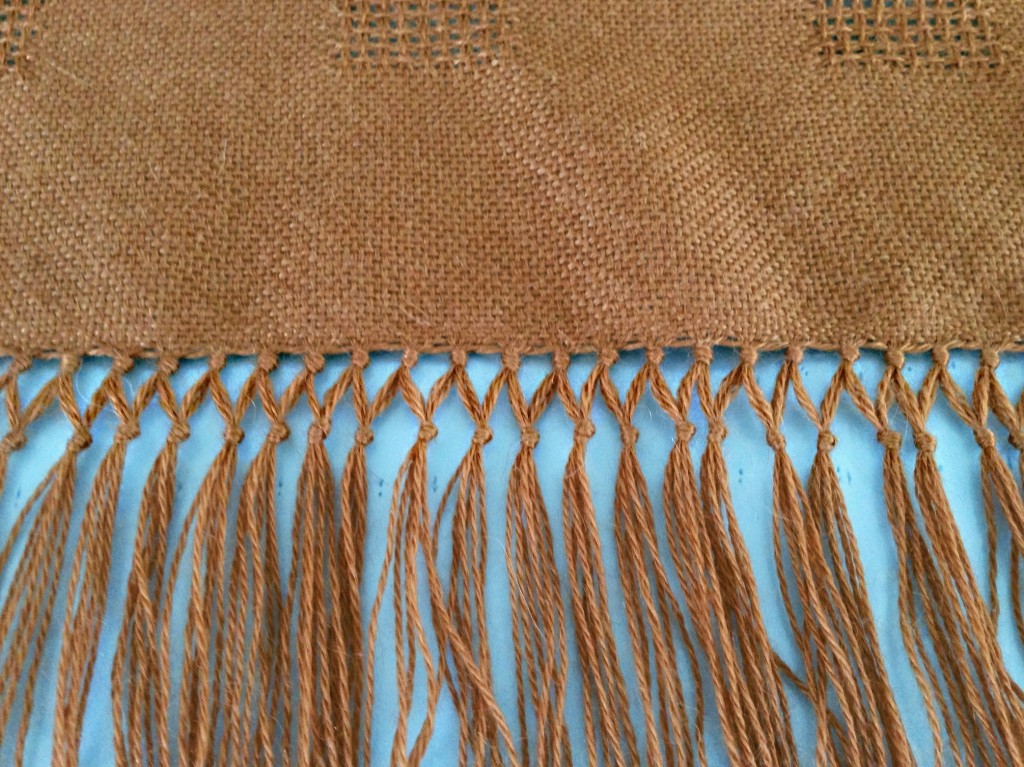
First row of lattice fringe. Tutorial step-by-step with pics.


9. Repeat the process to add another row of knots.
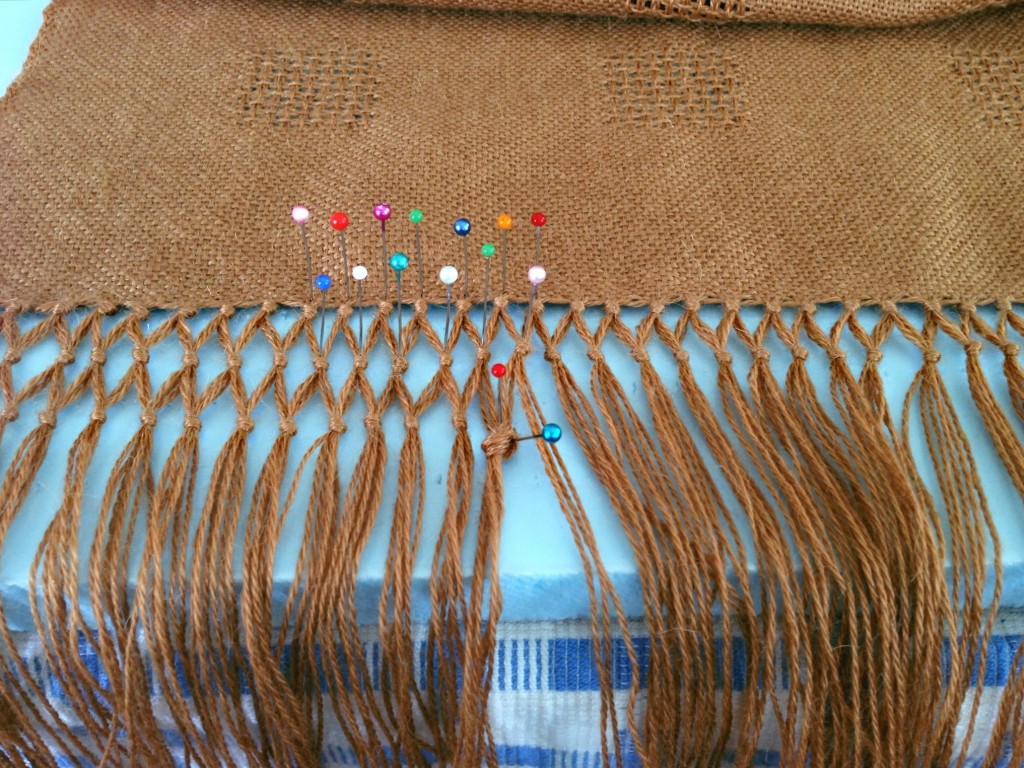
Tutorial for Making Lattice Fringe. Step-by-step with pics.


My confidence in my ability to tie these knots can drift into careless thinking. Maybe I’m good enough at this that I can leave out some steps. Do I really need that guide stick for spacing the rows? I think I can eyeball it. Pulling each strand to close the knot takes too much time. Why don’t I just skip that part? And soon, I am blind to the haphazard results I am creating. Pride is like that. In relationships and in life circumstances, though, the consequences are more severe than in fringe-tying.

Pride keeps me from seeing my own vulnerabilities. Pride puts me in harm’s way because it blinds me to the reality of my own shortcomings, and makes me think I’m above it all. I want to keep my eyes open to my need to learn and grow. Who wants to drift into haphazard results in life? Not I. Not you, either?

May you never be blind to the things that matter.

Feeling vulnerable,
Karen
You Thought You Were Finished?

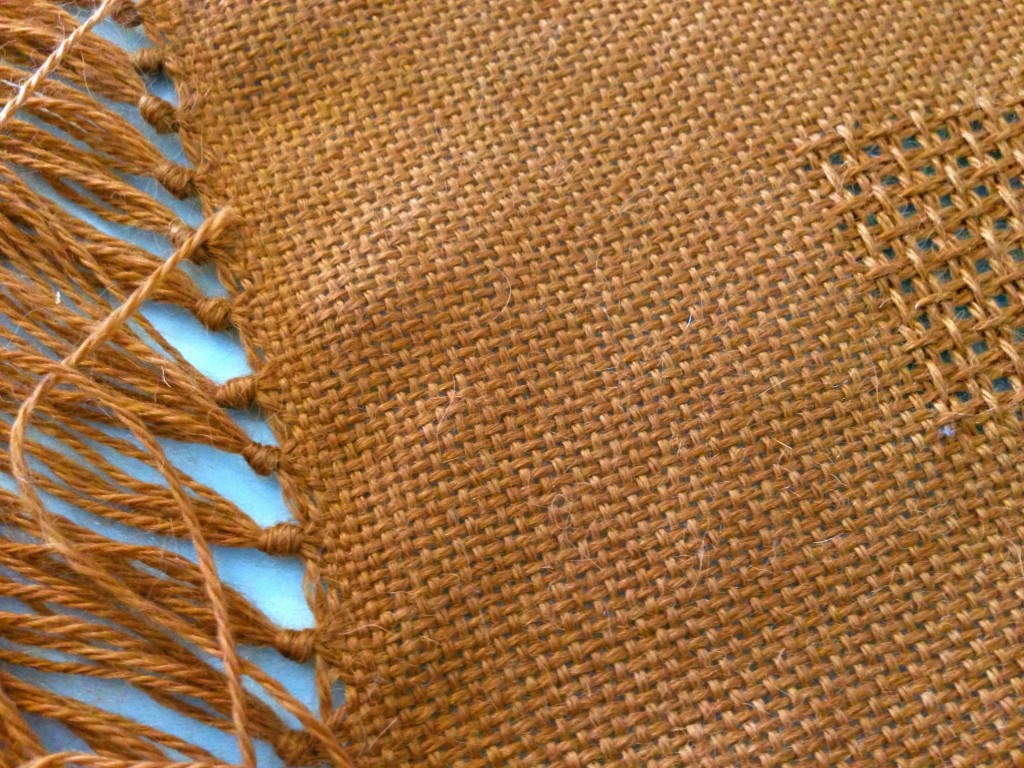
Tying the fringe into careful overhand knots is taking longer than the time it took to weave the three-yard-plus length of fabric. I would rather just do the weaving part. But without clearly defining the edges of the woven cloth by securing the ends, the whole fabric is at risk of unravelling. (To view this alpaca/Tencel throw on the loom, click HERE and HERE.)  We form distinct edges on our life’s fabric through the interactions we have with people around us.

Tying fringe on handwoven lace weave alpaca shawl.
Each knot of six warp ends were carefully tied around a straight pin, snuggling the knot right up to the edge of the fabric. As the knot is tied, I gentle pull each strand individually, which secures the knot and gives an even finish.

With relationships, it is tempting to take the easy way out. Quicker, painless, and less stressful. But it is the challenges from other people that help define who we are. Without the clarity of knowing what we stand for, we are at risk of falling for anything. Don’t avoid the often tedious work of making sure all your ends are secure.

Our challenges to each other sharpen us, finishing us for a greater purpose. Like iron sharpening iron, it is the abrasion that sharpens us, defines our edges, and brings the point of our lives into focus. All those loose ends tied into knots–ahh, the process is worth it.

May your finishing edges be as beautiful as you are.

With a few more loose ends,
Karen