Tried and True: How Far Will Your Quill Go?

Do not overfill your quills. It may seem efficient to load the quill as much as possible so you can weave as far as possible. Like me, you may have to learn this the hard way. A too-chubby quill that has to be coaxed through the shed takes more time and effort than winding a few extra quills. So much for efficiency.
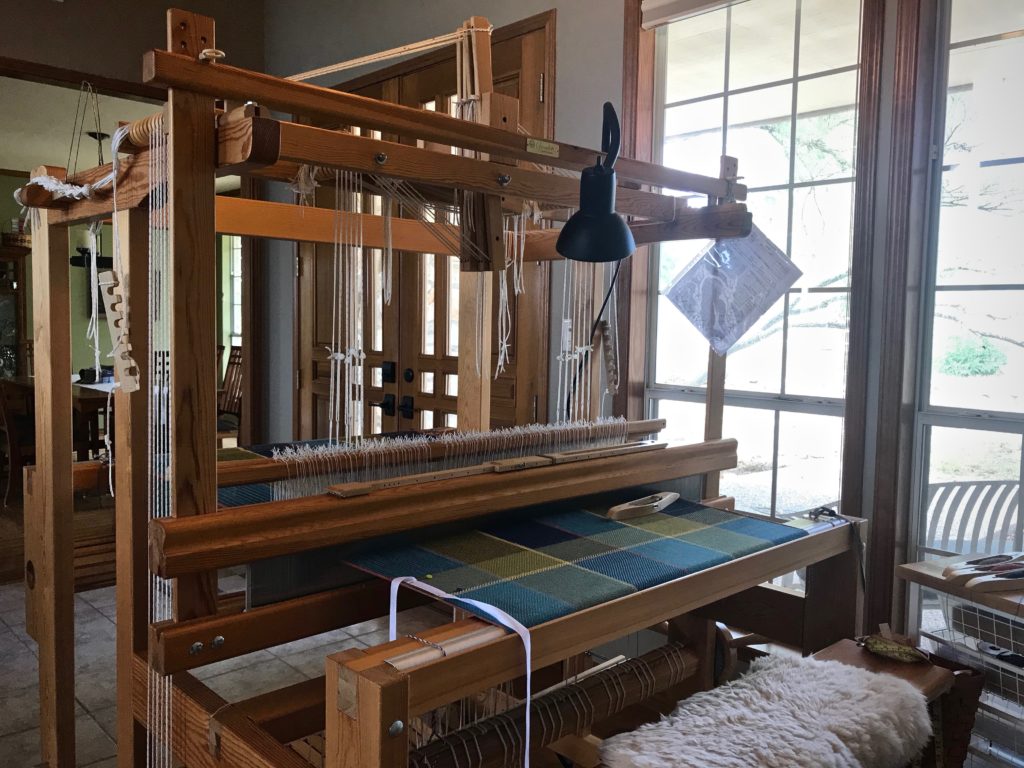
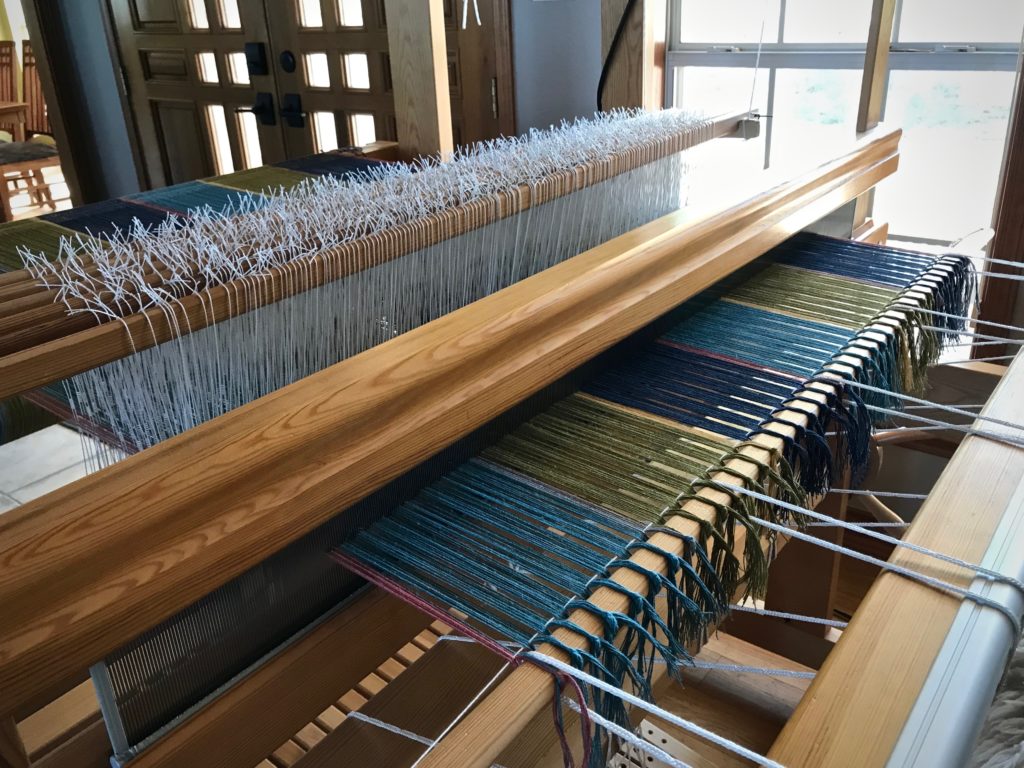
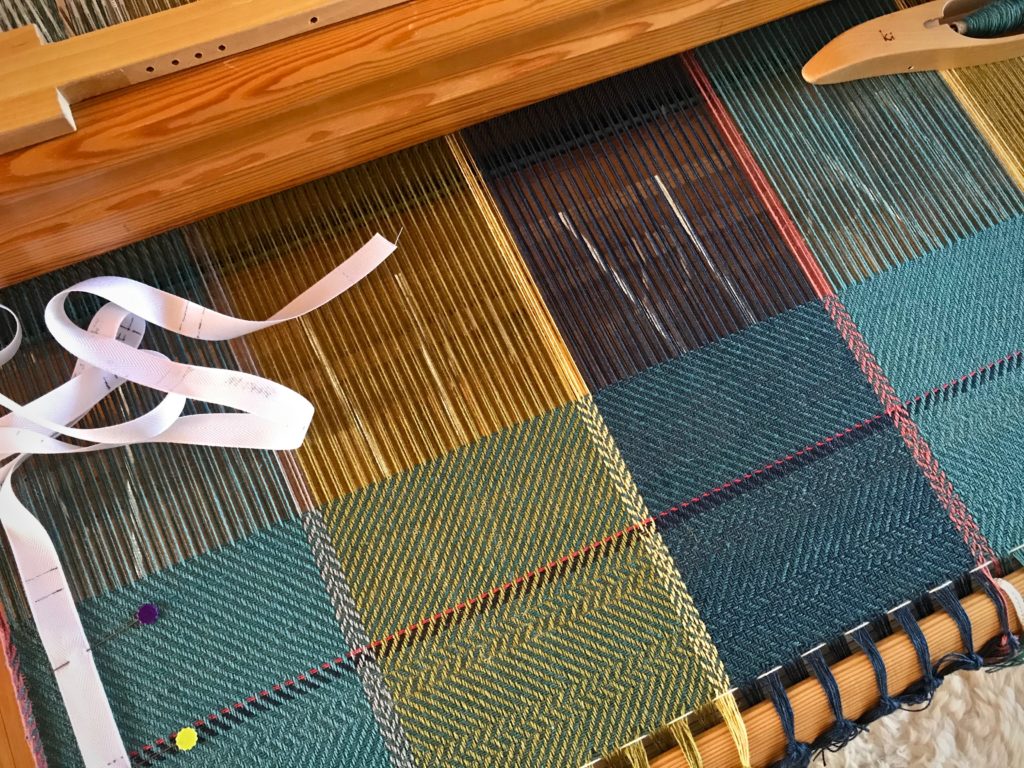
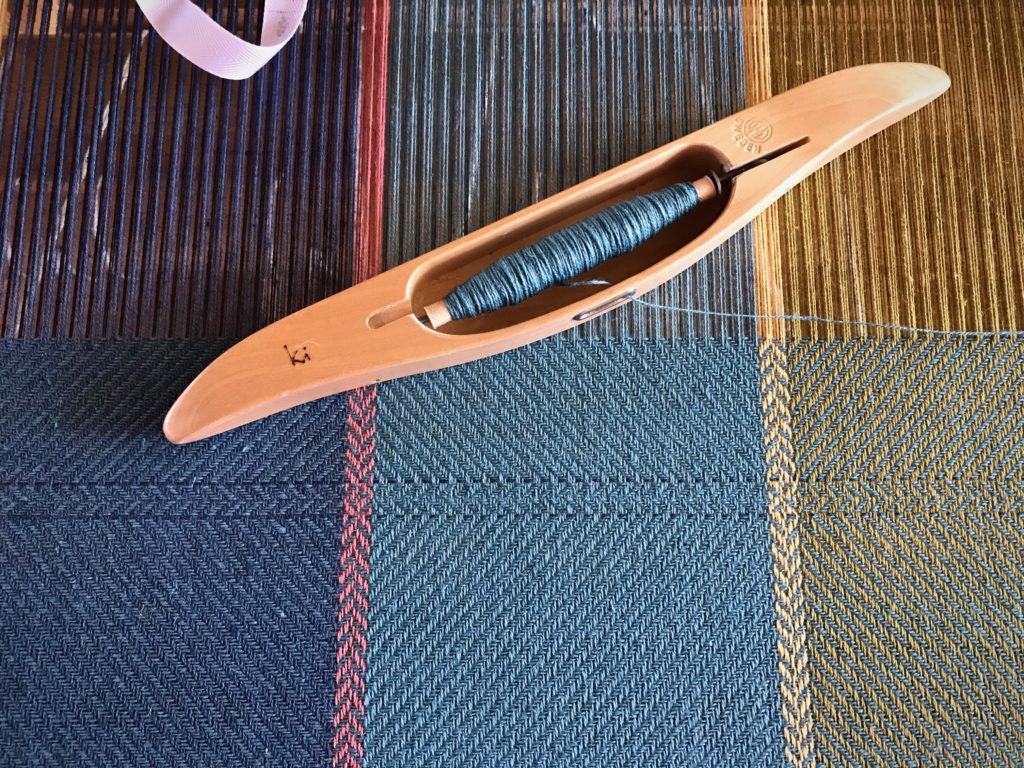
Cottolin bath towels on the Glimåkra Standard.
Cottolin bath towels on the Glimåkra Standard, in twill, broken twill, and reverse twill.

It helps to have an idea of how far the thread on a quill will go. With this information, you can wind a few in advance without ending up with an excess of wound quills at the end of your project. I like to have the next quill ready to go when I am weaving so that I can put the new quill in my shuttle and keep weaving with very little interruption. This is especially helpful when the treadling sequence is tricky, like with the reverse twill in every other large color block on these cottolin bath towels. 3-2-1-6-5-4

How to Estimate Weaving Distance for Filled Quills

1 Start a new quill, leaving a 4 – 5 cm tail on the surface of the cloth. Or, start a new quill at the beginning of a color change.

How to measure how far a quill will weave.
End of one thread. Ready for a new quill.
How to know how far a quill will weave. Tutorial.
With the threads overlapping in the shed, the tail of the thread on the new quill lies on the surface.

2 Weave until the quill has emptied. Leave a 4-5 cm tail on the surface of the cloth.

How to know how far a full quill will weave.
Quill has emptied. Tail is brought out to the surface of the cloth.

3 Replace the empty quill in the shuttle with a new quill and continue weaving 1 – 2 cm further.

4 Measure the distance from the first weft tail, or line of color change, to the second weft tail. Place a straight pin, in line with the first weft tail, directly under the second weft tail. Measure from the pin to the second weft tail. This is the approximate weaving distance you can expect to cover with a new quill. Notate the quill’s estimated weaving distance on your project notes for future reference.

Tutorial on how to know how many quills you need to wind.
Measure the woven distance.

5 Trim the weft tails close to the surface.

6 Increase accuracy by repeating the process three times, and then use the average as your quill’s estimated weaving distance.

The large color blocks on this bath towel are 14 cm long. A single full quill will weave 5 1/2 – 6 cm; therefore, I make sure I have 2 full quills, plus at least another half-filled quill before I start a new color block section. It’s nice to be able to leave my foot on the treadle while I change out quills, so I don’t lose my place.

Cottolin bath towels.

May your efforts prove to be efficient.

Happy Weaving,
Karen

Handwoven Detail Notes

It is the smallest of details that set handwoven towels apart from ordinary towels. With that in mind, I am writing some detail notes in the margin of my project notes. Borders: Towel 1 – sea blue, apple green – contrast thread – ultramarine; Towel 2 – ultramarine, sea blue – contrast thread – maize; Towel 3 – apple green, ultramarine – contrast thread – sea blue; Towel 4 – dusty, sea blue – contrast thread – apple green.

Cottolin bath towels coming up!
Beaming the cottolin warp for bath towels.
Warp is tied on and leveling string is attached.
Preparing to weave 7-color bath towels.
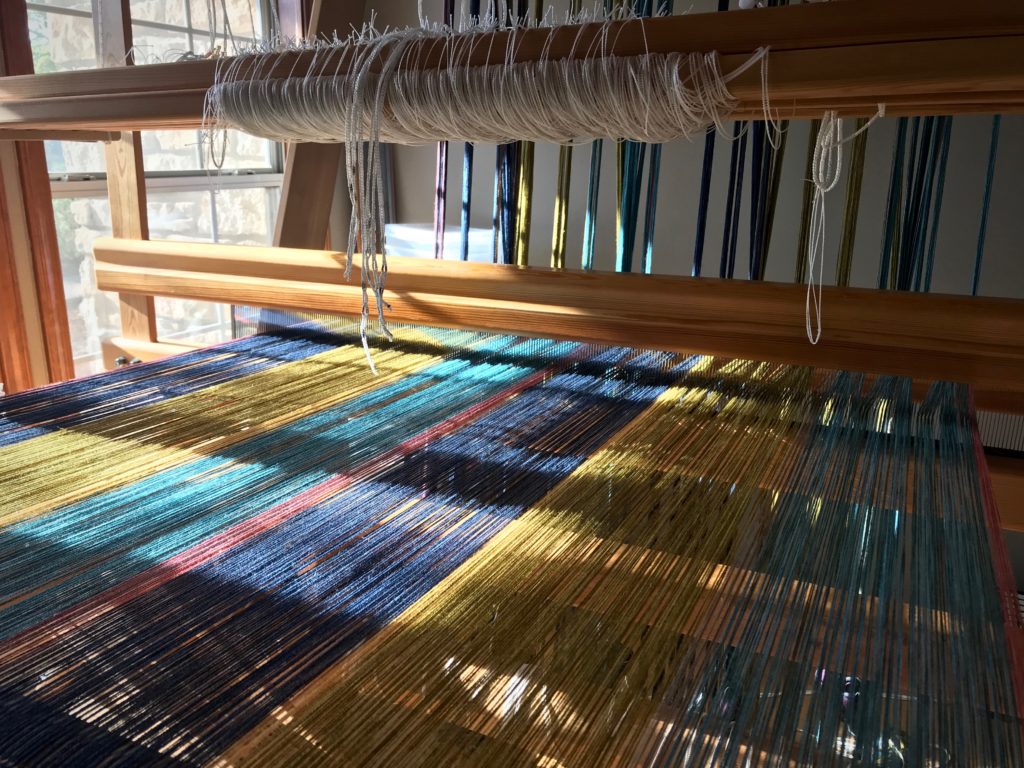
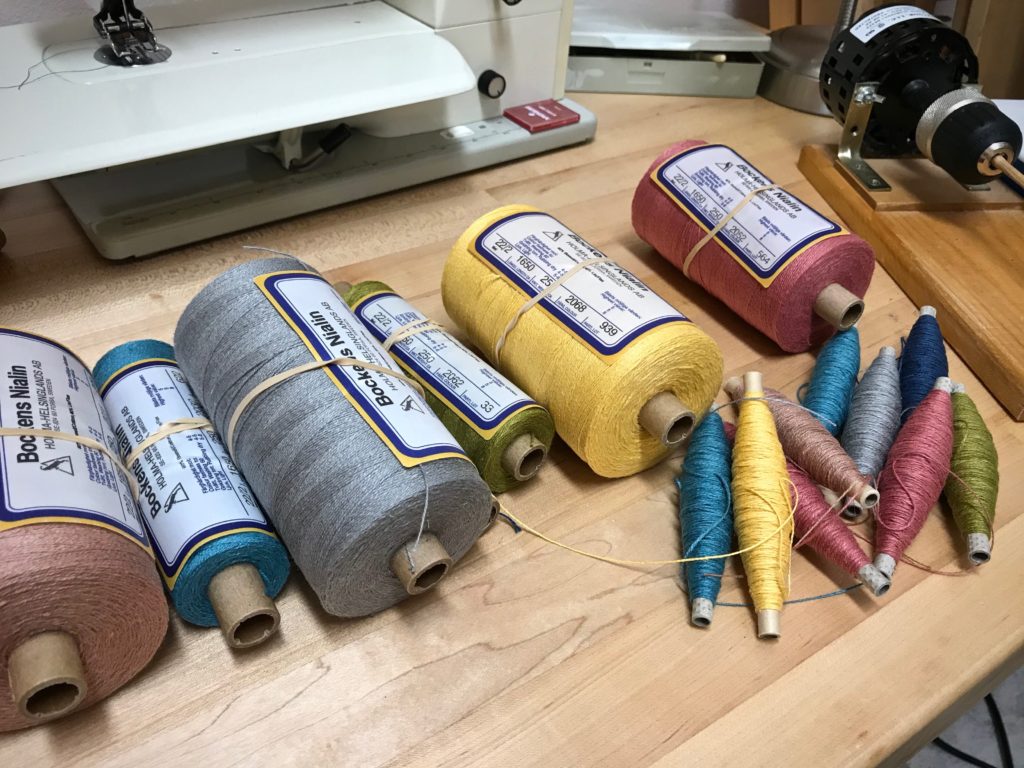
Seven different colors of wound quills. All seven colors are in each towel, warp and weft. The weft sequence varies with each towel.
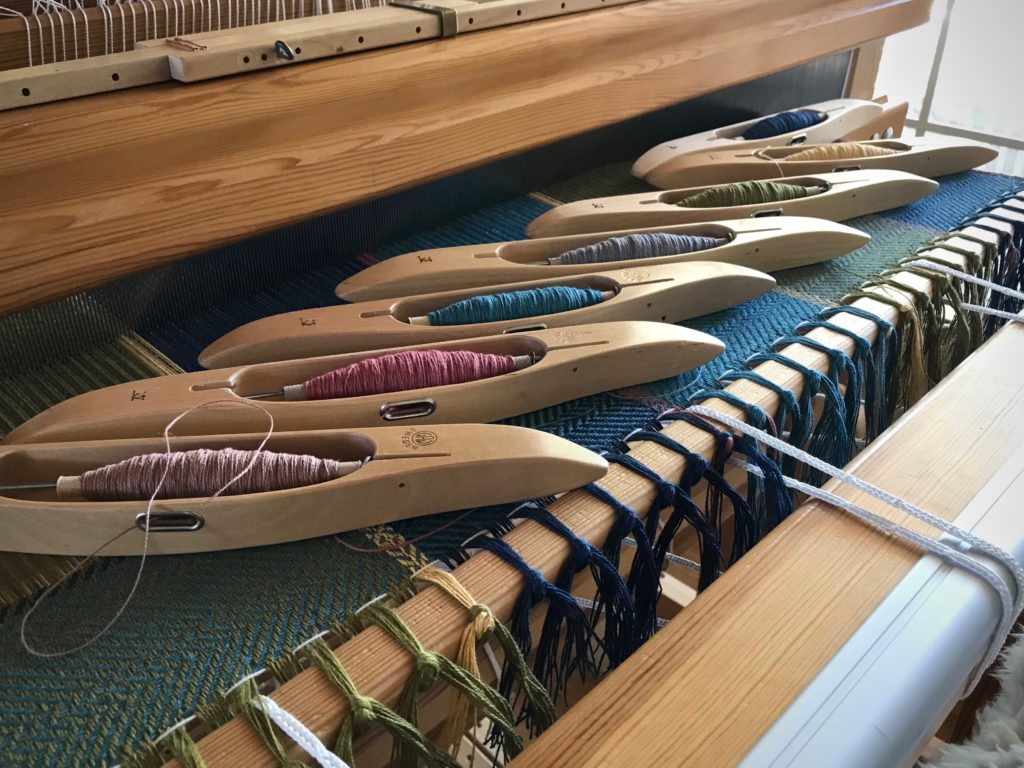
Boat shuttles vie for the starting line, like in a regatta.
One boat shuttle for each color. This reminds me of sailing with my dad and my sisters. Boat captains would vie for the regatta starting line, shouting, “Starboard!”

There are seven colors of cottolin in the warp, and the same seven colors in the weft, just like the accompanying hand towels I completed in April. (See Process Review: Jubilation Hand Towels.) Narrow warp-wise and weft-wise stripes of broken twill produce interesting patterns in the cloth. The deep borders I am planning on the bath towels give me a chance to add simple details that only a handweaver can do.

White ribbon shows where to place details on the handwoven bath towel.
After weaving a short section to test the threading, I start the first towel. A red line, as always, denotes the cutting/starting line. I placed marks on the white ribbon at the left that show me where to place details along the length of the towel.
Simple handwoven details make all the difference.
Single ultramarine thread is laid in with the sea blue to outline a change of treadling. A simple handwoven detail.

Have you ever identified a master craftsman by the specific details that show up in the hand-crafted article? In the same way, we can recognize our Maker’s hand through the magnificence of the details we see in each other. You are his masterpiece. Hand-written instructions guide the details. When we come to the Lord as our Maker and Redeemer, we find his hand-written details woven into our hearts, something only the Grand Weaver can do.

May you attend to the details.

Happy Weaving,
Karen
Tried and True: Use a Boat Shuttle for Rag Weaving

Wind very narrow fabric strips on quills and put them in a boat shuttle. It’s efficient. It’s faster to wind a quill than to load fabric on a ski shuttle. Plus, I like the advantage of sending a boat shuttle across rather than a ski shuttle. This rag rug on the drawloom has fabric strips that are only one centimeter (~3/8”) wide, instead of the usual two-centimeter-wide (~3/4”) strips for an ordinary rag rug. Grab your boat shuttle and pay attention to a few simple tips. Your very narrow fabric strips will be woven up in no time.

Tips for Using a Boat Shuttle to Weave Very Narrow Fabric Strips

  • Use fabric that has minimal fraying at the edges. Trim off any long threads. Loose dangling threads that are long enough to wind themselves on the quill will make you wish you had used a ski shuttle.
  • Wind the fabric with the right side down. Then, when the quill unrolls, the right side will be facing up.
Winding quills with narrow fabric strips. Rag rug on the drawloom.
Swedish bobbin winder is clamped to the side of the loom. A five-yard fabric strip is wound onto a quill. The right side of the fabric is against the quill.
  • Handle the wound quill as little as possible to prevent fraying the fabric edges. Simply wrap the tail end of the fabric strip around the filled quill. Do not wrap the end into a slip knot around the quill because the fabric will fray as you release the knot.
Winding narrow fabric strips on quills for drawloom rag rug.
One long fabric strip per quill. Fabric is cut 1 cm (3/8″) wide.
Fabric-wound quills ready for weaving drawloom rag rug.
One fabric-filled quill covers a little more than one unit of weaving (4 picks). I keep a dozen filled quills in the basket on my loom bench so I can keep weaving as long as possible.
  • Unwind enough weft for the pick before you throw the shuttle. Pull the weft out straight from the quill. When a quill unwinds in the shed, the weft comes off at an angle. And as such, if there are any loose threads at the edges of the fabric strips, the threads will wind themselves on the quill and bind it up. And you will wish you had used a ski shuttle.
Folke Samuelson Damask Shuttle - drawloom rag rug!
Folke Samuelson Damask Shuttle has a low profile, well-suited for the smaller sheds of the drawloom. Fabric is unrolled from the shuttle prior to the next pick.
Design is "Trasmatta Snöfall" ("Snowfall Rag Rug") by Kerstin Åsling-Sundberg, from Damast, Horlags AB Vavhasten
Drawloom rag rug is well underway. Single unit drawcords are pulled and held in place on the pegs above the beater. Design is Trasmatta Snöfall (Snowfall Rag Rug) by Kerstin Åsling-Sundberg, from Damast, edited by Lillemor Johansson.

May your hands enjoy their work.

Happy Weaving,
Karen

Weave Two Connected Layers

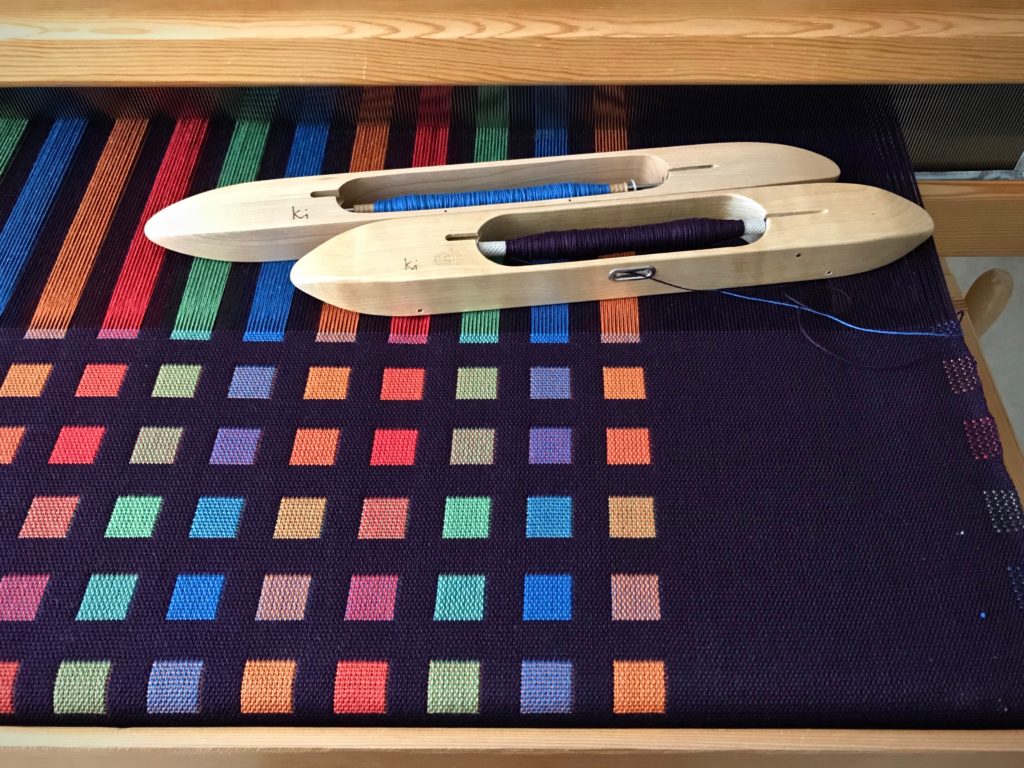
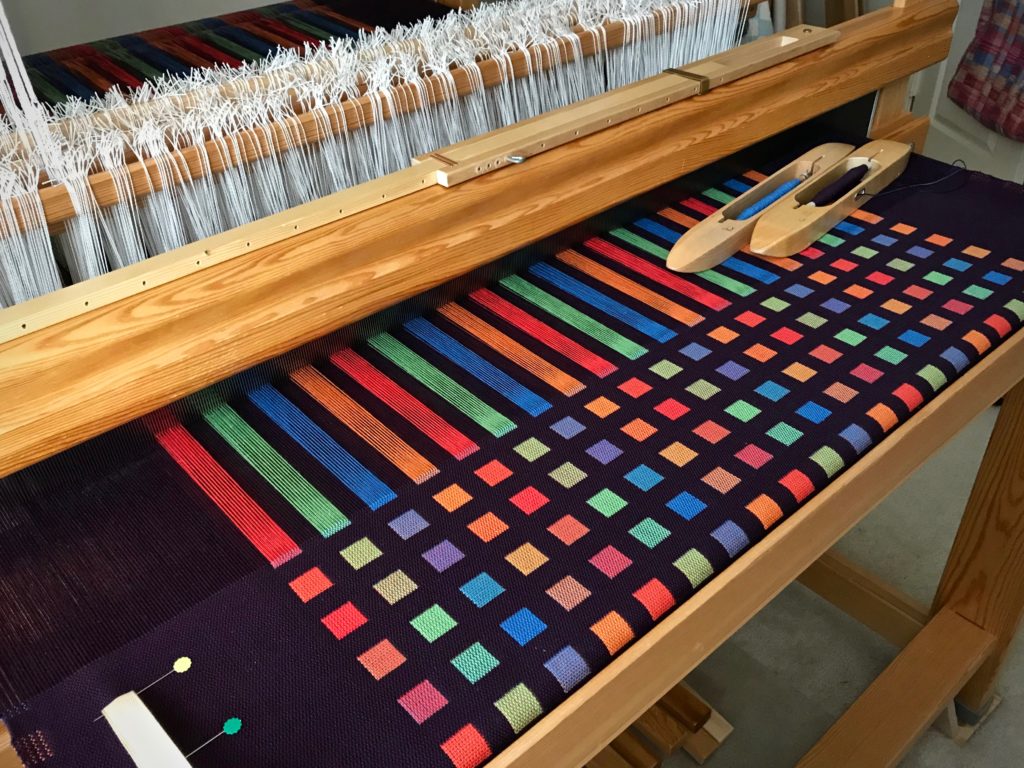
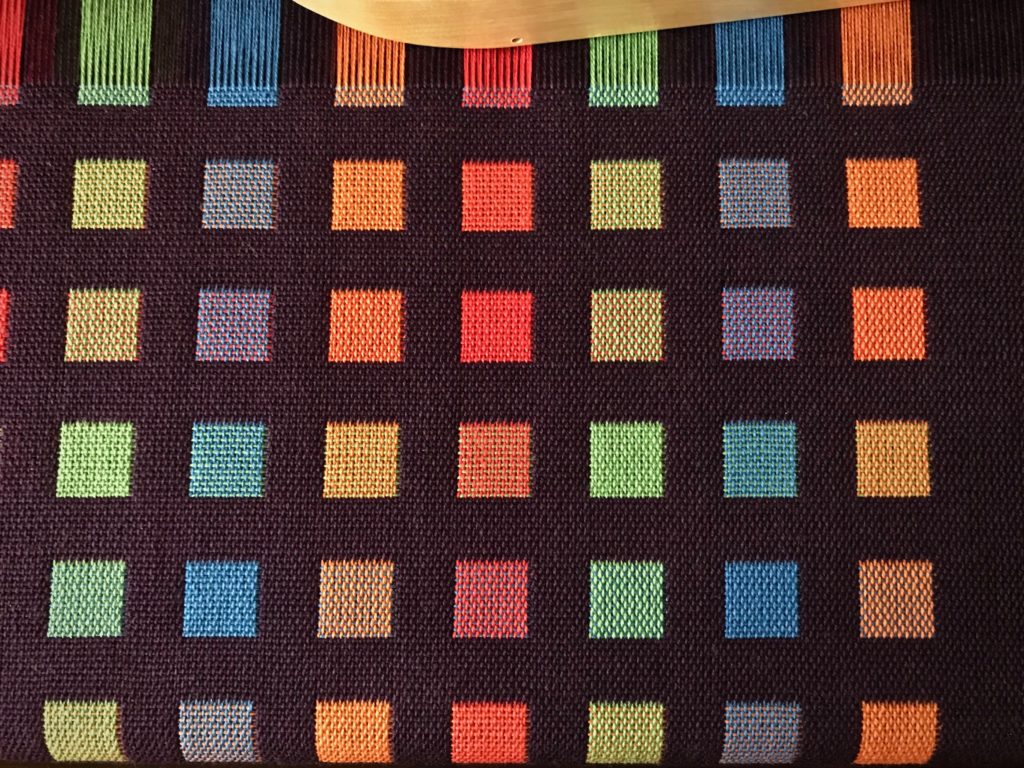
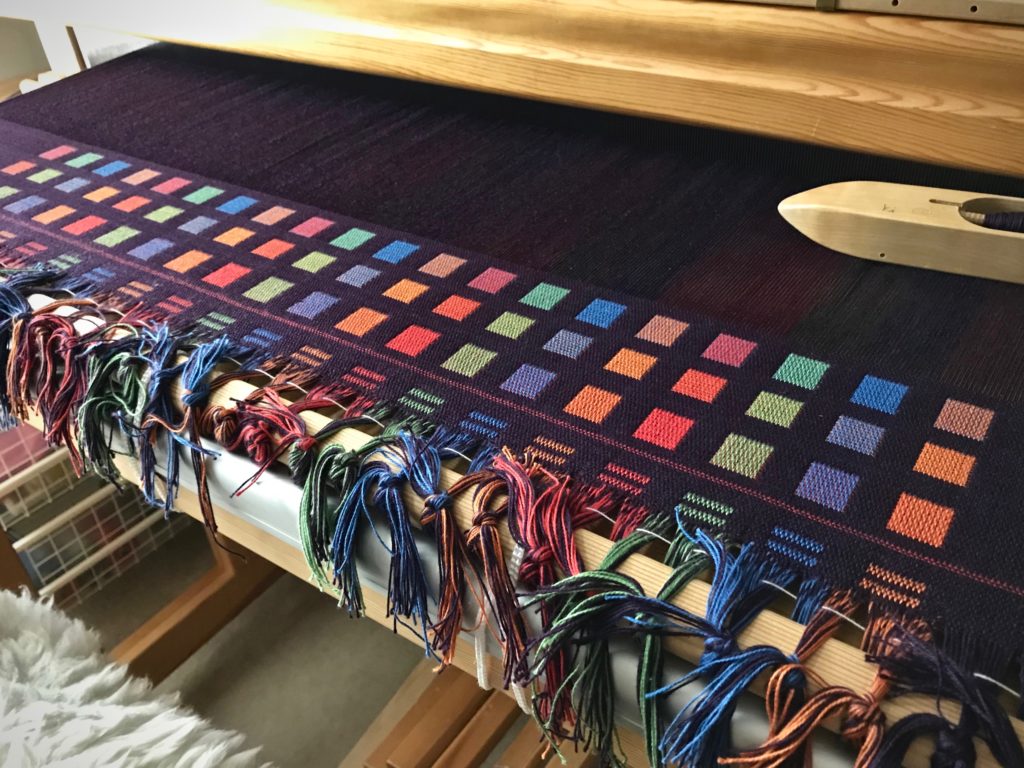
Two layers of cloth exchange places in this double weave structure. One layer of warp is solid deep plum. The other layer has stripes of bold colors. Clean lines occur where the layers switch places. So, with deep plum weft alternating with orange, blue, green, and red weft, we get a message written in clearly-defined blocks: Be invigorated with vibrant color!

Magic of double weave!
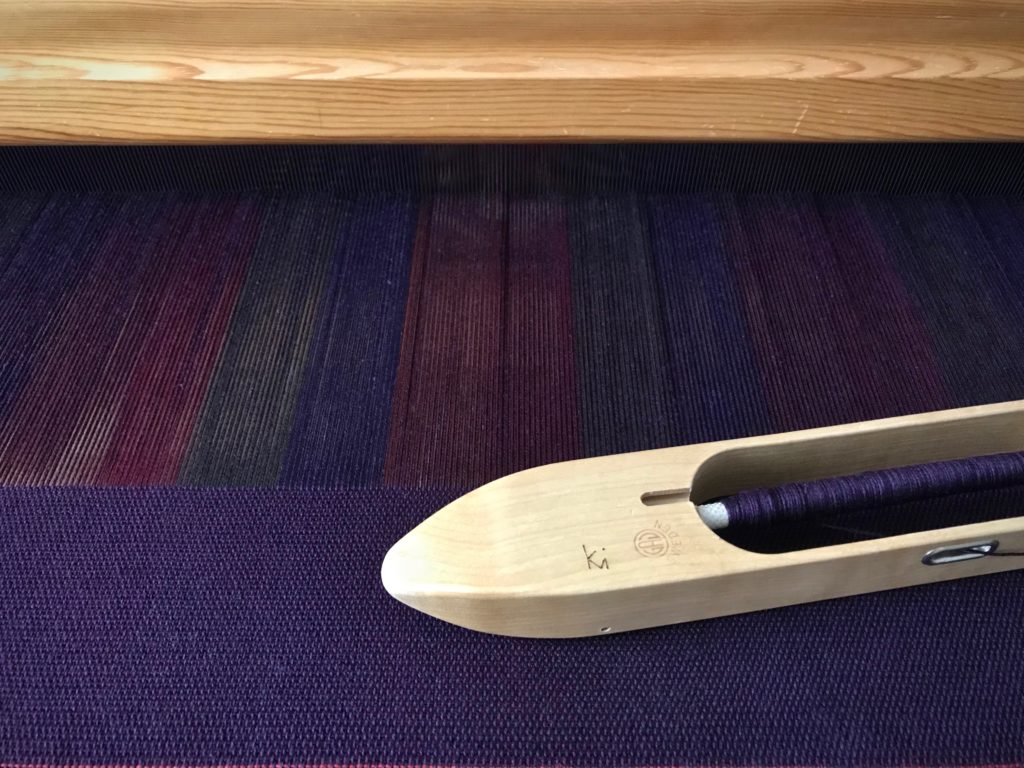
Dark plum weft alternates with the blue weft. The reverse side of the fabric has dark plum squares in long vertical color stripes.

Double weave throw. Karen Isenhower
Colors of the warp stripes are used as colors for the weft stripes. As a result, you can see the “pure” colors in a diagonal line–orange, blue, green, red–where the warp and weft colors are the same.

Double weave magic!
Variance in the blocks of colors gives the cloth a dynamic appearance. Not including the dark plum background, there are sixteen different colors of blocks as a result of the four colors being used as warp and weft.

Message. We have a message from heaven. When Jesus came to earth, he not only brought the message, he was the message. Not that we should try to be good like him. Nor that we are already good enough. But that he, the direct link to heaven, would suffer the consequences for all our misdeeds. And rise again. He willingly switched places with us—the great heaven and earth exchange. This good message brings hope and grace to all of us who live on this earthly layer. Thanks to our Grand Weaver’s faithful love, we are woven into a vibrant-color existence through faith, on this layer and the next.

May you see your surroundings in living color.

Joyful weaving,
Karen

Building Blocks in Double Weave

Troubles. What troubles? All is forgotten now that the shuttle is ready to soar. After my threading misadventure and correction, I’m ready to weave! But first… The treadle tie-ups need adjustments. And then, after weaving a couple inches, a few more adjustments. Now the shed is nearly perfect on every treadle. Ready, set, wait a minute… Sample. Which shuttle goes where to lock in the weft? How many picks make a square? Is my beat consistent?

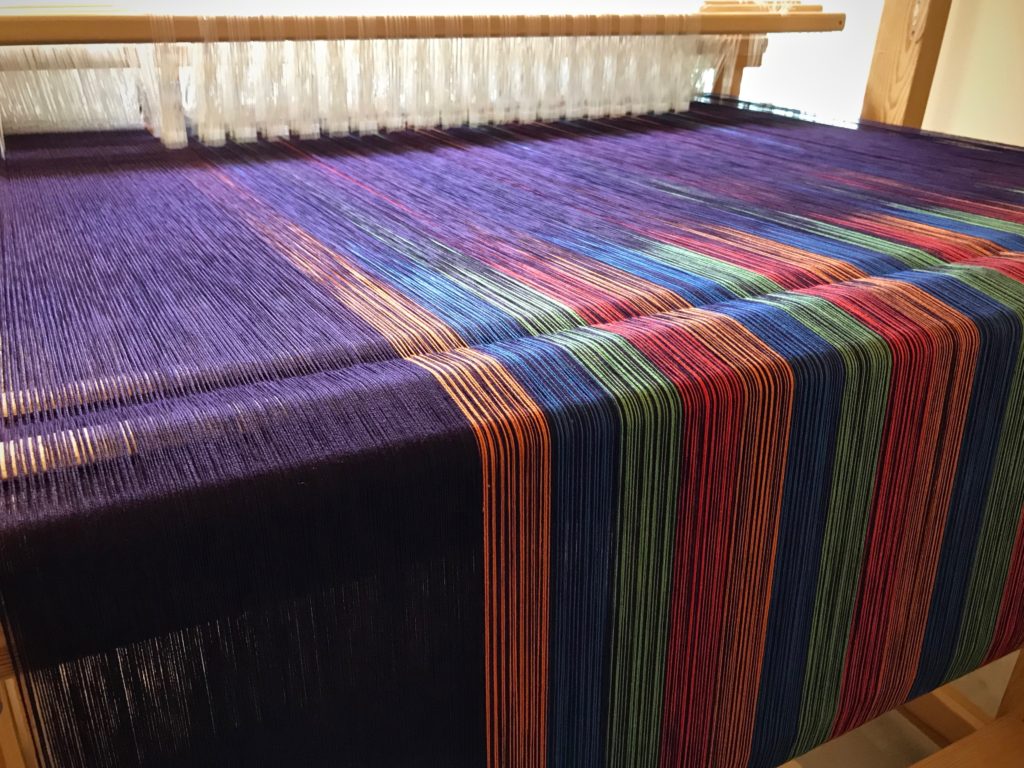
Waterfall of colorful threads over the back beam!
Like a spectacular waterfall, warp ends splash with color over the back beam. First adjustments have been made to treadle tie-ups. Ready to start weaving the sample.

Sample first. Double weave throw about to begin.
Sample gives opportunity to practice and experiment. Checking shed clearances, weft color tryouts, synchronizing two shuttles, consistent beating–a few of the reasons why it makes sense to sample first.

After completing the sample, I am now weaving the wide dark plum beginning border of the double weave throw. In a few inches I will be enjoying the colorful blocks that we have all been waiting for. Building blocks. Success, setbacks, adjustments, and practice, all build a foundation of weaving experience.

Beginning dark plum border of a double weave throw.
Here it is. The real thing. The beginning border of the actual double weave throw.

Build. If I’m not careful, my attention goes to the building up of myself. Yet, love focuses on others to build them up. It’s through a process of success, setbacks, adjustments, and practice that love flourishes. When your strong desire is to see the colorful blocks of the weave, you press through until you see it. Love is even stronger than that. Our example is Christ. His love makes the pattern of love possible in us.

May you build on what you learn.

Happy weaving,
Karen