Ski Shuttles – Glide with Ease

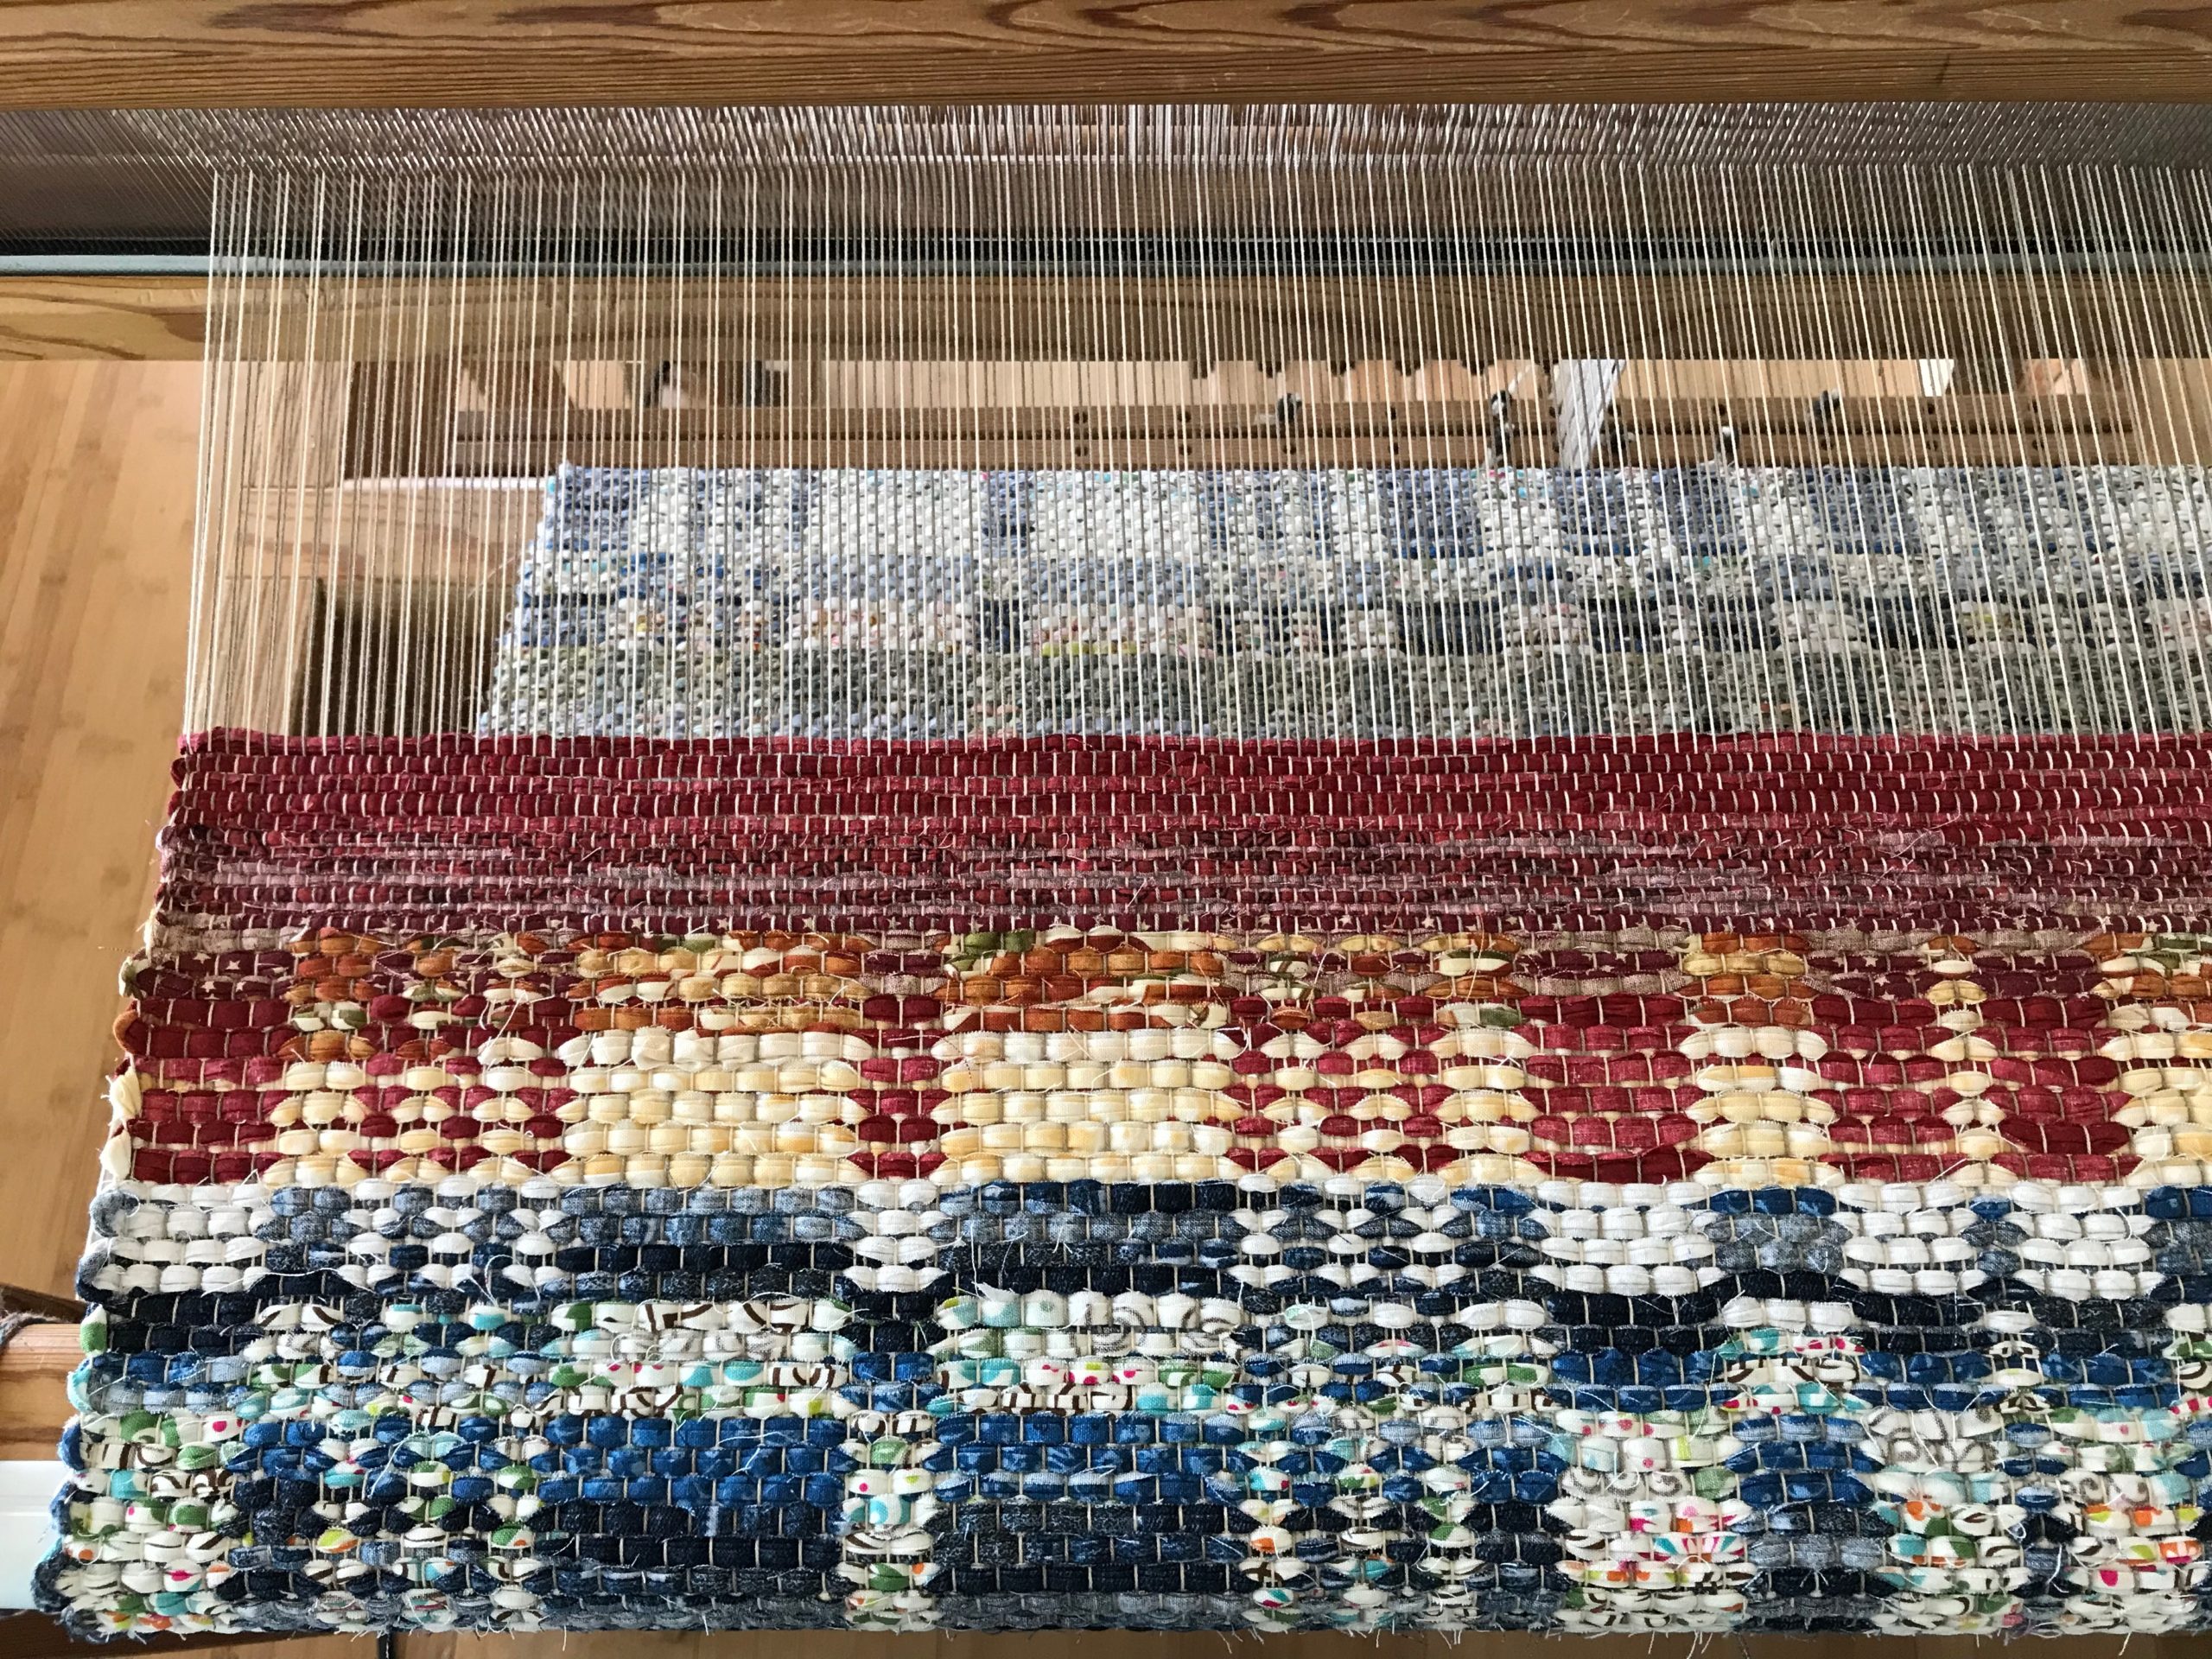
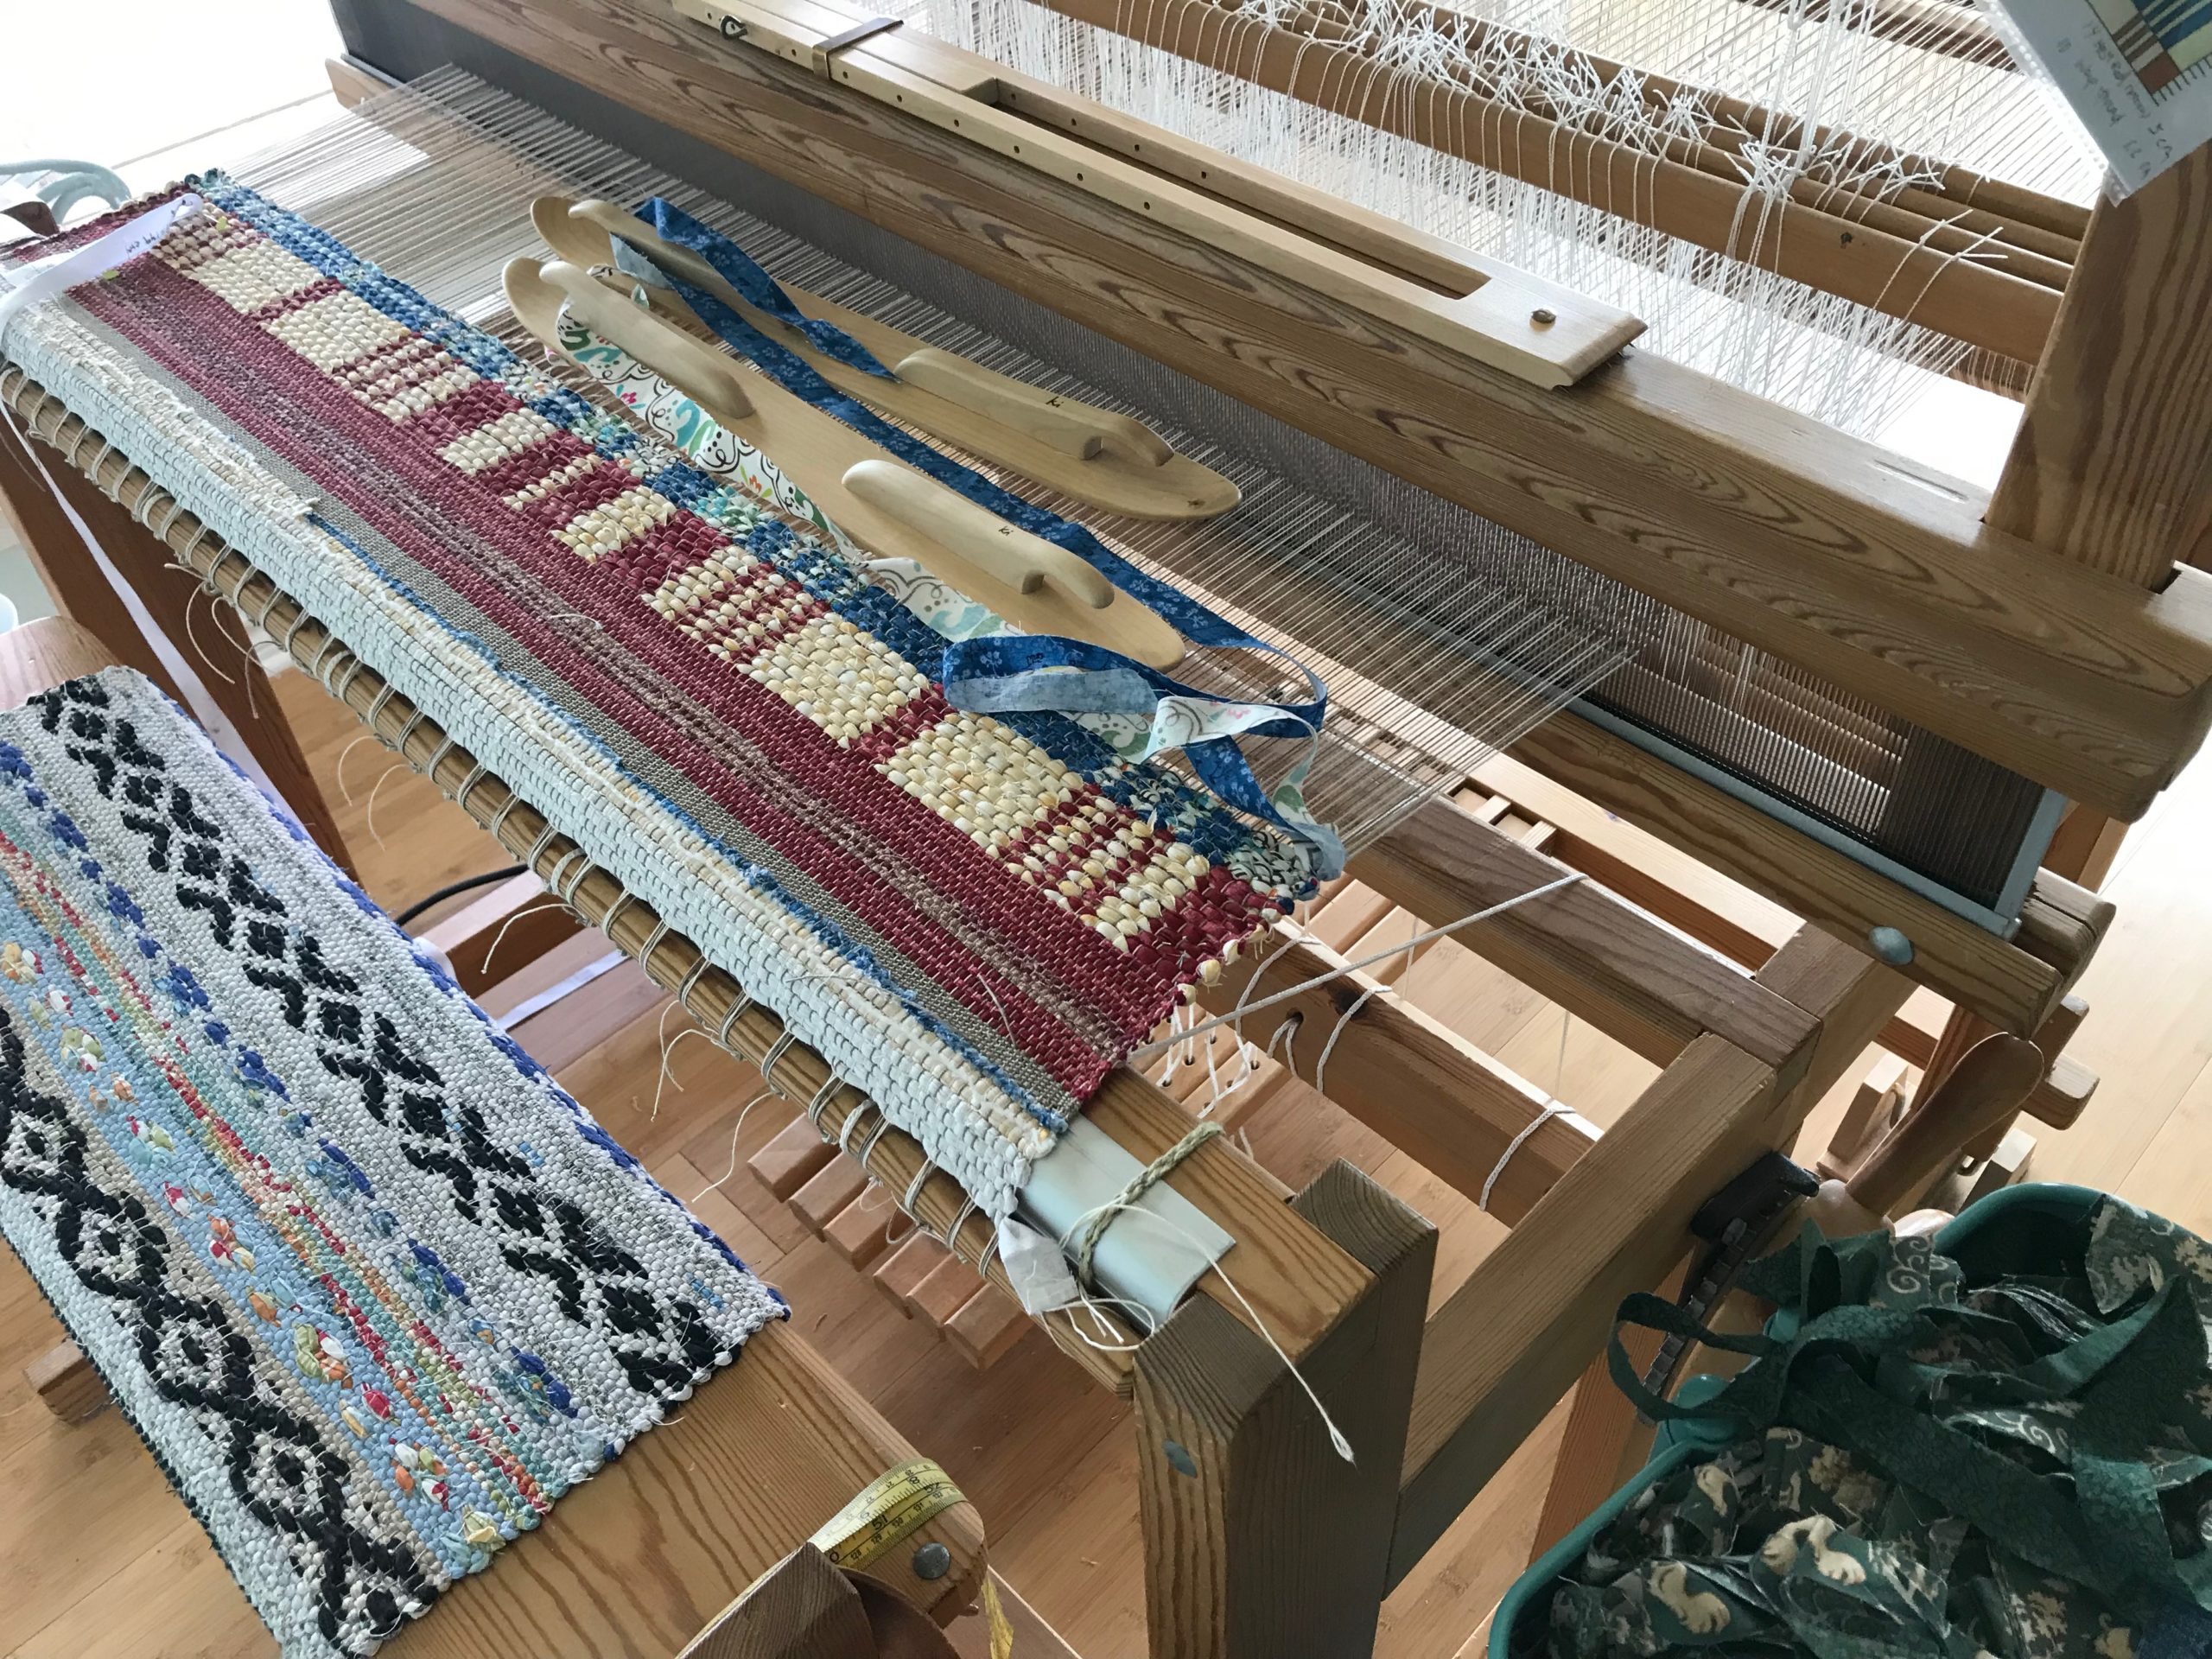
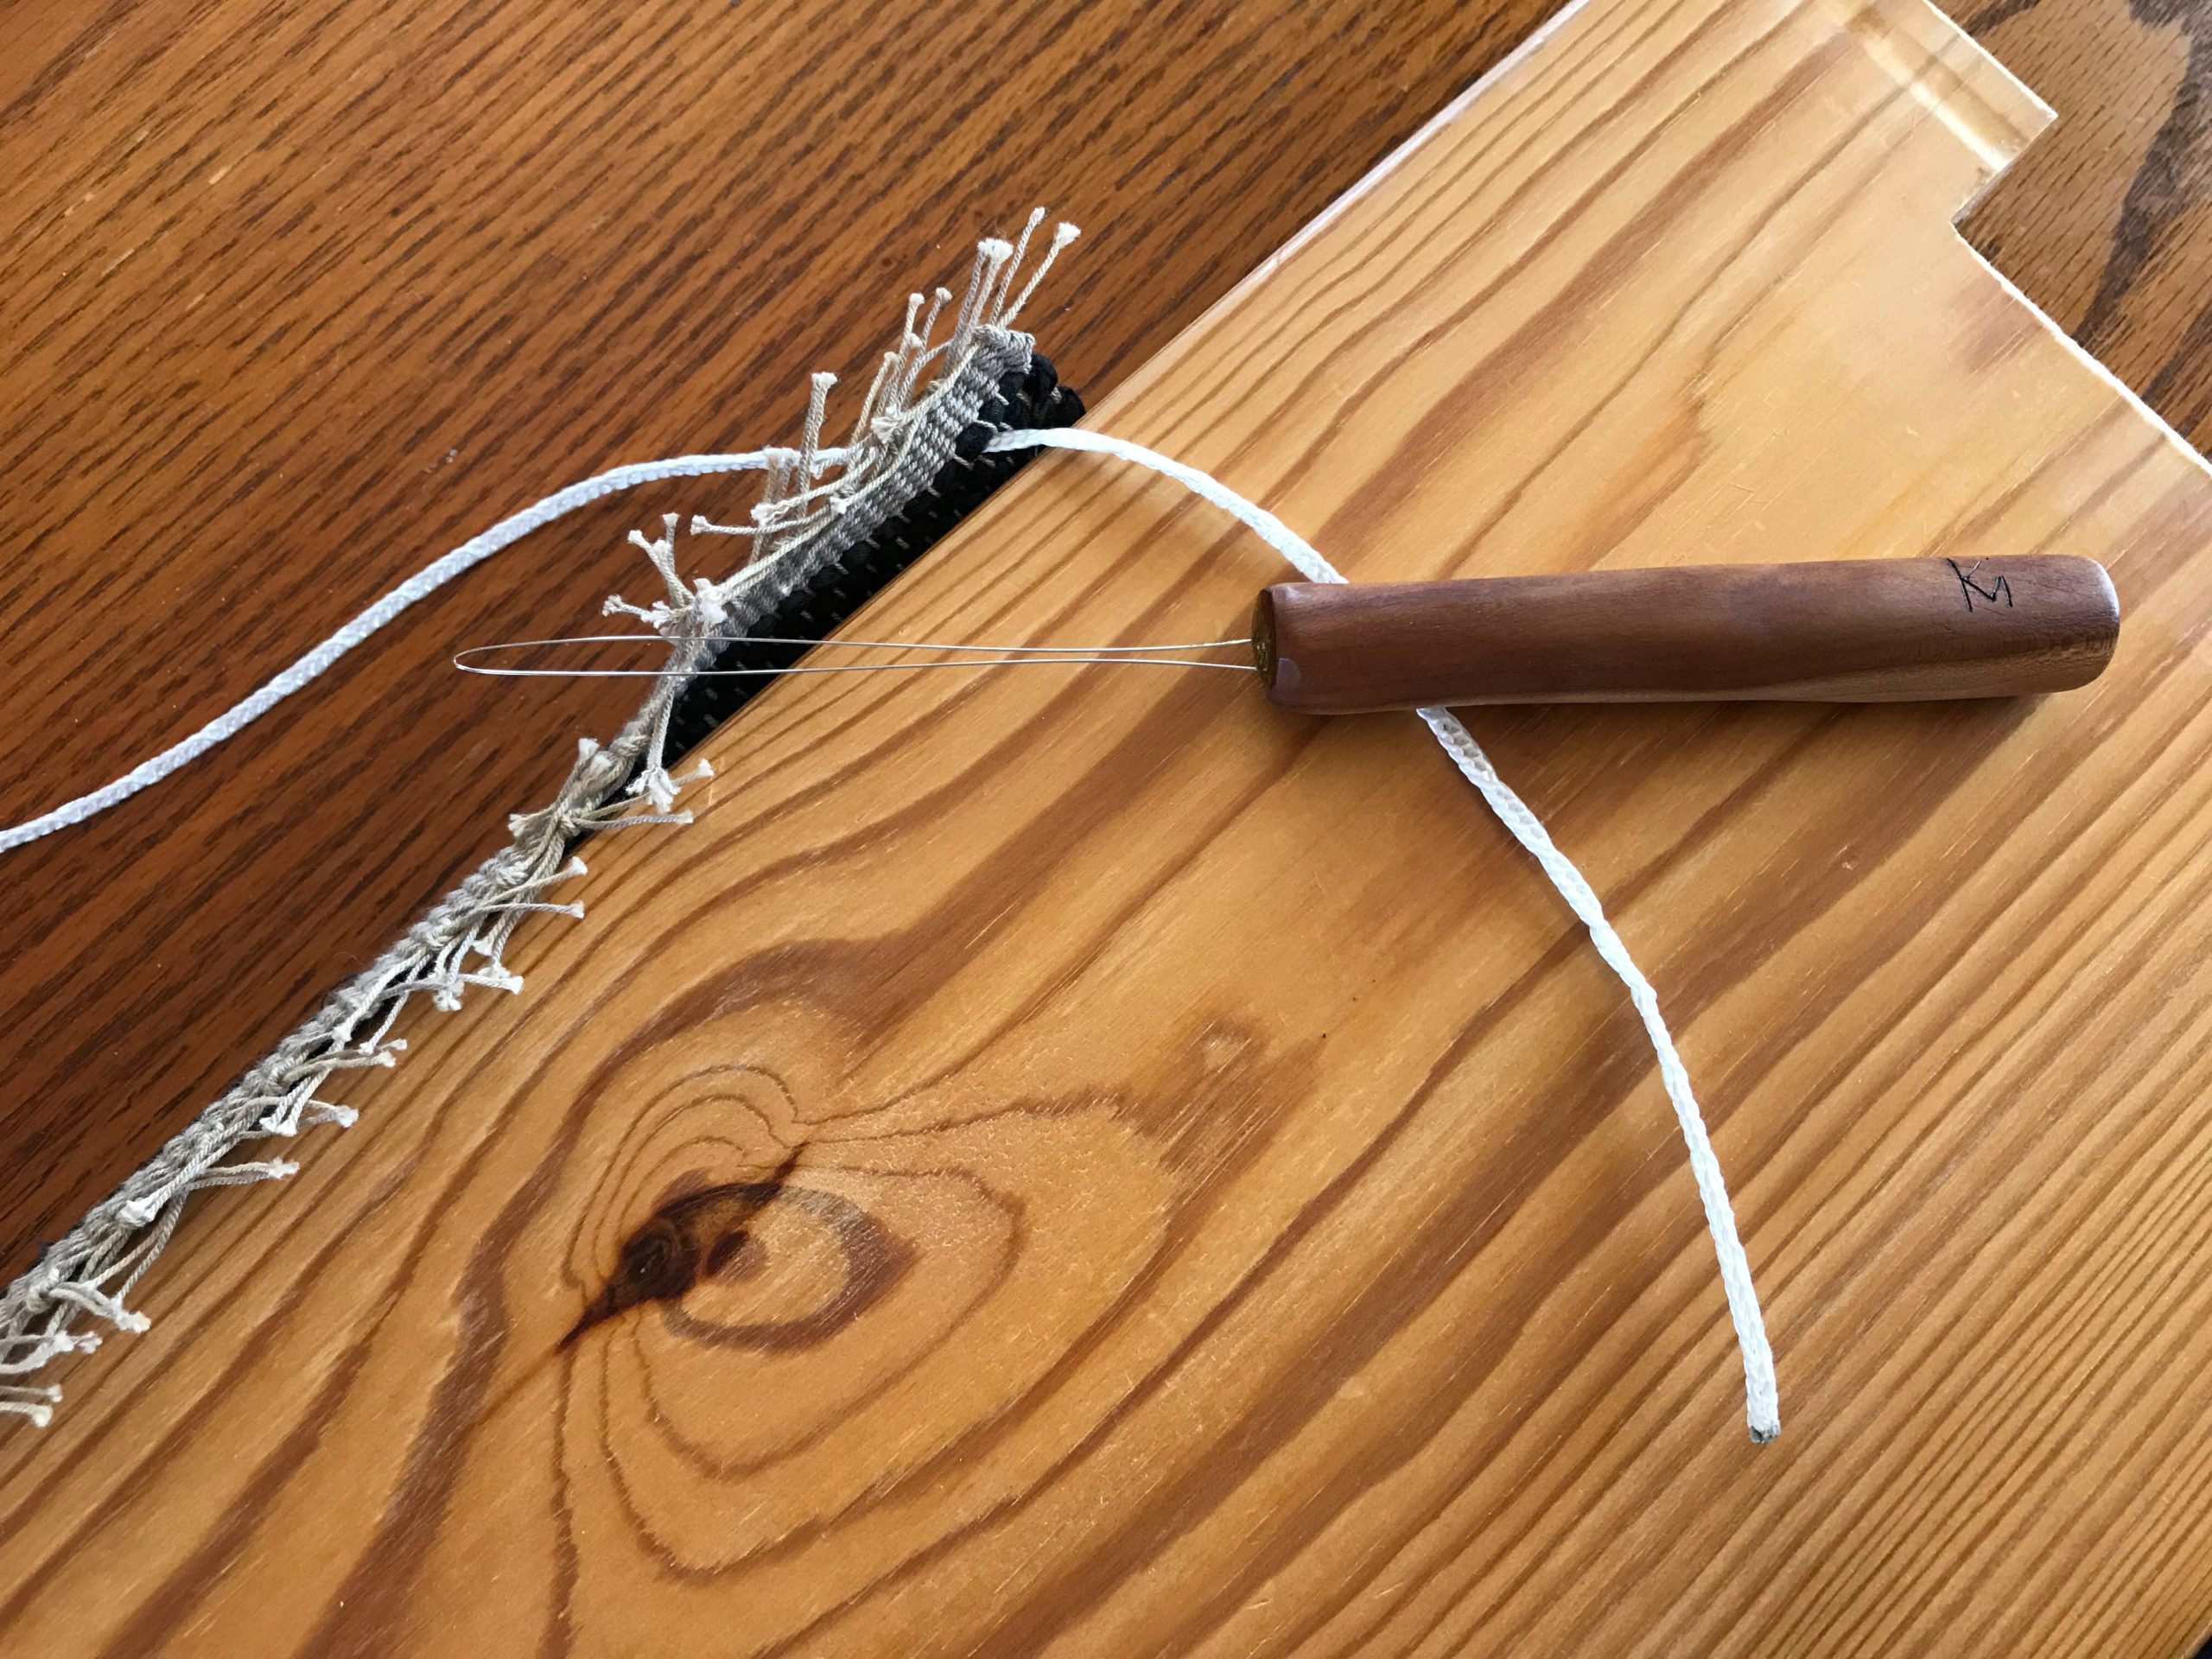
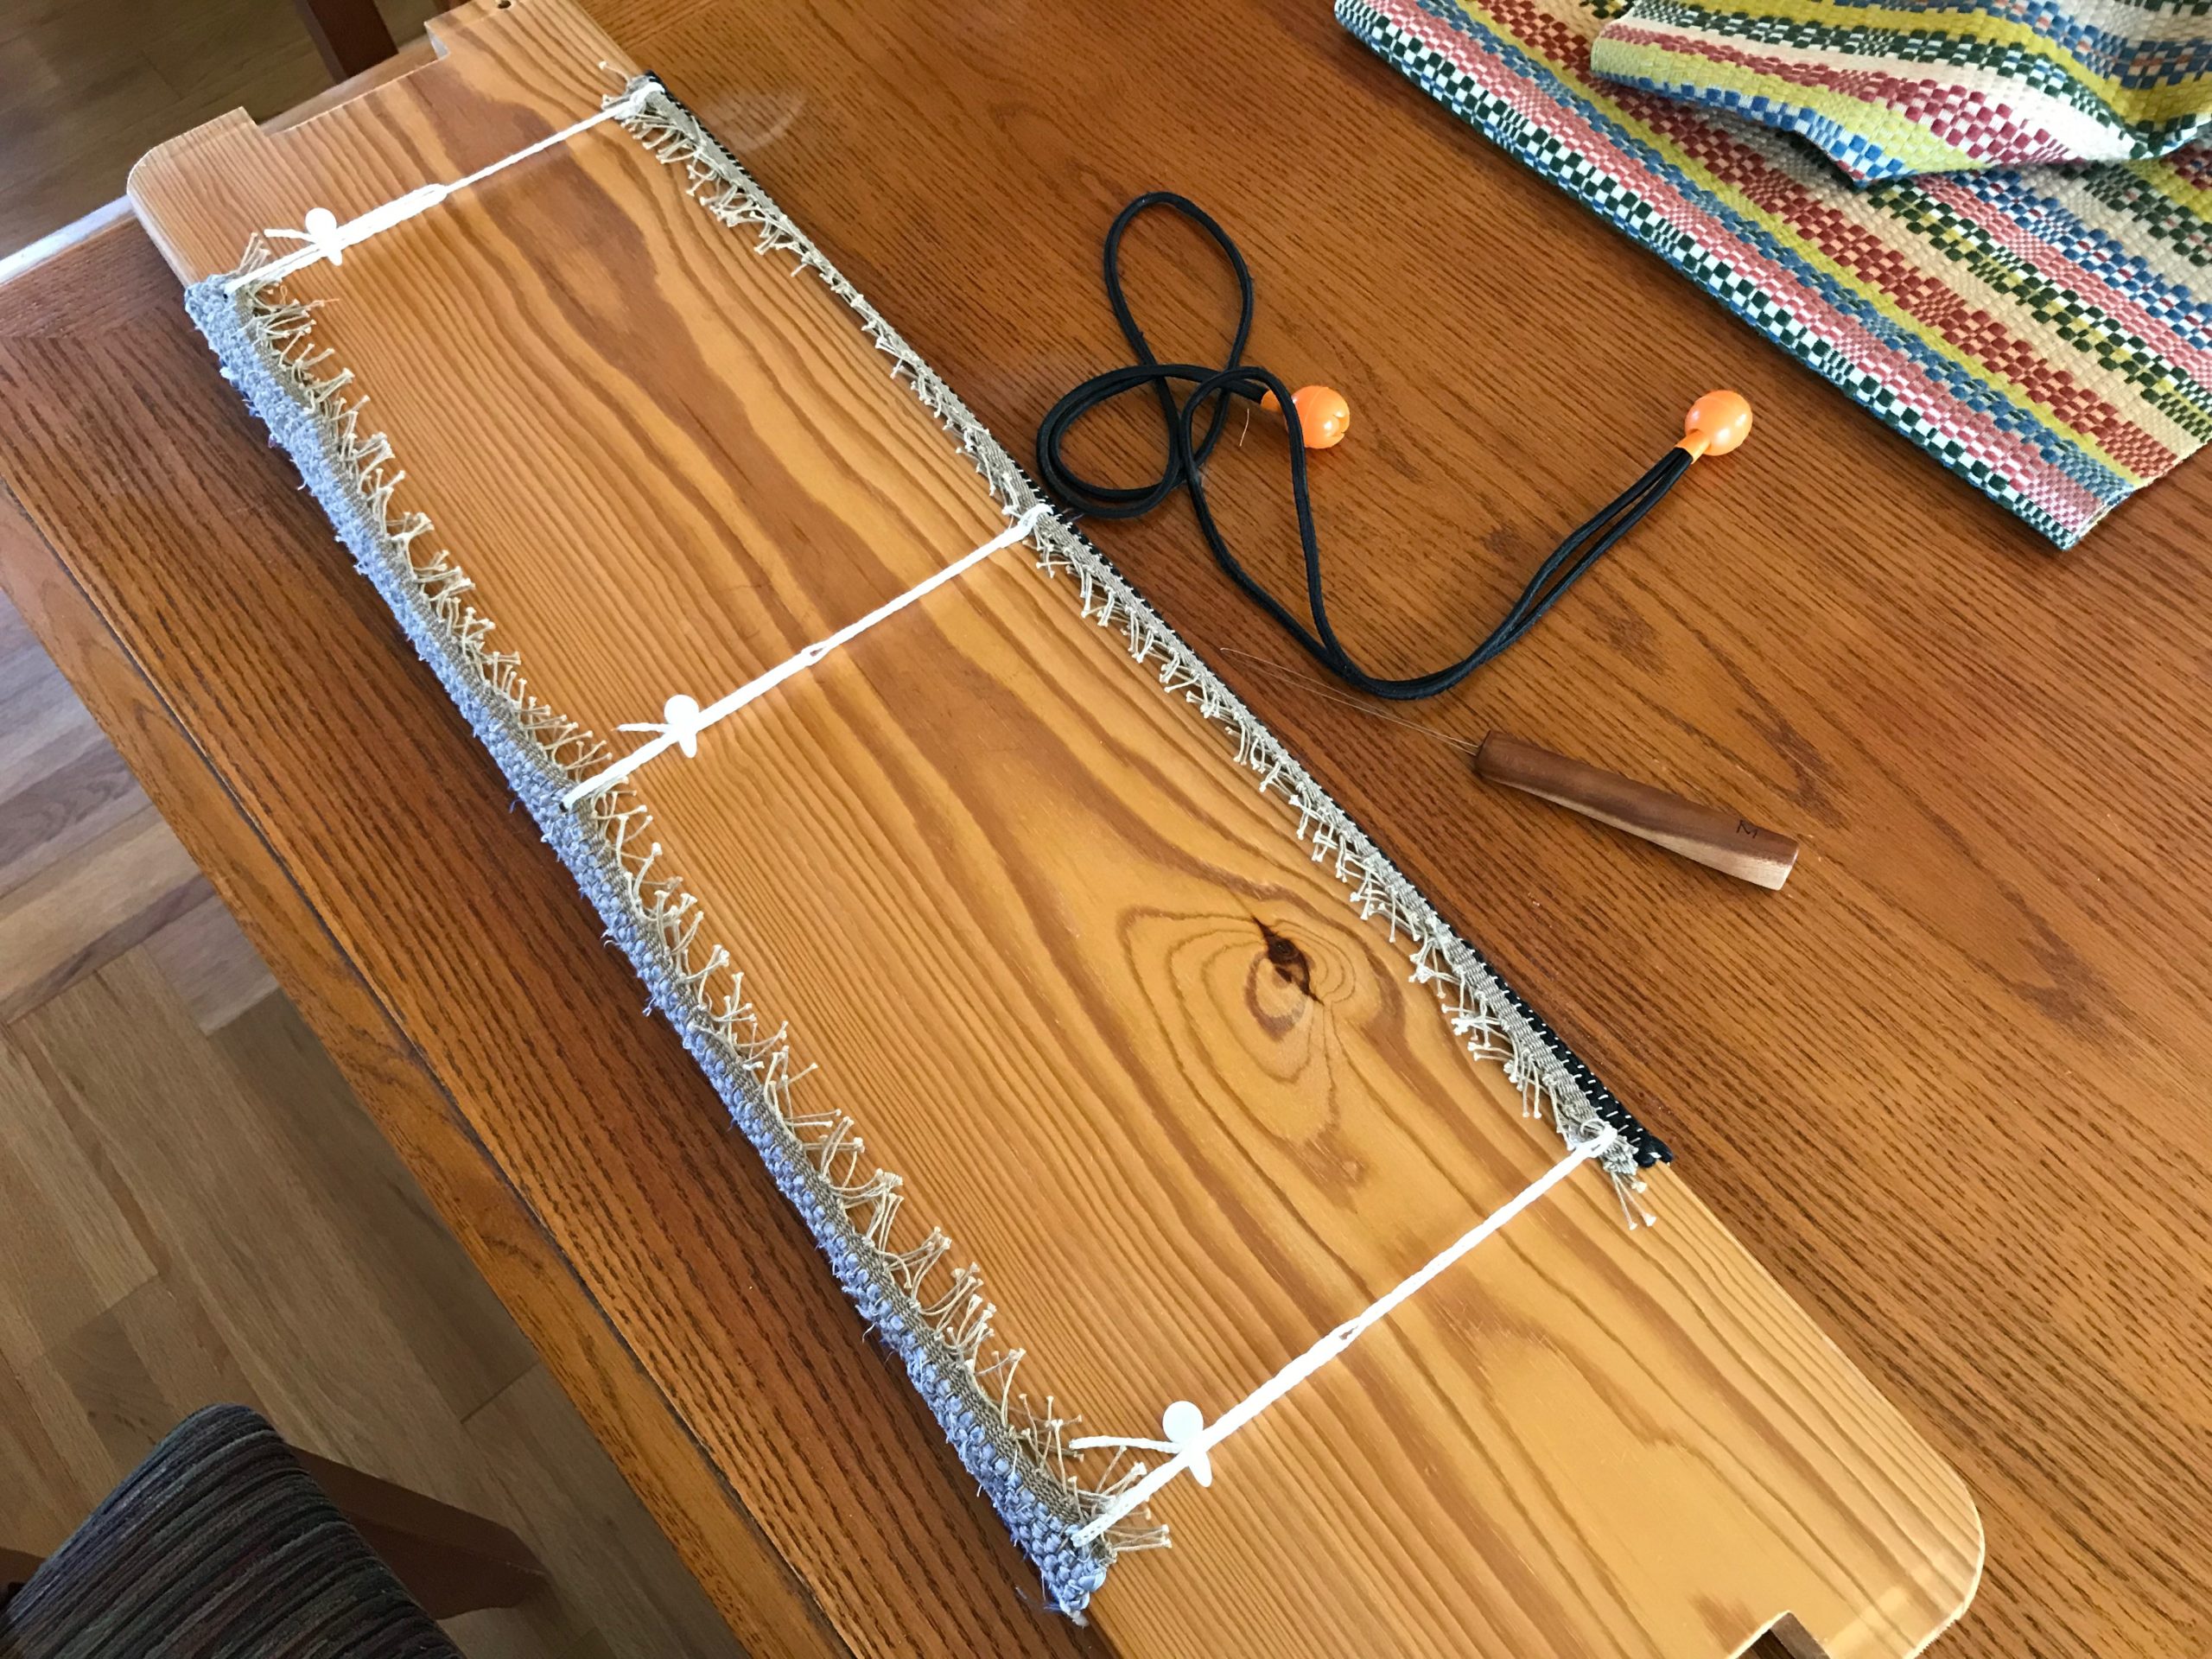
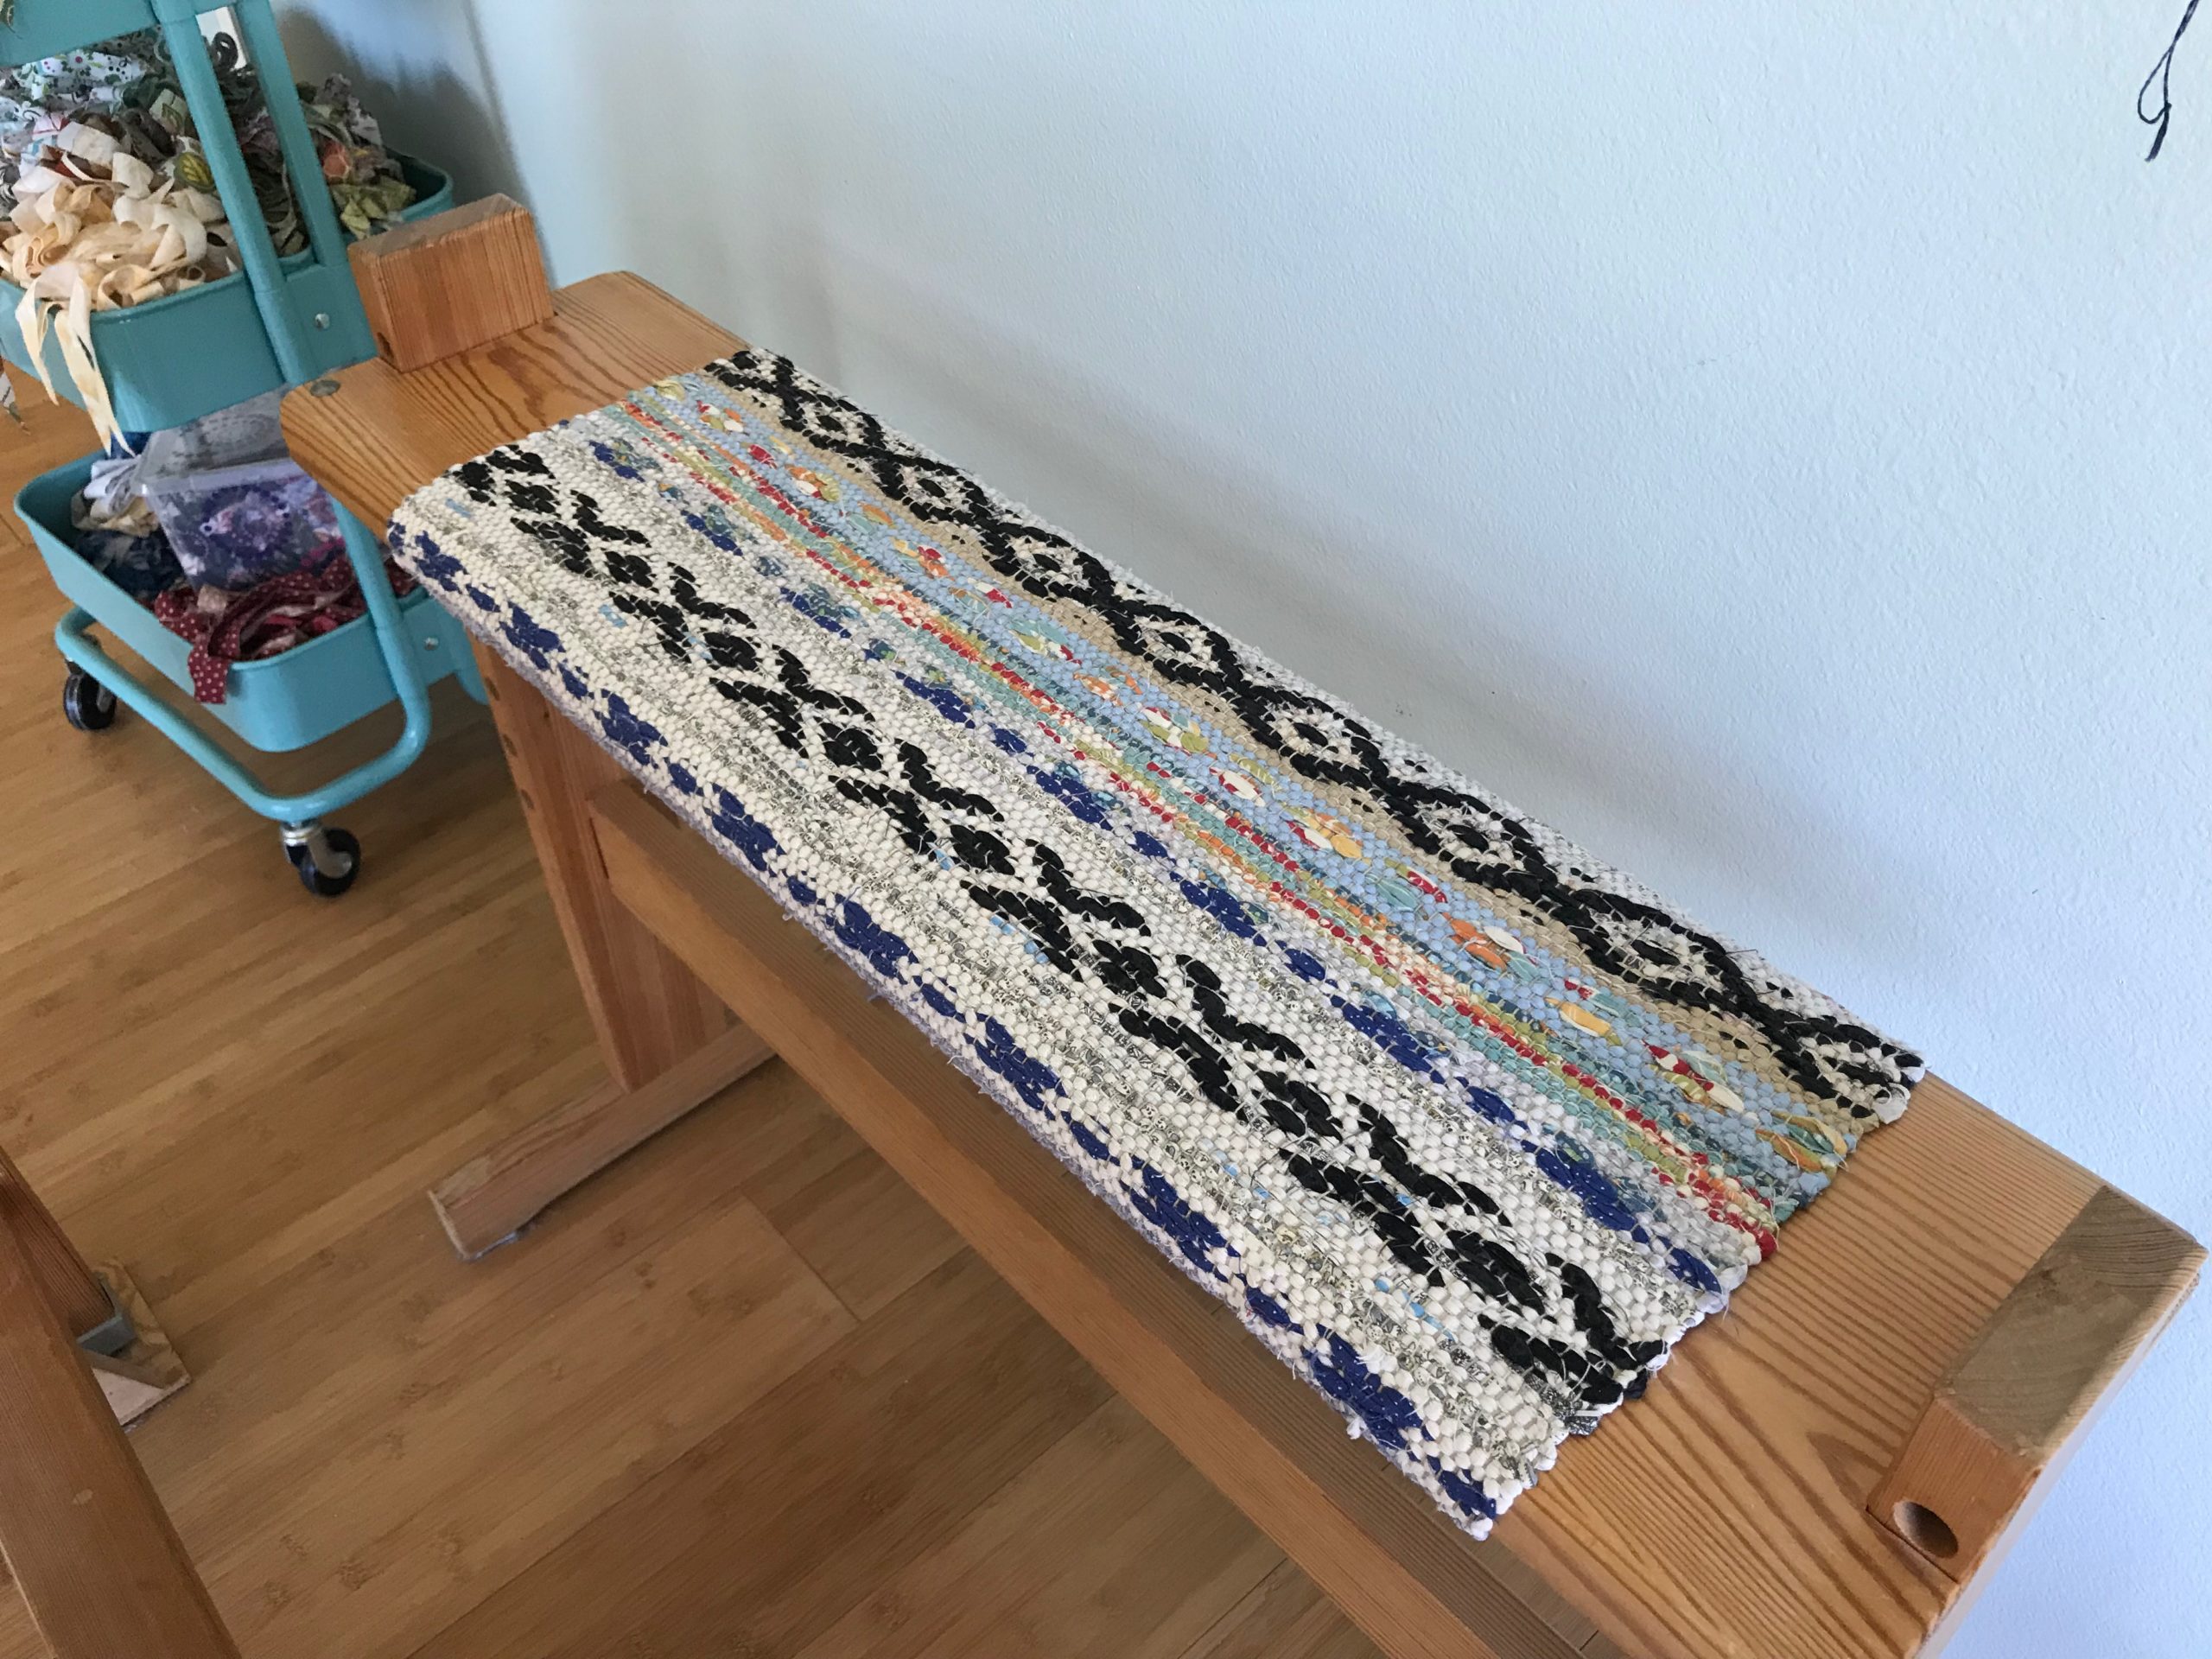
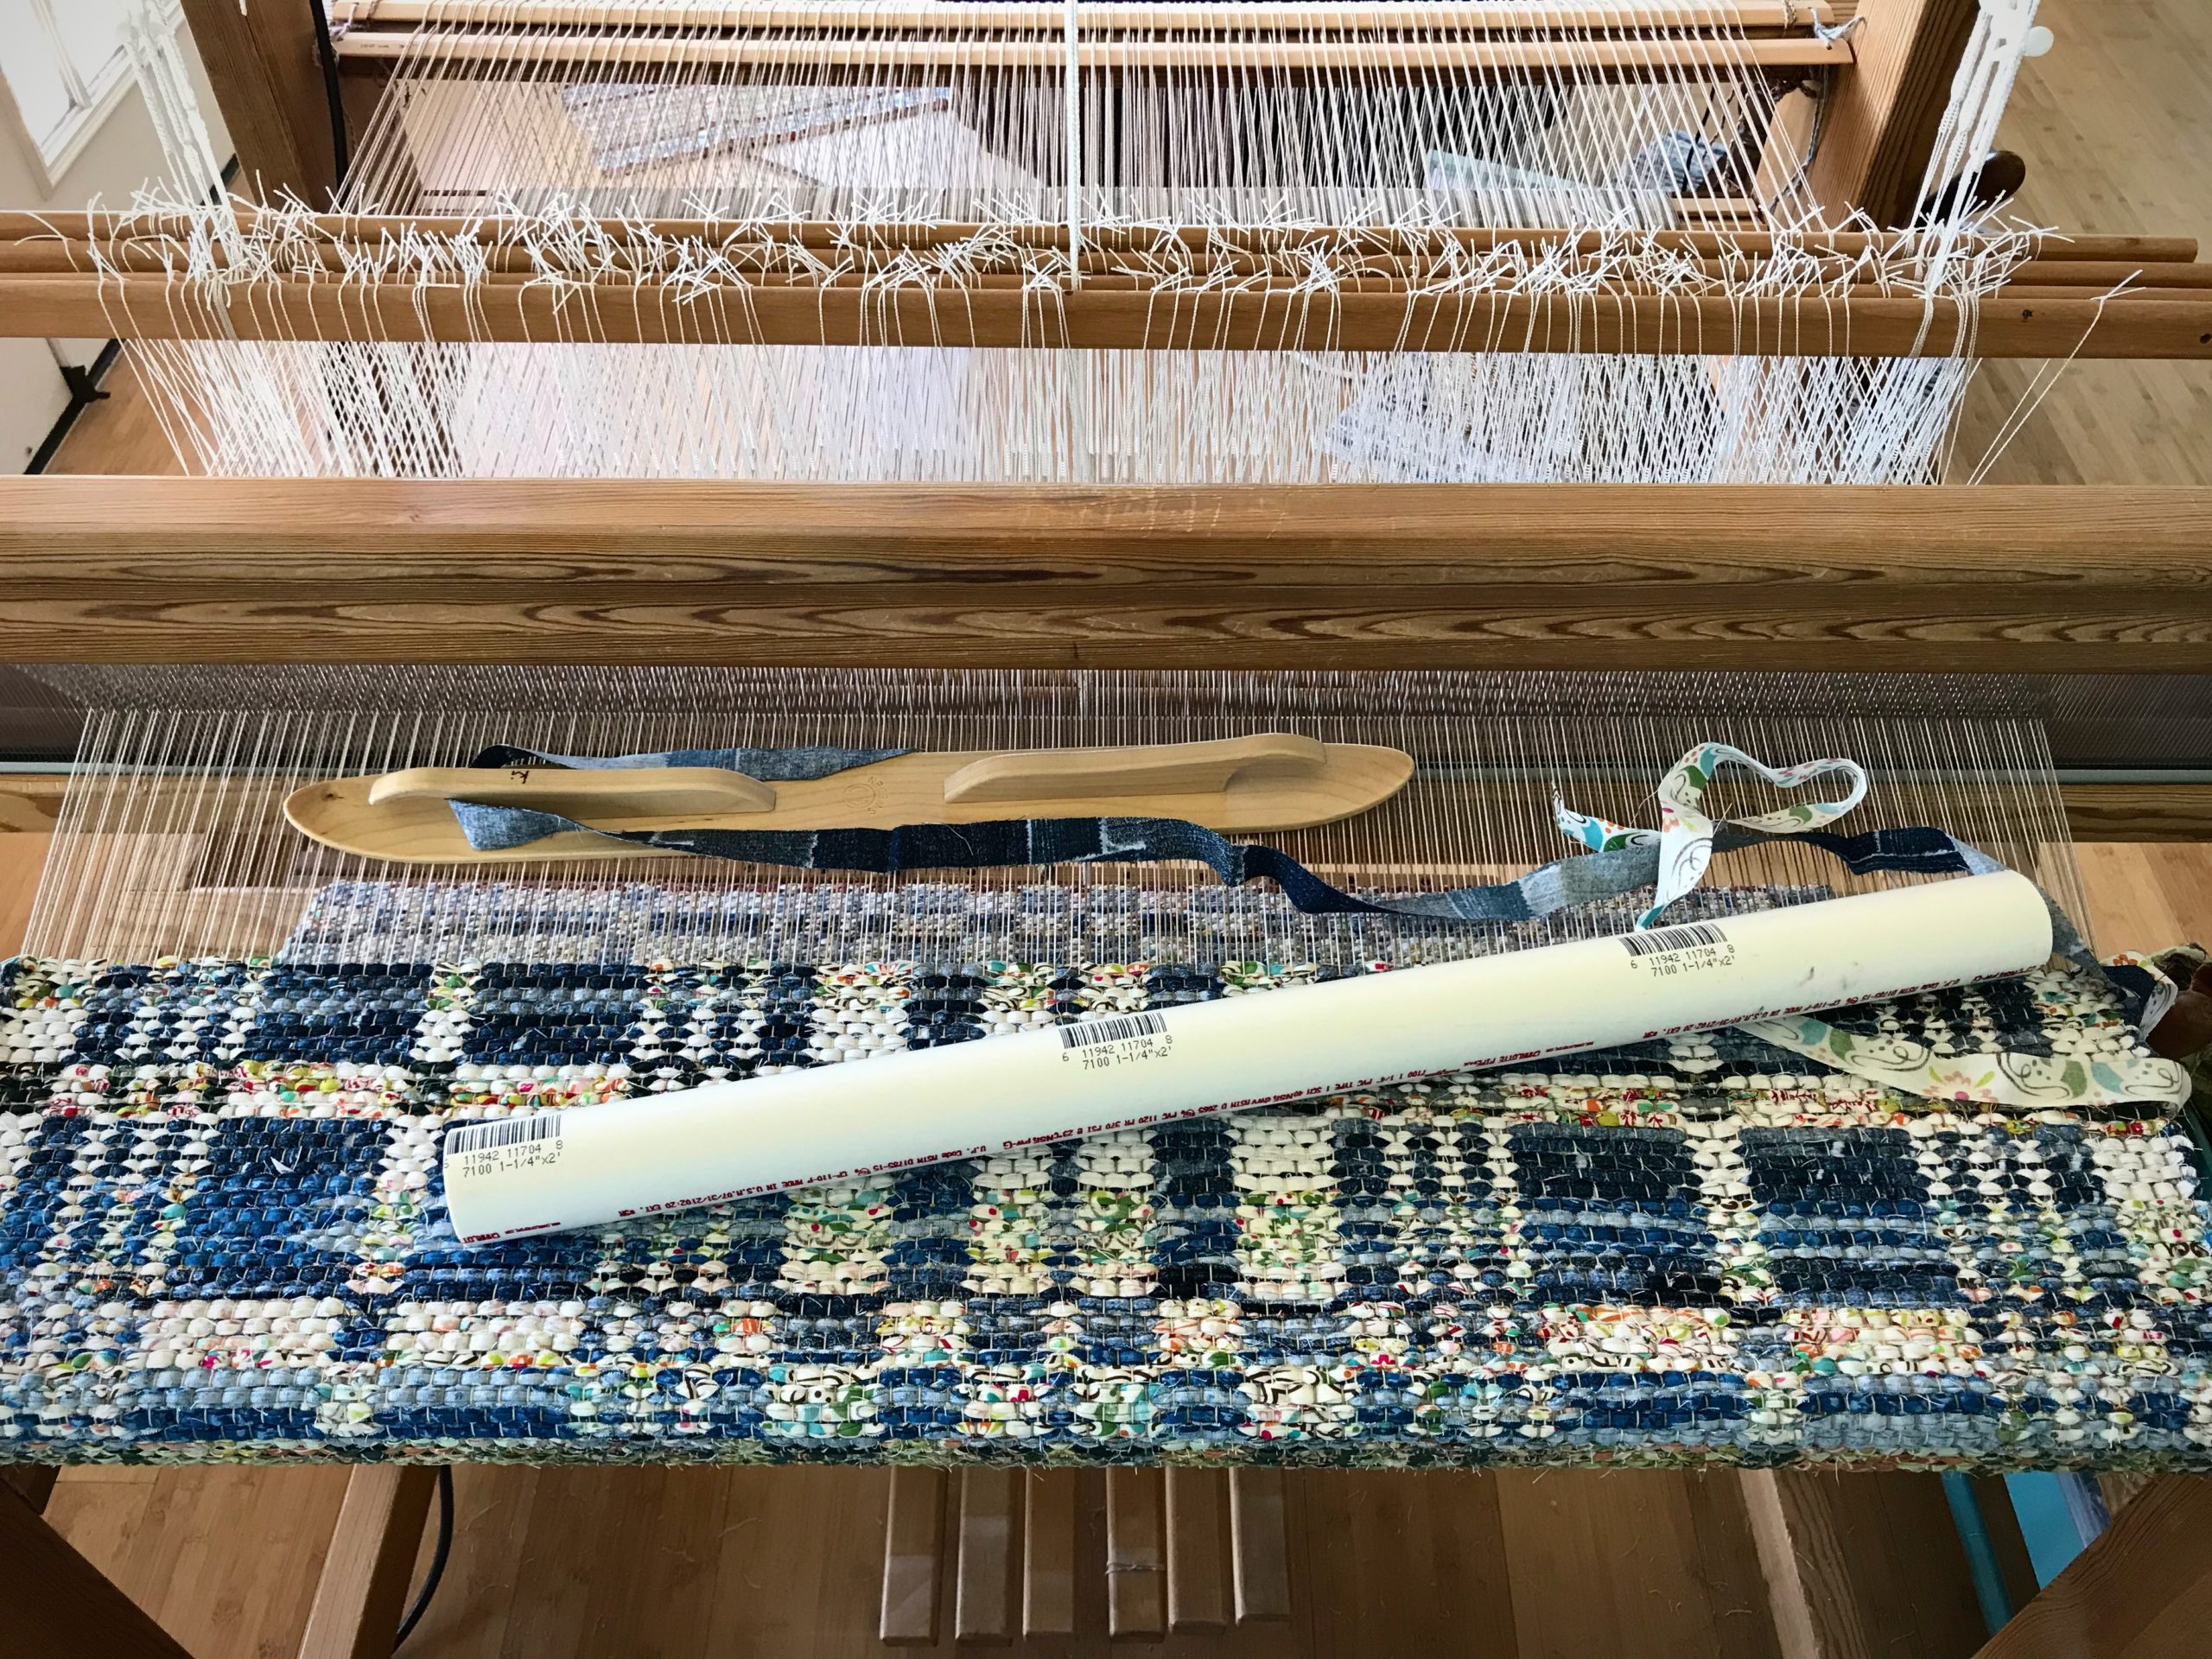
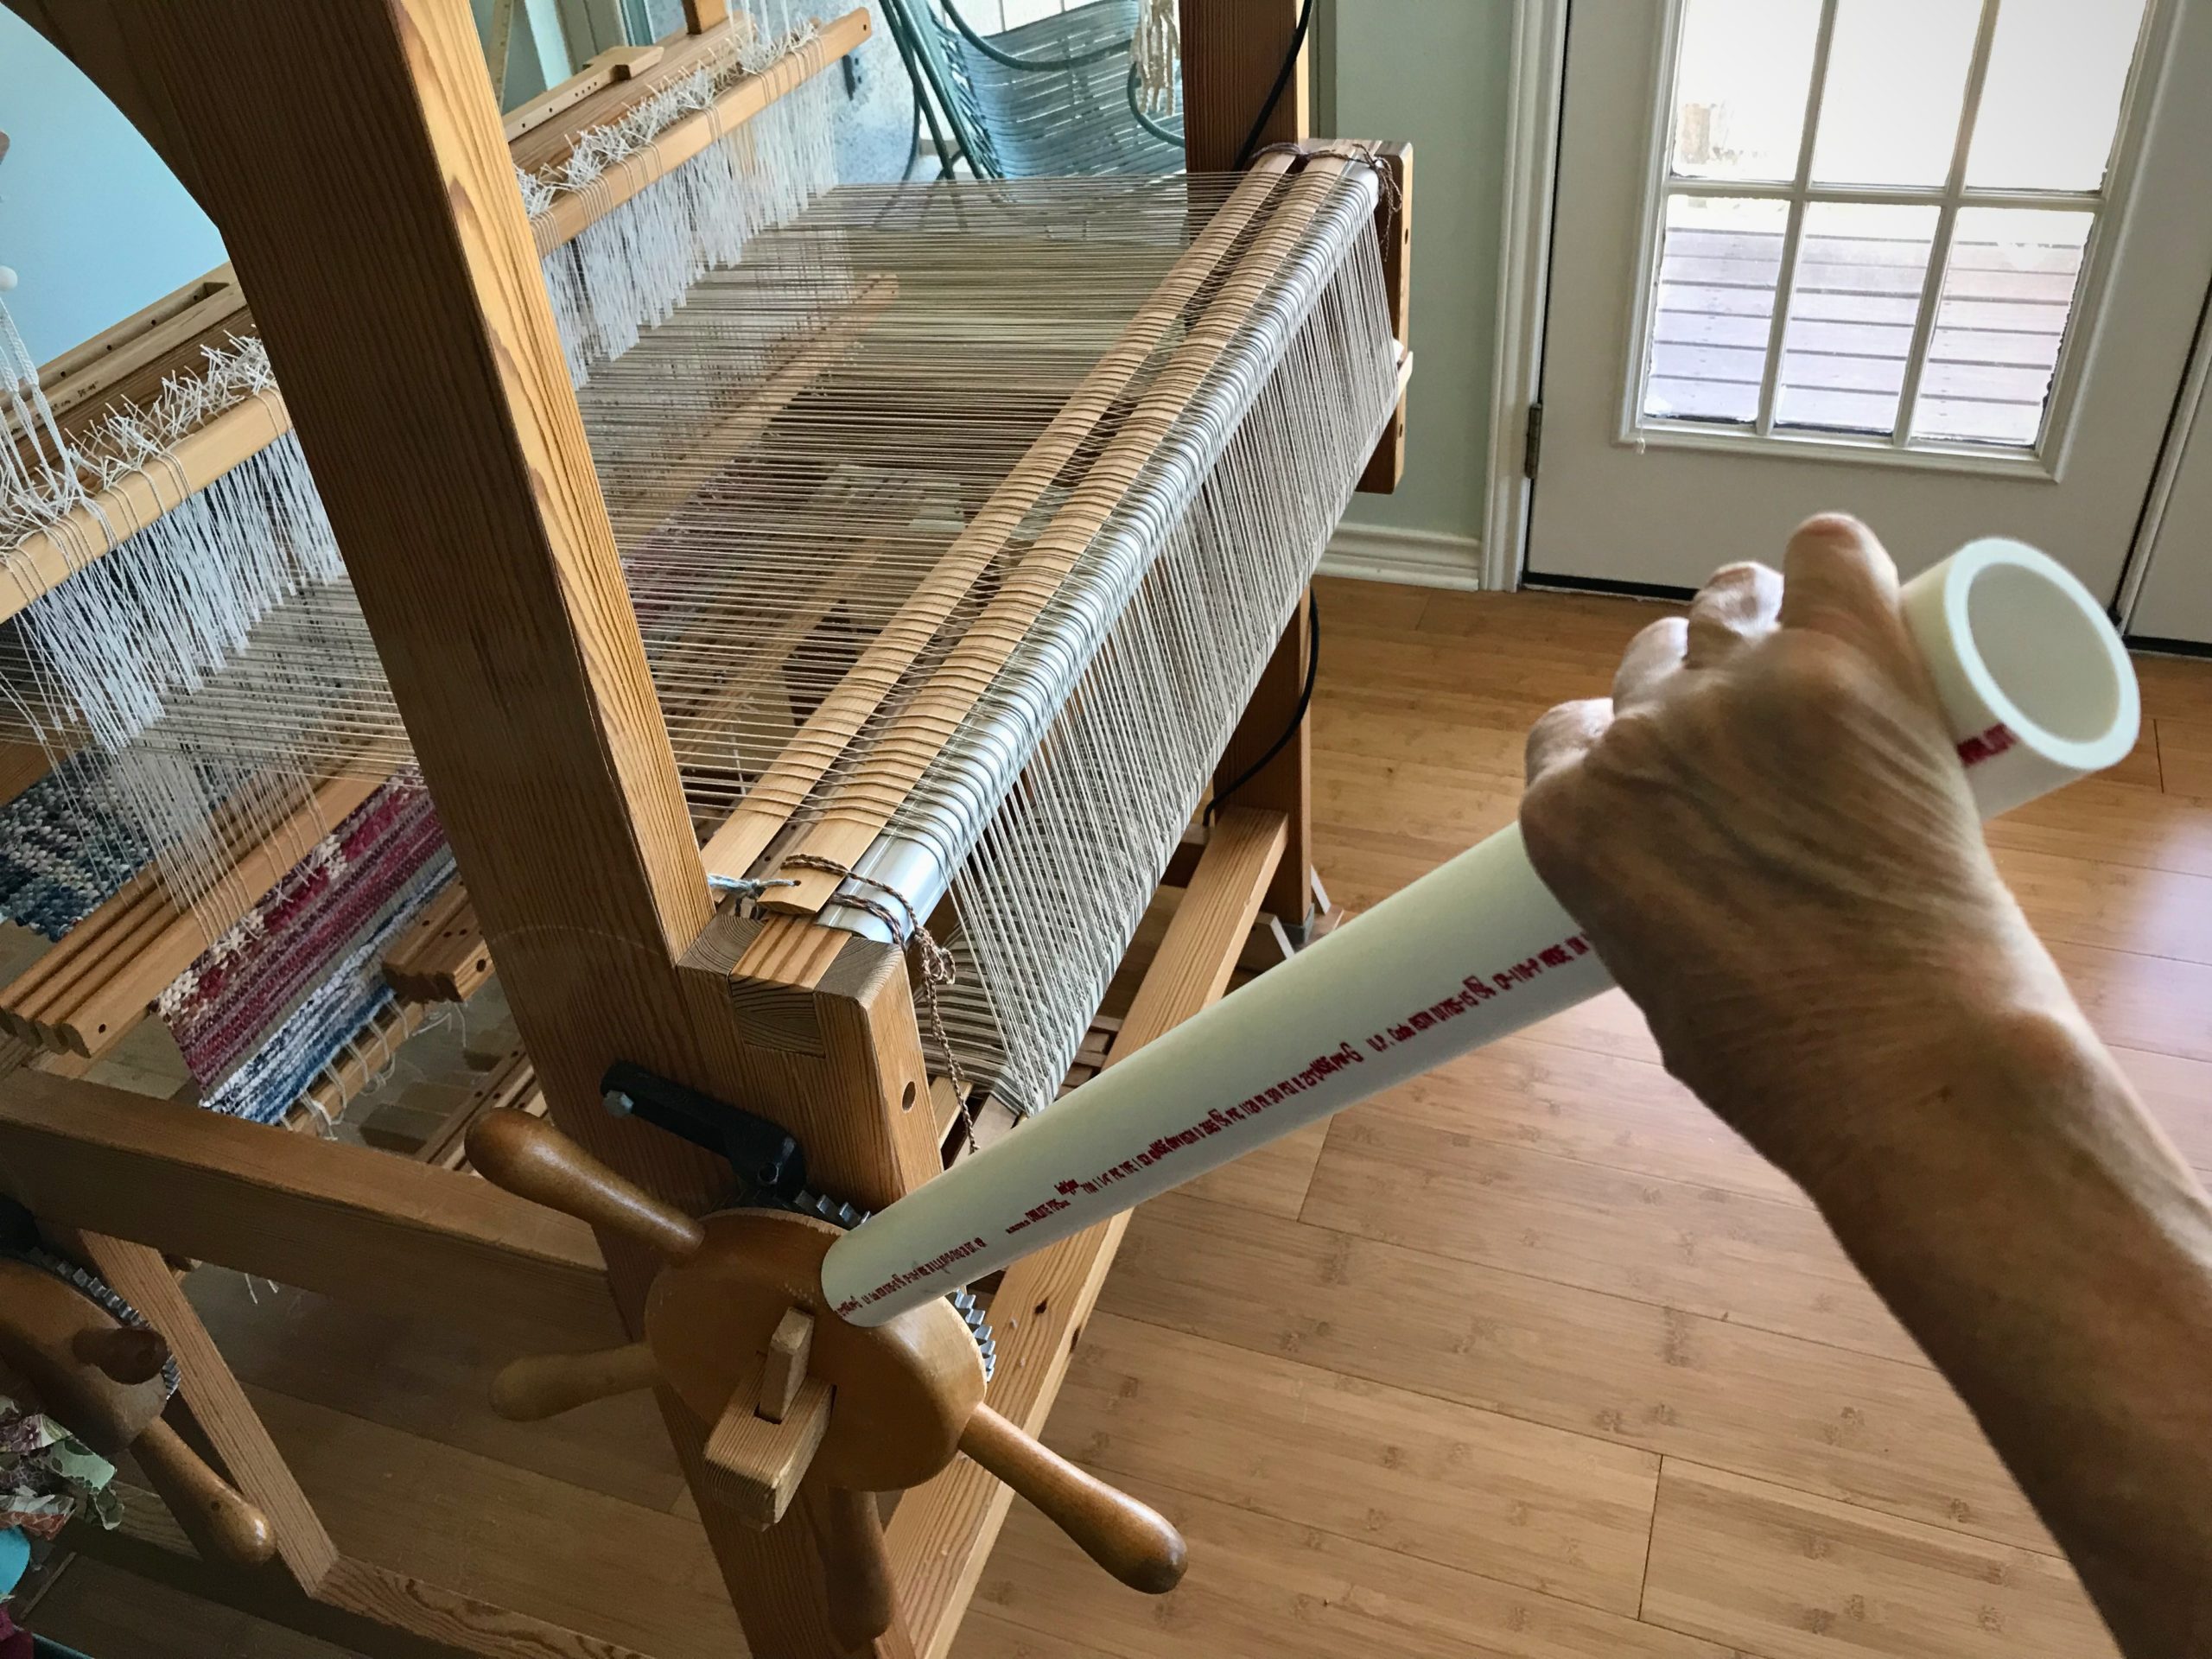
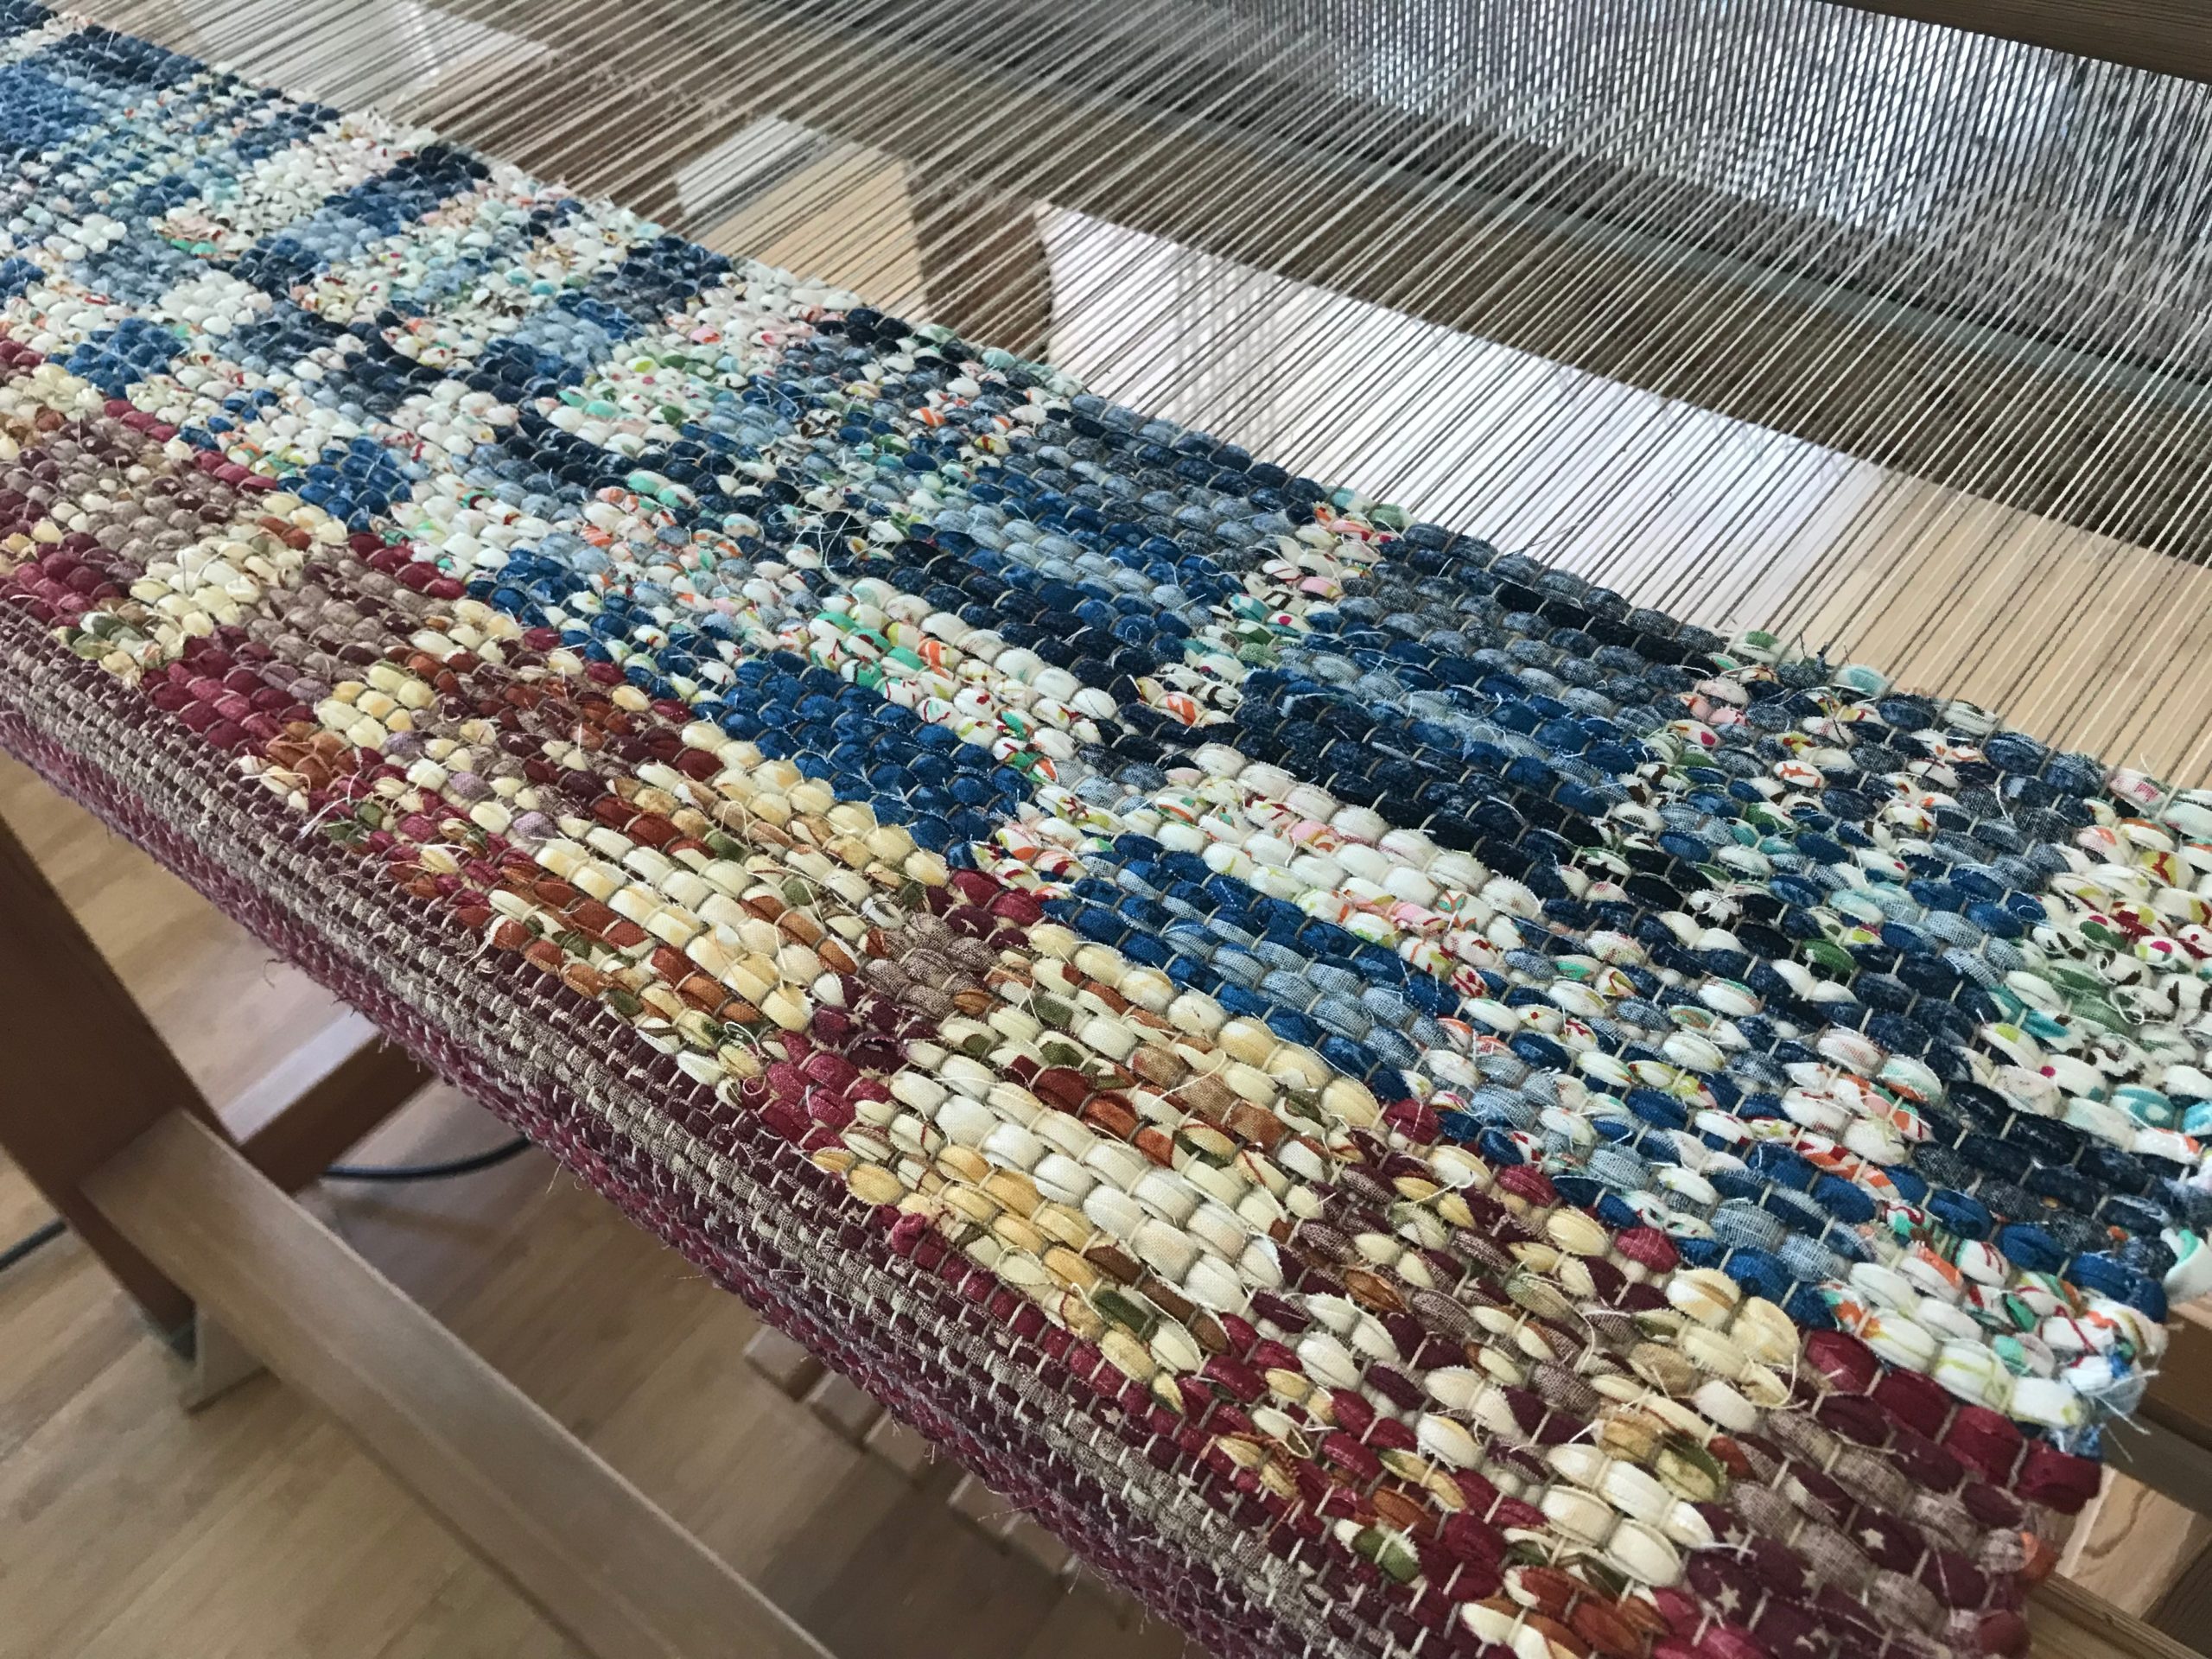
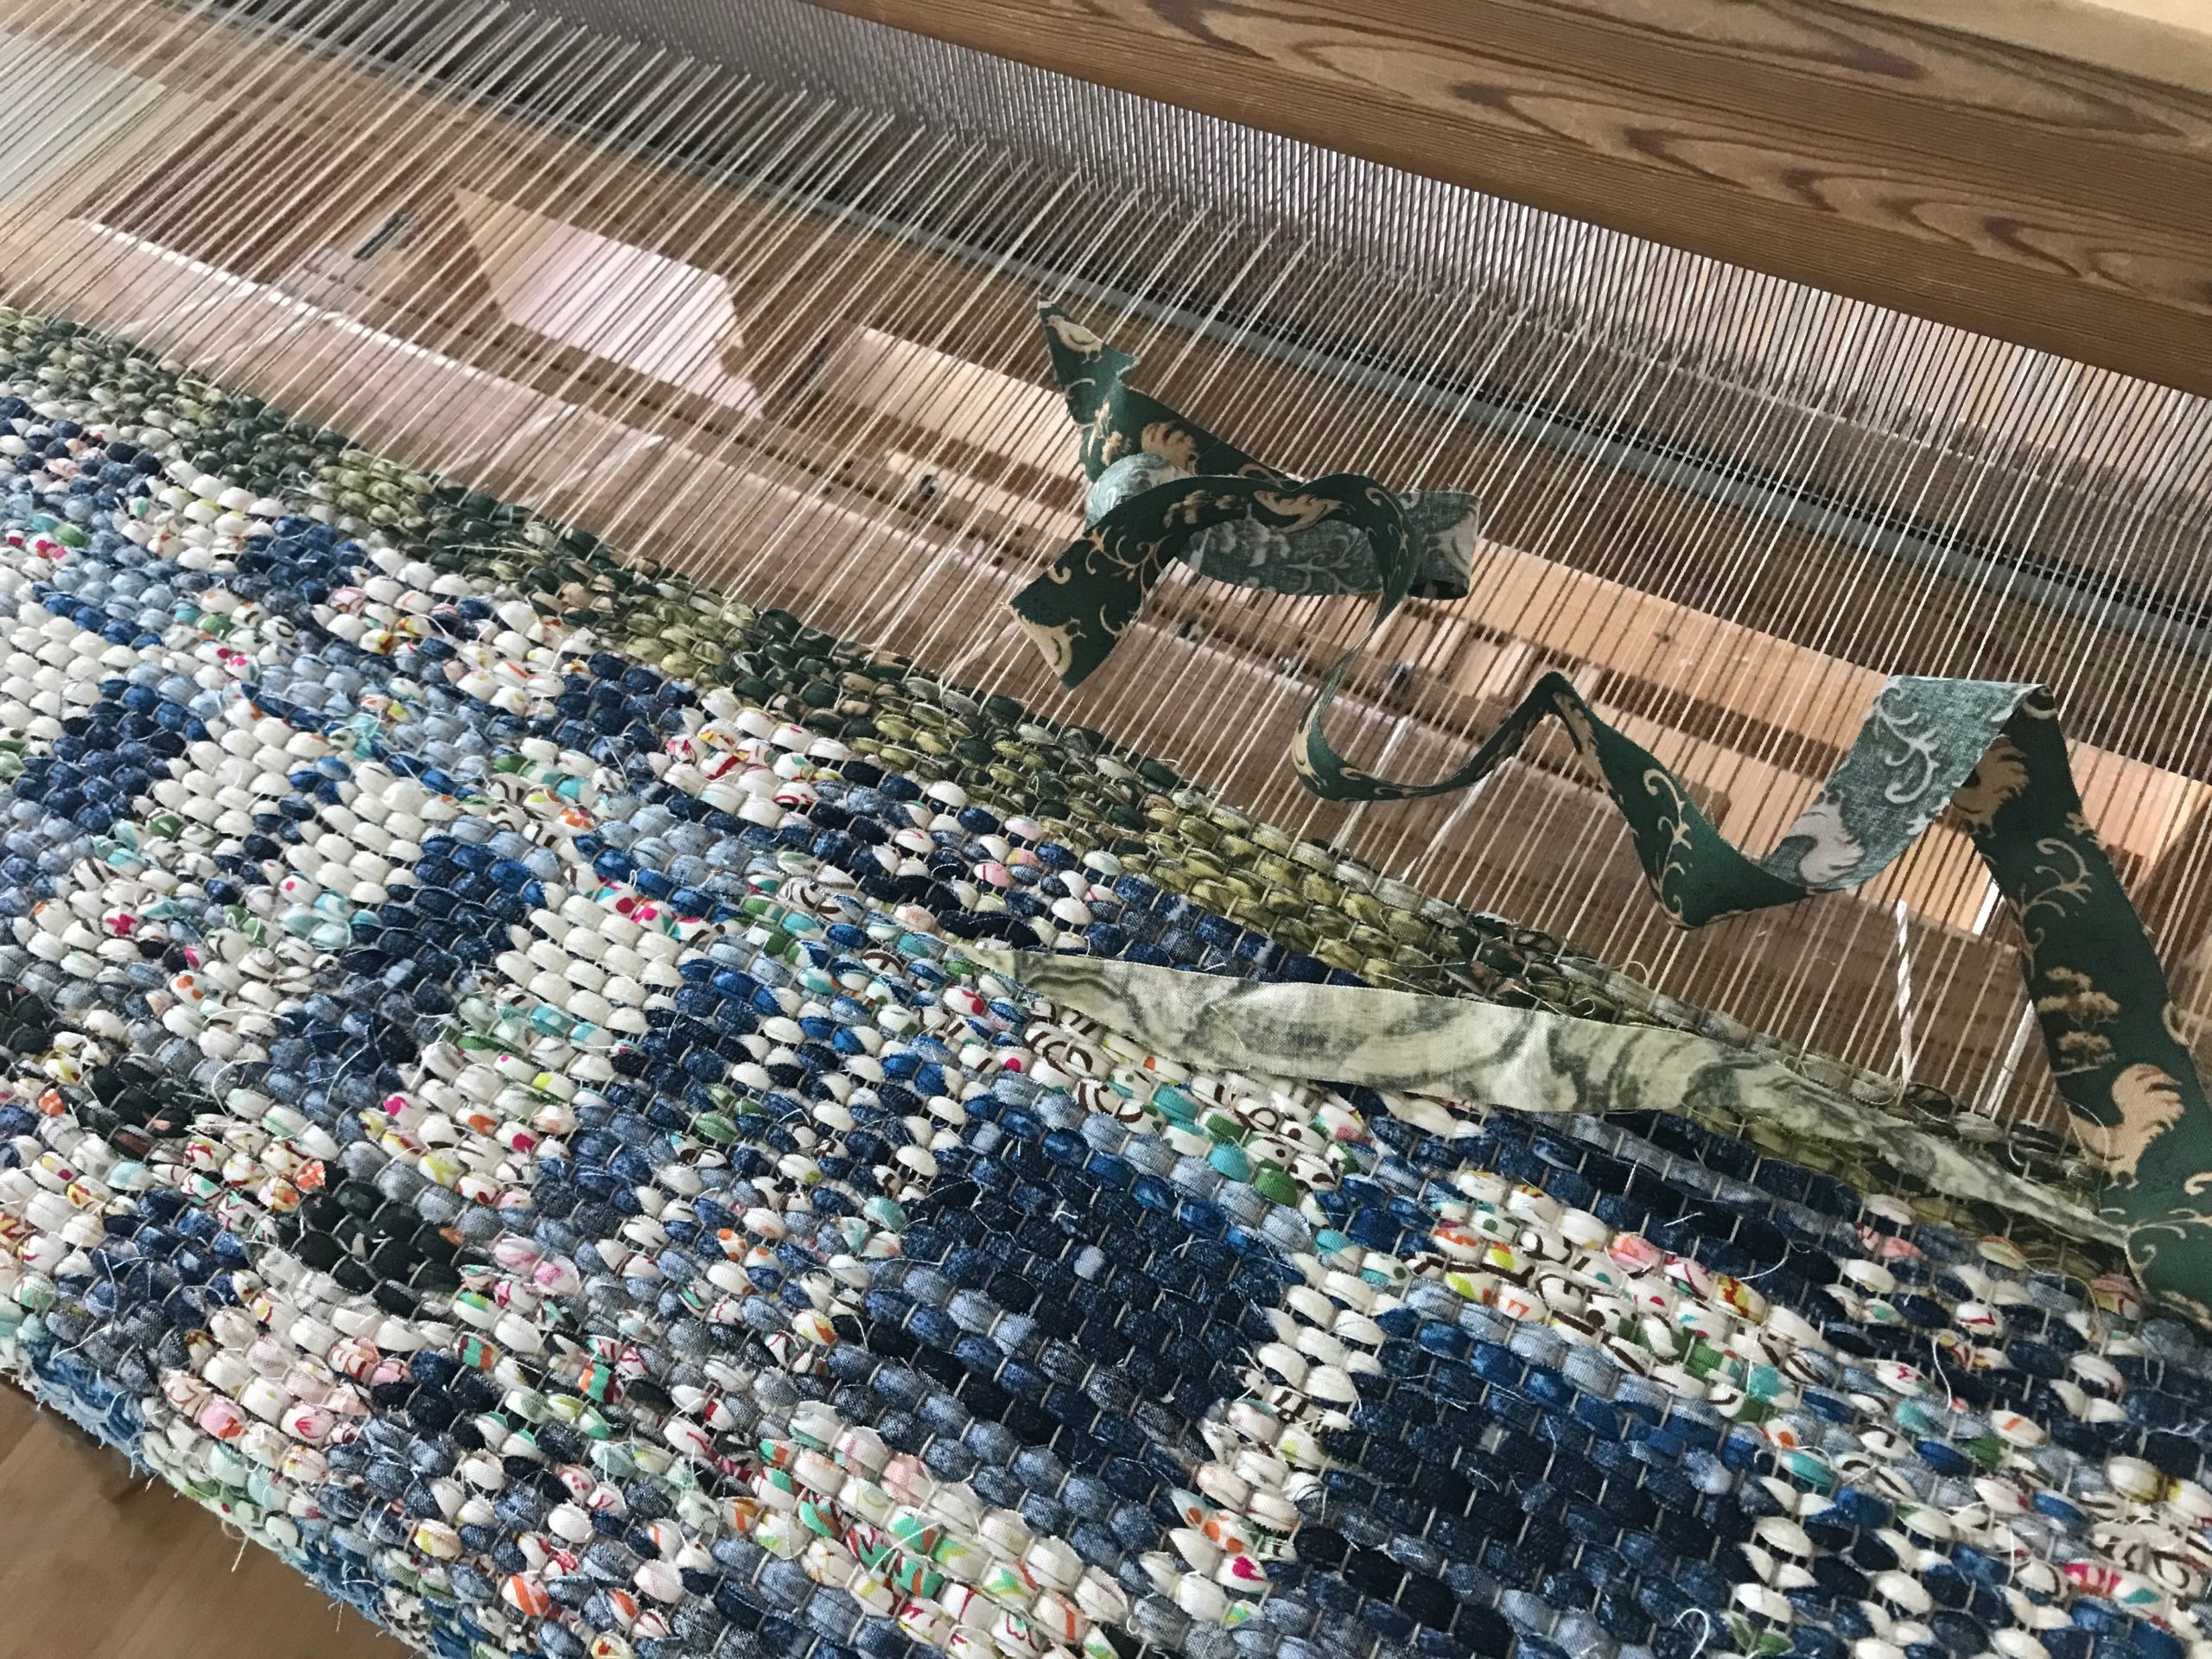
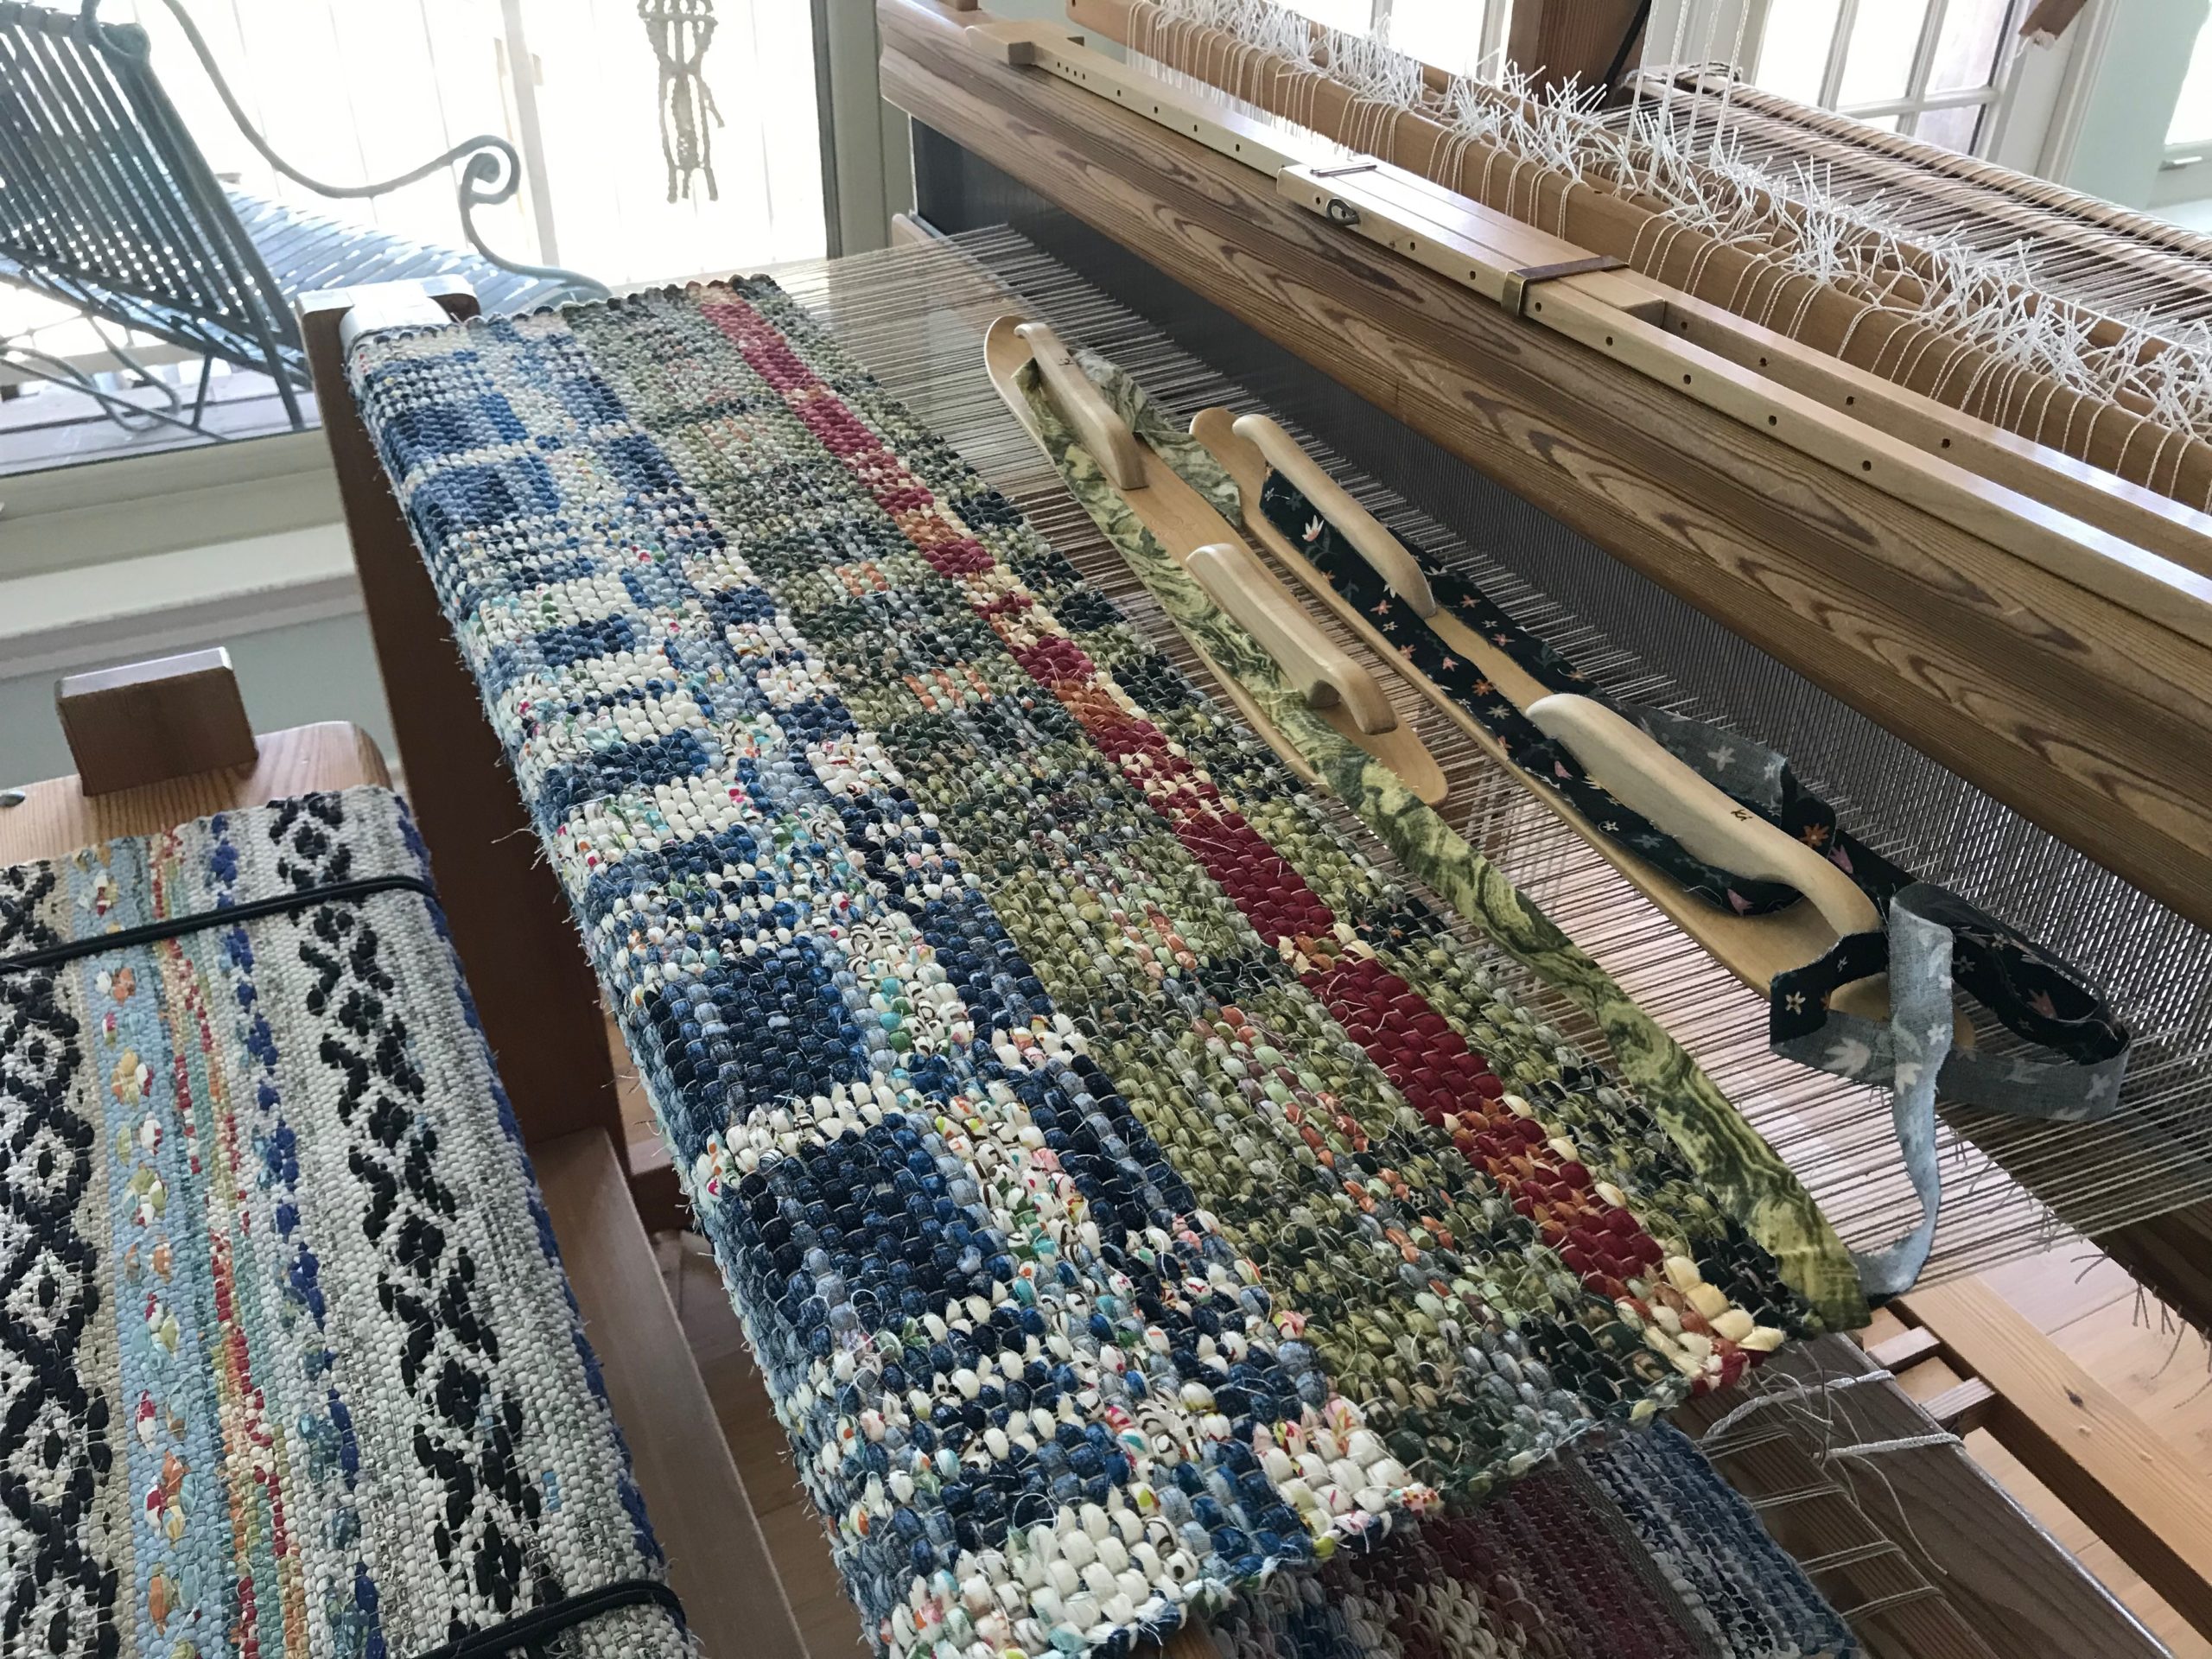
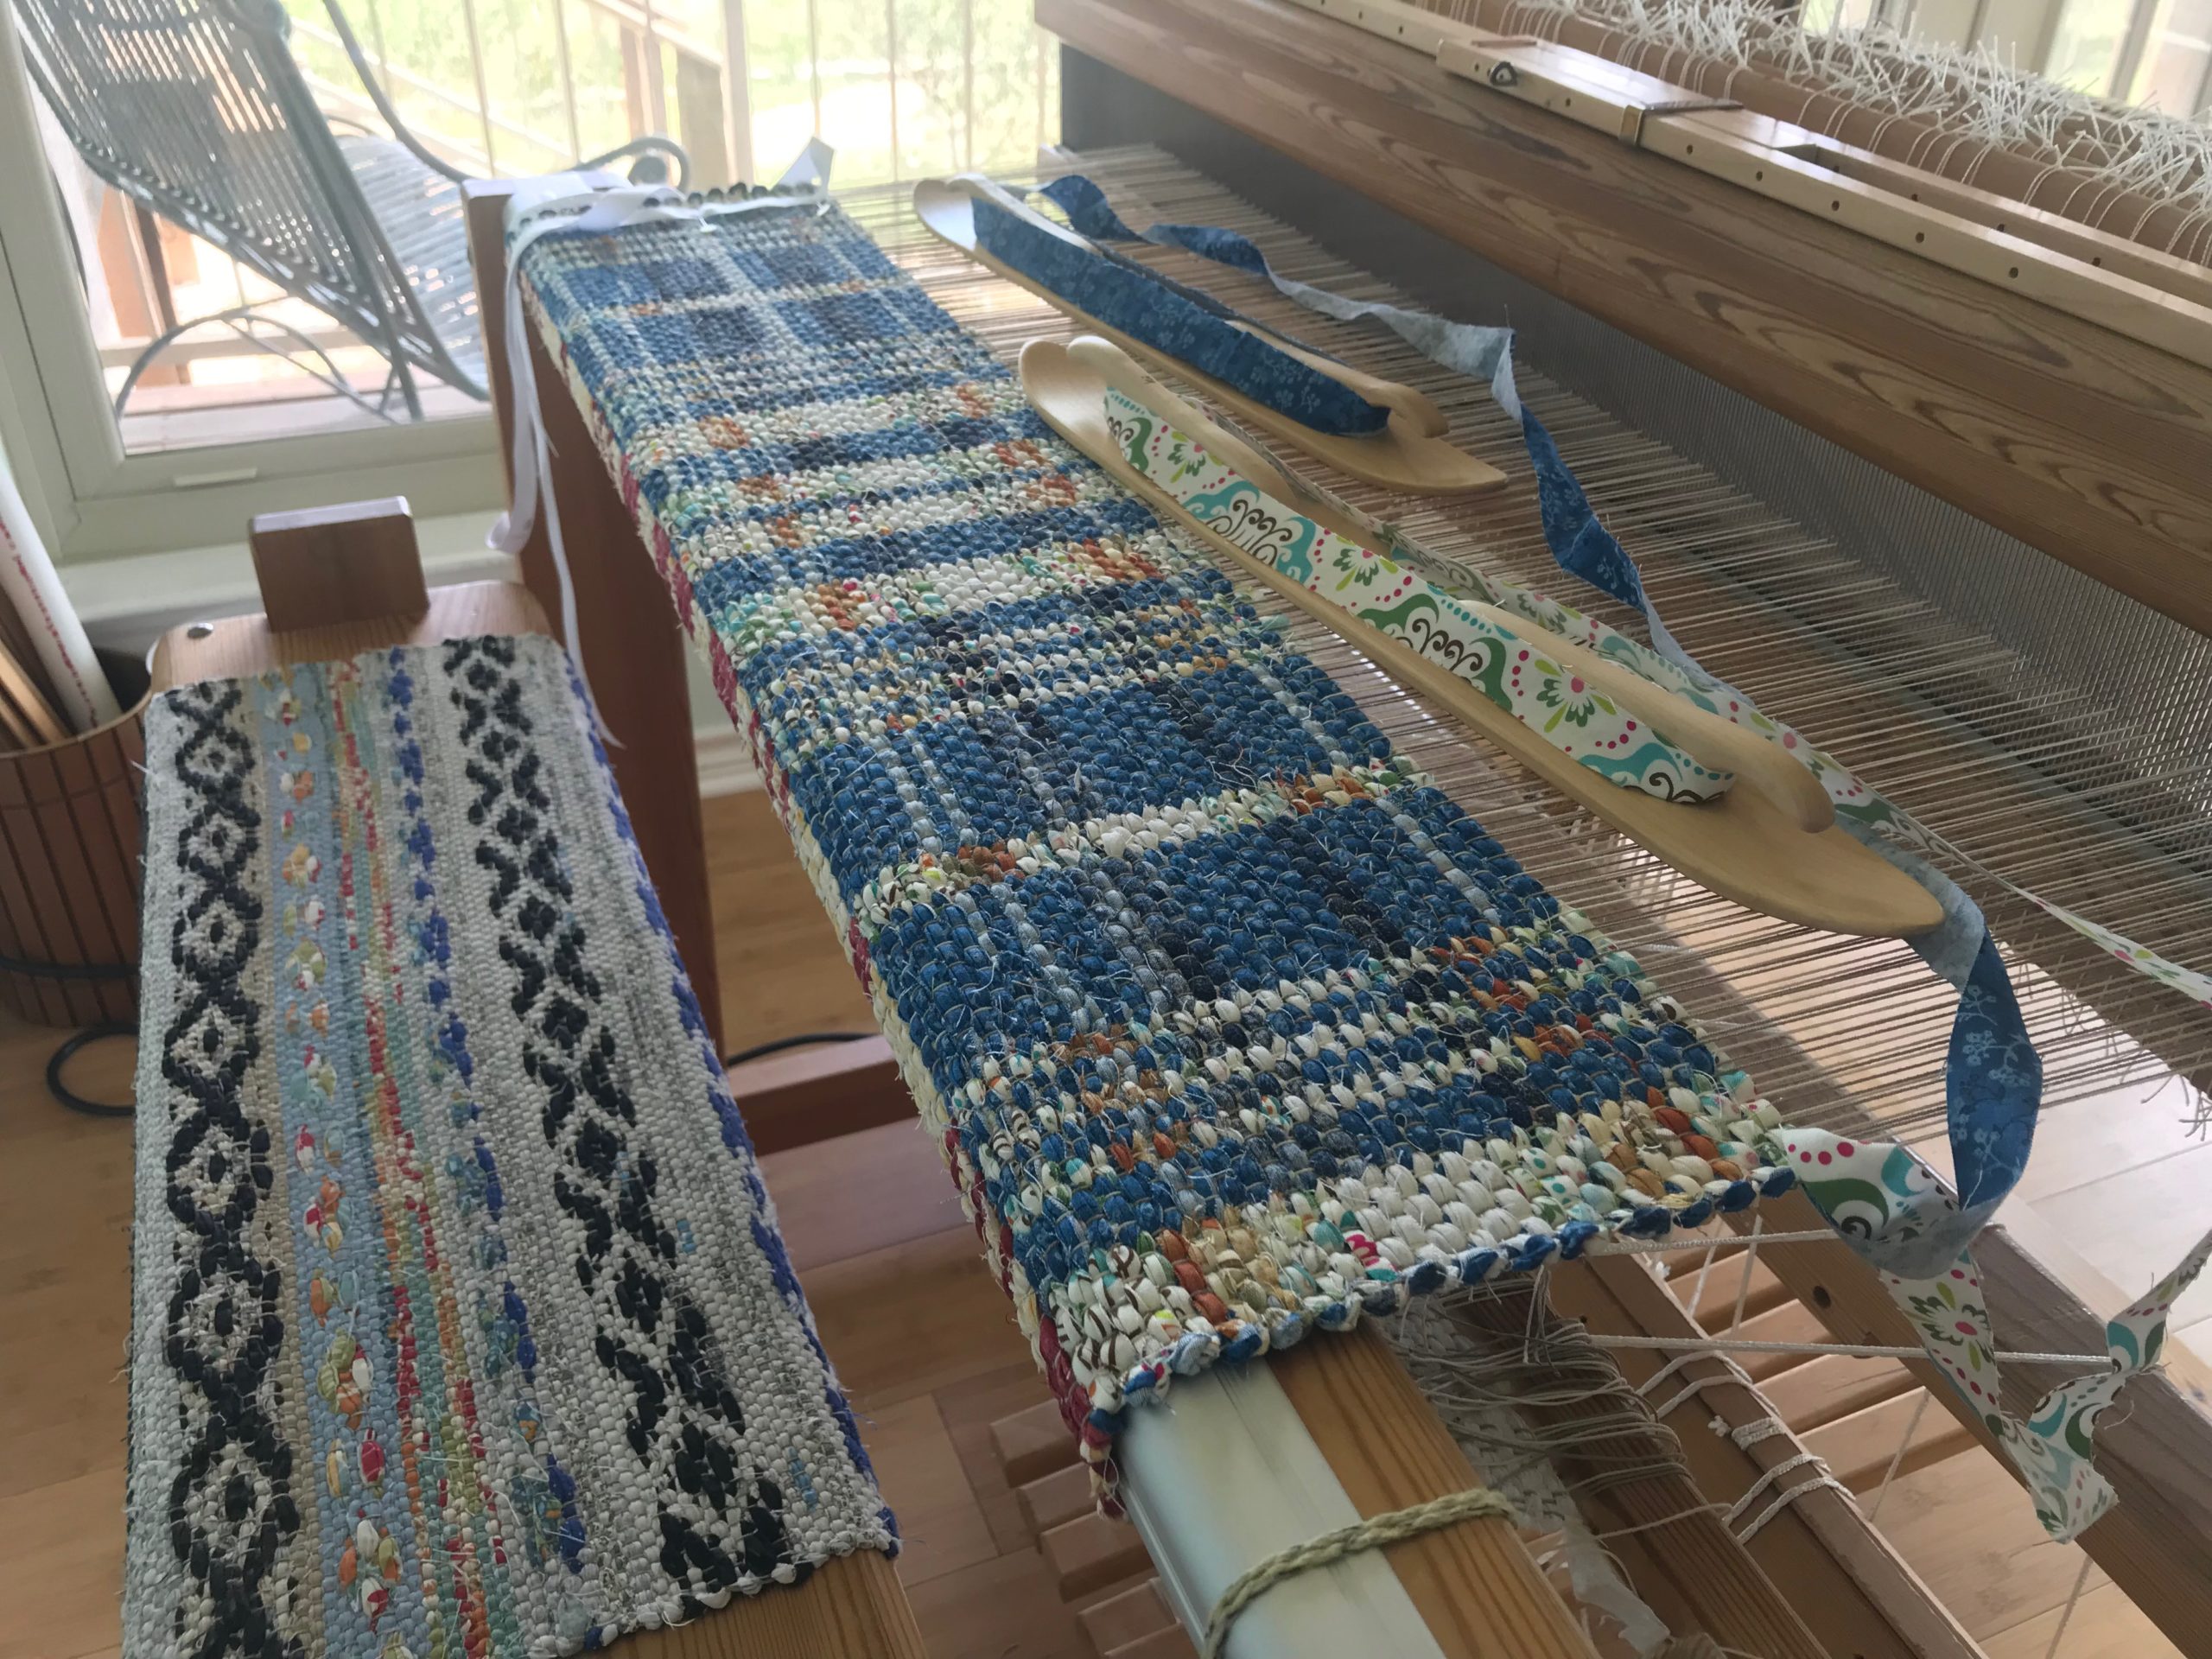
Ski shuttles are a rag-rug weaver’s best friends. A few simple tips for using a ski shuttle make rag-rug weaving even that much more fun.

Ski shuttles are fun tools to use for weaving rag rugs.
In the video I explain why I don’t use the longer ski shuttle very much.

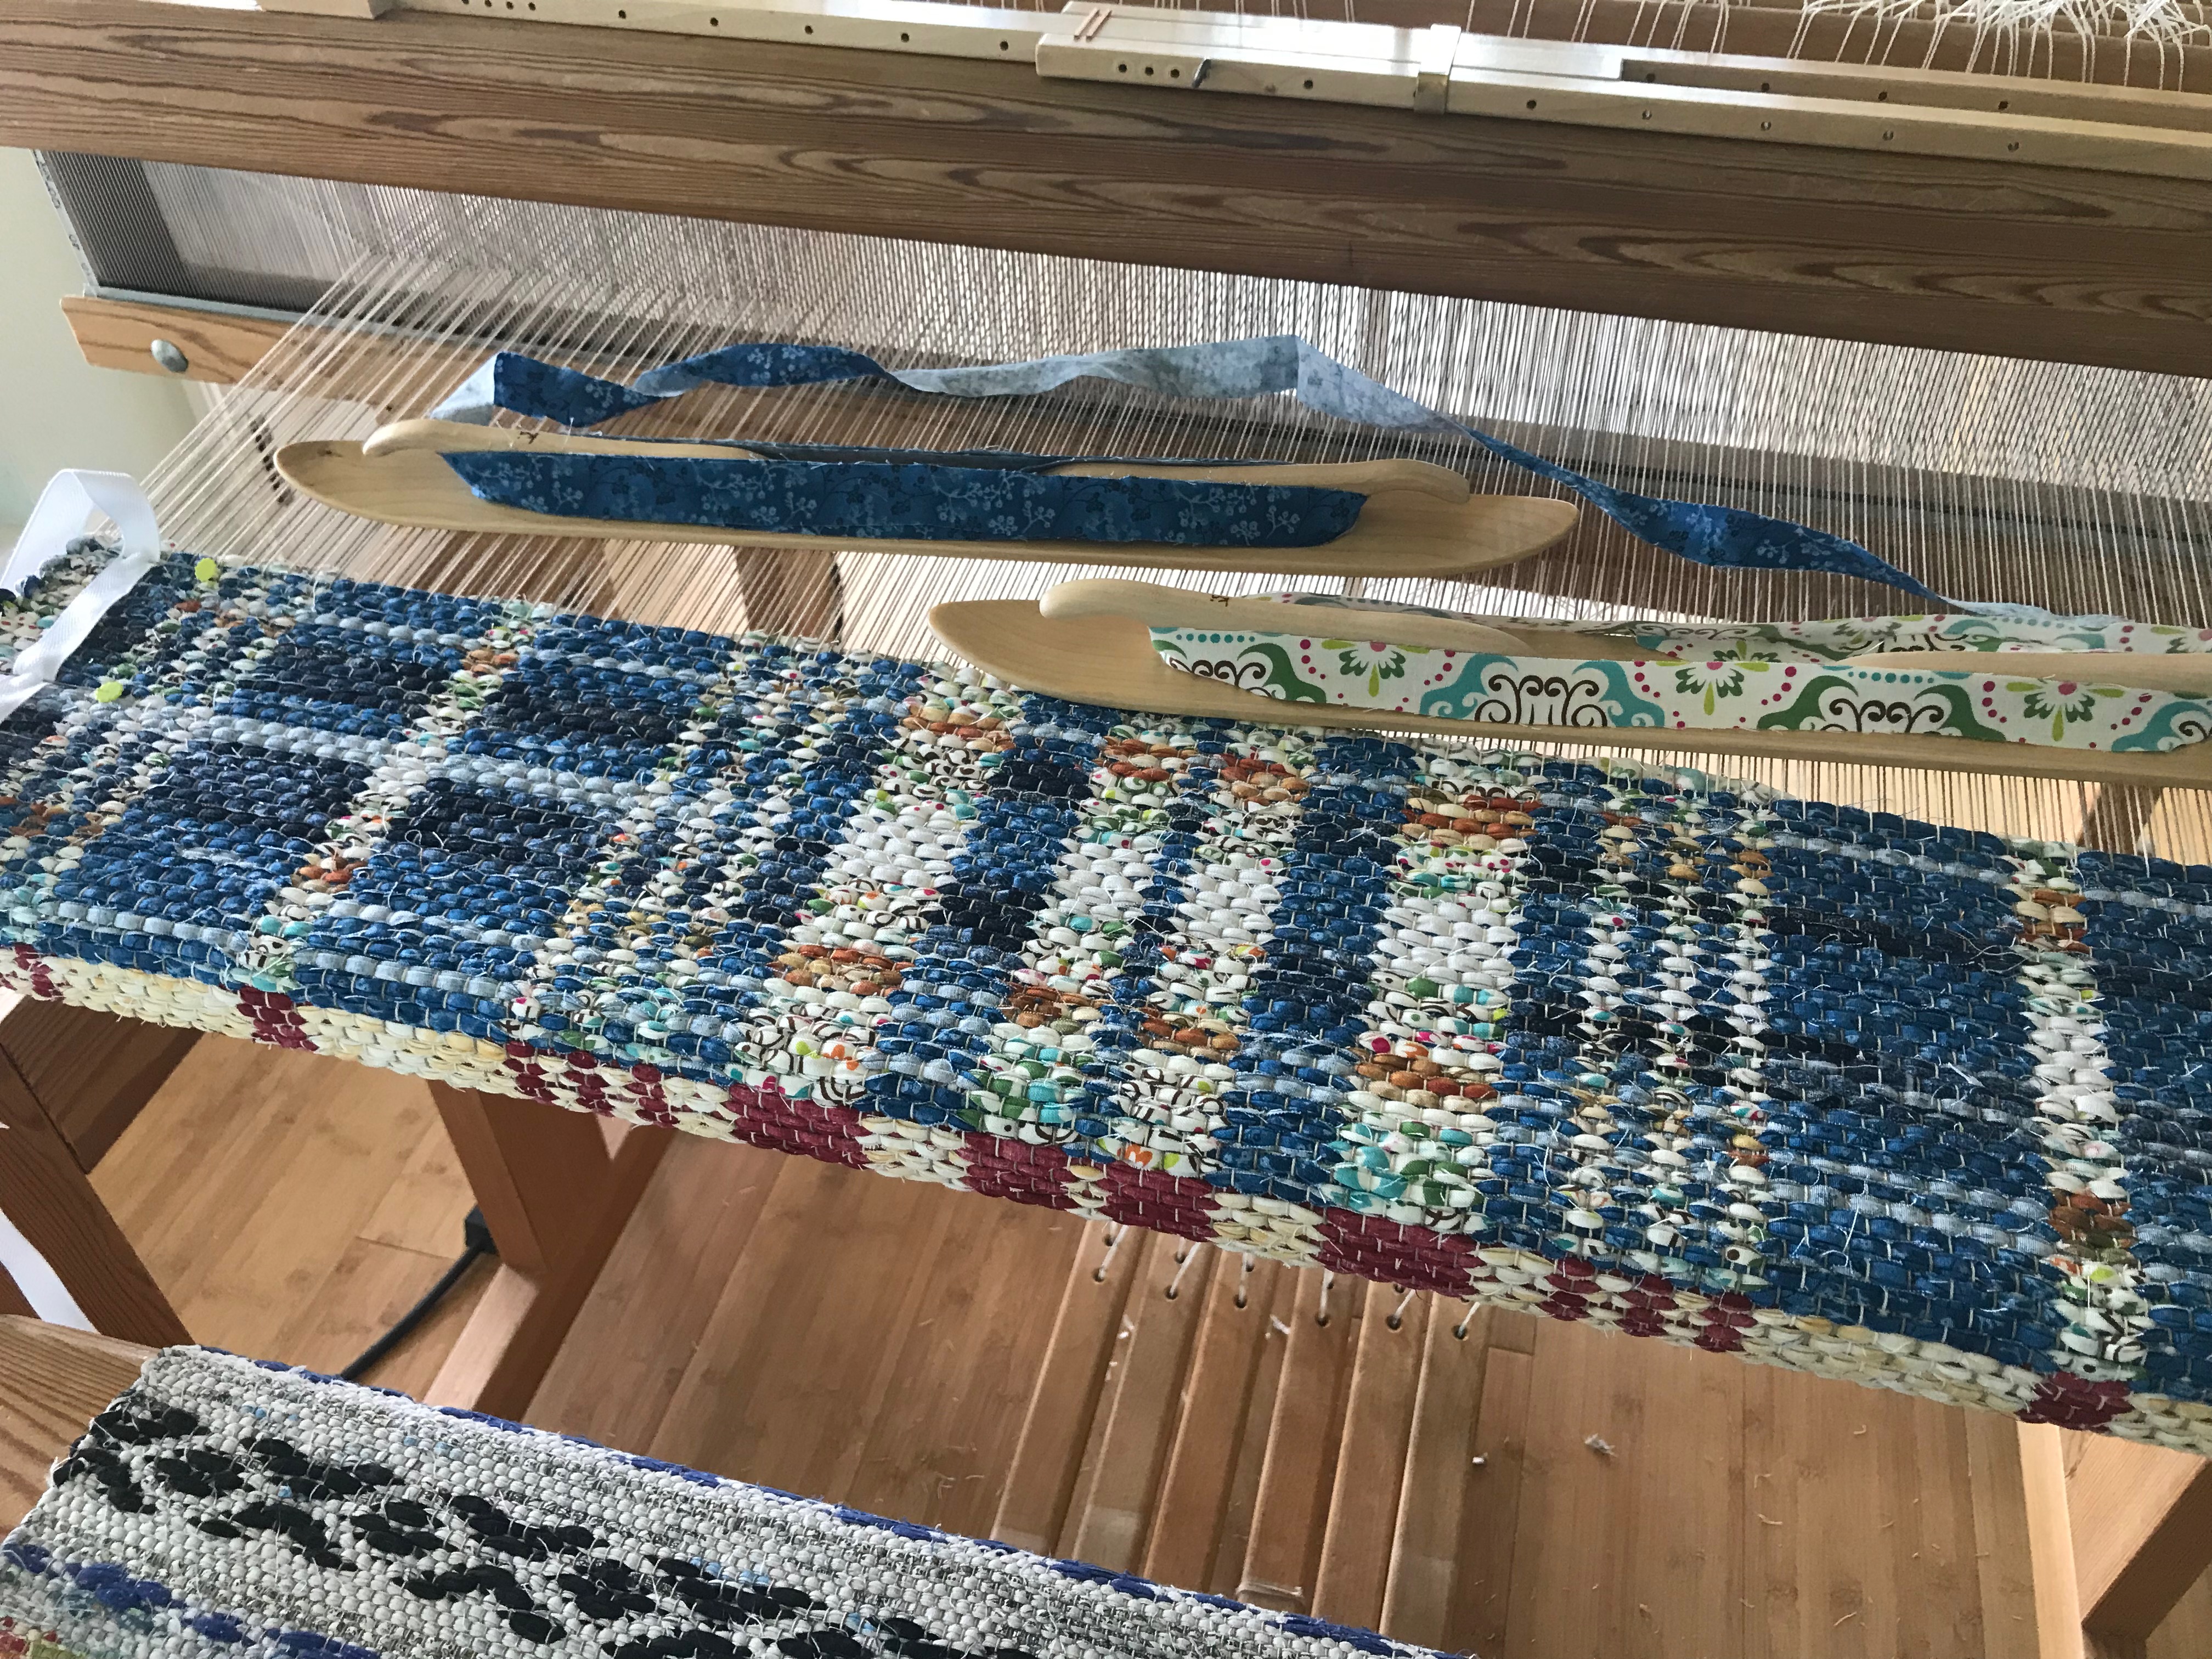
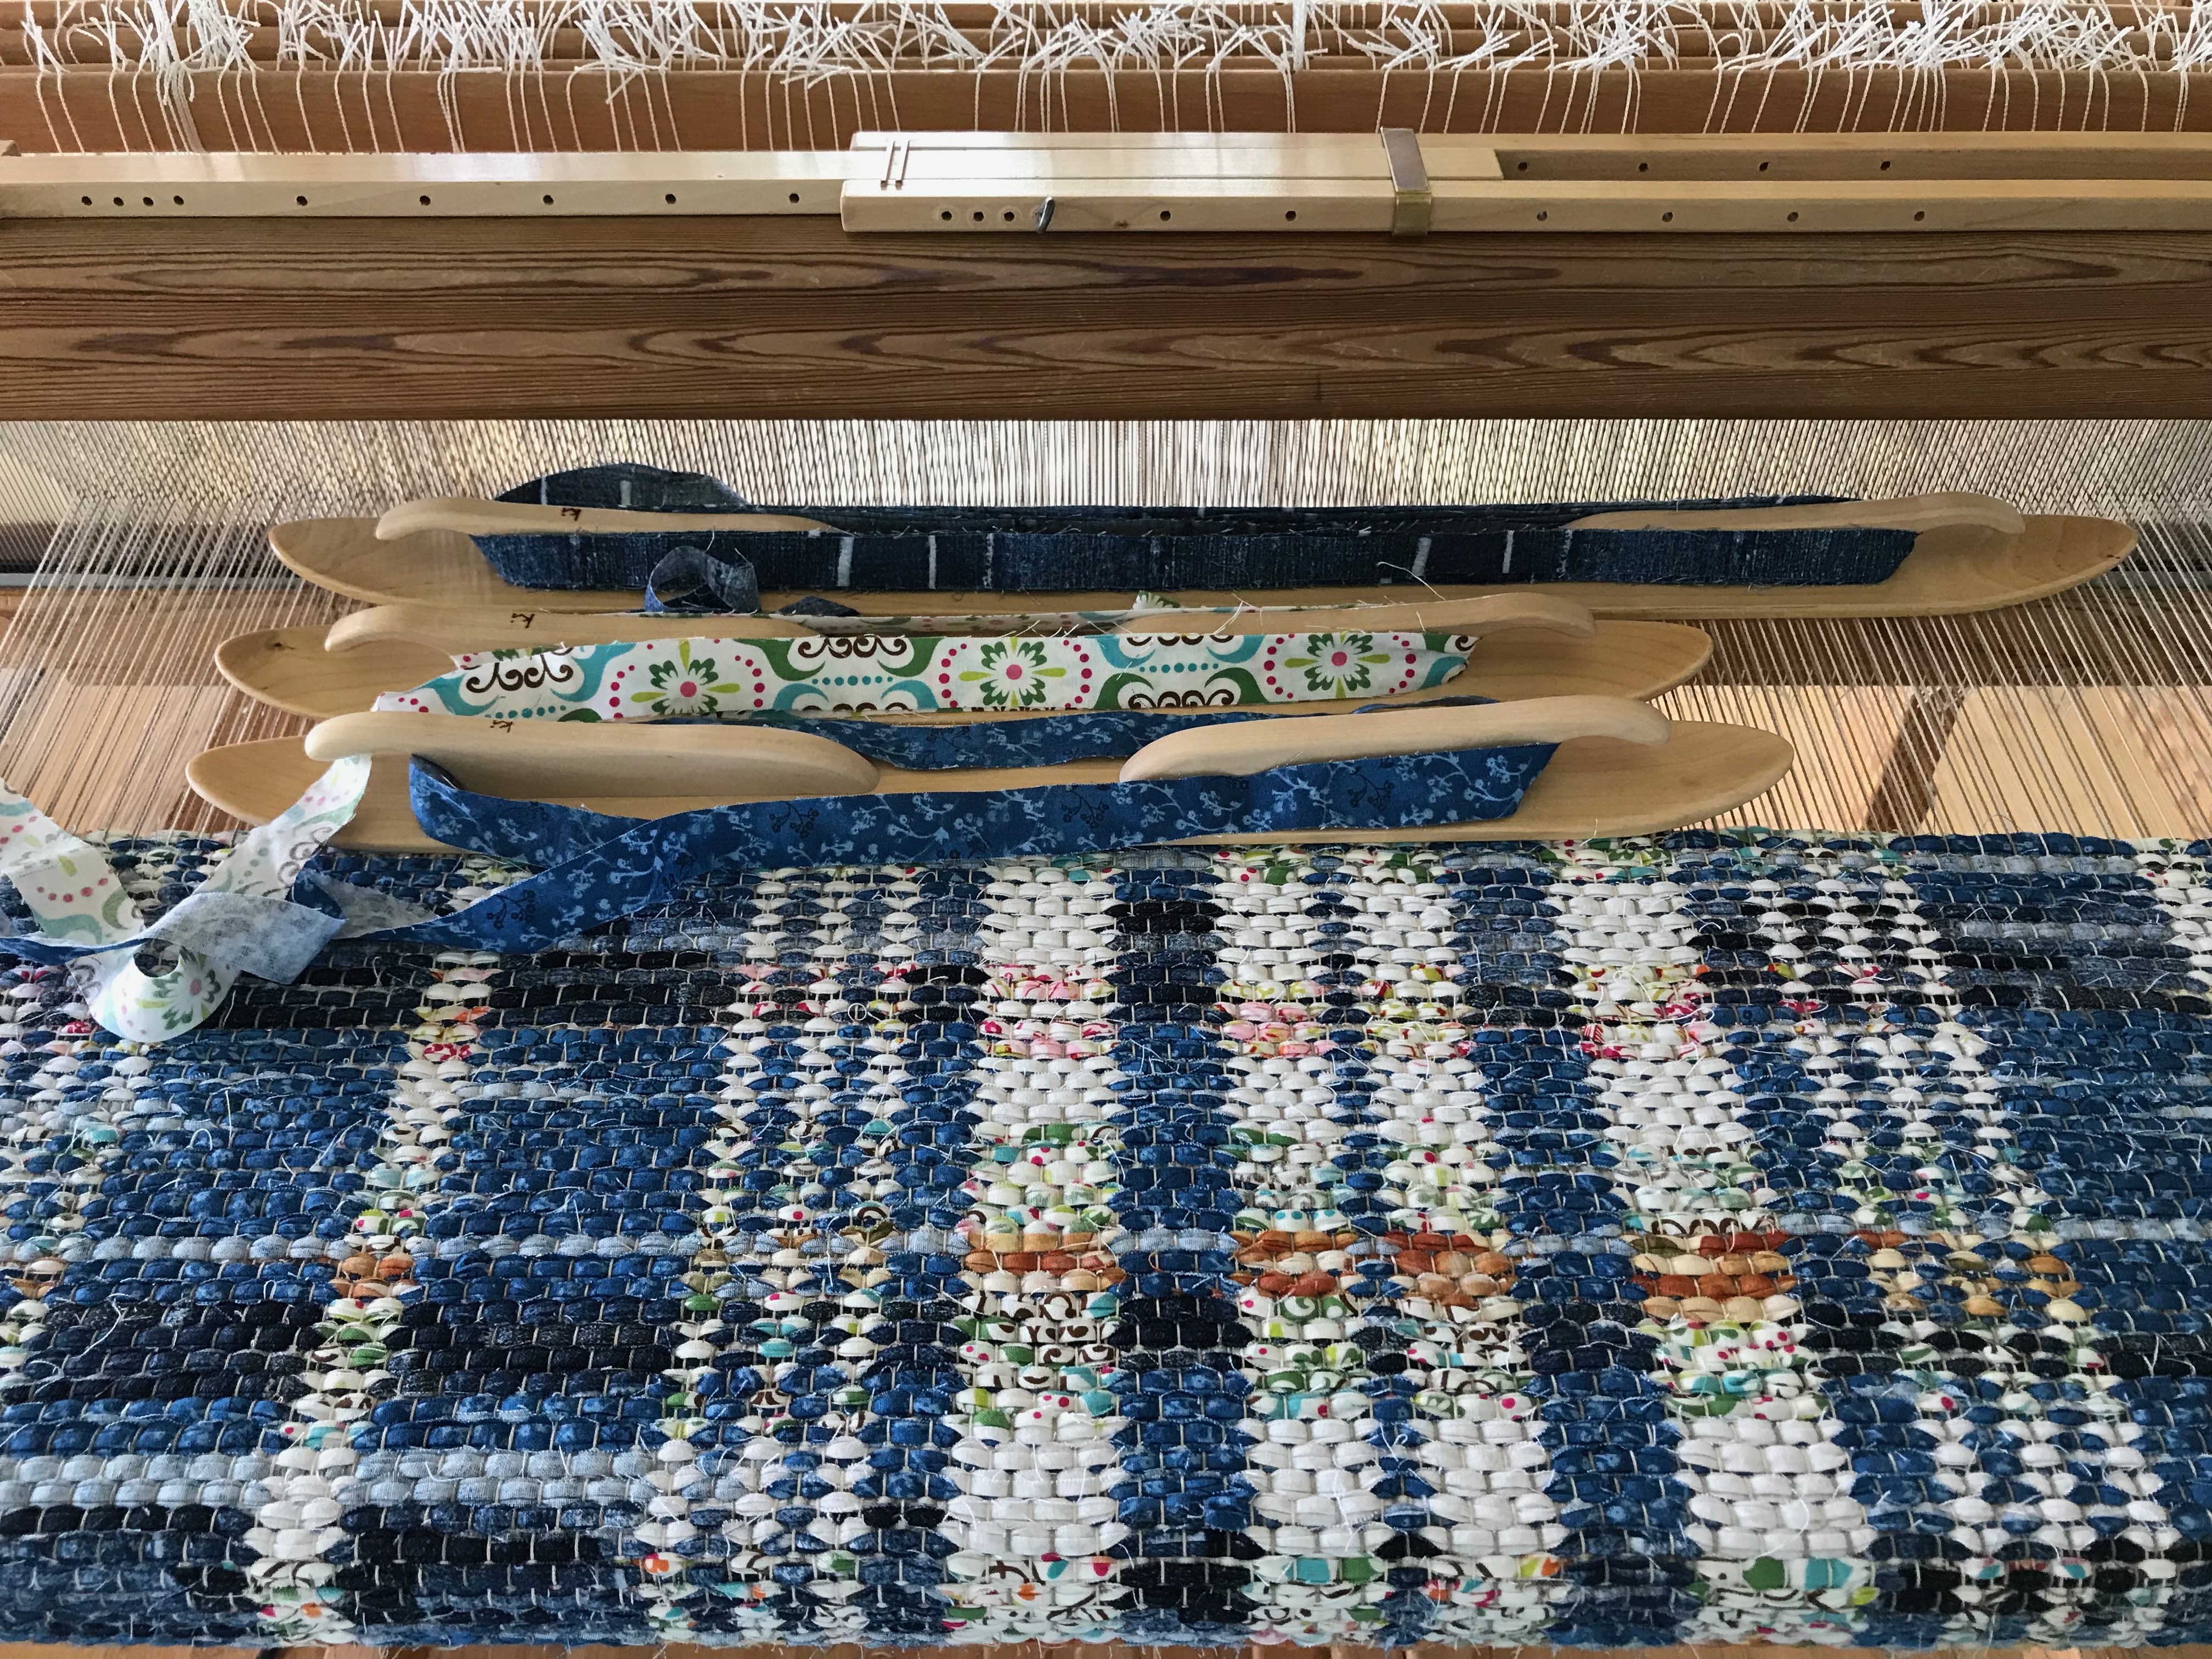
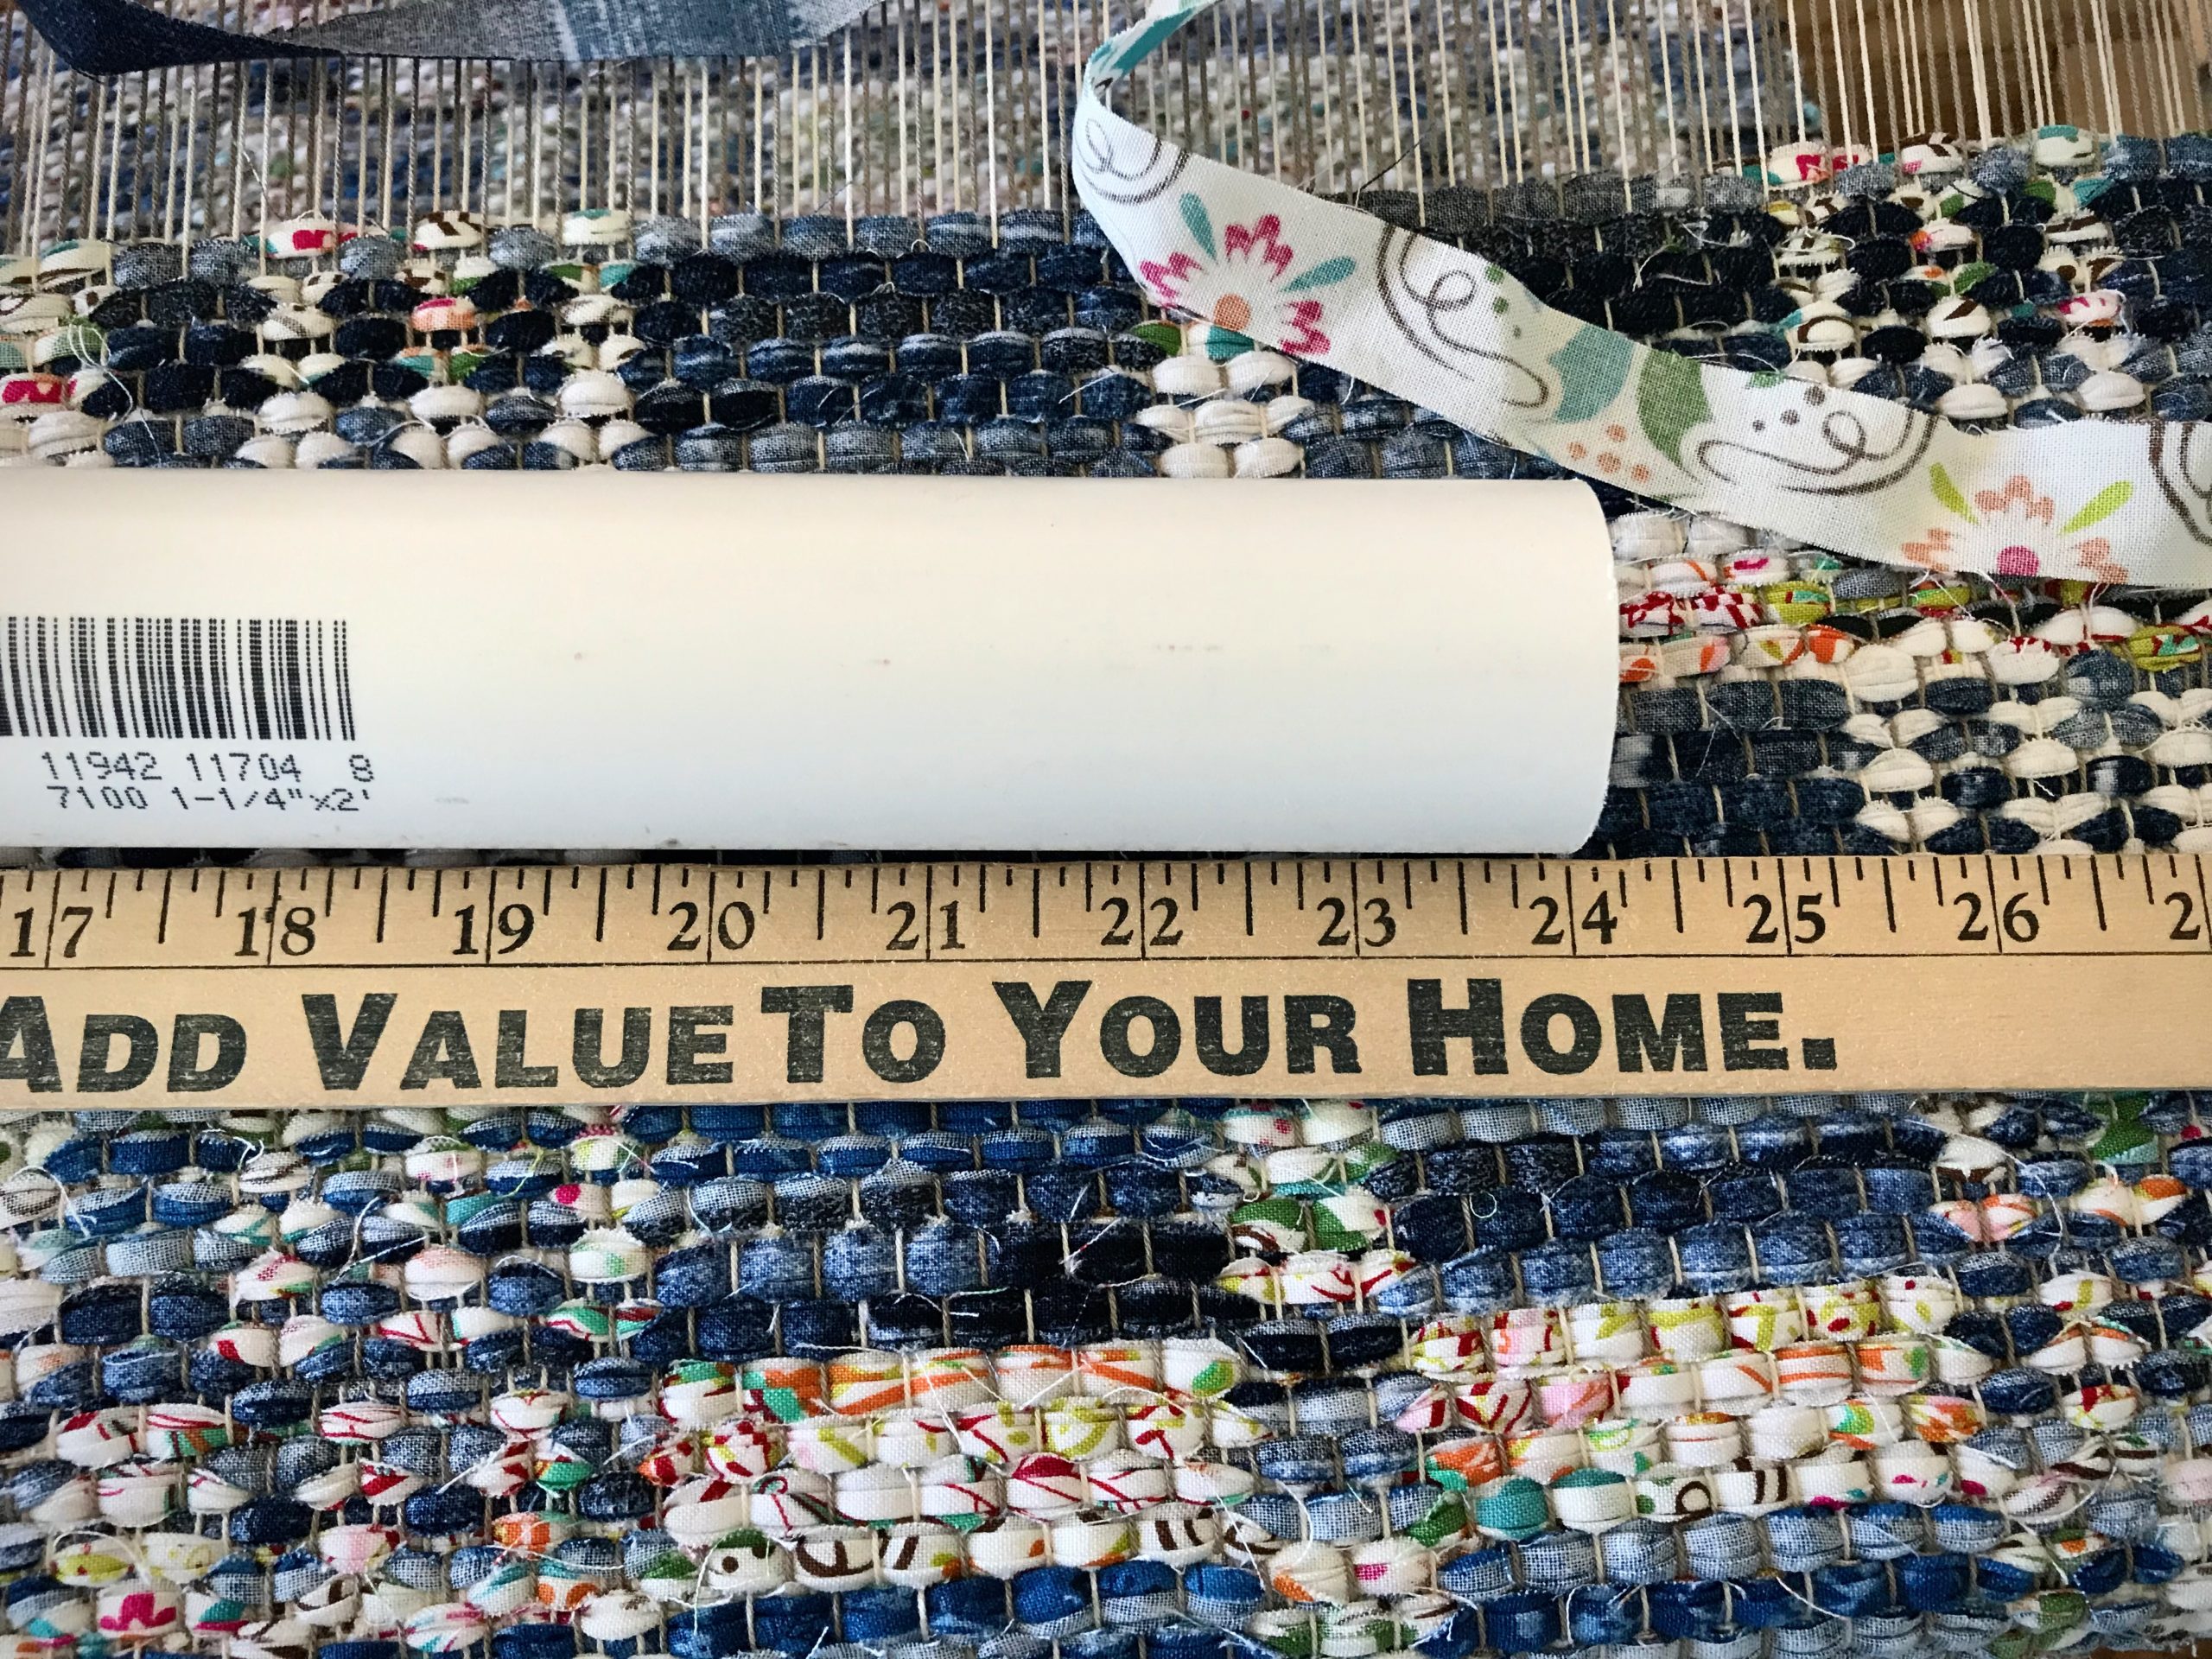
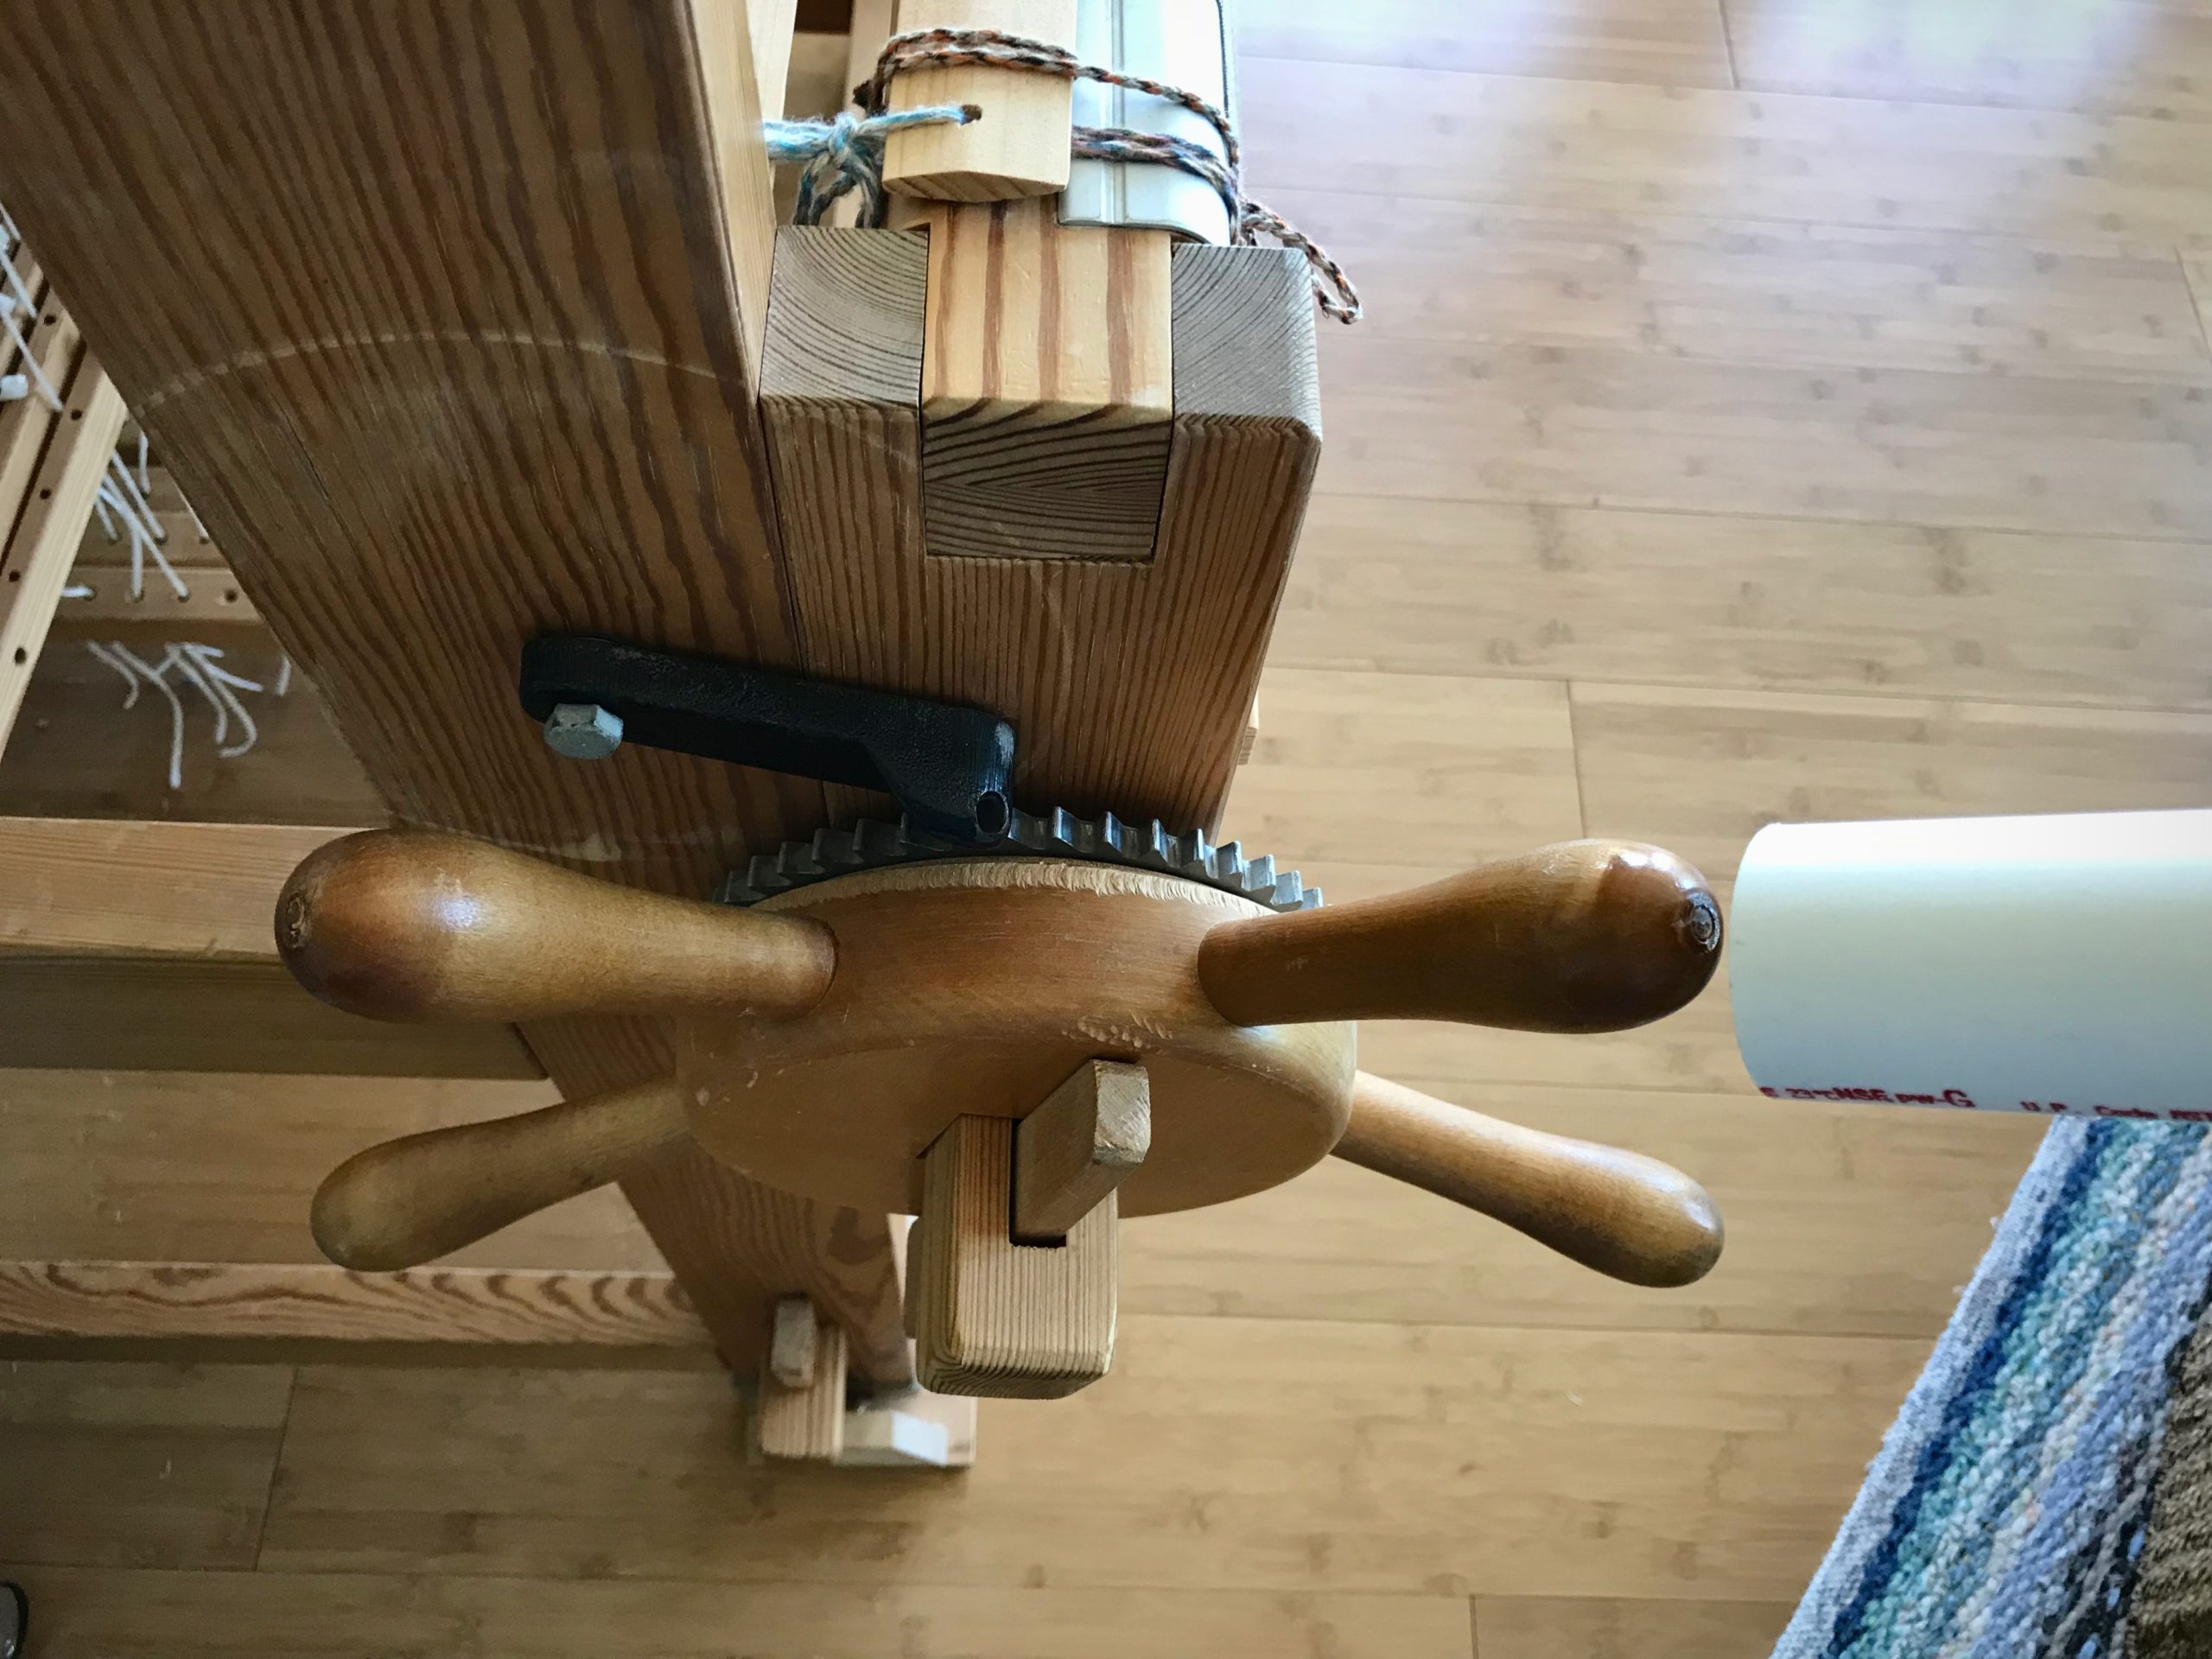
In the video below I tell you why I prefer Glimåkra ski shuttles, and how I wind the weft fabric on my shuttle. And I share two quick tips to make weaving with a ski shuttle a bit more manageable. If you are an experienced rag-rug weaver you probably already know these things. Watch to the end to see a short demo, plus a little blooper. Enjoy!

Ski shuttles by Glimåkra are just right for me. They fit nicely in my hands, have a low profile that slides easily through the shed, and are artistic in design.

May you know your tools.

Happy Weaving,
Karen

Tie the Rug Warp Back On

I’m at fresh starting place. After finishing another double binding rag rug, I have tied the rug warp back on. I’m ready for a new variation in this rag rug series of block designs. Rug warp lets me stop and start. Cut off and tie back on. It’s as simple as that.

Hem at the end of the second rug is woven in plain weave with narrow fabric strips for weft.
Off the loom for a first glance.
Warp ends have been tied in knots and trimmed. Hand hemming fini\shes the rug.
Second rug of the series.
After tying the warp back on, I start the third rug in the series.

May your progress be observable over a span of time.

Happy weaving,
Karen

Tried and True: Sheepskin Loom Bench Cover

A fluffy sheepskin stays between me and the hard wooden bench at my Glimåkra Standard loom. Softening your loom bench makes weaving that much more pleasant. Last week Jane asked a great question: How do you secure the sheepskin on the bench? To answer that, I invite you to follow along as I secure the sheepskin on my drawloom bench.

Fluffy sheepskin on my Glimåkra Standard bench.
Bench for the drawloom has sheepskin tied on with some twisted cords. Securing this sheepskin is long overdue. Thank you to Jane for prompting this project.

Make a Sheepskin Loom-Bench Cover

Supplies

  • Sheepskin
  • 6 3/8” grommets
  • Pencil
  • Grommet kit (hole punch, base, and flaring tool)
  • Small block of wood
  • Hammer
  • Tape measure
  • Texsolv cord (scissors, and small flame to sear ends)
  • 6 Arrow pegs

1 Mark placement for 6 grommets on the underside of the sheepskin.

2 With block of wood underneath, hold grommet hole punch over one of the marked positions. Tap tool with the hammer to cut a small hole.

3 Insert the protruding ring of the top grommet piece (grommet) into the fur side of the hole.

4 With fur side down on the block of wood, fit bottom grommet piece (washer) on top. Align grommet and washer between the base and flaring tool. Firmly tap with hammer until the two grommet pieces are tightly fastened together.

5 Repeat steps 2 – 4 for each of the 5 remaining grommets.

6 Lay the sheepskin fur-side down on a table or floor. Center the seat of the bench upside down on the sheepskin. Bring the sides of the sheepskin over the bench. Measure the distance between opposing grommets.

7 Double the grommet-to-grommet measurement, and cut three Texsolv cords that length. Sear the cut ends in a flame.

8 Secure the sheepskin to the seat of the bench by lacing one of the cut Texsolv cords through two opposite grommets. Tighten the cord and lock it in place with an arrow peg. Repeat for the remaining two cords.

Sit in immovable comfort.

While we’re at it, let’s fix up one more bench cover…

Scrap of rosepath rag rug is held in place with bungee cords. (Bench for my Glimåkra Ideal loom)
Cord threader pulls Texsolv through. The end knots on the rug should keep the cord from pulling the weft out (I hope).
No more bungee cords!
Sitting in style.

May you see where you can soften things up.

Happy Sitting,
Karen

Tried and True: Cheater Bar

UPDATE: I no longer use the cheater bar, as it could put too much force on the loom parts. Instead, I loosen the front ratchet first, and then I am able to loosen the back ratchet.

I have a tool that makes me stronger than I naturally am. Warp tension is extremely tight on my loom when I am weaving rugs. After advancing the warp, and locking the pawl on the cloth beam, I tighten the ratchet on the warp beam as much as I can. Then, I put all my weight into tightening the cloth beam. And then, with a bit of oomph, I lean into the handles on that cloth beam wheel to turn it one more notch on the ratchet. I pat myself on the back for exhibiting such strength. But wait, I have just created a problem. The next time I need to advance the warp, I’m not nearly strong enough to release those front and back pawls.

Meet my simplest tool: The Cheater Bar.

Cheater Bar is PVC pipe to use as a lever.
PVC pipe, 1 1/4″ x 24″

With this amazing helper, I can safely release even the most extremely tight warp tension. (But NEVER use the Cheater Bar to tighten the warp.)

Slip the end of the pipe over a handle on the ratchet wheel.
Force of the lever makes it easy to release the ratchet. CAUTION! Do not use the lever to tighten the warp beam or cloth beam. You could easily tighten it more than the loom is made to handle.

I never knew I could be this strong. Celebrate the moment! (A play on words. Steve tells me “moment” is a physics term that has to do with a force’s tendency to cause something to rotate about a specific point or axis.)

Good tools make hard things easier.

May you find strength you didn’t know you had.

Happy weaving,
Karen

Double-Binding Is My Framework for Floor Art

I can make an ordinary rug. But it’s more exciting to weave something extraordinary. That’s what I like about making rag rugs. I can infuse them with beautiful patterns and colors. Double binding, in particular, gives me a useful framework for my “floor art.”

Double binding is a framework for creating art for the floor.

The thing I like about double binding is the way two consecutive wefts overlap and interchange in the shed. As the blocks change, the weft on top and the weft underneath change places. Most double-binding rugs, including the ones I have made previously, are simple checkerboard designs. The threading pattern you see here has significantly more block changes than usual. What began as a “what if?” has opened up a new dimension of rag-rug weaving for me! This opens the door to extraordinary.

Each row has two interchanging wefts.
Red stripe is the mid point for this double-binding rag rug bath mat.

God made you for purpose. It’s no accident that you are endowed with certain skills. When our skills and desires merge in meaningful ways, we enjoy a sense of purpose. Whether it’s weaving, singing, or growing seeds, do what you were made to do. And let all you do point to the glory of your Maker. When he made you, he had extraordinary in mind!

May you live out the purpose for which you were made.

Happy Weaving,
Karen