What a Cellist Weaves

I approach weaving like a musician. The looms are instruments, and everything is practice. When I was twelve years old I fell in love with the ‘cello and began learning to play the instrument. Over time, I discovered the value of mindful practice, the need for which is ongoing. It’s not perfection I’m after, but intent to apply all I’ve learned.
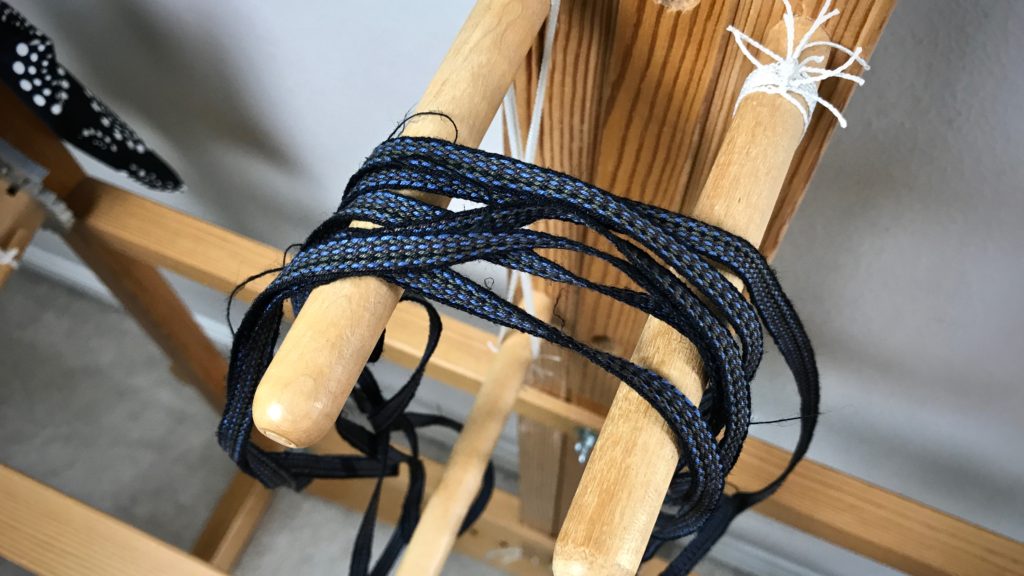
Glimakra band loom.
Finished woven band. 12/6 cotton for warp and 16/1 linen for weft.
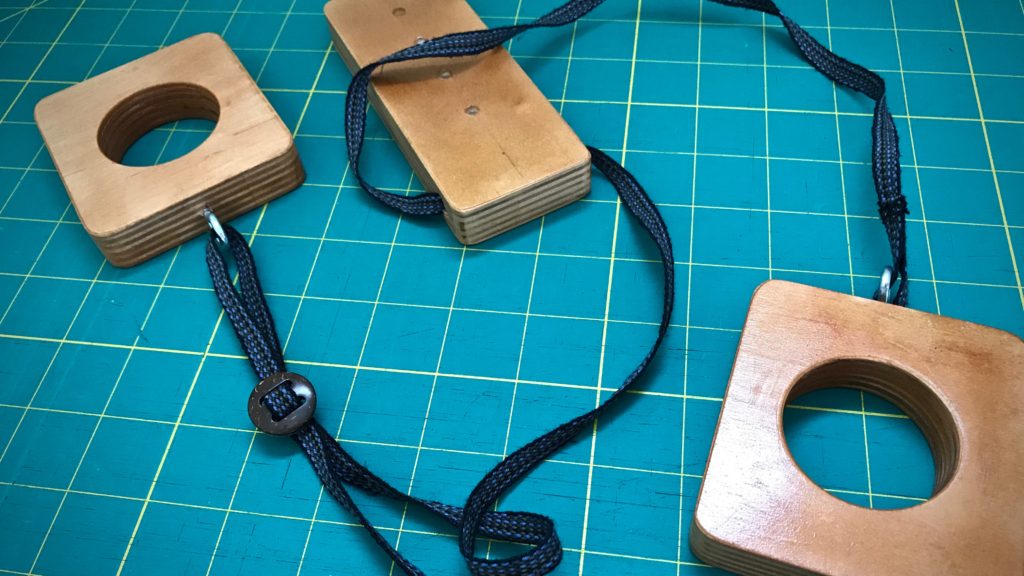
Band loom woven cord for cello endpin stop.
Small slider is added to make the cord’s length adjustable.

This once, my weaving and ‘cello playing overlap. My husband designed this cello endpin stop for me! I got to weave a cord on my band loom that connects the pieces together. (I showed you the beginning steps in Finer Weft for a Stronger Cord.)
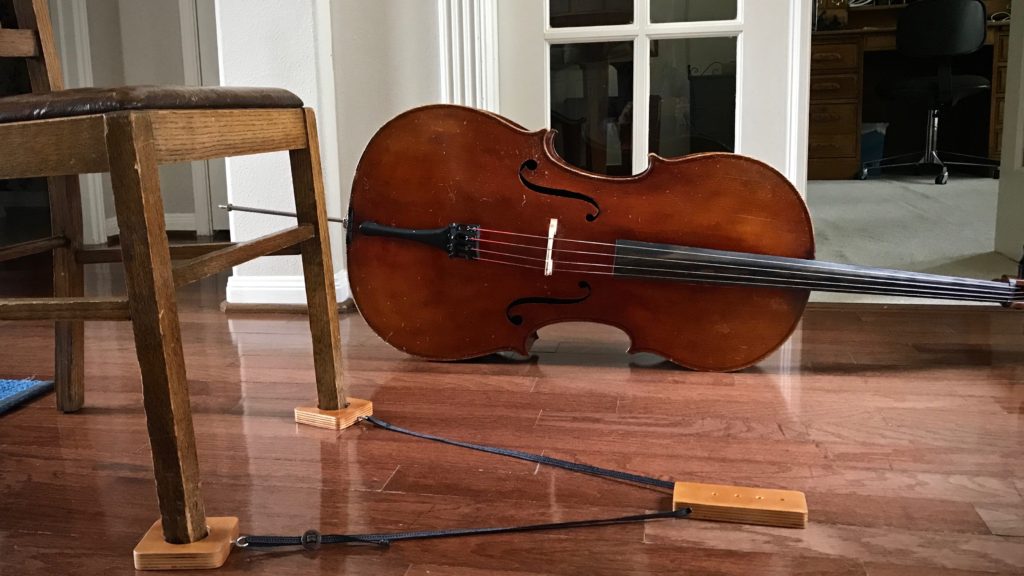
Hand-crafted cello endpin stop, with handwoven band.
Hand-crafted ‘cello endpin stop.
Hand-crafted cello endpin stop.
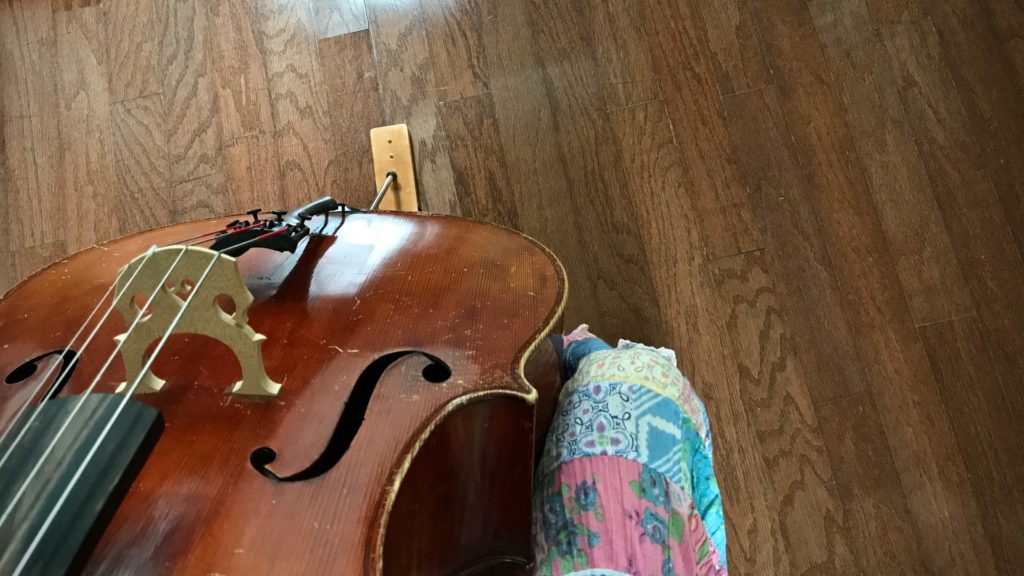
‘Cello and me.

What if our interactions with people are opportunities to practice real love? It’s no big deal if I love those who love me. Or, do good when I know someone will return the favor. Or, lend to someone who will pay me back. Real love is loving those who don’t love you back. That takes practice. When we love, do good, and give, expecting nothing in return, we start to resemble God’s character. No, we won’t attain His perfection, but when we apply all He’s taught us, we begin to look like His children. For He loved us long before we loved Him back.

May you practice real love.

Love,
Karen

When to Start Over

I have started this tapestry sampler three times. The biggest problem was the header. I had so much draw-in that warp ends were breaking at the selvedges. Cut off and tie back on. I knew what to do–bubble the weft. But again, the second time, I had too much draw-in. Maybe I can ease the width back out to where it should be… Nope. After several hours of weaving with beautiful linen butterflies, and breaking more warp ends, I gave up.

Texas hill country wildflowers!
Texas hill country wildflowers fill the landscape with color.

I carefully removed all of the linen weft, and took out all of the header. Start over. Again. I did what I should have done from the start. Bubble the weft MORE. It works! Now I have a great starting place for the tapestry weaving to flourish. Until I had a good header, I was wasting my time trying to make the tapestry work.

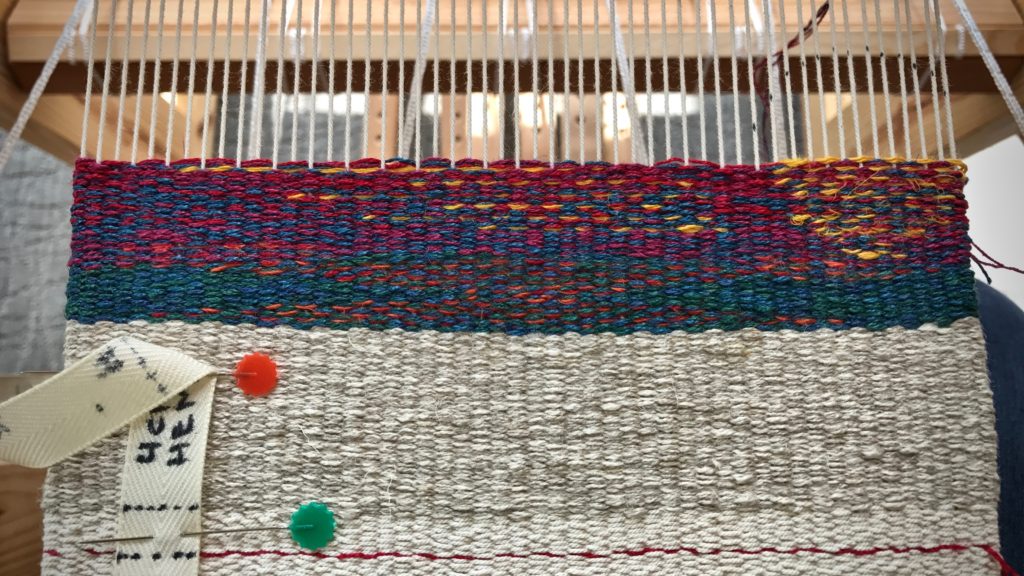
Beginning of linen tapestry sampler.
Successful header is the foundation for this hem of bleached and unbleached linen. Tapestry sampler begins with some color shading, using butterfly bundles of linen in vivid colors, borrowed from the wildflowers.
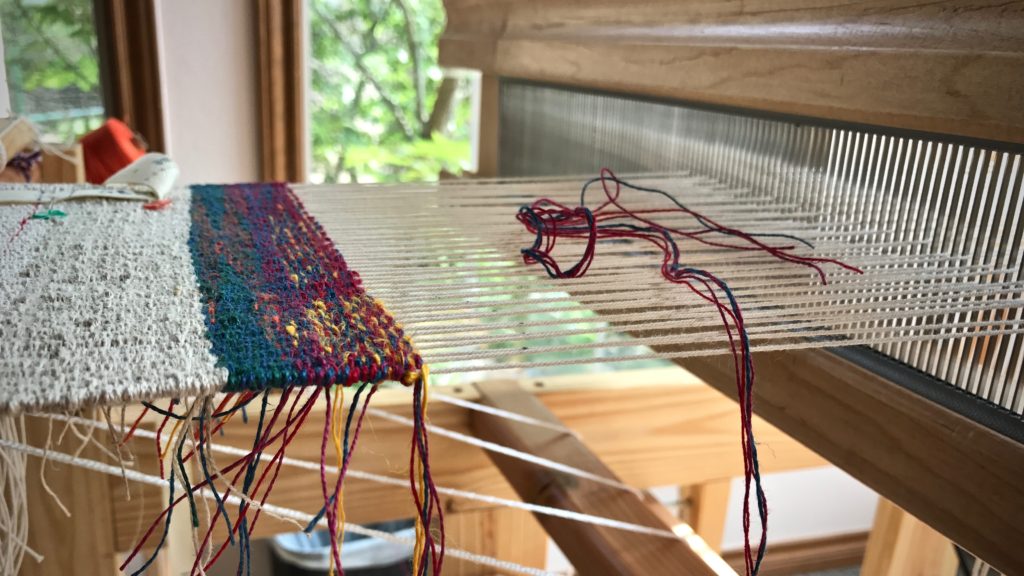
Windows beside the little loom light up the linen tapestry sampler.
Windows let in the Texas hill country sunshine.
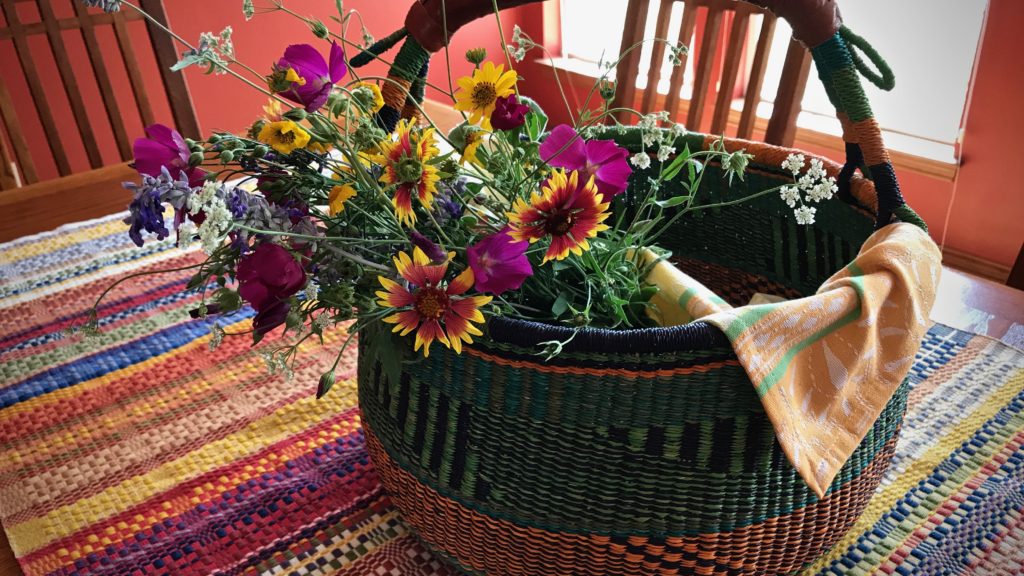
Texas wild flower bouquet. Monksbelt cloth on the table.
Monksbelt cloth on the table borrows the colors of the wildflower bouquet.

Words are like a header for our view of the world. Words shape our thinking. Listen carefully to test words, like you test food on your plate by tasting it before eating the whole thing. Test the words you hear. And only swallow what is right and good. If the header is good, your tapestry can flourish.

May you hear words that pass the test.

With you,
Karen

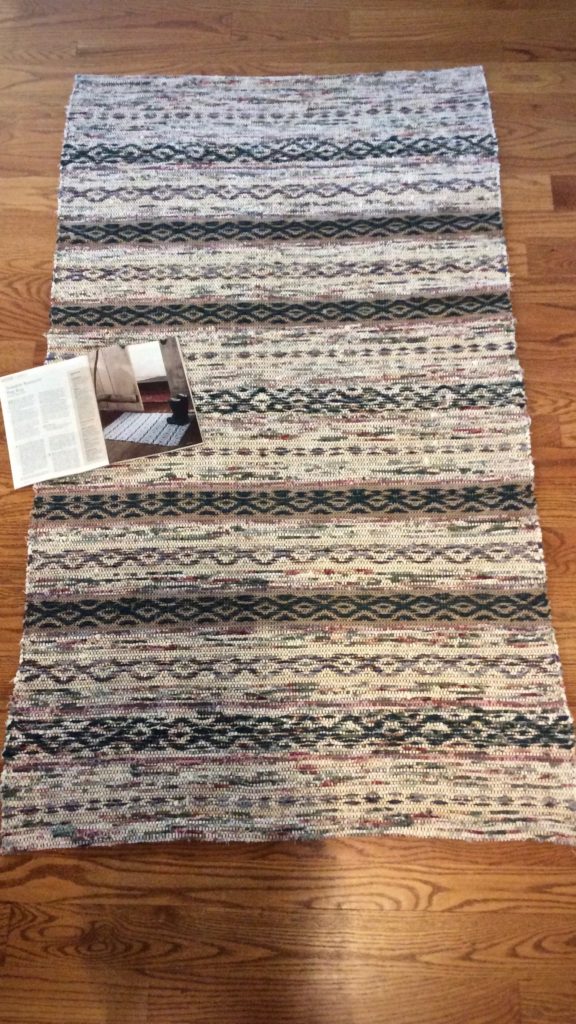
As a follow up to Quiet Friday: Favorite Weaving Books, Besty Greene sent me this picture. I love it!

Hi Karen
I am sending you this message in the theme of your last blog post. Ta da! A rug inspired by your project in Handwoven.
Betsy

Rag rug inspired by Handwoven project.
Rag rug by Betsy Greene.


Linen Butterflies

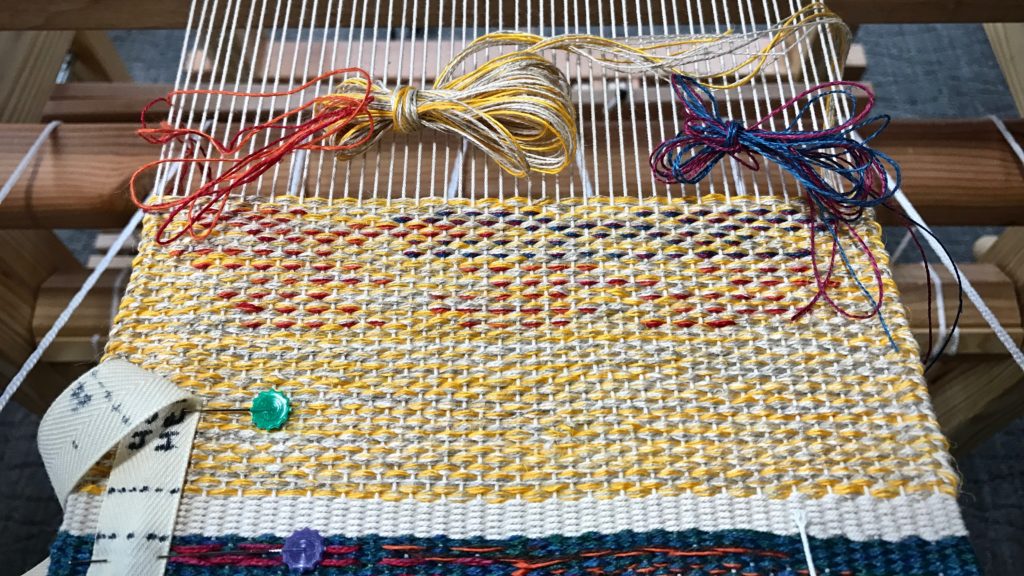
This project has been on my mind for a long time. But I purposely waited to begin until I could weave it on my new sweet little loom with a view. Four Decorative Sample Strips, it’s called in The Big Book of Weaving, by Laila Lundell. It includes four-shaft tapestry, as well as weft inlay techniques. Each of the four strips will be a sampling of 8-12 different patterns or techniques. The weft is all linen, in various colors and sizes. Several strands are bundled together and made into butterflies. I have the sections mapped out, but the actual designing is happening at the loom.

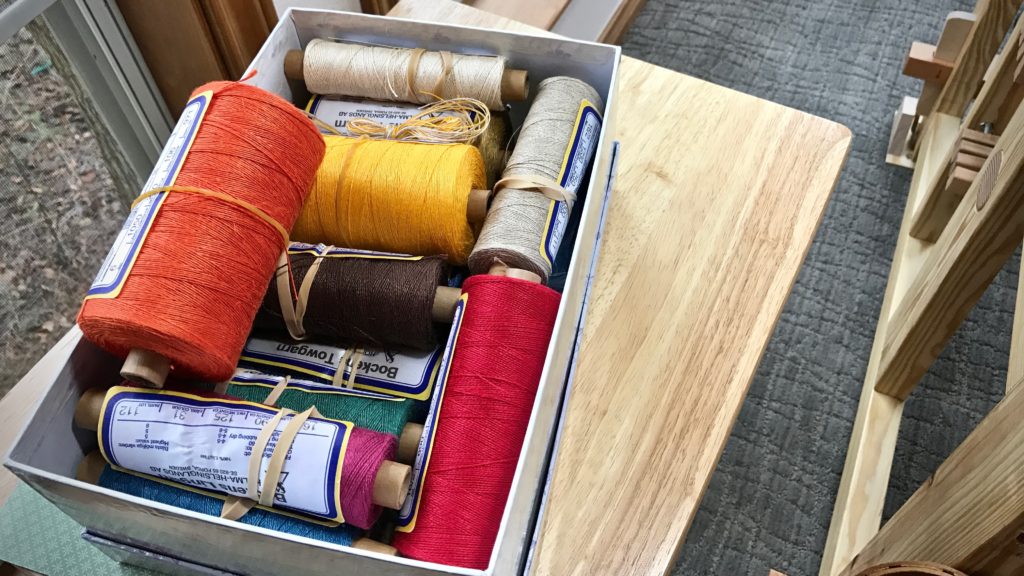
Box of colorful linen for a tapestry project!
Box of linen! A variety of 16/2 line linen, 6/1 tow linen, and 8/1 tow linen.
Weft inlay with linen butterflies.
First sample strip starts with some weft inlay.
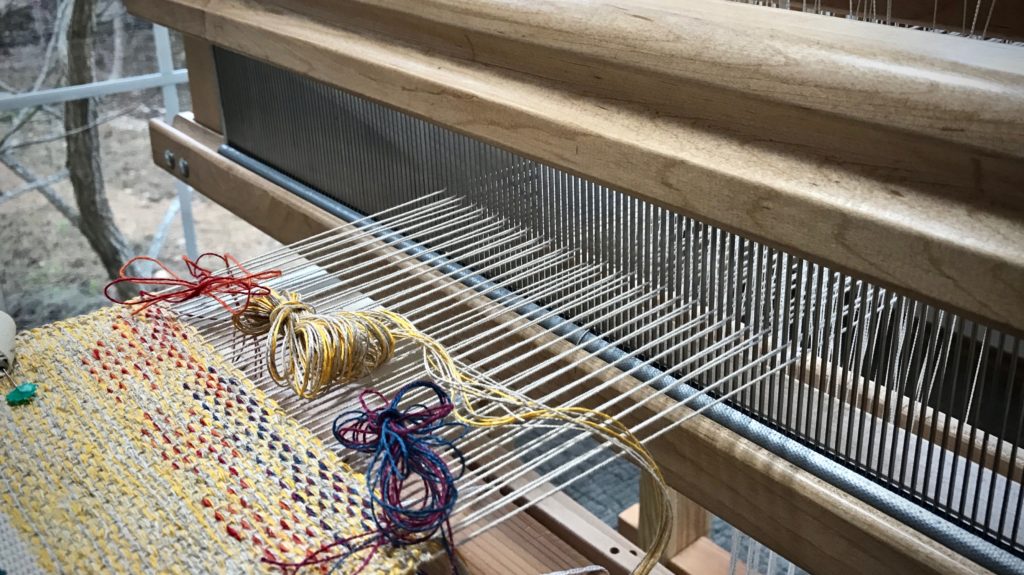
Linen butterflies.
Linen butterflies.

The box of vibrant shades of linen that sits by the loom makes me think of the wonderful colors in creation. The Grand Weaver puts an assortment of strands together, making something as only He can. The world belongs to its Maker. We are His. Sometimes we forget that it is not that He is in our universe, it is that we are in His. I love the way He puts an assortment of us together to put a splash of color on His tapestry.

May you enjoy the colors around you.

Happy weaving,
Karen

Sweet Little Loom with a View!

Steve thought I should have another loom, so he used his carpentry skills to build a 27-inch Swedish-style four-shaft countermarch loom! It’s beautiful. It’s incredible! In preparation for retirement in a few years, we found a place in beautiful Texas hill country to call (our future) home. For now, it’s a place to gather with children and grandchildren on occasional weekends. And a place to put a sweet little loom.

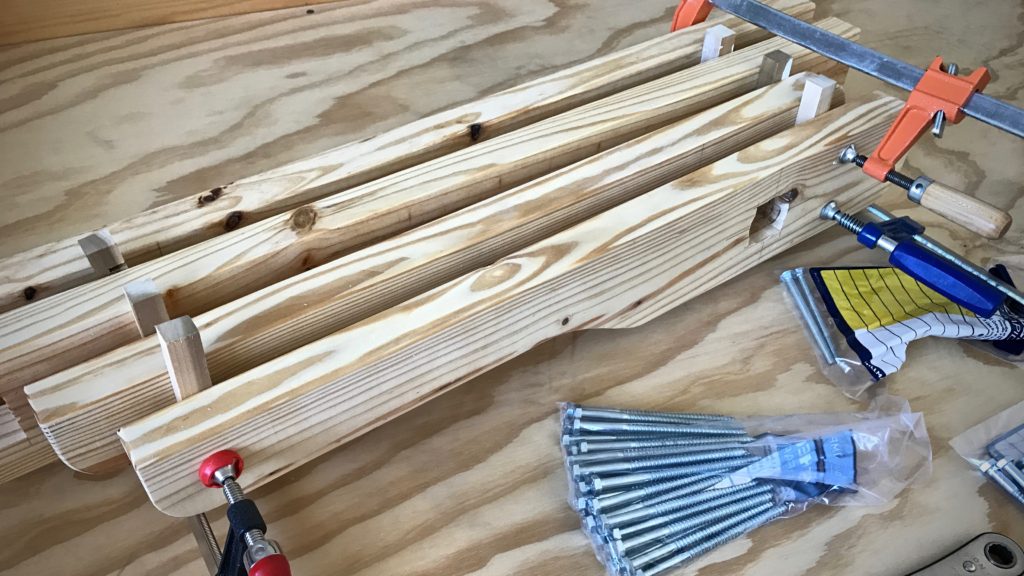
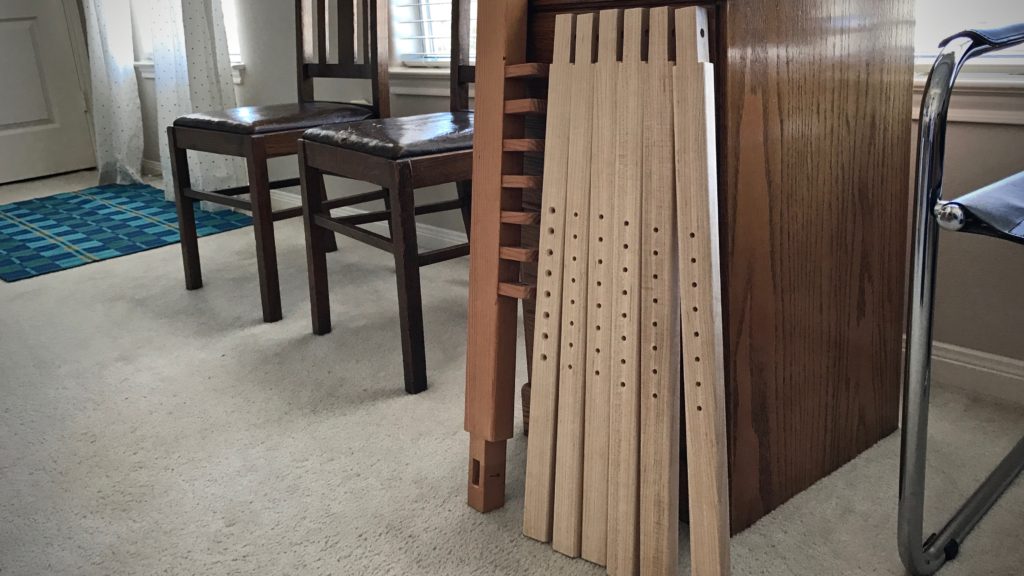
Making weaving loom parts.
Making weaving loom parts. Treadles.
Six treadles ready.
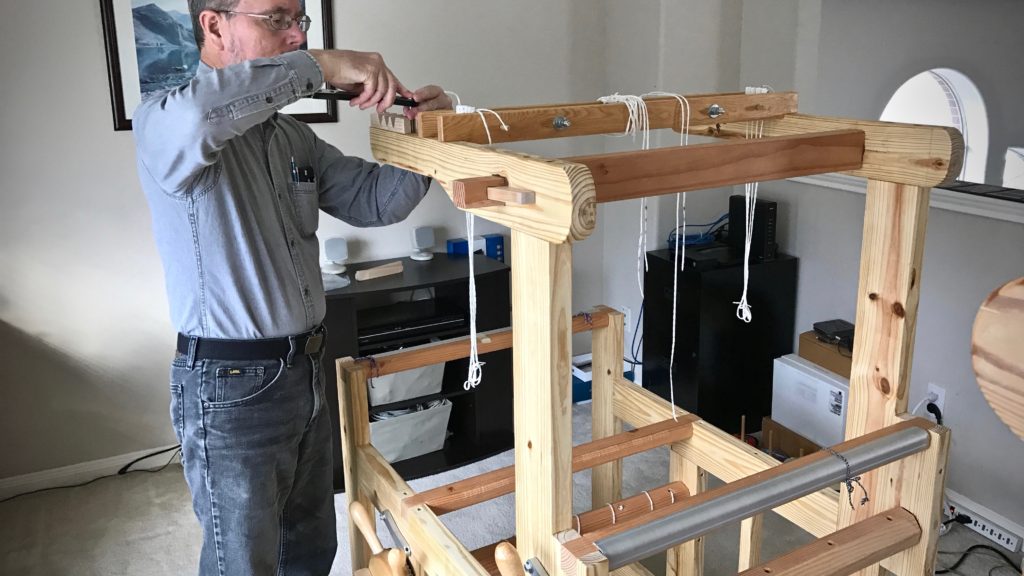
Putting the new little handbuilt loom together!
Final Touch. Tightening the cradles for the top of the hanging beater.
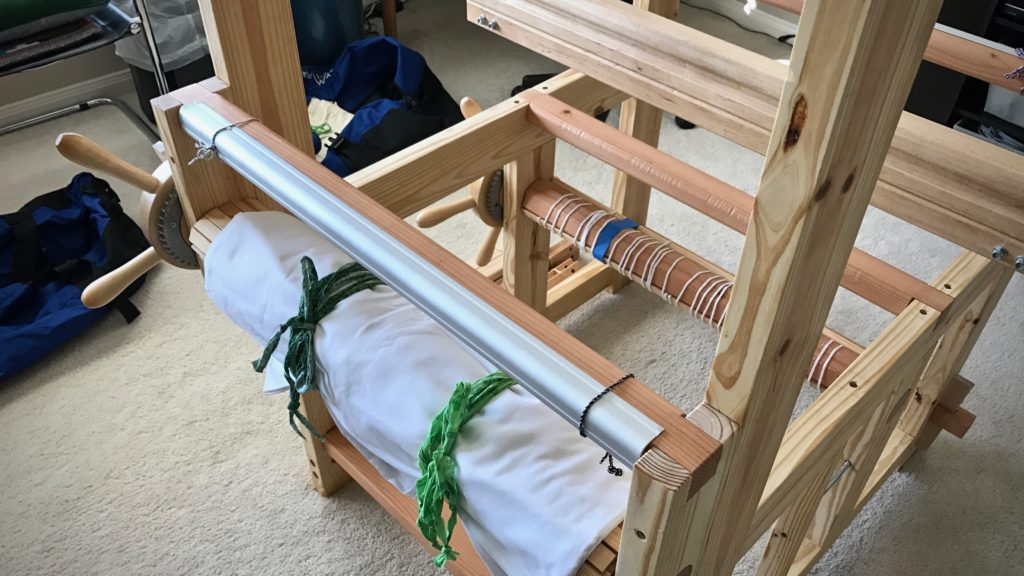
Maiden warp for a new sweet little loom.
Putting on the maiden warp of 12/9 cotton seine twine.
Ready to take the loom apart to move it.
Loom is ready to be disassembled. Warp is wrapped up on the warp beam. Blue duffel bags will hold all the loom parts except for the side frames and the beater, to be transported to the new location.

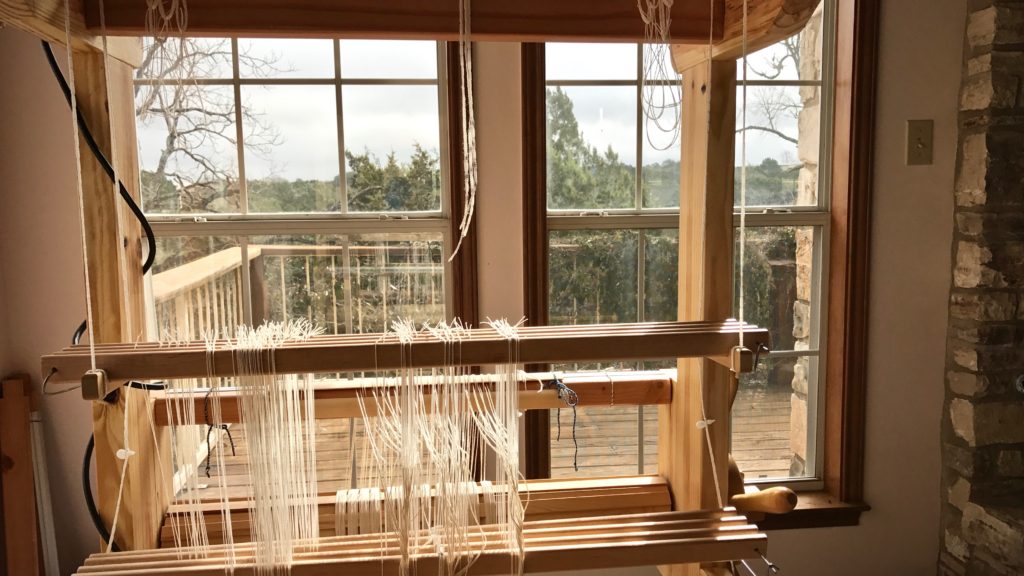
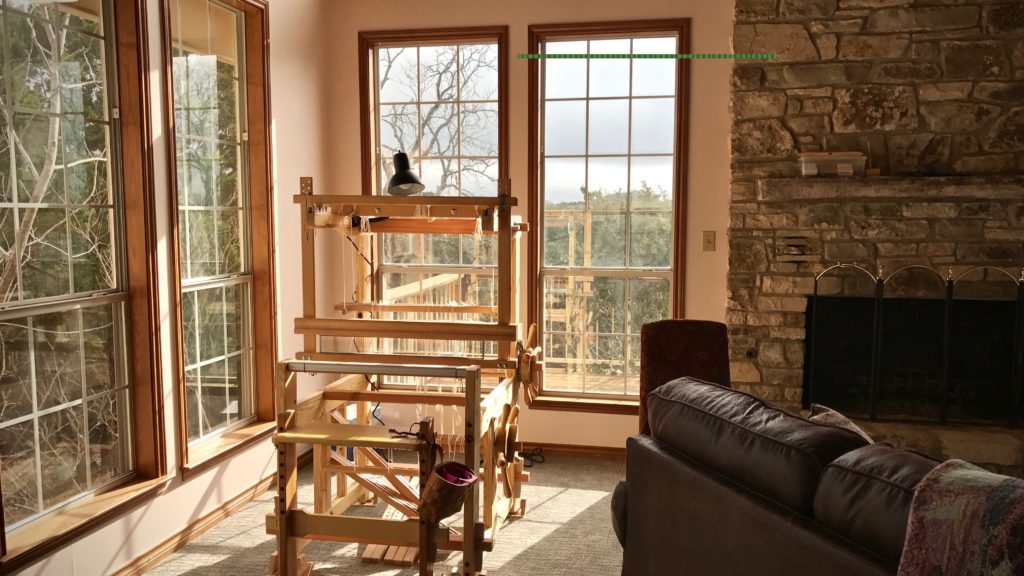
And it only gets better. We situated the petite loom by the corner windows in the living room. At the loom, I have the best seat in the house, with an amazing view of God’s creation. The loom tells me my husband knows me very well. And the view tells me the Lord knows me, too.

Loom with a view! Texas hill country.
Threading heddles while enjoying the hill country view!
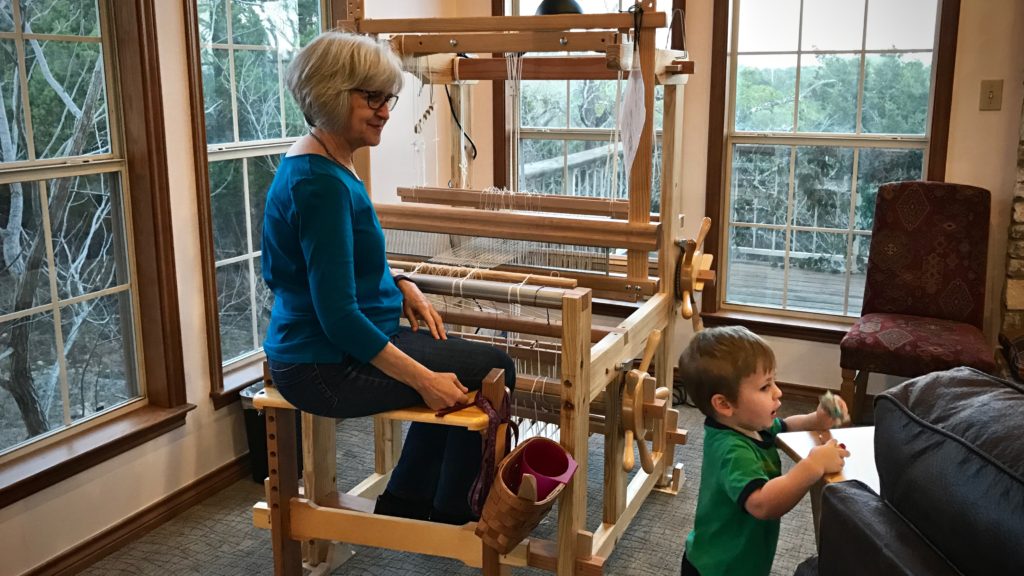
Grandchildren, loom, view... heaven on earth!
Can there be a better setting? Grandchildren playing, loom, view…
Sweet little loom with a view!
Sweet little loom with a view! Heavenly!

None of us can come to God on our own terms. Not by our wisdom. Not by our strength. Only through humility do we find God. Humility opens our heart to God. That’s when we see how much He has done to get our attention to tell us He knows us and loves us. My special loom with a view is an example of what it’s like to be known and deeply loved.

May you know you are loved.

Blessings,
Karen

Tools Day: Ski Shuttles

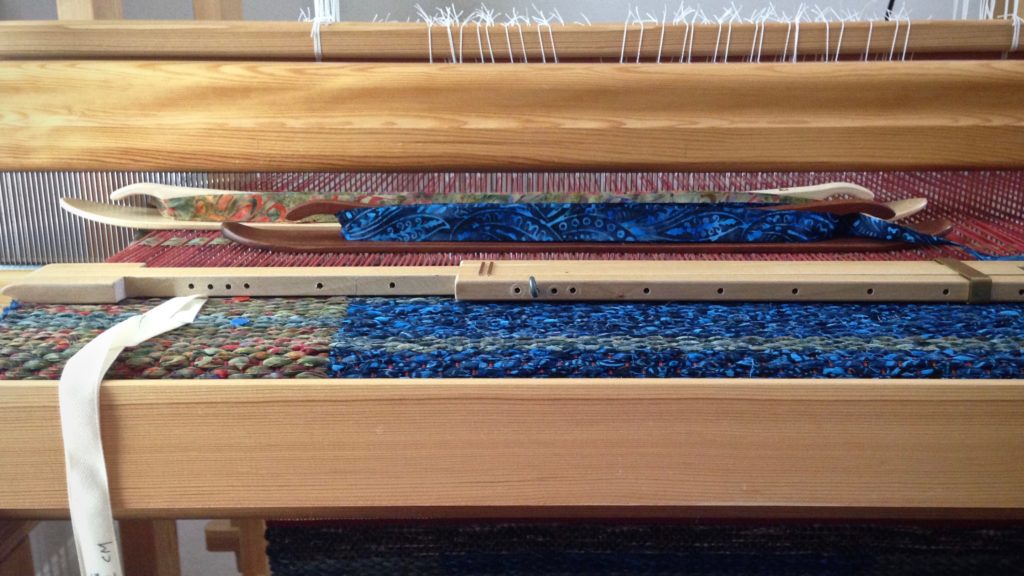
Patterned rag rugs always use at least two shuttles. I often have four or five filled ski shuttles at the loom. A low profile ski shuttle is an excellent choice for weaving patterned rag rugs. Why?

  1. It fits pleasantly in the hand.
  2. It holds a large amount of fabric weft without being bulky.
  3. The wide base glides smoothly across the warp.
  4. The low profile fits easily through the narrower shed of a tight warp that is common for rug weaving. (Beware of ski shuttles that are taller, and may not fit as easily through a tight shed.)
  5. It is slender enough to send it out of the shed to go over or under outer warp ends, when needed.
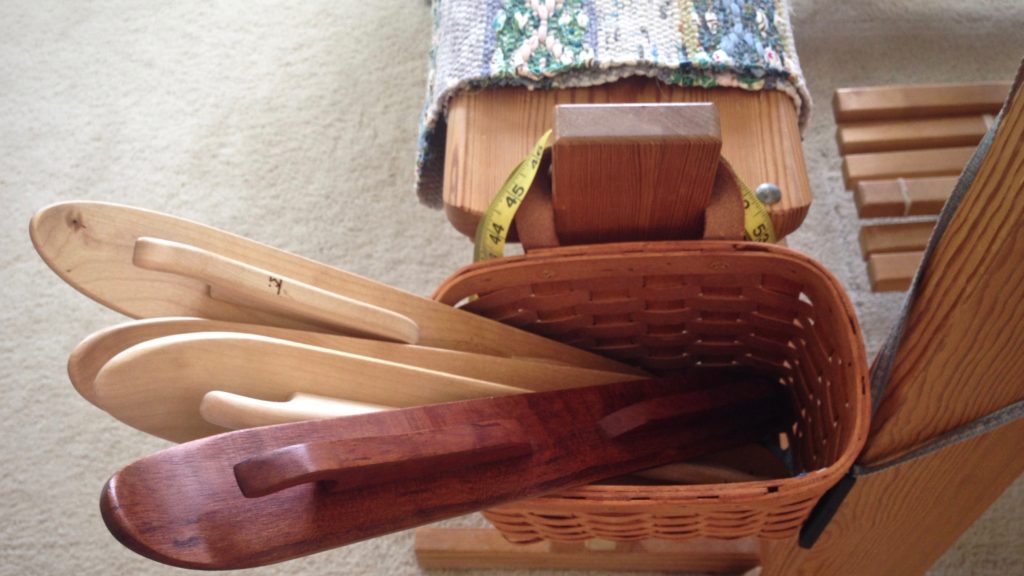
Basket of ski shuttles ready for the next rag rug!
Basket of ski shuttles that are ready for the next rosepath rag rug!

My ski shuttles are made by Glimåkra, except for the beautiful cherry wood ski shuttle my husband made for me.

Hand crafted cherry wood ski shuttle, and rosepath rag rug just off the loom.
Newly completed rosepath rag rug is ready to be hemmed. Cherry wood ski shuttle is hand crafted by Steve Isenhower.


Ski Shuttle Dimensions (Glimåkra Single Ski)
Height: 1 1/4″ (3 cm)
Width: 2″ (5 cm)
Length: 19 1/2″ (50 cm) and 25″ (64 cm)

Why I like low profile ski shuttles for weaving rag rugs.
Weaving width determines which ski shuttle length to use. The shorter shuttle works with any weaving width. The longer shuttle works only for wider weaving widths (30″ or more) and for spaces with plenty of clearance at the sides of the loom. The low profile of the shuttles is seen in relation to the height of the reed in the beater.


How to Wind a Ski Shuttle

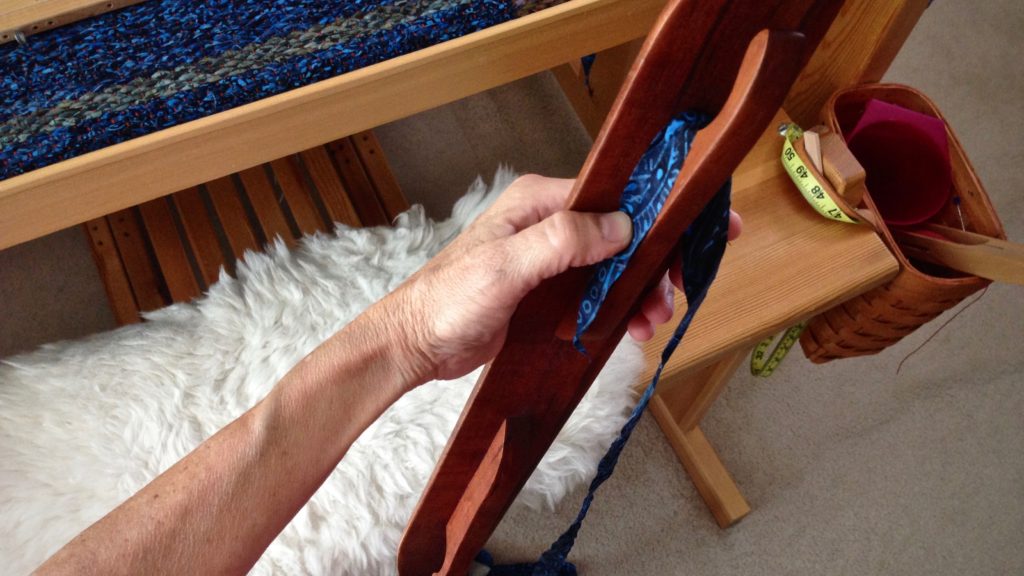
1 — Hold ski shuttle vertically. Start with one tapered end of the fabric strip coming across the top of the ski shuttle. Hold the tapered end with your thumb while you start winding the fabric strip onto the shuttle with your other hand.

How to wind a ski shuttle.


2 — Continue wrapping the fabric strip around the length of the shuttle, straightening the fabric as you go.

How to wind a ski shuttle for rag rugs.


3 — Finish winding when you have a tail of fabric remaining.

How to wind a ski shuttle.

May your shuttles be a good fit for your hands.

Happy Weaving,
Karen