It is possible to ruin hours and hours of handweaving efforts with a careless or ignorant misstep after the cloth is cut from the loom. Wet finishing intimidates me for that reason. Besides my own limited experience, I rely on instructions from advanced weavers, and any other research I can find. In the end, I take the plunge and hope for the best. If the worst happens, I take notes and chalk it up as a learning experience.
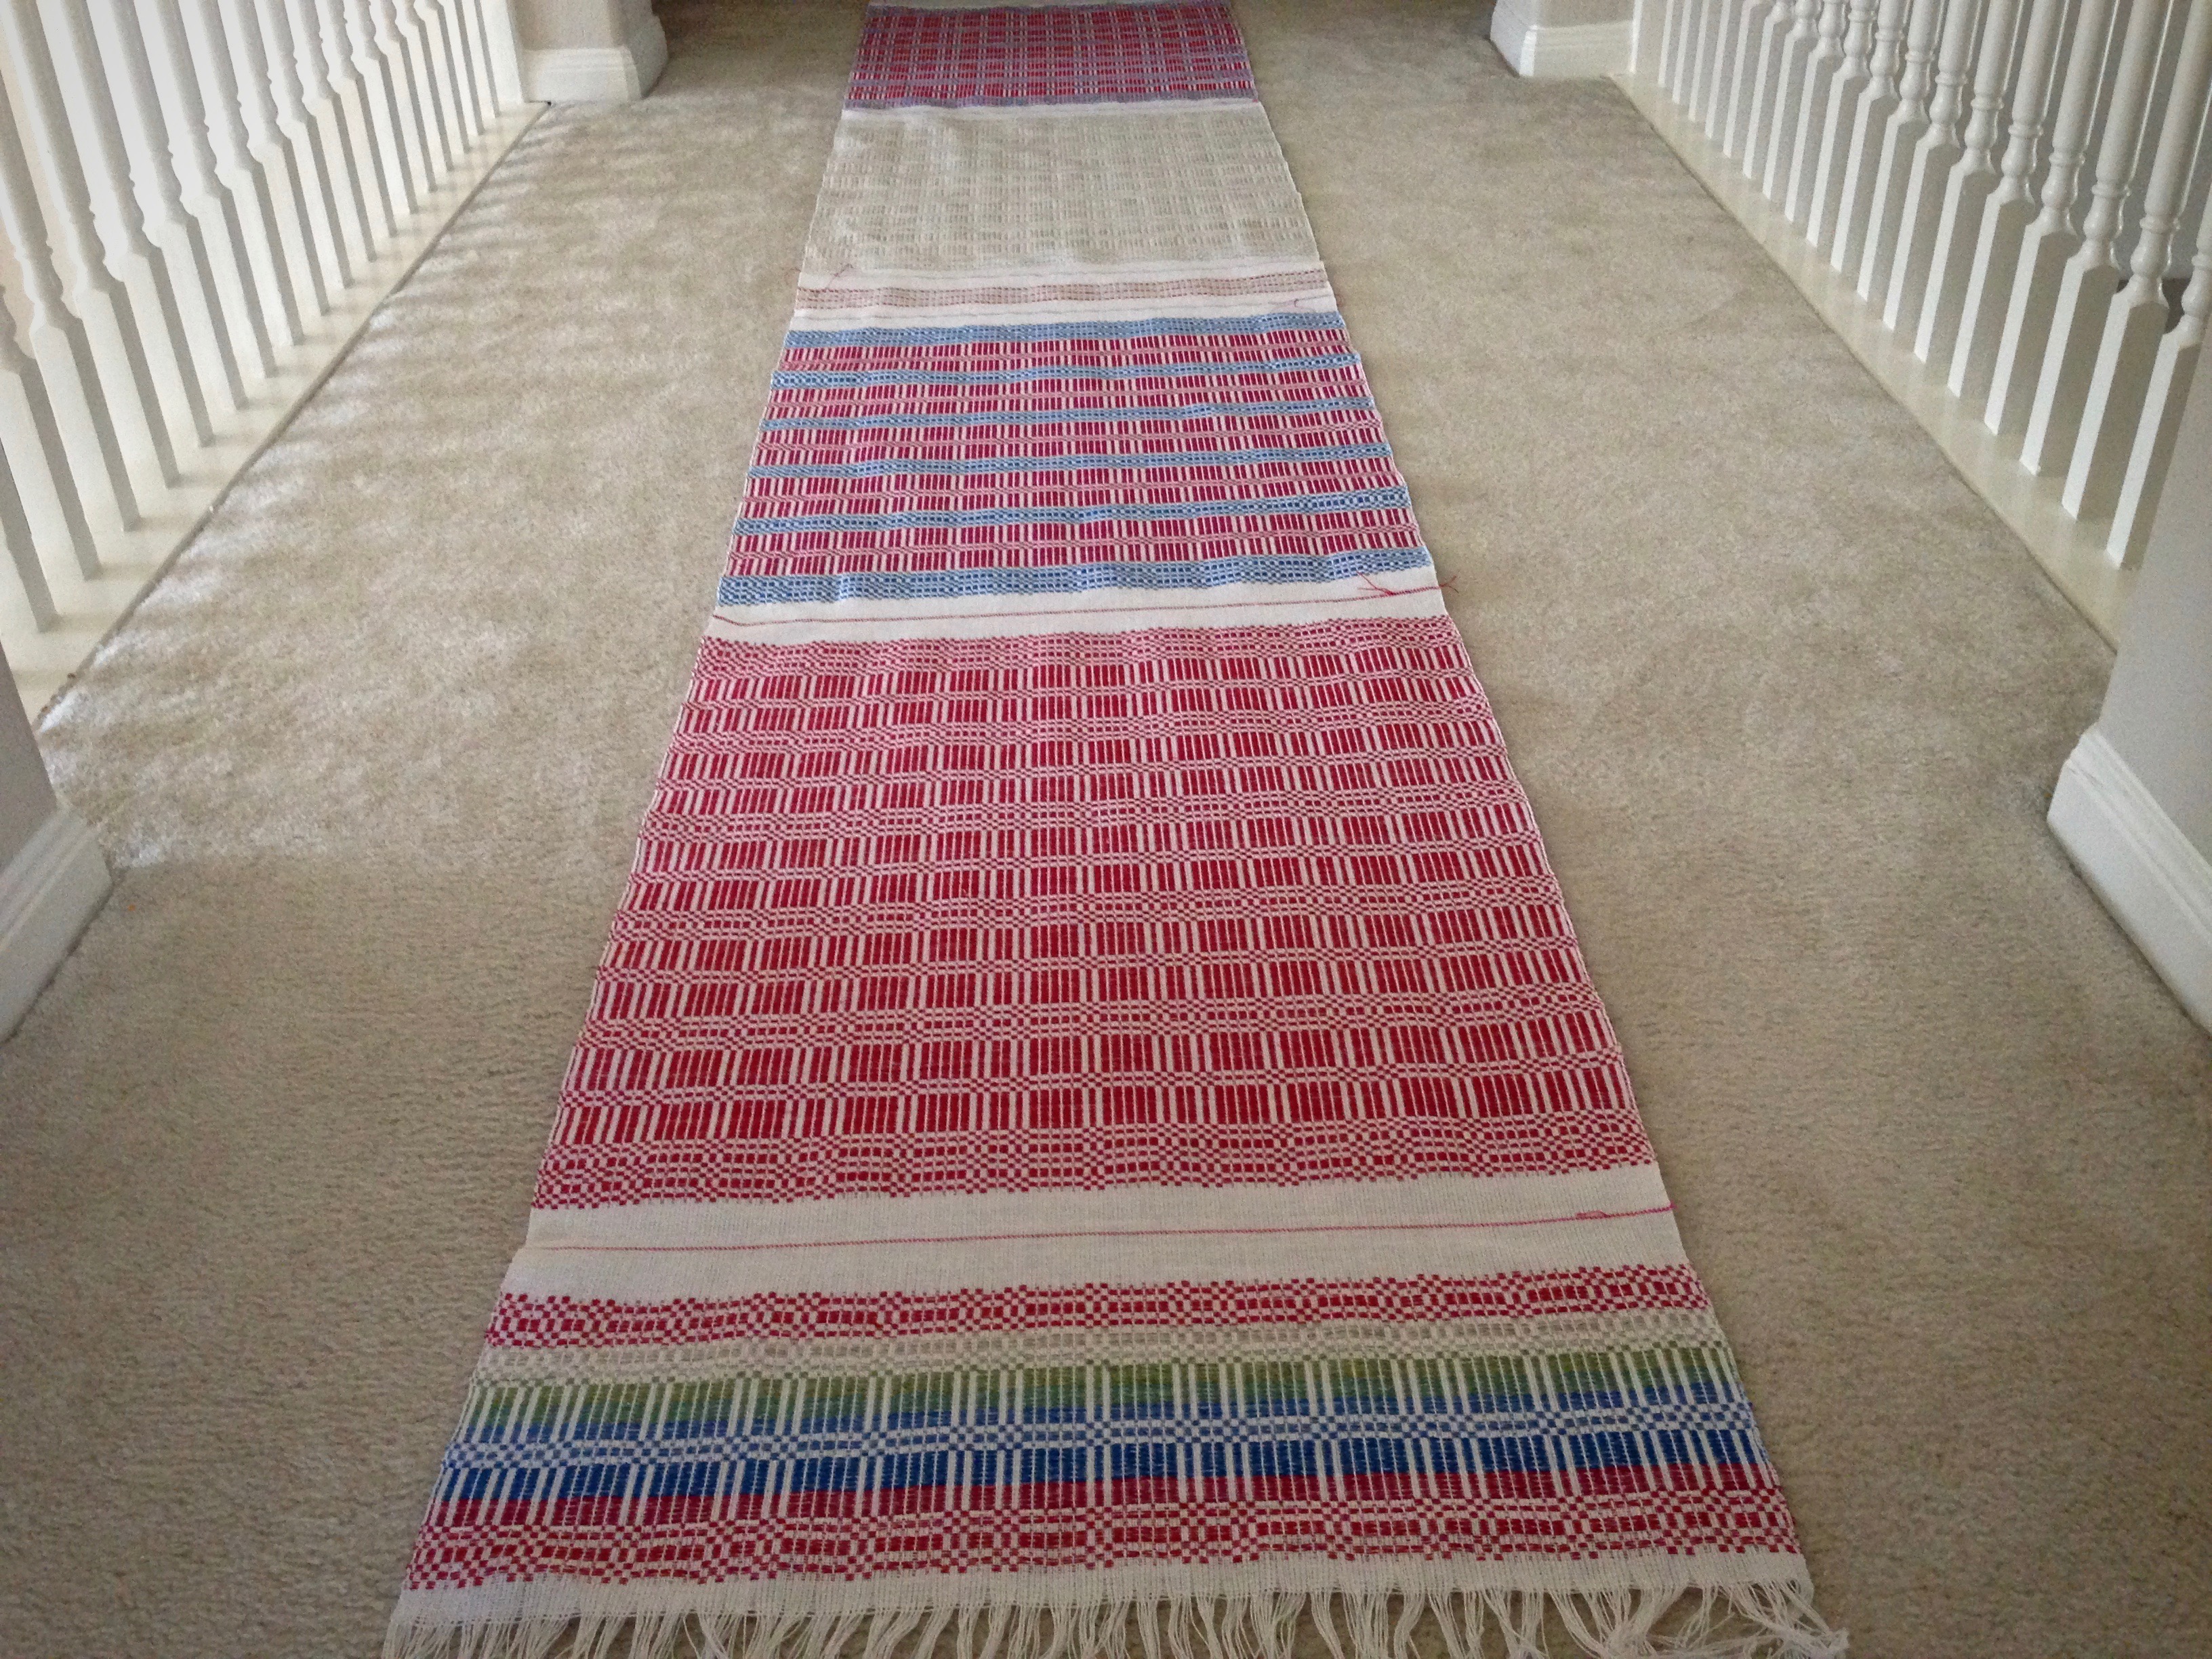
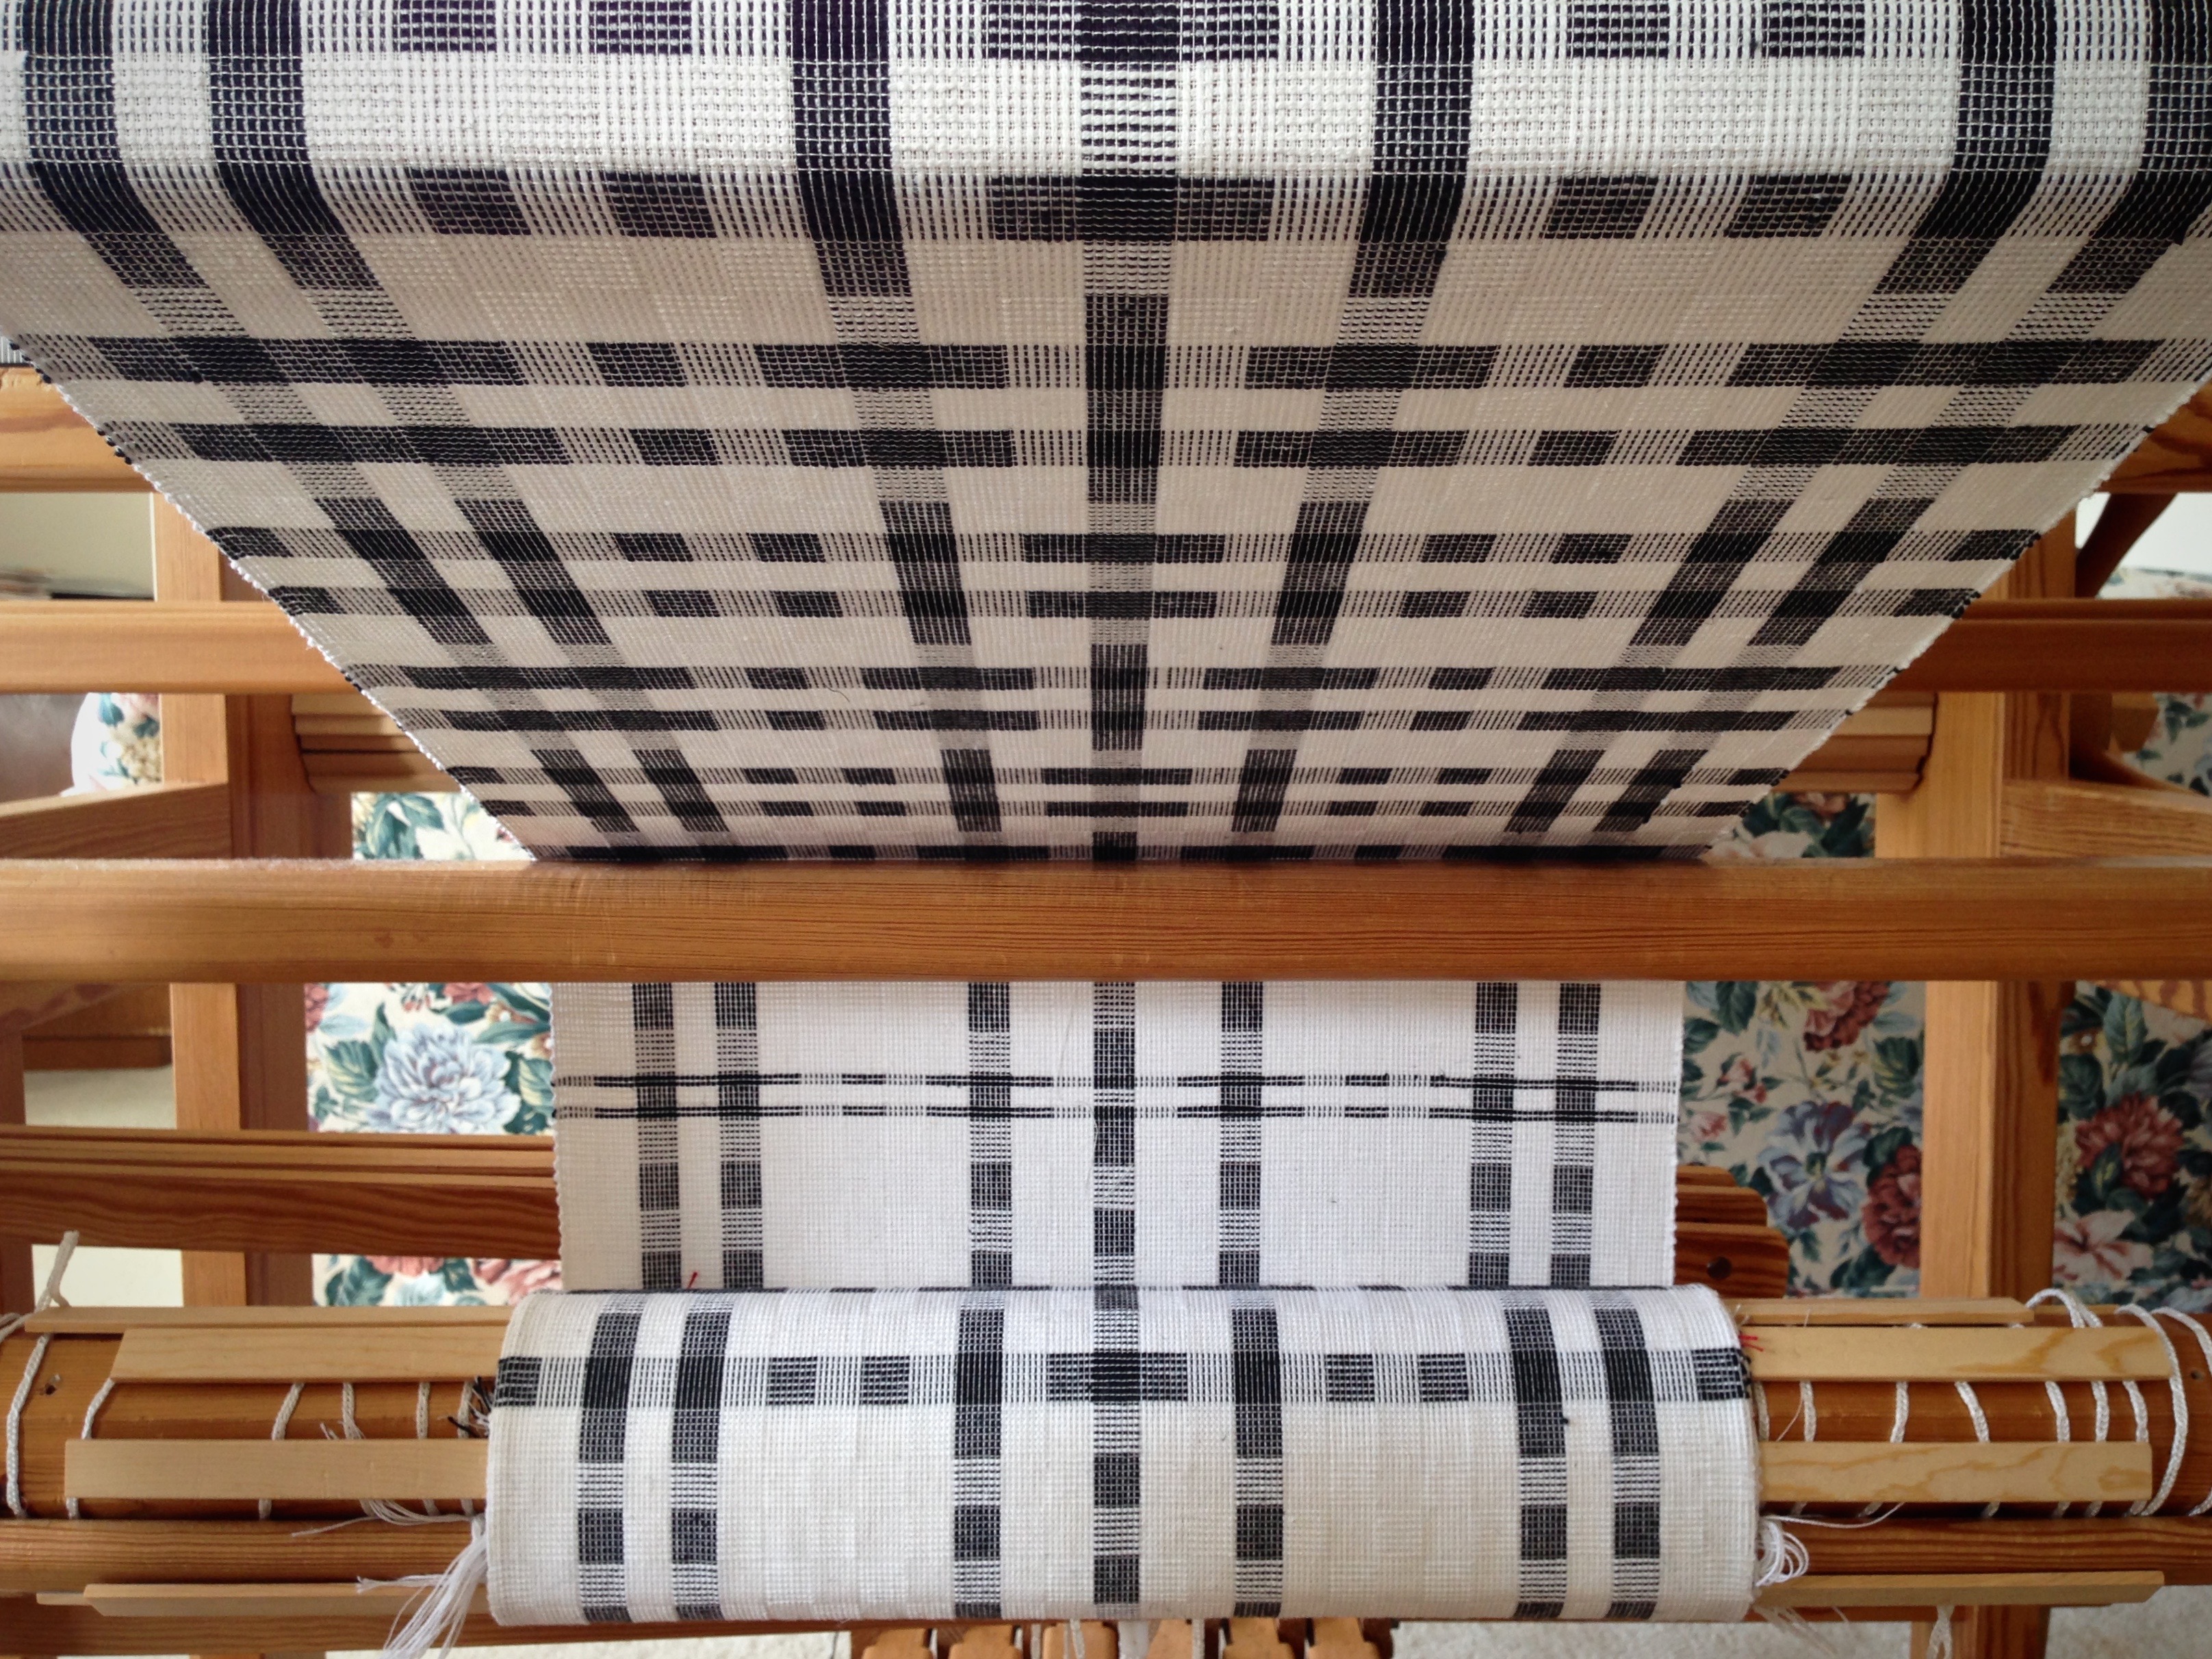
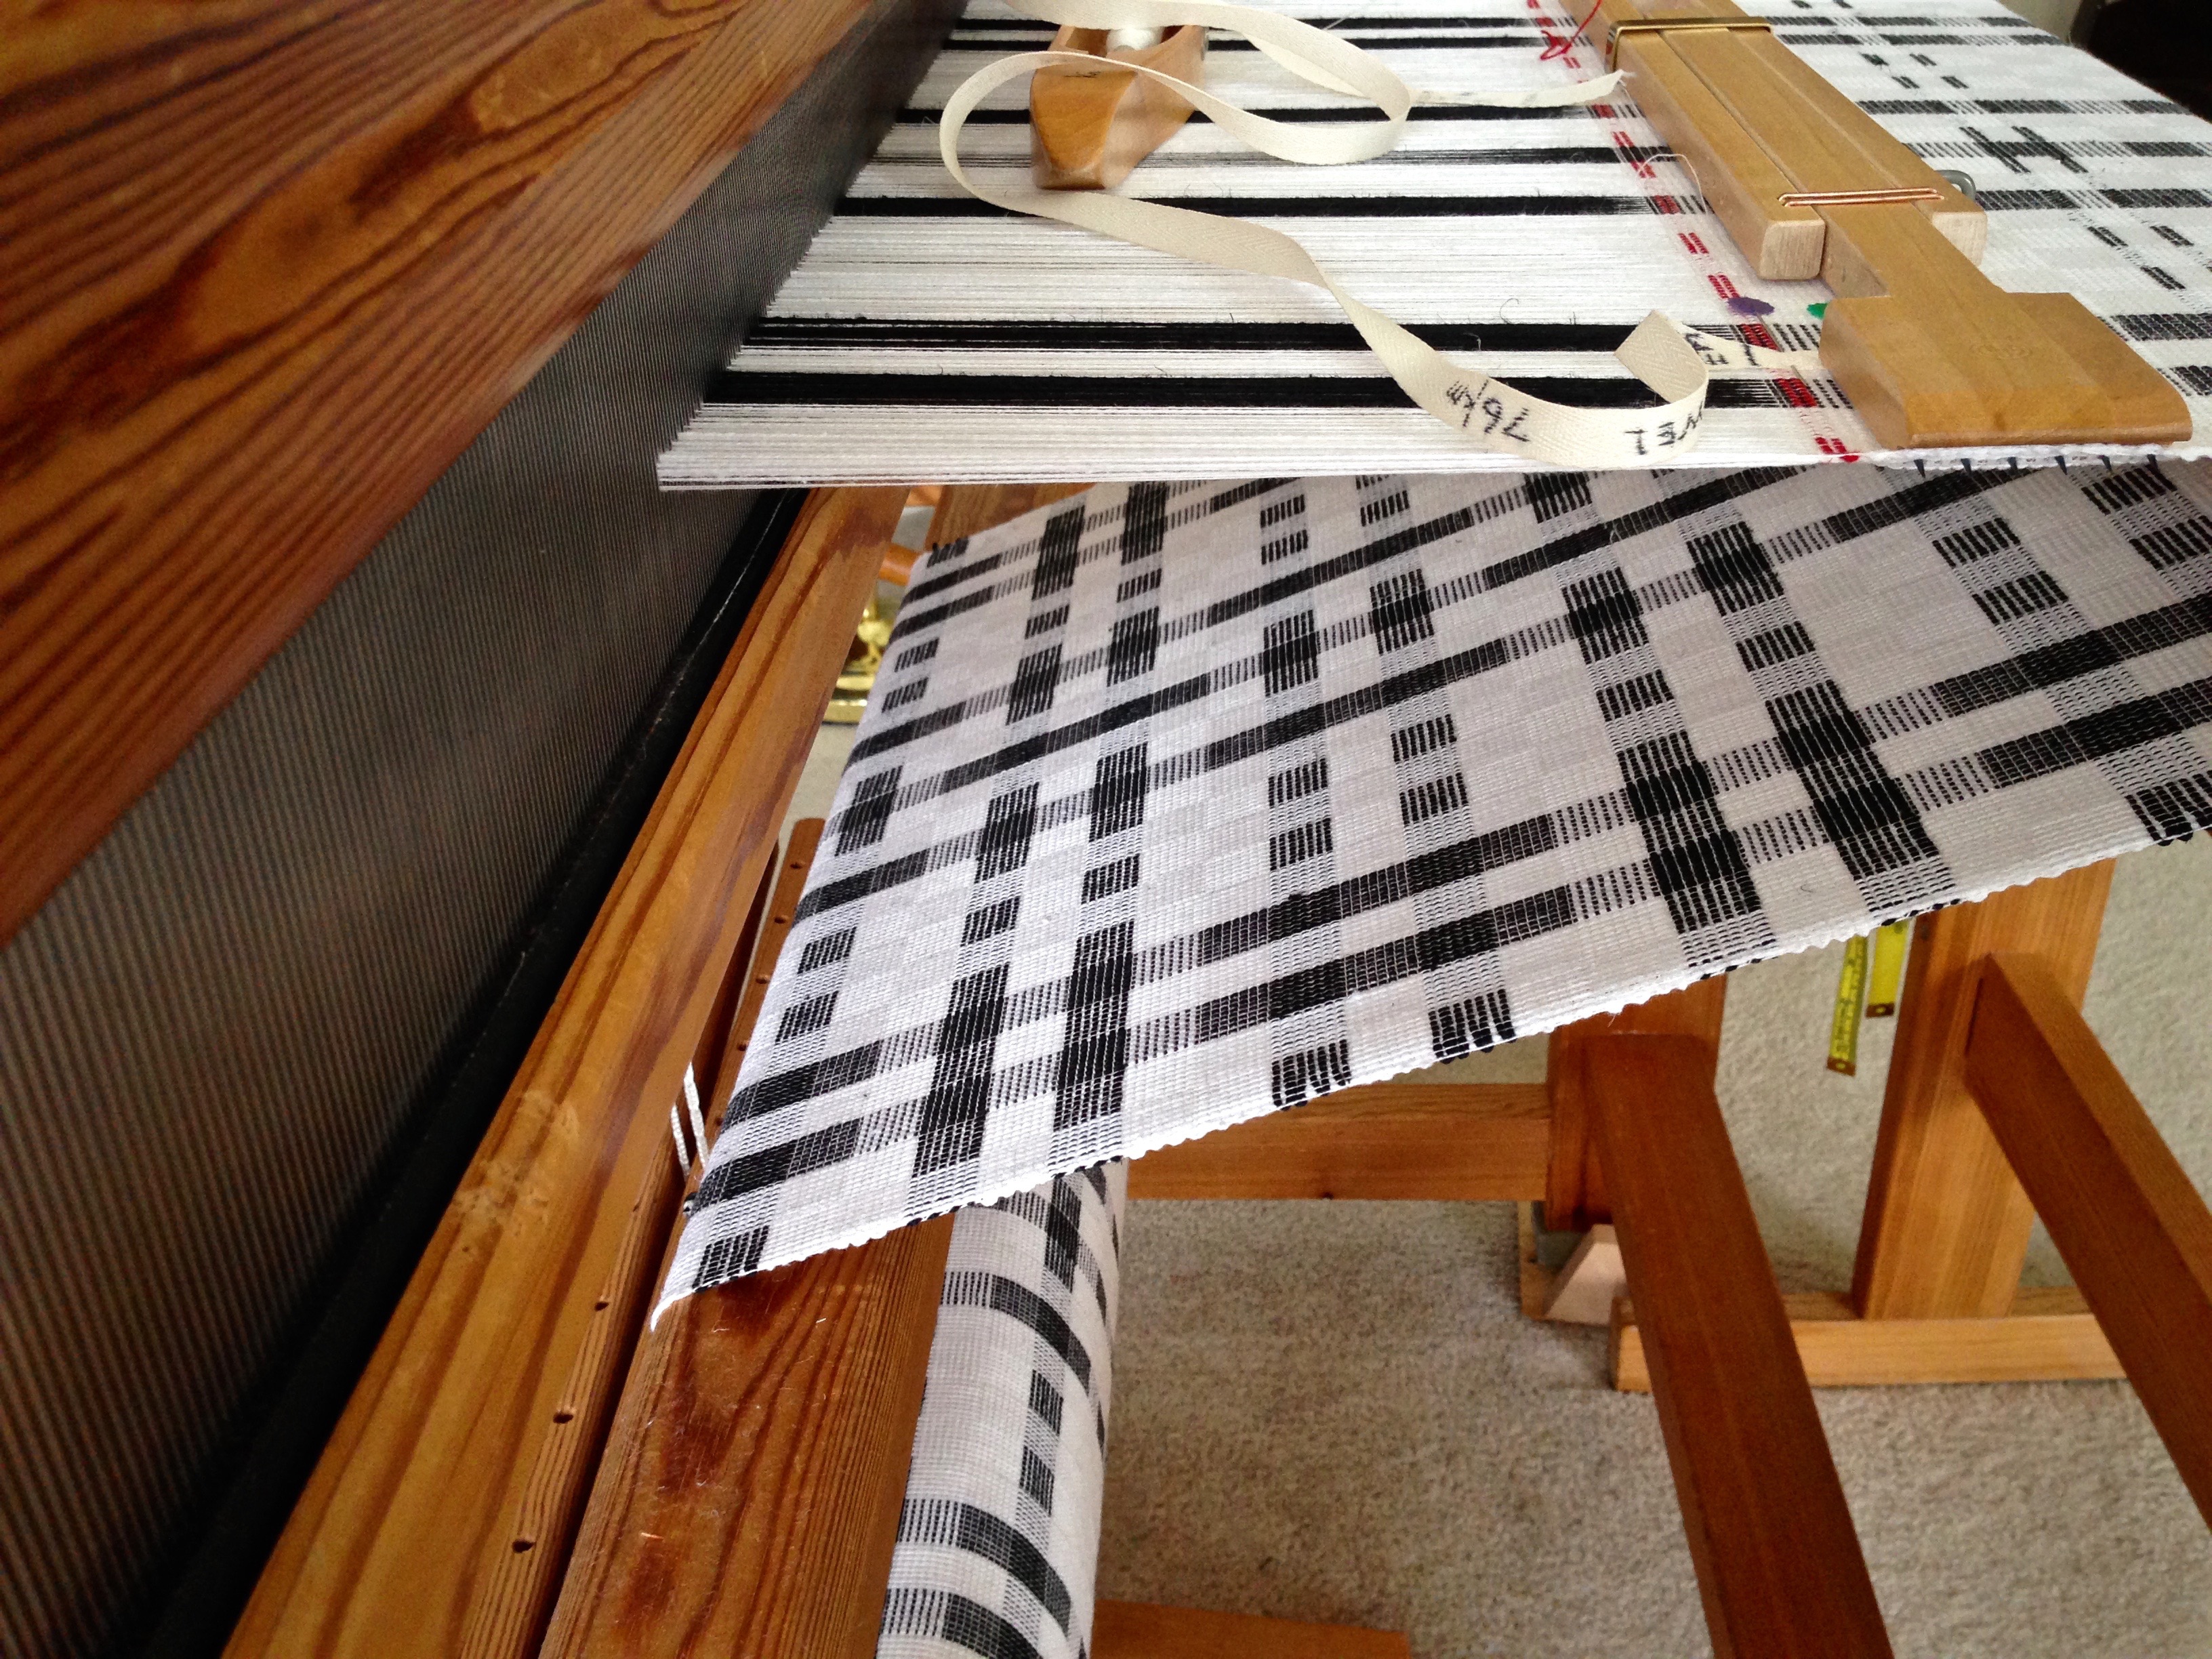
Just off the loom, four halvdräll cottolin and linen table squares await measuring for record keeping.Linen pattern weft is characteristically wiry before wet finishing. Cottolin warp and background weft is somewhat stiff before it gets washed.Pieces are separated at the cutting lines, and cut ends of the cloth are secured with the serger. Then the cloth is placed in the top-loading washing machine, gentle cycle, with Eucalan delicate wash, with warm wash and cold rinse settings, adding several Color Catchers, and omitting the spin cycle. After rolling the wet pieces in clean towels to remove moisture, they are laid flat to dry. While still damp, they are pressed with a hot iron on the back side. And the linen comes out showing its true beauty!Waiting to be hemmed.
Wisdom is gained by those who pursue it. What is wisdom? Wisdom is truth being applied to real life situations. The wise become wiser still by listening with the intent to hear the meaning. Listening and learning. And then wisdom leads you to take action, often irreversible, because you believe the outcome will be right and good. How delightful when the wet-finished fabric exceeds your highest hopes!
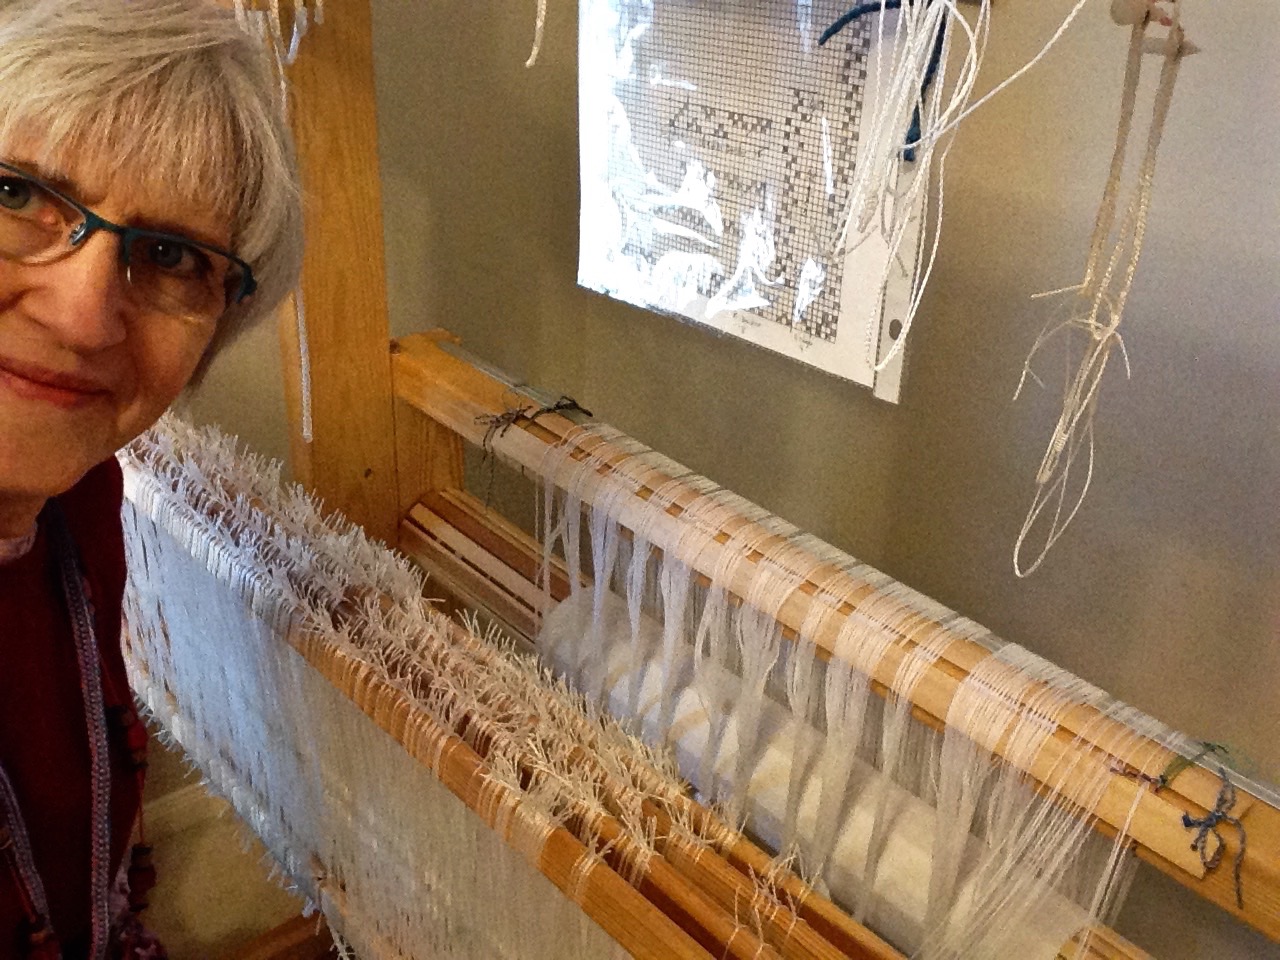
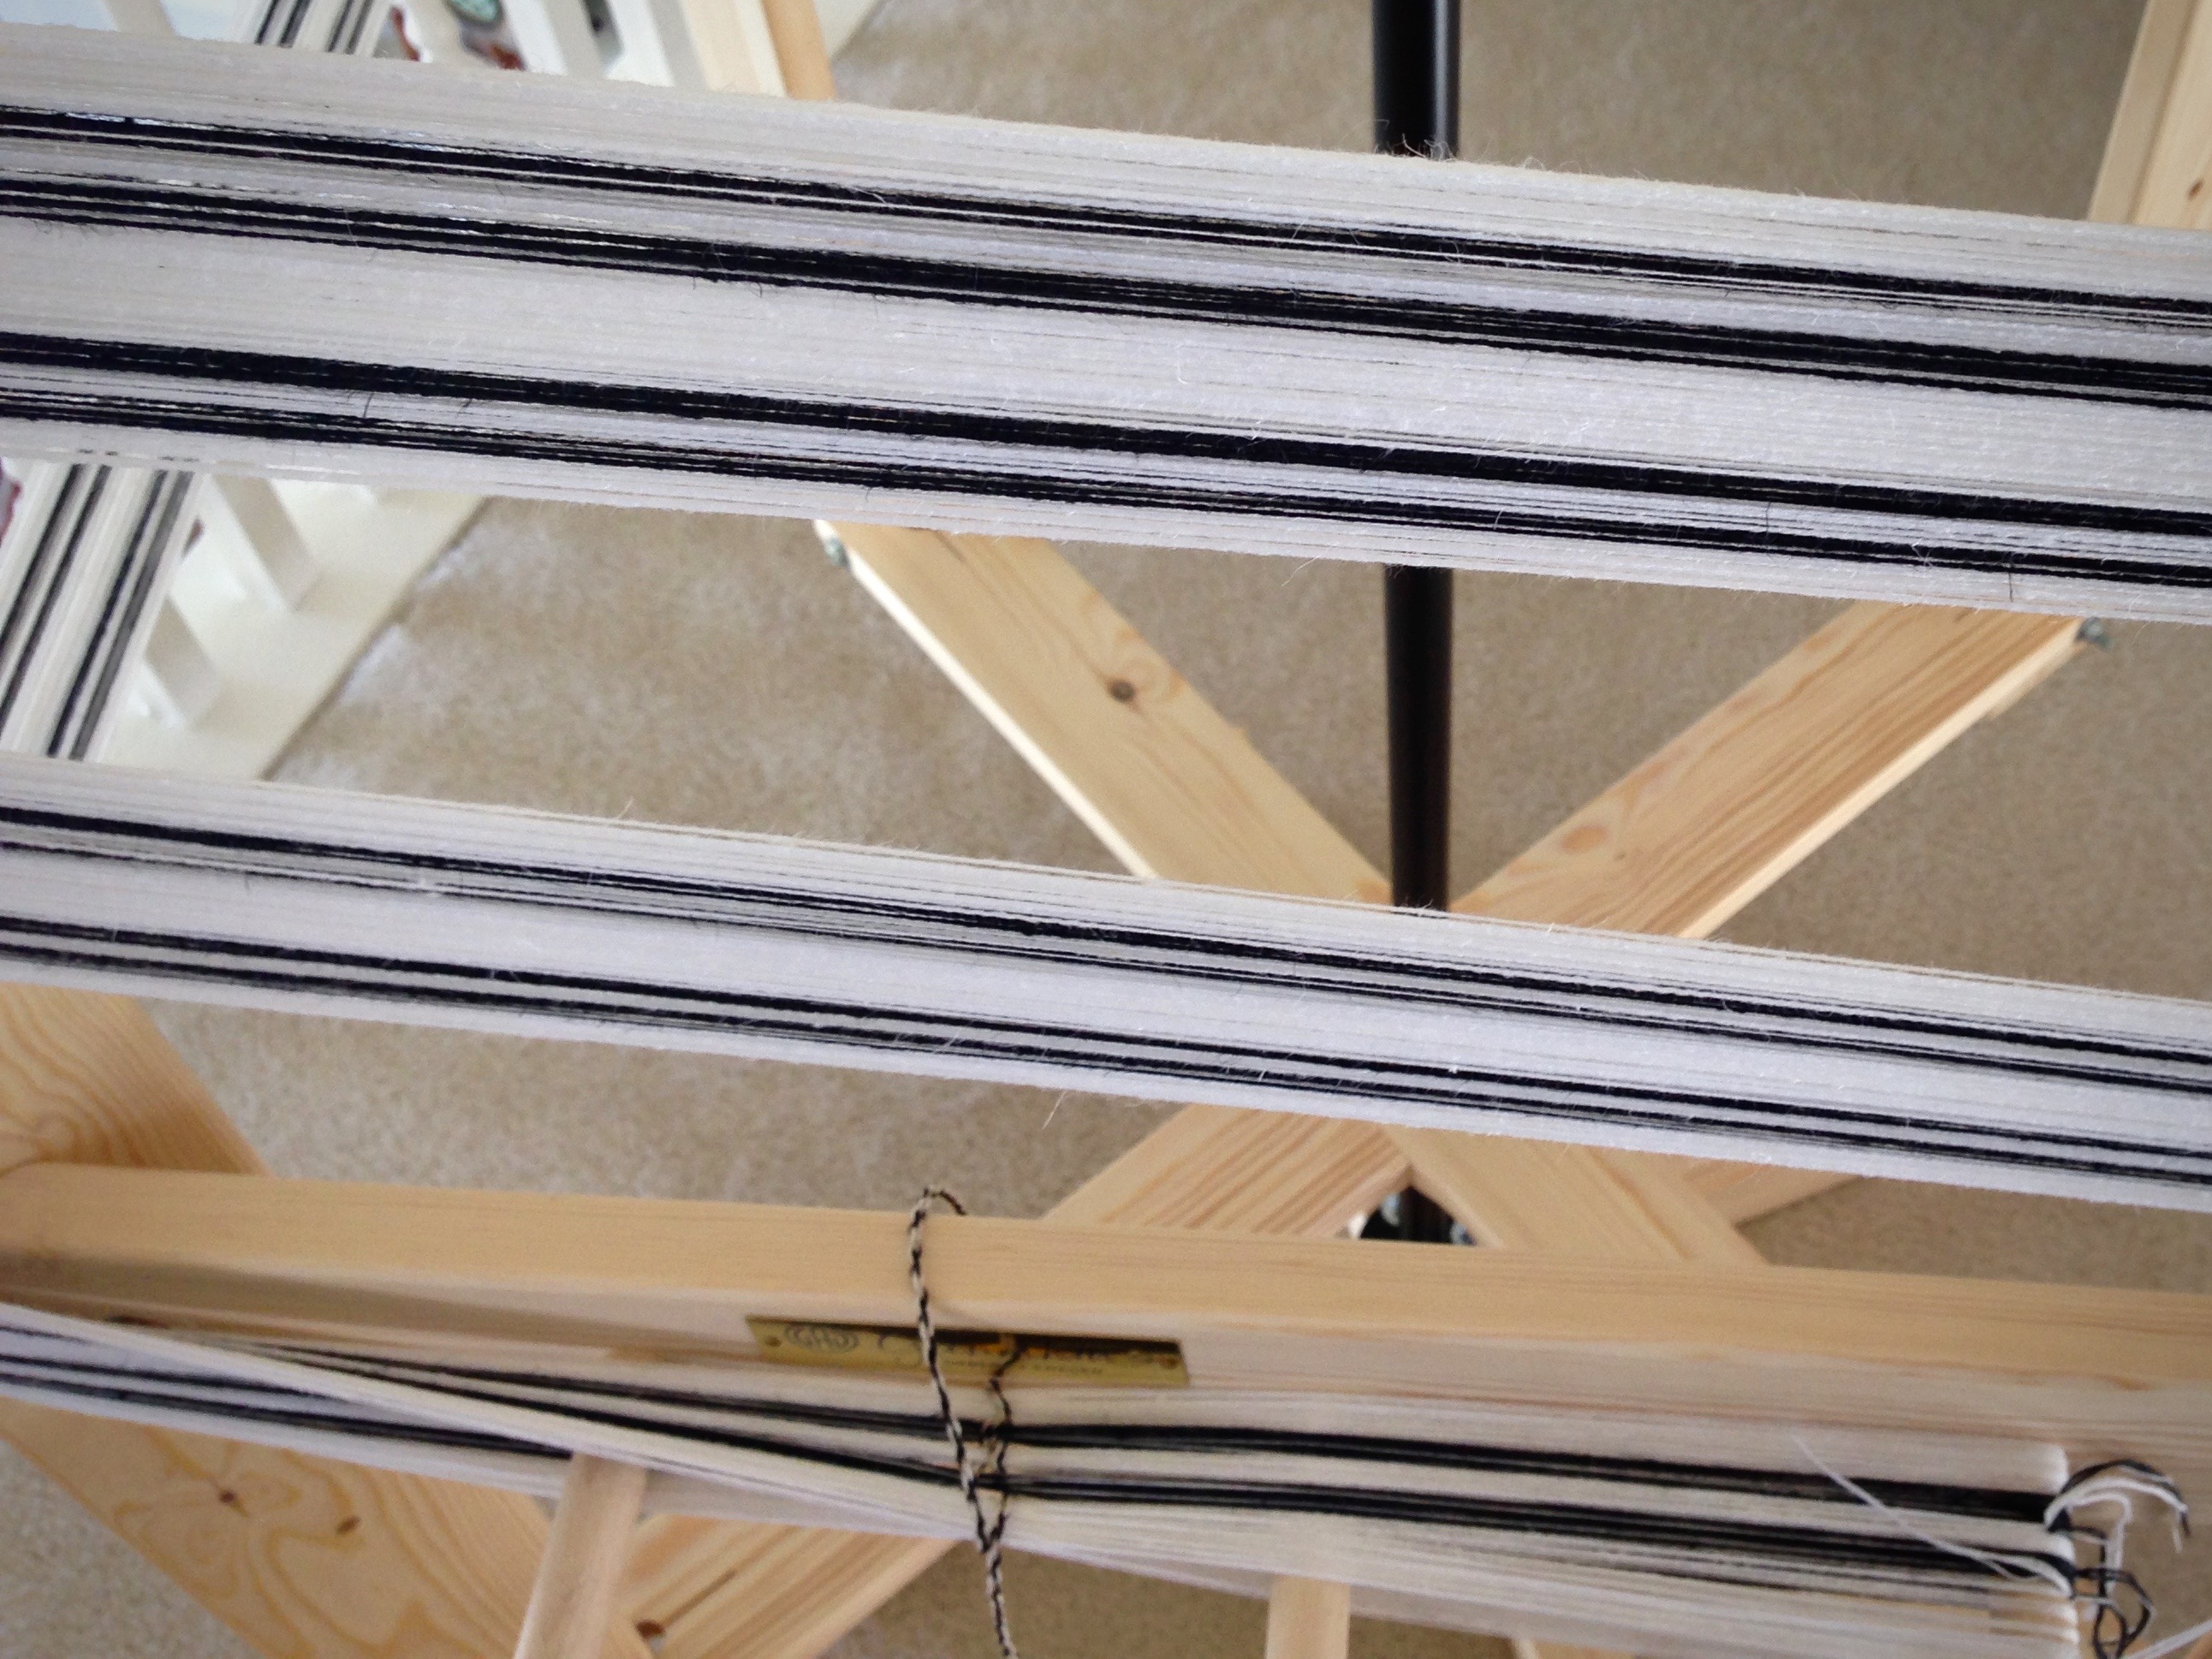
Today I am in my little playhouse in the Glimåkra Standard, threadingheddles for halvdräll. This draft requires my strict attention. No multitasking. I have one thing in mind: thread the heddles. Threading errors are rare for me. And I’d like to keep it that way.
Cozy spot for threadingheddles. With the threading draft in plain sight, good lighting, and plenty of time, I’m ready to go!
There are several things I do to prevent threading errors, or at least to catch them early while they are easy to correct.
Tutorial for Preventing Threading Errors – (Watch the accompanying video below)
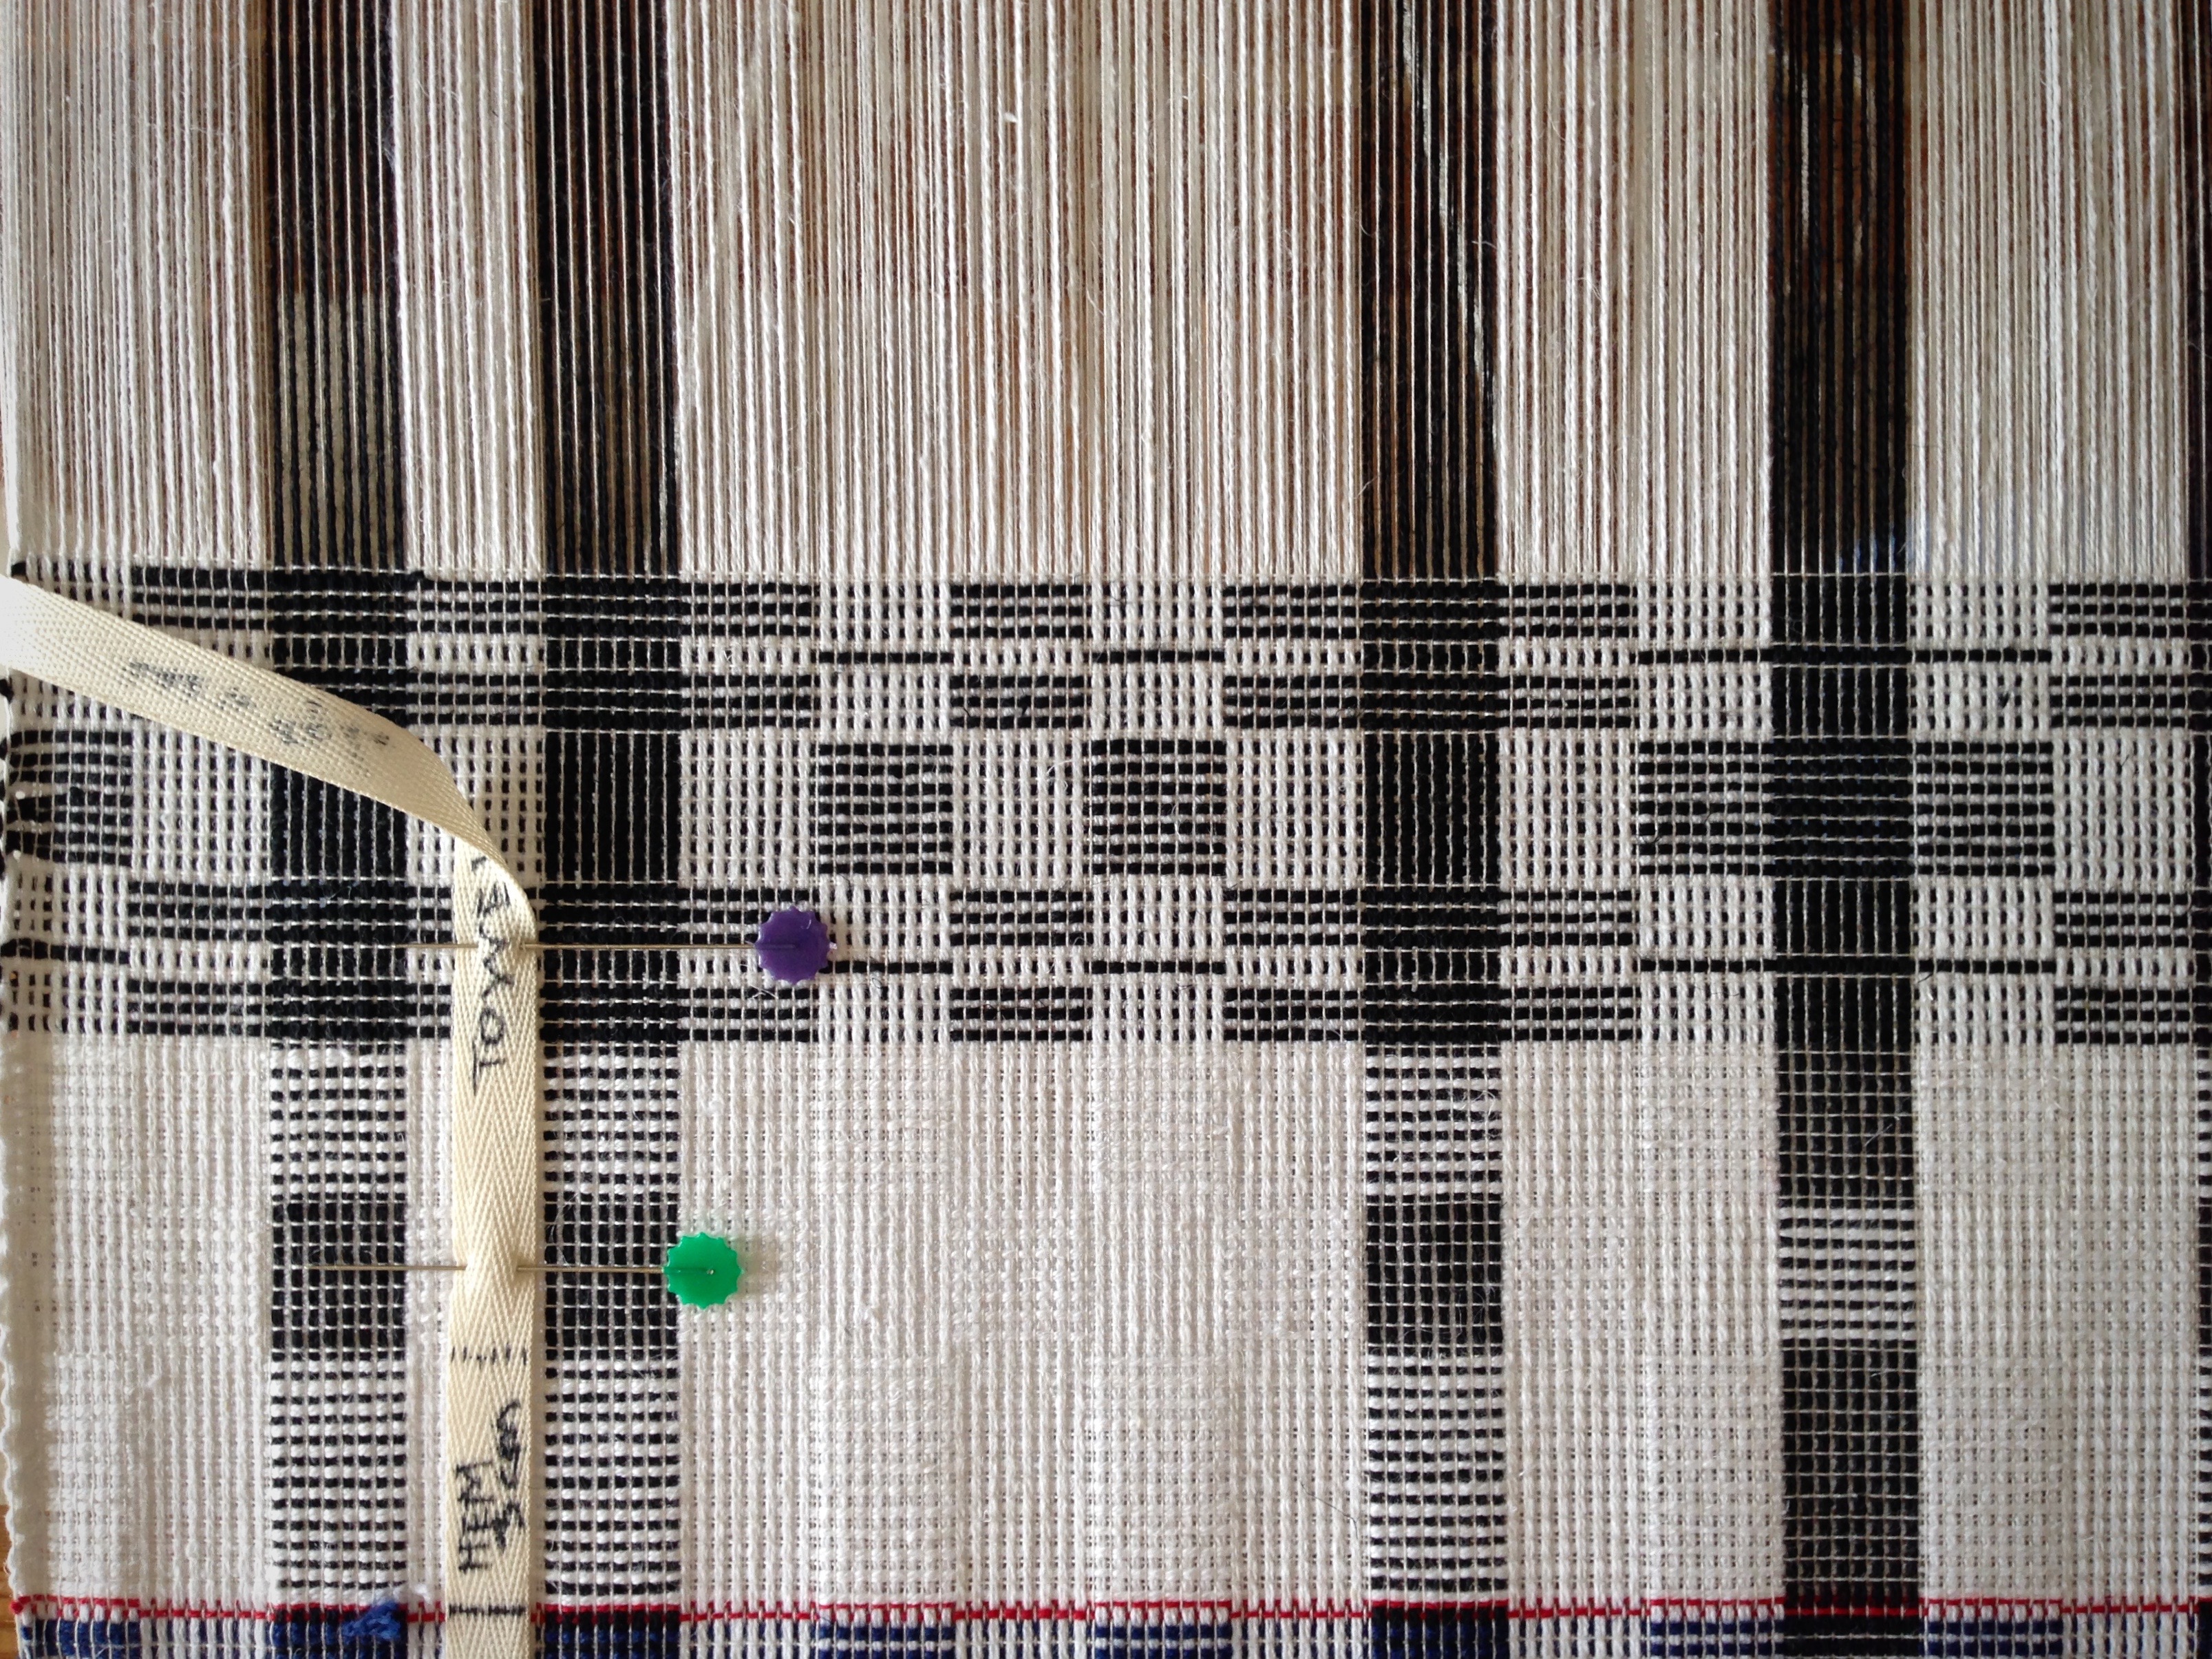
Count the warpends at the lease sticks into logical groupings, and bundle the grouped ends together with a loose overhand knot. (In this case, the groups are: 4 selvedge, 18 right side, 27 block I, 57 block II, repeat the 2 blocks 5 times, 18 left side, 4 selvedge.) I ended up with 2 extra ends at the left selvedge, so I worked my way back, re-counting each grouping until I found the spot where I had mis-counted, almost all the way back to the right selvedge ends. If that happens, re-count and re-tie each grouping until it all adds up correctly.
Tape or hang your threading draft where it can be easily seen.
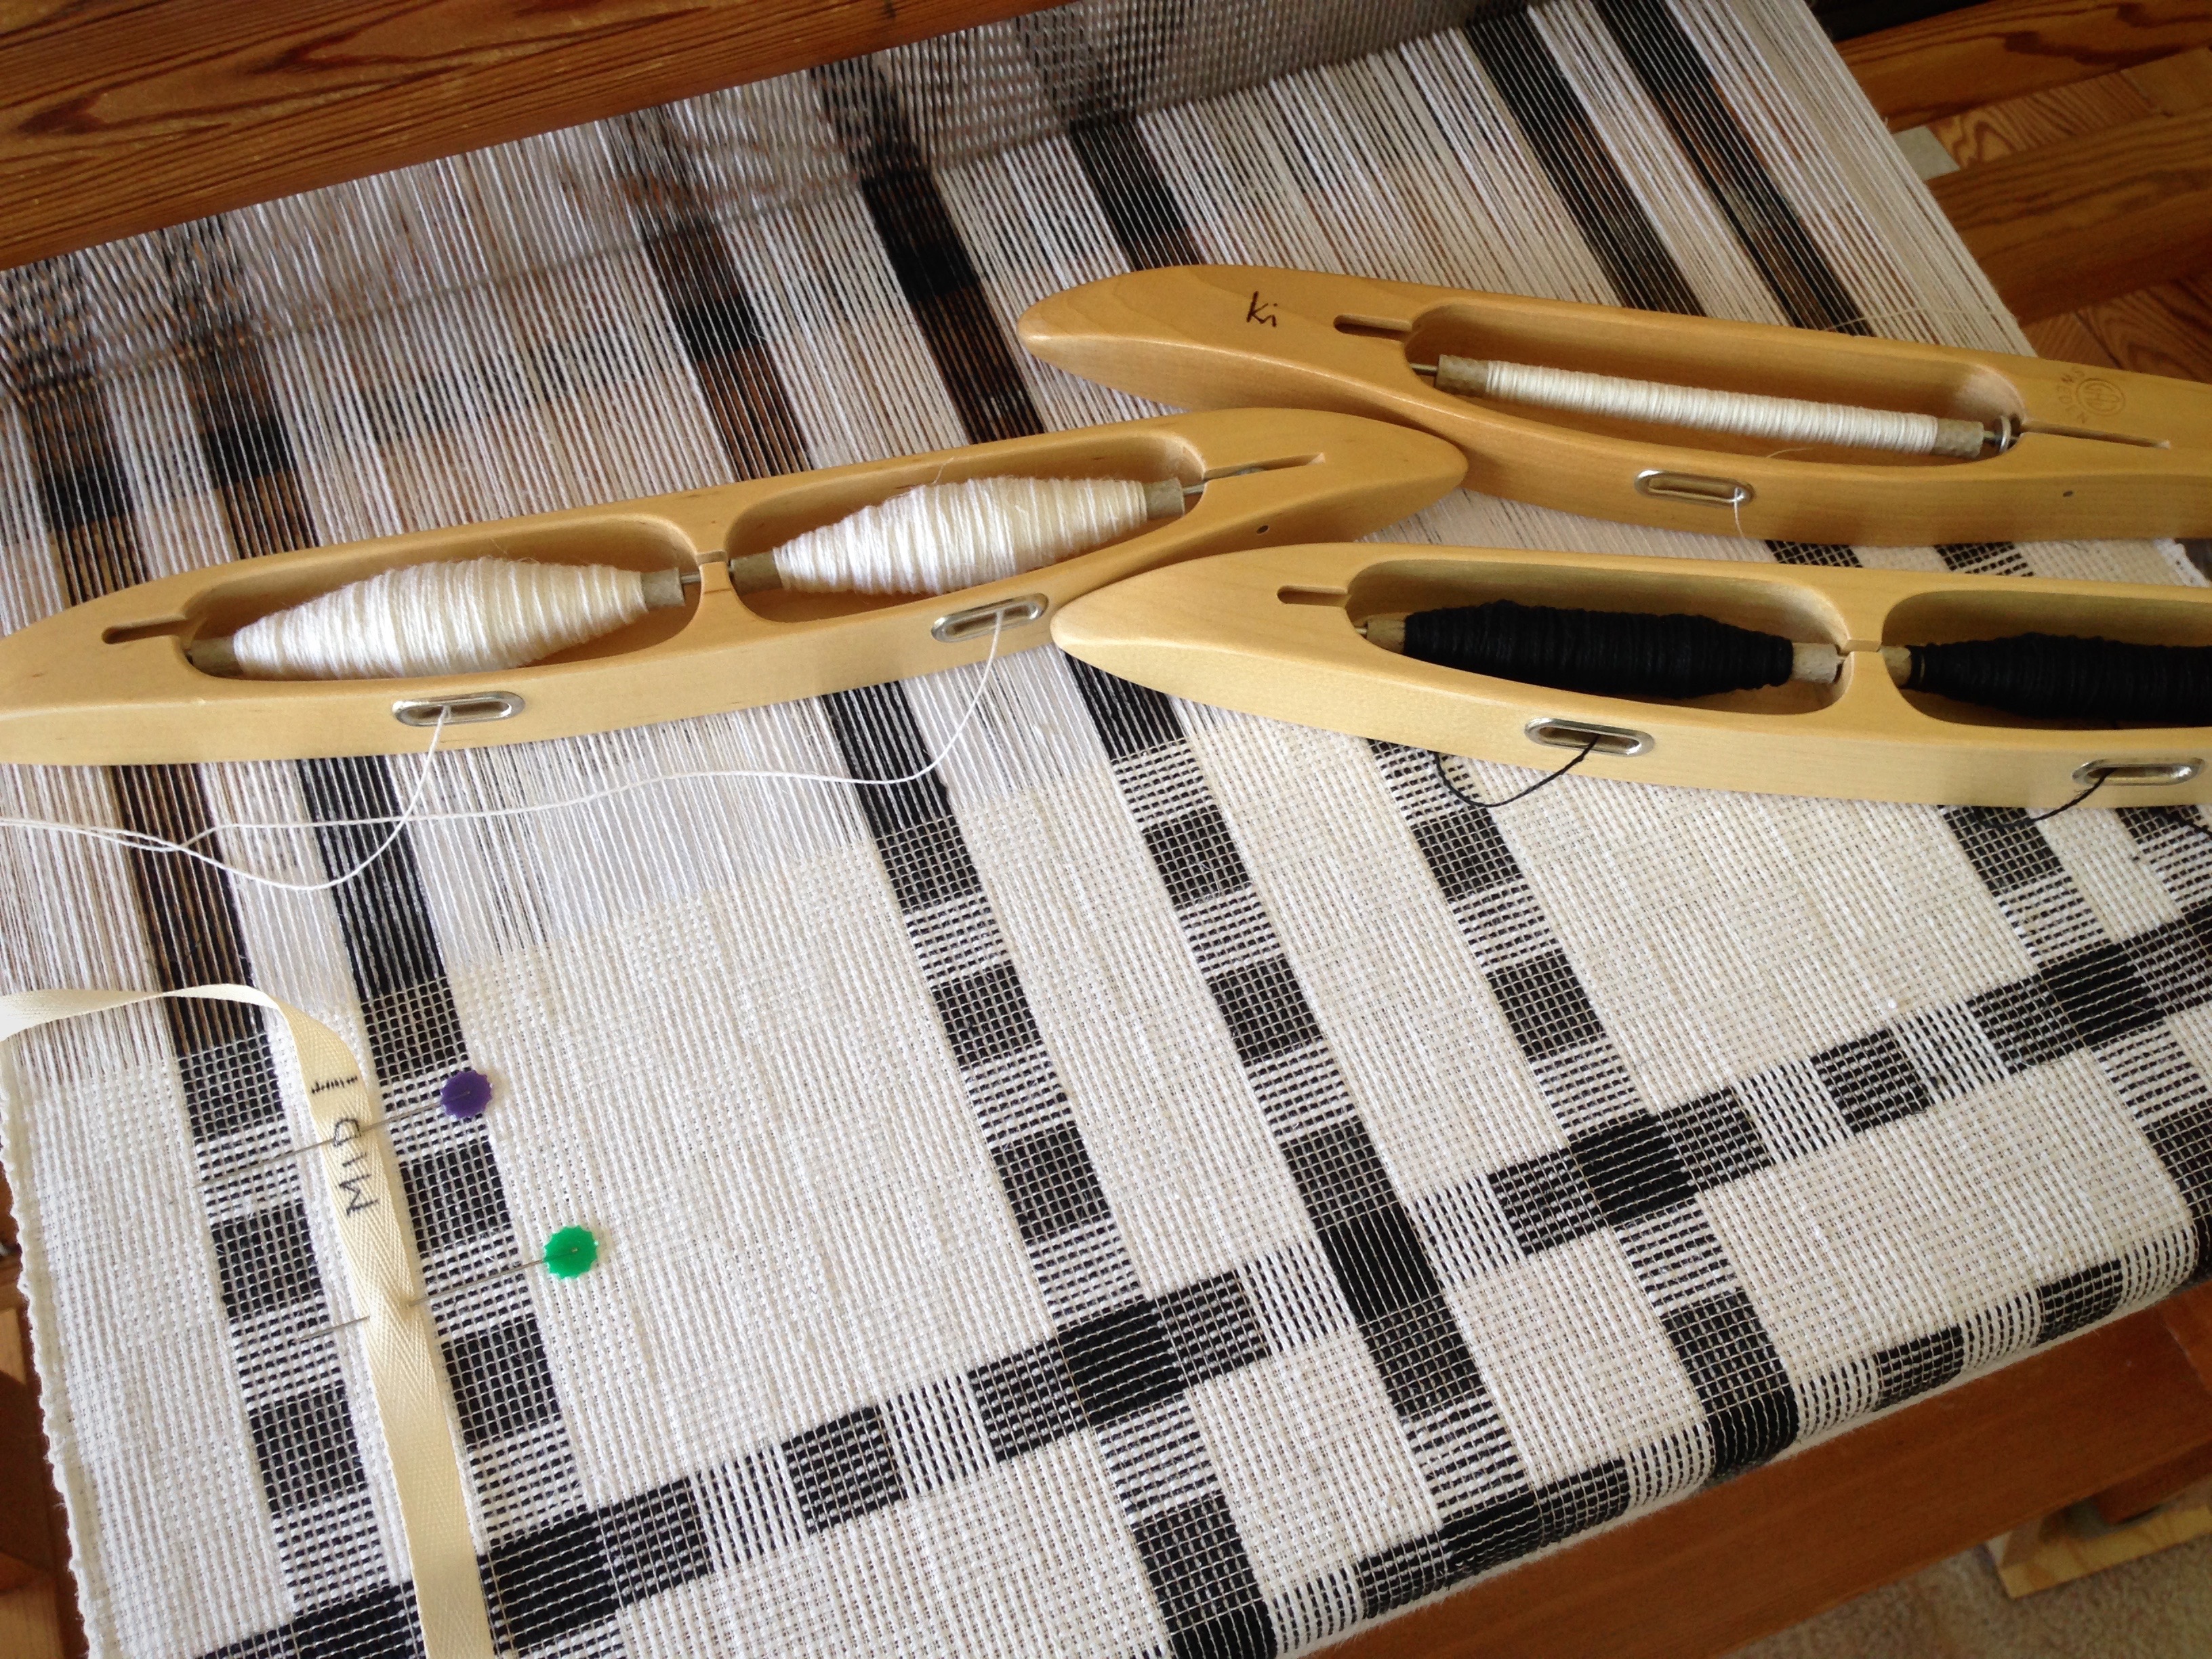
Take one bundle of ends at a time, starting on the right-hand side, and thread those ends into their heddles, following the threading draft. It helps me to say the threading order out loud as I do the threading.
Check your work. Hold the just-threaded ends taut with your left hand, and with your right hand check every end, one by one, to see that it is going through the correct heddle. Make threading corrections, if needed, by pulling out errant ends and re-threading them. Tie that completed grouping with a loose slip knot. Again, I say the threading order out loud as I check the threading.
Repeat steps 4 and 5 until threading is complete.
Know when to take a break. Five minutes away from the loom every now and then serves to refresh my ability to concentrate. If I do a nonstop marathon, I’m prone to make errors.
Now, what about a tutorial for living? Grace means that we have been given a free tutorial for purposeful living. Jesus brought the grace of God to us. Christmas reminds us of that. It’s the grace of God that instructs us for living. It’s as if we have an ancient weaving draft; and we’ve been given the grace, the tutorial, that shows how to understand the draft to make meaning in the fabric of our lives.
May you catch all your threading errors while they are easy to fix.
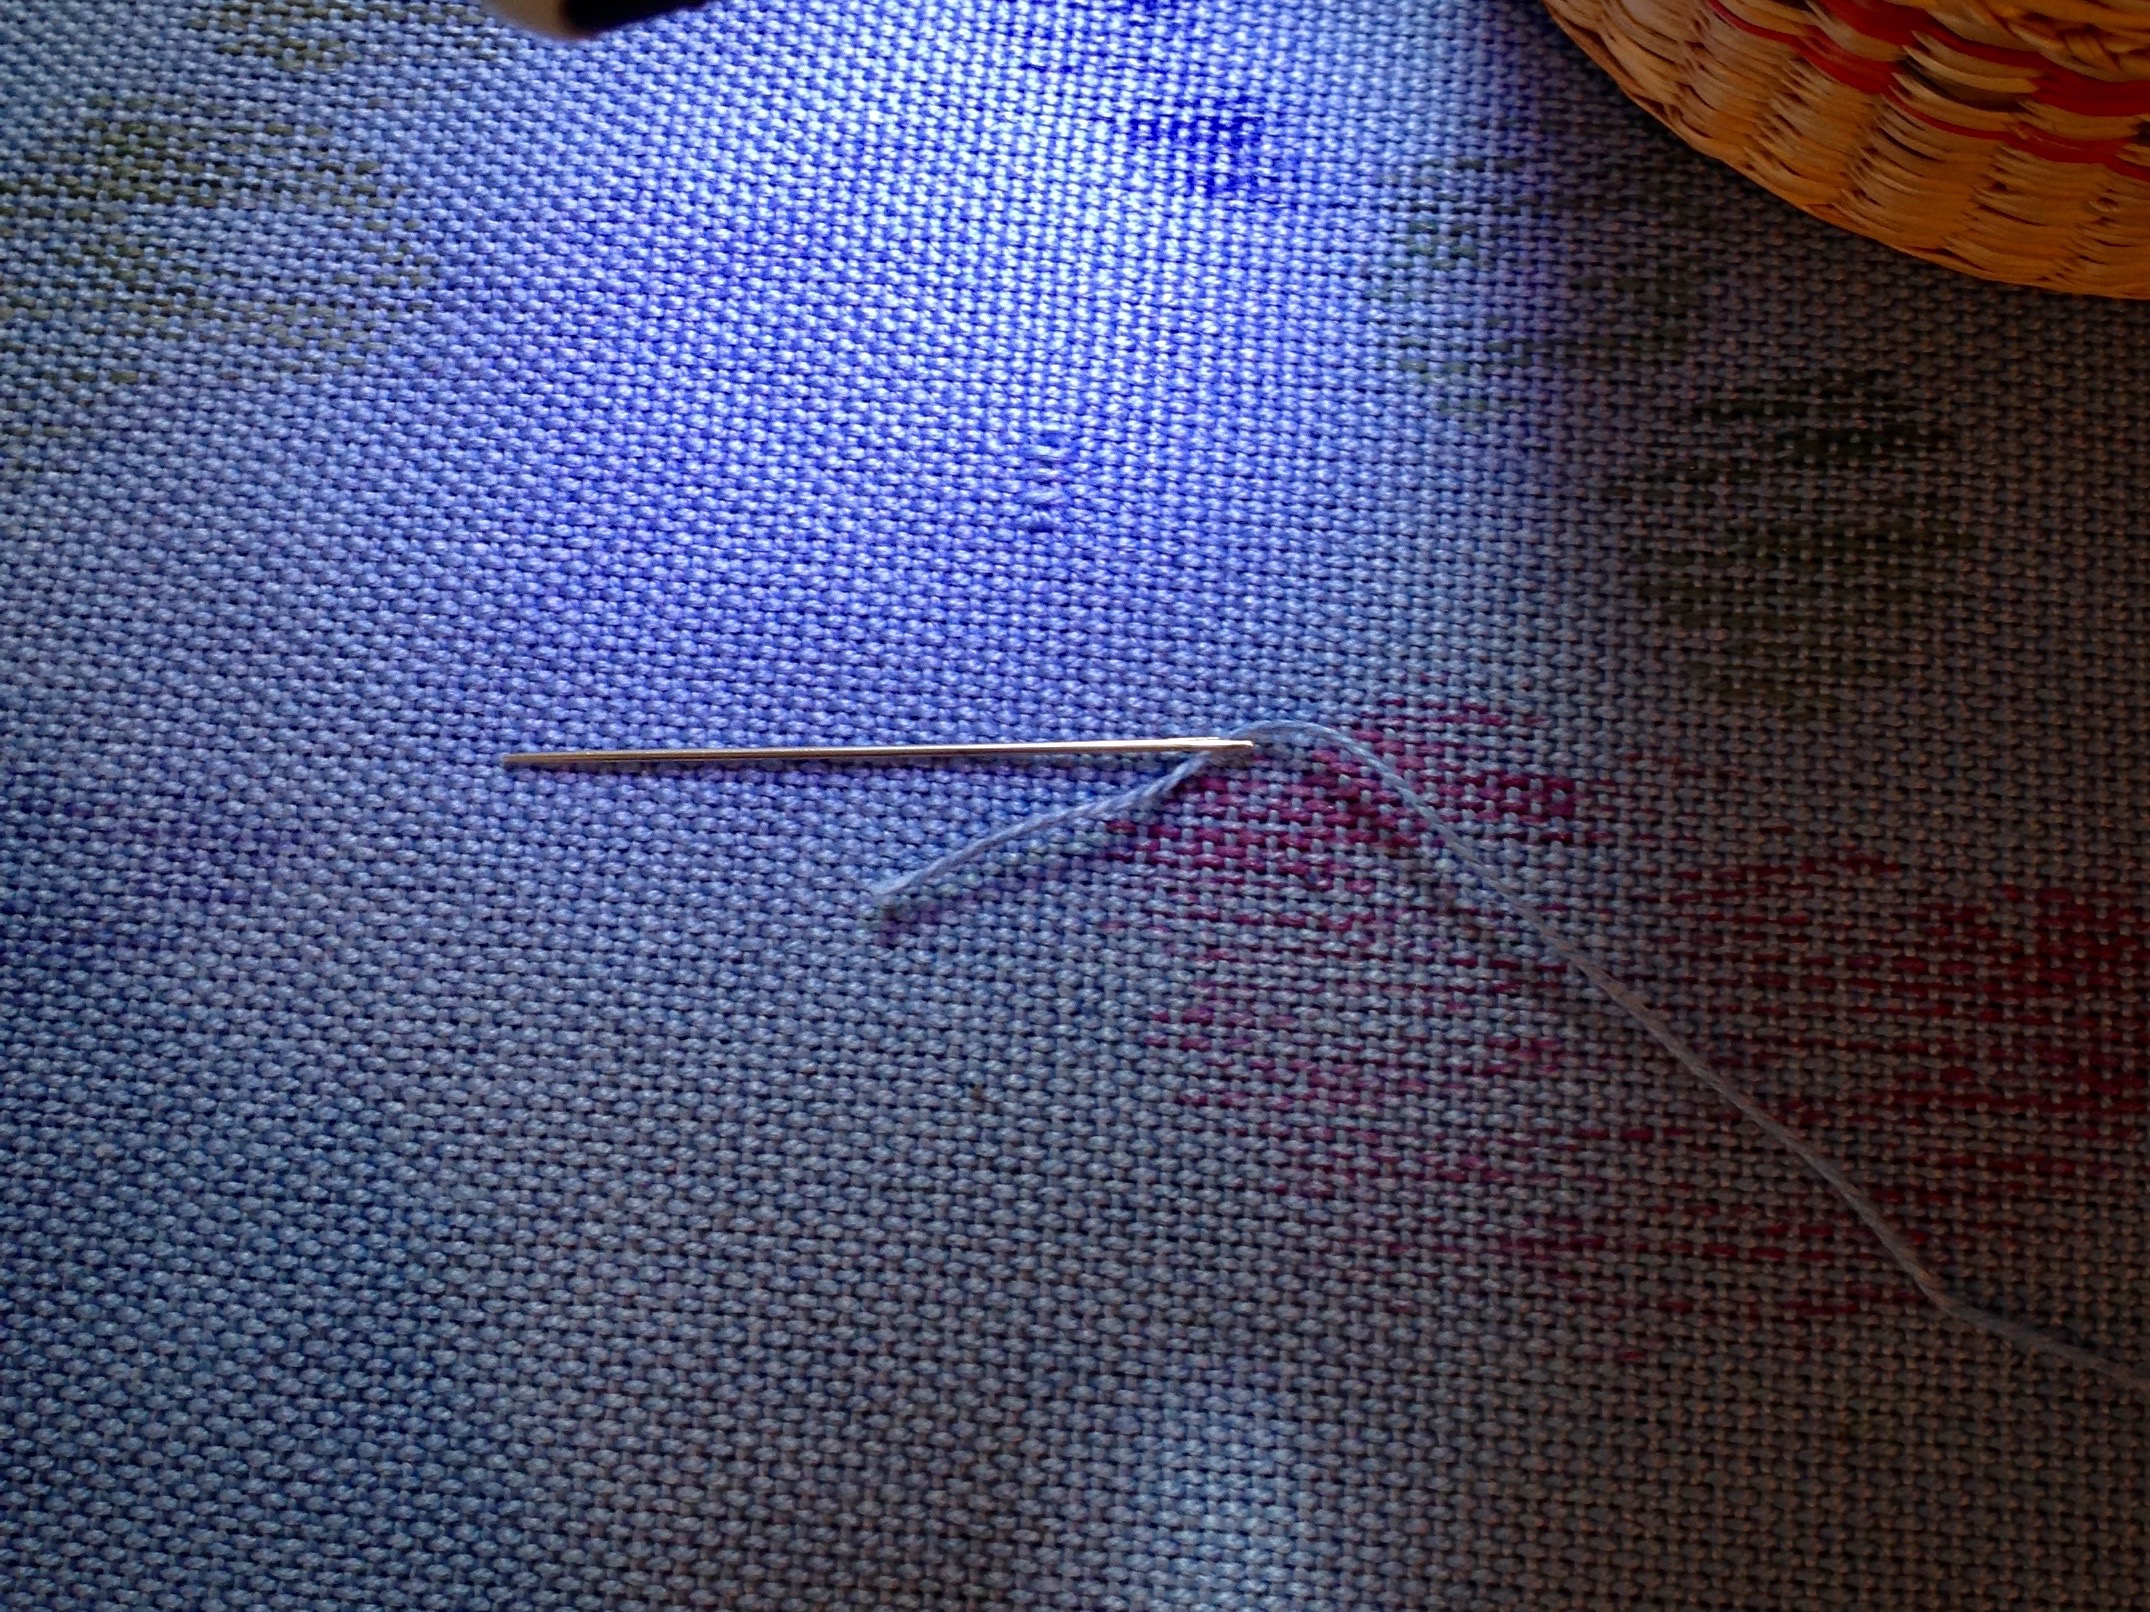
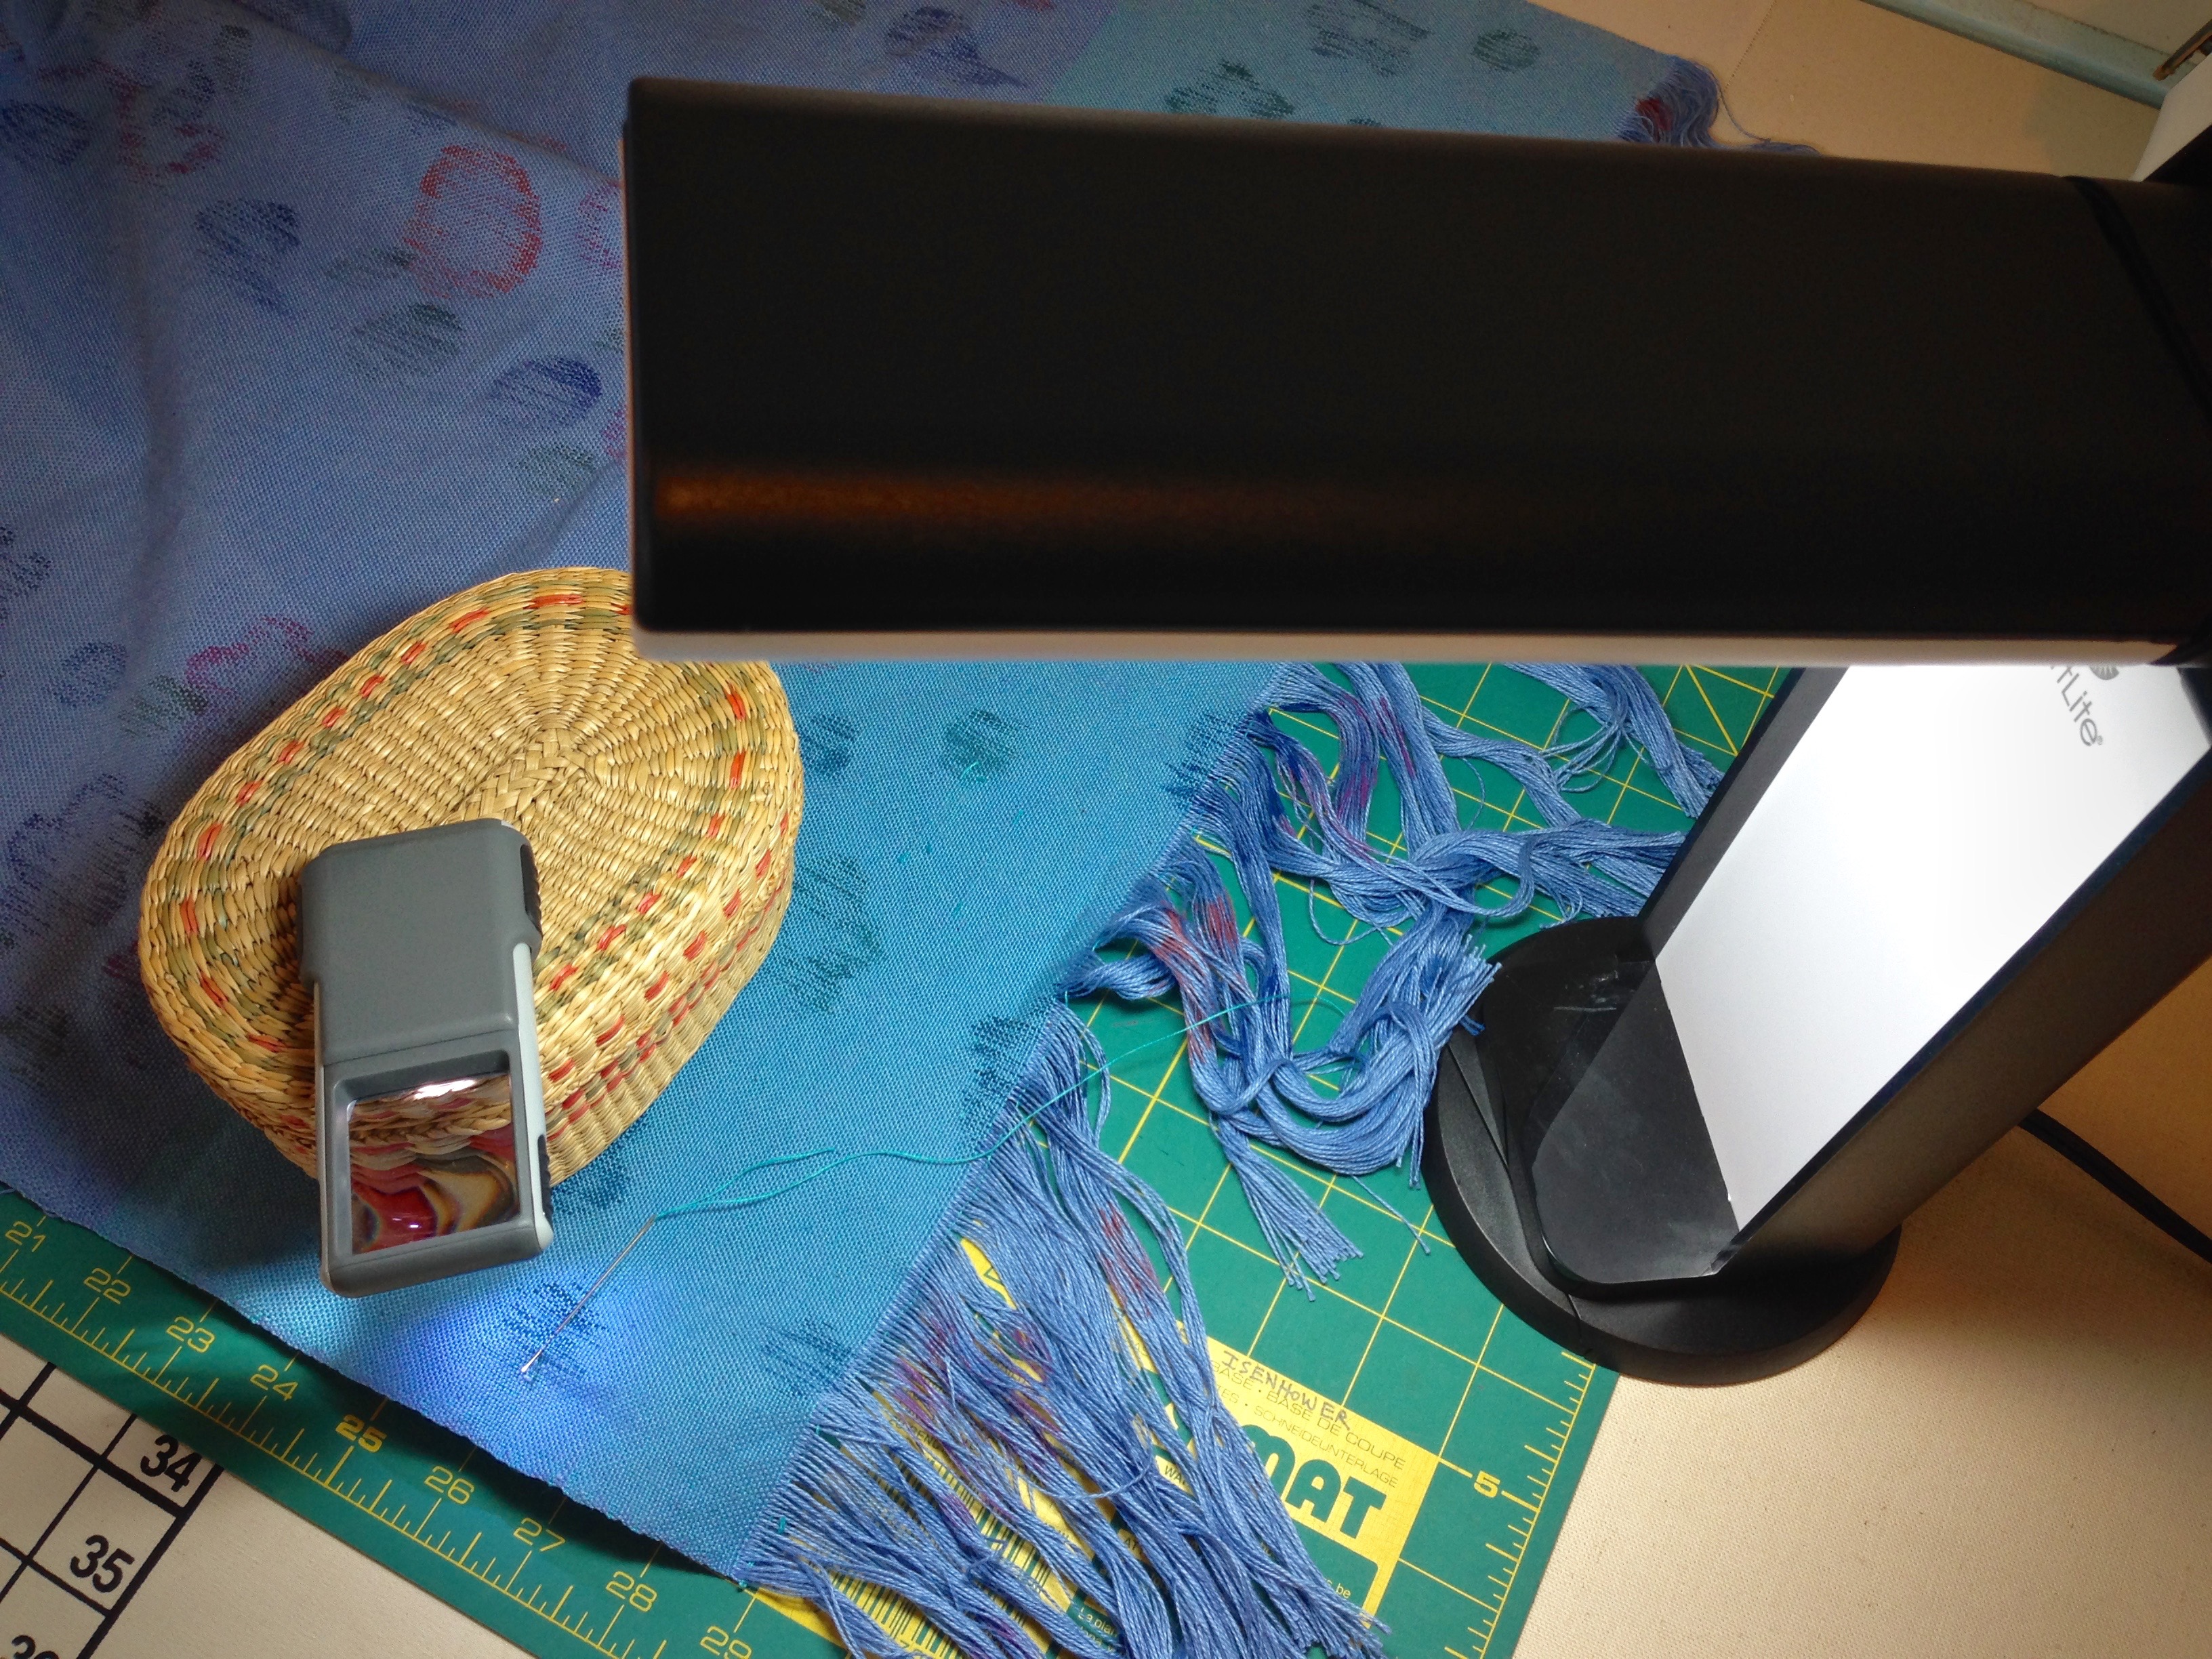
Sunshine coming through the windows is marvelous for weaving. But my eyes need extra light to see small details. This is noticeably true with errors that I mend on the loom and off the loom. I turn on extra lighting at other times, too–when threading fine threads, sleying the reed with fine or dark threads, counting picks per inch on woven cloth, and checking the treadling pattern in a fine weave, for example. And sometimes I turn on extra lighting for no other reason than it’s a cloudy day.
Tools:
OttLite Task Lamp with Swivel Base
Handheld lighted magnifier
Pin marks the spot where I broke a thin weft thread, 30/2 cotton, with the temple.Repair area is flooded with light from my portable OttLite.Illuminated stitches are easily seen. A replacement length of weft is needle-woven in.Series of errant floats are discovered after this fabric is removed from the loom. At 30 ends per inch, my eyes strain to see where to weave the needle.Needing more than the bright OttLite, I add magnification. Pairing the OttLite with the handheld lighted magnifier does the trick!Lighted magnifier, reflecting the OttLite just overhead, balances perfectly on a small sewing basket. Now I can actually see the threads I am fixing.
To further reduce eye strain, I am considering other lighting options. Have you had success with task lighting? I’d love to hear about it. Share your experience and recommendations in the comments.
My Lighting Wish List:
Full spectrum floor lamp
Adjustable-arm magnifying task light to clamp on table or loom
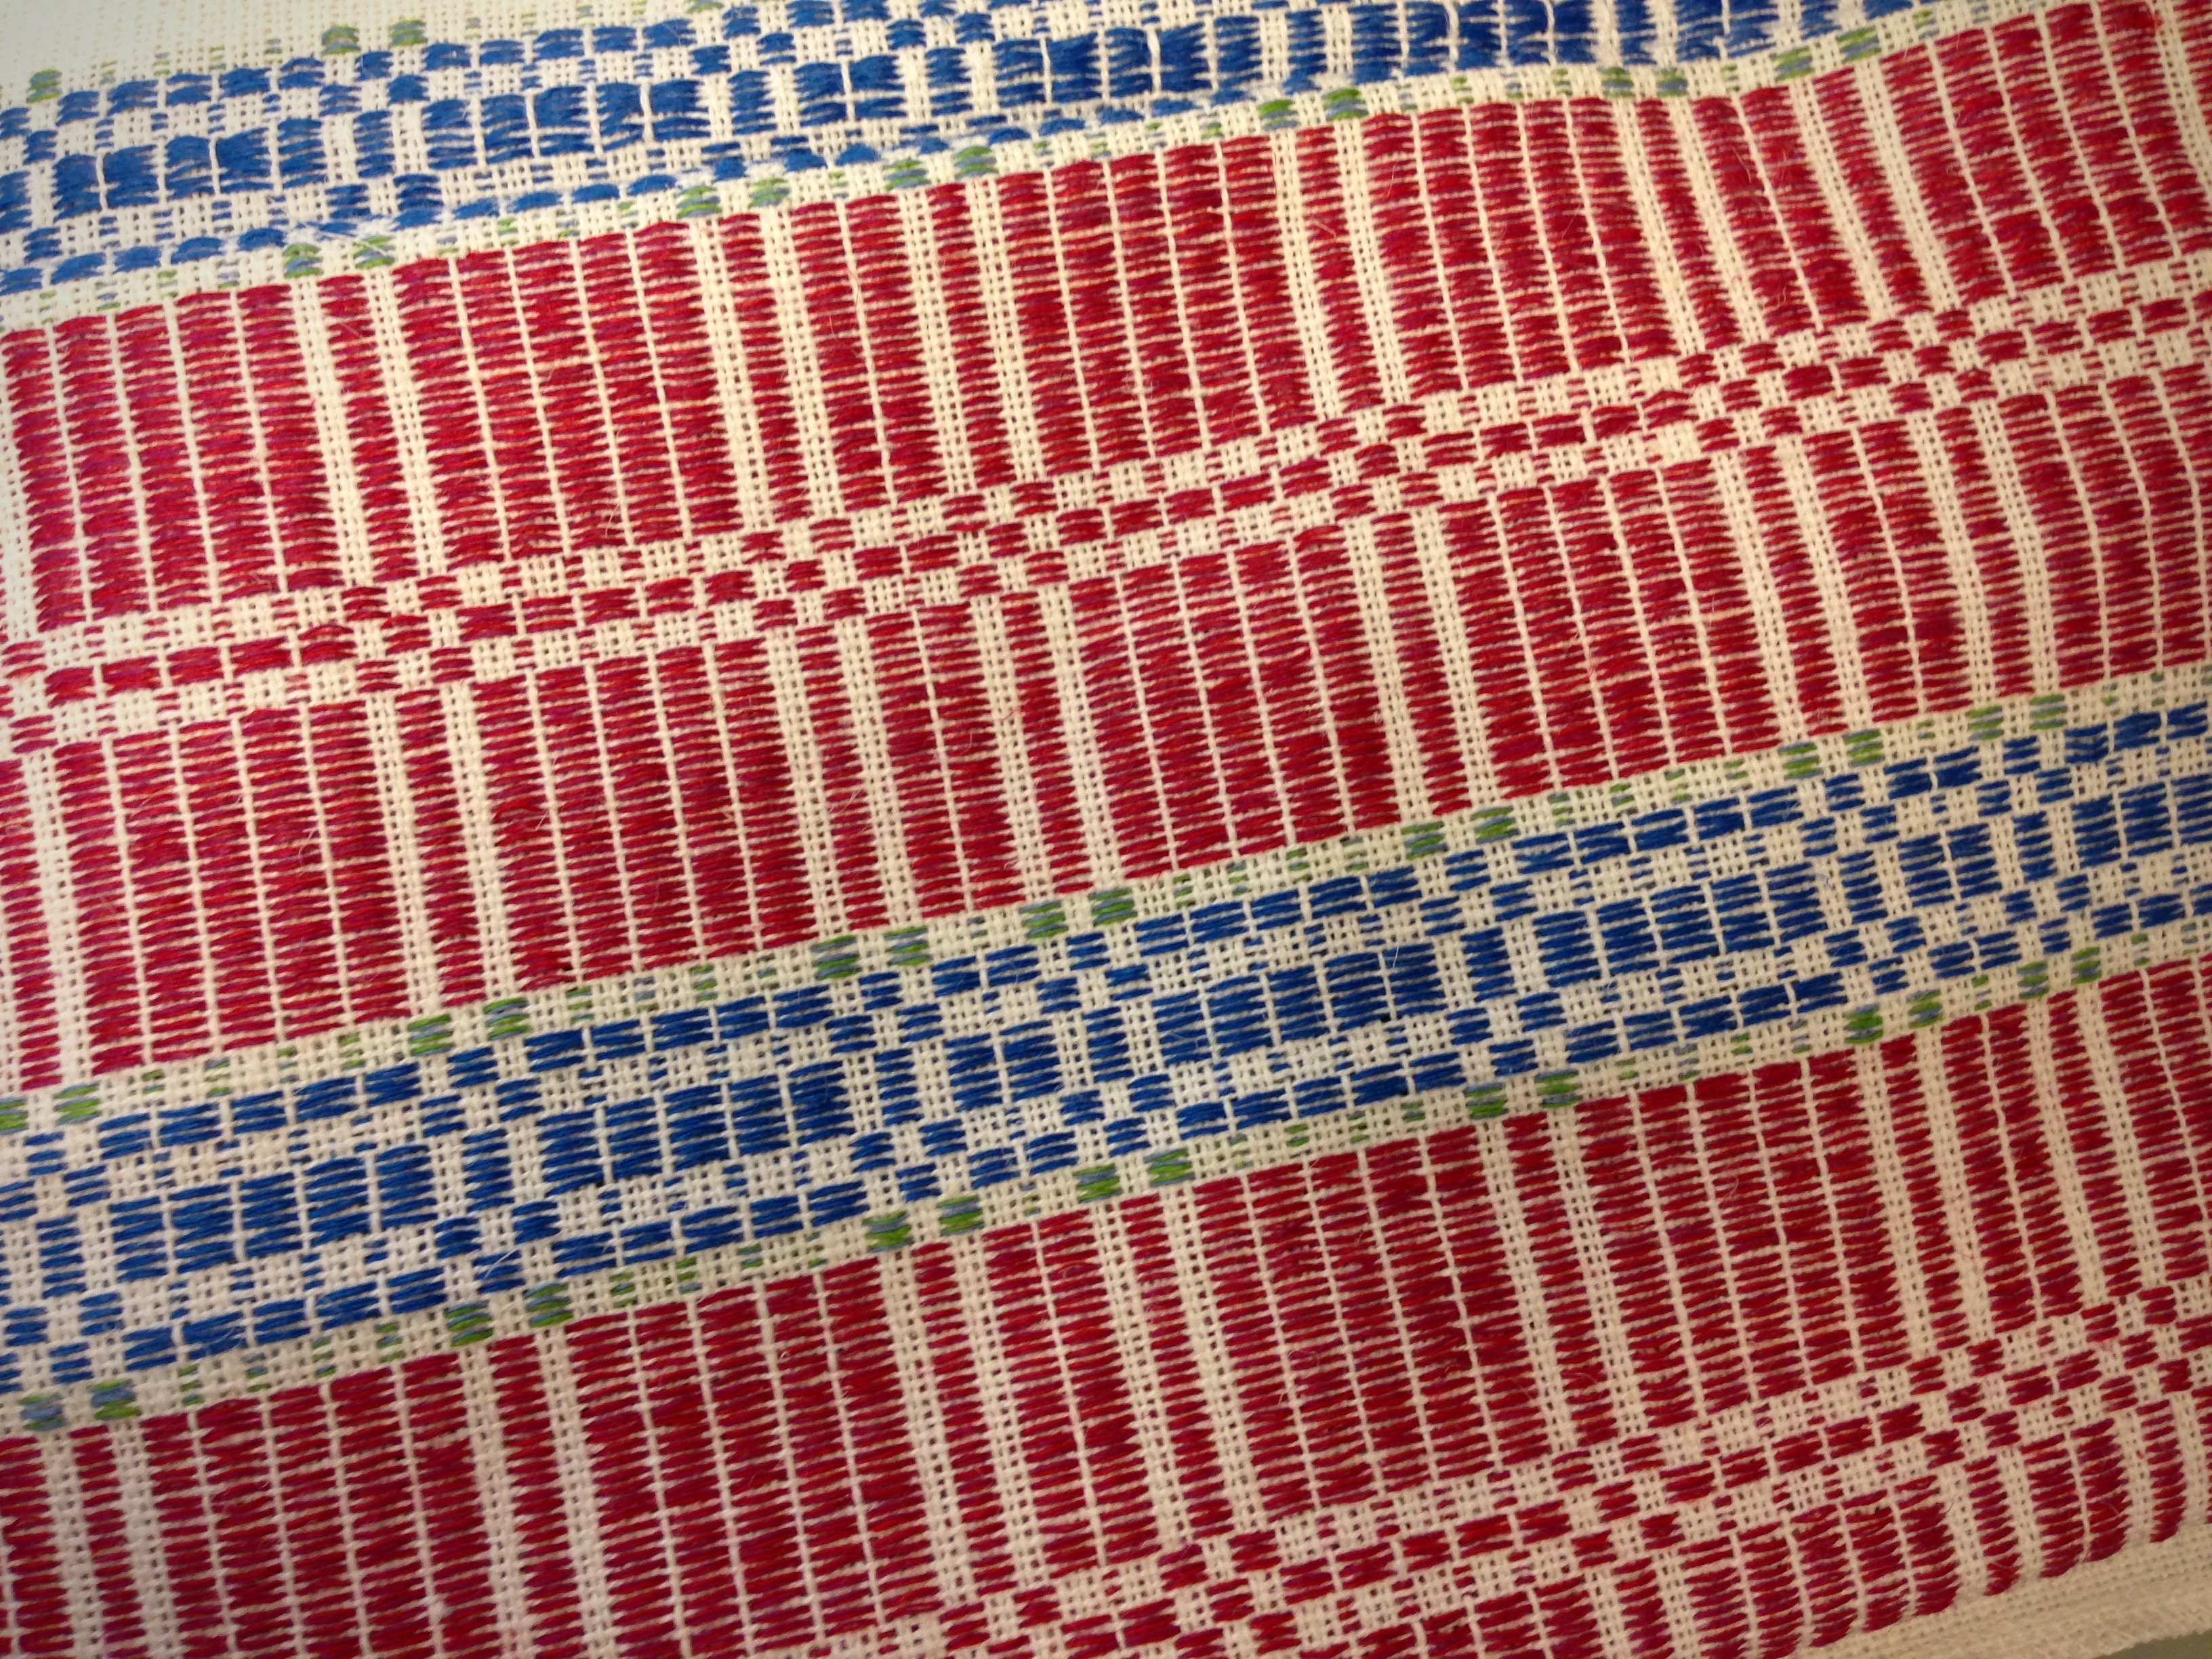
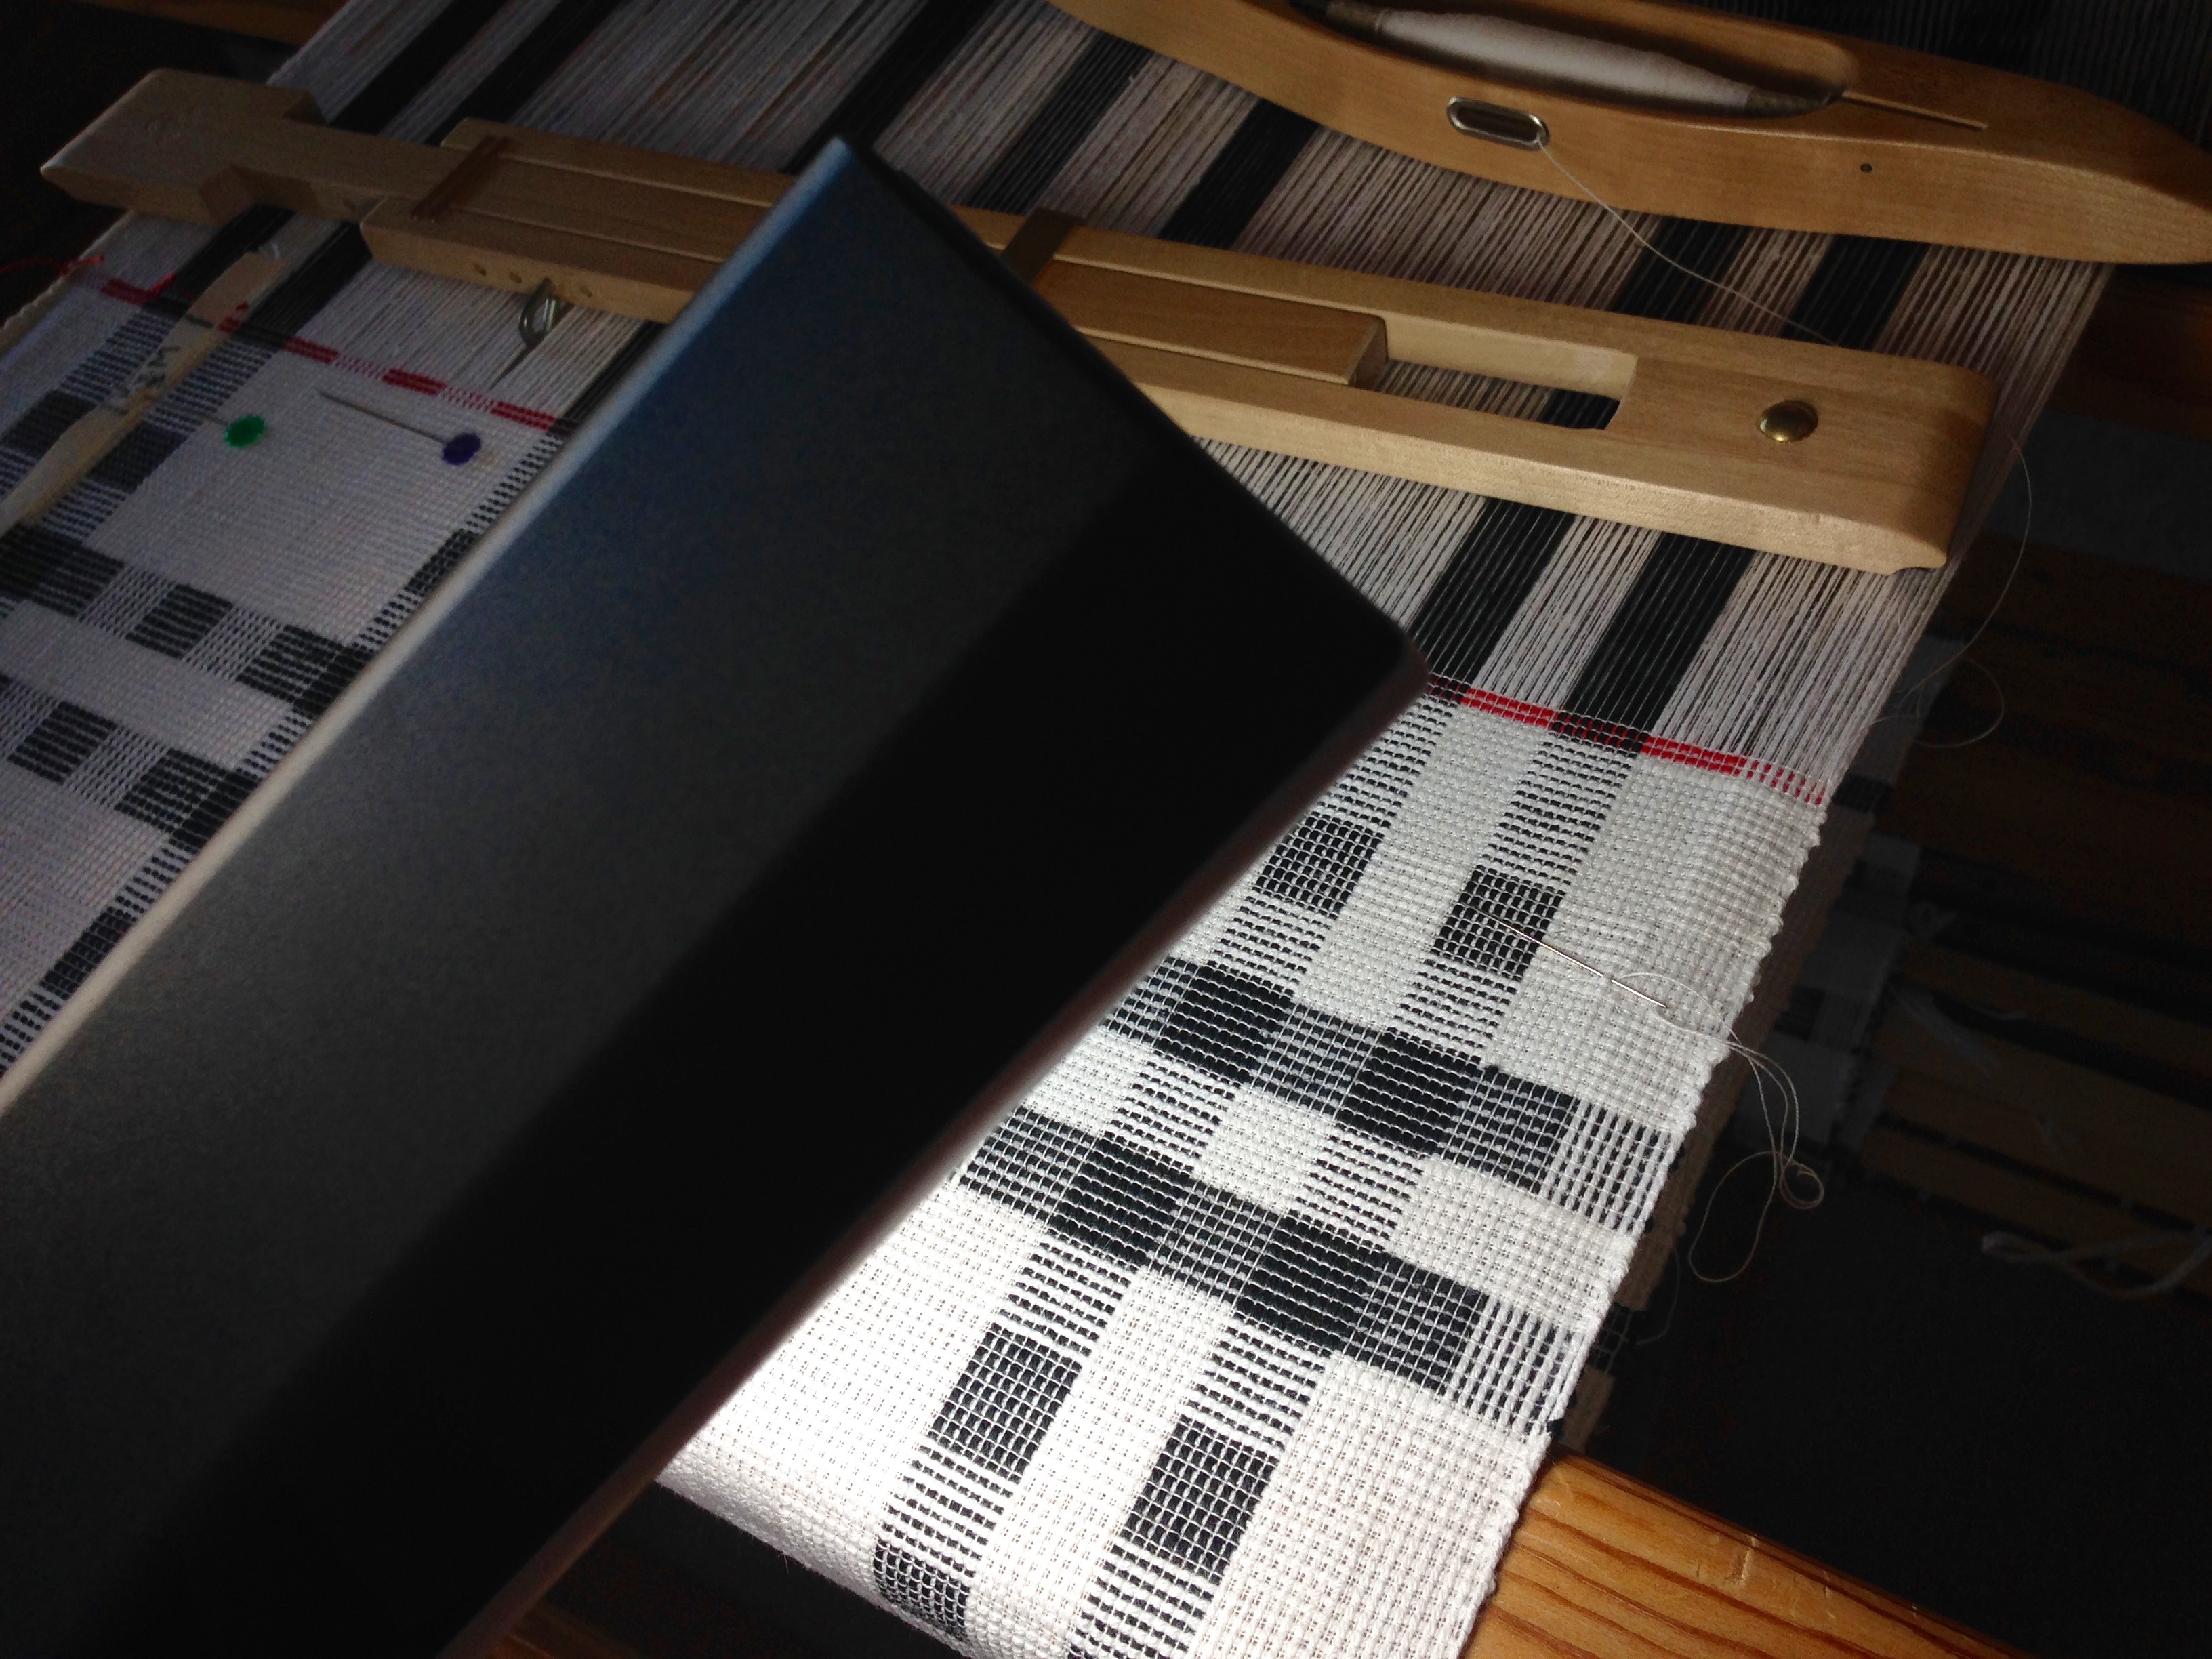
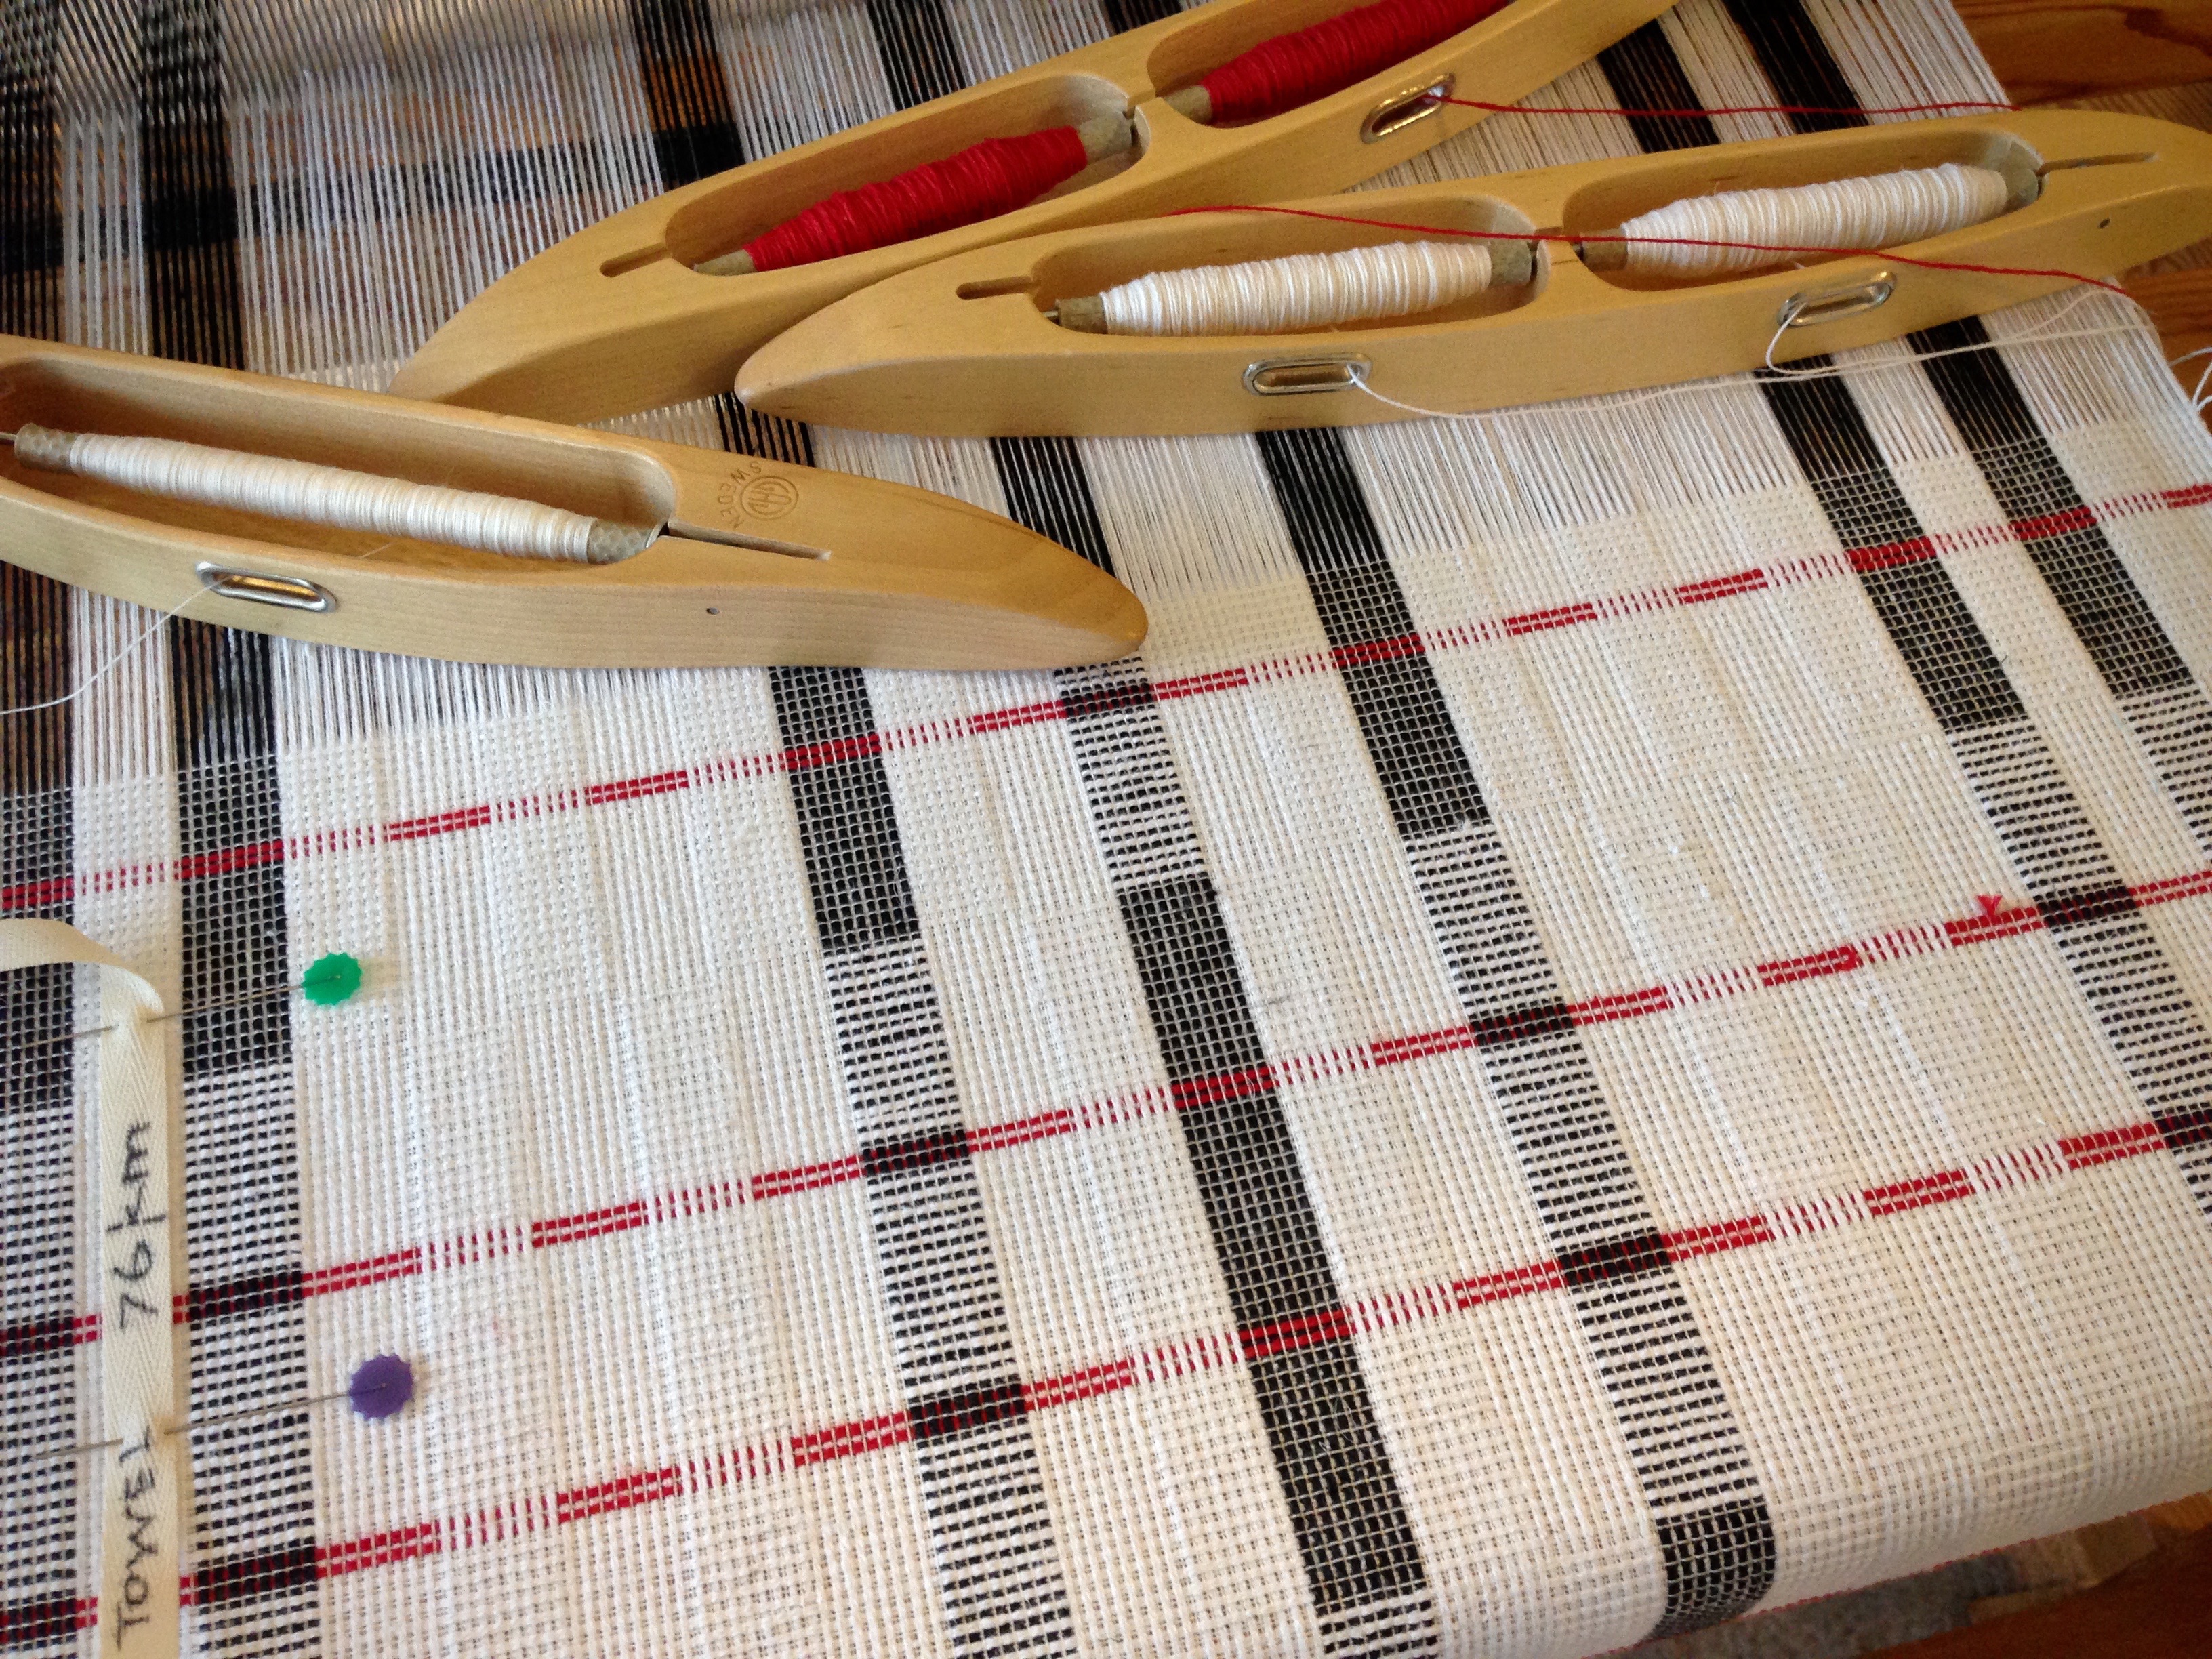
Black and white and a little red all over. Black and white just became classier. Thin red stripes appear to tunnel under long white ridges. Surely there is a designer kitchen for this towel. Right?
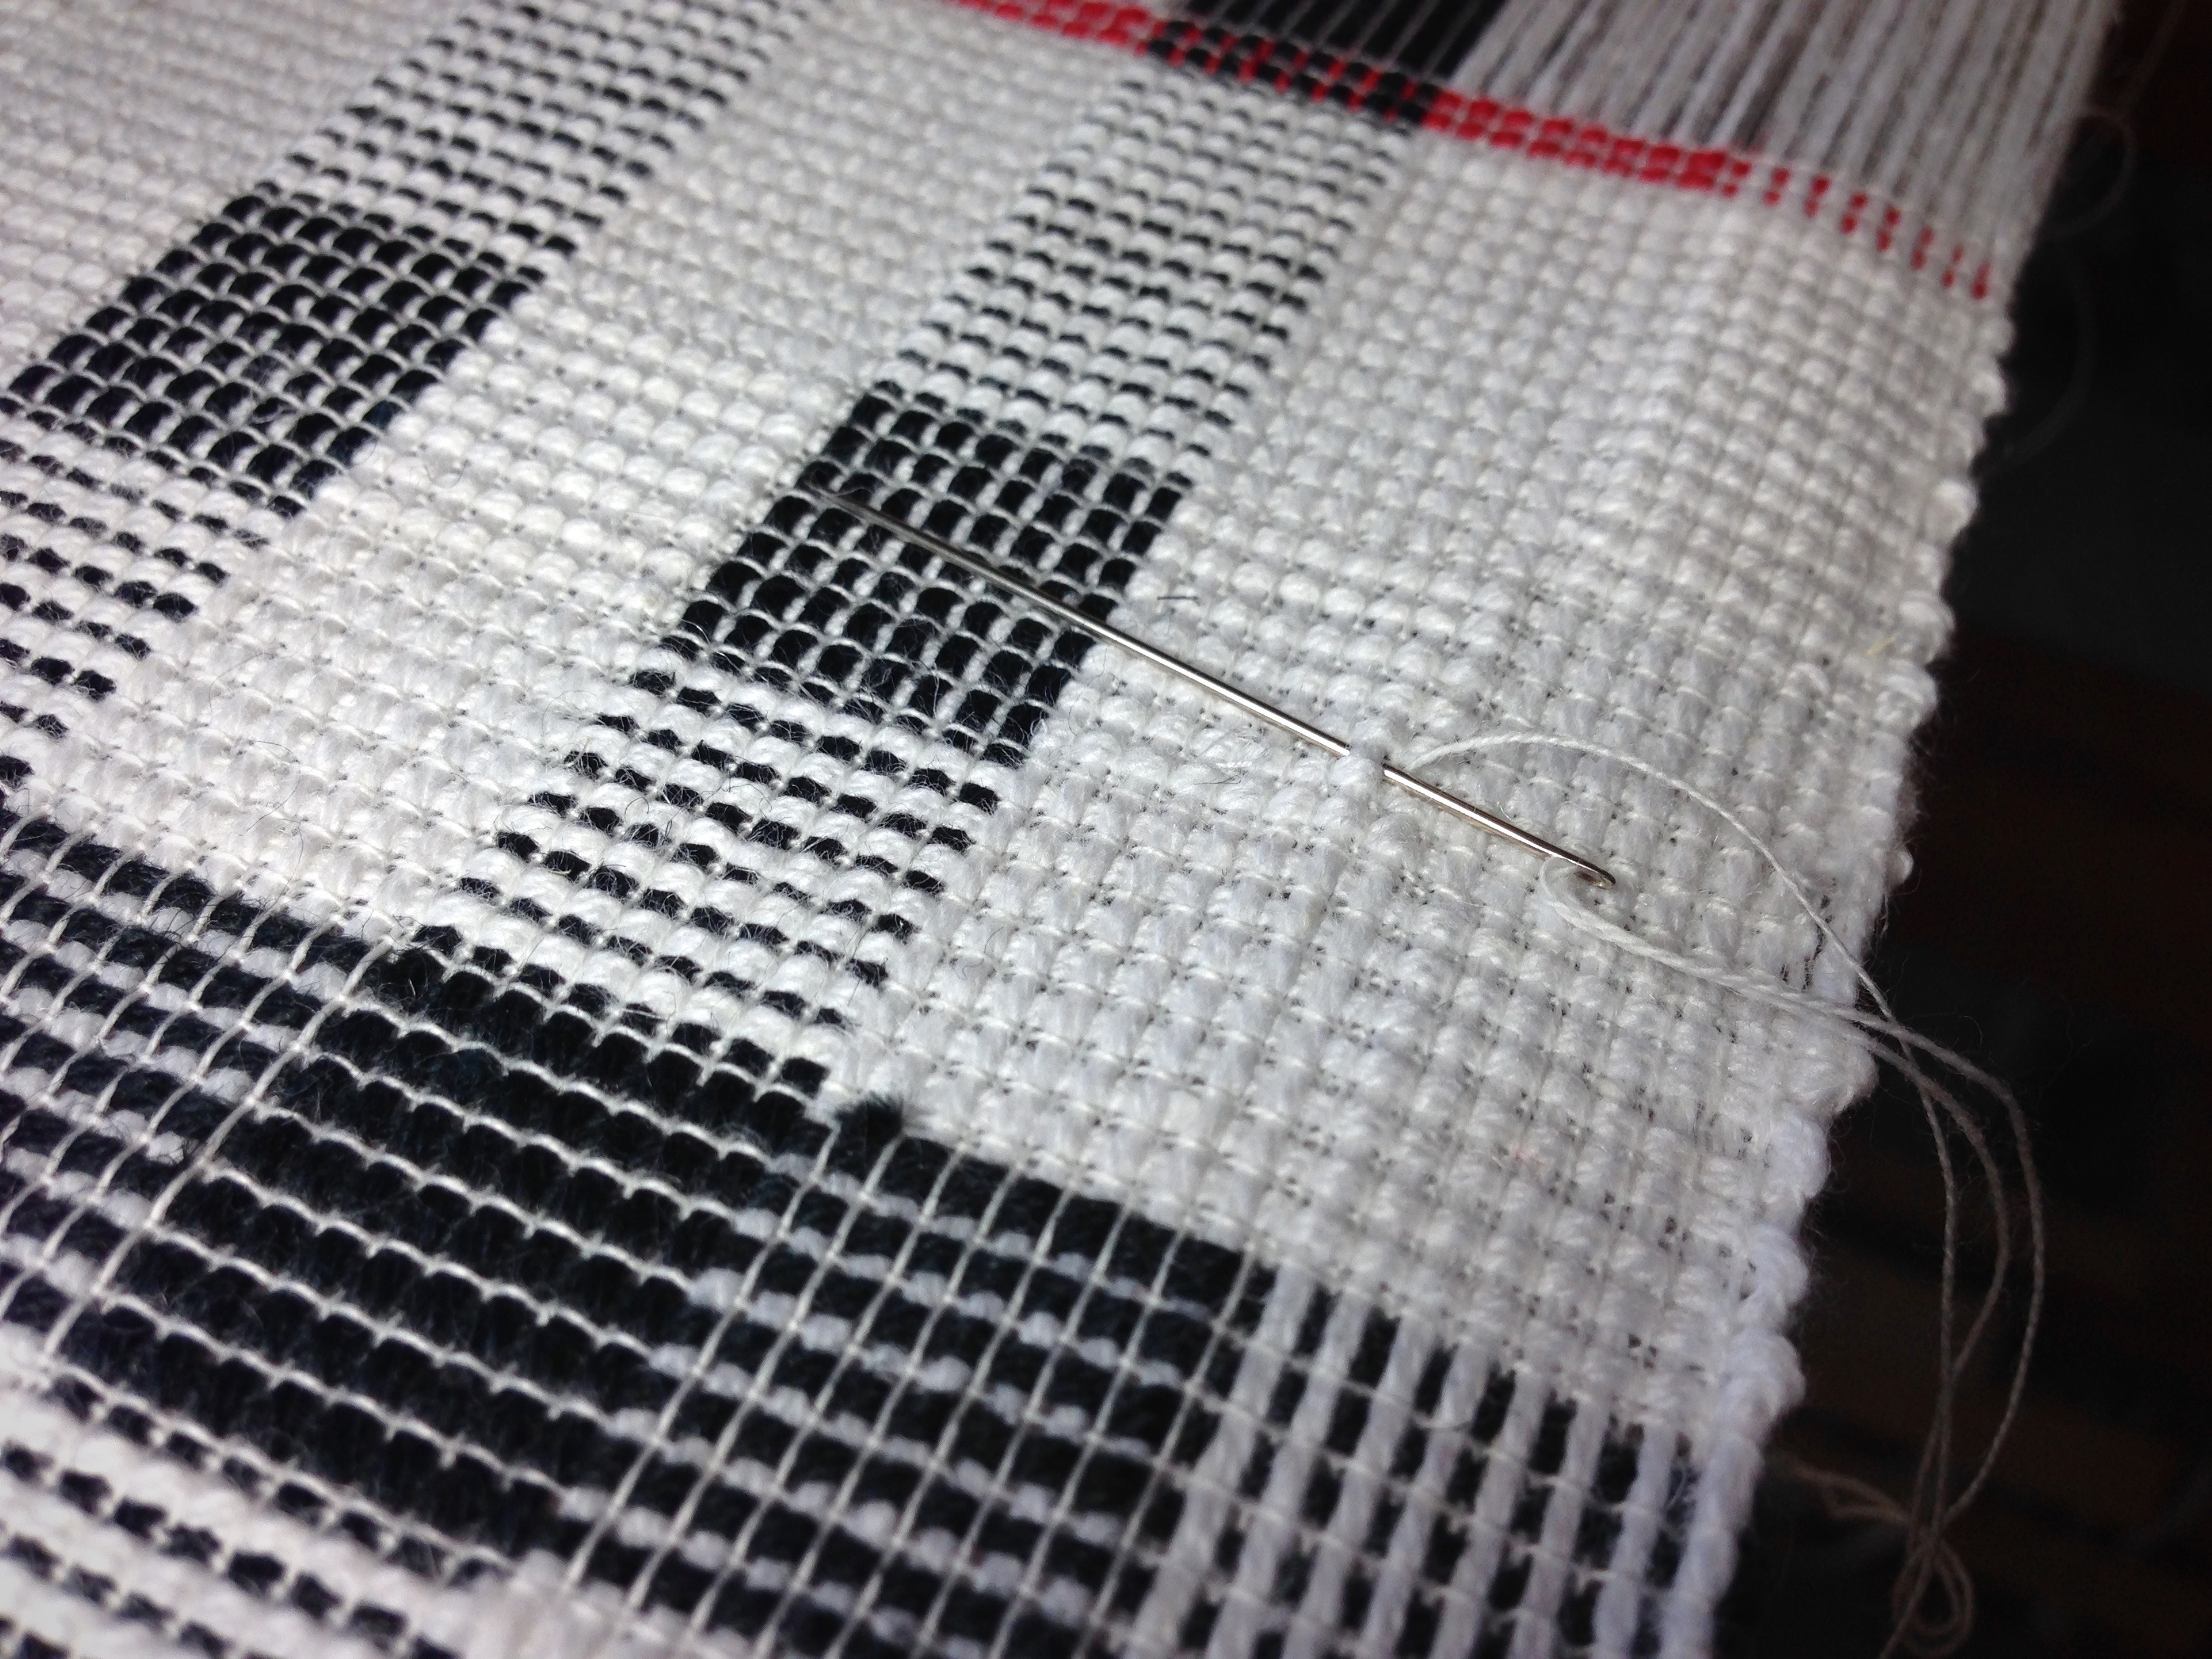
Fringe at the end of one cut weft thread peeks out, revealing the spot where weft threads overlap.
Since the slender red stripes are made with only two picks, I do not have to start and stop the color at the selvedge. The first pick goes all the way across, and the second pick has cut ends that are overlapped in the shed. If you are looking, you can see where the red threads overlap. If you are not looking, you would never notice it. And after the towels are washed, the join will be virtually invisible…unless you know where to look.
We find what we are looking for. If we want to see where a weaver spliced the weft, we study and examine the fabric as much as needed until we find that detail. When we look for signs of our Creator, we find that, too. His wonders are not hidden from us, they are hidden for us. What a delight when our search leads us to the Grand Weaver, Himself.
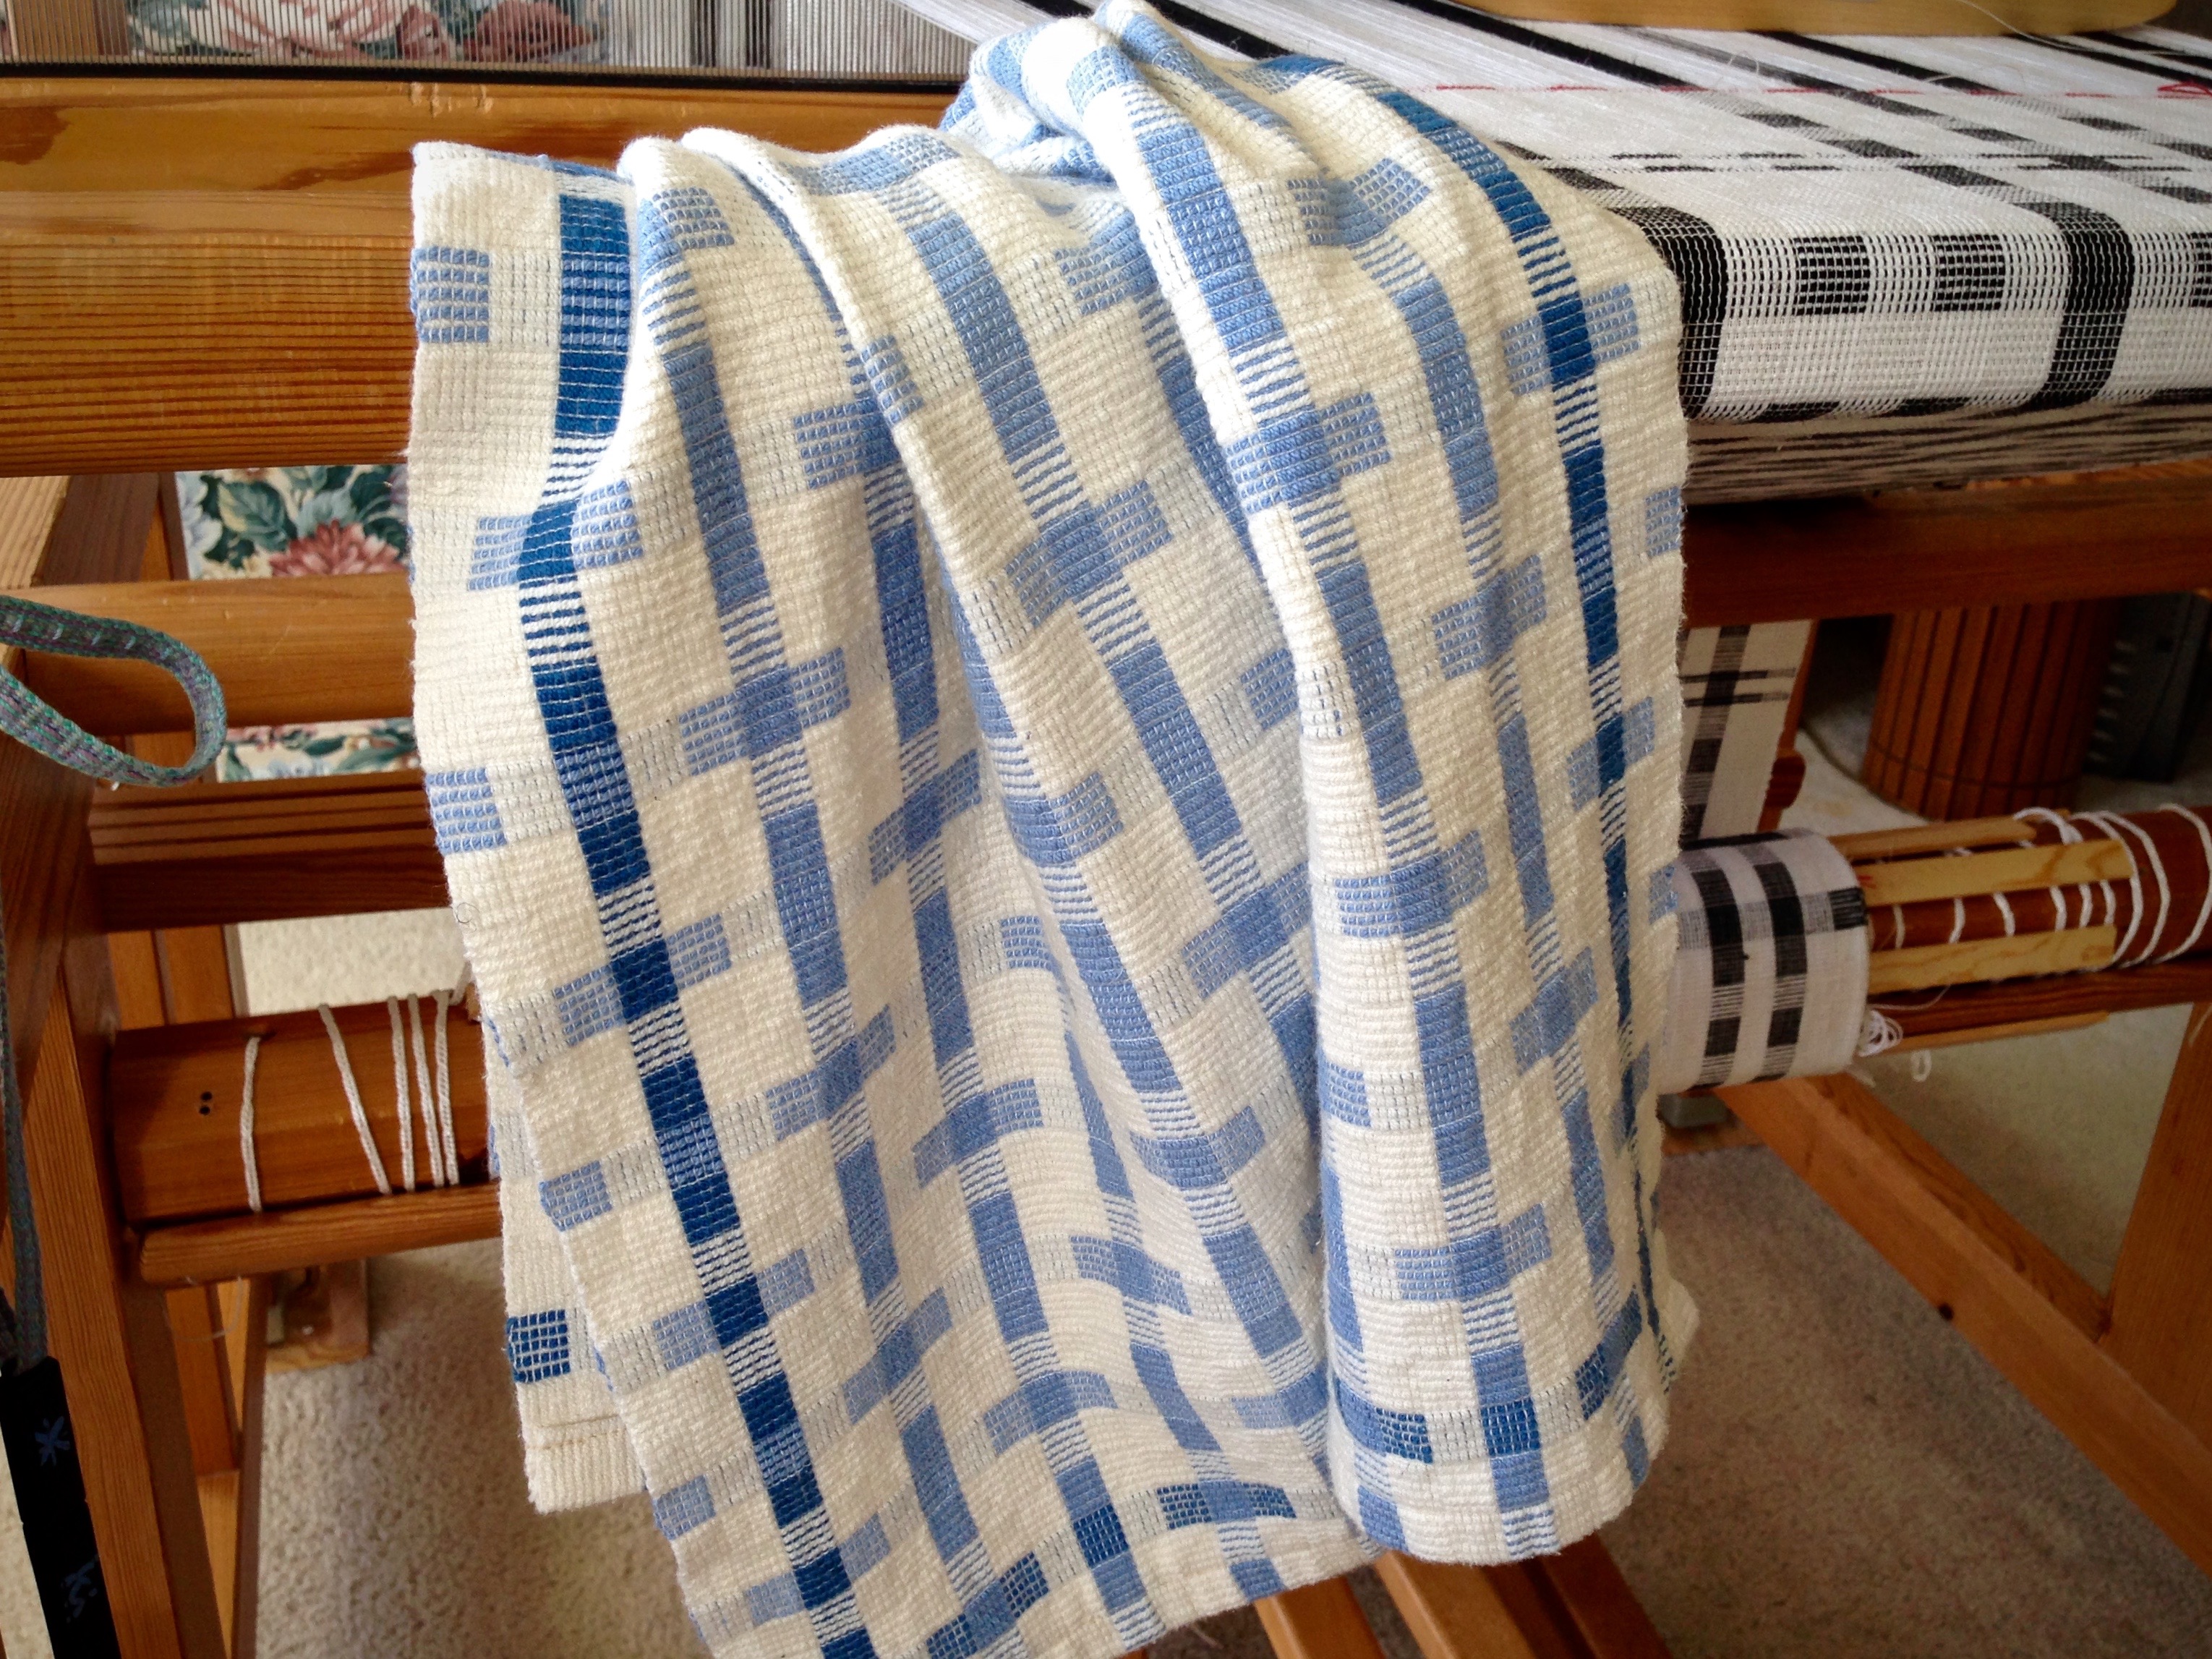
A vote of confidence from someone you look up to can make a world of difference. When I saw Joanne Hall’s exquisite towel made with thick and thin threads, I asked her, “Do you think I can weave something like that?” “Of course you can;” she replied without hesitation, “it’s plain weave.” Keep in mind that I was a complete novice on the floor loom; and I barely knew how to handle oneshuttle, much less two! I plunged into the ambitious project and came out with a winner! The blue and cream towel hangs on the oven door in my kitchen as a daily reminder of the powerful impact of an encouraging word. Thank you, Joanne!
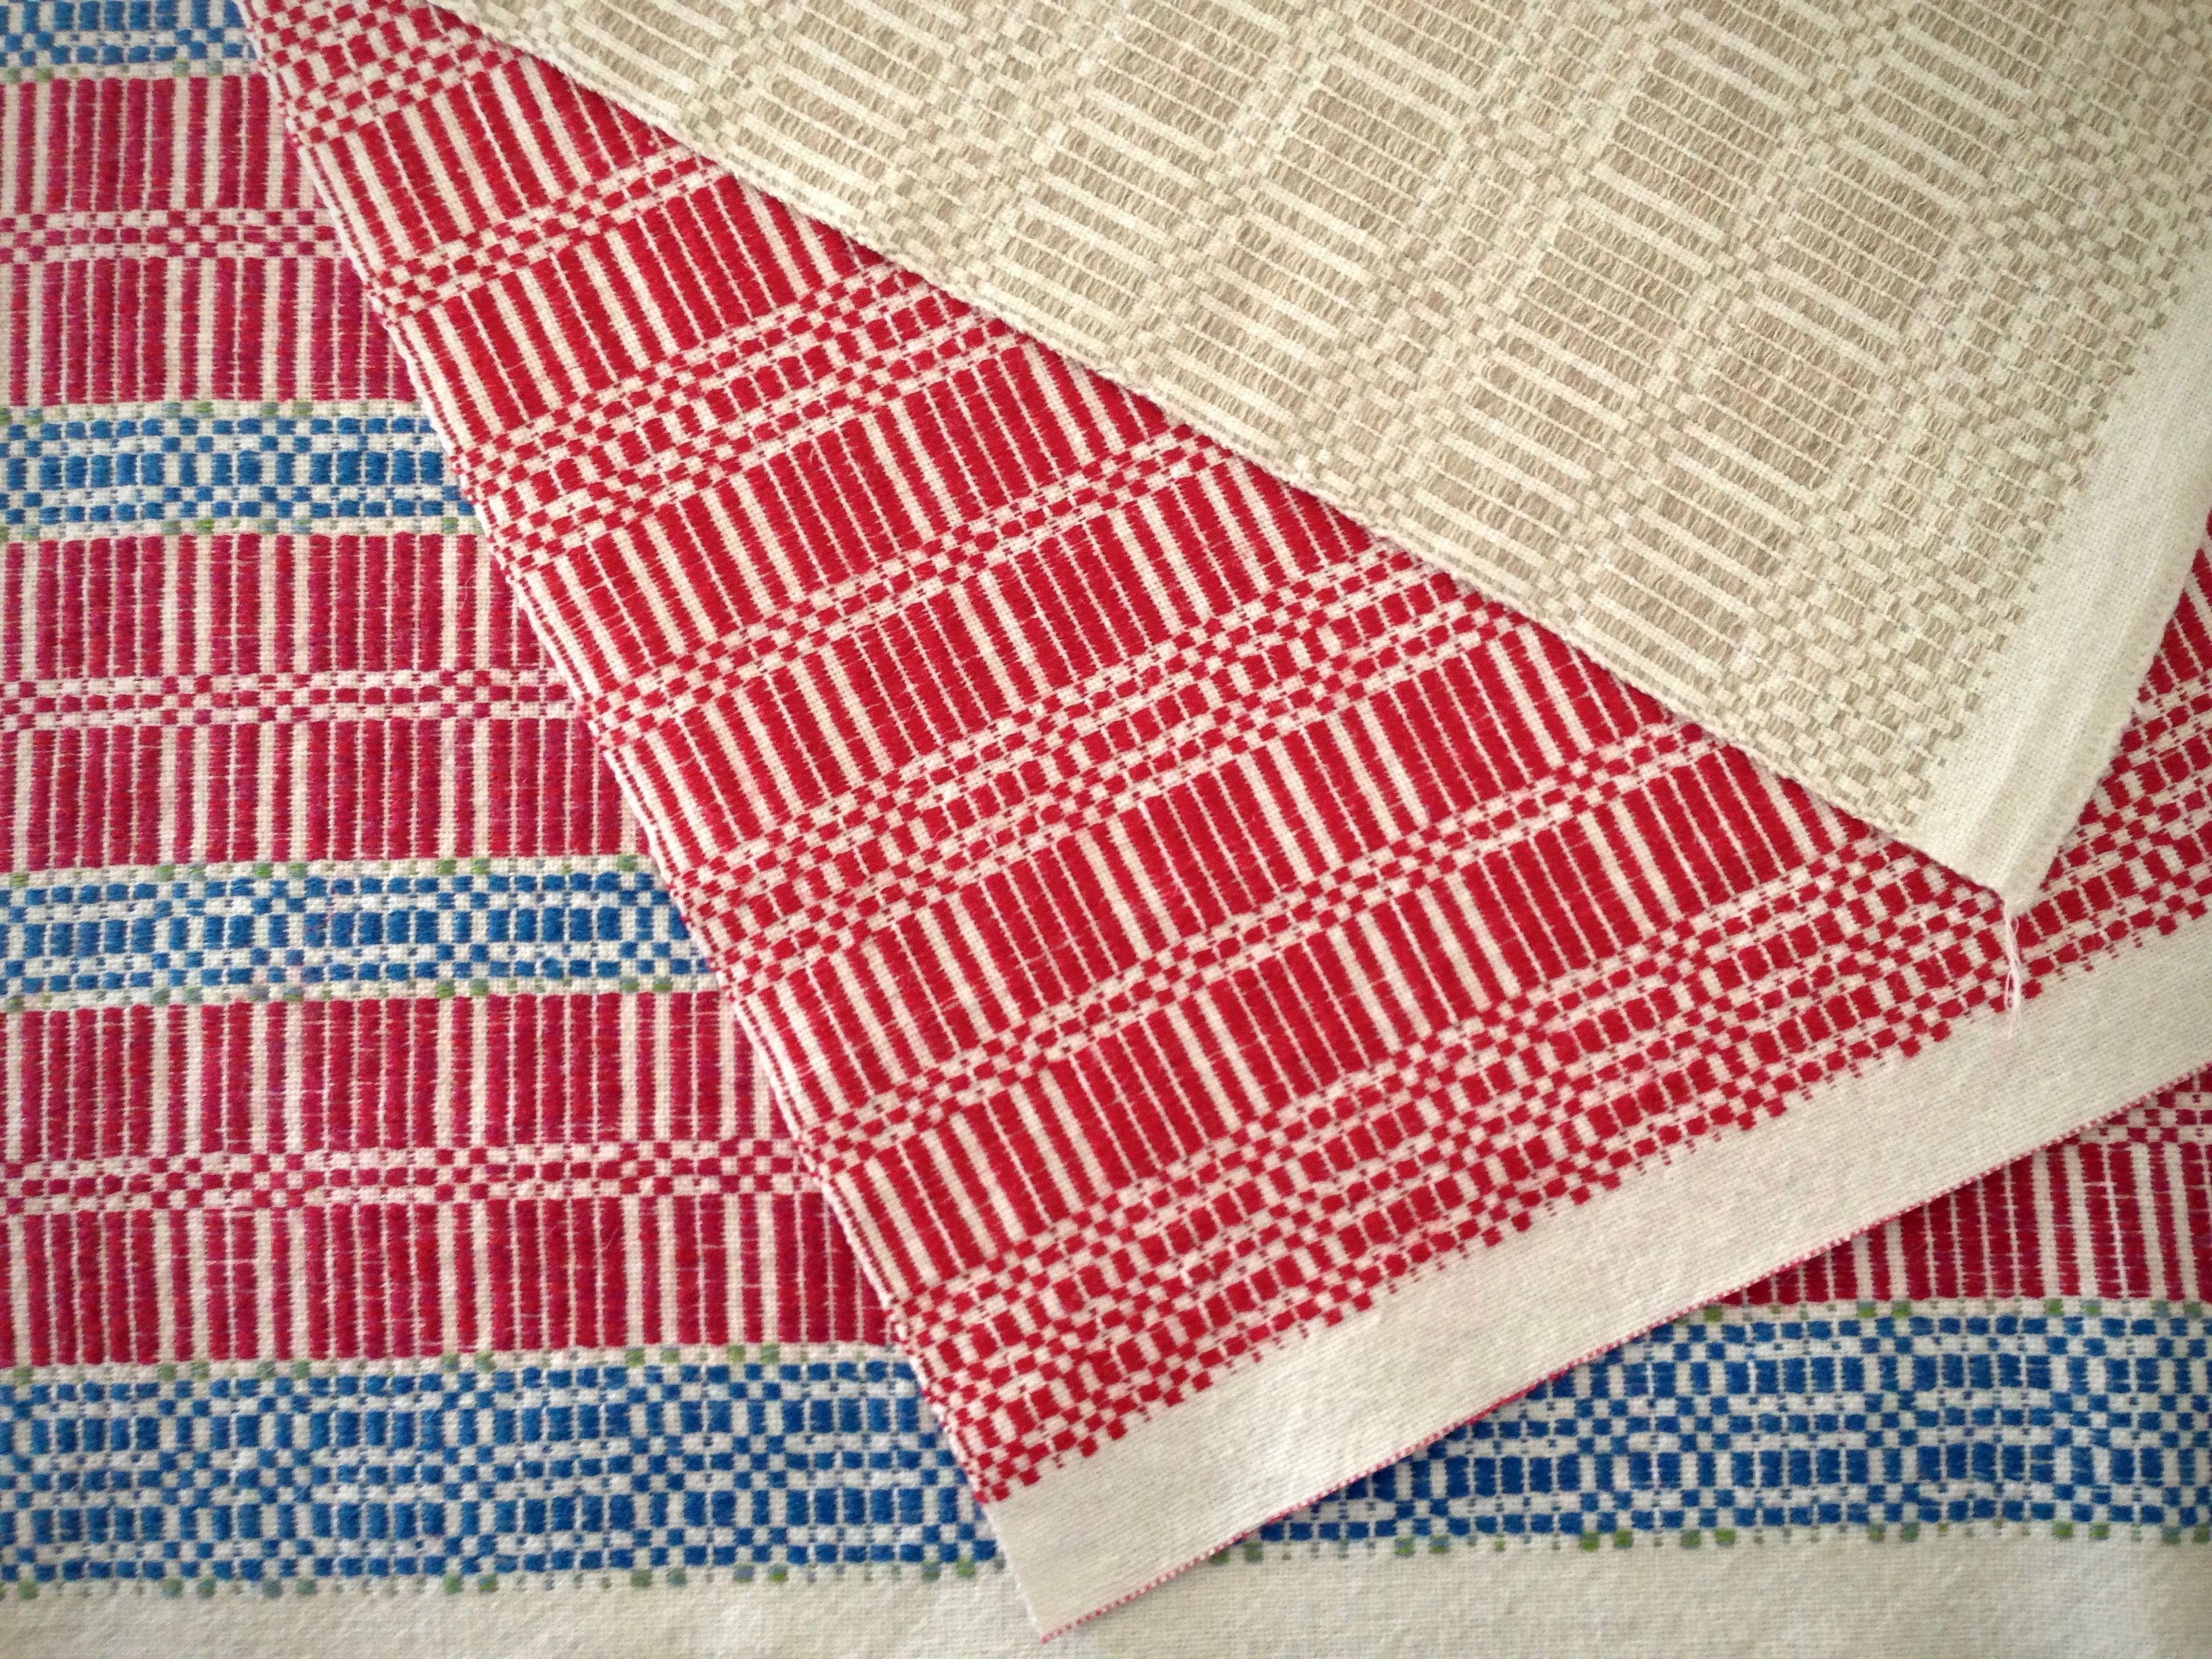
First thick and thin towel, completed as a beginning weaver. This is one of Erica de Ruiter’s designs, found in “The Best of Weaver’s Thick’n Thin,” Edited by Madelyn van der Hoogt.
Thick and thin is just as fascinating this time around. It is delightful to revisit a rewarding experience. Who knew that plain weave could be this much fun?
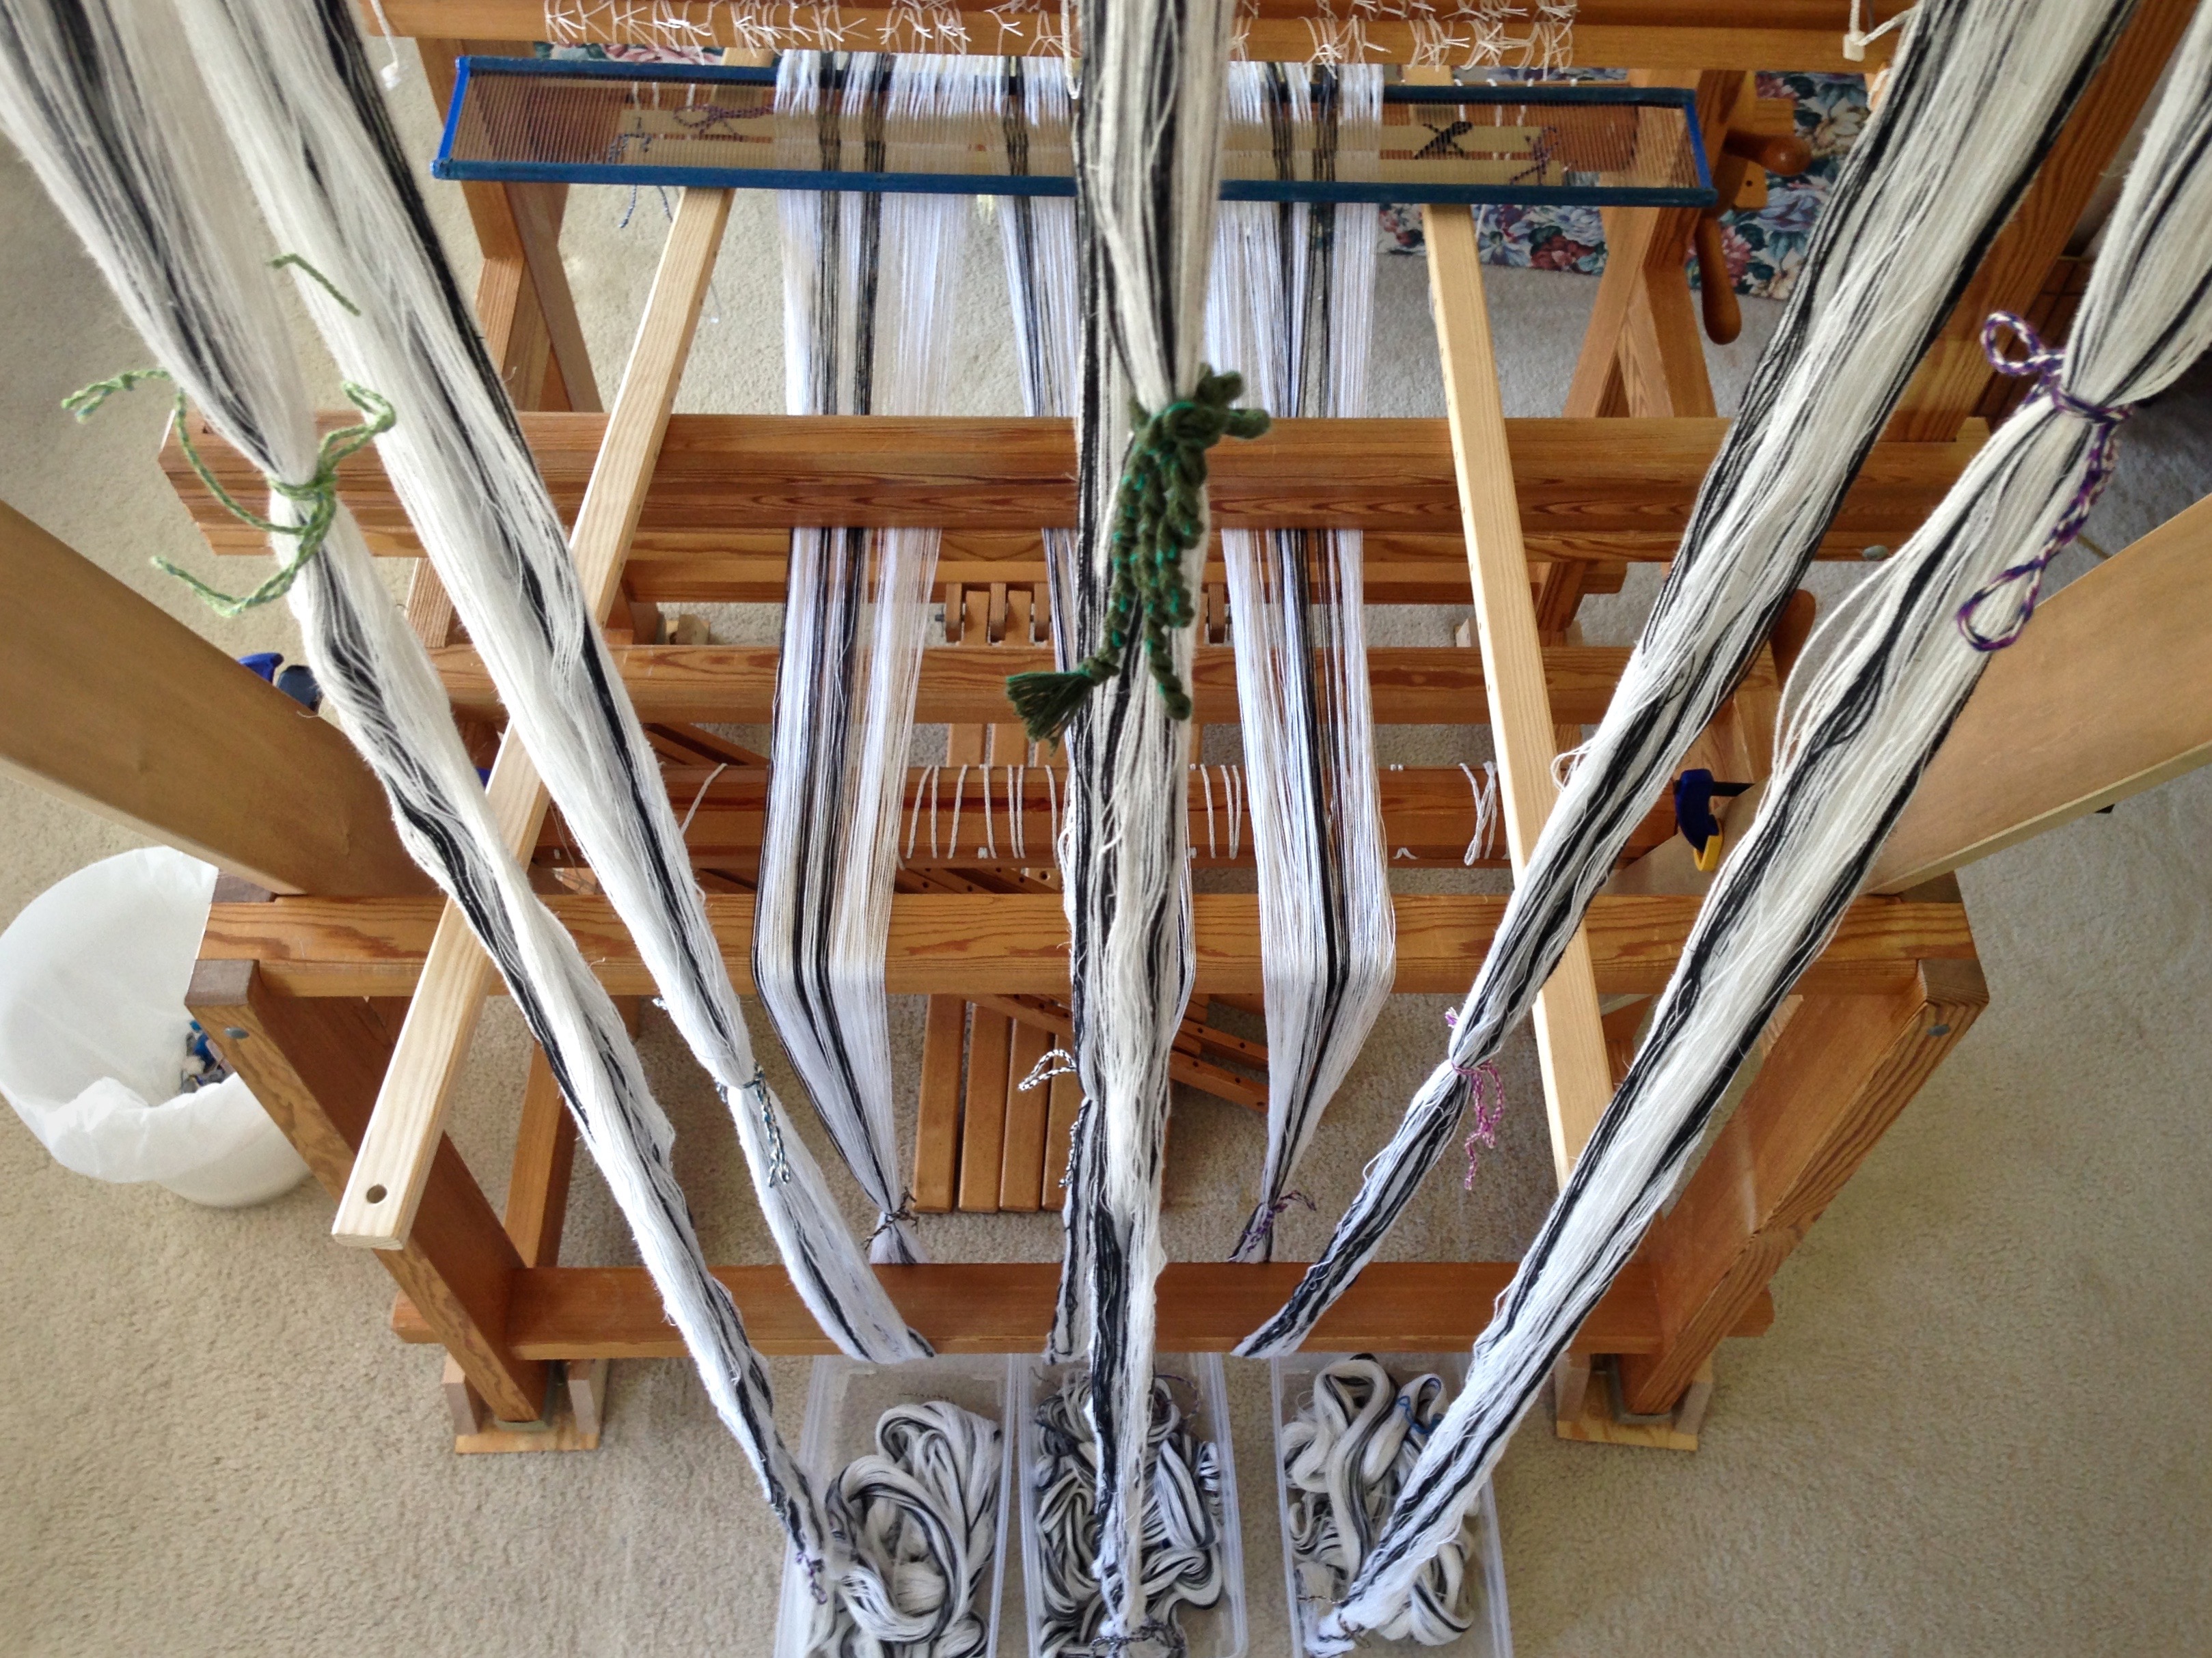
Zebra warp with thick and thin threads on my new Glimakra warping reel. One of three bouts, 10 1/2 meters.View from the crossbar at the top of the warping trapeze, looking down. Ready to untie choke ties and add weights to the warp bouts.Thick ends alternate with thin ends as the heddles are threaded. Left hand separates the shafts‘ heddles for ease of threading.Weaving begins as soon as the warp is tied on and the leveling string is secured. I use the first few inches to check the threading and sett, and to do some sampling.First border is captured with my iPhone camera so that I can easily reproduce the pattern at the other end of the towel.I added a second double bobbin shuttle to make it easier and quicker to switch weft colors. Plain weave gets even more interesting with three shuttles!End of the third towel.View from under the breast beam. I love to see the fabric rolled up on the cloth beam.Temple keeps the fabric at the optimum width for weaving. Red cutting line serves as the separation between the end of one towel and the beginning of the next. Ready to start another fascinating pattern.
May you give a vote of confidence to someone who needs it.