Change is an essential element of weaving. How many times do we change the warp on our looms? Or change the sett, the pattern, the color sequence? Change is the rhythm of life.
After next week, April 11, Warped for Good is starting in a new direction. Instead of posting exclusively on Tuesdays I am switching to a more spontaneous approach. I will keep sharing highlights from my weaving journey, enjoying, as always, your thoughtful feedback in the comments.
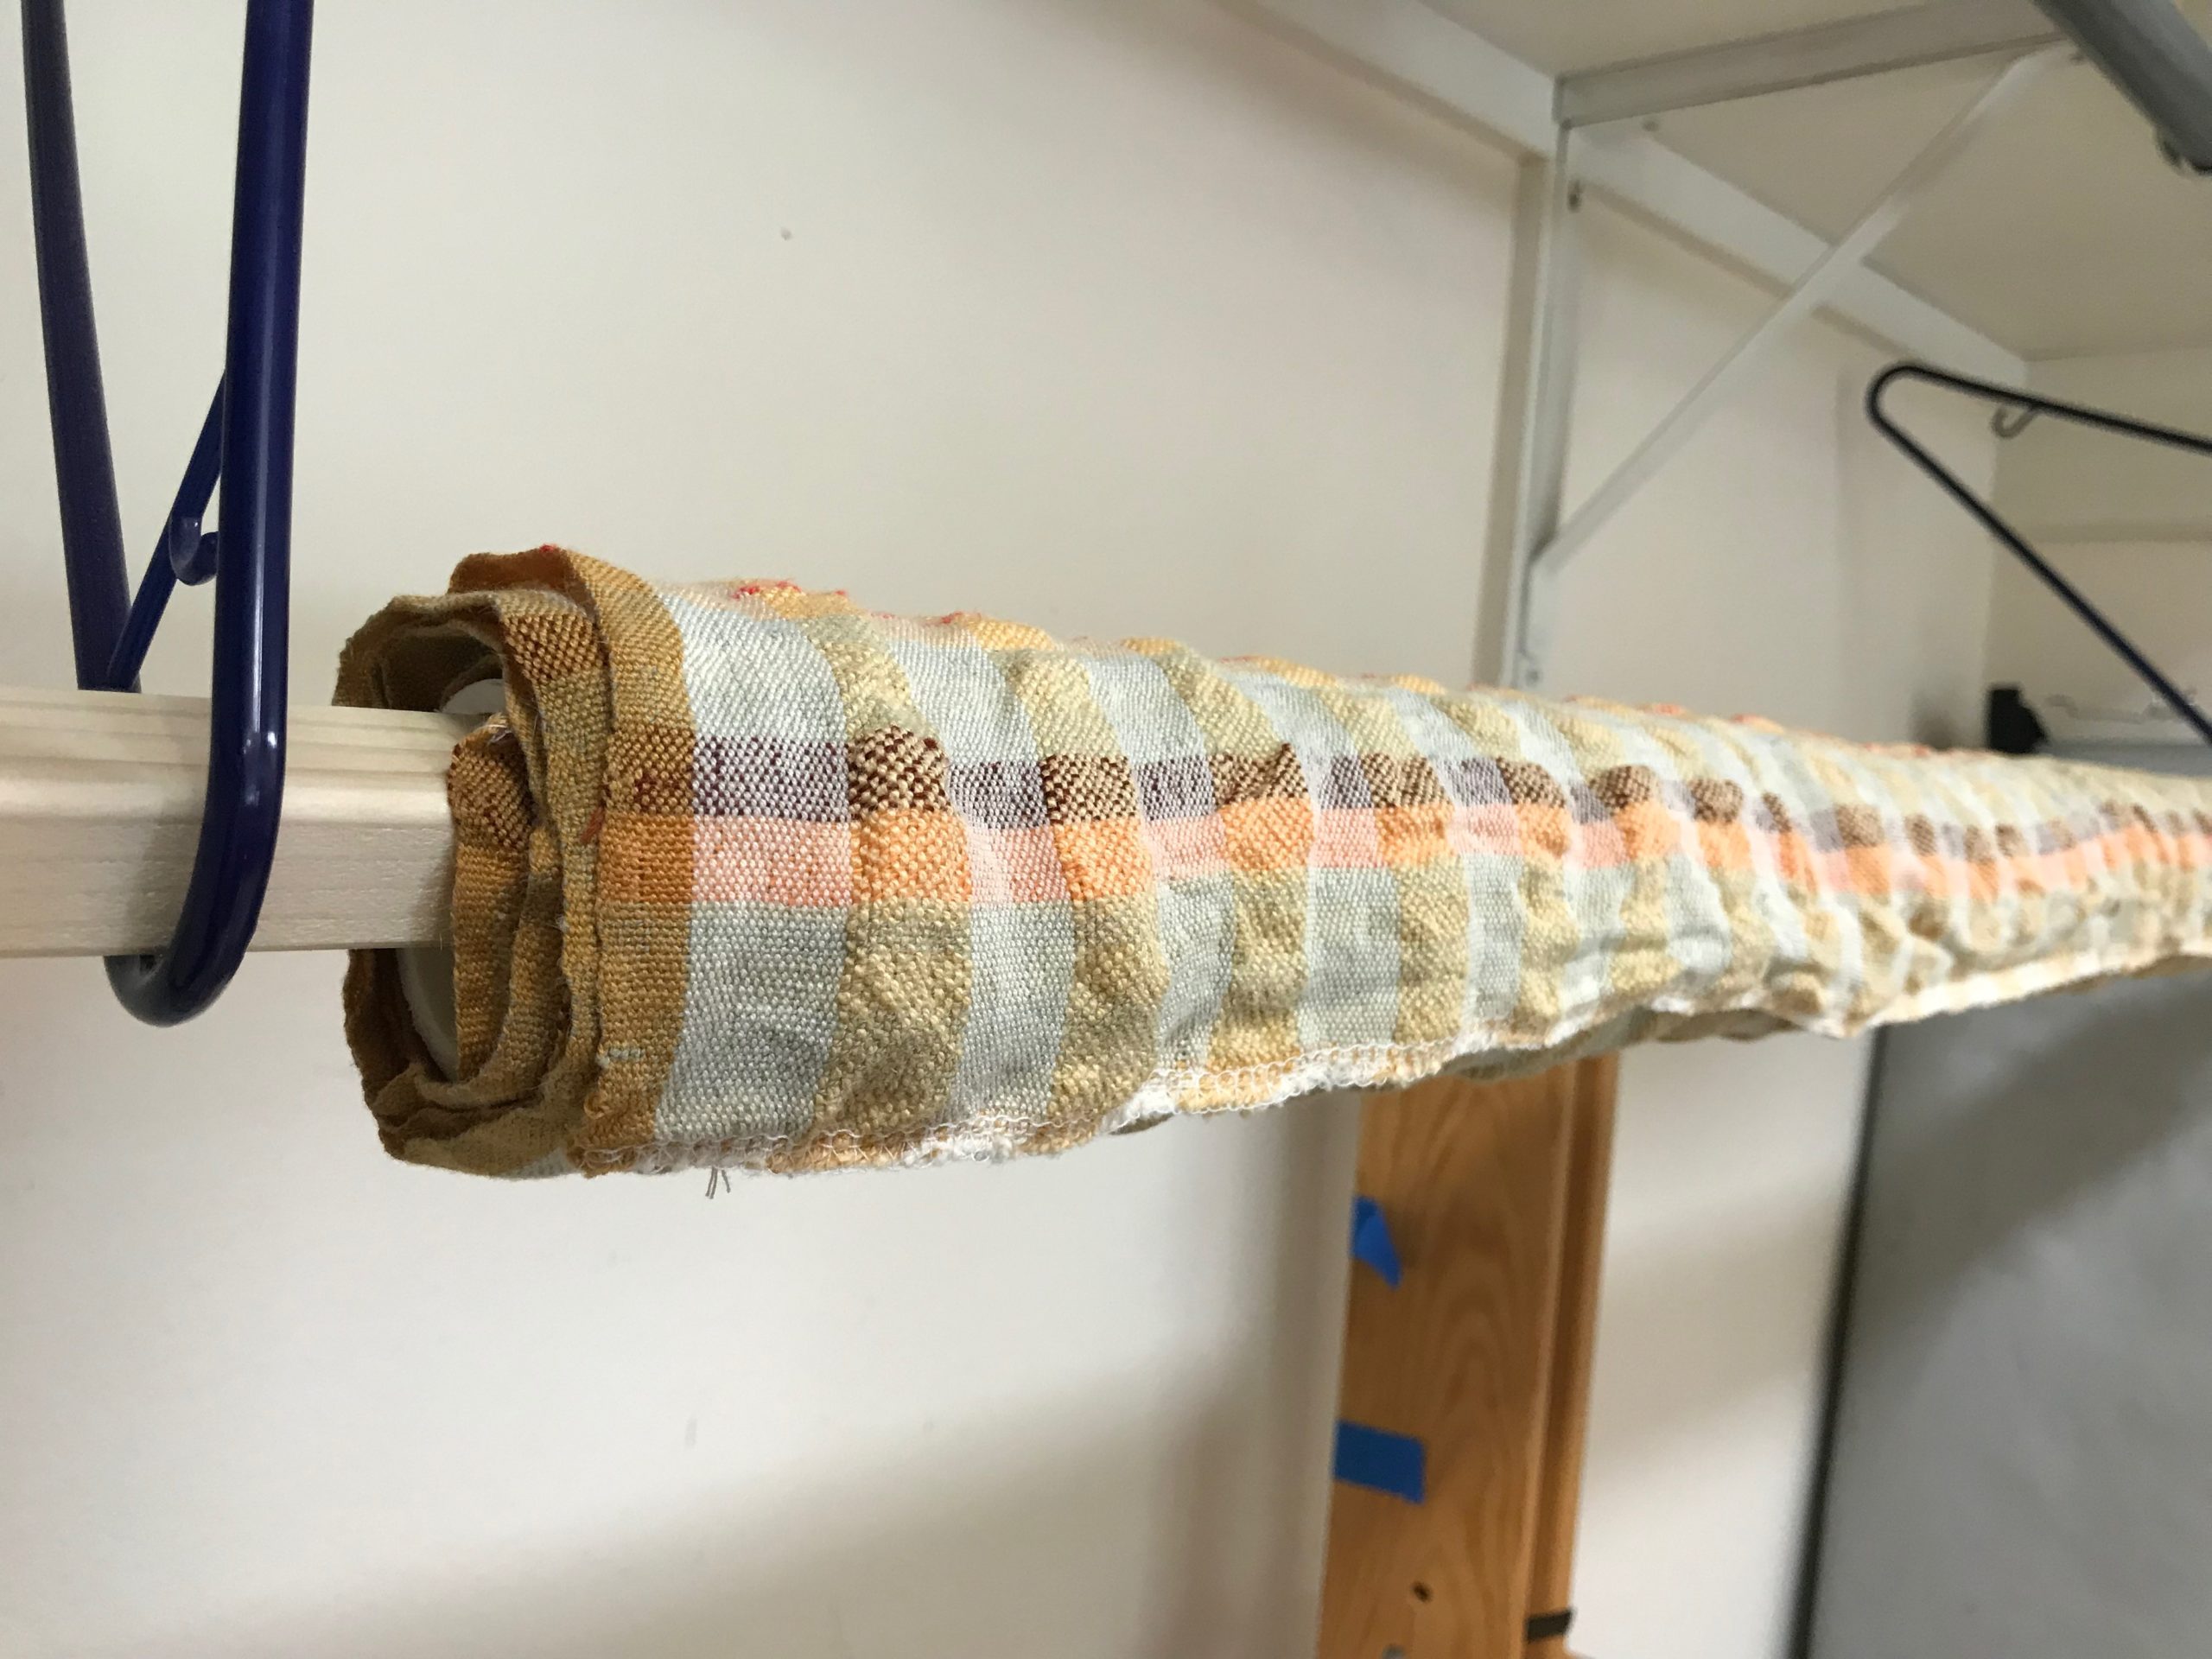
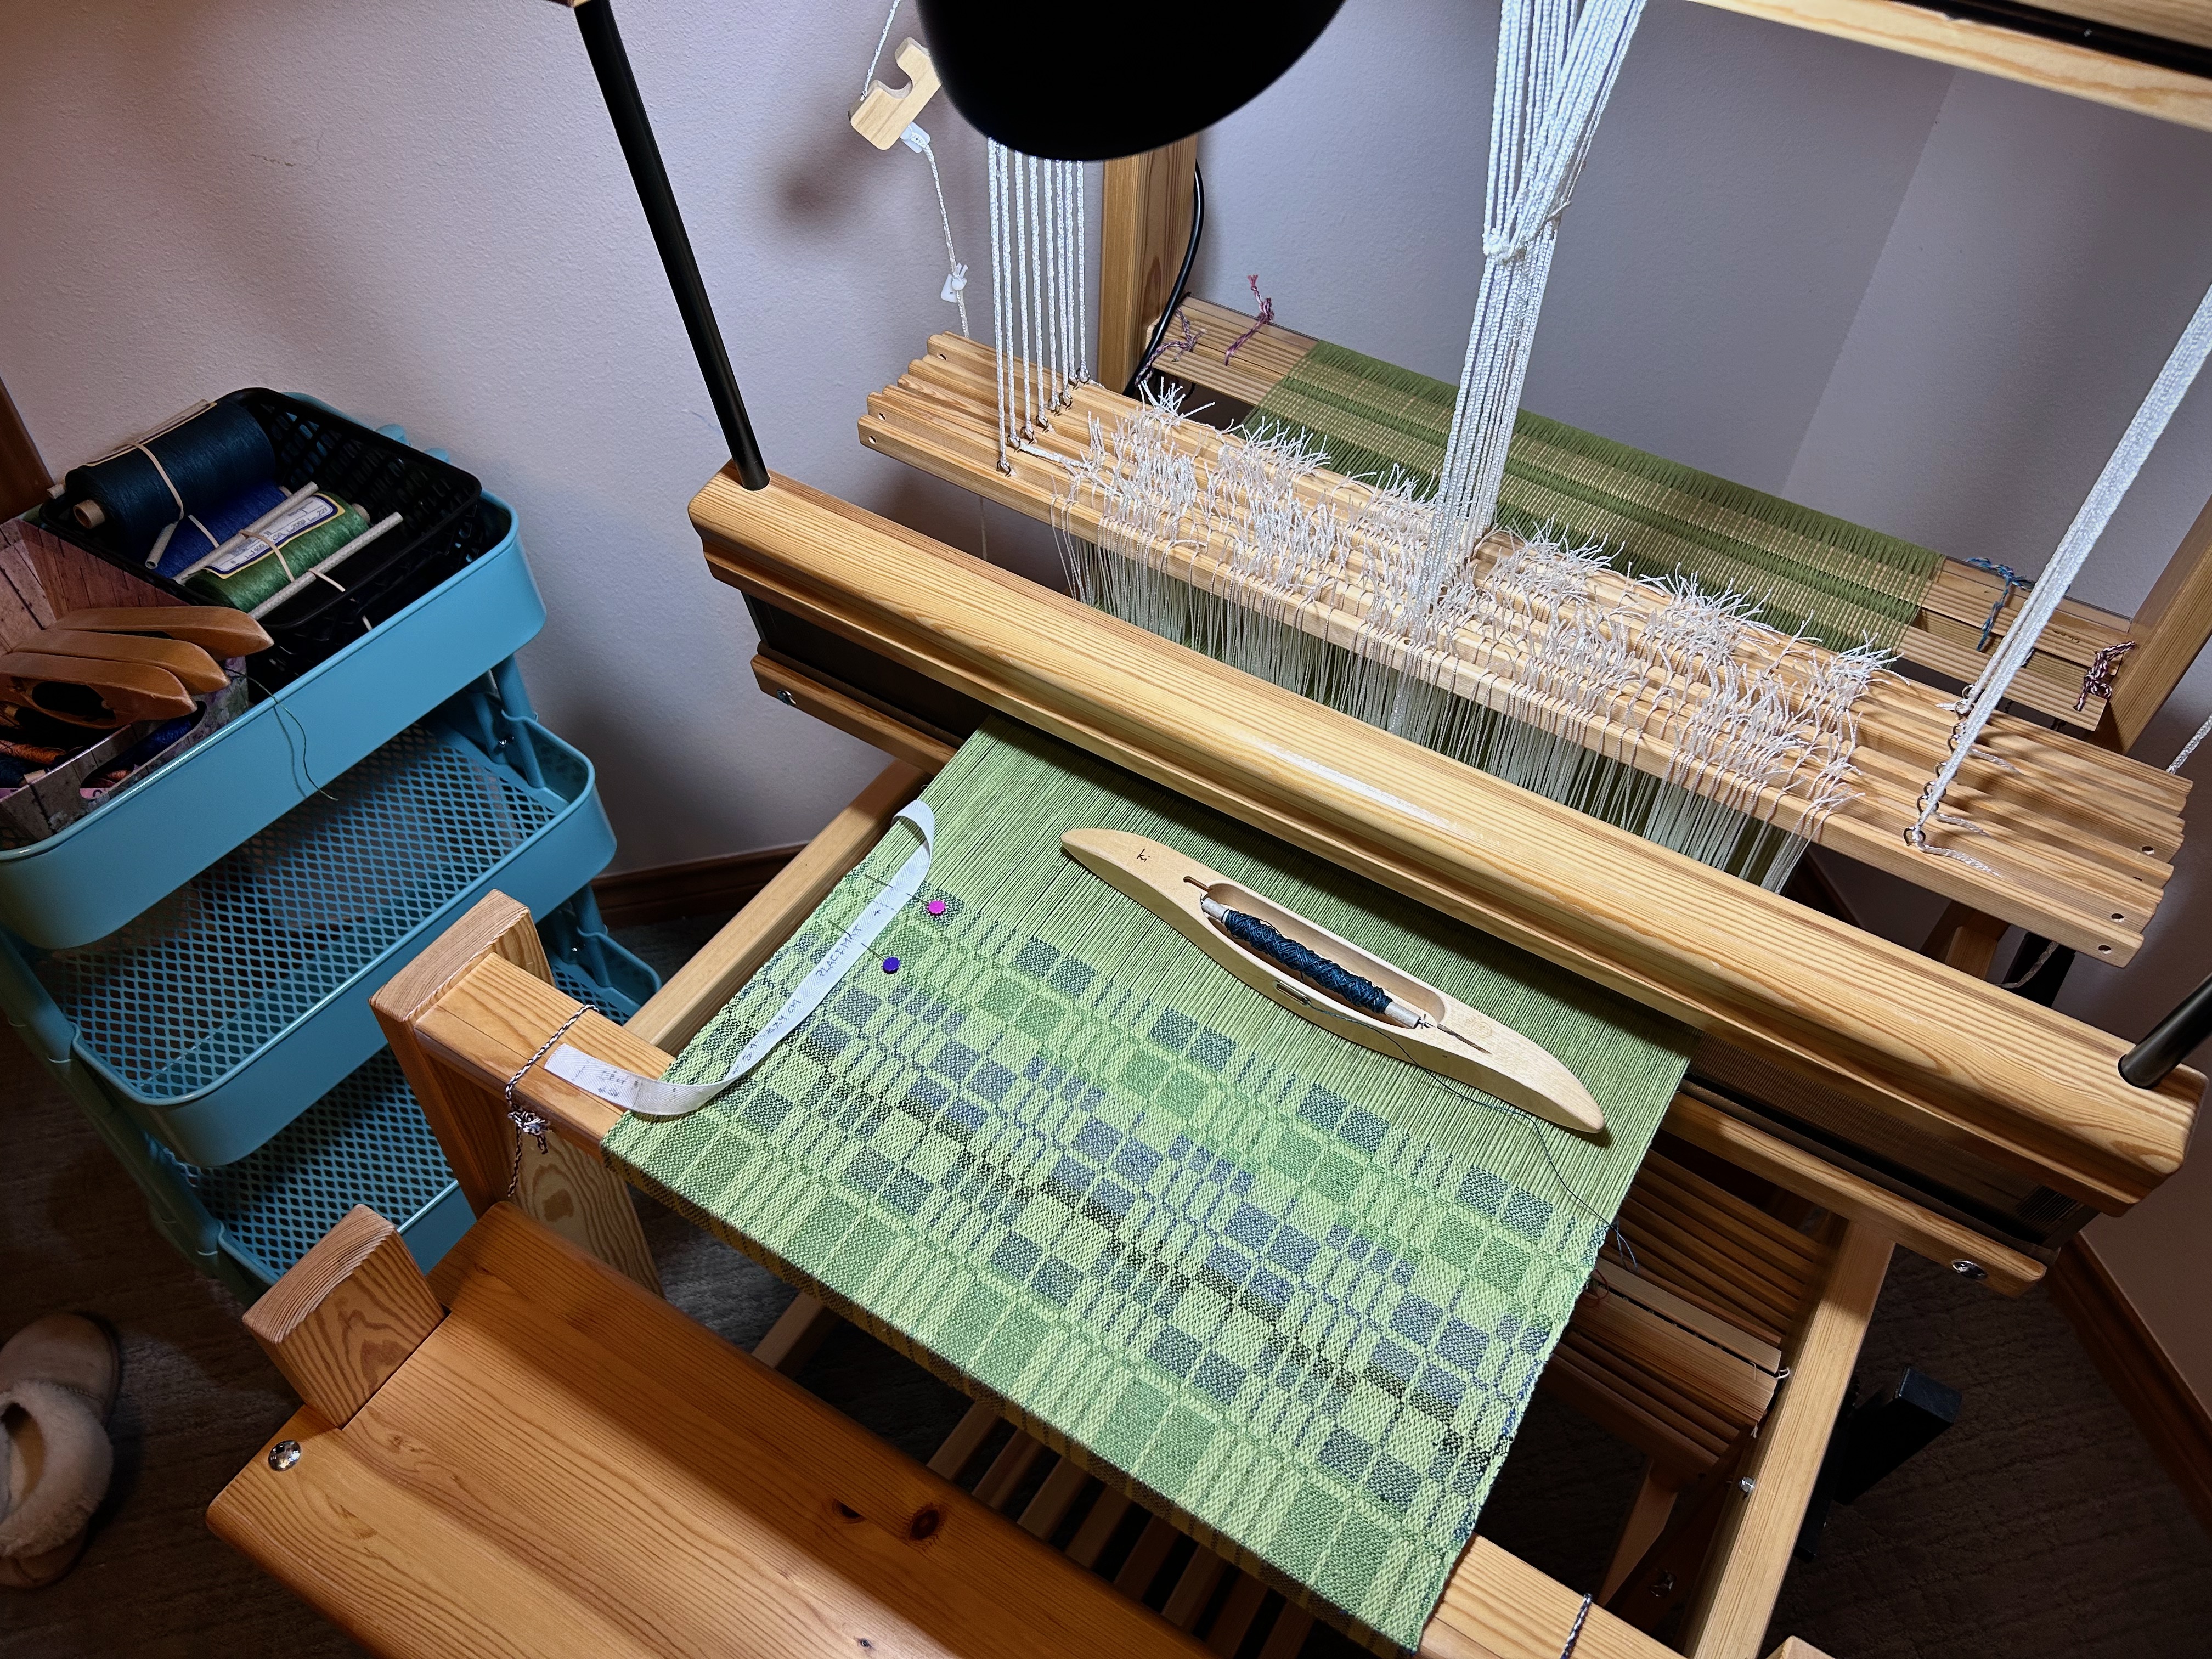
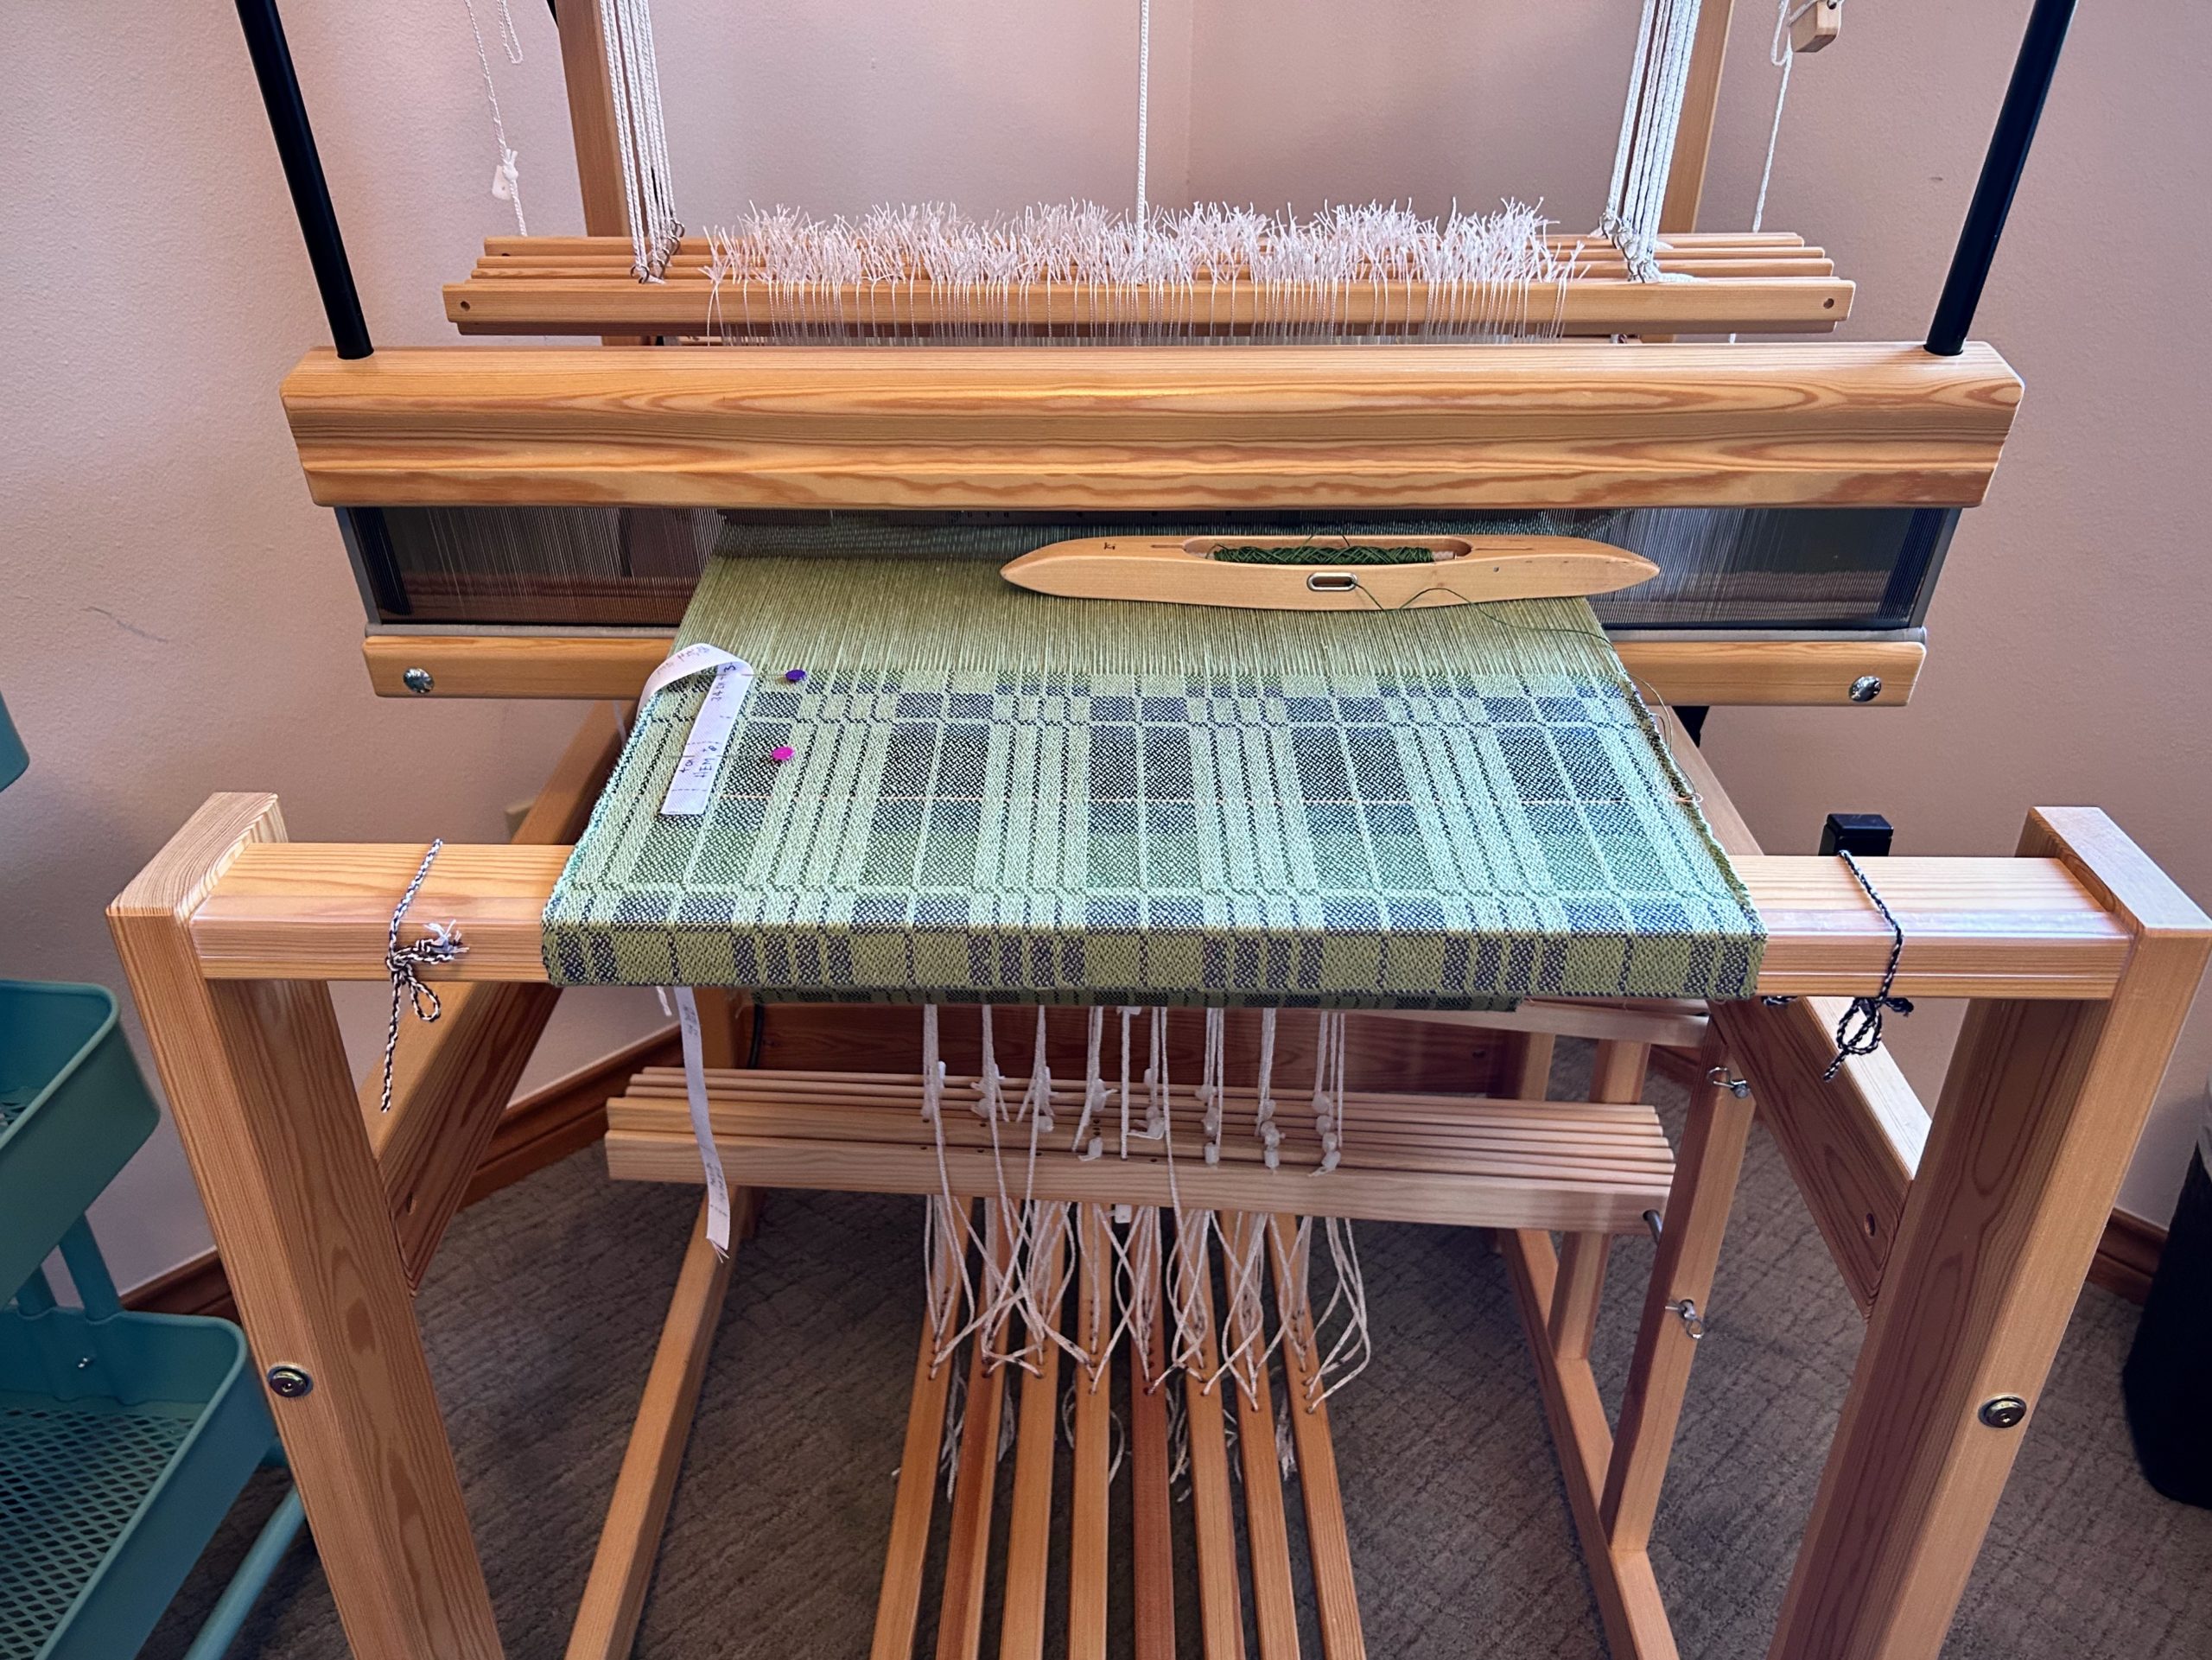
Next week you will see the completed small tapestries from my hand-built loom. Soon after that, look for finished spaced rep rag rugs from the Standard. And the crazy critter napkins that are coming up on the drawloom will show my not-so-serious side. There is no shortage of weaving projects around here! I am looking forward to robust interaction with you as we enter this new rhythm.
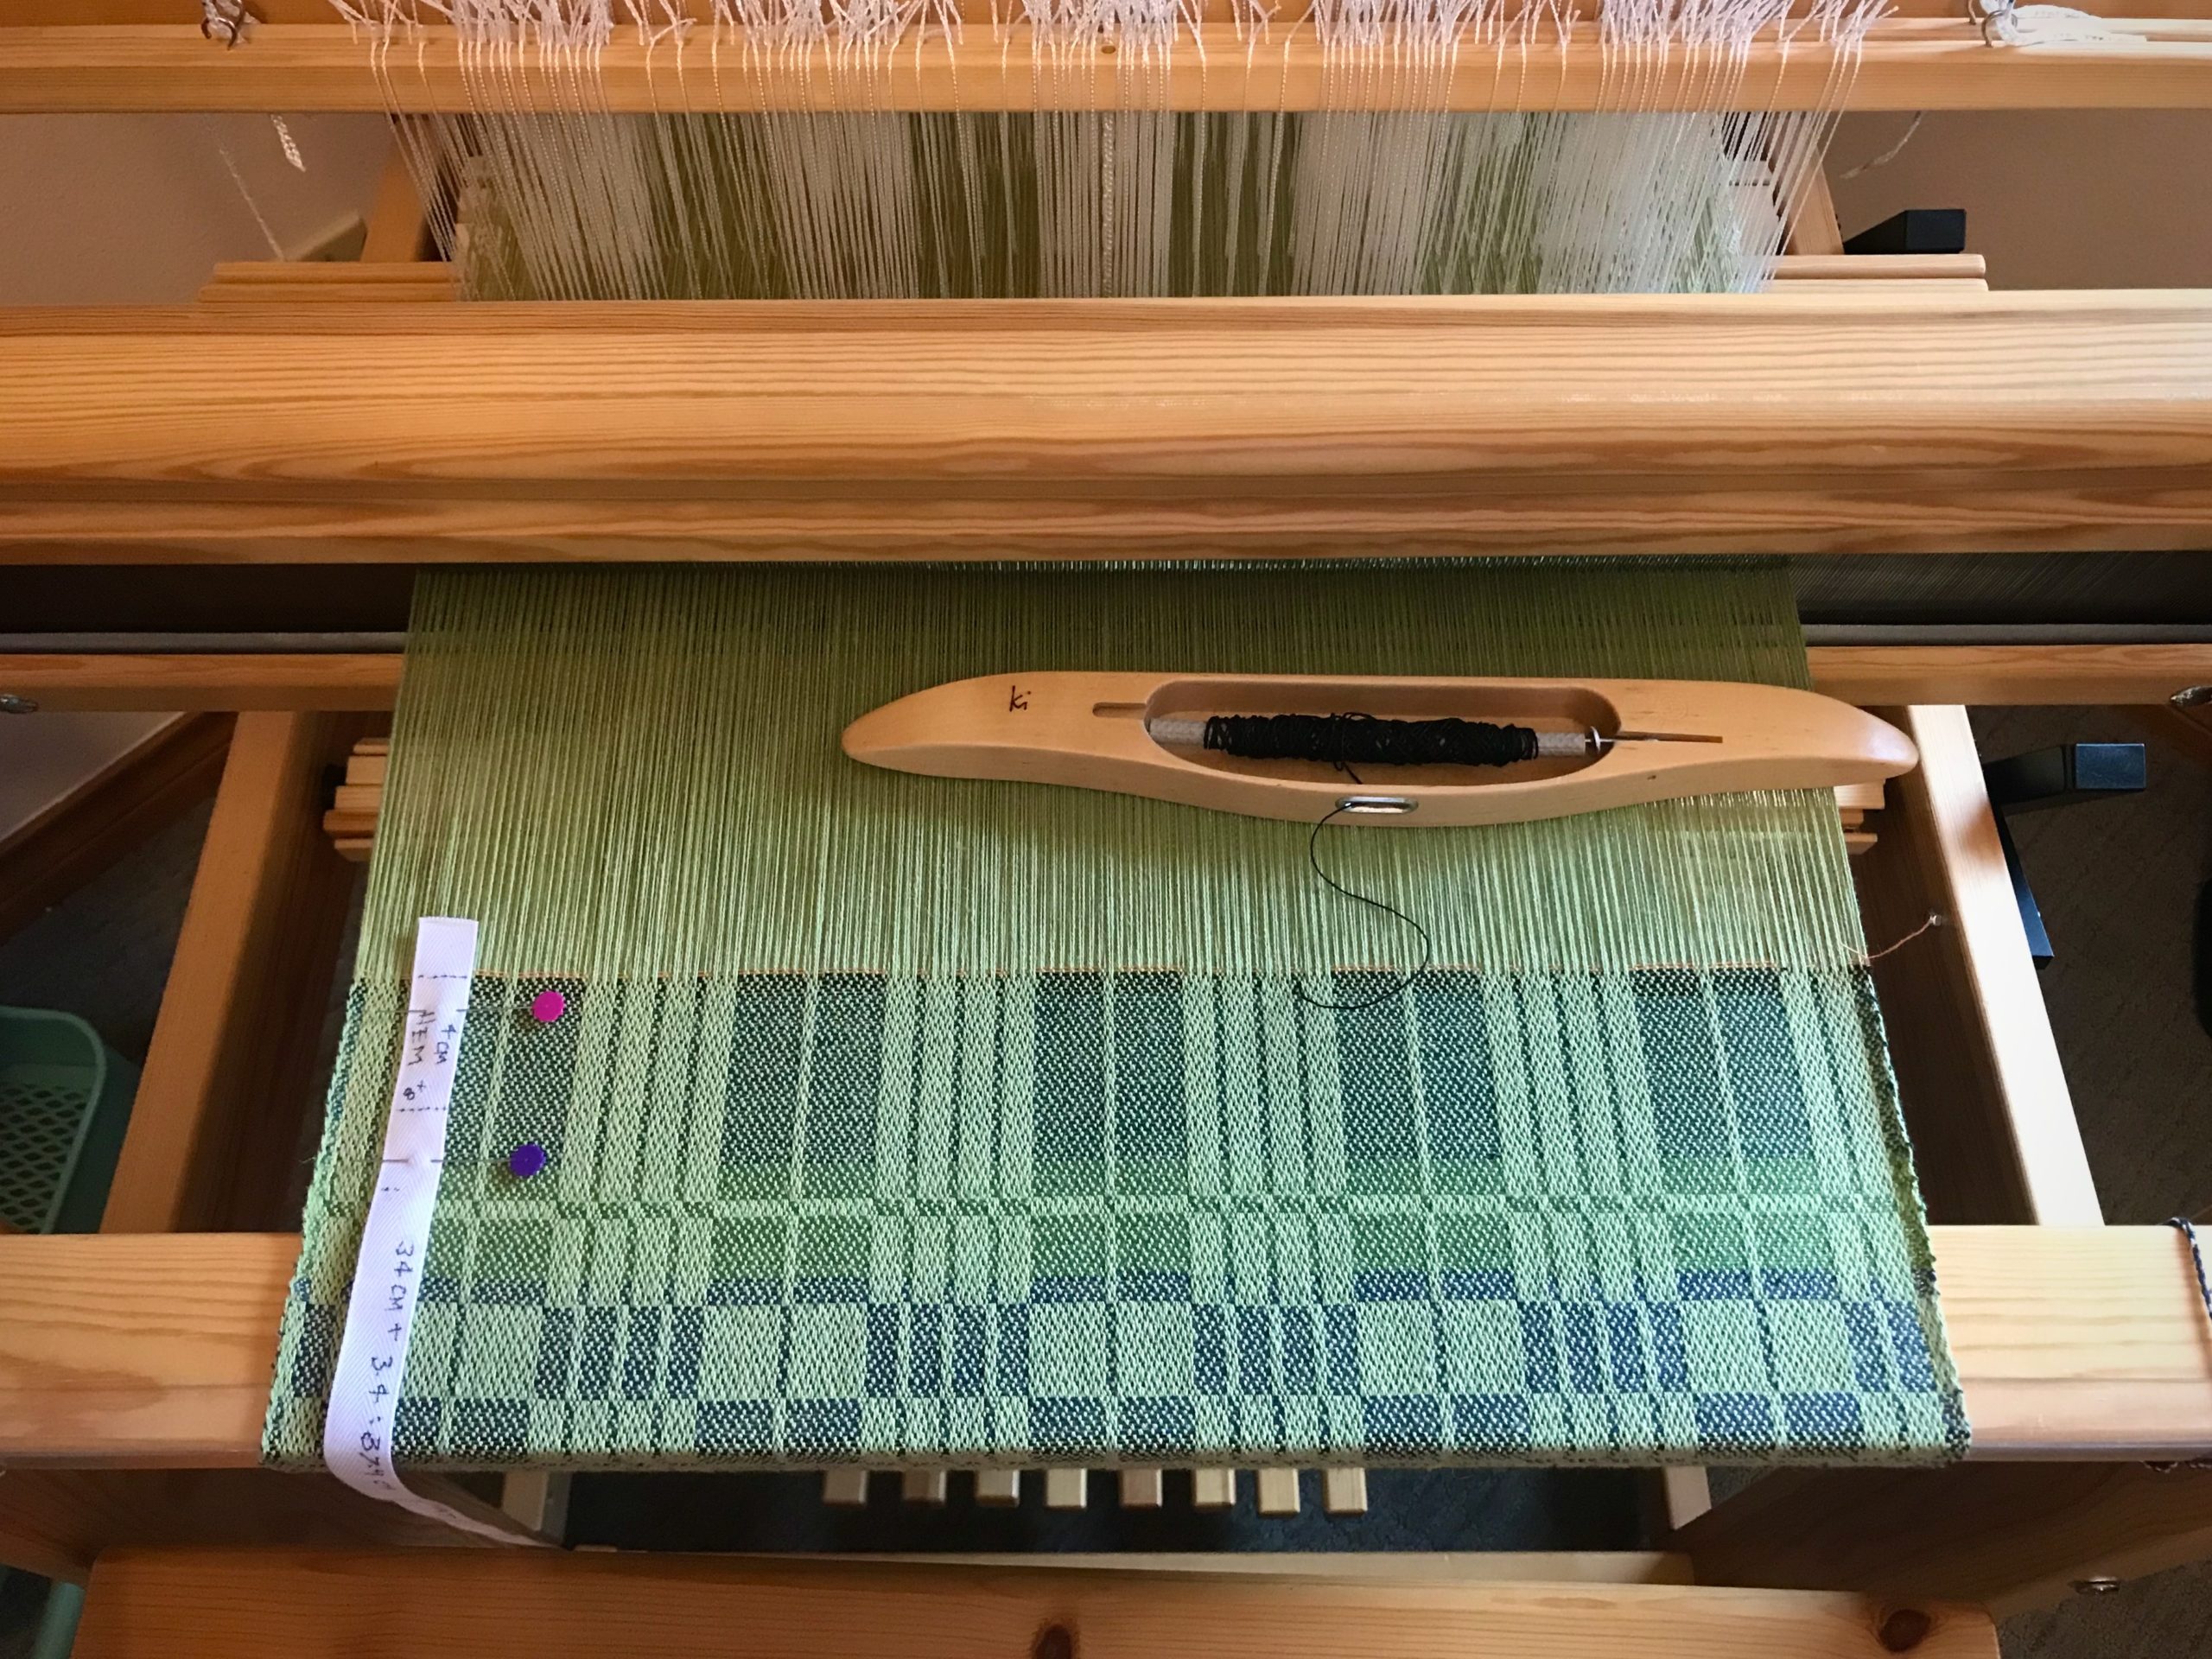
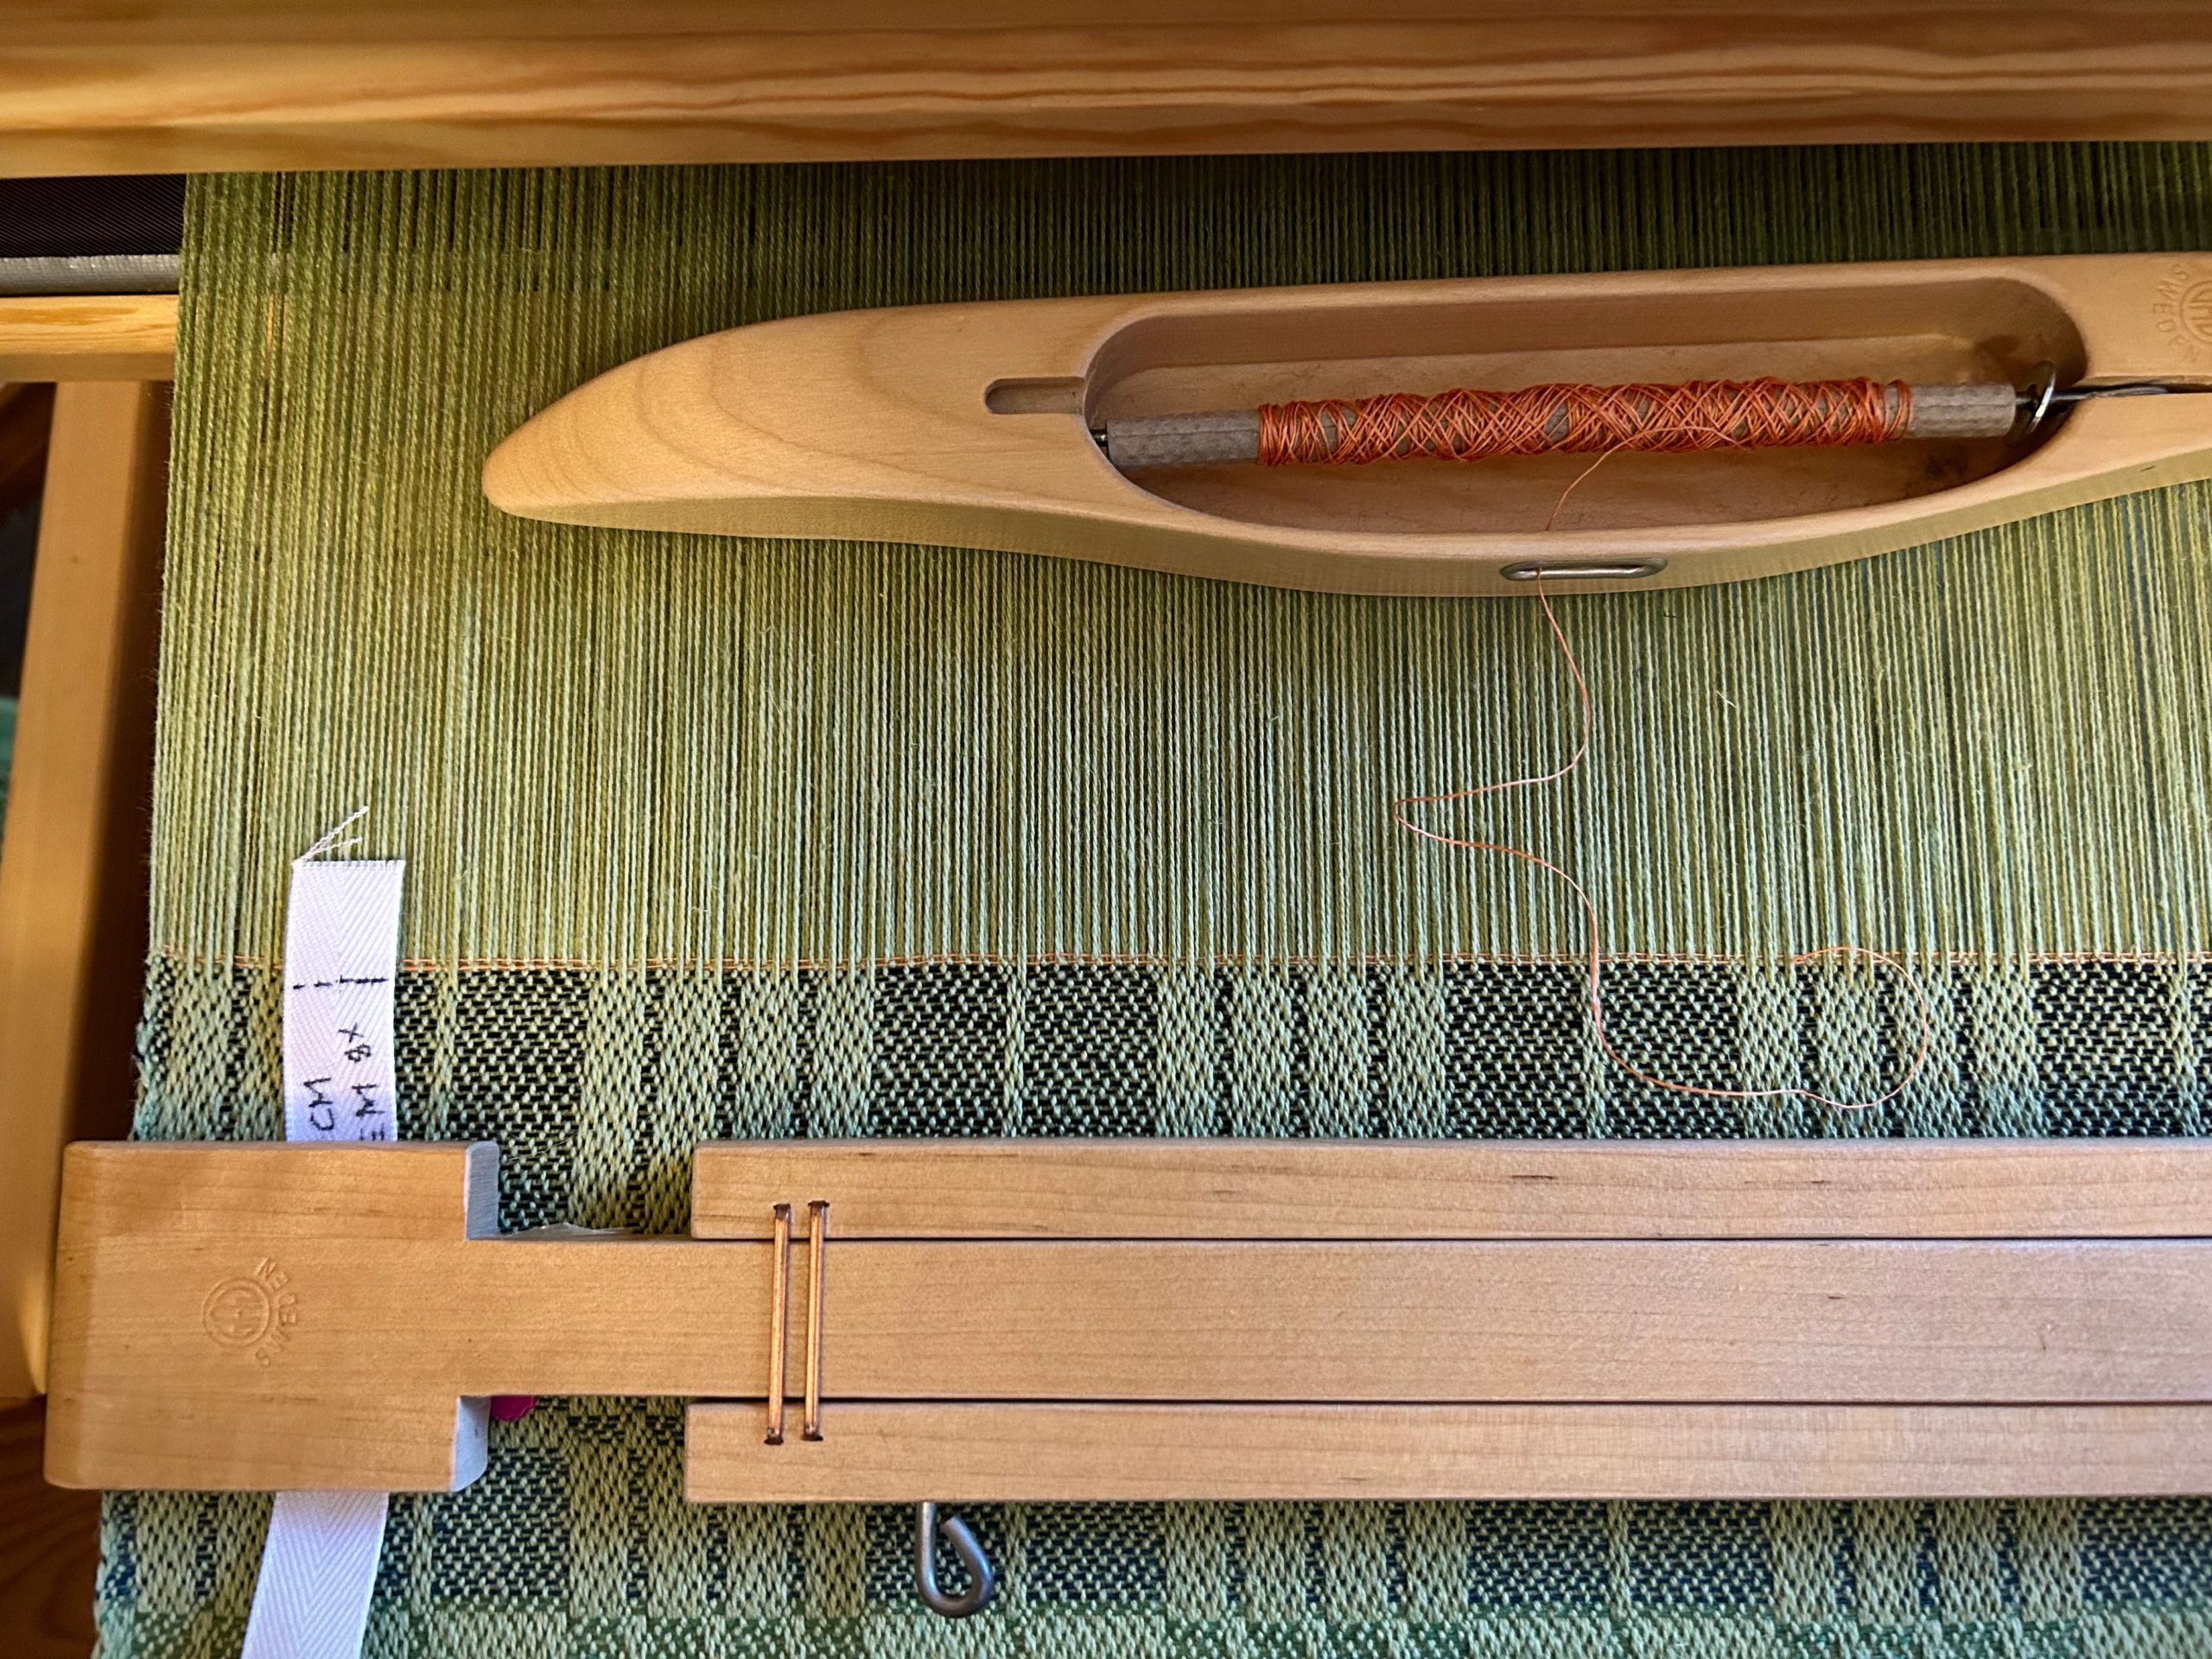
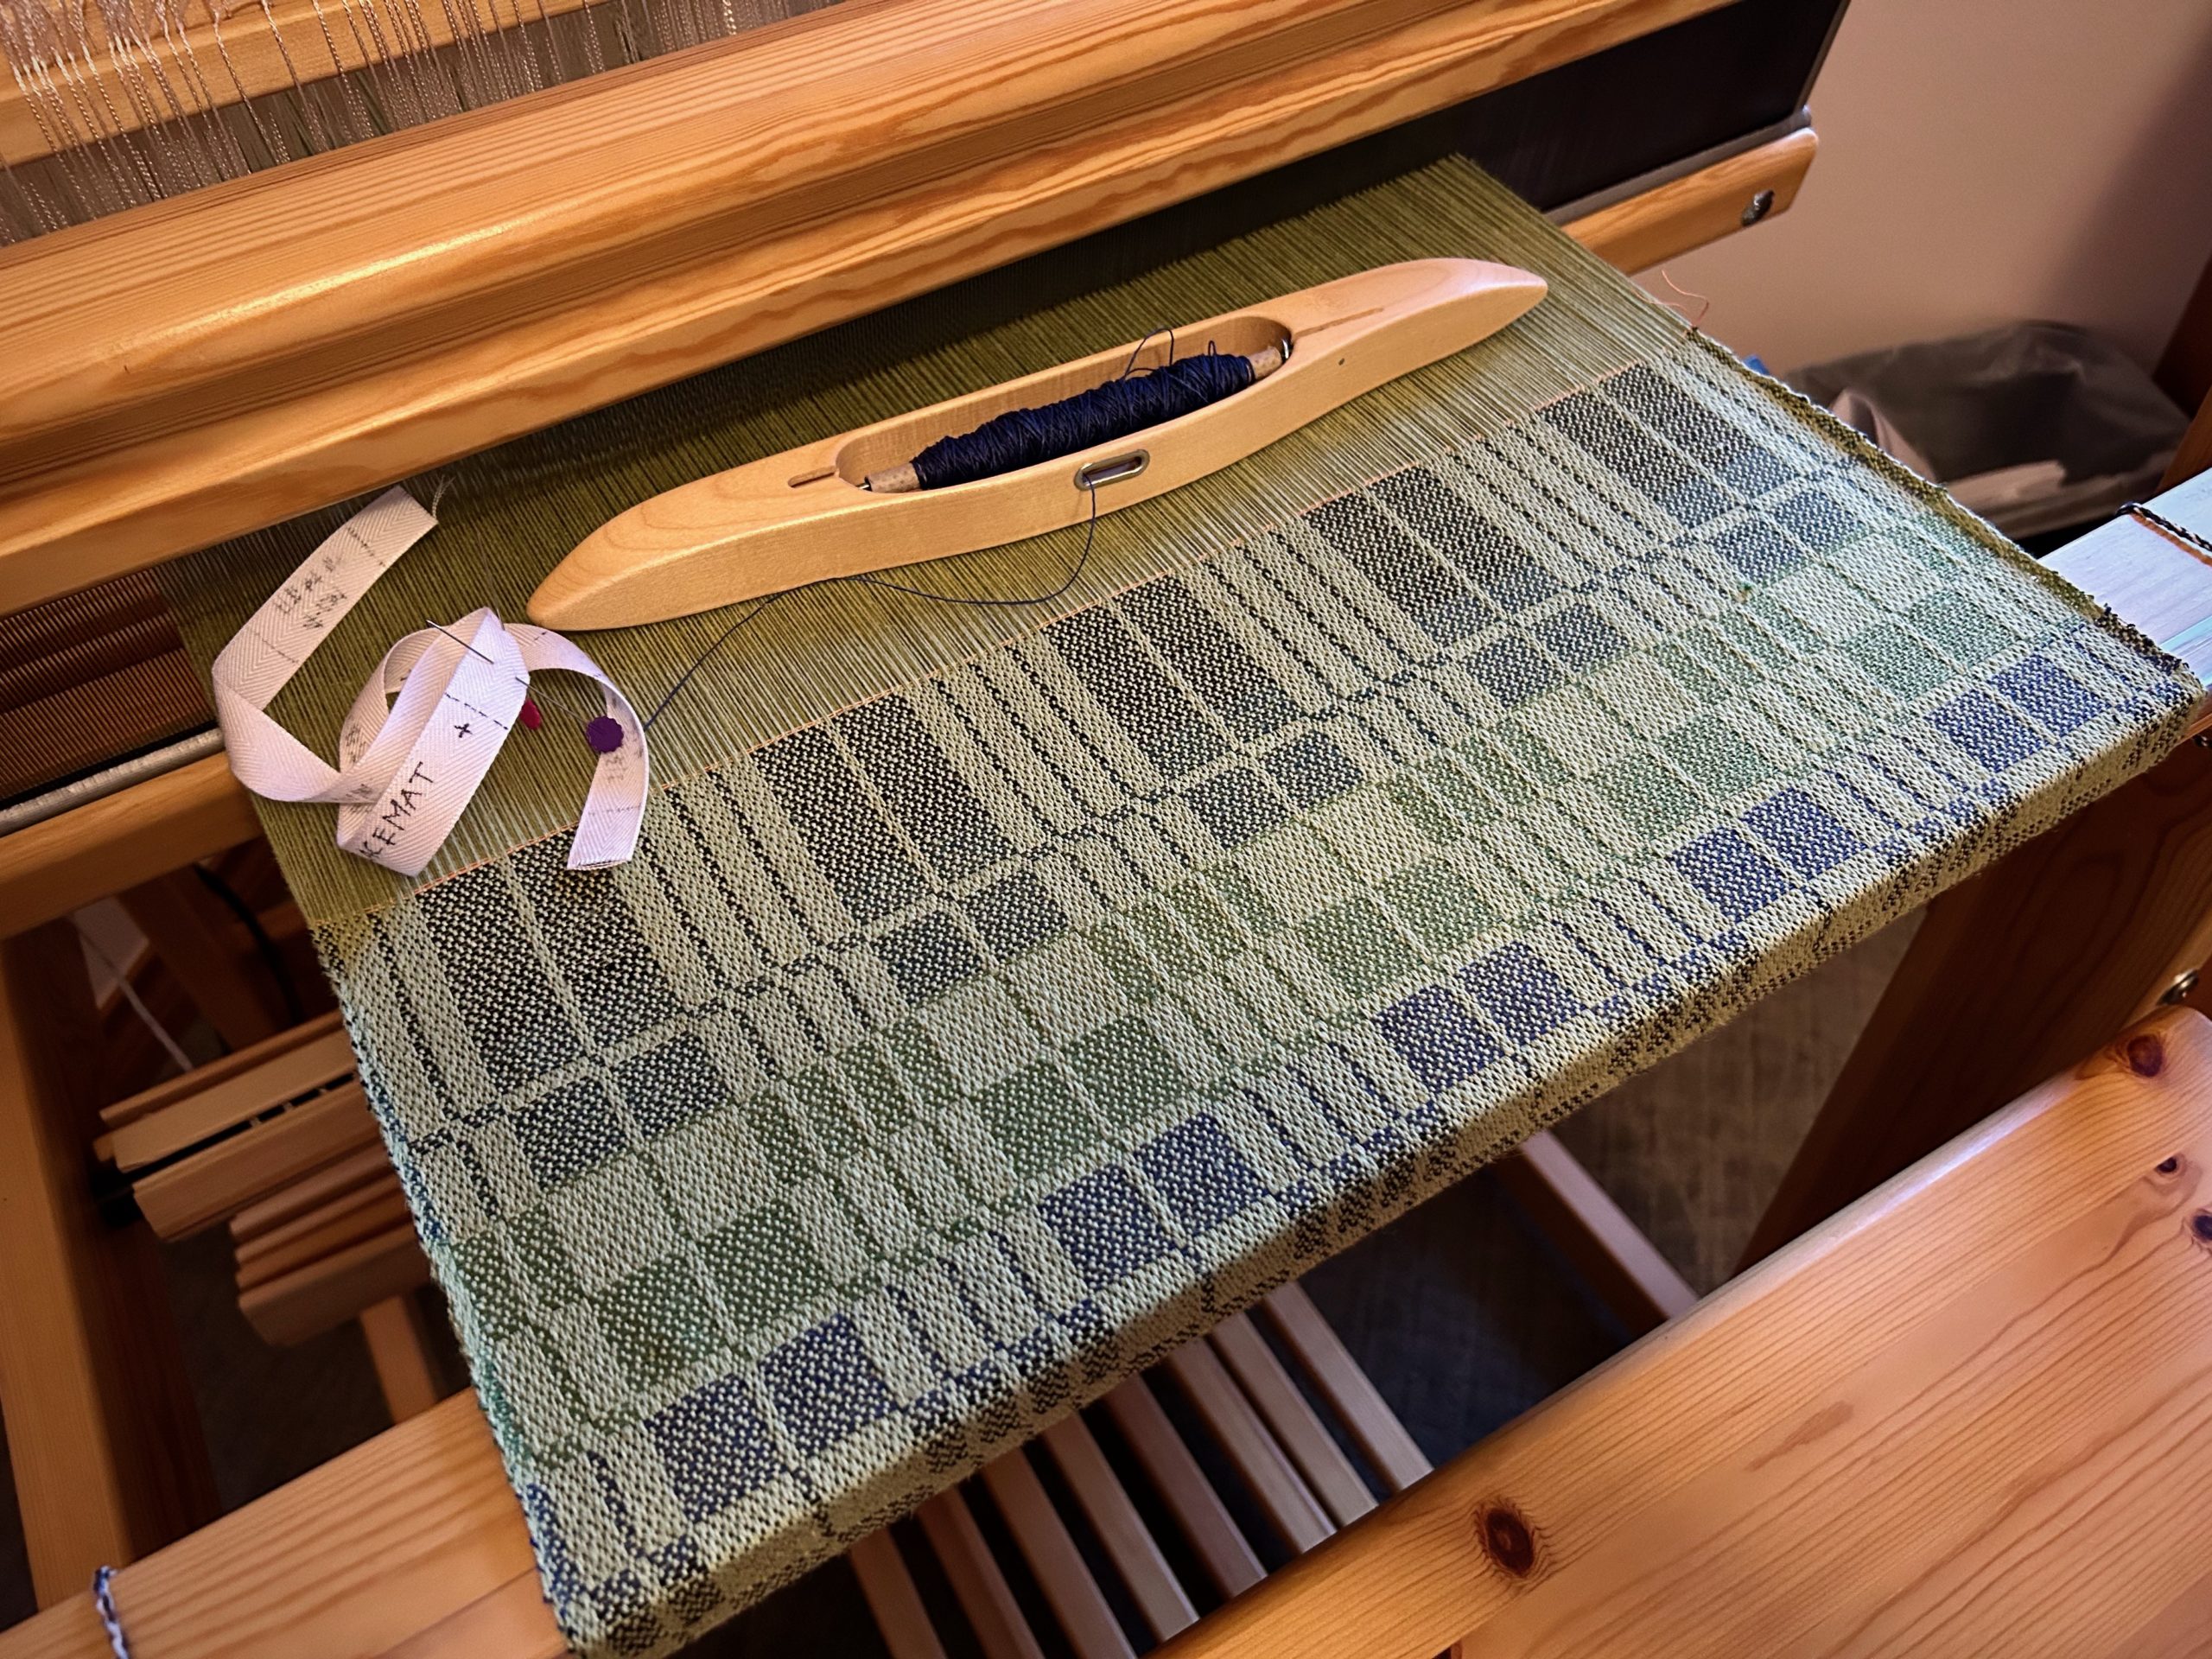
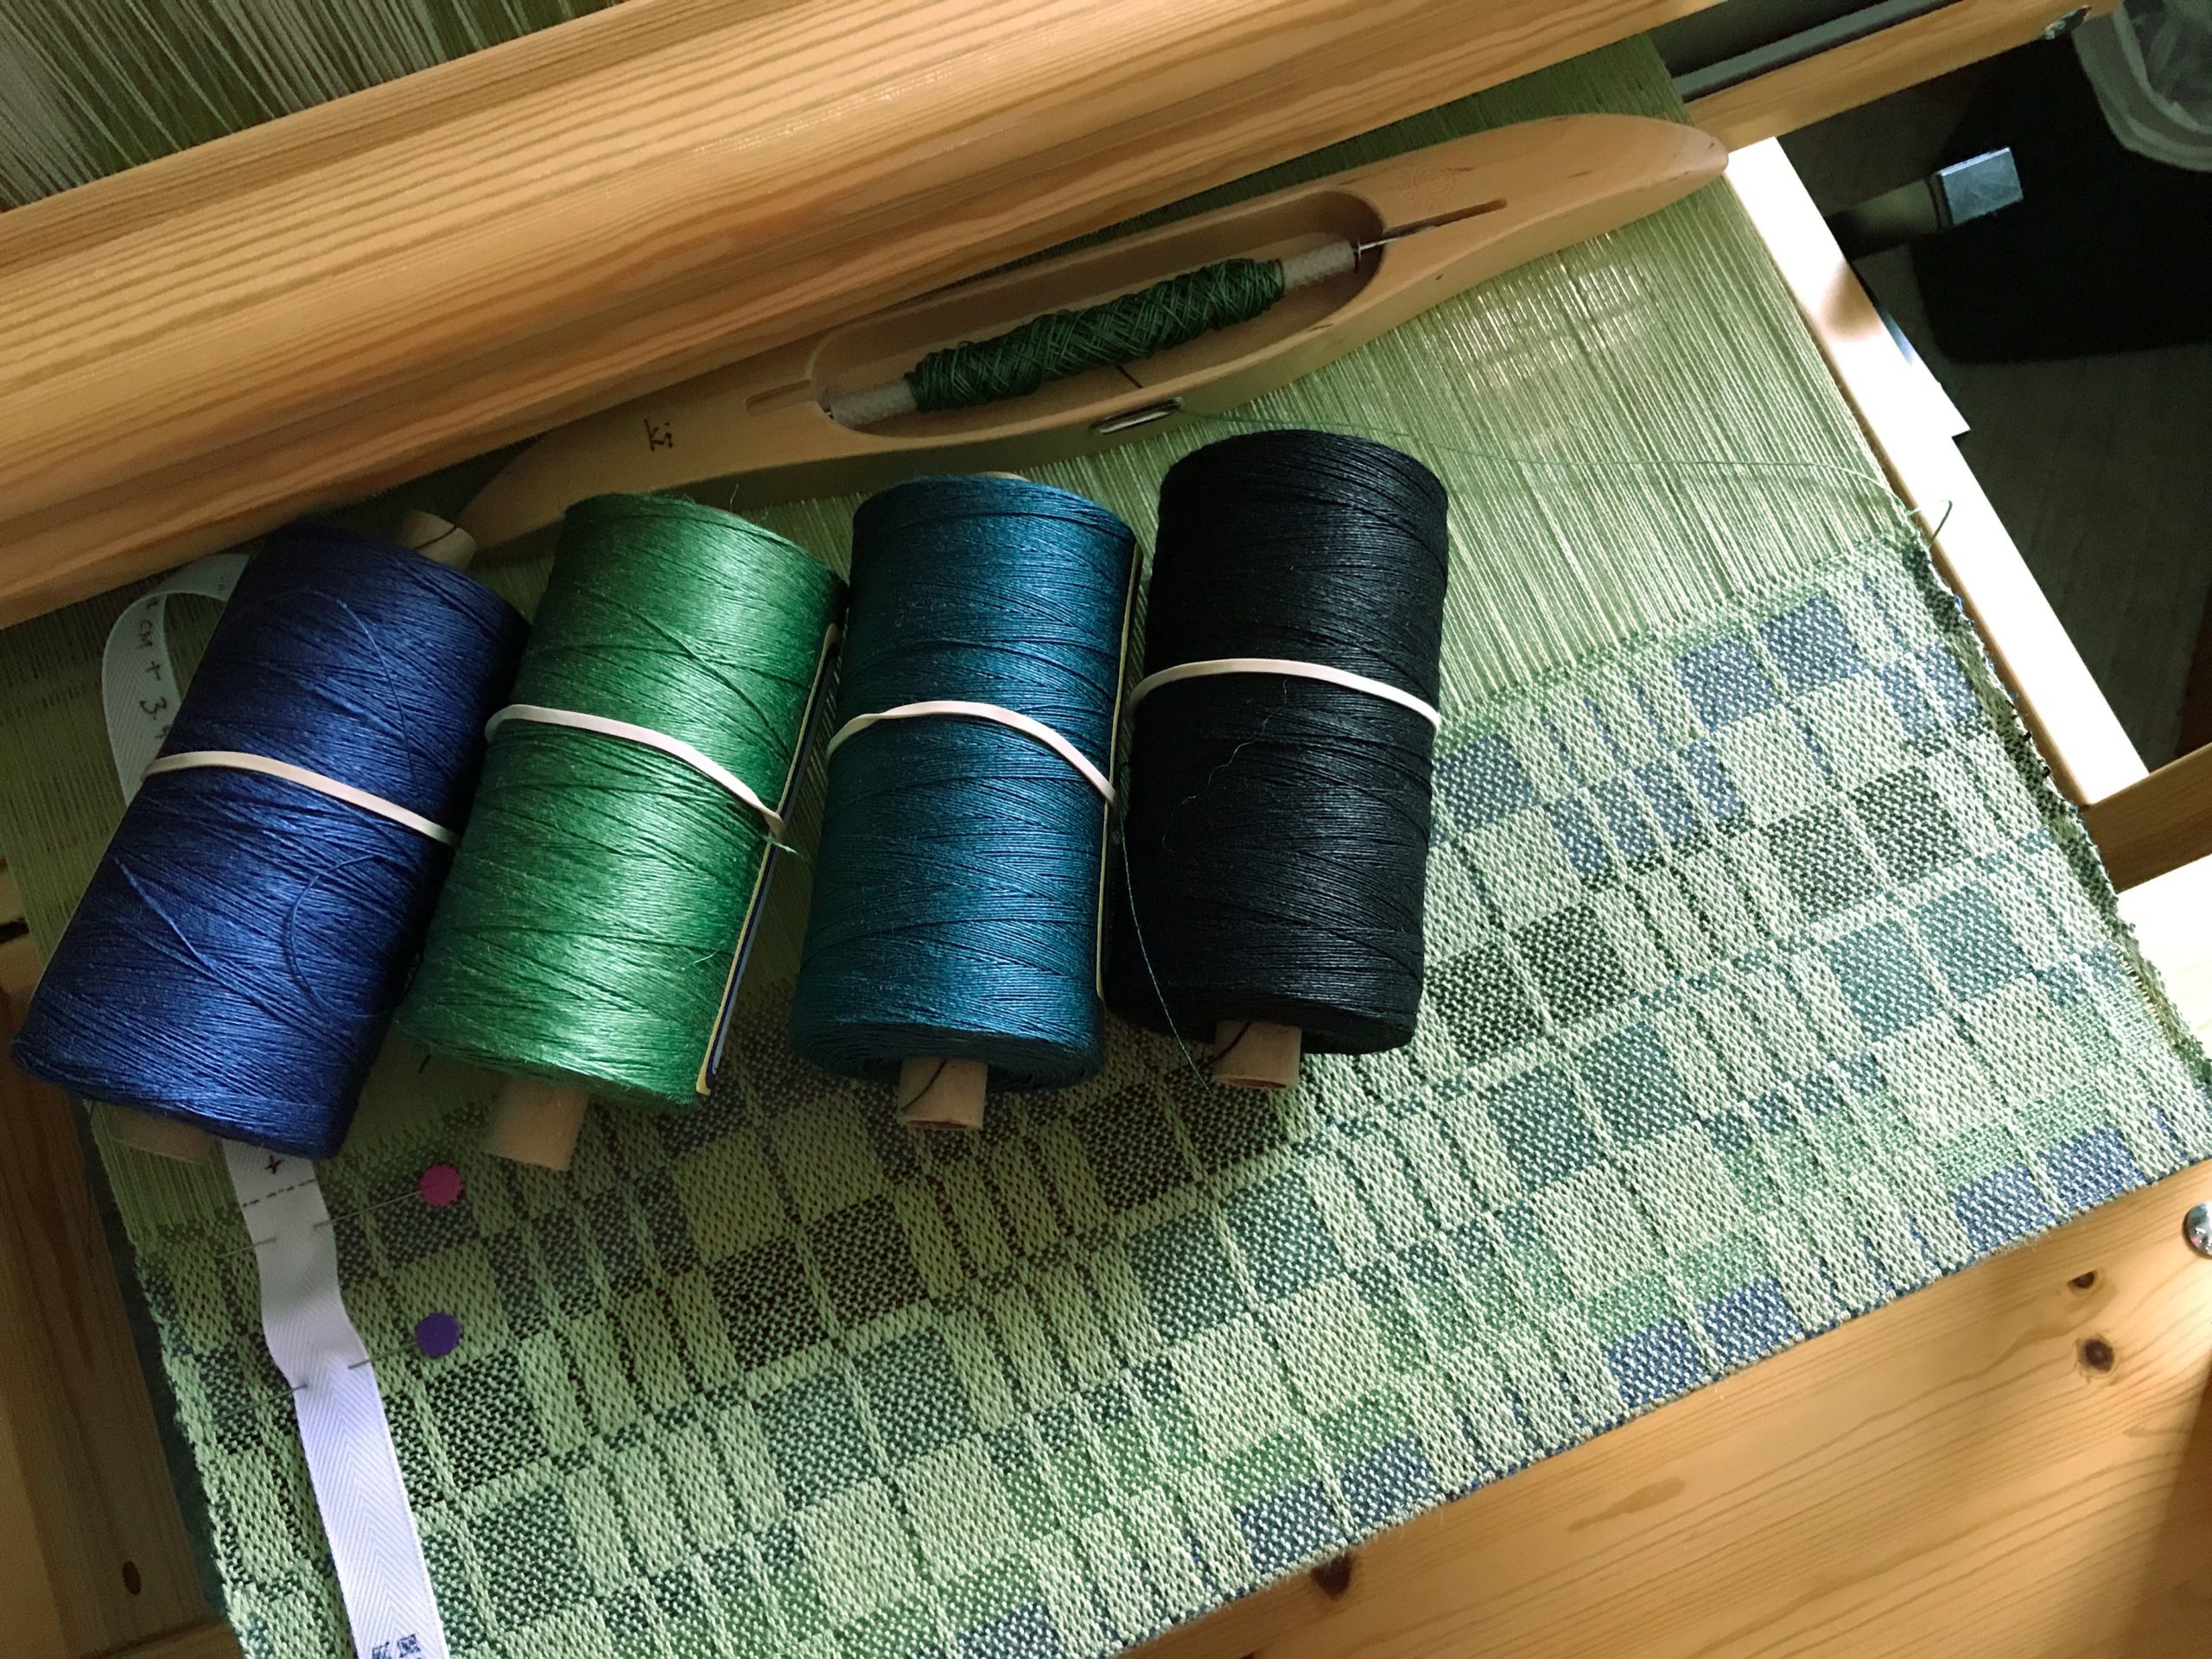
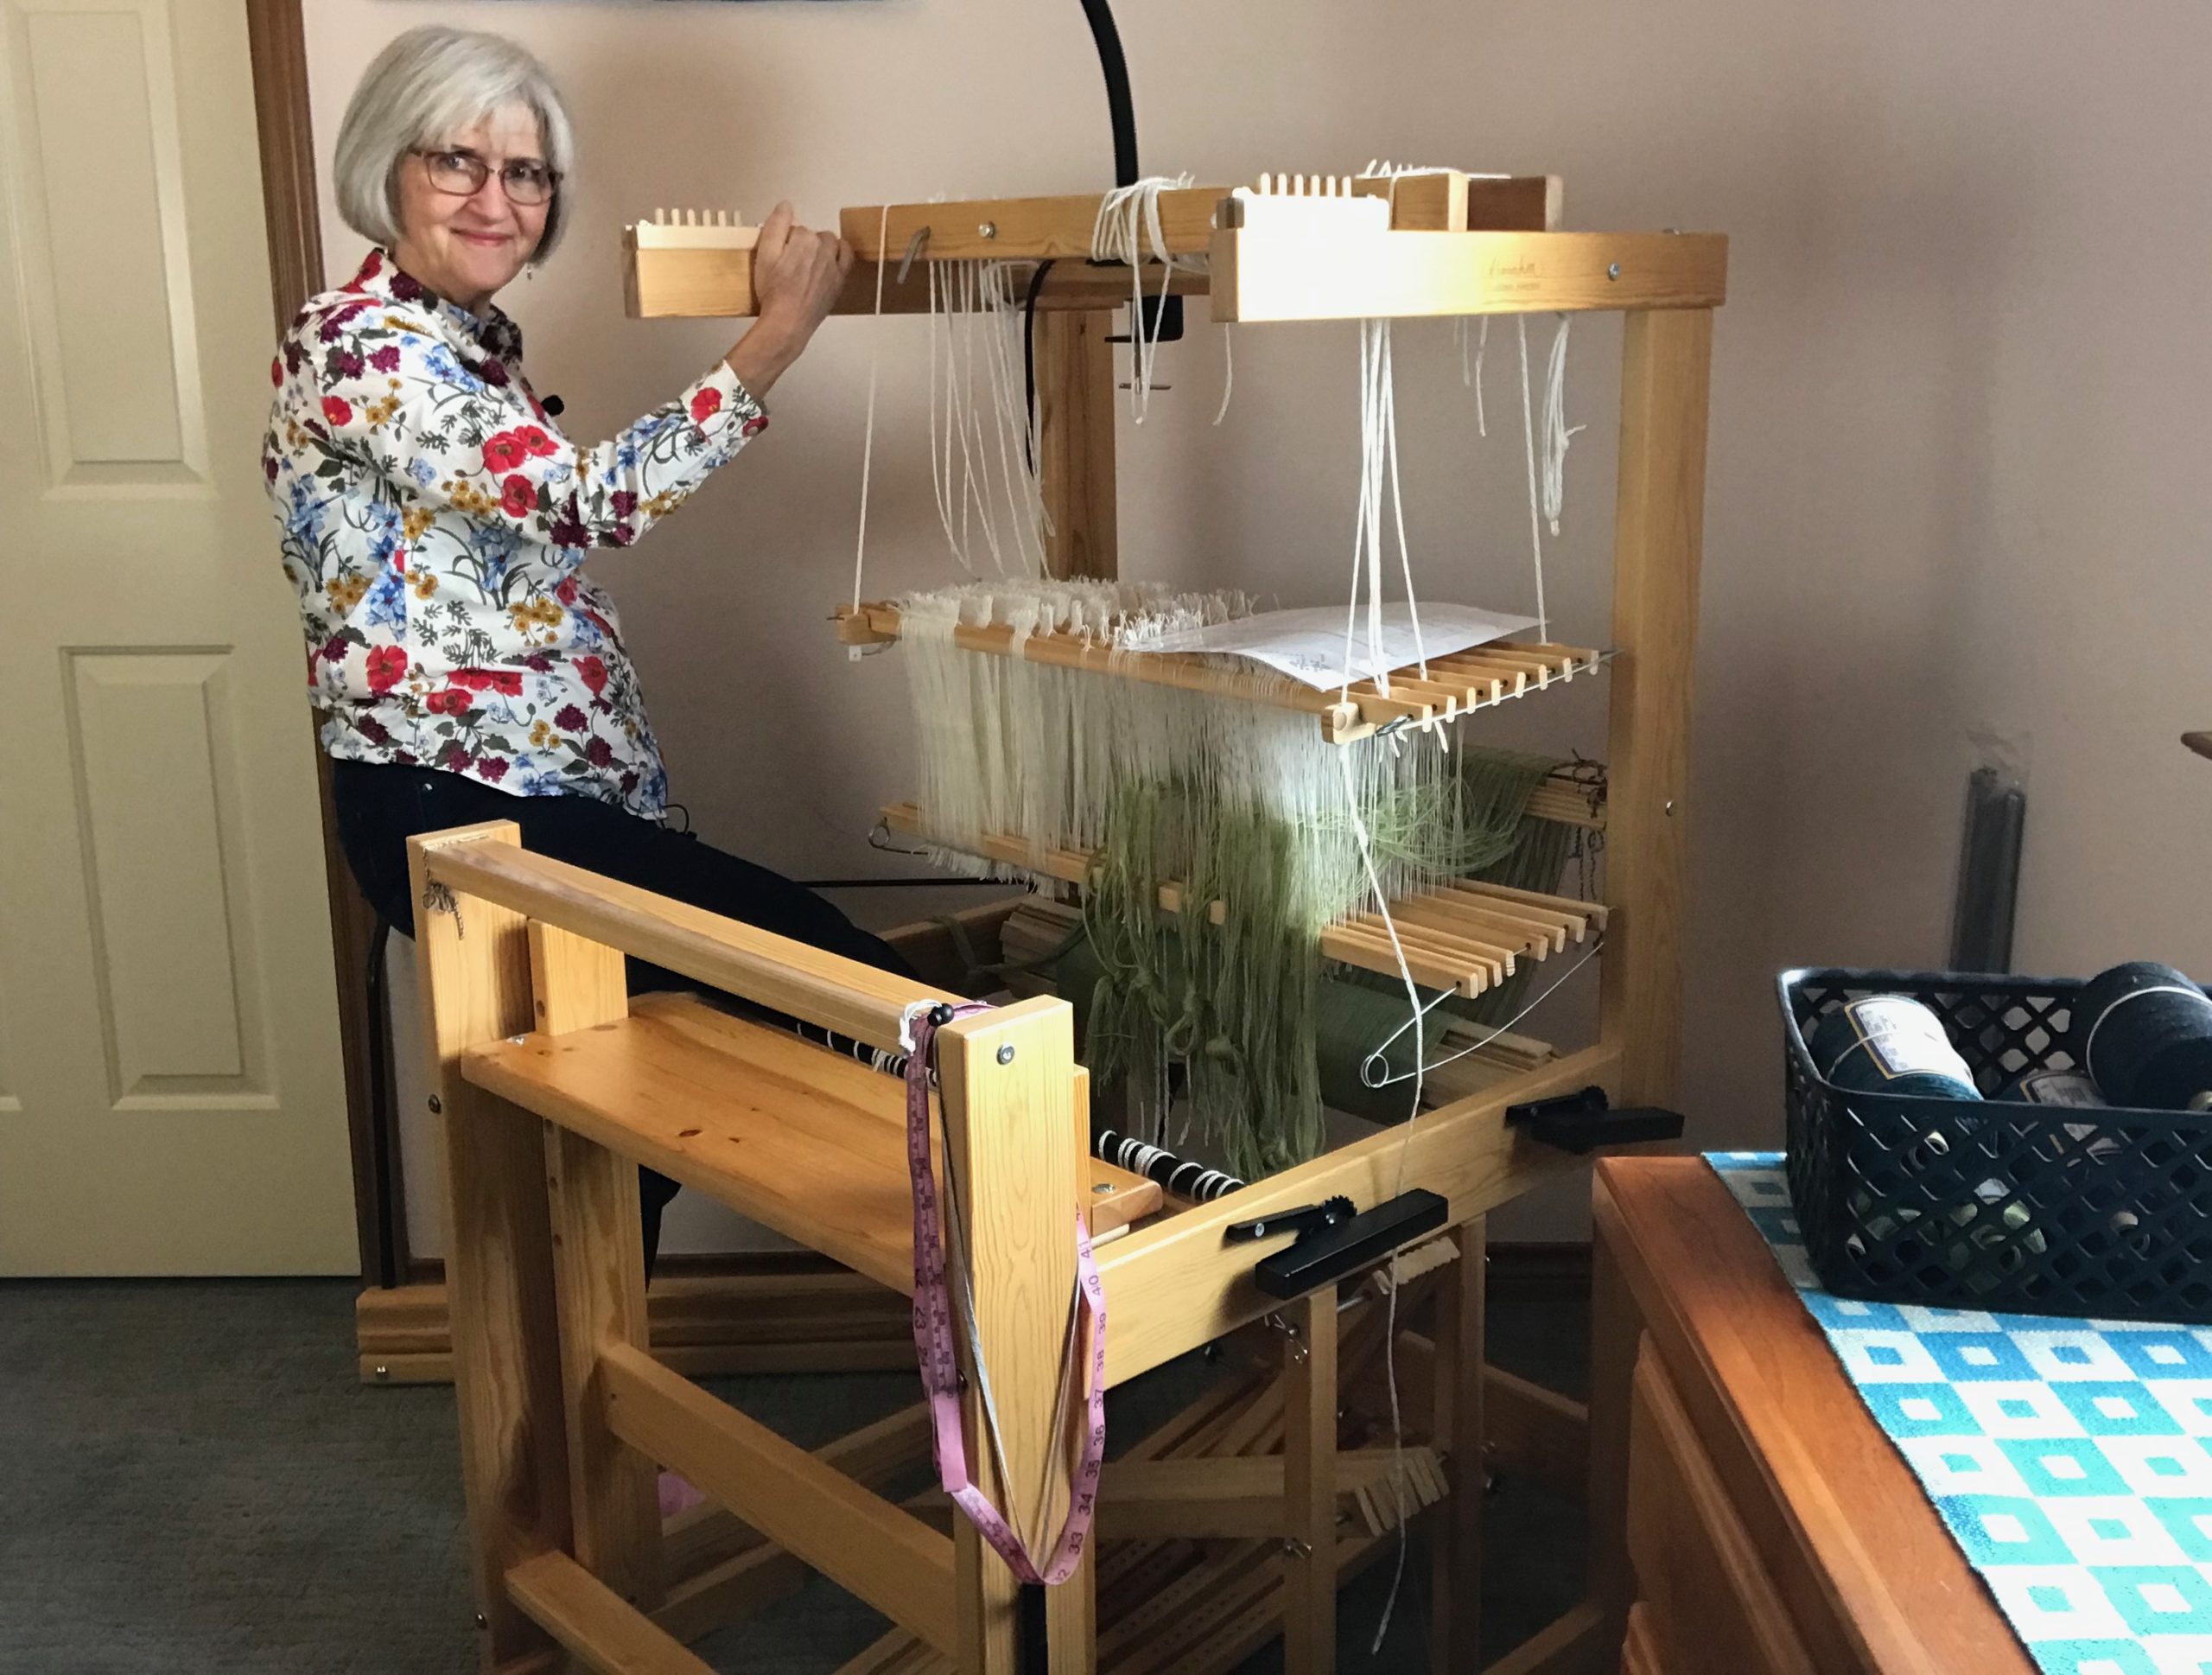
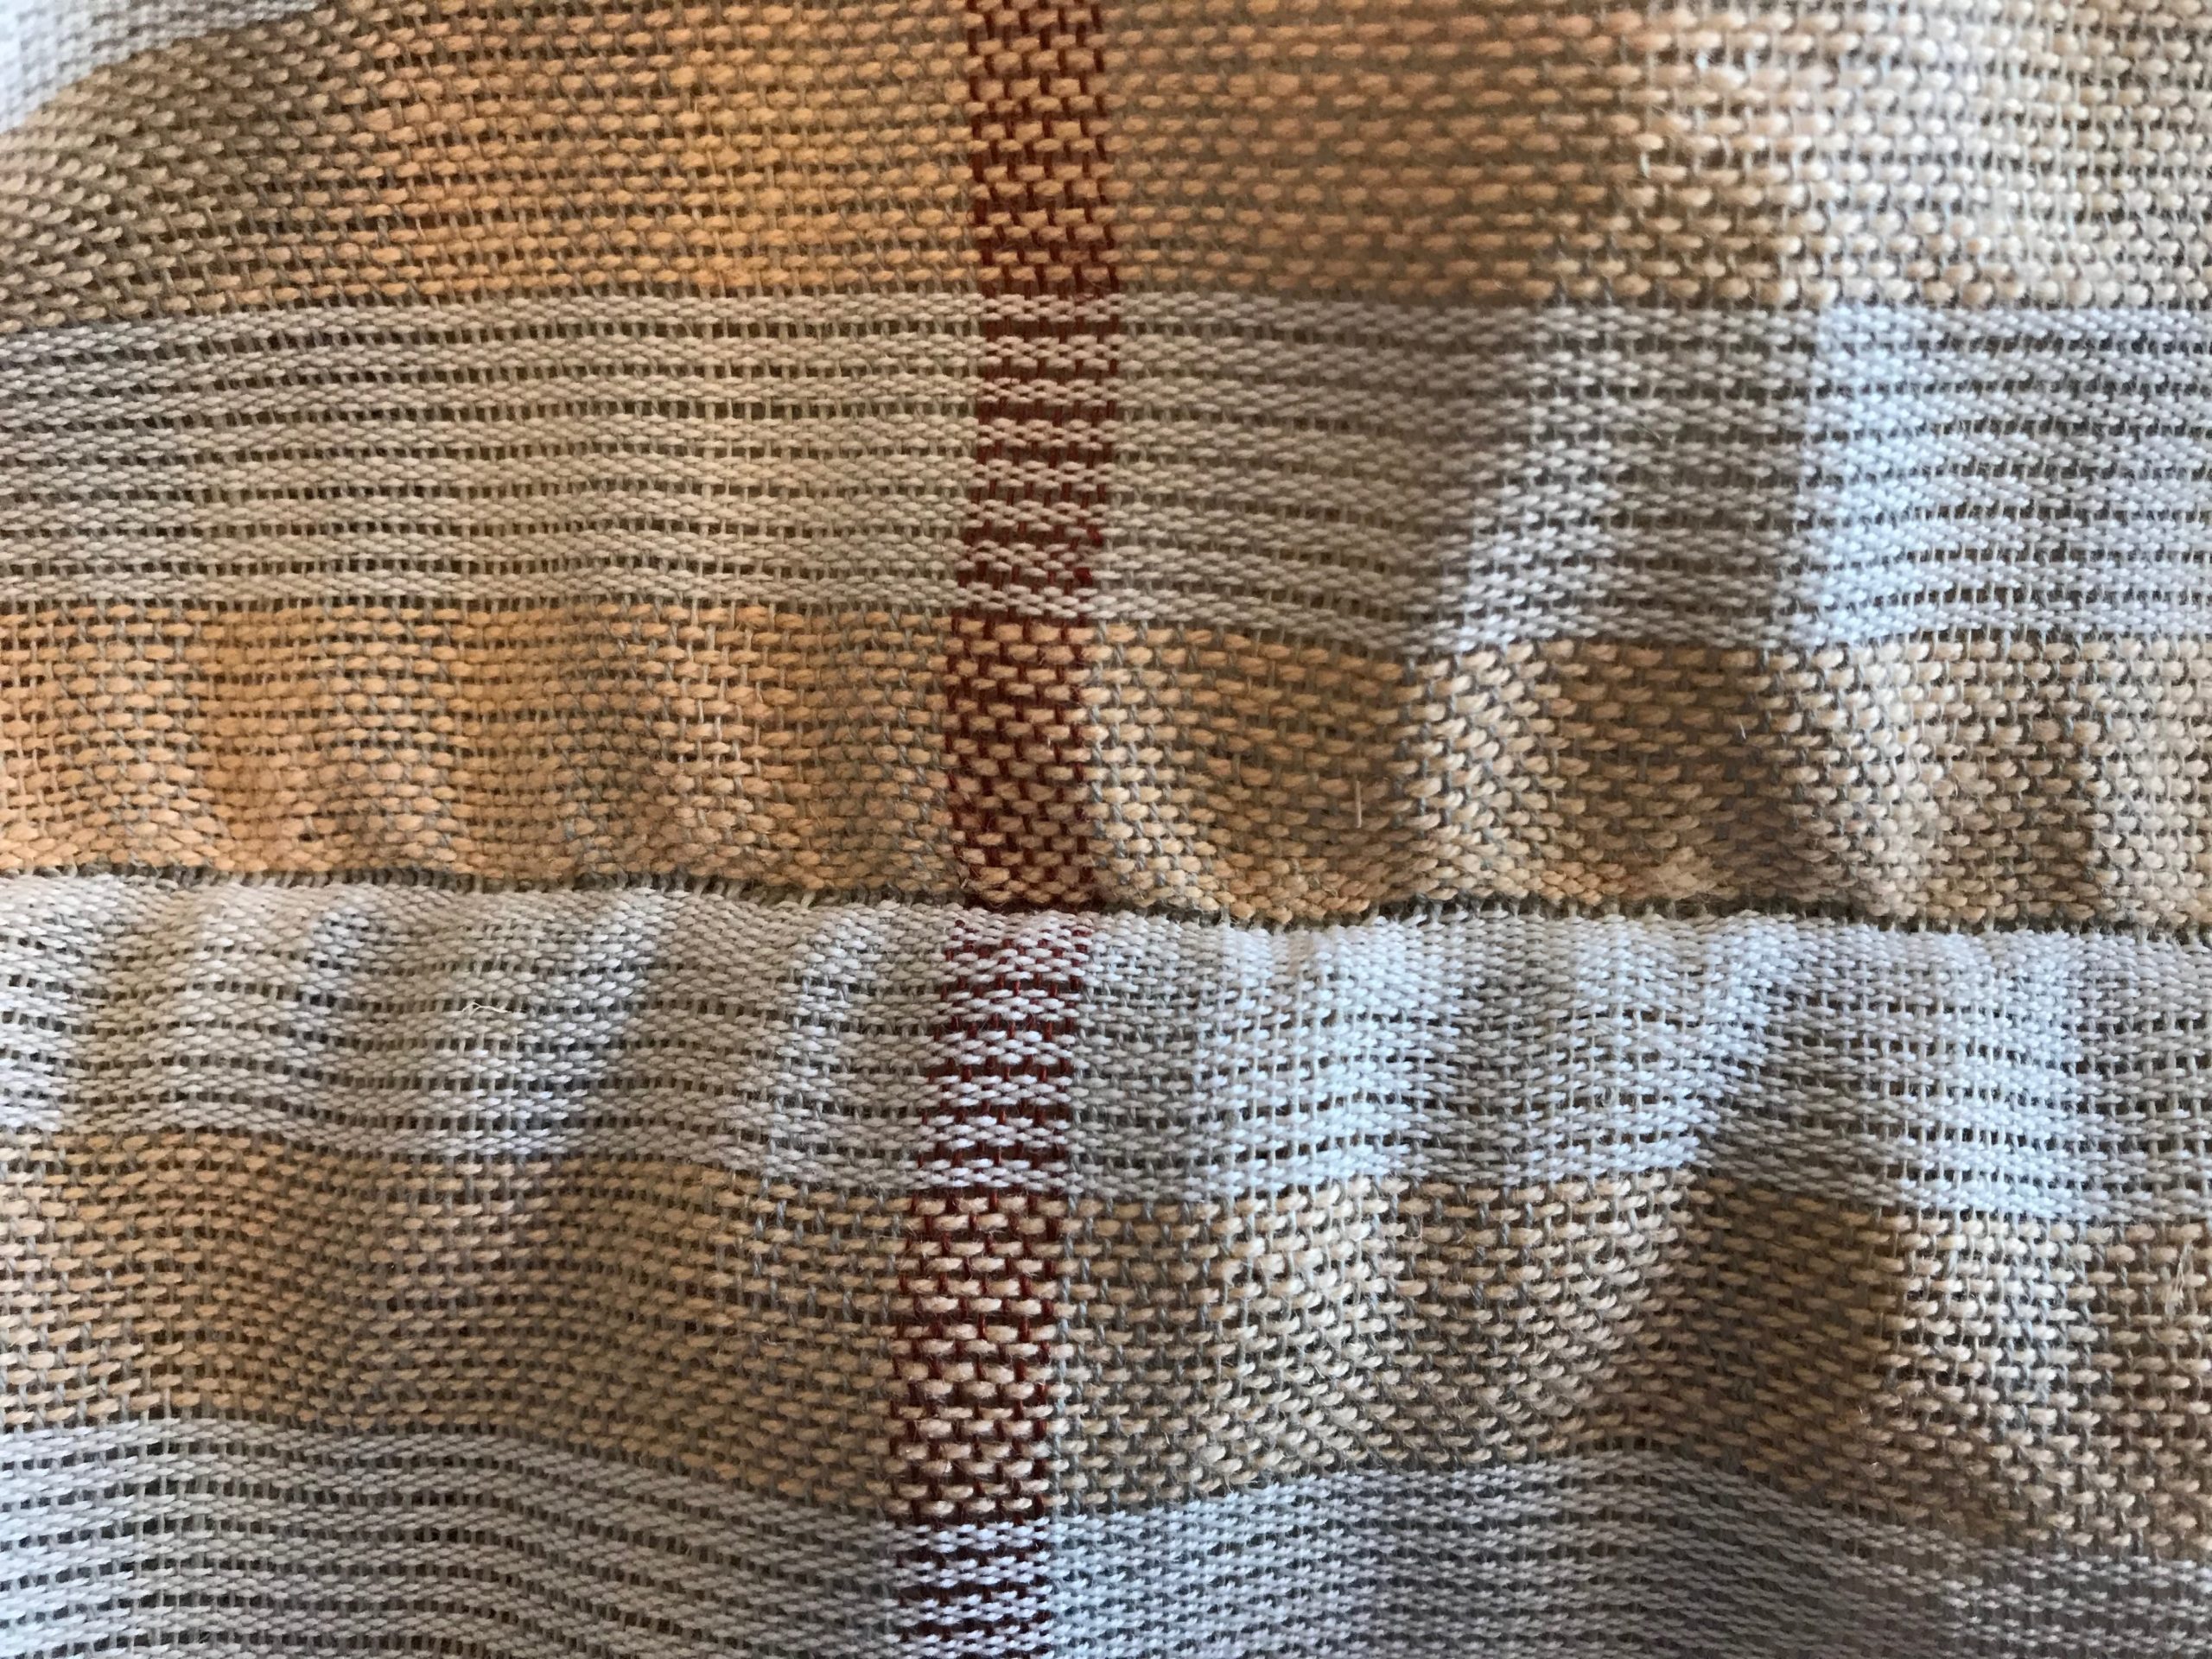
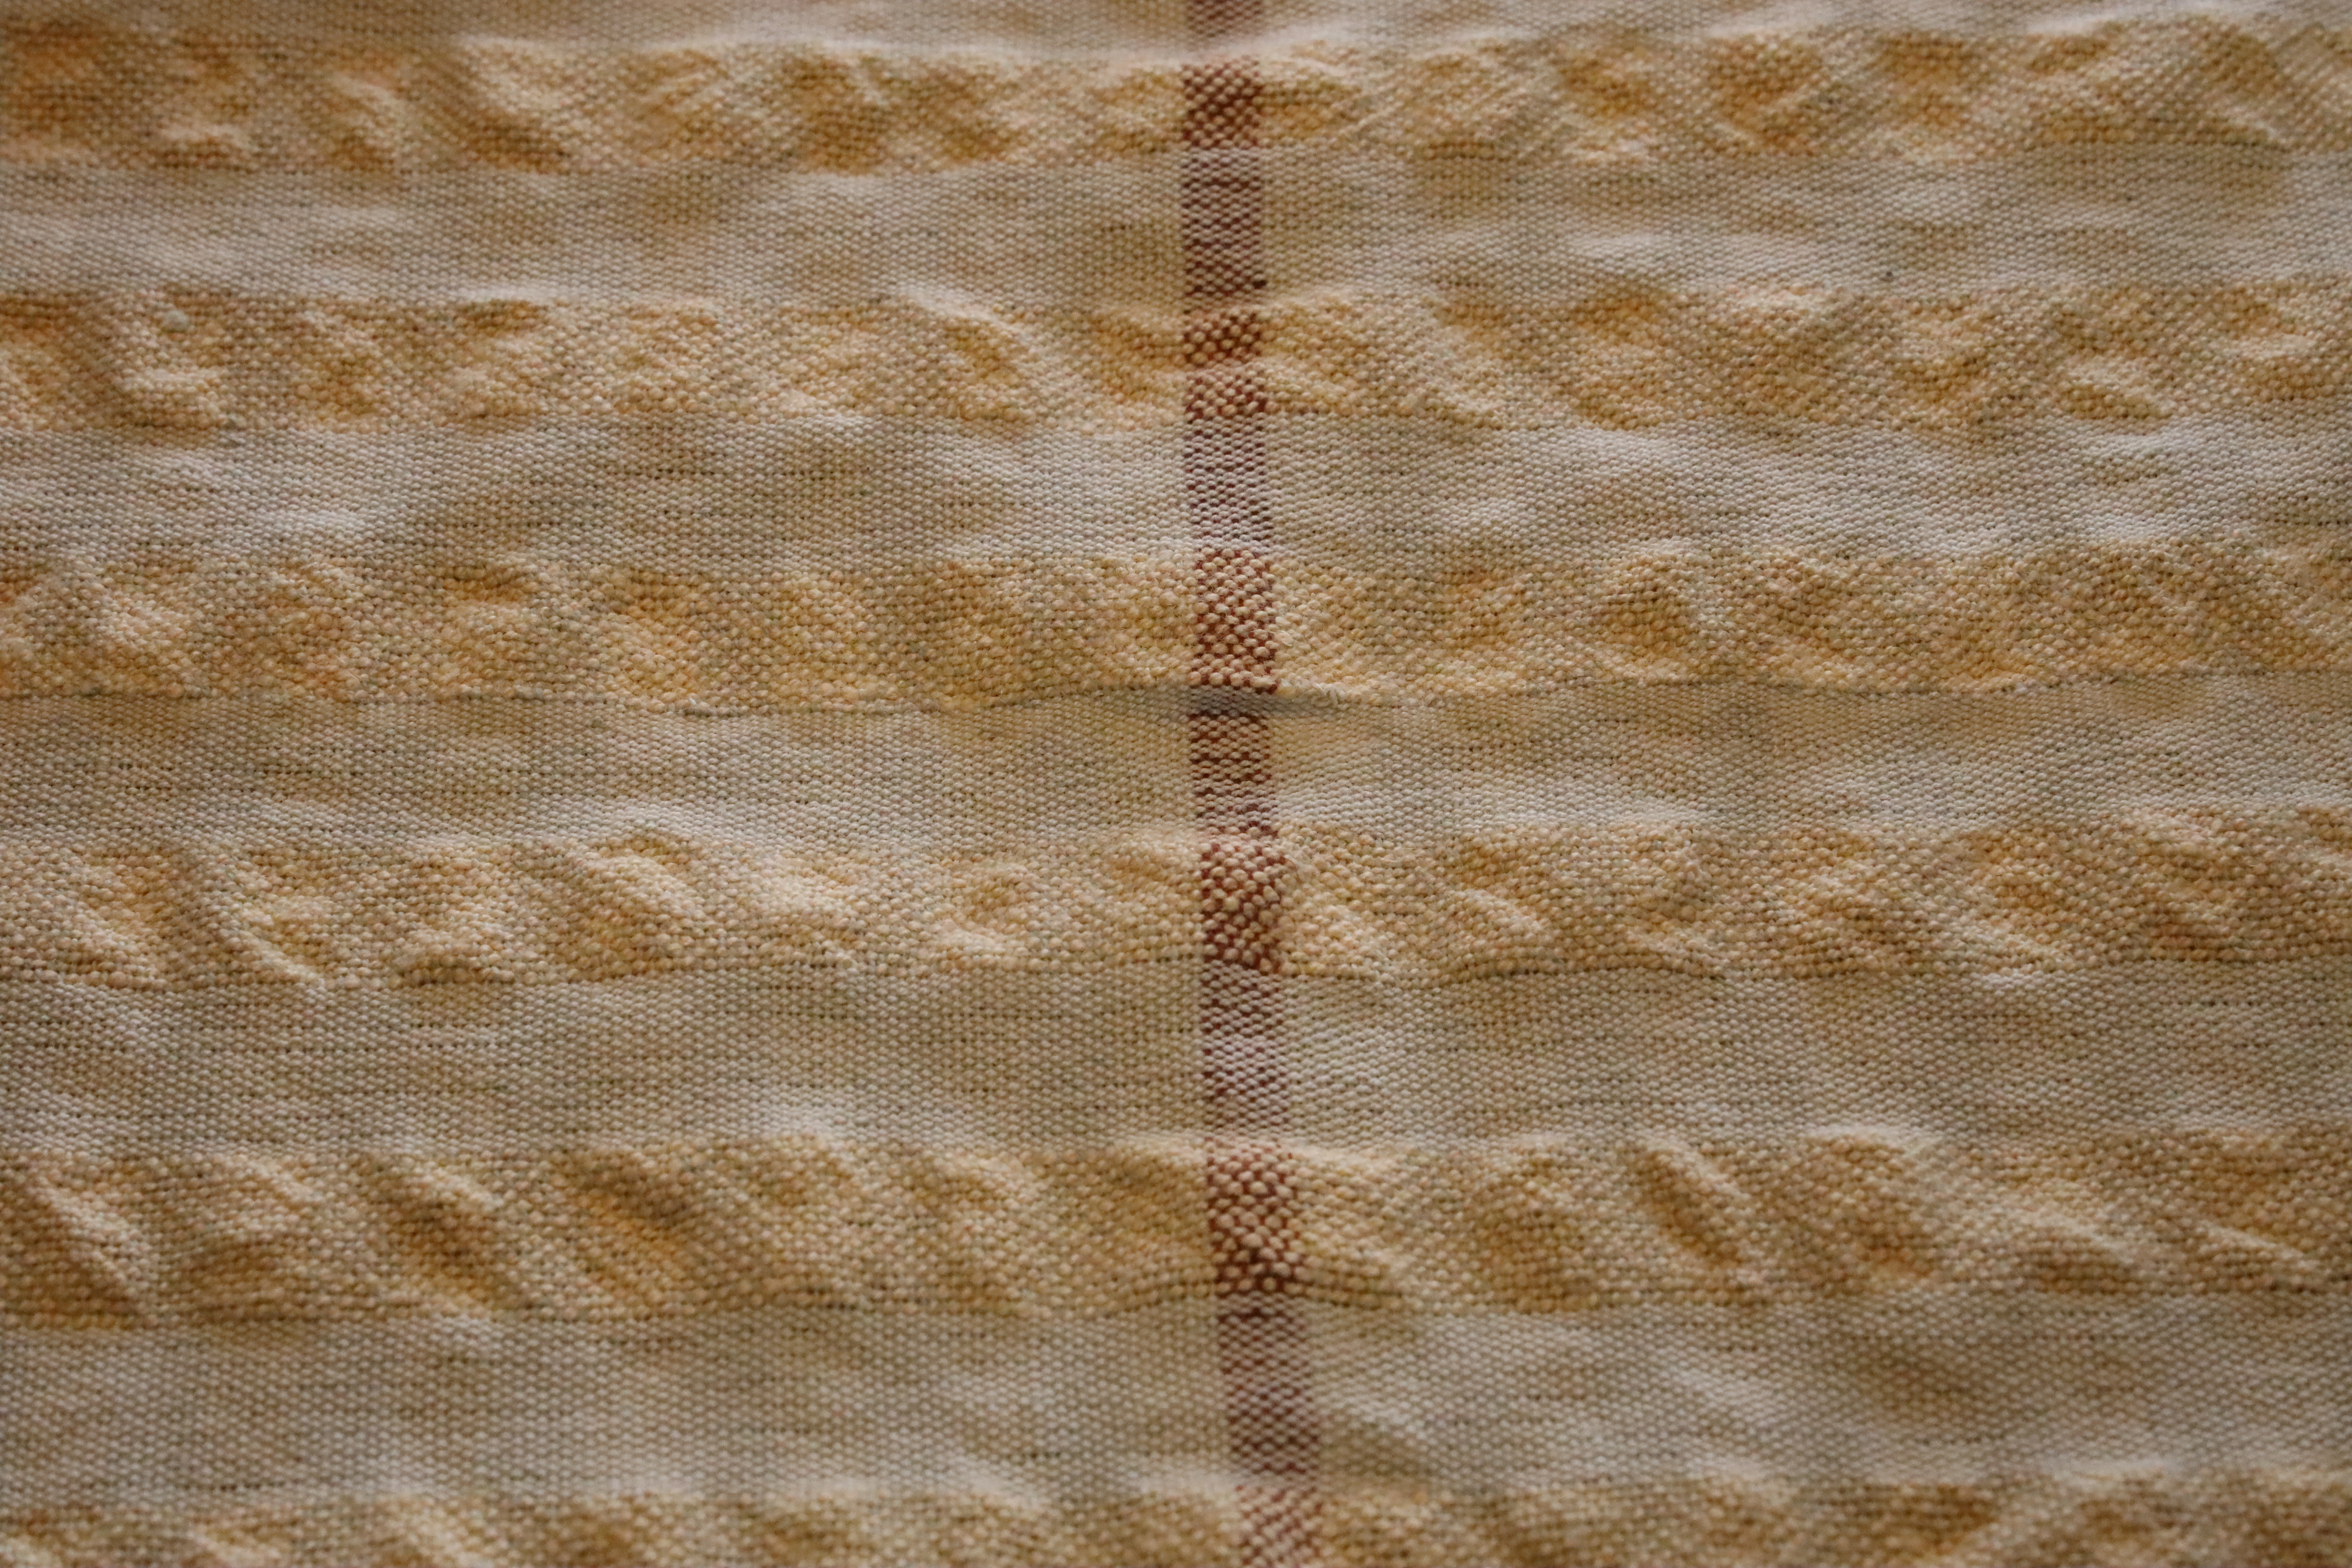
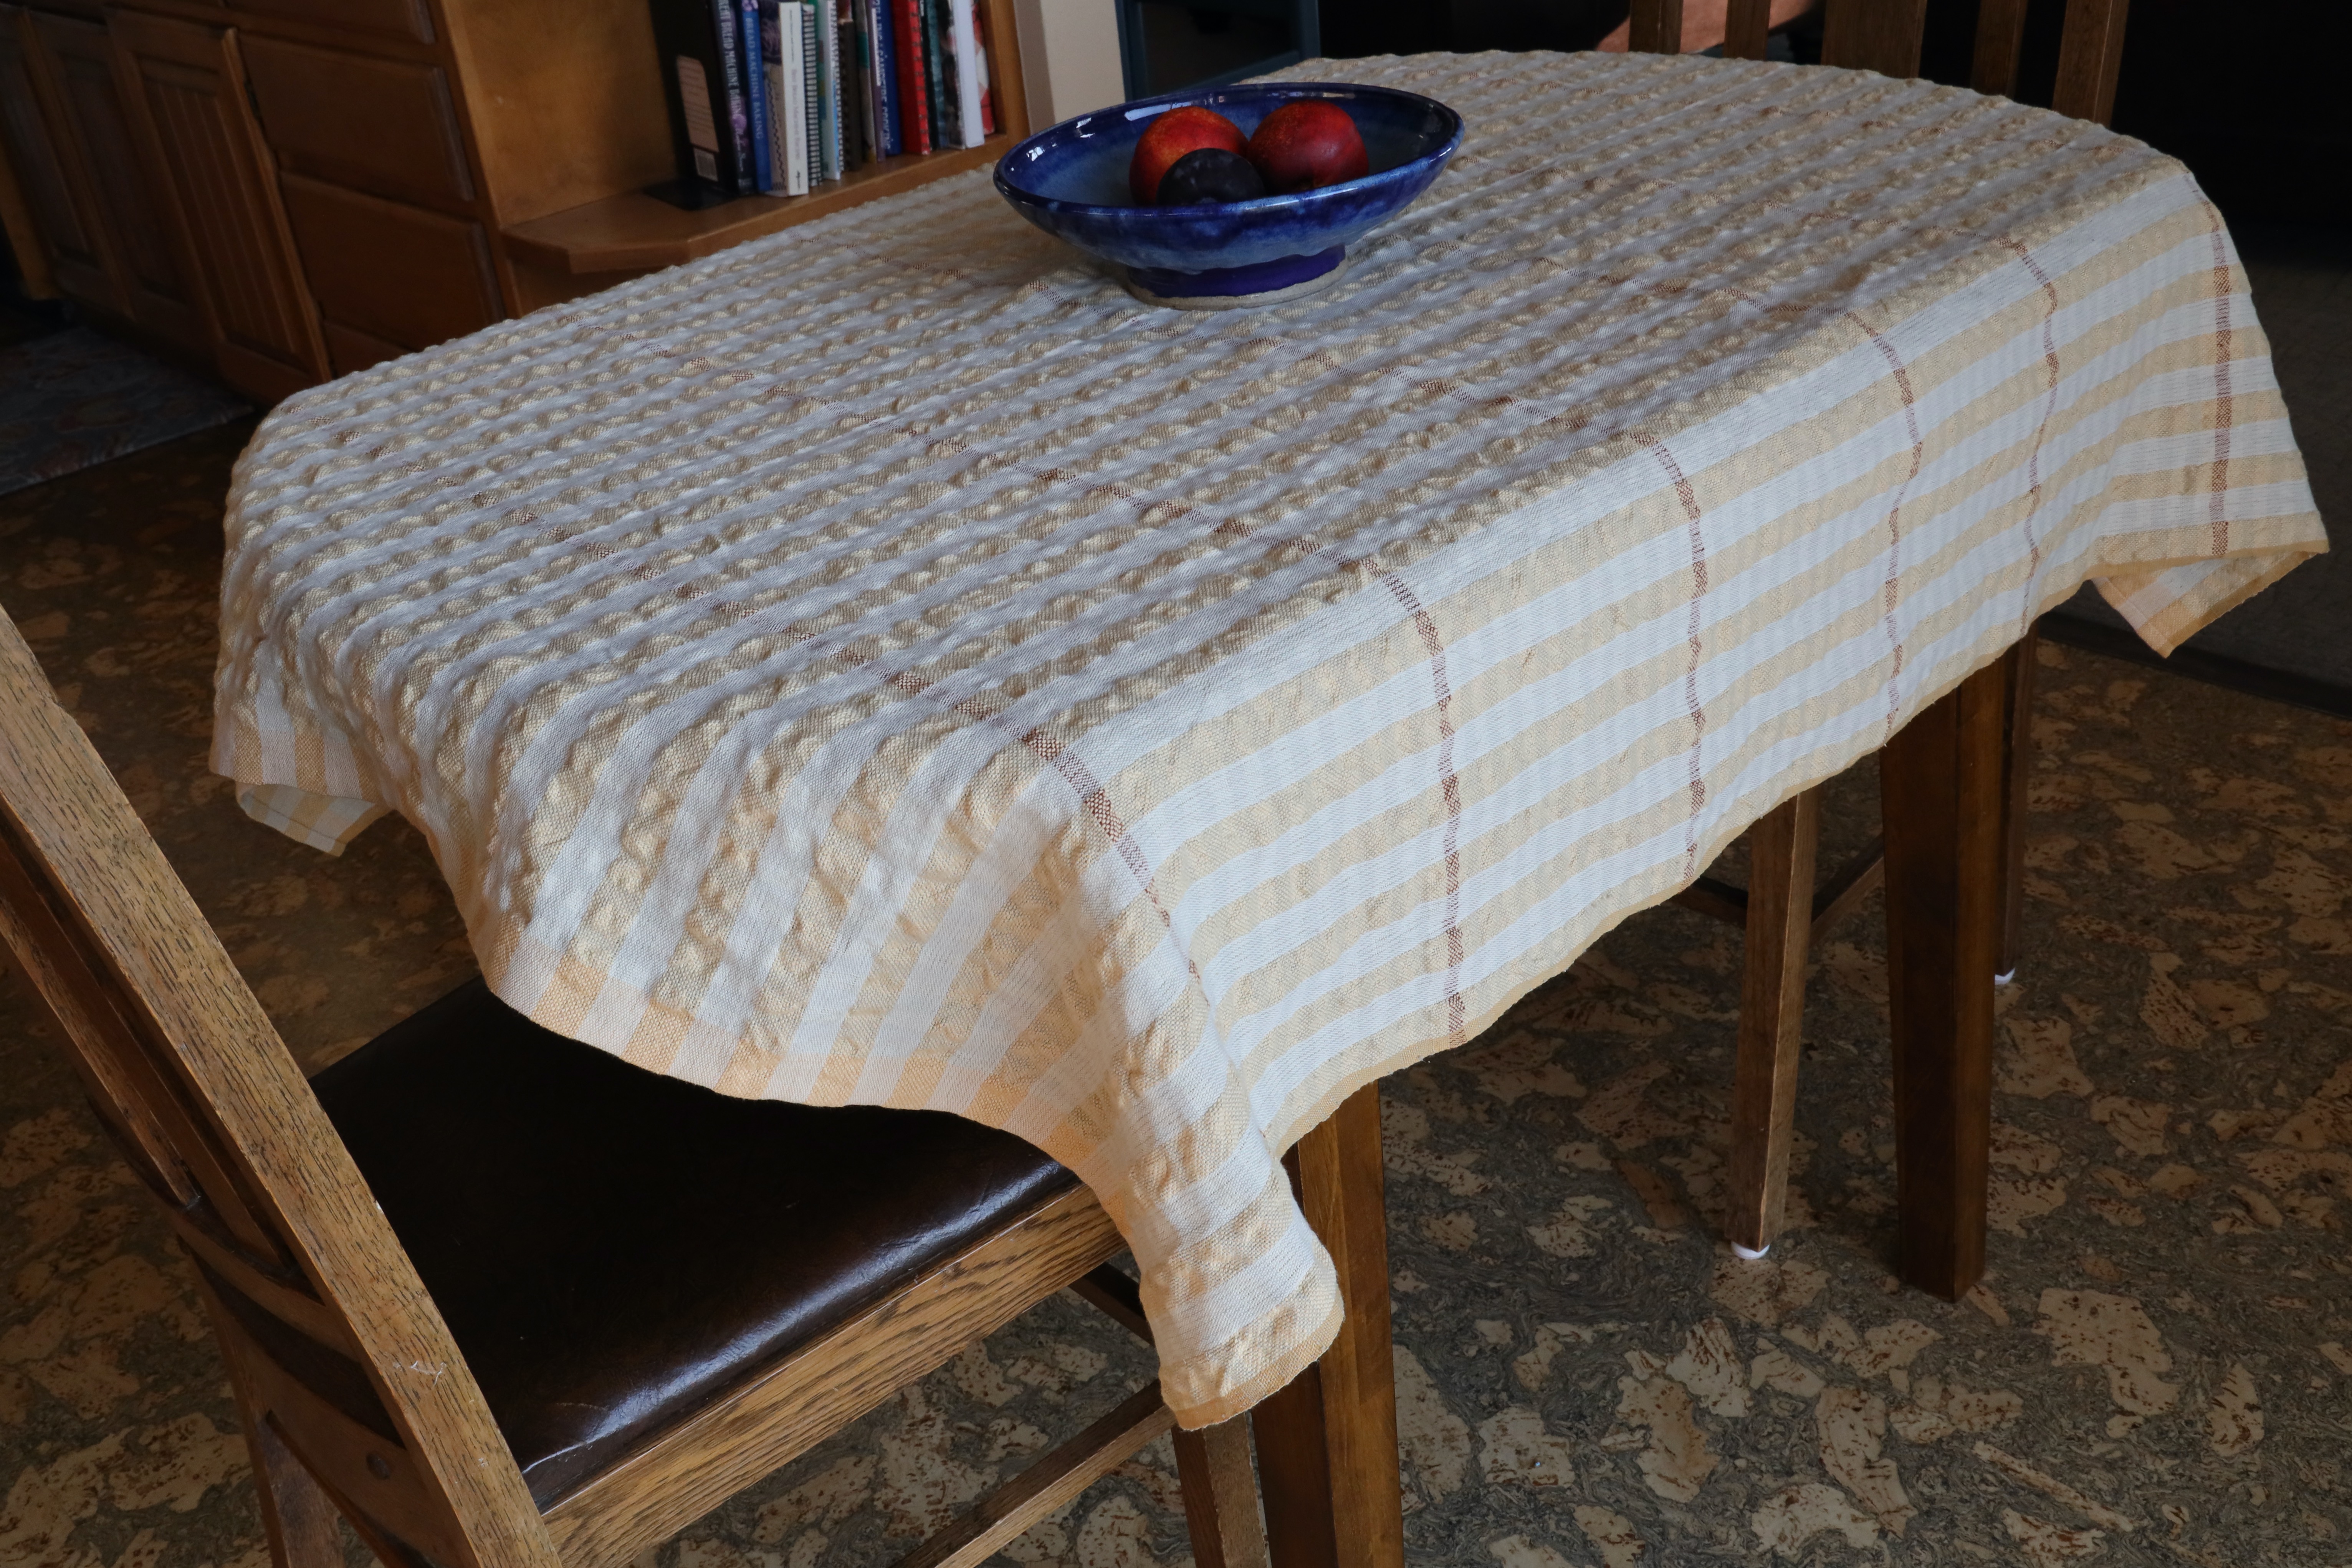
I haven’t decided what to put on the Julia after the placemats are finished. Is there a weaving project you’d like to see? I’m open to suggestions.
IMPORTANT INFORMATION: Warped for Good emails are ending after April 11. Please bookmark this site so you can come right here and enjoy this weaving journey with me. Think about setting a reminder for yourself to come and see what’s happening on these looms.
May you know when to change the sett.
Love,
Karen