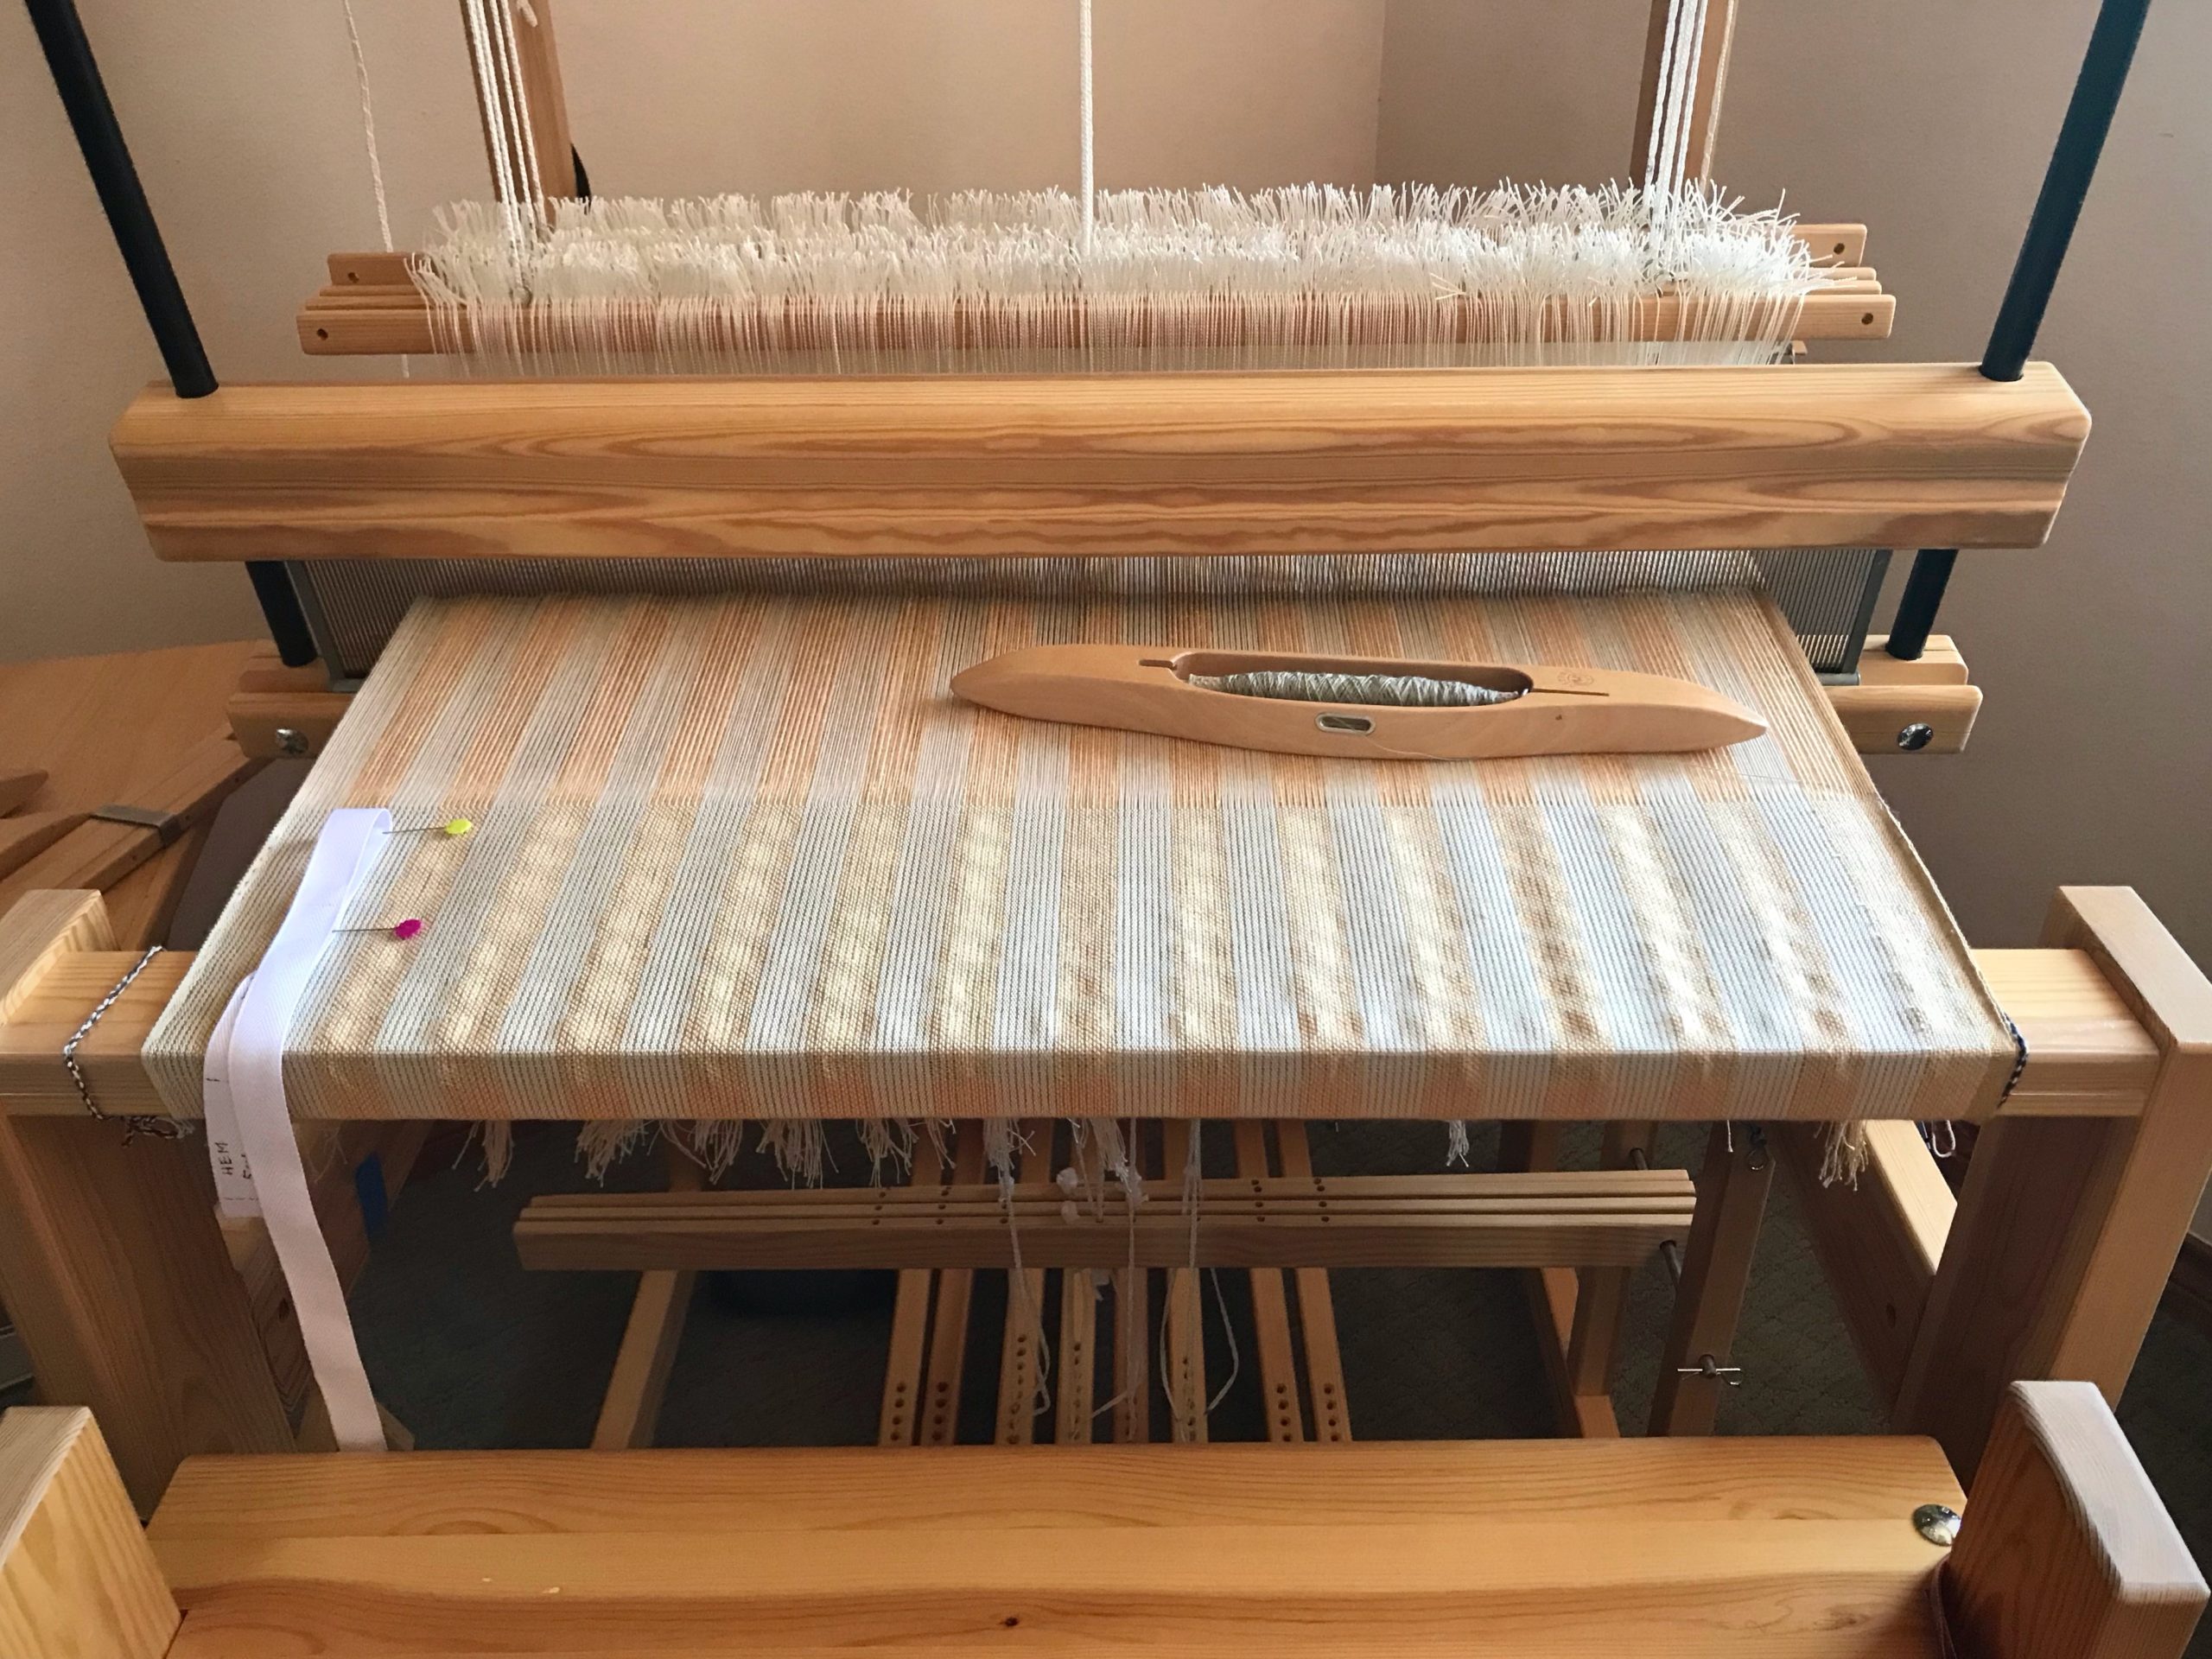
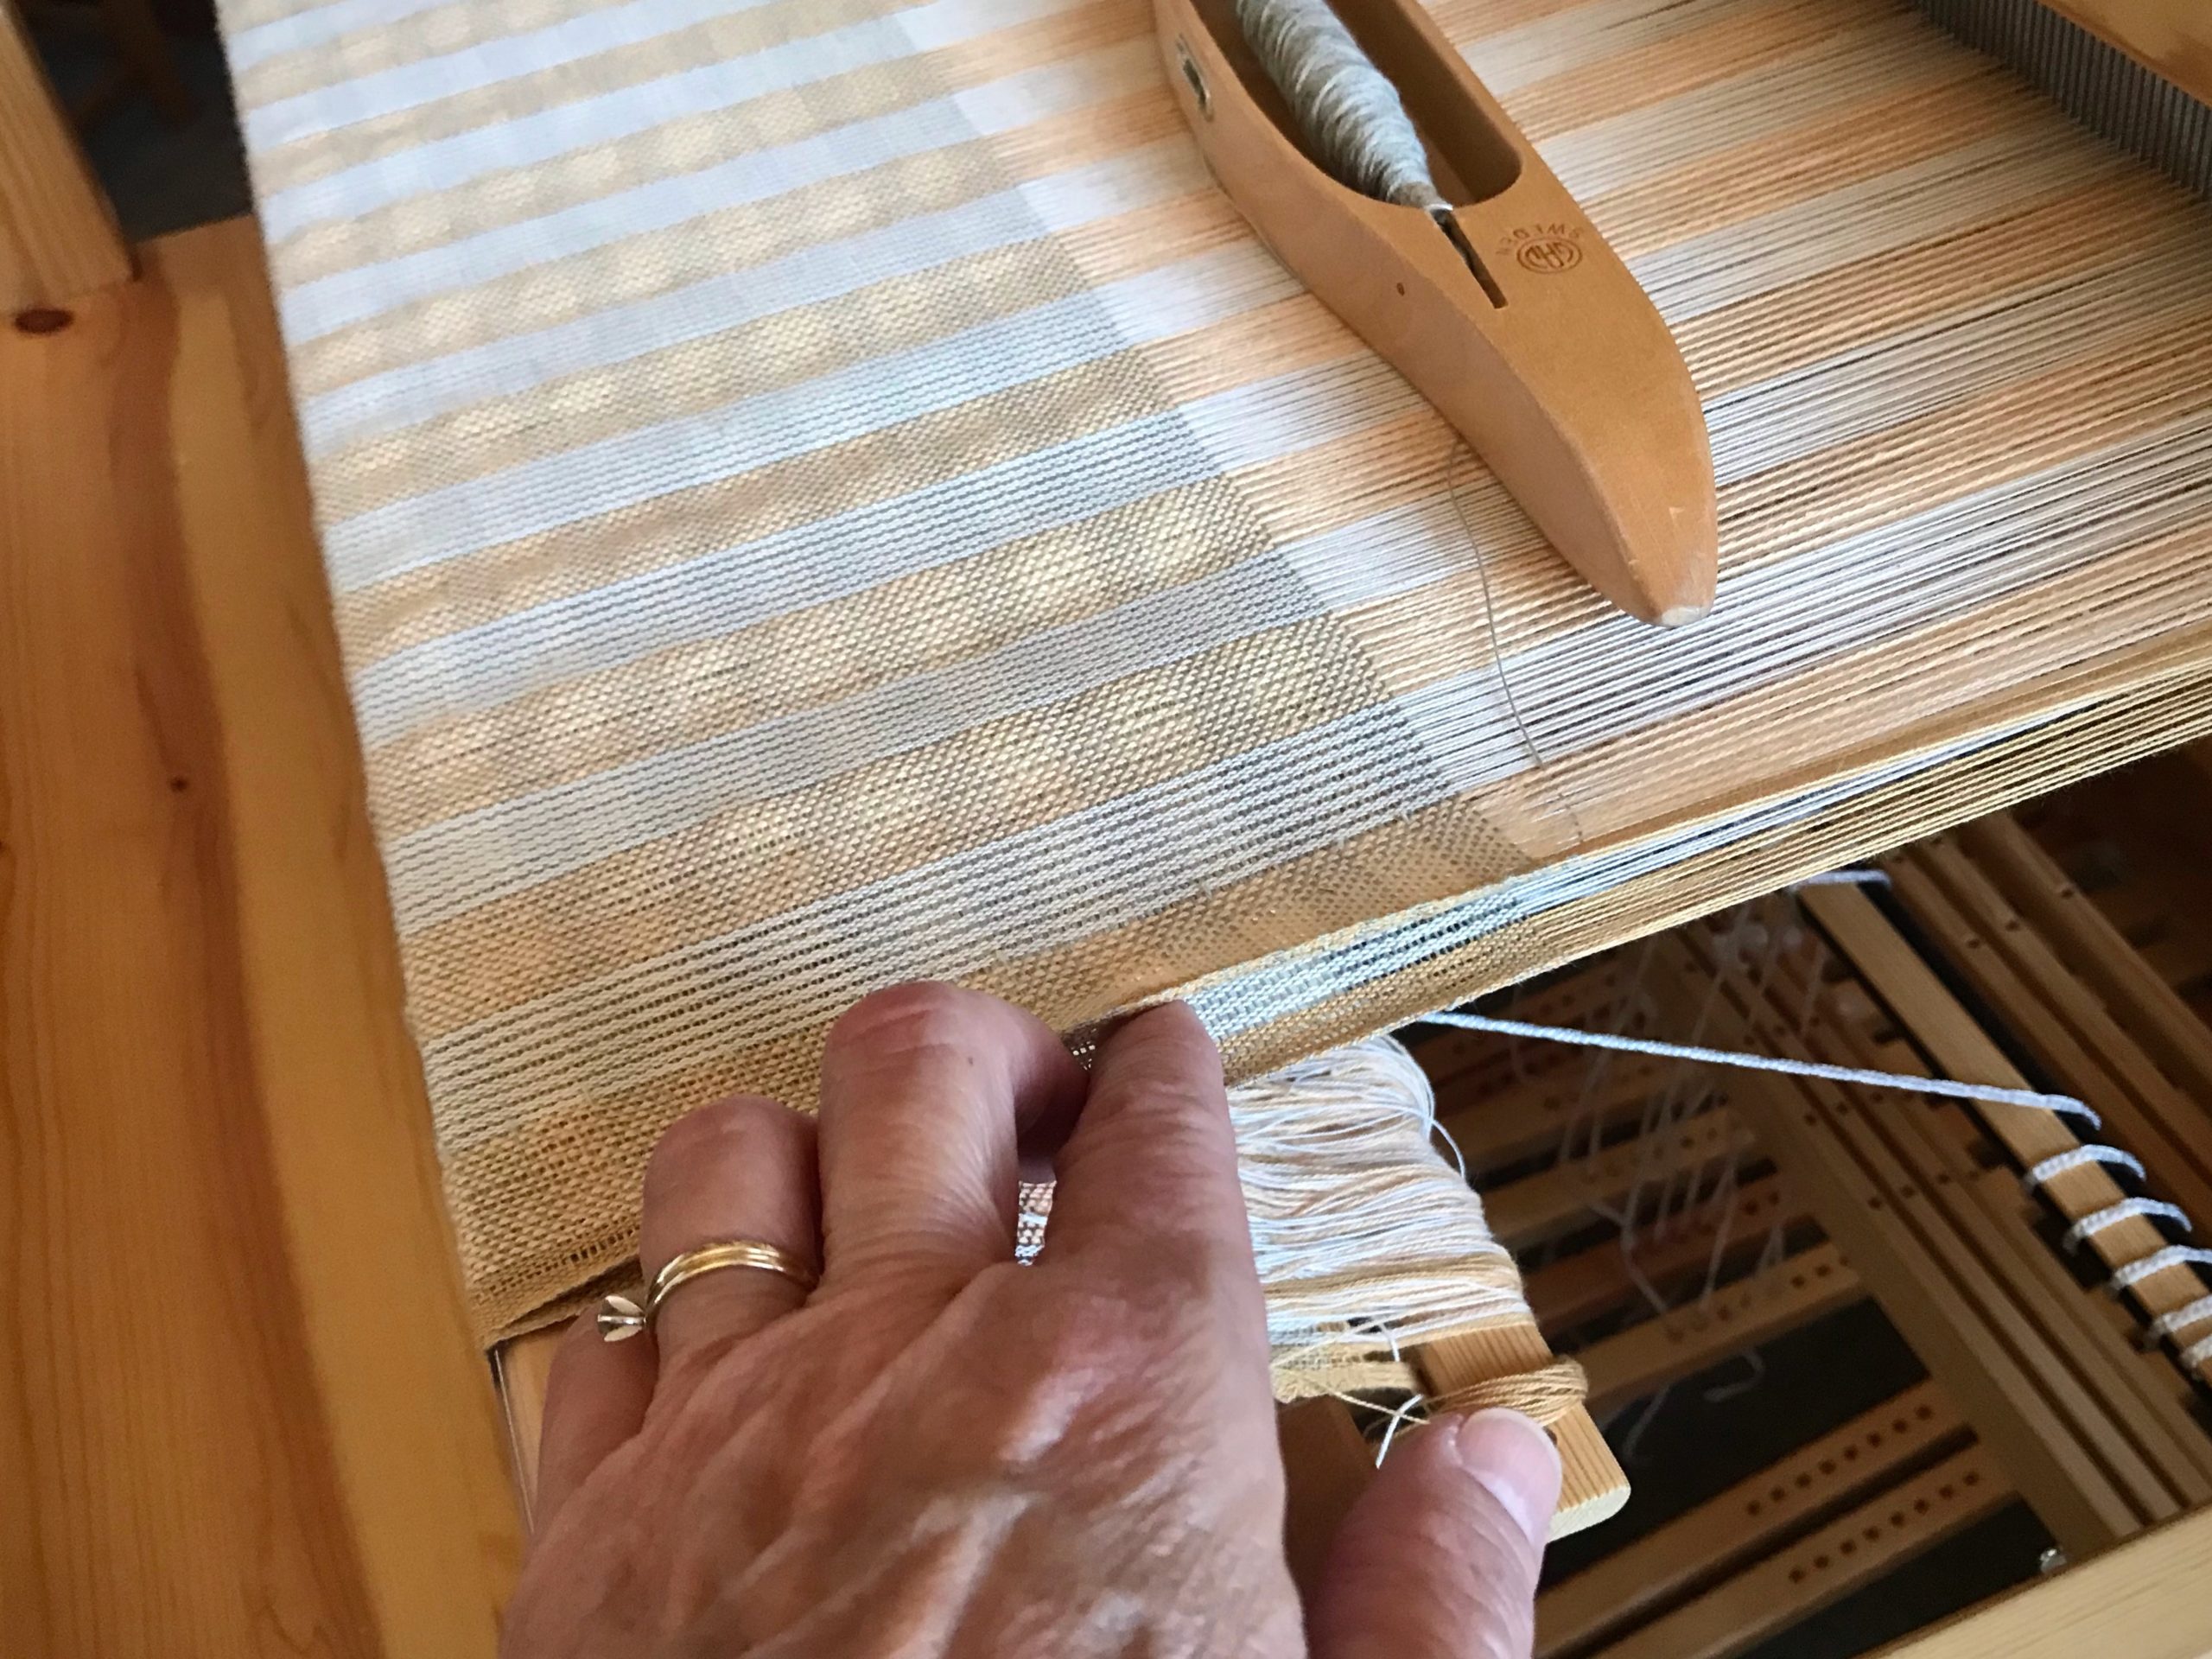
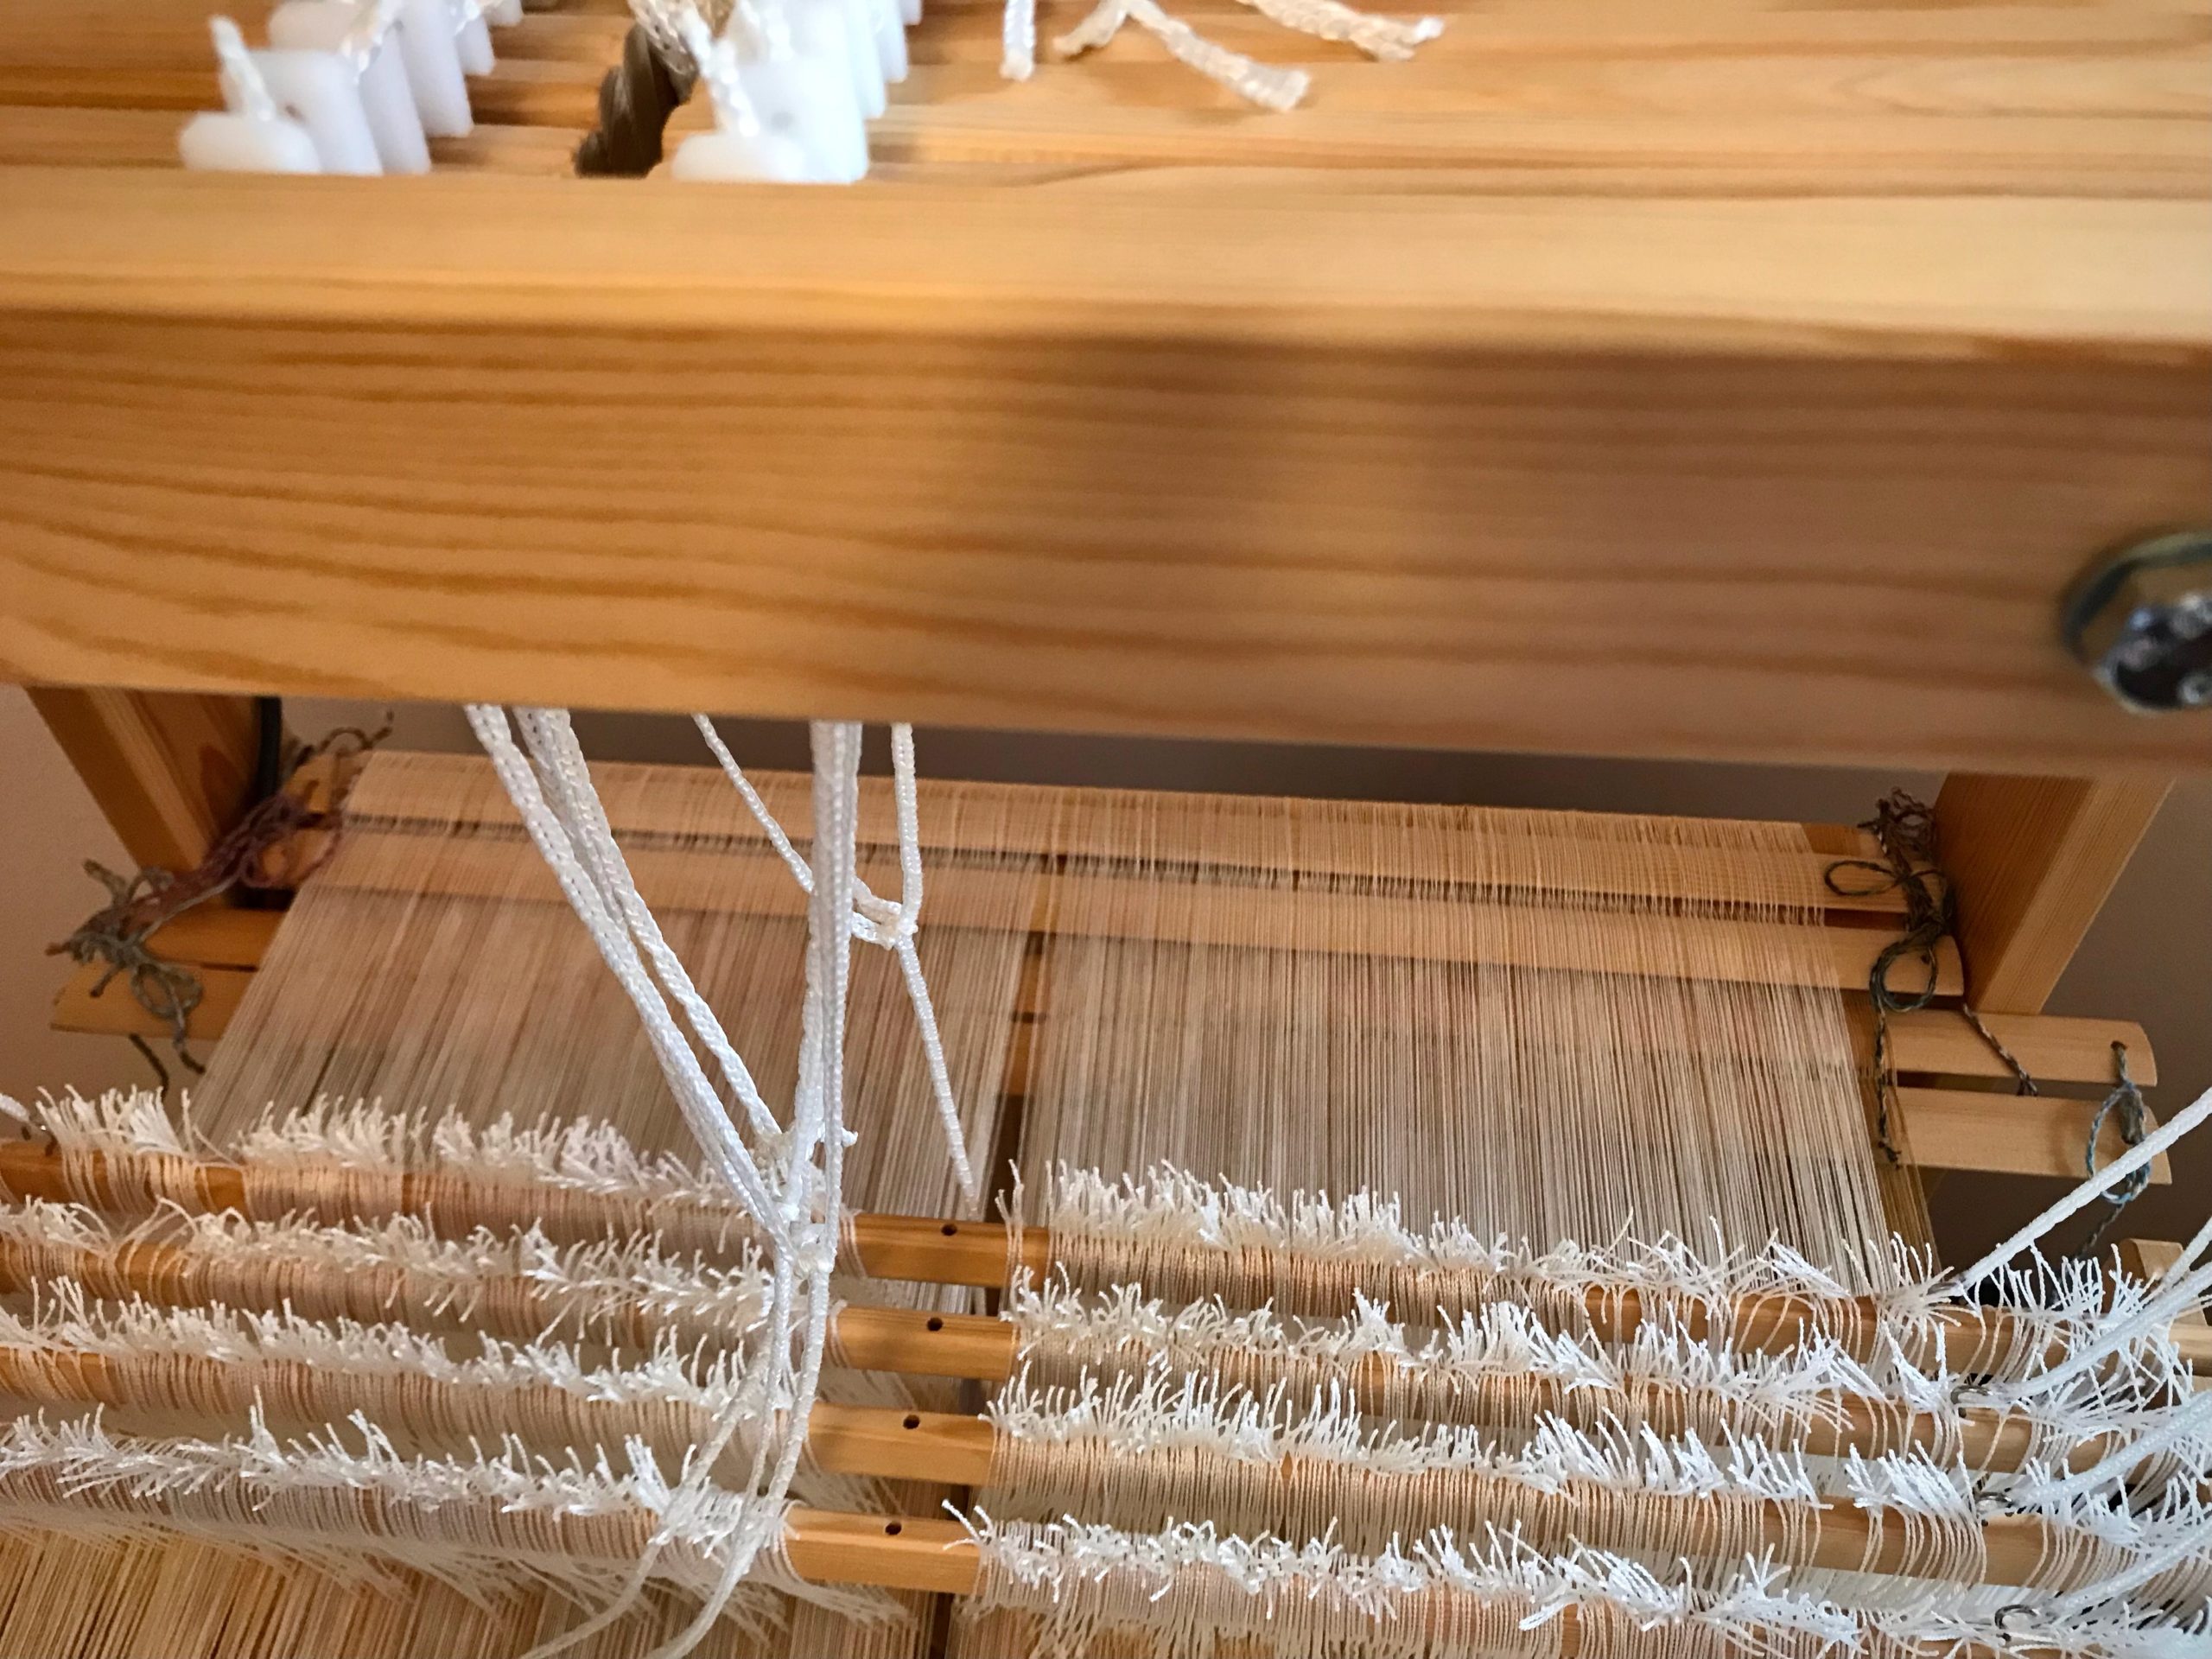
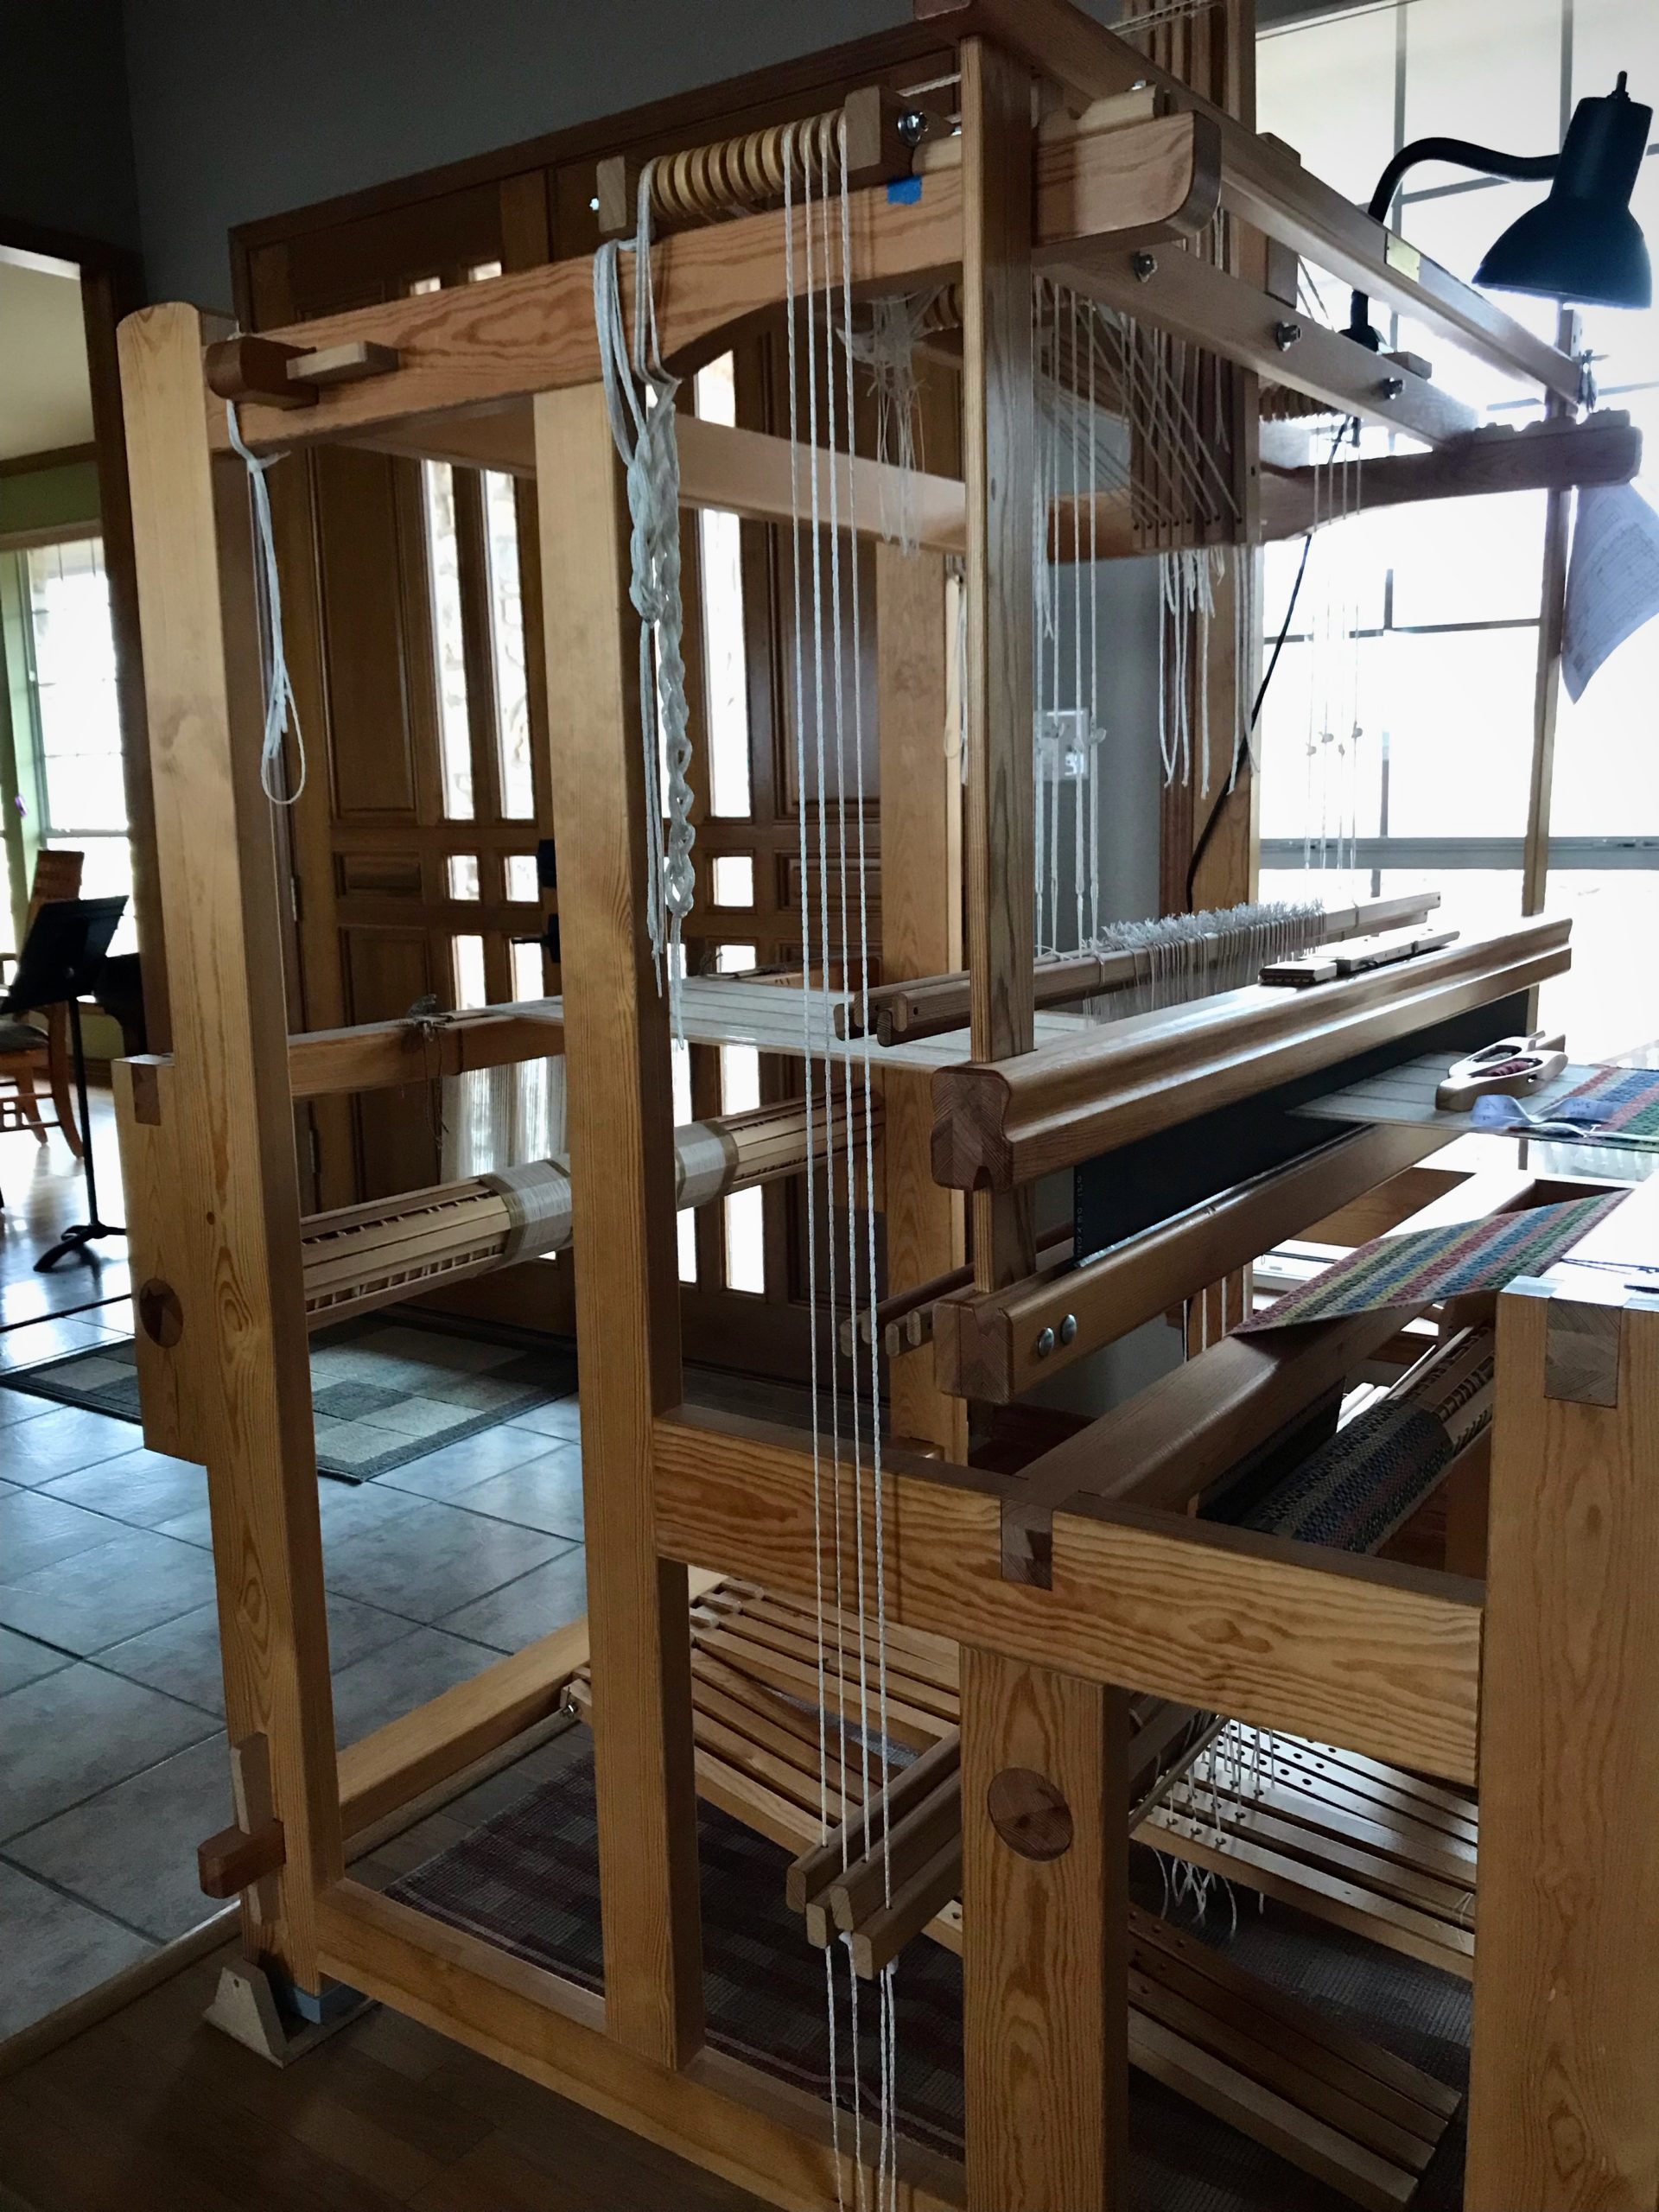
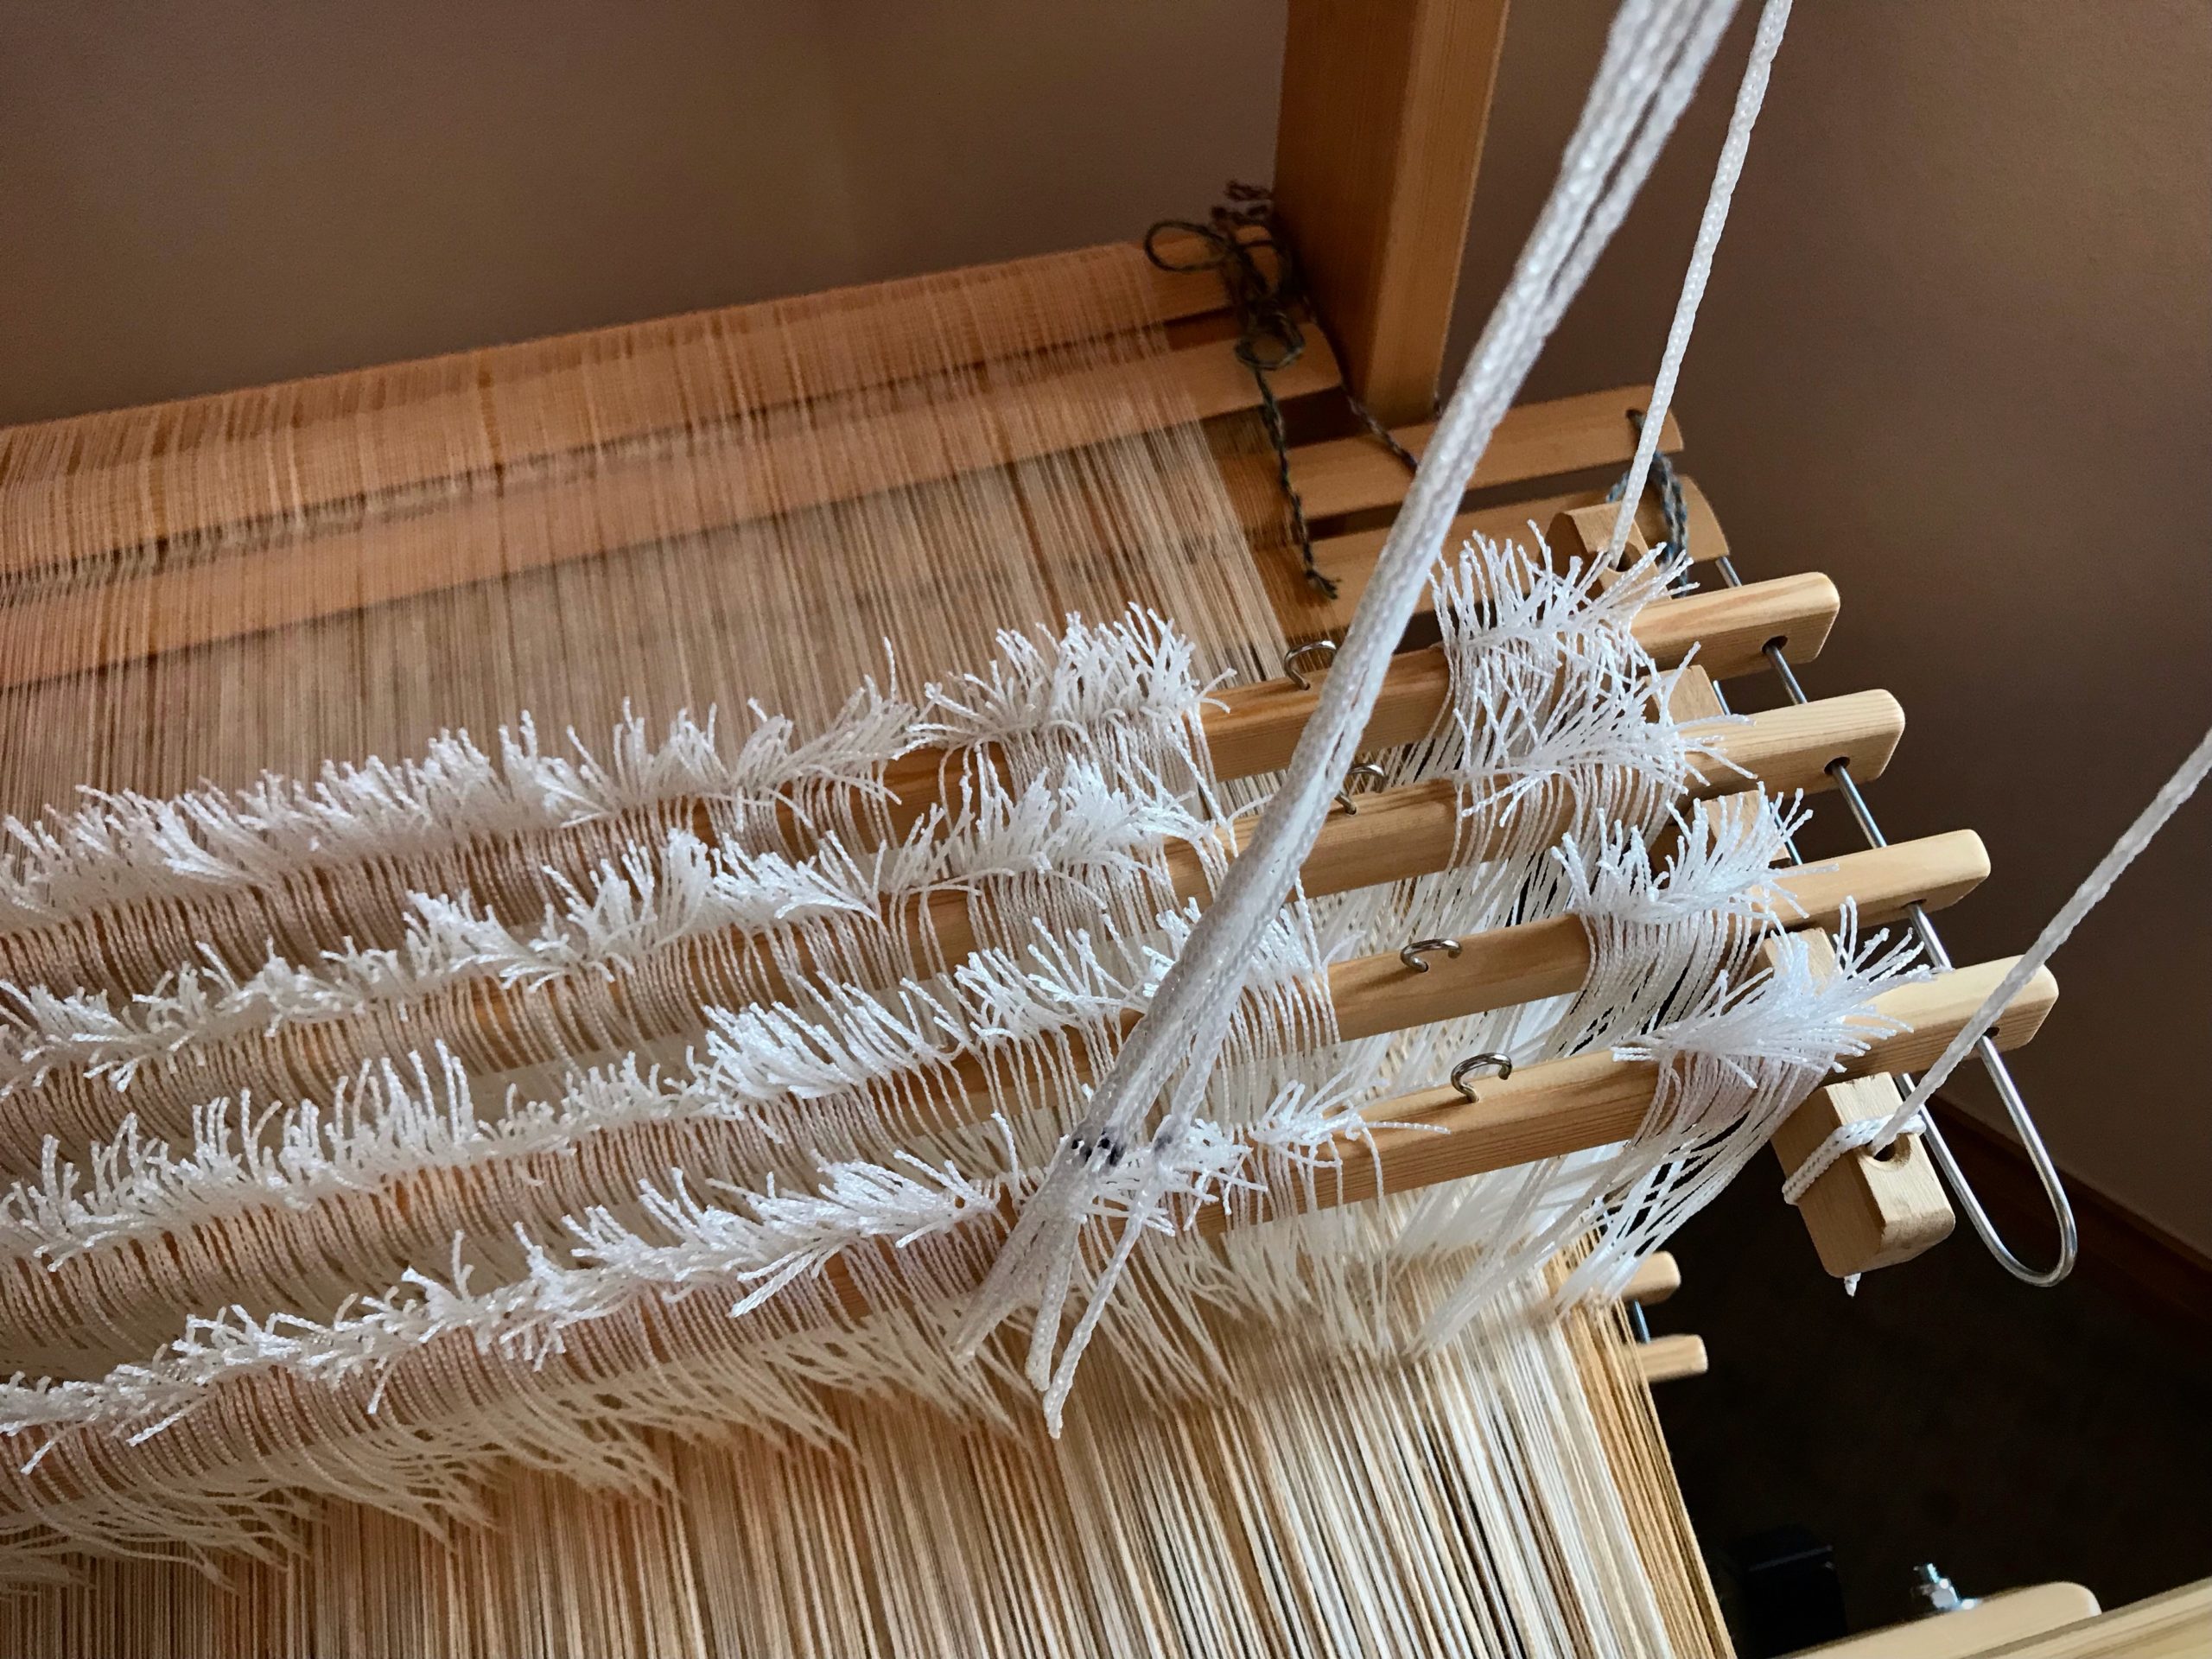
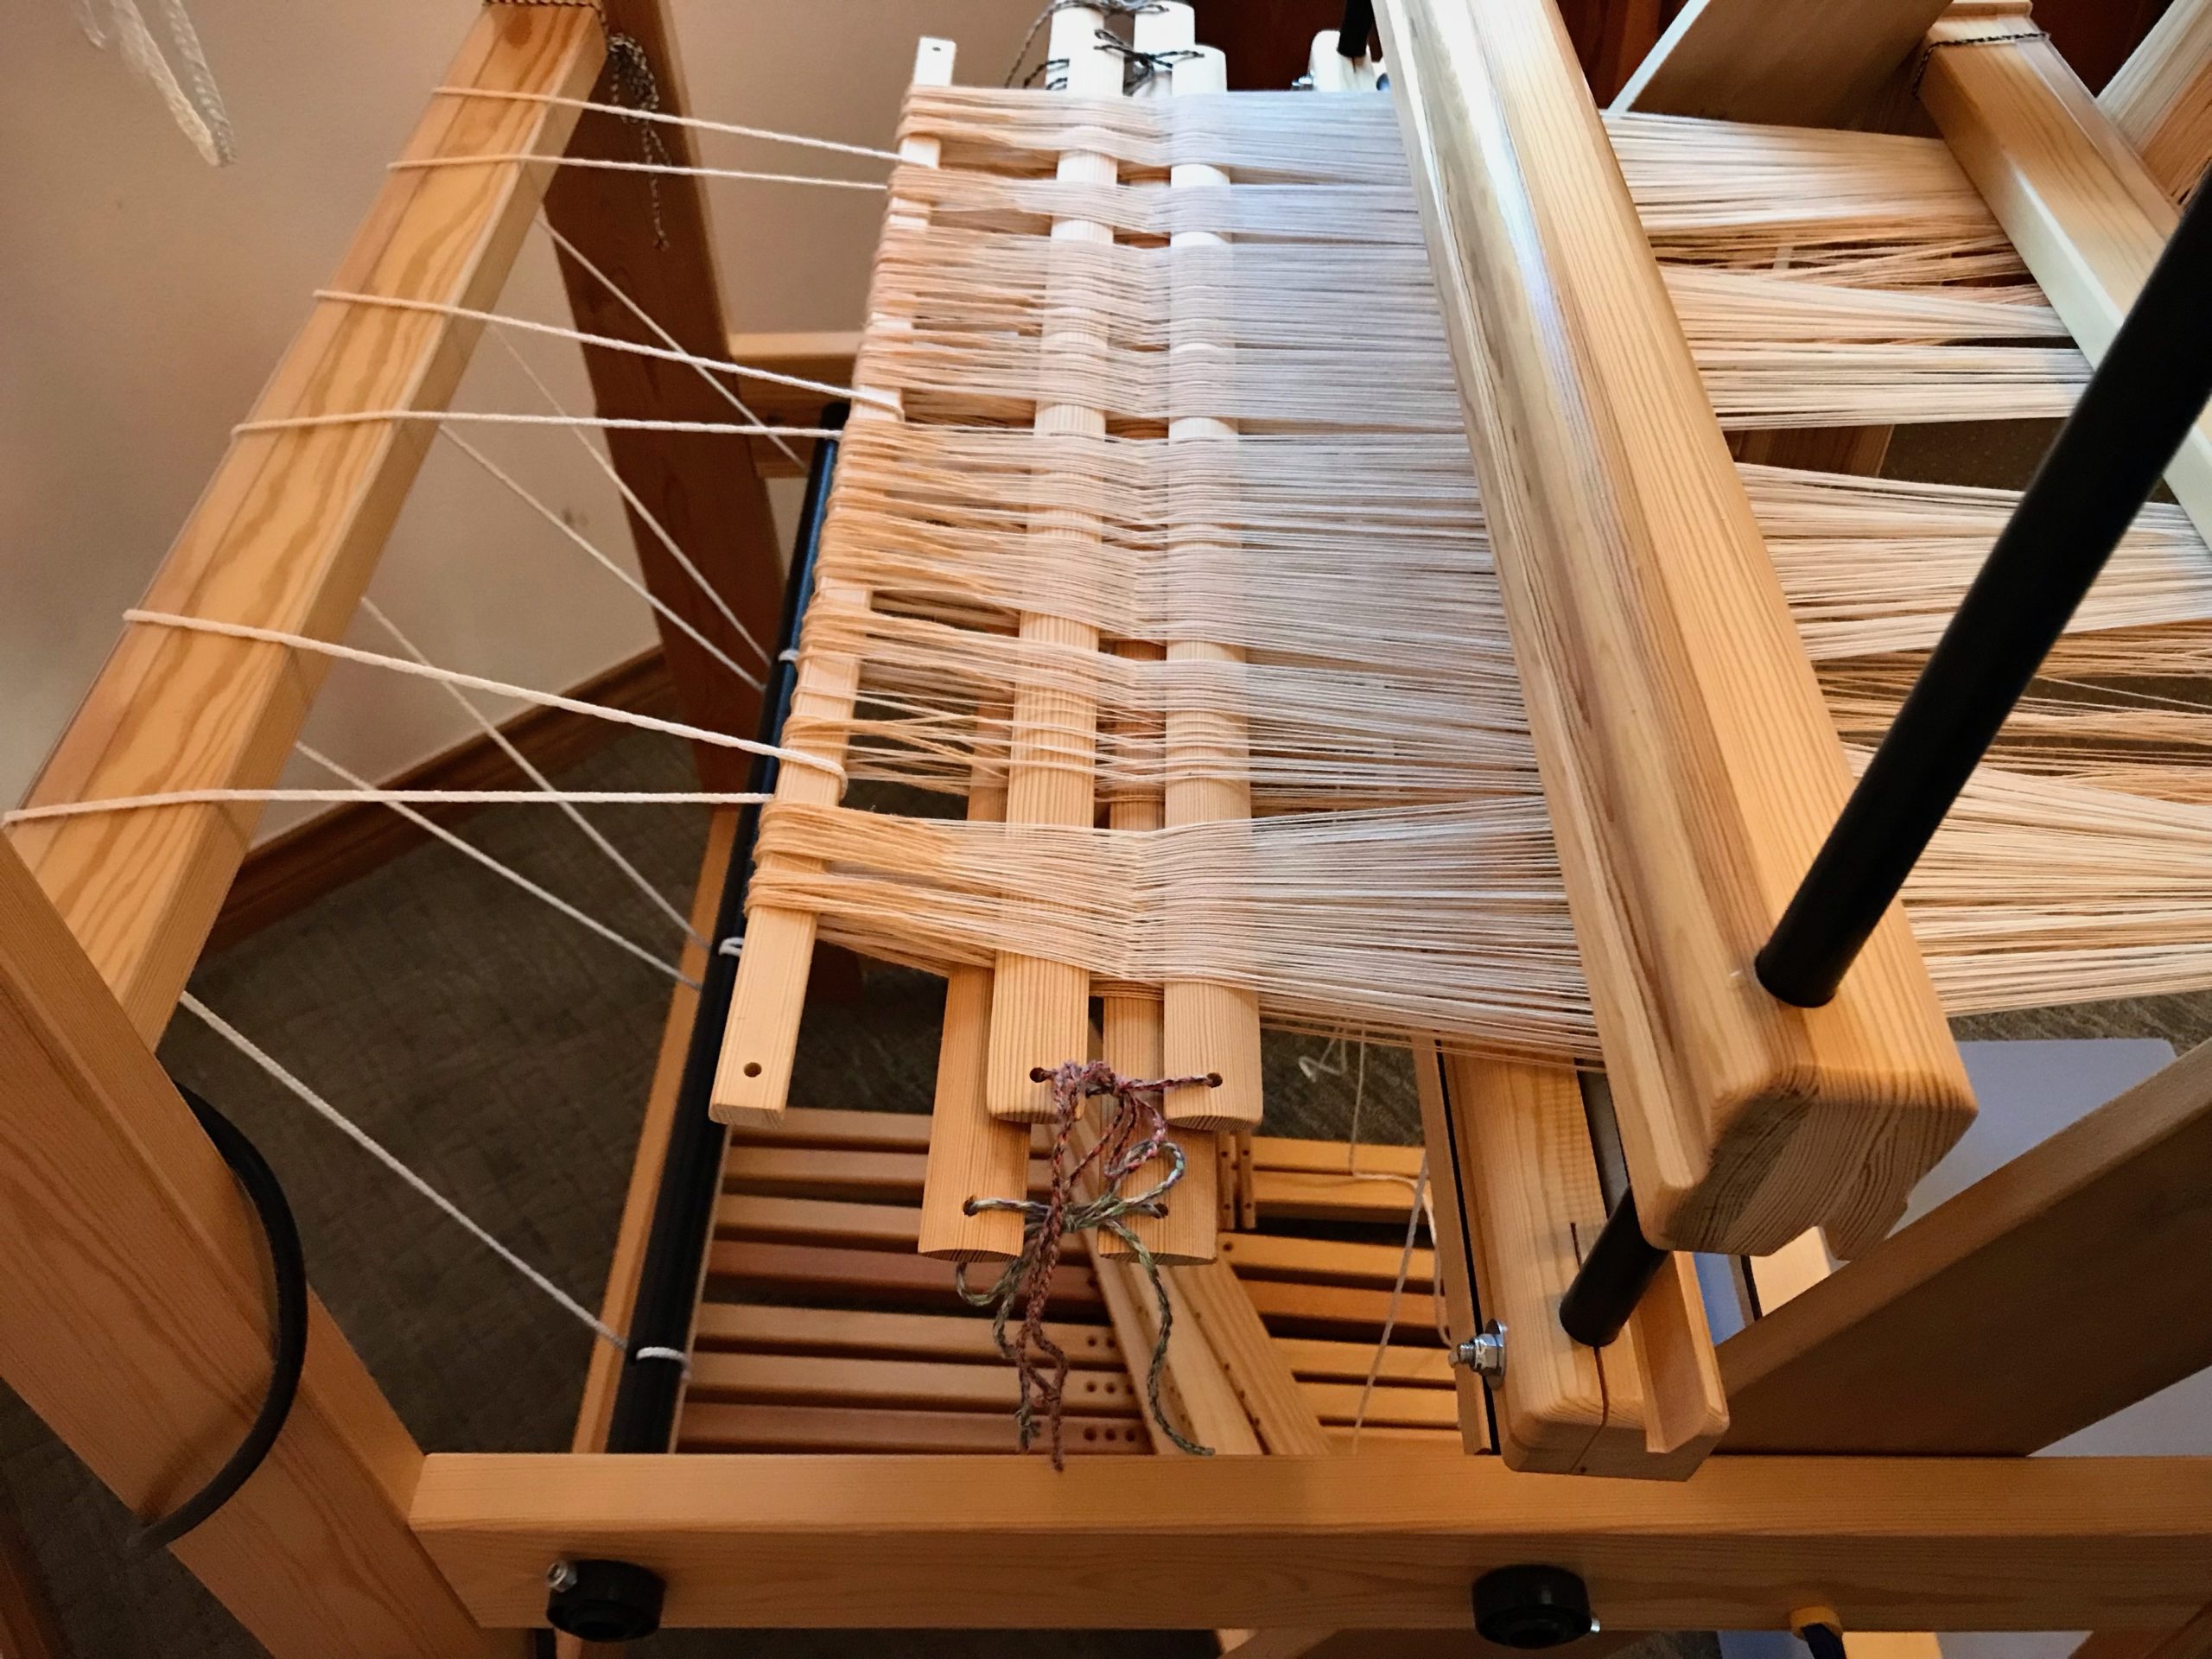
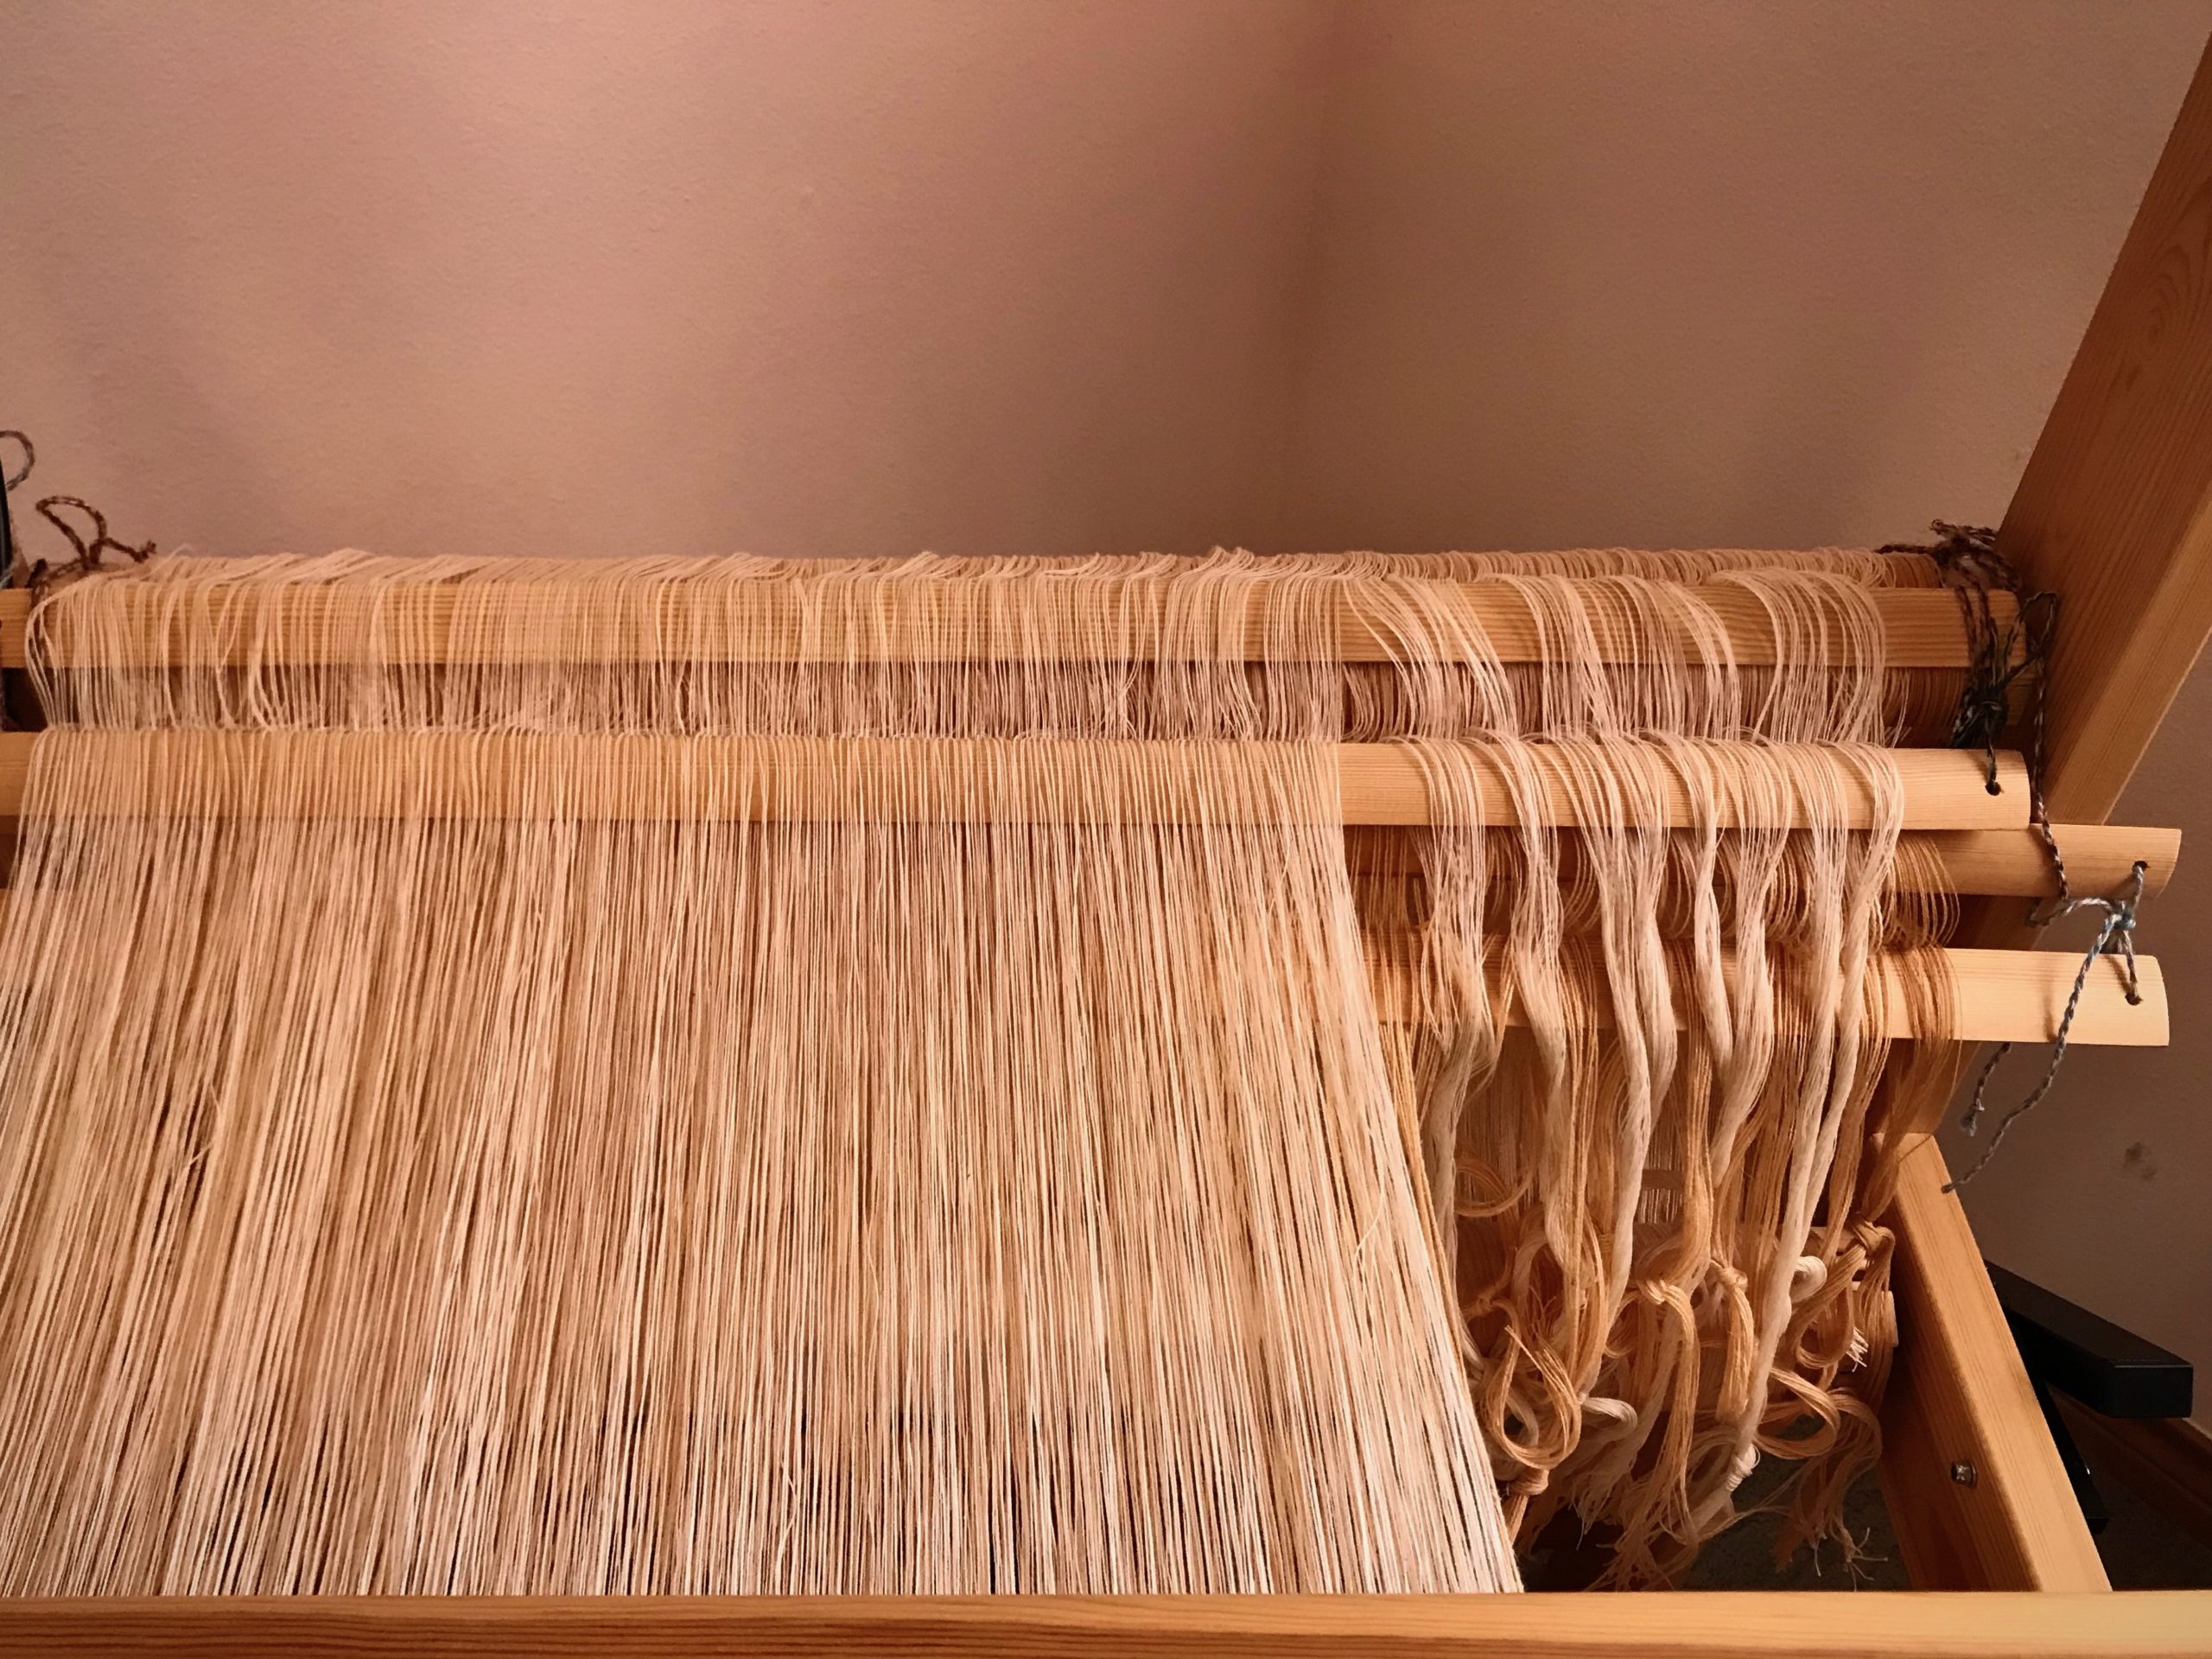
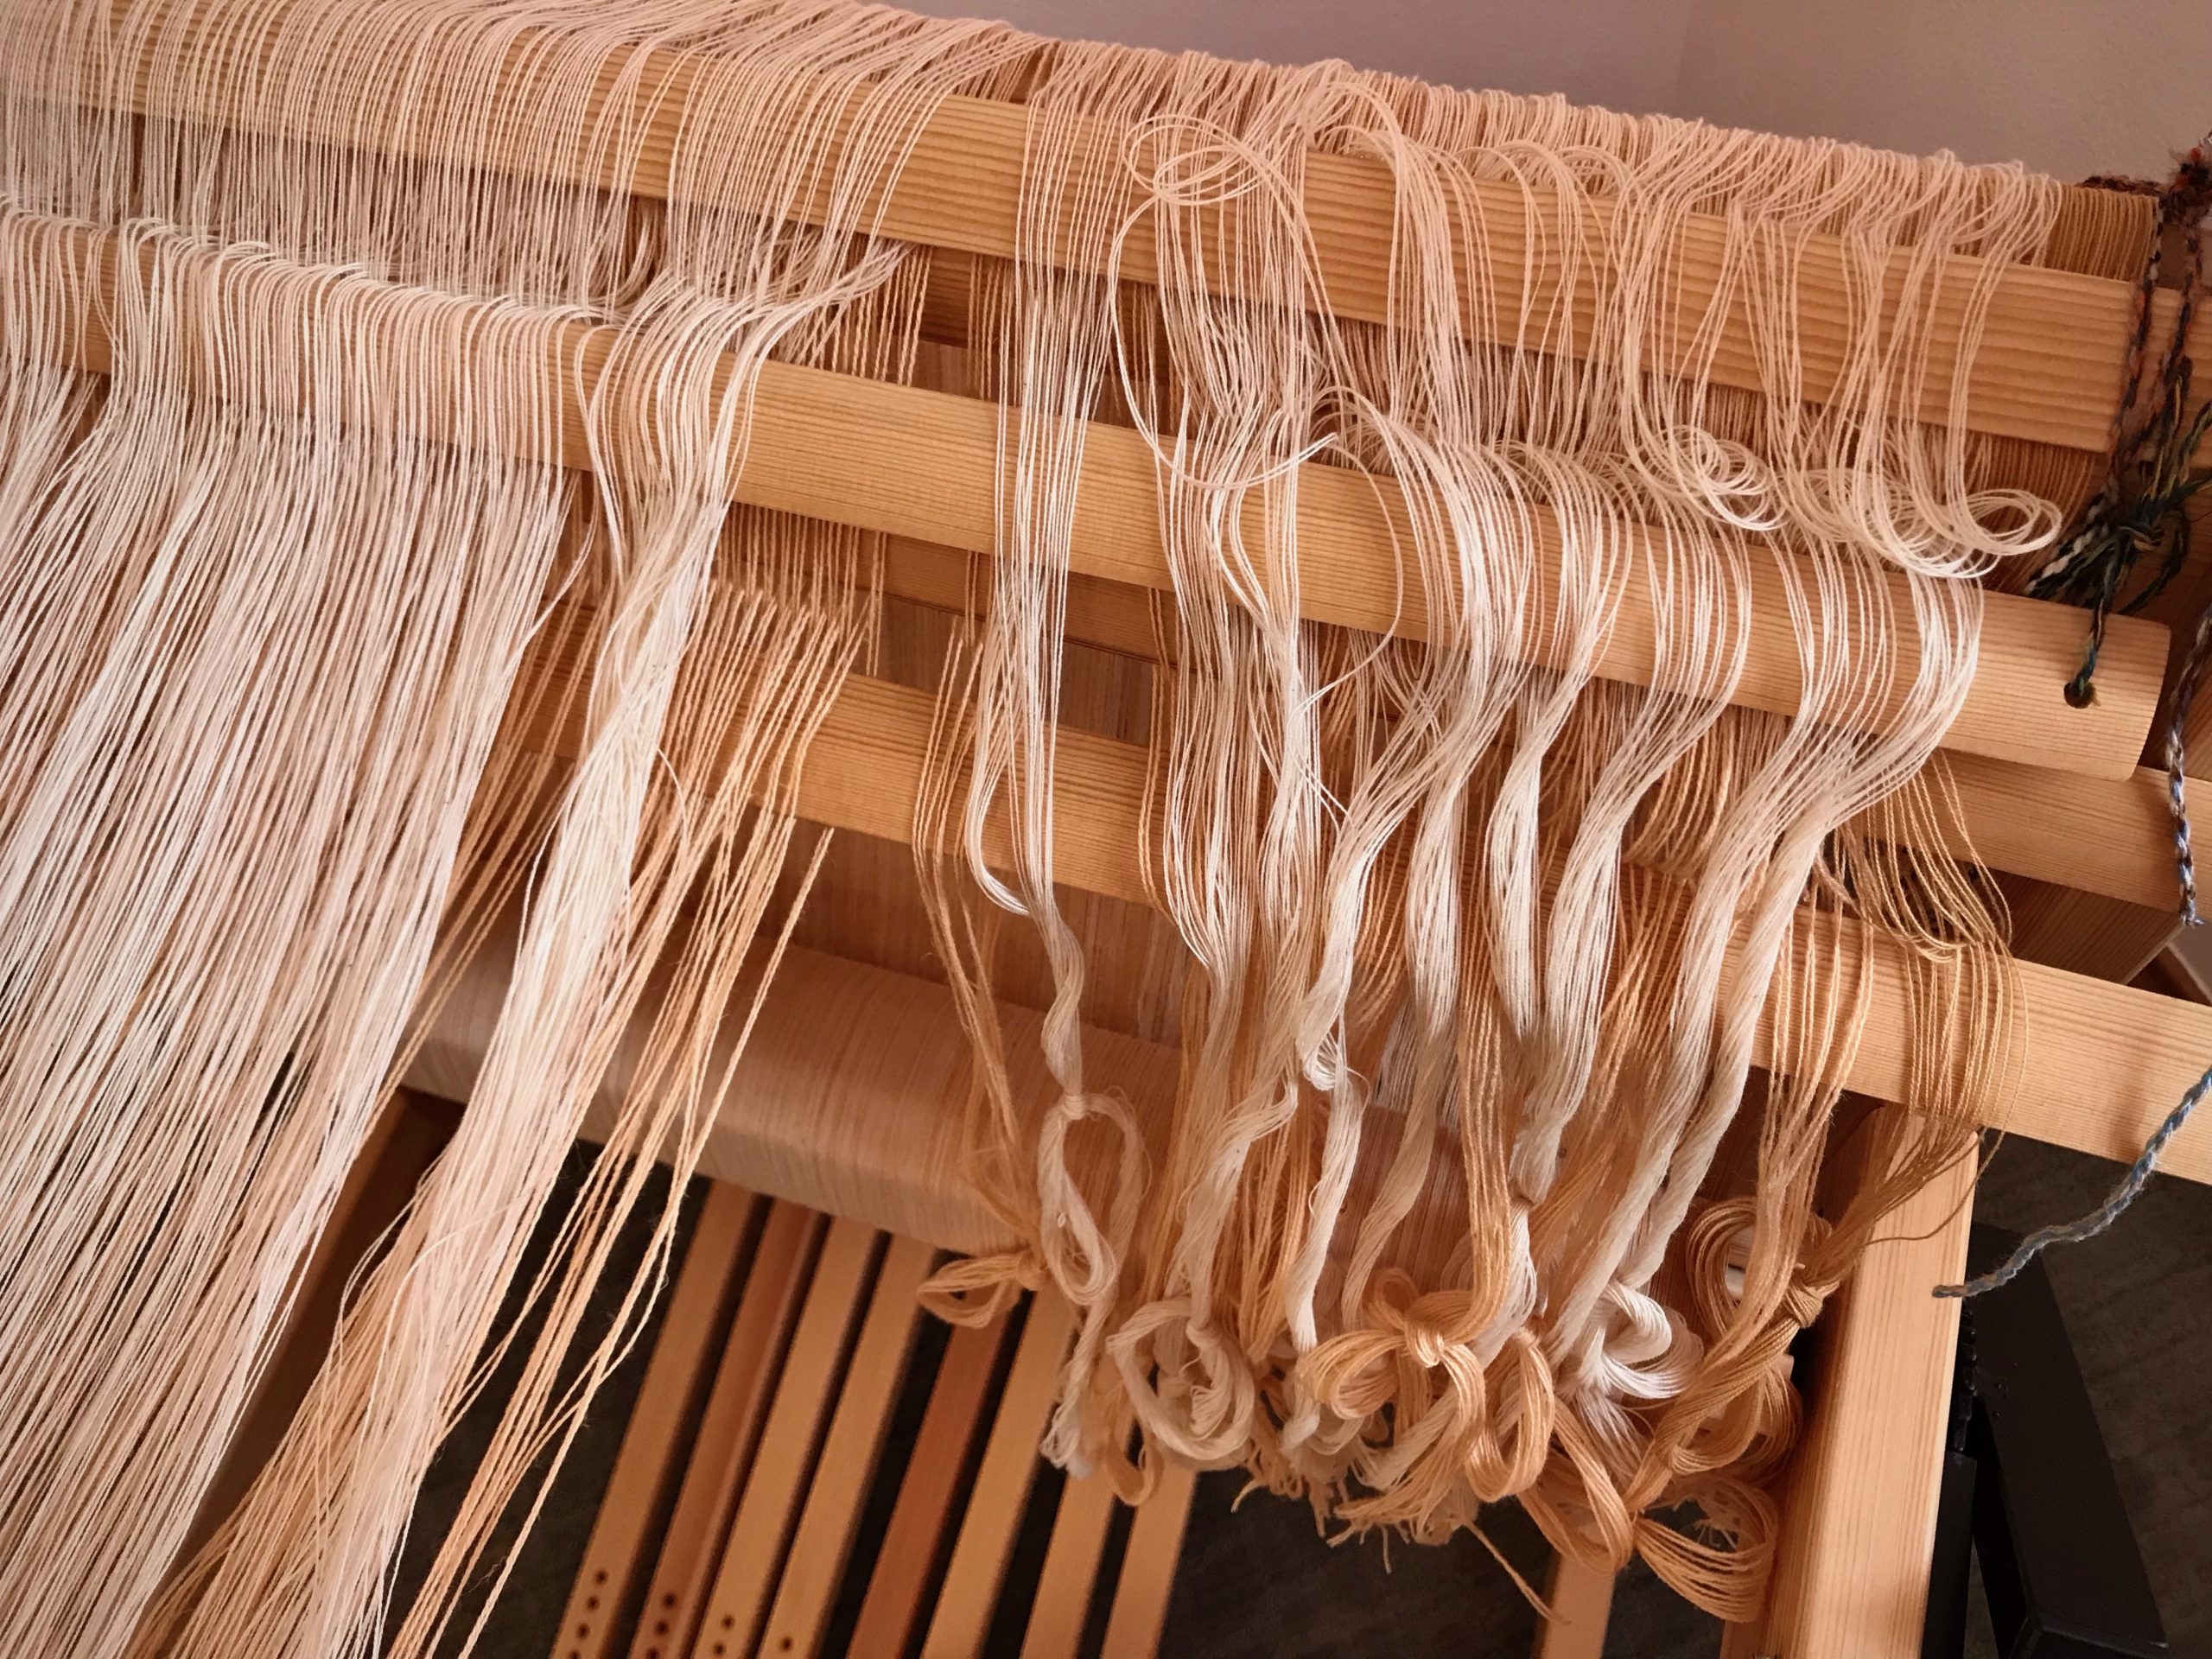
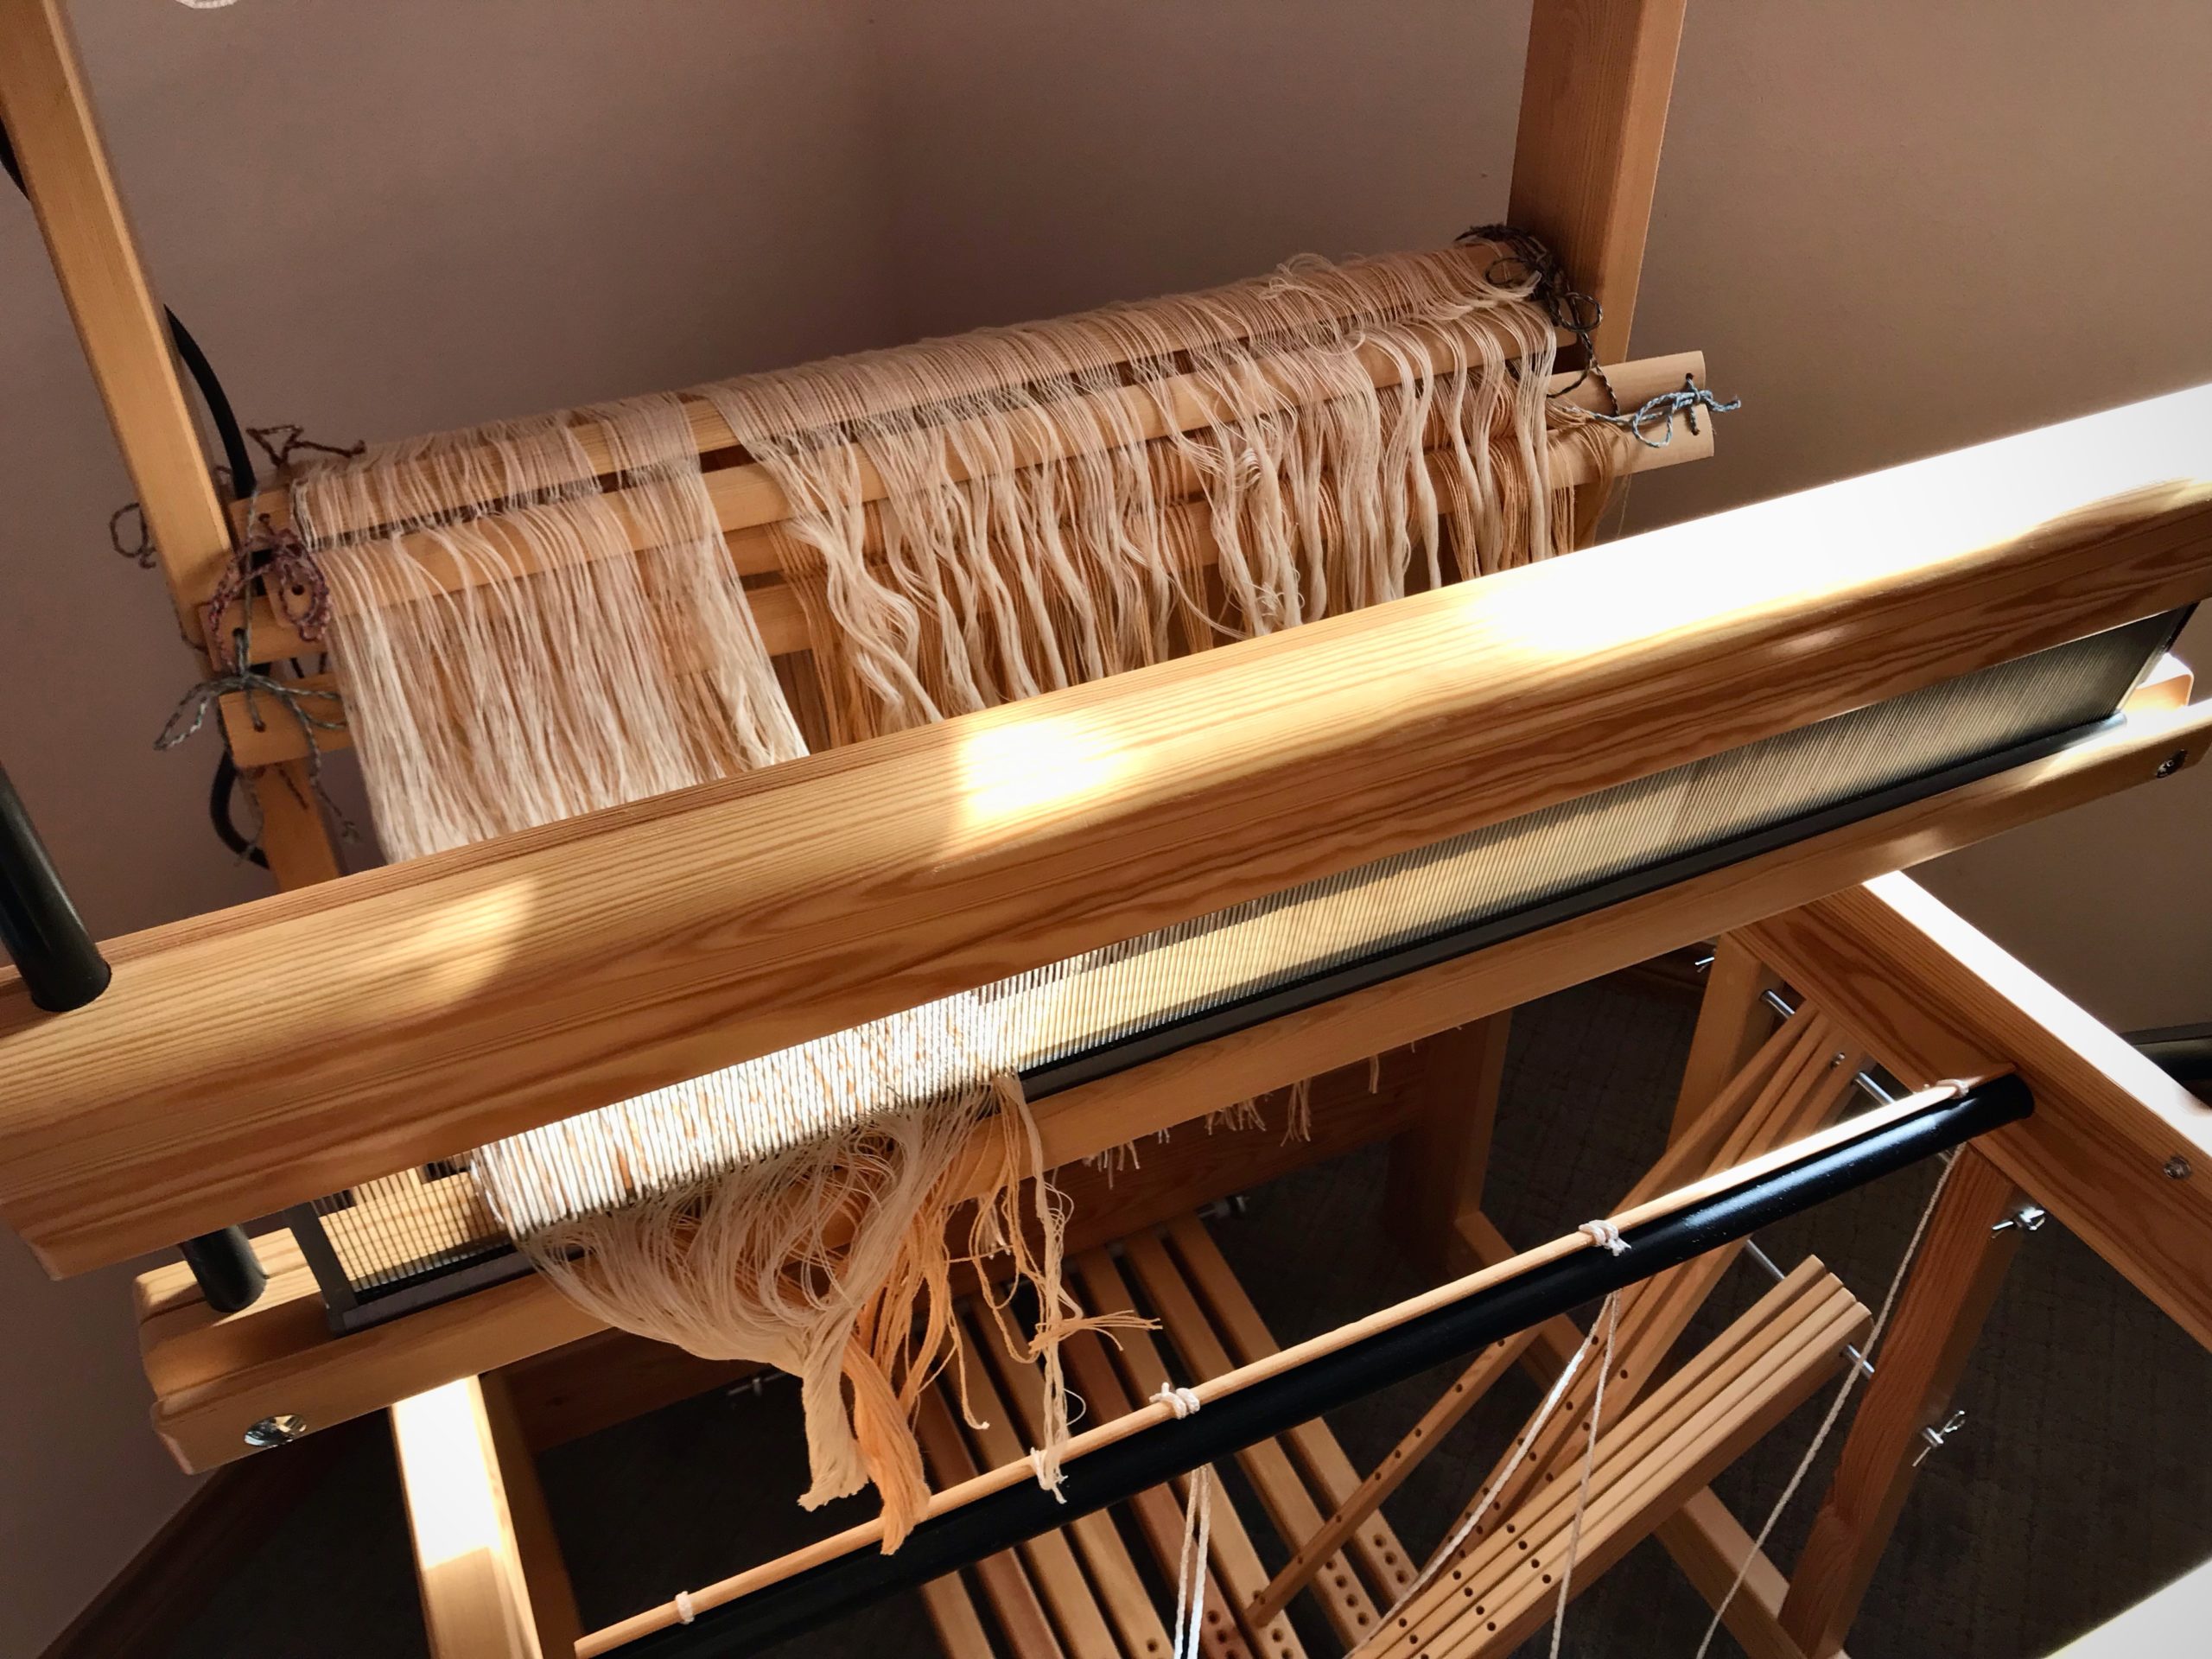
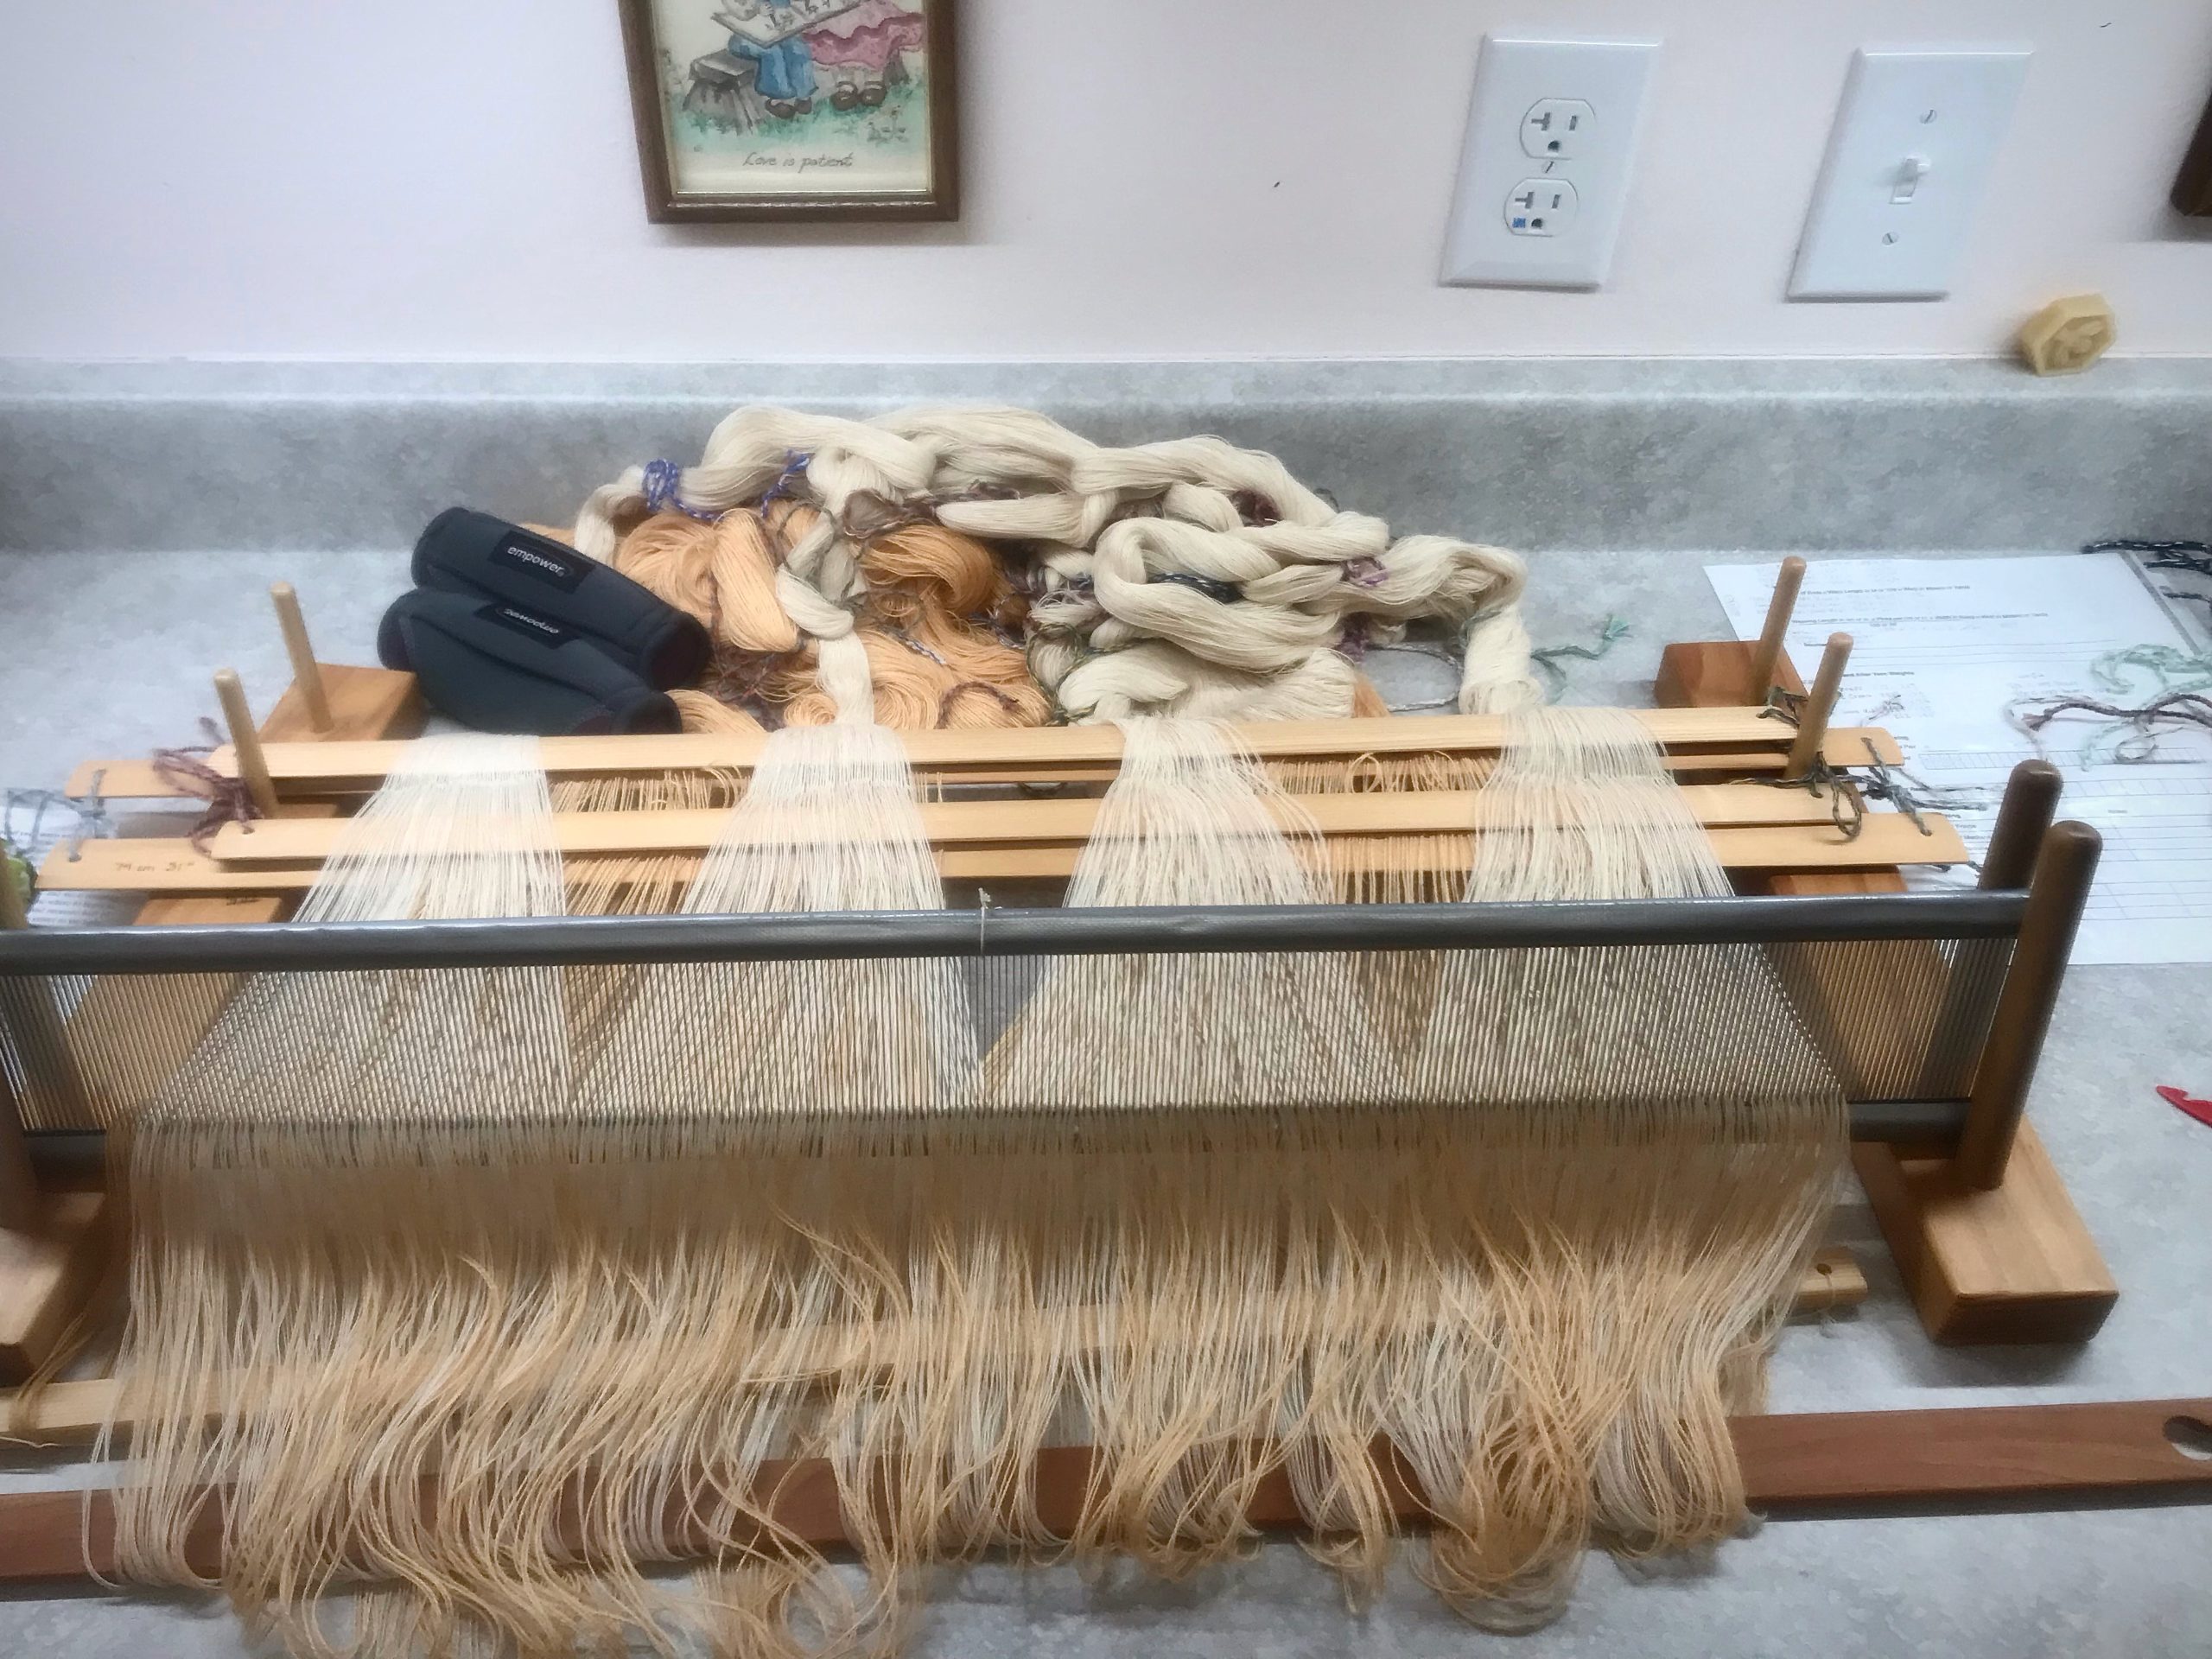
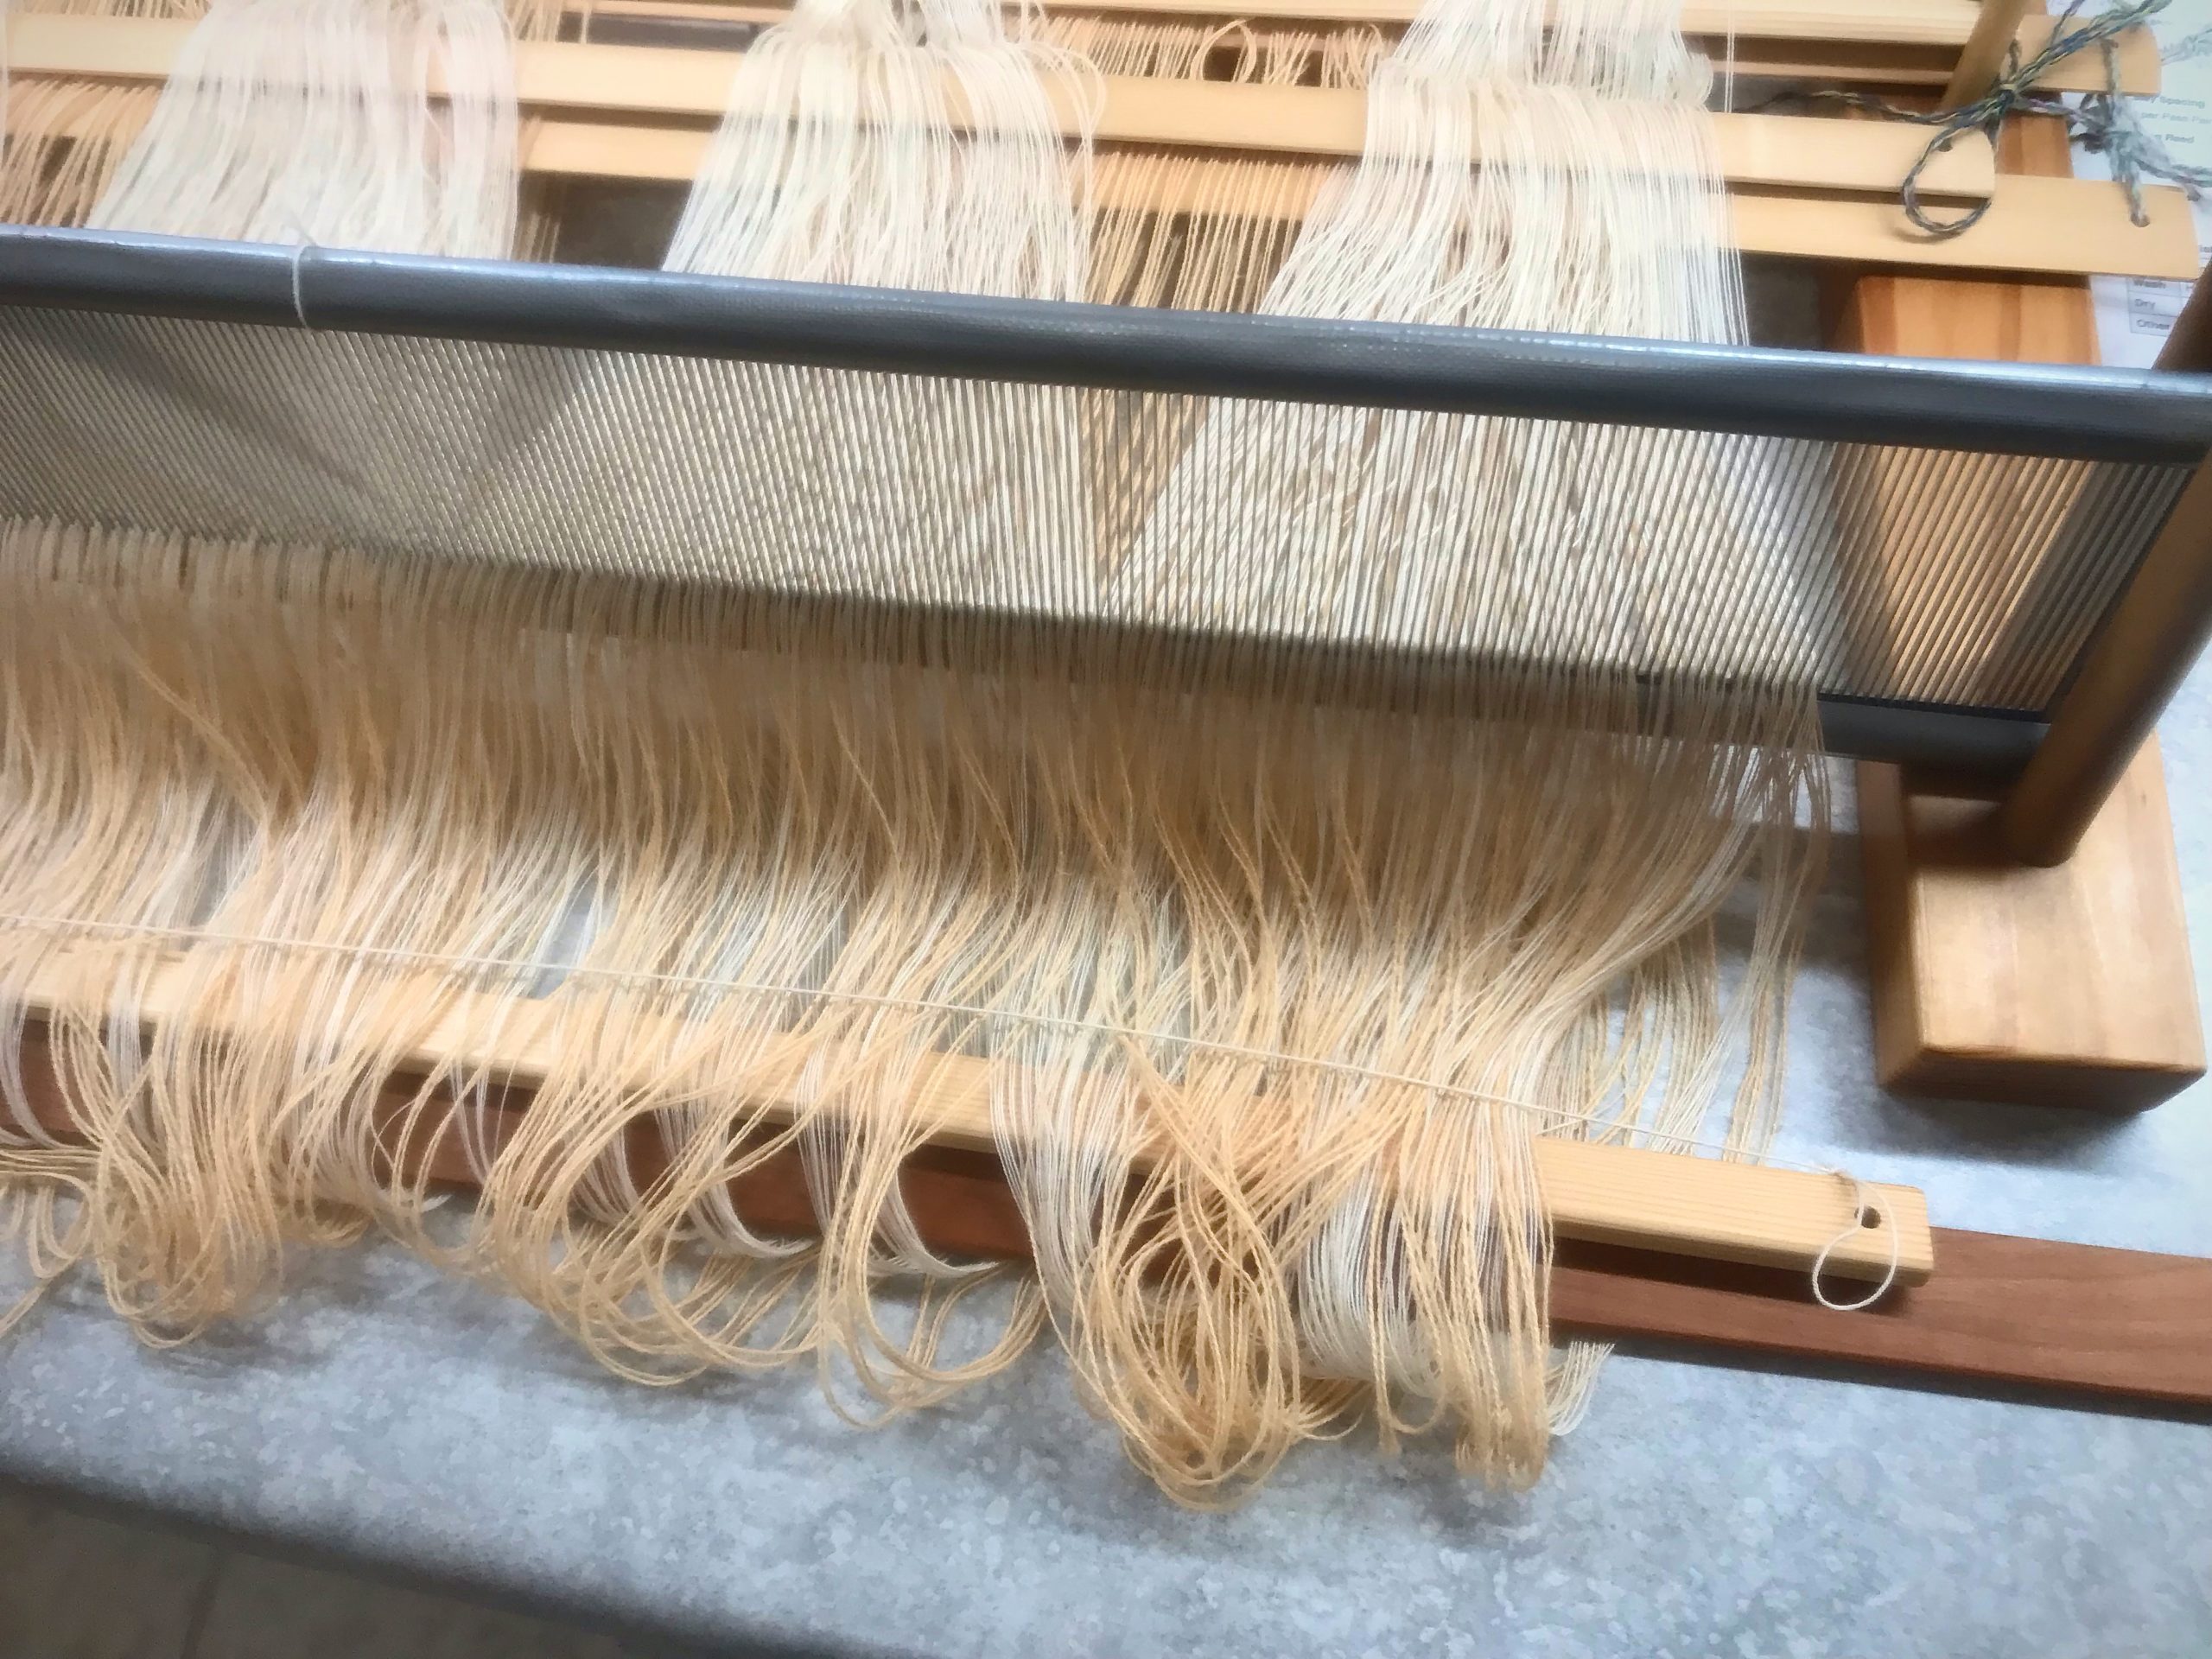
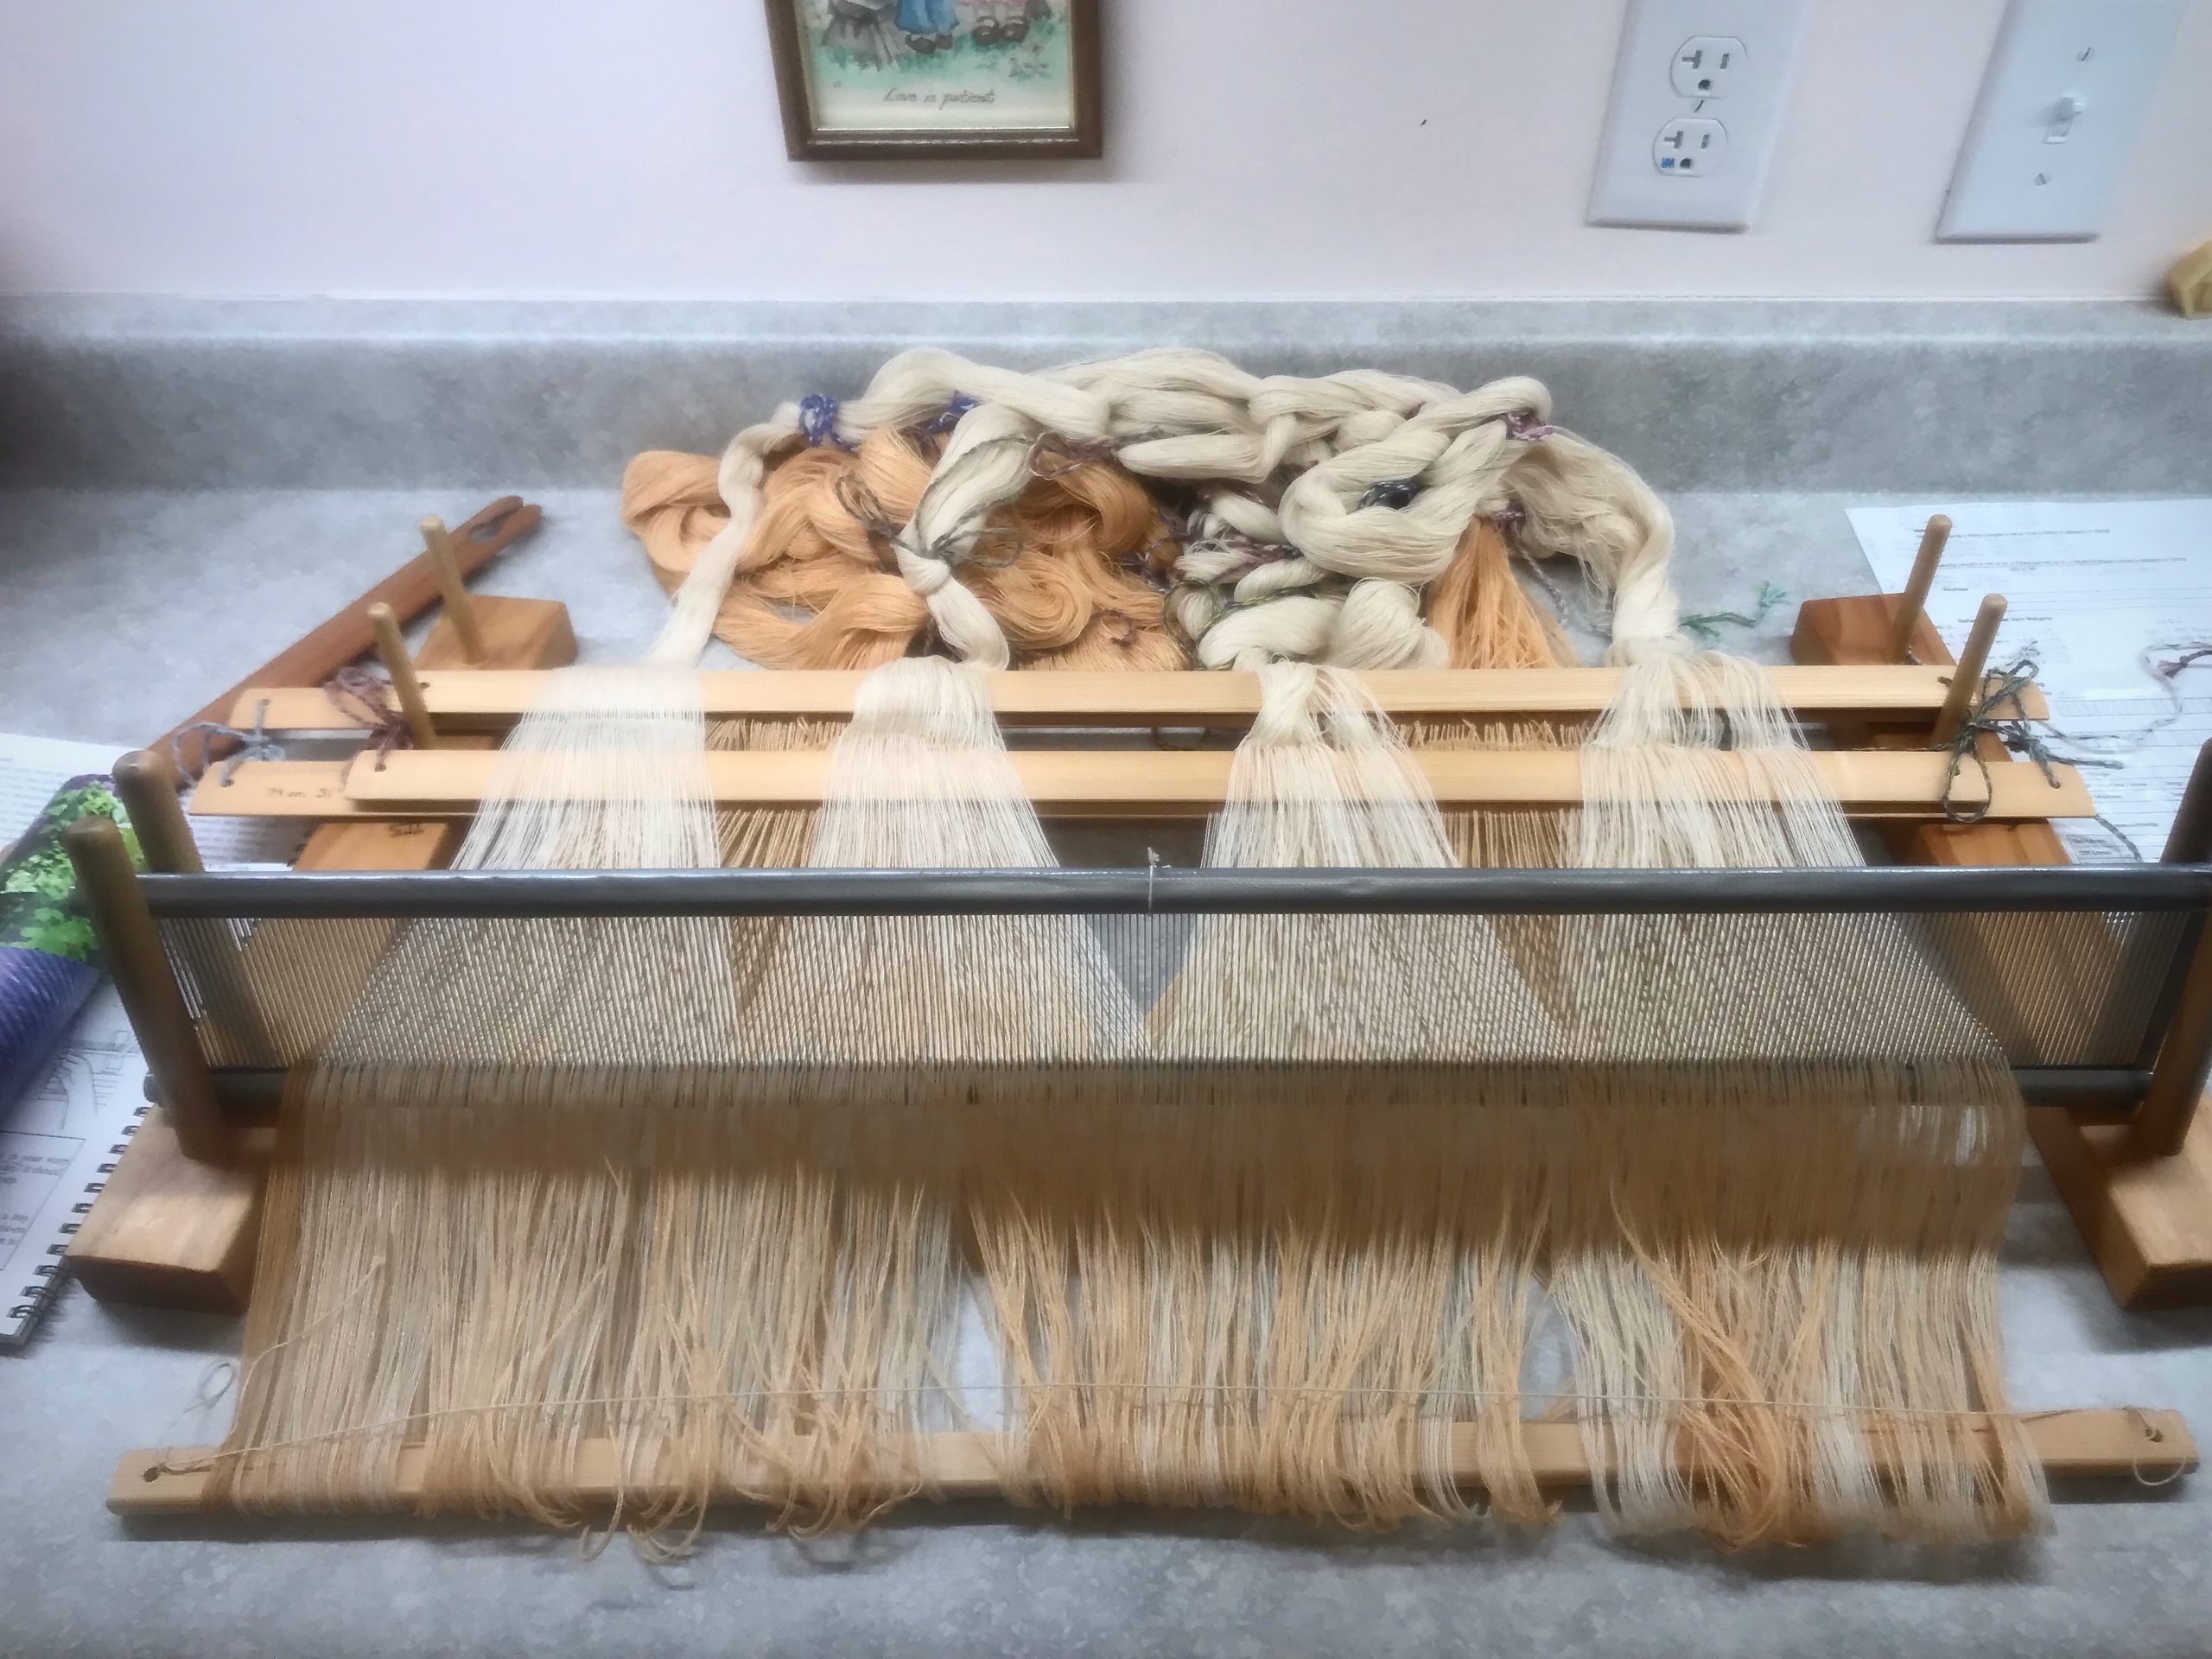
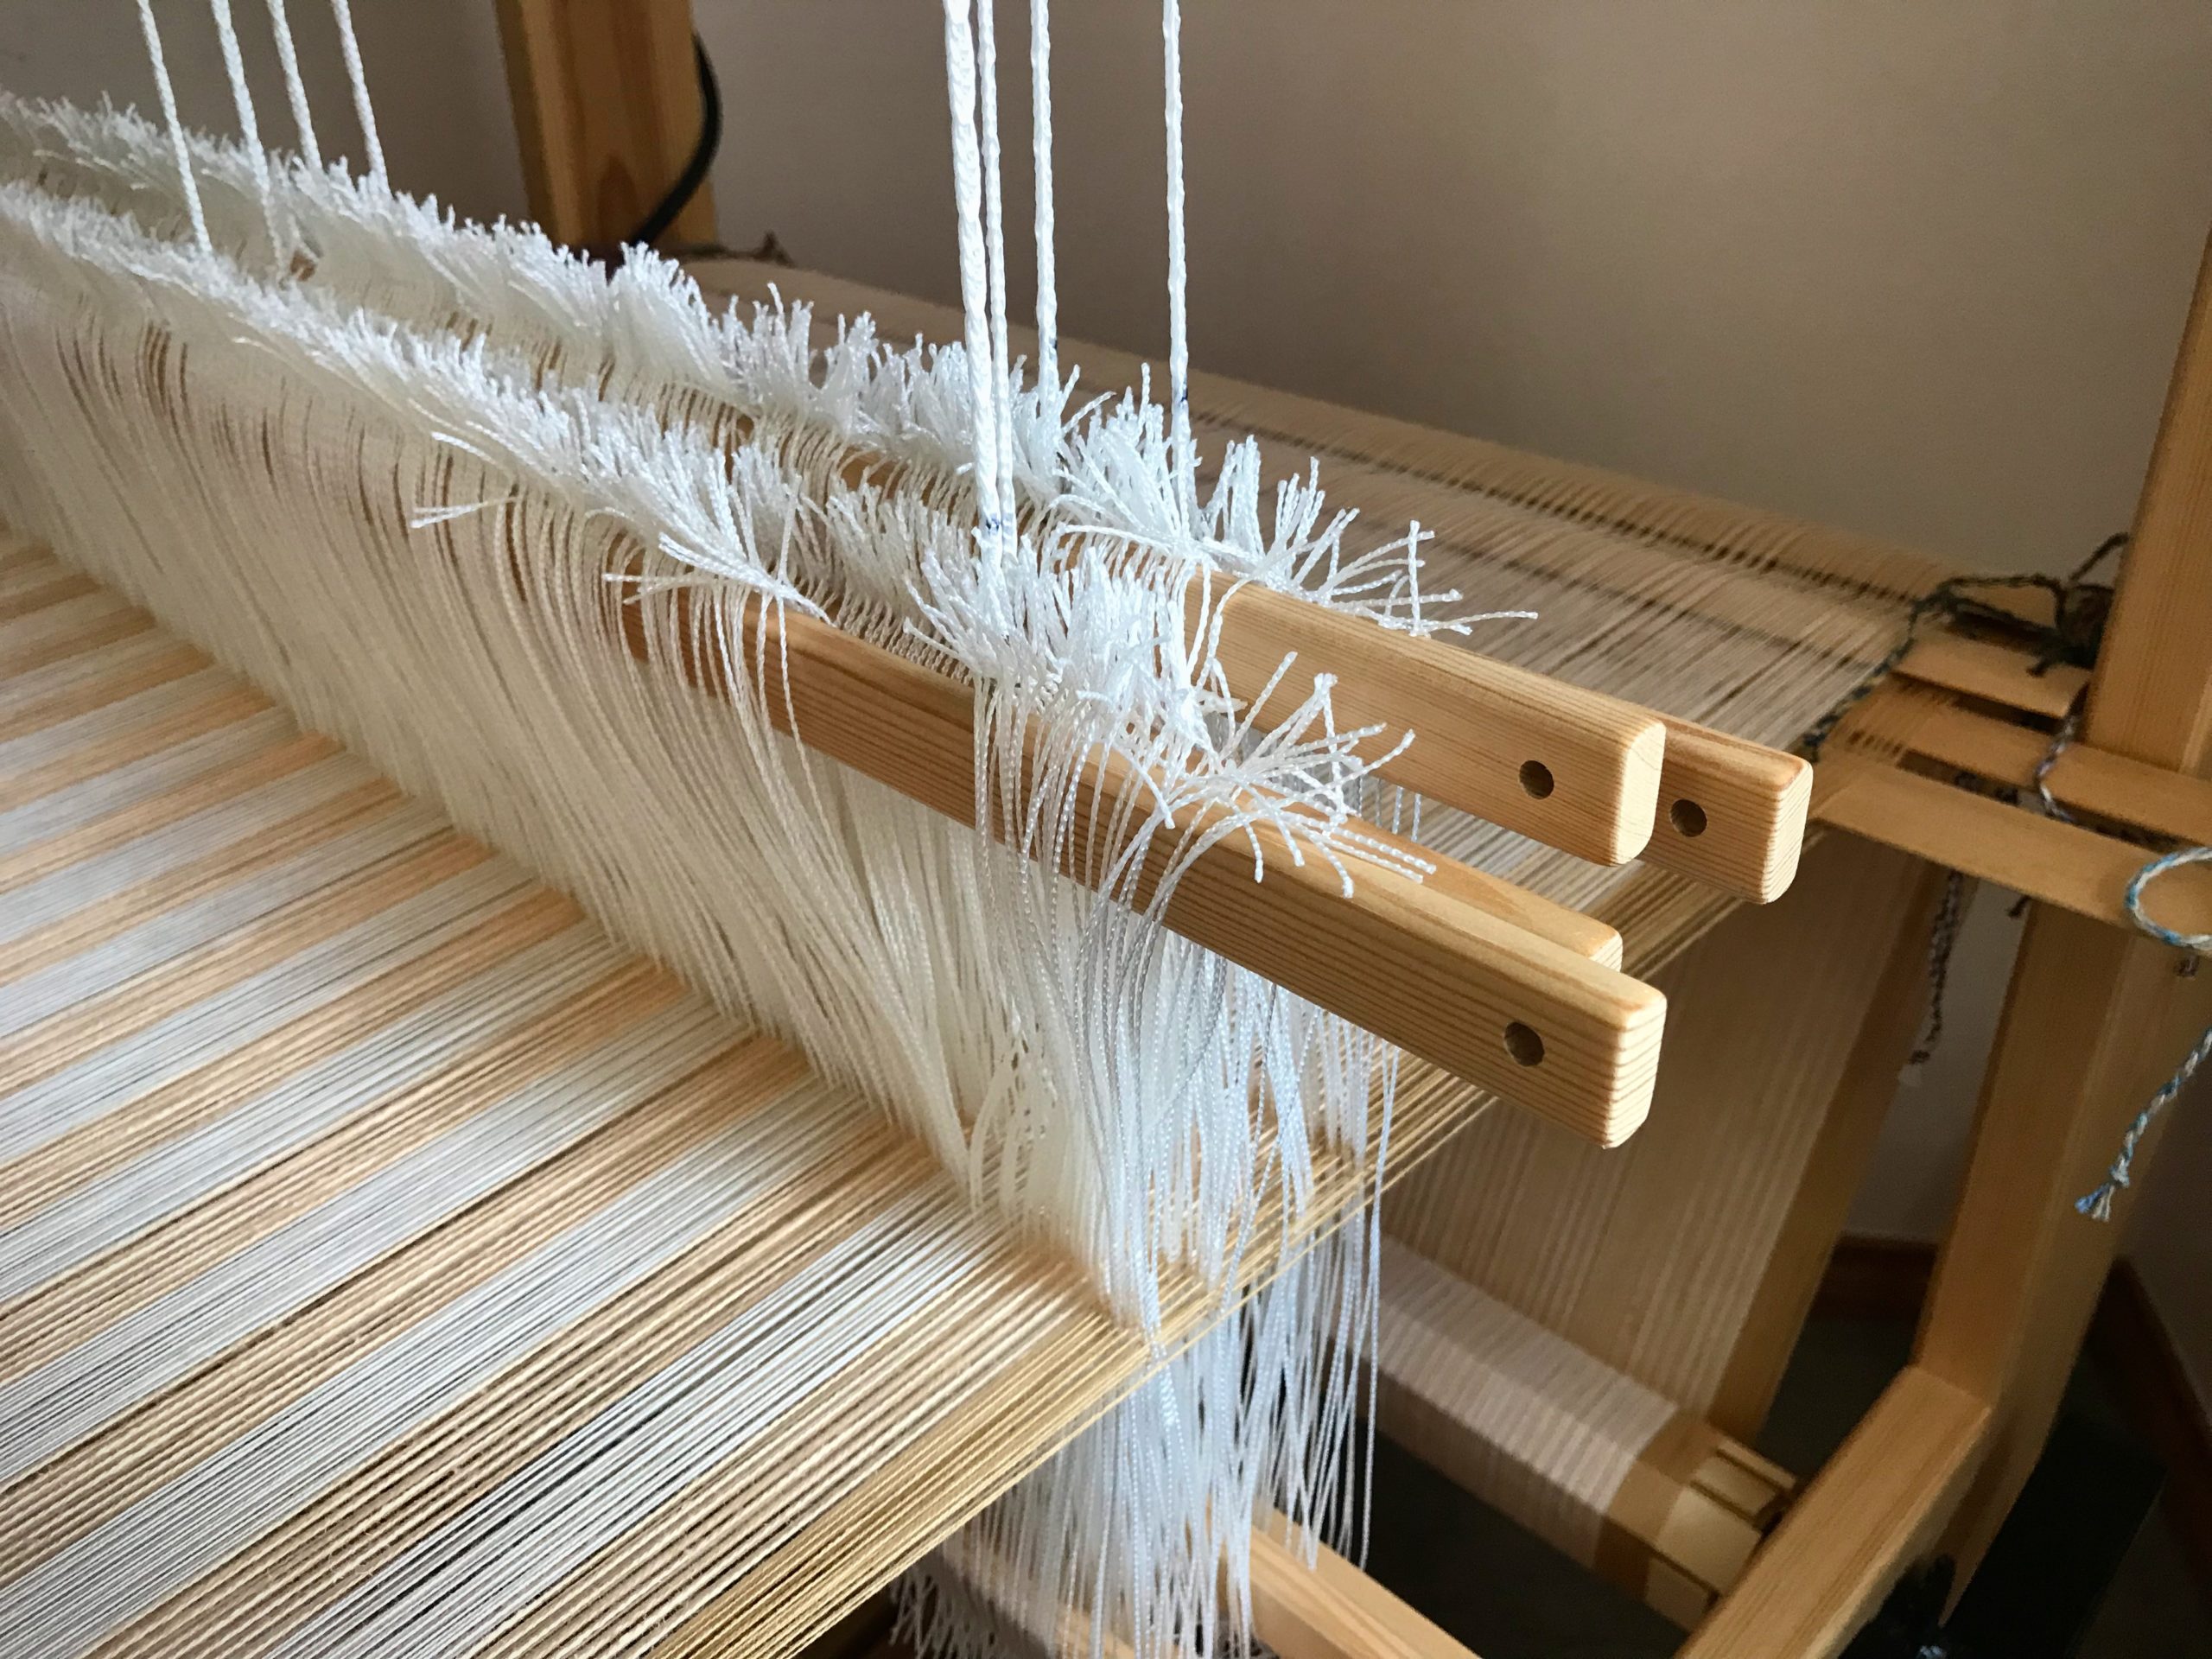
Some things are easier done than said. I said to myself that it’s too much trouble to tie retaining cords on the shafts. I am weaving almost full width on the Glimåkra Julia. I know that heddles can slip off the ends of shafts. Still, I tell myself I can keep an eye on it. It won’t be a problem, right? Wrong.
Tie Retaining Cords on Shafts
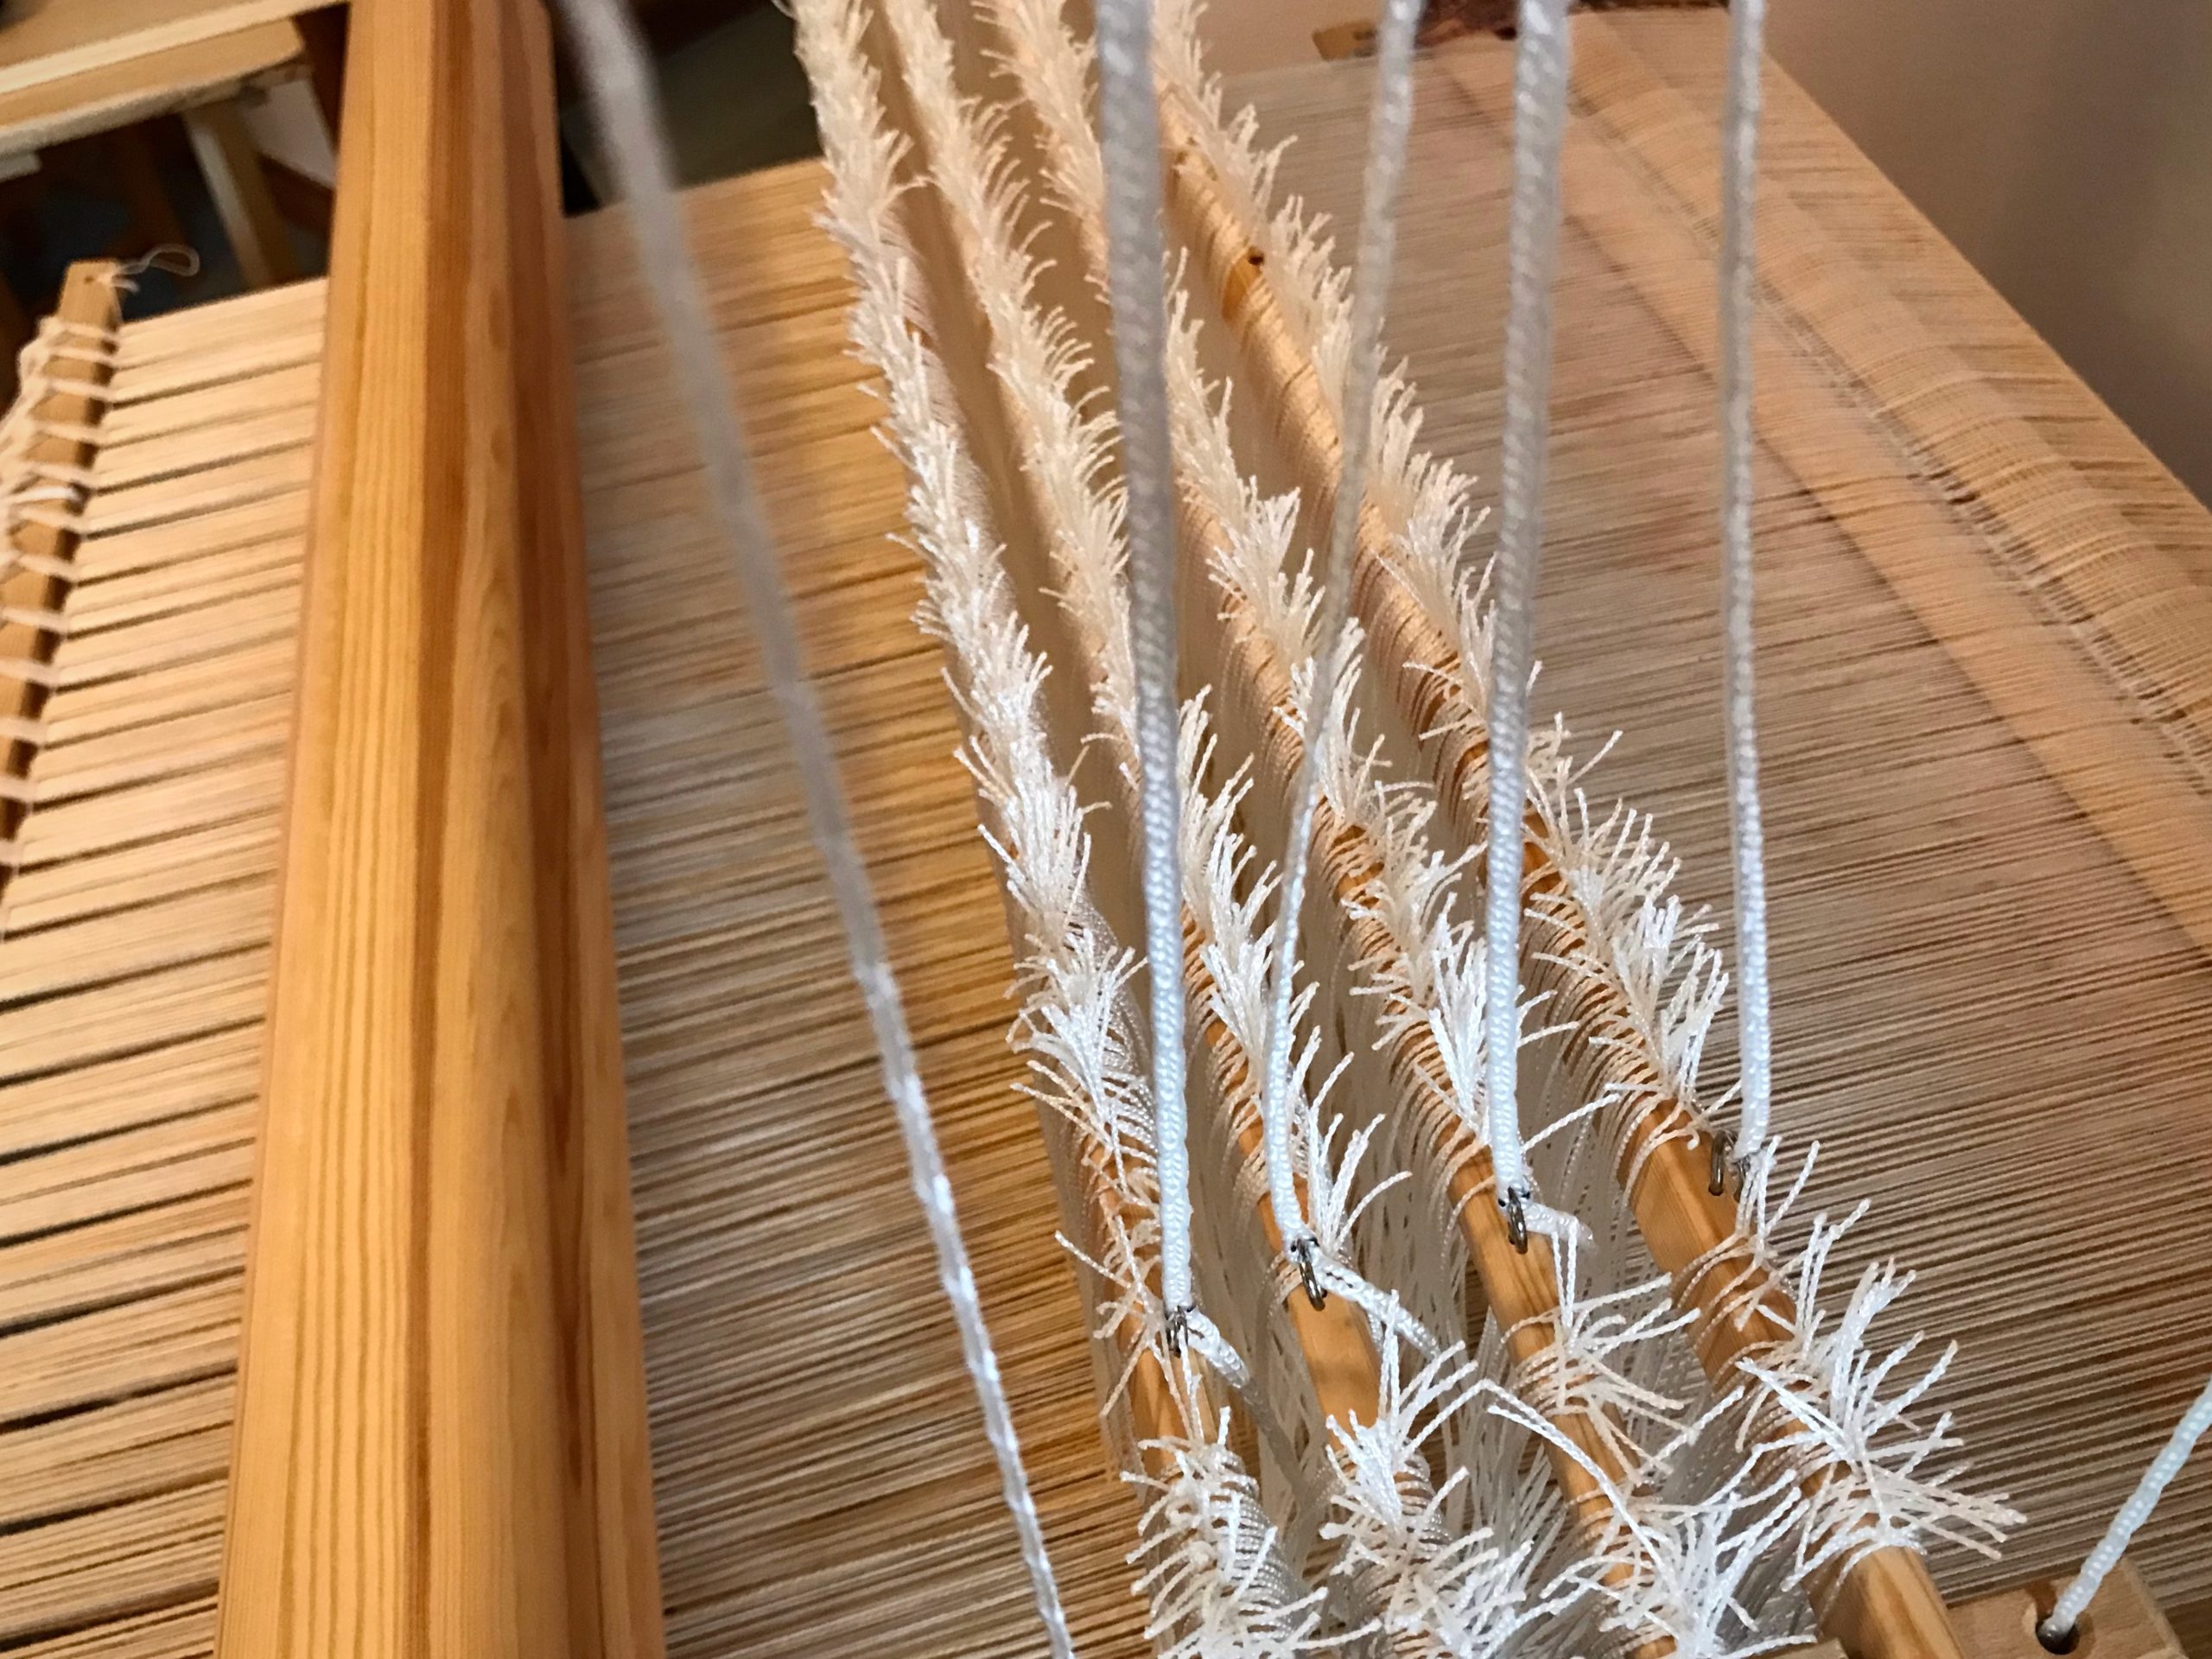
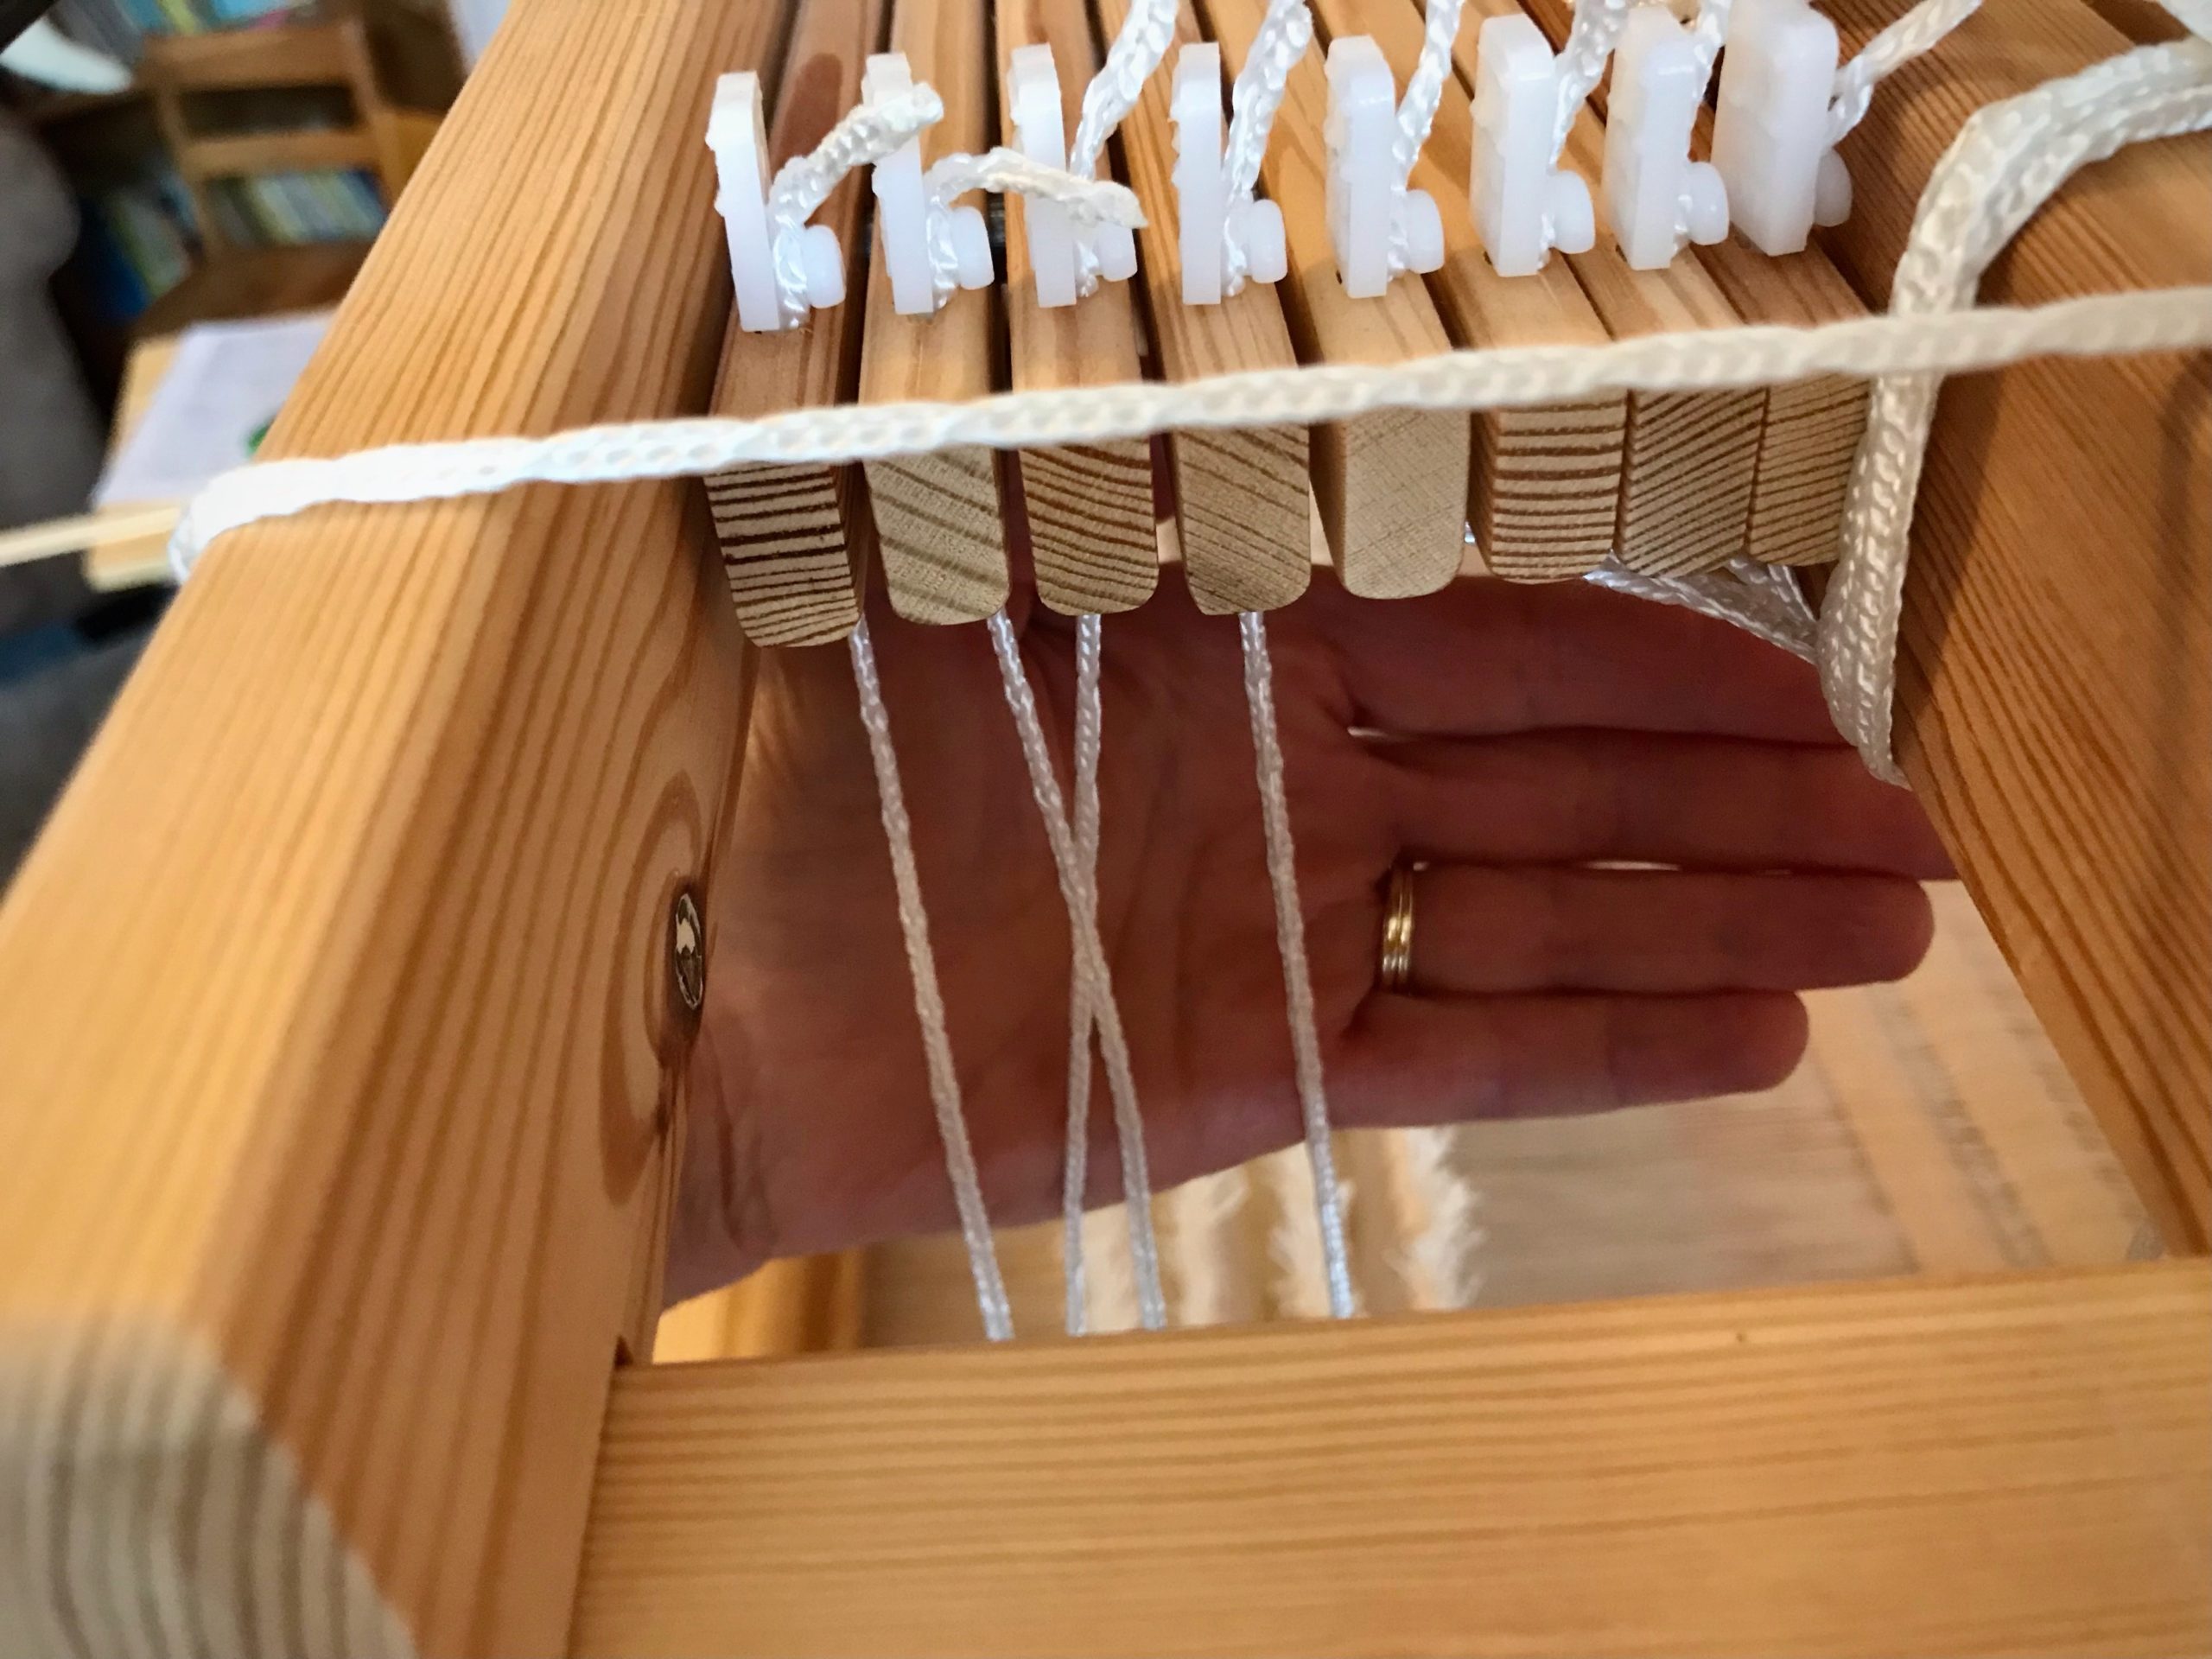
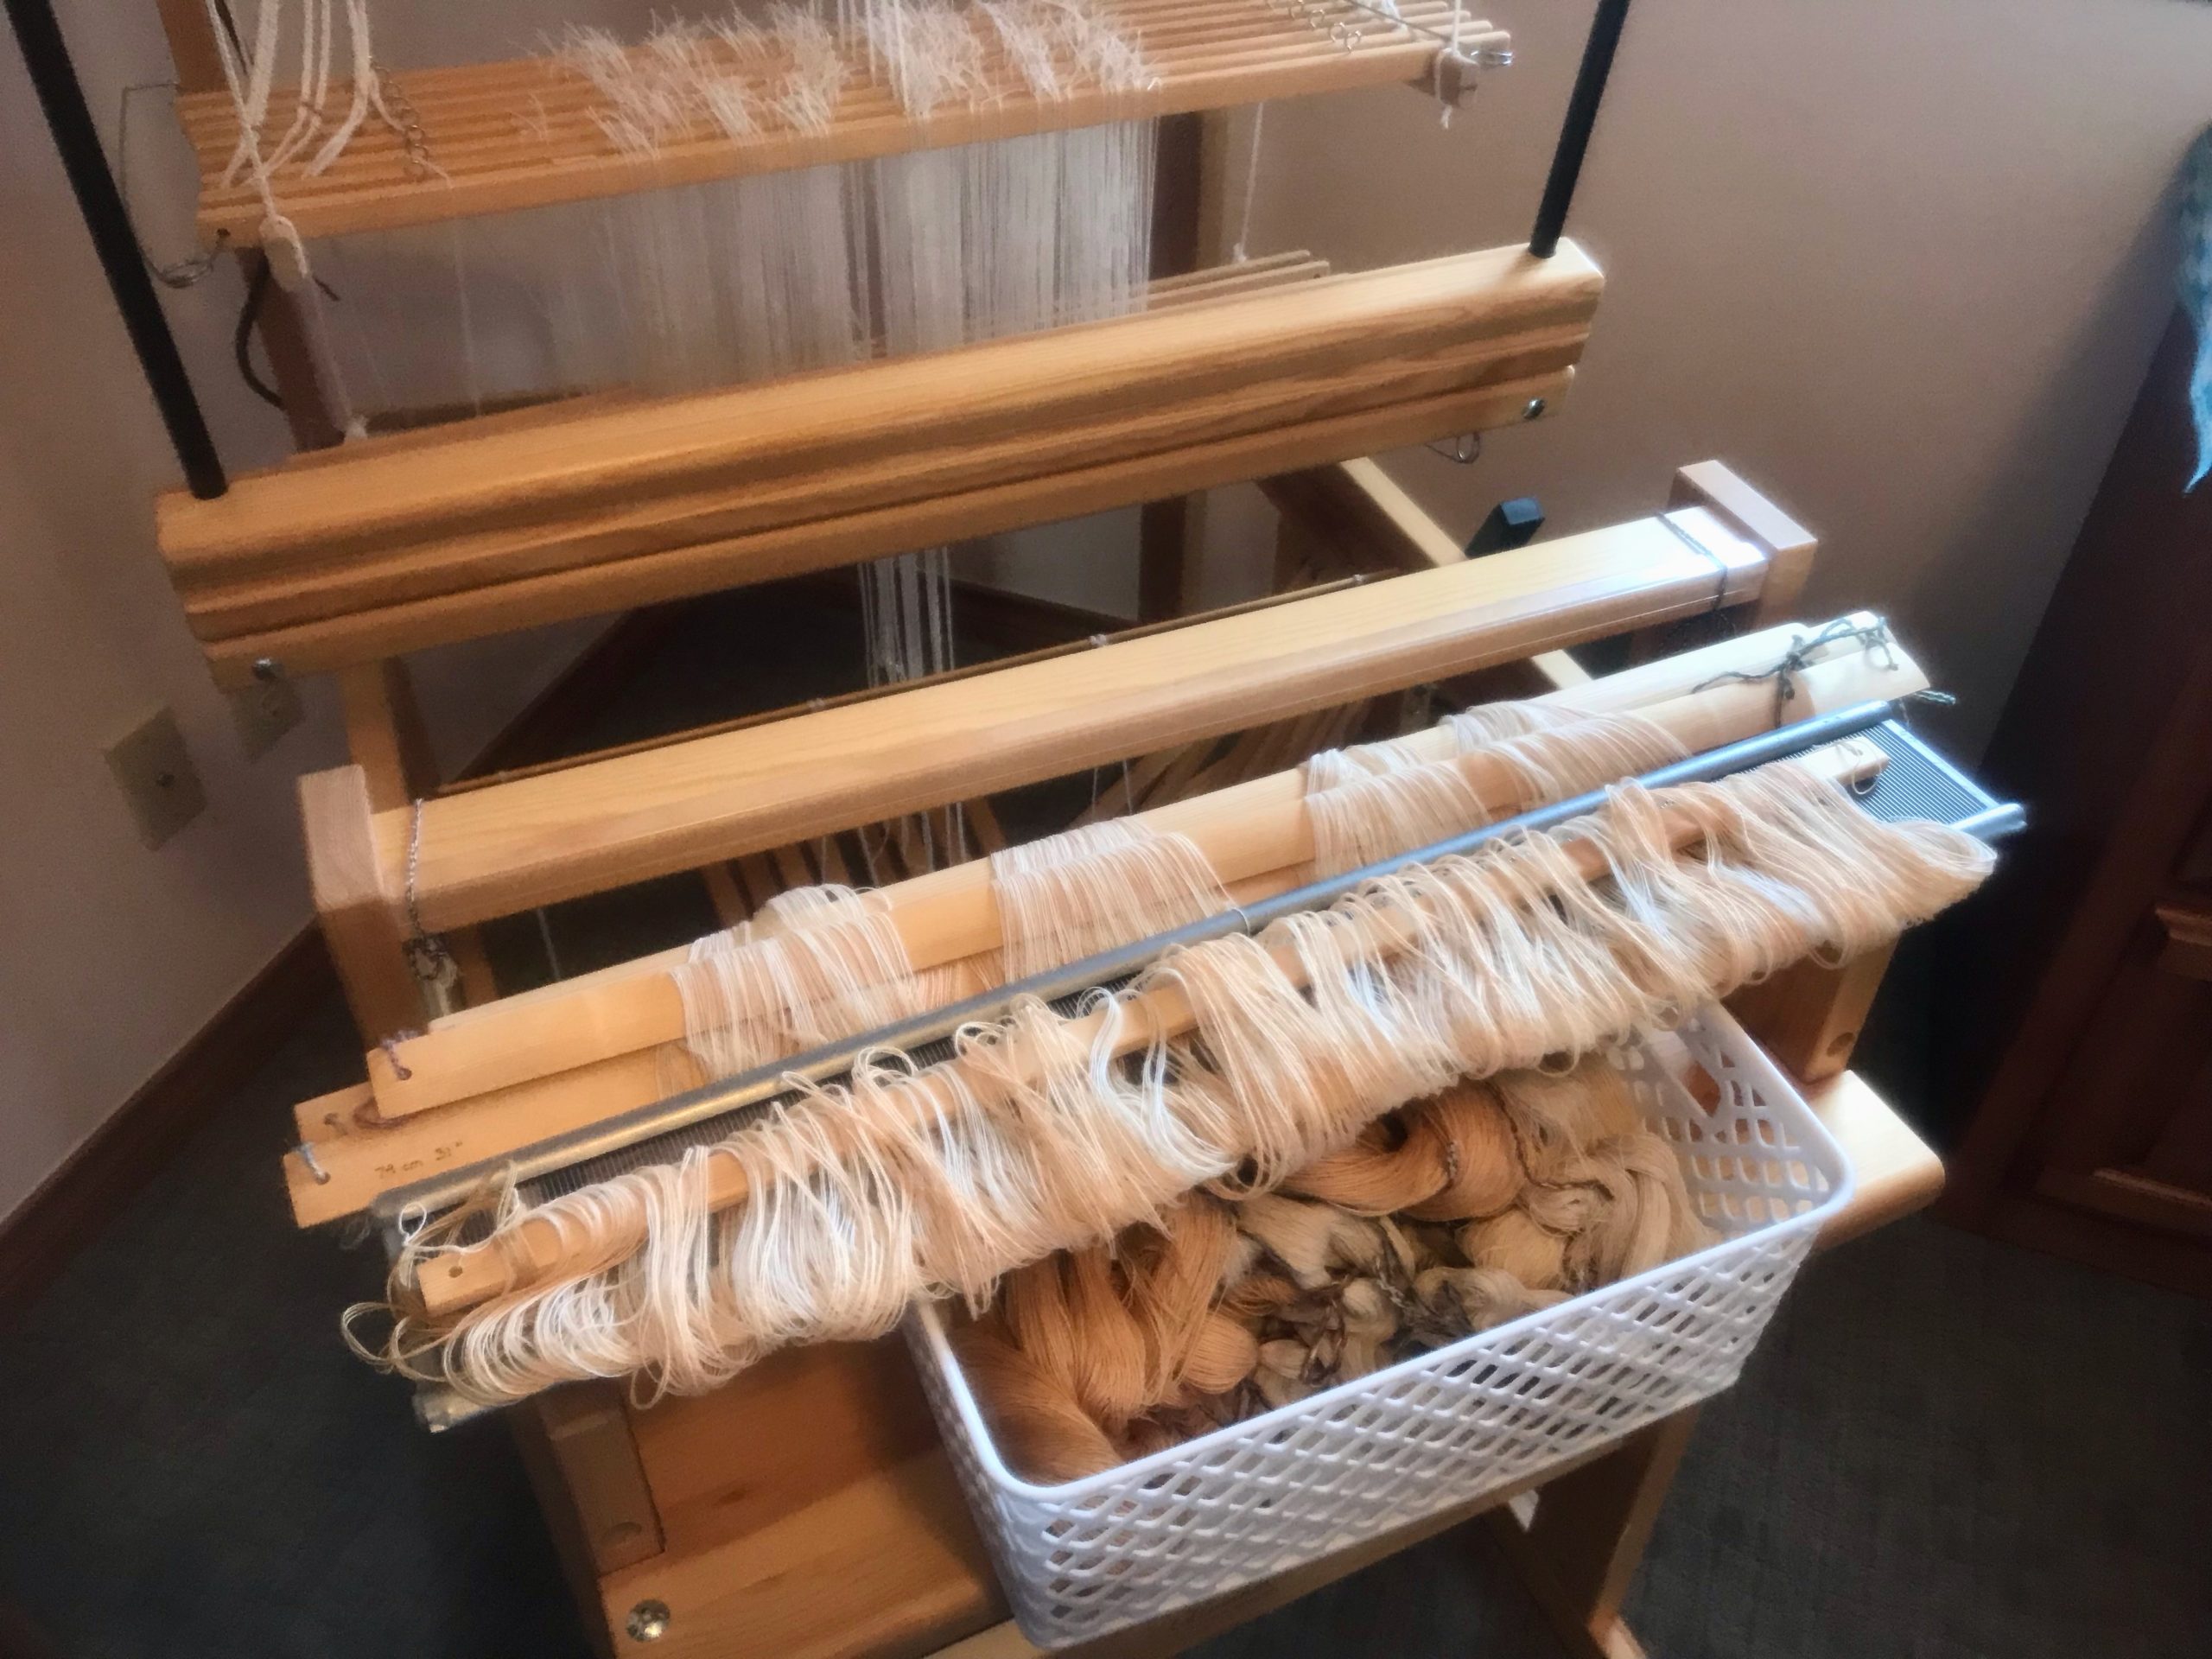
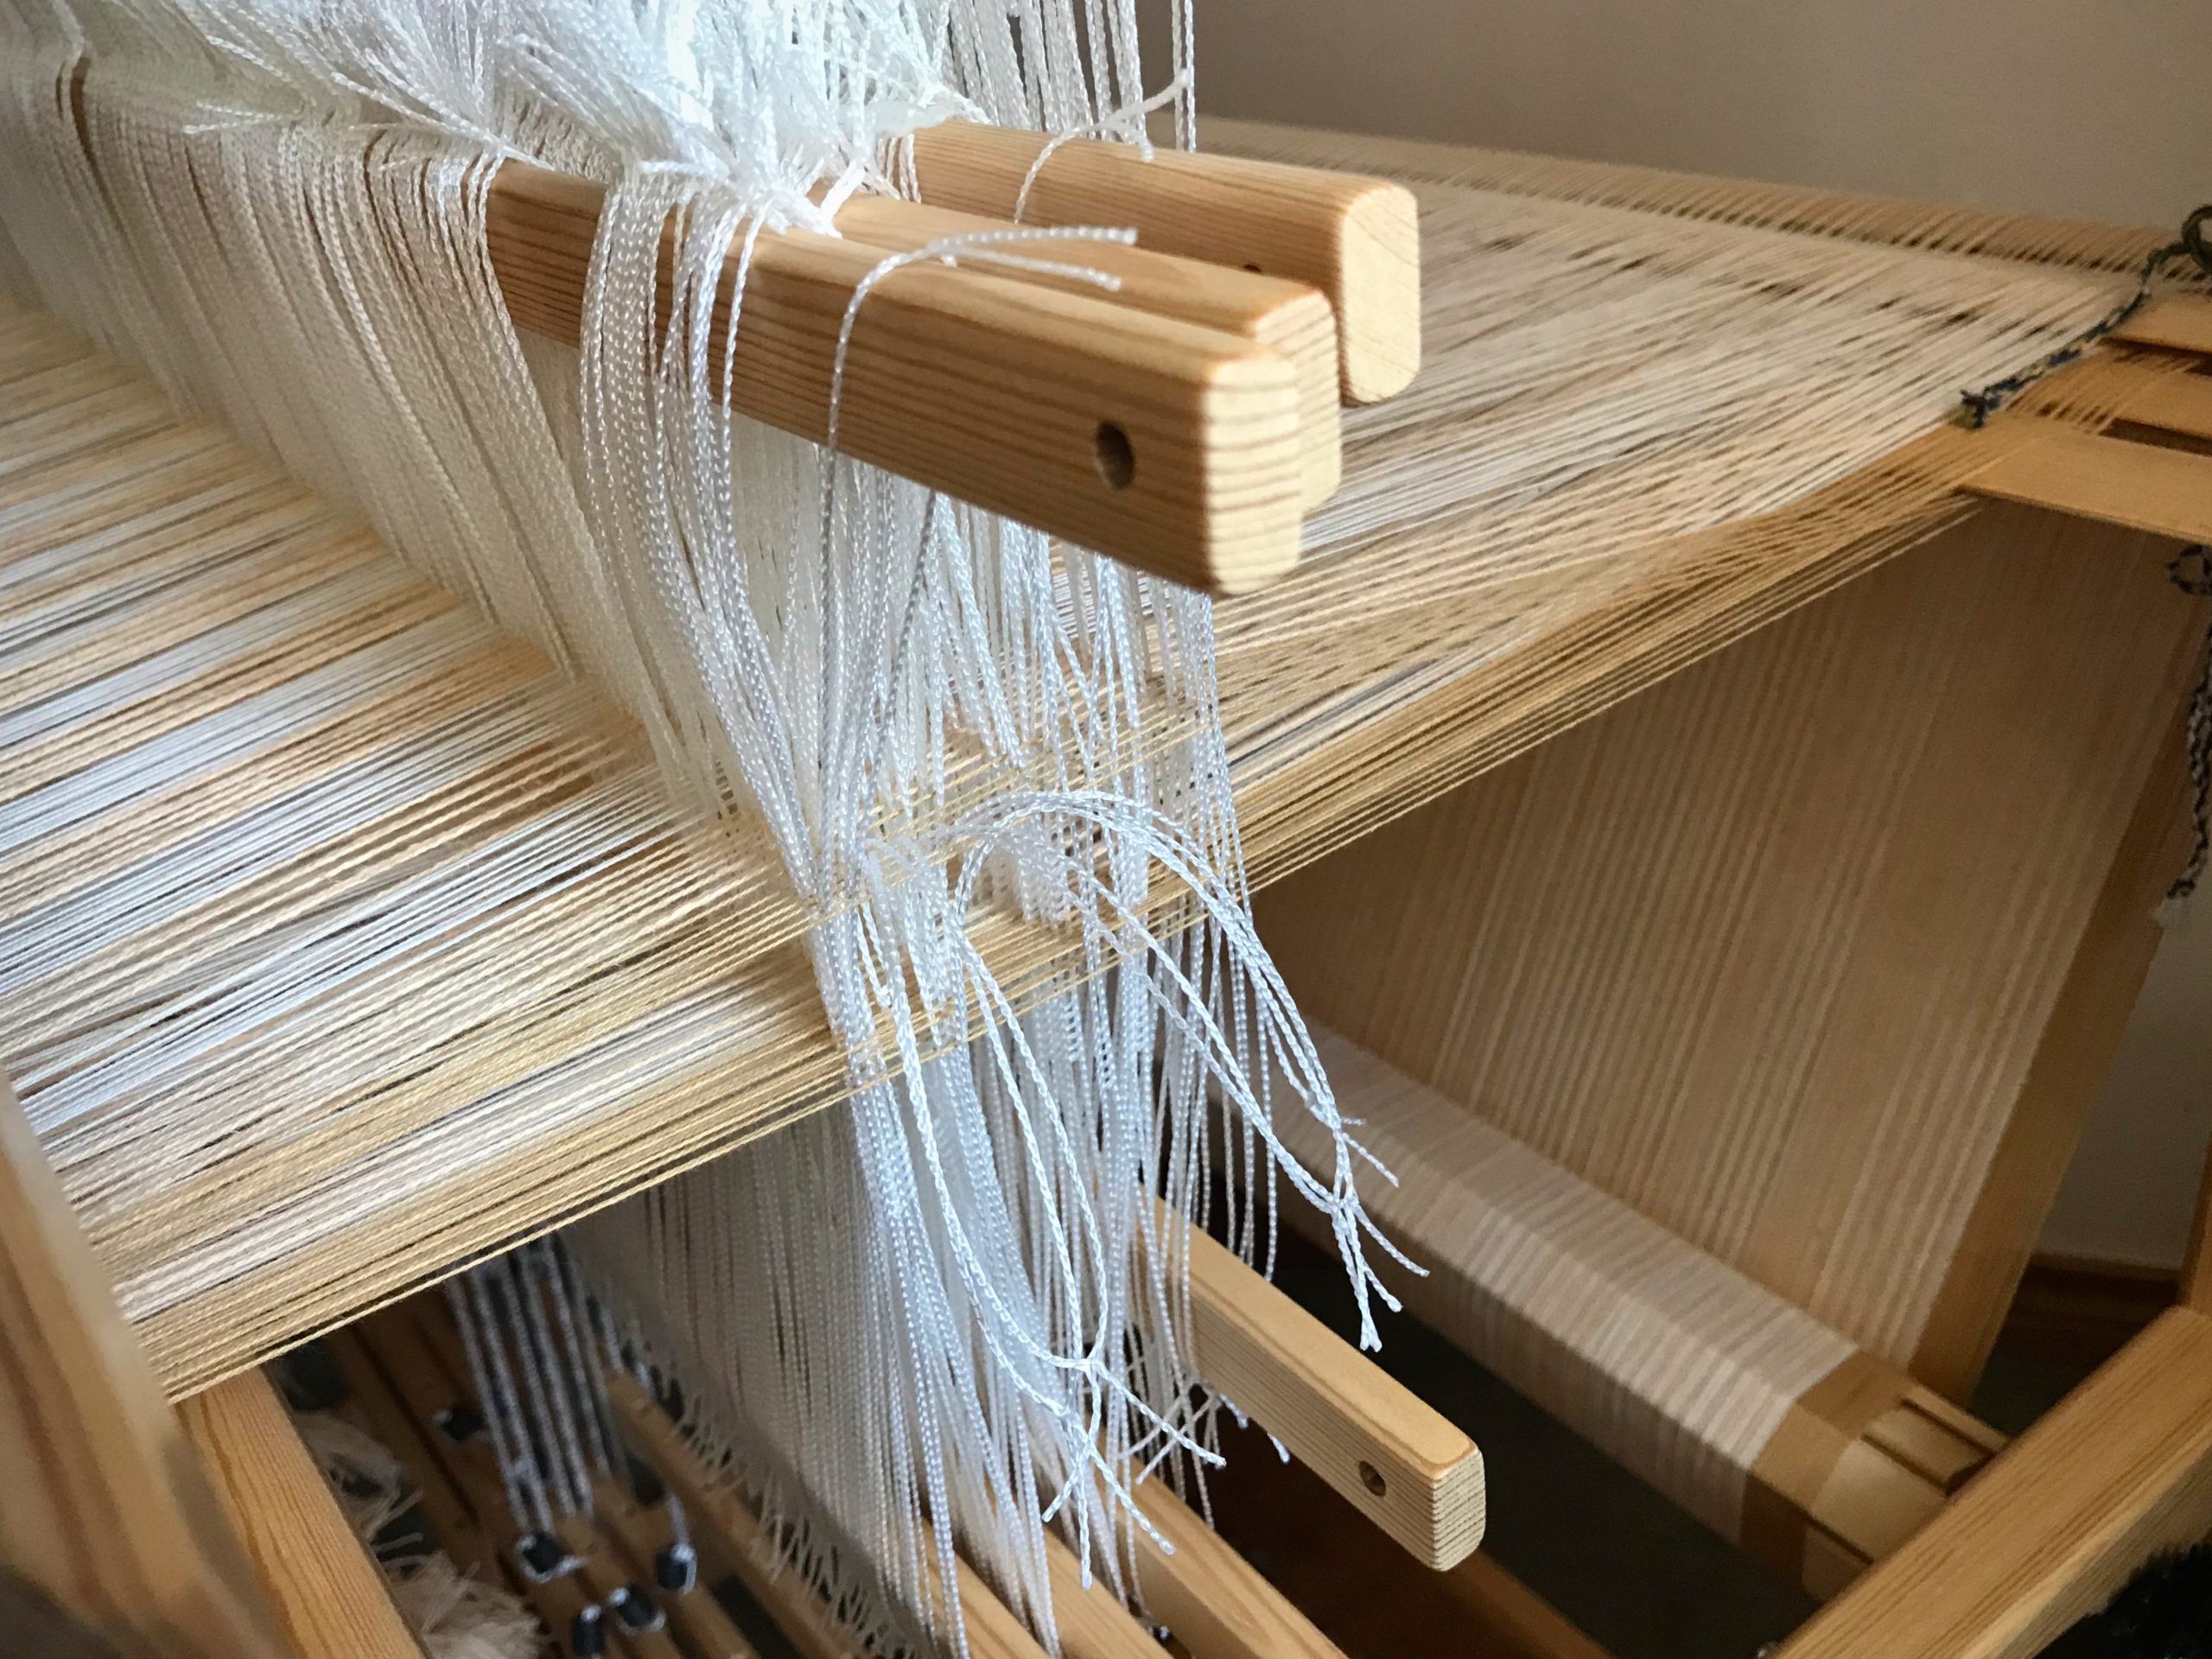
Purpose: Keep Texsolv heddles secure on their shaft bars, especially when weaving a wide warp.
Supplies
- Tape measure
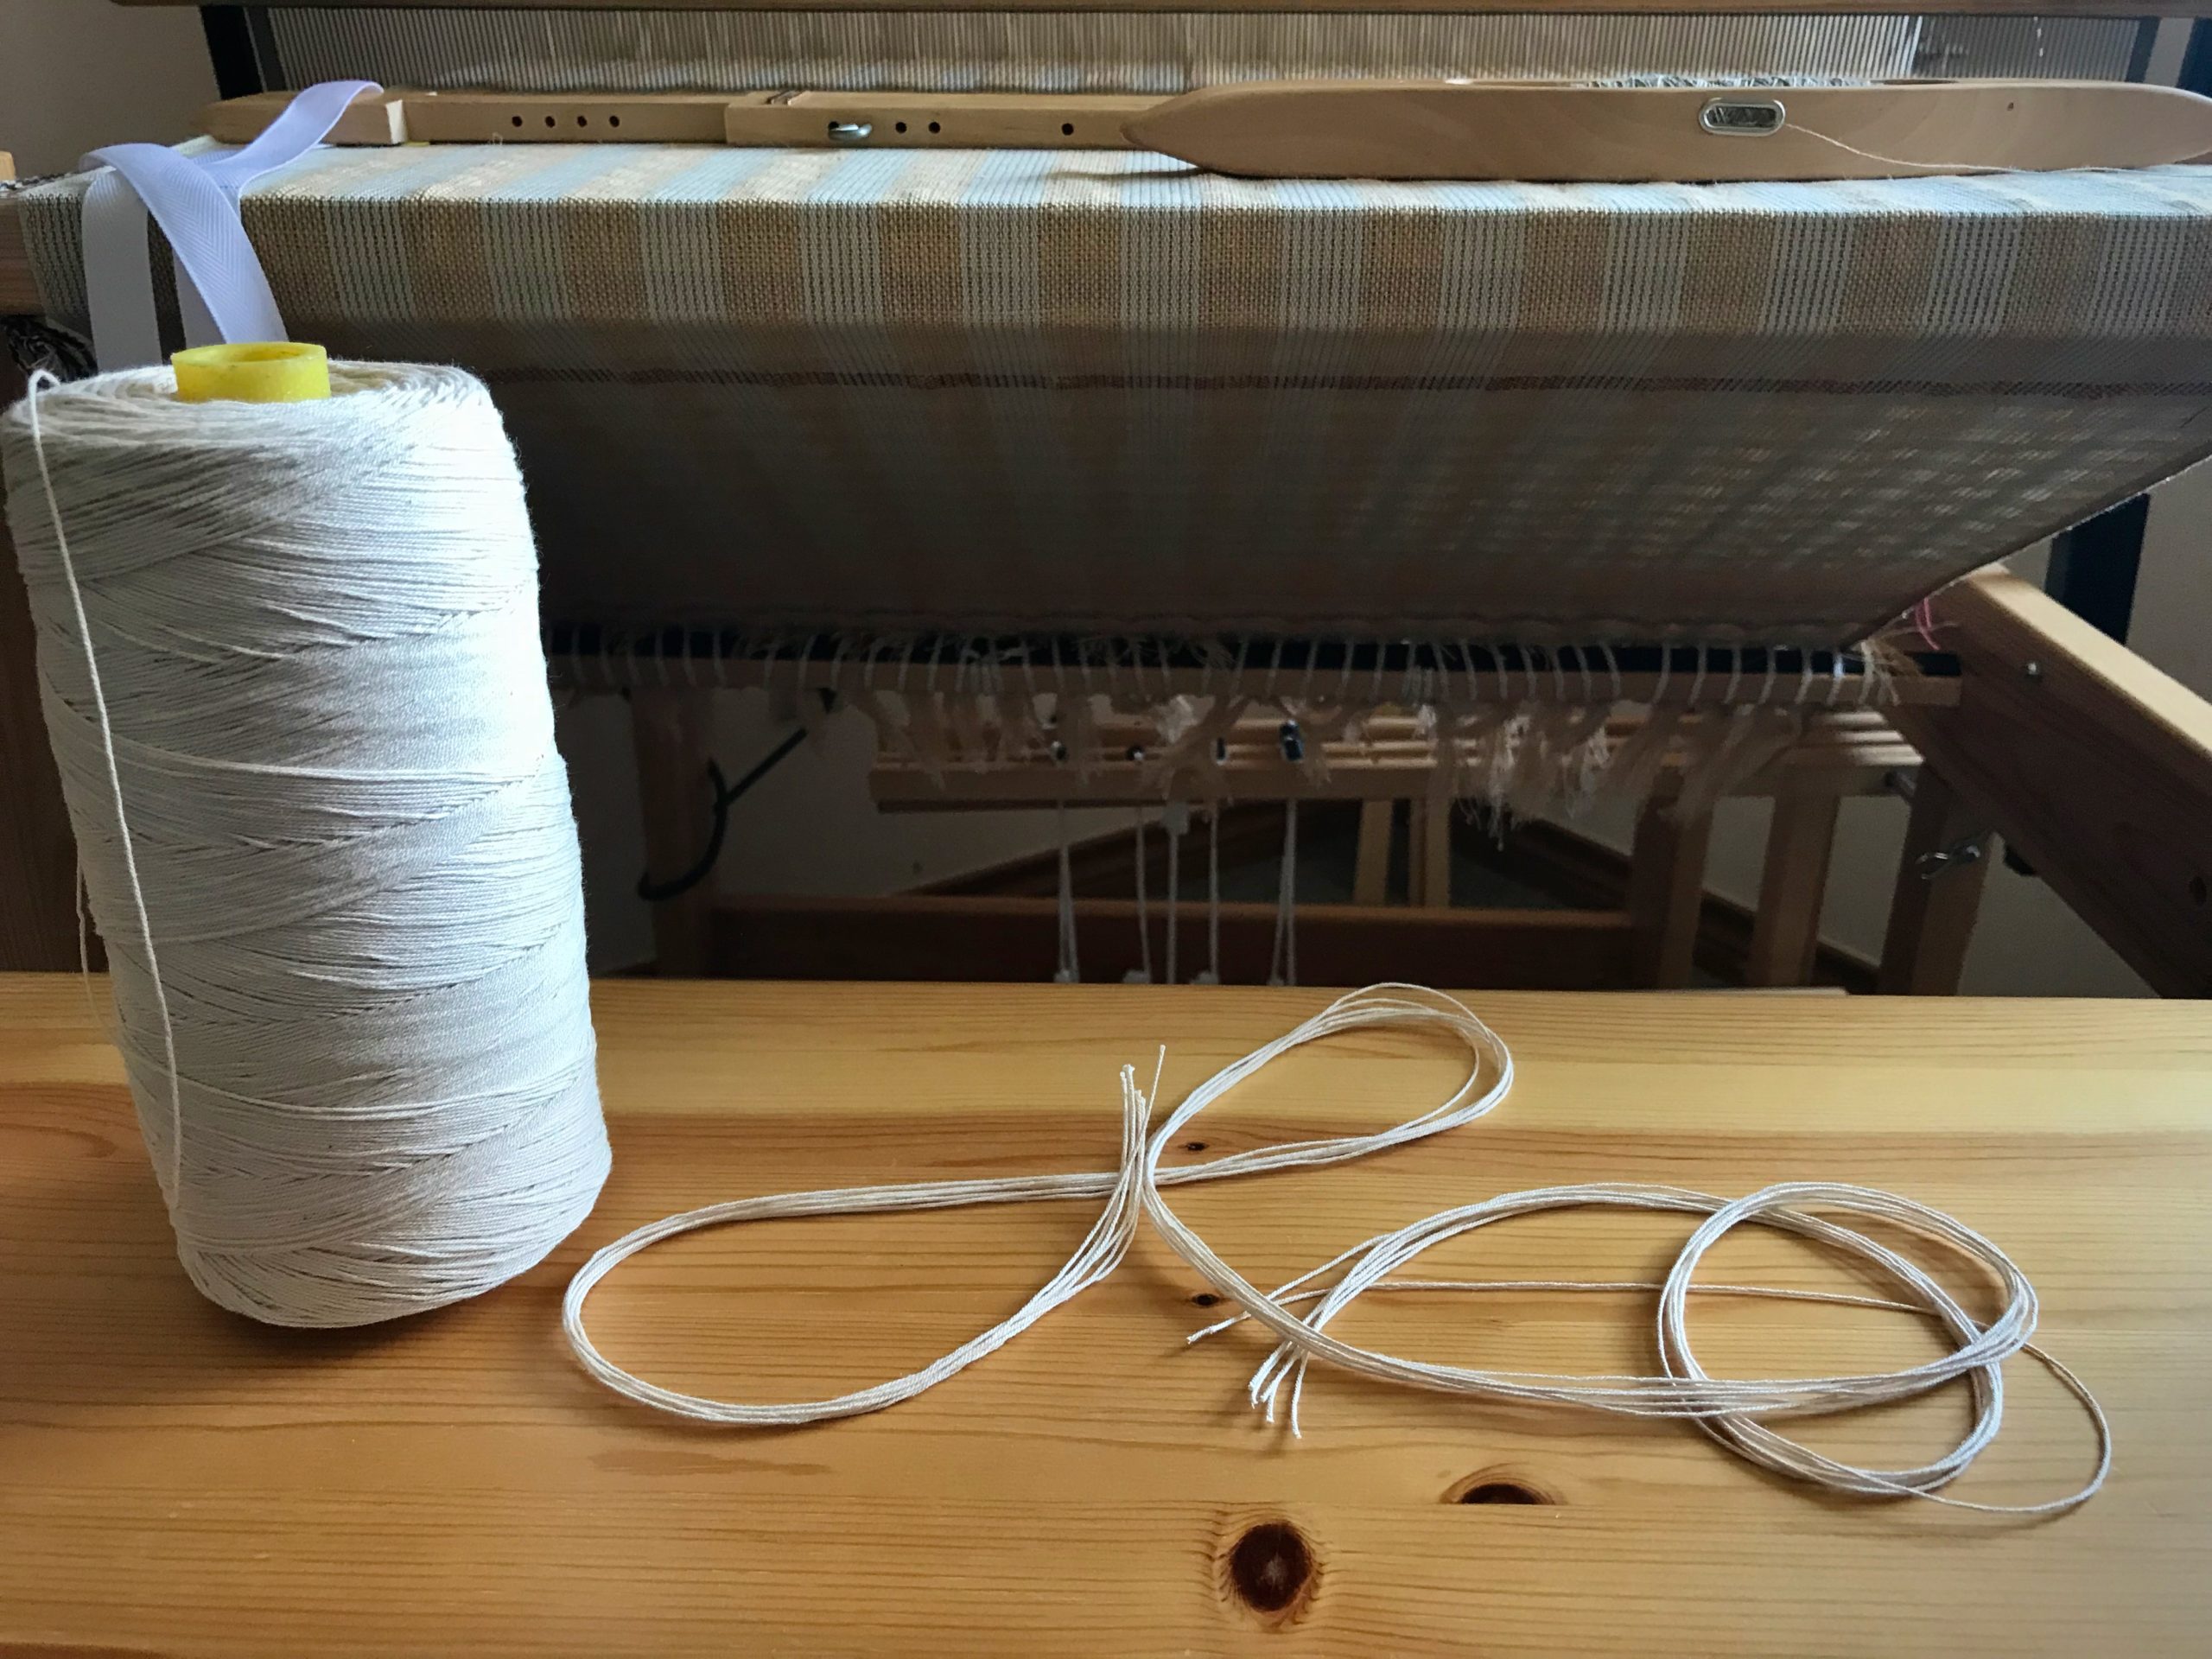
- 12/6 cotton seine twine
- Scissors
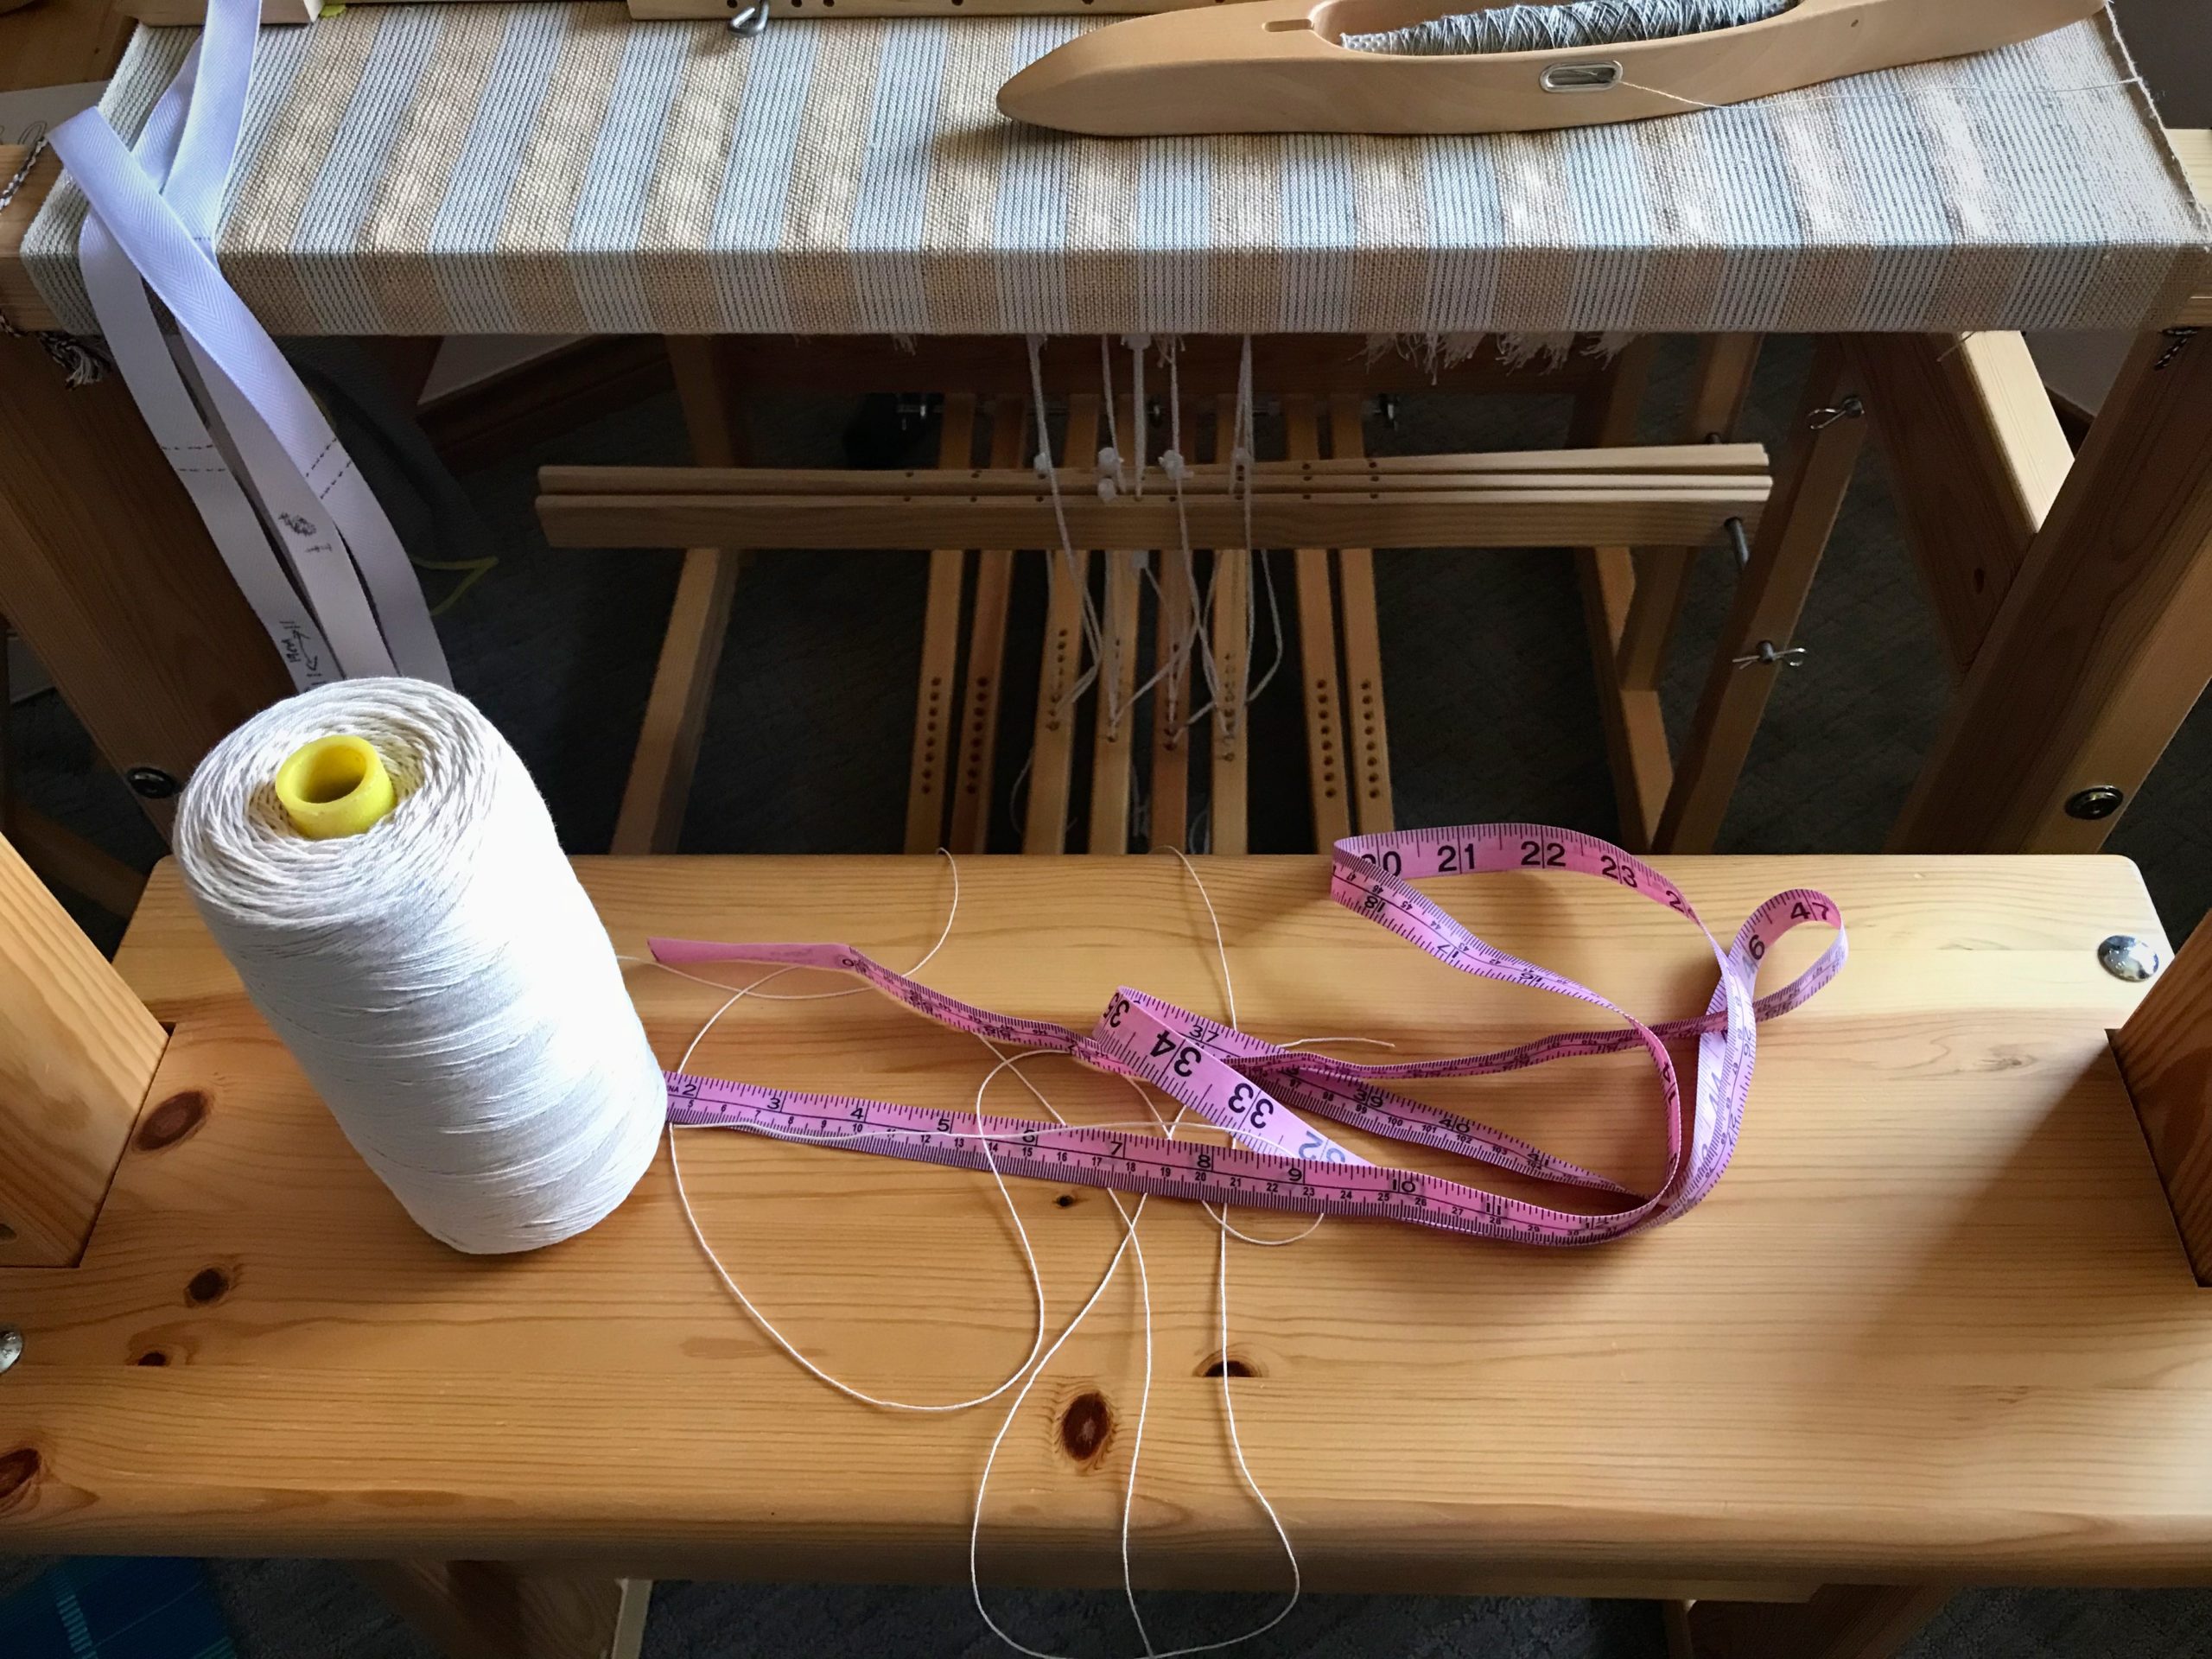
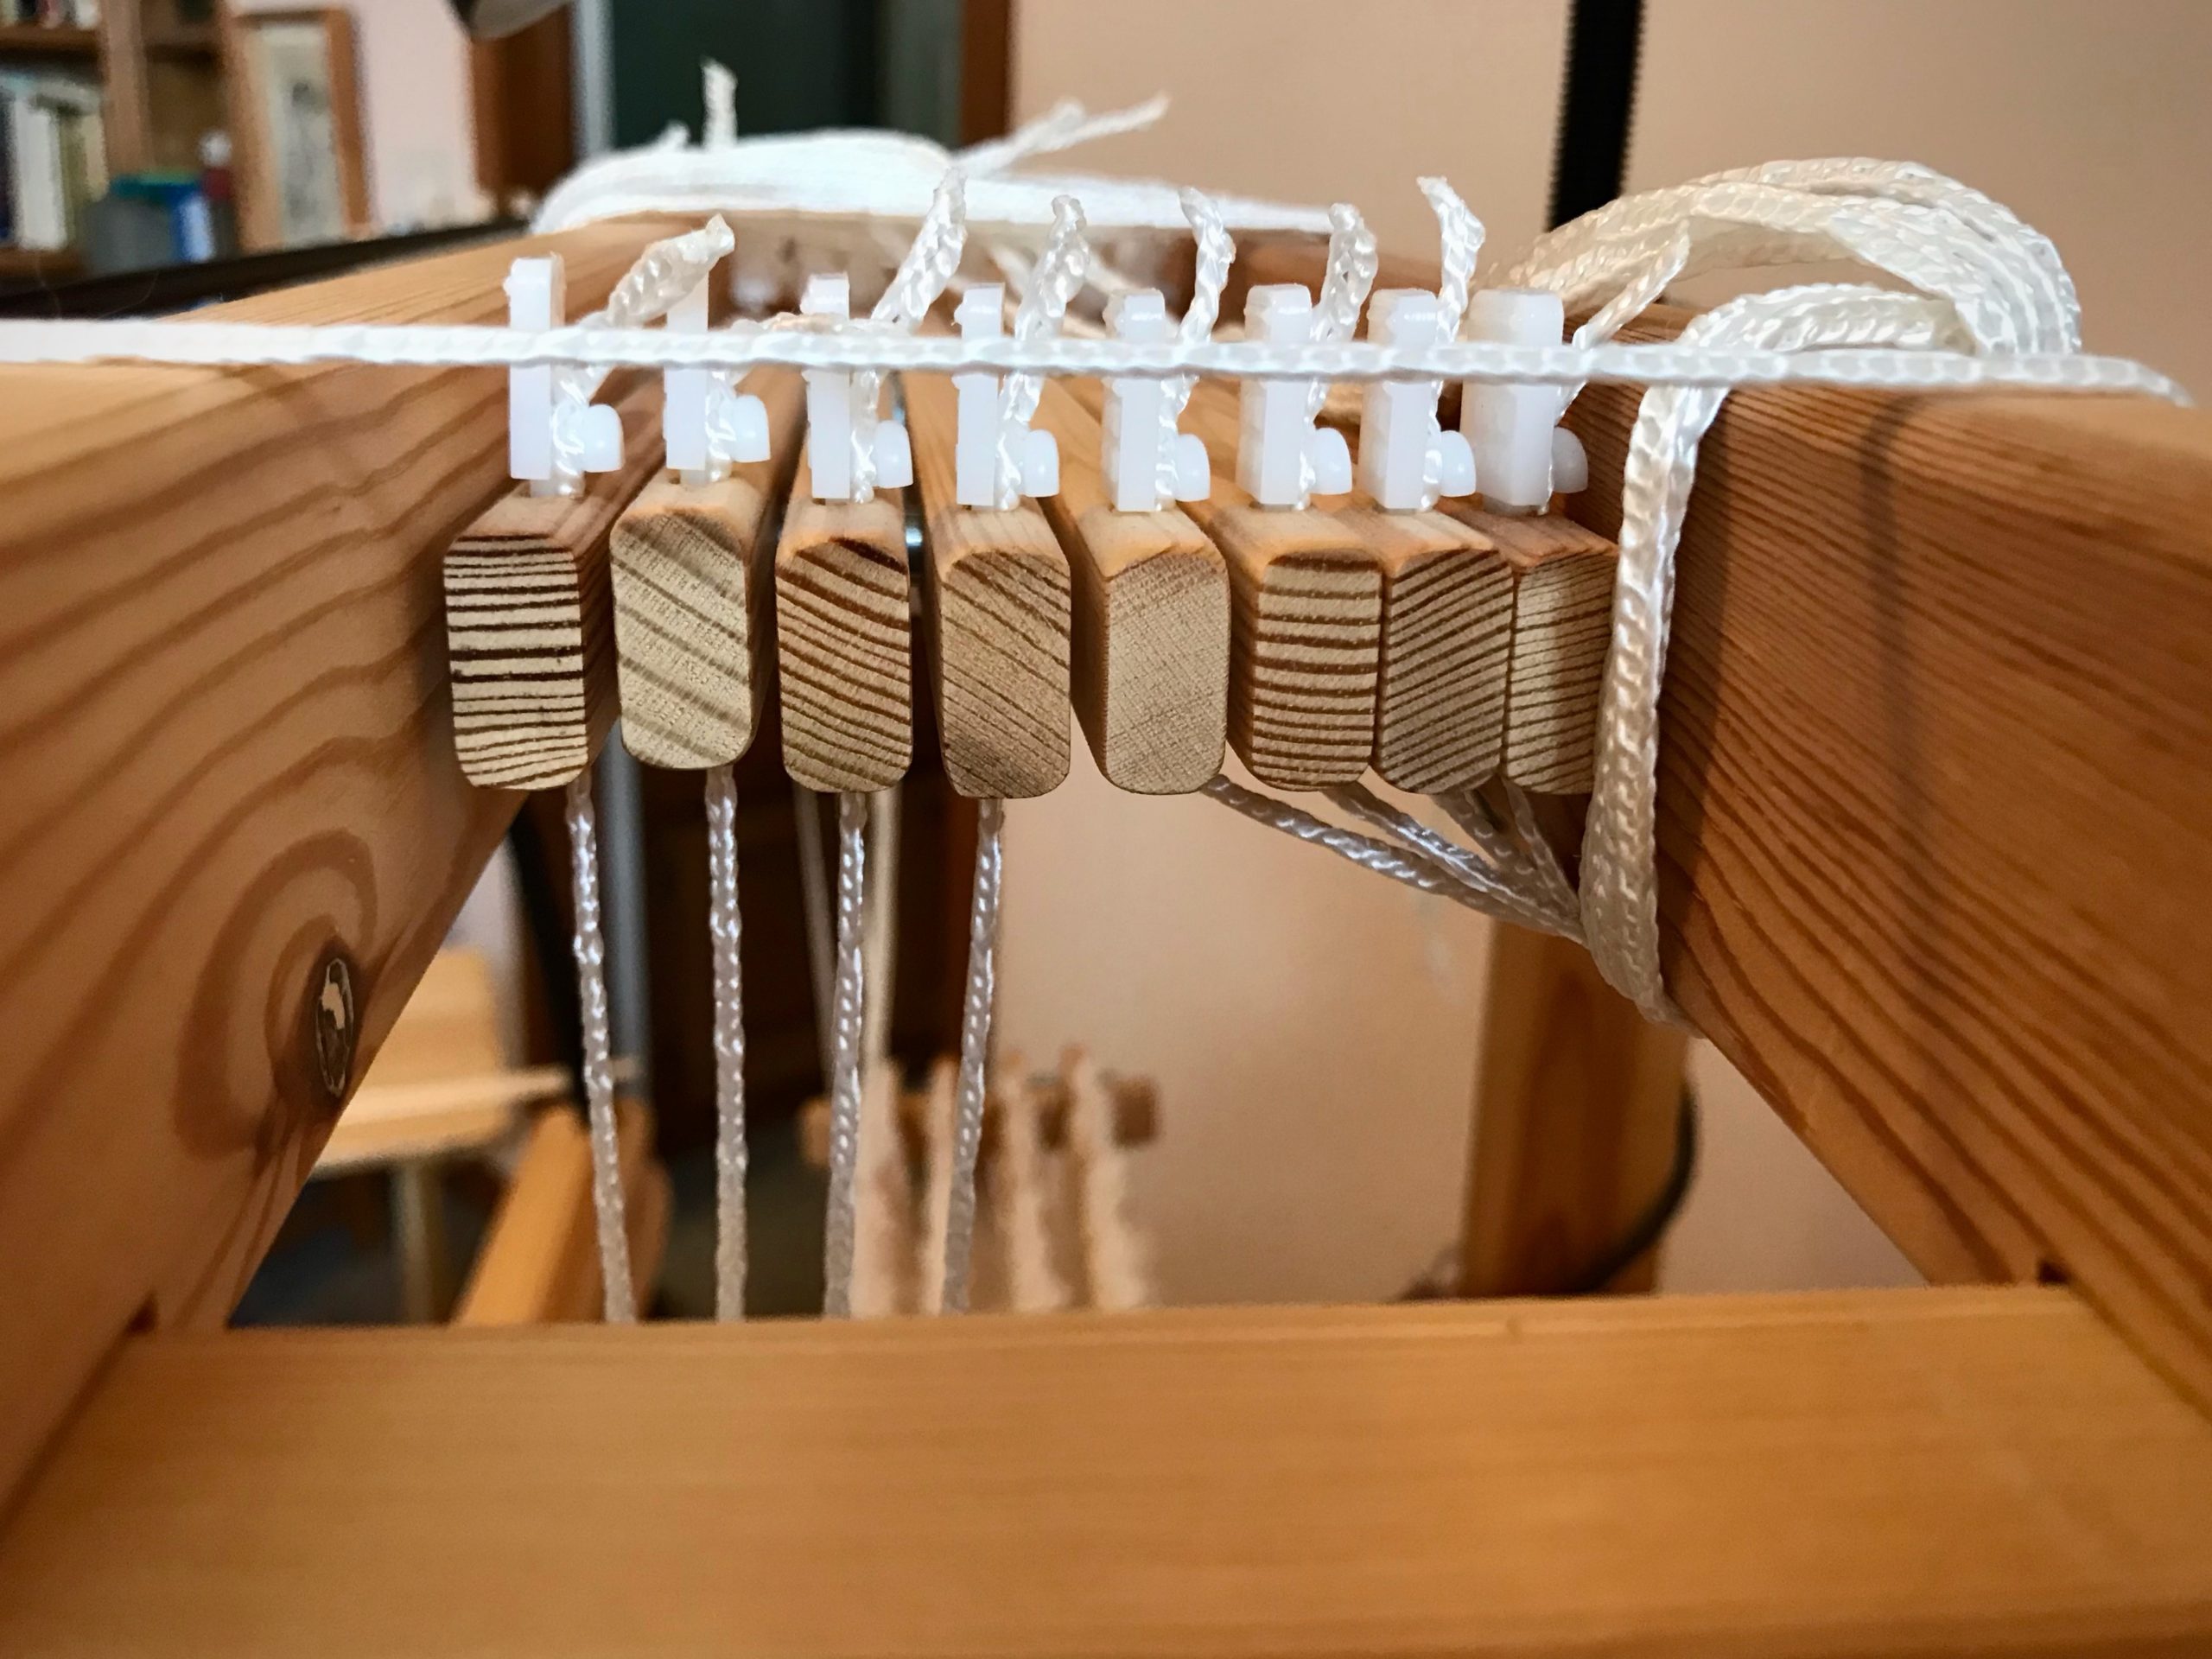
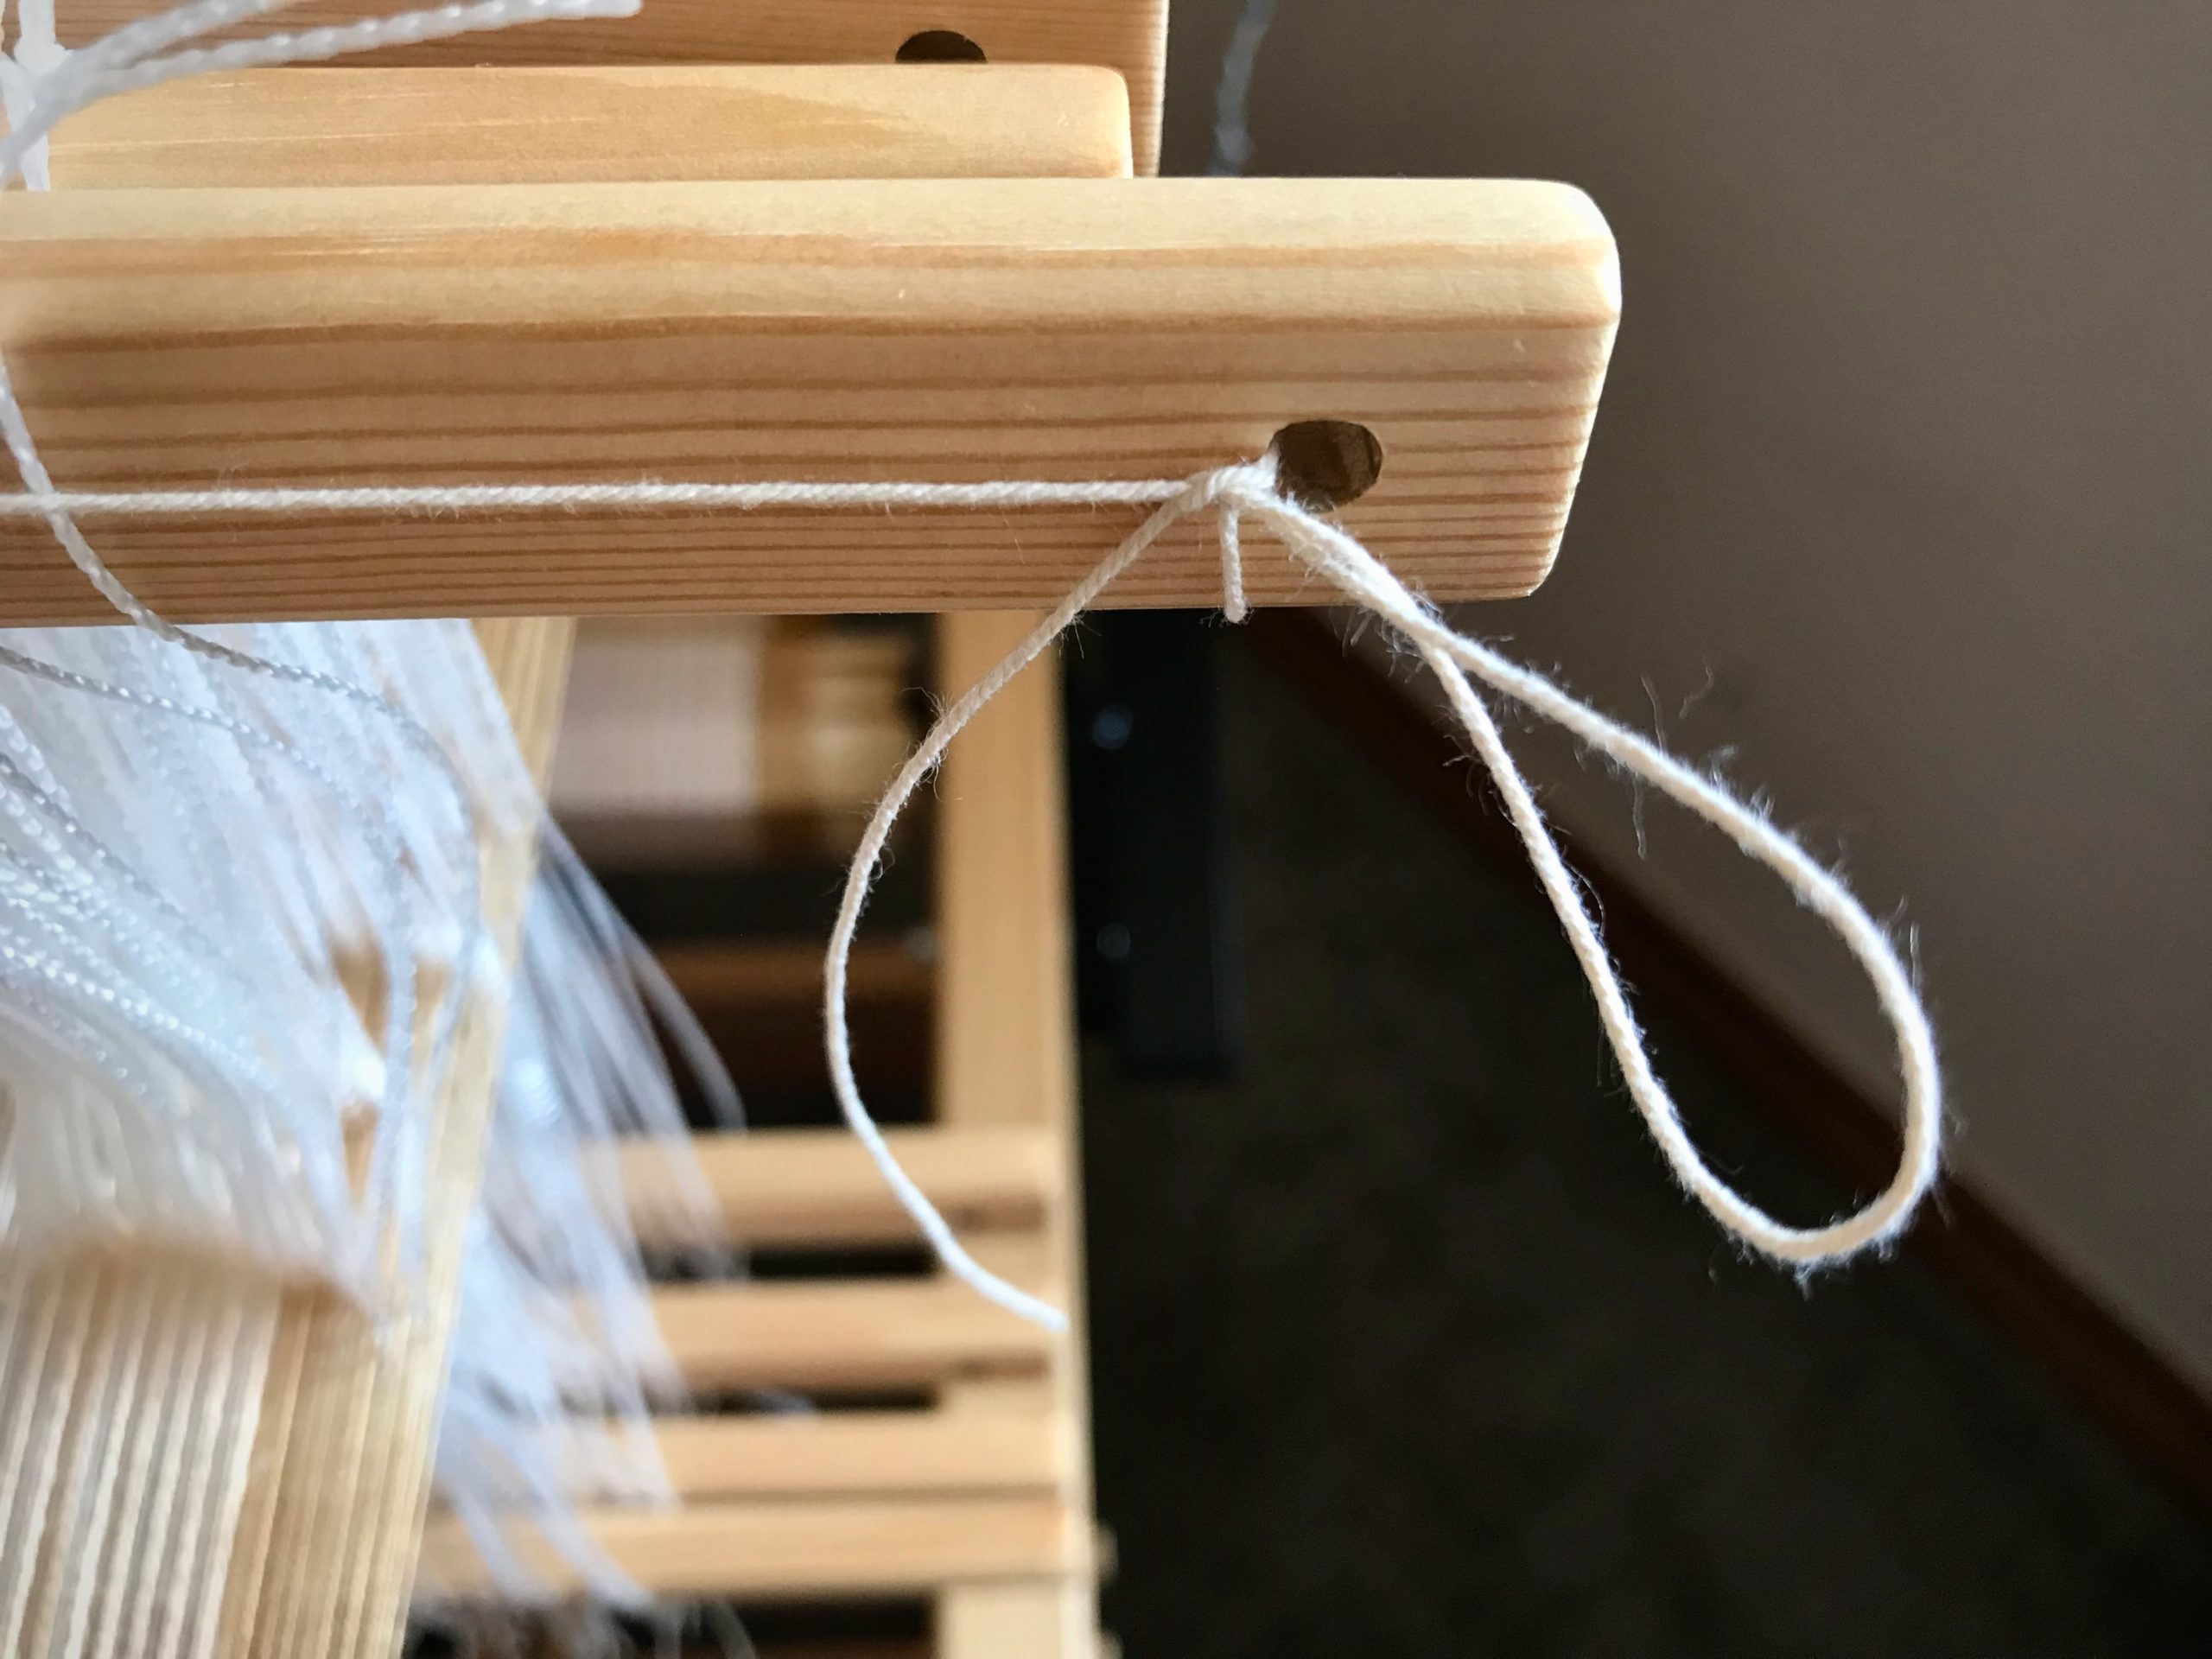
1 Measure shaft bar from hole to hole. (Julia shaft bar is 70 cm)
2 Figure additional length (about 40 cm) for tying two knots. (70 + 40 = 110 cm)
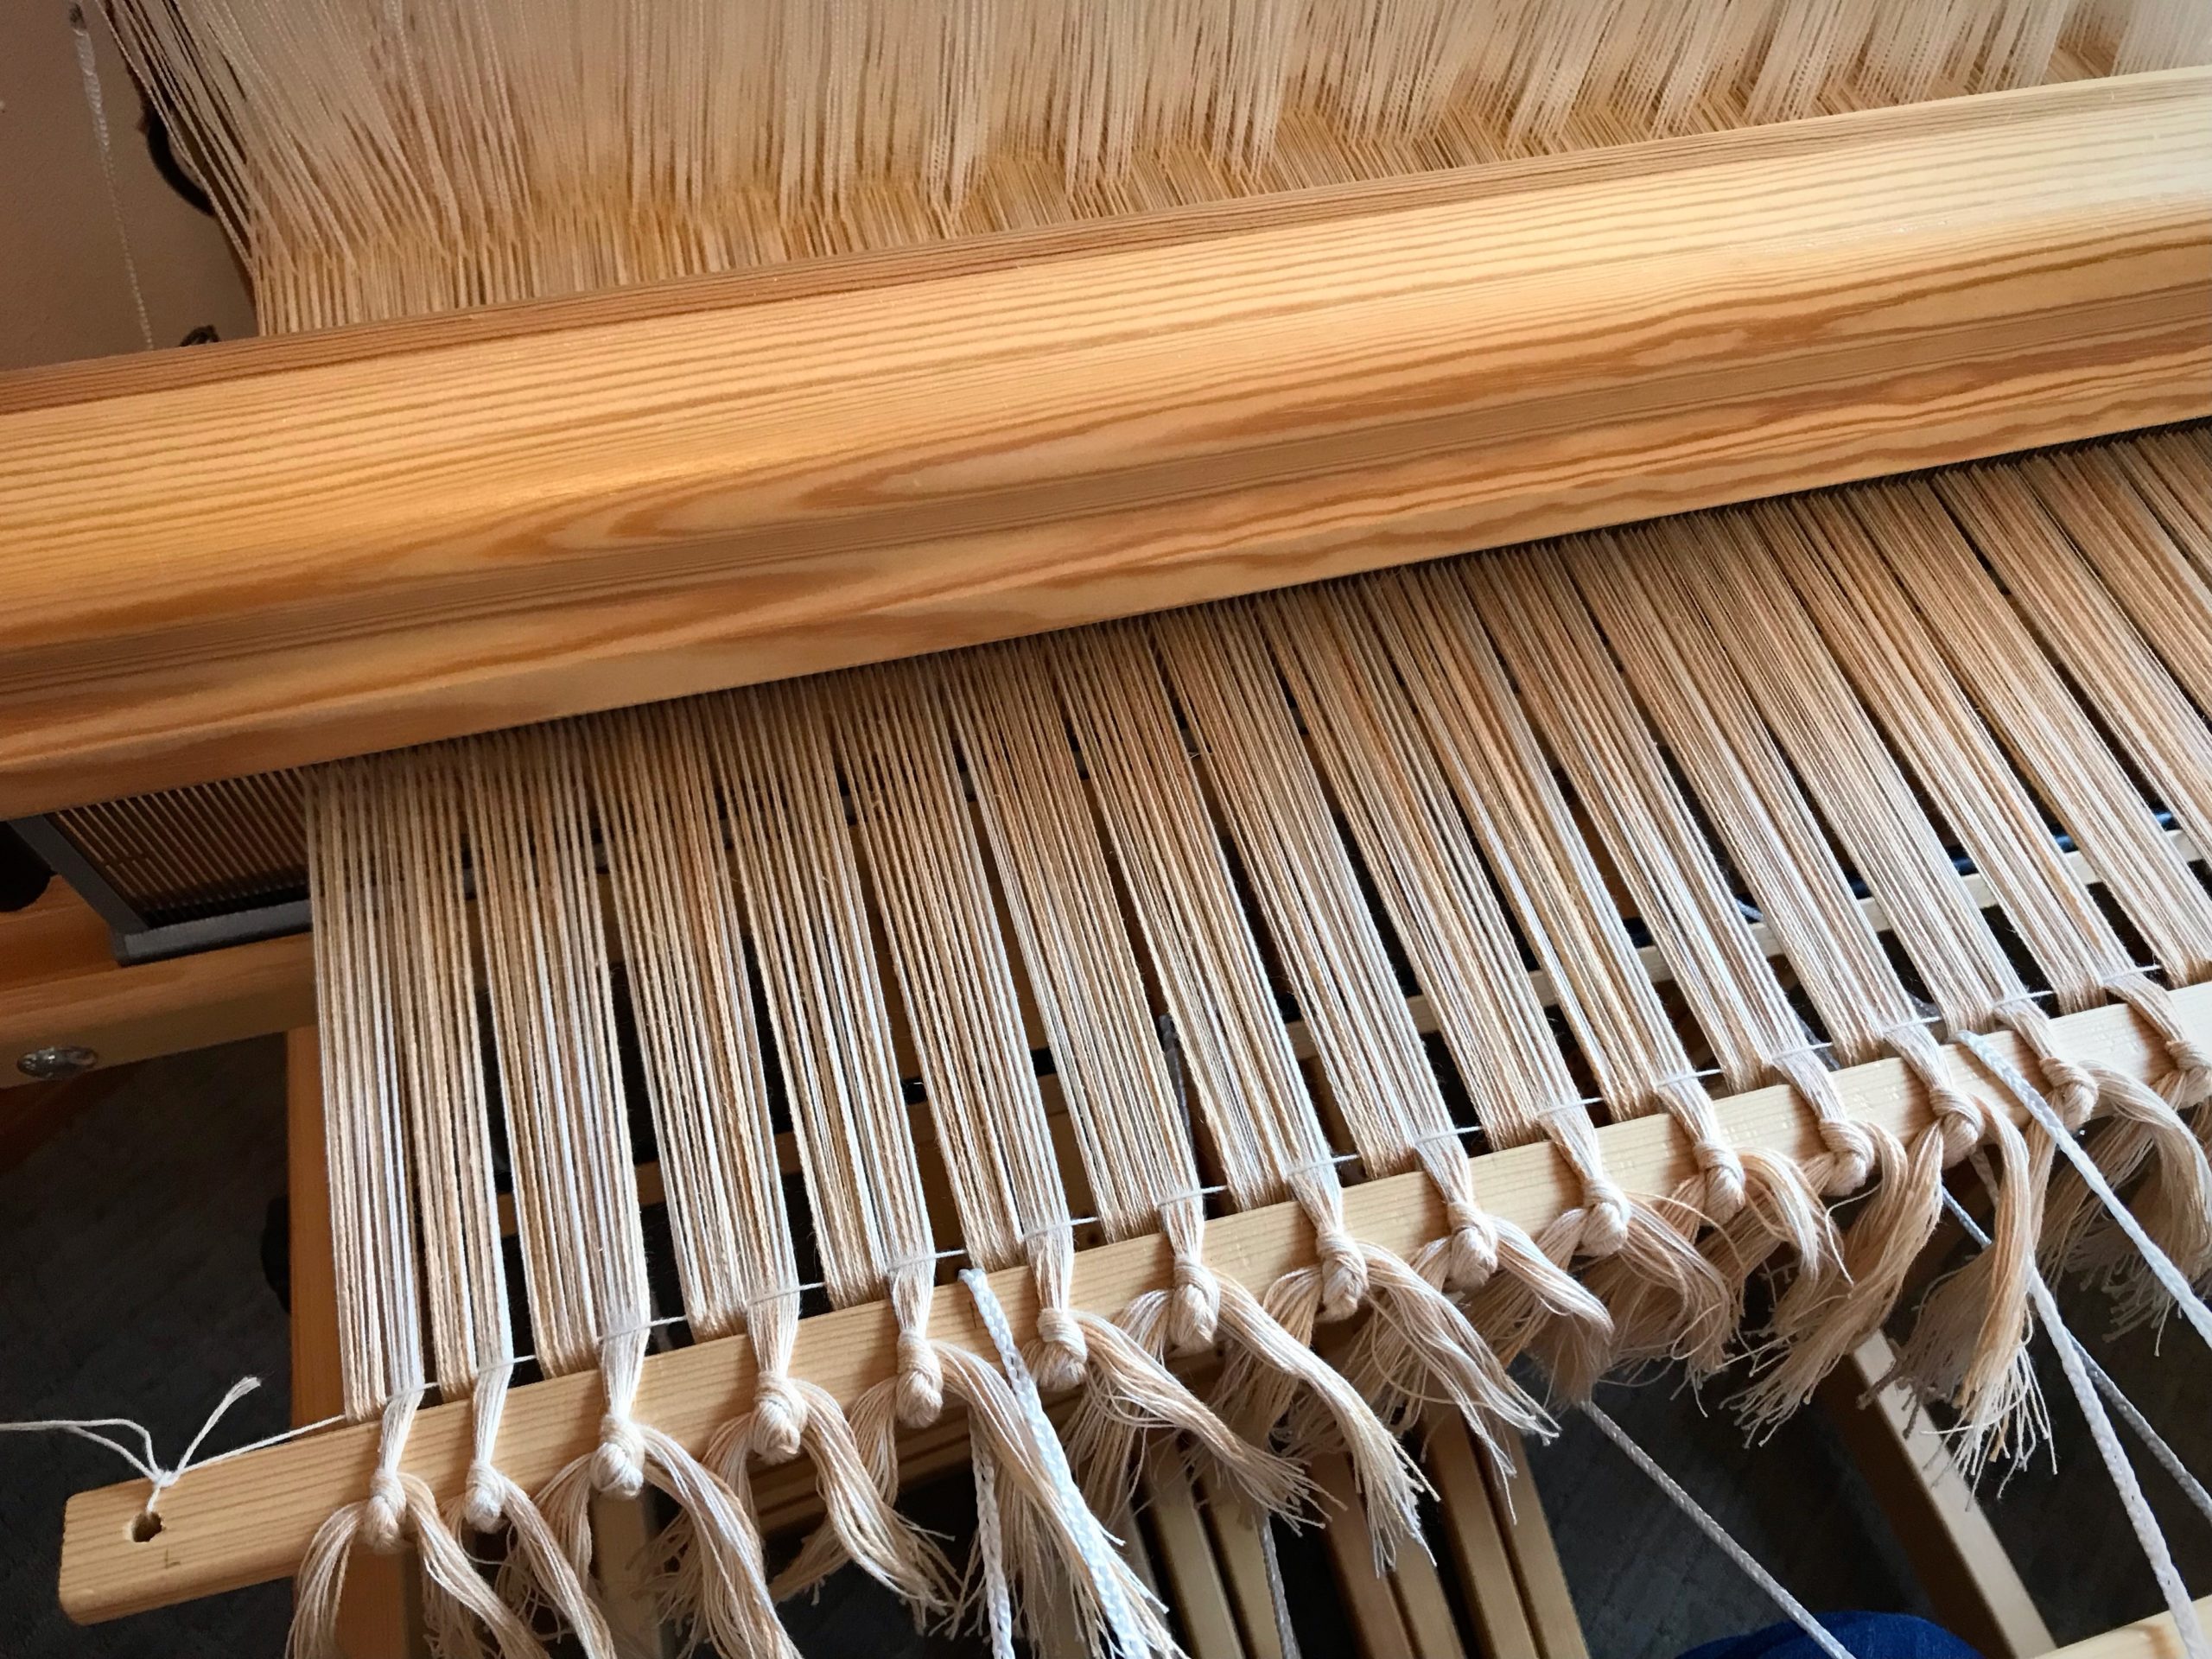
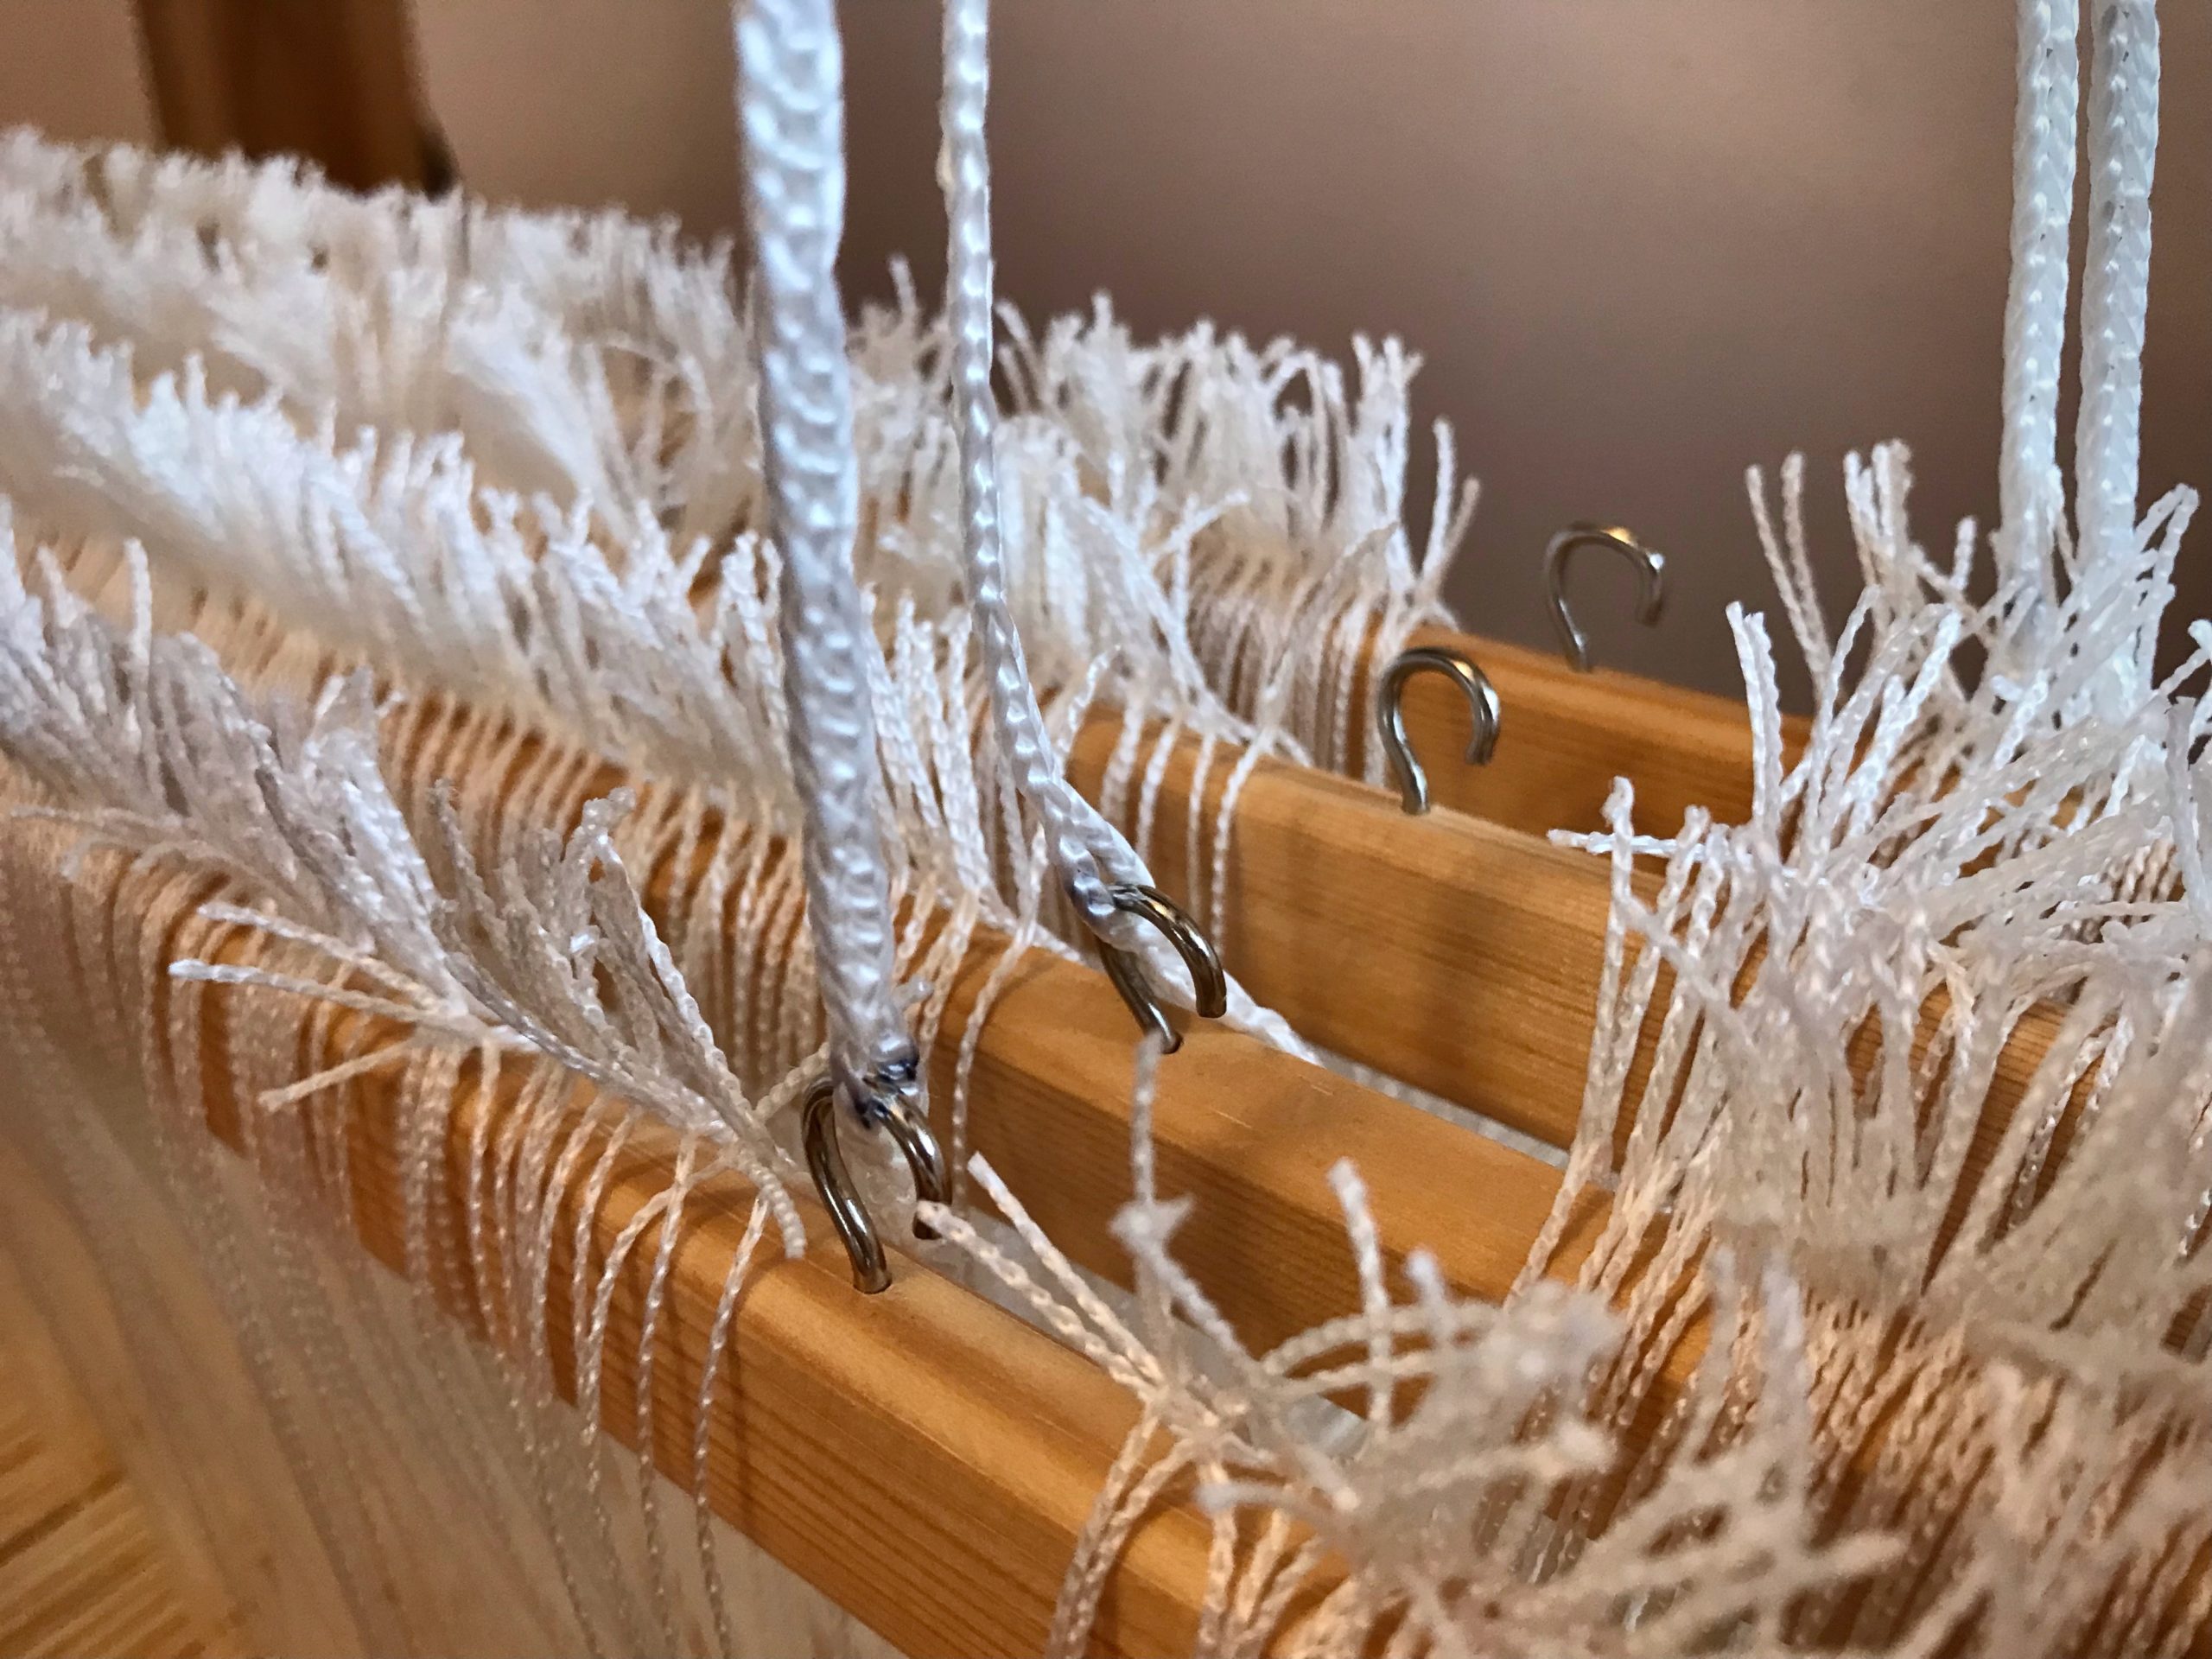
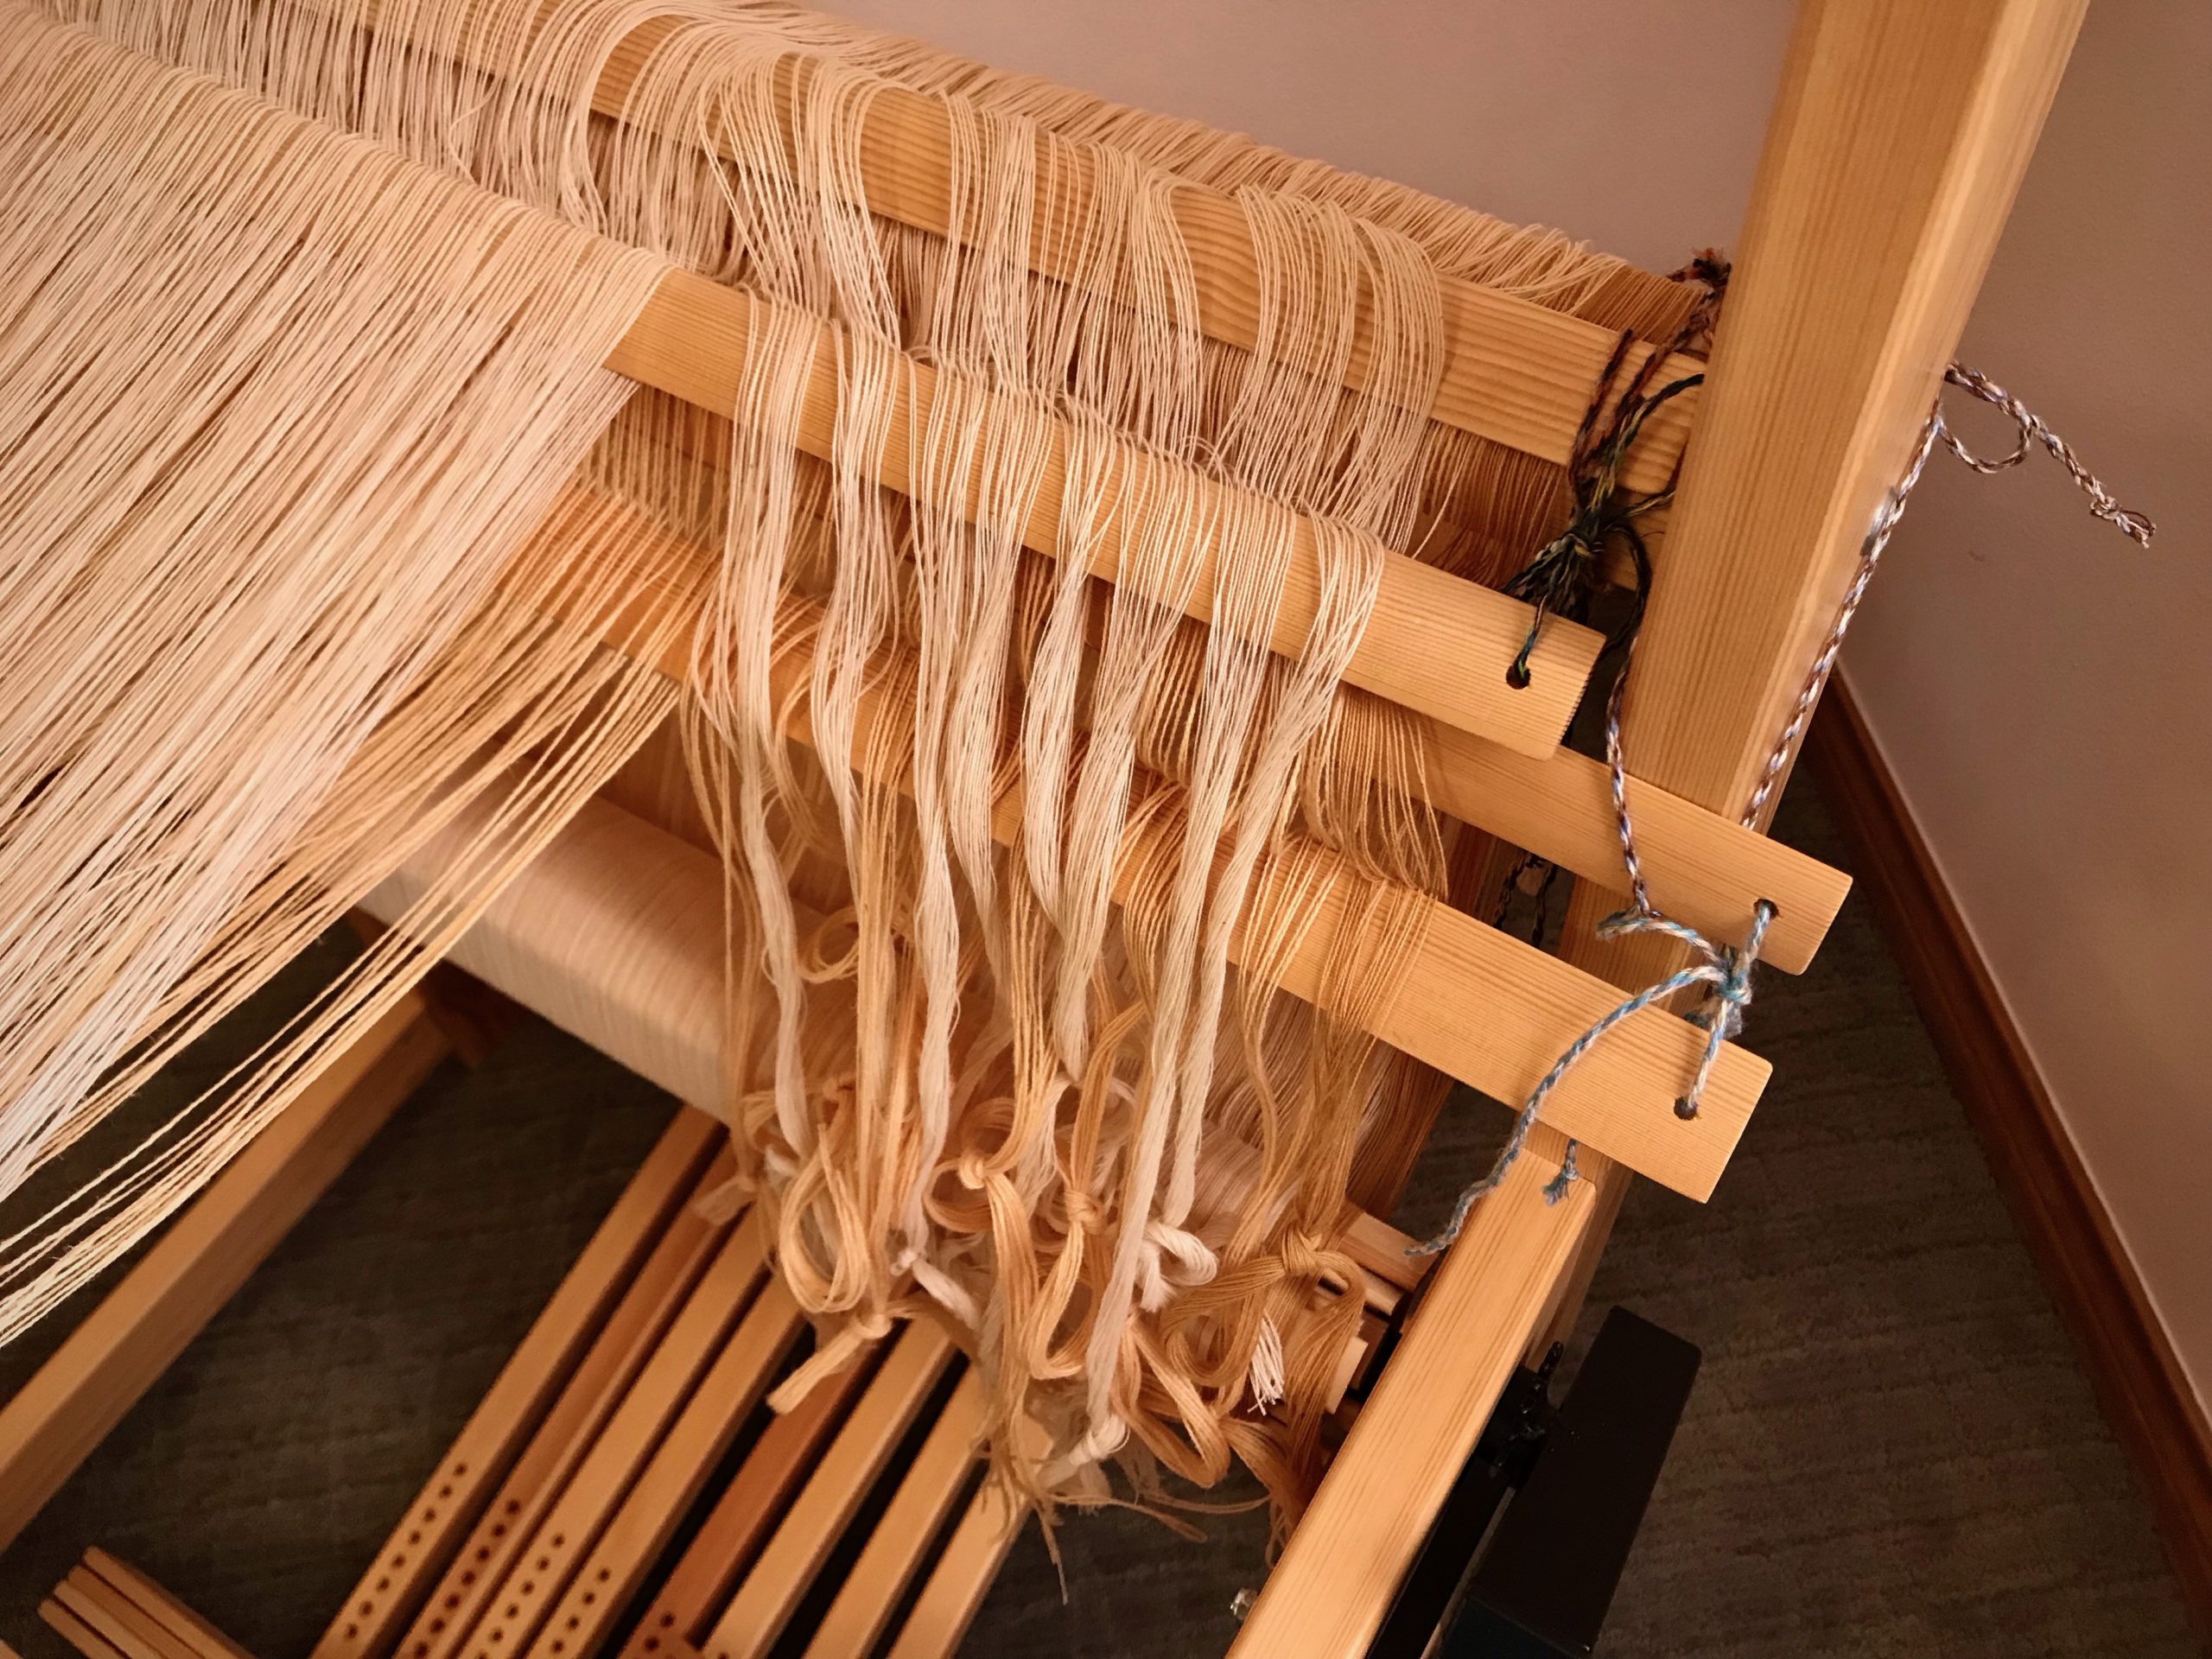
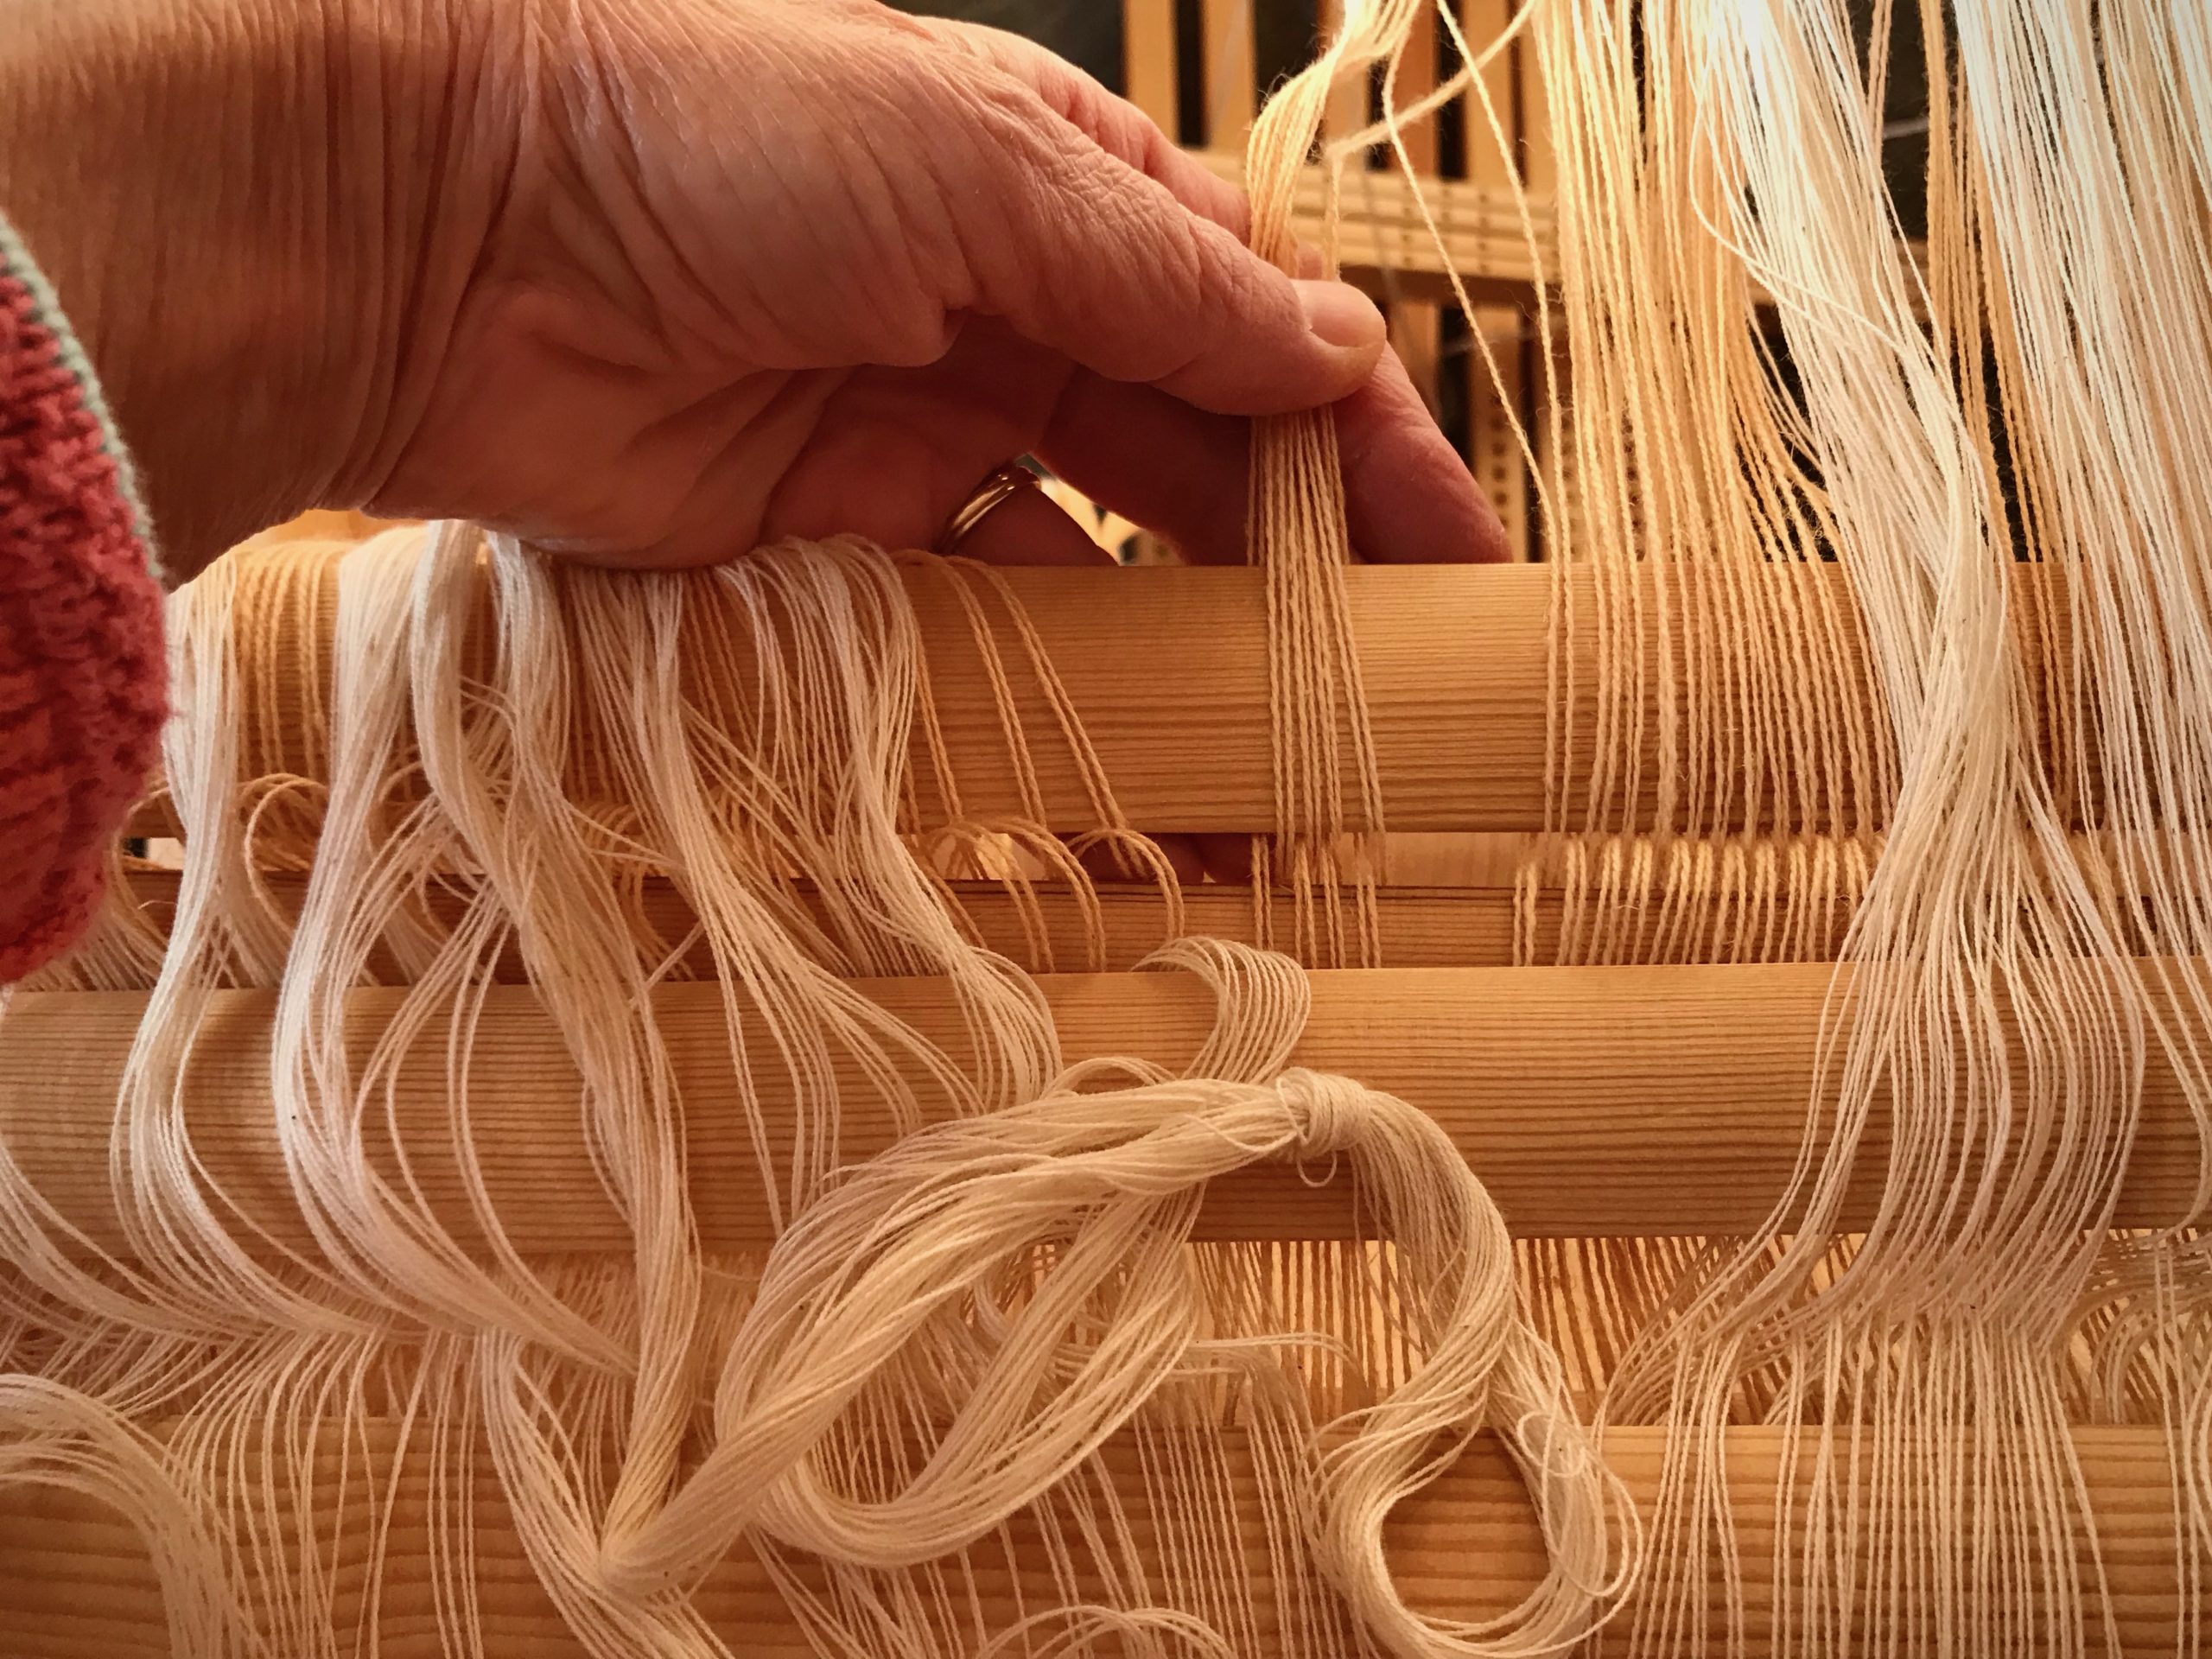
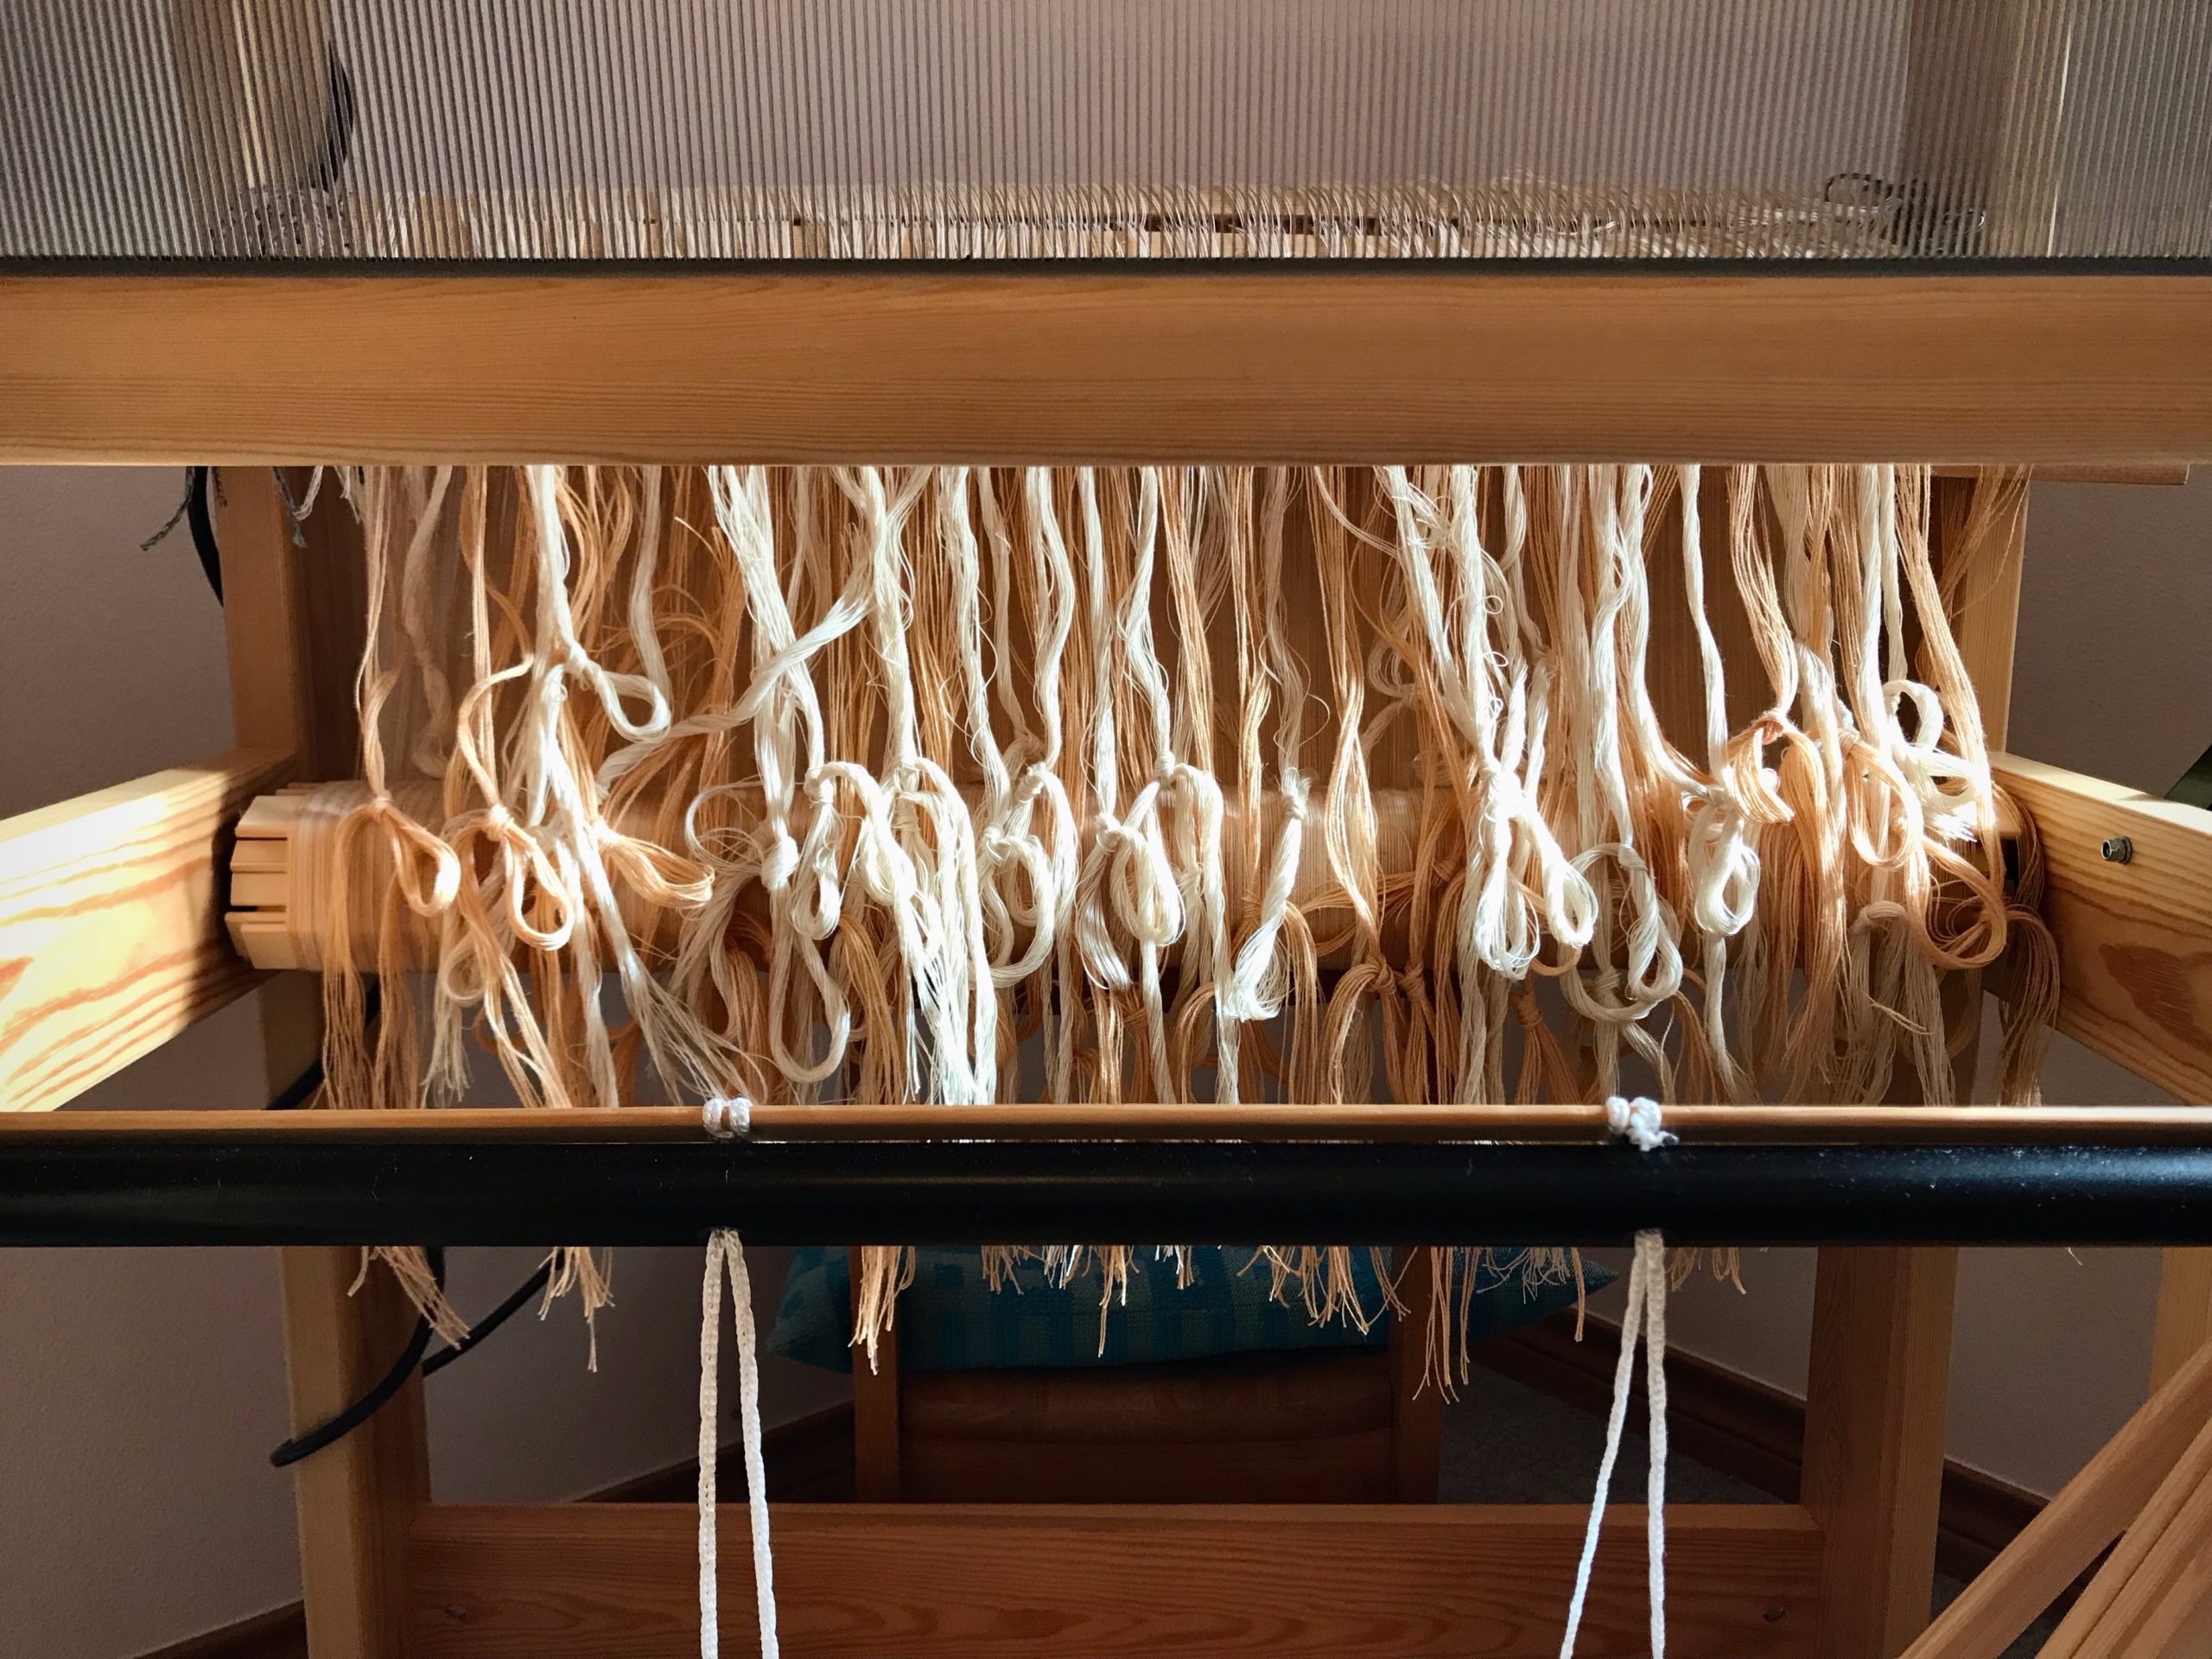
3 Cut seine twine to measured length for each upper and lower shaft bar. (Heddles can slip off lower shaft bars, too.)
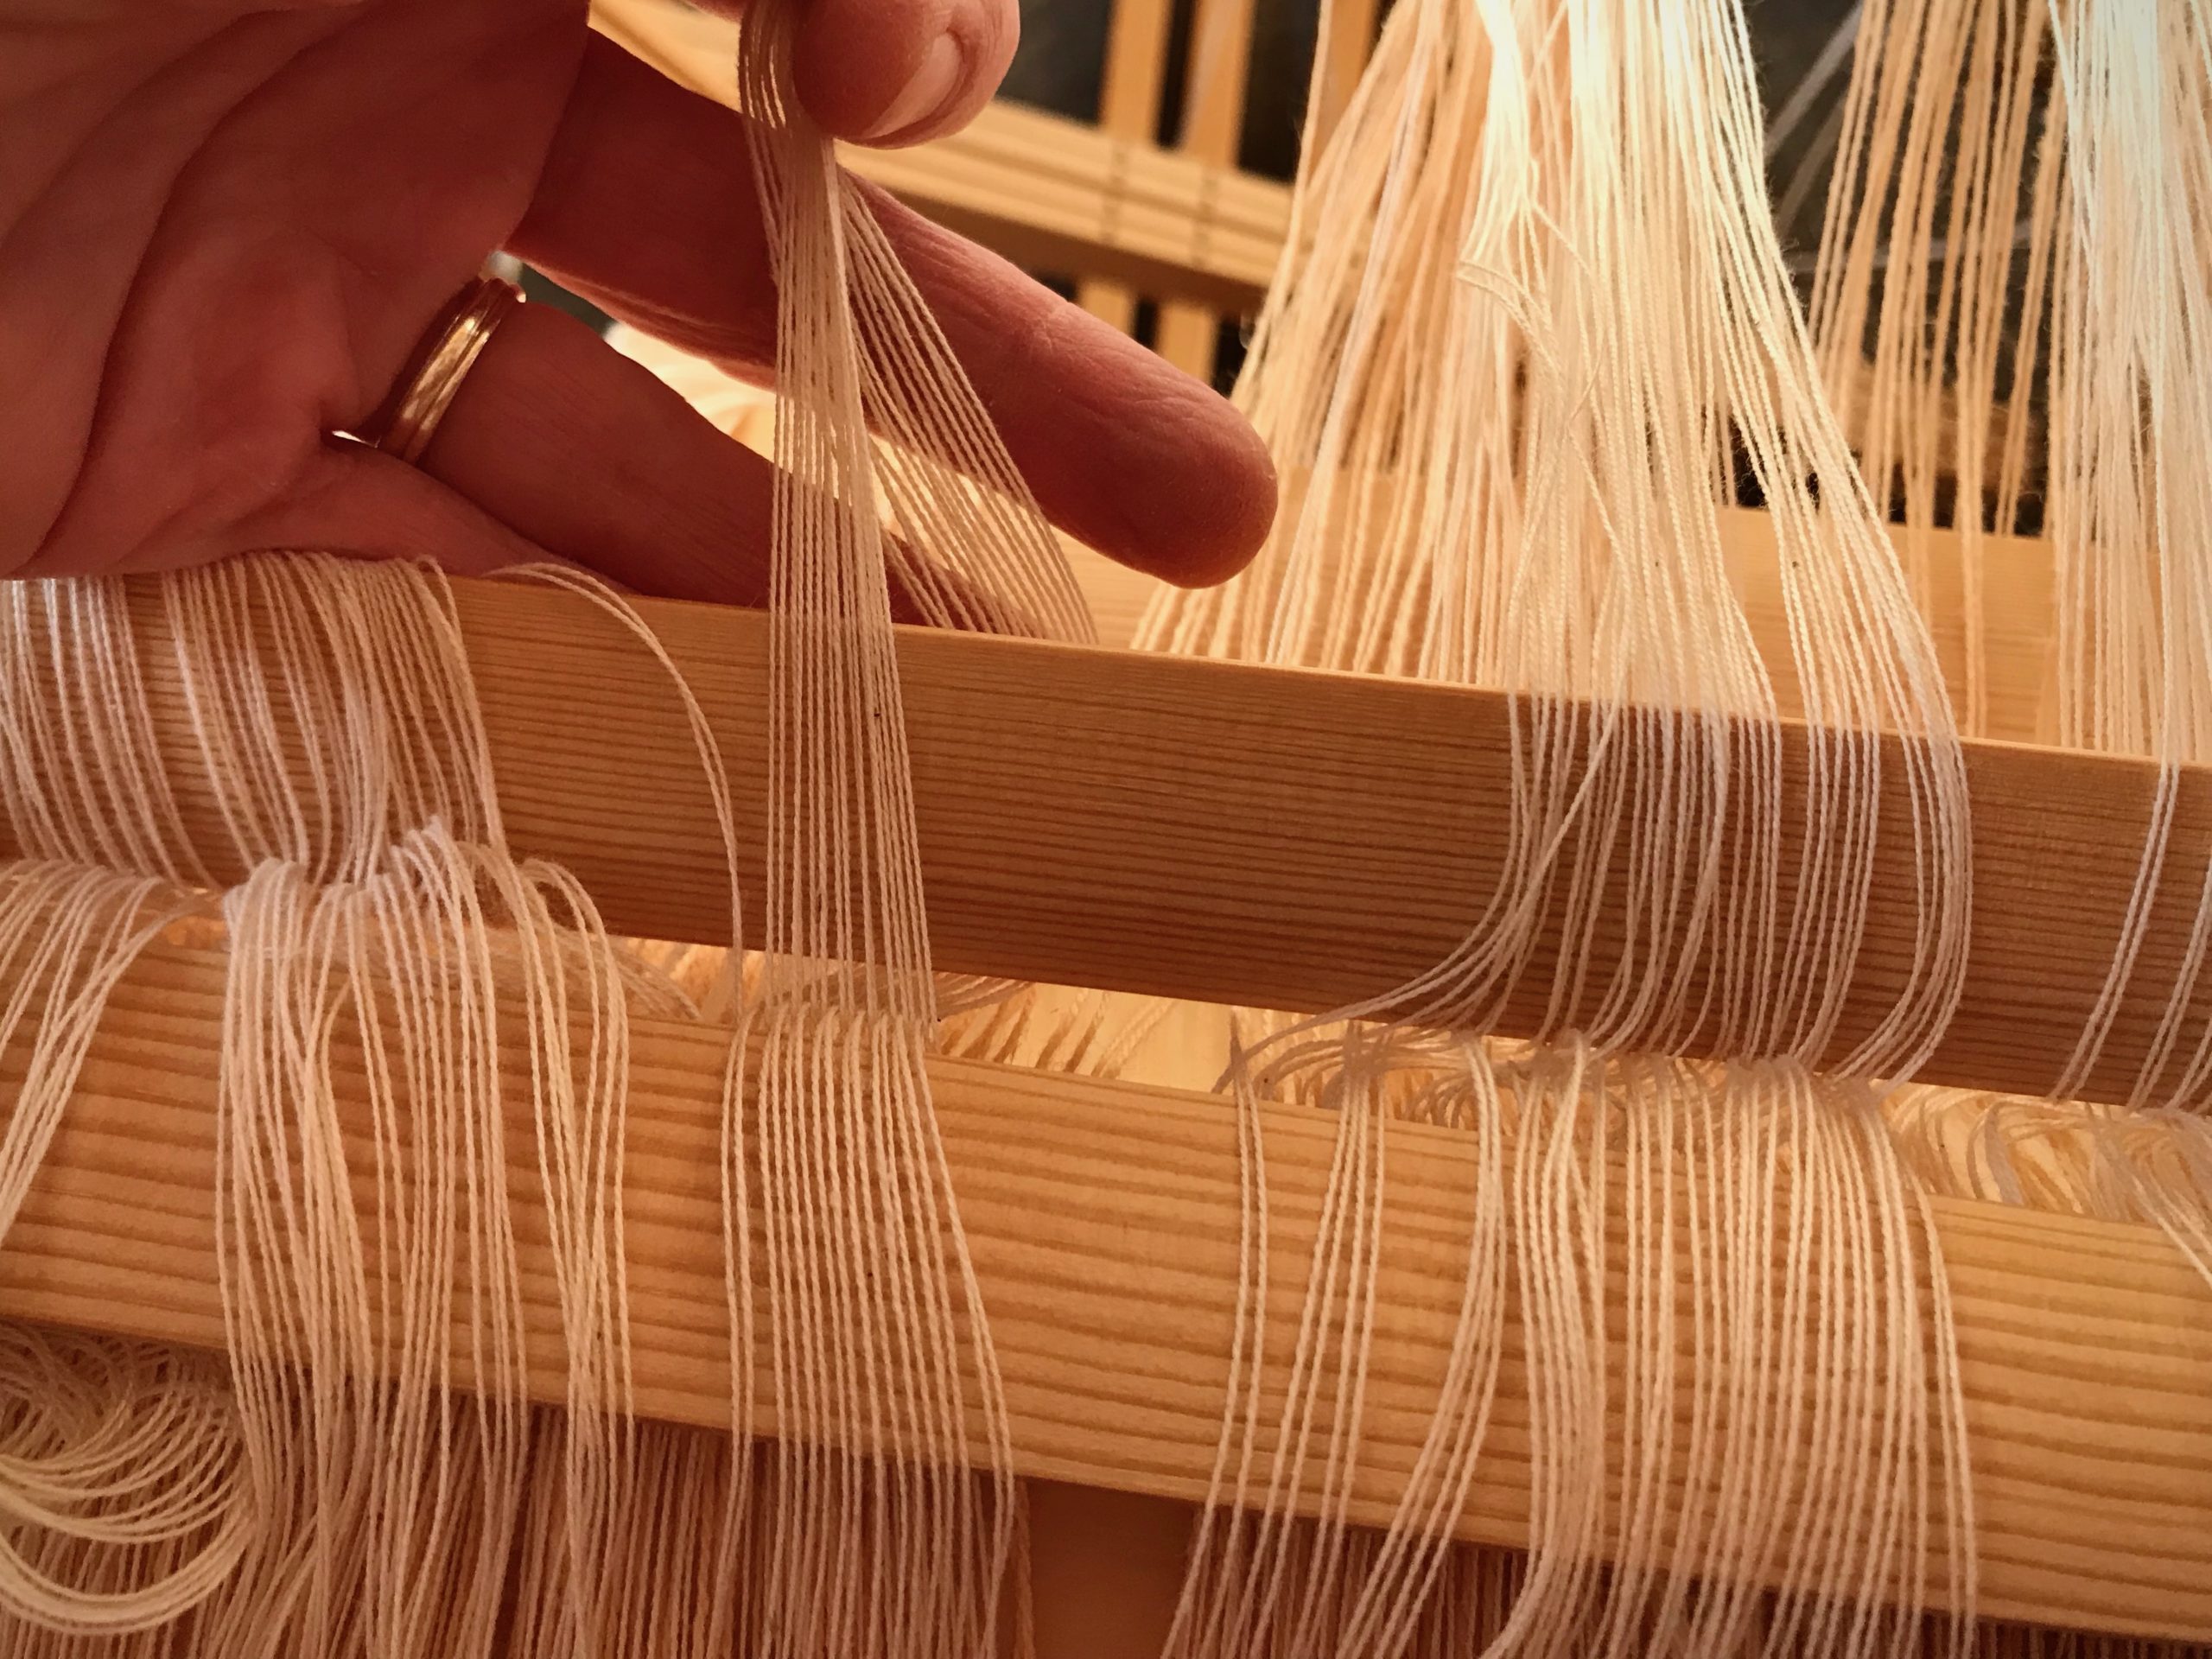
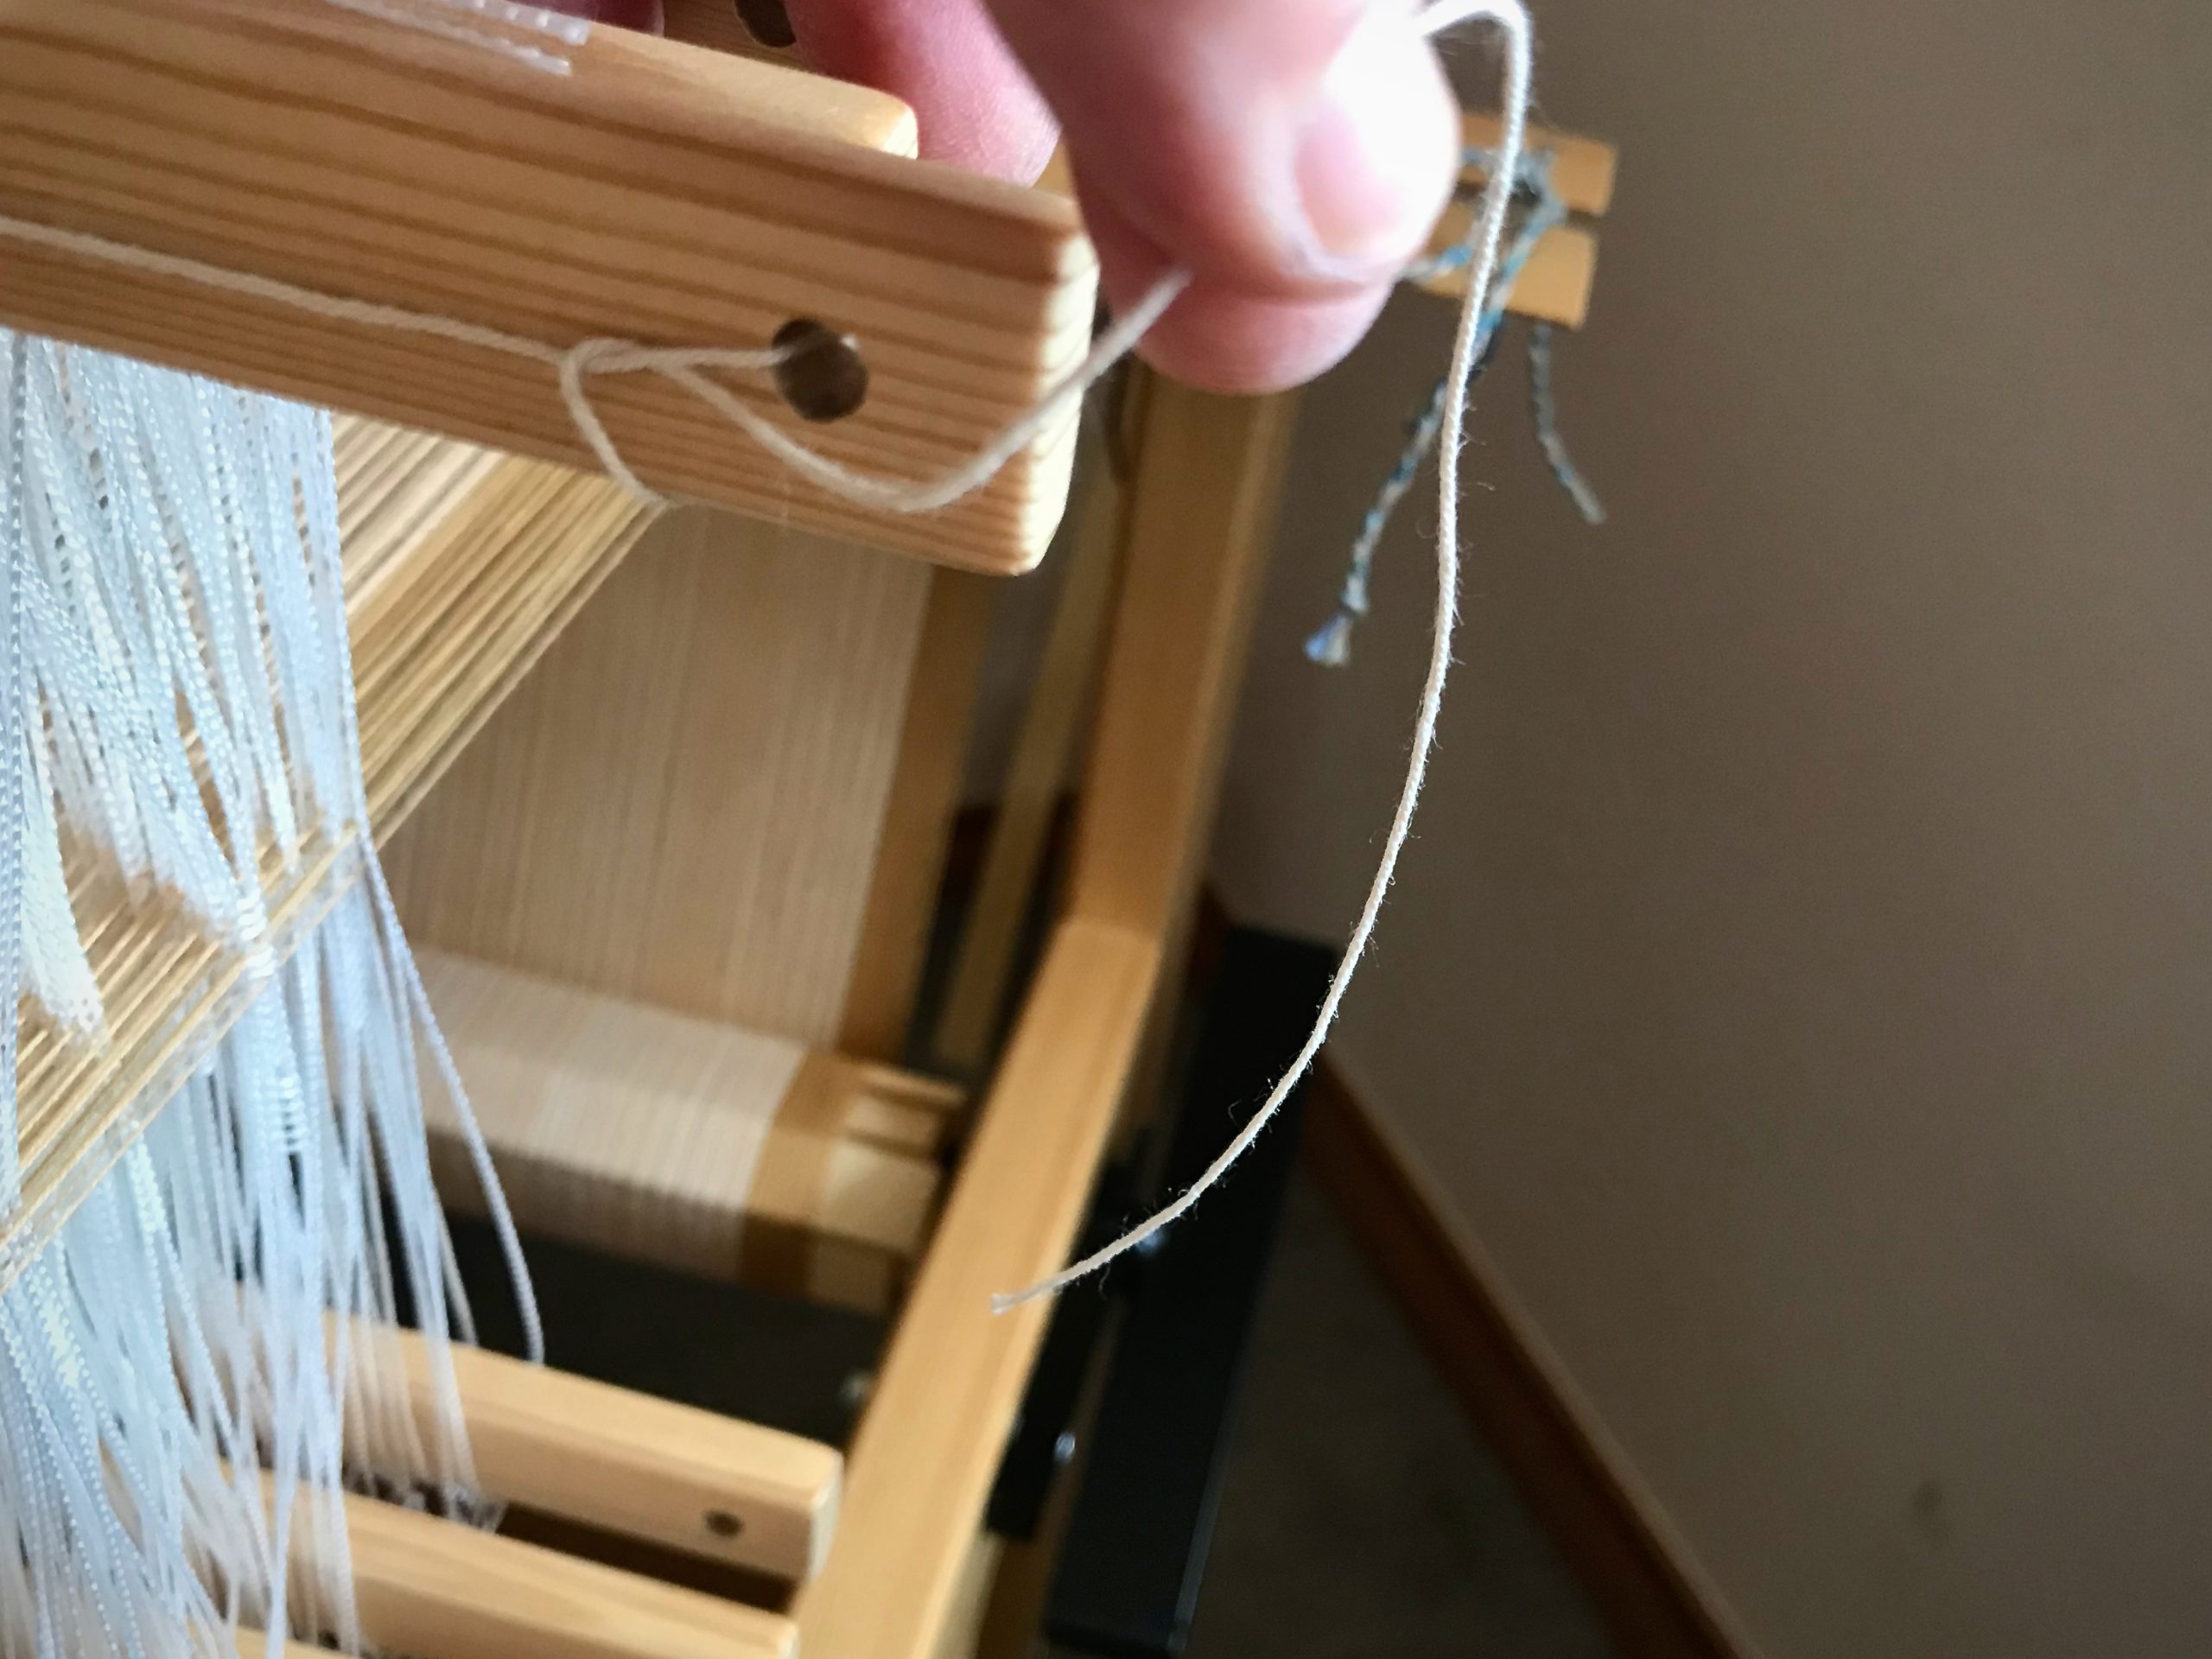
4 Insert one of the seine twine cords through the hole on one end of a shaft bar. Tie. (I use the half-bow slip knot as described in Learning to Warp Your Loom, by Joanne Hall, p.38.)
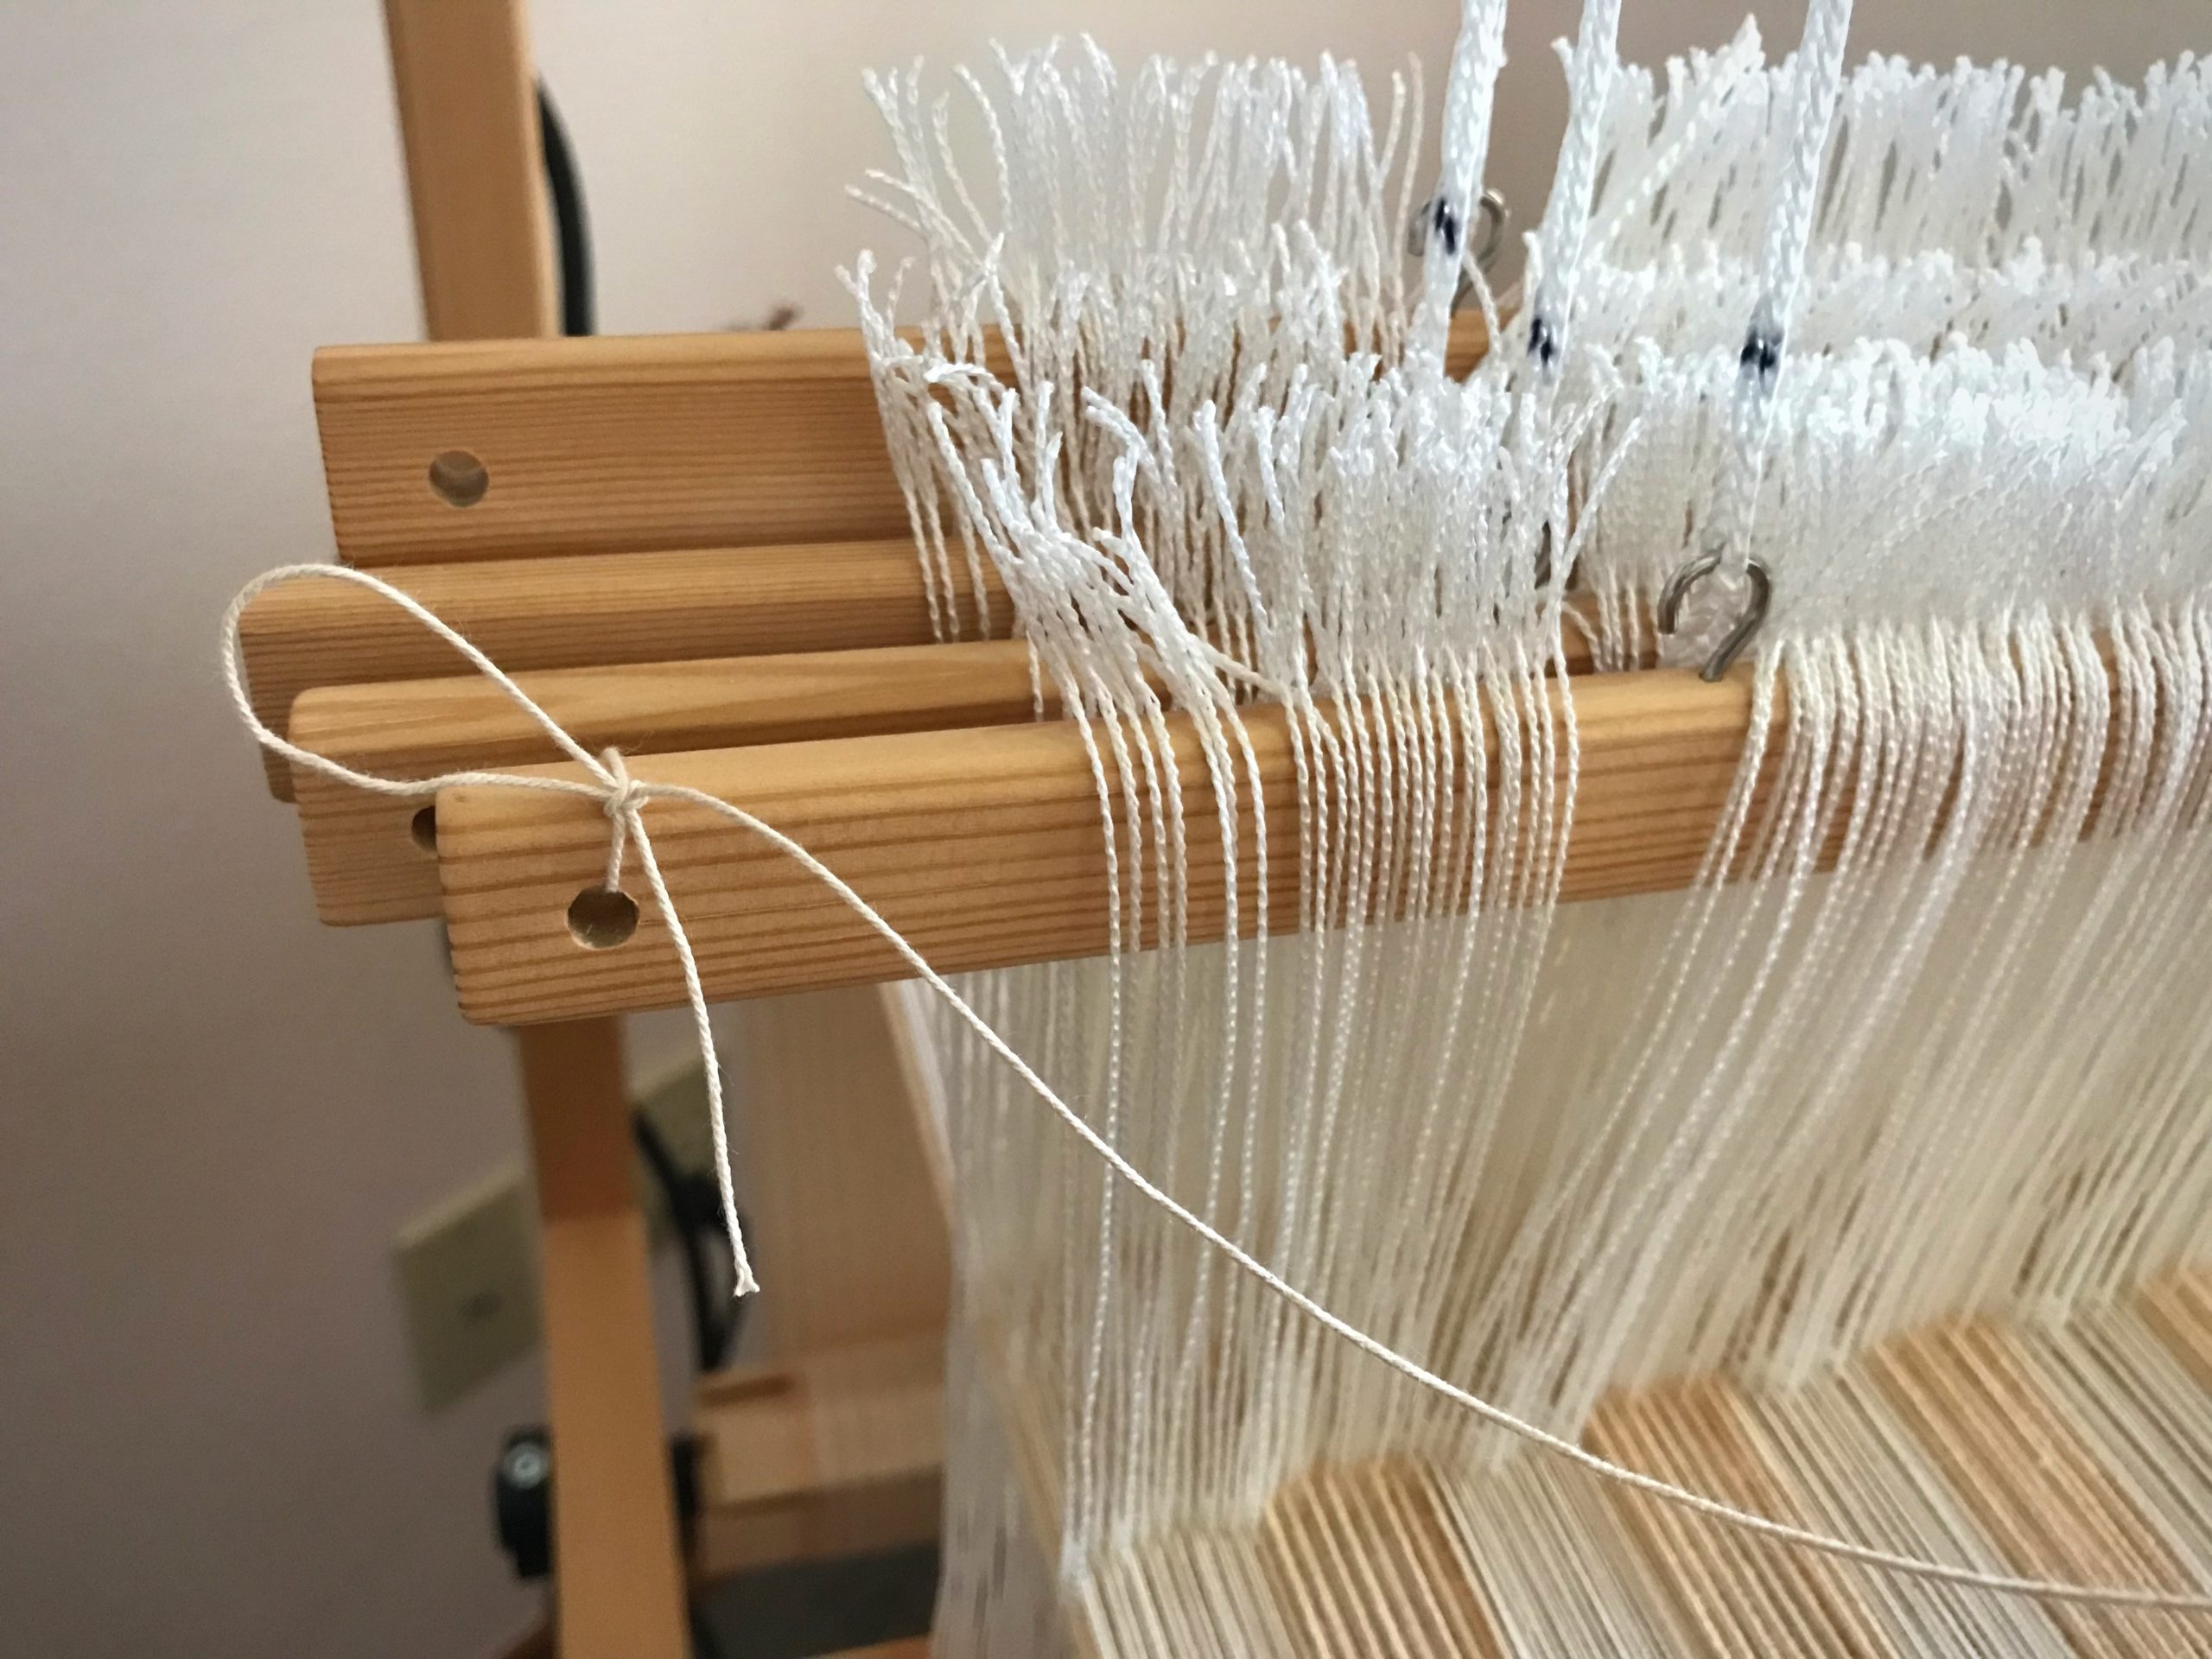
5 Insert the other end of the cord through the hole at other end of the shaft bar. Tie.
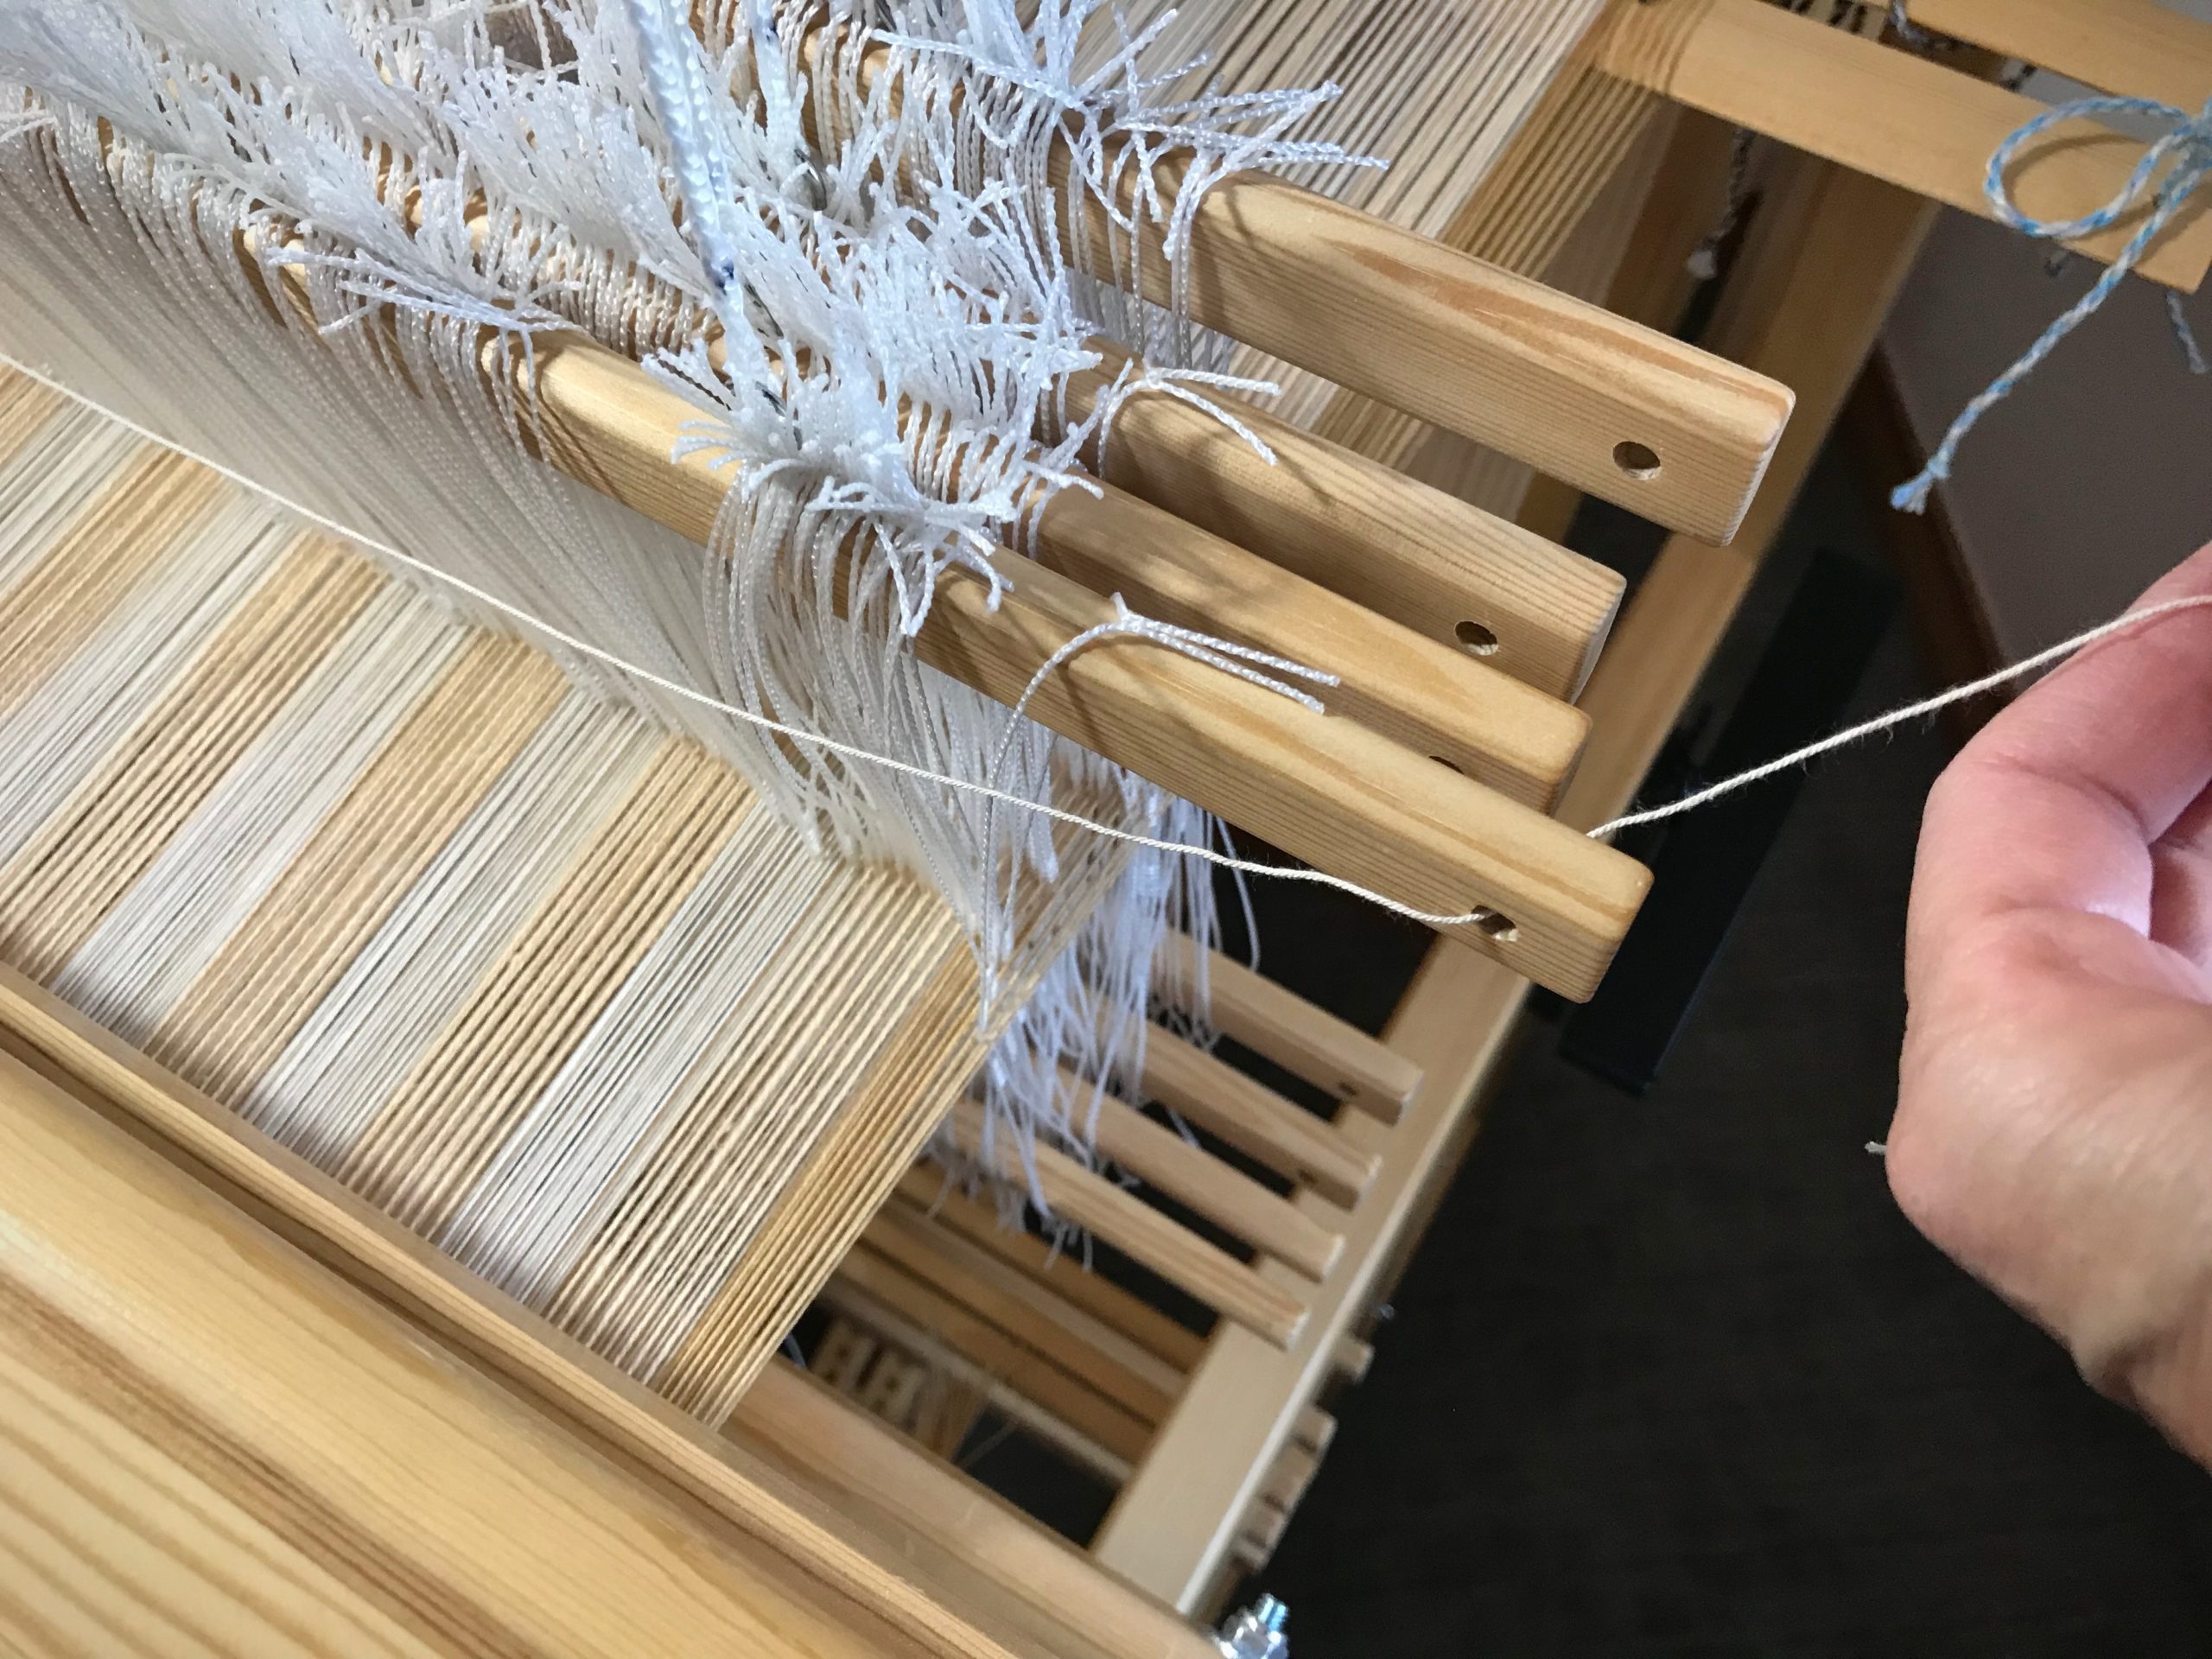
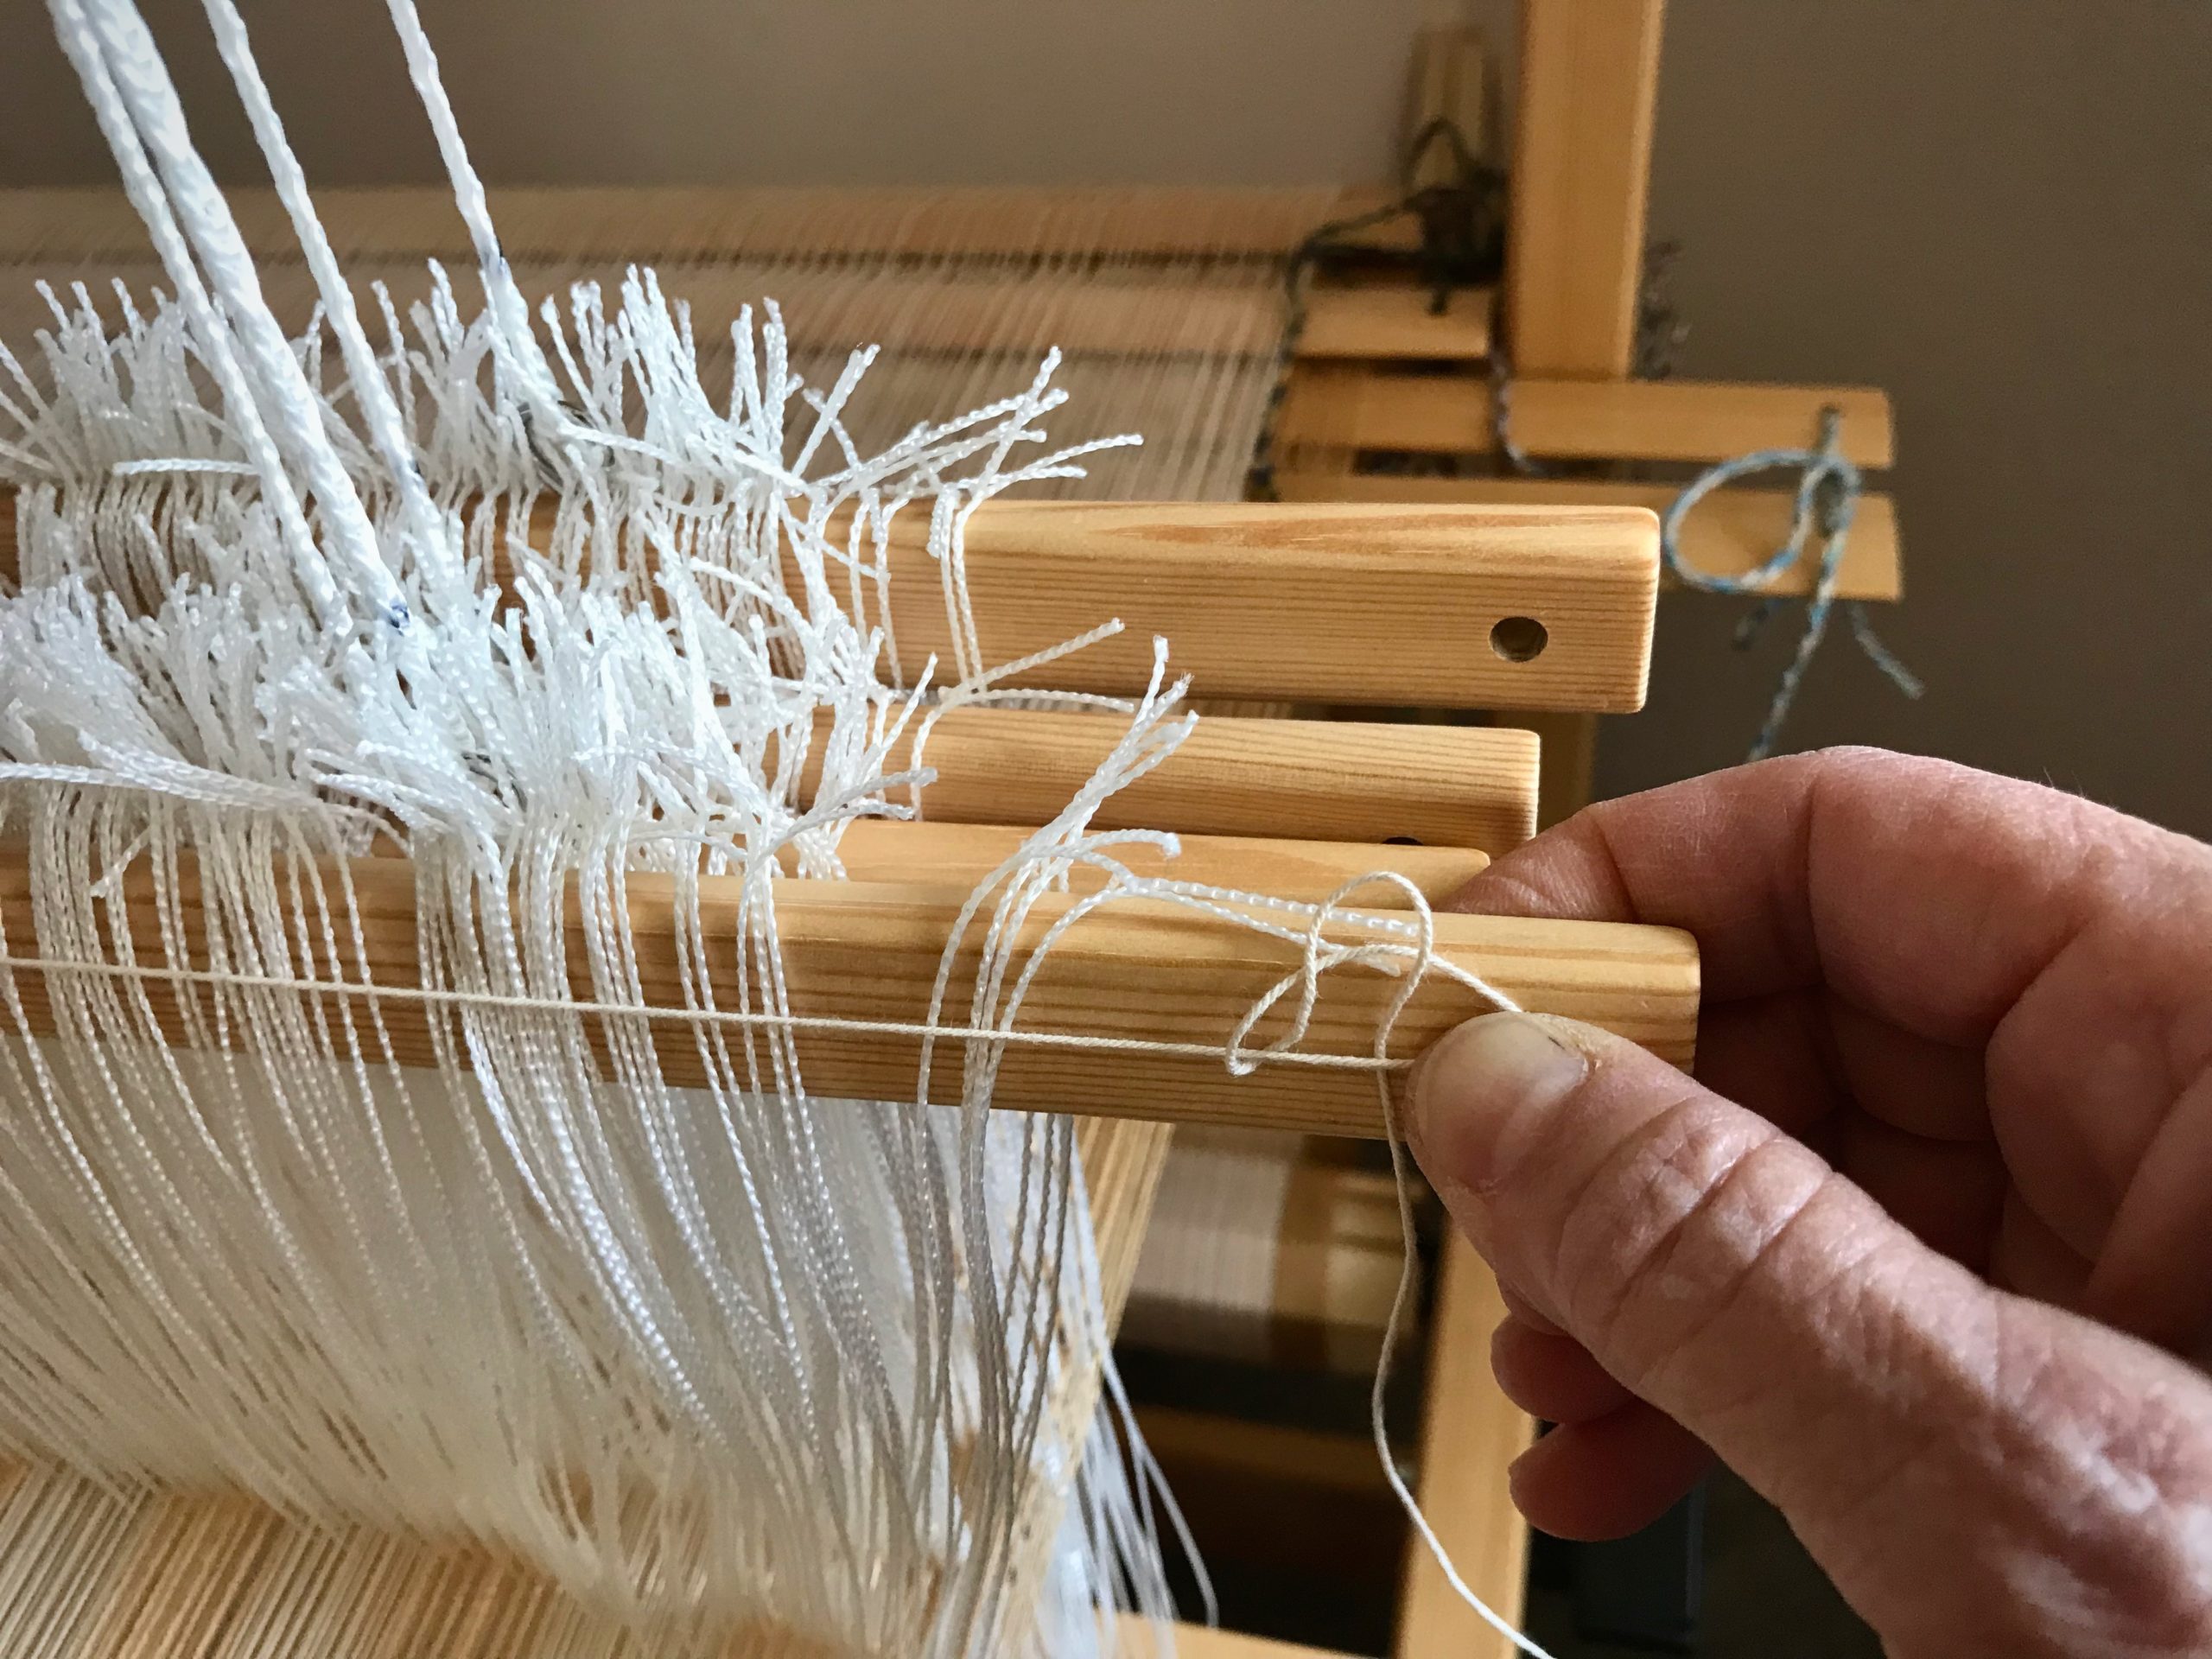
6 Repeat steps 4 and 5 for each remaining upper and lower shaft bar.
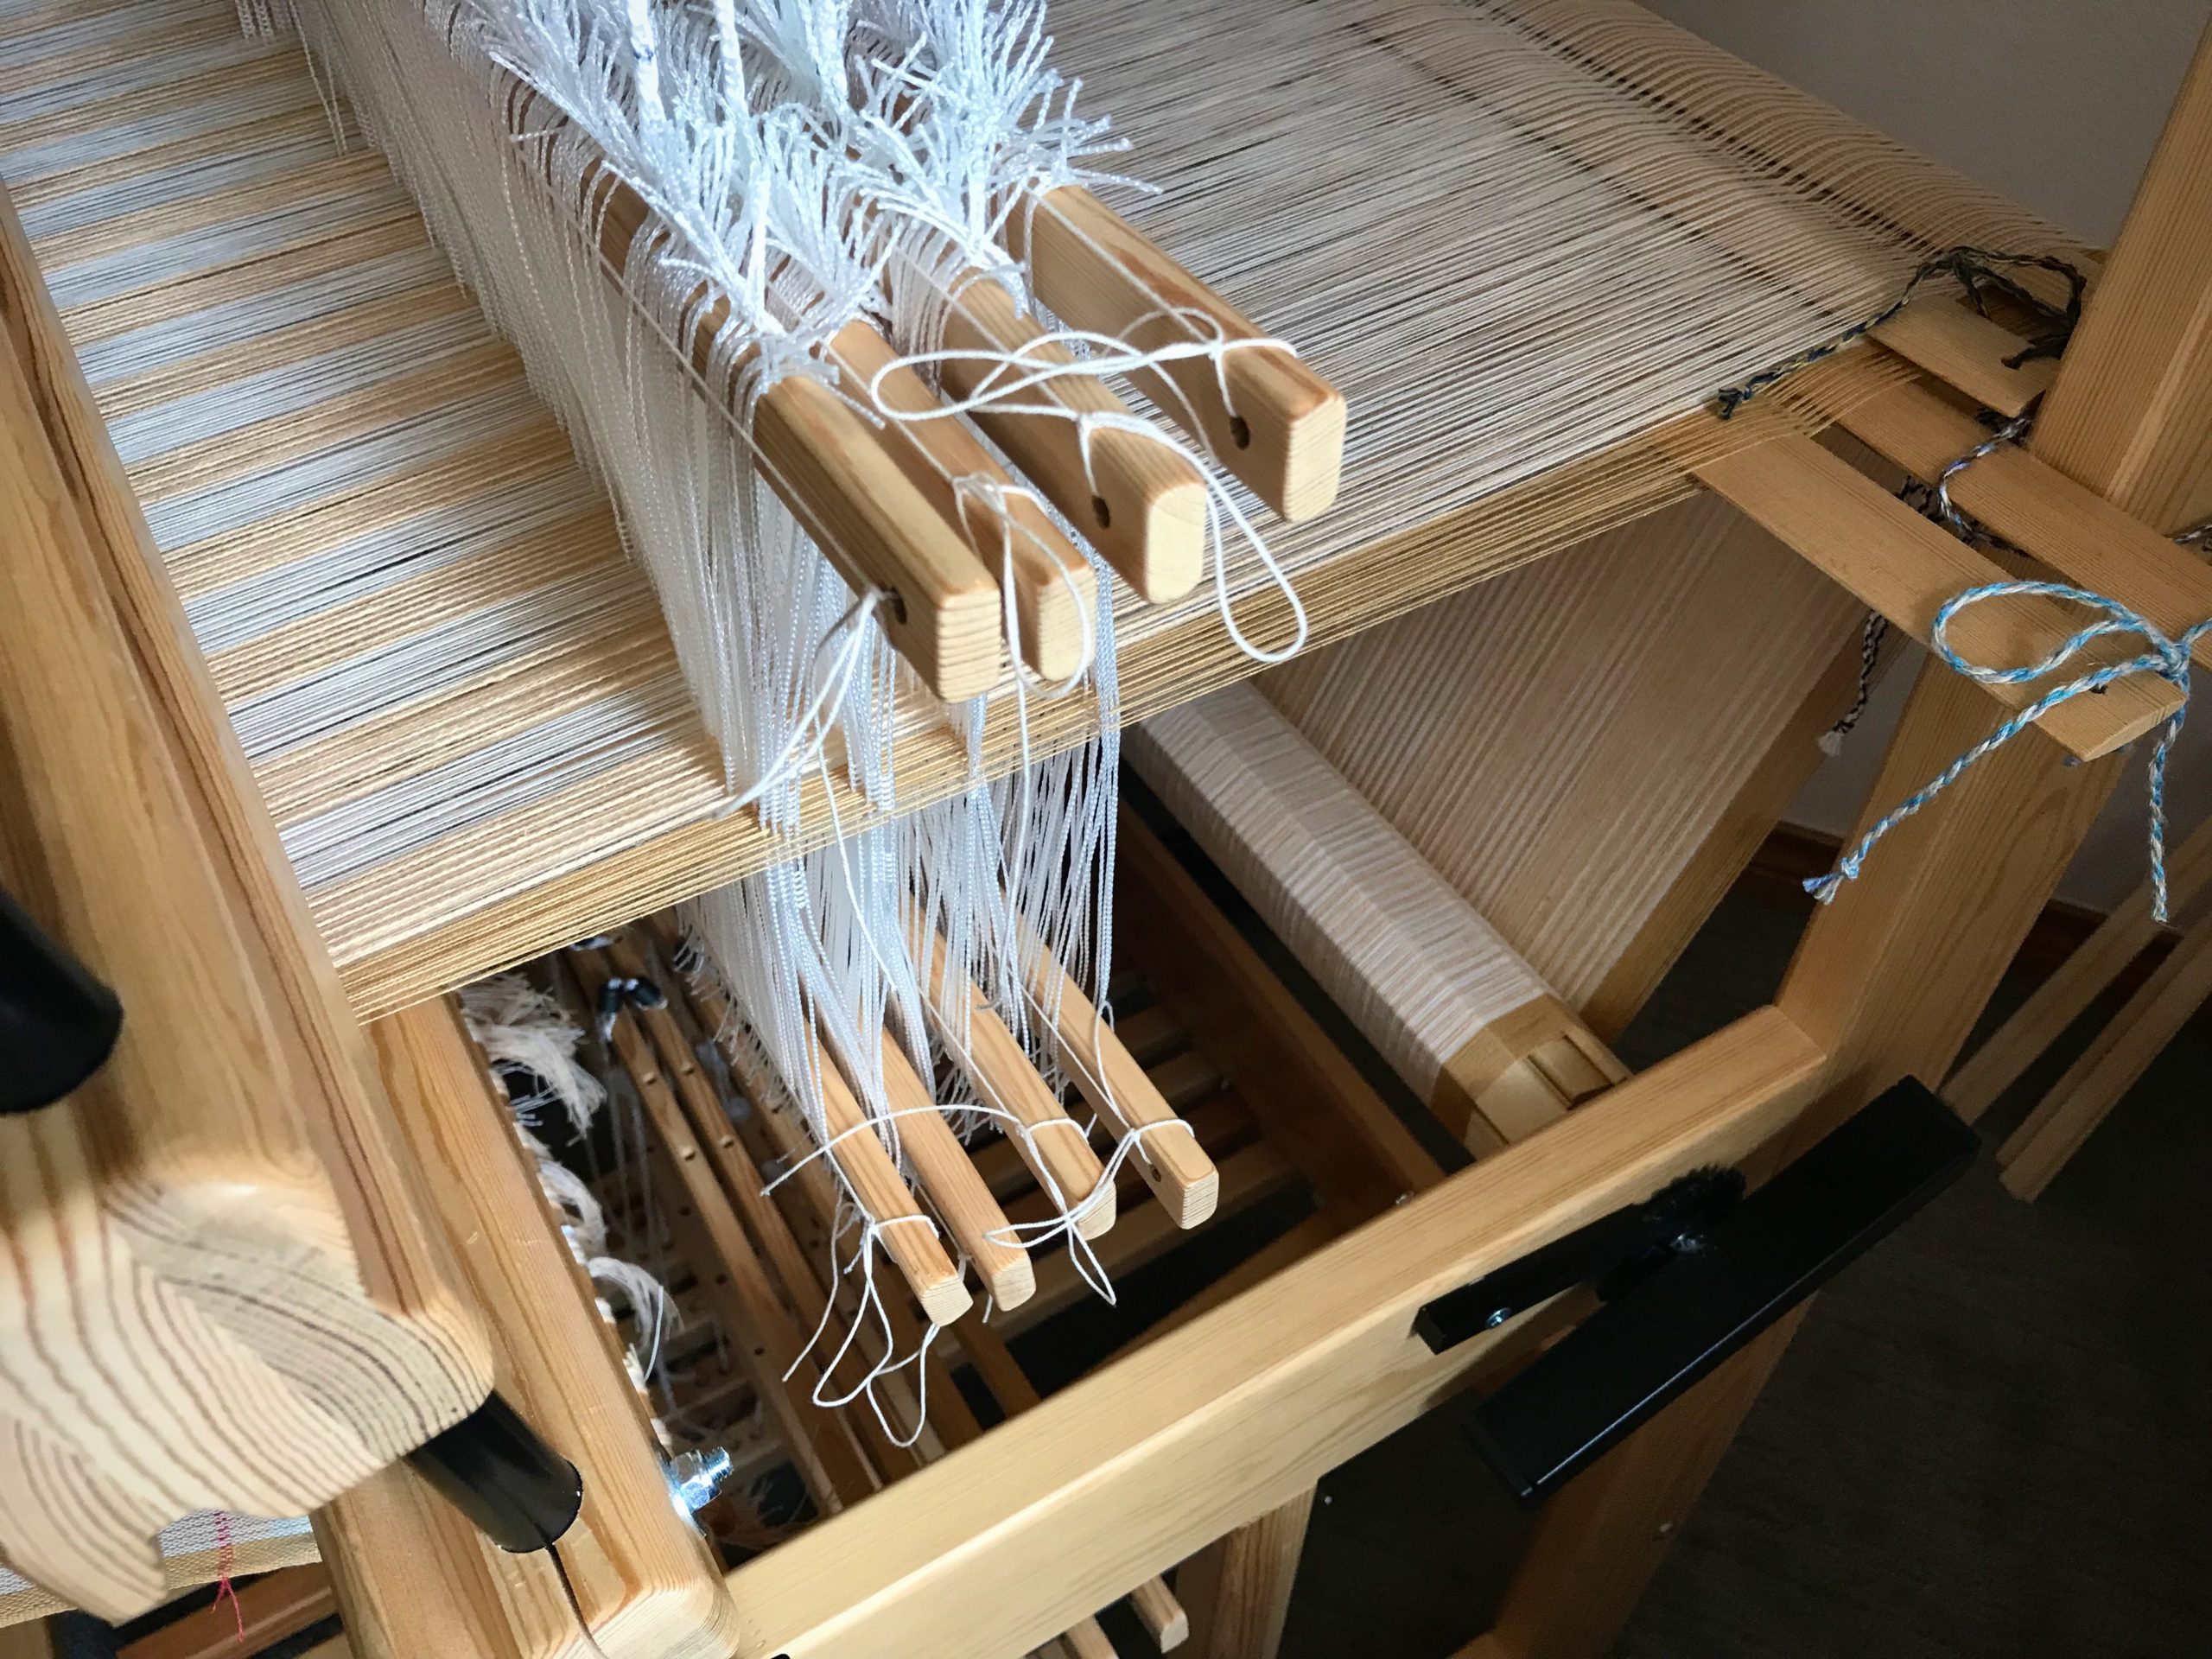
Continue weaving with one less thing to think about.
45 minutes: Time it took to reposition heddles that had slipped off a few shafts and were in a mess because I didn’t notice it immediately.
Less than 10 minutes: Time it took to cut string and tie retaining cords on 4 upper shaft bars and 4 lower shaft bars.
‘Nuff said.
May you take the time to do what needs to be done.
Ever Learning,
Karen