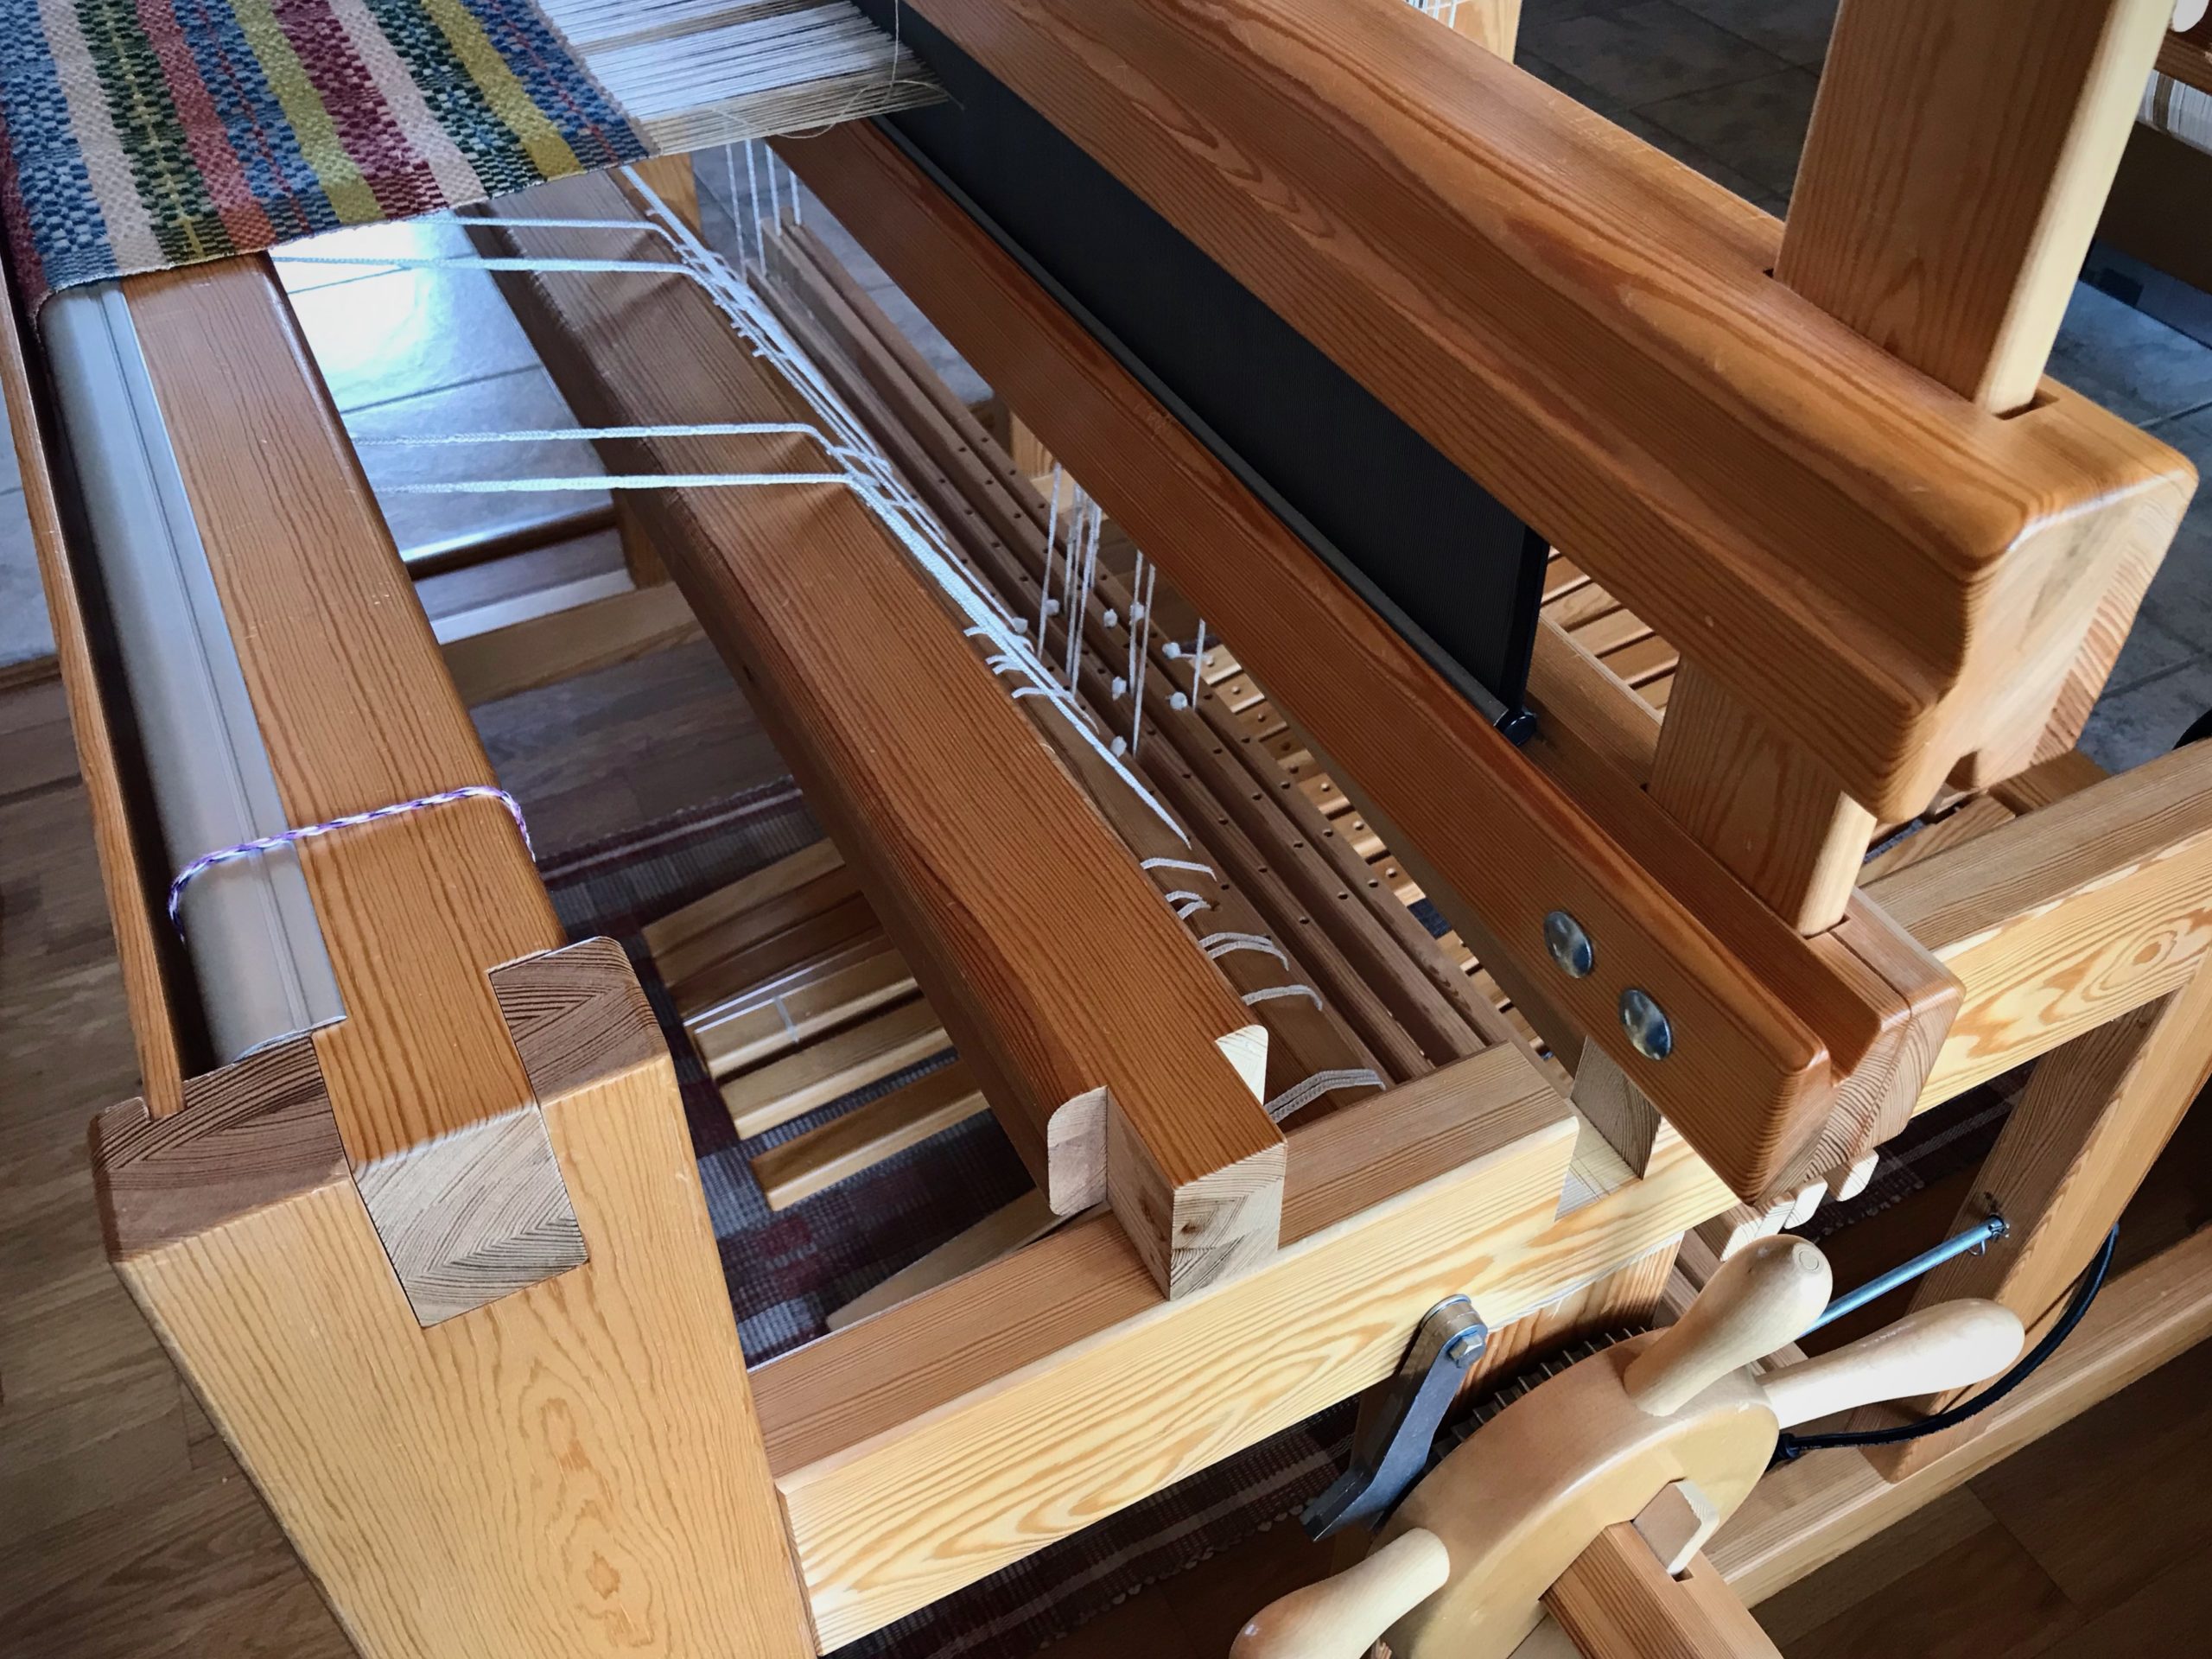
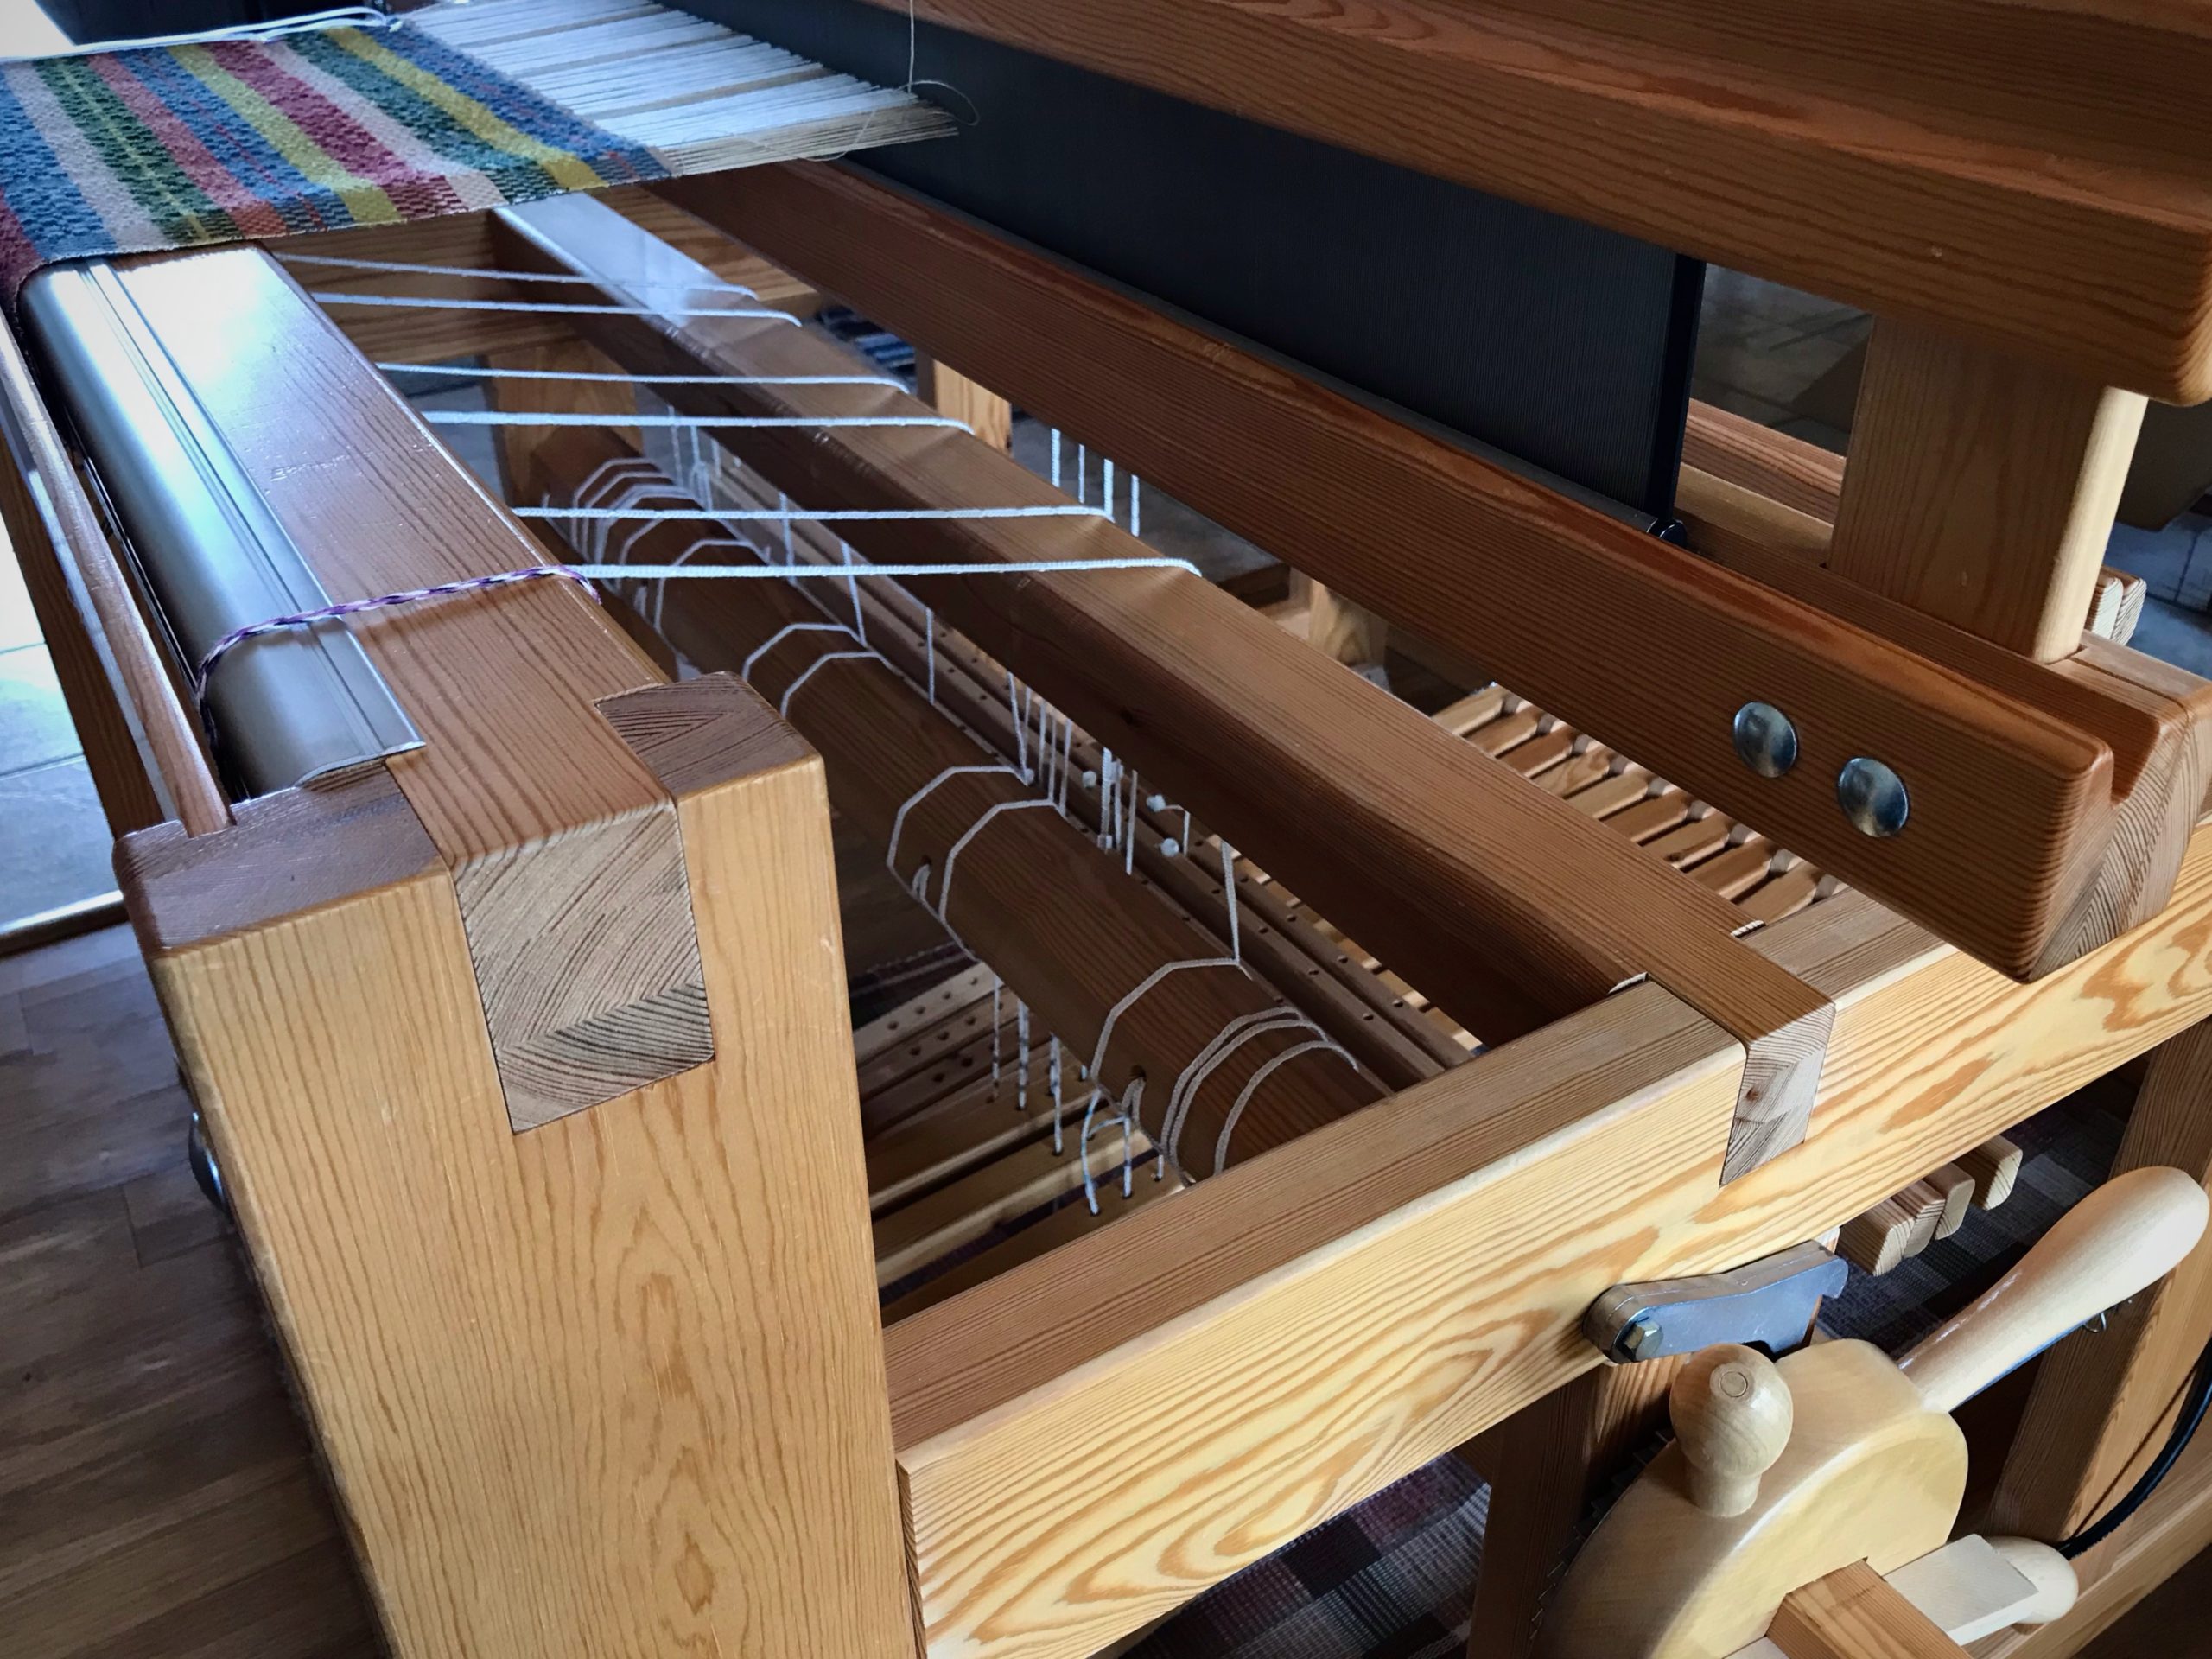
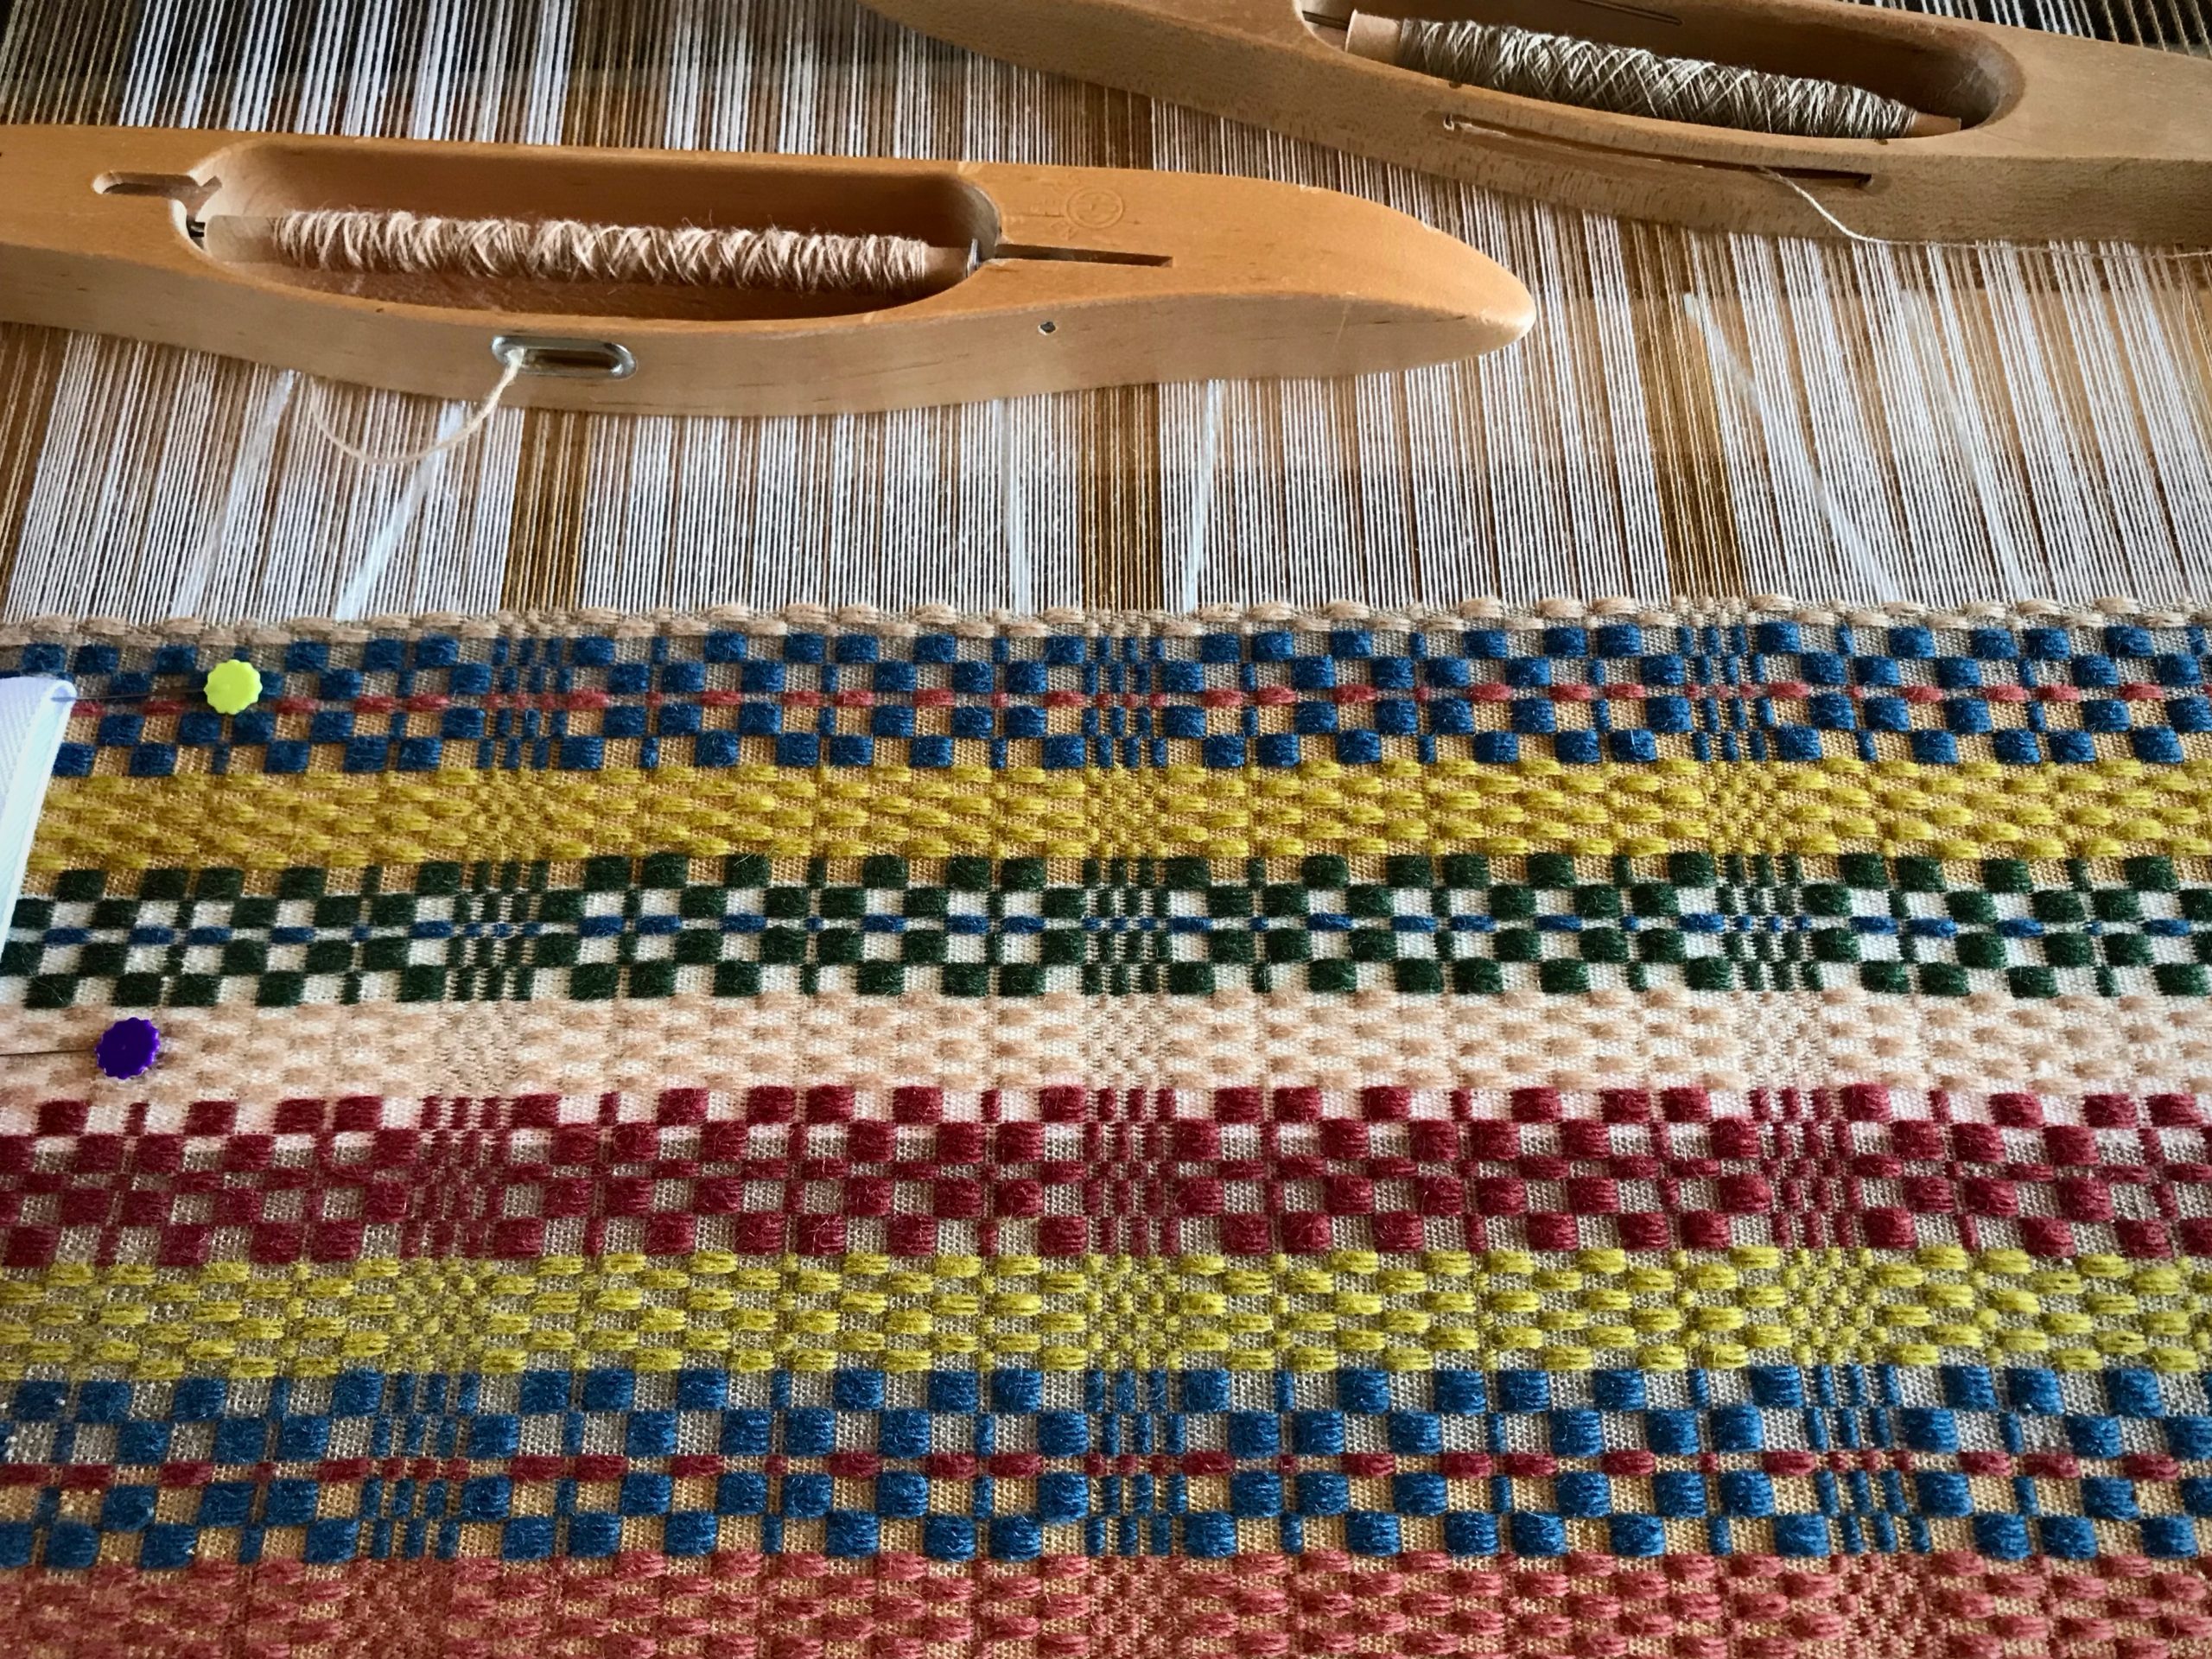
Tried and True: Are Retaining Cords Worth the Trouble?

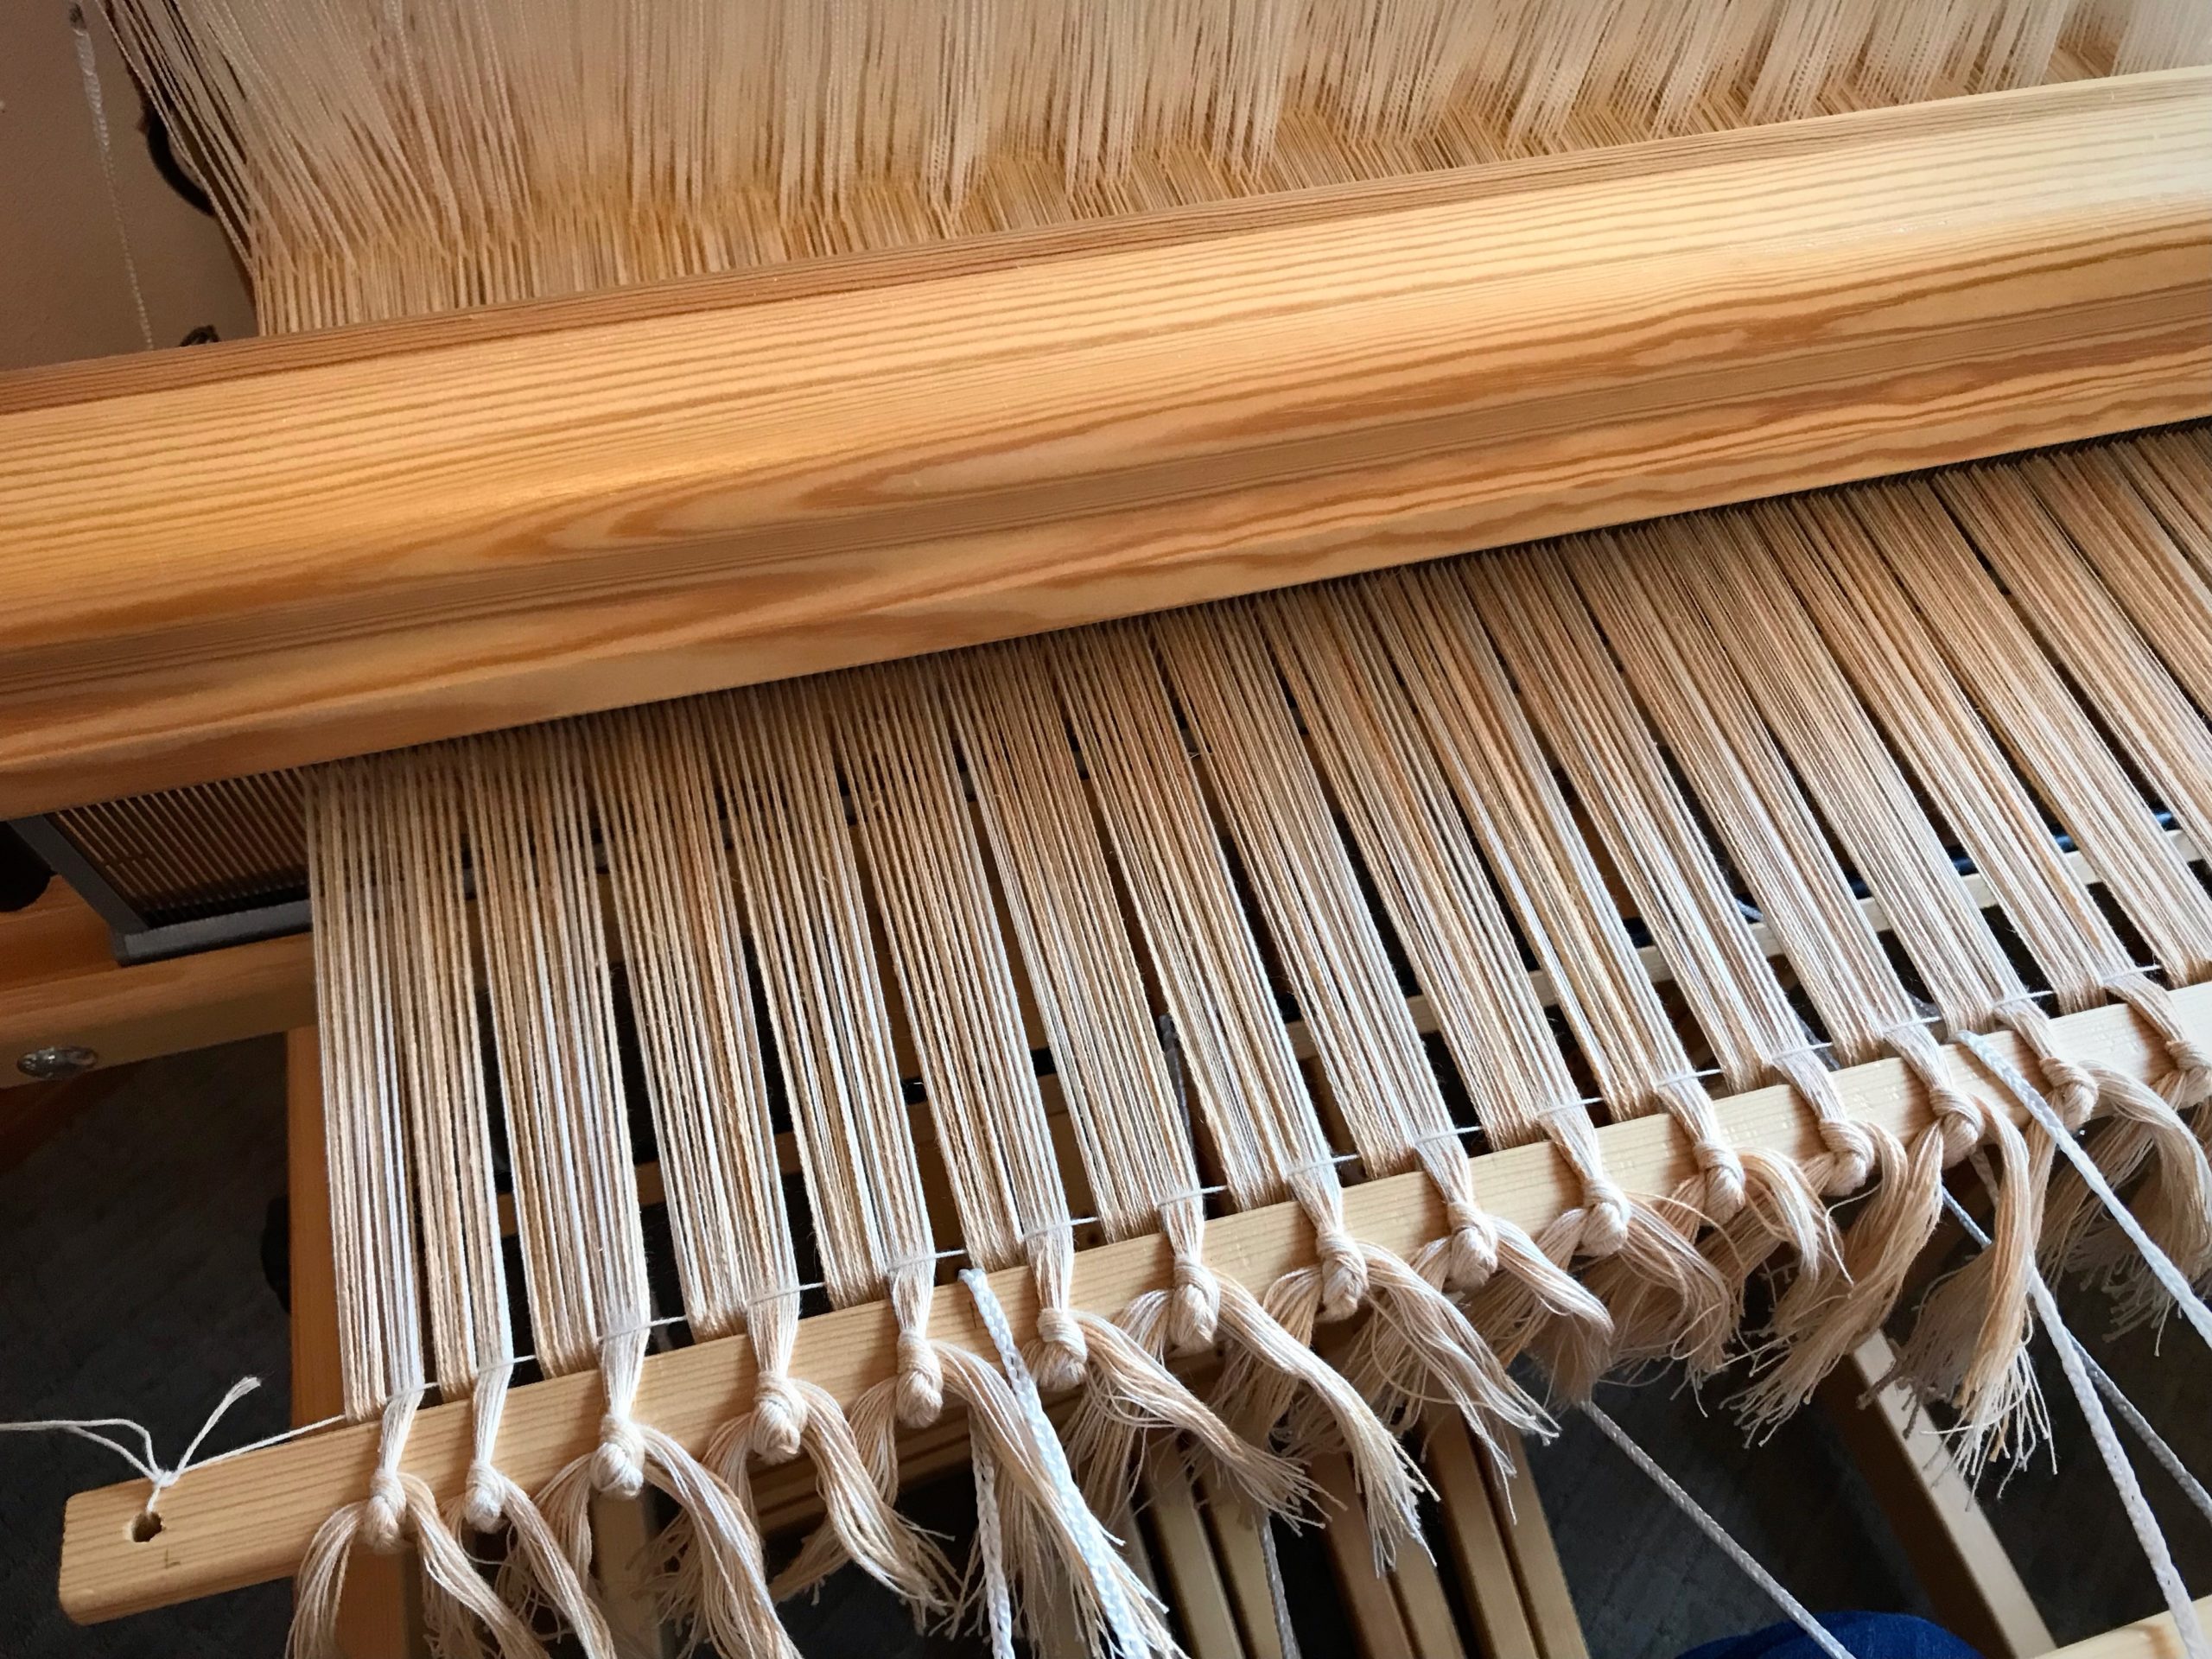
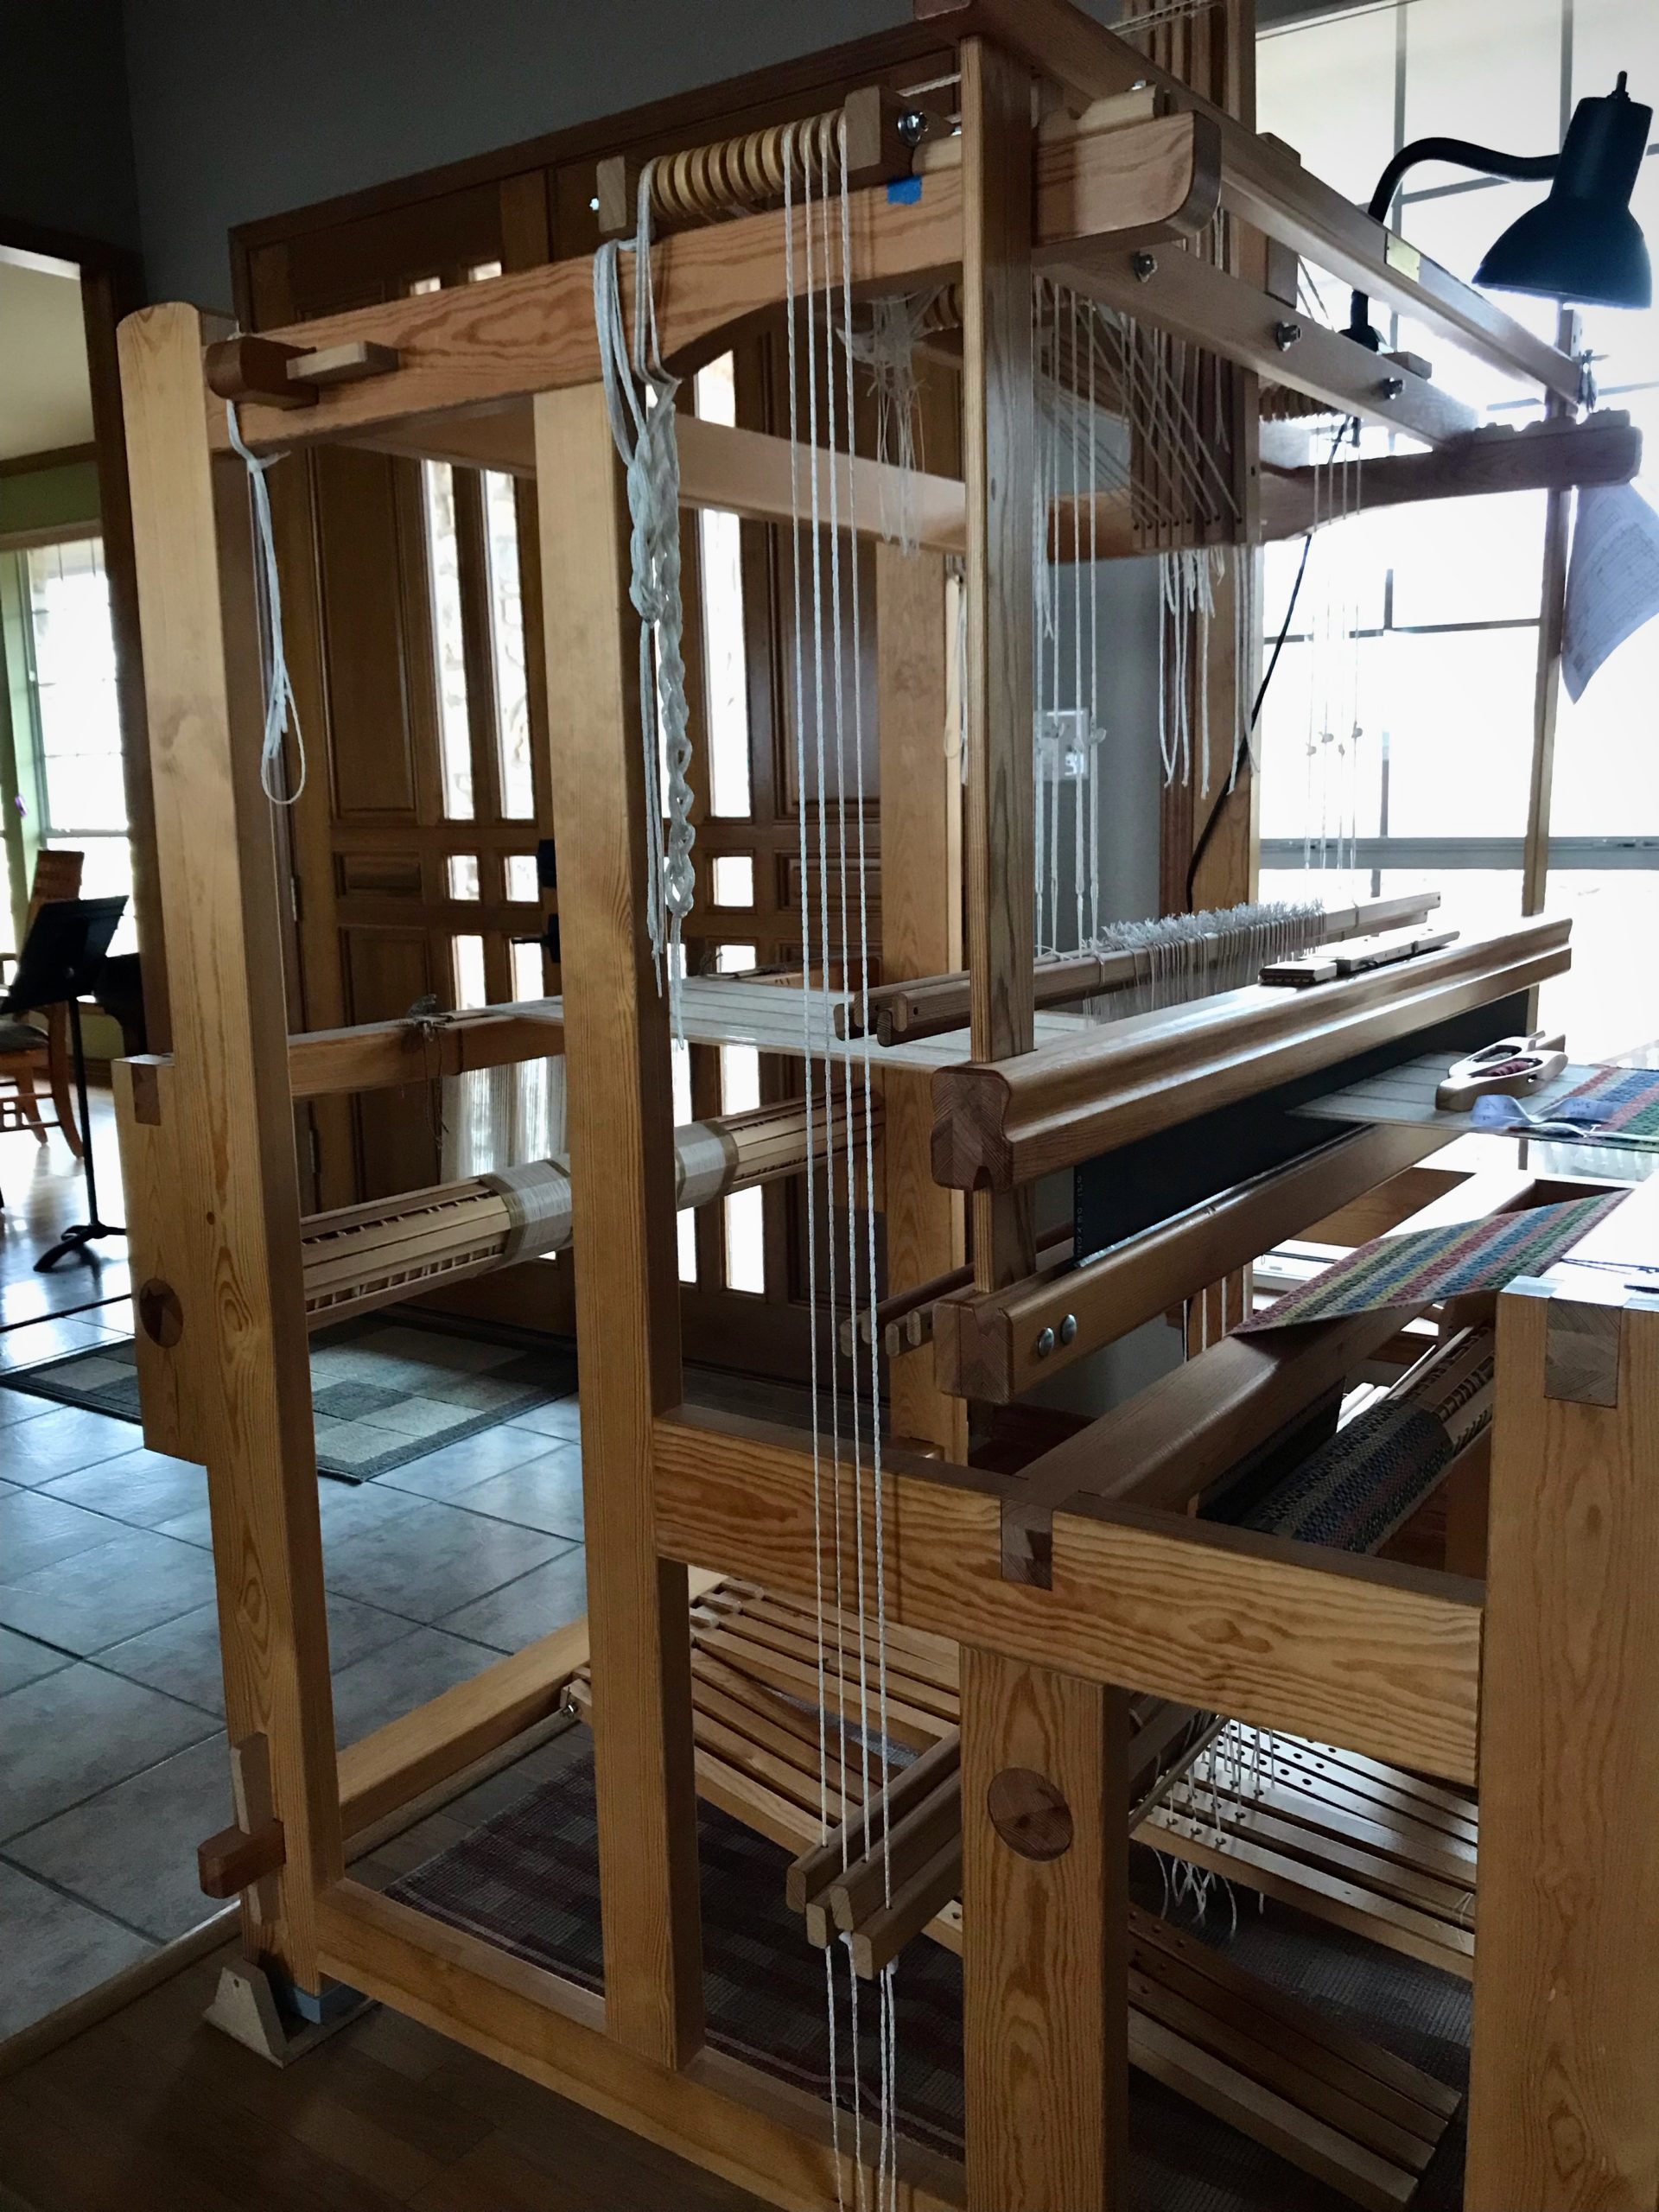
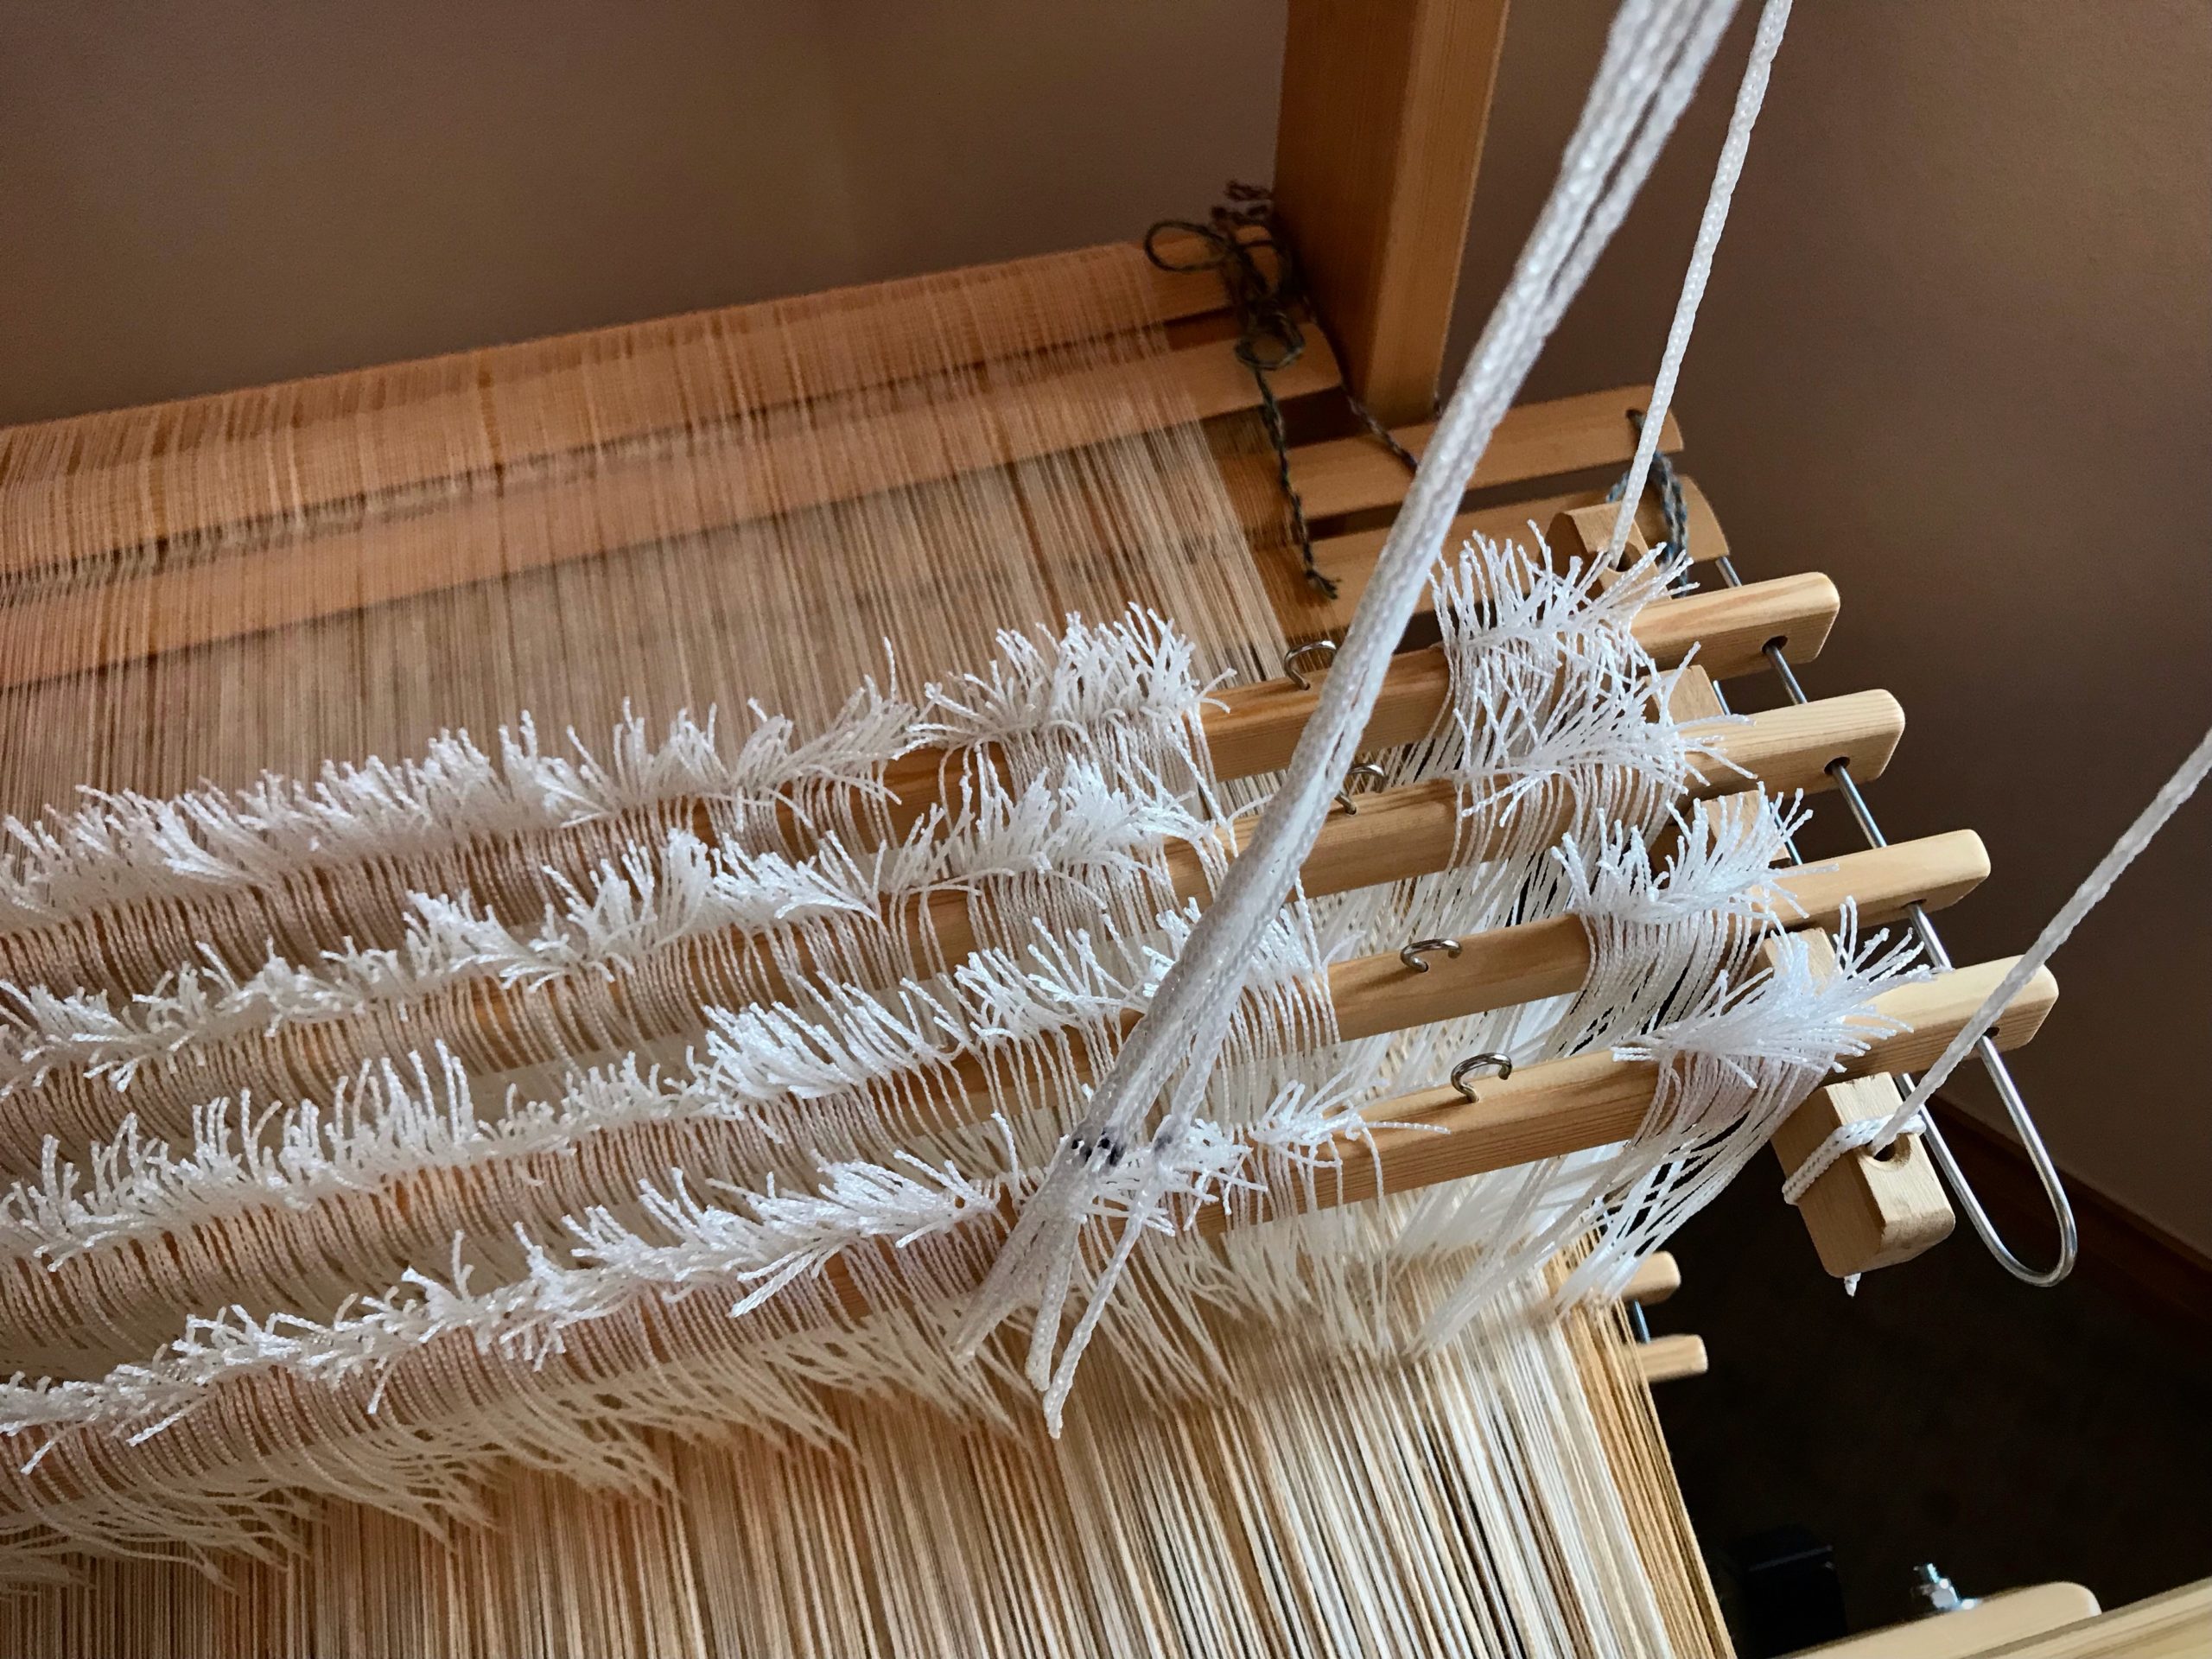
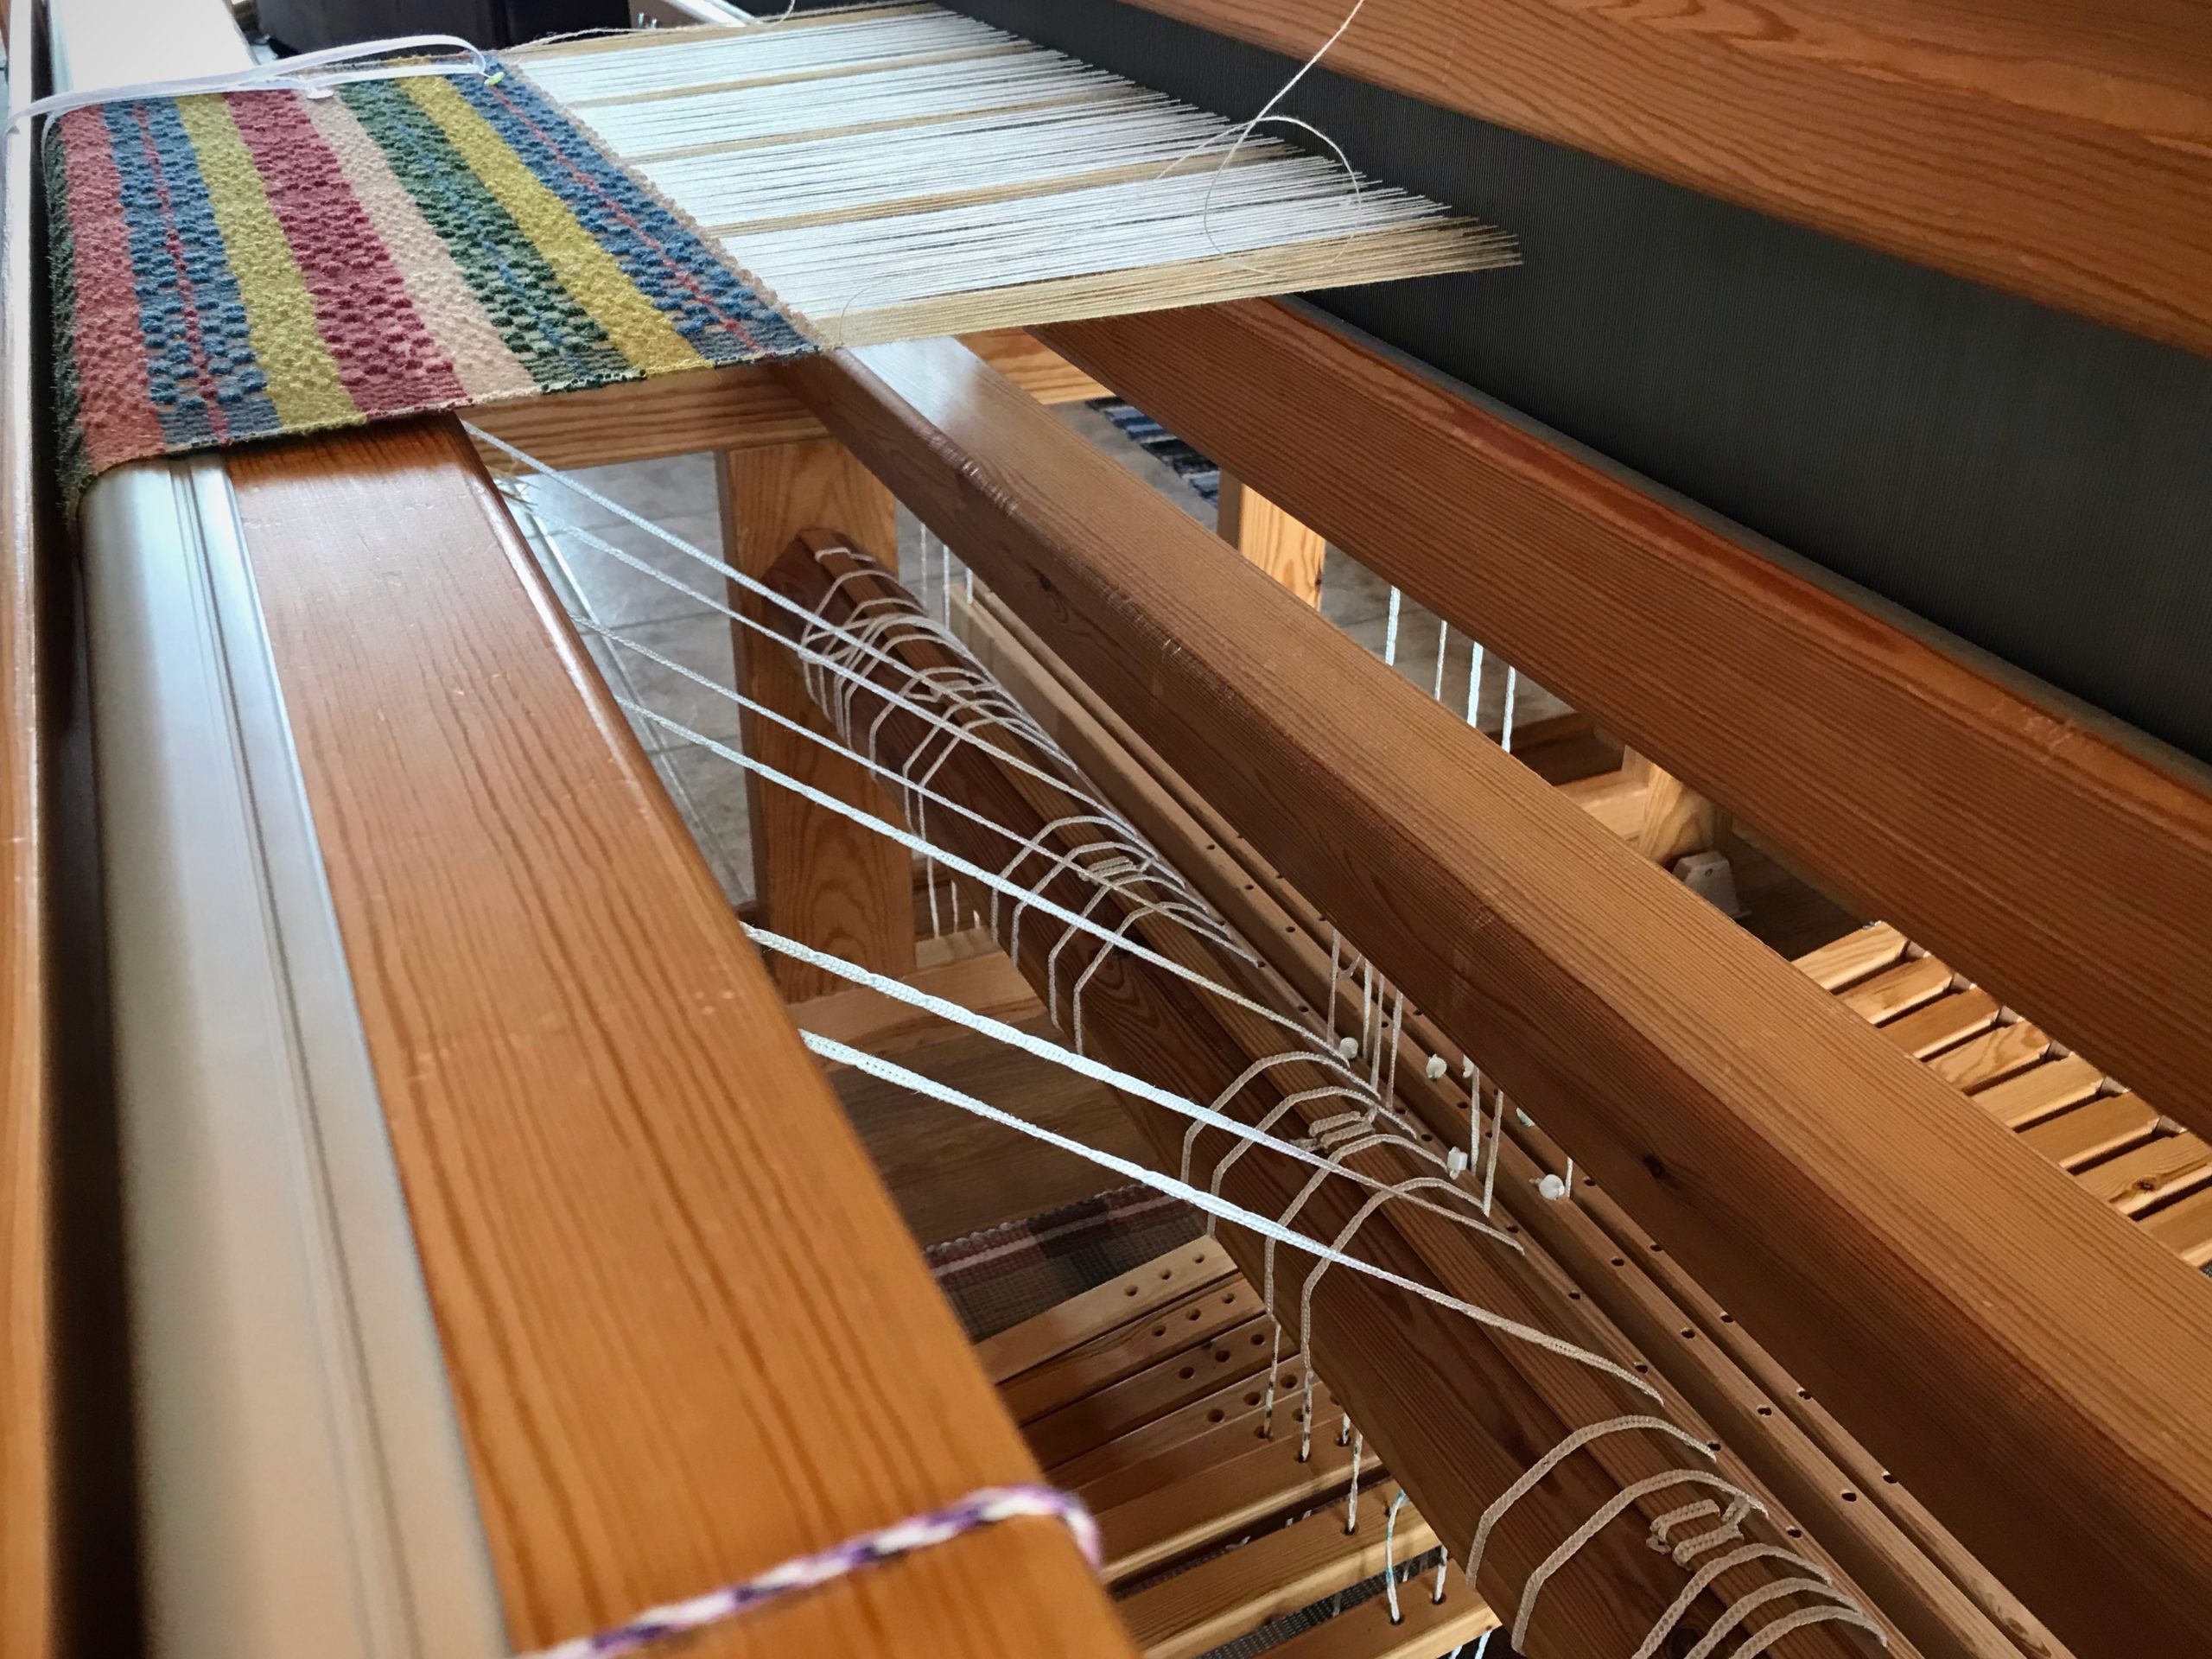
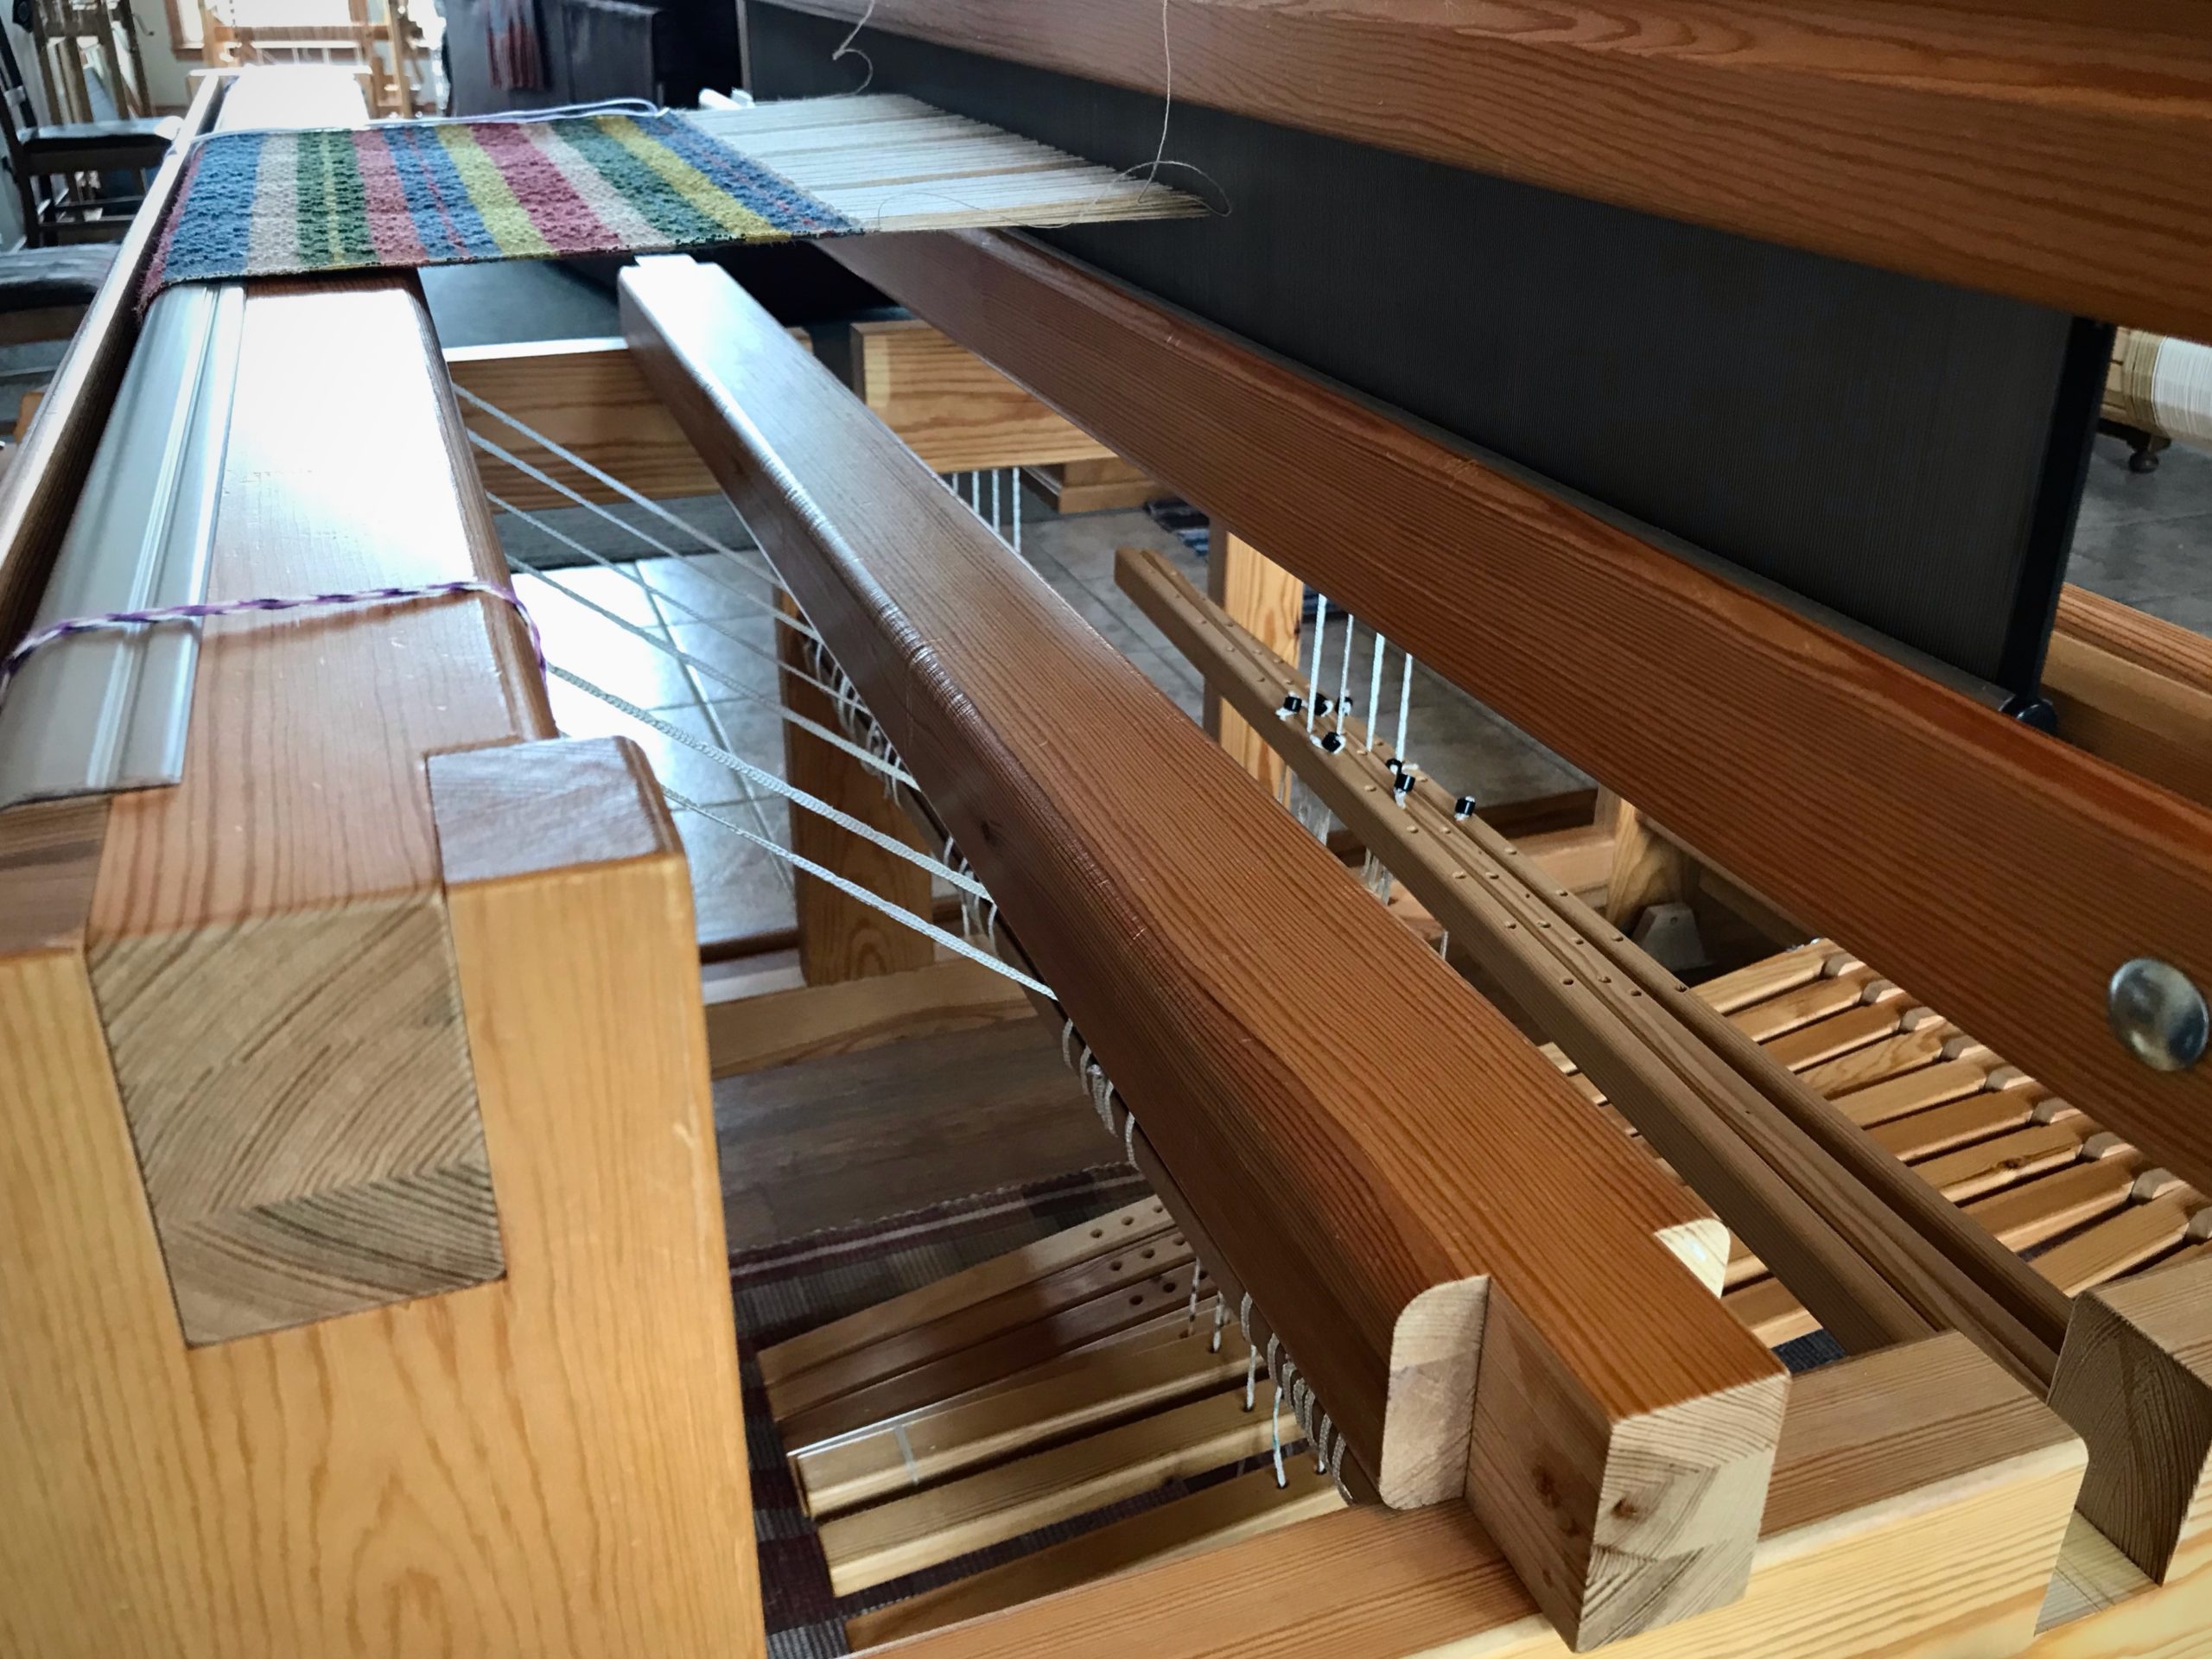
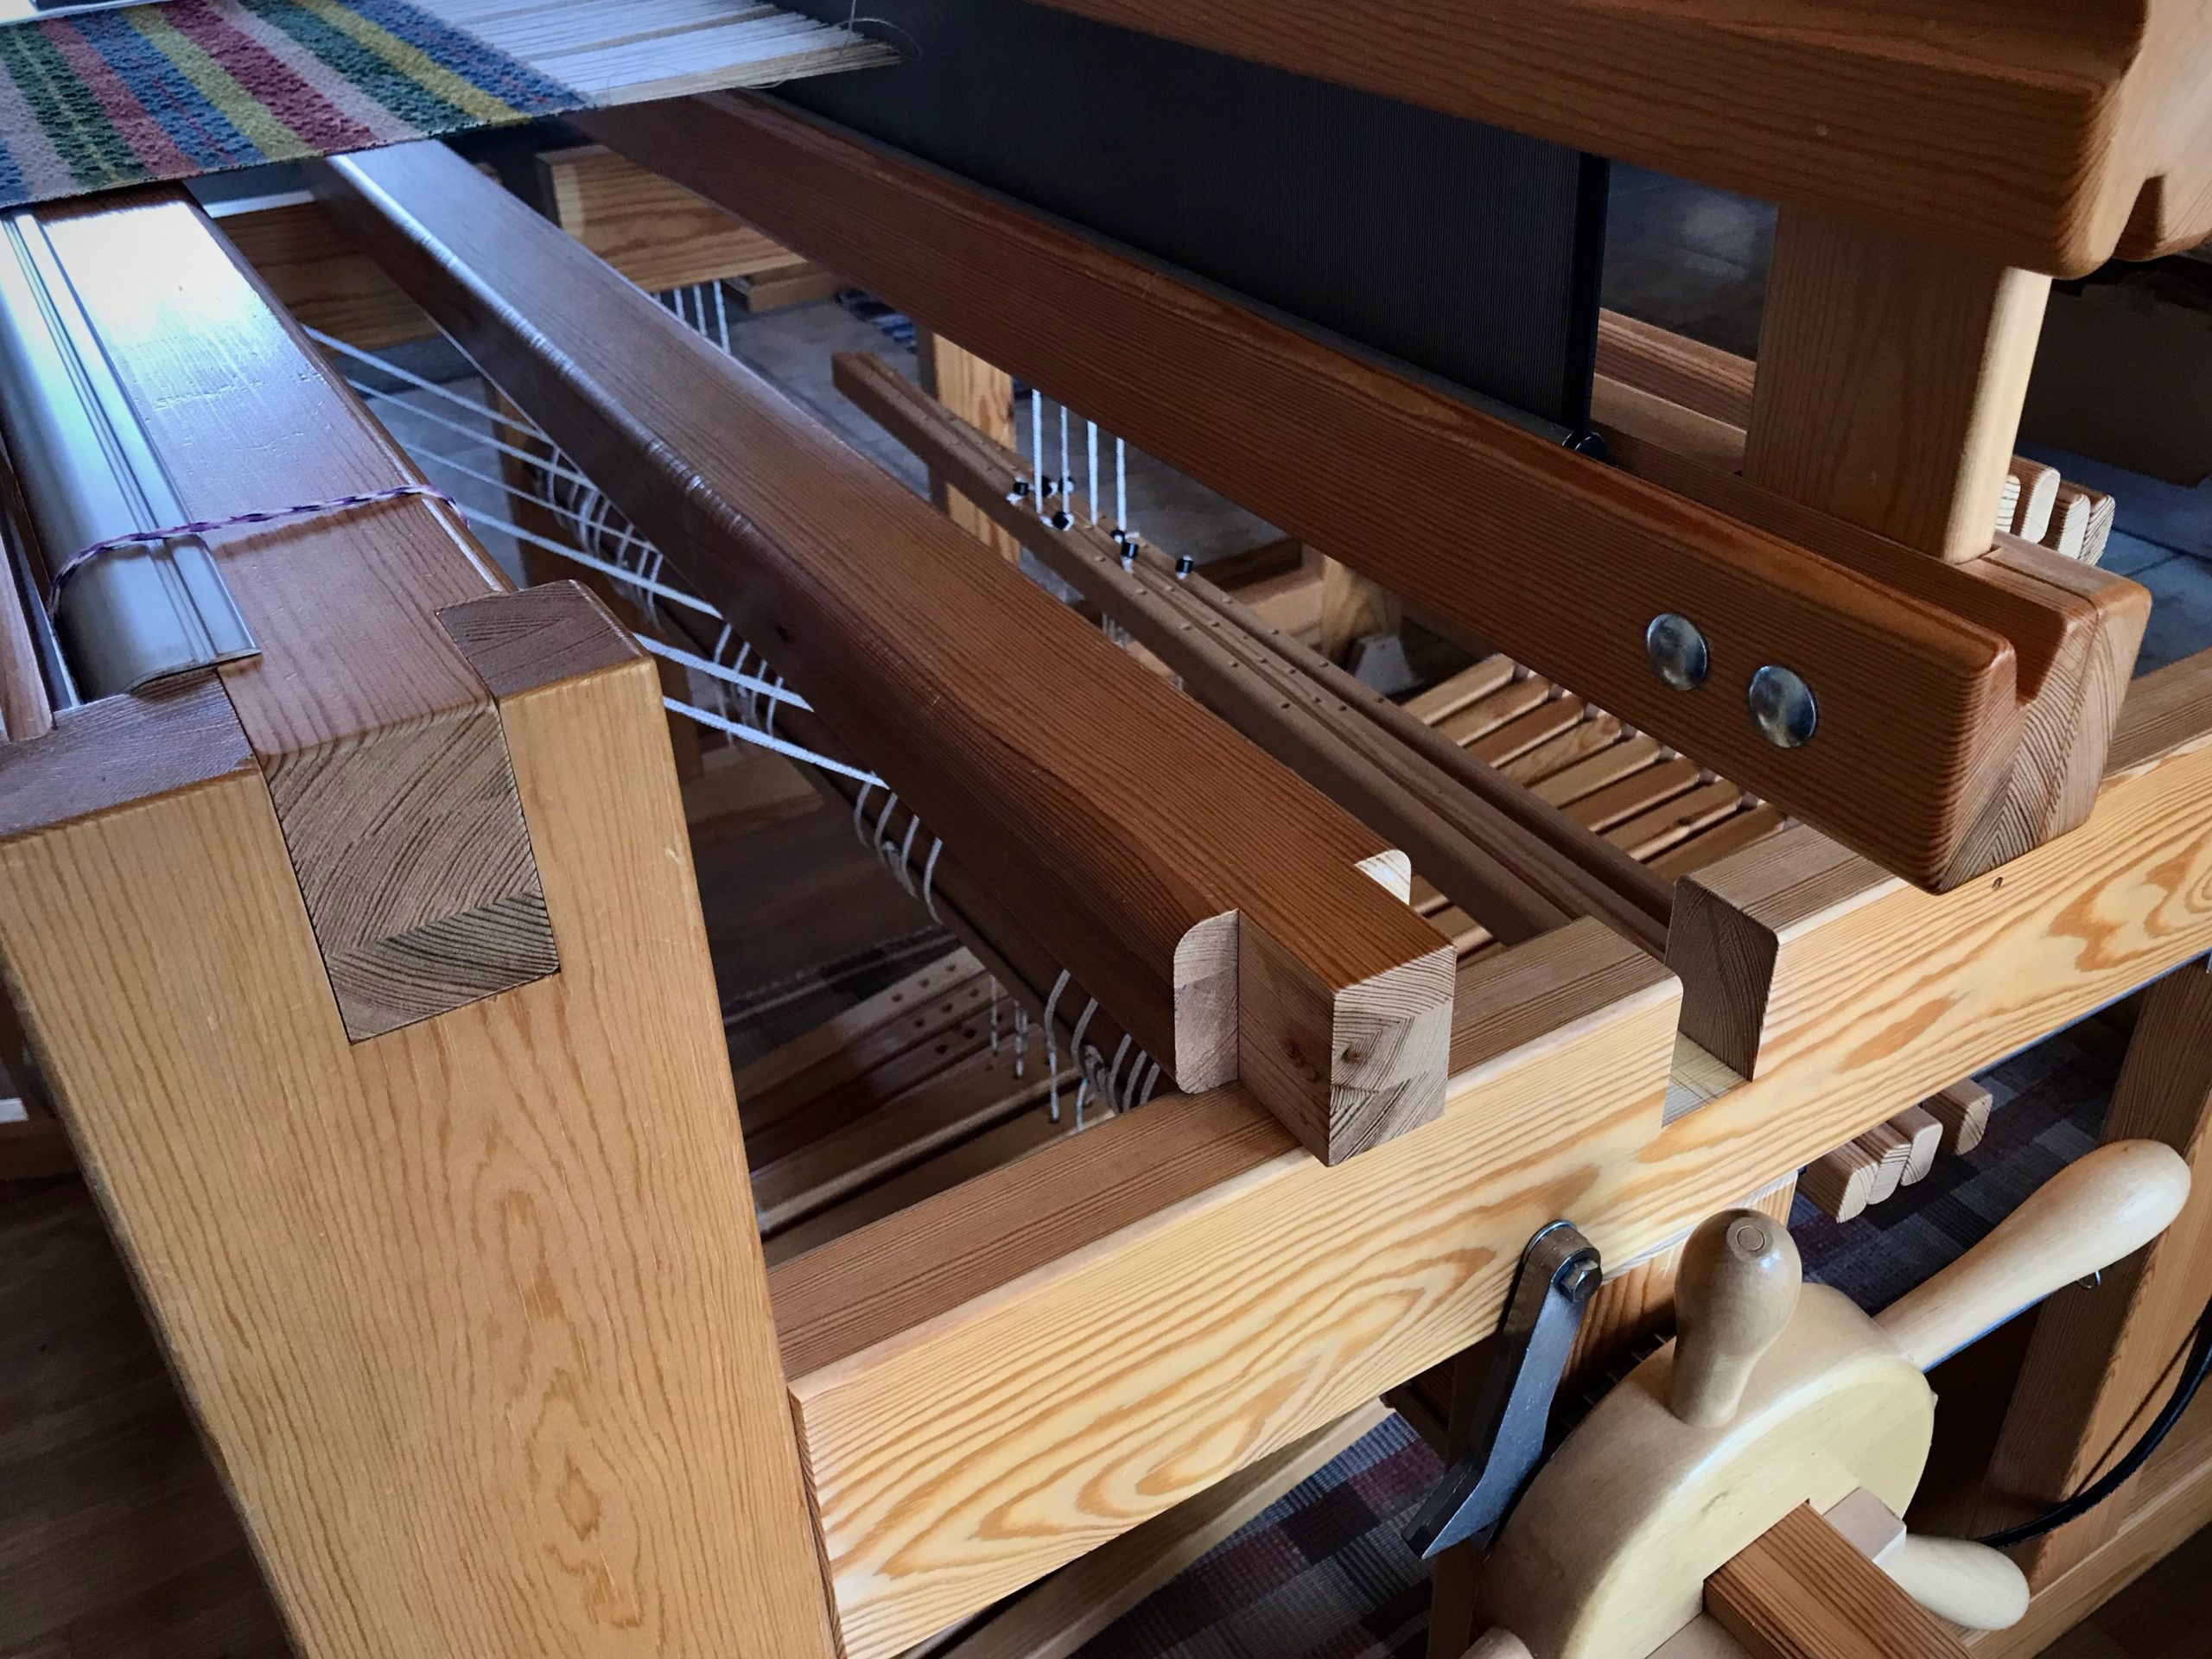
Some things are easier done than said. I said to myself that it’s too much trouble to tie retaining cords on the shafts. I am weaving almost full width on the Glimåkra Julia. I know that heddles can slip off the ends of shafts. Still, I tell myself I can keep an eye on it. It won’t be a problem, right? Wrong.
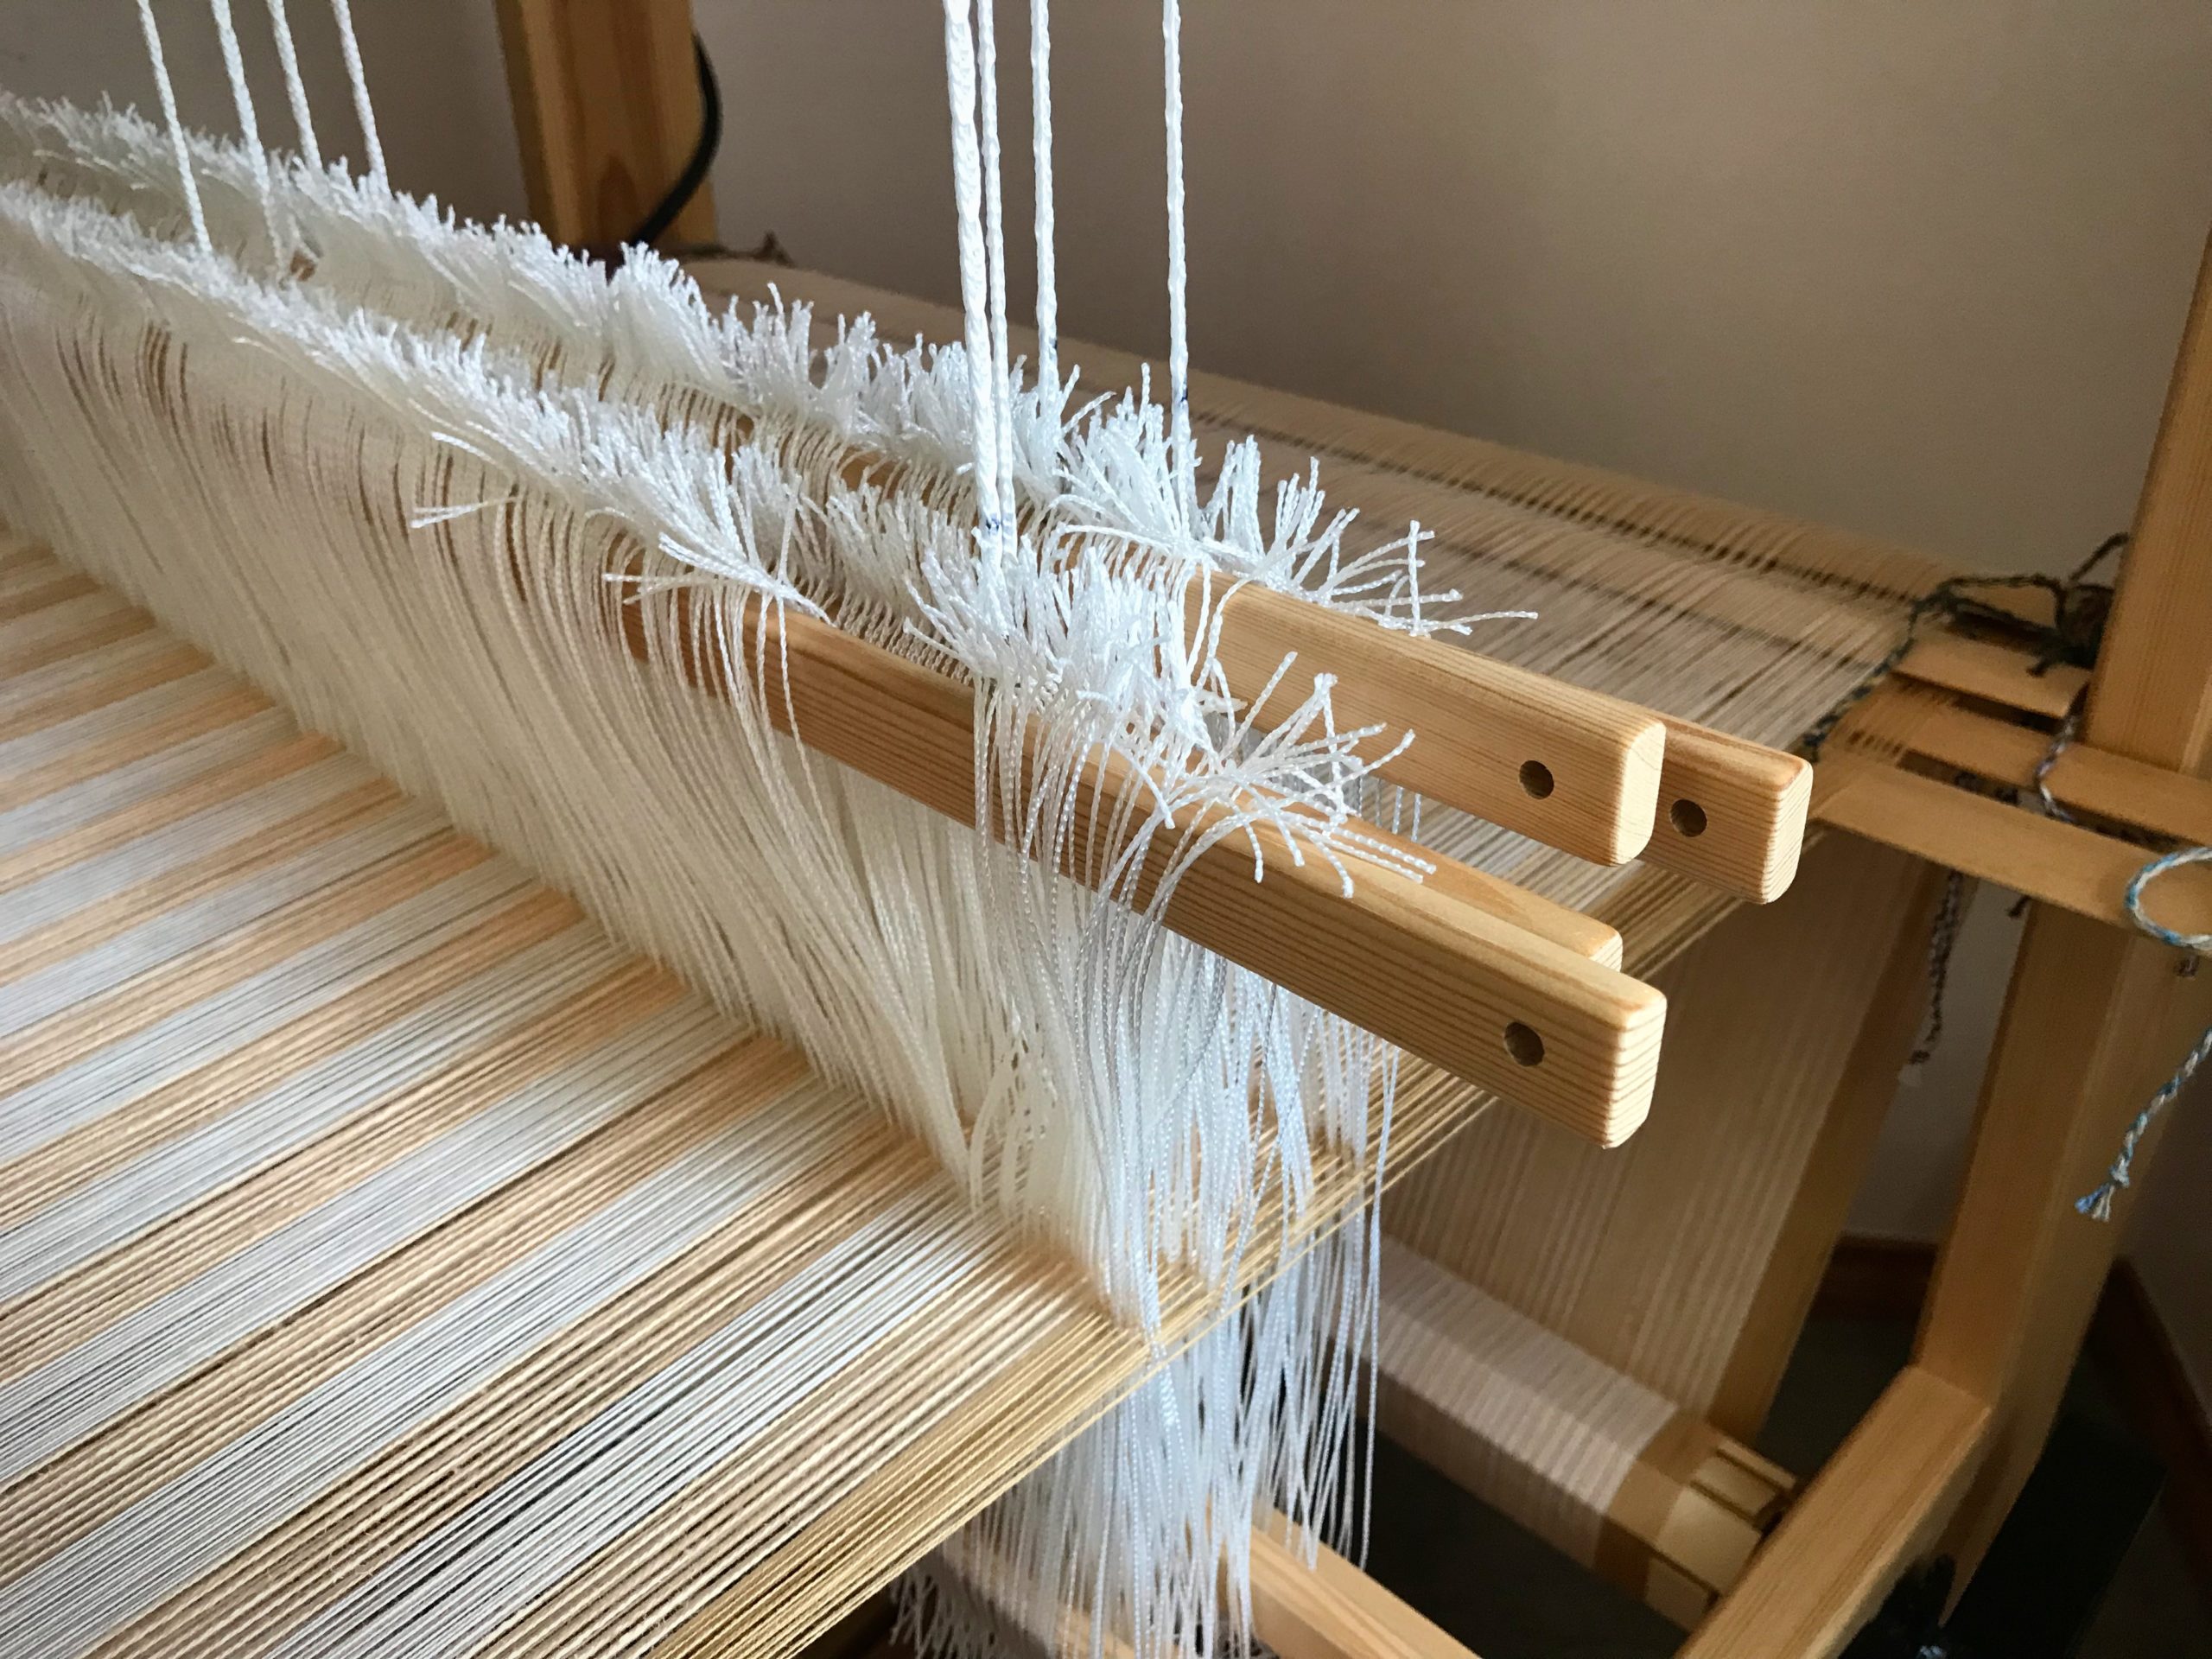
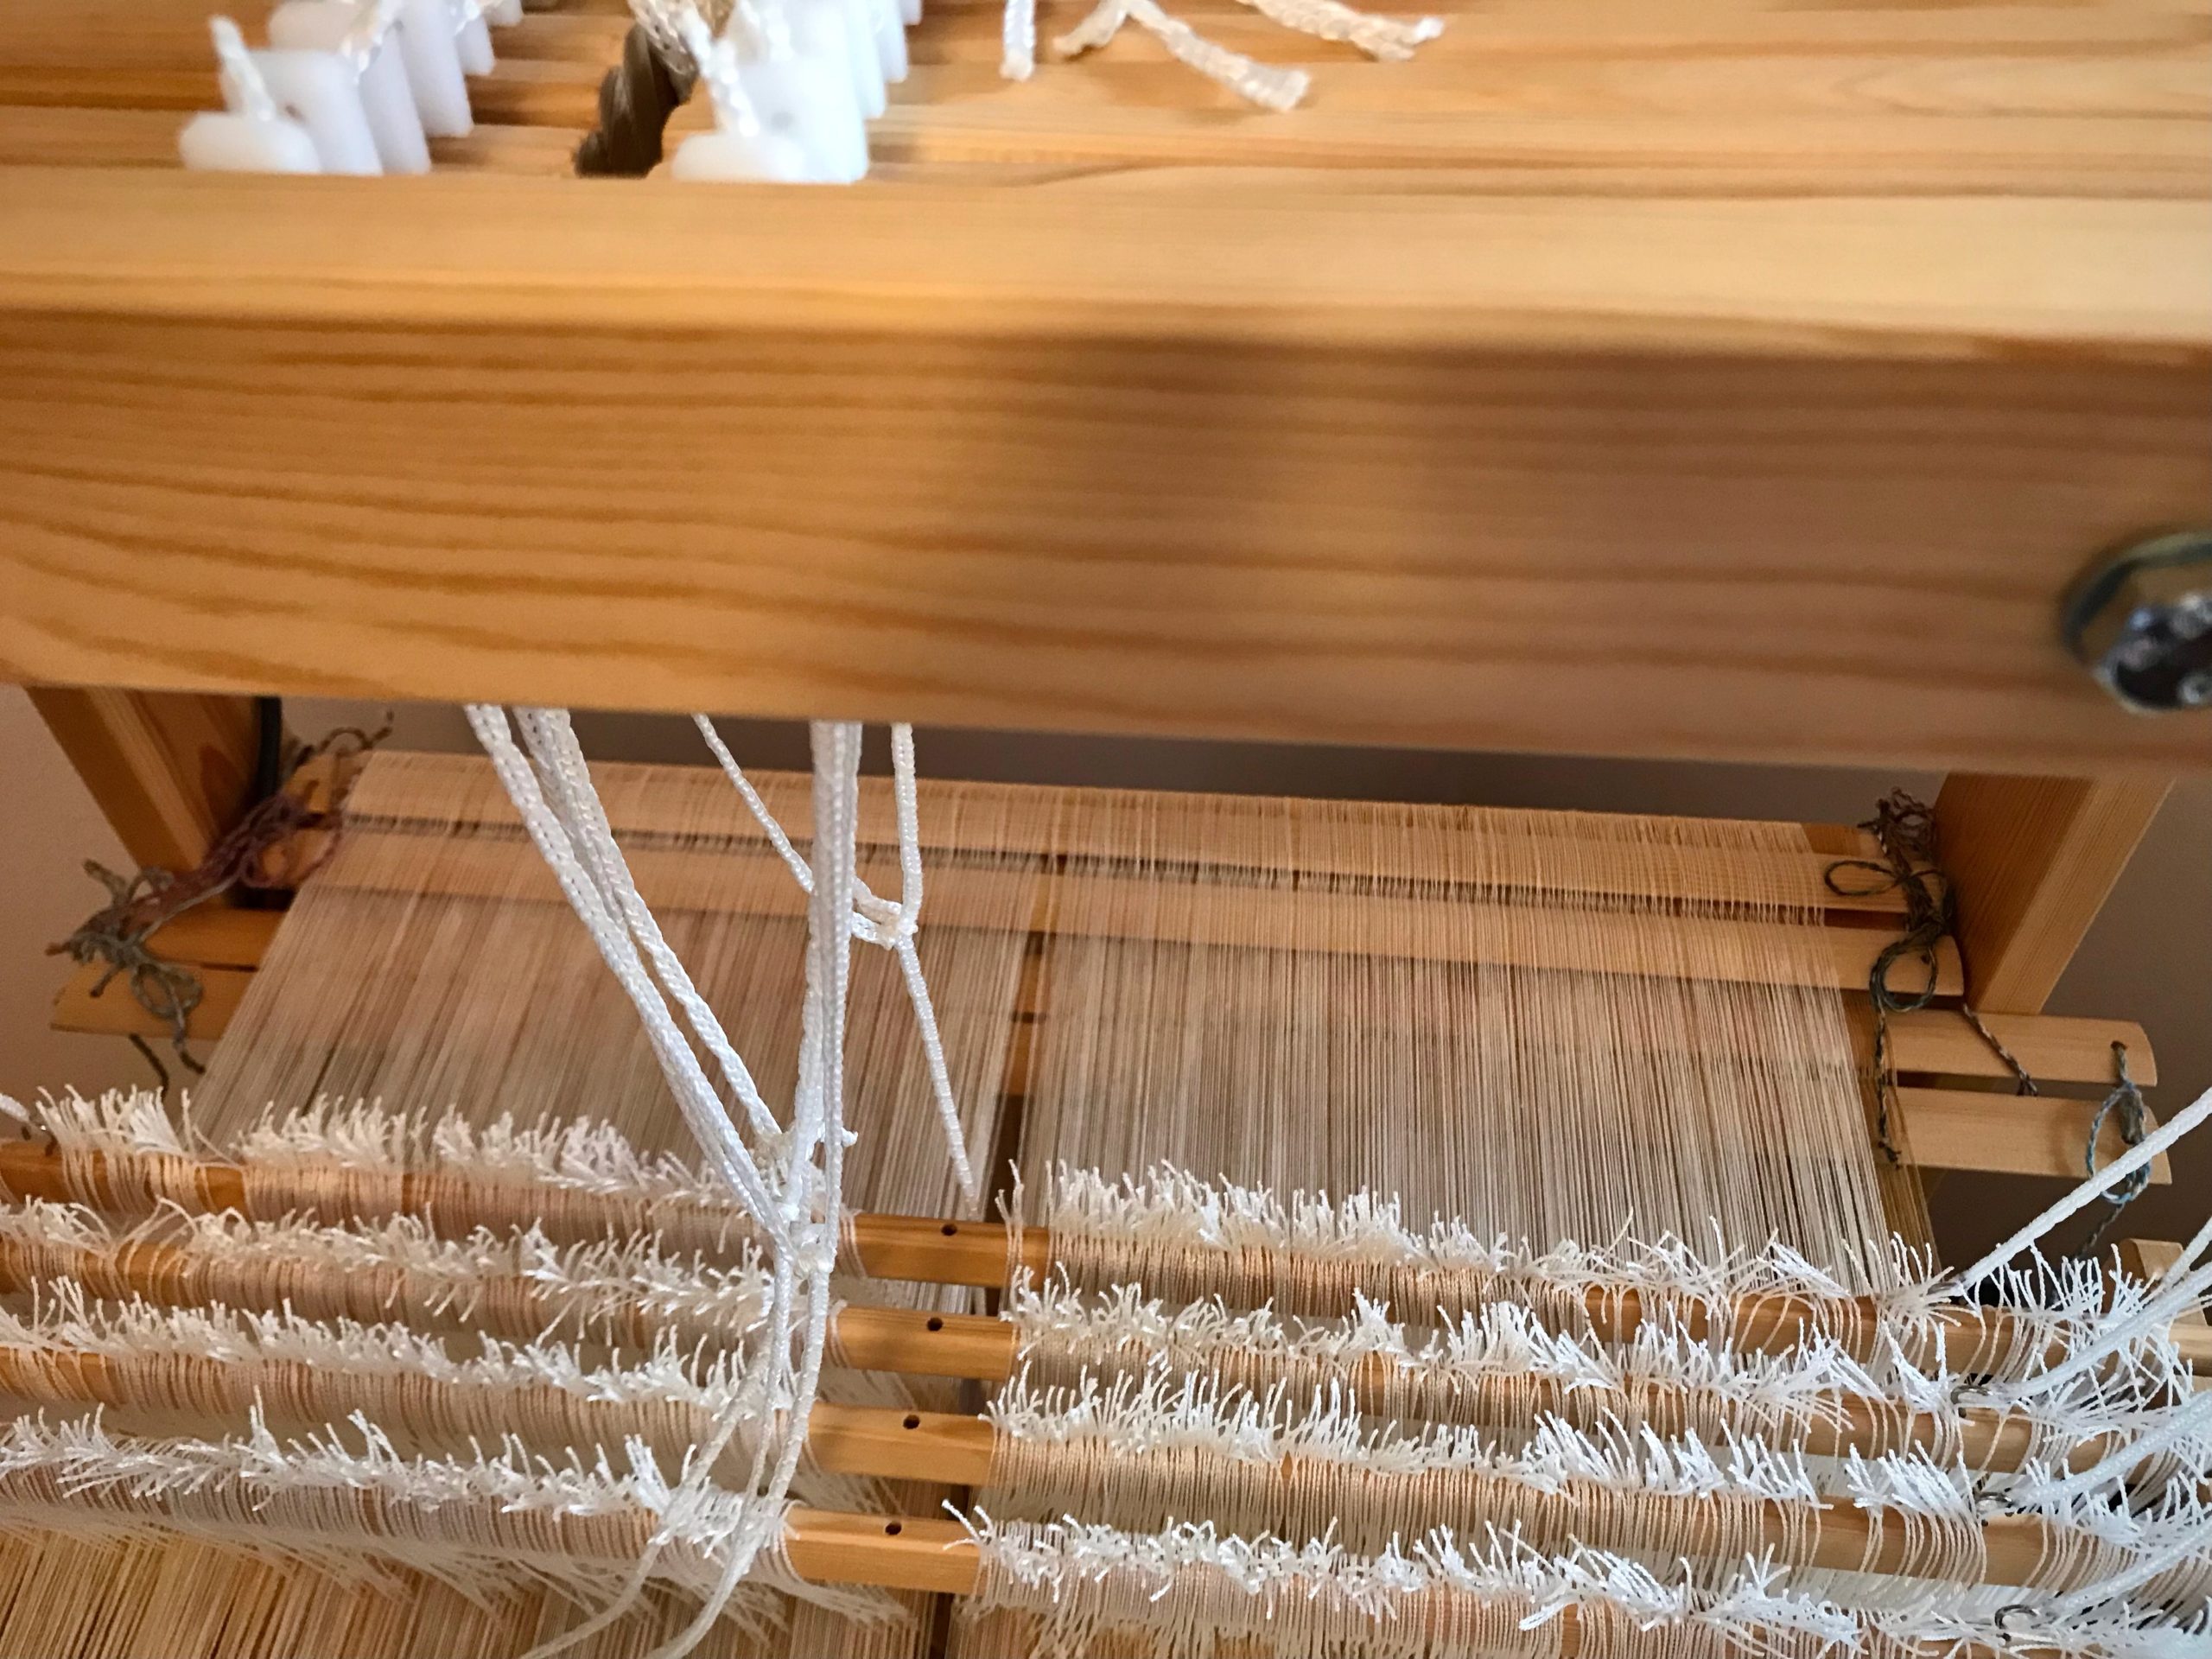
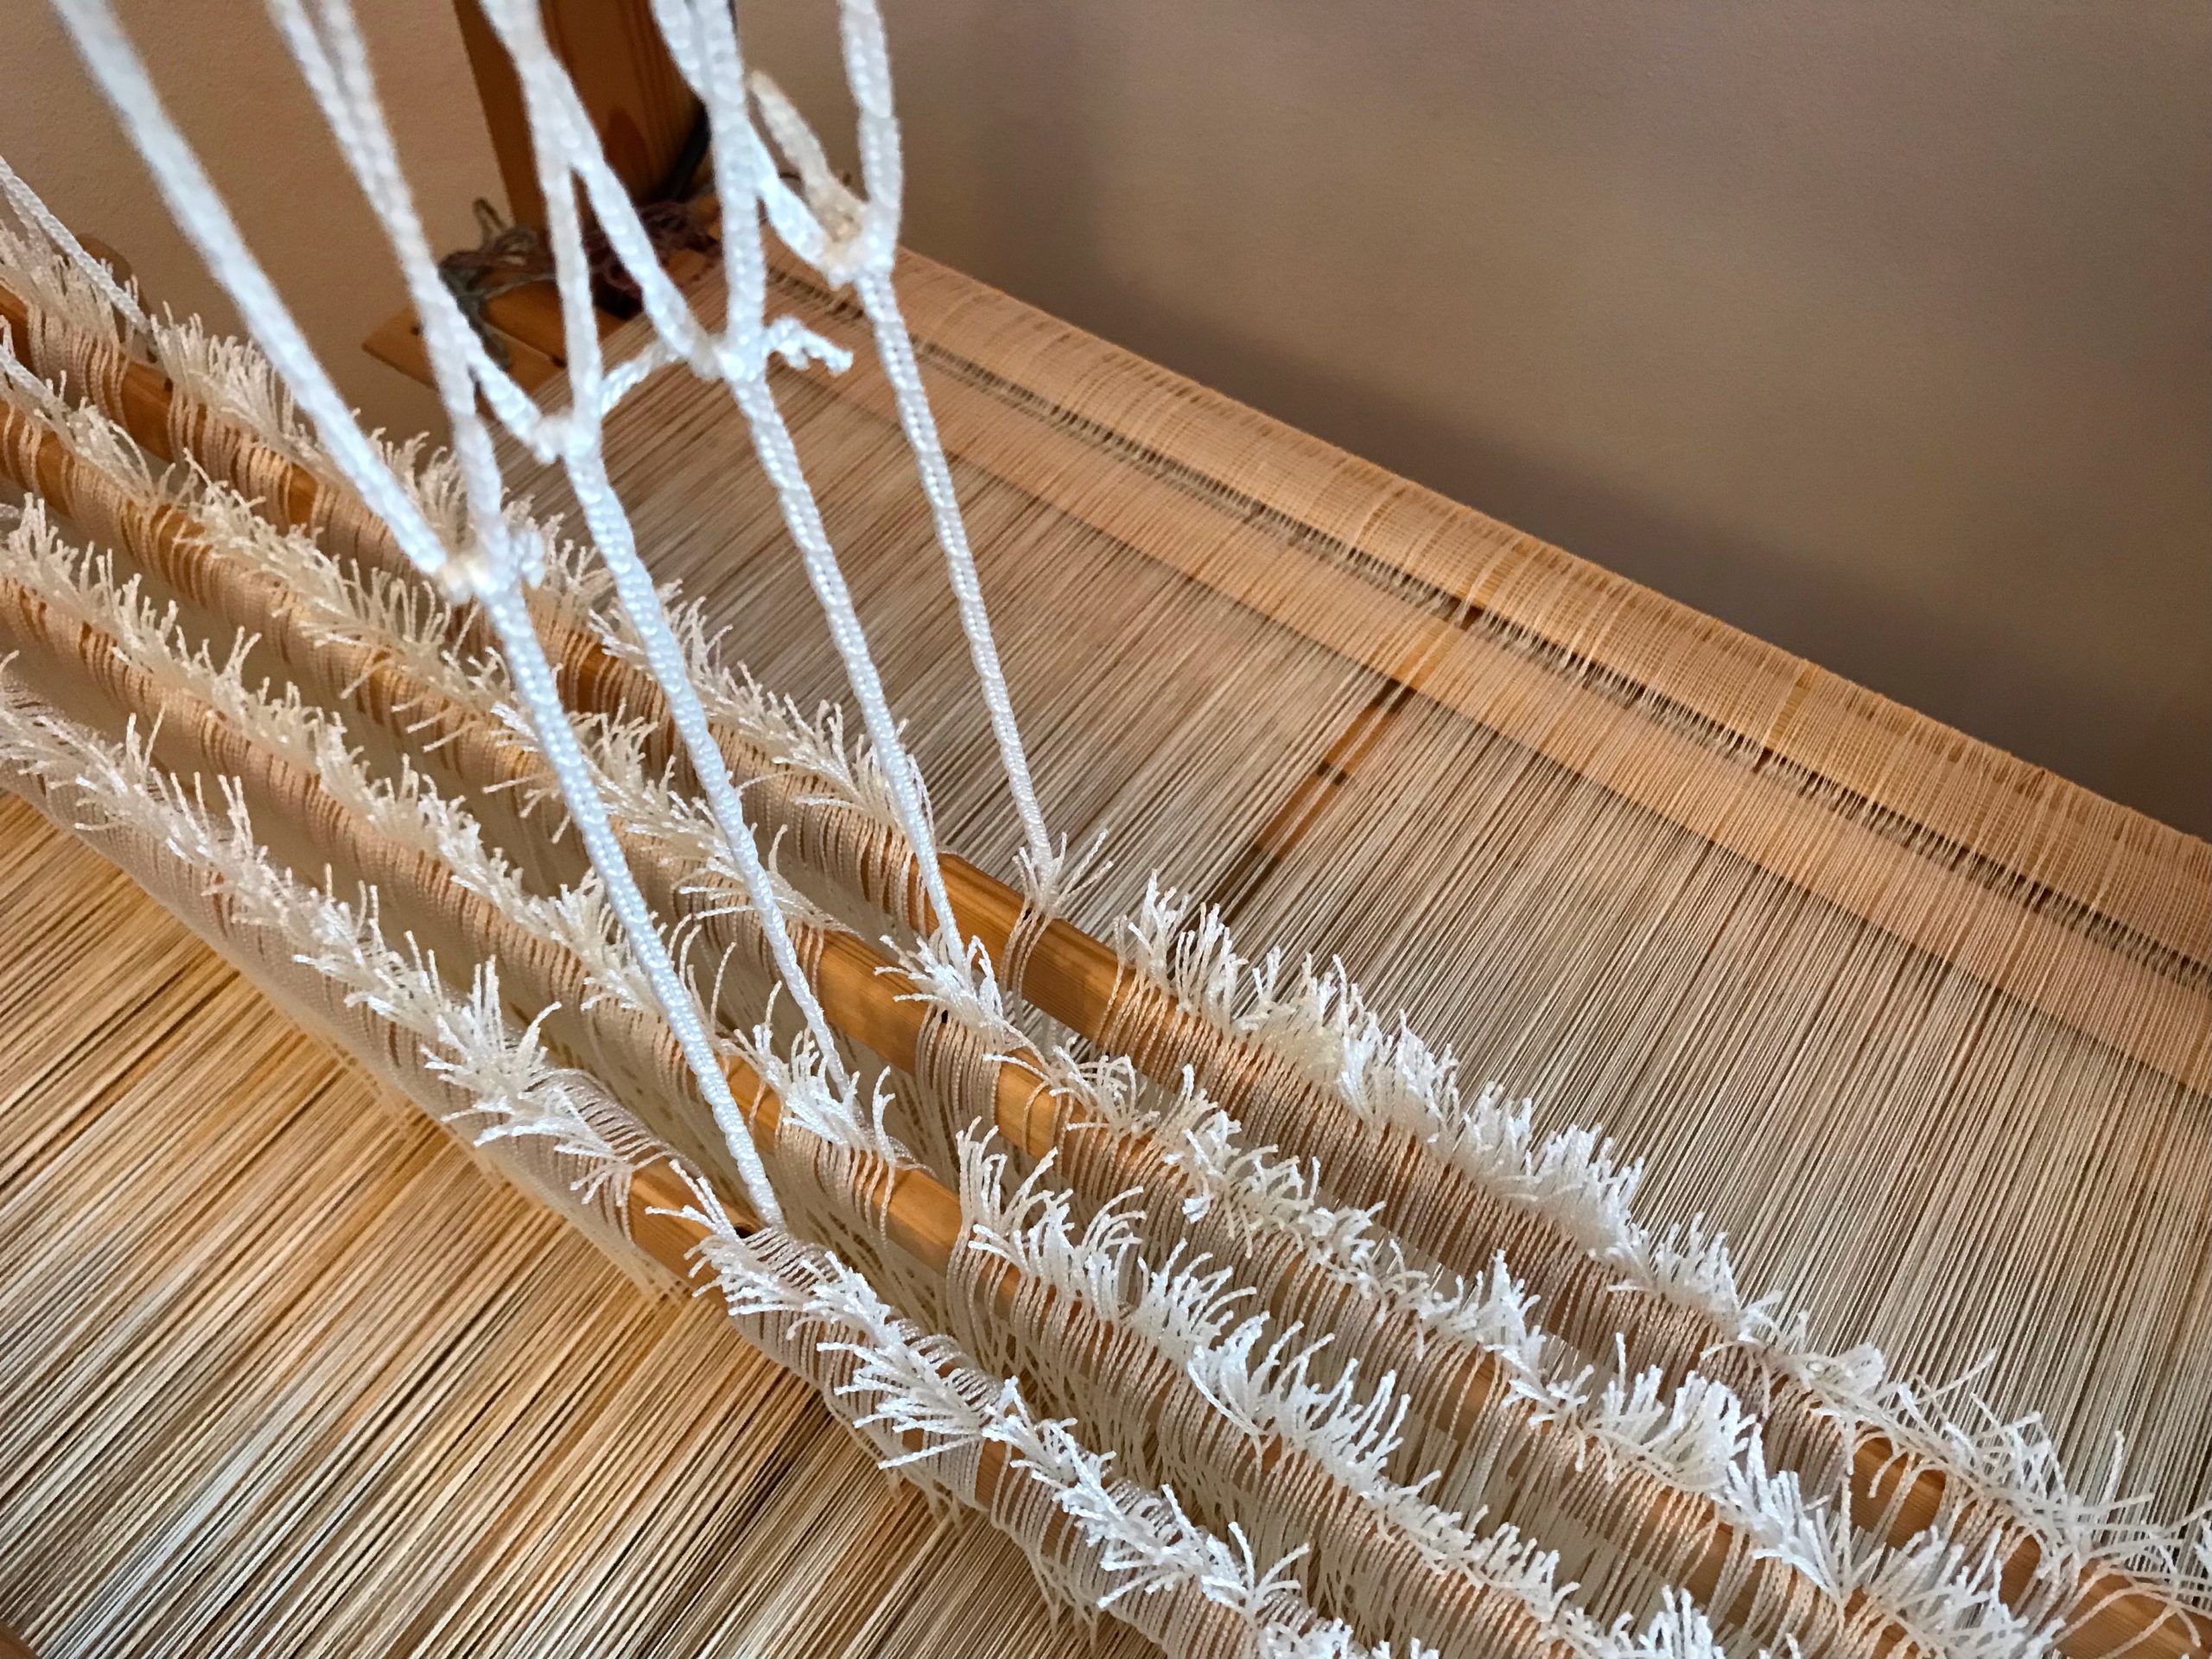
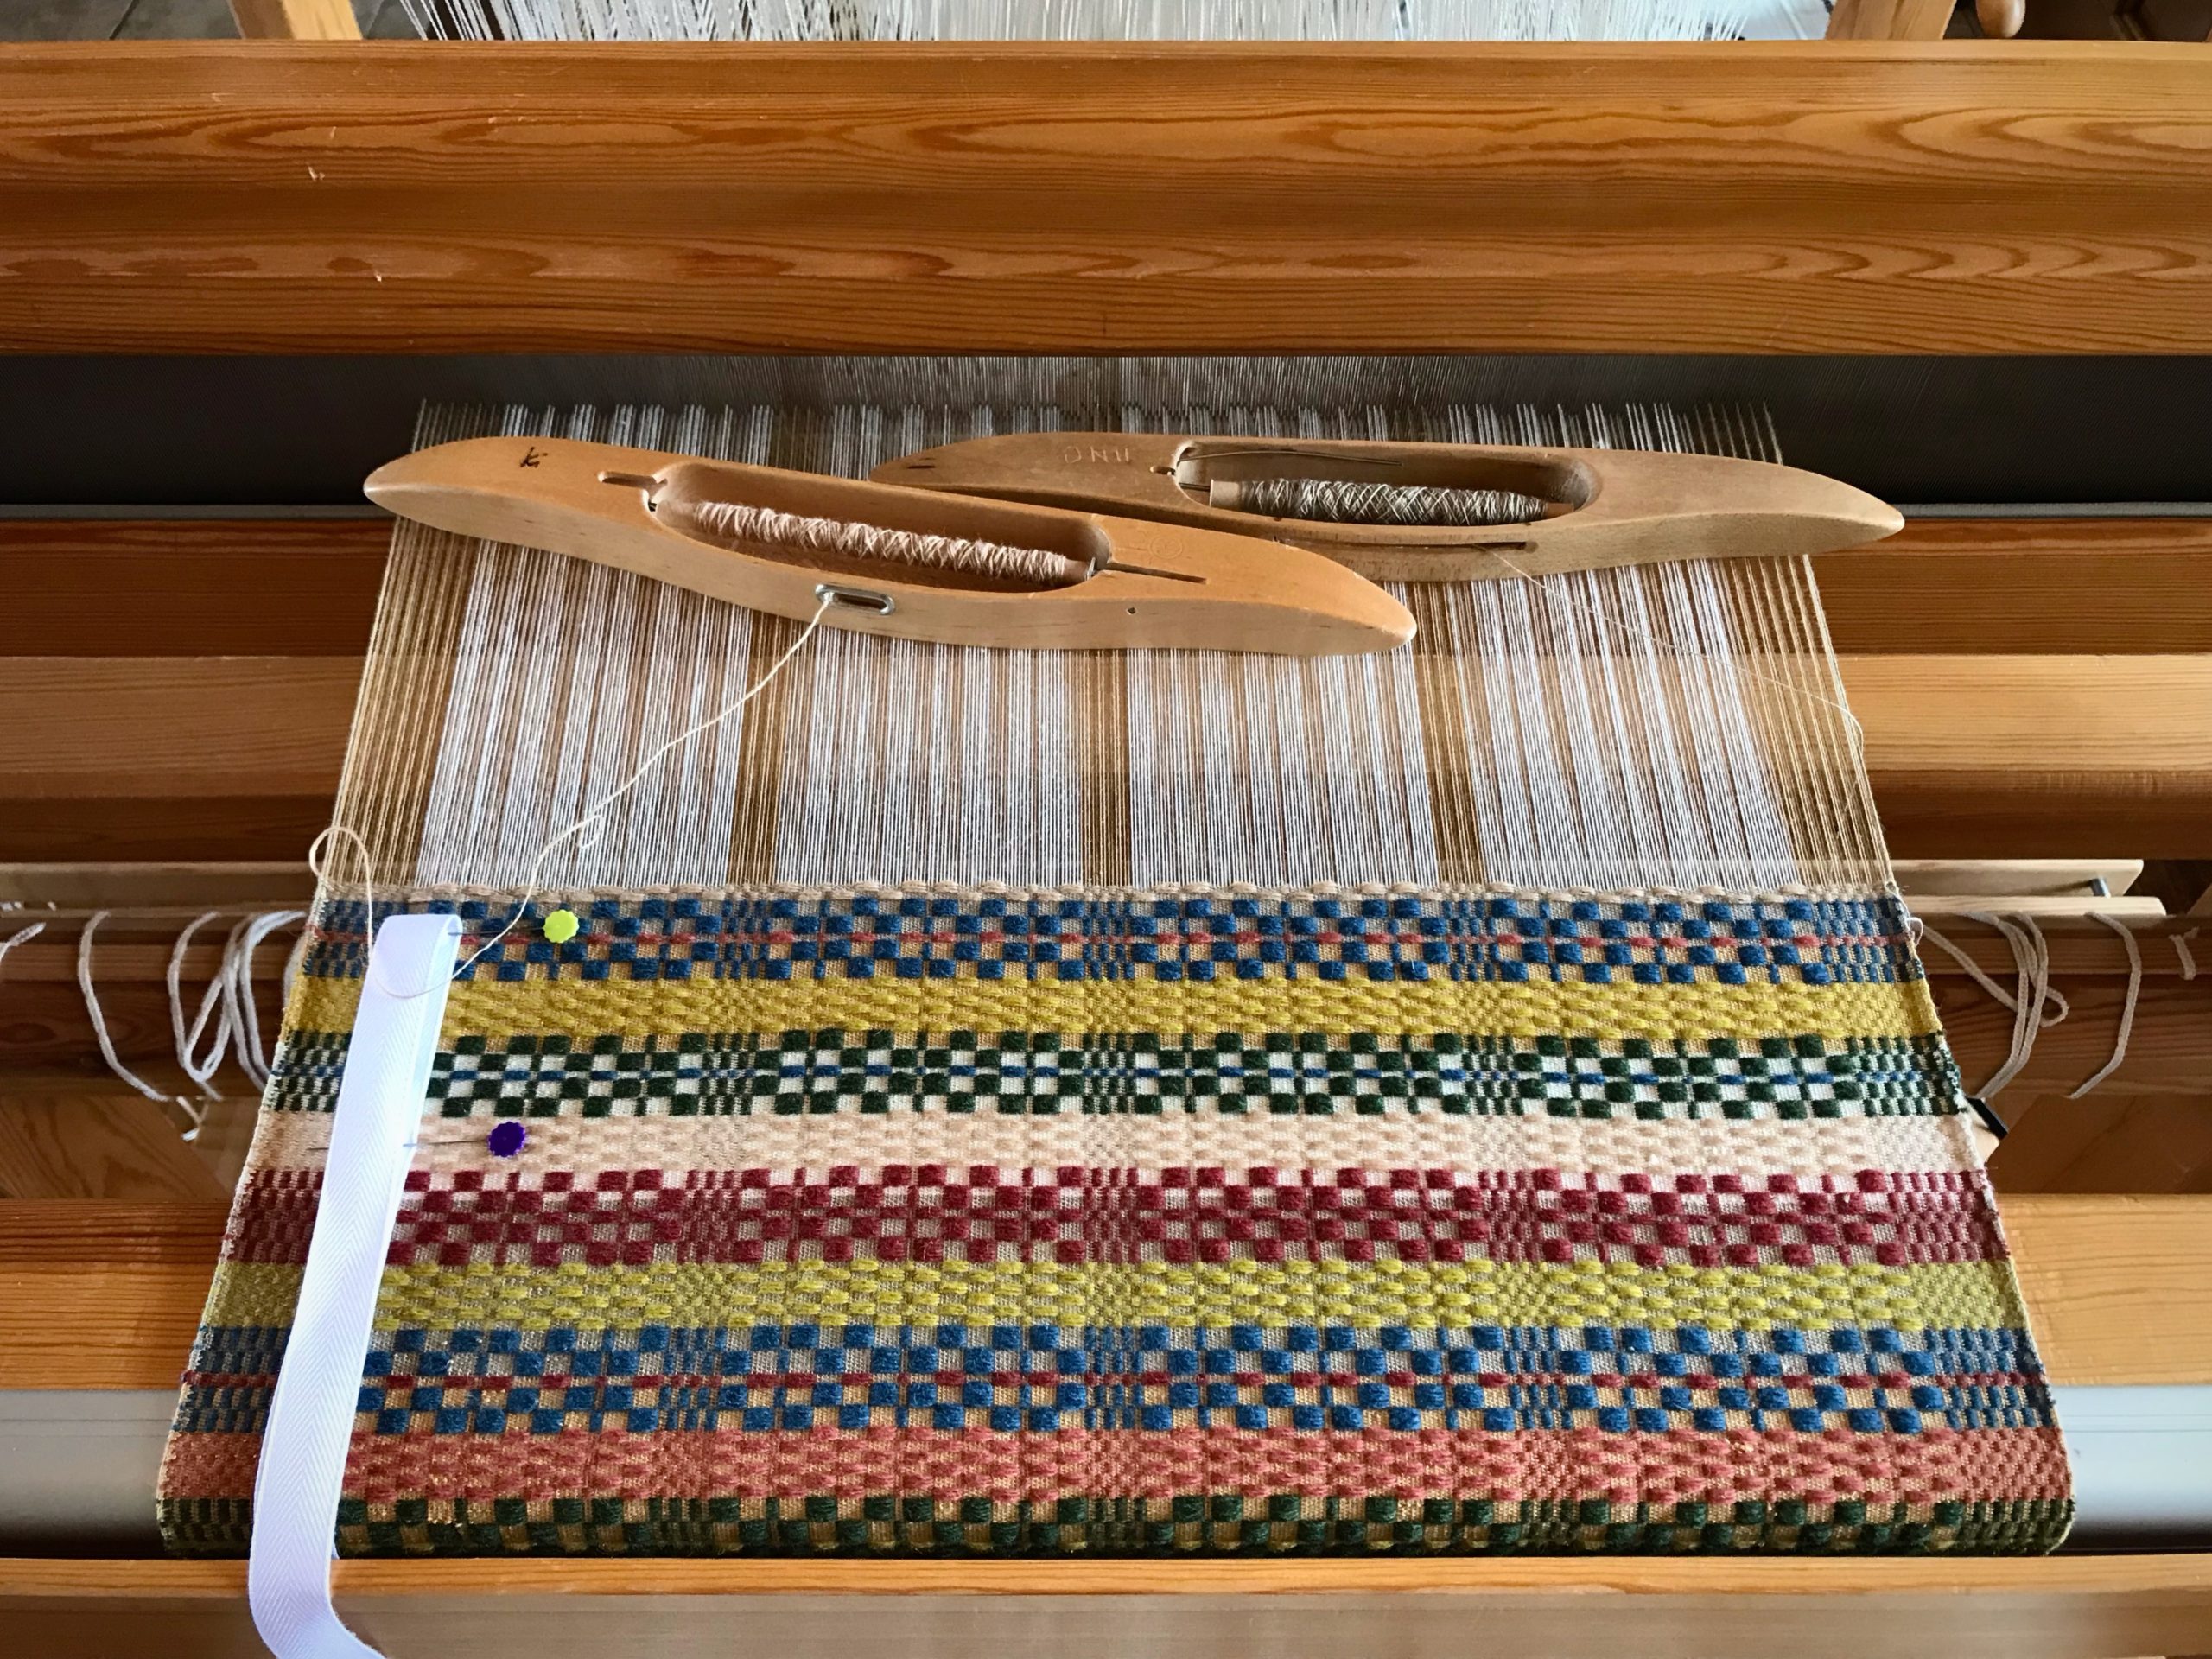
Juila’s wide warp. So far, so good. I’ll pay attention and everything will be just fine. Famous last words.
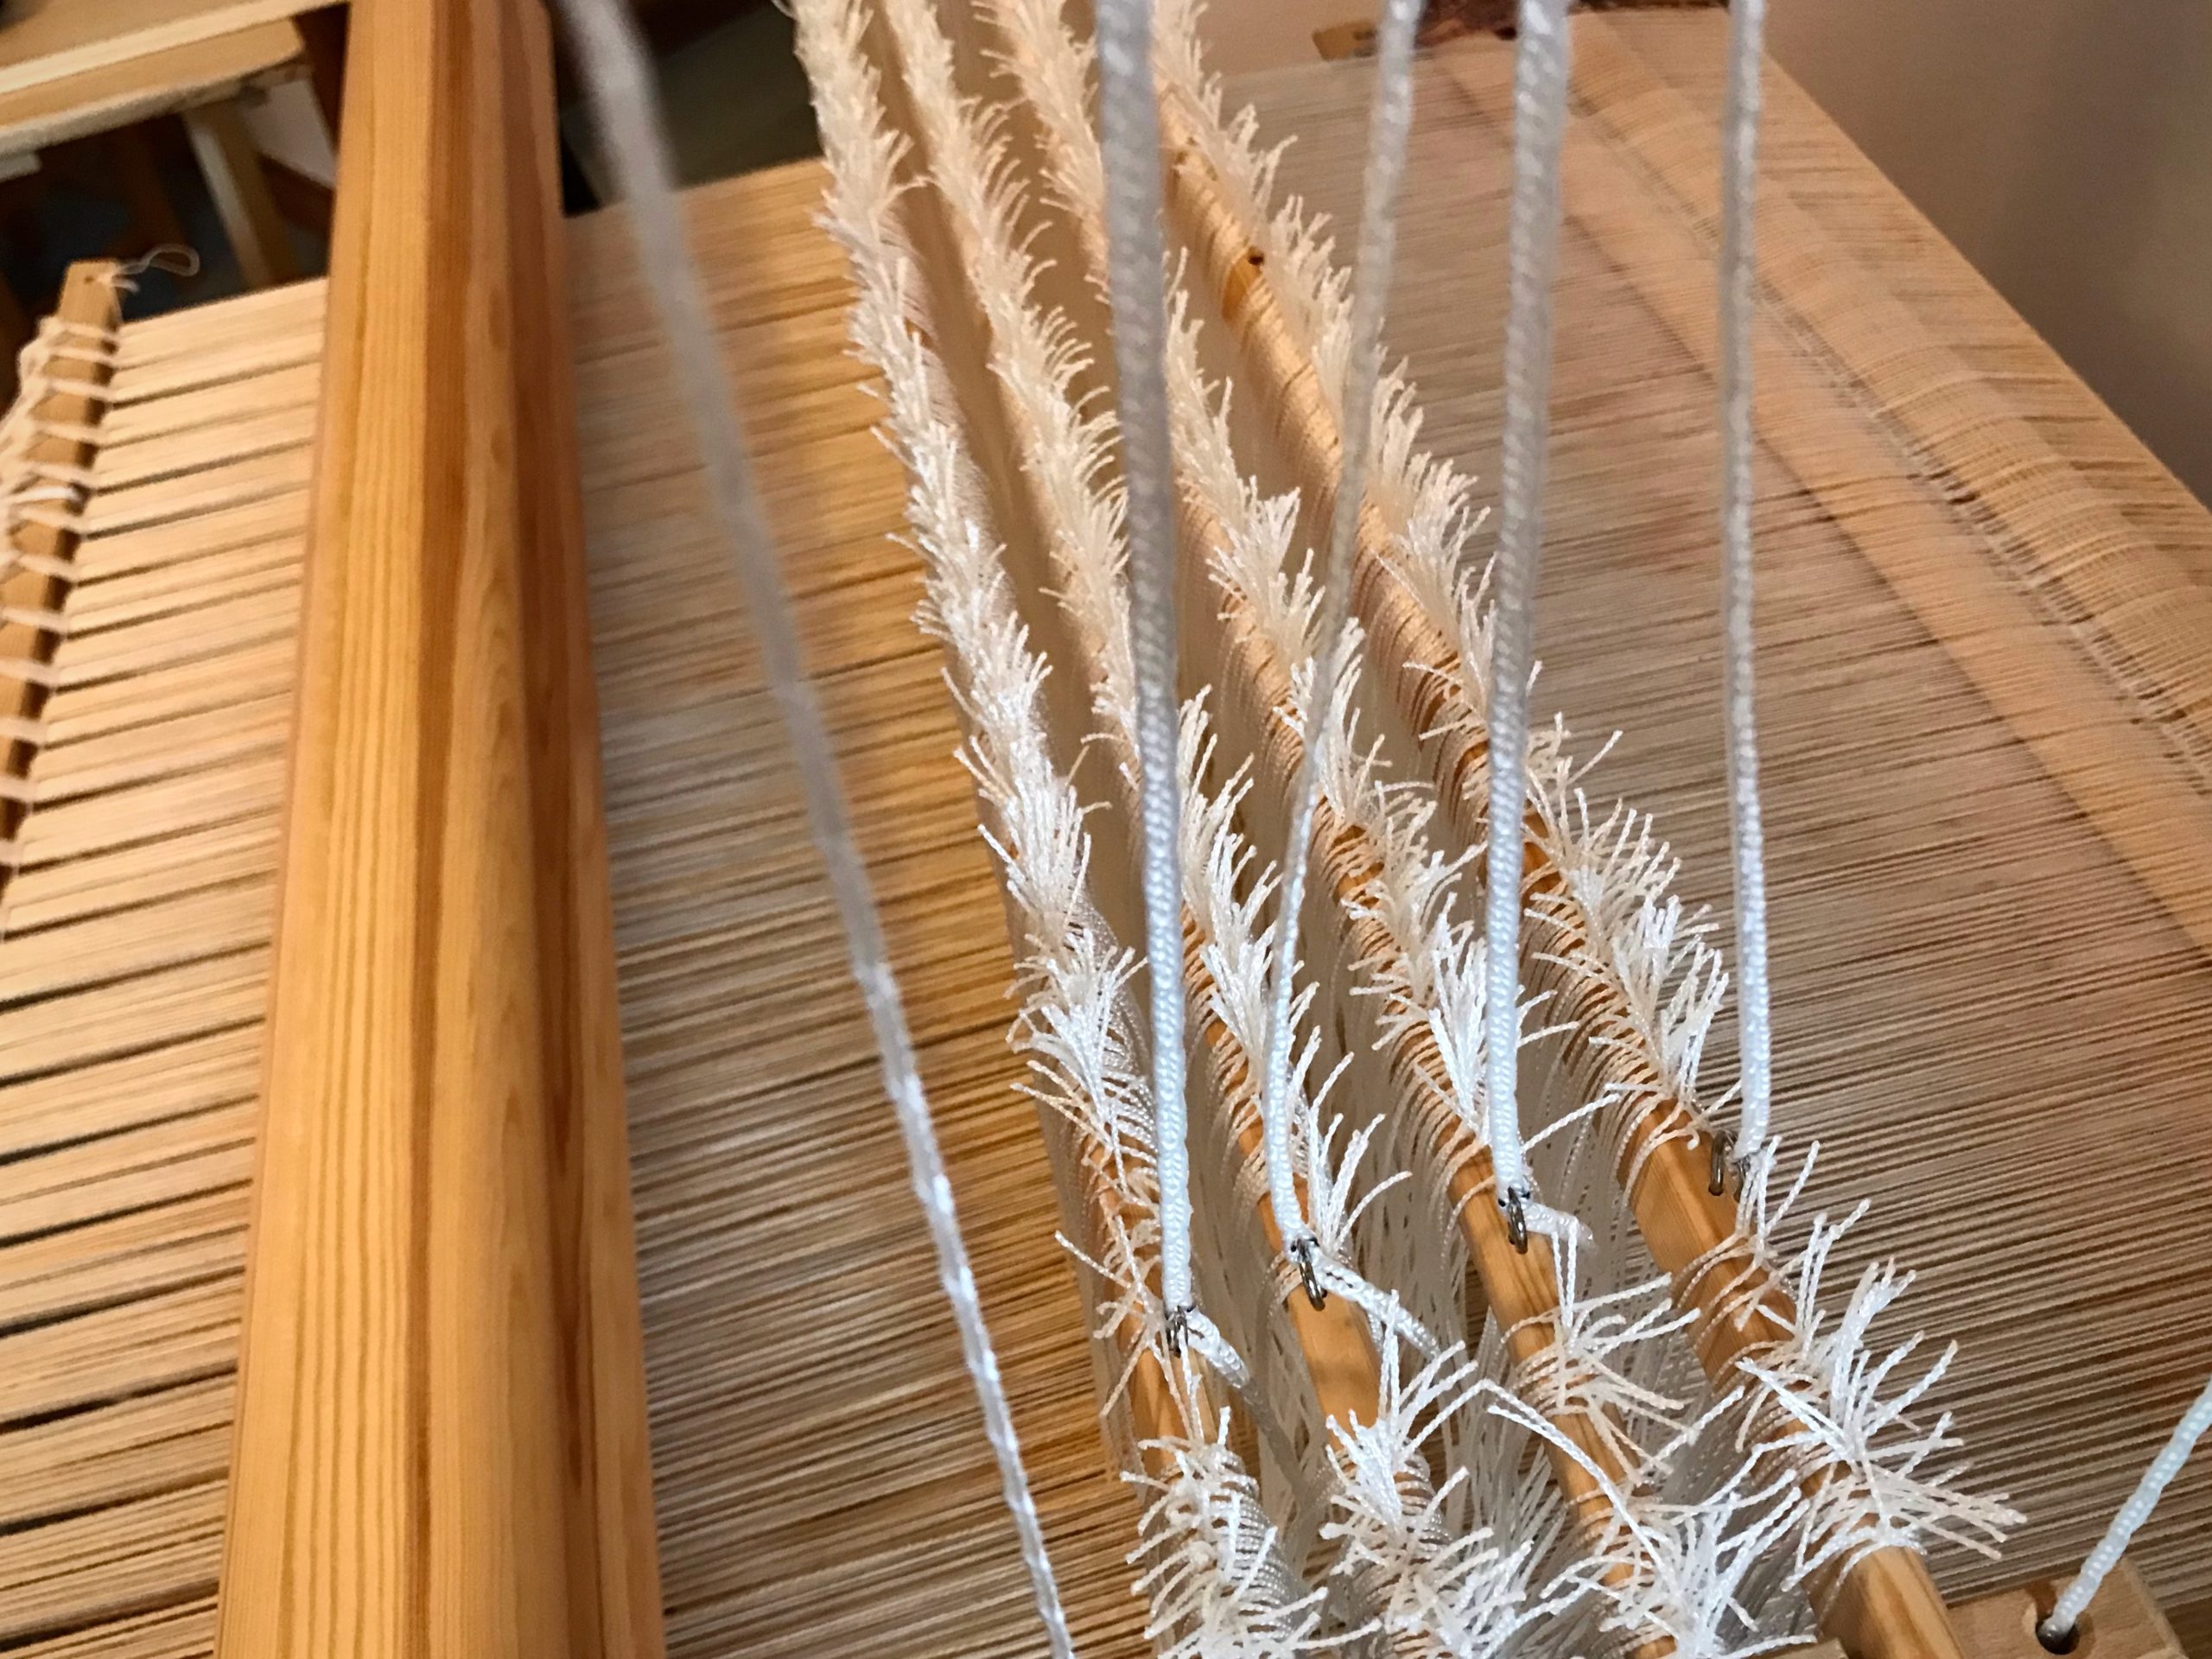
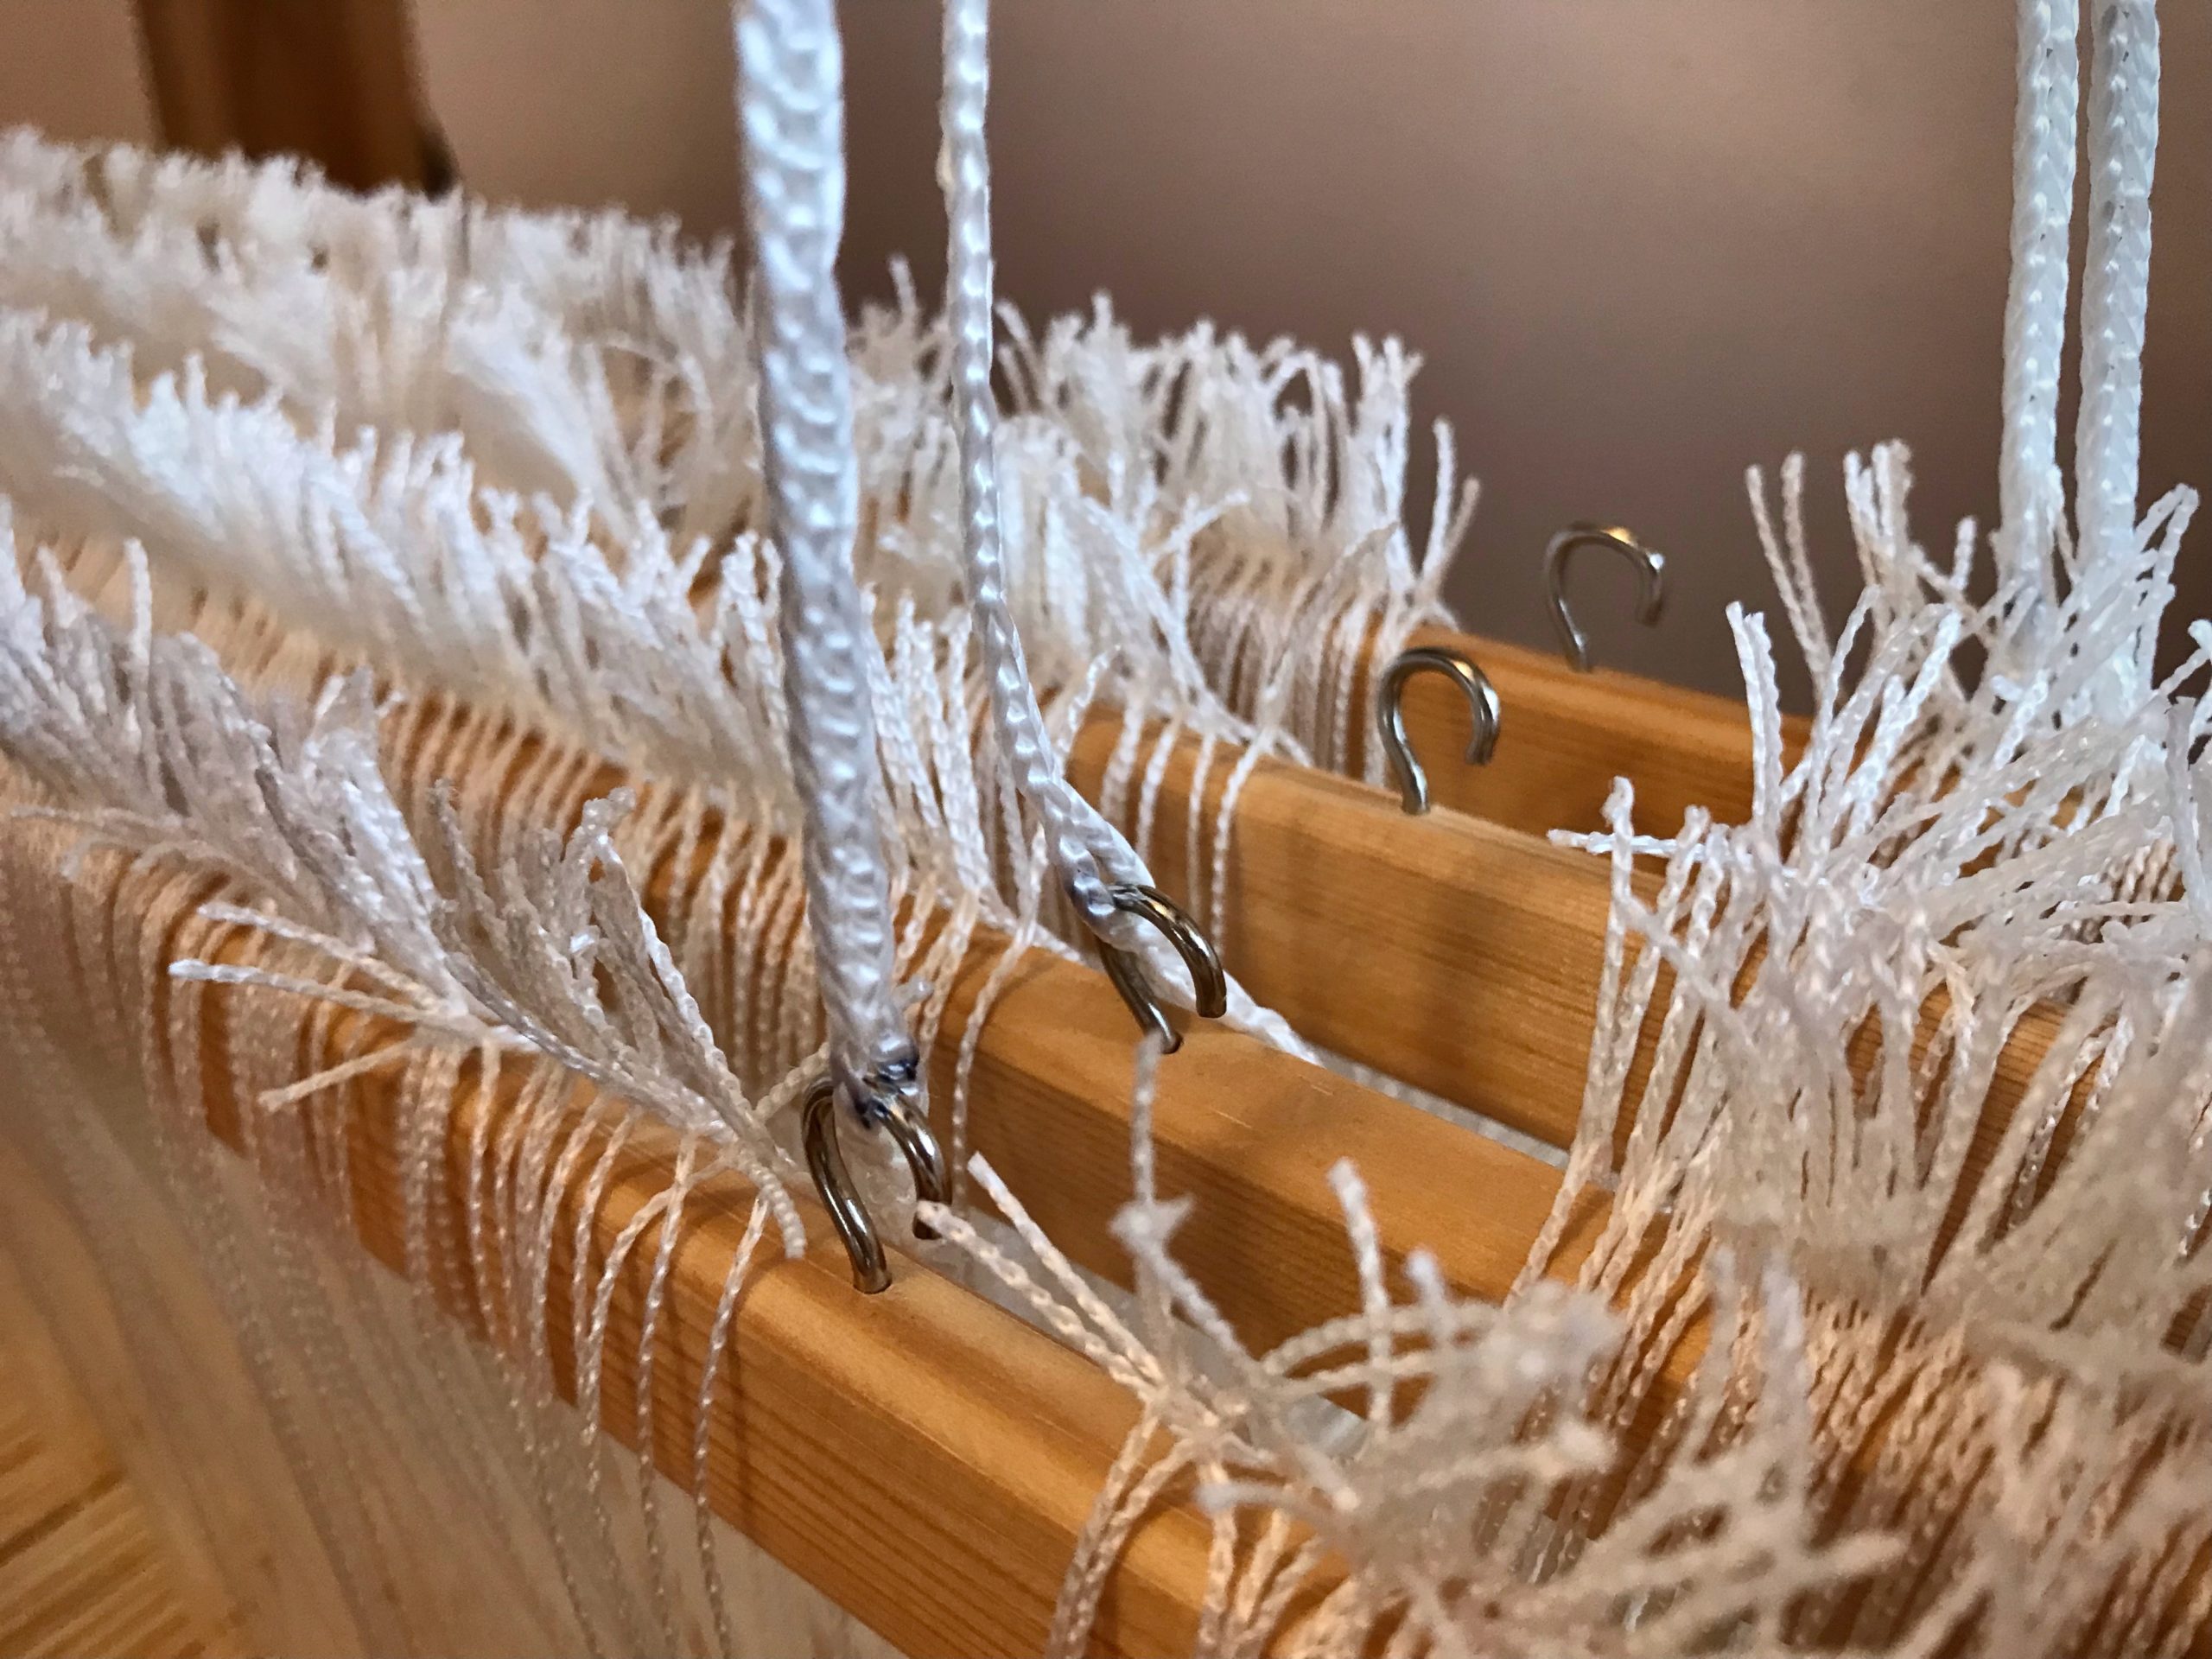
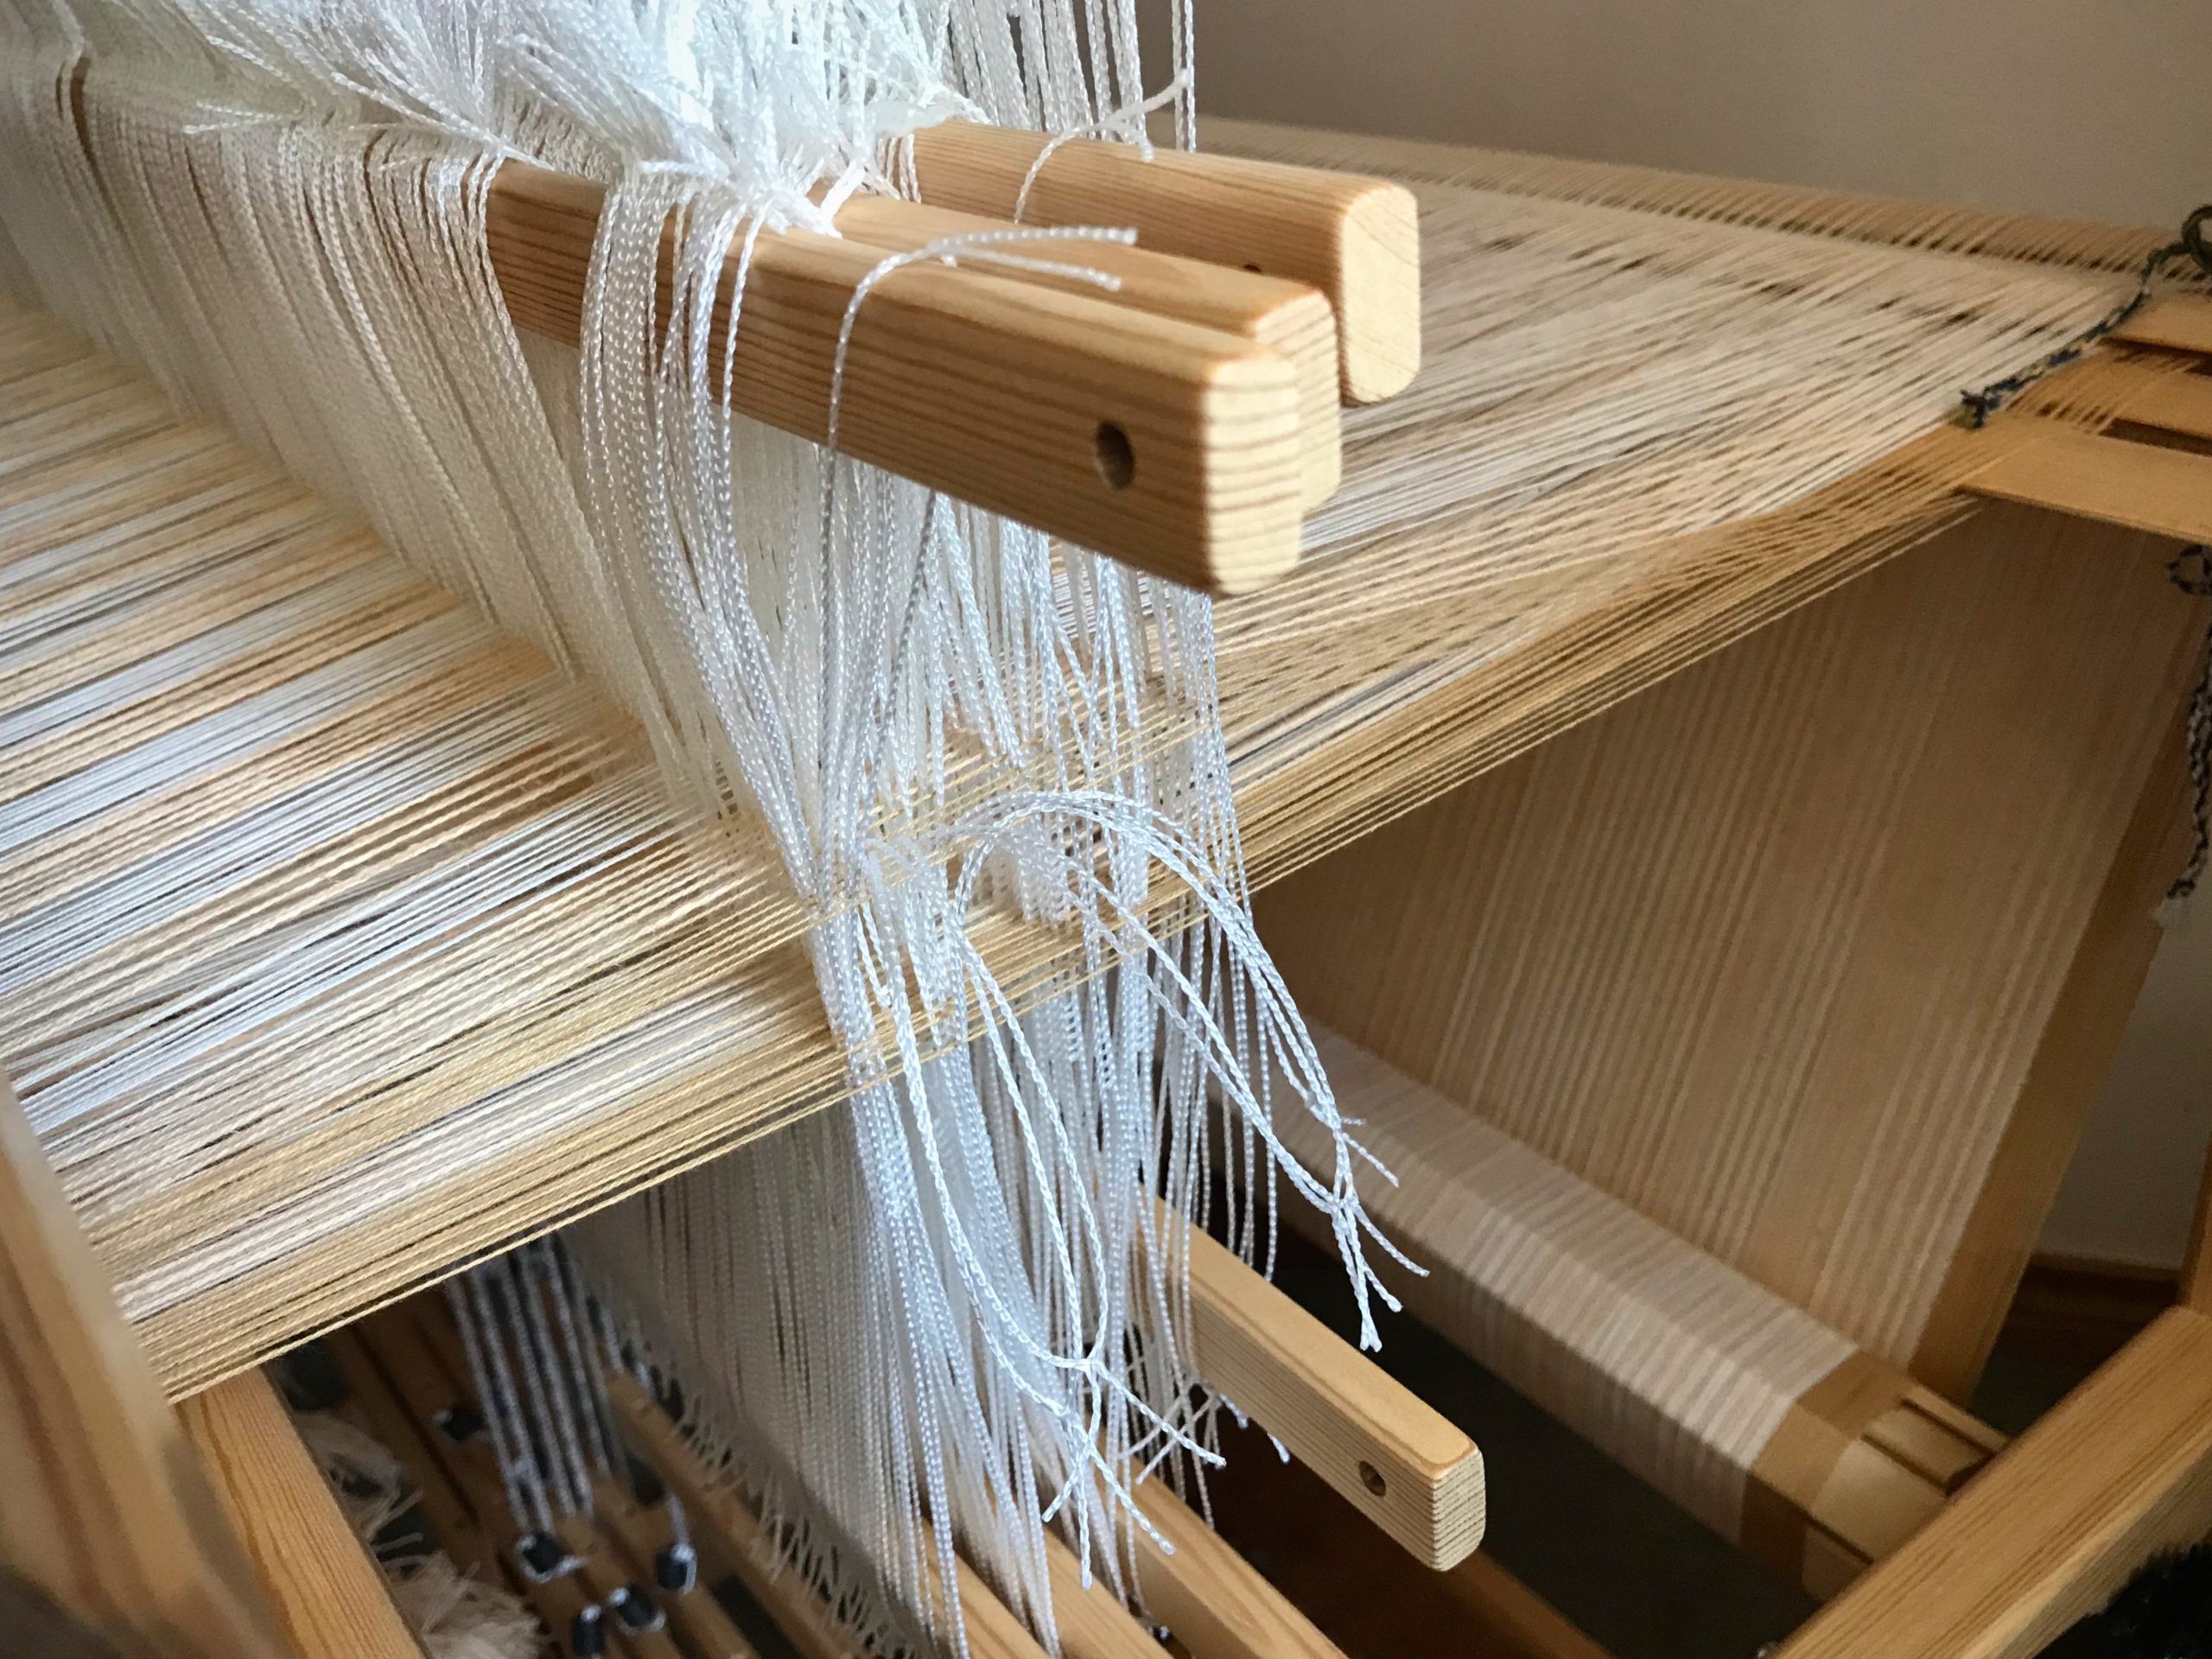
Oops. I took this picture after I had fixed most of the mess created by dangling heddles. When heddles slip off shafts they must be put back on thread by thread to maintain correct warp order. These were tangled enough that it took me a few tries to get it right.


Tie Retaining Cords on Shafts

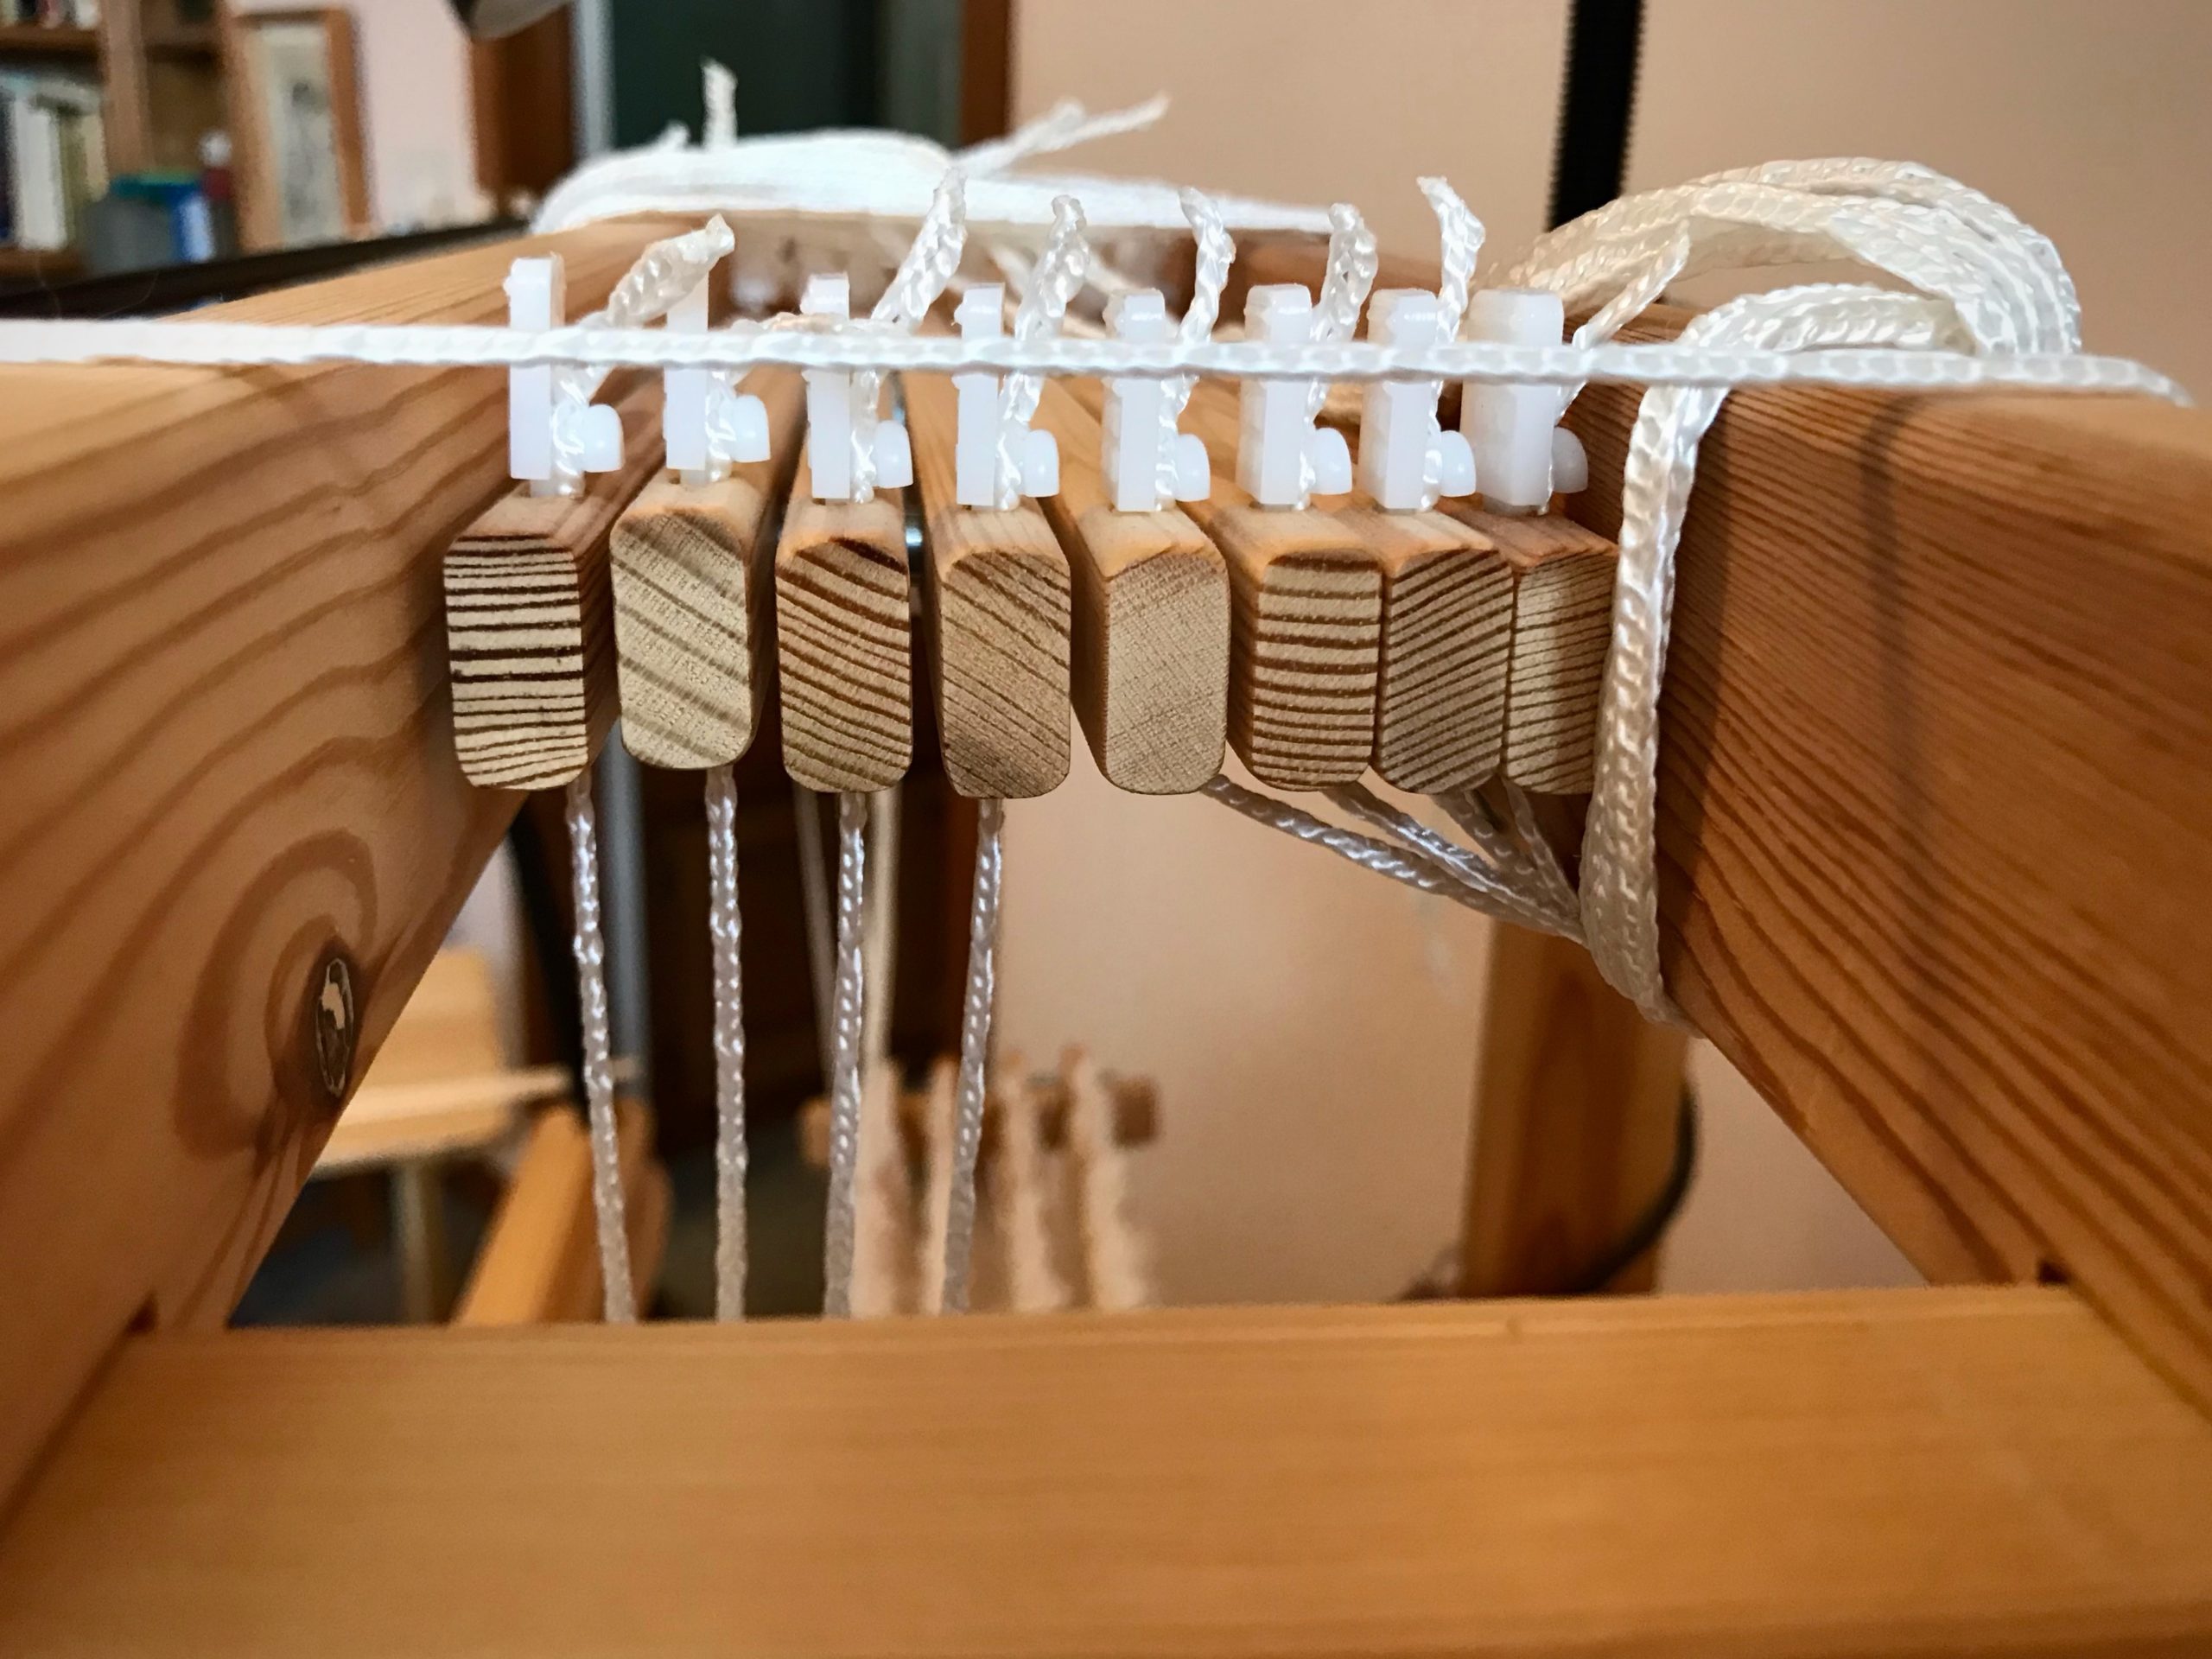
Purpose: Keep Texsolv heddles secure on their shaft bars, especially when weaving a wide warp.

Supplies

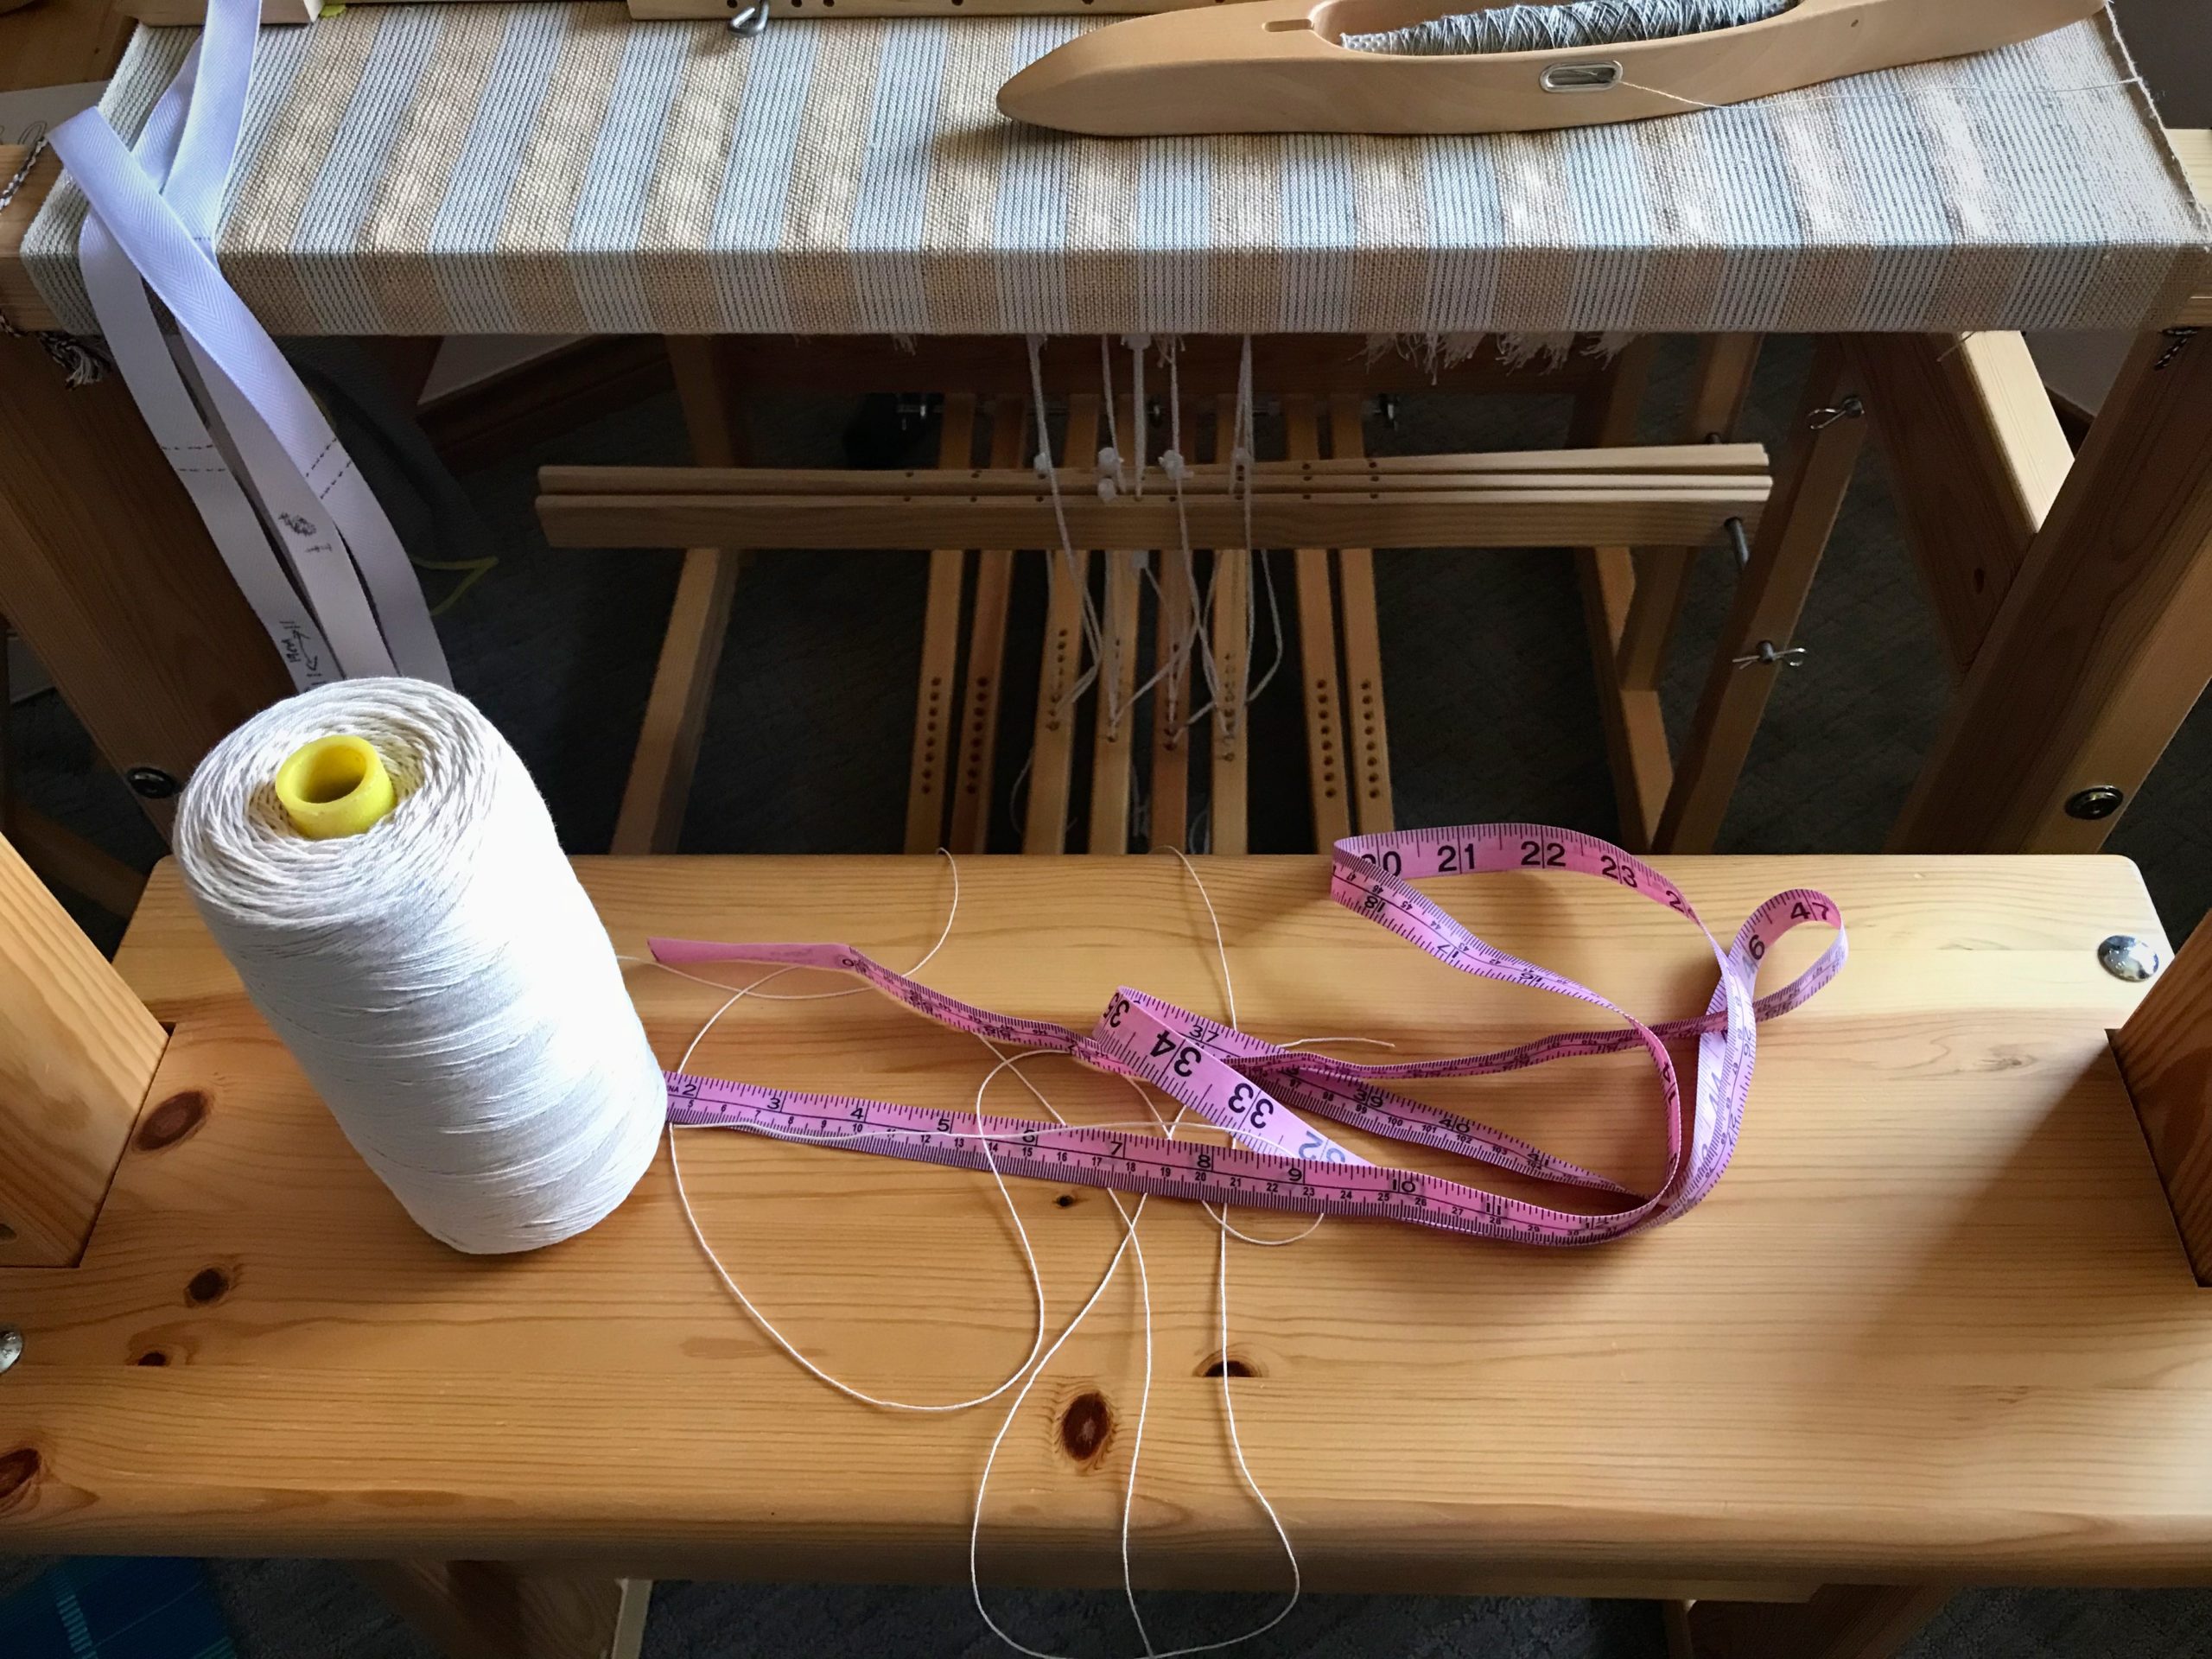
  • Tape measure
  • 12/6 cotton seine twine
  • Scissors
12/6 cotton seine twine (rug warp) to the rescue!

1 Measure shaft bar from hole to hole. (Julia shaft bar is 70 cm)
2 Figure additional length (about 40 cm) for tying two knots. (70 + 40 = 110 cm)
3 Cut seine twine to measured length for each upper and lower shaft bar. (Heddles can slip off lower shaft bars, too.)
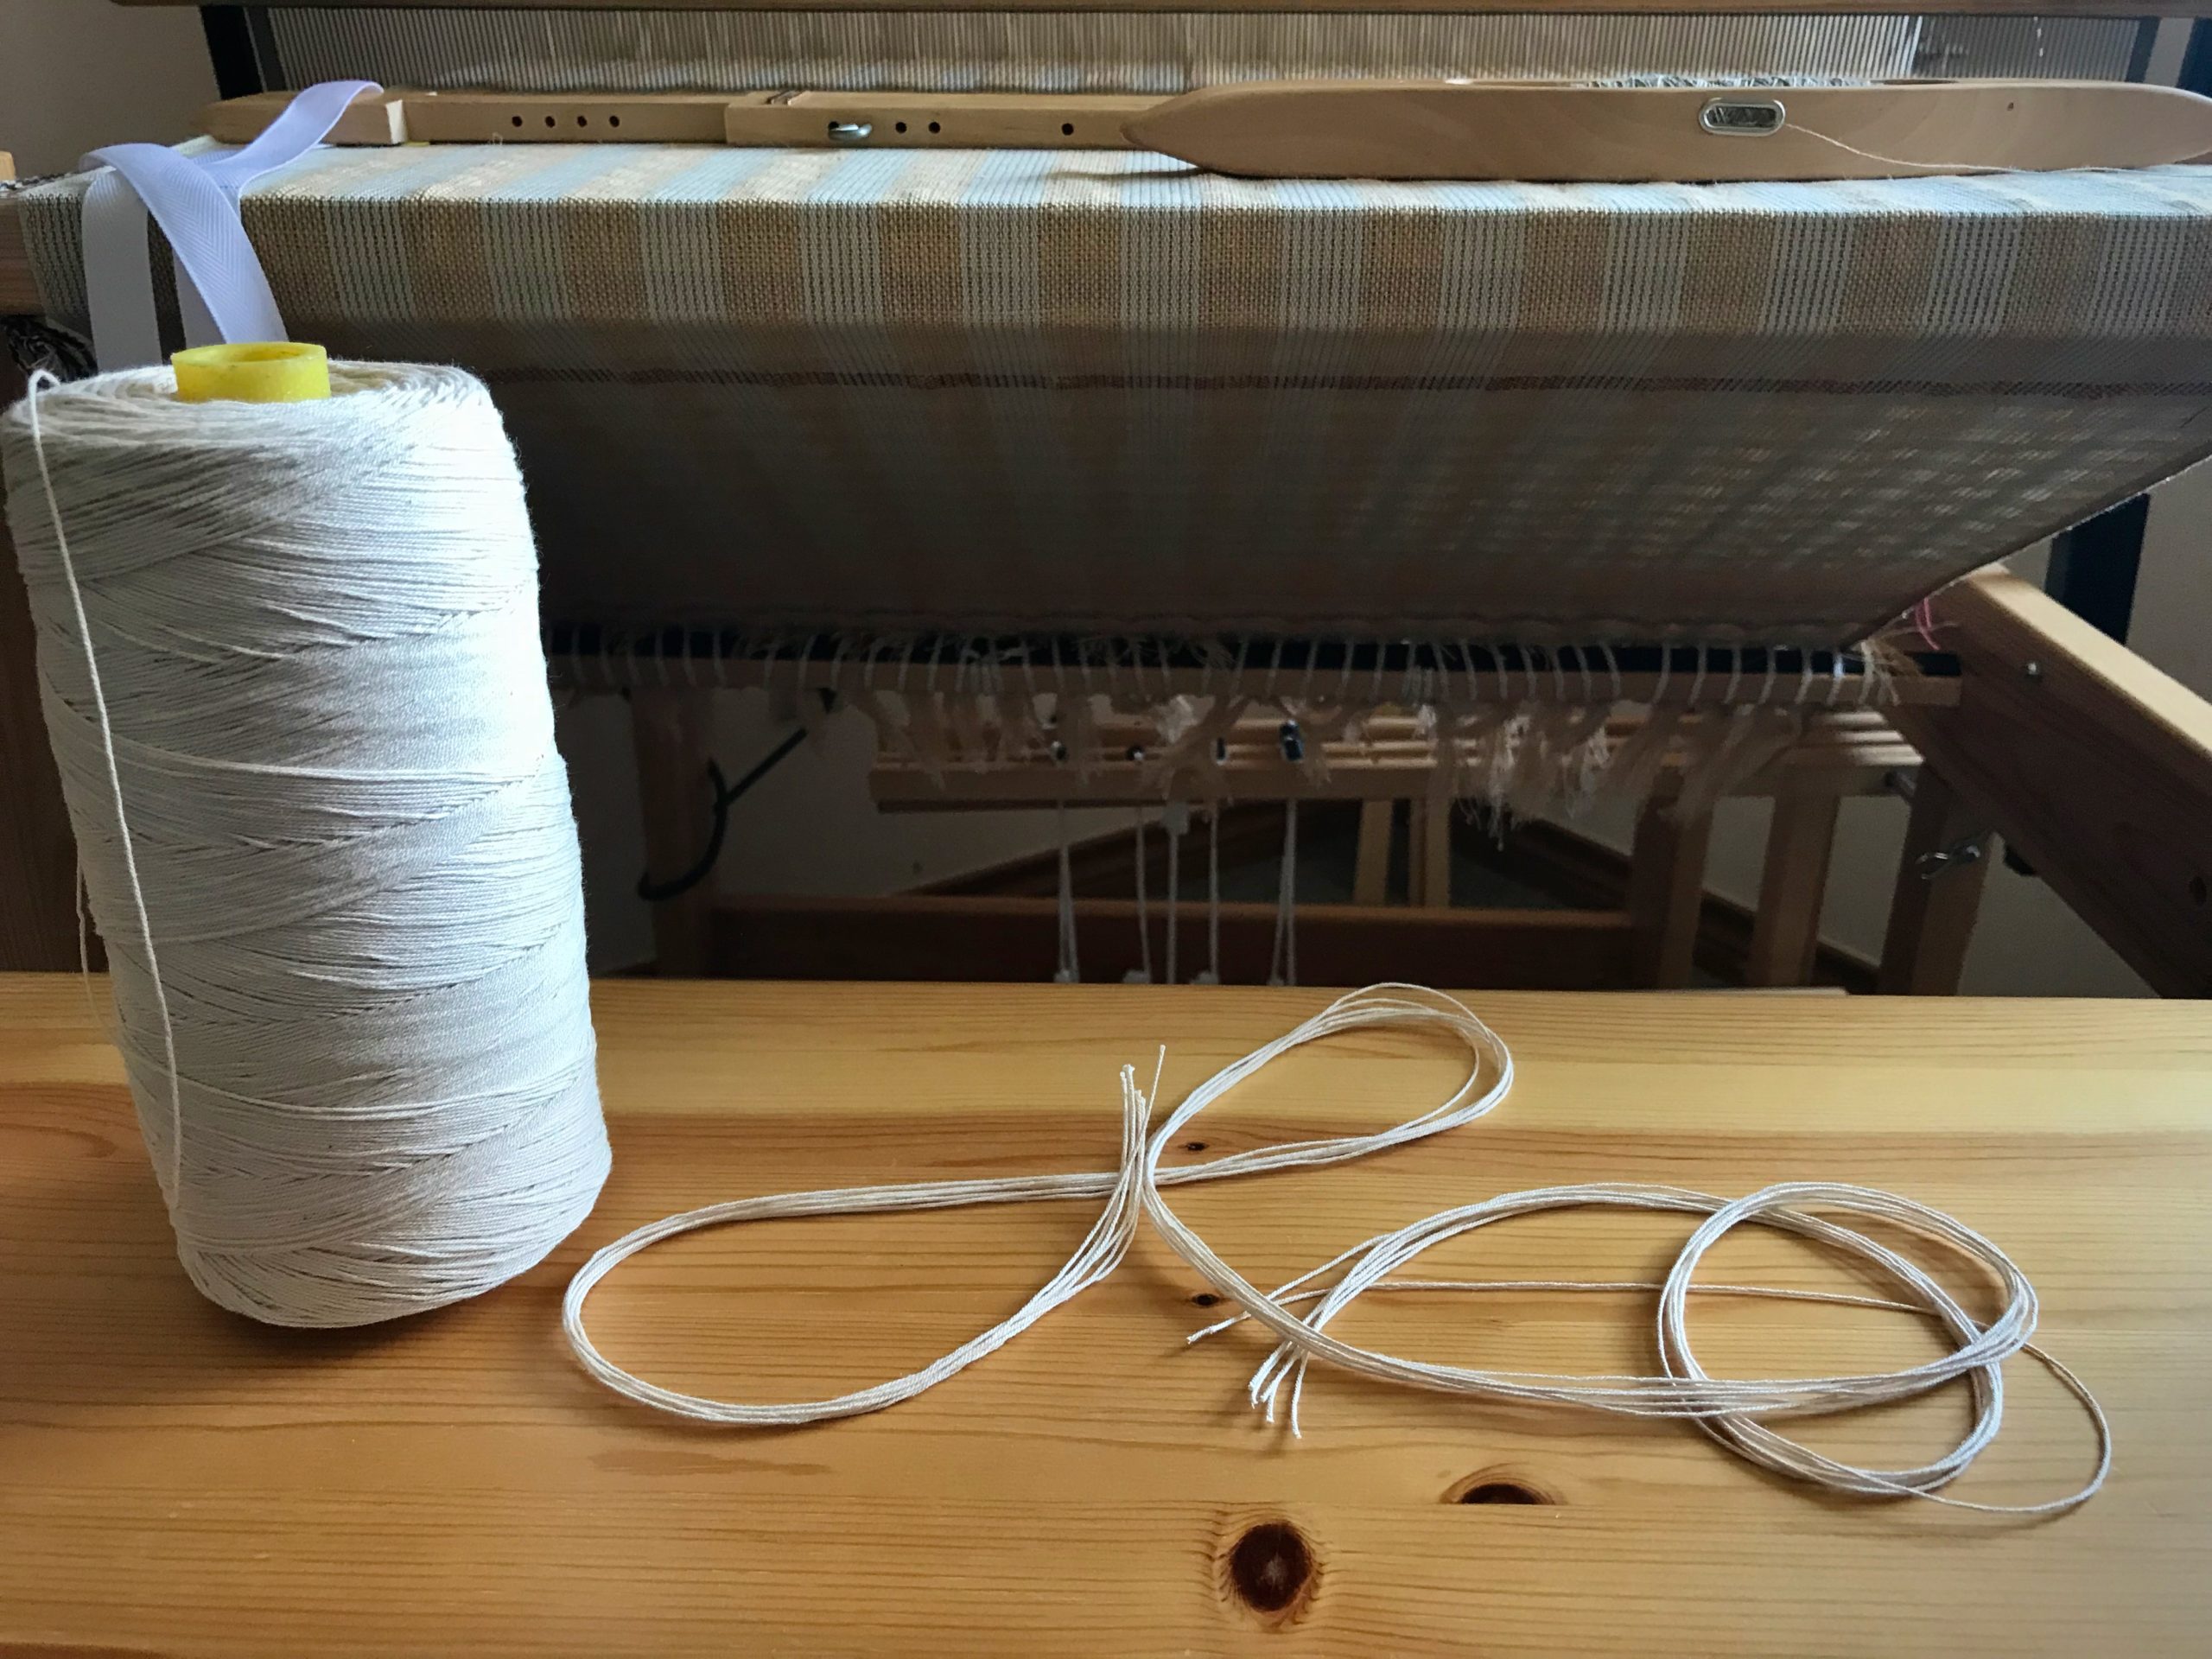
Retaining cords are cut.

4 Insert one of the seine twine cords through the hole on one end of a shaft bar. Tie. (I use the half-bow slip knot as described in Learning to Warp Your Loom, by Joanne Hall, p.38.)
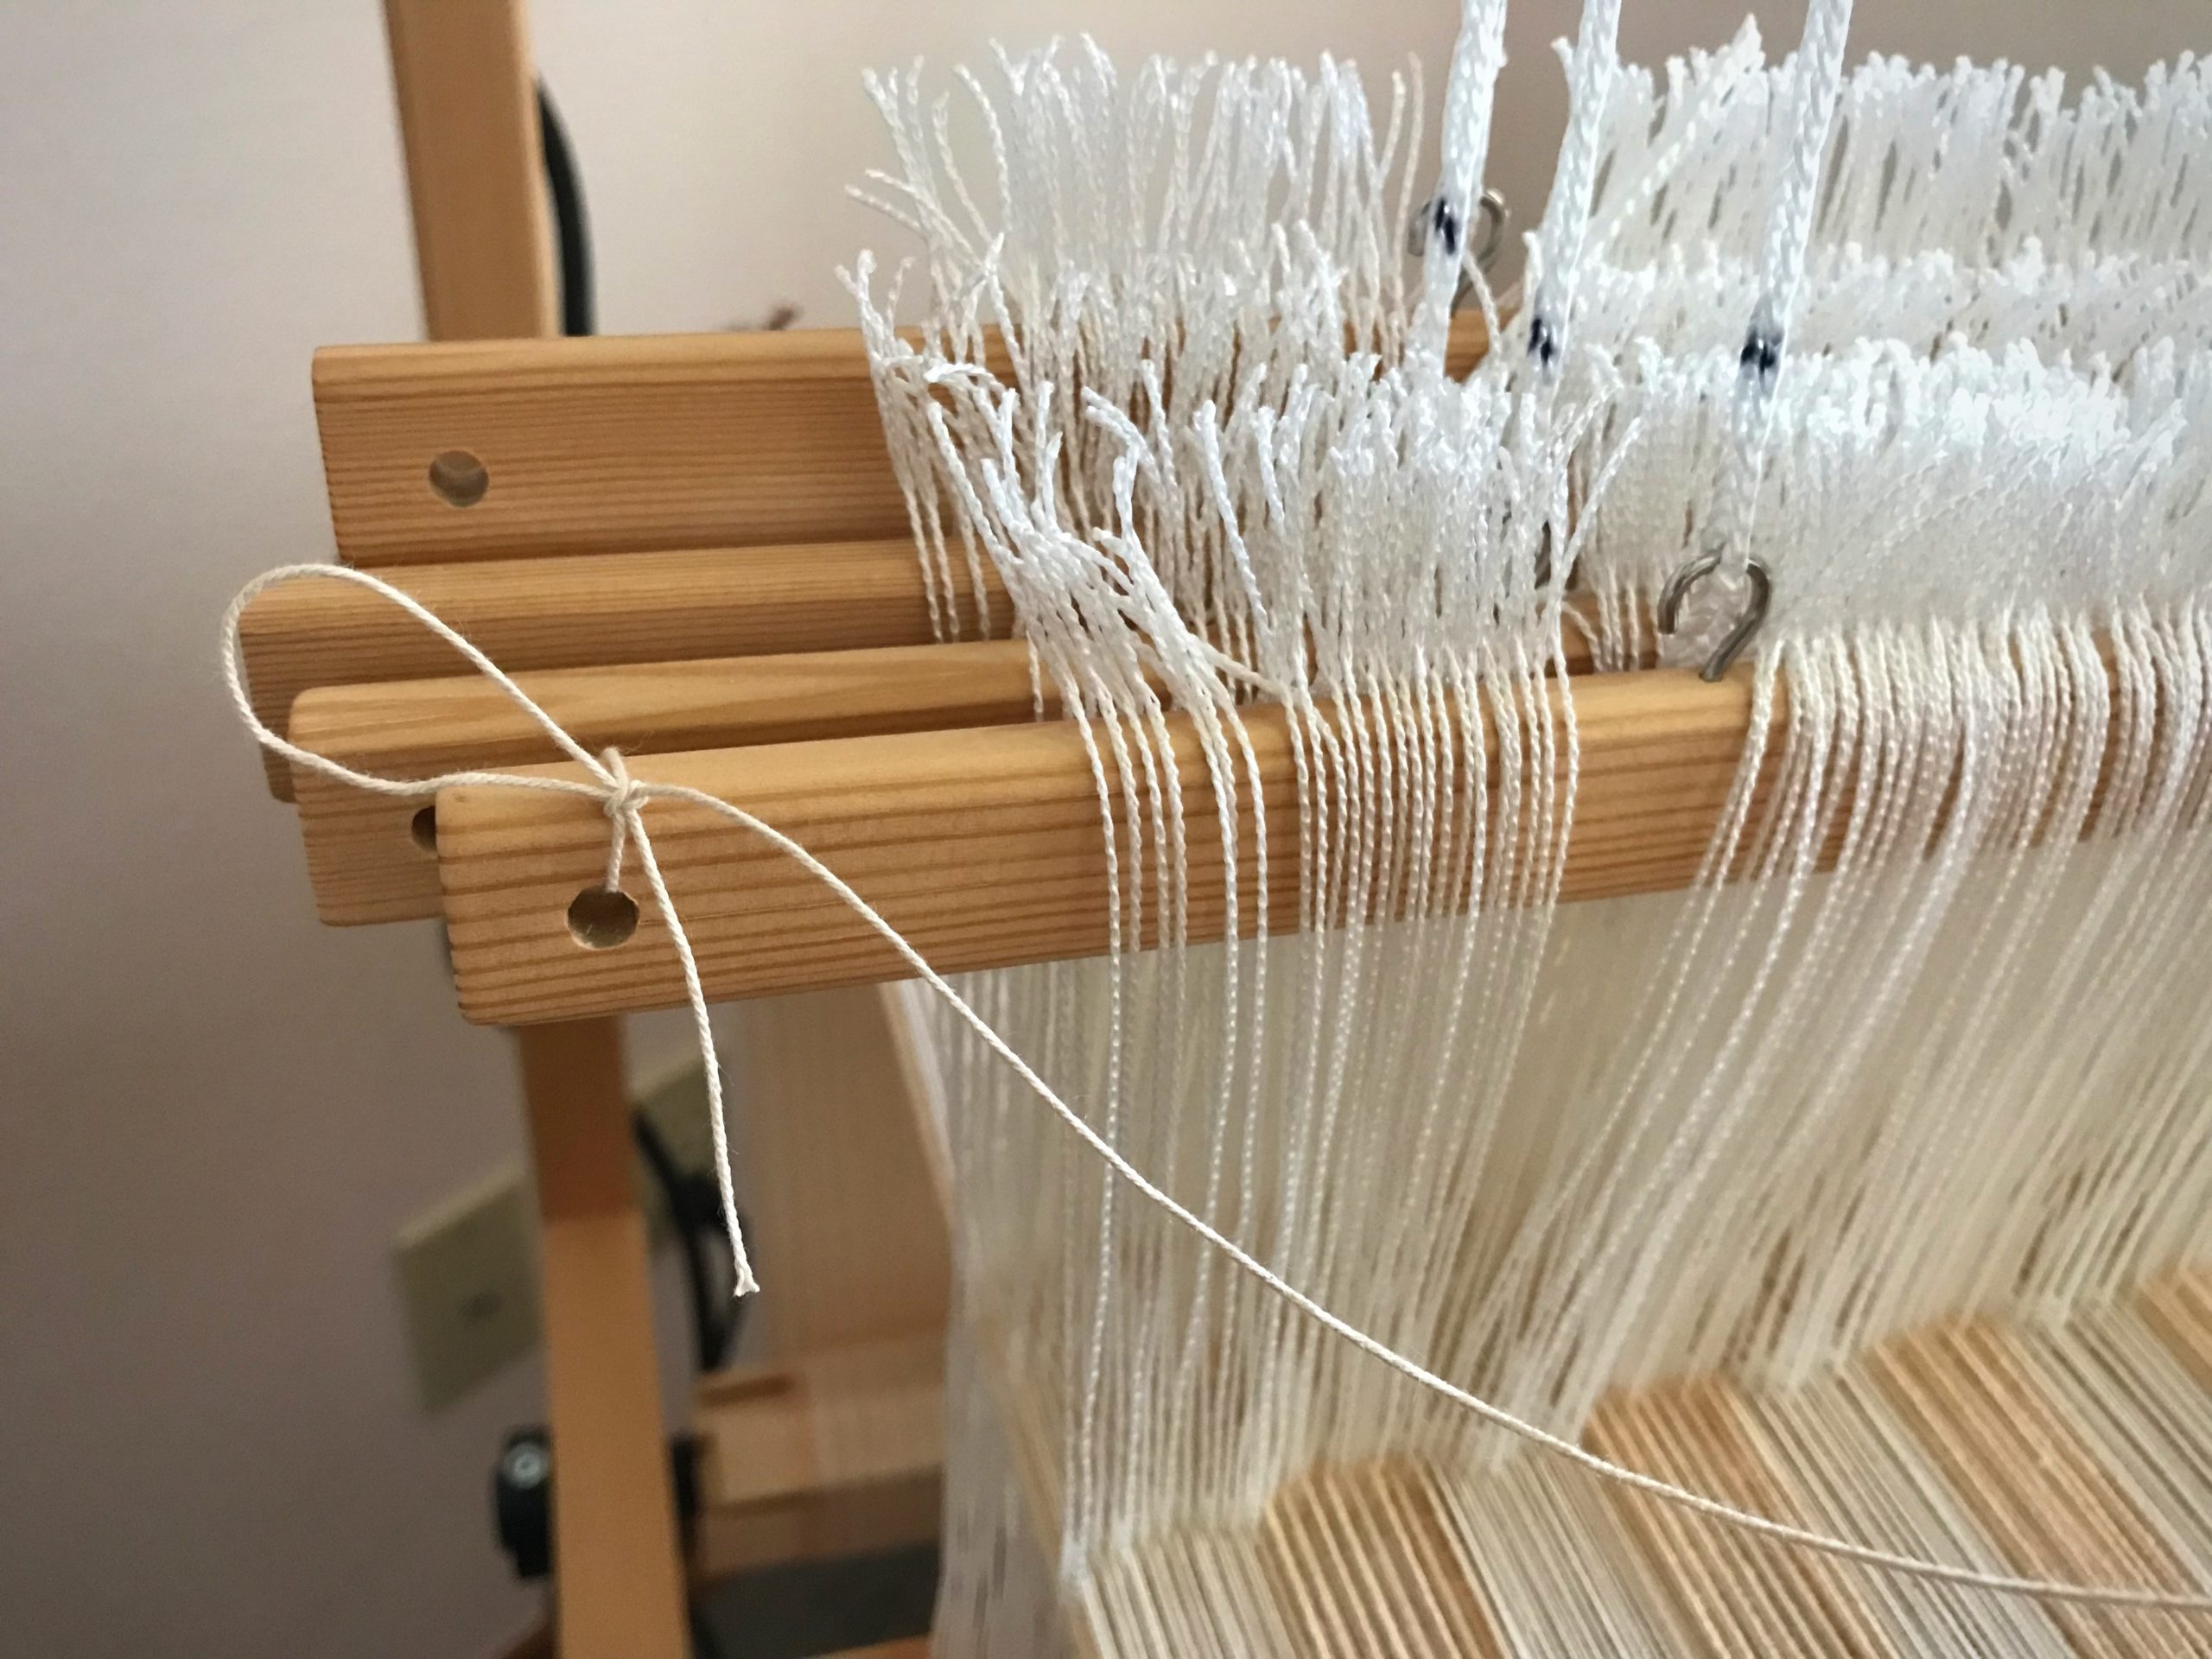
Tie retaining cord to one end of the shaft bar. Any knot will do, but I like this half-bow slip knot because I can untie it simply by pulling the end of the cord.

5 Insert the other end of the cord through the hole at other end of the shaft bar. Tie.
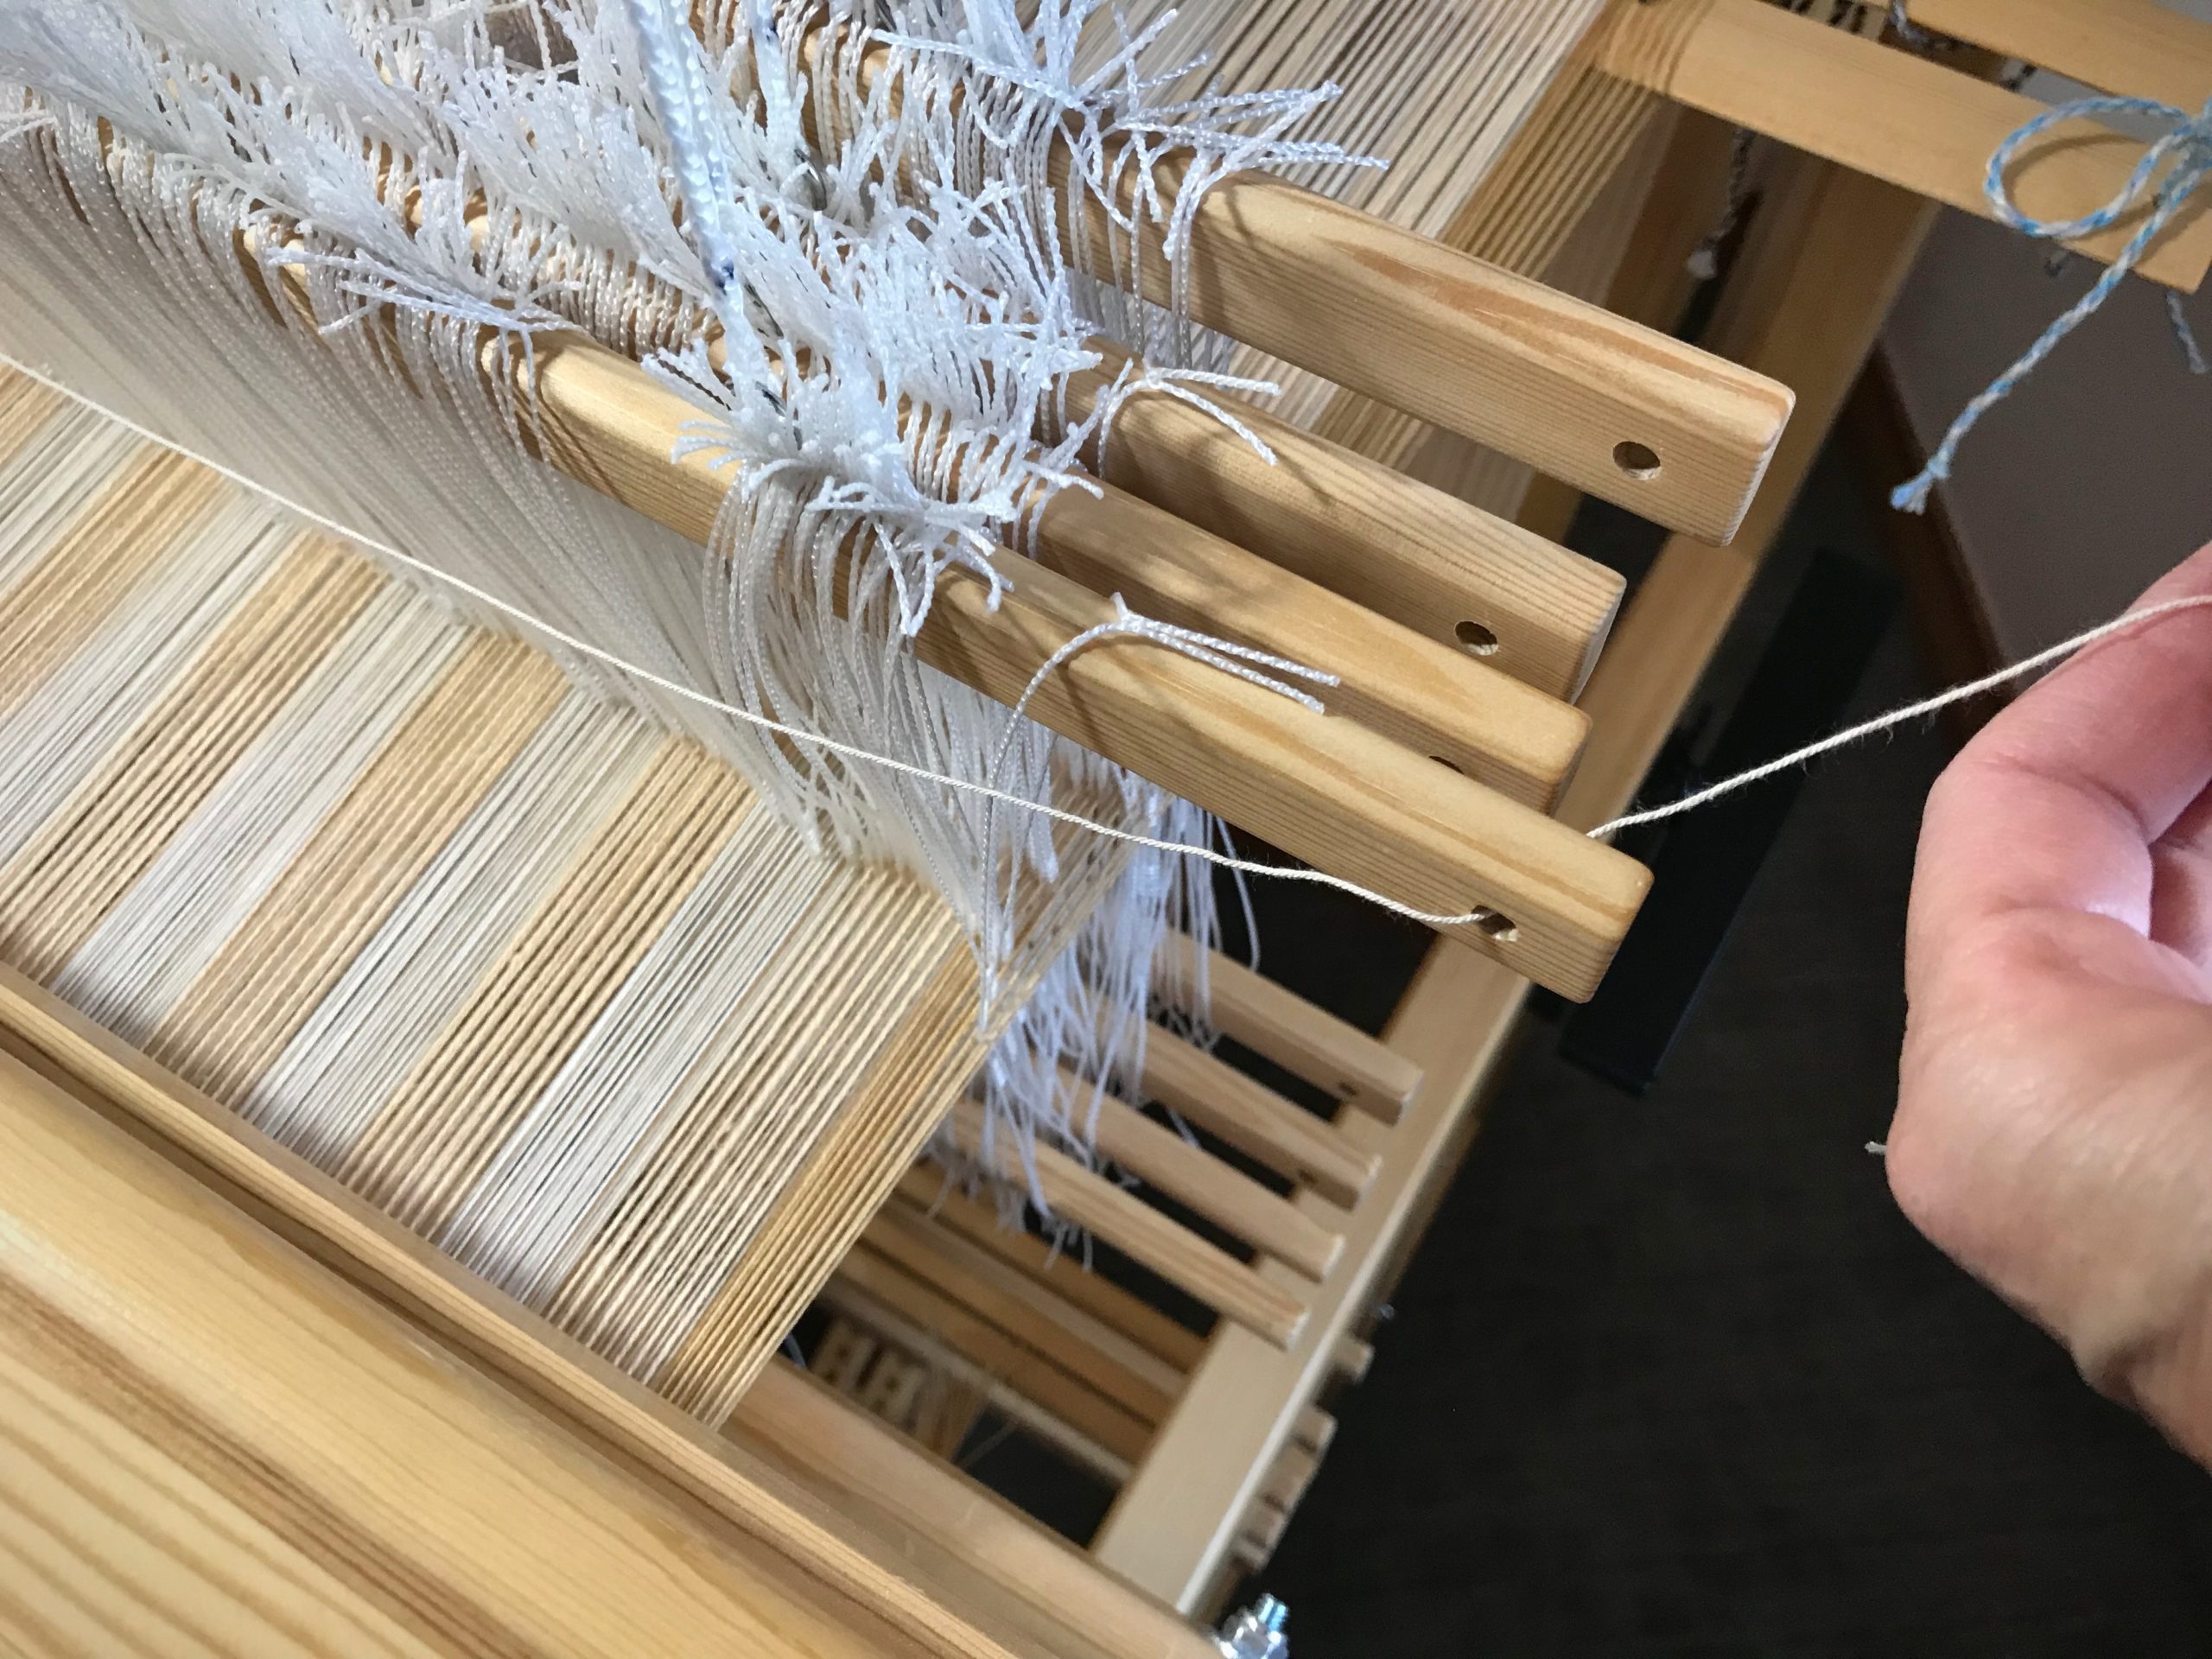
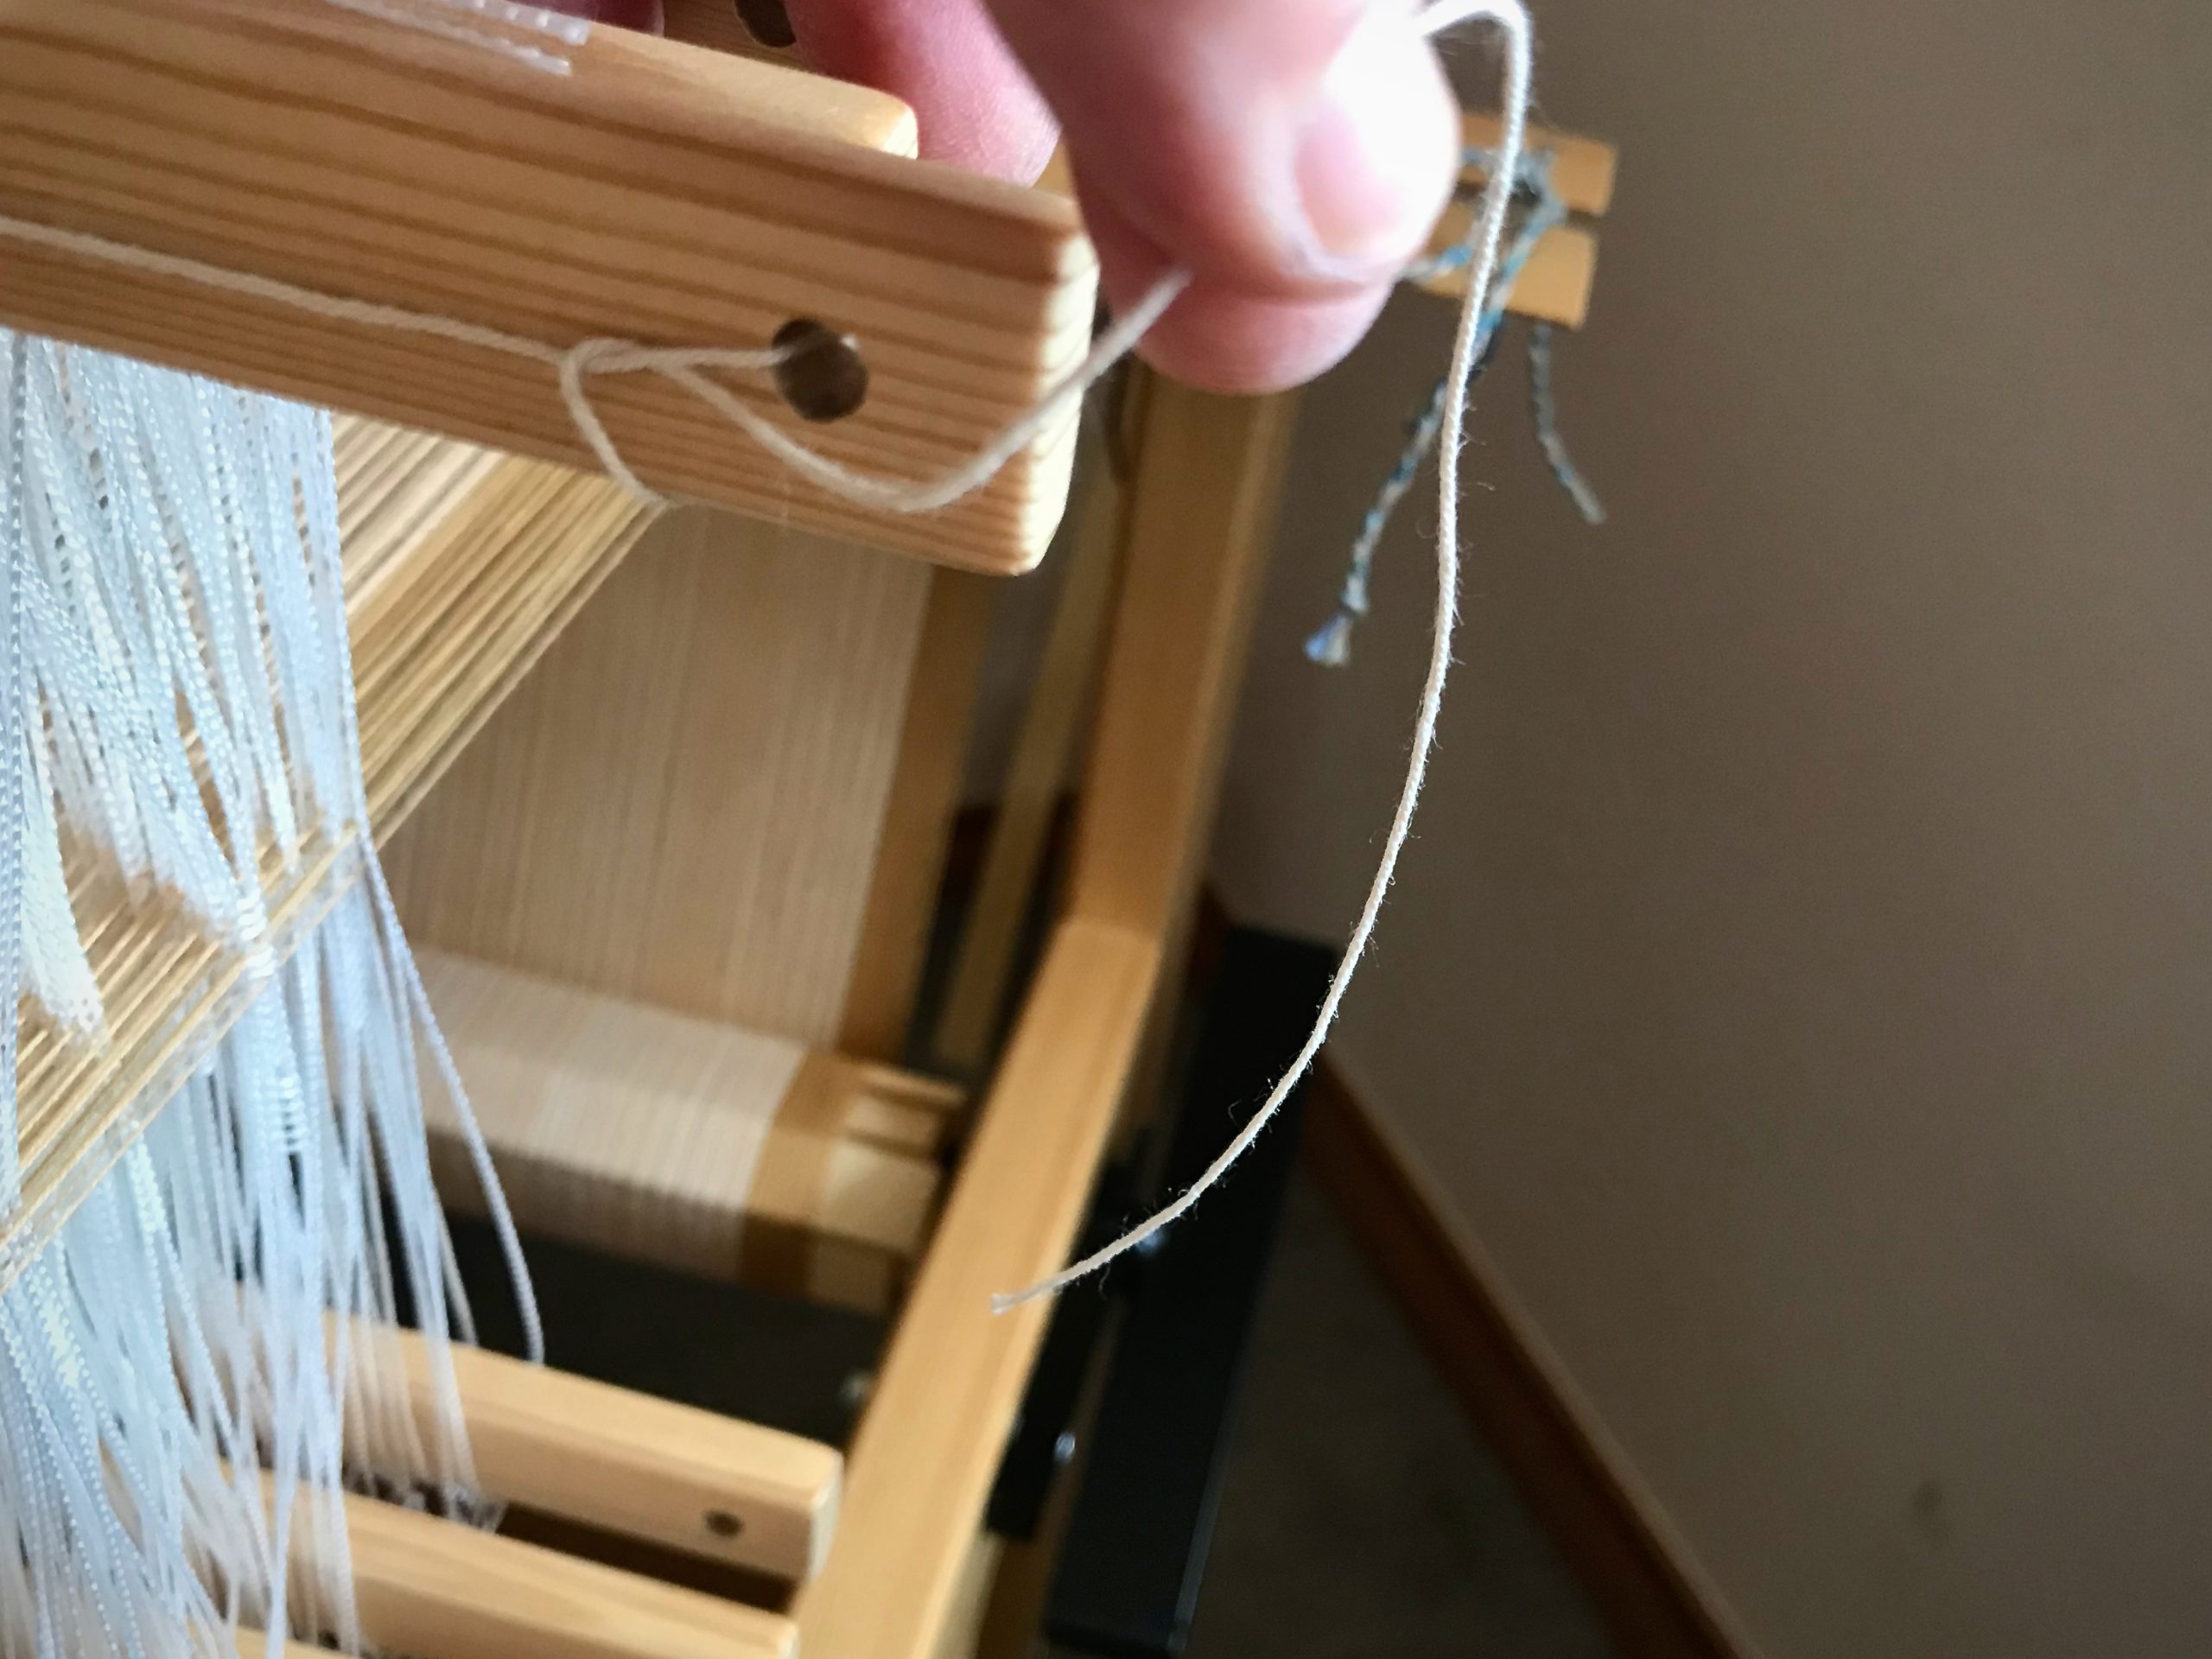
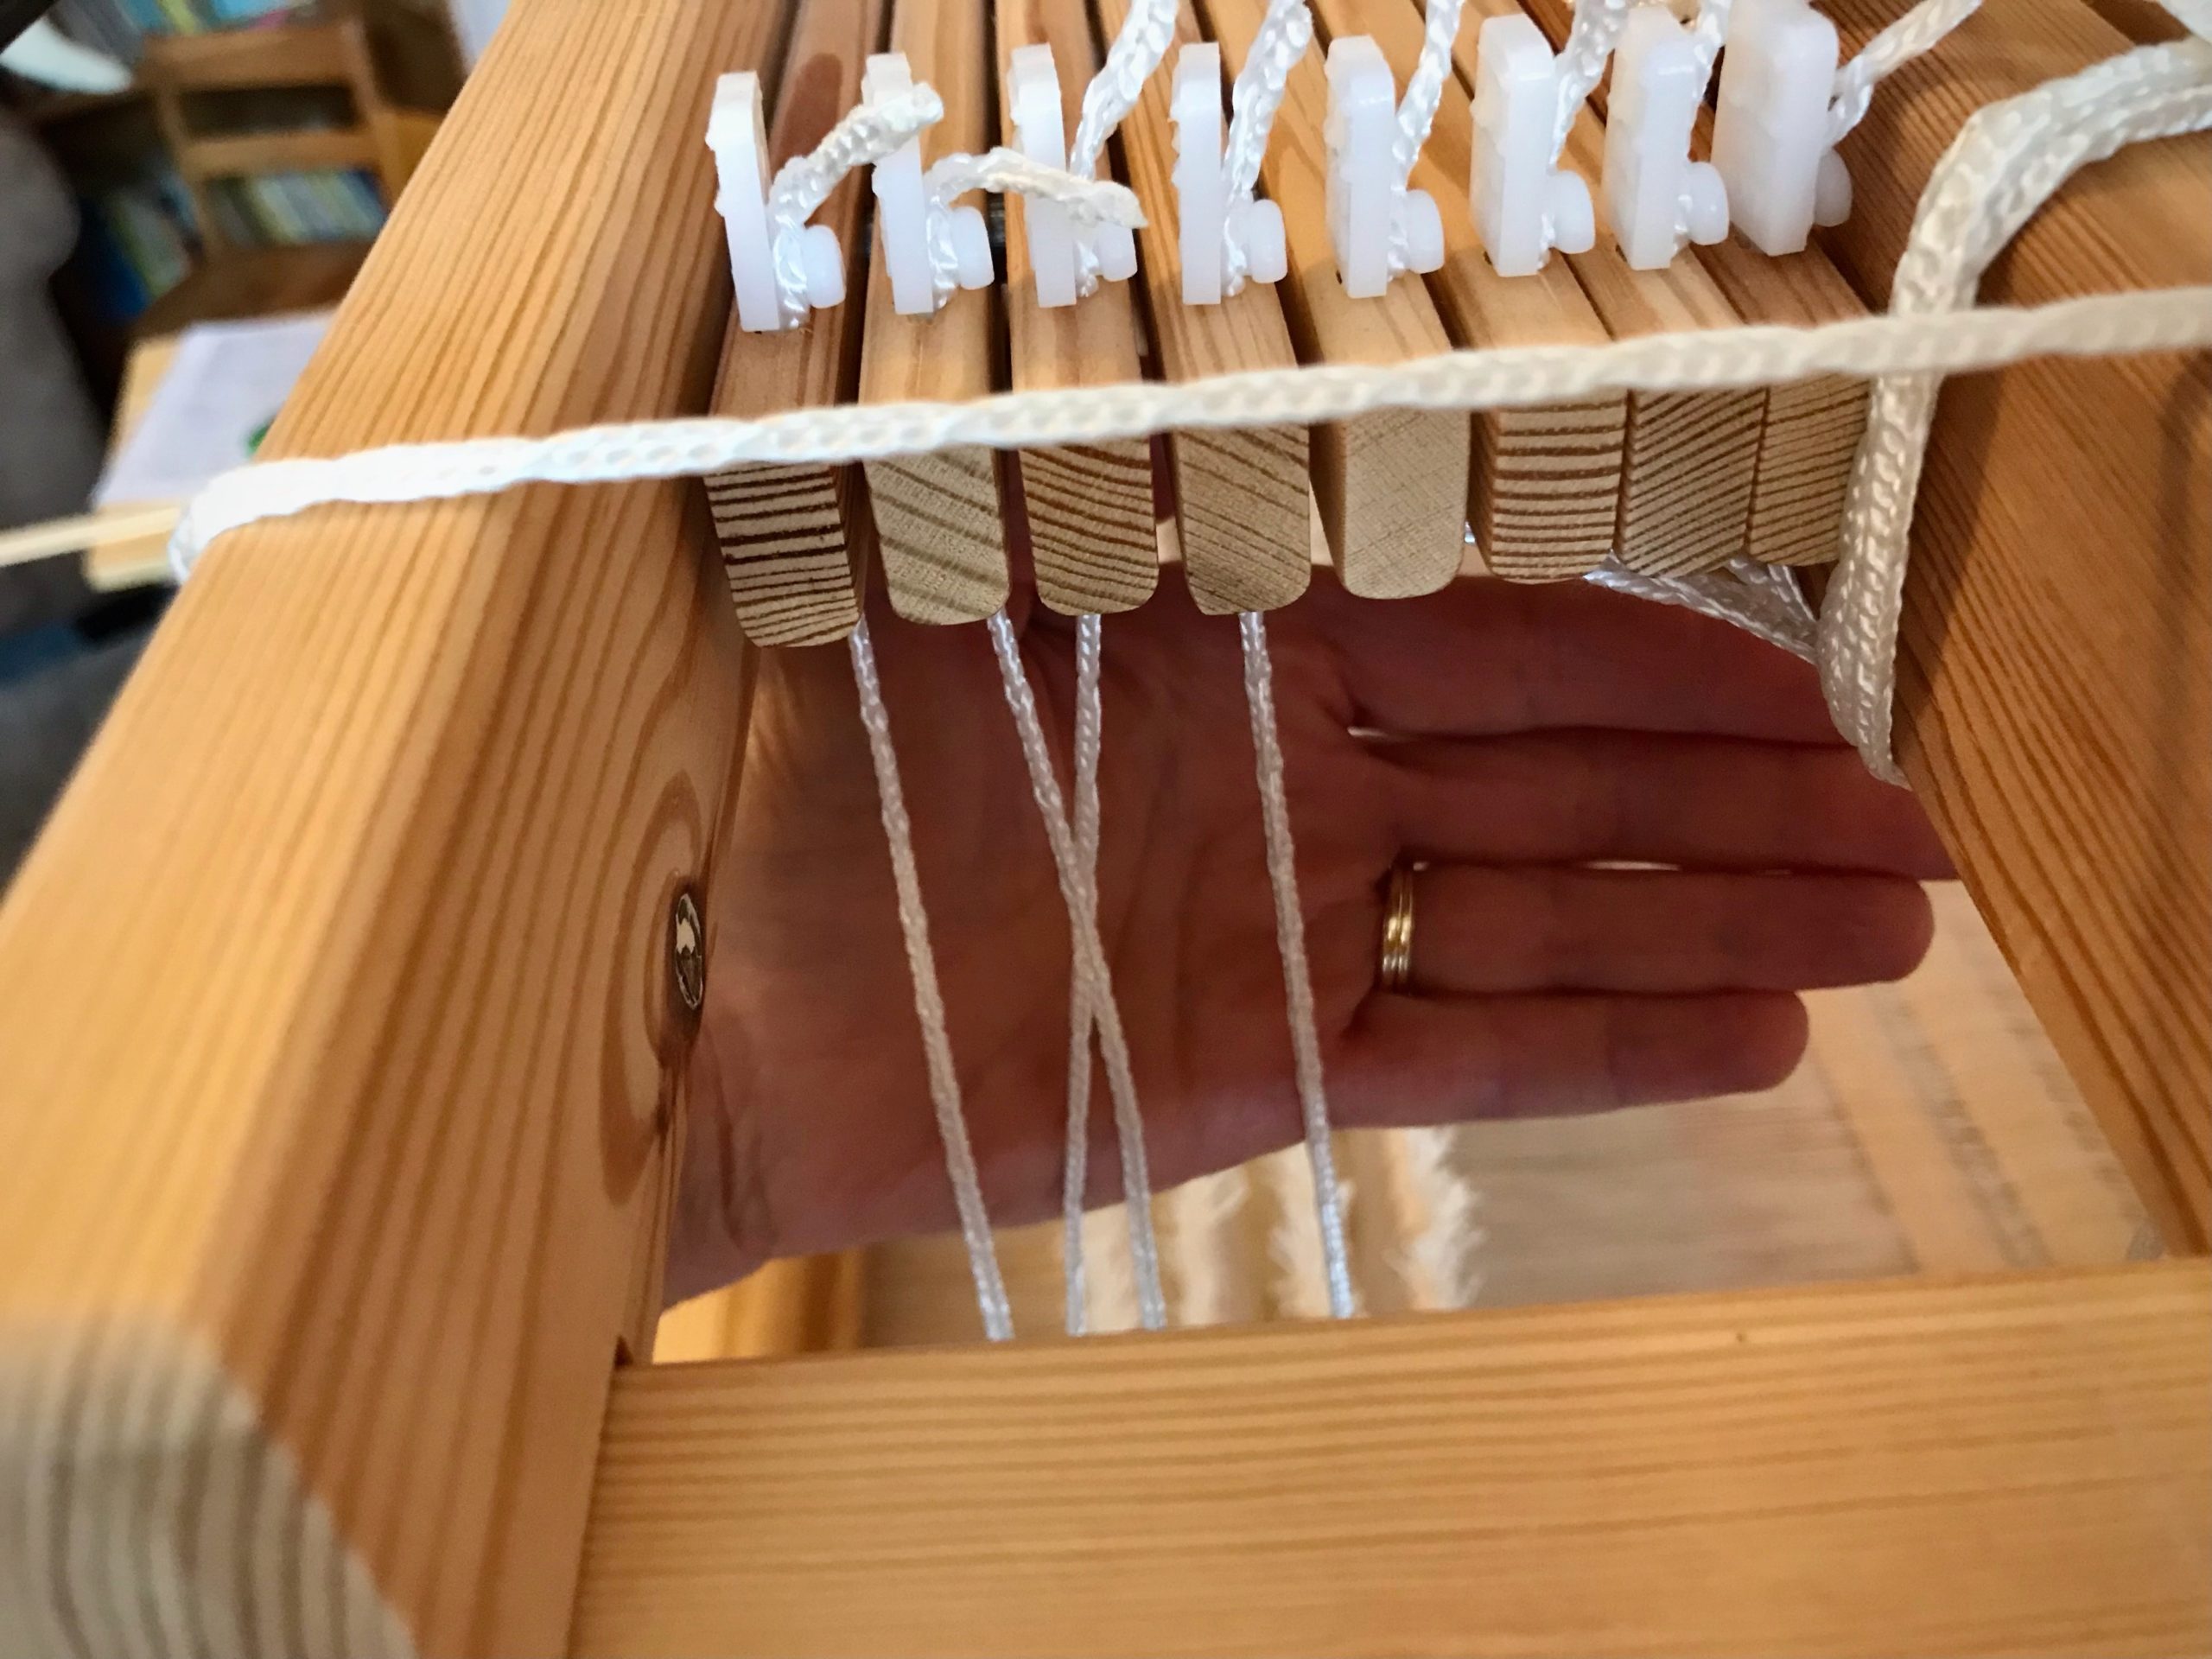
Thread the cord through the hole at the end of the bar.
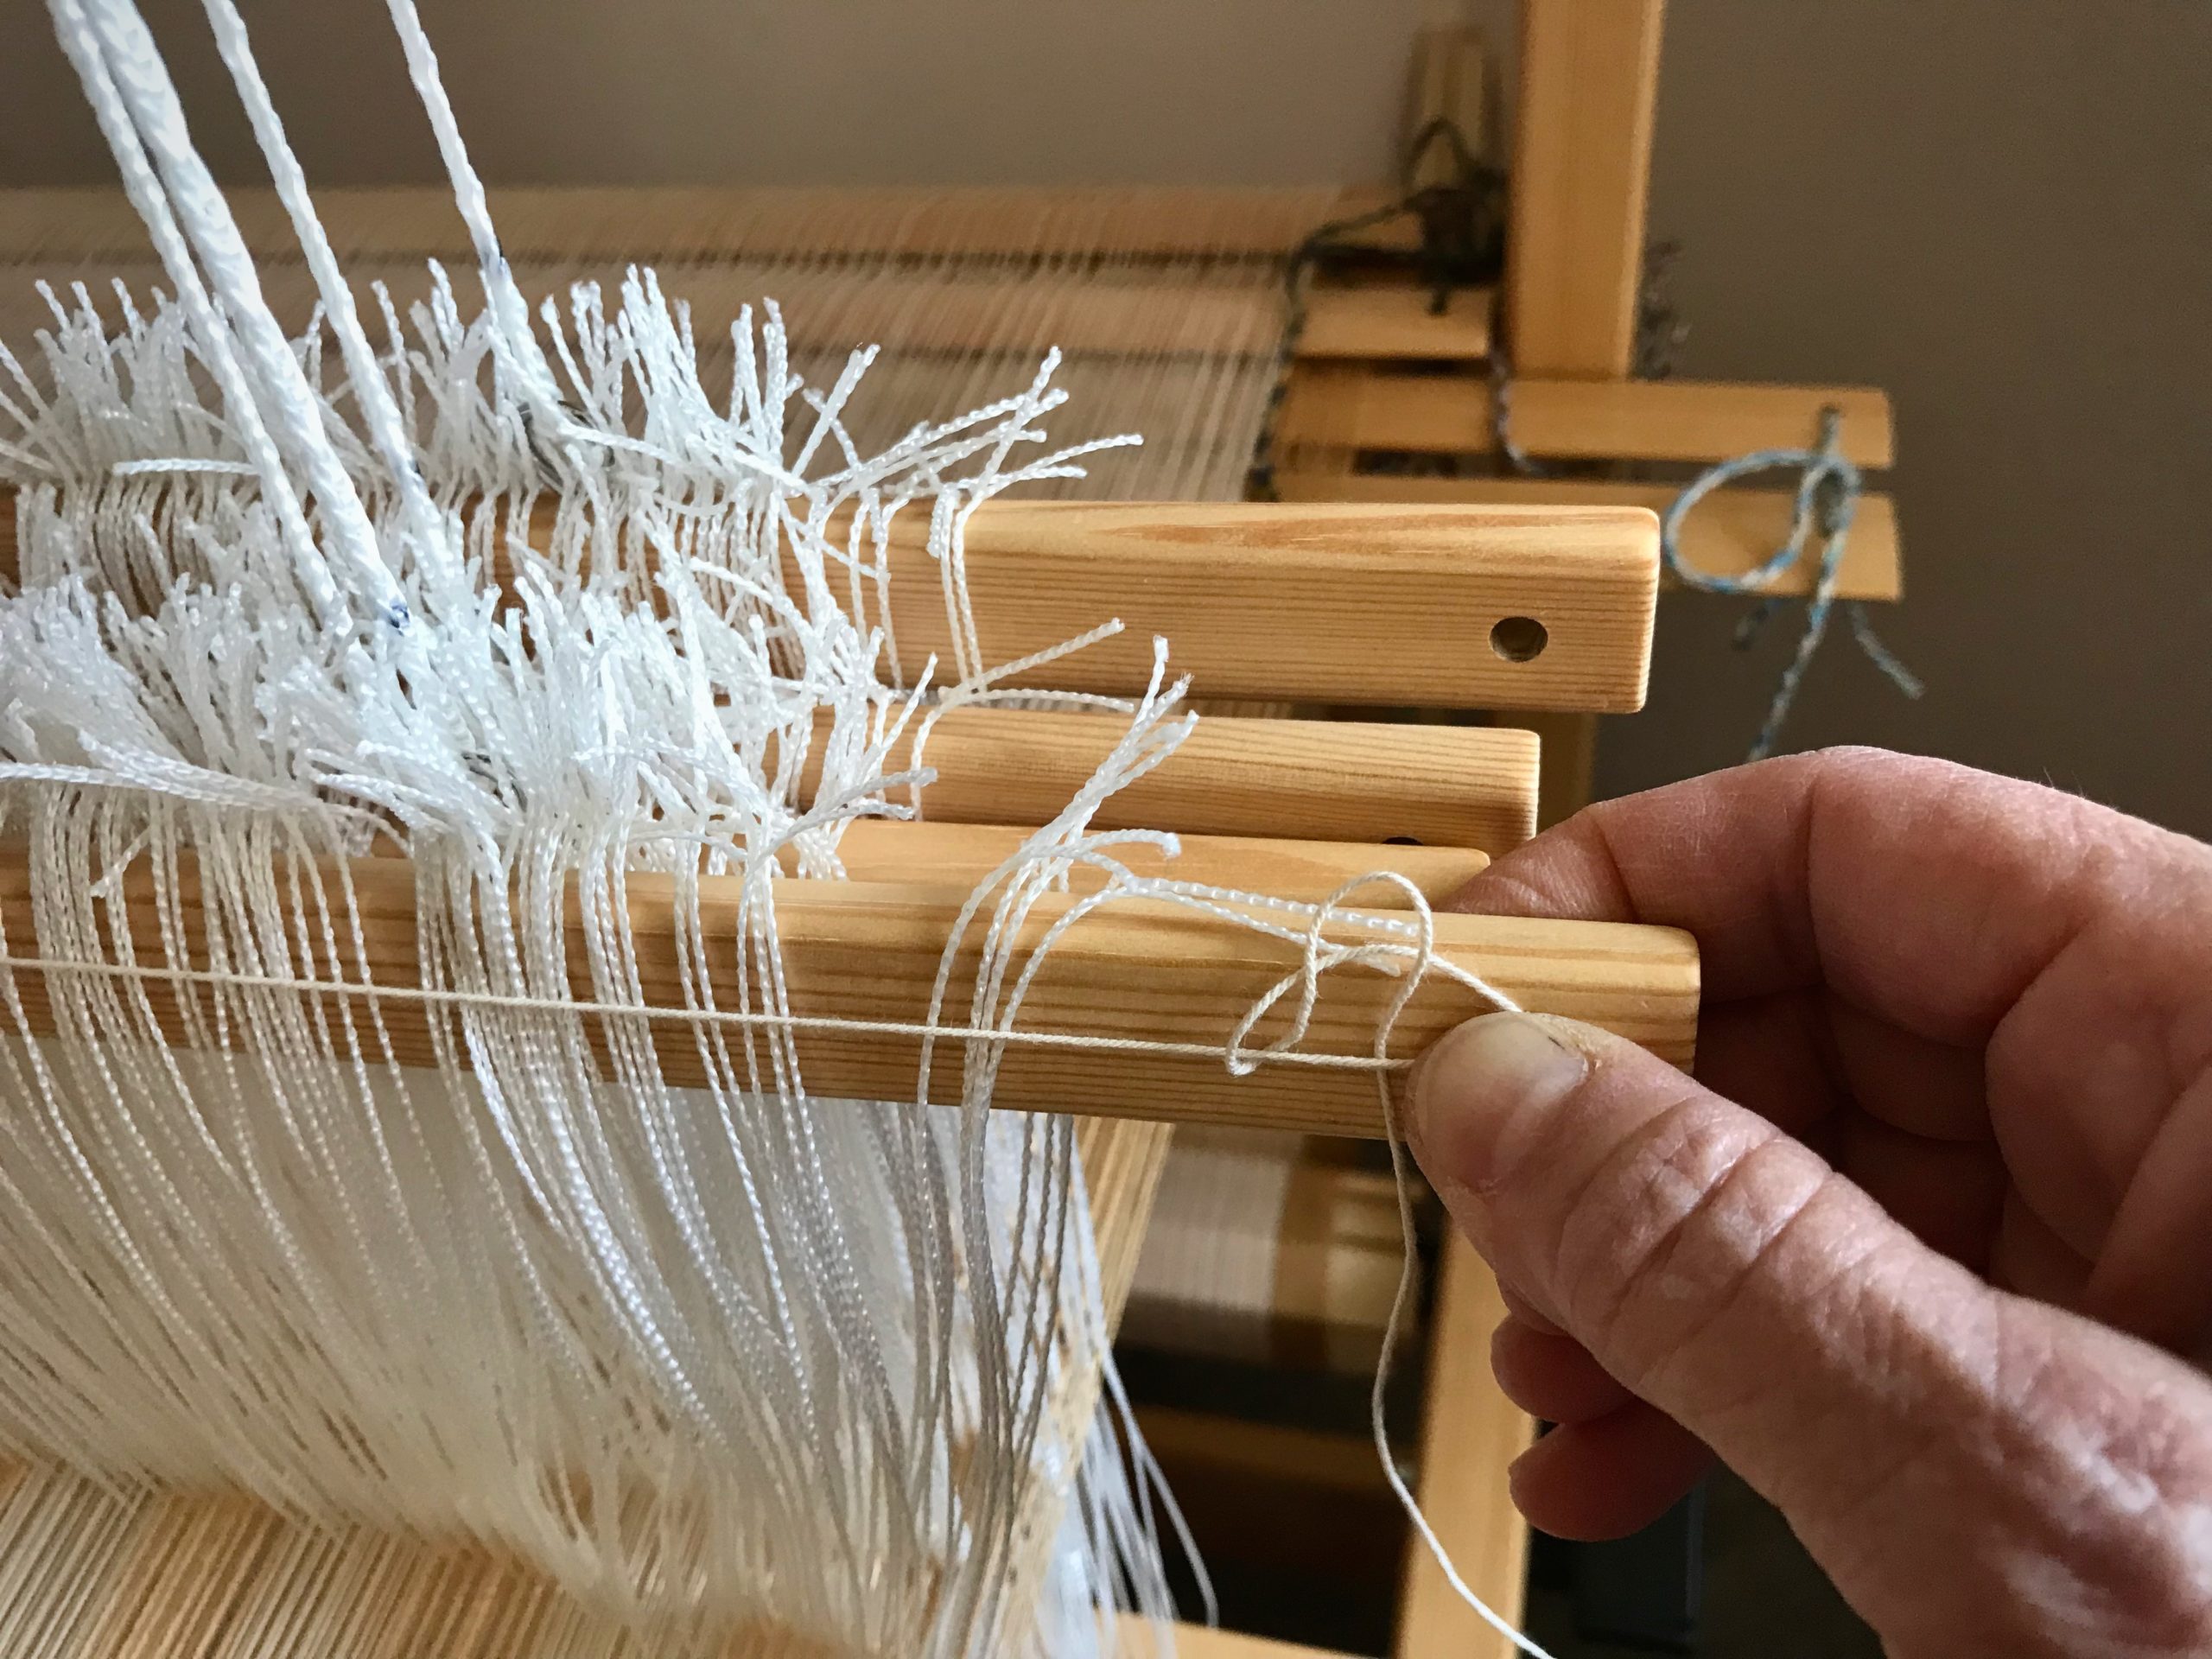
Tie a simple knot and tighten it.
Tie another simple knot, leaving a fold in the end of the cord.
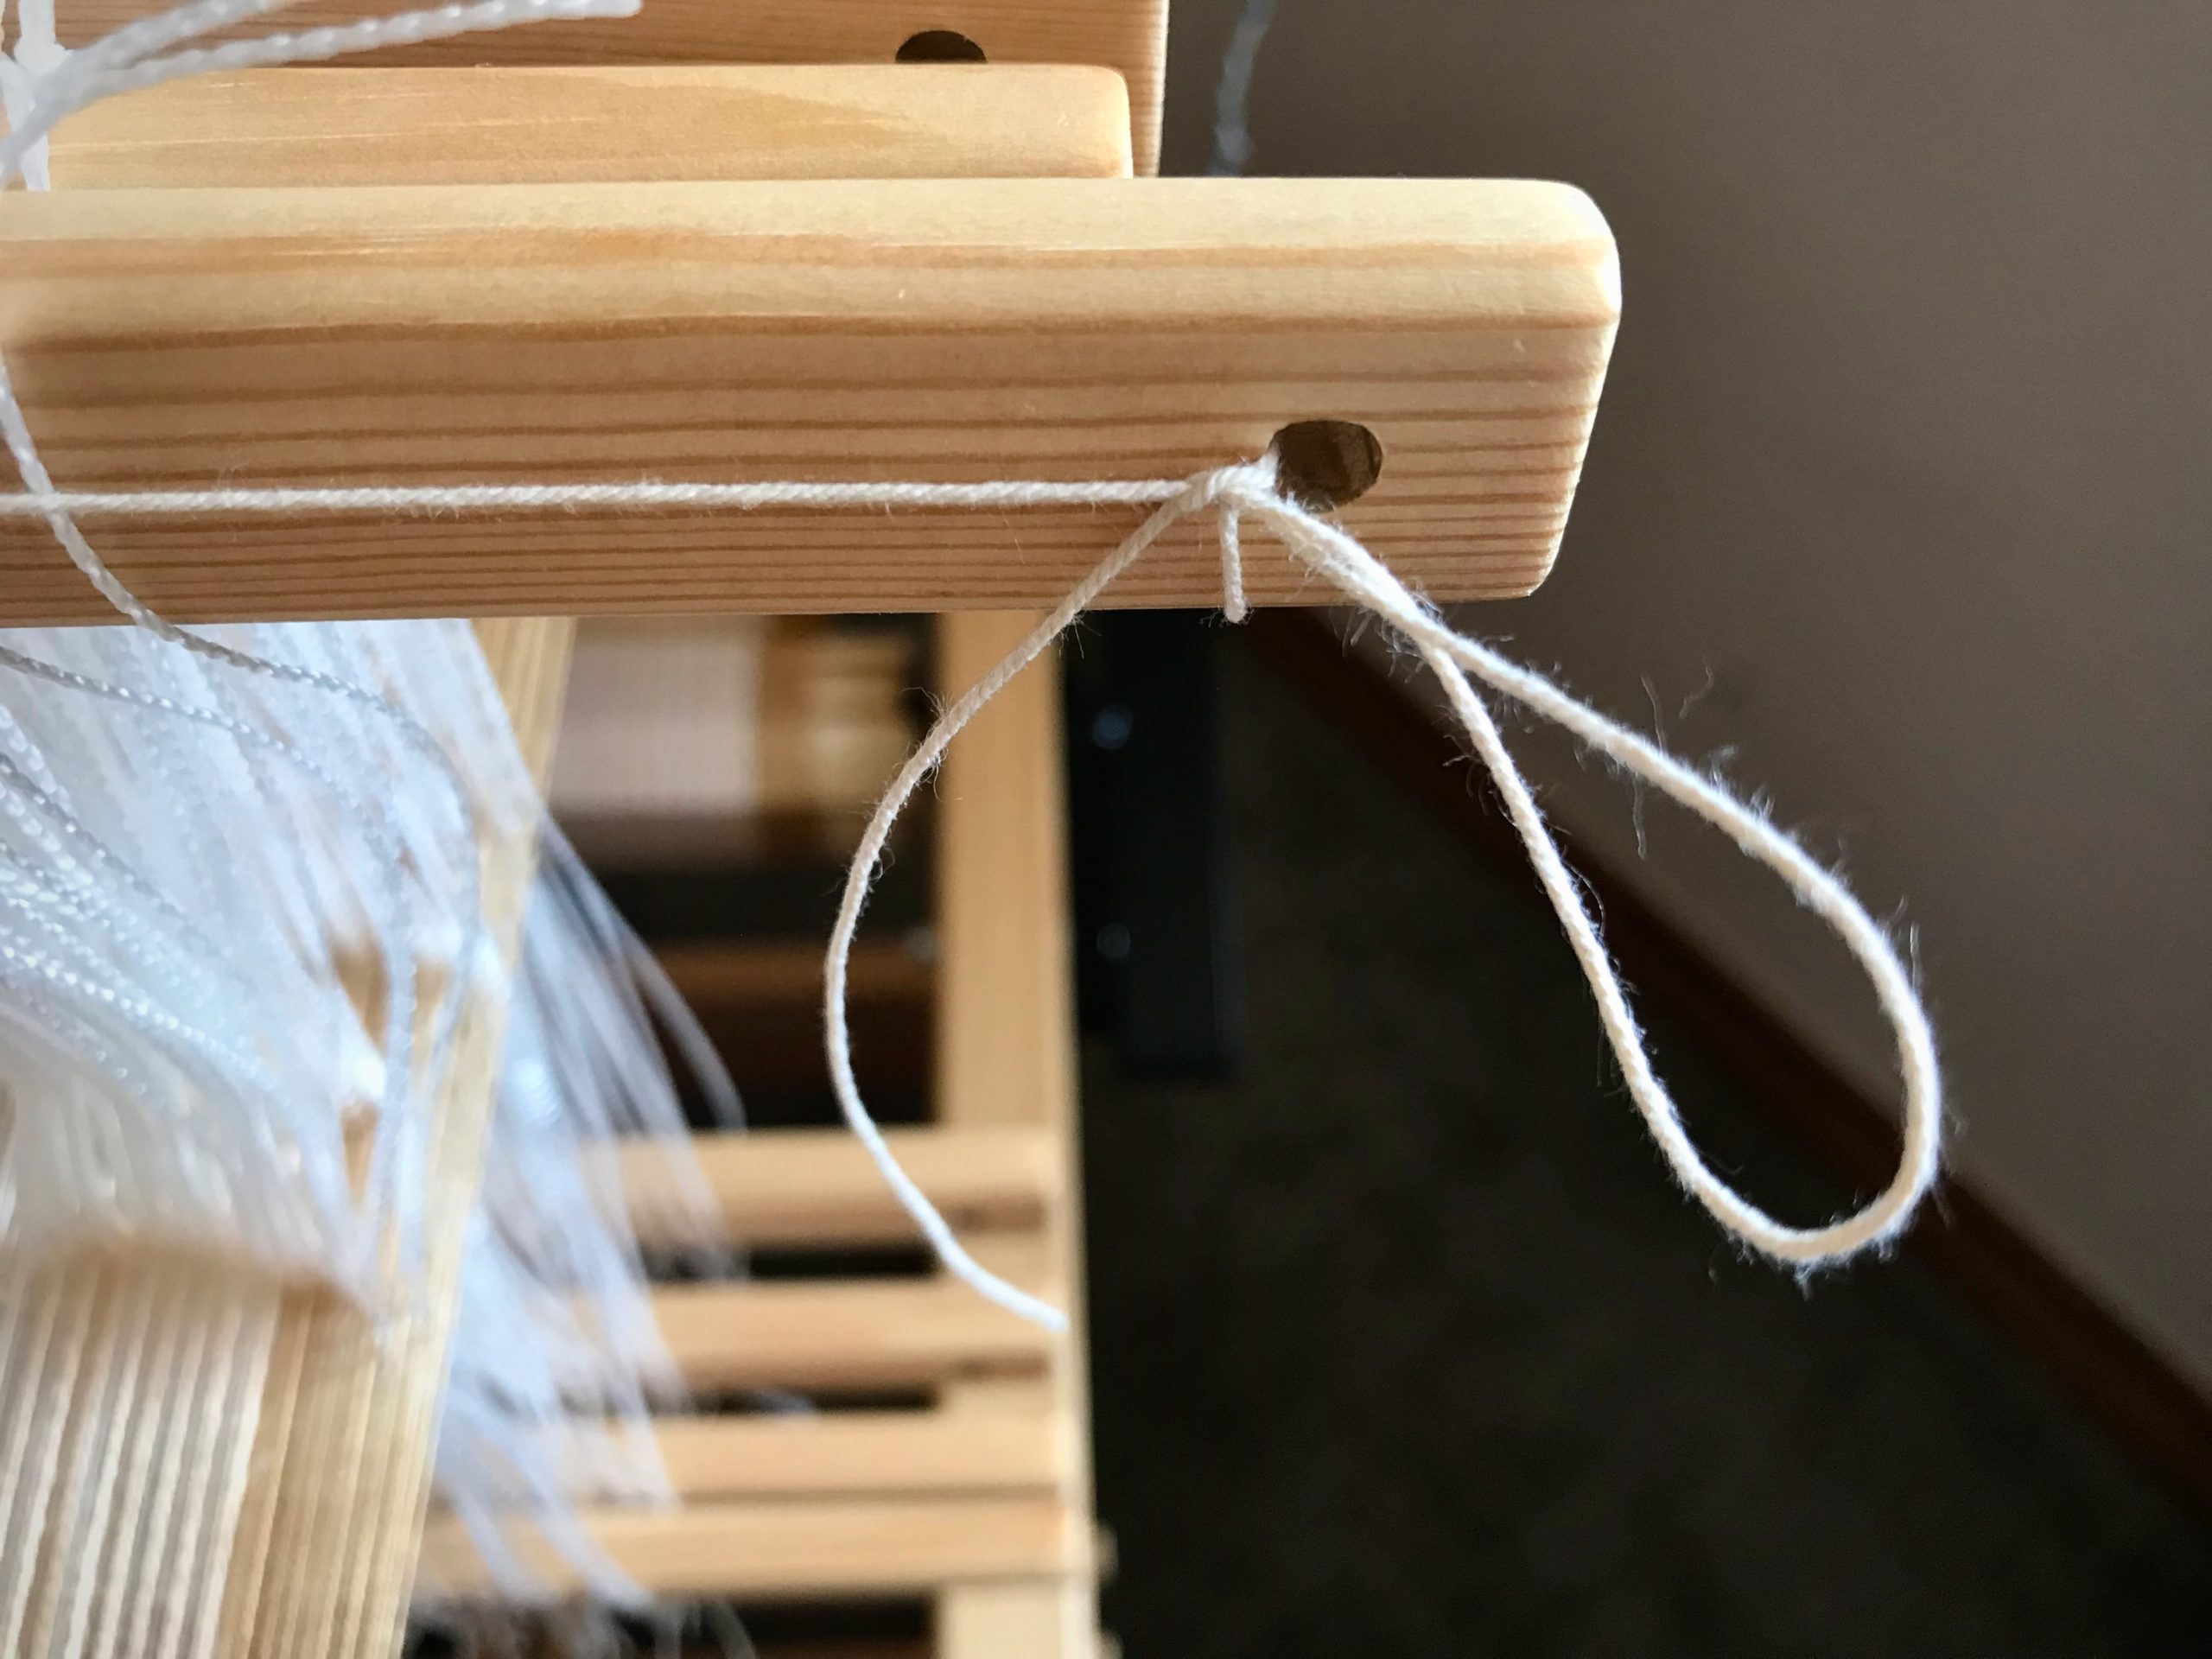
Pull the loop to tighten the knot.

6 Repeat steps 4 and 5 for each remaining upper and lower shaft bar.
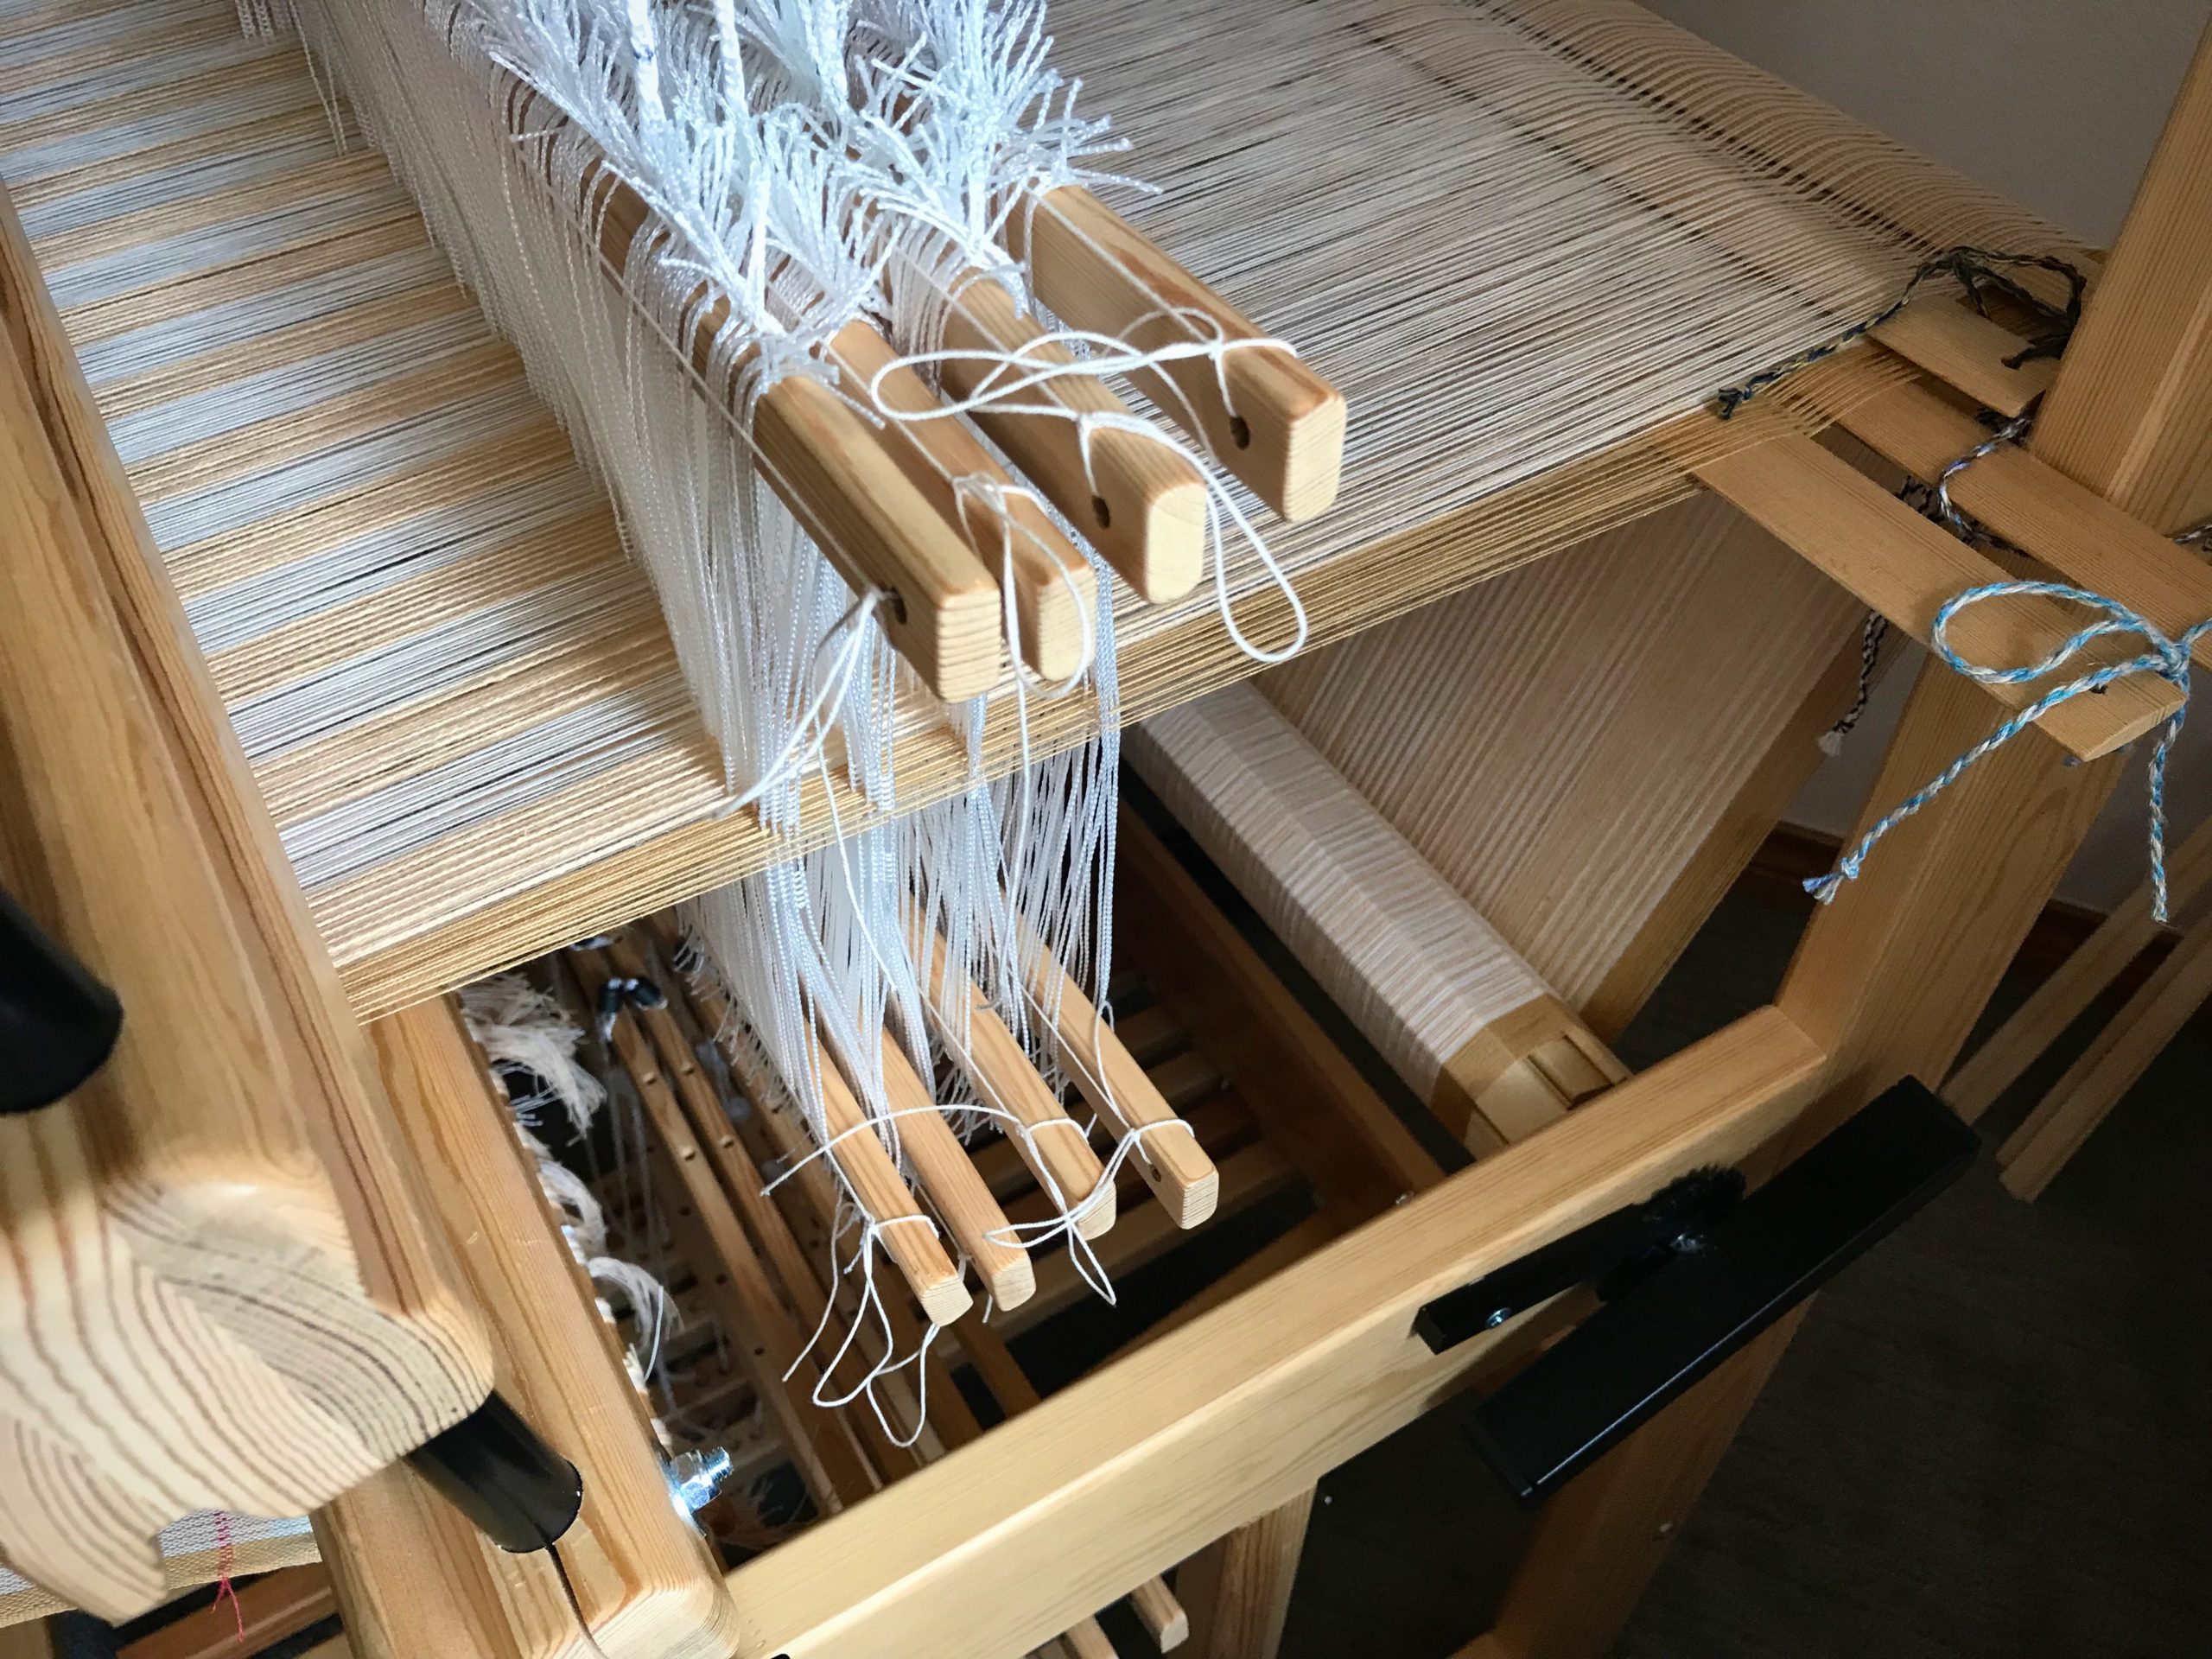
All tied up and ready to go! When this project is finished I will wind up these retaining cords on an empty tube and re-use them for the next wide warp on the Julia.

Continue weaving with one less thing to think about.

45 minutes: Time it took to reposition heddles that had slipped off a few shafts and were in a mess because I didn’t notice it immediately.
Less than 10 minutes: Time it took to cut string and tie retaining cords on 4 upper shaft bars and 4 lower shaft bars.

‘Nuff said.

May you take the time to do what needs to be done.

Ever Learning,
Karen

Cowgirl Band Weaving

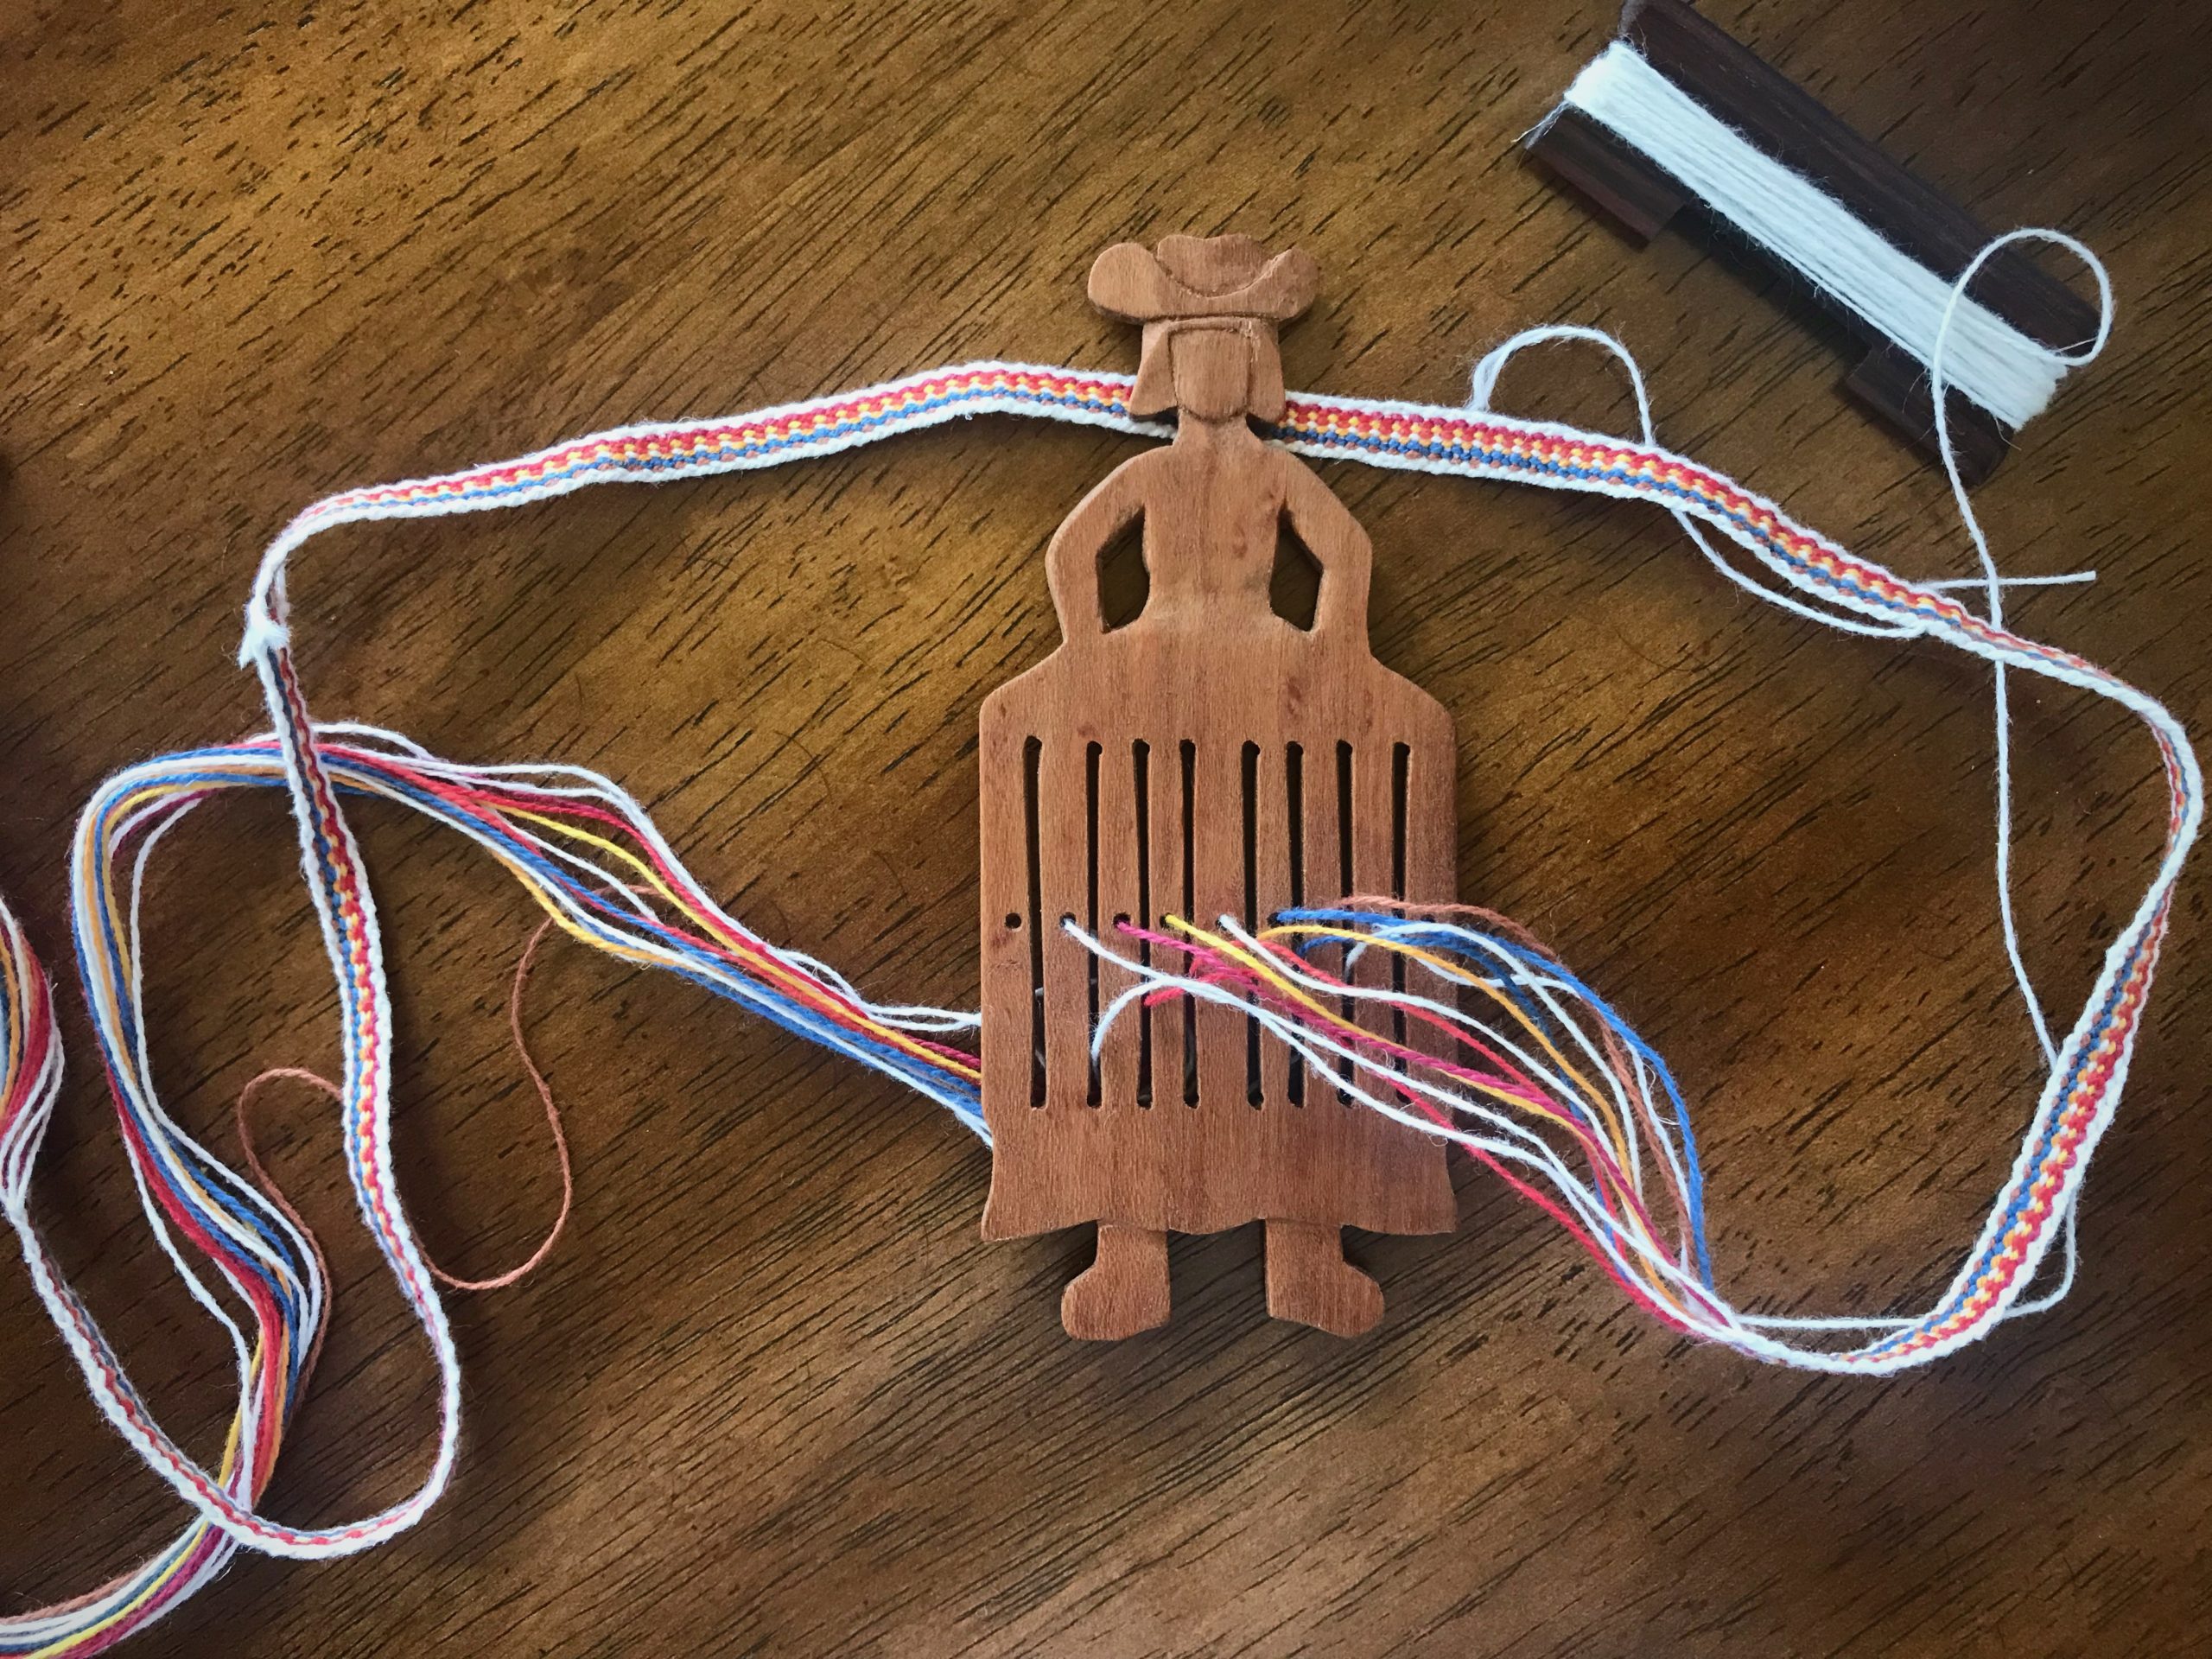
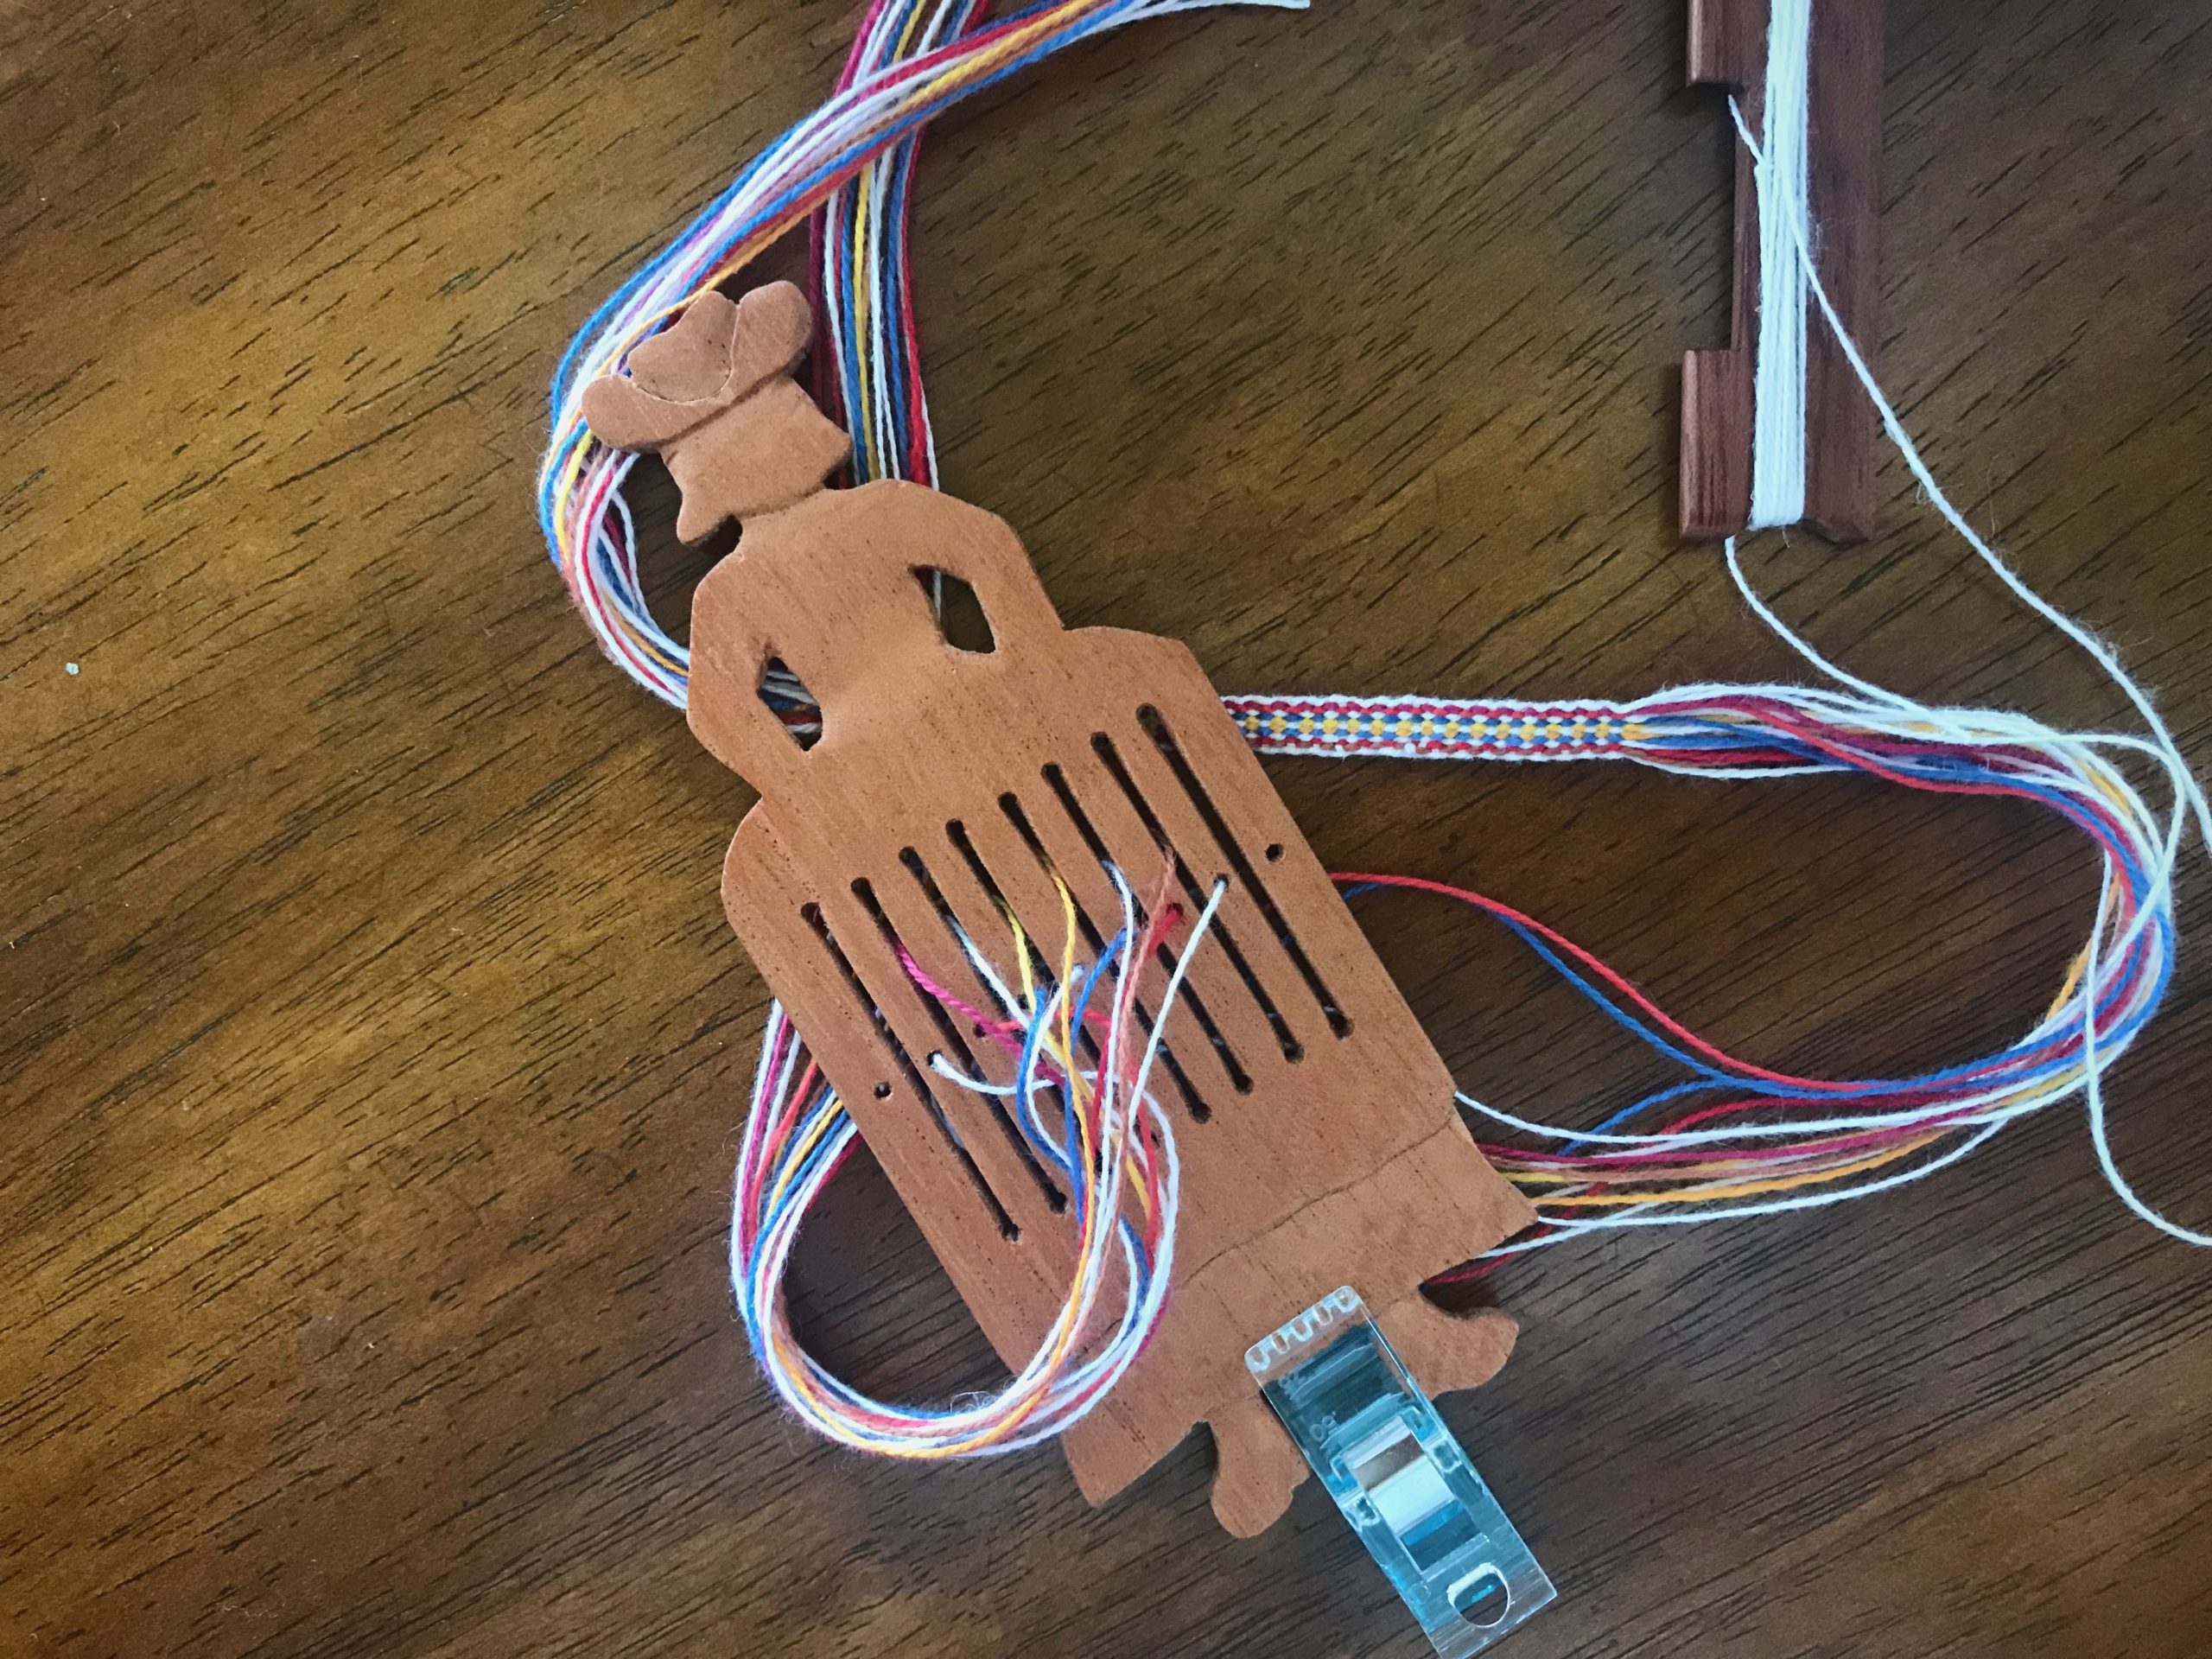
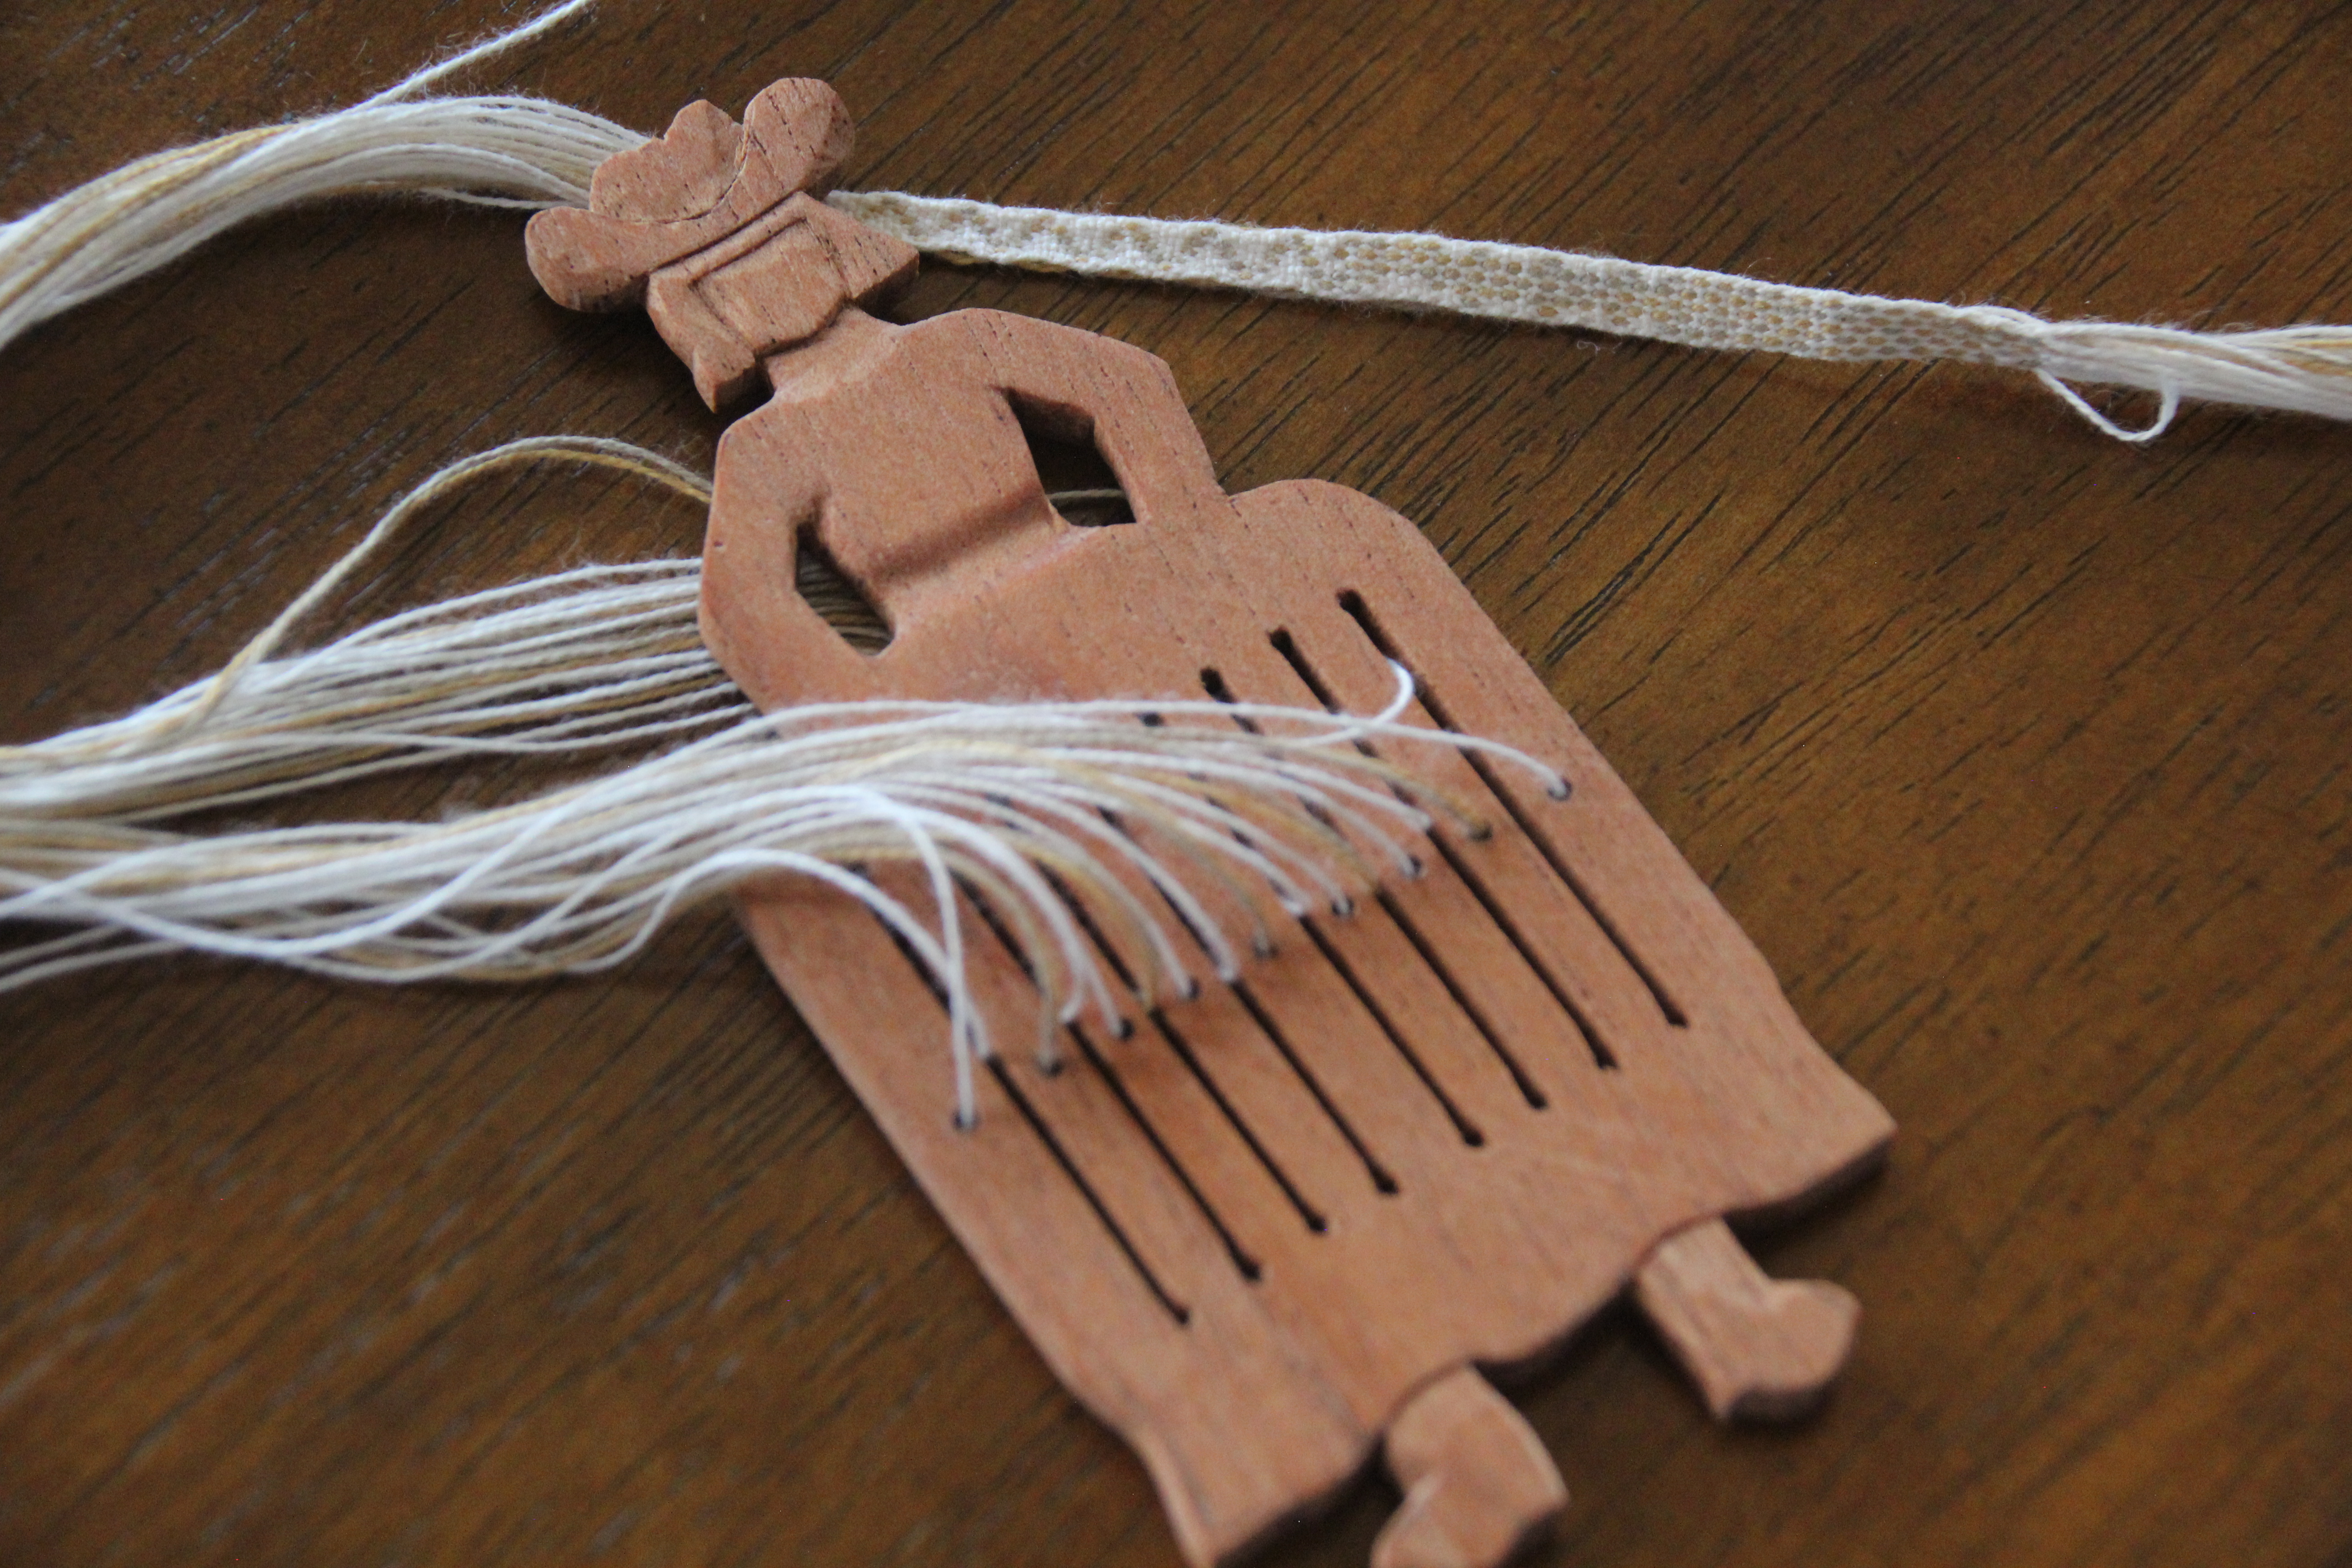
Remember the rigid heddles for band weaving that Steve made for me? (See Process Review: Heddles and Bands) Soft maple, Spanish cedar, and walnut. Steve says they are missing the “cuteness factor.” So, what does he do? He makes a cowgirl heddle out of cherry that is cute as can be!

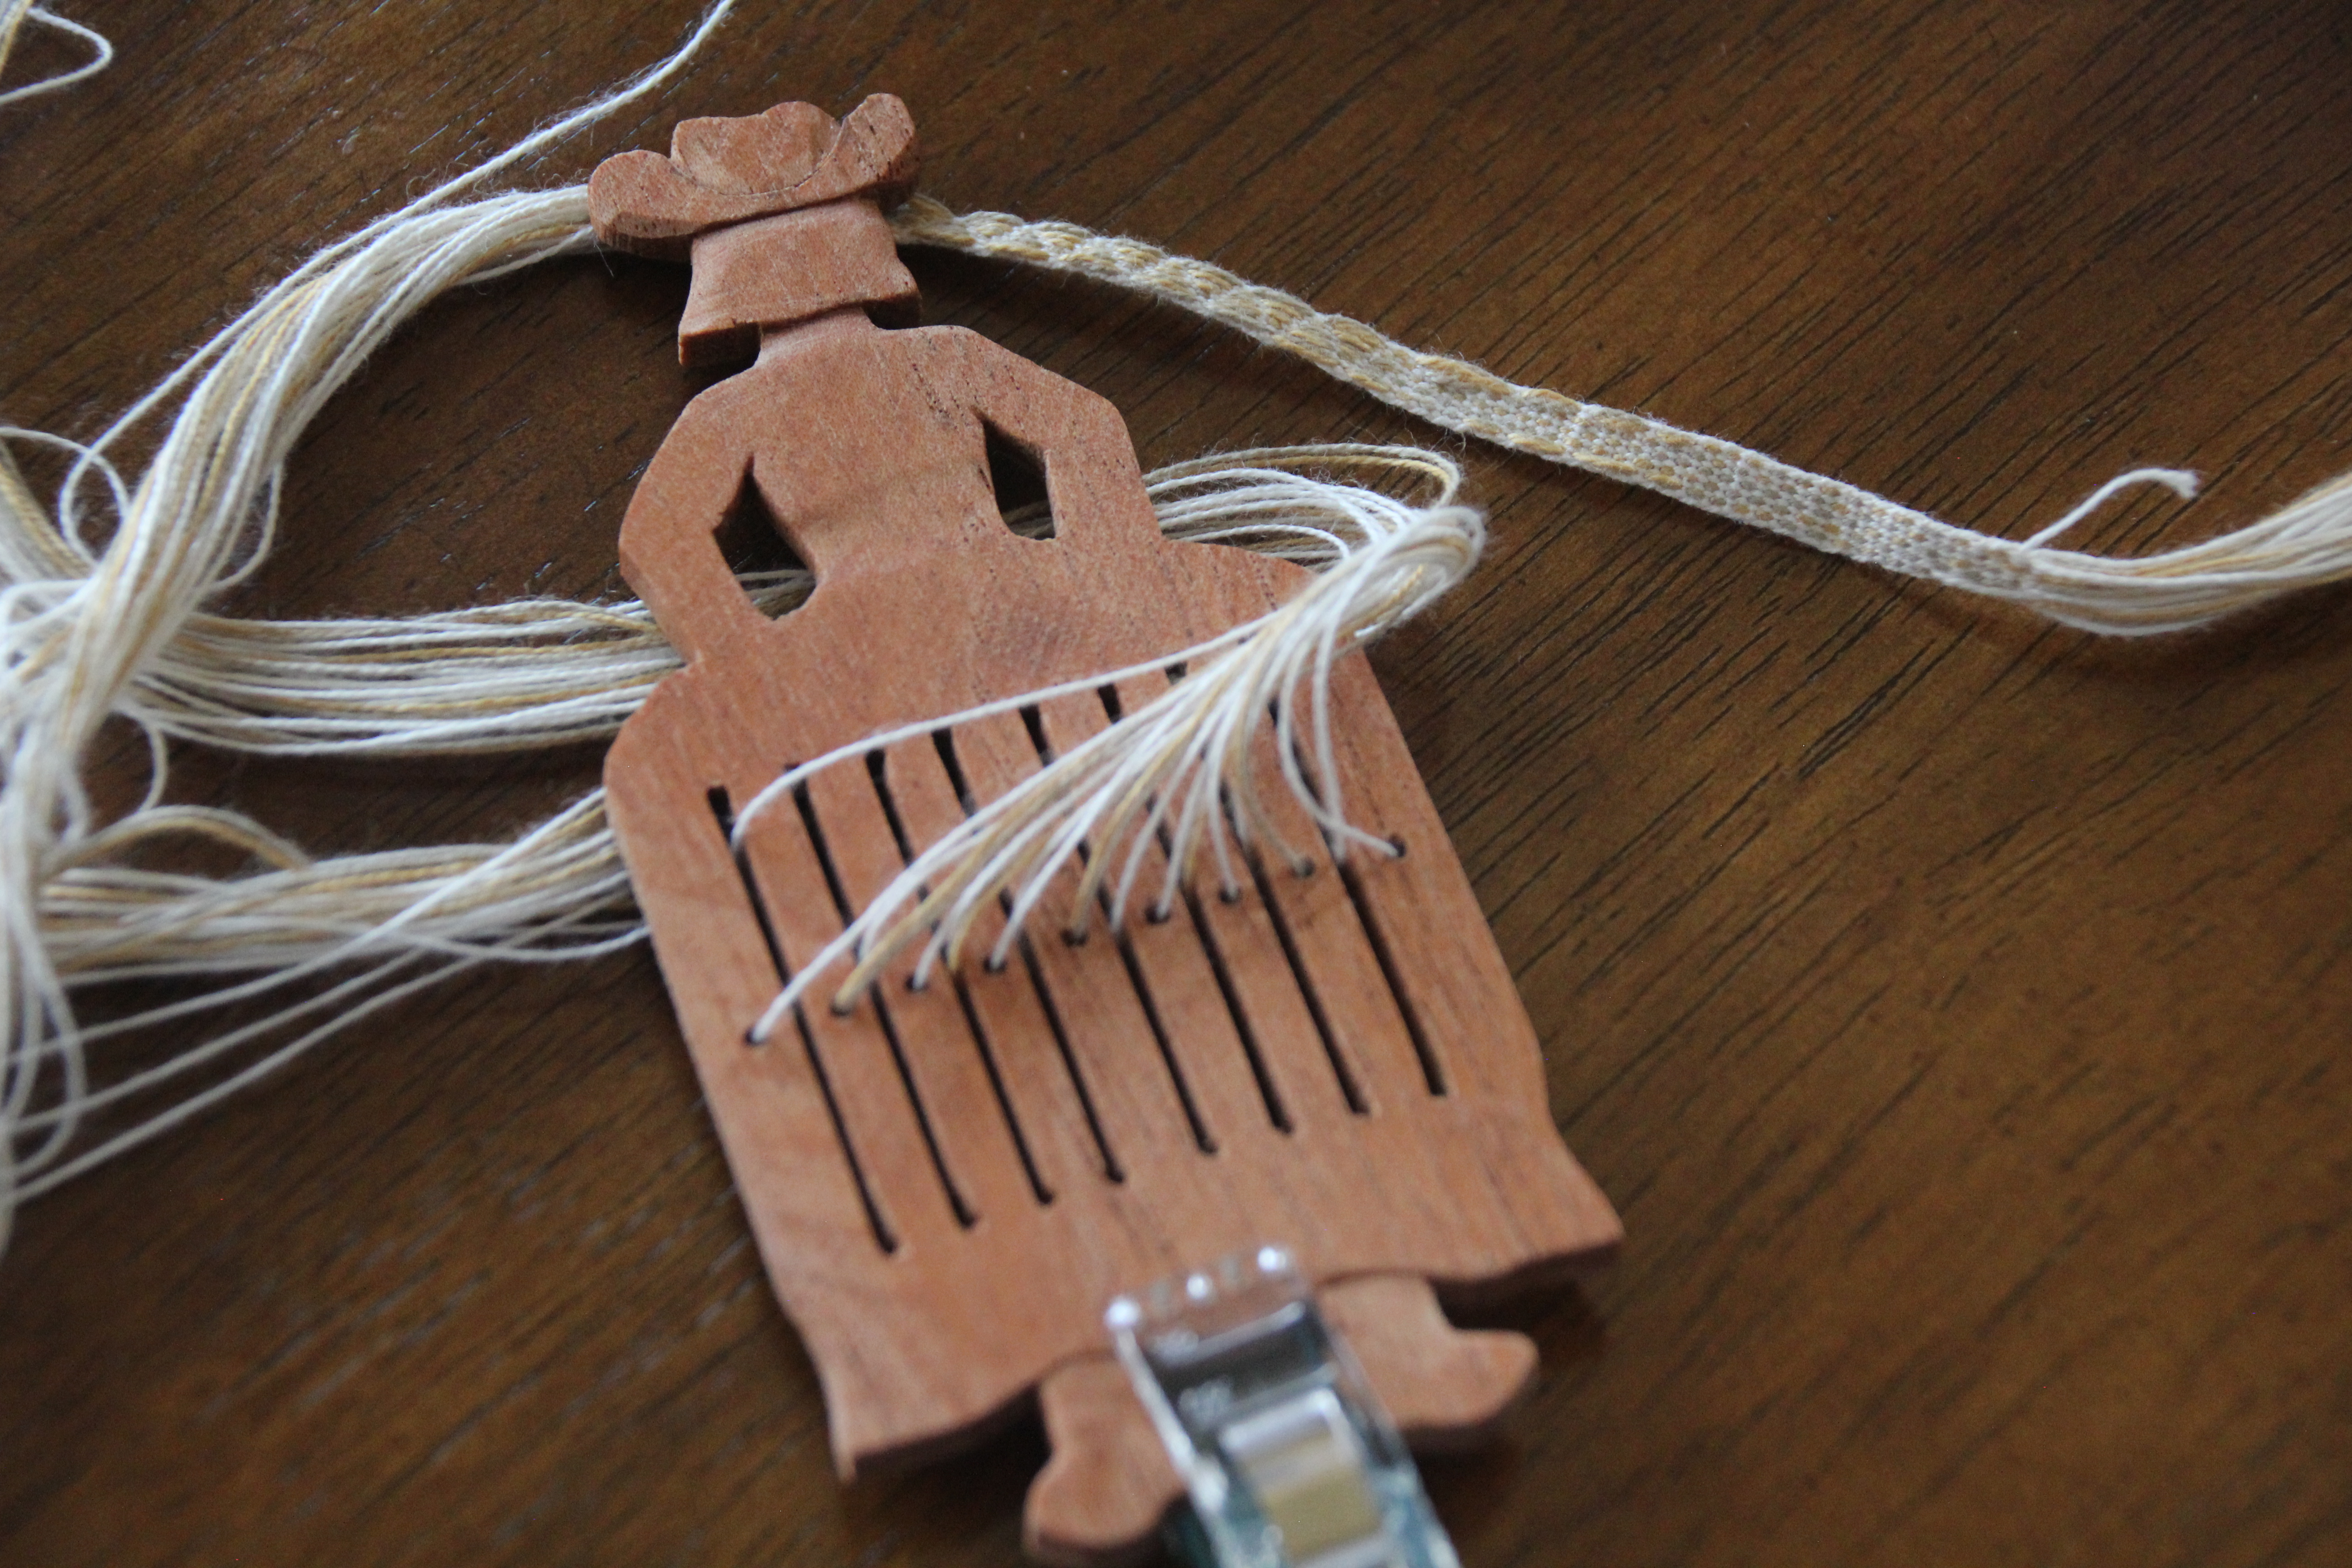
Miss Cherry Cutie has a warp of 8/2 cotton and 22/2 cottolin, mixed in an asymmetrical design. Steve converted a little sett tool into a shuttle by bevelling the long edge and carving the sides into curves to hold the wrapped thread.

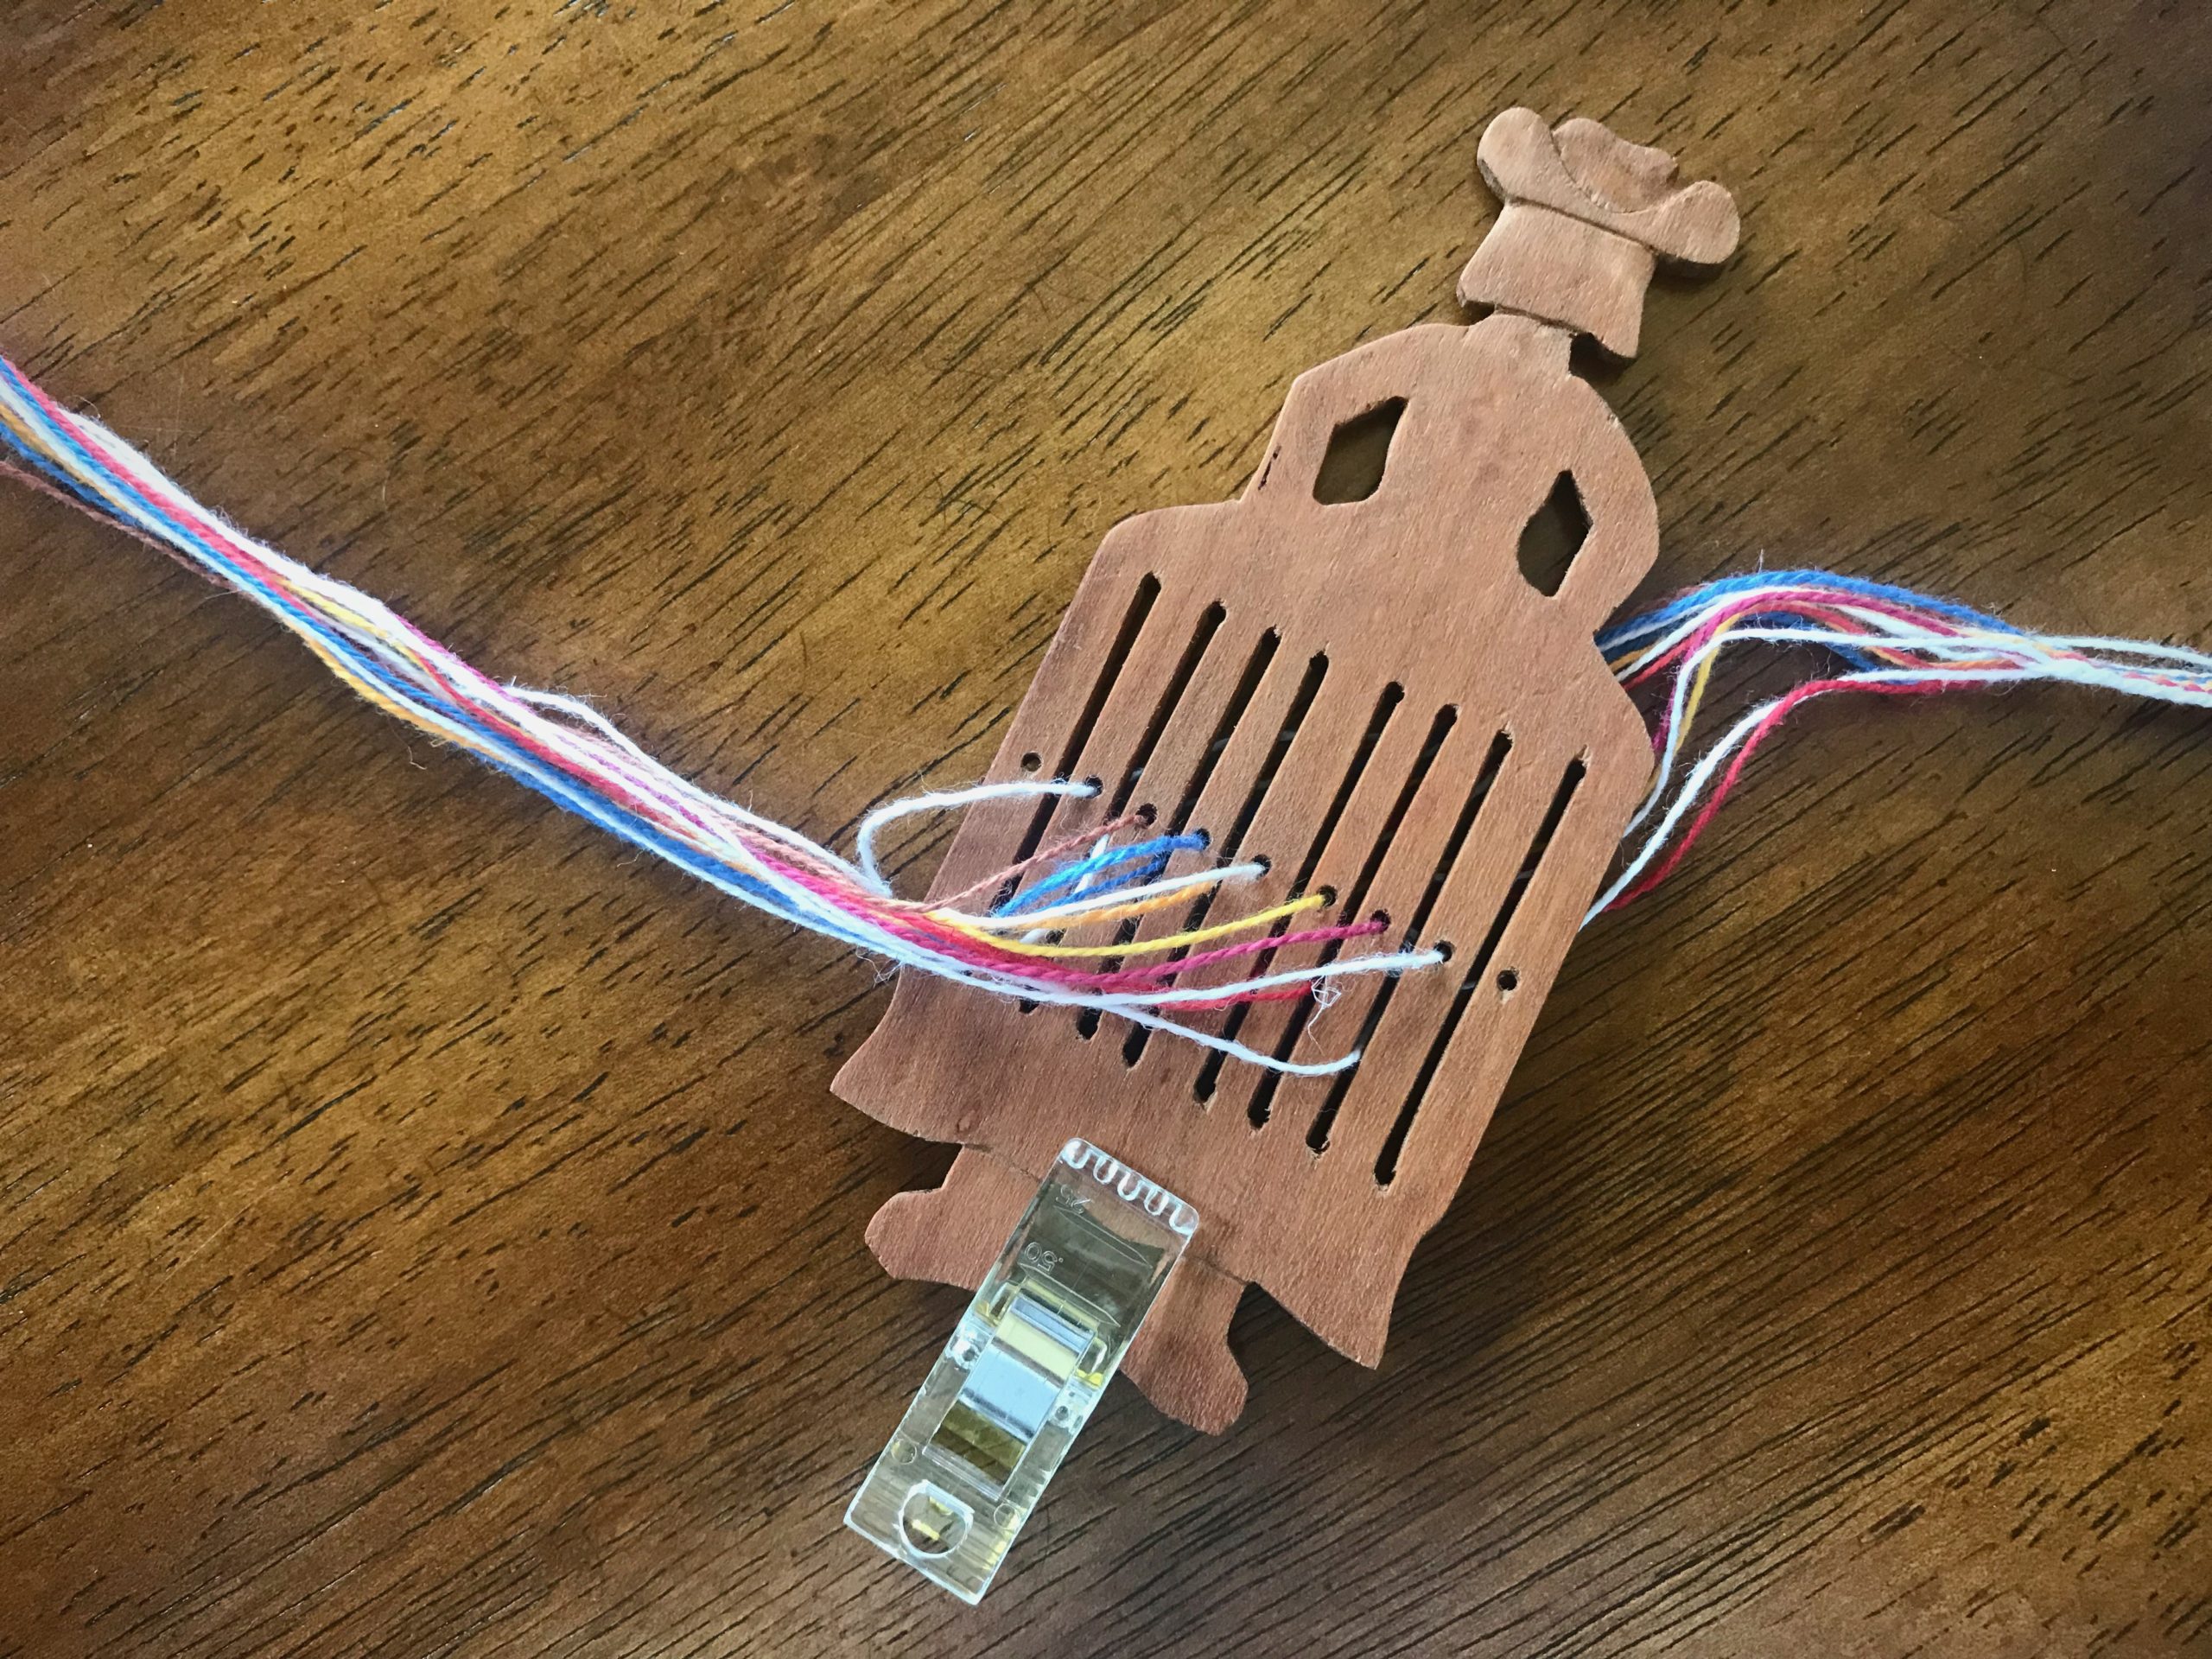
Well, Miss Cherry Cutie wants to flip over while weaving. A little quilter’s clip on the bottom adds just enough weight. Problem solved. Now Steve wants to make one that has more weight on the bottom half.

Quilter’s clip at the bottom gives Miss Cherry Cutie the balance she needs to stay upright while weaving.
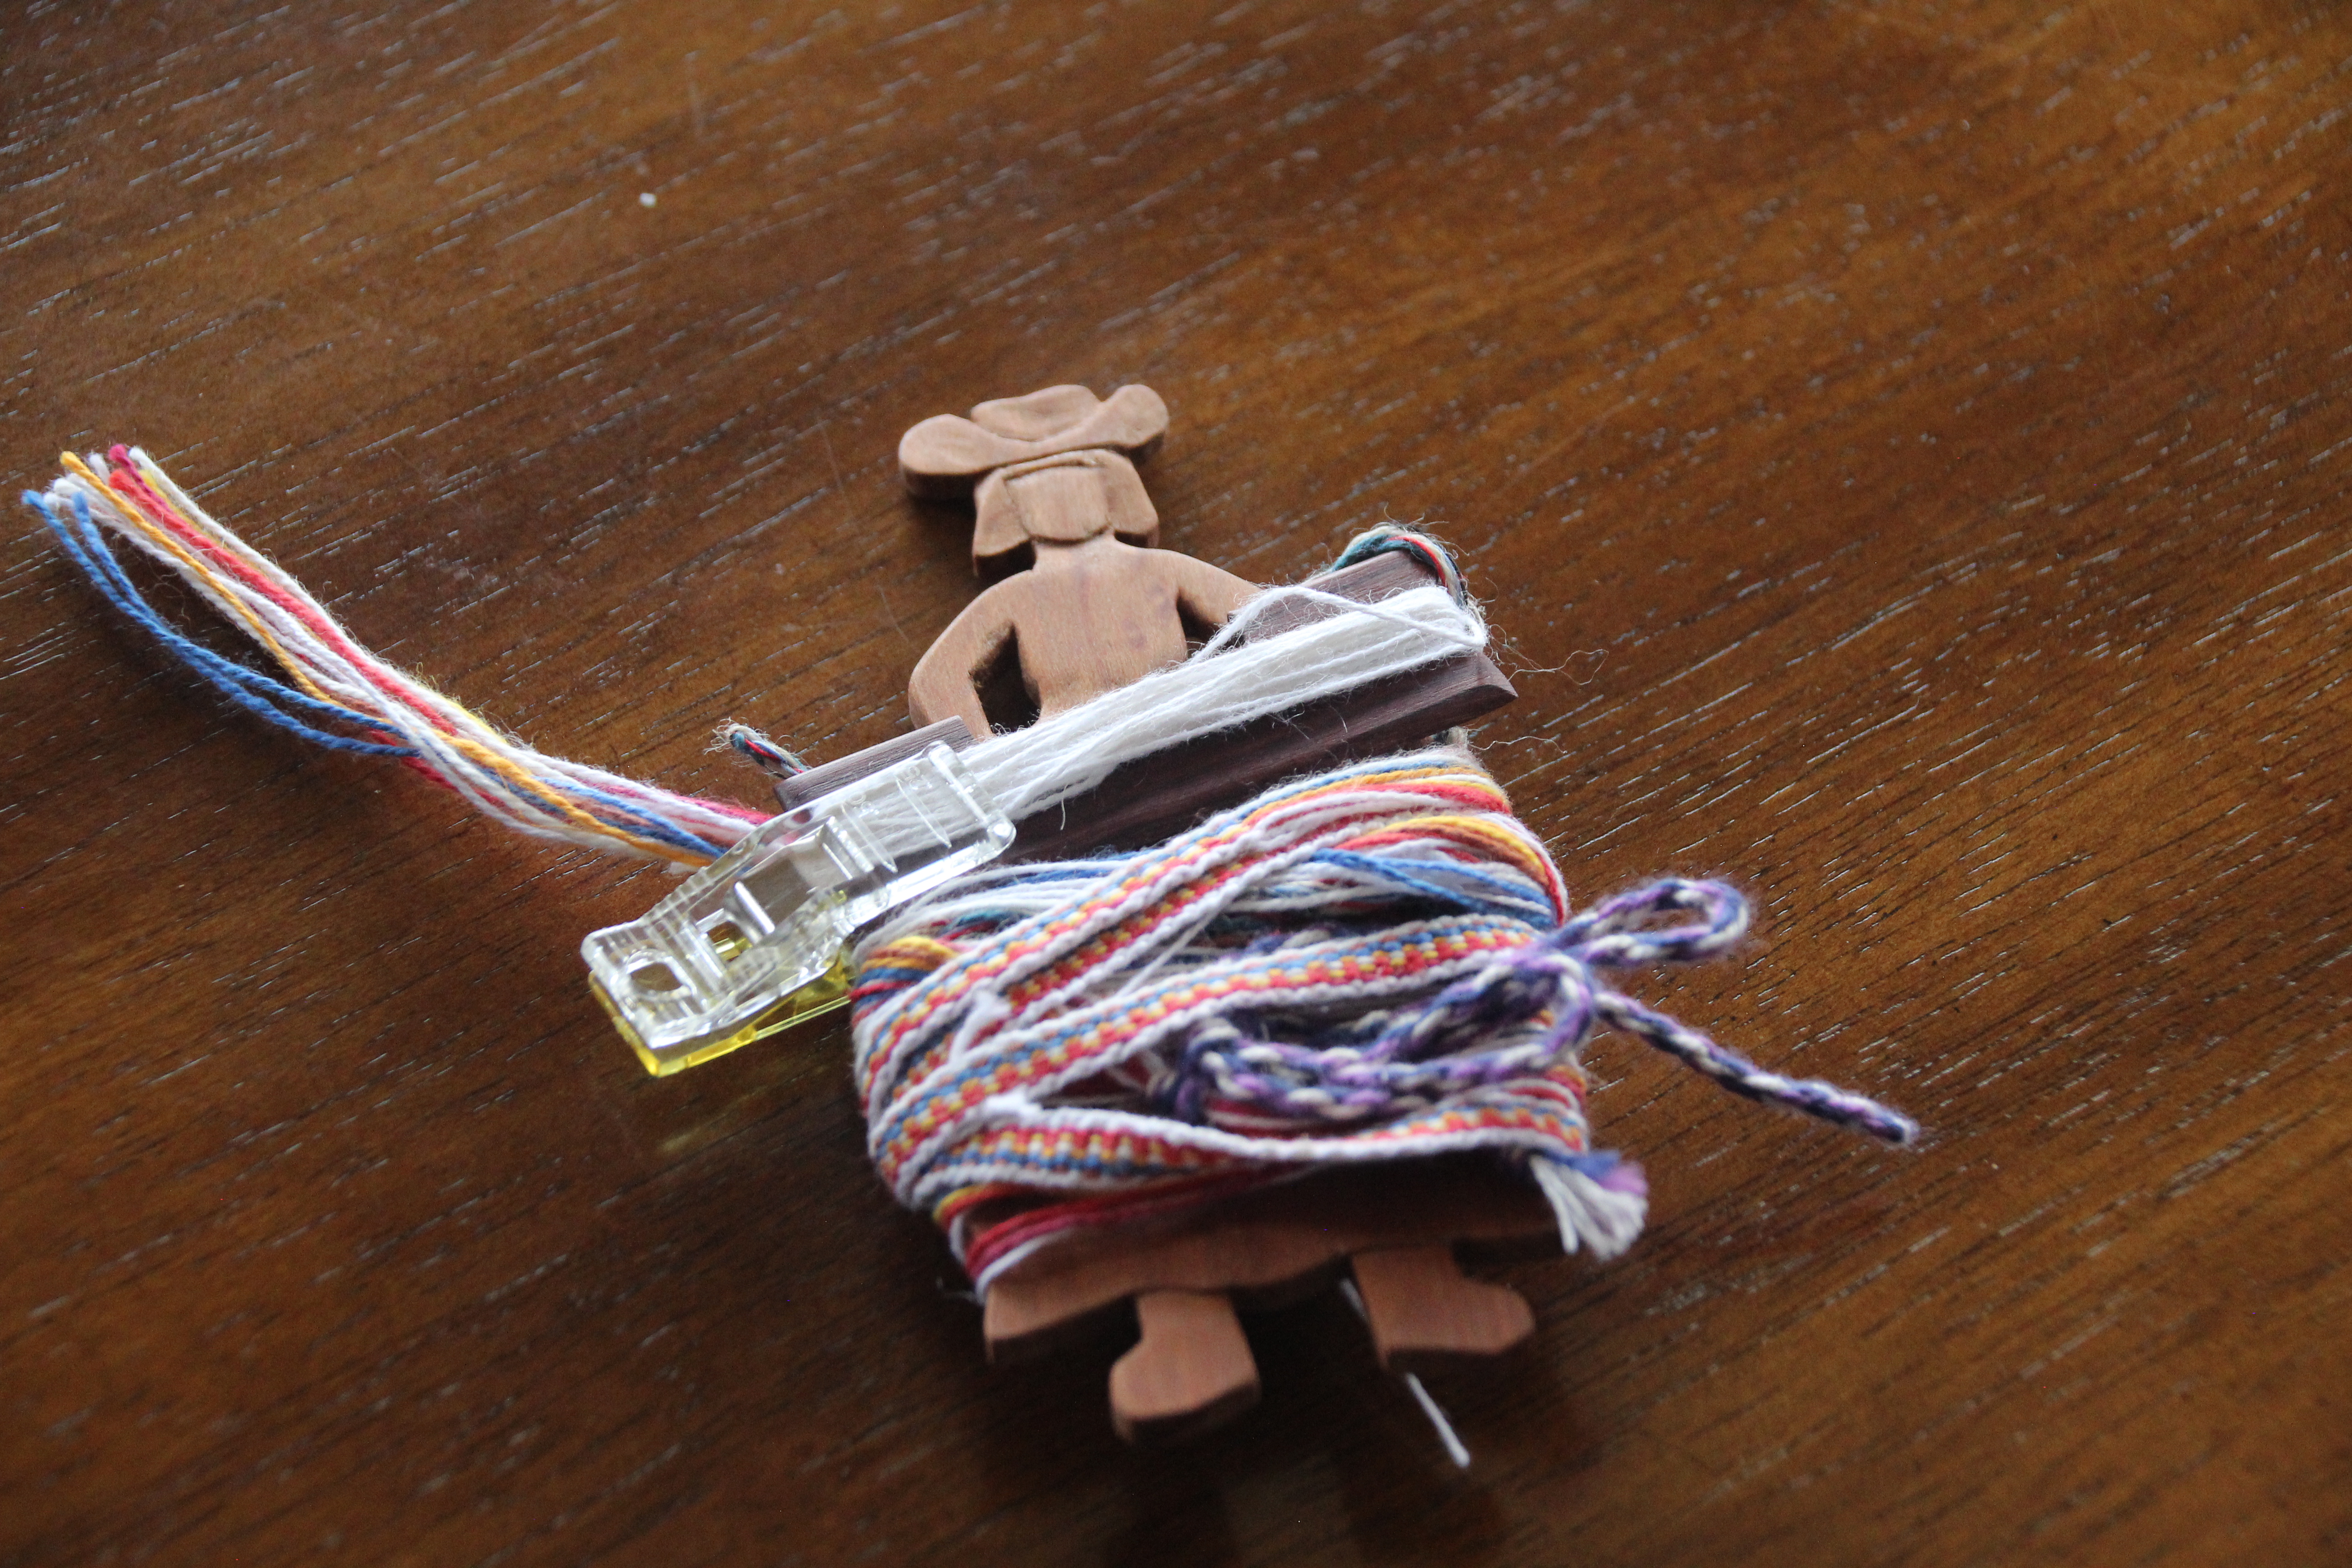
Quilter’s clip serves a dual purpose. Besides adding weight for balance while weaving, the clip holds everything together nicely. I can drop this small bundle in a bag, and add a belt and a band lock, and off we go!

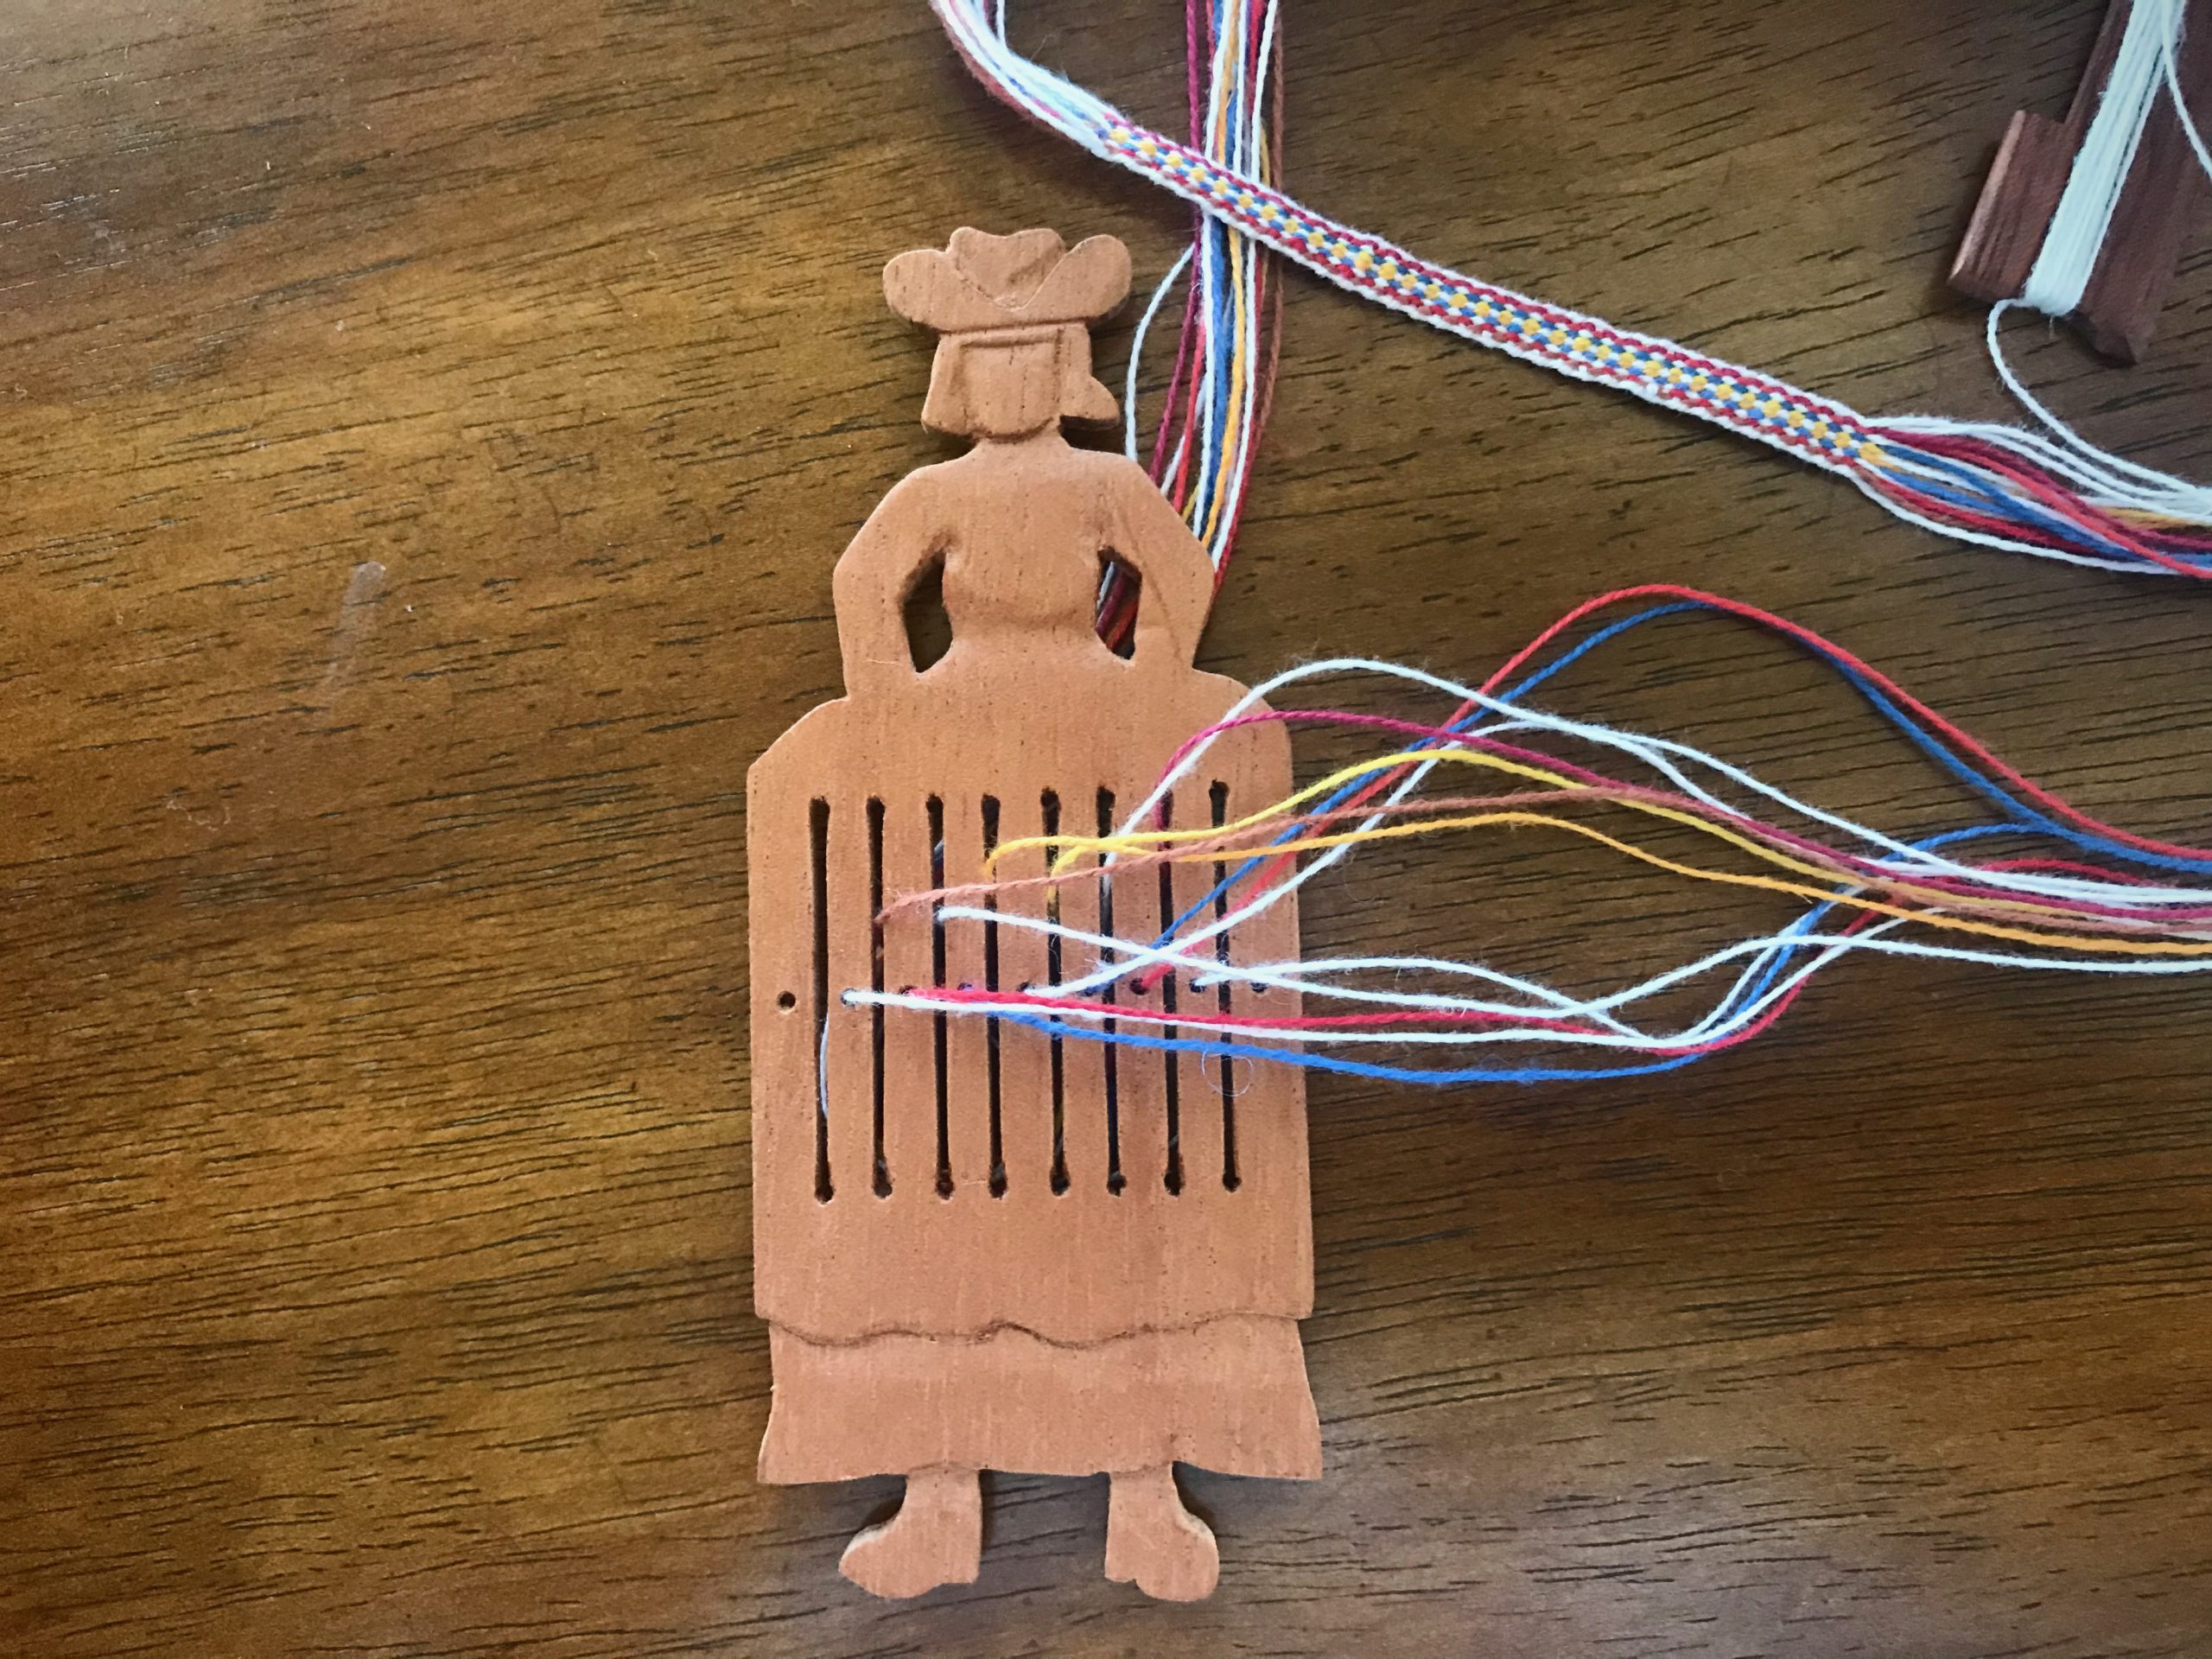
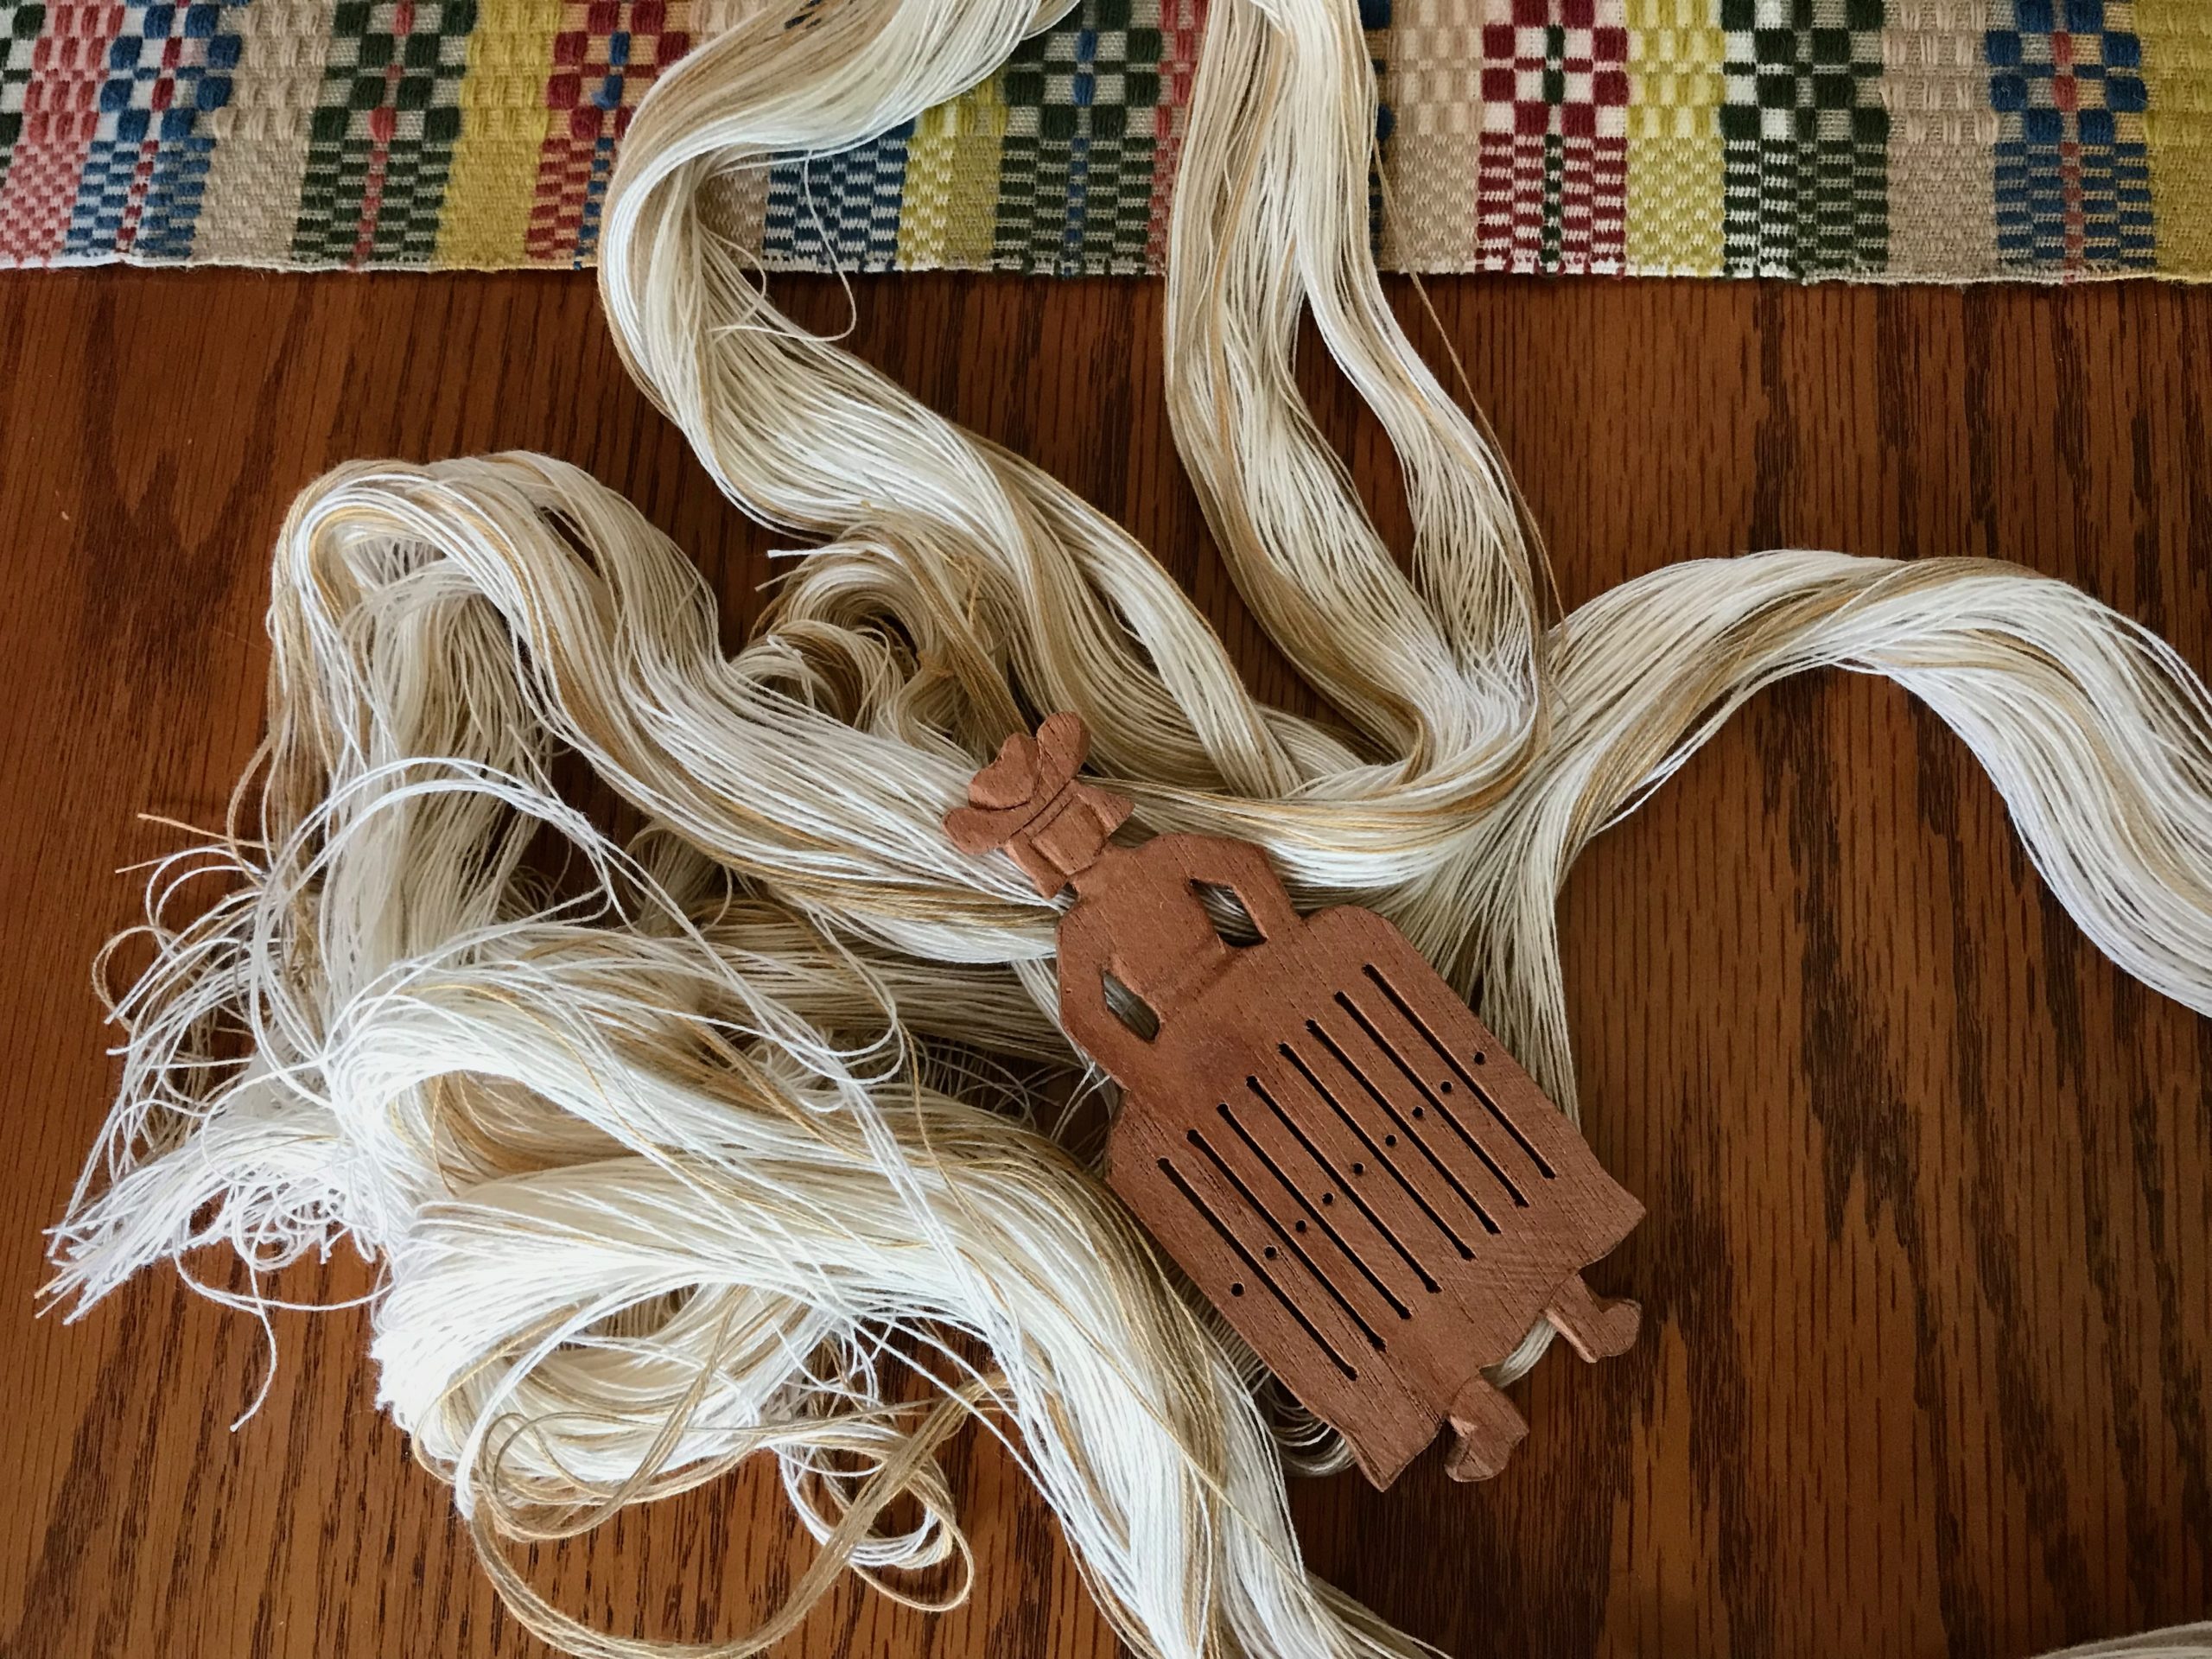
Here comes Miss Cutey II in Spanish cedar, with a longer skirt. She doesn’t tip all the way, but she does lean this way and that. The clip helps her, too. Conclusion? The shorter version, with the clip, is more compact and is our favorite design.

Miss Cutie II has a petticoat that hangs below her skirt. This extra length makes her a bit more stable than Miss Cherry Cutie. I cut Miss Cherry Cutie’s warp in half to give Miss Cutie II a warp. These are the same threads, but arranged in a more symmetrical order. She has her own sett tool shuttle, too.
Miss Cutie II also benefits from the added weight of a quilter’s clip.

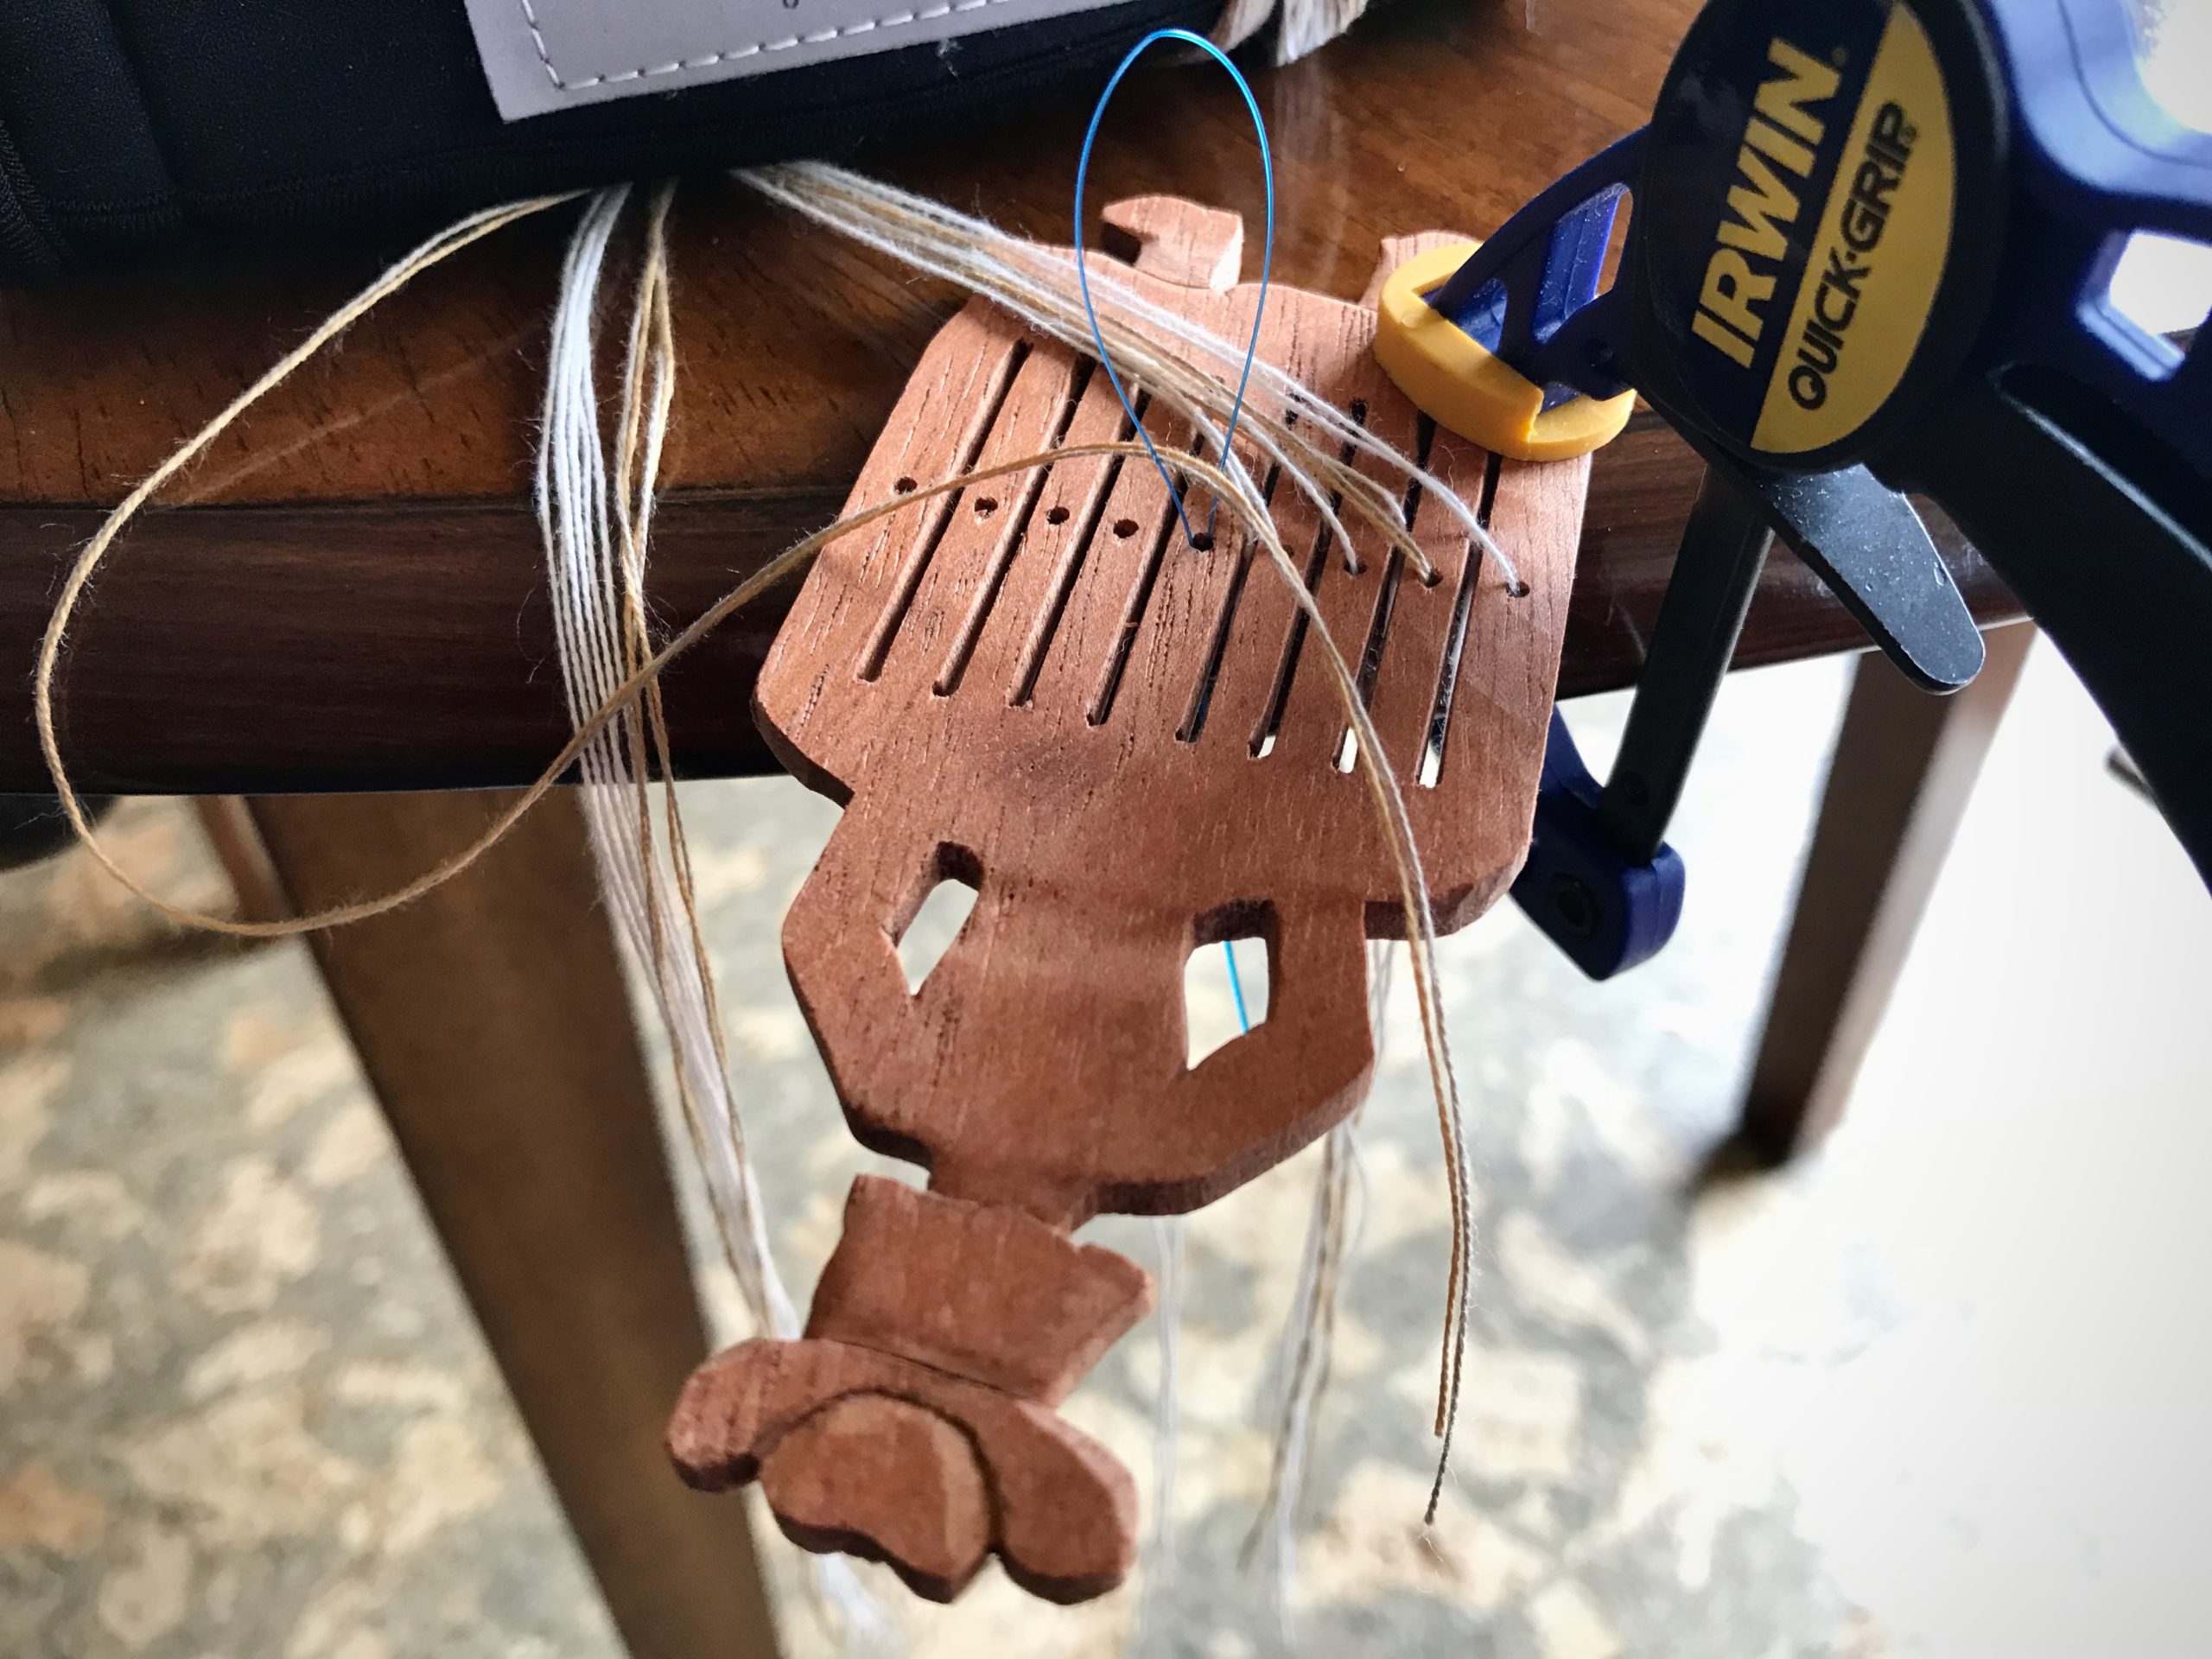
Look who shows up! Miss Cutie III in Spanish cedar. It’s time for a band weaving party, y’all!

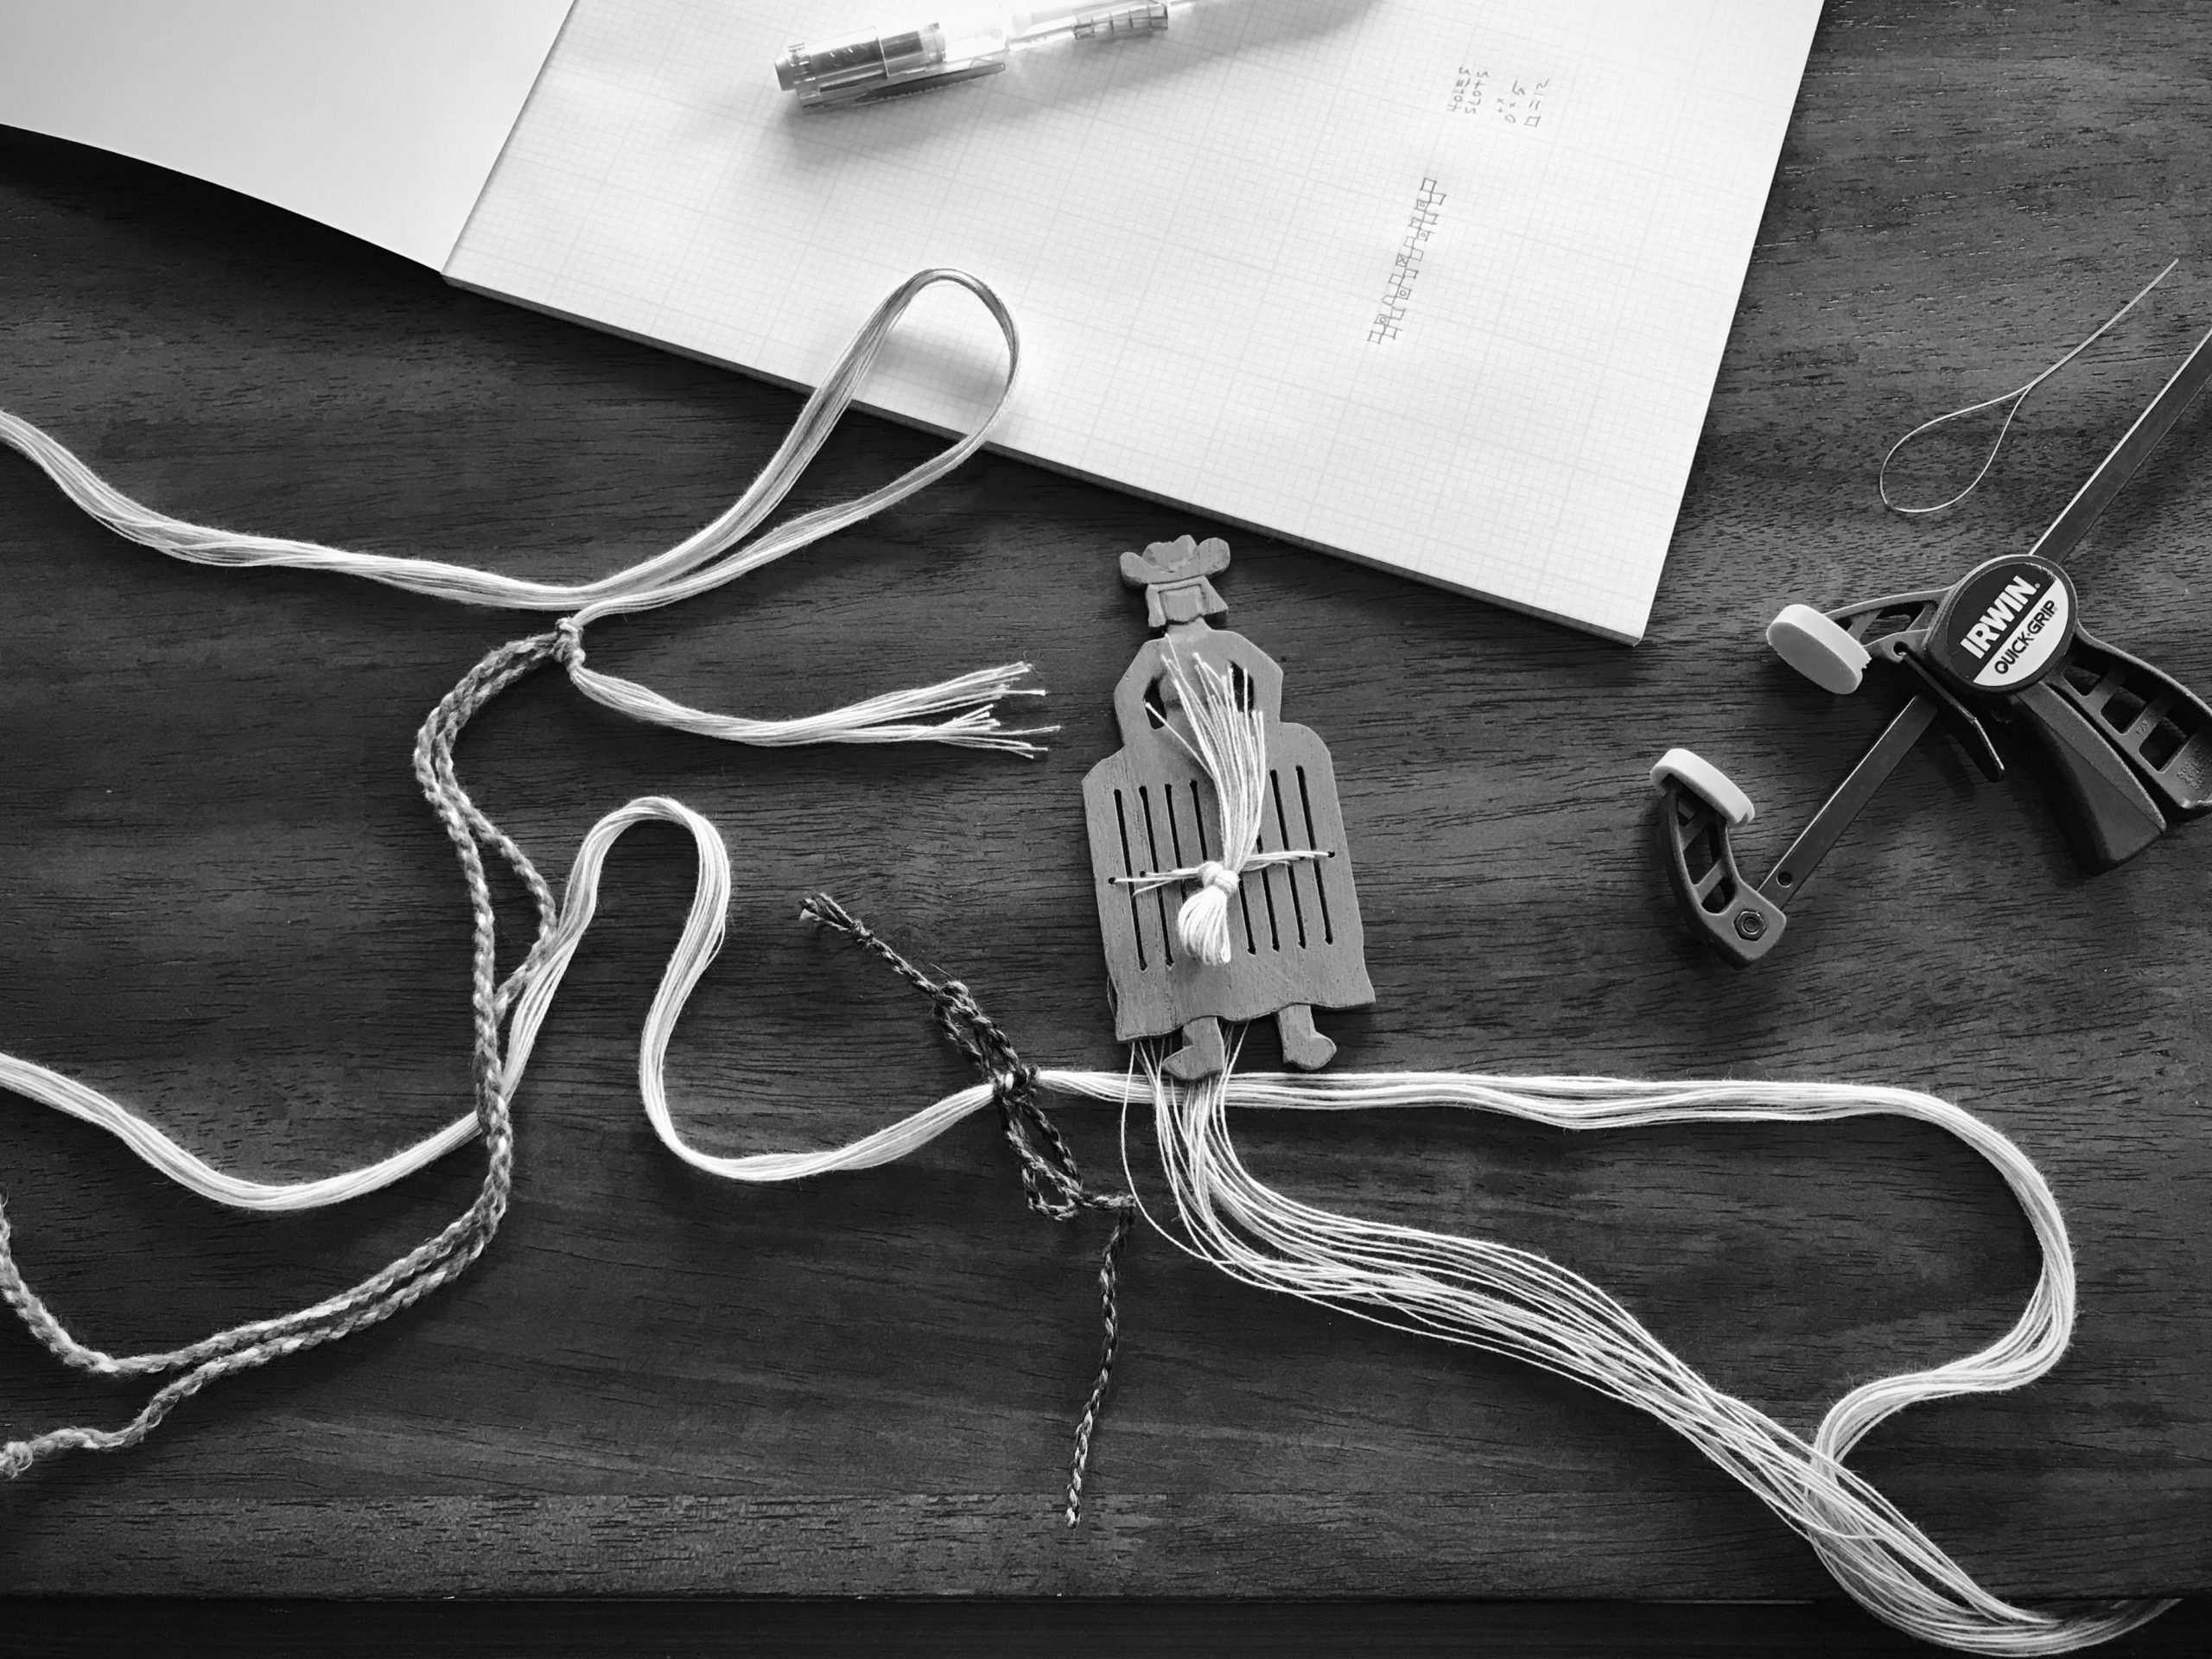
Miss Cutie III shows up unexpected. She waits to be threaded with a few ends from the thrums of the Priceless Monksbelt Runner. (See Process Review: Priceless Monksbelt and Video.)
Facedown for threading, Miss Cutie III receives the 16/2 cotton threads for her warp. This warp has five doubled pattern threads.
Threaded and ready for a 5-thread pick-up pattern.
Narrow band, with a subtle zigzag pattern.
Back of band has soft floats in triangular shapes.

Persistence comes from having an end in mind. Prayer is like that. We know our heavenly Father hears us when we pray. We know his outcome is good. Faith compels us to persist in prayer. As we do, the Lord guides our heart to align with his will. All the while, he works behind the scenes to bring his answer, which is better than anything.

May you persist as needed.

In his time,
Karen

Tried and True: When the Shed is Missing

You followed all the instructions for dressing the loom, and have finished the countermarch tie-up. Now, at the moment of triumph you step on the treadles, one by one. Alas! Some or all of the treadles give you nothing you can call a shed. Now what? Maybe you relate to Laura who wrote me recently, “I can’t seem to get the treadles to make a shed.”

The solution is simple. Follow the advice in this sentence on page 37 of Learning to Warp your Loom, by Joanne Hall, “If your sheds are not good, check your loom tie-up from the top down.”

If sheds are missing, there is a good chance you have a crossed cord.

Warp is threaded, sleyed, and tied on. After arranging and connecting a few Texsolv cords, I will tie up the treadles.

Find Misaligned Cords

1 Follow each Texsolv cord, starting from the countermarch at top of the loom.

All the shafts are good to go, right? Not quite. Better see what’s happening at the top of those Texsolv cords.

2 Make sure that each cord is connected in the right order at the right place.

Is the first countermarch jack connected to the first shaft, the second jack to the second shaft, and so on?

Misaligned cords as seen from the top of the loom.

Are the cords that go to the lower lamms strictly in order?

– With horizontal countermarch, does each cord fall behind the shafts in order?

Cords from the horizontal countermarch go through the center of the warp, to be attached to lower lamms below.
Make sure each cord goes behind its corresponding shaft bars to the lamms below. When attaching the cords to the lamms, make sure the cords are attached in the correct order. If loom is already tied up, follow each cord to check that it is attached to its corresponding lamm.

– With vertical countermarch, is each cord on its pulley, and connected to lamms in the right order?

Vertical countermarch has cords that go over pulleys on the side down to the lower lamms. I have to be extra careful to keep from attaching a cord to the wrong lamm.

3 Correct any misaligned cord.

Now, step on each treadle, one by one. Decent sheds that just need a little refining? Triumph!

Helpful Habit

When attaching a cord while dressing the loom, start your hand at the top of the cord and slide it down to the point of connection. This helps you take hold of the correct cord.

Ready to connect the shaft cords on the Glimåkra Julia, made easy by the small hooks on the shaft bars. Instead of expecting the cords to hang straight down in order, I reach my hand up to the top of the cord.
Touching where the cord meets the wood, I know I have the correct cord for the shaft closest to the front of the loom. I do the same for the next cord.
My hand slides down the cord and I connect the cord to the correct shaft. Now, all that’s left is tying up the treadles. Then, we weave!

May none of your cords be crossed.

Happy Weaving,
Karen
Process Review: Tiers of Joy!

Would you believe me if I told you I had the exact length of fabric needed to cut out the three tiers for this skirt, with not a millimeter to spare? It’s true. Despite a profusion of fitting conundrums, detail studies, do-overs, ripping outs, mind-bending problem solving, and to-the-thread close calls, I never considered giving up. That’s not true. I did think of throwing in the towel. But, thankfully, my cheerleader husband won’t let me take that option.

Handwoven skirt in the making.
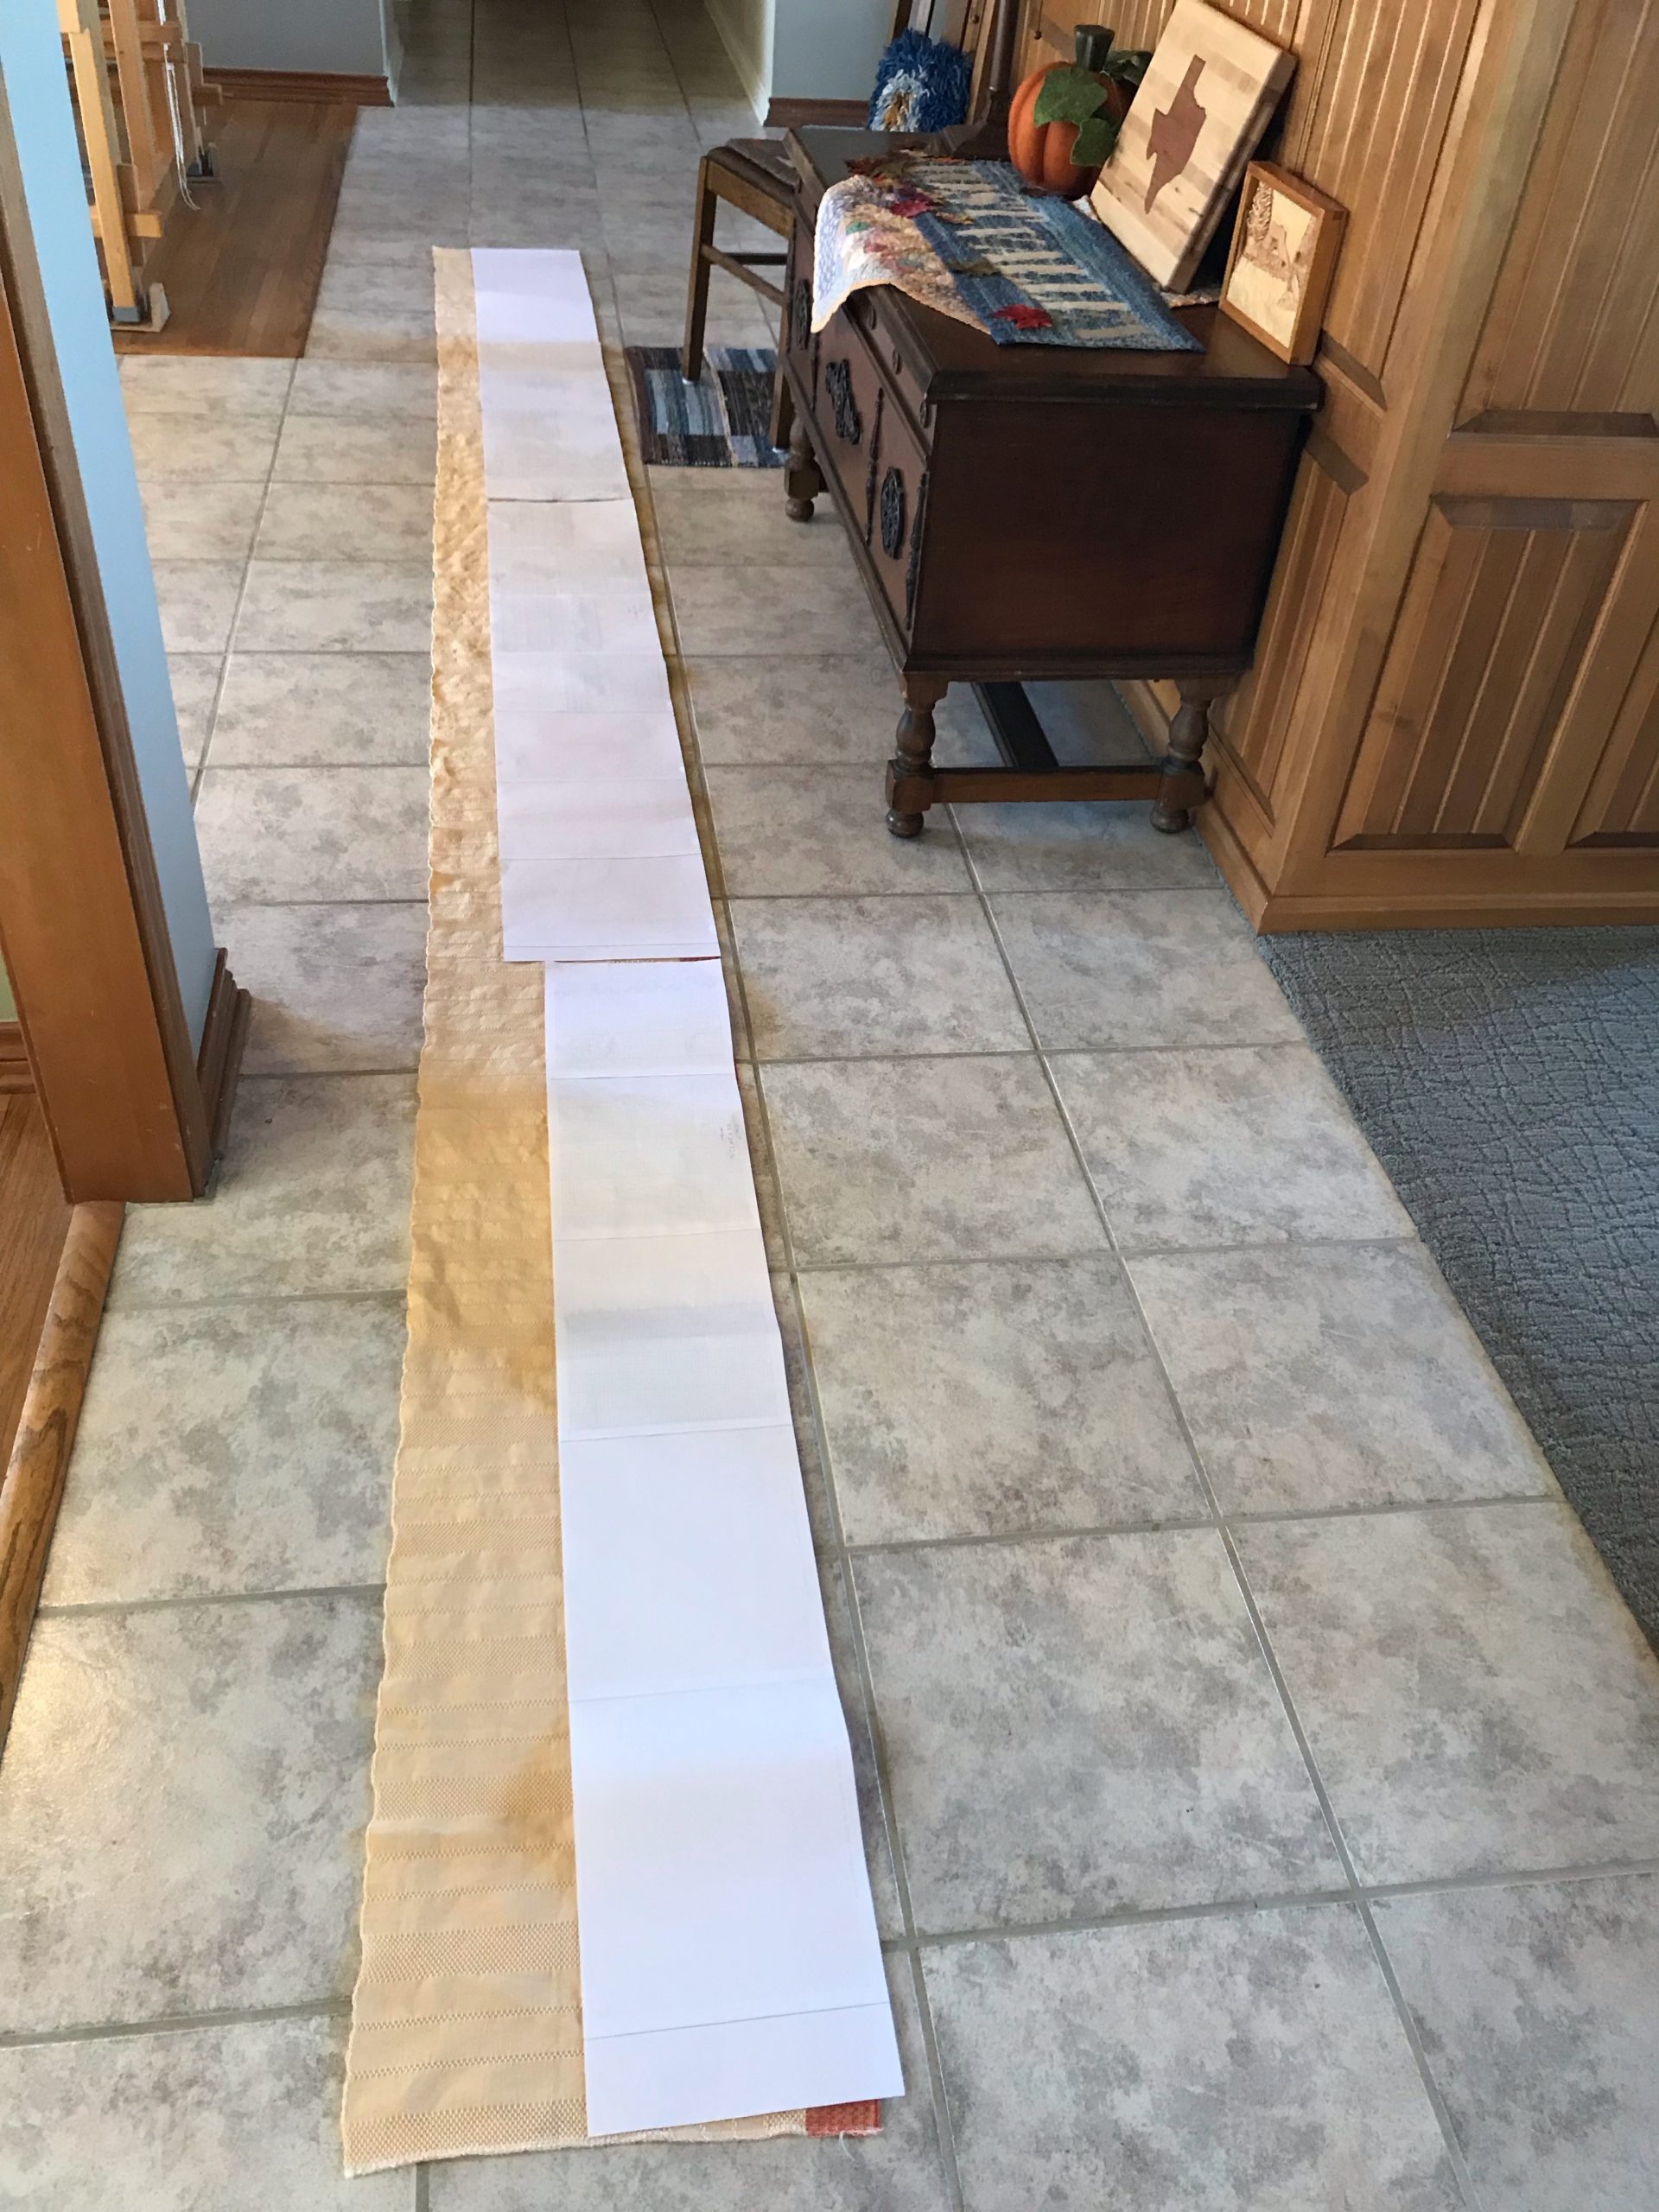
Measure thrice, cut once. When I changed the skirt pattern, my original measurements no longer applied. I made paper patterns for the tiers. That’s when I discovered just how close the length of fabric was to the length needed.

I have a deeper respect now for my friends whose sweet spot is garment design and construction. This Tiers of Joy experience has reminded me that handweaving is my sweet spot. It’s the thing I do that makes me say, “I was made for this.” When I’m at the loom I am soaring. What is your sweet spot? Let the breath of God make you soar.

Tiers of Joy handwoven skirt! designed and woven by Karen Isenhower.

Happily, I have a memorable handwoven skirt to wear on my date with Steve to the Symphony of the Hills Christmas concert next week.

Here’s a short slideshow video of this thread-to-garment story:

I am giving thanks for you! I’m glad you and I get to walk through this weaving (and sewing) journey together.

May your heart soar with thanksgiving.

Happy Giving Thanks,
Karen

Tried and True: Knee Beam Reminder

I first noticed that something was amiss right after advancing the warp. Something brushed my knees when I sat down. Aha! Beam cords, attached to the tie-on bar. I see that the tie-on bar is going straight from the cloth beam to the breast beam. I had forgotten to bring the tie-on bar over the knee beam. Really? Nearly everyone does this at least once when they are starting out. But it has been a few years since I made this mistake. Apparently, I still need my checklist.

Weaving monksbelt in a mixed-colors palette.
Looking through the warp at the knee beam, I notice that beam cords are strangely missing…

Fortunately, forgetting the knee beam is one of the easiest blunders to remedy.

Fixing this blunder - I forgot the knee beam!
See the beam cords going from the cloth beam to the breast beam? The knee beam is feeling left out.

Re-Set the Knee Beam

1. Remove the knee beam. Rest the beam on the loom frame.

Resetting the knee beam. Fixing a blunder!

2. Unlatch the front ratchet to release warp tension.

Fixing the knee beam blunder.

3. Pull the knee beam all the way out. Put it back across, underneath the beam cords. Rest the beam on the loom frame.

How to re-position the knee beam.

4. Reseat the knee beam gently, positioning the beam cords along with the beam.

How to remedy the knee beam blunder!

5. Tension the warp. Resume weaving.

Weaving Swedish monksbelt is fun!
Now you can see the beam cords through the warp, located where they should be.
Swedish Monksbelt on a Glimakra Standard loom.
Swedish Monksbelt weaving resumes. 16/2 cotton warp and ground weft, 6/1 Fårö wool pattern weft.

May your trouble be inconsequential and short lived.

Happy Weaving,
Karen