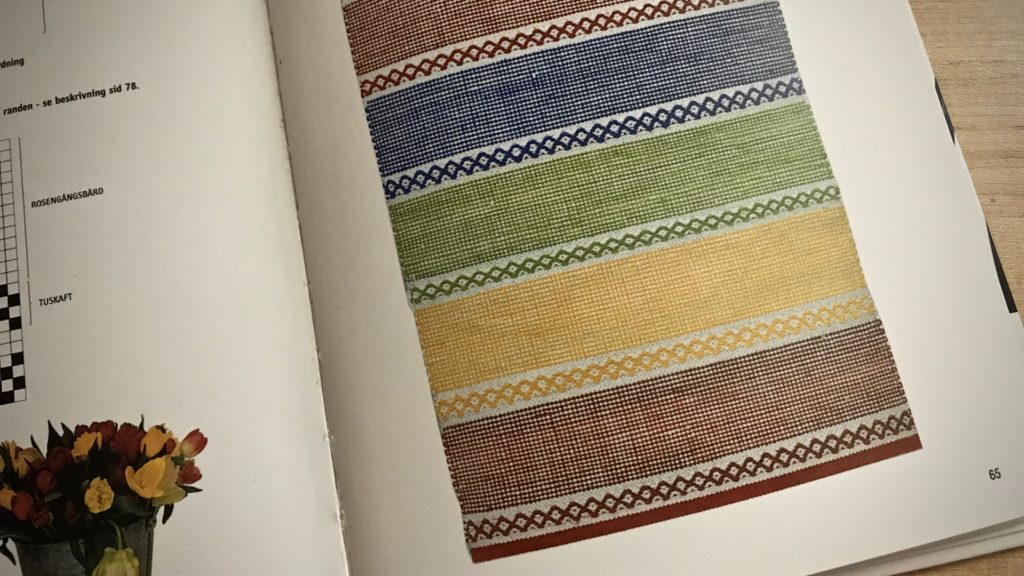
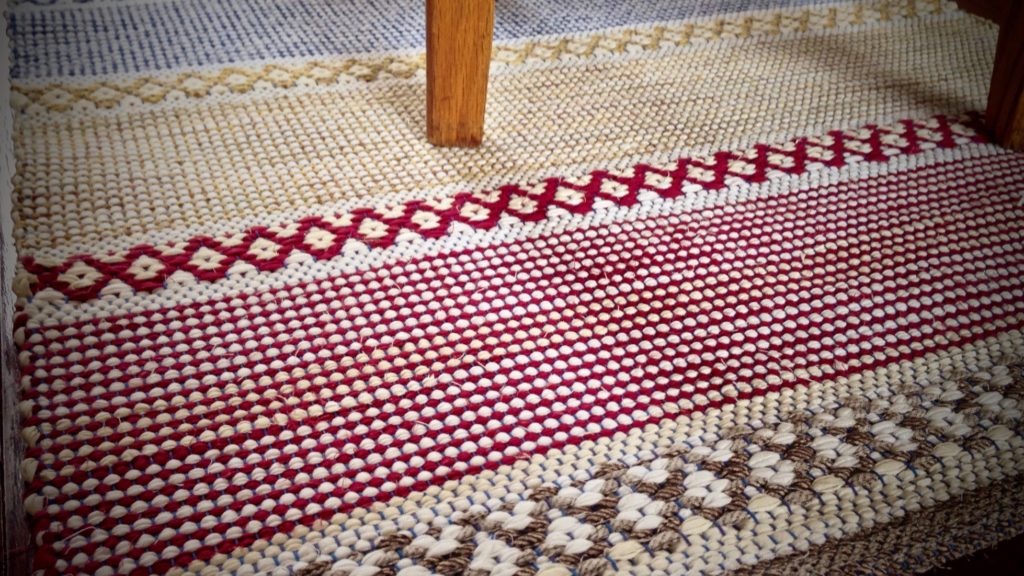
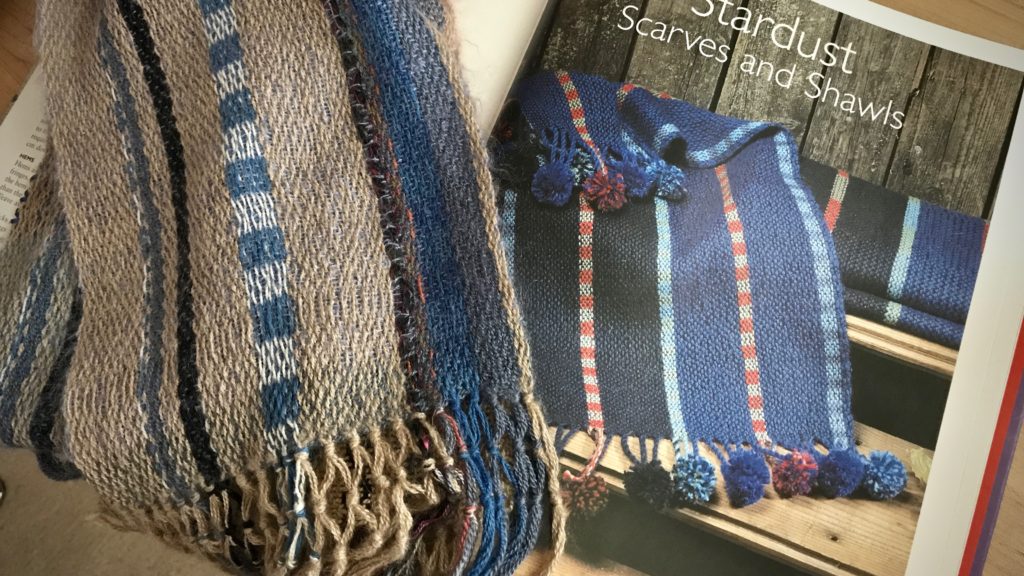
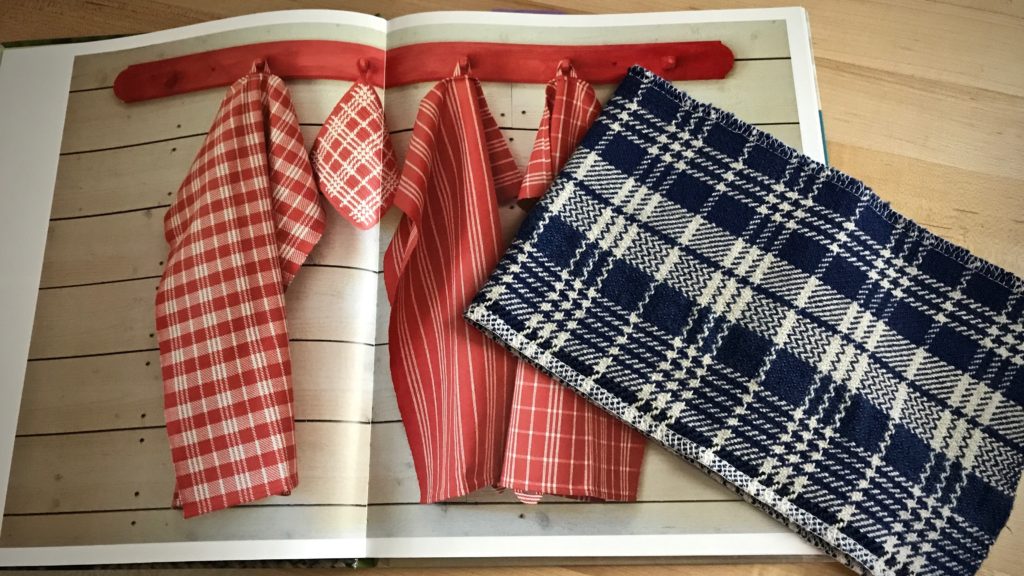
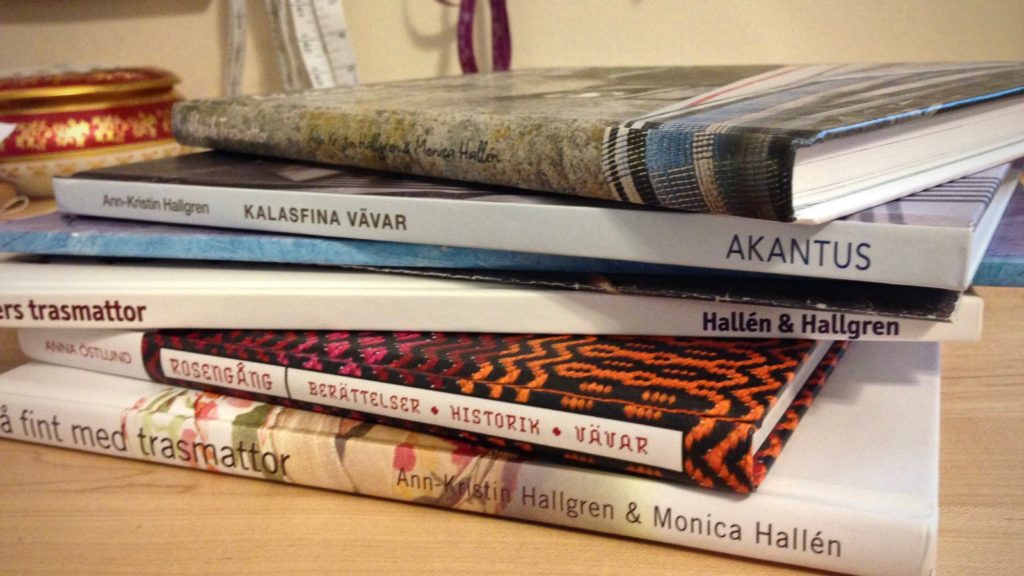
I know how to write music. I am experienced in playing improvisational music on my cello. And I don’t have a problem making up a tune to sing on the spot. But nothing touches the richness of music’s beauty like getting out the Beethoven Sonatas at the piano, or Bach’s Six Suites for the cello, or singing from an old-fashioned hymnal. Likewise, I do know how to write a weaving draft from scratch, but I usually find my starting point in one of my favored weaving books. There are countless designs and dreamy pictures. From simple to extraordinary. Sometimes I follow the instructions precisely. But most often, the improviser in me examines the elements and finds a new version to “play.”
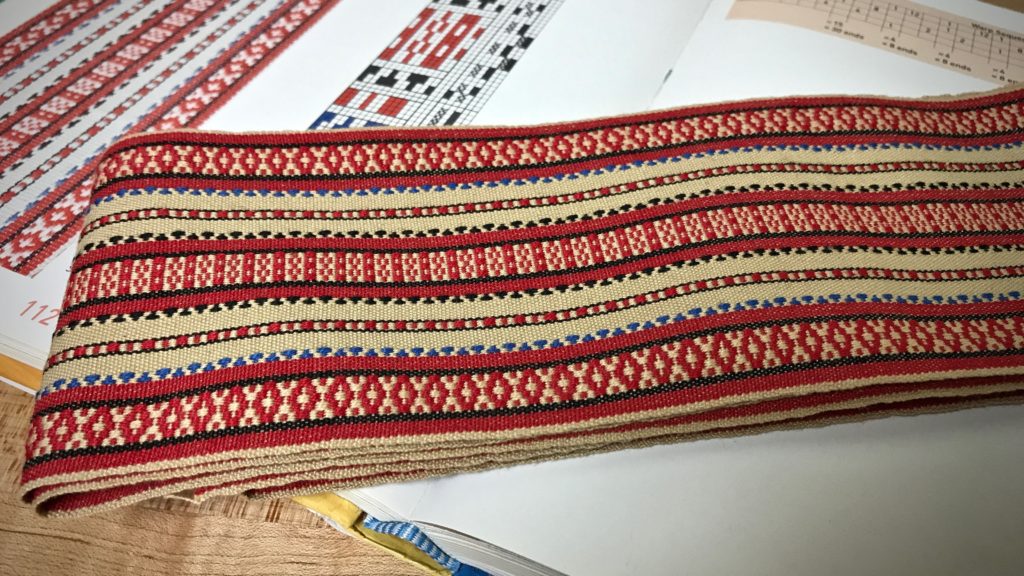
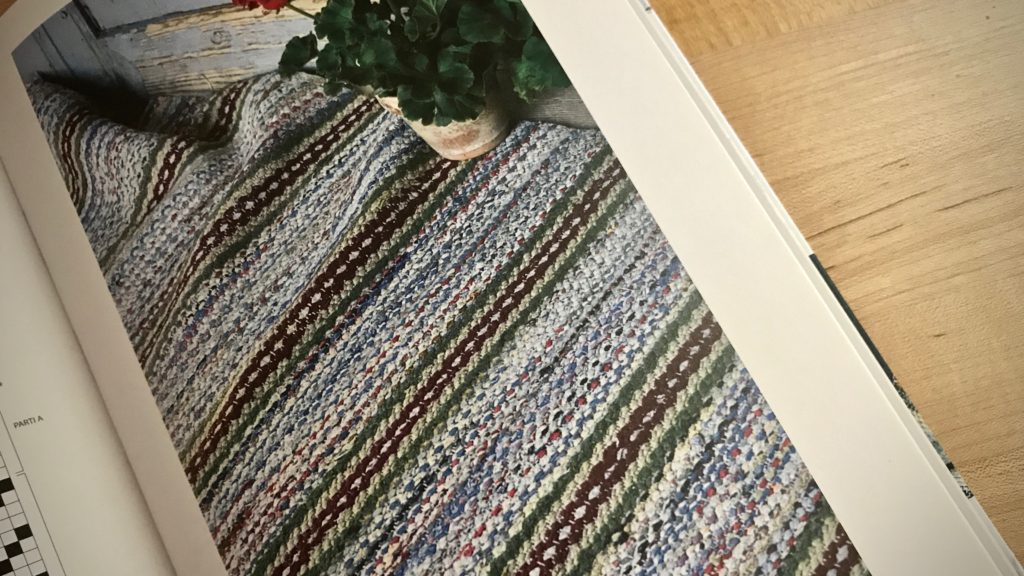
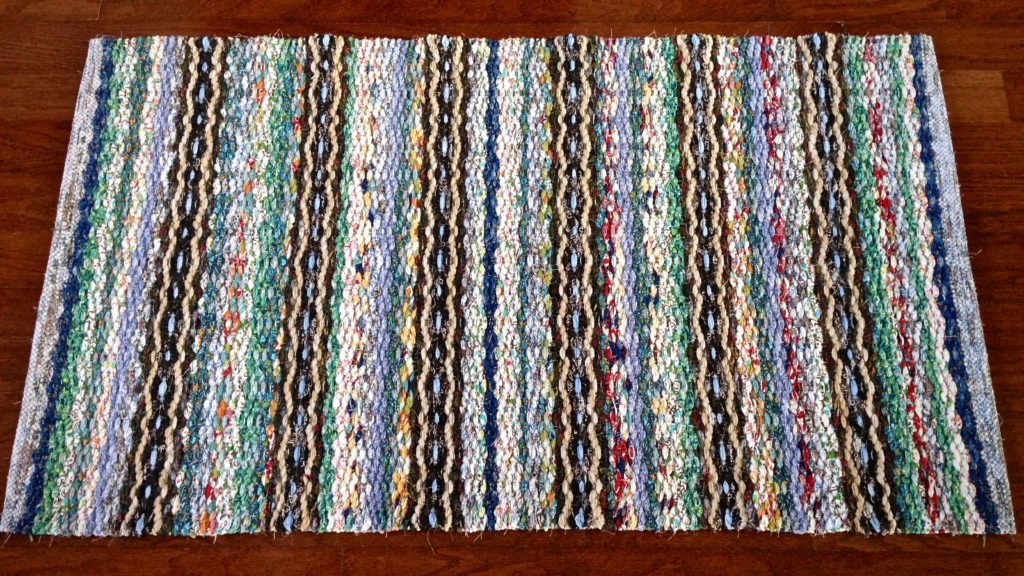
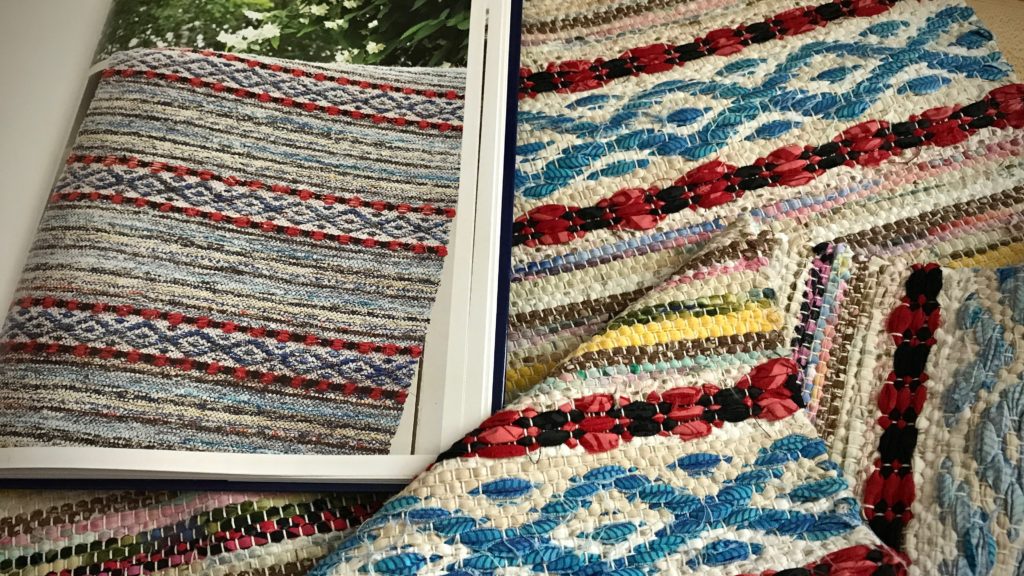
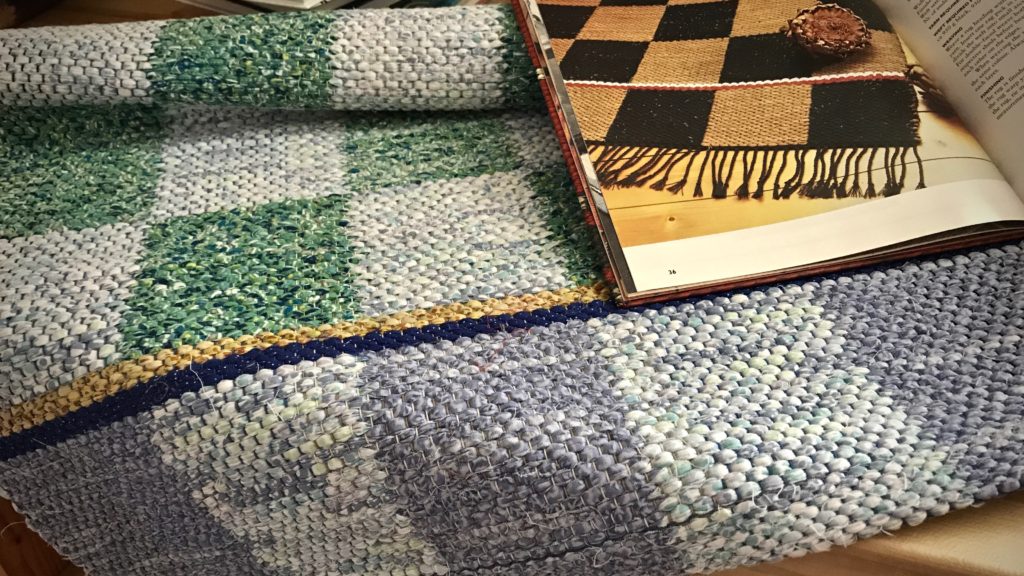
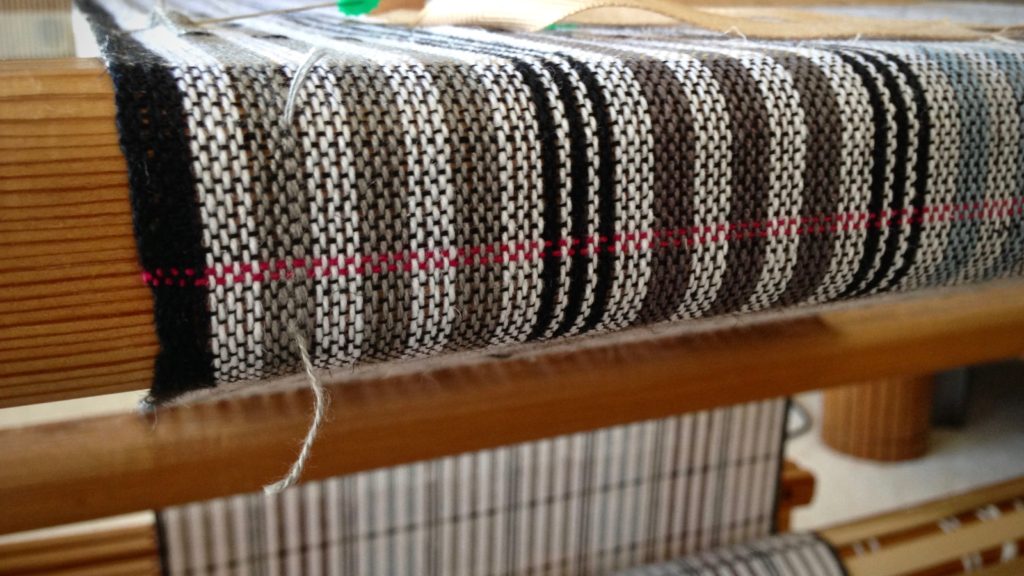
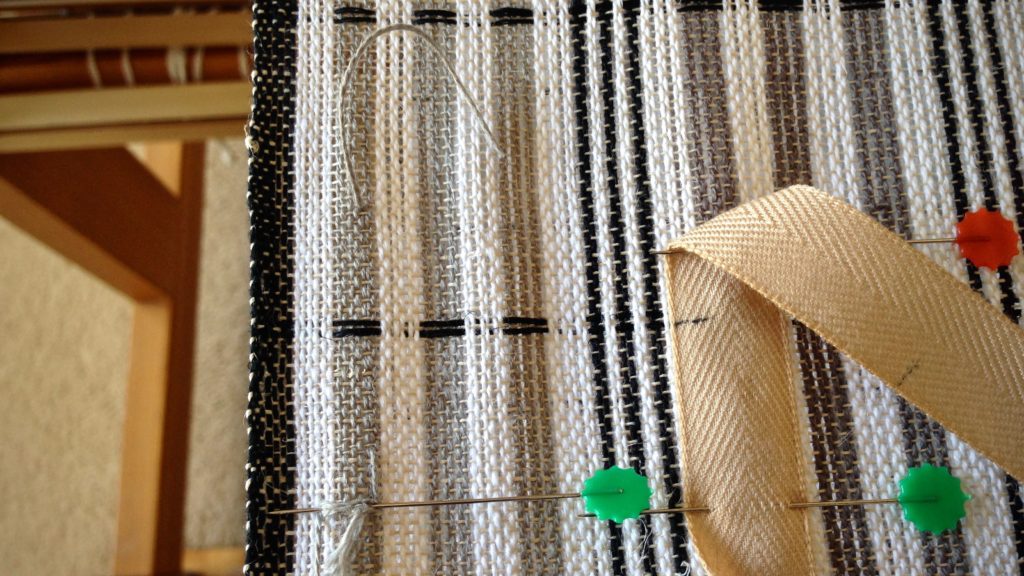
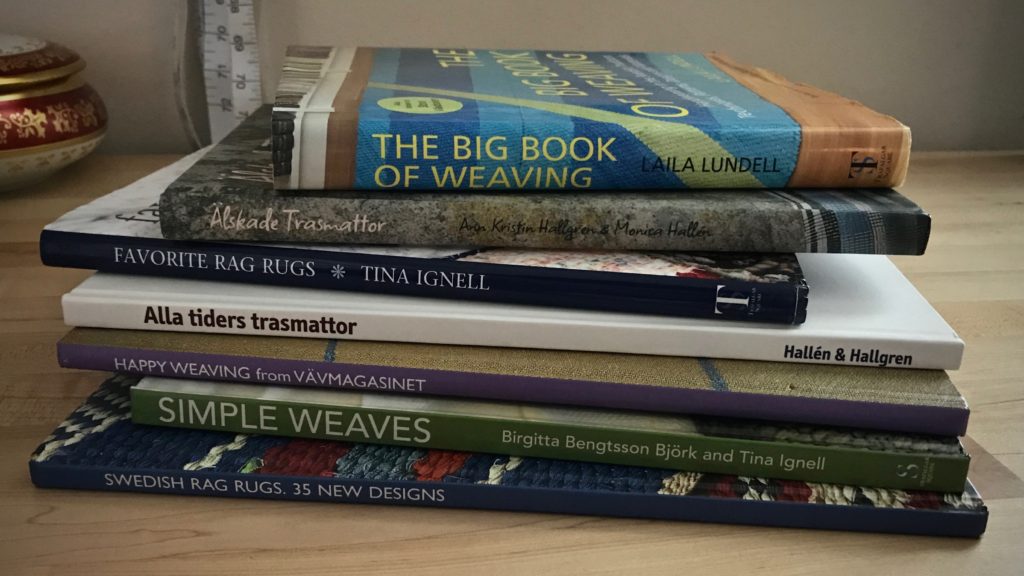
Here are just a few of my favorite weaving books, and a sampling of what they have produced.
May you play as much music as you can find.
…and speaking of Etsy! The original River Stripe Towels and Table Centerpiece Cloth that I wove are now listed in the Warped for Good Etsy Shop. And there may still be one River Stripe Towel Set Pre-Wound Warp Instructional Kit (Workshop in a Box) left! UPDATE: THE KIT HAS BEEN SOLD.
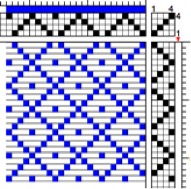
Cooks have recipes, builders have blueprints, and handweavers have weaving drafts. There are a few different formats, but all drafts carry the same essential information. There is the tie-up box, the threading pattern, and the treadling sequence. Finally, there’s the drawdown, a graphic representation of how all the threads intersect.
The two formats I see most often are the typical American draft (e.g., Handwoven), and the Swedish draft (e.g., VÄV Magasinet). Many American drafts assume jack looms; whereas, Swedish drafts usually assume counterbalance or countermarch looms. However, any loom can weave from any draft.
As Madelyn van der Hoogt says in The Complete Book of Drafting, “Any tie-up can be used for any type of loom. Discover from the tie-up which shafts must be up and which down for each shed, and do to the loom whatever is required to get them there.”
All the draft formats have this in common: The tie-up box is the starting point. The threading pattern and treadling sequence begin at that point, and go out from there.
The Swedish draft makes perfect sense (remember, of course, I weave on Swedish countermarch looms). I picture the draft as if it is lying flat in front of me.
Becky Ashenden says in the forward to Weave Structures the Swedish Way, “With this orientation of tie-up, treadling, and threading, the draft has a direct relationship to the weaving of the fabric. The tie-up’s location in the lower right-hand corner of the draft allows all other information to match as closely as possible the physical aspects of the loom.”
Here is a comparison of the Swedish and American draft formats:
Swedish Draft
Weft drawdown (filled-in squares show loweredwarp threads, weft passing over)
Tie-up is in lower right corner, and uses black squares to designate shafts that sink / white squares for shafts that rise
Threading is below the drawdown
Shafts are numbered from back of the loom to front, with the first shaft the furthest from the weaver seated at the loom
Treadling sequence is on the right, and reads from bottom to top
Treadles are numbered from right to left
For a “sinking shed” loom (countermarch or counterbalance loom), use the black squares to tie up sinking shafts
For a “rising shed loom” (jack loom), use the white squares to tie up rising shafts
Tie-up is in upper right corner, and uses numerals to designate shafts that rise / white squares for shafts that sink
Threading is above the drawdown
Shafts are numbered from front of loom to the back, with the first shaft the closest to the weaver seated at the loom
Treadling sequence is on the right, and reads from top to bottom
Treadles are numbered from left to right
For a “sinking shed” loom (countermarch or counterbalance loom), use the white squares to tie up sinking shafts
For a “rising shed loom” (jack loom), use the squares with numerals to tie up rising shafts
Similarities between Swedish and American Drafts
Threading reads right to left
Squares in the tie-up box represent treadle cords that attach treadles to corresponding shafts
Resources
Getzmann, Ulla, and Becky Ashenden. Weave Structures the Swedish Way. Shelburne, MA: Väv Stuga Press, 2006.
Hoogt, Madelyn Van der. The Complete Book of Drafting for Handweavers. Coupeville, WA: Shuttle-Craft Books, 1993.
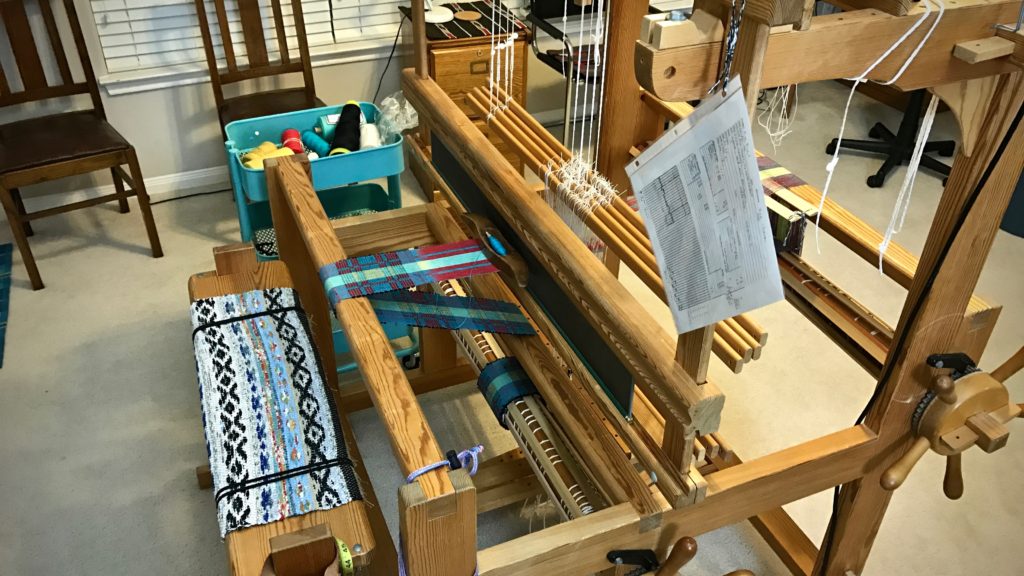
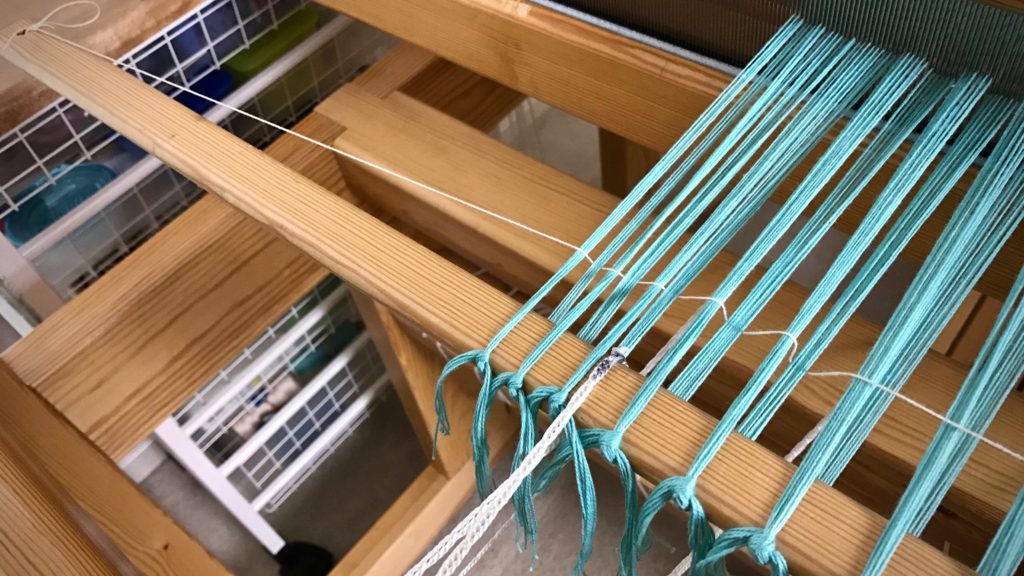
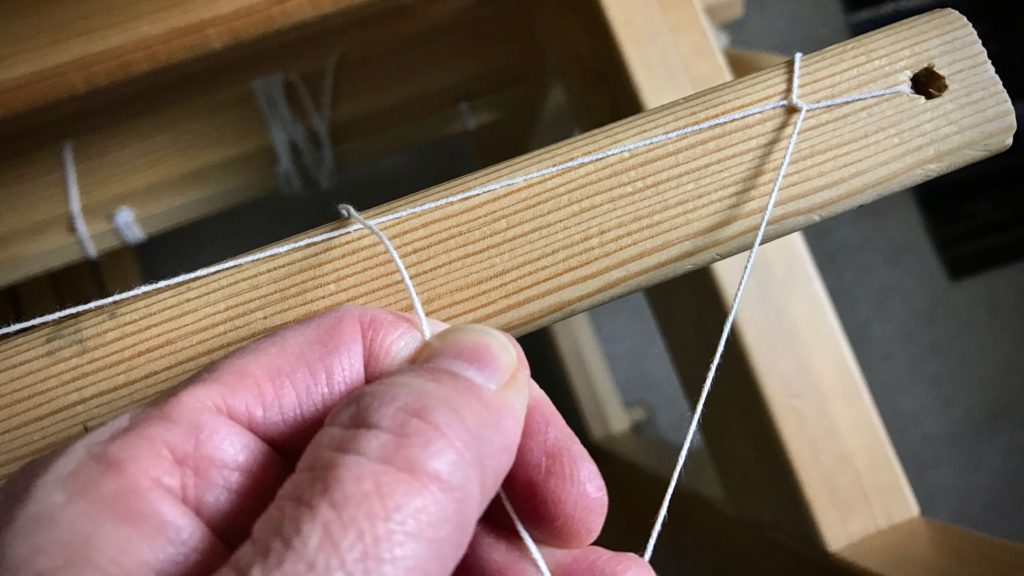
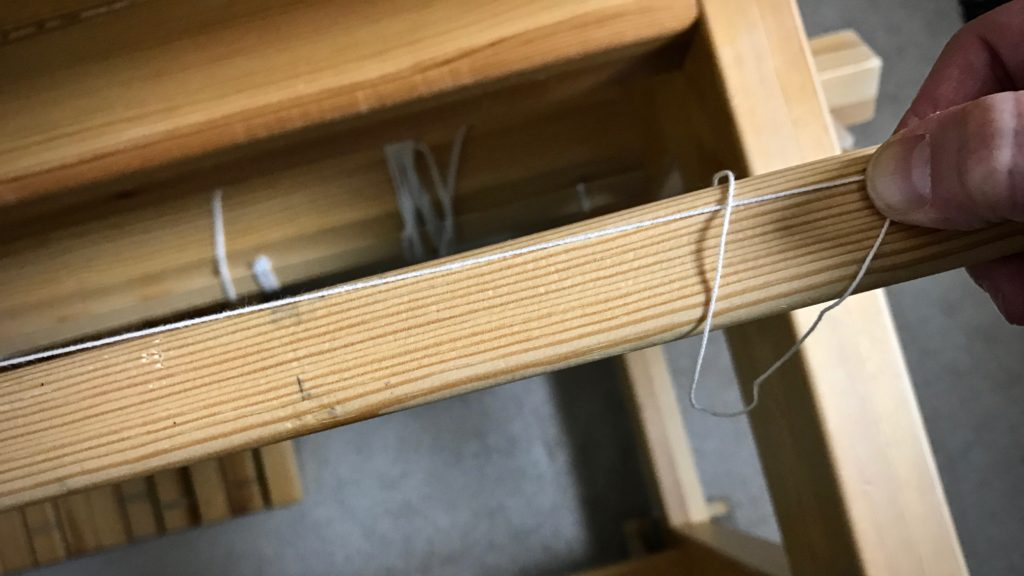
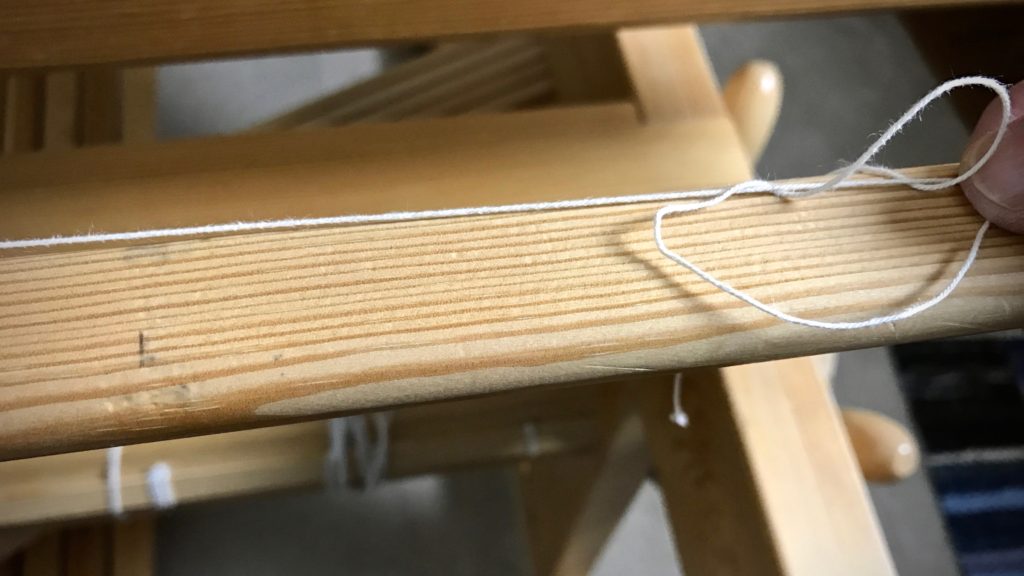
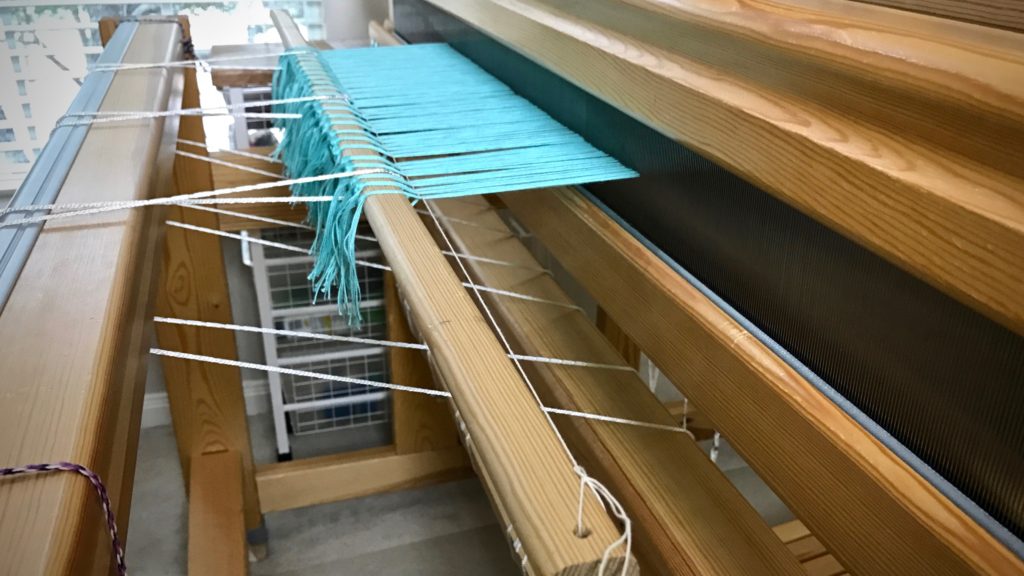
Thirty-five years ago, I took a beginner rigid heddle loom class. Our teacher taught us to use strips of toilet paper (or fat scrap yarn) as weft at the beginning of the weaving to space the warp. After several inches of weaving, the warp ends would fall into alignment. Unless fringe is planned, that beginning warp goes to waste, not to mention the unsightly aspect of the throwaway weft. Here comes the leveling string to the rescue! This piece of 12/6 cotton seine twine is just what we need to get off to a good start with every project we put on the loom. The leveling string levels out the warp ends, and delivers a nice, flat weaving surface. It is superb to be able to weave fabric right from the very beginning of the warp!
The use of a leveling string is also described in my three favorite books that detail how to warp a loom:
The Big Book of Weaving, by Laila Lundell
Learning to Warp Your Loom, by Joanne Hall
Dress Your Loom the Vävstuga Way: A Benchside Photo Guide, by Becky Ashenden
Tools:
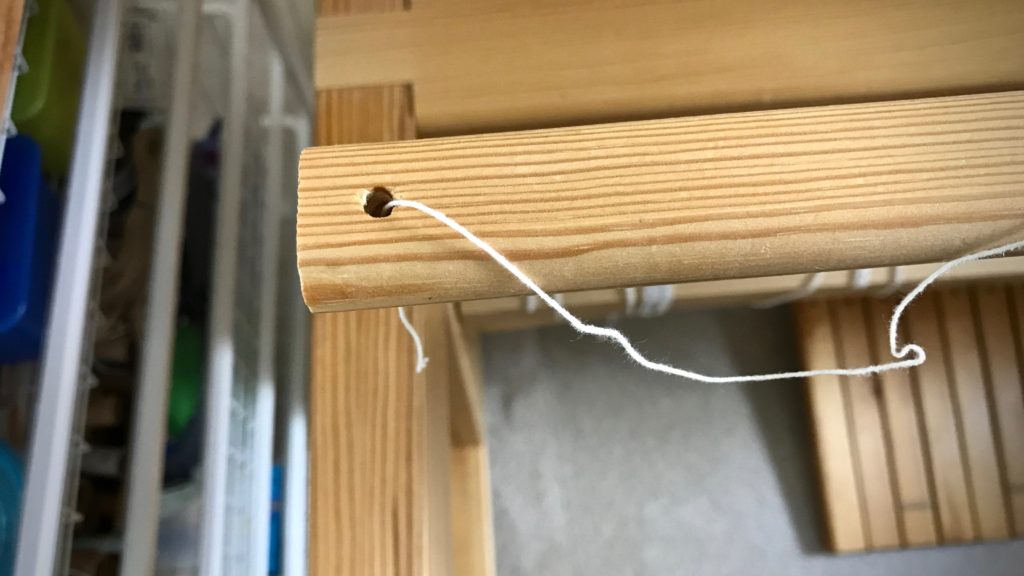
Front tie-on bar with a hole at each end (Joanne Hall writes, “If there are no holes in your bar, replace the cord with a thin stick.” I have not tried this, but I trust anything Joanne says!)
12/6 cotton seine twine, the length of front tie-on bar, plus about 20 inches (I like to have plenty of string to tie the knots on the ends)
Steps:
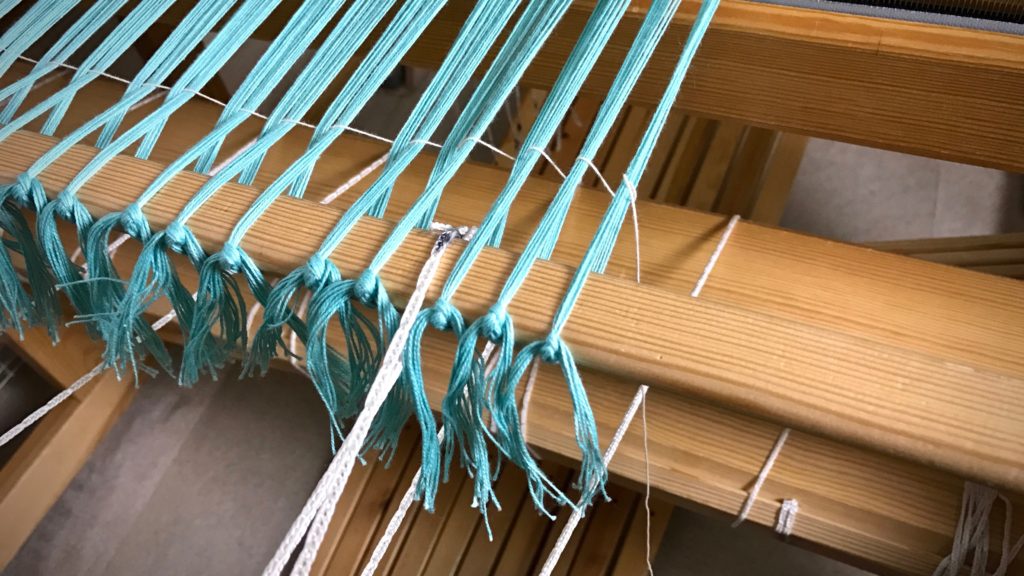
1. Tie on warp in small bundles, about 1″ each, with half of the bundle’s ends going over, and half going under, the front tie-on bar (as seen in Step 3 pictures). Tie the ends together with a bow knot or other tie-on knot. (TIP – If you do not tie the knots too tight, it is easier to get even tension across the warp, and it is easier to tighten the leveling string in Step 4.)
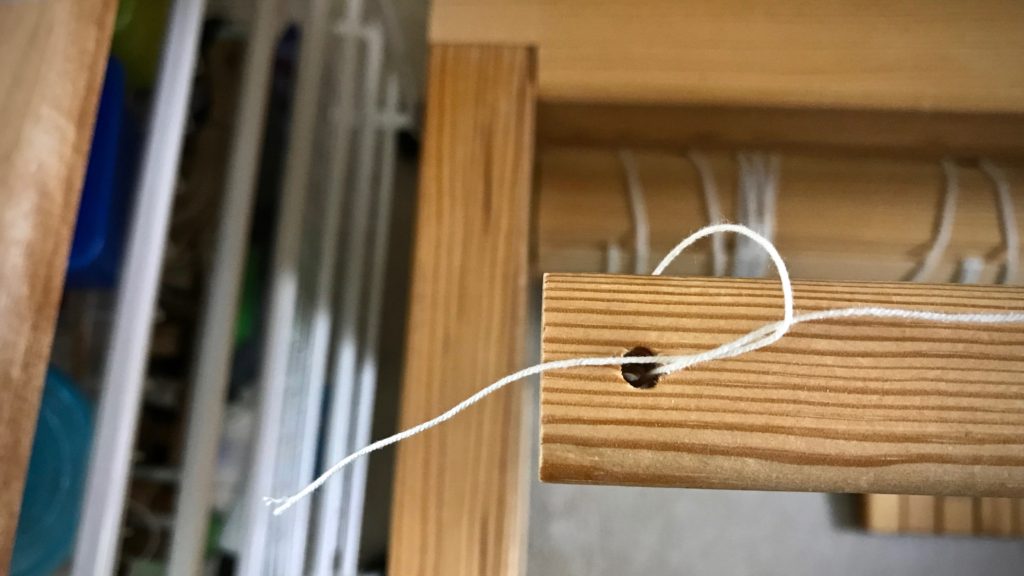
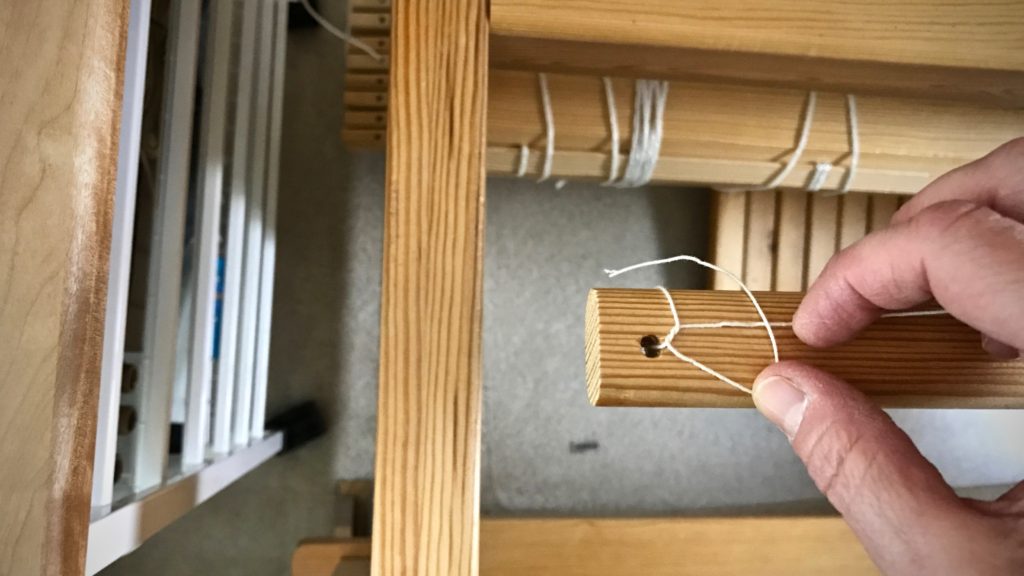
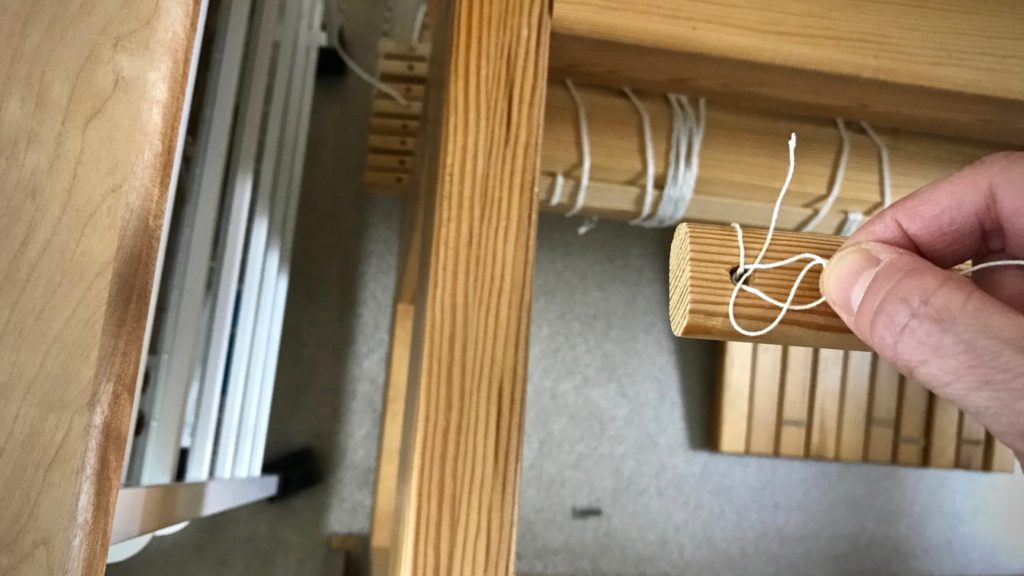
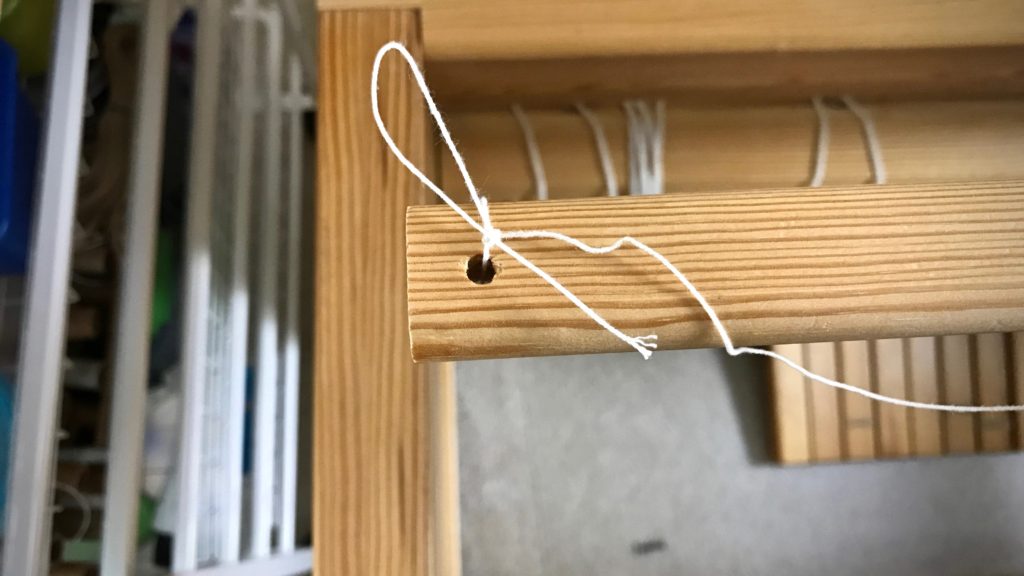
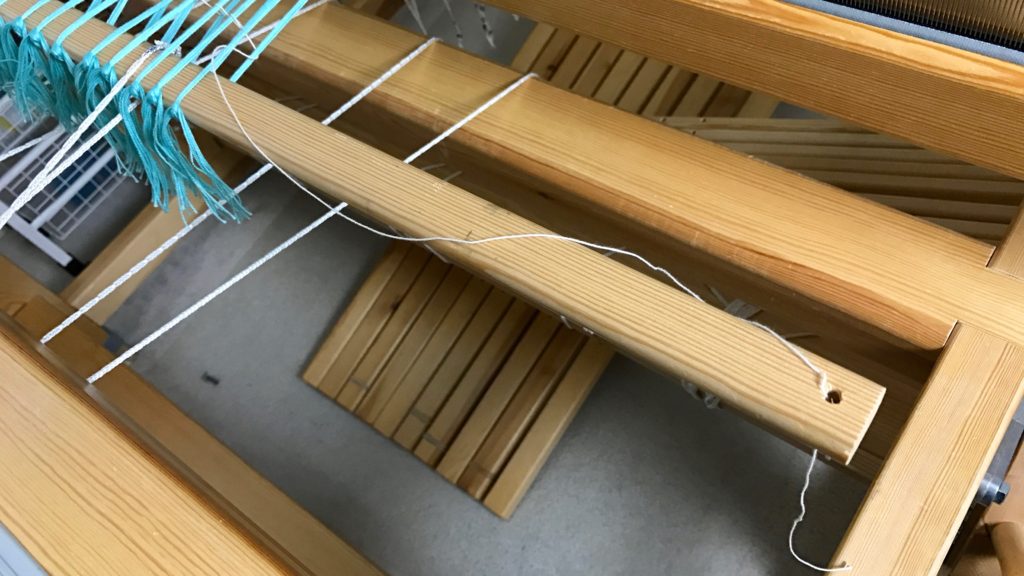
2. Tie one end of the leveling string to one end of the front tie-on bar, using a slip knot with half bow.
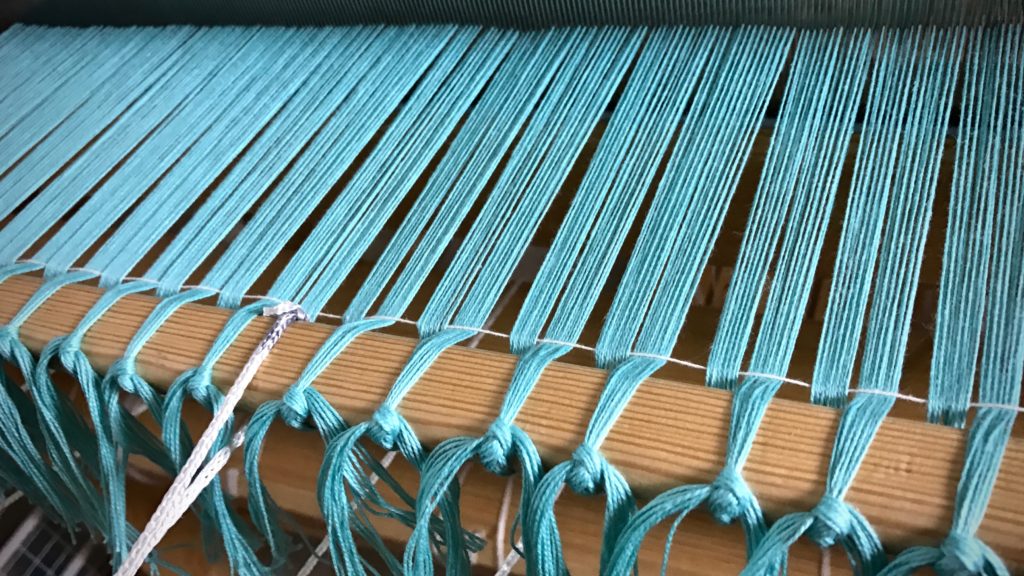
3. Thread the leveling string over and under the tie-on bundles, going over the raised ends and under the lowered ends.
4. Tighten the leveling string while tapping it in with the beater.
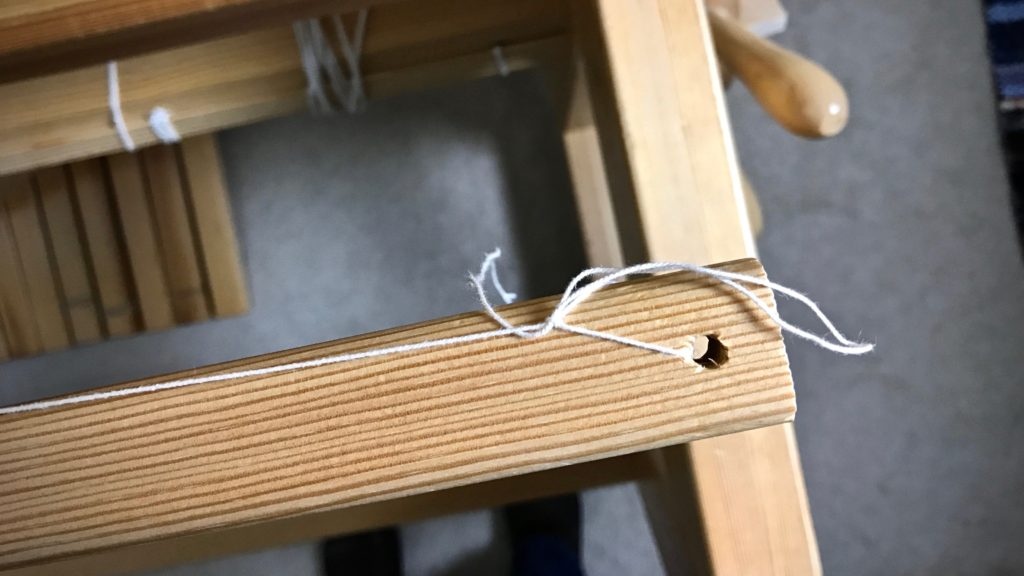
5. Tie the end of the leveling string to the end of the front tie-on bar, using a slip knot with half bow, as before.
6. Weave to your heart’s content.
When you get to the end of the warp, and are ready for cutting off, simply tug the loose end of the string at one end of the bar to release the slip knot, and pull the leveling string out of the warp.
Knots show up in the warp. It’s a normal part of weaving. Weaving over the knot is almost never a good idea. You have to deal with the little obstacle. This is why it is handy to know how to splice the warp. Thankfully, it’s not hard to do. There are a few standard variations on how to perform this operation. I use a method that I first came across here, by Kirsten Froberg, that makes sense to me. And, hooray, there are no tails to weave in later!
I made a new video to demonstrate how I do it. You can watch it below…
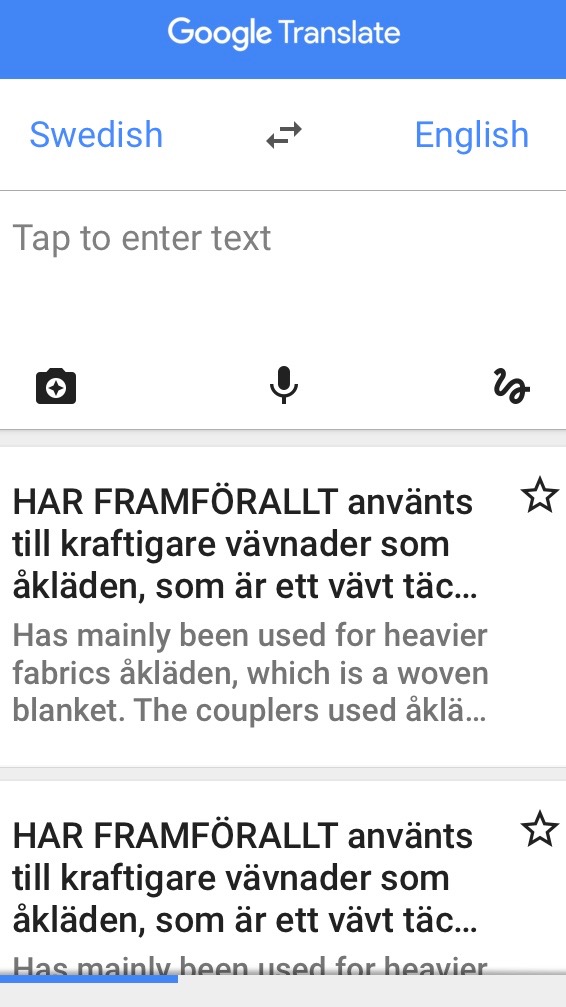
Through my exploration of Swedish weaving techniques, I have acquired several Swedish weaving books. Fortunately, I also found a Swedish-English weaving glossary with pages and pages of translated words. Looking up a word at a time, I slowly made my way through small portions of the books. And then I discovered Google Translate, an app for my iPhone!
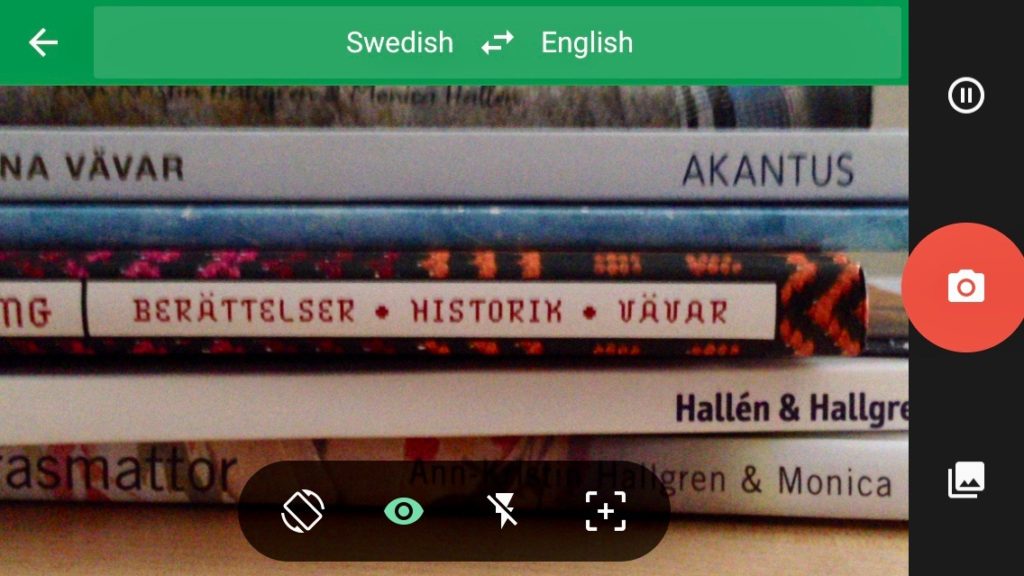
Google Translate allows me to type Swedish words or phrases, or try to speak them, and it gives me an English translation in return. The app also allows me to hold the phone’s camera over printed words, and the translation shows on the phone’s screen.
I’m the first to admit that Google is unfamiliar with standard weaving terms, and the results can be humorous. “Varp” might be translated as “Puppy,” “Inslag” as “Element,” and “Sked” as “Spoon.” But “Warp,” “Weft,” and “Reed” are easy to understand because of their placement in the instructions. Shouldn’t Google brush up on vocabulary for handweavers? Overall, the Google Translate app is a useful tool for understanding the basics of a Swedish draft and instructions.
Now, all I need are a few more Swedish weaving books!