Quiet Friday: Countermarch Back Savers

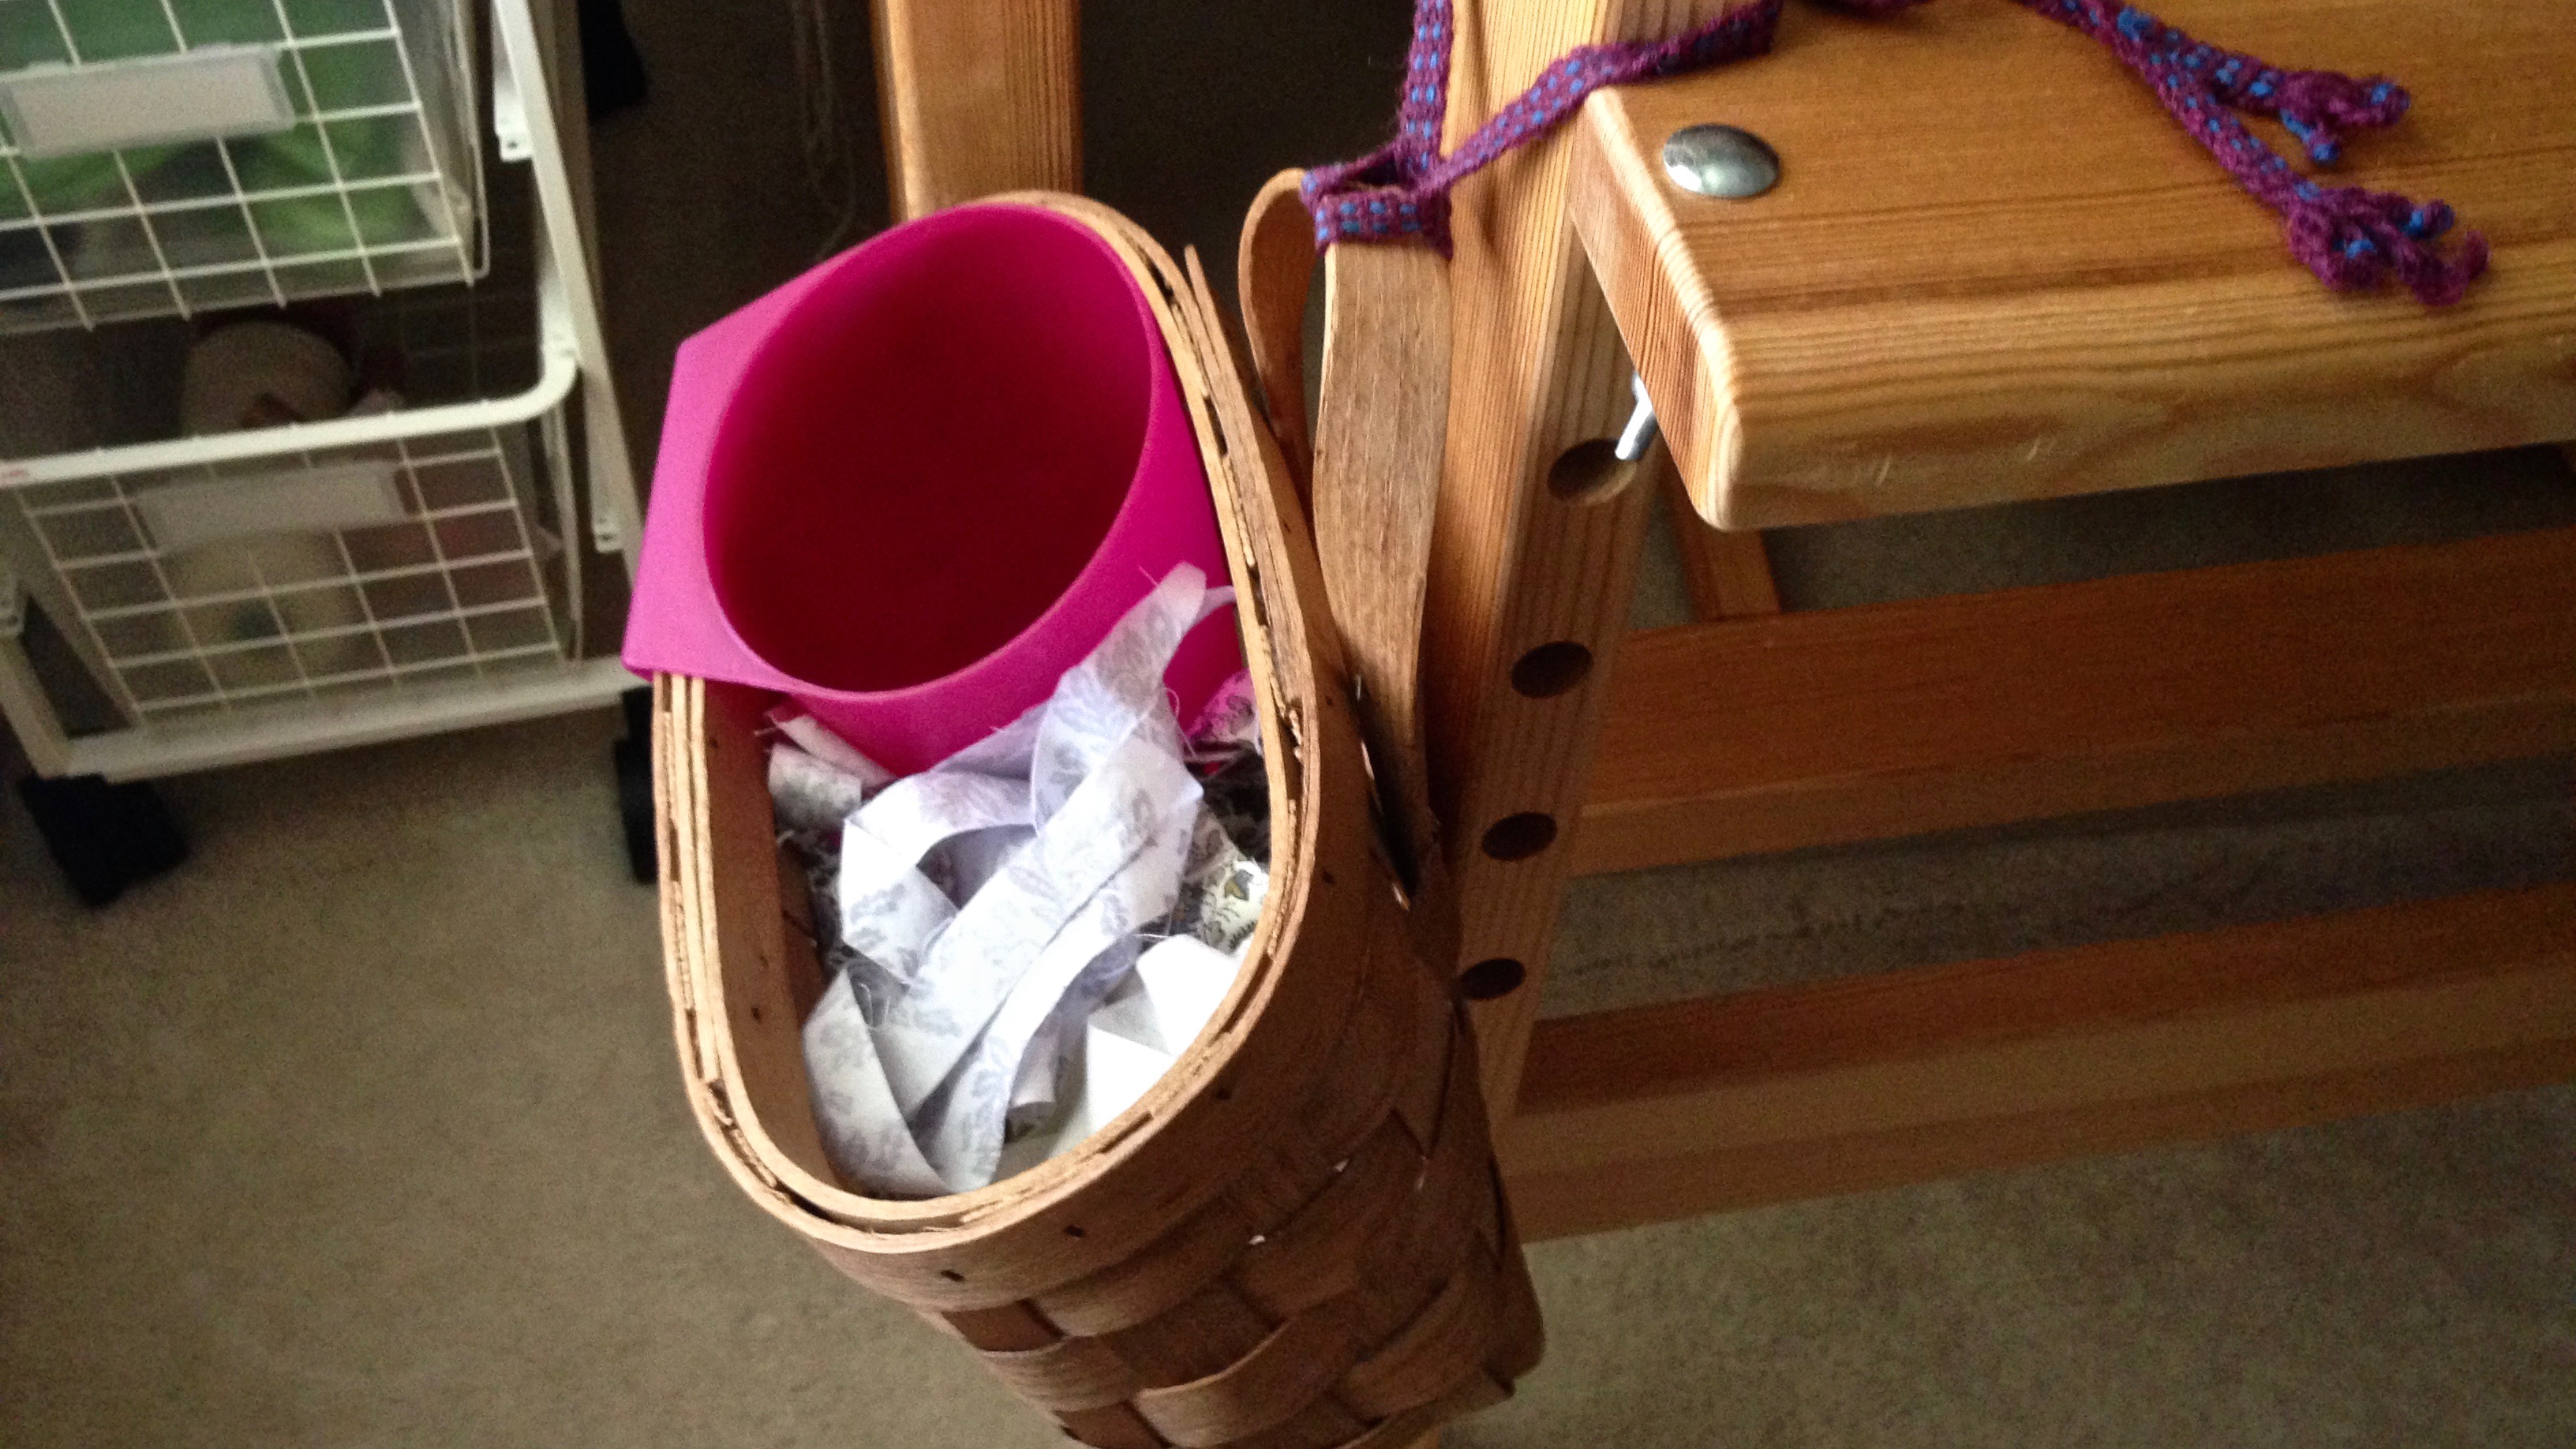
After back surgery, I wondered how-in-the-world I would be able to tie up my countermarch looms. After a four-week ban on bending over, I was eager to weave, but not eager to do anything that might strain or injure my back.

Two simple maneuvers made it possible for me to tie up the lamms and the treadles on both of my Glimäkra countermarch looms:

  1. Remove the lamms. Treadle cords are added while sitting in a comfortable position.
  2. Detach the treadles. Bring treadles closer to the front of the loom for attaching treadle cords.

And two important practices kept me from over-reaching and overdoing it:

  1. Sit on a low stool instead of the back of the loom or the floor.
  2. Take frequent breaks to stand up, stretch, and walk around.
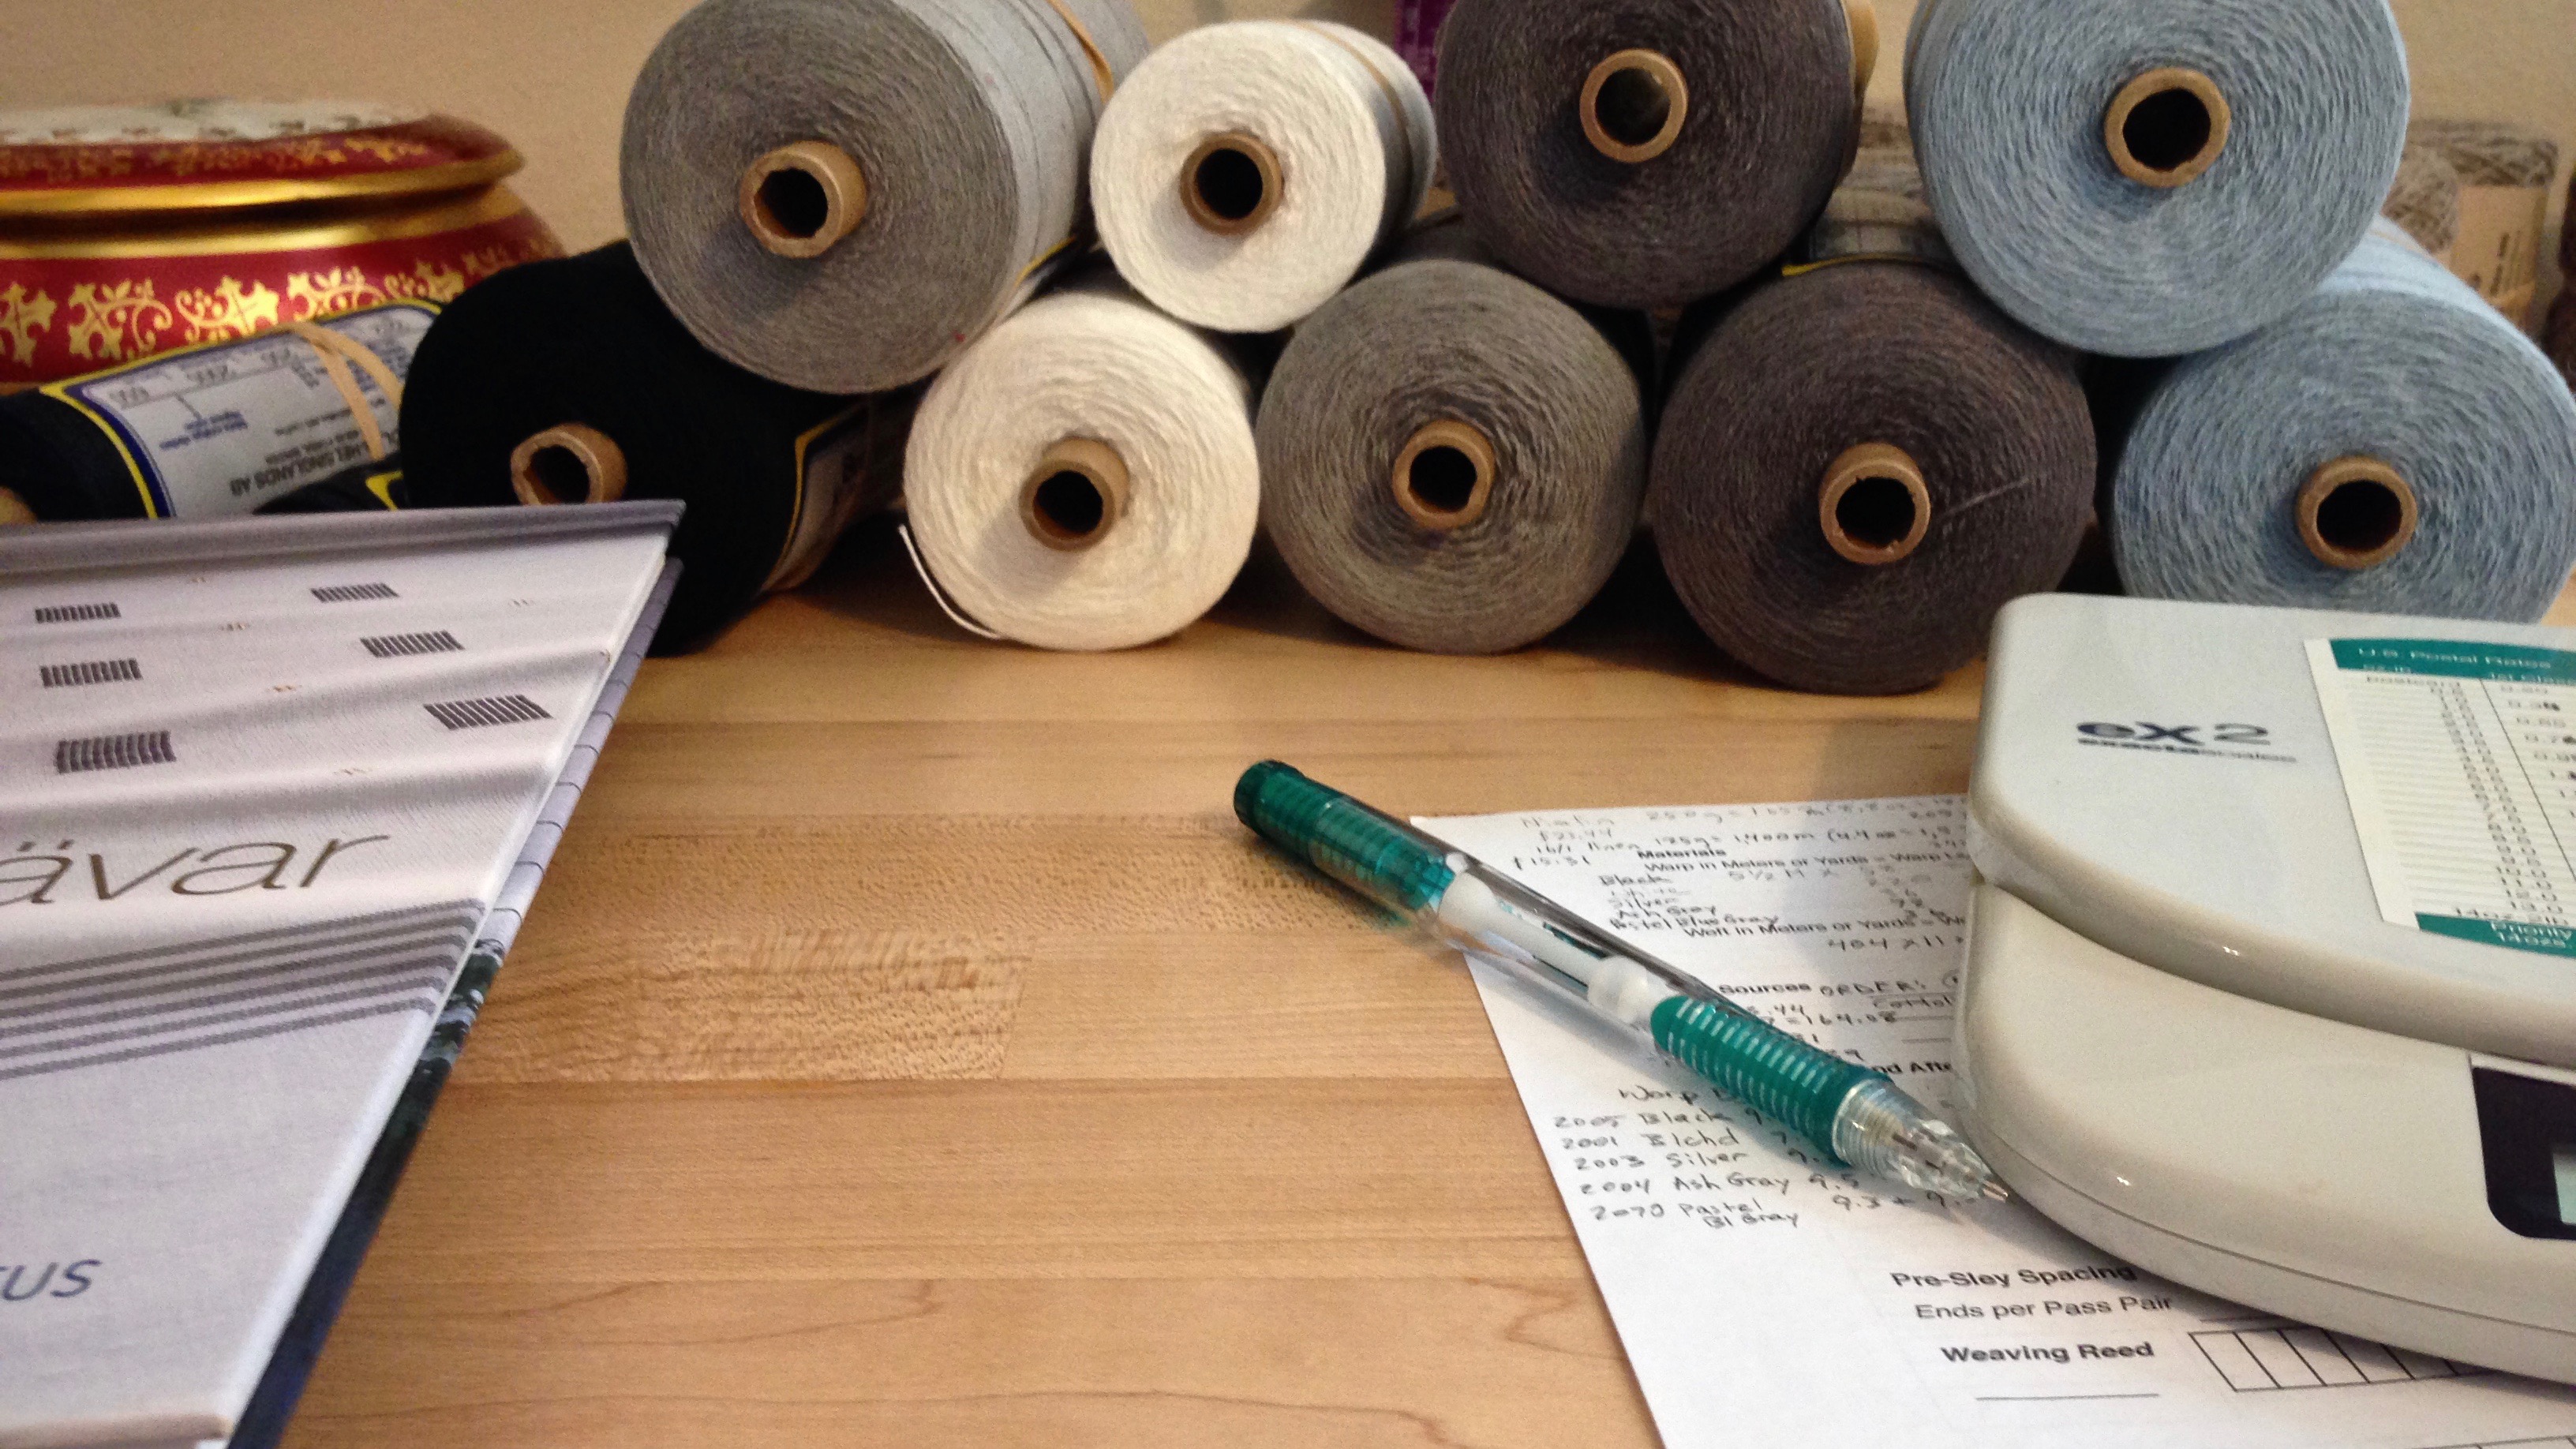
Tools:

  • Low stool for sitting
  • Rolling cart (IKEA cart) or small table
  • Plank of wood, longer than the loom is wide (one plank of warping trapeze, 1″ x 5″)
  • Treadle cords, Texsolv pins, other tie-up supplies
  • Length of cord to hold treadle up (Texsolv cord that’s used for hanging the reed for sleying)

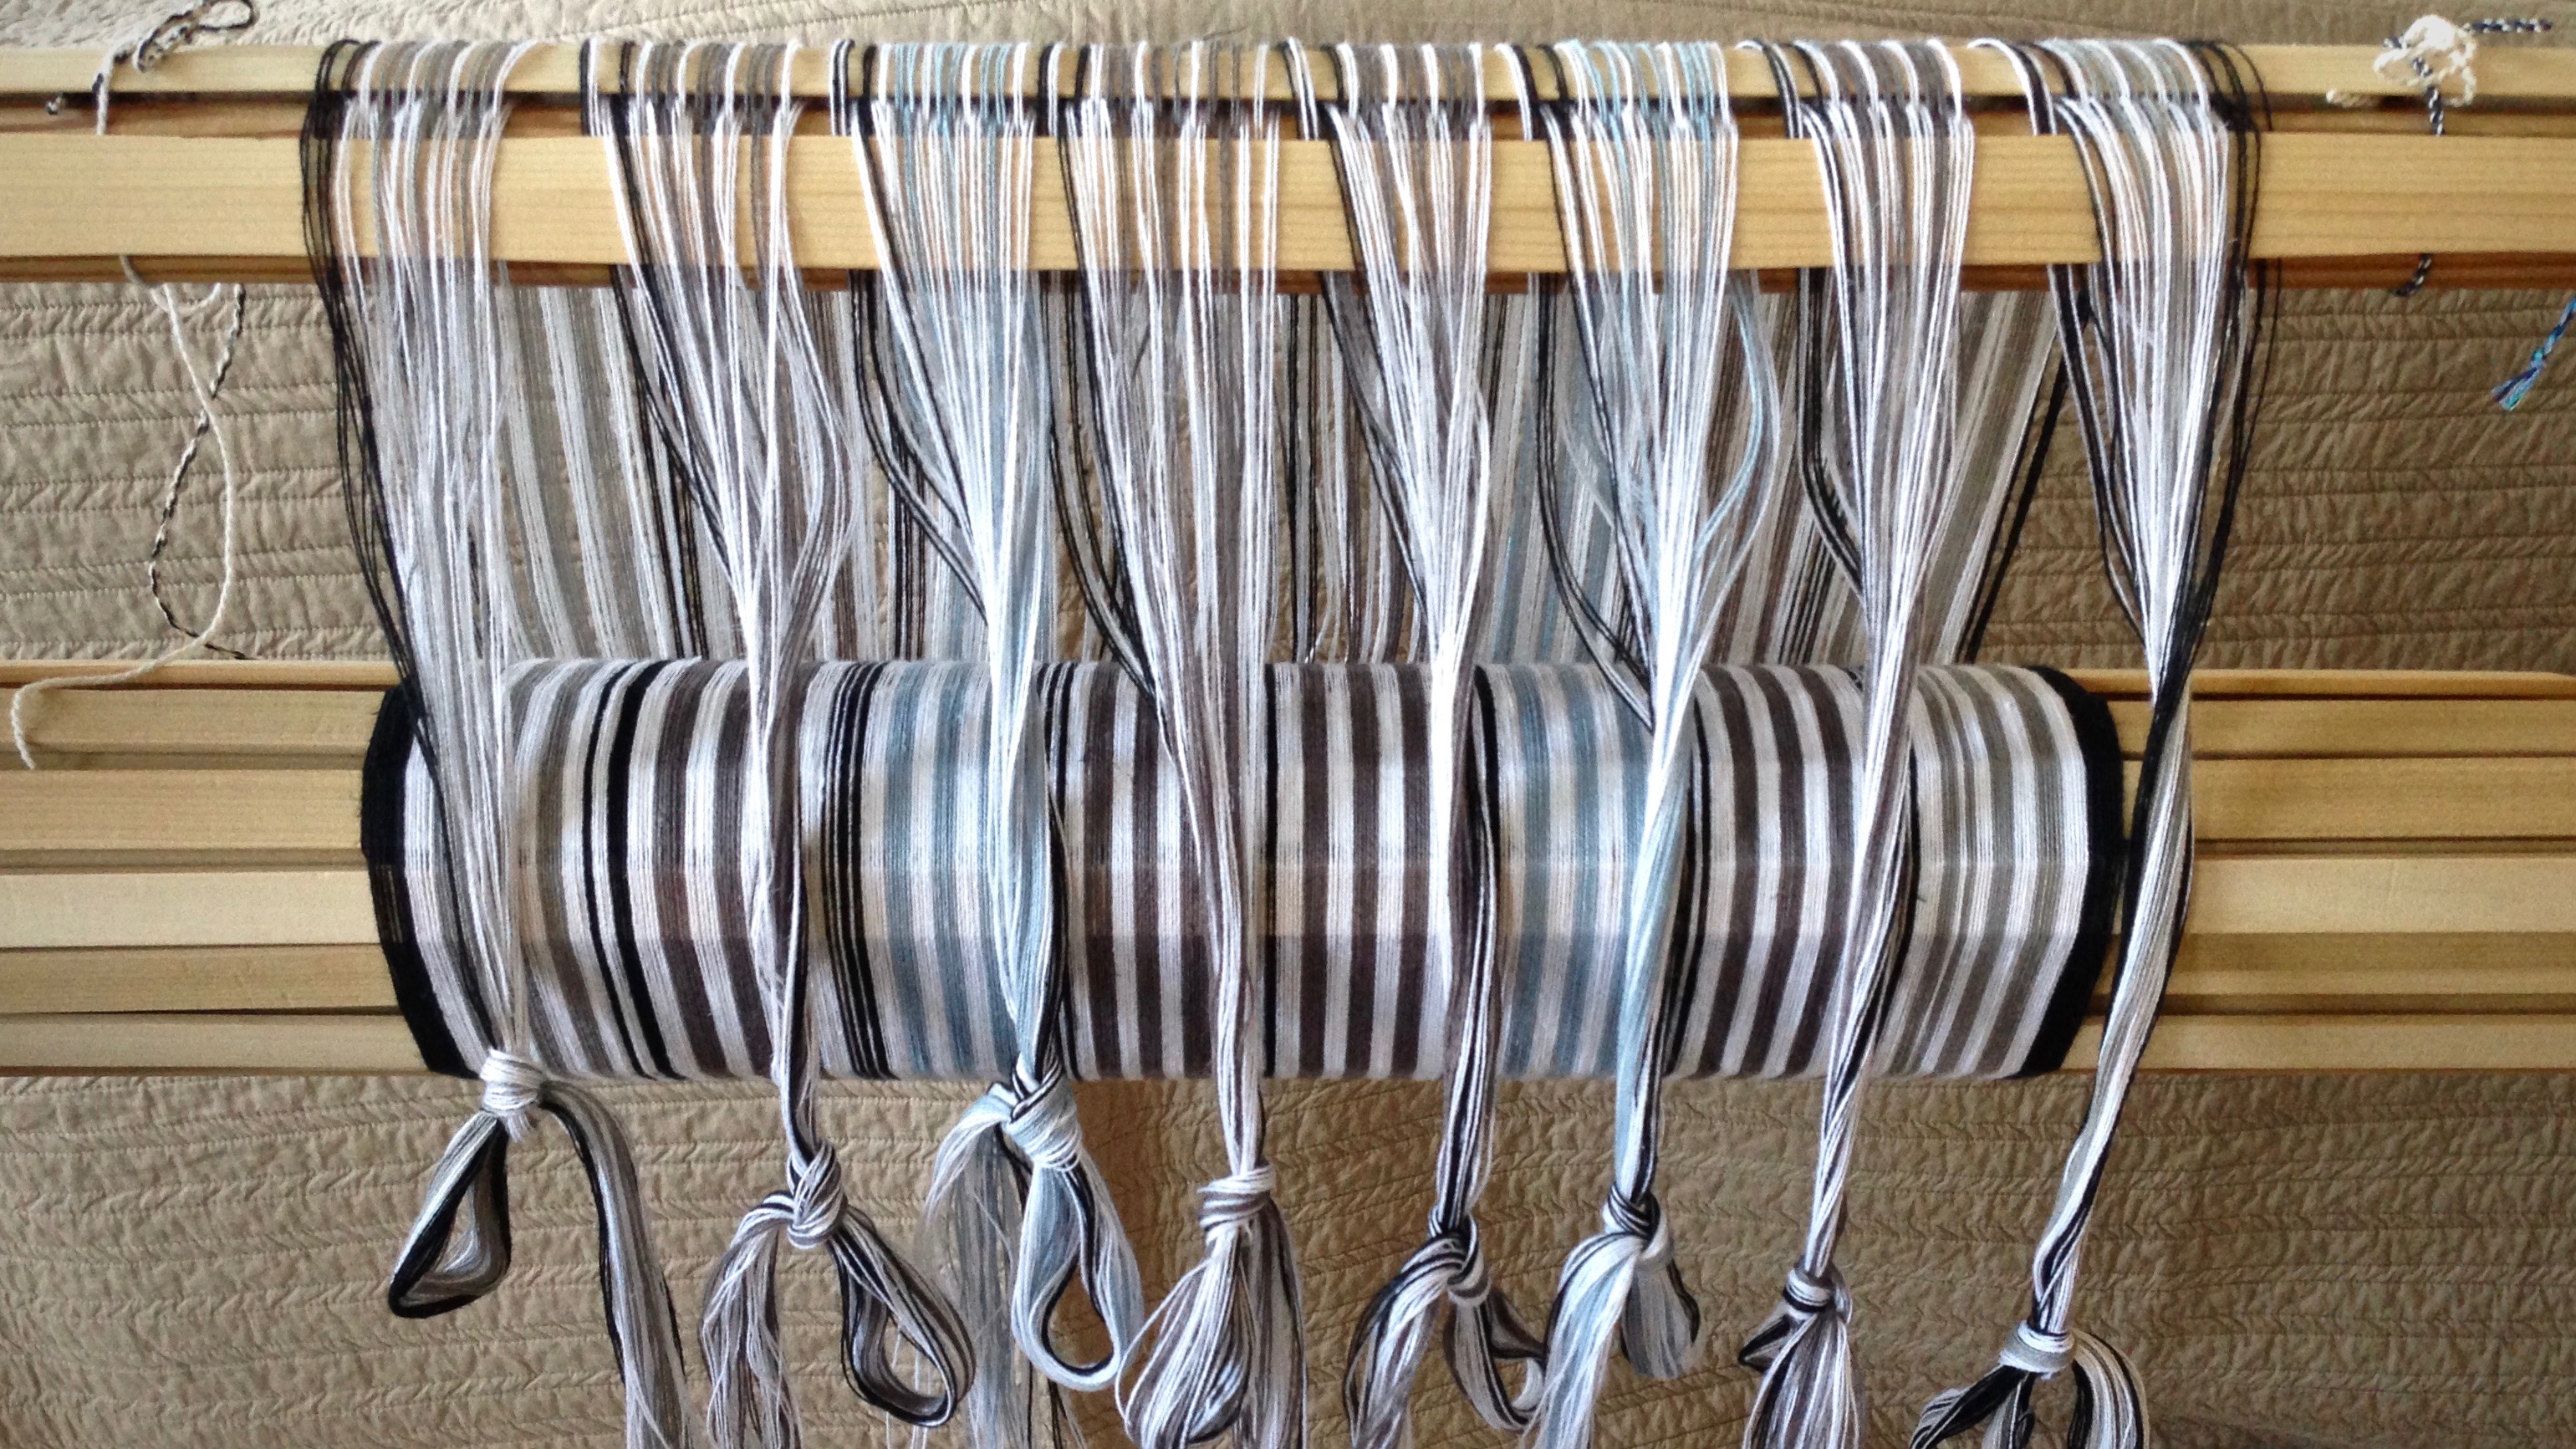
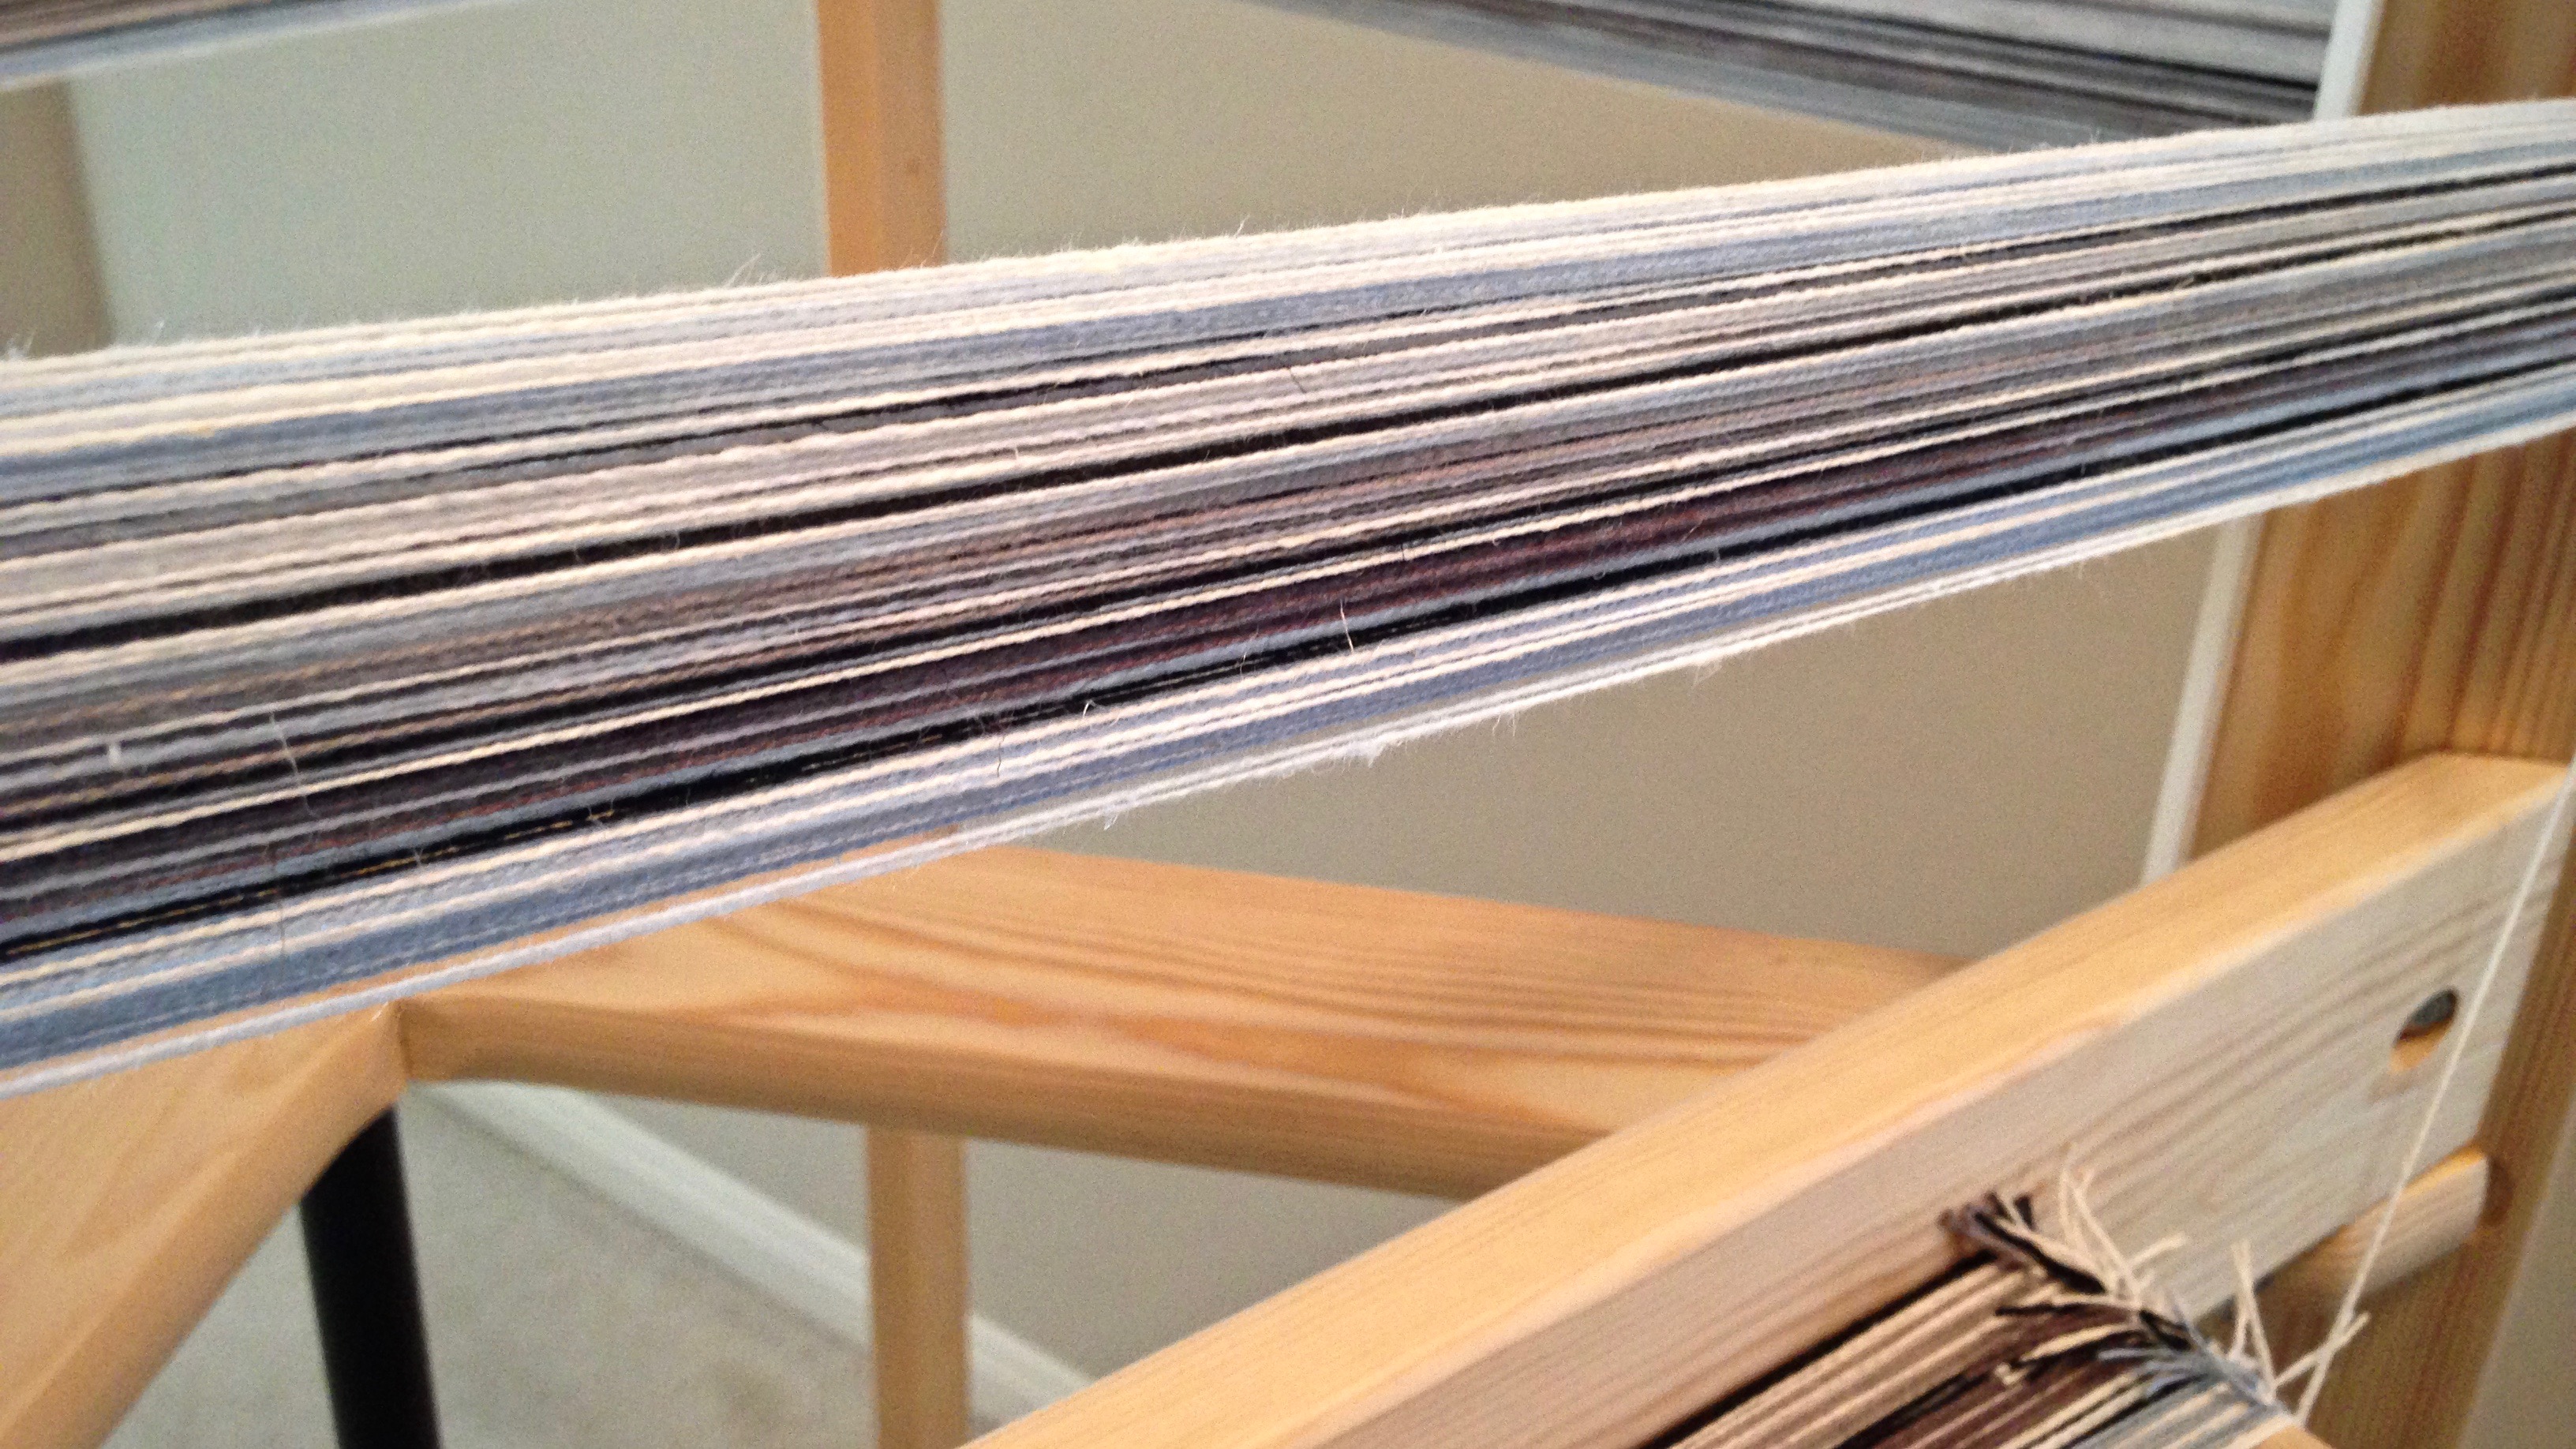
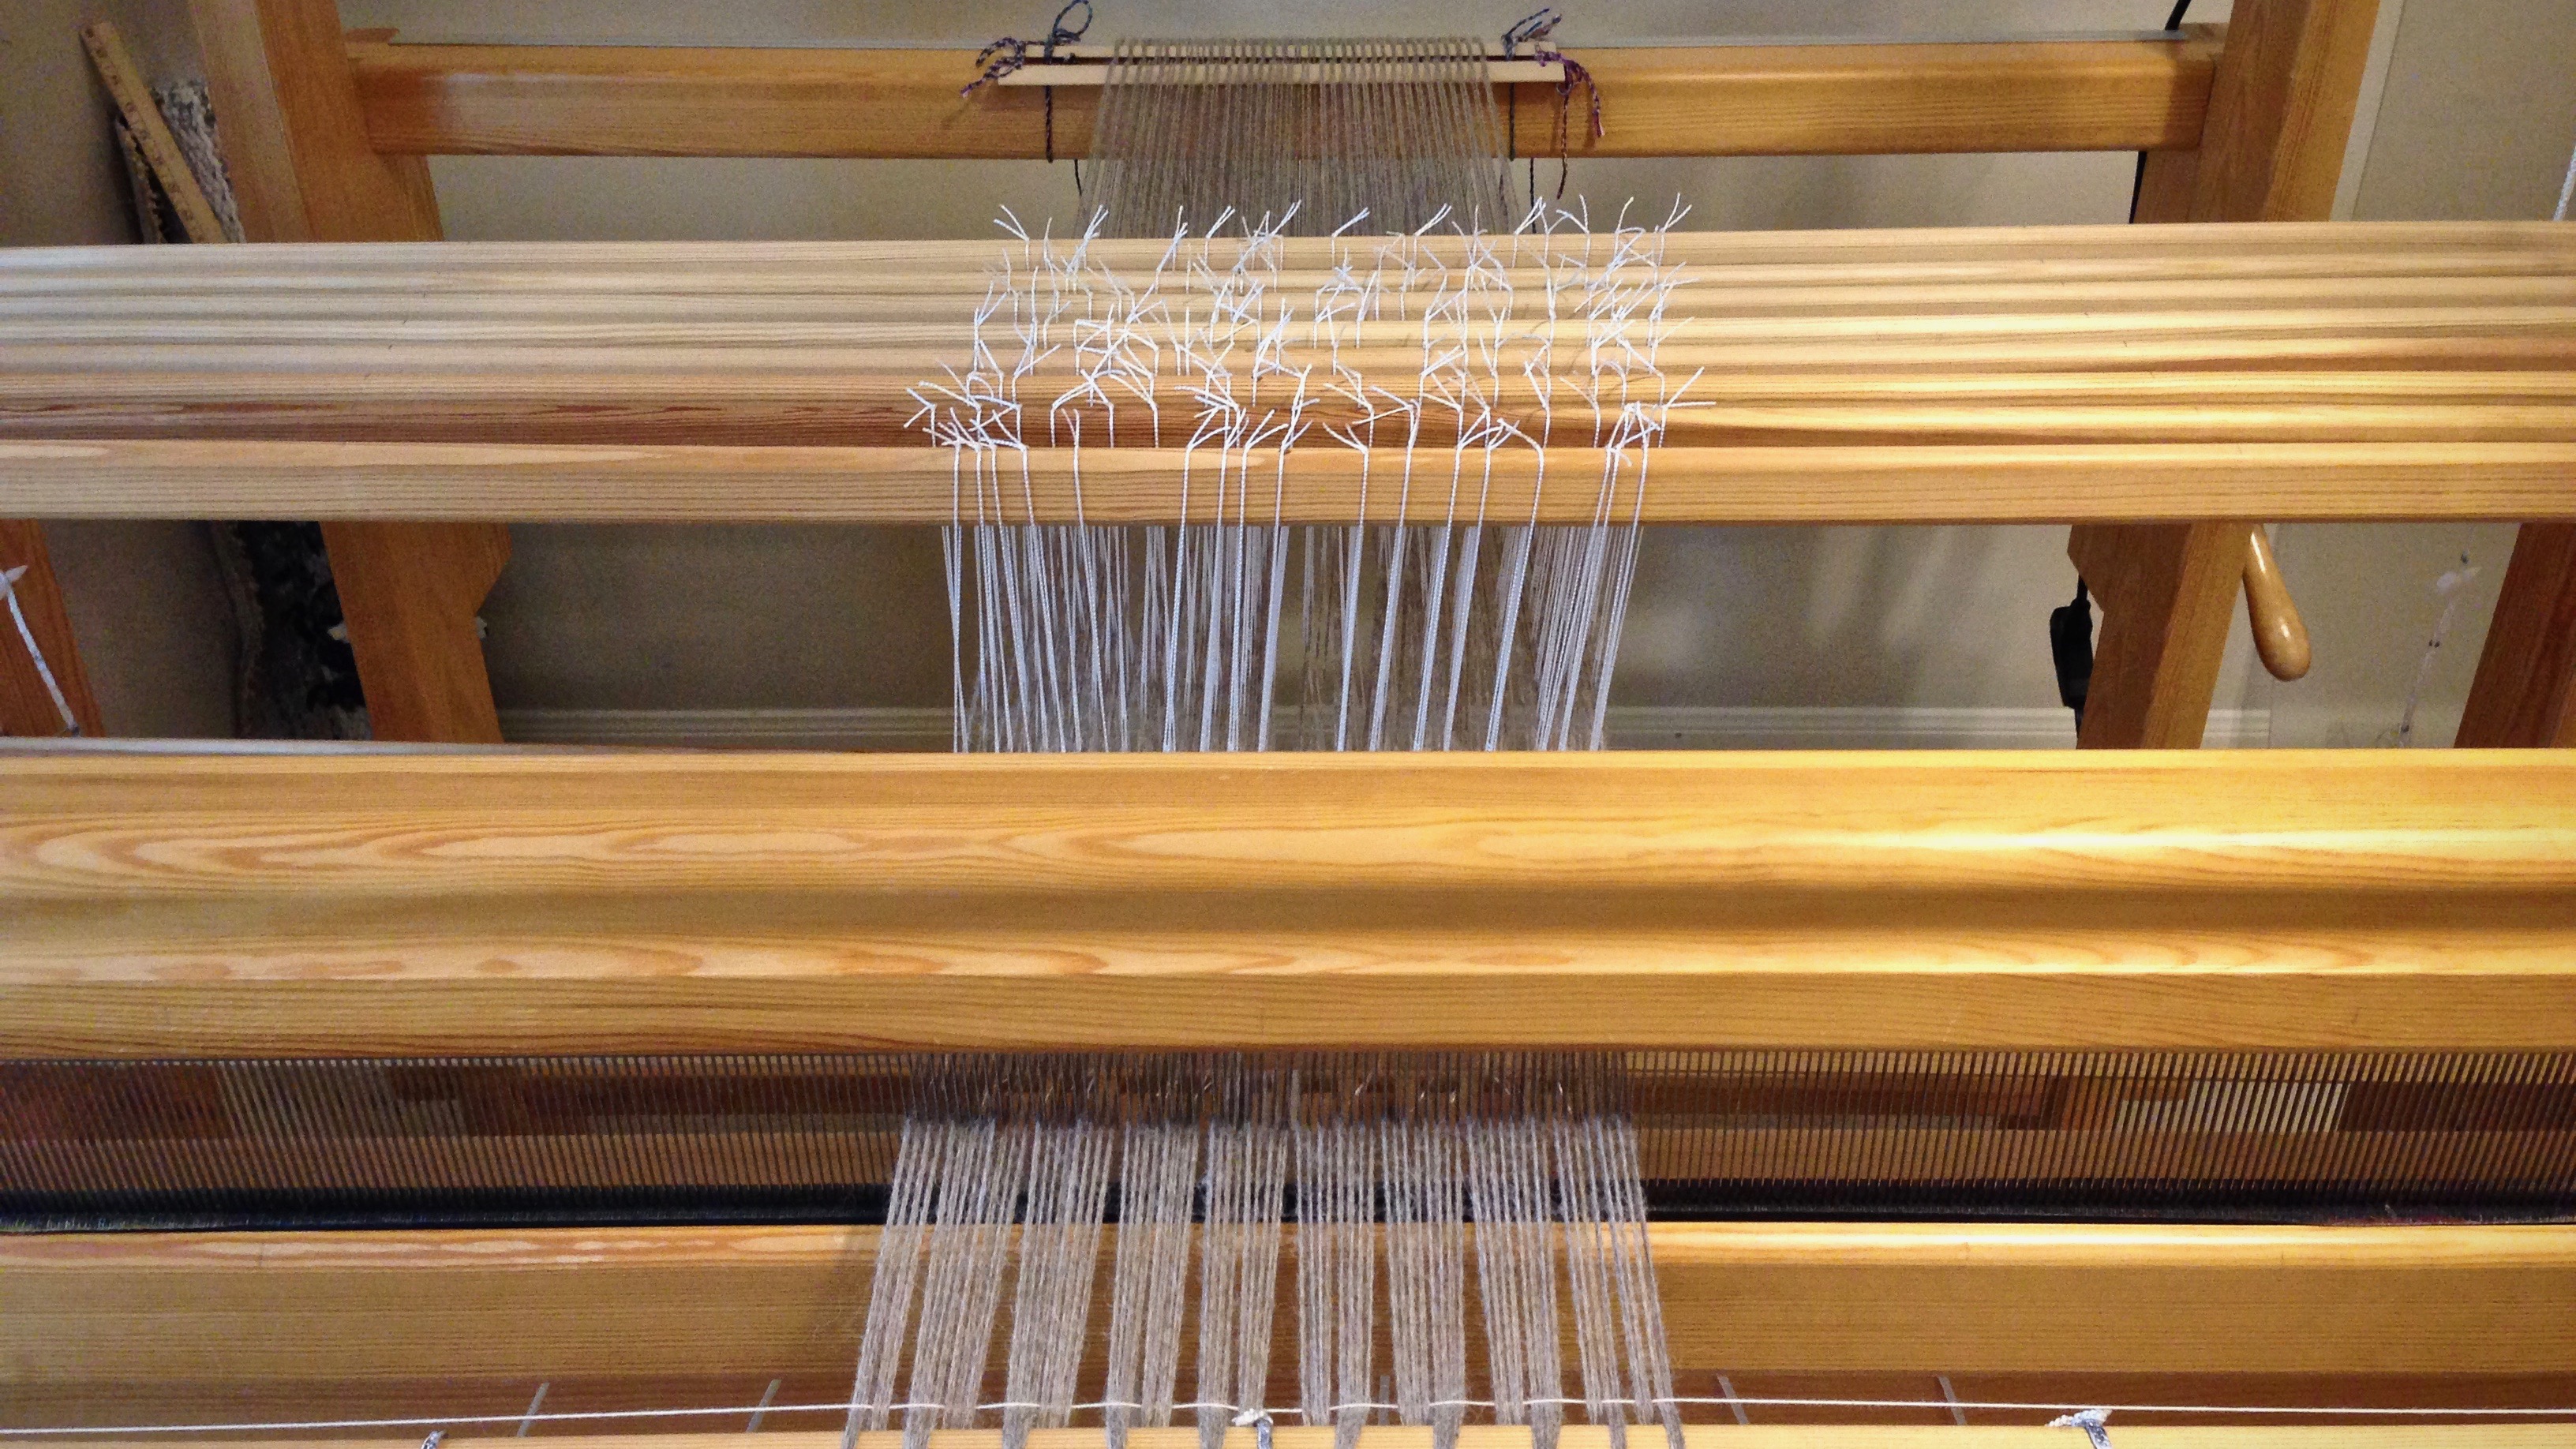
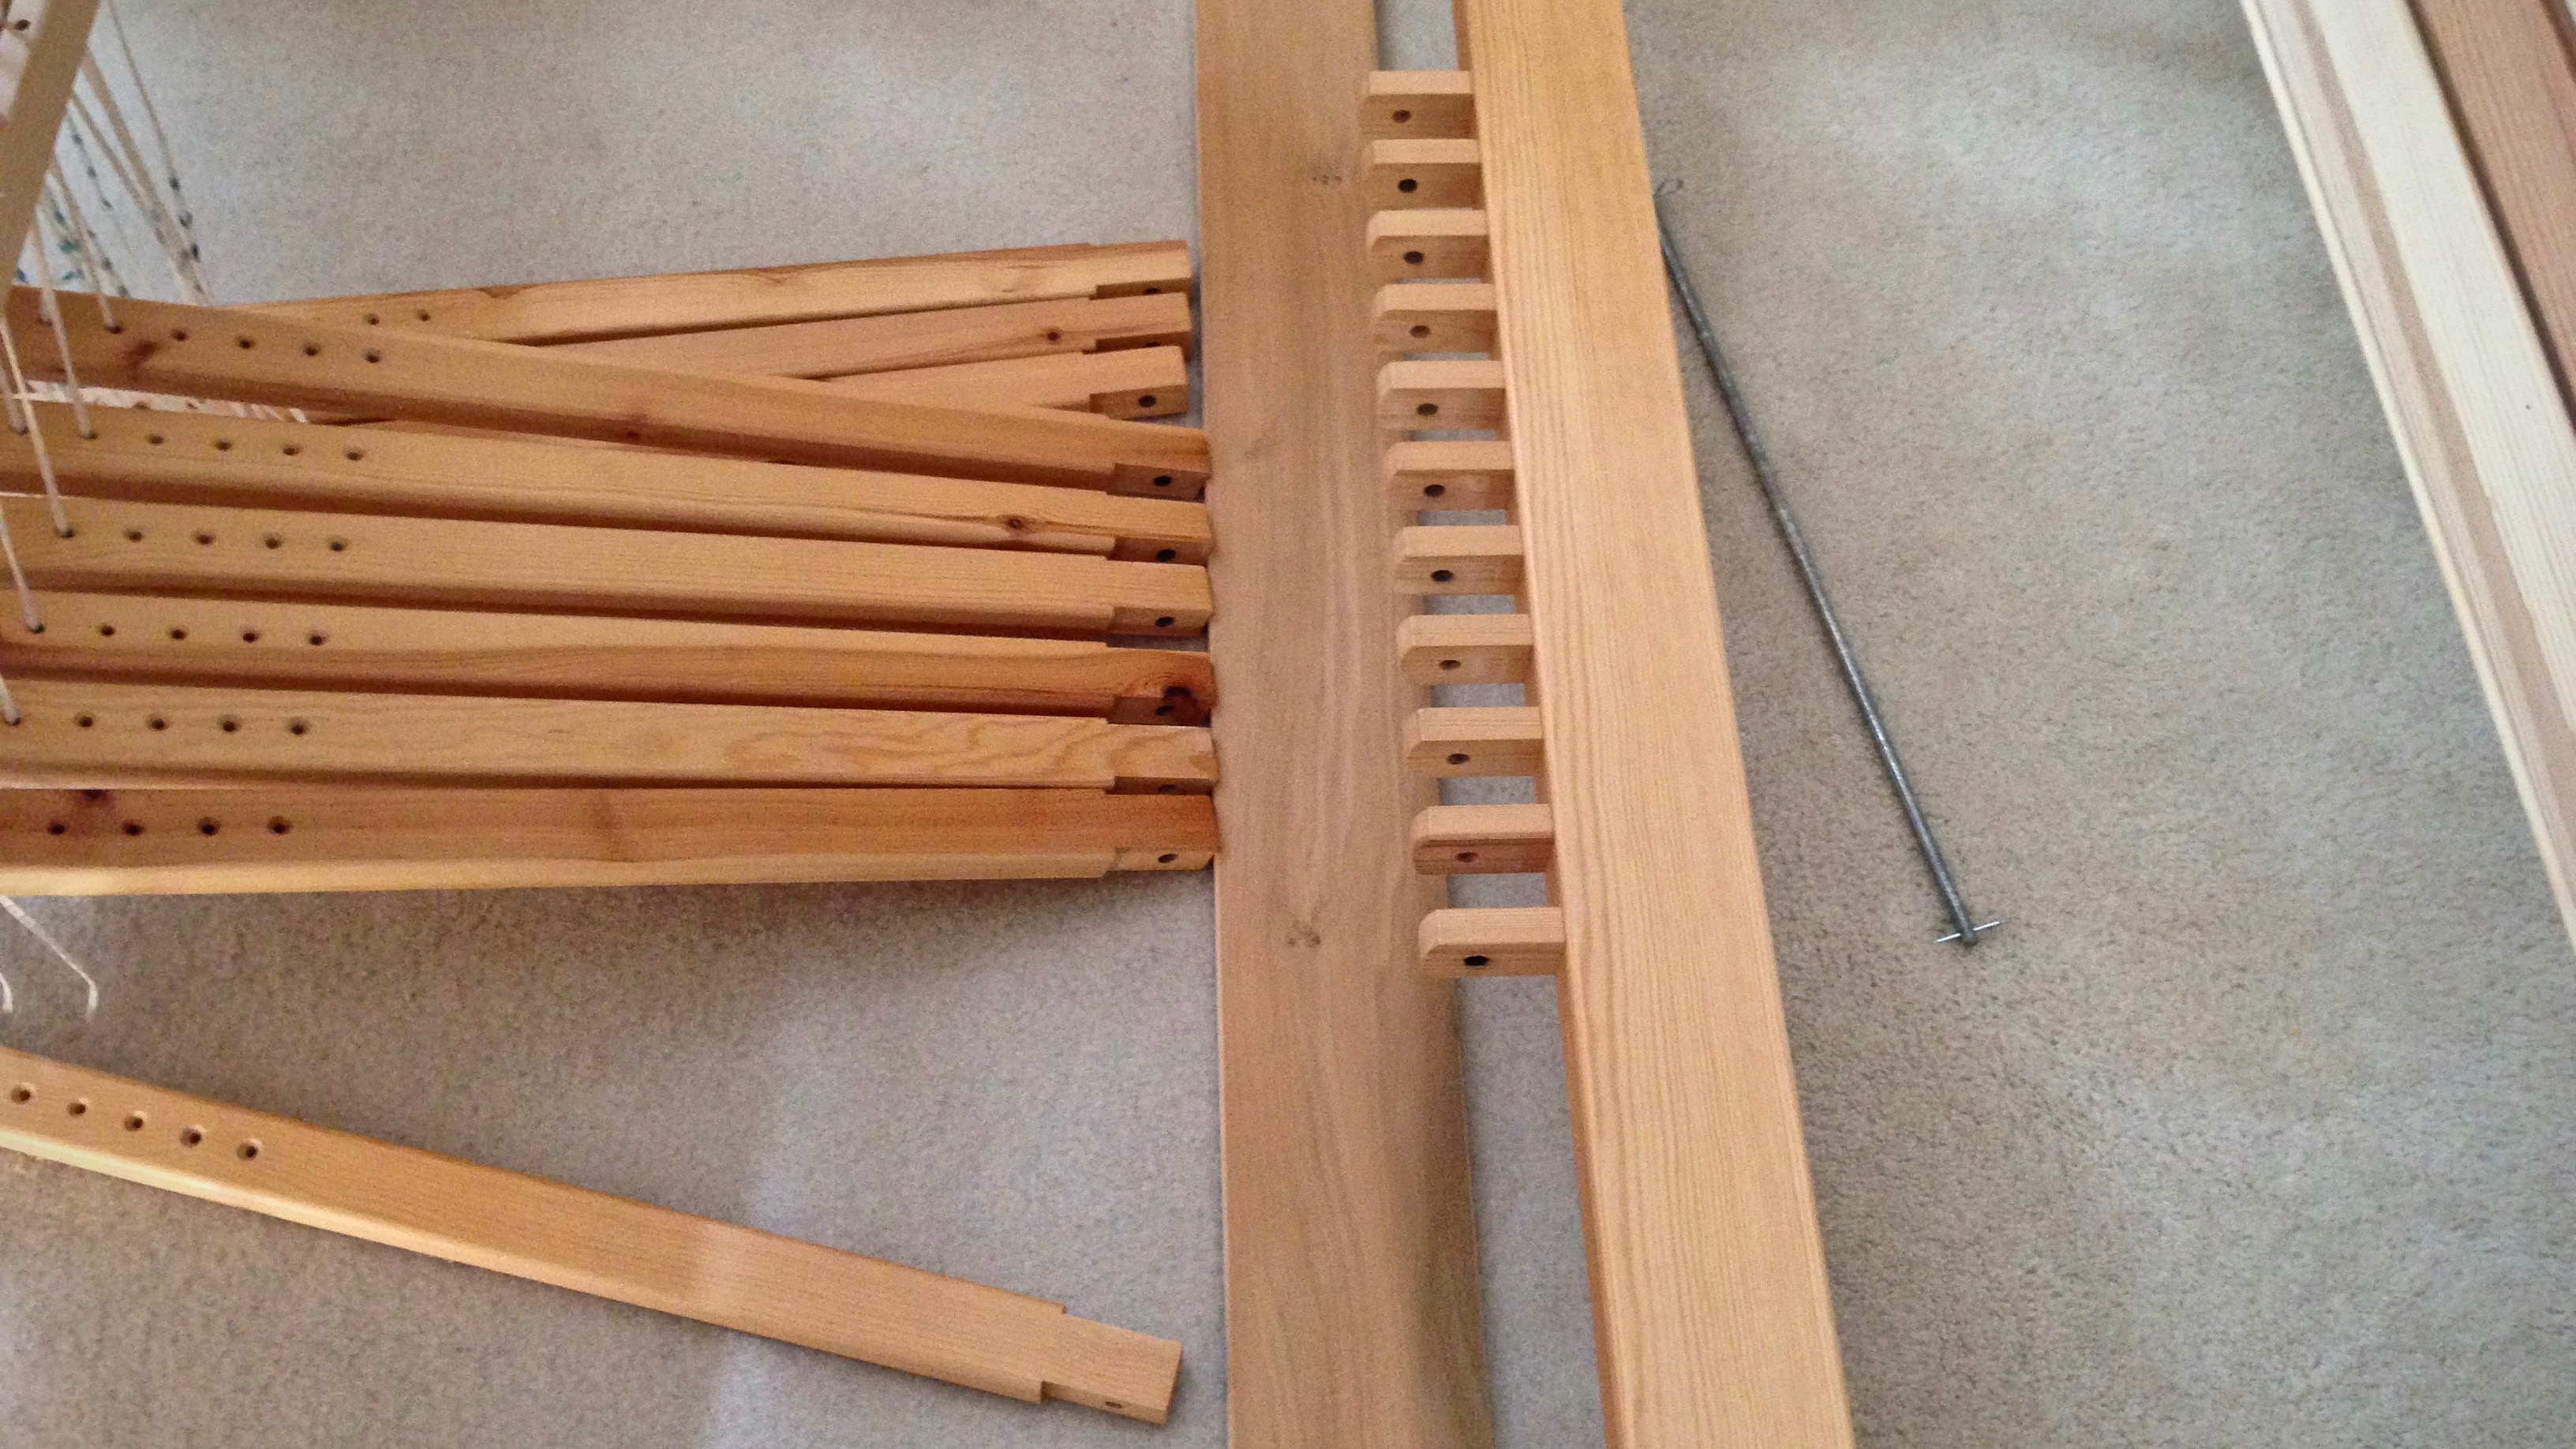
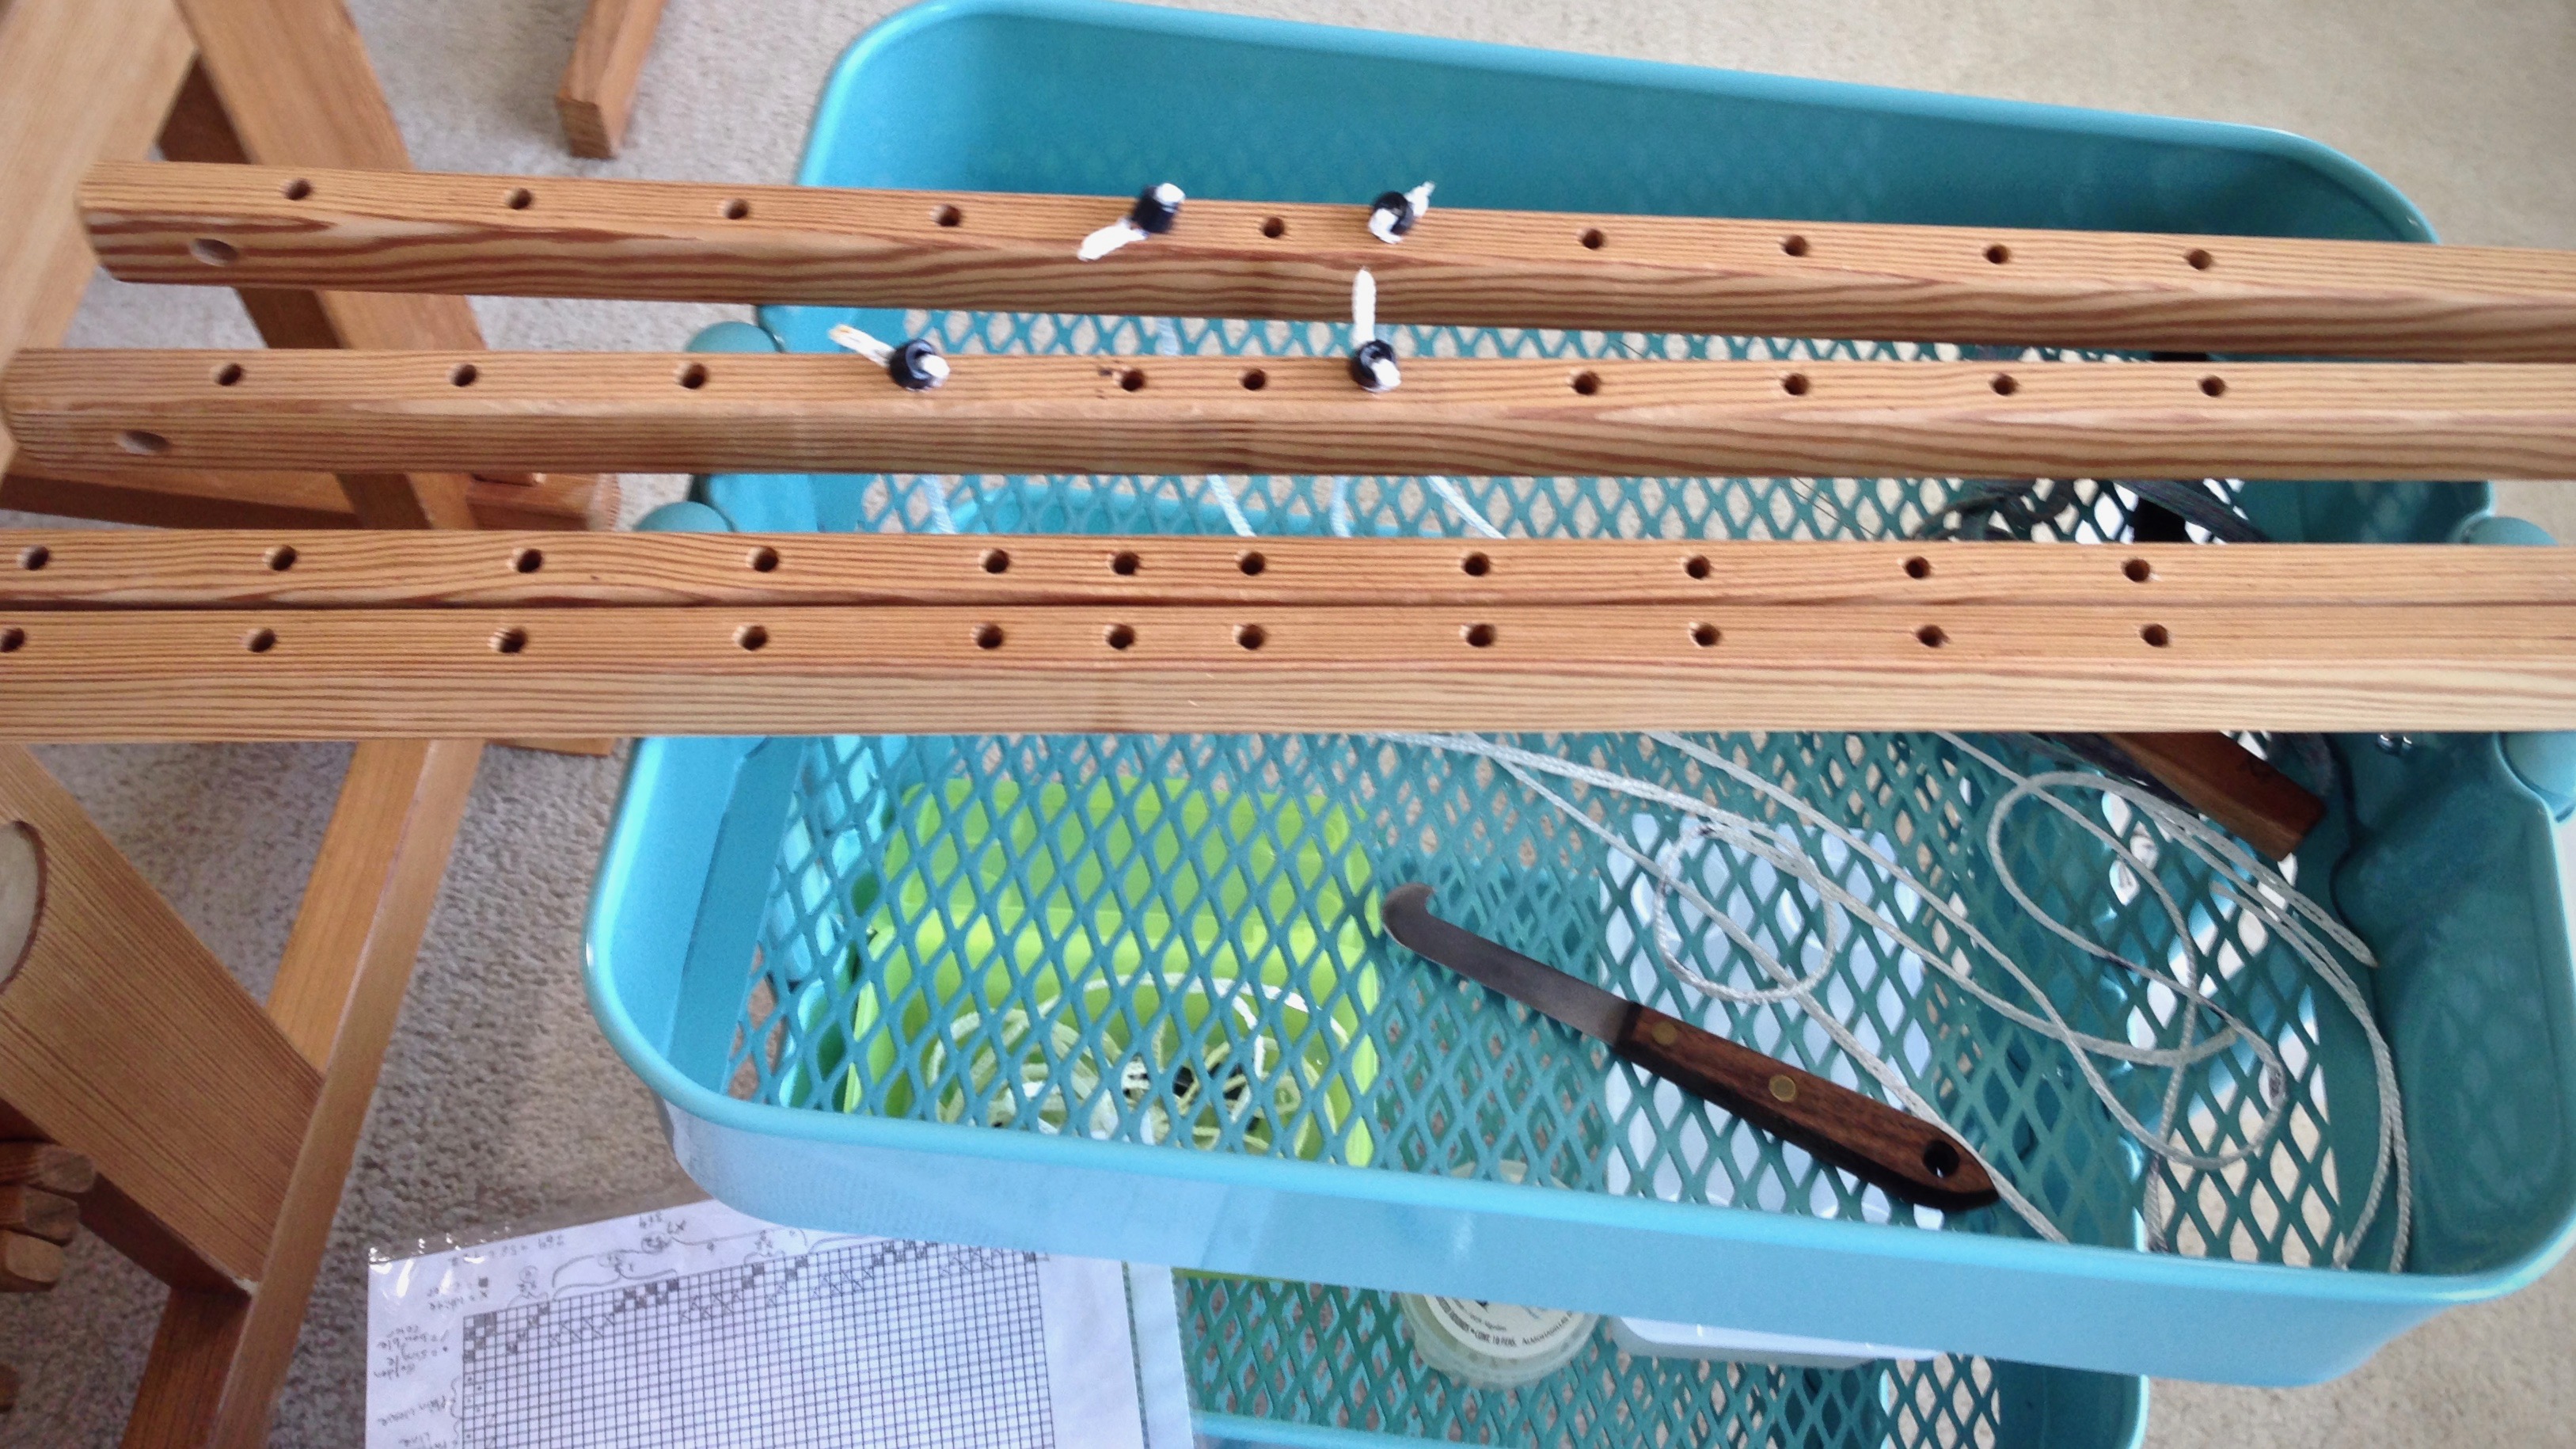
The 120 cm (47″) Standard loom has open space in the loom, making it easy to get within arm’s reach of most things; but the challenge increases with the number of shafts–eight for this tie up.

Alpaca warp, ready for countermarch tie-up without back strain.
Beamed, threaded, sleyed, tied on. Waiting for the final step of tying up lamms and treadles.
  • Lamms are removed, 2 at a time, and placed on the cart to add the treadle cords, all the while sitting on a comfortable stool.

Countermarch tie-up without back strain.

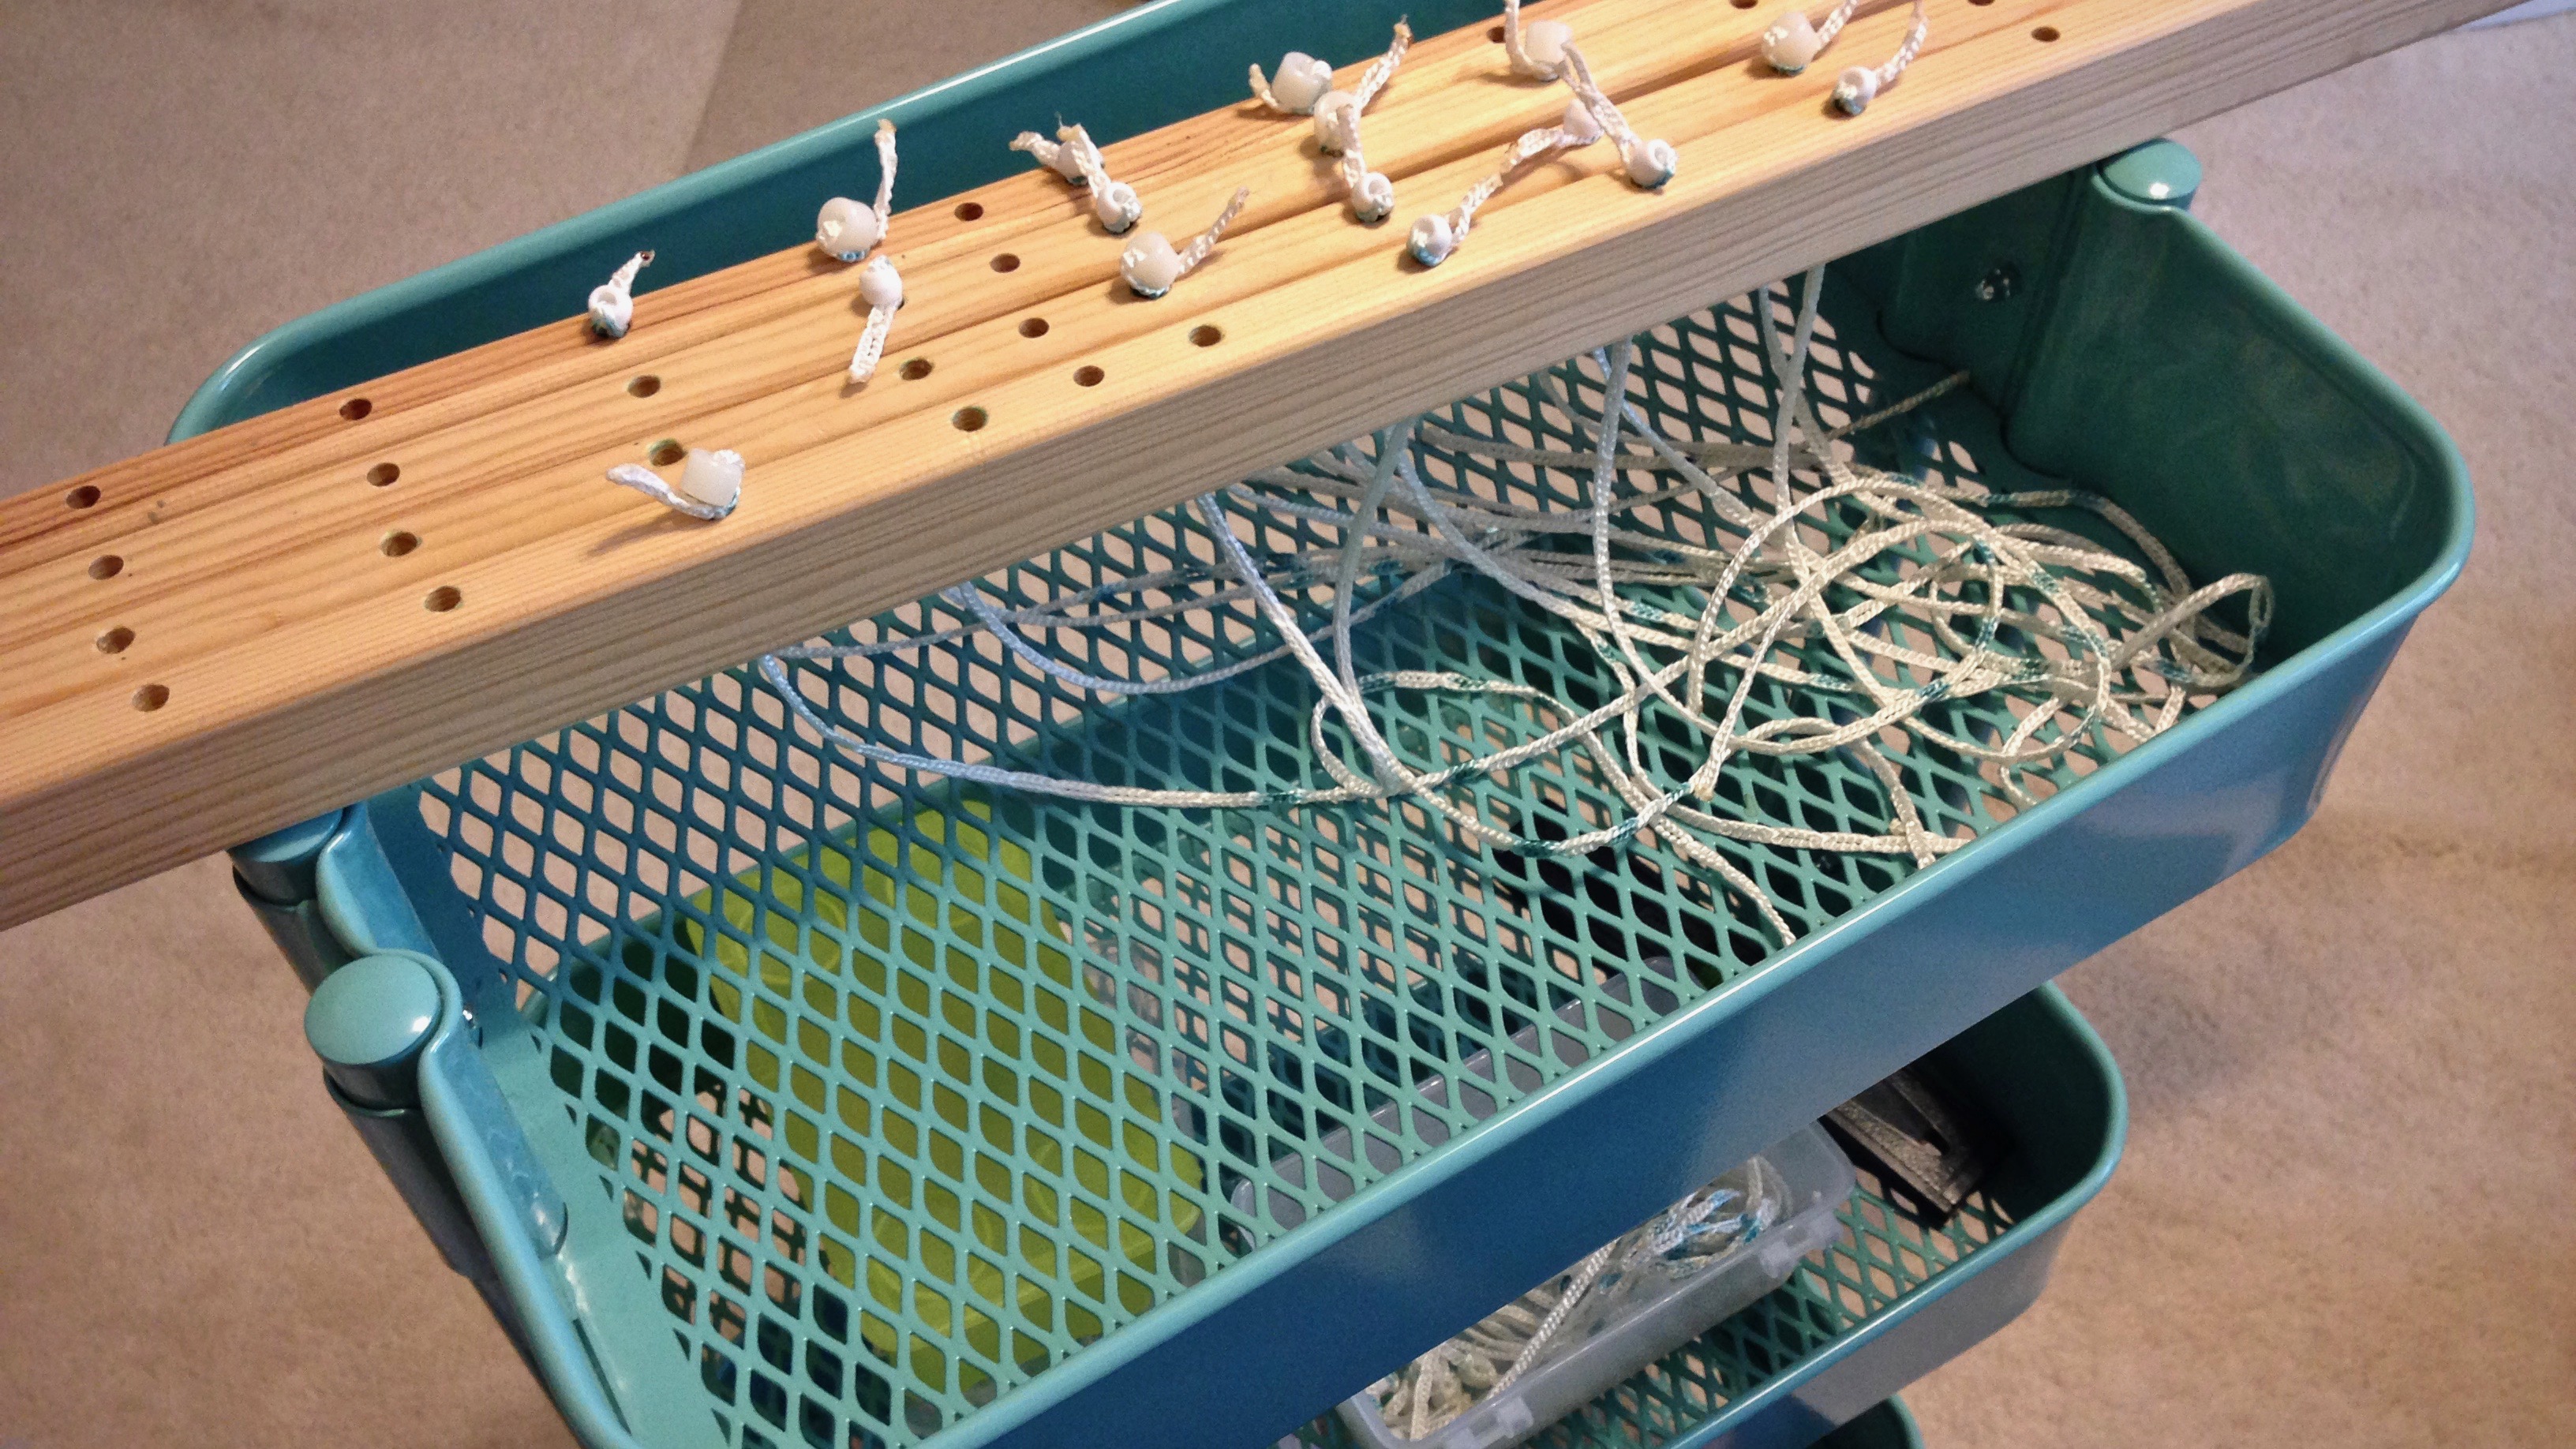
  • After all 8 lower lamms have the treadle cords added, the lamms are reinserted in the loom, 2 at a time.

Countermarch tie-up without back strain.

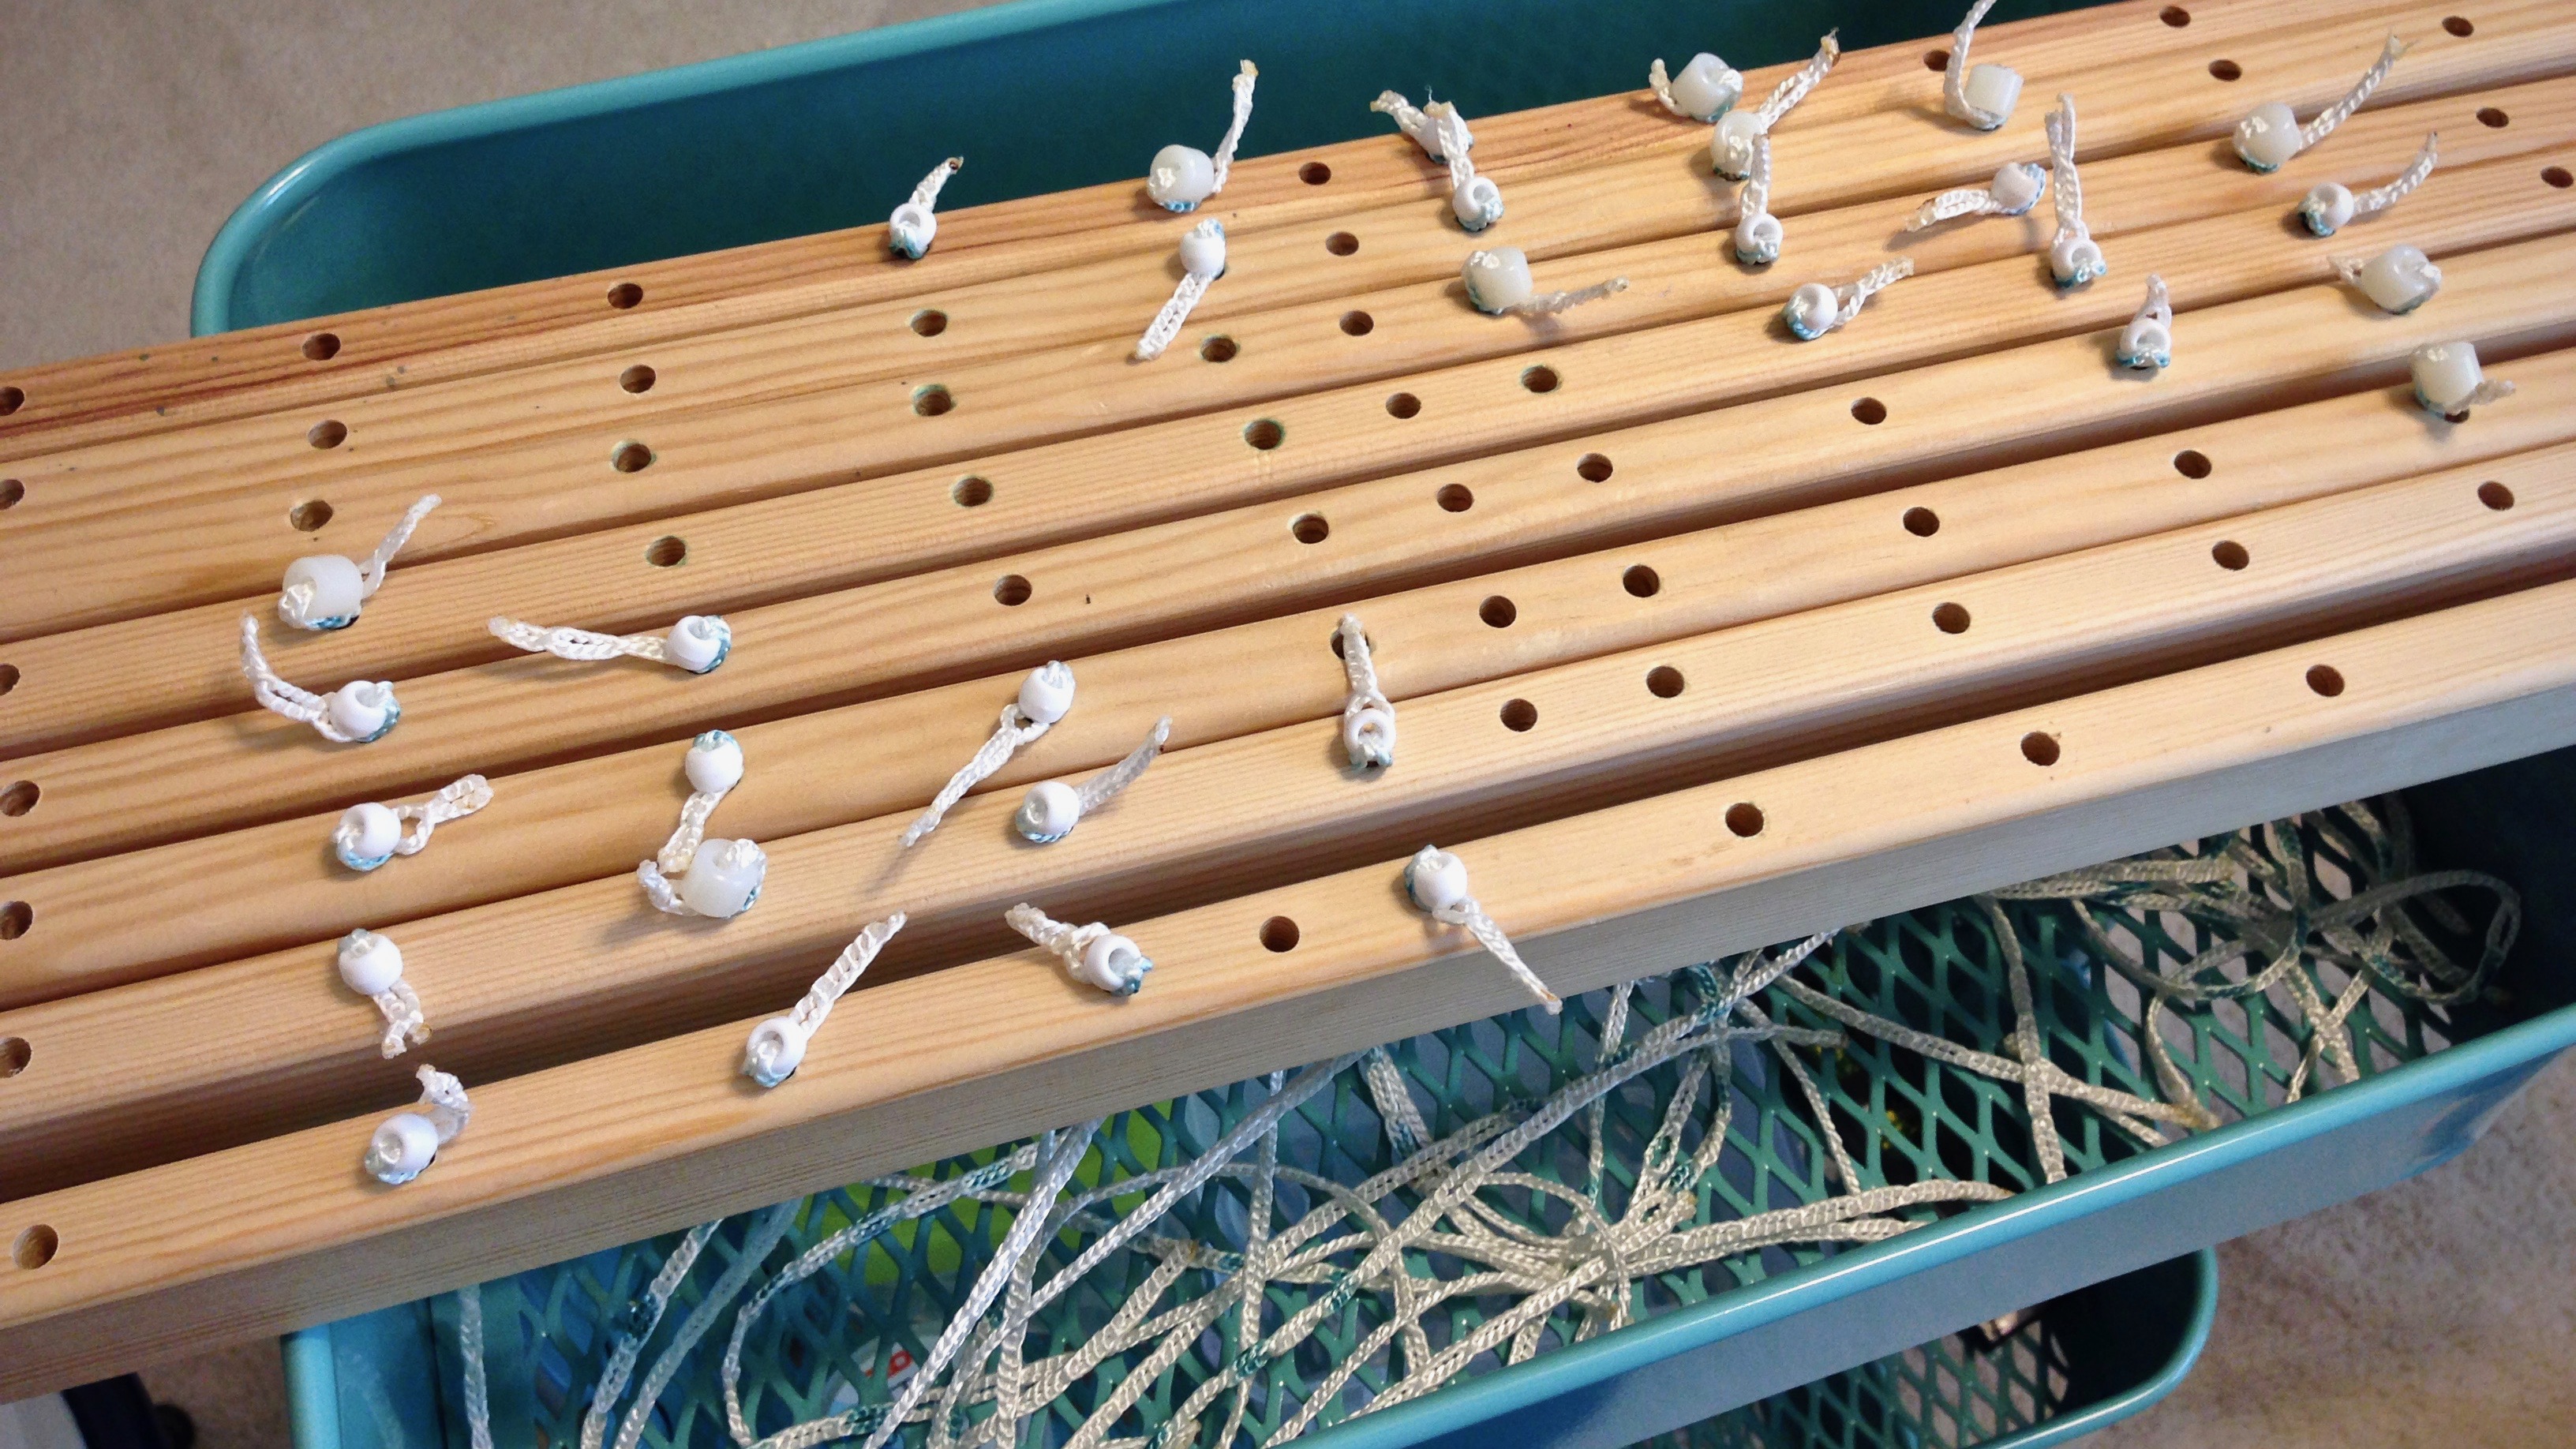
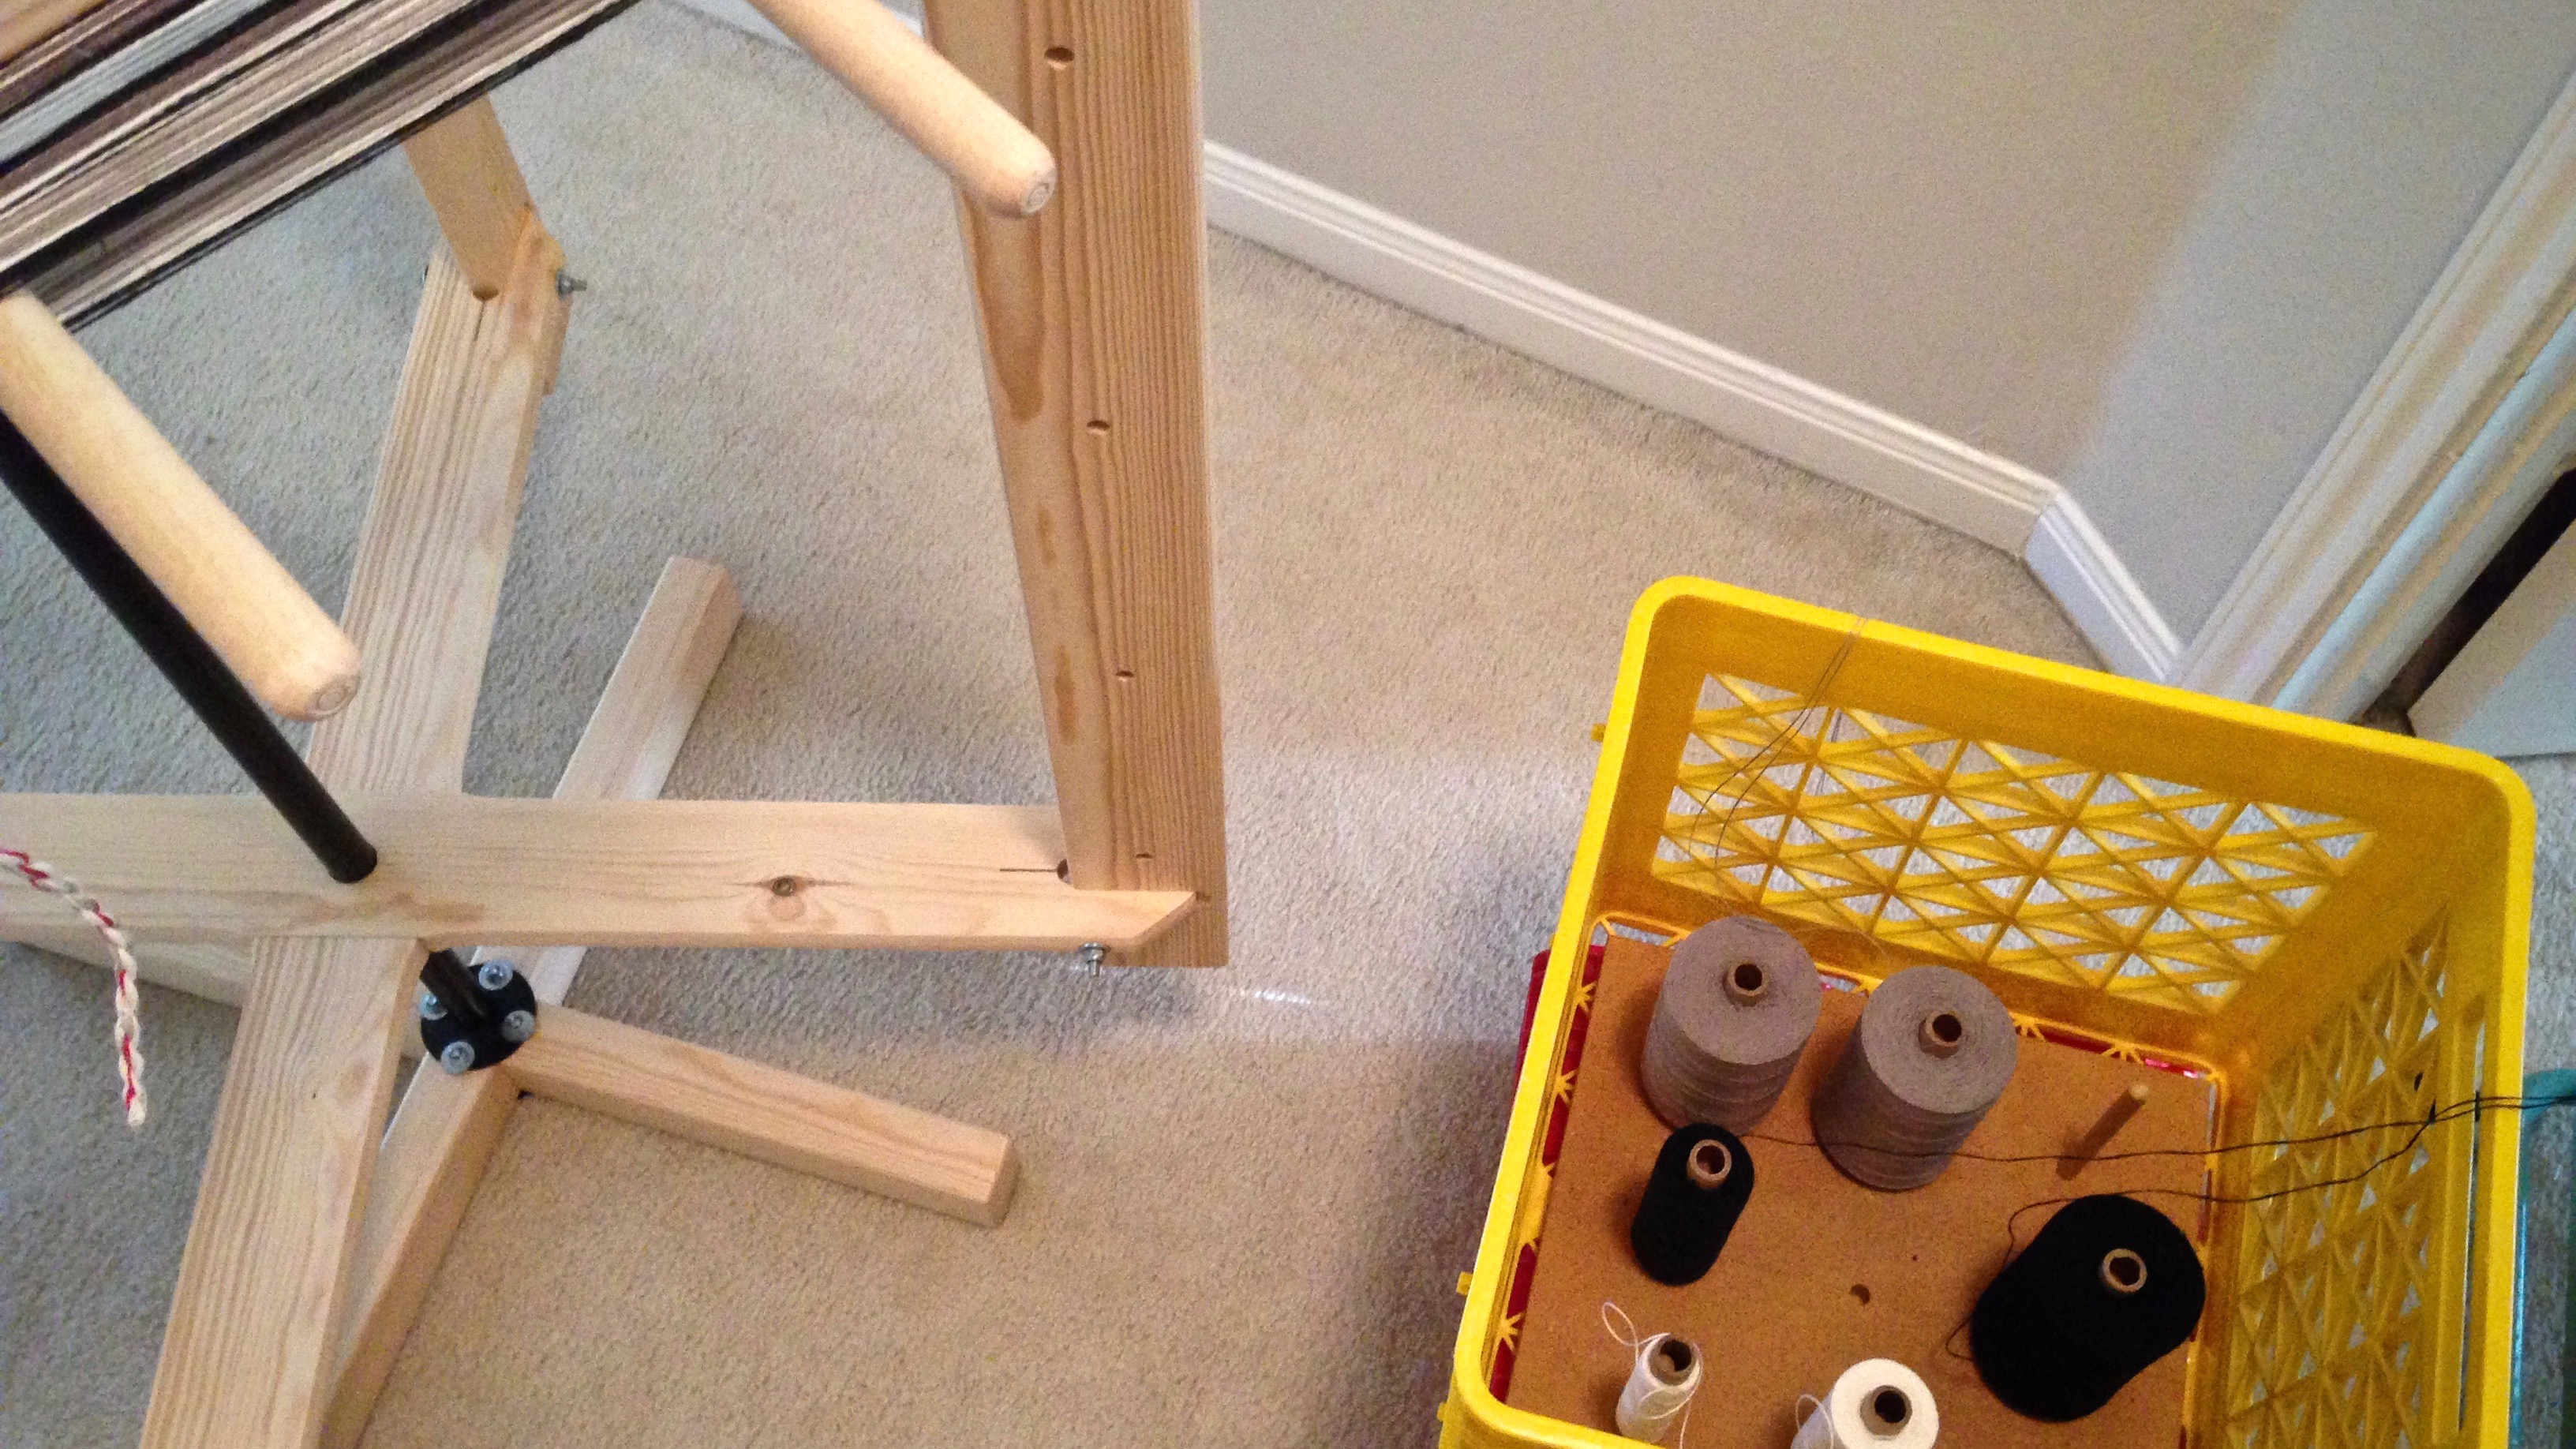
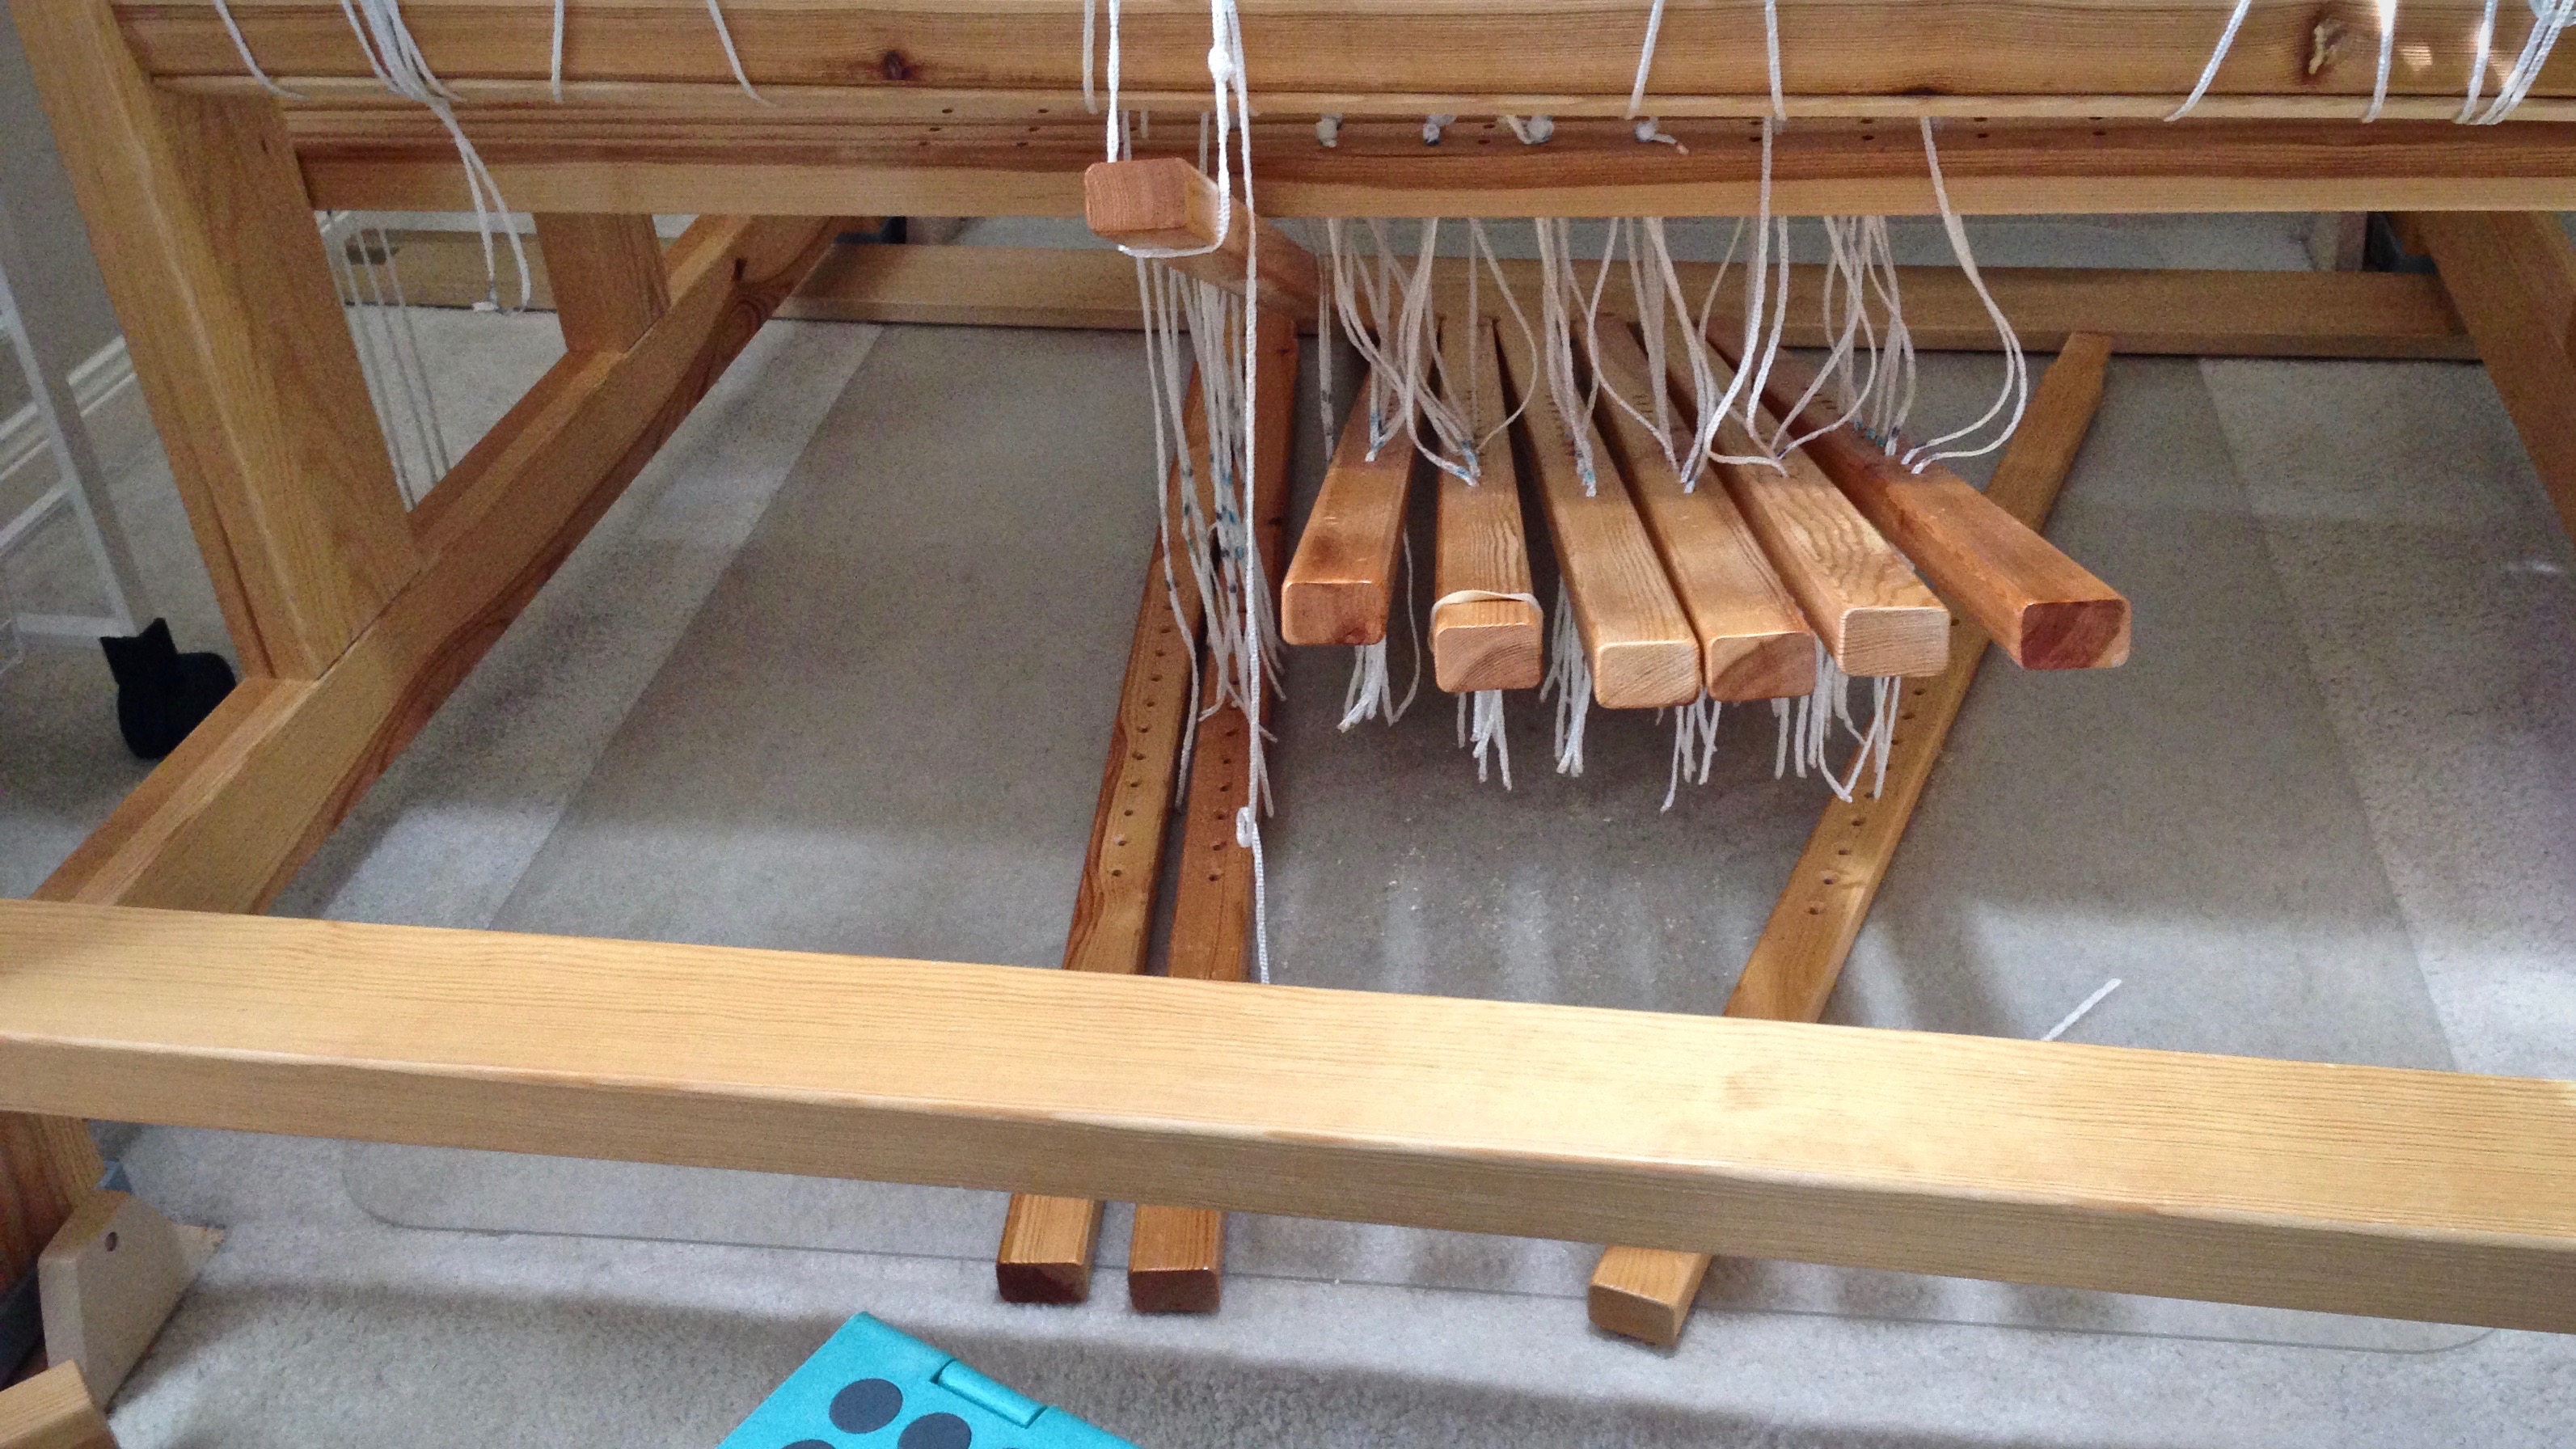
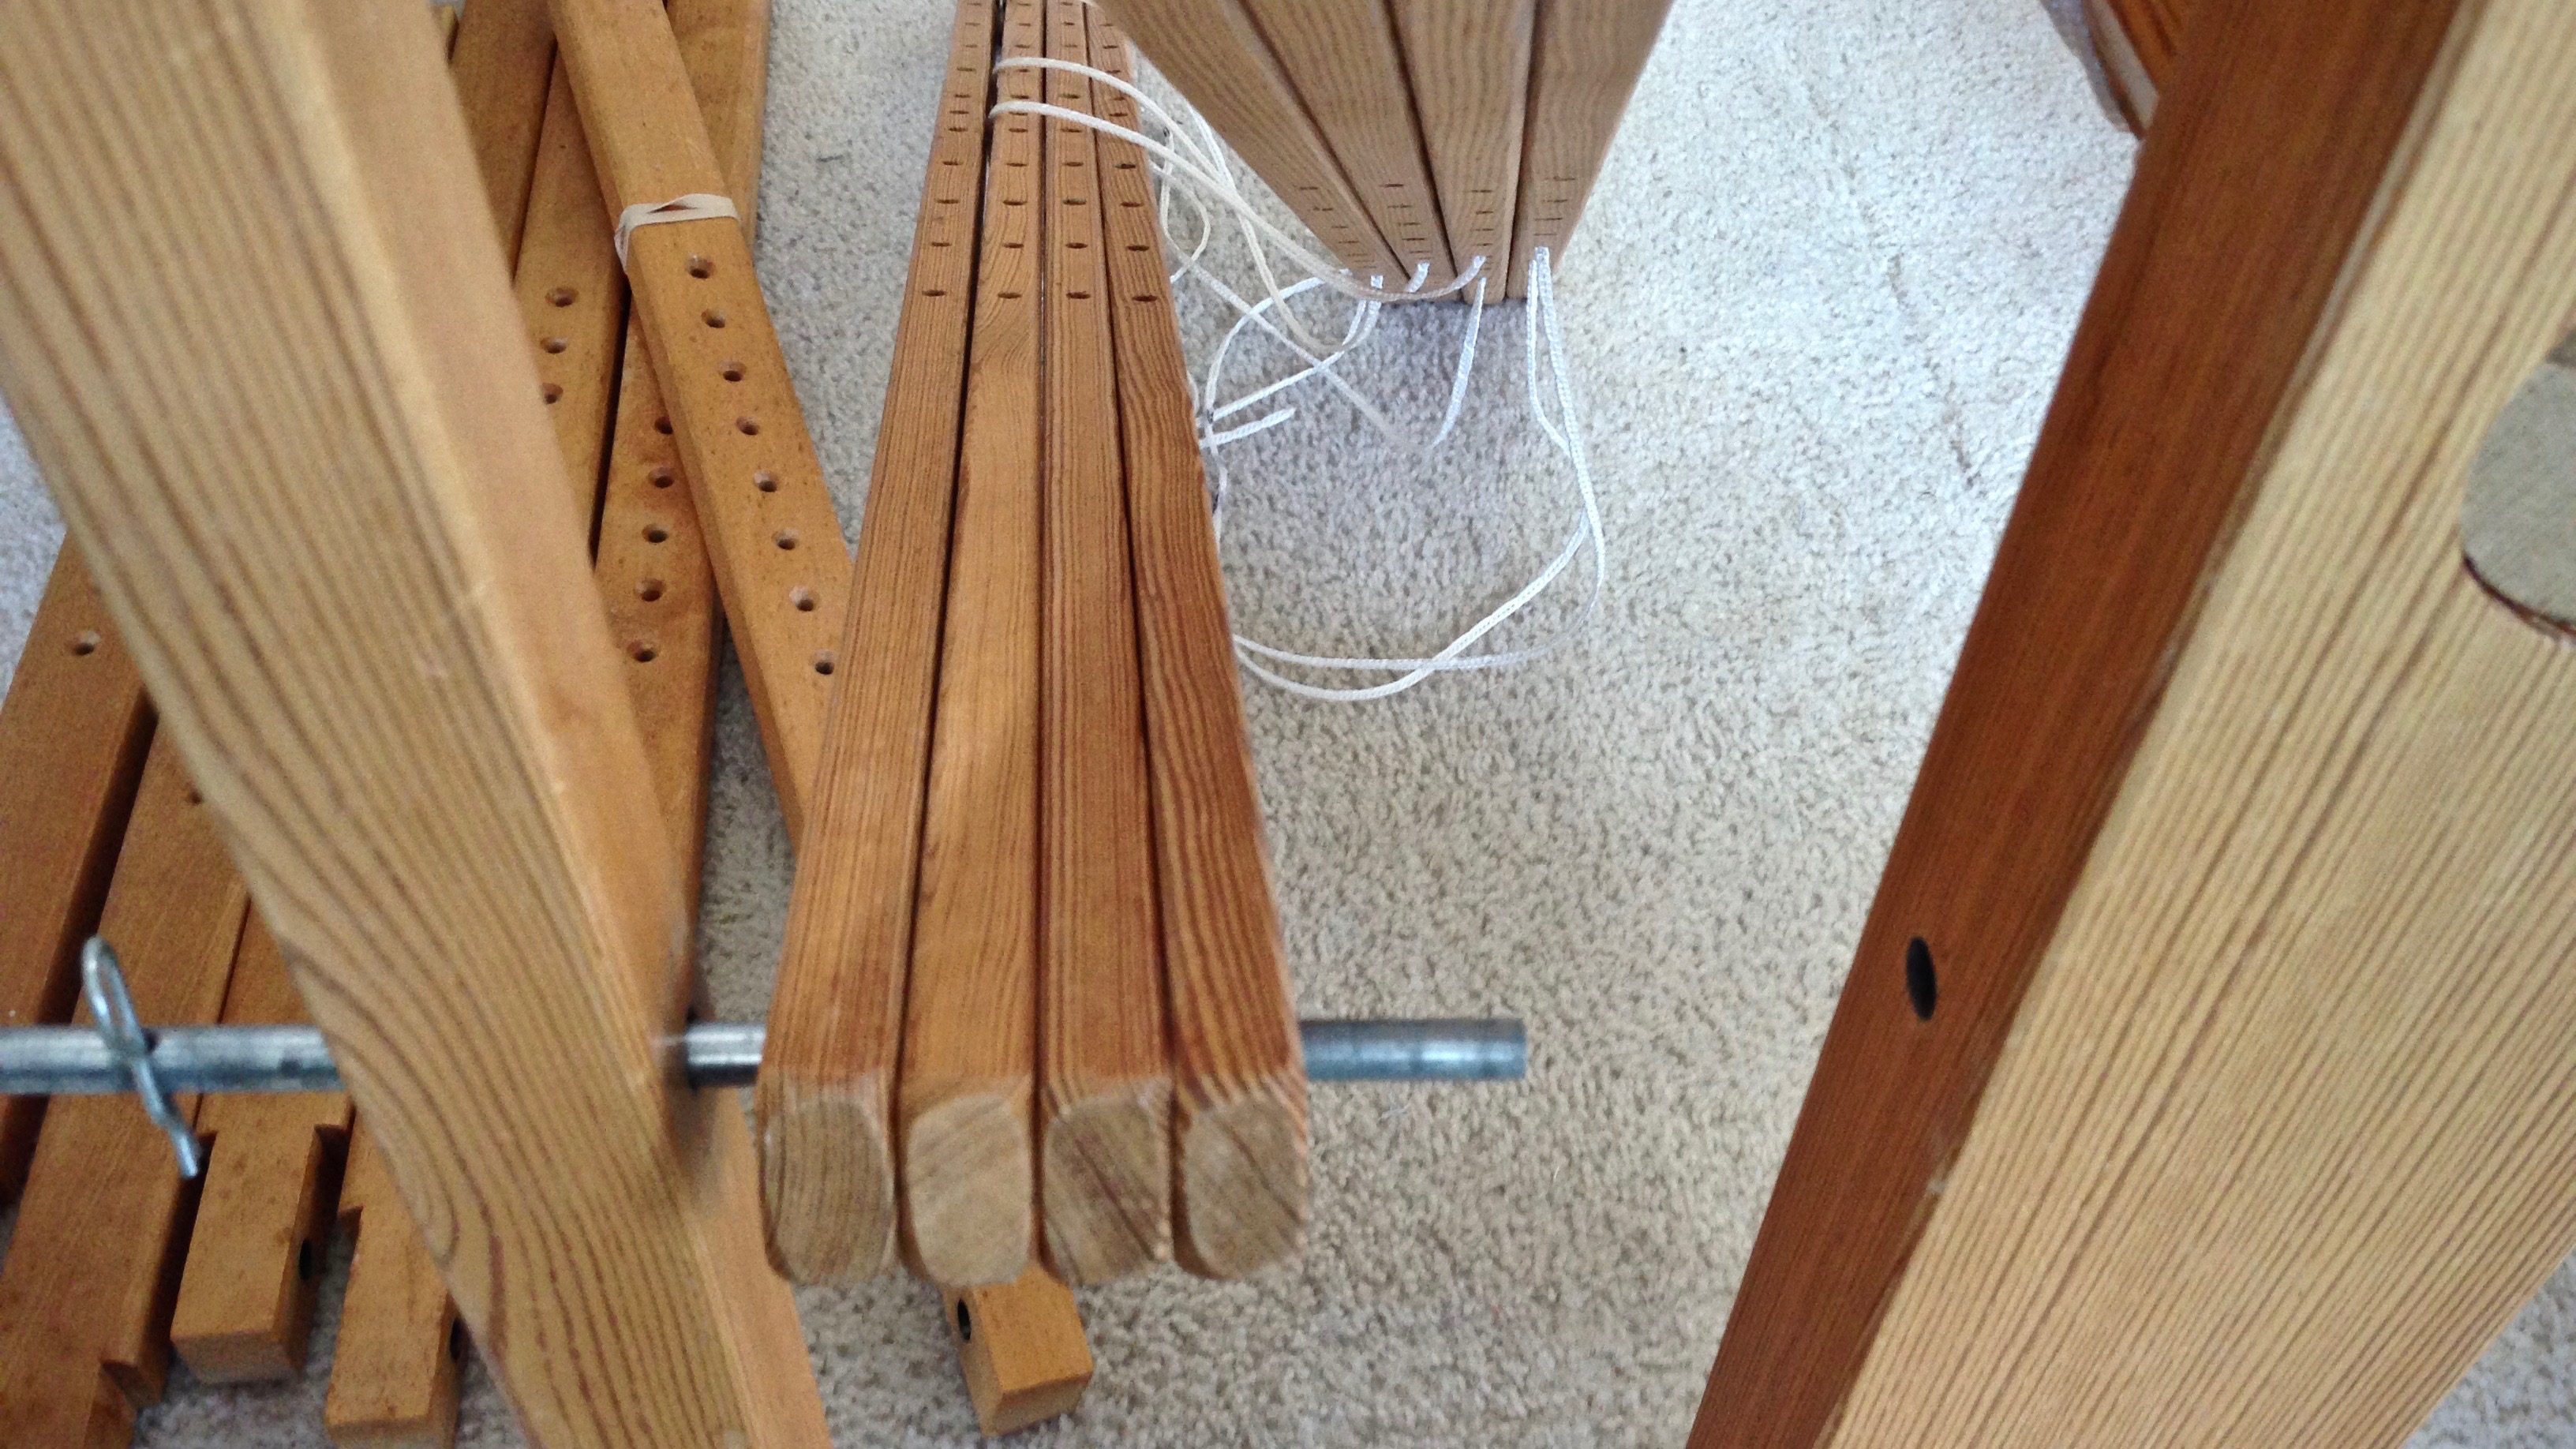
  • Treadle rod is removed to detach the treadles. Wood plank keeps the treadles from sliding back while treadle cords are attached at the front of the loom.

Trick to make countermarch tie-up easier on the back.

  • Cord acts as a sling to hold the treadle up to a comfortable height.

Tips for making countermarch tie-ups more back friendly.

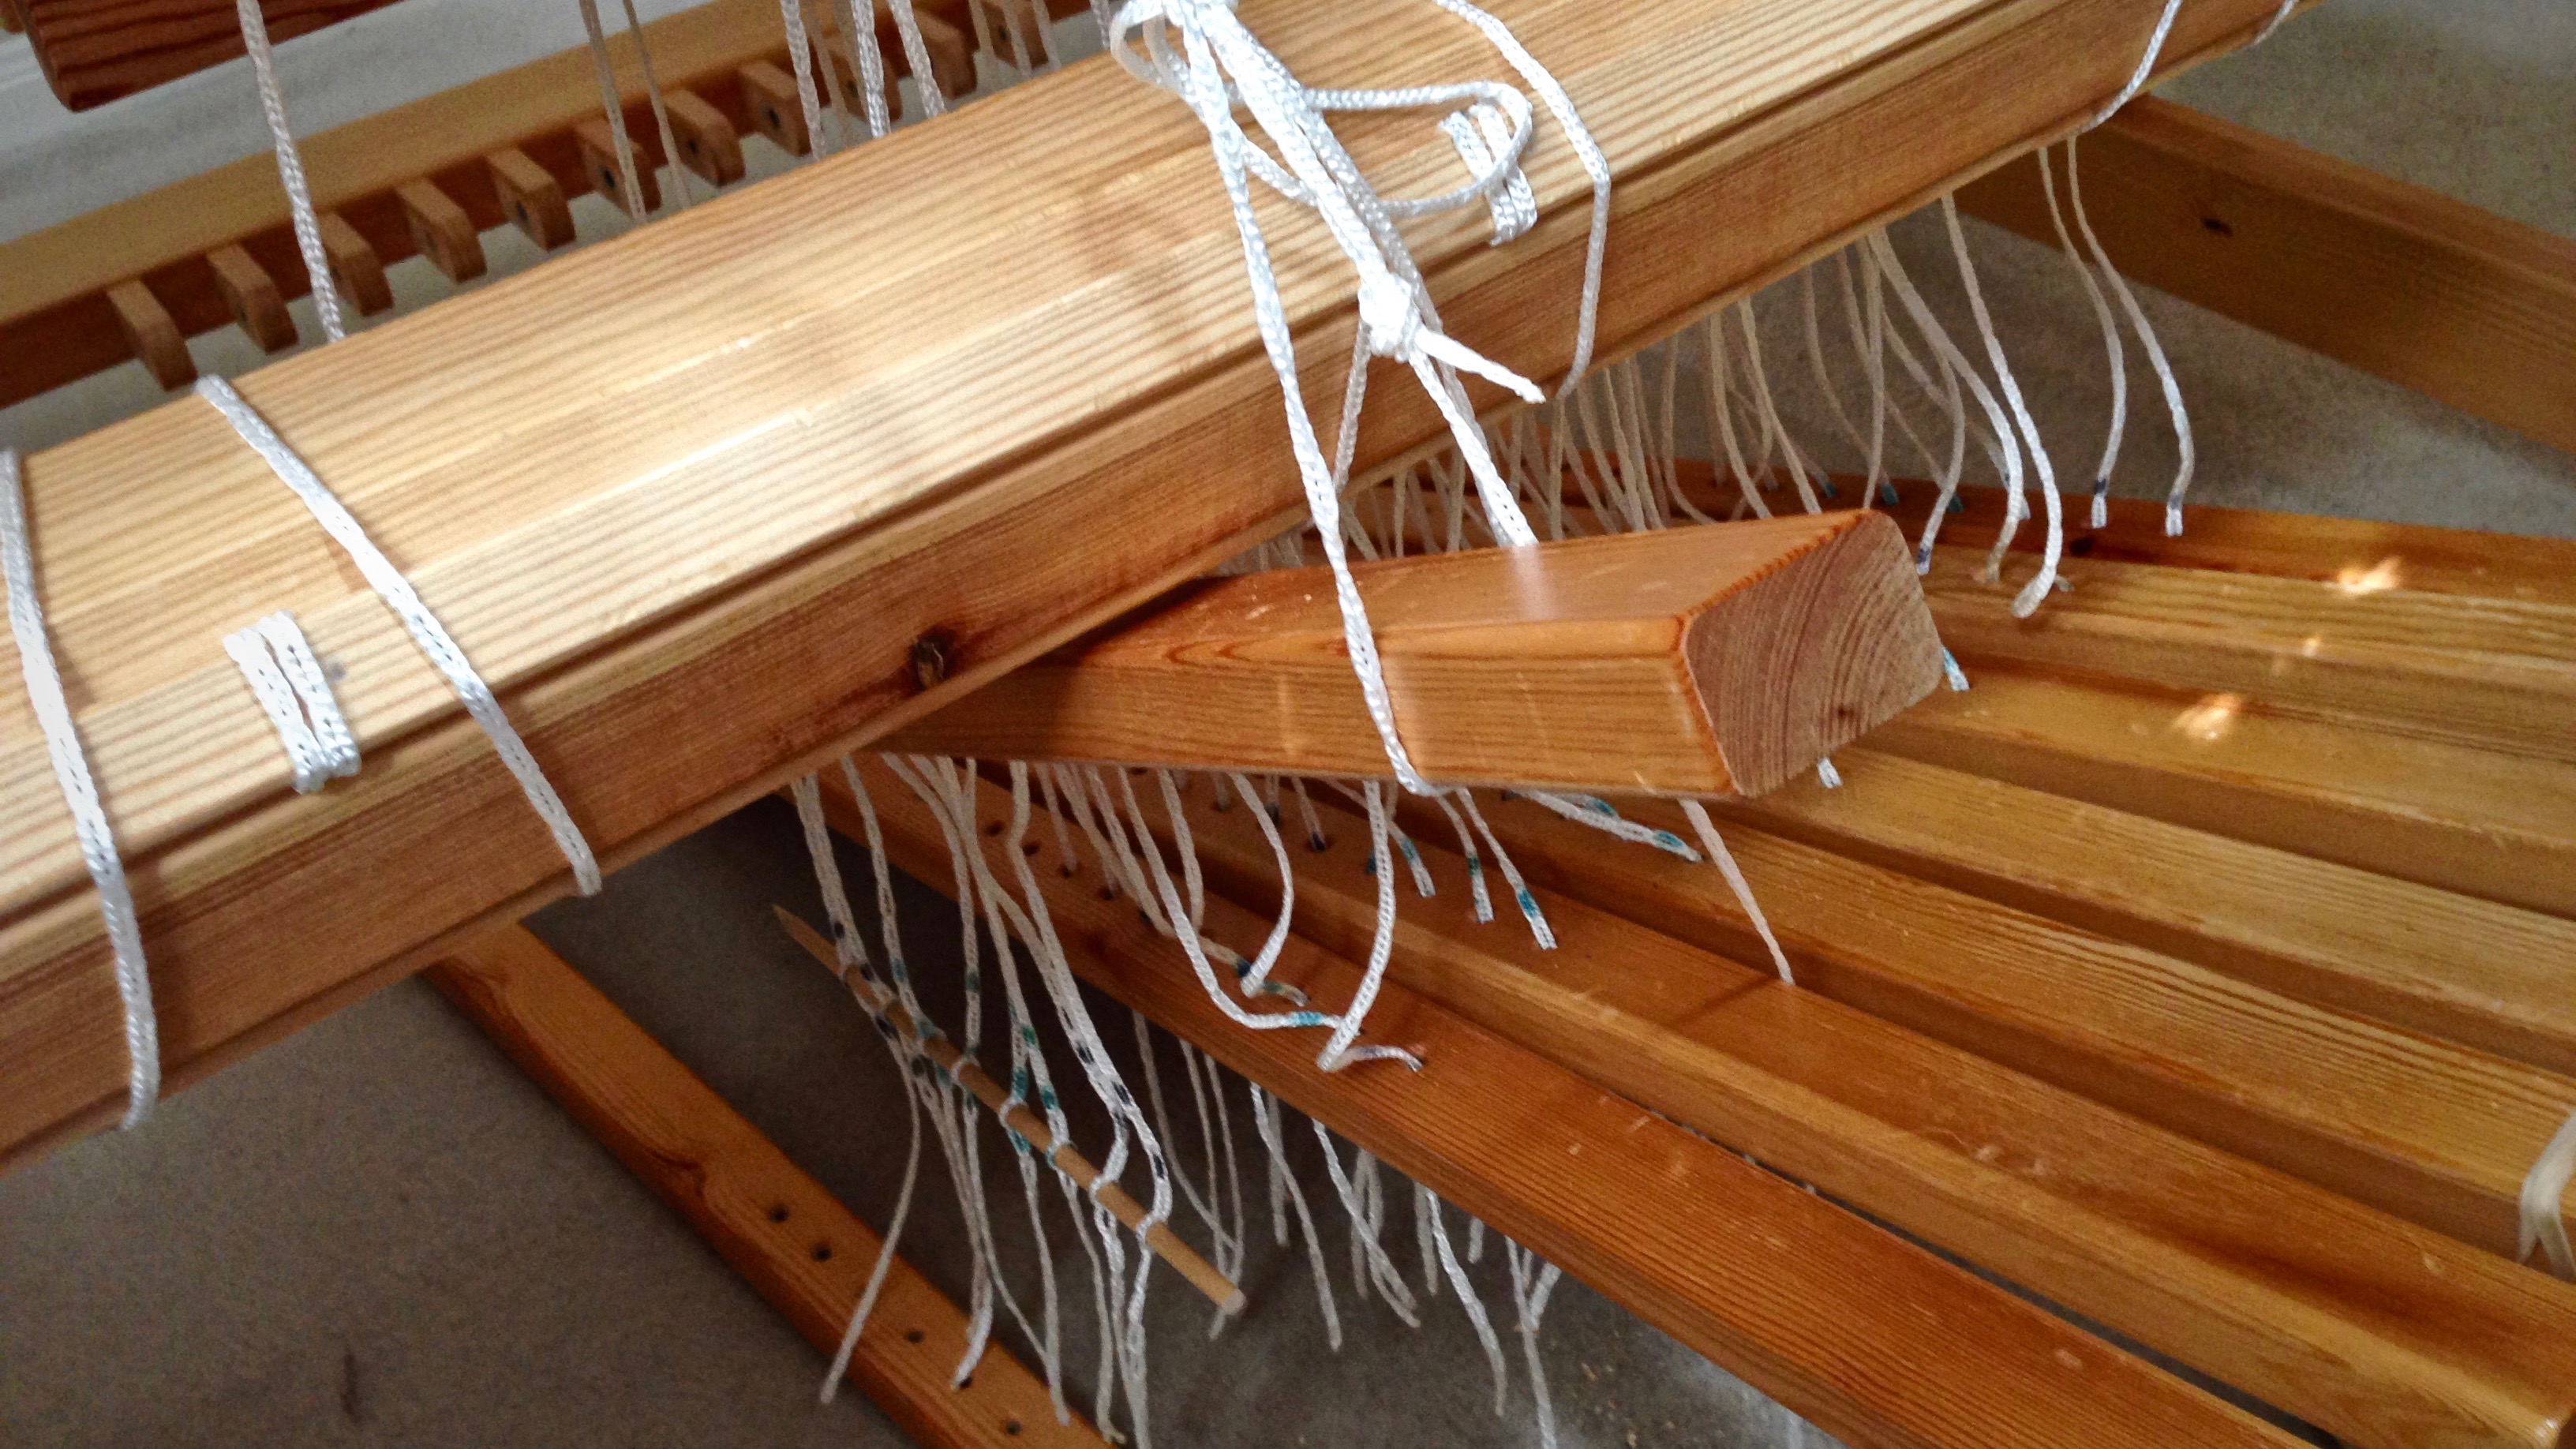
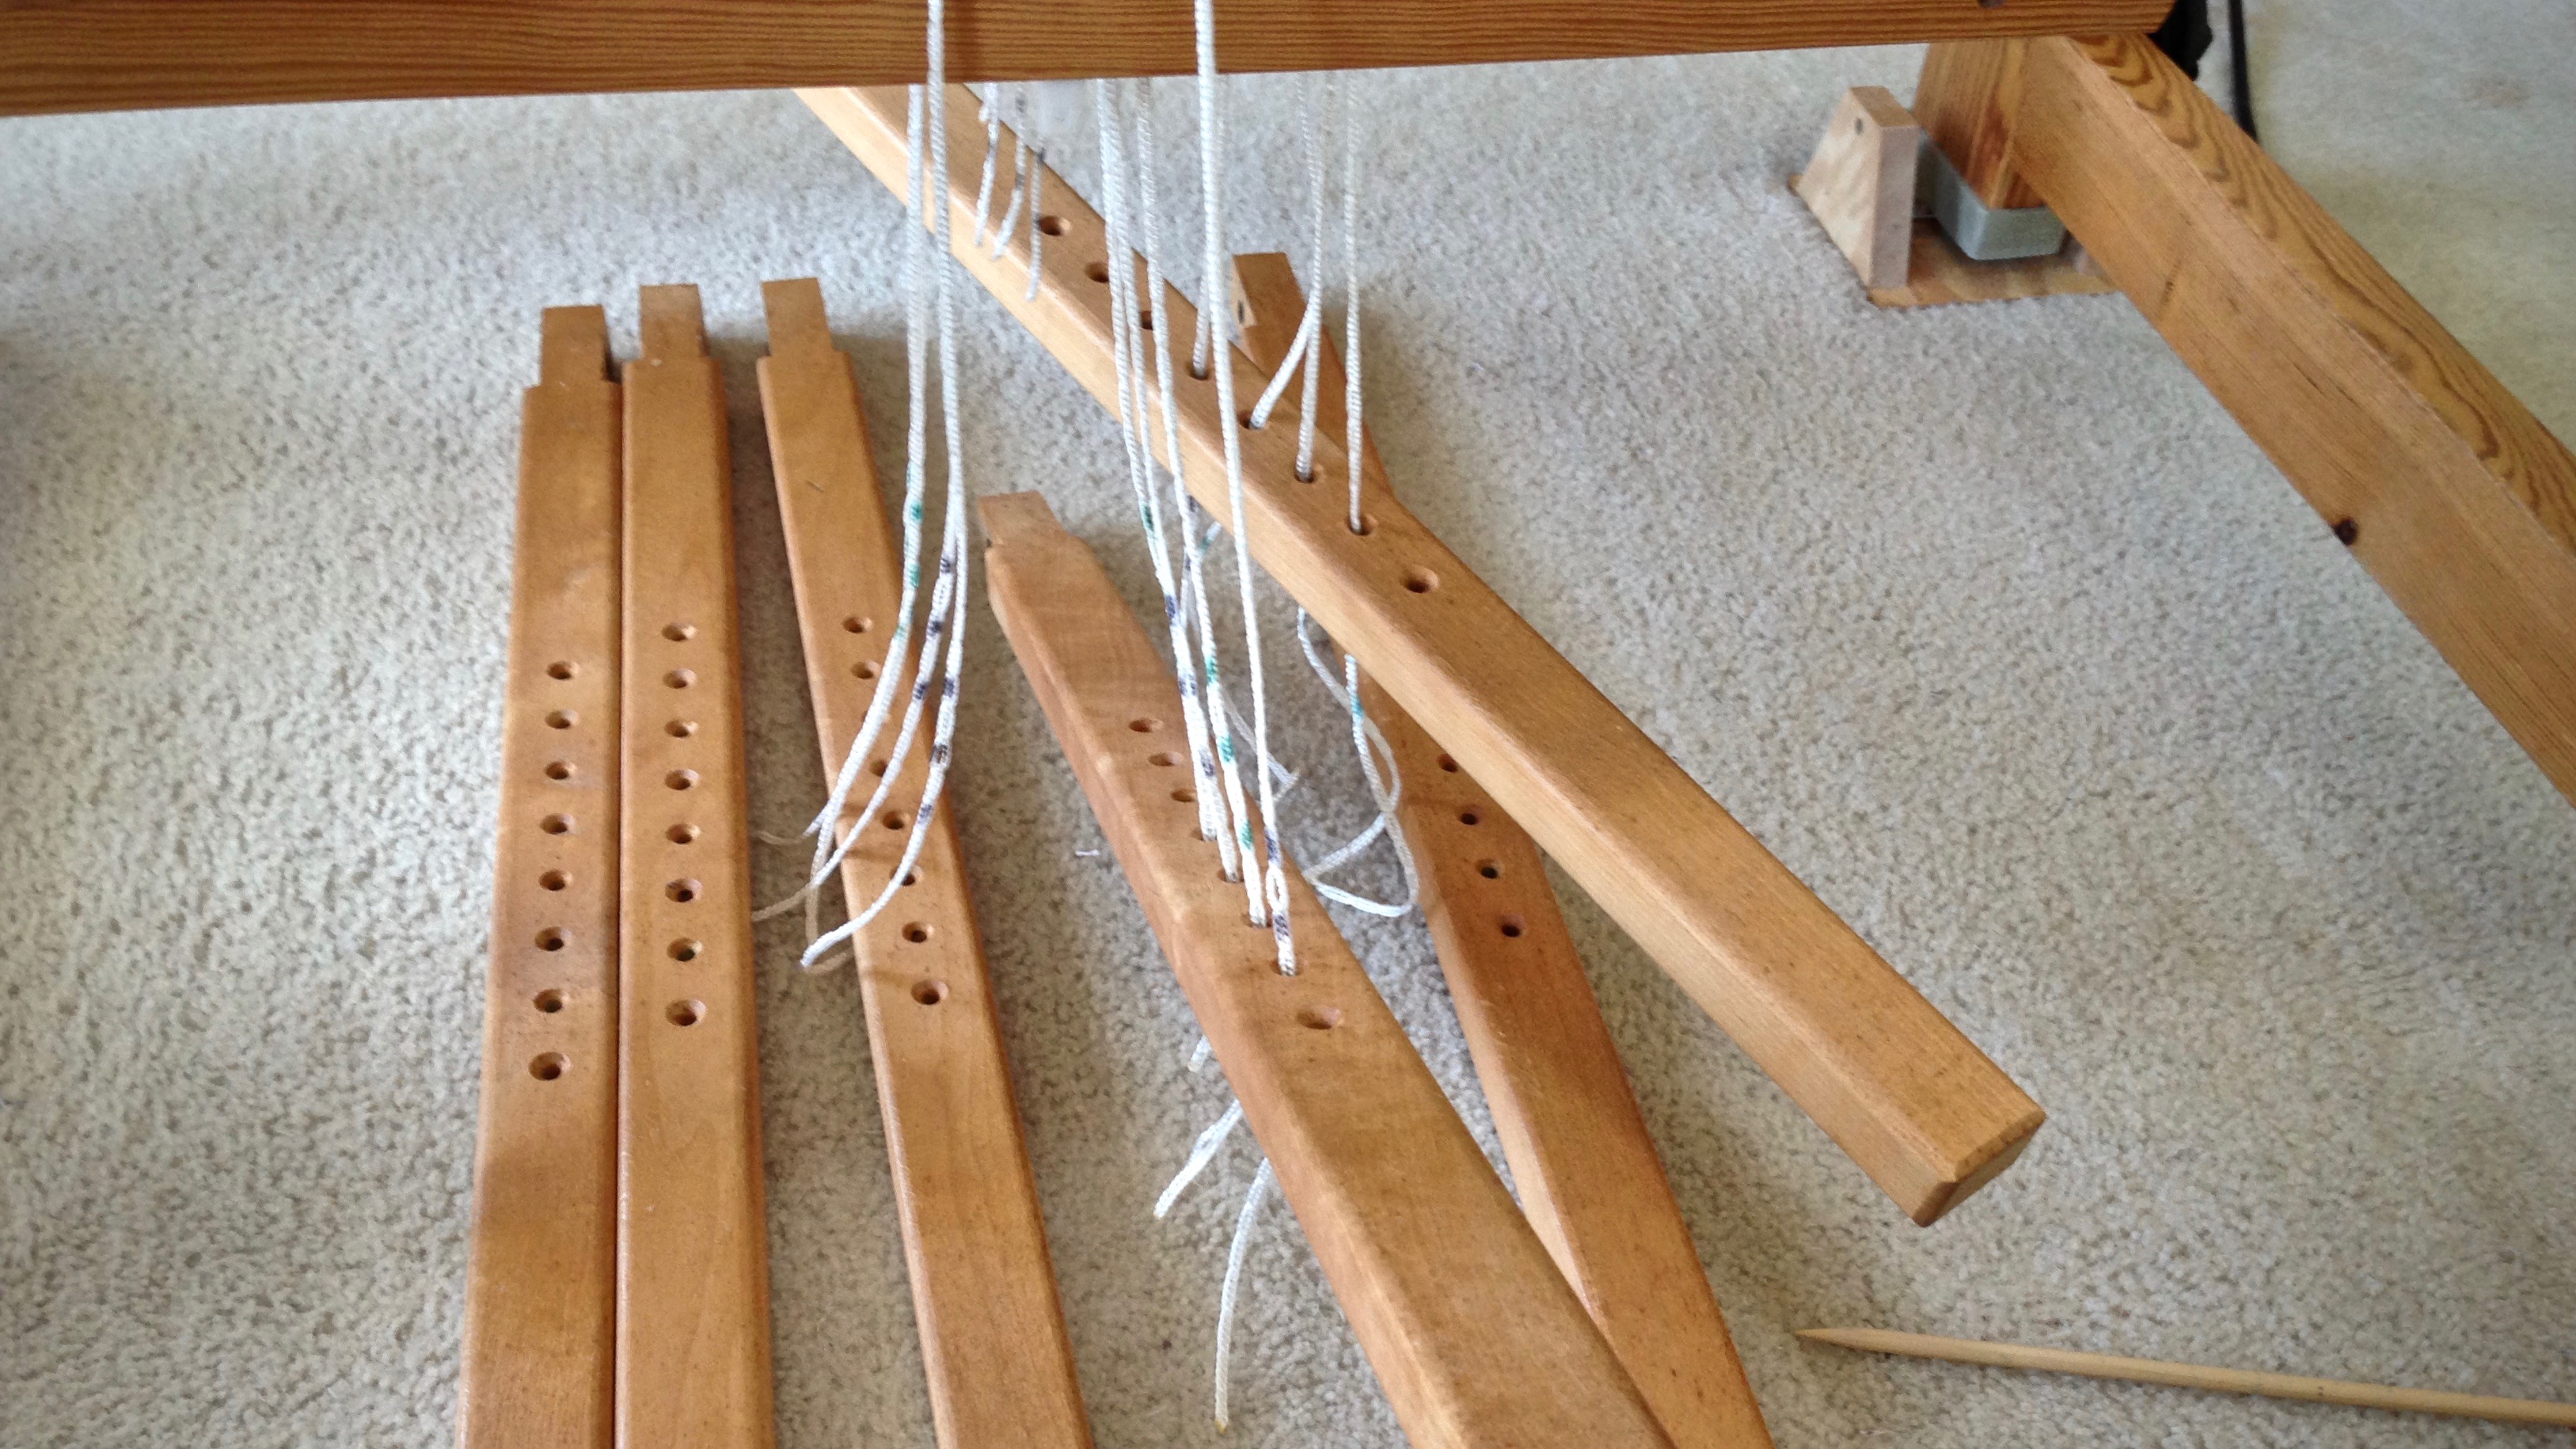
  • The raised treadle helps with visibility, and enables the use of both hands, especially helpful for the “Vavstuga method” of tying up treadles with knitting needles (I use sharpened dowels). After treadles are tied up, re-attach the treadles at the back of the loom.

Hints for making countermarch tie-up more back friendly.


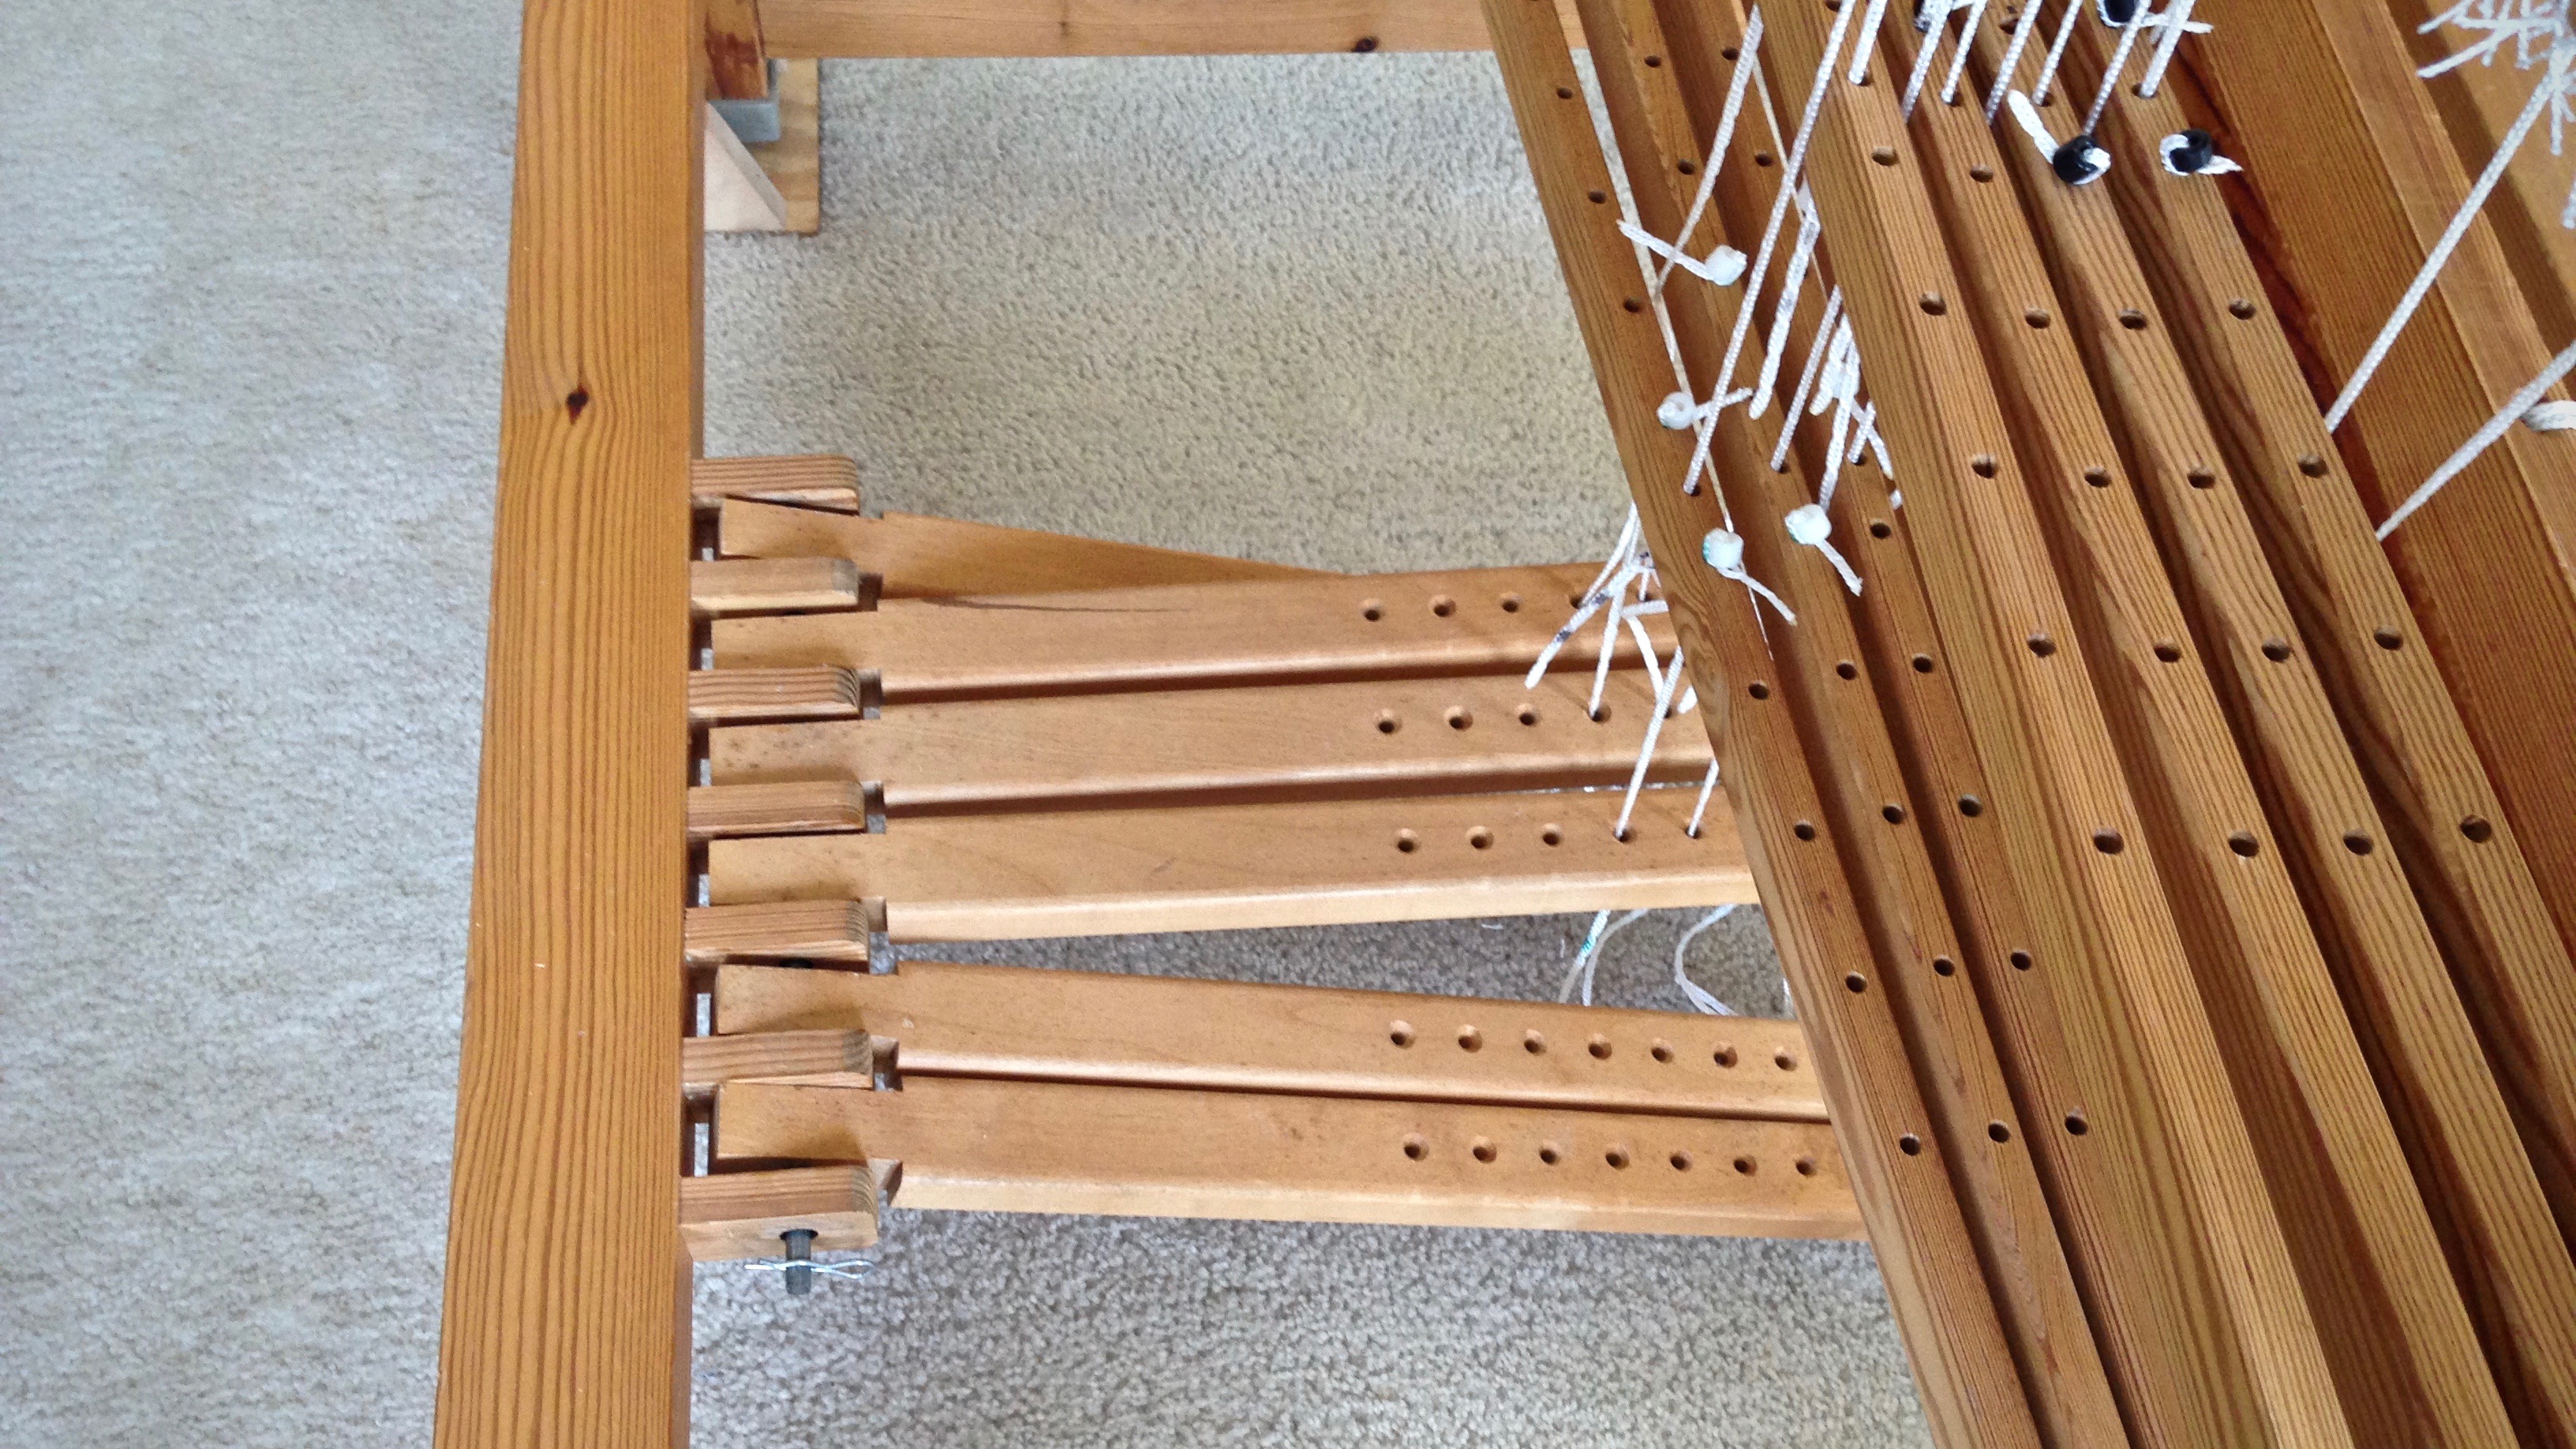
The 100 cm (39″) Ideal loom requires more reaching. Tying lamms to the shafts is a challenge for short arms, like mine. With four shafts, and only three treadles for this tie up, the rest of the process isn’t difficult.

Threaded for striped towels. Glimakra Ideal.
Threaded for striped towels. Glimäkra Ideal has smaller spaces in which to work than in the Standard loom.
  • Upper lamms are placed on the cart. I hold the weaving draft in my lap as I add the treadle cords to the lamms.

IKEA cart as tie-up helper.

  • Lower lamms are removed as the pin is pulled out. After the treadle cords are added, the lamms are reinserted.

Removing lamms to make countermarch tie-up back friendly.

  • Detached treadles lay on the floor. They easily pivot up at the front of the loom for attaching treadle cords.

Tips for making countermarch tie-ups less straining on the back.

  • Everything is tied up and ready to weave!

All tied up and ready to weave!

May you stay healthy to live long and weave.

Happy Weaving,
Karen

Stripes on the Warp Beam

Why are stripes appealing? Stripes on the loom look good. I don’t usually wind warps in advance. I like to wind a warp and put it directly on the loom. But, recently, when I wasn’t able to weave, I was able wind warps. Now, one of those warps is beamed, and soon I’ll be weaving some striped plattväv towels.

Striped warp for cottolin and linen towels. Glimakra Ideal.
Narrow stripes wrap around the back beam. Next step is threading heddles. One step closer to weaving towels…

This draft is from one of my favorite Swedish weaving books, Kalasfina Vävar, by Ann-Kristin Hallgren. I changed the colors and modified the stripes, while attempting to keep the attractive appeal of the original stripe design. We will see the full effect when weaving begins. The warp is the first part of the picture. The weft always brings a transformation. The golden bleached linen, in this case, won’t change the warp, but it will create a fresh palette.

Black and white photo shows the color values.
Making a black and white photo is a good way to see the color values.

Faith and truth are partners. Truth becomes clear through faith. Warp and weft. Truth and faith. A fabric of convictions is woven to hand to the next generation. The good news of Jesus Christ is a message of faith and truth. The truth doesn’t change; but it comes alive when woven with faith.

May your convictions be securely woven.

Yours truly,
Karen

Planning Swedish Towels

After spreading out a few Swedish weaving books and other resources, I am ready to develop my own version of towels in plattväv, a classic Swedish weave. I have double-checked my calculations, so I’m ready to wind the warp. This set of towels has a cottolin warp and linen weft.

Planning new handwoven Swedish-style towels.
Planning sheet holds all the details for a weaving project. I use digital devises for planning most things, but for my weaving plans I still like paper and pencil the best.
Winding a striped warp for cottolin towels.
White, black, silver, ash gray, and pale blue gray. The pale blue gray seems to turn the other grays into brownish hues.

As always, I started with more than enough thread. Unfortunately, I made a major error while winding the warp. By the time I noticed the error, I had already wound 264 meters (289 yards) of warp. I chained off the mistake, putting it aside for another use. I started over, correctly this time, but I had a nagging worry that I might run out of white thread…

Warp winding for cottolin towels is complete.
Warp winding is complete. Smallest tube of white thread is close to empty. Spool crate is elevated to reduce the distance needed to bend down.
Warp chains for striped towels.
Smaller warp chain on the left was wound incorrectly. The threads will be divided up and used for weaving bands on the band loom. The two warp chains on the right will become striped handtowels with plattväv (platt weave) patterning.

Worry doesn’t make anything better, and big worries can lead us into a downward spiral in our thoughts. Prayer pushes worry away. When we pray about the things we are tempted to worry about, God’s peace acts as a guard over our hearts and minds. His peace frees us from the weight of worry. And we often learn later that our worry had been unfounded. Like my worry about the white thread, which, despite my blunder, did not run out.

May you forget your worries.

All the best,
Karen

More Rosepath Rag Rug Ideas

This is my favorite rosepath rag rug of all time! (Have I said that before?) I like the unexpected color changes that occur in the design. While the main rosepath pattern is woven in a yellow batik, the background tabby changes from pink to a mixed print, and then a single brown stripe outlining solid blue.

Classic rosepath motif in a rag rug on the loom.
Single row of dark brown tabby serves to outline the central rosepath motif.

The other thing I like about this design is the repeated uneven plain weave weft stripes–three rows green and two rows black. The ideas for color changes and uneven stripes came from looking at rugs in my Swedish weaving books. I have another rug to weave on this warp before we get to see this “favorite” spread out on the floor.

Weaving a rosepath rag rug. So many design possibilities!
Every weft, including the rosepath pattern weft, goes around the selvedge warp ends. The inactive yellow batik fabric strip is carried up the selvedge through the active wefts.

Designs start with ideas. Who designed the intricate workings of the human body, or had the idea of putting planets together in a solar system? The universe is amazing, with every explicit detail honoring the Creator. Designed to operate on the faithful love of the Lord, this universe is a divine idea brought to life. With the glimpses we see of his perfect design, we can’t help but give our Grand Weaver the admiration he deserves.

May you have plenty of favorites to weave.

Happy weaving,
Karen

Tools Day: Loom Bench Baskets

Some accessories are so useful they simply become an extension of the loom. That’s how my loom bench baskets are for me. I automatically place an emptied shuttle there without a second thought. It’s where extra shuttles go that are waiting their turn, or extra quills that have been wound, or a few fabric strips that are set aside for one section. For anything I need to drop or pick up–the baskets are always there.

Loom bench basket holds the ski shuttles for a rosepath rag rug.
Deep basket on the bench at the baby loom (Glimakra Ideal) easily holds my ski shuttles for this rosepath rag rug.
Loom bench basket holds the 5 ski shuttles for this rosepath rag rug.
Leather strap on the basket slips over the end post of my loom bench, right by the always-handy measuring tape.
Deep basket, perfect for holding shuttles.
Basket made for this purpose, from Vavstuga.
Loom bench basket with Ikea container inserted to hold quills.
Basket at the big loom (Glimakra Standard) holds a small hanging cup I found at Ikea that is useful for holding small things, like filled and emptied quills.
Loom basket is tied to the bench with an old inkle-woven band.
Old basket I’ve had for years is put to use on the other side of the big loom bench. I tied it on with a wool inkle band I wove many years ago.

May you have what you need at your fingertips.

Happy weaving,
Karen