Tools Day: Ski Shuttles

Patterned rag rugs always use at least two shuttles. I often have four or five filled ski shuttles at the loom. A low profile ski shuttle is an excellent choice for weaving patterned rag rugs. Why?

  1. It fits pleasantly in the hand.
  2. It holds a large amount of fabric weft without being bulky.
  3. The wide base glides smoothly across the warp.
  4. The low profile fits easily through the narrower shed of a tight warp that is common for rug weaving. (Beware of ski shuttles that are taller, and may not fit as easily through a tight shed.)
  5. It is slender enough to send it out of the shed to go over or under outer warp ends, when needed.
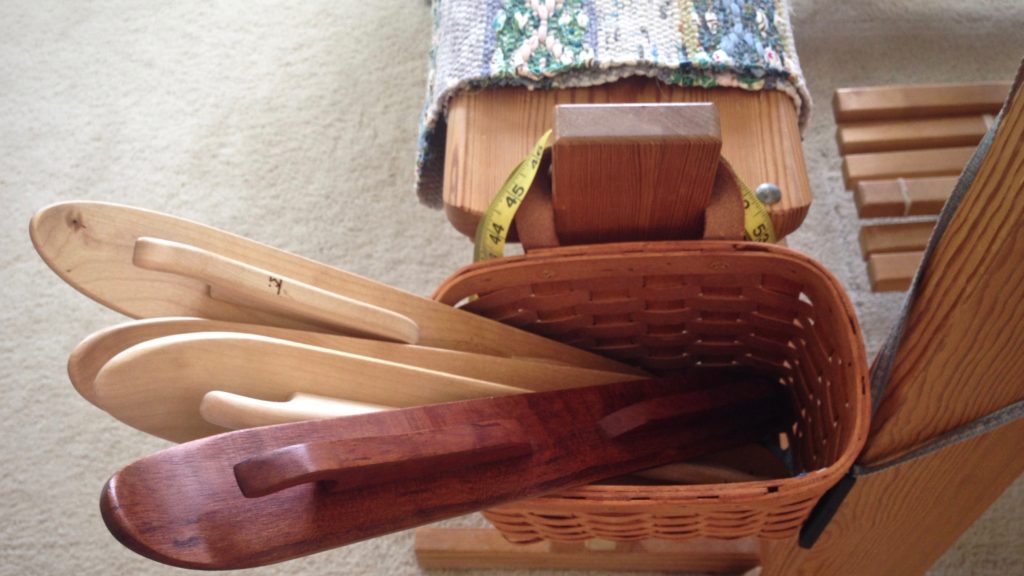
Basket of ski shuttles ready for the next rag rug!
Basket of ski shuttles that are ready for the next rosepath rag rug!

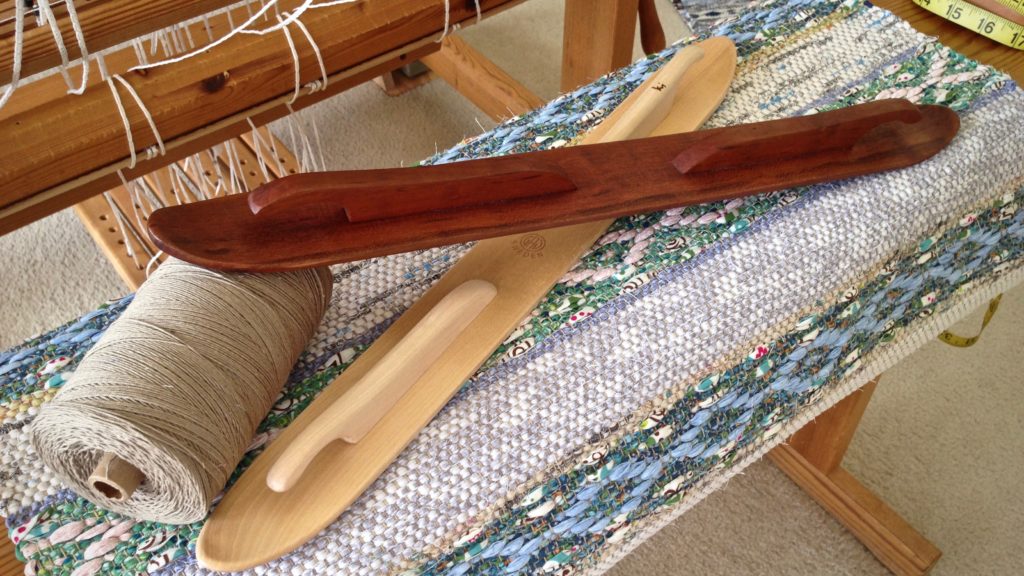
My ski shuttles are made by Glimåkra, except for the beautiful cherry wood ski shuttle my husband made for me.

Hand crafted cherry wood ski shuttle, and rosepath rag rug just off the loom.
Newly completed rosepath rag rug is ready to be hemmed. Cherry wood ski shuttle is hand crafted by Steve Isenhower.


Ski Shuttle Dimensions (Glimåkra Single Ski)
Height: 1 1/4″ (3 cm)
Width: 2″ (5 cm)
Length: 19 1/2″ (50 cm) and 25″ (64 cm)

Why I like low profile ski shuttles for weaving rag rugs.
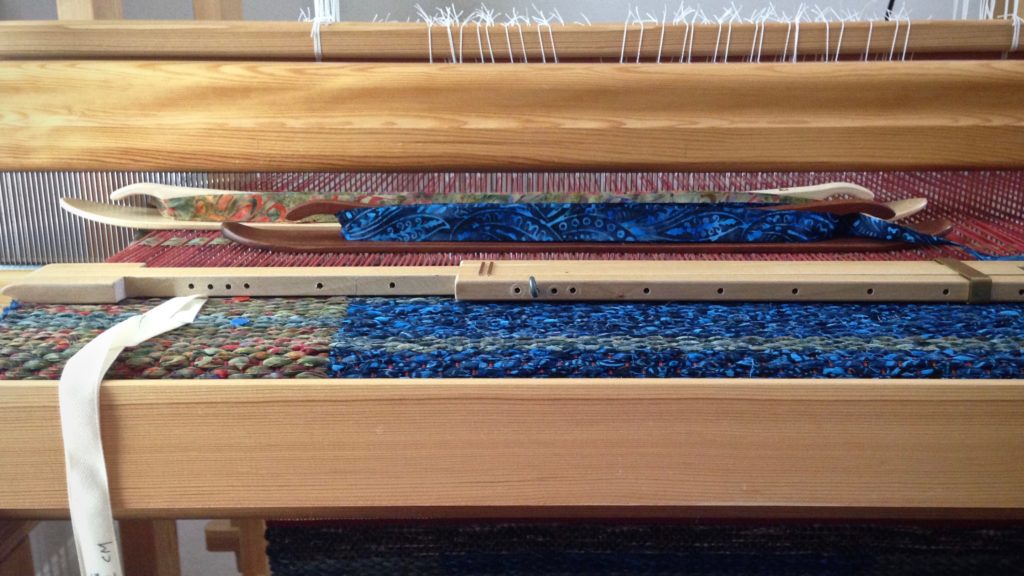
Weaving width determines which ski shuttle length to use. The shorter shuttle works with any weaving width. The longer shuttle works only for wider weaving widths (30″ or more) and for spaces with plenty of clearance at the sides of the loom. The low profile of the shuttles is seen in relation to the height of the reed in the beater.


How to Wind a Ski Shuttle

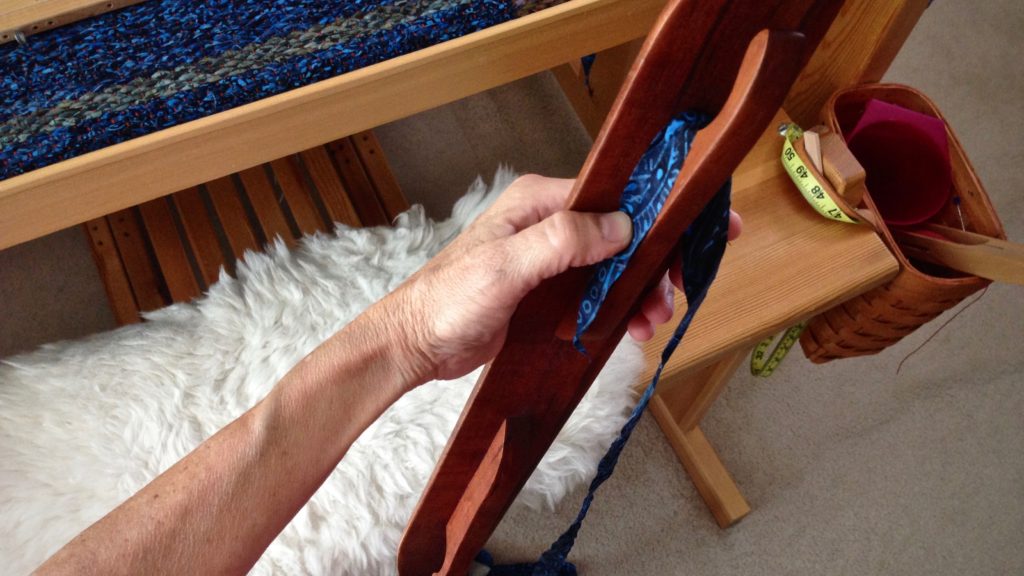
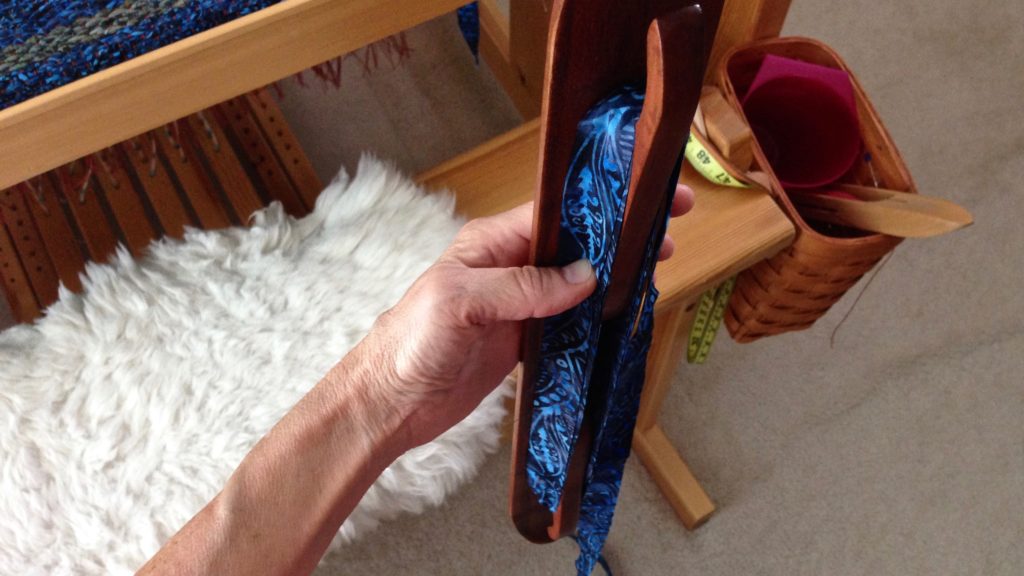
1 — Hold ski shuttle vertically. Start with one tapered end of the fabric strip coming across the top of the ski shuttle. Hold the tapered end with your thumb while you start winding the fabric strip onto the shuttle with your other hand.

How to wind a ski shuttle.


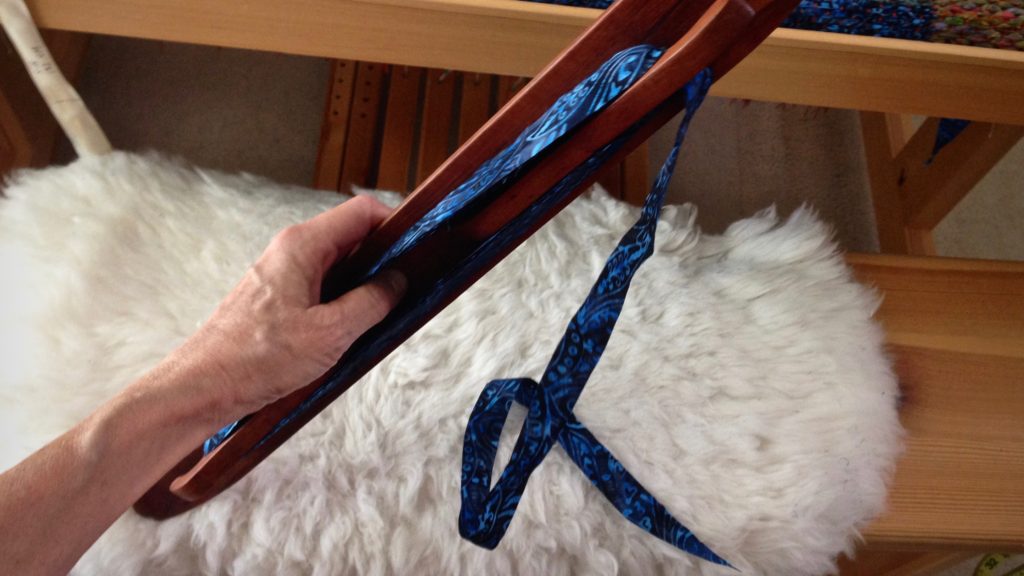
2 — Continue wrapping the fabric strip around the length of the shuttle, straightening the fabric as you go.

How to wind a ski shuttle for rag rugs.


3 — Finish winding when you have a tail of fabric remaining.

How to wind a ski shuttle.

May your shuttles be a good fit for your hands.

Happy Weaving,
Karen

Tools Day: Narrow Shelf

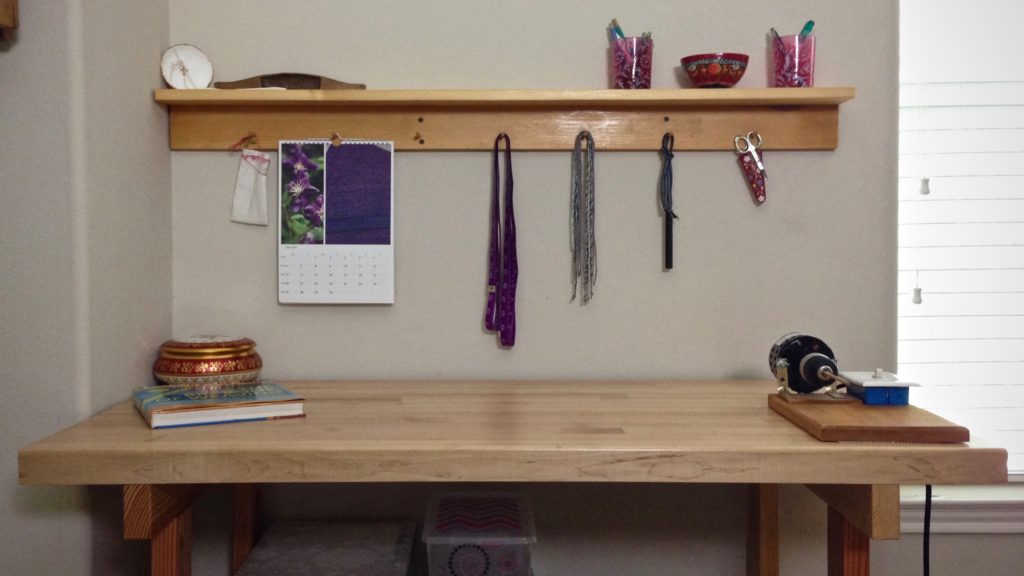
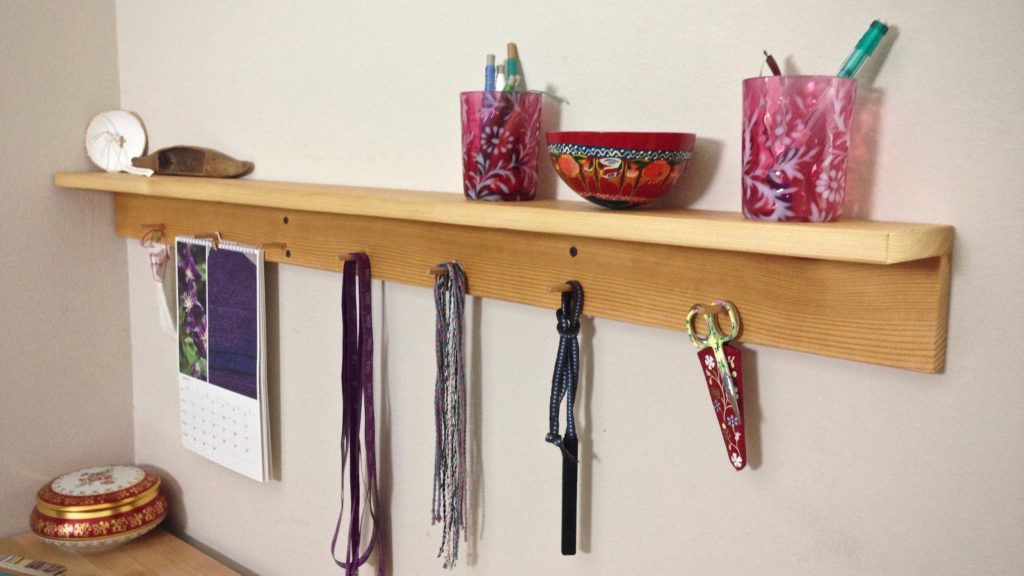
It’s not easy to keep a table top cleared off. Little things accumulate that intrude on the work space. The wonderful maple work table Steve made for my weaving room a couple years ago provides a needed surface for multiple uses. I do my project planning here; and I weigh out my yarns here; and I wind quills here. It’s time to create a space for the little things, to get them off the table. Steve to the rescue! He built a narrow shelf to go on the wall behind the work table. Pencils, snips, pins and needles, quills with a little bit of thread, and the like. Pegs below the shelf give me a convenient place to hang a few essentials–small scissors, Gingher thread clippers on a cord, a few choke ties, tape measure, and my Väv Calendar.

Hand-crafted maple shelf compliments the maple work table below.
Hand-crafted maple shelf compliments the maple work table below. Frequently used items are within arm’s reach.
Hand-crafted maple shelf above weaving work table.
Re-purposed vessels make colorful holders for small items.

Now, I am ready for anything!

May your creative space work in your favor.

All the best,
Karen

Tools Day: Loom Lighting

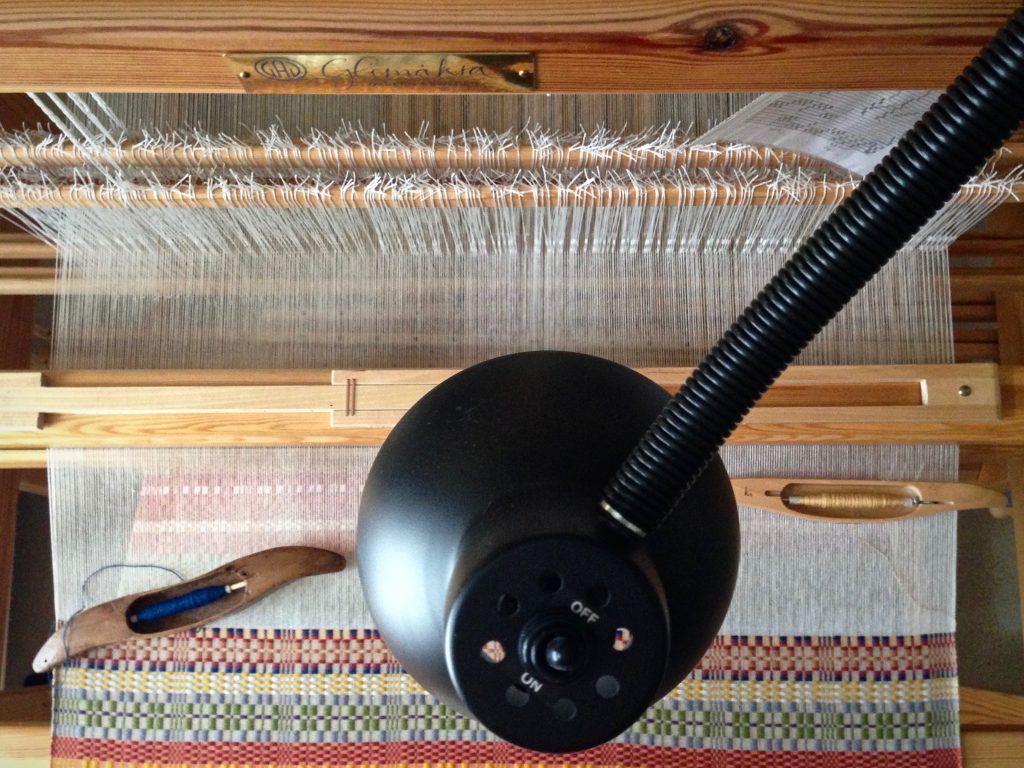
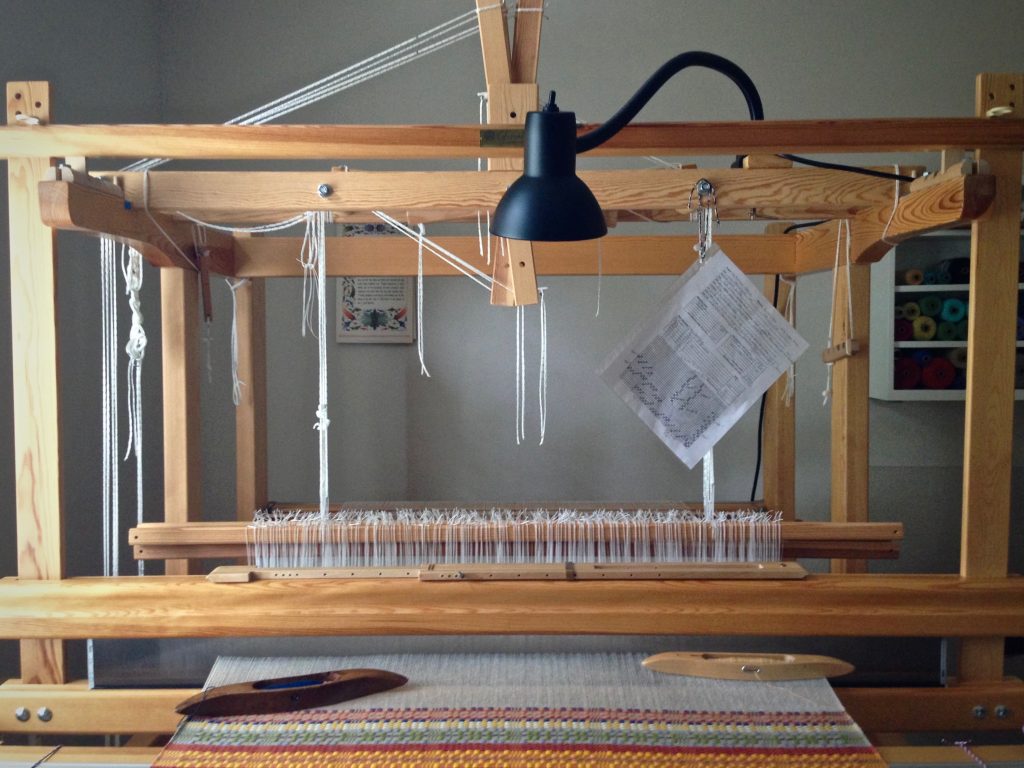
Let there be light! I now have exceptional lighting at my weaving looms. Steve installed a snake arm lamp on both of my Glimåkra looms. This wonderful illumination gives me greatly improved visibility, especially when working with fine threads. These lamps meet my lighting needs much better than the floor lamps I had been using. Good riddance, floor lamps!

Supplies

  • Snake arm shop light with clamp (mine are Rockler 24″ Snake Arm Shop Lights)
  • Light bulb, preferably close to natural light
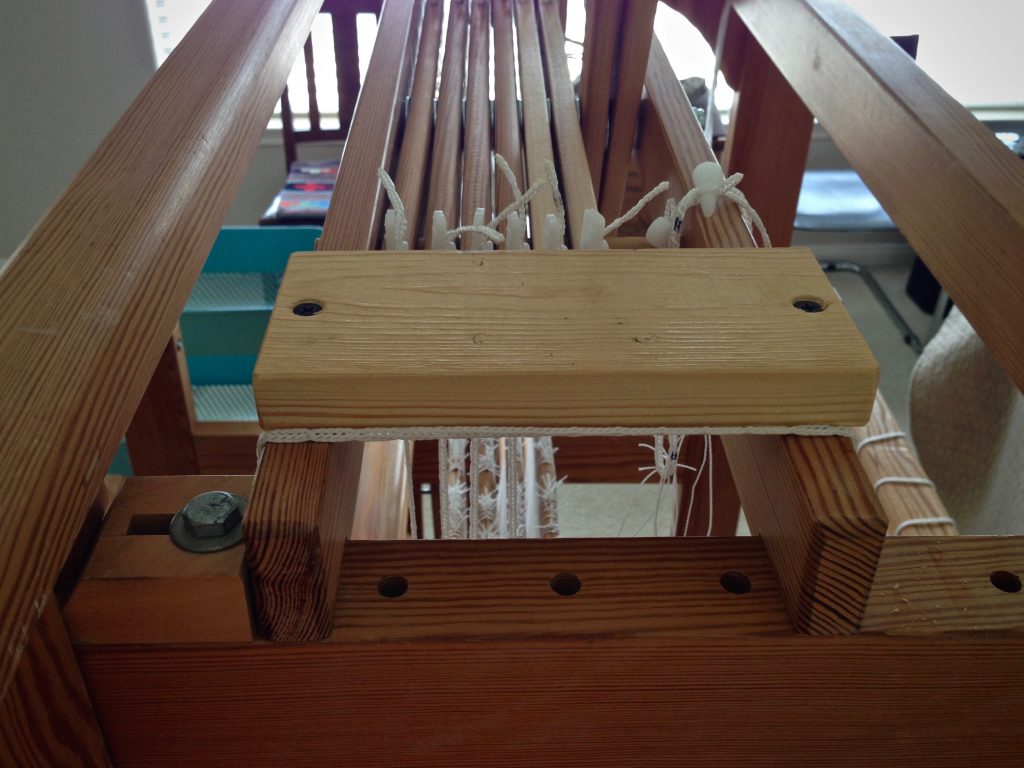
  • Wood block, sized to fit on loom (mine is installed on the countermarch frame; 8 1/2″ x 2 3/4″ x 3/4″ for the Glimåkra Standard 8-shaft loom; 6 1/2″ x 2 3/4″ x 3/4″ for the Glimåkra Ideal 6-shaft loom)
  • Electric drill and pilot bit
  • 2 drywall screws
  • Short three-prong extension cord

Steps

  • Prepare wood block by drilling screw holes (screw threads slip through the holes without biting)
  • Position prepared wood block on loom, mark loom for screw placement
  • Drill pilot holes
  • Screw wood block in place
Mounting on Glimakra Ideal loom for a loom lamp.
Block of wood is screwed into place on the Glimåkra Ideal loom countermarch frame for mounting the loom lamp.


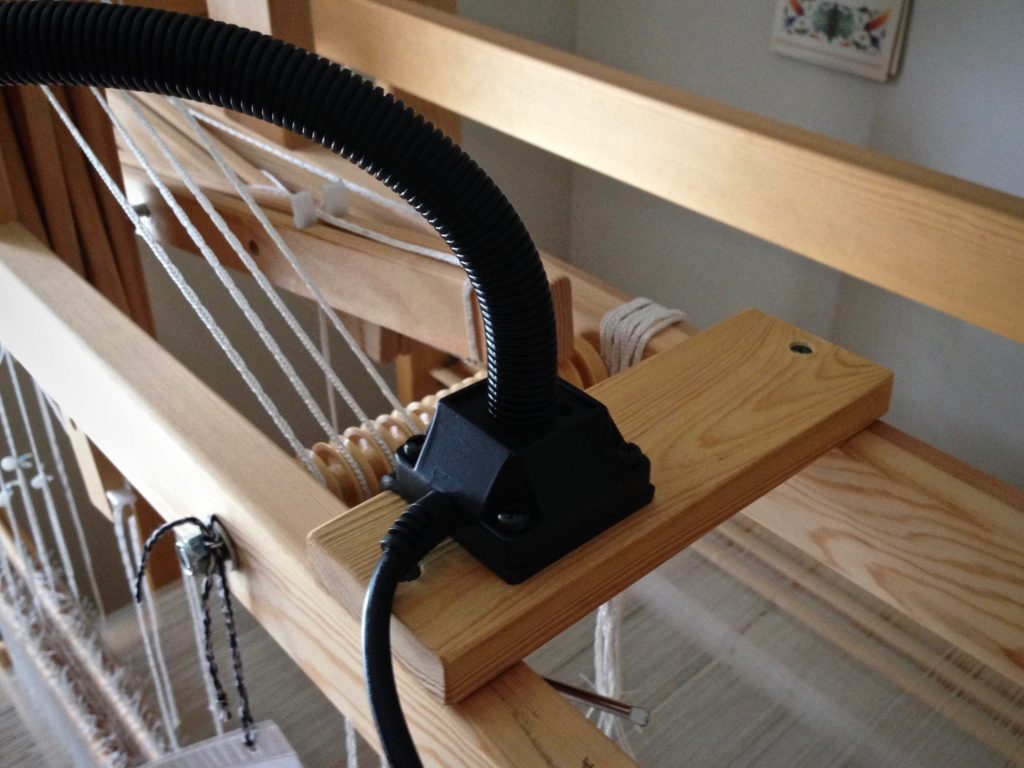
  • Position lamp and clamp into place
Mounting a loom lamp on the Glimakra Standard loom.
Lamp is positioned on the mounting that is attached to the Glimåkra Standard countermarch frame.
Snake arm loom light gives flexibility in directing light where it's needed.
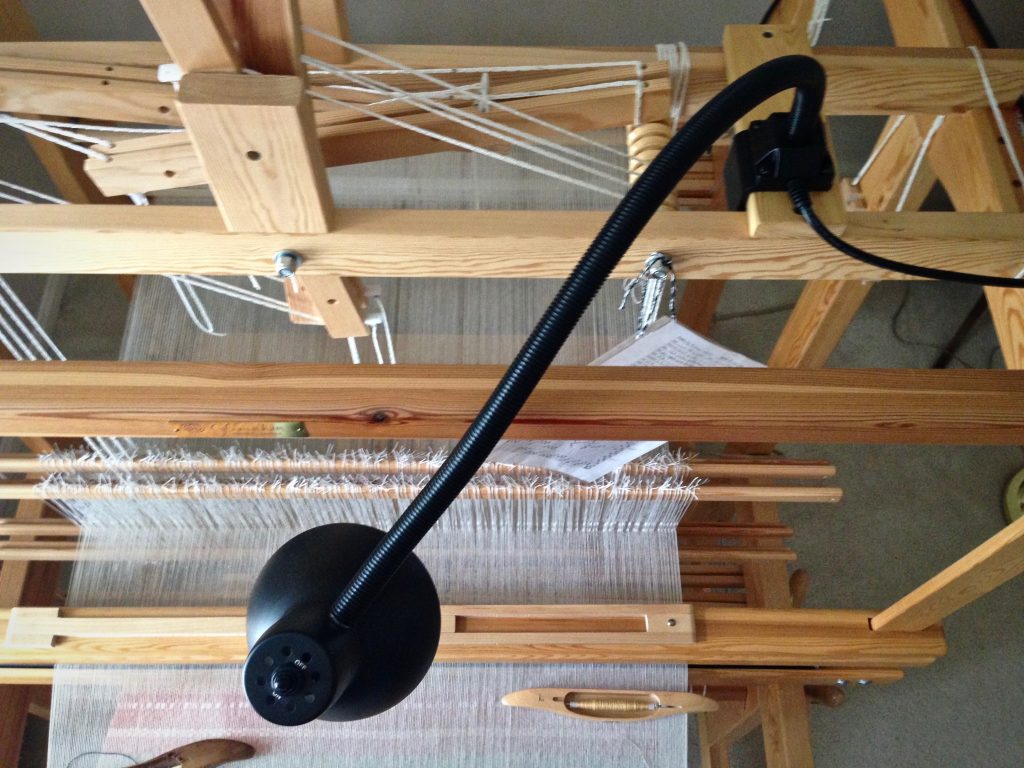
Snake arm gives flexibility for directing the light onto the weaving surface, or over the area of work; e.g., threading, sleying the reed, etc.
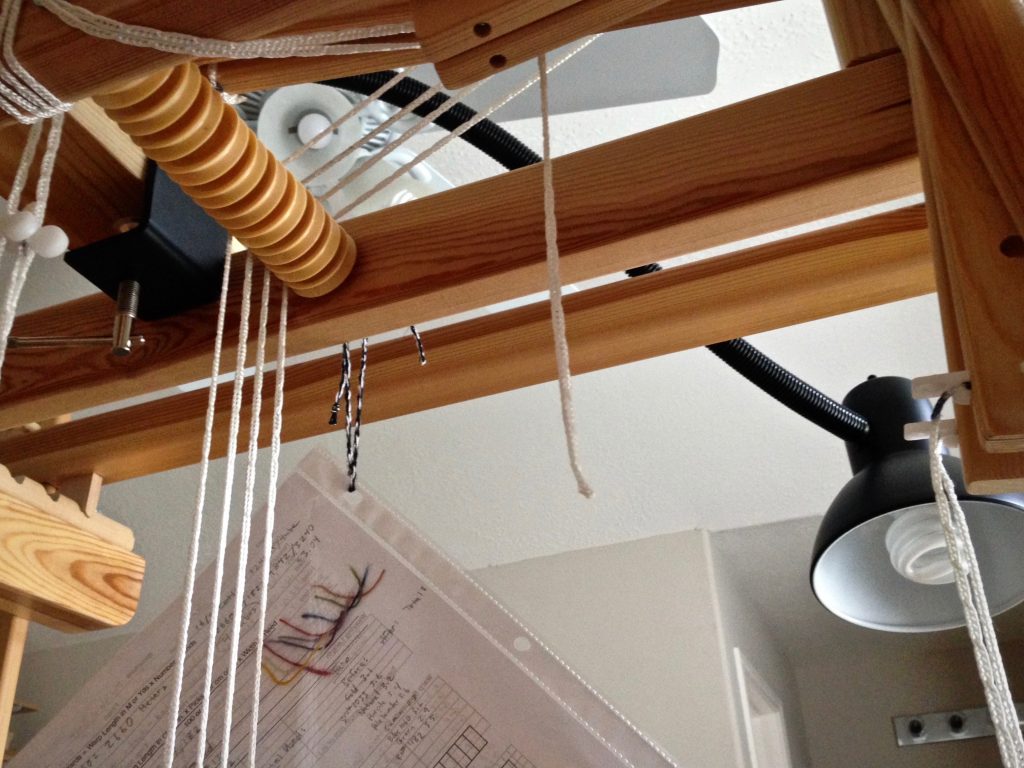
Loom lamp is clamped onto a mounting on the countermarch frame.
Lamp is clamped onto the mounting. Project notes hang for easy referral while weaving. The back of the sheet shows yarn snippets used in the project.


  • Plug lamp cord into extension cord; plug extension cord into outlet
Loom light shines on monksbelt weaving.
Simple on/off switch controls the lamp. Monksbelt picks are easier to count with the new loom light turned on.


  • Illuminate!
Monksbelt on the Glimakra Standard loom. Well lit.
Lamp cord runs along the frame of the loom and down to the floor, where an extension cord continues to a wall outlet.


May the work of your hands be illuminated.

Wishing you the best,
Karen

Tools Day: Loom Cart

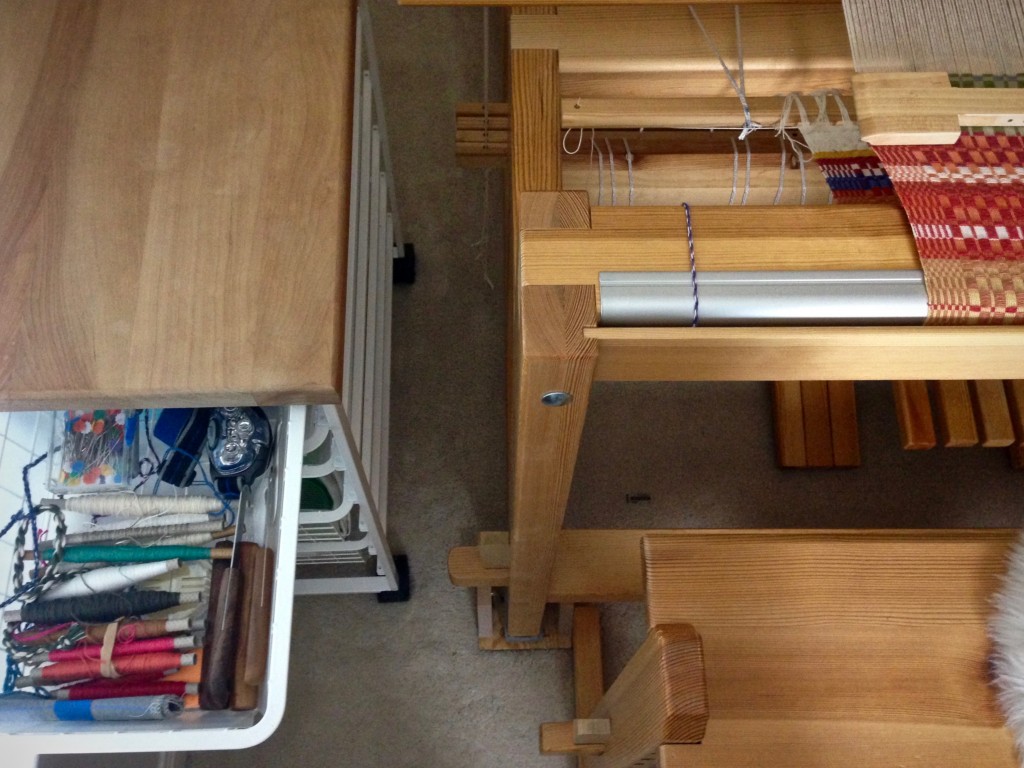
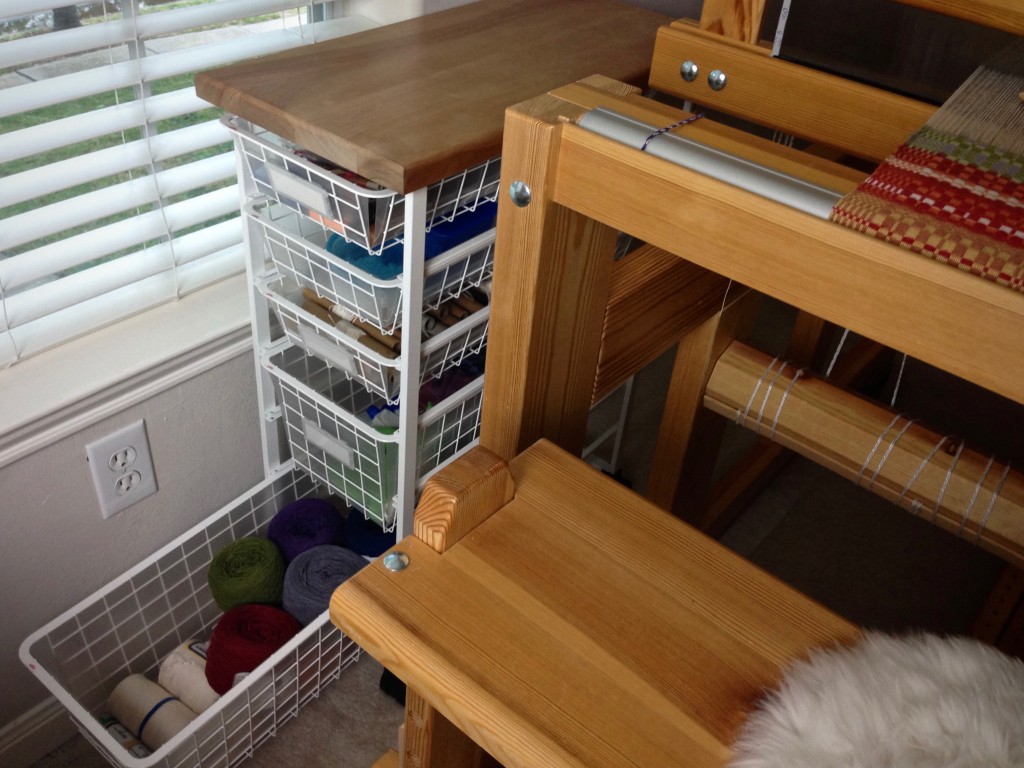
Having a cart beside my loom is the next best thing to a loom-side assistant! A turquoise utility cart from IKEA sits beside my Glimåkra Ideal. An Elfa drawer system on casters is right beside the Glimåkra Standard, and keeps oft-used tools within arm’s reach.

The IKEA cart (Råskog Utility Cart) serves as a holding space for any project on the Ideal. Since this loom is not in the room where I keep my weaving supplies, it helps to have a rolling cart that holds items as needed. The three tiers hold tools and supplies for dressing the loom, like sley hook, extra Texsolv heddles, and treadle cords. While weaving, I keep extra shuttles and small tools on the top tier. All the weft thread or yarn for the project goes on the second or third tier. When I weave rag rugs, fabric strips that are sorted by design and/or color are piled up on the three tiers.

IKEA utility cart as loom-side assistant.
IKEA utility cart holds thread and wound quills while I try out weft colors on a new warp.

The Elfa cart enhances efficiency at the big loom. It houses frequently-used essentials, especially small tools and supplies needed to dress the loom. It is near my work table where I wind quills, so yarn for the current project goes in the deep bottom drawer. The woodblock top adds a nice touch that compliments the wood of my Swedish loom.

Elfa drawer system with casters for loom-side assistant.
Too many leftover quills from projects sit in the top drawer of the loom cart. Sley hooks, flat head pins, headlamp, pencils, tape, and other small tools and gadgets are in this top drawer.
Elfa drawer system as loom cart. Organized!
Second drawer has anchor pins and arrow pegs for Texsolv cord, box of choke ties, box of long treadle cords, box of short treadle cords. I found the little boxes at IKEA.
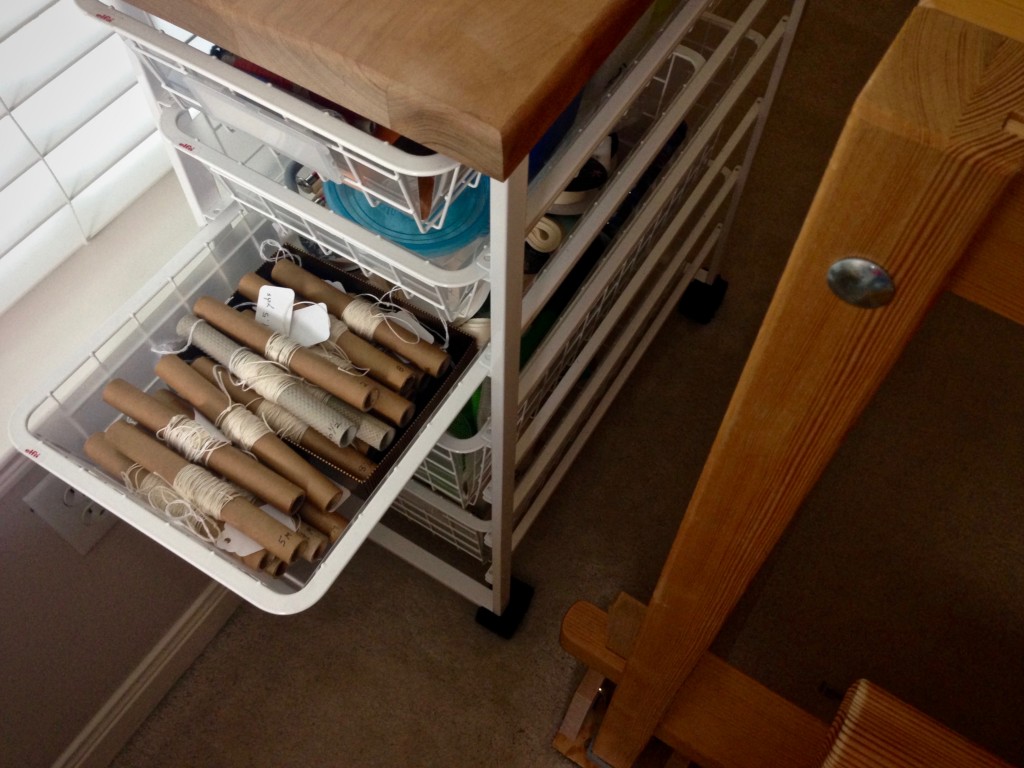
Loom room organization. Guide strings wrapped on empty tubes.
Guide strings for measuring warp are wrapped on empty thread tubes. This drawer also holds rolls of twill ribbon used for measuring weaving length at the loom.
Organization at the loom. Elfa cart solution.
Yarn in the bottom drawer is only a half step away from the winding station. All the cotton and wool weft for the current project is in this drawer, making it easy to grab what I need for winding more quills.

May your loom-side assistant serve you well.

Happy Weaving,
Karen

Quiet Friday: Warping Back to Front with Confidence

“Put on many short warps.” This was the best piece of advice I received as a new weaver! Repeated practice of the back-to-front warping steps accelerated my confidence at the loom. If I can get it on the loom, surely I can weave it, right? When you are comfortable dressing the loom, you start feeling like a “real” handweaver. And before you know it, you are planning, designing, and weaving. And having the time of your life!

Tips for Preparing the Warp for Beaming

  • Wind the warp with two (or more) threads, separated by your fingers to keep them from twisting. This virtually eliminates tangles during the warping process.
  • Wind multiple bouts, when needed. The rule of thumb I use is to stay under 200 ends or 10 inches. Smaller bouts equalize the tension across the width of the warp.
  • Tie tight choke ties about every yard or meter along the warp before chaining it. This keeps the warp ends from shifting.
  • Keep the warp under constant, even tension. Threads can get into trouble if you let them relax.

Warping Back to Front

1 Lay warp chains across the breast beam, and through the beater, with the lease cross of each warp chain on the other side of the beater.
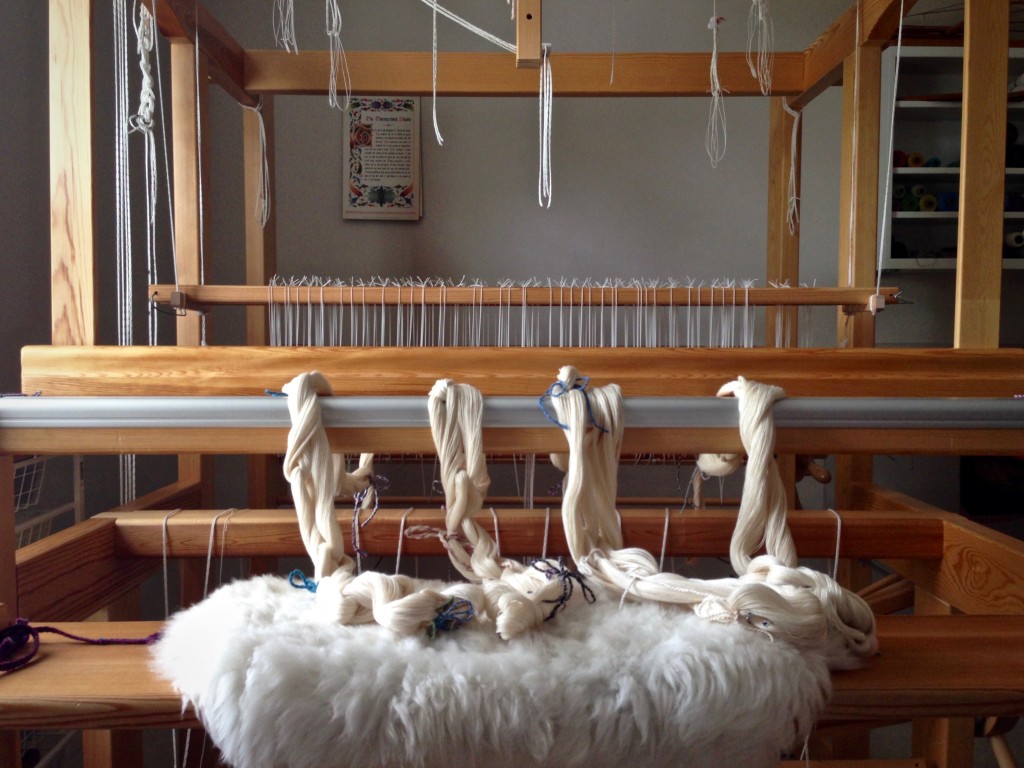
Warp chains ready for warping the loom back to front.

2 Raise the shafts out of the way, and place support sticks over the beater and the back beam to hold the lease sticks and the pre-sley reed. Thread the lease sticks through the cross of each chain. Lease sticks in the picture are being tied together.
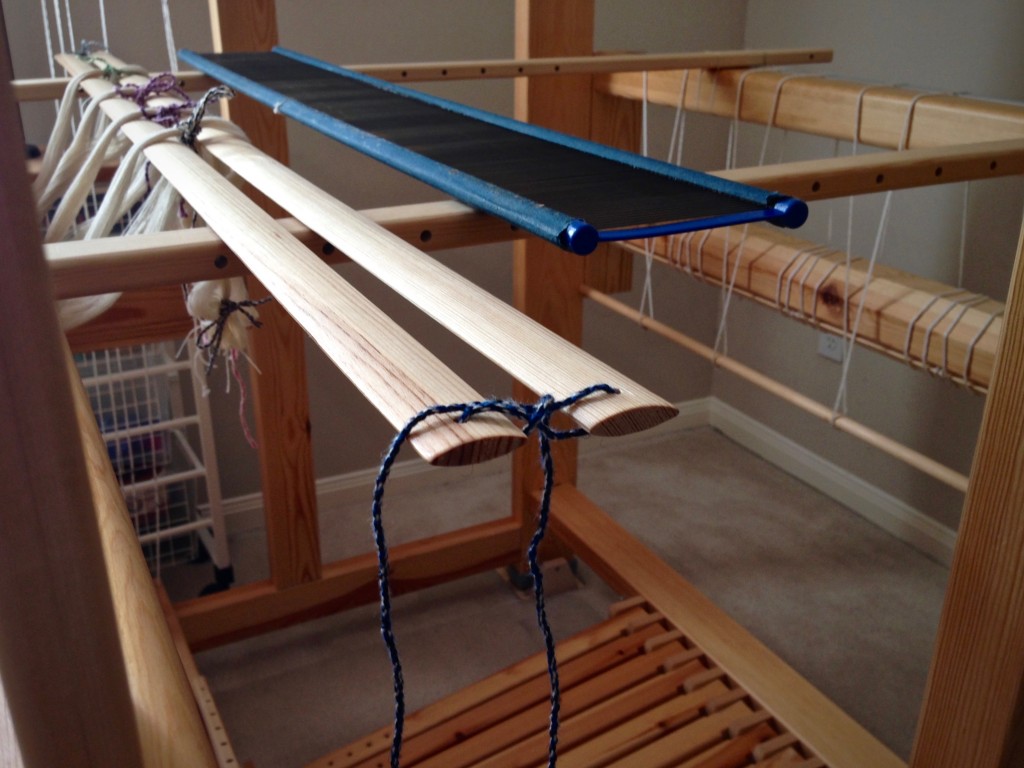
Tying lease sticks during warping process. B2F warping explained.

3 Use tape measure and reed hook to mark the starting dent for pre-sleying the reed.
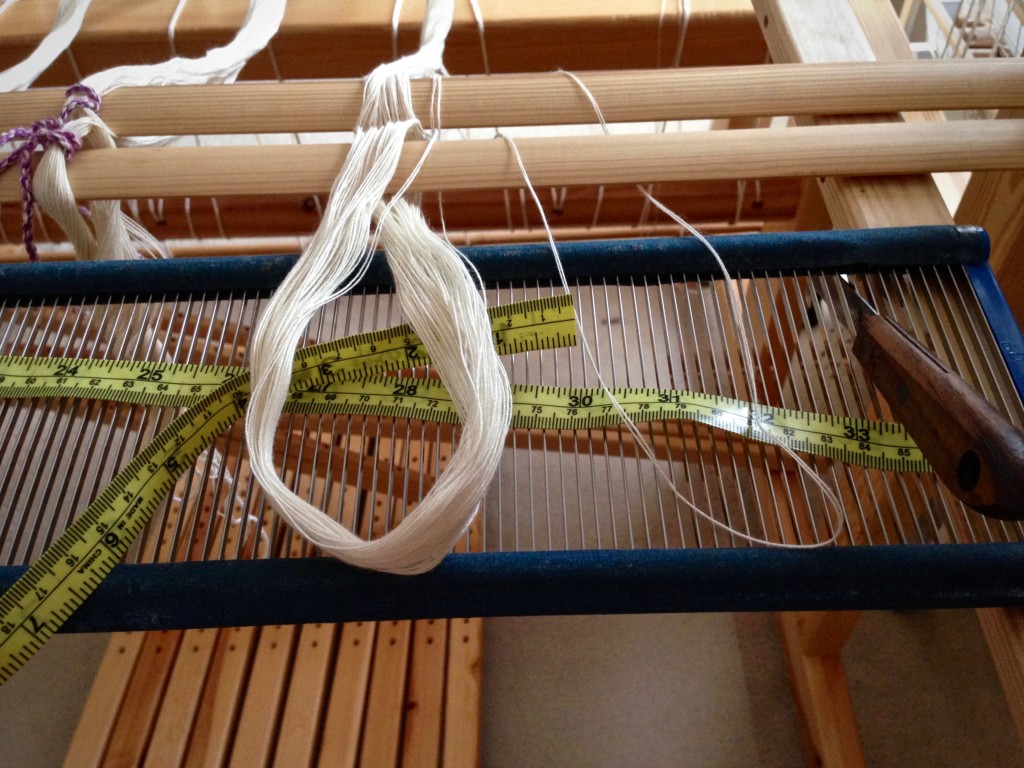
Pre-sleying the reed in back to front warping.

4 Divide warp into sections corresponding to the cords on the back tie-on bar. Insert the tie-on bar through the loops that form at the end of the warp.
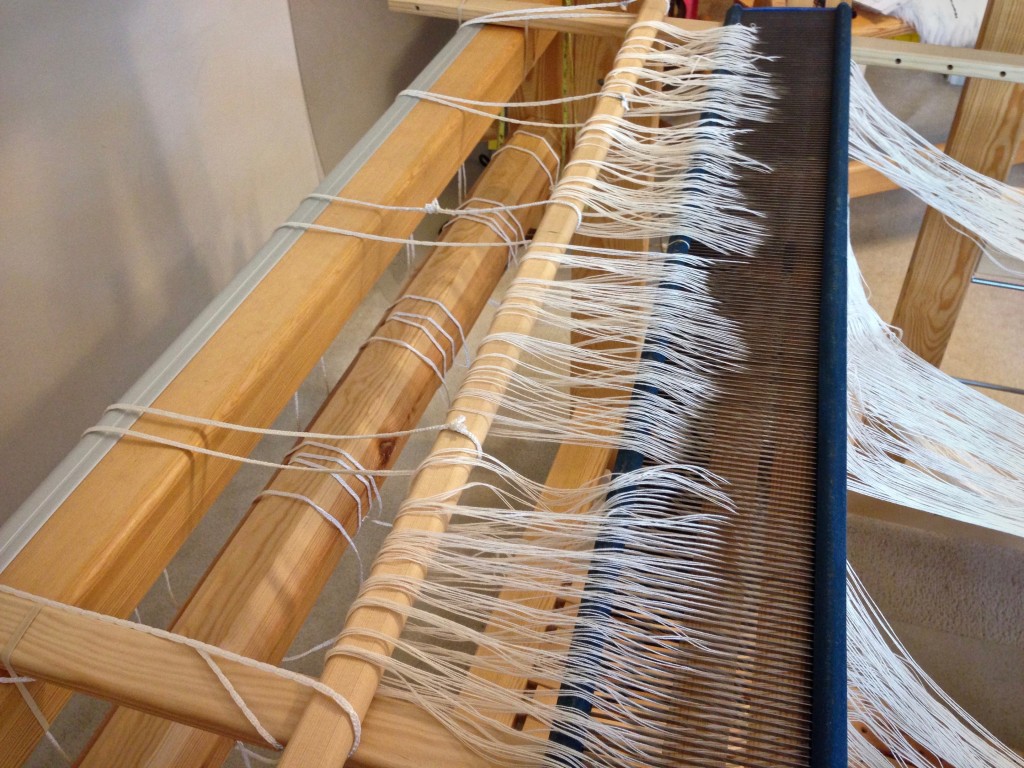
Insert tie-on bar while warping back to front.

5 Install the warping trapeze at the front of the loom, or use another method to extend the warp and weight it. Texsolv cord is connected to the end of each warp chain to extend the length. (This is a 3.5 meter warp–not long enough to go over the trapeze cross bar.) Weights are suspended from the texsolv cords with S-hooks.
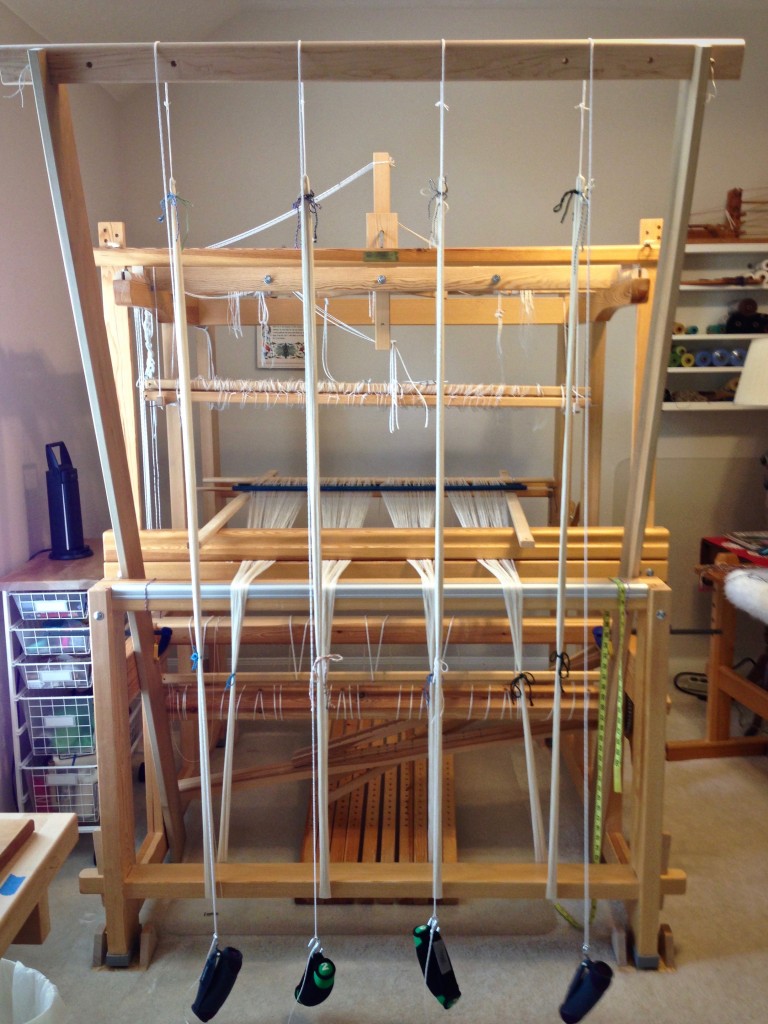
Adjusting the warp on the warping trapeze.

6 Transfer the lease sticks from in front of the reed to behind the reed. This is a gutsy way of transferring lease sticks. (Please don’t try this method unless you read about it first in Becky Ashenden’s book, noted below.)
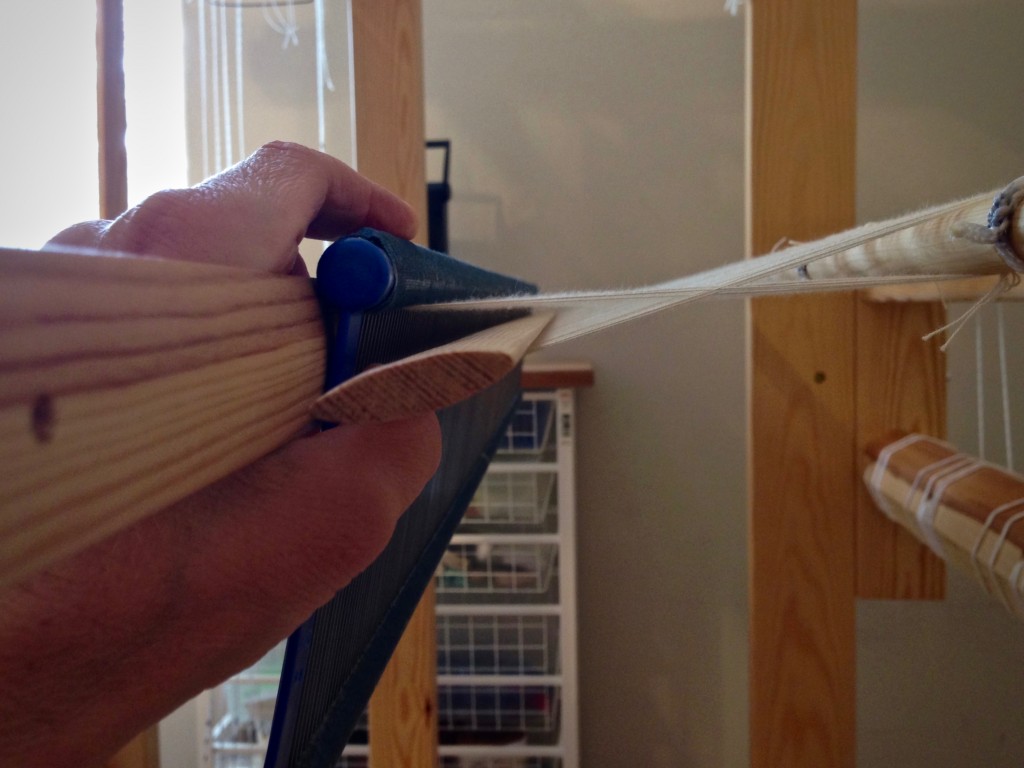
Transferring lease sticks like this takes guts!

7 Straighten out each warp end from the reed to the back tie-on bar.
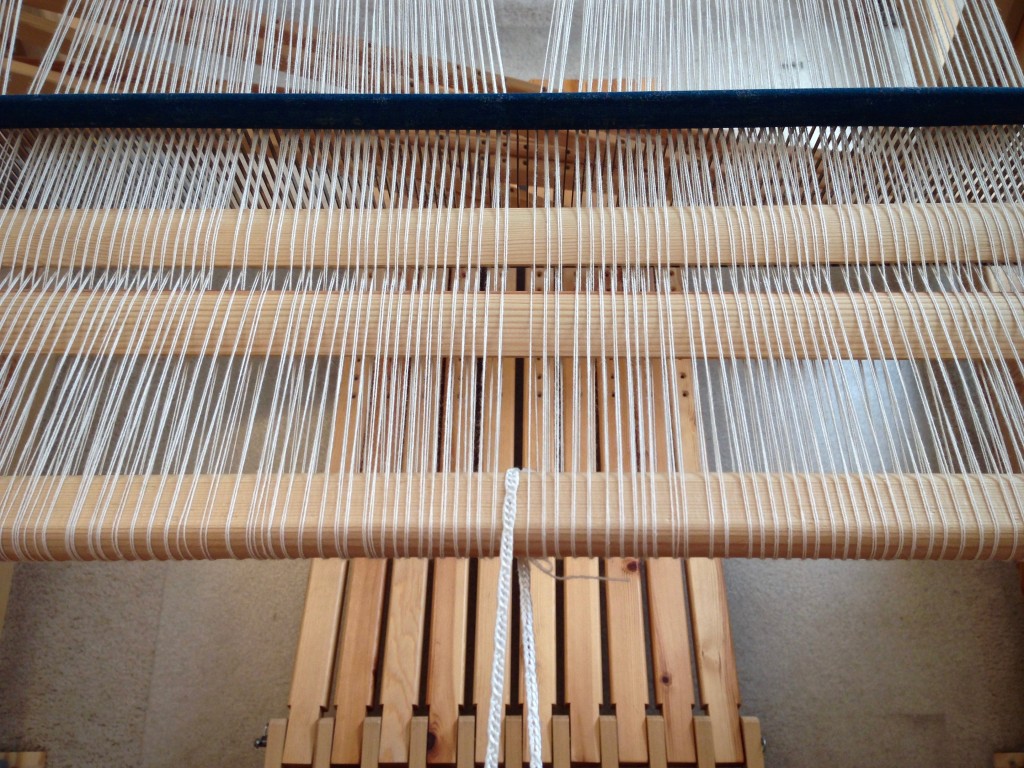
Winding on a new warp. Back to front warping pics.

8 Place the reed in the beater. Center the reed in the beater.
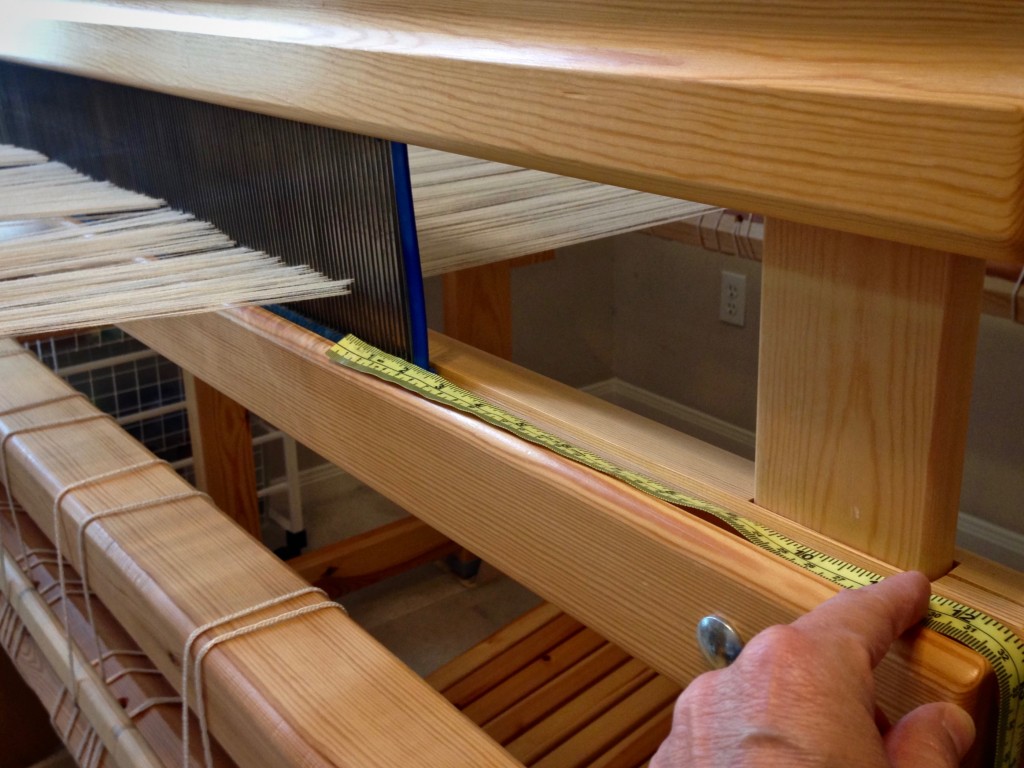
Placing the reed in the beater.

9 Remove choke ties between the beater and the trapeze cross bar, but do not remove choke ties from the very end of the warp. Starting at the reed, separate each warp bout in the middle.
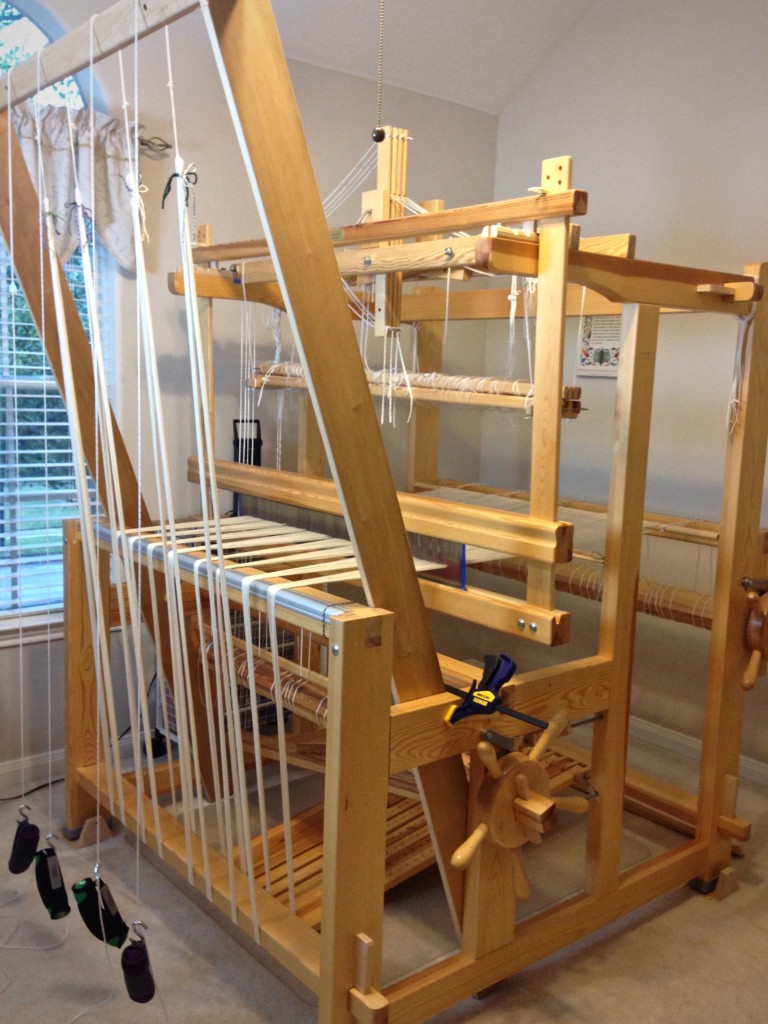
Warping trapeze in use for warping Glimakra Standard.

10 After sliding lease sticks toward the reed, wind the warp onto the beam. Place a warping slat on each flat side of the warp beam for one revolution. (Octagonal beam uses eight sticks.) Advance weight at the front of the loom as needed. After two additional revolutions of the beam, add warping slats for one revolution again. Continue this pattern as beaming progresses.
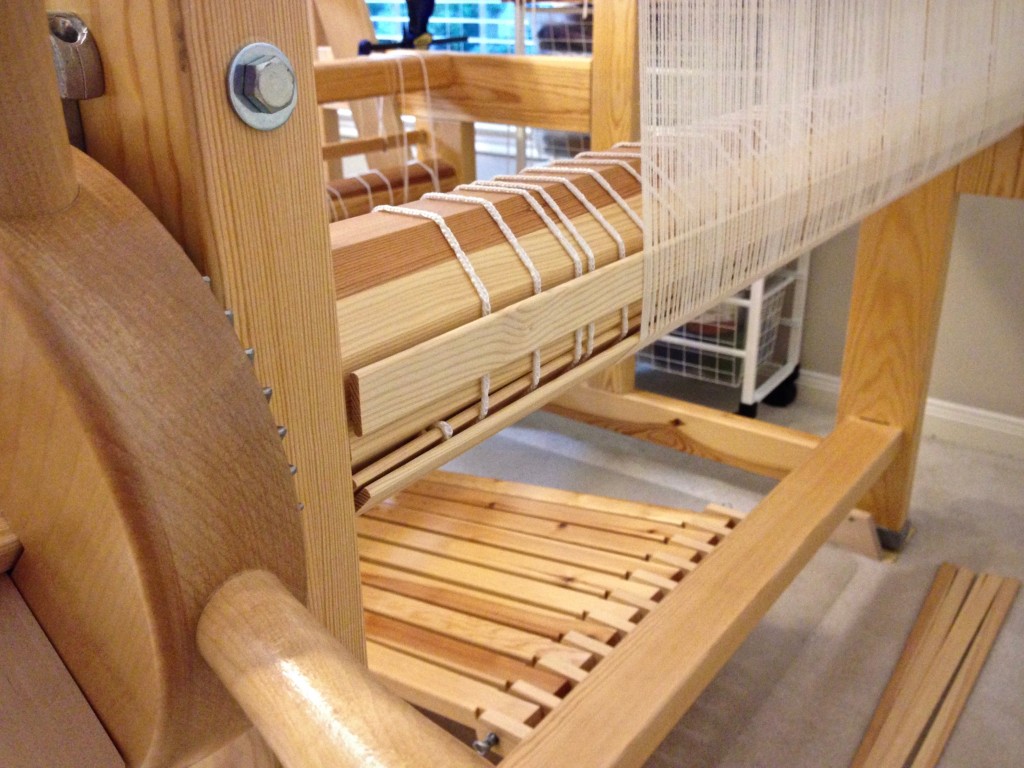
Warping slats during beaming. Beaming tutorial.

11 Tie beater back to allow a little more warp to be wound on.
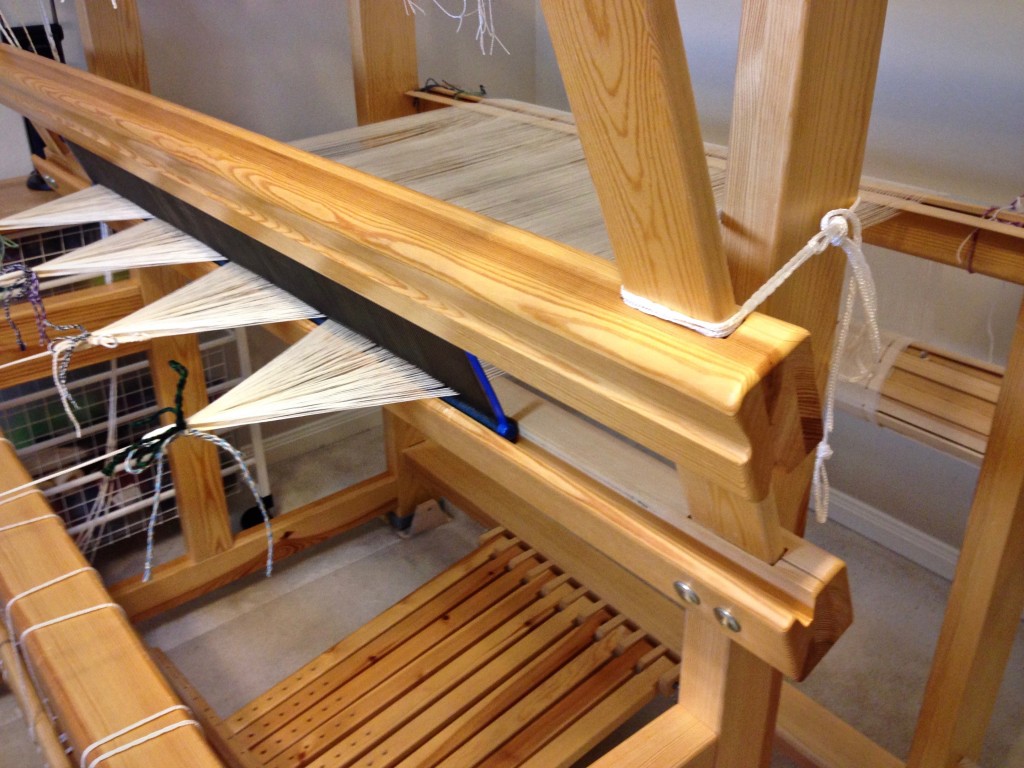
Finishing up beaming the warp.

12 Tie lease sticks to the back beam. Do not forget this step!
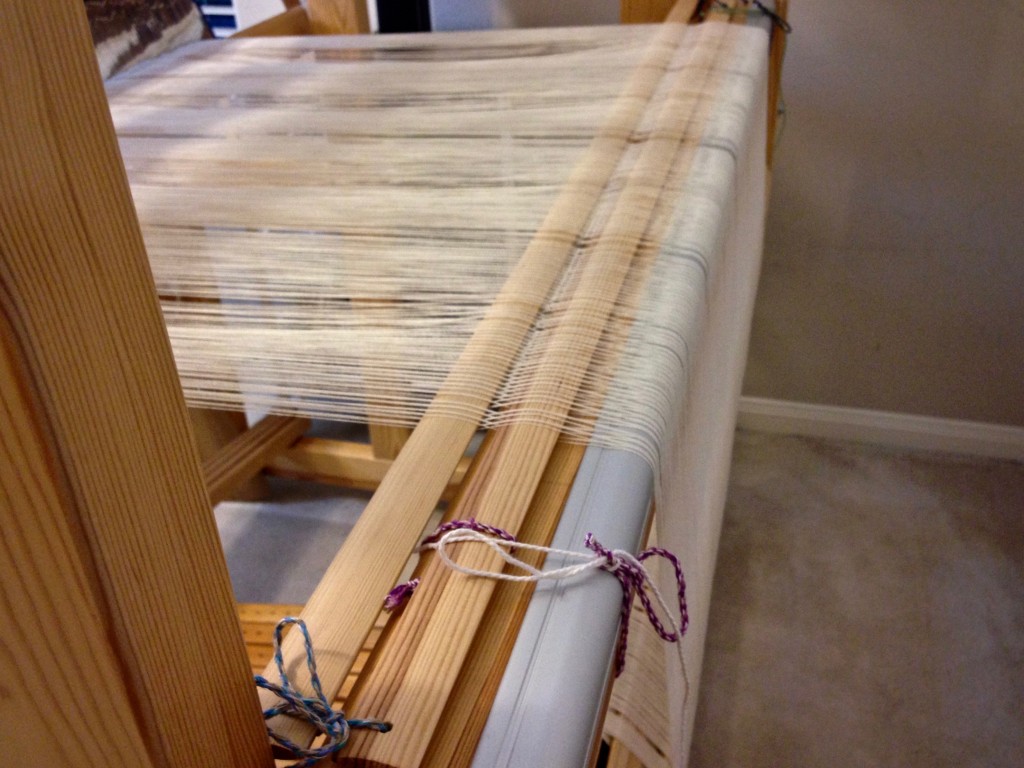
Tie the lease sticks to the back beam before cutting the ends.

If you missed step 12, do it now, or you will be yelling for help as you try to hold the cut ends with one hand while trying to keep the lease sticks from slipping out with your other hand. I speak from experience.

13 Loop the end of the warp chain around your hand, and then remove the remaining choke ties. Cut the loop.
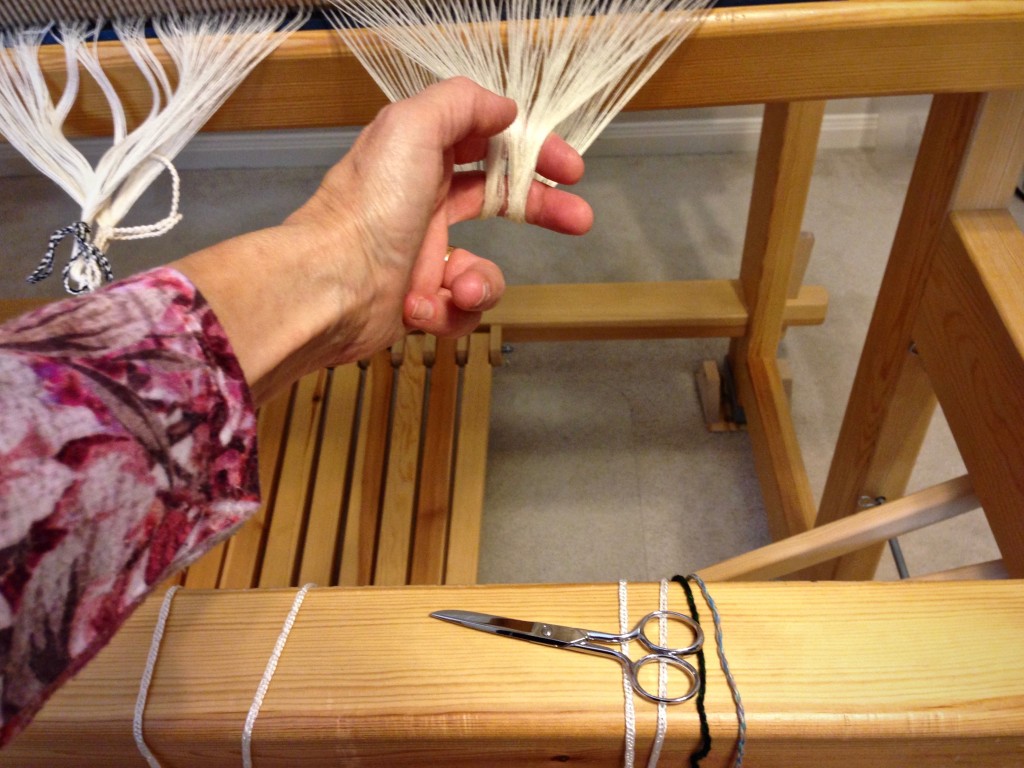
Cutting ends after beaming the warp.

14 Remove a group of warp threads from the reed and tie in a loose slipknot. Continue across the warp. Remove the reed.
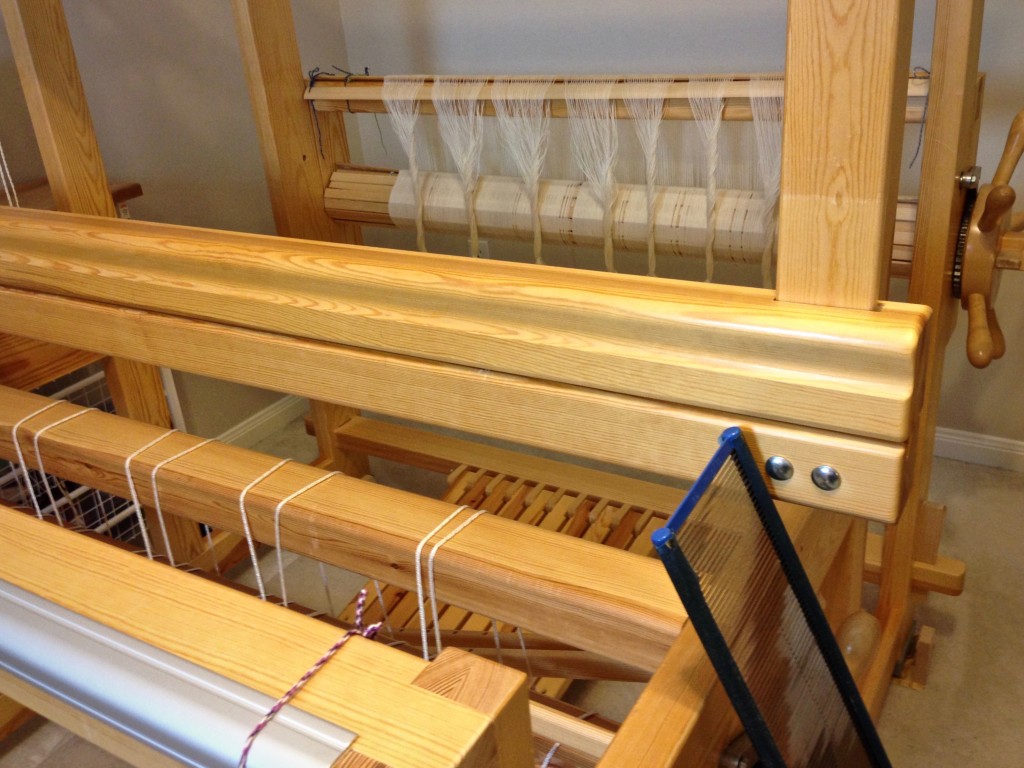
New warp of 16/2 cotton for monksbelt on weft rep.

15 Use the threading draft to count the warp ends into threading groups, tying each grouping with a slipknot.
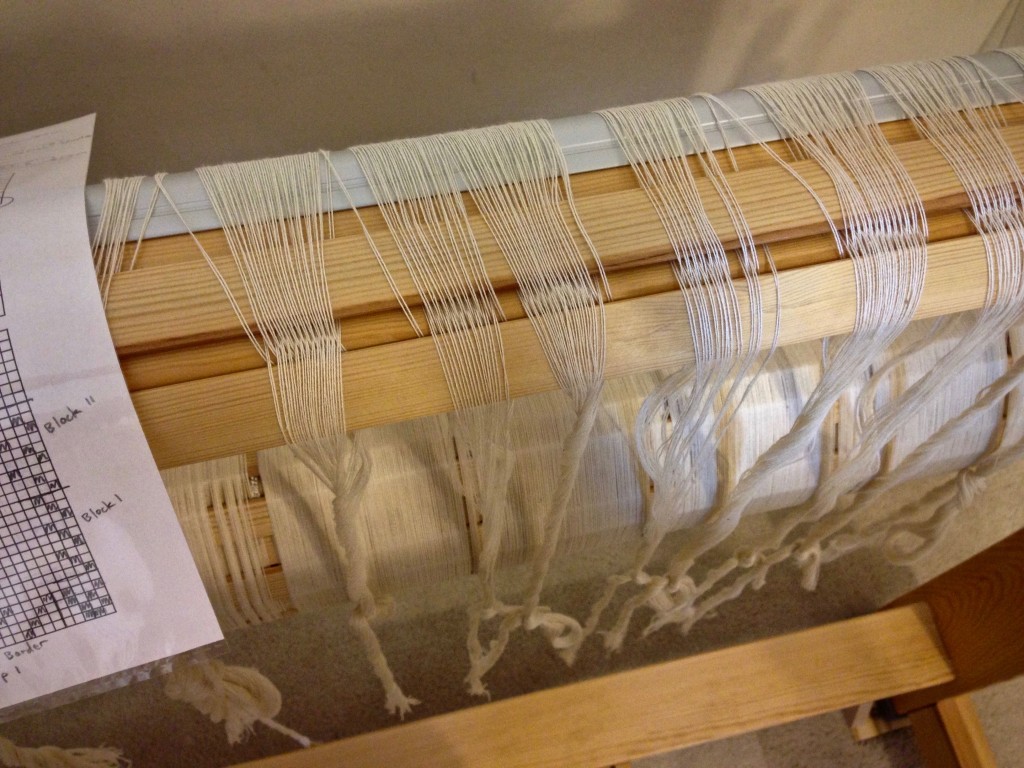
Grouping warp ends before threading.

16 Adjust the loom for threading. For this Glimåkra Standard loom, I move the countermarch assembly to the back of the loom, put the bench in the “playhouse,” and lower the shafts for threading.
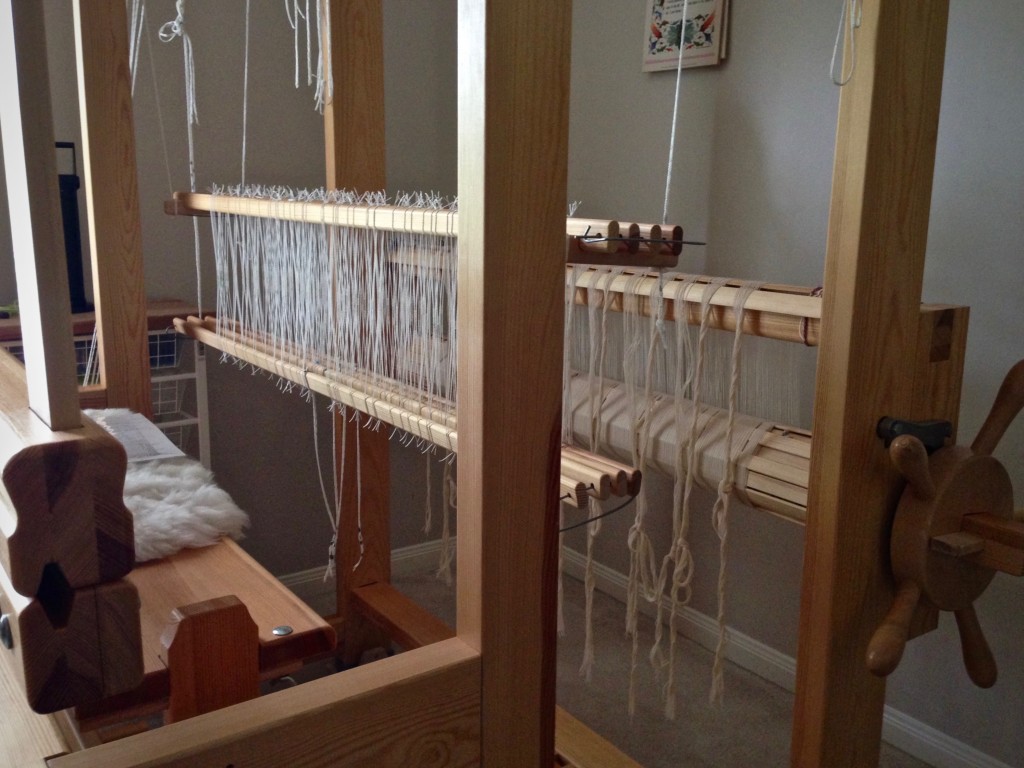
Bench "in" the loom for threading. Glimakra Standard.

For more thorough instructions about warping your loom, please consult these excellent resources:

  • Dress Your Loom The Vävstuga Way, A Bench-Side Photo Guide, by Becky Ashenden
  • Learning to Warp Your Loom, by Joanne Hall
  • The Big Book of Weaving, by Laila Lundell

May you find yourself beaming, inside and out.

Resurrection blessings,
Karen