Tools Day: Countermarch Loom Pros and Con

When my long-held dream of weaving on a floor loom became a possibility, I started my journey with questions. What are the pros and cons of the different types of looms? After considerable research, a winner emerged—the Swedish countermarch loom!

Pros and Con of Countermarch Looms
(My experience is with Glimåkra. Other countermarch looms may differ.)

Pros

  • Weave anything. Rag rugs to lace-weight fabric.
  • Hanging beater. Swinging beater has momentum that enables a firm beat. No strain to shoulders, arms, or wrists. Asset for weaving rag rugs, and superb control for cloth with an open weave. Beater placement is adjustable, making it possible to weave longer before advancing the warp.
  • Rear-hinged treadles. Pressing treadles is effortless, no matter how many shafts. No strain on back, legs, knees, or ankles, even with robust weaving. Because treadles are close to each other, I press correct treadles with sock- or bare-footed ease…without having to watch my feet. Ample foot rest makes it easy to trade feet when using many treadles.
  • Clean shed. Stepping on a treadle raises and lowers shafts at the same time, so a great shed is not only possible, but usual.
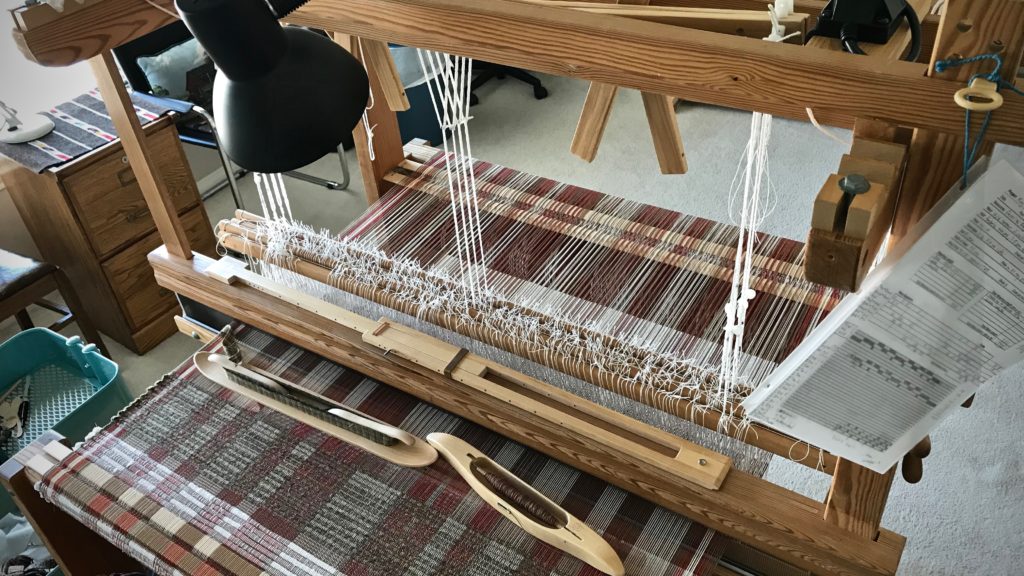
Horizontal countermarch. Info about CM looms.
Glimåkra Ideal with horizontal countermarch. The cords from the countermarch jacks at the top of the loom go straight down through the warp to the lower lamms. The lower lamms connected to treadles cause shafts to lift when a treadle is depressed.
  • Even warp tension. Because shafts are both raised and lowered, tension is equal on raised and lowered warp ends. Even warp tension is good for all types of weaving. This even tension makes a tight warp possible. Perfect for linen, and for rugs.
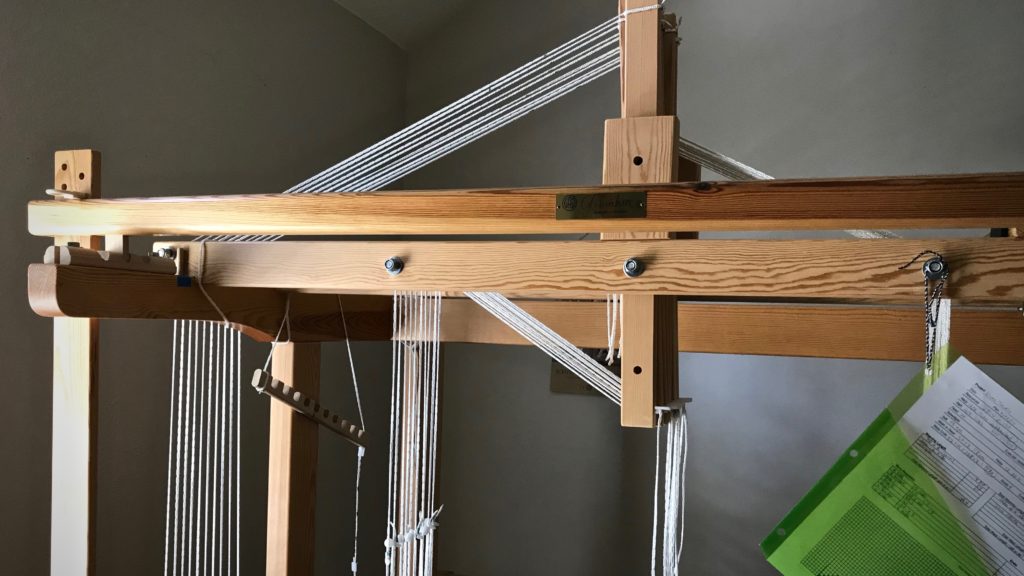
Vertical Countermarch Loom - info about CM
Gimåkra Standard loom with vertical countermarch. Cords from the countermarch jacks go over the side of the loom to the lower lamms below. The upper lamms (not pictured) attached to treadles cause shafts to sink when a treadle is depressed.
Threading ease of countermarch looms.
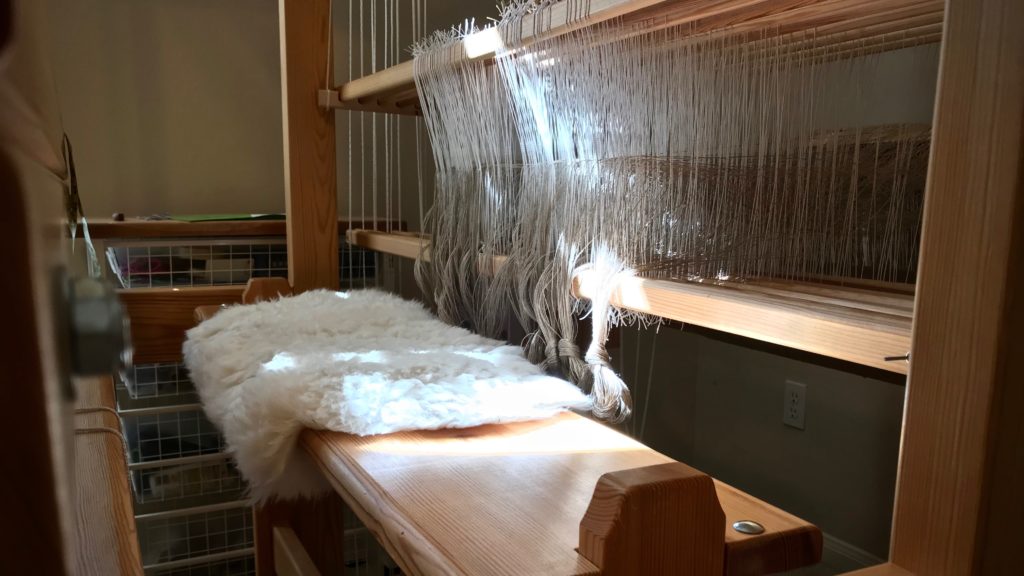
Bench sits in the loom for threading heddles. I call this my little playhouse.
  • Texsolv heddles. Heddles can be easily added or removed from shafts (shafts are also easily added or removed). Quiet. Easy to thread.
  • Perfect fit. A petite person like me can weave on a large loom (my Standard is 47”/120cm) as comfortably as someone with longer arms and legs. Able to sit in upright posture for weaving.
  • Wooden. The loom is primarily wood. Bonus if you appreciate natural beauty of wood. Held together with wooden wedges and a few bolts. No screws or wing nuts.
  • Scandinavian clarity. Because of the Swedish loom, I adopt Swedish weaving practices and have an interest in traditional Scandinavian textiles. The loom fits the style. Streamlined design, precision, systematic and logical processes, and beauty with function.

Con

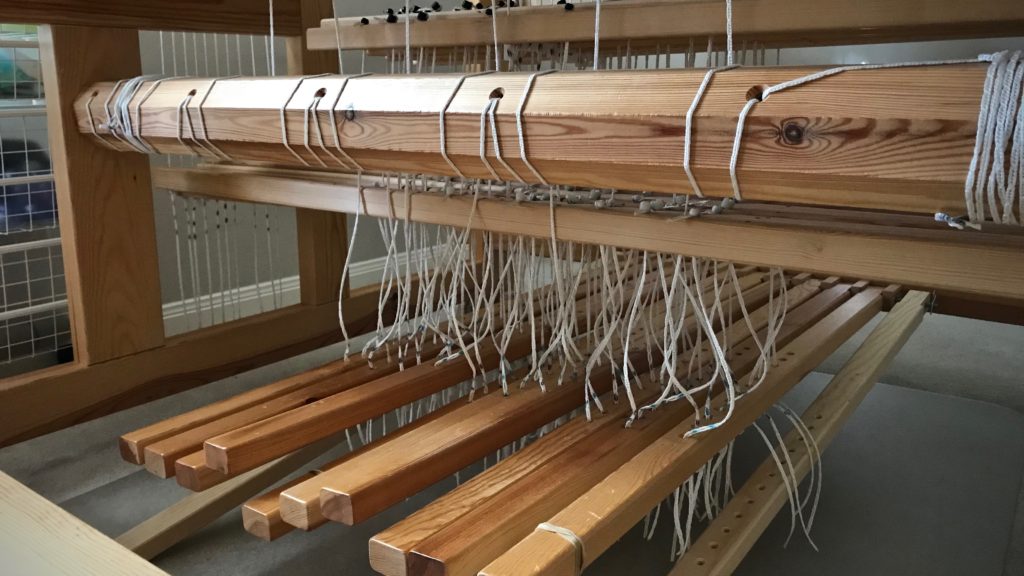
  • Treadle tie-ups. Shafts are connected to upper lamms and lower lamms. Treadle cords with a bead at one end are hung in the lamms. Lamms are then attached to treadles. Treadle tie-ups normally fall under the Pros category, because this is what enables the loom to have the clean shed it’s known for. But since I just finished tying up ten shafts to ten treadles (that’s 100 treadle cords), this is my least favorite part right now. 😉 (The weaving pleasure more than makes up for it, though.)
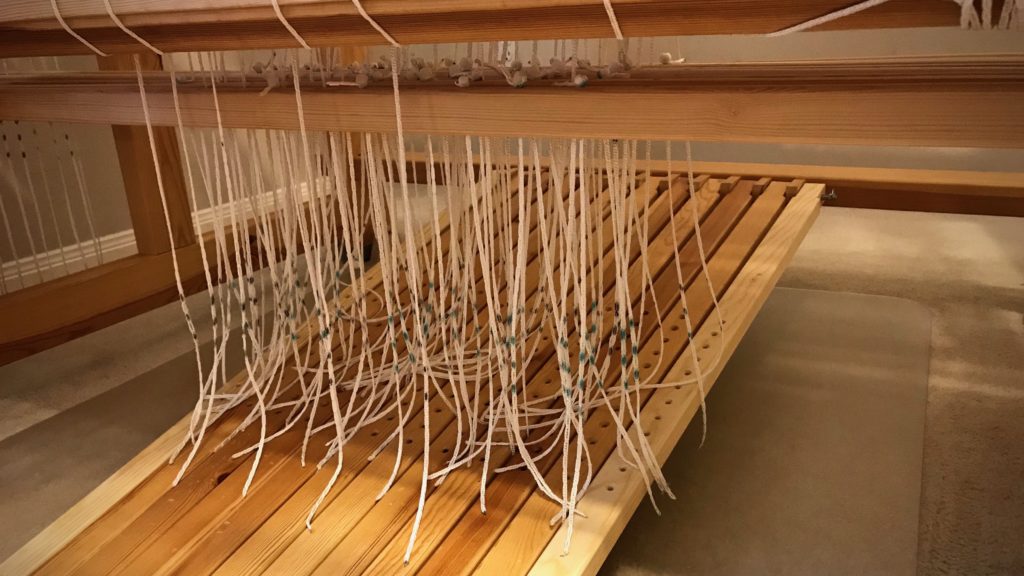
Countermarch treadle cords. Pros and cons.
One hundred treadle cords hang from upper and lower lamms. The only thing left is to attach all the cords to treadles. 😉
Treadle cords for 10 shafts! 5-shaft satin coming up!
Treadle cords are attached. Little anchor pins lock each cord into position under the treadle. After a few adjustments, the shed on each treadle is good. The loom is dressed! Five-shaft satin dräll coming up!

Conclusion:
When I weave on my Glimåkra Standard countermarch loom, I am soaring like an eagle. I’m sailing with the spinnaker up. I am a pipe organ maestro. I am dreaming while fully awake. This is everything I imagined weaving could be, only better.
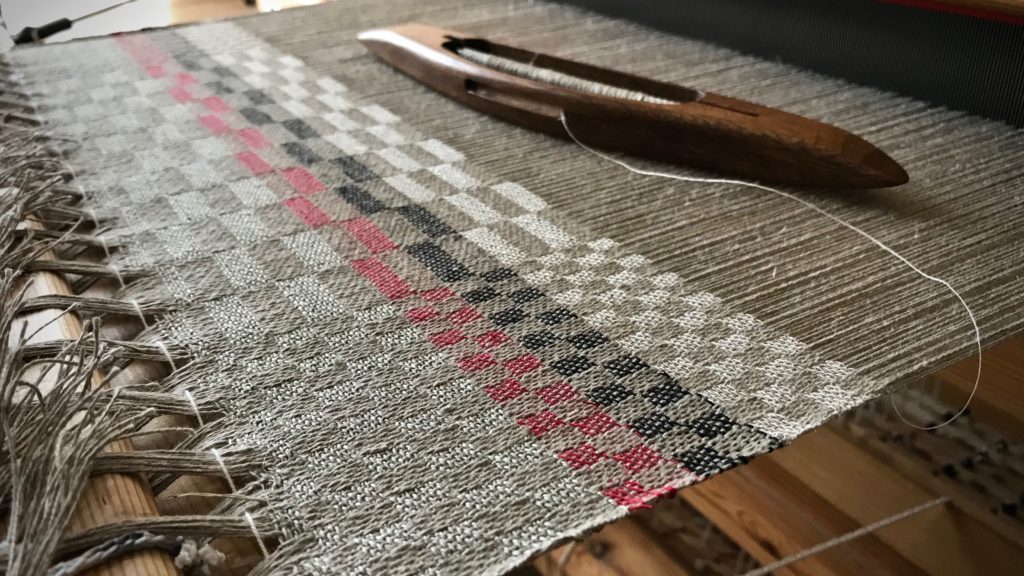
Countermarch looms - pros and con.
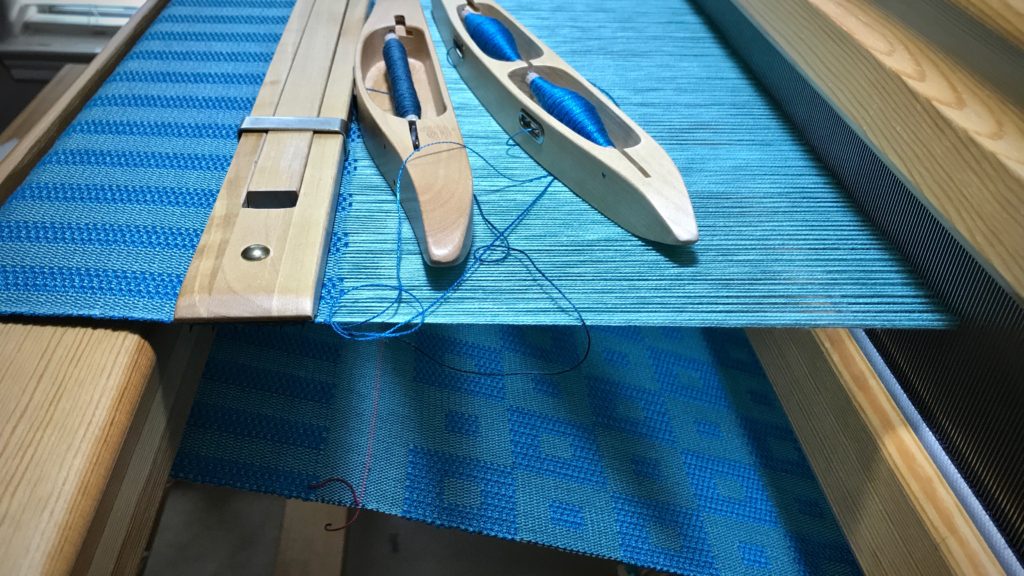
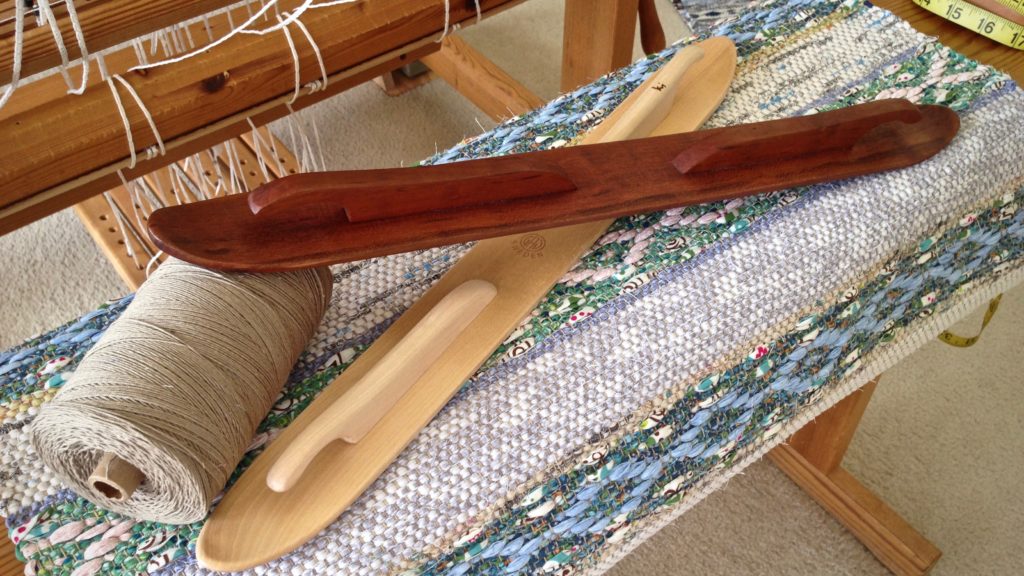
Testing weft options. Gorgeous handcrafted damask shuttle, Chechen wood, made by Moberg Tools. Five-shaft satin dräll–a weaver’s dream.

For more in-depth information about countermarch looms, comparisons of looms, and other fantastic resources, see articles written by Joanne Hall, found at Glimåkra USA.

May you live your dream.

Very Happy Weaving,
Karen

Quiet Friday: Serenity Towels

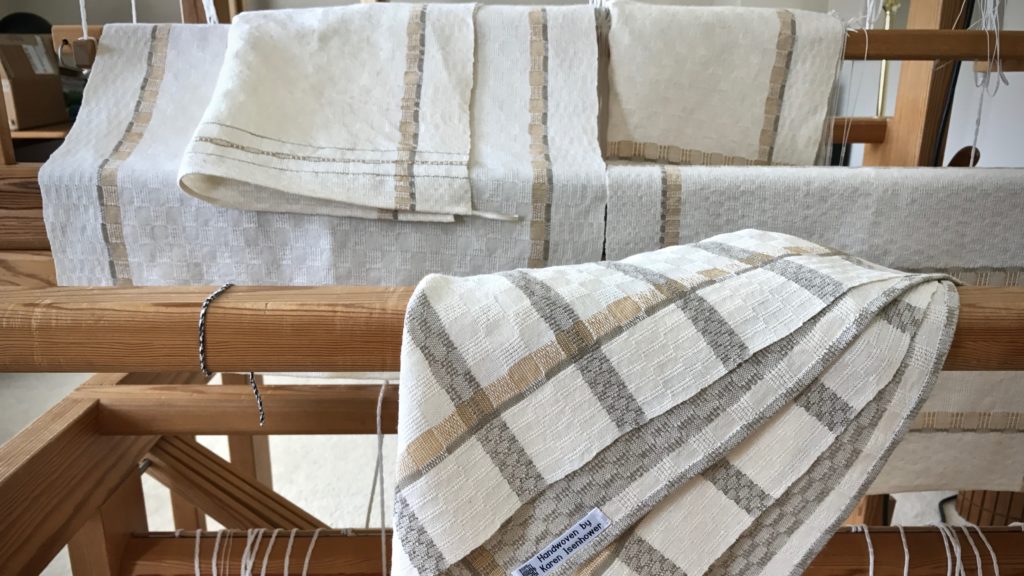
The neutral colors and the quiet elegance of these towels say “serenity.” What a pleasure to weave M’s and O’s. This was mostly single-shuttle weaving! Uncomplicated, luxurious, and serene. Five towels, plus one very long table runner that I made specifically for our dining room table. The fine 20/1 line linen weft increases the visual and tactile elegance for me.

M's and O's handwoven towels.
M’s and O’s towels.

I’m still amazed when I see the results that come from threads and a weaving loom. And thrilled that I get to be a part of that experience. Enjoy this short slide-show video of the process.

May serenity be woven into your days.

All the best,
Karen

Tools Day: Double-Bobbin Shuttle

The first time I wove fabric that required a doubled weft I did not use a double-bobbin shuttle. I didn’t own one. I used a regular boat shuttle and sent it across twice, going around the outer warp end. Those first thick and thin towels came out beautifully. So I know it can be done.

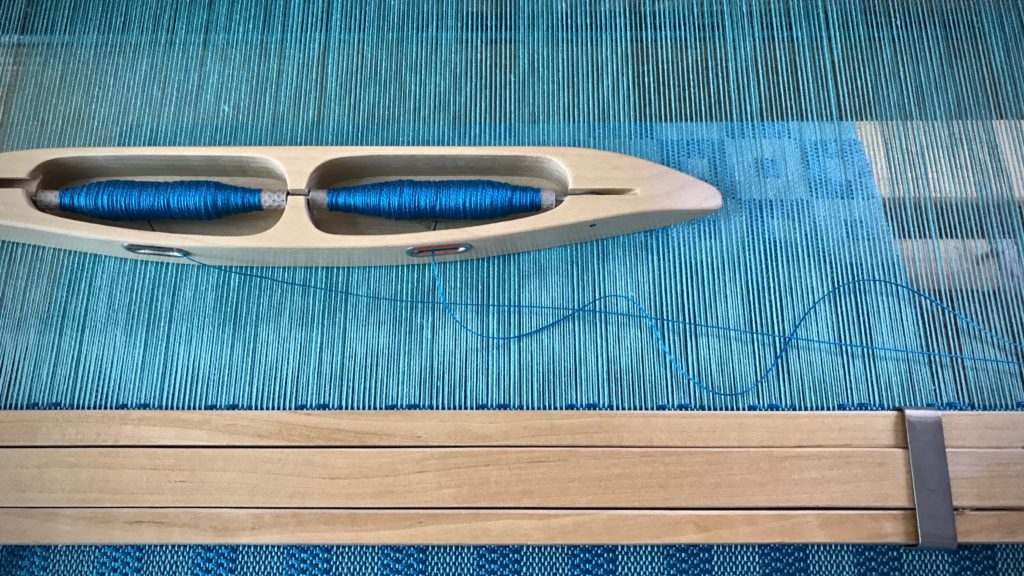
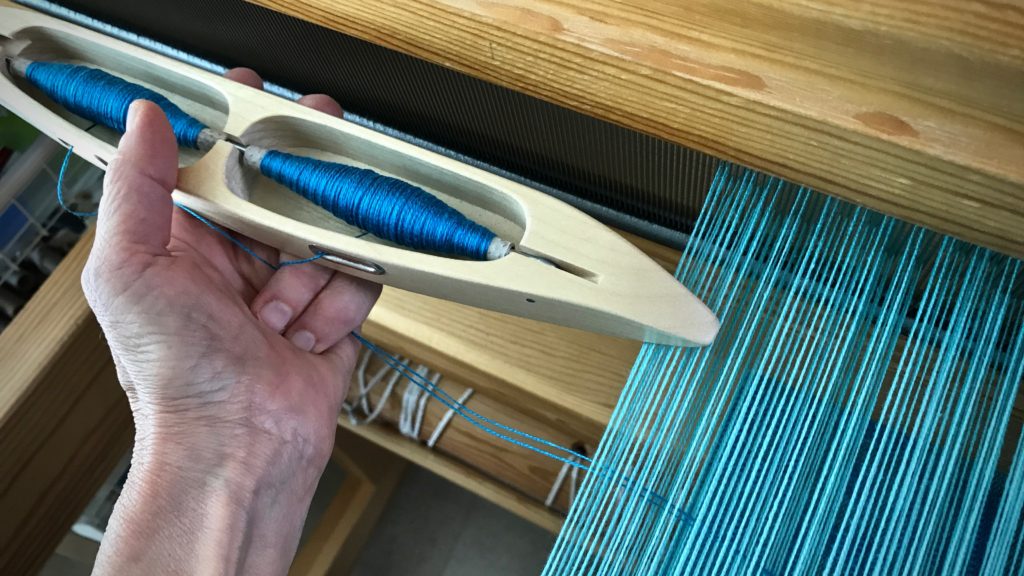
Weaving with a double-bobbin shuttle. Tips.
Square pattern peeks through from below. Double-bobbin shuttle carries the doubled tencel weft for this kuvikas fabric.

The first time I used a double-bobbin shuttle I wondered if it was worth it. It was awkward and clumsy in my hands. Since that rocky introduction a few years ago, I have woven many meters with my double-bobbin shuttles. They have become cherished tools and efficient accomplices to some of my favorite fabric-making endeavors!

Tips for Weaving with a Double-Bobbin Shuttle (and a short video demonstration)

  • Practice. Make sure you allow extra warp length for practicing. You will probably need it at first. Have fun and laugh, and refrain from throwing the shuttle across the room.
  • Winding Equal Bobbins. Wind the first quill. Lay it close to the bobbin winder where you can see it easily. As you wind the second quill, attempt to match it in size to the first one. (Winding two quills with equal amounts of thread is no small challenge.)
Winding equal quills for a double-bobbin shuttle.
Visibility of the first wound quill is key for judging how much thread to wind on the second quill.
Winding quills for double bobbin shuttles.
Knowing when to stop is the trick. The ideal is for both quills to become empty at the same time. This only happens in your dreams. But sometimes you can get pretty close.
  • Sending the Shuttle. Sending the double-bobbin shuttle through the shed is the same as sending a regular boat shuttle across. The best release is done with a flick of the forefinger so the shuttle speeds across. Then, the doubled weft naturally snugs the selvedge, and the two threads are neatly aligned across the shed. With a slower, more timid shuttle send-off, the quills unwind unequally.
Weaving with a double-bobbin shuttle.
Holding the shuttle palm up, the forefinger launches the shuttle to glide quickly through the shed.
Results of timid shuttle send-off.
Timid or sluggish shuttle send-off lays unequal lengths of threads in the shed.
How to tips for weaving with a double-bobbin shuttle.
Deliberate send-off of the shuttle helps the threads to lay across the shed in equal lengths.
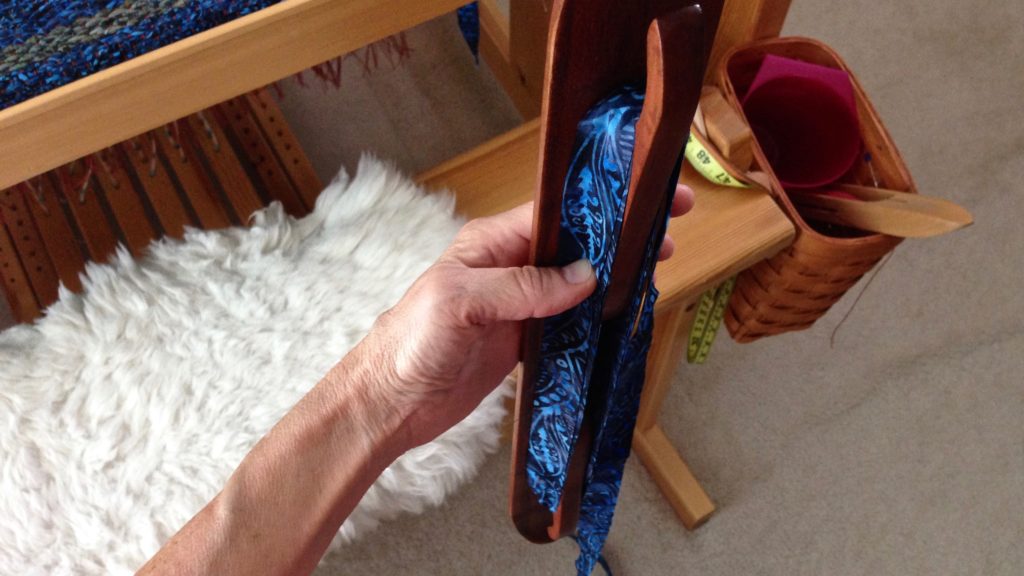
  • Receiving the Shuttle. Receiving the shuttle can be the awkward and clumsy part at first. Especially if you are trying to practice a quicker send-off. I catch the shuttle as for any boat shuttle, palm up. And then, if needed, I fold my two bottom fingers around the threads, guiding them to fall equally across the shed.
Using a double-bobbin shuttle. Tips.
After catching the shuttle, I gently close my fingers around the two threads, as needed, to guide them to fall evenly across the warp.
  • Weave. Enjoy the process.
Shuttle shadows. Karen Isenhower
Shuttle shadows.

May your practice produce perfection. (Well, maybe not perfection, but at least improvement.)

Happy weaving,
Karen

Tools Day: Loom Bench Baskets

Some accessories are so useful they simply become an extension of the loom. That’s how my loom bench baskets are for me. I automatically place an emptied shuttle there without a second thought. It’s where extra shuttles go that are waiting their turn, or extra quills that have been wound, or a few fabric strips that are set aside for one section. For anything I need to drop or pick up–the baskets are always there.

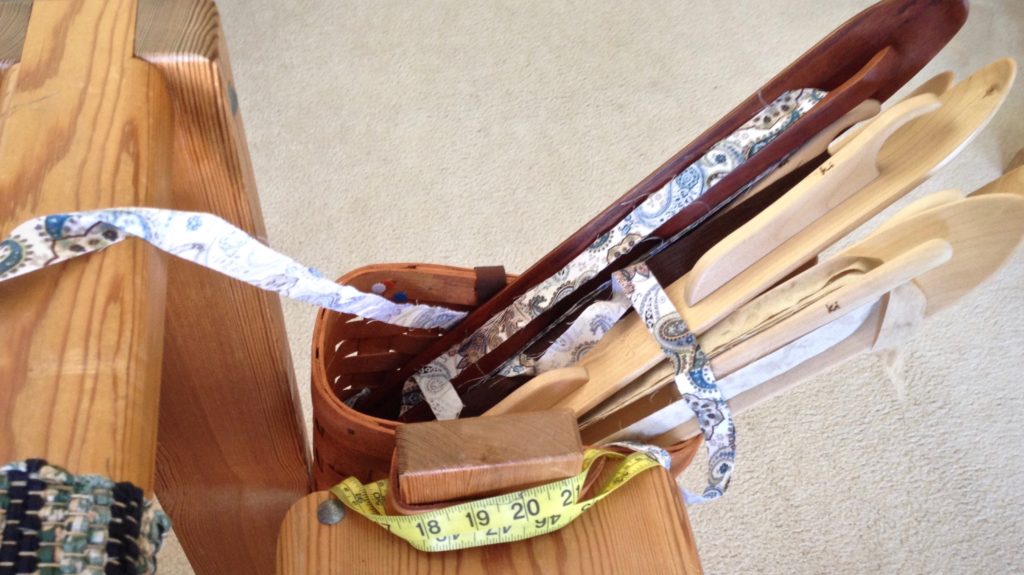
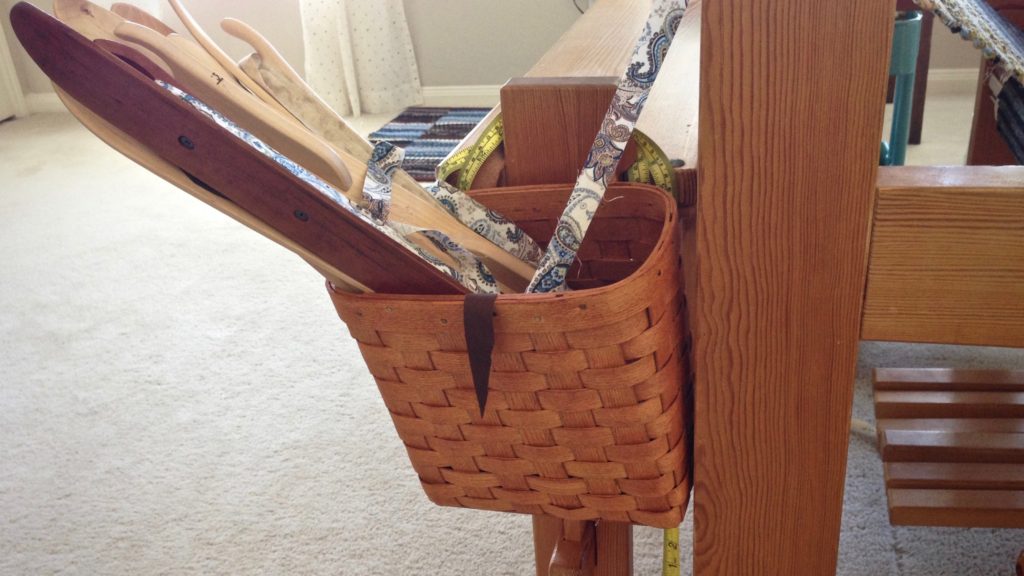
Loom bench basket holds the ski shuttles for a rosepath rag rug.
Deep basket on the bench at the baby loom (Glimakra Ideal) easily holds my ski shuttles for this rosepath rag rug.
Loom bench basket holds the 5 ski shuttles for this rosepath rag rug.
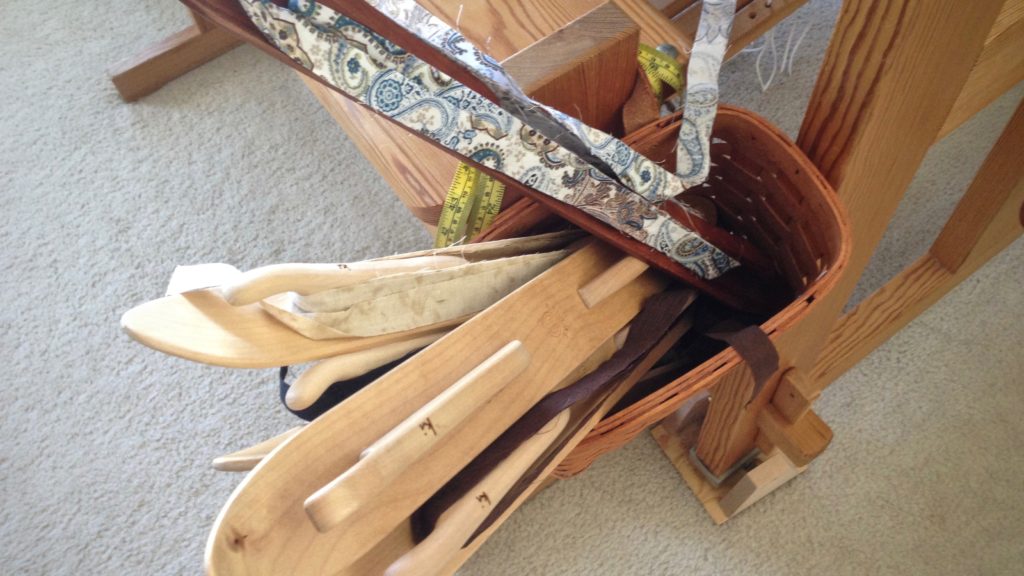
Leather strap on the basket slips over the end post of my loom bench, right by the always-handy measuring tape.
Deep basket, perfect for holding shuttles.
Basket made for this purpose, from Vavstuga.
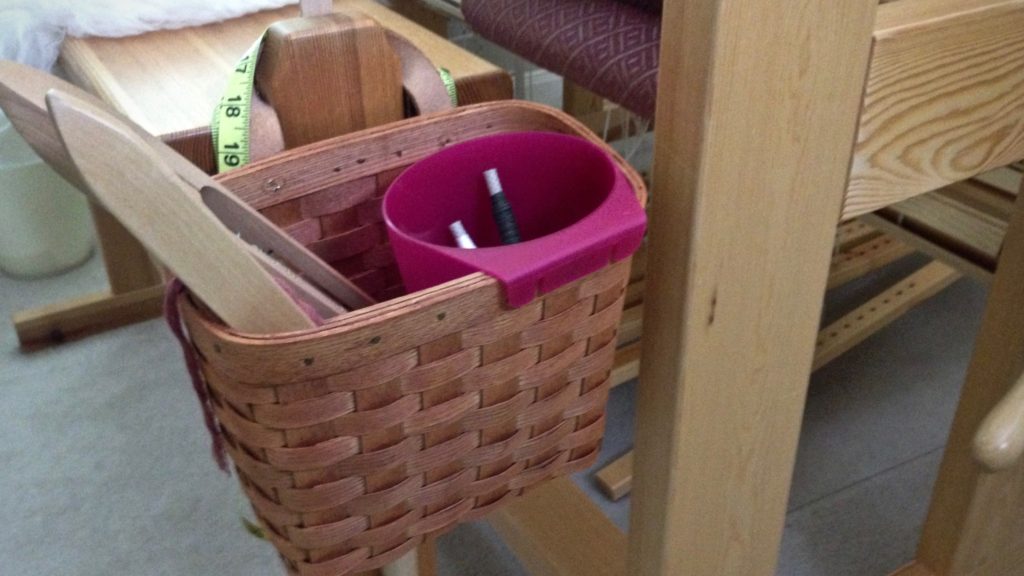
Loom bench basket with Ikea container inserted to hold quills.
Basket at the big loom (Glimakra Standard) holds a small hanging cup I found at Ikea that is useful for holding small things, like filled and emptied quills.
Loom basket is tied to the bench with an old inkle-woven band.
Old basket I’ve had for years is put to use on the other side of the big loom bench. I tied it on with a wool inkle band I wove many years ago.

May you have what you need at your fingertips.

Happy weaving,
Karen

Tools Day: Ski Shuttles

Patterned rag rugs always use at least two shuttles. I often have four or five filled ski shuttles at the loom. A low profile ski shuttle is an excellent choice for weaving patterned rag rugs. Why?

  1. It fits pleasantly in the hand.
  2. It holds a large amount of fabric weft without being bulky.
  3. The wide base glides smoothly across the warp.
  4. The low profile fits easily through the narrower shed of a tight warp that is common for rug weaving. (Beware of ski shuttles that are taller, and may not fit as easily through a tight shed.)
  5. It is slender enough to send it out of the shed to go over or under outer warp ends, when needed.
Basket of ski shuttles ready for the next rag rug!
Basket of ski shuttles that are ready for the next rosepath rag rug!

My ski shuttles are made by Glimåkra, except for the beautiful cherry wood ski shuttle my husband made for me.

Hand crafted cherry wood ski shuttle, and rosepath rag rug just off the loom.
Newly completed rosepath rag rug is ready to be hemmed. Cherry wood ski shuttle is hand crafted by Steve Isenhower.


Ski Shuttle Dimensions (Glimåkra Single Ski)
Height: 1 1/4″ (3 cm)
Width: 2″ (5 cm)
Length: 19 1/2″ (50 cm) and 25″ (64 cm)

Why I like low profile ski shuttles for weaving rag rugs.
Weaving width determines which ski shuttle length to use. The shorter shuttle works with any weaving width. The longer shuttle works only for wider weaving widths (30″ or more) and for spaces with plenty of clearance at the sides of the loom. The low profile of the shuttles is seen in relation to the height of the reed in the beater.


How to Wind a Ski Shuttle

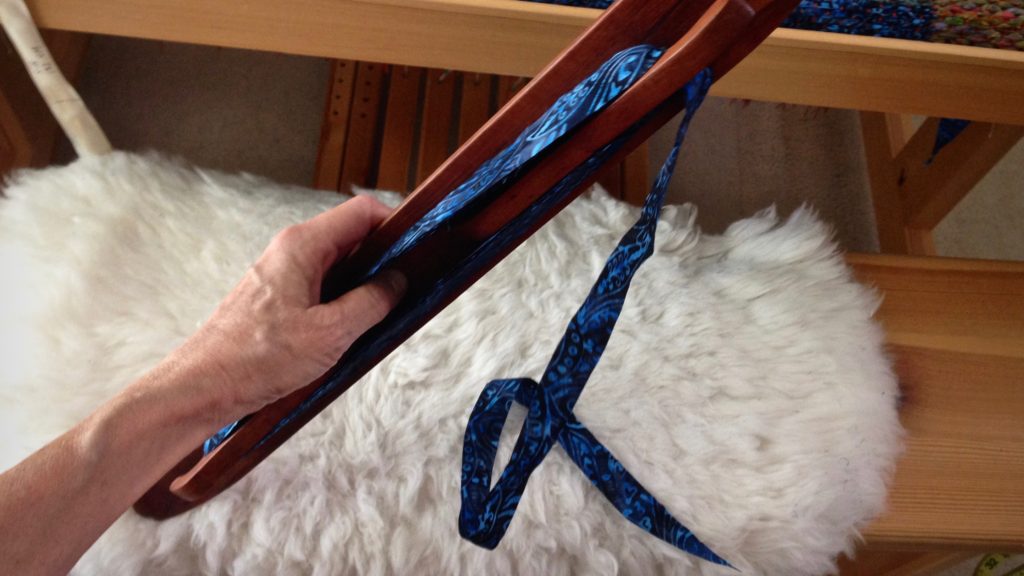
1 — Hold ski shuttle vertically. Start with one tapered end of the fabric strip coming across the top of the ski shuttle. Hold the tapered end with your thumb while you start winding the fabric strip onto the shuttle with your other hand.

How to wind a ski shuttle.


2 — Continue wrapping the fabric strip around the length of the shuttle, straightening the fabric as you go.

How to wind a ski shuttle for rag rugs.


3 — Finish winding when you have a tail of fabric remaining.

How to wind a ski shuttle.

May your shuttles be a good fit for your hands.

Happy Weaving,
Karen