Meet and Separate Strategies

Pictorial tapestry on the floor loom requires a good working knowledge of basic tapestry techniques. Doing small tapestries on a tapestry frame loom, line by line, is one thing I do to hone these basic skills. I have finally reached the happy realizaton that I am no longer frustrated by meet and separate.
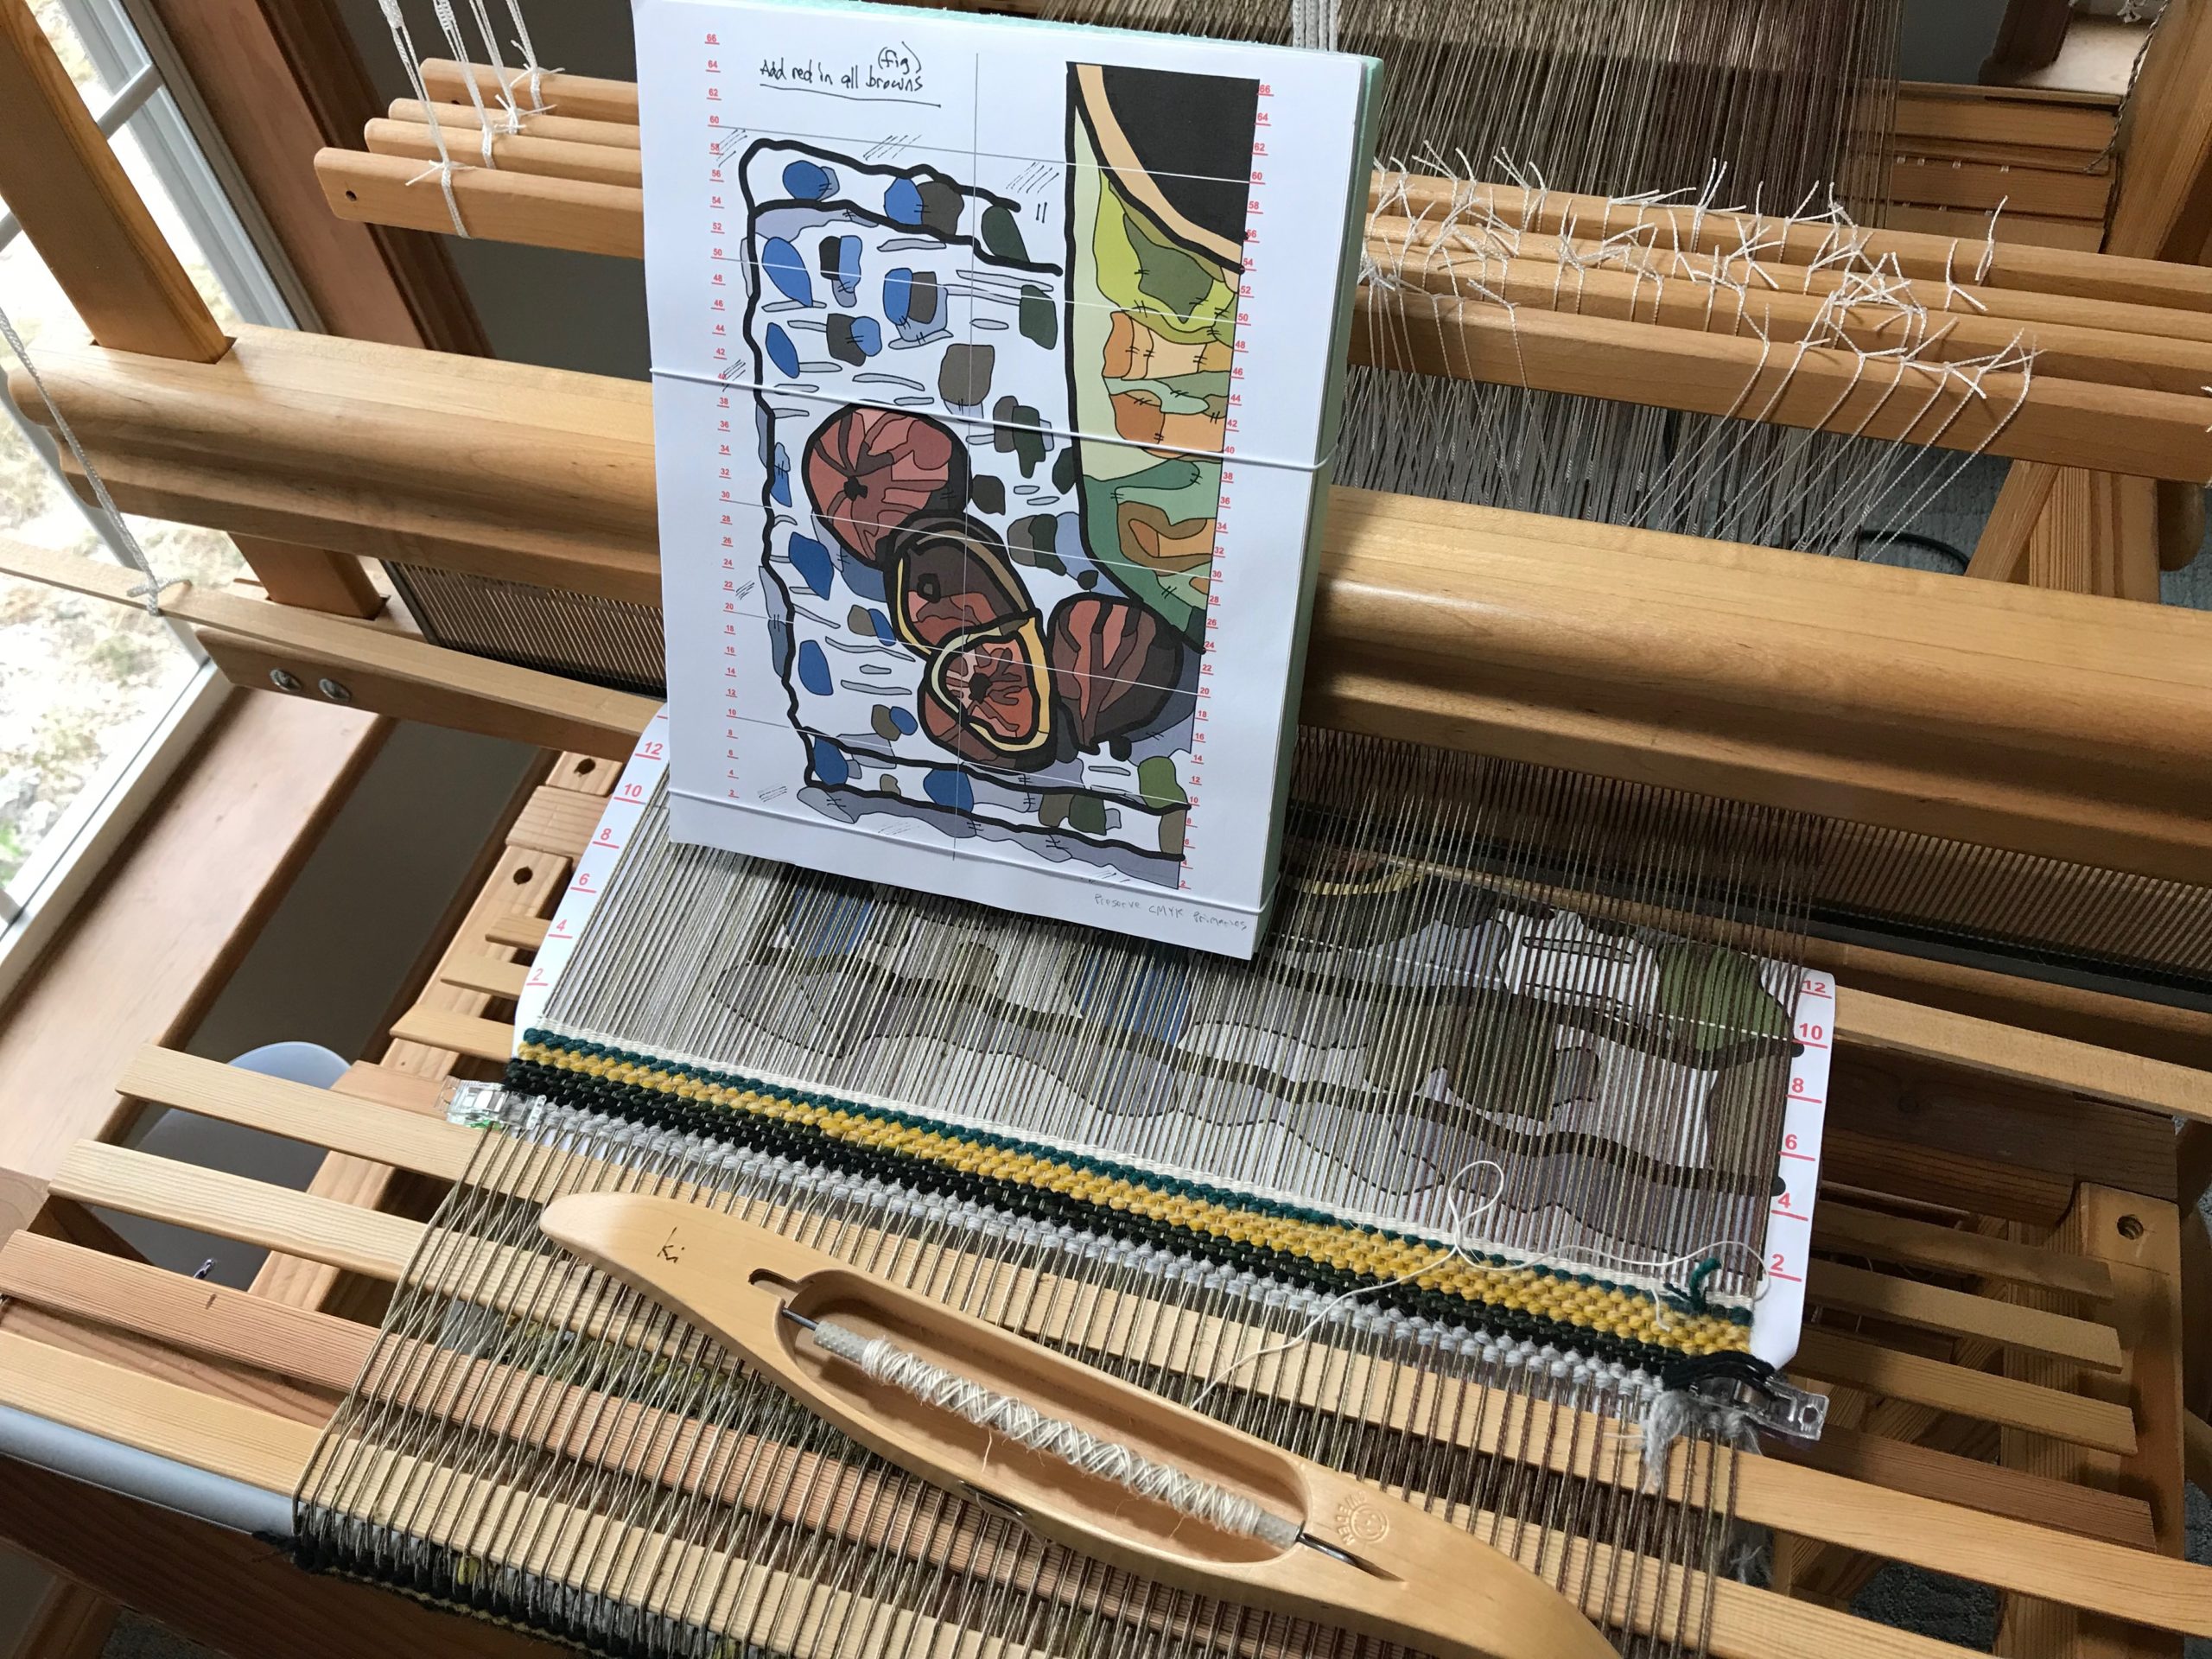
After several rows of scrap wool to space the warp, I weave ten rows of 6/1 tow linen as a header.

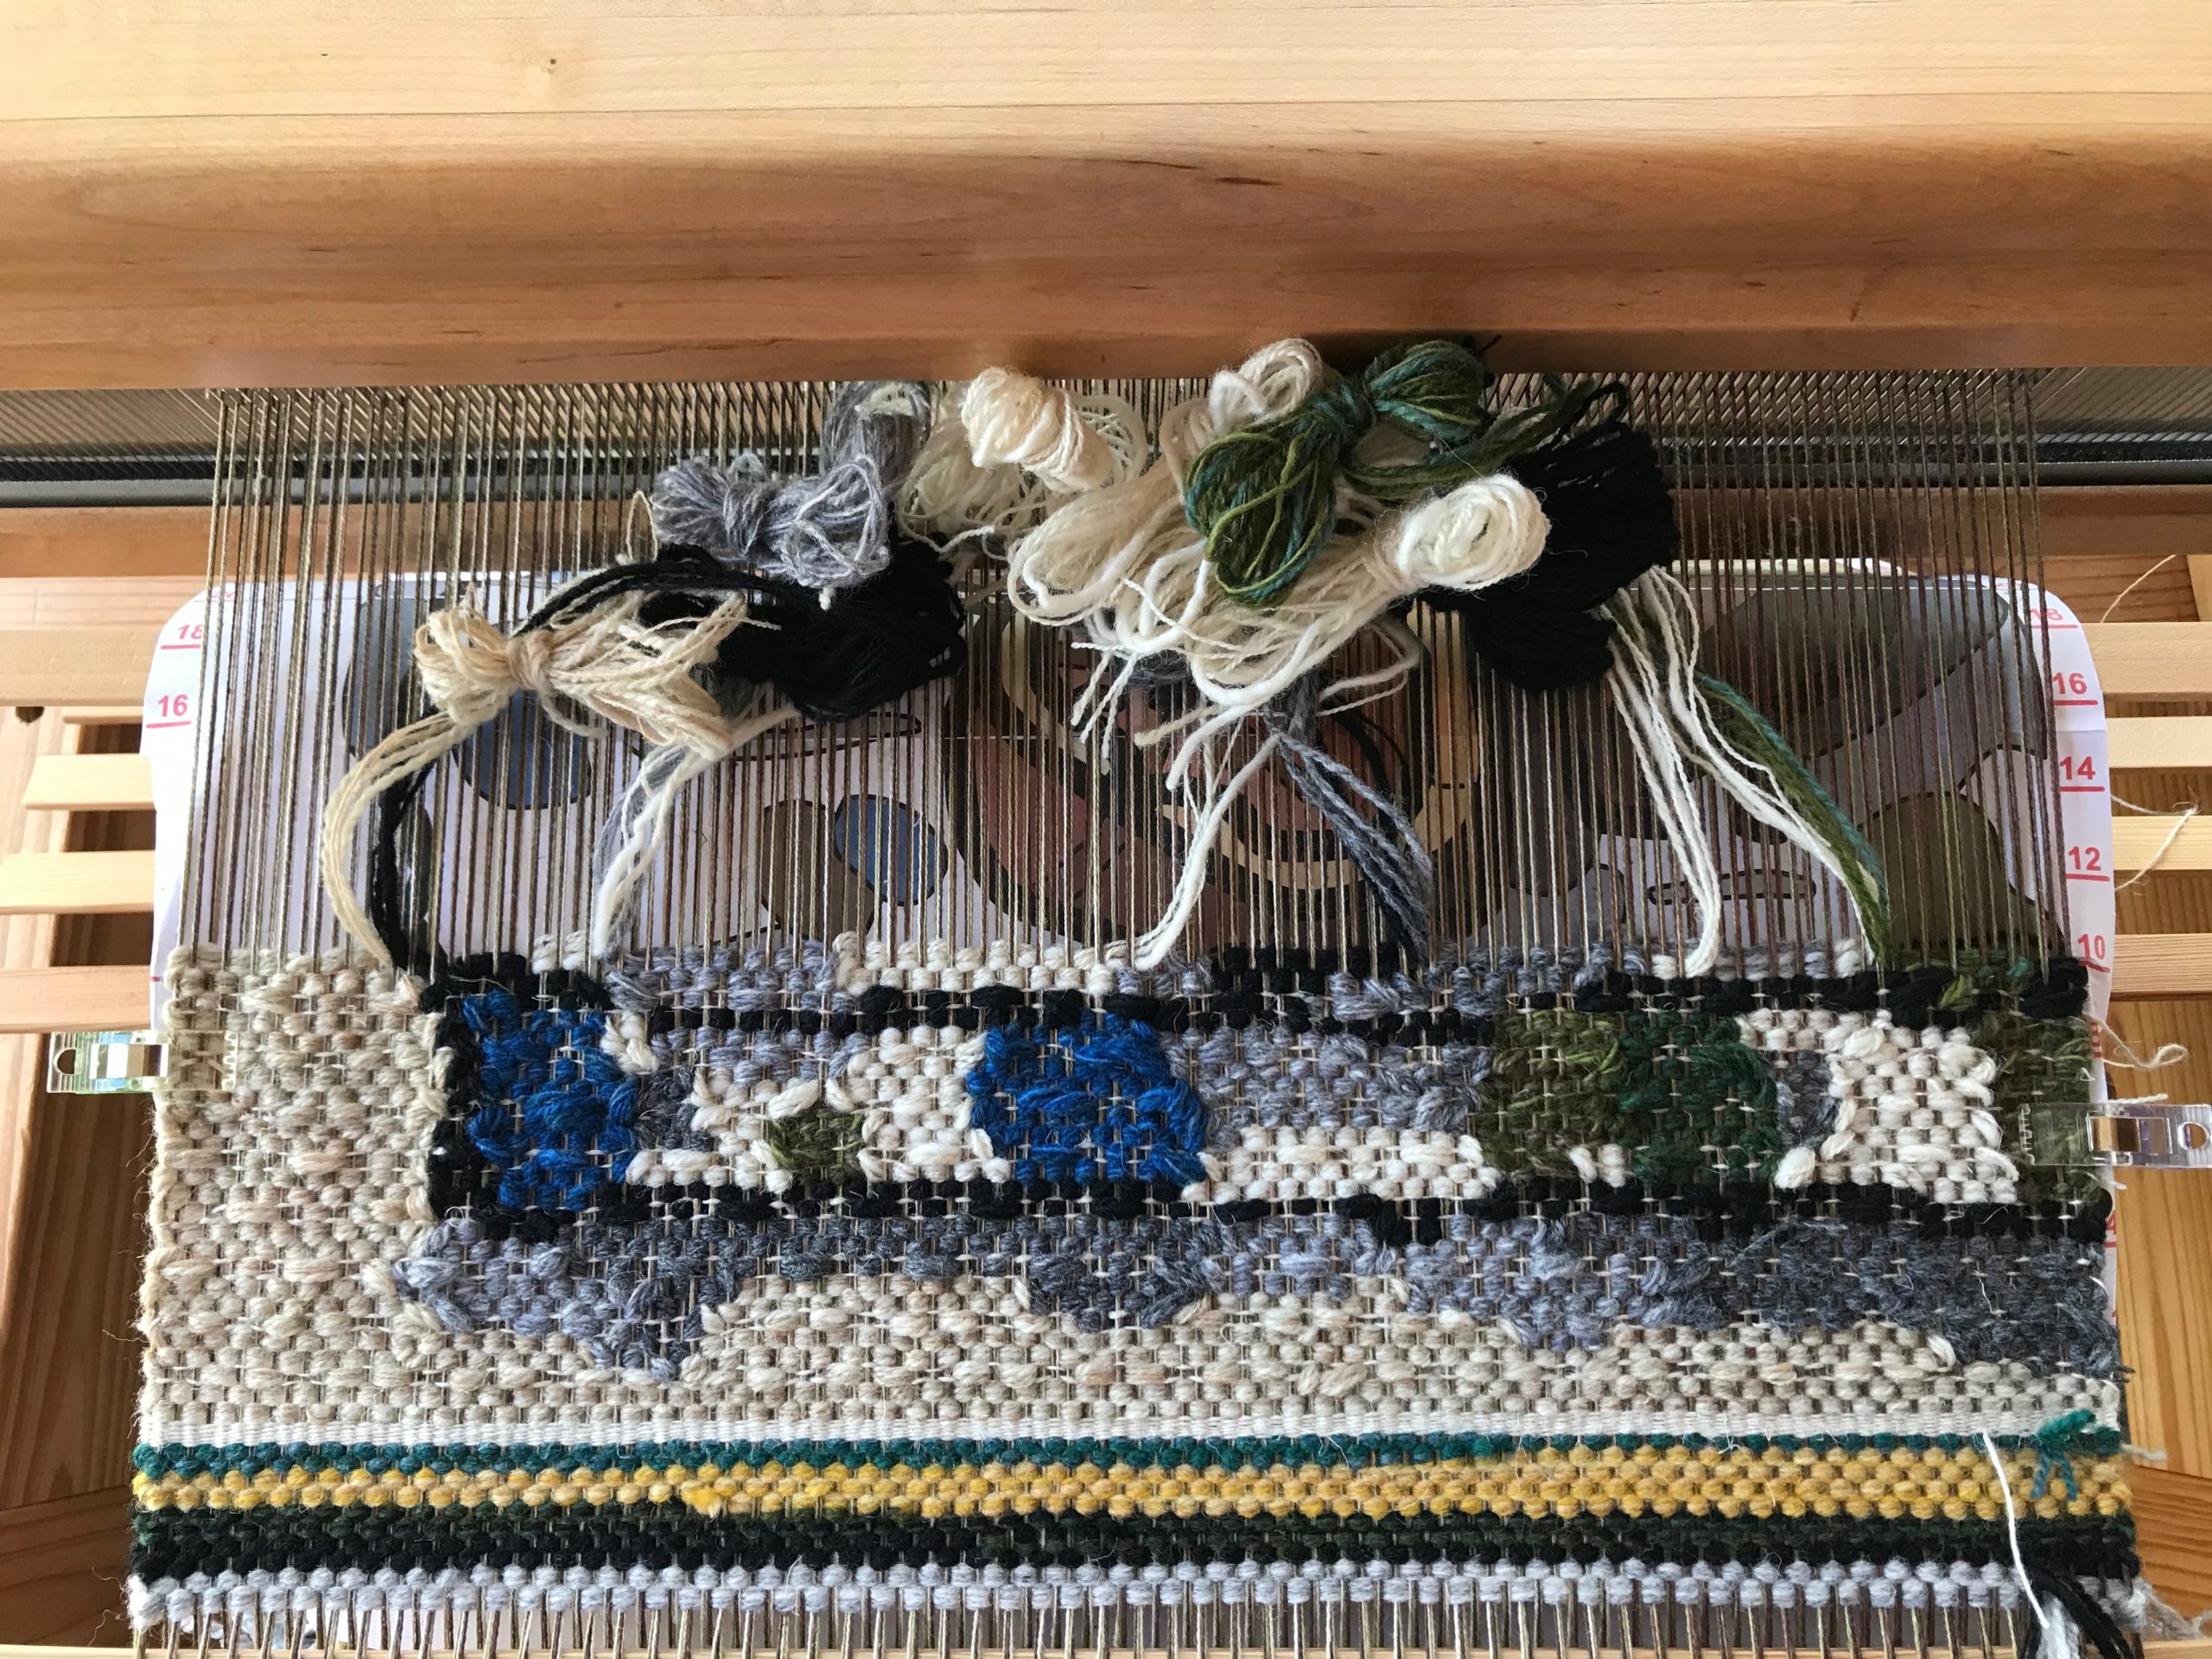
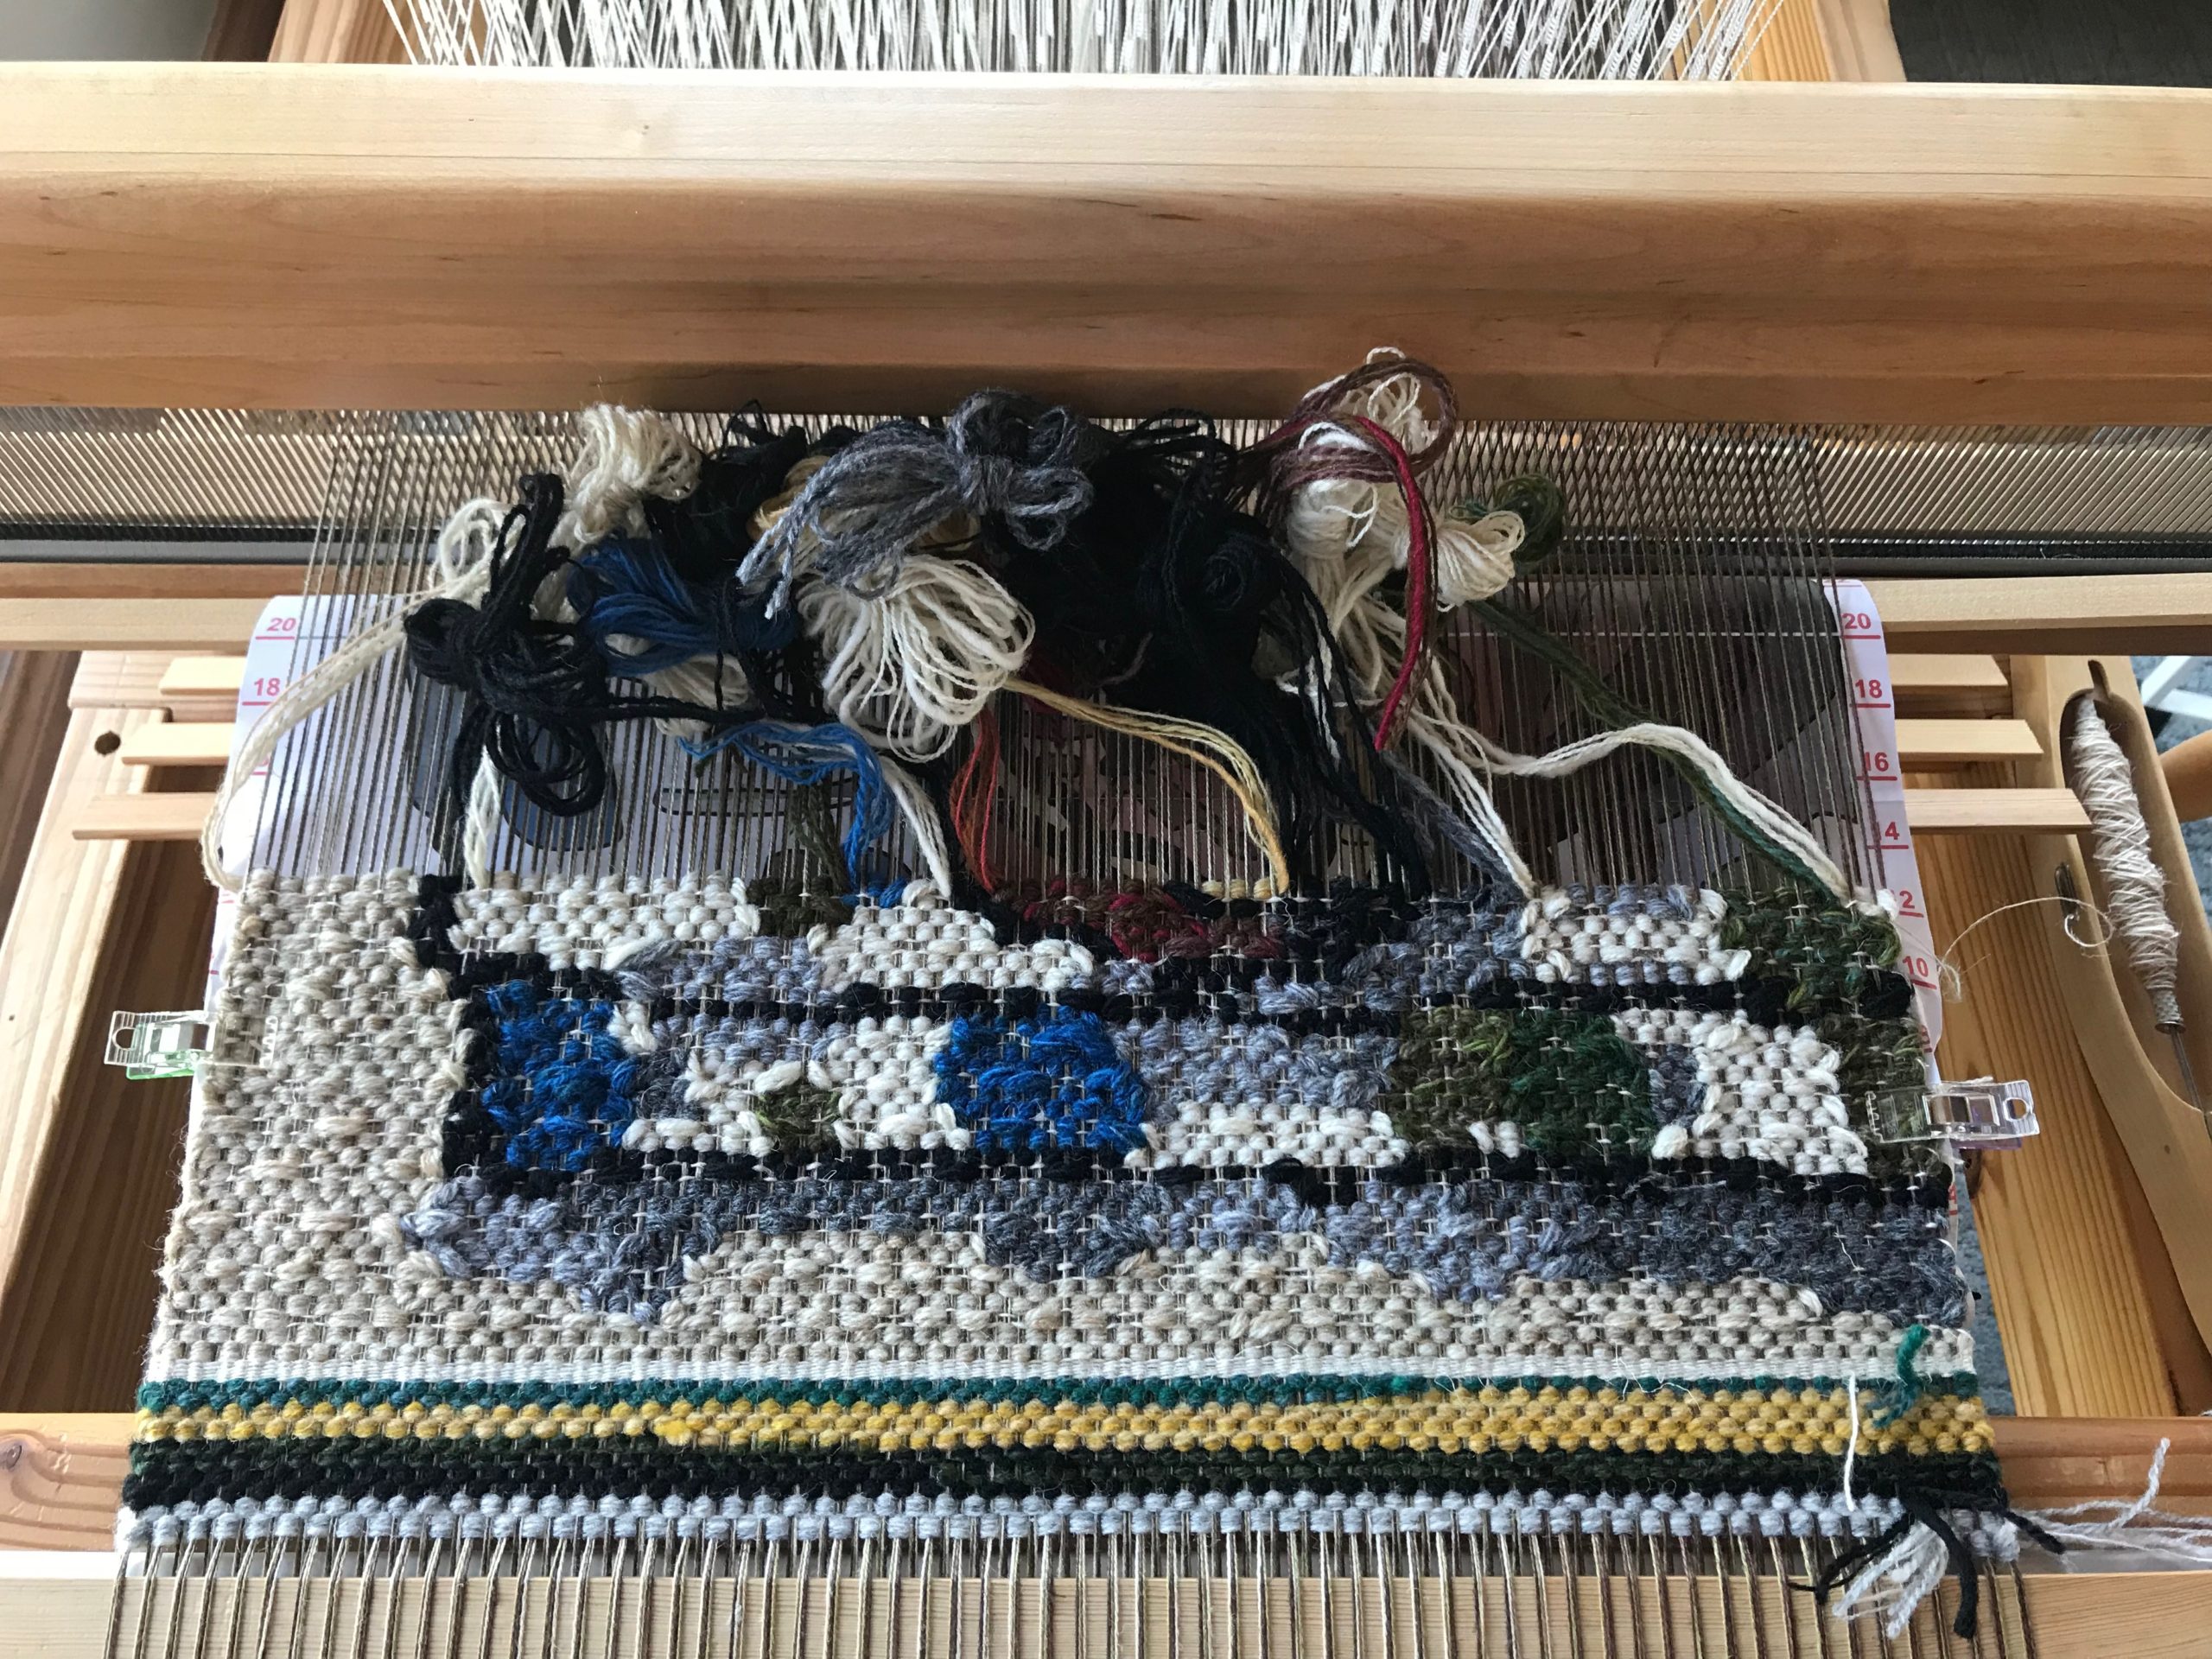
Meet and separate is a simple concept. It’s not hard to understand. Two butterflies come toward each other (meet) in one shed, and they move away from each other (separate) in the next shed. If you are working with only two butterflies — piece of cake! But when you need to add one more butterfly in a row you can find yourself in a pickle!
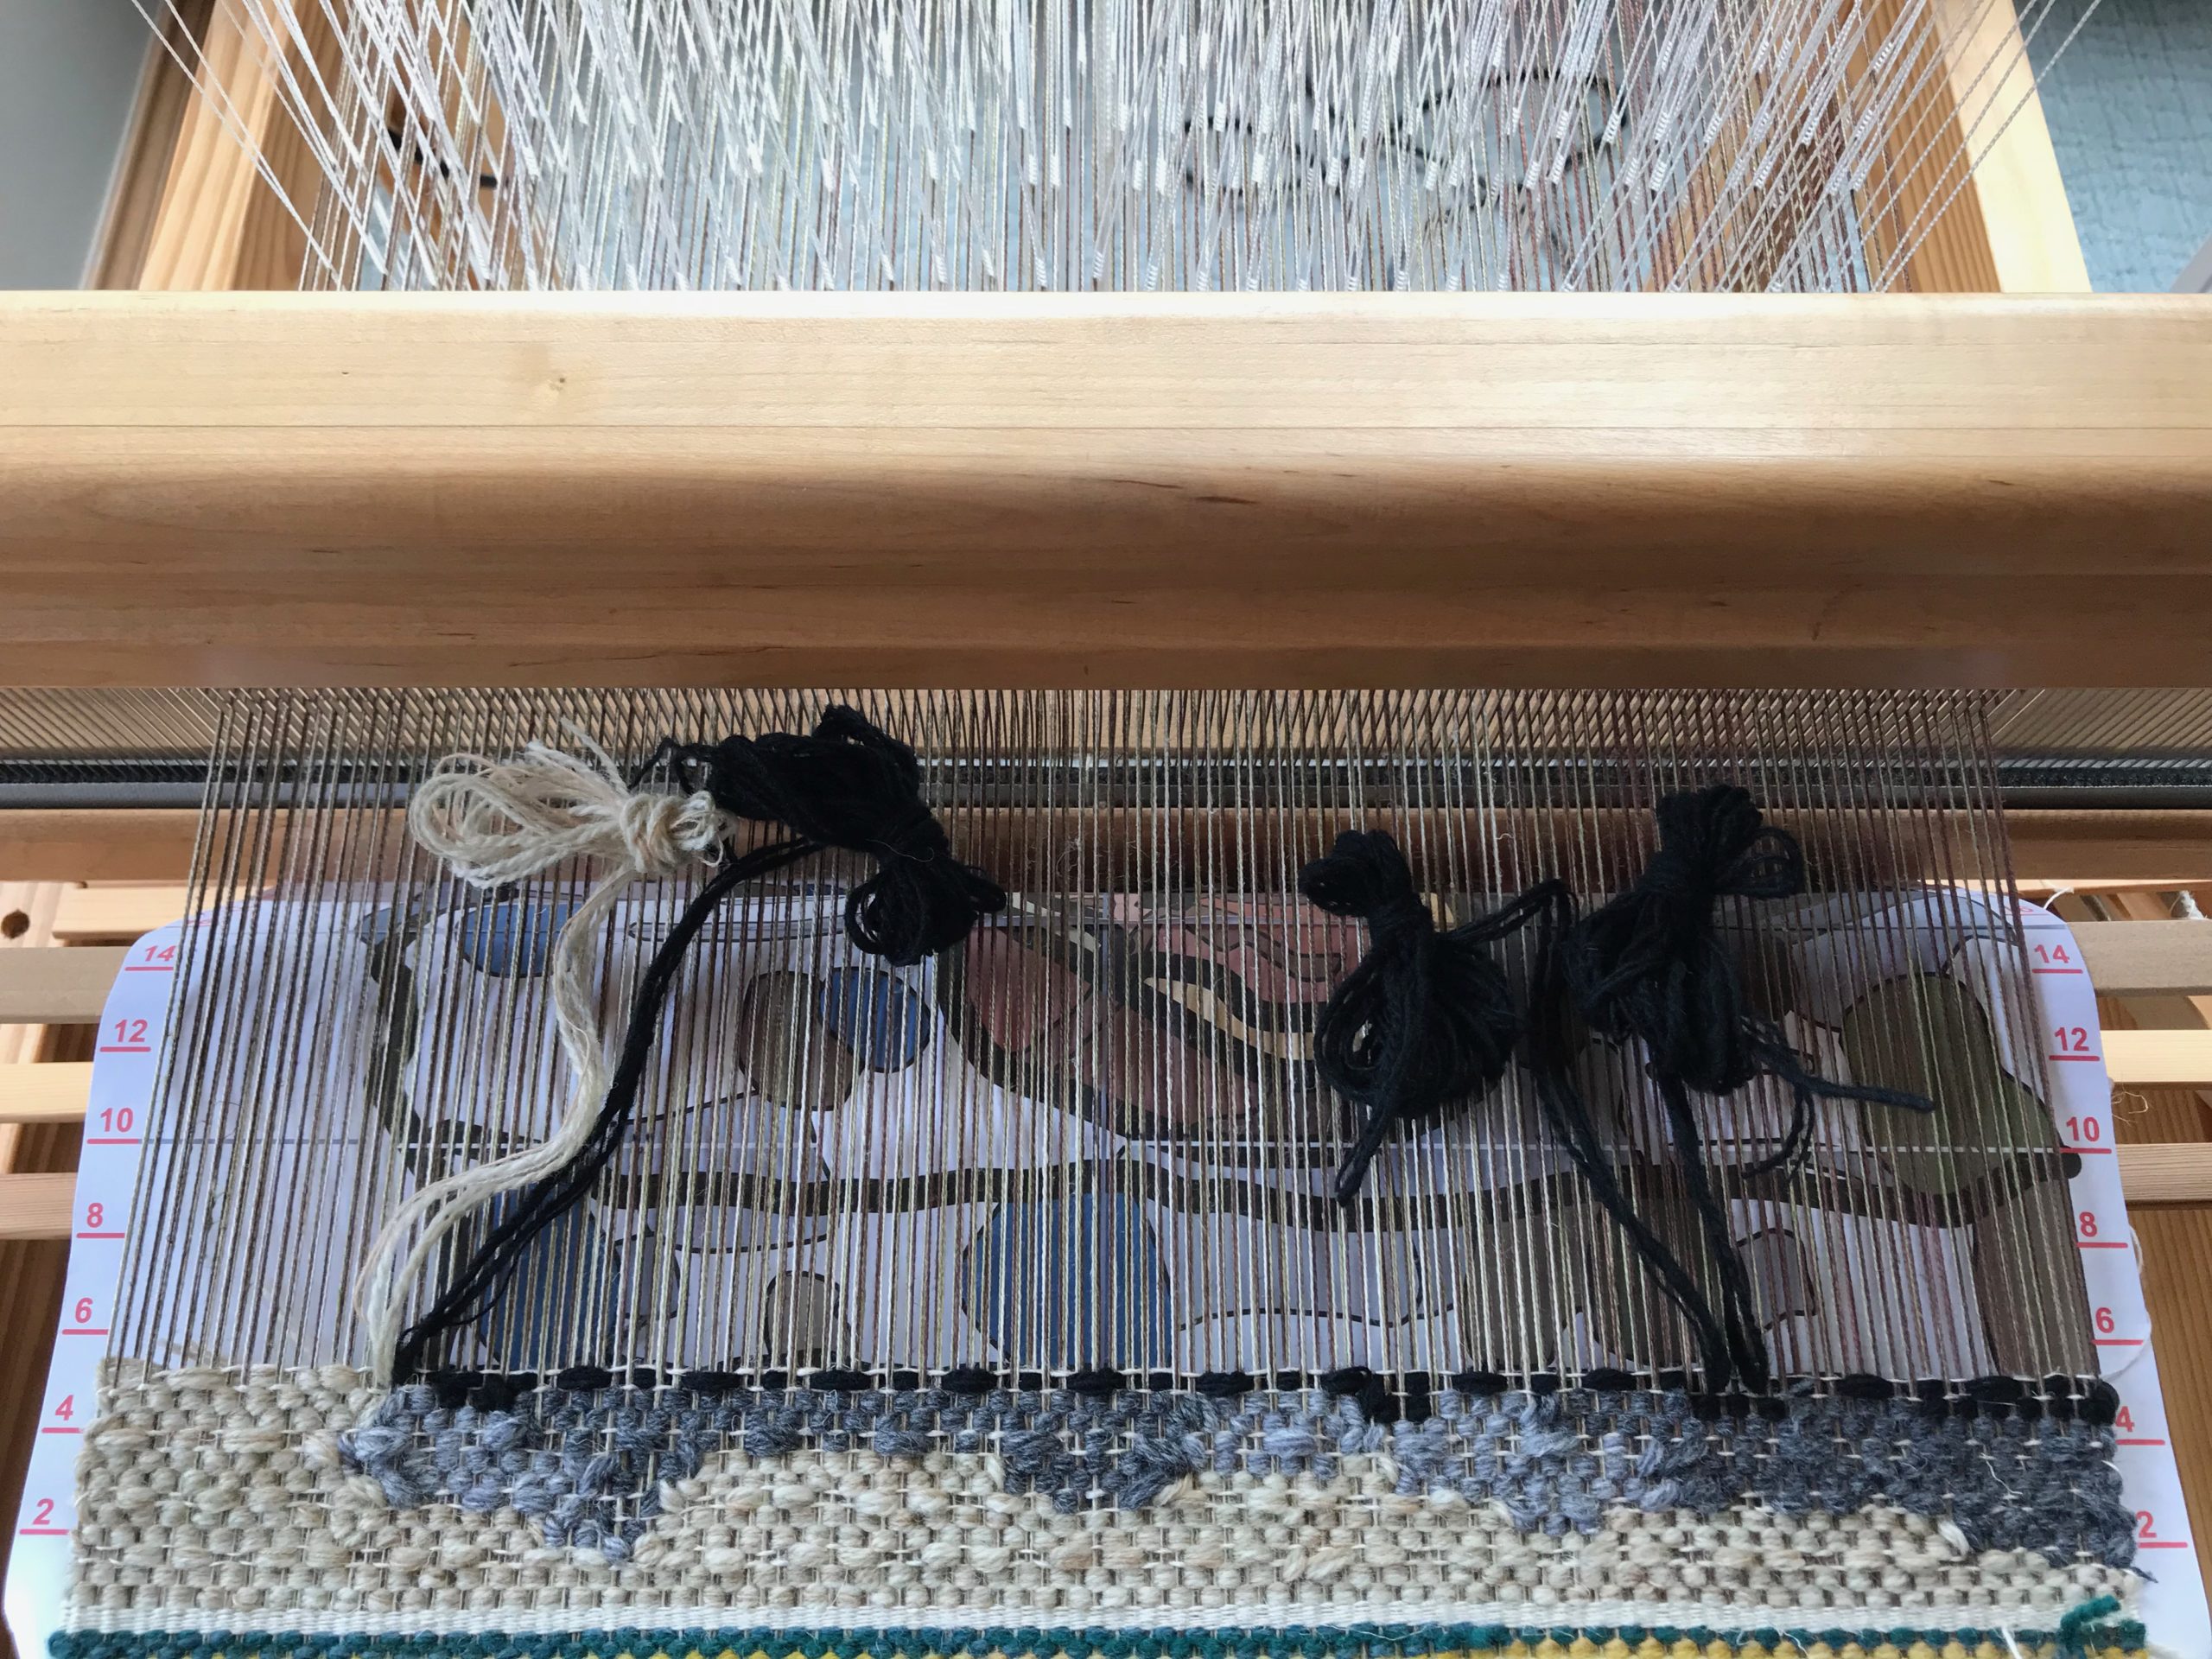
Butterflies are arranged so that the heads of butterflies are next to each other, and tails of butterflies (which have been tucked to the back) are together.

Resources that help me understand basic tapestry techniques, including meet and separate:

The Art of Tapestry Weaving, by Rebecca Mezoff

Tapestry Design Basics and Beyond, by Tommye McClure Scanlin

Tapestry Weaving, by Kirsten Glasbrook.

Workshops by Joanne Hall for weaving tapestry on a frame loom.
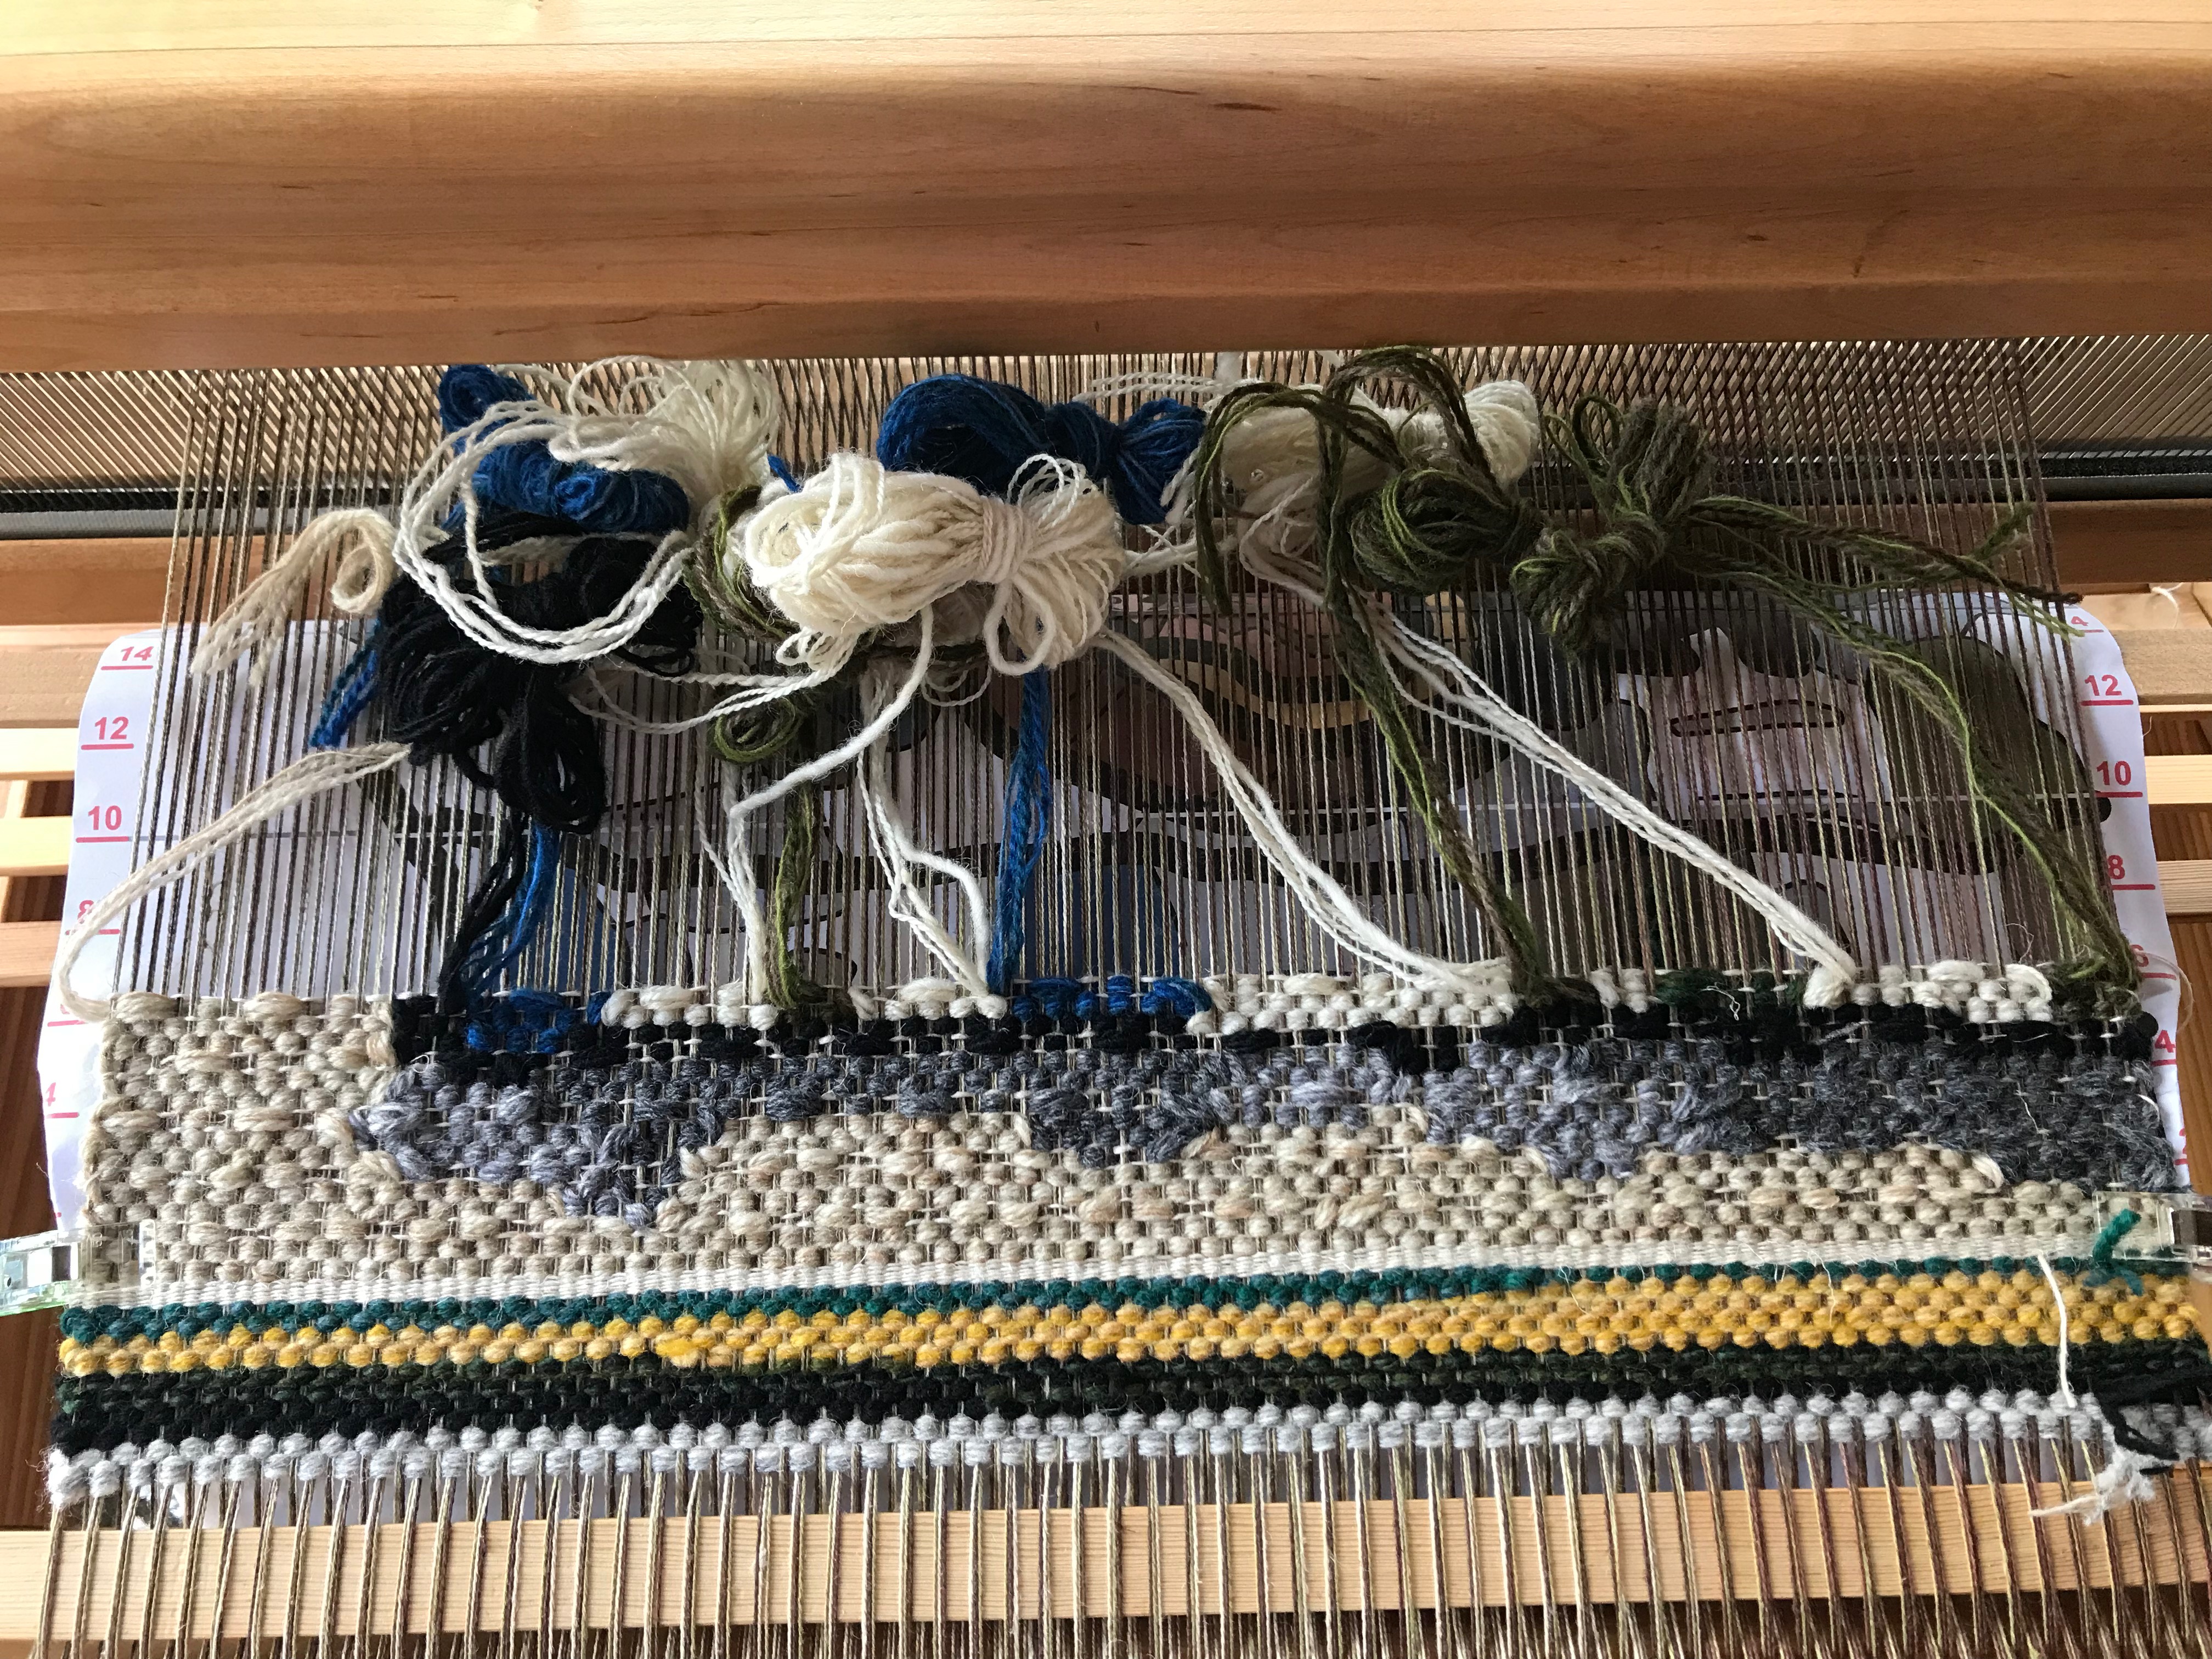
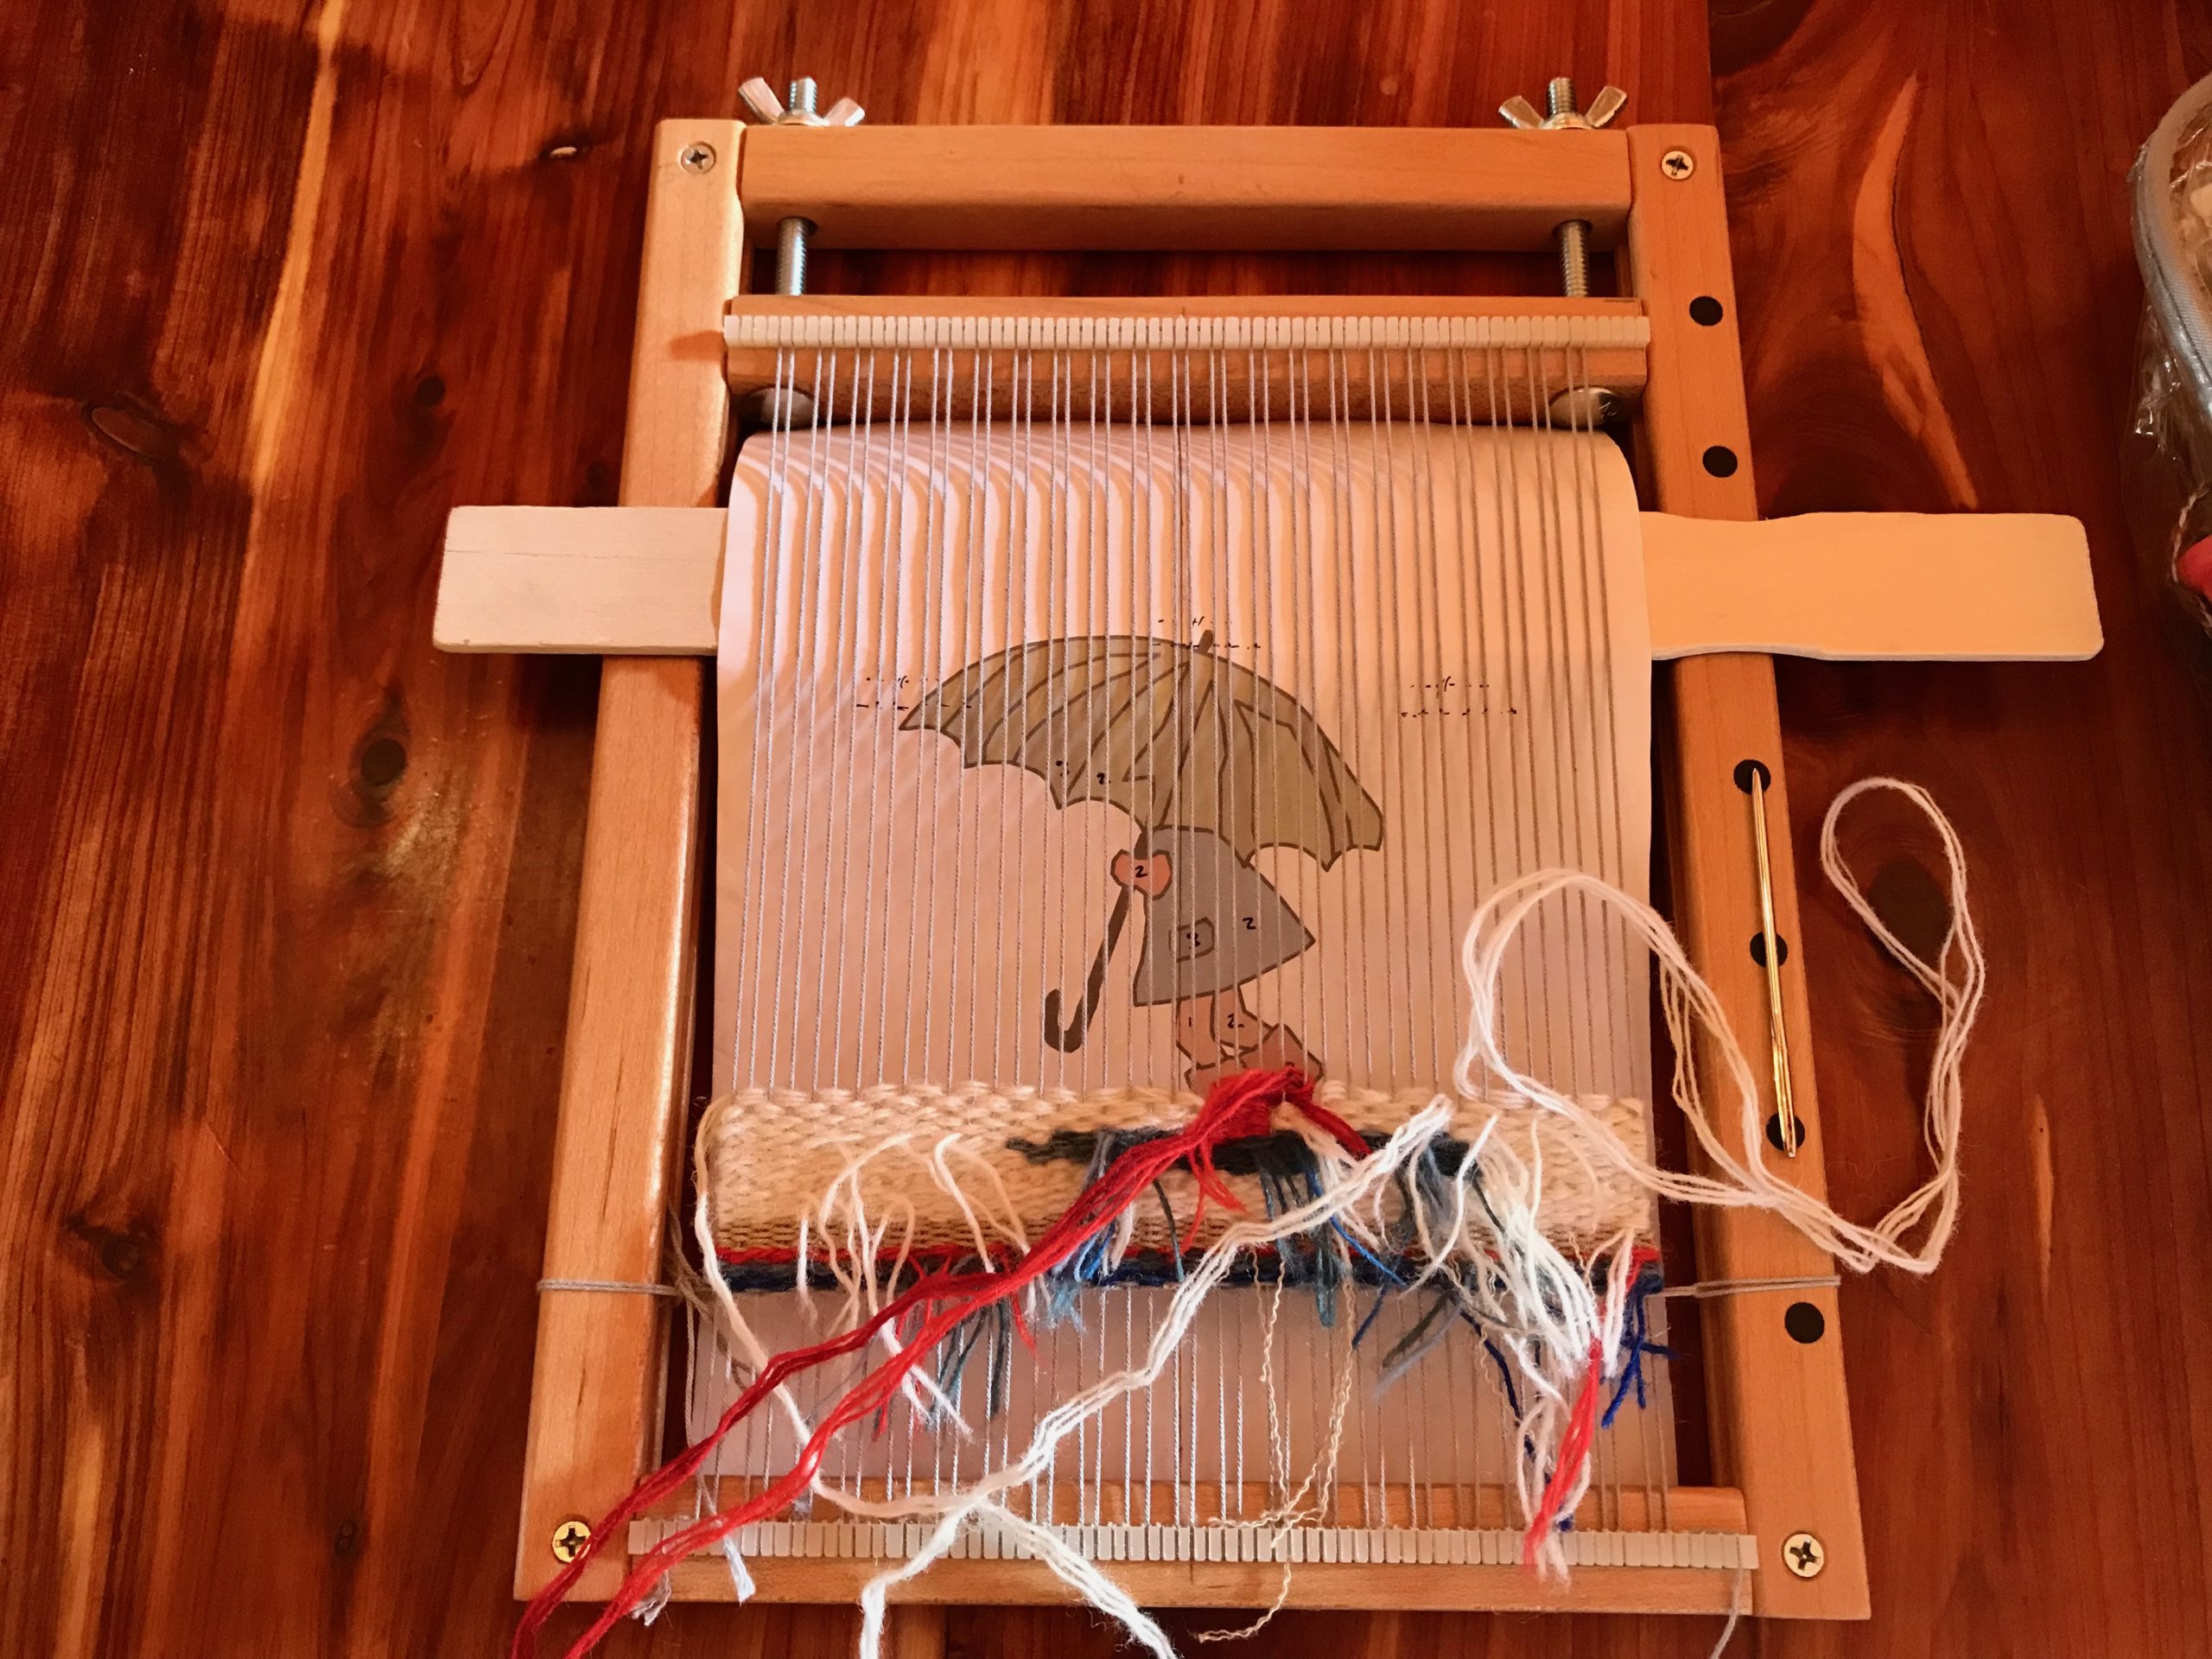
Meet and separate. Two butterflies on the right-hand side don’t have “partners.” New butterflies will be added in the next row that will balance the meet-and-separate order.

Meet and Separate strategies:

  1. Add two butterflies at a time. Remove two butterflies at a time. (Easier said than done.)
  2. Add one butterfly near where you are ending another butterfly.
  3. Add a “two-headed” butterfly, with the two heads going in opposite directions.
  4. If you must add or remove a single butterfly, expect to reset one or more other butterflies. (To reset a butterfly, cut it off and tuck in the tail, and then reverse its direction.)
  5. Think ahead. You may find that the next row will need one more (or one less) butterfly, and the problem will resolve itself.
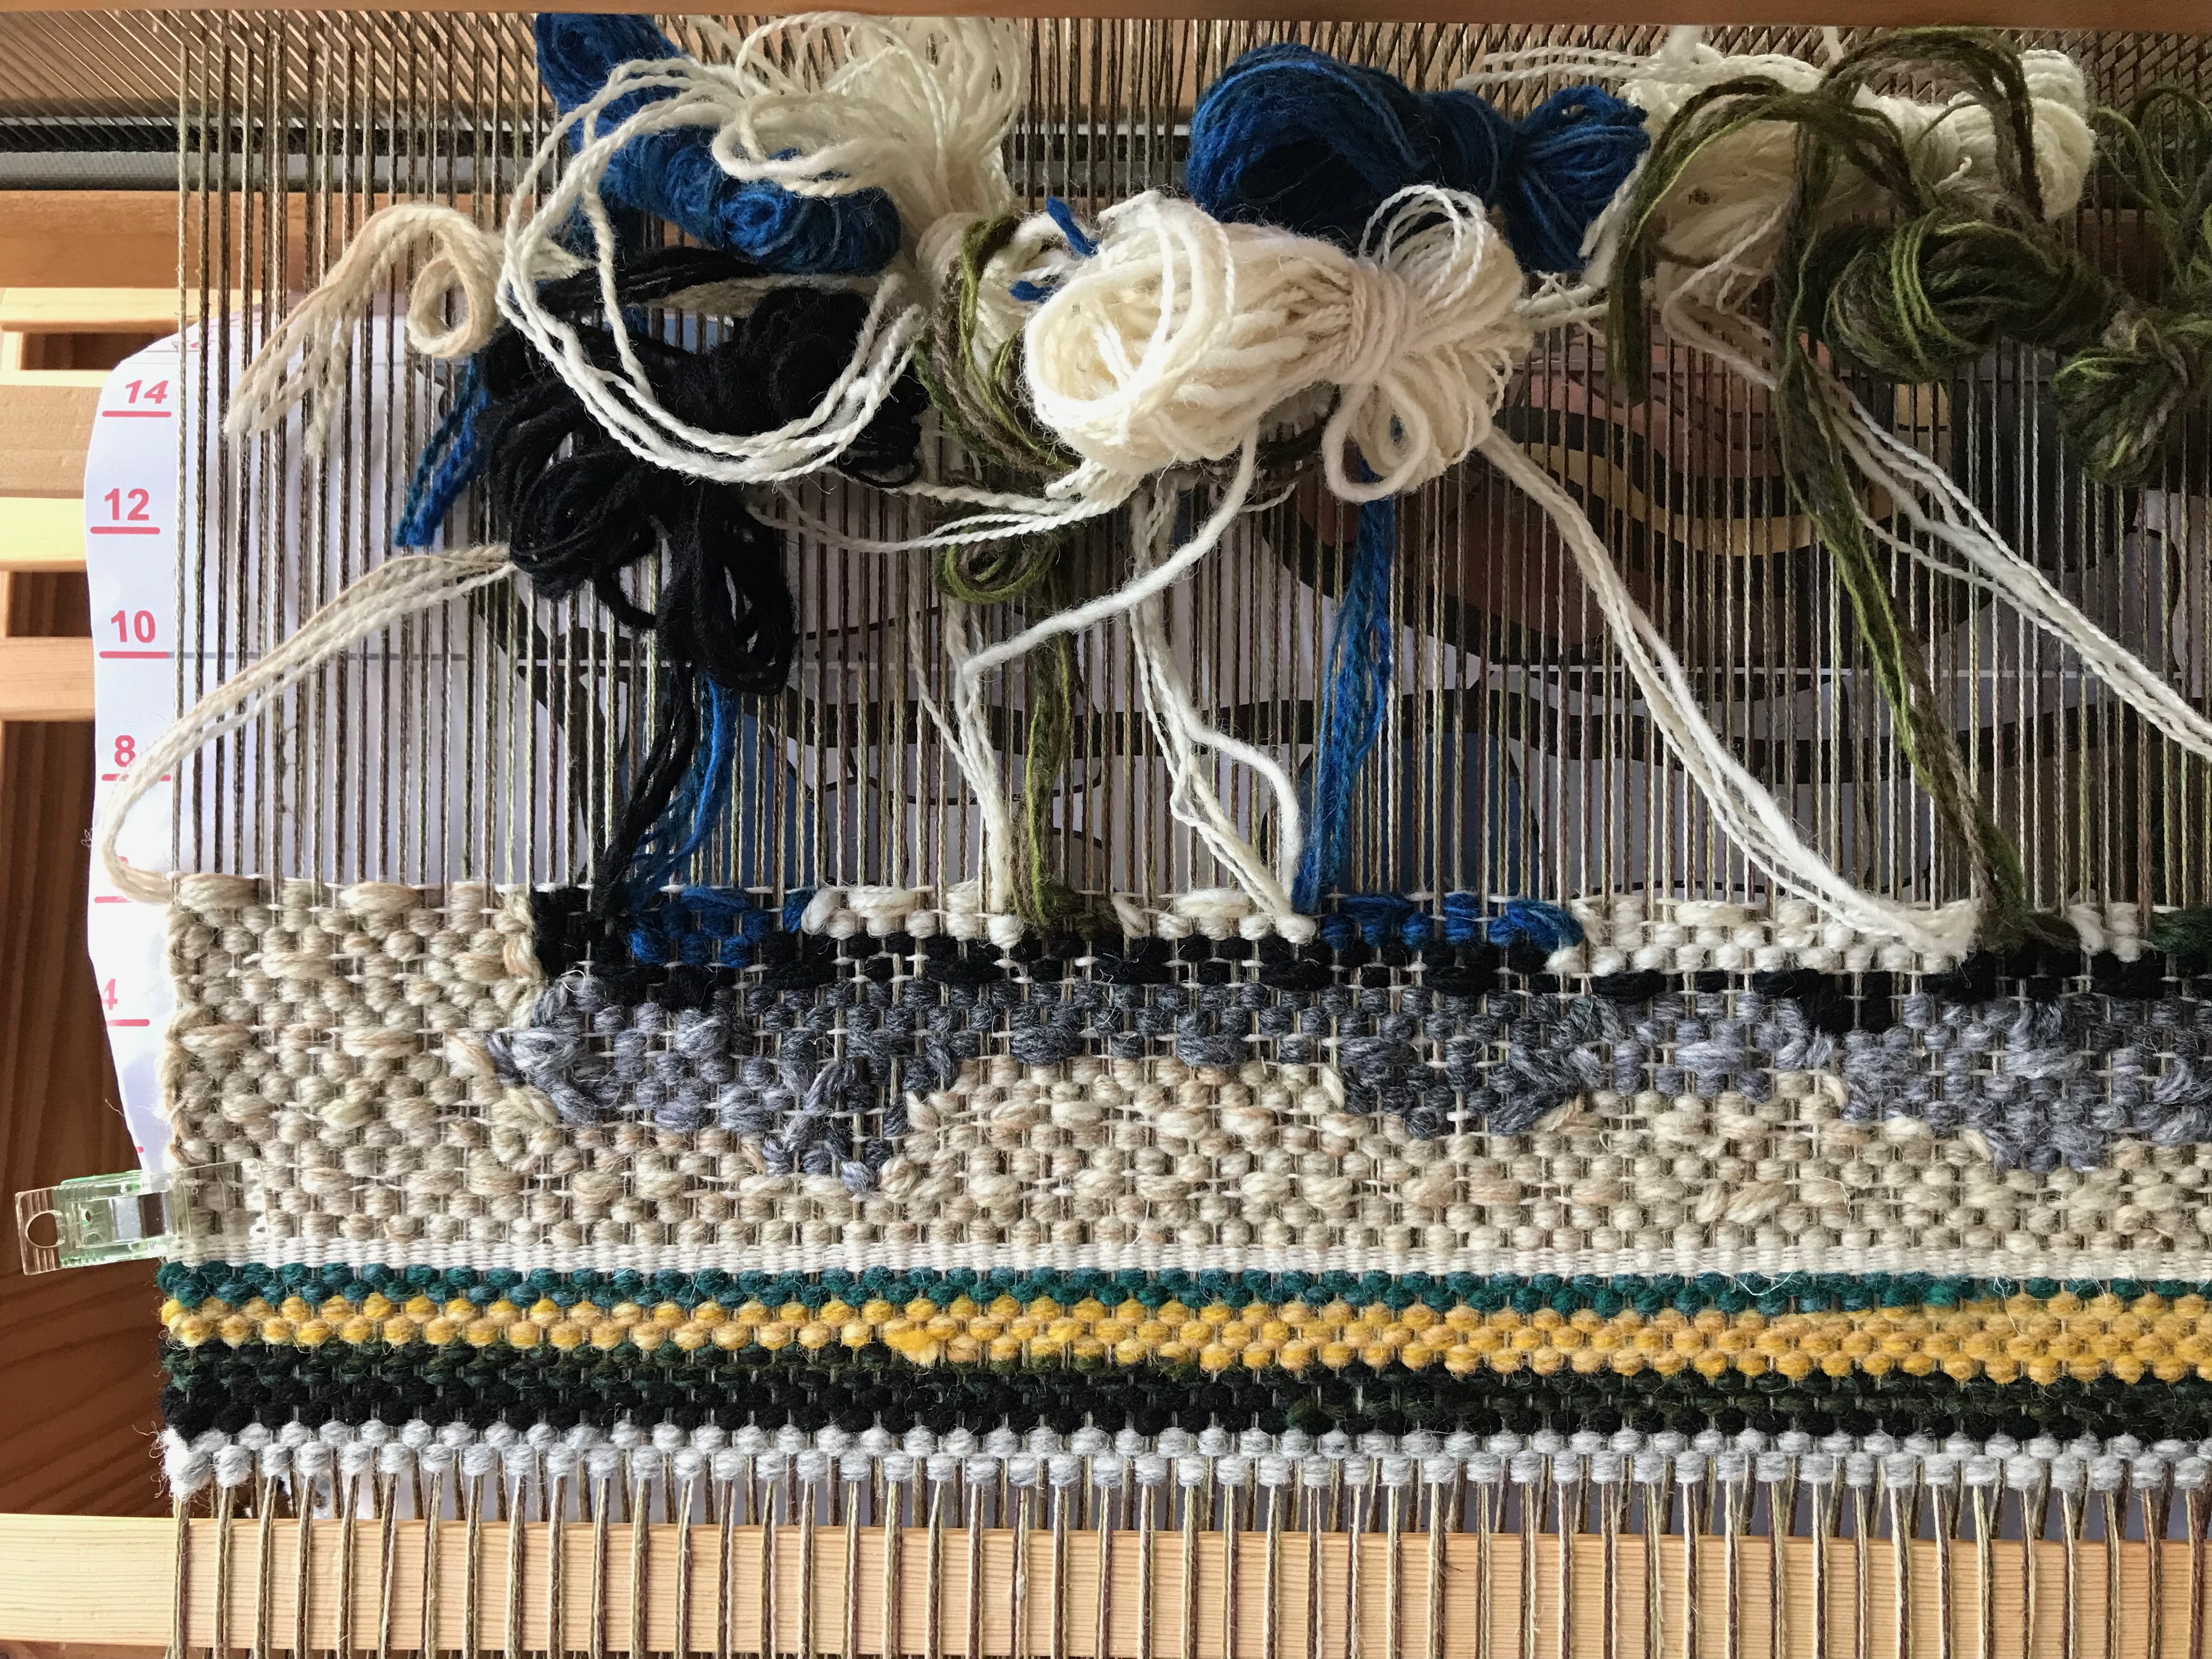
So far, not too complicated for meet and separate.
As the tapestry progresses it’s a continual dance of the butterflies.
More butterflies. More fun.

Every row is a game of strategy. Where is the best place to add in a new color butterfly? How can I add or remove a butterfly and cause the least disruption? It’s an intriguing puzzle. The frustrating part has become the fascinating part.

May your frustrations become your fascinations.

Glad to Meet,
Karen

Grand Canyon Weaver

I like to come prepared when we travel. Prepared to weave, that is. Our recent camping trip to Grand Canyon National Park, North Rim is no exception. Relaxing after a full morning of hiking? That’s tapestry time. Rainy day? No problem. Time to pull out my small tapestry frame and do some tapestry weaving.

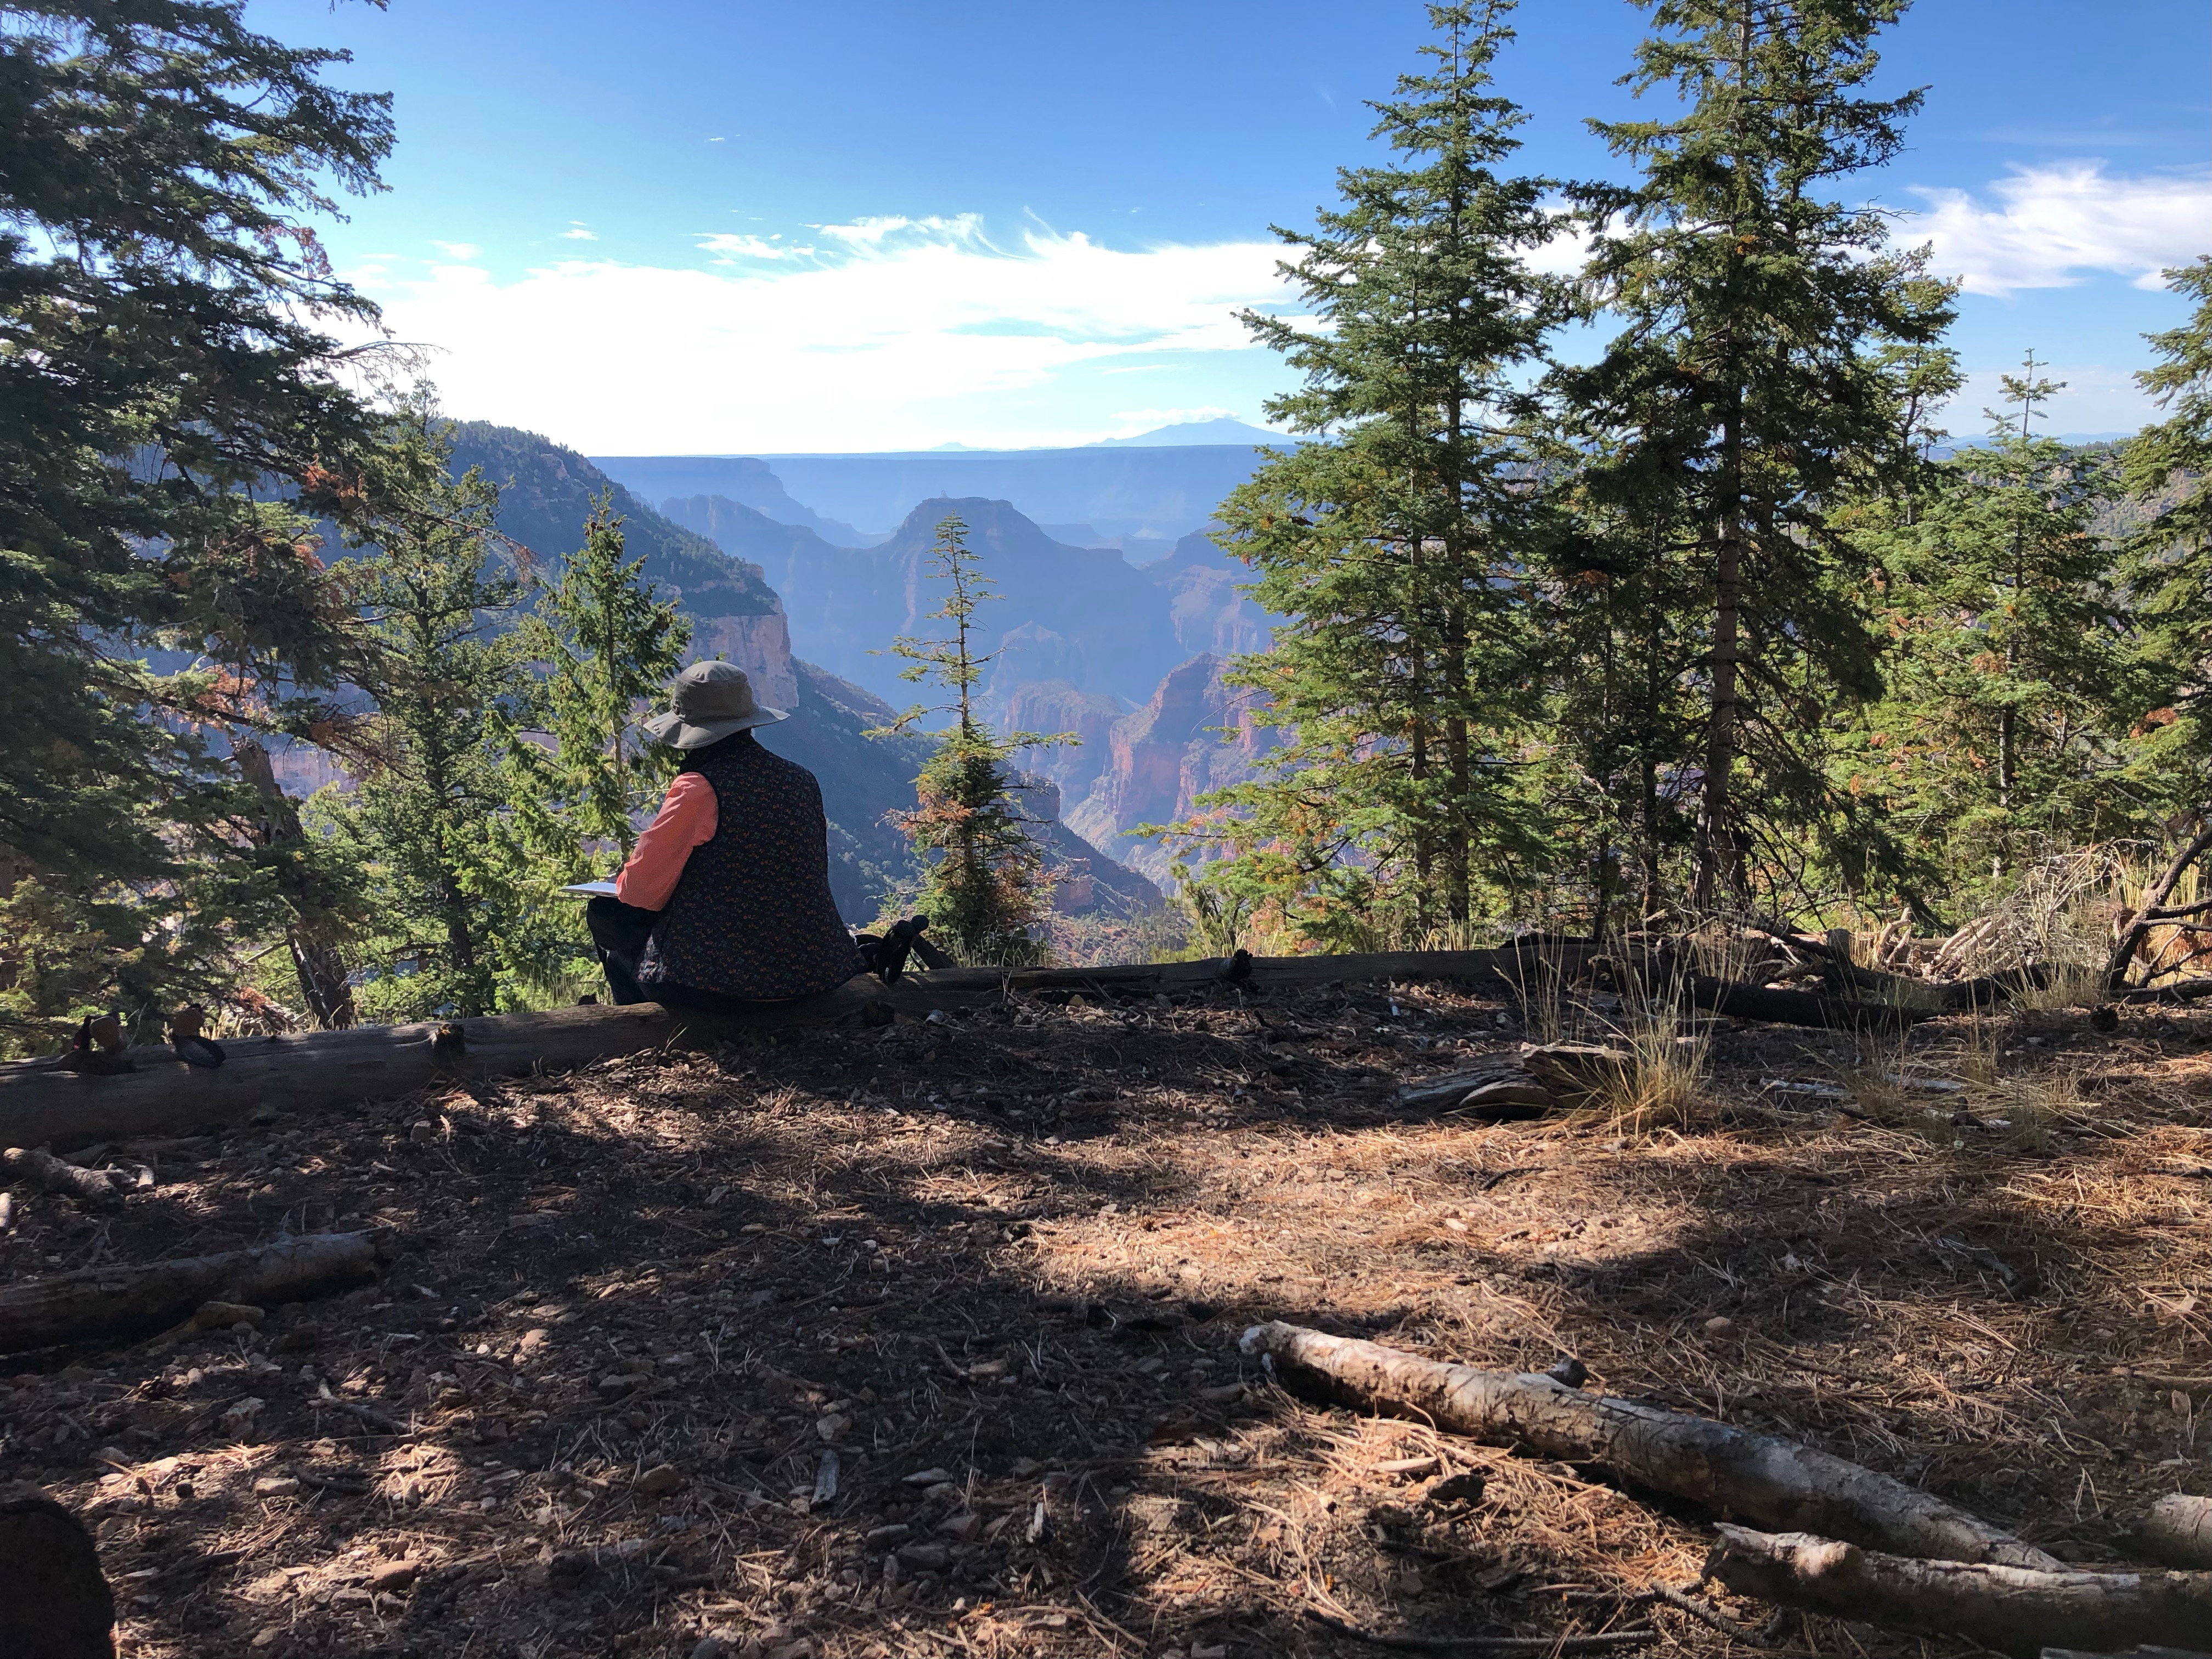
Sitting on a log to do a quick sketch. Widforss Trail on a Sunday morning was a wonderful way to worship our Creator.
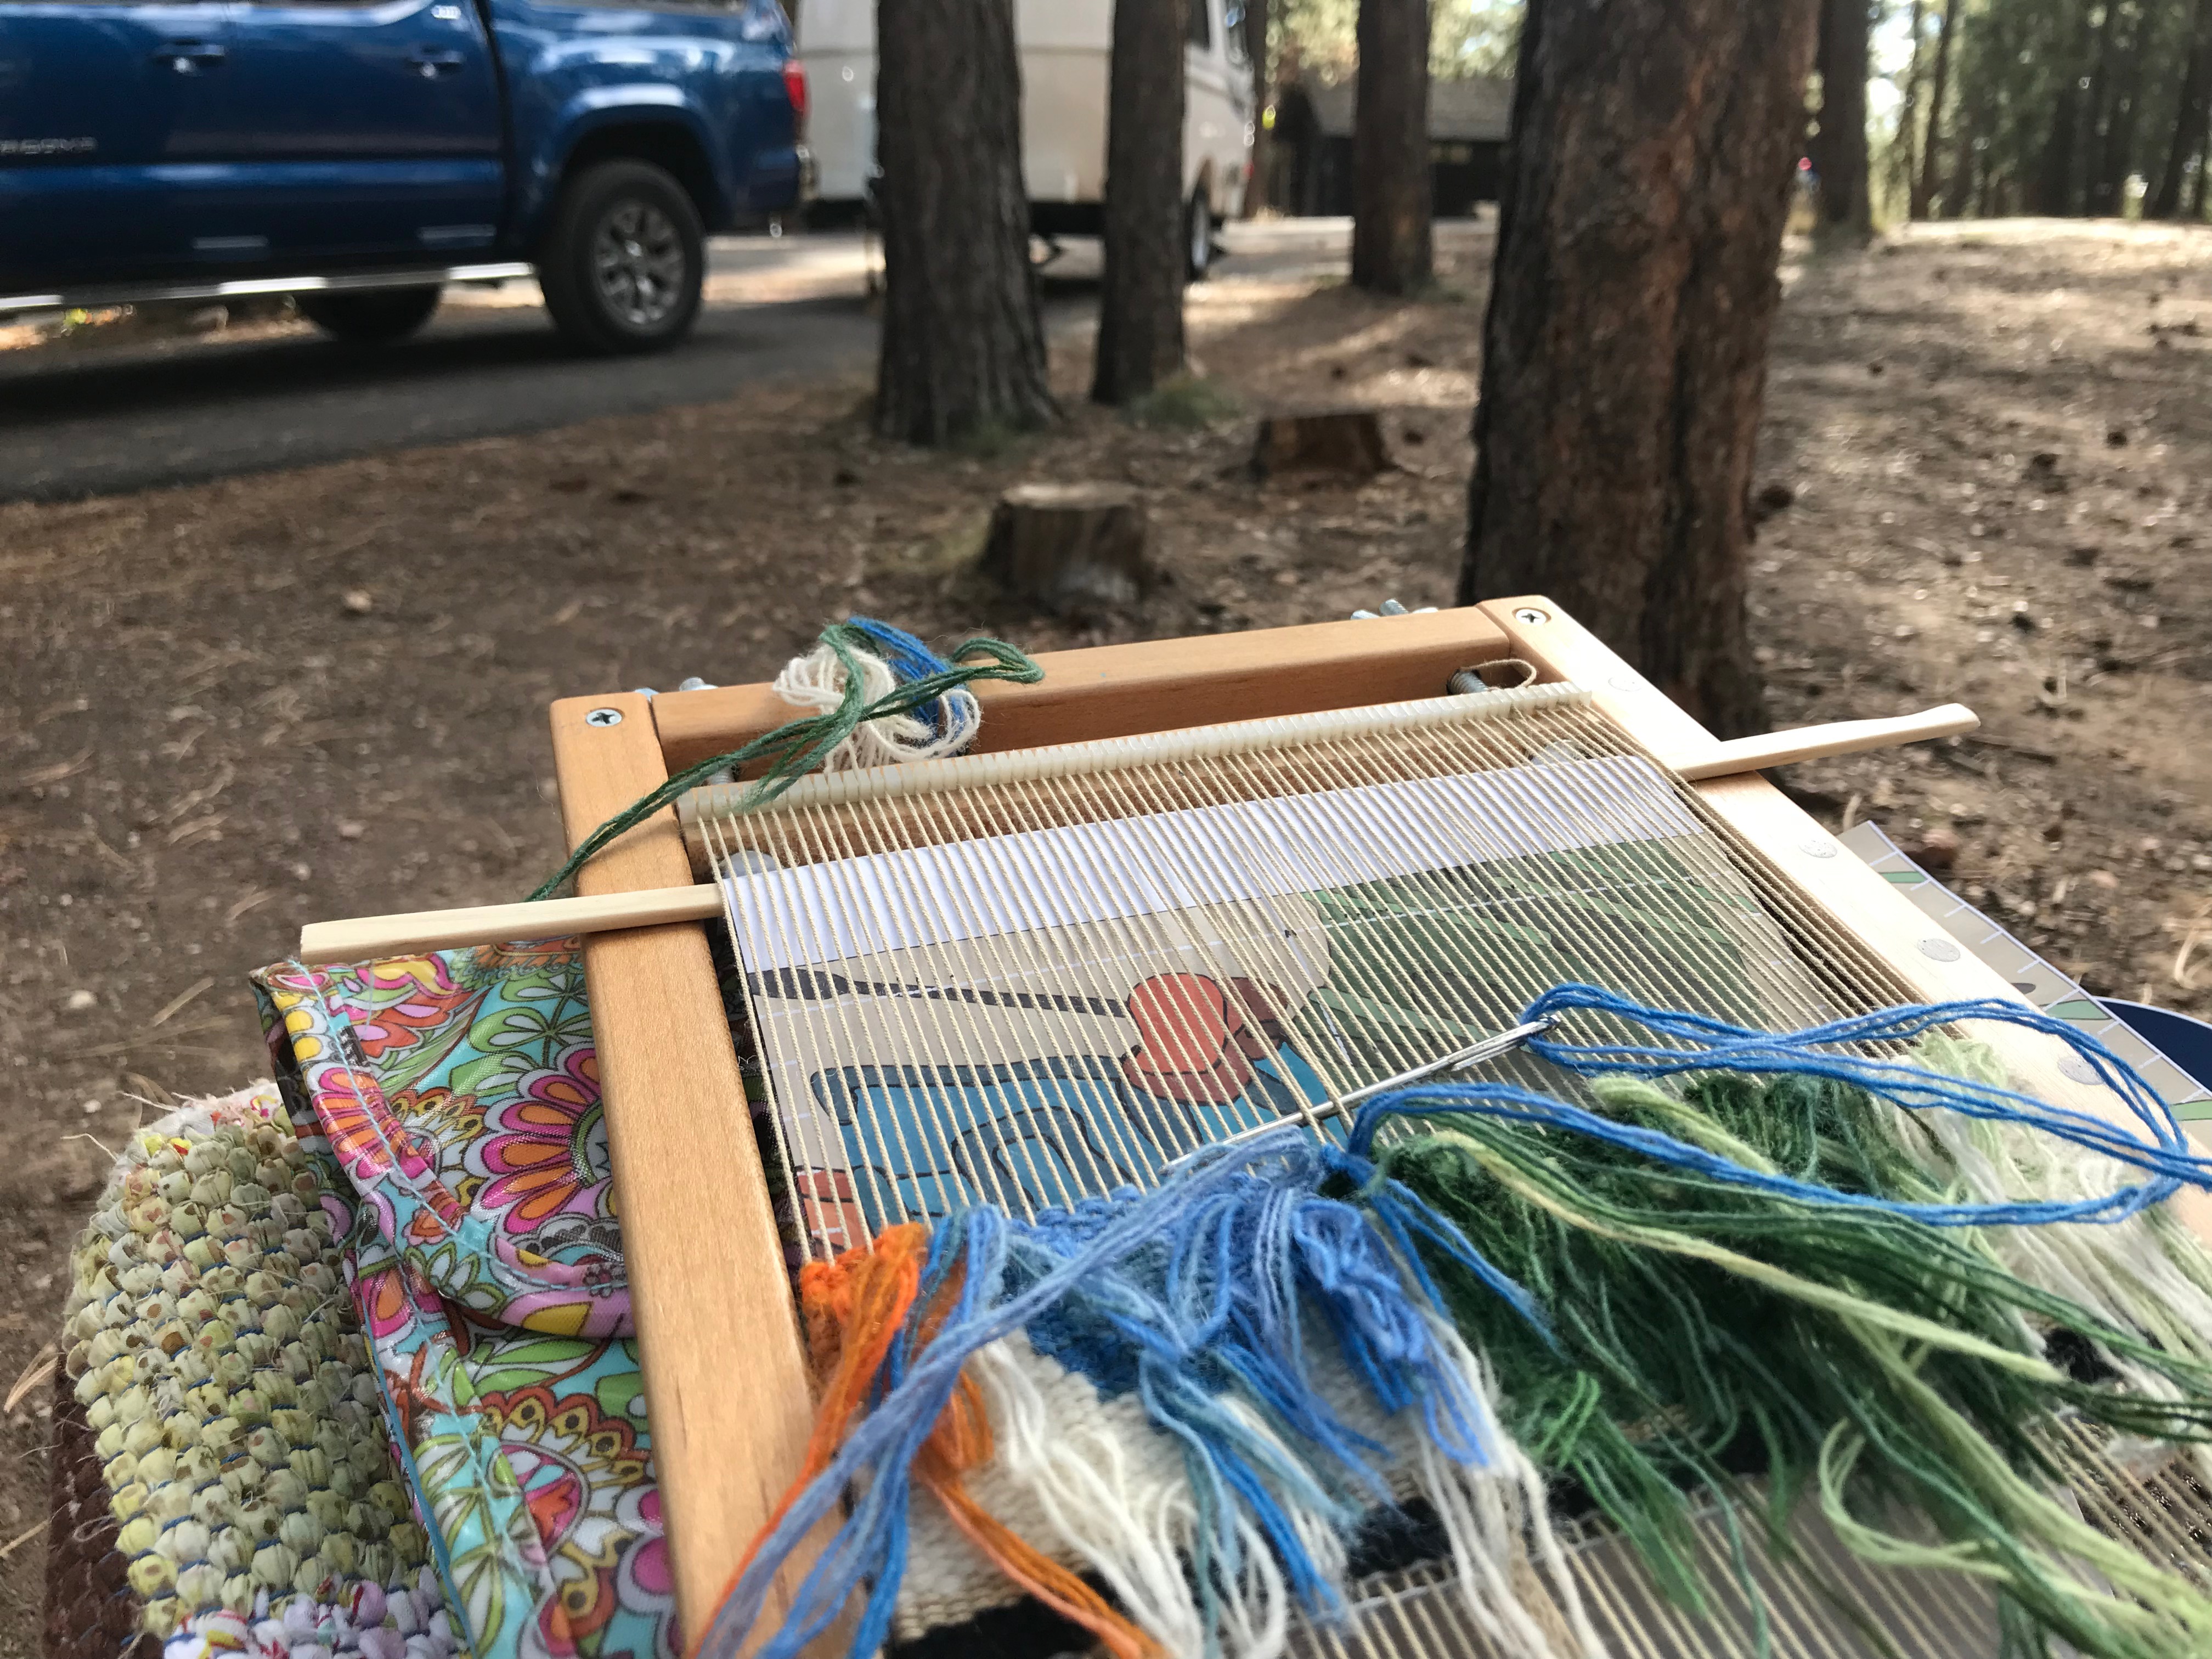
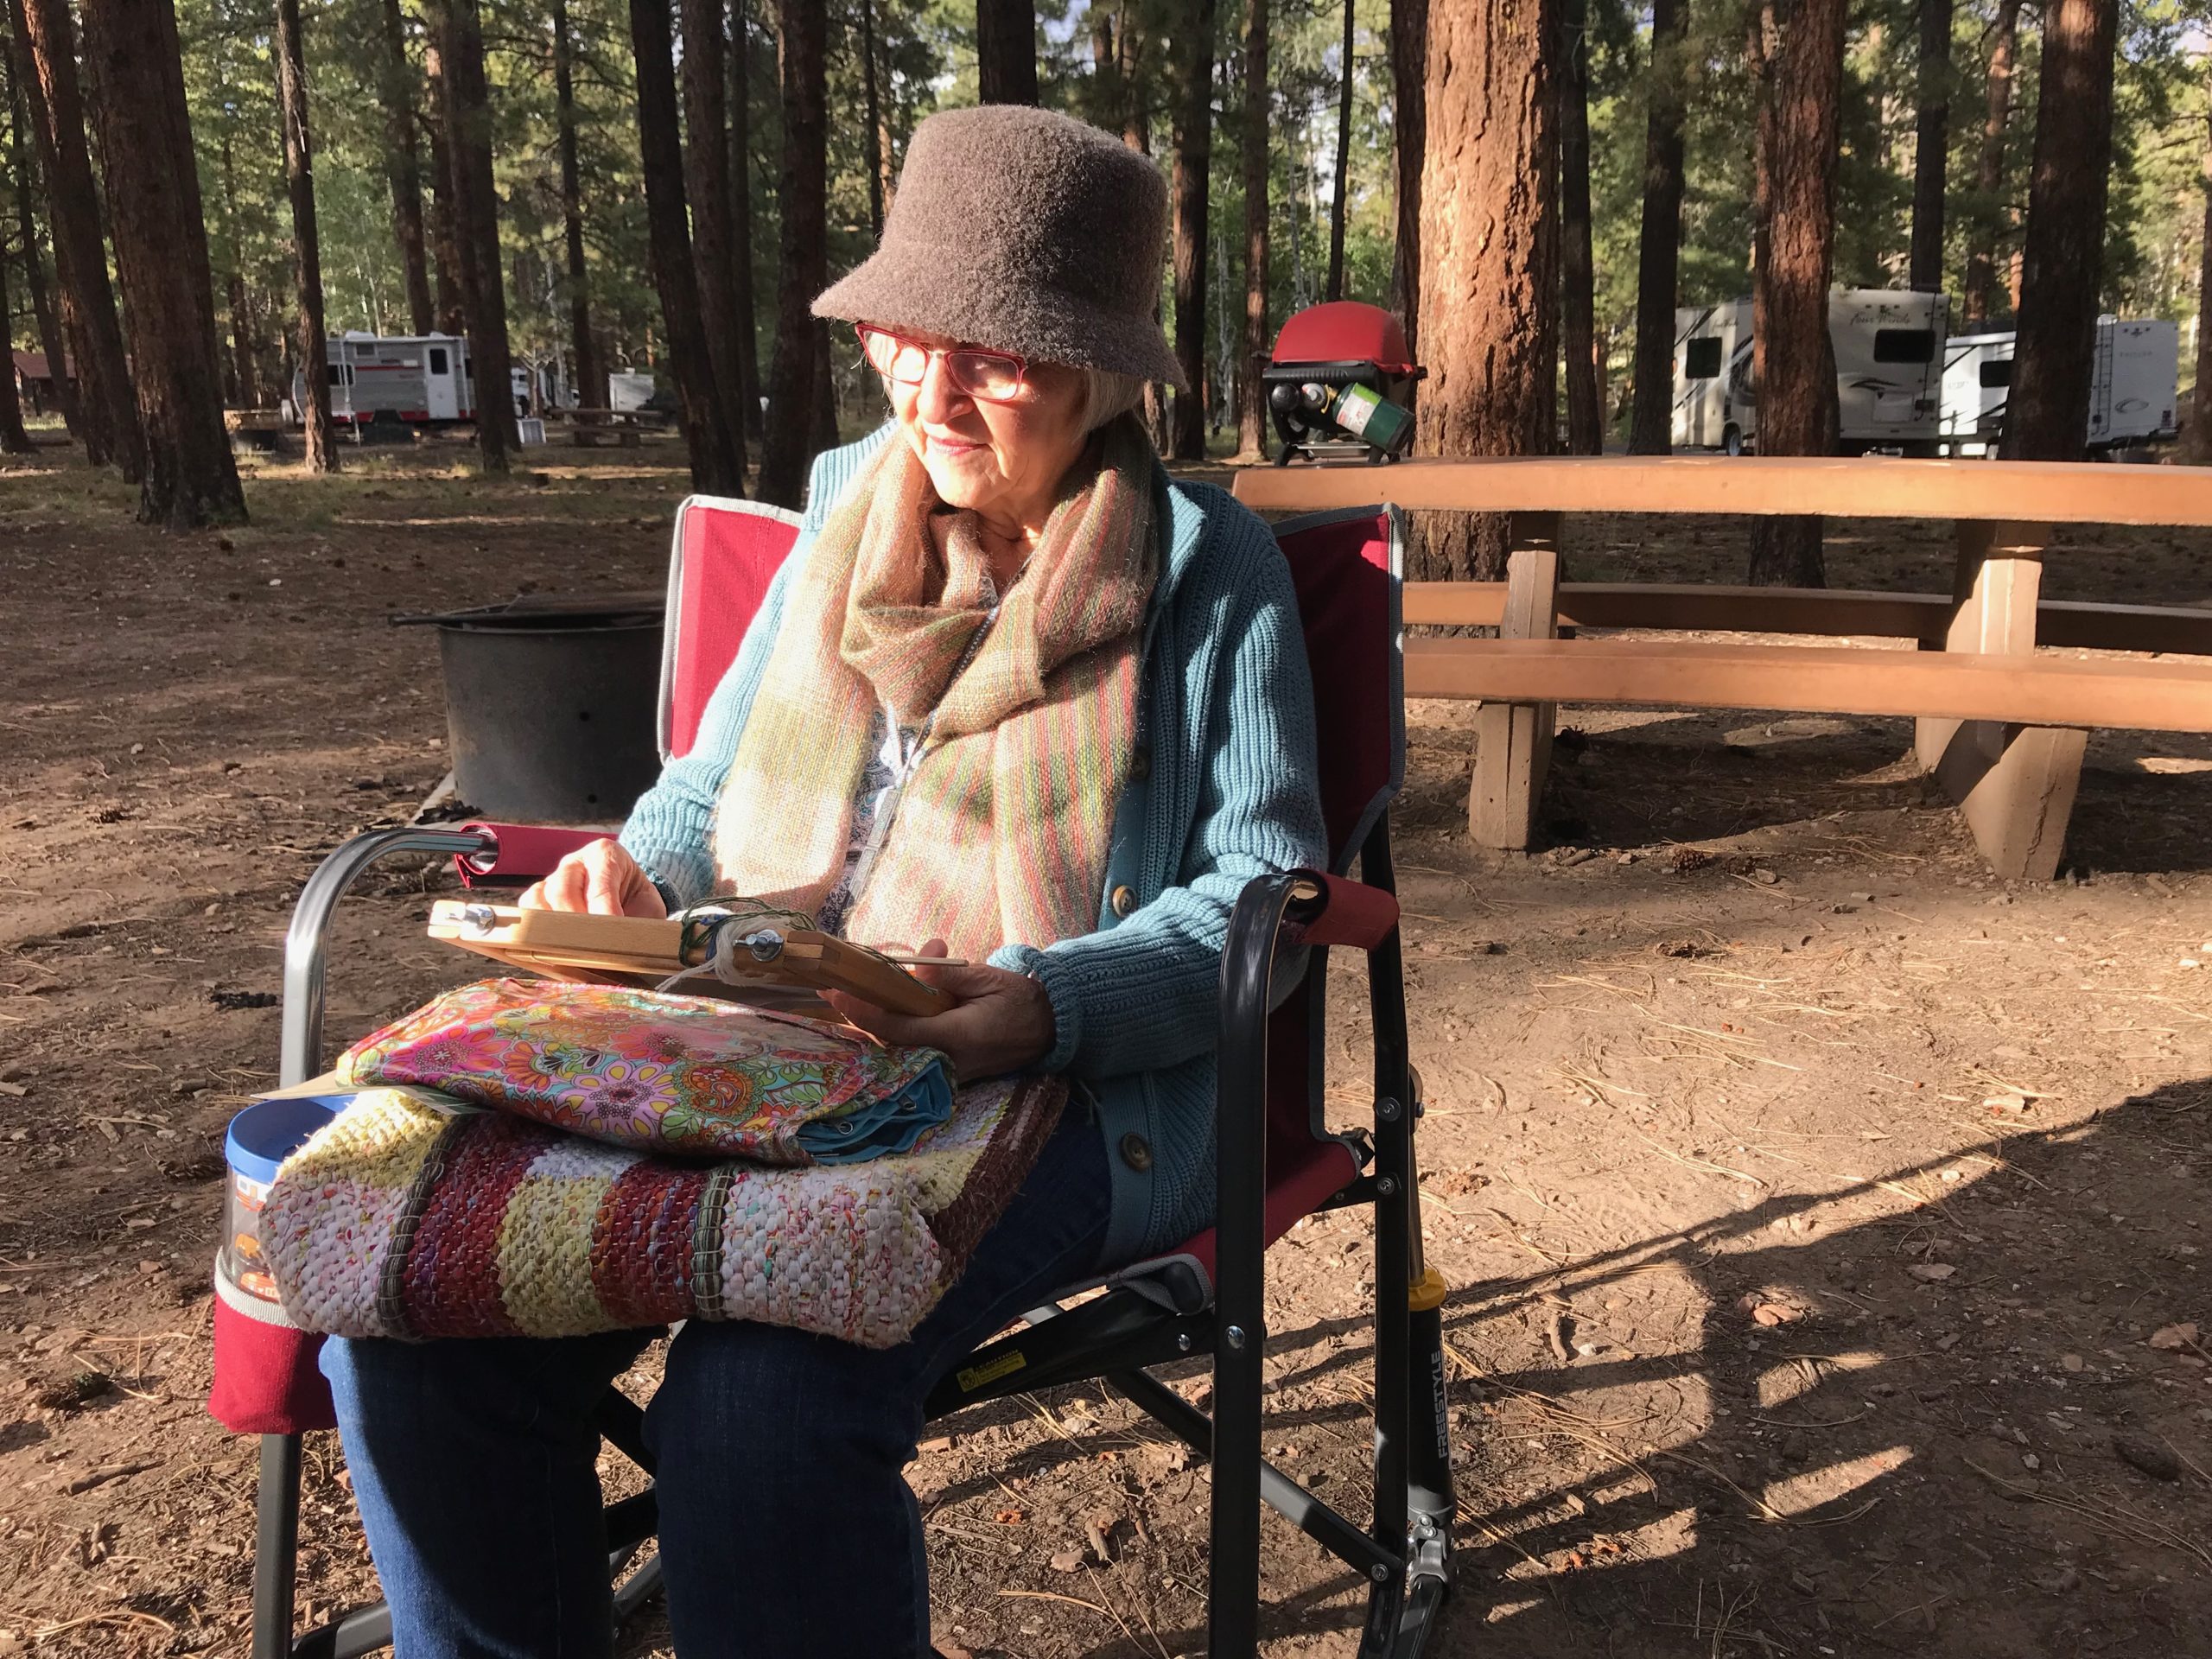
Ponderosa Pines fill the North Rim Campground. It is refreshing to sit there for some relaxed tapestry weaving. Weaving from the back, meaning the face of the tapestry is facing away from me.
Weaving outside in the cool afternoon.

To view the incomparable expanse of the Grand Canyon leaves me in awe. It’s as if the glory of our Creator is on full display. Oh, the colors, textures, and breathtaking drama!

Sunset brings a hush over the vast Grand Canyon. Vibrant colors, phenomenal textures, in an unfolding dramatic ending–this is the language of a weaver.
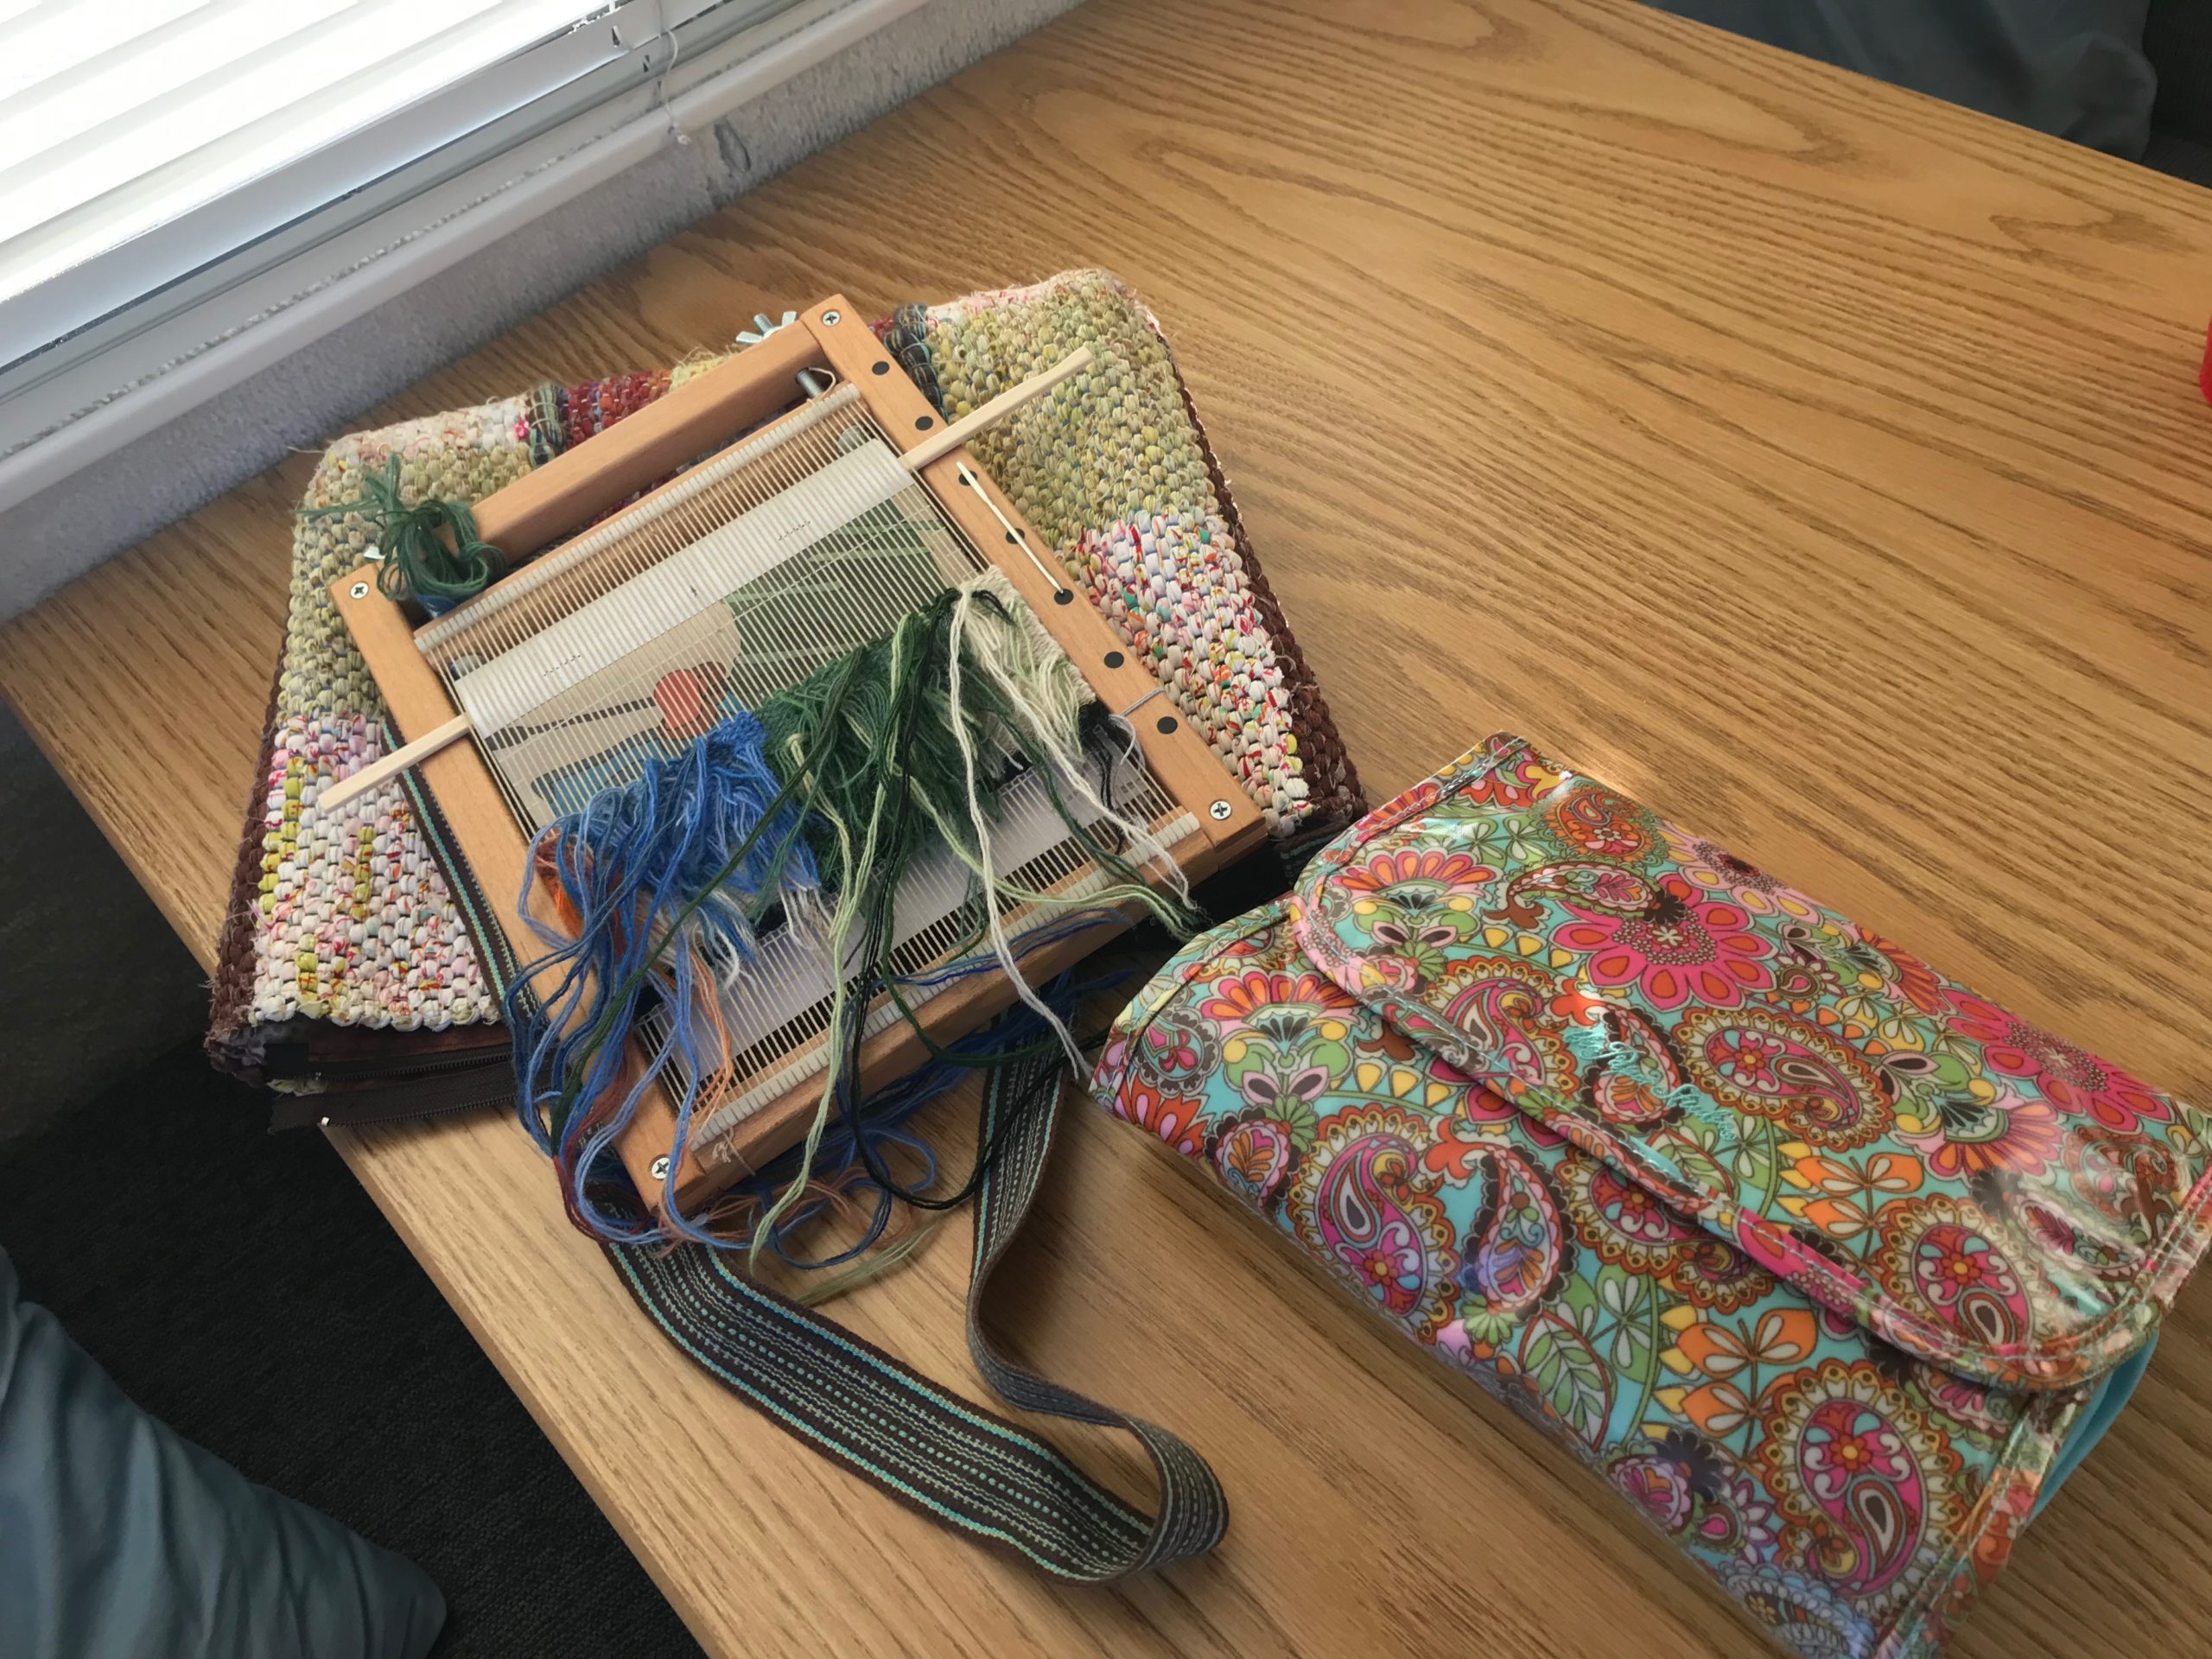
Weaving inside the Casita Travel Trailer until the skies clear up. Messy back of tapestry because I’m not trimming any more than necessary – fewer scraps to keep track of.

Our hearts turn to recognize God’s authority when we view the wonders of his creation. And, in the awe of it all, we pause to consider the vastness of his personal love, such that the Grand Weaver grants us the pleasure of creating something small with colored bits of yarn. Oh, the wonder of it all!

Pondering the deep questions of life.
There is still work to be done. This (second) Rain Girl is not in a hurry. She is ready for me anytime I decide to add more colored bits of yarn.

May you come prepared.

With wonder,
Karen

Happy New Warp – Year in Review Video

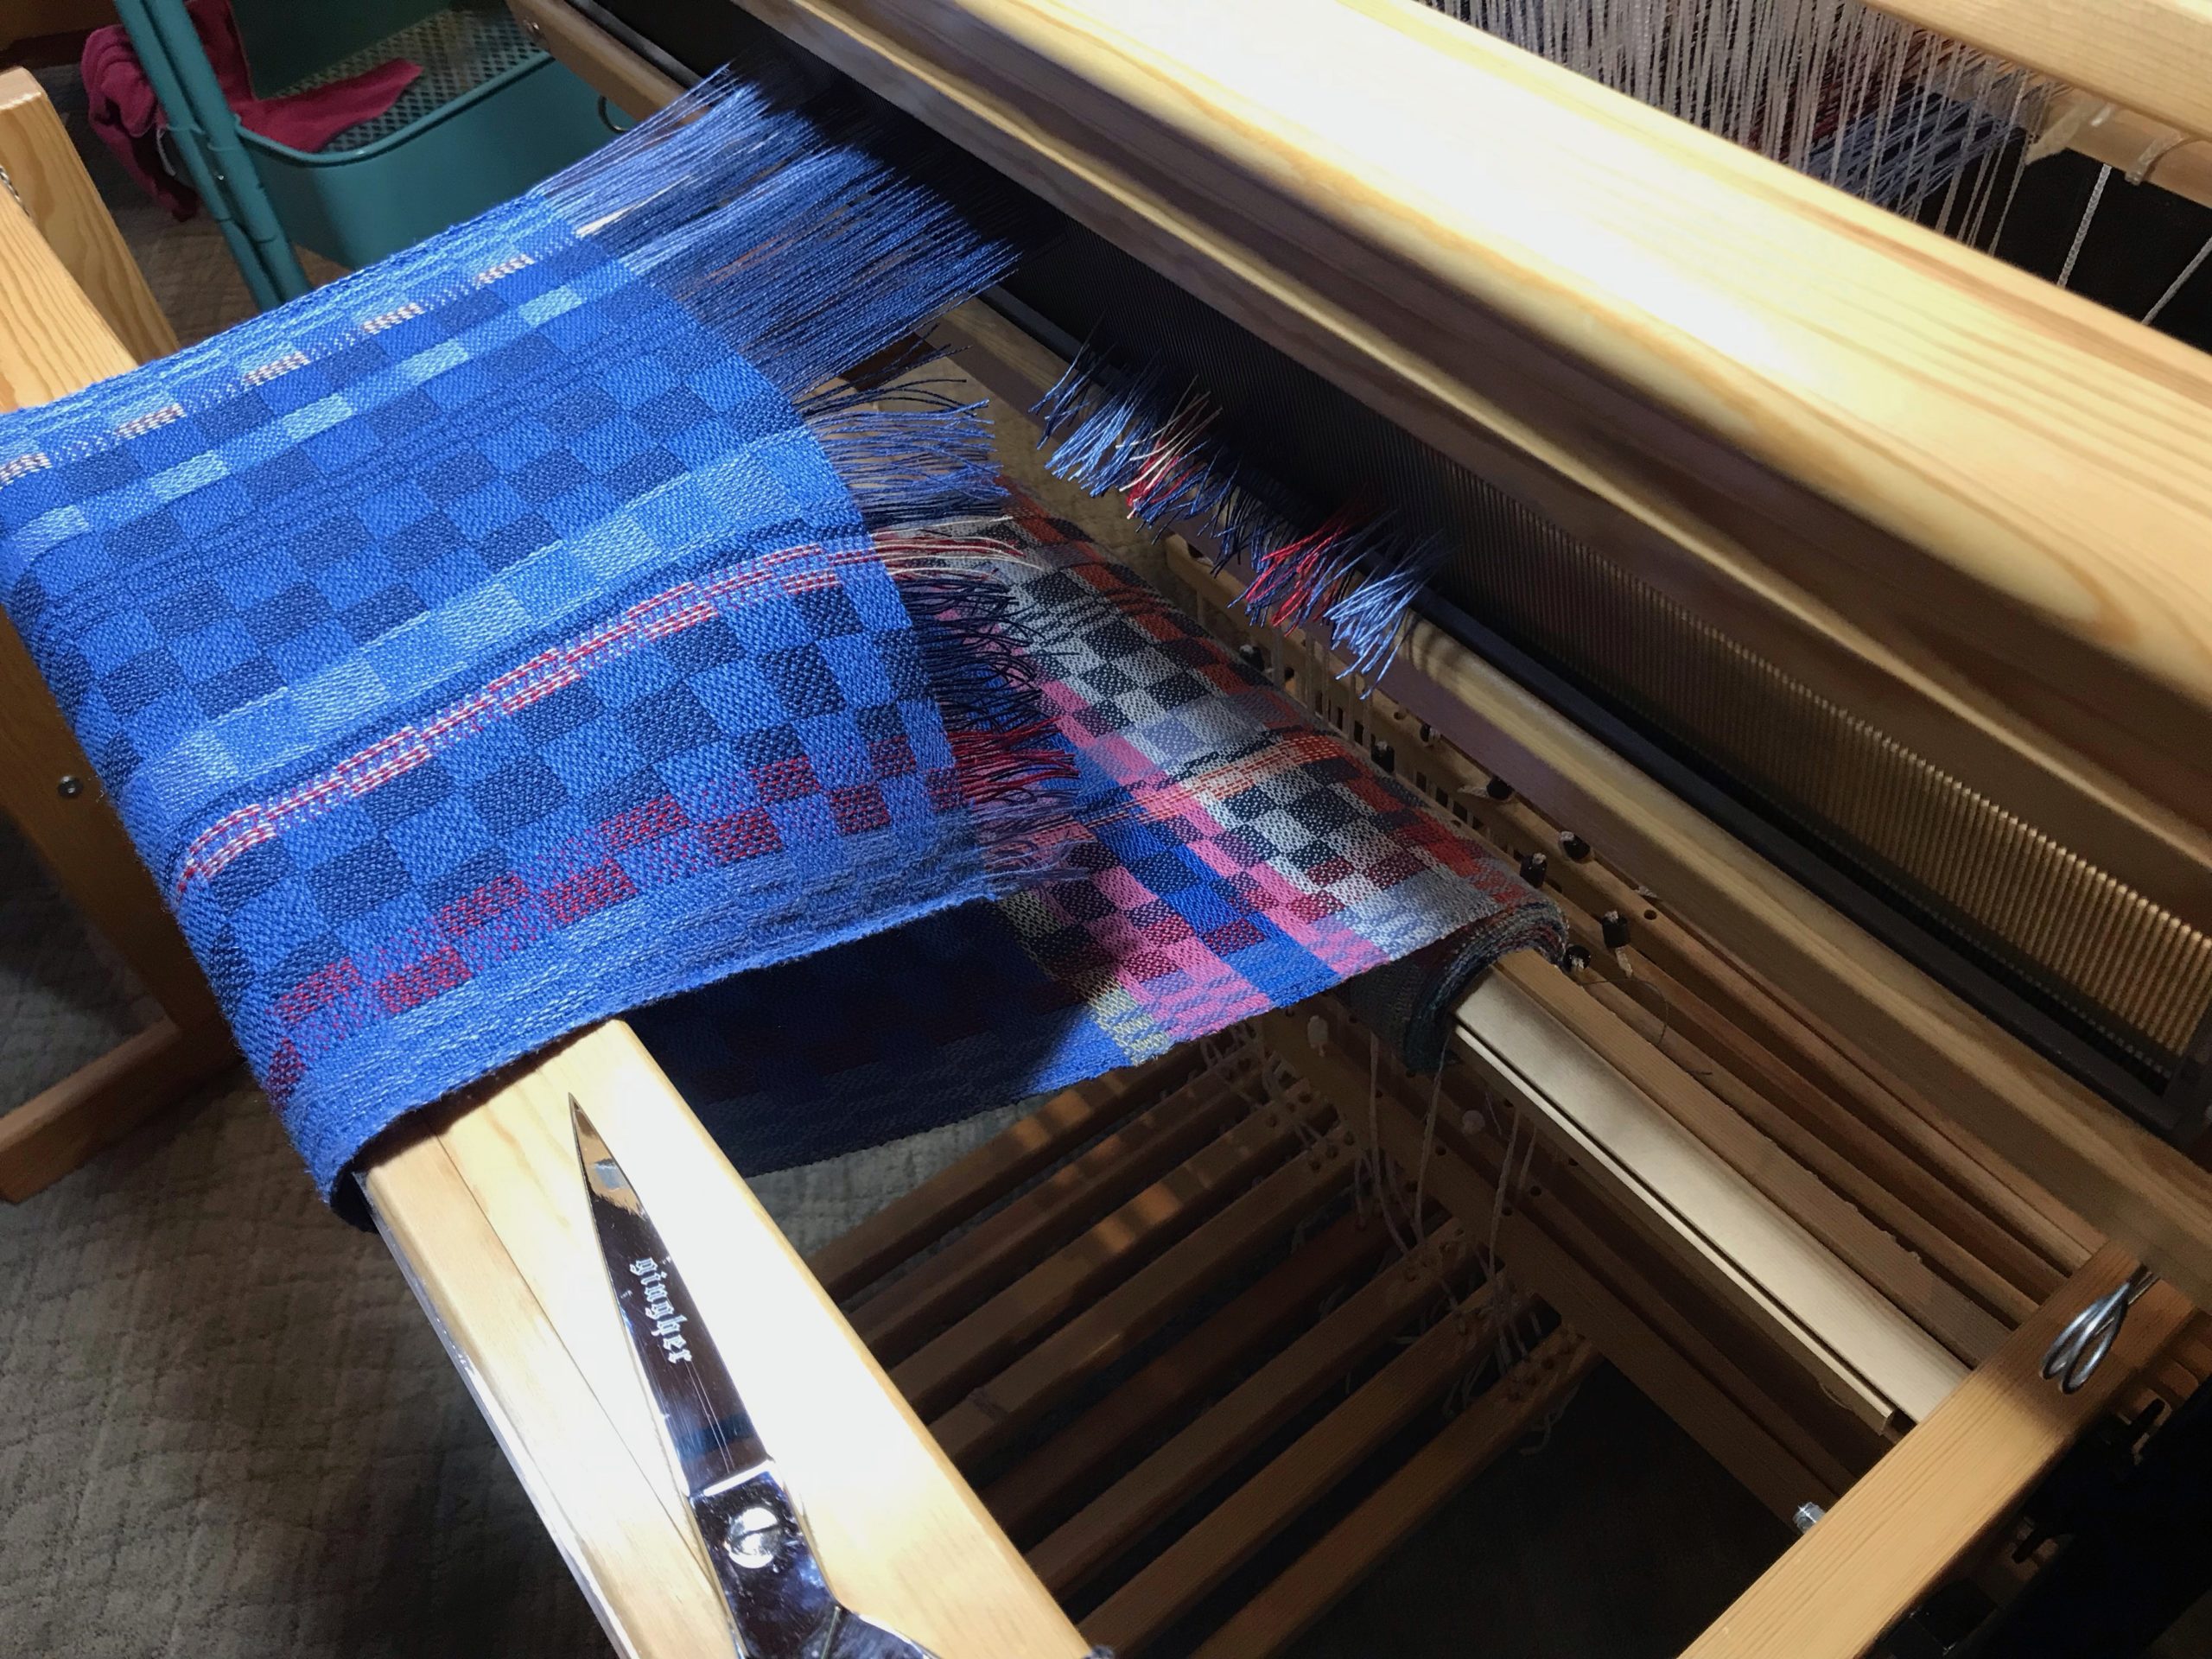
The 2021 cloth is cut from the loom. Let’s unroll the year to see how it looks. I see cherished moments. Treasured memories. New friendships. Family relationships enjoyed. Mistakes made. A few heartbreaks. Sorrow and rejoicing are intertwined at times. Besides the finished fabric, there are a few odd remnants worth keeping in my heart. And, like most thrums, there are some things I am not going to hold on to.

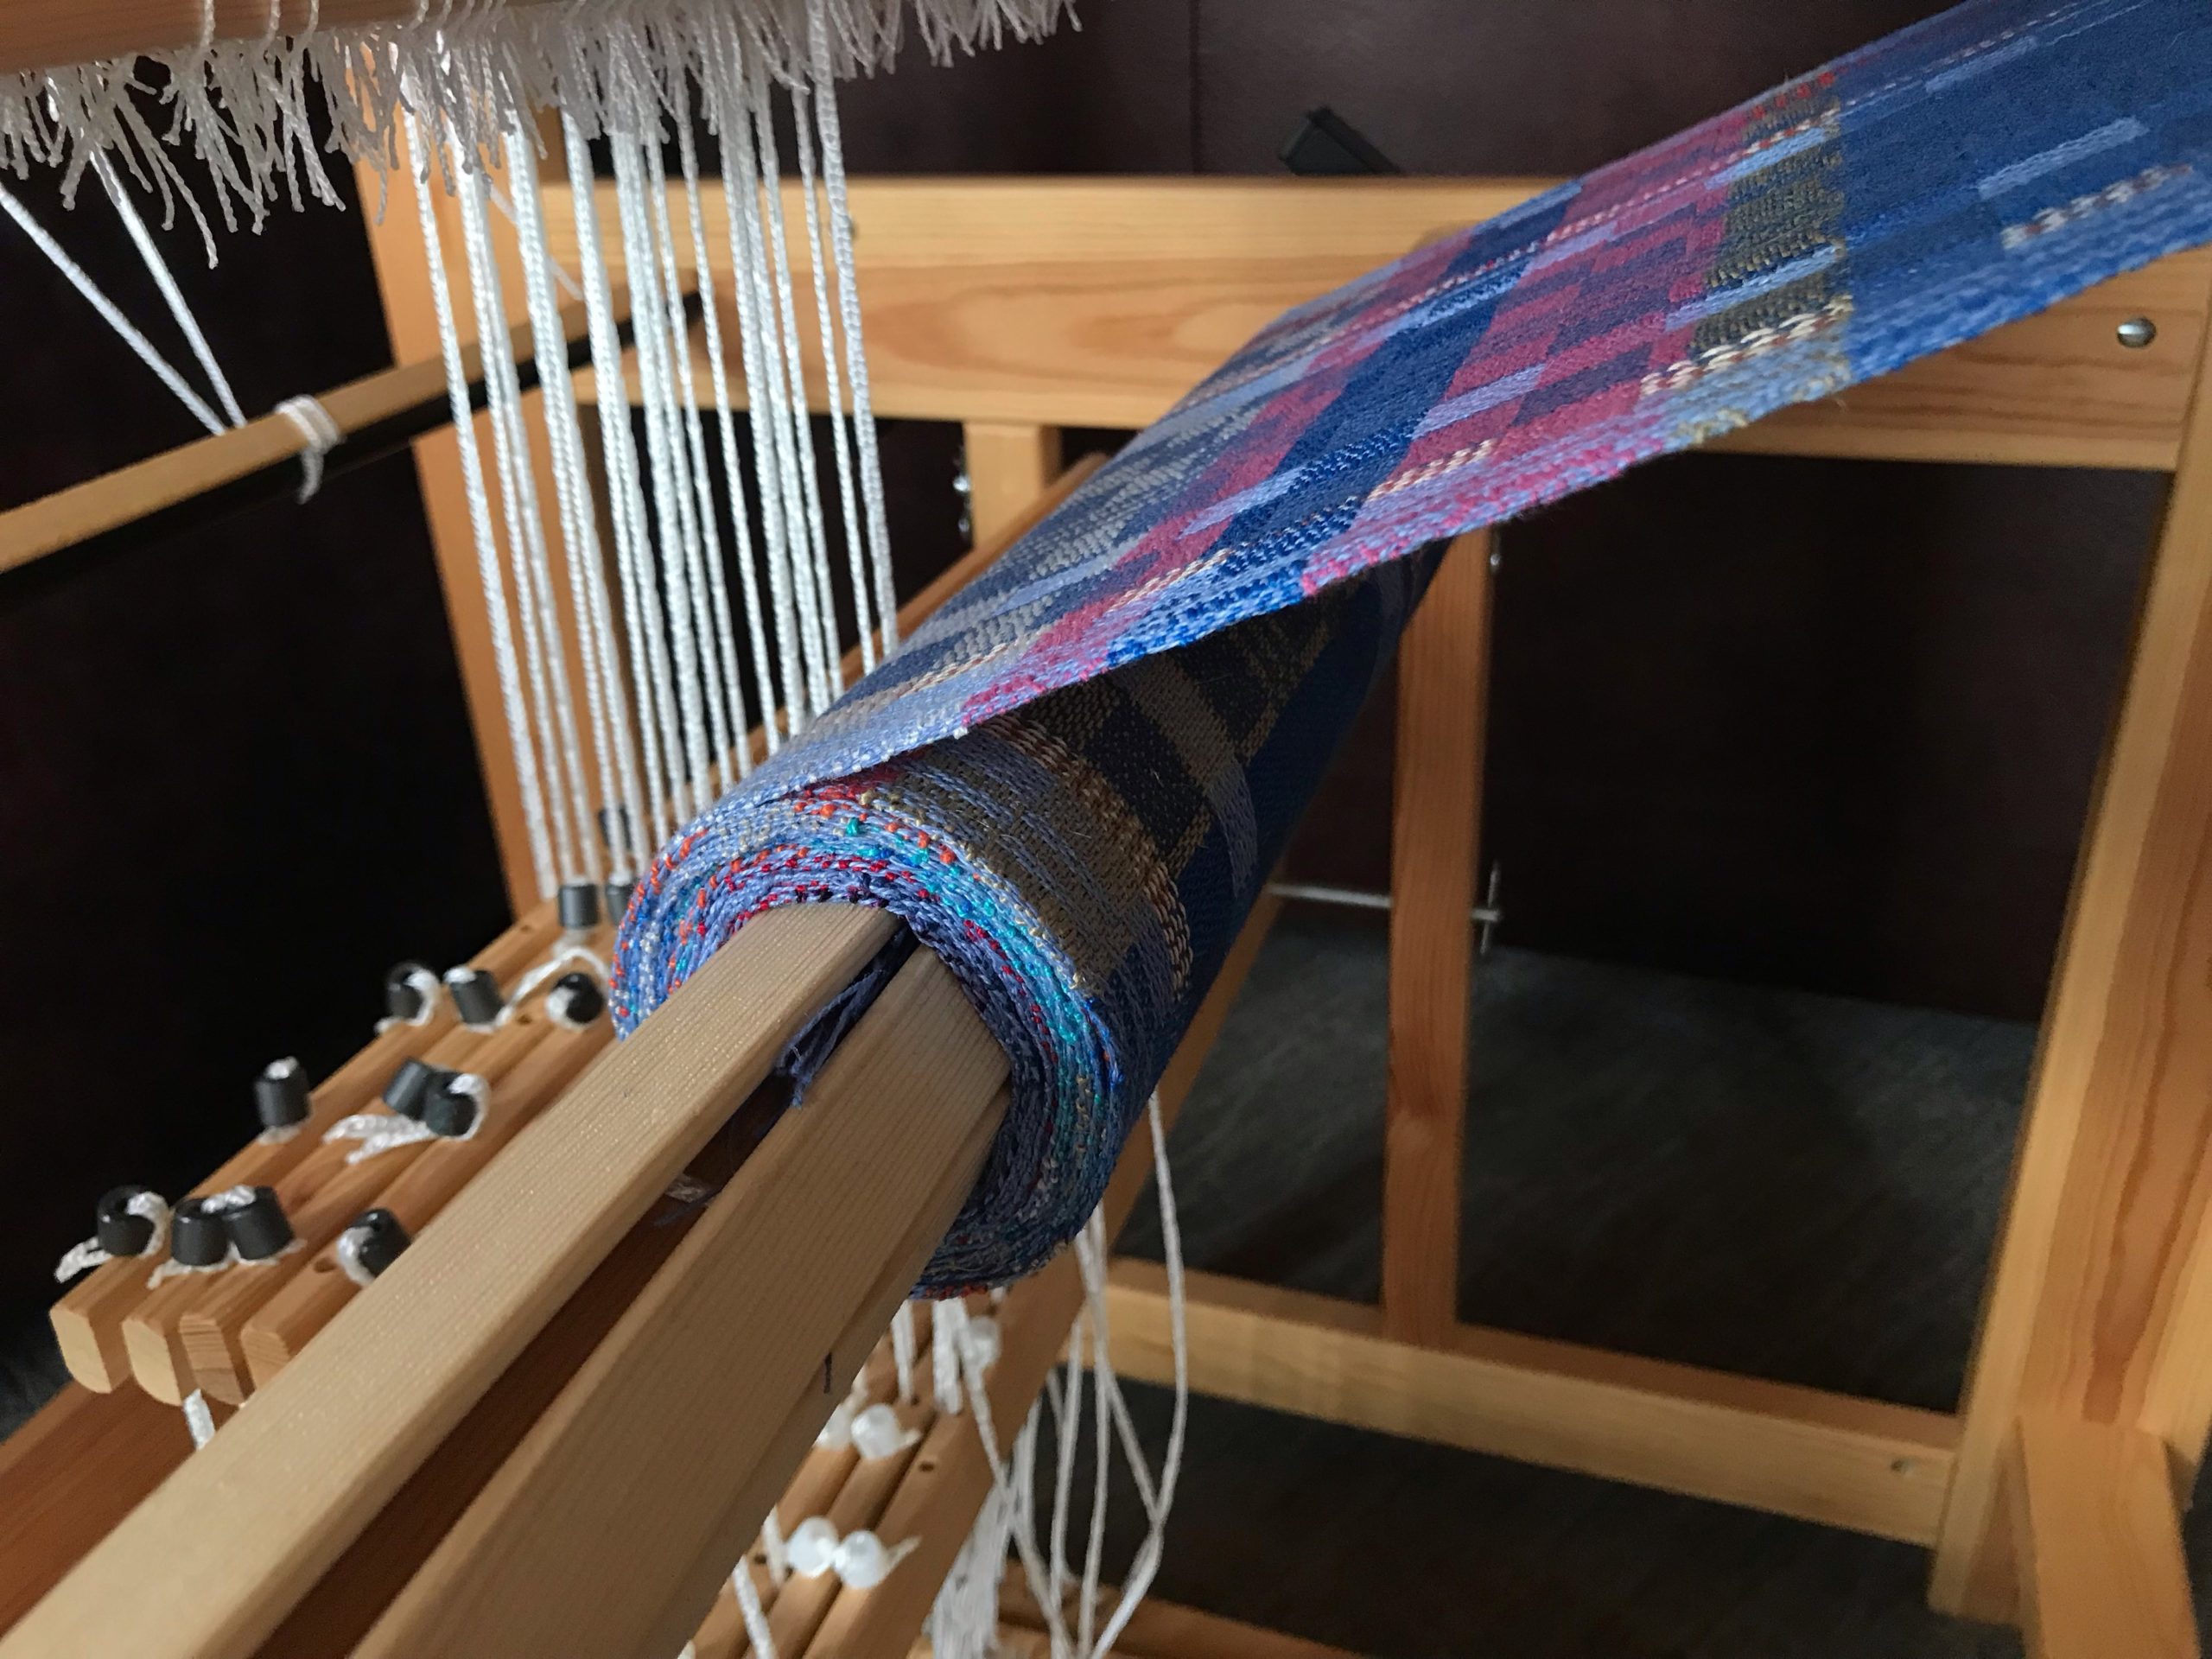
Cloth beam on the Glimakra Julia. Linen dish cloths.
Final project of 2021. Linen dish cloths, with warp made from what was left on several tubes of linen. Glimåkra Julia, using 8 shafts, 8 treadles.
Glimakra Julia - linen dish cloths!
Good-bye, 2021. Nine linen dish cloths, plus one large blue rectangle at the end. Washing dishes has never looked so good!

Three weaving highlights: 1. Eye of the Beholdertapestry of my mom. The Lord used the making and finishing of this woven portrait to reiterate His nearness when I needed it most. 2. Siblings, tapestry from the previous year, earned the HGA (Handweavers Guild of America) Award at the Contemporary Handweavers of Texas Conference last summer. 3. The yellow huckaback three-tiered skirt, Tiers of Joy, ought to earn an achievement award. However, the real reward is a genuine sense of accomplishment through perseverance.

Rag rugs up next!
First warp of 2022. Glimåkra Ideal. Double-binding rag rugs coming up. Hooray!

Know when to let go. 2022 is a new warp on the loom. Some things from last year don’t belong. We have a fresh start with no room for complaints. Threads on the loom are rich with hope, ready for the intersection of thoughtful wonder and exploration. Look for results of tangible beauty.

Please enjoy looking back at the weaving journey of 2021 with me. I’m grateful to have you here, and look forward to more good times together!

The three highlights: Process Review: Eye of the Beholder, Siblings Tapestry and Process Video, Process Review: Tiers of Joy!

May you know what to hold, and what to let go.

Happy New Warp (Year),
Karen

Tried and True: What a Little Piece of Tape Can Do

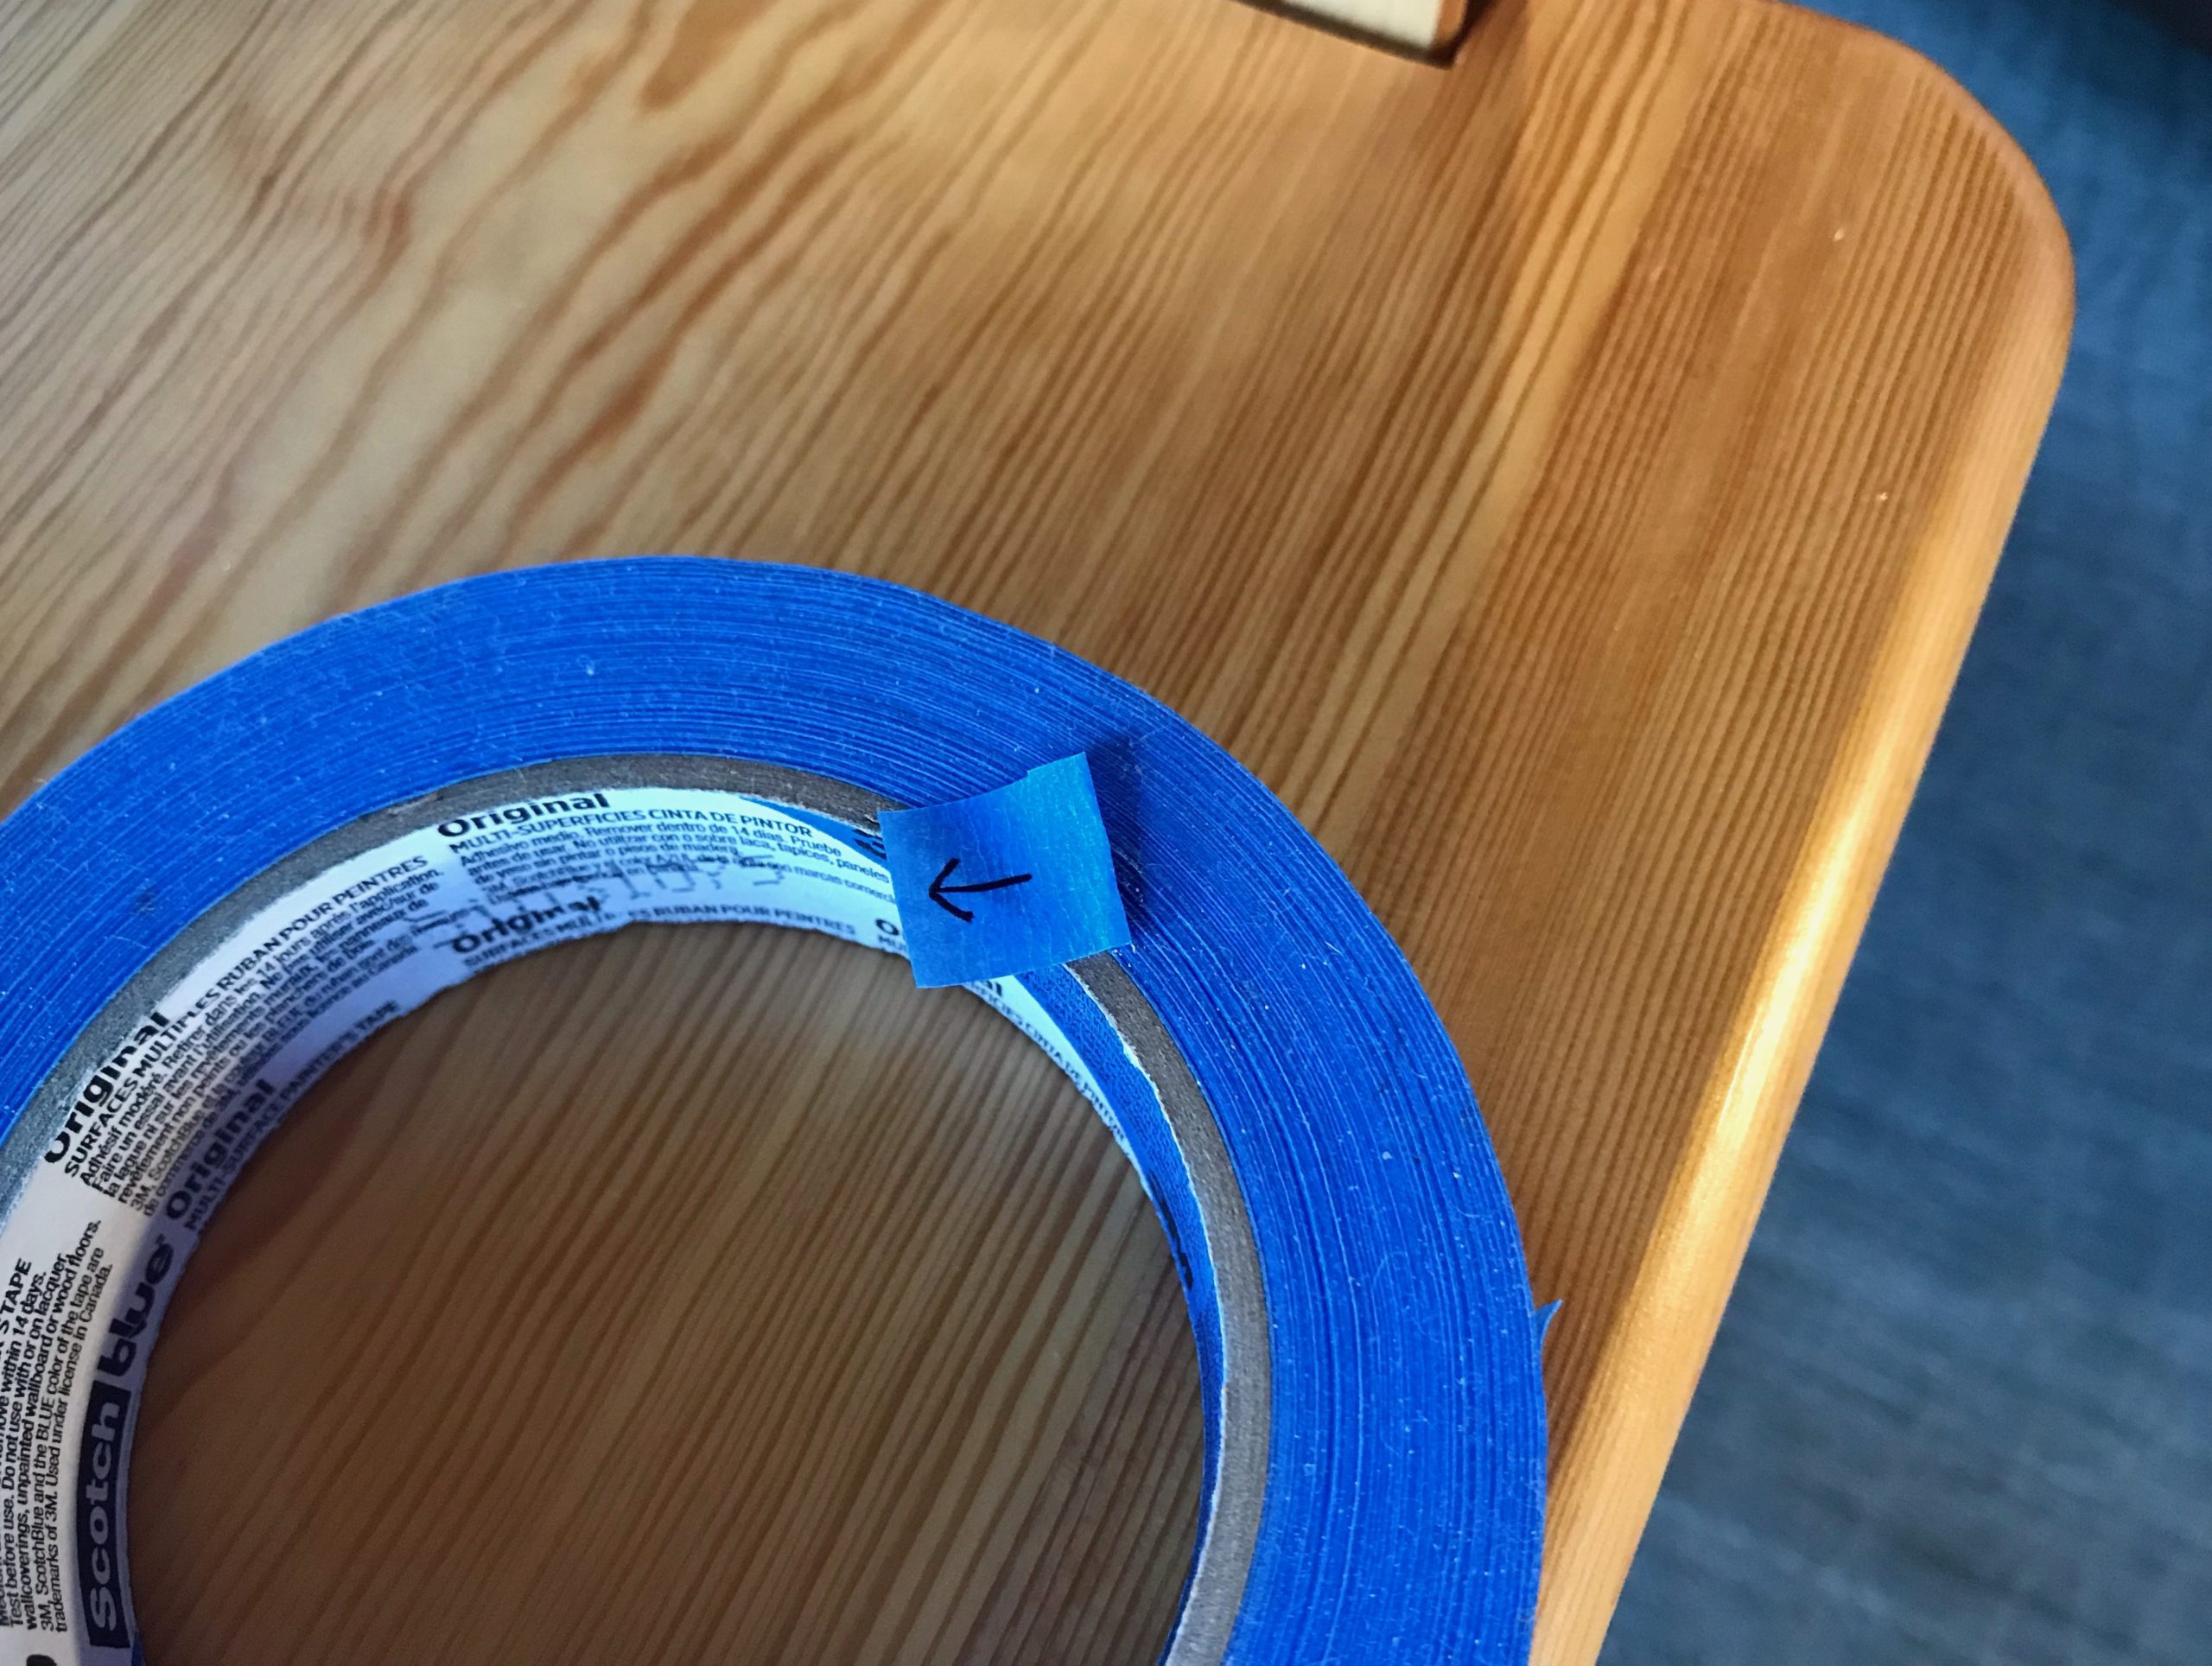
You never know when you’ll need a piece of blue tape. A roll of blue painter’s tape is among my essential weaving supplies. My favorite way to temporarily mark just about anything is with a piece of blue tape.

Blue Painters Tape for Temporary Markings

  1. Cut (or tear) the tape to size.
  2. Fold one edge of the tape under. This makes a little tab so that the tape is easy to remove or reposition.
  3. Use a fine point Sharpie to write on the tape.
Weaver's uses for blue painter's tape.
Tape prepared for pointing.

Three Examples

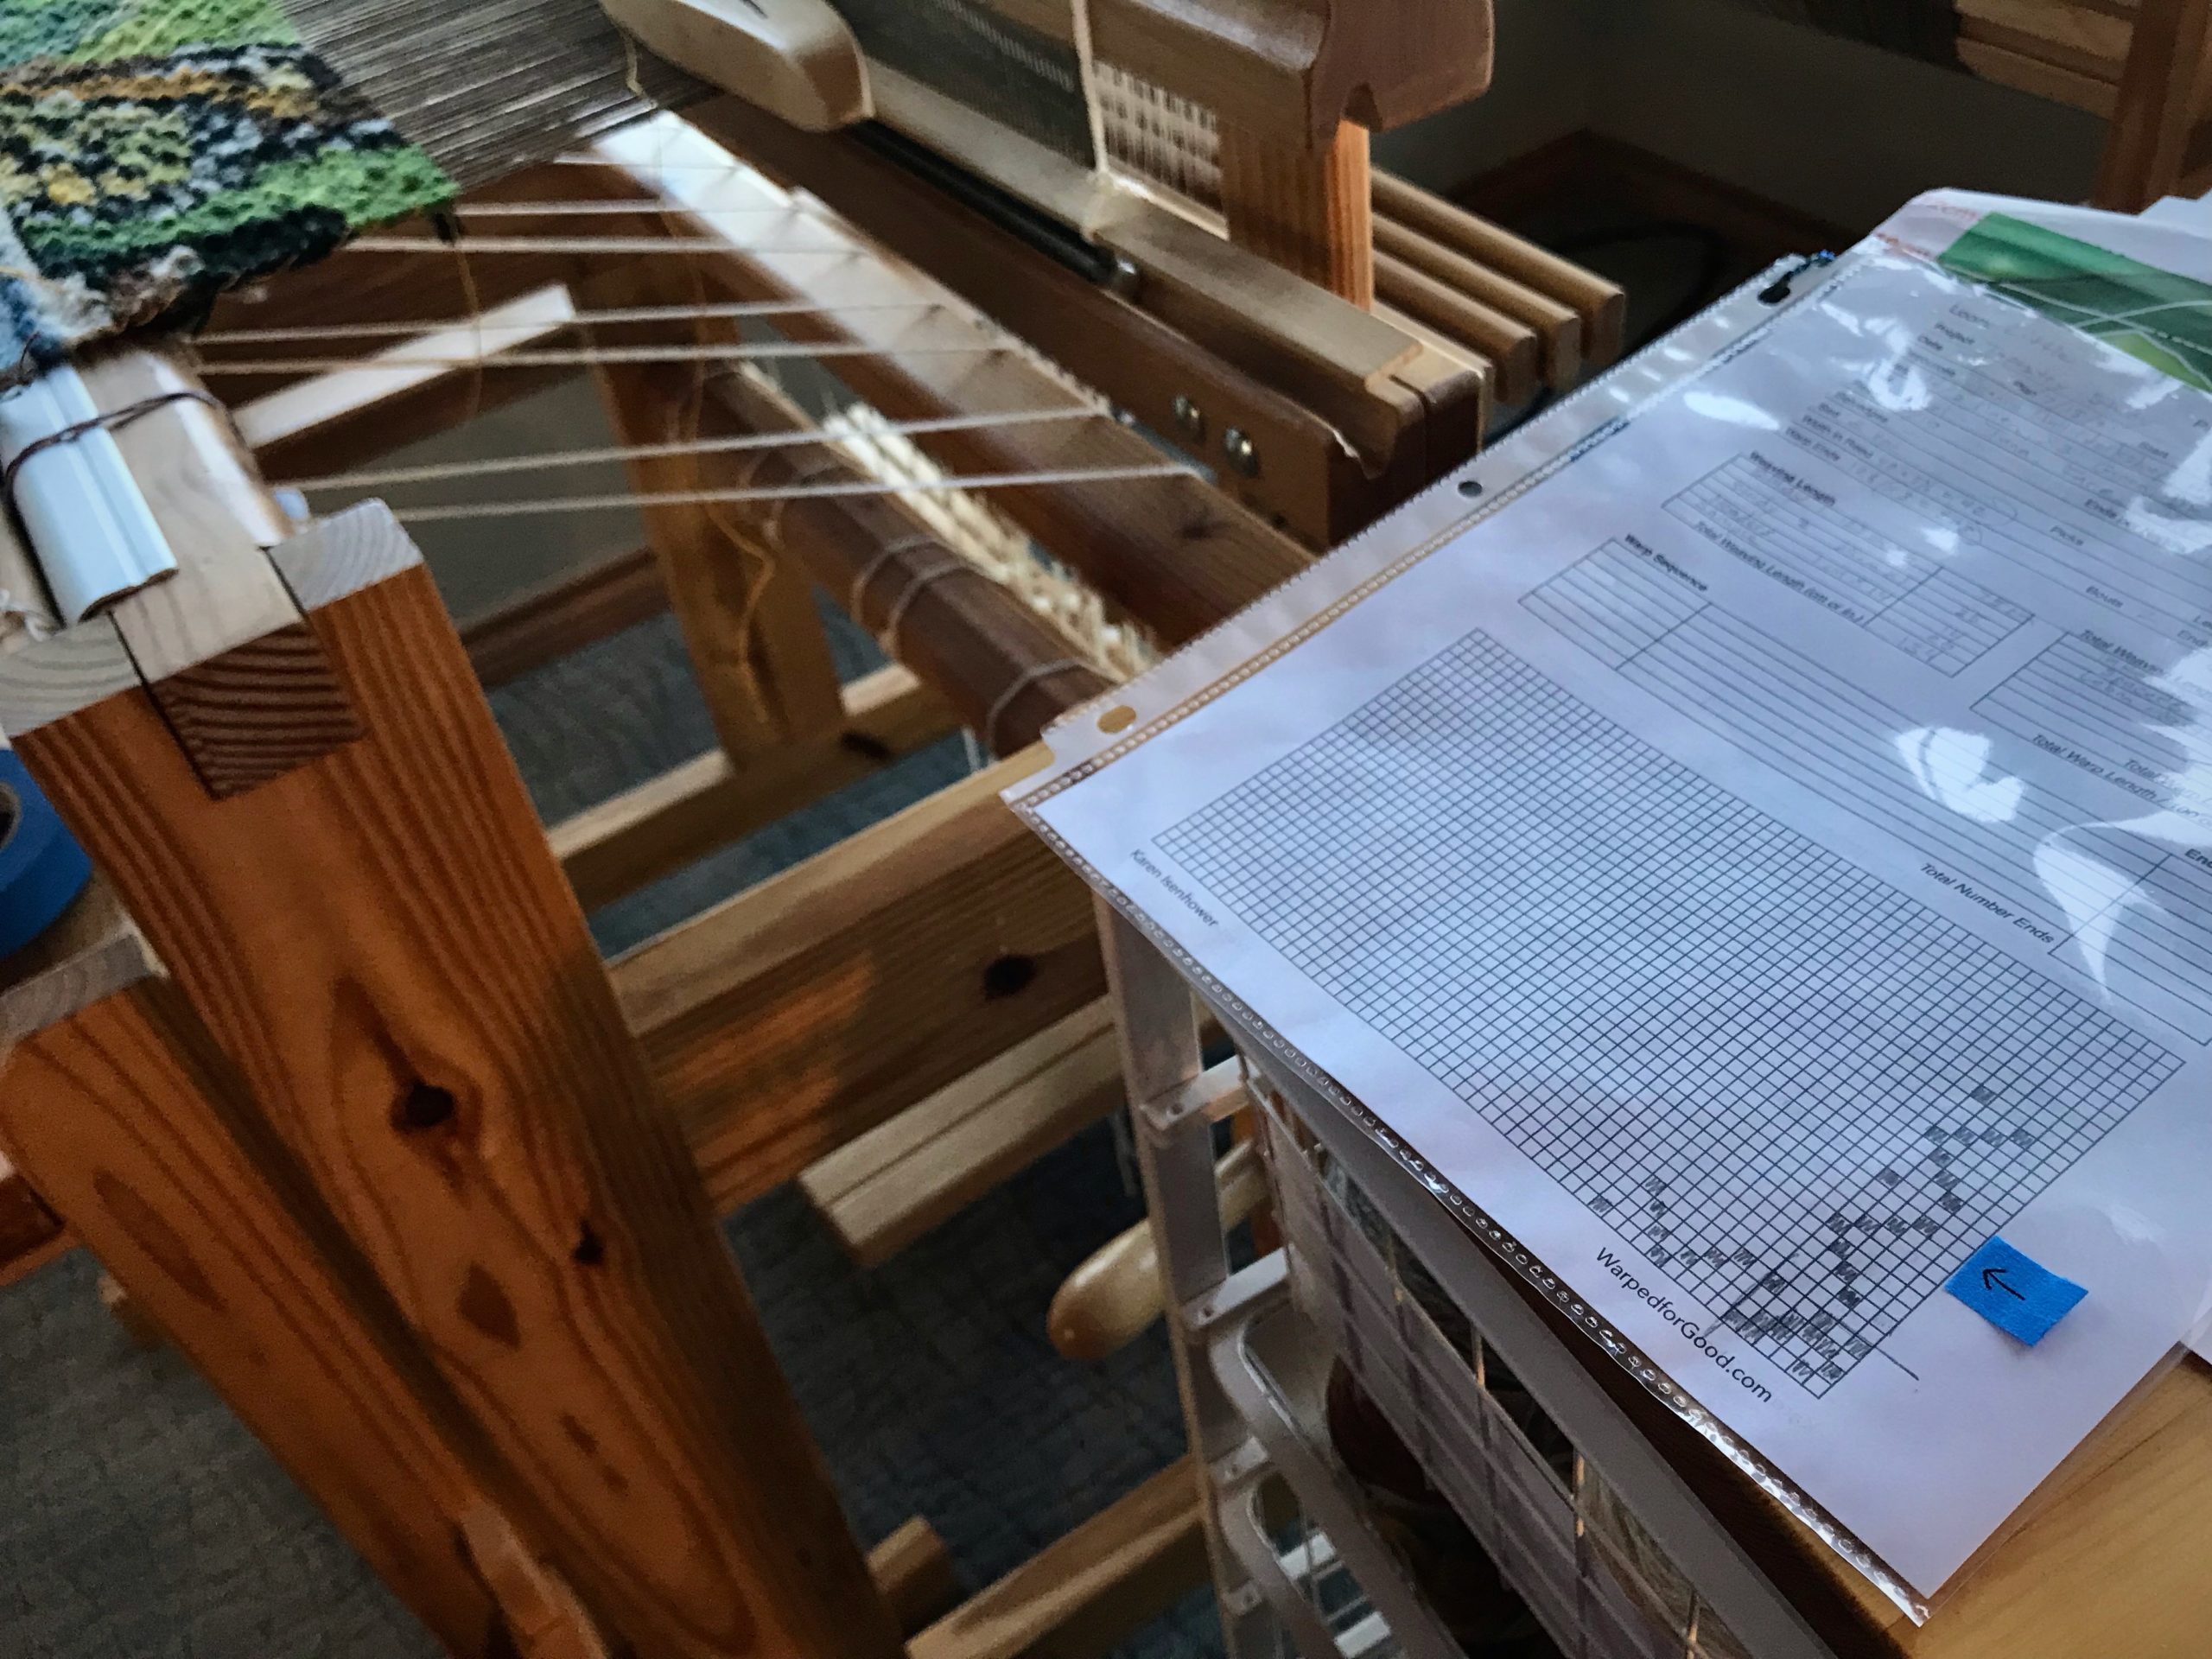
  • Keep your place. Draw an arrow on a small piece of blue tape. Use the arrow on the tape to follow along the threading or treadling draft. This eliminates confusion, especially after a pause.
Blue tape uses in the weaving studio.
Rosepath treadling for 4-shaft tapestry. Since there are plain weave picks between each rosepath row, I need something to remind me where I left off.

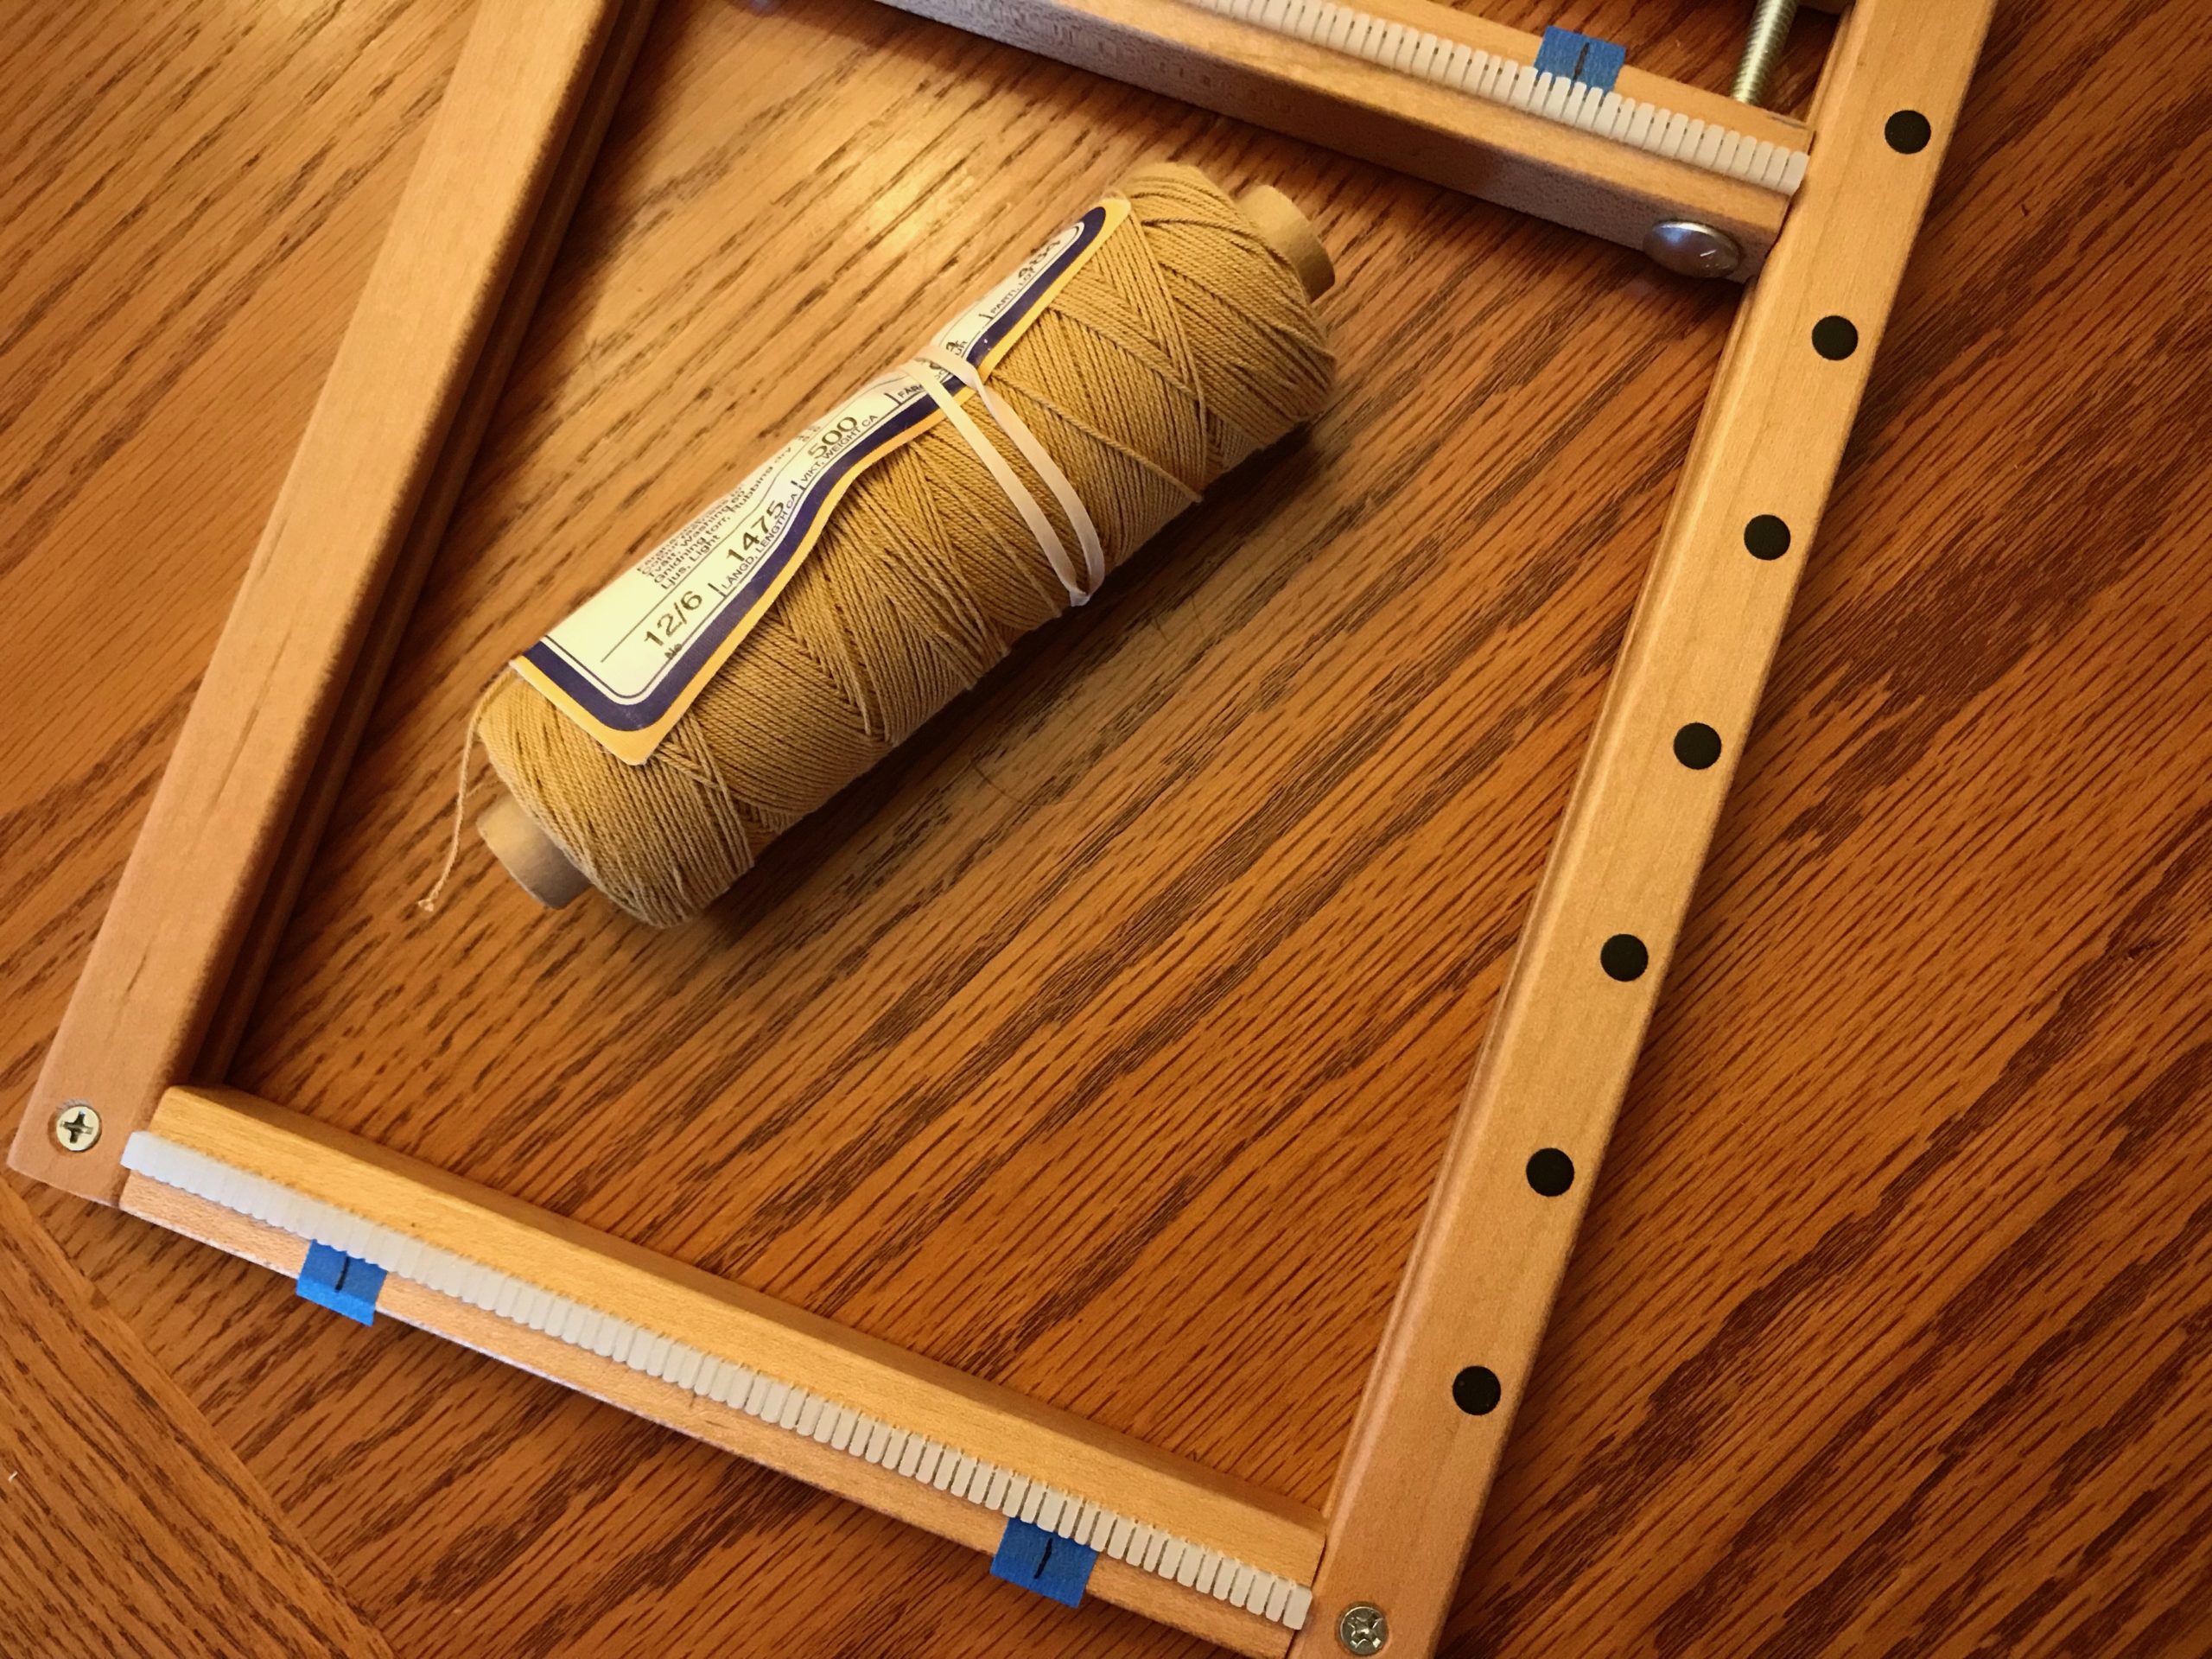
  • Measure the space. Draw a straight line on small pieces of tape. Measure the warp width on a tapestry frame or rigid heddle loom. Use the lines on the tape to mark where the first and last warp ends should lie on the loom. This eliminates guessing when warping the loom.
Uses for blue tape in my weaving studio.
Tapestry frame is ready for a new warp. After measuring for weaving width, and counting dents, I mark the dents with tape. No more guessing if I’m “almost there” when putting on the warp.
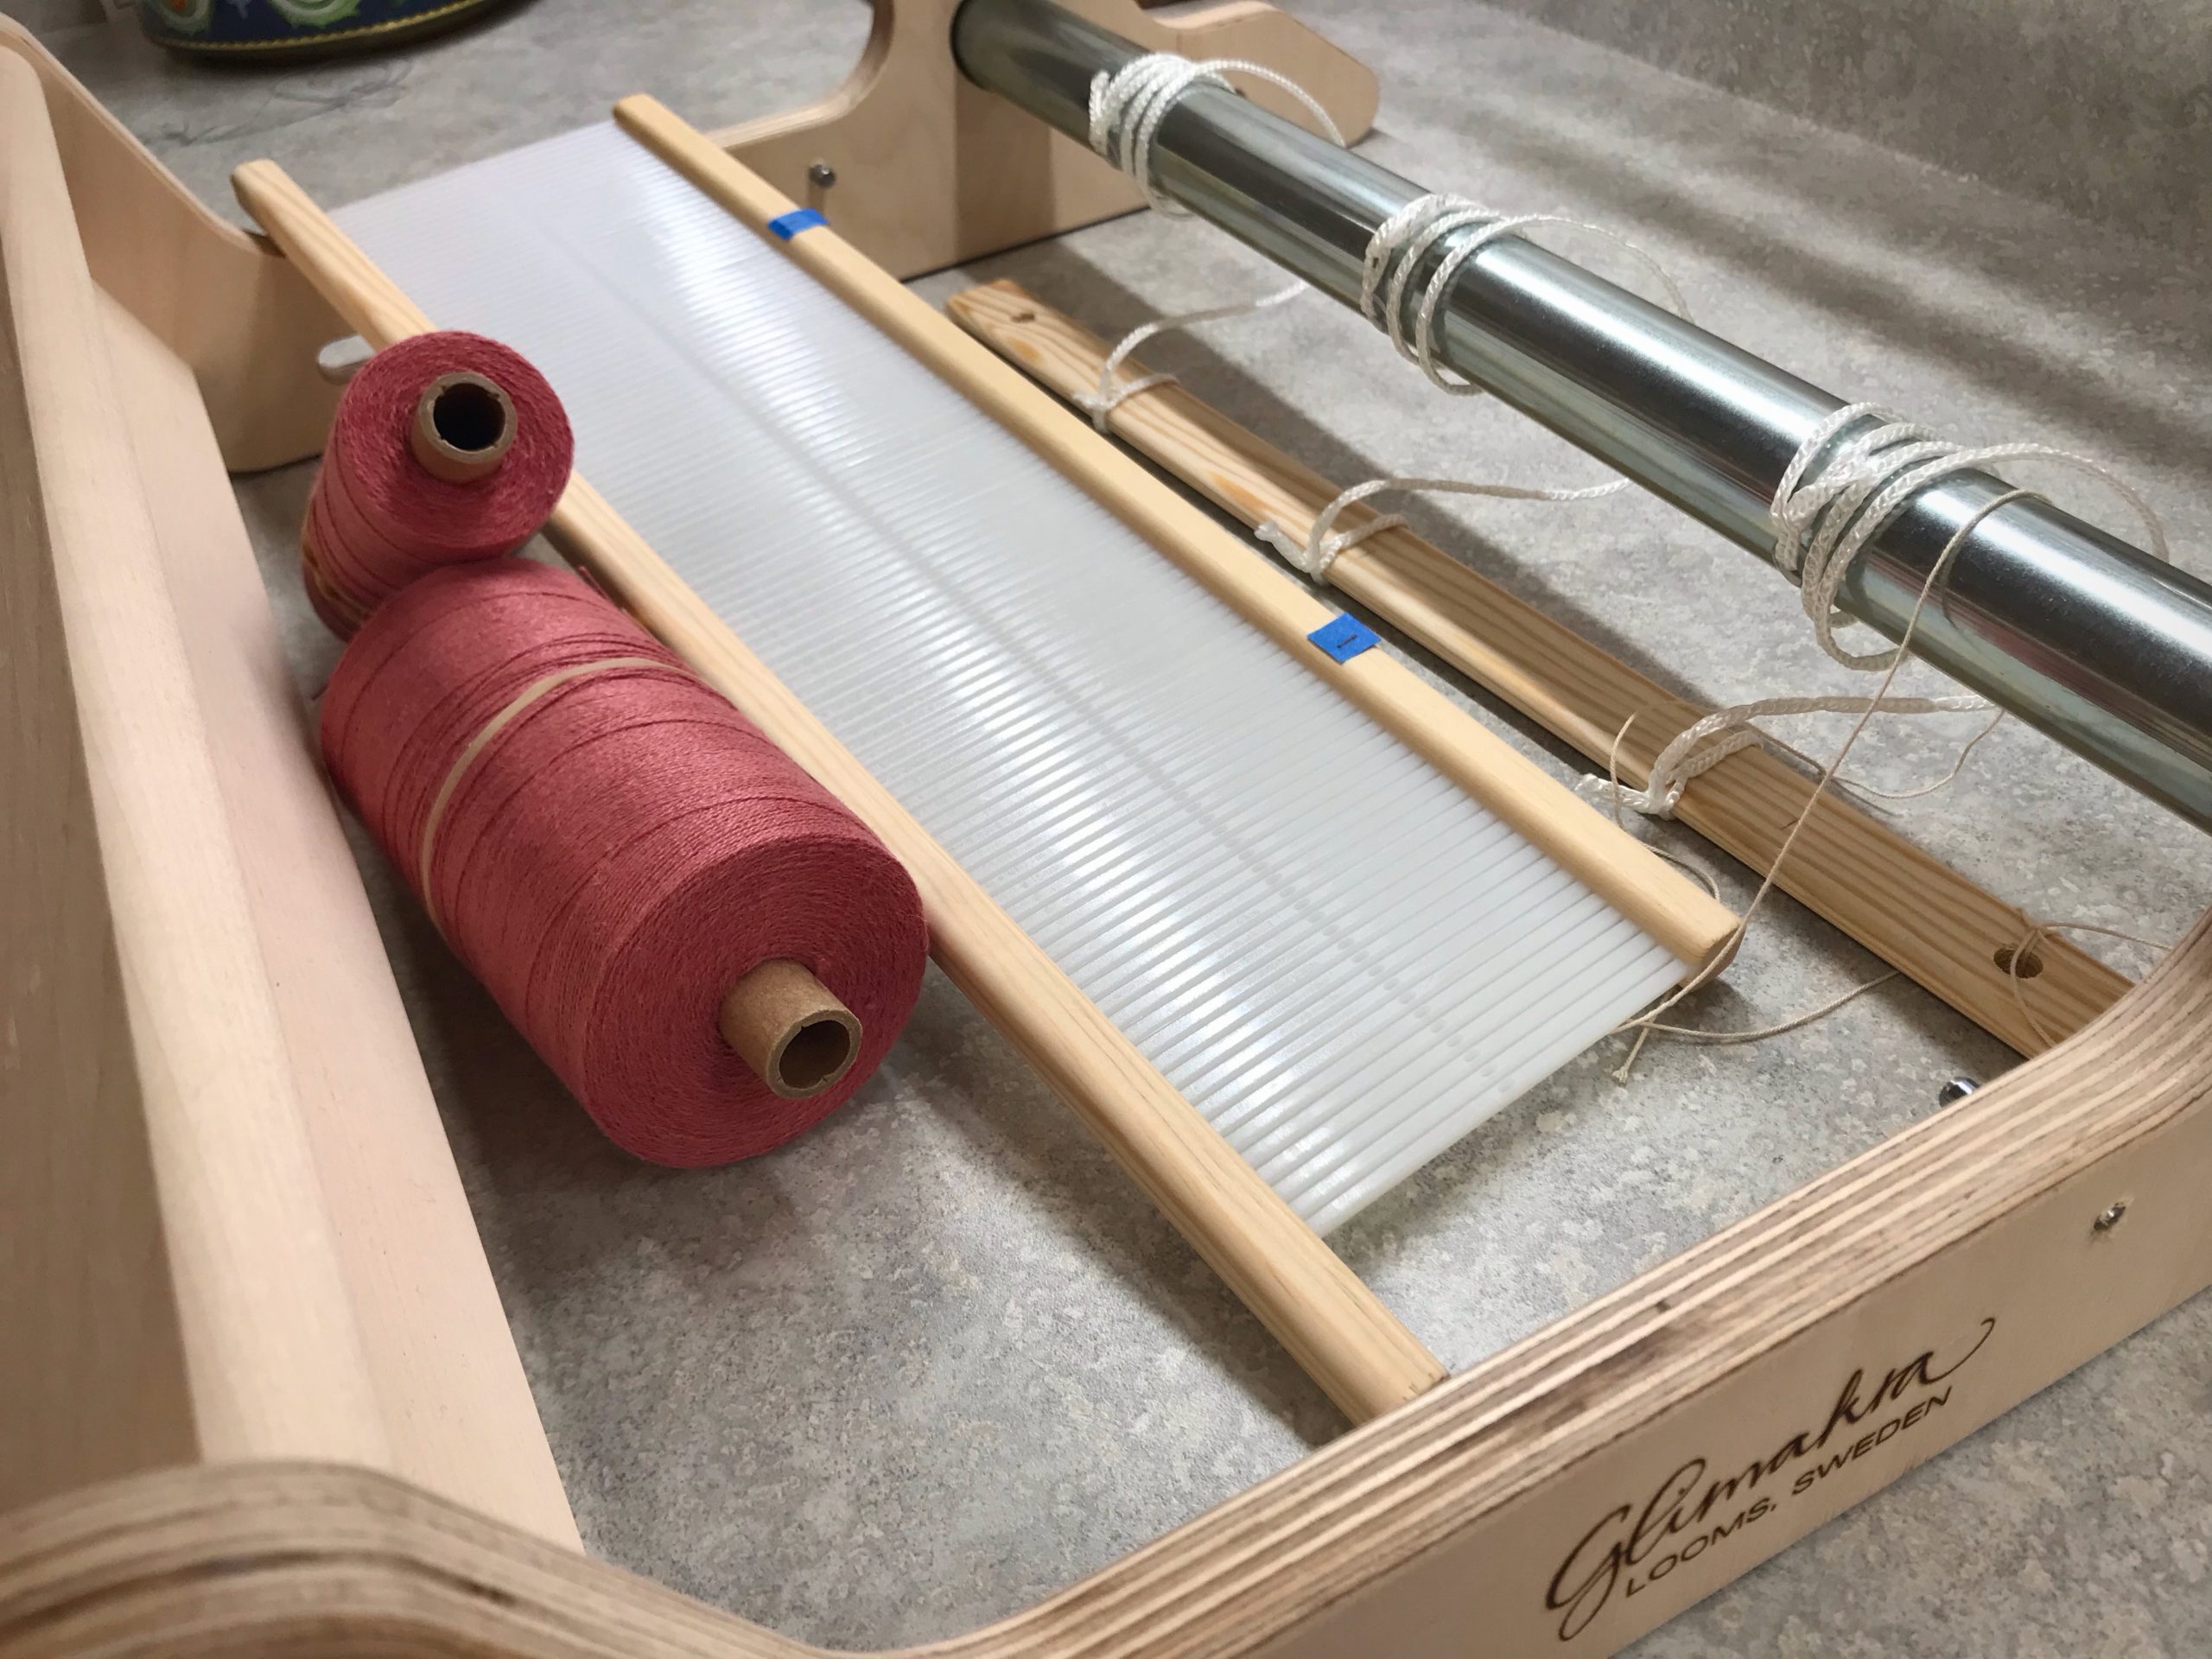
Blue tape to mark the rigid heddle. And other uses for blue tape.
By clearly marking the first and last slots/holes I can verify that my calculations are correct before I start warping the rigid heddle loom. This is helpful for direct warping and for indirect warping methods.

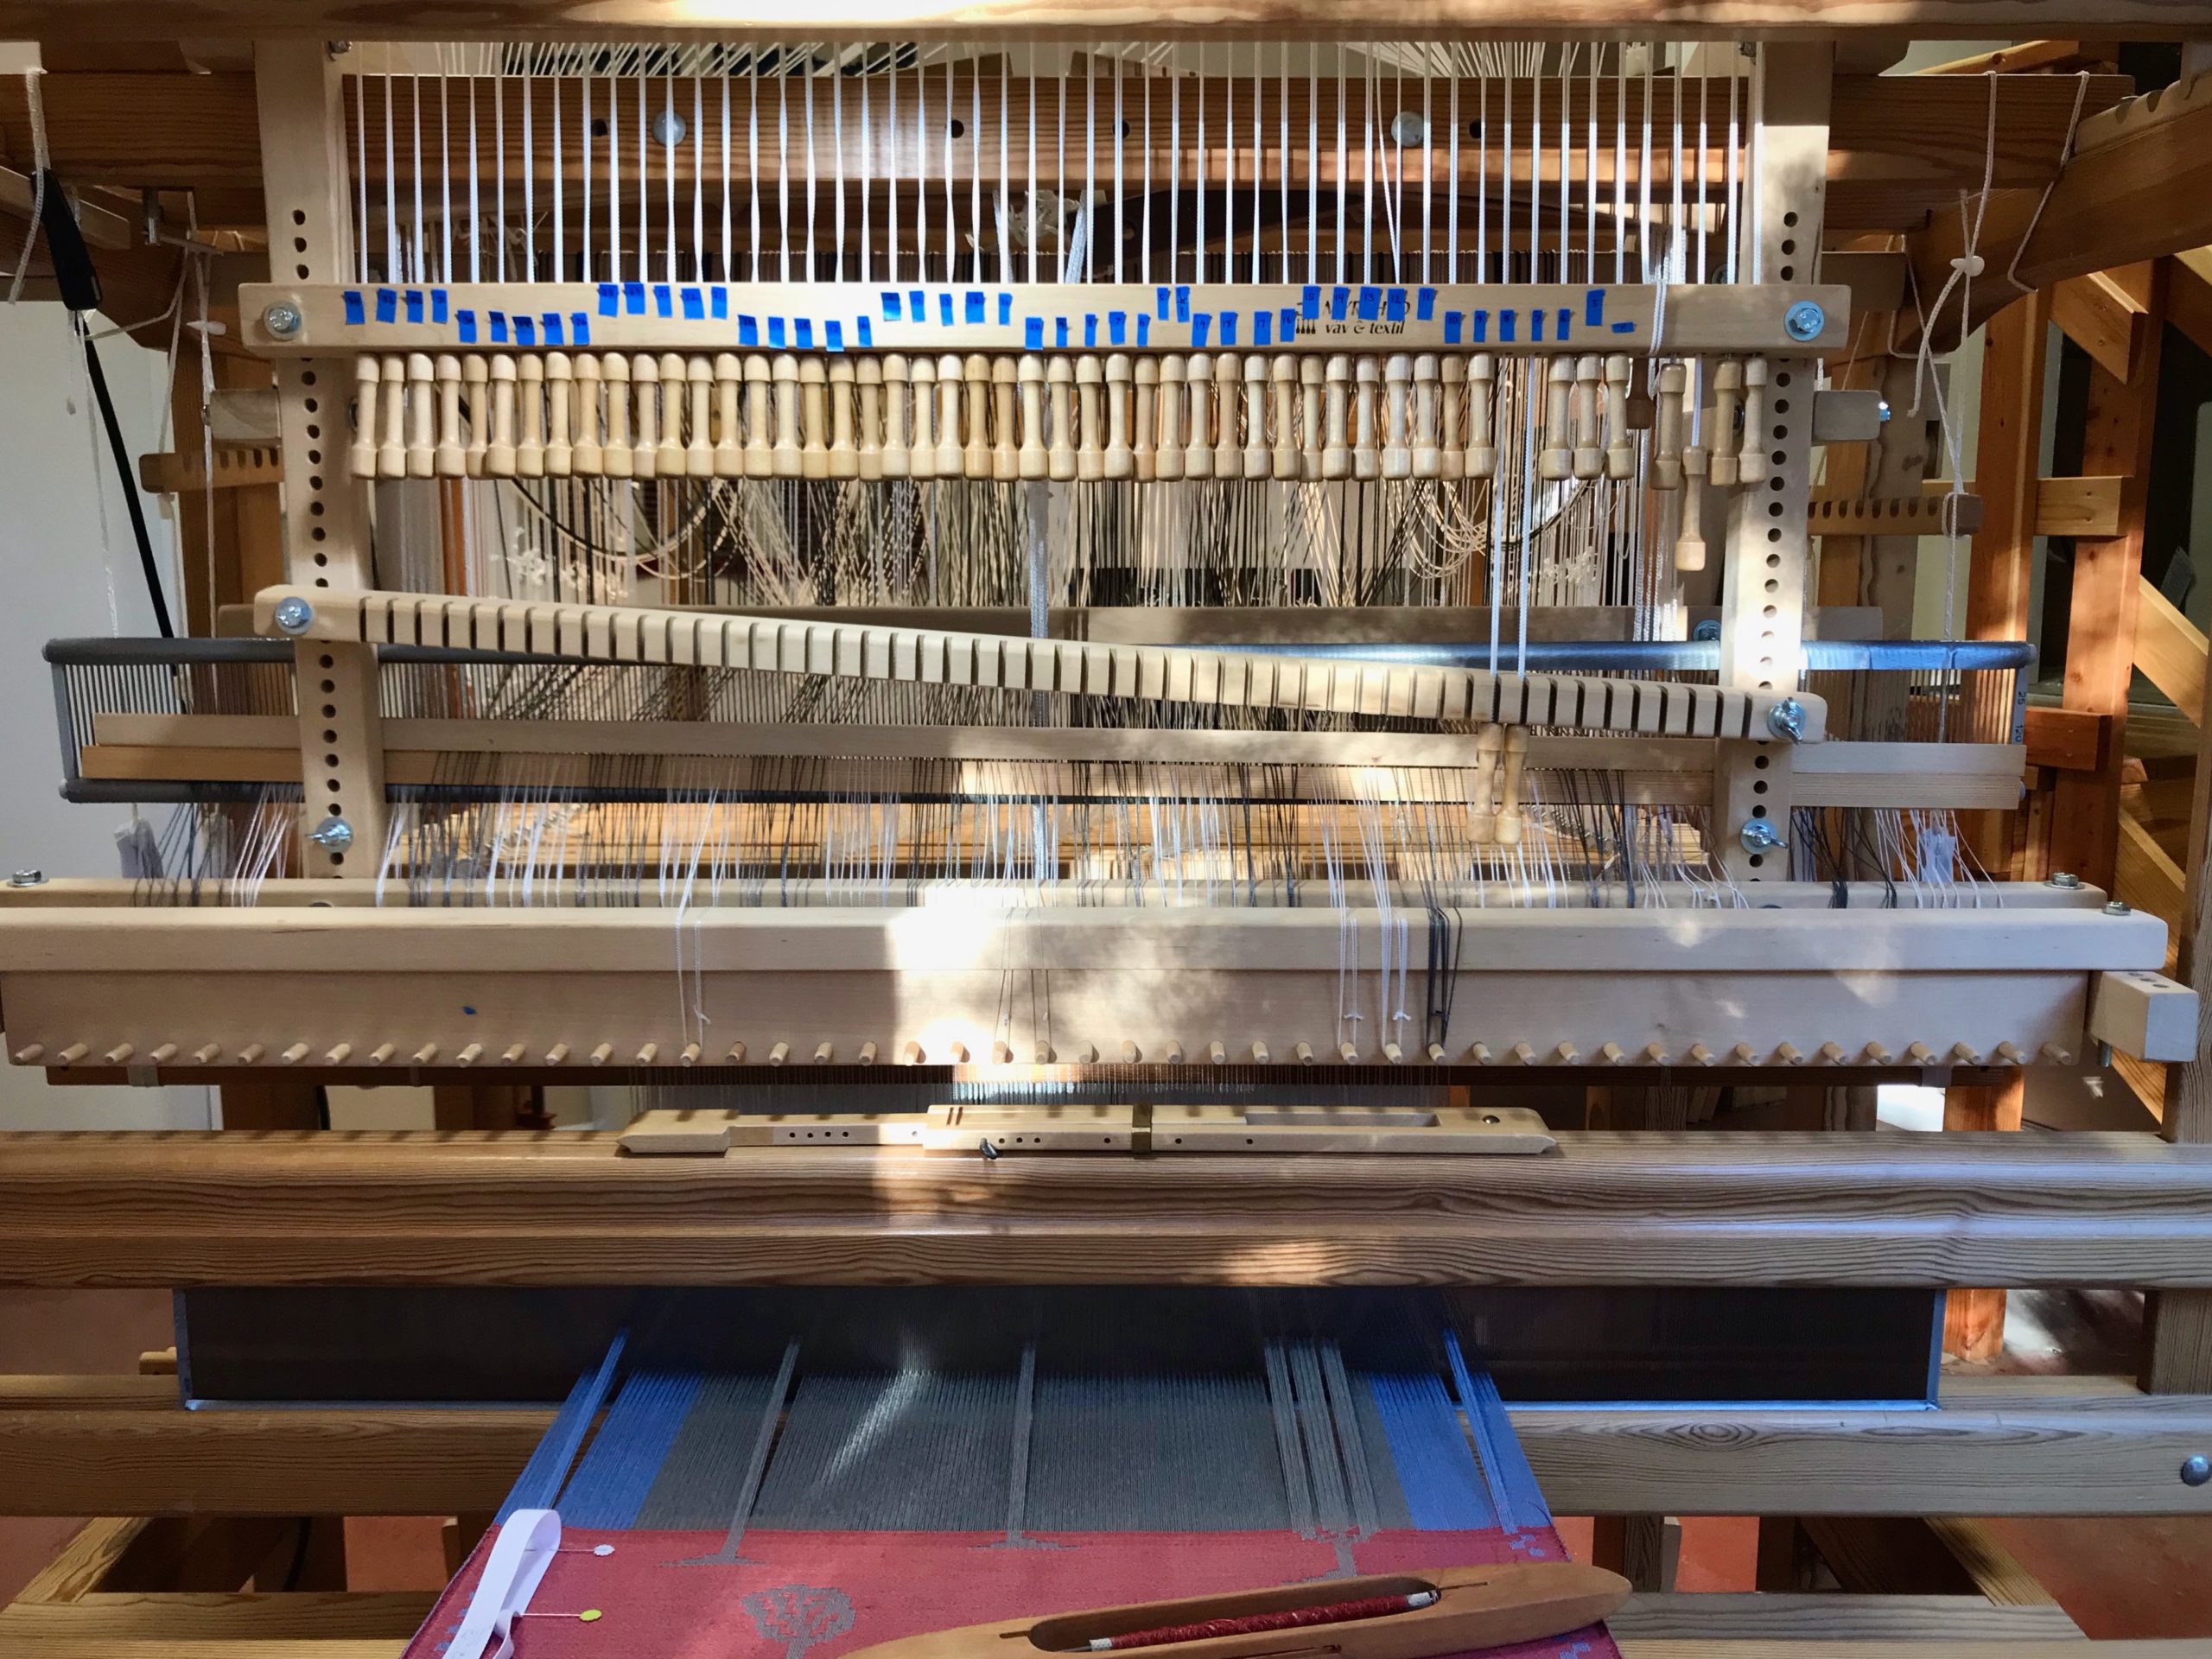
  • Number with Grace. Write out a series of numbers on a long piece of tape, leaving space between the numbers. Cut the numbers apart. Use the numbers to label pattern shaft draw handles on the drawloom. Place the numbers directly above the draw handles, arranged in groups of five for easy visual recognition. Use a separate series of numbers for border pattern shafts, if applicable. This temporary numbering system gives the advantage of being able to customize the numbering for each drawloom draft.
This is how I number my drawloom handles. Blue tape!
Using the Myrehed Combination Drawloom, I configure the numbers for the pattern shaft draw handles to coordinate with the single unit draw cords, which are grouped by tens. This makes my working chart that uses single units and pattern shafts much less complicated. For this reason, it doesn’t make sense to give my draw handles “permanent” numbers.

Have you found ways to use blue painter’s tape in your weaving studio? Share in the comments!

May your life leave marks that are more than temporary.

Have fun,
Karen

Be Weave-Able

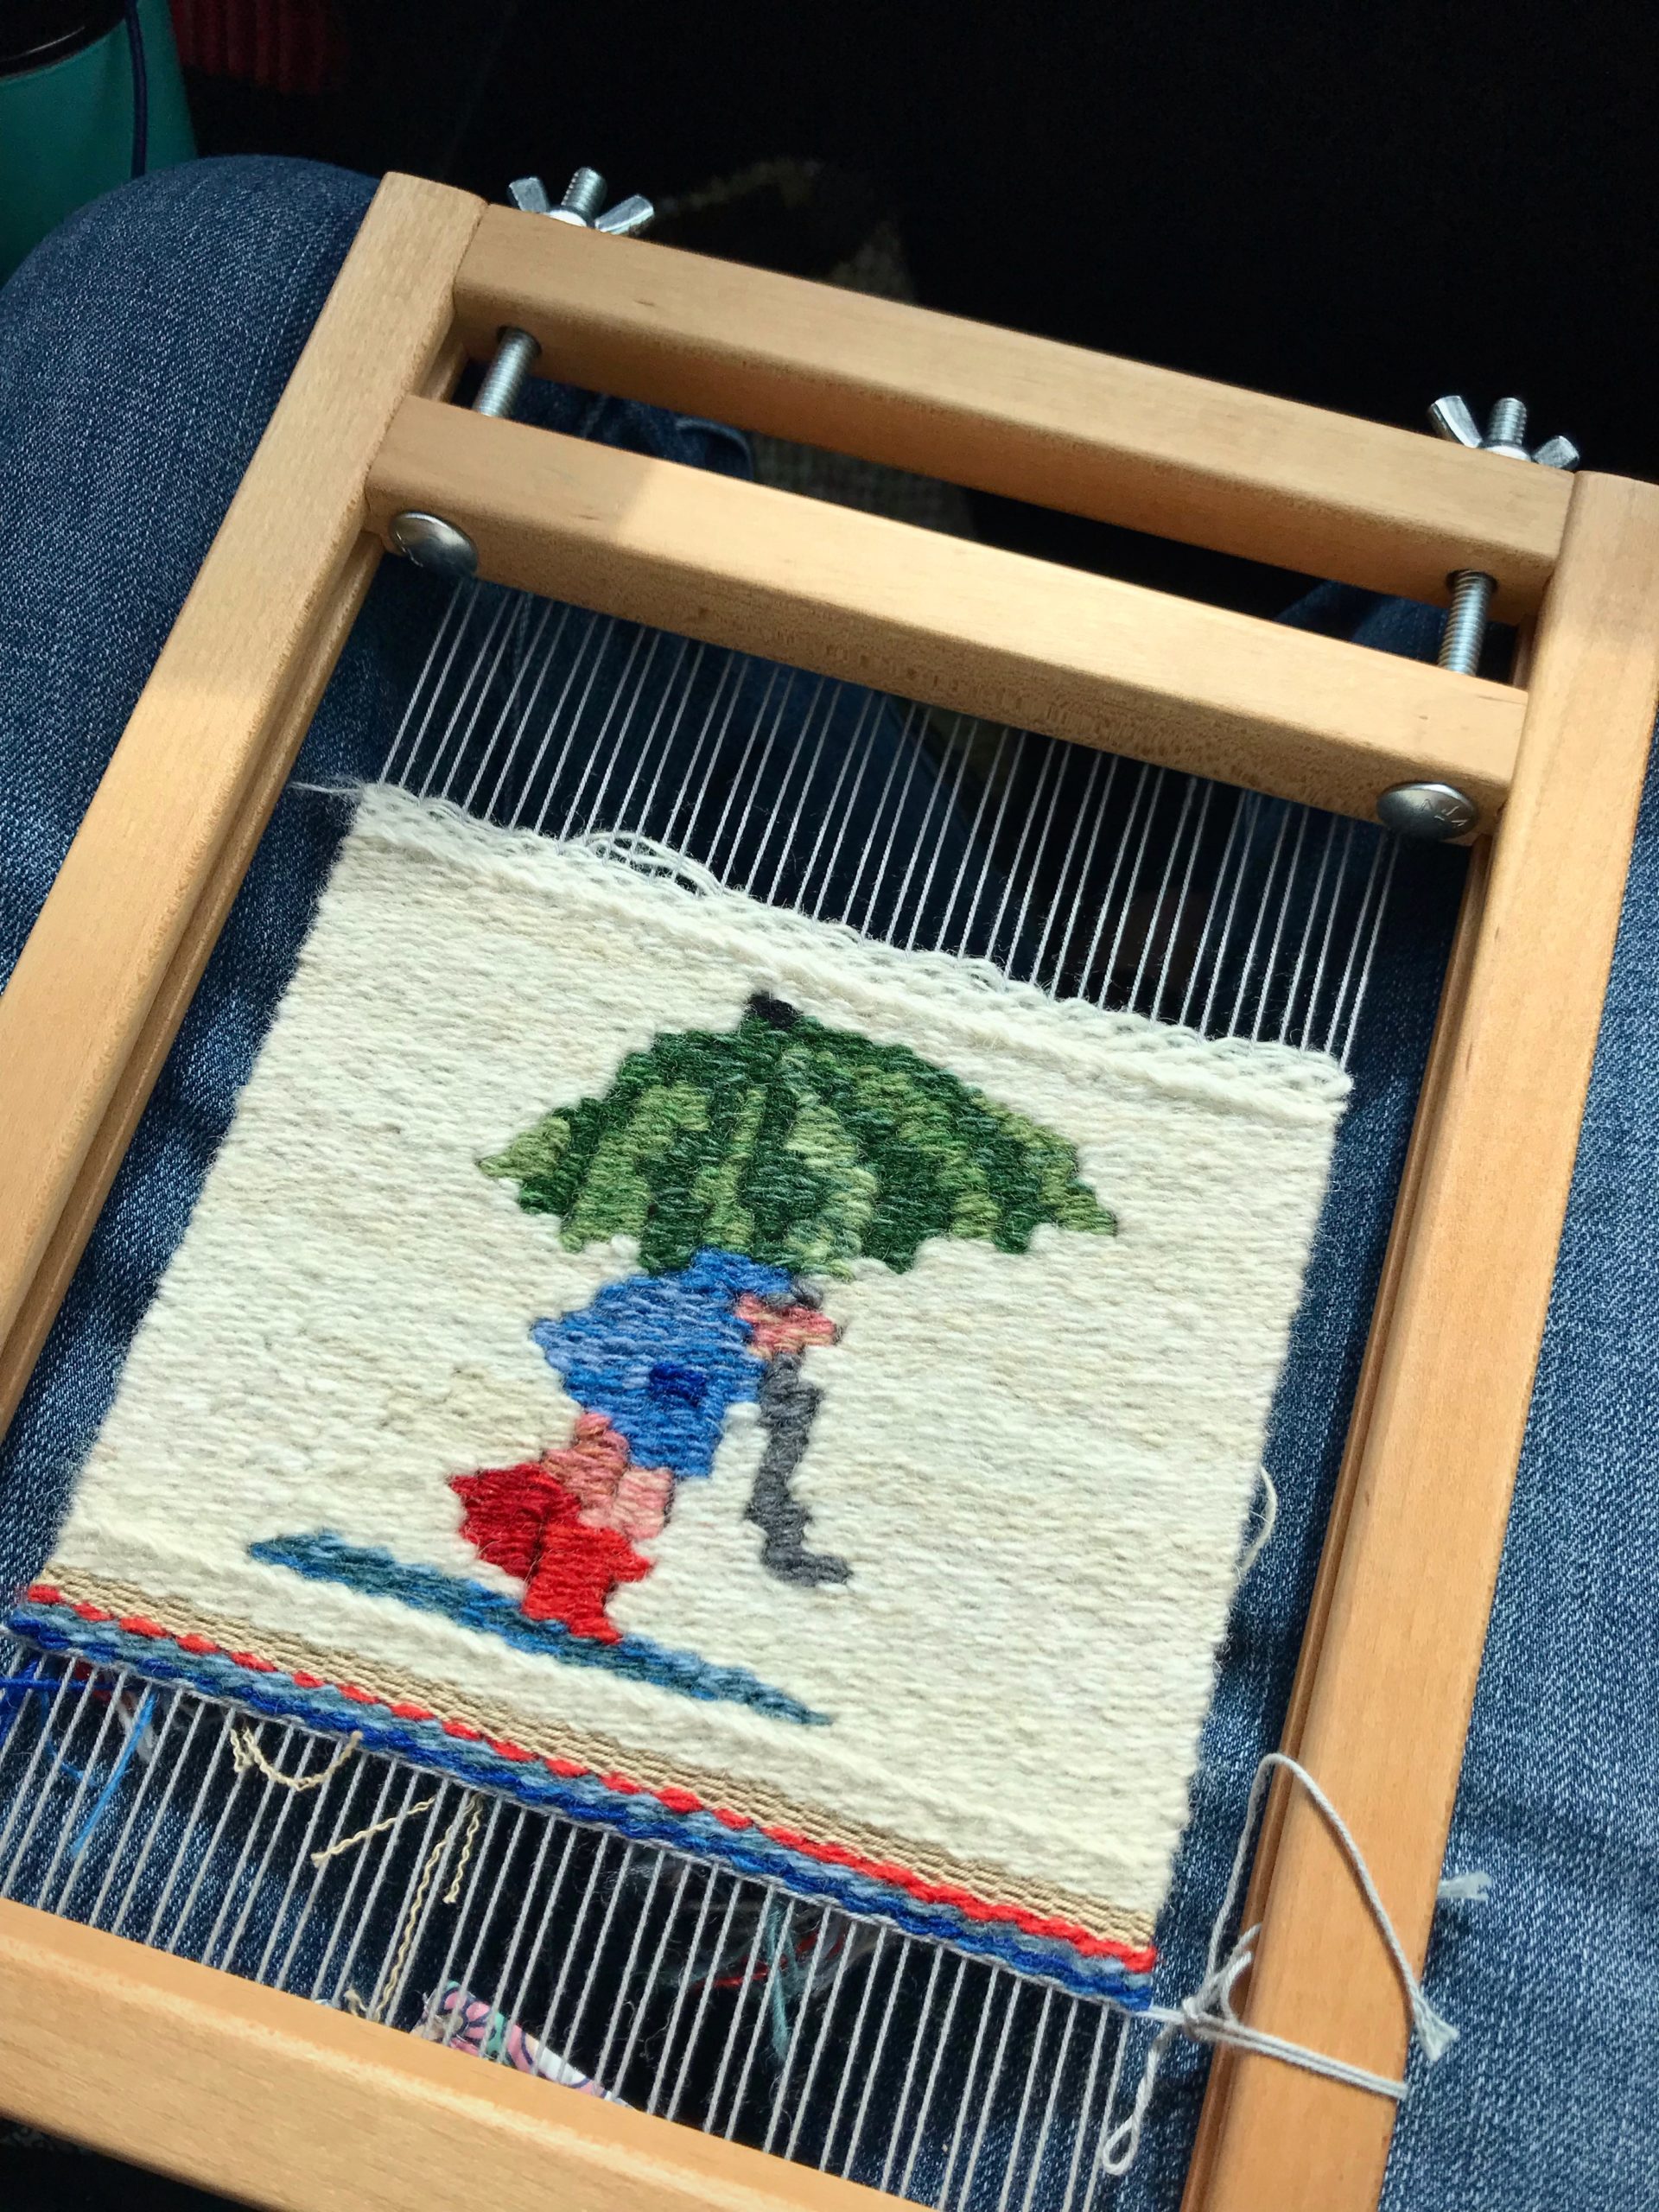
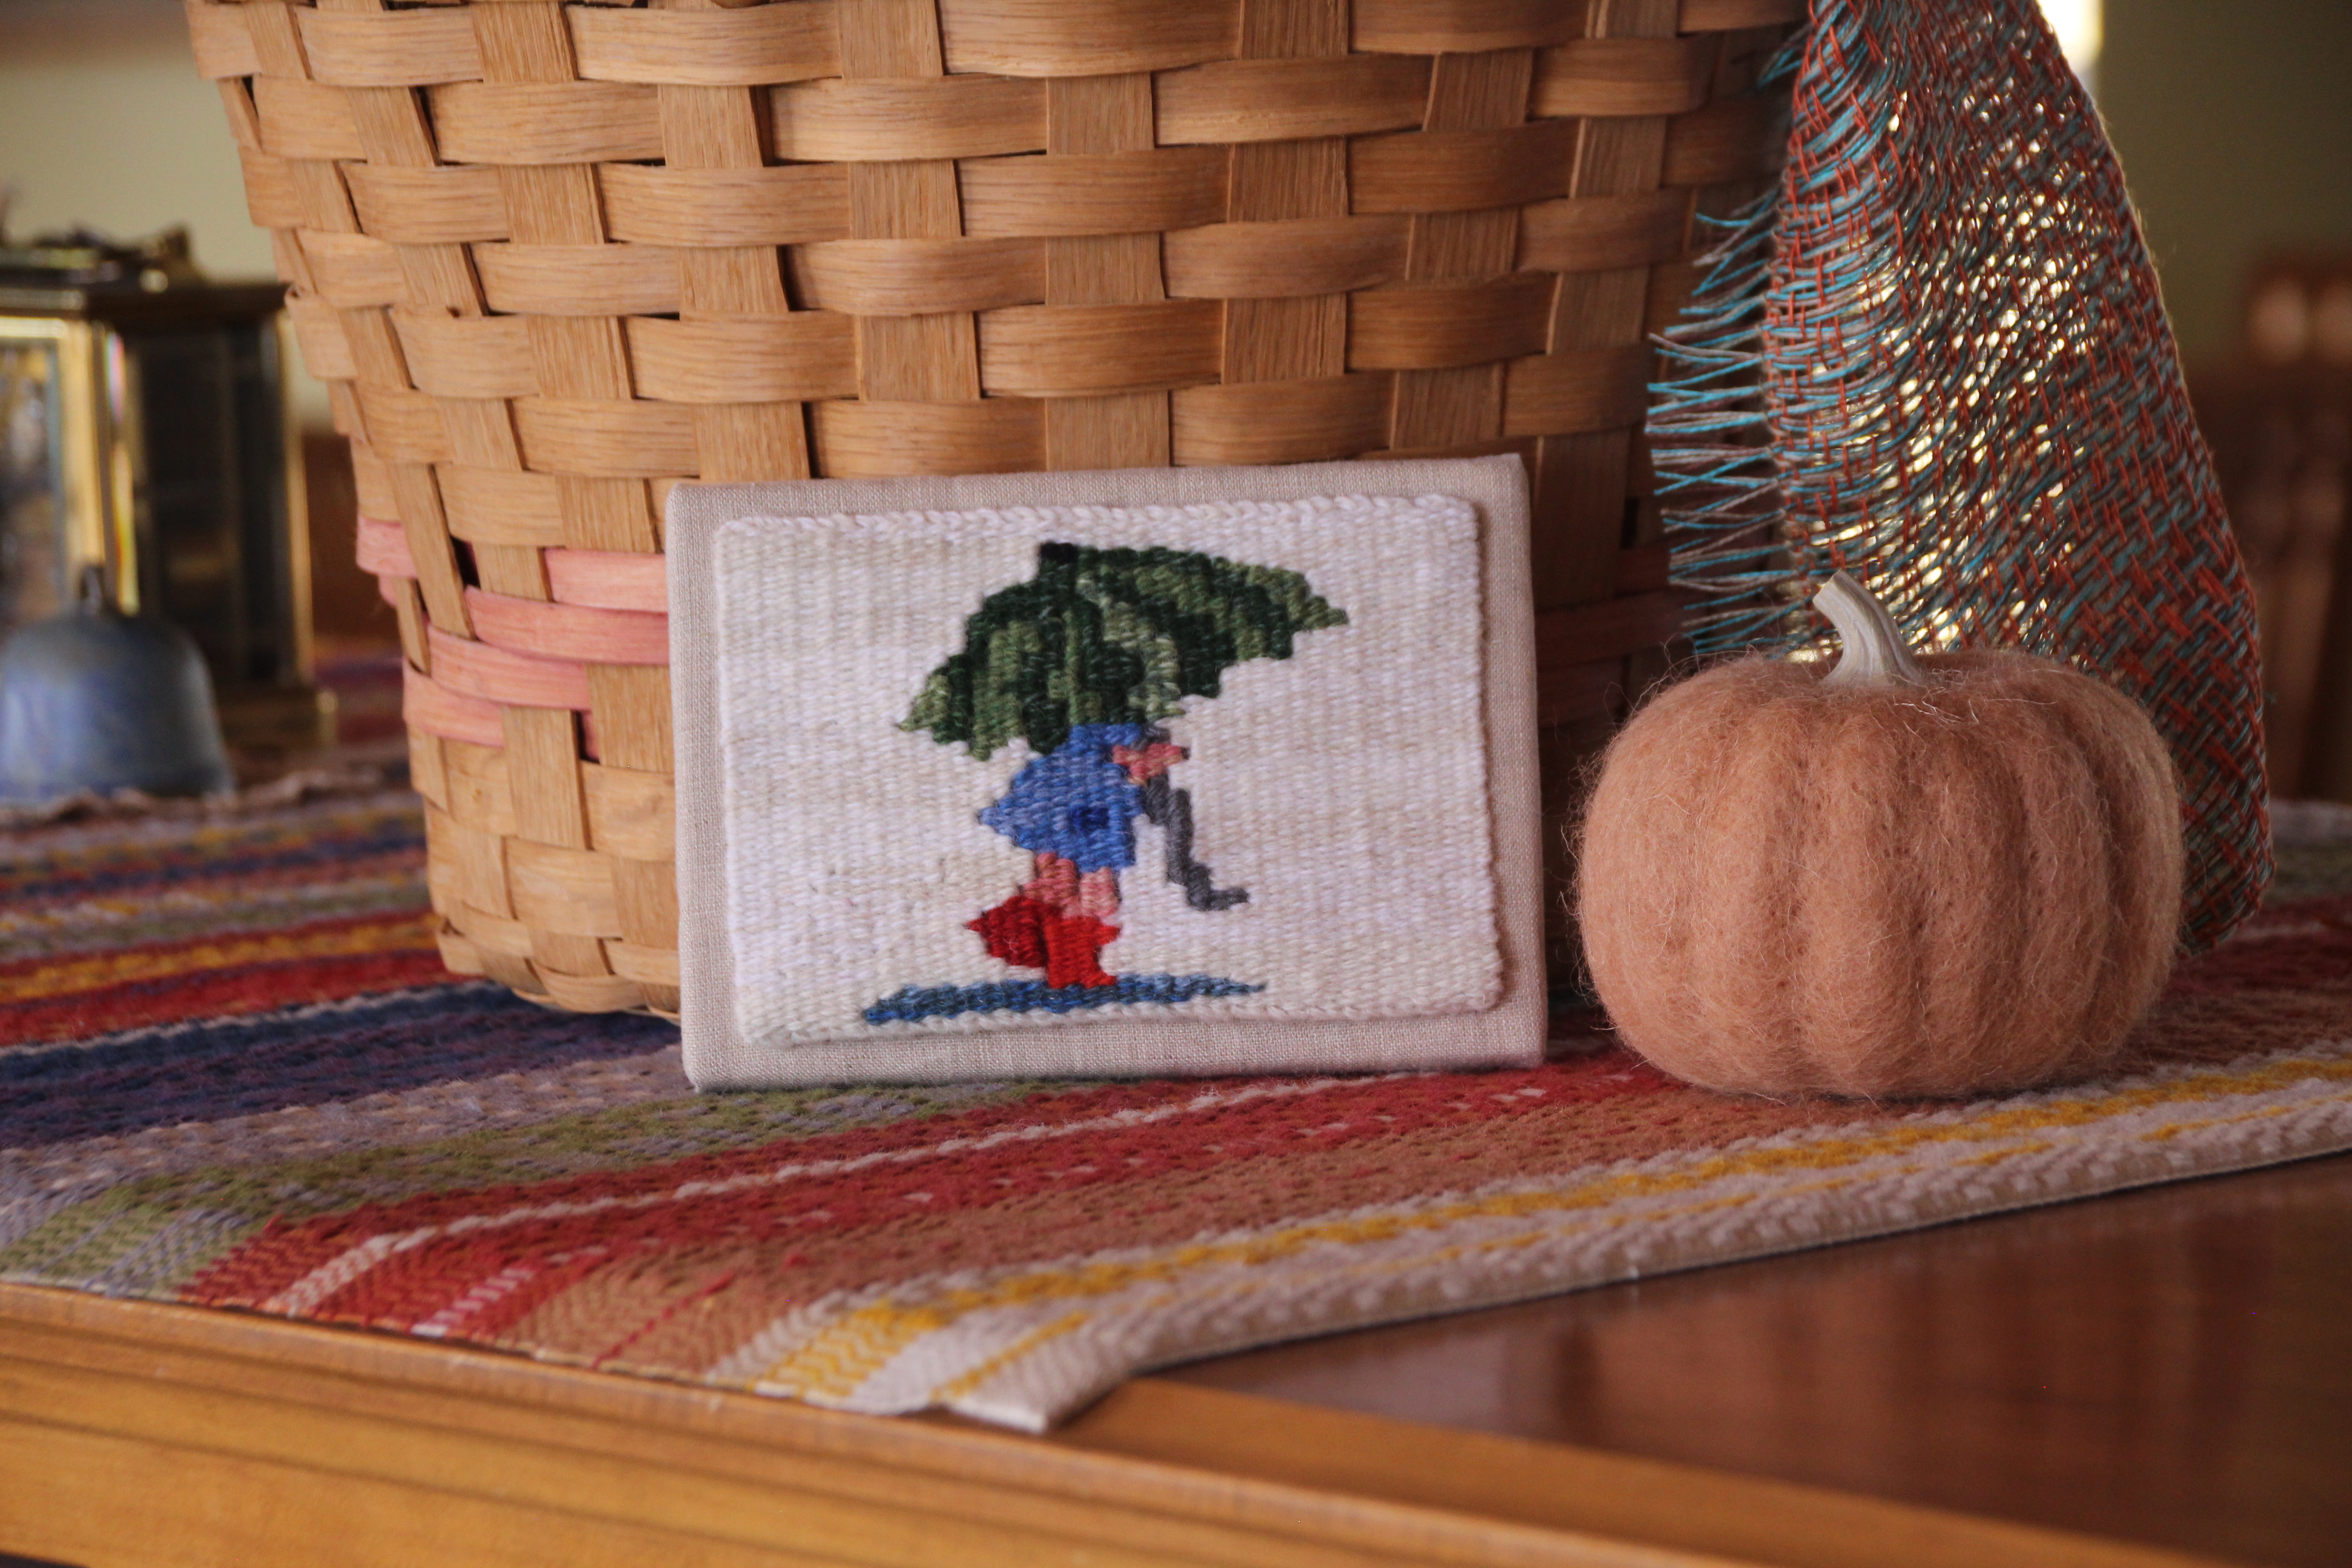
I call her the ”Rain Girl.” She comes from an illustration in a very old children’s book on our bookshelf. The small tapestry is cute. But with its many slits and single warp wrappings, it falls short of what it could be. I compromised best practices to make it work.

New small tapestry - Rain Girl.
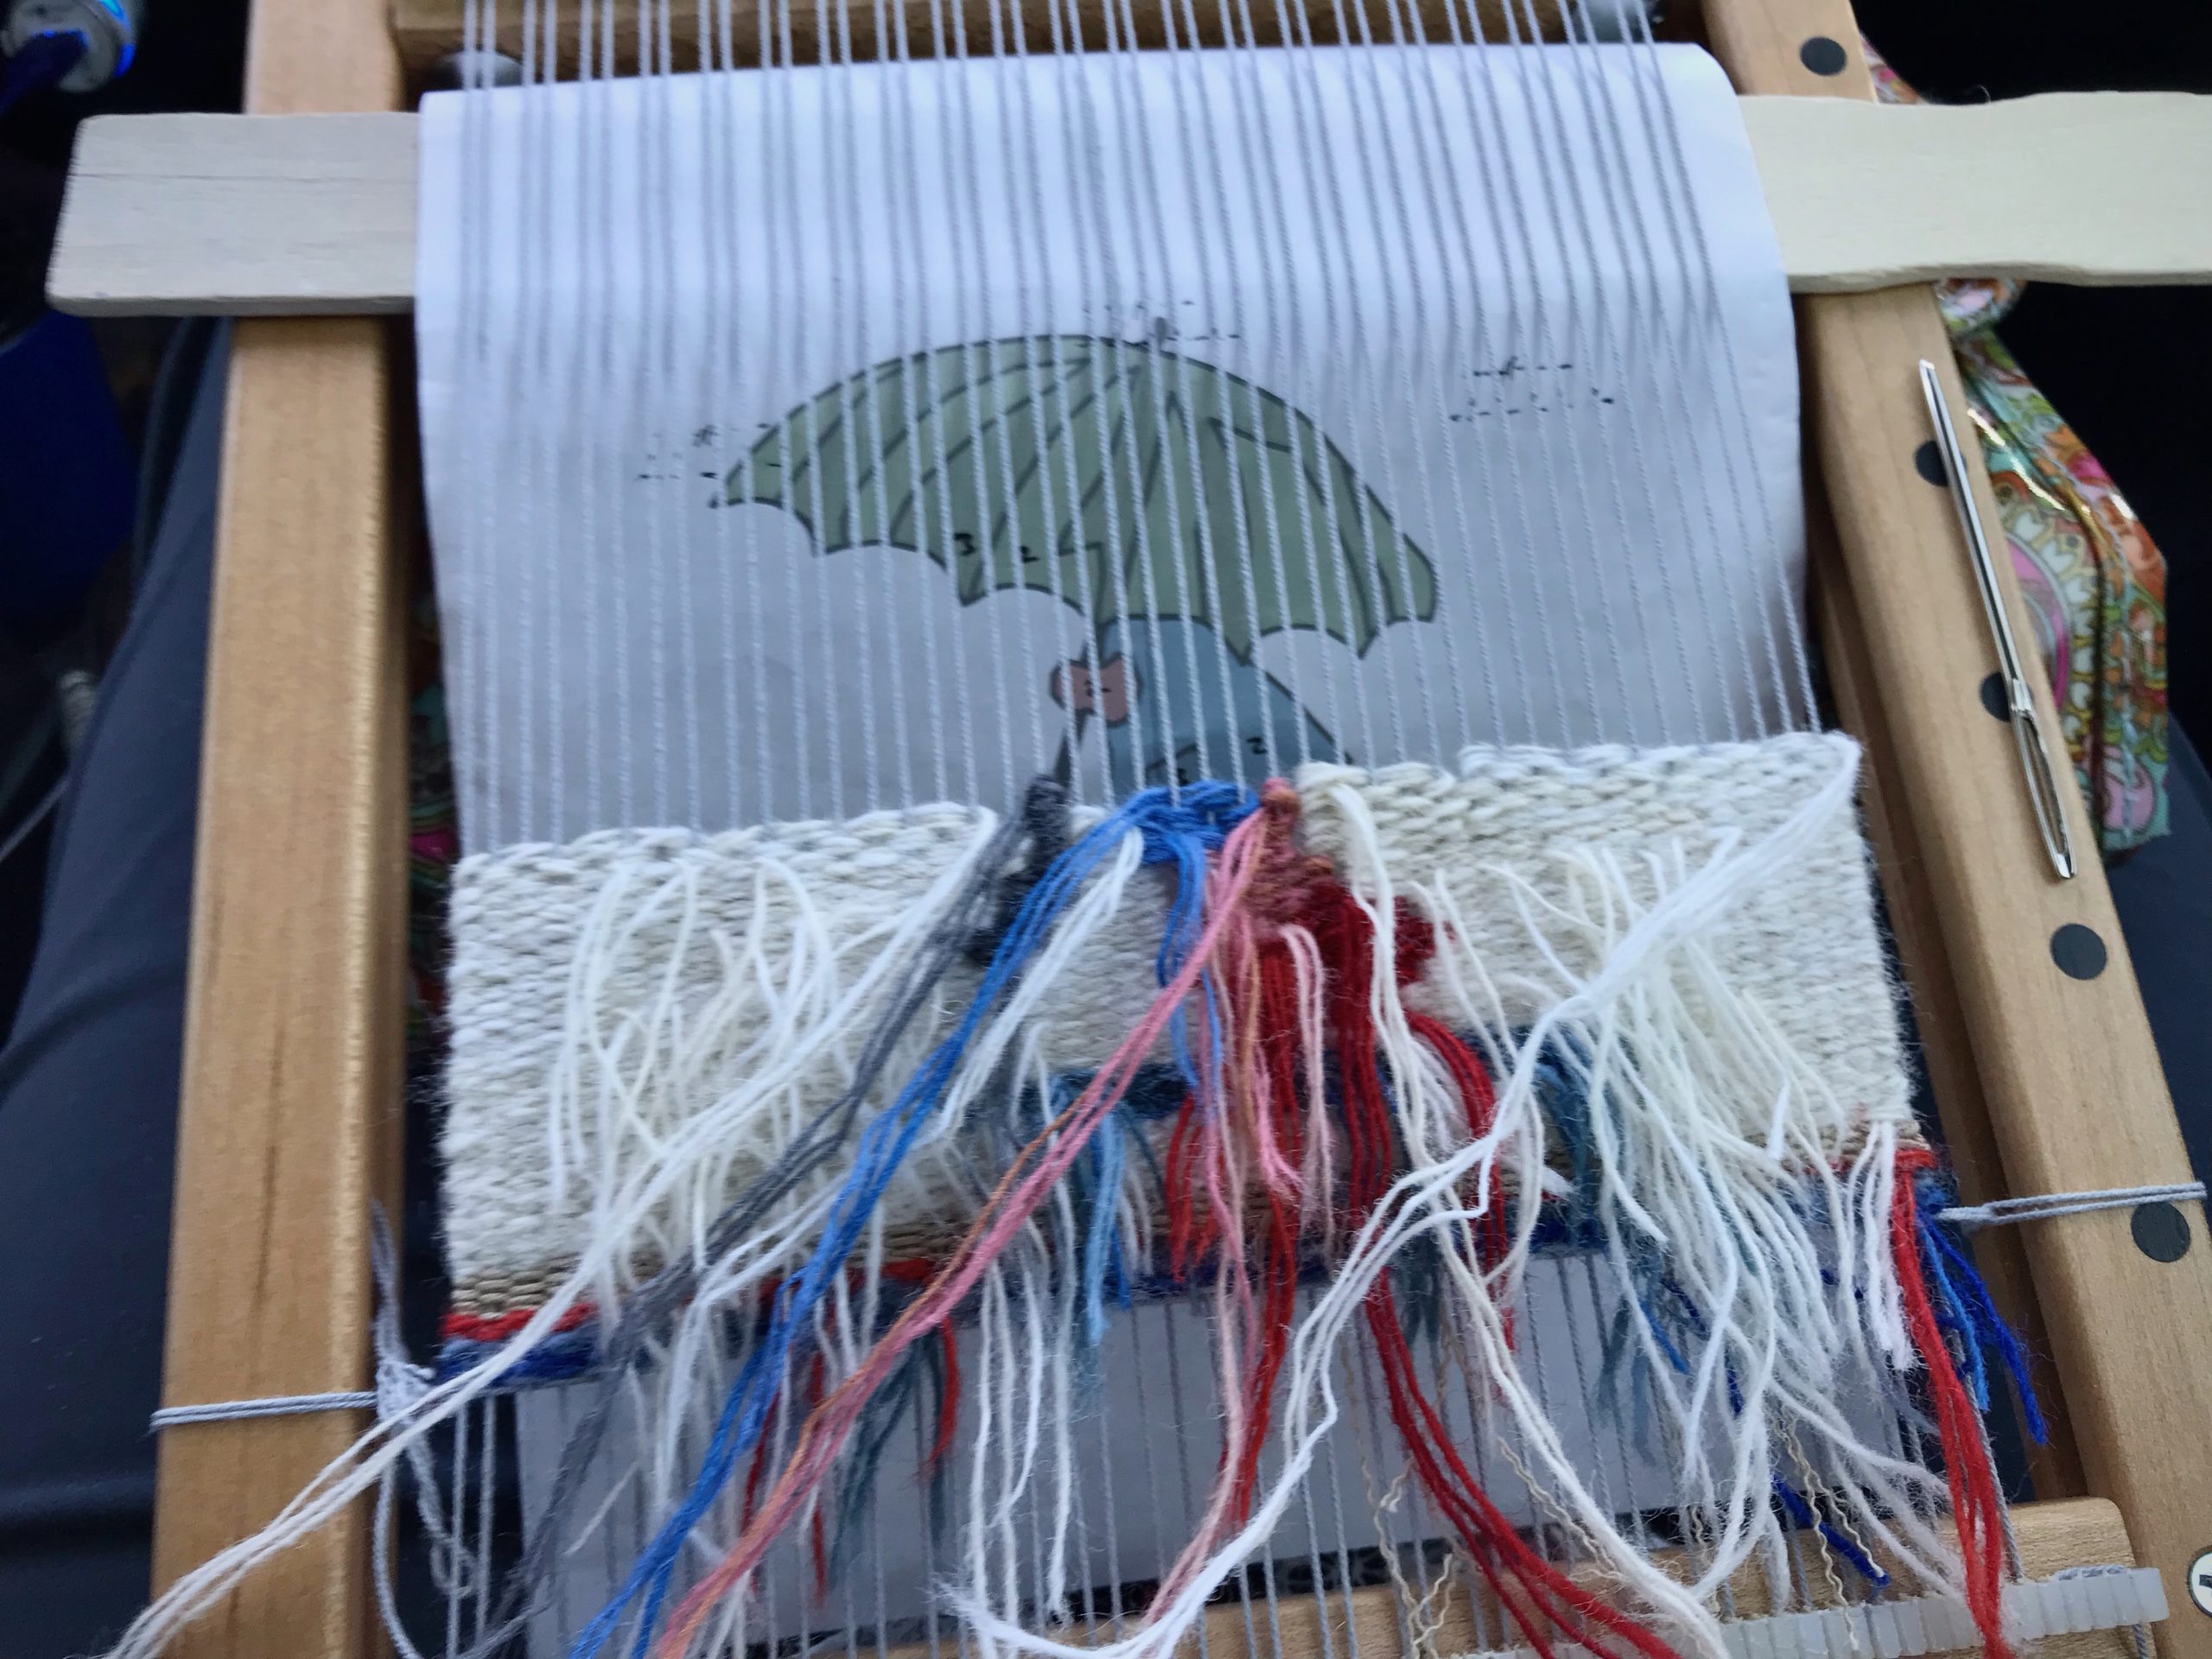
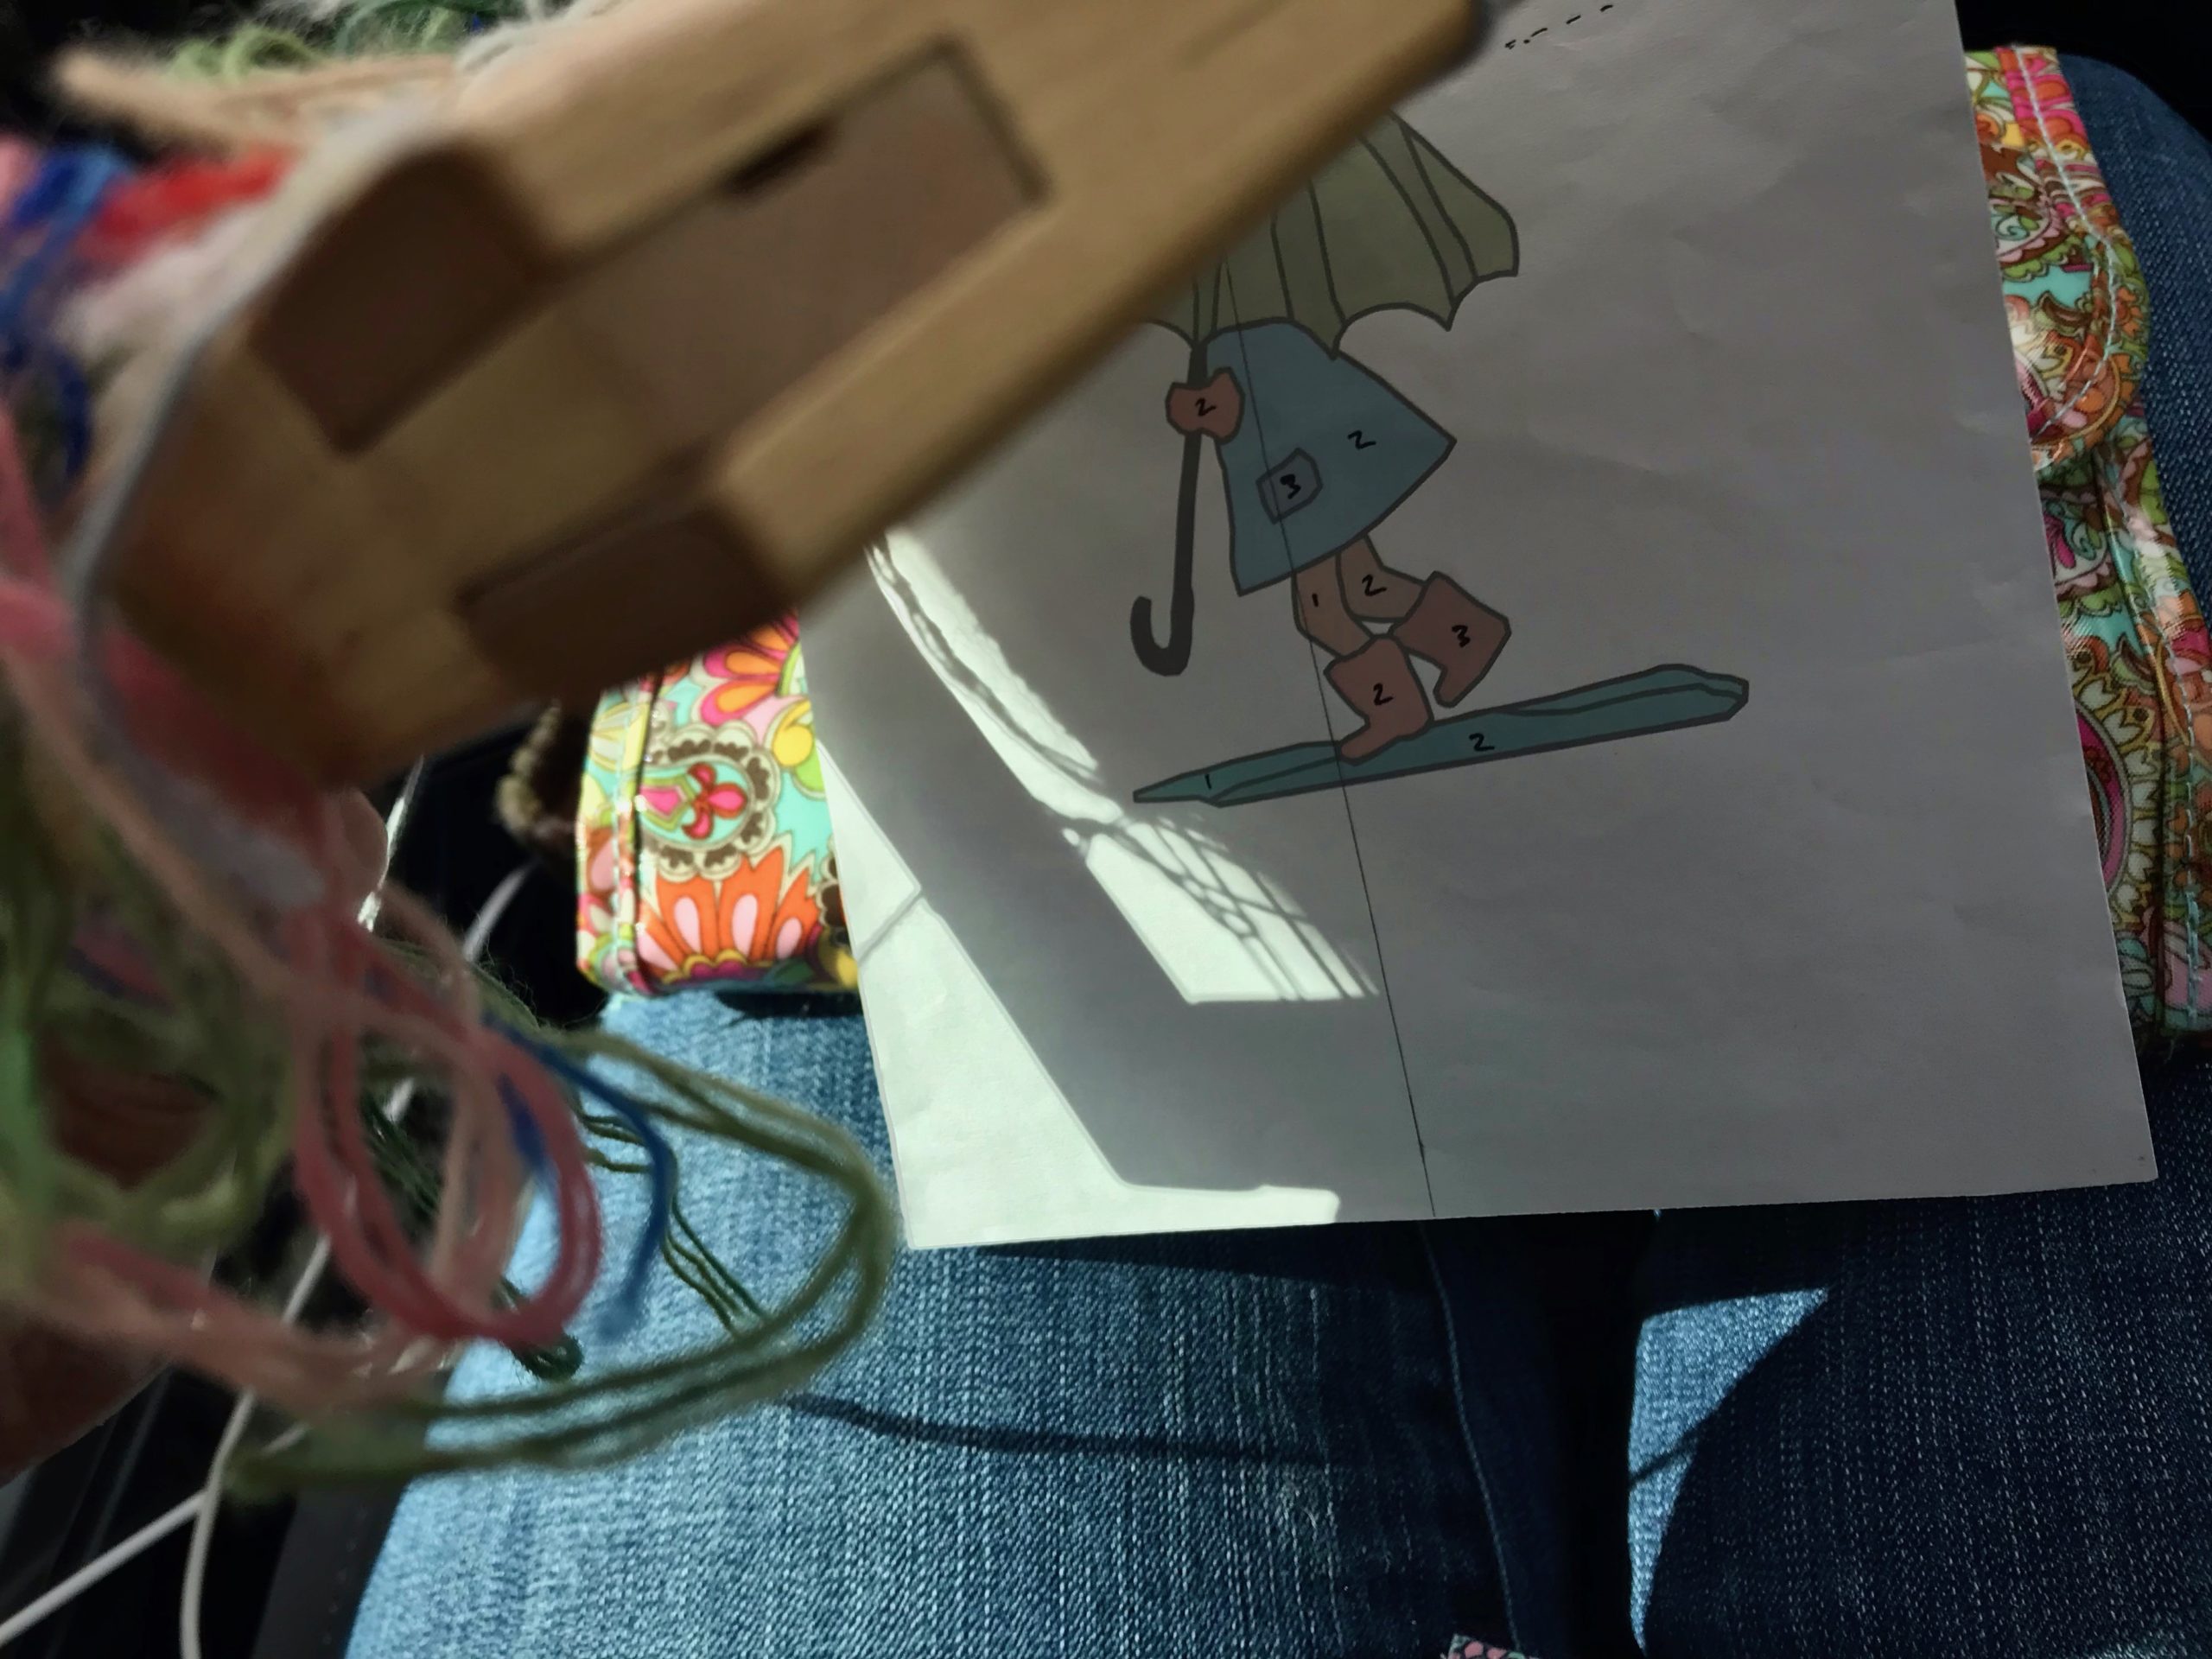
Small tapestry gets its start on a camping trip. Paint stir stick holds the cartoon in place under the warp.
Weaving a small tapestry from the back.
Weaving from the back. Long car rides are good for portable tapestry weaving.
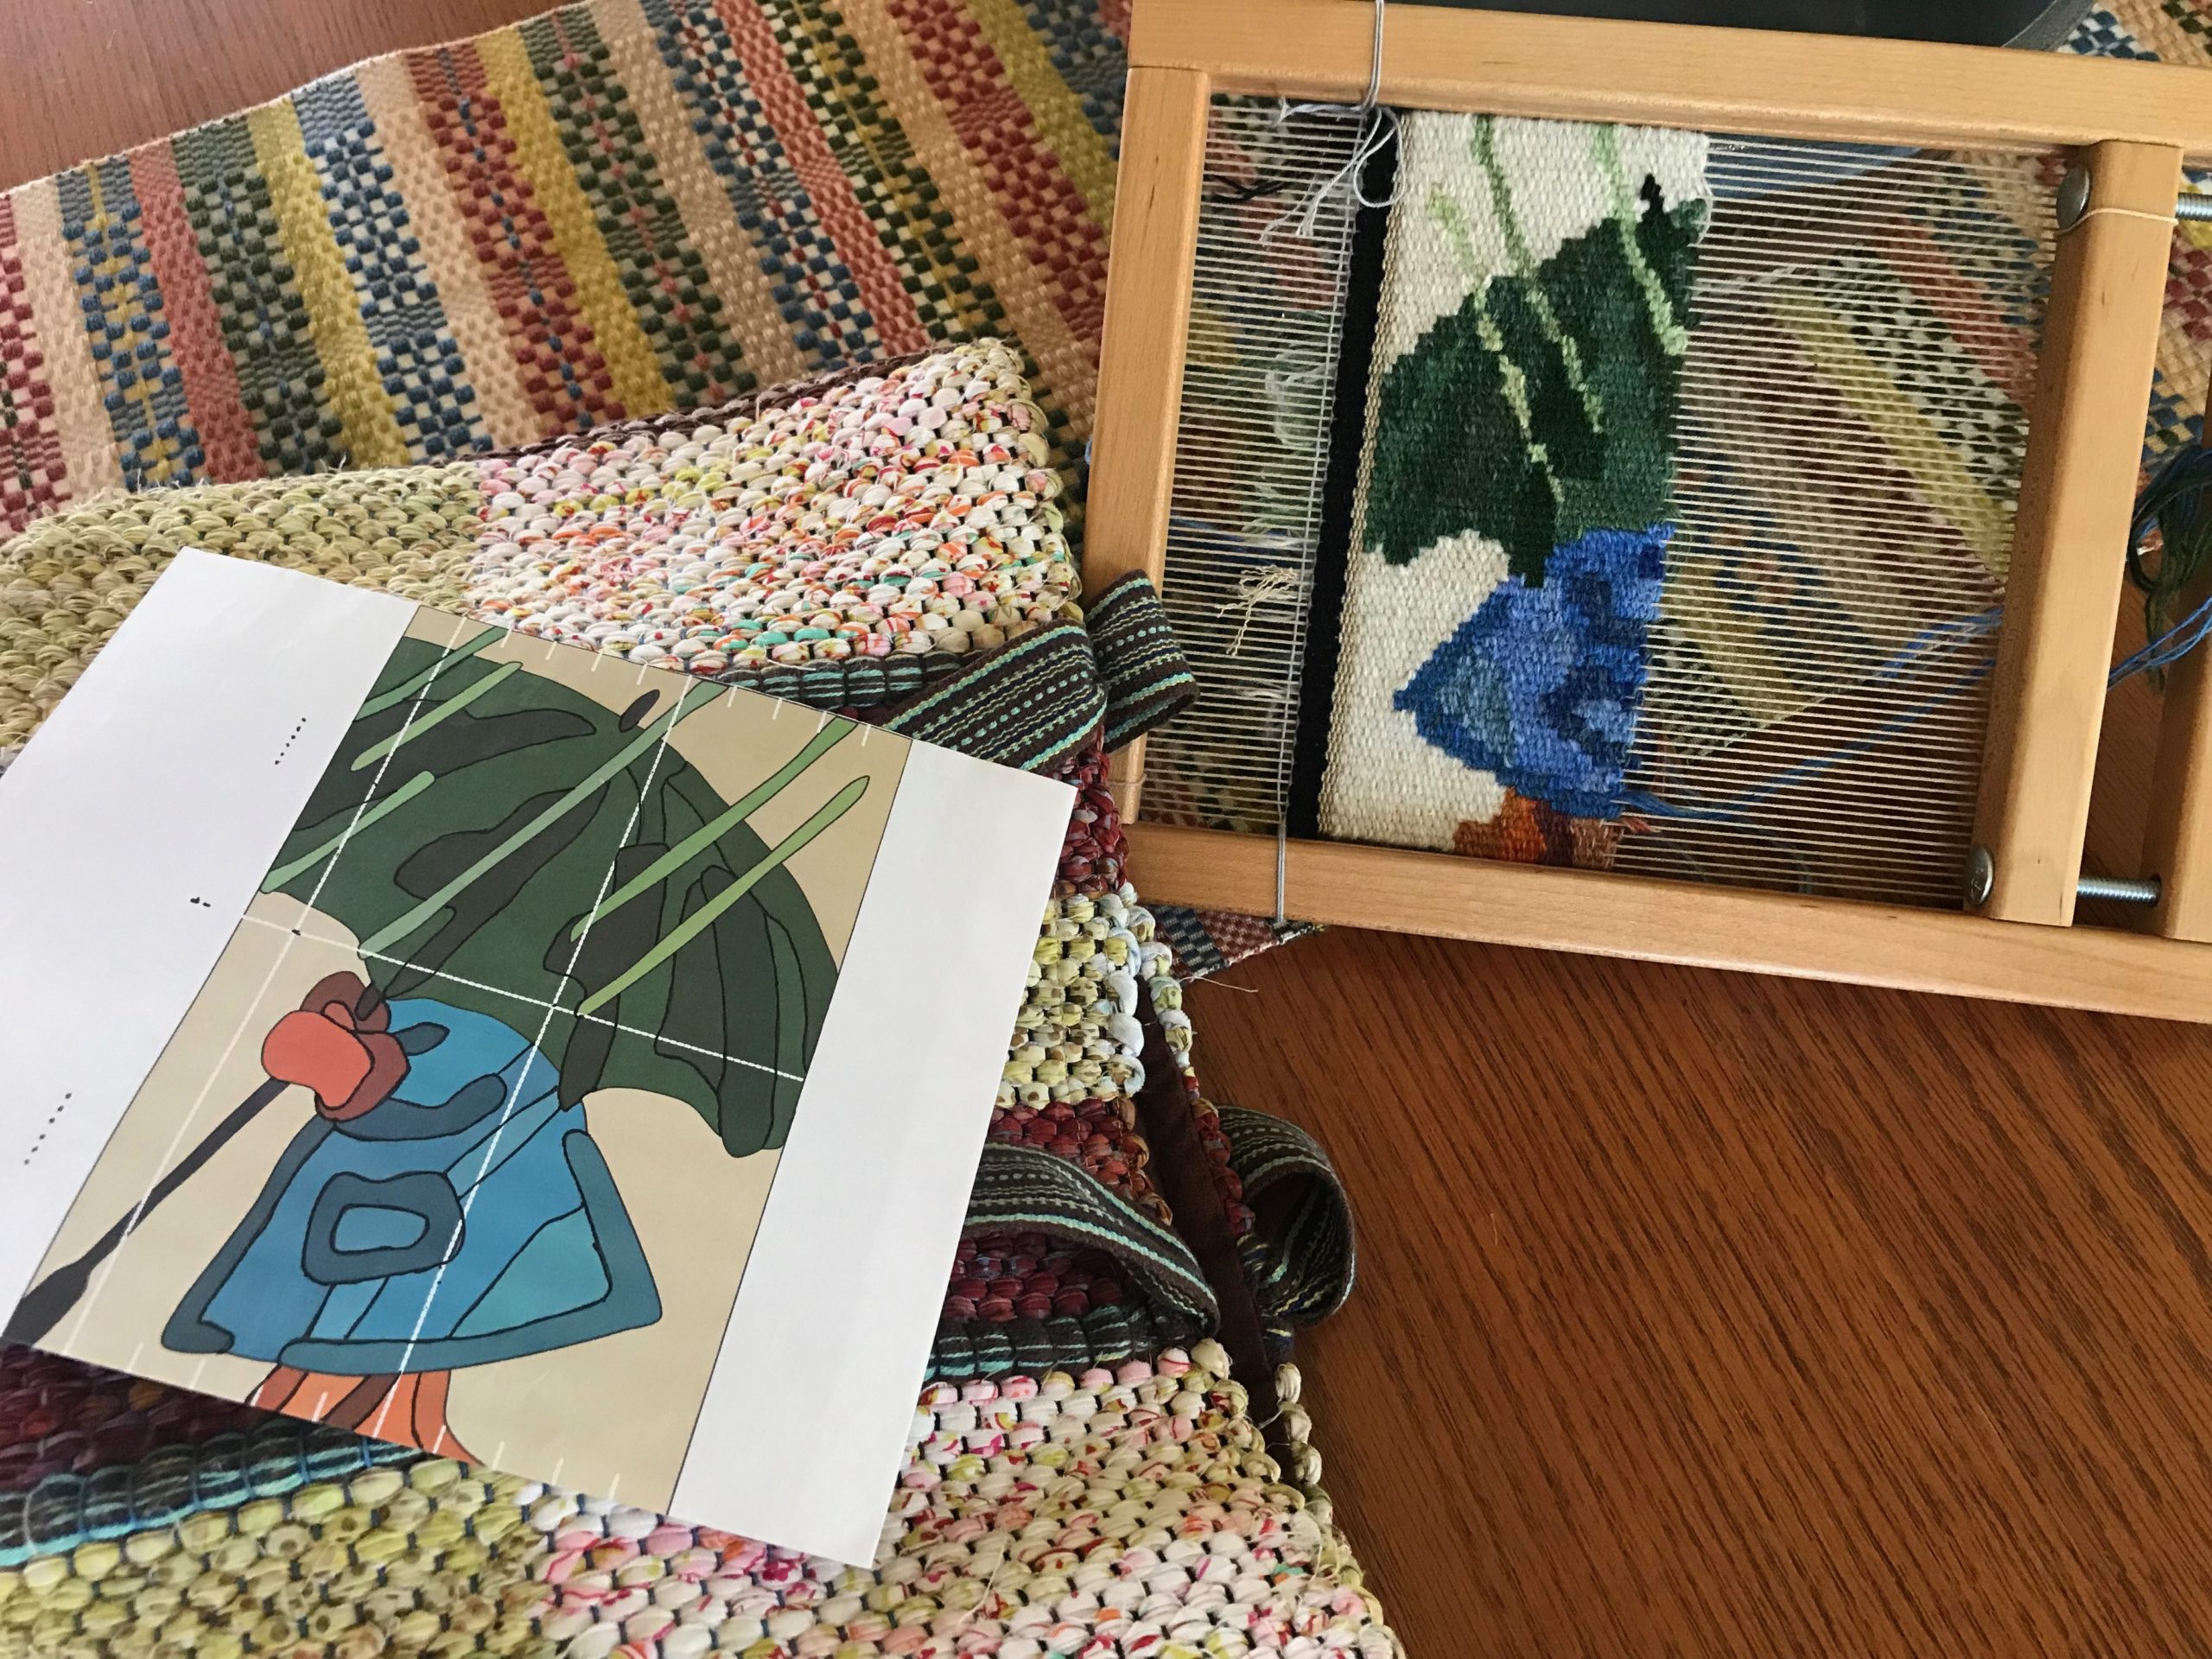
Cartoon is not going to work for this small tapestry.
Checking the cartoon again.
Small tapestry almost finished. Rain Girl.
Finishing up the weaving of Rain Girl just before pulling back into our driveway after a long trip.

The main fault is with the cartoon. It isn’t weave-able. The image is too small for this sett. There must be a better way to weave this image.

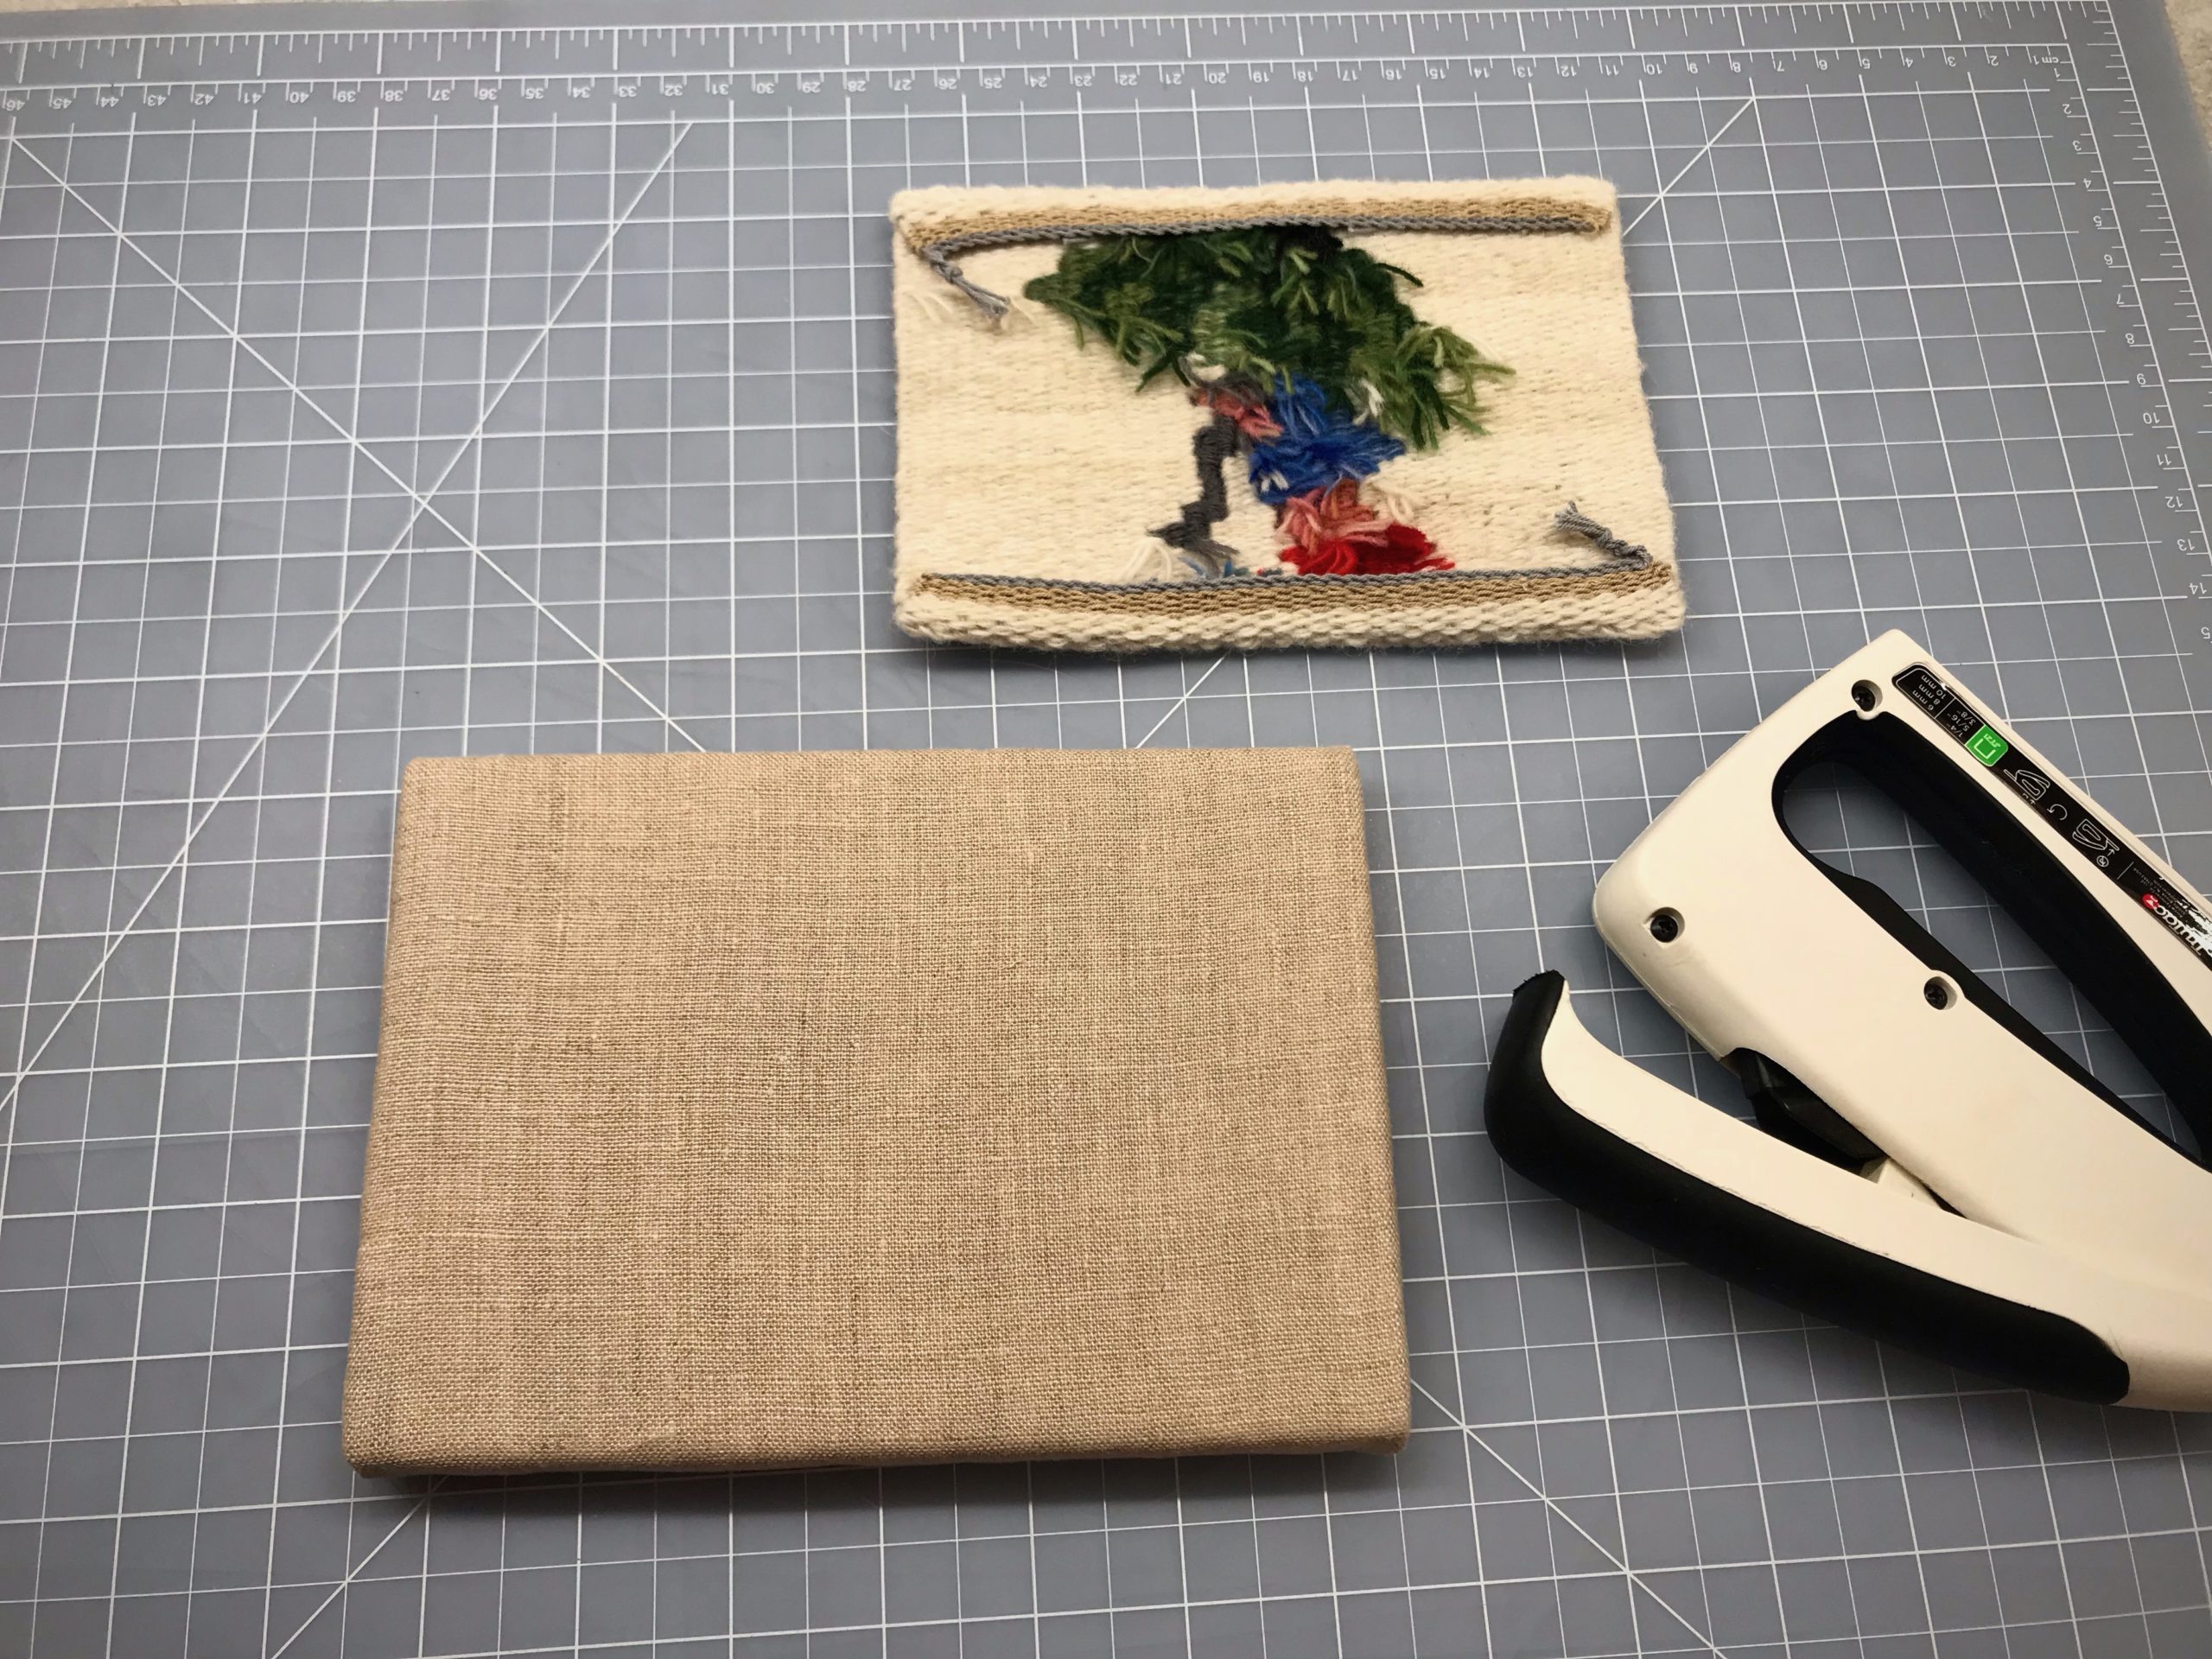
Mounting a small tapestry on foam core board covered with flannel and linen.
Hems are stitched down. 1/2″ foam core board is covered with a layer of cotton flannel, and then natural colored linen.
Mounted small tapestry. Rain Girl.
Rain Girl, first version.

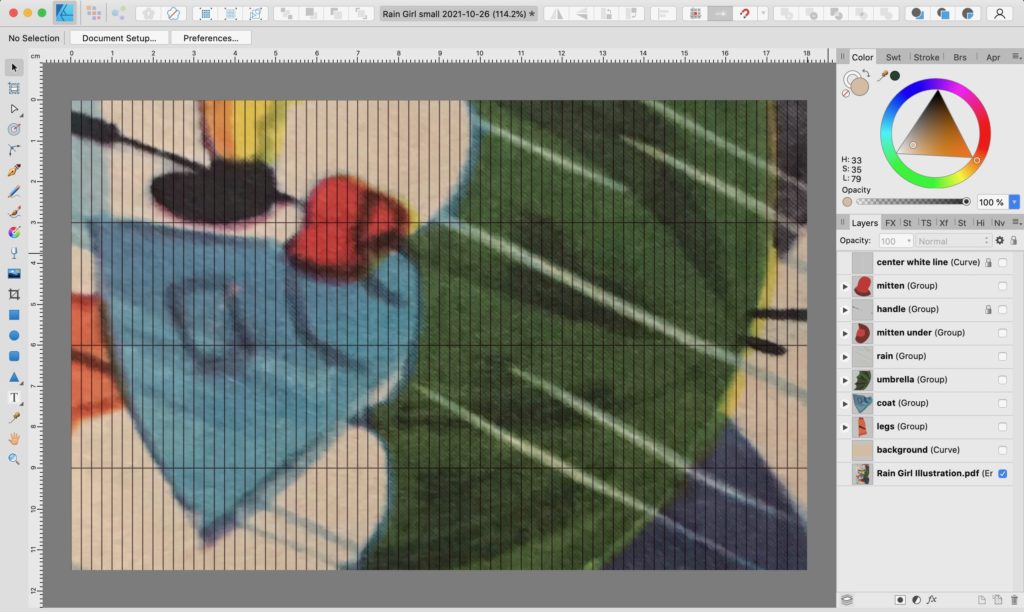
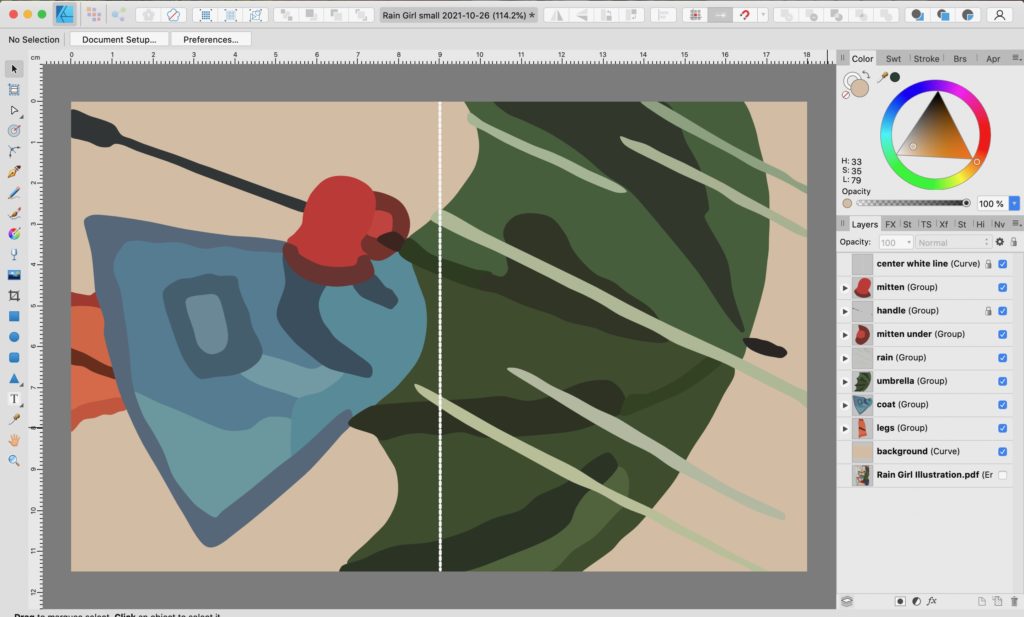
I am starting over with a whole new cartoon! I have now learned that Affinity Designer (computer graphics software) gives me the ability to create vertical parallel lines equivalent to my sett. With those lines in view I can see exactly how each part of the cartoon fits the warp spacing. I am turning the image on its side and enlarging it, and then, cropping to size. This cartoon is going to be weave-able.

Affinity Designer to create a new tapestry cartoon.
Screen shot from Affinity Designer. Image from book illustration is positioned on its side, enlarged, and cropped. View shows vertical lines that match the sett for the tapestry.
Creating a new tapestry cartoon in Affinity Designer.
New Rain Girl cartoon is ready for printing.

All of us have gone our own way. We insistently follow our own cartoon, compromising best practices, while struggling to make it work. There is a better way. Jesus Christ gave himself so that the Grand Weaver’s cartoon could be written on our hearts. In his hands we become his beloved tapestry. Be weave-able.

May your cartoon be just right.

Hopeful,
Karen