Tried and True: What a Little Piece of Tape Can Do

You never know when you’ll need a piece of blue tape. A roll of blue painter’s tape is among my essential weaving supplies. My favorite way to temporarily mark just about anything is with a piece of blue tape.

Blue Painters Tape for Temporary Markings

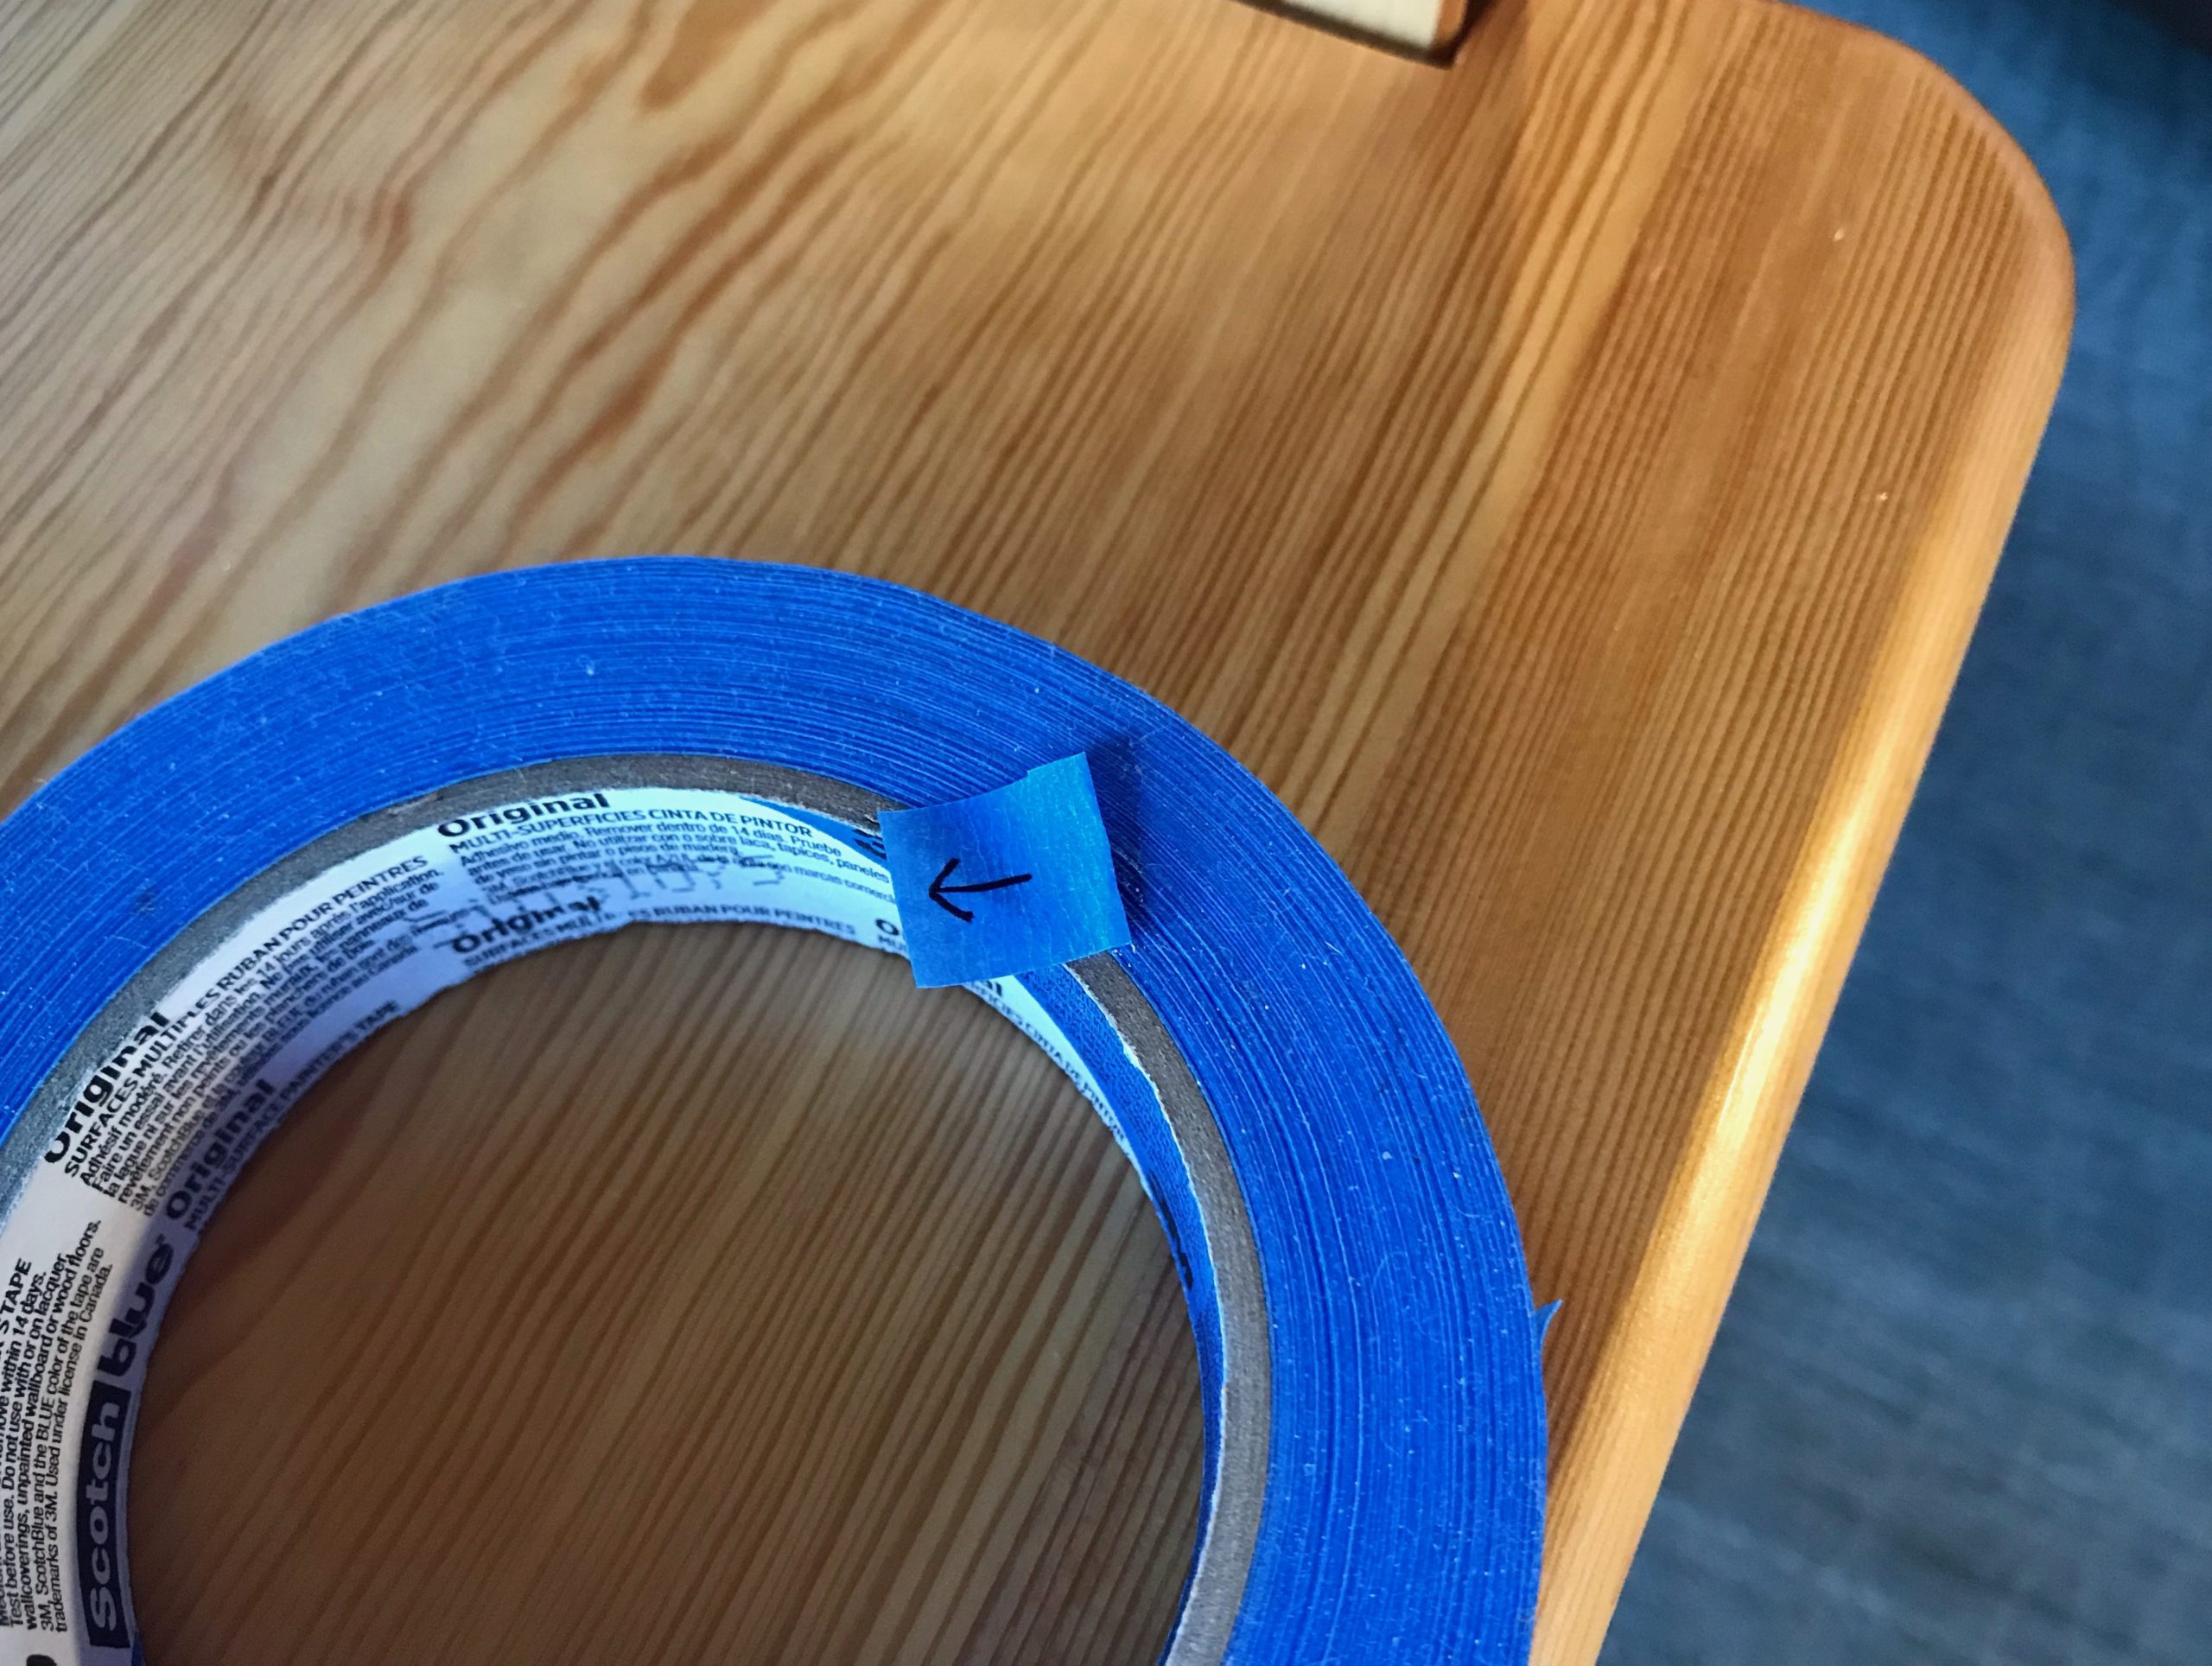
  1. Cut (or tear) the tape to size.
  2. Fold one edge of the tape under. This makes a little tab so that the tape is easy to remove or reposition.
  3. Use a fine point Sharpie to write on the tape.
Weaver's uses for blue painter's tape.
Tape prepared for pointing.

Three Examples

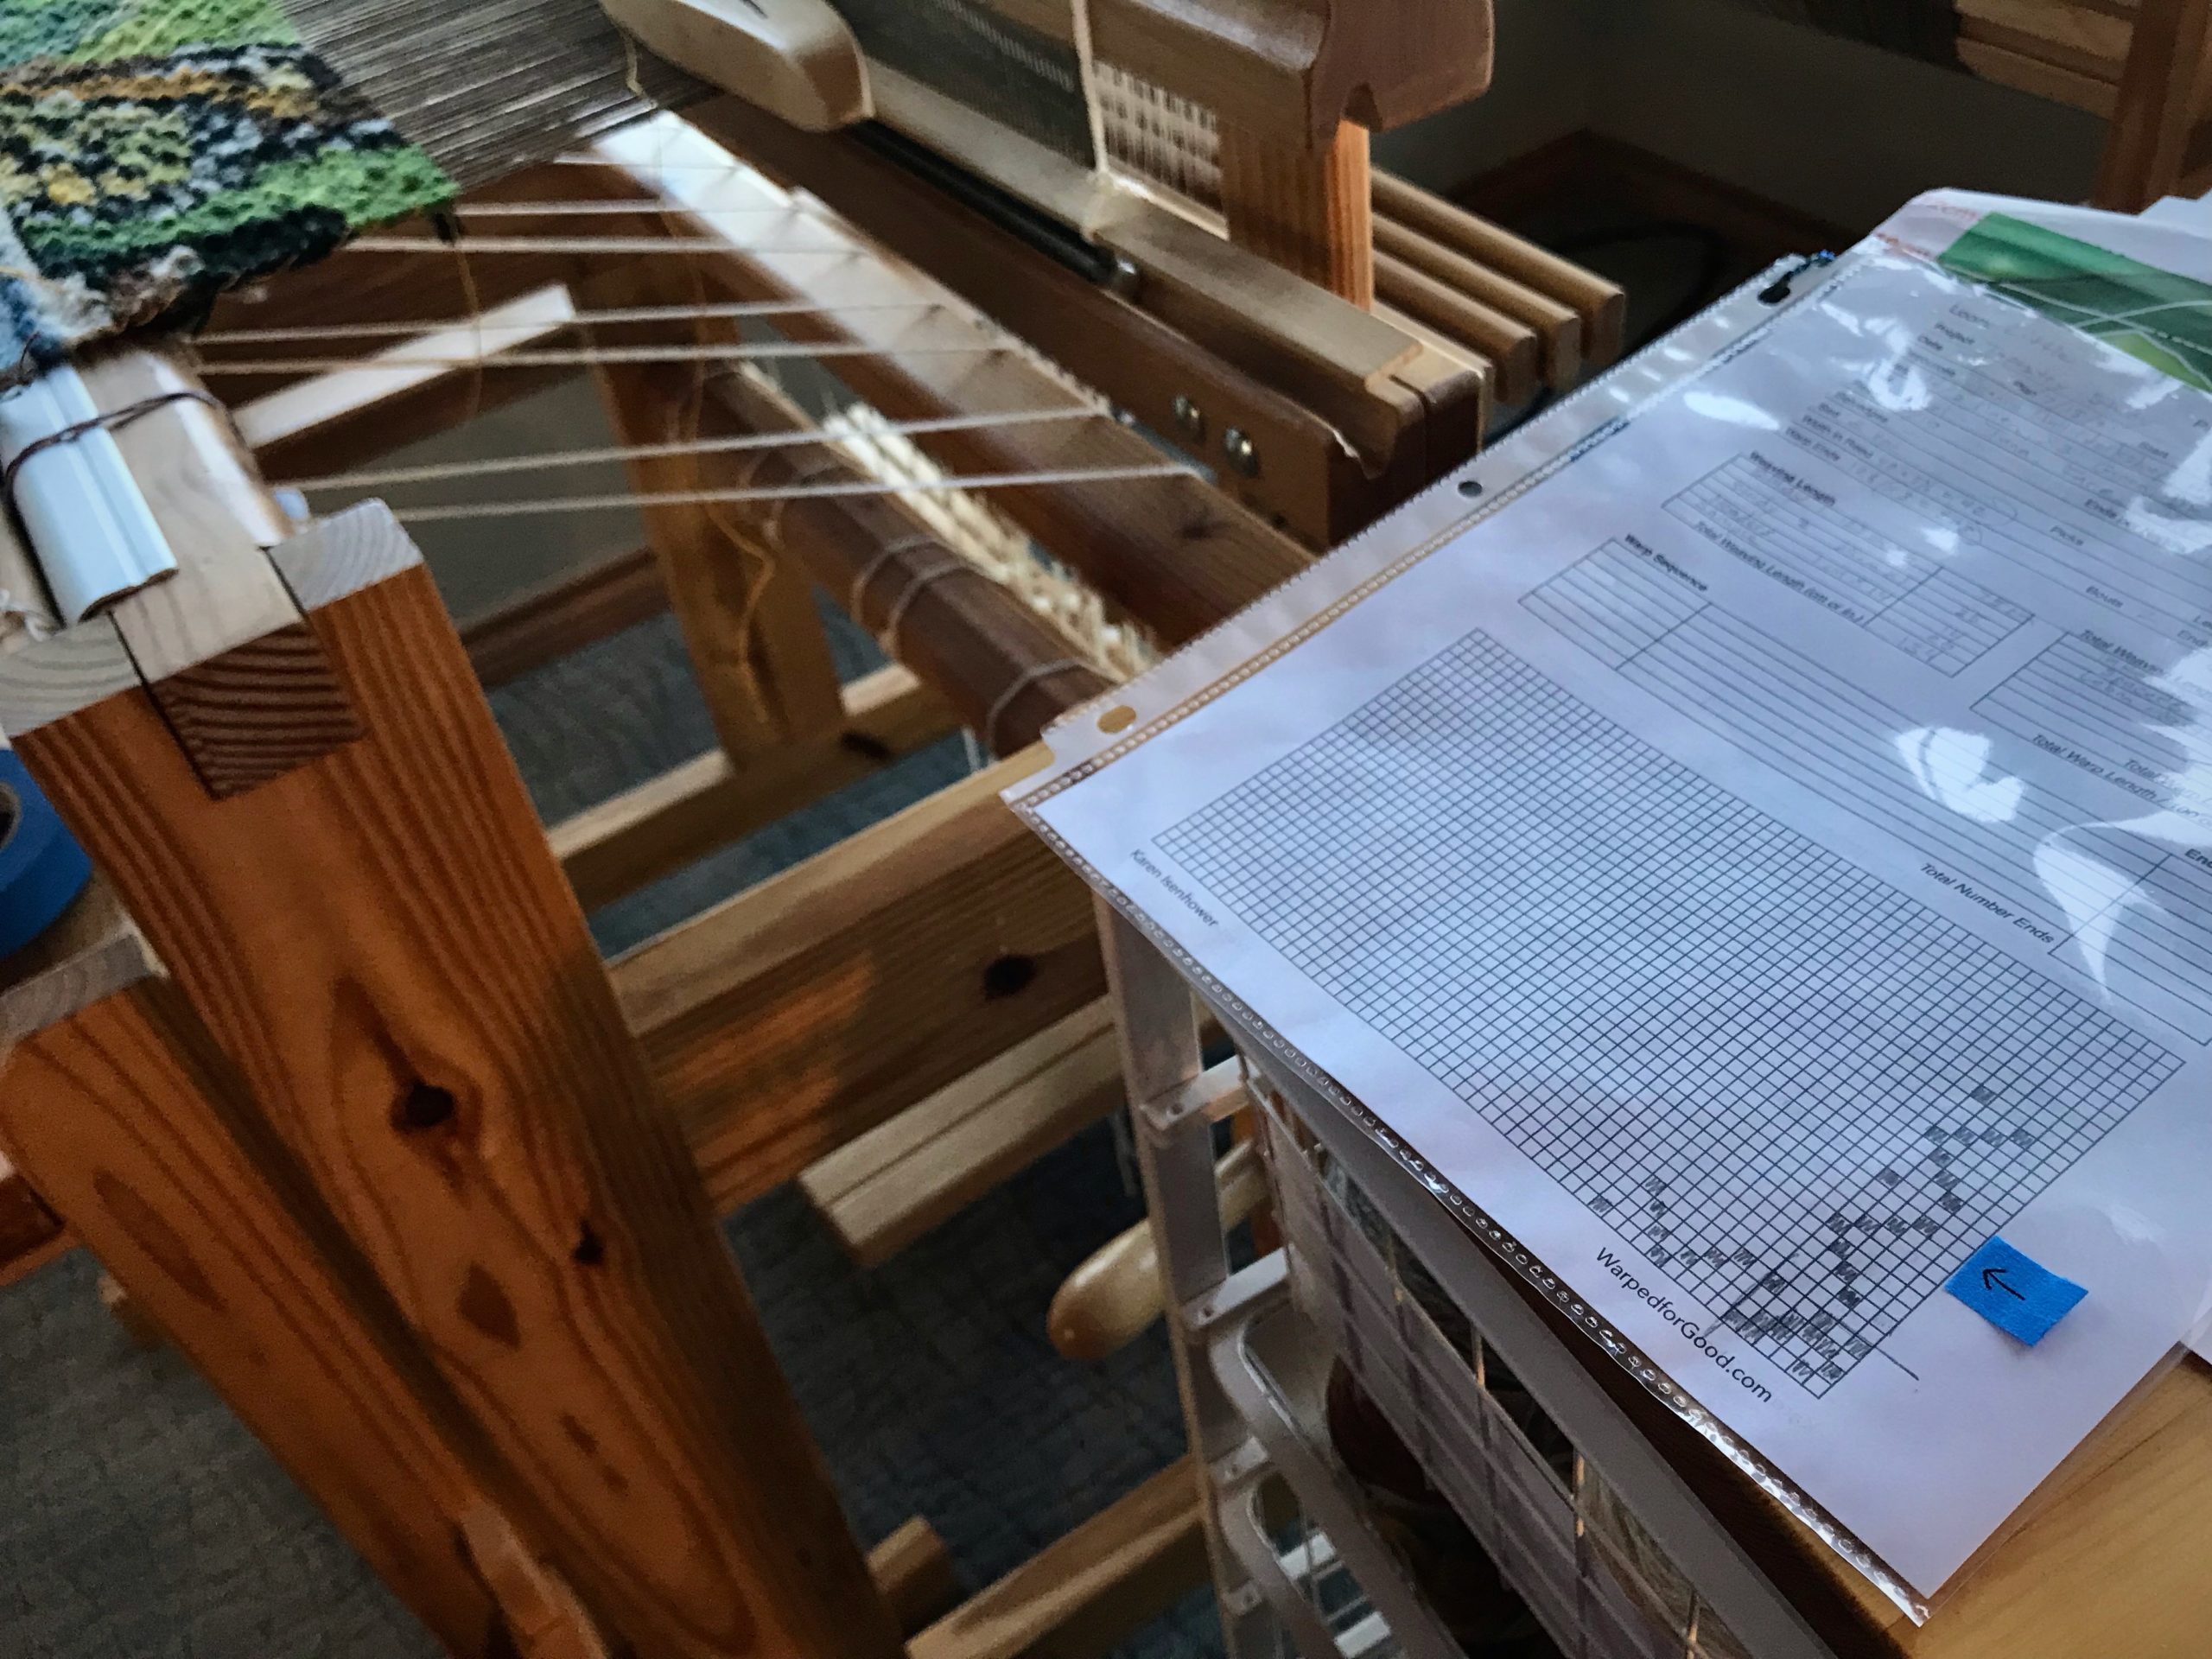
  • Keep your place. Draw an arrow on a small piece of blue tape. Use the arrow on the tape to follow along the threading or treadling draft. This eliminates confusion, especially after a pause.
Blue tape uses in the weaving studio.
Rosepath treadling for 4-shaft tapestry. Since there are plain weave picks between each rosepath row, I need something to remind me where I left off.

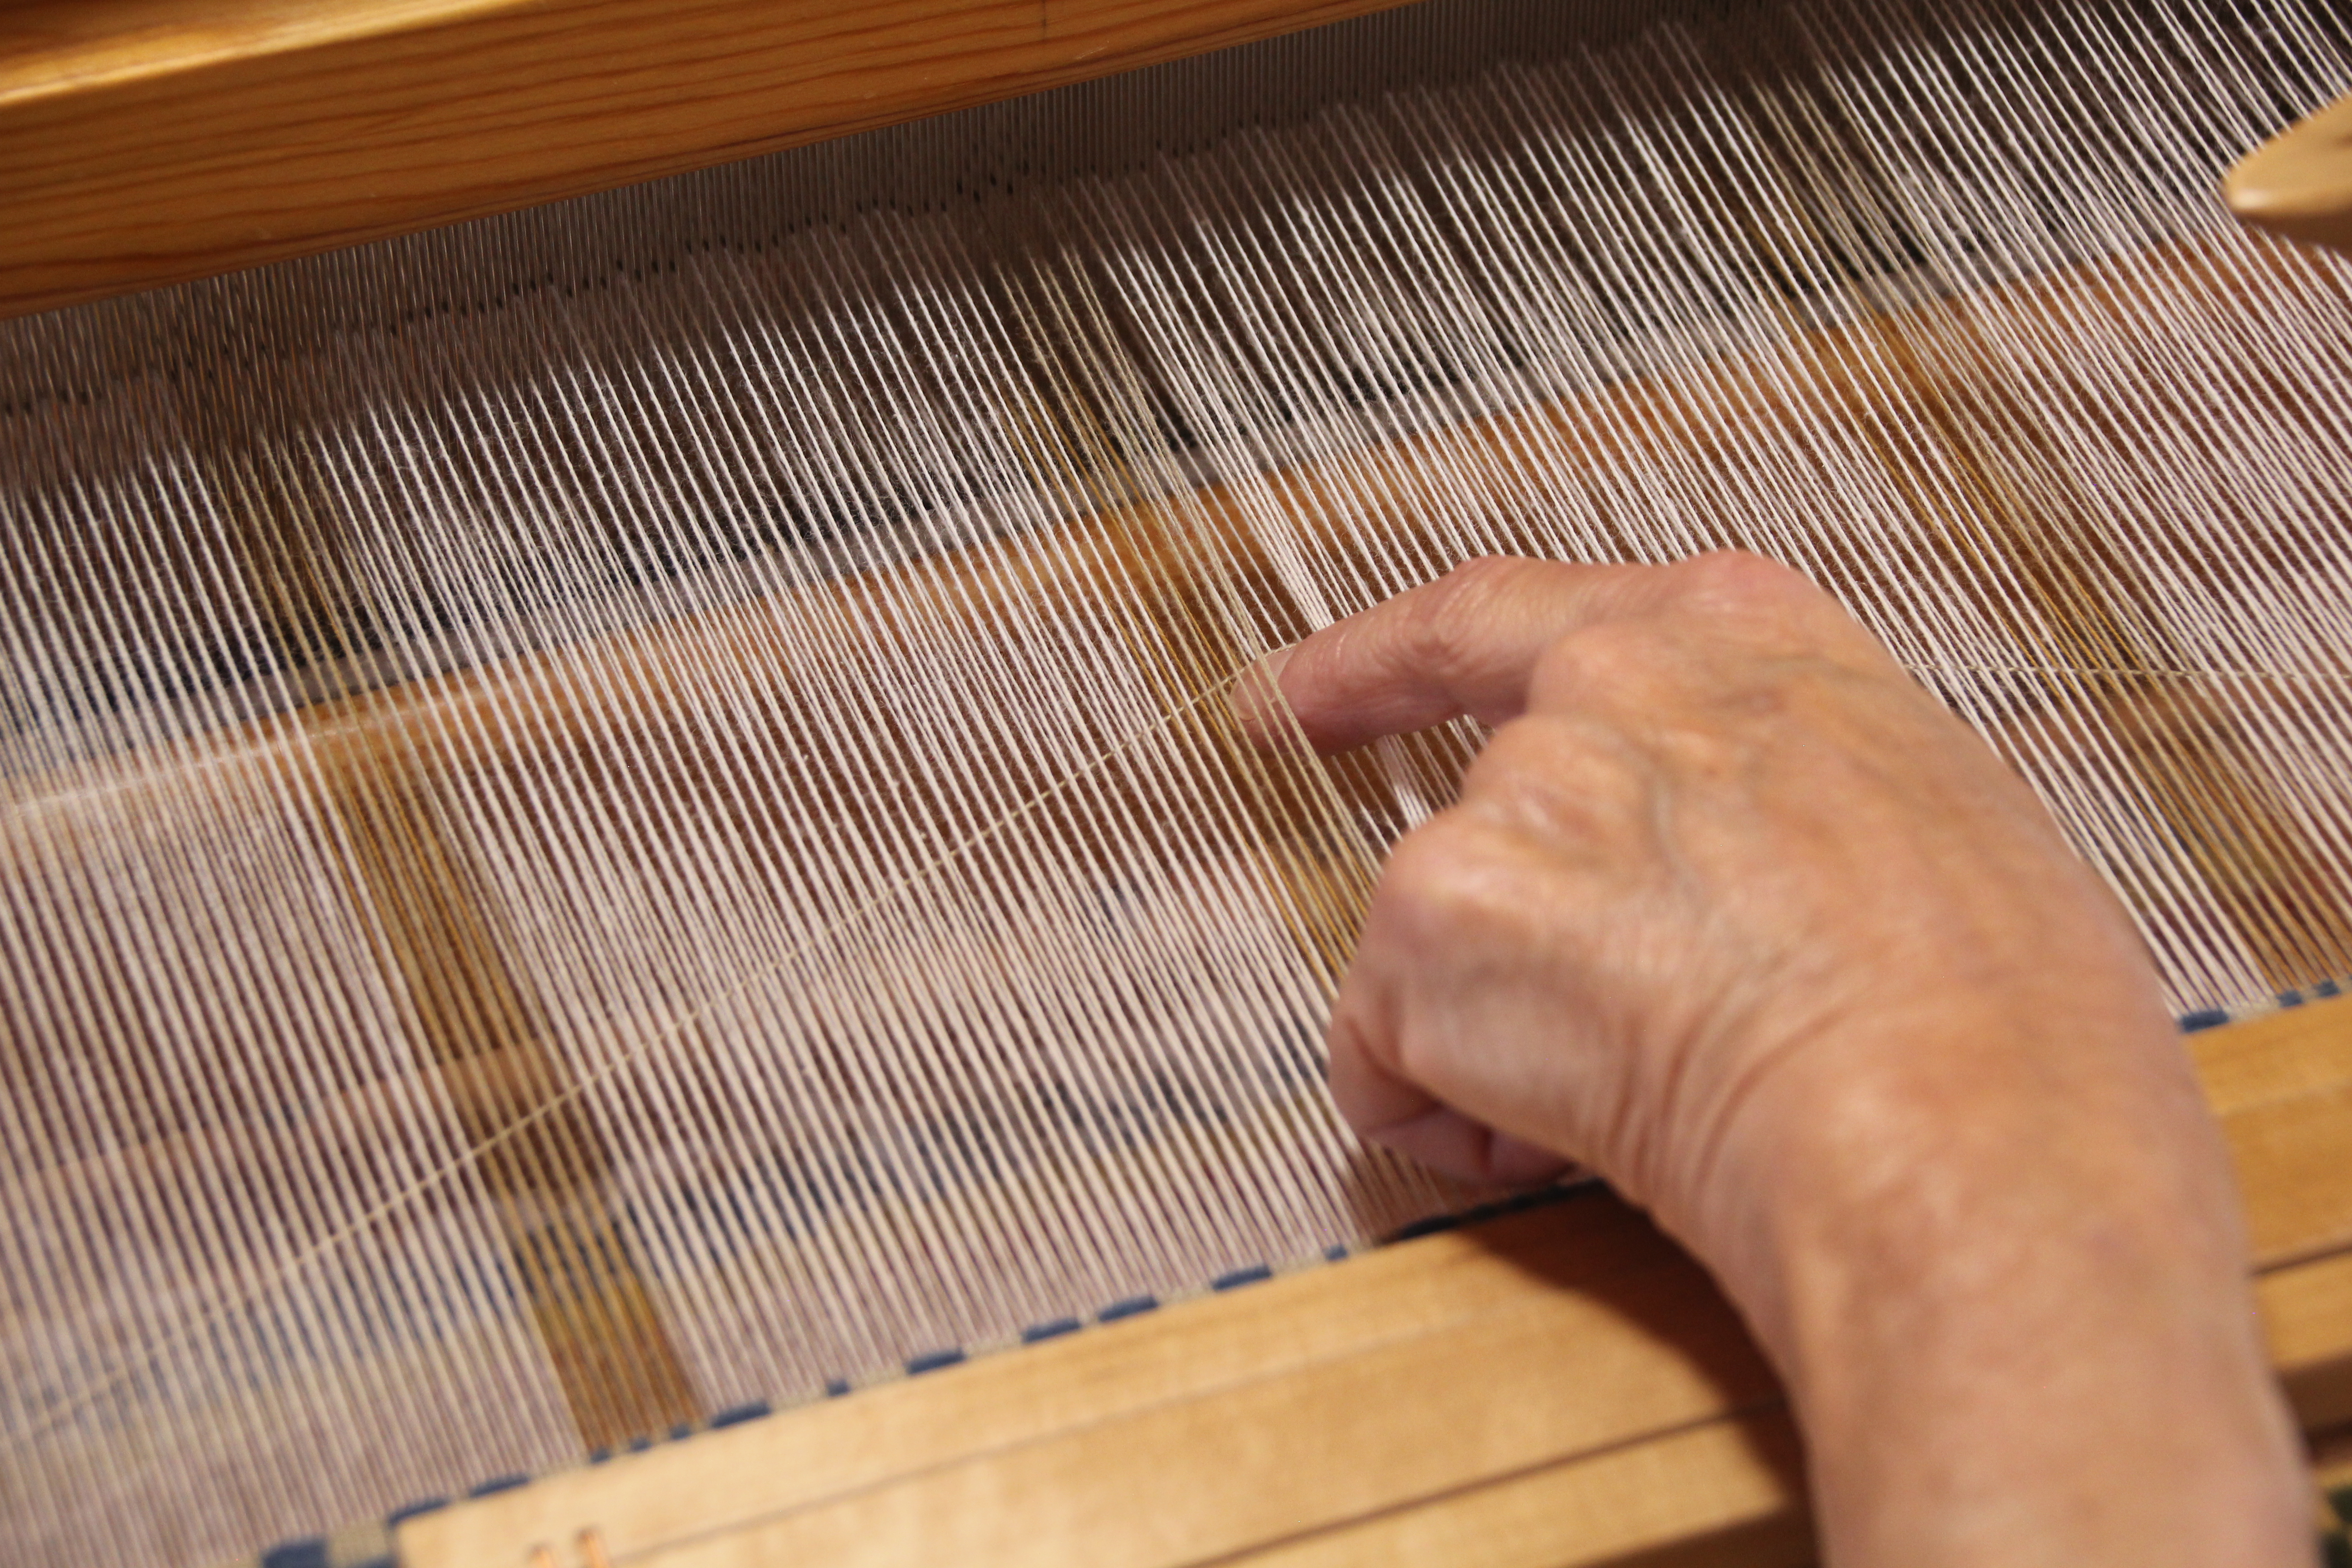
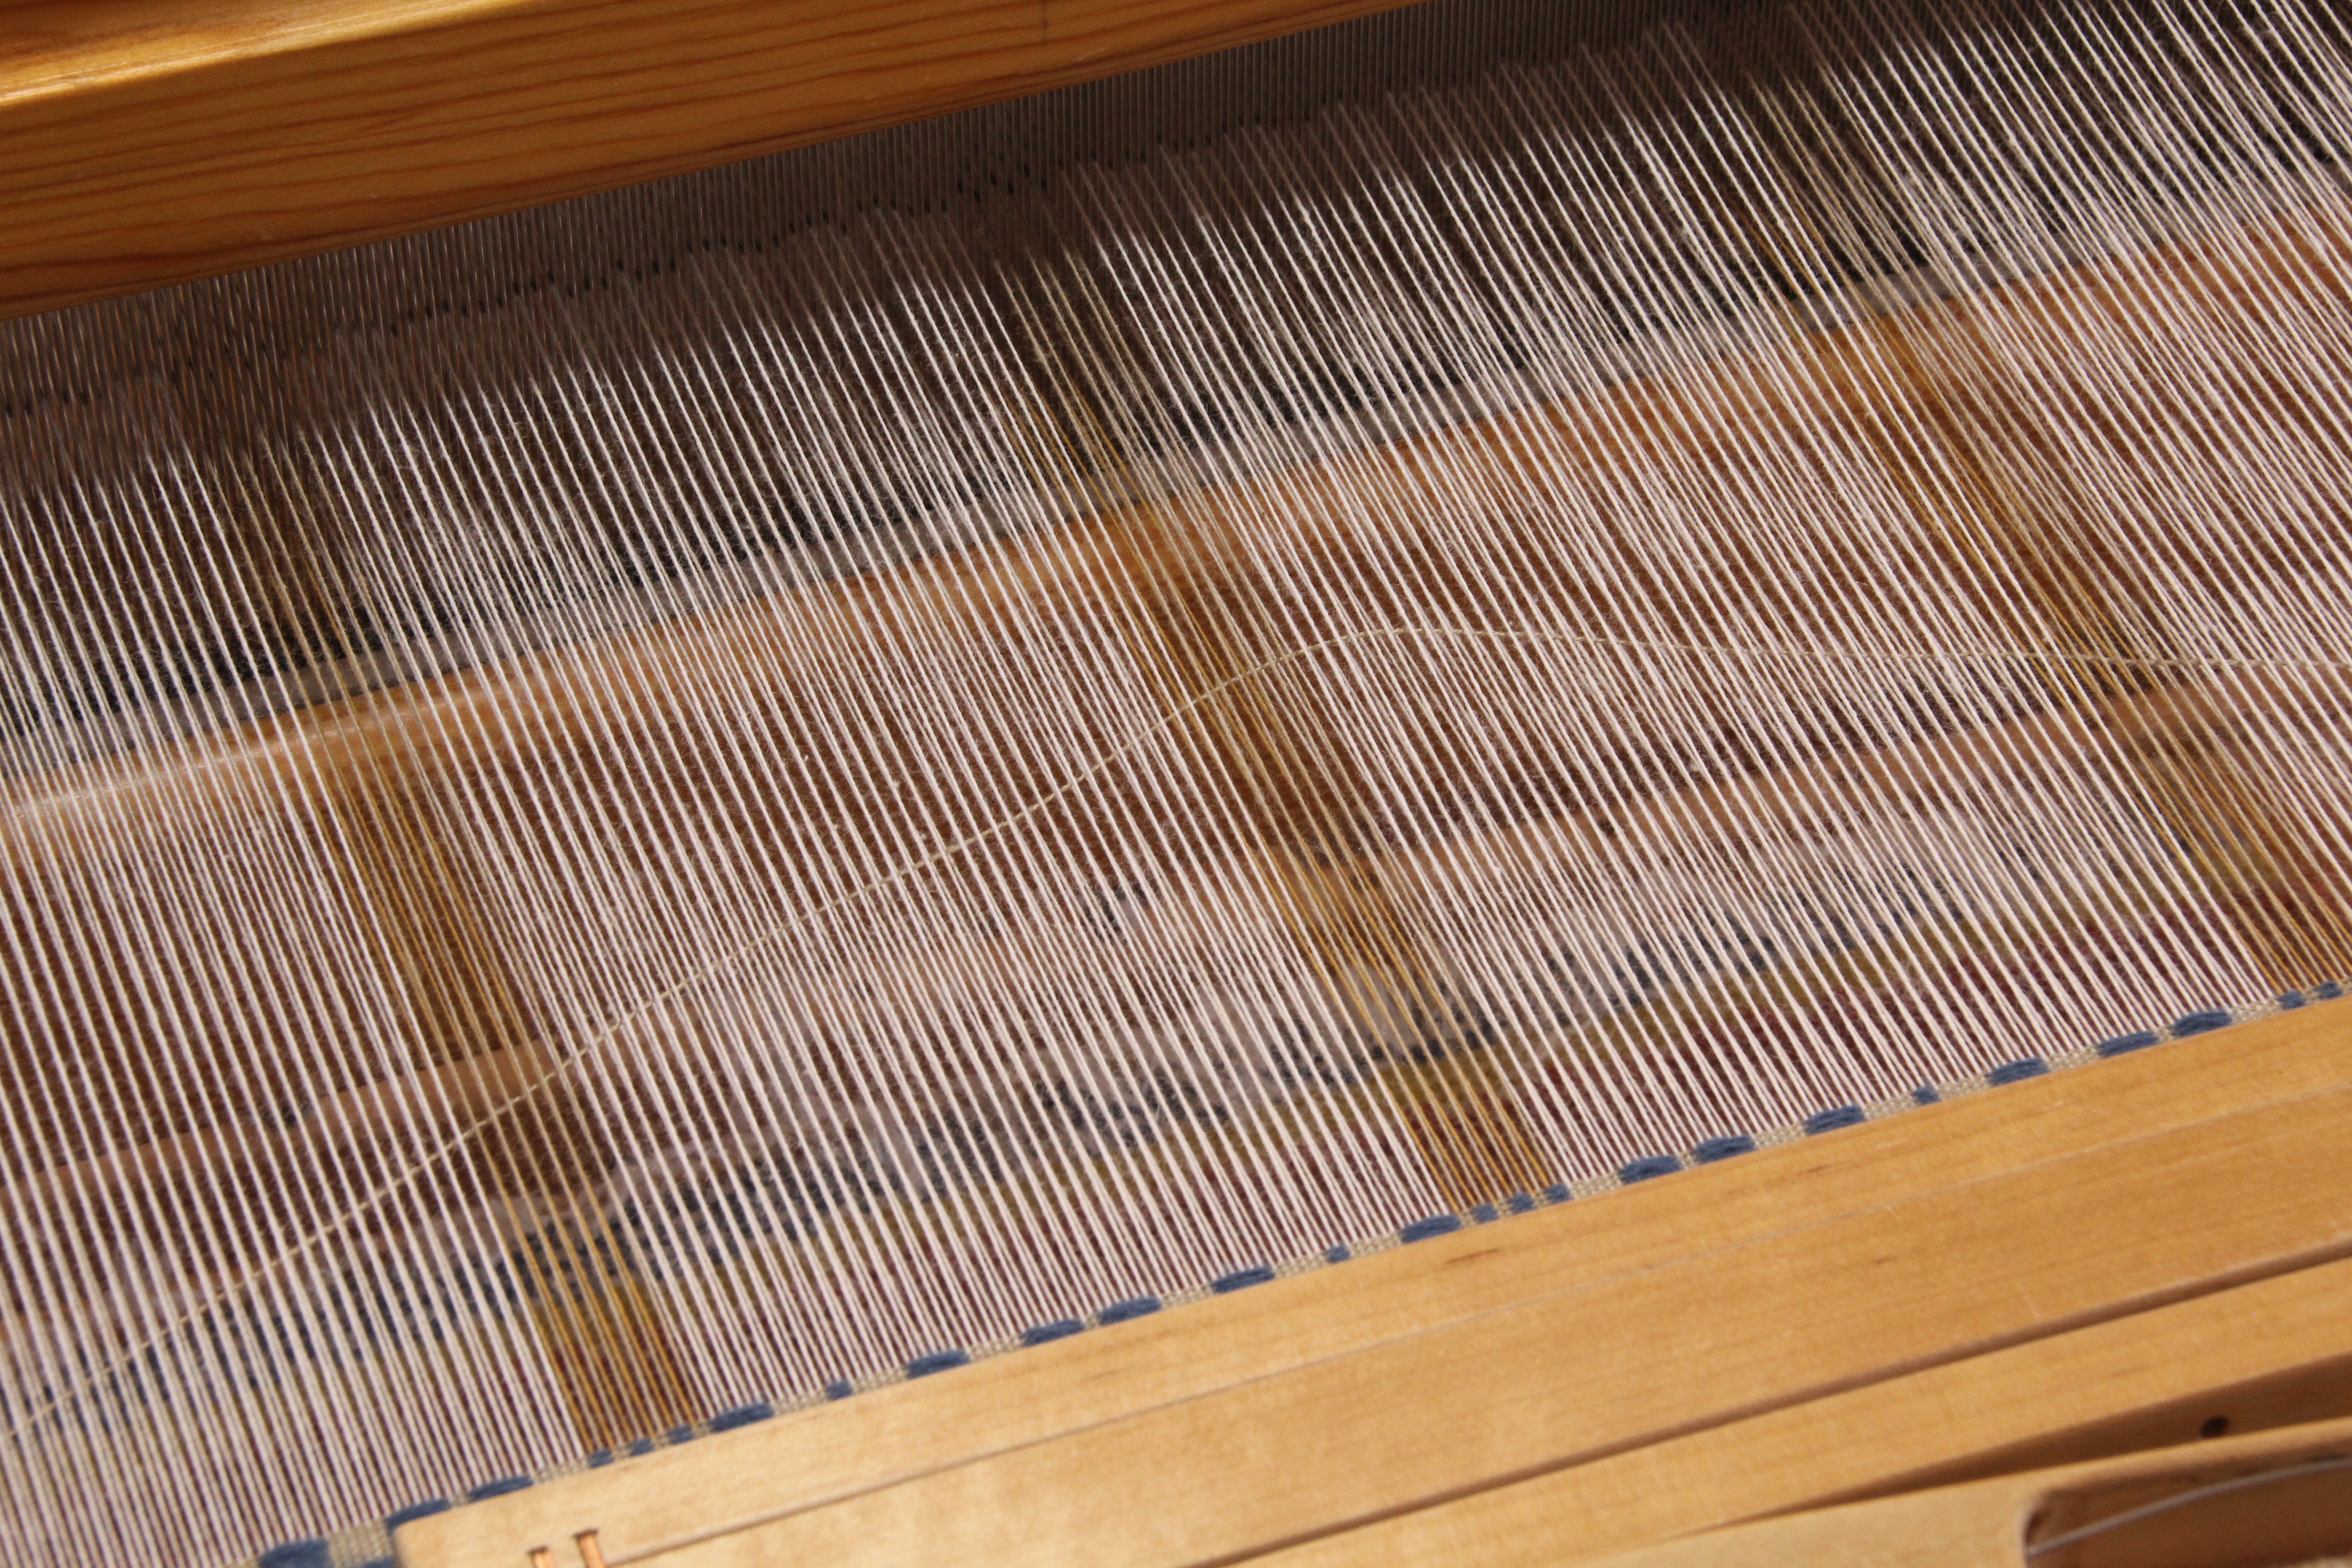
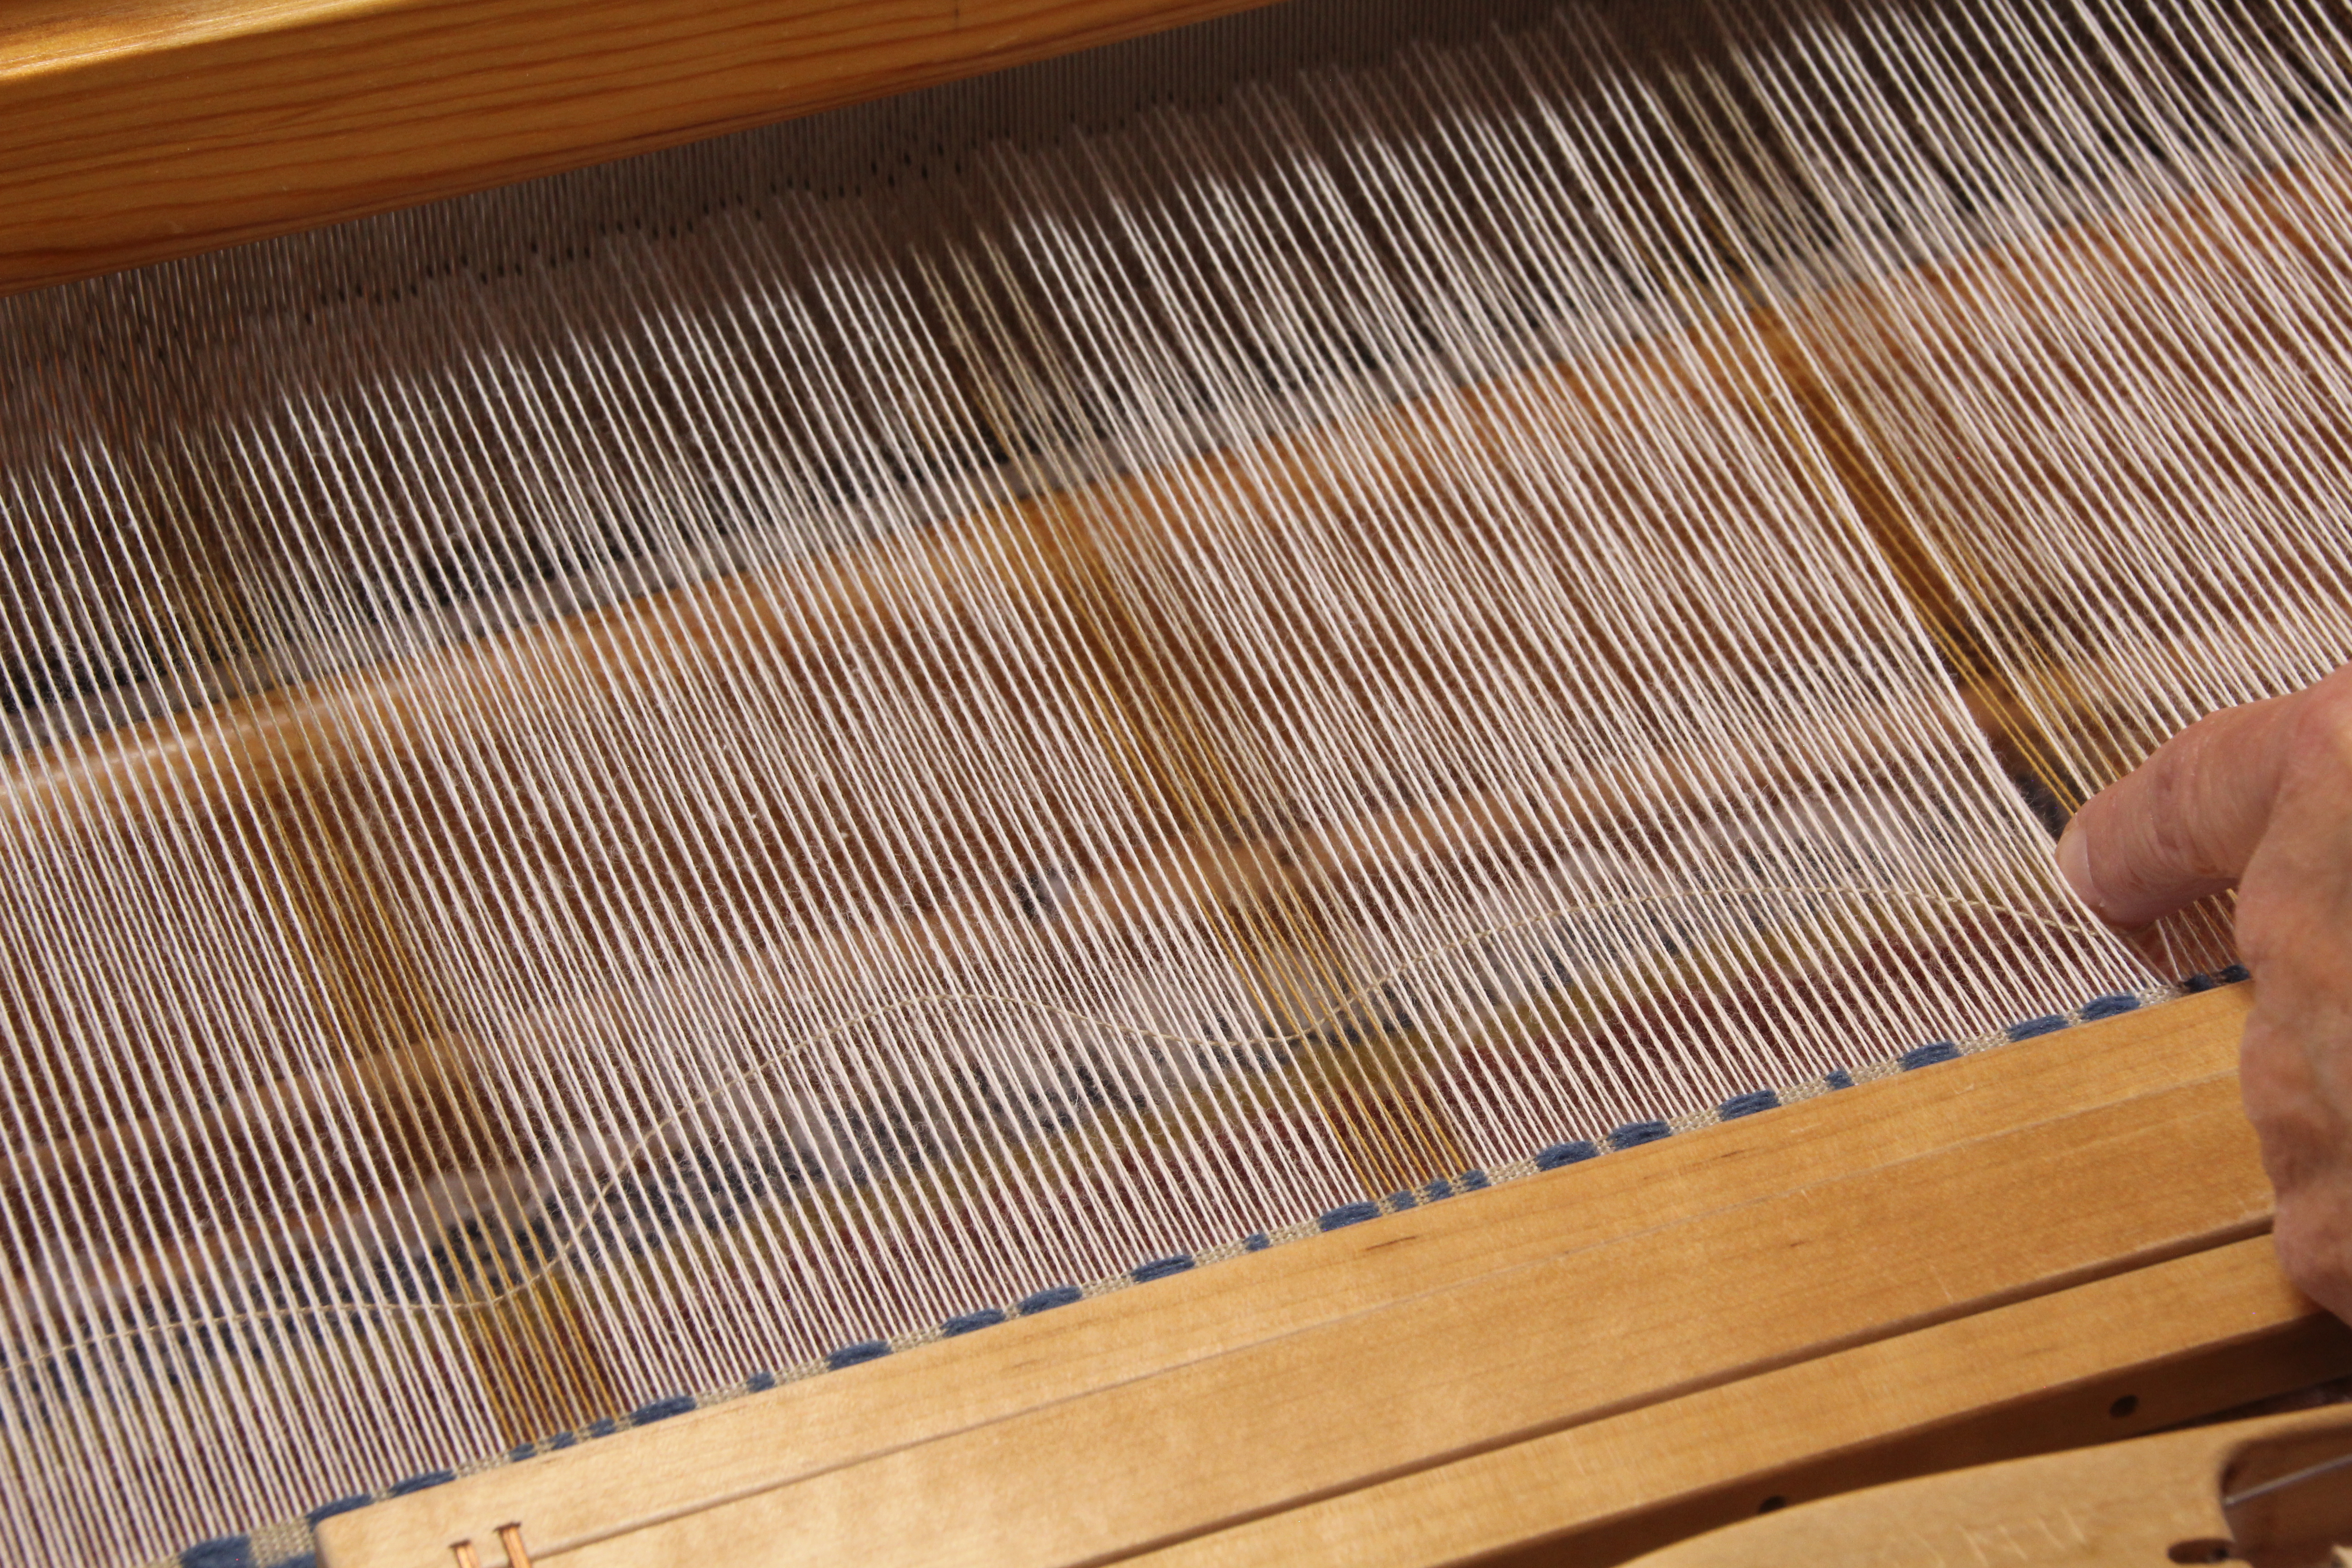
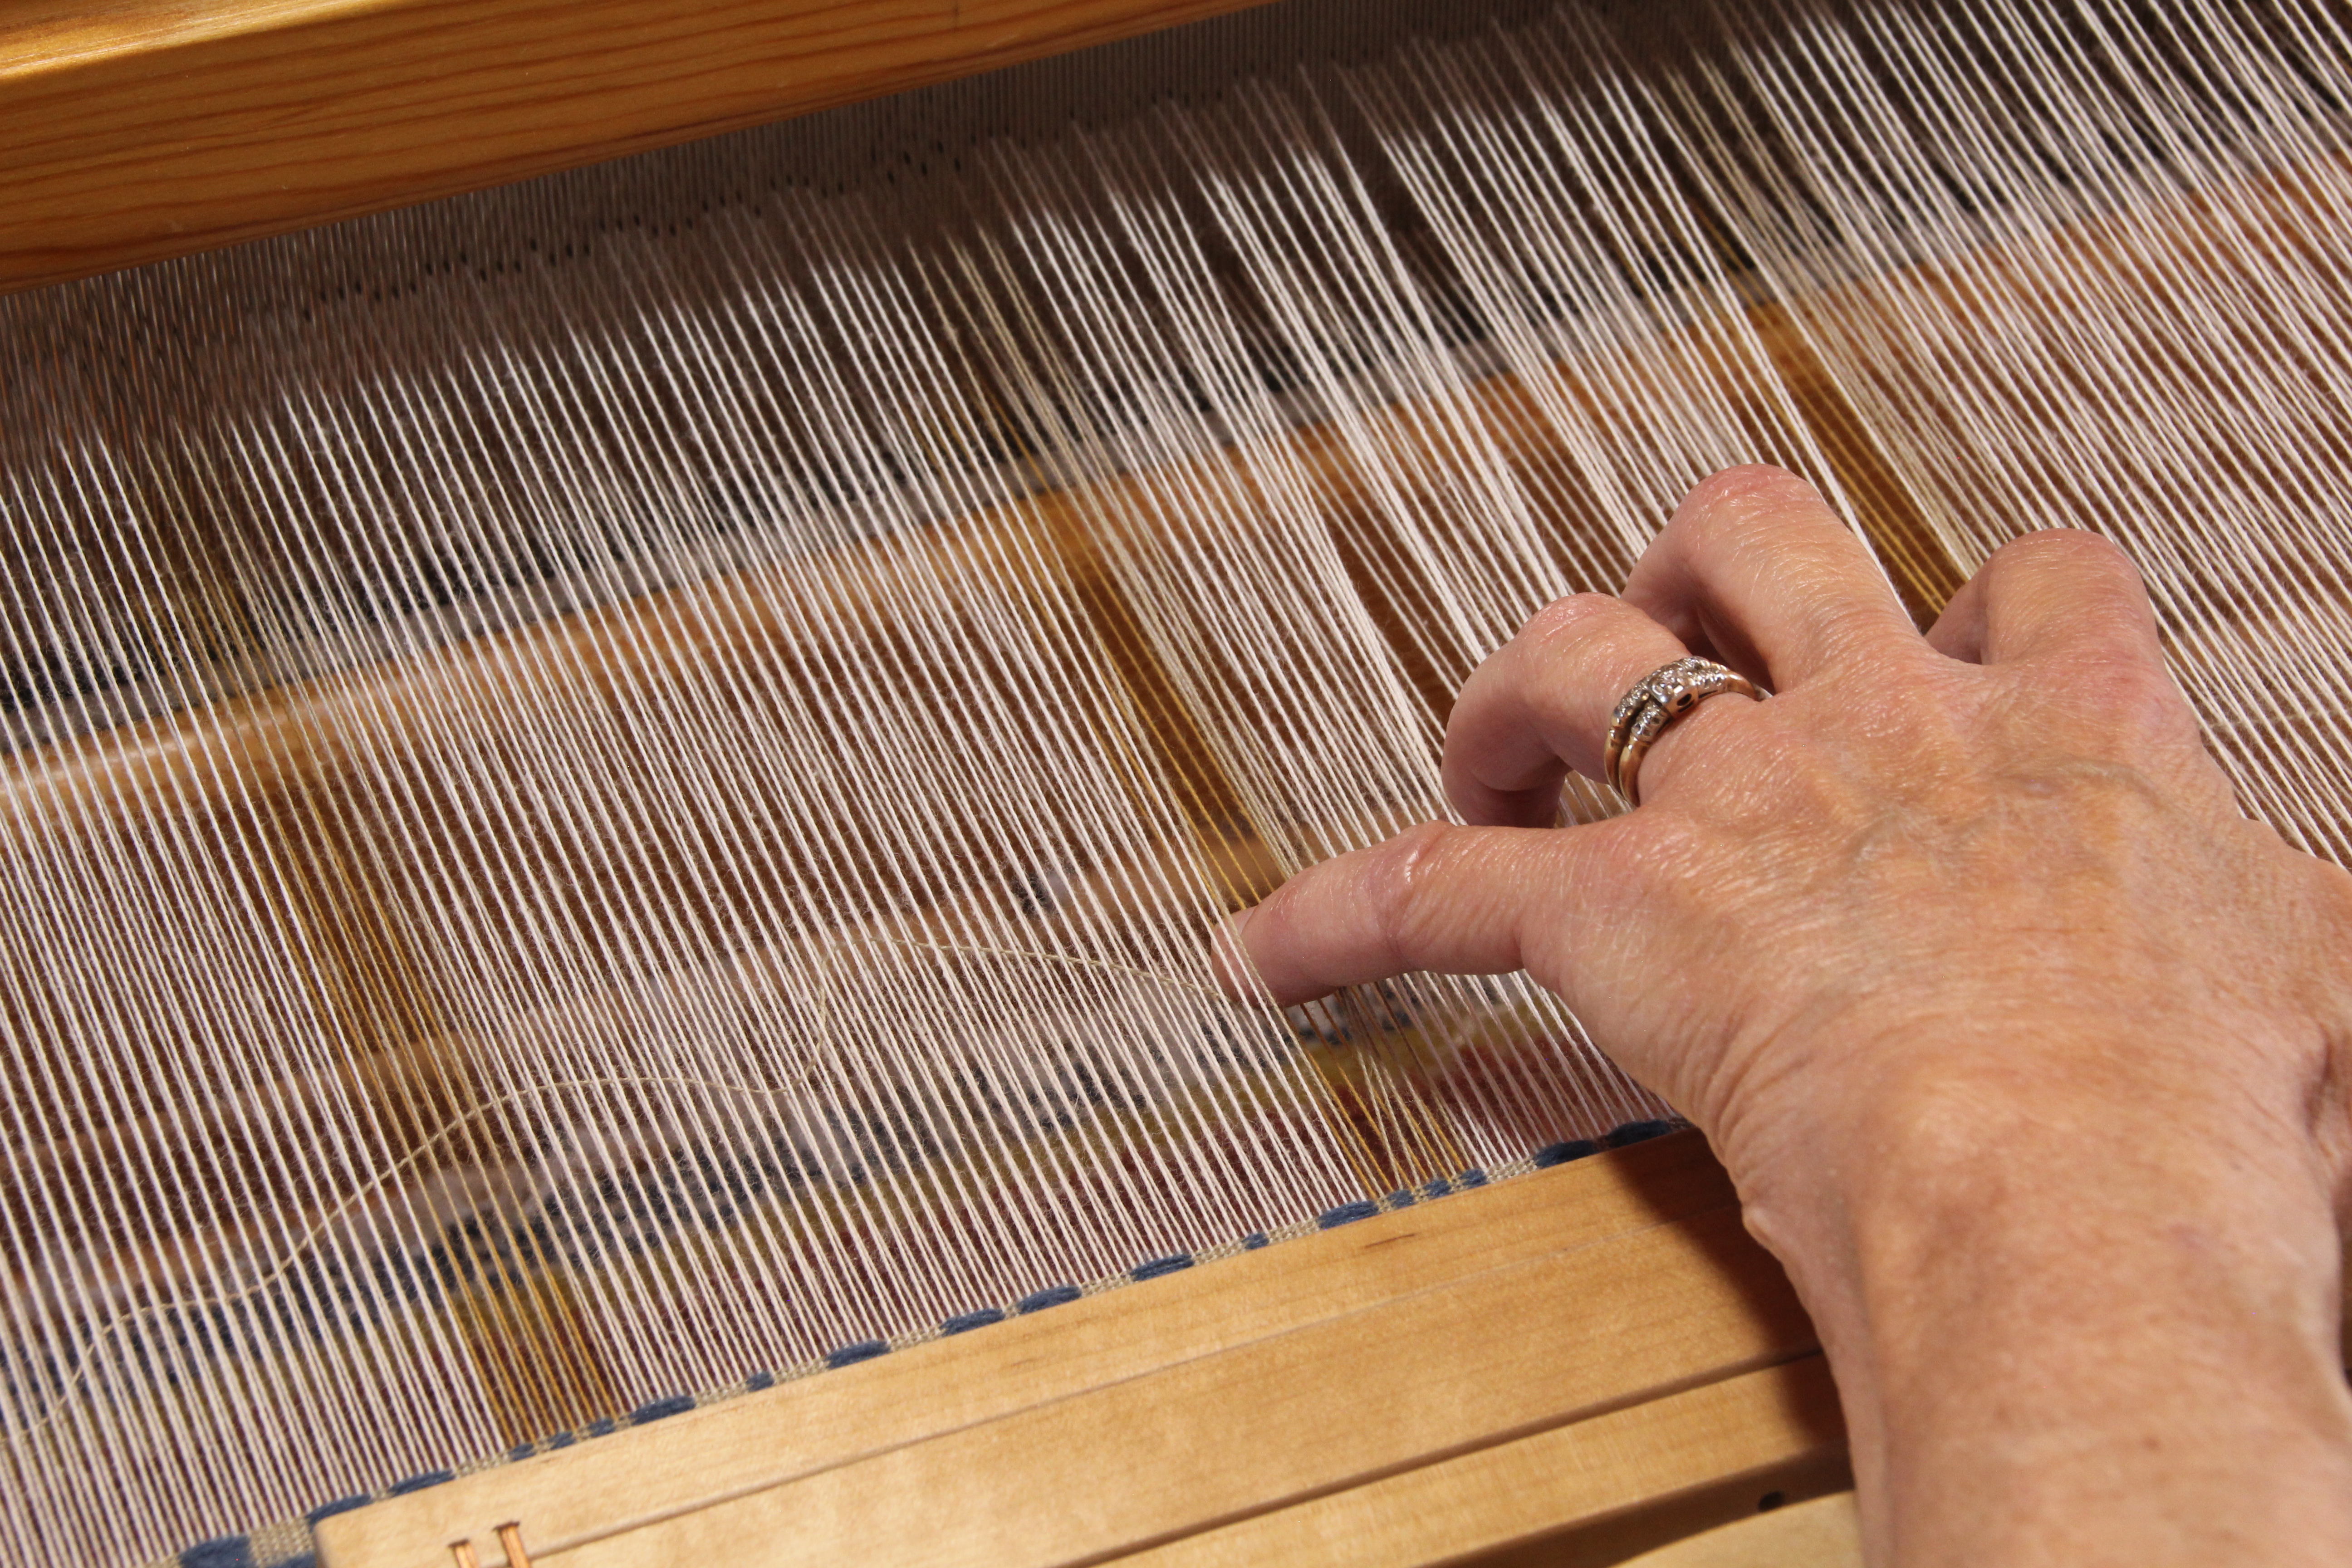
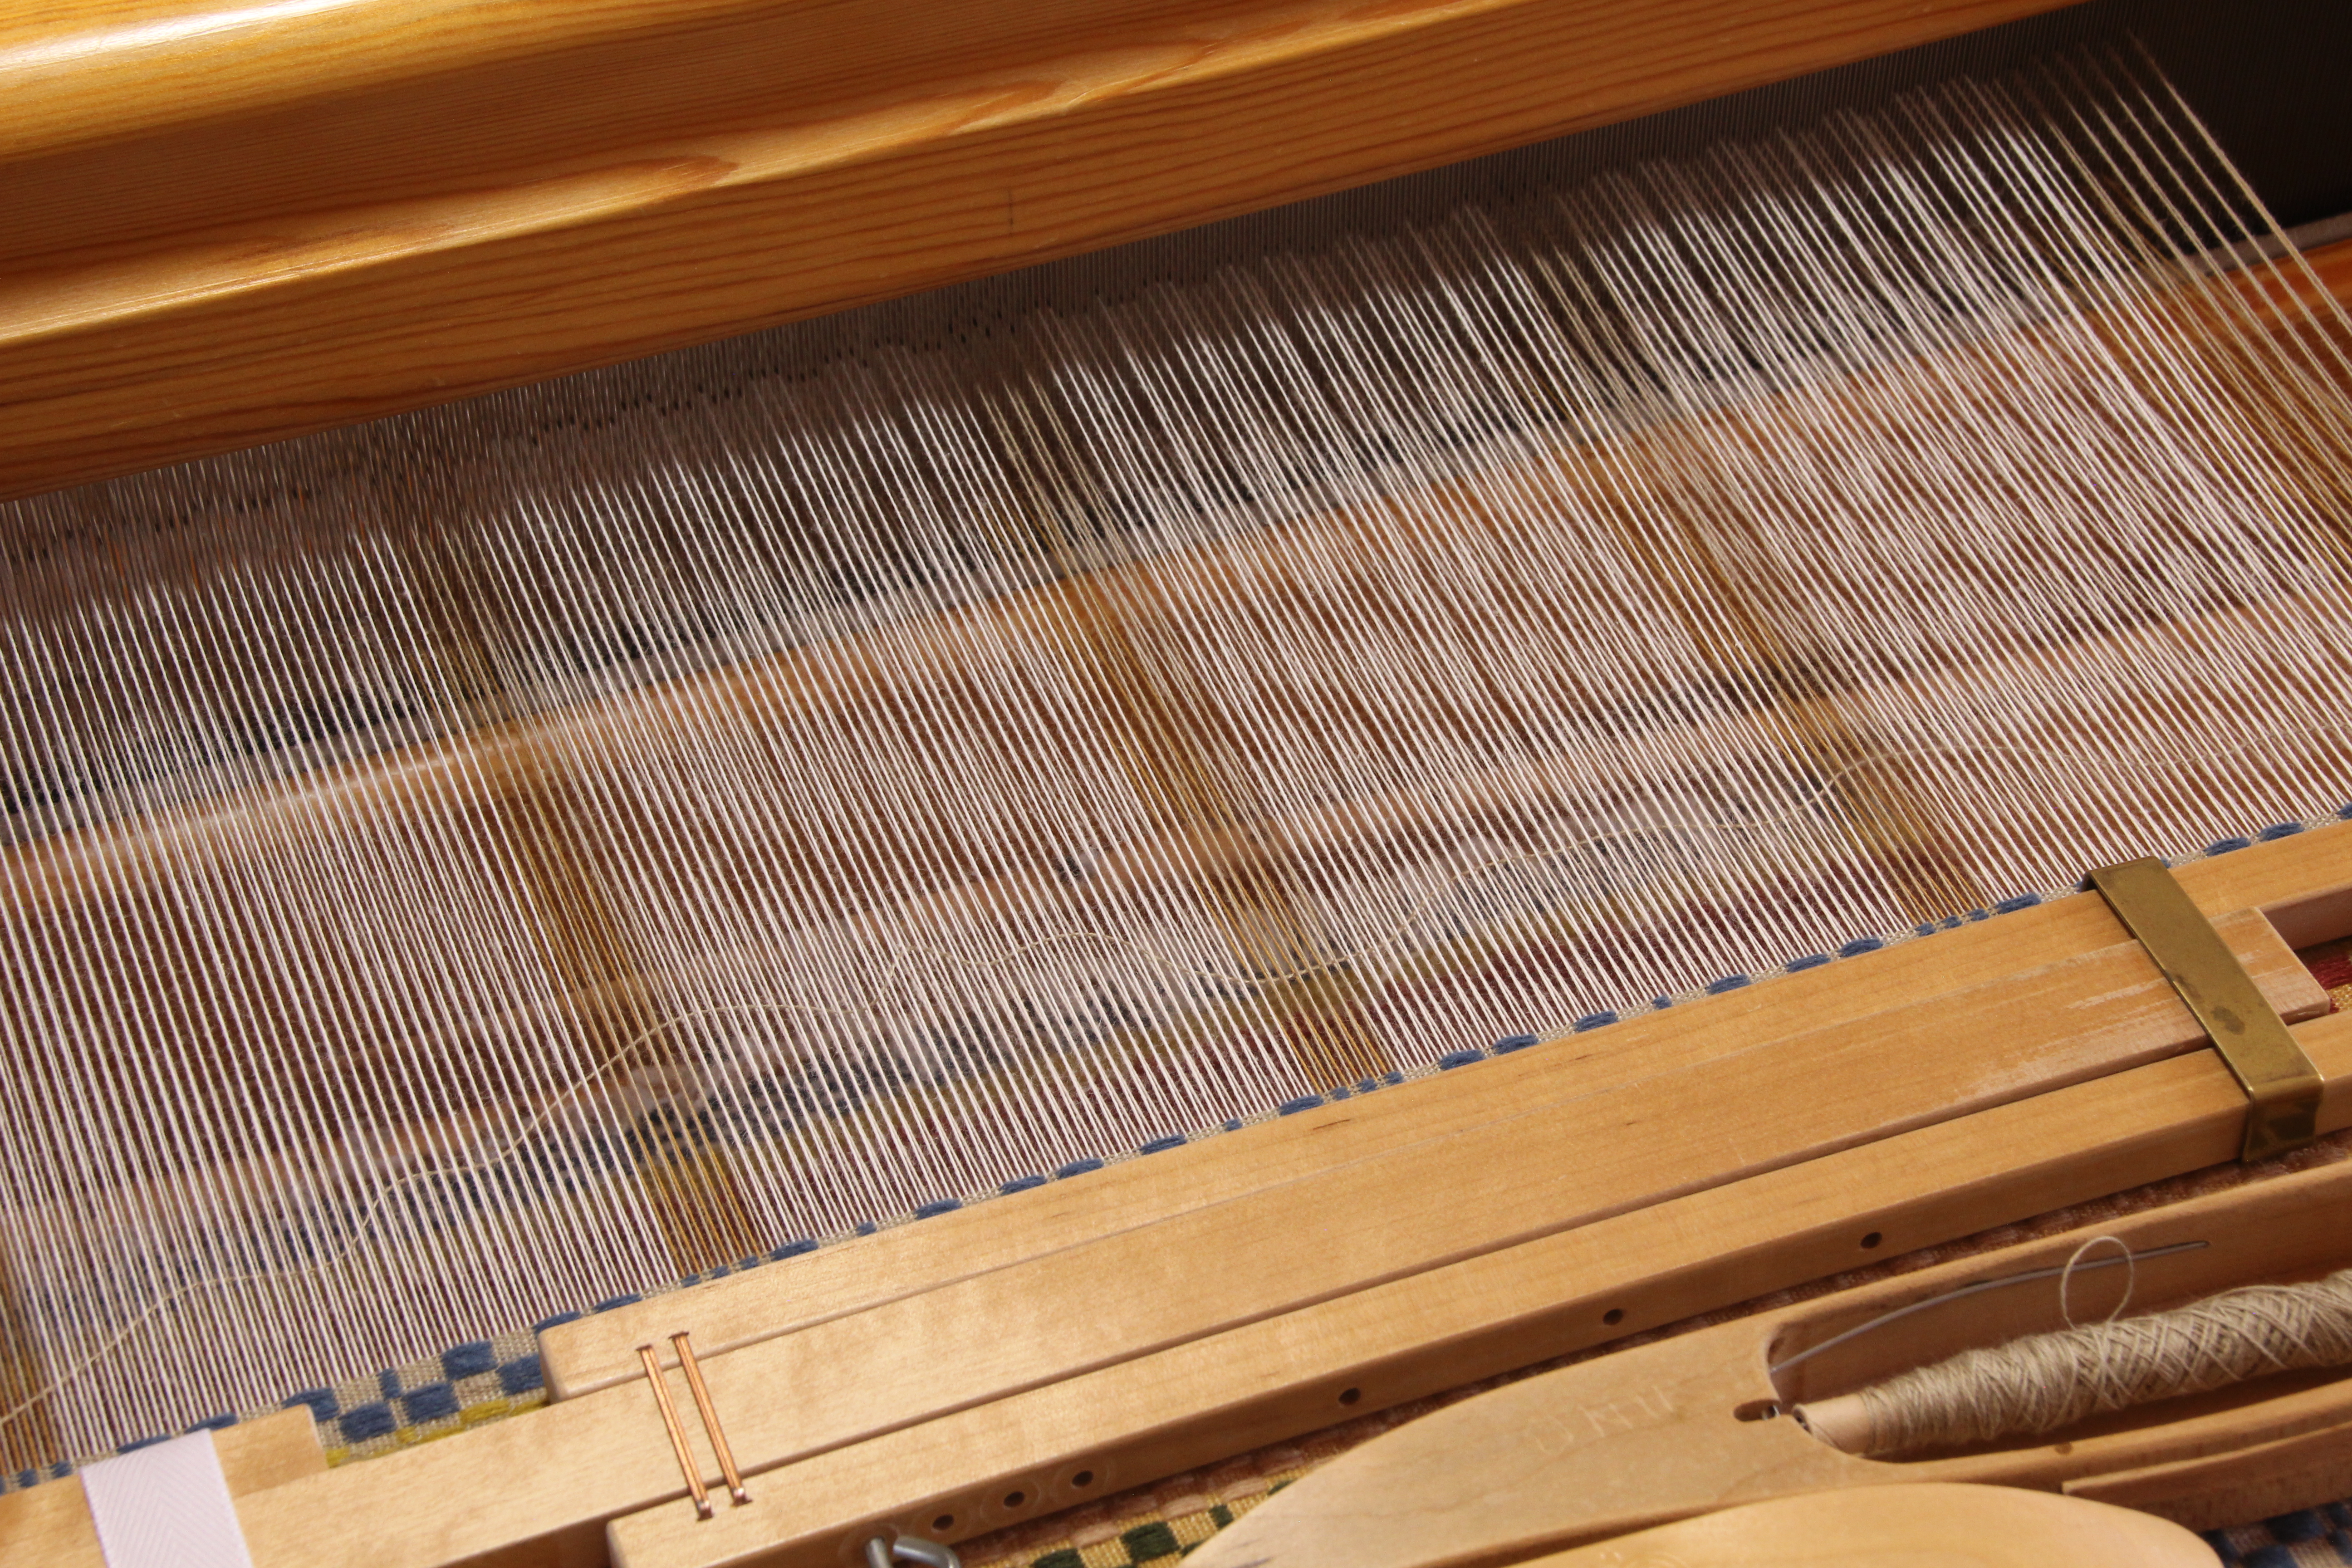
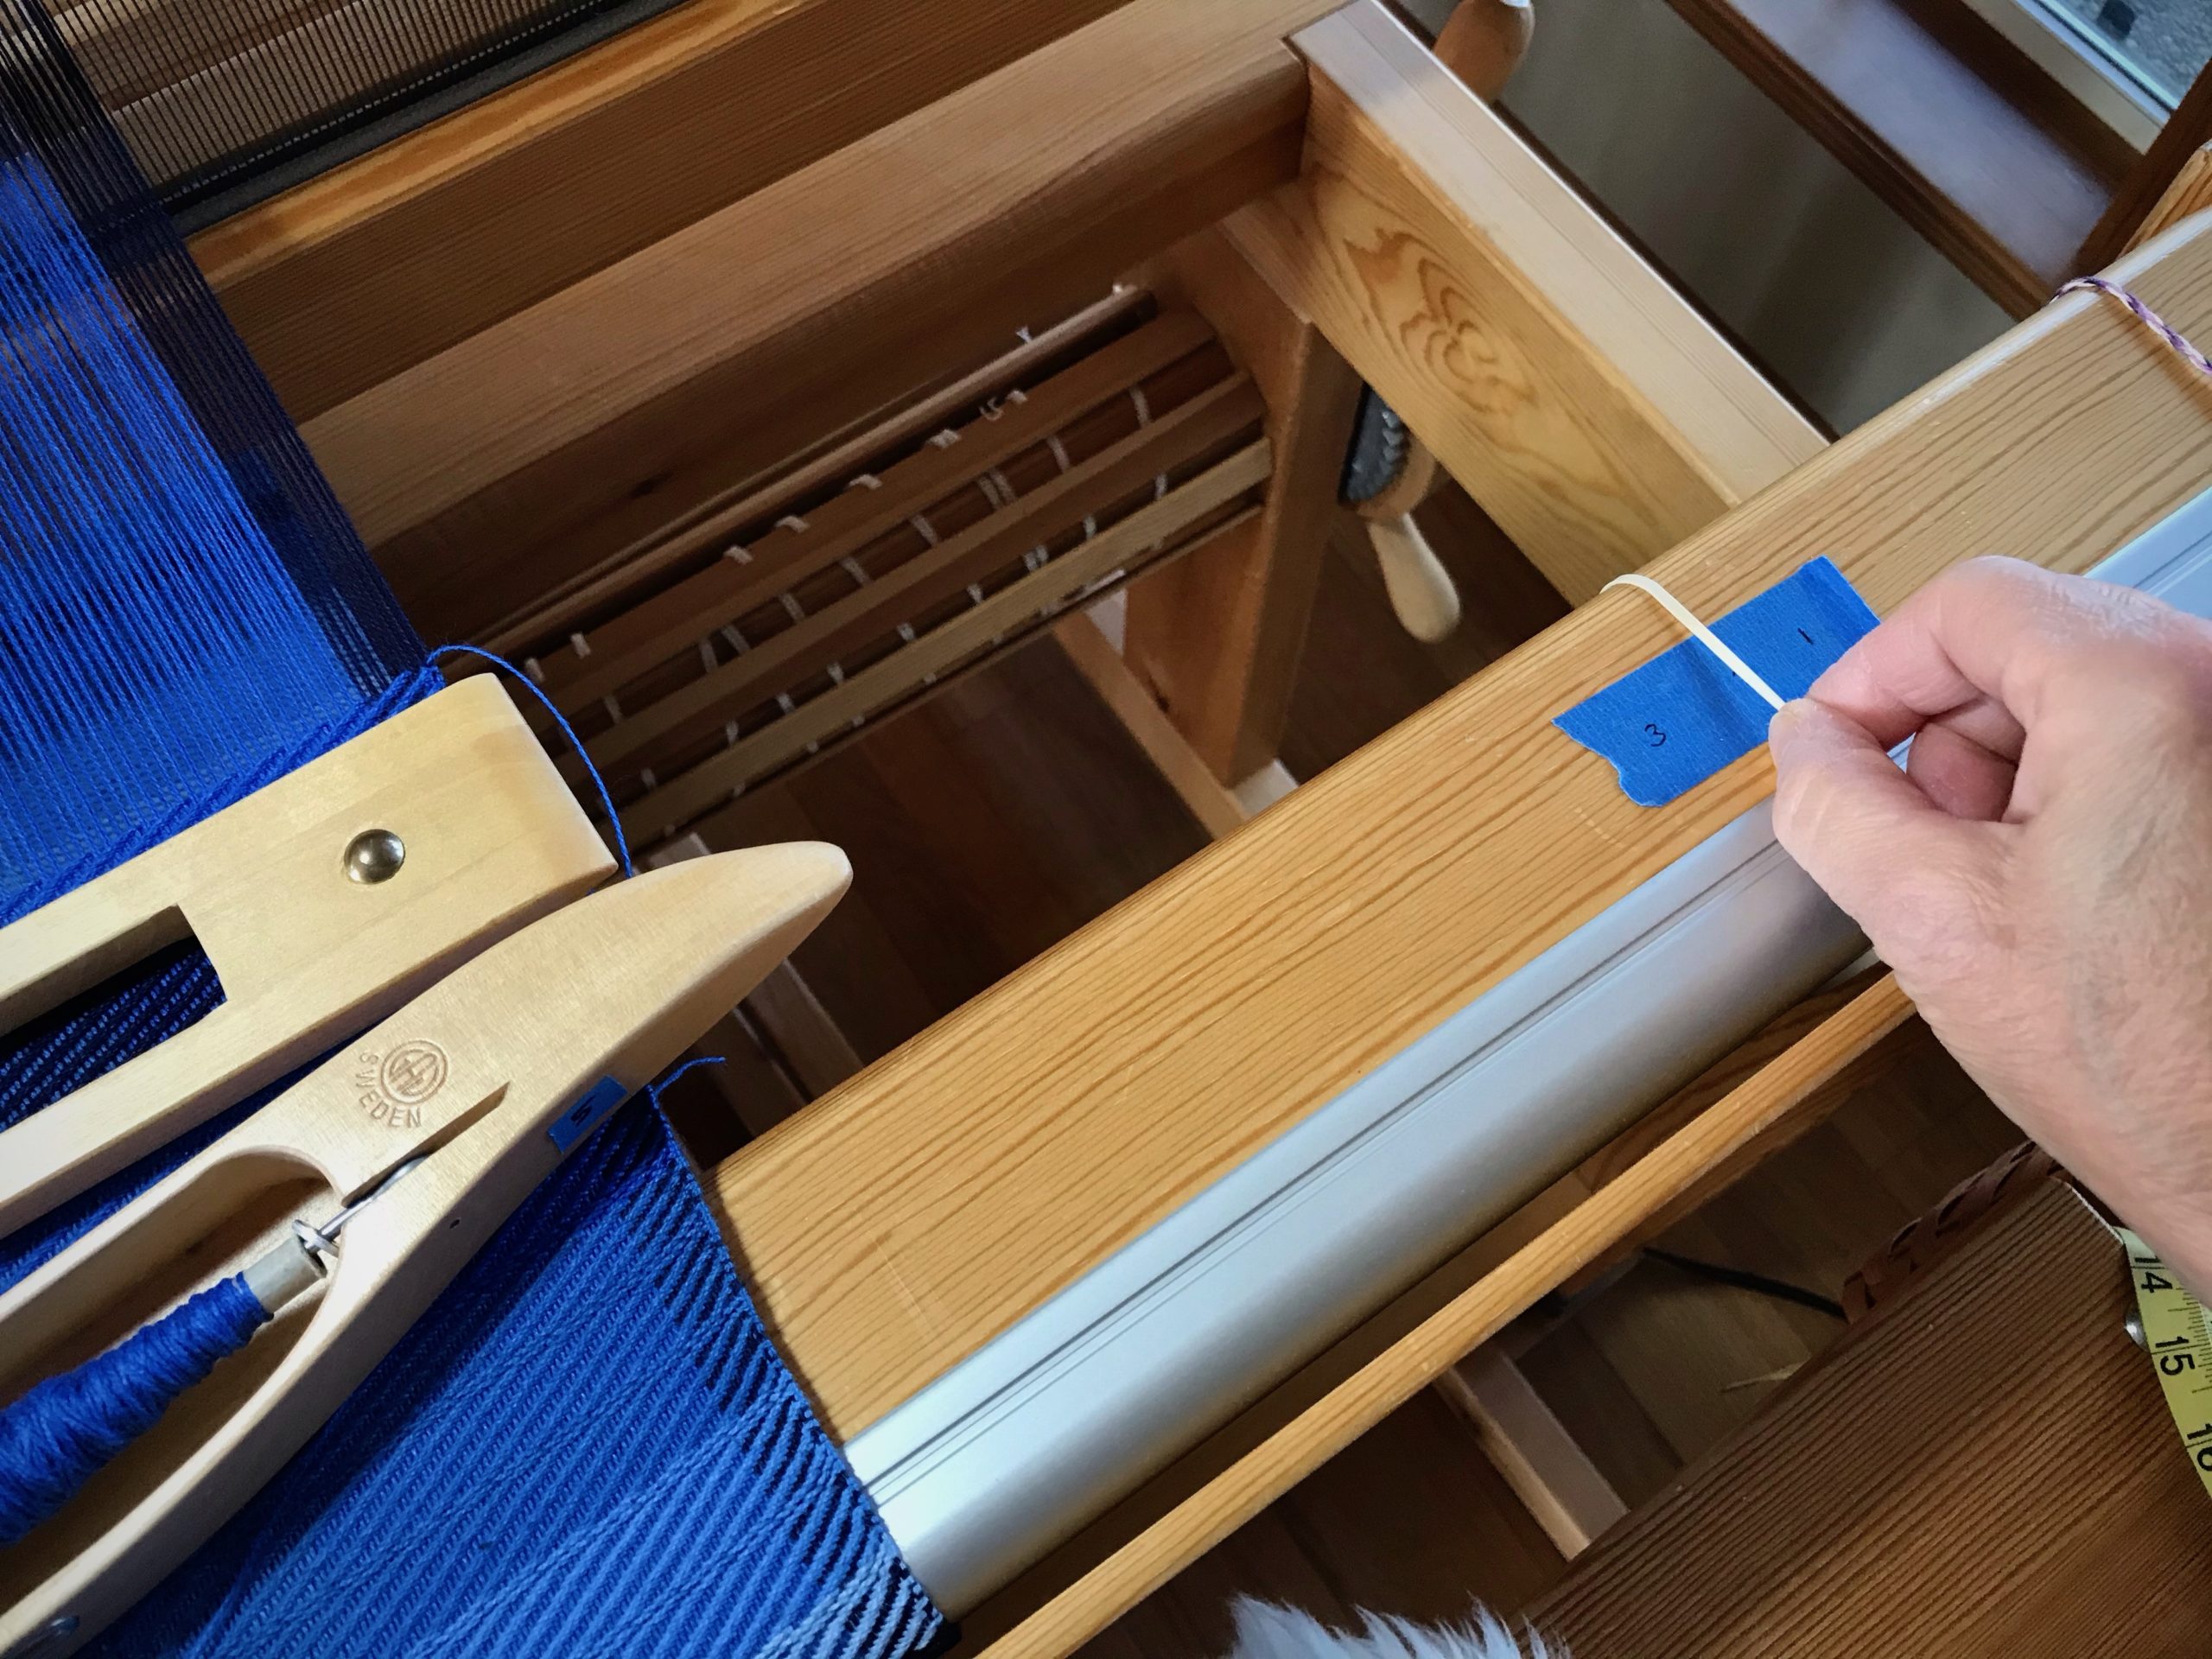
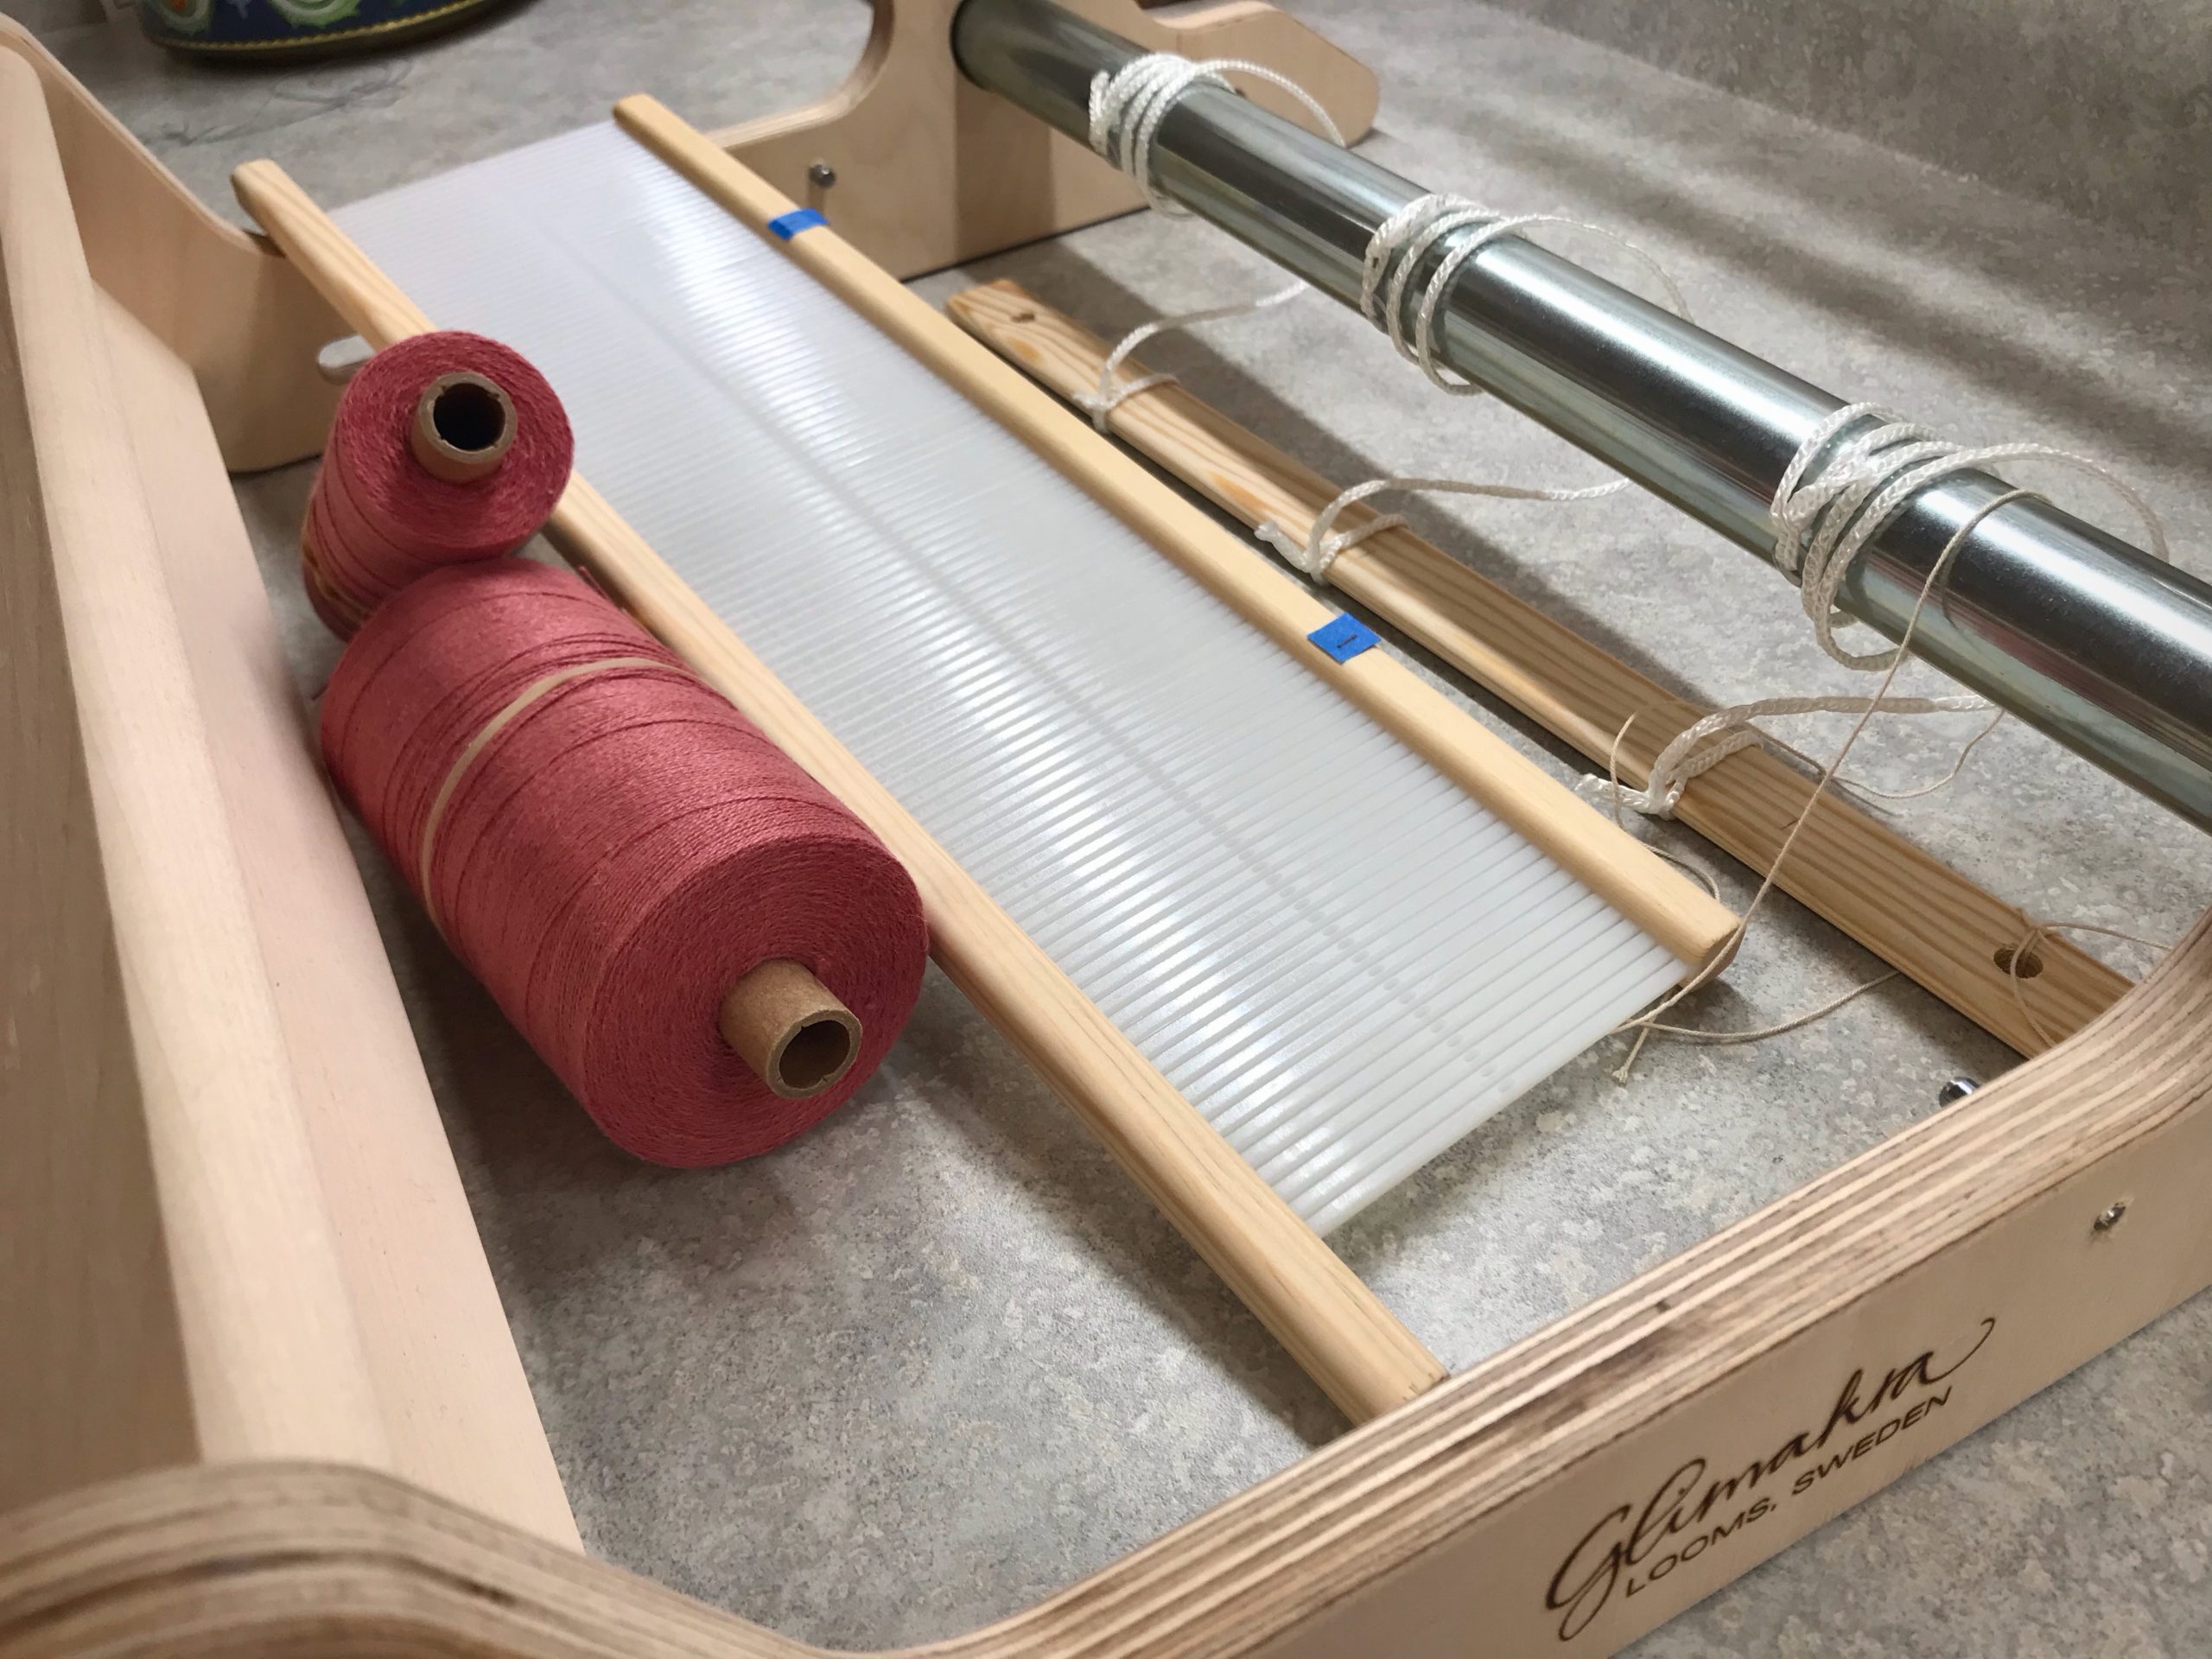
  • Measure the space. Draw a straight line on small pieces of tape. Measure the warp width on a tapestry frame or rigid heddle loom. Use the lines on the tape to mark where the first and last warp ends should lie on the loom. This eliminates guessing when warping the loom.
Uses for blue tape in my weaving studio.
Tapestry frame is ready for a new warp. After measuring for weaving width, and counting dents, I mark the dents with tape. No more guessing if I’m “almost there” when putting on the warp.
Blue tape to mark the rigid heddle. And other uses for blue tape.
By clearly marking the first and last slots/holes I can verify that my calculations are correct before I start warping the rigid heddle loom. This is helpful for direct warping and for indirect warping methods.

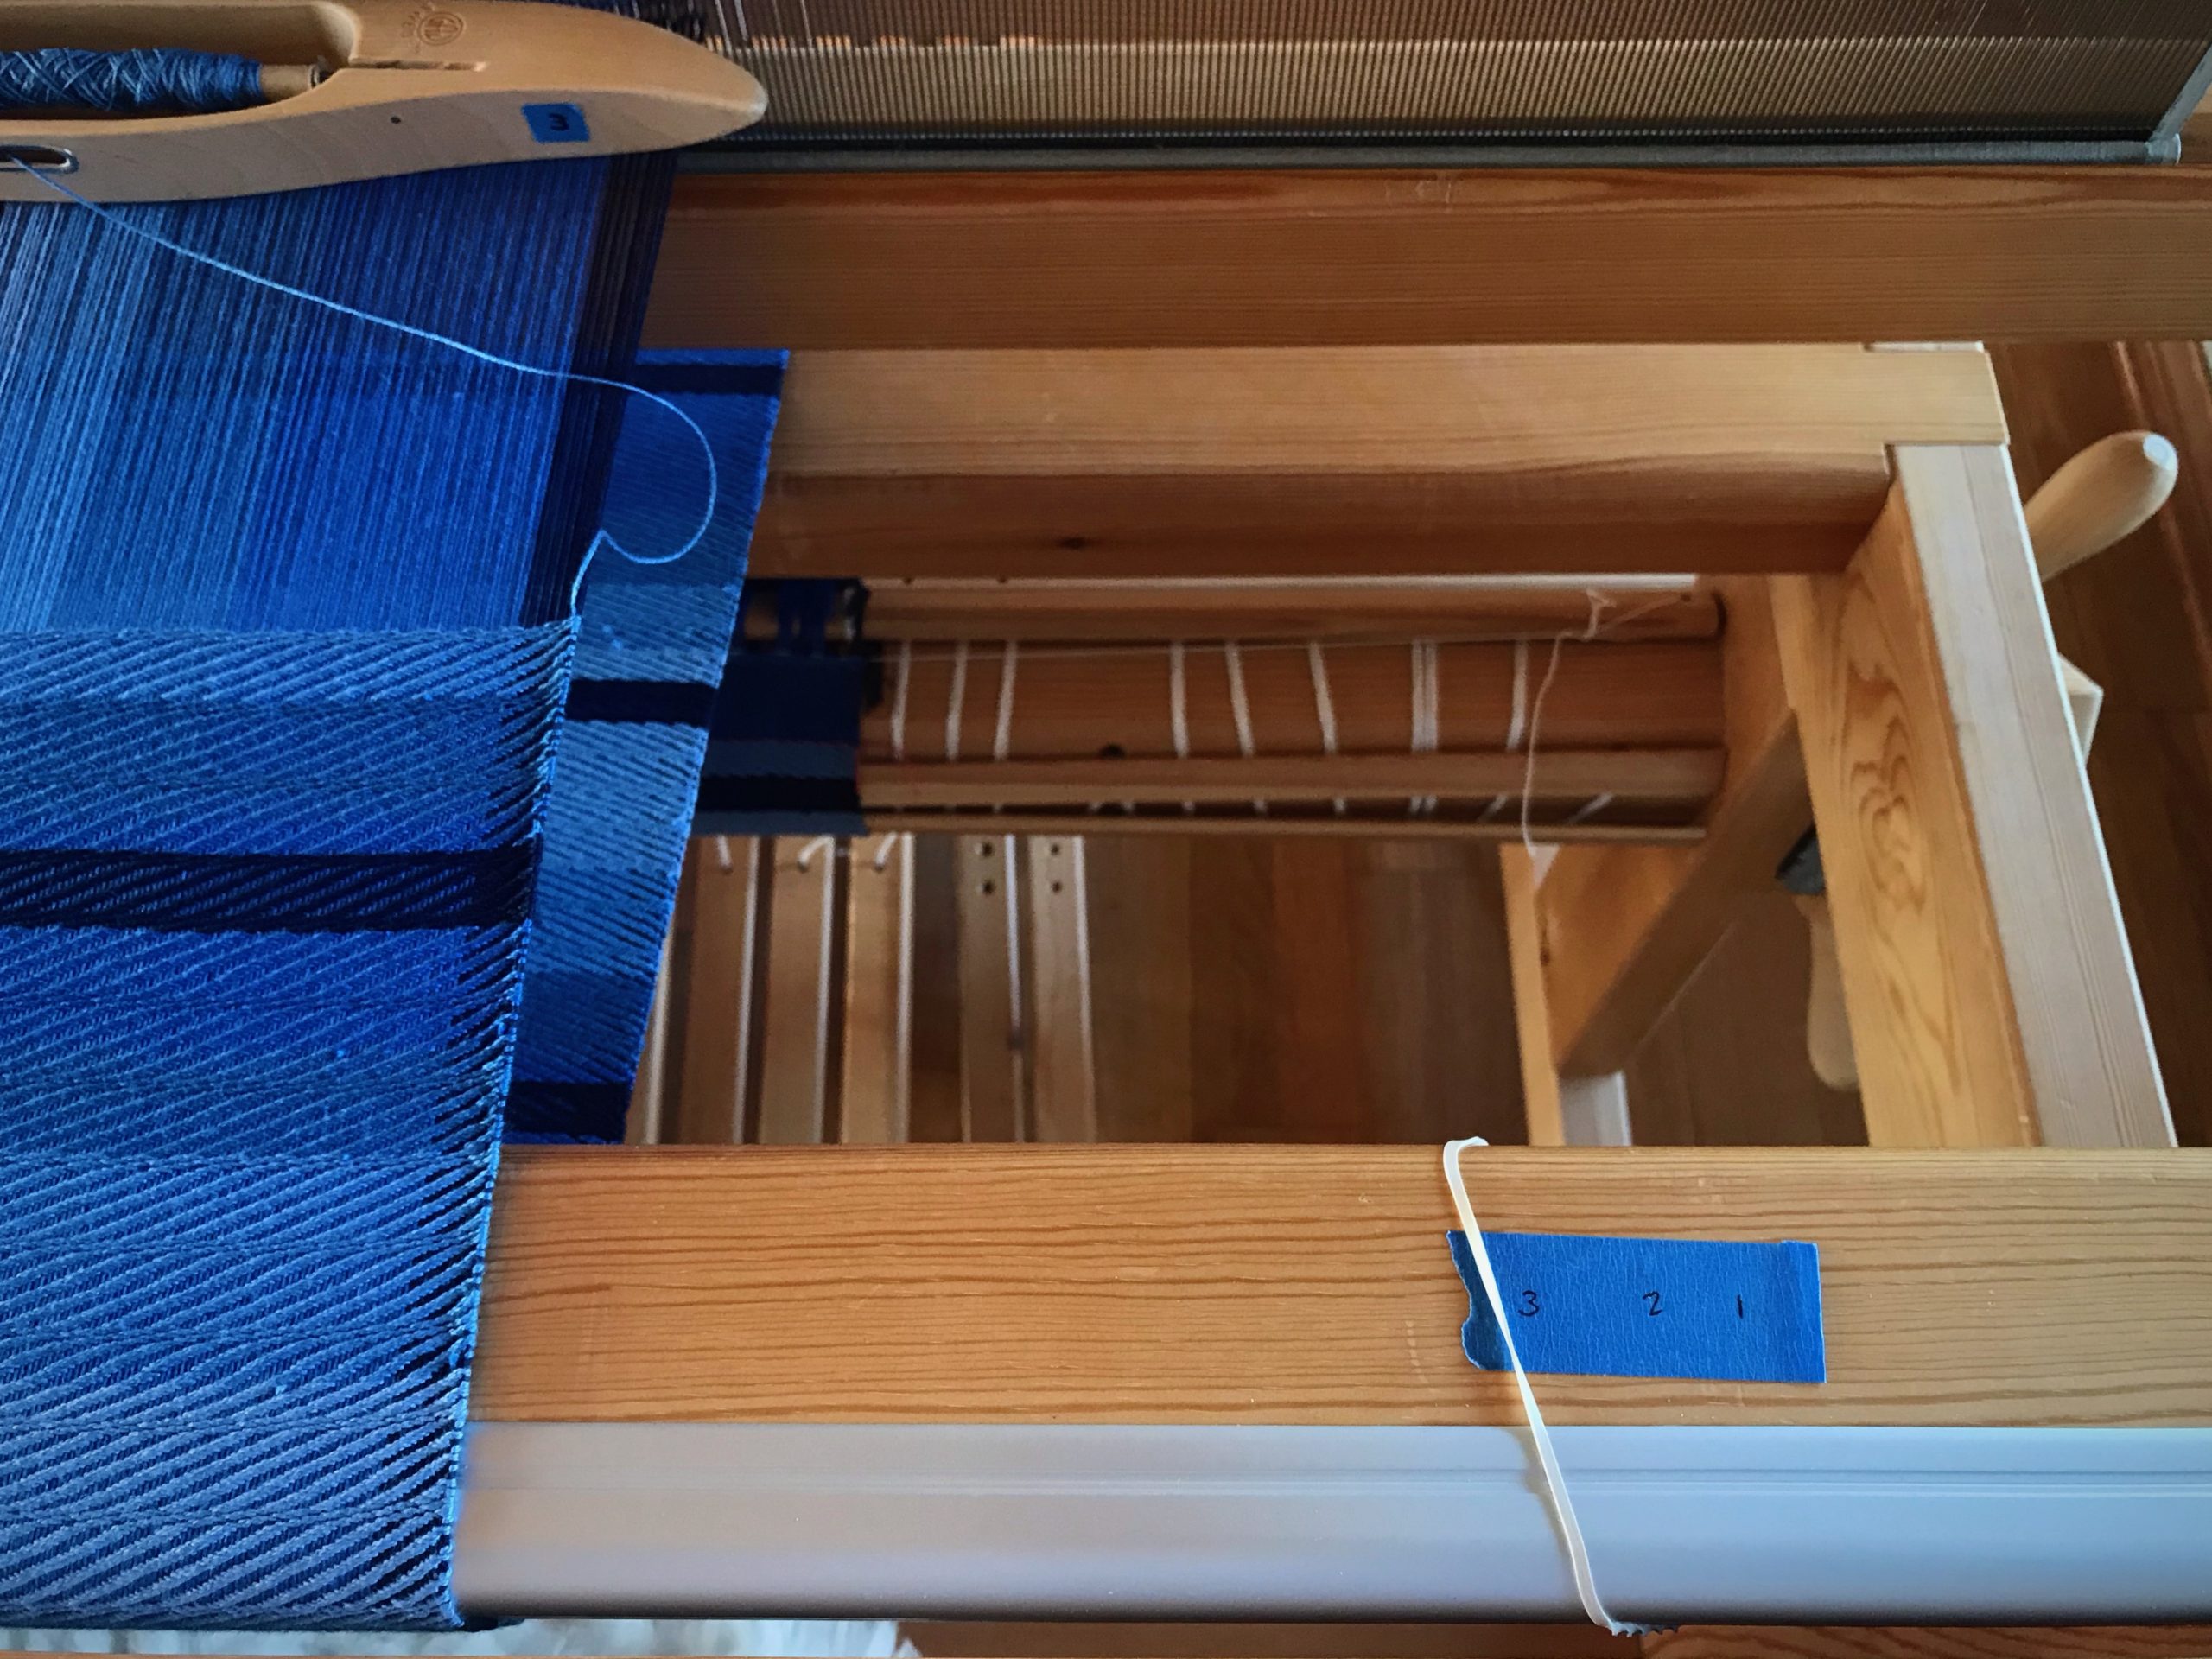
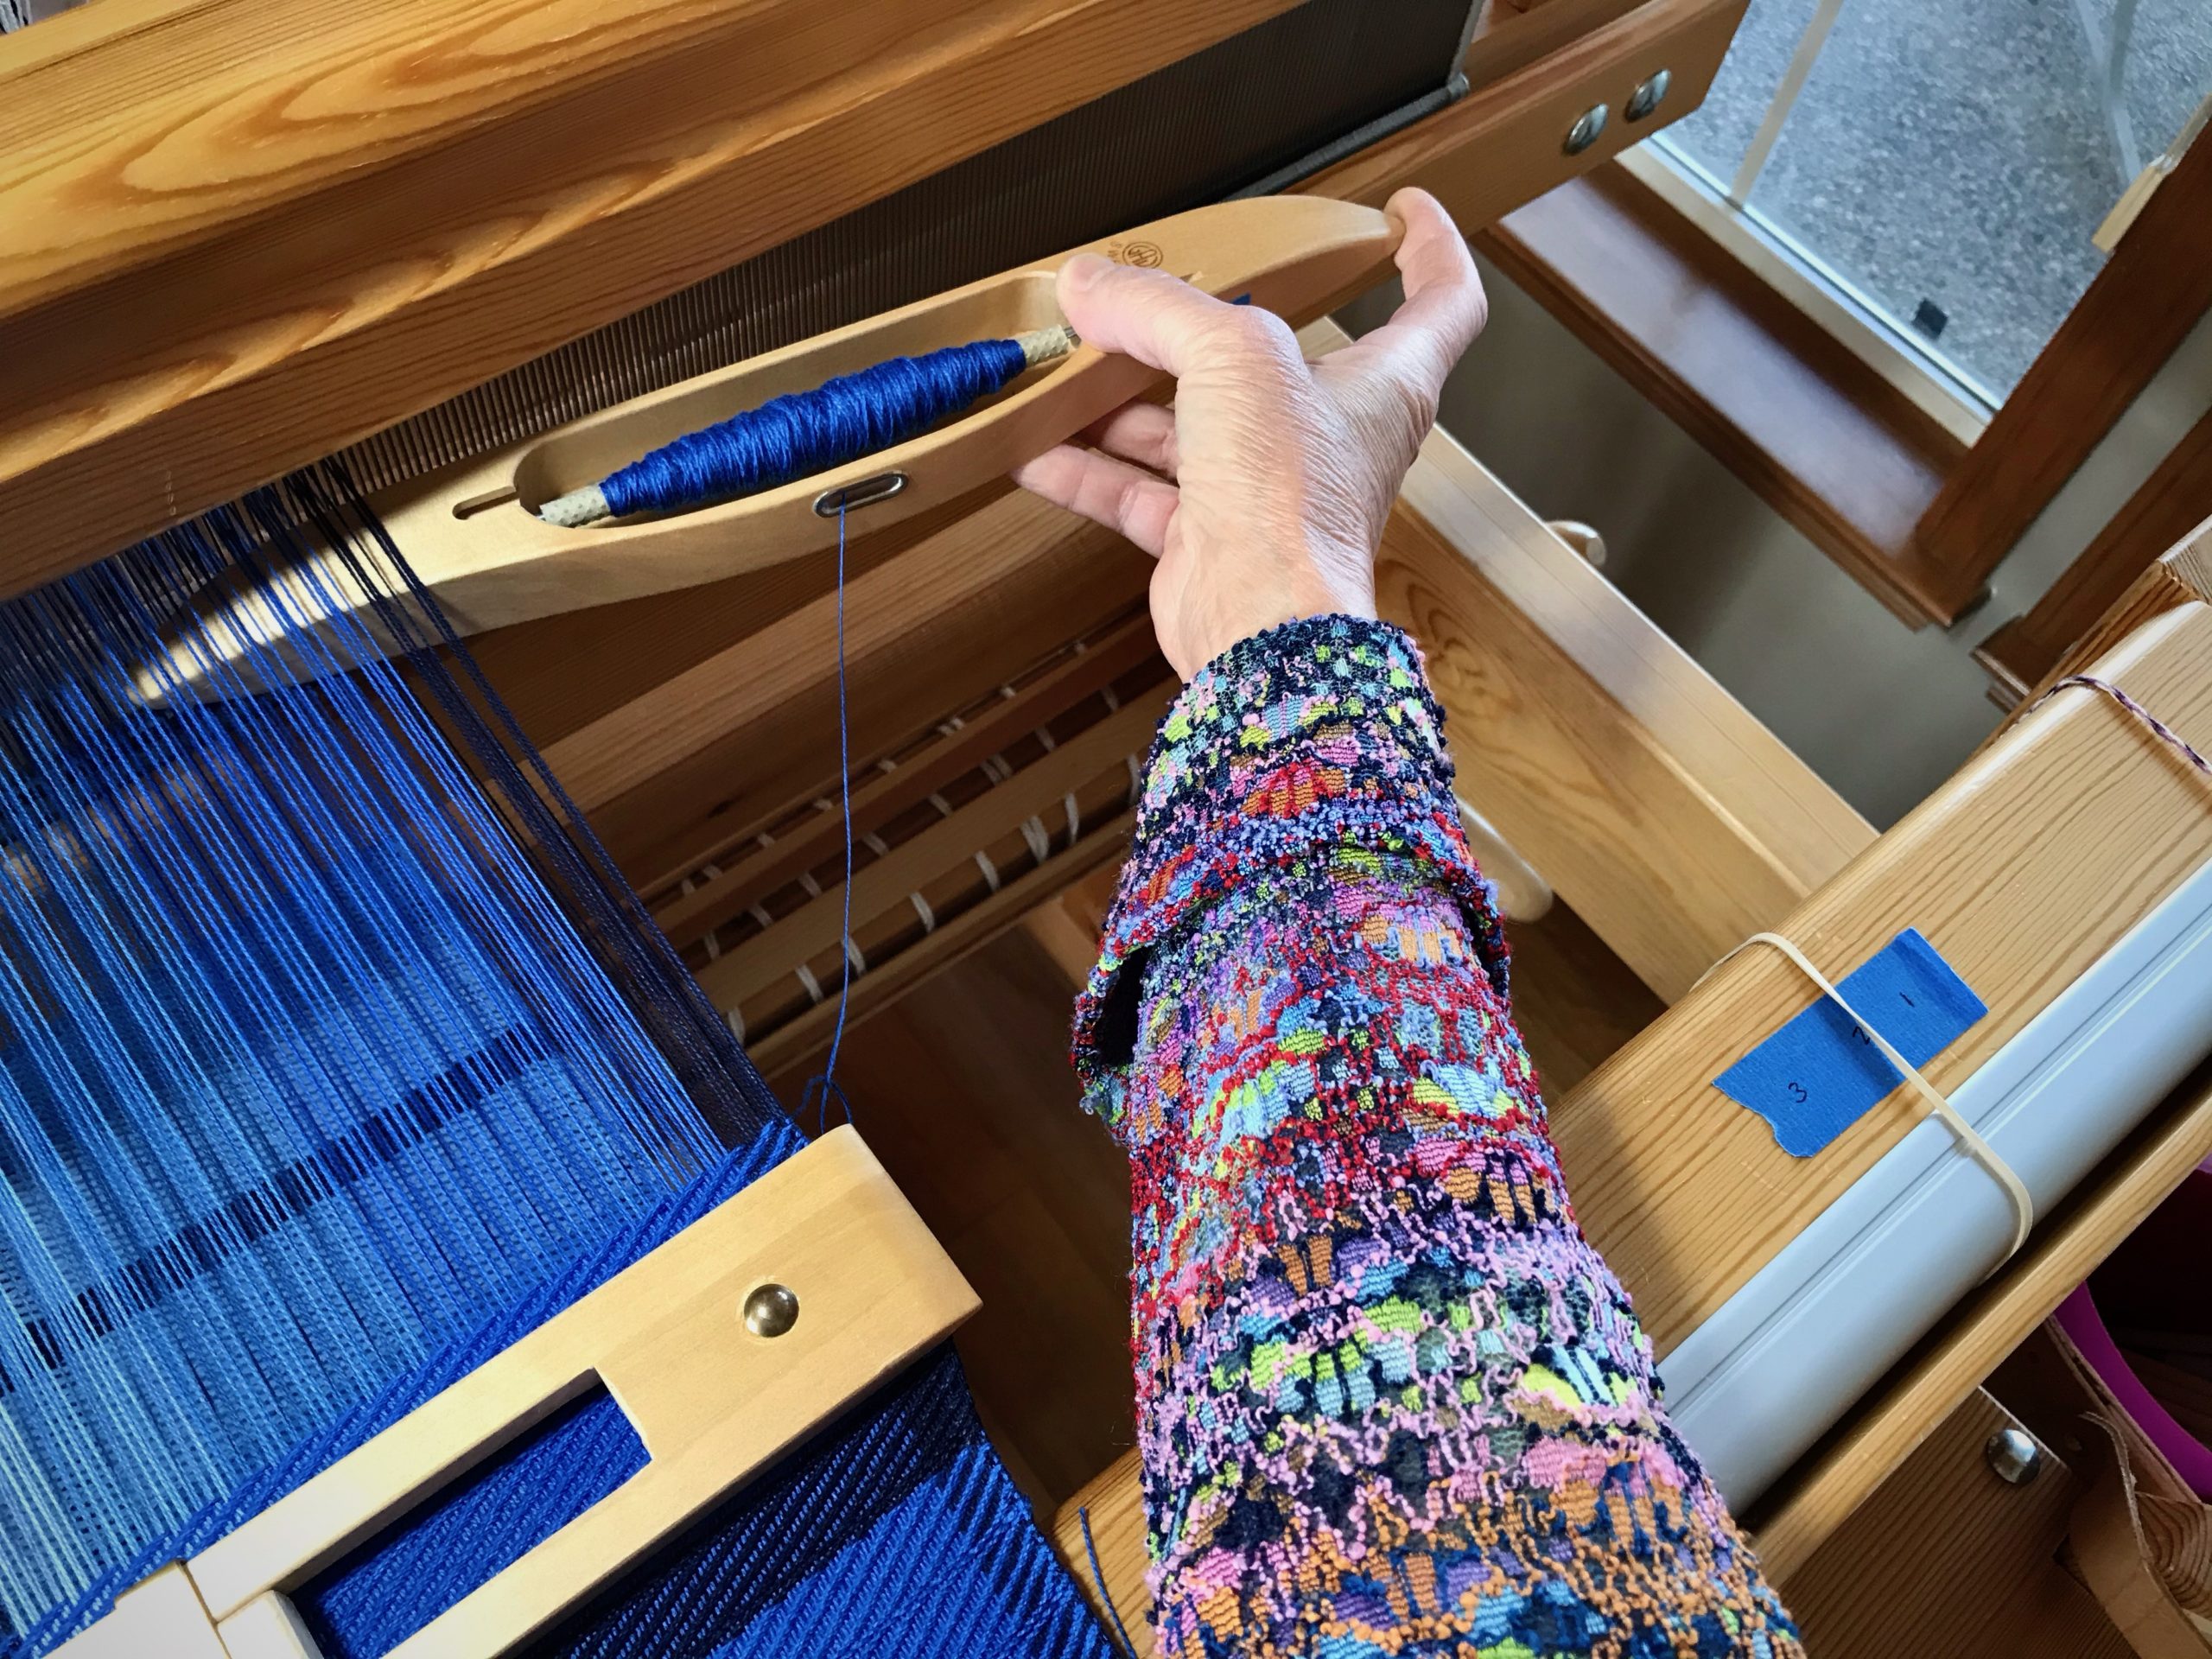
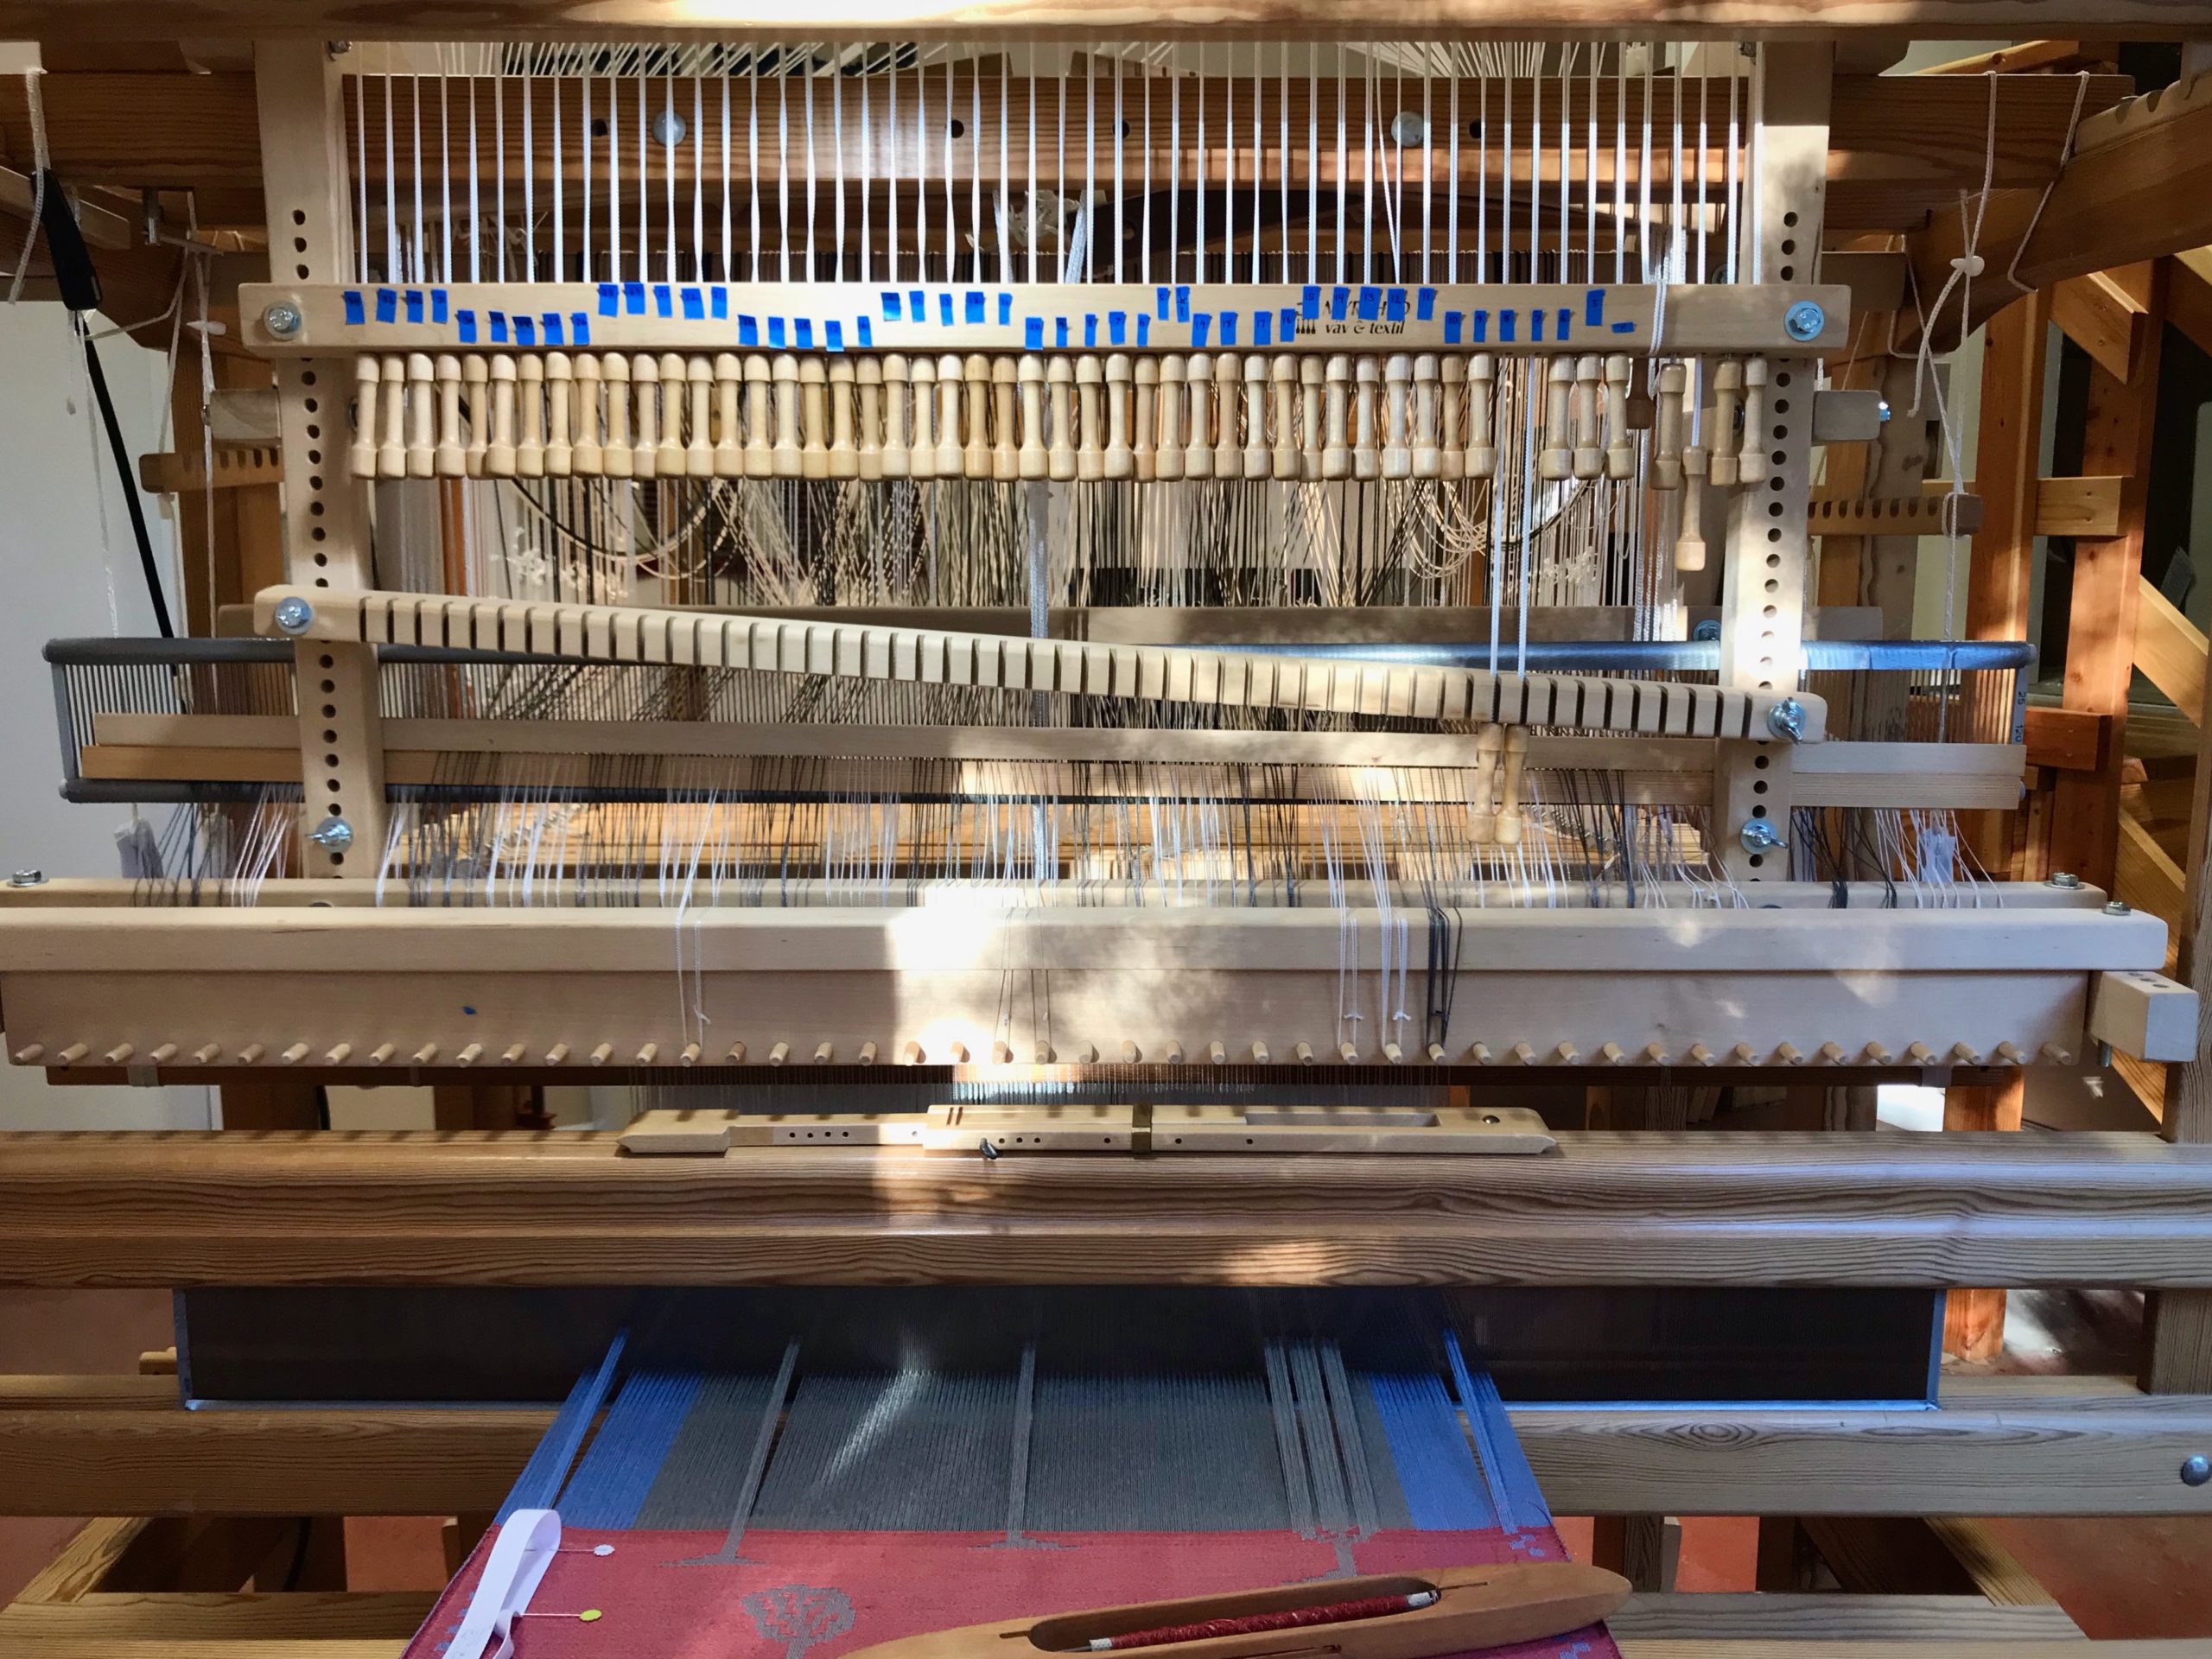
  • Number with Grace. Write out a series of numbers on a long piece of tape, leaving space between the numbers. Cut the numbers apart. Use the numbers to label pattern shaft draw handles on the drawloom. Place the numbers directly above the draw handles, arranged in groups of five for easy visual recognition. Use a separate series of numbers for border pattern shafts, if applicable. This temporary numbering system gives the advantage of being able to customize the numbering for each drawloom draft.
This is how I number my drawloom handles. Blue tape!
Using the Myrehed Combination Drawloom, I configure the numbers for the pattern shaft draw handles to coordinate with the single unit draw cords, which are grouped by tens. This makes my working chart that uses single units and pattern shafts much less complicated. For this reason, it doesn’t make sense to give my draw handles “permanent” numbers.

Have you found ways to use blue painter’s tape in your weaving studio? Share in the comments!

May your life leave marks that are more than temporary.

Have fun,
Karen

Tried and True: Weft Rep

The monksbelt piece that adorns our entry is my favorite from all the projects in The Big Book of Weaving, by Laila Lundell. This current narrower version on the Standard is another heirloom monksbelt piece in the making. The ground cloth is weft rep.

Classic monksbelt in modern colors.
Multi-color ground weave and vibrant Fårö pattern colors make this monksbelt fabric a standout. Glimåkra Standard in the background holds a new version of this favorite piece.

This is snail’s-pace weaving, with 2 picks of 16/2 cotton for the ground weave between every 6/1 Fårö wool pattern pick.

“To weave [weft rep]…the weft must be longer than the width of the warp and so the weft has to arc across the shed. There are two ways to do this: with many small waves across the width or with a large and high arc…The tiniest bit of unevenness can quickly build into hills and valleys across the weft line…”

The Big Book of Weaving, p. 236

Weft Rep in Three Steps

1. Make a Mountain.

After throwing the shuttle, increase the length of the weft by making it into a large arc in the open shed. Put one finger through the warp to form the peak while keeping enough tension on the thread with your other hand to maintain a good selvedge.

Weft rep tutorial
Weaving monksbelt with weft rep. How to.

2. Make Hills and Valleys.

Keeping the shed open, push the mountain down into hills and valleys to evenly distribute the extra weft.

  • Turn the mountain into hills and valleys with your finger.
Monksbelt with weft rep. Tutorial.

OR,

  • Simply drag your spread-out fingers lightly through the weft.
Weft rep how to.
Monksbelt with weft rep. Tutorial.

OR,

  • TIMESAVER – Slowly pull the beater toward you (shed open), smooshing the weft into a wavy line. Stop two or three inches away from the fell line.
Weft rep using the beater to make wavy line.
Simplified weft rep.

3. Flatten the Hills

Treadle for the next shed. On the closed shed beat in the weft. Two short pulses with the beater distribute the weft more effectively than a single squeeze with the beater.

Simplified weft rep.

Watch for little loops that may form in places where there is a bit too much weft. To correct, open the shed, pull that portion of the weft back into a little hill and redo.

OR,

  • TIMESAVER – Draw the back of your fingernail across the warp where you see excess weft. This is often enough to even out little bumps.
Weft Rep - How to, and simplified.

Slower weaving develops into a rhythmic pace that is comfortable. And the cloth grows, line by line.

Monksbelt on the Glimakra Standard.
Rows of monksbelt flowers.

May your slow pace yield thoughtful progress.

Slowly and Surely,
Karen

Tried and True: Knee Beam Reminder

I first noticed that something was amiss right after advancing the warp. Something brushed my knees when I sat down. Aha! Beam cords, attached to the tie-on bar. I see that the tie-on bar is going straight from the cloth beam to the breast beam. I had forgotten to bring the tie-on bar over the knee beam. Really? Nearly everyone does this at least once when they are starting out. But it has been a few years since I made this mistake. Apparently, I still need my checklist.

Weaving monksbelt in a mixed-colors palette.
Looking through the warp at the knee beam, I notice that beam cords are strangely missing…

Fortunately, forgetting the knee beam is one of the easiest blunders to remedy.

Fixing this blunder - I forgot the knee beam!
See the beam cords going from the cloth beam to the breast beam? The knee beam is feeling left out.

Re-Set the Knee Beam

1. Remove the knee beam. Rest the beam on the loom frame.

Resetting the knee beam. Fixing a blunder!

2. Unlatch the front ratchet to release warp tension.

Fixing the knee beam blunder.

3. Pull the knee beam all the way out. Put it back across, underneath the beam cords. Rest the beam on the loom frame.

How to re-position the knee beam.

4. Reseat the knee beam gently, positioning the beam cords along with the beam.

How to remedy the knee beam blunder!

5. Tension the warp. Resume weaving.

Weaving Swedish monksbelt is fun!
Now you can see the beam cords through the warp, located where they should be.
Swedish Monksbelt on a Glimakra Standard loom.
Swedish Monksbelt weaving resumes. 16/2 cotton warp and ground weft, 6/1 Fårö wool pattern weft.

May your trouble be inconsequential and short lived.

Happy Weaving,
Karen

Tried and True: Just in Case

Texsolv cord is ingenious! It suspends shaft holders while I dress the loom. It also suspends the heddling bar during drawloom setup. A small anchor pin or arrow peg does the trick of holding everything together.

How to use Texsolv cord and anchor pins.
Anchor pin is buttoned through the Texsolv cord and placed into the hole at the bottom of the shaft holder.
Talking about Texsolv cord and arrow pins.
Thread one end of the Texsolv cord through a hole in the other end to make a loop. Insert an arrow peg through a hole to secure the loop.

But there is one potential hazard…

In order to adjust the height of the suspended heddling bar at the drawloom, I want to move the arrow peg. I hold one end of the bar while pulling the peg out of the Texsolv cord. That little peg fumbles out of my hand and drops to the floor. OOPS! I am left holding one end of the bar that has 148 threaded pattern heddles, weights included. Now what?! Alone in the room, I am now the sole support for that end of the heavy bar. The peg on the floor is out of reach.

Super Simple Tip of the Day

Always keep a spare anchor pin or arrow peg on the loose end of the Texsolv cord. Always.

Just in Case strategies.
Spare anchor pin stays on the shaft-holder cord. You do not want to be left holding a shaft holder with eight shafts if your anchor pin ever falls out of your hand…

The rest of the story…
When that pesky little arrow peg slips out of my hand I calmly take the spare peg that is there “just in case,” and secure the Texsolv loop that holds the heddling bar. No big deal, after all.

Strategies for Just in Case!
Spare arrow peg dangles below. Whew!
Tips for just in case!
Spare arrow peg is a life saver on the rare occasion it is needed. There is a significant amount of weight on that heddling bar.

May you be ready for anything, just in case.

Ready or not,
Karen

Tried and True: How to Count to Three – and Other Weaving Tips

We weavers are resourceful. We enjoy finding solutions that make our time at the loom more efficient, while raising the quality of our weaving. We’ve done some of these little tricks so much we don’t think about them anymore. And then, some innovations are things we think up on the spot because necessity, as you know, is the mother of invention.

Keep Count

Necessity: Keep from losing my place with treadling repeats.
Solution: A strip of blue painter’s tape with “3 2 1” and a rubber band, placed on the breast beam. Move the rubber band on the tape (from right to left) to track repeats.

Weaving tips - low tech solutions.
I need help counting to 3 when it comes to treadling repeats. On the Glimåkra Standard loom, I am able to loosen the warp enough to lift the breast beam so I can put a rubber band on it. Without a removable breast beam, one could use a separate small piece of tape instead of a rubber band to keep track.
Keep track of repeats. Blog post with tips and tricks.
Low tech solution for keeping track.

Shuttle Catch

Necessity: Keep from fumbling the catch, having to reposition the shuttle in my hand to send it back across the warp.
Solution: Keep my eye on the shuttle. If I turn my head to watch the movement of the shuttle, my catching and throwing improves immediately. This makes my selvedges improve, too.

Weaving tips and tricks. Easy tip on how to catch the shuttle perfectly.
It is easy to throw and catch the shuttle without actually looking at your hands. I have to consciously remember to turn my head to follow the shuttle with my eyes.

Leave No Trace

Necessity: Keep from leaving slightly perceptible lines in the woven cloth that reveal every time I stop to move the temple and advance the warp.
Solution: When it is almost time to advance the warp, I move the temple and then weave one or more pattern sequence(s) before advancing the warp. This helps me leave no trace of starting and stopping.

Tips and tricks for the weaving loom.
Almost ready to advance the warp, I remove the temple and reposition the pins on my guide tape. Then, I put the temple back on, near the fell line.
Tips about when to advance the warp.
After moving the temple, I weave one or more complete treadling sequences before advancing the warp.
Three simple weaving tips for efficiency and quality!
After advancing the warp, I know exactly where I left off because of my tape-and-rubber-band counter. My eyes are on the shuttle to continue this segment of weaving.

Do you have a simple tip that improves your efficiency and/or quality at the loom? Please share in the comments.

May you notice what you’re doing.

Happy Weaving,
Karen