Tried and True: Use a Boat Shuttle for Rag Weaving

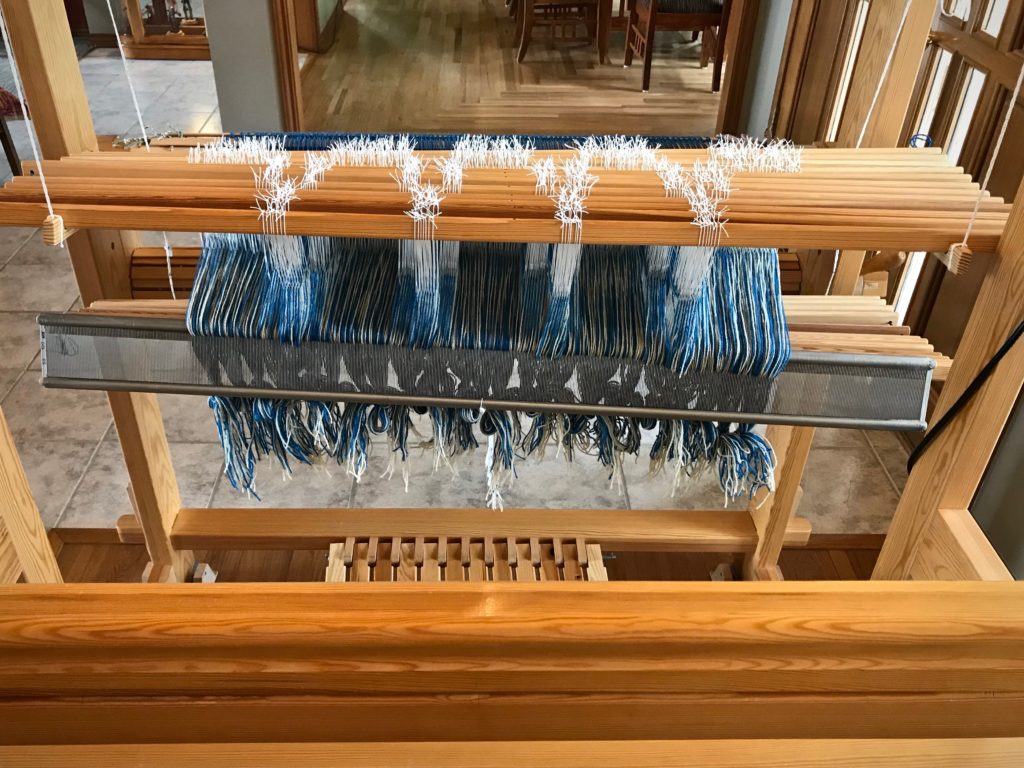
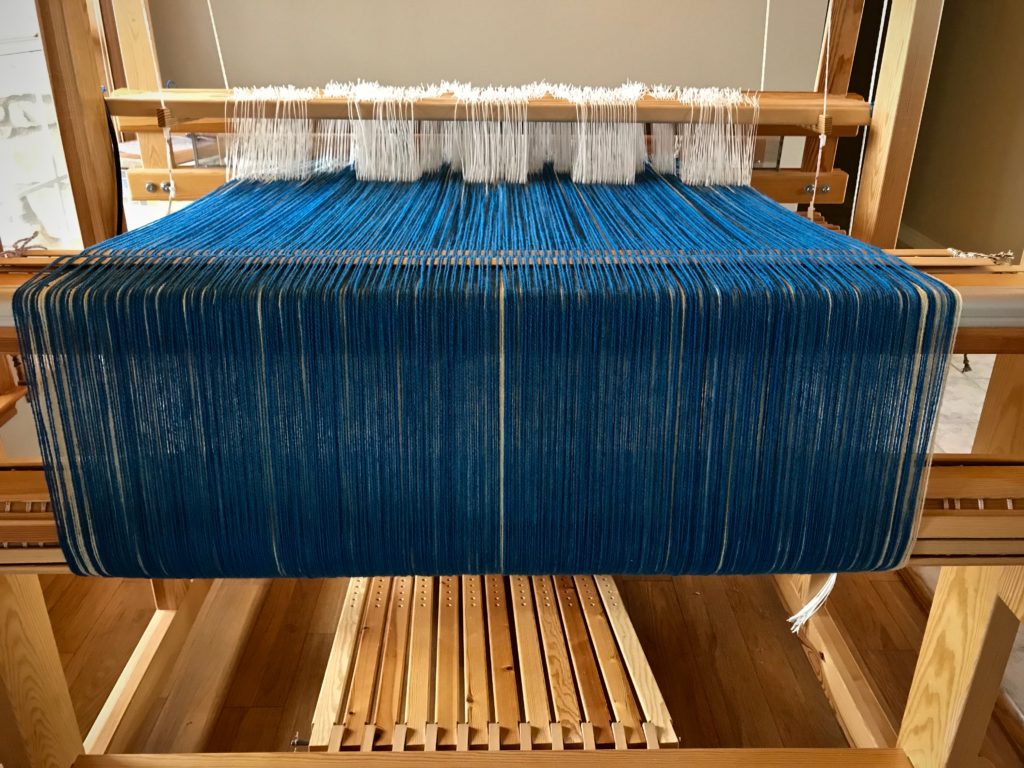
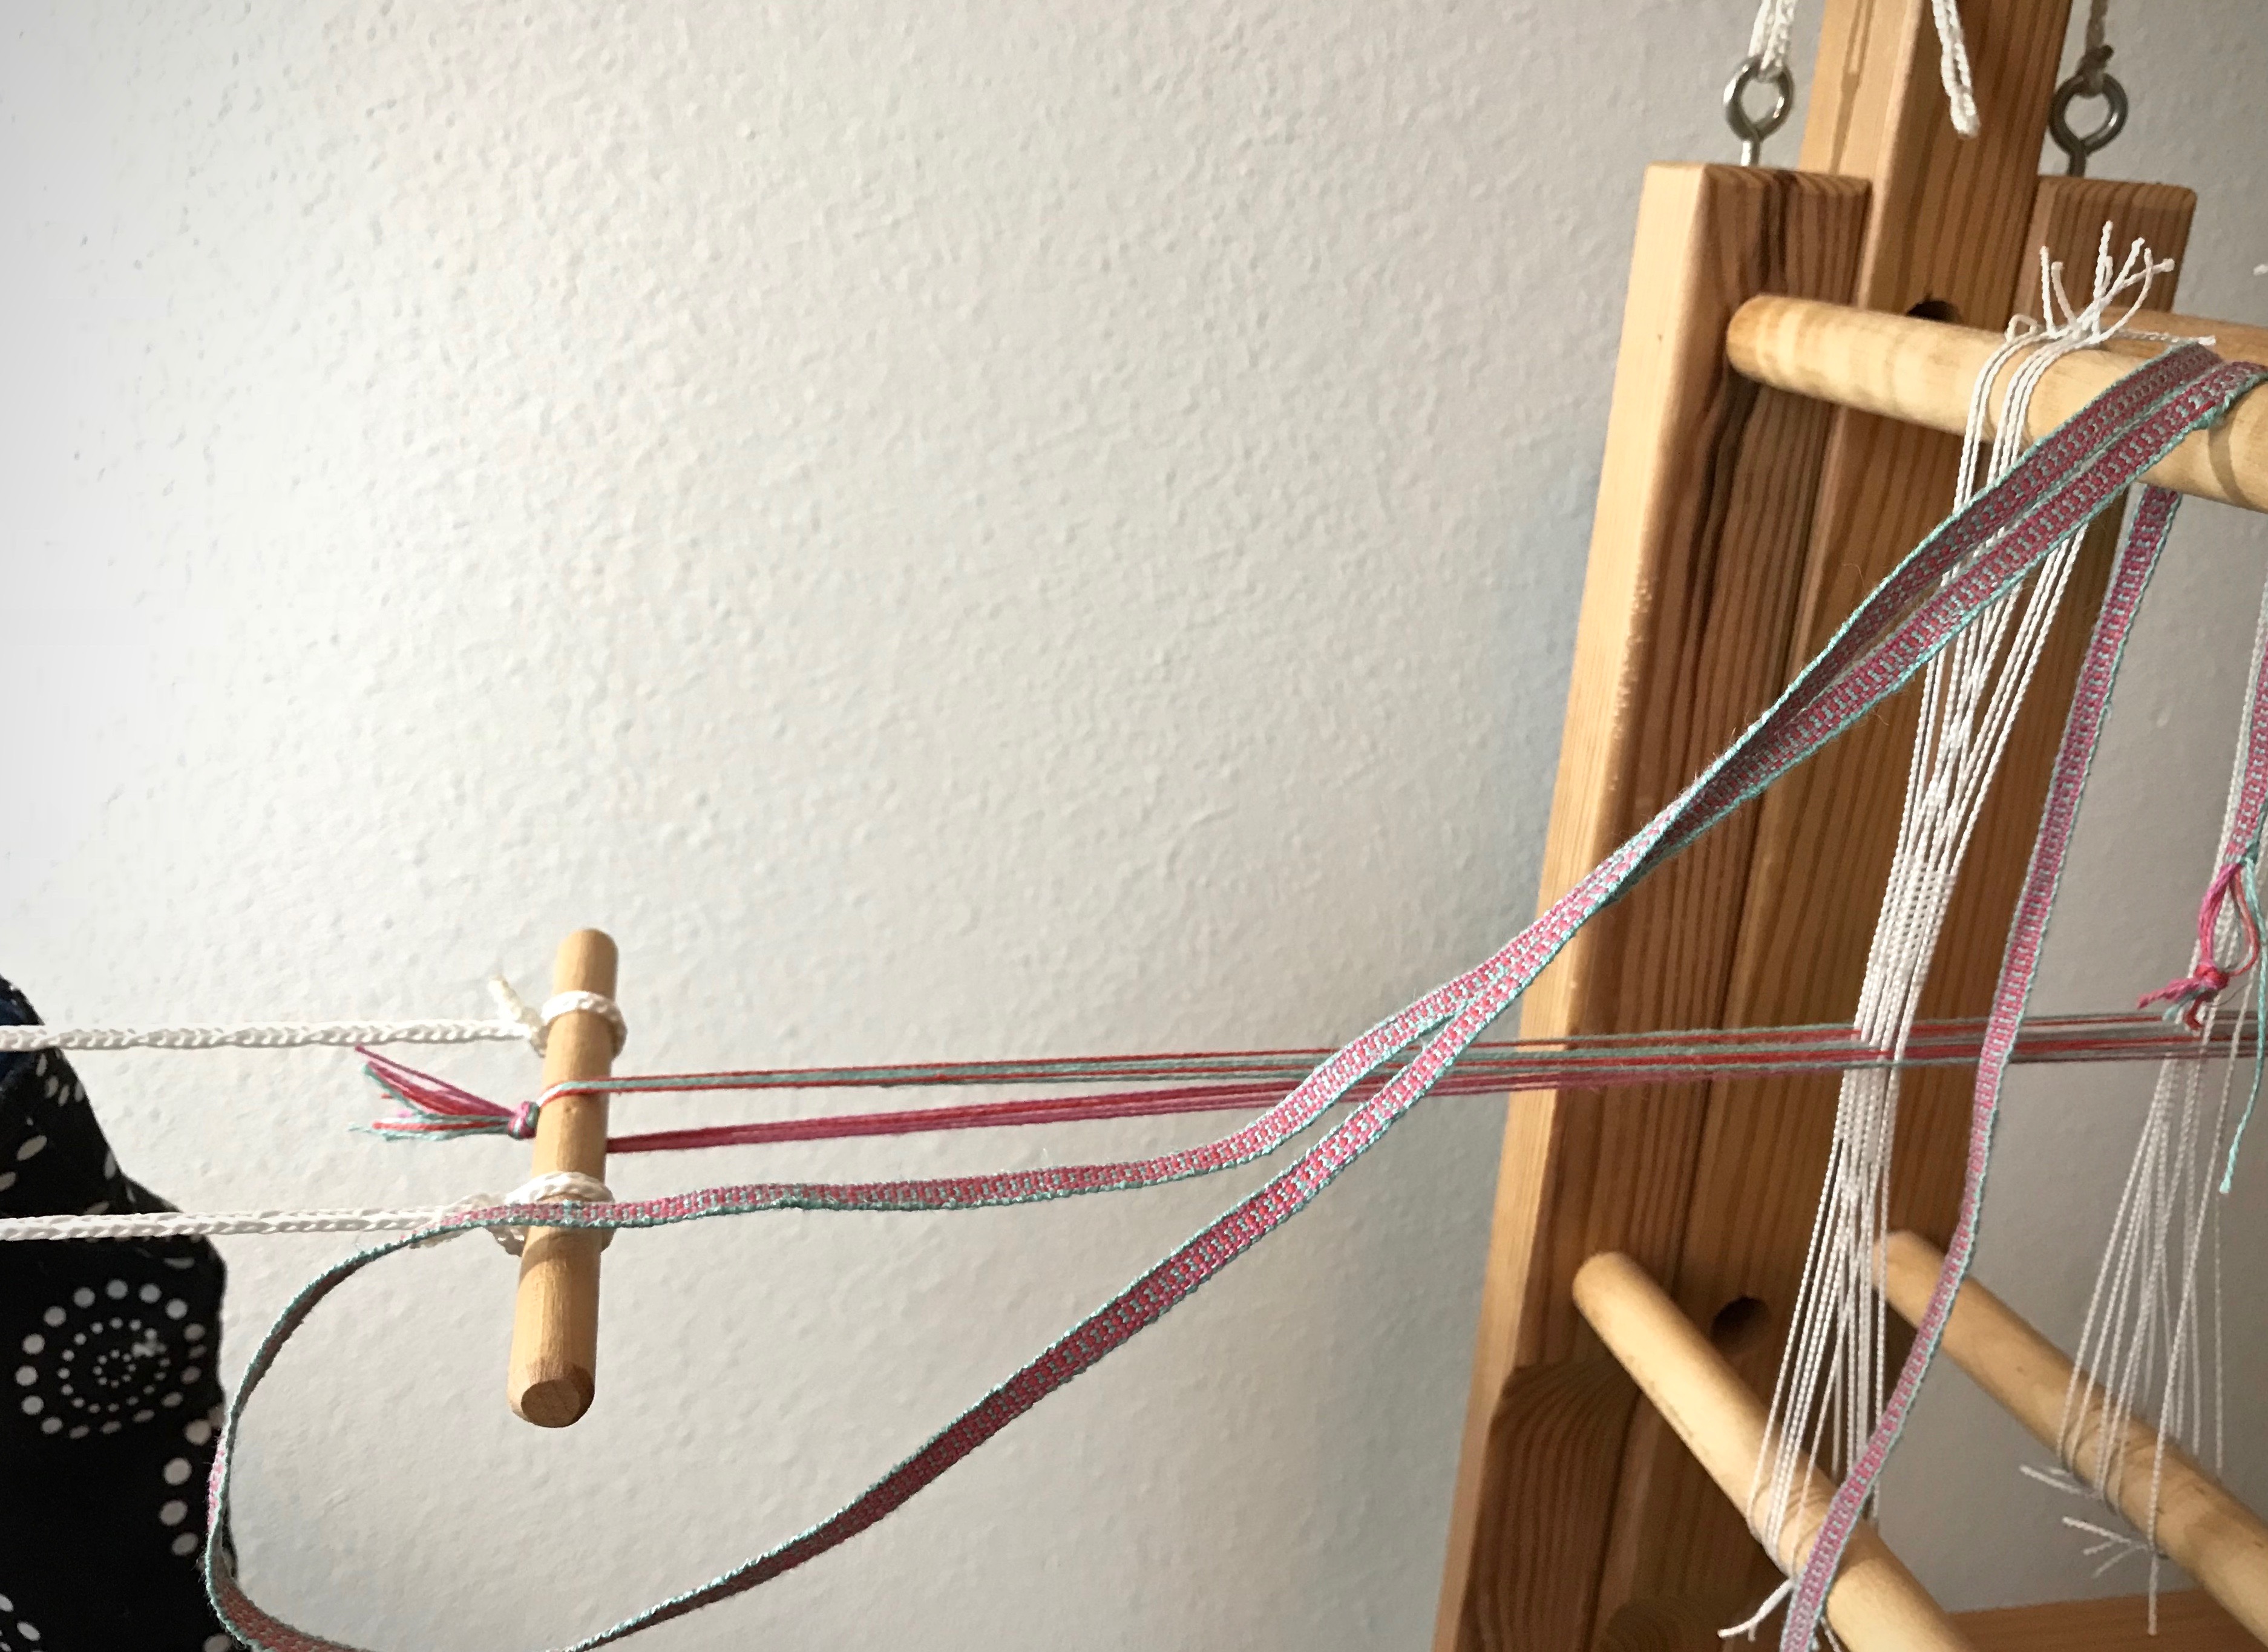
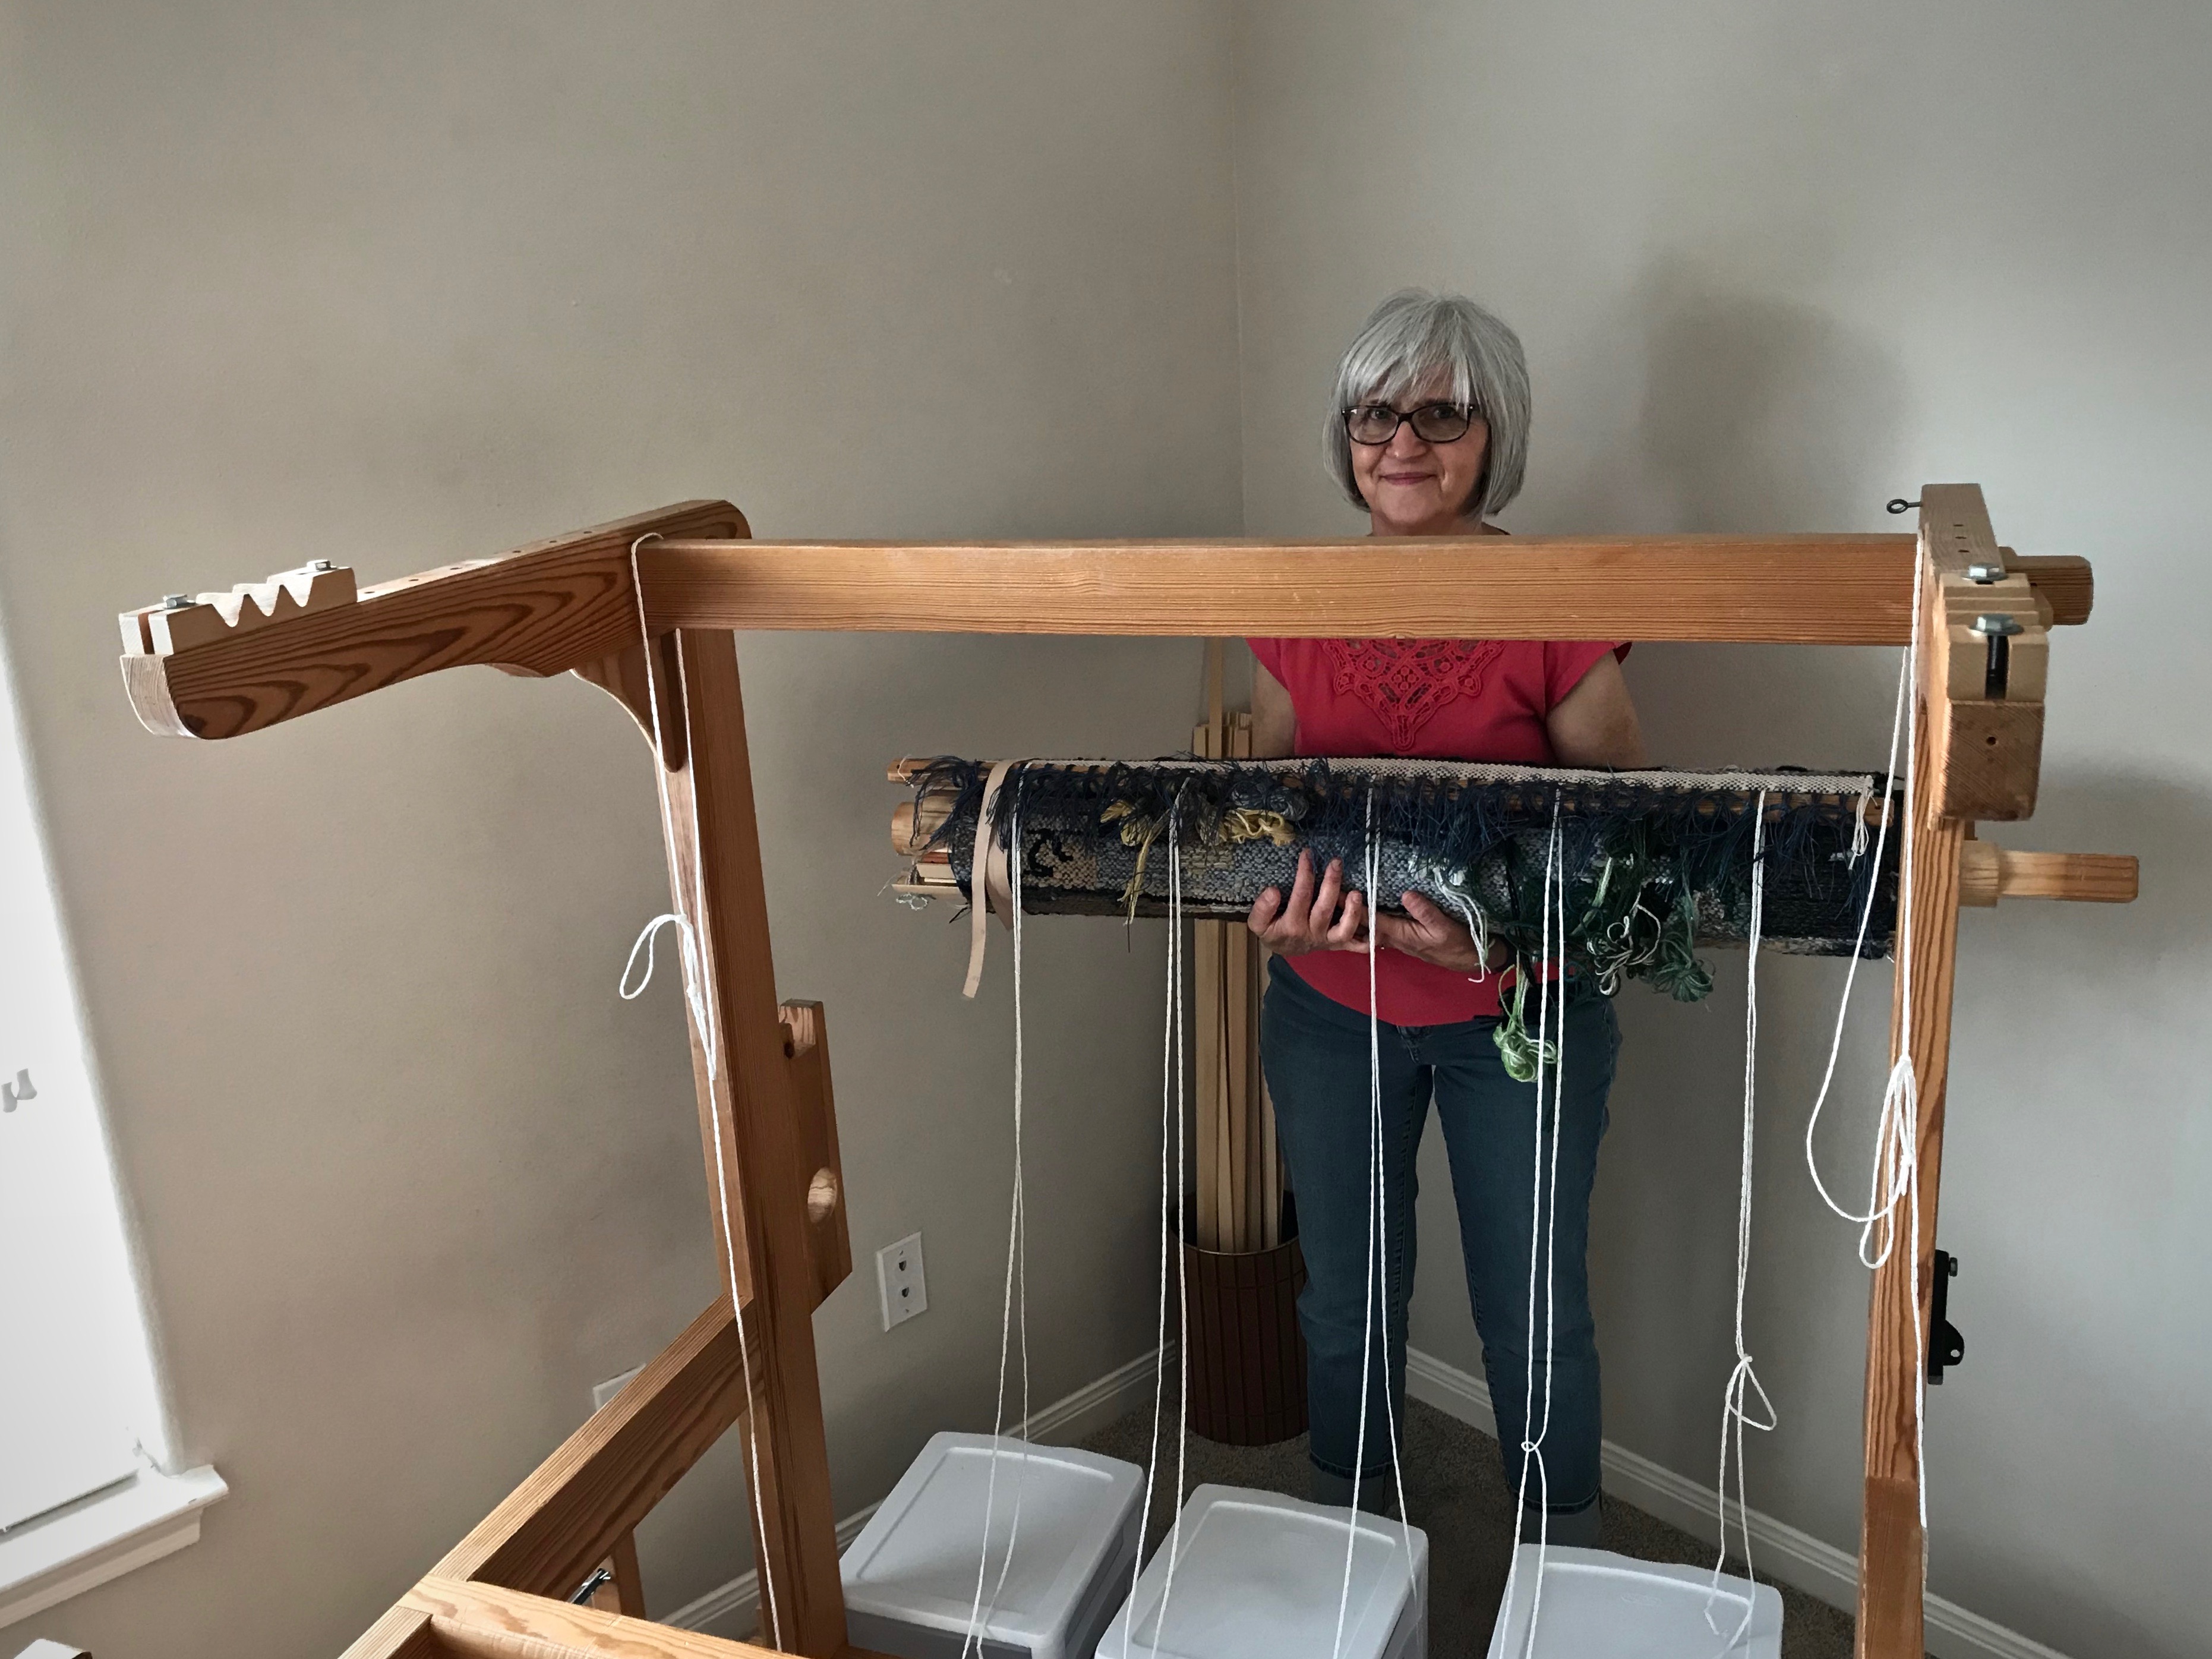
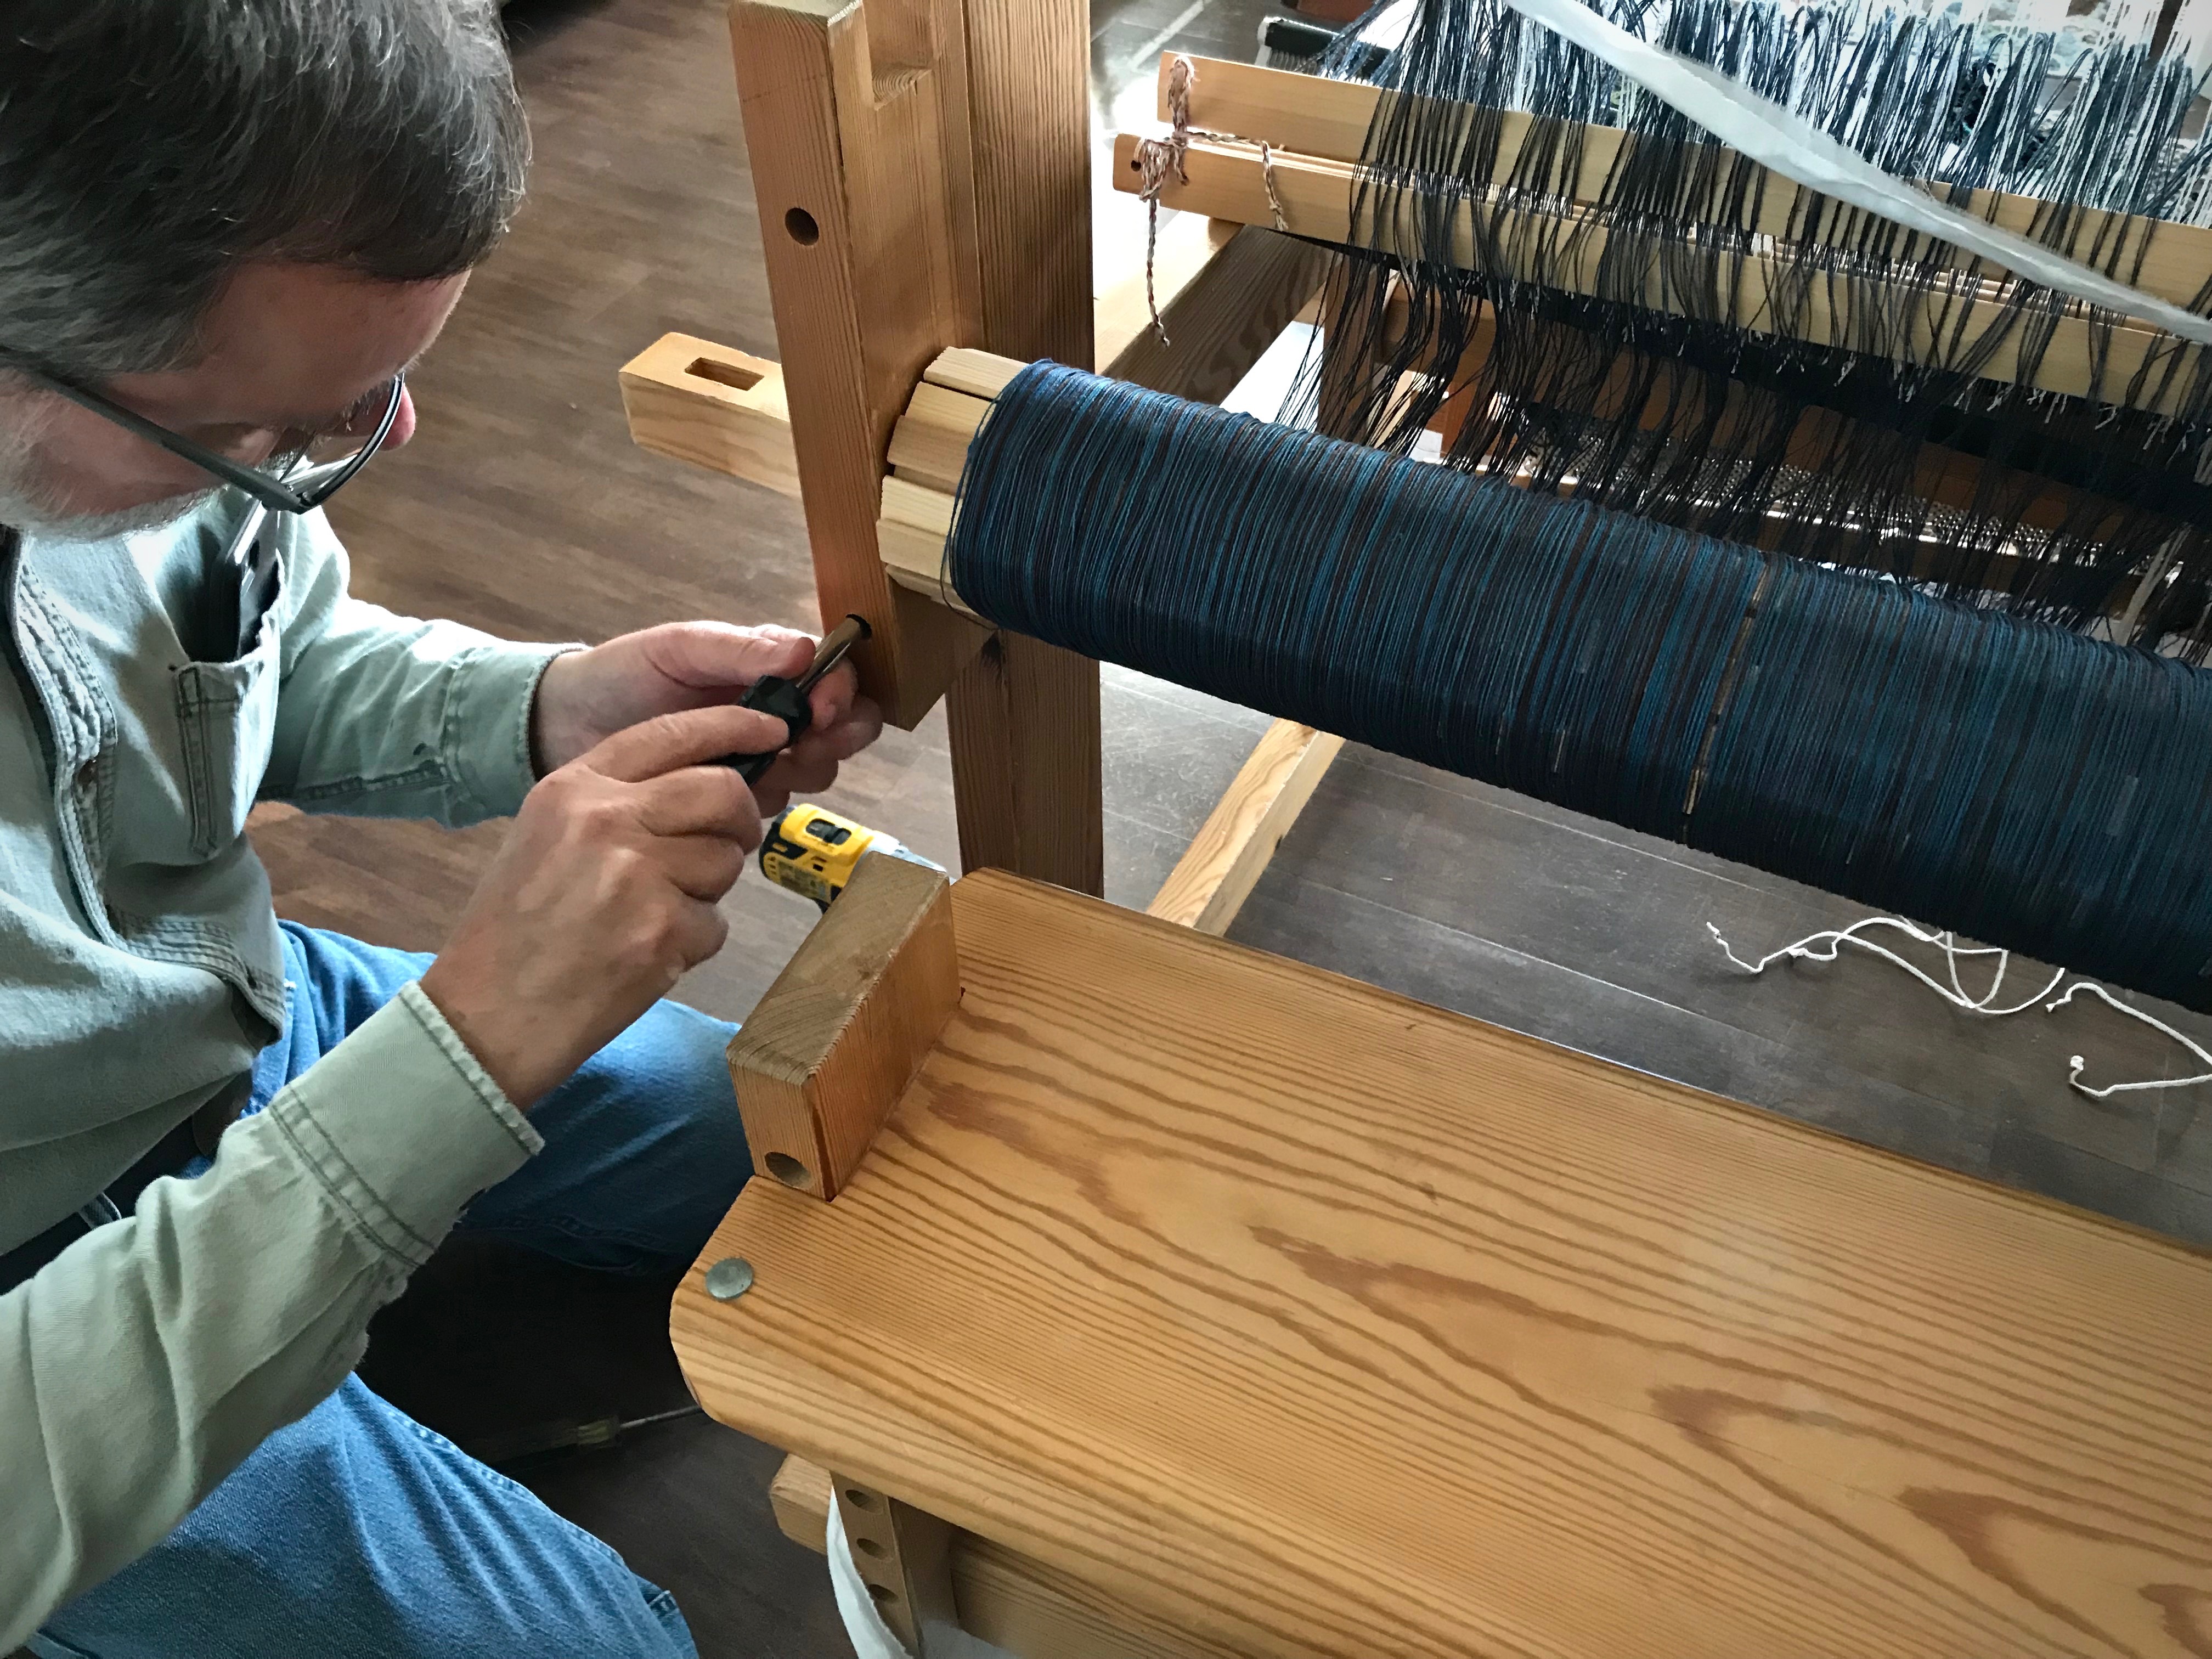
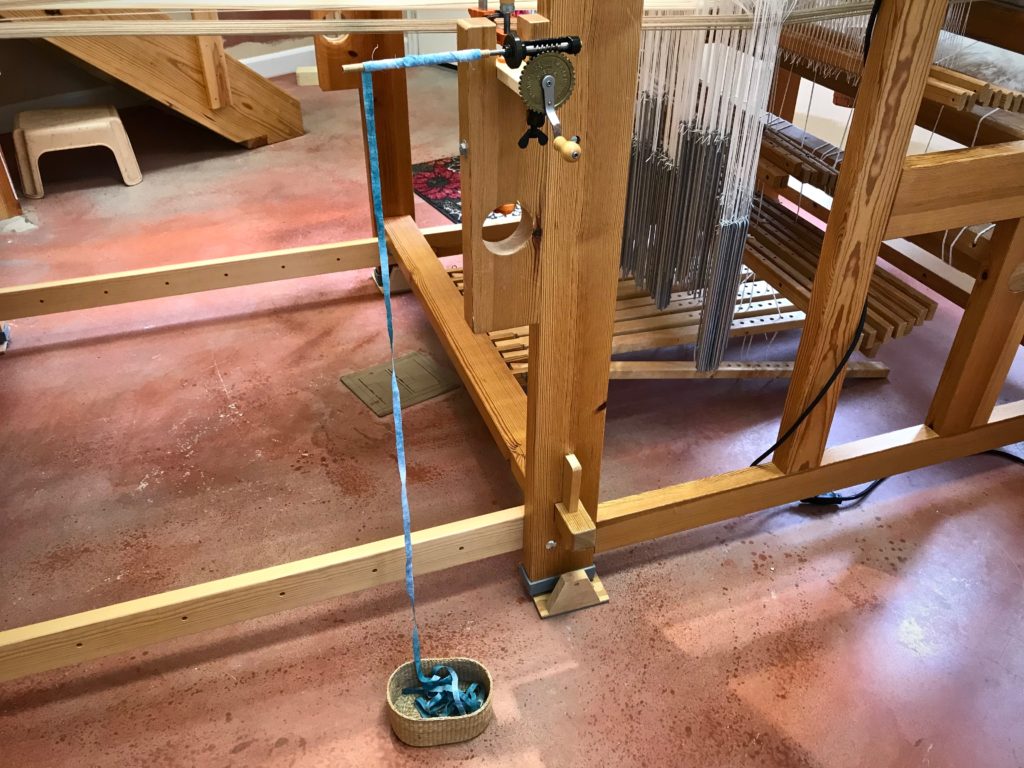
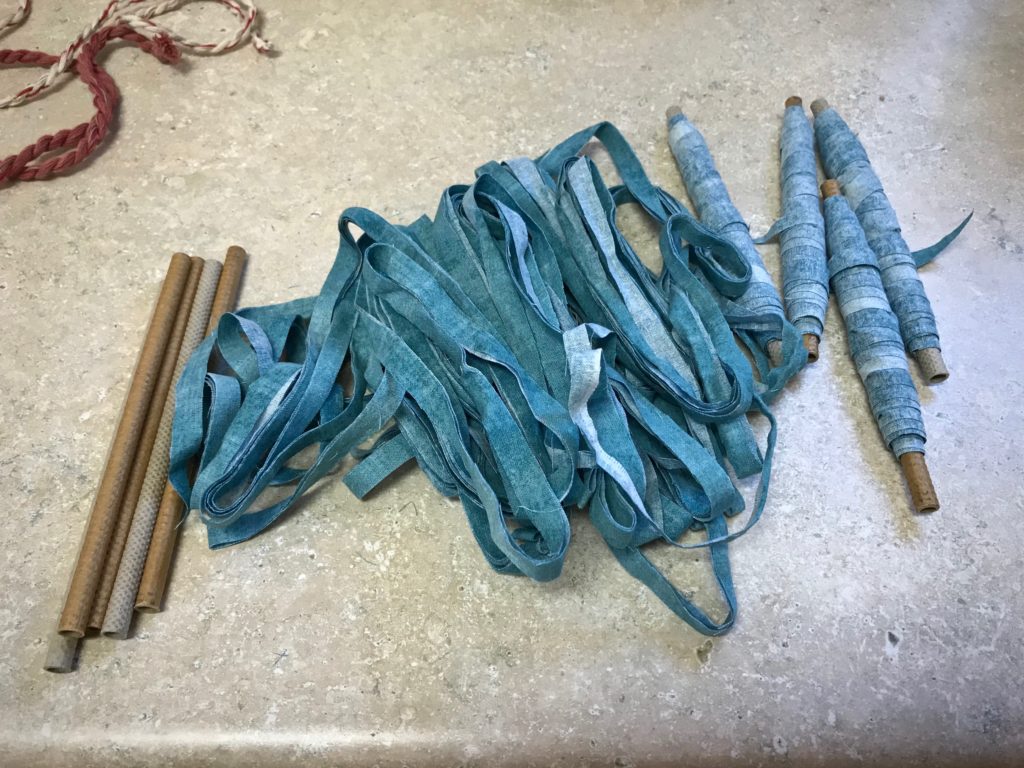
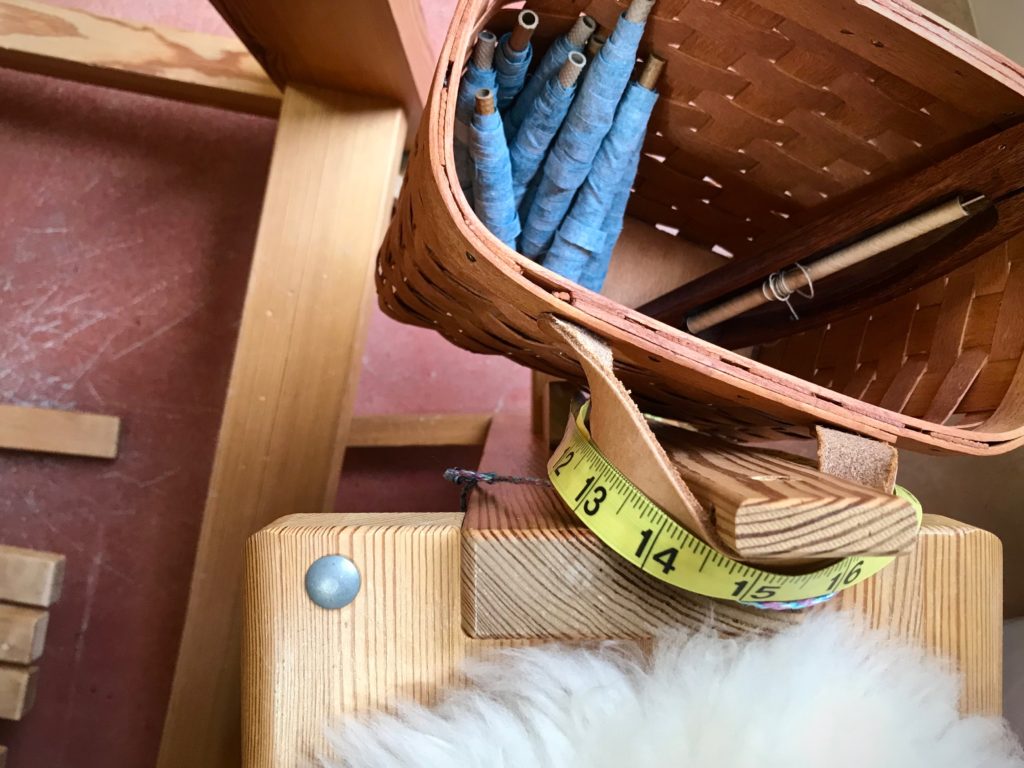
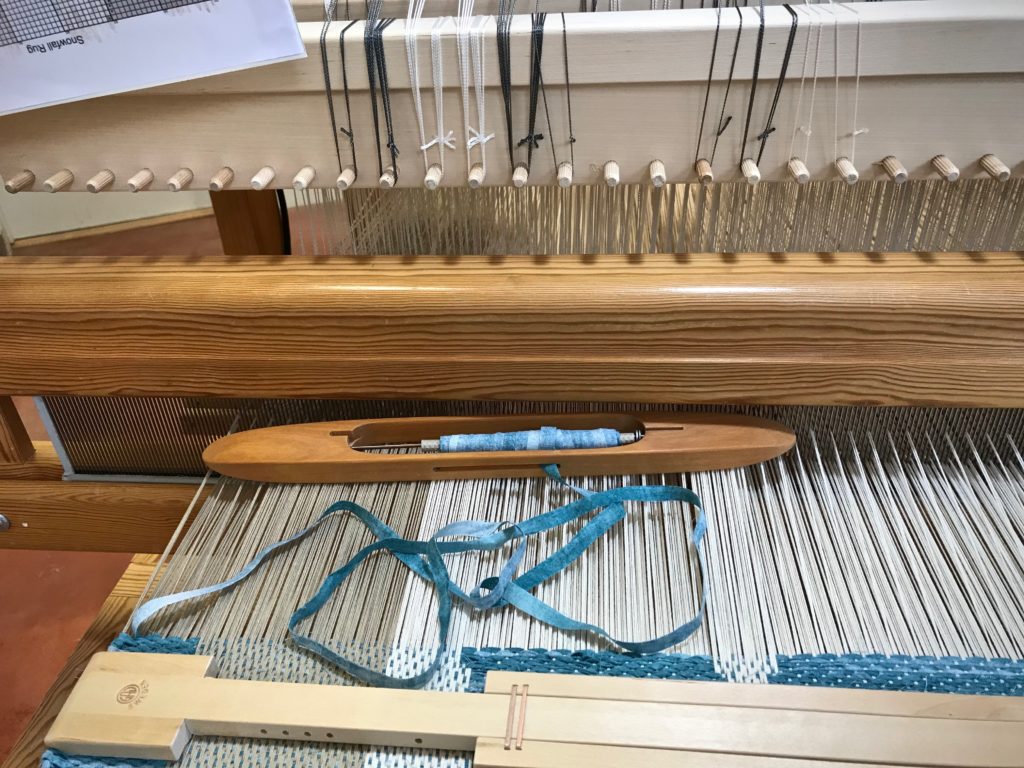
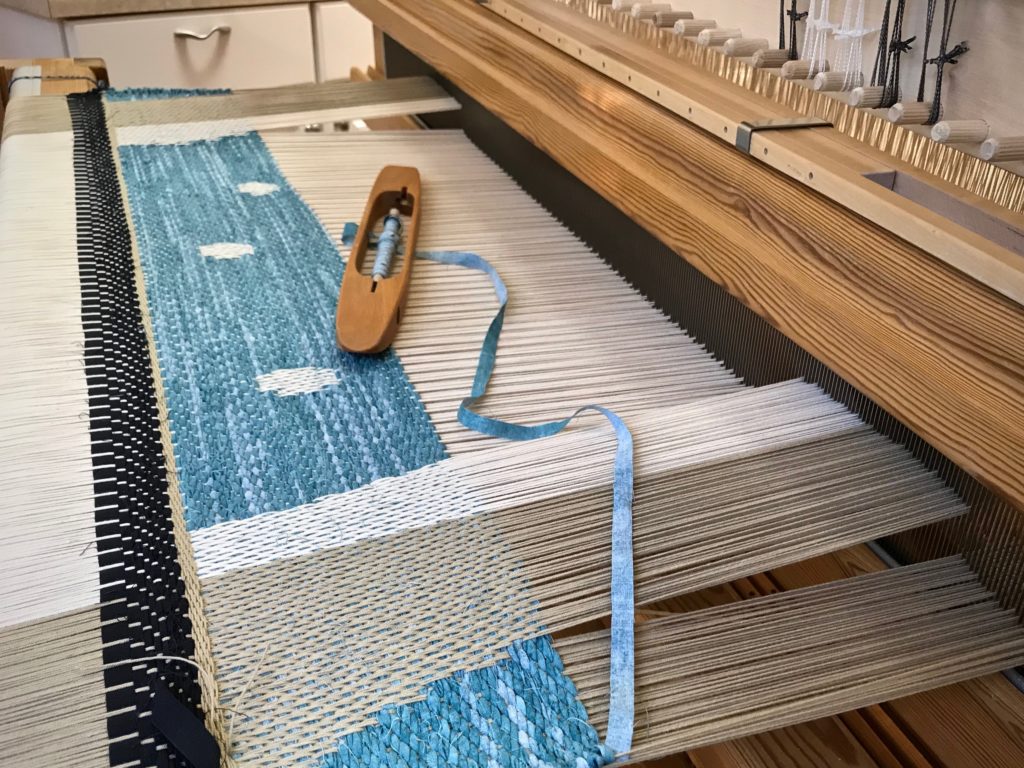
Wind very narrow fabric strips on quills and put them in a boat shuttle. It’s efficient. It’s faster to wind a quill than to load fabric on a ski shuttle. Plus, I like the advantage of sending a boat shuttle across rather than a ski shuttle. This rag rug on the drawloom has fabric strips that are only one centimeter (~3/8”) wide, instead of the usual two-centimeter-wide (~3/4”) strips for an ordinary rag rug. Grab your boat shuttle and pay attention to a few simple tips. Your very narrow fabric strips will be woven up in no time.

Tips for Using a Boat Shuttle to Weave Very Narrow Fabric Strips

  • Use fabric that has minimal fraying at the edges. Trim off any long threads. Loose dangling threads that are long enough to wind themselves on the quill will make you wish you had used a ski shuttle.
  • Wind the fabric with the right side down. Then, when the quill unrolls, the right side will be facing up.
Winding quills with narrow fabric strips. Rag rug on the drawloom.
Swedish bobbin winder is clamped to the side of the loom. A five-yard fabric strip is wound onto a quill. The right side of the fabric is against the quill.
  • Handle the wound quill as little as possible to prevent fraying the fabric edges. Simply wrap the tail end of the fabric strip around the filled quill. Do not wrap the end into a slip knot around the quill because the fabric will fray as you release the knot.
Winding narrow fabric strips on quills for drawloom rag rug.
One long fabric strip per quill. Fabric is cut 1 cm (3/8″) wide.
Fabric-wound quills ready for weaving drawloom rag rug.
One fabric-filled quill covers a little more than one unit of weaving (4 picks). I keep a dozen filled quills in the basket on my loom bench so I can keep weaving as long as possible.
  • Unwind enough weft for the pick before you throw the shuttle. Pull the weft out straight from the quill. When a quill unwinds in the shed, the weft comes off at an angle. And as such, if there are any loose threads at the edges of the fabric strips, the threads will wind themselves on the quill and bind it up. And you will wish you had used a ski shuttle.
Folke Samuelson Damask Shuttle - drawloom rag rug!
Folke Samuelson Damask Shuttle has a low profile, well-suited for the smaller sheds of the drawloom. Fabric is unrolled from the shuttle prior to the next pick.
Design is "Trasmatta Snöfall" ("Snowfall Rag Rug") by Kerstin Åsling-Sundberg, from Damast, Horlags AB Vavhasten
Drawloom rag rug is well underway. Single unit drawcords are pulled and held in place on the pegs above the beater. Design is Trasmatta Snöfall (Snowfall Rag Rug) by Kerstin Åsling-Sundberg, from Damast, edited by Lillemor Johansson.

May your hands enjoy their work.

Happy Weaving,
Karen

Tried and True: Center the Reed

Eleven hours and thirty-six minutes into this project, the starting line for weaving is just around the corner. Wind the warp, and beam it. Thread the heddles. Sley the reed. Unlock the back beam ratchet. Move the countermarch to the front of the loom. … Pause when you think about moving the twelve shafts and the reed forward with the countermarch. Reach. Wiggle. Pull. Wiggle. Pull some more. Got it. Now, put the reed in the beater. Relax? Almost, but not yet.

Time to move the whole shebang forward.
Reed is sleyed, so reed support cords have been removed. Time to move the whole shebang forward.
Ready to insert the reed into the beater.
Plastic-coated wire is threaded through the ends of the shaft bars because I don’t have shaft pins long enough for twelve shafts. After coaxing and wiggling the mass of shafts forward, with the countermarch above them, I am ready to insert the reed into the beater.
Basics: How to center the reed.
As I put the reed in the beater I make sure all of the ends are free, and not trapped in the beater’s grip.

We must not forget to center the reed. I center the reed just as soon as the reed is in the beater.

How to Center the Reed

(We are actually centering the warp that is in the reed.)

Supplies needed: Tape measure (or string)

1. Using the tape measure, measure from the right edge of the warp in the reed to the outer edge of the beater on the right-hand side. Hold the tape measure with your fingers marking the measurement.

Center the reed.


2. Holding that measurement, place the tape measure at the left edge of the warp in the reed stretching out toward the outer edge of the beater on the left-hand side.

How to center the reed.


3. Note the difference in measurement between the right side and left side. Move the reed in the beater to center.


4. Repeat the first two steps until the measurements are the same on both sides.

Centering the reed.
Tips for centering the reed in the beater.
Reed is centered.

Now you can relax. Enjoy the moment, because you are that much closer to seeing fabric take shape!

May you enjoy the process you’re in.

Patiently,
Karen

Tools Day: Band Loom Warping Board

It is almost effortless to make a short warp for the band loom. All you need is a peg at the beginning and a peg at the end. You can use a spoke of the warp beam wheel, for instance, at one end, and the leg of an upside-down stool at the other. I normally use my warping reel, though, for even a simple warp, because the reel is so handy. However, I don’t have my warping reel here at the apartment, so I am turning my band loom into a handy warping board for this band loom project.

Using the Glimakra band loom as a warping board.
Using the Glimåkra band loom to measure a narrow cottolin warp.

How to Use the Band Loom as a Warping Board

Tools and supplies:

  • Glimåkra band loom
  • Thread for weaving a narrow band
  • Basket and/or spool holder(s)
  • Scissors

How to use the band loom as a warping board.
Starting at one peg and ending at another. The band loom becomes a simple tool for winding a short warp.

For a warp of approximately two meters:

  • Put the warp thread on the floor below—quills in a basket, and/or thread tubes on spool holders.
  • Using two or more ends, tie the ends together with an overhand knot. (I used three ends together for this warp.)
  • Bring the warp ends up around the warp beam and over the back beam.
  • Loop the knot on the starting peg.
  • Draw the ends from the starting peg to the ending peg, around the band loom, following this path:
  1. Starting peg–upper heddle peg nearest back beam
  2. Lower heddle peg nearest back beam
  3. Back beam
  4. Warp beam
  5. Cloth beam
  6. Front beam
  7. Lower heddle peg nearest front beam
  8. Ending peg–upper heddle peg nearest front beam
  • Follow the winding path in reverse order back to the starting peg.
  • Continue winding until you have reached the desired number of ends.
  • Cut the ends and tie off at the starting peg or the ending peg.
  • Tie one or two choke ties, if needed. (I didn’t need them for this short warp.)
  • Carefully remove the warp and dress the band loom as usual. (For a tutorial on dressing the band loom, click here: Quiet Friday: Band Loom Warping and Weaving.)
  • Weave to your heart’s content.

Weaving hanging tabs for towels on my Glimakra band loom.
One meter of woven band is cut off. The remaining band warp is tied back on. Weaving can resume at any time.

Preparing to sew handwoven ribbons onto handwoven towels for hanging.
Ends secured, and cut in 10.5 cm lengths, the tabs are ready to be sewn onto the double weave towels.

May you find tools you didn’t know you had.

Happy band weaving,
Karen

Tools Day: Click Test

It is not easy to see sleying errors in this fine-dent reed. I unknowingly quadrupled the ends in four of the dents, instead of the specified two ends per dent. When I check as I go, I find the errors while they are still easy to fix.

How to check and double-check for sleying errors:

  • Tie ends into threading groups, using a loose slip knot. (I do this before threading the heddles.)
  • Sley one threading group. (I sley right to left.)
  • Visually check the sleyed group of ends for skipped dents and crowded dents.
  • Do a Click Test. Use the hook end of the reed hook to count the dents by running the hook along the reed…click, click, click… Make sure the number of clicks matches the number of dents needed for that group of ends.
    —This is how I caught my errors. When the dents came up short in the Click Test, I knew I had some crowded dents that I had failed to catch in the visual check.
  • Move ends and re-sley as needed.
  • Sley each remaining group of ends, checking as you go, visually and with the reed-hook Click Test.

Reed is sleyed. Dressing the loom for double-weave towels.
Two ends per dent in this 70/10 metric (equivalent to an 18-dent imperial) reed.

May your errors be few and fixable.

Happy sleying,
Karen

Lizard Tapestry Disruption

I started the Lizard tapestry right before our big disruption. Selling your house means that every in-process project instantly becomes vulnerable. Yikes! After a sleepless night, I contacted my friend Joanne Hall. Can this weaving be saved? Yes!, she assured me, as she gave me instructions for dismantling the loom.

Getting ready to dismantle loom for relocation.
Yarn supply is packed up, including all the wool butterflies.

Getting ready to dismantle loom for moving.
Cartoon is removed.

Everything is logical about the process. Undo things, tie parts together, take things apart. And I don’t have to cut off the weaving? No. Remove the beam cords from the cloth beam. It’s that simple.

Lamms and treadles removed for moving the loom.
Lamms and treadles have been taken off.

Moving a loom without ruining a tapestry in progress!
Beam cords are removed from the cloth beam.

Removing the warp beam. Relocating the loom.
Steve unscrews a bolster that holds one side of the warp beam so I can remove the warp beam.

Warp beam removed! Hope to put this back together.
Holding the precious bundle!

Taking the loom apart.
Taken apart. Tapestry, reed, and shafts are rolled and bundled up in the fish beach towel.

Now all I have to do is wait

Relocating my loom.
Everything fits in the car, ready for transport.

All the dust has settled, the house transaction is done, and the loom has been re-located and put back together. It’s the first thing you see when you enter our ground-floor apartment.

Getting ready to re-assemble loom.
New location for the loom is in the living room of our apartment.

Simple Swedish loom assembling.

Re-assembling my loom after relocating.
Re-attaching the bolster to hold the warp beam.

Re-assembling loom after relocating.
Tapestry in view.

Using a spare heddle as a cord threader.
Spare Texsolv heddle works as a cord threader (I forgot to pack the “real” cord threader) to re-attach the cords on the cloth beam.

What about the Lizard? Can I resume where I left off? Good news: IT WORKED!

Ready to weave after relocating the loom!
Everything is put back together. Beam cords are re-attached. Yarn is unpacked. Warp is tensioned.

Lizard four-shaft tapestry.
Lizard foot grips the breast beam as weaving resumes!

When have you had to wait? Something you dearly long for is unreachable for a while. Waiting for the Lord is always waiting with hope. I trusted my friend’s advice. So, my hope was strong while I waited to see this lizard take shape again. In a similar way, I can trust the Lord when there is a disruption. Wait with strong hope. Wait for the grace to begin again.

May you wait patiently.

Happy Weaving,
Karen