Tools Day: Tape Measures

A tape measure is a weaver’s best friend. Think about how many ways the tape measure serves you. I have one at each loom. Always. And I have a few others scattered around, hanging up, and in bags. Because you never know when you might need to measure something.

Tape Measure Uses

  • Take measurements to determine the desired size of the finished cloth, such as window measurements for curtains, floor space for area rugs, or length of skirt tiers for skirt fabric.
  • Measure the length of a guide string for winding the warp.
  • Find the starting point for the warp width in the pre-sley reed.
  • Double check the width of the warp after it is pre-sleyed.
  • Check the width of the warp on the back tie-on bar.
  • Center the reed in the beater for beaming the warp by measuring the distance from the warp in the reed to the outside edge of the beater on both sides.
  • Find the starting point to sley the reed by measuring half of the warp width outwards from the center of the reed.
  • Double check the width of the warp in the reed after it is sleyed.
  • Center the reed in the beater for weaving.
  • Adjust to the correct width of the warp on the front tie-on bar after the warp is tied on.
  • Mark the measured weaving length on twill tape or ribbon to use as a weaving length guide.
  • Measure how far one quill weaves.
  • Measure the distance between pieces that require unwoven warp, such as for fringe, or for tying knots between rag rugs.
  • Measure the distance from the first shaft (nearest the back of the loom) to the back tie-on bar (especially when you are hoping there is enough warp left to finish a symmetrical pattern).
  • Measure the width and length of fabric that is cut from the loom.
  • Measure the width and length of fabric that has been wet finished, dried, and pressed.
  • Measure your pleasure at the loom. Immeasurable!
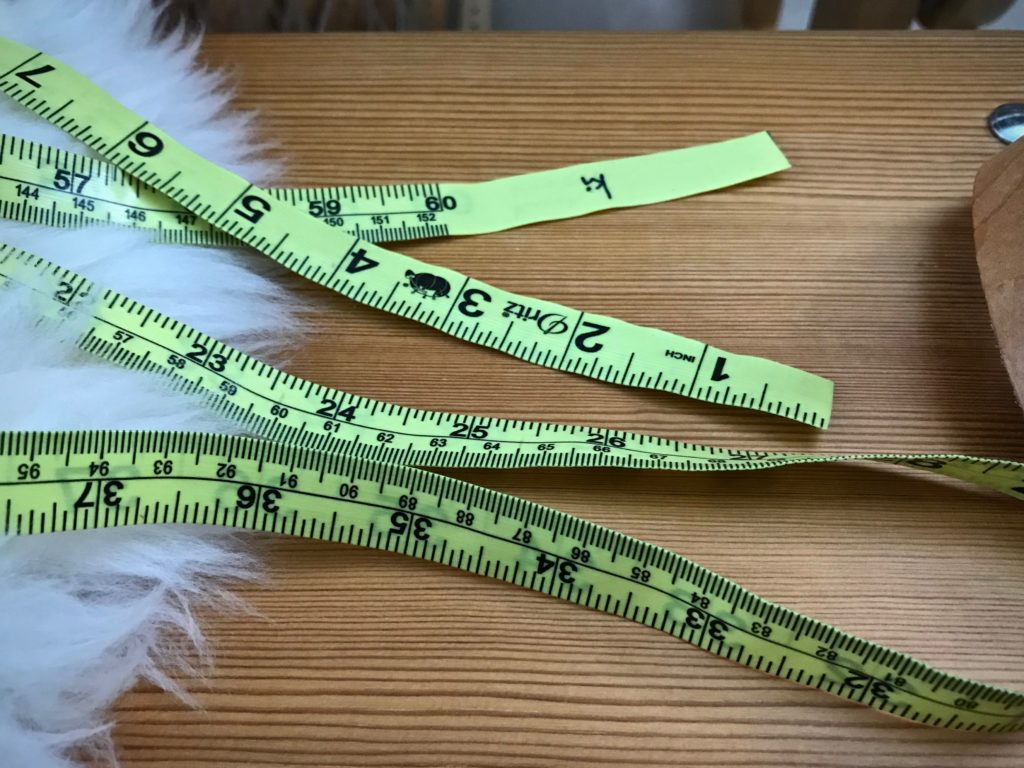
Tape measure, in constant use at the loom. Let me count the ways...
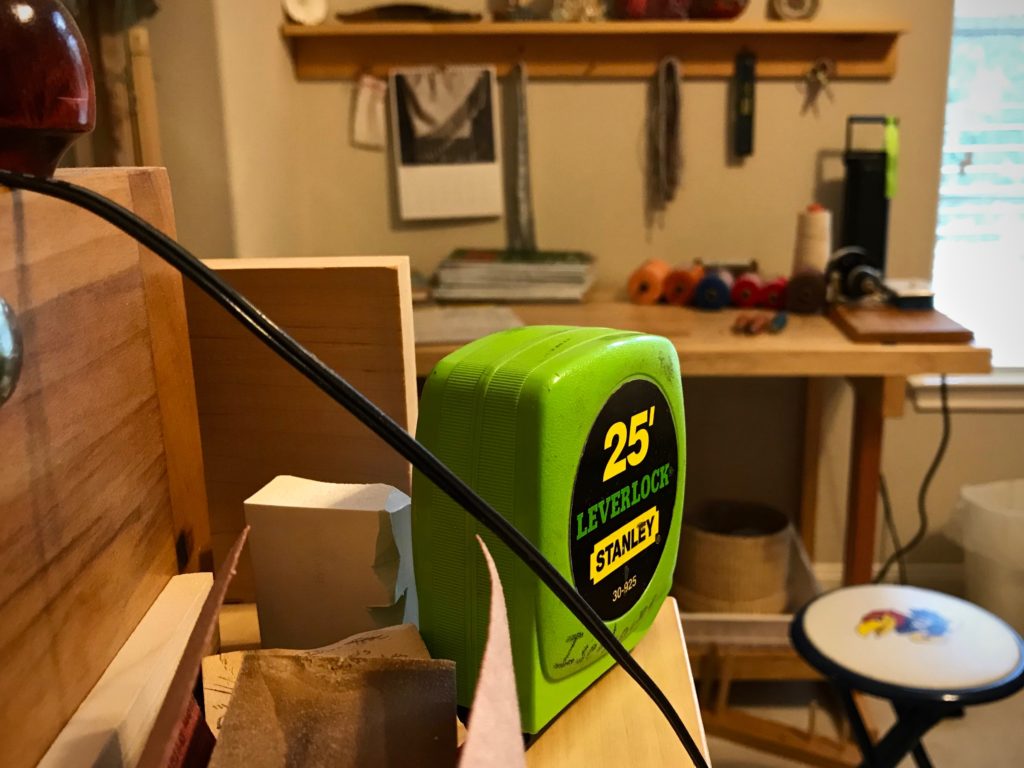
Tape measure with imperial and metric units, both of which I use regularly. Metal ends have been removed from the tape to clearly see the tape’s markings, and because I slip the tape into a dent of the reed when I am marking the spot to start sleying.
Tape measure at the loom. Various uses.
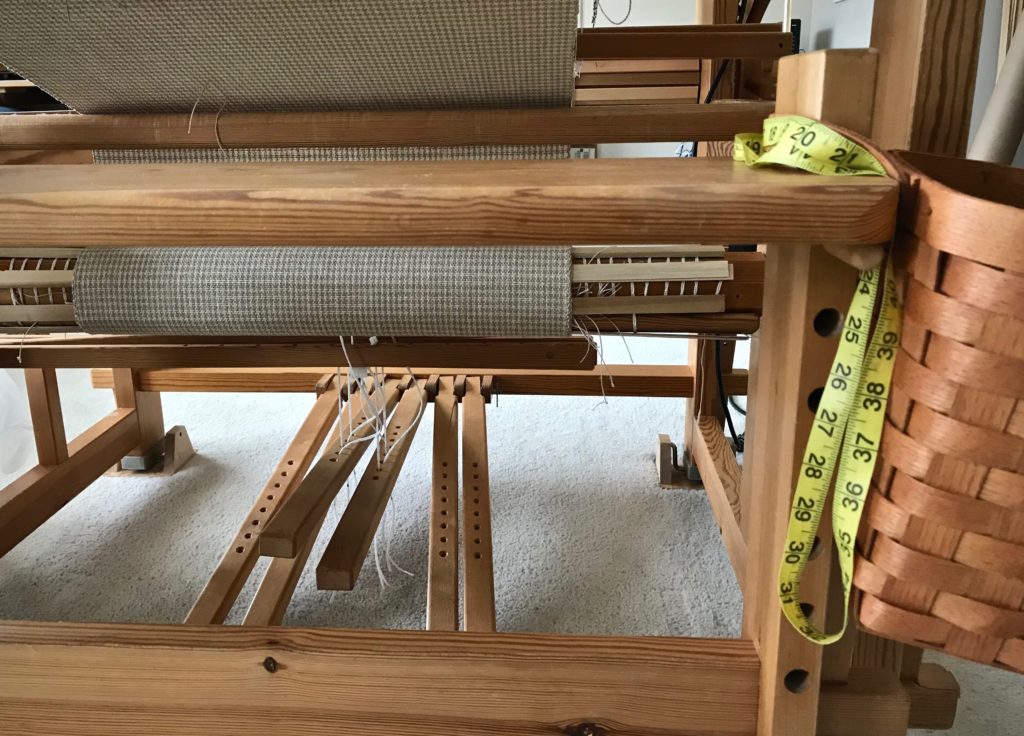
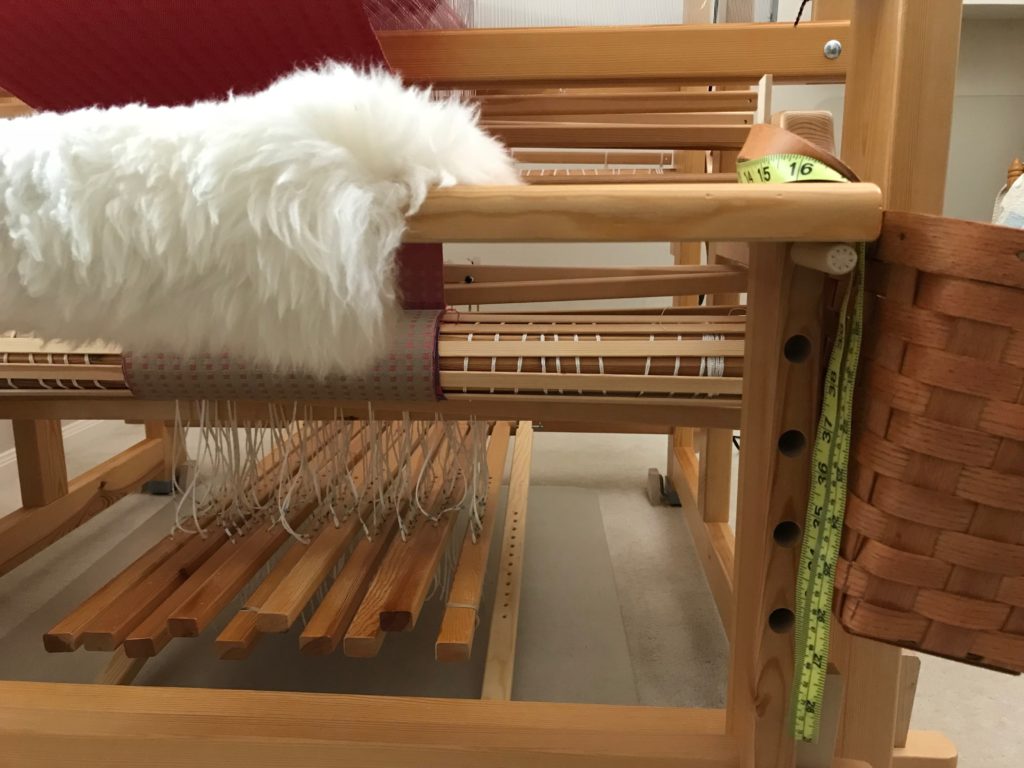
Glimåkra Ideal loom, with tape measure in its usual place hanging on the end of the loom bench.
Tape measure usage at the weaving loom.
Glimåkra Standard loom, with tape measure ready for the next measuring task.
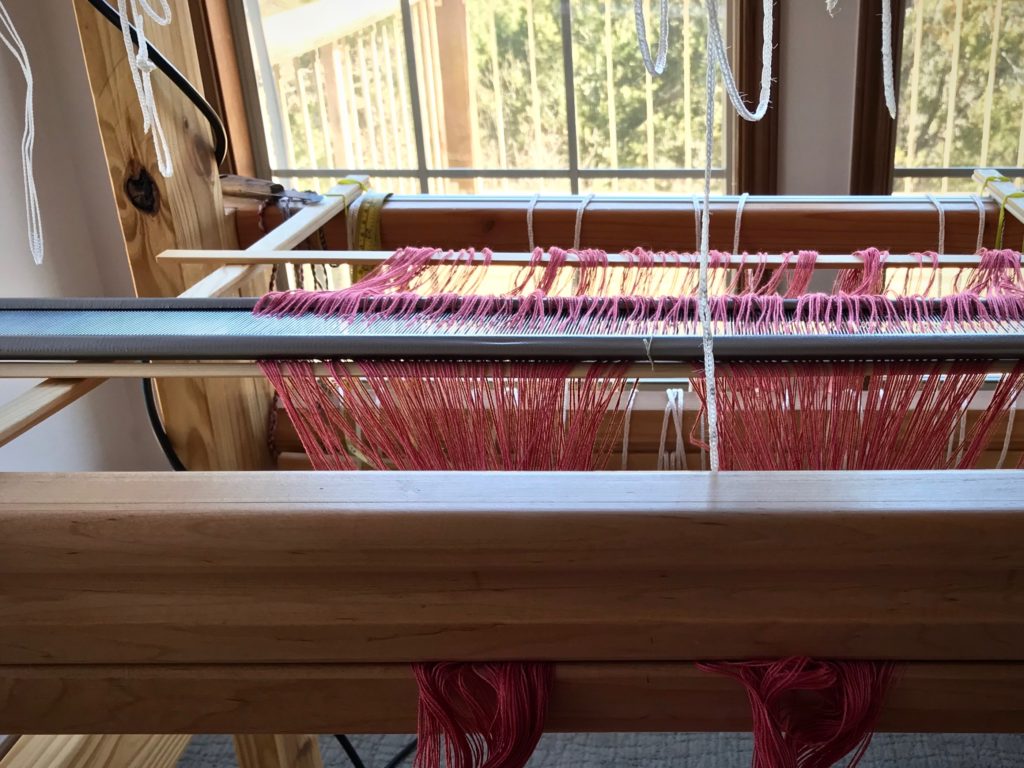
Preparing the loom for weaving.
Tape measure hanging over the back beam on the Texas hill country loom while pre-sleying the reed and positioning things to prepare for beaming the warp.
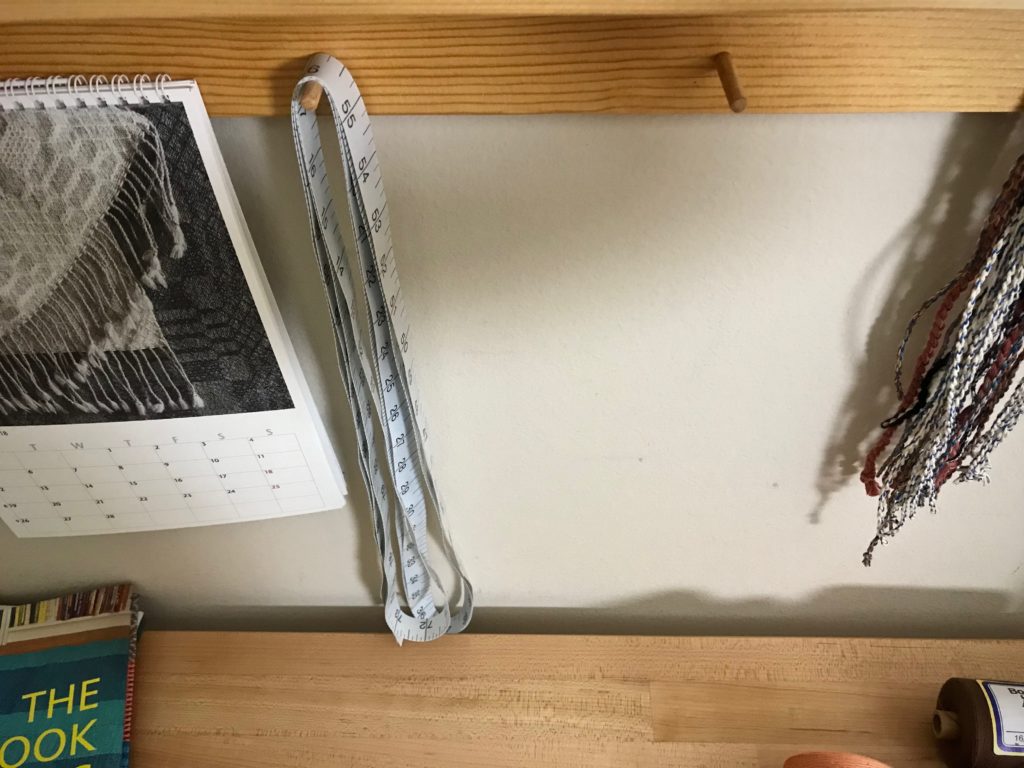
Tape measure hangs on peg strip above the work table.
Extra-long tape measure hangs on the peg strip above my work table.
Sometimes a long tape measure is needed!
Occasionally, I borrow Steve’s metal carpenter’s tape measure from his wood carving bench.
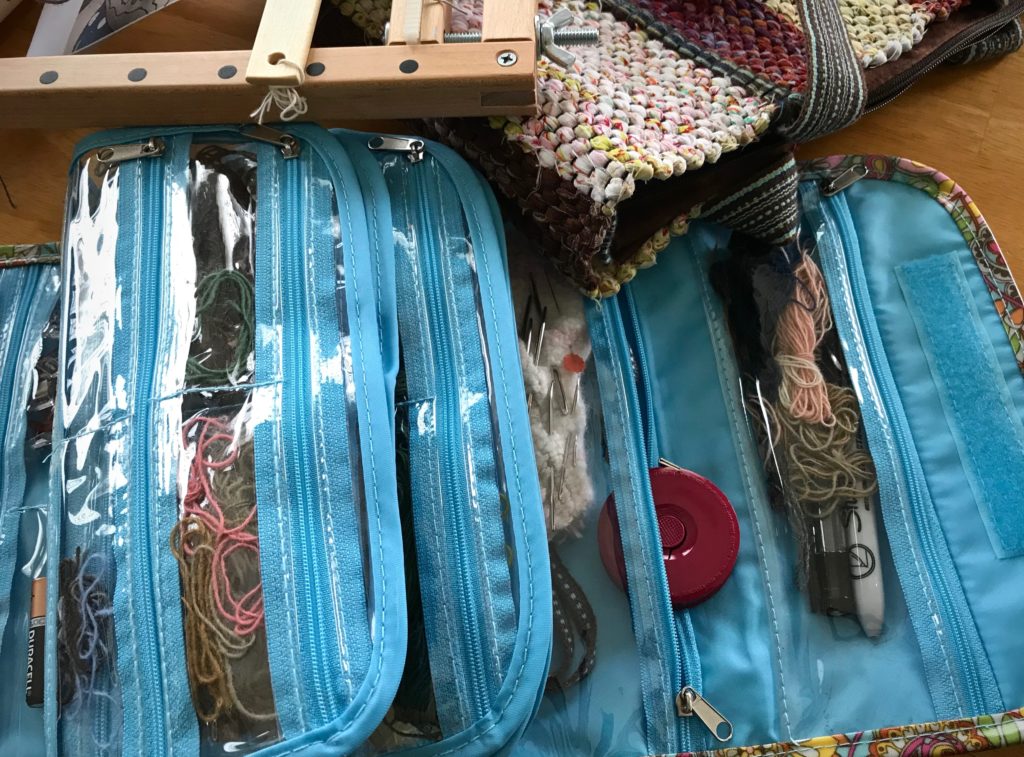
Travel tapestry supplies, including tape measure.
Compact retractible sewing tape measure rides in my travel tapestry bag. It has imperial and metric units.
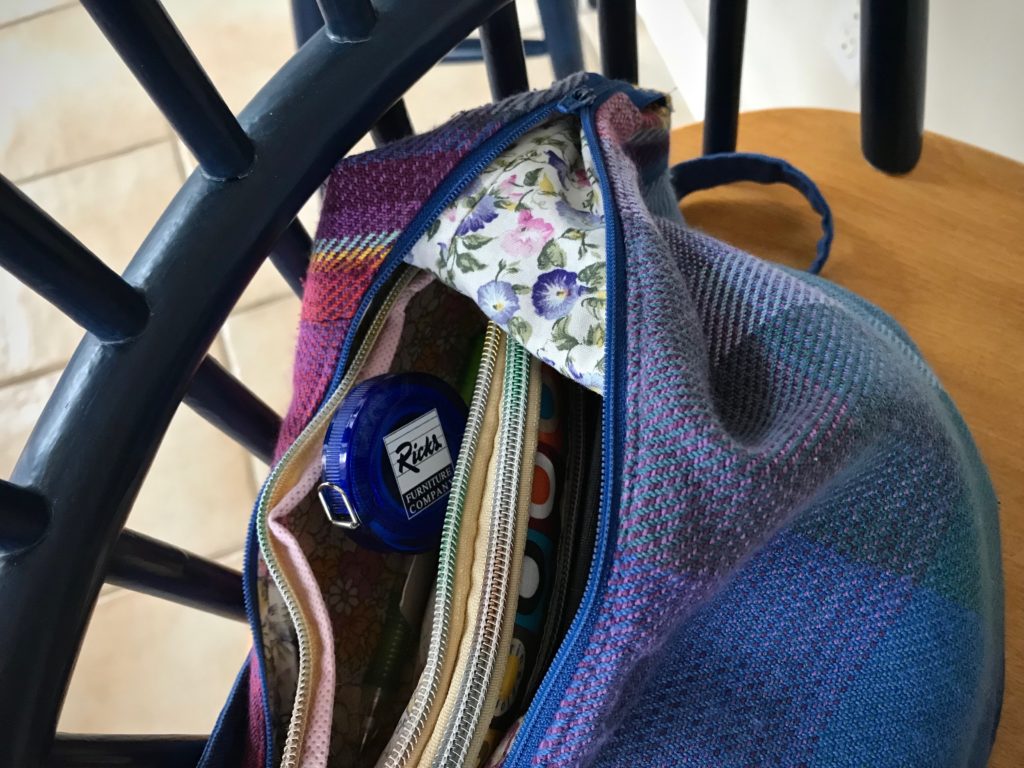
No purse is complete without a tape measure, right?
No purse is complete without a tape measure, right? (A tape measure can outlive the business it promotes.)

What have I missed? Can you think of other ways your tape measure comes in handy?

May you be blessed in full measure.

All the best,
Karen

Simpler Warp Stripes

Narrow stripes on the warp beam are stunning. But to wind a warp like that means frequently cutting threads and tying knots. Right? …not necessarily! You don’t have to wind a warp with stripes in order to have a striped warp on the loom. I didn’t know that. I thought that tying knots is the price you pay to get warp stripes. Winding this warp was a breeze! The secret? A separate warp chain and set of lease sticks for each color. I combined the threads, keeping them in proper order, as I put them on the back tie-on bar. That part was a little tricky, but will only get easier with practice.

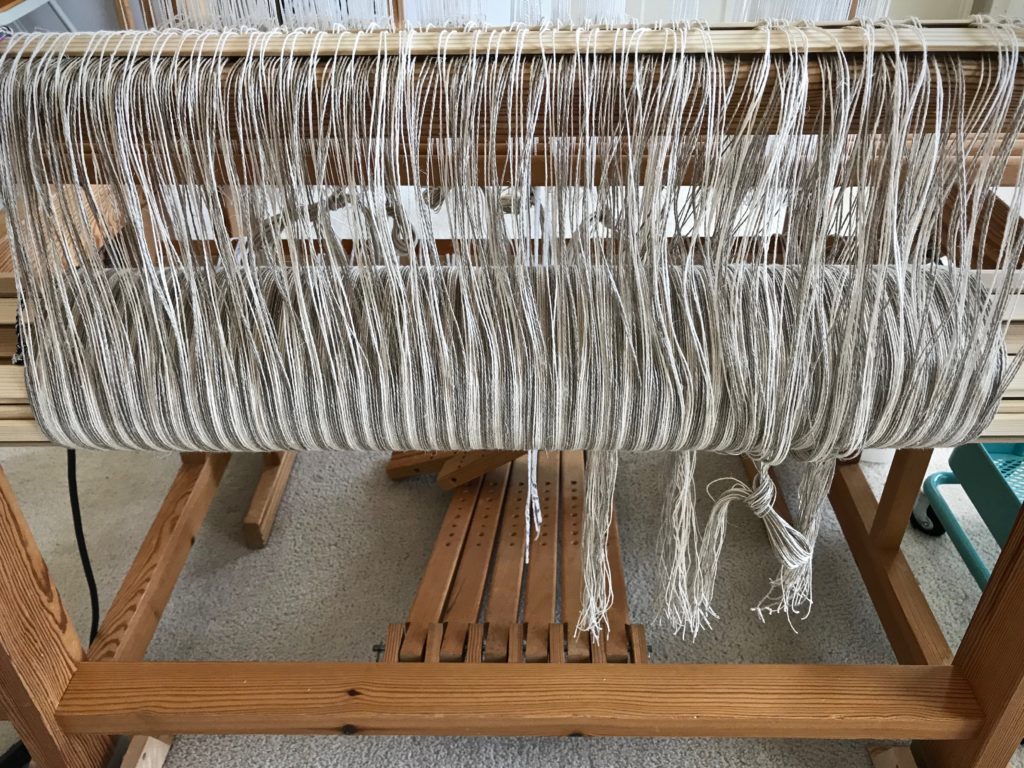
Stripes on the warp beam are so enticing! Linen.
Unbleached and golden bleached linen pair up for this striped warp.

Knowledge. Knowledge gives us freedom to do things in a new way. This is why prayer is effective. Not praying for so-and-so to change, but asking that they may be filled with the knowledge of God’s will. And then, God takes it from there. Your prayer may be what it takes to initiate a new outlook on life for someone else. Much like finding a different way to put stripes on the loom.

May you find a new way to simplify.

Happy weaving,
Karen

Tools Day: Eliminating Warp Knots

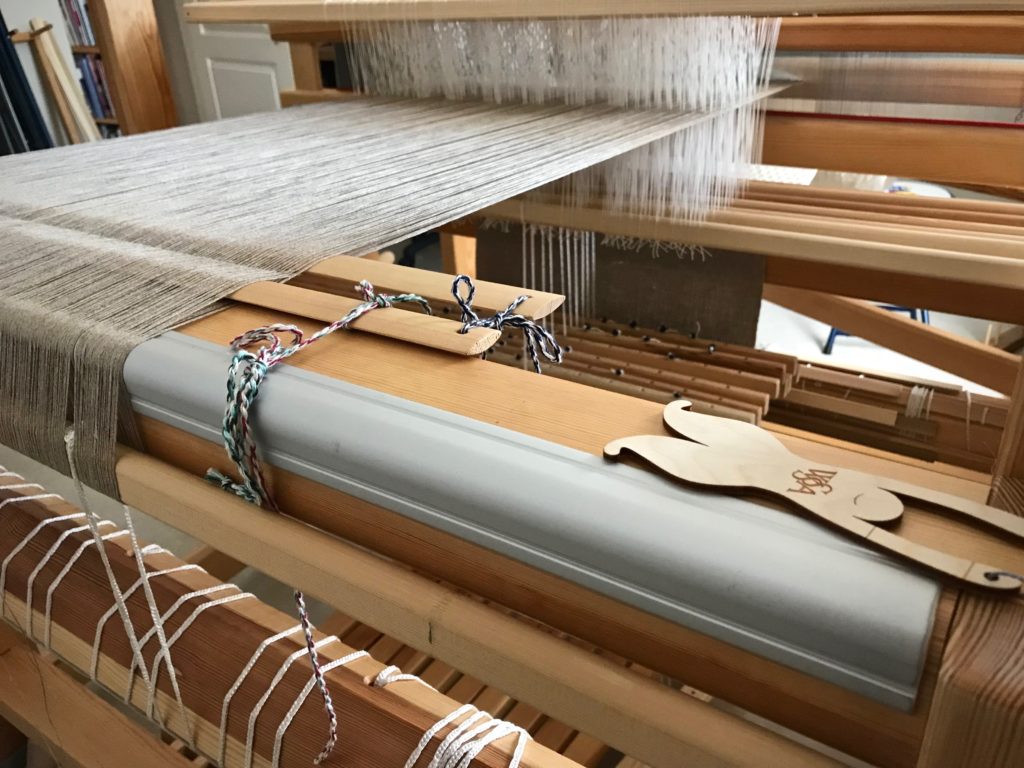
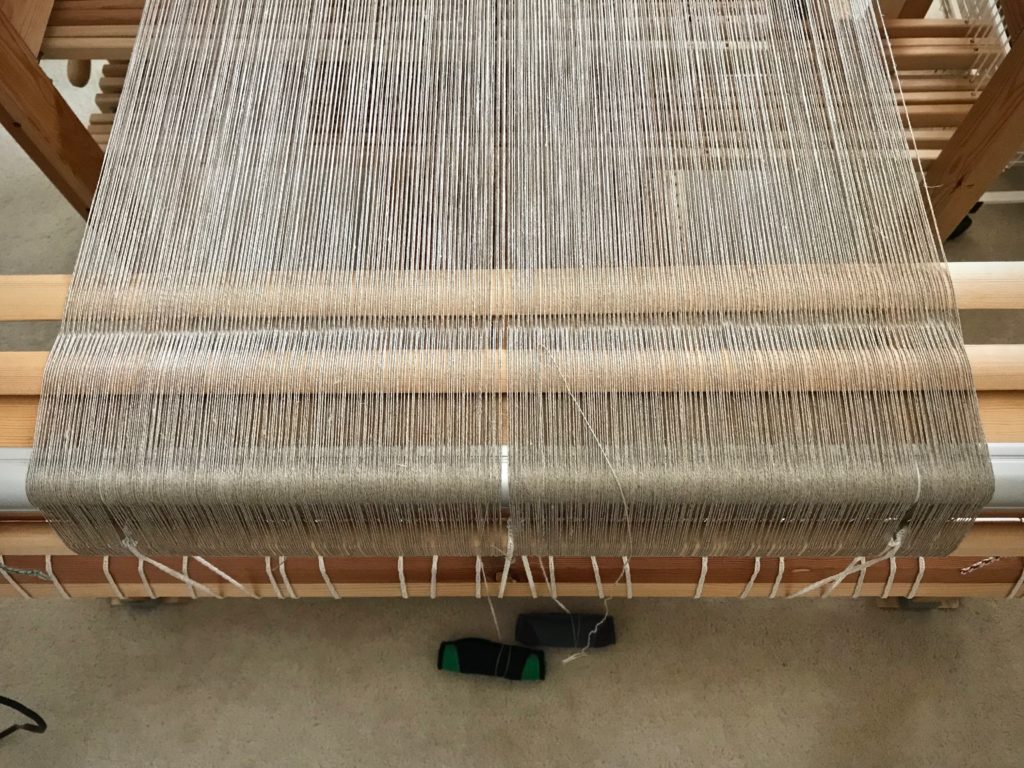
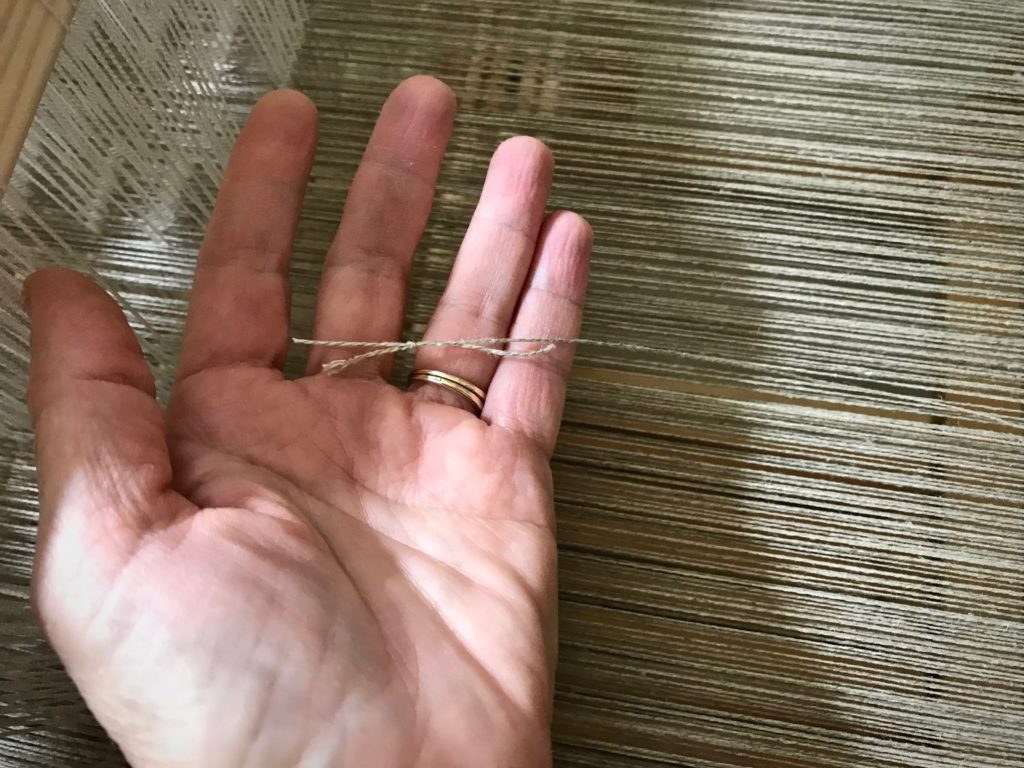
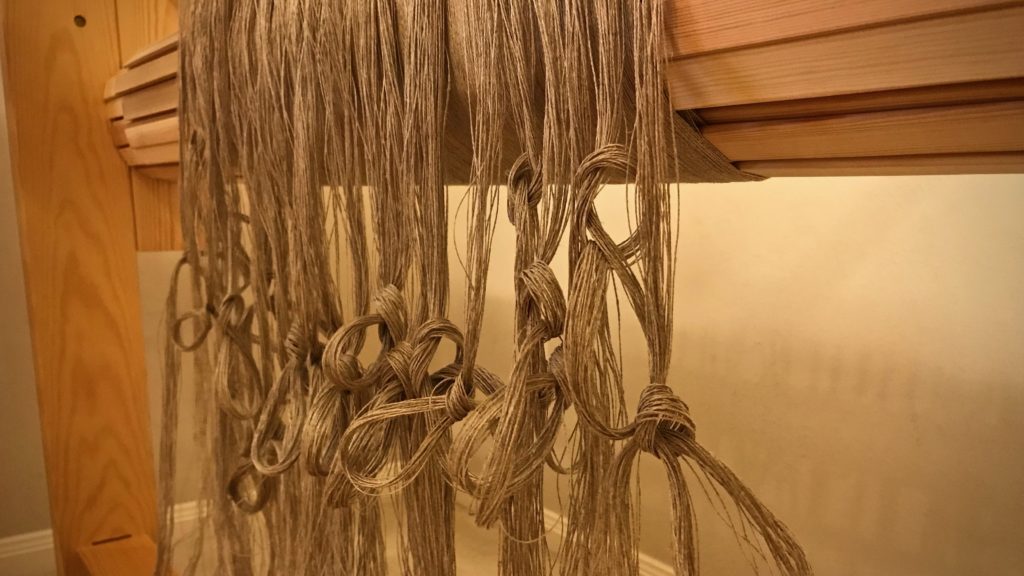
You are not going to believe how many knots I came across in this 16/2 linen warp! Too many. As I wound the warp I made the decision to leave most of the knots, and deal with them on the loom. (I did remove knots that were close to the beginning or ending peg on the warping reel.) I lost count, but I’m sure I have spliced the warp on this five-and-a-half-meter project at least a dozen times. (To see more details about how I splice the warp, visit this blog post and video: How To Splice the Warp – Video.)

I do not weave over warp knots. A knot introduces a spot of vulnerability to the fabric. Knots can fray, loosen, or come undone over time, even if the knot is originally imperceptible.

In a couple instances, a knot distorted the tension of the warp end because of catching on a heddle or passing through the reed. For that reason, I now try to eliminate knots in the warp before they reach the heddles.

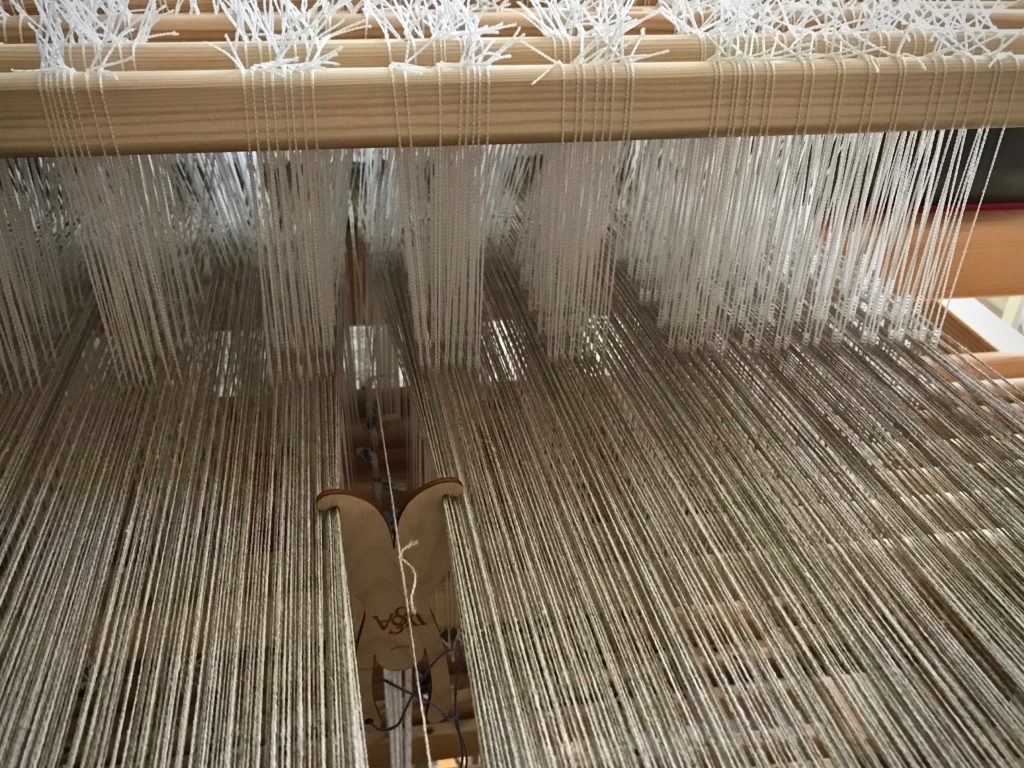
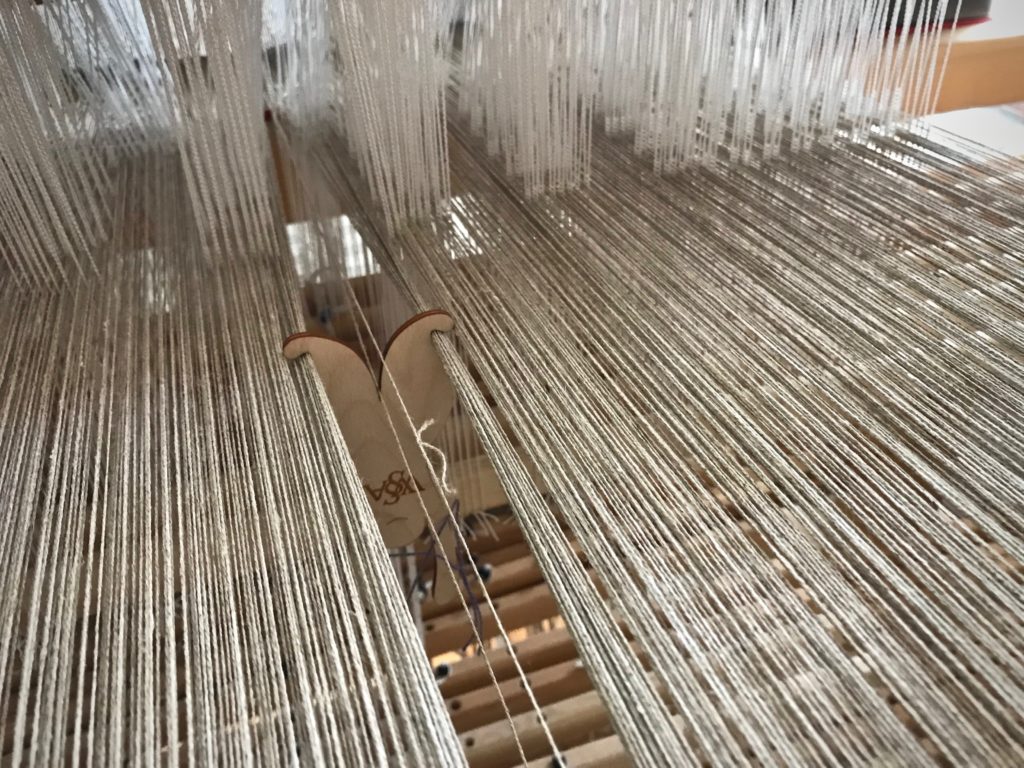
Tool: Warp Separator

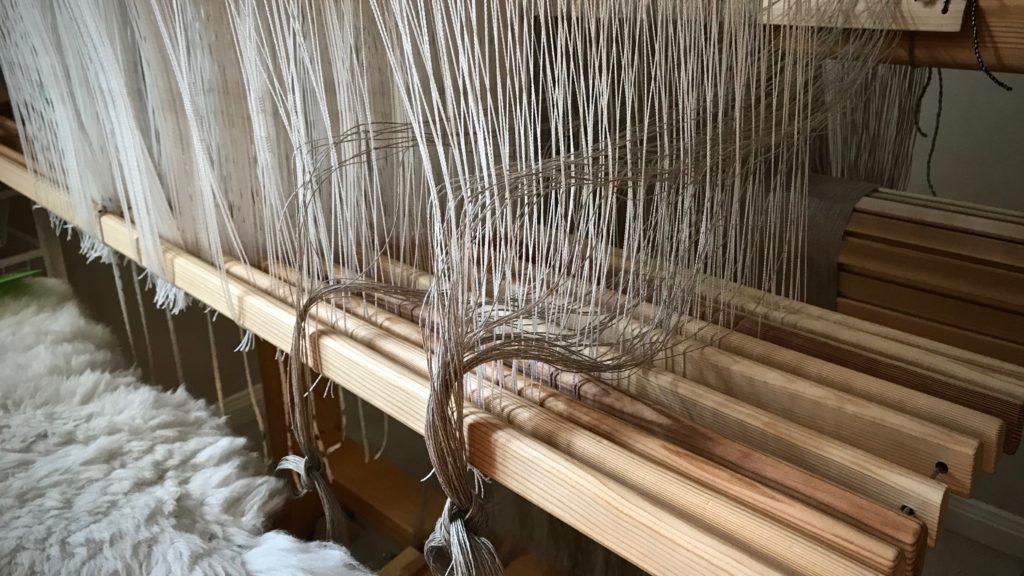
  • Identify the warp end that has a knot, and insert the warp separator between warp ends to isolate the thread.

Warp separator to isolate warp with knot.

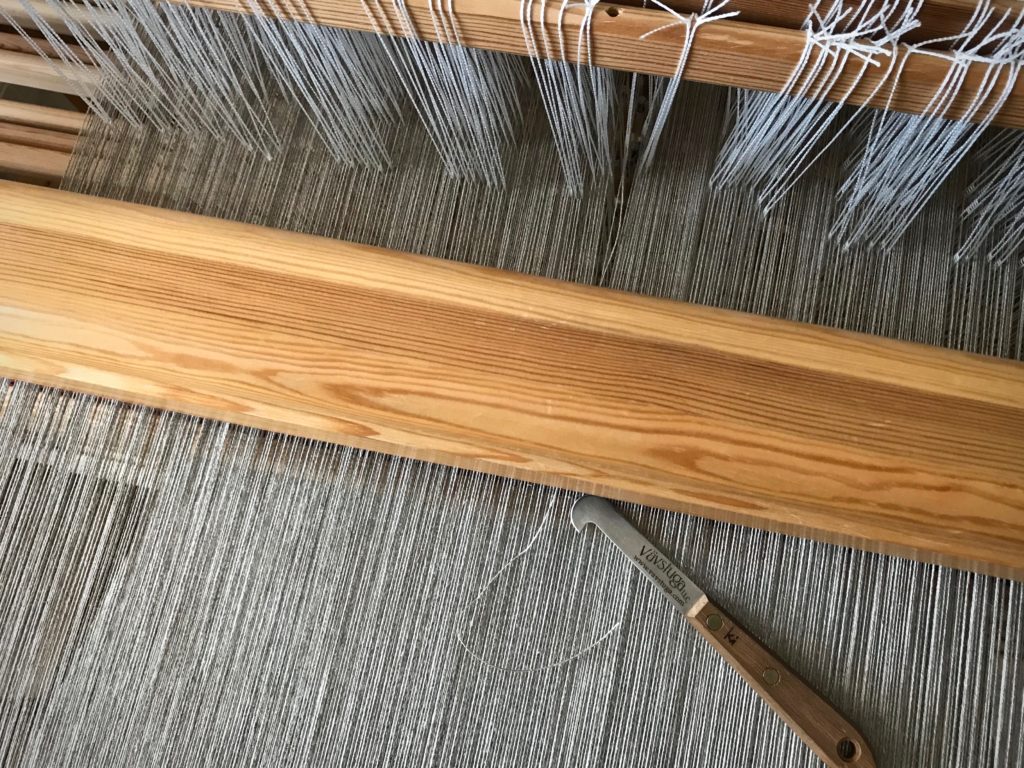
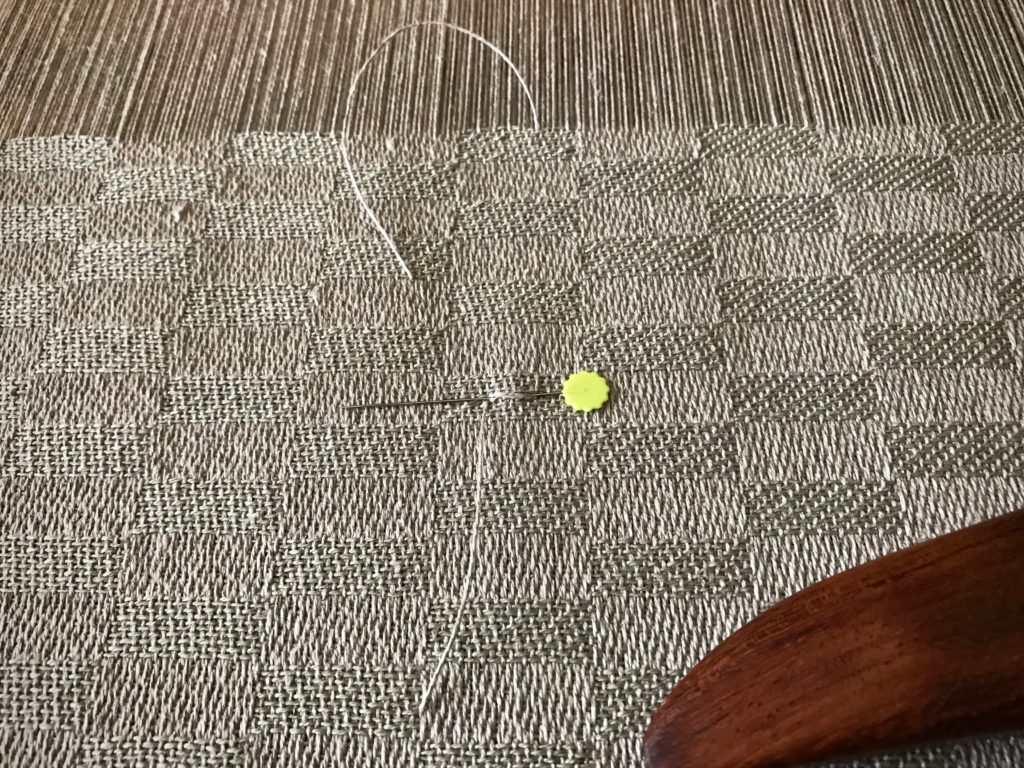
  • With a length of repair warp thread, follow the path of the original thread to splice in the new warp end, feeding it through the heddle of the original warp end.

Warp separator to isolate warp end with knot.

  • Bring the repair warp thread through the reed in the same dent as the warp end that has a knot.

Eliminating a warp knot.

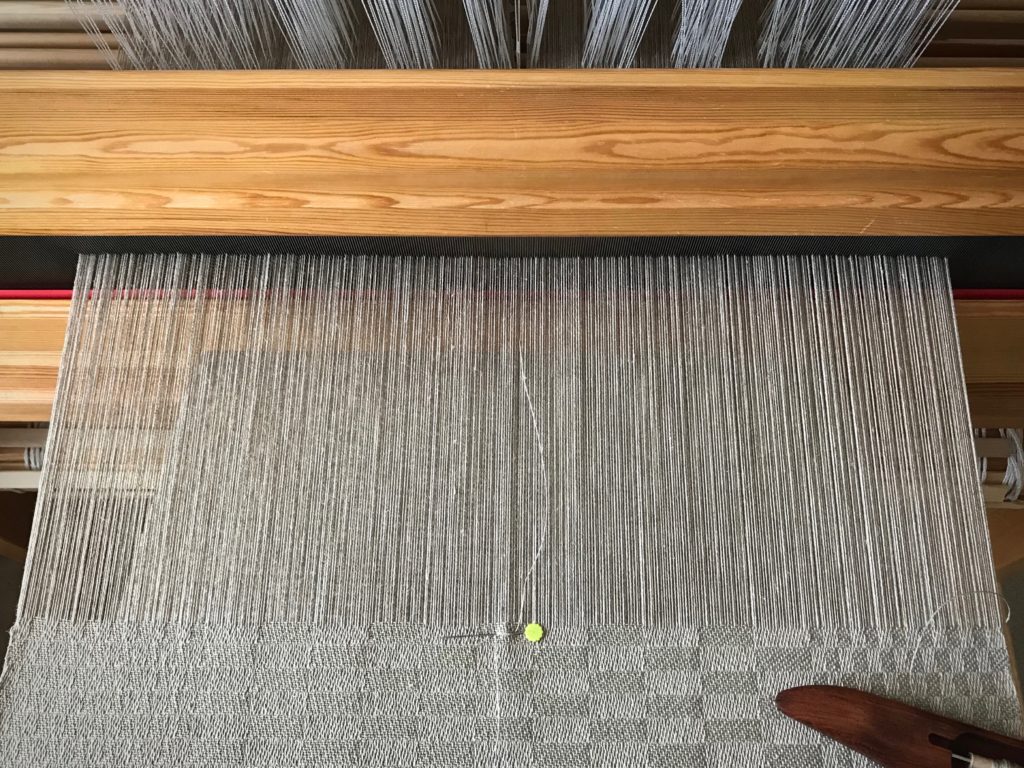
  • Attach the repair warp thread near the fell by wrapping it around a flat straight pin.

Splicing a warp end.

  • Remove the warp separator from between the warp ends.

Warp separator for repairing a warp end.

  • Place a weight on the floor below the back beam. Wrap the repair thread around the weight two or three times to hold the thread at tension that matches the rest of the warp. Loosen the wrapped-around thread before advancing the warp, and then re-tighten before resuming weaving.

Splicing warp ends.

  • Weave one to two inches with both the original warp end and the repair warp thread in place.
  • Then, cut the original warp end with the knot (behind the heddles) and let it hang over the back beam.

Cutting a warp knot behind the reed.

  • The original and replacement warp ends overlap in the weaving for about one to two inches.
  • Remove the straight pin when it reaches the breast beam.
  • Re-attach the original warp end when it is long enough to secure in front of the fell line with a flat straight pin.
  • And then, cut and remove the replacement warp thread.
  • Trim all the spliced warp tails after wet finishing.

Spliced warp end to eliminate a knot in the warp.

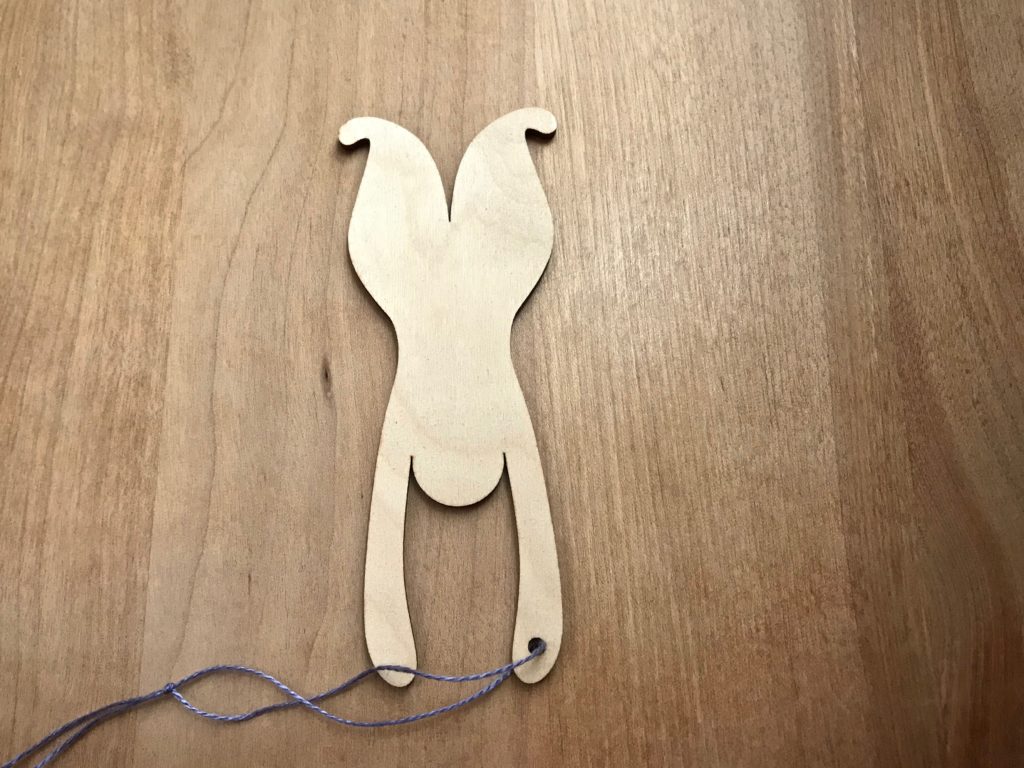
Warp separator guy, ready to jump in and help!

This warp separator was a gift from The Weavers and Spinners Society of Austin, included in the goodie bag from last summer’s Contemporary Handweavers of Texas Conference. It would not be hard to make a warp separator like this from wood or sturdy cardboard. I have not been able to locate a supplier online.

If you know where to find a warp separator tool, please put a link in the comments.

May you have very few warp knots.

All the best,
Karen
What a Web We Weave

Threading errors happen. But you can reduce their occurrence. After beaming a warp, I count the warp ends into threading groups before I start threading. Always. This is the first step in reducing threading errors.

Beamed linen warp. Tied into threading groups.
Beamed linen warp. Ends are counted into threading groups, and tied in loose slip knots.

The second step in nearly eliminating threading errors is to check every threaded group right after it’s threaded, thread by thread. These intentional steps expose mistakes early in the process. I would rather find an error now than later.

Threading ten shafts.
After a group of warp ends is threaded I check every thread to make sure it is on the correct shaft.
Threading ten shafts. How to avoid errors.
View from the back beam. Every thread is now in its proper place. Two ends had ended up on wrong shafts, so threads were taken back out and corrections made. Threading ten shafts can get confusing, so it is critical that I check my work.

Did the spider check for threading errors before weaving her intricate pattern? Did she know her invisible web could be seen on a dew-rich foggy morning?

Napping spider on her almost invisible web.
Spider's web in dew-rich foggy morning.
Early morning dew reveals the outlines of the spider’s web. Not wanting to be seen, the spider quickly climbs away to hide when I come close to her woven threads.

Our world tells us to make enemies, and hate haters. To grip what is mine, and demand my rights. It’s in my human nature to be that way. But love is different. Love your enemy, do good instead of hate, pray for those who mistreat you. Is that possible? Yes, if you know the love of God firsthand. Love makes you different. It changes you, making you want to take account of your attitudes, and check your motives. Count threading groups, and check the threading. There will be errors as you weave, but they are learning experiences, not fights. Remember, the invisible web we weave may not be as invisible as we think.

May you be different.

With love,
Karen

Two Threads Are Better than One

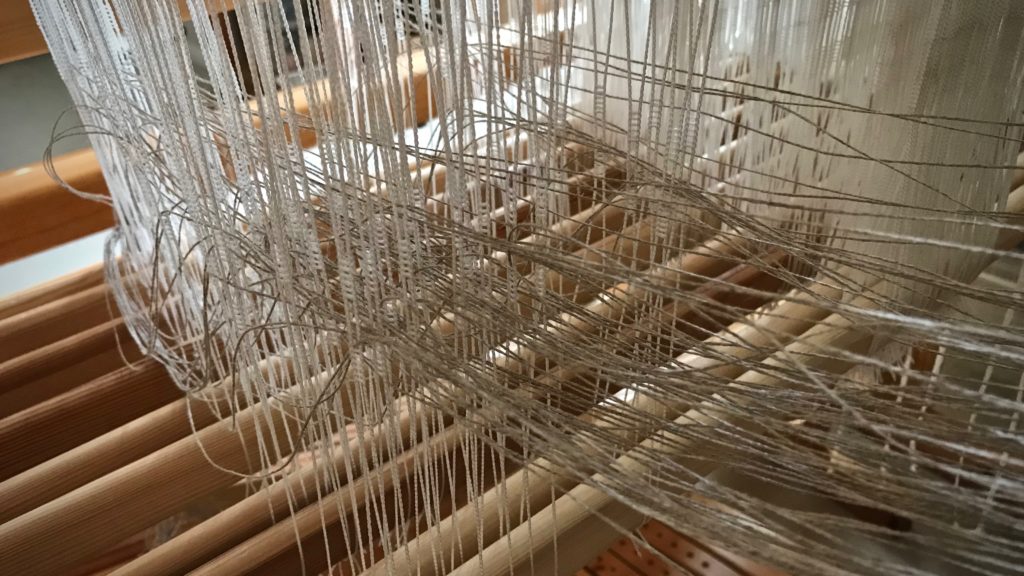
Here’s a secret: Two threads are better than one. To measure a warp, I always, without exception, wind the warp with two or more threads together. A warp that is wound with a single thread is prone to tangle as threads twist around each other. A warp wound with pairs of threads won’t do that.

Winding a linen warp. Always 2 threads together.
Choke ties secure the warp bout around the starting pin on the warping reel.
Smooth warping tip: Always wind a warp with at least two threads at a time.
I hold two threads in my right hand, with my little finger separating them, to wind the warp. My left hand turns the warping reel. I purchase enough thread to be able to wind with two tubes at a time. Any thread that remains unused goes toward another project.

I am particular about this warp. It’s linen, so consistency matters. Tangles would disrupt the even tension the linen needs. I have dräll in five-shaft satin in mind as I take each careful step to dress the loom. I expanded the loom to ten shafts to be able to weave this! Expect happy weaving, to be sure, but imagine how pleasant it will be to hold this dreamed-of cloth in my hand. That future cloth gives meaning to my present efforts at the loom.

One of my weaving spaces.
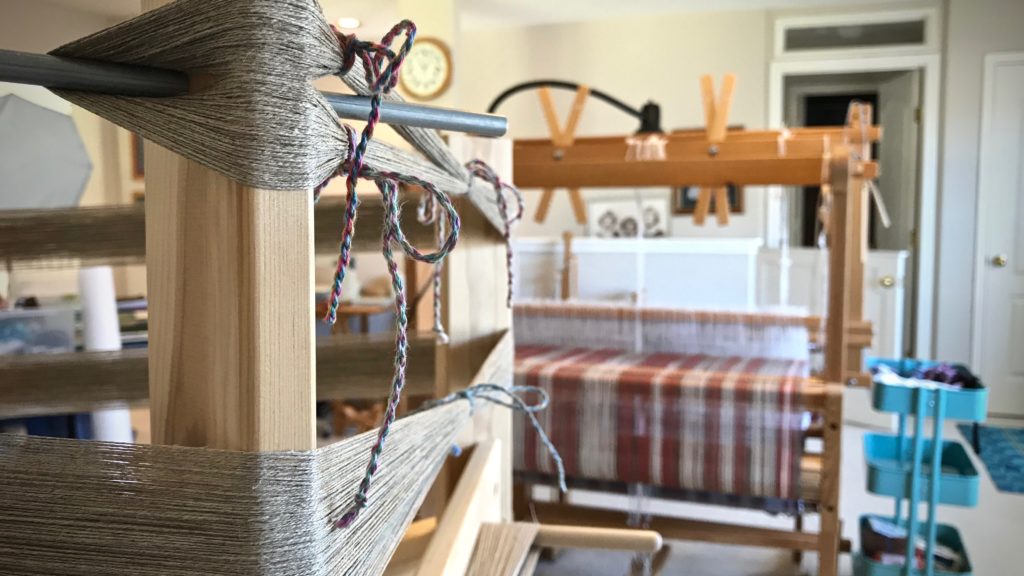
Various stages of weaving. Winding 16/2 unbleached line linen to warp the Standard loom. The Baby Loom (Glimåkra Ideal) in the background is in the middle of rag-rug weaving.
Ten shafts for dräll in five-shaft satin.
Ten shafts in place on the Big Loom (Glimåkra Standard) to prepare the loom for weaving dräll in five-shaft satin.

There must be meaning beyond this life for us to find meaning in this life. The end of the weaving is the beginning of the life of the cloth. There is purposeful preparation by the Grand Weaver, with a precisely measured warp. The back-and-forth shuttle is like the ticking of a clock, or the passing of years. The end is the beginning. Can you imagine the splendid setting the Grand Weaver has in mind for his hand-woven cloth?

May you keep the end in mind.

Yours,
Karen