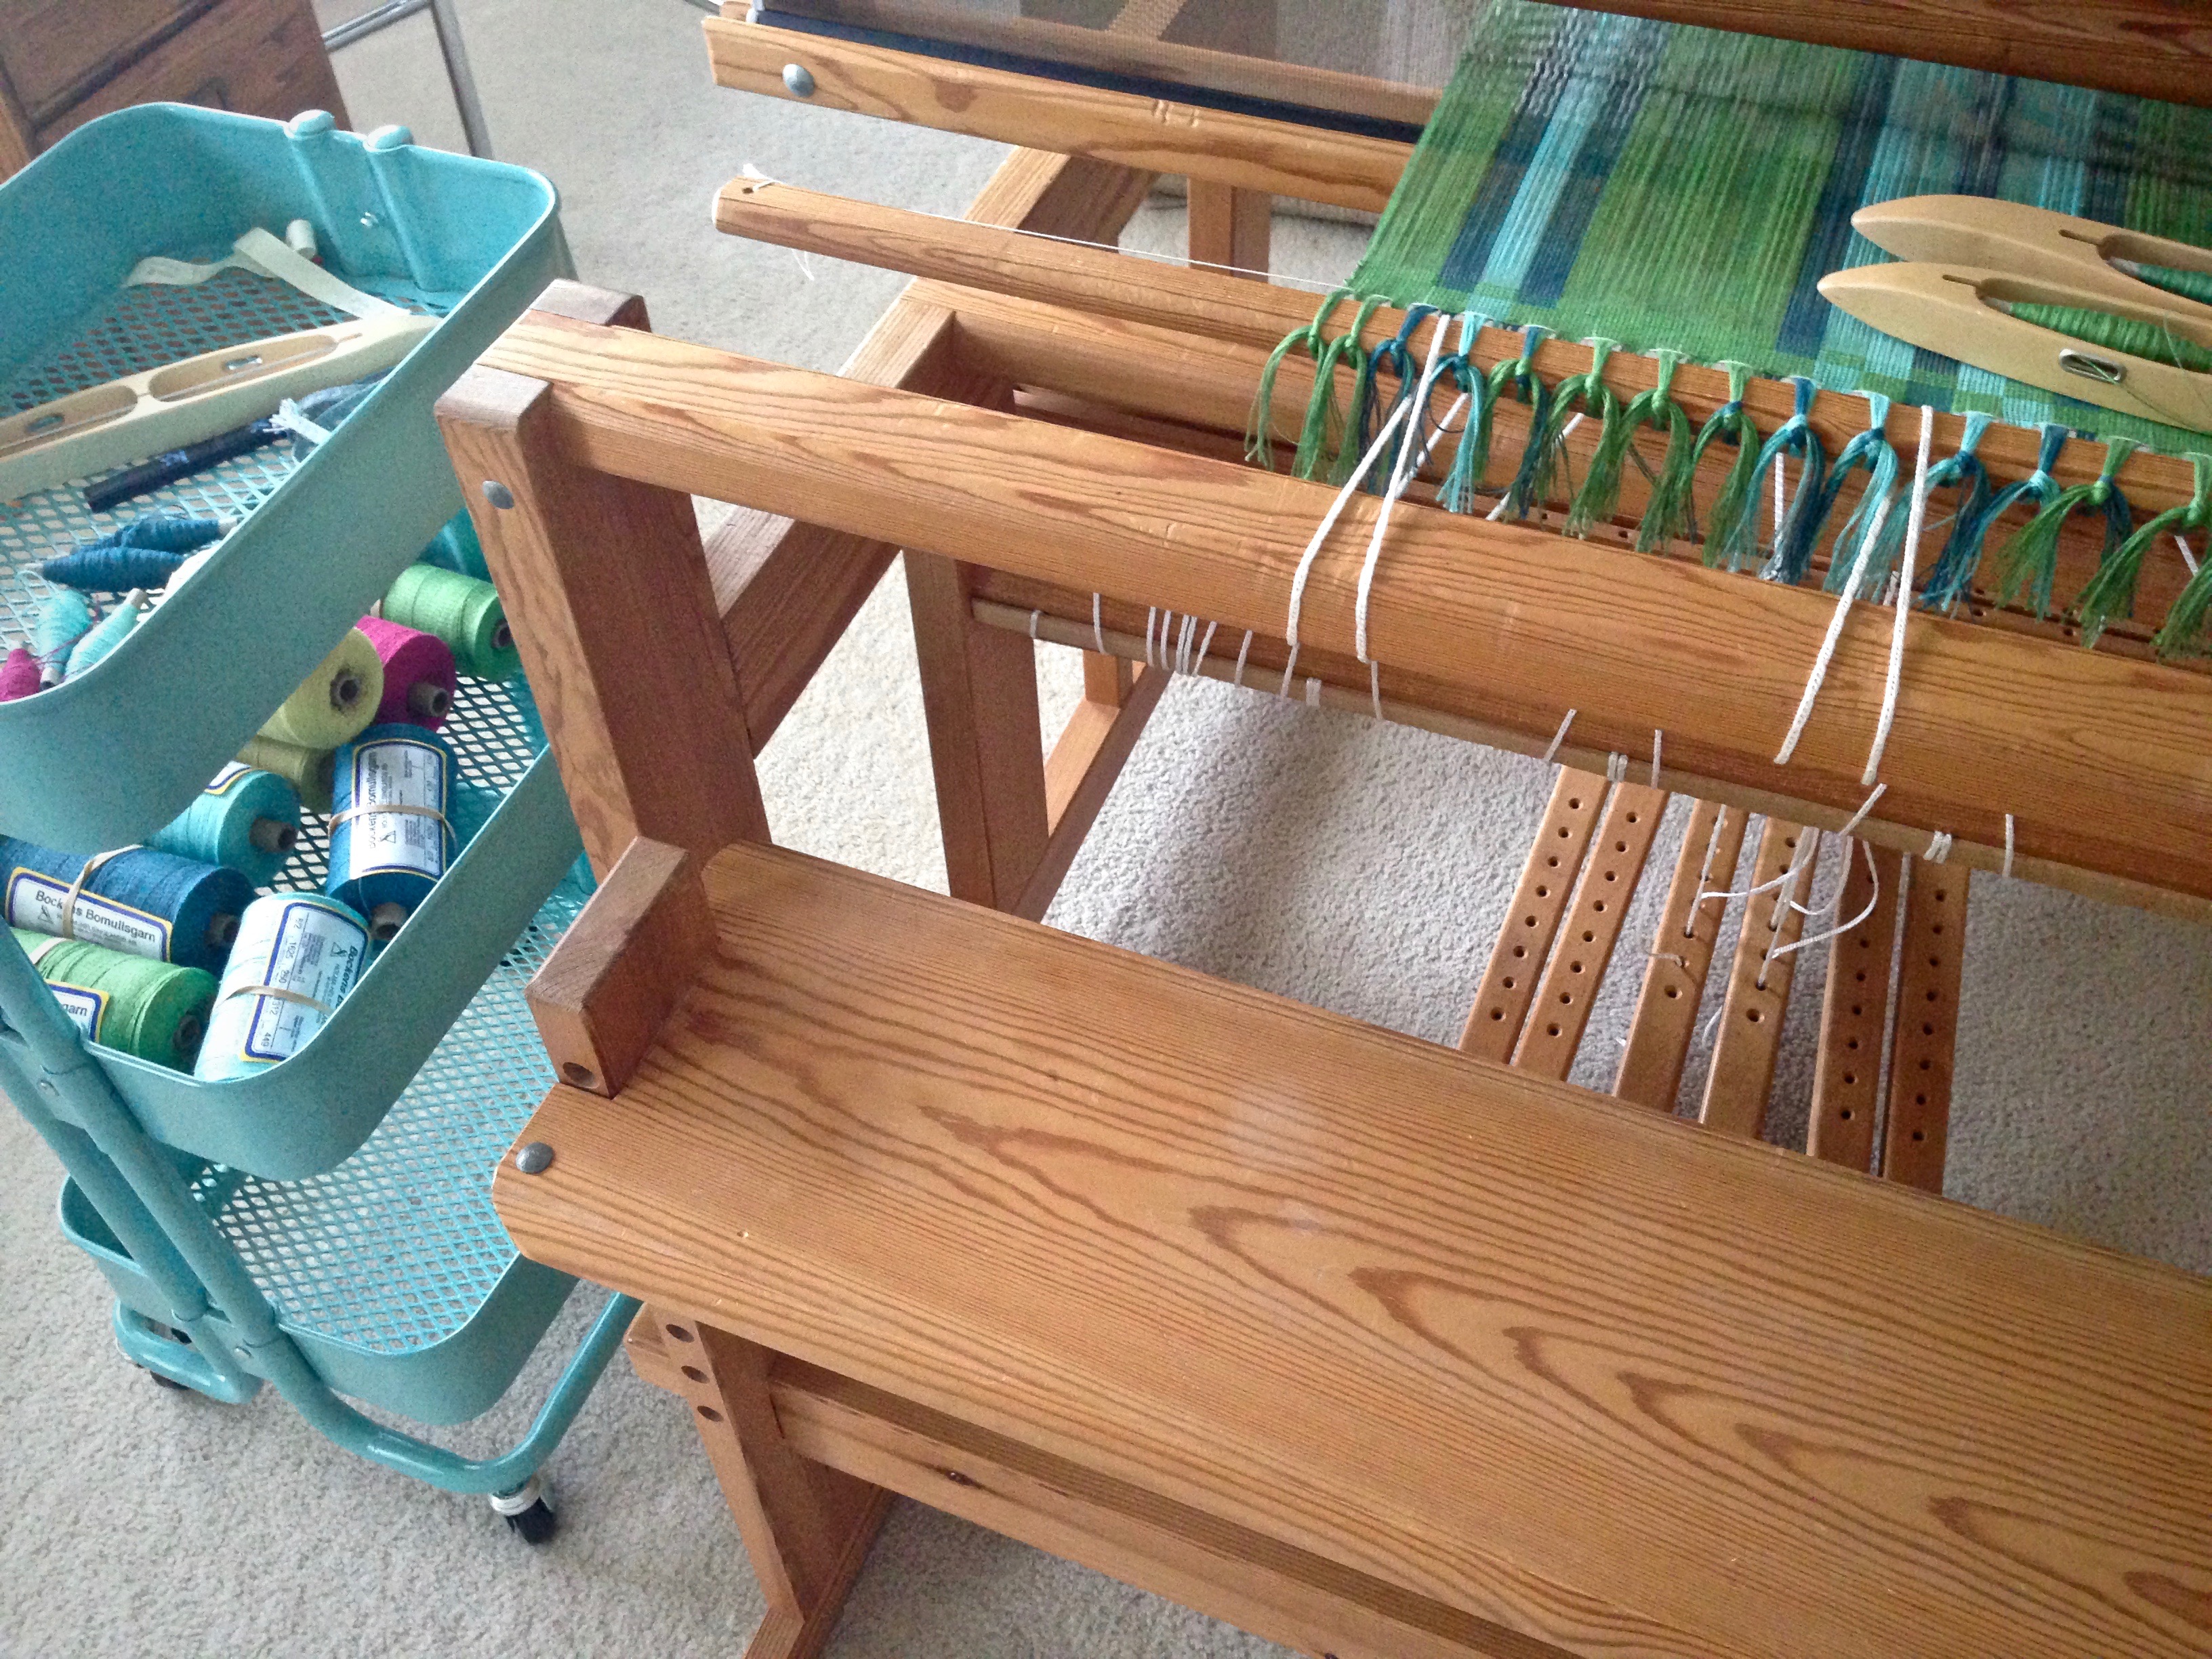
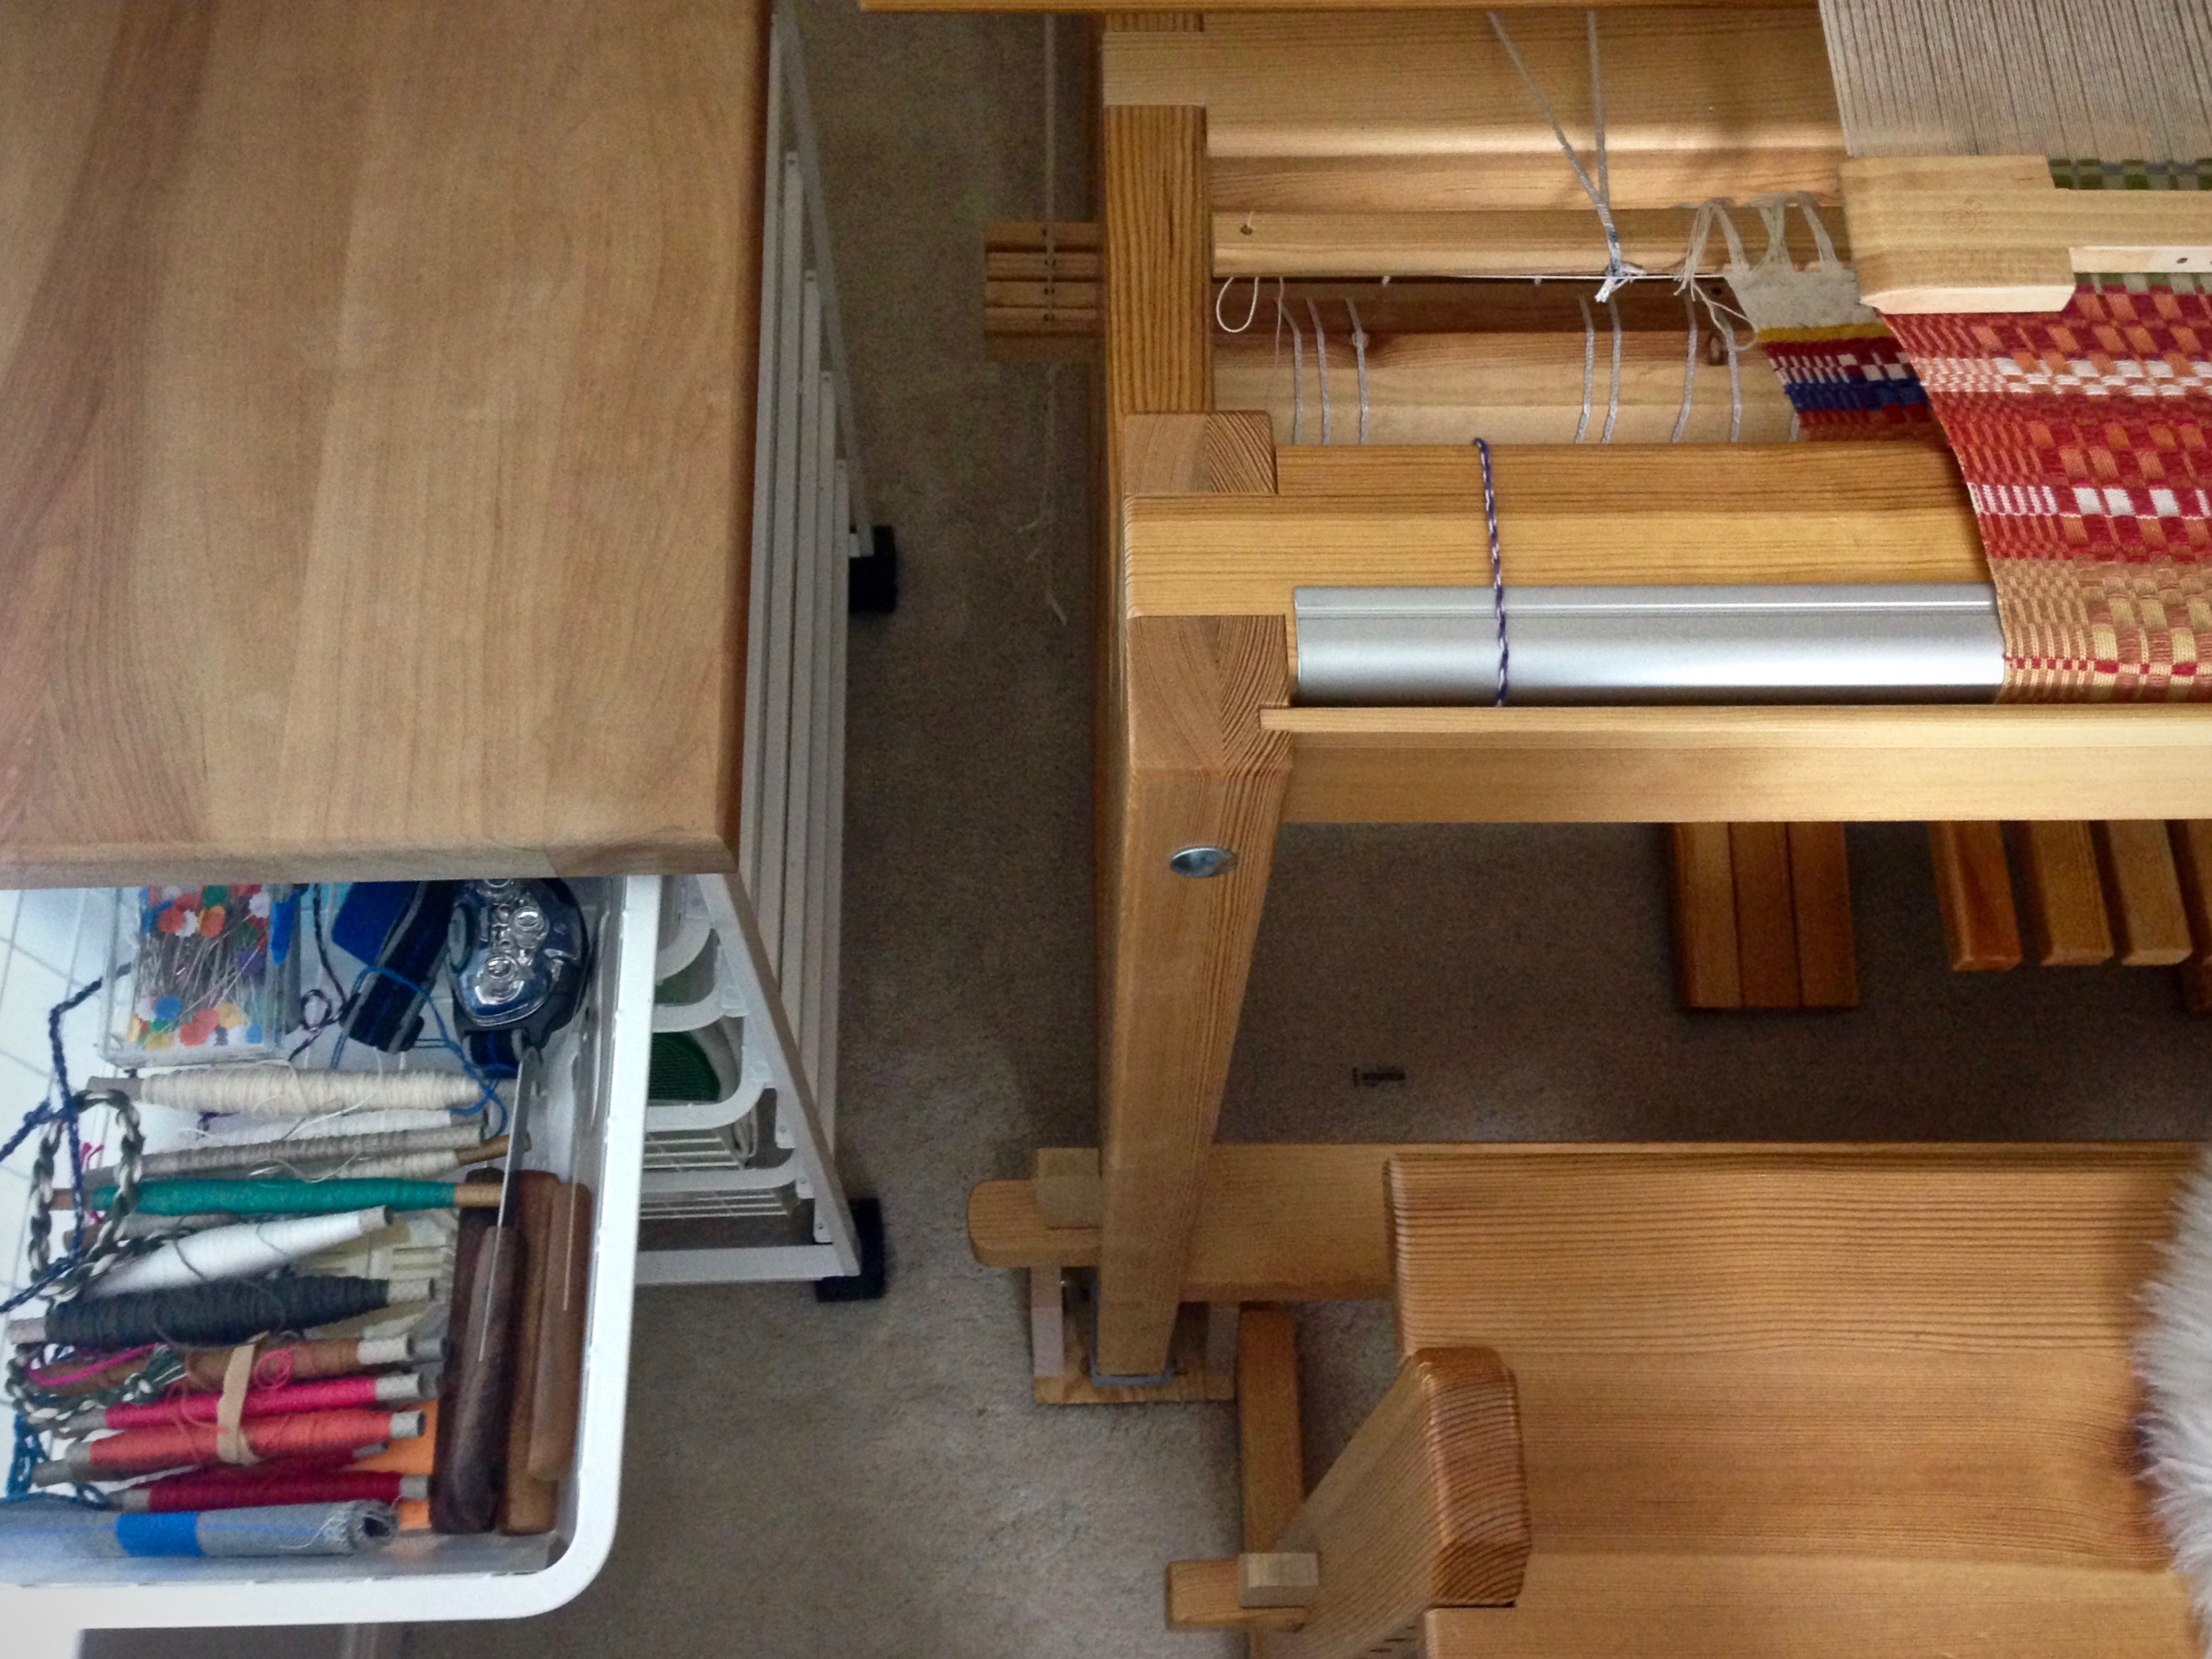
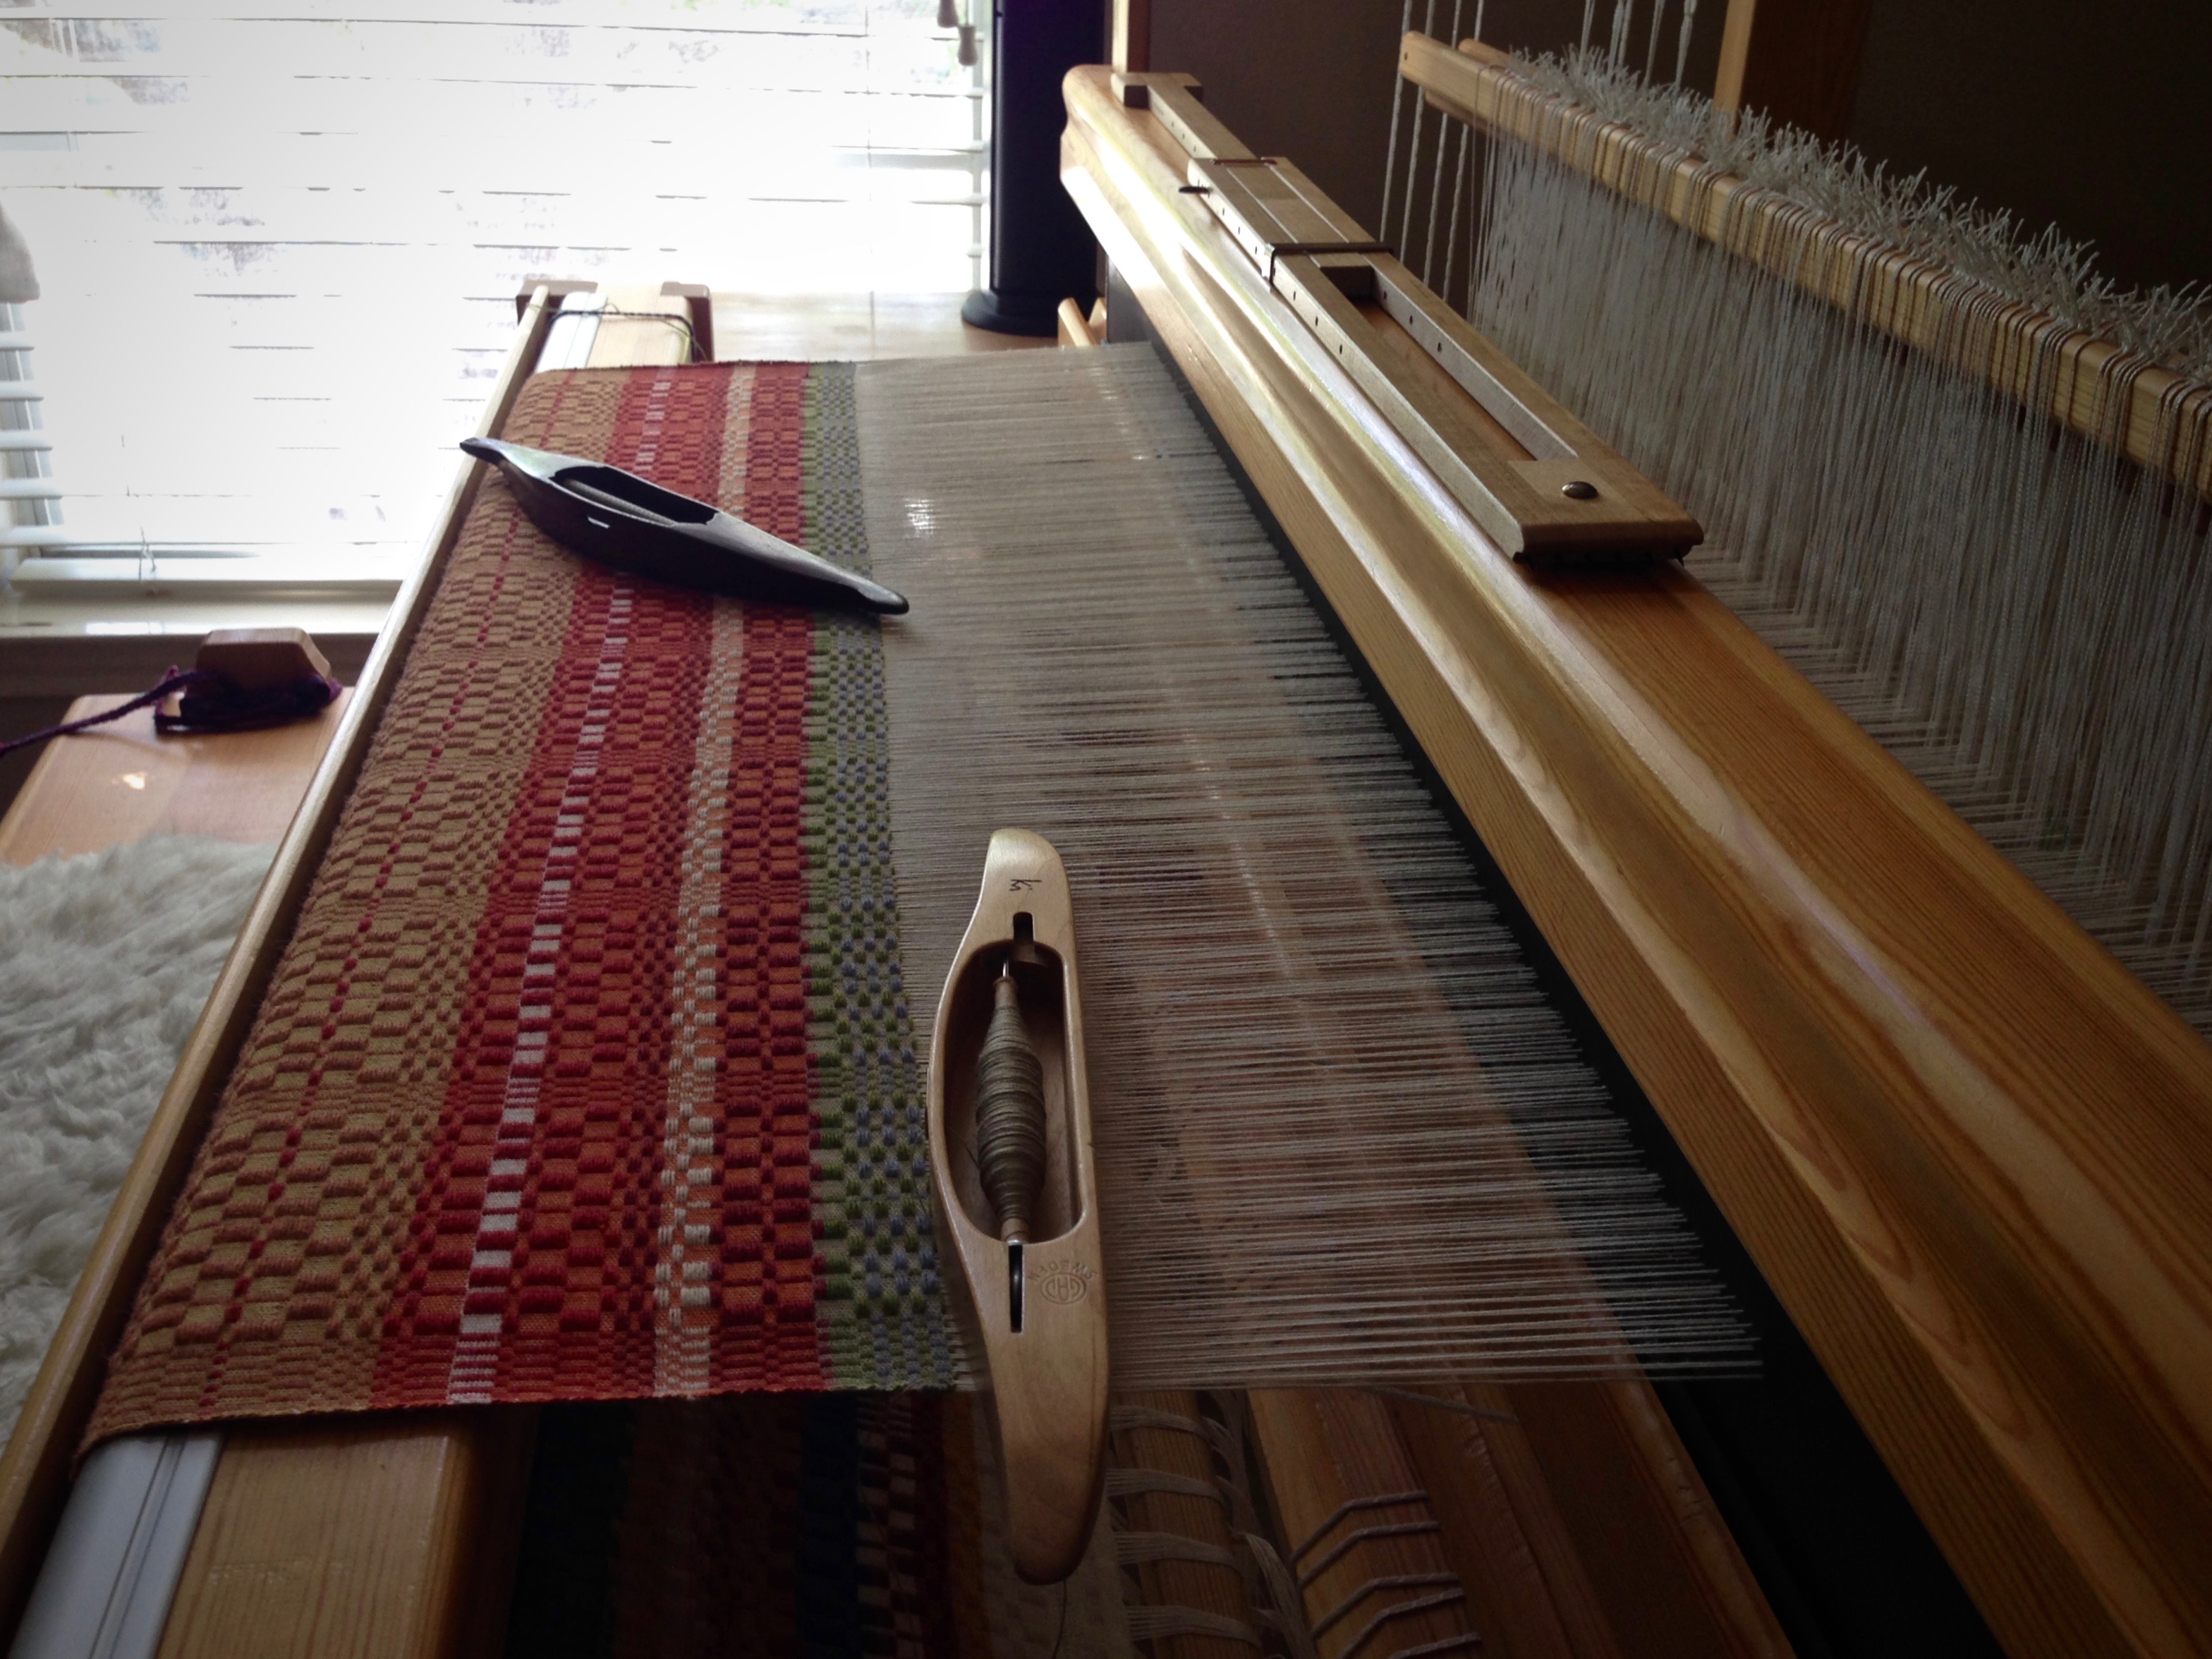
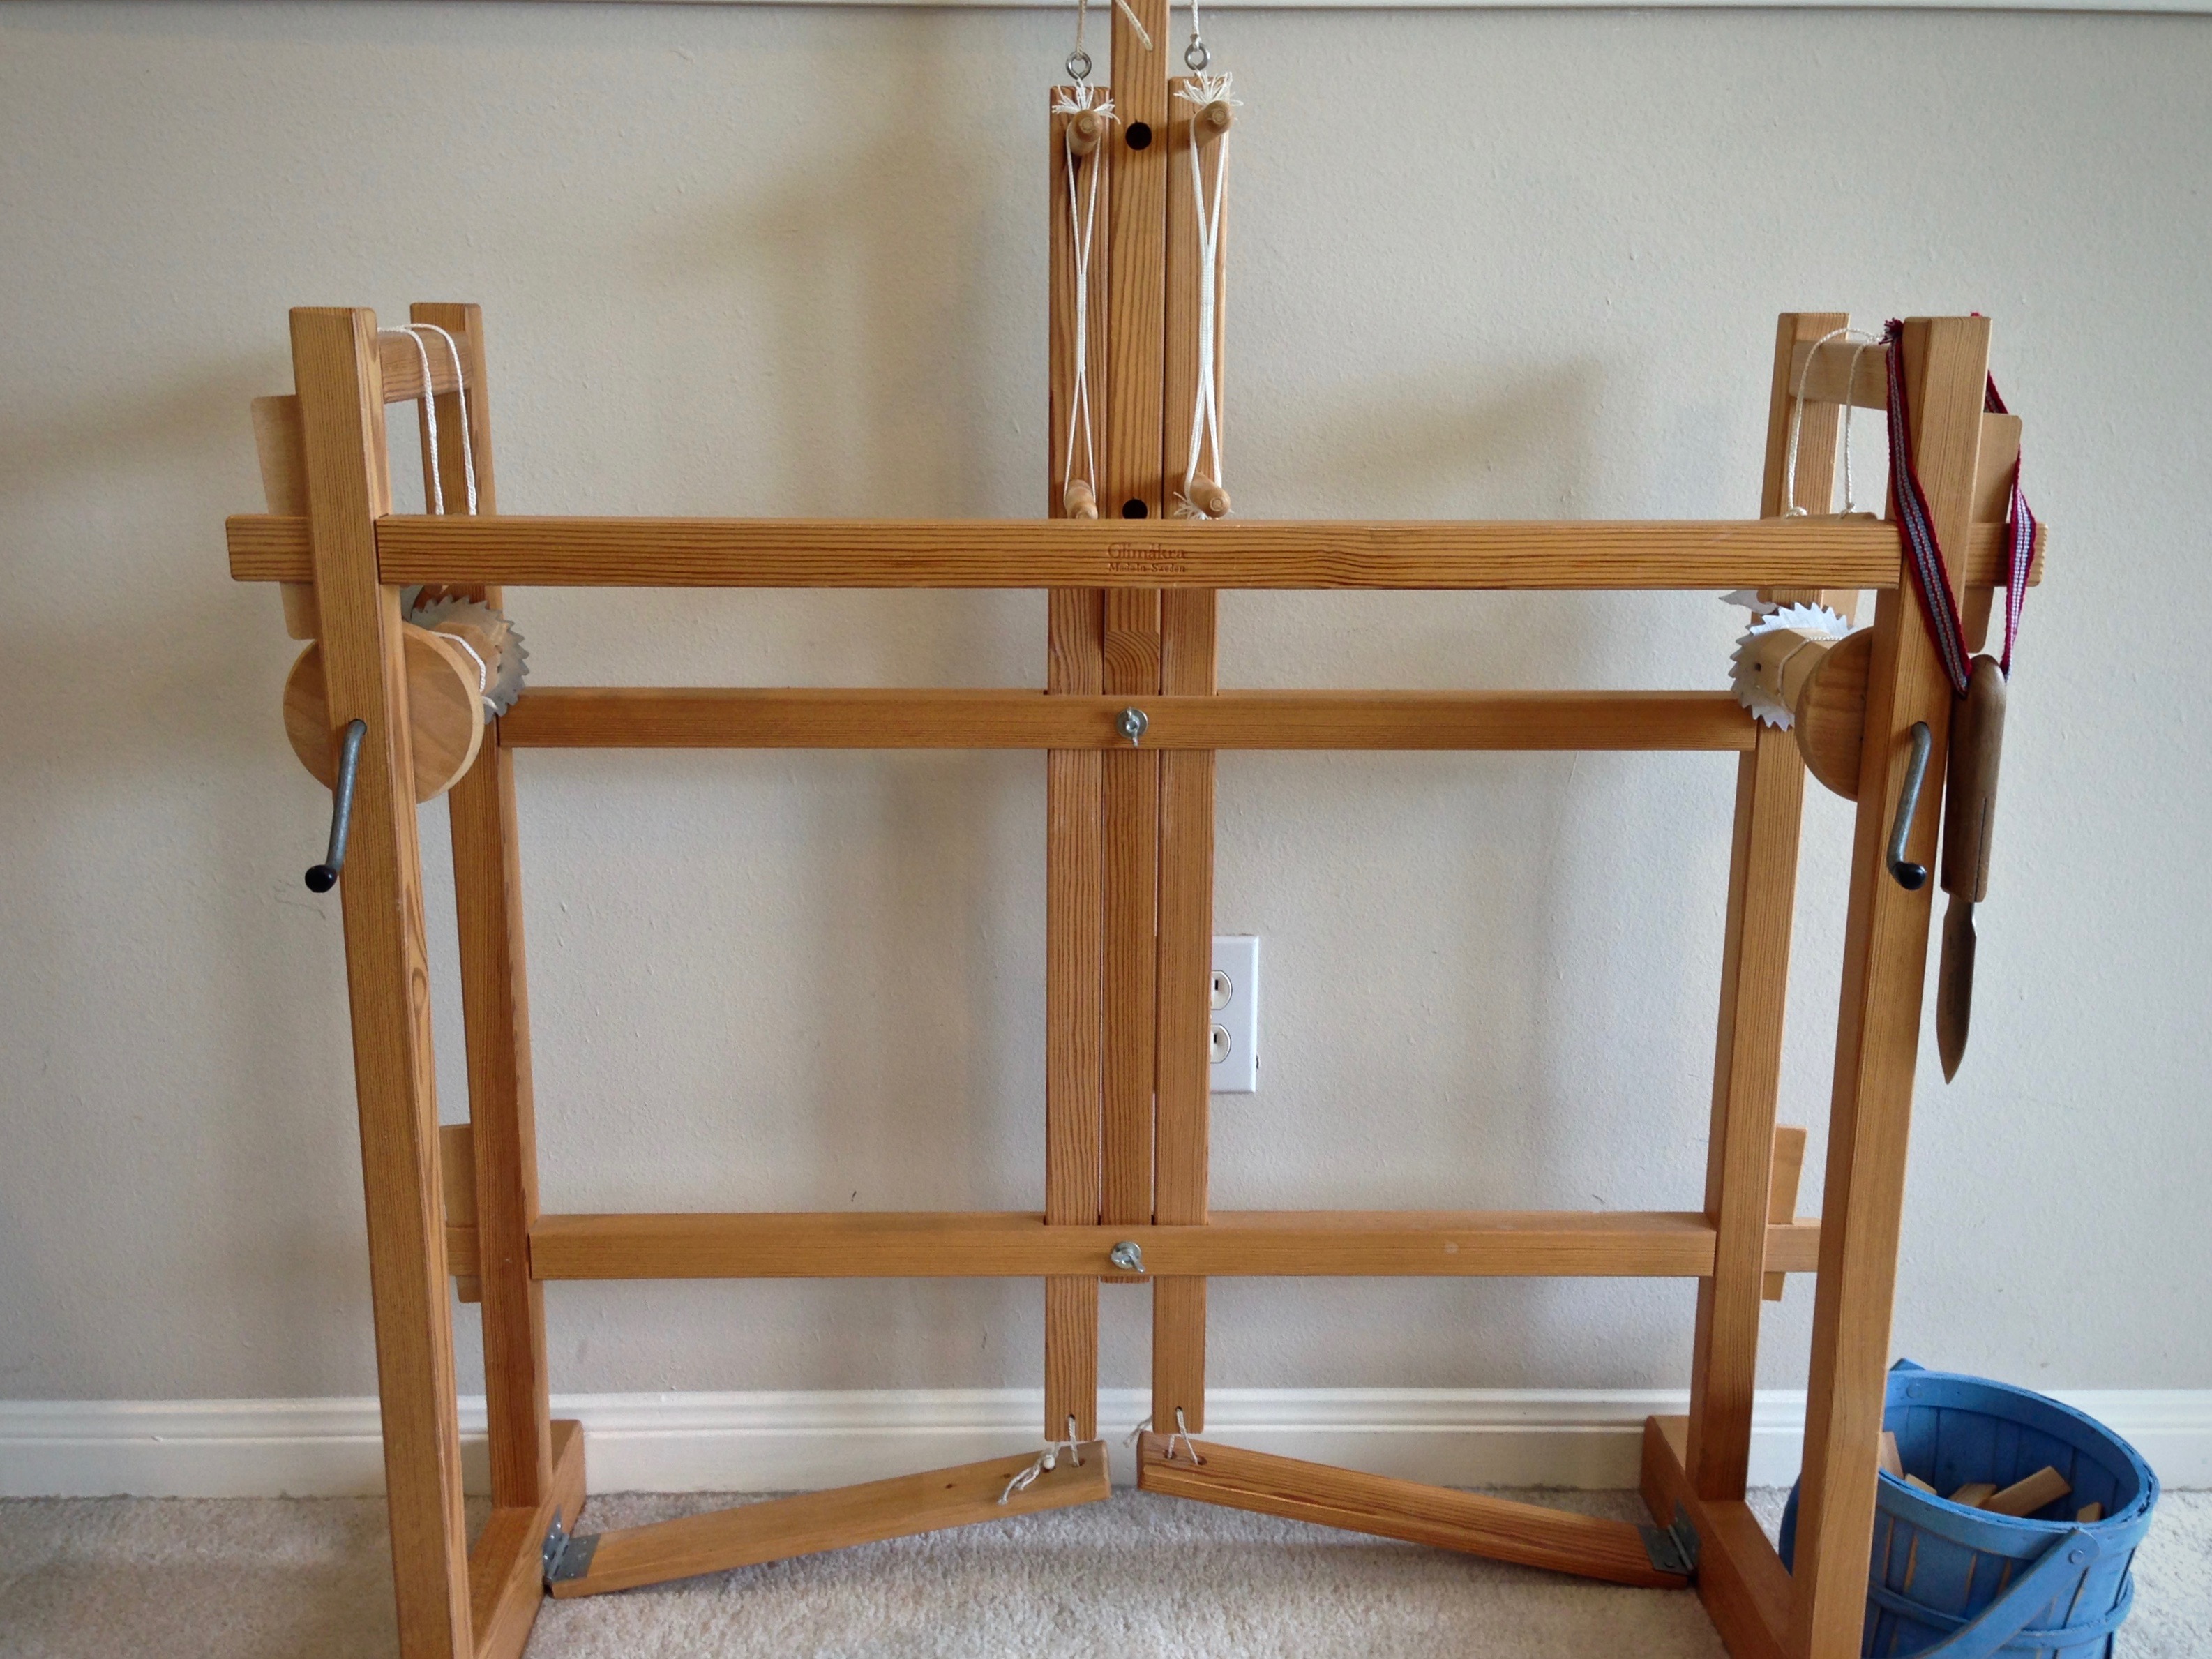
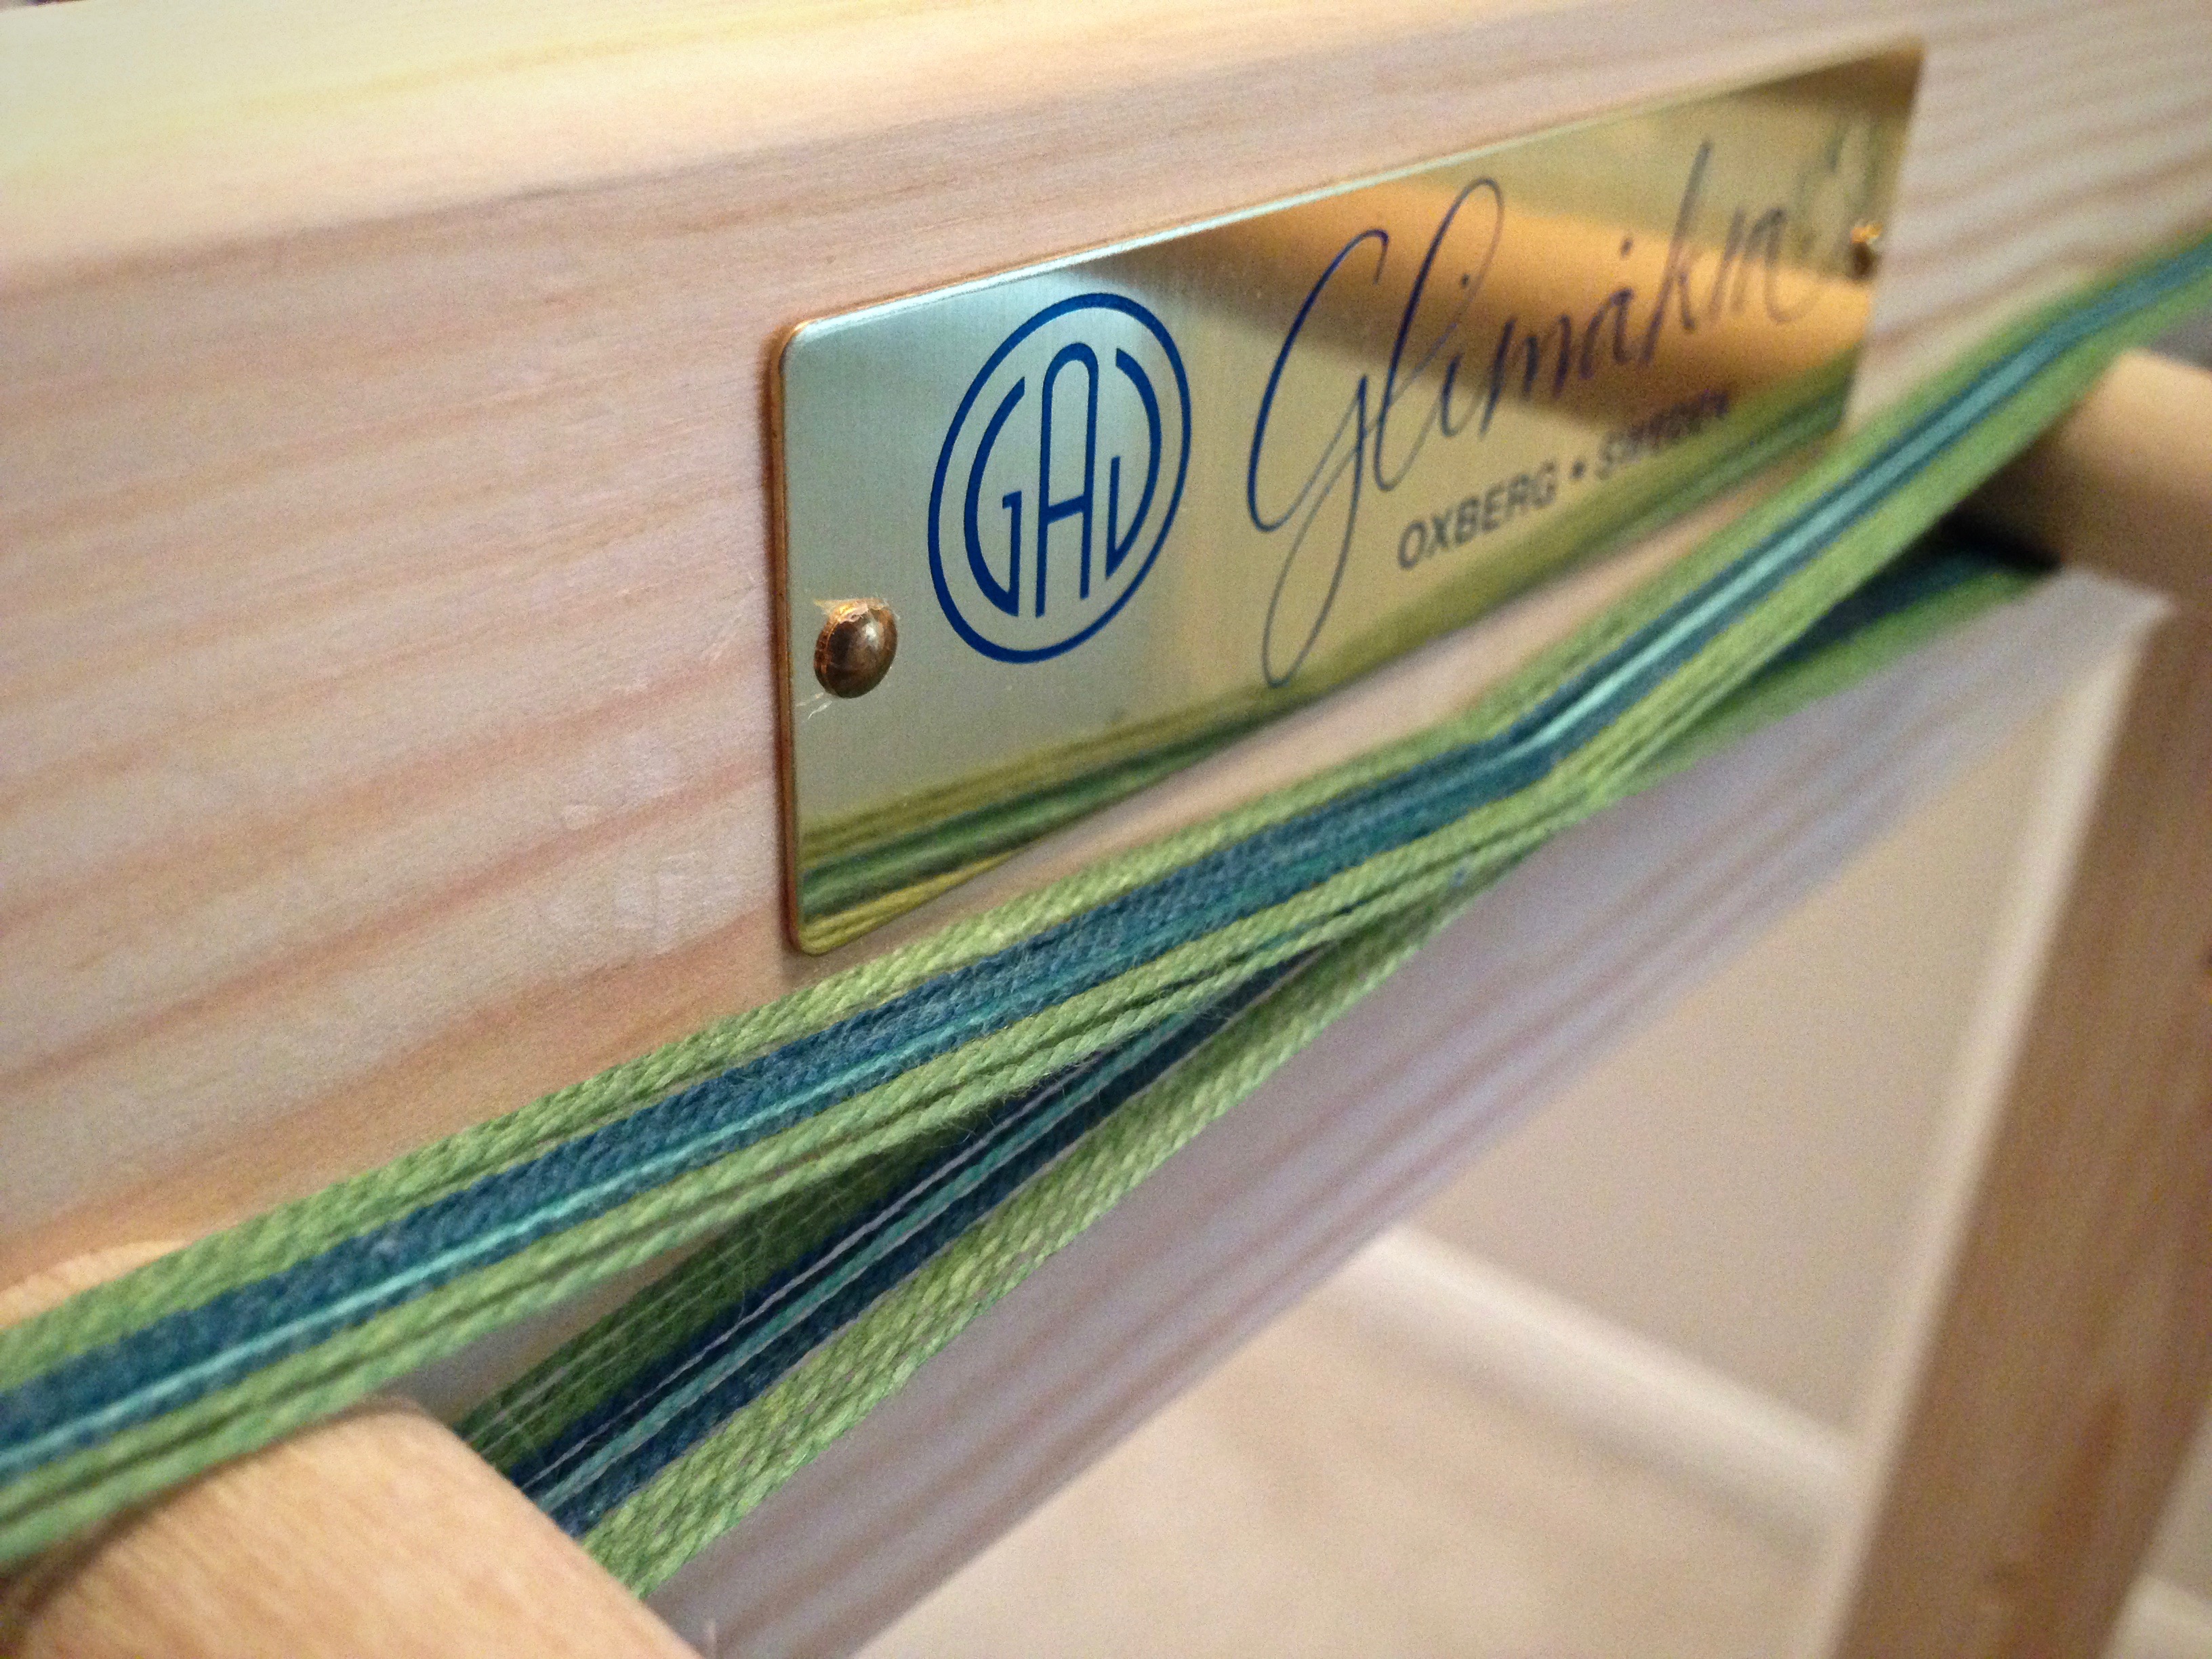
My two-treadle Glimåkra band loom is called into action. I don’t have to add hanging tabs for the towels that I am weaving on the Ideal loom. But I want to. A little band weaving here and there, and I will have this special detail ready for the towels when they come off the loom. (Watch me weave on the band loom in the video below.)
How I Warp the Band Loom:
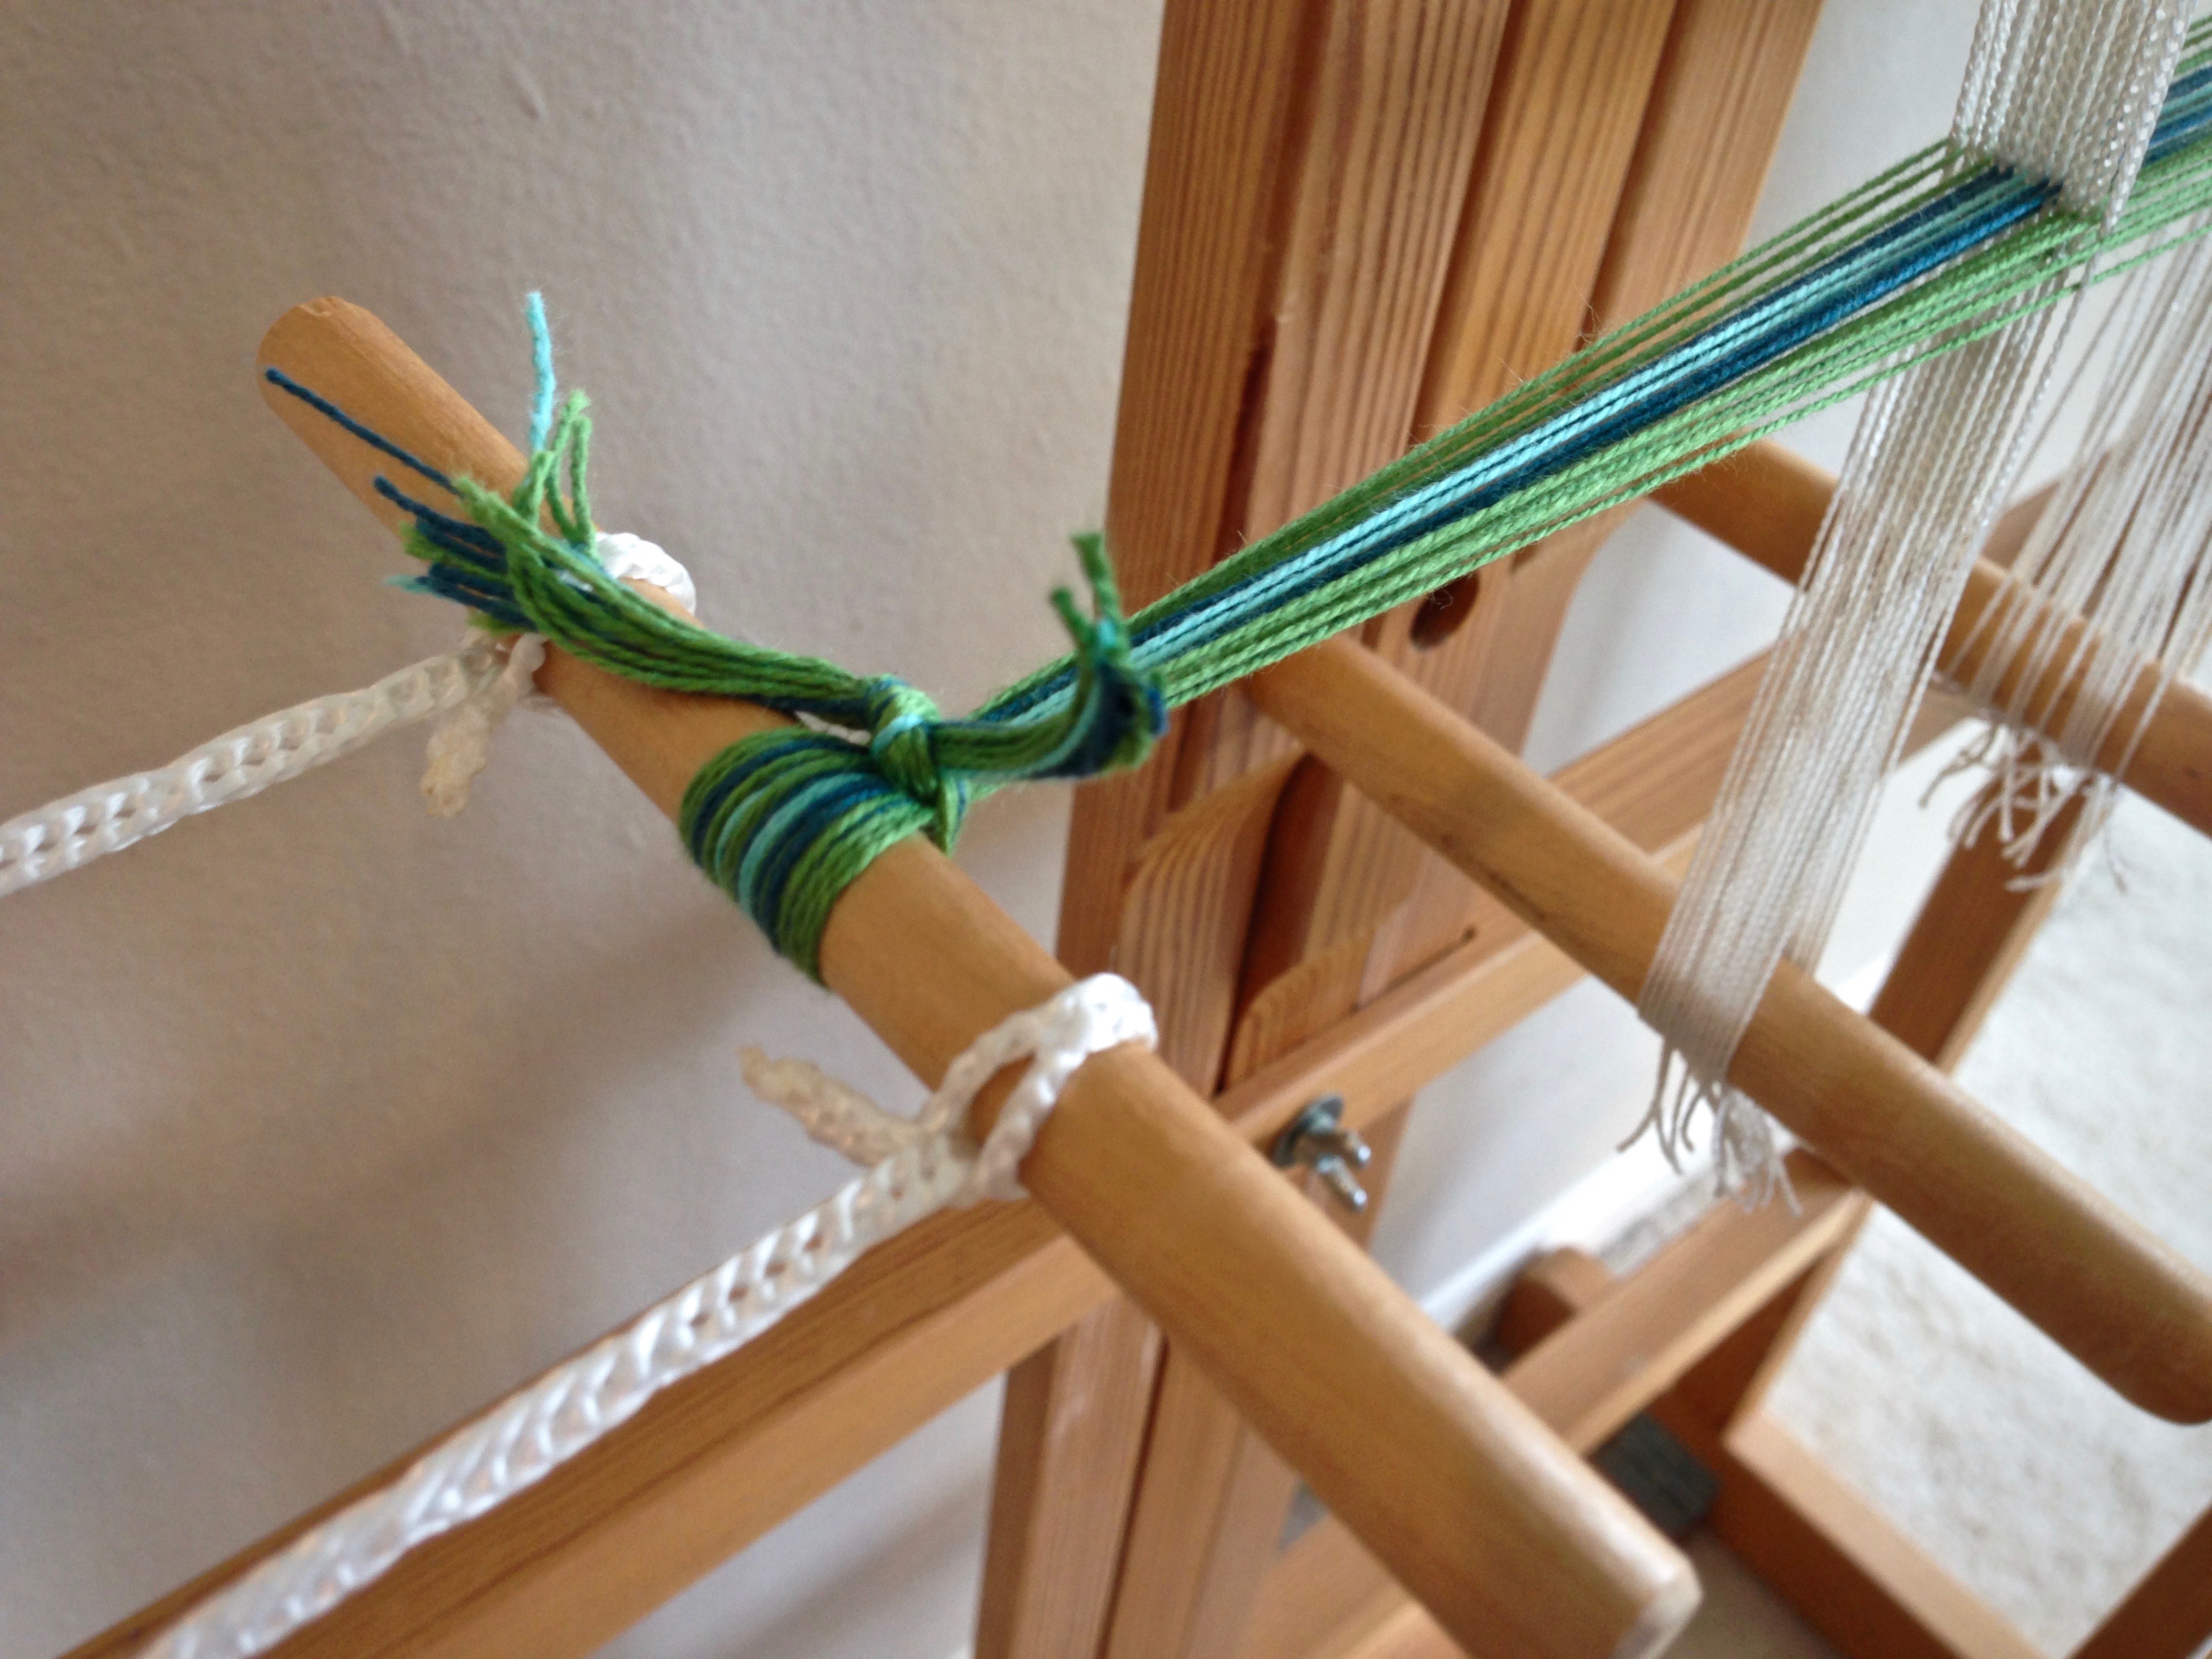
- Wind a narrow warp. Tie the lease cross. For a long warp, tie a choke tie about every meter.
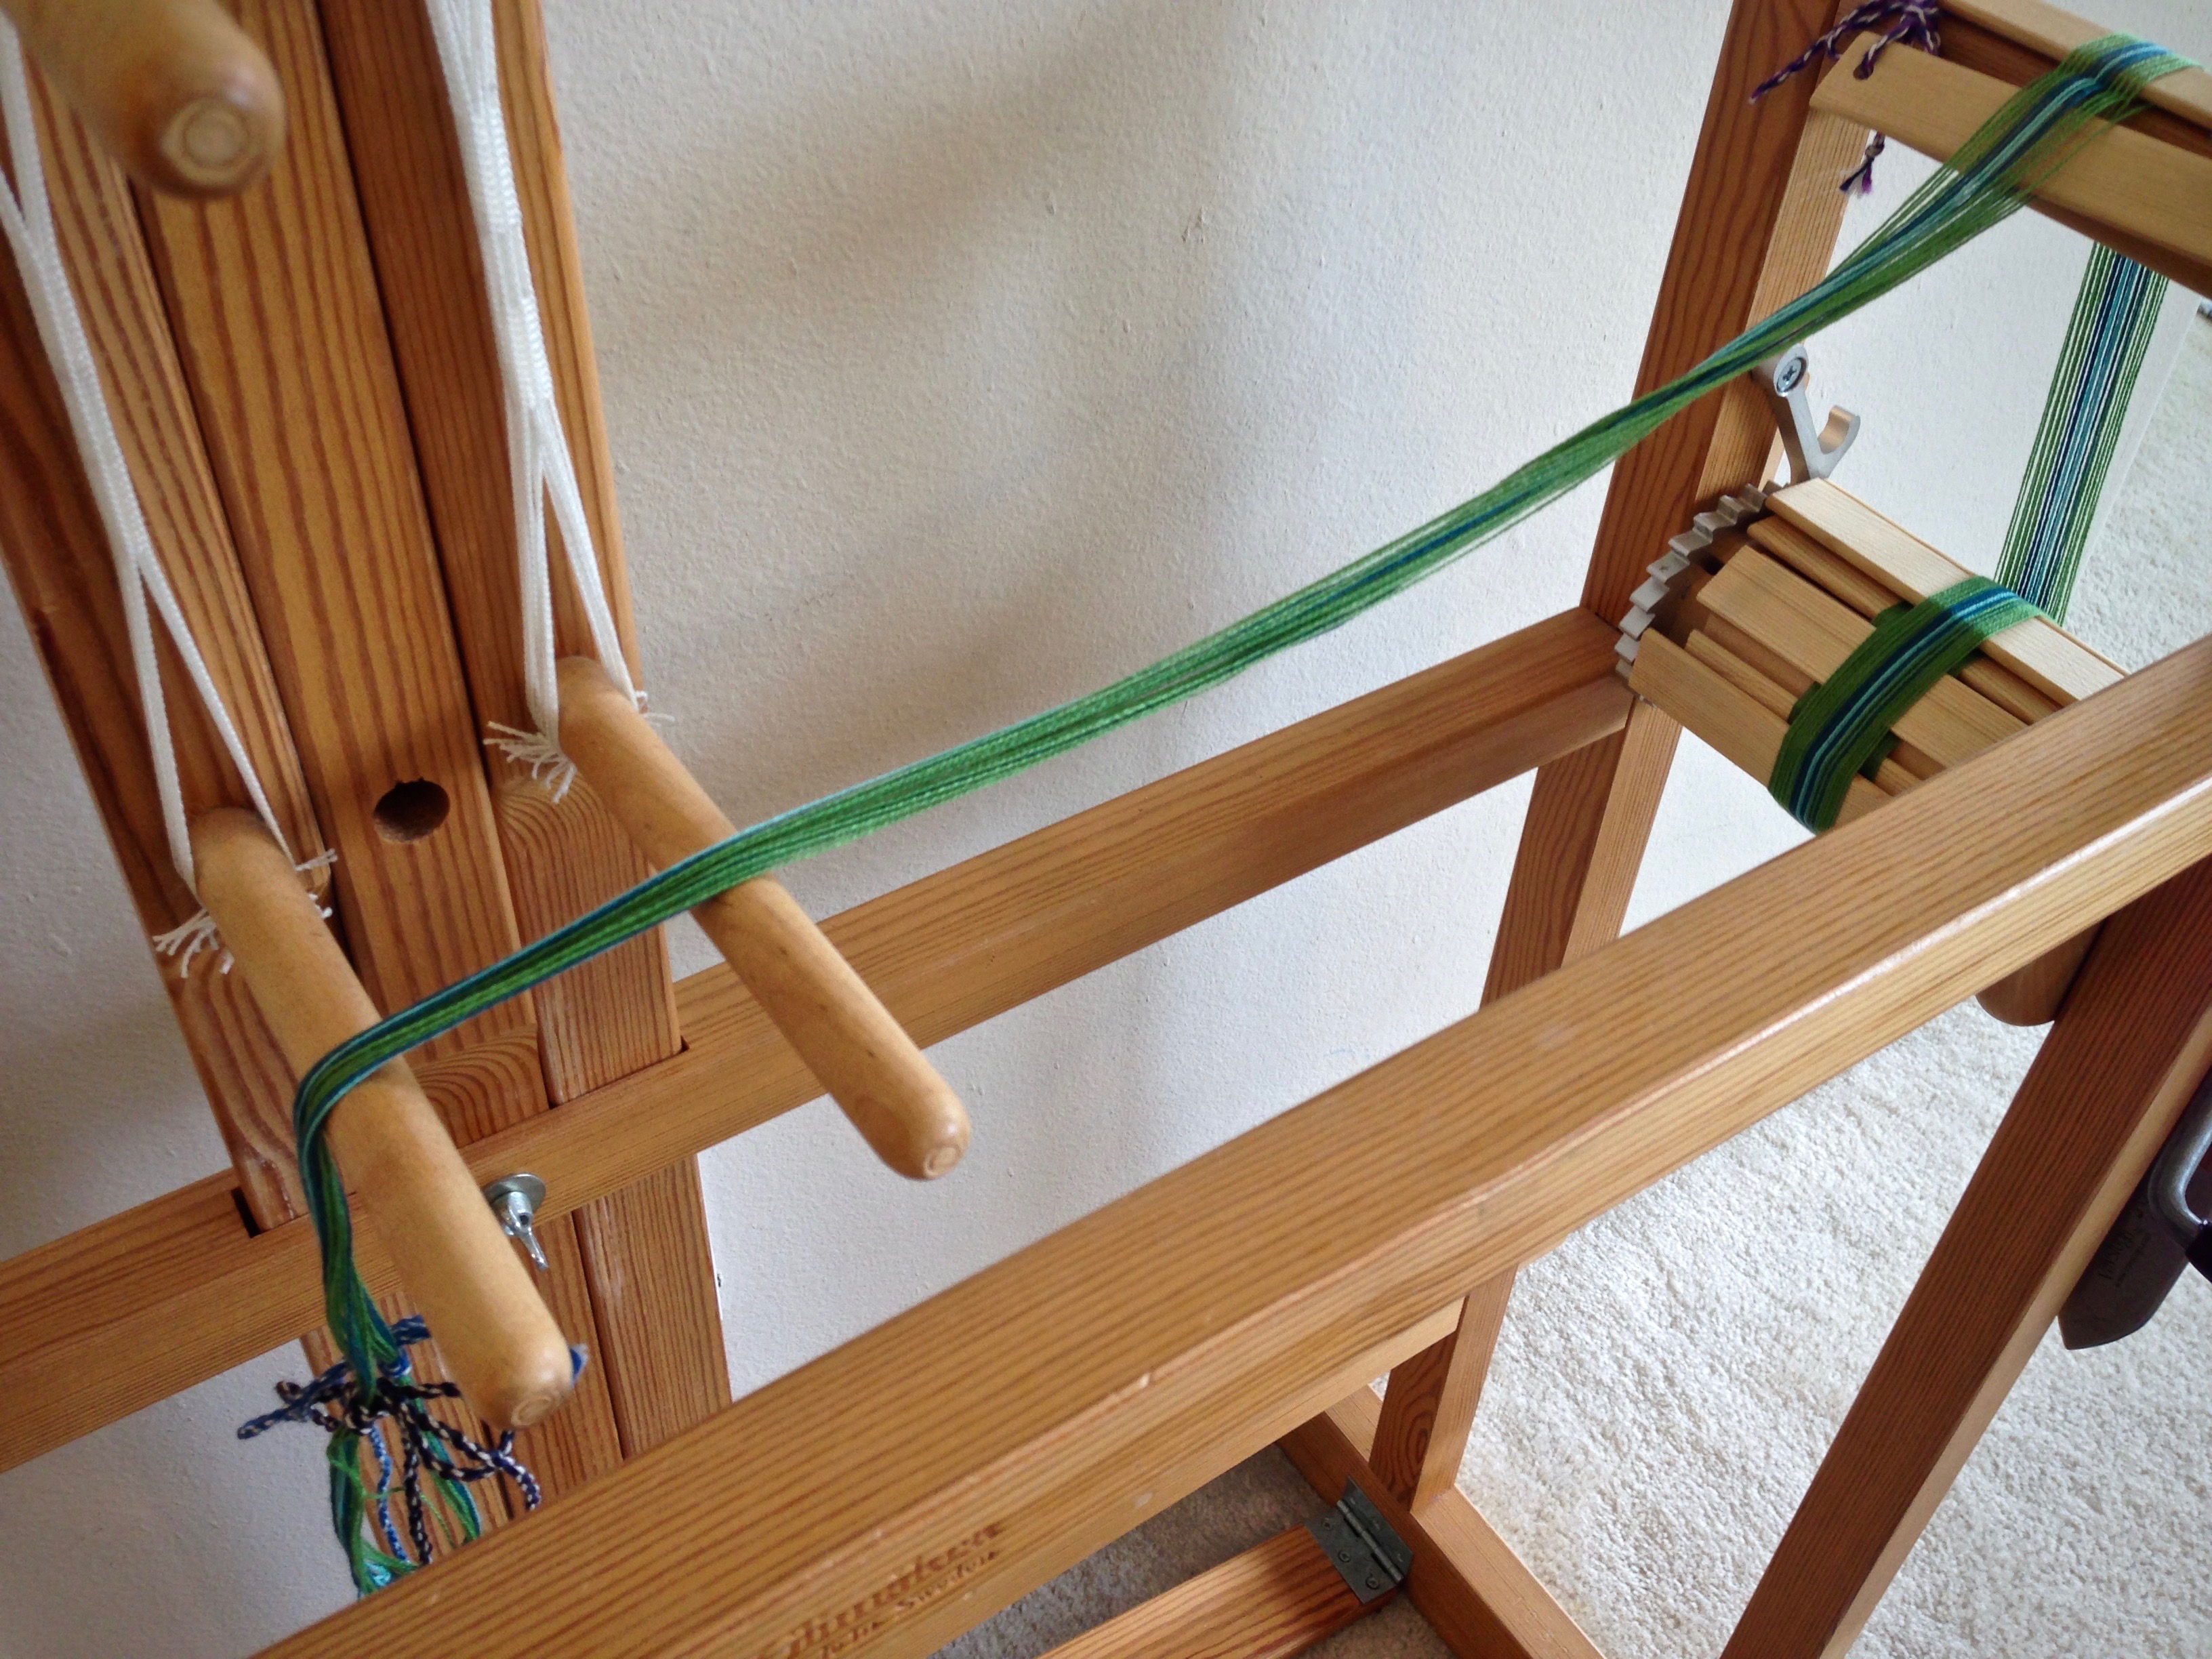
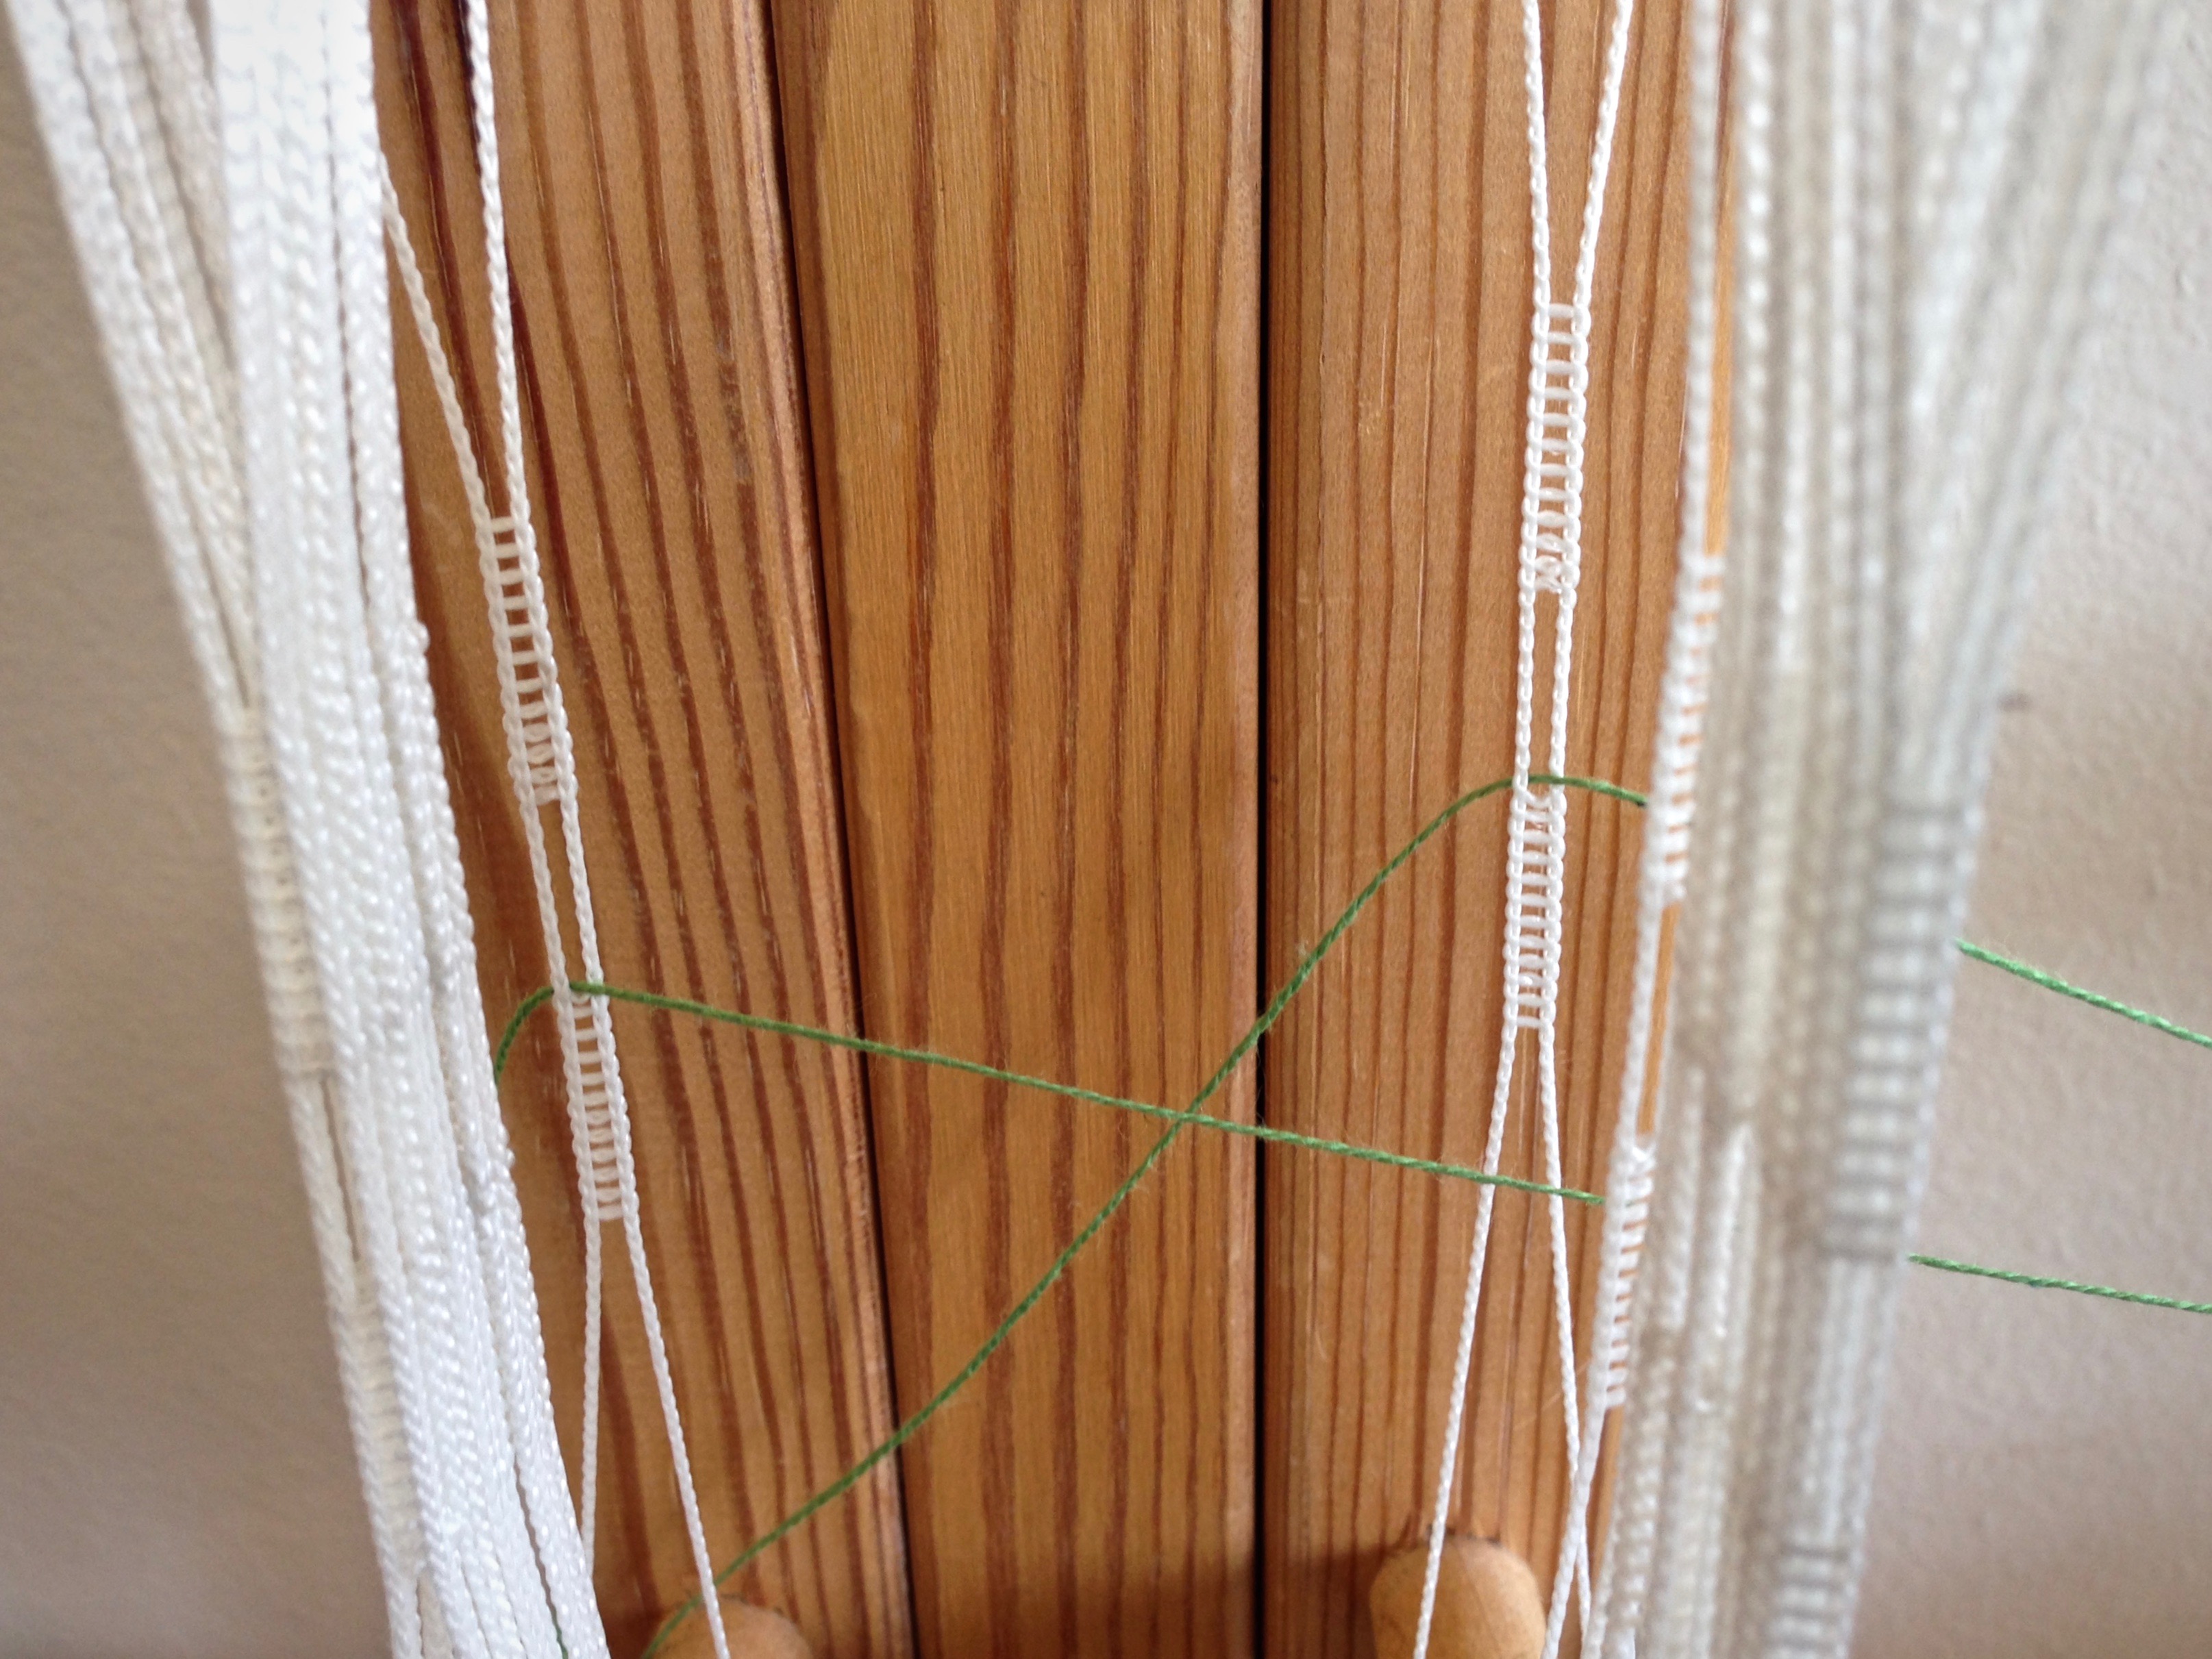
- Put the end loop of the warp on the warp beam tie-on bar. Insert lease sticks in the cross. Tie the sticks together; or tape them together with masking tape.
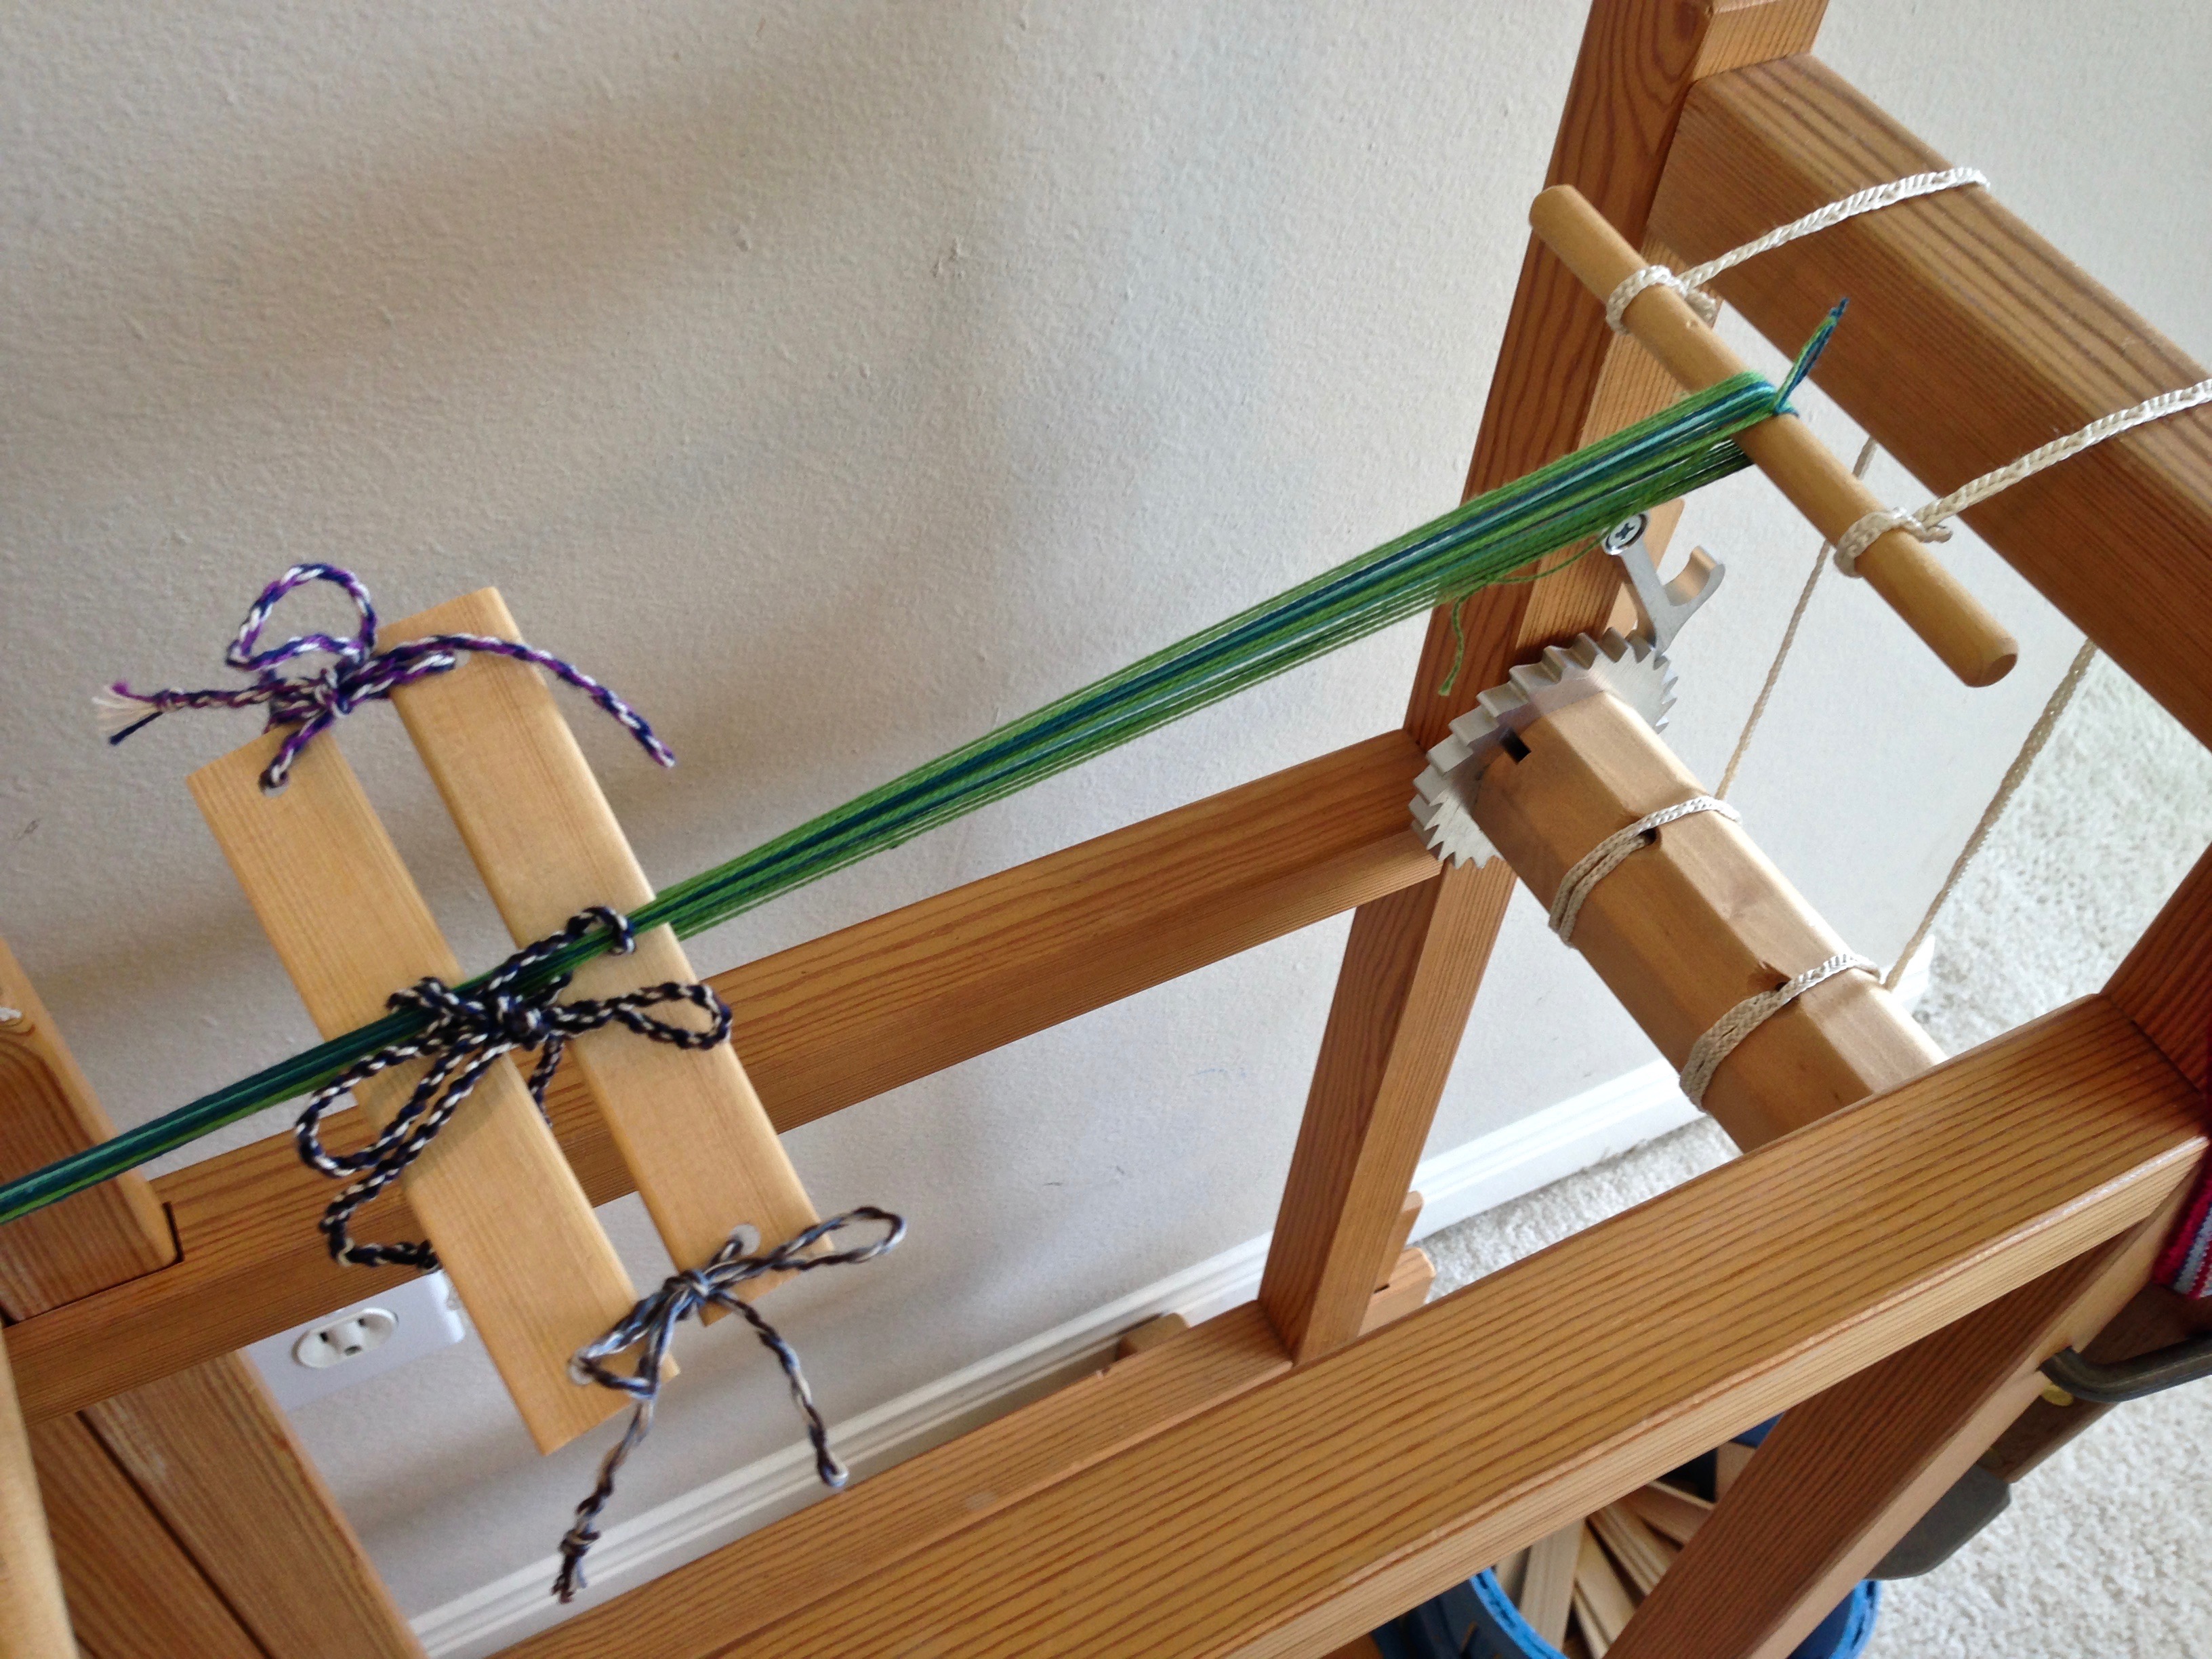
- Remove tie around lease cross. Hold the warp taut with the left hand while winding on with the right hand. Insert warping slats around the beam the first time around, and then every other time around after that.
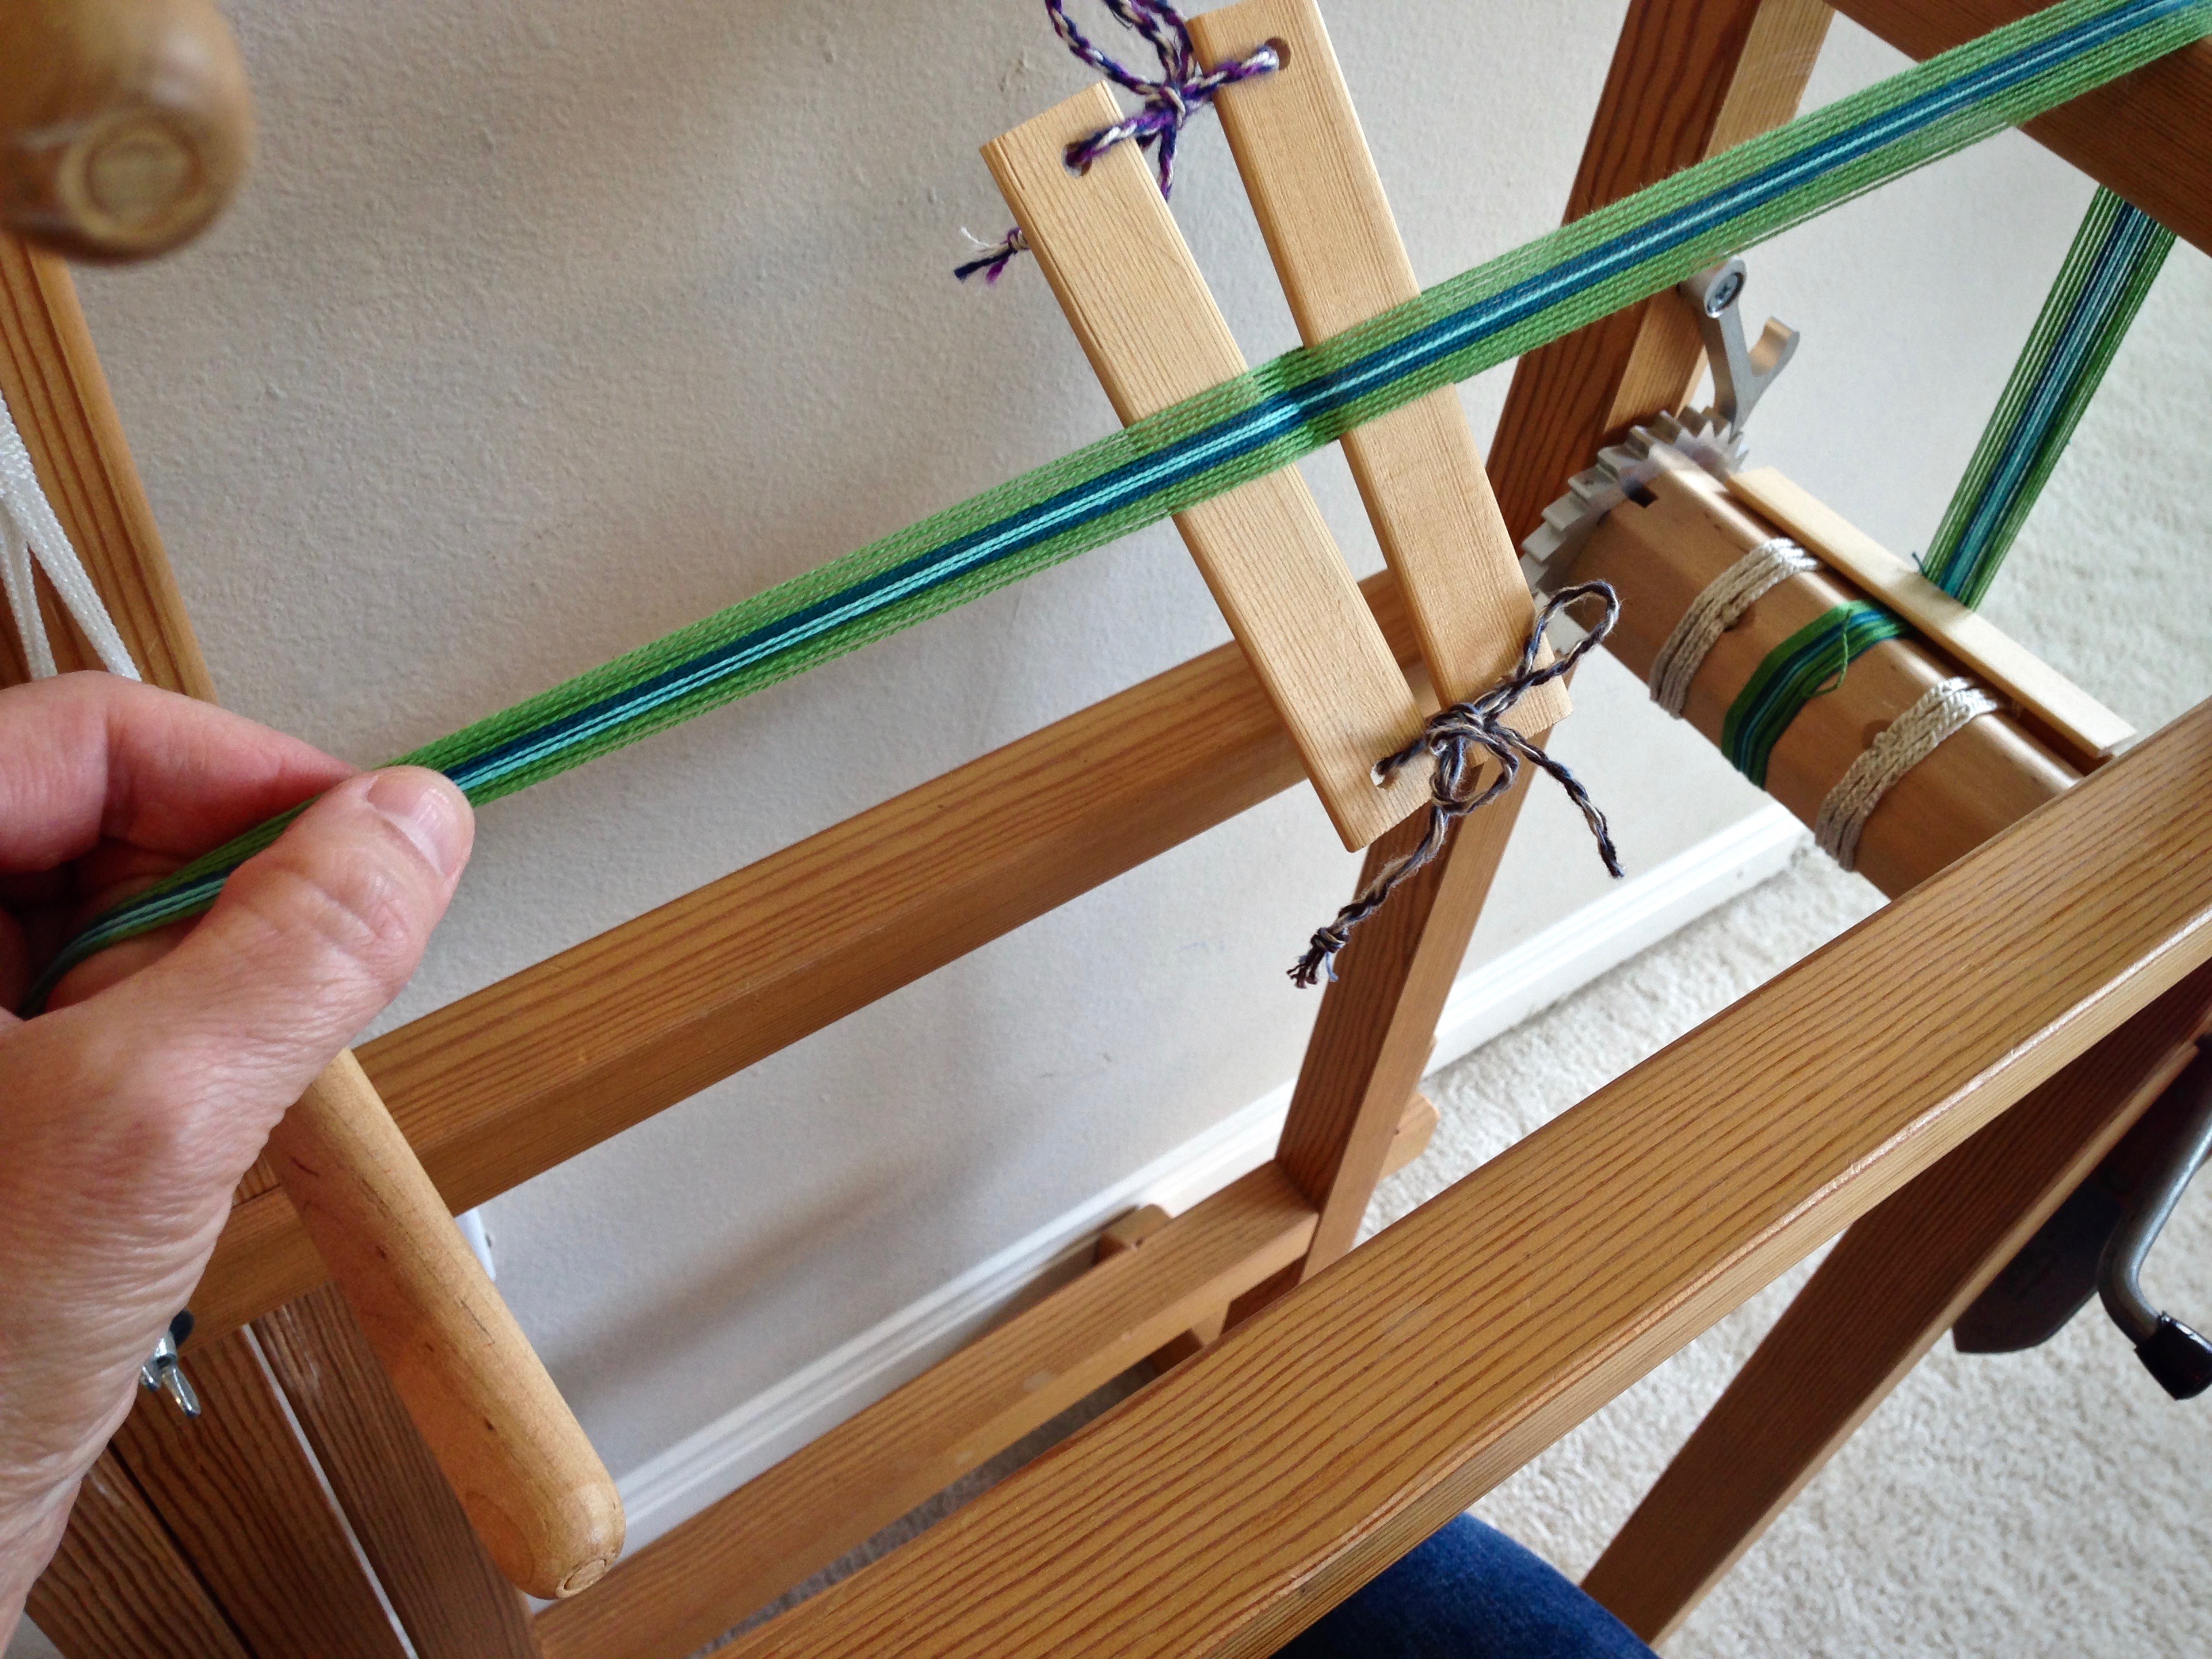
- Wind on until the beginning of the warp is a few inches in front of the heddles.
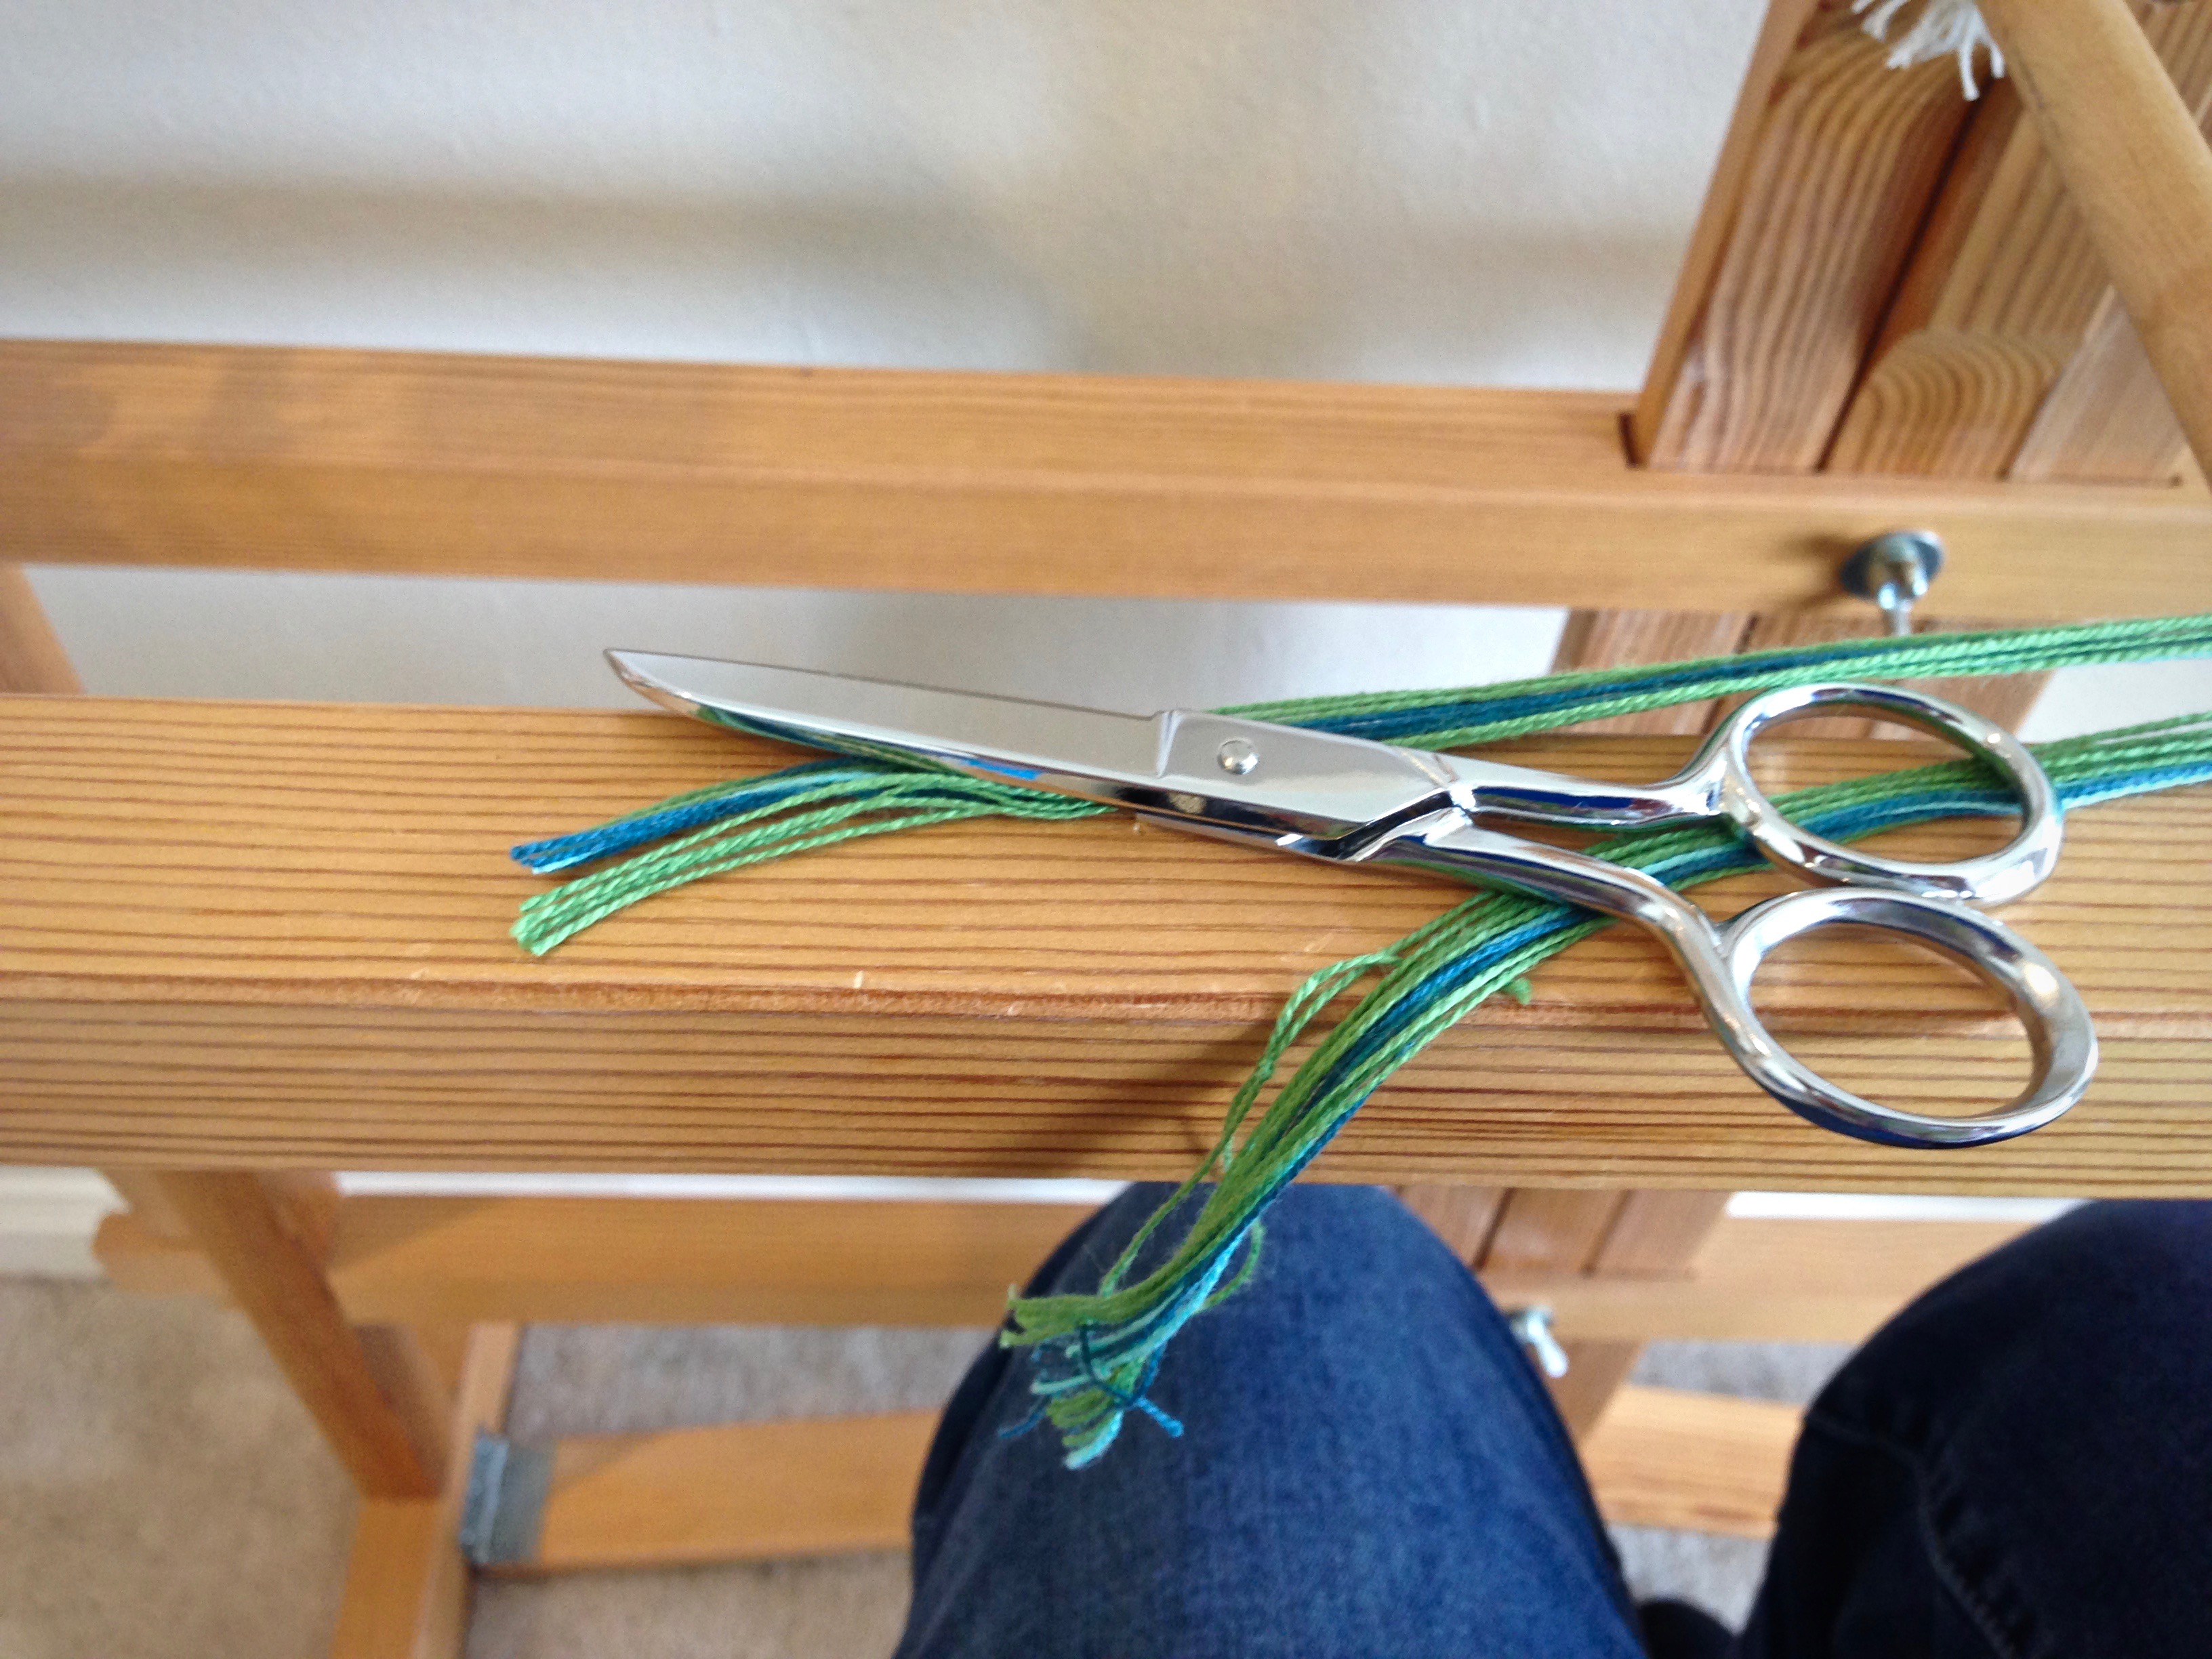
- Tie or tape the lease sticks to the back beam. Cut the loops at the front end of the warp.
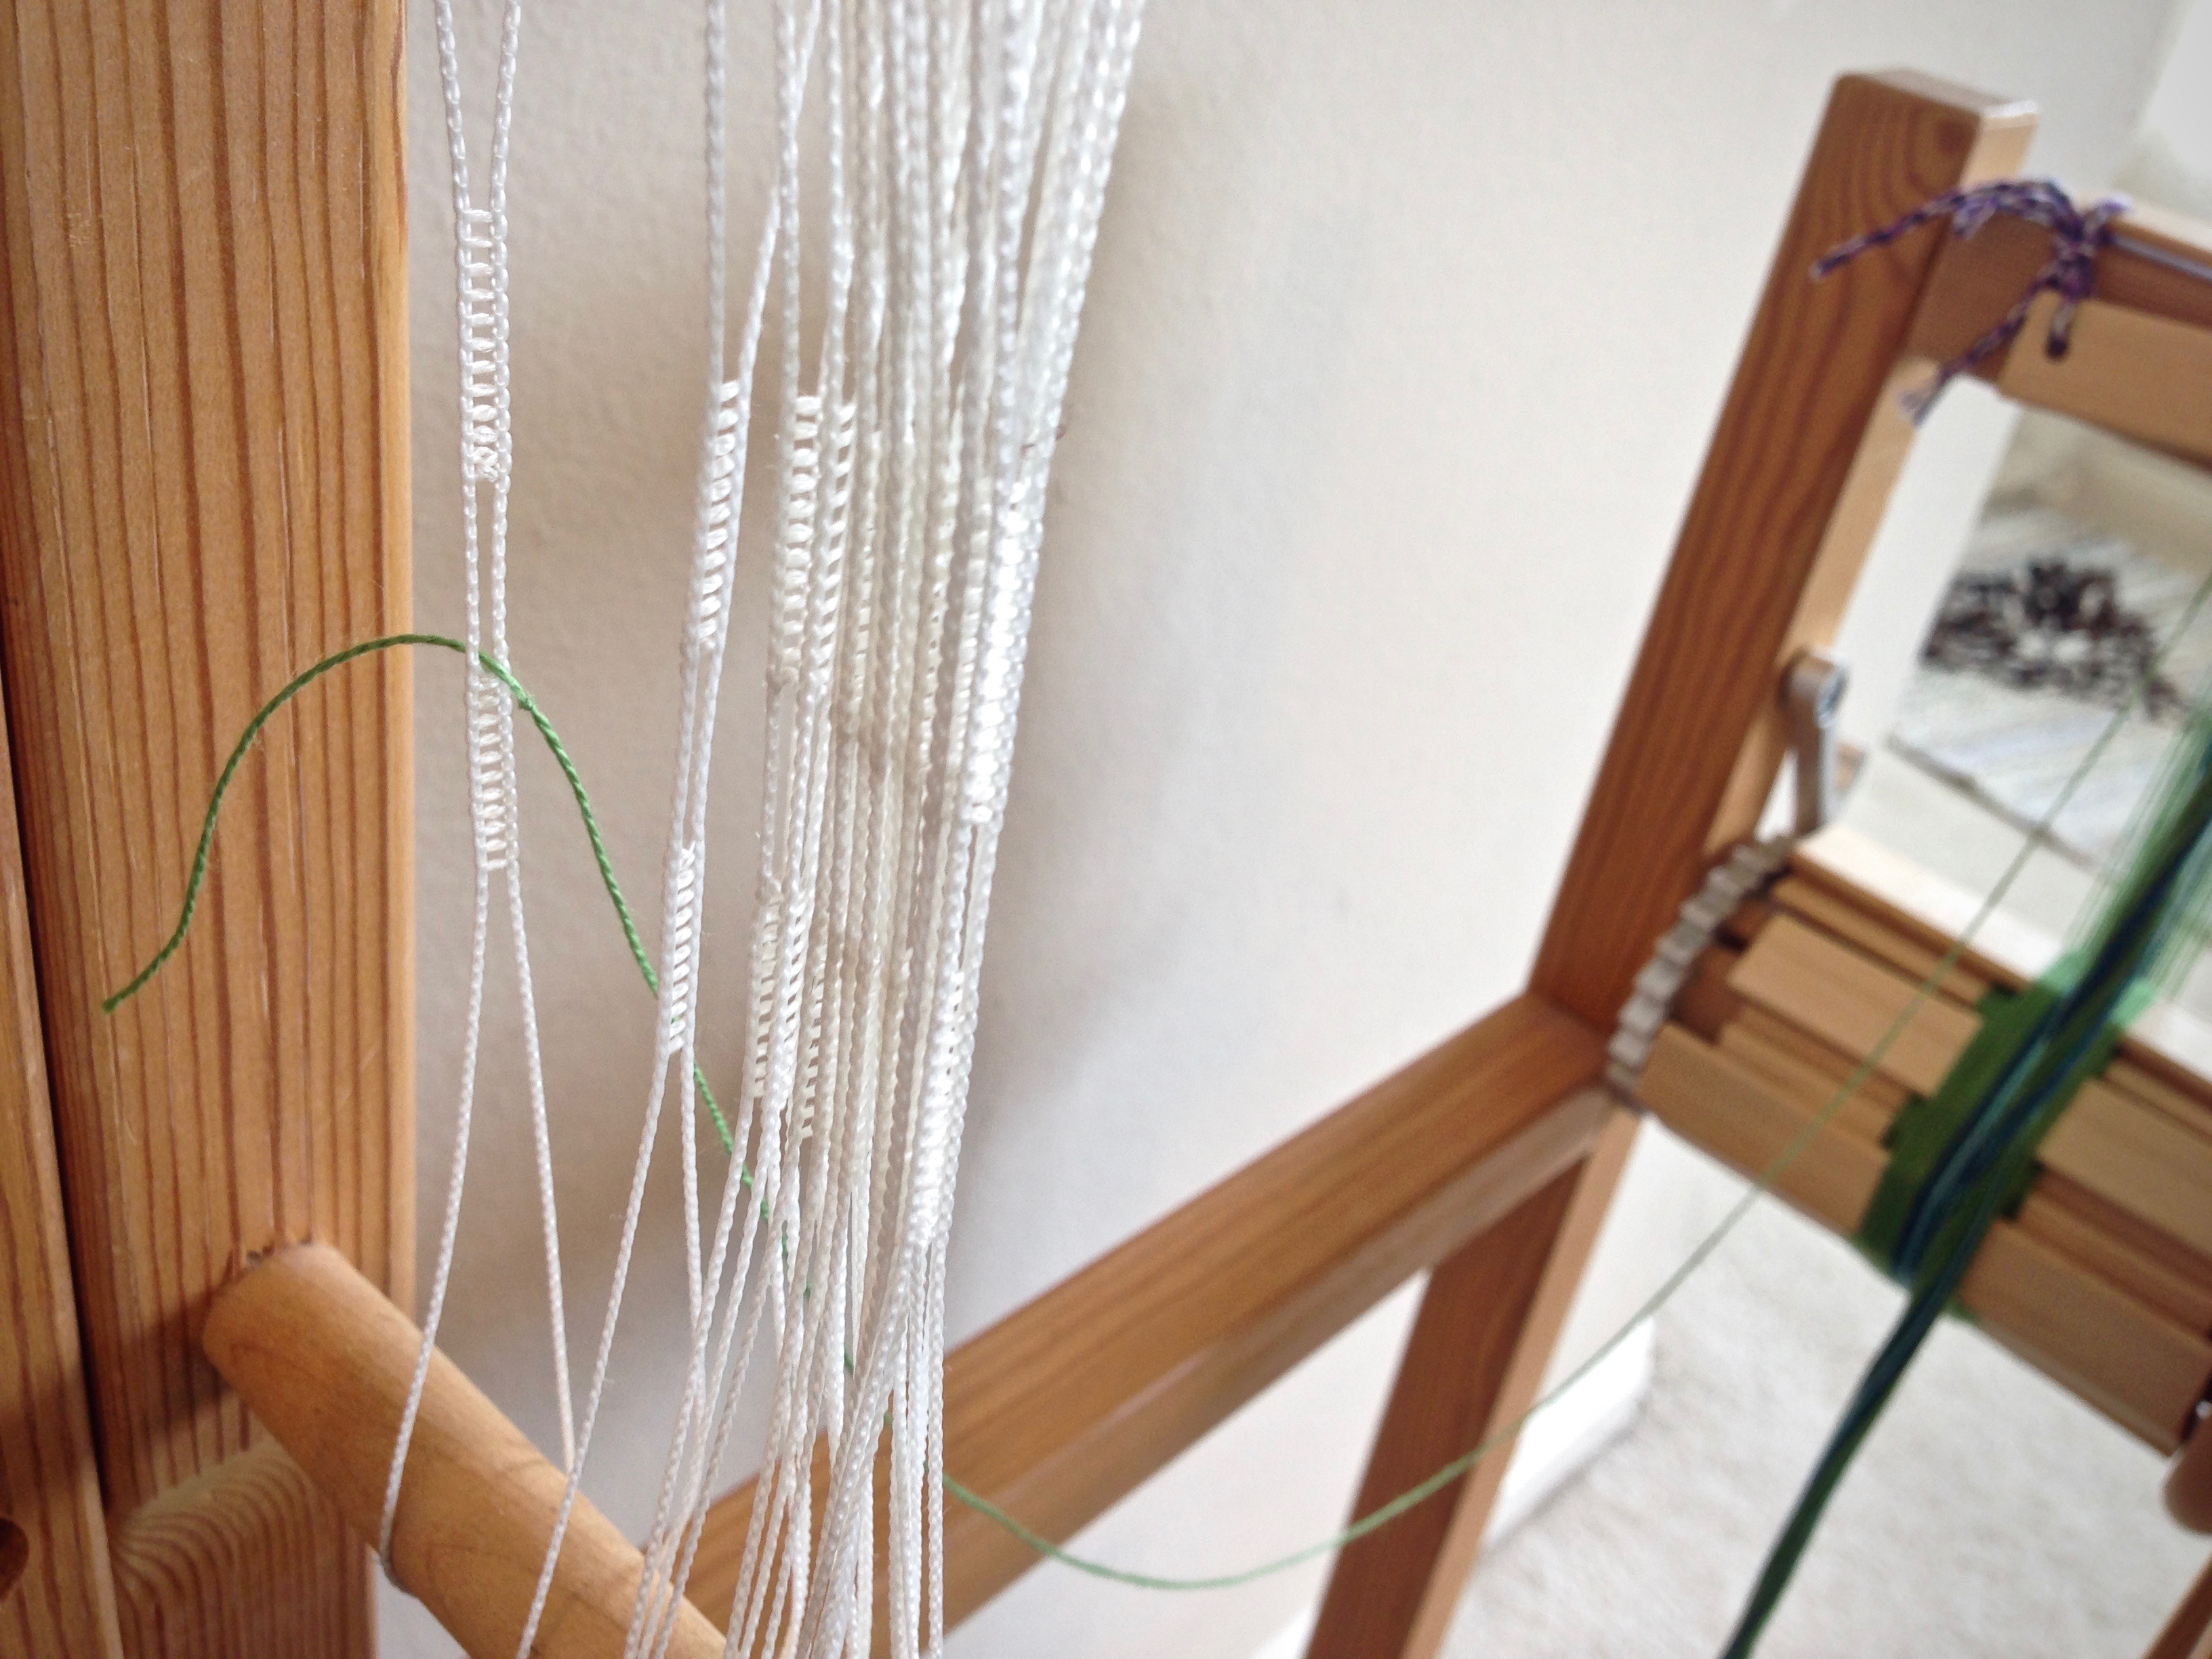
- Thread the heddles, alternating between the heddles on the right and on the left.
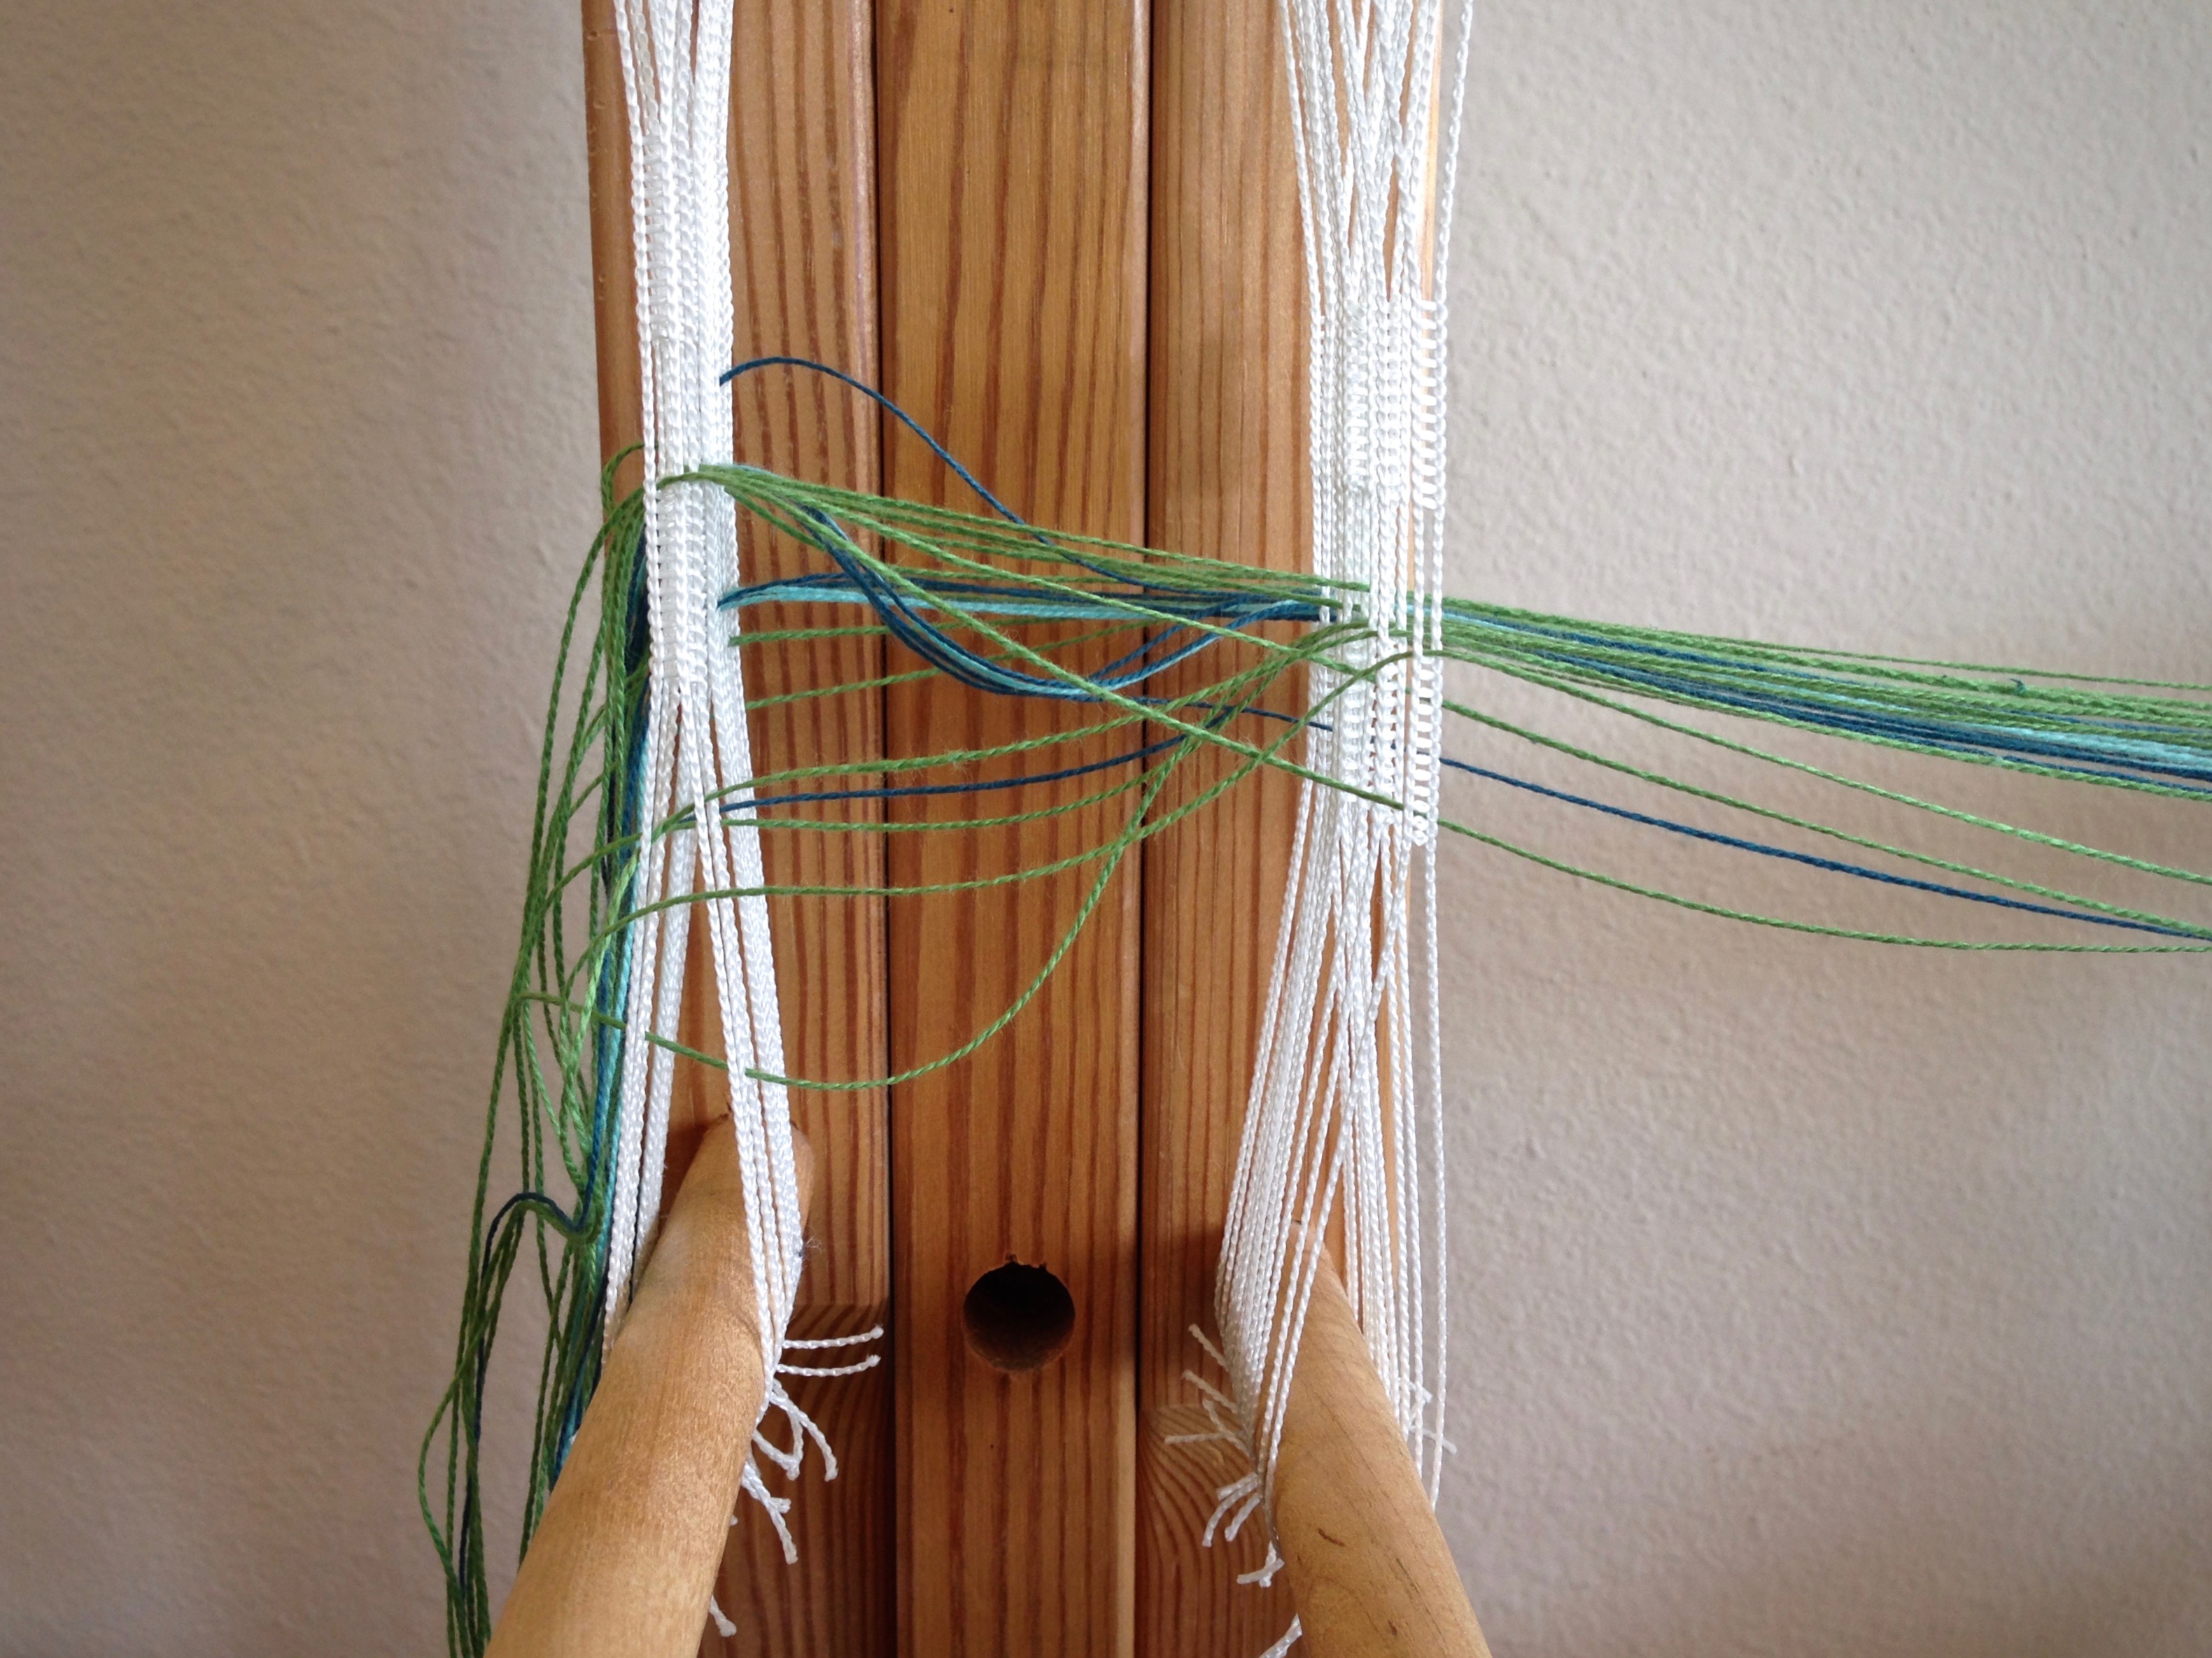
- Hold the warp taut and depress each treadle to check for any crossed threads.

- Tie the warp onto the front tie-on bar.
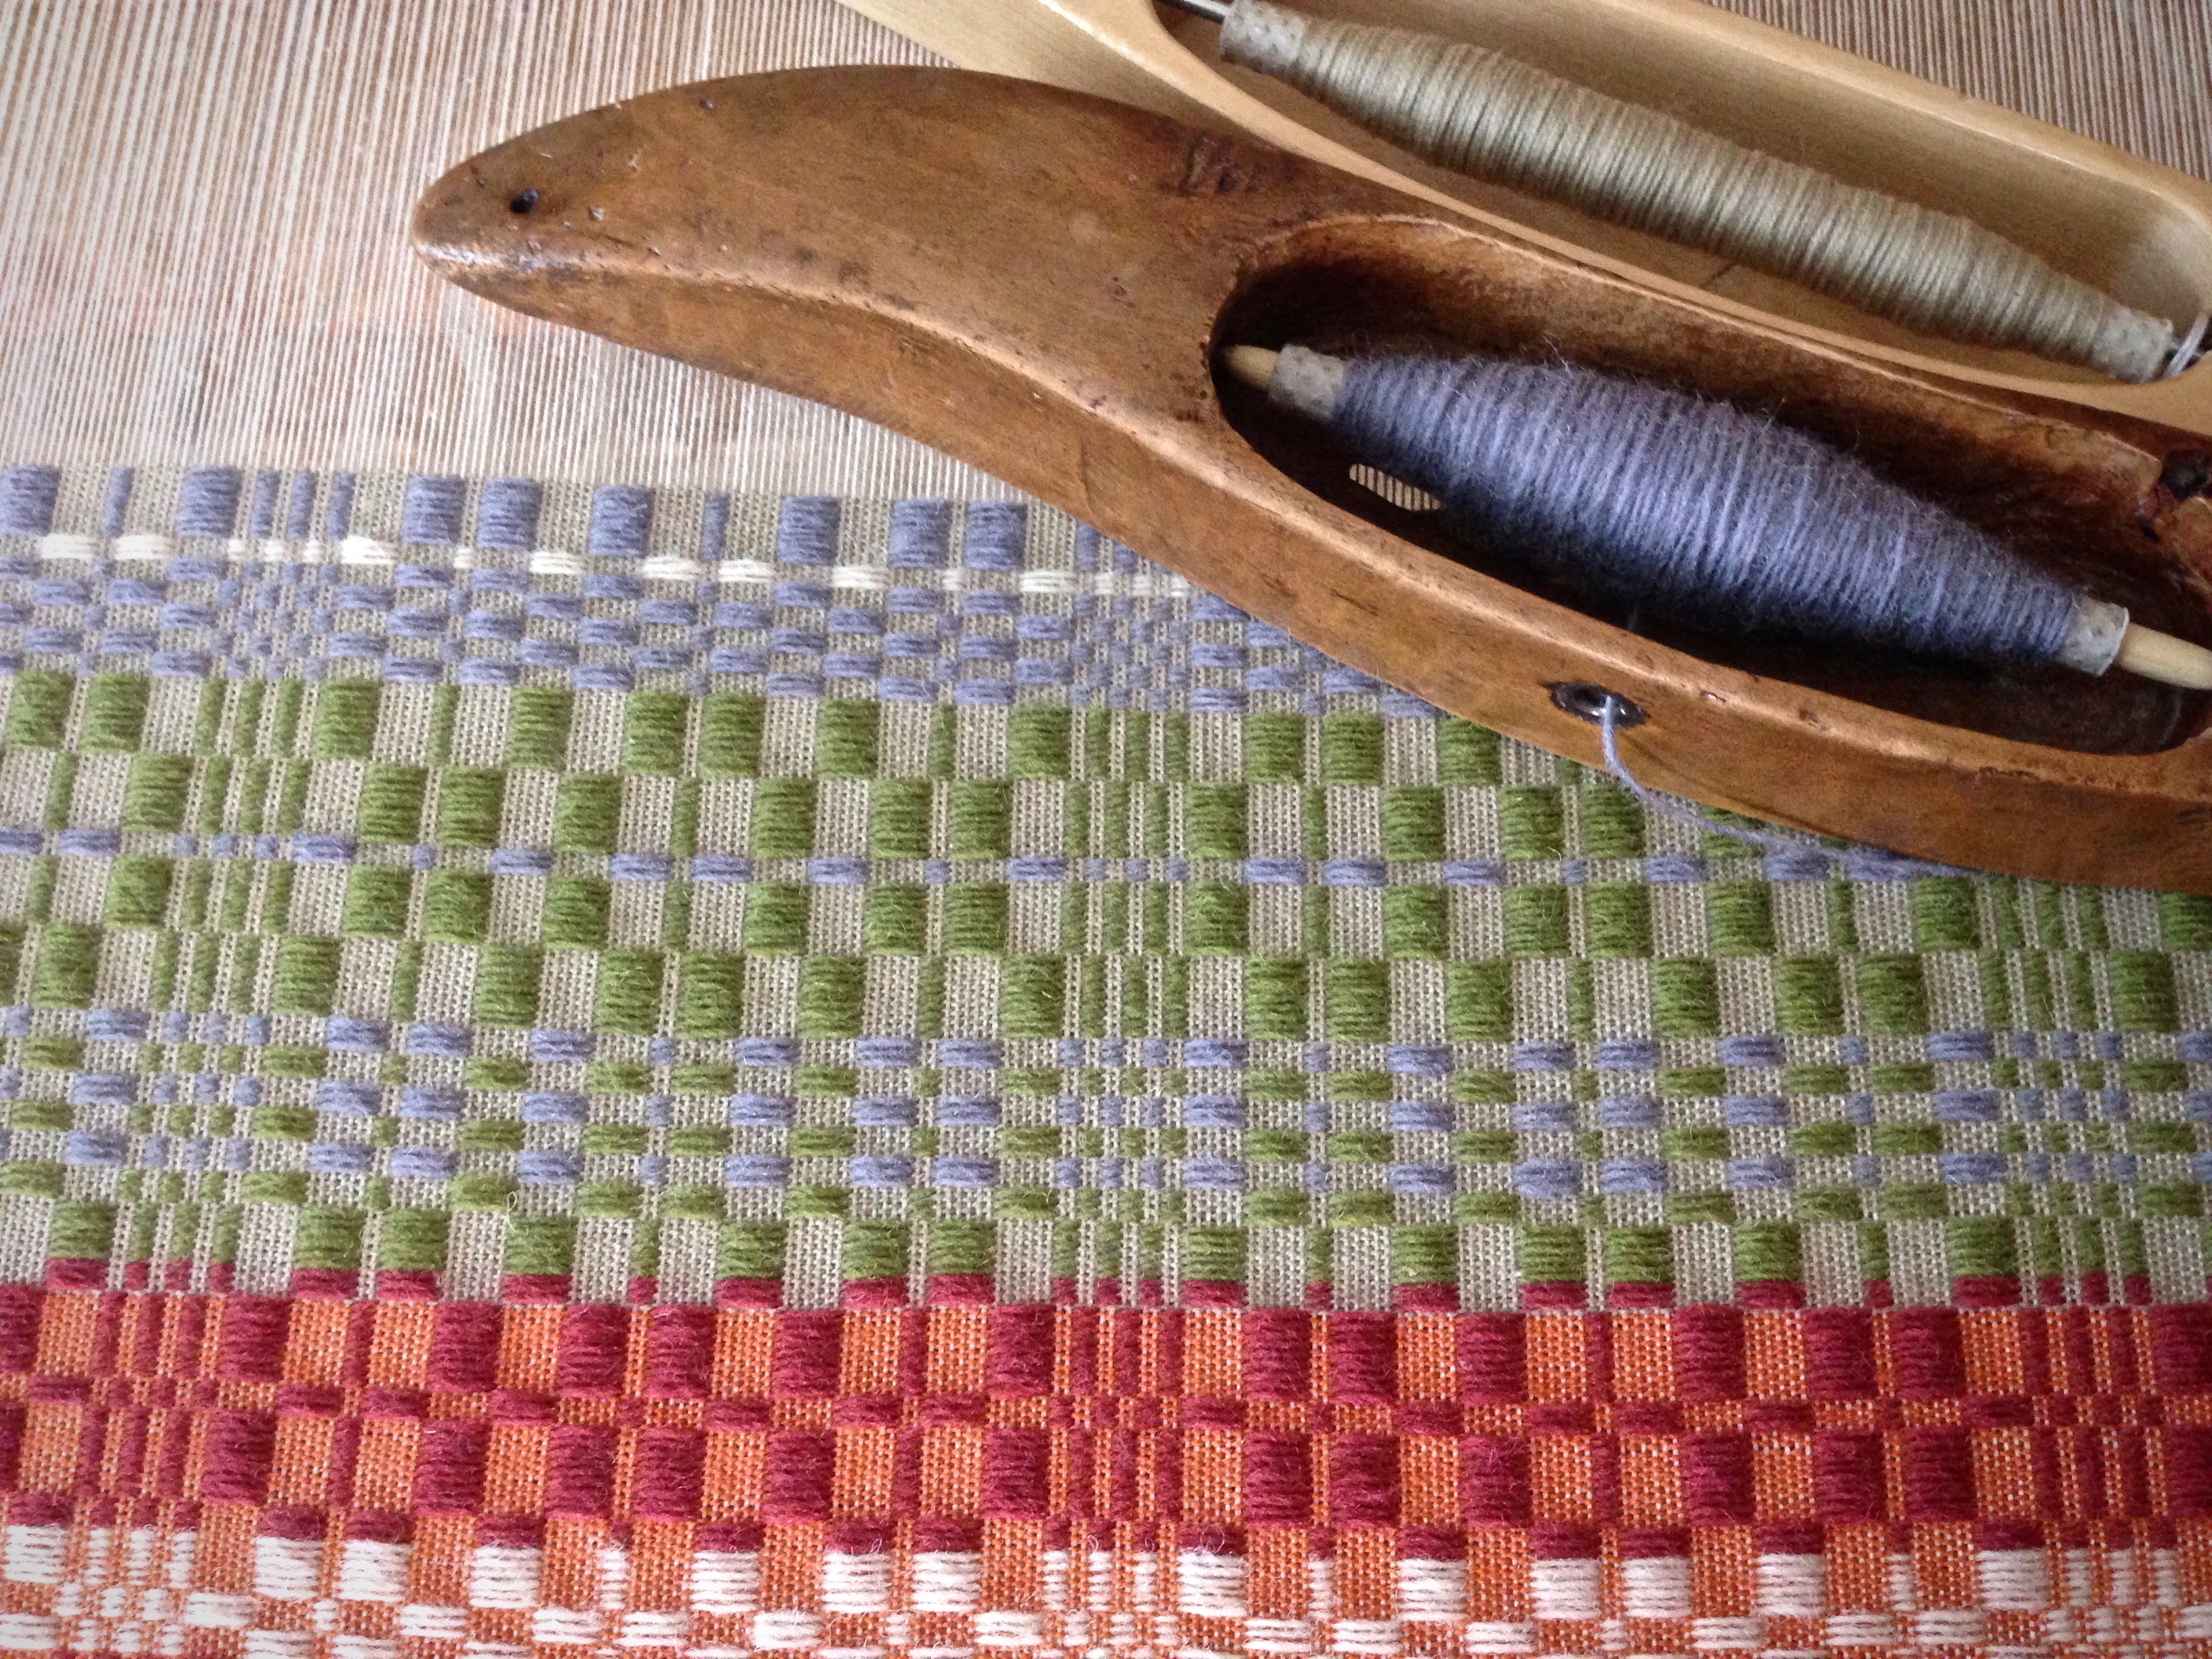
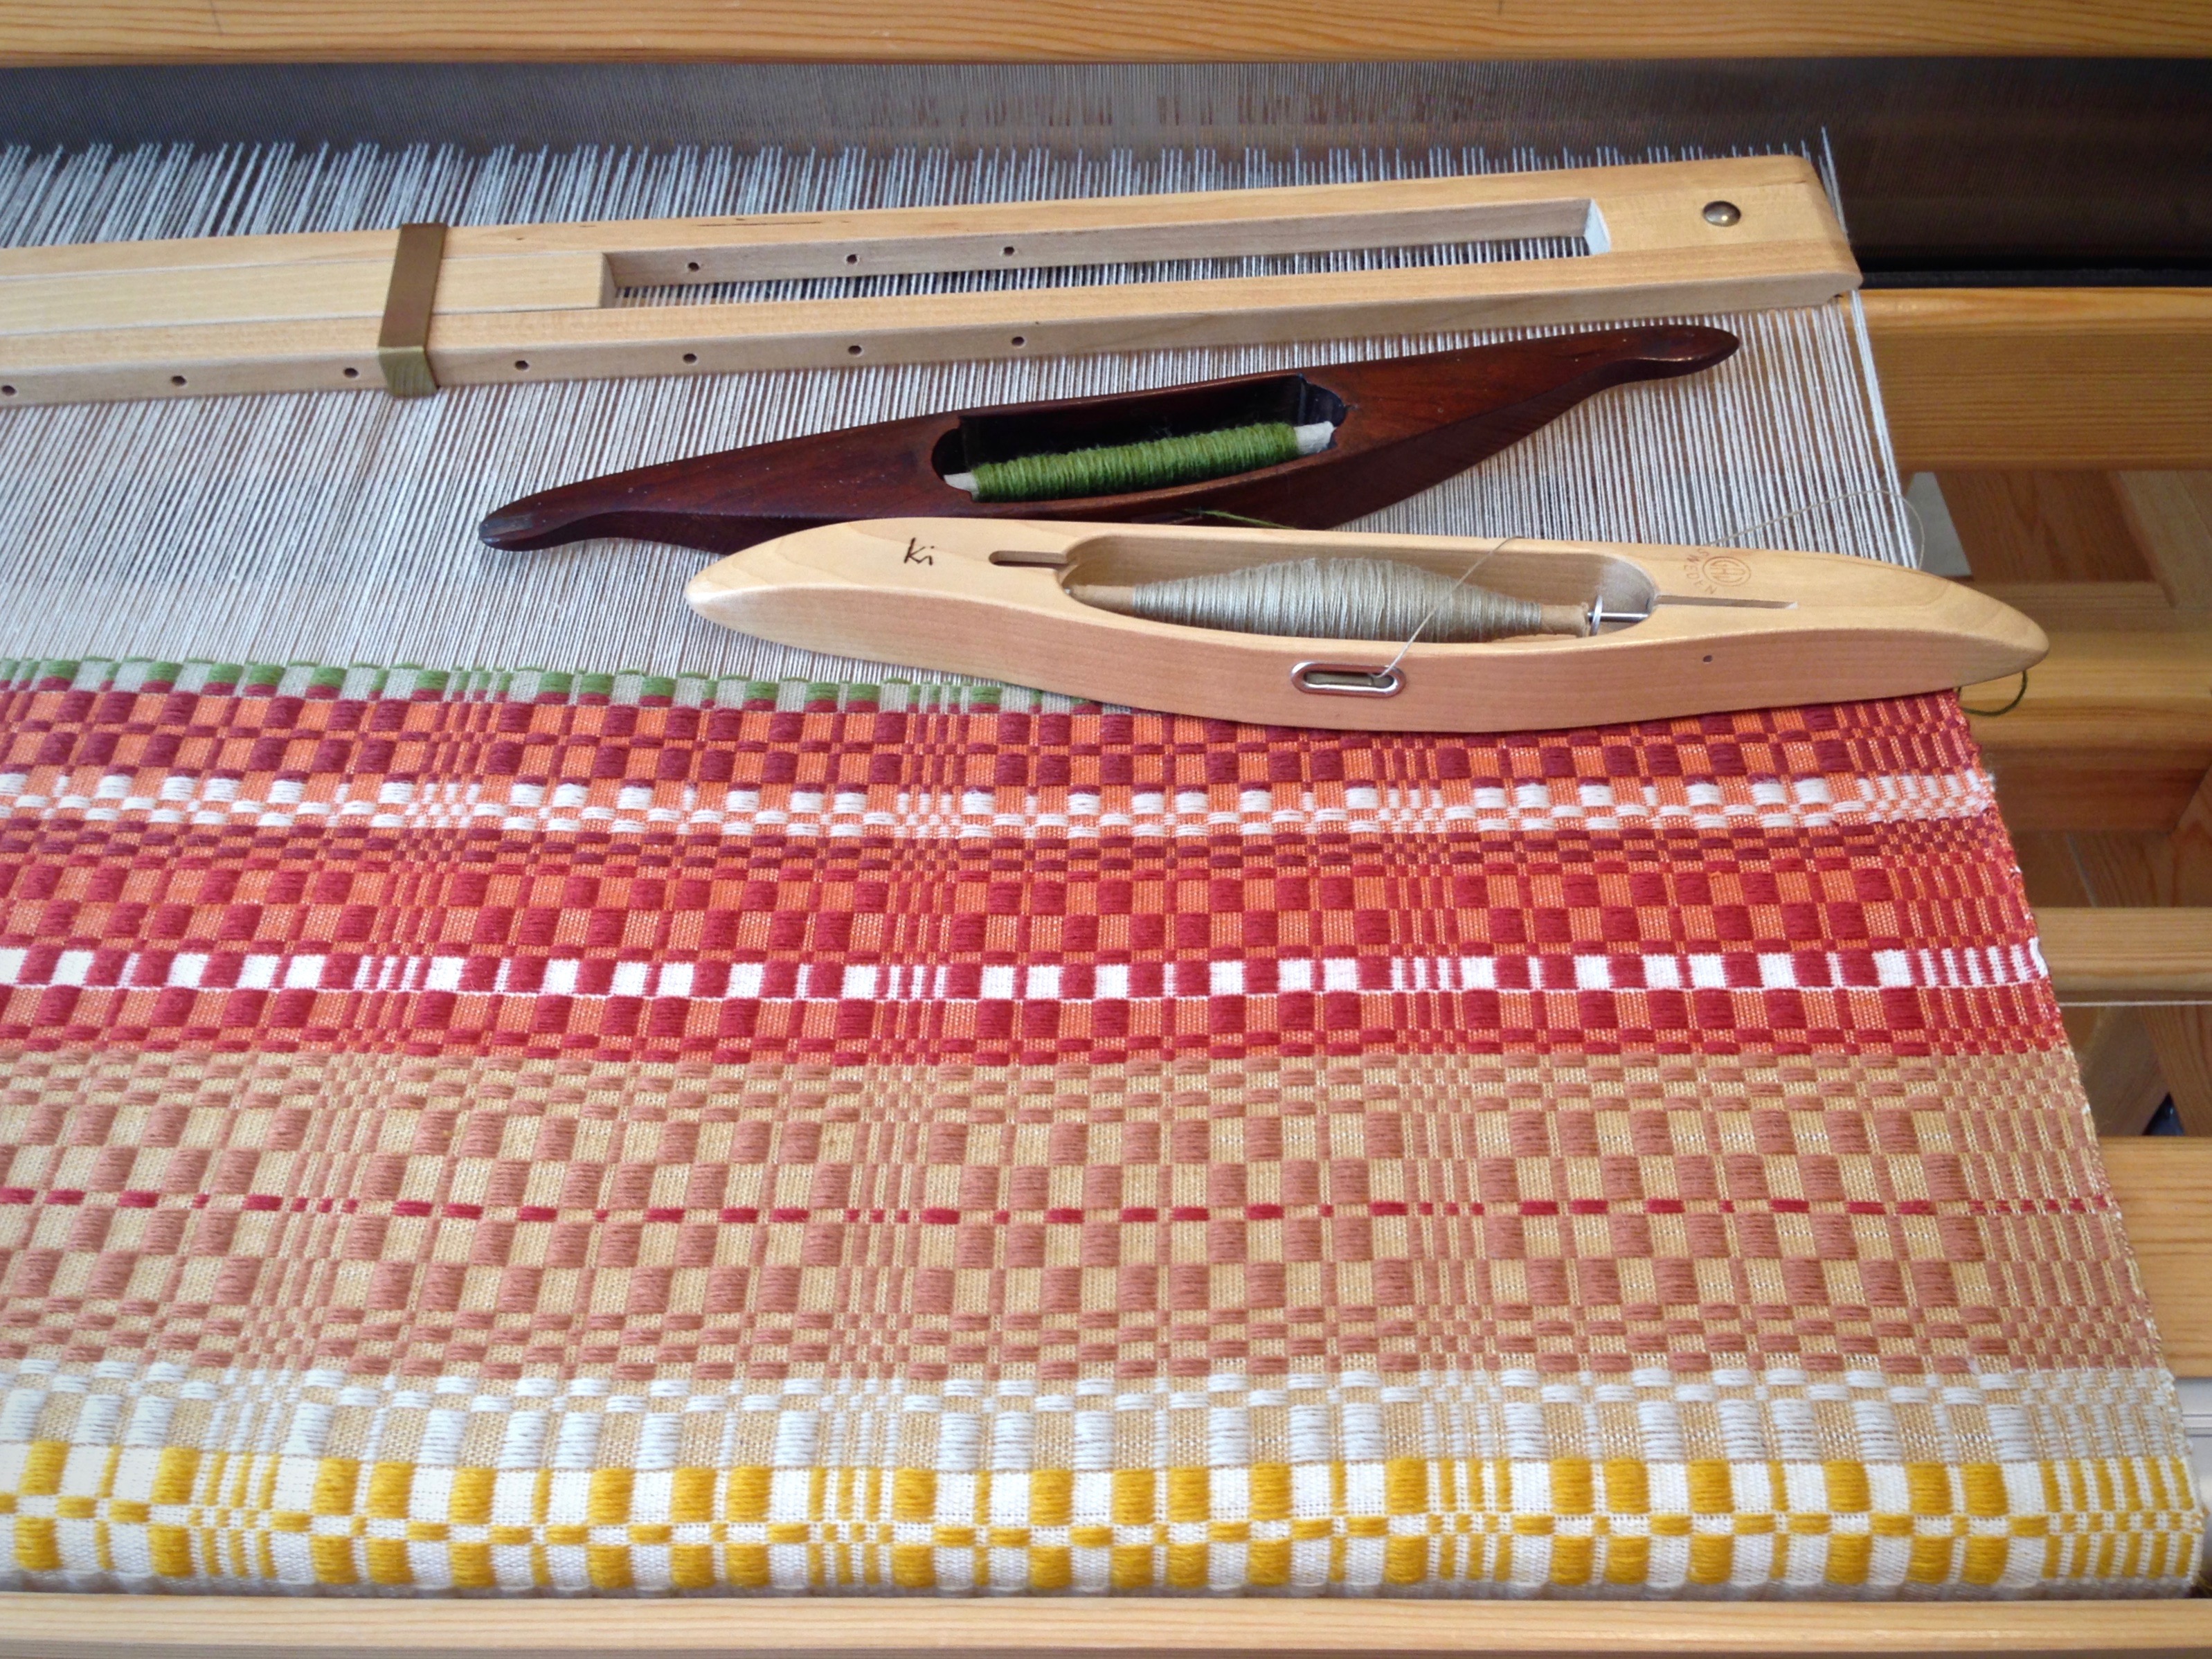
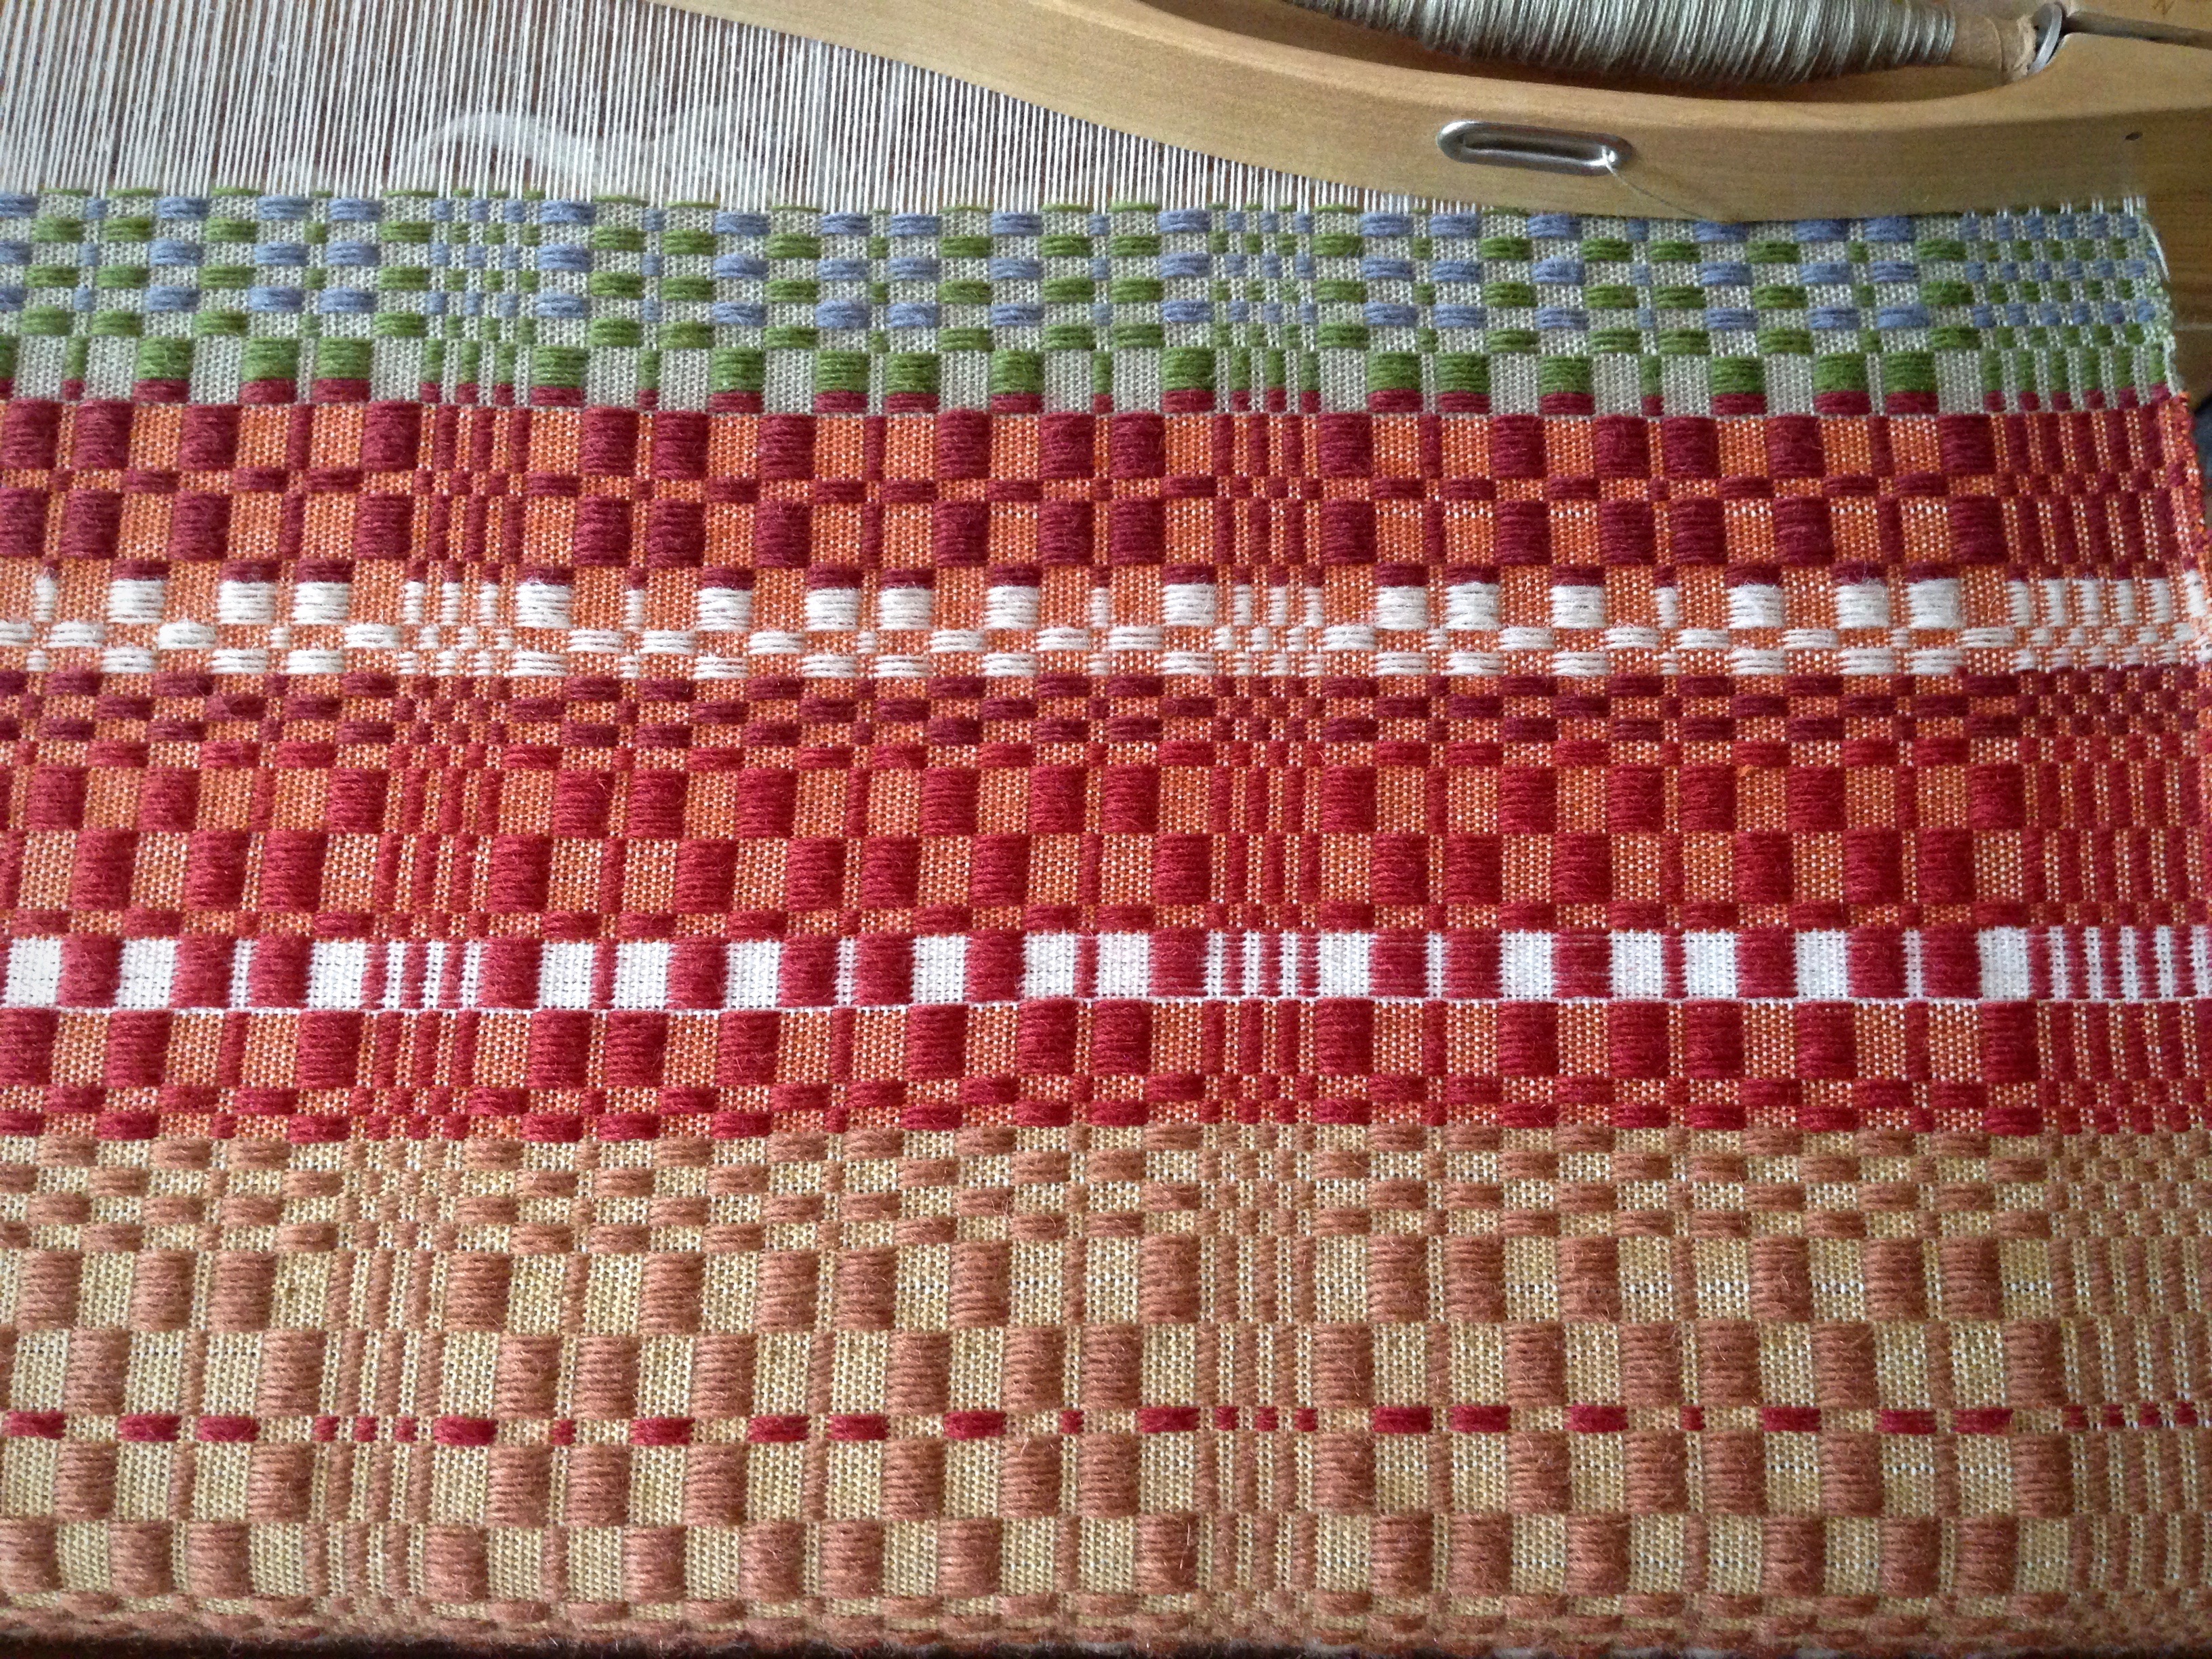
- Tighten the tension; wind your shuttle; and weave to your heart’s content! (A short cardboard quill can be used as a shuttle.)
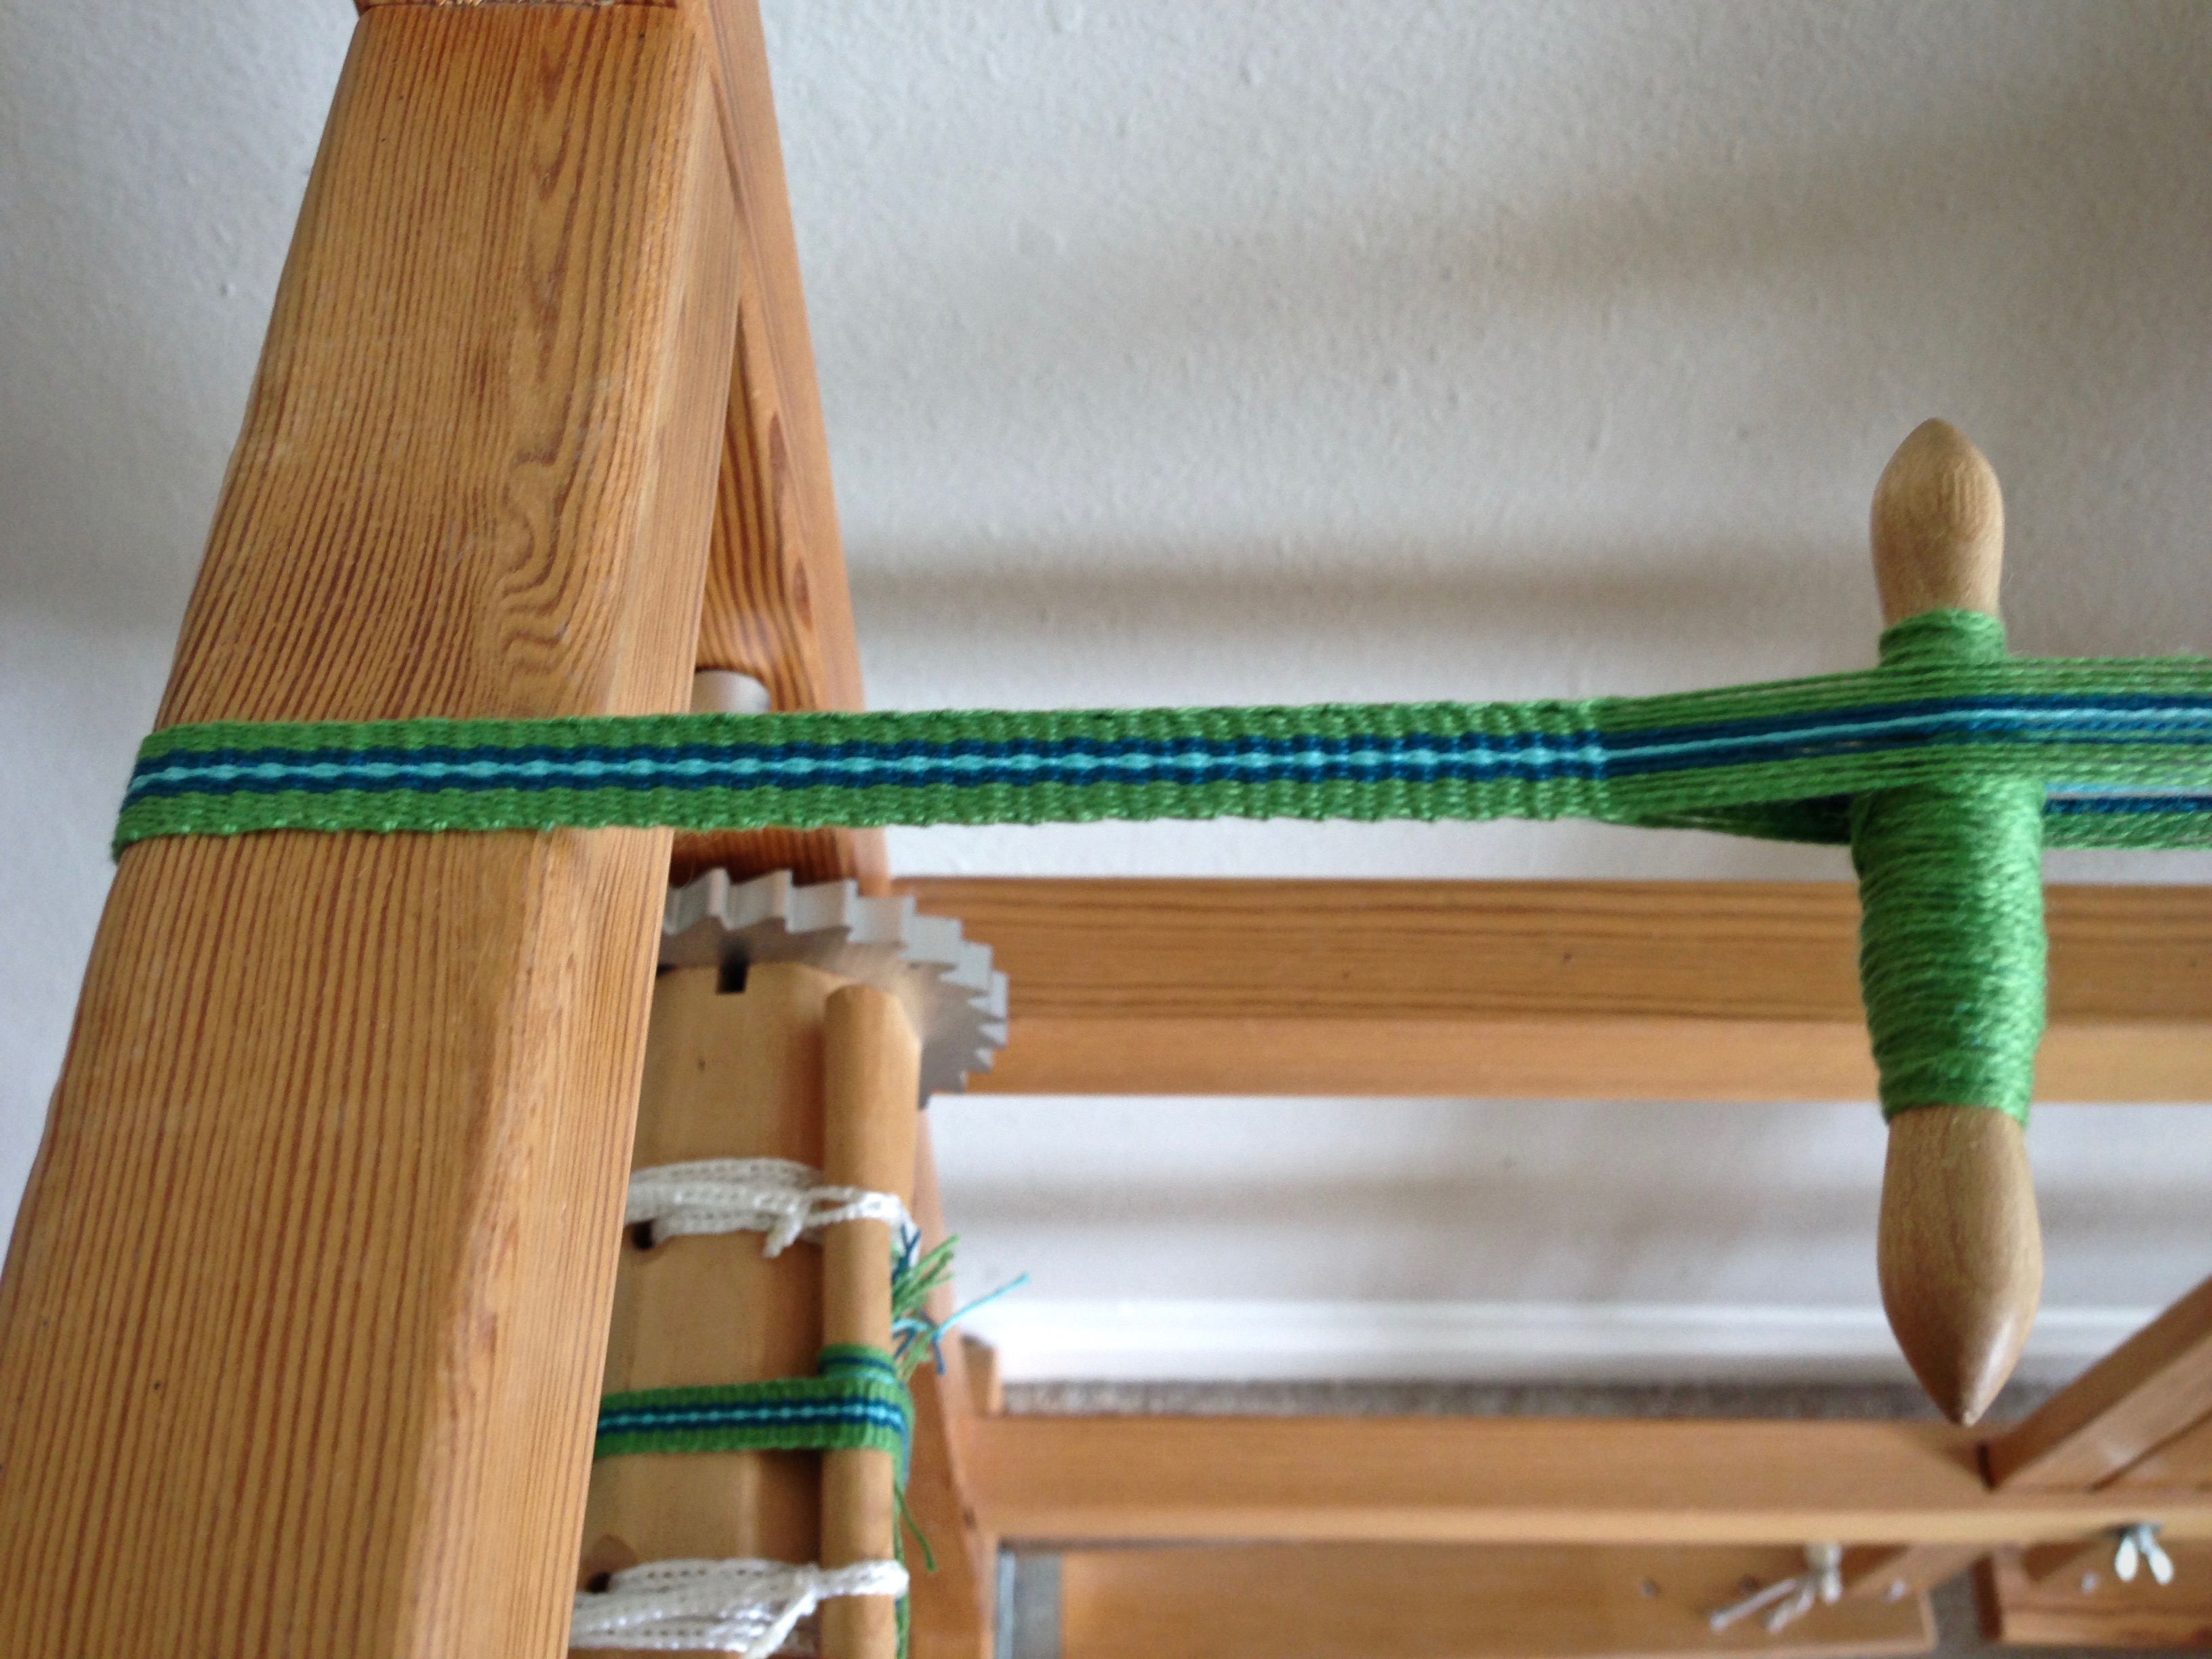
May you go the extra mile to add special little details.
Happy band weaving,
Karen