Tools Day: Measured Weaving

How far will you travel? How will you know when you have arrived? Do you wish you could know when you are halfway there? Applied to weaving, I like to have the answers to these questions before I begin the “journey.” A pre-measured tape gives me consistency, especially important for multiple pieces in a set. The tape also acts as my “trip odometer.” I can see how far I’ve gone, and exactly how much is left to weave. It satisfies my insatiable need to know how close I am to the end. Are you like that, too?

How to Make and Use a Pre-Measured Tape

Supplies

  • Roll of 3/4″ or wider twill tape (or any cloth tape or ribbon that does not stretch, and that pins easily)
  • Tape measure with inches and/or centimeters
  • Fine tip permanent marker
  • Flat head pins
  1. Use the permanent marker to place markings on the twill tape, as measured with the tape measure. Mark the start line 1/2″ from the end of the twill tape, so that the tape can be pinned in front of the mark.
  2. After drawing a line for the starting point and ending point, draw a line at the midway point, labeled MID.
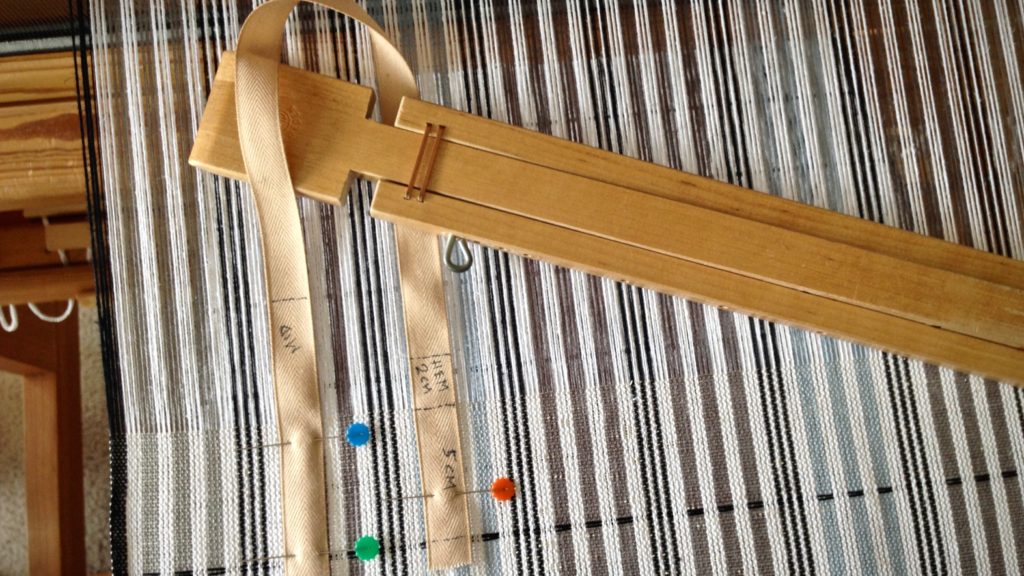
  3. Include dotted lines for hem measurements, if applicable. Write the hem measurement on the twill tape; i.,e., 3/4″ or 2 cm.
  4. Write the weaving length measurement on the twill tape. Include calculation for takeup, if desired; i.,e., 25″ + 3″.
  5. Write the project or item description on the twill tape, if desired, for ease of repeat use; i.e., handtowel.
  6. Add other lines or marks, as needed, for borders, placement of weft colors, or other design elements.
  7. 1/2″ after the final marking, cut pre-measured twill tape from the roll of tape.

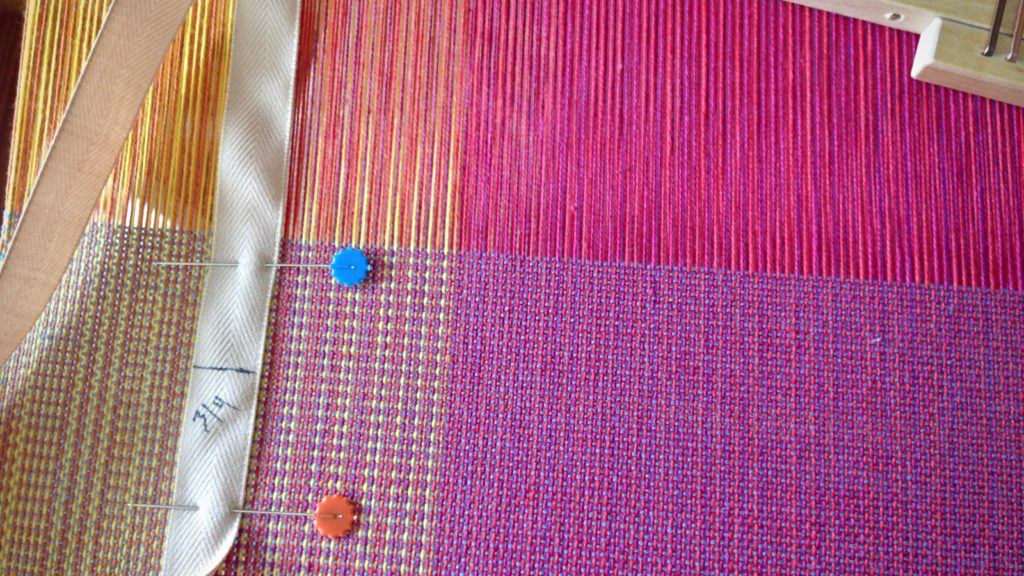
With the warp under tension, pin the pre-measured twill tape near the right or left selvedge with two flat-head pins. Match the start line of the tape with the beginning of the weaving.
Before each advancement of the warp, move the pin closest to the breast beam to a point near the fell line. In this way, have the pins leapfrog each other, moving only one pin each time. Always keep the warp under tension when moving the pins.
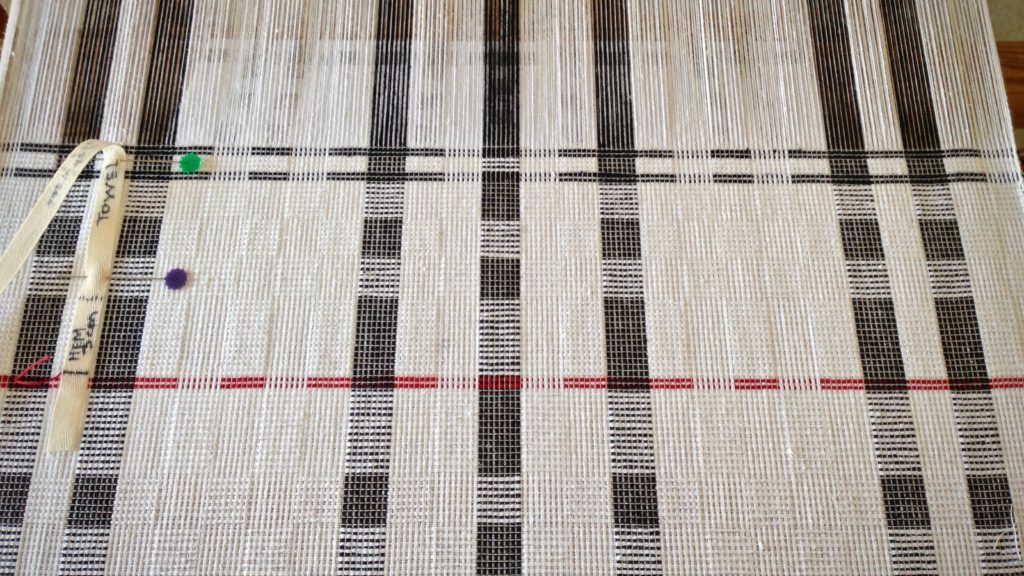
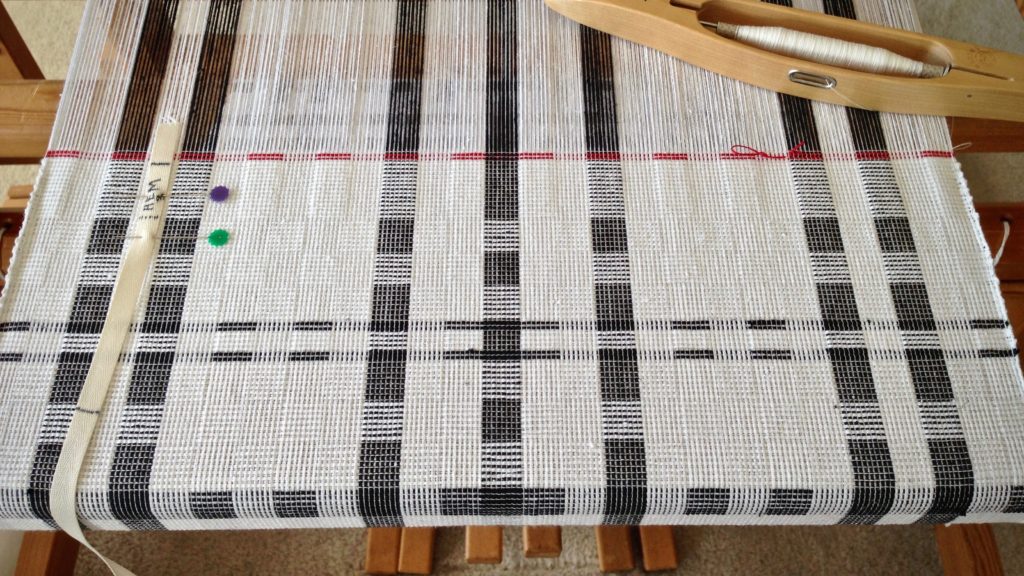
Red cutting lines between black and white towels.
Beginning hem, after red cutting lines between towels.
Ending hem is followed by two red picks that will become the cutting line between towels.
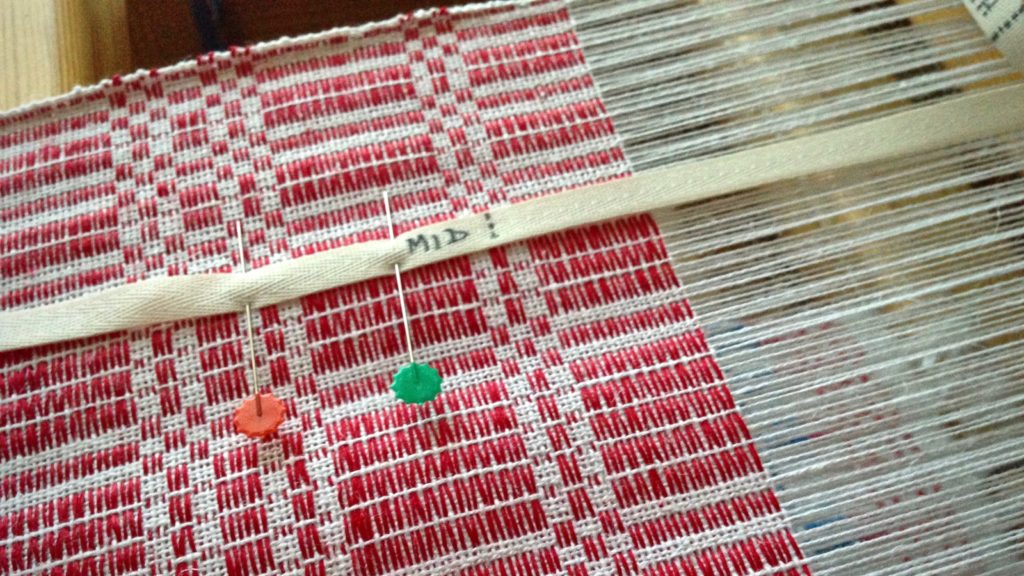
When the "MID" point hits right where it should!
When the “MID” point hits right where it should! Mid point marking helps to confirm that the halvdräll pattern is centered and balanced in its length.
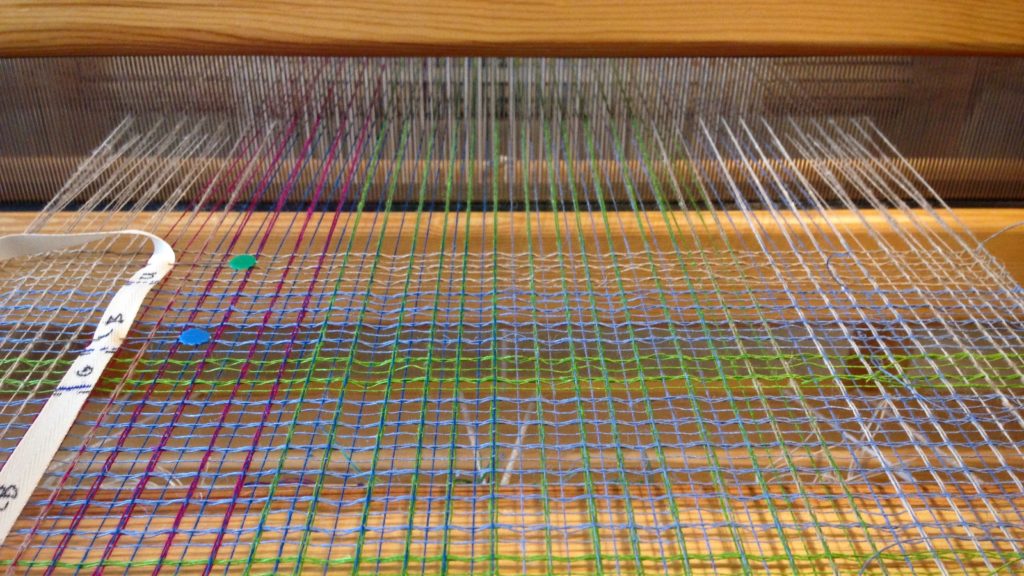
Pre-measured twill tape marks weft color placement on linen scarves.
Weft color placement is marked on the twill tape for these linen lace scarves.
Tricks with pre-measured tape for weaving.
Five centimeters, marked at the end of the twill tape, is a handy reference for spacing the weft pattern floats in these plattväv towels.
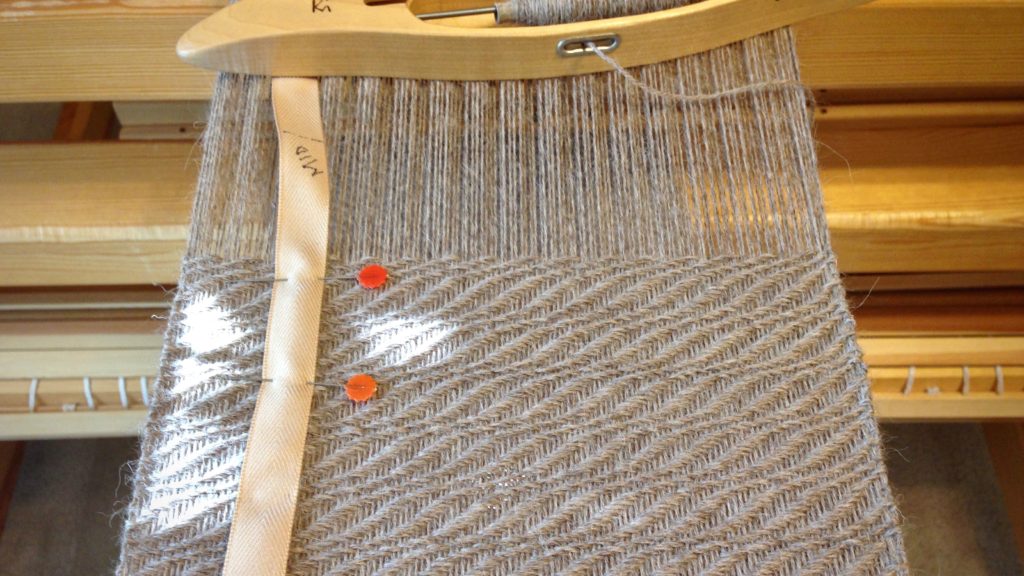
Alpaca scarf in an interesting 8-shaft twill.
I love seeing the “MID” point on a long piece, such as this 8-shaft twill alpaca scarf.
Pre-measured twill tape helps set the pace for the weaving project.
Breaking up the length into quarters helps to set a pace for the weaving project. This baby wrap was on a time crunch, so it was helpful to know when I was getting close to the end.

May you accurately measure your ways.

Truly yours,
Karen

Tools Day: Texsolv Heddle Round Up

The great thing about Texsolv heddles is that they are easy to move around. If you know how to tie them together, it is simple to add heddles, remove heddles, or switch heddles to different shafts. When I’m getting ready to thread the loom, I get my box of bundled heddles and put it on the cart right beside the loom. Then, I can easily add heddles if needed. And when threading is finished, I tie any unused heddles into bundles and put them in the heddle box, ready for the next project.

Threading complete for alpaca scarves. Texsolv heddles.

Tie Texsolv Heddle Bundles on One Shaft

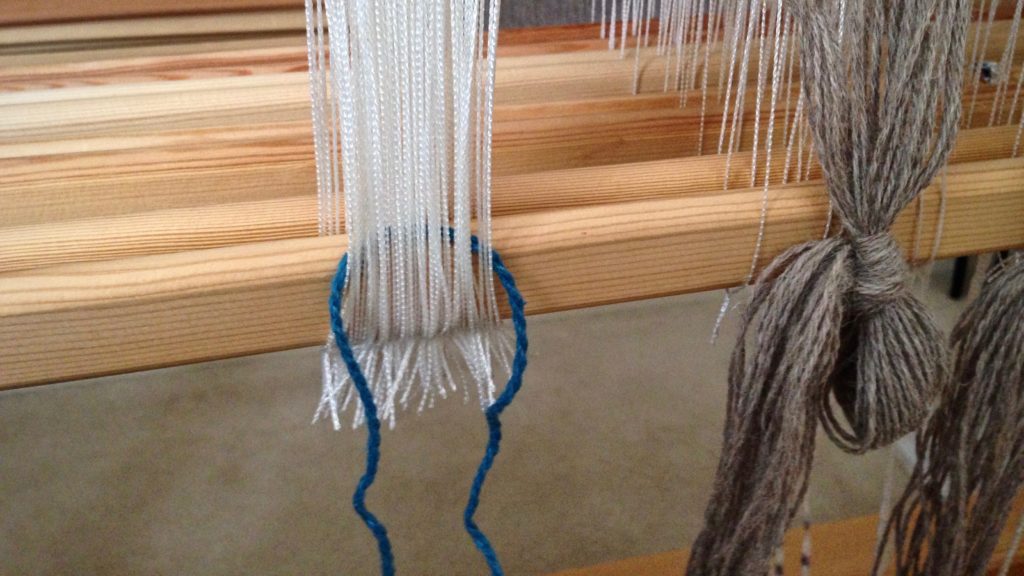
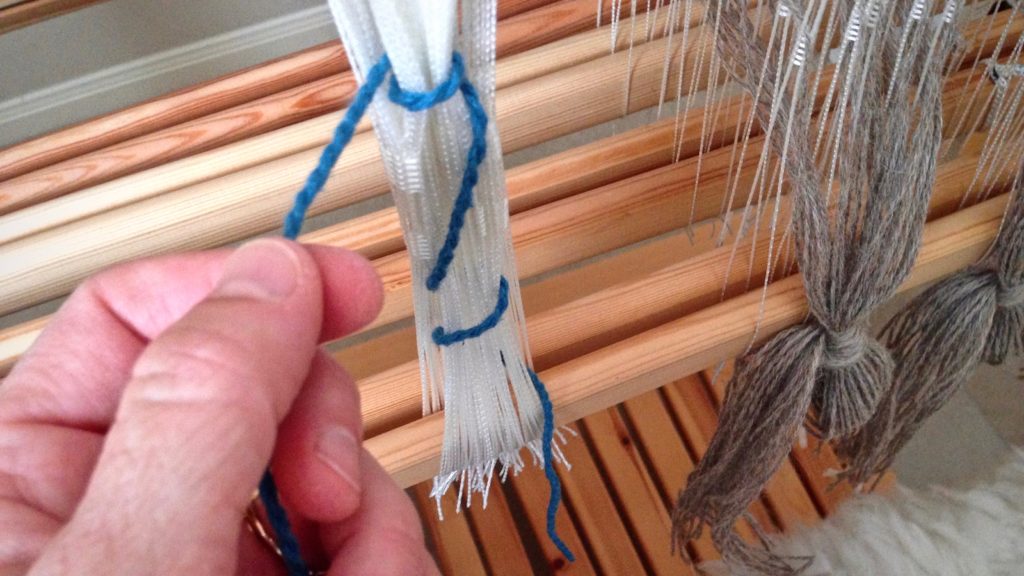
  • Step 1 Take a cord (I use my choke tie cords) through the heddles below the heddle eyes.

How to remove Texsolv heddles. Tutorial

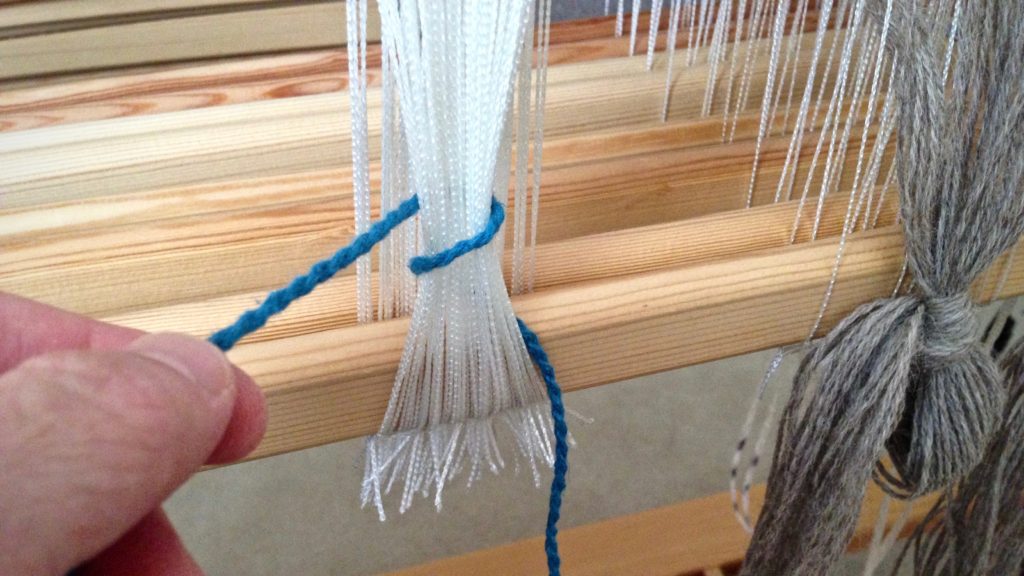
  • Step 2 Wrap the cord one time around, below the heddle eyes.

Removing Texsolv heddles. How to --

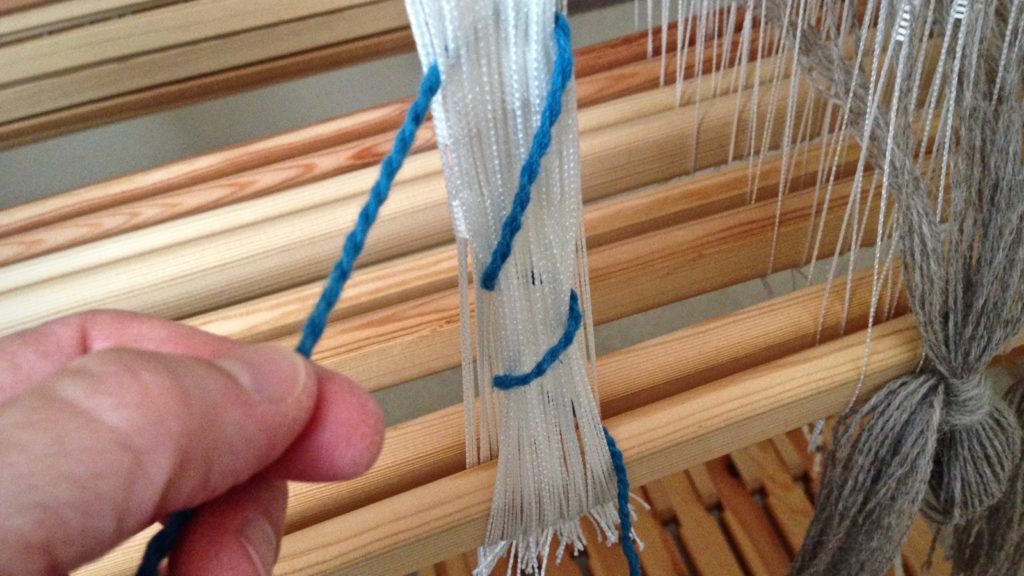
  • Step 3 Cross diagonally up with the cord, and take the cord through the heddles above the heddle eyes.

How to tie up Texsolv heddles.

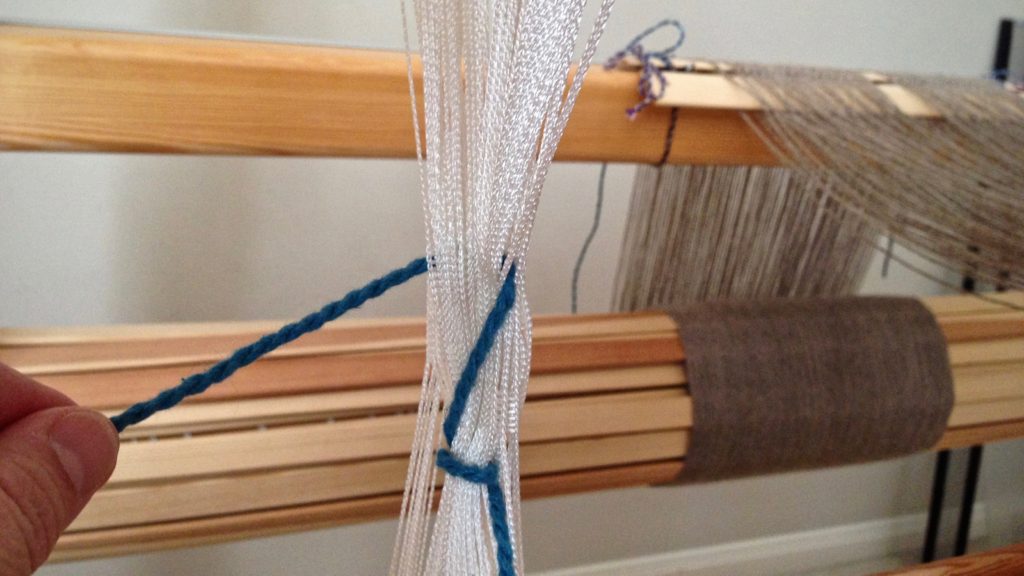
  • Step 4 Wrap the cord one time around, above the heddle eyes.

Tying up Texsolv heddles to remove them.

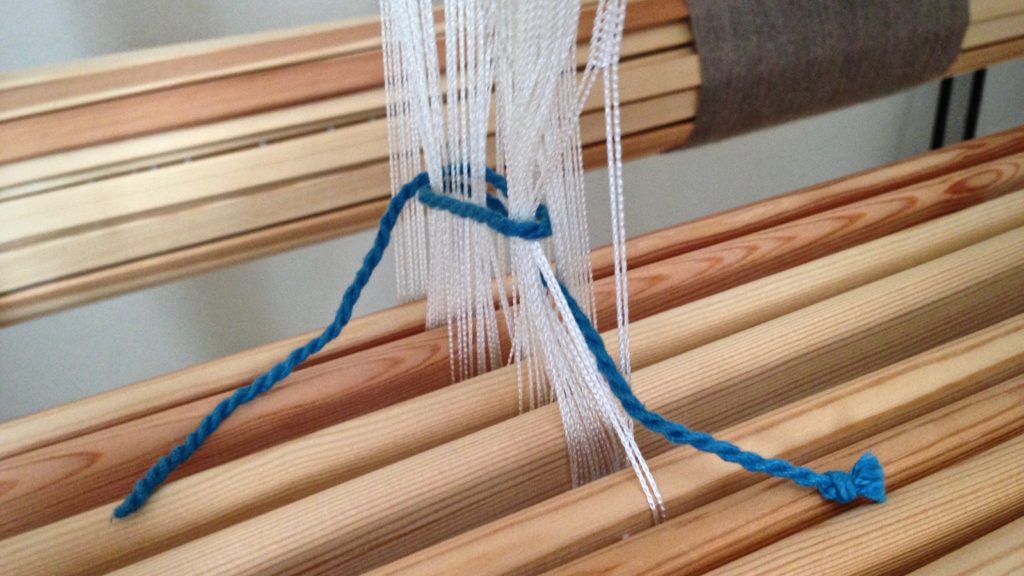
  • Step 5 Join the two ends of the cord with a bow knot.

Removing Texsolv heddles after threading is complete.


Tie Texsolv Heddle Bundles on More than One Shaft

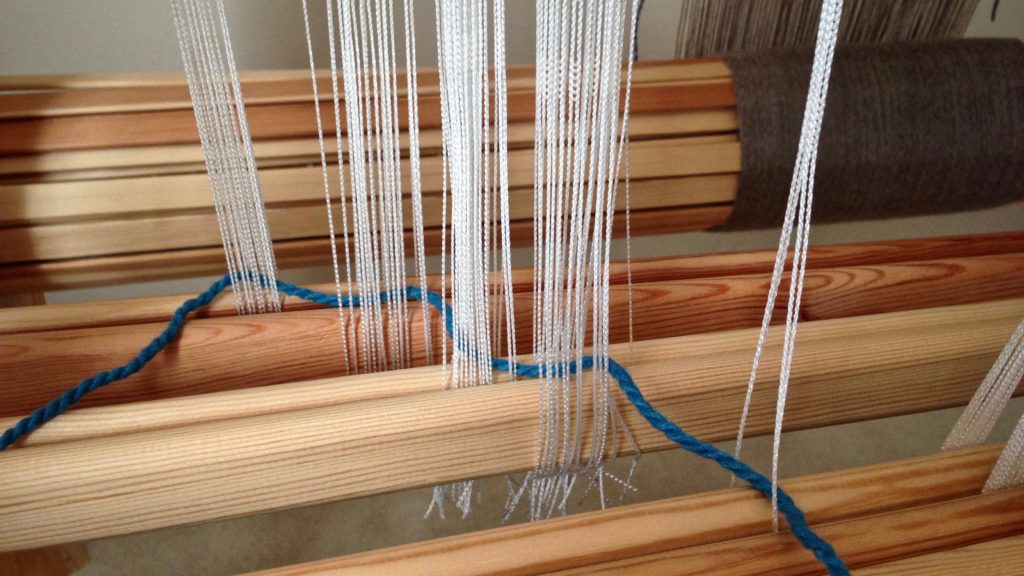
  • Step 1 Take the cord through the heddles below the heddle eyes, right to left, one shaft at a time, front shaft to back shaft.

Removing Texsolv heddles from multiple shafts.

  • Step 2 Take the end of the cord from the back shaft, and wrap the cord around one time through the heddles, below the heddle eyes, right to left, one shaft at a time, front shaft to back shaft.

Removing Texsolv heddles from multiple shafts.

  • Step 3 Cross diagonally up with the cord, and take the cord through the heddles above the heddle eyes, from right to left, one shaft at a time, front shaft to back shaft.

How to remove Texsolv heddles. Tutorial

  • Steps 4 & 5  Wrap the cord one time around, above the heddle eyes, from right to left, one shaft at a time, front shaft to back shaft. Join the two ends of the cord with a bow knot.

Removing Texsolv heddles. How to --


Remove Heddles from Shafts

  • Step 1 Remove shaft pin from the lower shafts, and slip the bottom of the heddles off the shafts. Replace the shaft pin.

Removing Texsolv heddles.

  • Step 2 Remove shaft pin from the upper shafts, and slip the top of the heddles off the shafts. Replace the shaft pin.

Texsolv heddles are easy to move around!

  • Step 3 Place tied heddle bundles in the heddle box. Put the box away, ready for the next project.

Texsolv heddles ready for the next project!

May you always have enough heddles when and where you need them.

Loom dressing,
Karen

Three Rosepath Rag Rugs For Now

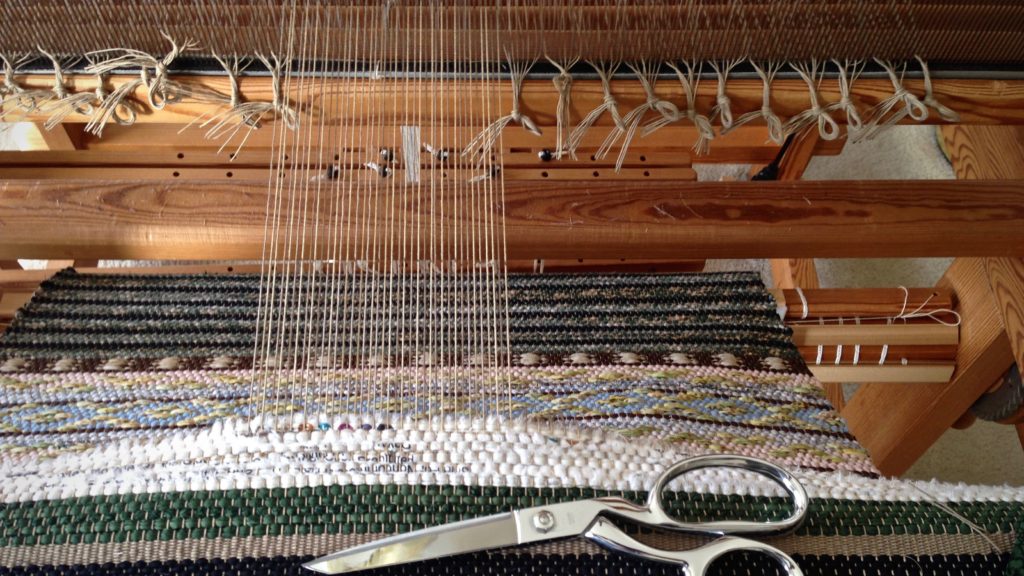
There are three completed rosepath rag rugs on the loom, with warp remaining for at least one more rug. Since I don’t know how soon I will be able to weave the remainder, cutting off the completed rugs makes sense. After hemming, I will have three new rugs for Etsy. (Don’t miss the new Quick Tip video at the end of this post!)

Cutting off rosepath rag rugs, with some warp remaining to be woven.
As the warp ends are cut, they are tied into one-inch groupings to simplify tying back on to the tie-on bar.
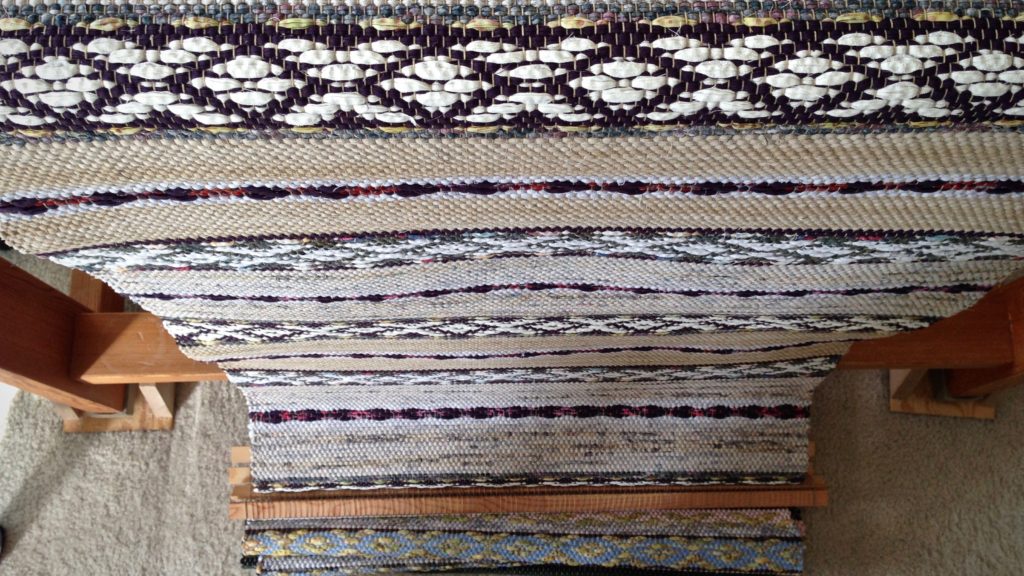
Unrolling some new rosepath rag rugs!
Warping slats are used as spacers between rugs. Some of my slats are barely wide enough for this warp.

I look forward to full weaving days again, with both looms dressed, and shuttles zooming. That rag rug warp still on the loom will be a reward worth waiting for.

Rosepath rag rug ready to be hemmed. Karen Isenhower
One rug has warp end knots, and is ready for pressing and hemming.
Two rosepath rag rugs just off the loom. Karen Isenhower
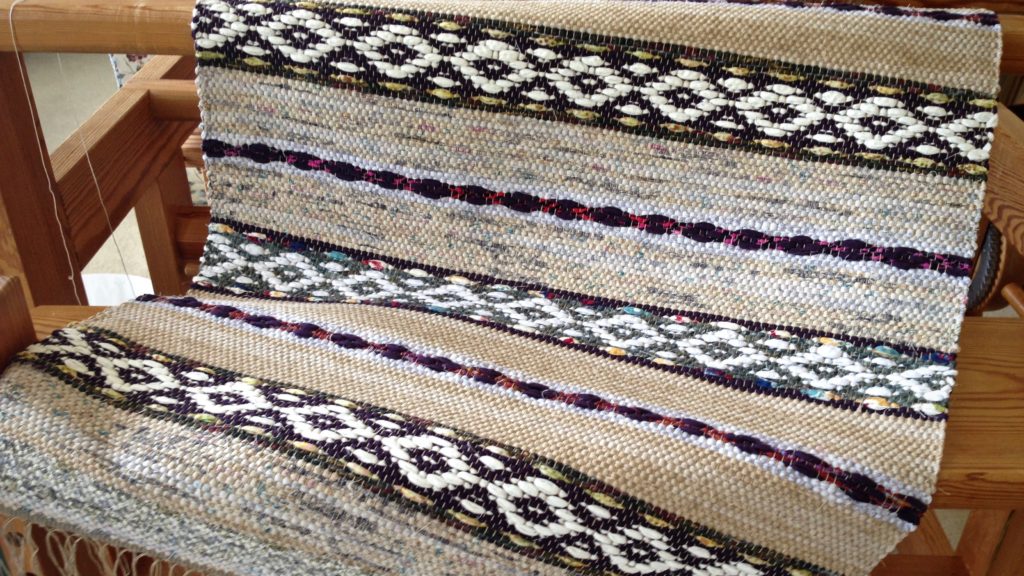
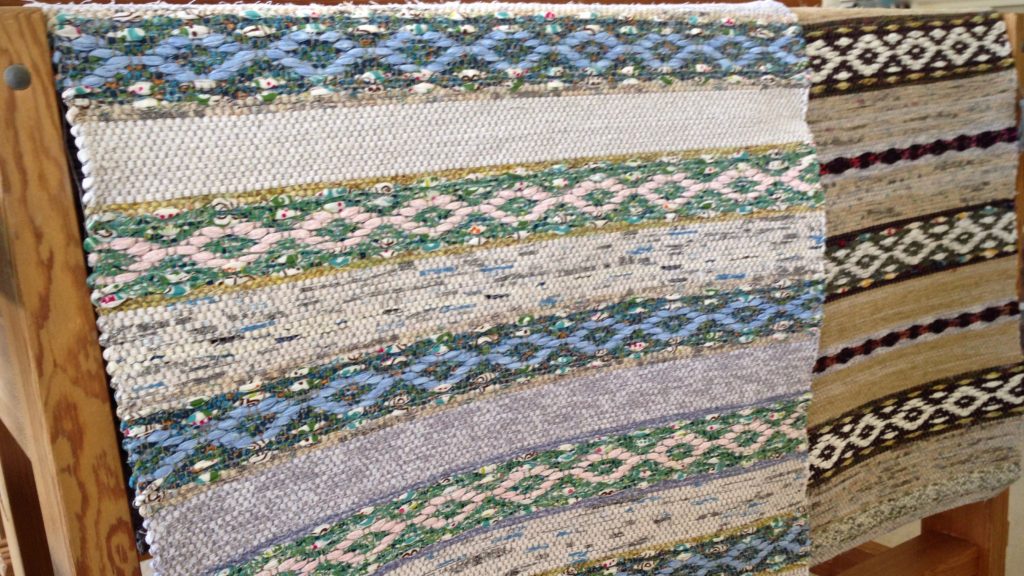
Rosepath in two variations.
Rosepath rag rug ready to be hemmed. Karen Isenhower
Broad rosepath pattern lends elegance to this rag rug.

Last week, when I awoke from surgery, the relentless pain I had been experiencing in my left leg and lower back was gone. Completely gone! It made me think of heaven. Ancient writings tell us that the lame will leap like a deer, and that sorrow and sighing will flee away. There’s no place for pain in heaven. All the people there have been healed and restored. That’s a reward worth waiting for. And I won’t be surprised if there are at least a few in heaven who are weaving away to their heart’s content.

May you know what to do while waiting.

Wishing you well,
Karen

Never Say Never–Floating Selvedges

I never use floating selvedges. Well,…almost never. For this block twill it does make sense to “float” the selvedges. The outermost warp ends are not threaded in the heddles–they “float” in the middle of the shed. The floating ends are wound on to the back beam with the rest of the warp. The floating selvedges provide a consistent woven edge, and prevent the skipped threads that would normally occur at the selvedge on an eight-shaft block twill. My ski shuttle enters the shed under the floating warp end, and exits the shed over the opposite floating warp end.

Floating selvedge for 8-shaft block twill mat.
Outermost warp ends are not threaded through heddles. When a treadle is pushed, the floating selvedge threads do not go up or down with the other warp ends.
Weaving with string yarn, and using floating selvedges.
Enter the shed under the floating selvedge. The curve of the ski shuttle easily slips under the floating selvedge.
Ski shuttle and floating selvedges.
Prepare to catch the shuttle by holding the floating selvedge down with your fingers.
Ski shuttle and floating selvedges.
After the tip of the ski shuttle has crossed over the floating selvedge, continue bringing the shuttle through.

It is not unusual for the Lord to wait until I’m quiet before he answers. I may gripe about the obstacles, and try to wish or pray them away. But the Lord gently moves the shuttle under or over the floating selvedge to accomplish his work. For him, it is not an obstacle, it is a necessary part of creating this kind of cloth. When I get quiet, I can see what he is doing. And it is good.

May you know when to be quiet.

Yours Truly,
Karen

How to Begin a Rag Rug

It is not enough to be pretty; a good rag rug must also be sturdy. Four crucial steps give a rag rug the solid foundation it needs to get off to a great start, and to be ready for the strong beat required to make a rug that lasts.

How to Begin a Rag Rug

1 Space

  • leave enough warp to tie and finish ends after the rug is cut from the loom

Assuming there is a sample at the beginning of the warp, leave space after the sample. Leave about 4″ (10 cm) of empty warp. Then, using two warping slats, place one slat in each plain weave shed. The slats act as a spacer, and as a firm backstop for beating in the waste rags. (Leave about 8″ / 20 cm of space between each rug, from header to header.)

How to begin a rag rug. Four crucial steps.
Empty warp is followed by a pair of warping slats, scrap weft, warp yarn header, and beginning of hem. Measurements are marked on twill tape for reference while weaving.

2 Waste rags

  • a place to attach the temple
  • prevent the header from unraveling when the rug is cut from the loom

Weave with scrap fabric strips, 1 – 2″ (2.5 – 5 cm) wide, for 2″ (5 cm). Attach the temple as soon as possible.

3 Header

  • secures the rug weft
  • gives the rug a firm edge

Use warp yarn to weave a 3/8″ (1 cm) weft-faced header. Arrange the weft in small arcs across the width of the shed. Treadle the next shed and beat in the weft.

Weaving header for rag rug. How to.
With temple in place, the header is woven with 12/6 cotton, the warp yarn. Forming small waves in the weft places more weft in the shed, which helps prevent draw-in.

4 Hem

  • thinner rag weave, to be turned under and stitched

Cut fabric into narrow strips, 1/4″ (.5 cm) wide. Weave hem to desired length, with enough to fold under itself for finishing.

–Repeat the four steps in reverse order at the end of the rug.–

How to begin a good, sturdy rag rug!
Ready for the body of the rug! A good, strong beat will not disturb this layered foundation.

It takes courage to live by faith. Courage is the backbone against which life circumstances can push. Faith is knowing God has a higher purpose for the circumstances we find ourselves in. A rag rug with this firm starting point will not only look good, but be ready for a purpose. And so will we.

May you live courageously.

With faith,
Karen