Transparent Linen

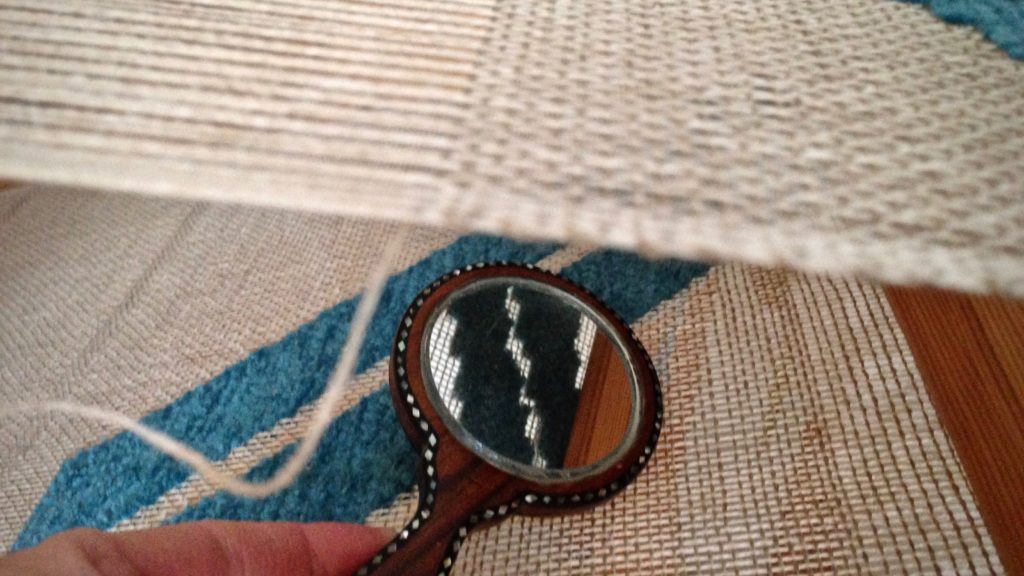
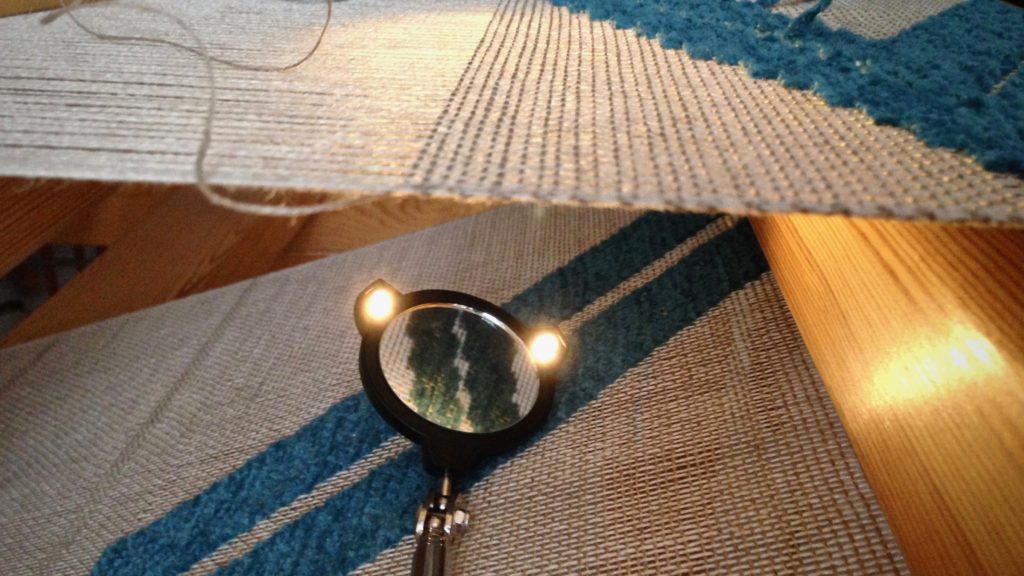
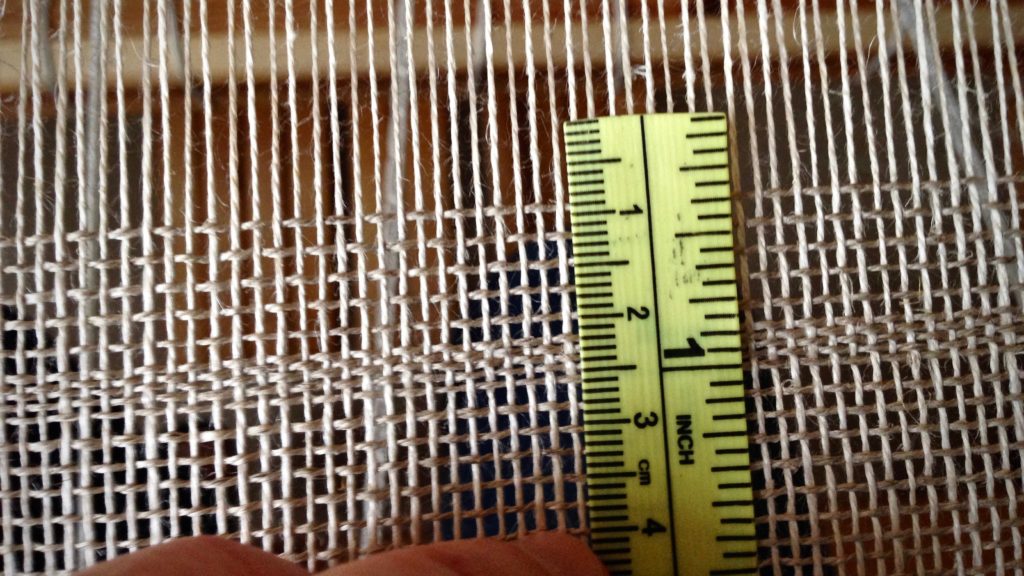
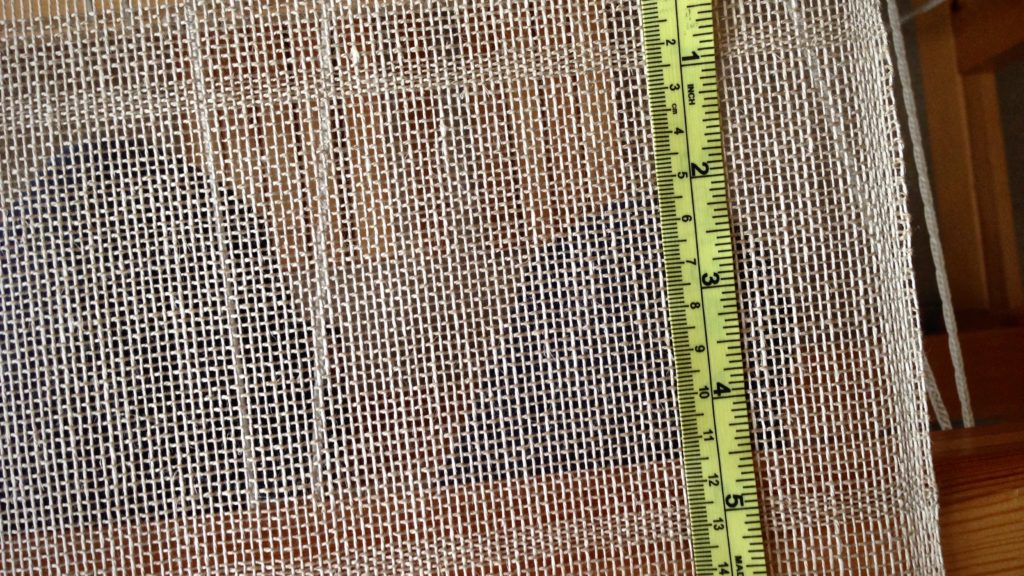
Ten centimeters of plain weave are for the casing at the top of this transparency. My aim is five picks per centimeter. What a challenge! It’s not a good idea to be fussy about it, pulling out and repositioning the weft. Linen can’t take that. So, carefully I go, restraining the beater in my hands, to be as precise as possible. Packing in the weft for a few picks at the beginning and end of the section takes a stronger beat, …with much less effort.

Trying to weave linen at 5 picks per centimeter.
Close to five picks per centimeter! More practice needed.
Linen, at the top of a woven transparency.
Woven section at the top of the transparency will be folded over and sewn down to make a casing. A rod will be inserted in the casing for hanging the finished transparency. A few tighter-packed picks begin and end the casing section.

Restraint is not easy. The easy path is to do what’s popular, familiar, and people-approved. We falsely think our ease at the moment is the most important thing. Don’t entertain false notions. Walk in the right way, even when it takes restraint. Blessings come to those who avoid the temptation of easier paths. The warp and weft are aligned, imperfectly, as we learn how to restrain the beater.

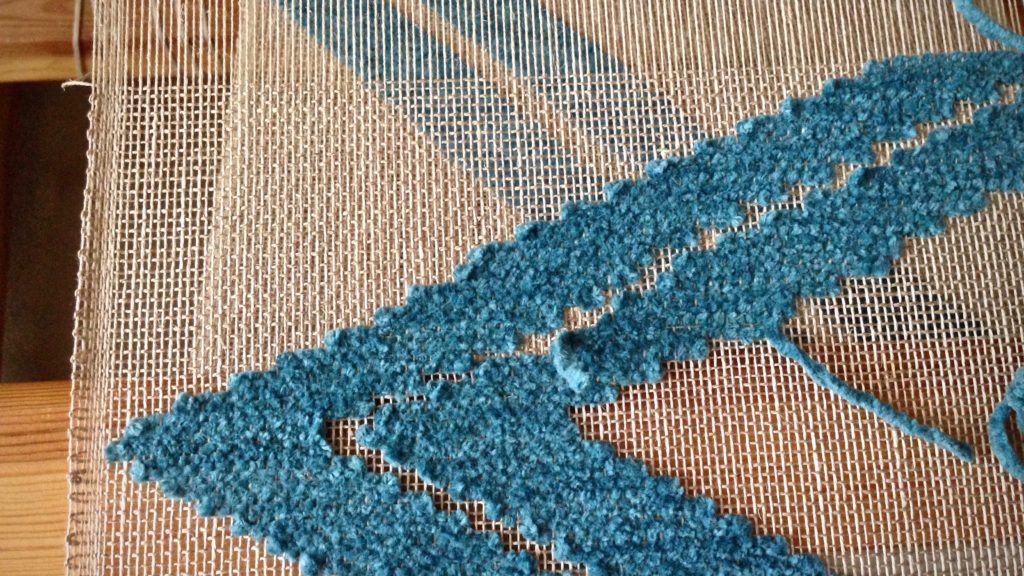
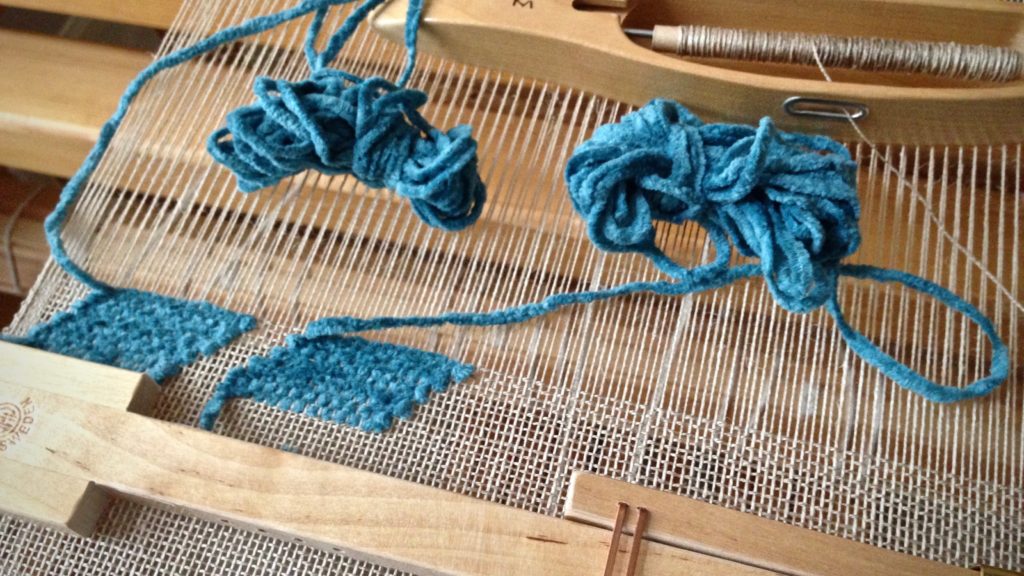
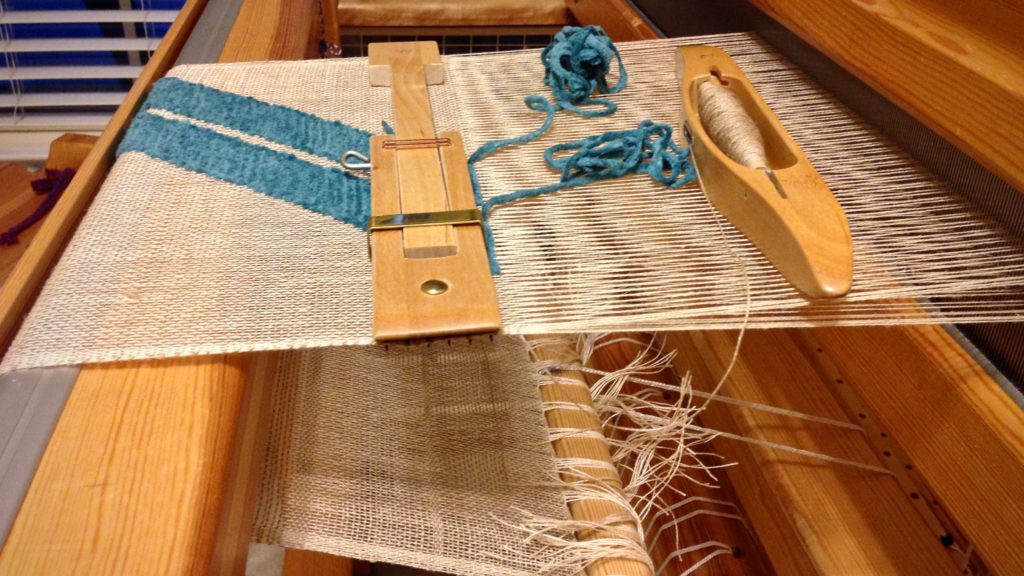
Weft inlay with cotton chenille over 16/2 linen.
Cotton chenille yarn is wound into butterflies to use as weft inlay.
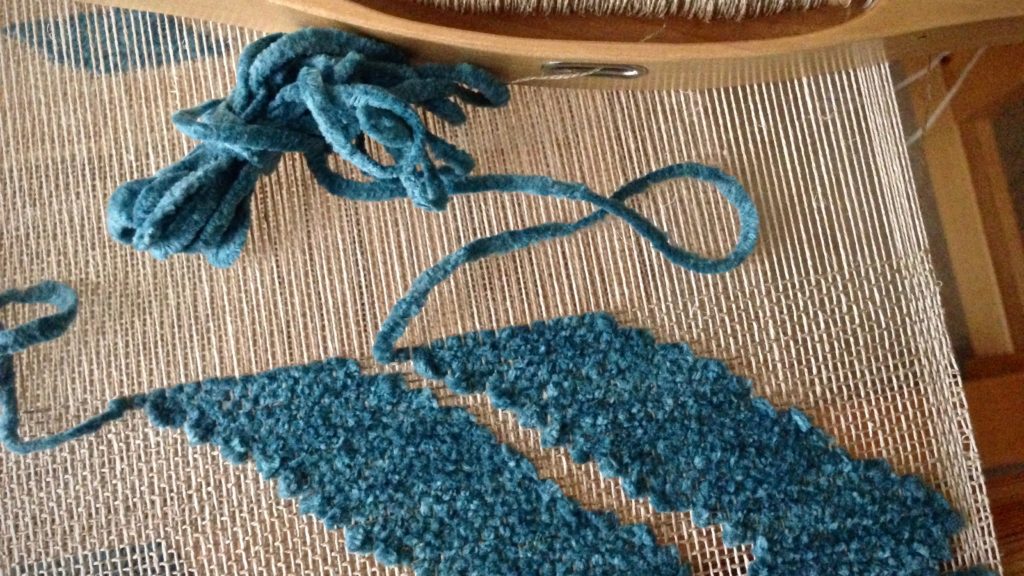
Transparency with linen background and cotton chenille pattern weft.
Linen background serves as a transparent backdrop for the inlay pattern.

The linen web becomes a successful backdrop for the chenille inlay. That’s when the purpose for the linen becomes evident. It’s an almost-invisible (transparent) framework for the visible inlay pattern. The hard work of restraint is at its best, like this, when it draws little attention to itself.

May you succeed in your practice of restraint.

Happy Weaving,
Karen

Now This Year

New year 2017 is beginning! It’s time again to take account of where we stand in our life’s dreams and goals. What can we check off the list? And, what is still in progress? And, maybe there’s something new to add. But first, let me count my blessings. I’m filled with gratitude, thankful for you! What a JOY it is to have friends like you to walk through this weaving journey with me.

Here’s what you’ll find on my looms right now:

Striped cottolin warp for towels.
Glimåkra Ideal loom: Striped warp for the sample kit is all set! Winding quills is next. Then, weaving! If all goes well, a few pre-warped plattväv towel kits will show up in my Etsy shop.
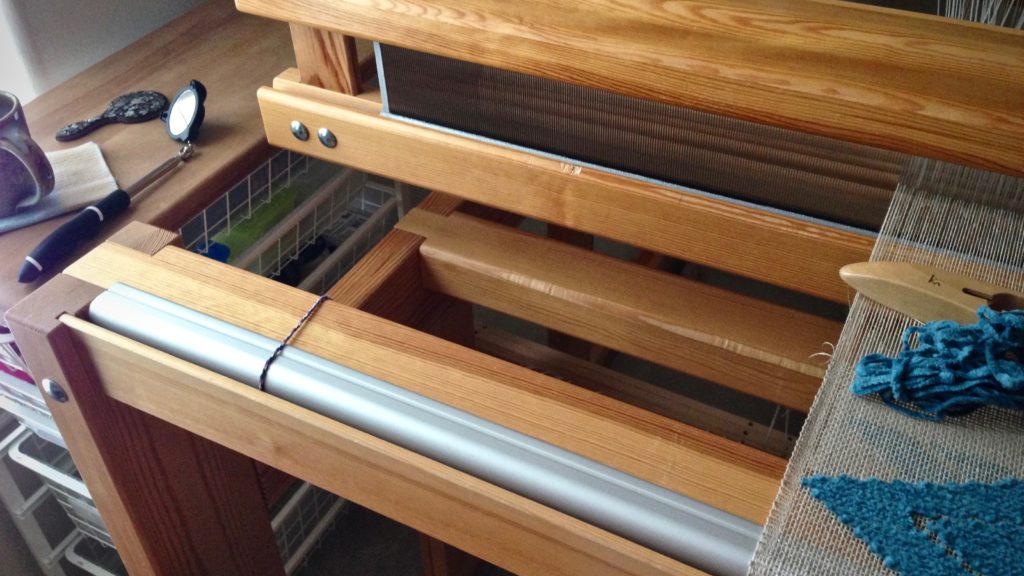
Transparency with linen warp and background weft. Cotton chenille weft inlay.
Glimåkra Standard loom: Weaving a transparency. 16/2 linen warp and background weft. The weft pattern inlay is cotton chenille.
Practice piece on little Hokett loom.
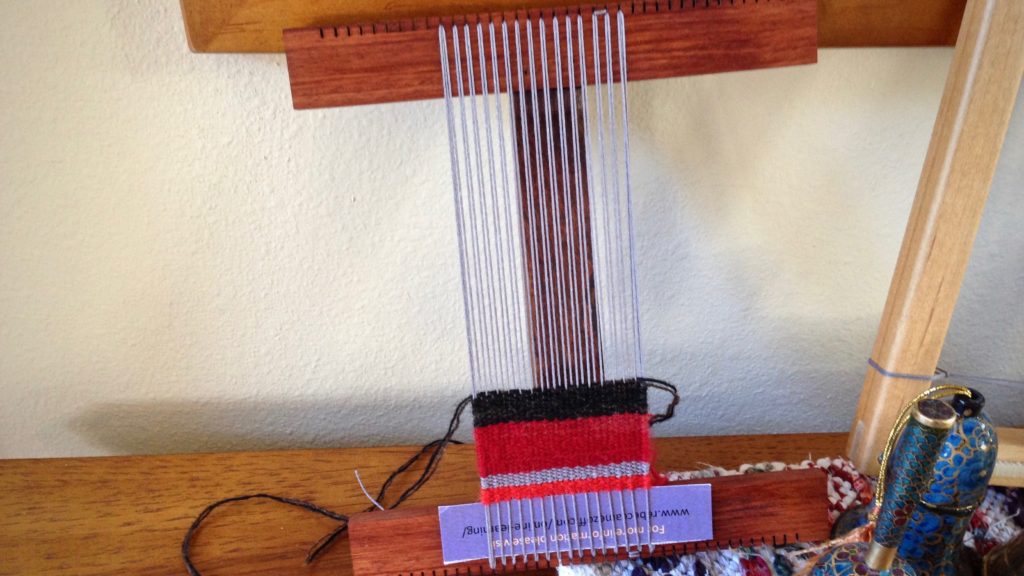
Hokett loom has the start of a simple stripes tapestry practice piece. 12/6 cotton warp, 6/1 Fåro wool weft.

Thank you for joining me through 2016!

May you have joy in the journey.

Happy Weaving New Year,
Karen

Quiet Friday: Lease Sticks in Place

What is the first thing I do when I have a new warp to put on the loom? Insert lease sticks. When I wind a warp on my warping reel, the ends follow an alternating over/under pattern between two pegs. This forms an “X” in the wound warp, and keeps the warp ends in sequential order. This “X” is called the lease cross, and I use lease sticks to secure it before proceeding. Hence, the lease sticks take first priority as I begin to dress the loom. Essentially, they hold the warp together.

Dressing the loom with a linen warp.
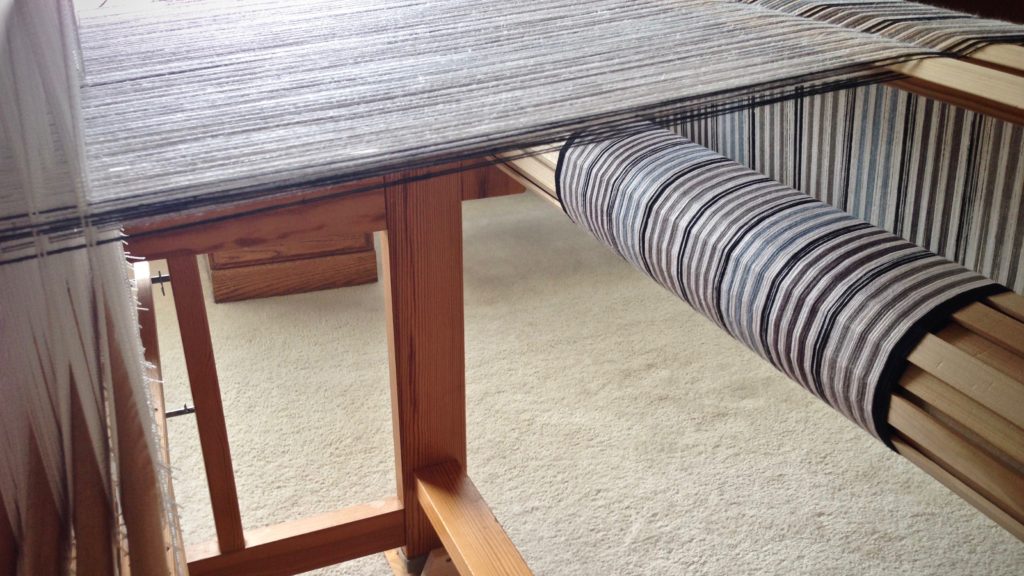
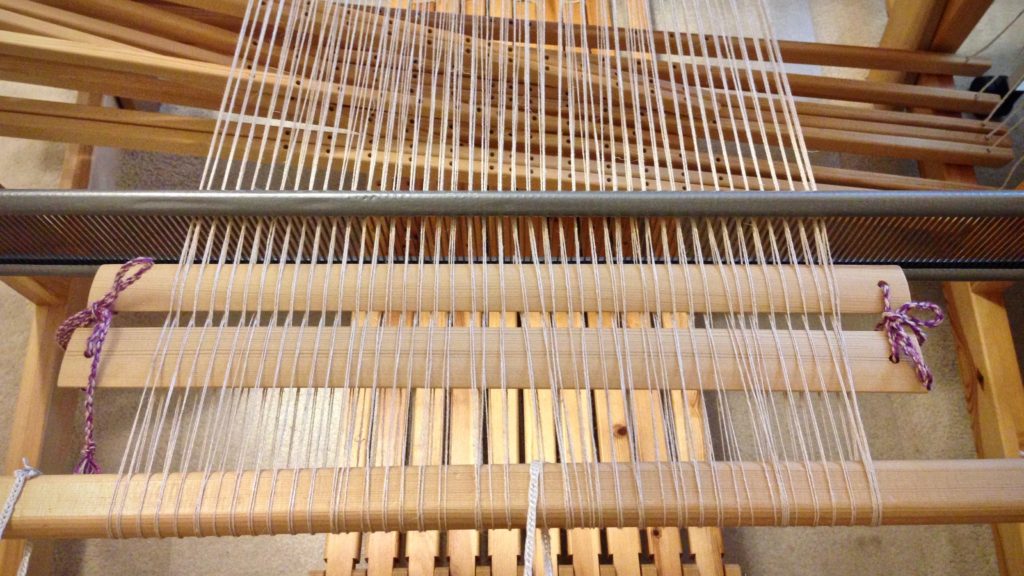
New linen warp. As viewed from the front of the loom, two long sticks support the reed and lease sticks for pre-sleying the reed. The lease sticks are in front of the reed.
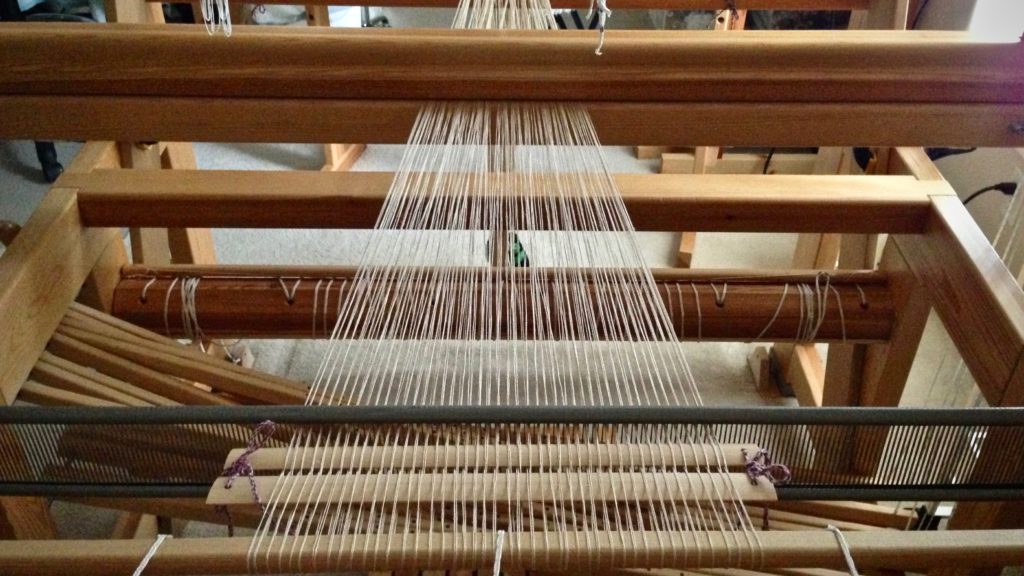
Lease sticks behind the beater. Linen warp.
As viewed from the back of the loom, the warp is under tension (from the warping trapeze). Lease sticks have been moved to position behind the beater.
Dressing Glimakra Standard loom.
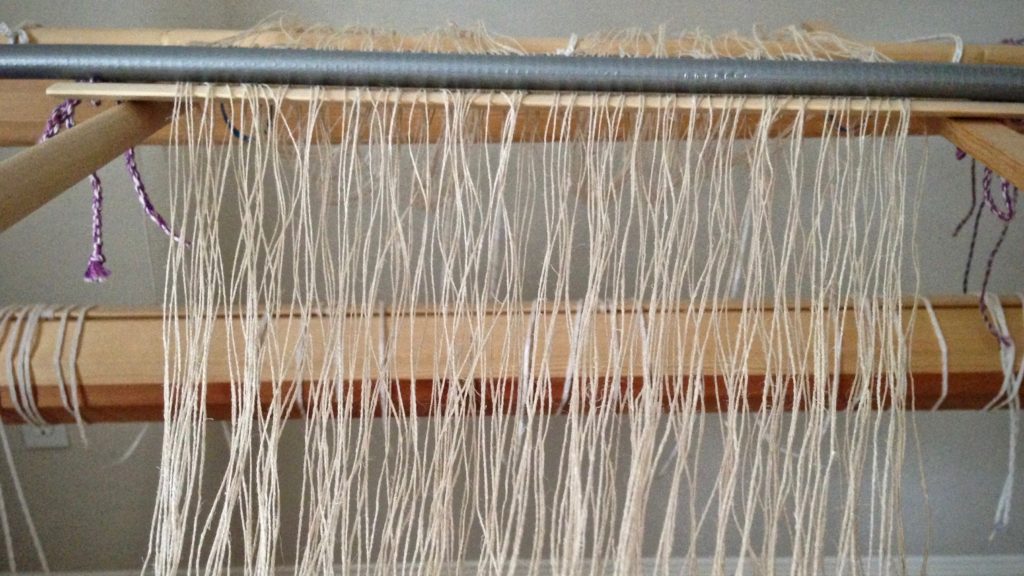
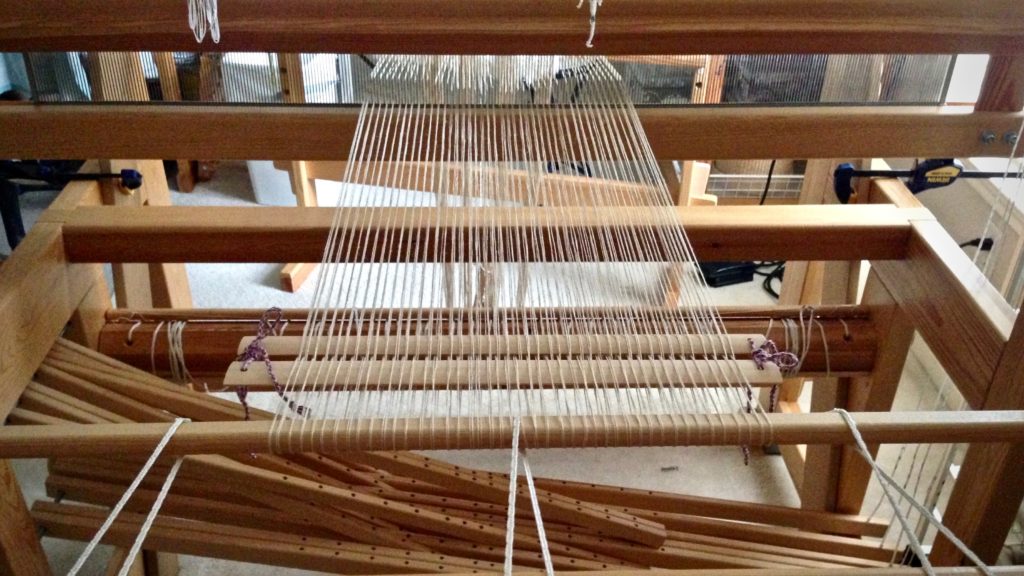
Warp ends are straightened and evened out behind the lease sticks.
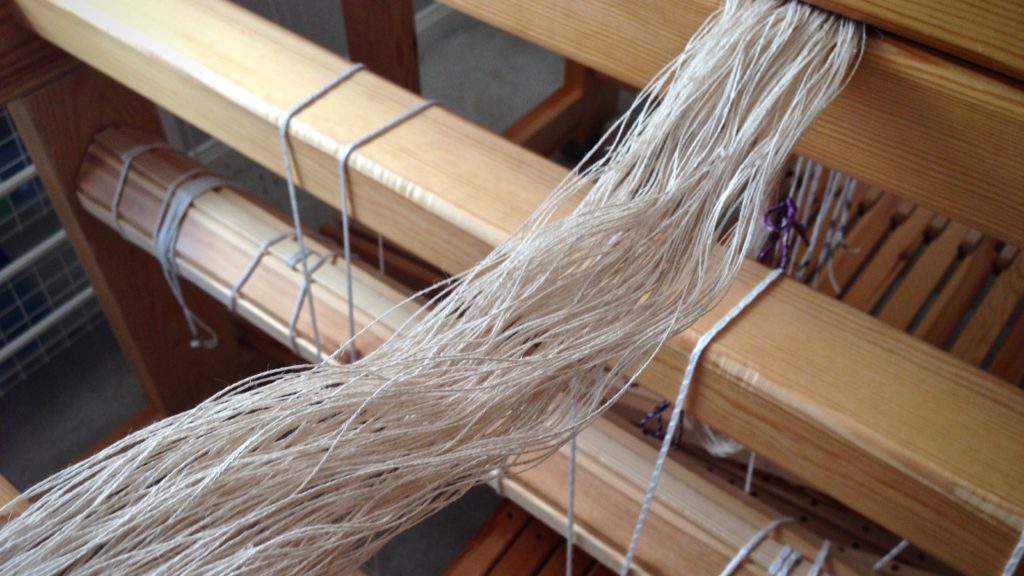
Beginning to beam a linen warp.
Reed is placed in the beater and centered.
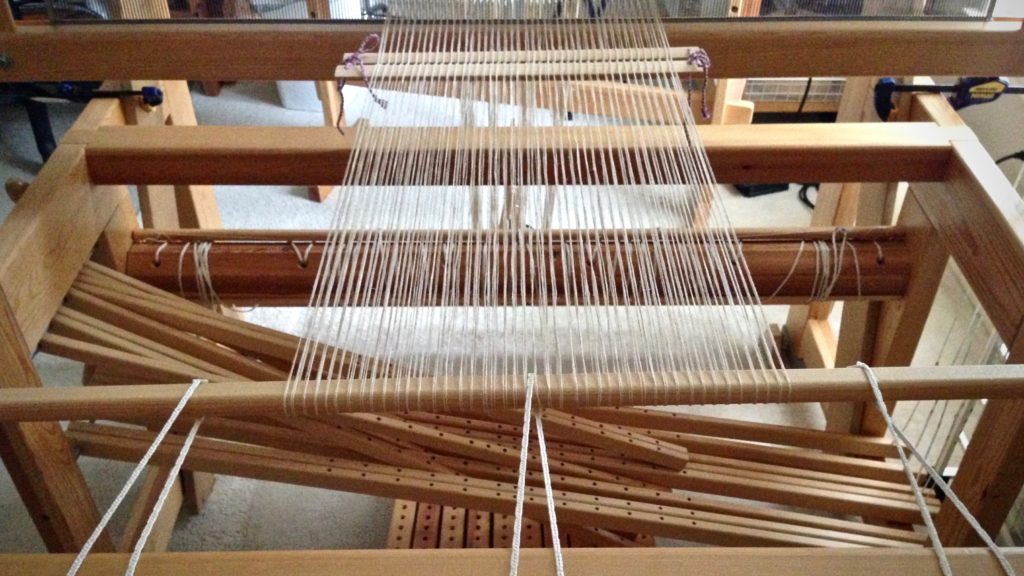
Ready to begin beaming this linen warp.
Lease sticks are moved forward, to just behind the beater. Ready to begin beaming the warp!

This Christmas, remember to keep Jesus first. Jesus, the humble king, was born to die on a cross that we may live. In Him all things hold together. Joy to the world!

May your threads stay in order.

Have a Good Christmas,
Karen

Linen Coming Next

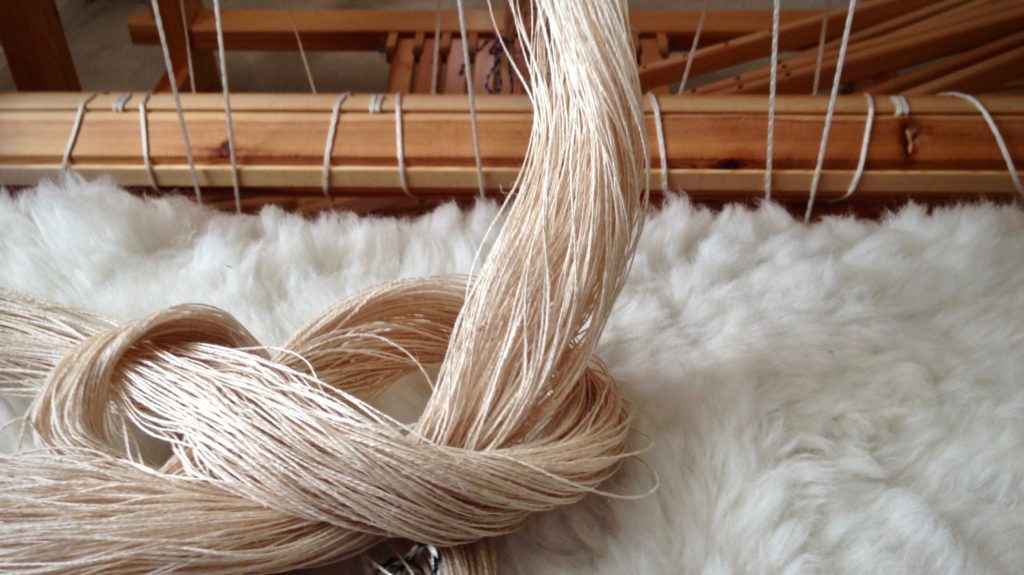
Linen warp and linen weft is a recipe for elegance. The warp chain is a pleasant sight. It’s a signal that something is going to happen, that action is in the air, that a loom is about to be dressed!

Linen warp chain.
176 ends of 16/2 Golden Bleached linen.

When I see a linen warp chain, I anticipate an exciting project. It’s a picture of work to be done–beaming, threading, sleyingtying on, and tying up. And it’s a picture of fabric to be woven. Linen brings its own challenges, I know. Careful technique and mindful practices are a must. But I’m eager get started!

Preparing to beam a linen warp.
Linen warp is placed with the lease cross just on the other side of the beater.

Advent. The word means “coming.” It’s the season we are in right now, leading up to Christmas. It signifies the world waiting for the coming of Christ. As a warp chain is a picture of anticipation and hope, so is Advent. And the coming of Jesus answers that hope. The story of Christmas is the story of God with us. Jesus, God with us still. A line from “O Little Town of Bethlehem,” an old carol written by Phillips Brooks, says it well, “O come to us, abide with us, our Lord Emmanuel!”

May your anticipation and hope be satisfied.

Blessed Christmas,
Karen

Tools Day: Measured Weaving

How far will you travel? How will you know when you have arrived? Do you wish you could know when you are halfway there? Applied to weaving, I like to have the answers to these questions before I begin the “journey.” A pre-measured tape gives me consistency, especially important for multiple pieces in a set. The tape also acts as my “trip odometer.” I can see how far I’ve gone, and exactly how much is left to weave. It satisfies my insatiable need to know how close I am to the end. Are you like that, too?

How to Make and Use a Pre-Measured Tape

Supplies

  • Roll of 3/4″ or wider twill tape (or any cloth tape or ribbon that does not stretch, and that pins easily)
  • Tape measure with inches and/or centimeters
  • Fine tip permanent marker
  • Flat head pins
  1. Use the permanent marker to place markings on the twill tape, as measured with the tape measure. Mark the start line 1/2″ from the end of the twill tape, so that the tape can be pinned in front of the mark.
  2. After drawing a line for the starting point and ending point, draw a line at the midway point, labeled MID.
  3. Include dotted lines for hem measurements, if applicable. Write the hem measurement on the twill tape; i.,e., 3/4″ or 2 cm.
  4. Write the weaving length measurement on the twill tape. Include calculation for takeup, if desired; i.,e., 25″ + 3″.
  5. Write the project or item description on the twill tape, if desired, for ease of repeat use; i.e., handtowel.
  6. Add other lines or marks, as needed, for borders, placement of weft colors, or other design elements.
  7. 1/2″ after the final marking, cut pre-measured twill tape from the roll of tape.

With the warp under tension, pin the pre-measured twill tape near the right or left selvedge with two flat-head pins. Match the start line of the tape with the beginning of the weaving.
Before each advancement of the warp, move the pin closest to the breast beam to a point near the fell line. In this way, have the pins leapfrog each other, moving only one pin each time. Always keep the warp under tension when moving the pins.

Red cutting lines between black and white towels.
Beginning hem, after red cutting lines between towels.
Ending hem is followed by two red picks that will become the cutting line between towels.
When the "MID" point hits right where it should!
When the “MID” point hits right where it should! Mid point marking helps to confirm that the halvdräll pattern is centered and balanced in its length.
Pre-measured twill tape marks weft color placement on linen scarves.
Weft color placement is marked on the twill tape for these linen lace scarves.
Tricks with pre-measured tape for weaving.
Five centimeters, marked at the end of the twill tape, is a handy reference for spacing the weft pattern floats in these plattväv towels.
Alpaca scarf in an interesting 8-shaft twill.
I love seeing the “MID” point on a long piece, such as this 8-shaft twill alpaca scarf.
Pre-measured twill tape helps set the pace for the weaving project.
Breaking up the length into quarters helps to set a pace for the weaving project. This baby wrap was on a time crunch, so it was helpful to know when I was getting close to the end.

May you accurately measure your ways.

Truly yours,
Karen