Beauty in Cutting Off

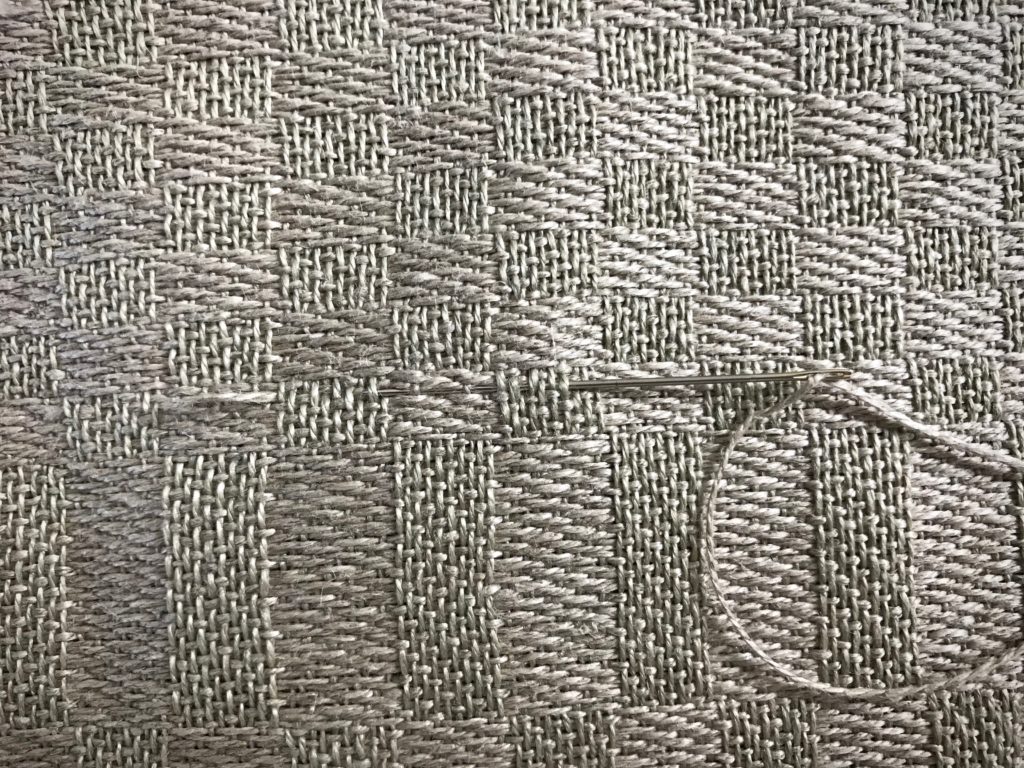
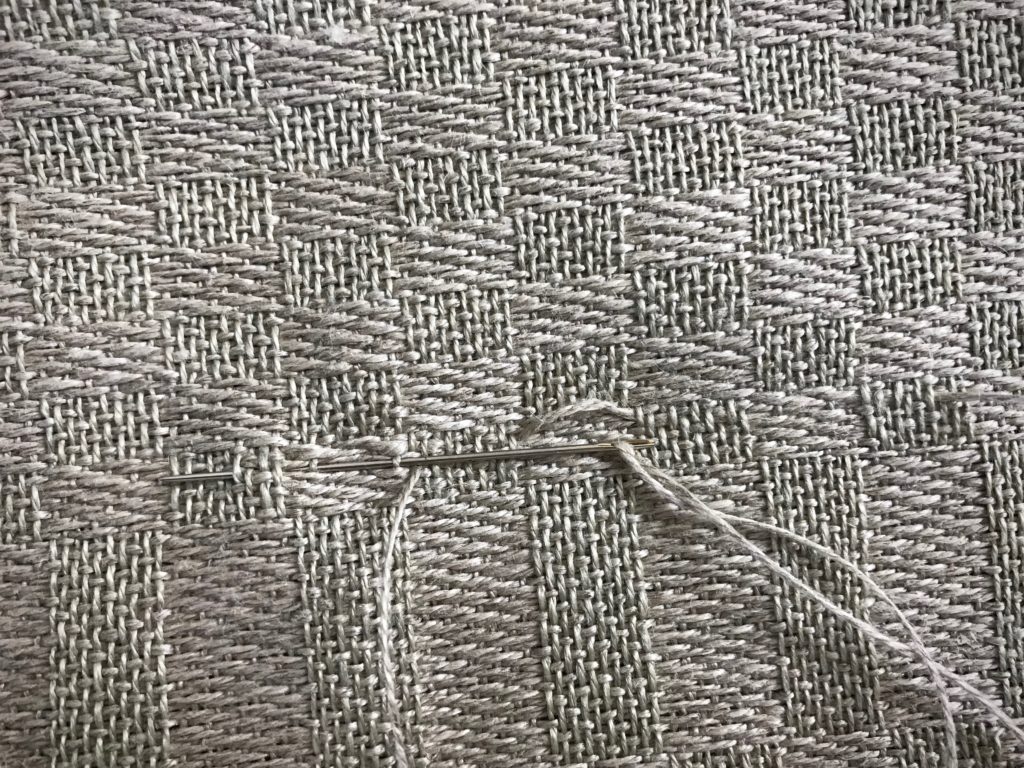
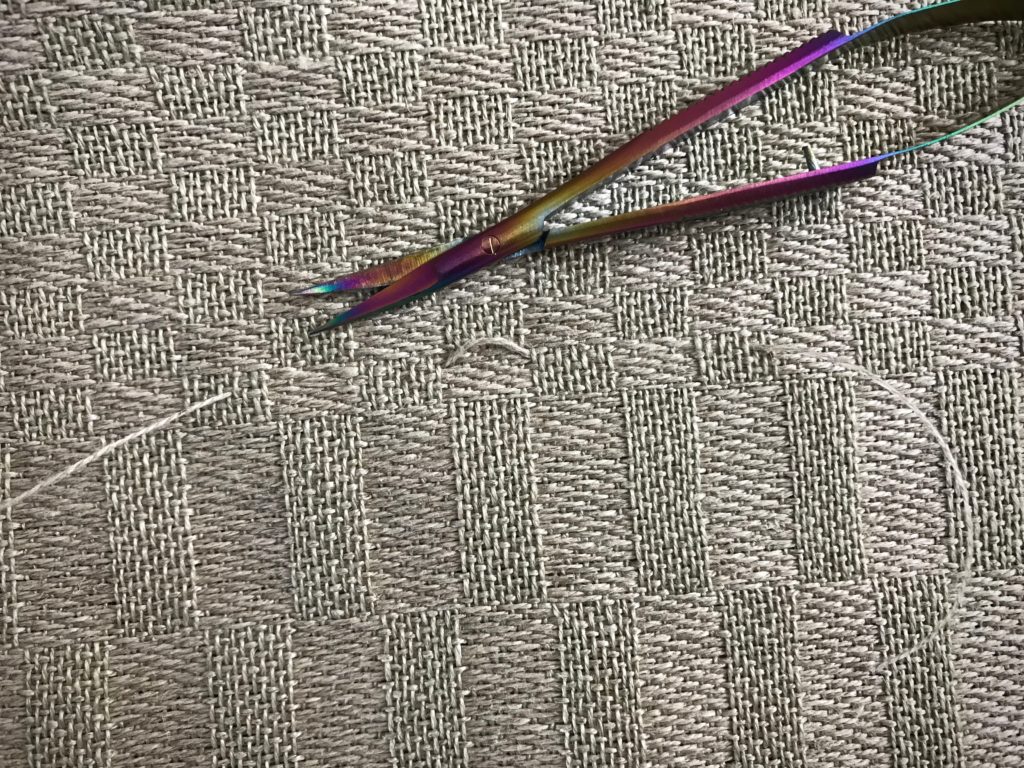
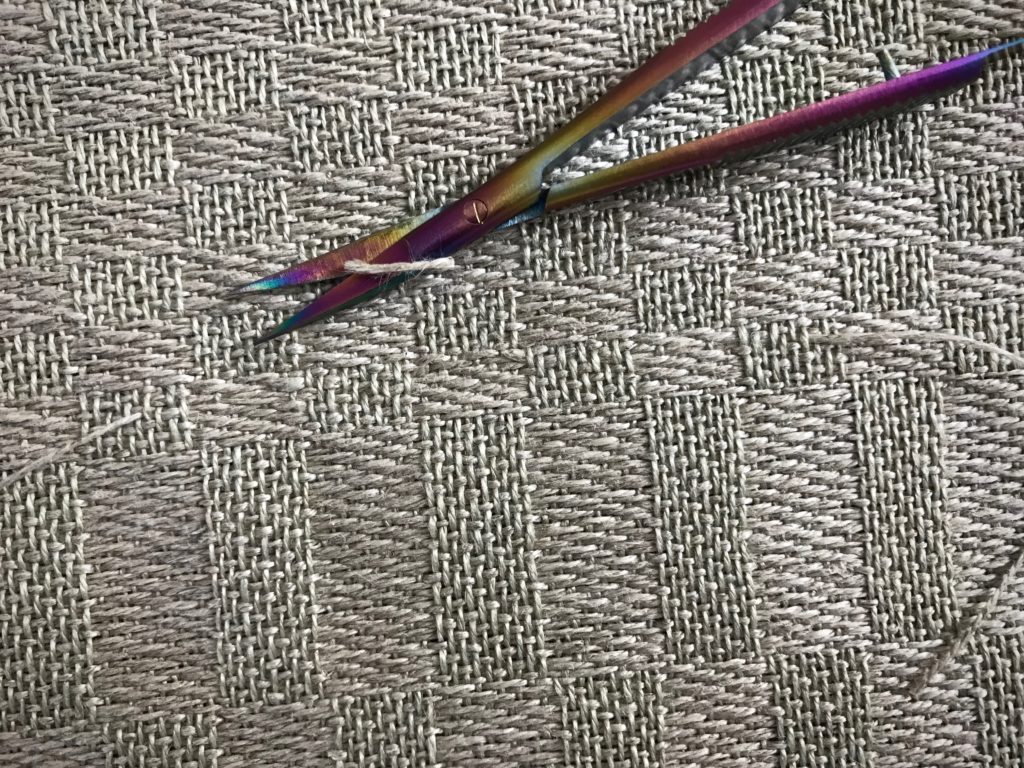
There is beauty in cut threads. They signify completion. Look what has become of these linen threads! Order and sequence, timing and continuity, perseverance and pursuit. Through a weaver’s hands it all adds up to fabric made for a purpose.

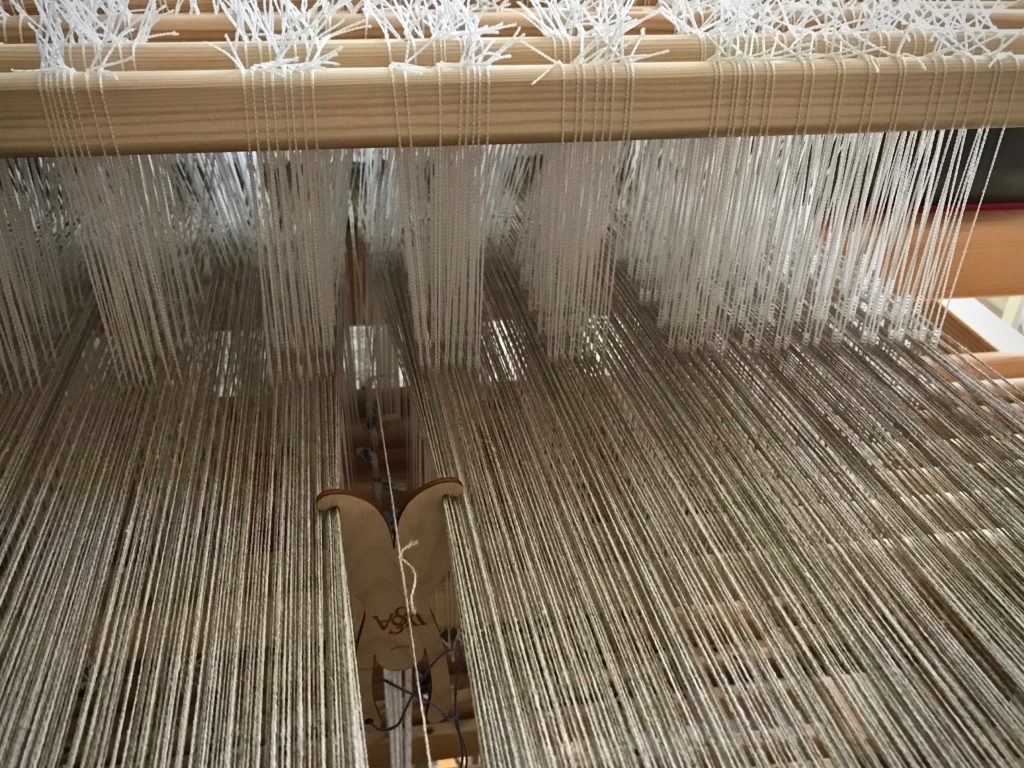
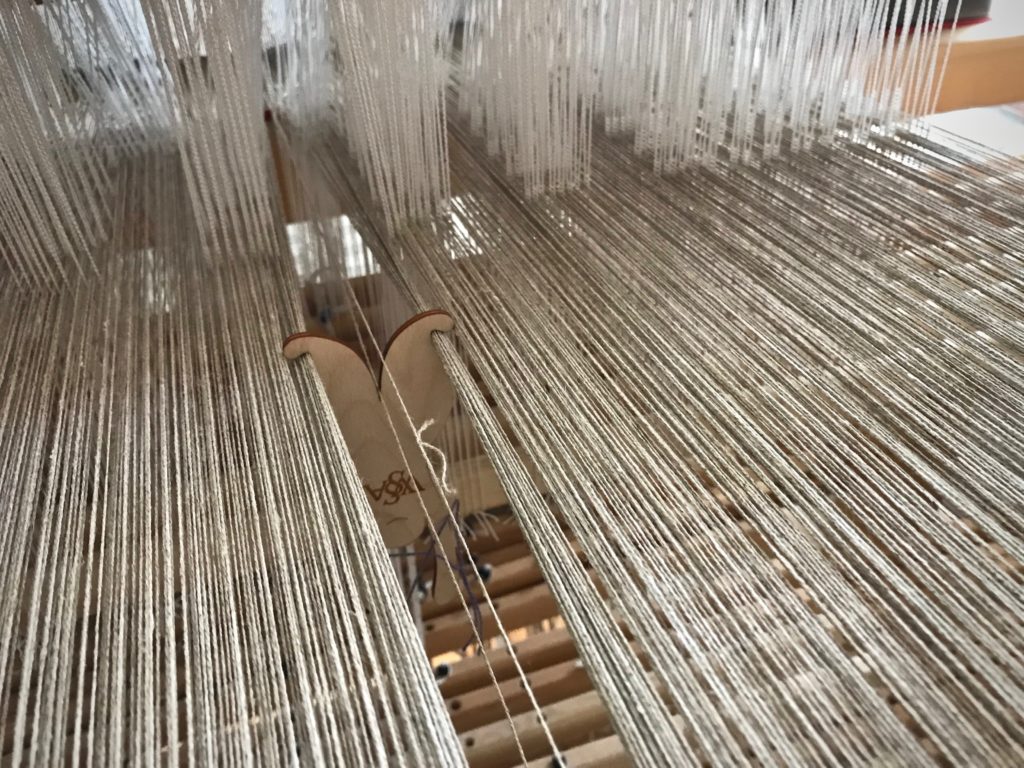
Cutting off! Linen threads flow through the reed like a waterfall.
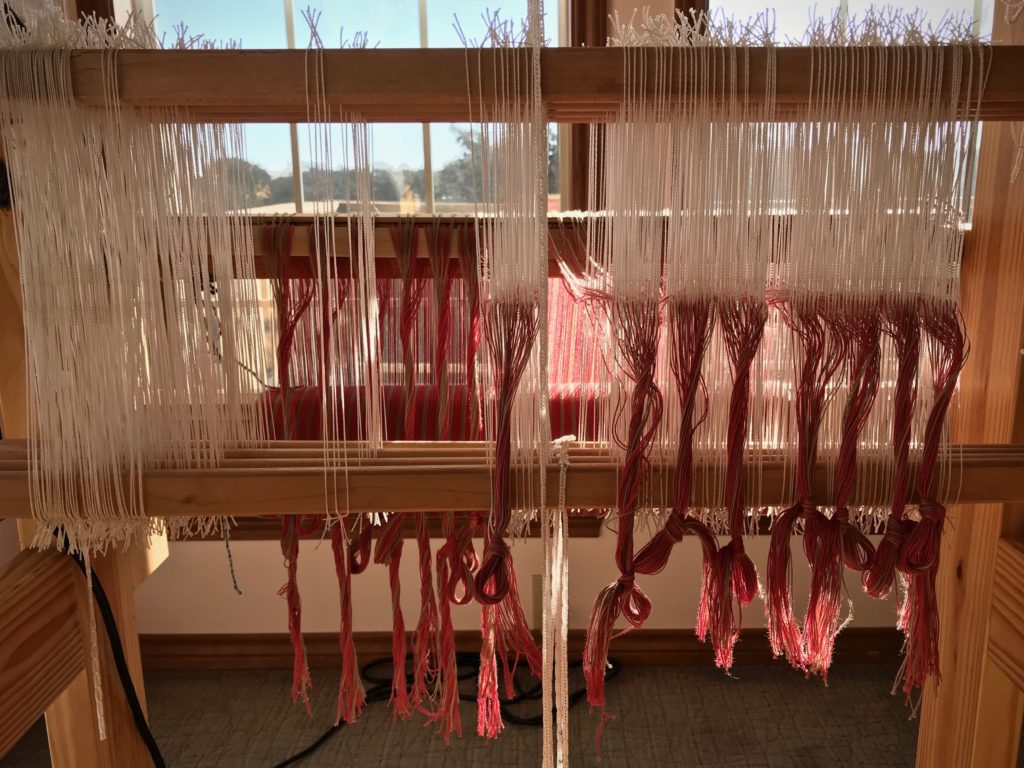
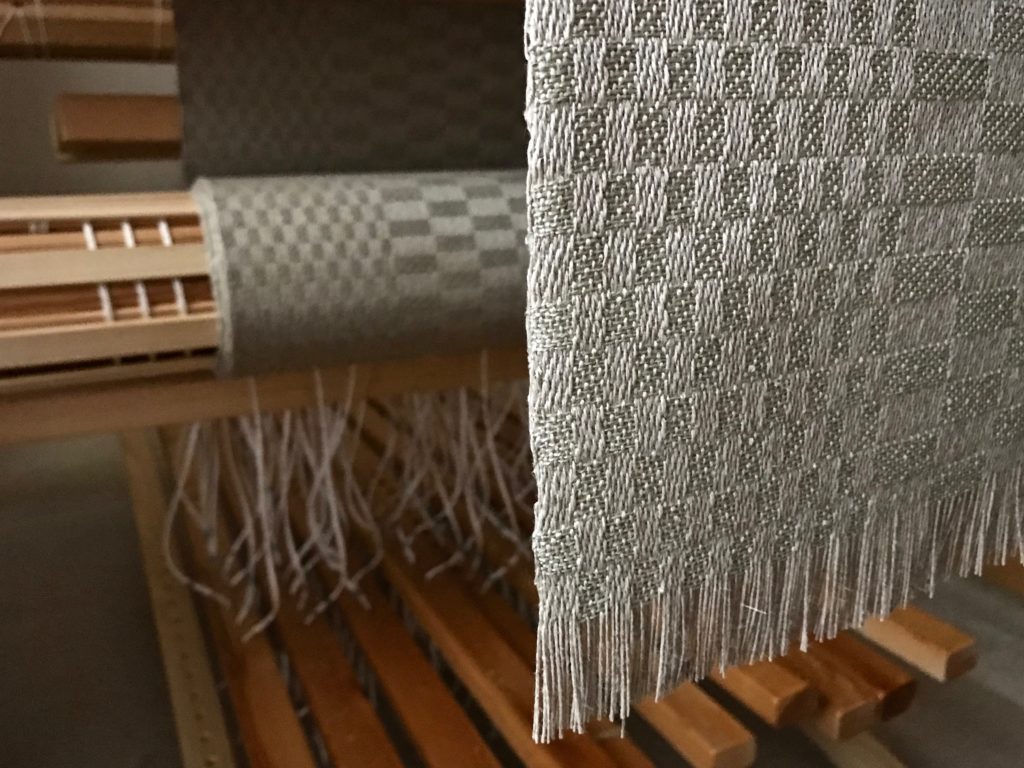
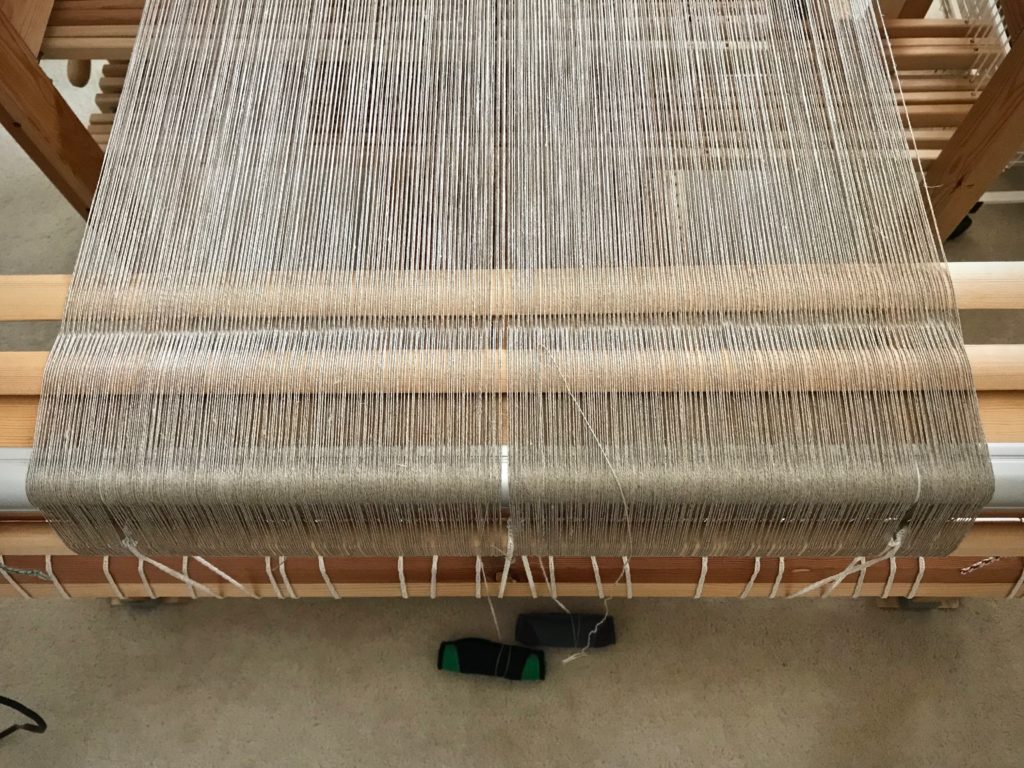
Cutting off! Linen warp ends flow through the reed like a waterfall after the cloth is cut off.
Linen 5-shaft damask. Cutting off!
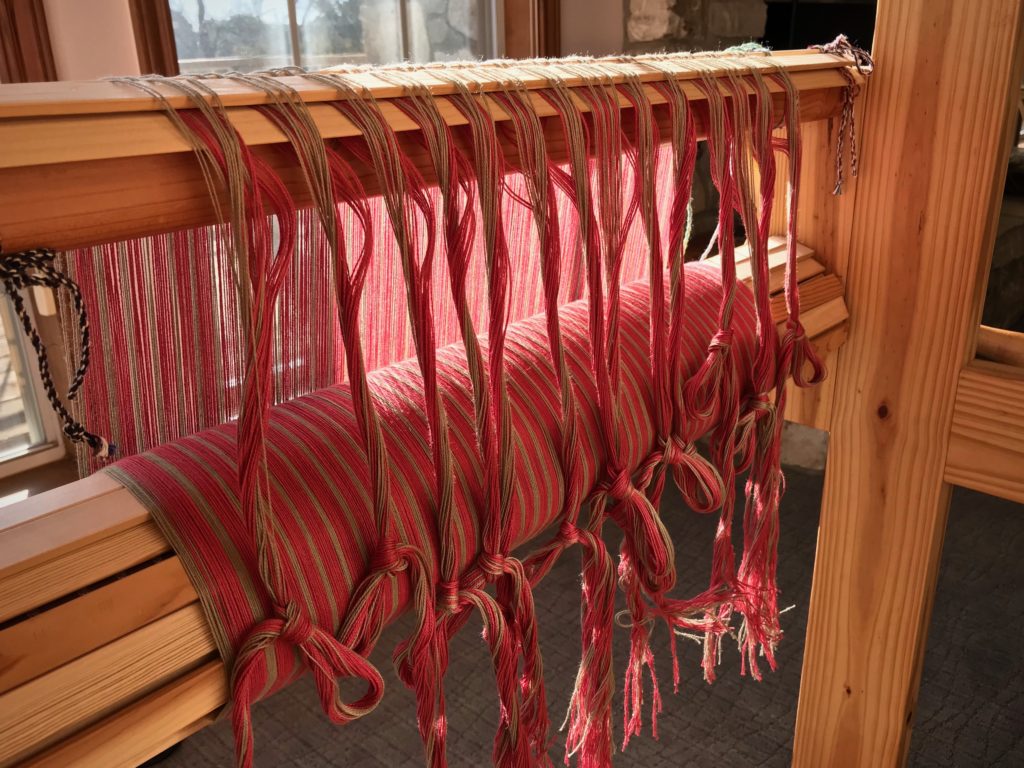
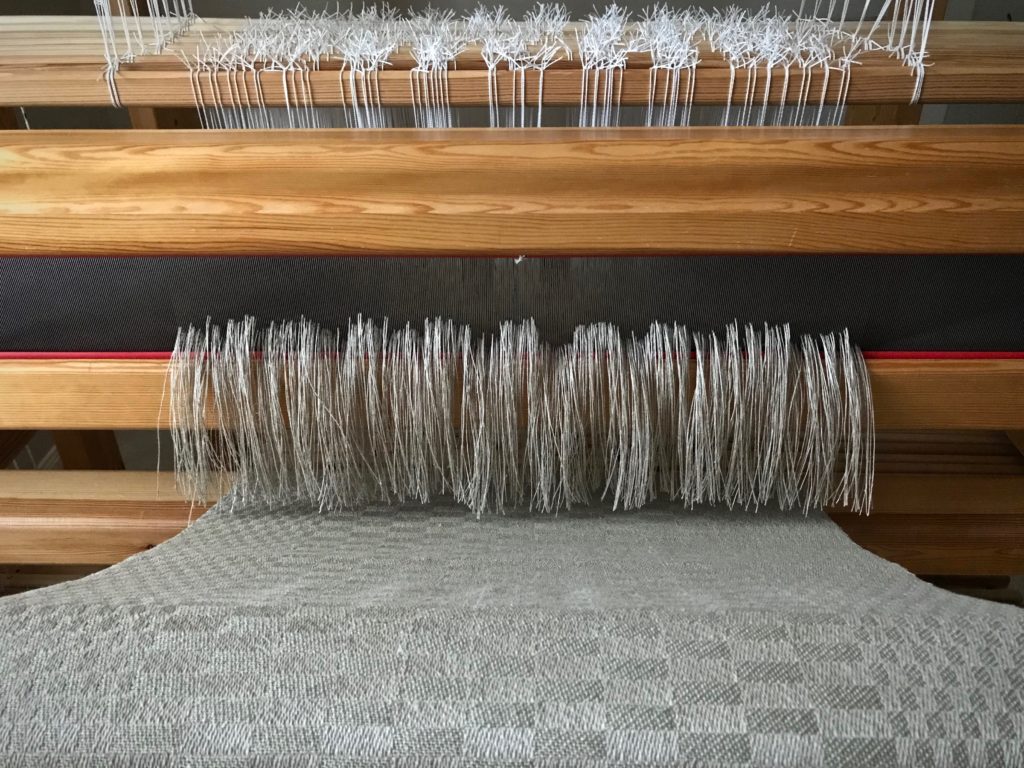
Cut threads appear as tidy fringe on the stately linen satin damask weave. The warp beam holds the cloth until it is ceremoniously unrolled.
Linen damask weaving, just cut from the loom.
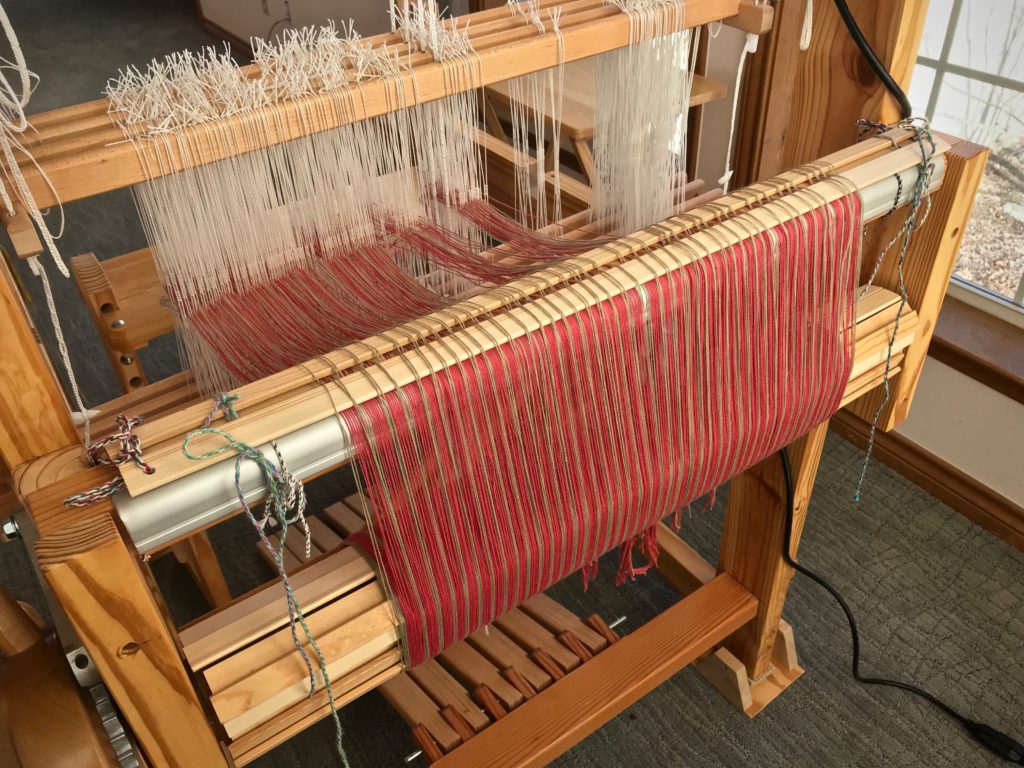
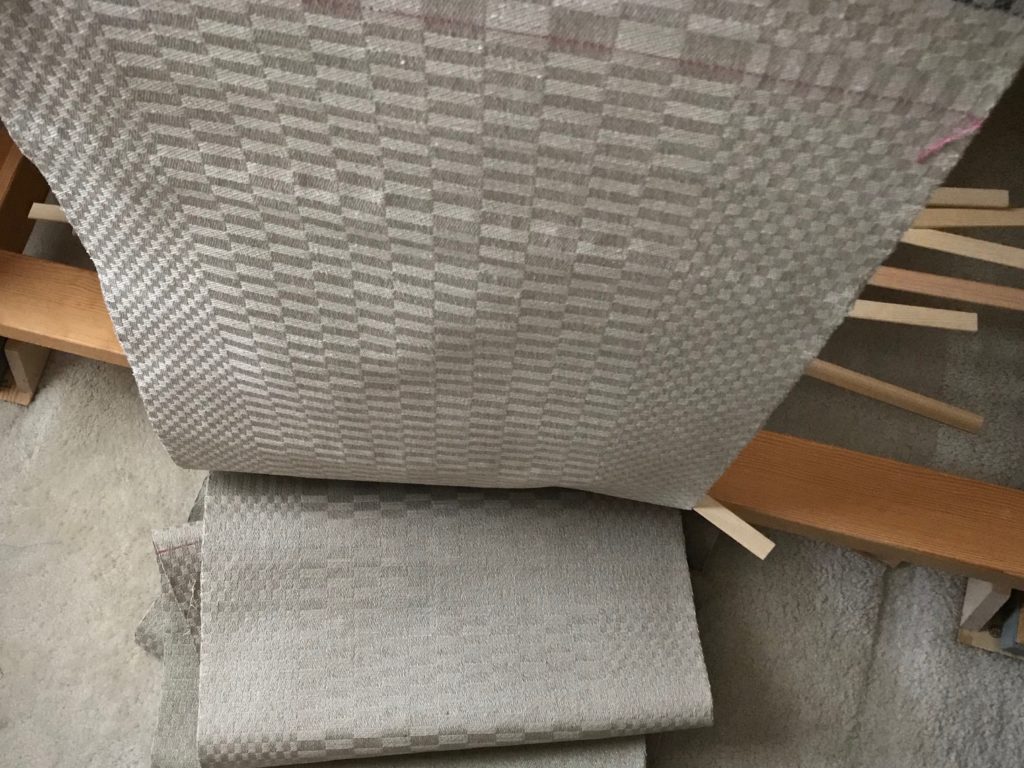
Fabric and warping slats fall to the ground.
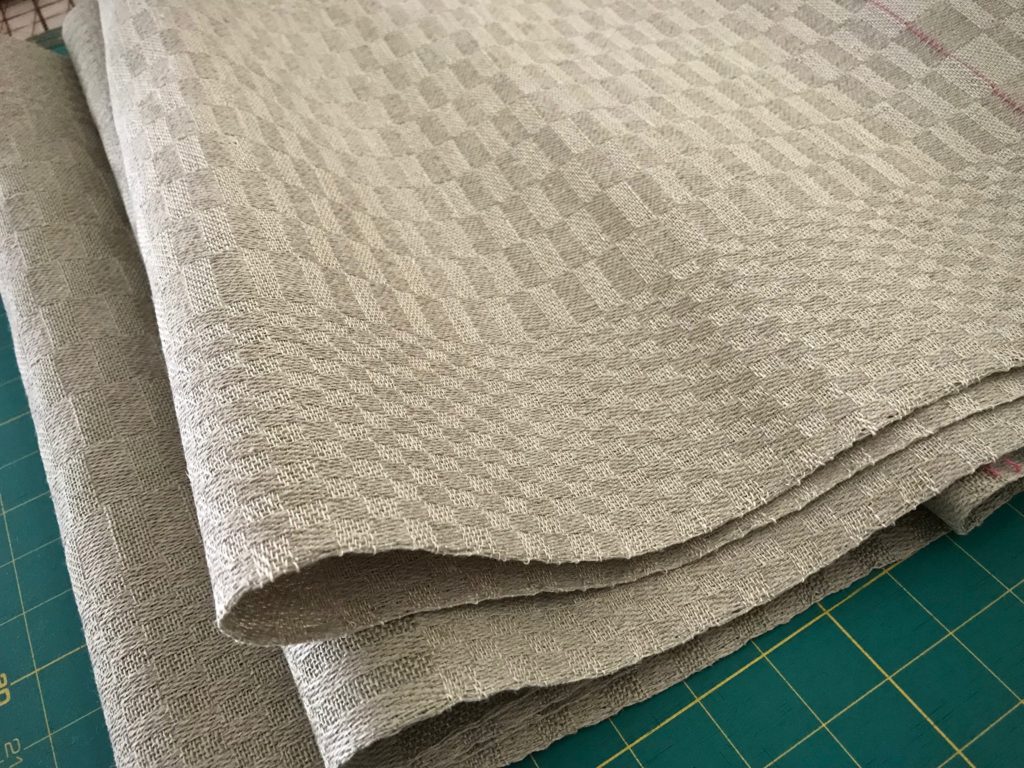
Linen fabric just off the loom, ready for finishing.
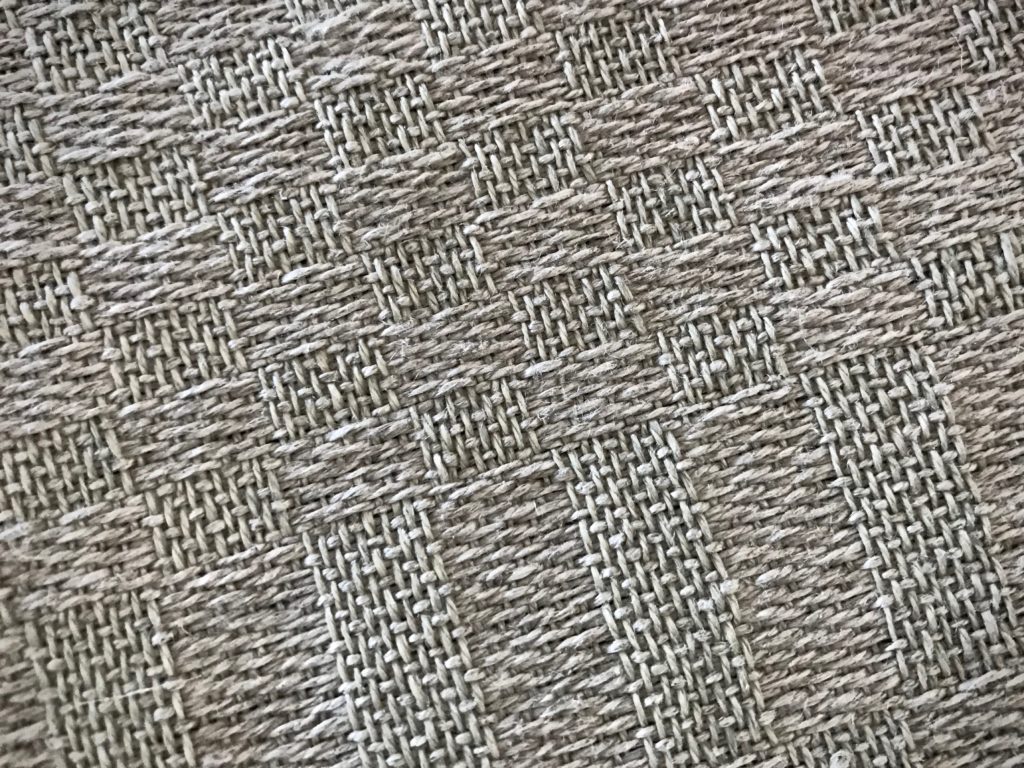
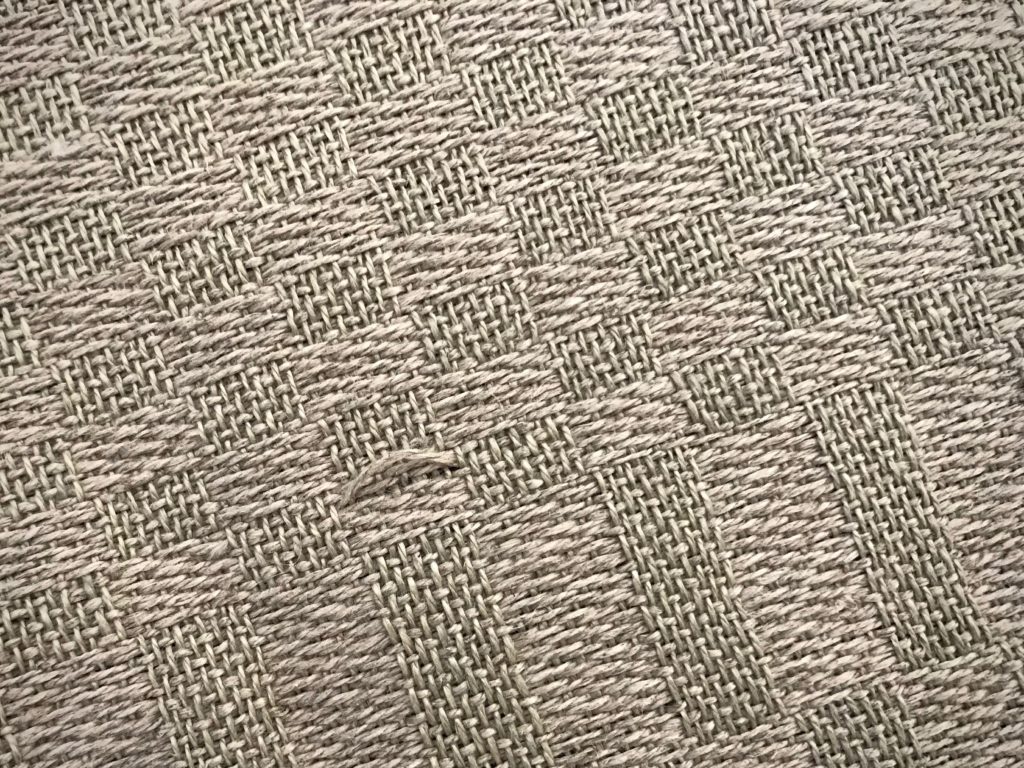
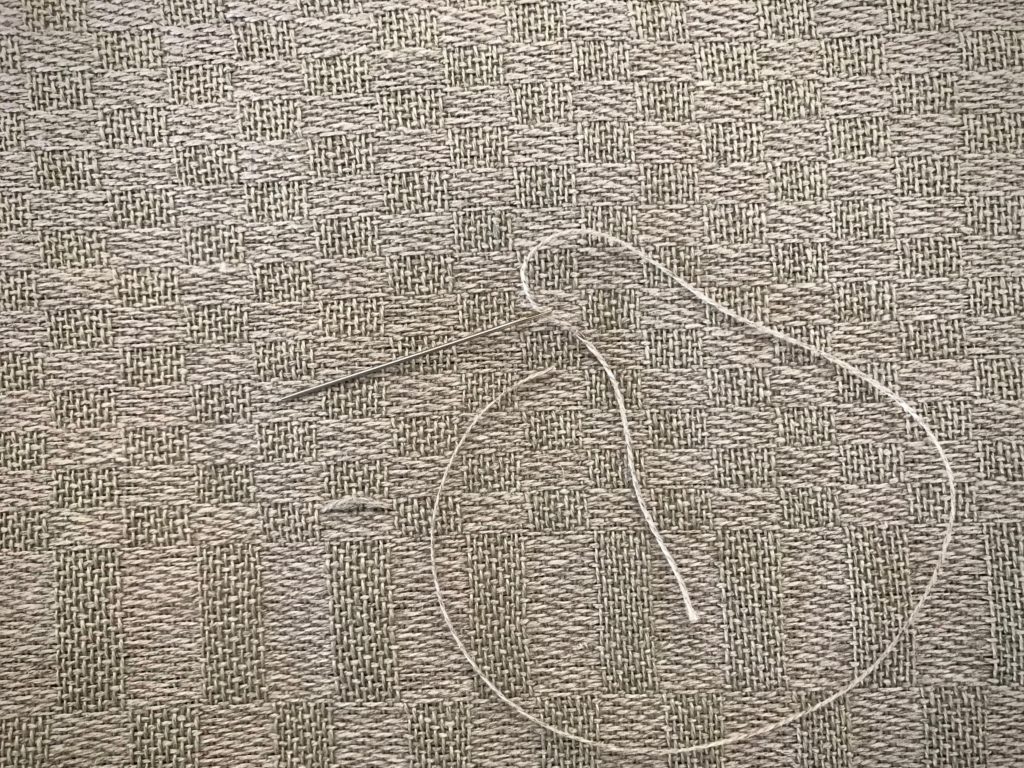
On the sewing room work table, the completed fabric awaits the finishing process. I will look for and repair errors, secure cut ends with serger stitching, and wet finish the fabric. Then, I will hem them so they can be used as the towels I envisioned from the start.

Father. With God as our Father, we are on the receiving end of the process. Grace and peace, granted from the Father’s hand, shape our lives. And, like a good weaver, our Father makes something beautiful from the threads we offer him. Imagine the day when it may be said of us, “Look what became of the linen threads in the Grand Weaver’s hands!”

May your threads turn into something beautiful.

With joy,
Karen

Tools Day: Eliminating Warp Knots

You are not going to believe how many knots I came across in this 16/2 linen warp! Too many. As I wound the warp I made the decision to leave most of the knots, and deal with them on the loom. (I did remove knots that were close to the beginning or ending peg on the warping reel.) I lost count, but I’m sure I have spliced the warp on this five-and-a-half-meter project at least a dozen times. (To see more details about how I splice the warp, visit this blog post and video: How To Splice the Warp – Video.)

I do not weave over warp knots. A knot introduces a spot of vulnerability to the fabric. Knots can fray, loosen, or come undone over time, even if the knot is originally imperceptible.

In a couple instances, a knot distorted the tension of the warp end because of catching on a heddle or passing through the reed. For that reason, I now try to eliminate knots in the warp before they reach the heddles.

Tool: Warp Separator

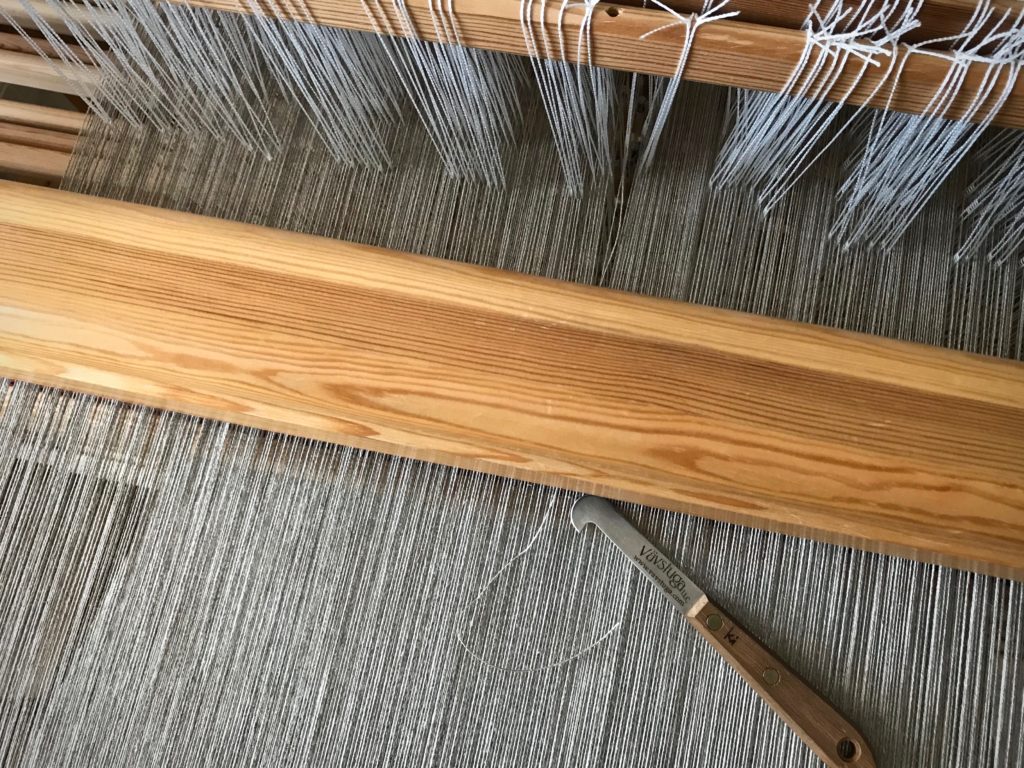
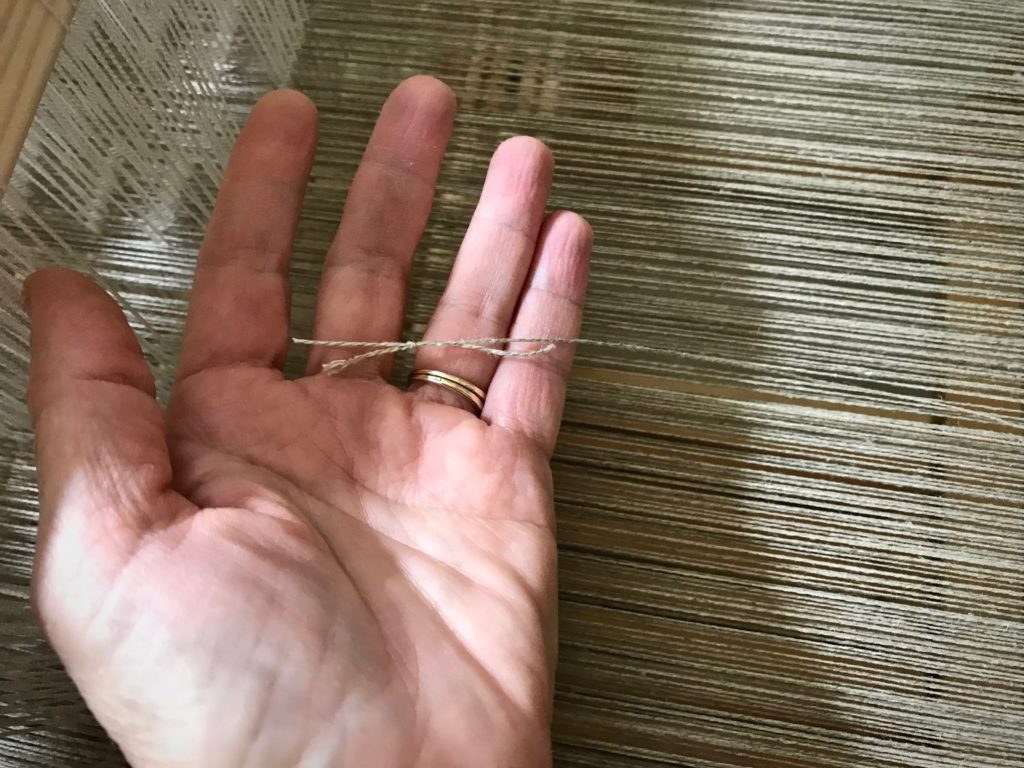
  • Identify the warp end that has a knot, and insert the warp separator between warp ends to isolate the thread.

Warp separator to isolate warp with knot.

  • With a length of repair warp thread, follow the path of the original thread to splice in the new warp end, feeding it through the heddle of the original warp end.

Warp separator to isolate warp end with knot.

  • Bring the repair warp thread through the reed in the same dent as the warp end that has a knot.

Eliminating a warp knot.

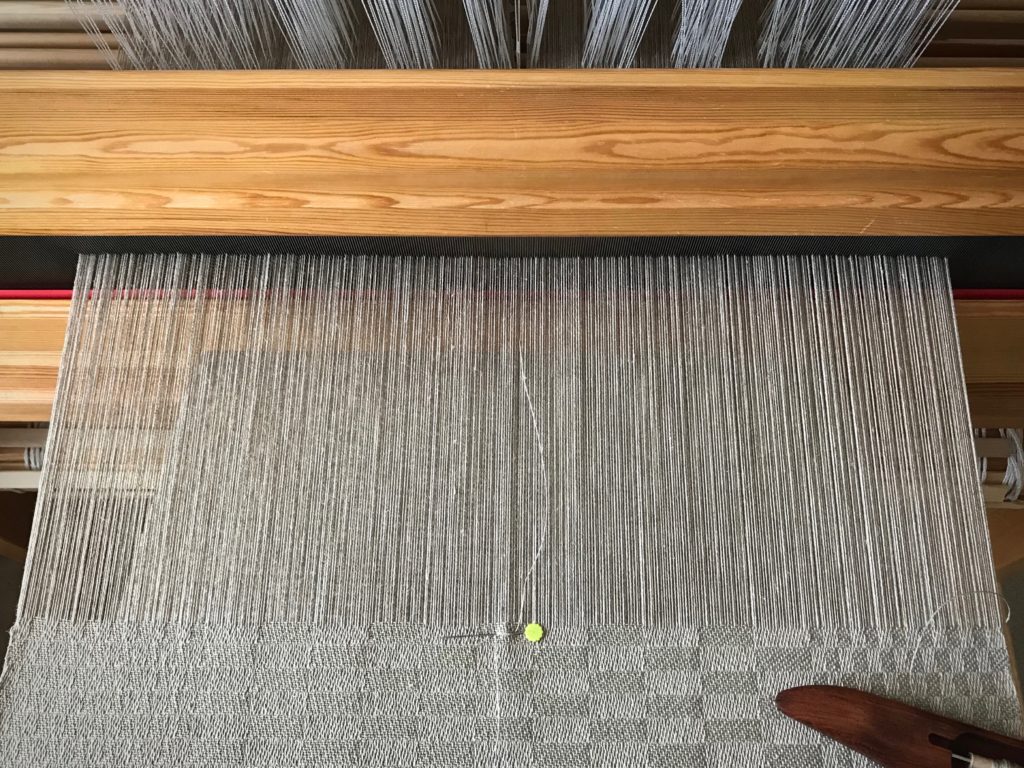
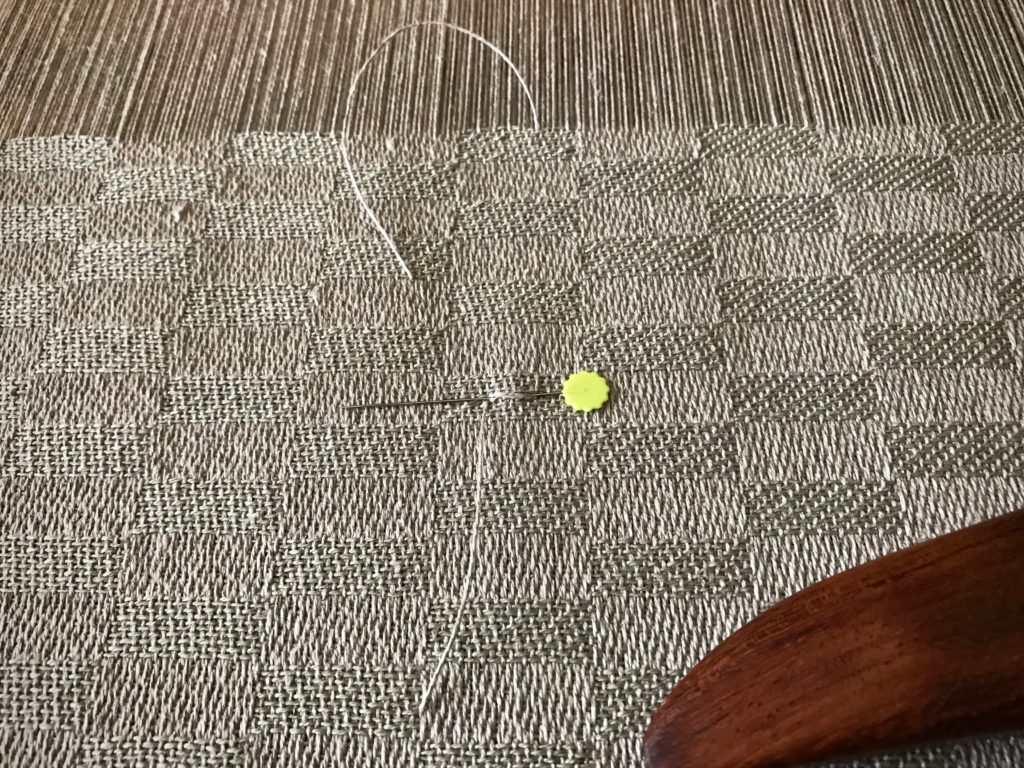
  • Attach the repair warp thread near the fell by wrapping it around a flat straight pin.

Splicing a warp end.

  • Remove the warp separator from between the warp ends.

Warp separator for repairing a warp end.

  • Place a weight on the floor below the back beam. Wrap the repair thread around the weight two or three times to hold the thread at tension that matches the rest of the warp. Loosen the wrapped-around thread before advancing the warp, and then re-tighten before resuming weaving.

Splicing warp ends.

  • Weave one to two inches with both the original warp end and the repair warp thread in place.
  • Then, cut the original warp end with the knot (behind the heddles) and let it hang over the back beam.

Cutting a warp knot behind the reed.

  • The original and replacement warp ends overlap in the weaving for about one to two inches.
  • Remove the straight pin when it reaches the breast beam.
  • Re-attach the original warp end when it is long enough to secure in front of the fell line with a flat straight pin.
  • And then, cut and remove the replacement warp thread.
  • Trim all the spliced warp tails after wet finishing.

Spliced warp end to eliminate a knot in the warp.

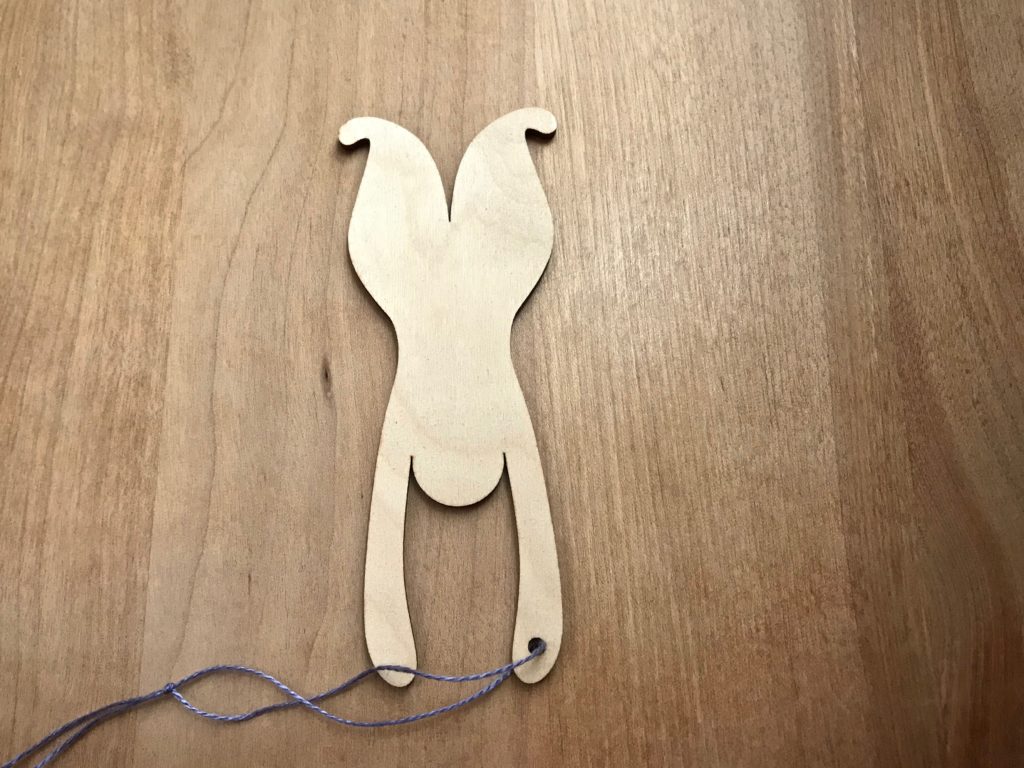
Warp separator guy, ready to jump in and help!

This warp separator was a gift from The Weavers and Spinners Society of Austin, included in the goodie bag from last summer’s Contemporary Handweavers of Texas Conference. It would not be hard to make a warp separator like this from wood or sturdy cardboard. I have not been able to locate a supplier online.

If you know where to find a warp separator tool, please put a link in the comments.

May you have very few warp knots.

All the best,
Karen

Amazing Five-Shaft Satin Dräll

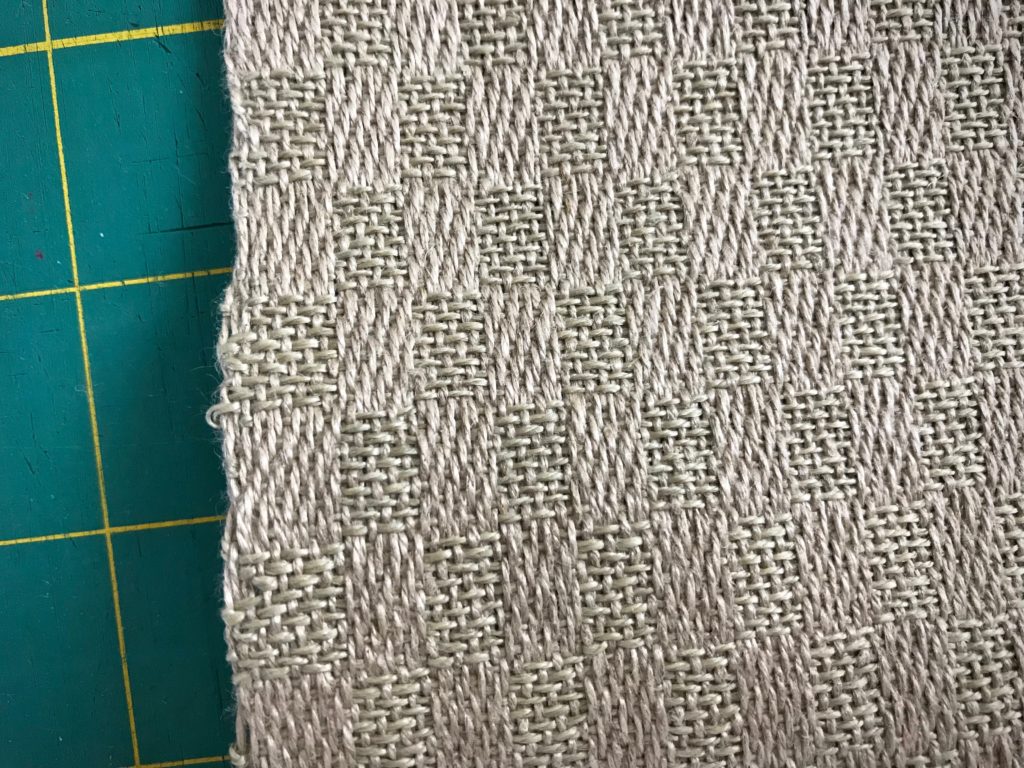
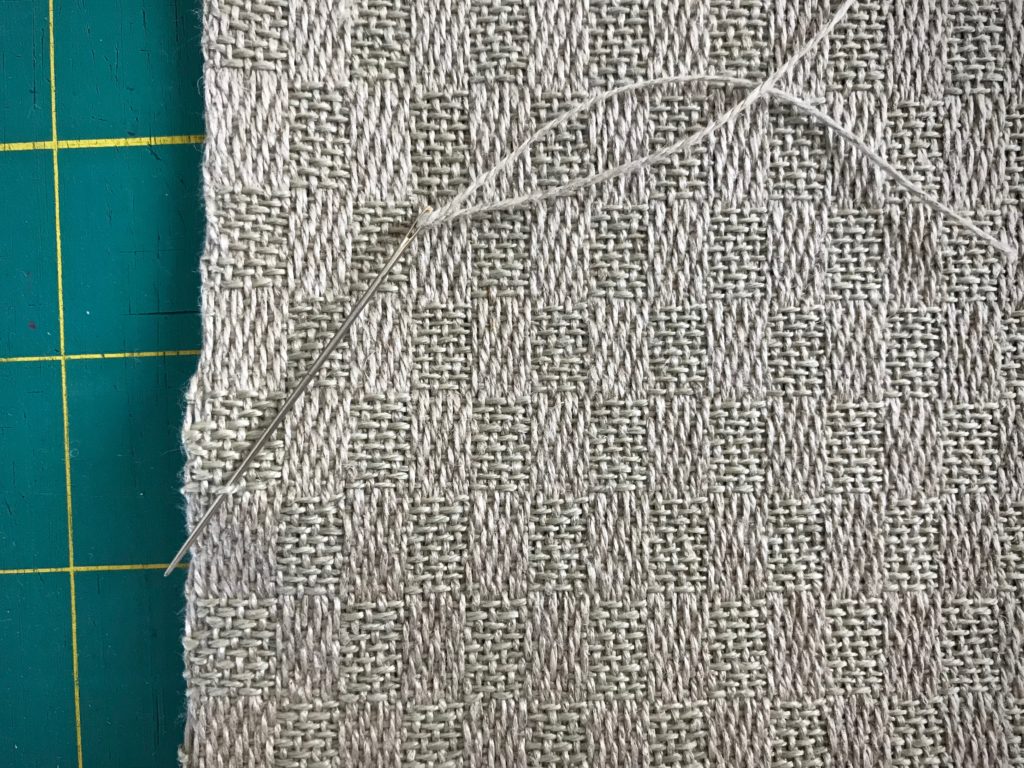
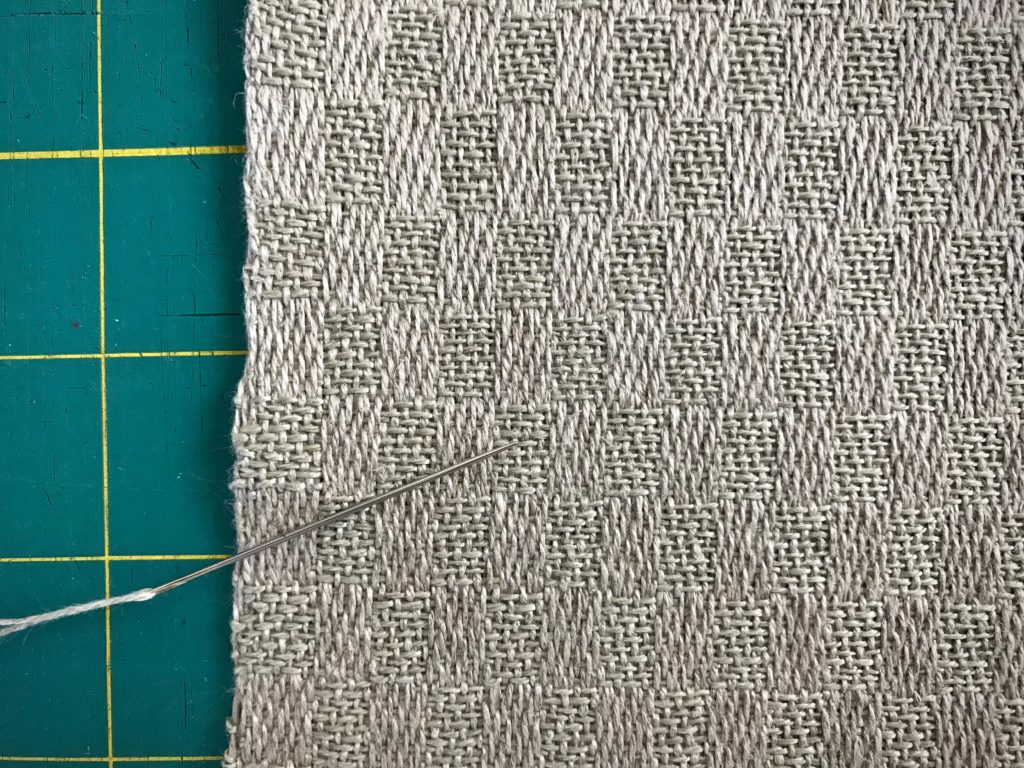
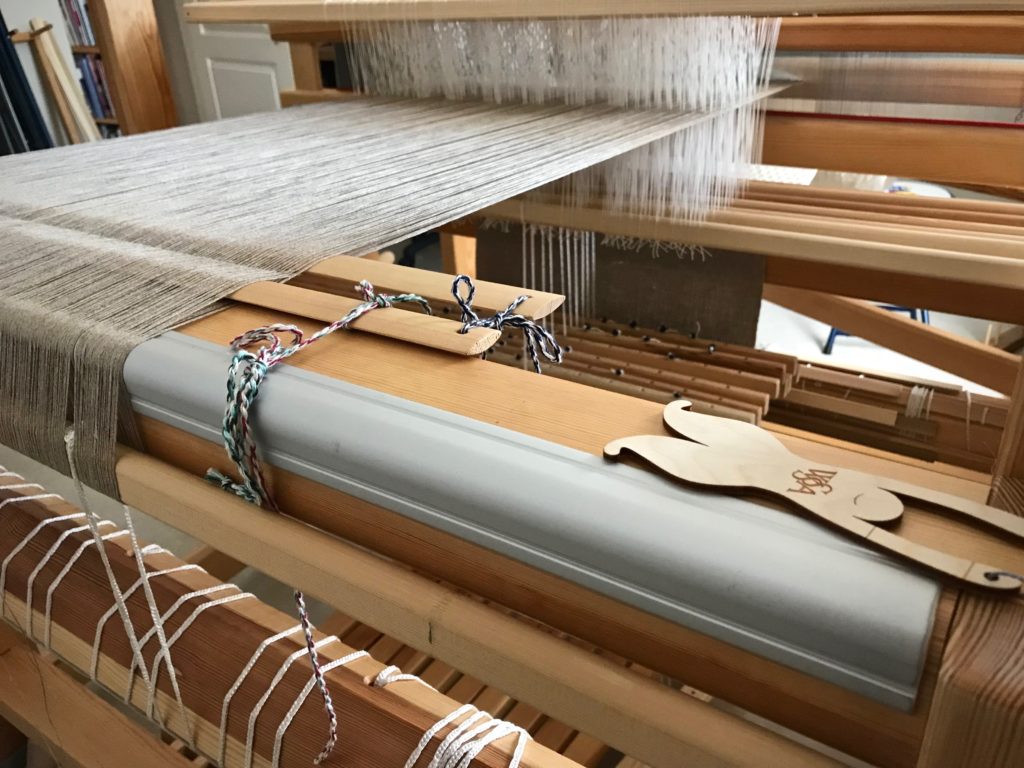
Ten shafts and ten treadles. Isn’t it fascinating how all those parts synchronize and work together to turn threads into cloth? It’s a mystery unless you’ve been in the weaver’s seat. Even then, it’s a wonder. Especially when you see linen threads turn into this amazing five-shaft satin dräll!

All-linen 5-shaft satin dräll on a Glimåkra Standard loom.
Linen warp and weft in five-shaft satin dräll. A temple is a standard tool when I weave with linen. No draw-in means no broken selvedge warp ends…so far, at least.

There are three towels left on this warp, but I am weaving the remainder as one long piece. I will cut it into separate towels after it’s off the loom. Or, I might change my mind and leave it long as a table runner.

Linen 5-shaft satin dräll. Unbleached warp, ecru weft.
Warp is unbleached linen and the weft is ecru, also linen. The subtle difference in color highlights the dräll pattern in the fabric.

Mystery. The mystery of the ages is that Christ can dwell in us. Understand that? No, but I do understand a weaver sitting at the loom, managing the threads and throwing the shuttle to produce a specific fabric. What if I invite Jesus Christ to take control of everything being woven in my life? That is a mystery worth pursuing.

May you find your way into a good mystery.

Happy weaving new year,
Karen

Harmonized Weaving for the New Year

I have a grand idea for this new year! Put all three looms to work simultaneously to weave a coordinated set of textiles for the Texas hill country house. My Glimåkra Ideal loom and the little hand-built loom are bare and ready. Imagine the action! I’ll take you along as I wind warps, dress looms, and weave the harmonized threads. While I wait for ordered yarn, I am weaving the linen satin dräll towels that remain on the Glimåkra Standard loom. Soon, this loom will be bare and ready, too.

Linen towels in five-shaft satin dräll.
Beginning the third of six linen towels in five-shaft satin dräll. Two picks of red thread mark the cutting line between towels.

Before embarking on a new year of weaving adventures, though, I want to fully stop and count my blessings. And YOU are one of those amazing blessings. Thank you from my heart for being friends who share in this journey with me.

Take a look back with me through 2017!

Grateful for you,
Karen
Tapestry Portrait Beginning

I started with a photograph of seventeen-month-old Lucia sitting in her grandad’s lap after eating lunch at Culver’s. Her pouty bottom lip and her serious brown eyes caught my attention. It seems an impossible task to replicate the charming expression in yarn, but it doesn’t hurt to try. I enlarged the picture, and then cropped it to fit a four-by-six-inch “canvas” of 12/6 cotton warp. I also reversed the image, since I am weaving this tapestry from the back. The weft is one, two, or three strands of Fårö wool yarn, depending on the degree of detail.

Grandad and granddaughter.
Steve and Lucia enjoying each other.

Here is my beginning attempt at a portrait, accomplished during our car ride home from Texas hill country, after spending time with Lucia and her cousins for the Christmas holidays.

Travel tapestry loom is warped before hitting the road.
Loom is warped before hitting the road.
Tapestry portrait in progress.
Shapes are slowly filled in with yarn. Paint stick serves to hold the cartoon in place.
On the road with a little tapestry weaving.
Attempting to weave a tapestry portrait.
Beginning the blue and white polka-dotted dress. Inlaid magnets hold the blunt tapestry needle.
Weaving a tapestry portrait in the car.
Dusk has arrived, so it is time to put the weaving away for now. Good lighting is a must.
Checking progress on a small tapestry loom.
Before putting the loom in the bag, I turn it over to look at the right side of the weaving. Progress!

May you attempt the impossible.

All the best,
Karen