Tools Day: Measured Weaving

How far will you travel? How will you know when you have arrived? Do you wish you could know when you are halfway there? Applied to weaving, I like to have the answers to these questions before I begin the “journey.” A pre-measured tape gives me consistency, especially important for multiple pieces in a set. The tape also acts as my “trip odometer.” I can see how far I’ve gone, and exactly how much is left to weave. It satisfies my insatiable need to know how close I am to the end. Are you like that, too?

How to Make and Use a Pre-Measured Tape

Supplies

  • Roll of 3/4″ or wider twill tape (or any cloth tape or ribbon that does not stretch, and that pins easily)
  • Tape measure with inches and/or centimeters
  • Fine tip permanent marker
  • Flat head pins
  1. Use the permanent marker to place markings on the twill tape, as measured with the tape measure. Mark the start line 1/2″ from the end of the twill tape, so that the tape can be pinned in front of the mark.
  2. After drawing a line for the starting point and ending point, draw a line at the midway point, labeled MID.
  3. Include dotted lines for hem measurements, if applicable. Write the hem measurement on the twill tape; i.,e., 3/4″ or 2 cm.
  4. Write the weaving length measurement on the twill tape. Include calculation for takeup, if desired; i.,e., 25″ + 3″.
  5. Write the project or item description on the twill tape, if desired, for ease of repeat use; i.e., handtowel.
  6. Add other lines or marks, as needed, for borders, placement of weft colors, or other design elements.
  7. 1/2″ after the final marking, cut pre-measured twill tape from the roll of tape.

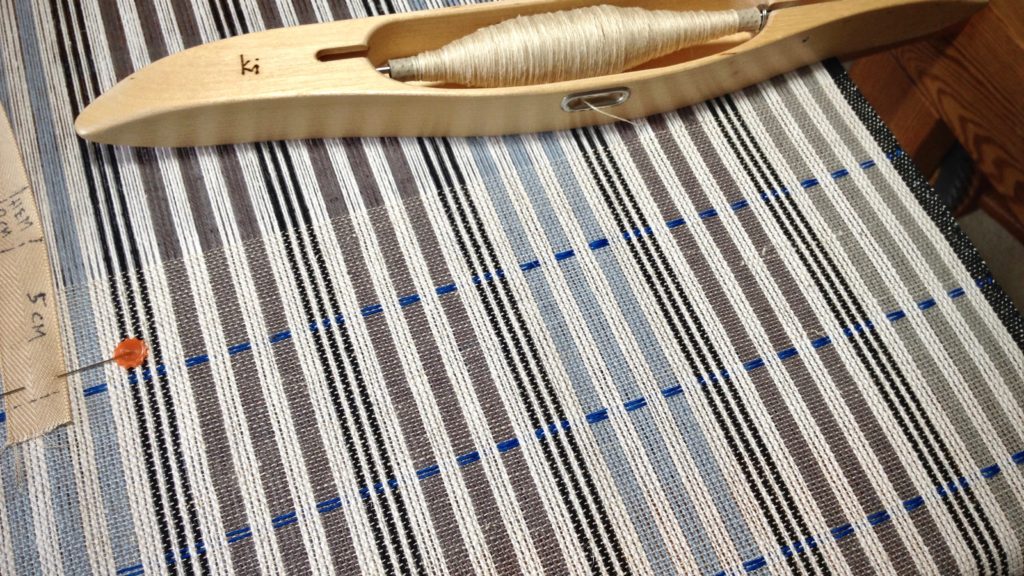
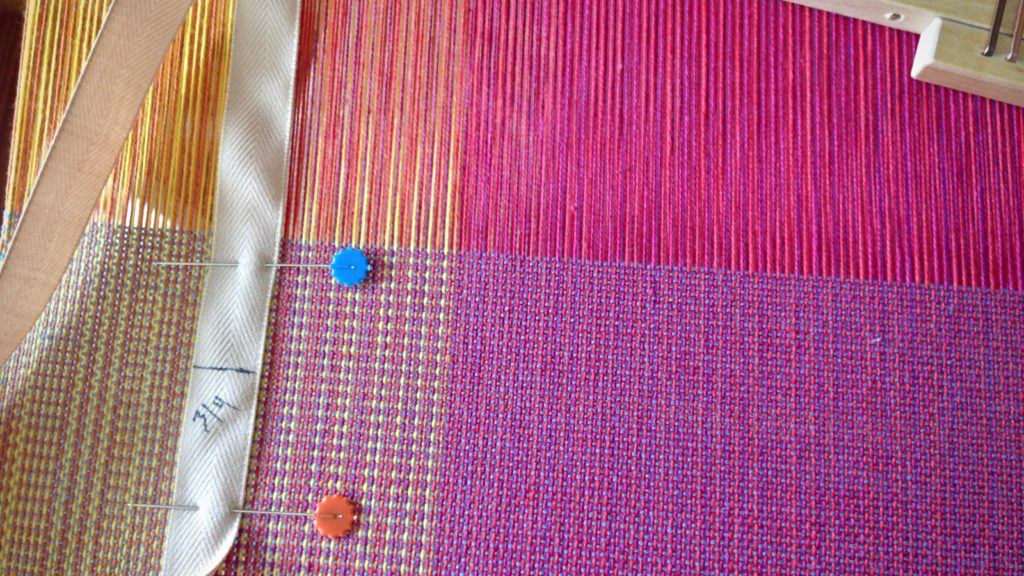
With the warp under tension, pin the pre-measured twill tape near the right or left selvedge with two flat-head pins. Match the start line of the tape with the beginning of the weaving.
Before each advancement of the warp, move the pin closest to the breast beam to a point near the fell line. In this way, have the pins leapfrog each other, moving only one pin each time. Always keep the warp under tension when moving the pins.

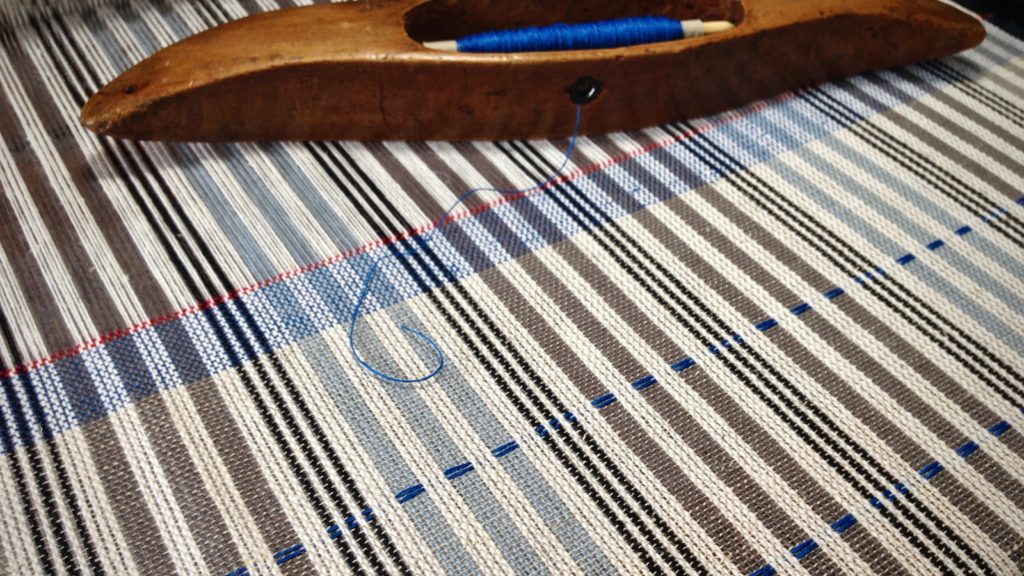
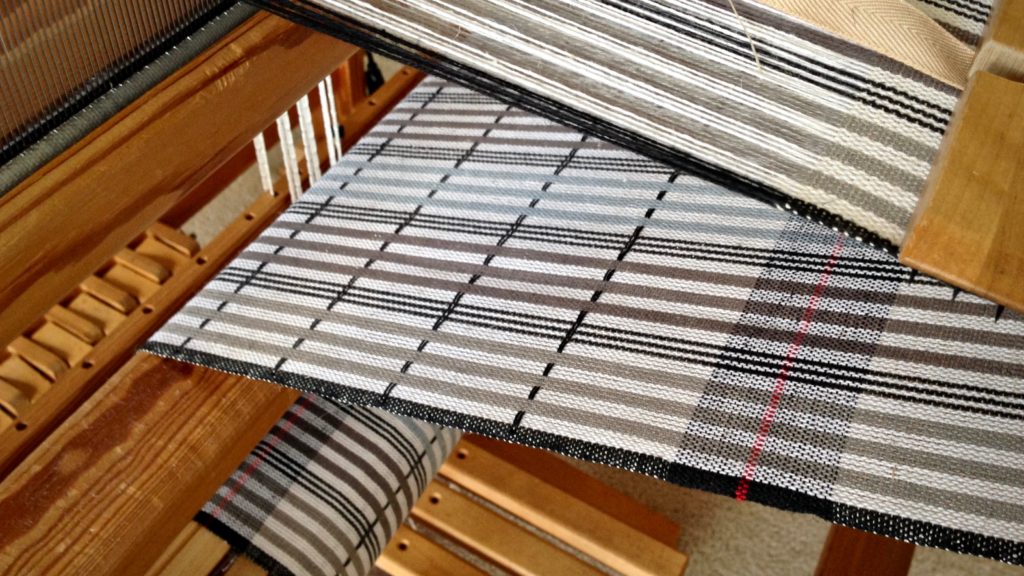
Red cutting lines between black and white towels.
Beginning hem, after red cutting lines between towels.
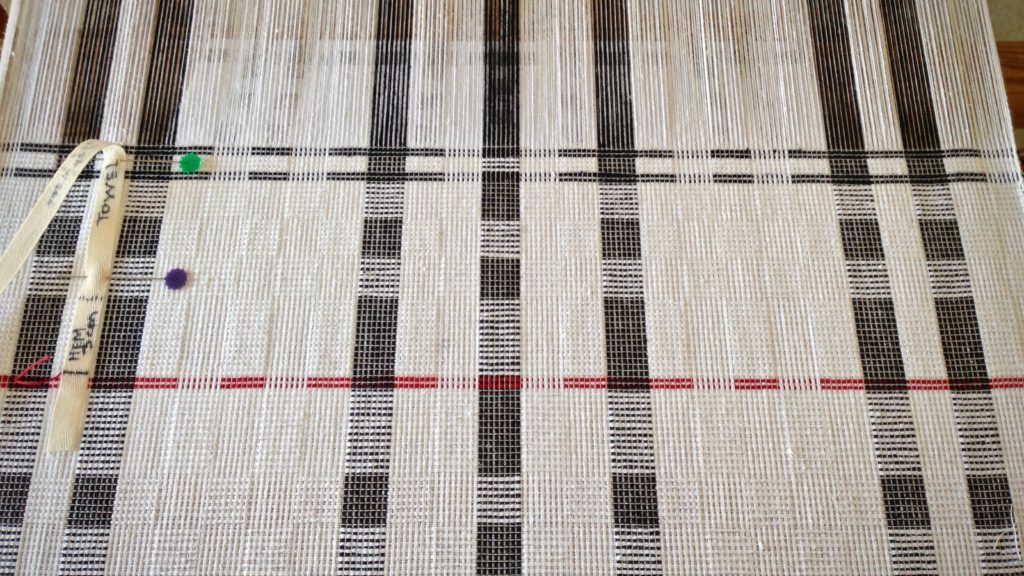
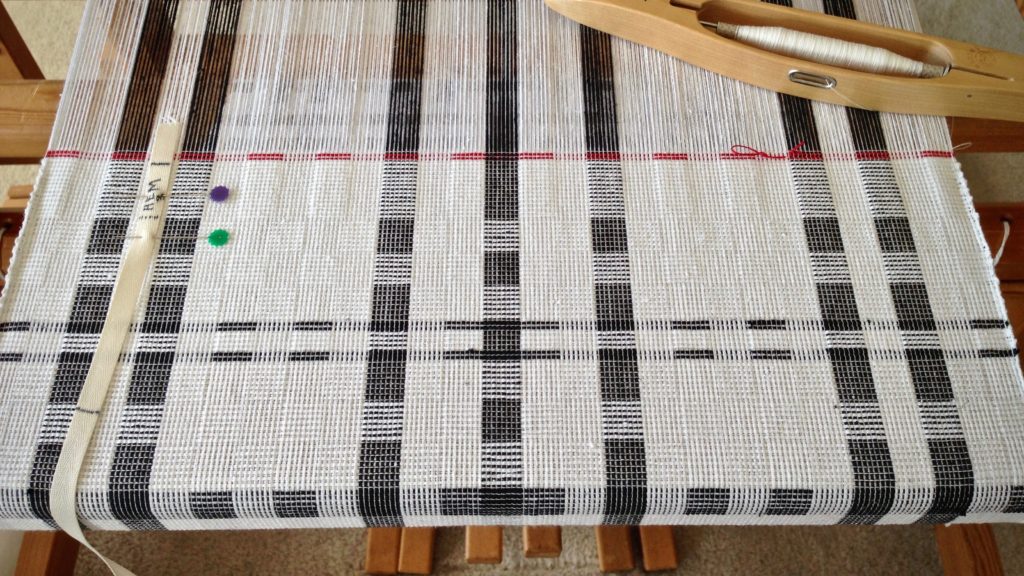
Ending hem is followed by two red picks that will become the cutting line between towels.
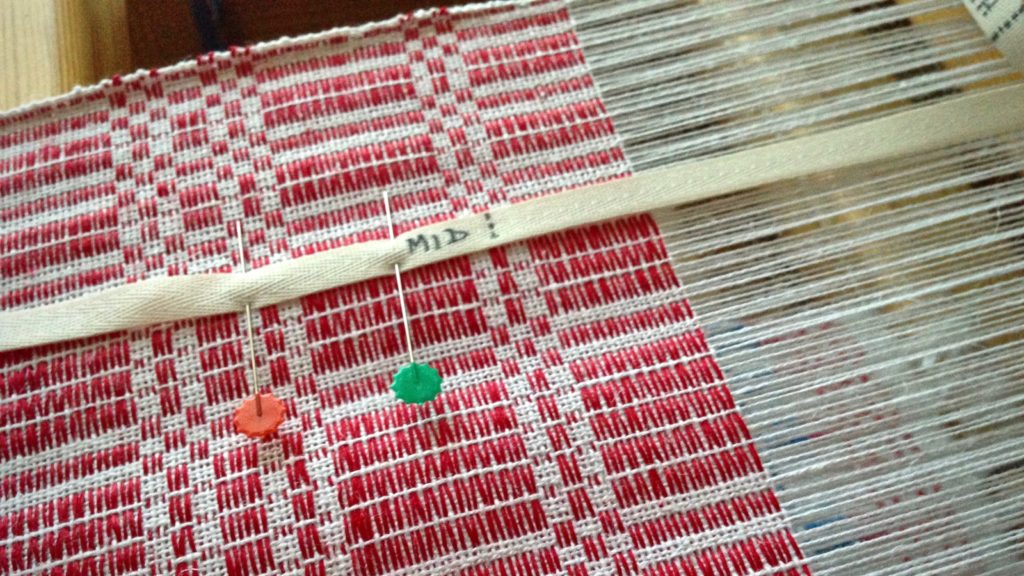
When the "MID" point hits right where it should!
When the “MID” point hits right where it should! Mid point marking helps to confirm that the halvdräll pattern is centered and balanced in its length.
Pre-measured twill tape marks weft color placement on linen scarves.
Weft color placement is marked on the twill tape for these linen lace scarves.
Tricks with pre-measured tape for weaving.
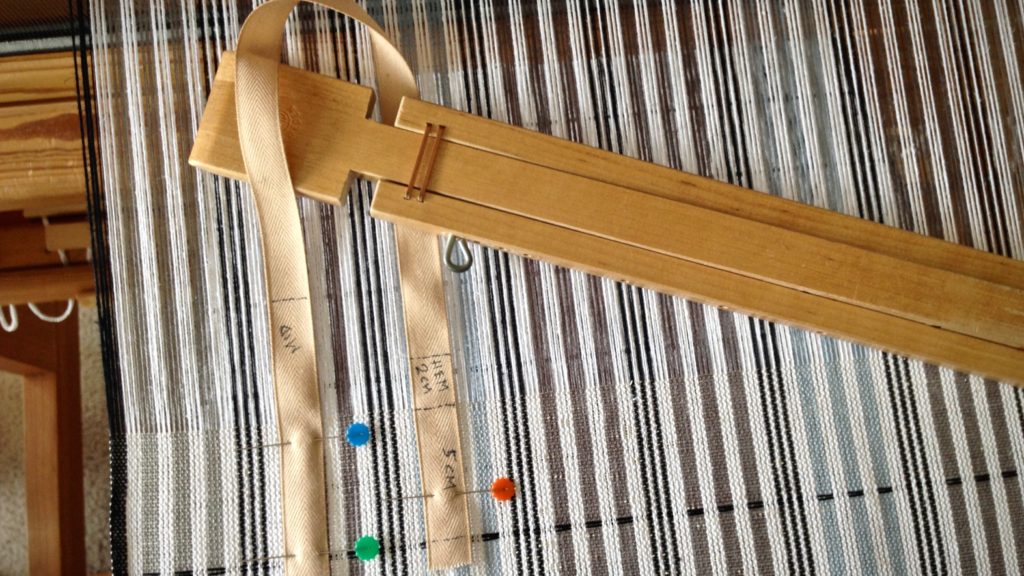
Five centimeters, marked at the end of the twill tape, is a handy reference for spacing the weft pattern floats in these plattväv towels.
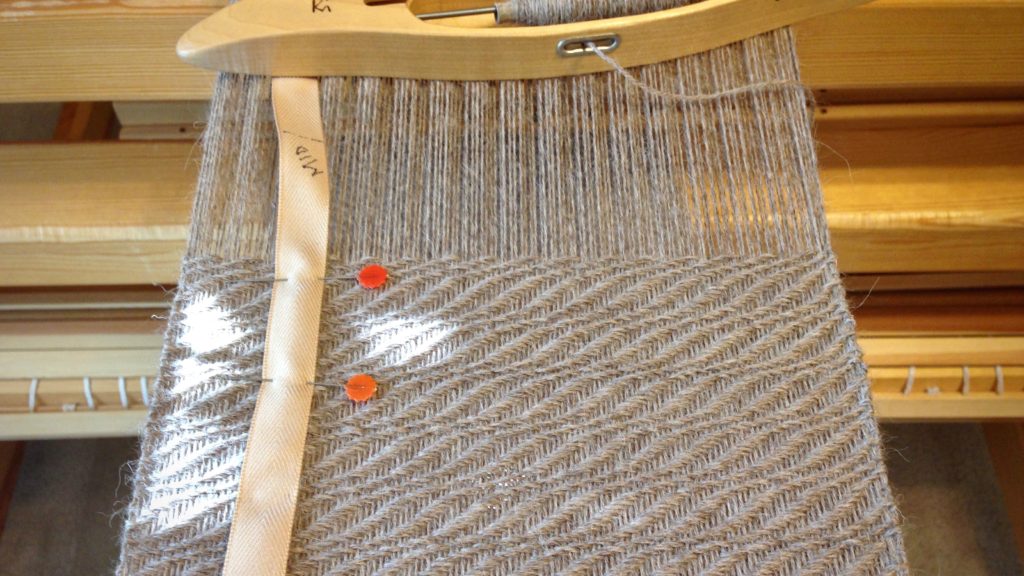
Alpaca scarf in an interesting 8-shaft twill.
I love seeing the “MID” point on a long piece, such as this 8-shaft twill alpaca scarf.
Pre-measured twill tape helps set the pace for the weaving project.
Breaking up the length into quarters helps to set a pace for the weaving project. This baby wrap was on a time crunch, so it was helpful to know when I was getting close to the end.

May you accurately measure your ways.

Truly yours,
Karen

Striped Warp Freedom

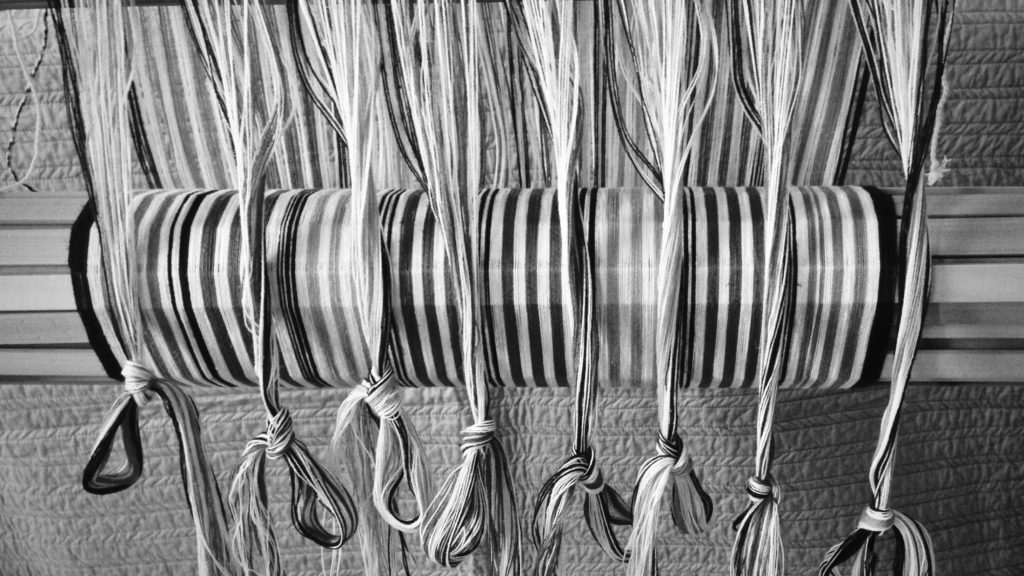
Winding a warp like this is intricate work because of the frequent color changes. These narrow warp stripes provide the perfect canvas for plattväv accents. The simple weft float pattern, woven across the width every five centimeters, adds embroidered-like stitches to the cloth. Everything else is a breeze. It’s plain weave.

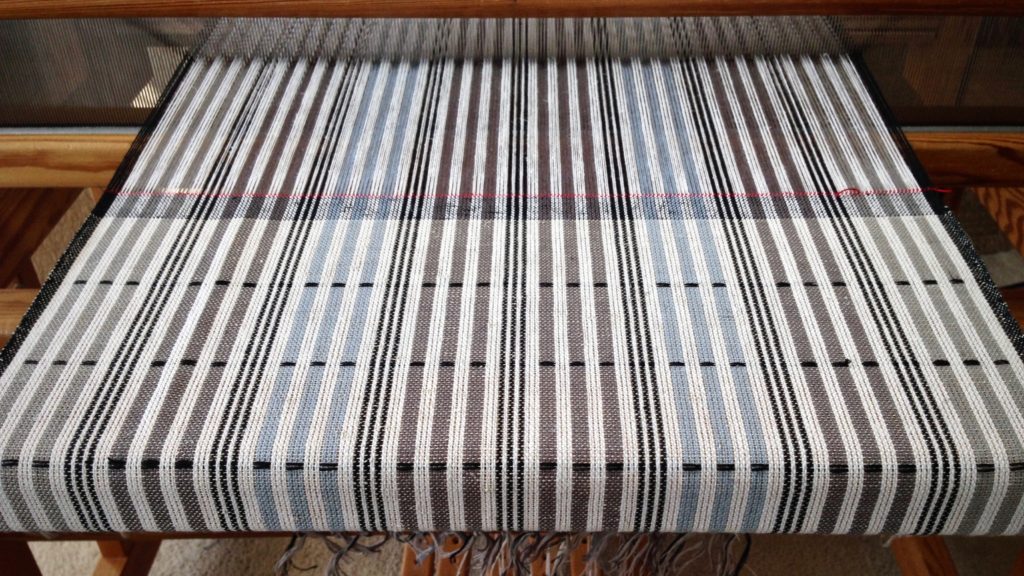
Plattväv towels on the loom. Karen Isenhower
Cottolin warp and 16/1 linen tabby weft, with doubled 16/1 linen pattern weft.

It’s good to have a plain weave project every now and then. It’s a reminder of how freeing it is to let the boat shuttle fly back and forth between your hands. Rag rug weaving isn’t like that. Soft alpaca scarf weaving isn’t like that. I’m zipping along, …only stopping to move the temple, advance the warp, and add the black linen accents. No worries here.

Plattväv towels on the loom. Narrow warp stripes advantage.
Two red picks are woven for the cutting line that separates the towels. First towel is seen wrapping around the cloth beam.

Consider all that has been prepared for us to have a meaningful life. Why should I worry? Who wound the intricate warp and put it on the loom? Doesn’t the Grand Weaver know what it takes to complete his design? We enter the Lord’s place of rest through the door of trust. True rest is worry free. Let the shuttle fly. Let the weft floats embellish the cloth. Come enter the place of rest.

May your worries slip away.

Plain weaving,
Karen

Stripes on the Warp Beam

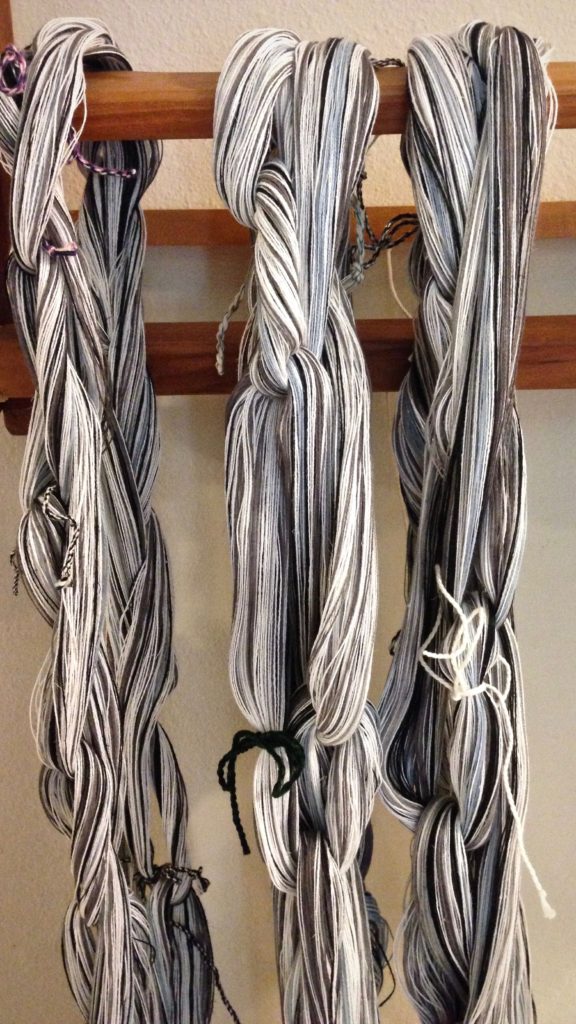
Why are stripes appealing? Stripes on the loom look good. I don’t usually wind warps in advance. I like to wind a warp and put it directly on the loom. But, recently, when I wasn’t able to weave, I was able wind warps. Now, one of those warps is beamed, and soon I’ll be weaving some striped plattväv towels.

Striped warp for cottolin and linen towels. Glimakra Ideal.
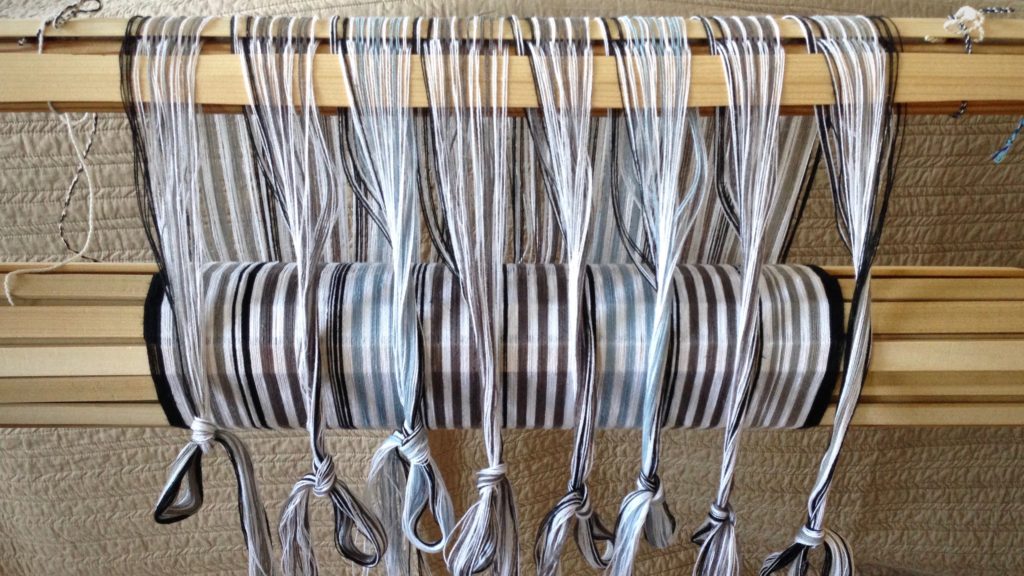
Narrow stripes wrap around the back beam. Next step is threading heddles. One step closer to weaving towels…

This draft is from one of my favorite Swedish weaving books, Kalasfina Vävar, by Ann-Kristin Hallgren. I changed the colors and modified the stripes, while attempting to keep the attractive appeal of the original stripe design. We will see the full effect when weaving begins. The warp is the first part of the picture. The weft always brings a transformation. The golden bleached linen, in this case, won’t change the warp, but it will create a fresh palette.

Black and white photo shows the color values.
Making a black and white photo is a good way to see the color values.

Faith and truth are partners. Truth becomes clear through faith. Warp and weft. Truth and faith. A fabric of convictions is woven to hand to the next generation. The good news of Jesus Christ is a message of faith and truth. The truth doesn’t change; but it comes alive when woven with faith.

May your convictions be securely woven.

Yours truly,
Karen

Planning Swedish Towels

After spreading out a few Swedish weaving books and other resources, I am ready to develop my own version of towels in plattväv, a classic Swedish weave. I have double-checked my calculations, so I’m ready to wind the warp. This set of towels has a cottolin warp and linen weft.

Planning new handwoven Swedish-style towels.
Planning sheet holds all the details for a weaving project. I use digital devises for planning most things, but for my weaving plans I still like paper and pencil the best.
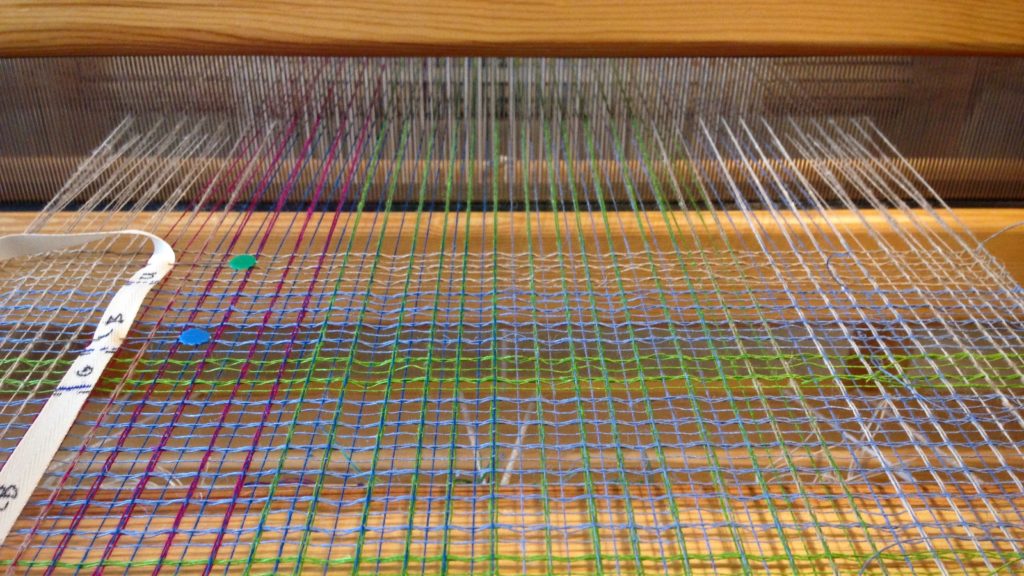
Winding a striped warp for cottolin towels.
White, black, silver, ash gray, and pale blue gray. The pale blue gray seems to turn the other grays into brownish hues.

As always, I started with more than enough thread. Unfortunately, I made a major error while winding the warp. By the time I noticed the error, I had already wound 264 meters (289 yards) of warp. I chained off the mistake, putting it aside for another use. I started over, correctly this time, but I had a nagging worry that I might run out of white thread…

Warp winding for cottolin towels is complete.
Warp winding is complete. Smallest tube of white thread is close to empty. Spool crate is elevated to reduce the distance needed to bend down.
Warp chains for striped towels.
Smaller warp chain on the left was wound incorrectly. The threads will be divided up and used for weaving bands on the band loom. The two warp chains on the right will become striped handtowels with plattväv (platt weave) patterning.

Worry doesn’t make anything better, and big worries can lead us into a downward spiral in our thoughts. Prayer pushes worry away. When we pray about the things we are tempted to worry about, God’s peace acts as a guard over our hearts and minds. His peace frees us from the weight of worry. And we often learn later that our worry had been unfounded. Like my worry about the white thread, which, despite my blunder, did not run out.

May you forget your worries.

All the best,
Karen

Quiet Friday: Thirteen Cushions

There is always room for more cushions and pillows. What better way to use handwoven fabric? Making cushions puts the fabric to use where it can be seen and touched. The very first project on my first floor loom was fabric for a throw pillow, with a cottolin warp and 16/2 linen weft. Unsightly selvedges are nowhere to be seen!

Cotton and linen cushion. Handwoven fabric.
First project on the Glimåkra Standard floor loom.

From the all-linen blue and brown dice weave cushions to the wild and hairy pillows with rya knots, each one makes a statement. Each one says, in its own way, “Welcome to our home.”

All-linen handwoven dice weave cushions.
Linen Dice Weave Cushions

Thirteen cushions, all handwoven. Karen Isenhower


Enjoy this little slide show video I made for you.

May your handwoven fabric be put to good use.

Happy Weaving and Sewing,
Karen