Everything Is Fixable

Every now and then I forget where I left off. This happens when I get interrupted when I am not quite finished with a sequence at the end of a weaving session, or when I get interrupted when I am just getting started back on the loom. Often, the interruptions are my own thoughts going in different directions. The only loss is a few dozen weft threads that get pulled out one by one, plus the time it takes to pull them out and weave the right ones back in. Everything is fixable.
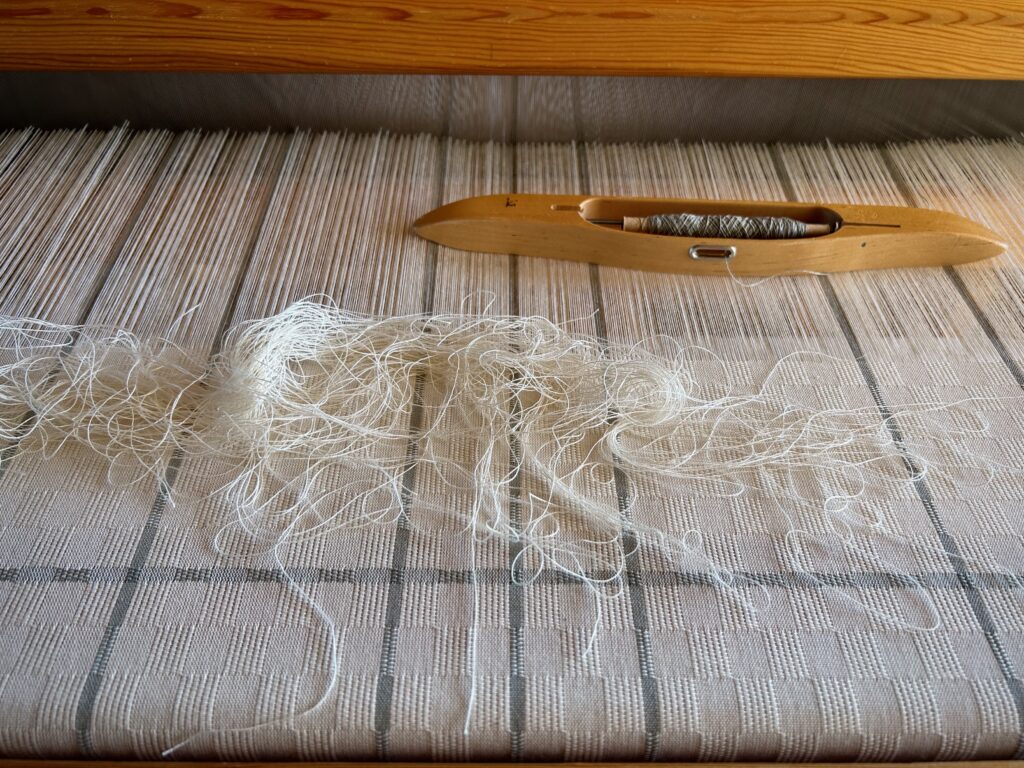
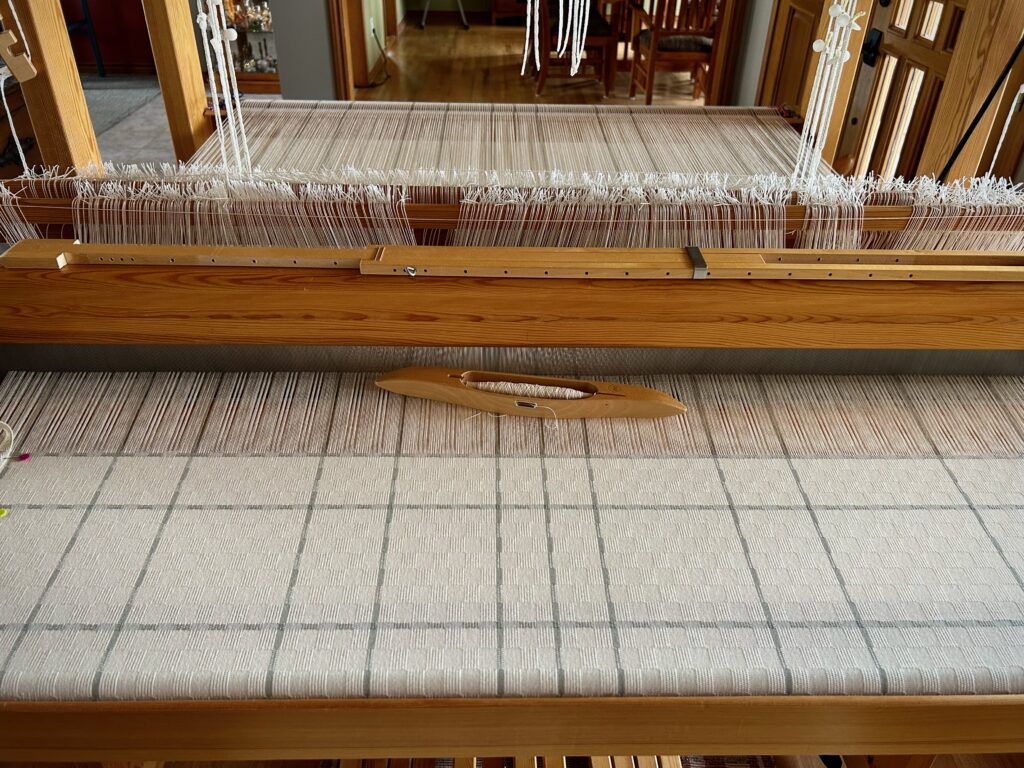
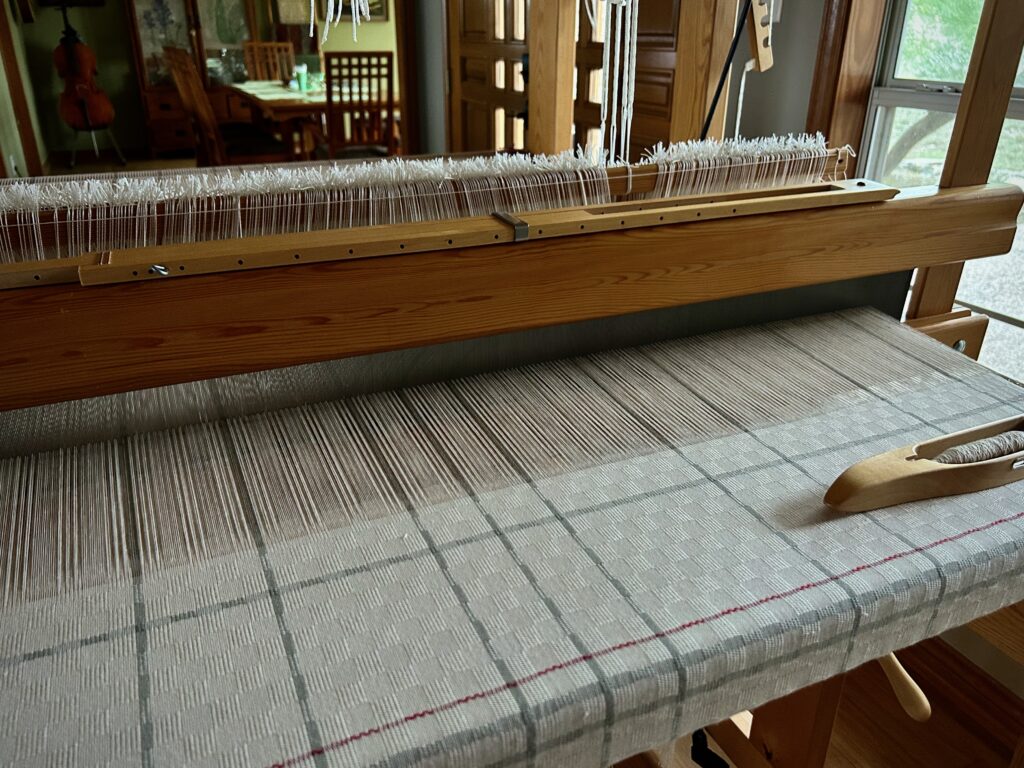
Sometimes it is necessary to backtrack. I was at a pause in weaving. When I came back to it I forgot to put in the gray weft stripe. Pulled out more rows than I wish, then resumed weaving, starting with the gray stripe.
No more troubles, just attentive weaving.
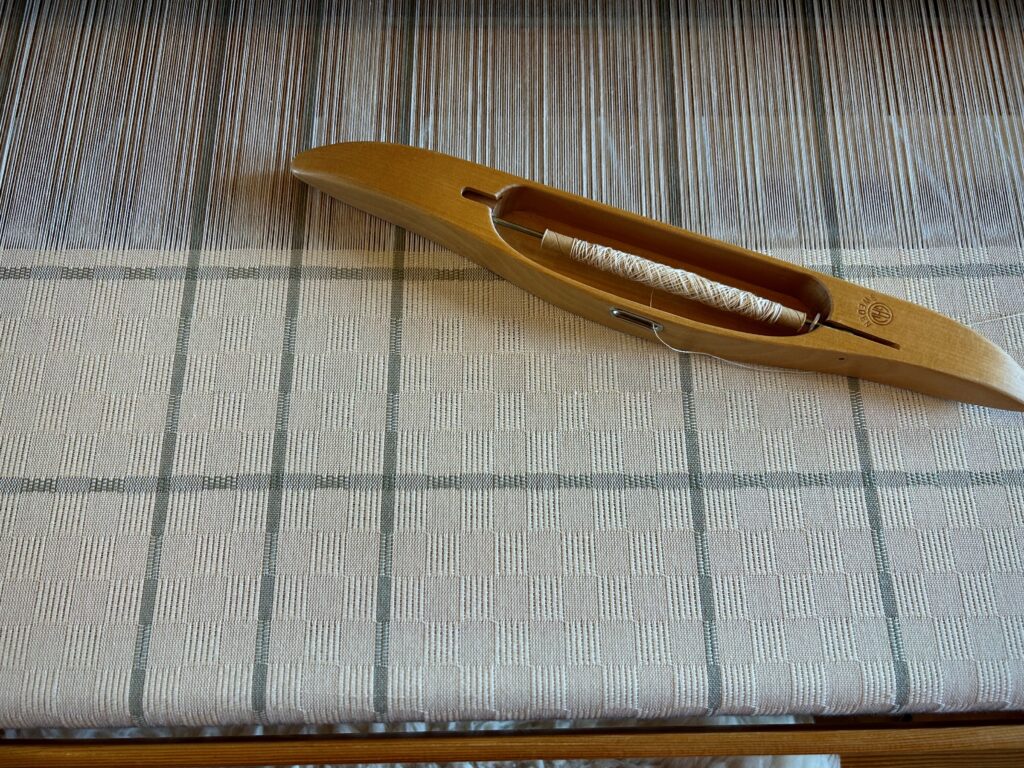
Still several meters to go on these bathroom curtains! 24/2 cotton, M’s and O’s, gray stripe is 16/2 cotton

I have come to the unfortunate realization that I am probably short on blue weft yarn and green weft yarn. This project is using yarn from my excess, and the warp yarn was measured out just so. I miscalculated on the weft yarn. My solution is to space the blue and the green weft stripes further apart. If I still run out of either color I will finish with the colors I do have. I may end up liking it better that way. Everything is fixable.
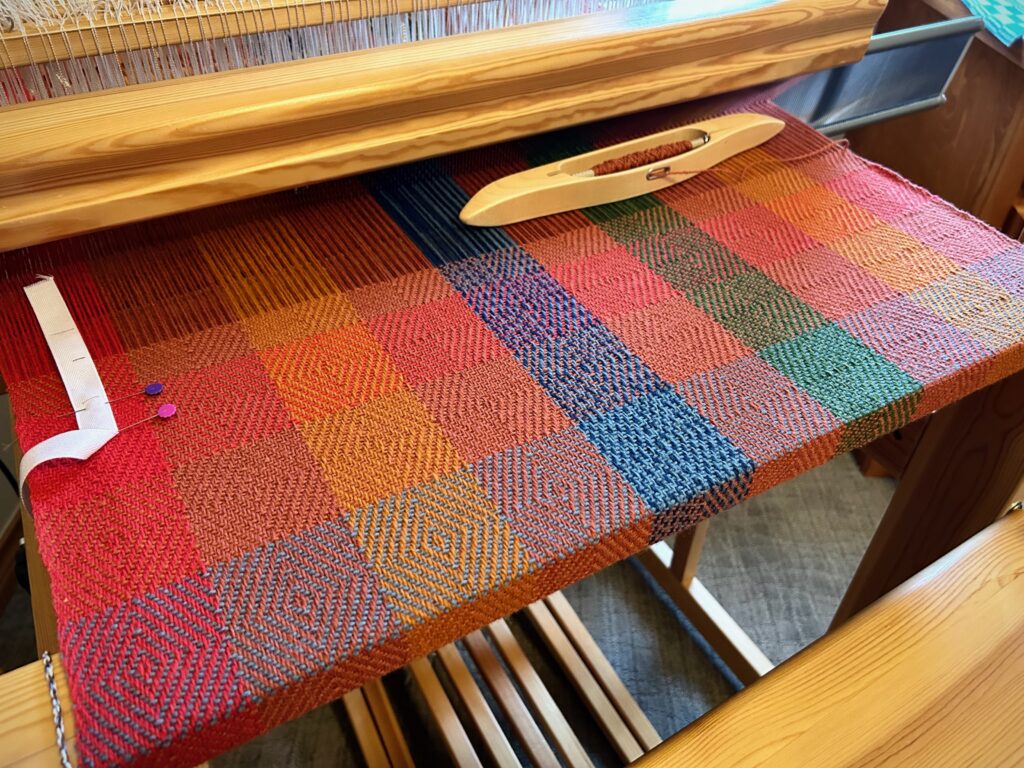
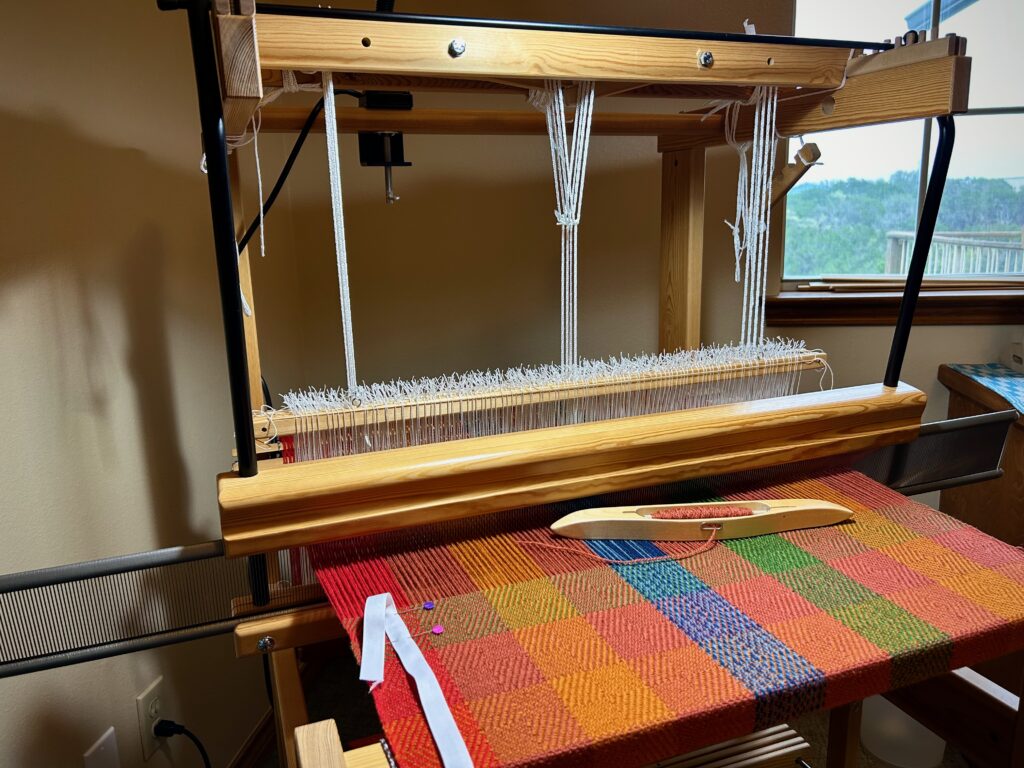
Blue weft at the front edge makes a lovely contrast with the poppy and the pumpkin warp colors.
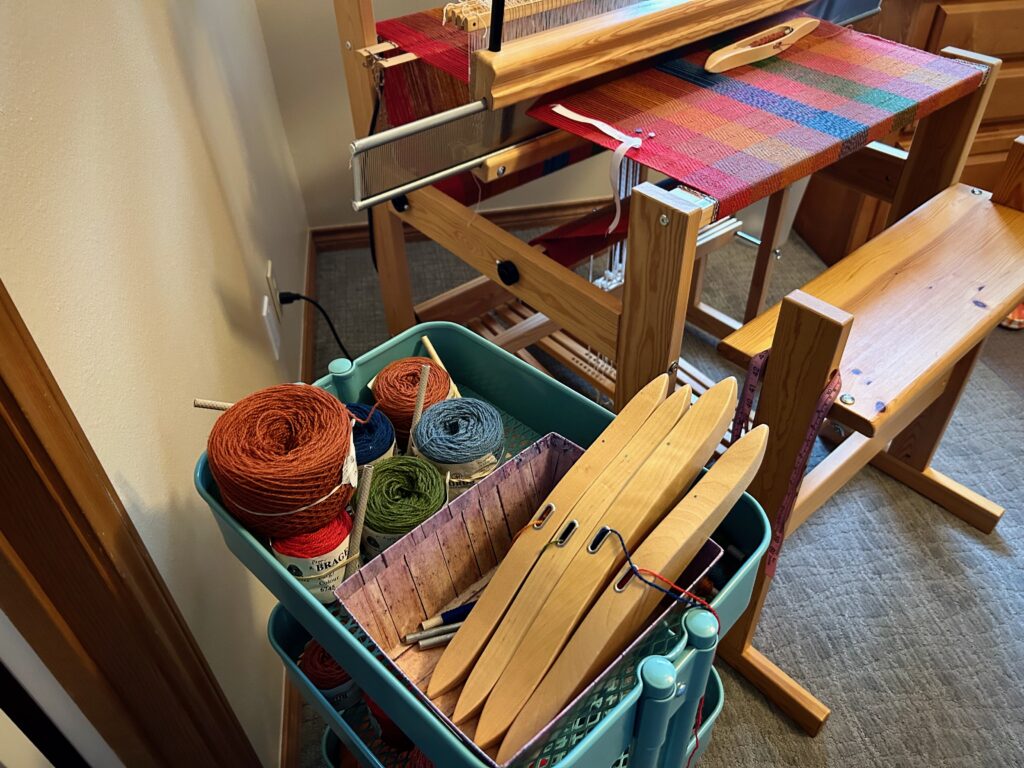
Cart by the loom holds shuttles and yarn. You can see that I am using a 120 cm reed in a 70 cm loom. I can get away with it by having the loom in the corner of the room.
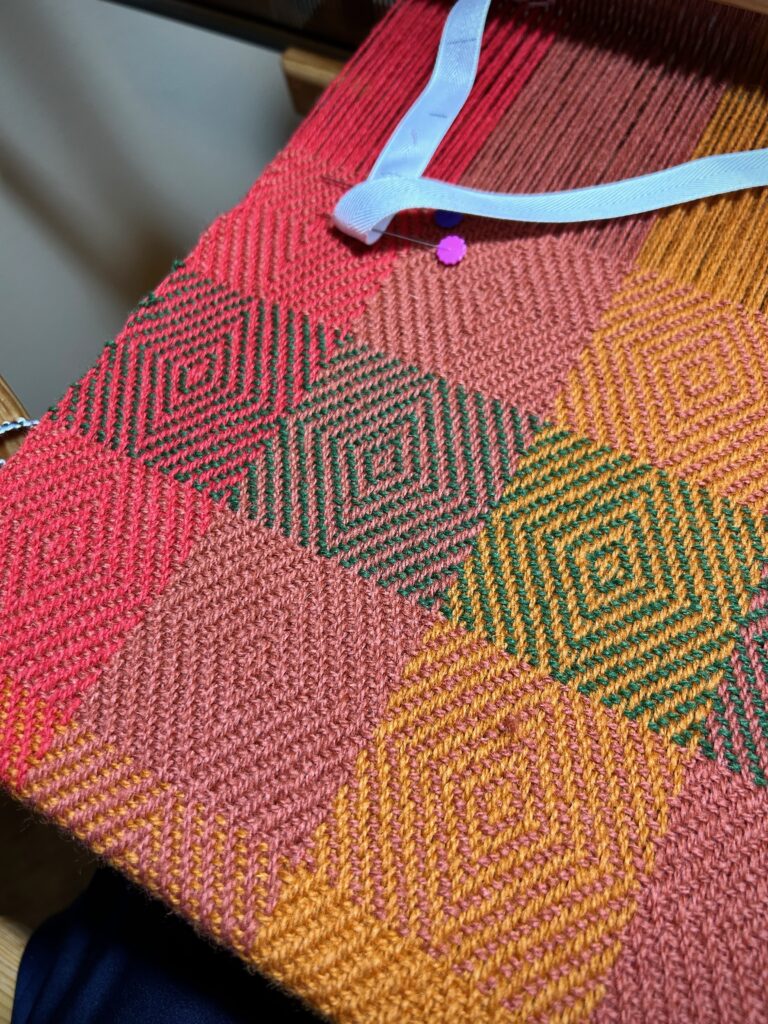
Winter wool indoors and spring blooms outdoors. Brage wool for an autumn/winter cape. Goose-eye twill on four shafts.

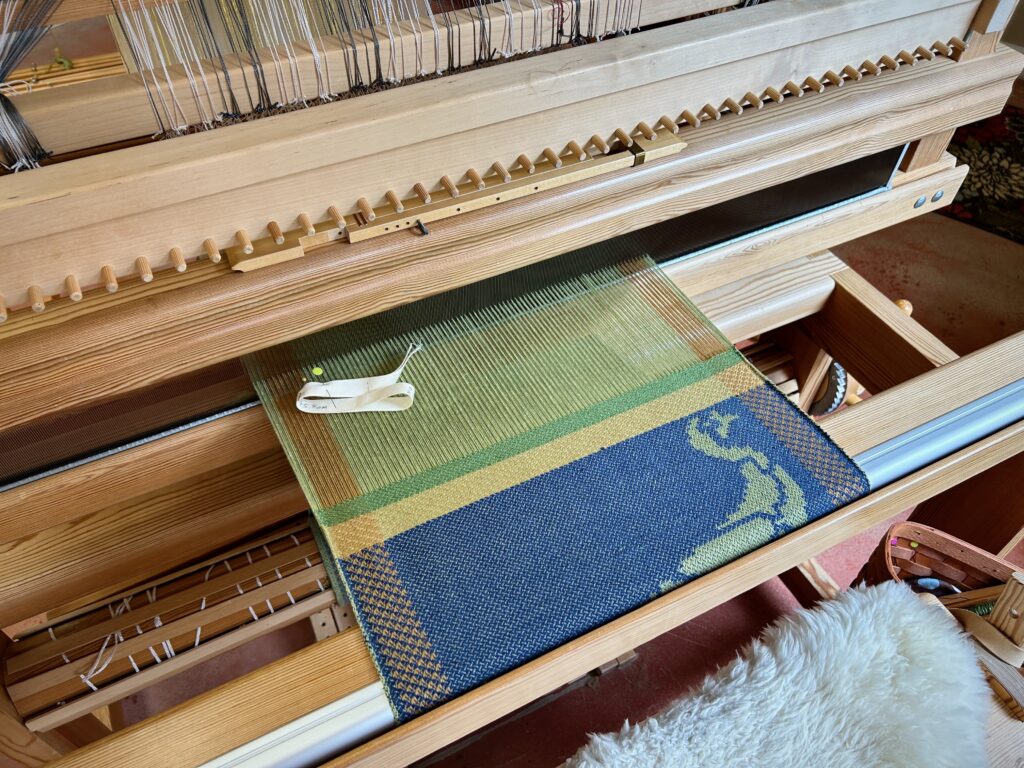
I did not imagine that one of the single-unit draw cords on the drawloom could snap in two while I am putting it on the hook bar. But it happened! Now what? I’m able to finish the 6-thread unit by tying a knot and maneuvering threads this way and that way. This is not acceptable for weaving the rest of the warp, however, nor even for the rest of this napkin. I just so happen to have a fancy clip that Steve brought to me a couple weeks ago, saying, “I thought you might be able to use this somewhere.” It is the perfect temporary fix for this shortened draw cord. I will replace the broken draw cord before starting the next critter napkin (roadrunner). Everything is fixable.
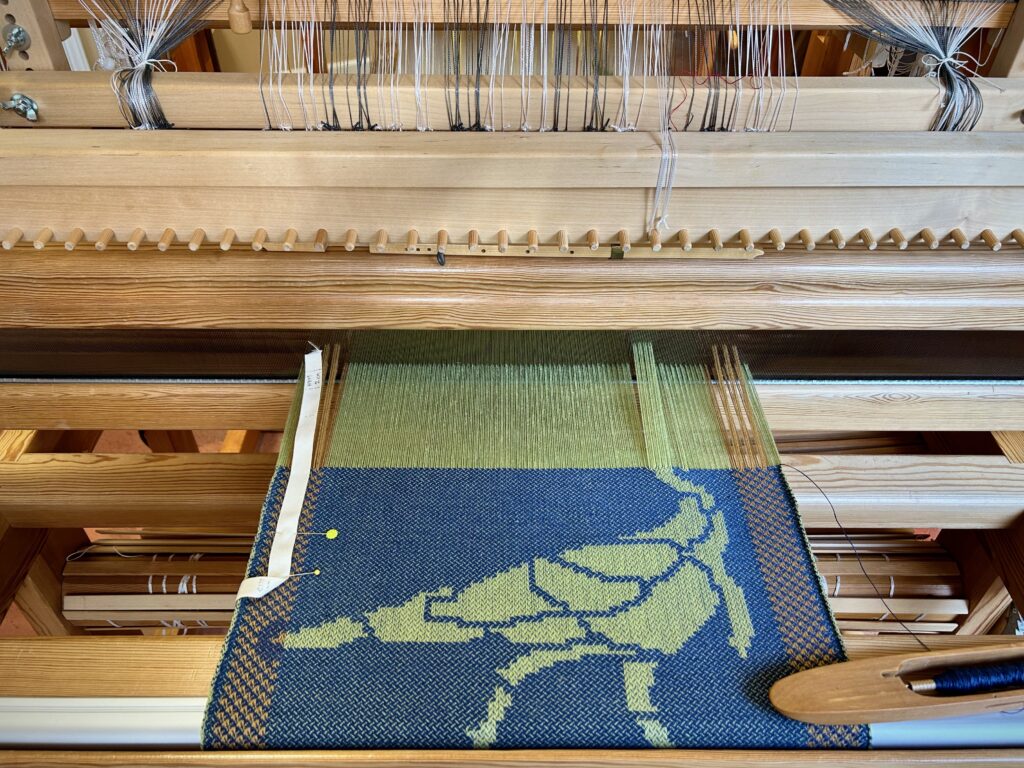
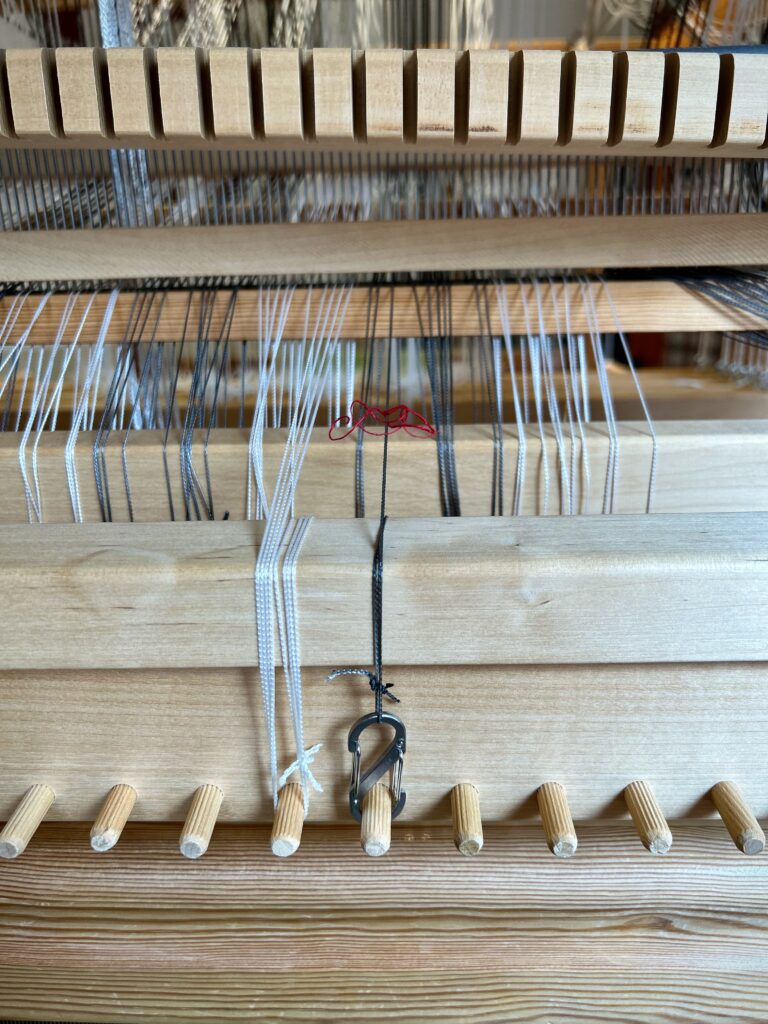
Wild turkey is running with his head cut off for a few days. The single-unit draw cord that raises the threads at the turkey’s chin snapped when I put it on the hook bar. I finished the 6-thread unit for that chin by tying a knot in the end of the draw cord. I need to make a permanent fix, though, because the knot makes the draw cord just a little too short.
As a temporary fix, I found a double caribiner clip that is just the right size to hold the draw cord. Before I start weaving the next critter, I will try to replace this broken draw cord with a new one.
Wild Turkey – finished!
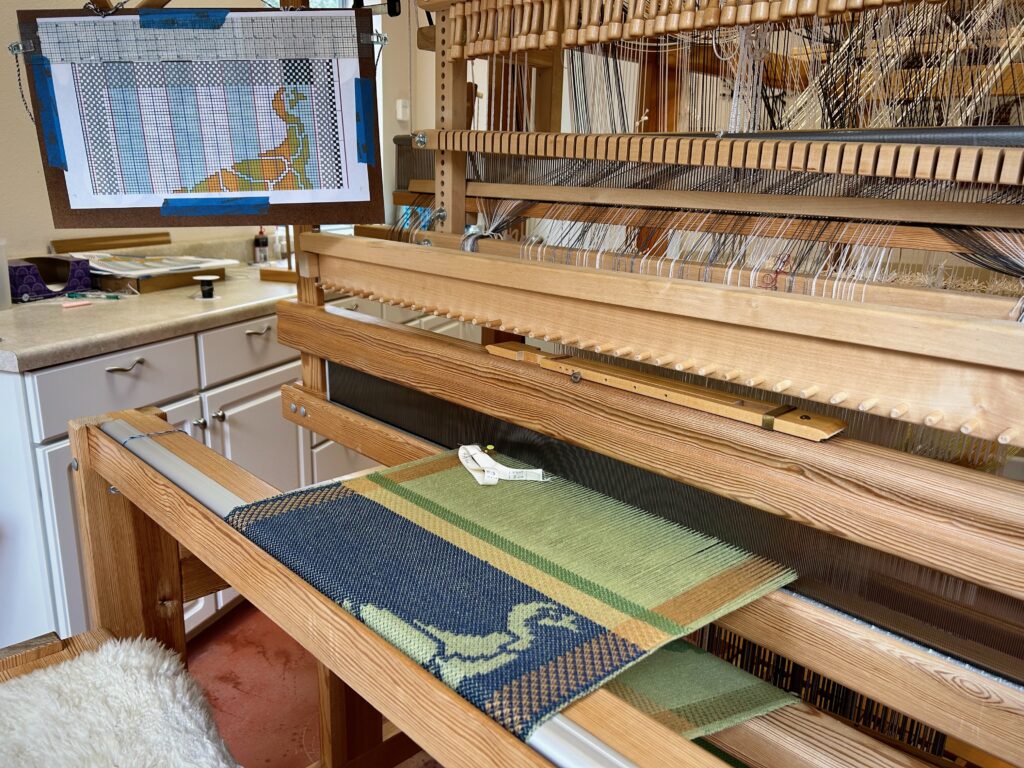
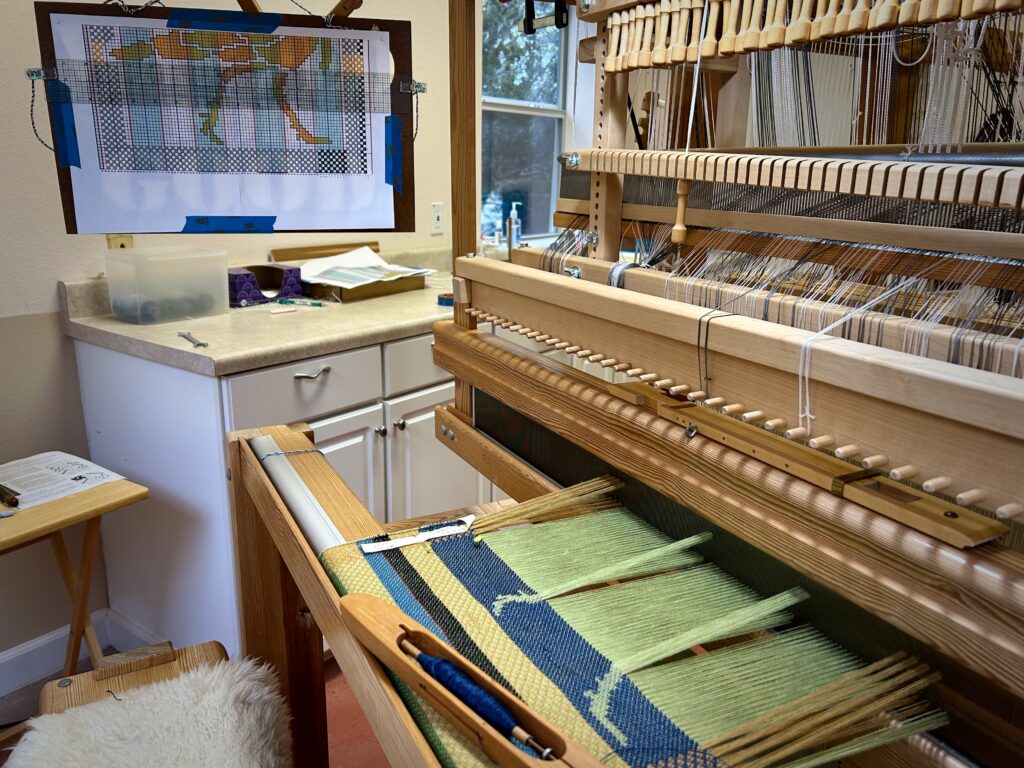
Chart beside the loom shows my row-by-row plan for the image being woven.

Yesterday we enjoyed Easter, the day of celebrating the resurrection of Jesus Christ from the dead. We are lost without Him, suffering from our own errors, miscalculations, and brokenness. The Heavenly Father raised Jesus from the dead to prove to us that Jesus is Lord. Everything is fixable in Him.

May you find the solution you need.

Your weaving friend, Karen

Wild Turkey and More

Three looms are active right now. The drawloom has the napkin project, with a wild turkey on this one.

Wild turkey feet and legs weave up quickly. There are only a few single unit draw cords to pull at a time, plus one pattern shaft draw handle for the side borders.
Wild turkey feathers require many more single unit draw cords. Even the borders at this place in the pattern are done with single units. The cast shadow on the loom from the bell that hangs in the window makes a funny face at this time of day. Could be a silly turkey face? 🙂

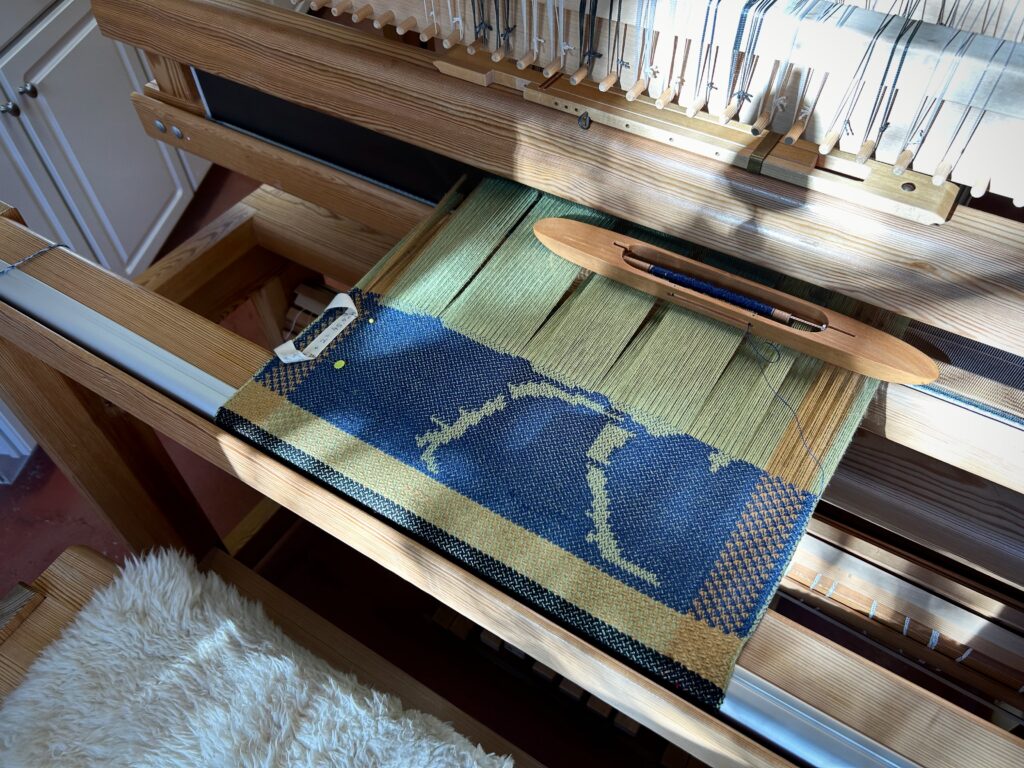
The Julia has the wool goose-eye twill fabric that I plan to use for making myself a simple winter cape. Next winter should be here soon enough.

Wool cape fabric in goose-eye twill.

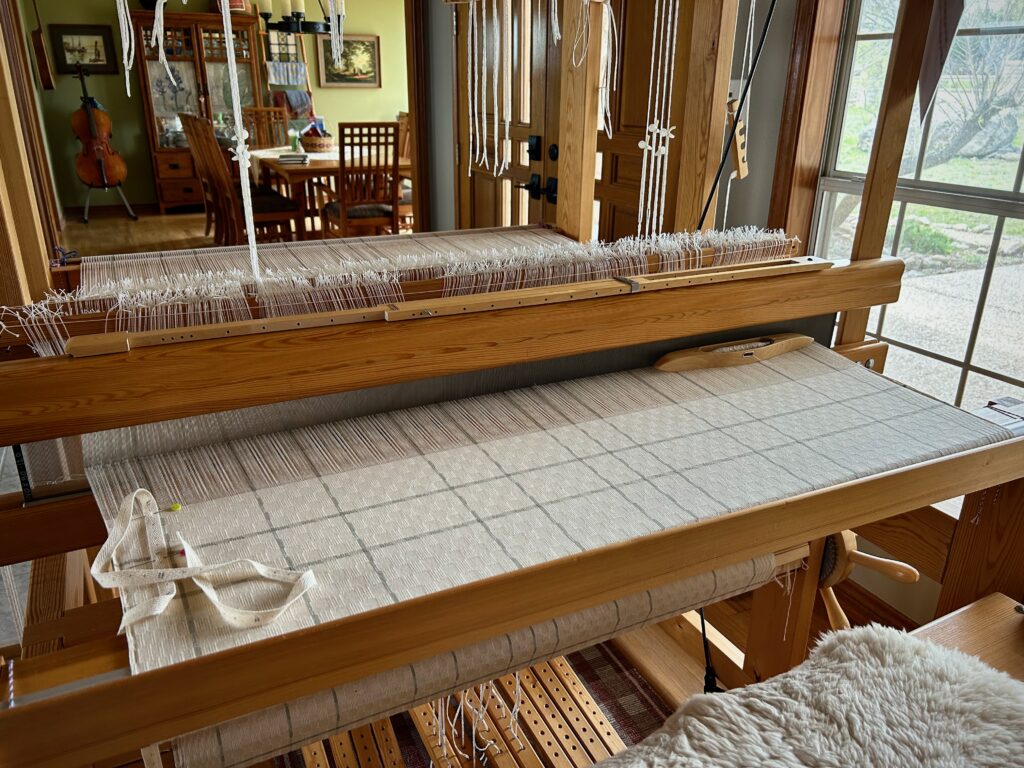
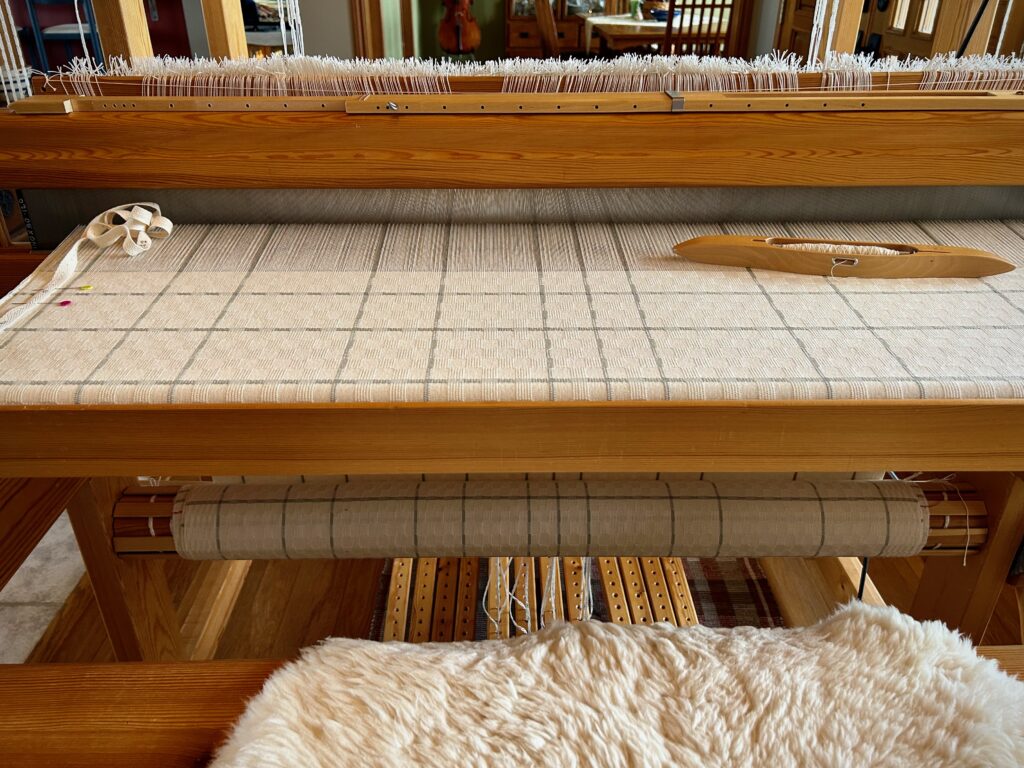
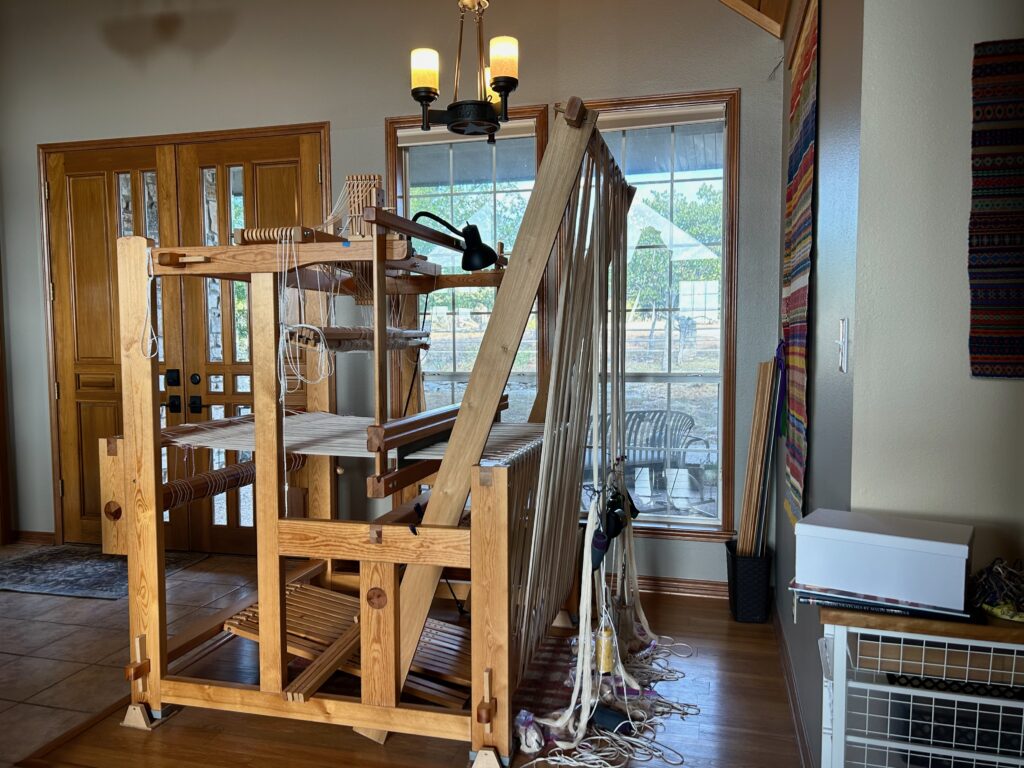
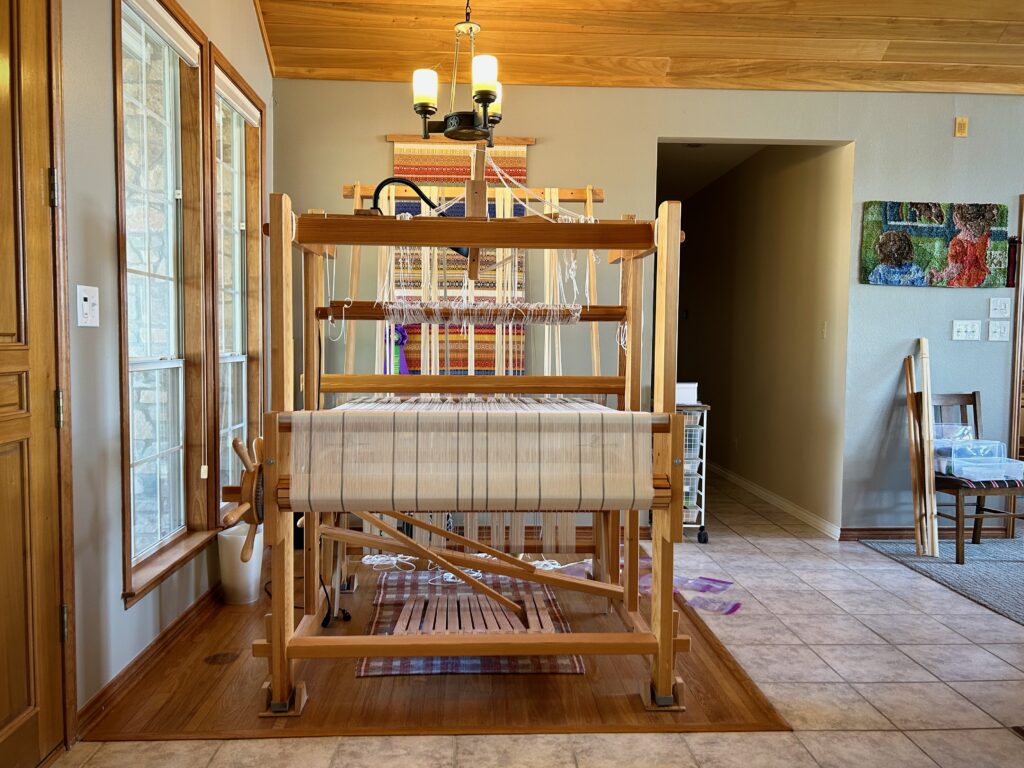
Last but not the least at all is the GlimÃ¥kra Standard with curtains for our remodeled bathroom. This is a big project and I will be weaving on this for a while. M’s and O’s is enjoyable to weave. I like the counting for the squares and stripes, and the trading off of feet that this project gives me.

Curtain fabric in M’s and O’s is winding up on the cloth beam.

Happy Weaving,

Karen

How Much Further Can I Weave With a Longer Quill?

How much more thread will a 13cm quill hold than an 11cm quill? In other words, how much further can I weave with the longer quill? I decided to do a simple test to find out. Which size quill should I use for the rest of this project?

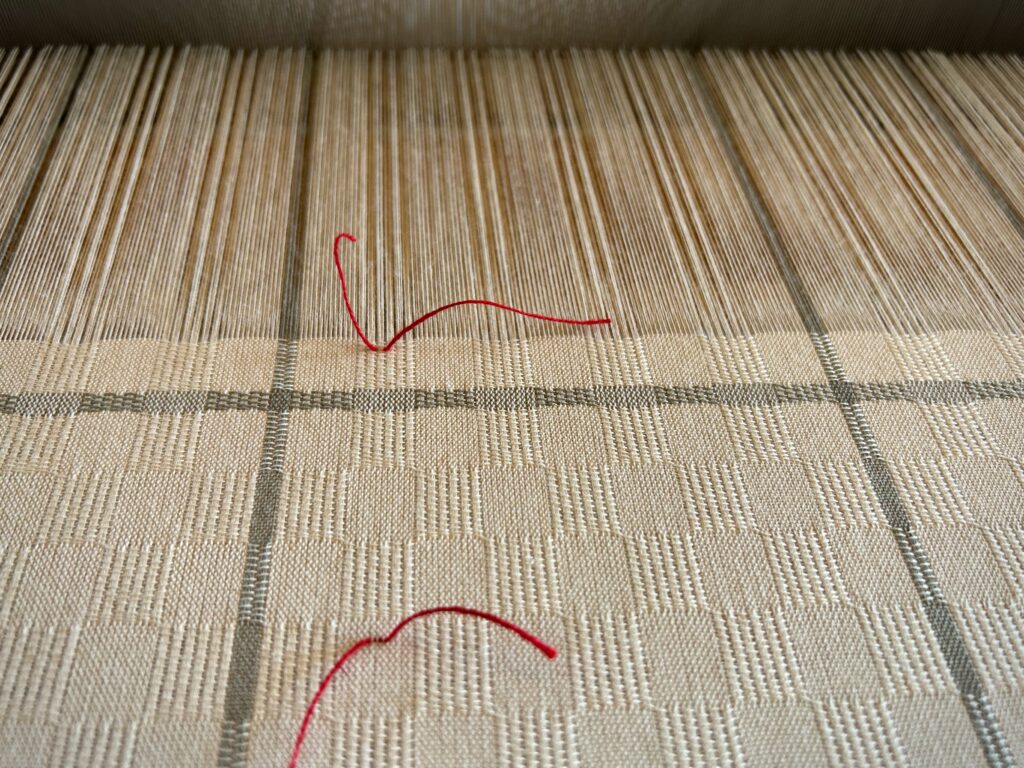
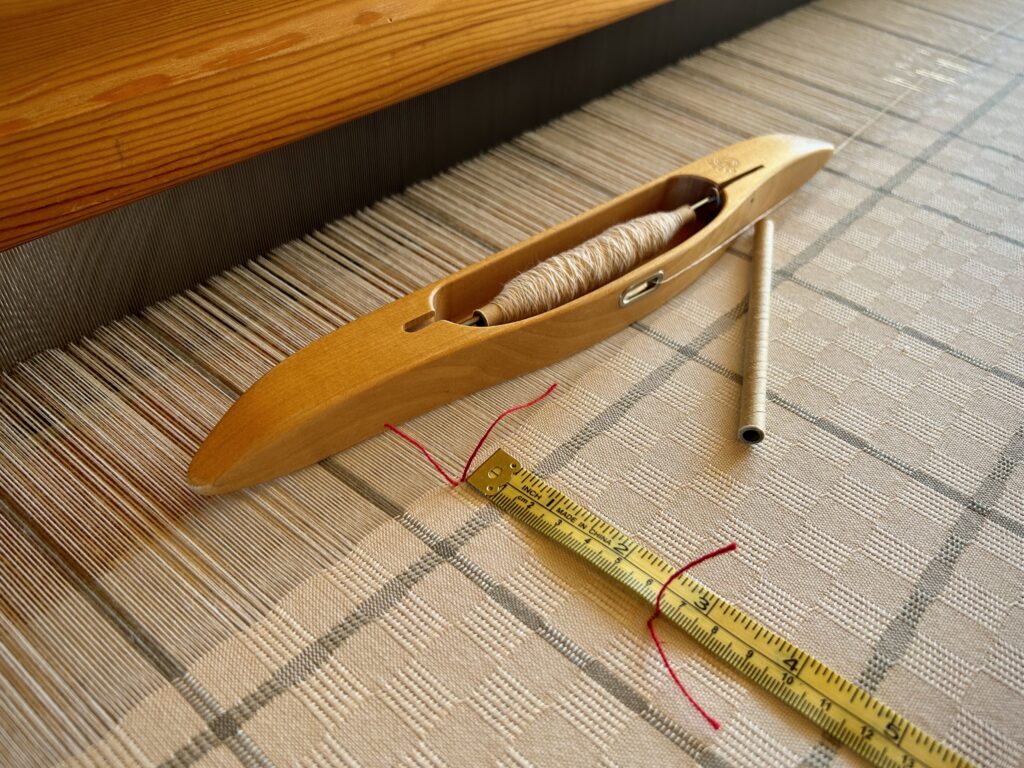
Red threads give me precise start and stop points for measuring how far I could weave with one quill. I will pull the red threads out when I cut the fabric from the loom.

First, I mark the beginning of the 11cm quill with a short red thread woven through a few ends on the same row as the first row of weft from that quill. I weave off the thread from that quill and weave in another short red thread on the final row of the quill, putting the second red thread directly above the first red thread. Now, I can measure the distance that the quill’s weft covered the warp, minus the gray weft stripe. I repeat the test with another quill so I can average the difference, if any. I find that both quills cover exactly 6 cm of warp. How’s that for consistency in winding my quills?

I started with 11cm quills because that is the size that fits the shuttle I wanted to use.

Time to test the 13cm quill. I do this exactly the same way, including the repeat test. The result? The 13cm quill covers 7.2 cm of warp. So there is 1.2 cm difference between the shorter quill and the longer quill.

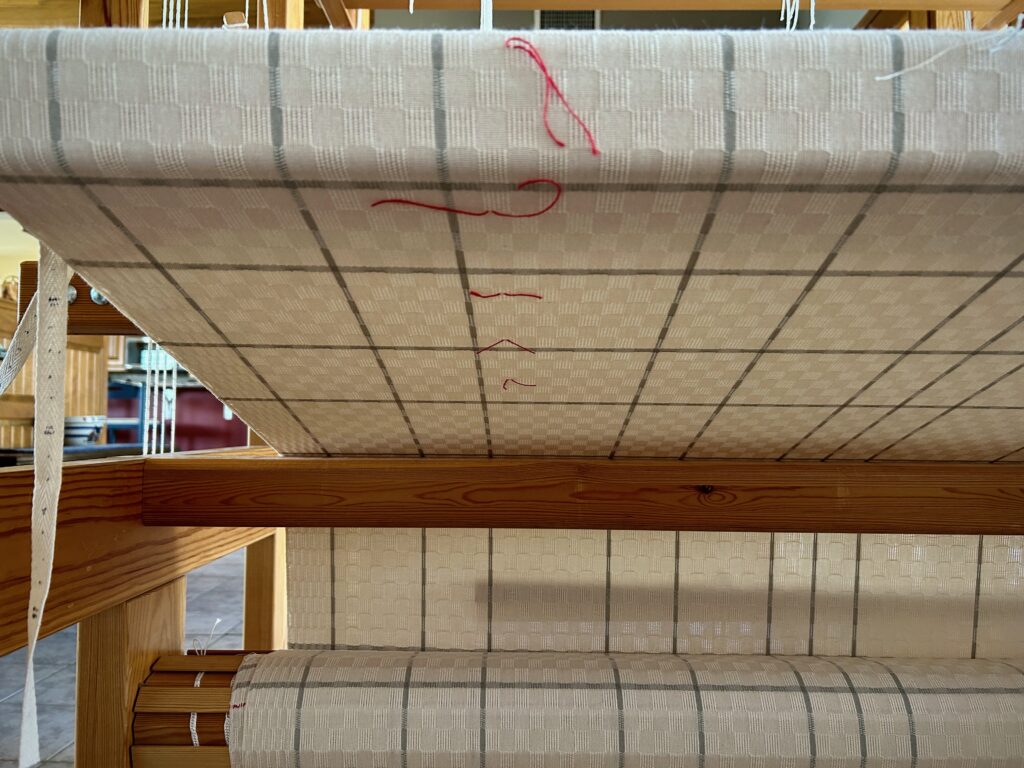
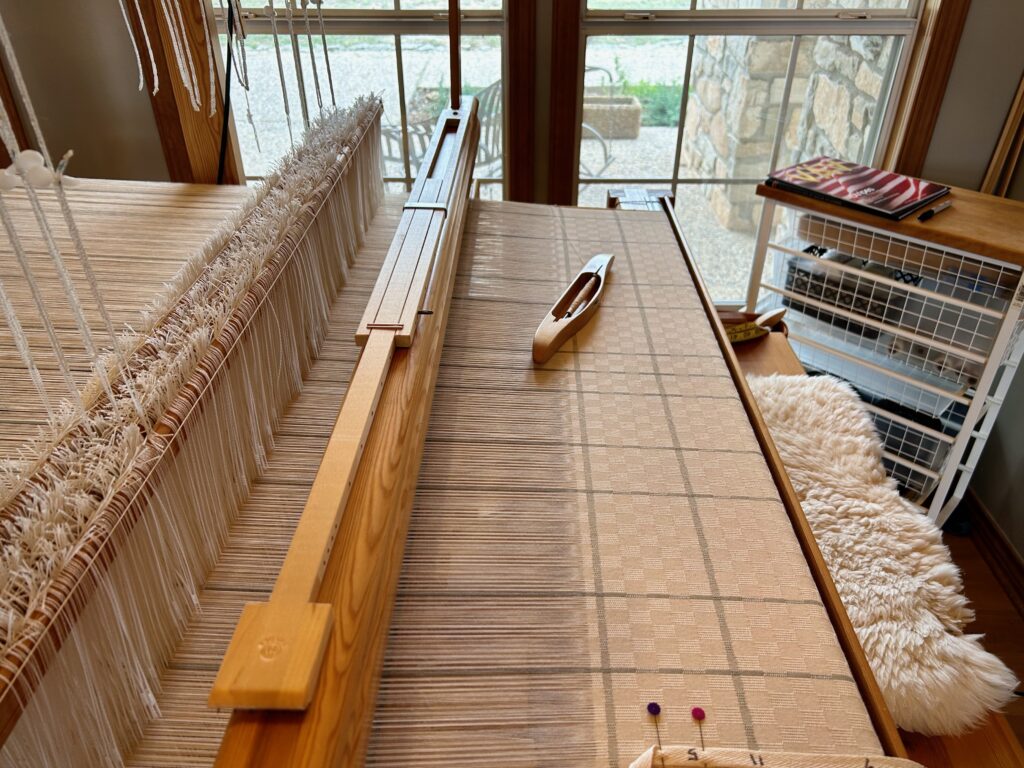
Each quill measured twice. This view is from below the breast beam since I forgot to take a photo before I advanced the warp. This perspective also gives a view of more of the M’s and O’s cloth and the potential for specially-made curtains.

I have a total of 8.6 meters to weave on this curtain fabric (about 1.5 meters already woven). That means winding about 143 quills (11cm), or 119 quills (13cm). Not much difference, really. Still, I’m in favor of winding 24 fewer quills of 24/2 cotton. Aren’t you?

May the math work in your favor.

Happy Weaving, Karen

Weaving Is Stretching Me

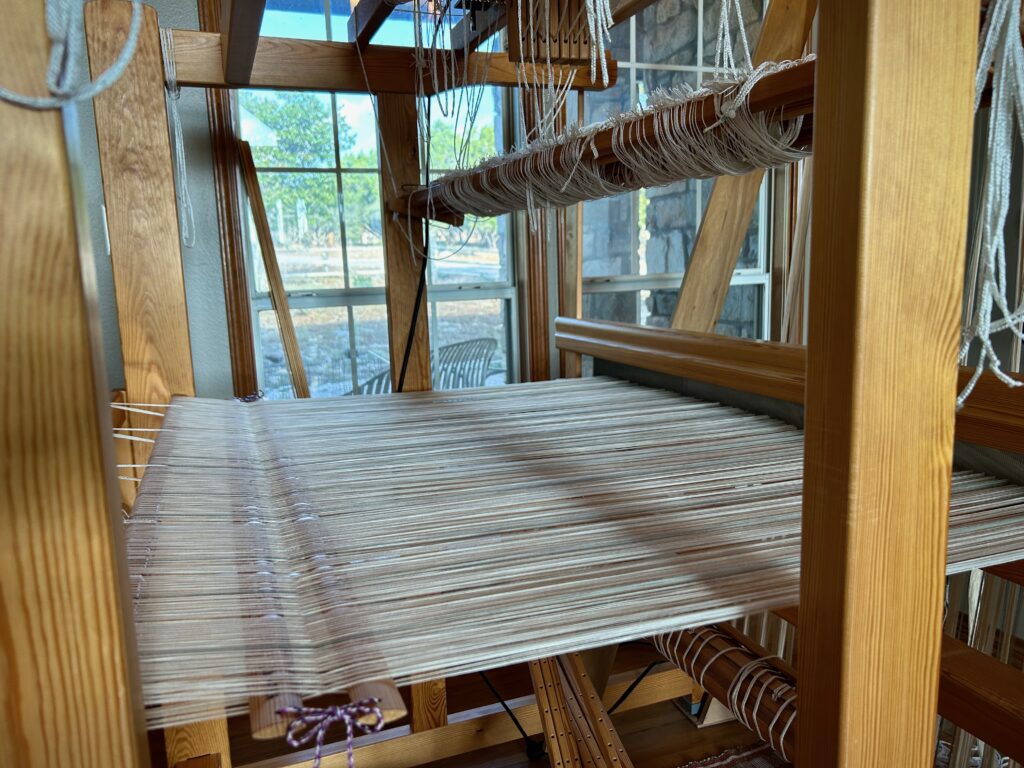
This warp is a triple challenge! 1. Full width (110 cm), 2. Fine threads (24/2 cotton), and 3. Unevenly-spaced narrow stripes. Three hours to wind the warp. Three hours to pre-sley and beam the warp. Seventeen hours to thread heddles, sley the reed, tie on the warp, and tie up the treadles. Why invest this much time and embrace this much difficulty?

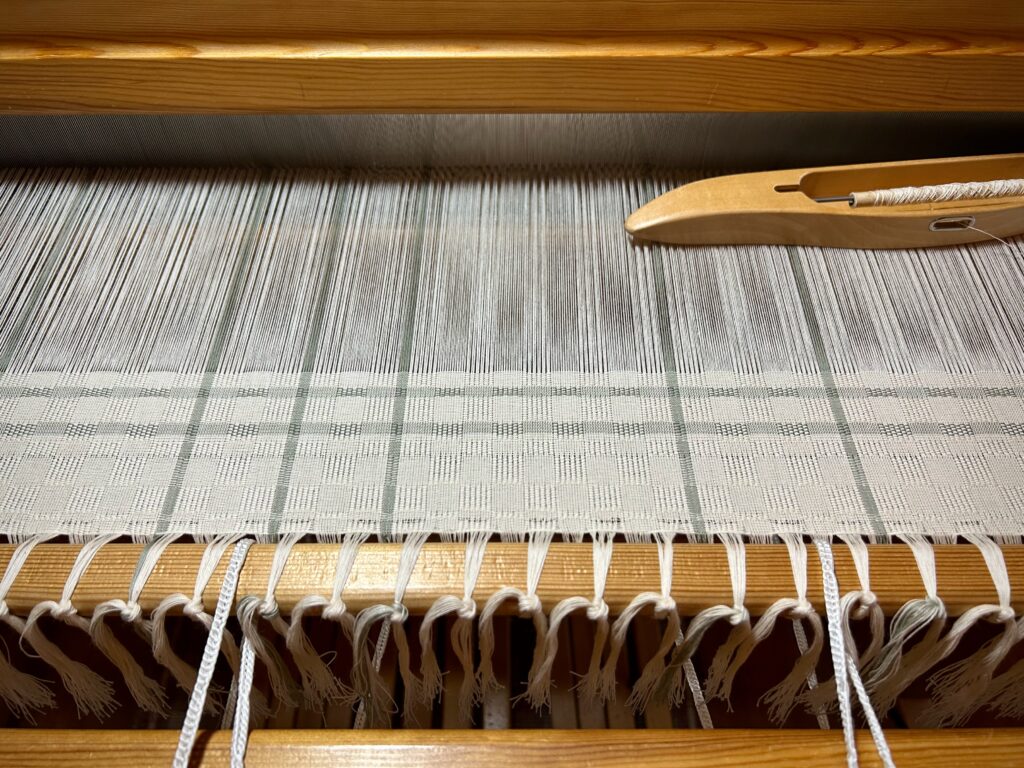
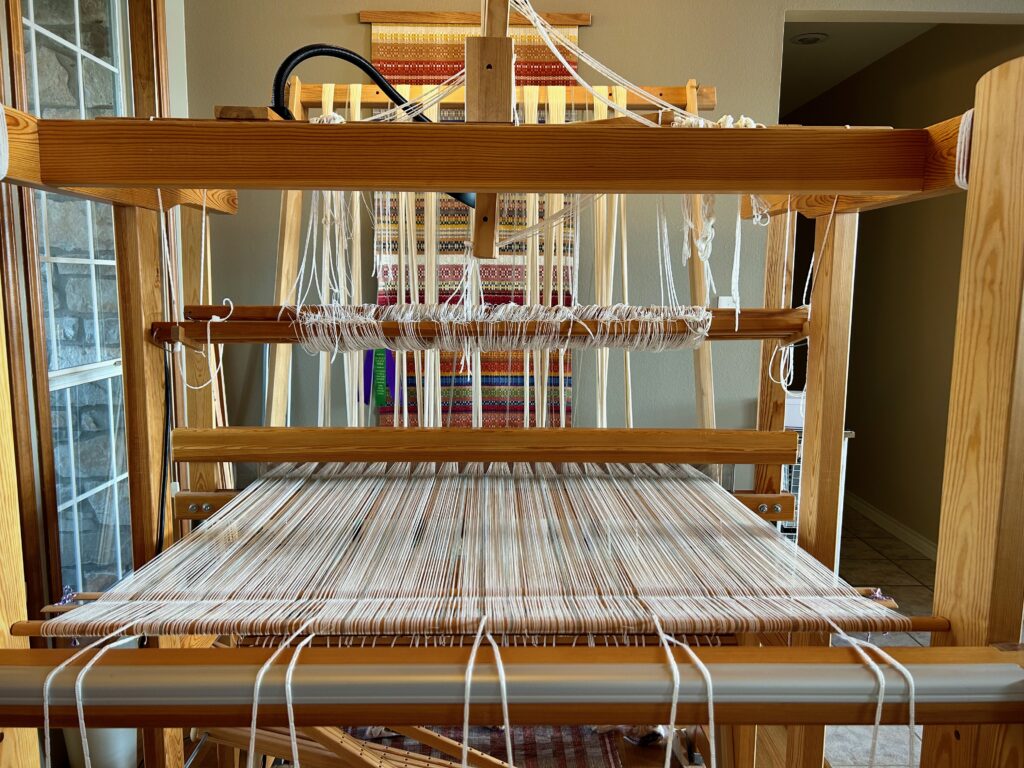
1,984 ends have been threaded in heddles, and now are being sleyed through the 90/10 reed. Careful checking and re-checking all through the processes helps prevent errors.
It is a good feeling when all the ends are finally in their places.

Why embrace this challenge? Because I see what no one else sees. I see the curtains that are specially designed for our remodeled bathroom. I understand the draft, the threads, the stripes, and everything that works together in a certain way. I see it. Though not yet visible, I could see it before I started. And so, all the challenges become part of the story, and I’m determined to keep going. I aim to finish strong.

After all is set up, the first testing I do is with shuttles. Which shuttle is best for sending all the way across this wide warp? The medium Glimåkra boat shuttle that holds 11 cm quills is the winner, not the longest, largest, and heaviest shuttles.
Seeing the beauty of this cloth solidifies the hope of seeing special curtains gracing our bathroom windows.
What begins as an M’s and O’s draft for kitchen towels in Väv Magazine, and expands with pictures in a Malin Selander book, and grows with my imagination, is now visible on the loom!
The two biggest challenges that remain: 1. Filling quills. It takes a while to fill a quill with this fine thread. It doesn’t take long at all to empty the quill as I weave. 2. This wide warp stretches my arms to my full arm-length reach. It’s good to be stretched! 🙂

This is a picture of faith. Faith acts on things not seen by others. Faith sees what is not yet visible. With faith in Jesus Christ, all the challenges become part of the story. We go the duration because we have a view of the finished work.

May your challenges stretch your faith in a good way.

Giving Thanks,
Karen

Dressing the Standard Looks Like a Mess

It is my husband’s idea for me to make handwoven curtains for the windows in our newly renovated master bathroom. Now that I have had time to think about it, I think it’s a great idea. Fortunately, the yellow rug warp on the GlimÃ¥kra Standard is still sitting on the loom bench, so I am putting it aside temporarily in order to put this bathroom-curtains warp on the loom.

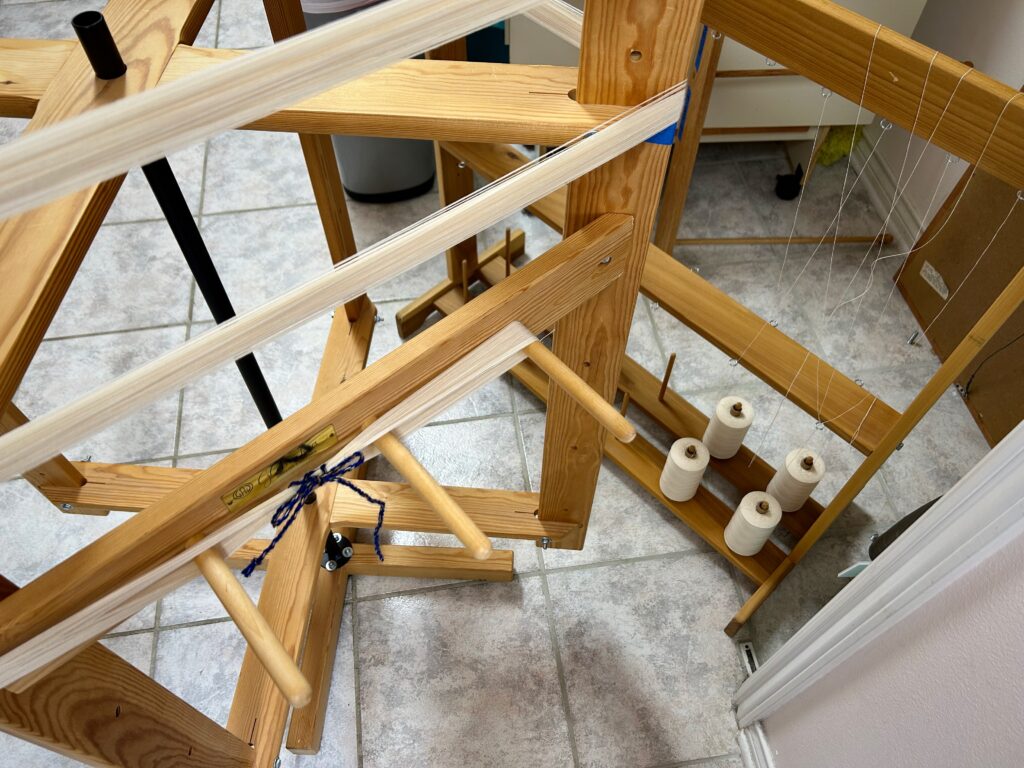
Winding a warp of 24/2 unbleached cotton.
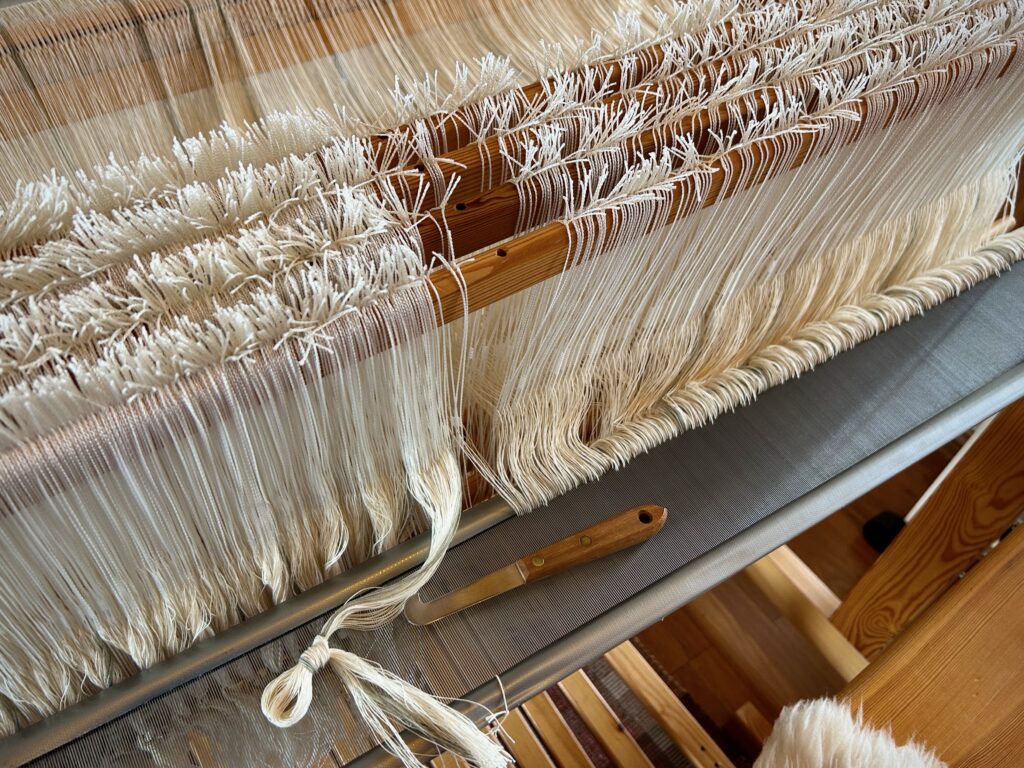
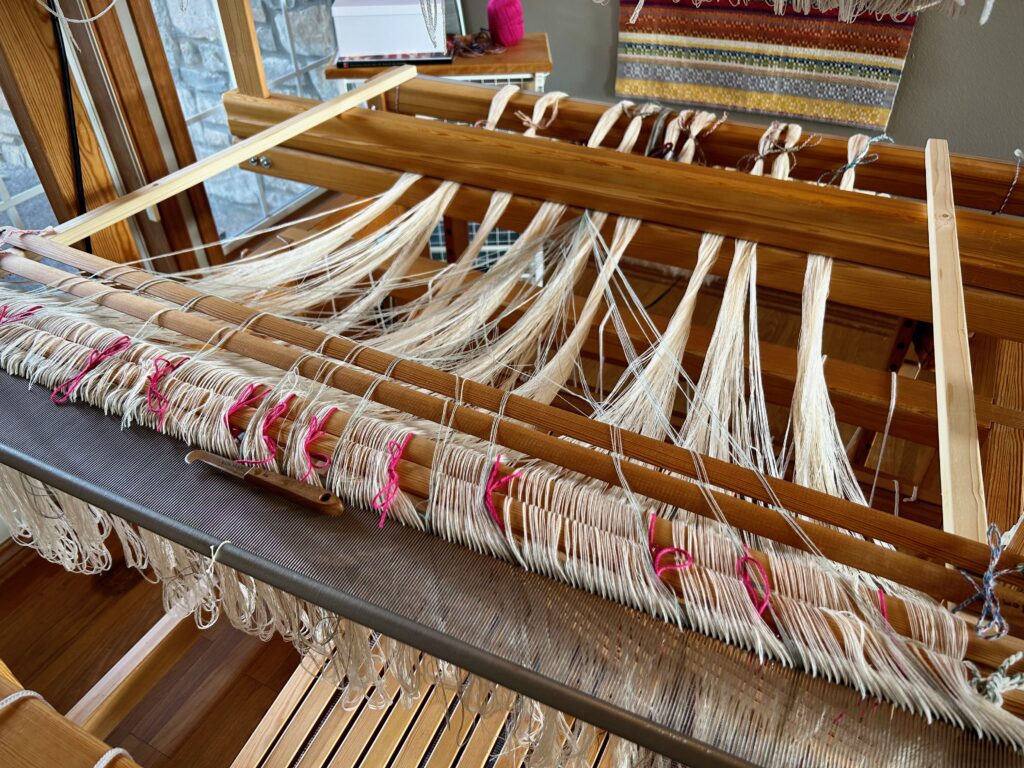
Looks like a mess. Pre-sley the reed to spread the warp. Two sets of lease sticks. Narrow gray stripes of 16/2 cotton are inserted between the unbleached ends. Somehow, it all works out…
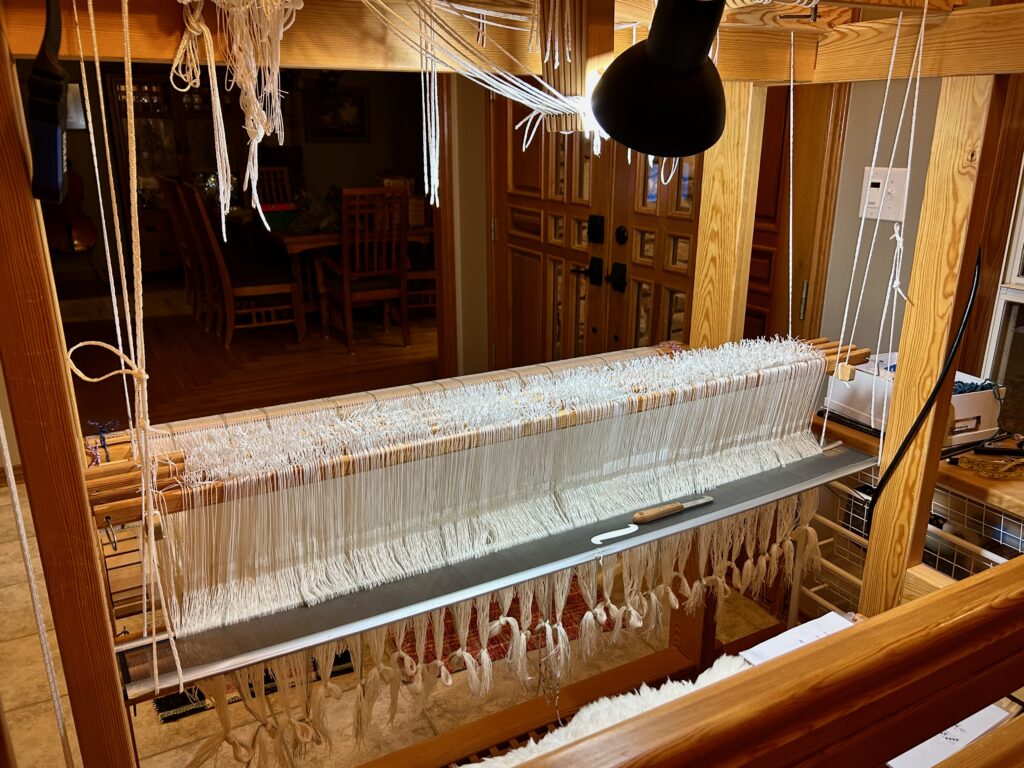
All the end loops are on the back tie-on bar, and ends from two lease sticks have been transferred to one set of lease sticks. Ready to beam the warp!
Just about set to beam.
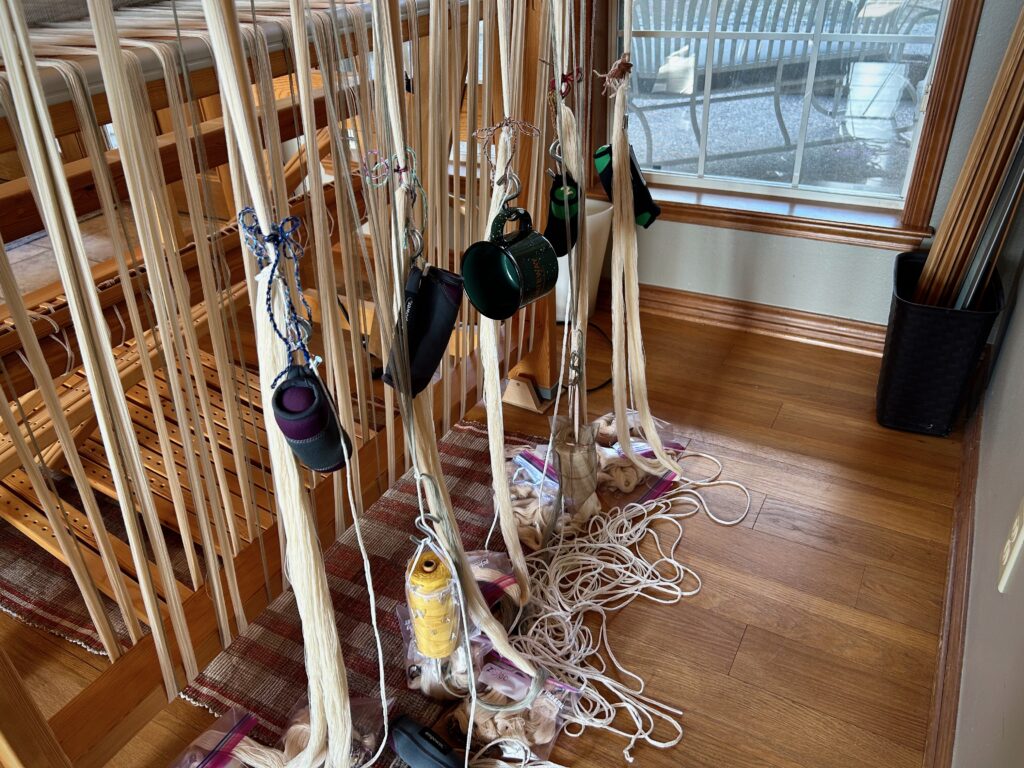
My usual two-pound weights are just right for most of the warp bouts, but I need a one-pound weight (large coffee mug) for one smaller bout, and two 1/2-pound weights (tube of thread in a small bag) for the small bouts of gray warp ends. Whew! Is it all going to work??
Now…everything is ready!
It’s working. Just look at that beautiful warp!

I have 1,984 ends to thread and sley. Then, I will be weaving almost full width! It’s exciting!

May you gain order out of a mess.

Happy Weaving,

Karen