Tried and True: Cutting Off for a Fresh Start

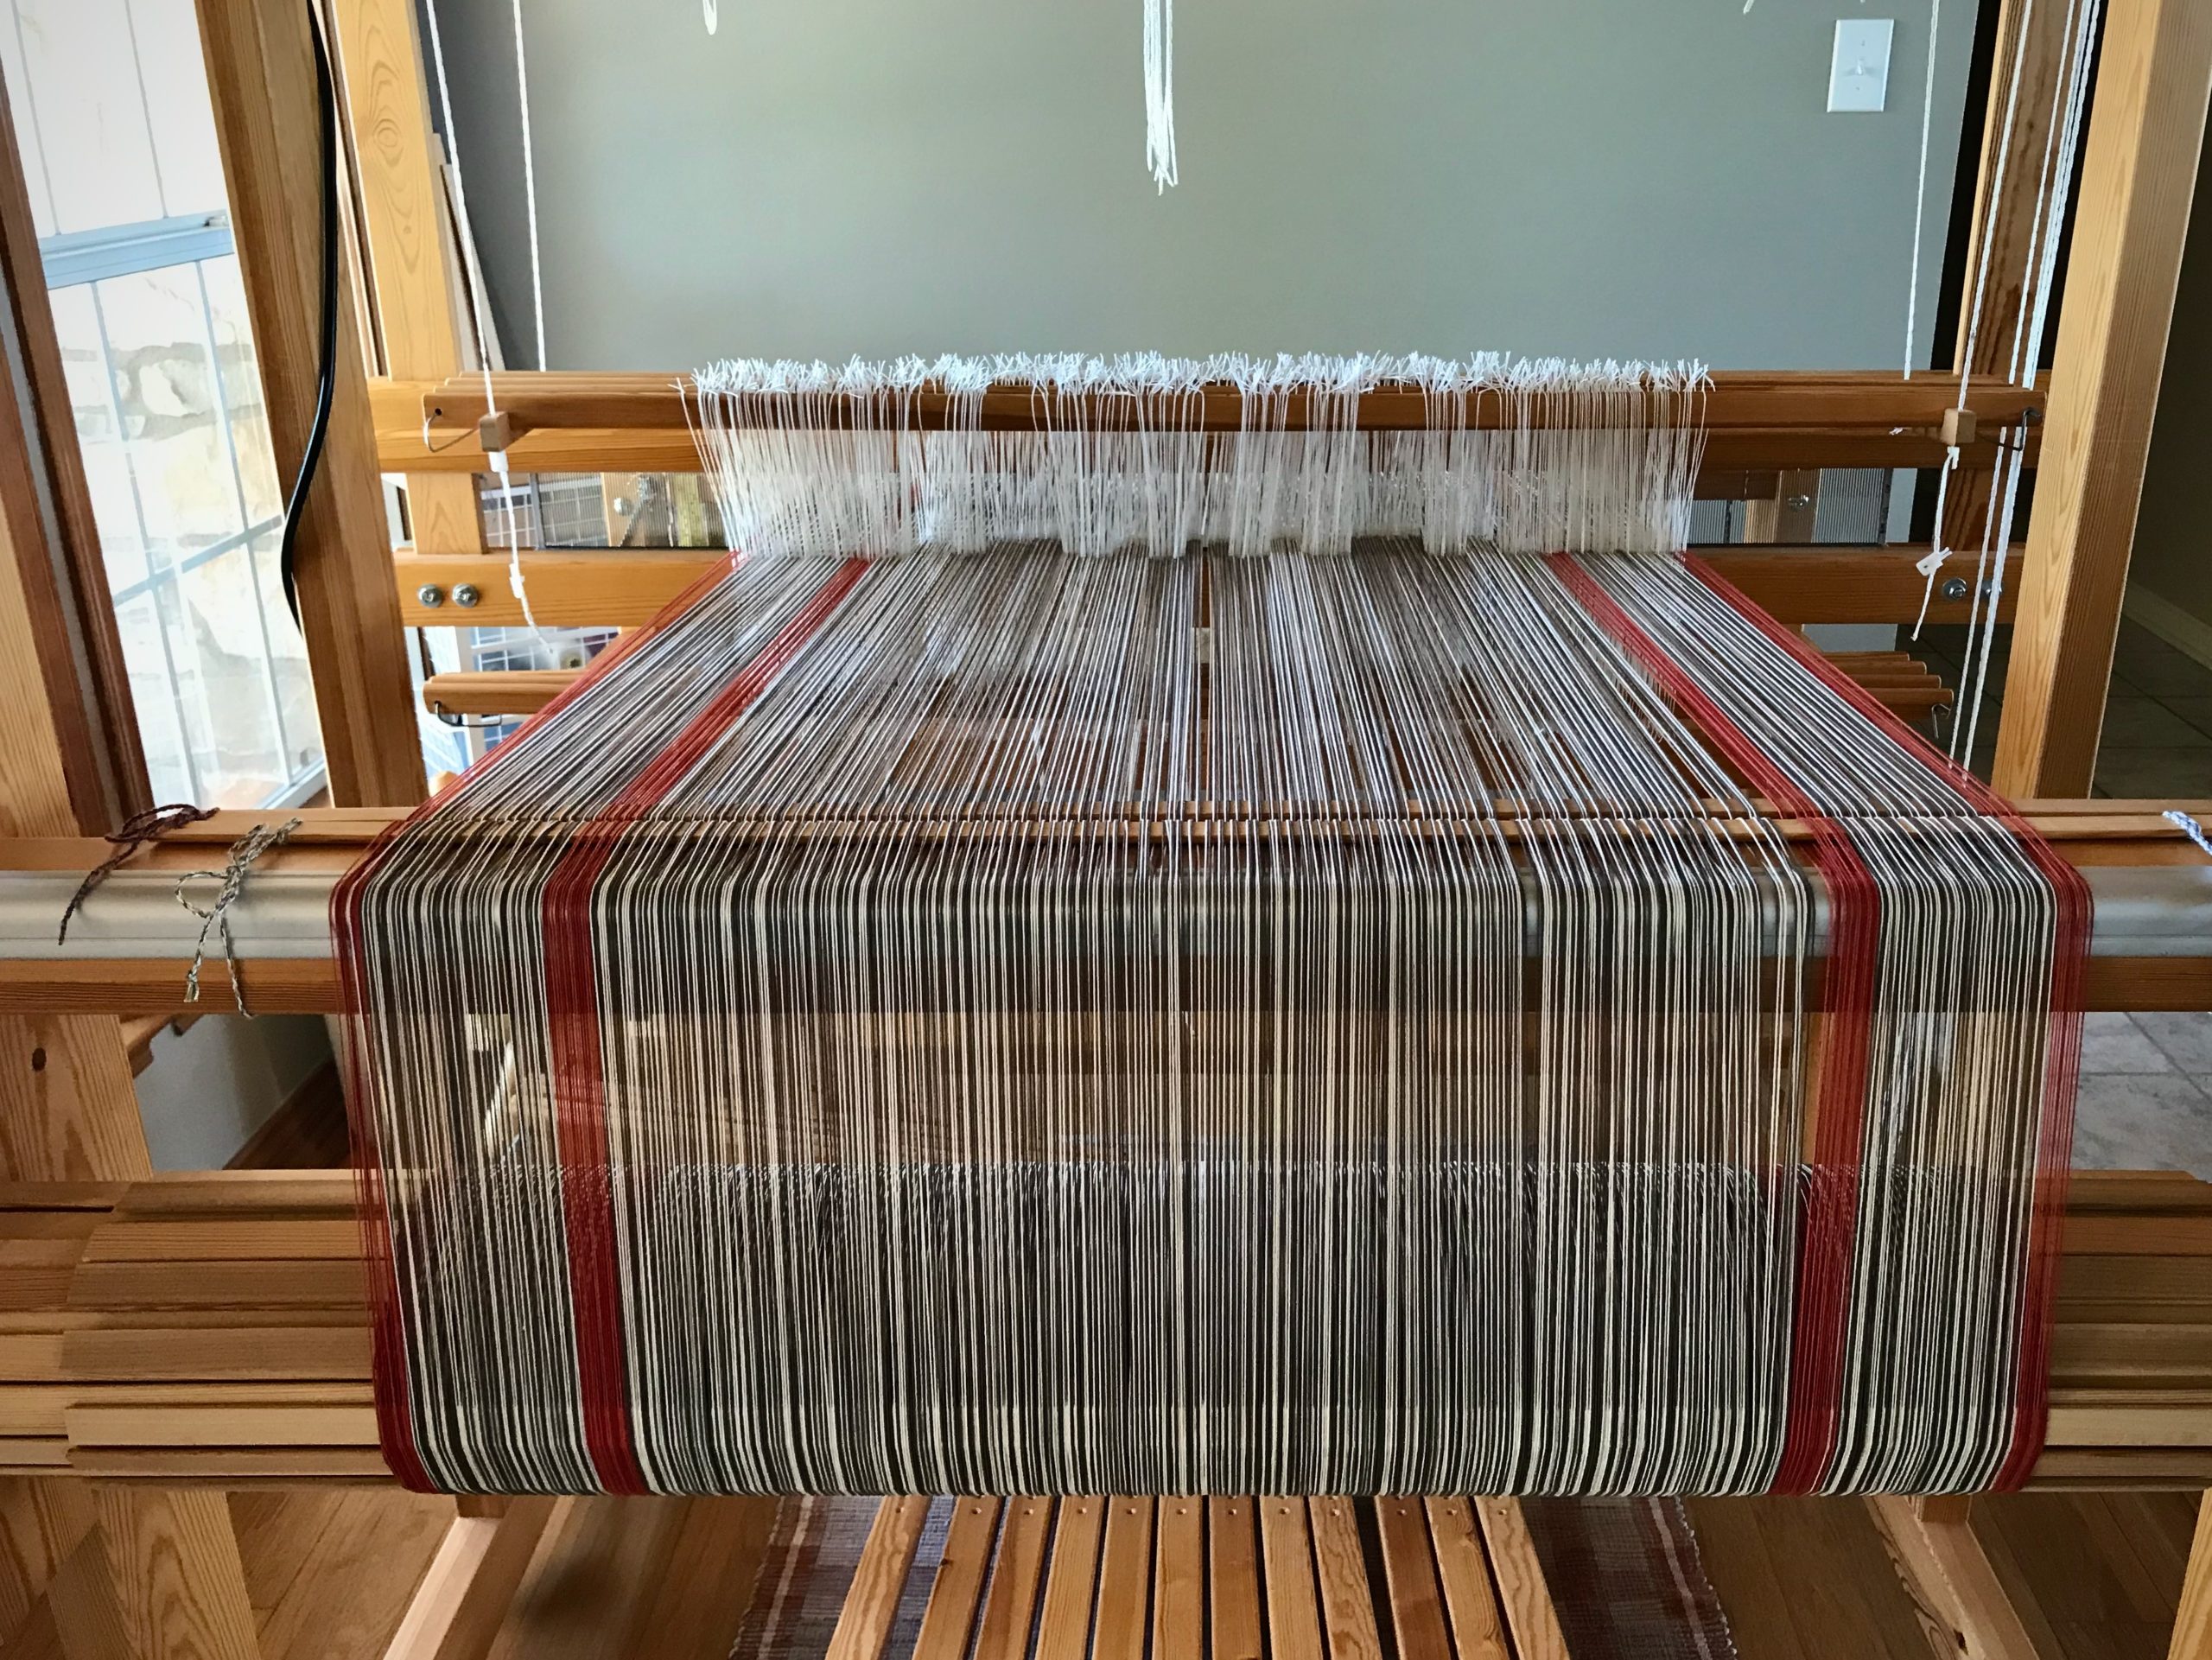
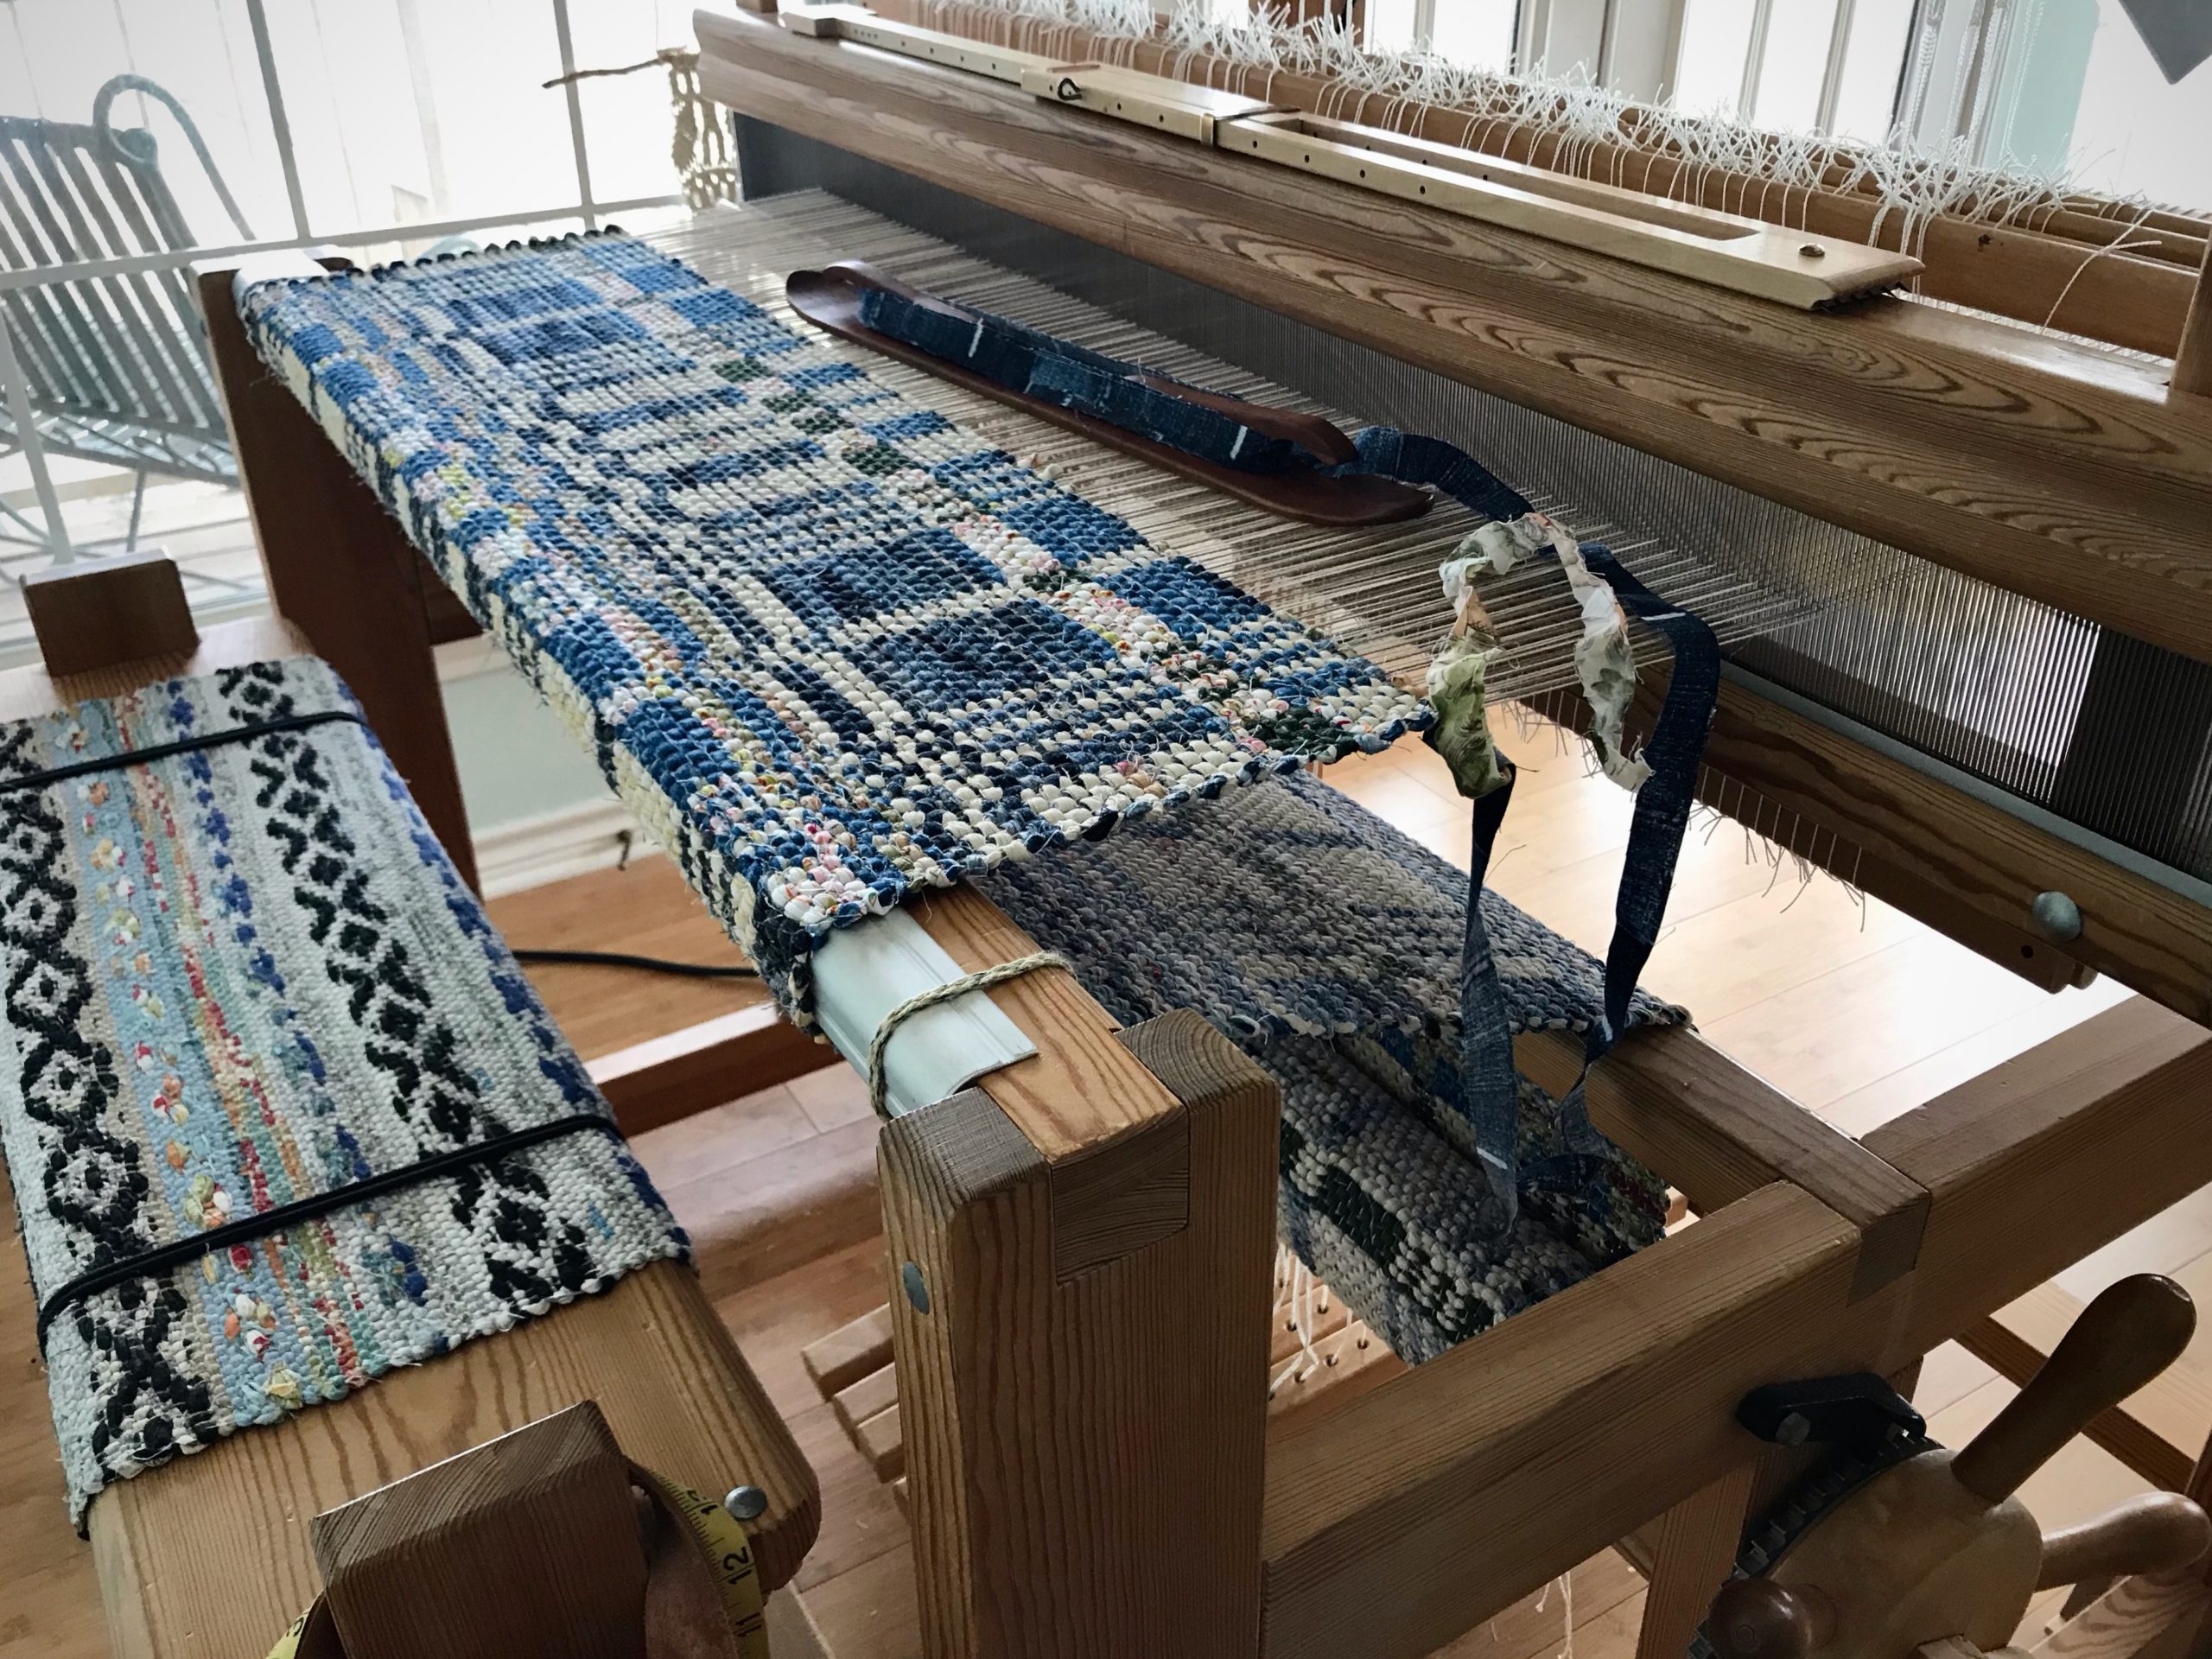
I have good reasons for cutting off this first double-binding rag rug before proceeding with the rest of the warp. This pause and reset ensures happy weaving to the end. Cutting off gives me a fresh start for the next rug.

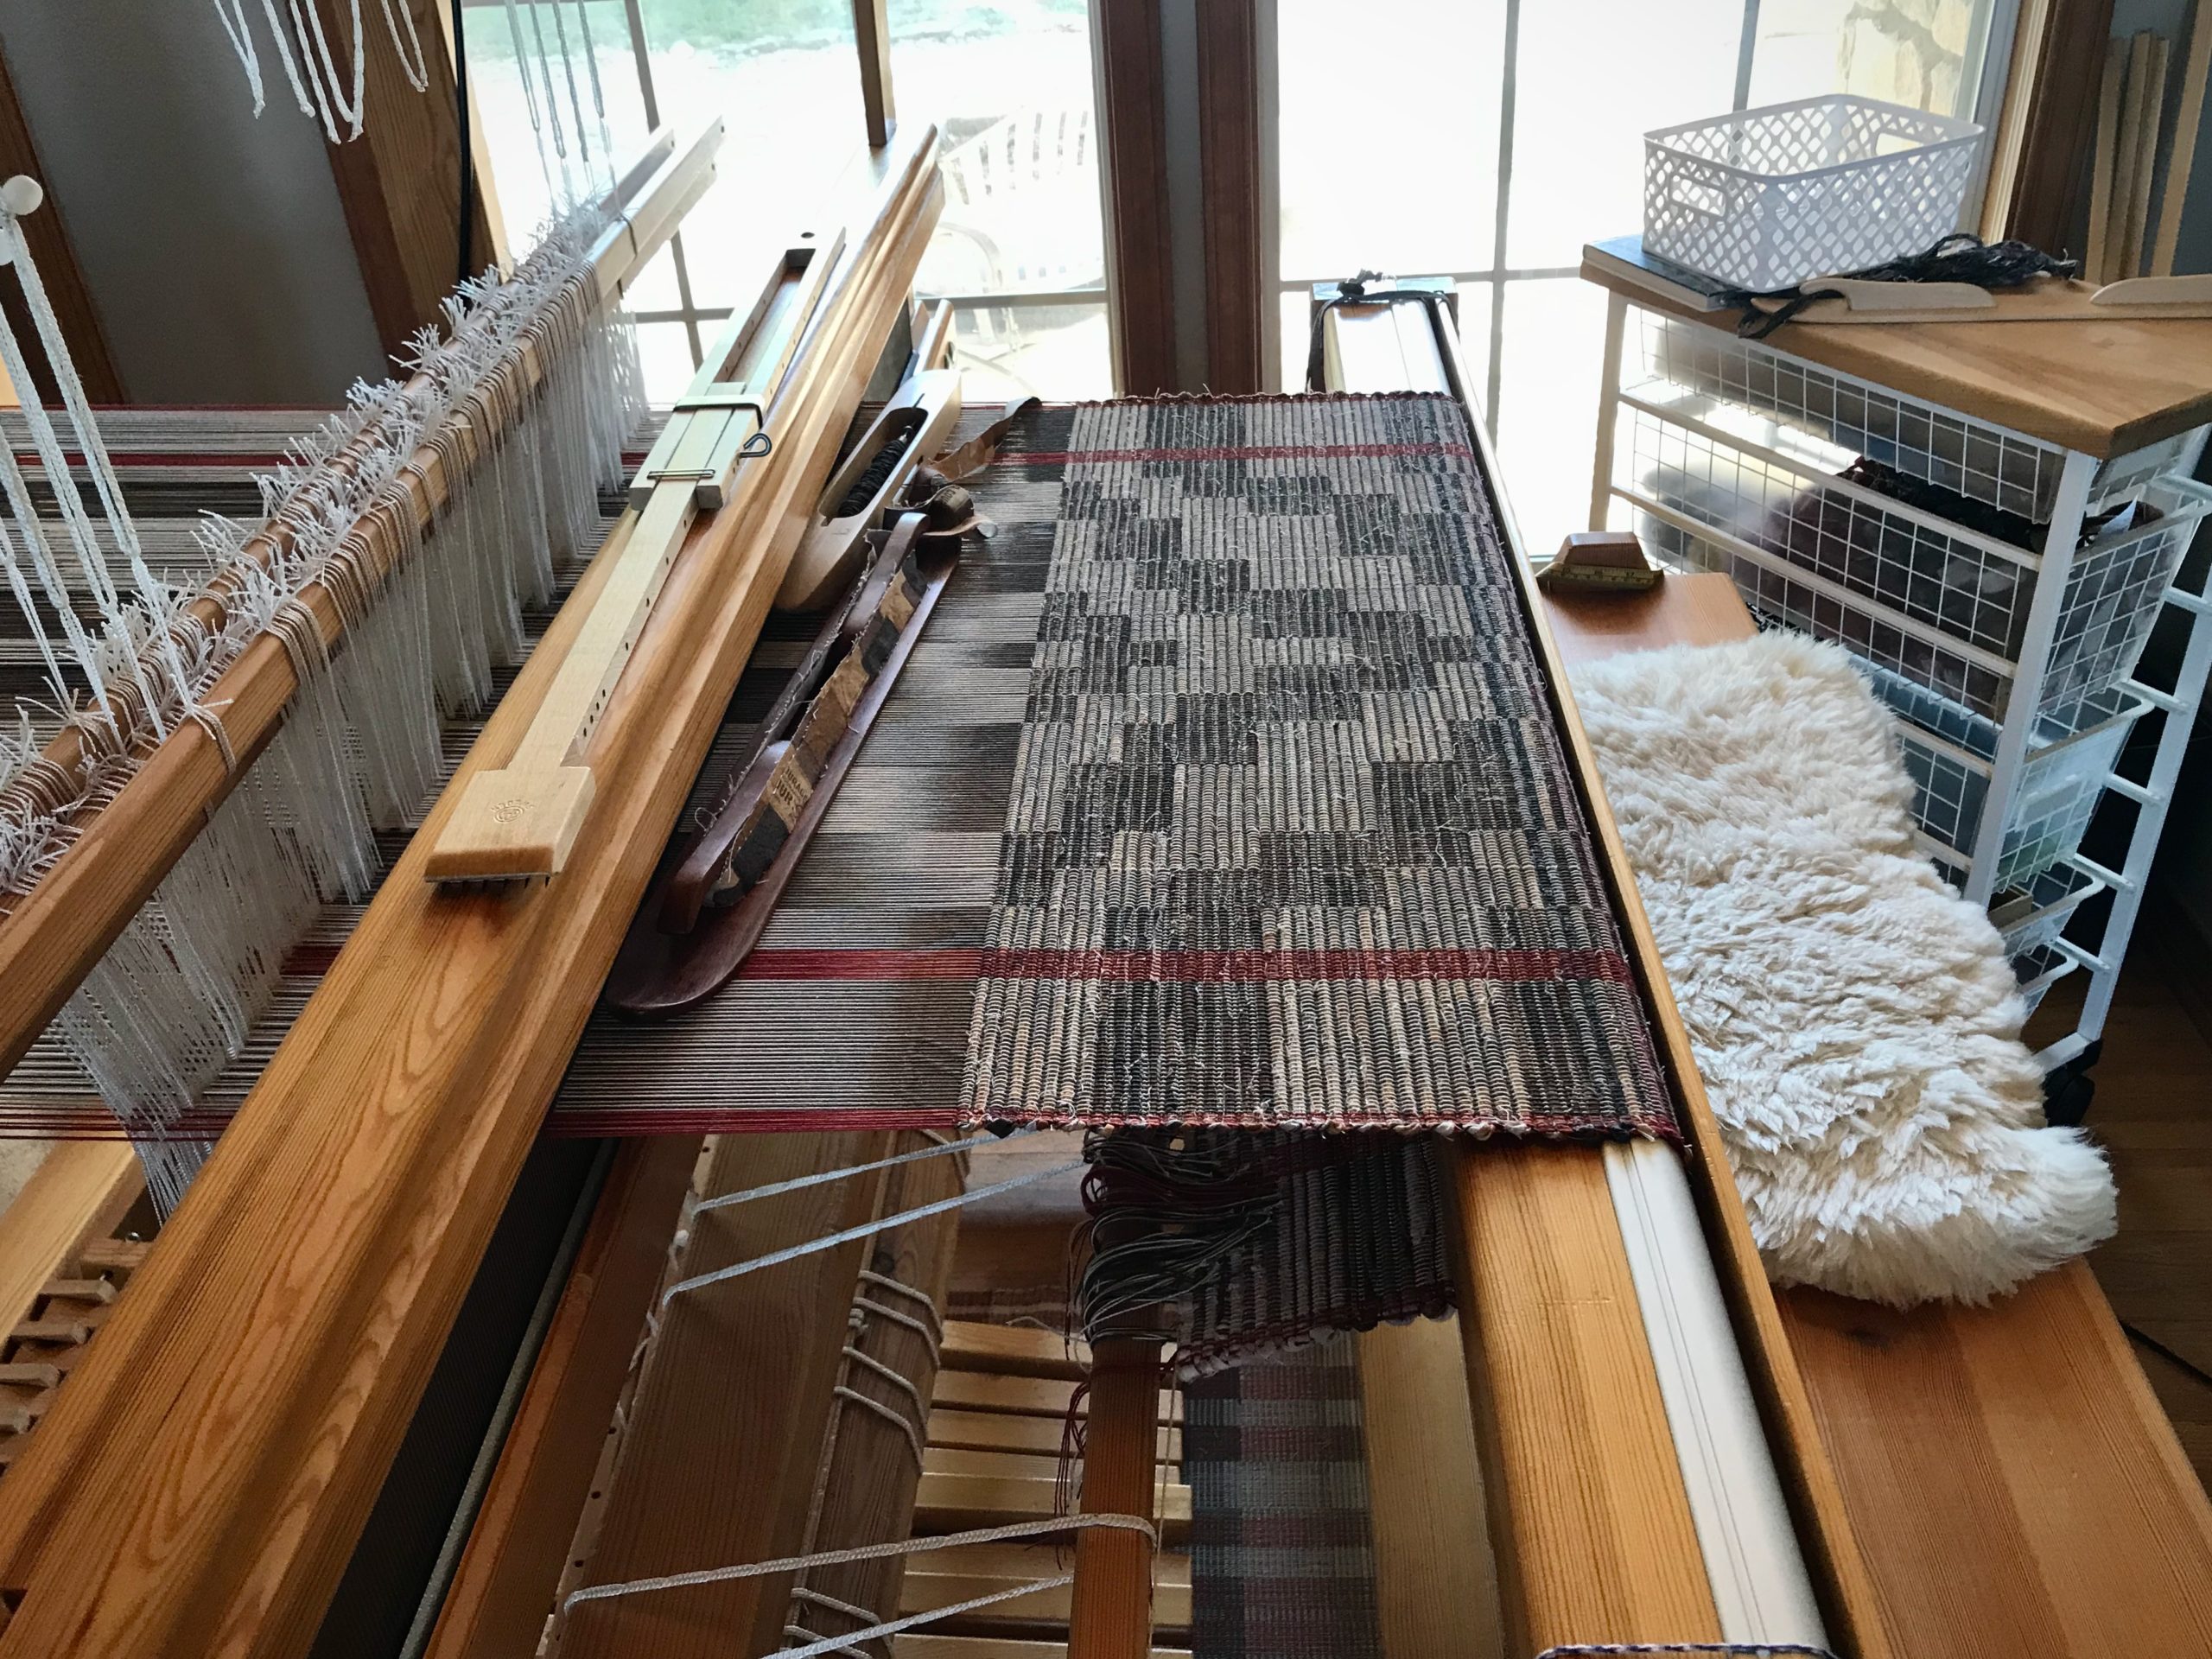
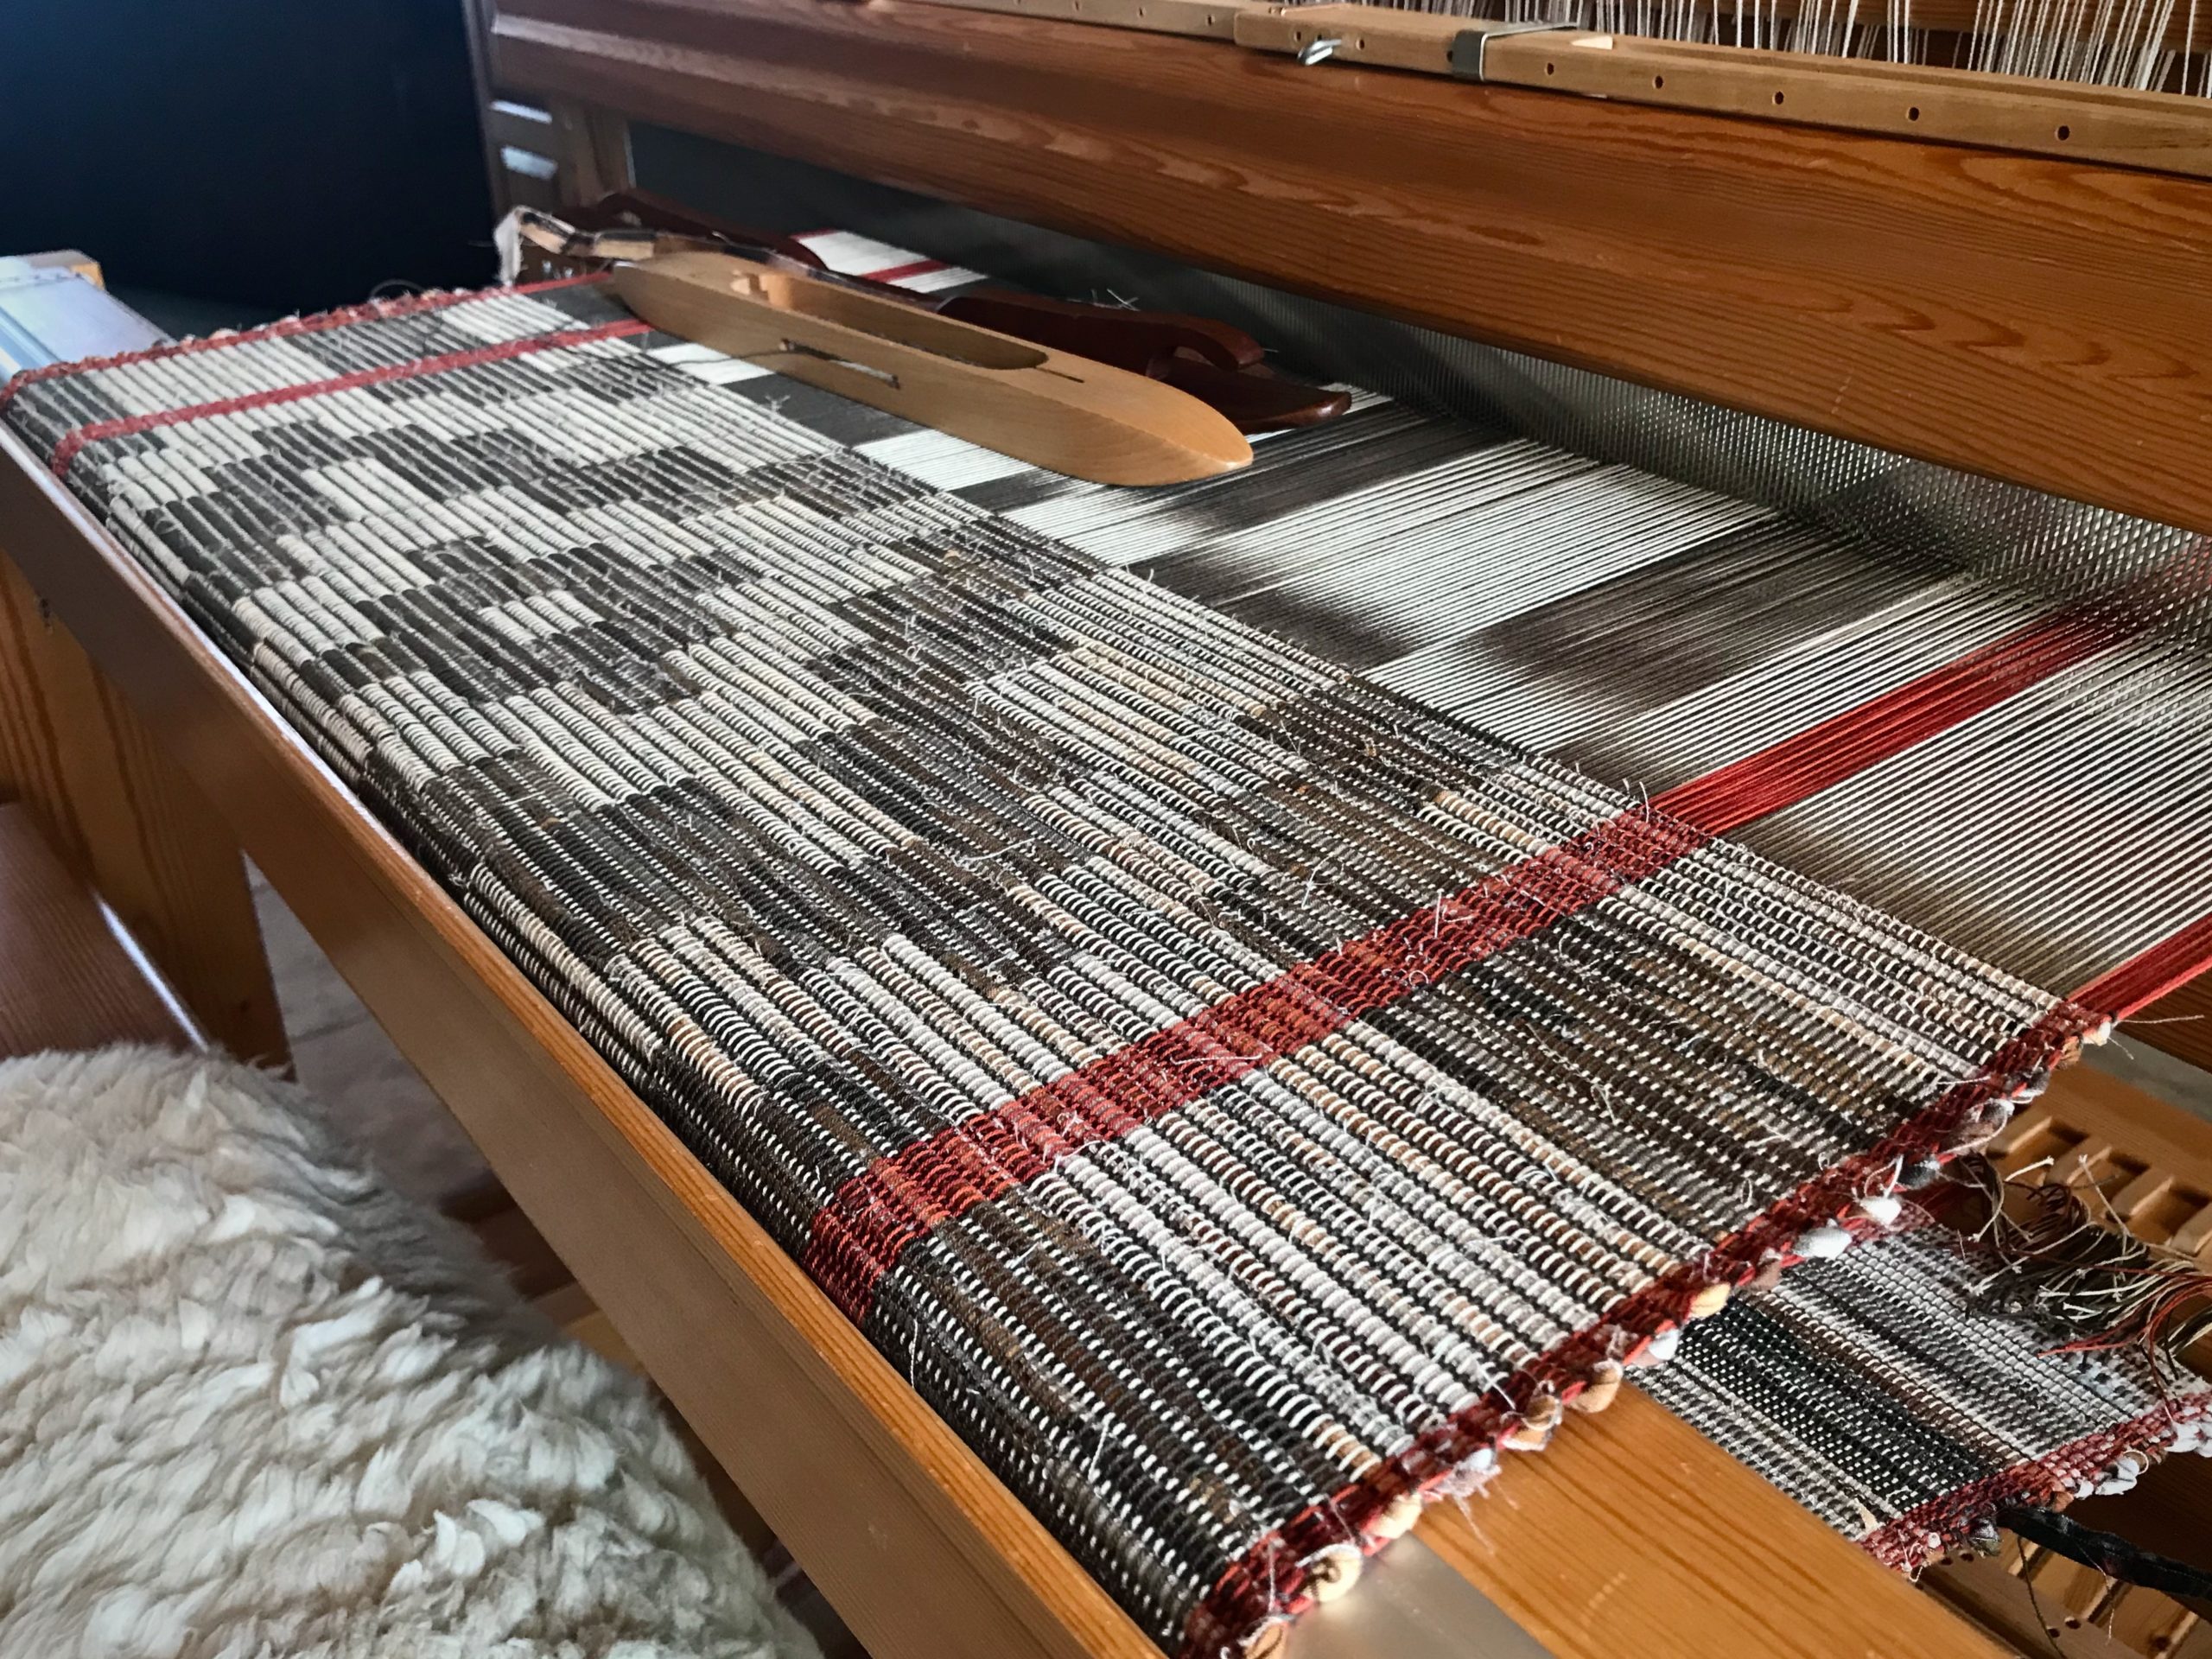
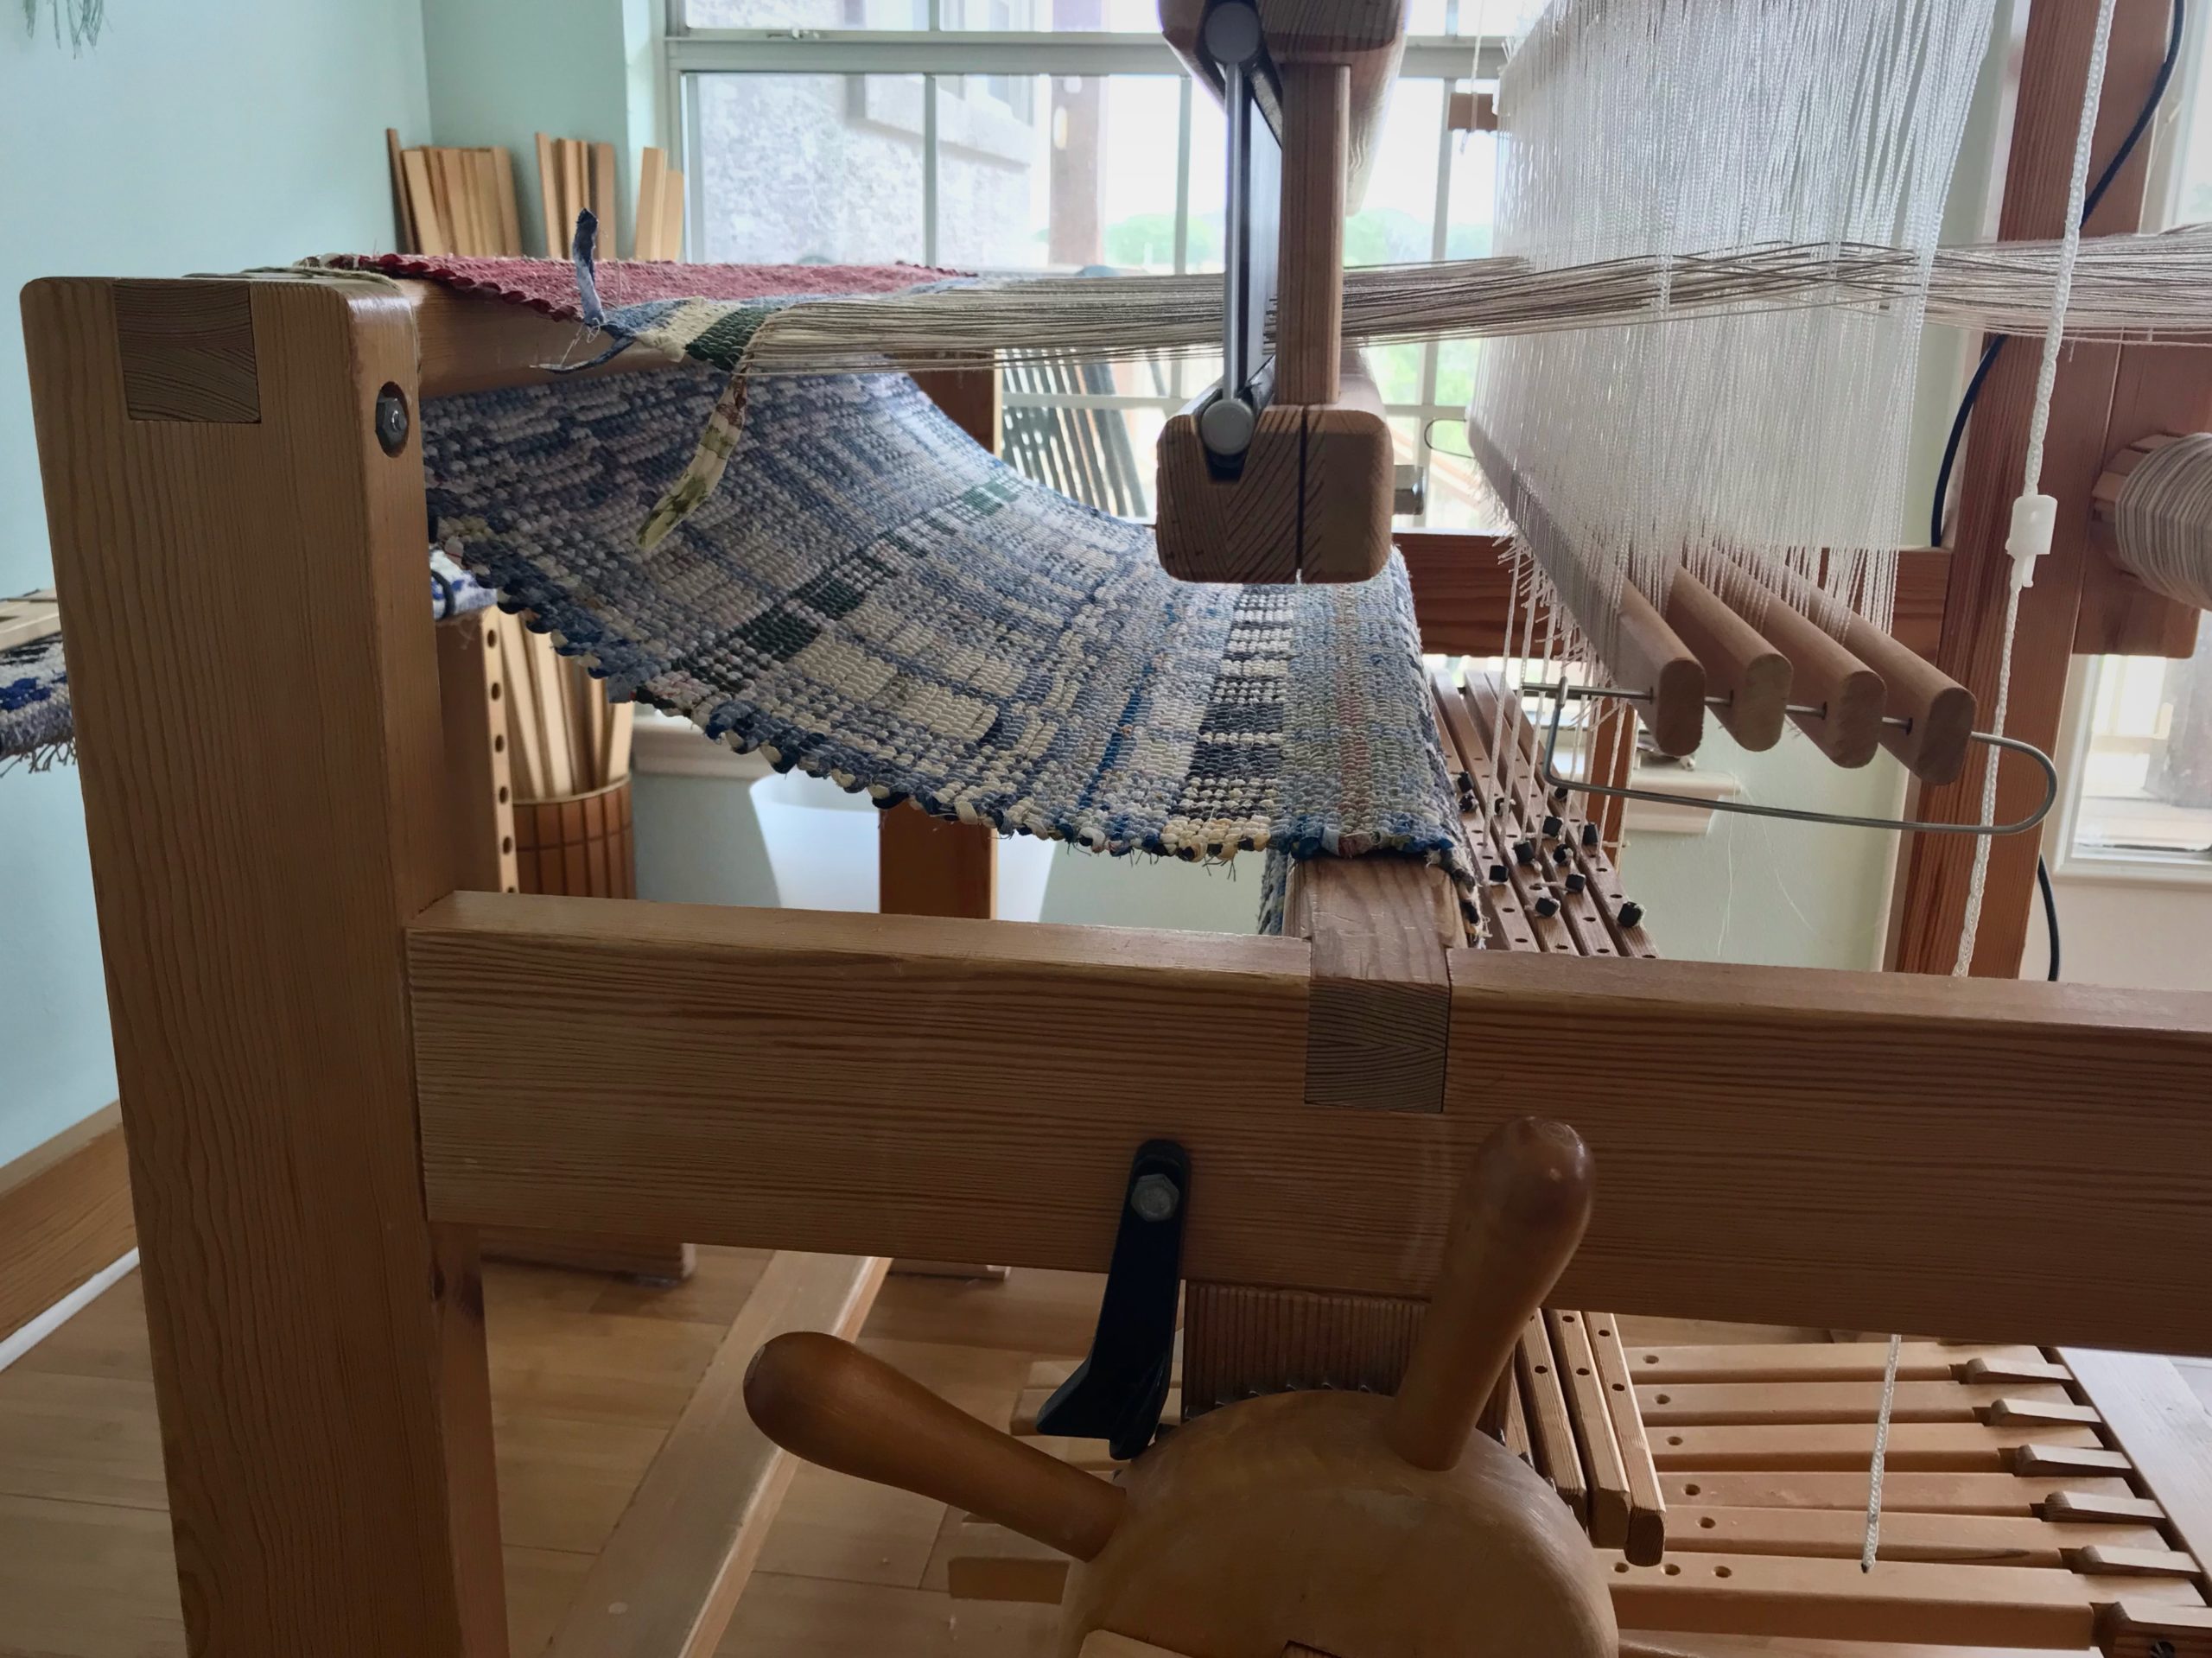
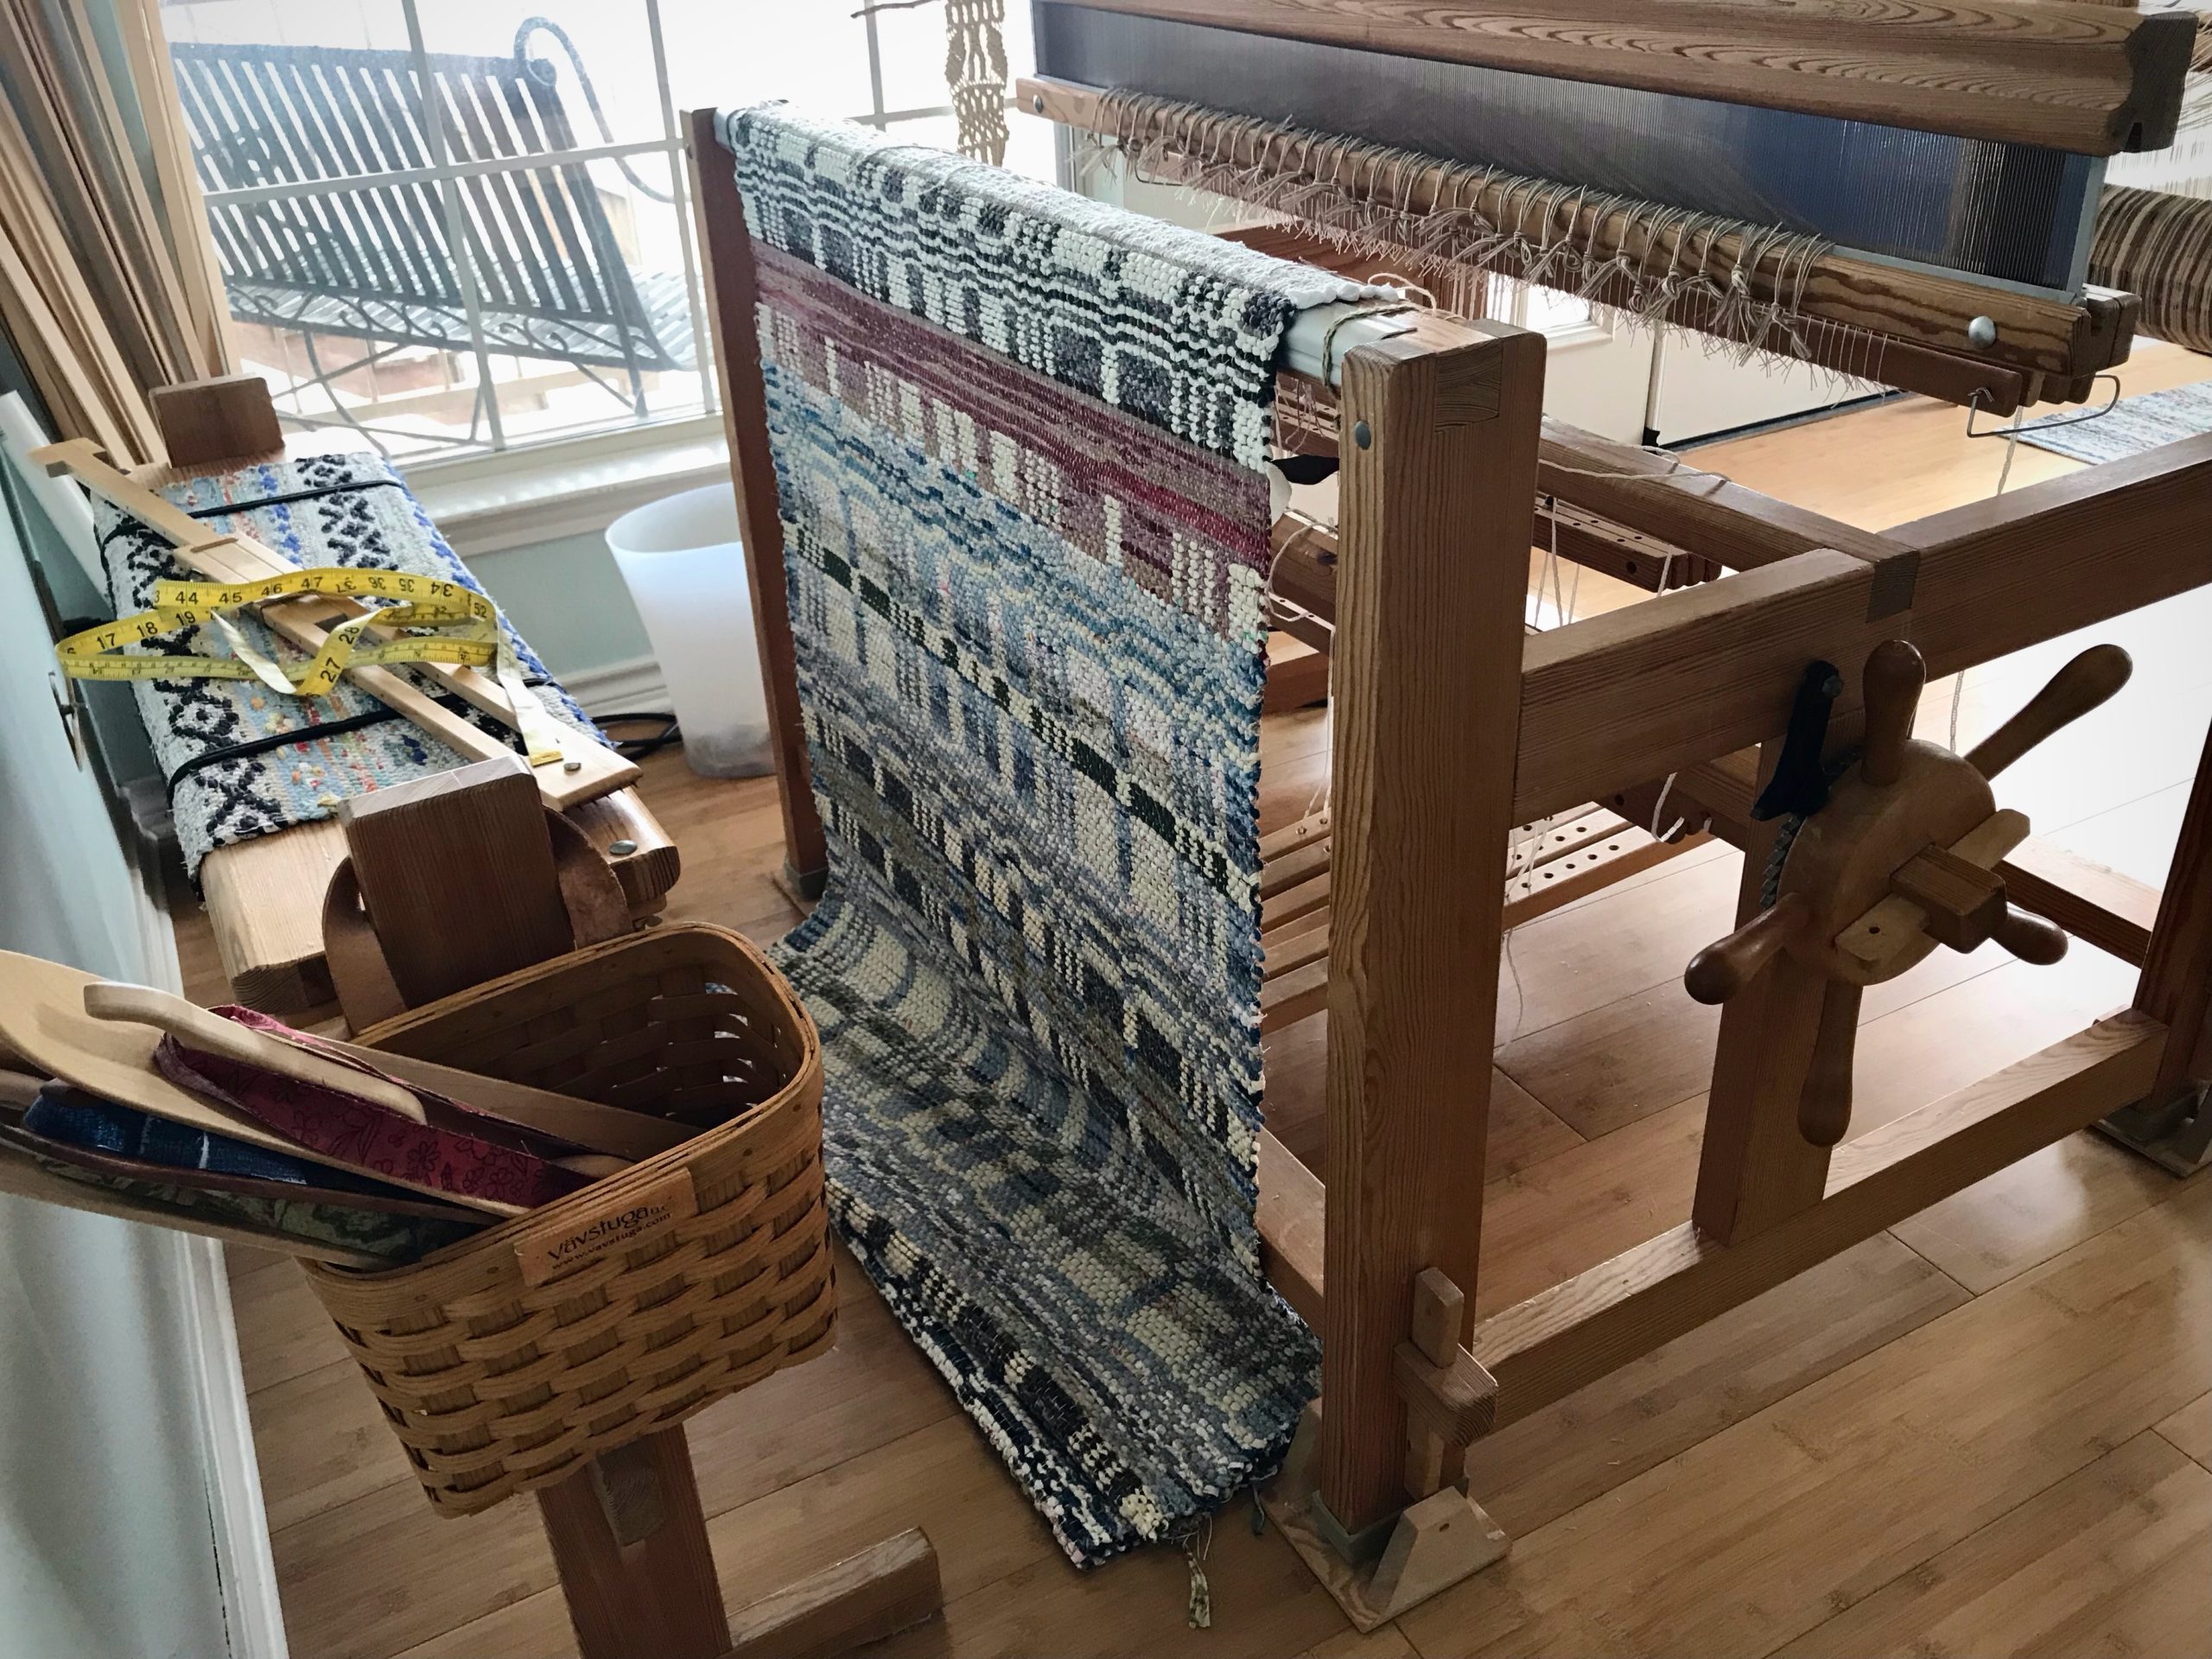
Rug is wrapping around the cloth beam.

Reasons for cutting off rag rug before end of warp

  1. Uneven warp tension. I can improve the warp by tying back on.
  2. Large rag rag. I can get a tighter warp tension by removing the rug’s bulk from the cloth beam.
  3. New design. It helps me to see the completed rug before starting the next one, since this is a brand-new design.
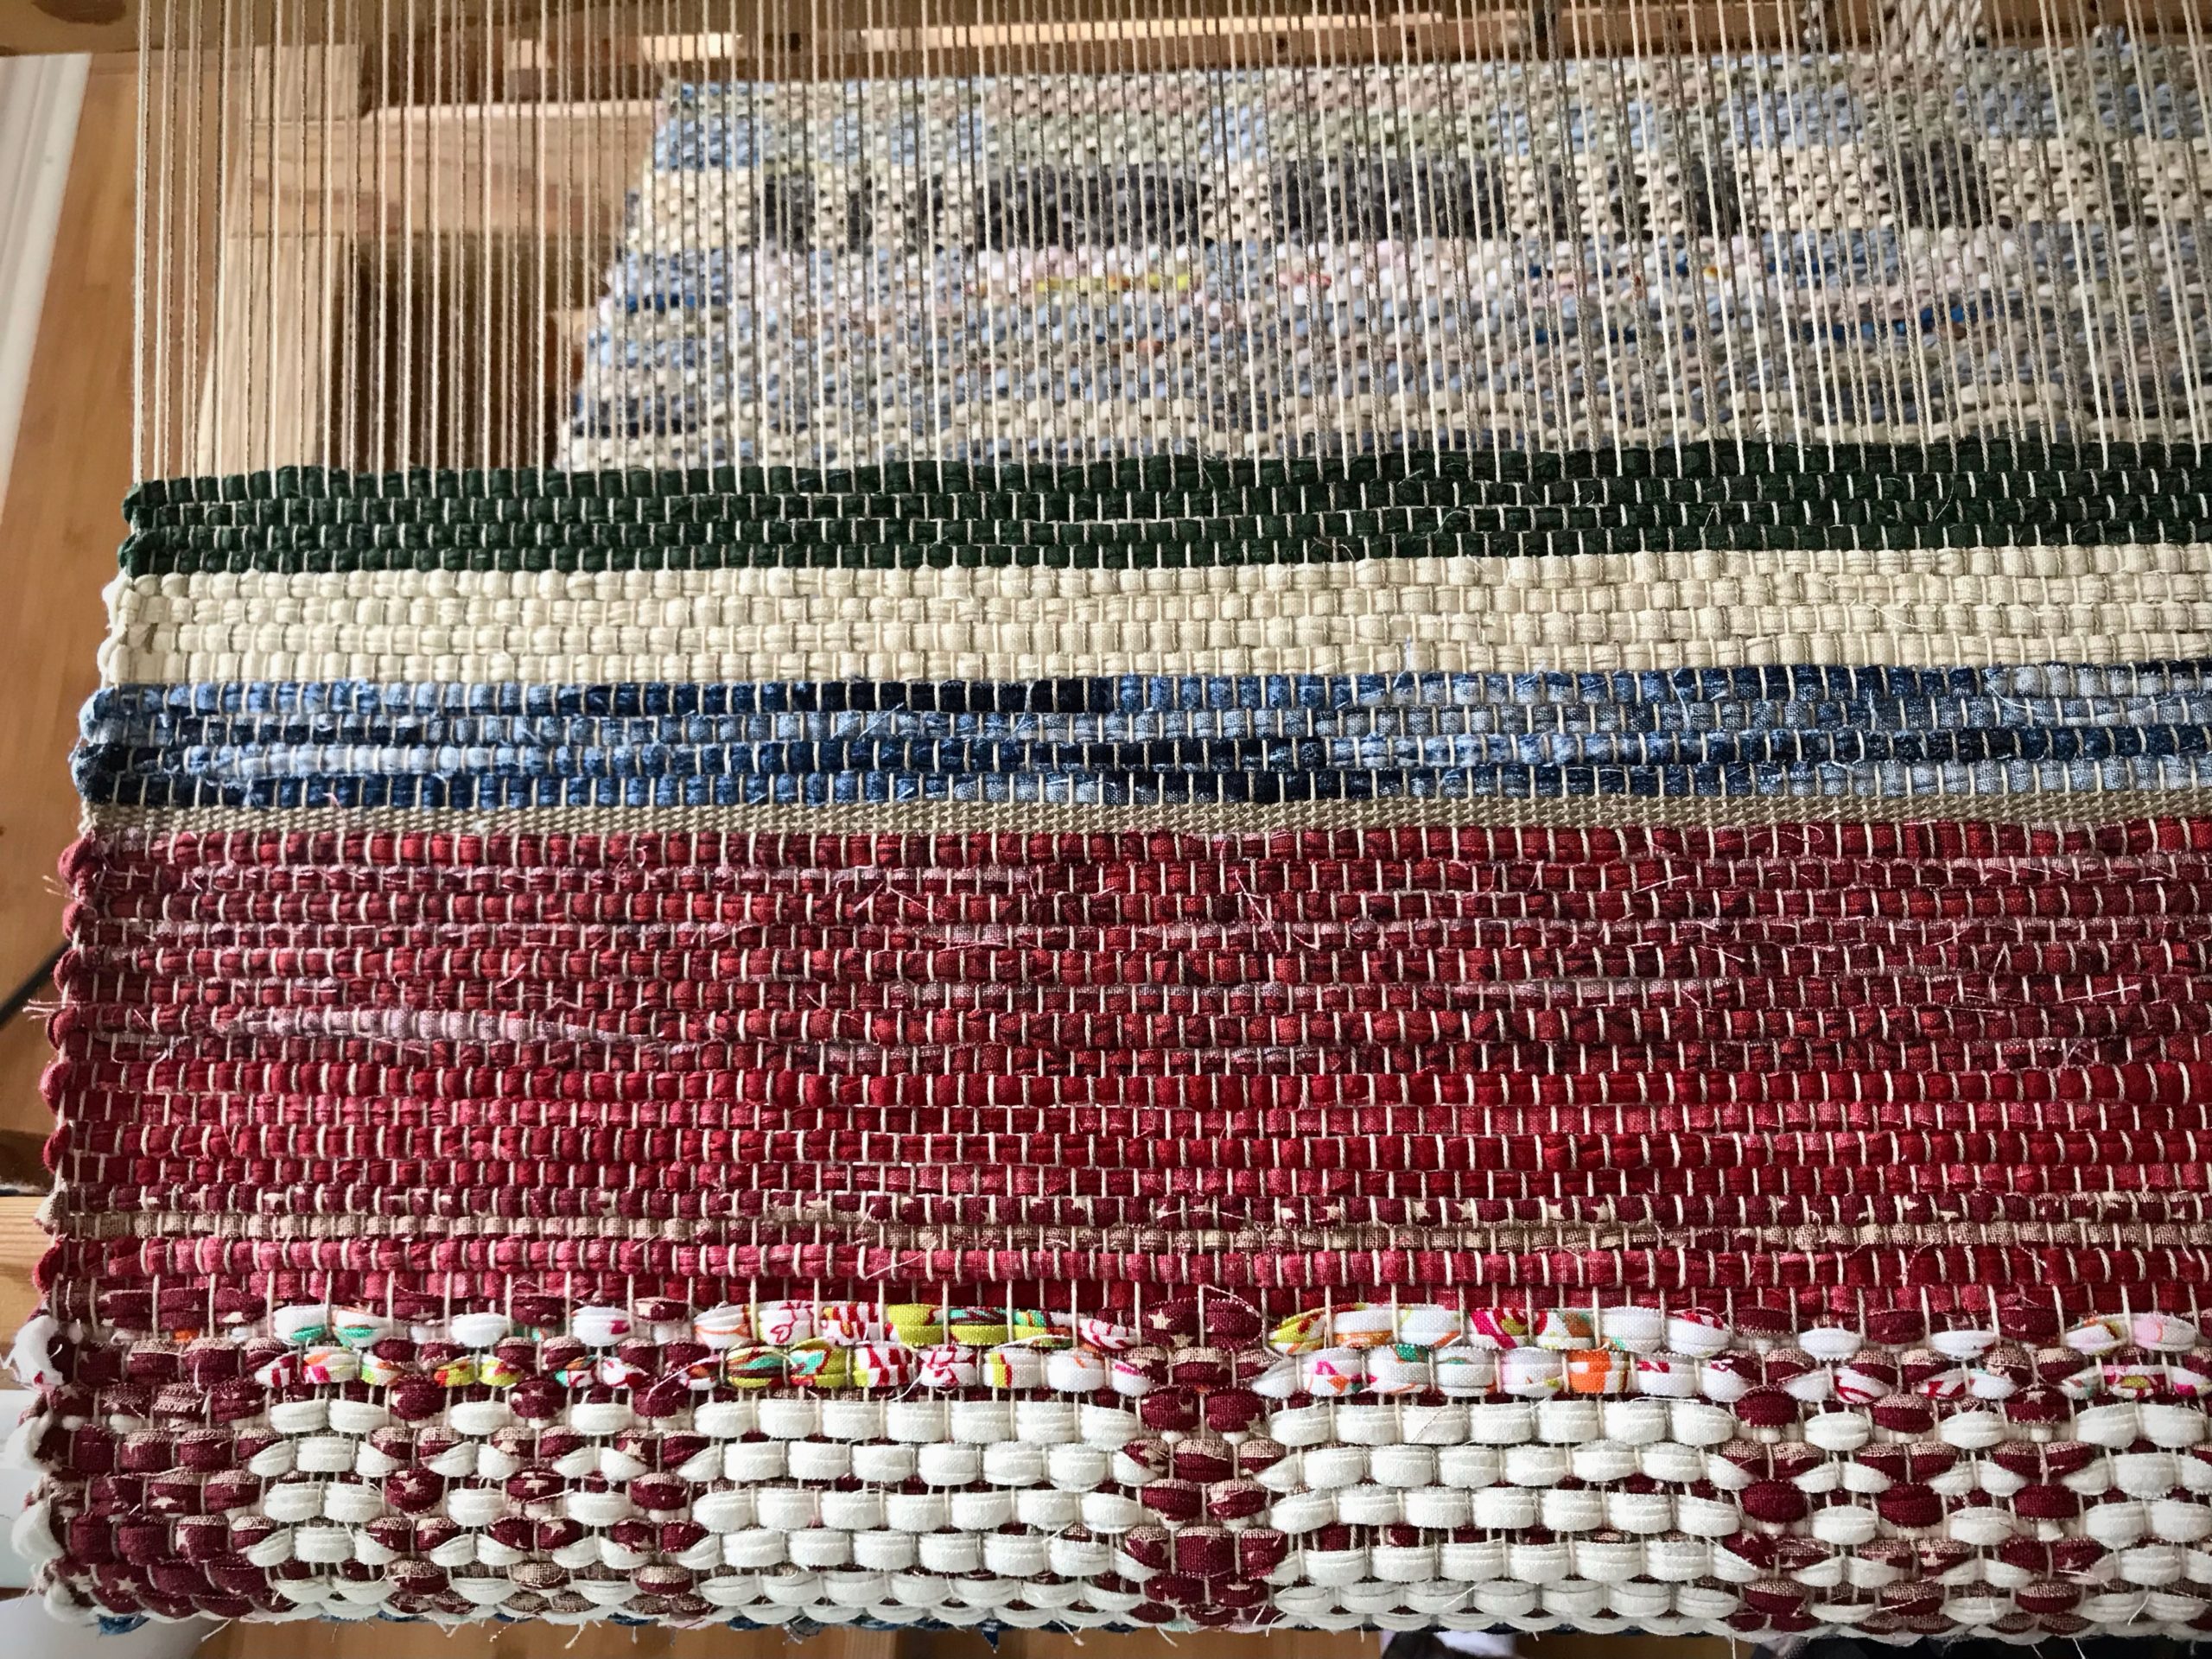
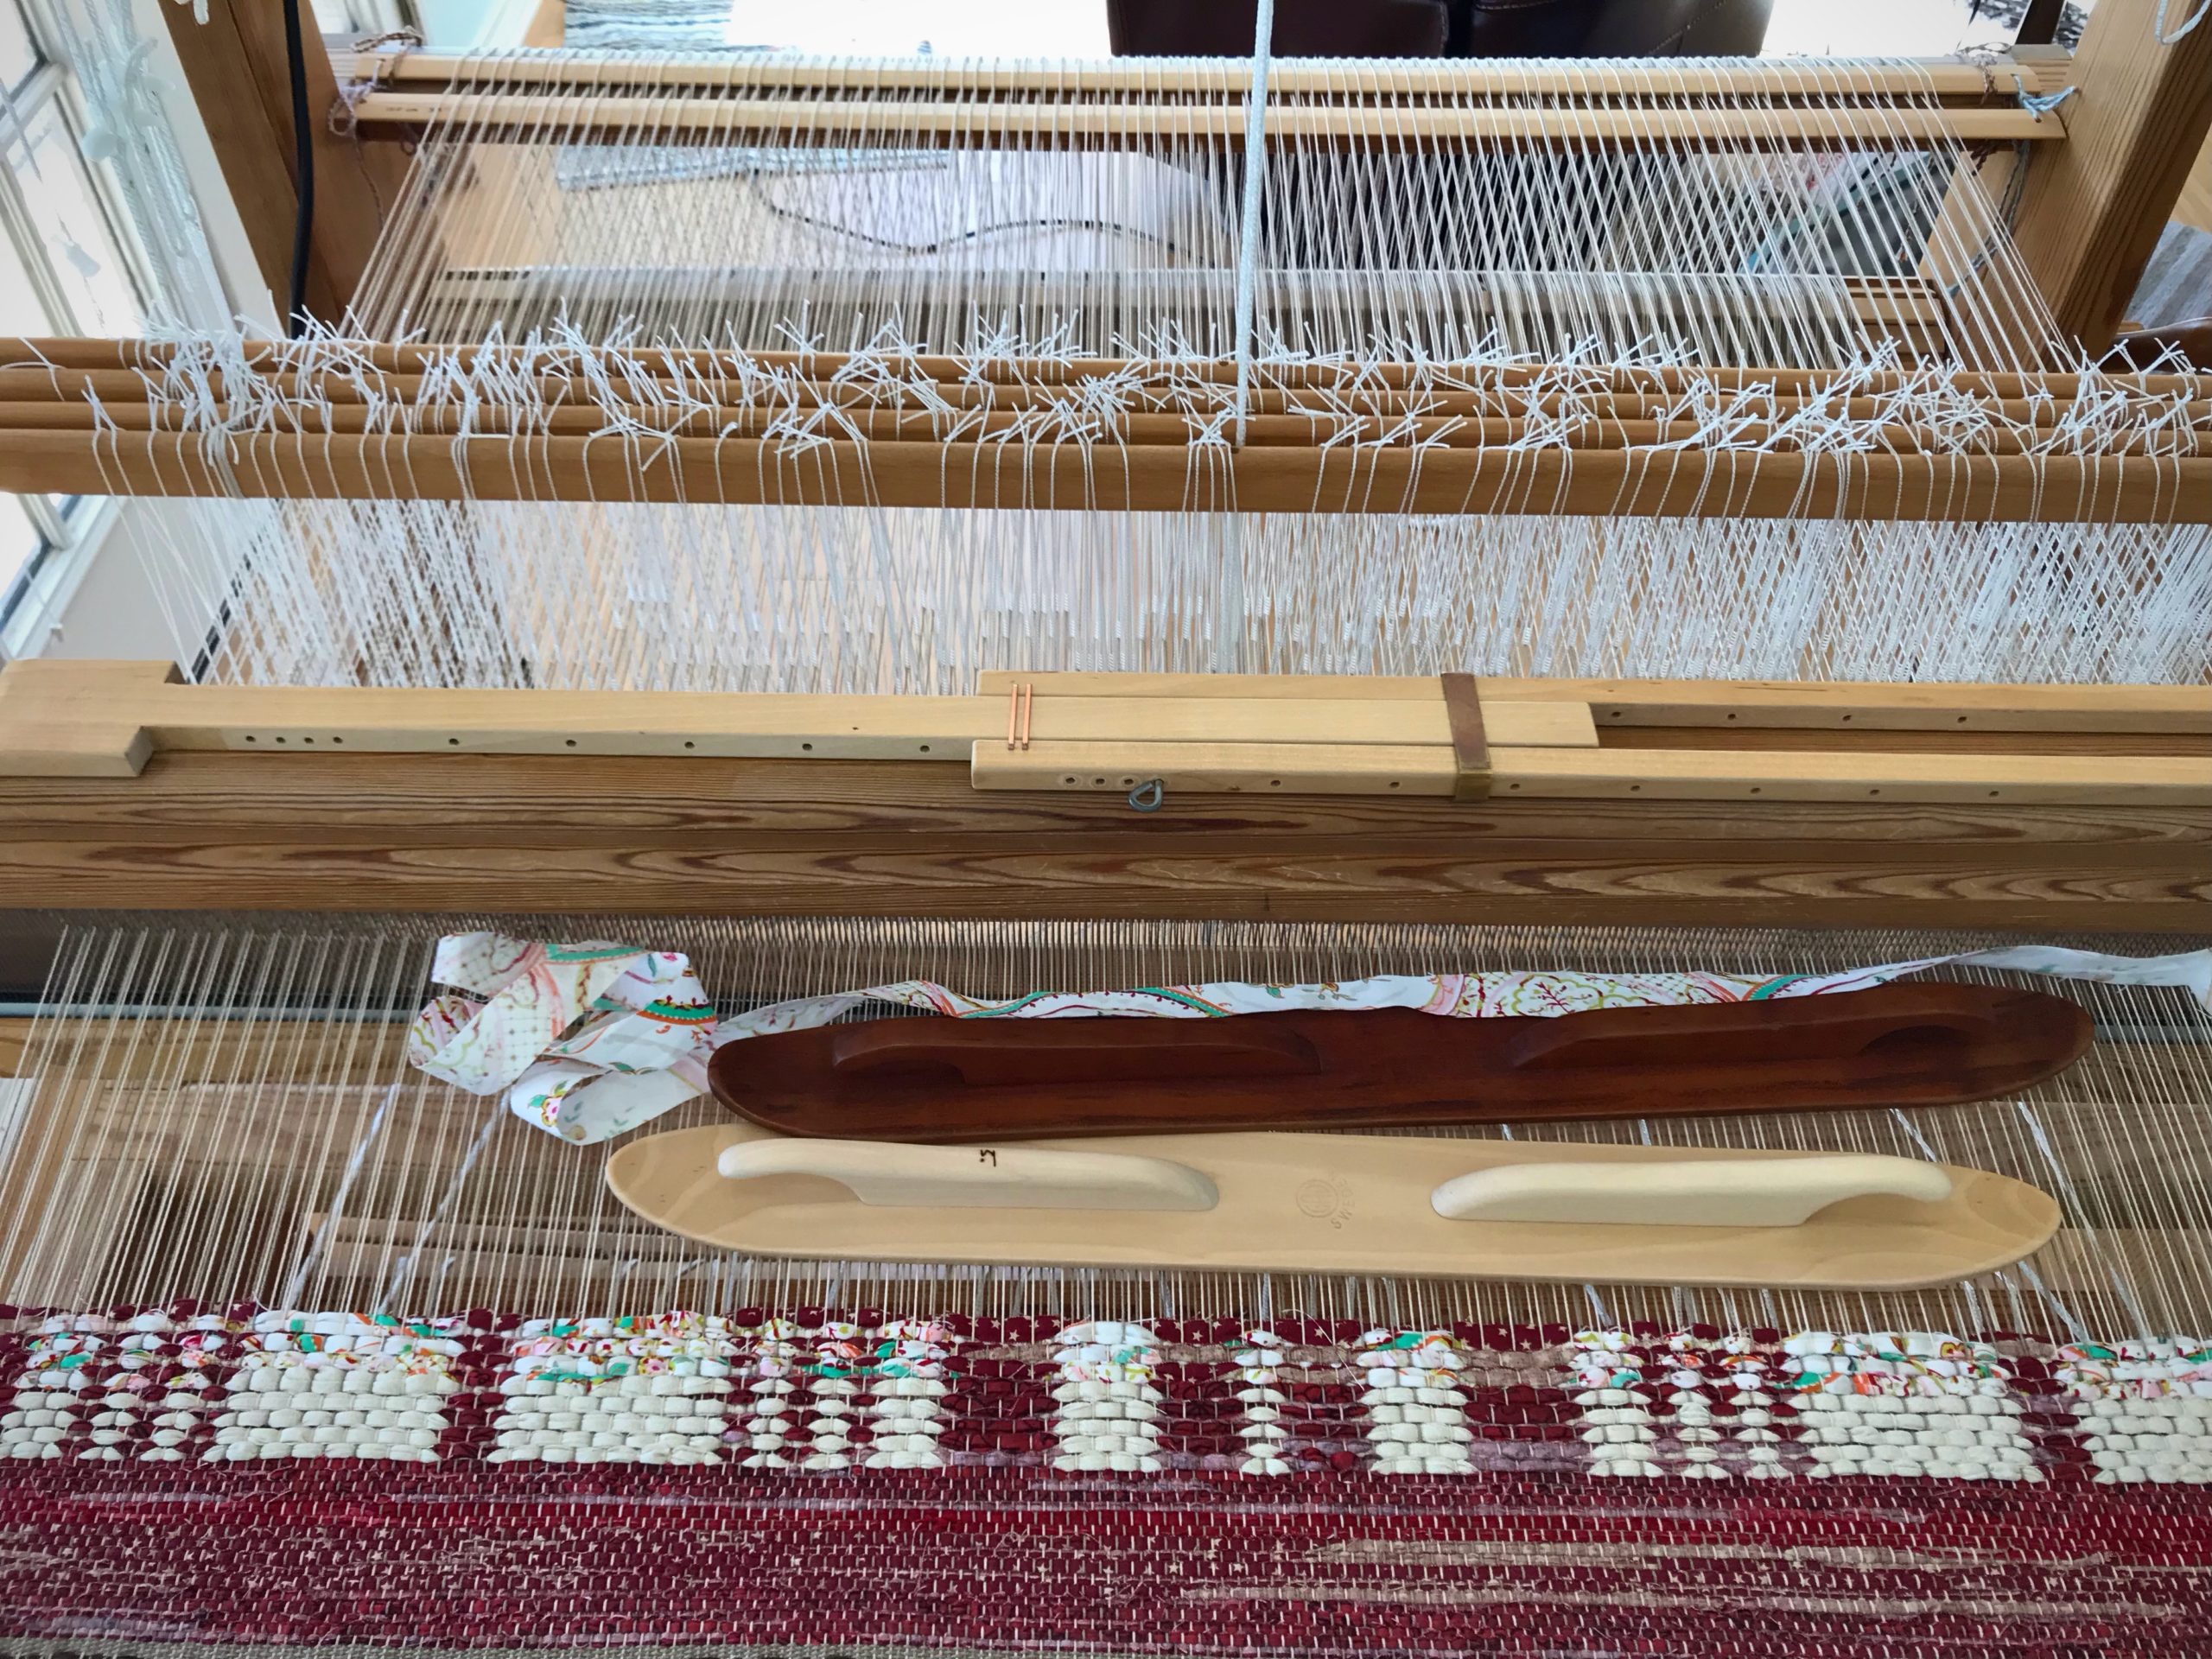
Rug comes to an end with a red border/hem. A warp-thread header follows, and then a few rows of scrap header to help secure the weft until finishing knots are tied.

Steps for cutting off rag rug before end of warp (countermarch loom)

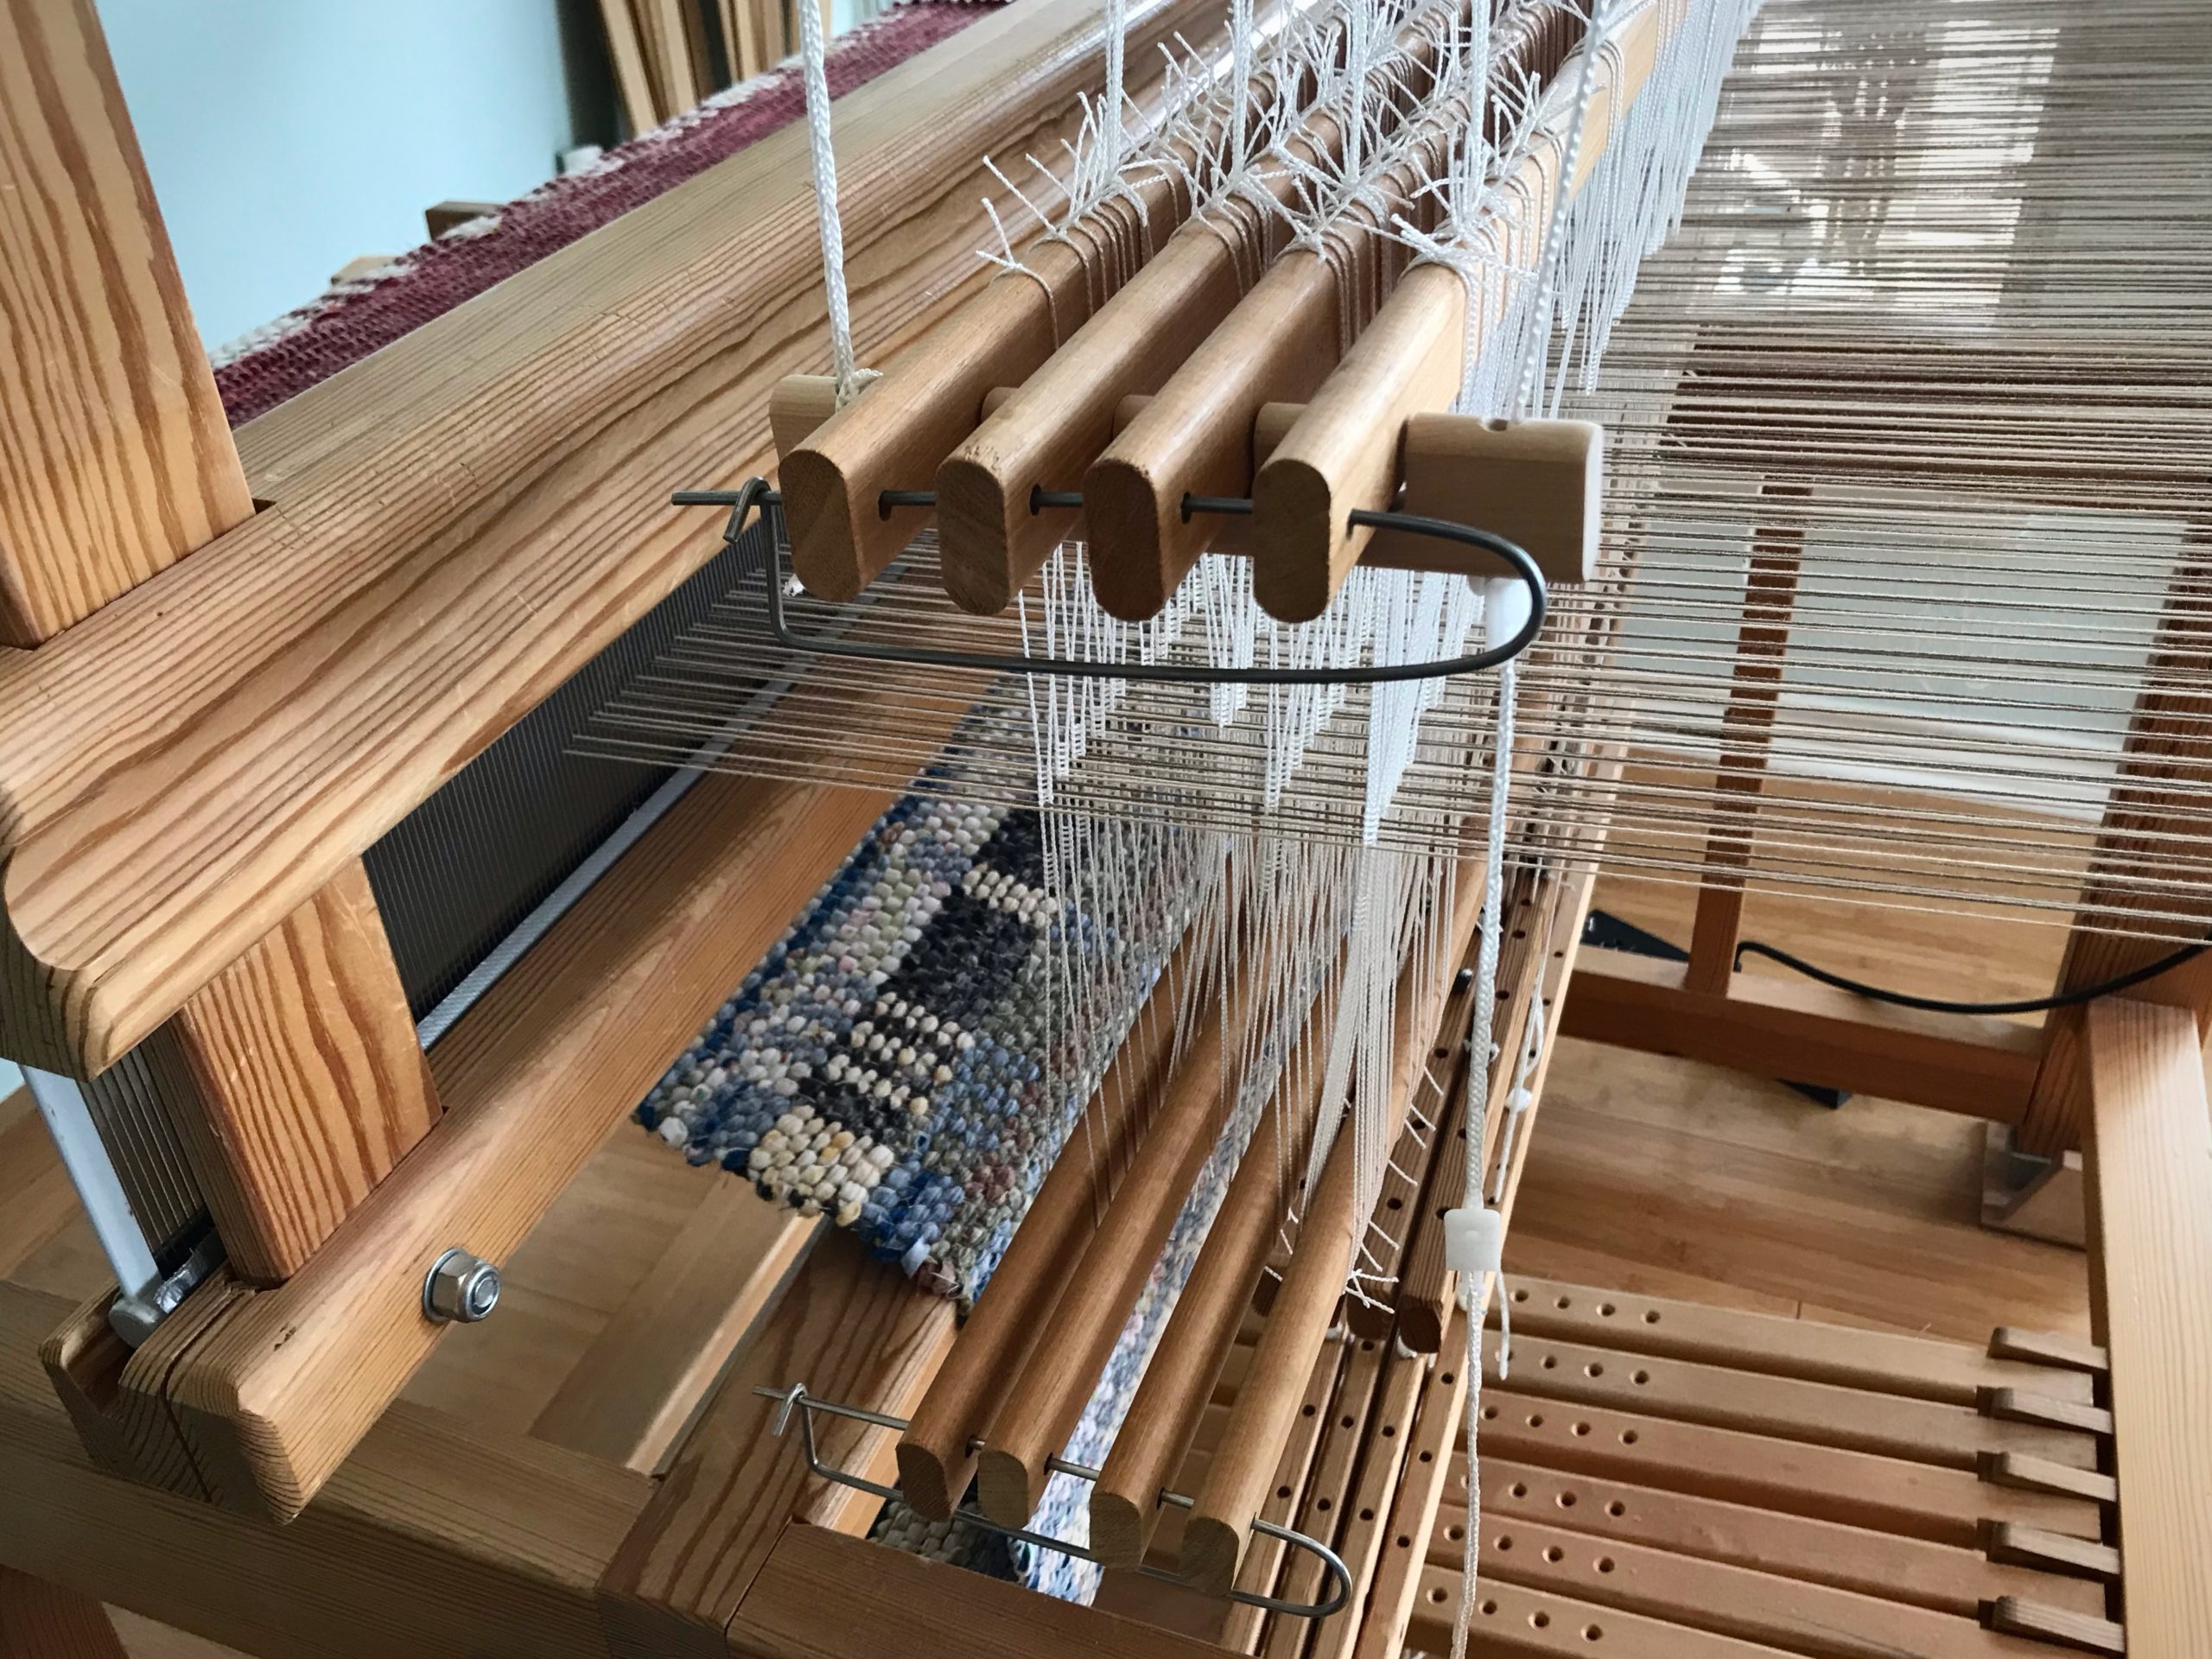
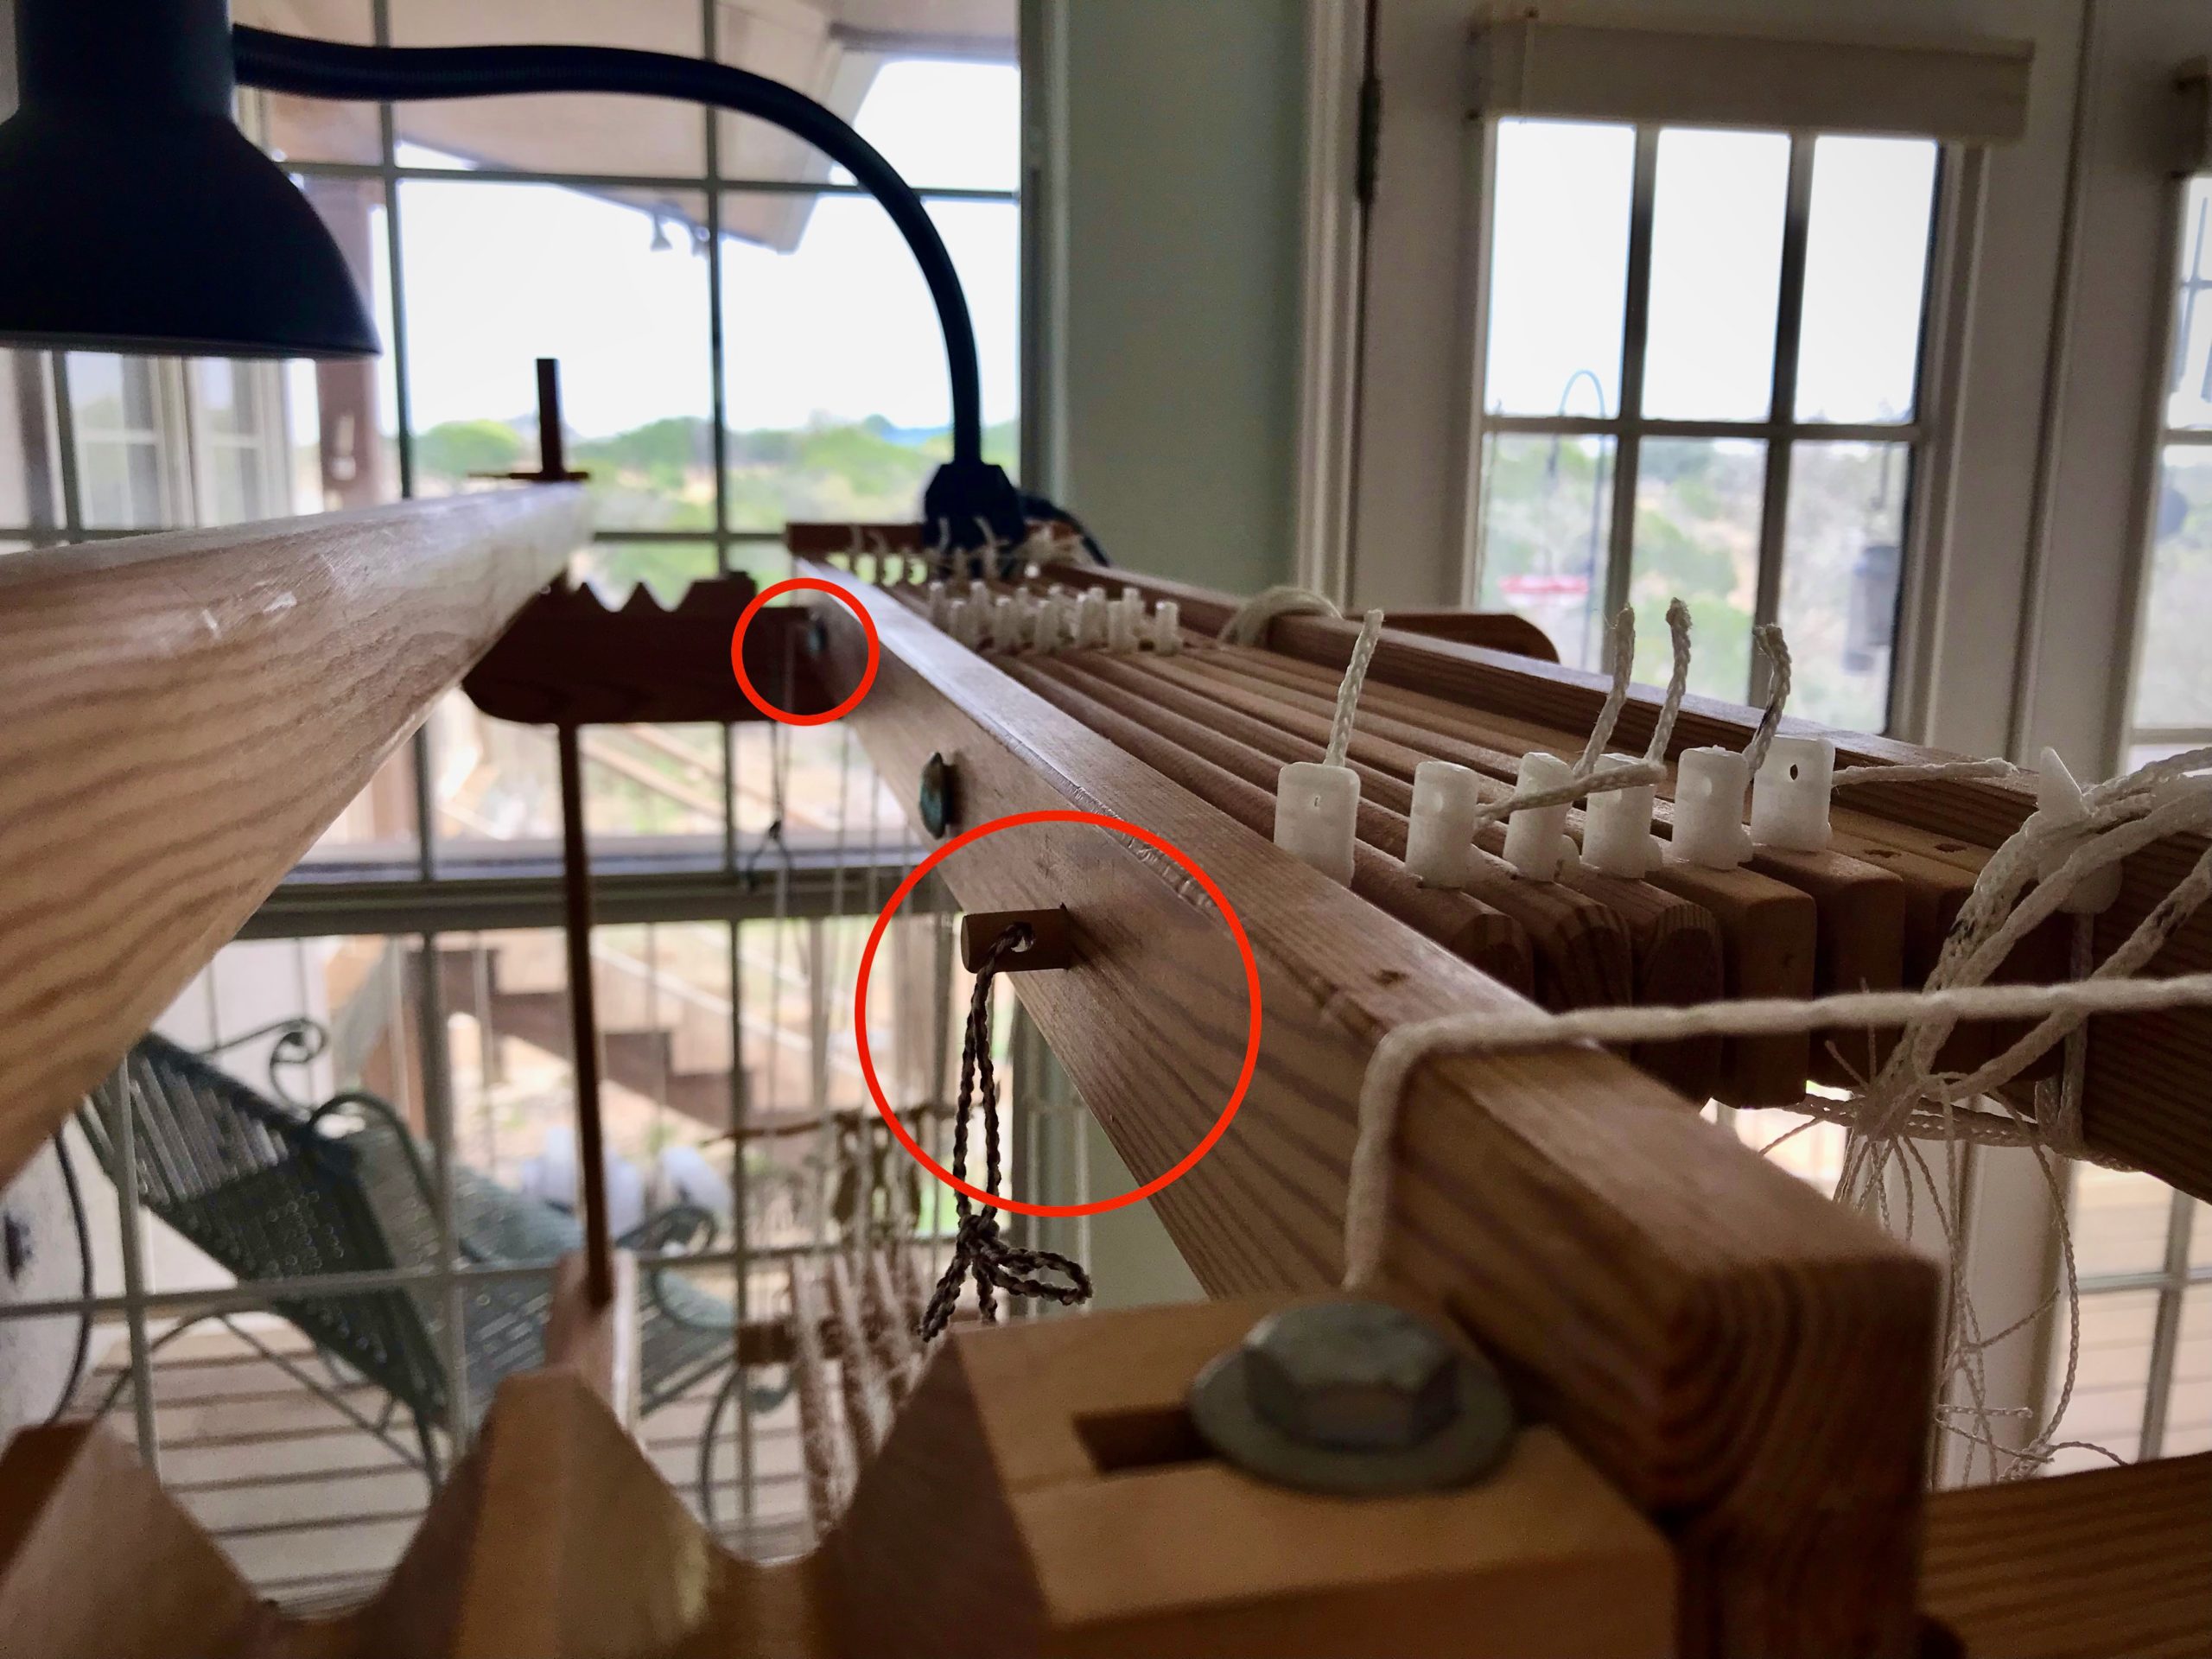
Secure everything before cutting off. Shaft bars are in shaft holders and shaft pins are put back in place.
Countermarch locking pins on this Glimåkra Ideal are wooden dowels that go through the all the holes in the countermarch jacks.
Tension on the warp is released at the back ratchet and front ratchet.
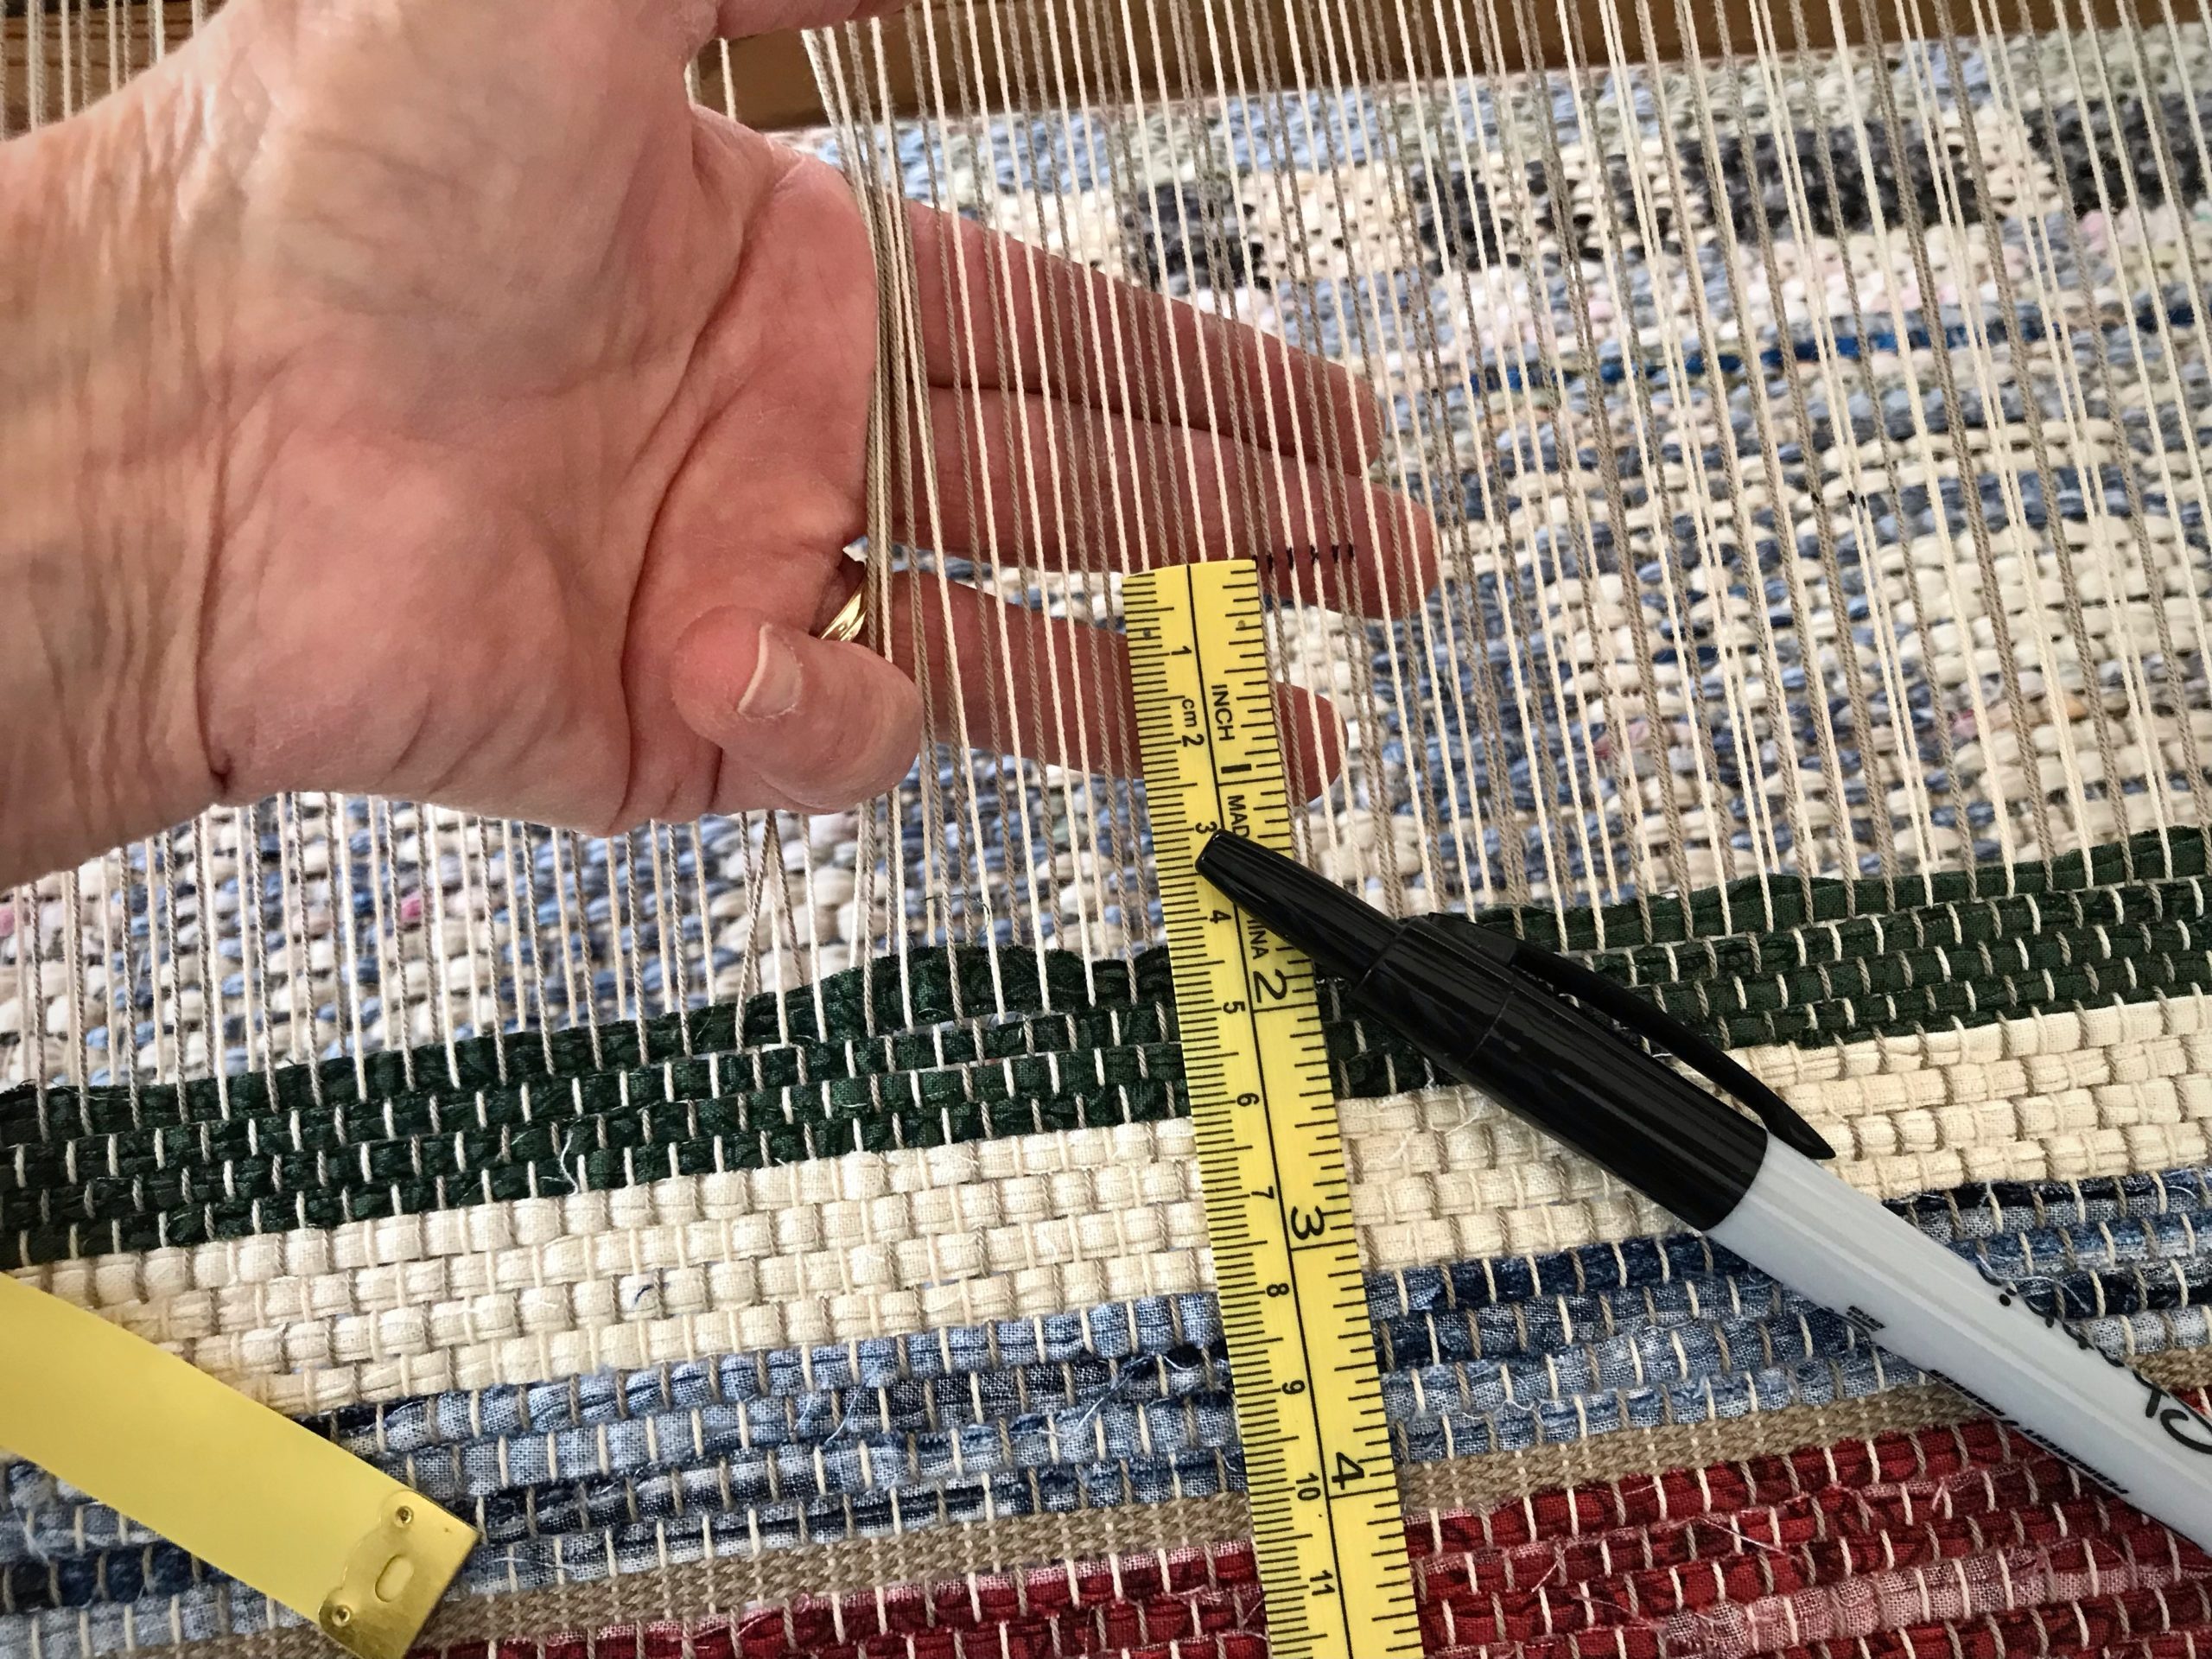
  • Mark a cutting line across the warp with a black marker. Allow at least 10 centimeters (4 inches) beyond the rug’s warp-thread header for tying knots later that will secure the weft.
Mark a cutting line across the warp. Leave enough warp at the end of the rug to tie overhand knots to secure the weft.
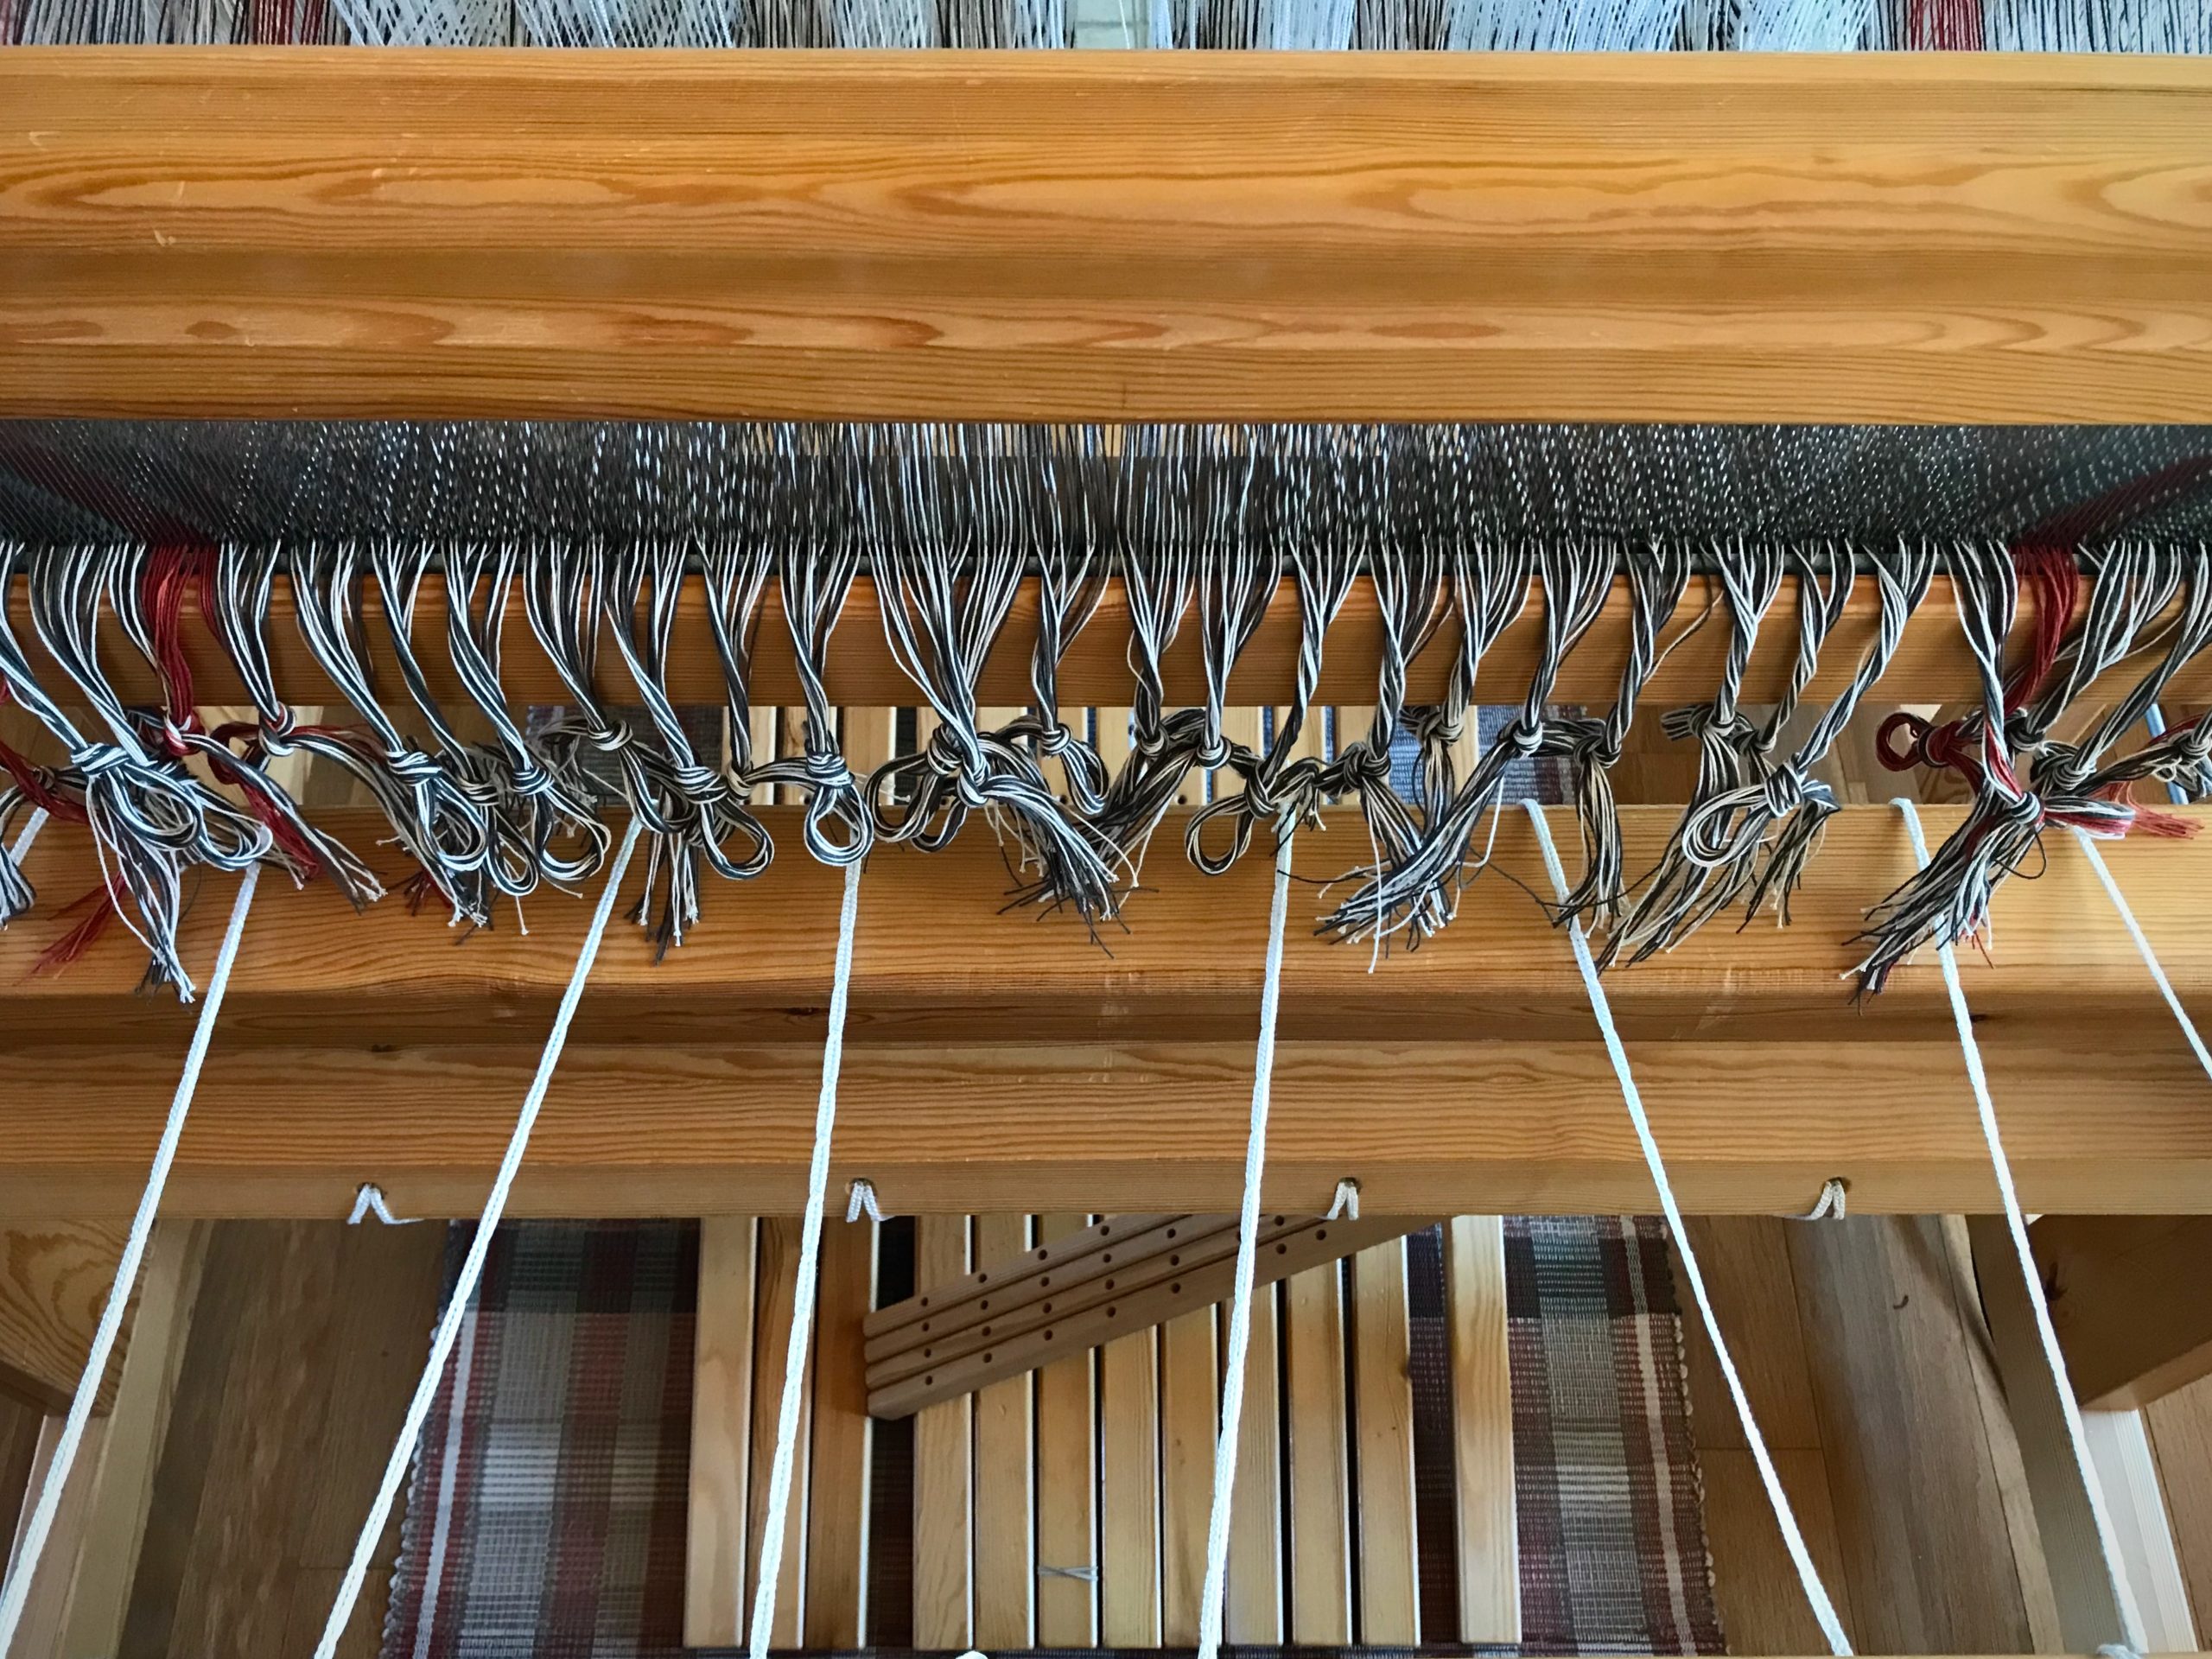
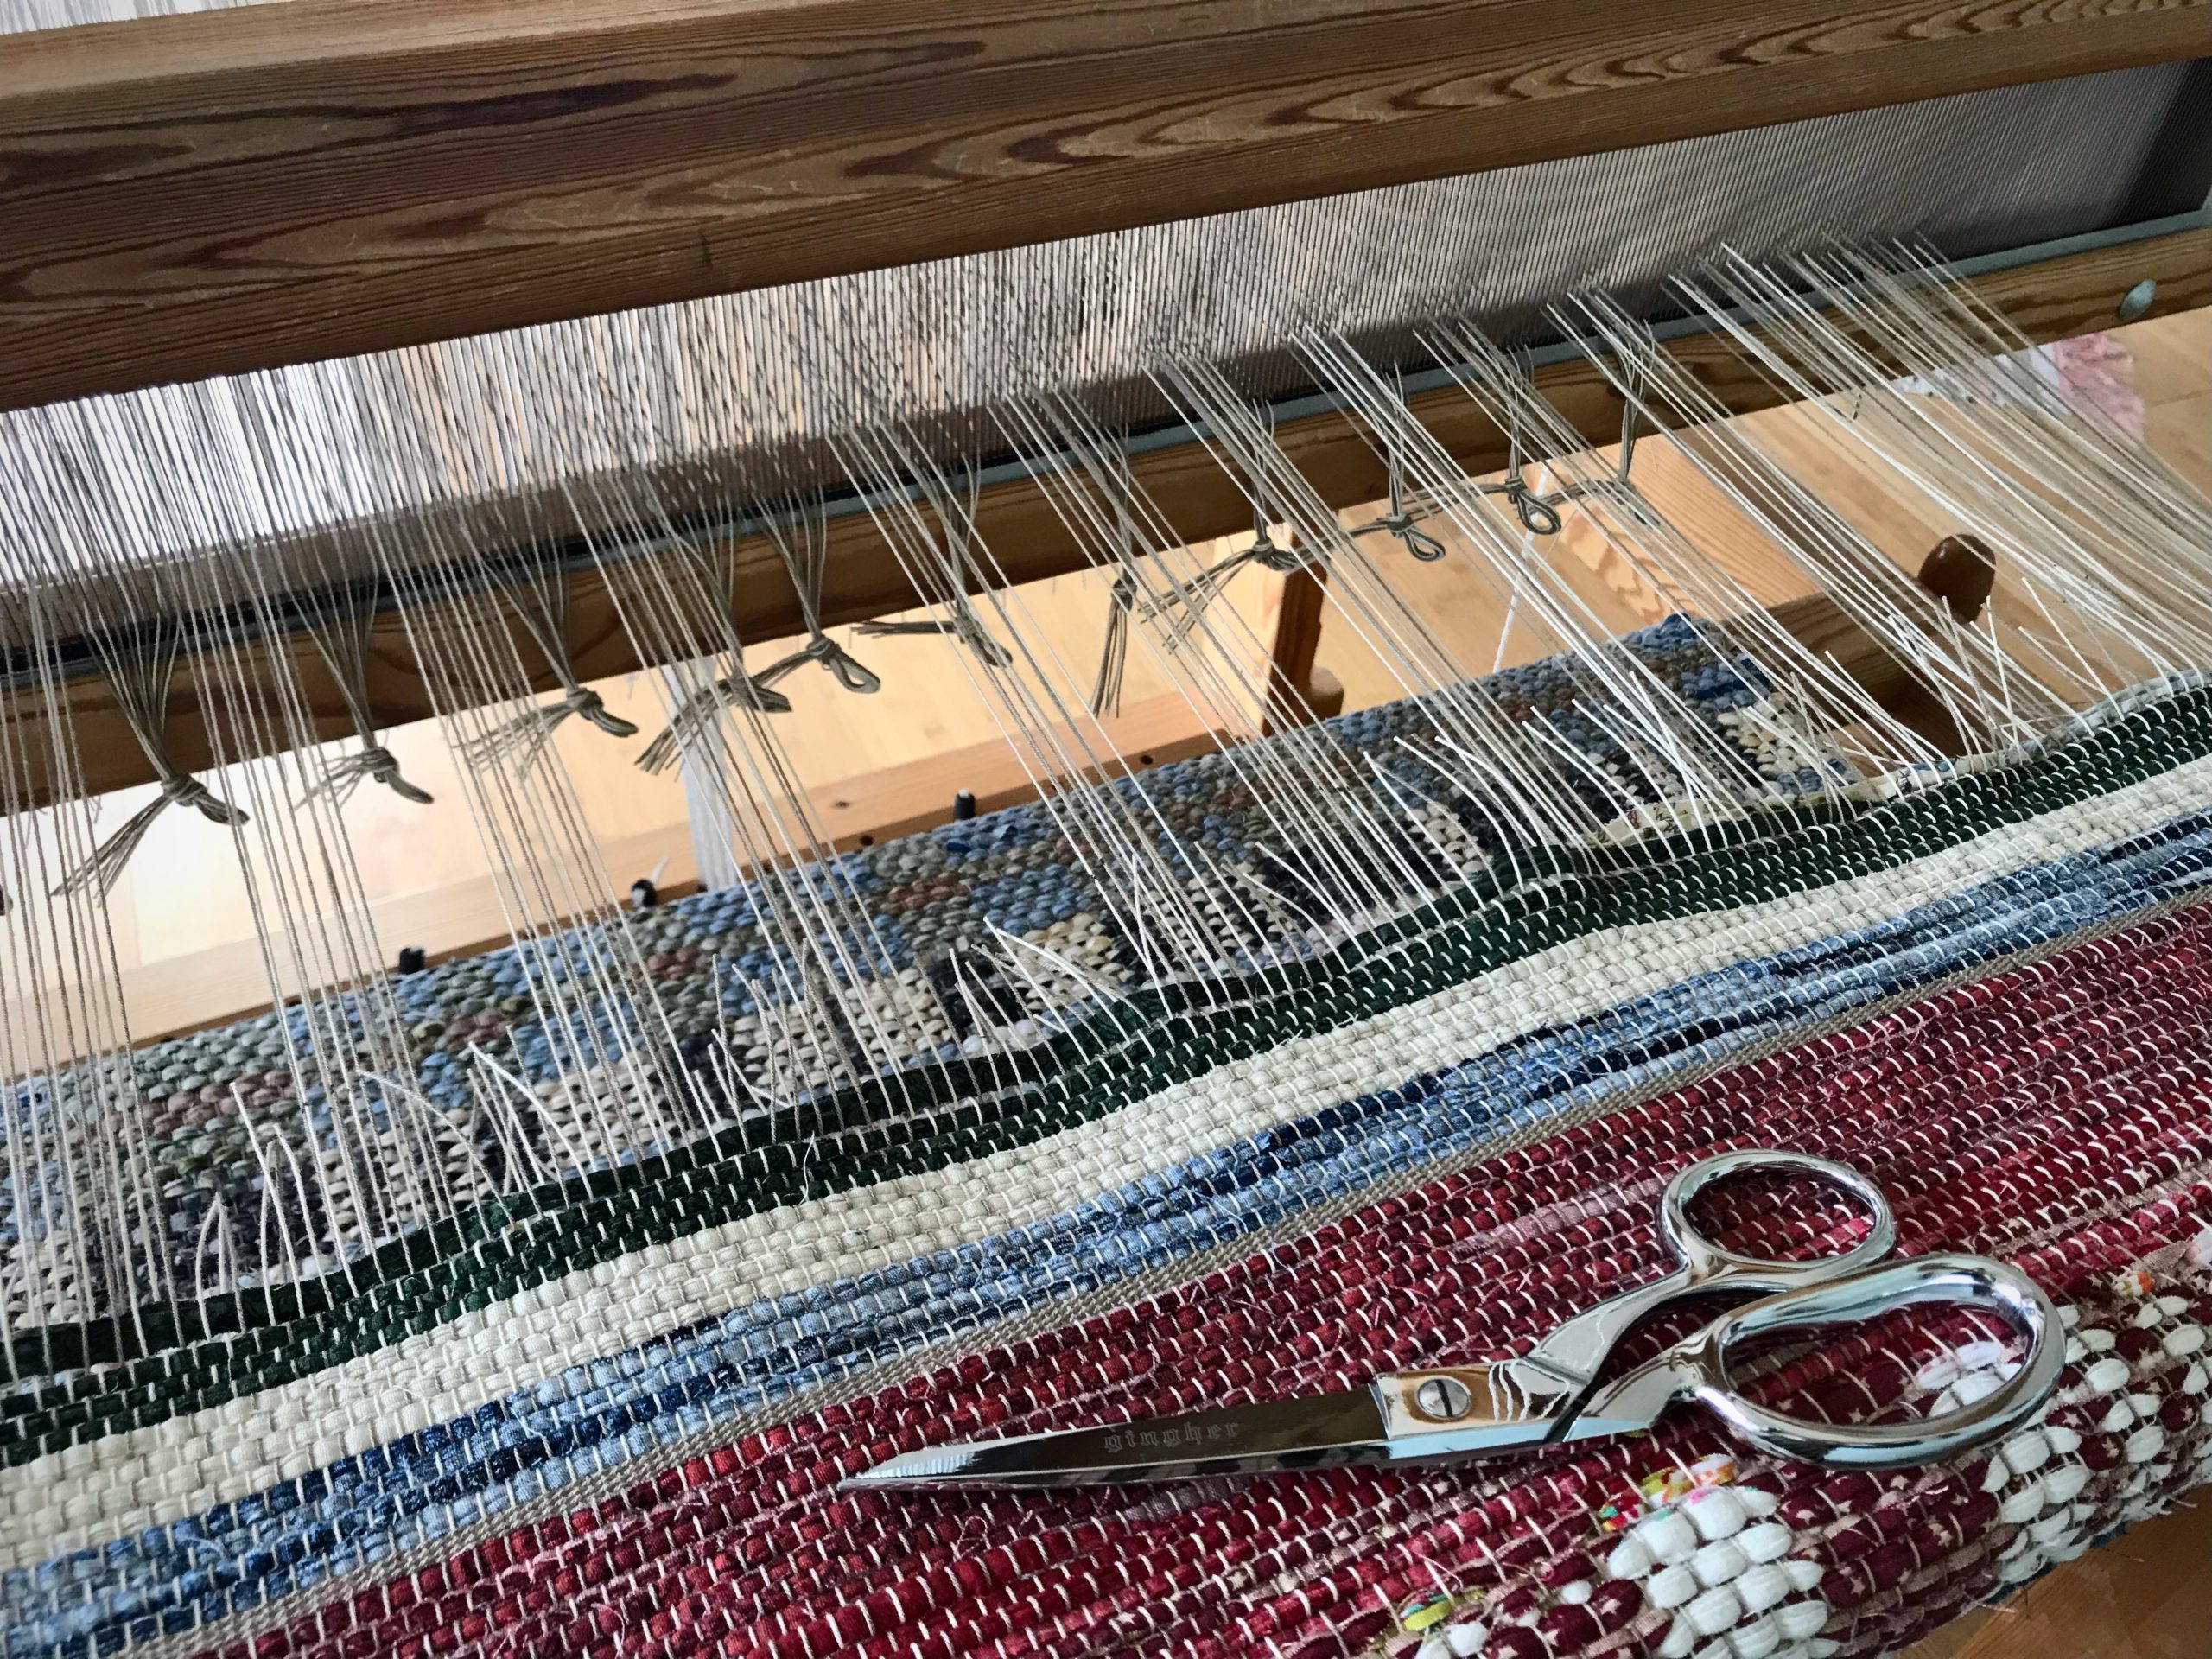
  • With tying back on in mind, cut one group of ends and skip the next group of ends. Continue across the warp, alternating cut and uncut groups of ends. Tie groups of cut ends in slipknots as you go.
By spacing out the cut ends, the weight of the rug is evenly distributed. There is less pulling and distortion while cutting off. At the same time I am preparing groups of ends for tying back on.
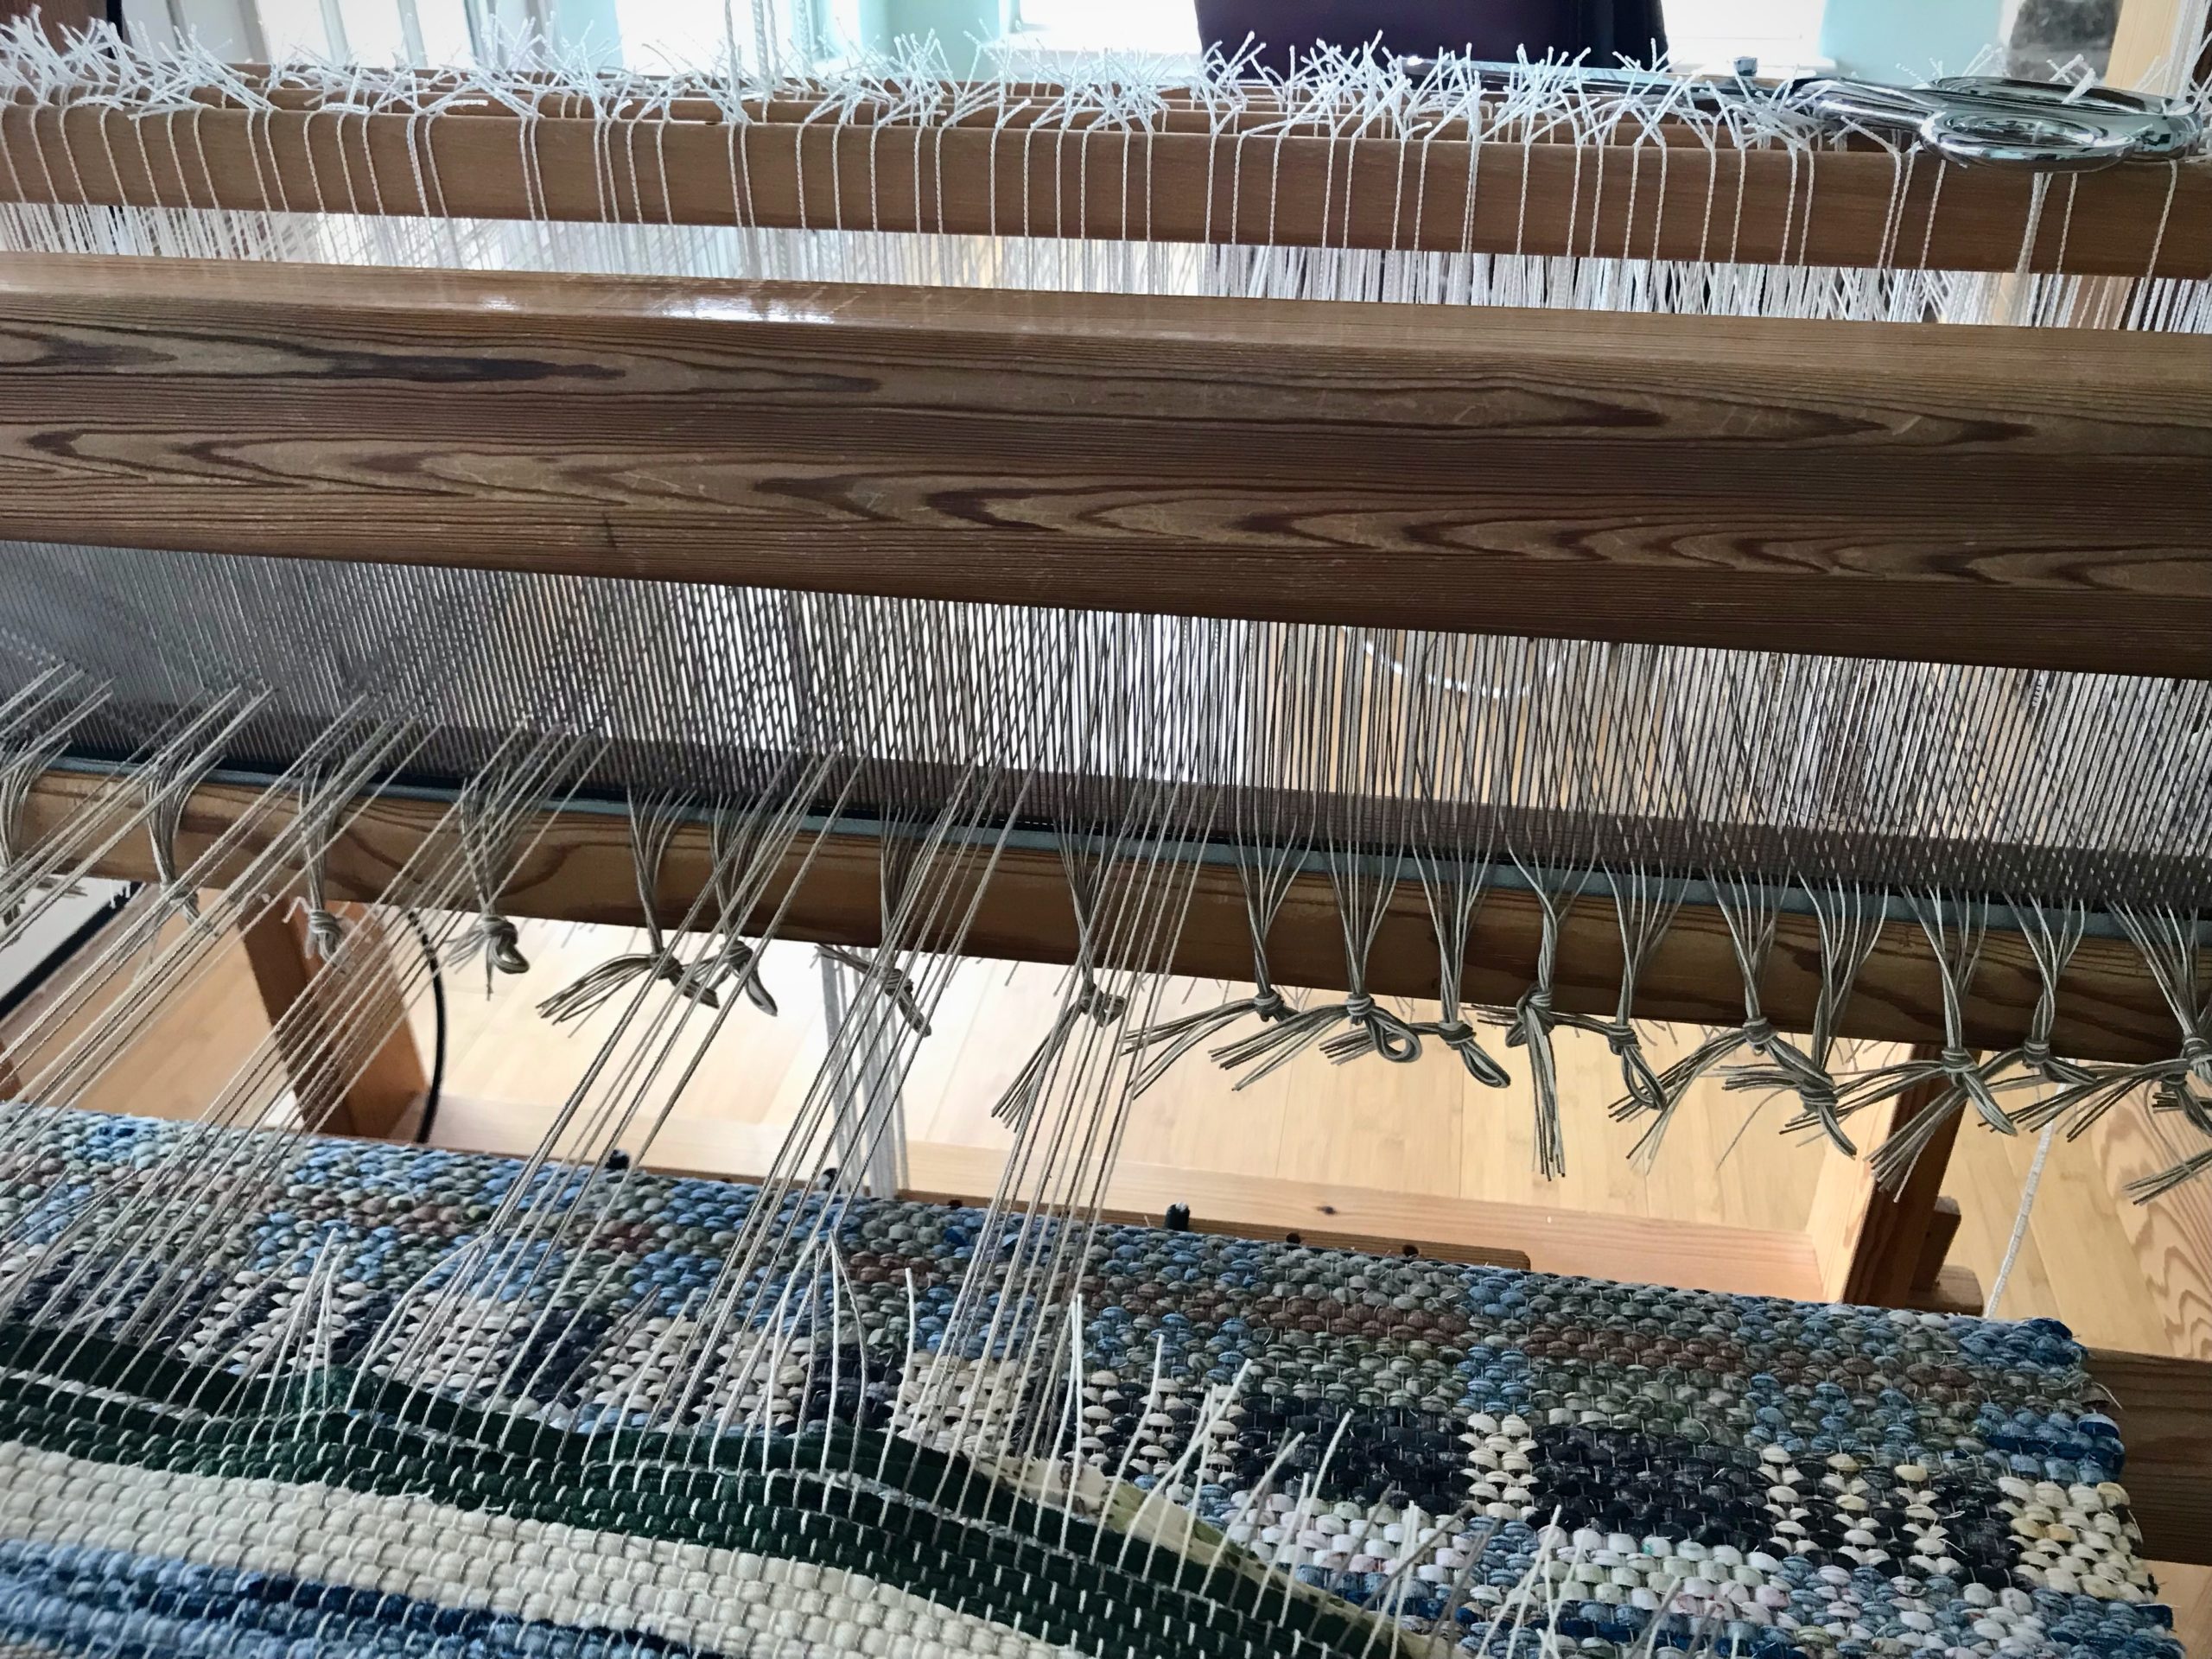
  • Make a second pass, cutting the remaining groups of ends, and tying them in slipknots.
Continue cutting off groups of ends.
  • Unroll the rug from the cloth beam. Take a photograph.
First look at the back of the rug.
  • Lay the rug out on the floor. Ooh and aah.
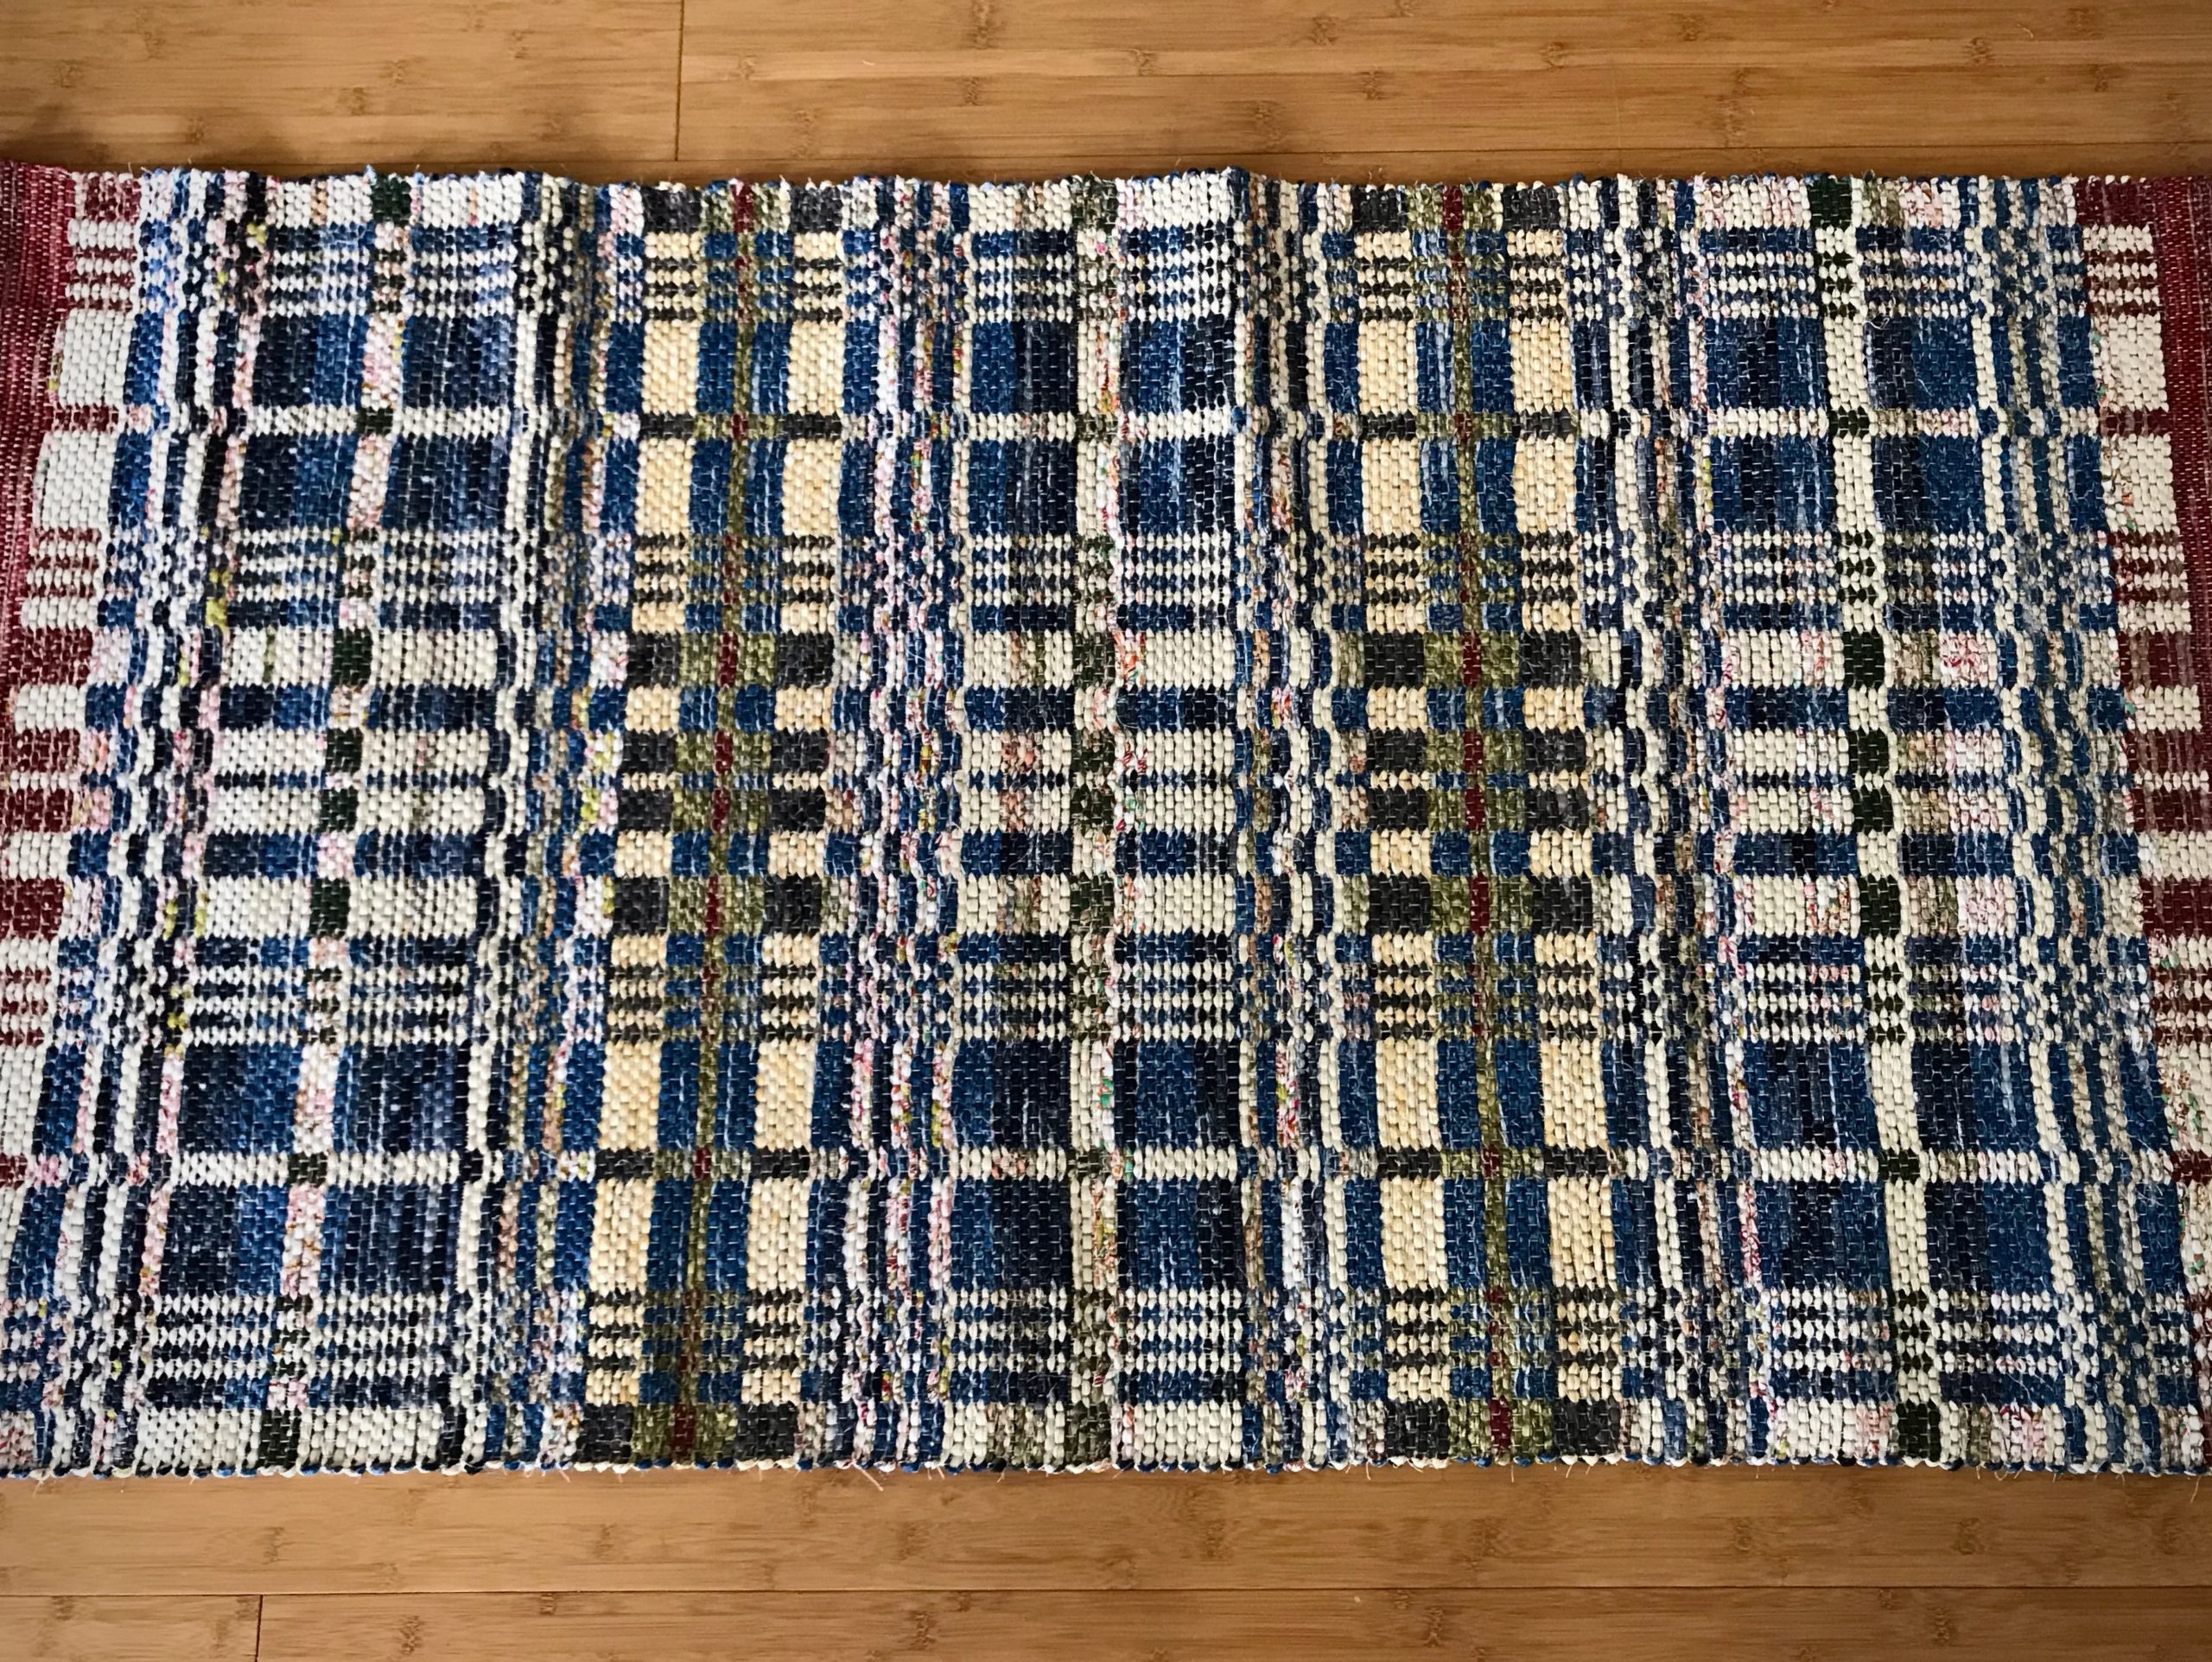
Double-binding rag rug, ready for finishing and hemming! I let the rug rest on the floor for a couple days to let the warp and weft relax. Next step is to tie ends into overhand knots.

May you get a fresh start whenever you need it.

Happy Weaving,
Karen

Drawloom – Snow Falling

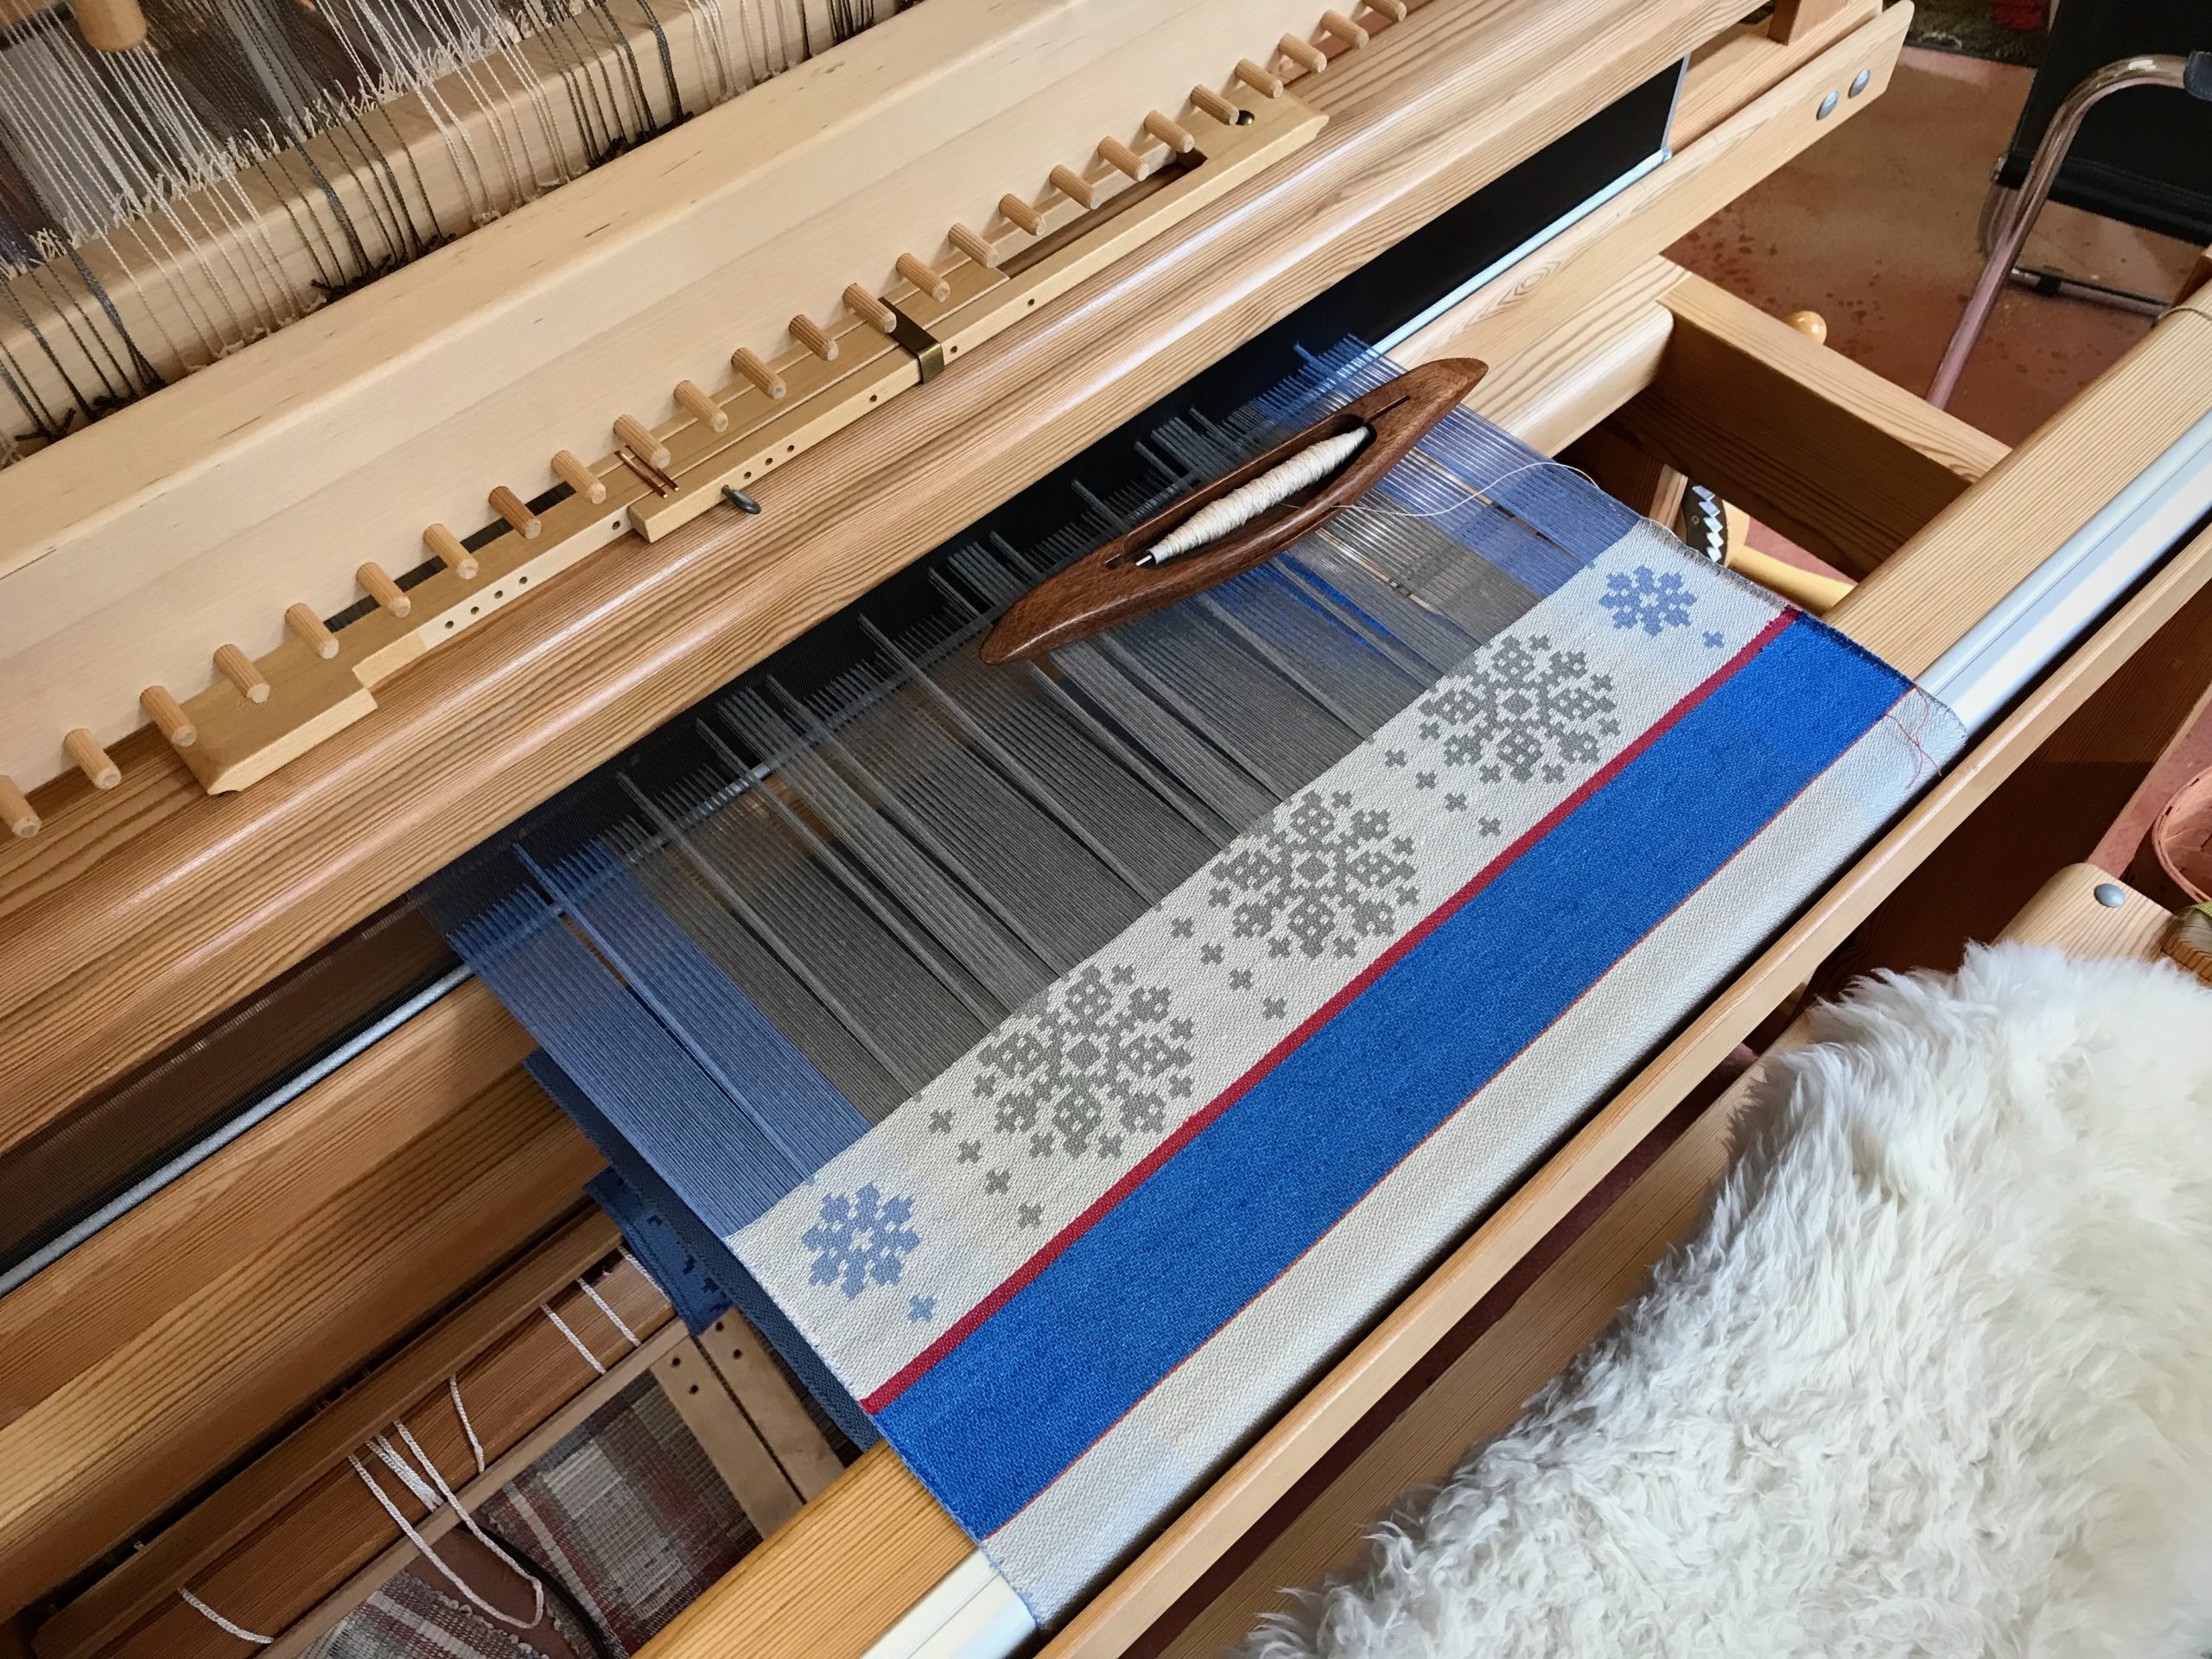
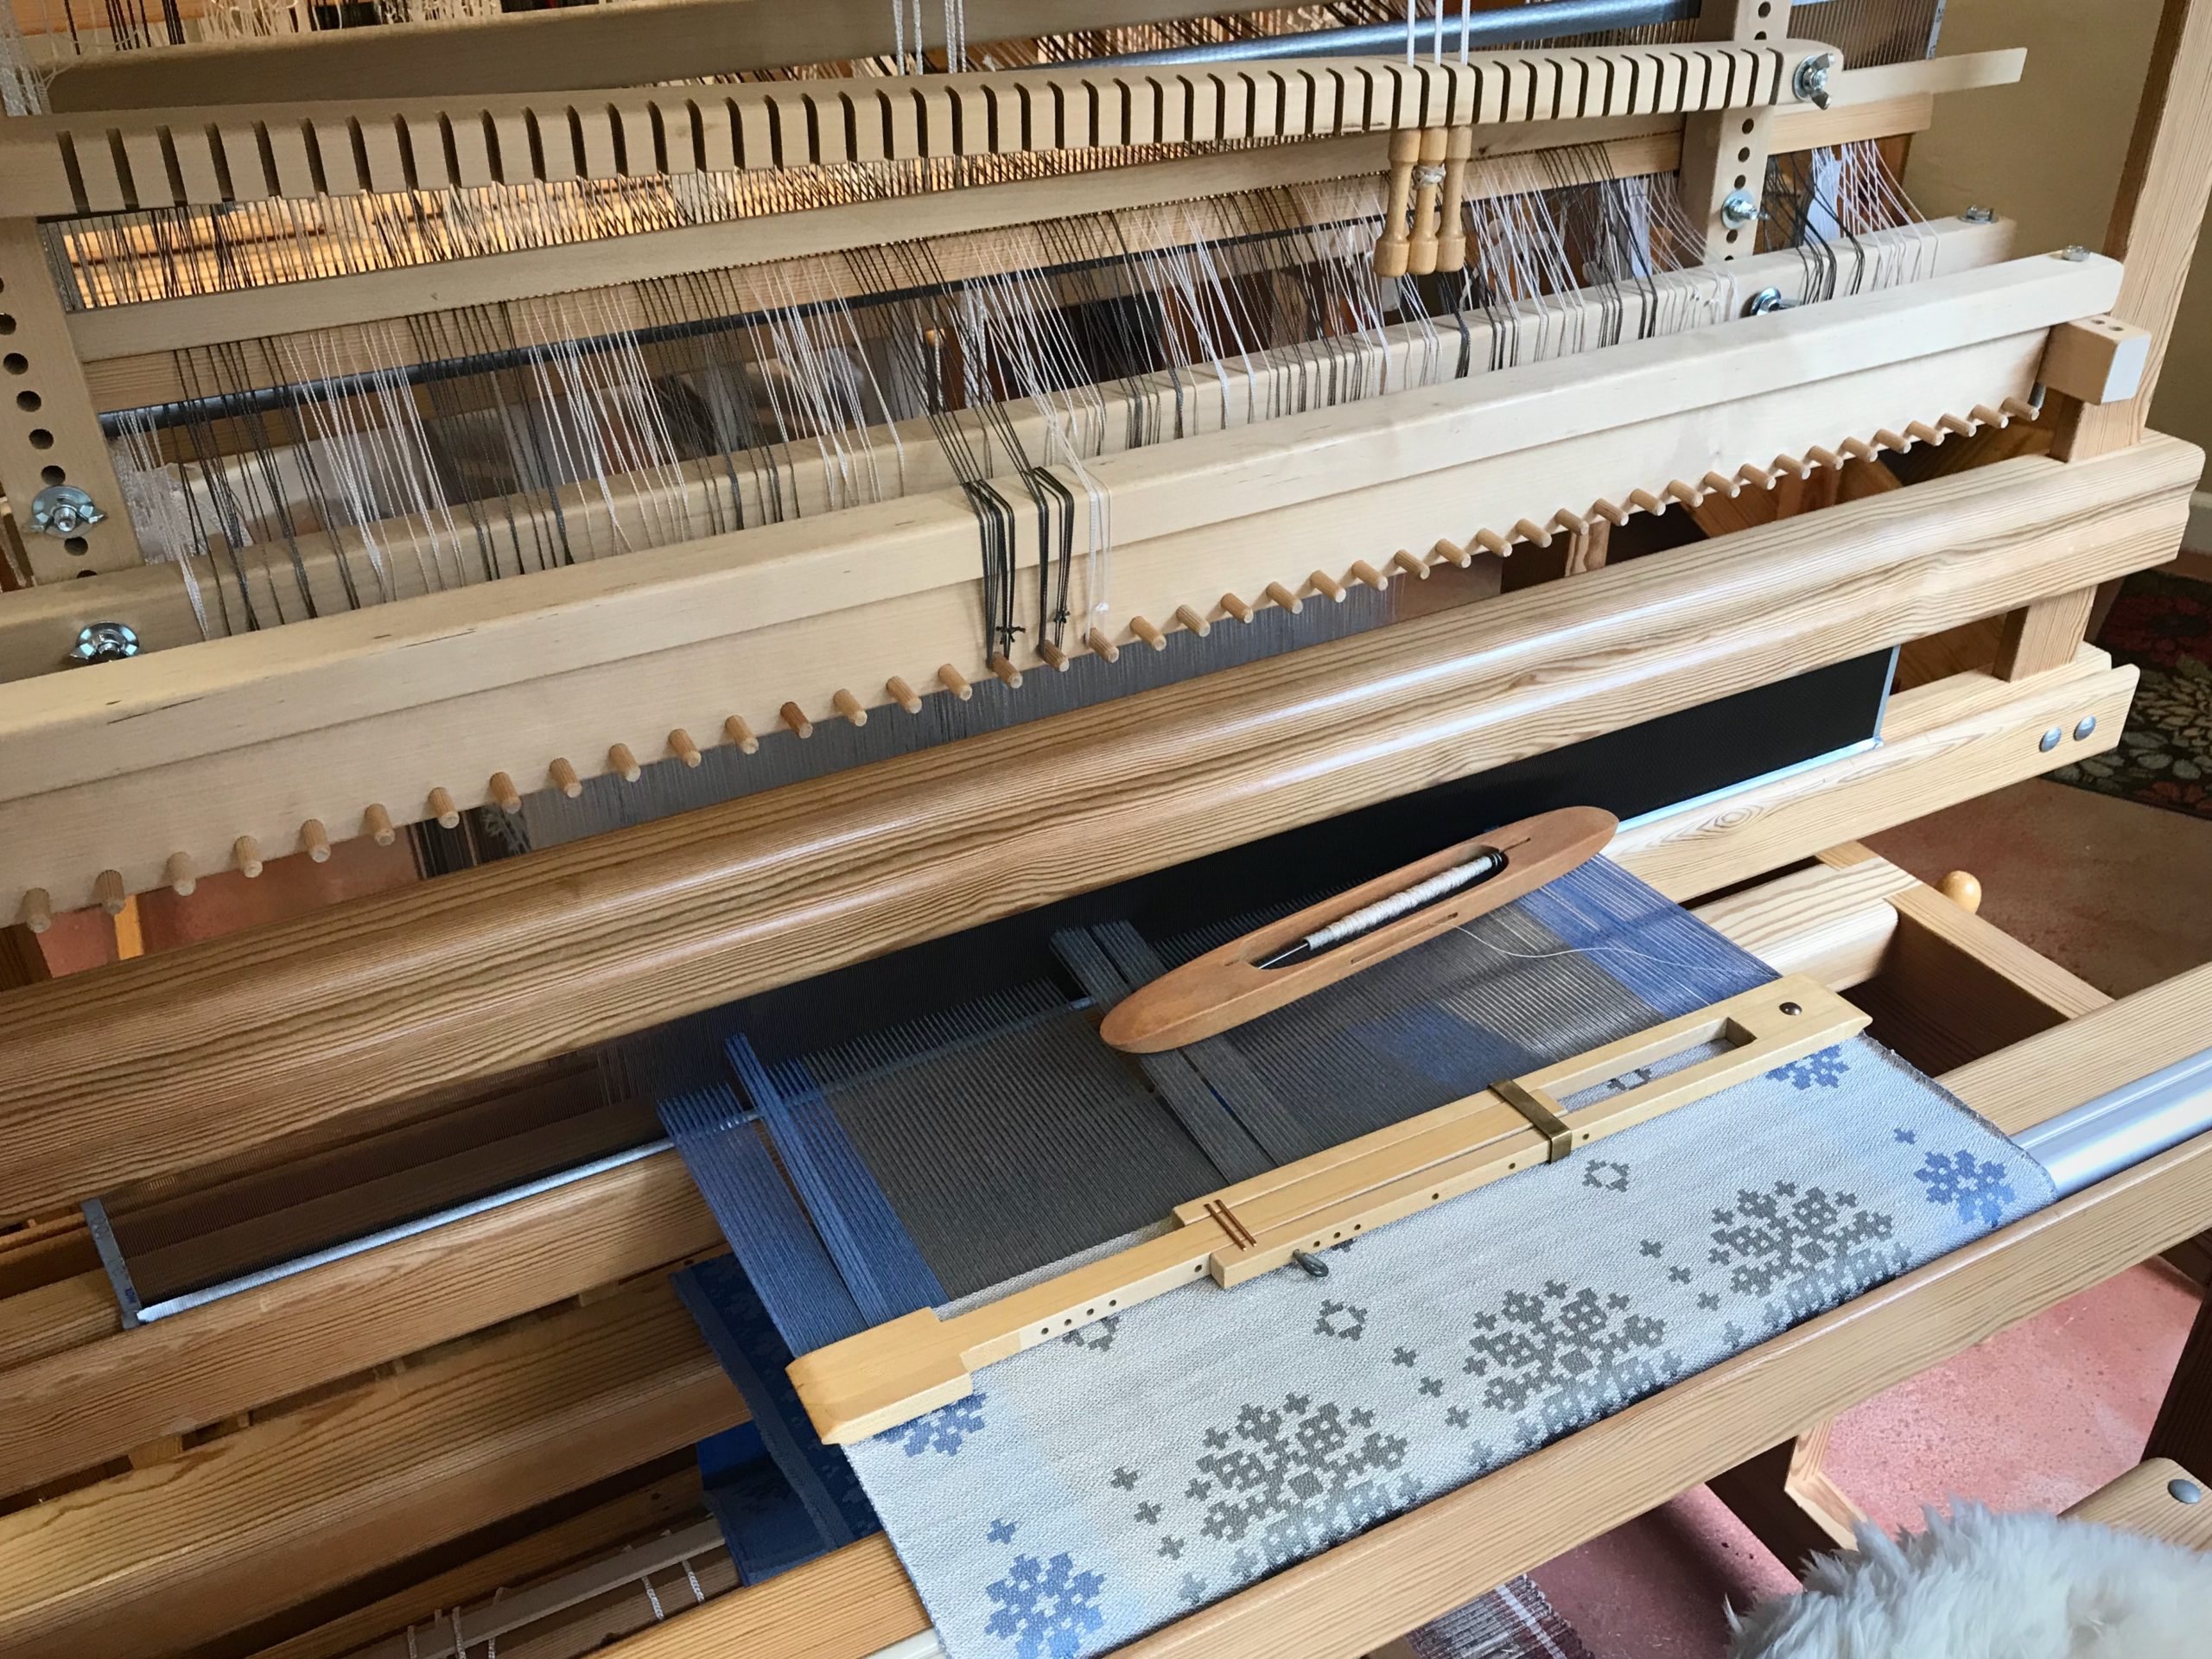
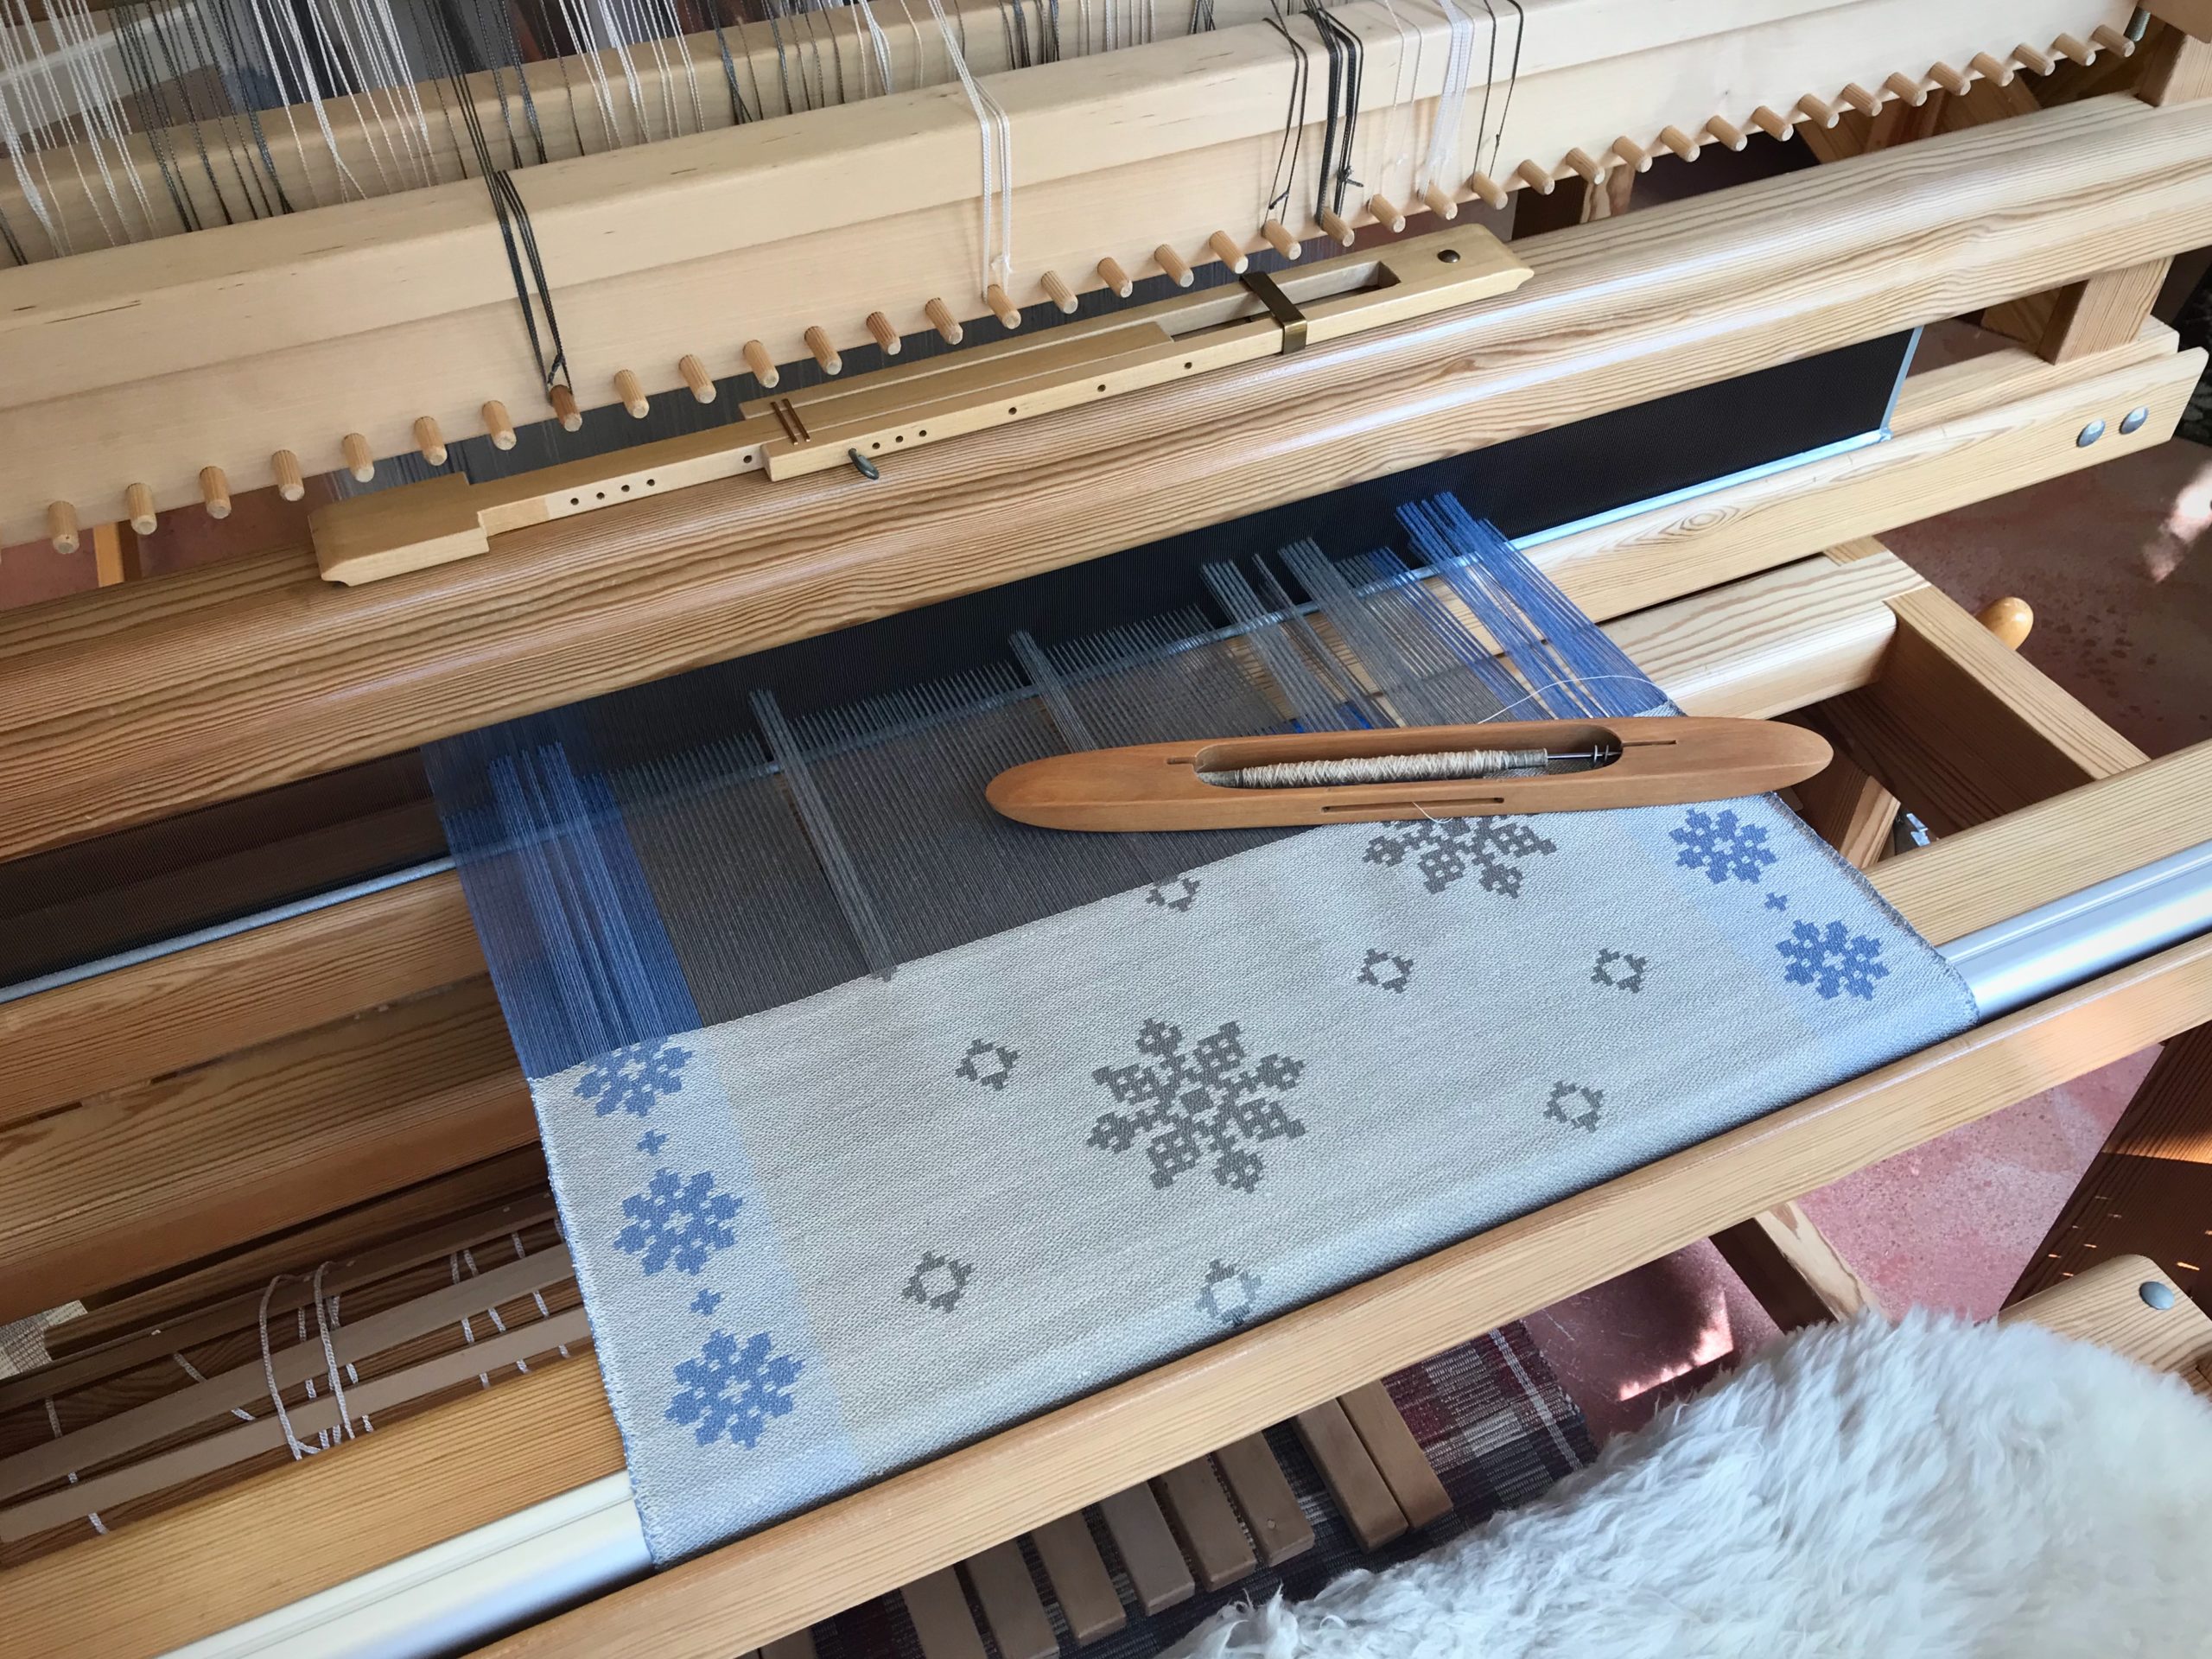
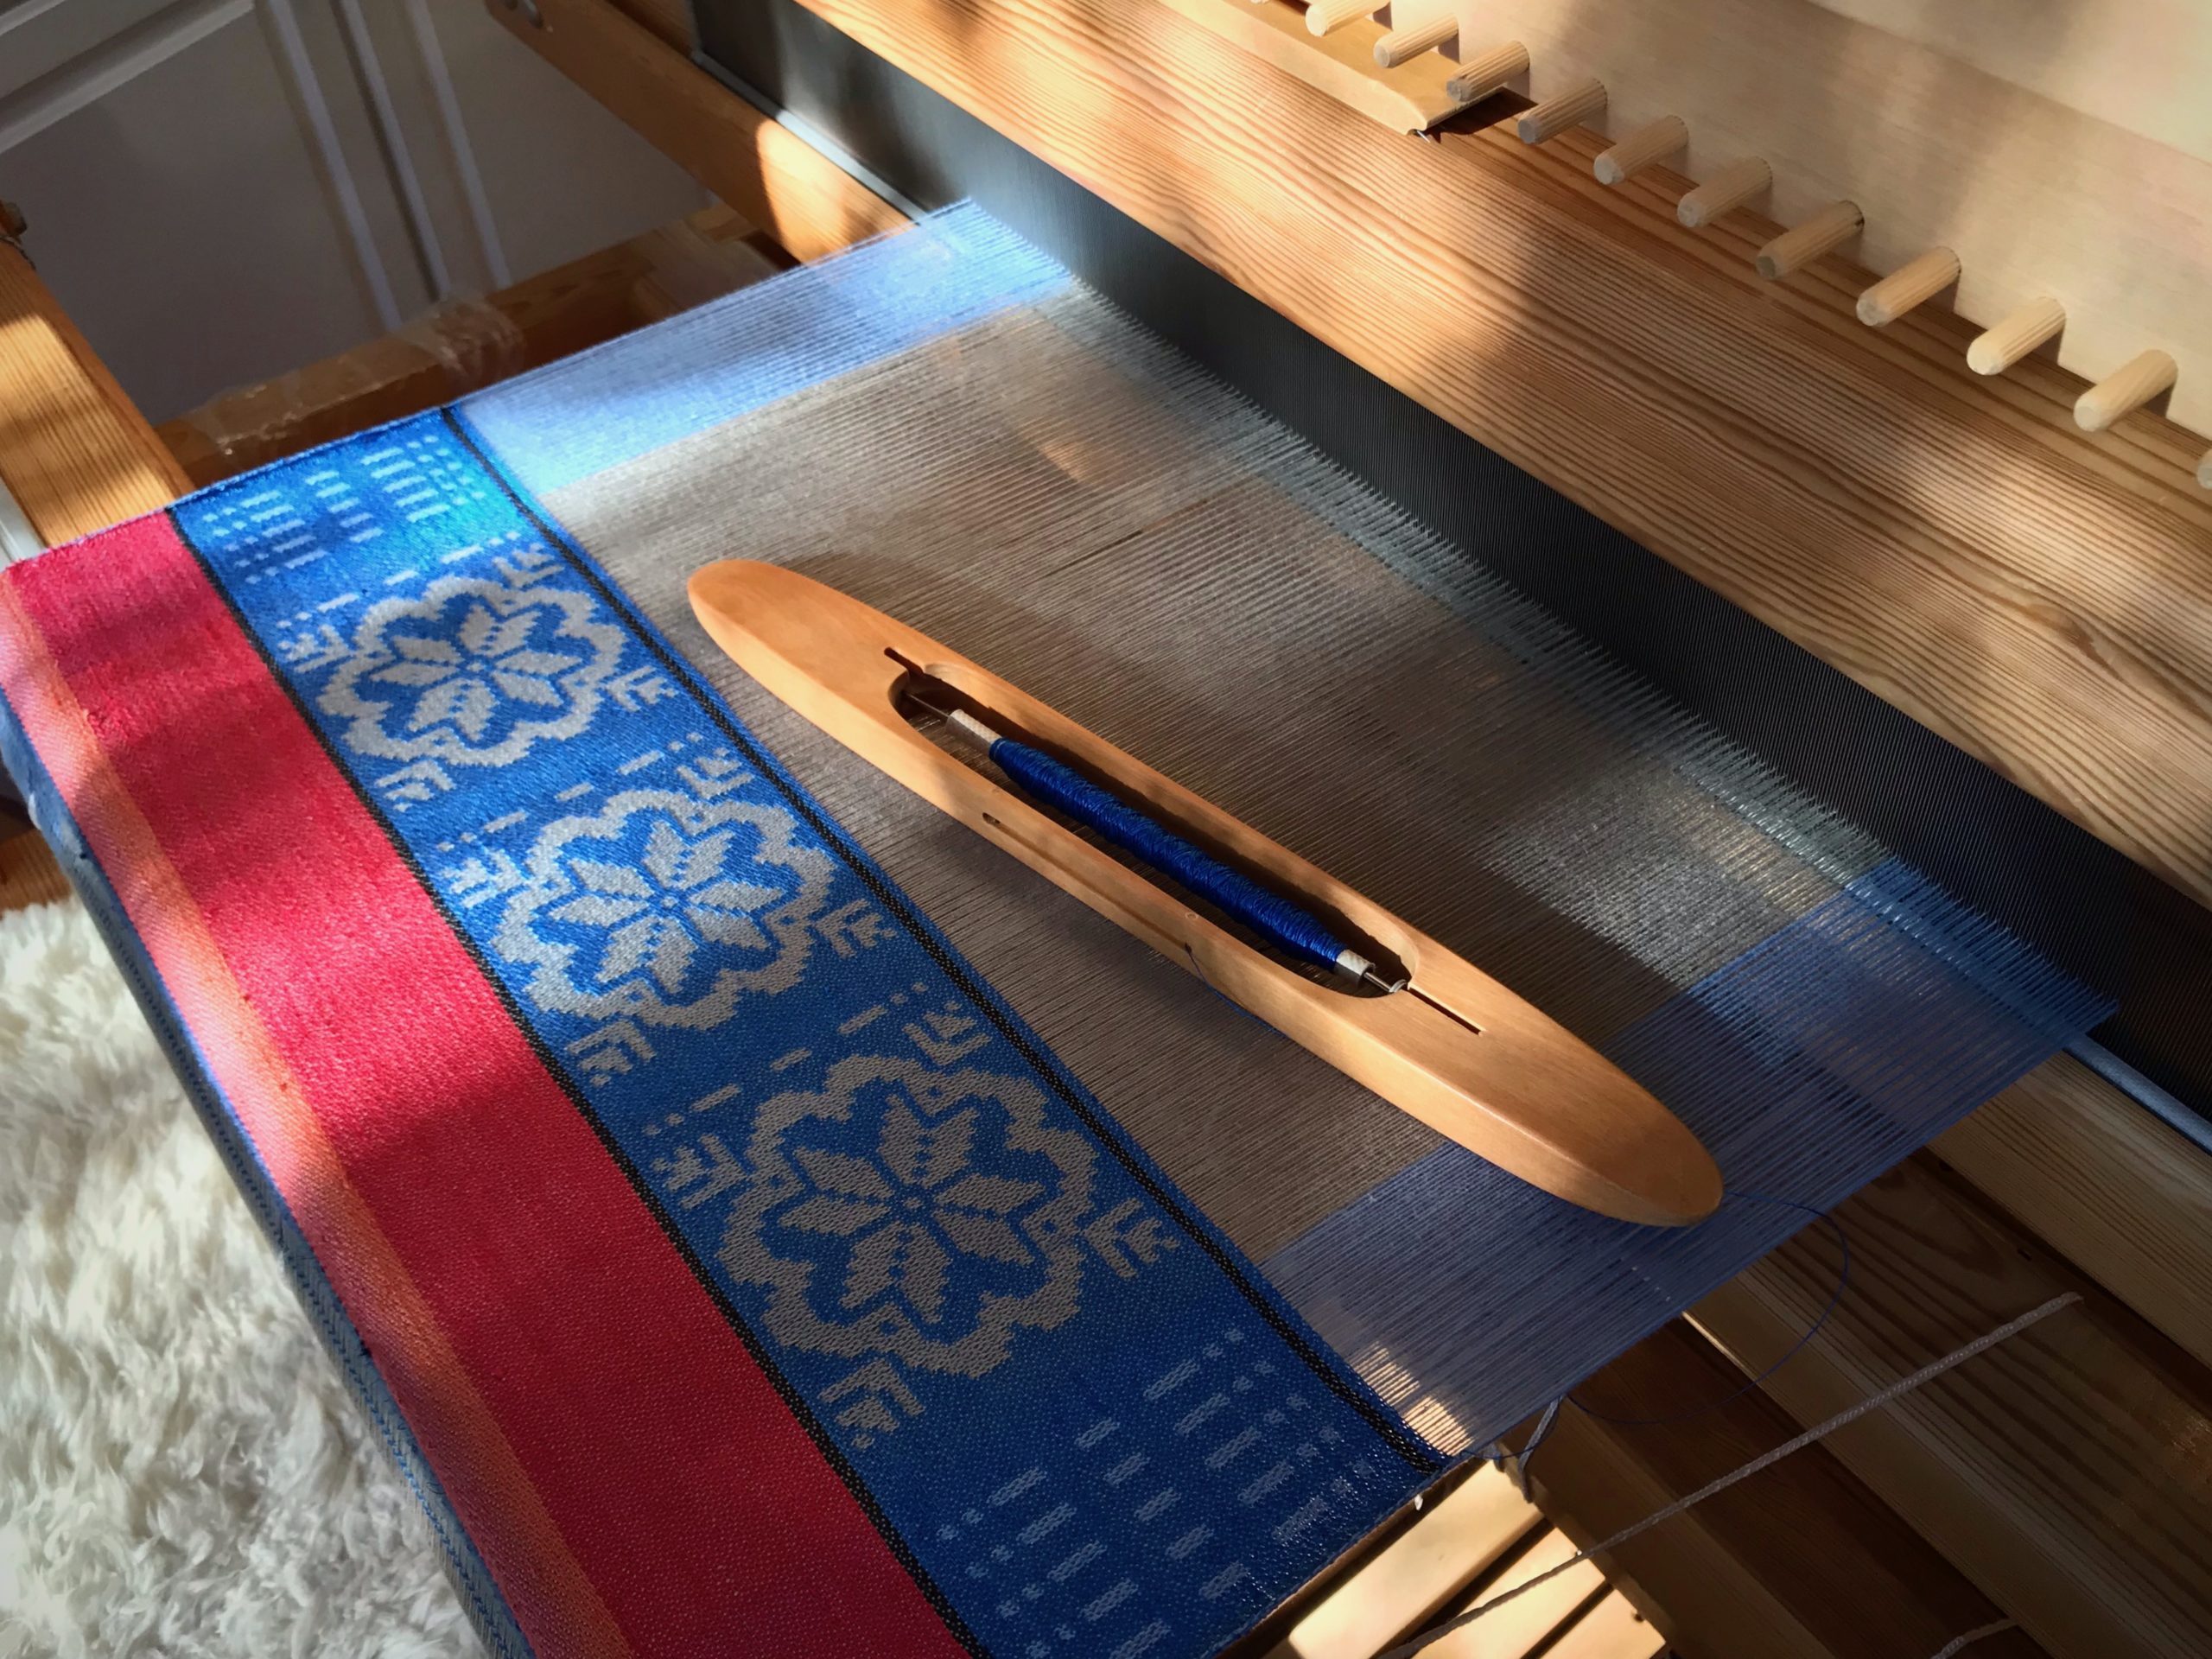
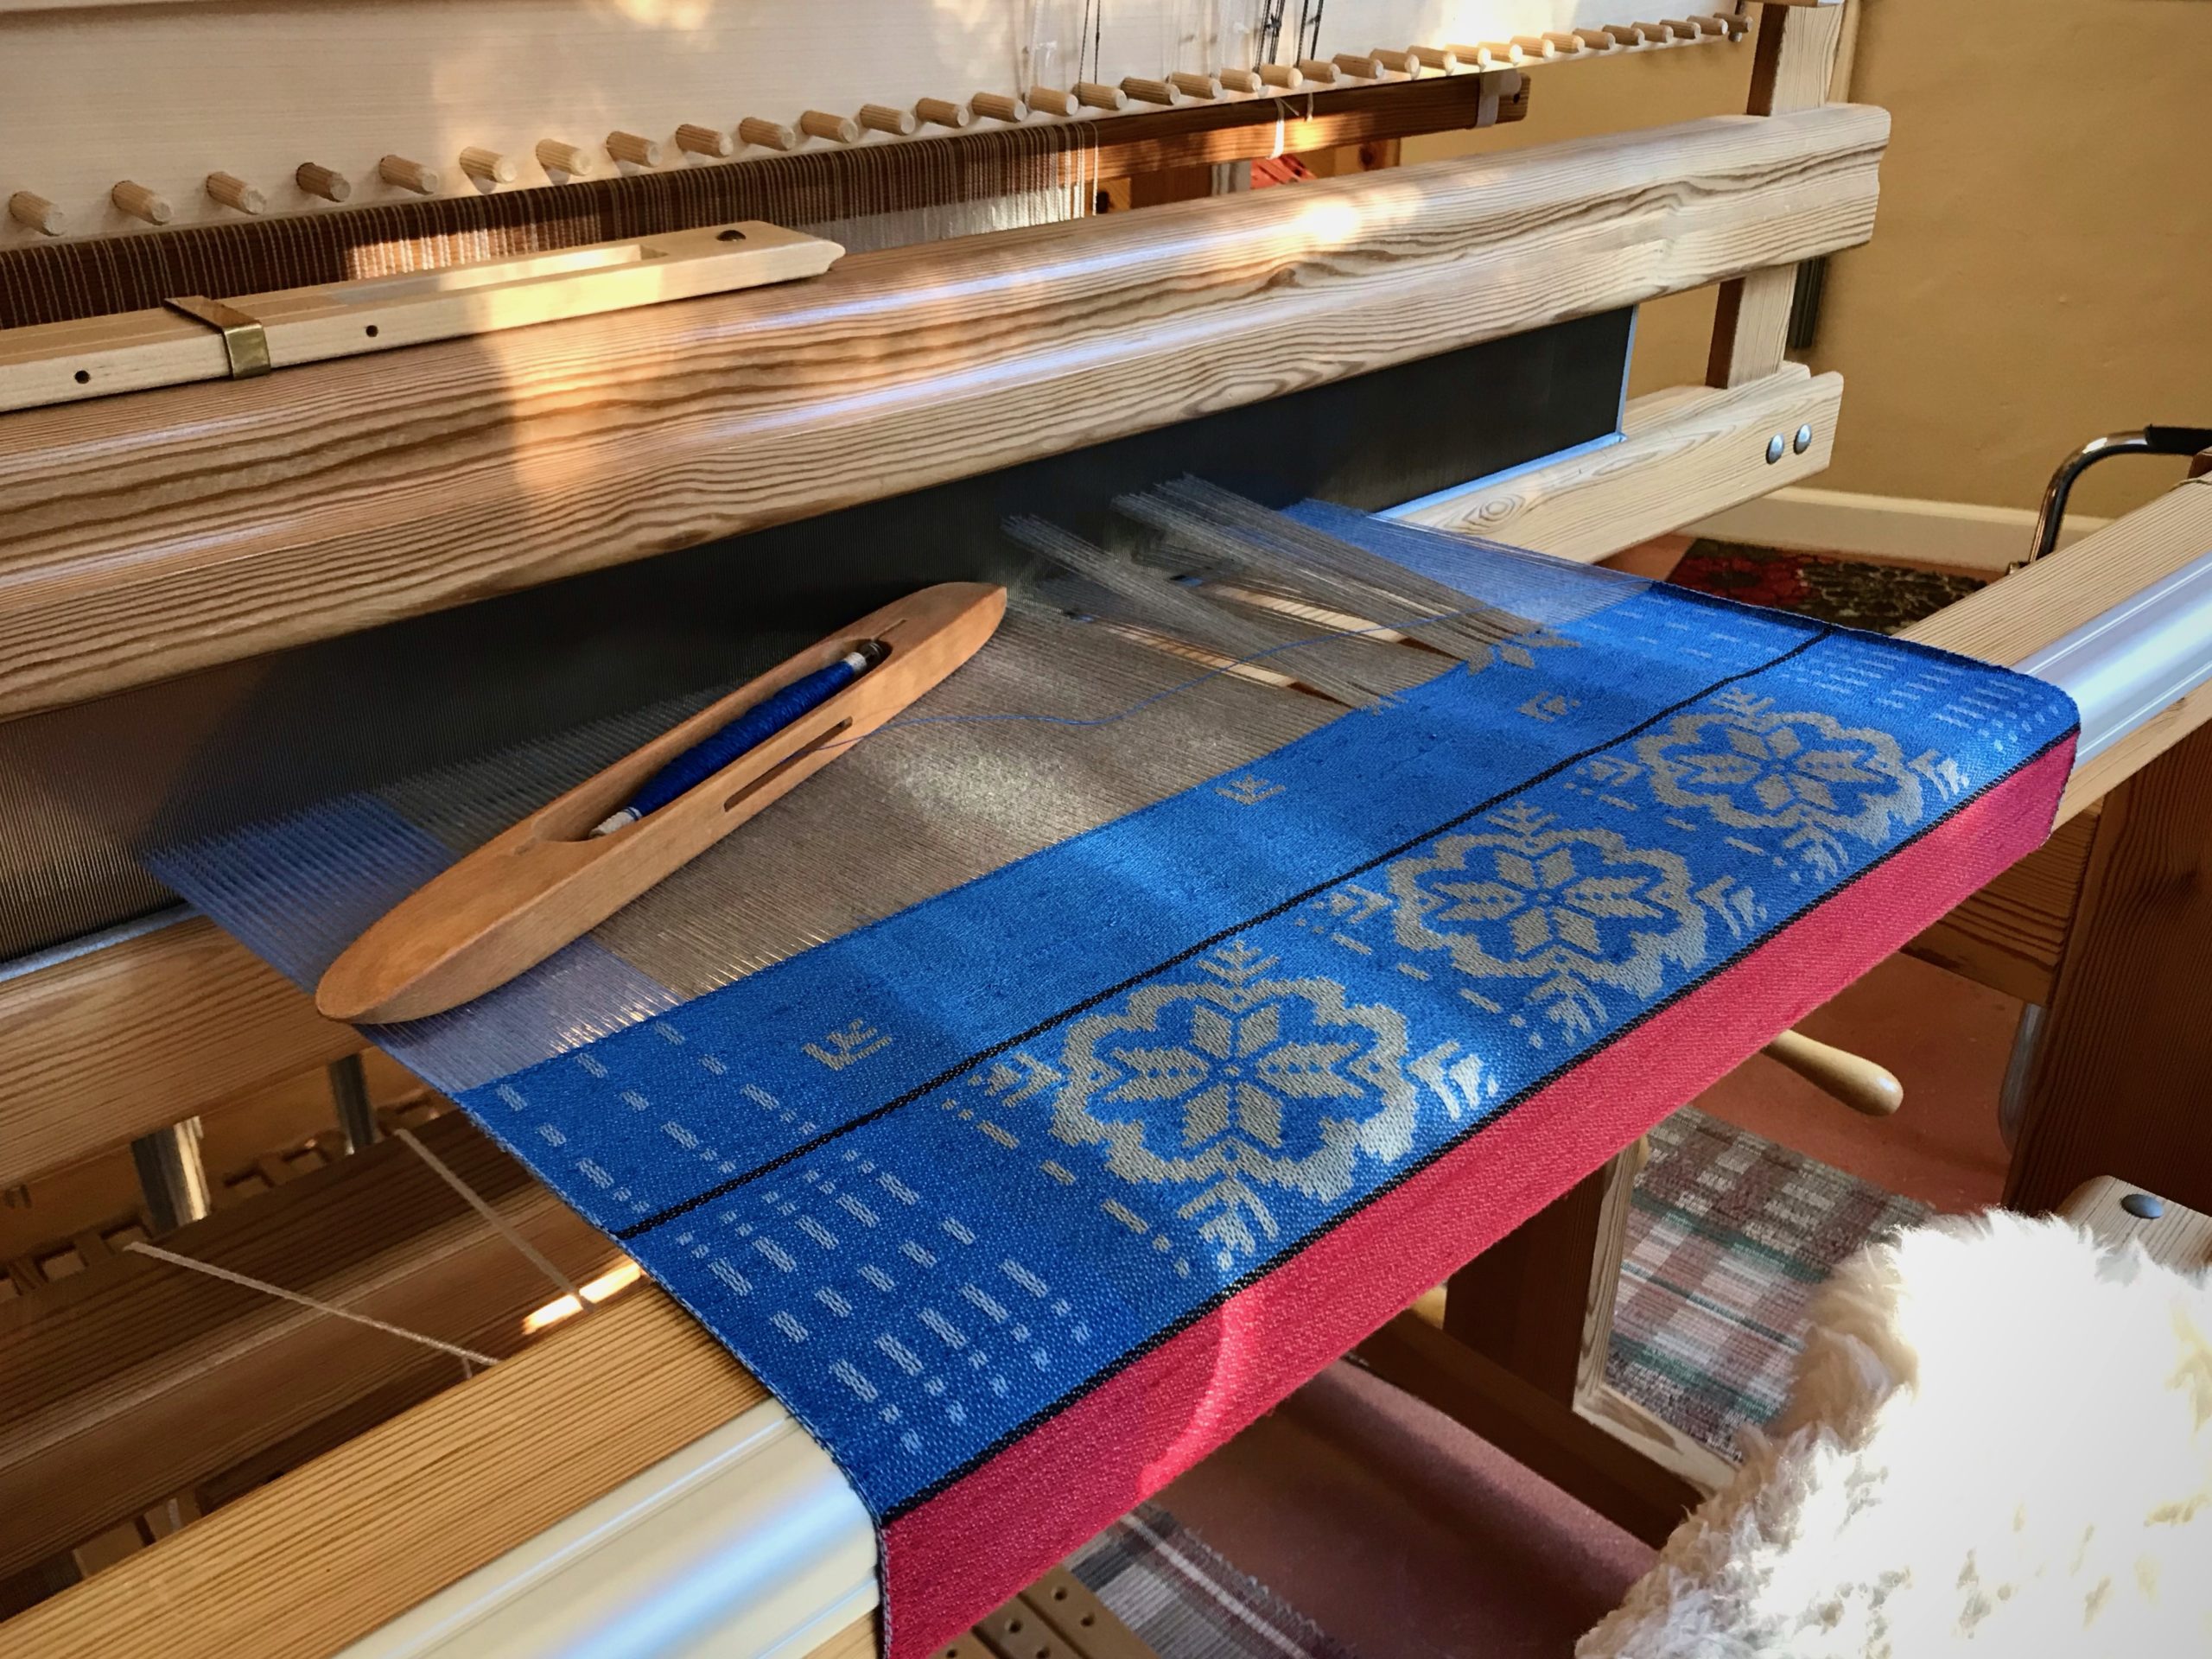
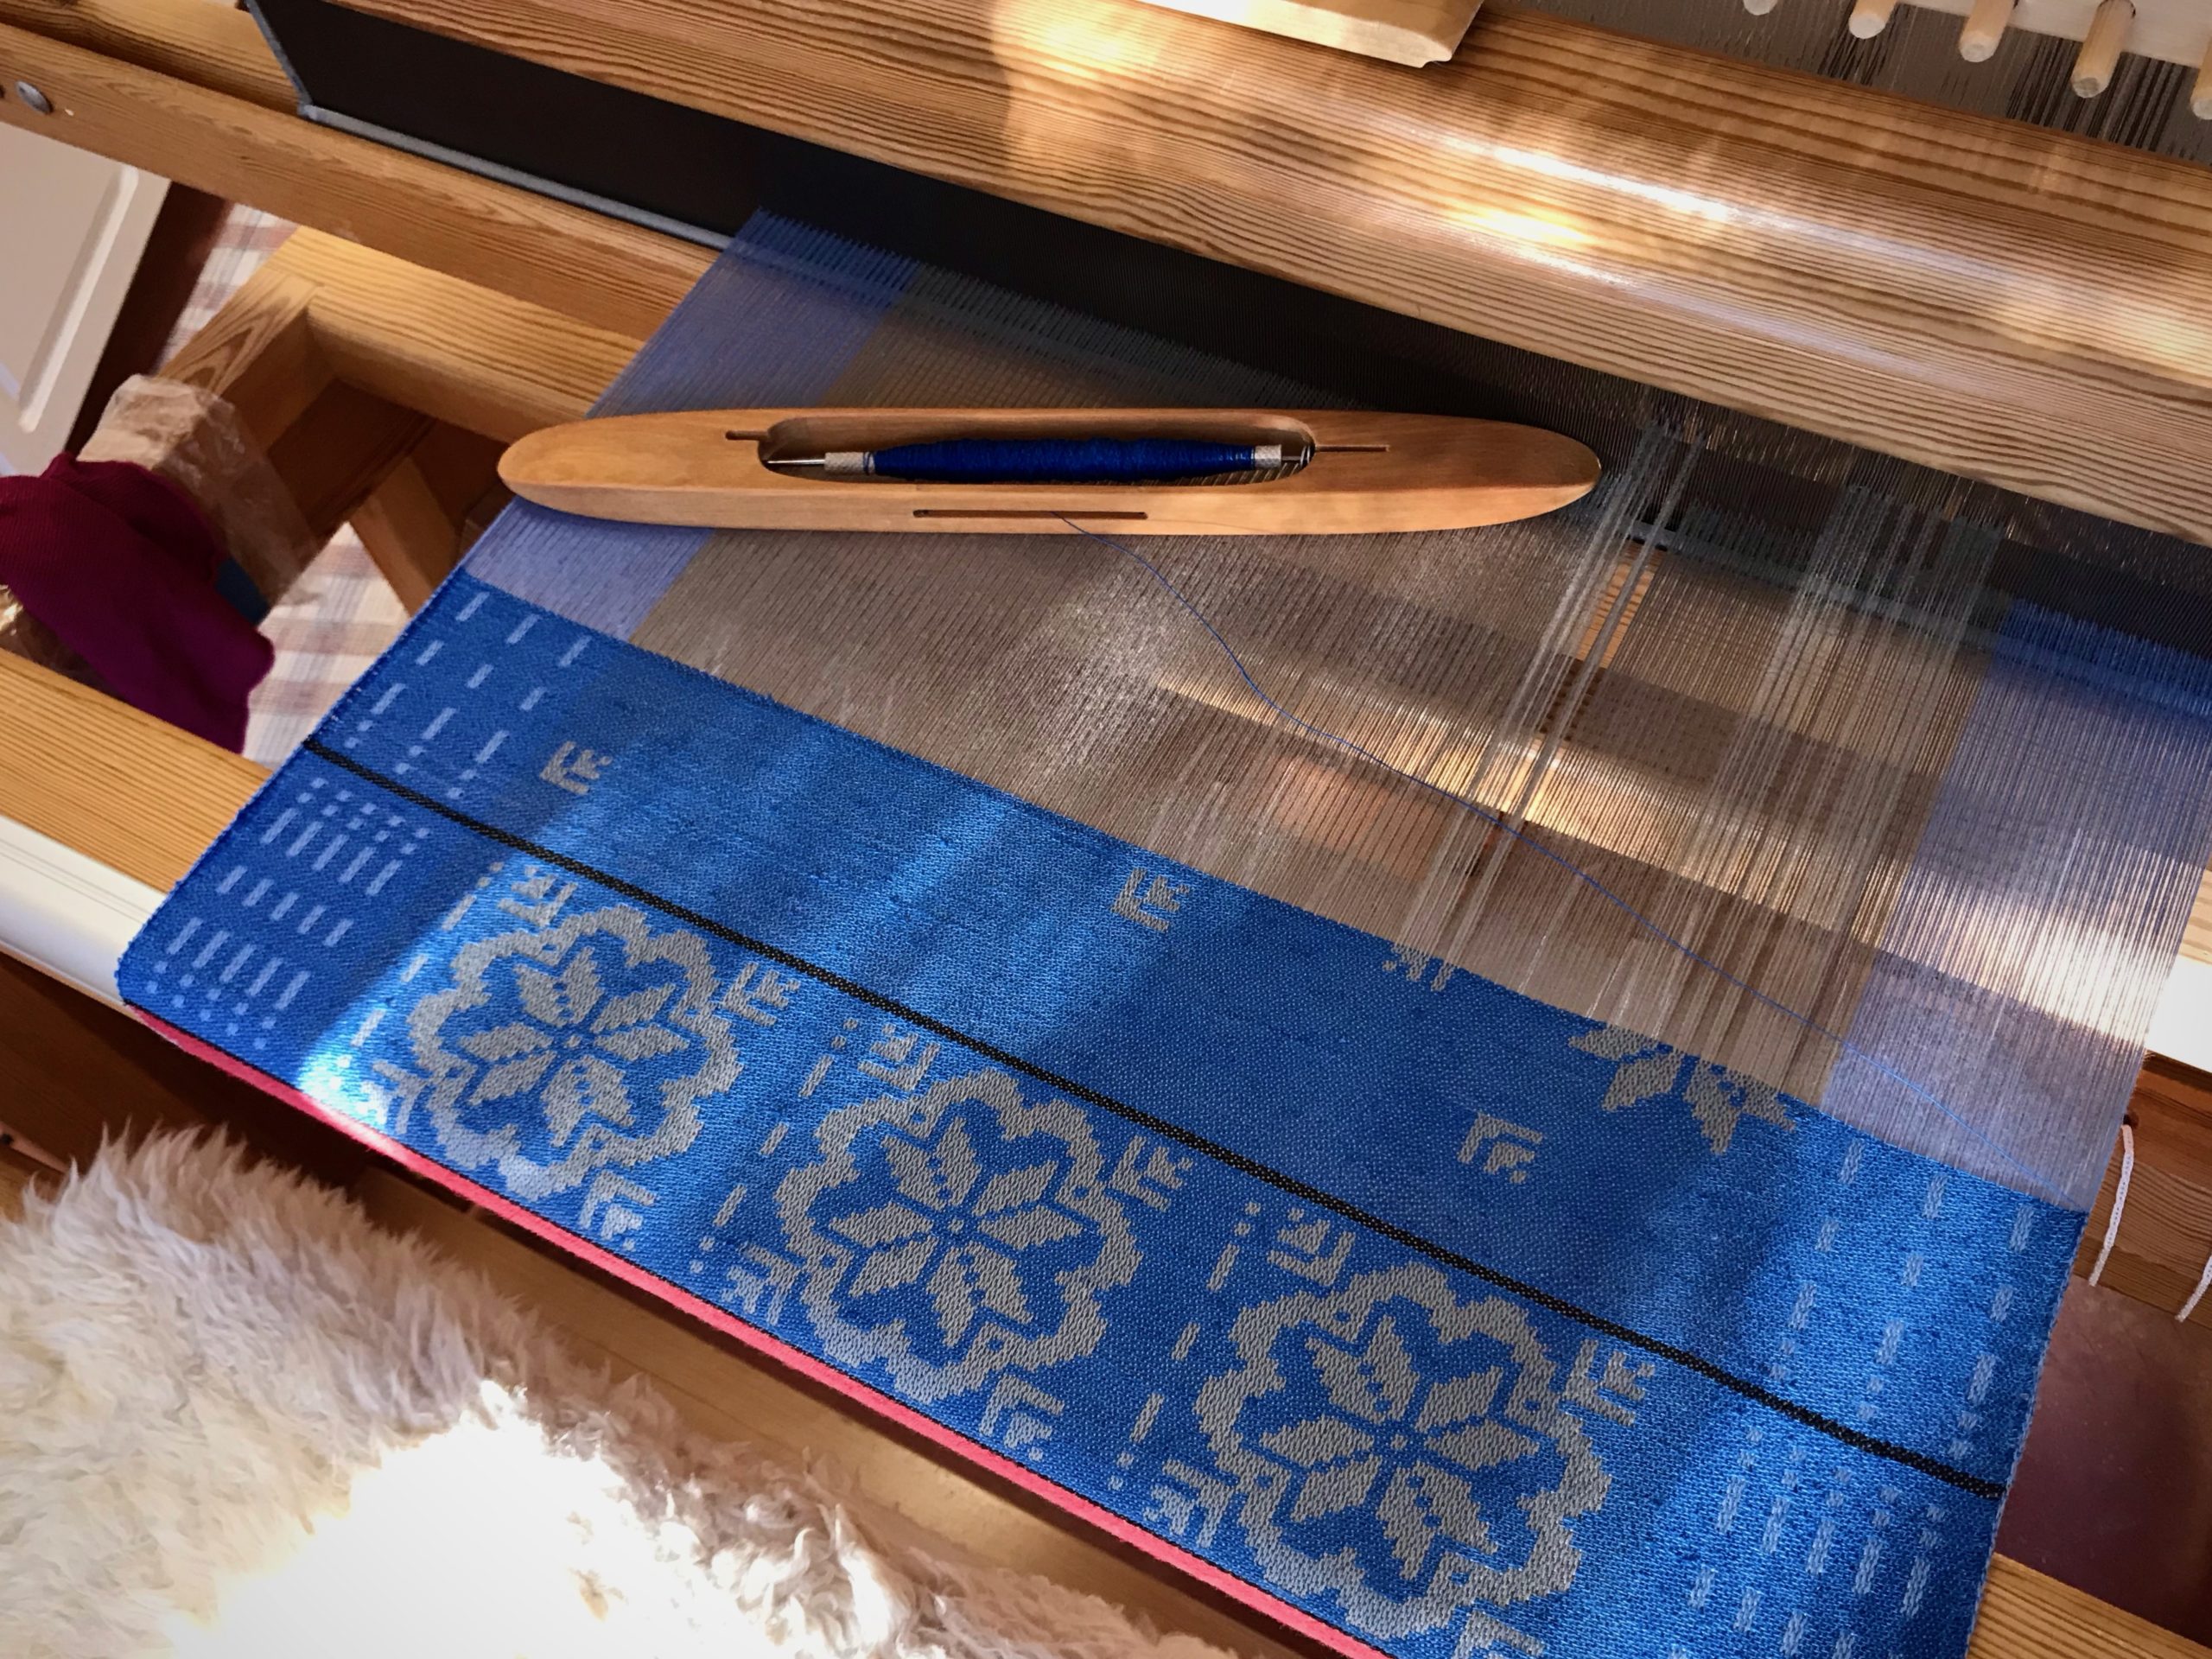
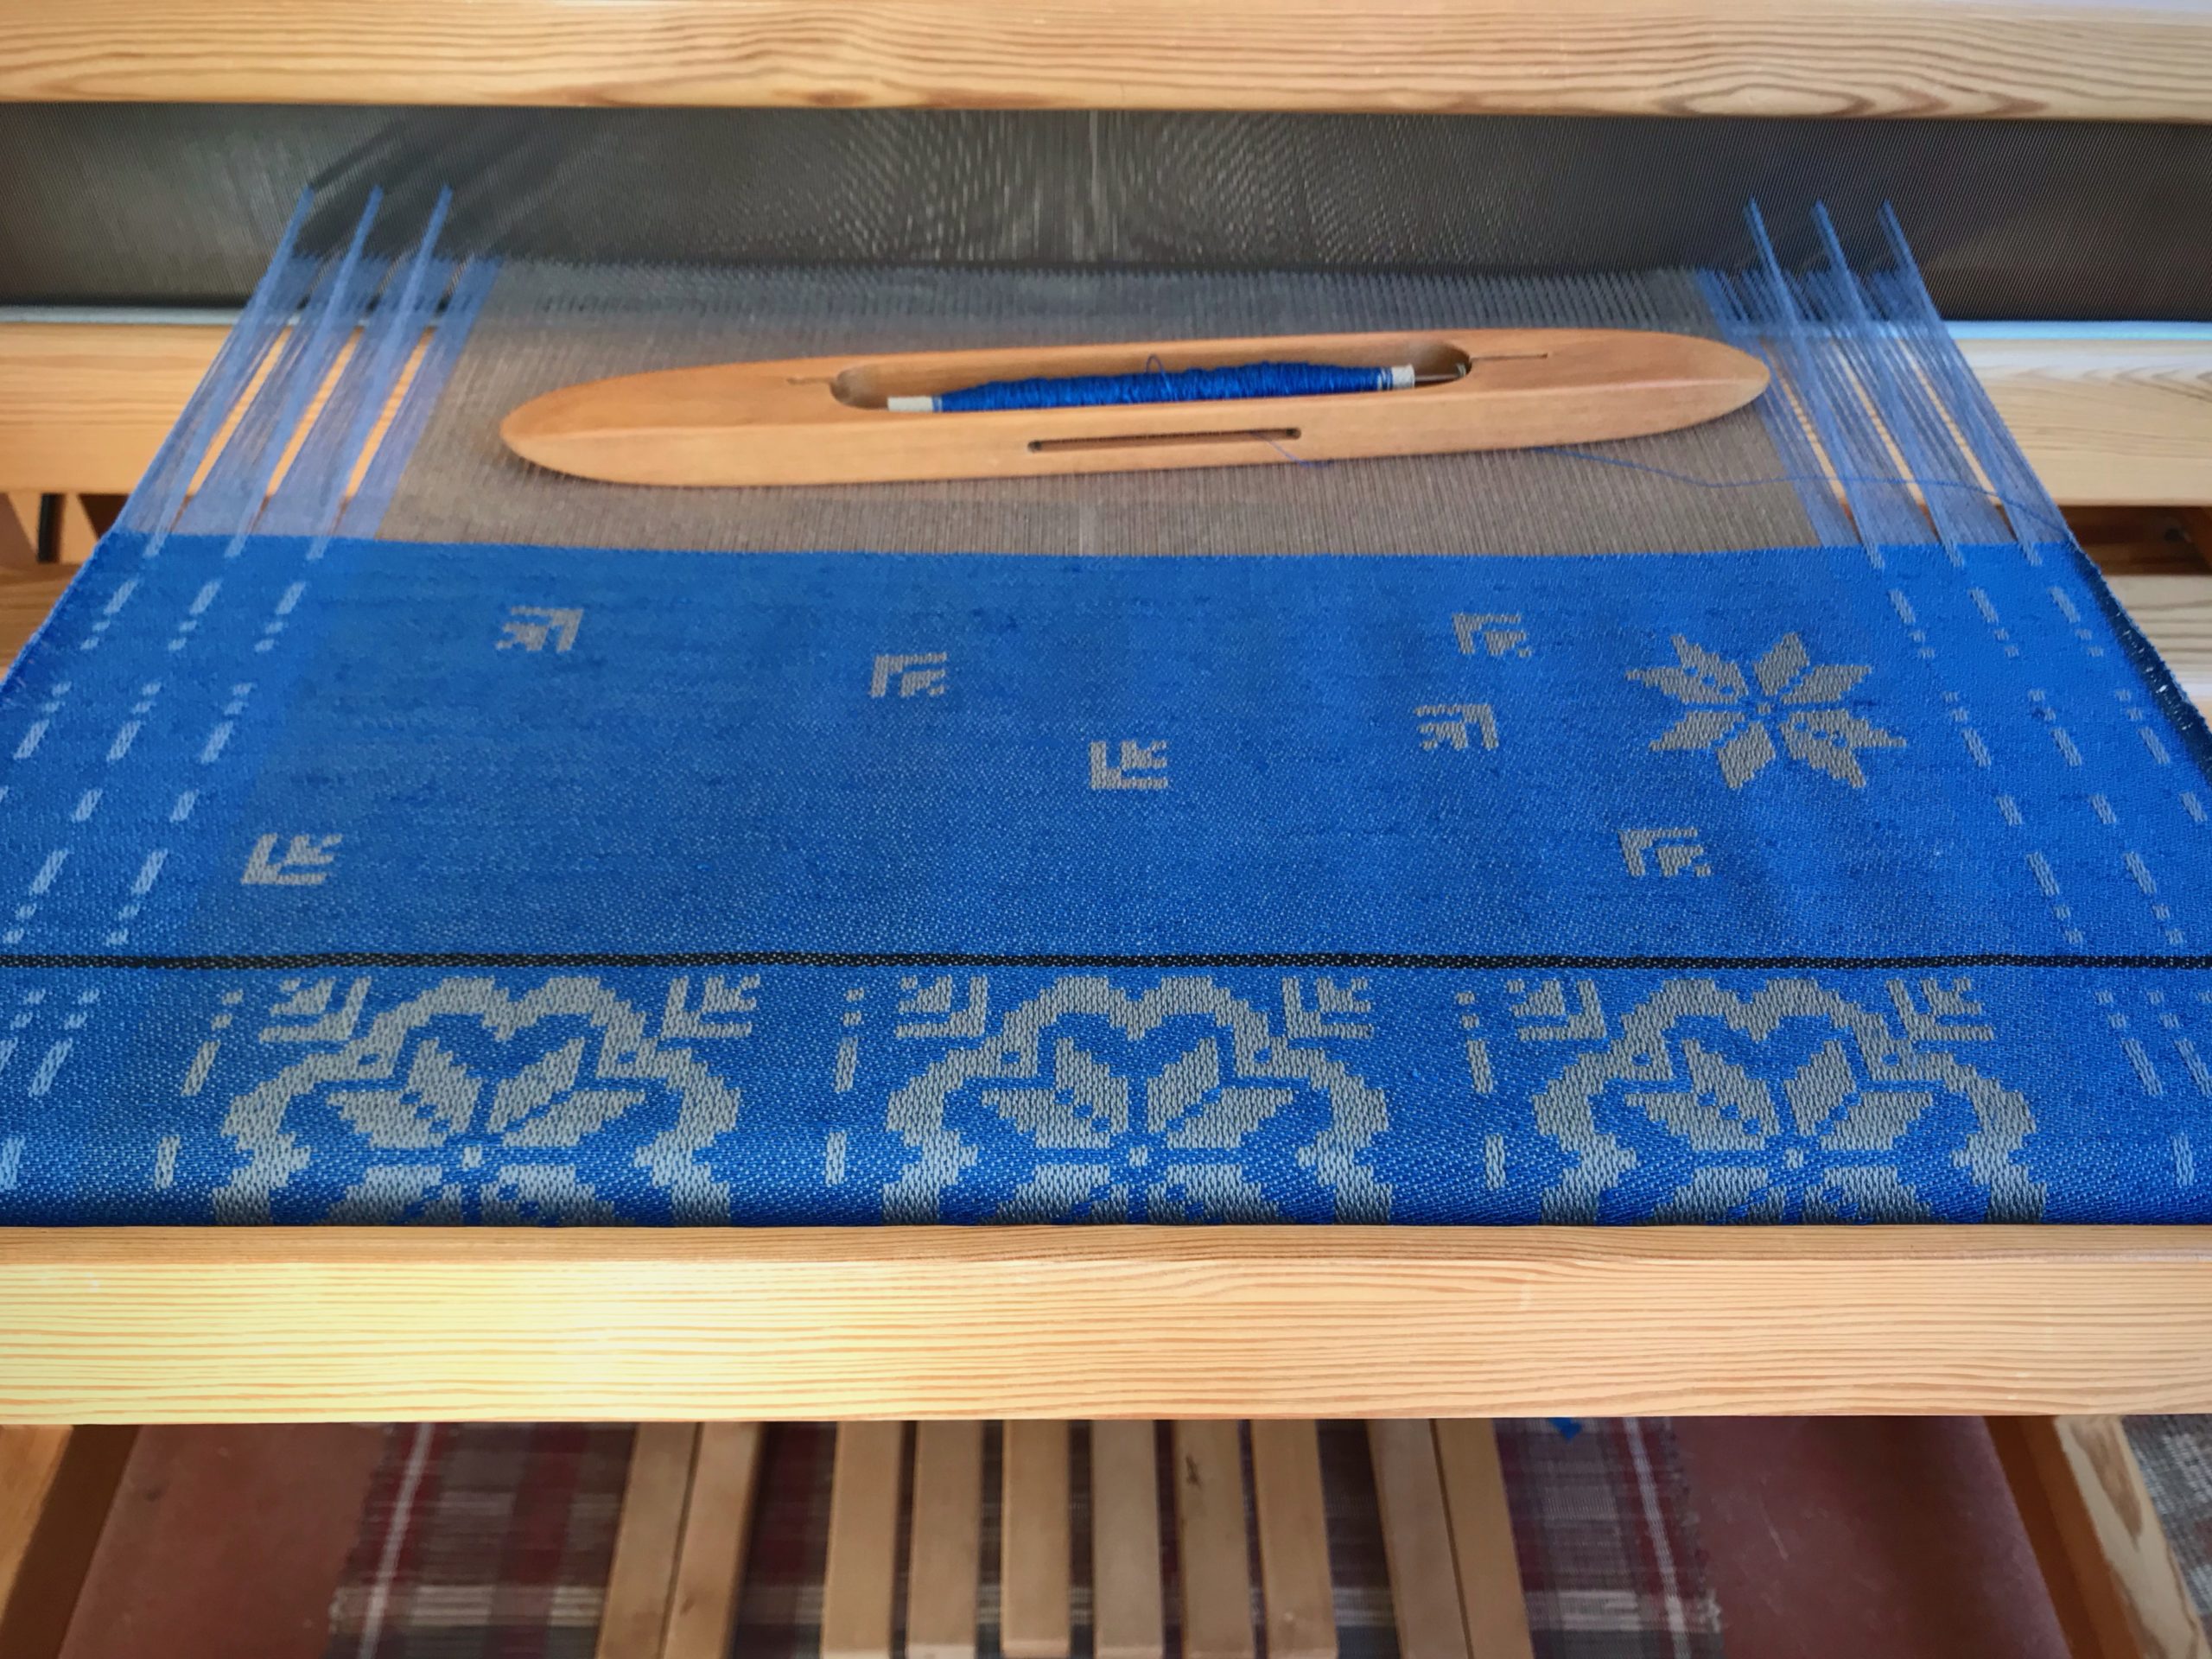
Snow in Texas Hill Country is minimal. To make up for it, I am putting together a virtual snowstorm—four Christmas Snowflake towels on the drawloom. Each towel has three large snowflakes at the bottom and top borders. The body of the towel has delicate snowflake crystals drifting to the ground.

Nordic star pattern used for Christmas Snowflake towels. Towel begins with a broad brush of red along the lower border.

Starting with Selbu Mittens: Discover the Rich history of a Norwegian Knitting Tradition, by Anne Bårdsgård, I transpose Nordic star patterns into drawloom graphed designs. Affinity Designer (graphic design software) takes the place of graph paper for me. Being vector graphic design, it enables me to make changes without having to start over. I can easily move, separate, copy, and/or transform elements as I work through a design. I print out exactly what I need, scaled up in size without losing clarity, in a format that enhances my ability to make the right moves at the combination drawloom.

Single unit draw cords, held in place on the hook bar, form the snow crystals in the body of the towel. The three large snowflakes at the bottom border are made using pattern shafts. The simple side borders also use pattern shafts.
In Affinity Designer I am able to separate, copy, and move elements of the large snowflake design. These individual elements become the scattered snowflakes and little snow crystals that are “drifting down” the body of the towel.
Snowfall in Texas Hill Country.

We have a faithful designer. Our Grand Weaver creates his image in us. He moves, separates, copies, and transforms elements in our lives until his image clearly shows. It takes a lifetime. The Lord is faithful. Since he has brought us this far, let us also be found faithful to him, conforming to his image.

May you see how far you’ve come.

Many blessings,
Karen

Tried and True: Rag Rug Block Party!

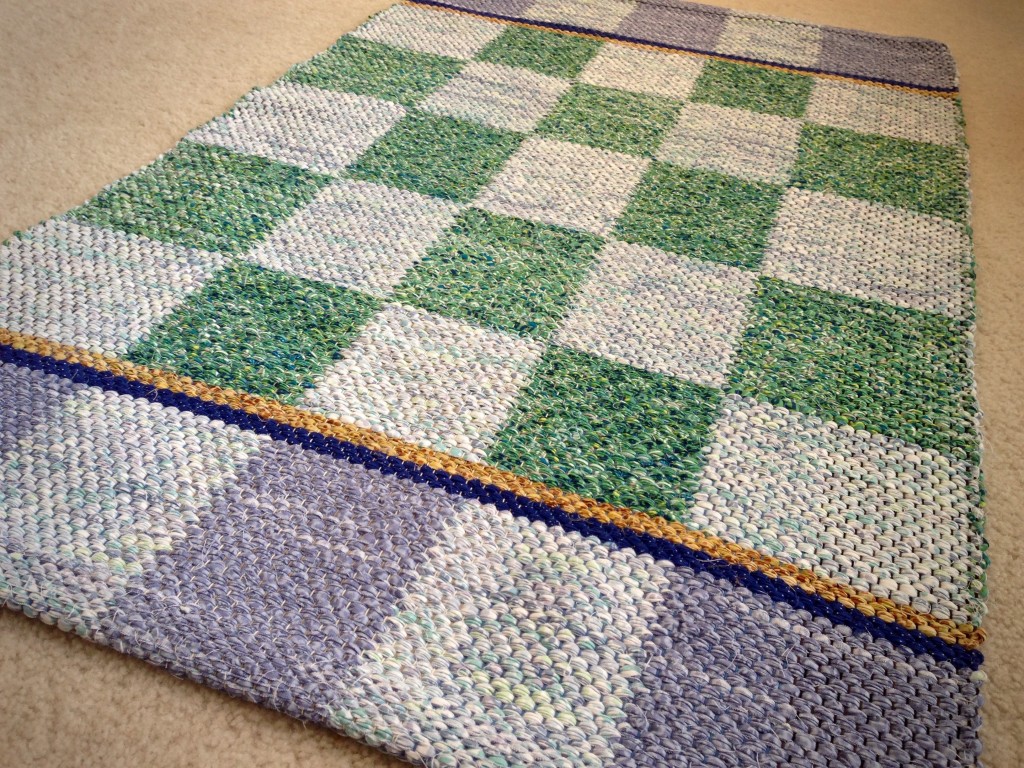
I am happy to say that with only four shafts we have exactly what we need for a checkerboard rag rug. Thank you to Megan for asking about it. ”I am searching for a 4-shaft draft for a checkboard pattern. I am limited to only 4 shafts.” Double binding opens up a world of opportunity!

Checkered rag rug. Karen Isenhower

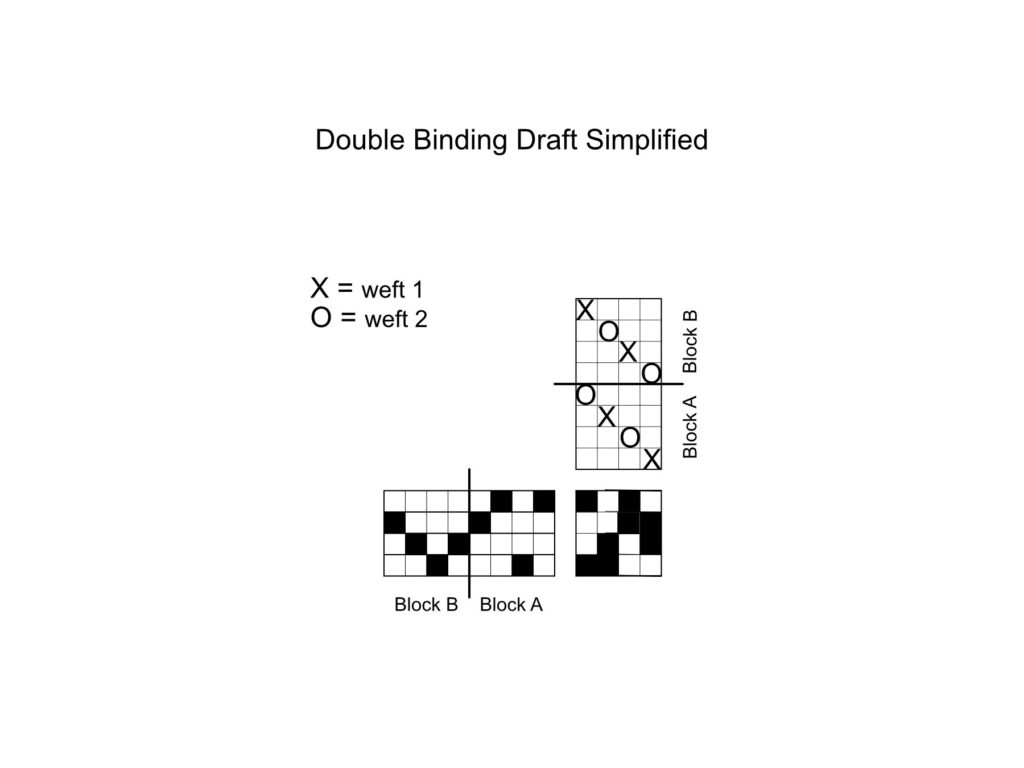
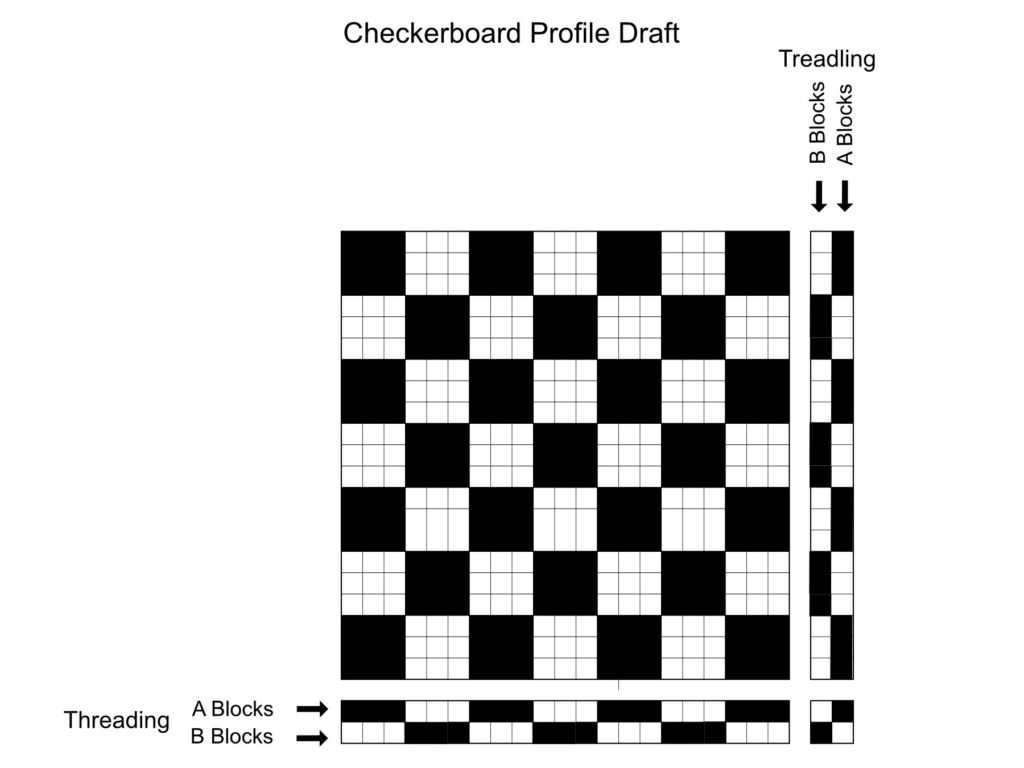
Let’s talk about blocks. A block is a specific sequence of warp ends or weft picks. Double binding on four shafts has two blocks for the warp and two blocks for the weft.

One of several possible threading and tie-up plans for double binding. Add two plain weave treadles if you want to weave plain weave hems.
Plain weave hem starts a new double-binding rag rug.

Have a Block Party!

→ Use graph paper to plan the configuration of your blocks.

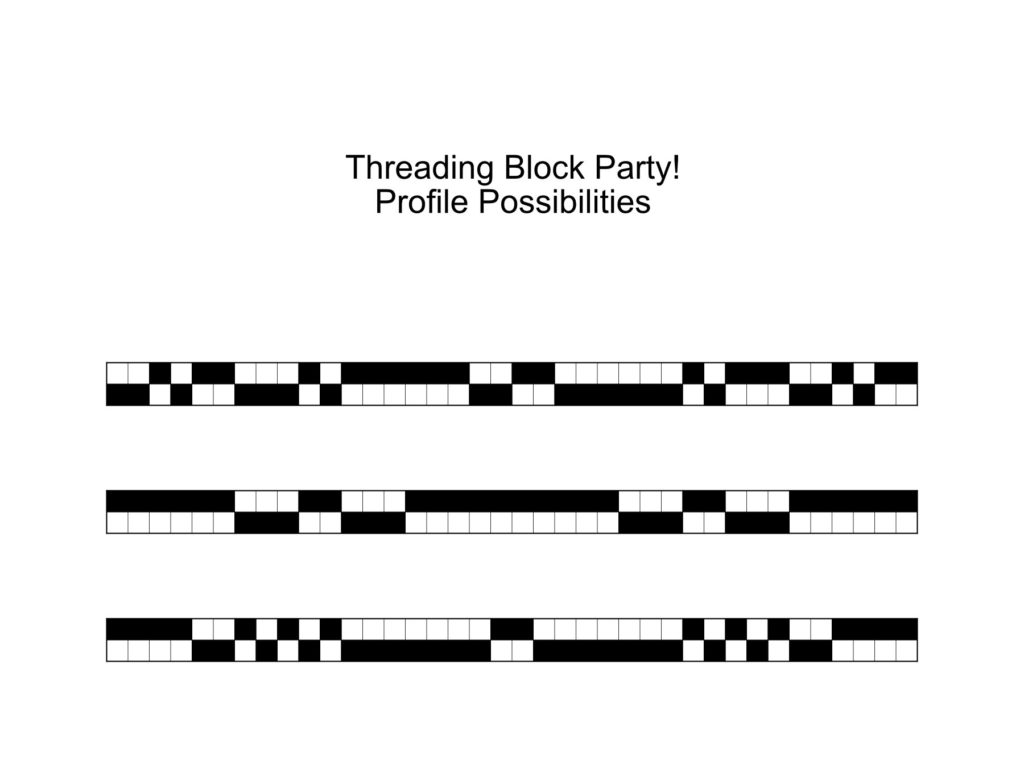
For the threading blocks, use two rows of squares. One row is for Block A and one row is for Block B. Each square on the paper represents one threading unit. You can make a checkerboard pattern by uniformly alternating the A blocks and B blocks. Or, you can make a wildly different geometric pattern by varying the size of alternating blocks. Your two-row graph becomes a profile draft to use as your threading key.

For the weft blocks, use the same arrangement of blocks as for the threading, and turn them vertically for the treadling draft. Or, use your creativity to make a unique configuration of weft blocks. The sky is the limit!

Three possible block configurations for the threading. The bottom example is a part of the sequence for the rug currently on my loom.
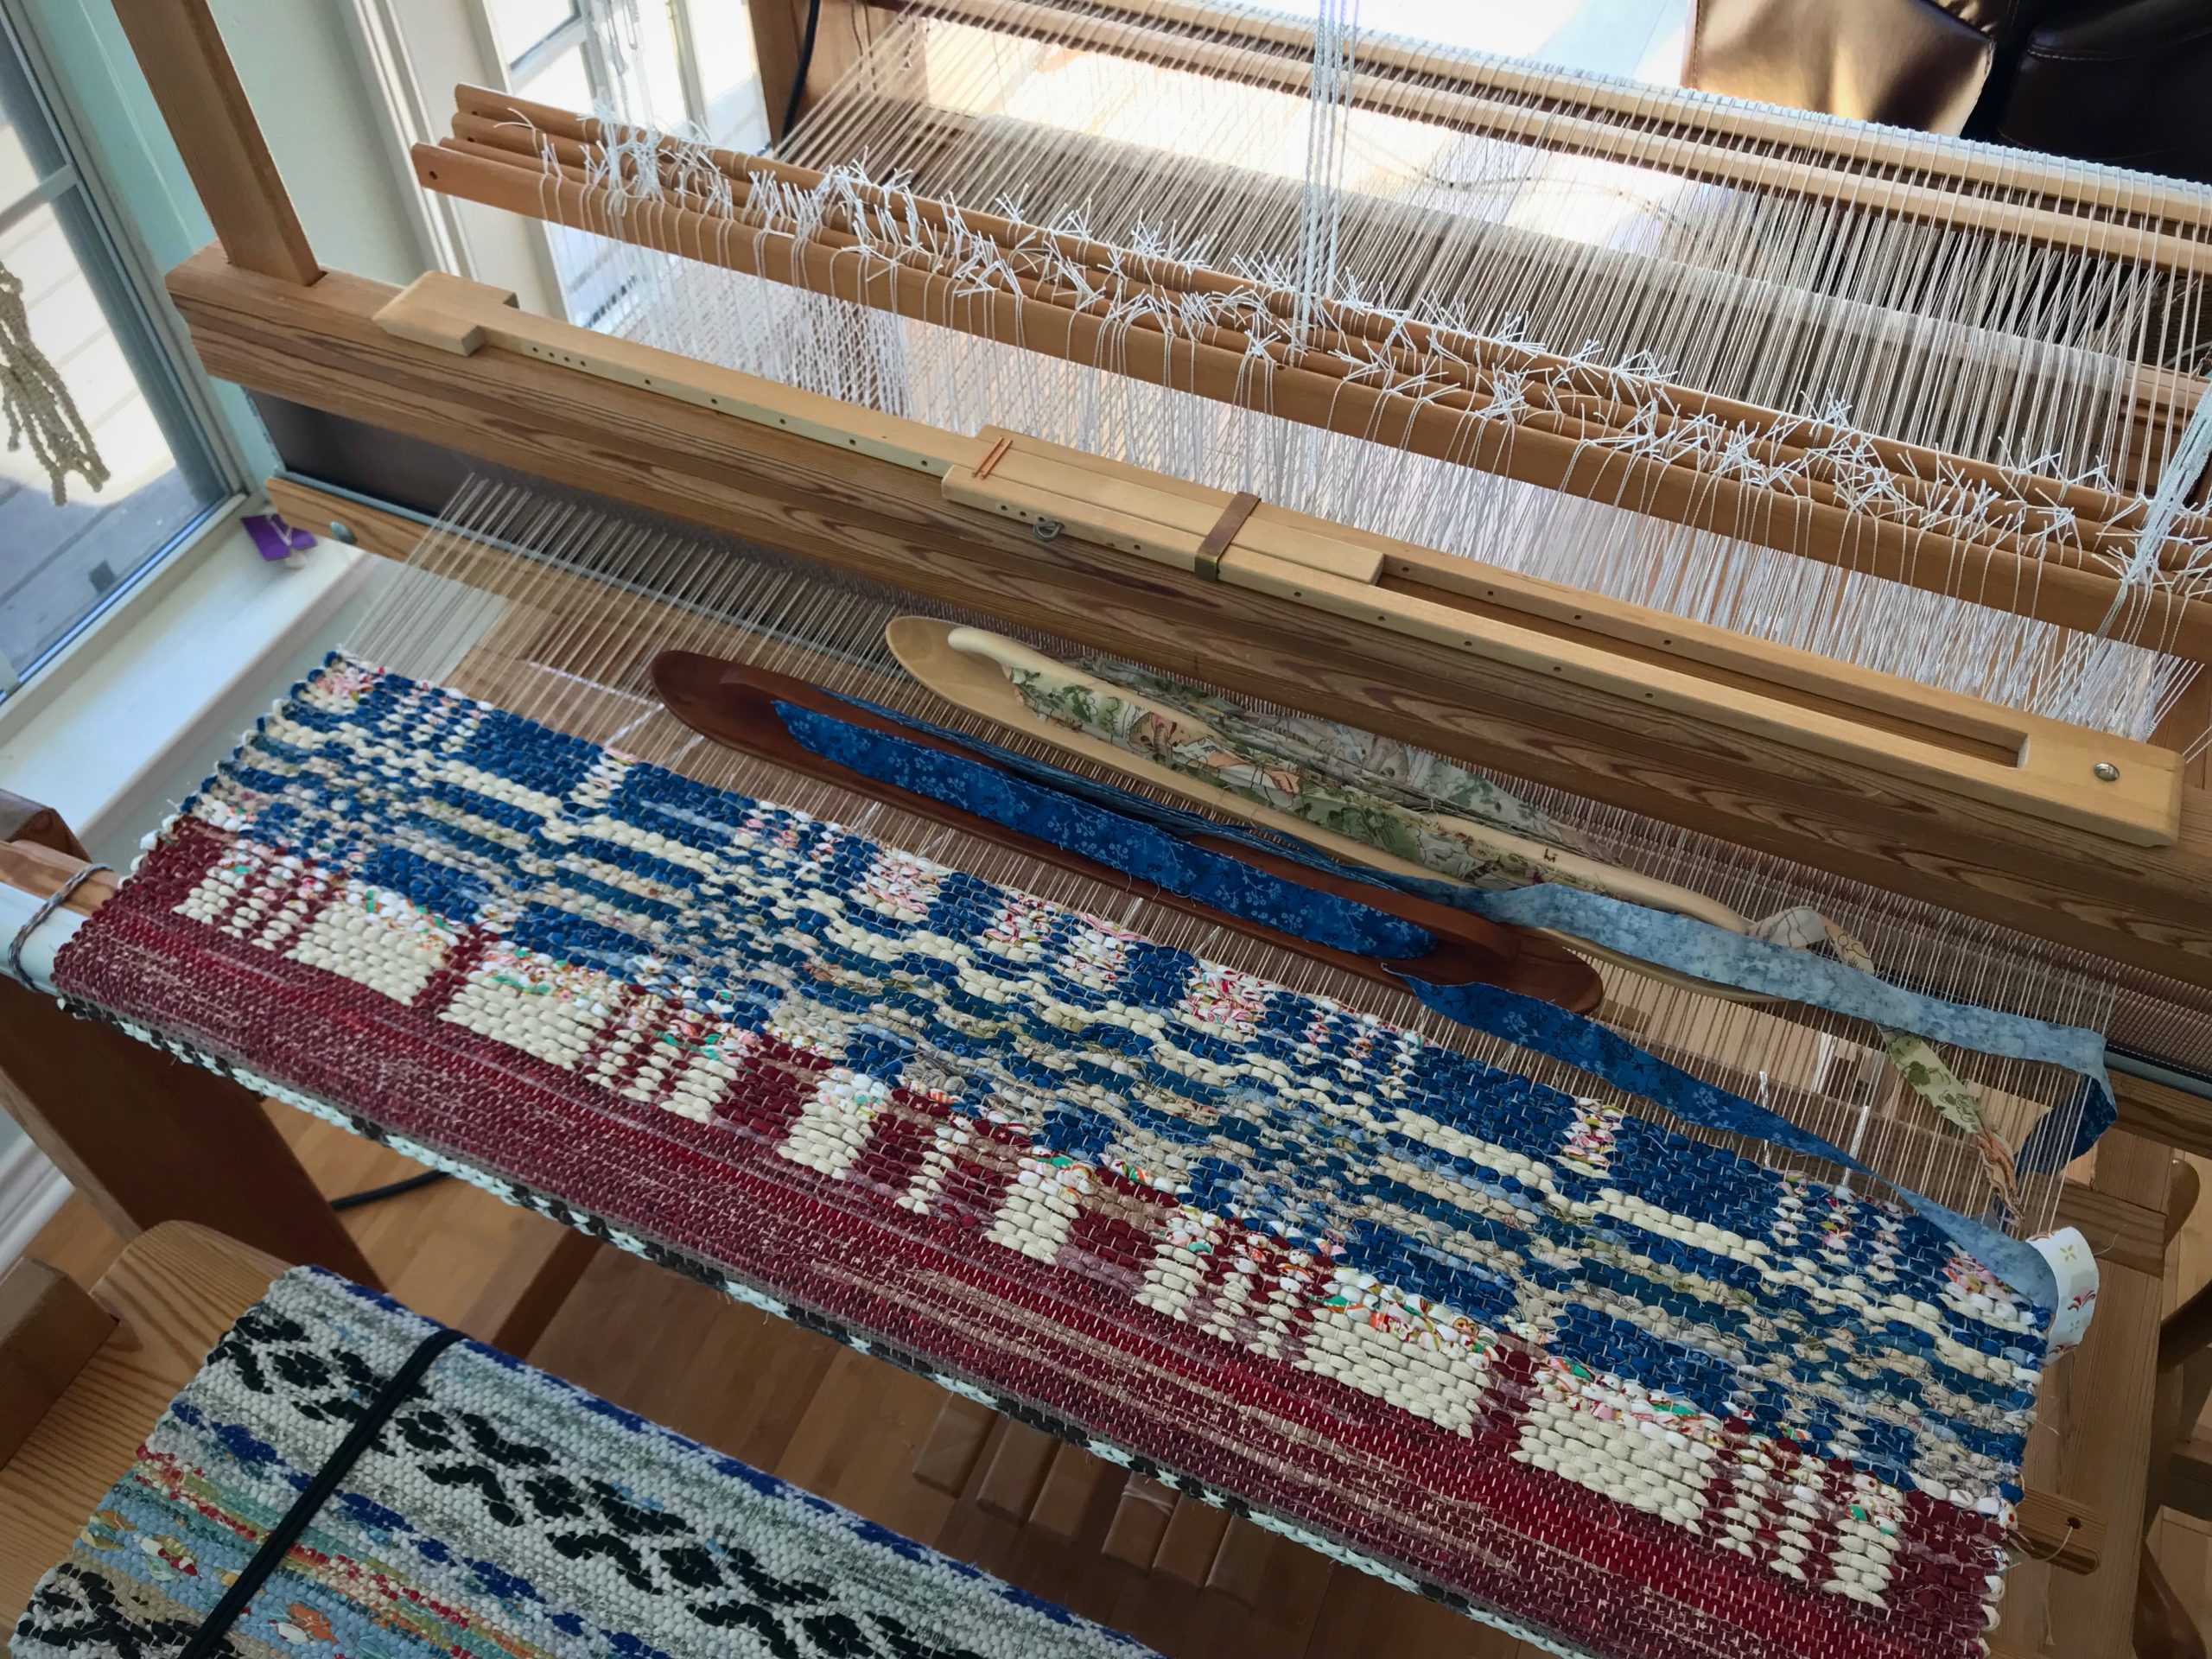
Weaving with two ski shuttles. Glimåkra Ideal. 4 shafts, 6 treadles.
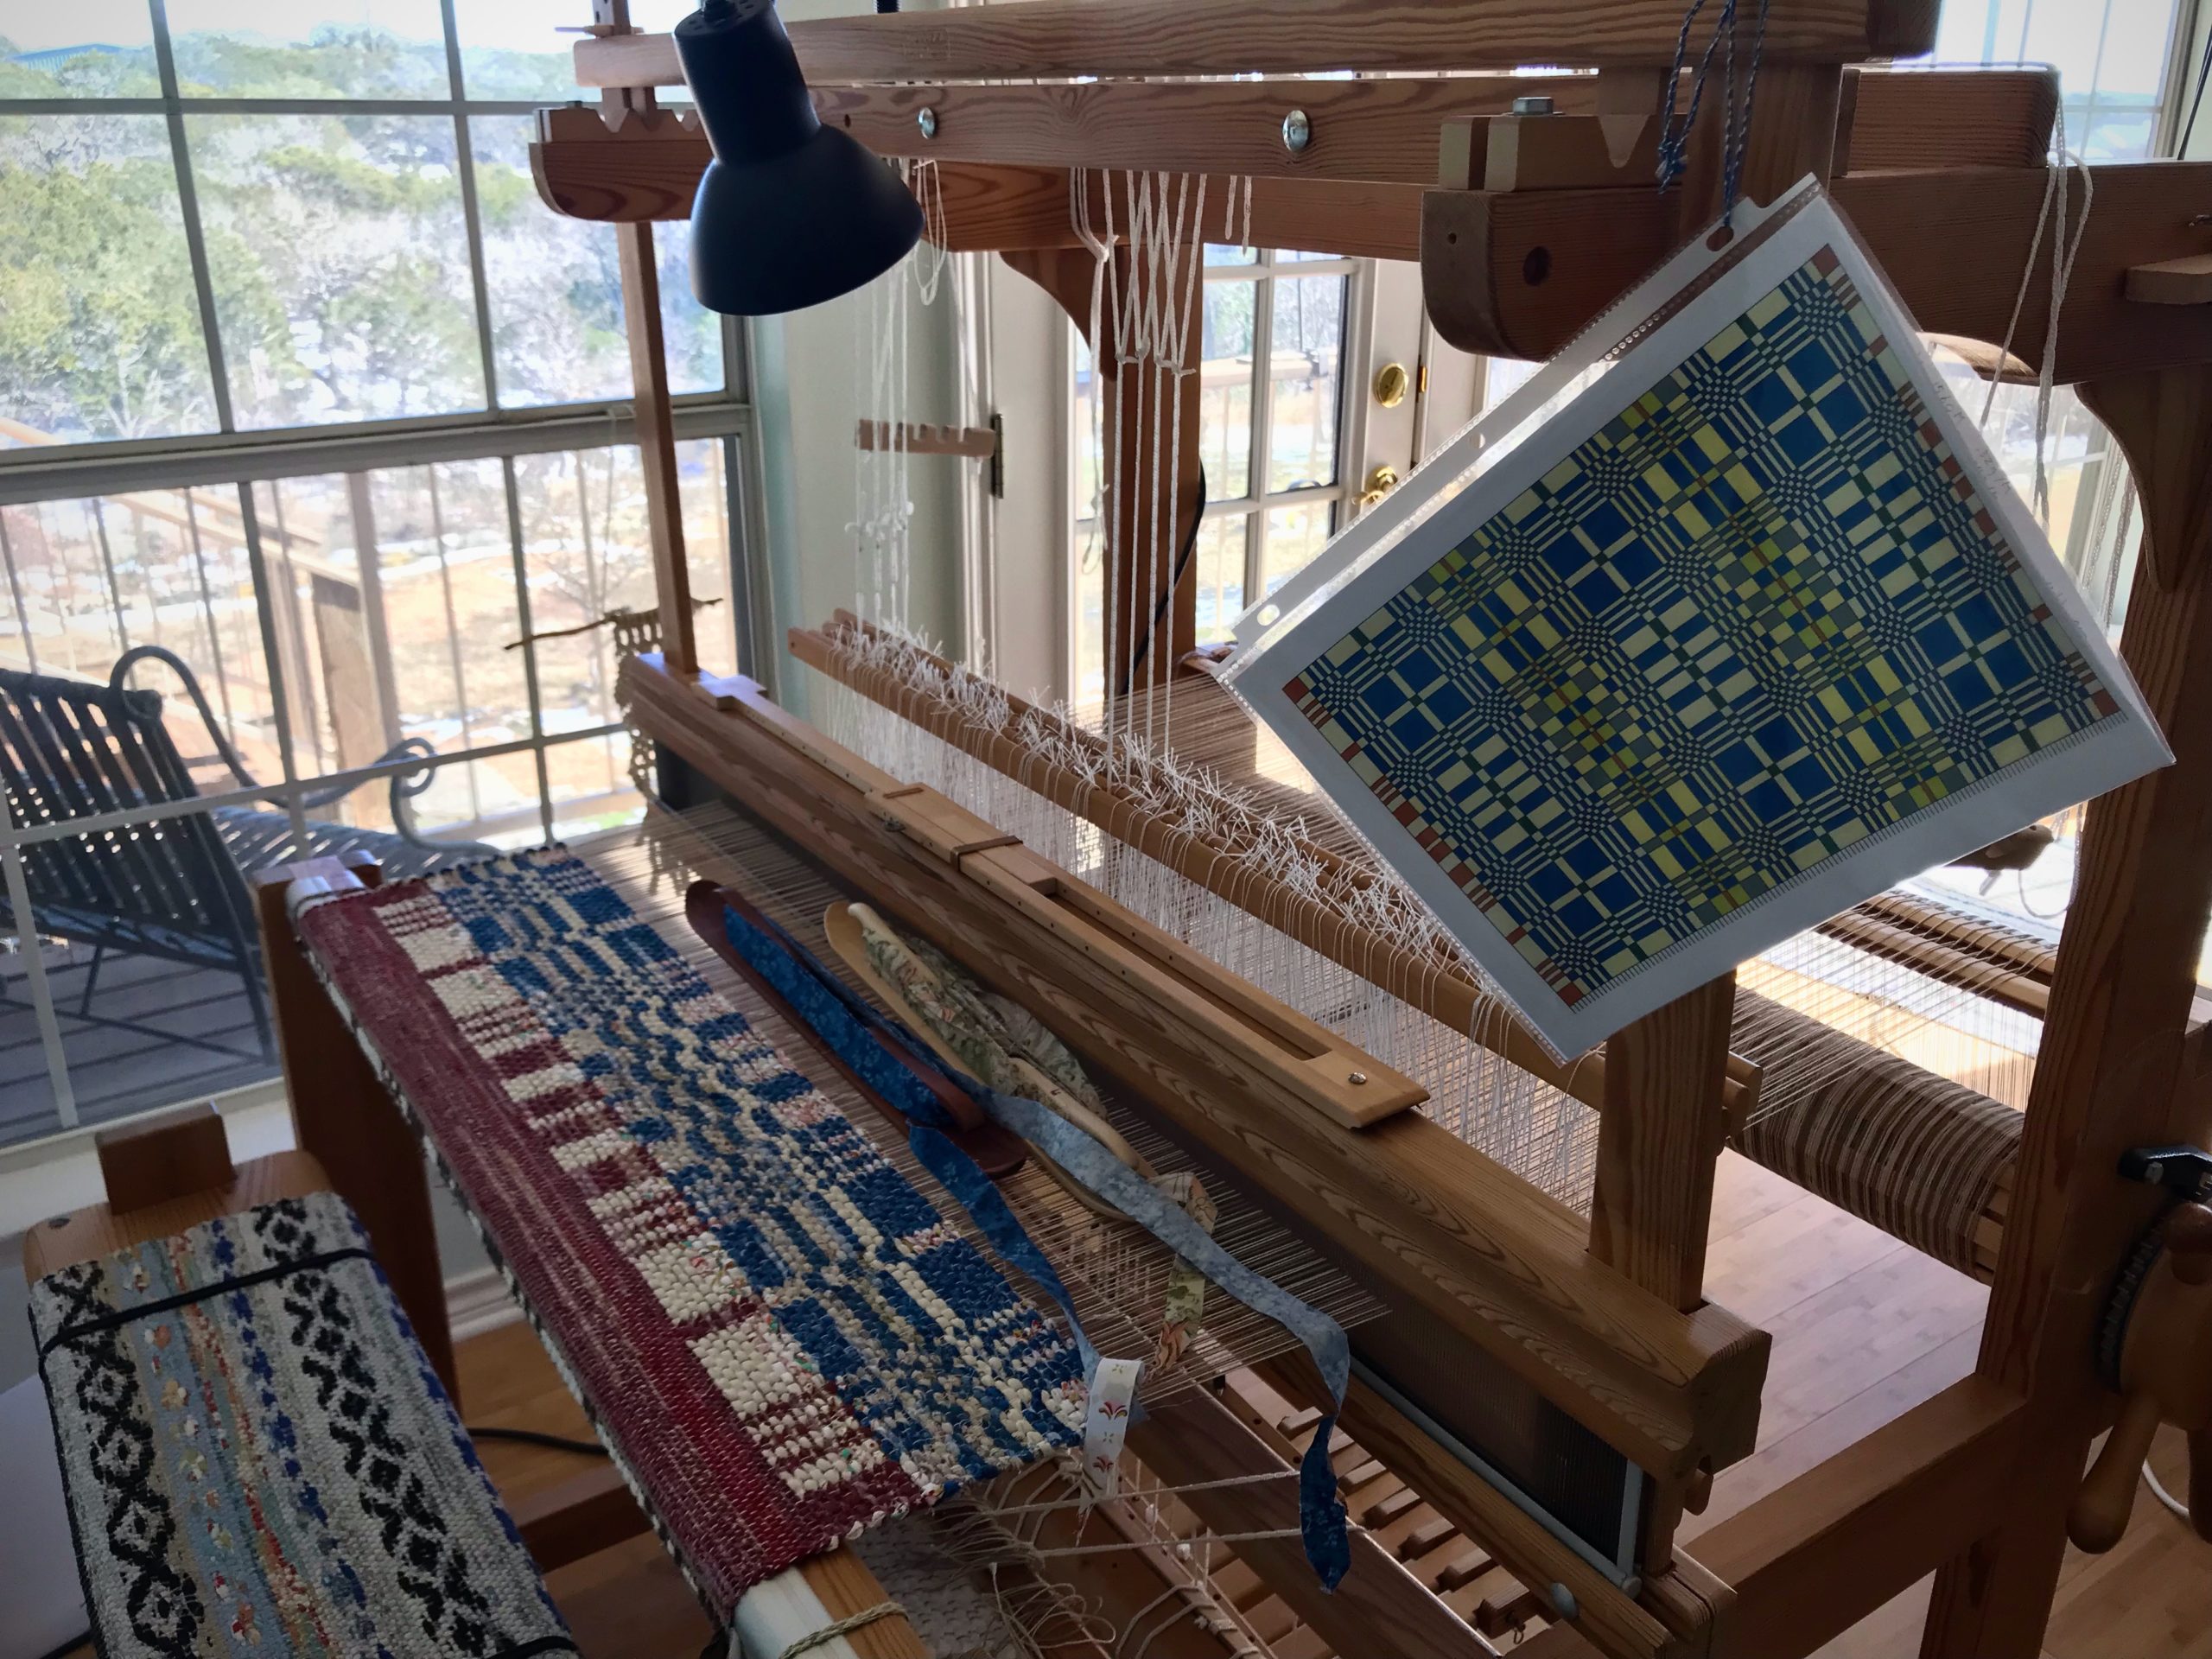
Printout shows me where the blocks change in the weft.

Check out these resources for more double-binding rag rug ideas: Alla Tiders Trasmattor, by Monica Hallén and Ann-Kristin Hallgren; Så Fint med Trasmattor, by Monica Hallén and Ann-Kristin Hallgren; Älskade Trasmattor att väva som för, by Monica Hallén and Ann-Kristin Hallgren; Swedish Rag Rugs 35 New Designs, by VävMagasinet; Happy Weaving, from VävMagasinet.

May you discover a world of opportunity.

Happy Weaving,
Karen

Be Weave-Able

I call her the ”Rain Girl.” She comes from an illustration in a very old children’s book on our bookshelf. The small tapestry is cute. But with its many slits and single warp wrappings, it falls short of what it could be. I compromised best practices to make it work.

New small tapestry - Rain Girl.
Small tapestry gets its start on a camping trip. Paint stir stick holds the cartoon in place under the warp.
Weaving a small tapestry from the back.
Weaving from the back. Long car rides are good for portable tapestry weaving.
Cartoon is not going to work for this small tapestry.
Checking the cartoon again.
Small tapestry almost finished. Rain Girl.
Finishing up the weaving of Rain Girl just before pulling back into our driveway after a long trip.

The main fault is with the cartoon. It isn’t weave-able. The image is too small for this sett. There must be a better way to weave this image.

Mounting a small tapestry on foam core board covered with flannel and linen.
Hems are stitched down. 1/2″ foam core board is covered with a layer of cotton flannel, and then natural colored linen.
Mounted small tapestry. Rain Girl.
Rain Girl, first version.

I am starting over with a whole new cartoon! I have now learned that Affinity Designer (computer graphics software) gives me the ability to create vertical parallel lines equivalent to my sett. With those lines in view I can see exactly how each part of the cartoon fits the warp spacing. I am turning the image on its side and enlarging it, and then, cropping to size. This cartoon is going to be weave-able.

Affinity Designer to create a new tapestry cartoon.
Screen shot from Affinity Designer. Image from book illustration is positioned on its side, enlarged, and cropped. View shows vertical lines that match the sett for the tapestry.
Creating a new tapestry cartoon in Affinity Designer.
New Rain Girl cartoon is ready for printing.

All of us have gone our own way. We insistently follow our own cartoon, compromising best practices, while struggling to make it work. There is a better way. Jesus Christ gave himself so that the Grand Weaver’s cartoon could be written on our hearts. In his hands we become his beloved tapestry. Be weave-able.

May your cartoon be just right.

Hopeful,
Karen

Picture Perfect Handwoven Skirt

The skirt in my mind is picture perfect in style and fit. If I could snap my fingers and make the skirt appear, I would. Instead, I find my way to a workable sewing pattern by trial and error—agonizing over every small step. The sewing part doesn’t scare me. But I’m in over my head in the garment design arena.

Using Garment Designer to design a layered tiered skirt.
Quarter-scale pattern pieces give me a way to test and try various ways to put the skirt together. I learn a lot of things that don’t work. There is much sewing, ripping, tweaking, calculating and recalculating, etc. And pulling my hair out, figuratively speaking.
Designing a handwoven skirt using Garment Designer software.
Settling on something that works. One more little mockup should answer most remaining questions. I use Garment Designer (patterning and design software) to create the patterns. I can print quarter-scale and full-scale sewing patterns.

A not-as-simple layered tiered skirt replaces my original idea of a simple three-tiered skirt. The new design has a fitted yoke at the top of the skirt (and a zipper) instead of a super-simple elastic gathered waist. All this, so the distinctive borders of each tier will flutter freely, and not be trapped in seams. The trouble is worth it. I can see the finished skirt in my mind’s eye. It is phenomenal! The fabric is handwoven, made for a purpose. This is a skirt worth waiting for.

Testing ideas for a handwoven skirt.
Testing ideas full scale. After several tries, I finally have a good fit on the skirt yoke, which is encouraging.
Handwoven skirt in the making!
Full-size mockup (not shown) satisfies my fit and style requirements. Floral cotton lining fabric will be concealed under the handwoven tiers. Full-scale sewing pattern is printed and ready…

You were skillfully made for a purpose. Through many trials and errors, lessons in success and failure, we discover why we are here. God created you for this very time. Trust him to guide you, especially through agonizing moments. By his grace, he forms us into the phenomenal masterpiece that he has always had in mind.

May you walk with purpose.

Love,
Karen